All Activity
- Past hour
-
A great looking box art based build. The colors and decal work look great! I'm currently building one of these myself, here's a link to the WIP thread if you're interested. This kit has a number of different build options and it's great seeing some of those other options built. Your version came out fabulously well! David G.
-

Rustoleum 2X spray paints
Lone Wolf replied to Smoke Wagon's topic in Model Building Questions and Answers
Although this is an old thread I felt compelled to put my 2-cents worth in. I've heard lots of horror stories from people using the 2X line of R-paints. Their problems usually started when they shot 2X Clear over the color coat(s), but sometimes even before the clear. After a lot of digging online I discovered that the primer is usually Enamel, the colored paints are usually Acrylic, and the clear is Enamel. In many or most cases, if you put Enamel over an Acrylic you run the high risk of having paints that won't dry, or could take "forever" to dry. Even worse, and more often, you'll end up with the dreaded Wrinkled Mess nightmare, which requires stripping and starting over. I've heard people tell them; they sprayed it too thick, didn't let the previous coat dry long enough, and other inaccurate stuff. The simple fact is, with the 2X paints (and many, but not all, others), you just Can't put (their) Enamel over (their) Acrylic. What I feel made this such a major issue, for some, is the fact the cans aren't labeled as to what type of paint is inside. Even when I was researching what was what inside the cans, different answers came back, making it very difficult to find the correct answer. Notes: Some people have been able to get away with using a 2X enamel over an 2X acrylic, but usually only after letting the acrylic dry for weeks or by using a dehydrator, AND by starting the enamel top coat(s) out with ultra thin layers, combined with very long drying periods. This method doesn't change the fact that most acrylics can't have enamel sprayed over them, because the chemicals in them just aren't compatible with each other, in many or most cases. There are some exceptions, but the average model builder doesn't usually know what those exceptions are. -
The wheels, stance and details are all fabulous Ken! I wasn't sure I agreed with your choice not to use the whitewall slicks but seeing the car with the blackwalls, I think you made the right call. David G.
-
Very Kool!
-
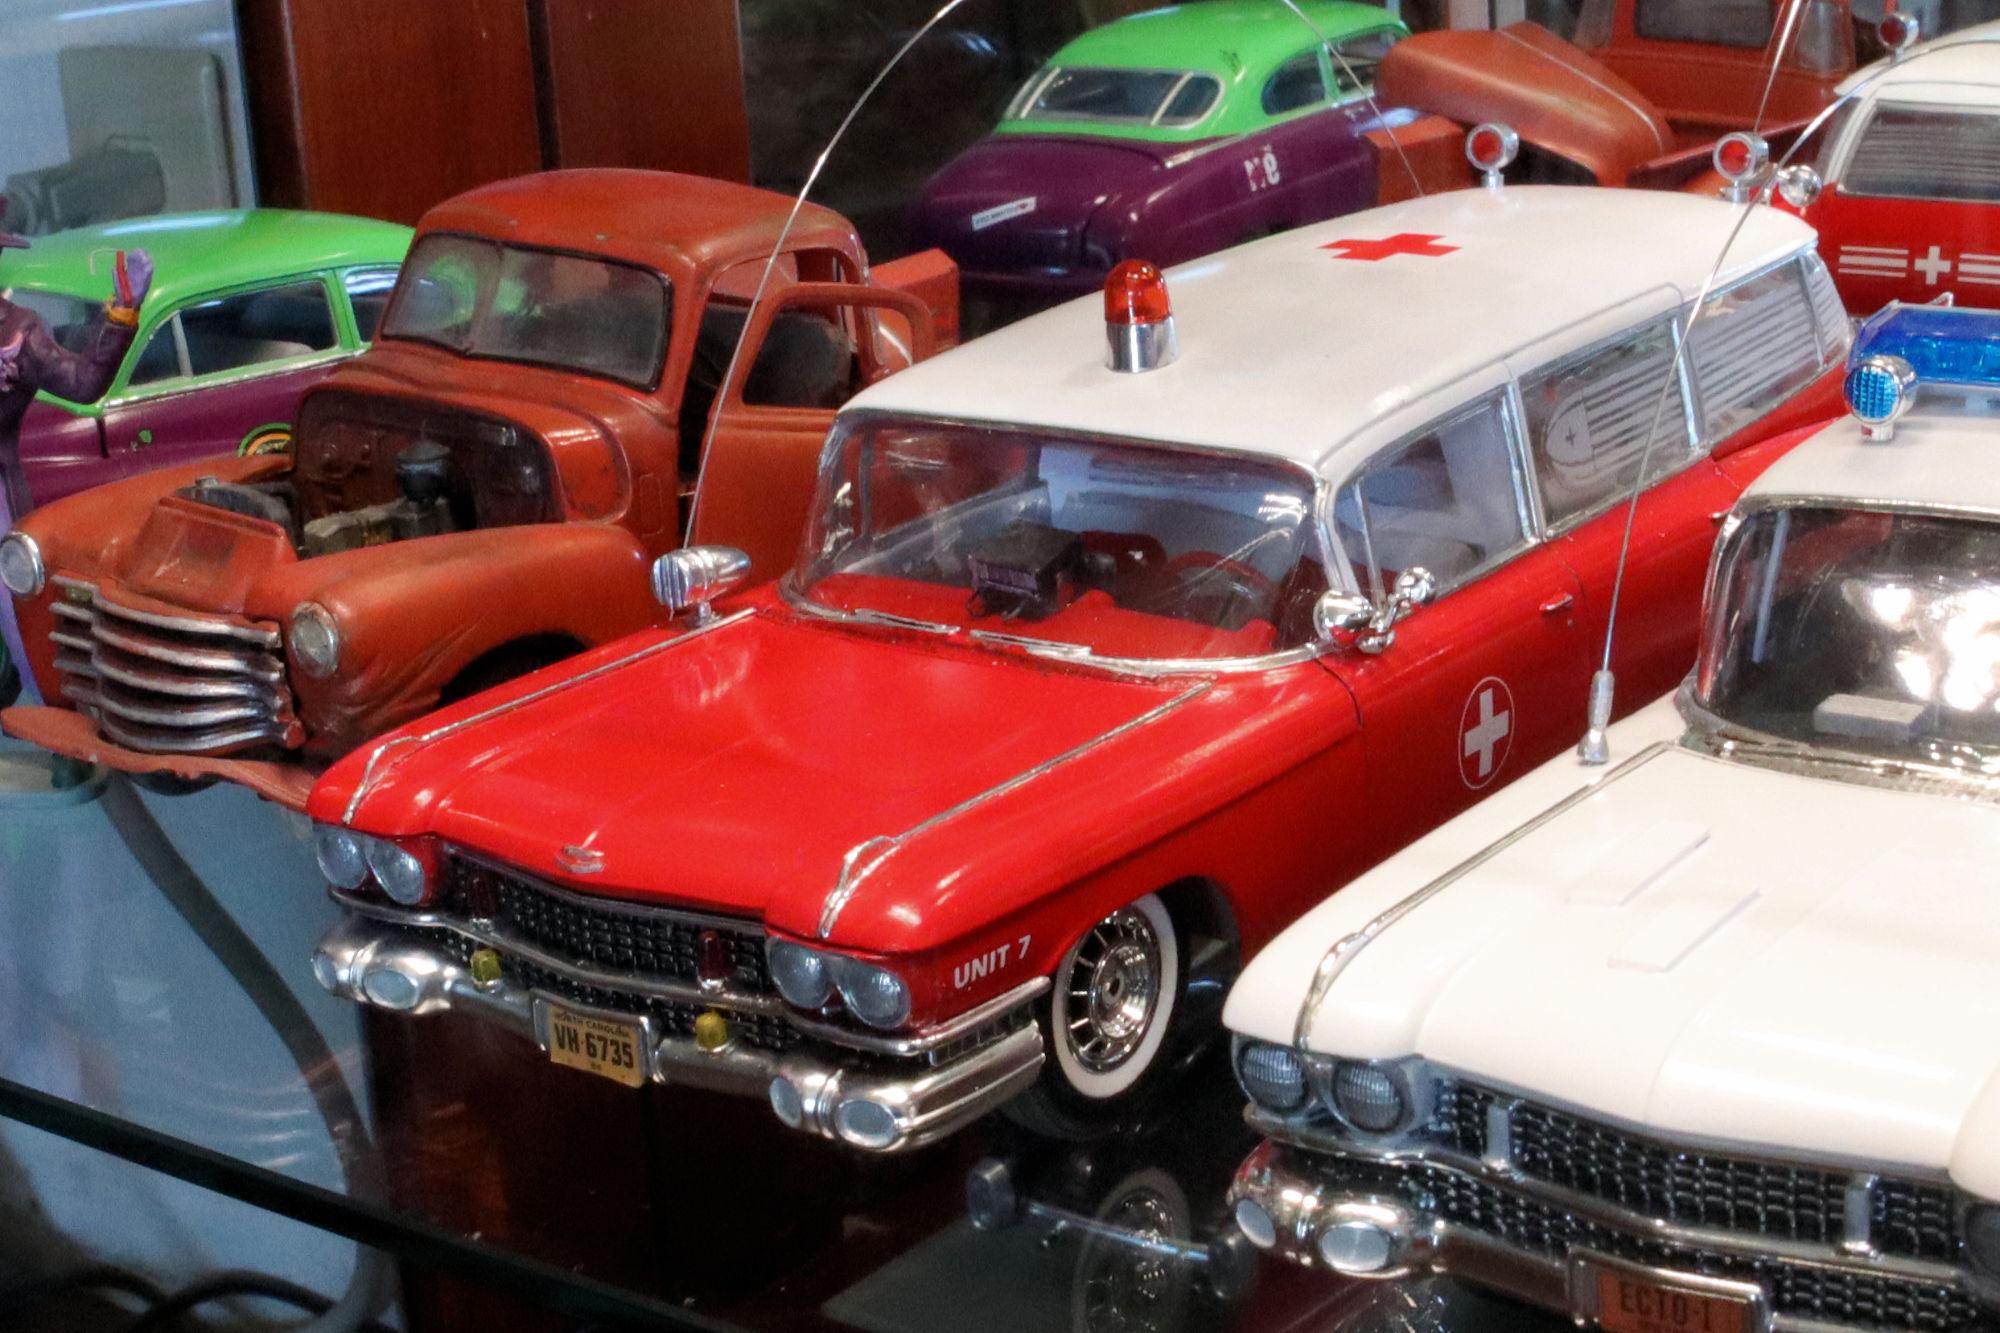
Hello Everybody! I finally got around to getting my traditional display case shot done, so here it is! I thank you all for your comments of encouragement, advice and support during the build and after. You all helped more than you can imagine. Thank you, David G.

-
Sweet!
-
In working with resin bodies, you generally don't have the luxury of molded plastic windows. Some providers can provide vacuum formed windows but often I am left with creating them out of acetate sheet. Gluing them in without making a total mess is often the hardest part of a build. Anybody with any great suggestions?
-
Anything but that!
-
They finished reroofing my garage , went from shingles to 1" standing seam 26 gauge metal and no more squirrels in the garage . ☺️
-

Looking For A Special Glue
DoctorLarry replied to oldcarfan's topic in Model Building Questions and Answers
Thanks! I'm having a hard time getting acetate windows glued in without making a total mess of things. Any suggestions? -
 How so?
 -
 Great to see this build here. Do post any issues your guys come across as it will be helpful. I see the build will be of the 1046 chassis. BTW is the tan underside just a primer? It will be interesting to see how this group project turns out.
 - Today
-
 Thanks Dave. I wanted a different look for this one than the usual Moss/Jenkinson plus I'm a huge Fangio fan and I have a habit of complicating things for myself...so still no OOB project for me. Thank you Alex, that's what I was trying to do with this, grimy smelly end of race look. Thank you Donato. Blood, sweat and tears on this one. I need a more straightforward project for my next build.
 -
Maserati A6GCS Spyder
kensar replied to absmiami's topic in WIP: Other Racing: Road Racing, Land Speed Racers
You've done a lot of work here. Interesting choice of material with the Renshape. I'm interested to see how you finish it. -
Pretty kewl looking little 64 Mustang there Michael. Came out Great.
-
 I hoard up any wheel-backs that I come across, they come in handy for adapting odd wheels on a build. On the one-piece wheels, I saw off that "factory" nub or cut it way down.
 -
Painting with Tamiya Pearl White - TS 45
bobss396 replied to Bill Anderson's topic in Model Building Questions and Answers
I have used the clear pearl (TS-65) over white primer with success. The effect is the same in the end. -
How do you prep your glue surfaces???
bobss396 replied to Vinny G's topic in Model Building Questions and Answers
I started using paper clips and staples, which are not even close to being round items. Then onto floral wire which is strong enough and cheap. I use a lot of .093" Evergreen tubing that has an .048" hole thru it. I can use plastic or brass rod to make strong joints. In general my go-to metal items are 1/32" and 3/64" brass rod. I have a few lengths of .031" stainless steel pins that come in handy. Most used lengths are 1/8", 3/16" and 1/4". -
Welcome to the site Steve. Fishing, Racing, and model building all sounds Great but retiring at 53 is nice man.
-

Painting with Tamiya Pearl White - TS 45
stitchdup replied to Bill Anderson's topic in Model Building Questions and Answers
You would probably be better using the clear pearl. The only time i used the white pearl i found it took a lot of paint to get it to cover grey primer and until it was covered it looked blotchy rather than even -
Ask me anything.
-
Very clean build and true to showroom stock except for that purple, which if offered would have been popular as it looks really good here. Well done Dan Cheers, David. 😎👍
-

1/32 Ford LTL9000
Rockford replied to Rockford's topic in WIP: Model Trucks: Big Rigs and Heavy Equipment
Oh if only, I'd love to see the CL9000 back on the shelves. What beautiful cabover they were! -

1/32 Ford LTL9000
Jim B replied to Rockford's topic in WIP: Model Trucks: Big Rigs and Heavy Equipment
That's a nice looking engine in 1/32. The Revell kits are nice, but they are really designed for kids & beginners, in my opinion. These Ertl 1/32 kits are really another level, although, as you mentioned, the wheels & tires are a little small. I'm really hoping that Round2 will reissue these 1/32 kits. They're released everything else multiple times, so why not! -
 Hi, I'm building an AMT 1949 Ford Coupe and am almost ready to paint the body. The object of the model is to have it look like I would have done a prototype back in my late teens - if I had the money/skills. When I bought the kit, I decided to paint it a pearl white, and picked up a can of Tamiya Pearl White (TS45). But now I'm wondering if this will look right or not - totally being pearl white. My reason for writing is to throw out an idea...... The kit is formed in white plastic. If I painted it a gloss blue (the interior is shades of blue), and then sprayed over it with the Pearl White, what would be the result? Would the pearl white just cover up the blue, or would it result in a "pearl blue/white", or would it look like a blue car with white particles spread all over it? So my question is, have any of you tried using pearl white in a way different from the straight color? Or ? Your help and comments are greatly appreciated!