All Activity
- Past hour
-
Welcome to the site Steve. Fishing, Racing, and model building all sounds Great but retiring at 53 is nice man.
-

Painting with Tamiya Pearl White - TS 45
stitchdup replied to Bill Anderson's topic in Model Building Questions and Answers
You would probably be better using the clear pearl. The only time i used the white pearl i found it took a lot of paint to get it to cover grey primer and until it was covered it looked blotchy rather than even -
Ask me anything.
-
Very clean build and true to showroom stock except for that purple, which if offered would have been popular as it looks really good here. Well done Dan Cheers, David. 😎👍
-

1/32 Ford LTL9000
Rockford replied to Rockford's topic in WIP: Model Trucks: Big Rigs and Heavy Equipment
Oh if only, I'd love to see the CL9000 back on the shelves. What beautiful cabover they were! -

1/32 Ford LTL9000
Jim B replied to Rockford's topic in WIP: Model Trucks: Big Rigs and Heavy Equipment
That's a nice looking engine in 1/32. The Revell kits are nice, but they are really designed for kids & beginners, in my opinion. These Ertl 1/32 kits are really another level, although, as you mentioned, the wheels & tires are a little small. I'm really hoping that Round2 will reissue these 1/32 kits. They're released everything else multiple times, so why not! -
 Hi, I'm building an AMT 1949 Ford Coupe and am almost ready to paint the body. The object of the model is to have it look like I would have done a prototype back in my late teens - if I had the money/skills. When I bought the kit, I decided to paint it a pearl white, and picked up a can of Tamiya Pearl White (TS45). But now I'm wondering if this will look right or not - totally being pearl white. My reason for writing is to throw out an idea...... The kit is formed in white plastic. If I painted it a gloss blue (the interior is shades of blue), and then sprayed over it with the Pearl White, what would be the result? Would the pearl white just cover up the blue, or would it result in a "pearl blue/white", or would it look like a blue car with white particles spread all over it? So my question is, have any of you tried using pearl white in a way different from the straight color? Or ? Your help and comments are greatly appreciated!
 -
Cool 240z there Nigel, well done. Cheers, David. 😎👍
- Today
-
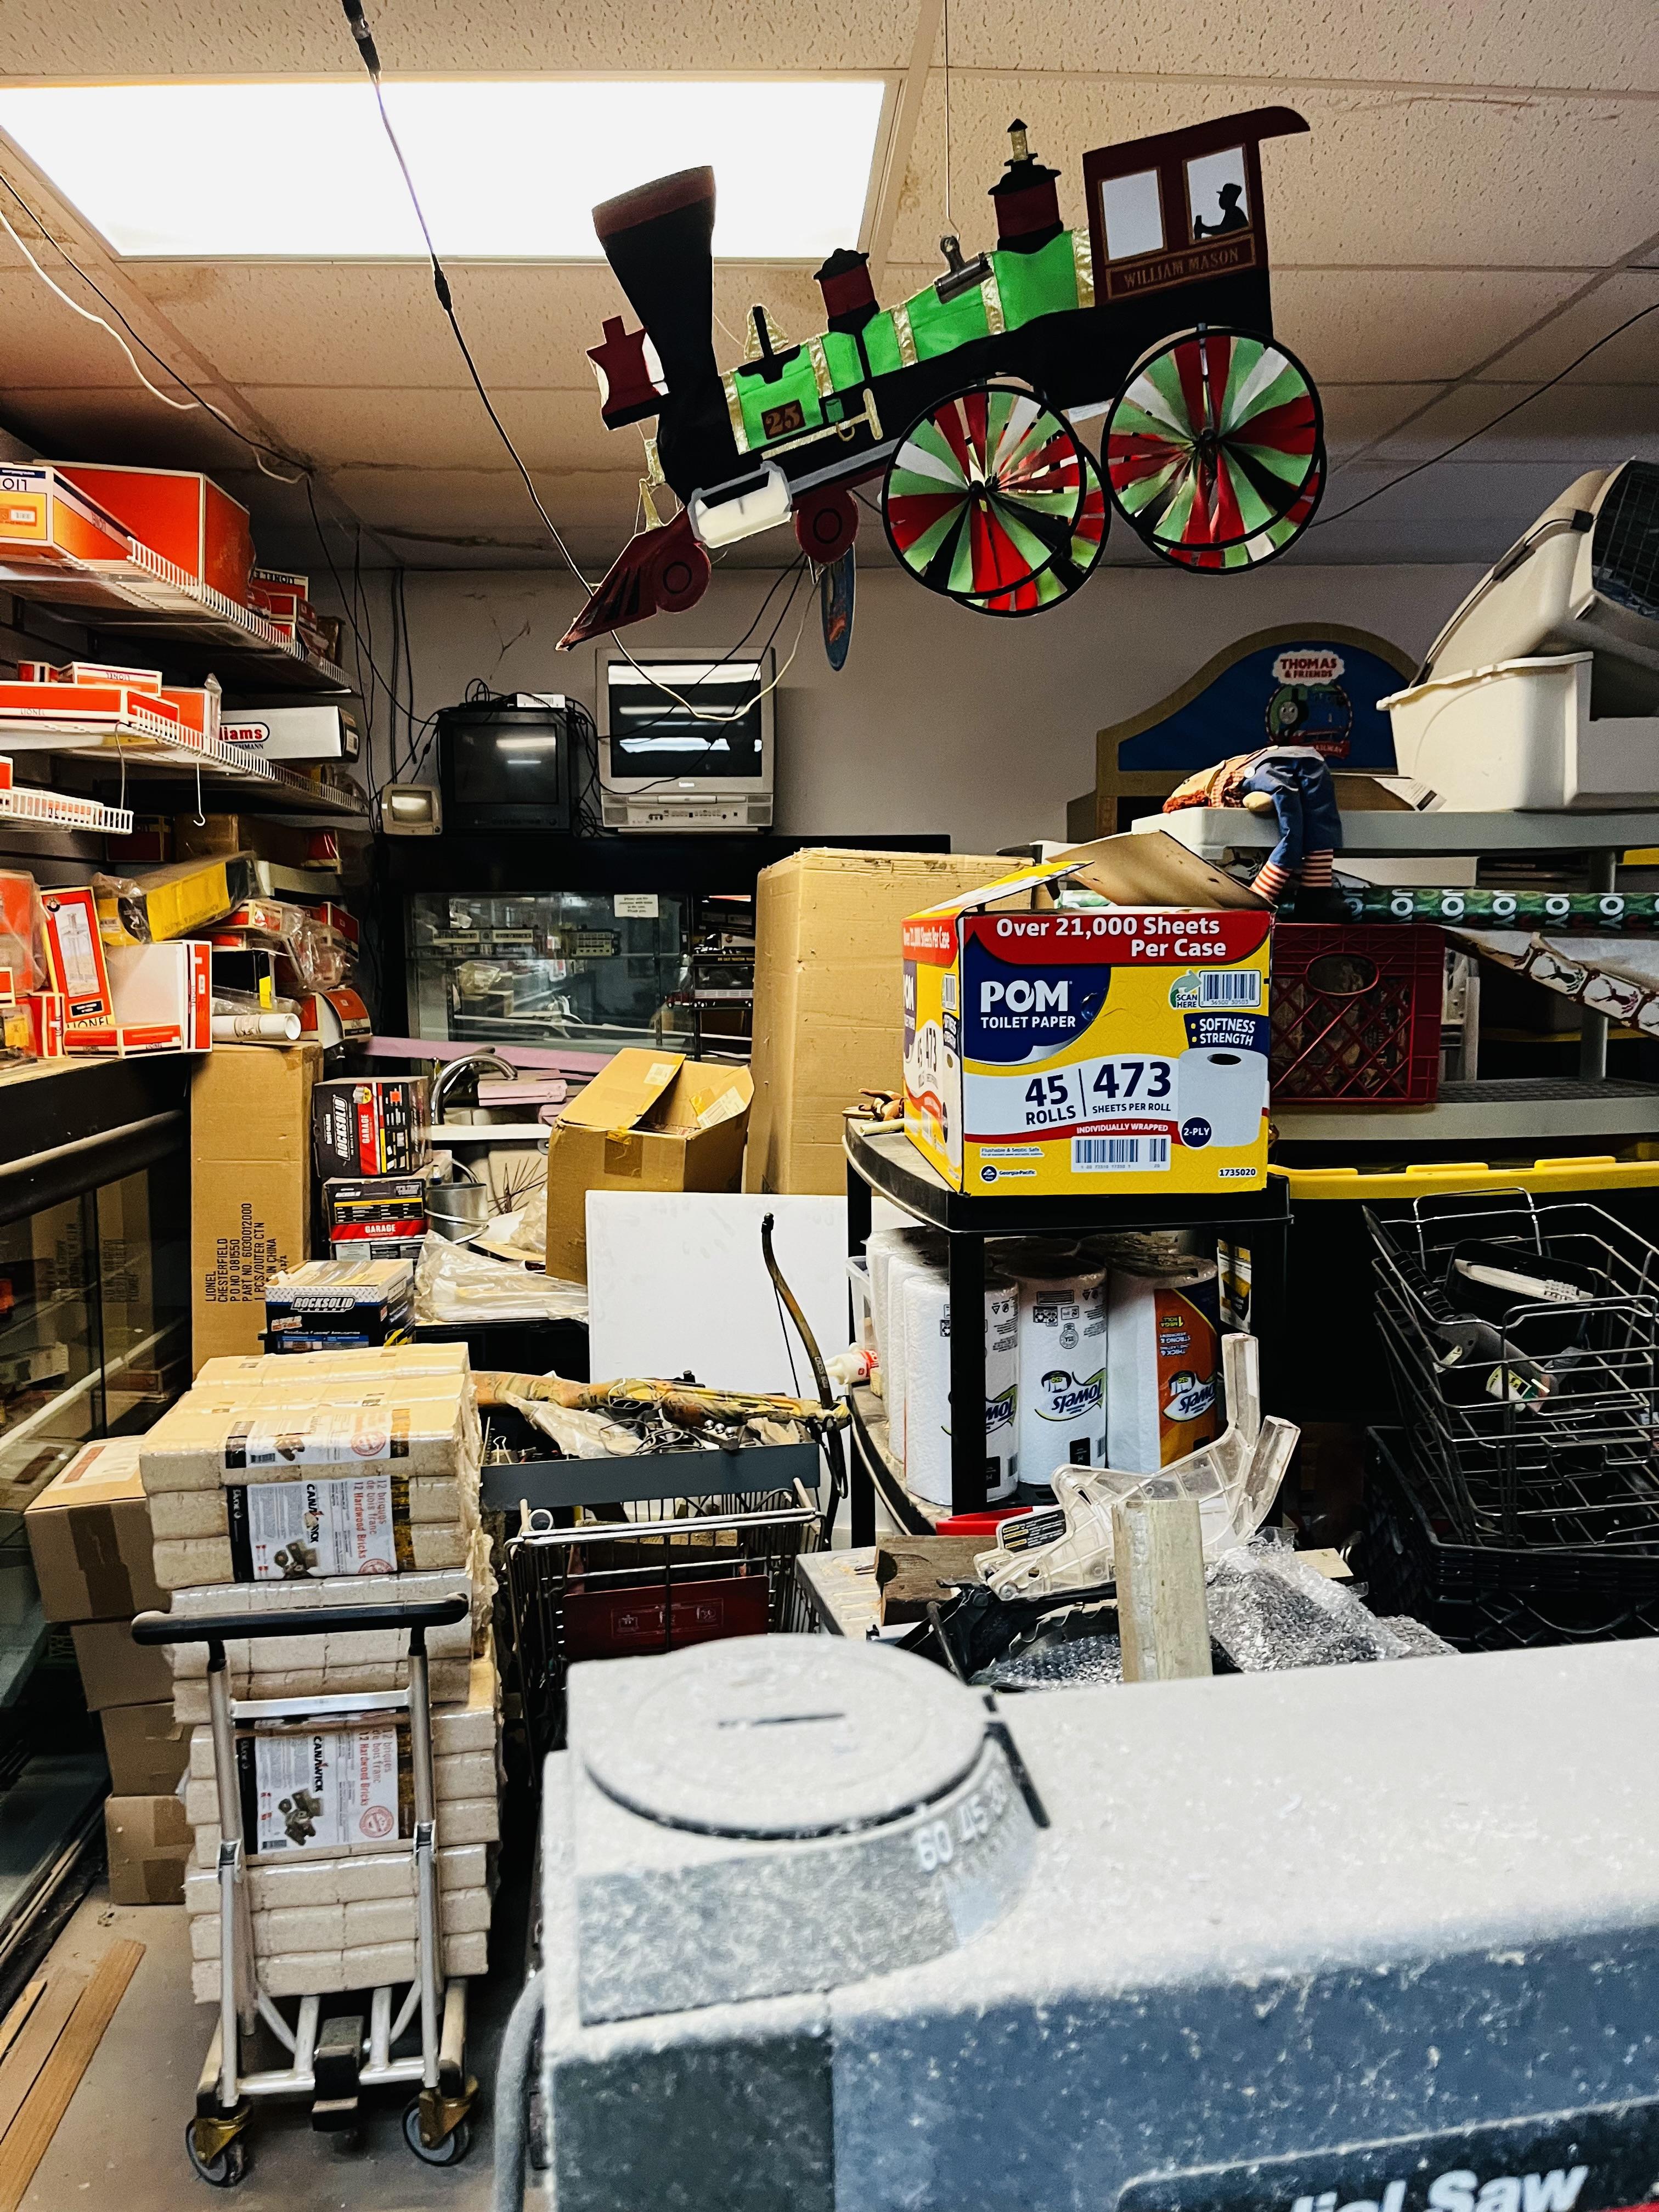
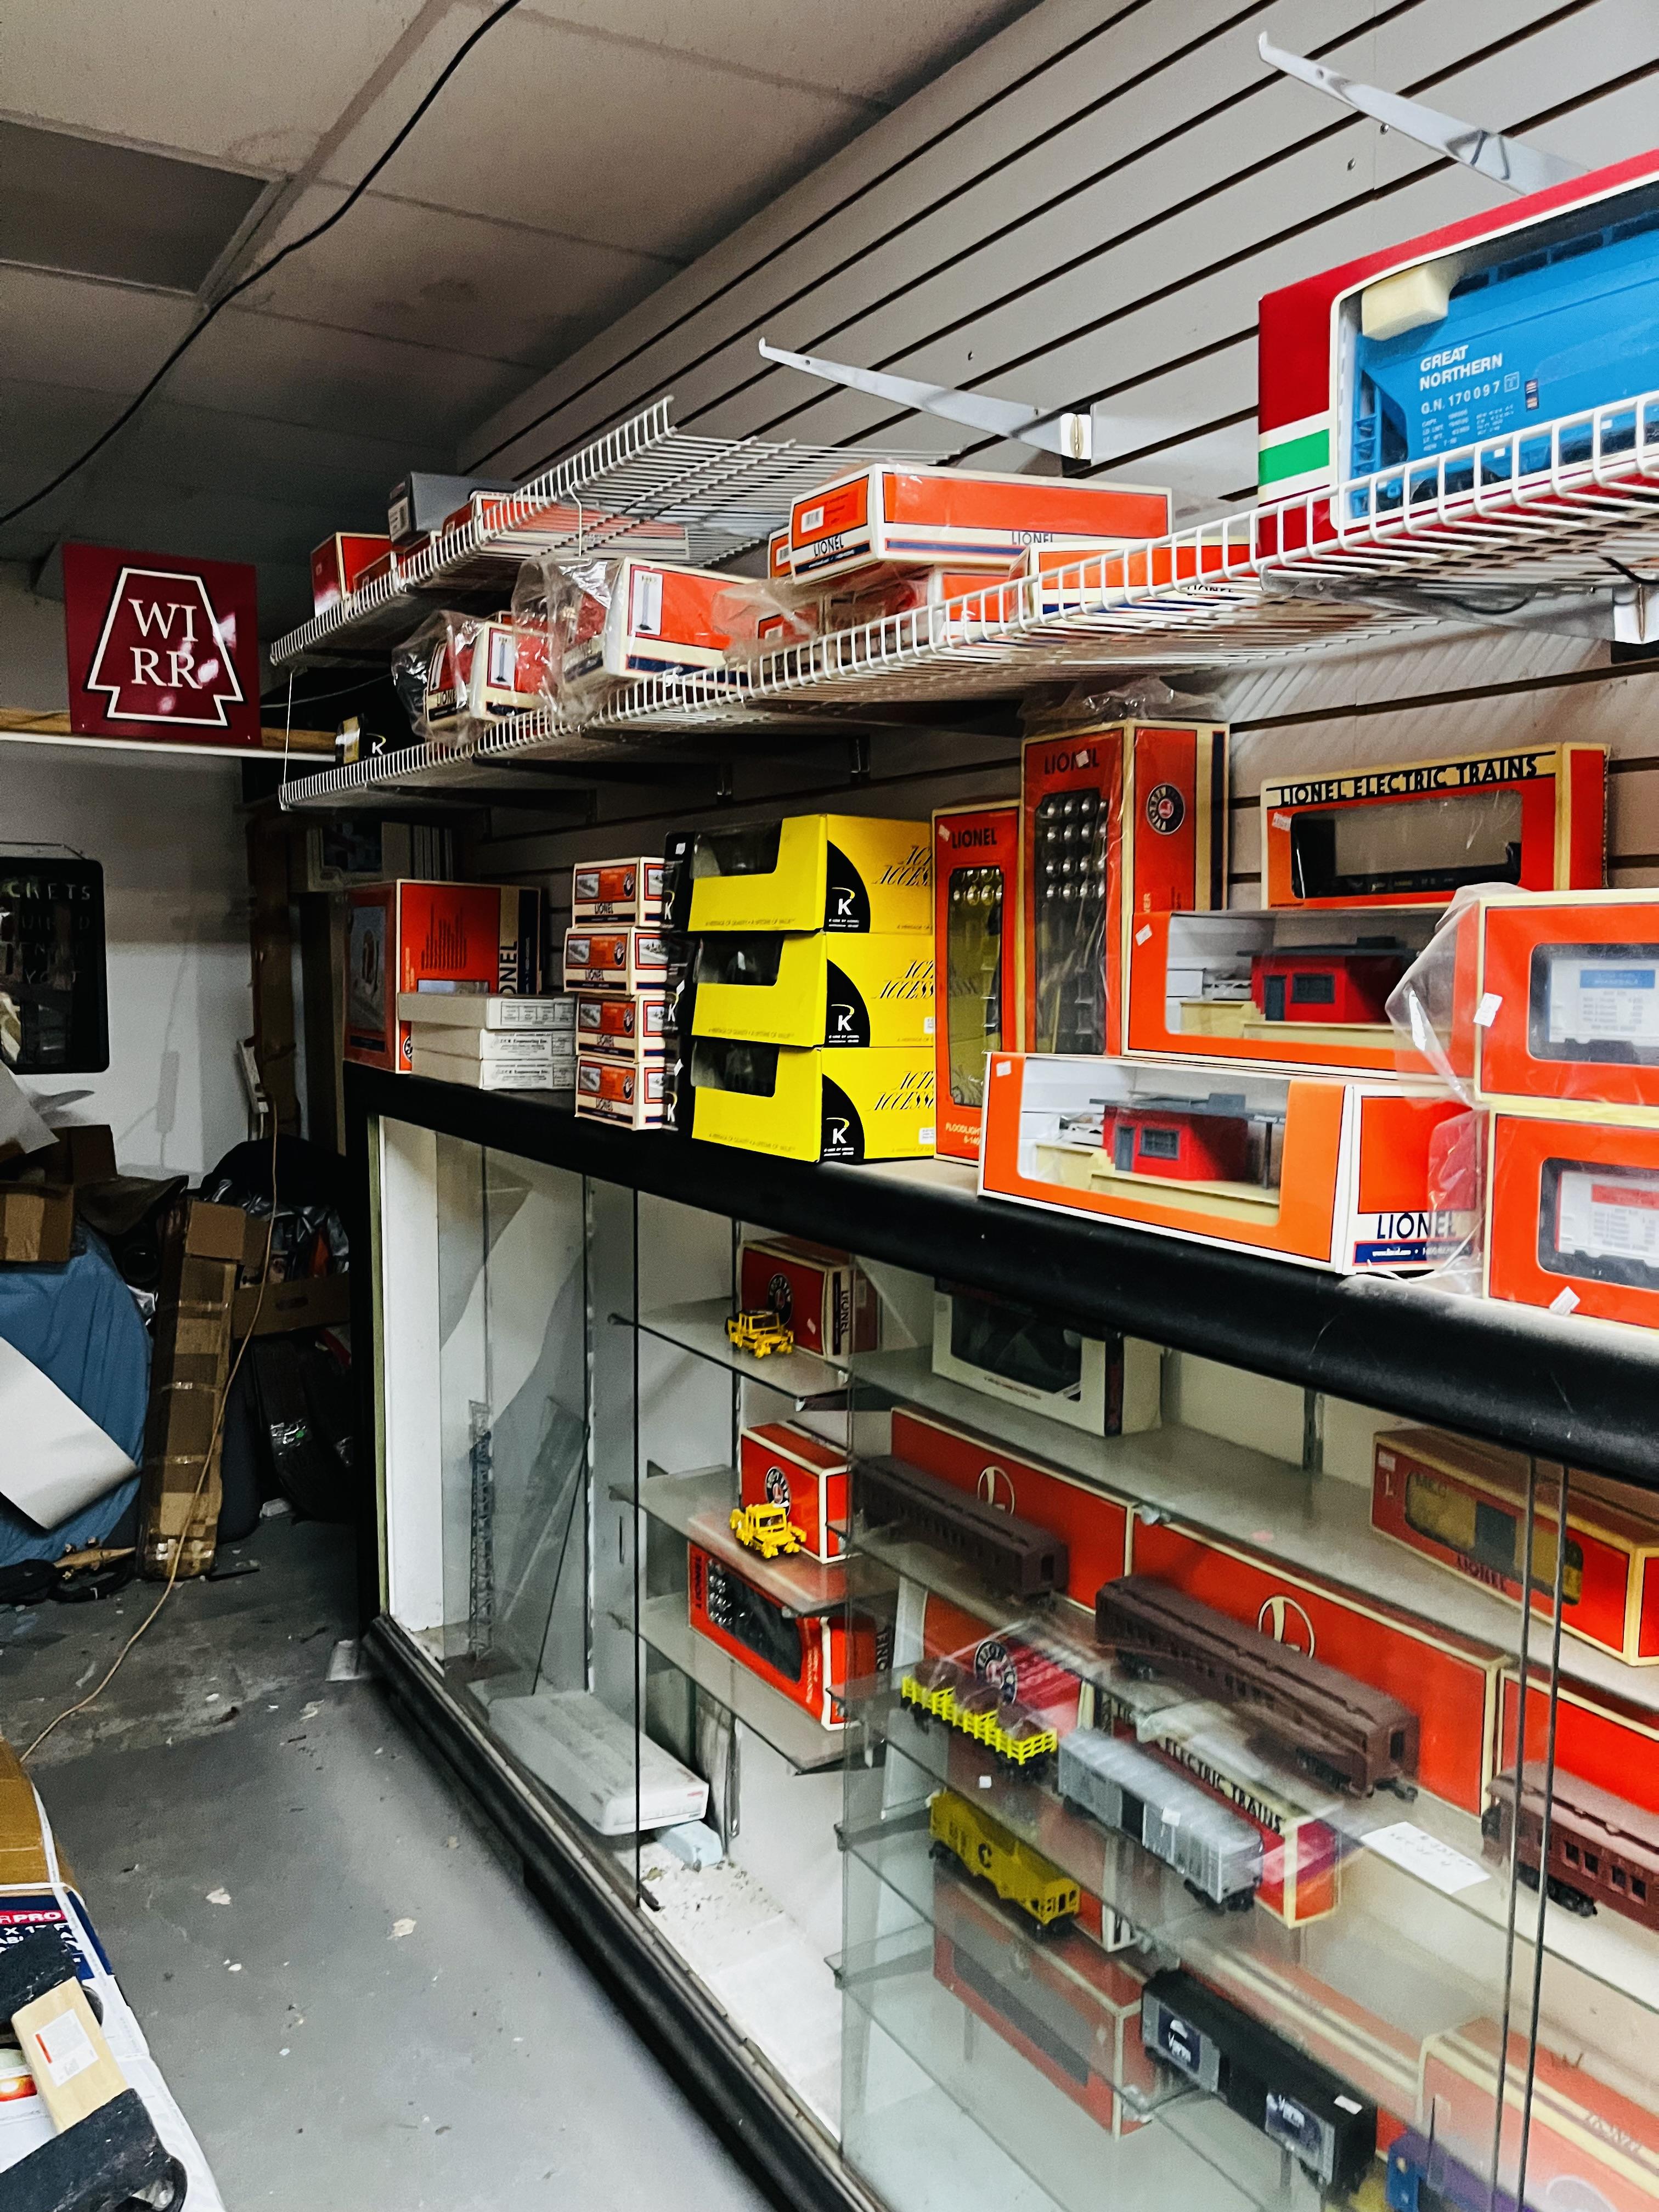
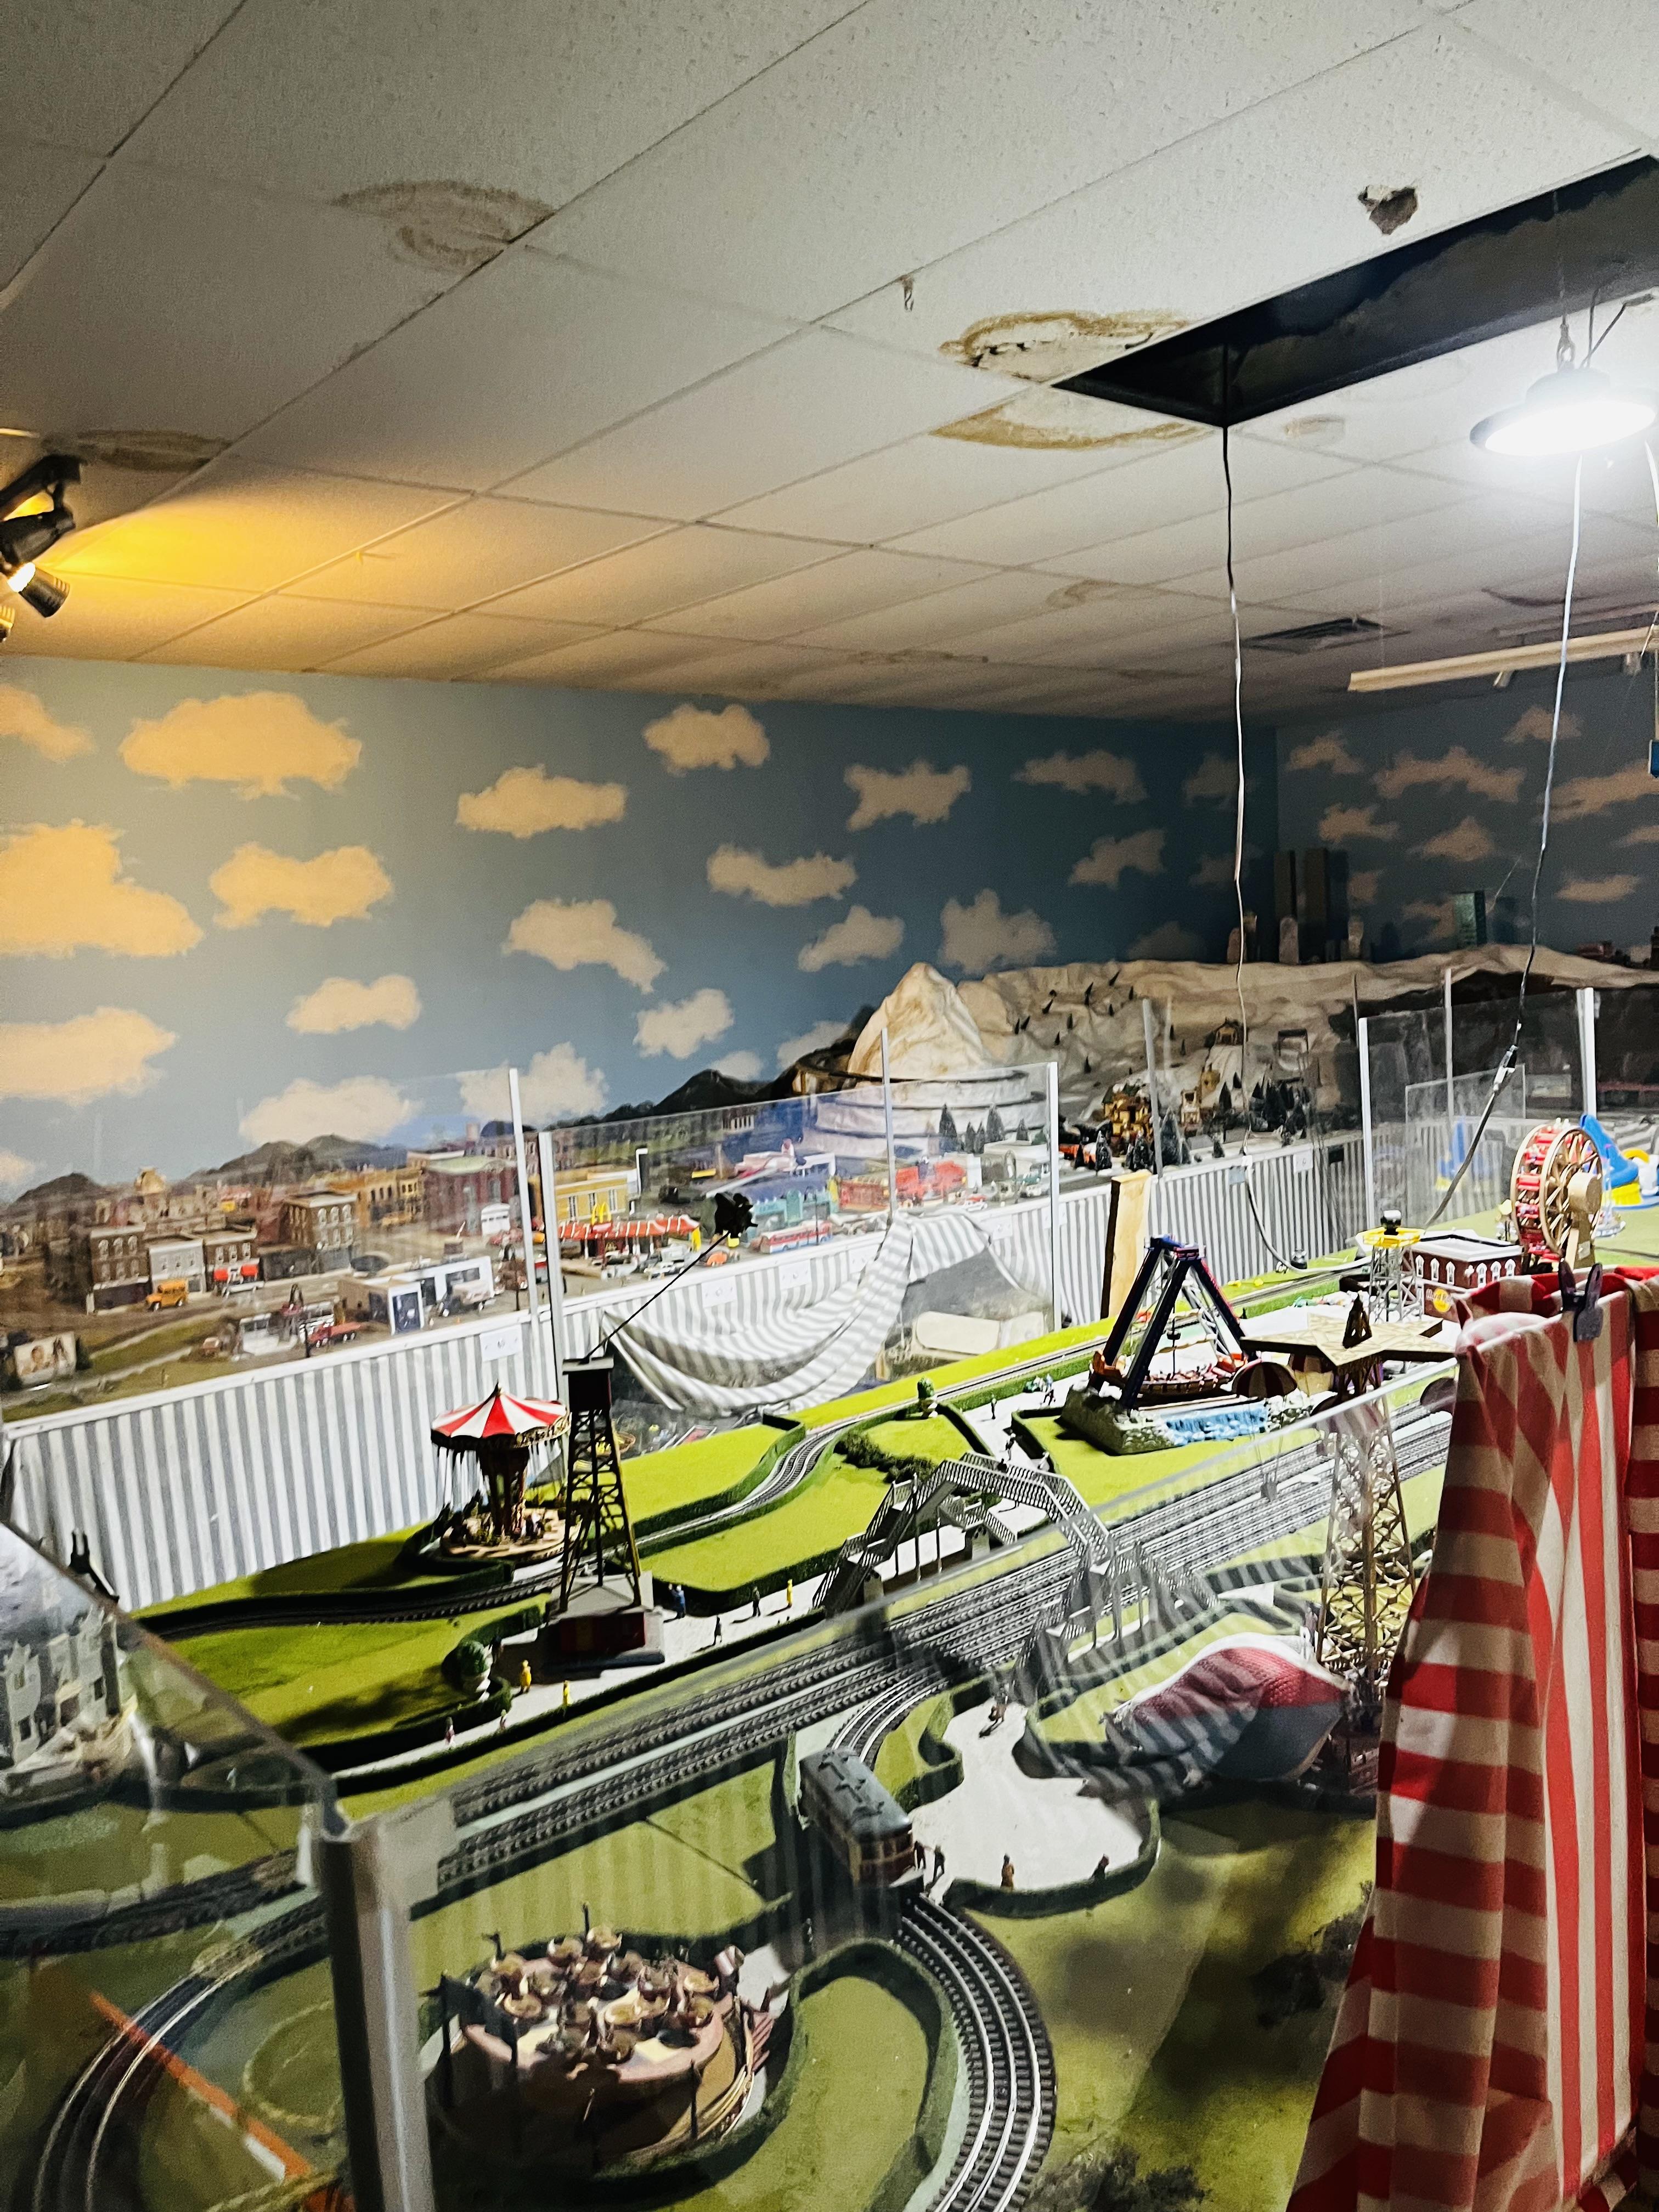
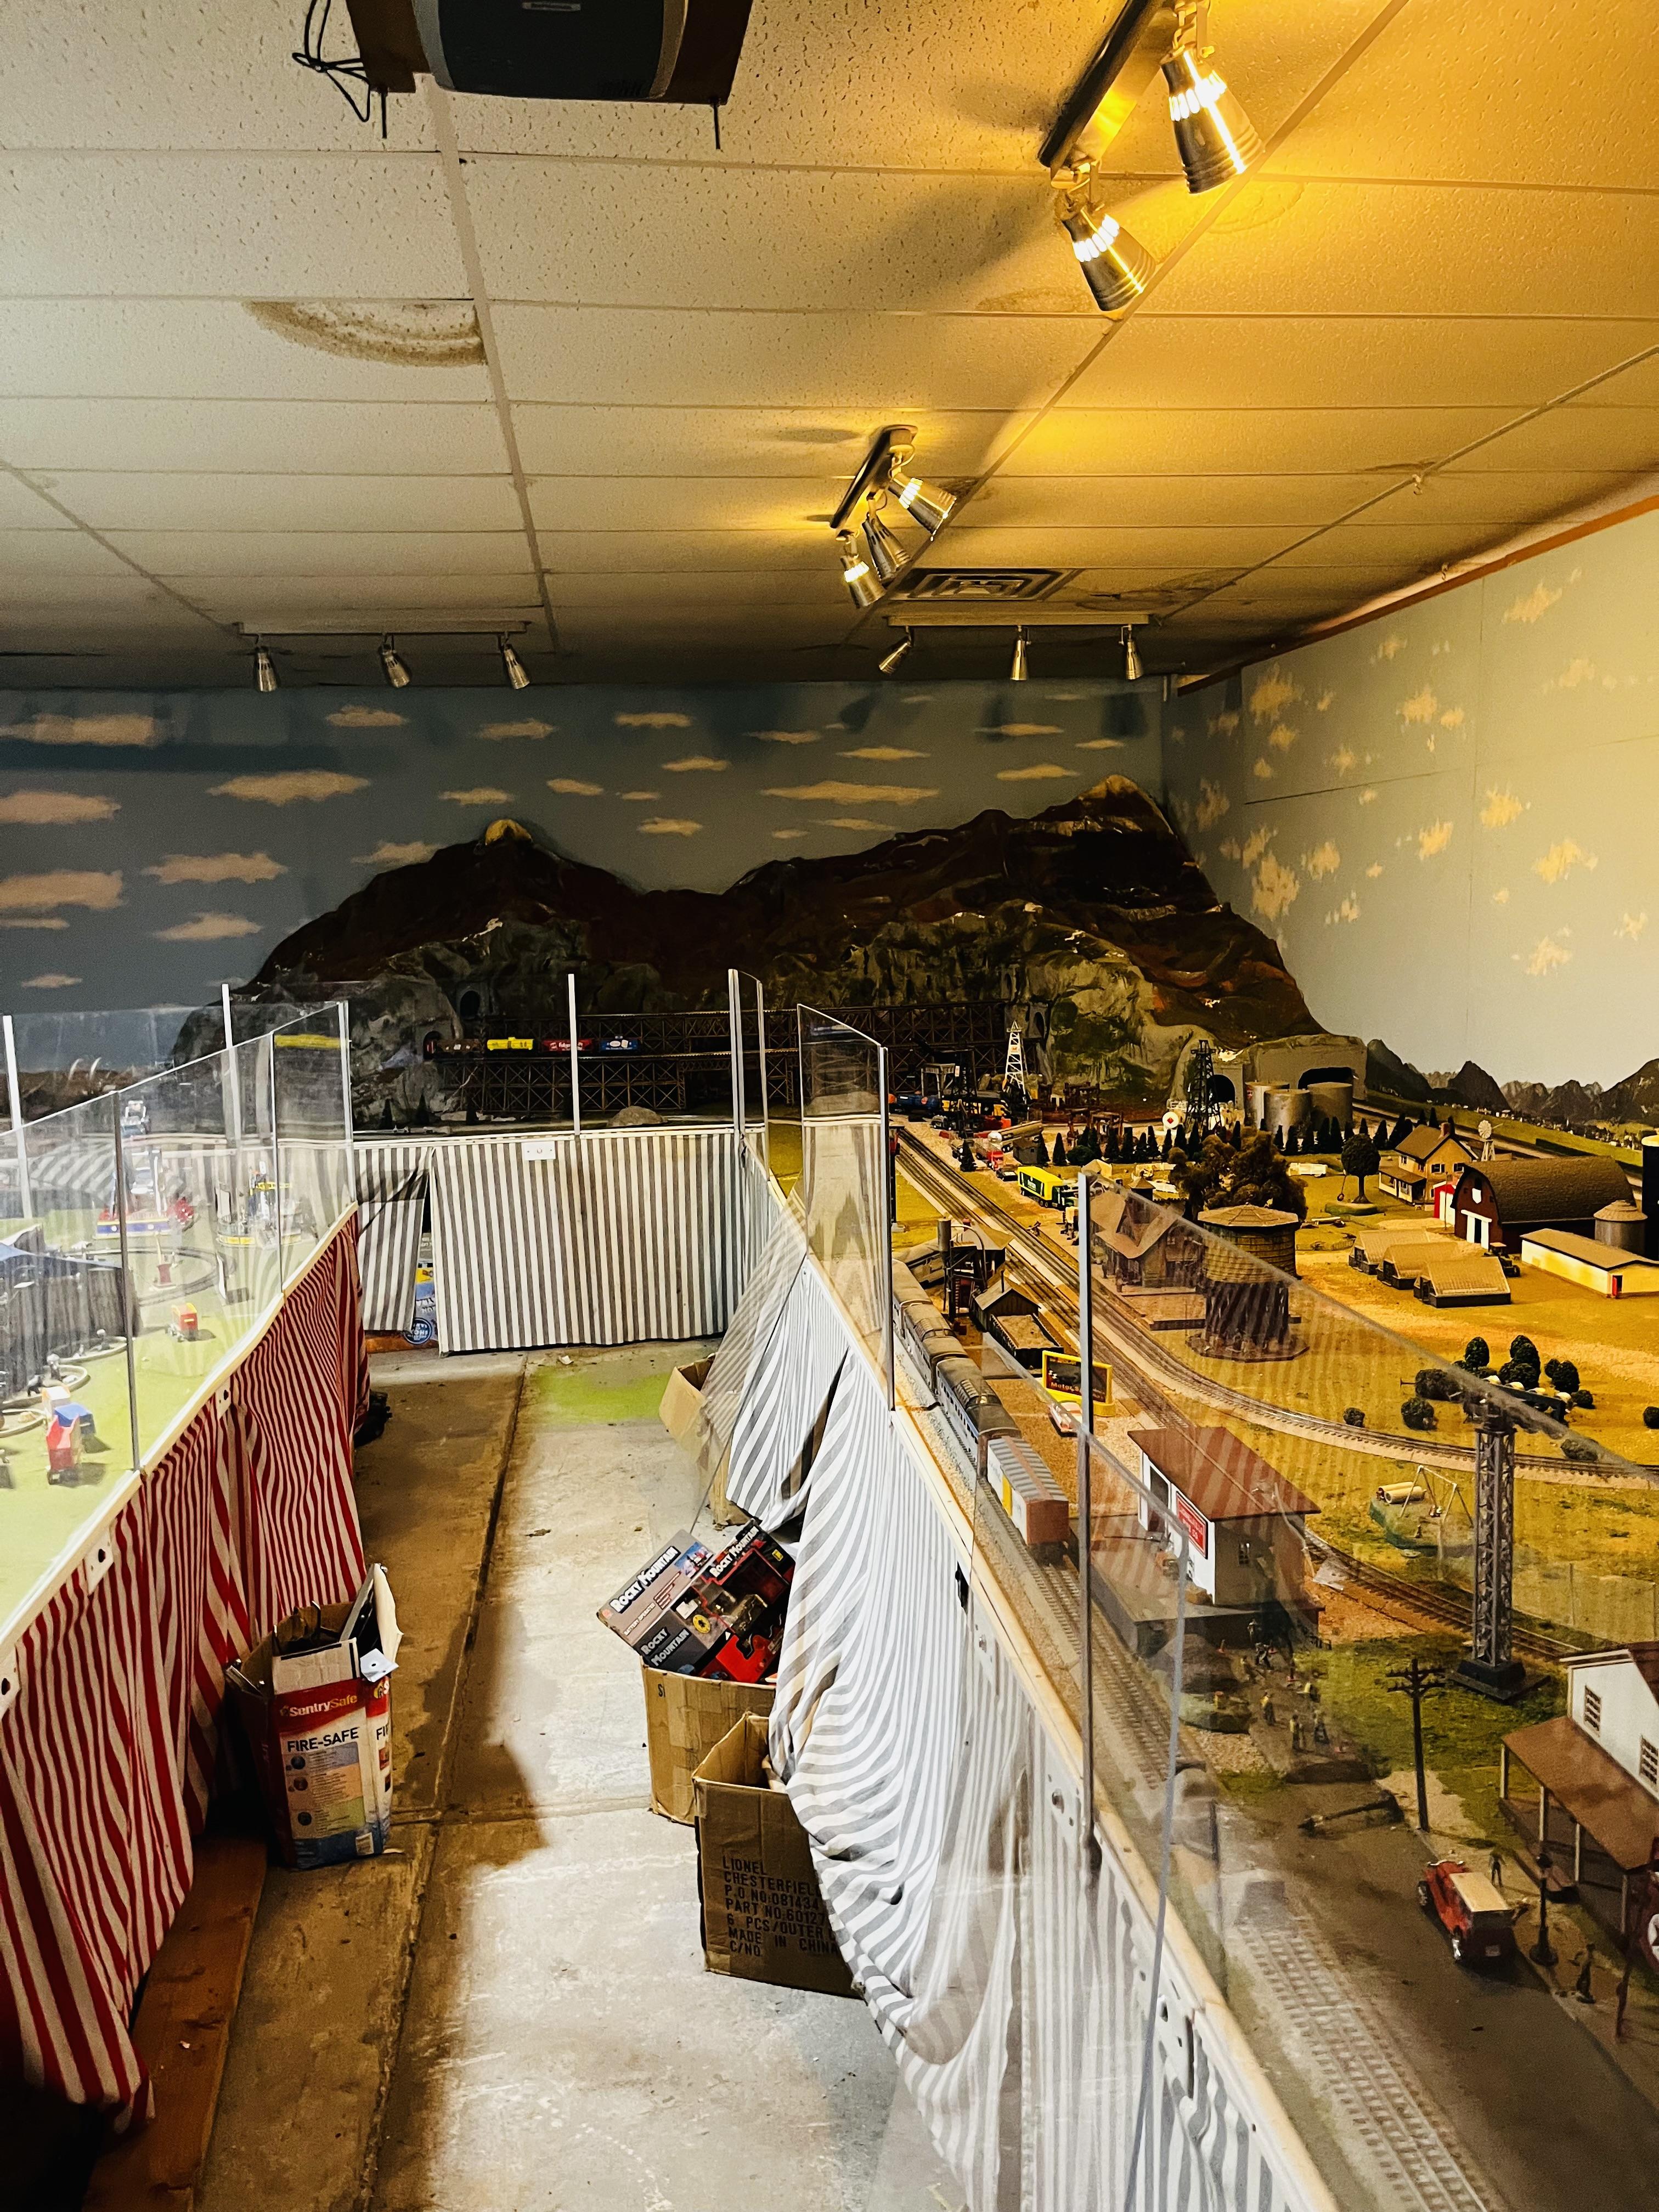
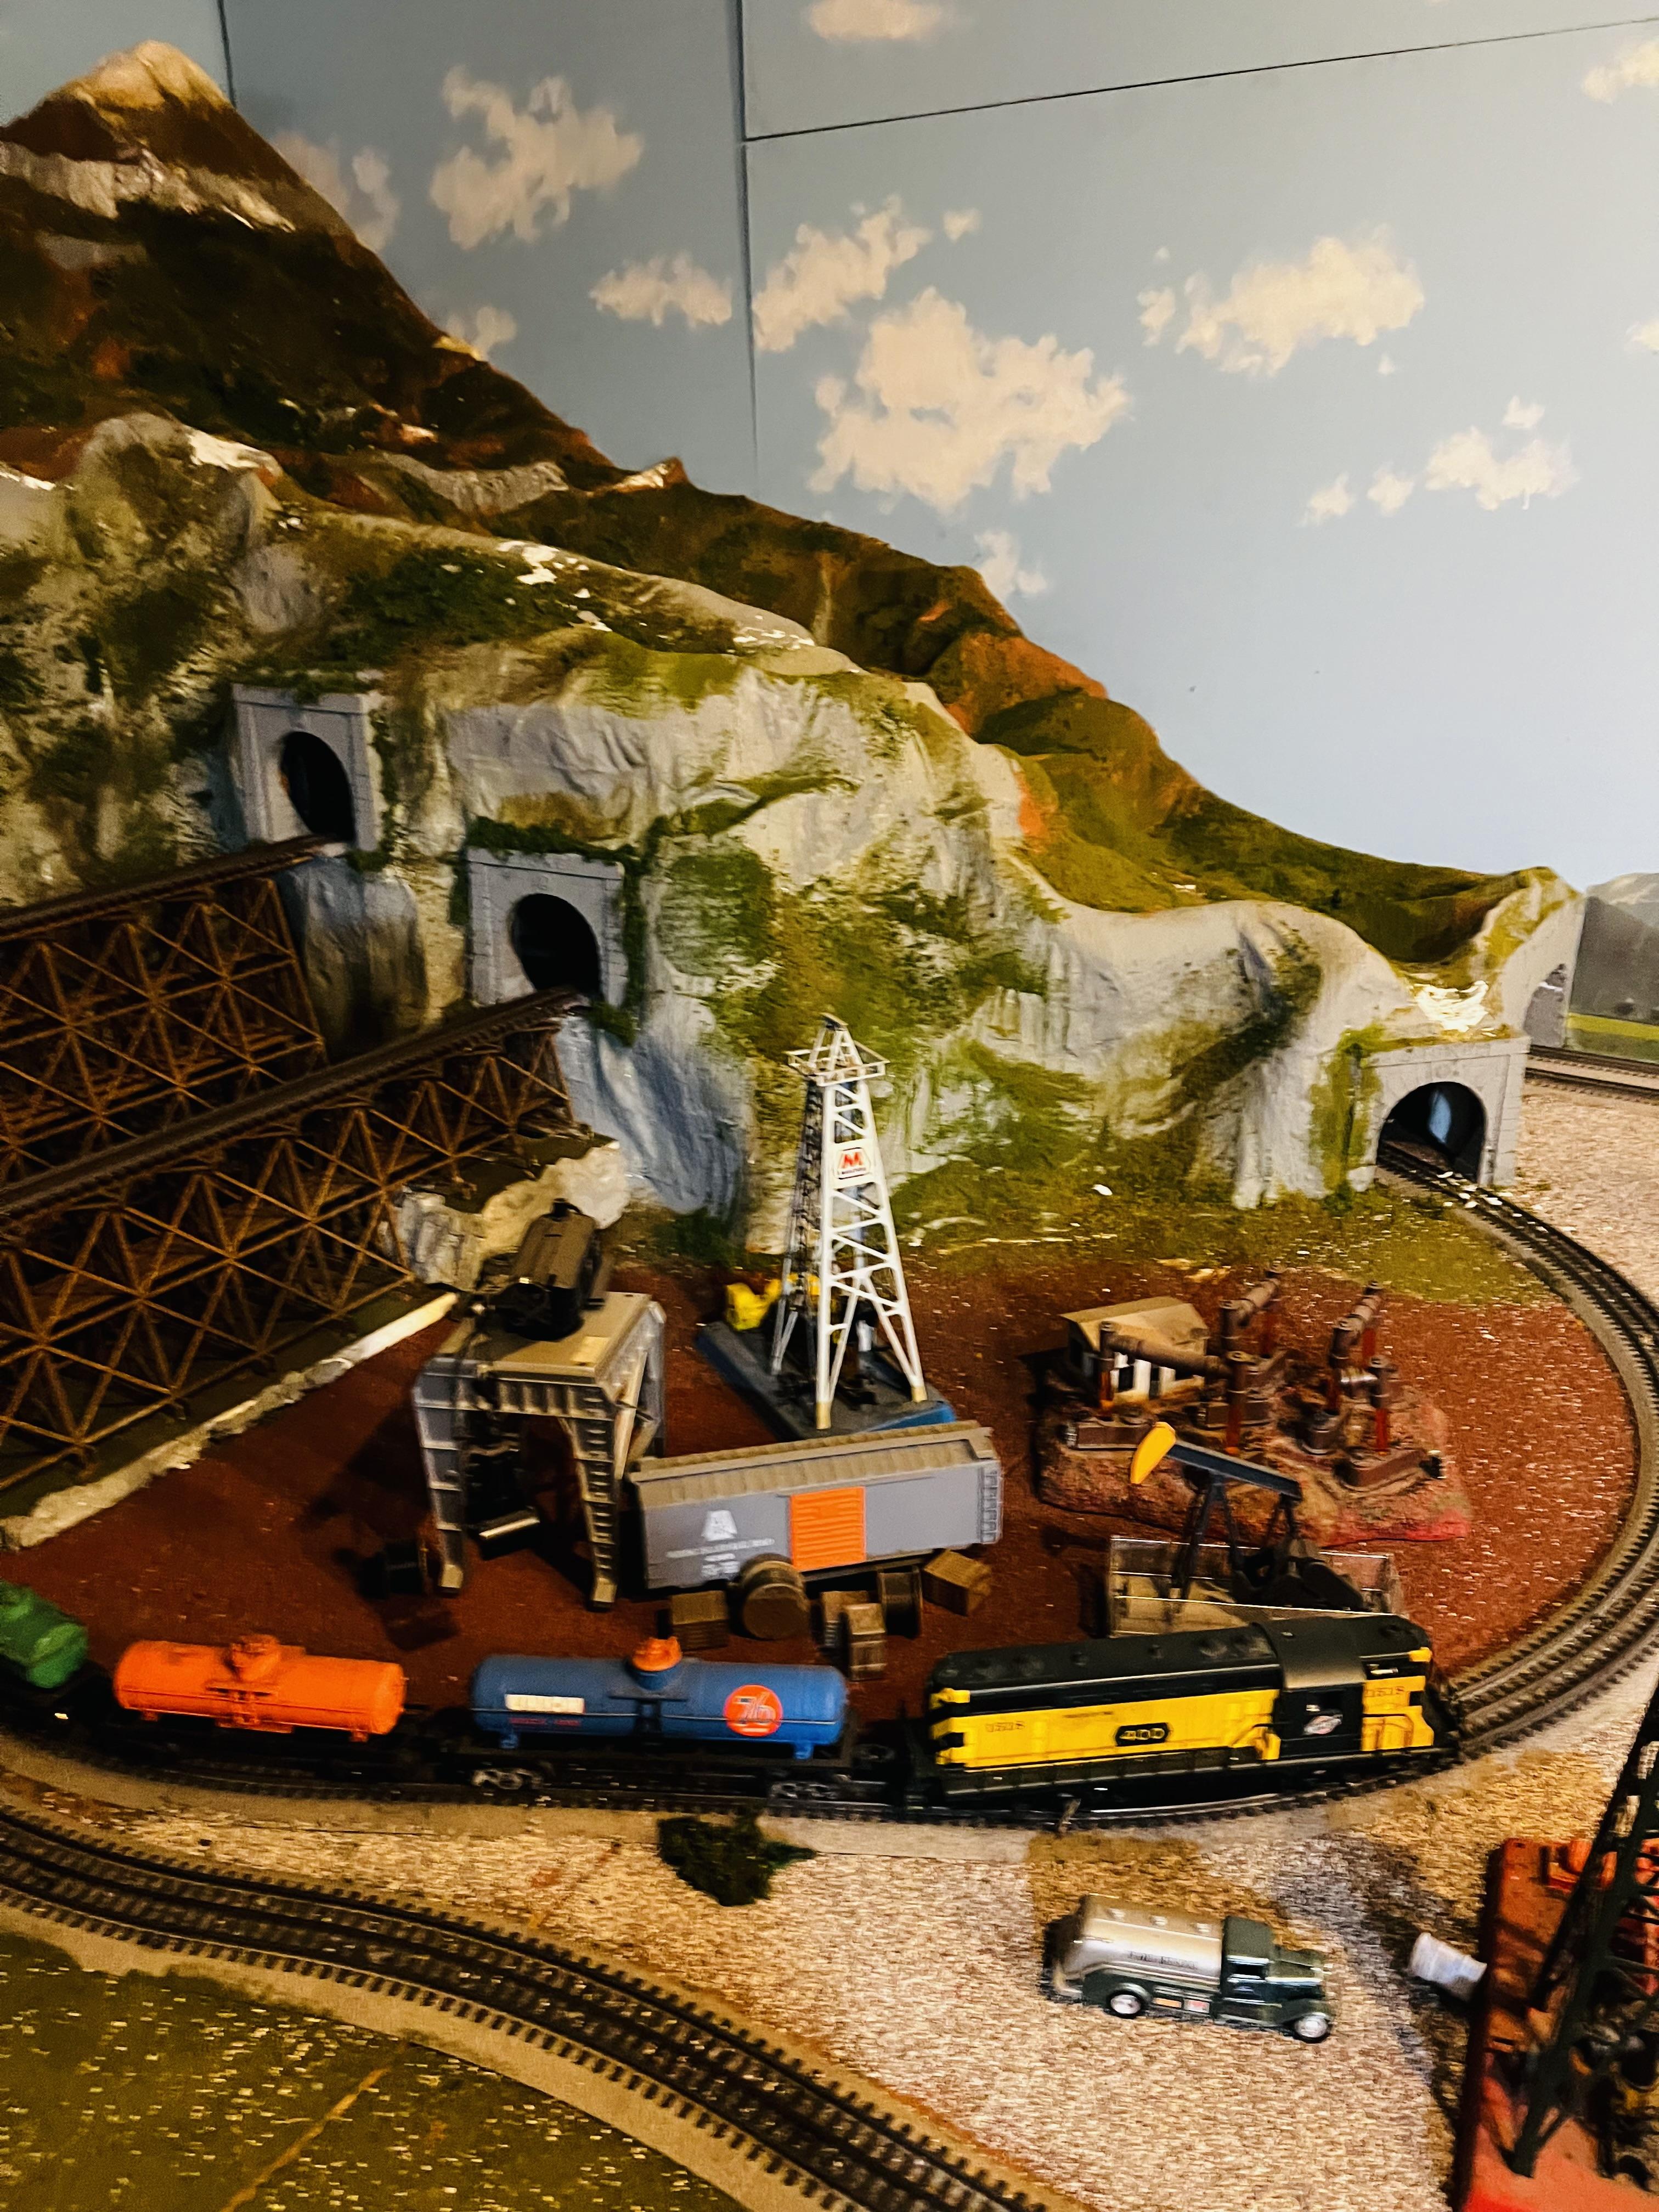
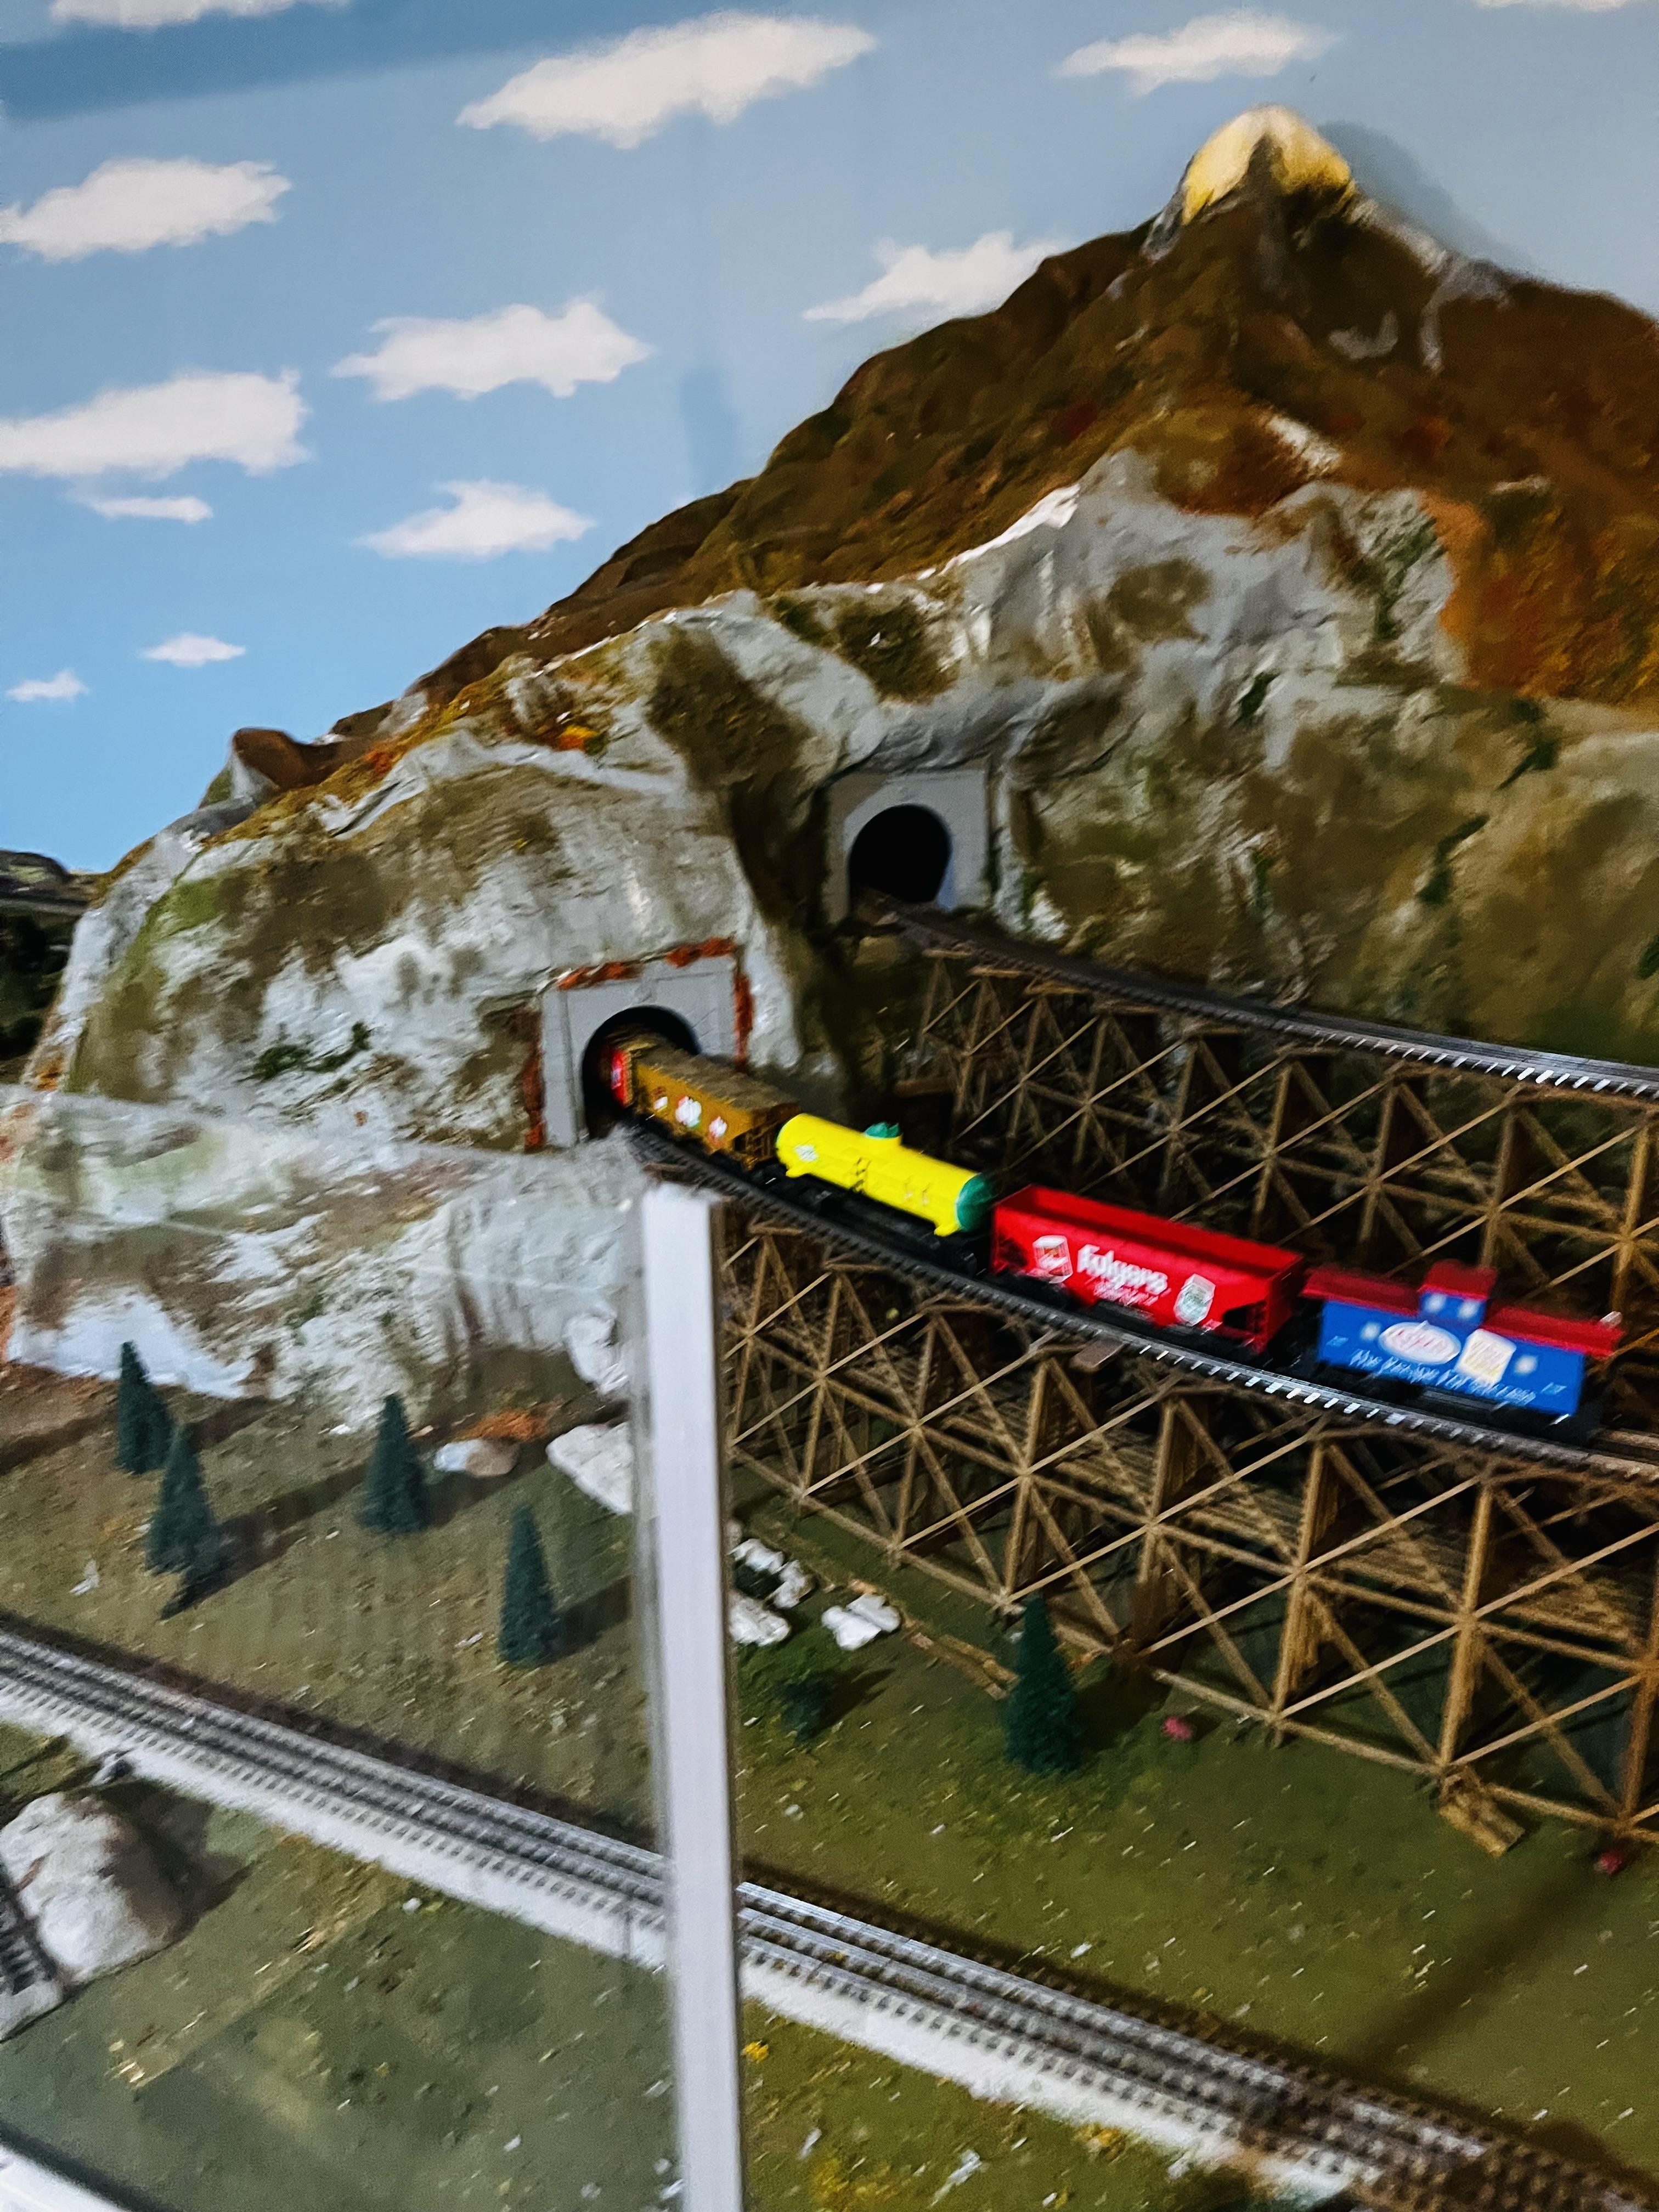
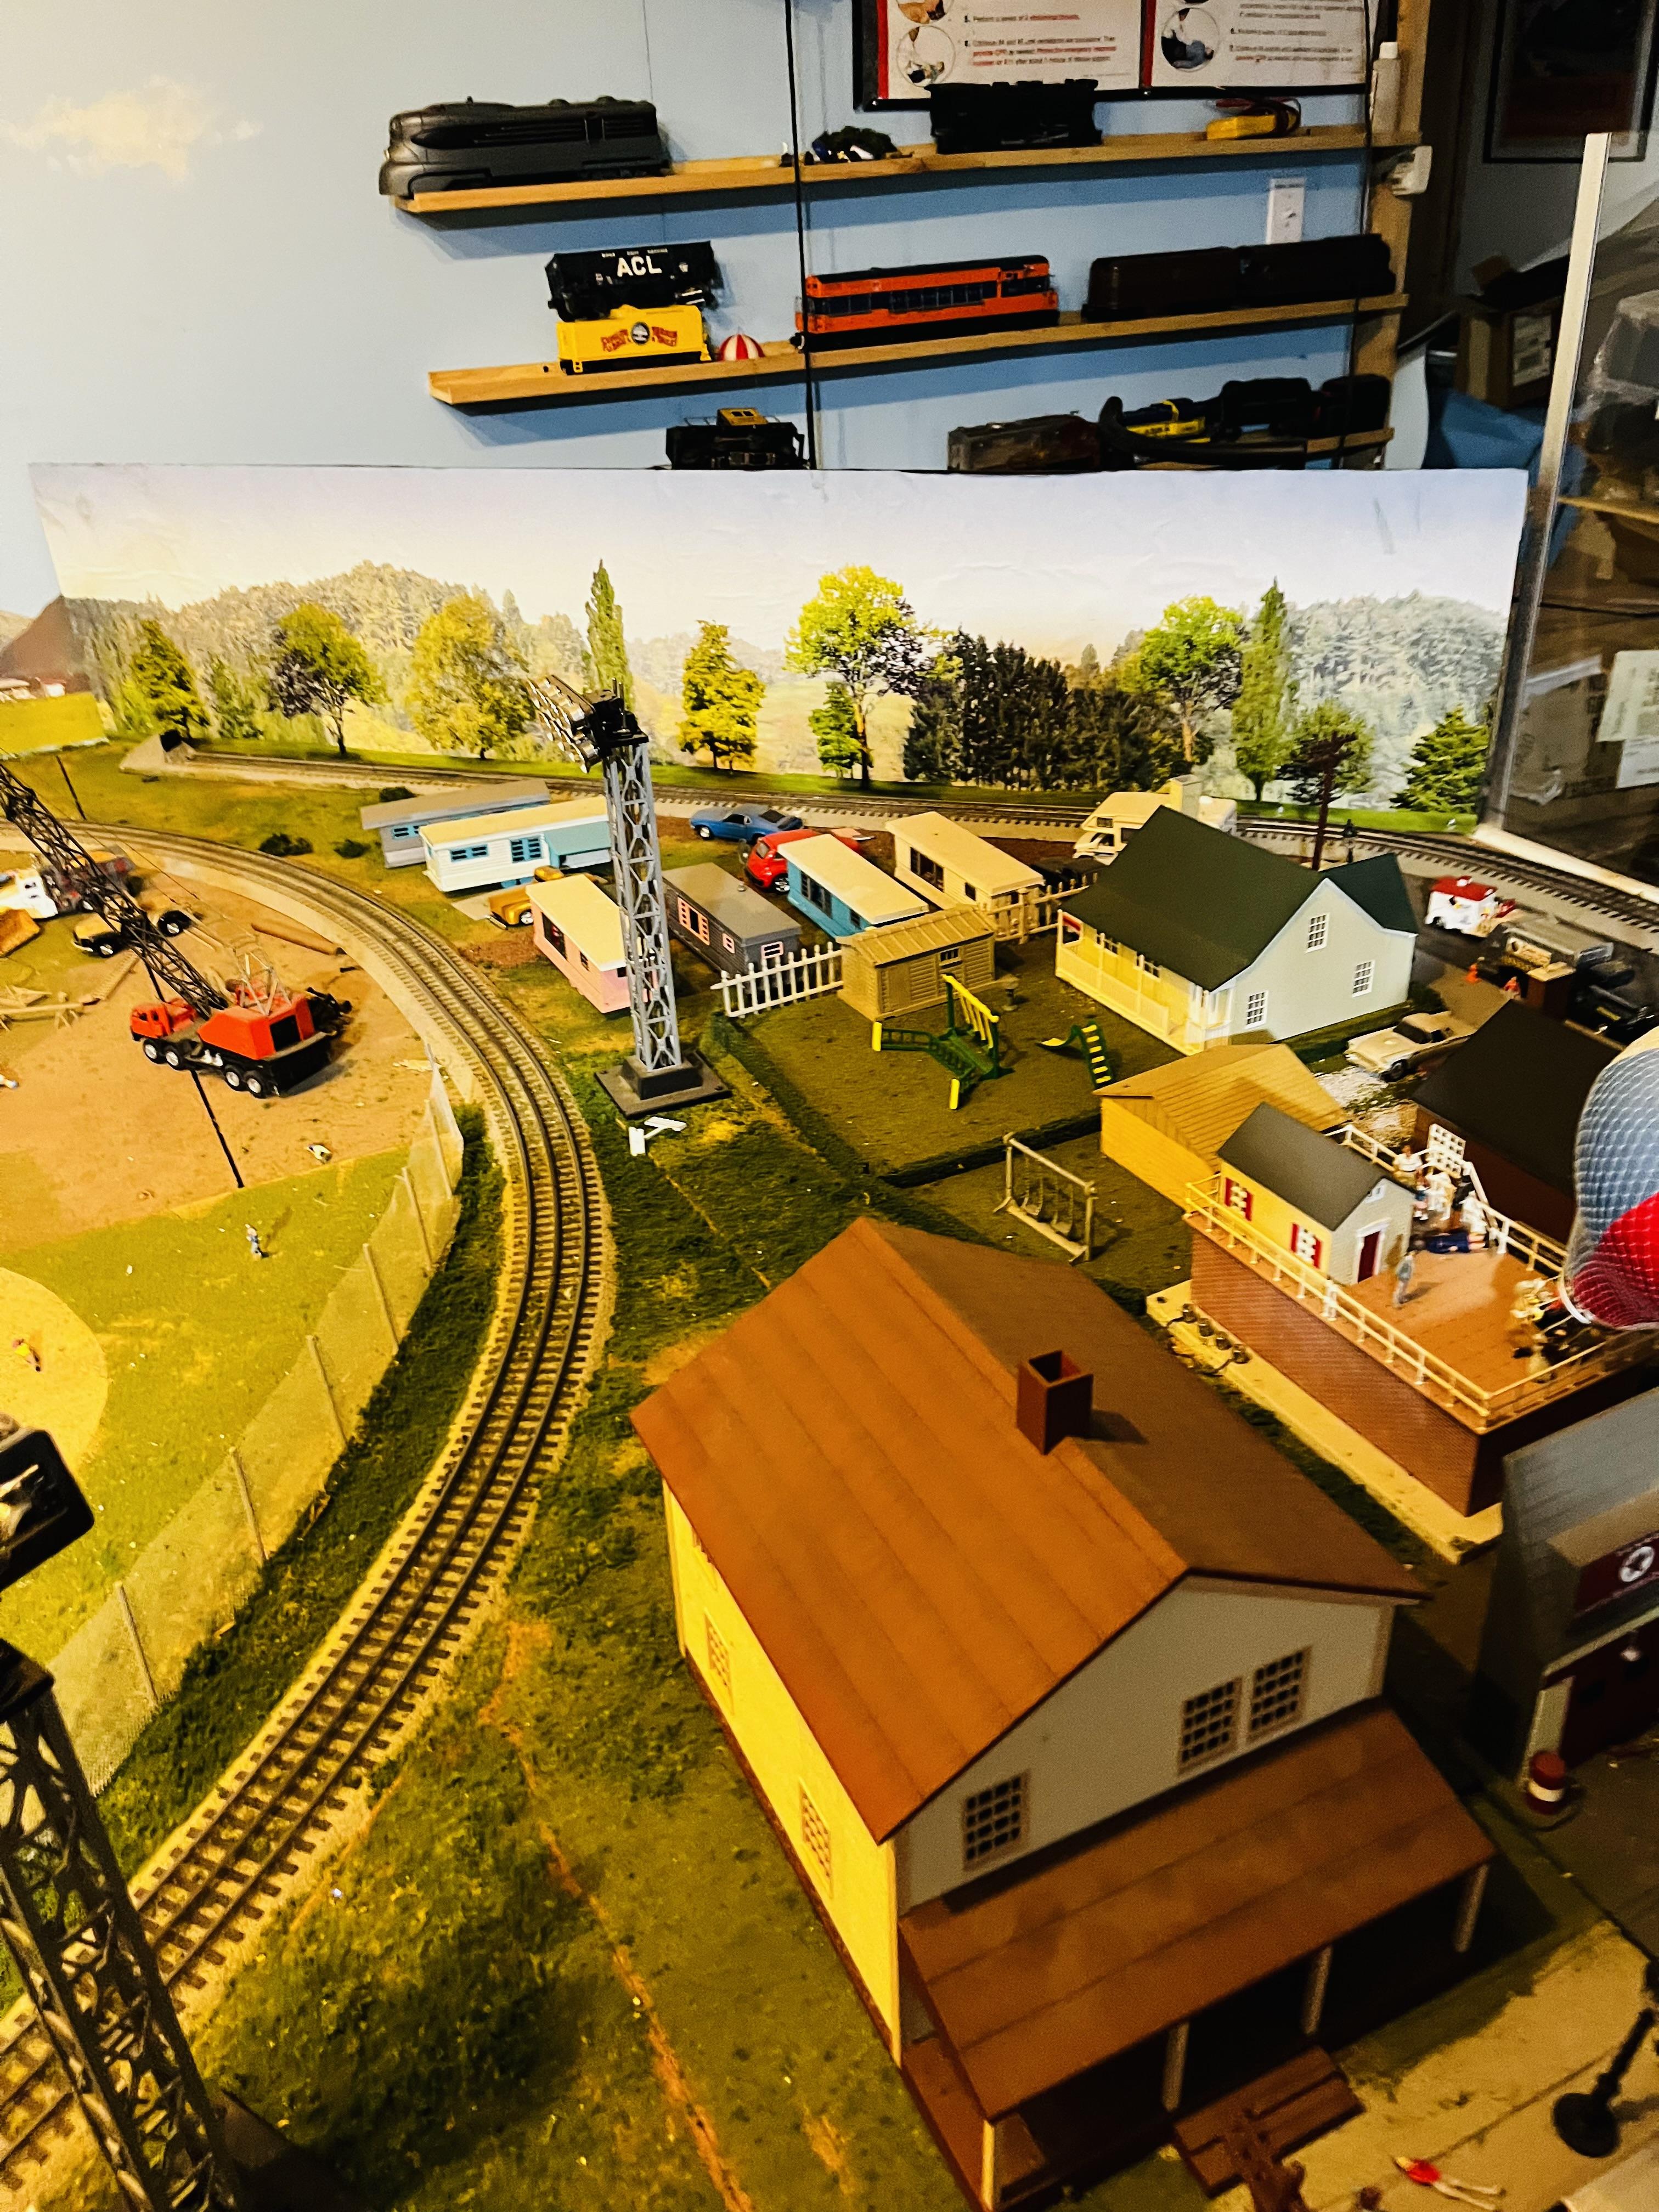
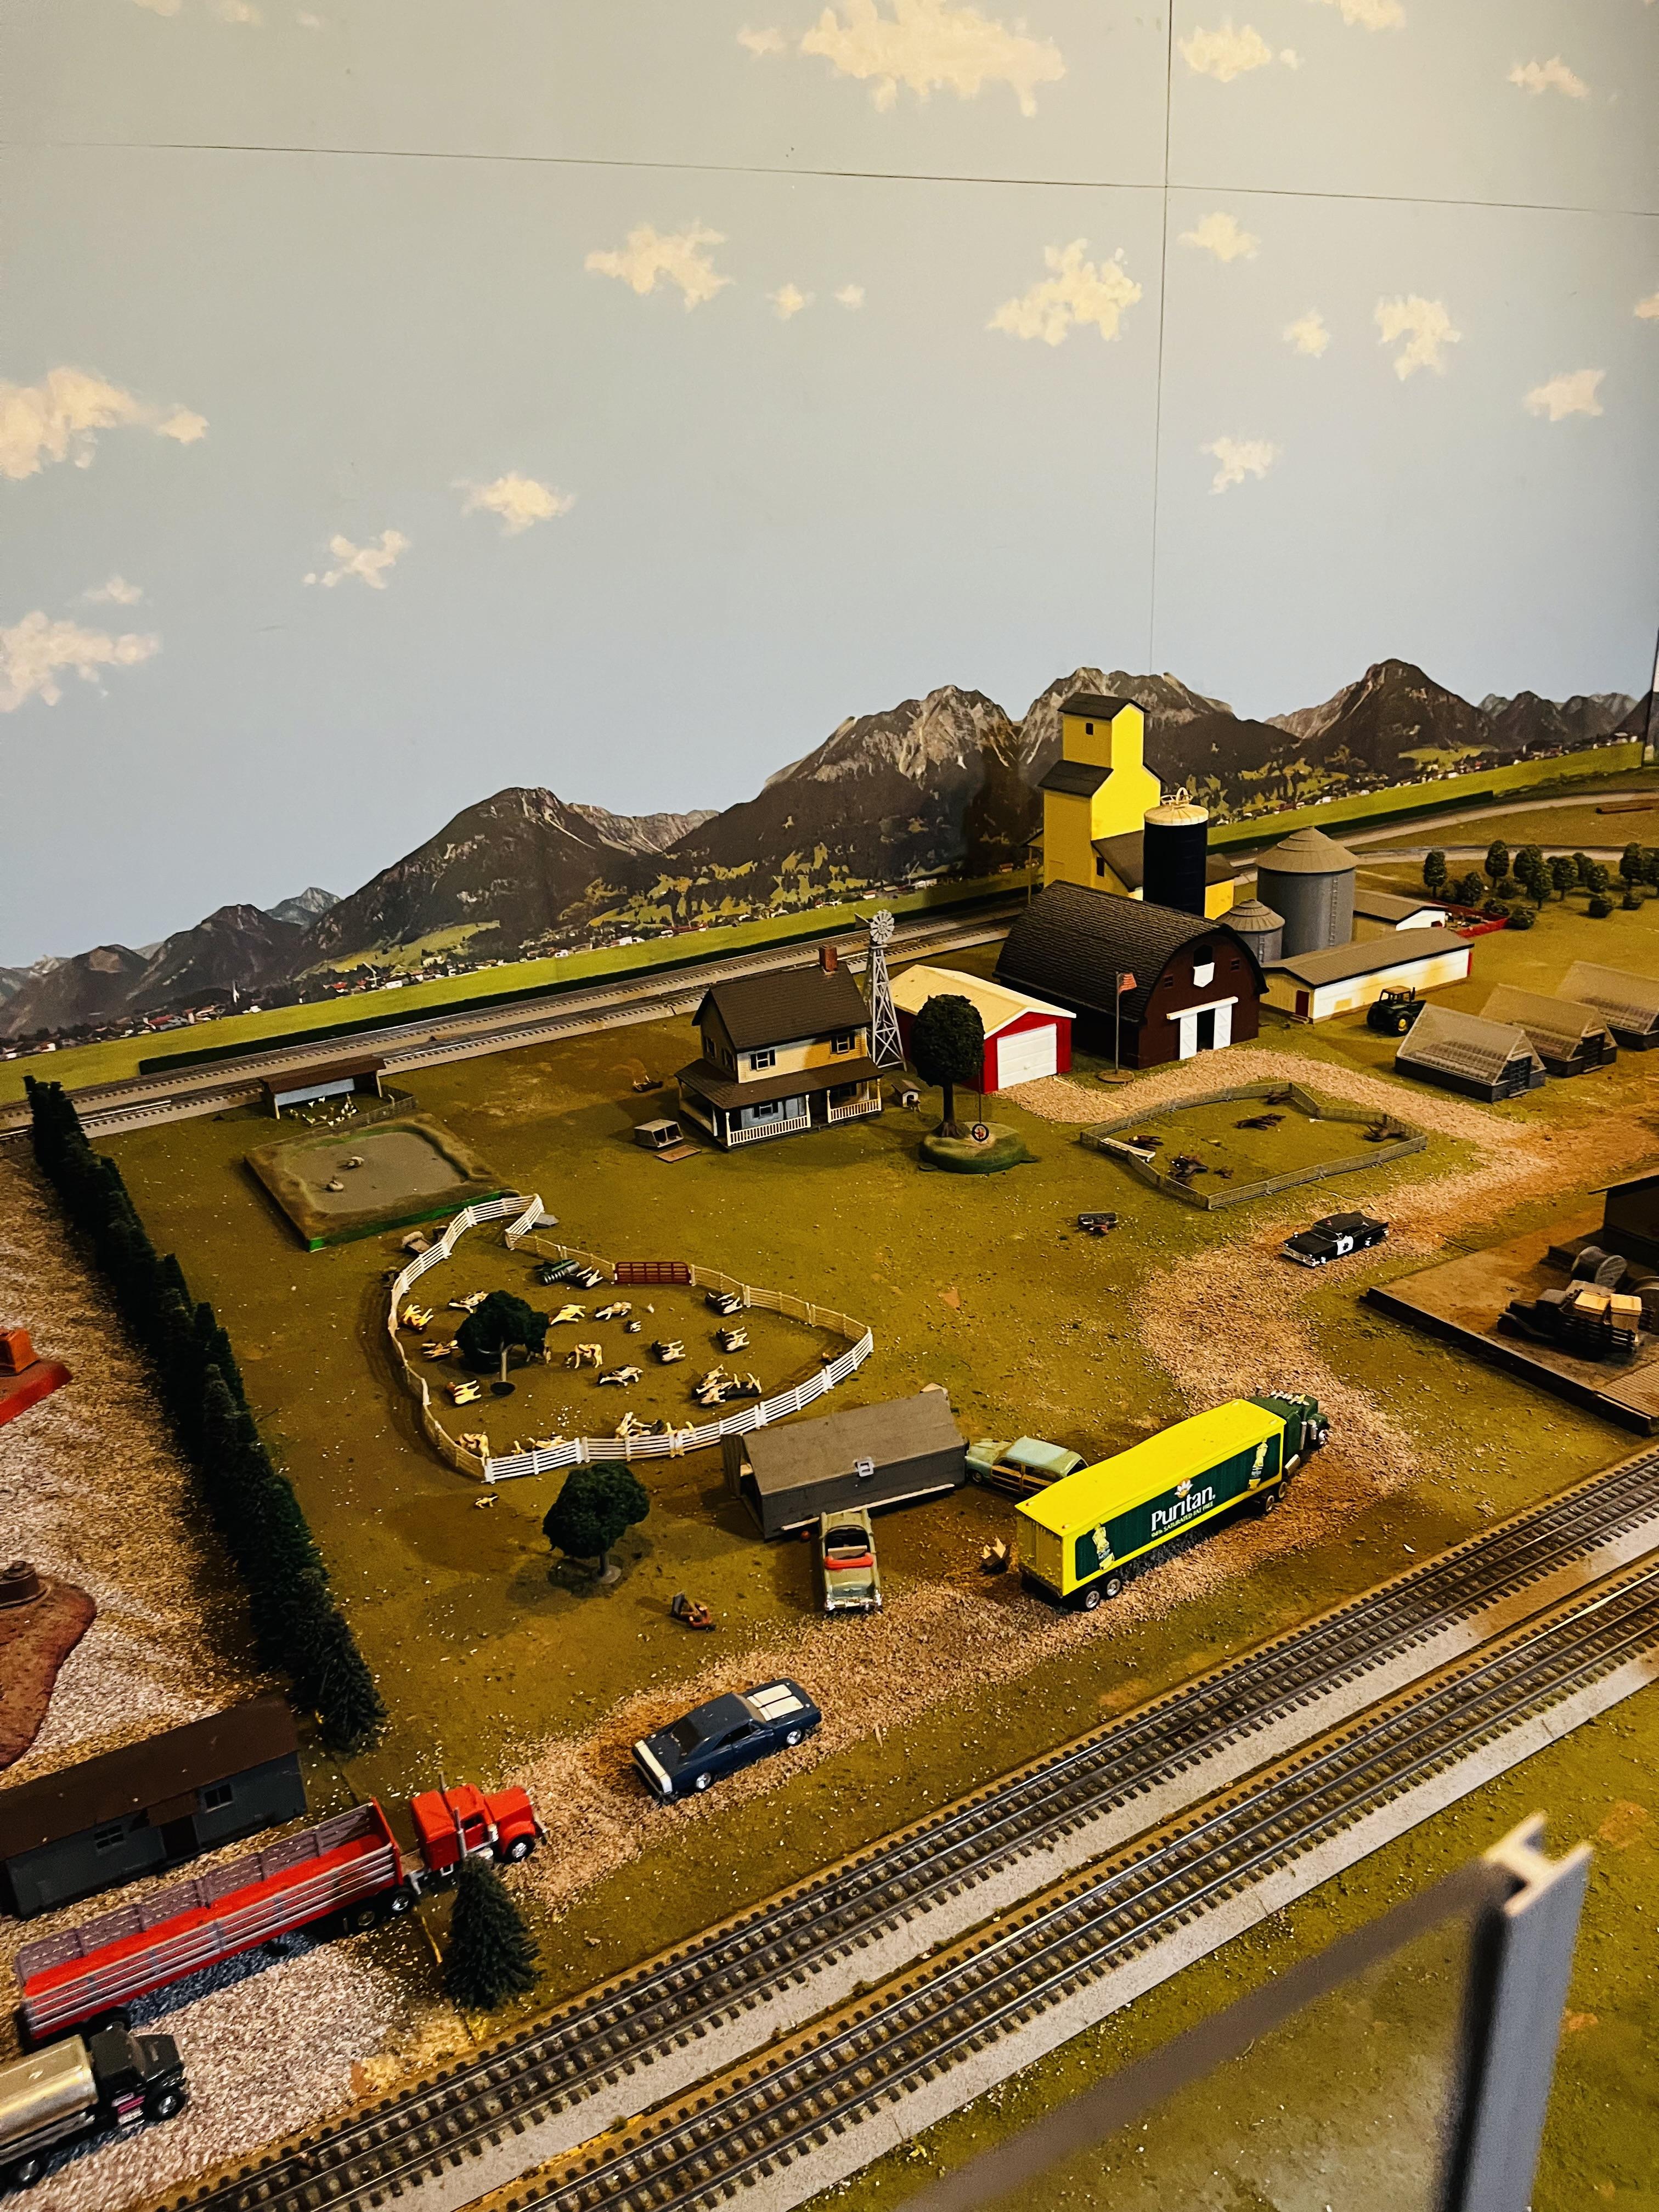
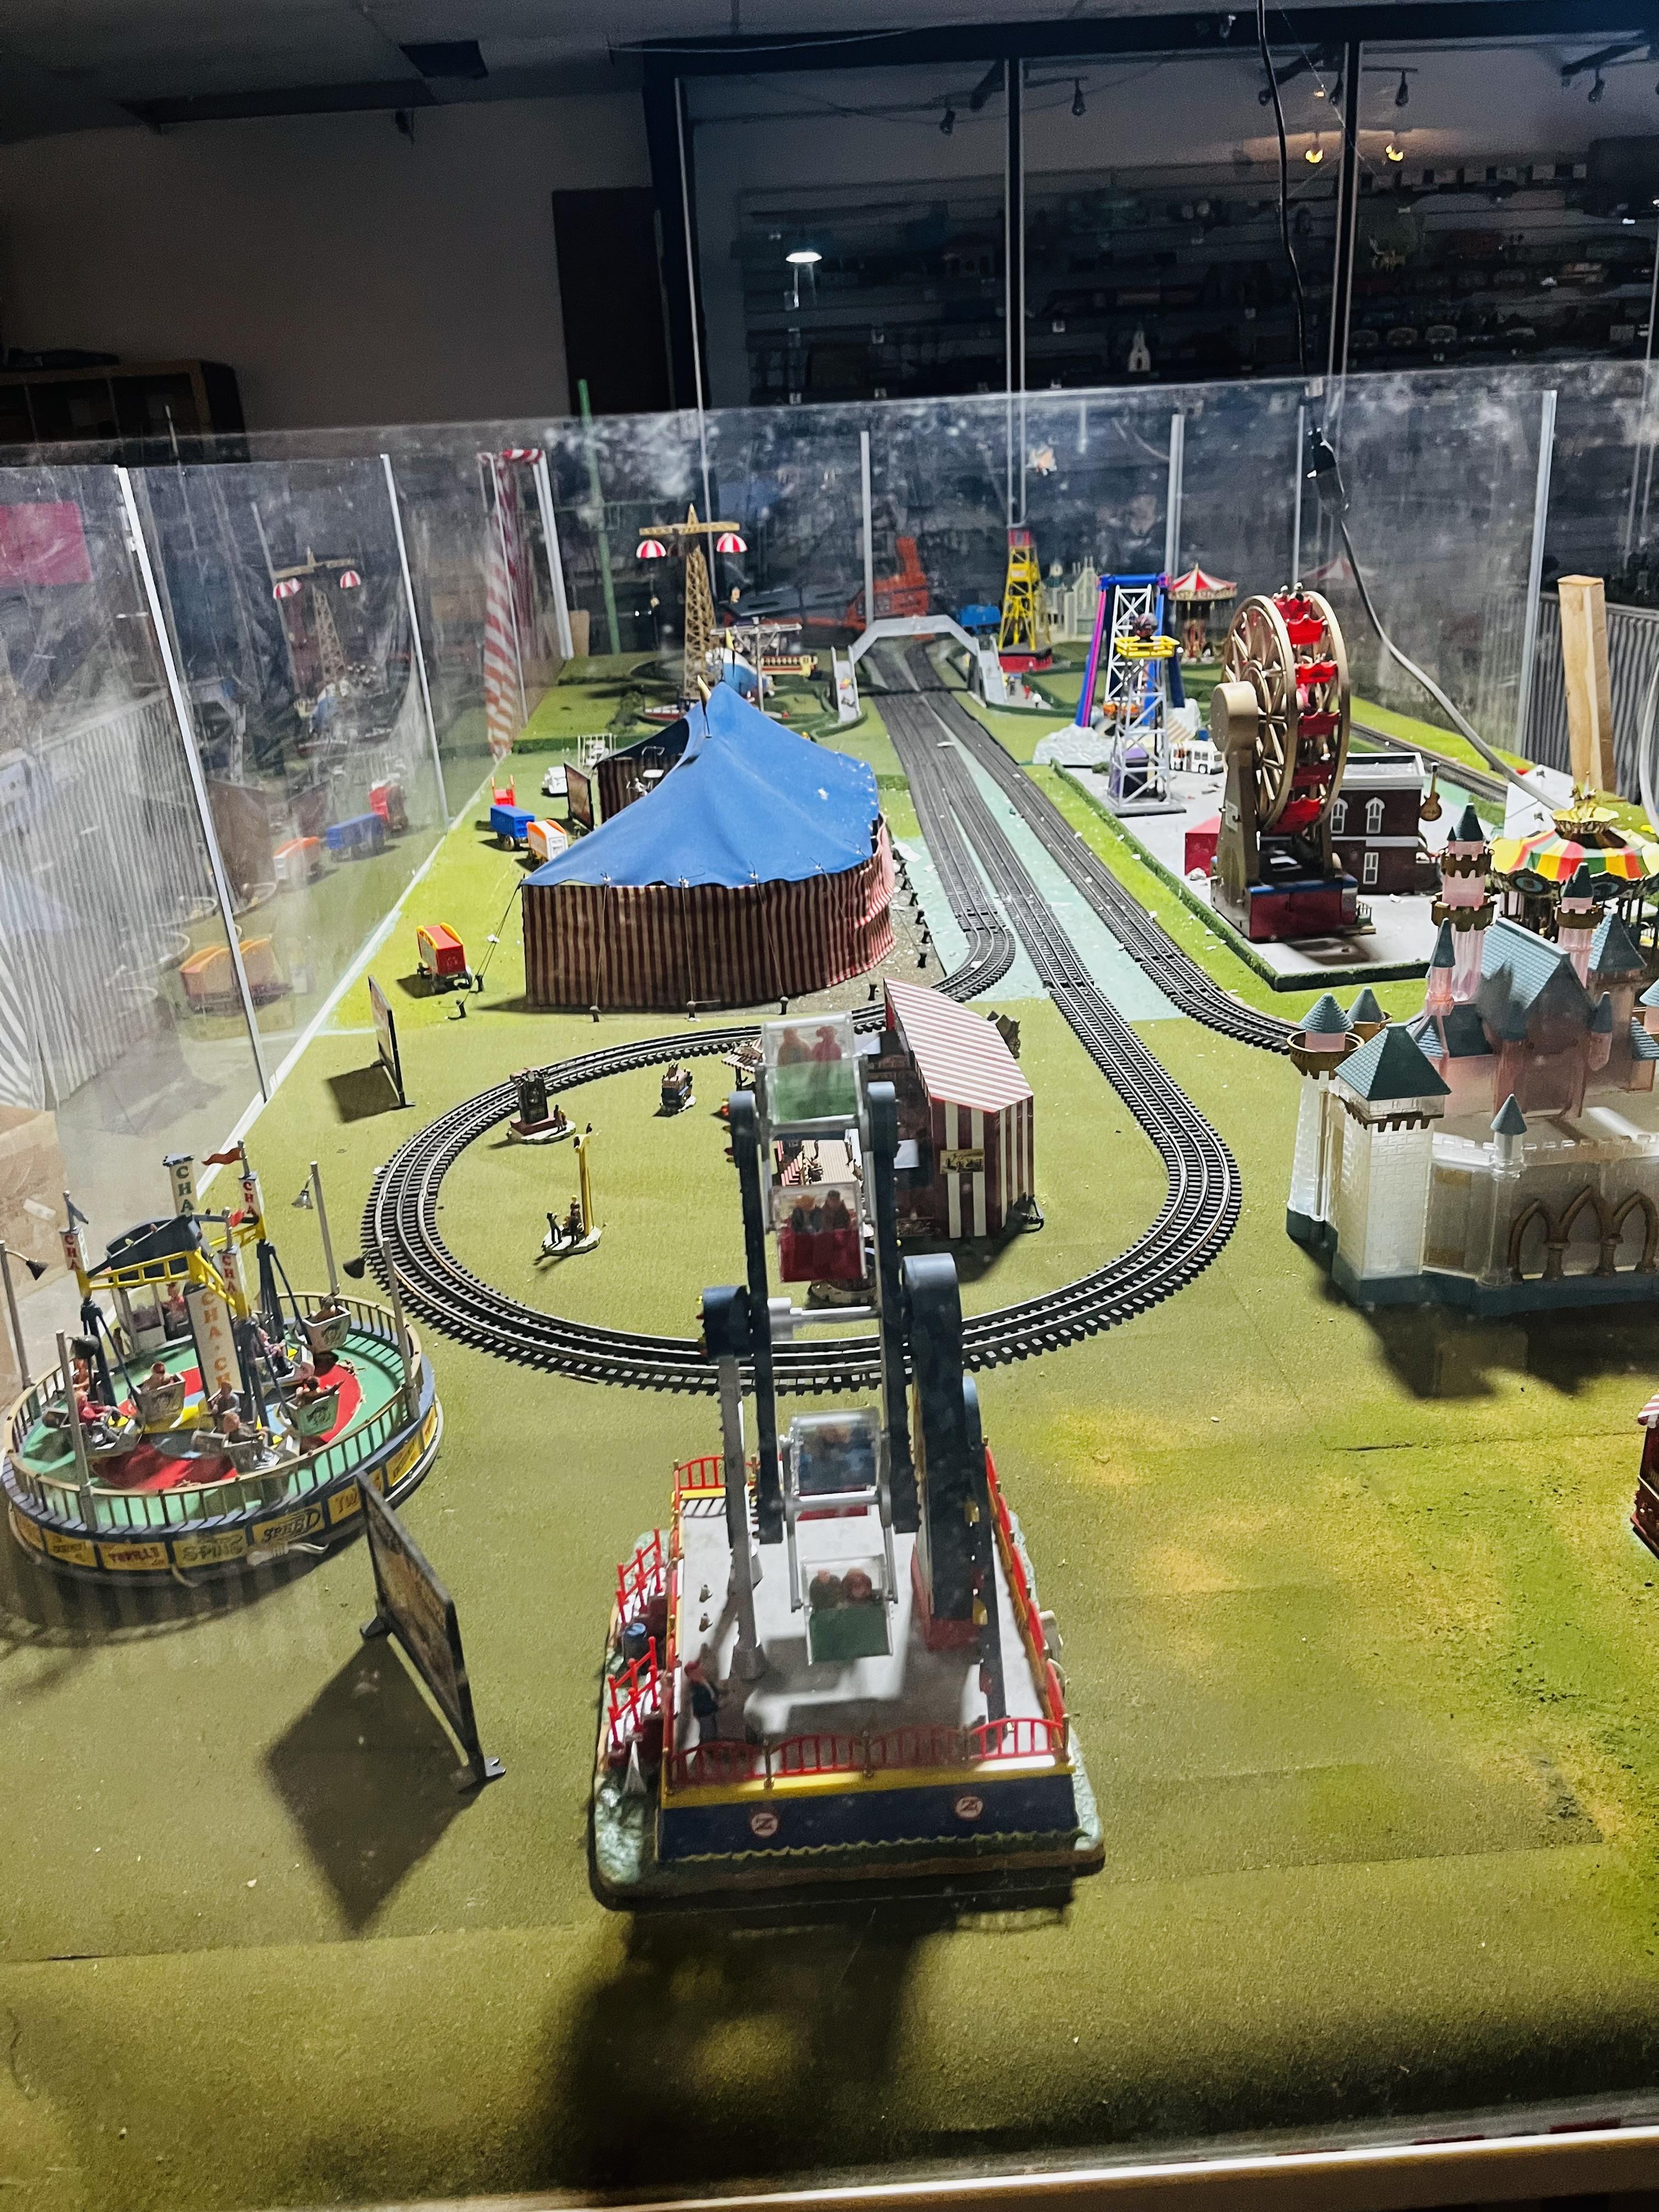
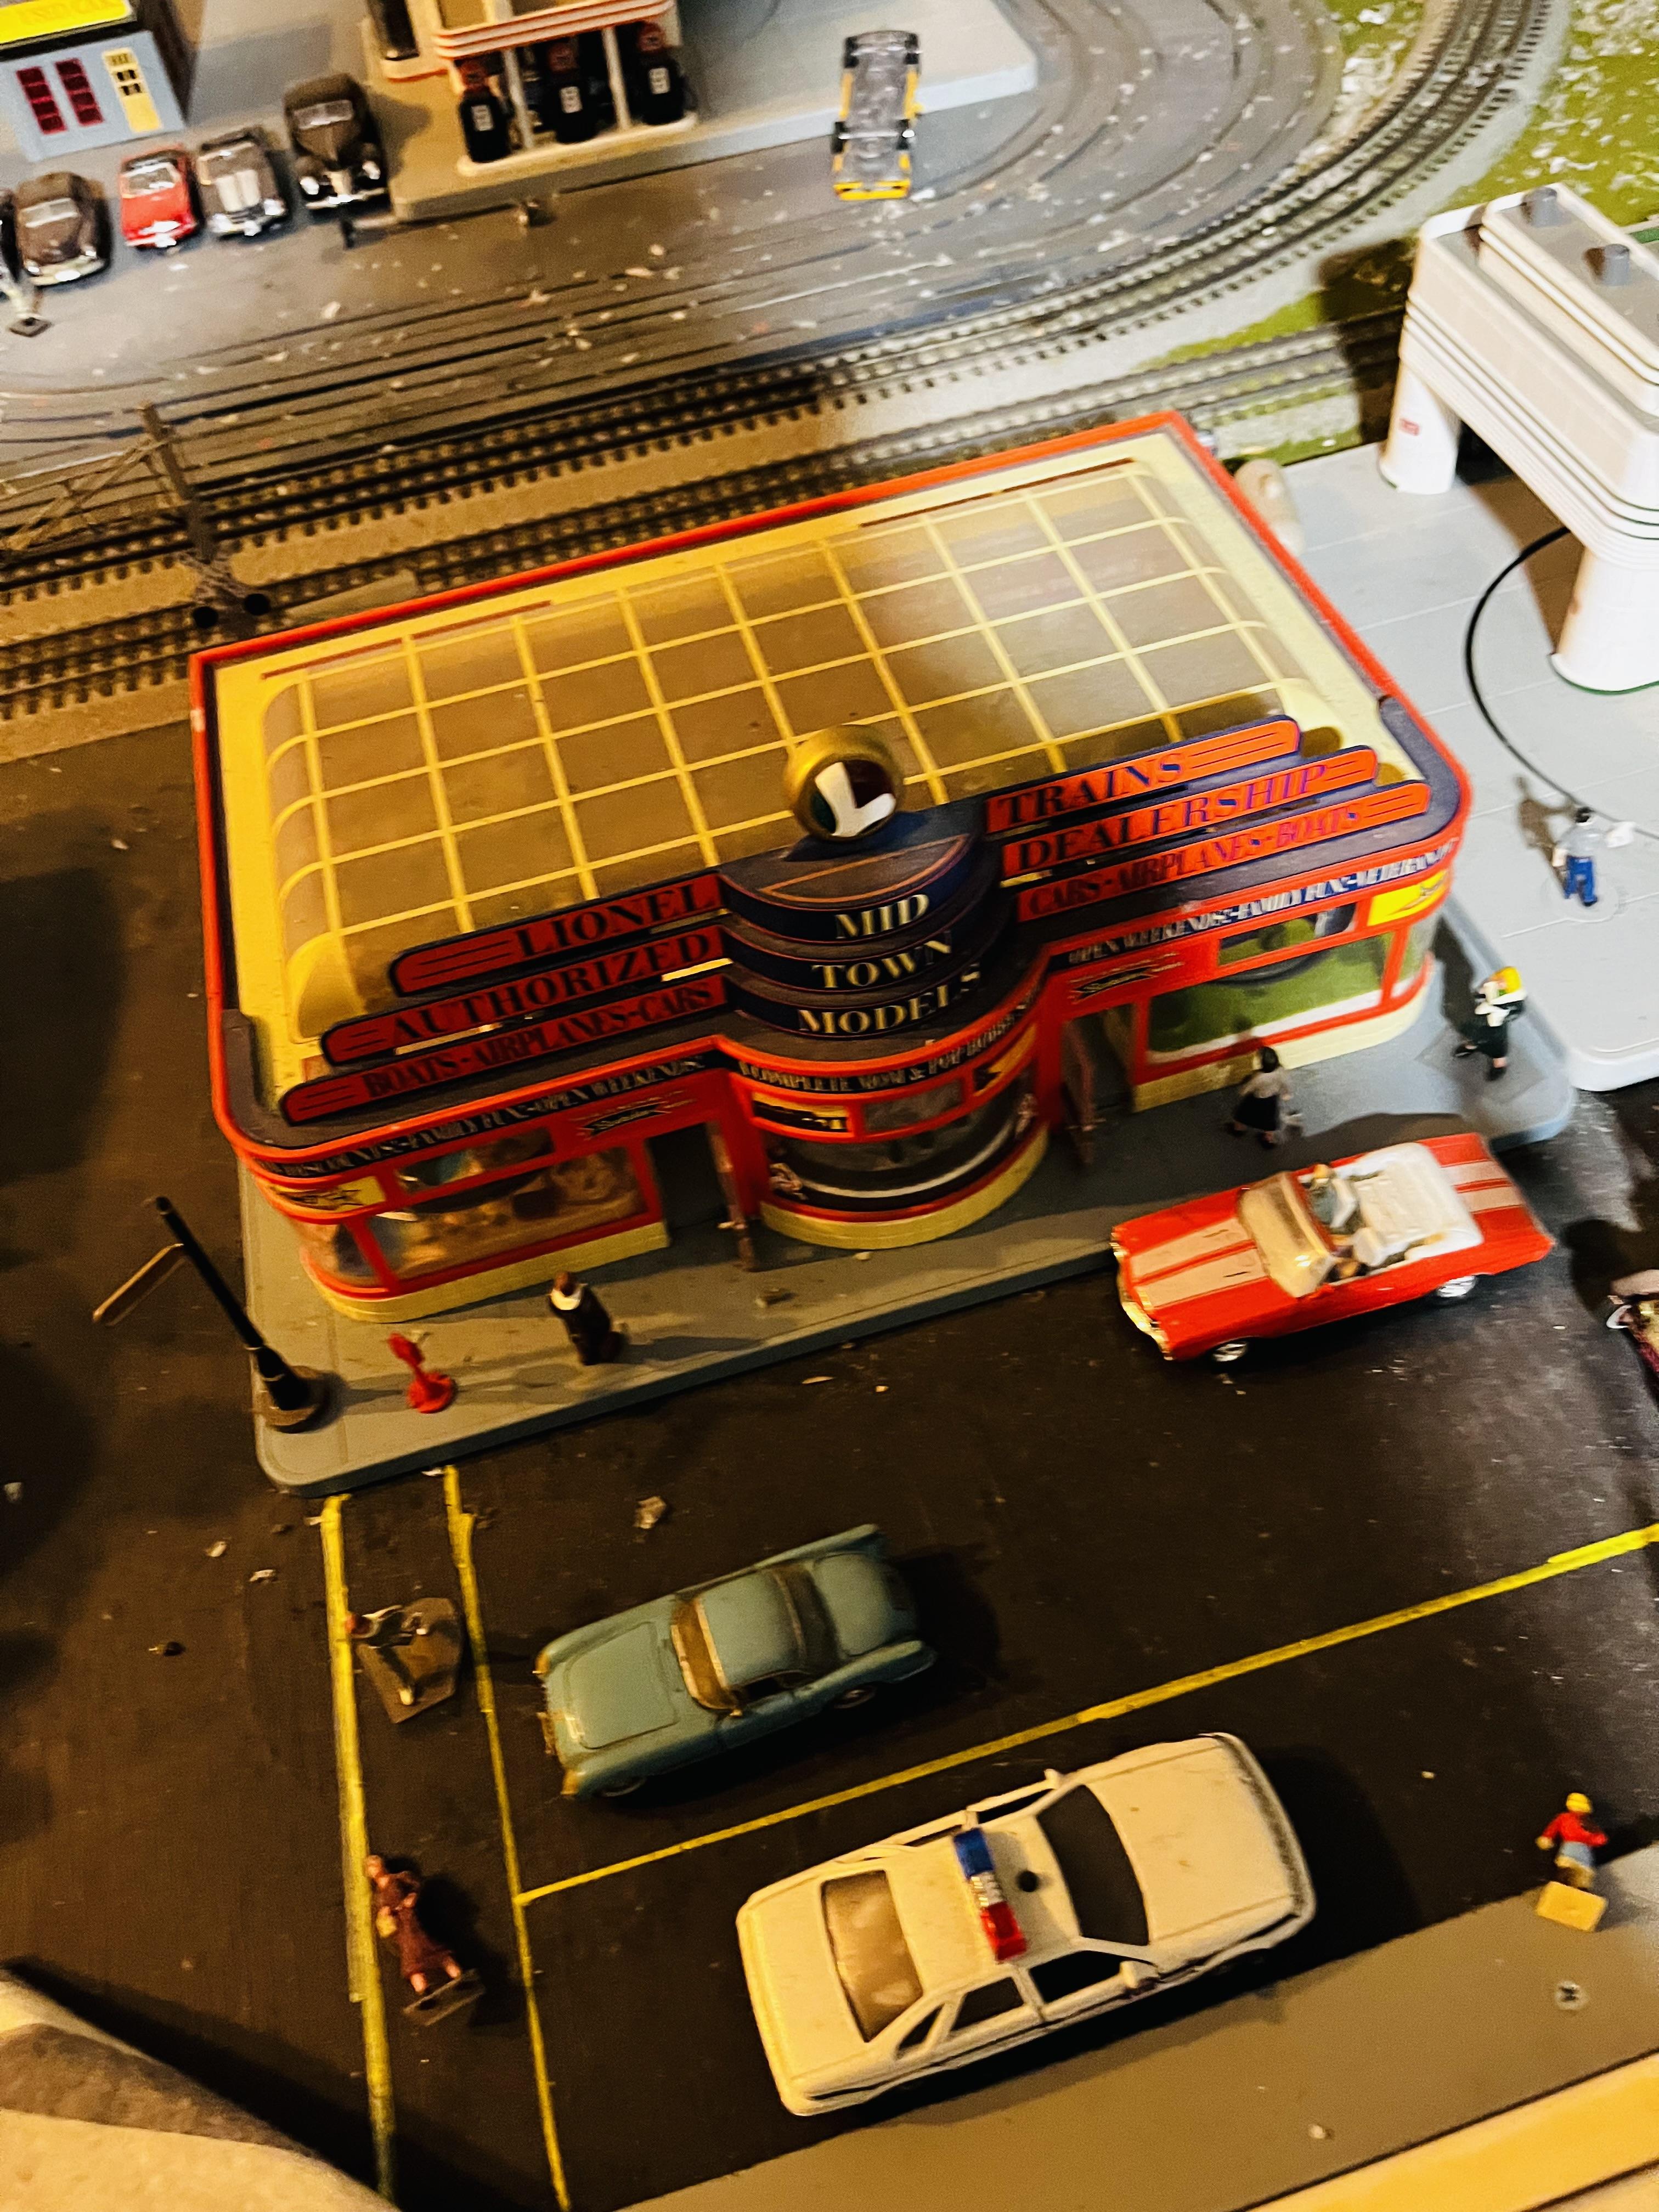
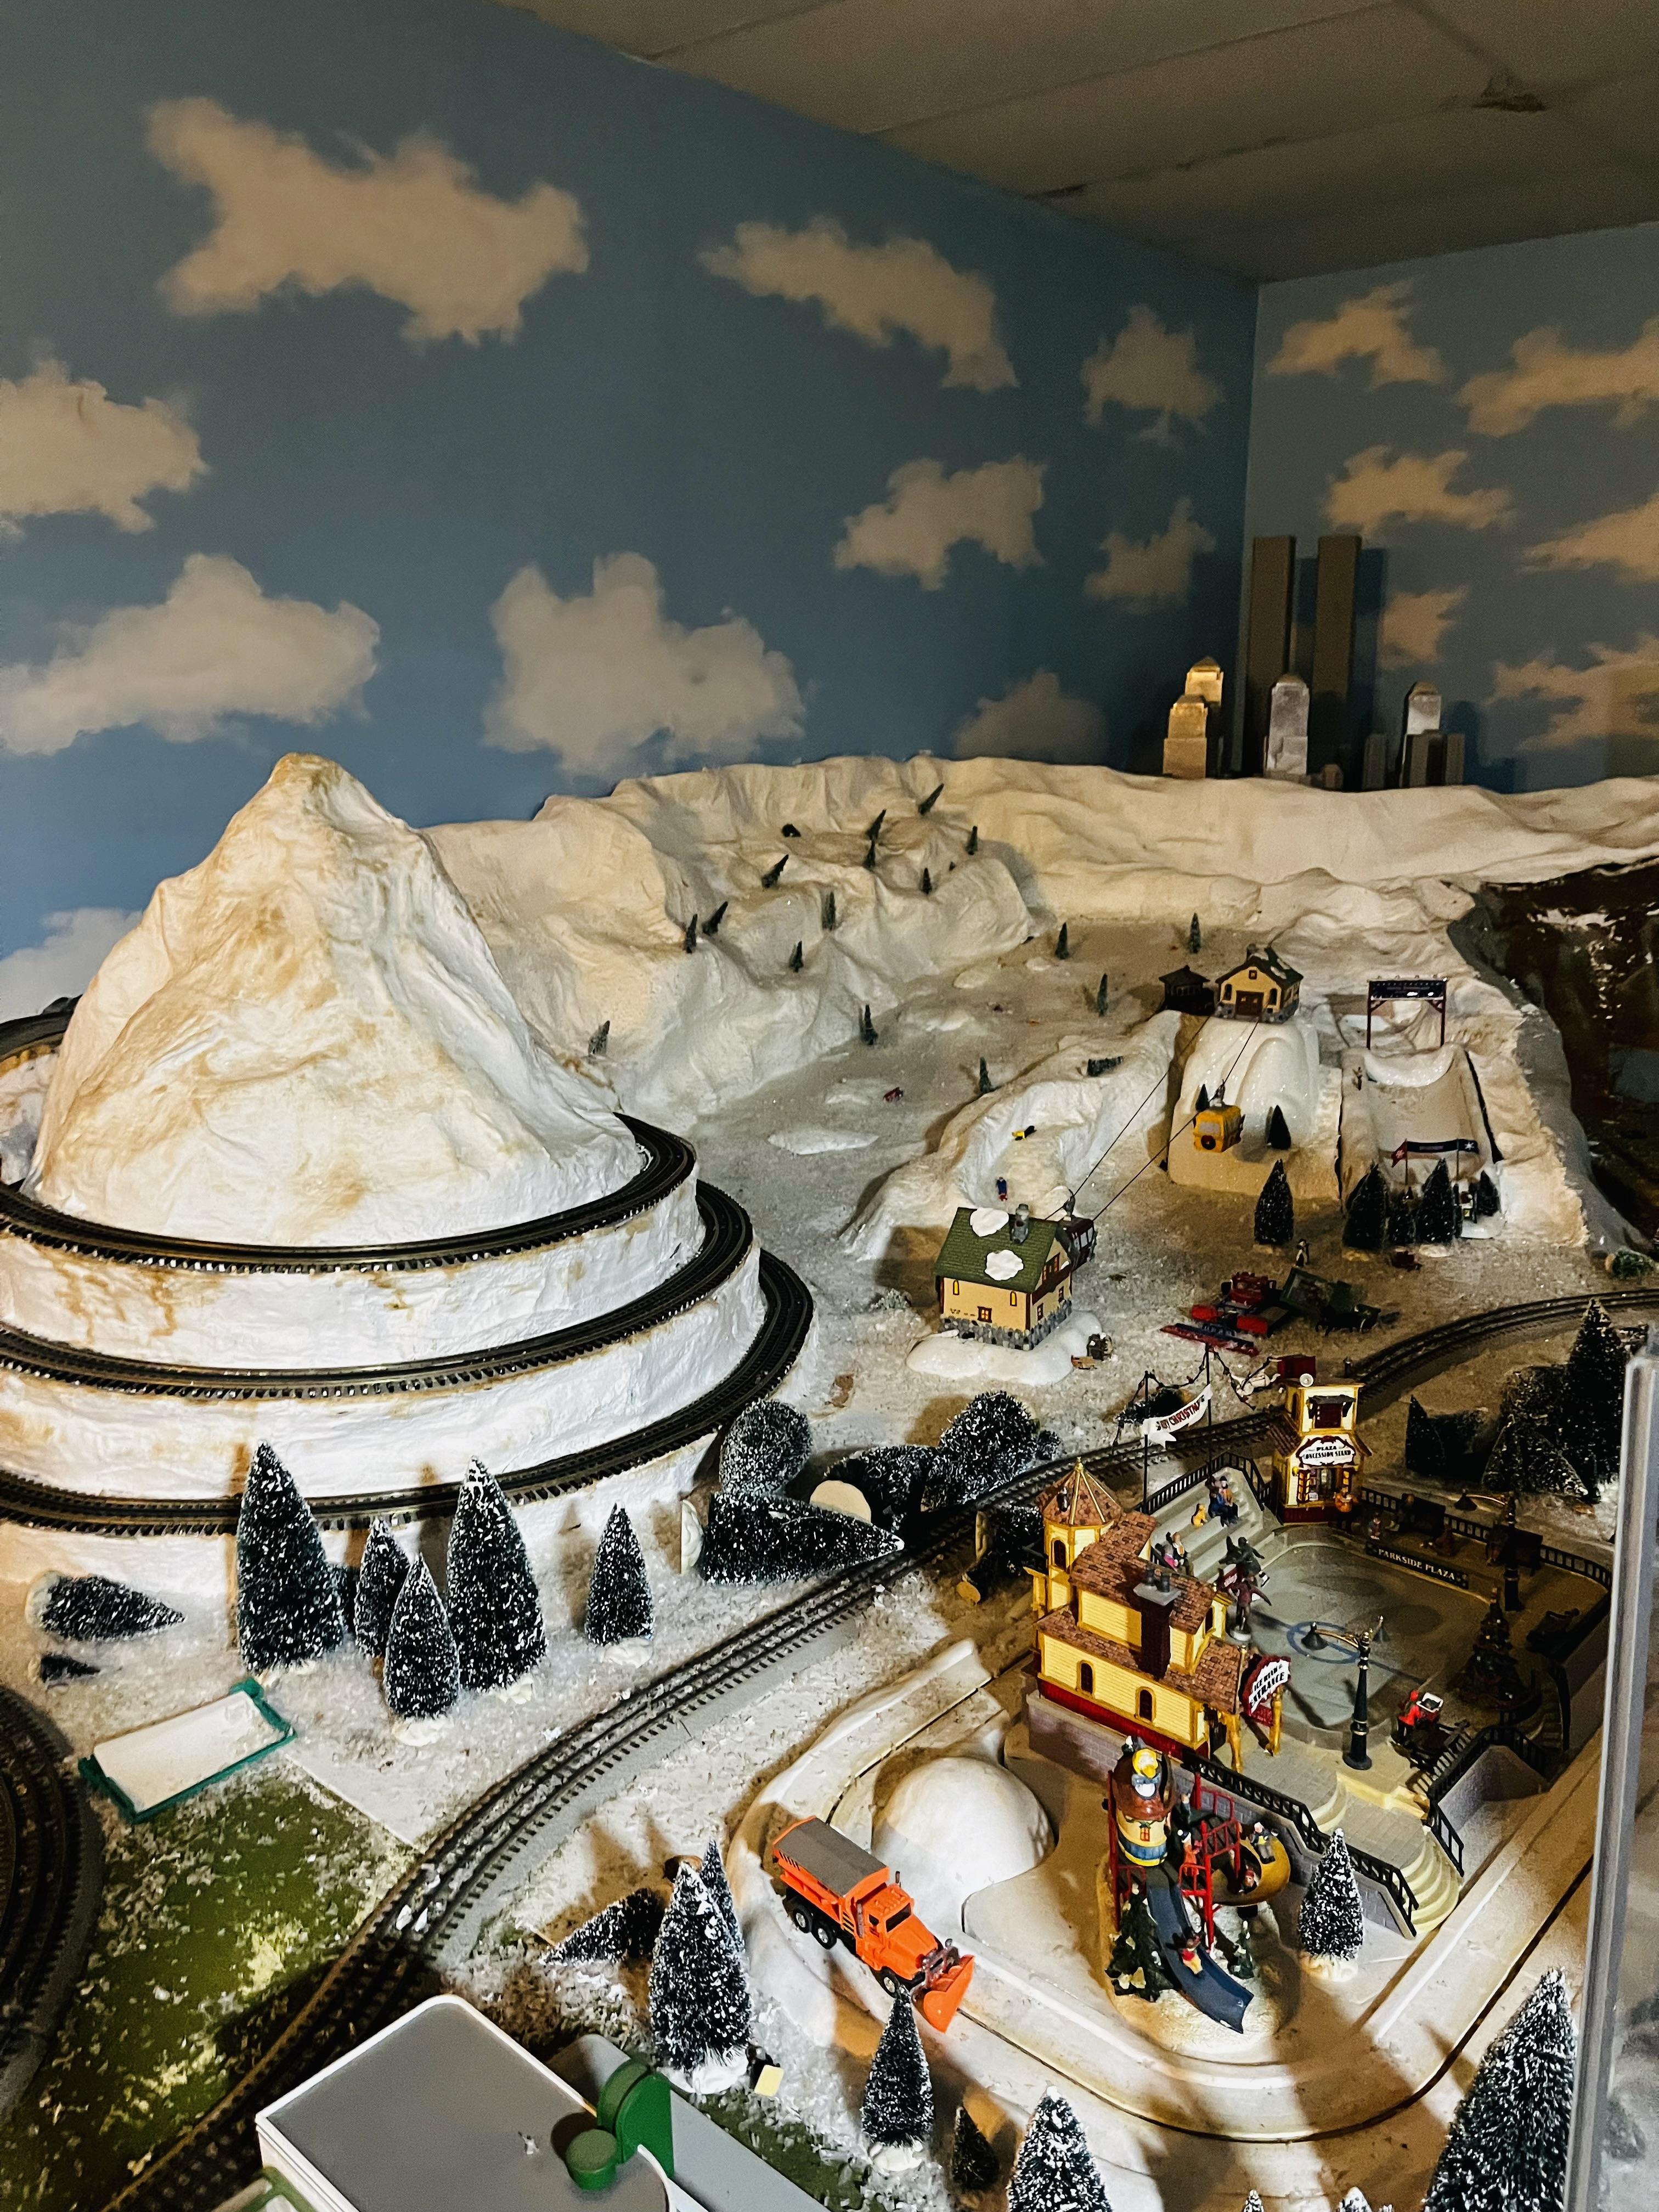
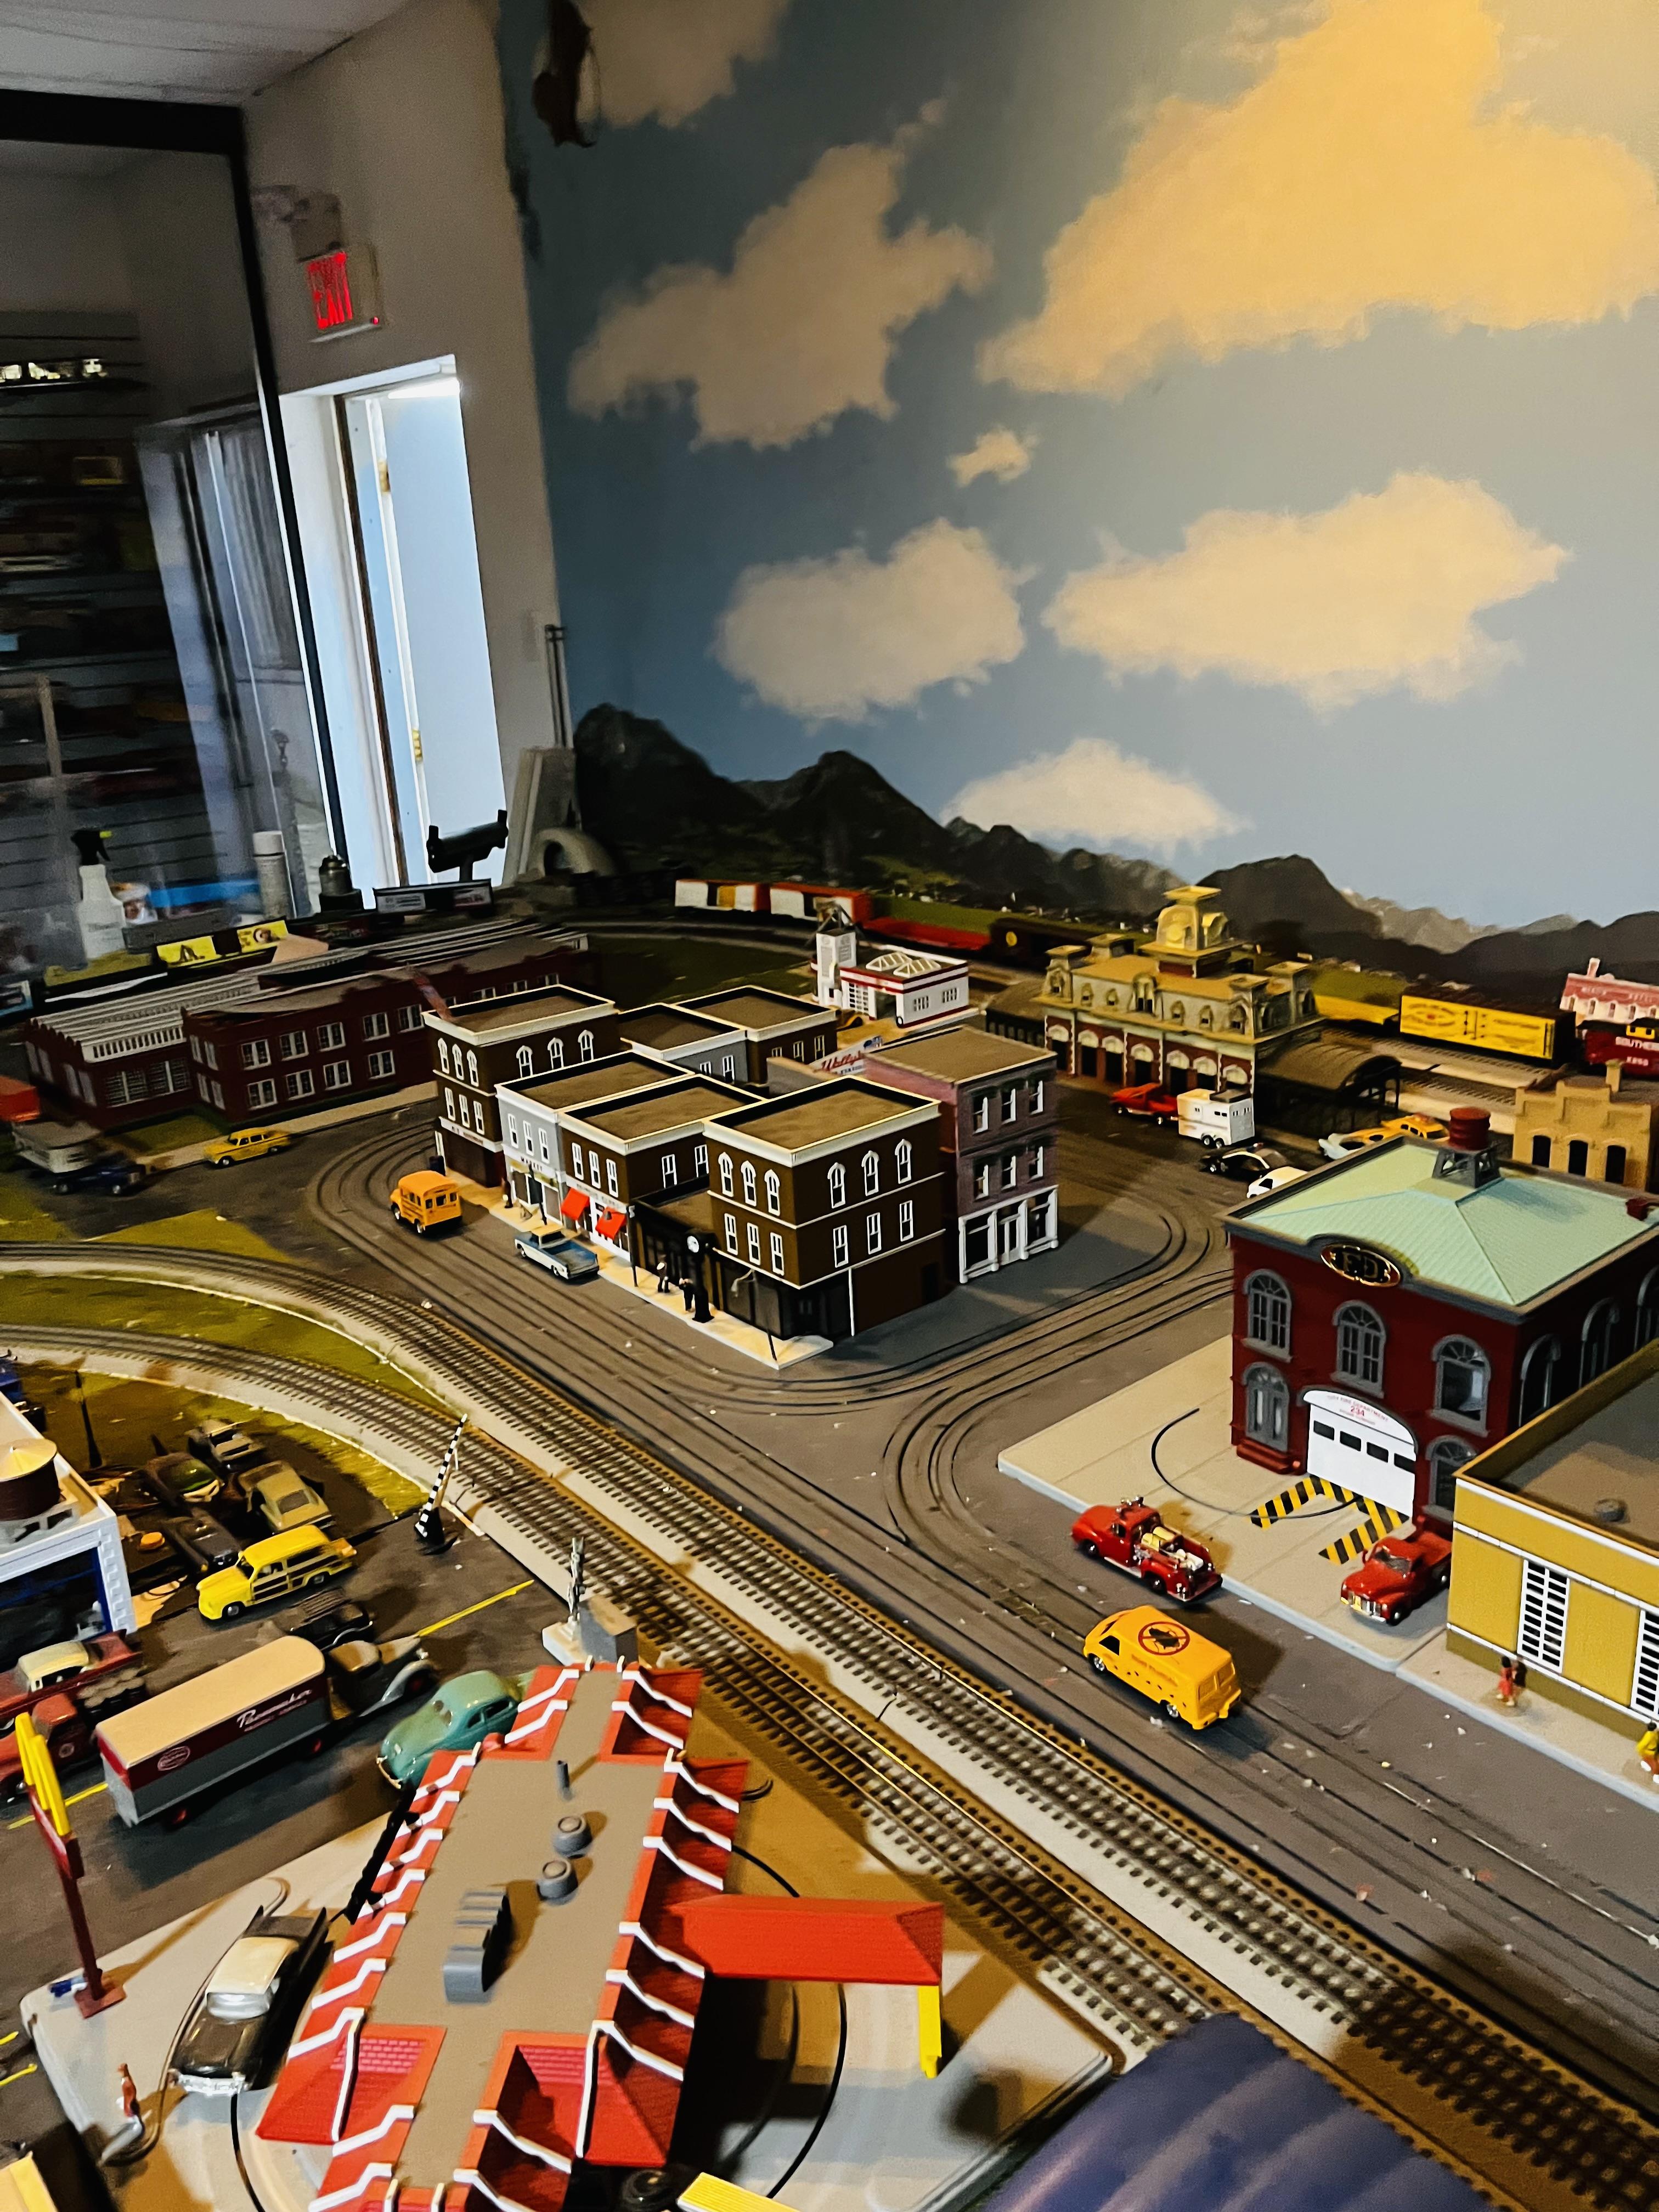
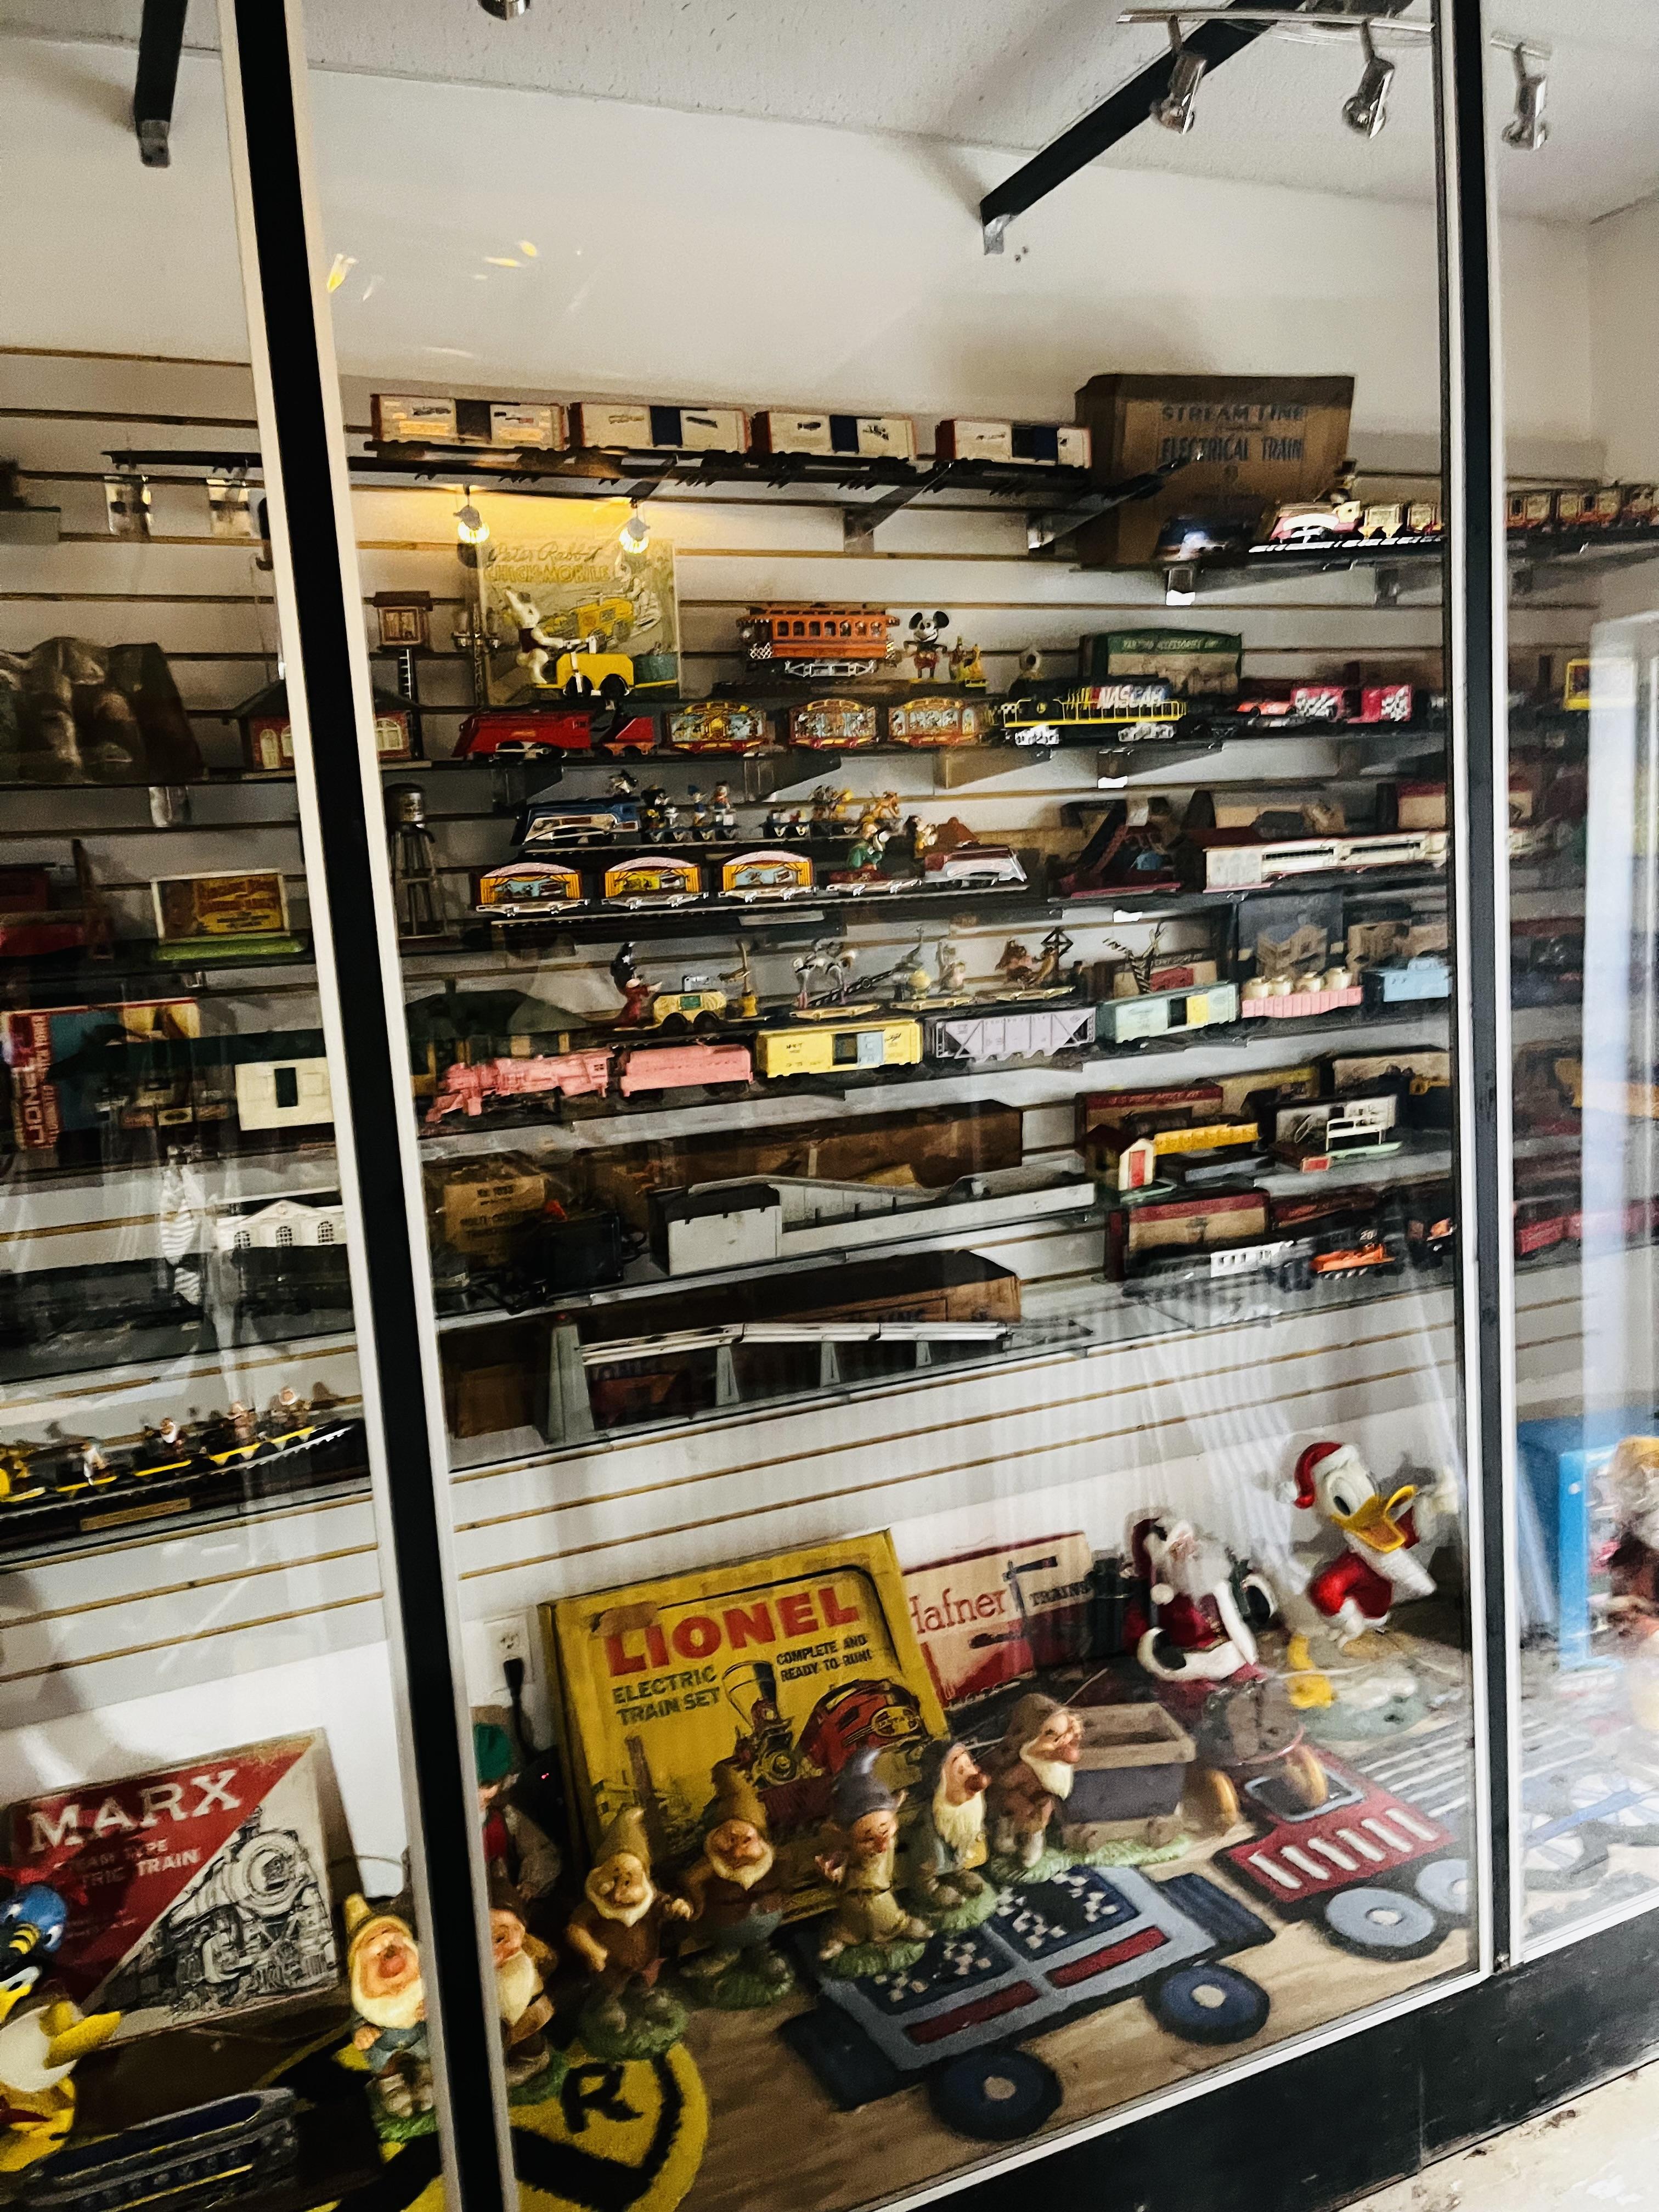
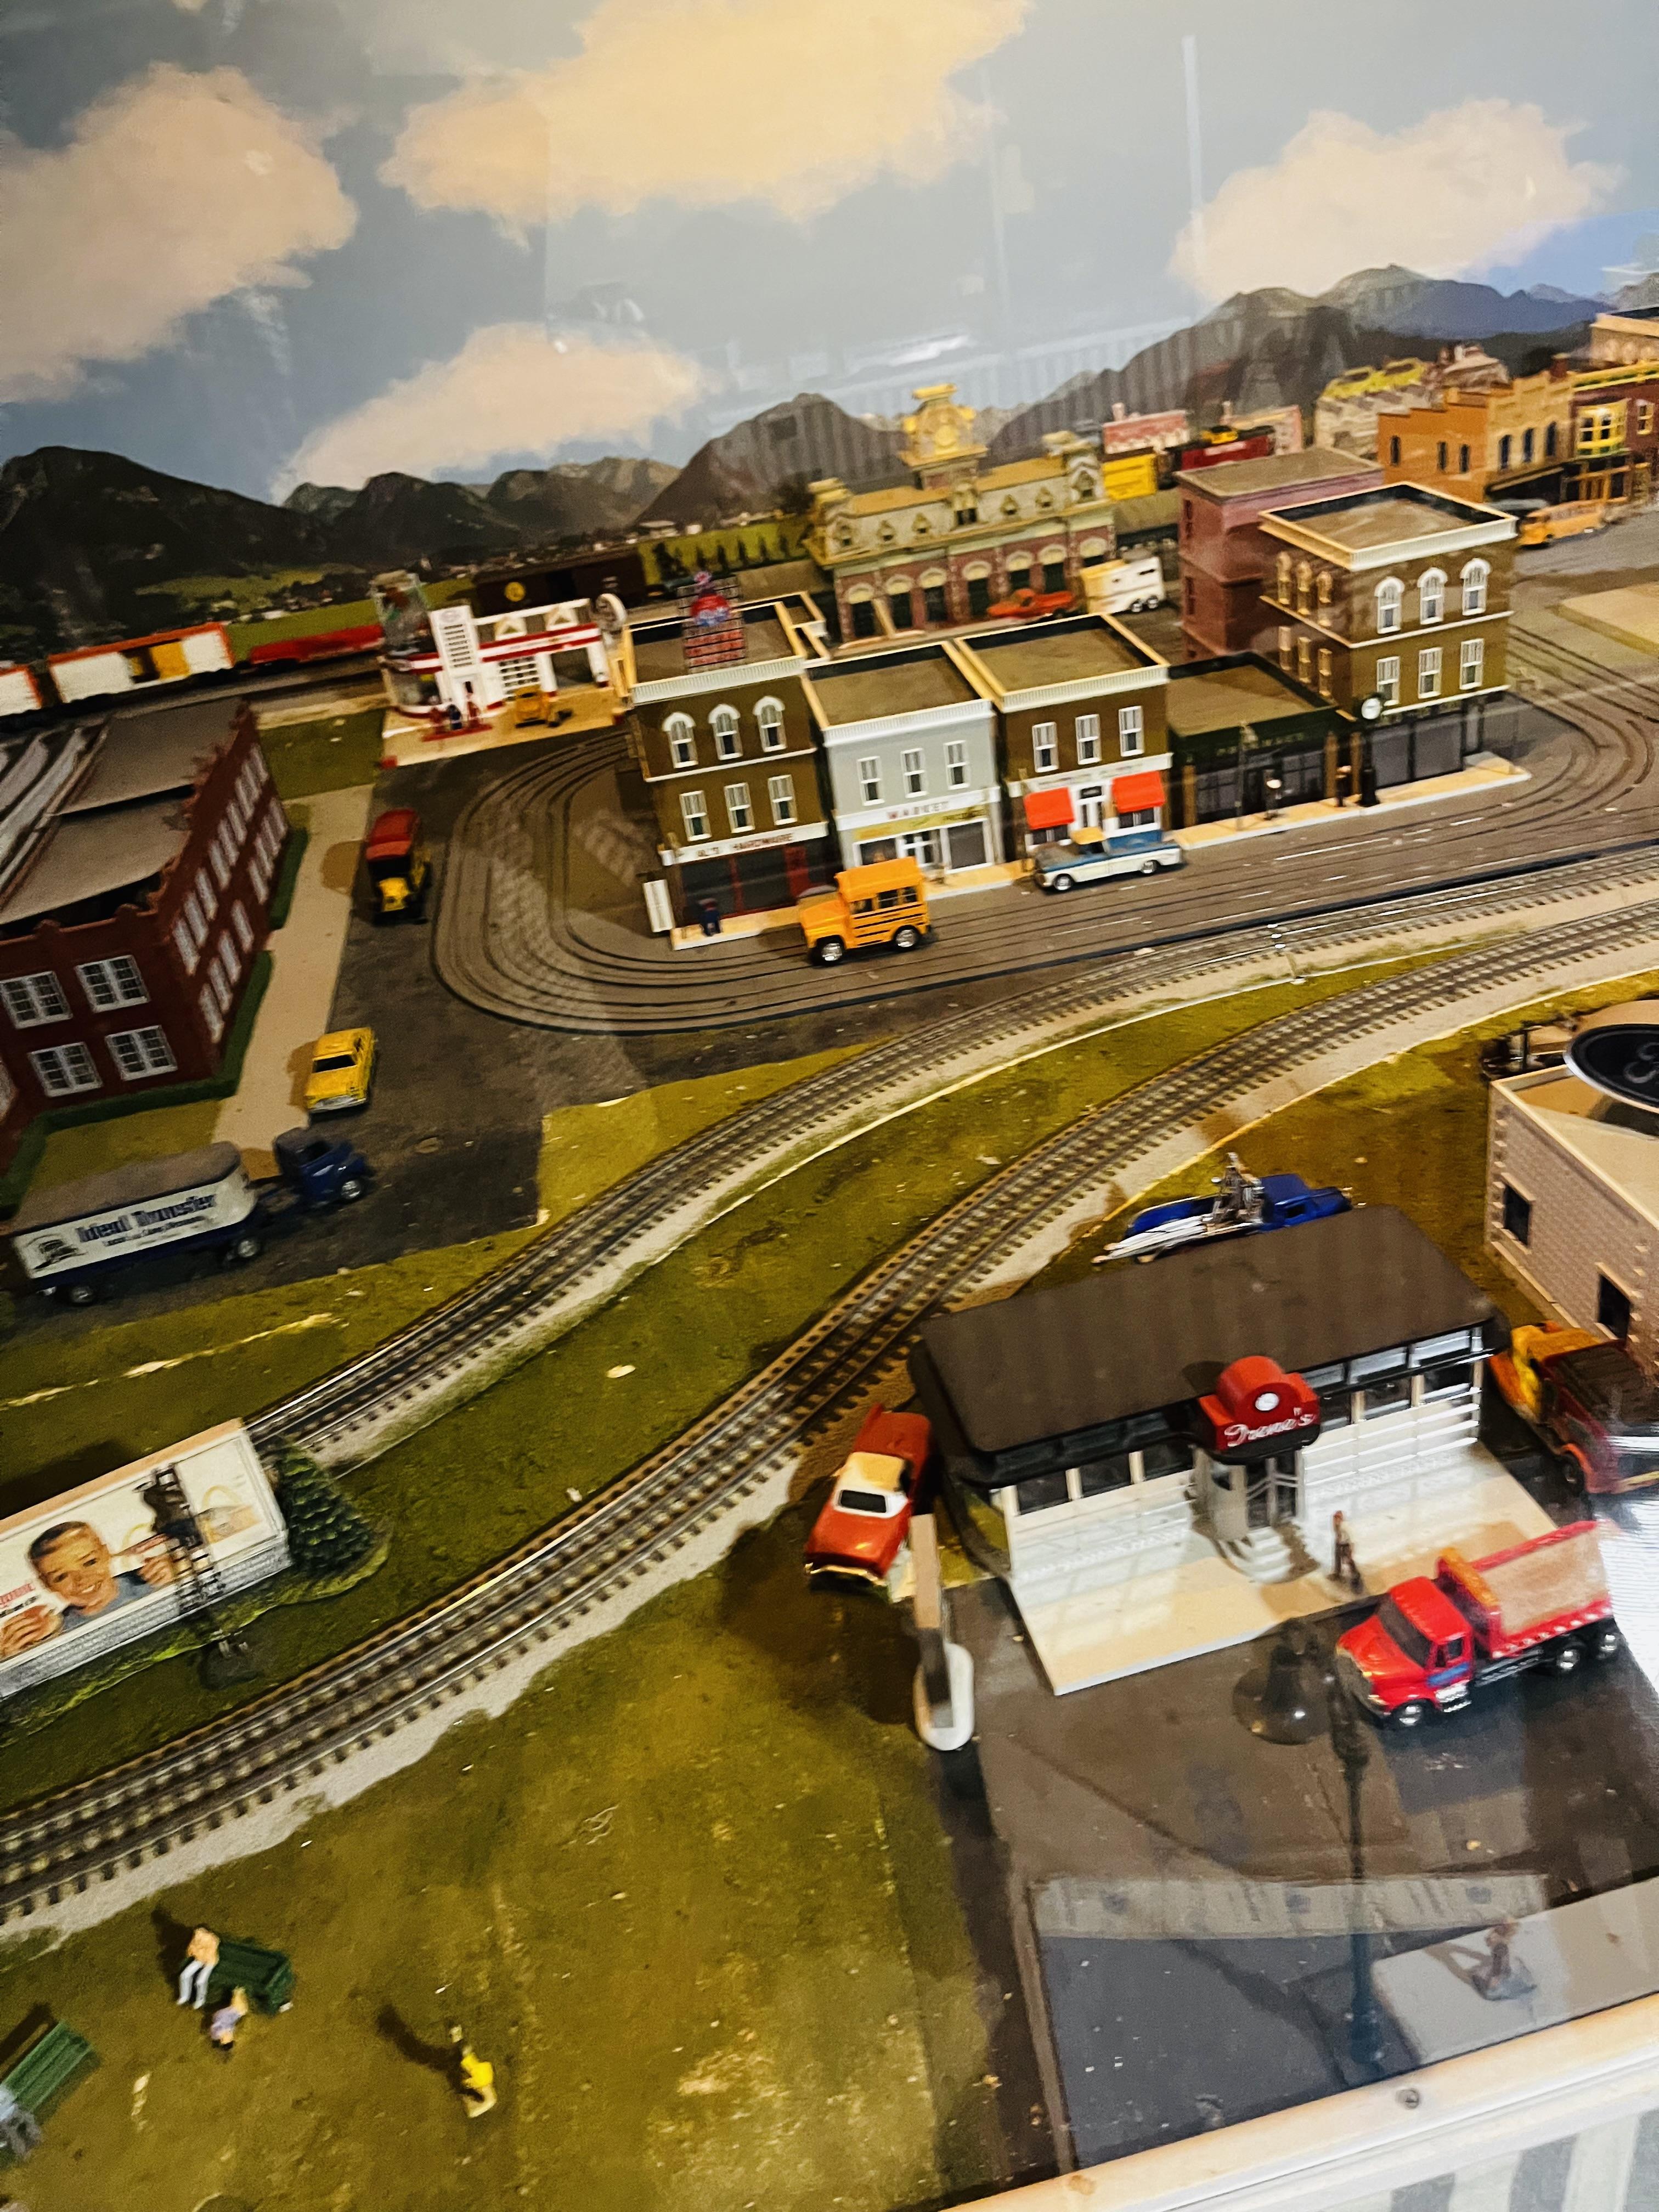
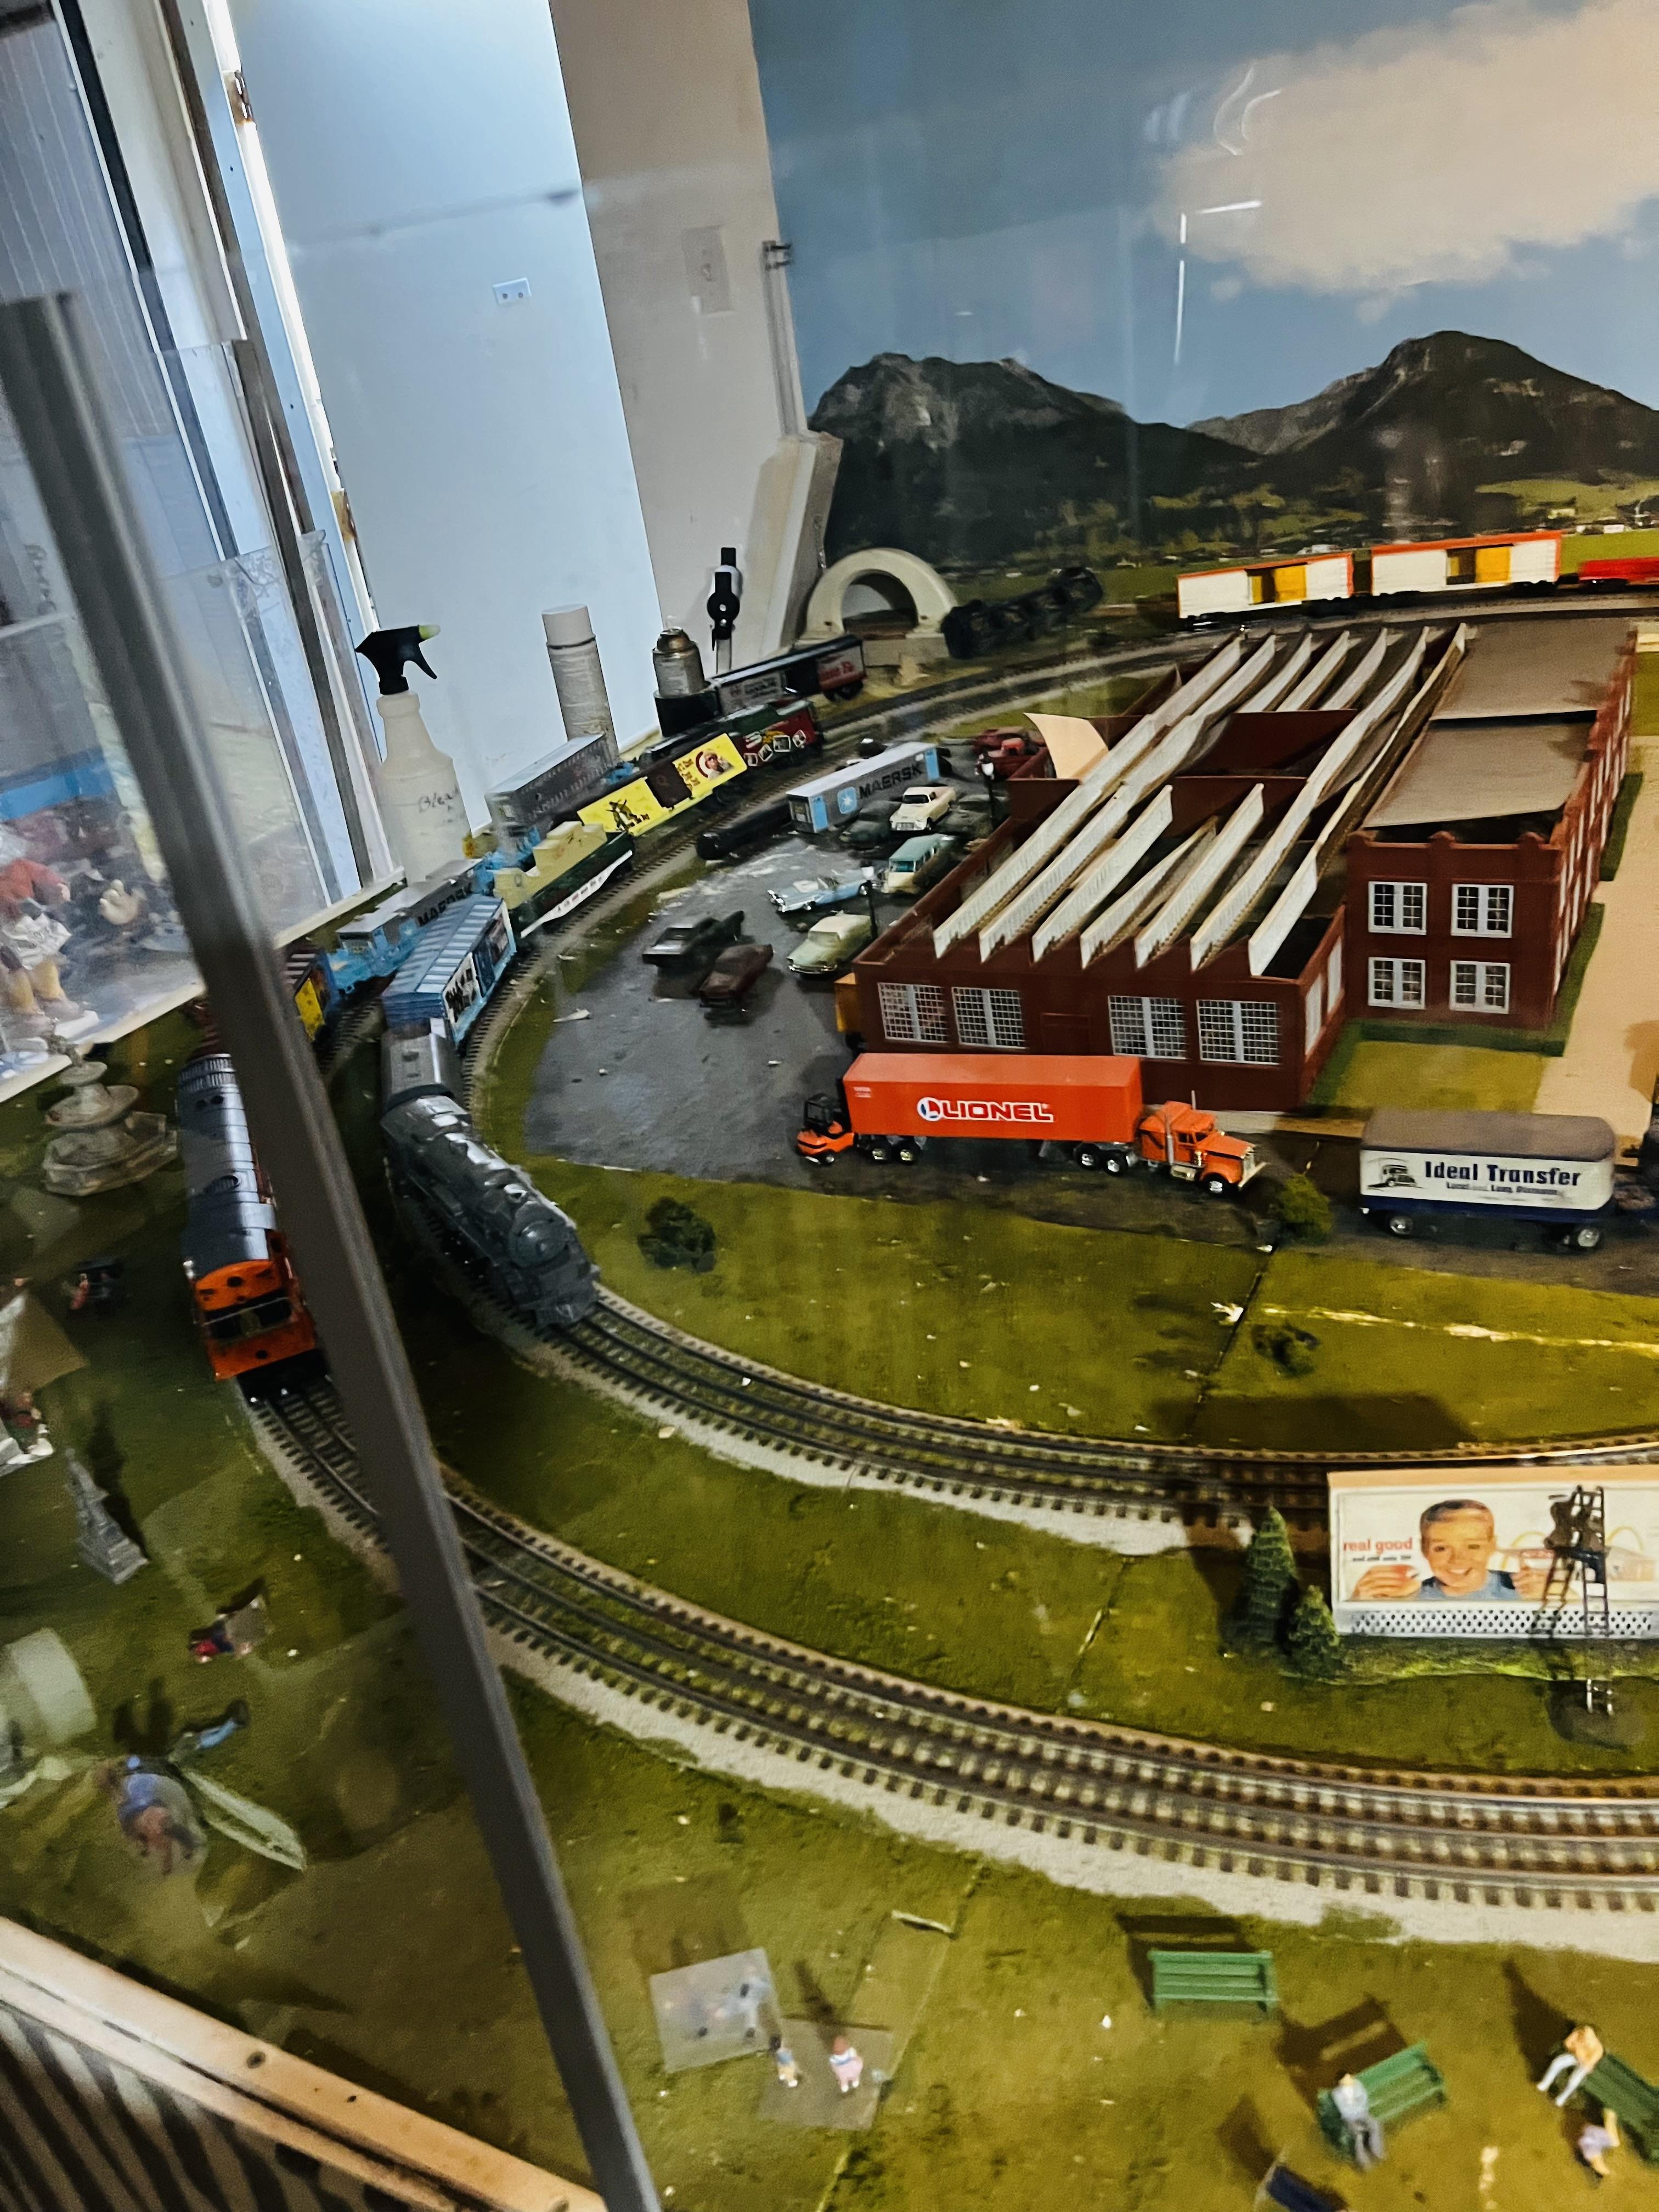
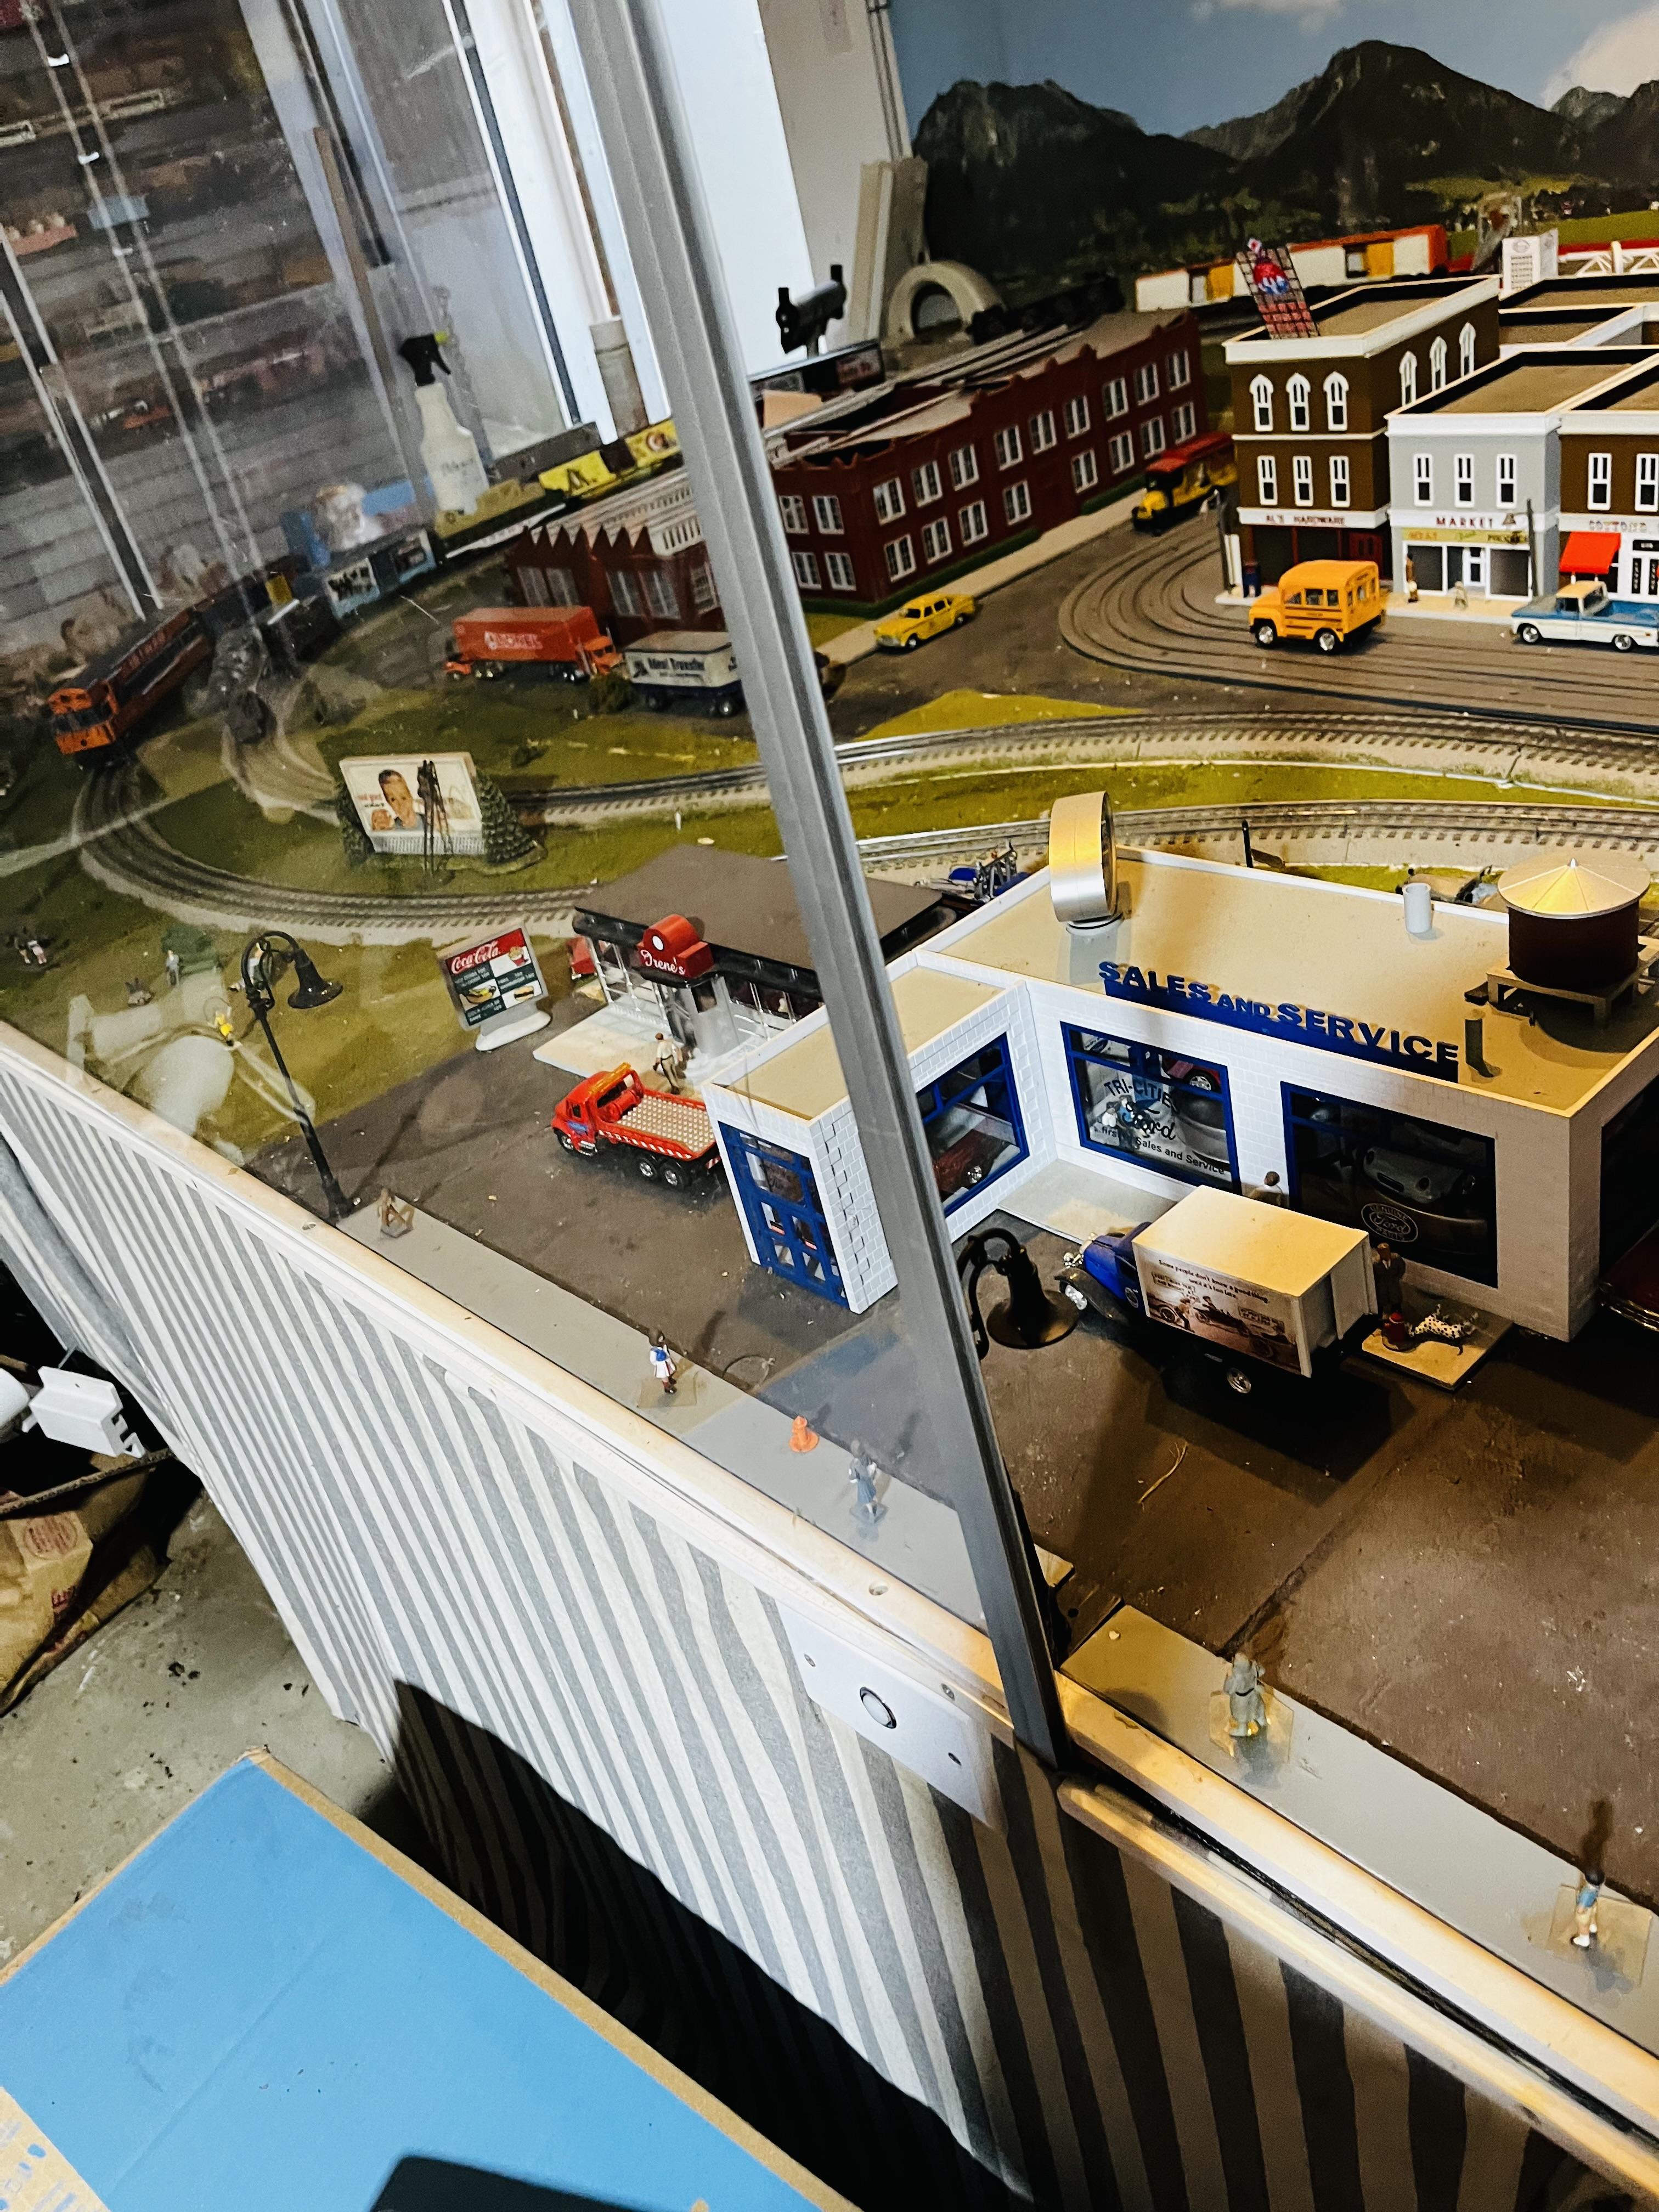
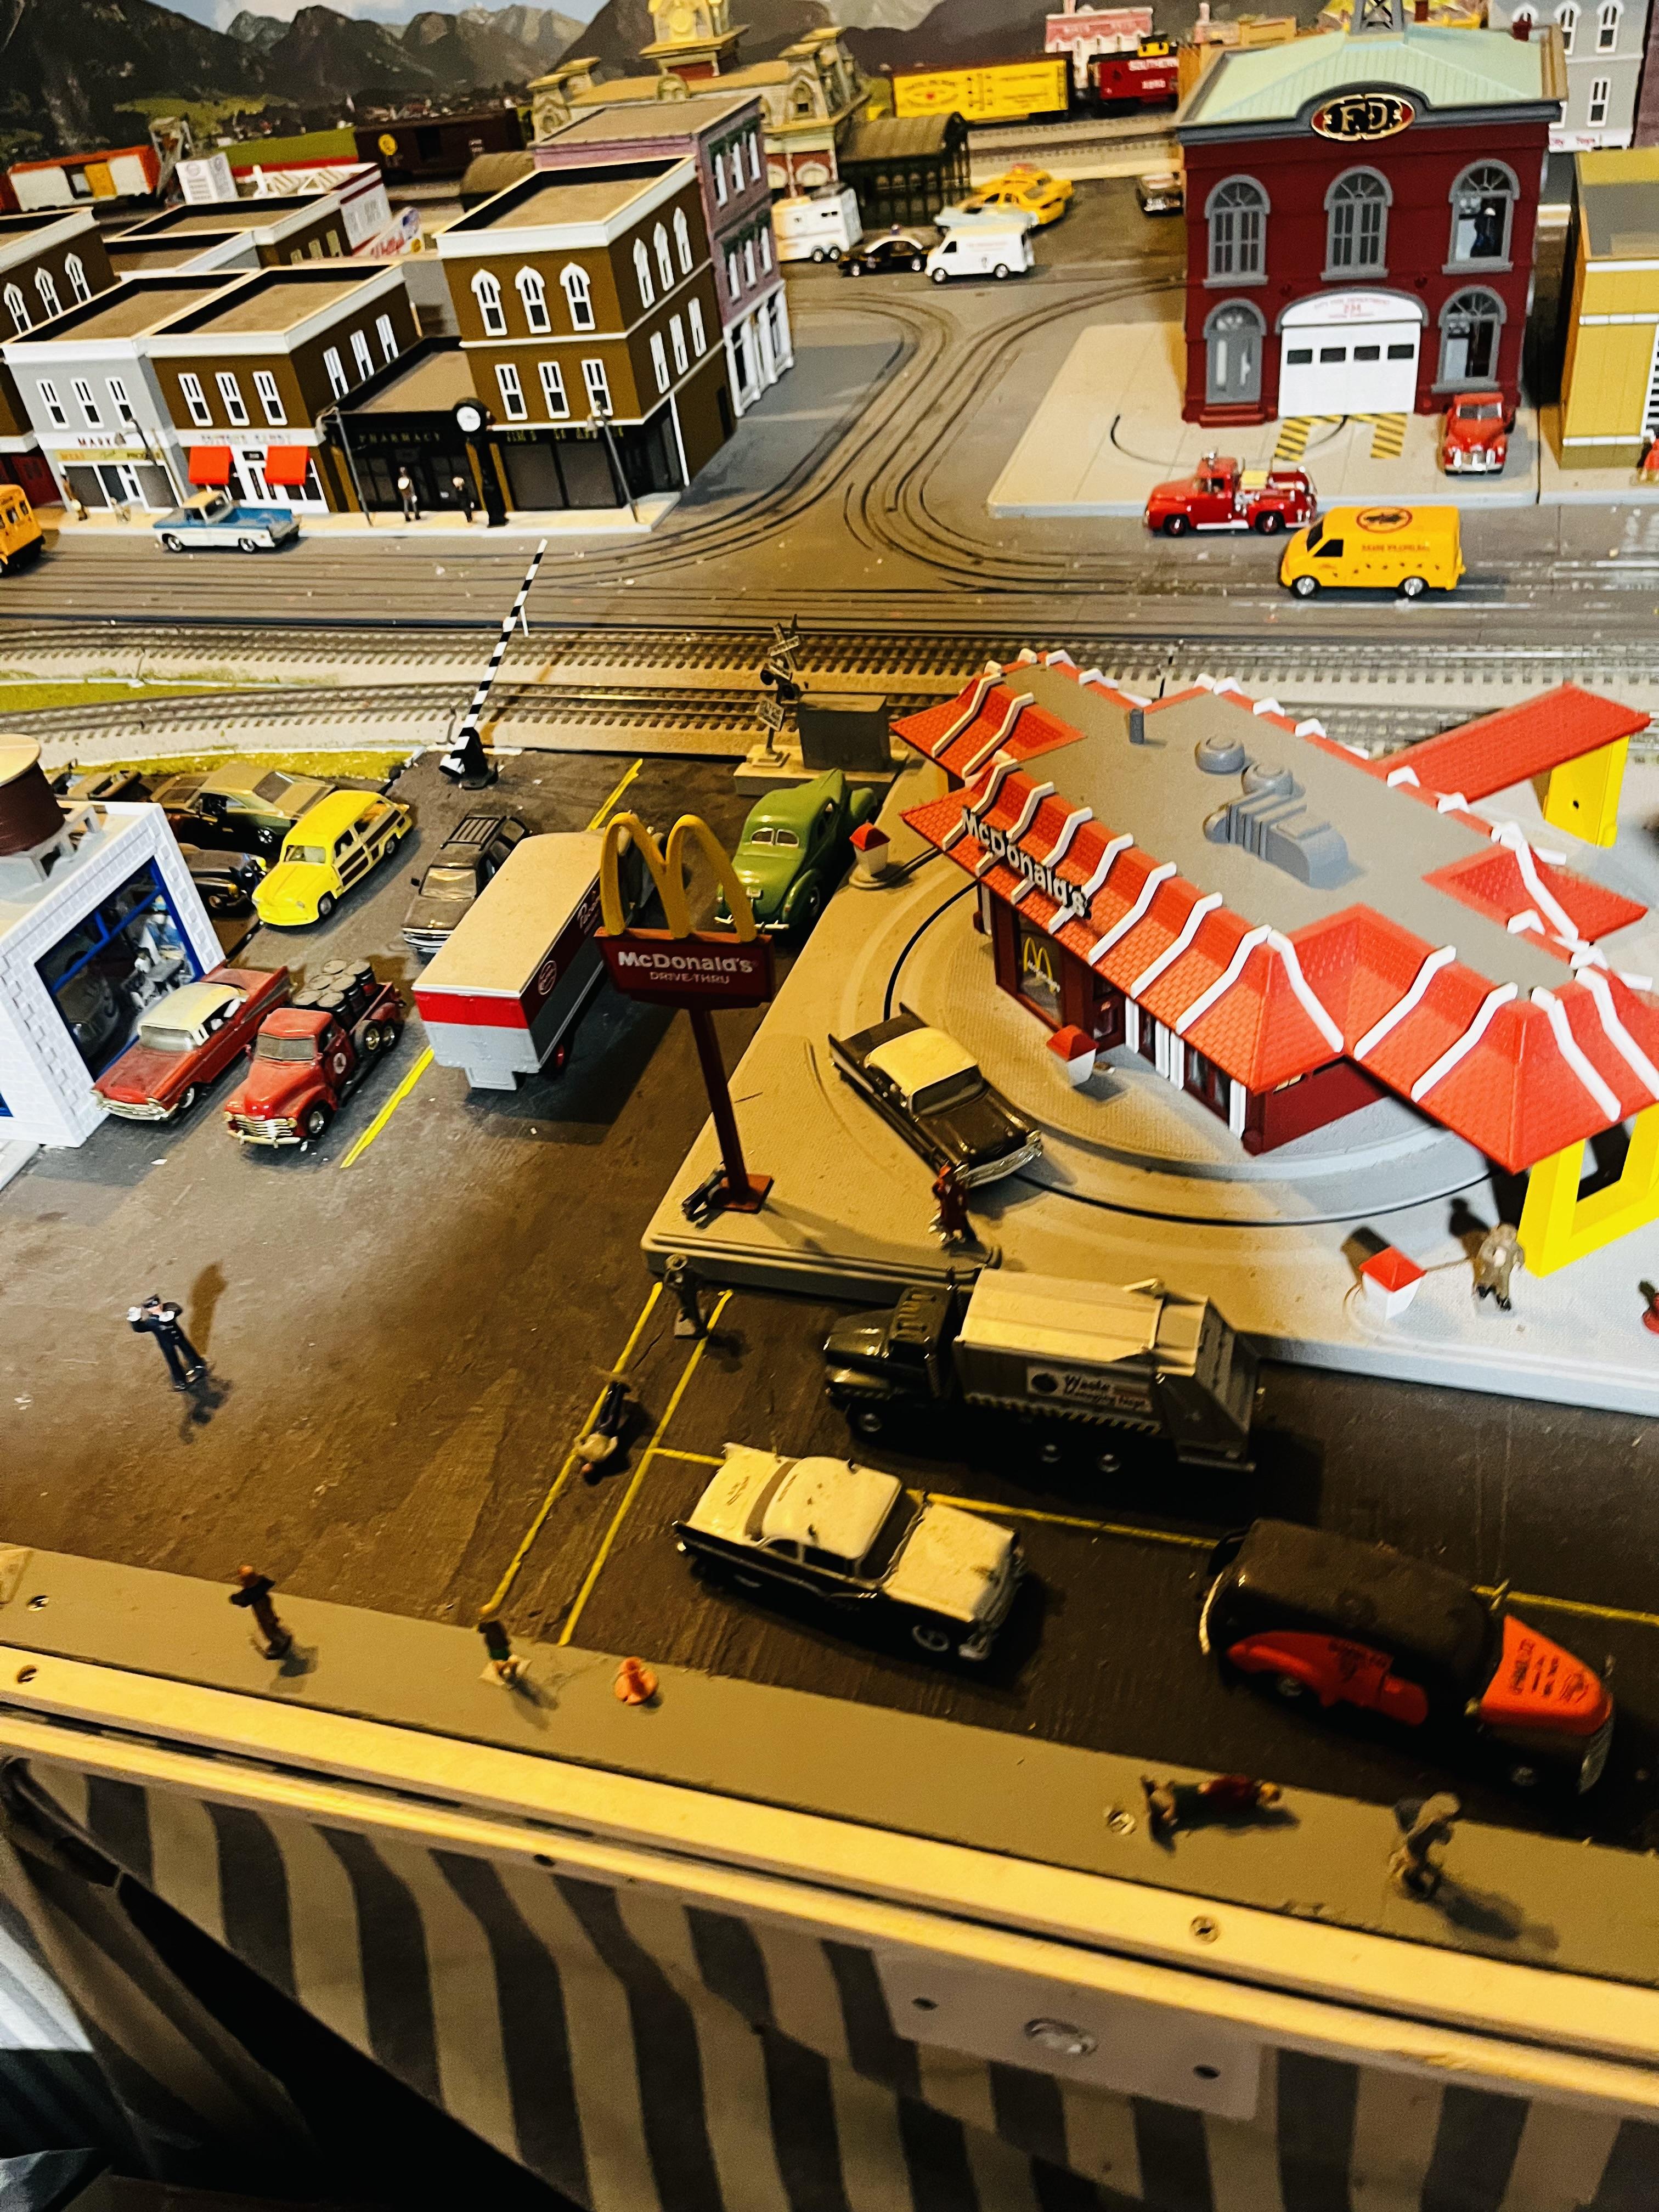
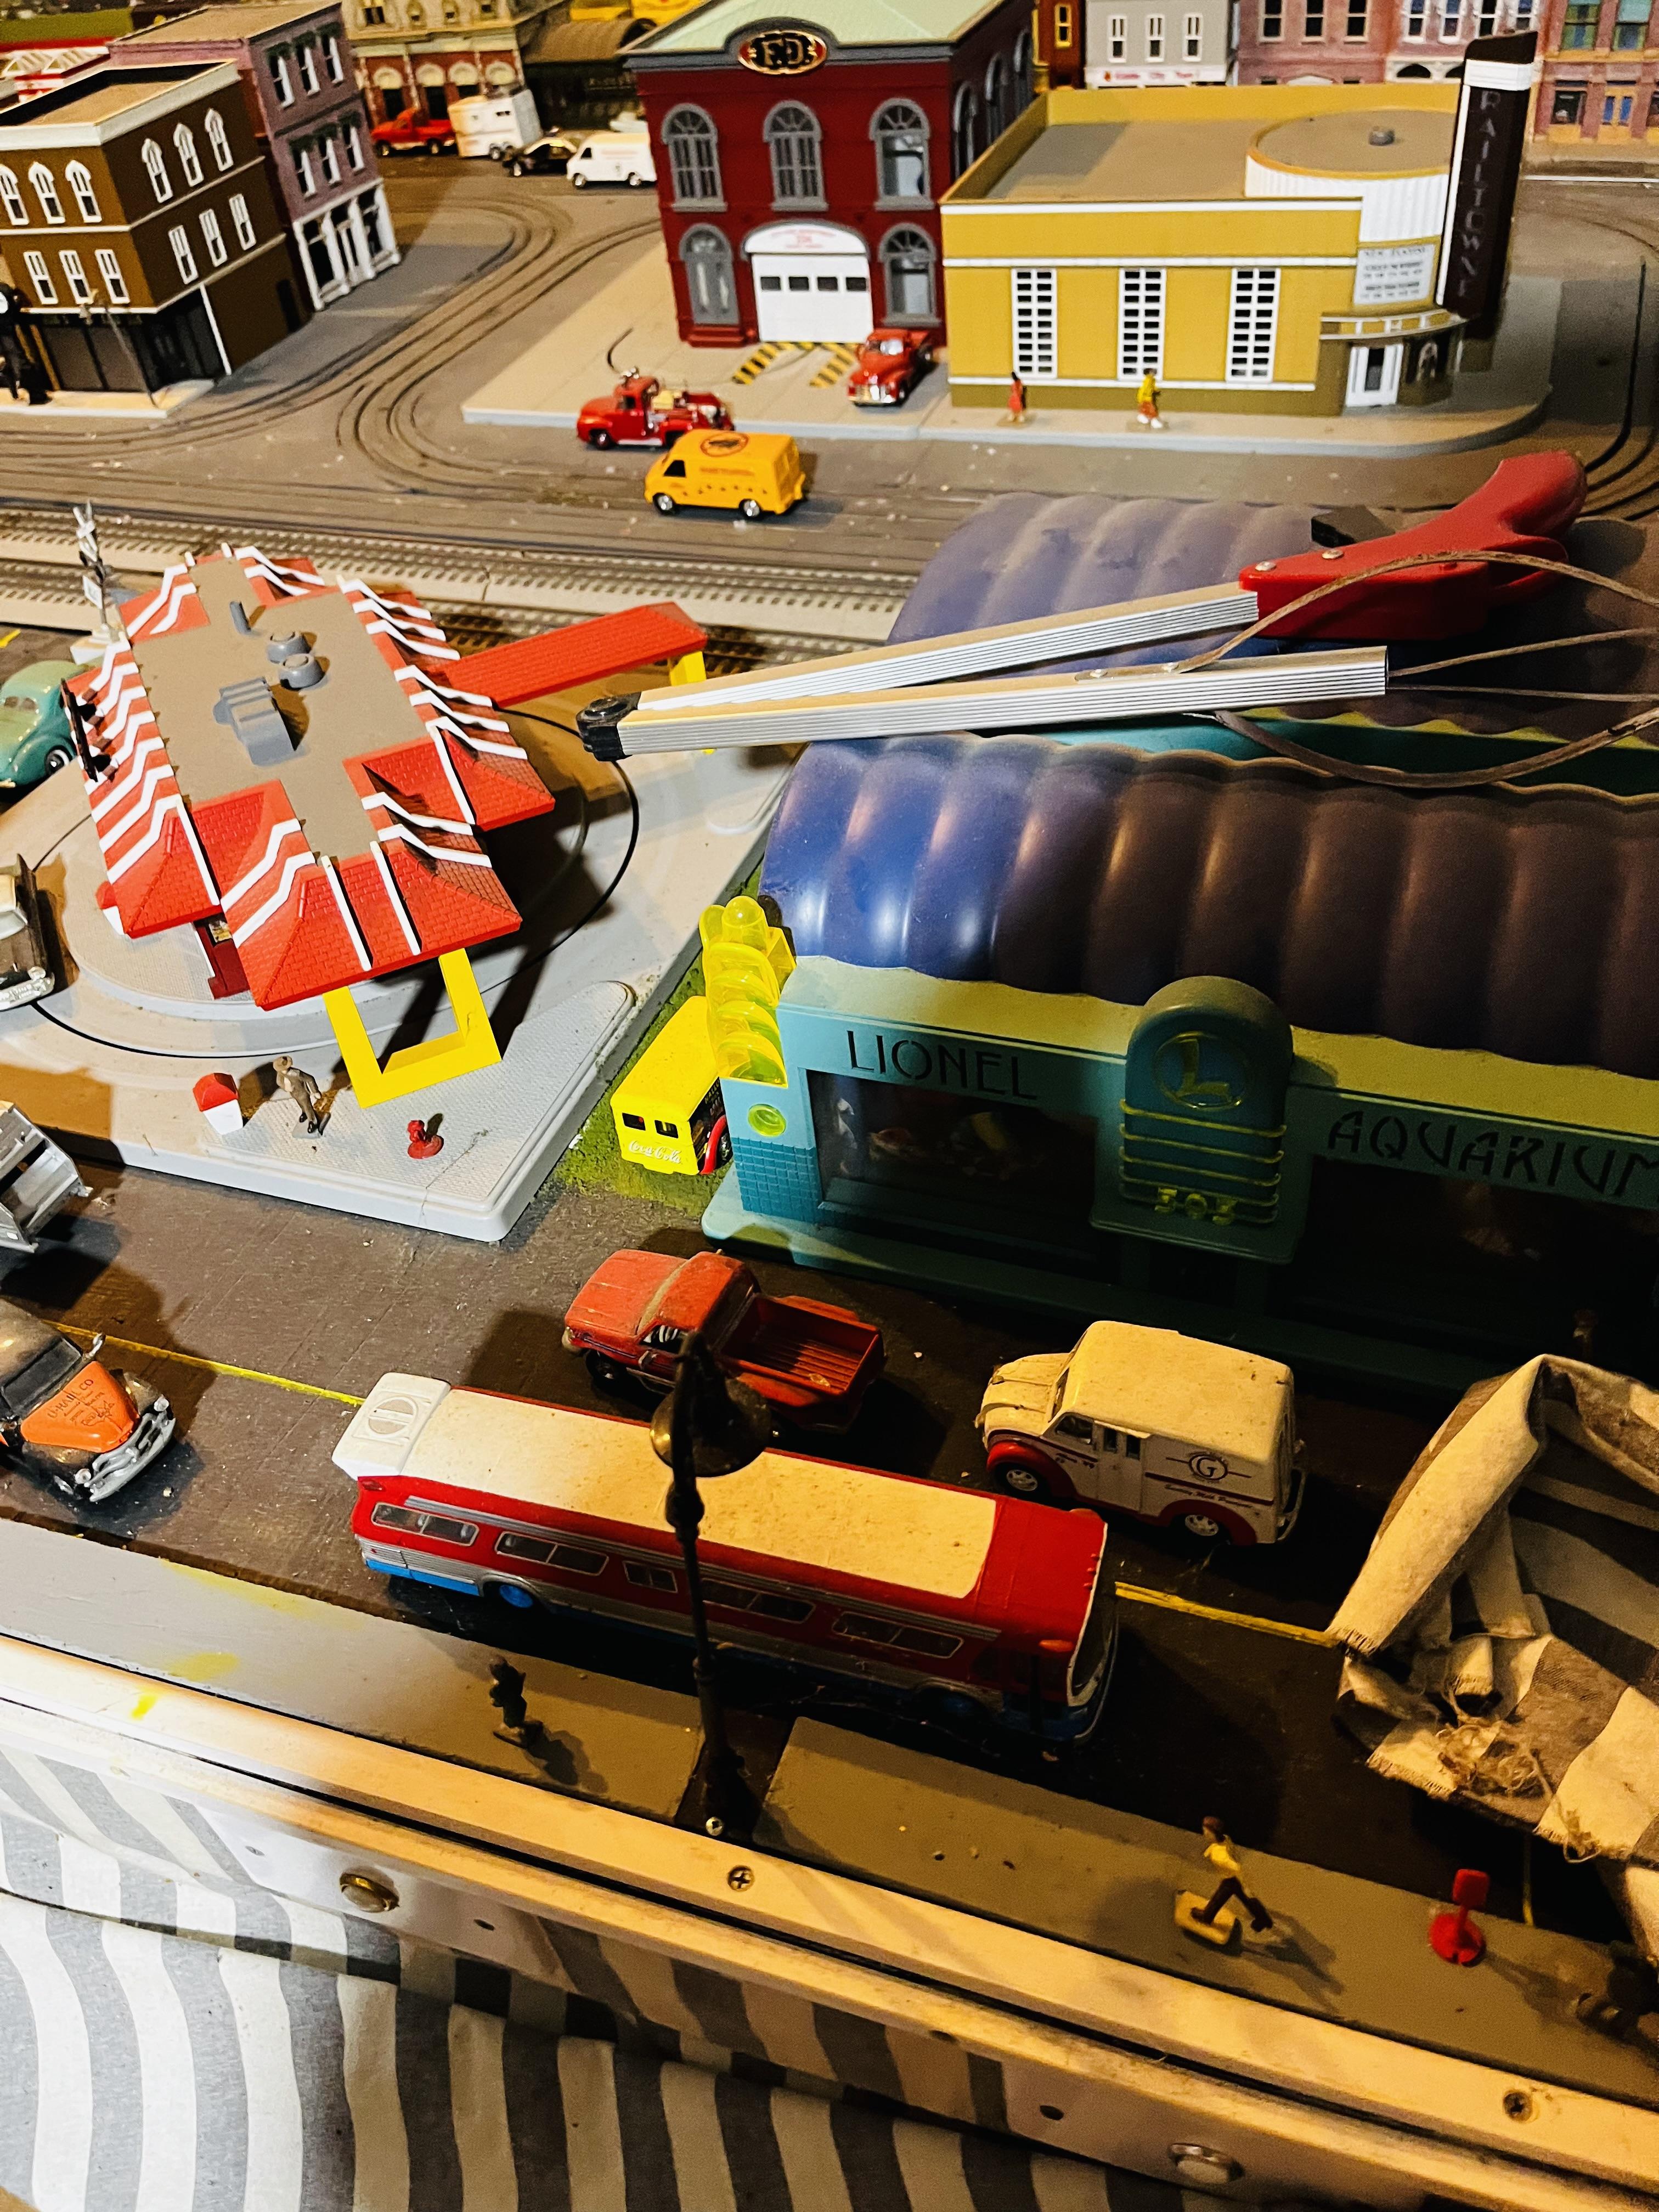
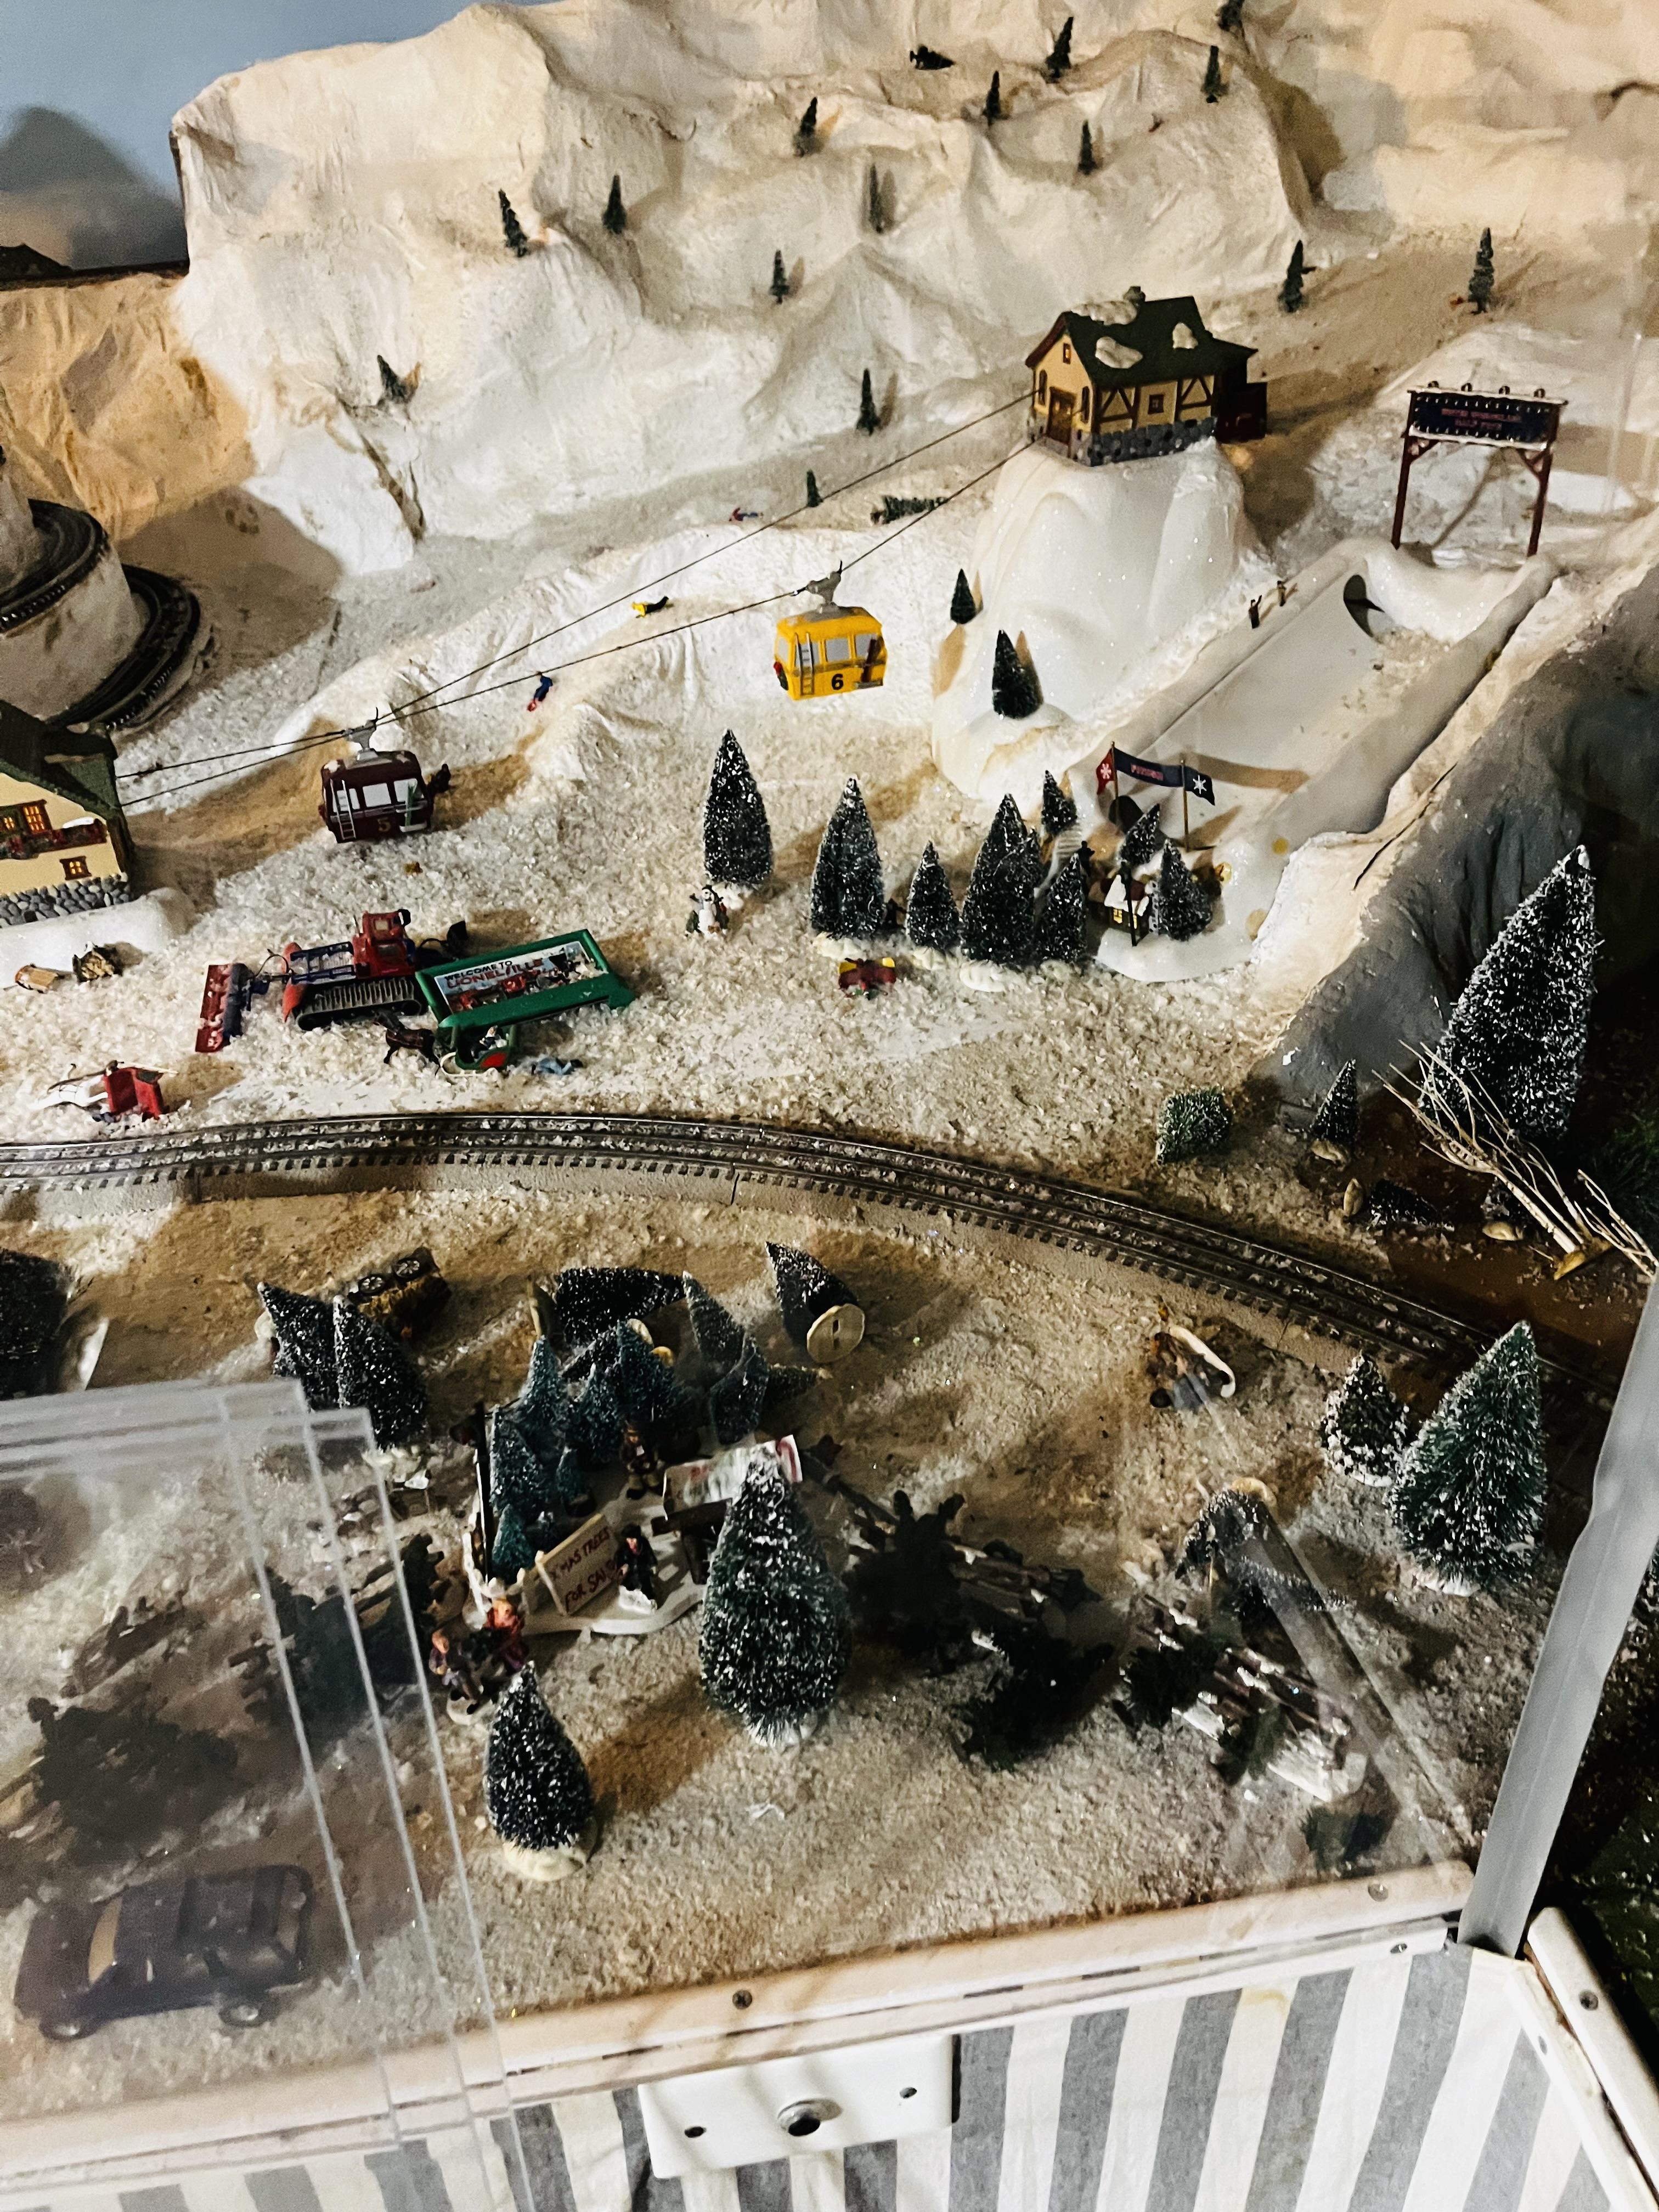
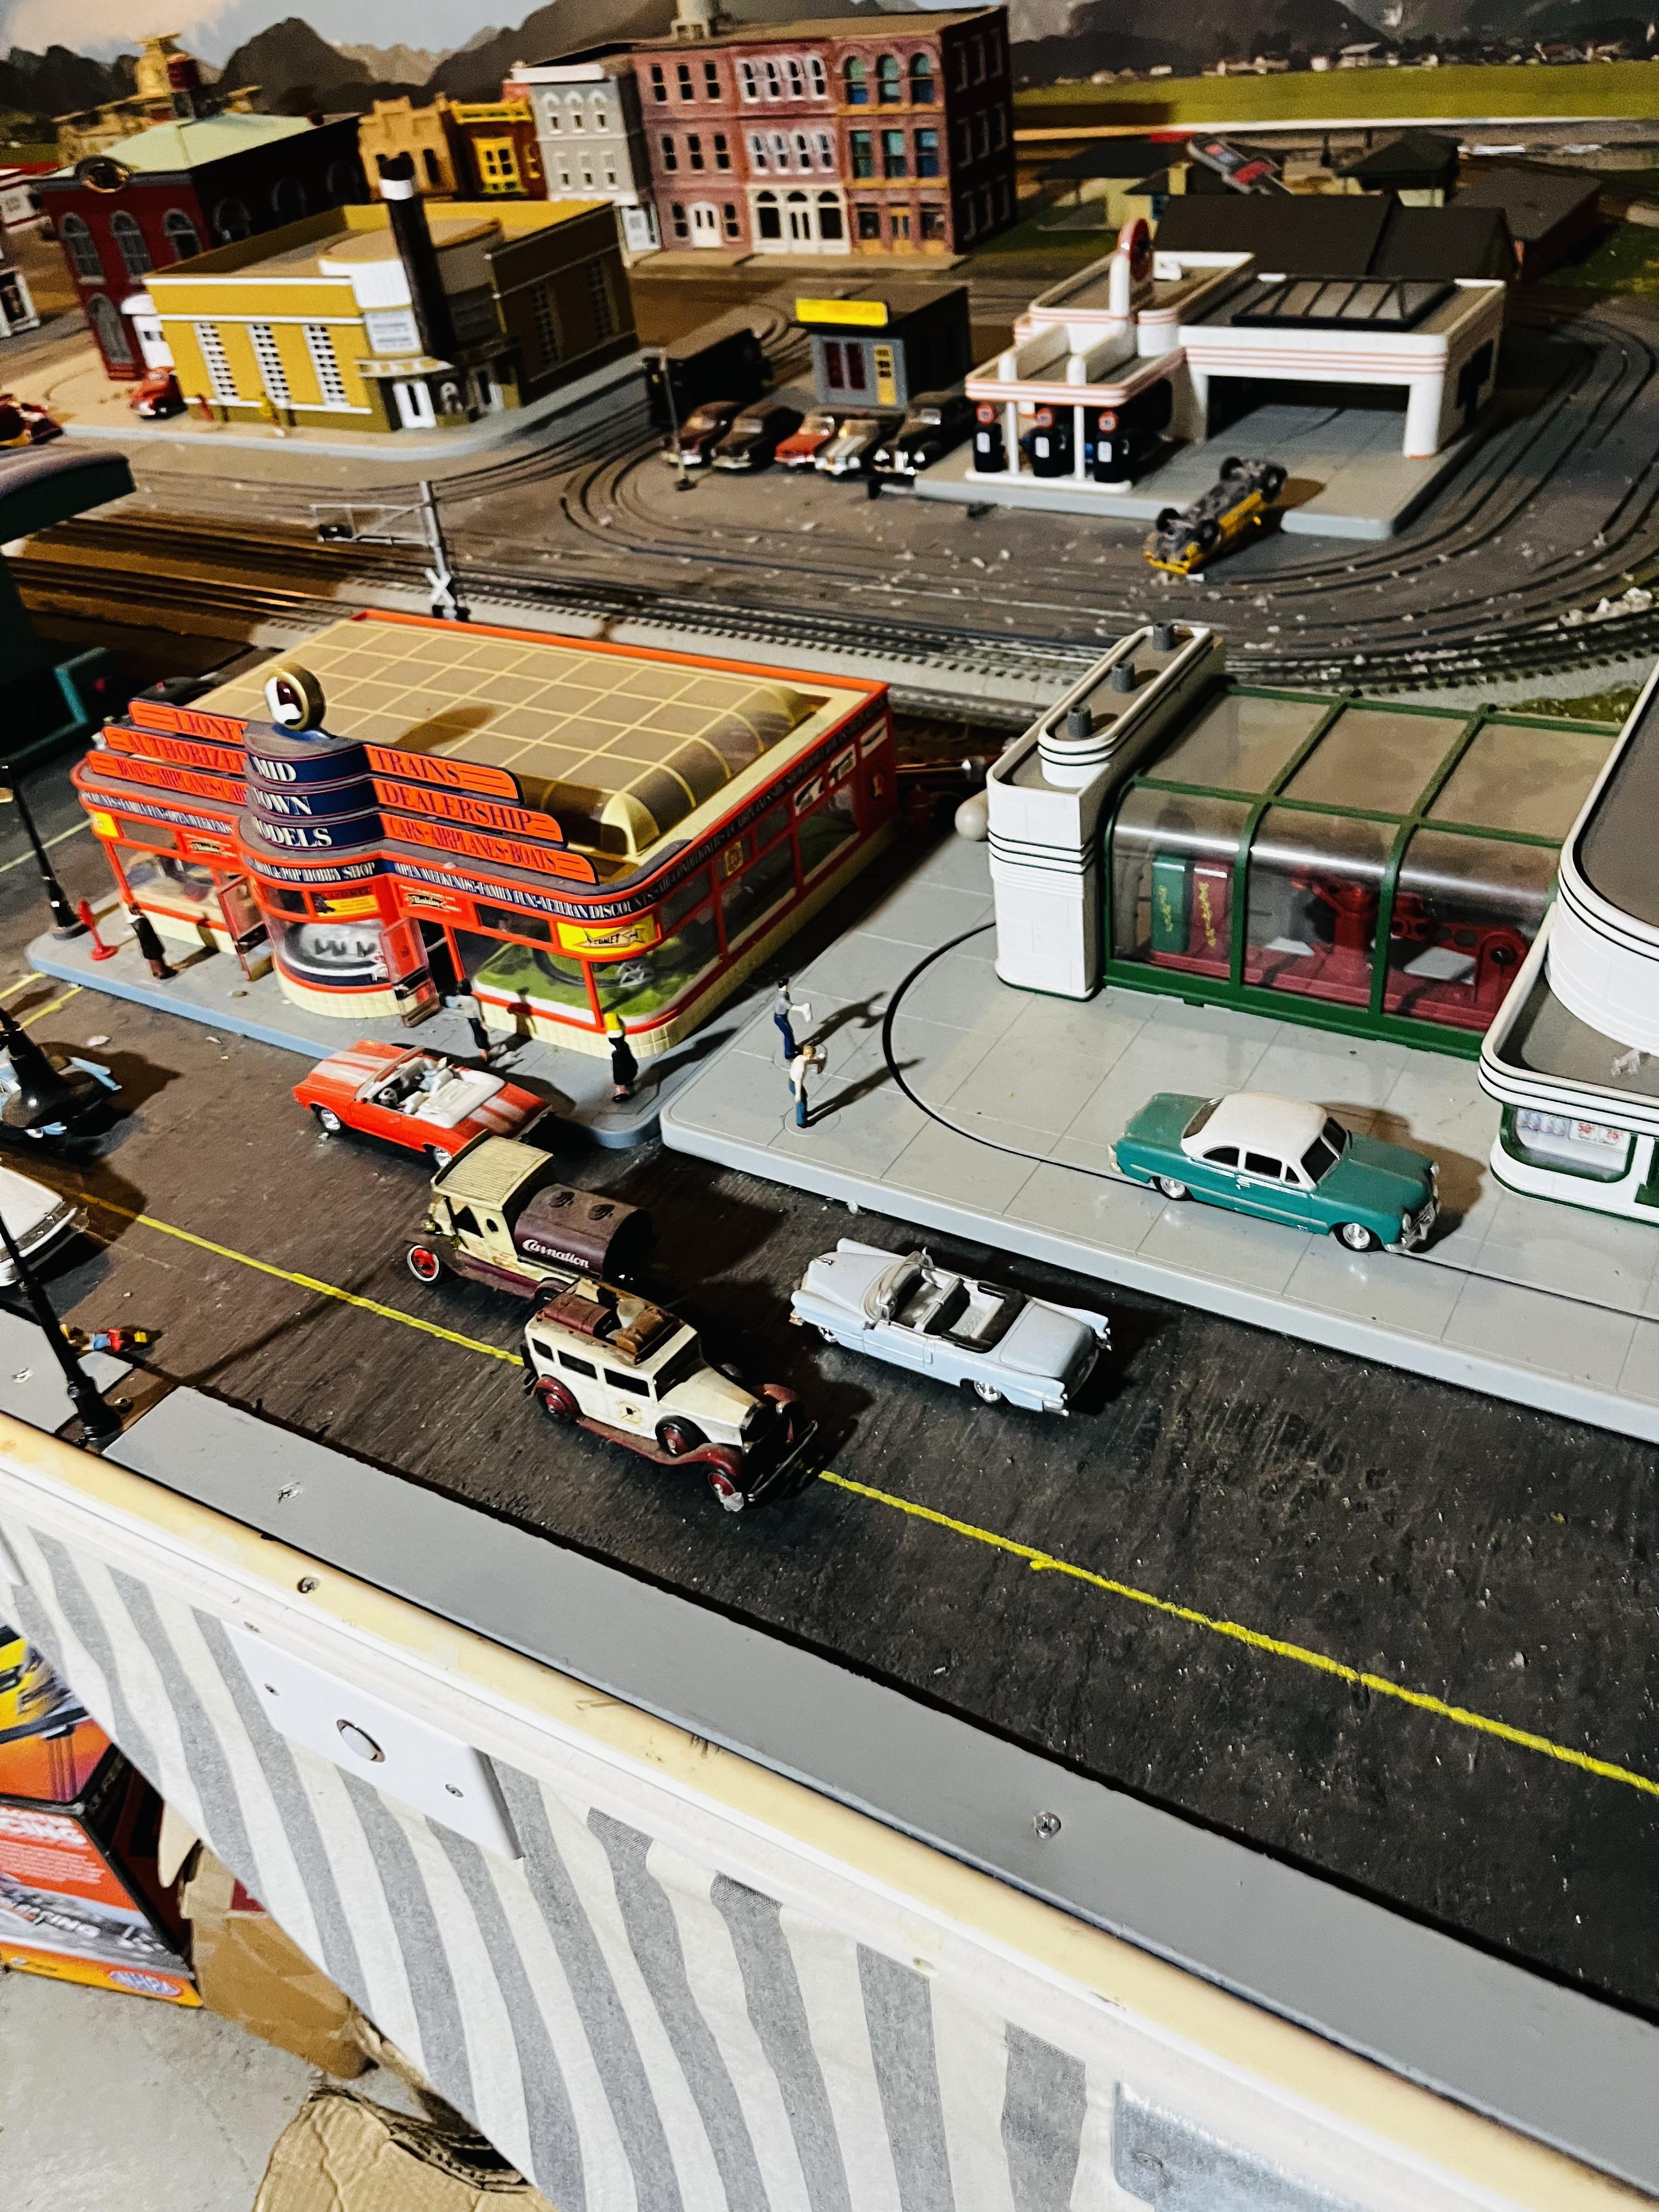
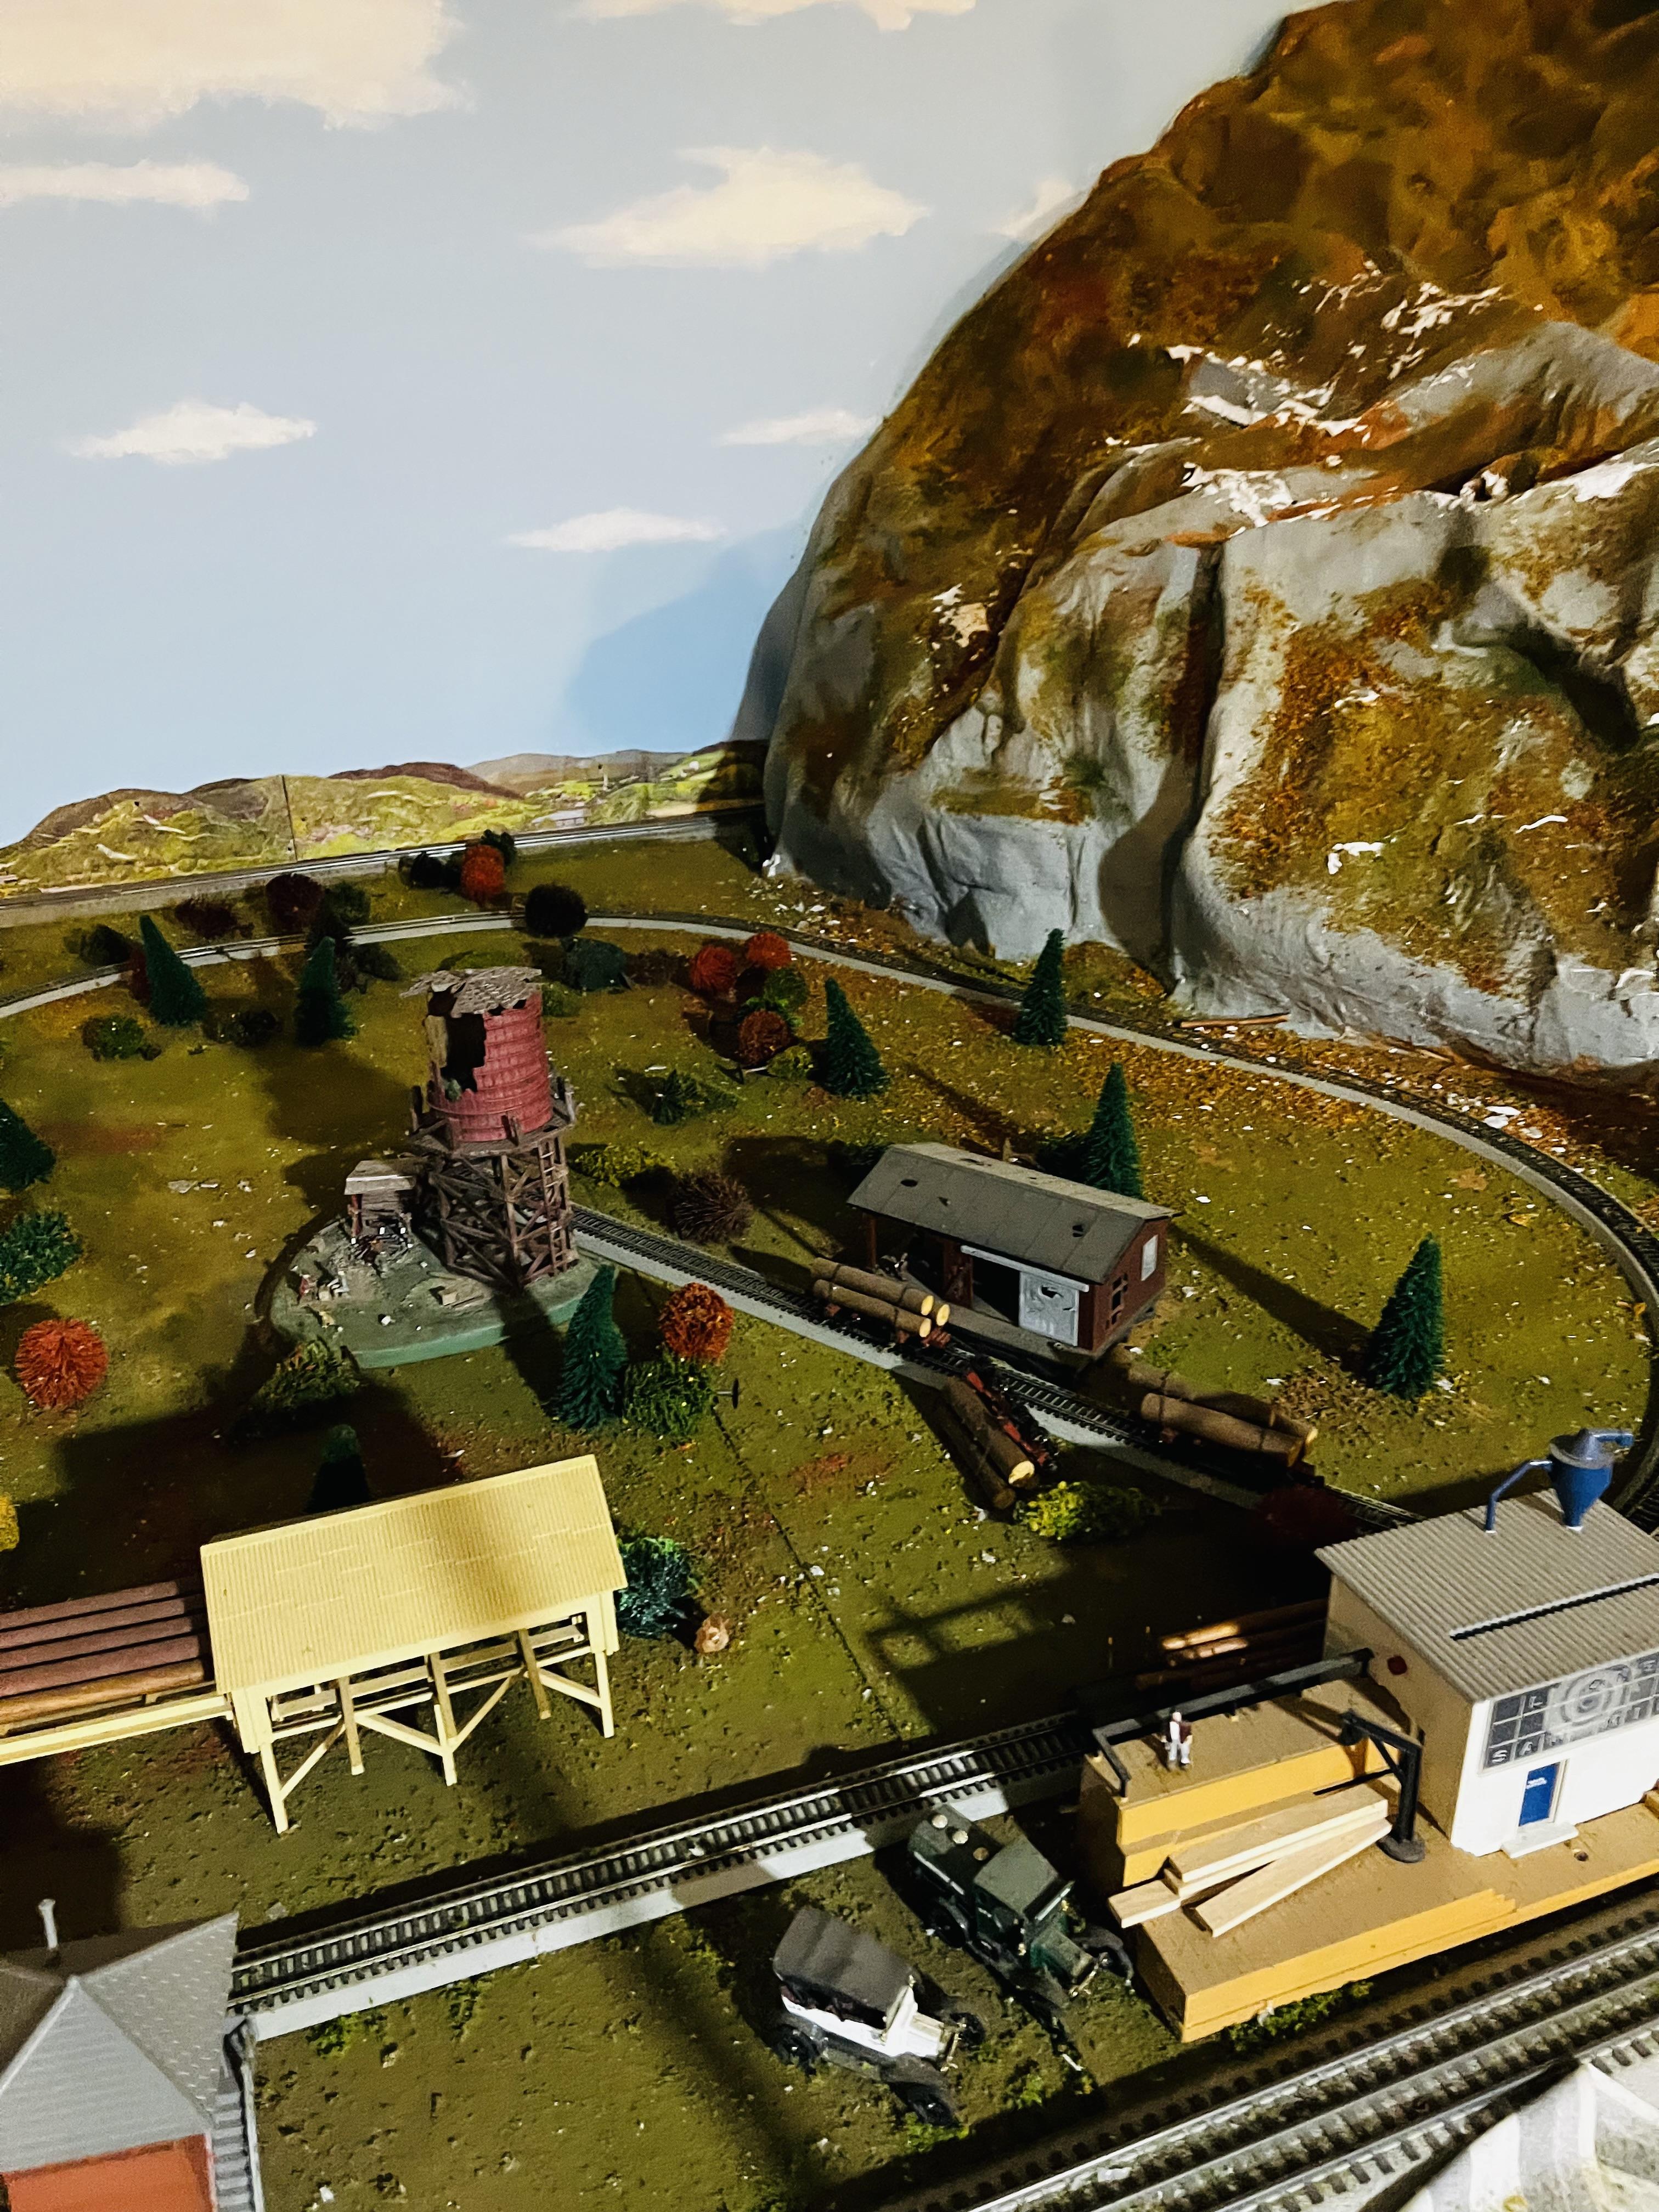
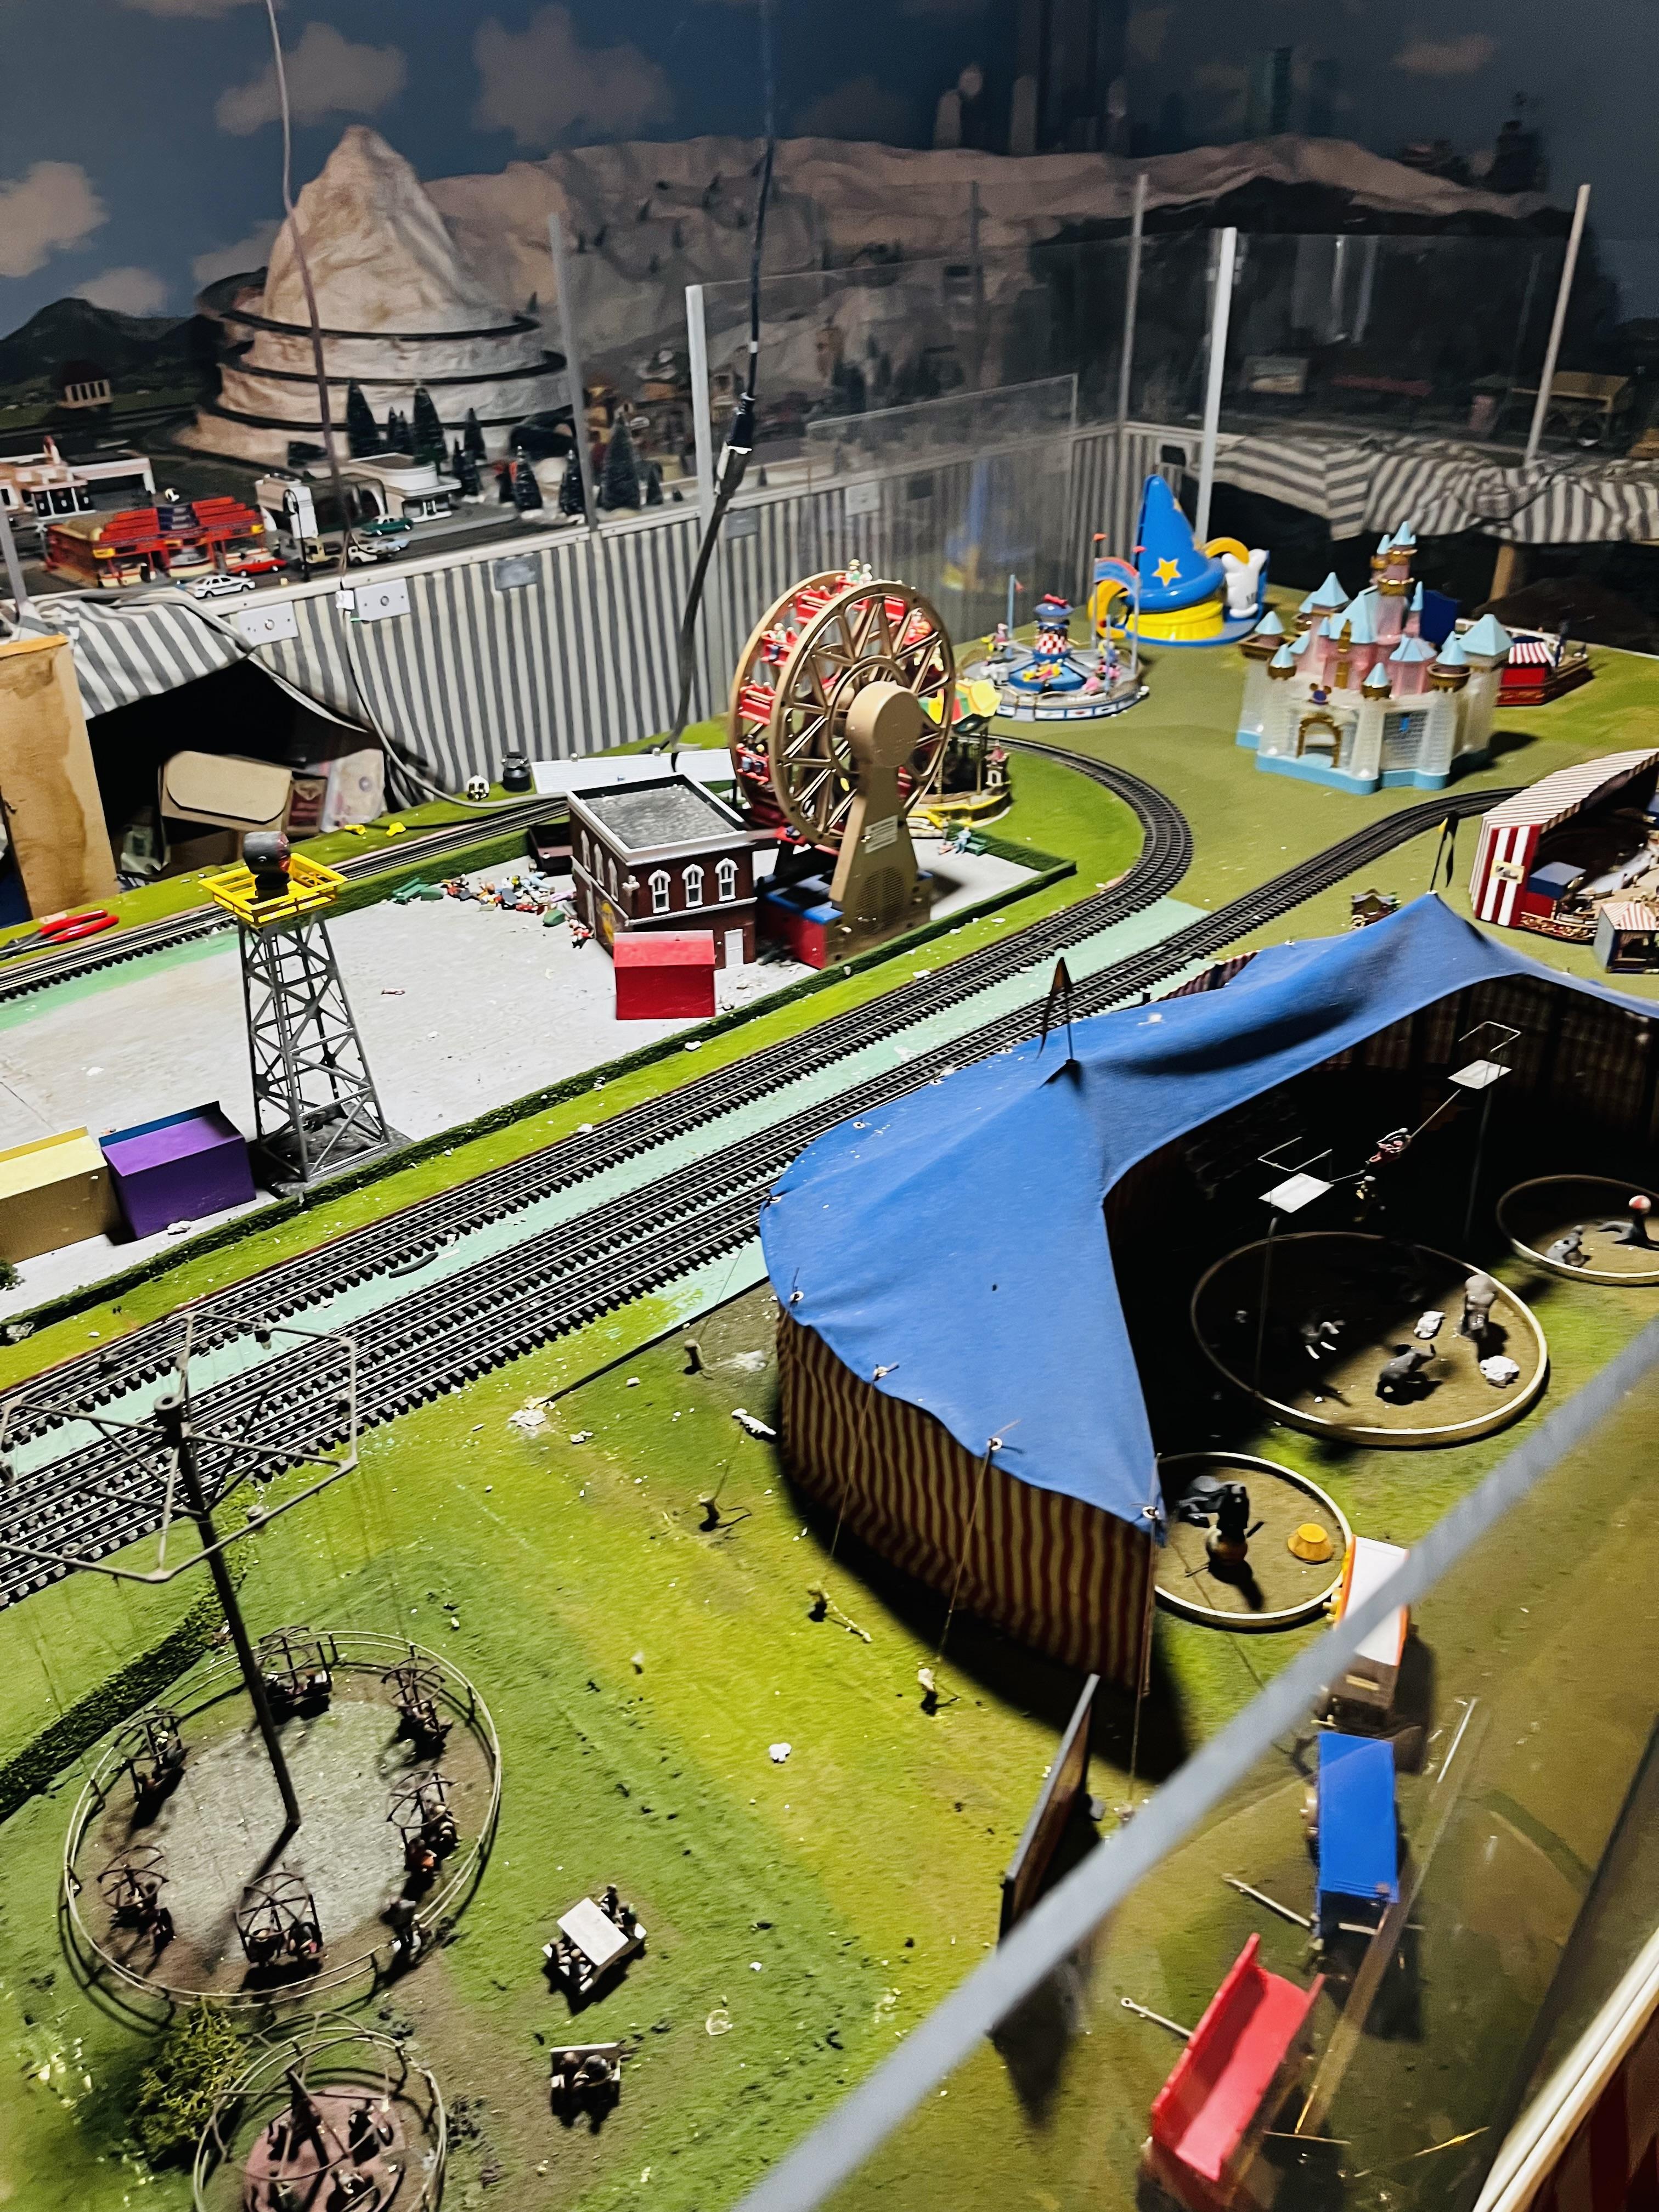
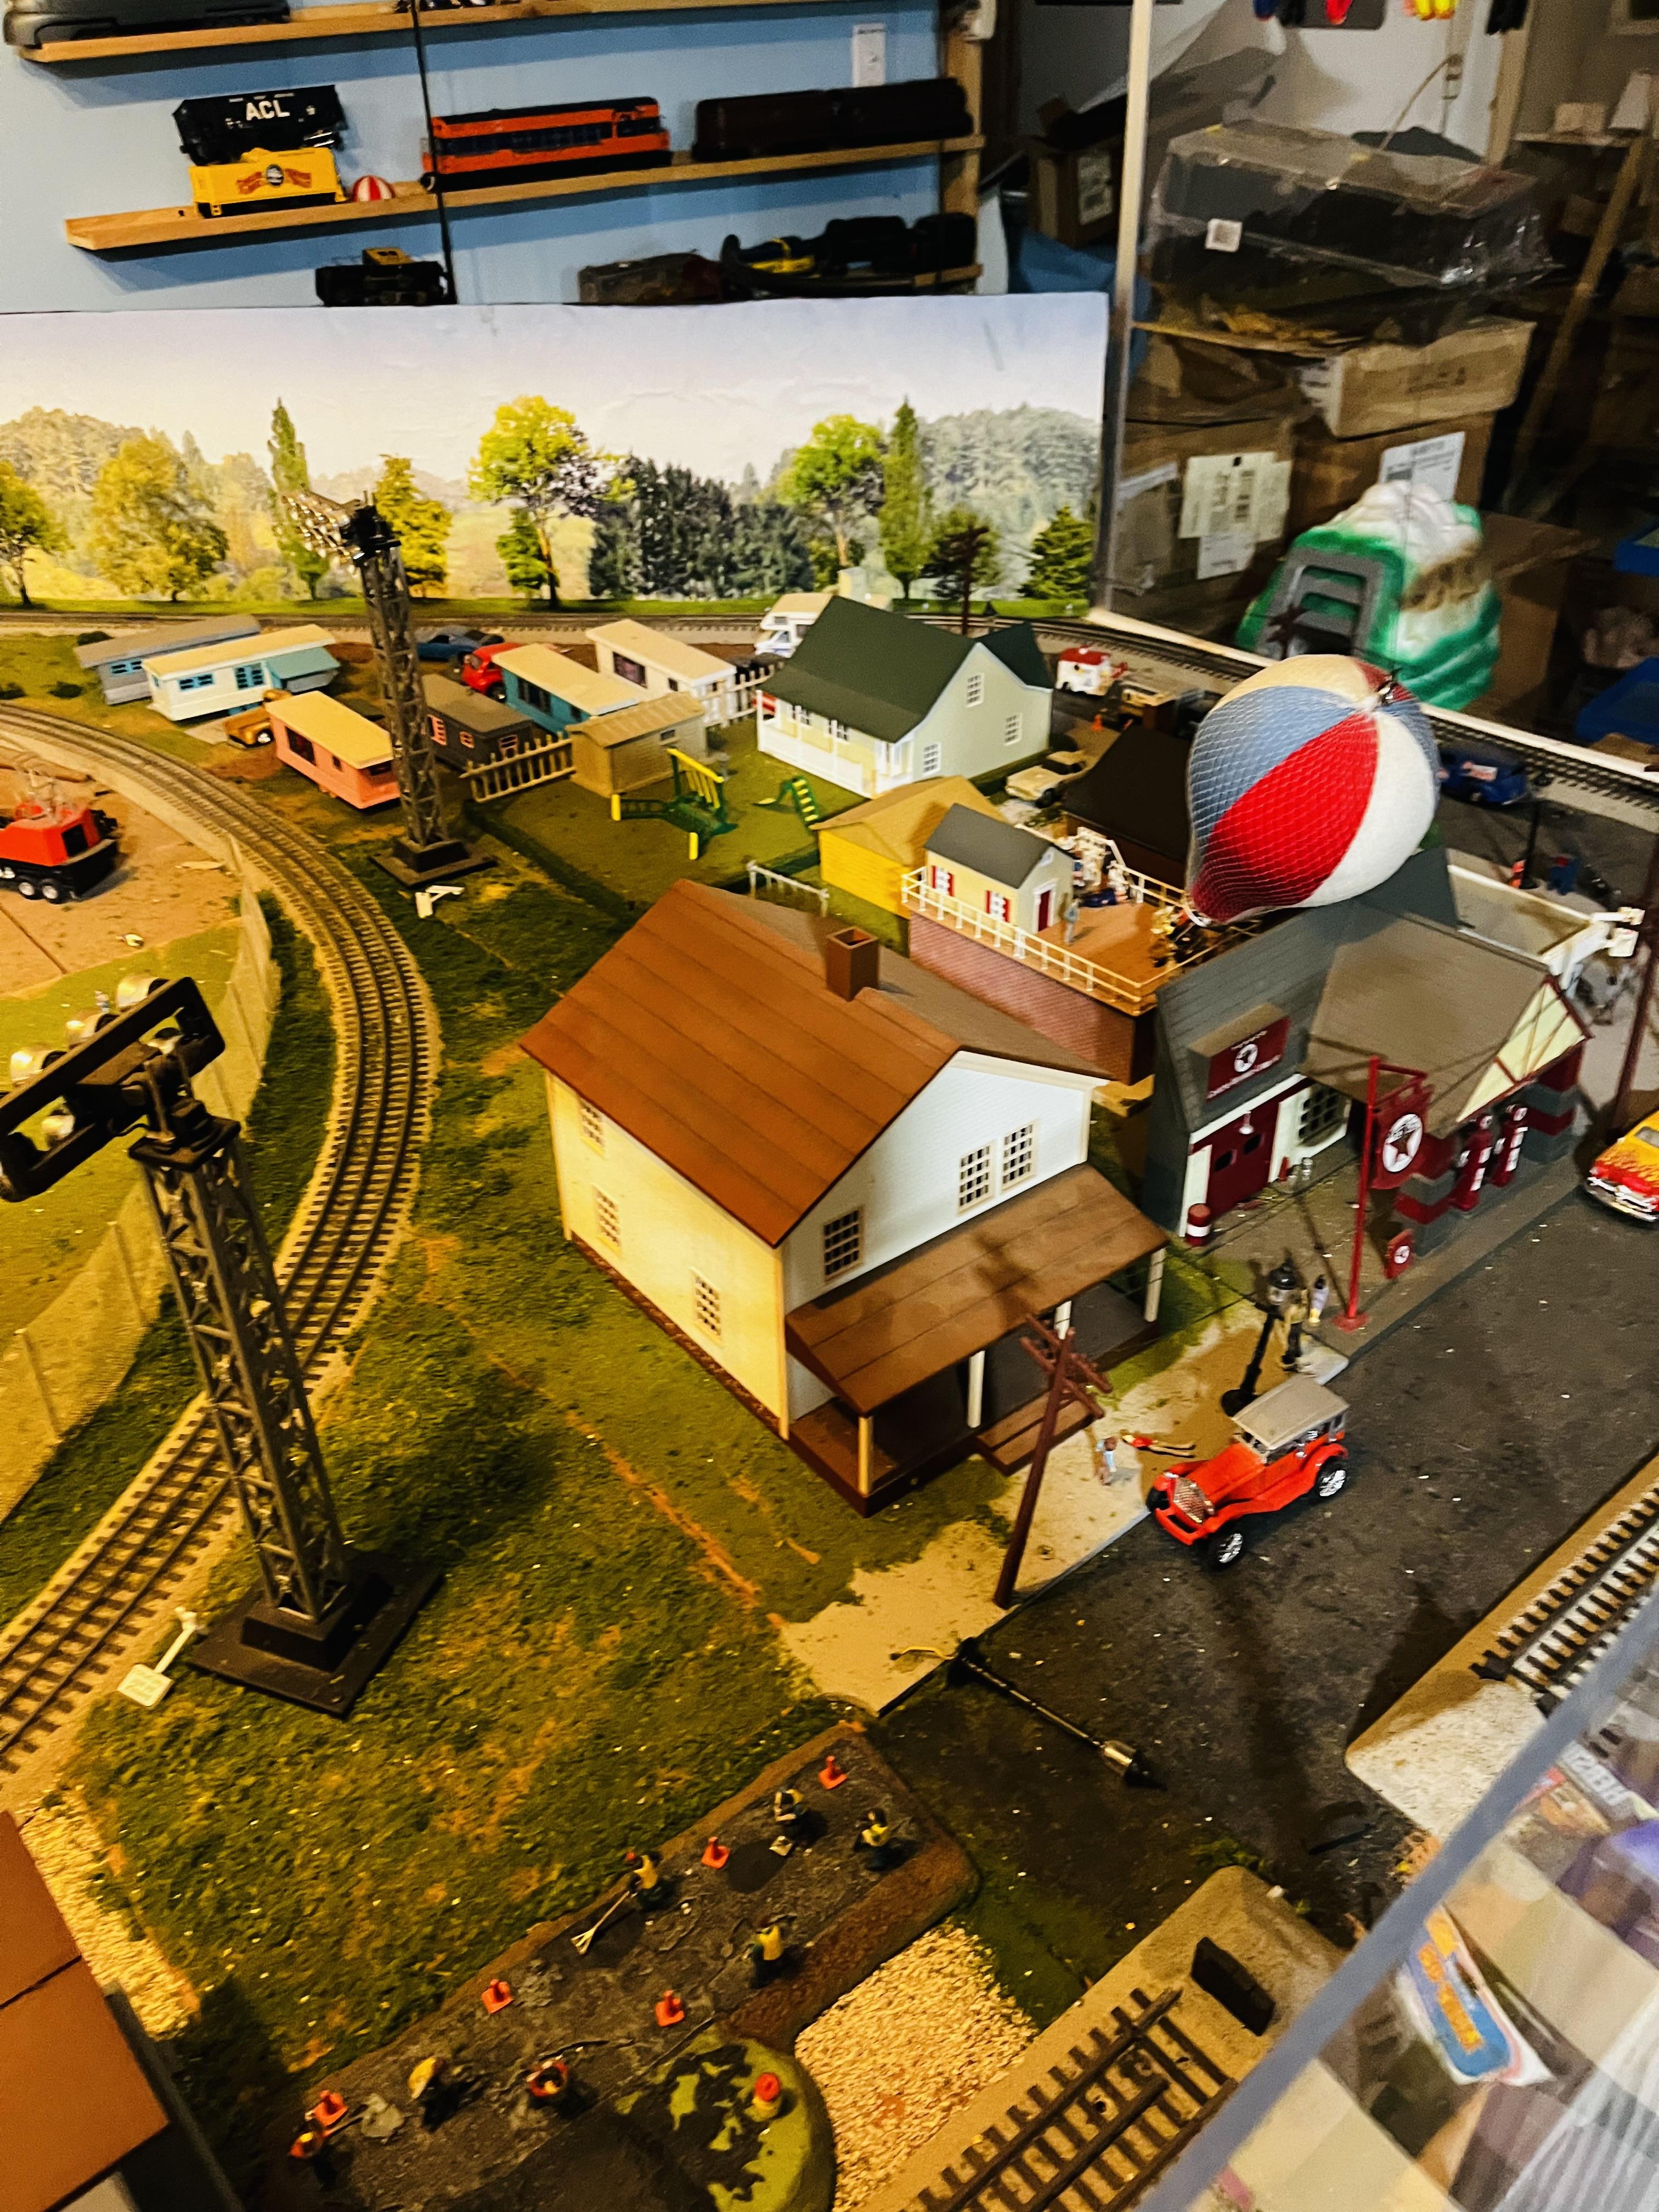
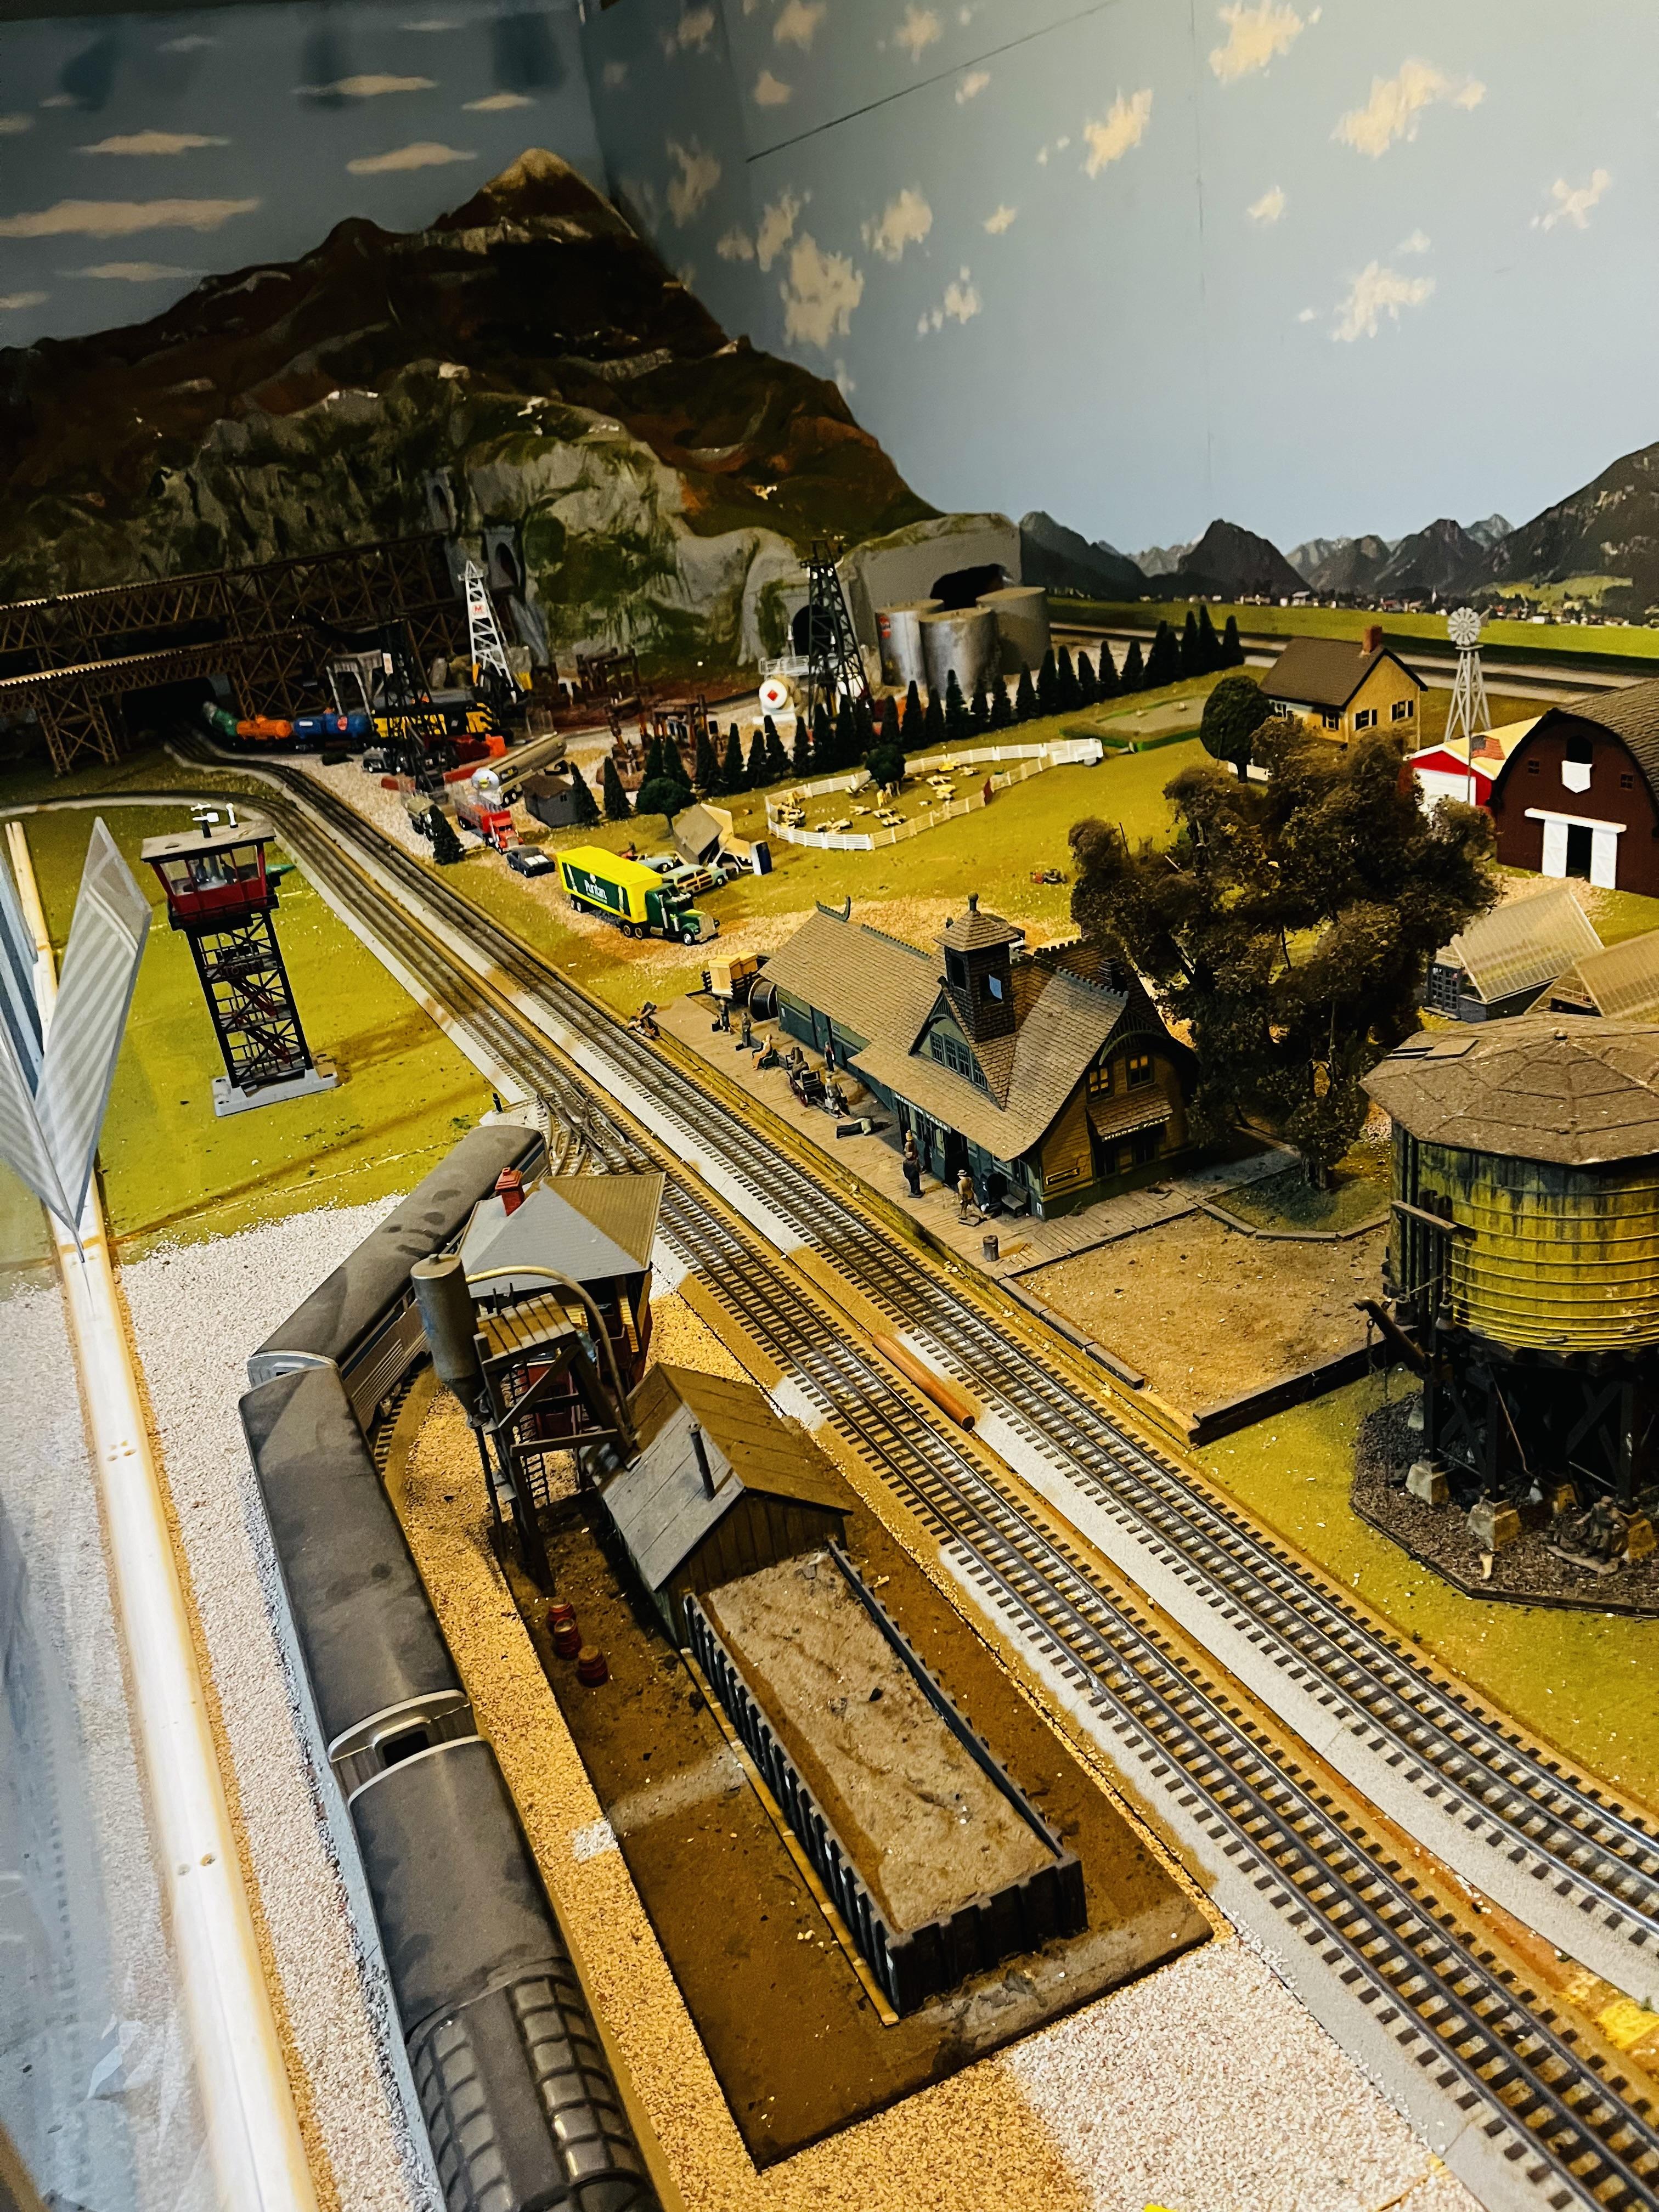
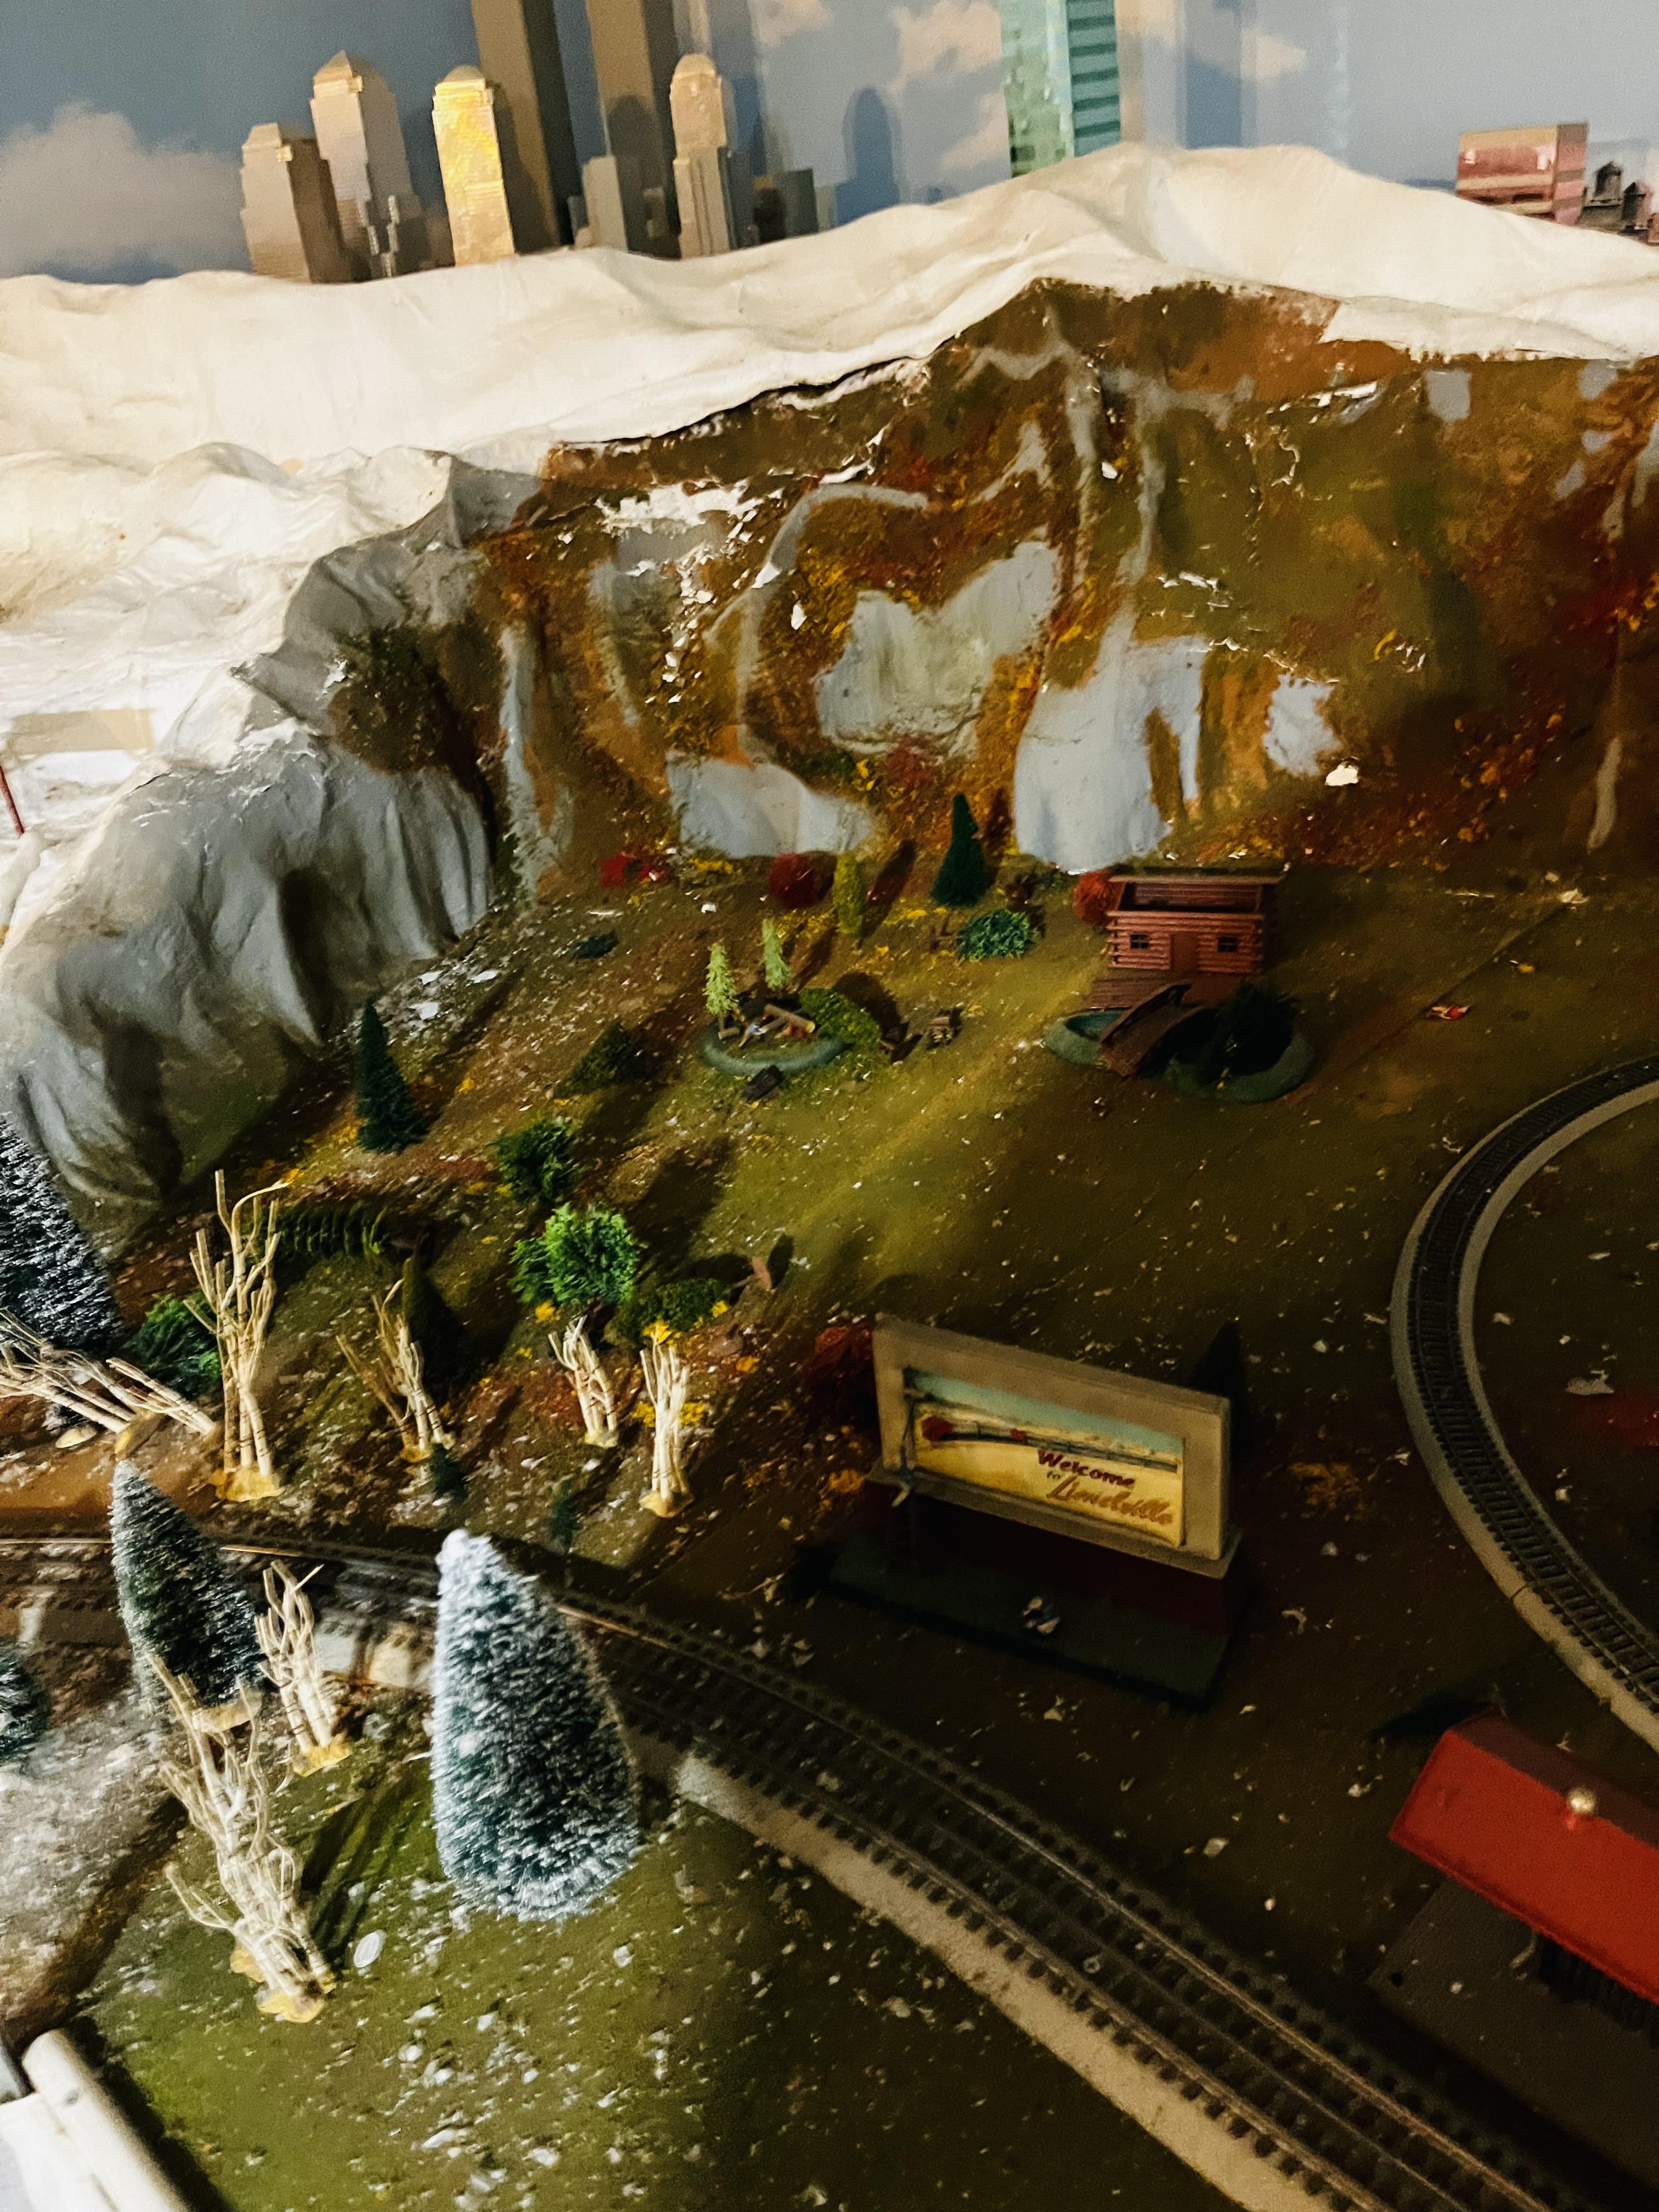
I was driving around running some errands yesterday,when I came across an old model RXR club/museum.I wasn’t sure if they were still open.I pulled up to the building and noticed an elderly gentleman outside.I asked him if the museum was still open,since the sign was still up.He informed me that he had closed the museum about five years ago,because he was suffering from cancer,and most of the club members had either moved away,or passed away.He stated that the giant(Lionel) layout was still up,& sort of running..And the entire thing was for sale.This is some of what he showed me(there were a lot of other boxed up trains in another room for sale as well).I was just blown away.He's asking around 10K or so for everything.I do believe I may have two friends of mine,along with myself,that might make the investment.🤞I hope..

-
Very appealing colour combo there Mike, well done. Cheers, David. 😎👍
-
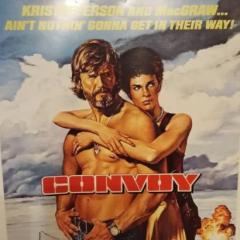
Another "Convoy" Truck!
Jürgen M. replied to Jürgen M.'s topic in WIP: Model Trucks: Big Rigs and Heavy Equipment
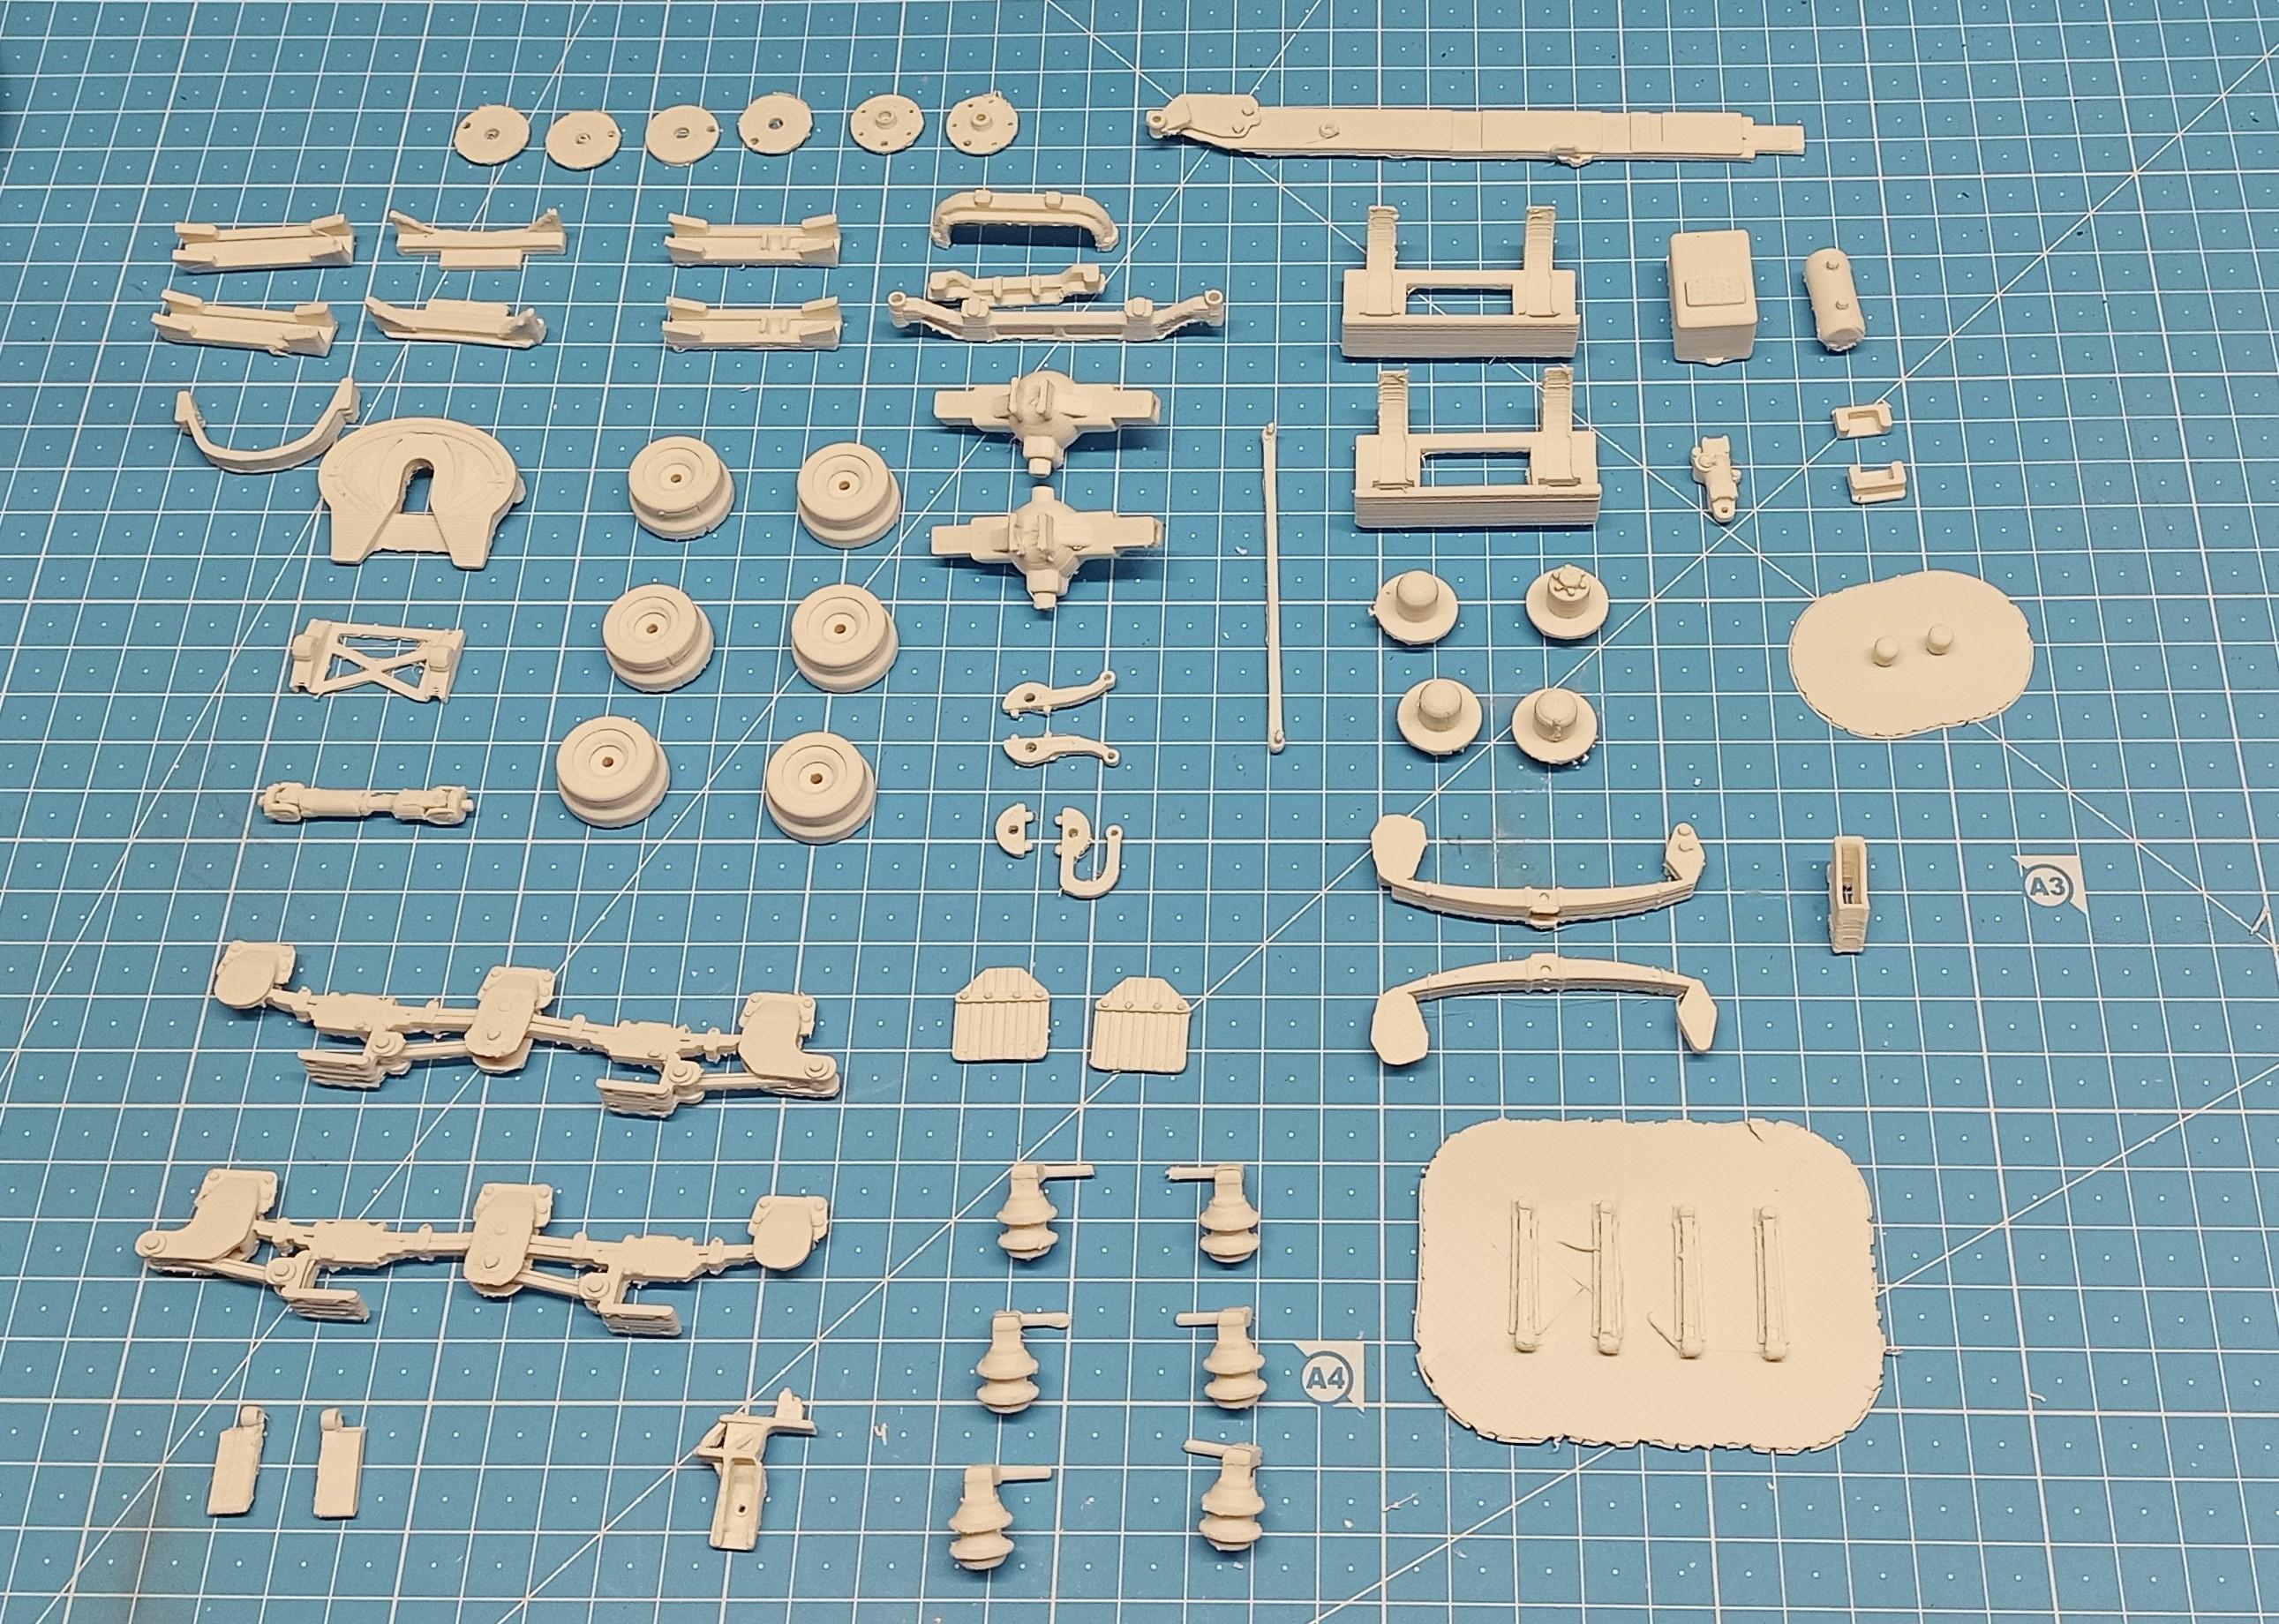
These are the first printed parts. They're unprocessed though, meaning they have to be deburred, grinded and filament threads have to be cut off. Some prints didn't work out OK, some just don't look good so I'll have to redo them.
-
thank you jeff,yes the f-8 green is my fav also
-
The only thing I like about this reissue kit is the tires !
-

DDA Collectibles Ford Falcon XY
alan barton replied to Michael jones's topic in Car Kit News & Reviews
Beautiful job, Luke, you really have done it justice. And ShaunS, thanks for the comparison views, that does it illustrate the difference very well indeed. Funny how a line out here or there can have so much impact on style! Cheers Alan -
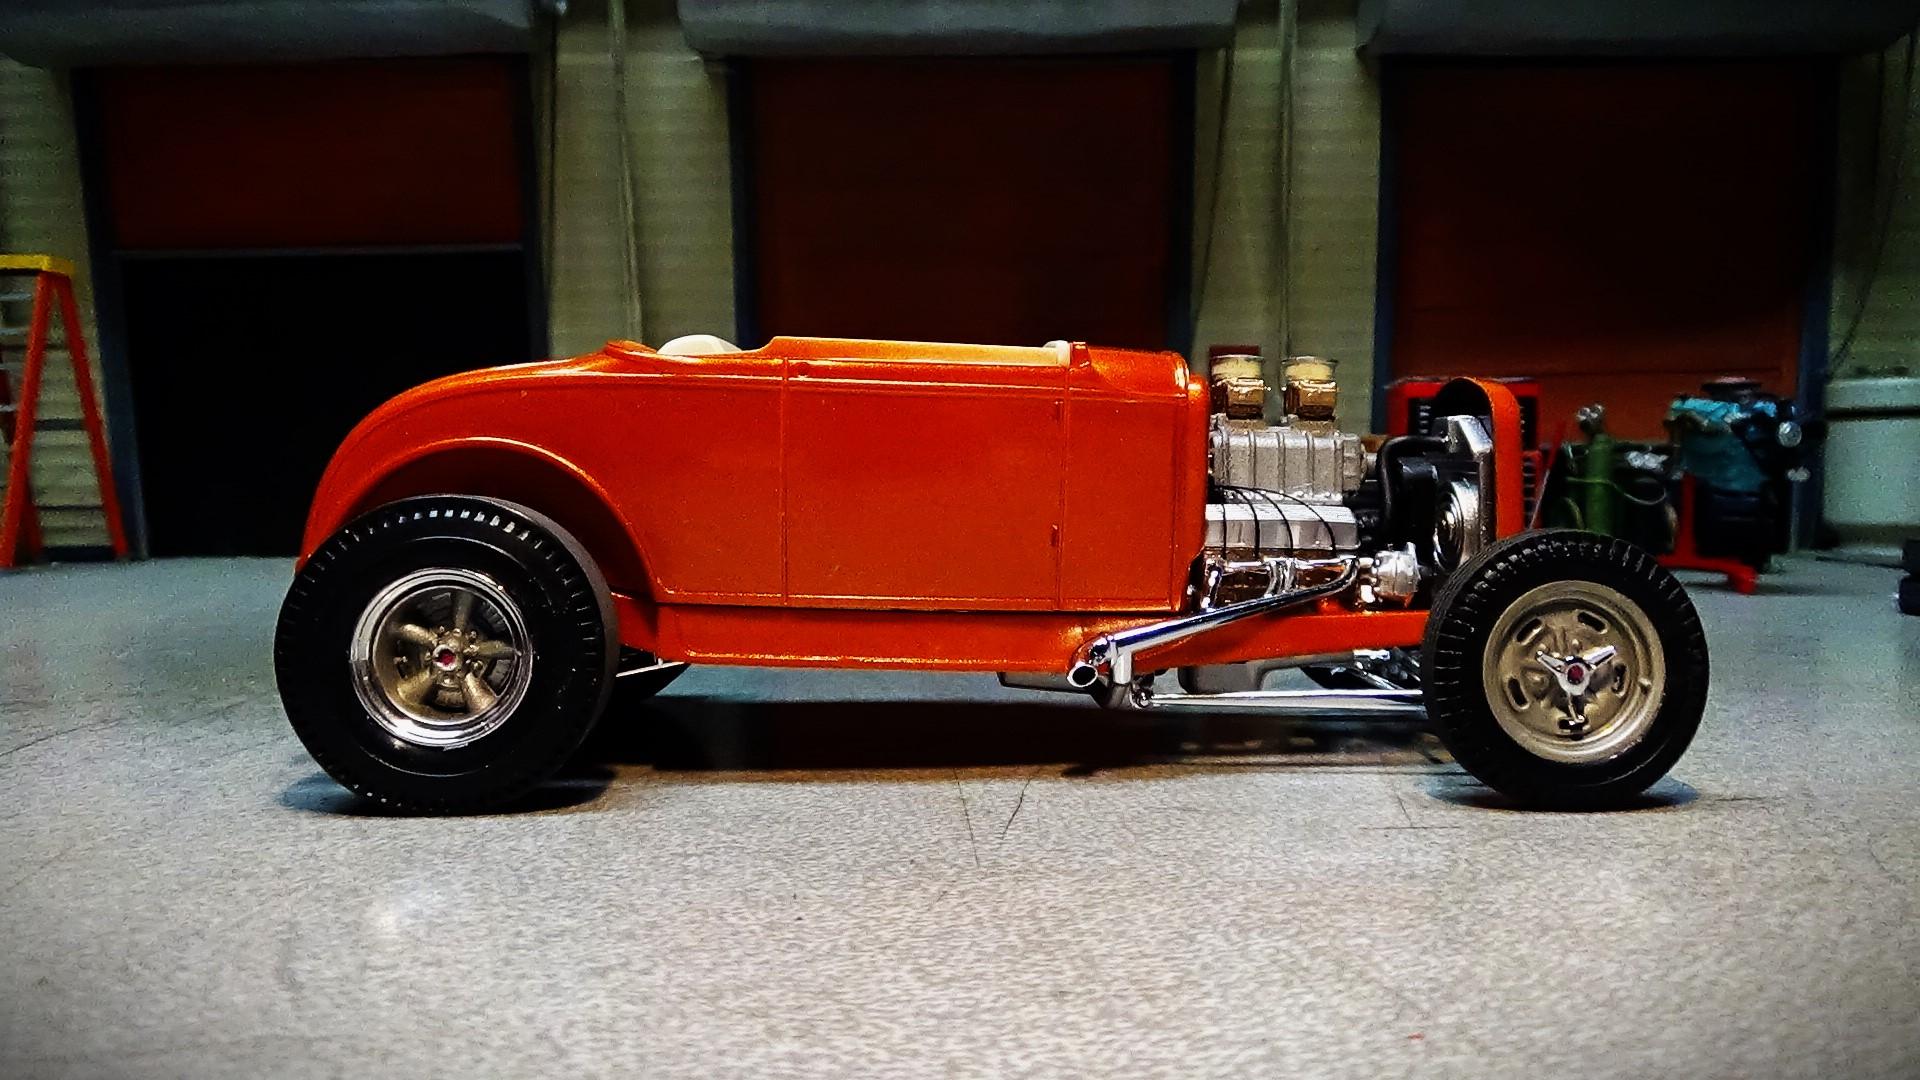
My Monogram Deuce obsession - a lifetime of hot rod models!
alan barton replied to alan barton's topic in Model Cars
Thanks everyone for the kind comments. Thank you Craig and Pete for adding your models to the post. The more the merrier! Cheers Alan -
after a test fit the body was mounted on the chassis.
-
Beautiful fleet of Plymouths there Nicholas, I especially like the engine detail. Well done. Cheers, David. 😎👍
-
Killer color. outstanding work
-

Warlock
ncbuckeye67 replied to Hard_2_Handle_454's topic in Model Trucks: Pickups, Vans, SUVs, Light Commercial
I think it looks great! We know what to expect from these MPC kits by now, so just because it's new, doesn't mean they corrected any of the flaws. The Lil Red Express was just as horrible to build, and the D-100 was only slightly less of a pain to deal with. But yes, I will still be getting one of these Warlocks because it's such a cool looking truck. -
That's a pretty cool old school Jeep!
-
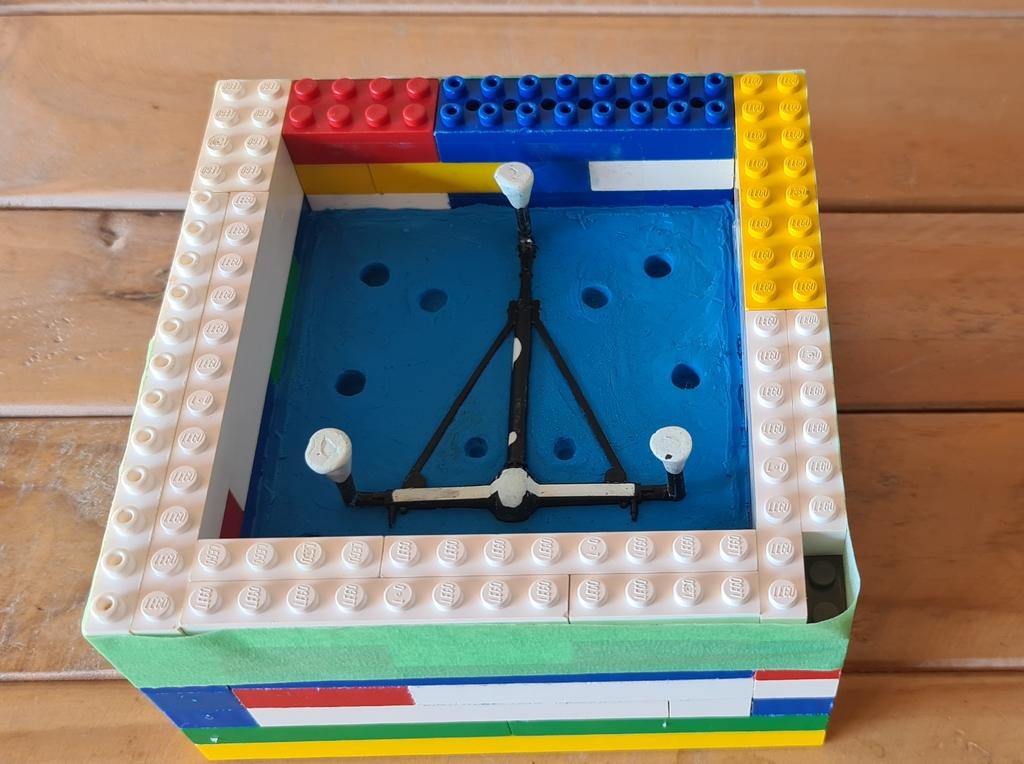
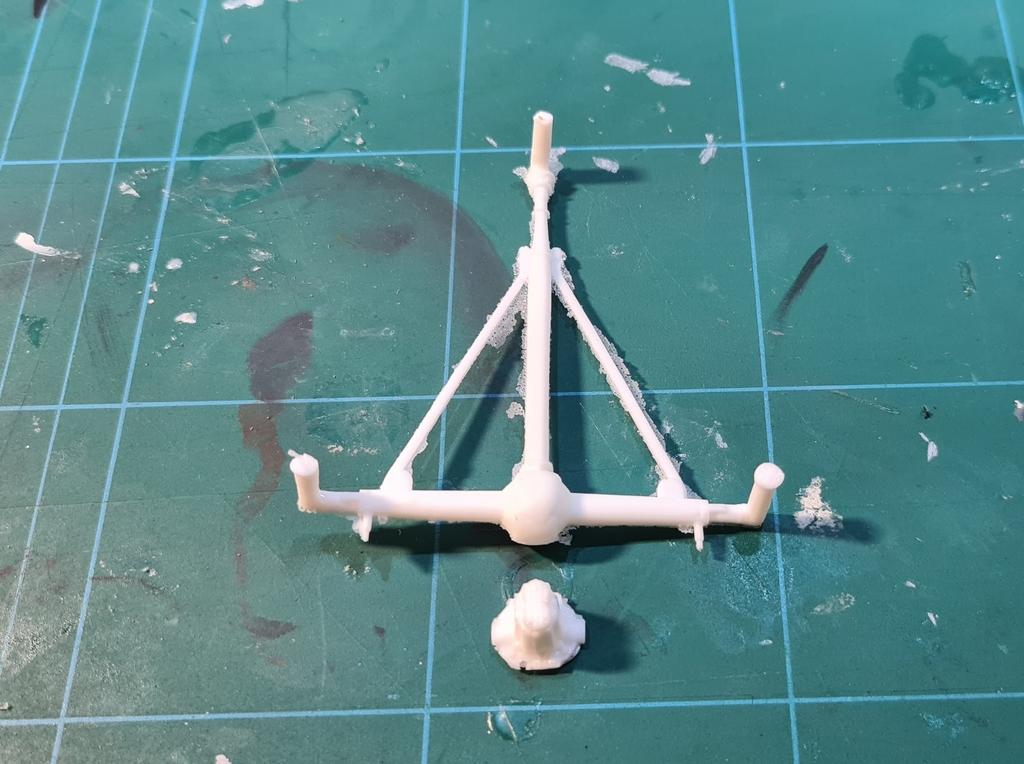
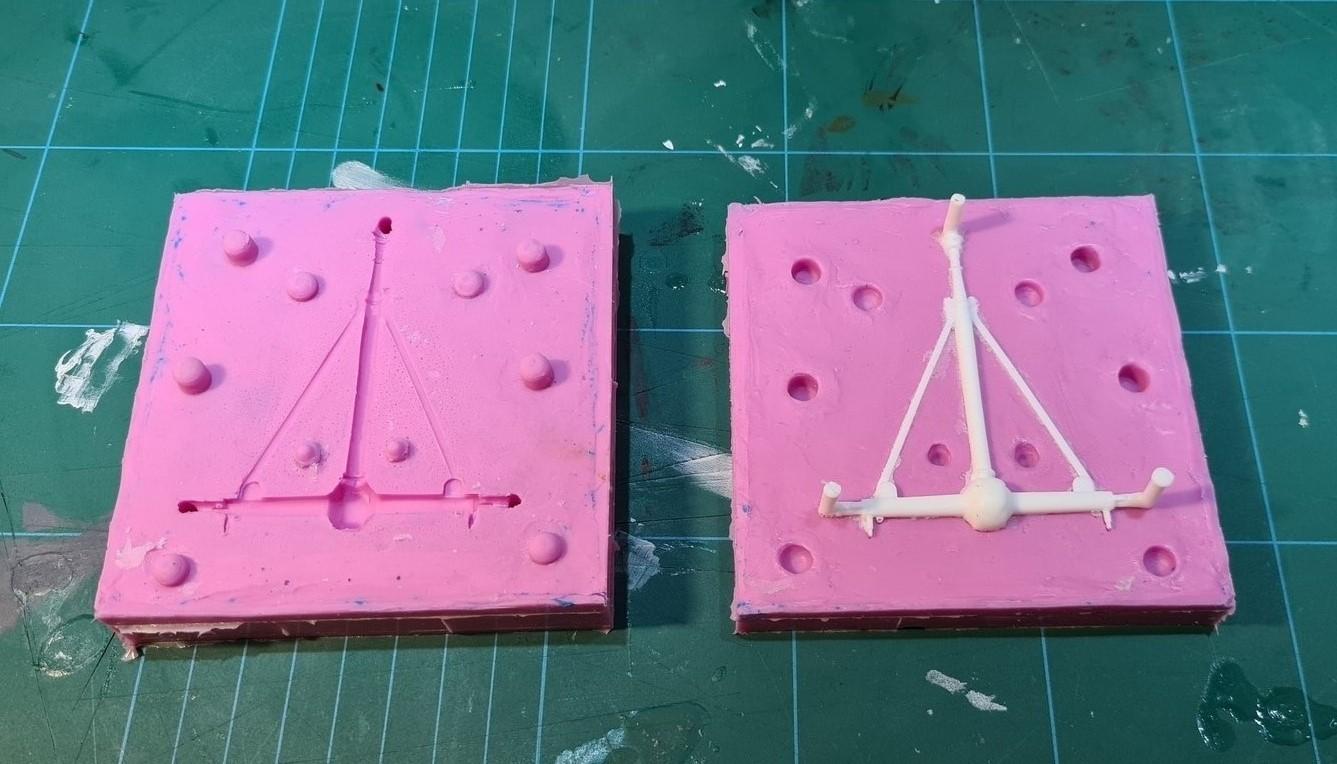
Another quick update on progress with making my own quick change diff. First up I prepared the plug by attaching some runners to aid in pouring the resin into the mold and made a dam out of Lego bricks. I filled the bottom of the bricks with modeling clay and mounted the diff into the clay. After poring silicon into this half of the mold I turned the mold over removed the clay and brushed with mold release the poured the second half of the mold. My first attempted at poring the part in resin resulted in a large air bubble on the top of the diff nugget Apart from that it came out pretty good taking into consideration that this is only the second attempt ever of casting my own parts. Once I figured out how to solve the air bubble issue I poured a second part and this time it came out with no bubble. Next up is to cut up the backing plate casting and graft the two parts into one. The flash on the if is not as bad as it looks in this photo and will clean up nicely. All in all I am pretty happy with the result.
-
55 Cameo
ncbuckeye67 replied to Rattlecan Dan's topic in Model Trucks: Pickups, Vans, SUVs, Light Commercial
That is a beautiful build! I personally have a strong dislike for the Cameo bed, it's kicked my butt before, and I've not gotten over it, Lol. -
All four are beautiful! Your paint work is amazing, but I have to say that green is my favorite of the bunch.
-
I’m pretty sure that came out again. So much better with vintage horsepower.
-
interior was done up out of the box using krylon off white and testors matt rubber. steering wheel still to do. instrument cluster was sprayed with testors dull coat.