Gldknght7
-
Posts
45 -
Joined
-
Last visited
Recent Profile Visitors


Gldknght7's Achievements
MCM Regular (3/6)
-
Tyrone Malone
Gldknght7 replied to Gldknght7's topic in WIP: Model Trucks: Big Rigs and Heavy Equipment
Thank you, sir. -
Tyrone Malone
Gldknght7 replied to Gldknght7's topic in WIP: Model Trucks: Big Rigs and Heavy Equipment
I know. It's the same with all of the metalizer type paints. -
Tyrone Malone
Gldknght7 replied to Gldknght7's topic in WIP: Model Trucks: Big Rigs and Heavy Equipment
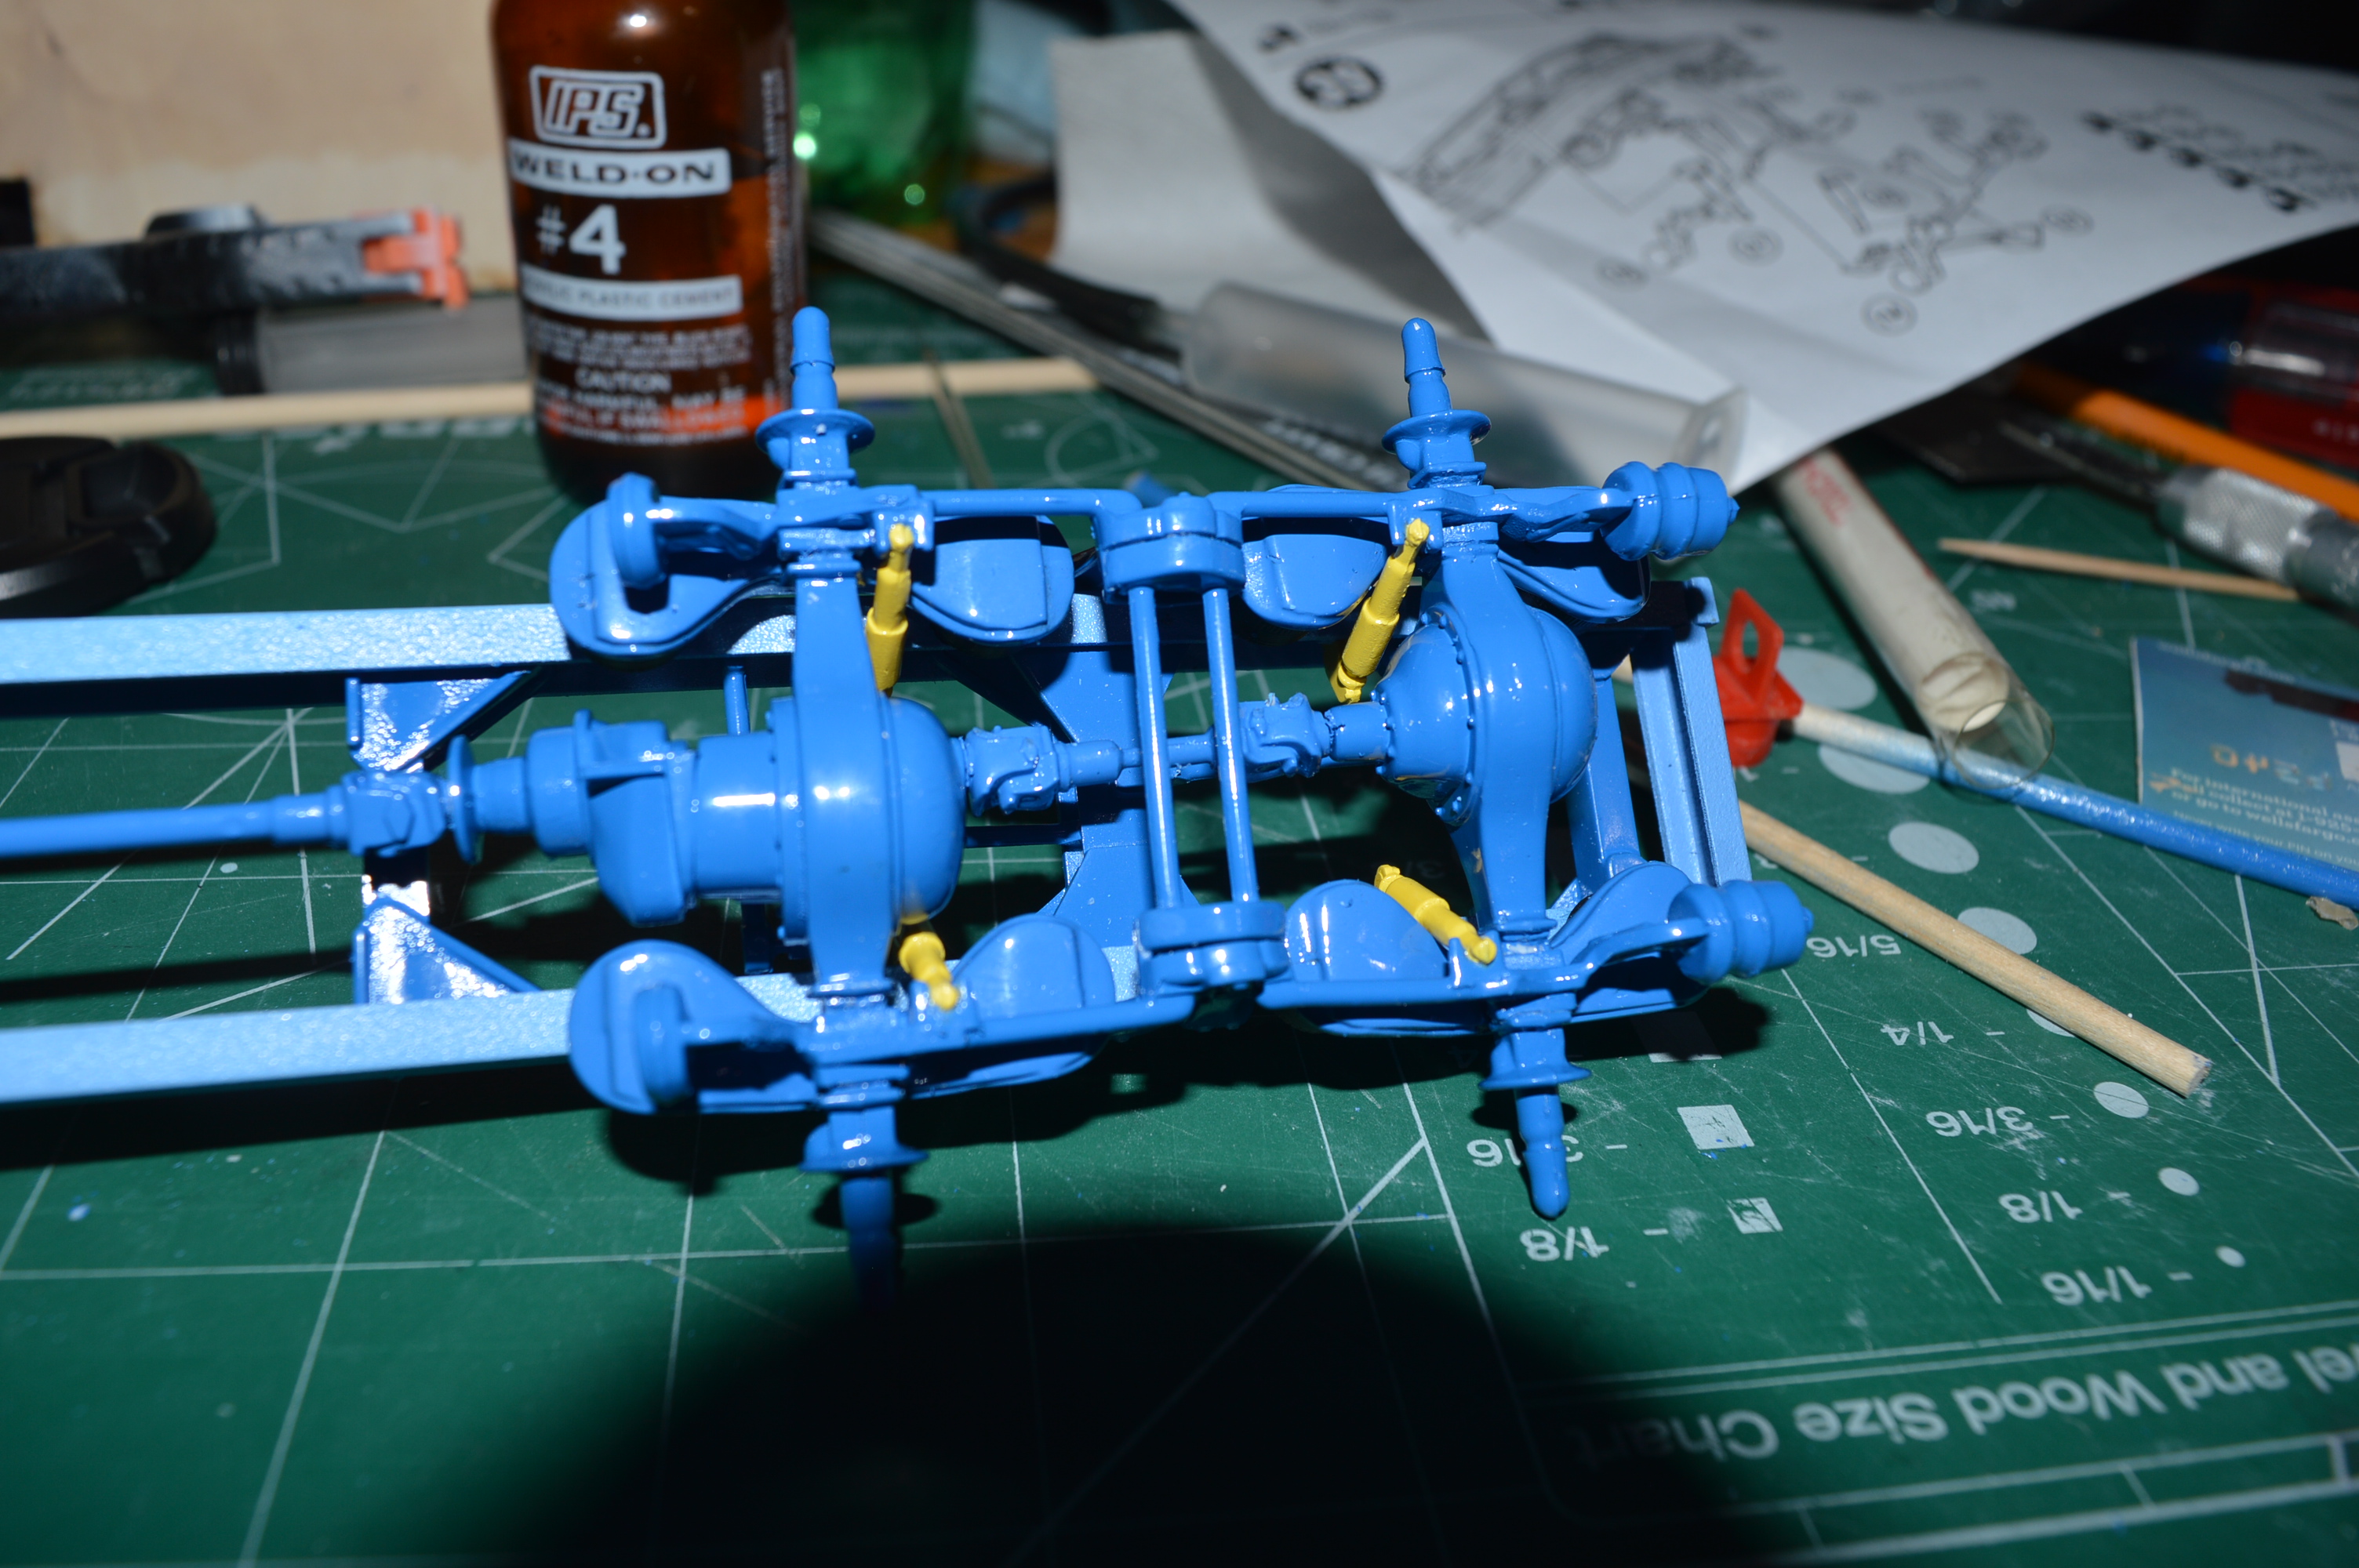
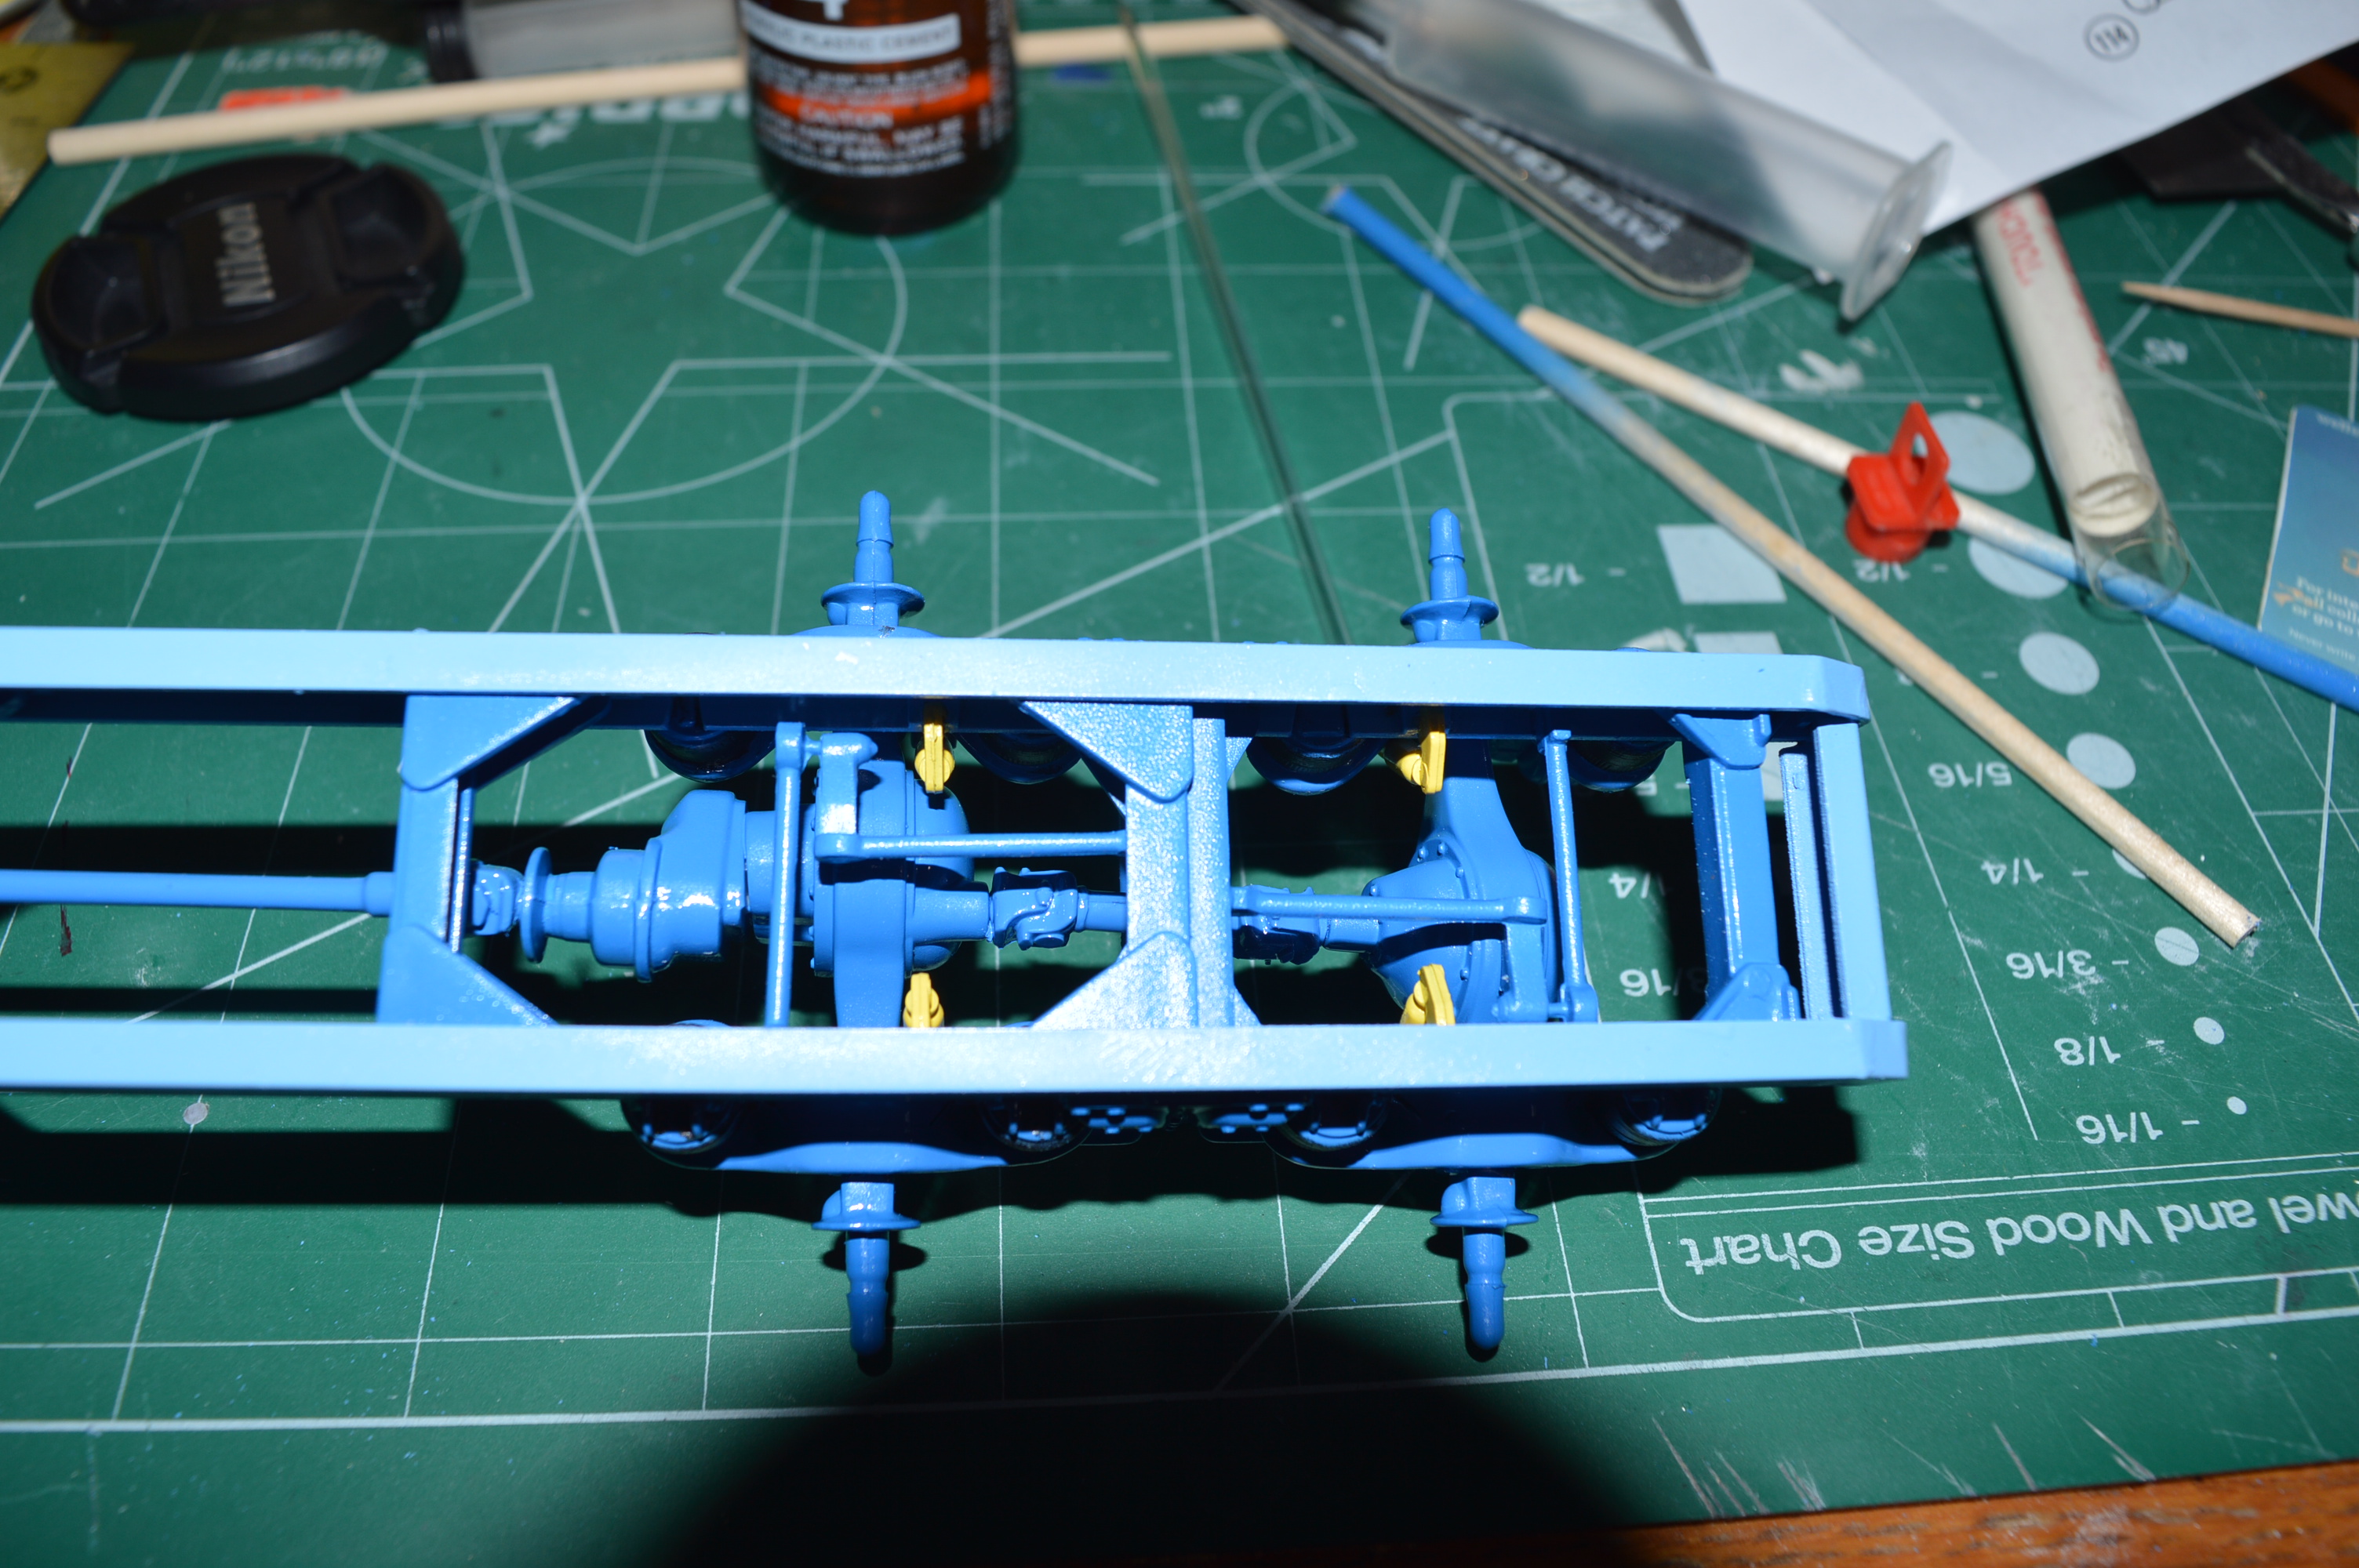
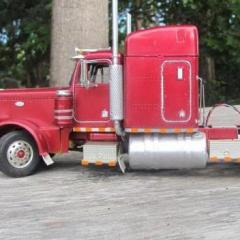
"There be wheels here!" When dry fitting the rear axles, there is quite a bit of forward and backward "slop", so I glued in the motor and drive shaft, then used that as a guide to position both rear axles. Next, I will tackle the fuel tanks. At first i was just going to paint them light blue to match the frame, but now i think I will try out the Alclad aluminum paints I bought recently. I've never used Alclad before, so this could be interesting.
-
Tyrone Malone
Gldknght7 replied to Gldknght7's topic in WIP: Model Trucks: Big Rigs and Heavy Equipment
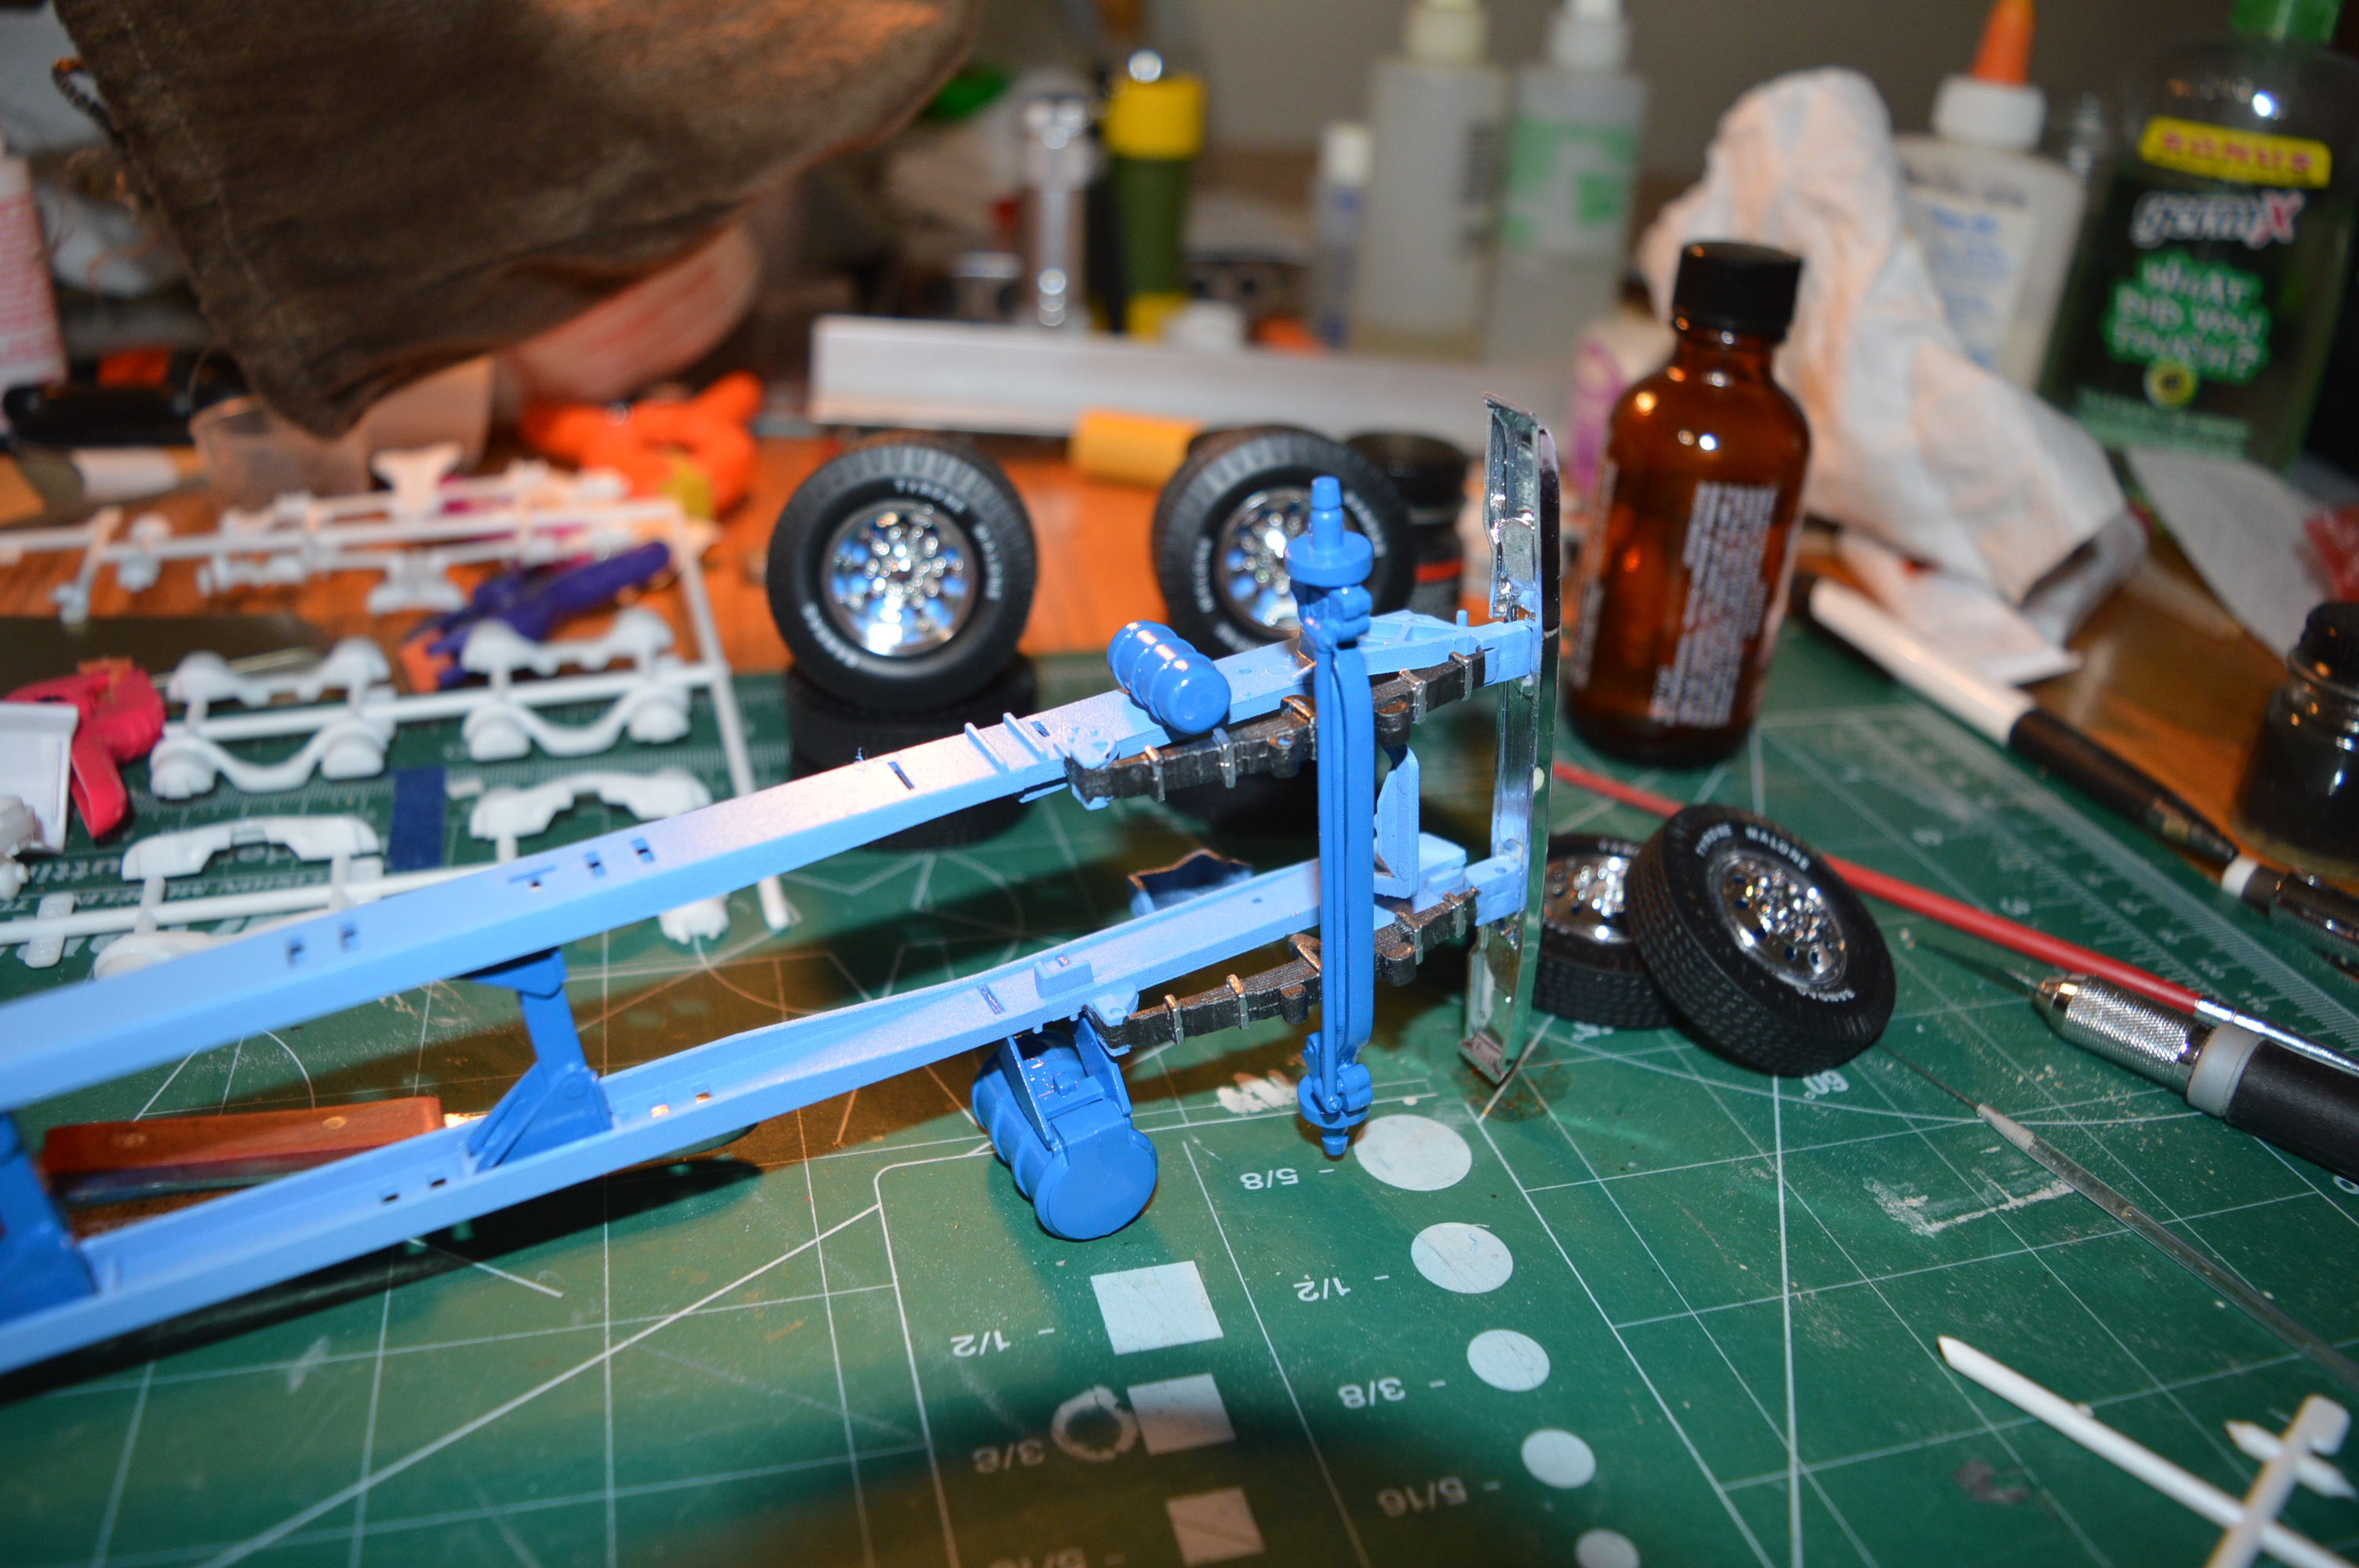
I made some more progress yesterday in between catching up on house-hold chores. Accurate or not, this has to be one of the most complex suspension systems I've ever built on a model:
-
Tyrone Malone
Gldknght7 replied to Gldknght7's topic in WIP: Model Trucks: Big Rigs and Heavy Equipment
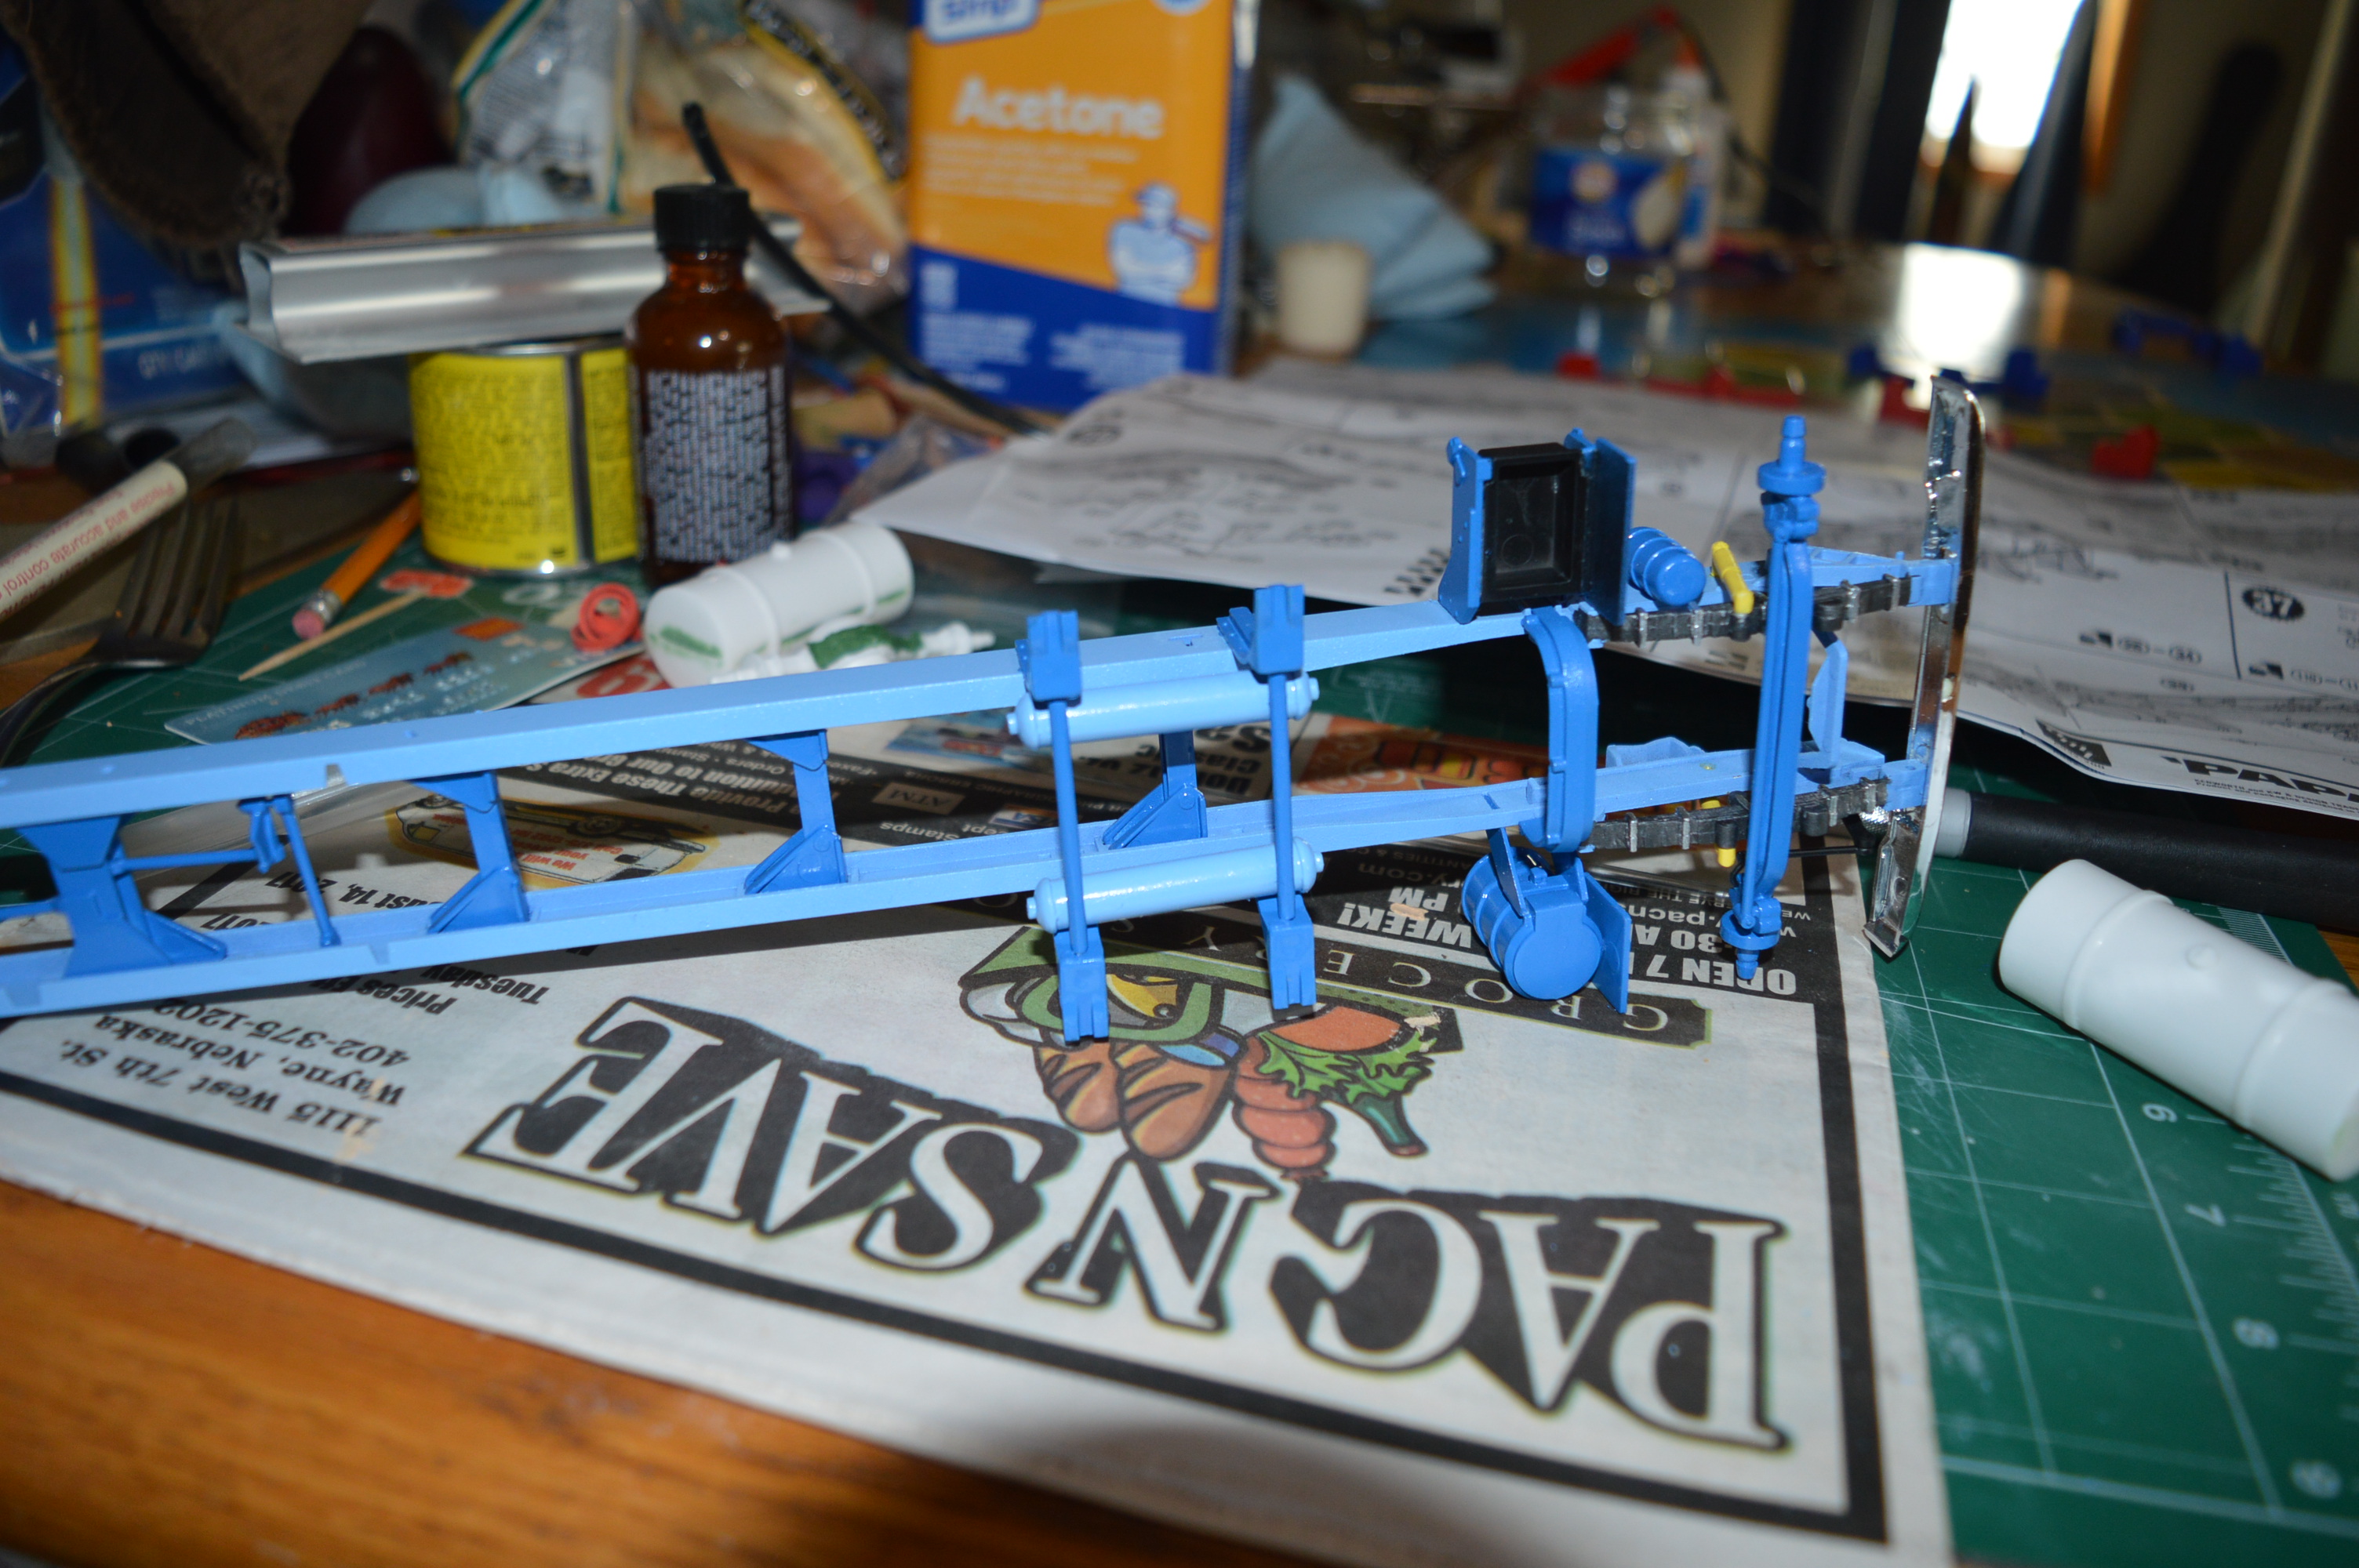
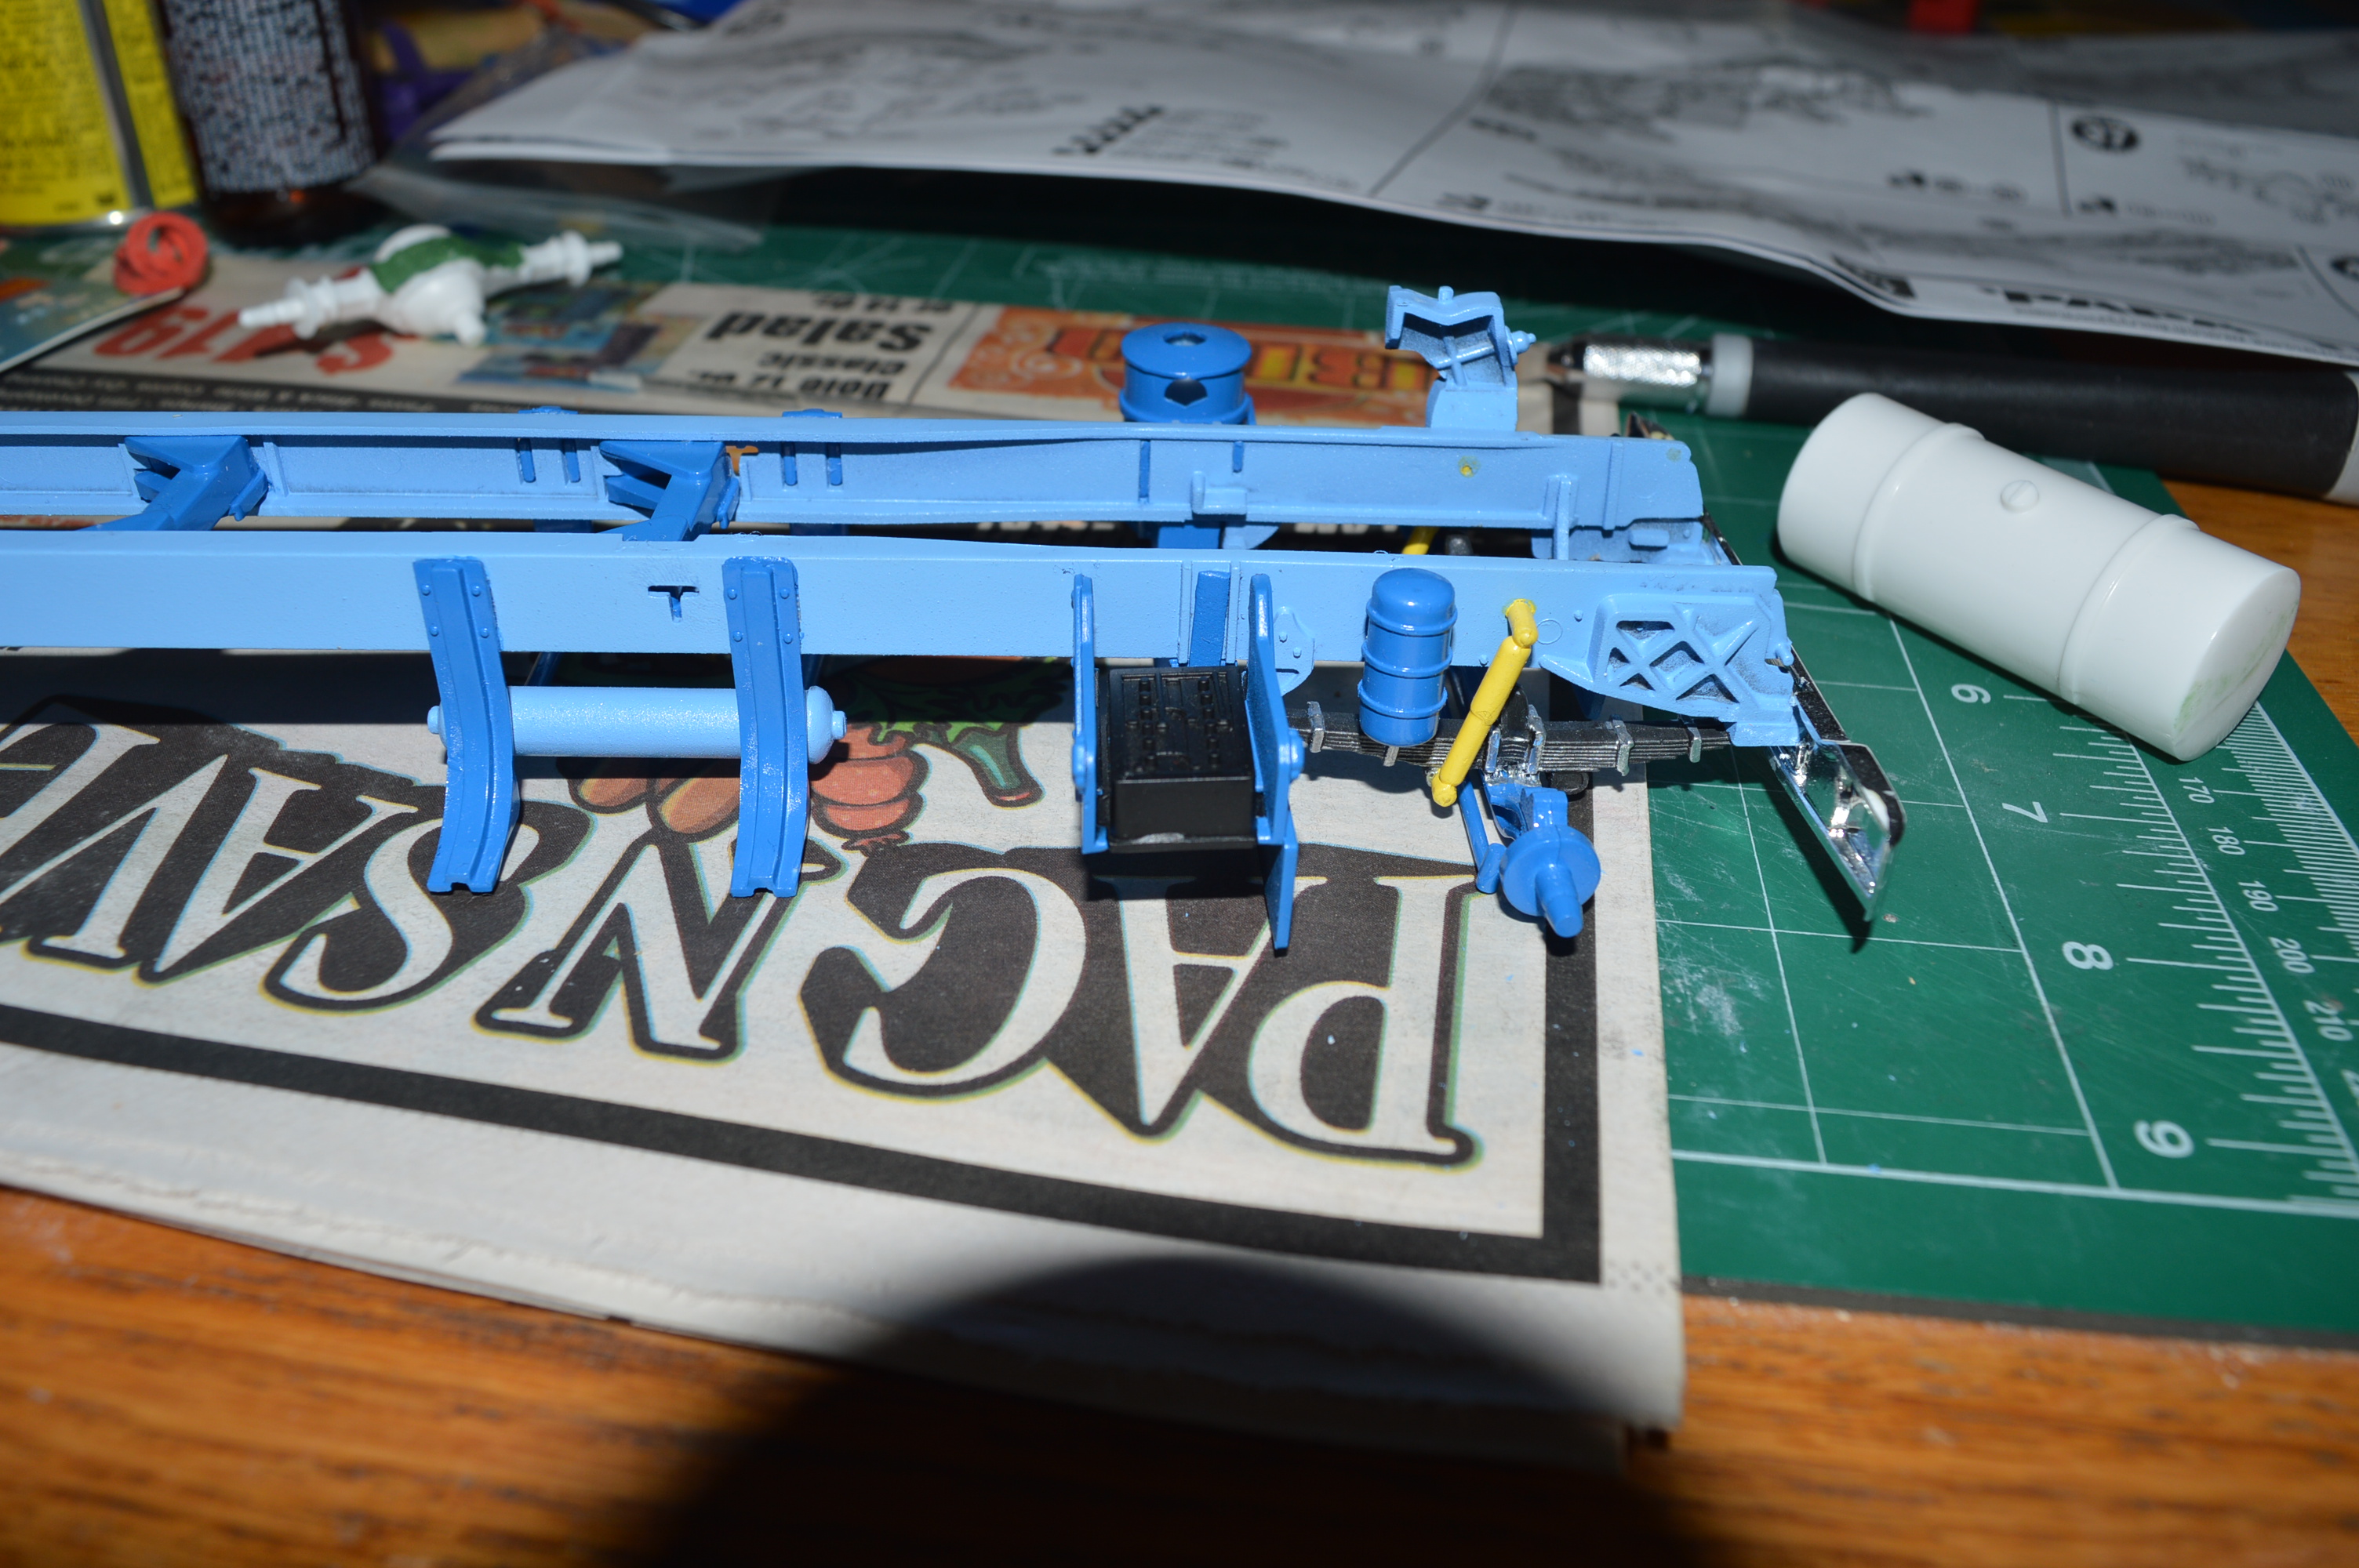
I could find no reference photos of the frame on the Papa truck. The instructions called for gold paint, which I did not like. Gold and aluminum (silver) paints are my kryptonite, so I decided to match this frame color to the frame color of the Super Boss. I don't think much of the frame on this will be visible anyway. Also, I'm using the dark blue on some parts for contrast. I initially intended for the blues to be closer in color, but at the time, this is what the store had for blue paint, and I'm too far into the project to repaint. I think it looks pretty good as is. For me, all one color has no depth. I'm probably the only one who will ever see these models in real life, and for those "know-it-all" purists and "correct replicas" snobs out there, I don't give a ..... ! -
Tyrone Malone
Gldknght7 replied to Gldknght7's topic in WIP: Model Trucks: Big Rigs and Heavy Equipment
I'm not certain yet if I'm going to detail the battery. There is a cover that goes over the top, making the battery invisible, but even if I leave the cover off, I'm not sure if any of it will be visible after the side fairings are installed. -
Tyrone Malone
Gldknght7 replied to Gldknght7's topic in WIP: Model Trucks: Big Rigs and Heavy Equipment
Greetings, all. My shoulder is healing slowly according to my doctor. At least it's well enough to work on some plastic now and then. Here are a couple photos of my progress this weekend:
-
Tyrone Malone
Gldknght7 replied to Gldknght7's topic in WIP: Model Trucks: Big Rigs and Heavy Equipment
Hey everyone. Just a quick update, this project has taken a temporary pause due to a rotator cuff tendon repair on my right shoulder, but will resume when I have the use of my right arm again. In the meantime, Please try not to de-rail my thread too much, lol. After all, this is a "BUILD" thread, not an "accuracy of the kit" thread! -
Tyrone Malone
Gldknght7 replied to Gldknght7's topic in WIP: Model Trucks: Big Rigs and Heavy Equipment
That's all well and good, but doesn't really help with the fit problems. I'm building these trucks as straight out of the box as possible, since I have neither the time or the resources to scratch build a whole new suspension. Merry Christmas everyone. I'm having shoulder surgery on the 26th, so will see you all next year! -
Tyrone Malone
Gldknght7 replied to Gldknght7's topic in WIP: Model Trucks: Big Rigs and Heavy Equipment
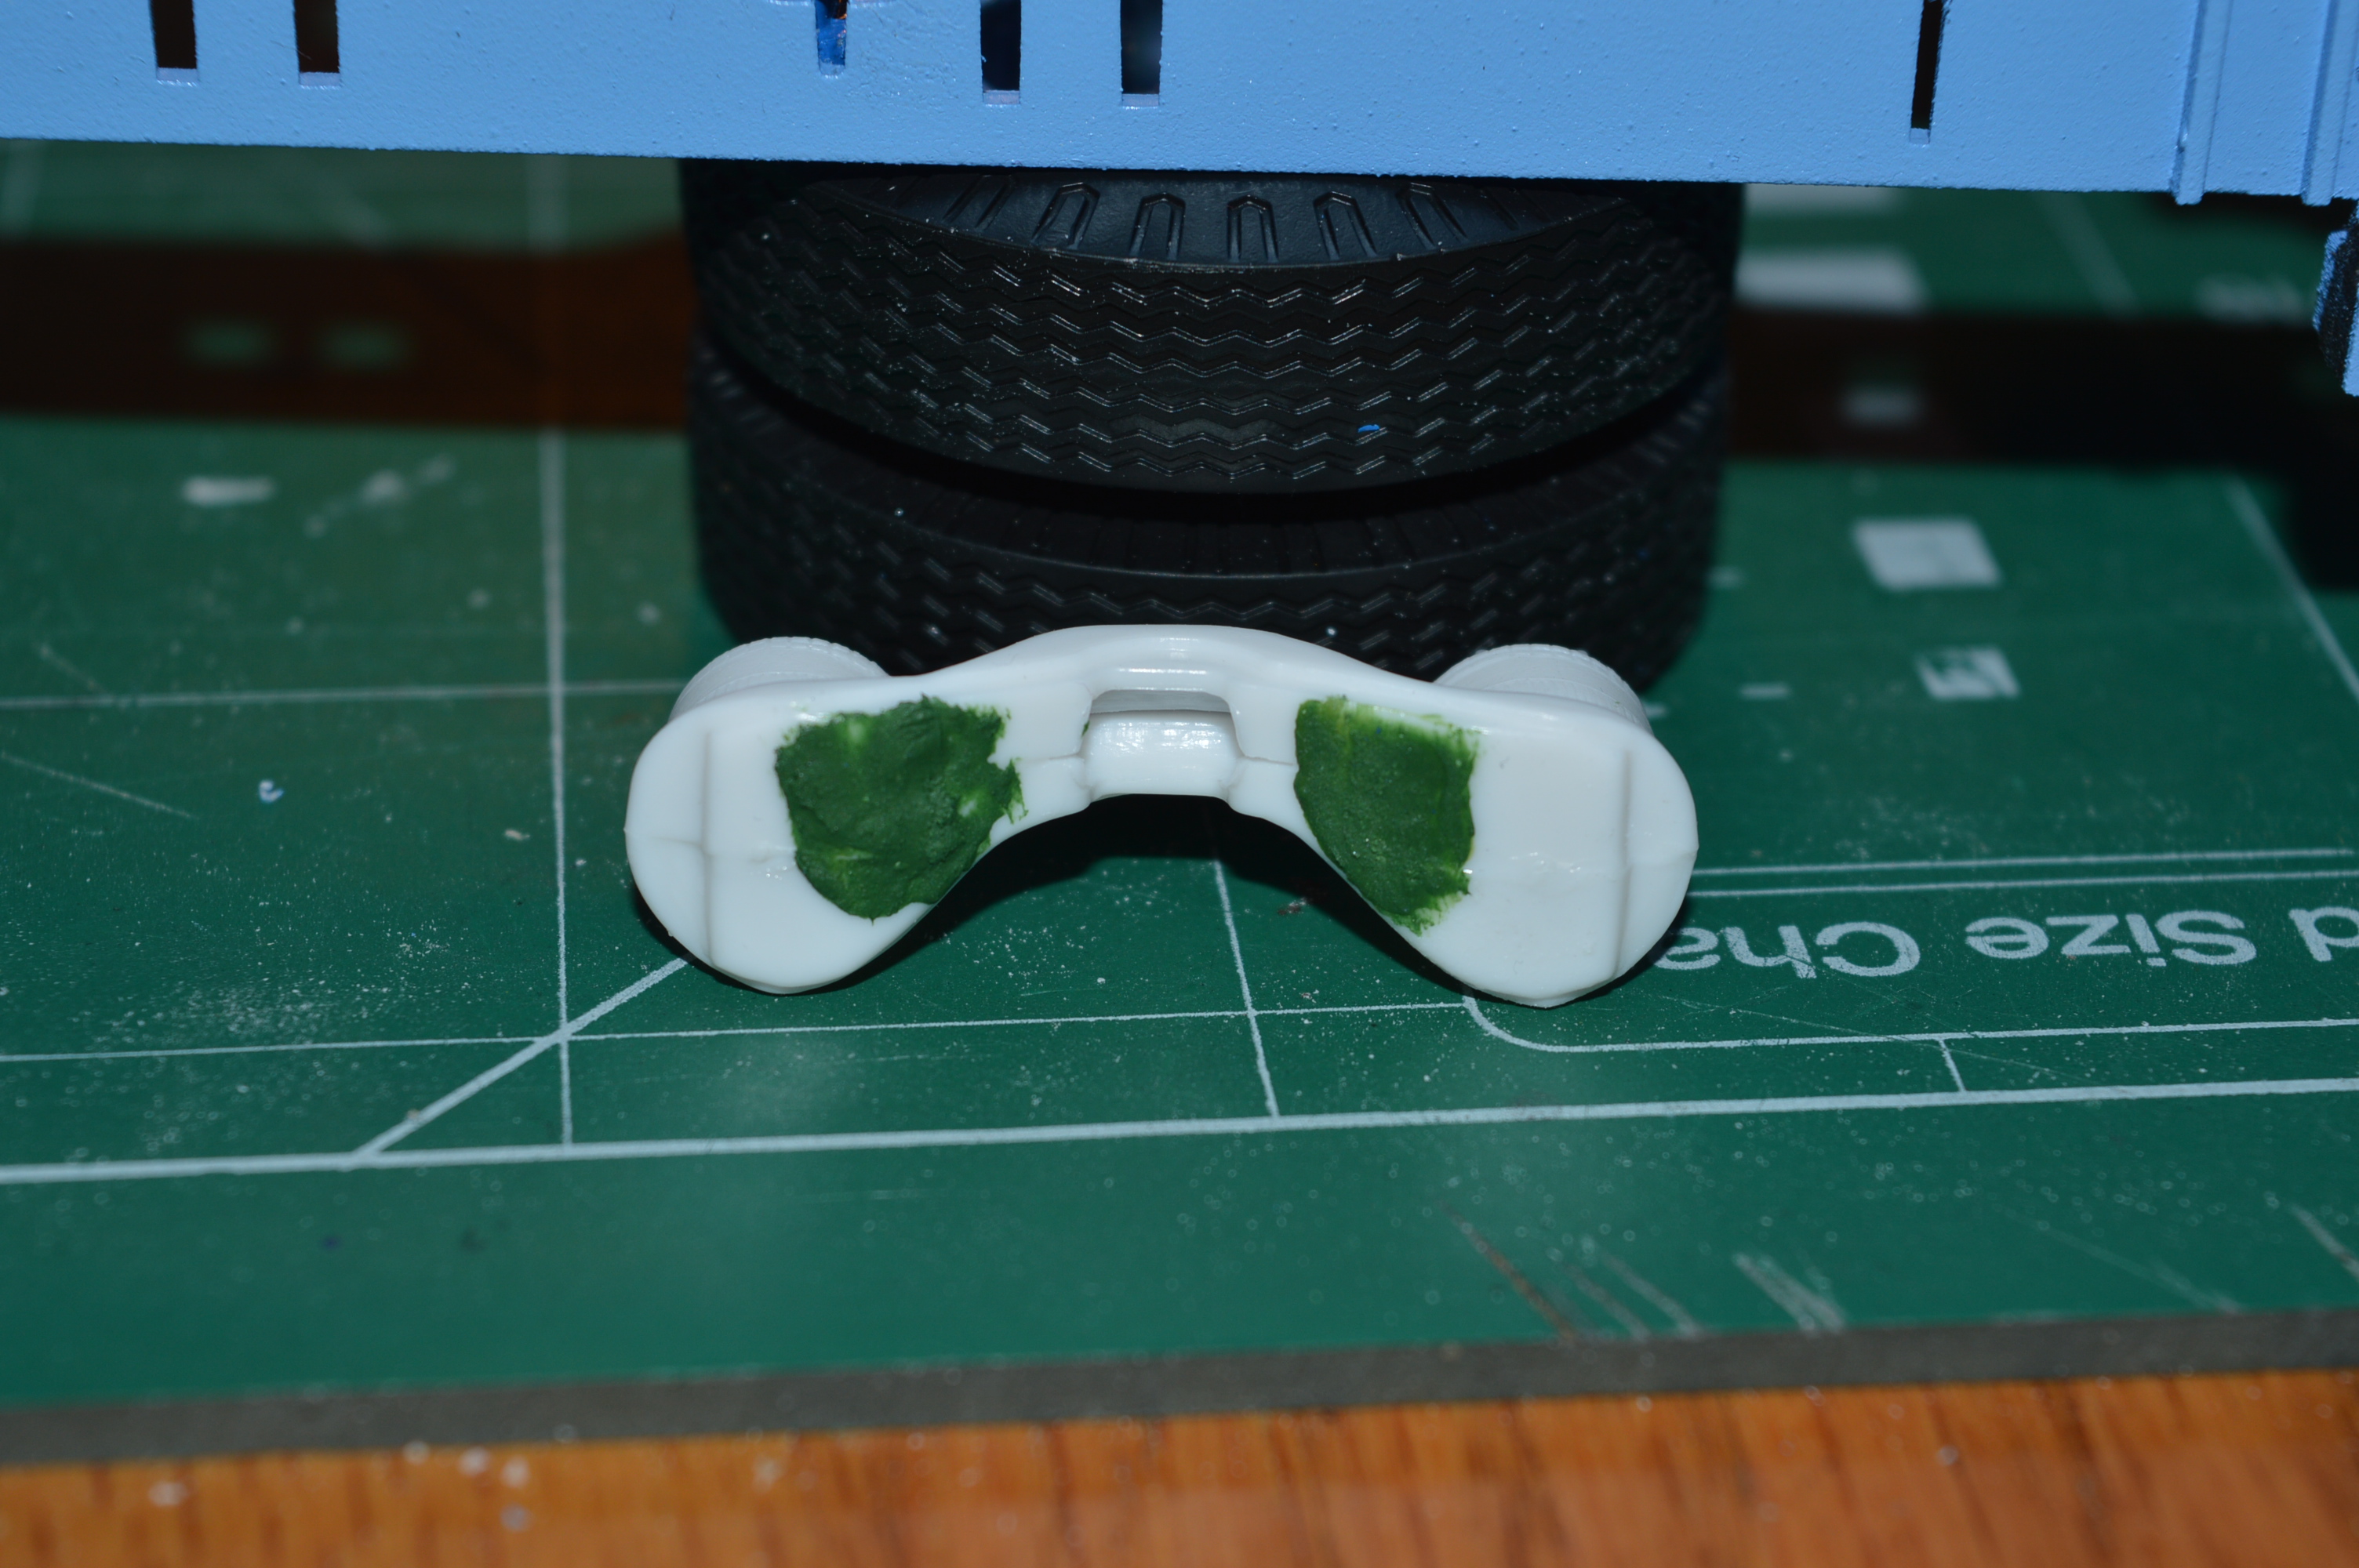
I'm working on the rear axle suspension parts. If Amt was to pick the very worst spot for a bad fit in this kit, these parts would be the spot. There are four of these. I'm not certain yet how visible they will be, but these areas have some bad seams and divots to fill, and in very hard to get to areas:
-
Tyrone Malone
Gldknght7 replied to Gldknght7's topic in WIP: Model Trucks: Big Rigs and Heavy Equipment
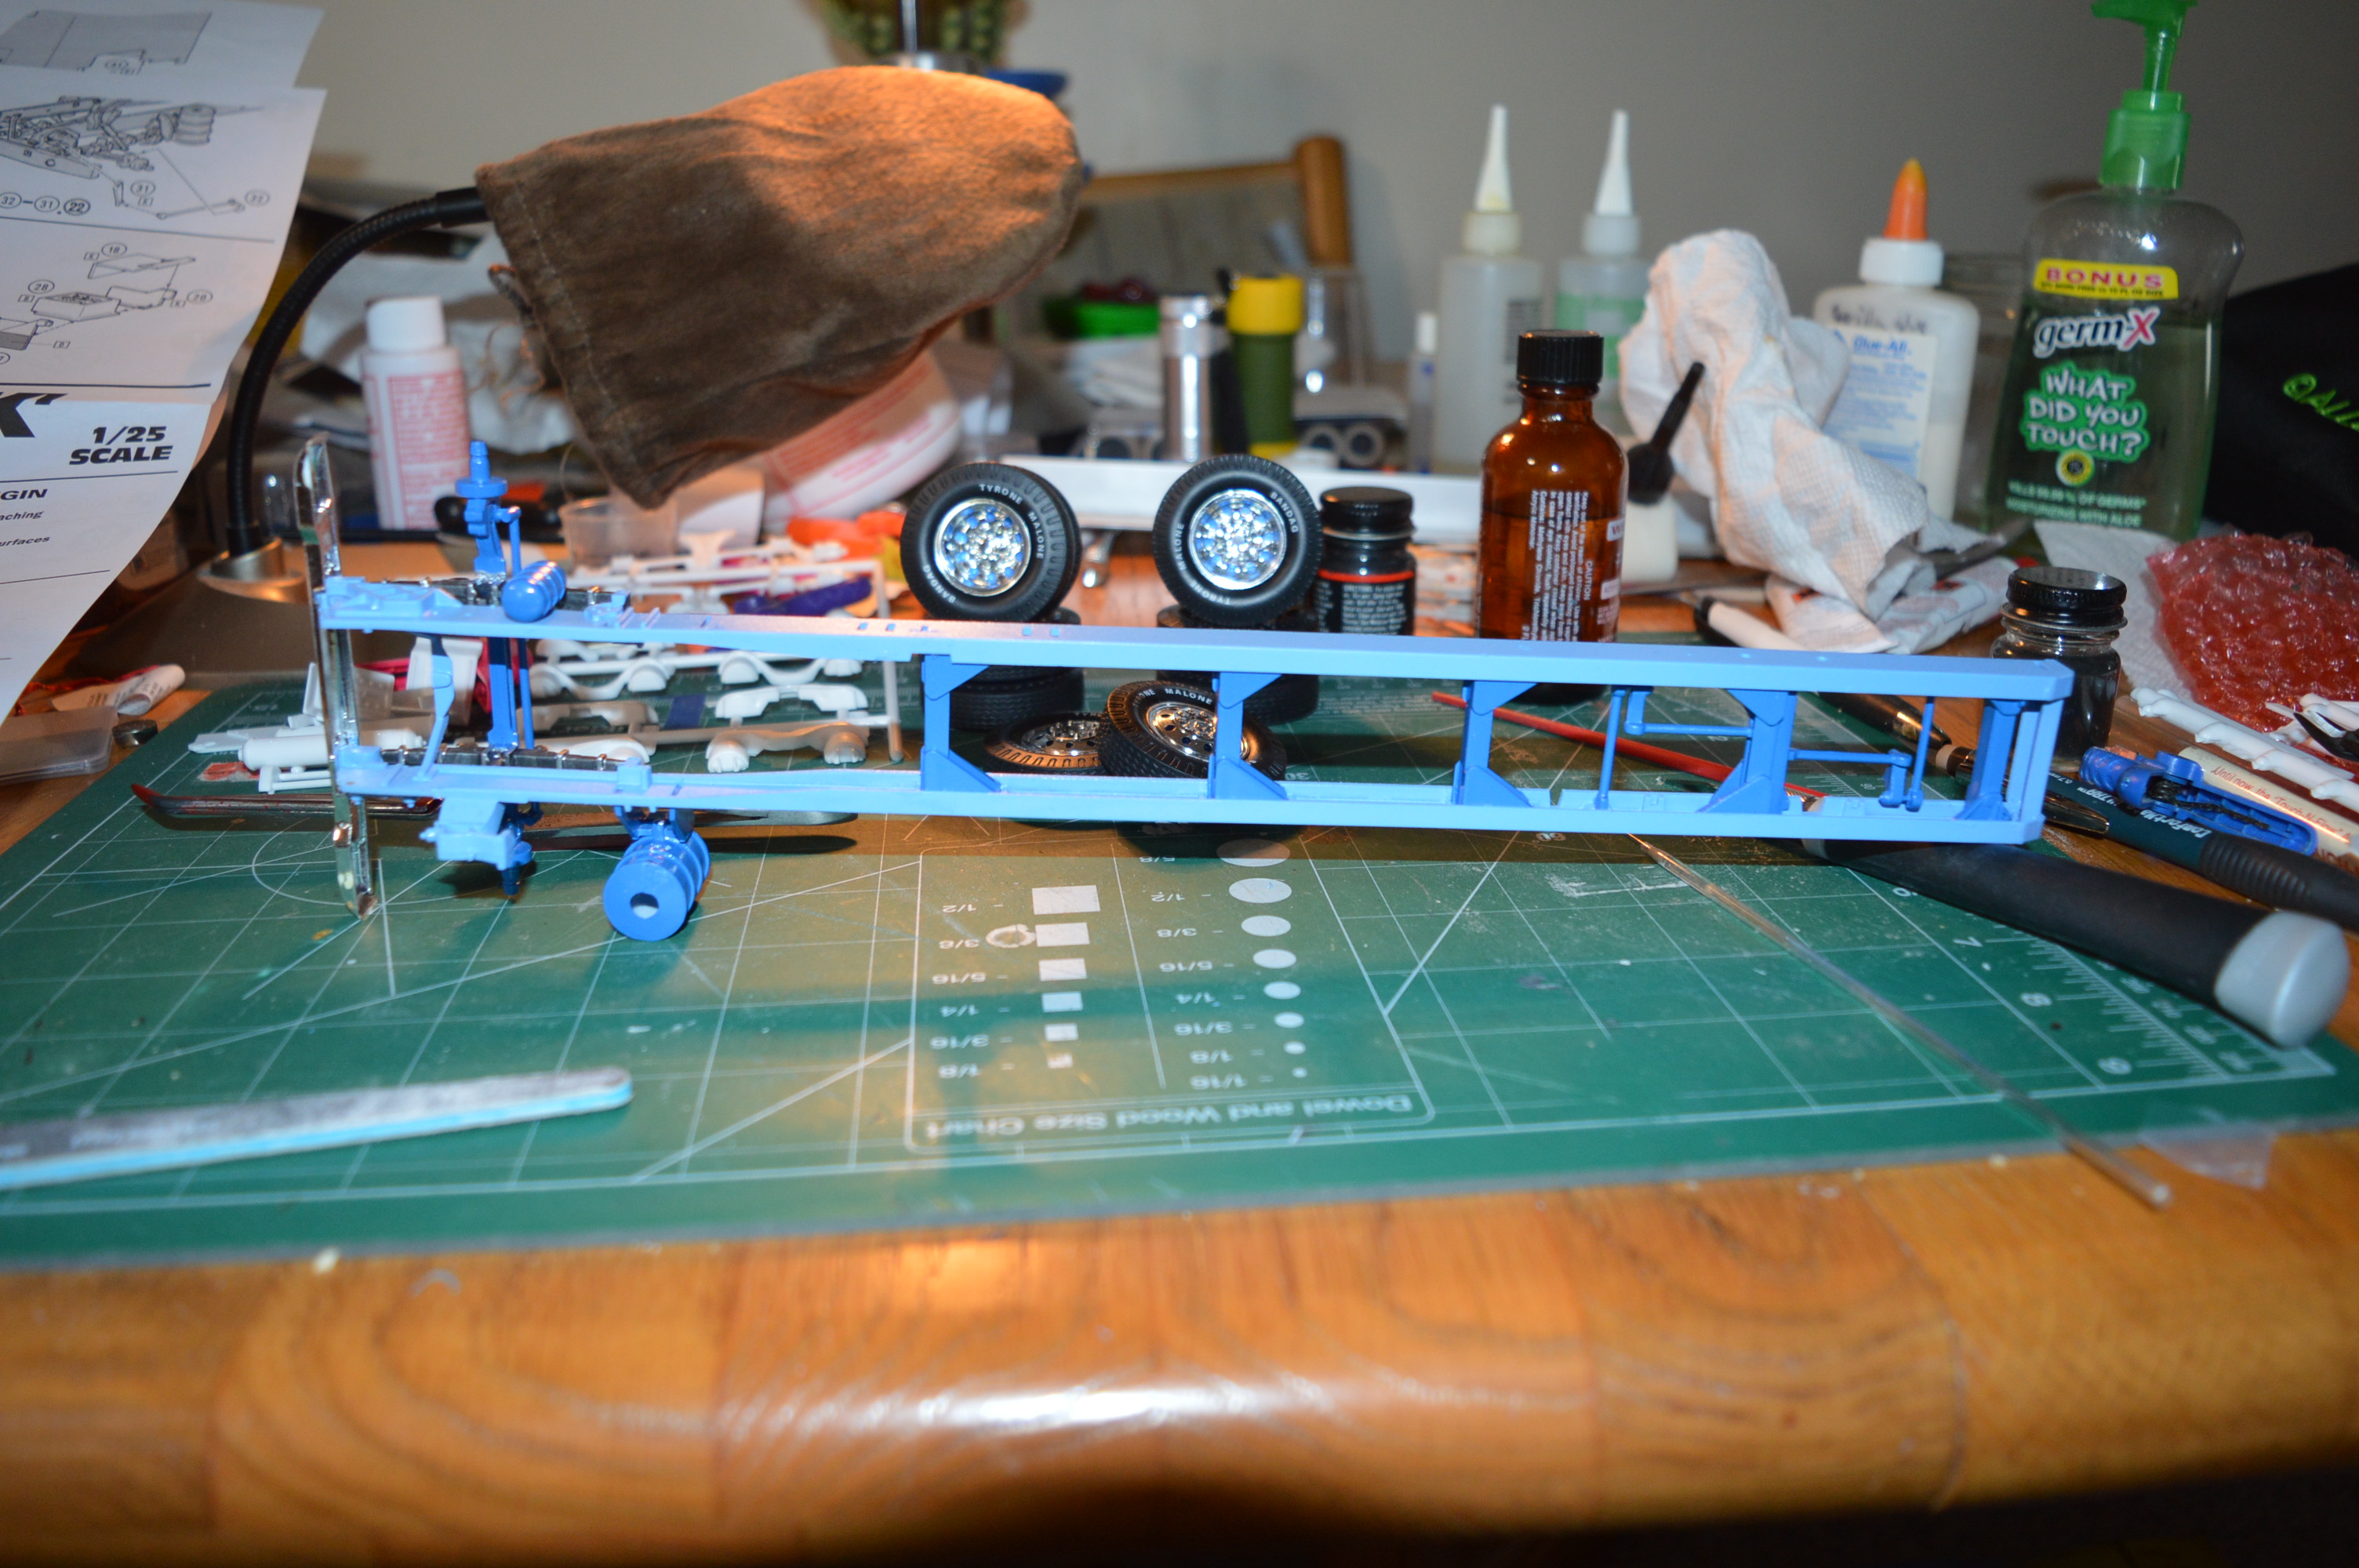
I'm finally getting around to posting some new photos. Getting the frame glued together straight was an interesting challenge, but I think it turned out reasonably well:
-
Tyrone Malone
Gldknght7 replied to Gldknght7's topic in WIP: Model Trucks: Big Rigs and Heavy Equipment
Thank you, nice of you to say. I've made some more progress, will try to have photos up this weekend. -
Tyrone Malone
Gldknght7 replied to Gldknght7's topic in WIP: Model Trucks: Big Rigs and Heavy Equipment
I had my first fit issue connecting the cross over between the exhaust headers. I will need to figure out a fix for this, since I can't squeeze the headers any closer together. -
Tyrone Malone
Gldknght7 replied to Gldknght7's topic in WIP: Model Trucks: Big Rigs and Heavy Equipment
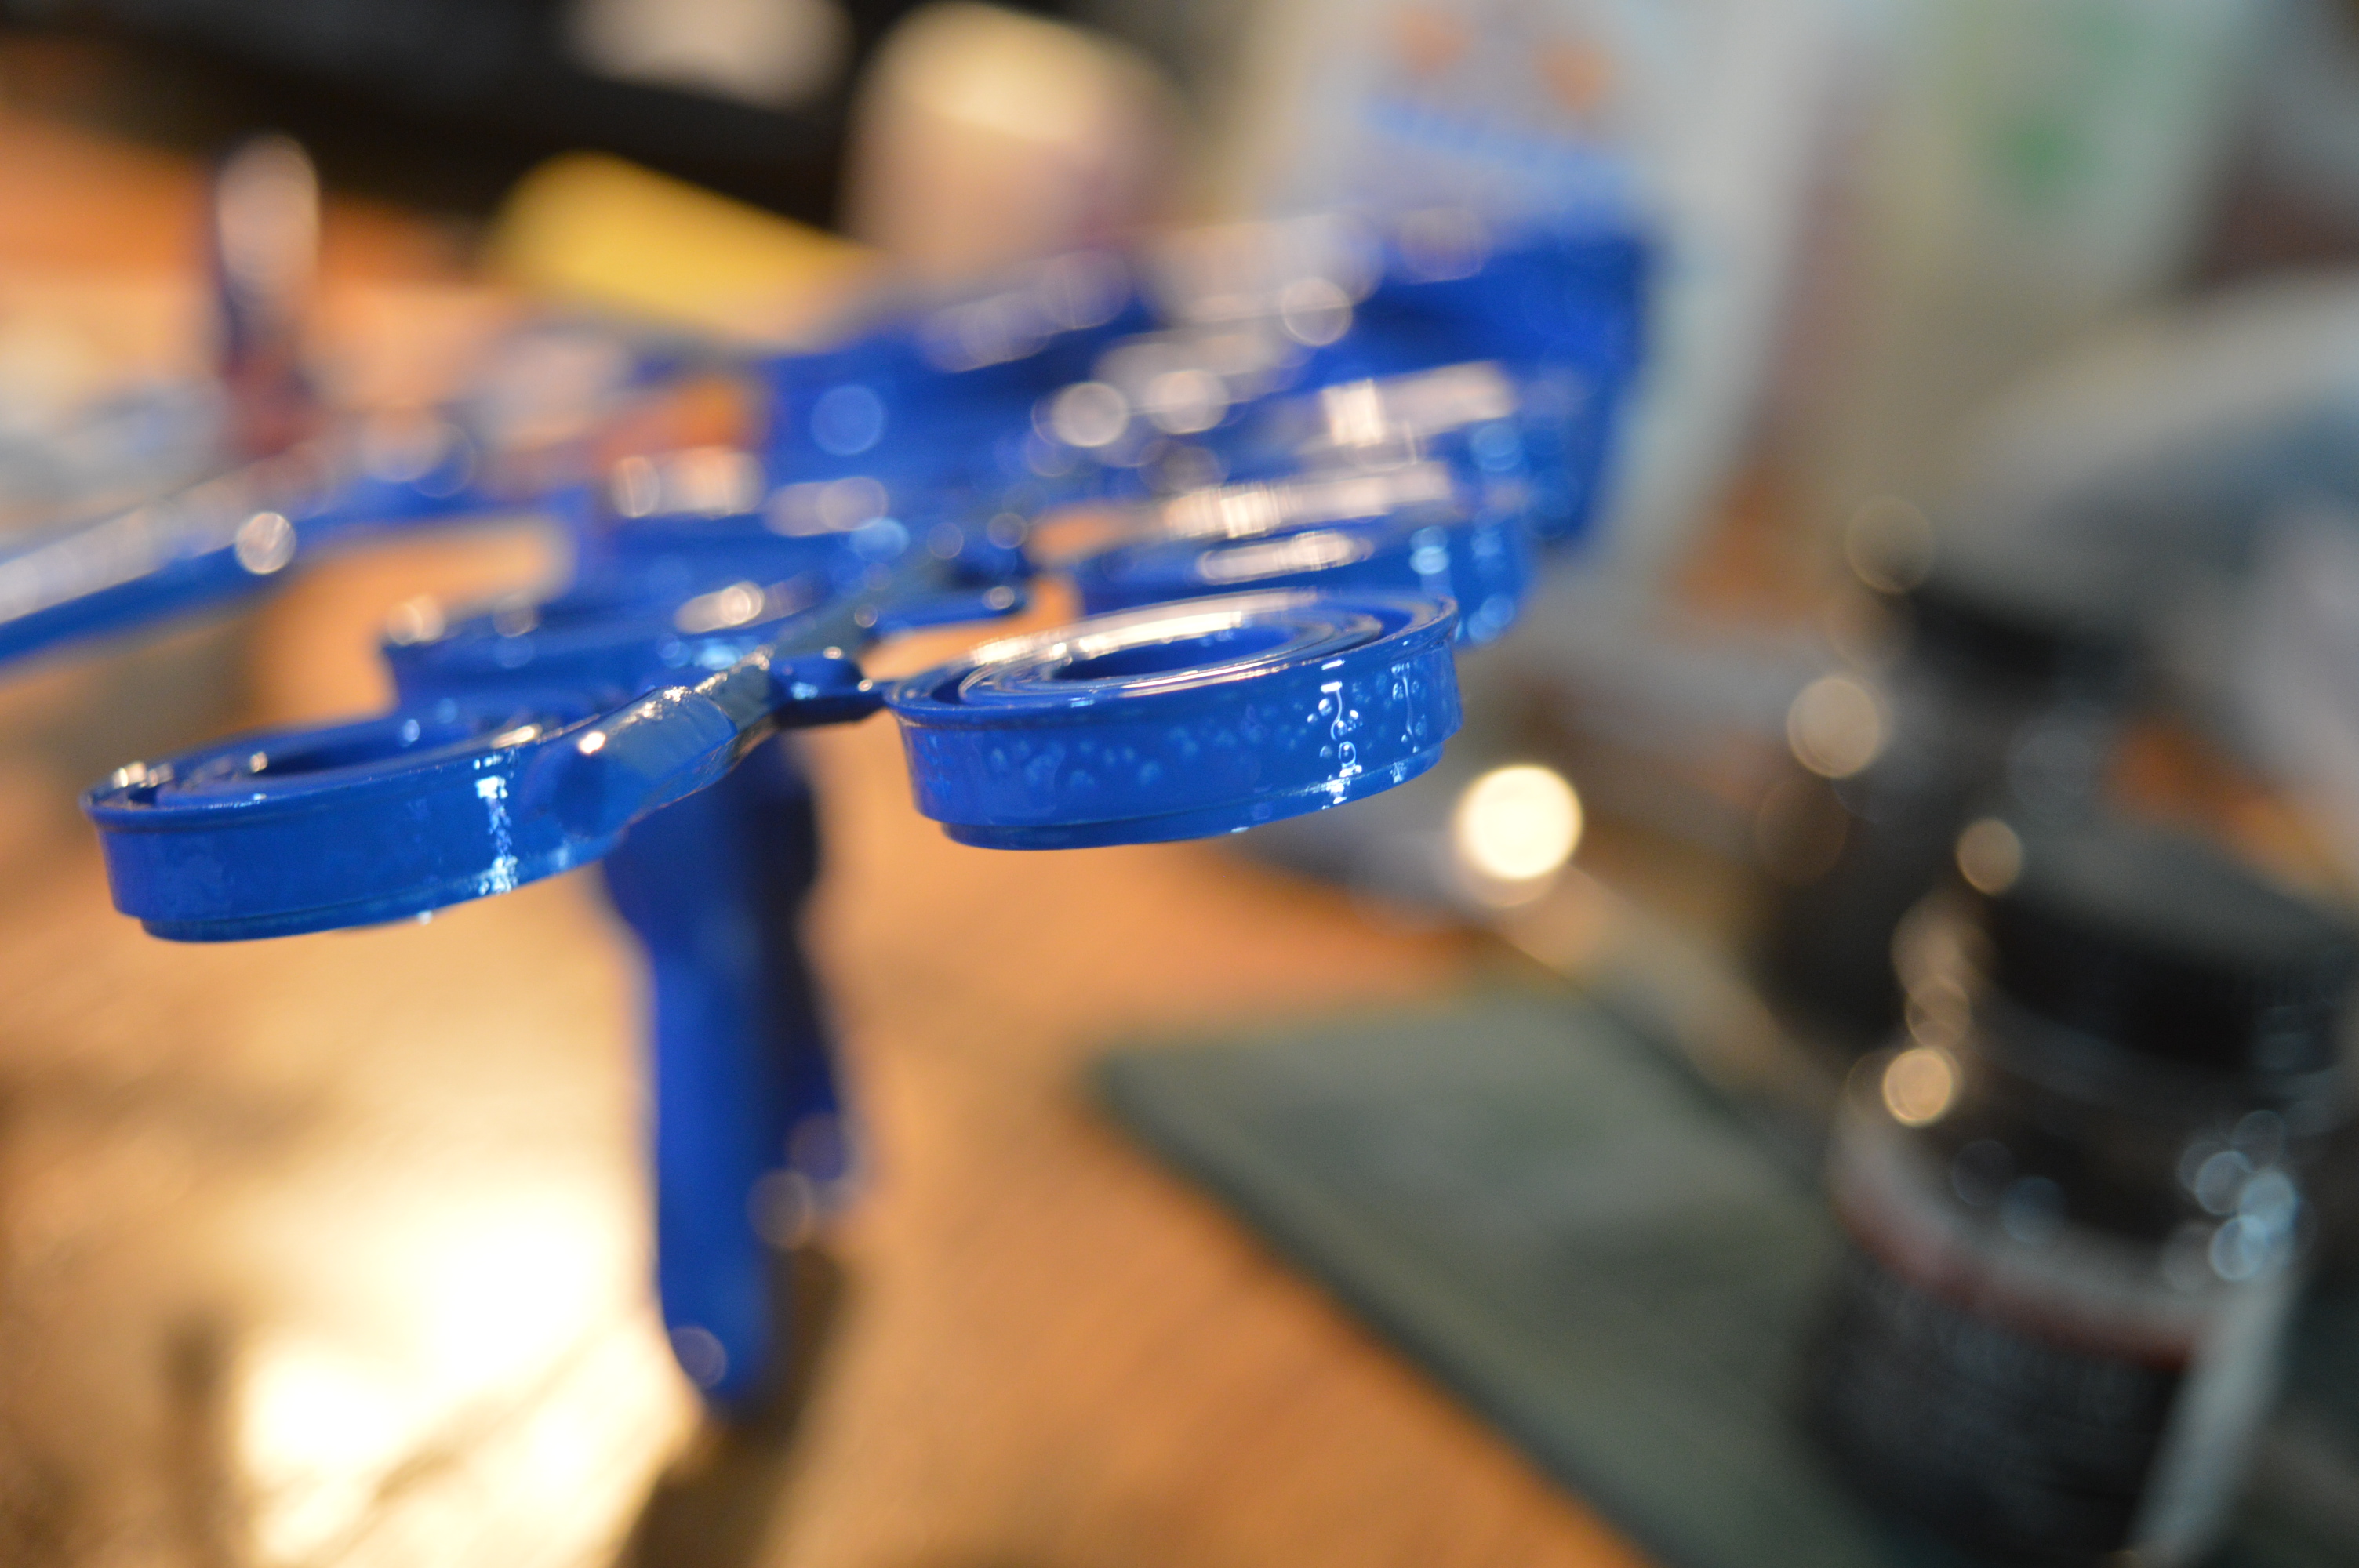
I noticed some orange peel when I painted my wheel inserts today, so spent most of my building time scrubbing parts in the sink with some detergent. This won't be noticeable with the tires on, but did not want to take a chance on parts that will be visible:
-
Tyrone Malone
Gldknght7 replied to Gldknght7's topic in WIP: Model Trucks: Big Rigs and Heavy Equipment
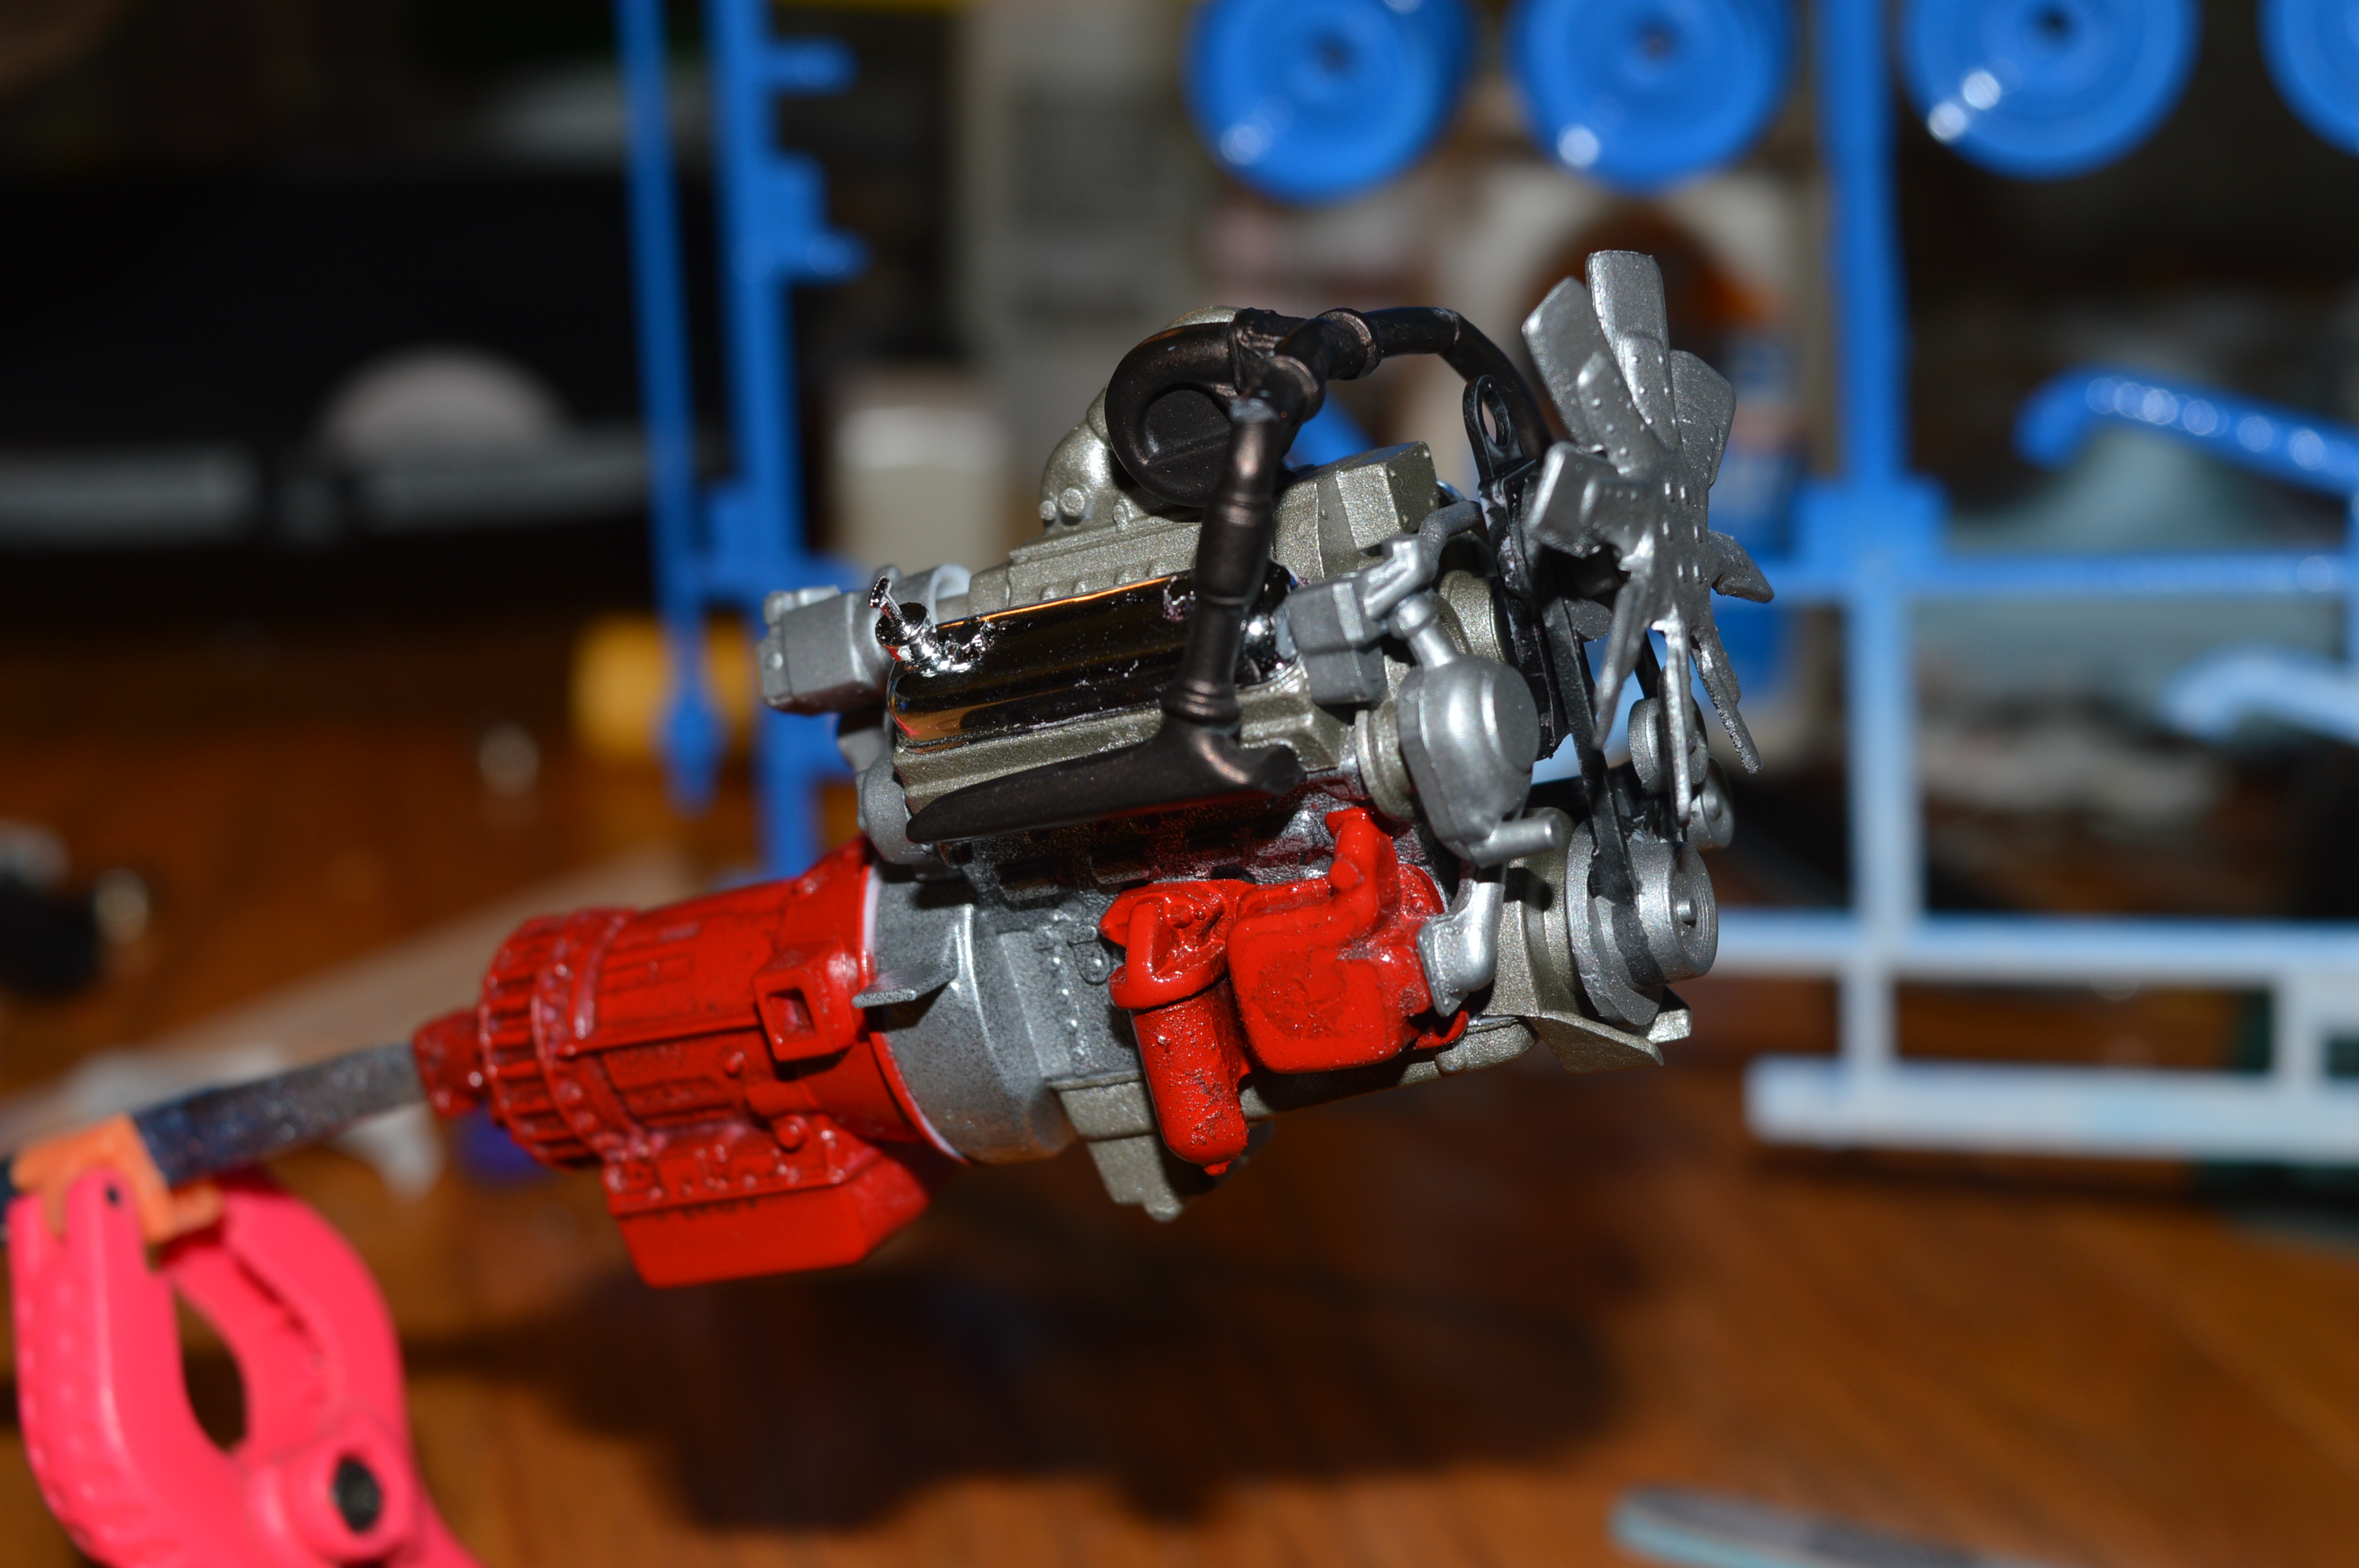
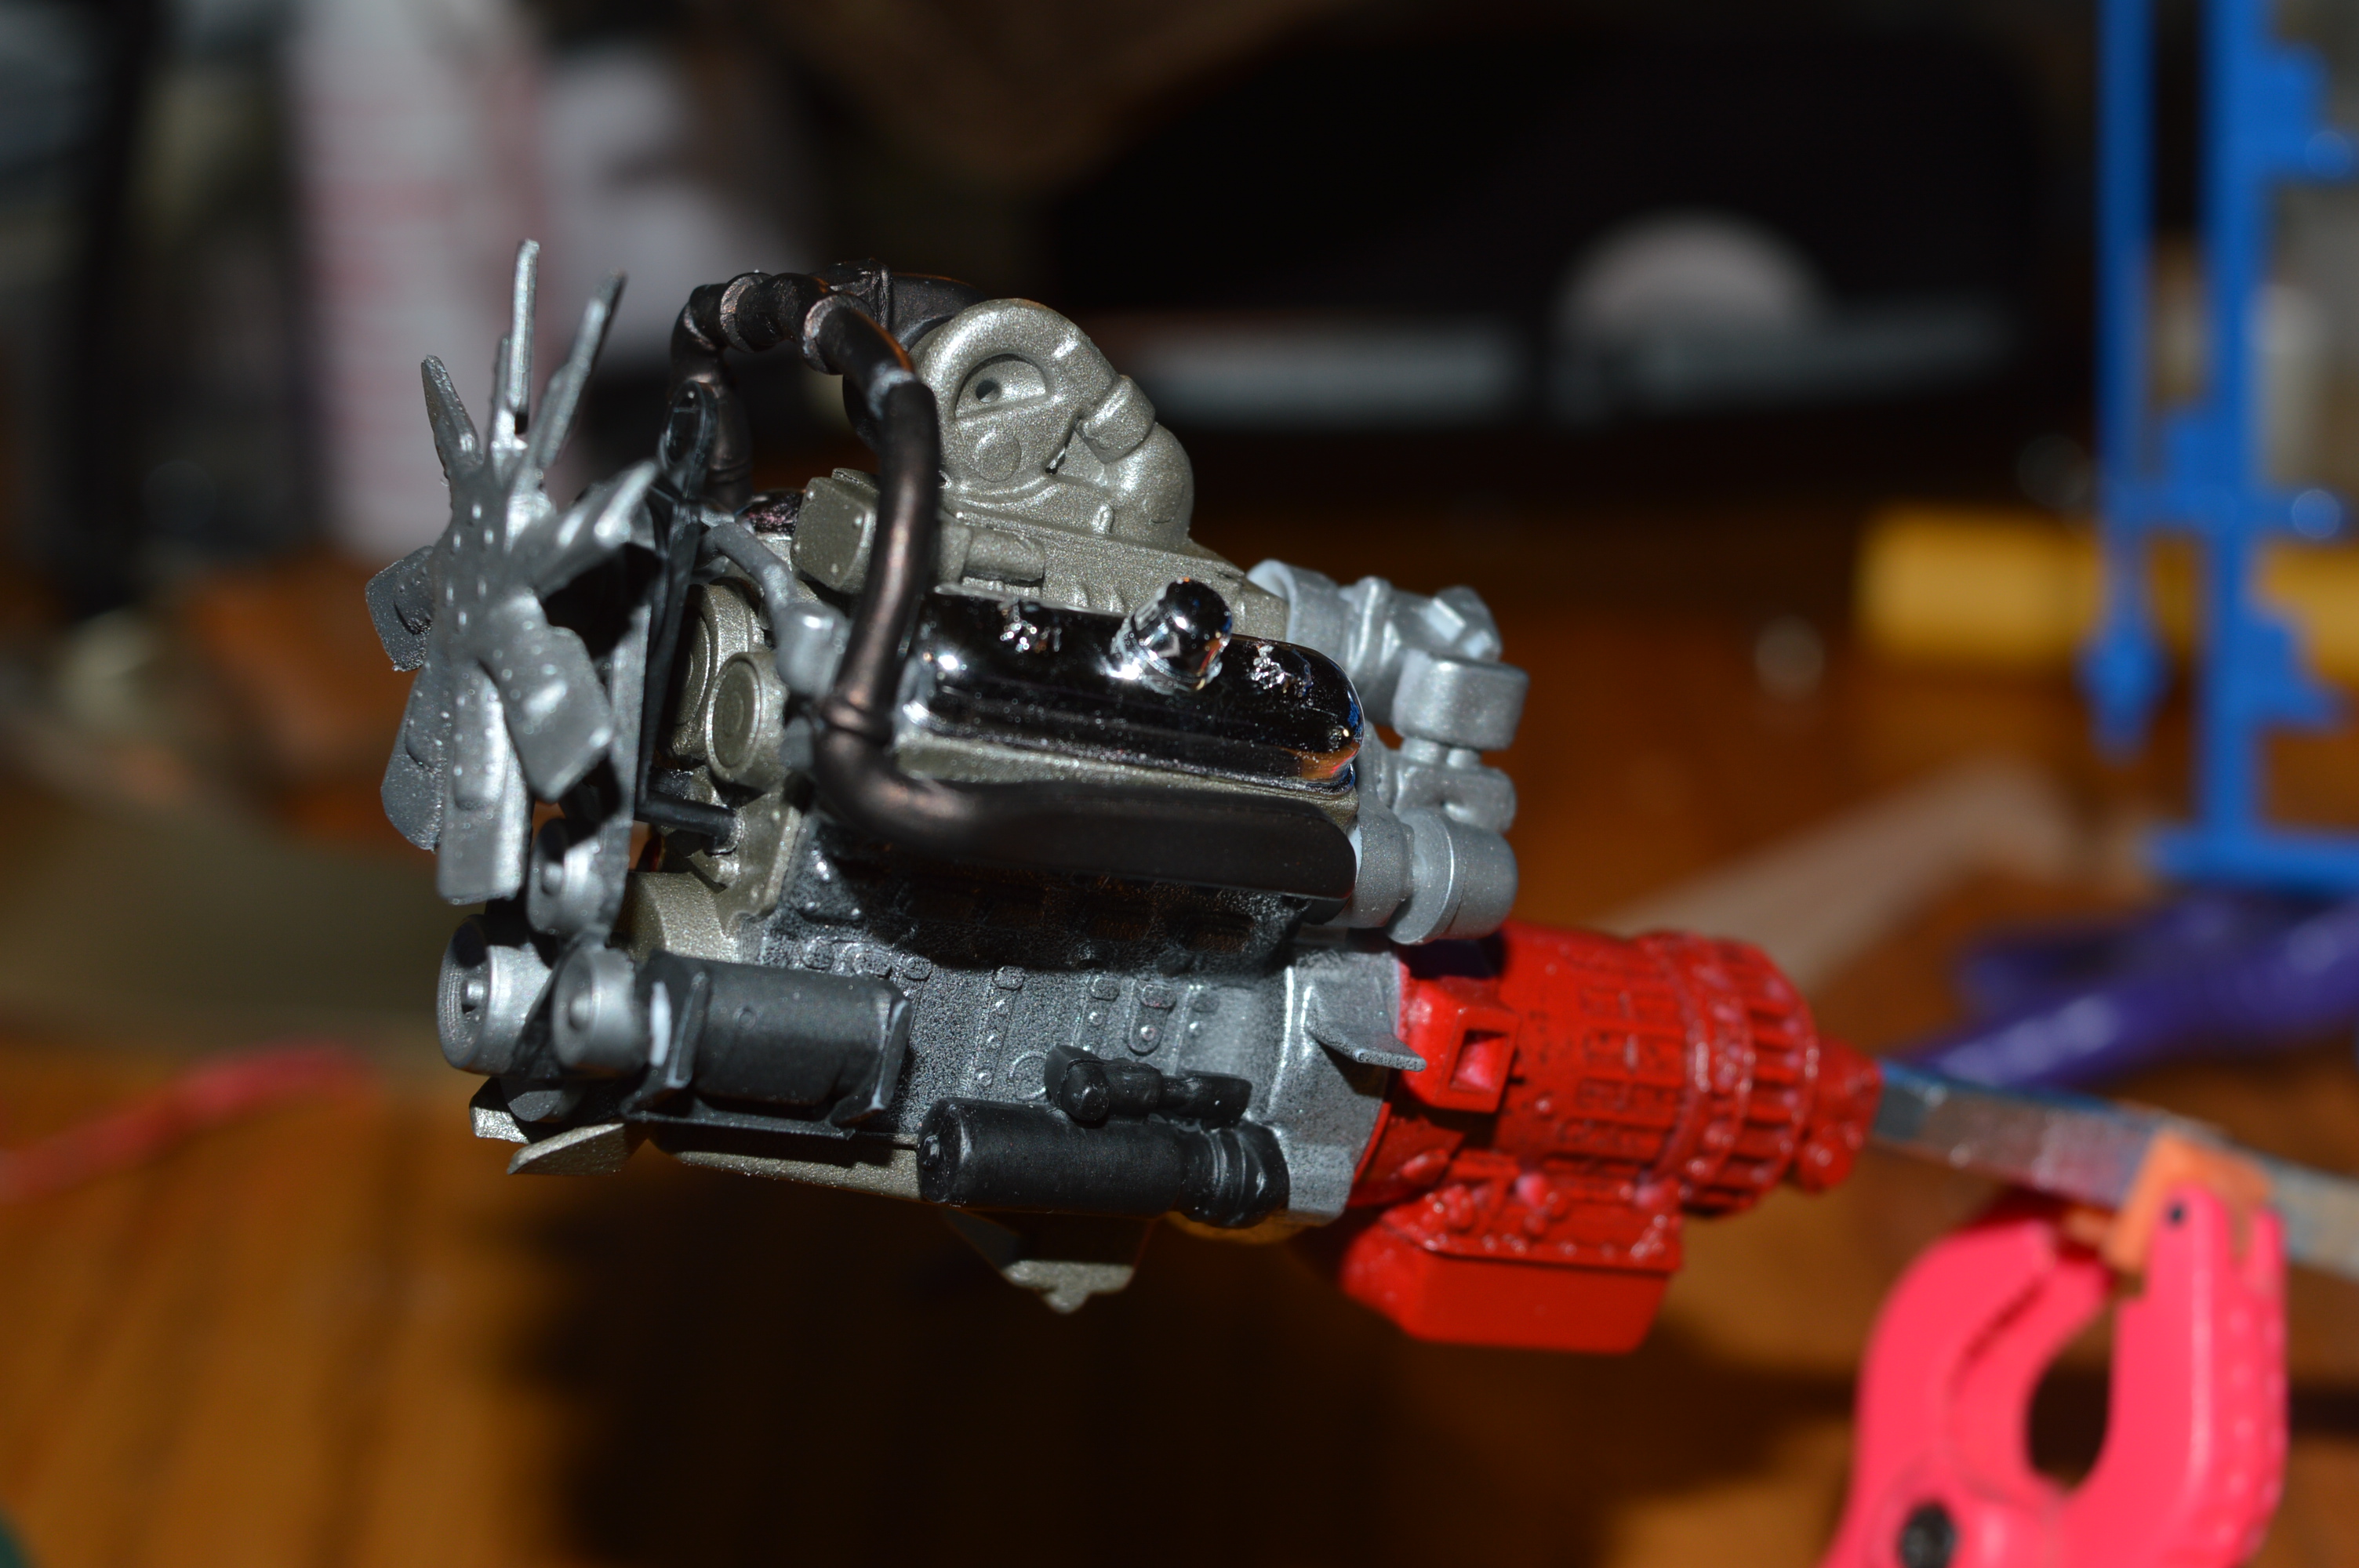
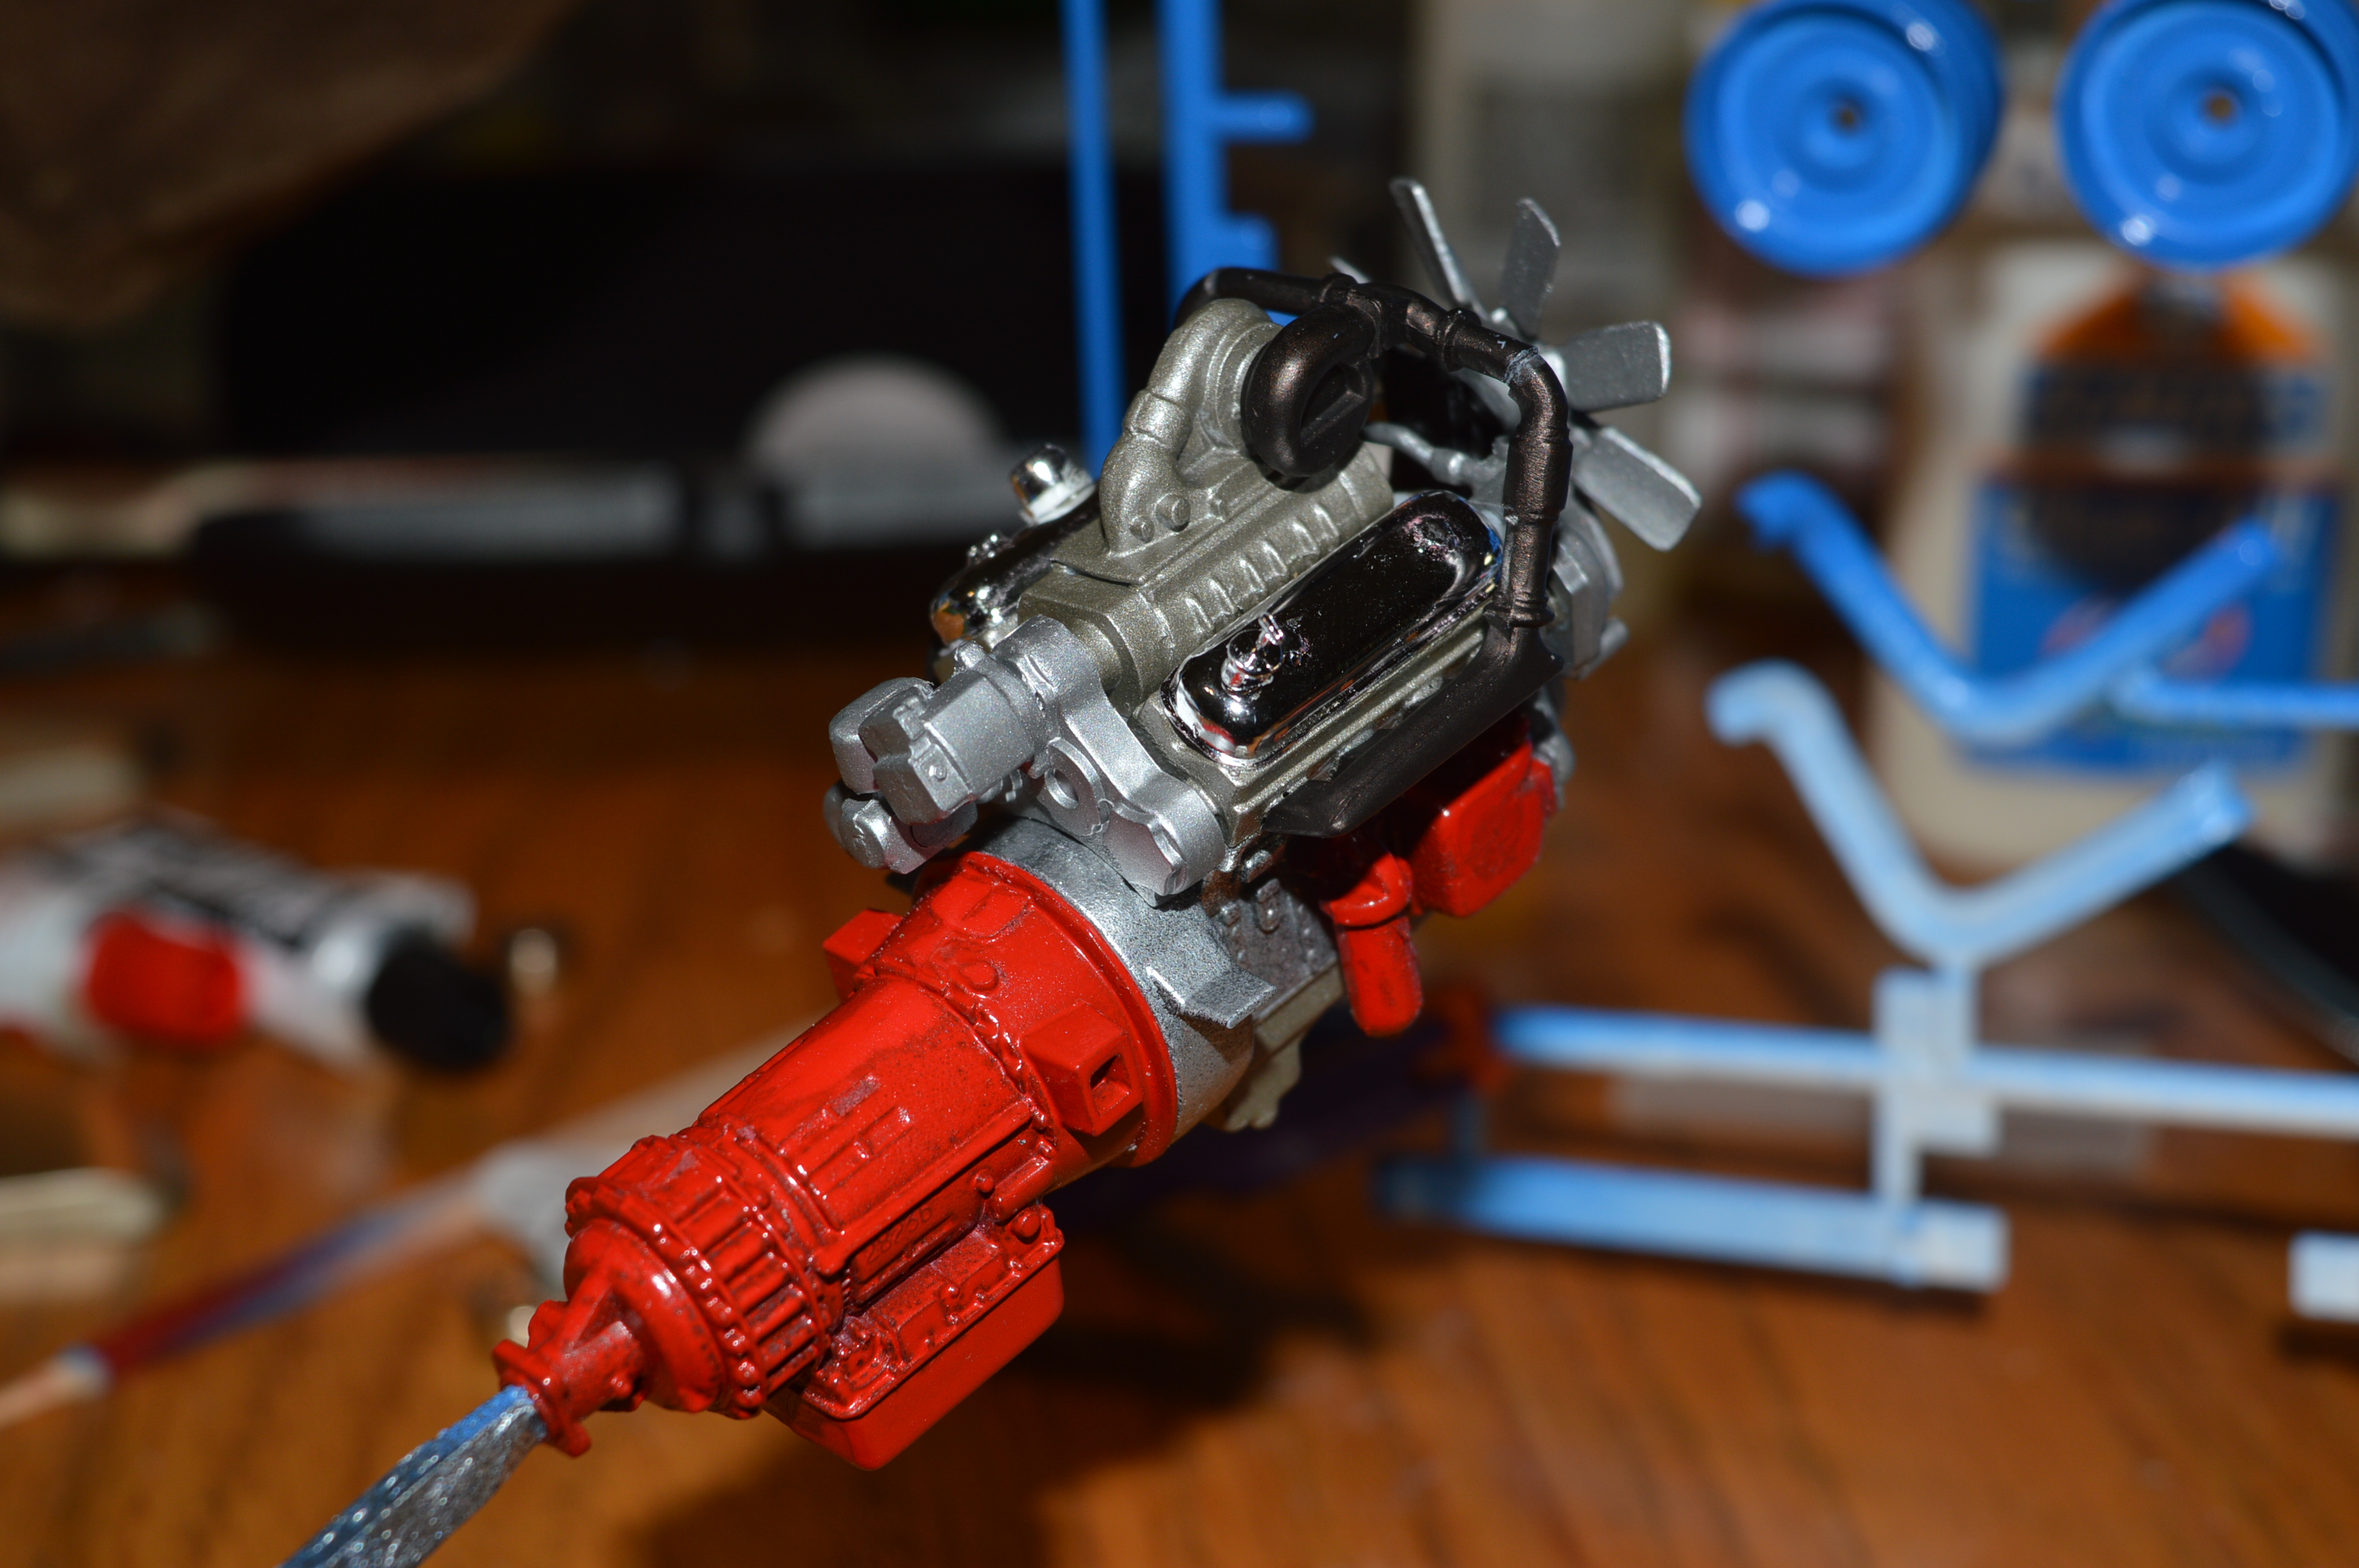
I got the engine finished today. I think it turned out pretty good.