lappdogg
-
Posts
12 -
Joined
-
Last visited
Recent Profile Visitors
1,073 profile views

lappdogg's Achievements
MCM Member (2/6)
-
Very nice! What color paint is that? I too love these kits, I have to many of them and just bought 6 more! Hobby lobby had them on clearance for 7.99 cudas and chargers.
-
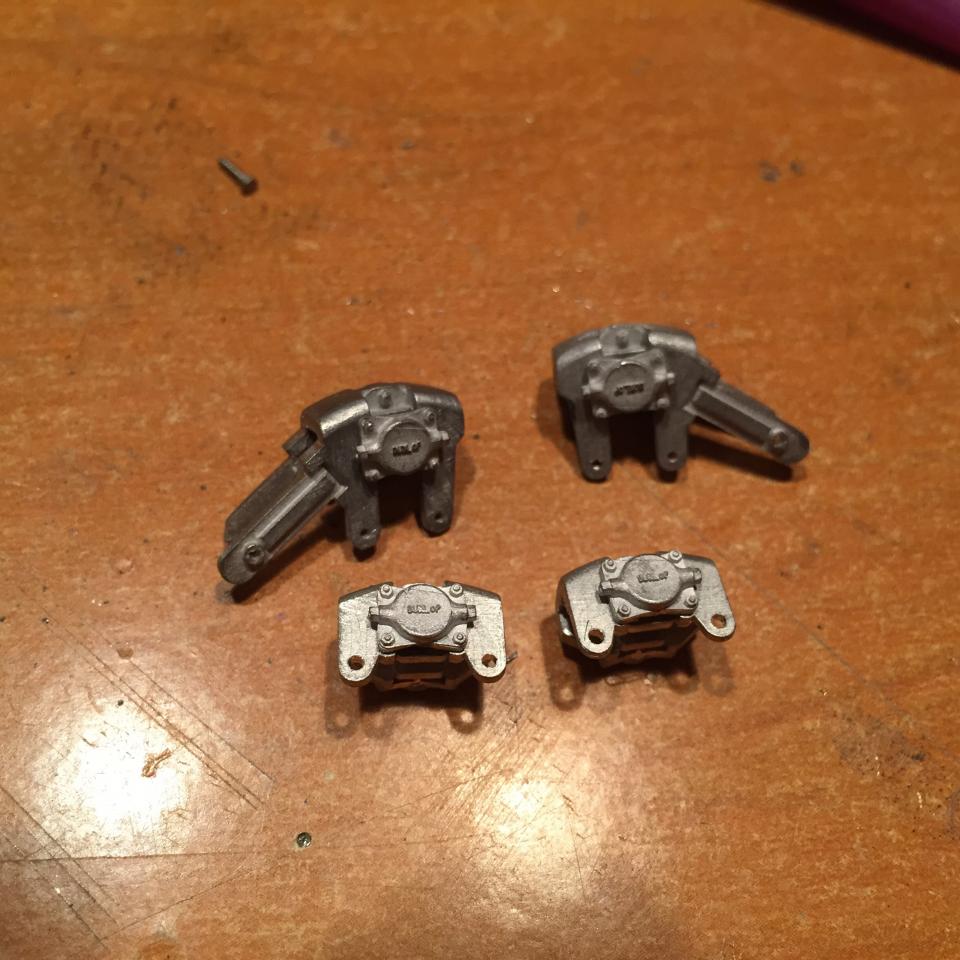
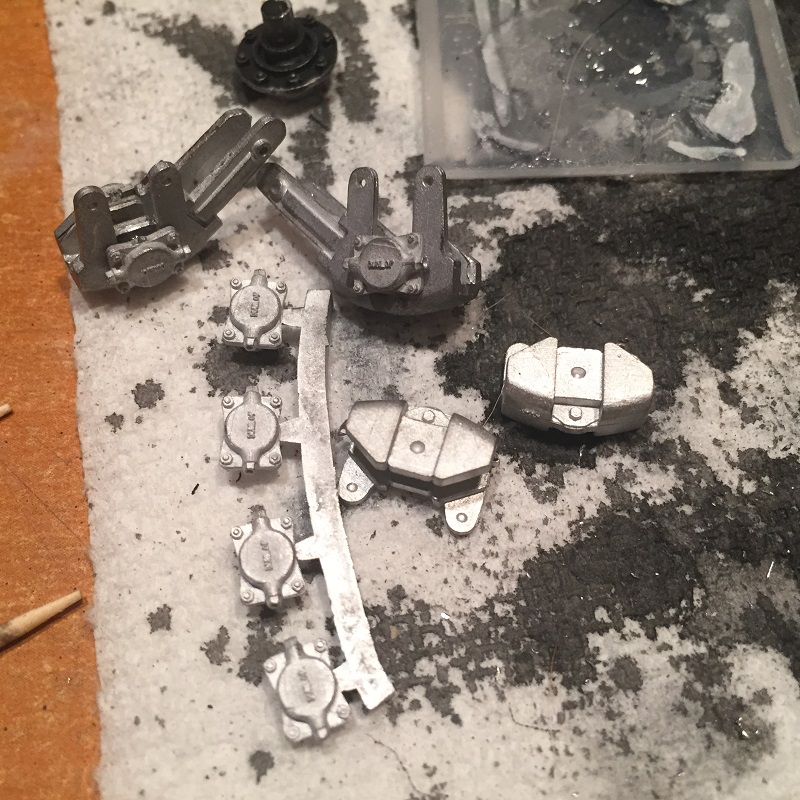
Little update. Got the calipers together and painted. Them mounted all calipers to the brakets. The Brakes look so real! Still have a small brake line that goes on each caliper, and the emergency brake cables on the rear.

-
very nice bug sir! nice color choice.
-
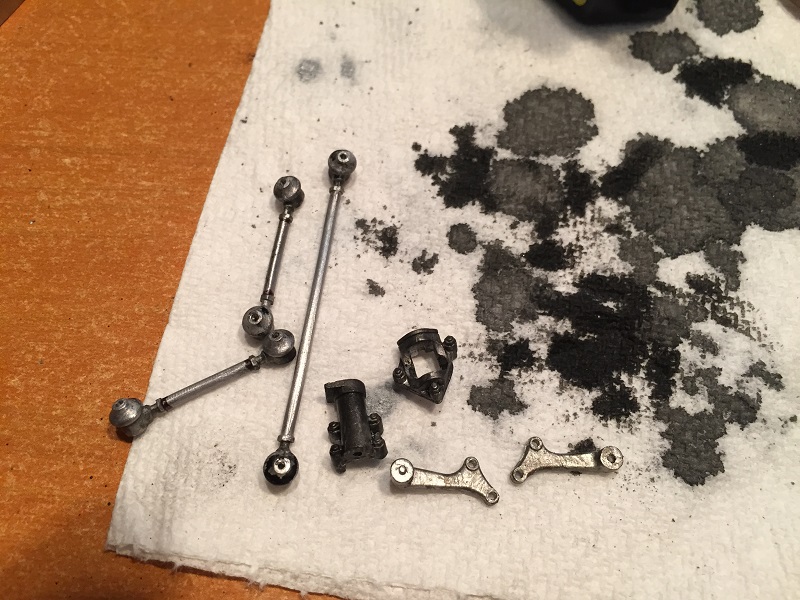
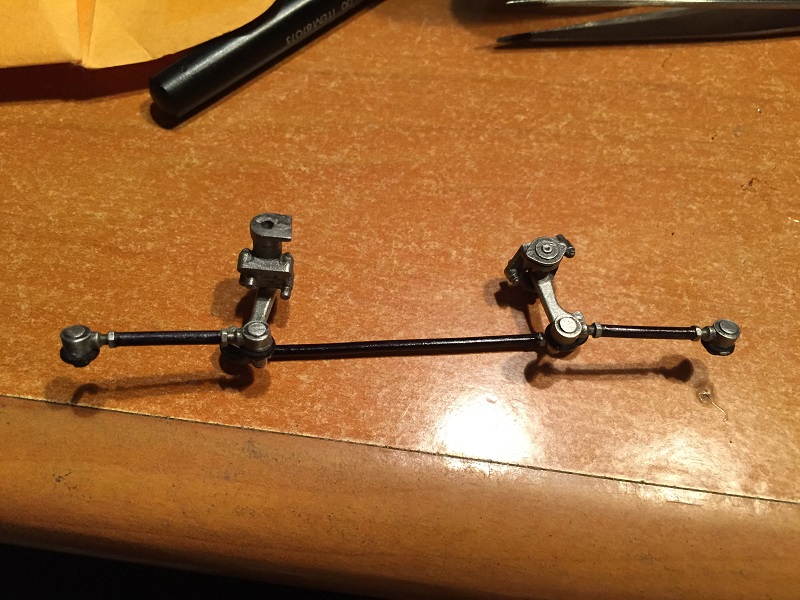
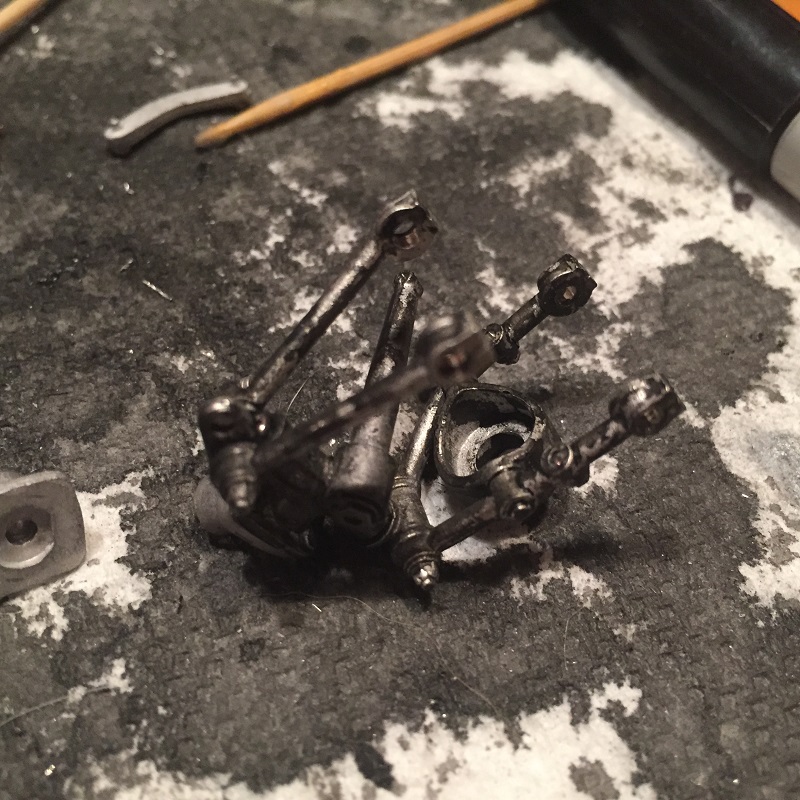
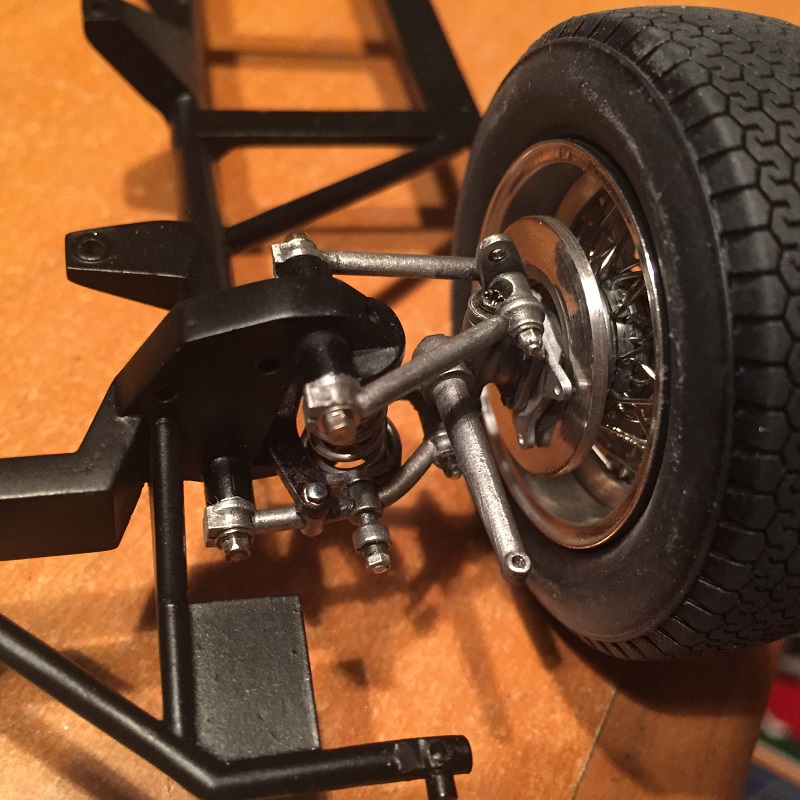
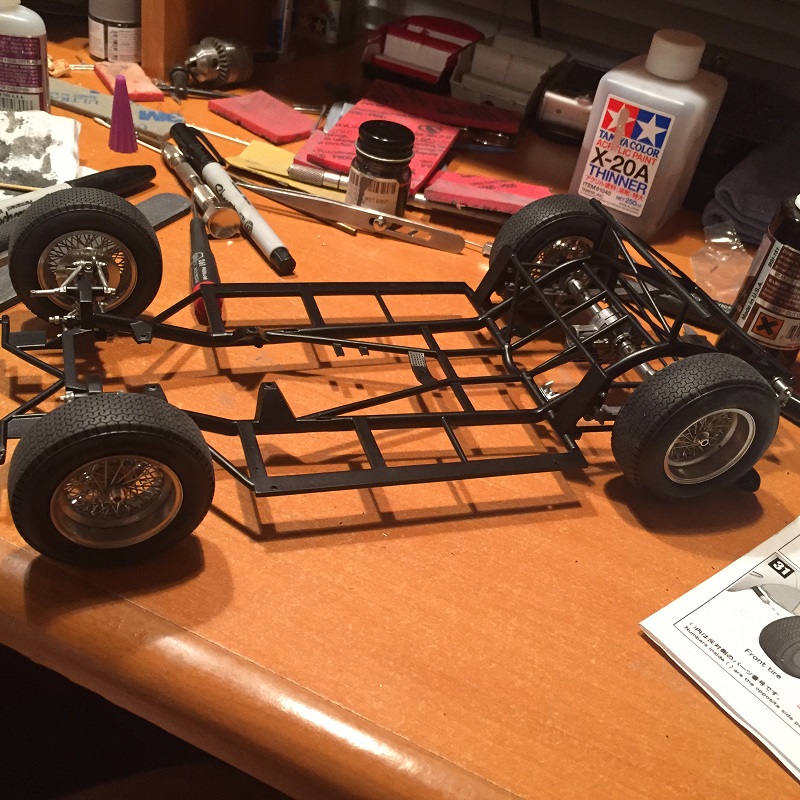
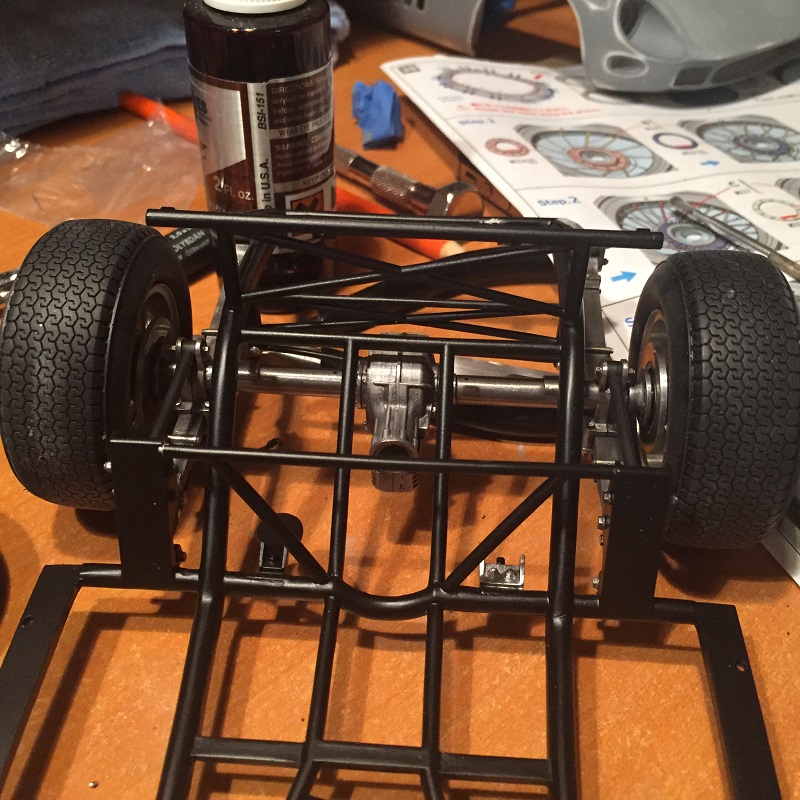
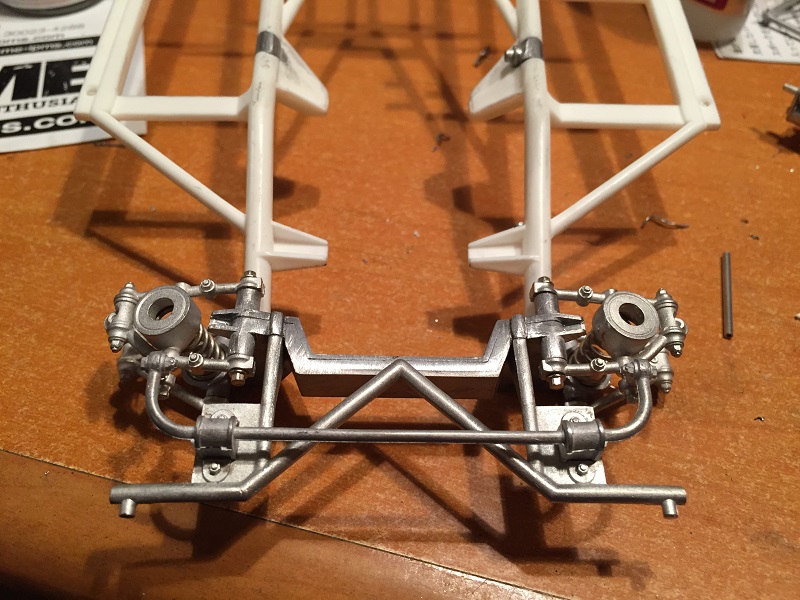
the wheels steer on this, parts was black washed and detailed painted. the front suspension parts, got the black wash treatment also then it was all put on the chassis and then hooked up the steering... chassis shot says it all and will get some real nice ones to shoe more details.
-
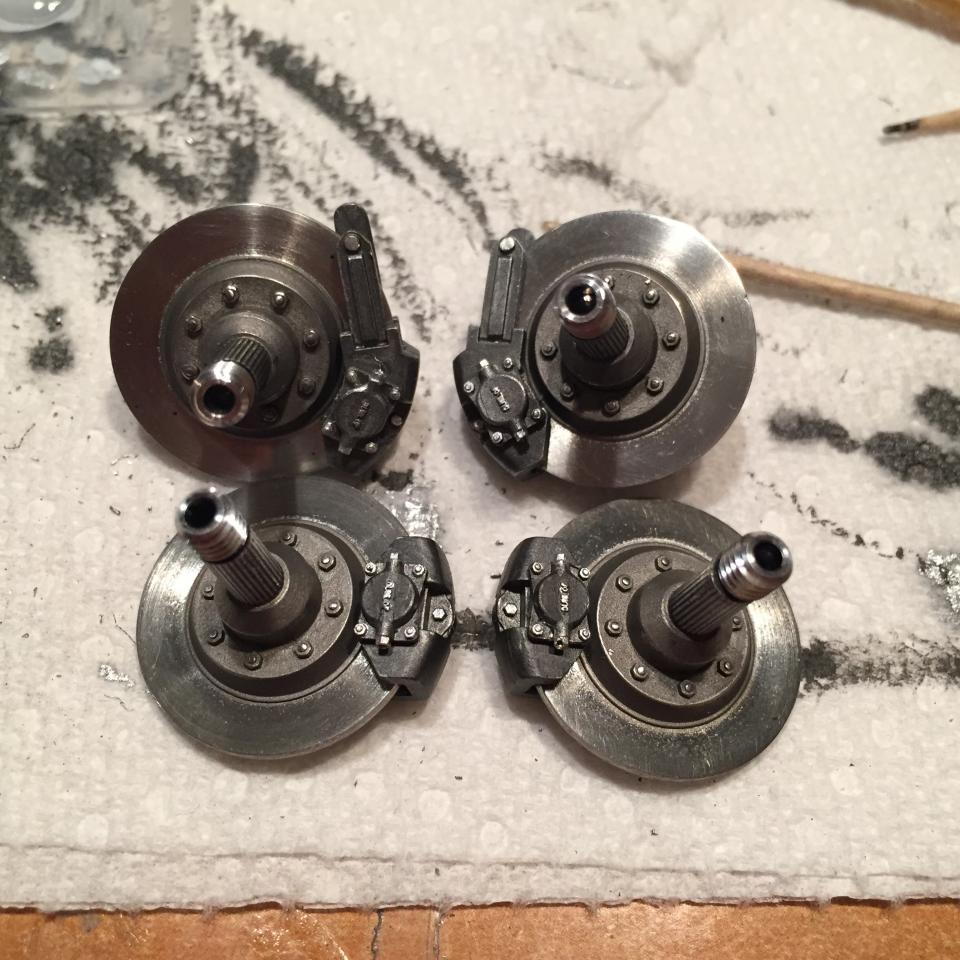
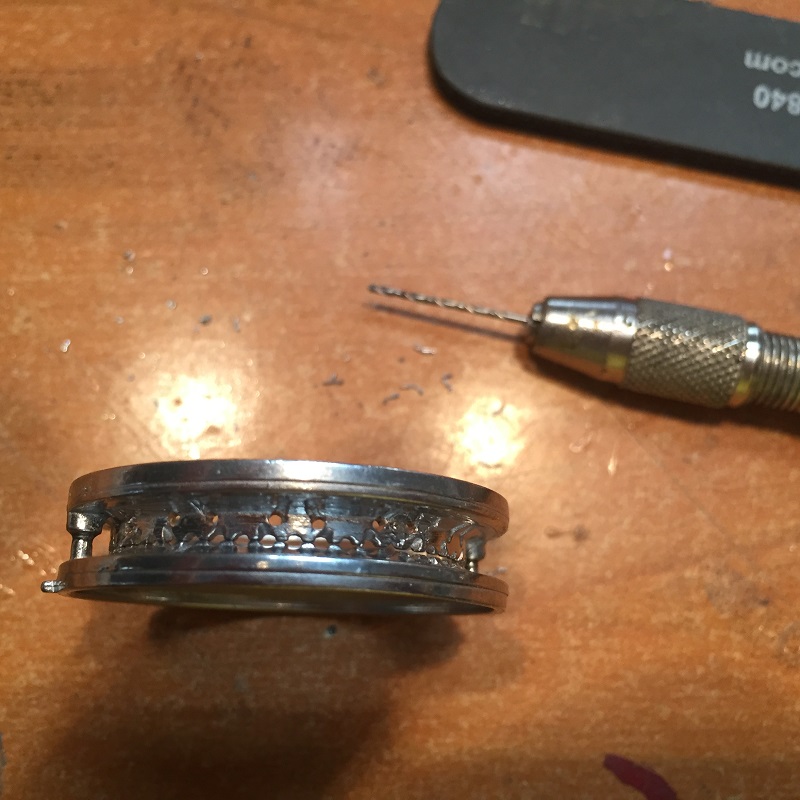
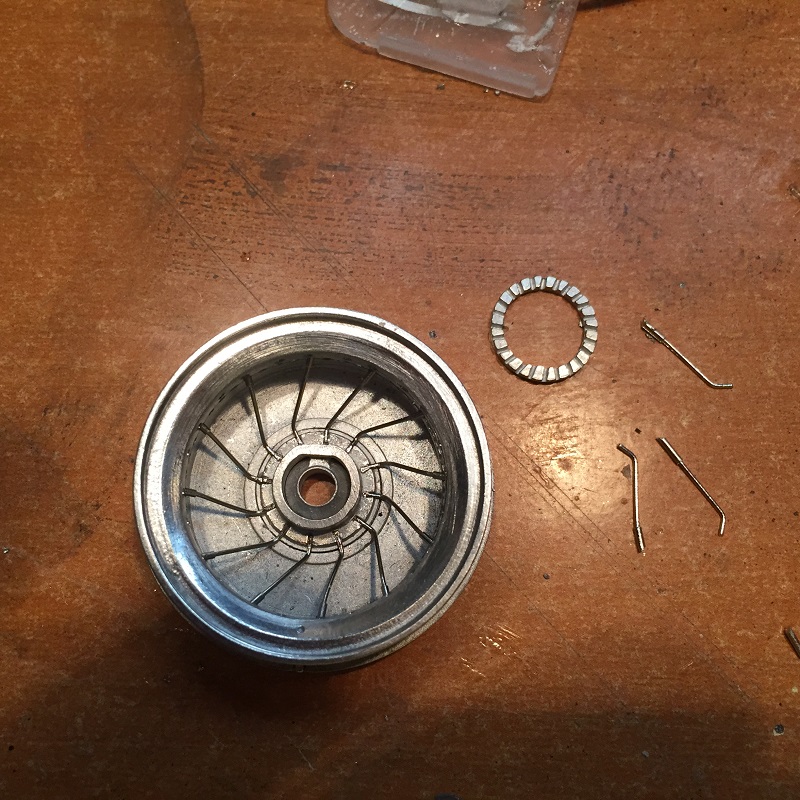
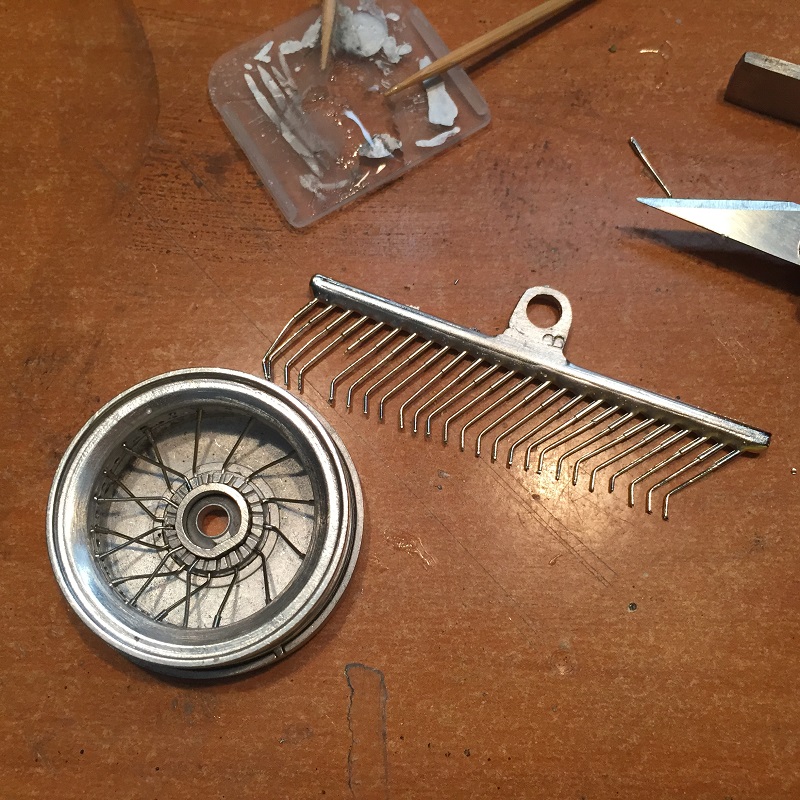
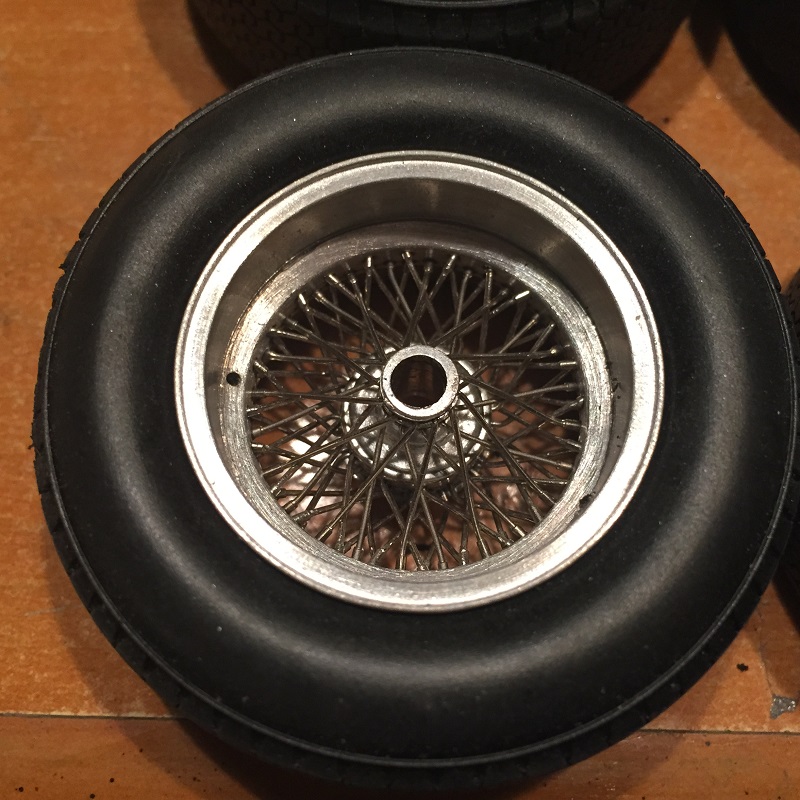
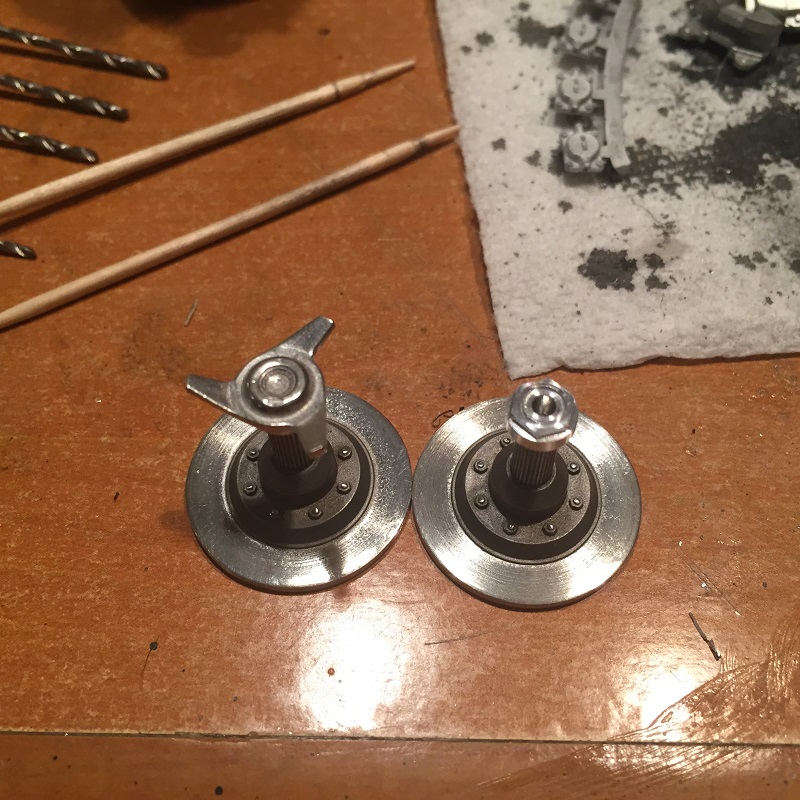
now the wheels in this kit can not be describe in words!! I give my 2 cents worth but look at pictures!!! the center section has some holes to be drilled for a layer of spokes. wheels are assembled in layers of wires!!! 6 layers 96 SPOKES to each wheel. the center hub and outer wheel is 10 parts alone, plus a valve stem! total parts for one wheel is......drum roll please...107 parts for JUST ONE WHEEL! took about 2.5 hours for each wheel! did one wheel a night when I had that much time. it was a real challenge! but work every second of enjoyment! then started on the brakes!!! this is the details I really like here! I put the rotors in a drill and turn them and polished the surfaces, and detail paint the center hubs. and polished the bolts heads. did this on all 4 of them. the calipers are just as detailed! and they even say DUNLOP
-
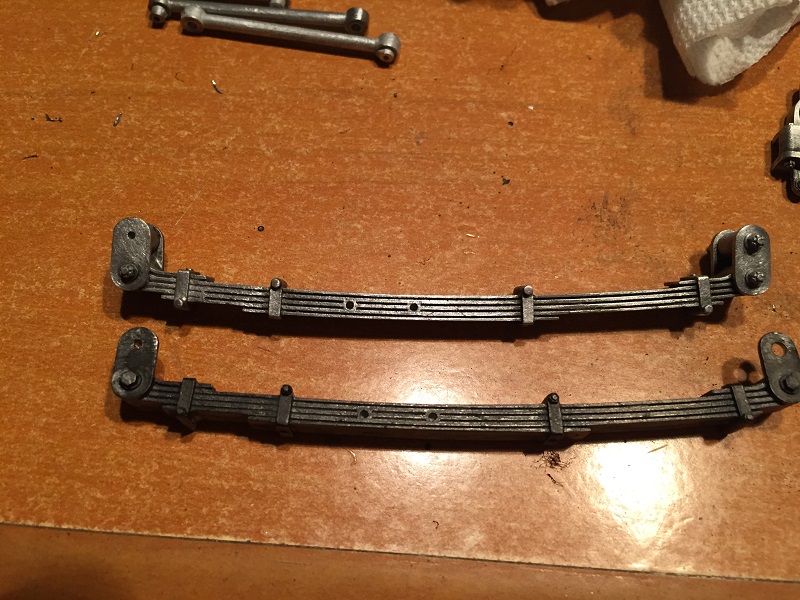
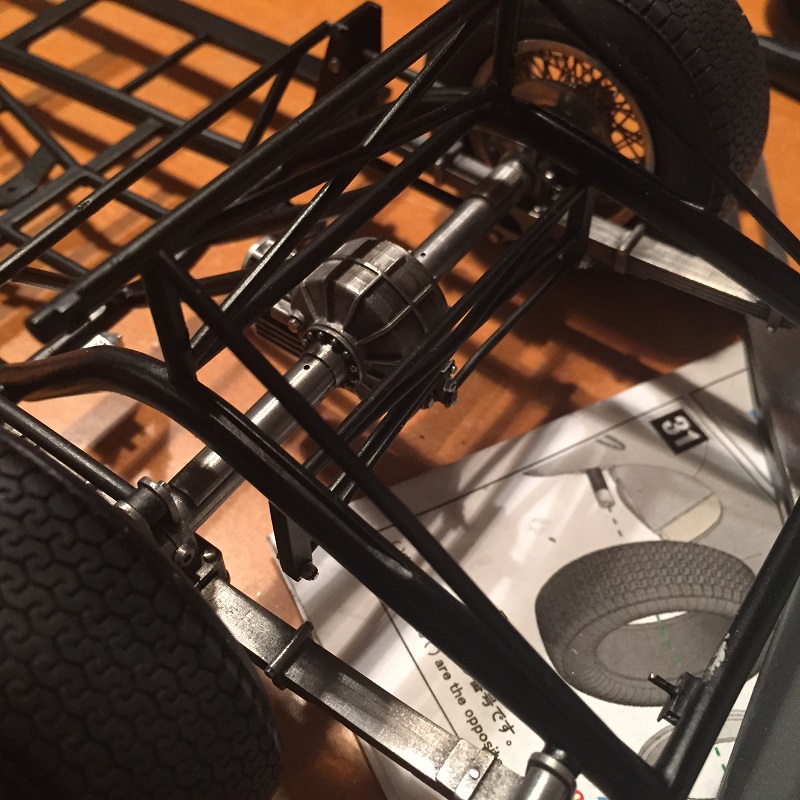
sorry guy got a little carried away and forgot to take pictures, the rear axle was 10 parts alone!!! was glued together and black washed and scotch bright. leaf springs was done the same.
-
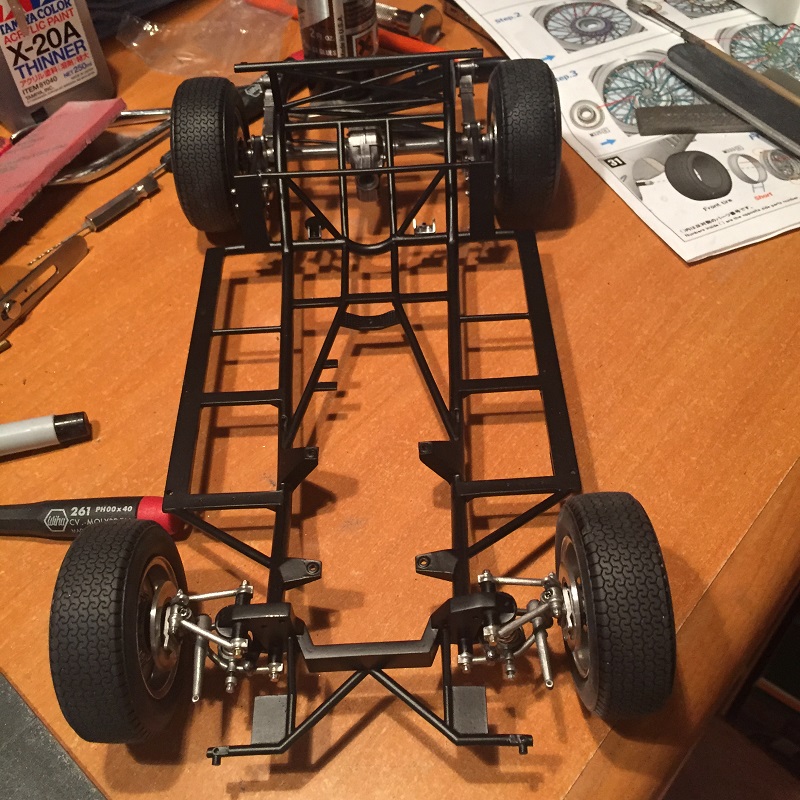
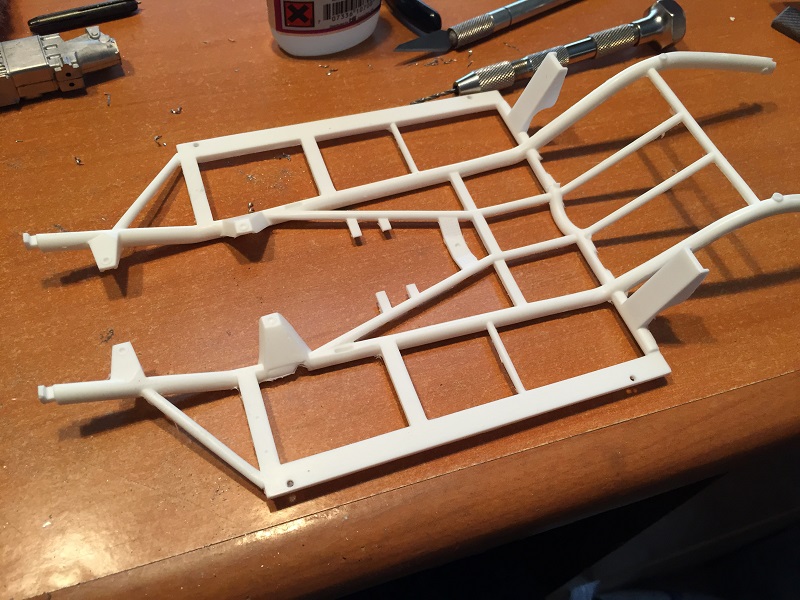
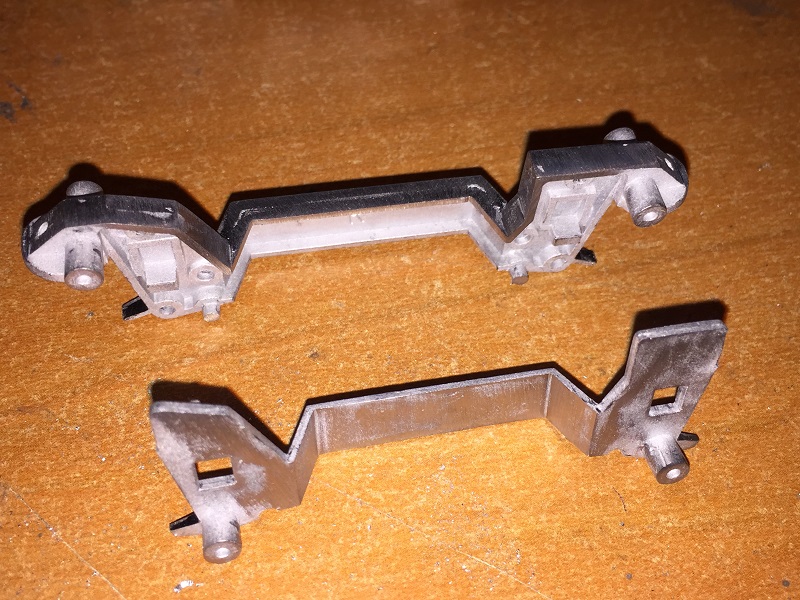
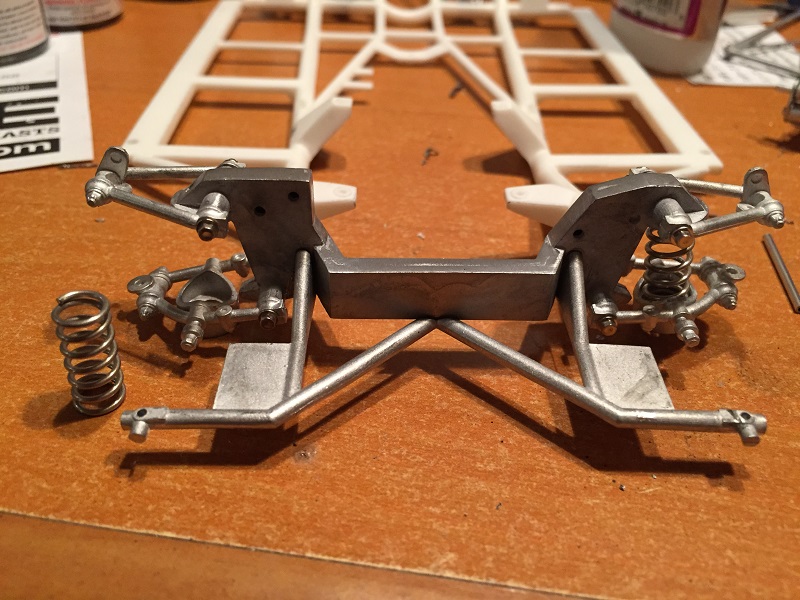
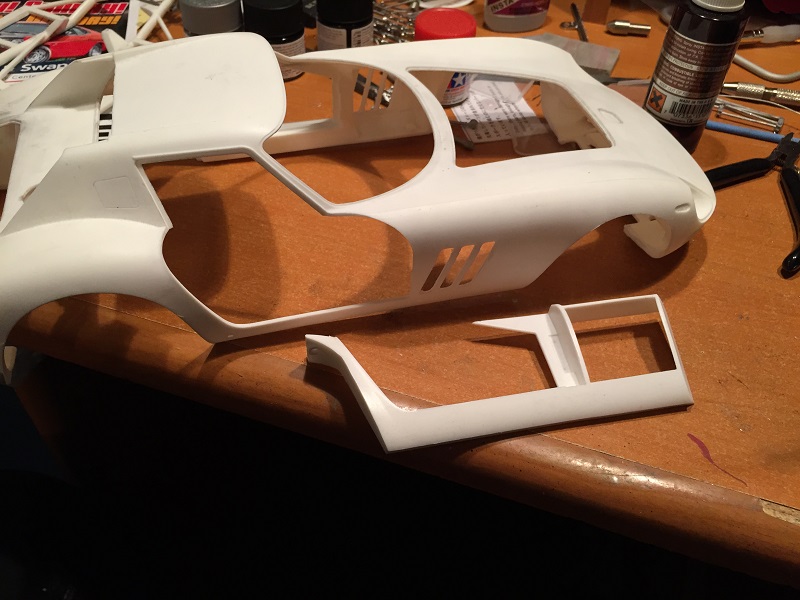
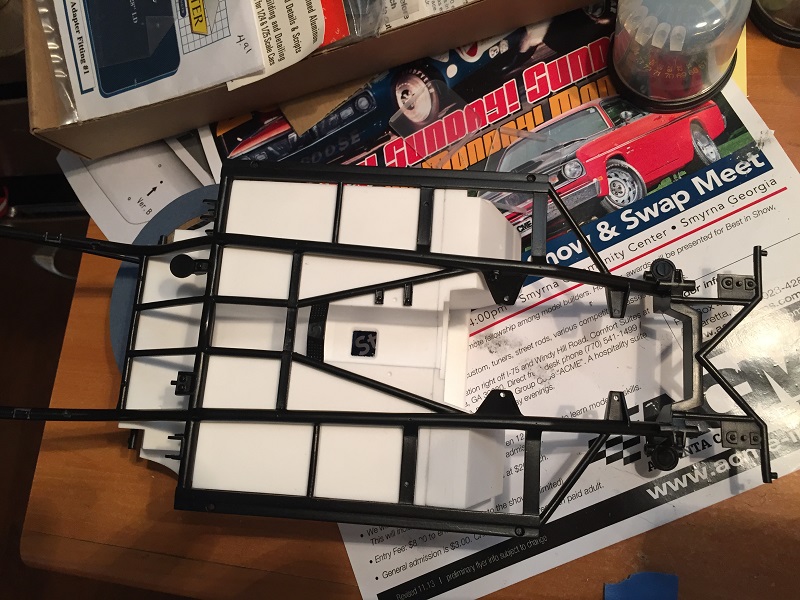
now it is time to get started on the Chassis..i love models with lots and lots and lots of parts...and this kit does not disappoint! chassis was cleaned of a very light mold line. as was all parts. with a flexi file, file sanding stick sand paper...what ever worked best for each part. then a test fit of the floor. and then the firewall was glued to the floor pan. parts fit together with out any fuss. then a complete mock up of all major parts of the chassis and roll cage. front cross member and suspension mount, and then was glued to chassis. the front suspension parts mocked up. I used some small bolts as the kit had some pins.( didn't look right to me) to fit chassis in body some parts had to be glued in. inner body panels fit with out any fuss also. and it was all mocked up again. chassis fits like a glove. chassis was primed sanded and primed again. then the chassis was painted with Tamiya Semi Gloss Black.
-
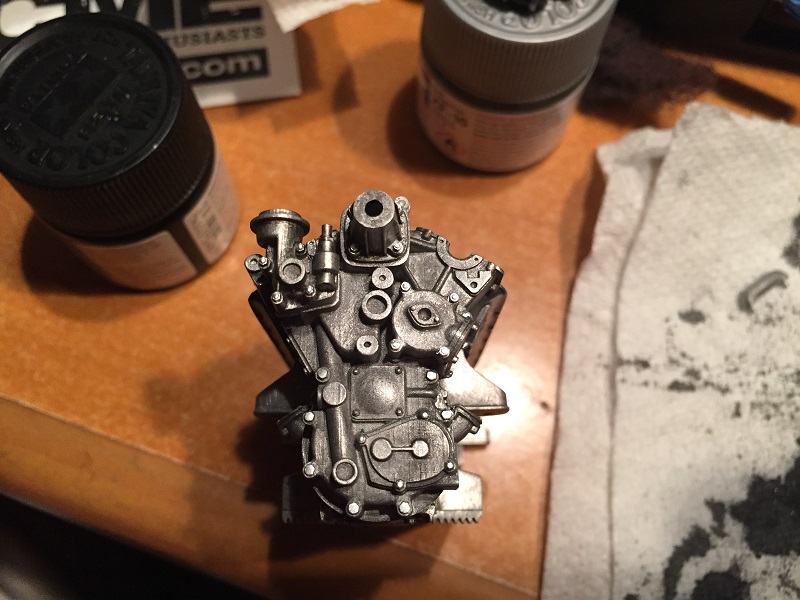
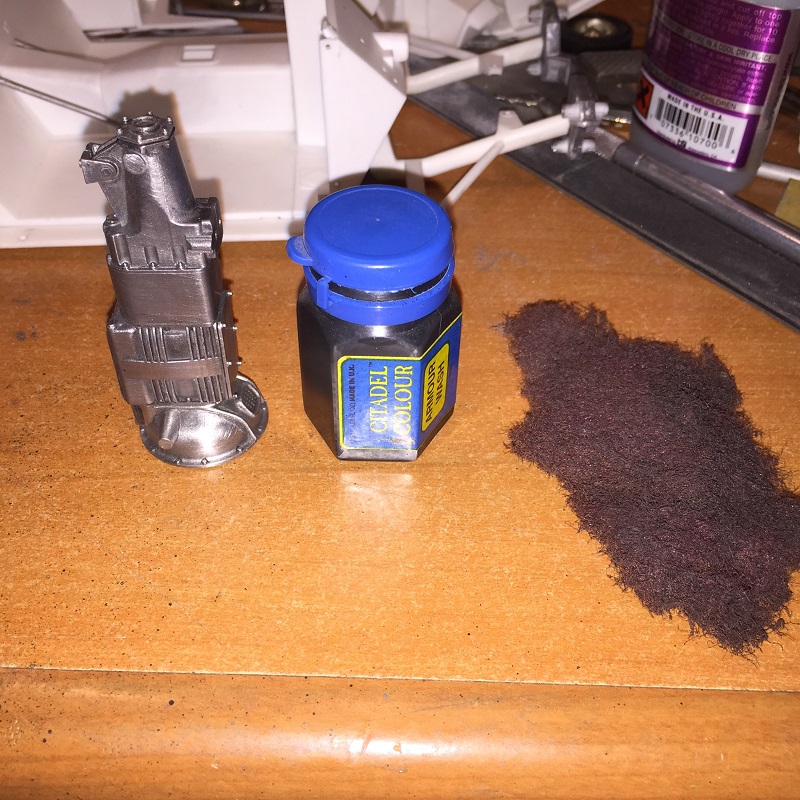
yes it has the timing gears...just cant see them. I got a email from Model Factory Hiro about getting some extra engine parts to make a separate engine to display....they will be offering the engine in a kit by its self! I did that already!......need new decals... sorry guys about a long over due update...just been busy with a real job...and what little time I have is building on this machine!!! but the update is long!!!!! got some more done to the engine. black wash and the the scotch bright, man they look so real!! got valve covers painted and they cleaned the lettering off...this was my preference as most 1:1 I saw where all black. did a mock up in the chassis...SEE BOLTS HOLING IN ENGINE! they came in kit. starter detailed and painted and the are holes for wiring. got it mounted on engine.
-
I just have 2 words...... BEEP BEEP!!!!!
-
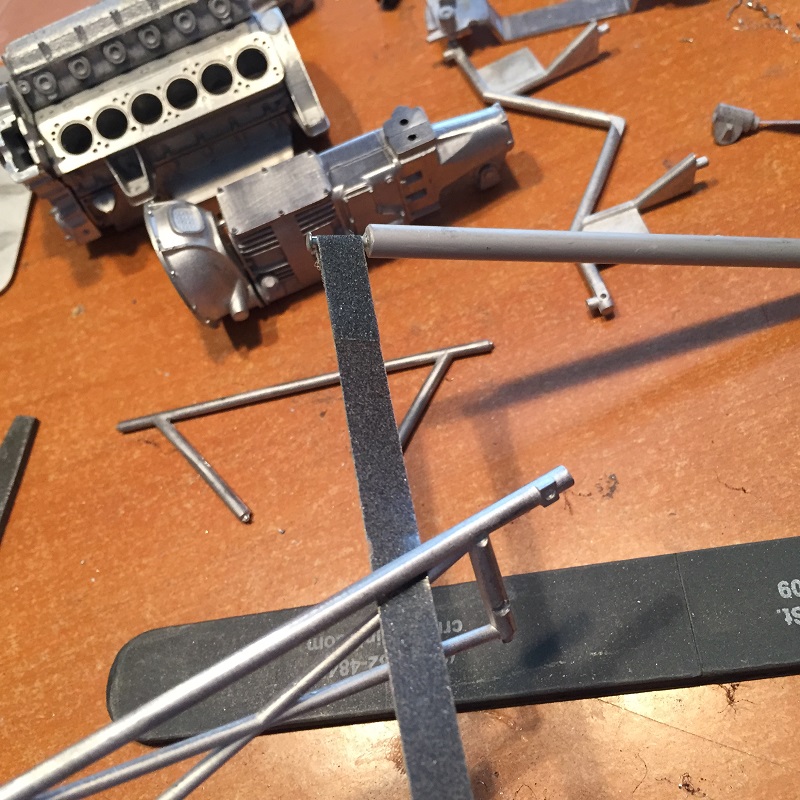
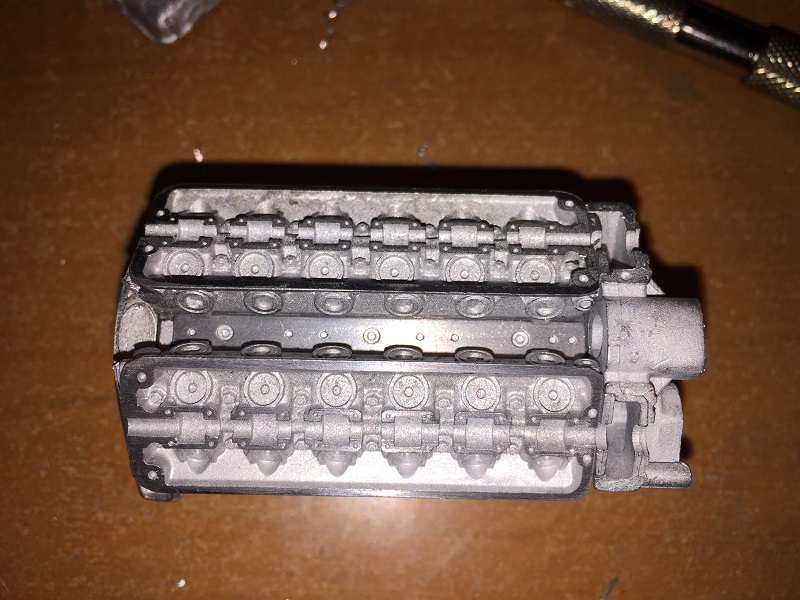
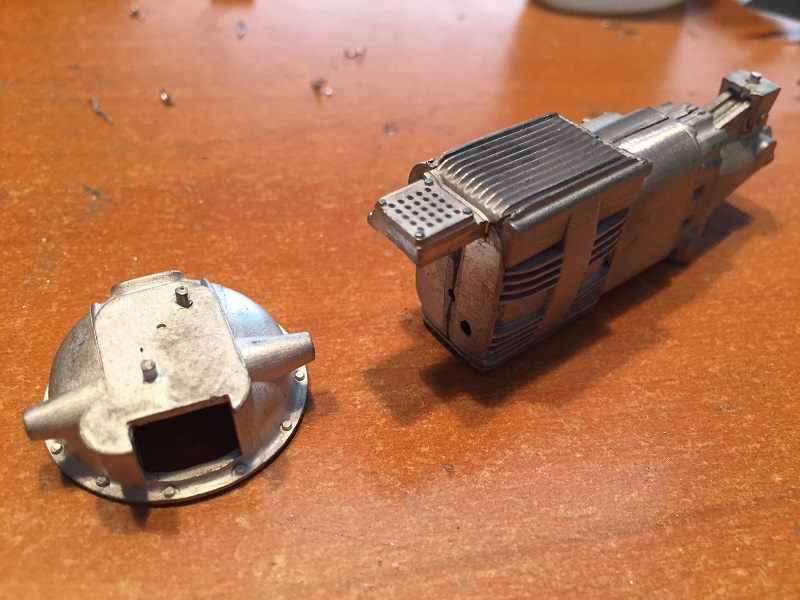
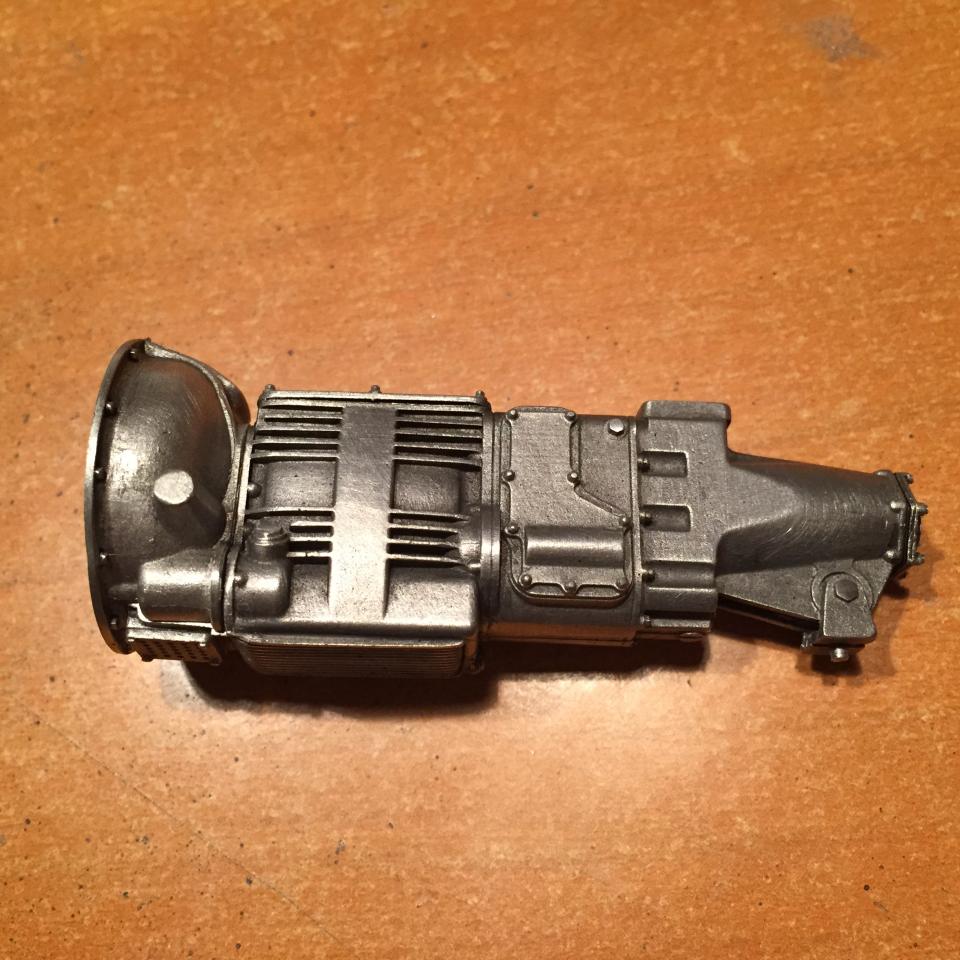
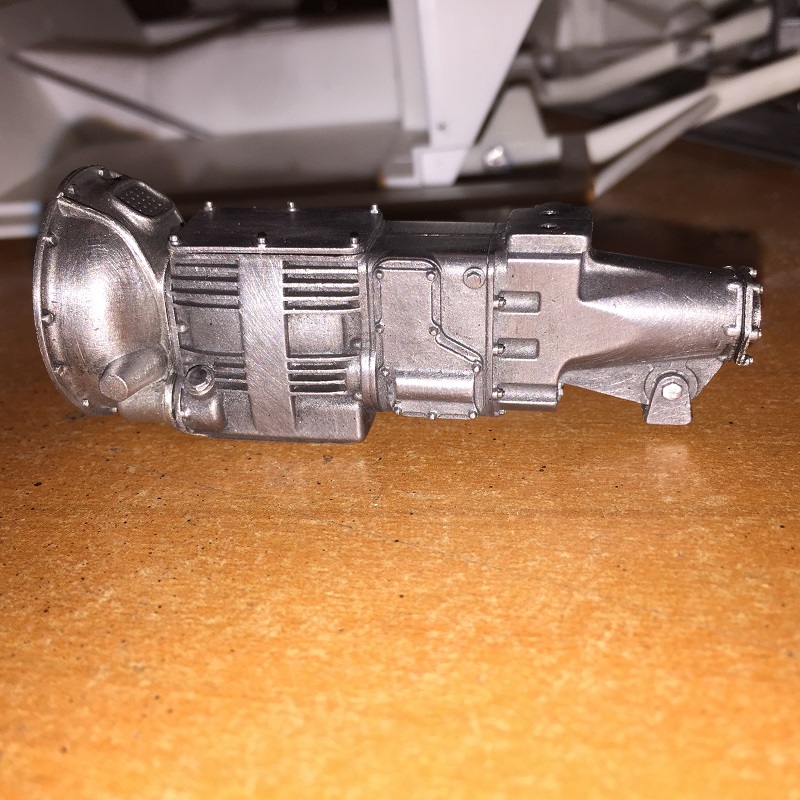
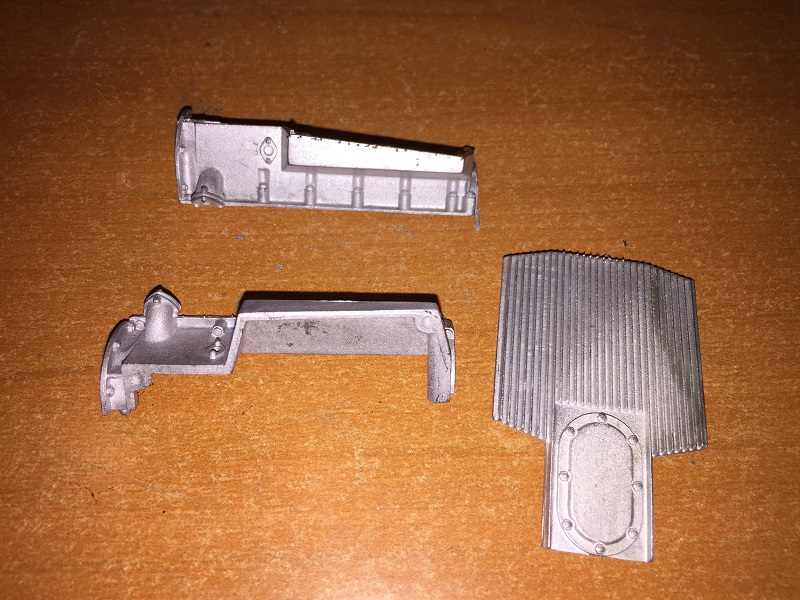
got more together last night. got oil pan together and pre fit all parts to block. next was transmission it has 6 parts = plus shifter assy....you well see it later I tried a few different things to get a nice look to the metal parts...one that worked best was a metal wash, when it was dry I went back over it with a scotch brite pad...looks very realistic...then I went over the bolt heads with a emry board and made them really shine! looks good!!!!
-
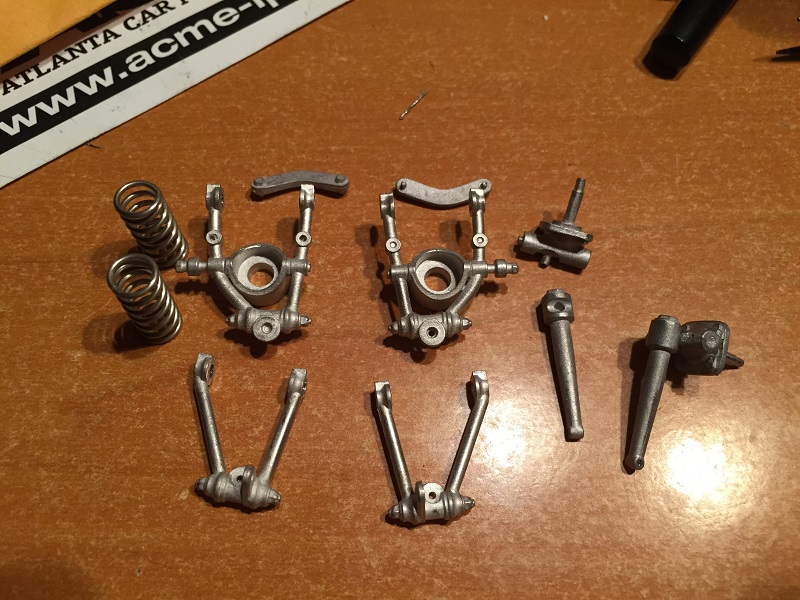
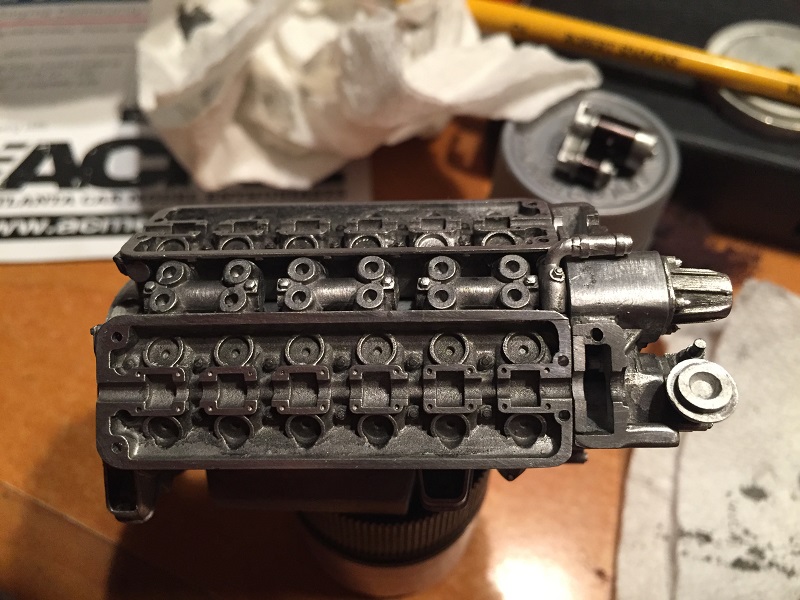
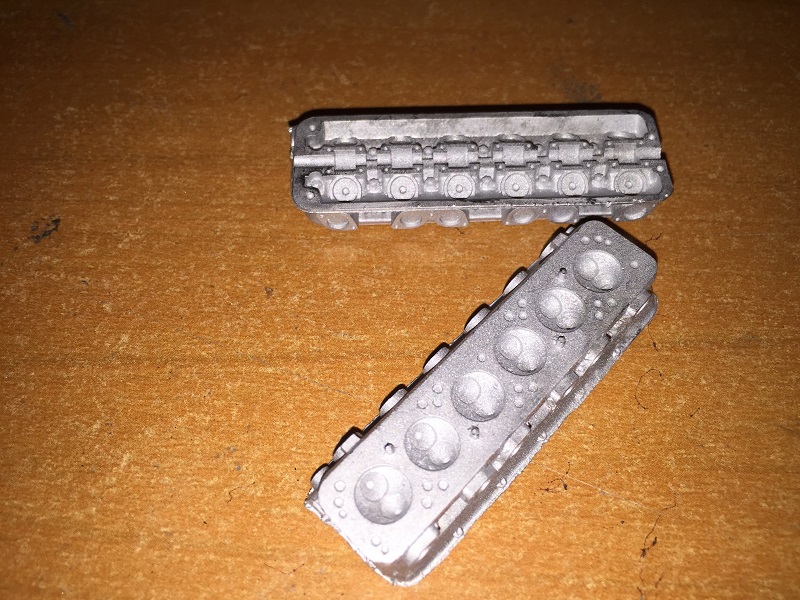
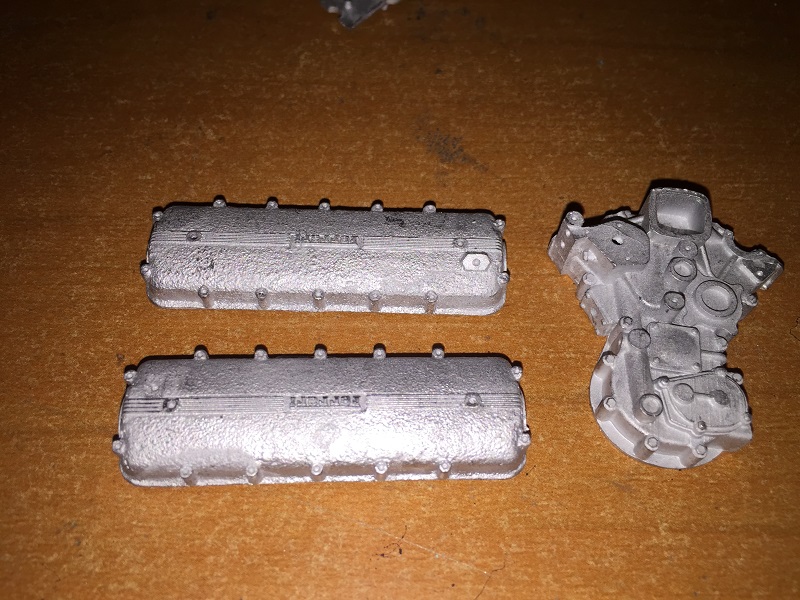
learning how this posting works is a job in itself!!! anyways on to the good stuff. instructions are ok...not for a beginner.. you have to figure out what to paint and when and what can be painted as a assembly. they castings are very nice, they do require a little clean up. most of the metal parts will stay this way. Engine is very detailed! lots of parts. now one cool thing about this kit is the Internal workings, piston rods crank all work! but it being together it will be almost impossible to see. so i have ordered some parts to make a display engine.. and will use them in it. to parts make up the block, just a little filing to get them together.. 3 parts make up the oil pan heads have vale springs rocker arms and cam shaft, but again hard to see when assembled. will save it for second engine. heads and valve covers. valve covers have separated bolts to add on after painting. timing cover has a lot of detail!
-
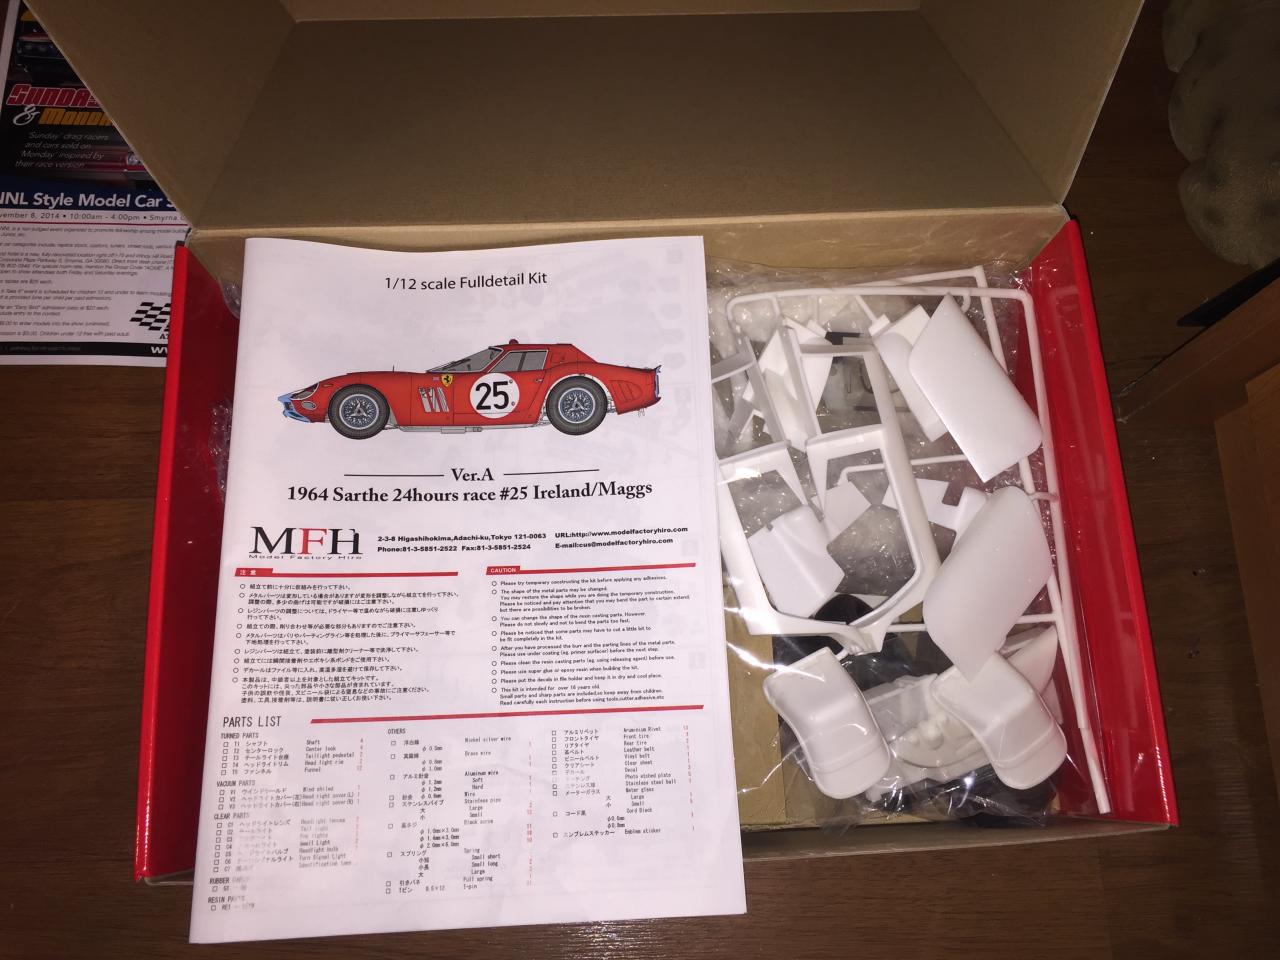
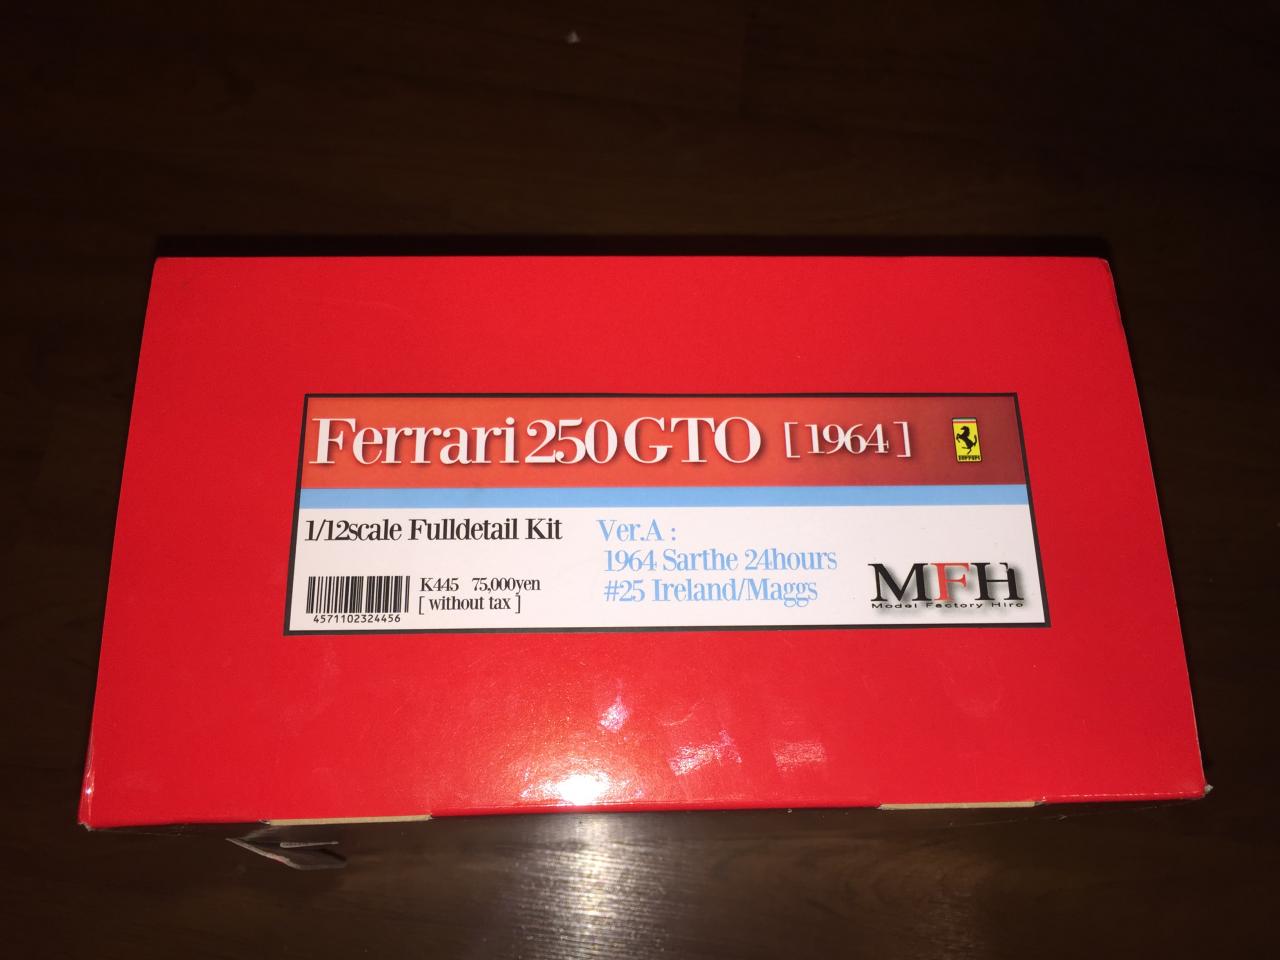
hi fellows! Im not new to building models by no means. Been to many shows all over the country. Mostly ones down here in the south. my Name is Andy Lowery. I know more faces than I do names.. ! have been building sense i was old enough to hold a tube of glue.. I'm 49 now. love all kinds of cars...customs hot rods funny cars and old race cars. Now it brings me to this! when model Factory Hiro announced they would be doing a Ferrari in 1/12 scale i was in...and even Better My Favorite one of All! a 250 GTO!!!!! been waiting for it sense....well the wait is over!!! its here and MAN WHAT A LOT OF PARTS!!!!!! IT WAS NOT CHEAP!!! either i got it from Hobby Link Japan. took 5 days to get here Ounce they had it. Model Factory Hiro Makes some Unbelievable kits! there not cheap but worth every penny. i have built several of there kits and have a couple not built yet. well want to see some pictures???? well Do ya??? OK..... I put all the parts that where bagged into plastic storage boxes so i can find what I need when I need it.