vincen47
-
Posts
1,412 -
Joined
-
Last visited
1 Follower
Recent Profile Visitors
7,786 profile views


vincen47's Achievements
MCM Ohana (6/6)
-
Moebius F 250 w/camper.
vincen47 replied to happy grumpy's topic in Model Trucks: Pickups, Vans, SUVs, Light Commercial
Oh this one is awesome! I love it. Really looks the part and that camper is great. Be sure to add it to the “Post your RVs here” topic just a few below this one. -
Great start and a great backstory to inspire the build. I too find it very helpful to imagine a basic storyline behind a build to help inspire and guide the design and build process.
-
Long and low…what a beauty! What was the source of your conversion parts? Looks nice. I just ordered a conversion kit from The 389 Project.
-
Nice truck, love the paint color.
-
Post your RVs here
vincen47 replied to Oldcarfan27's topic in Model Trucks: Pickups, Vans, SUVs, Light Commercial
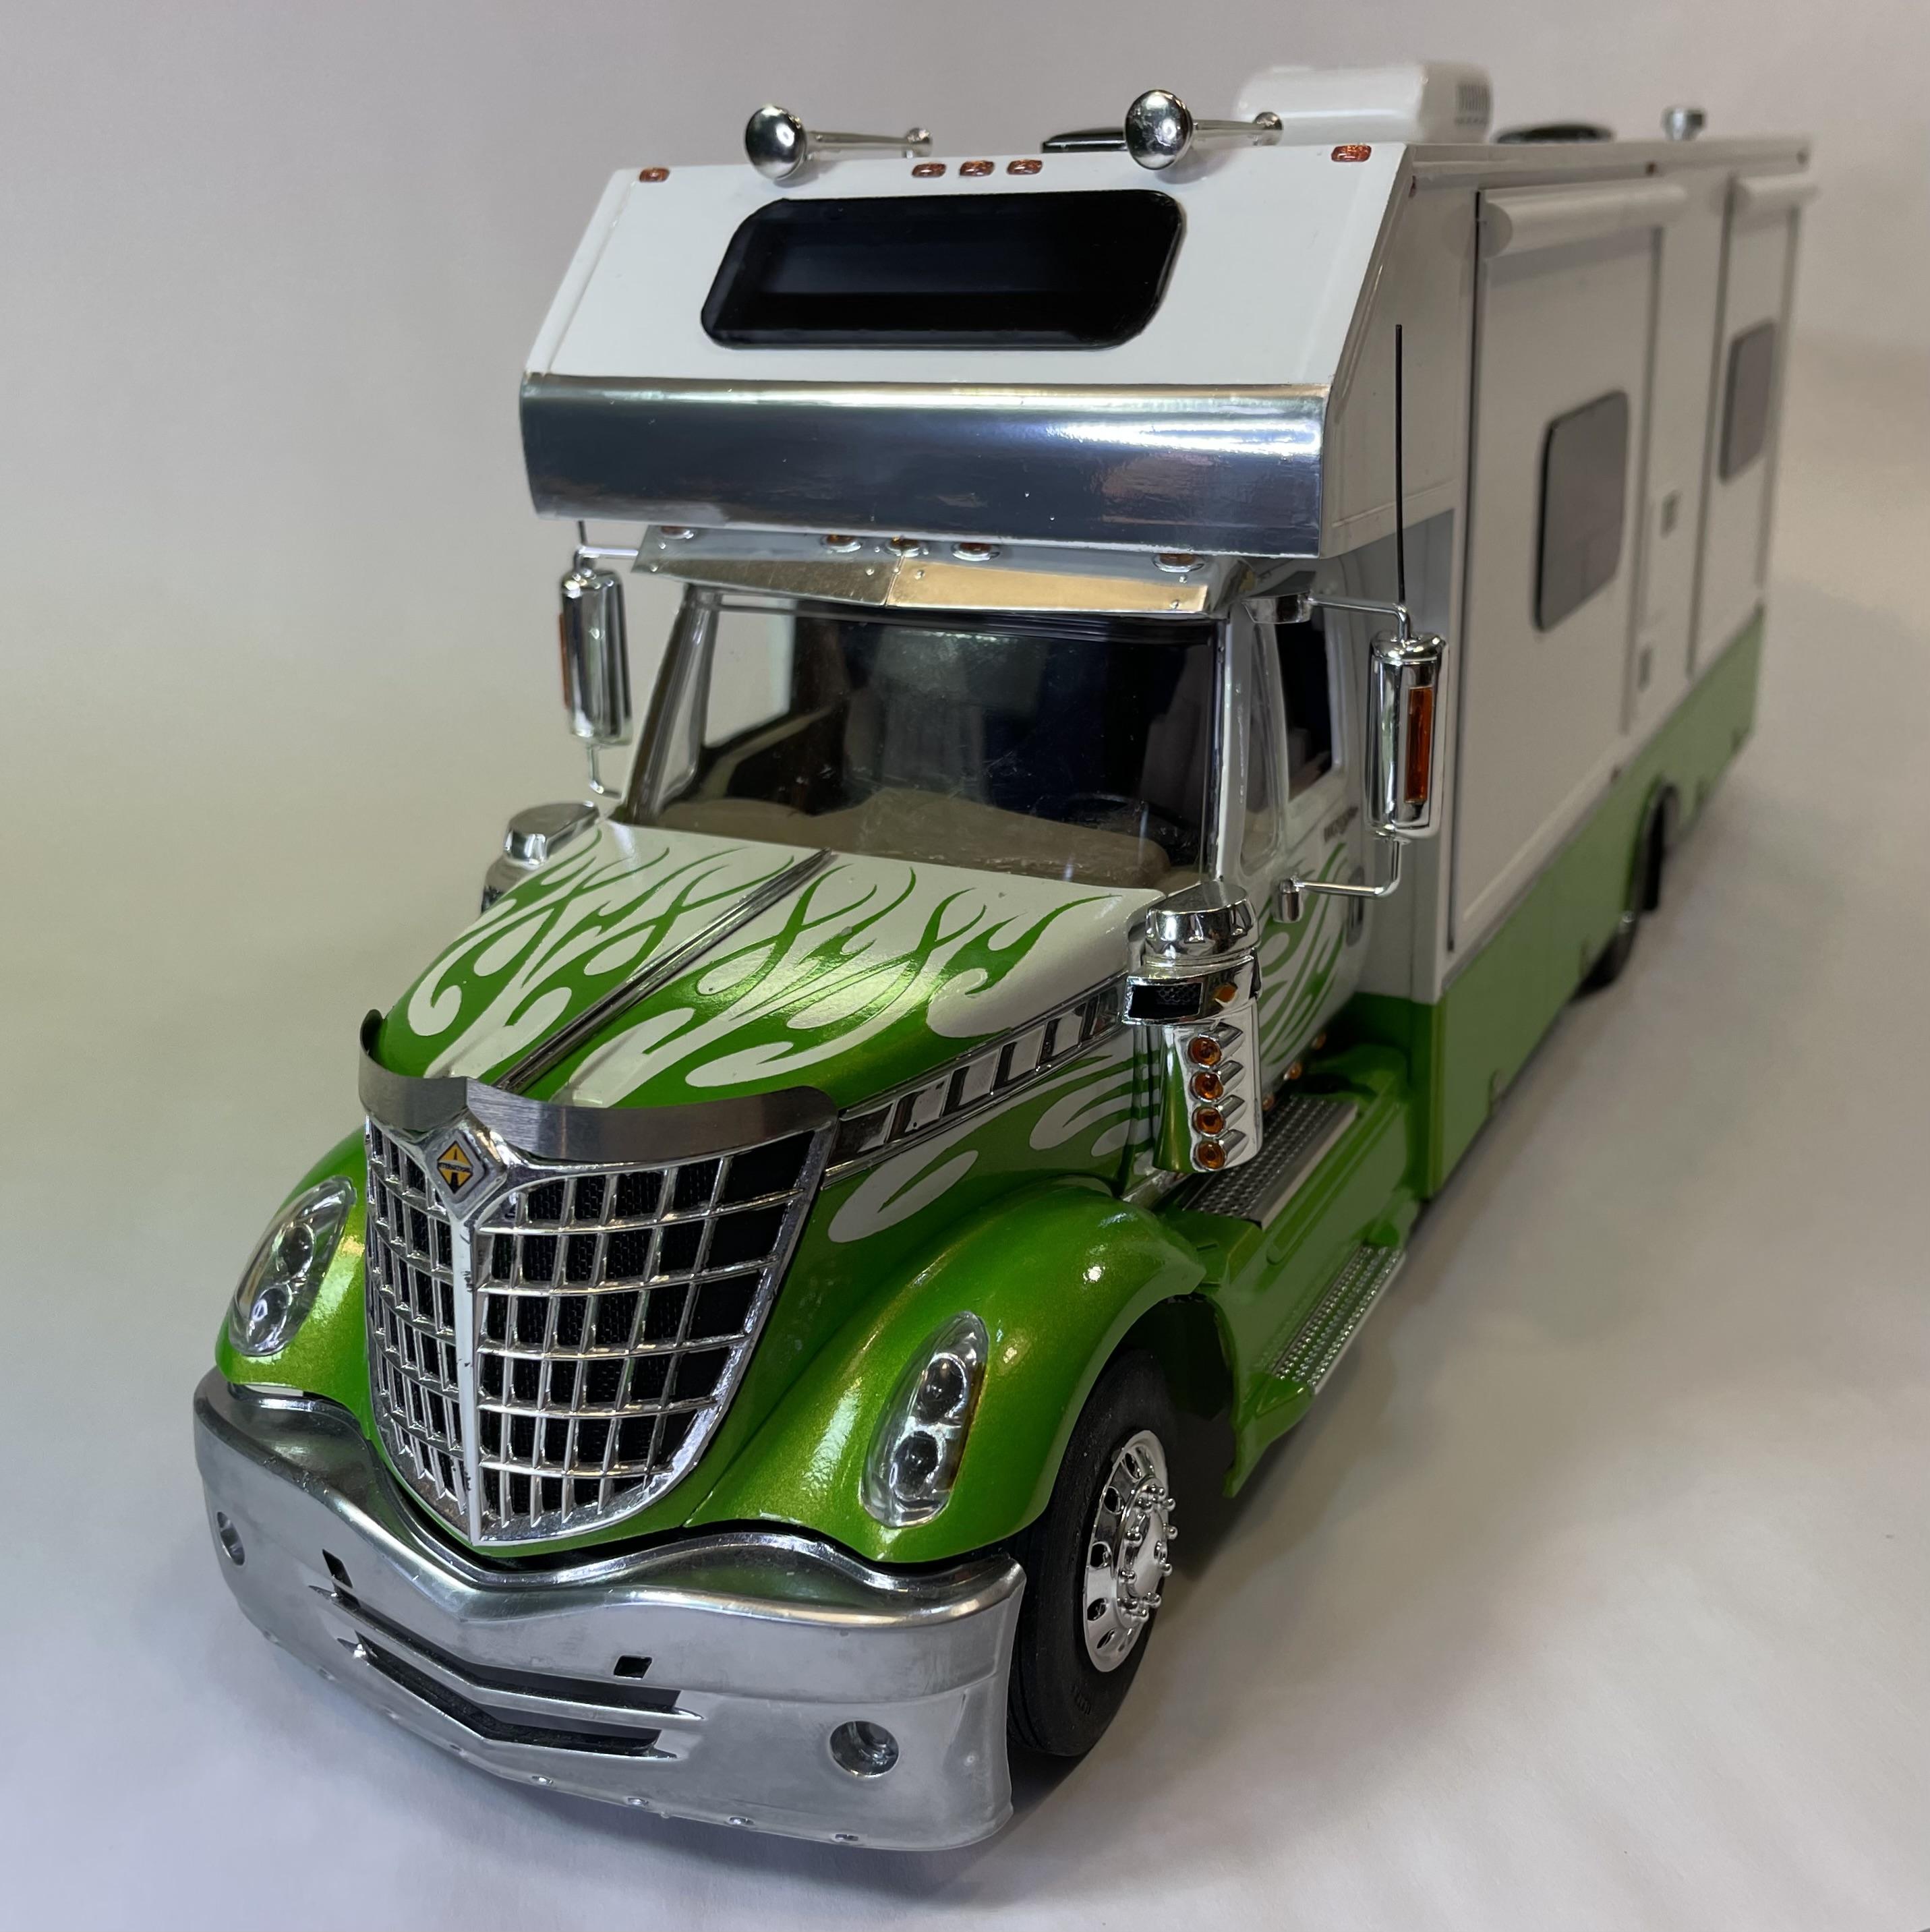
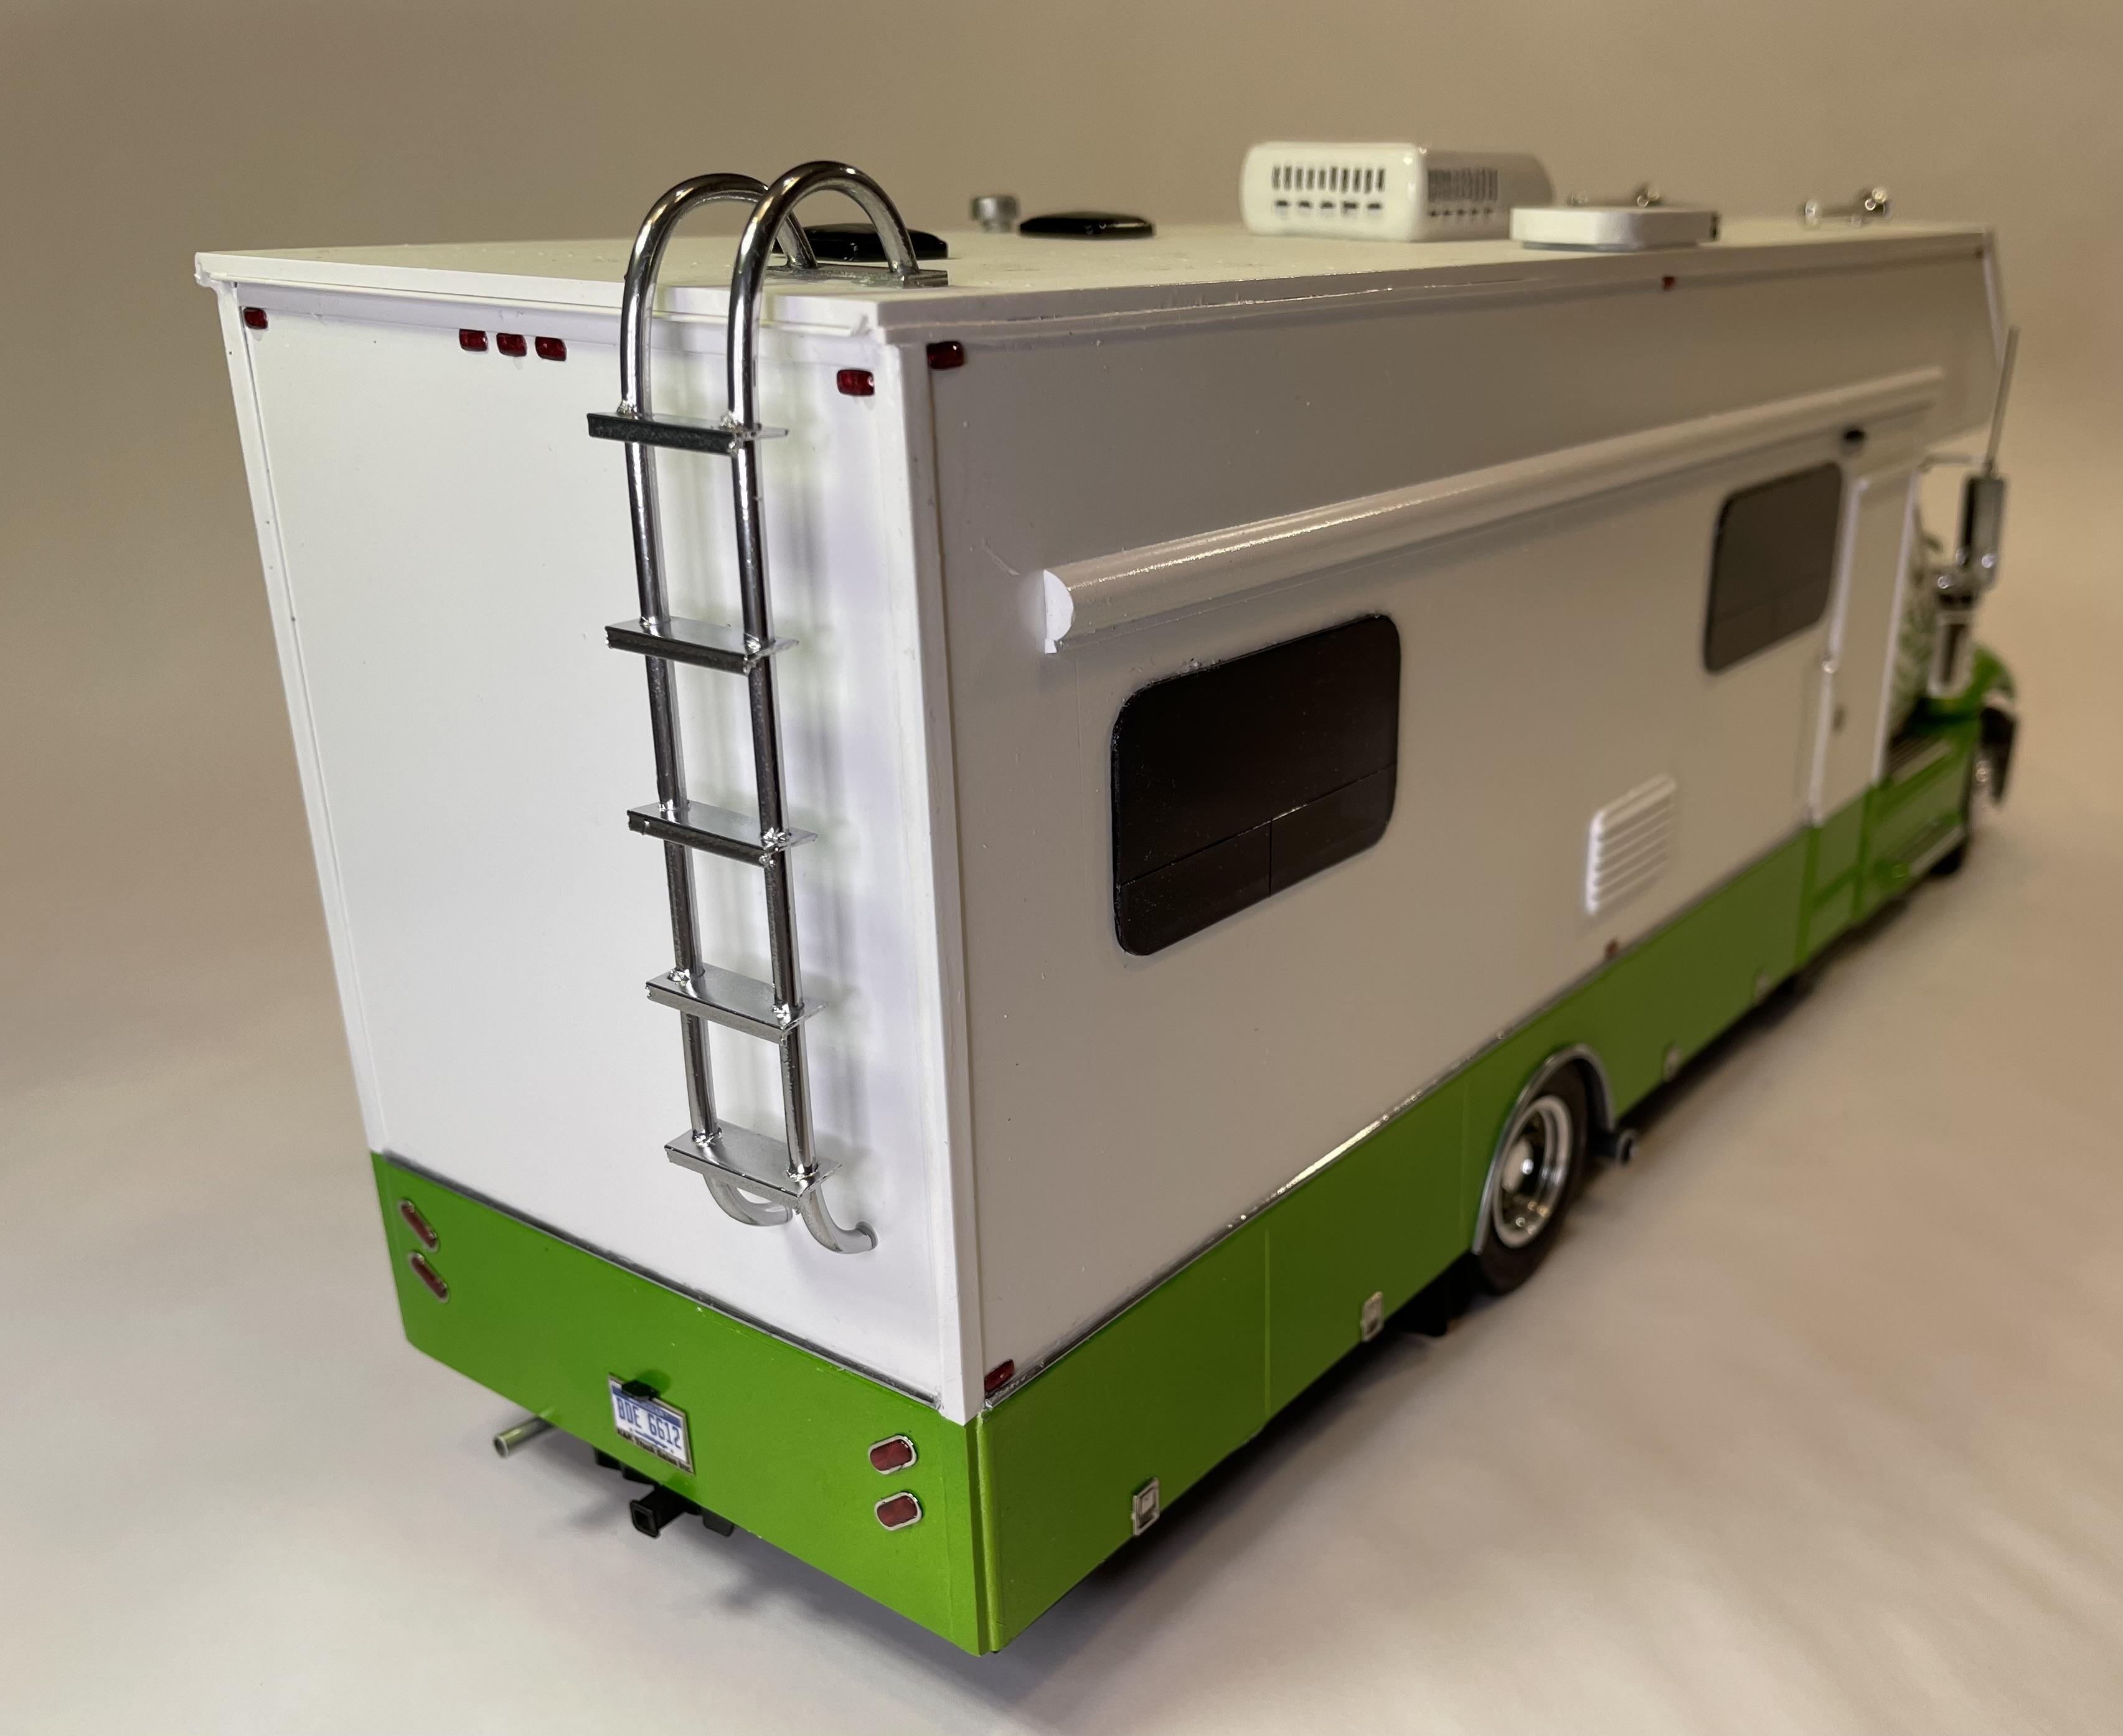
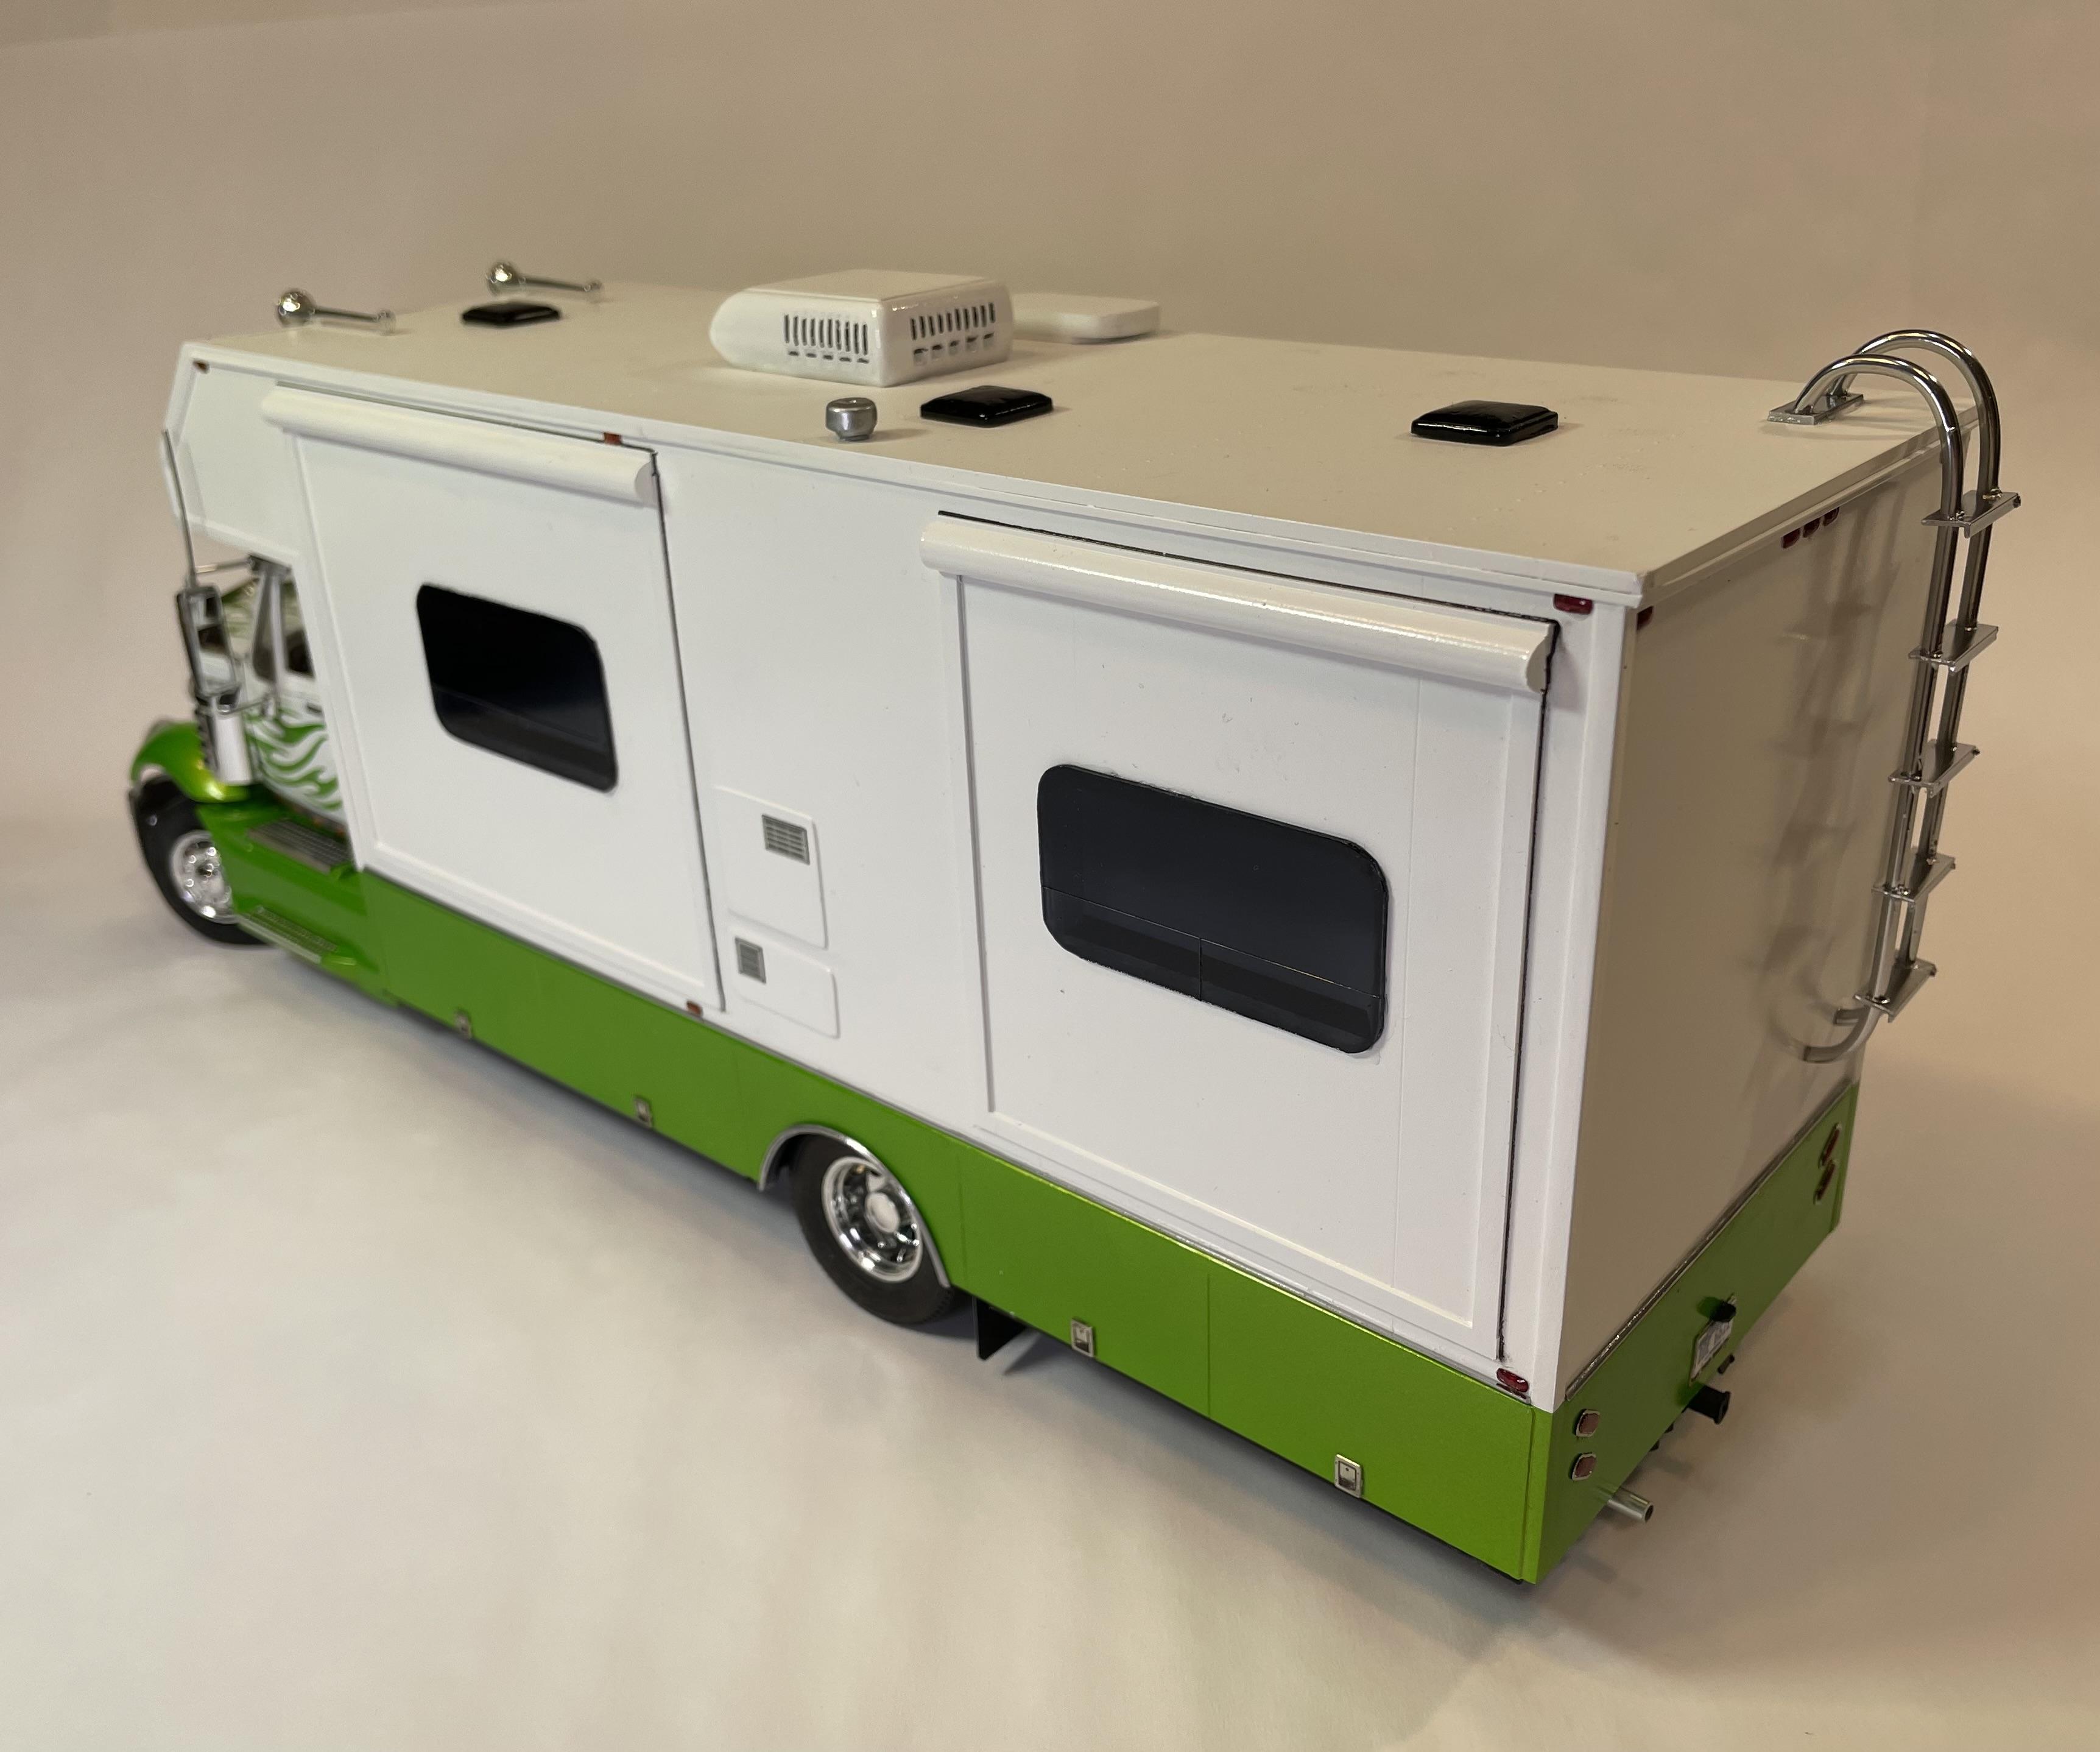
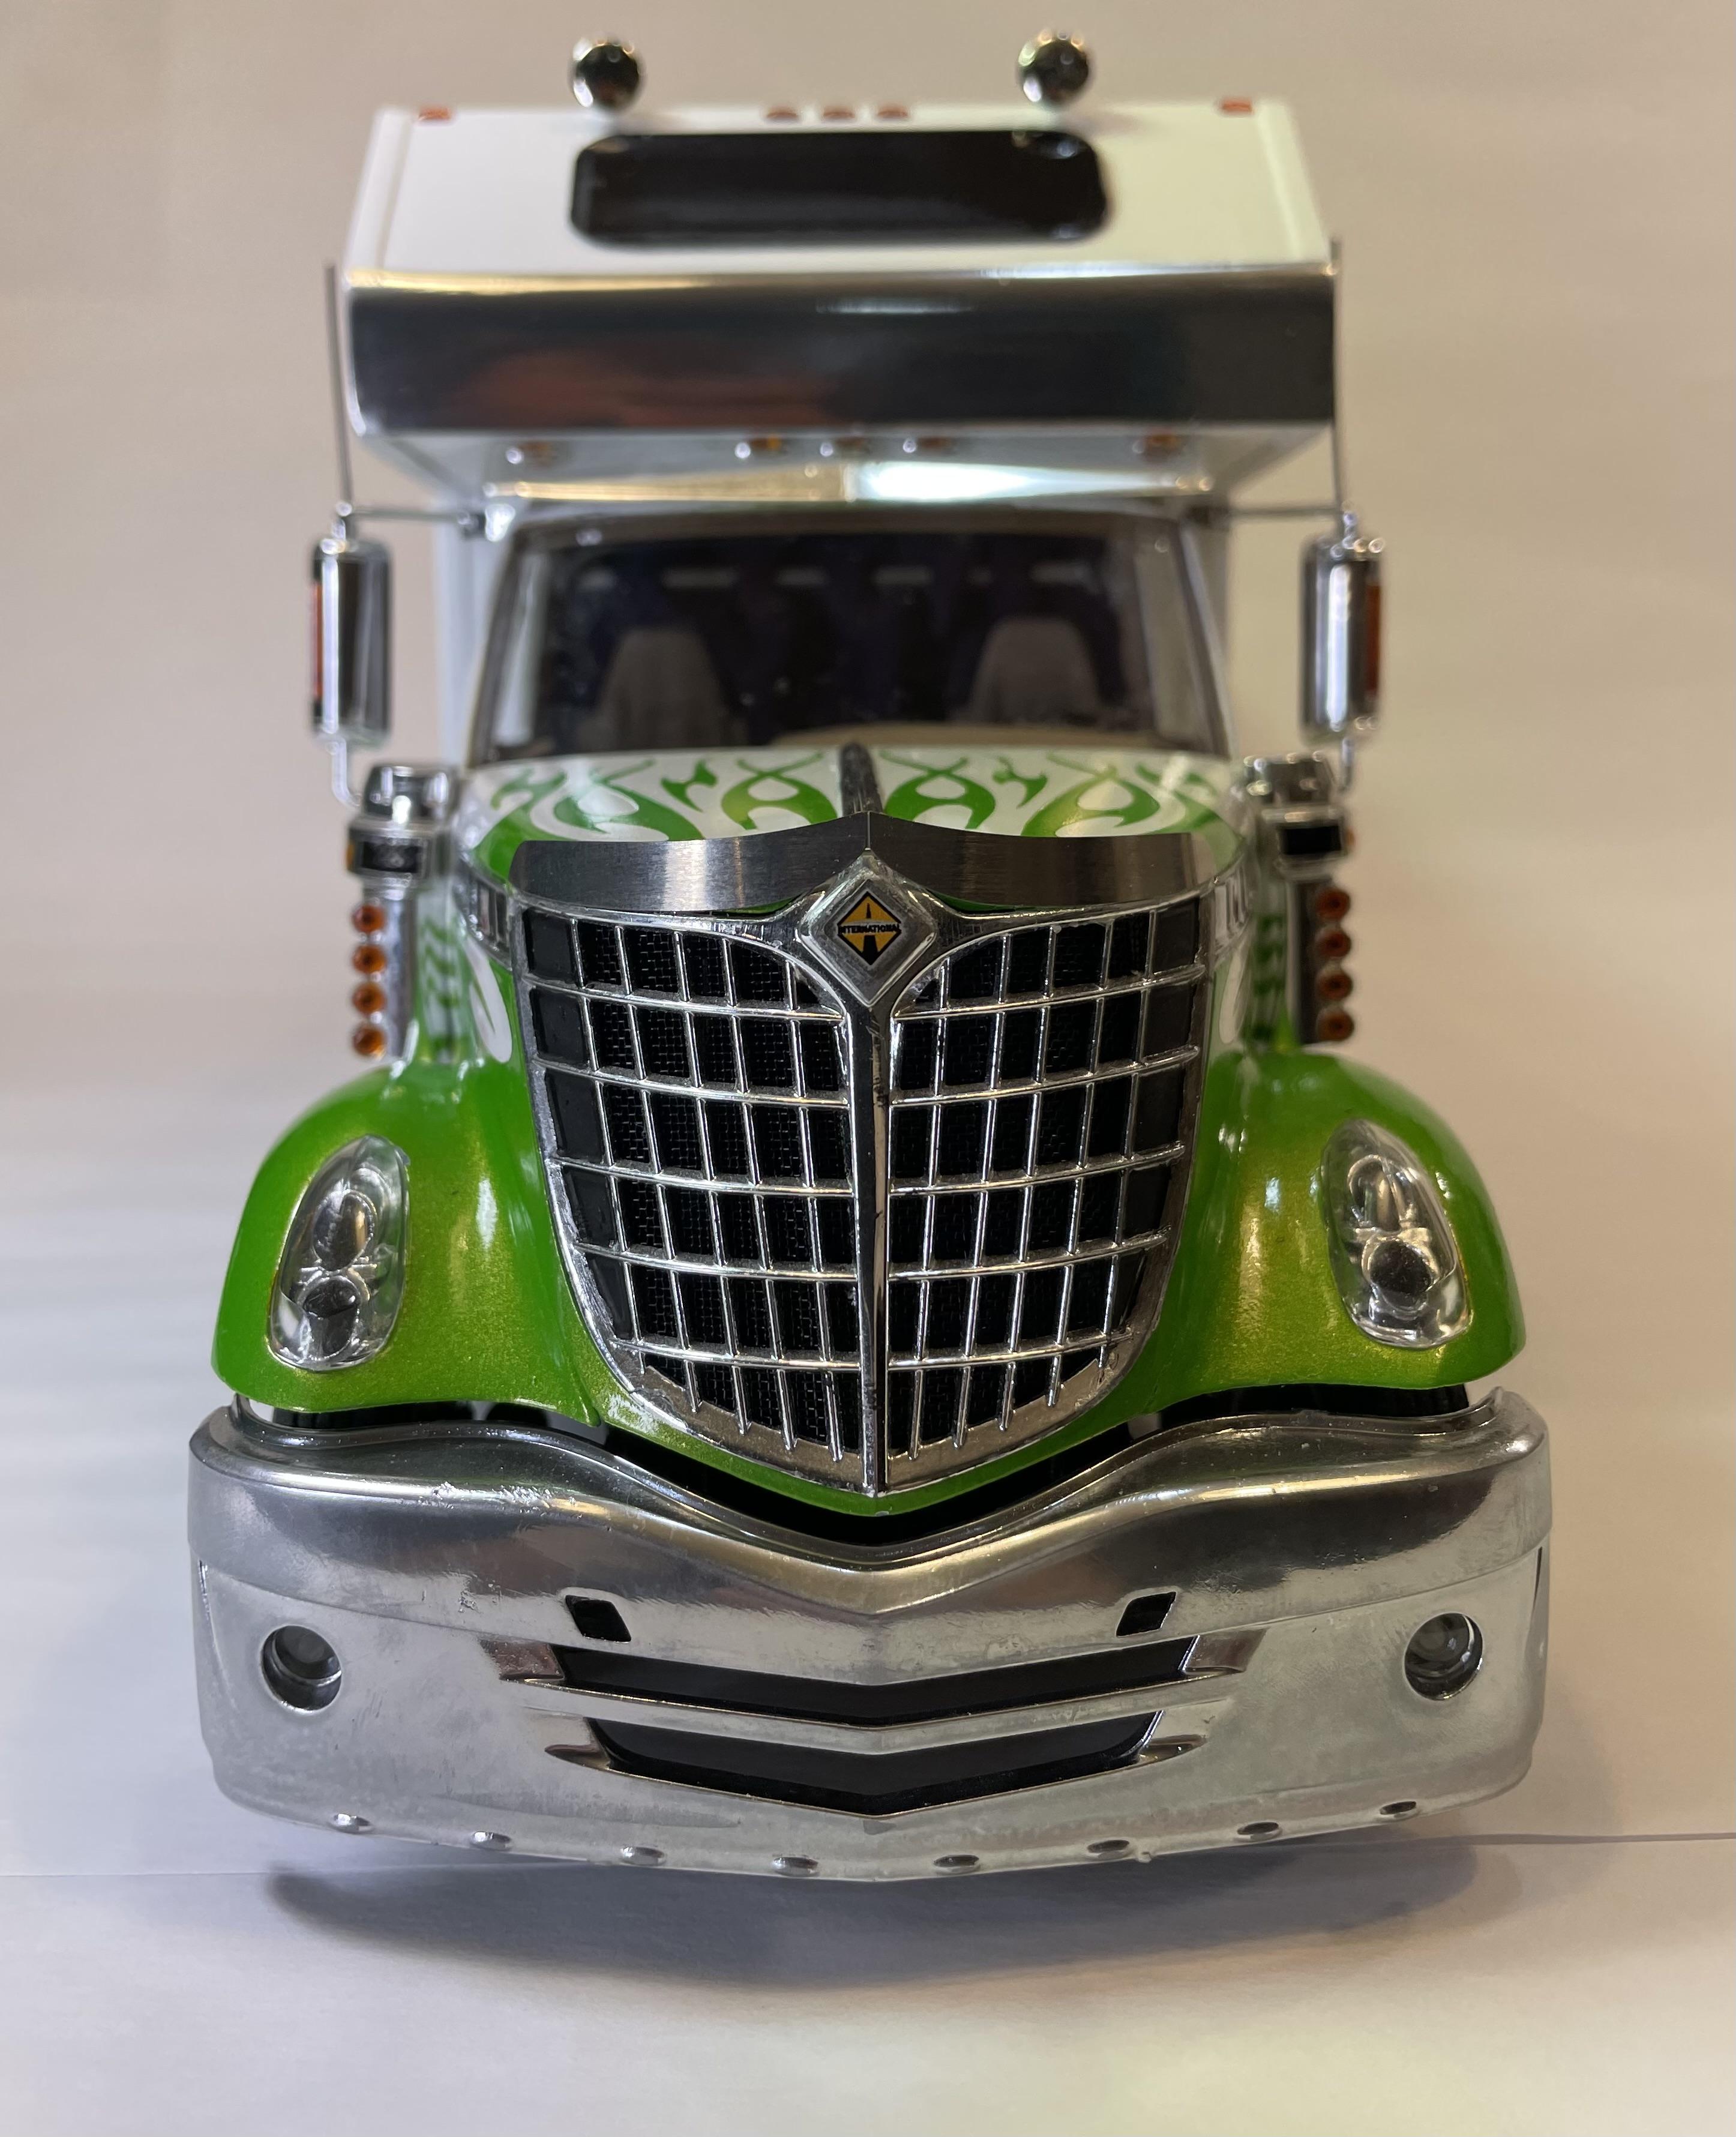
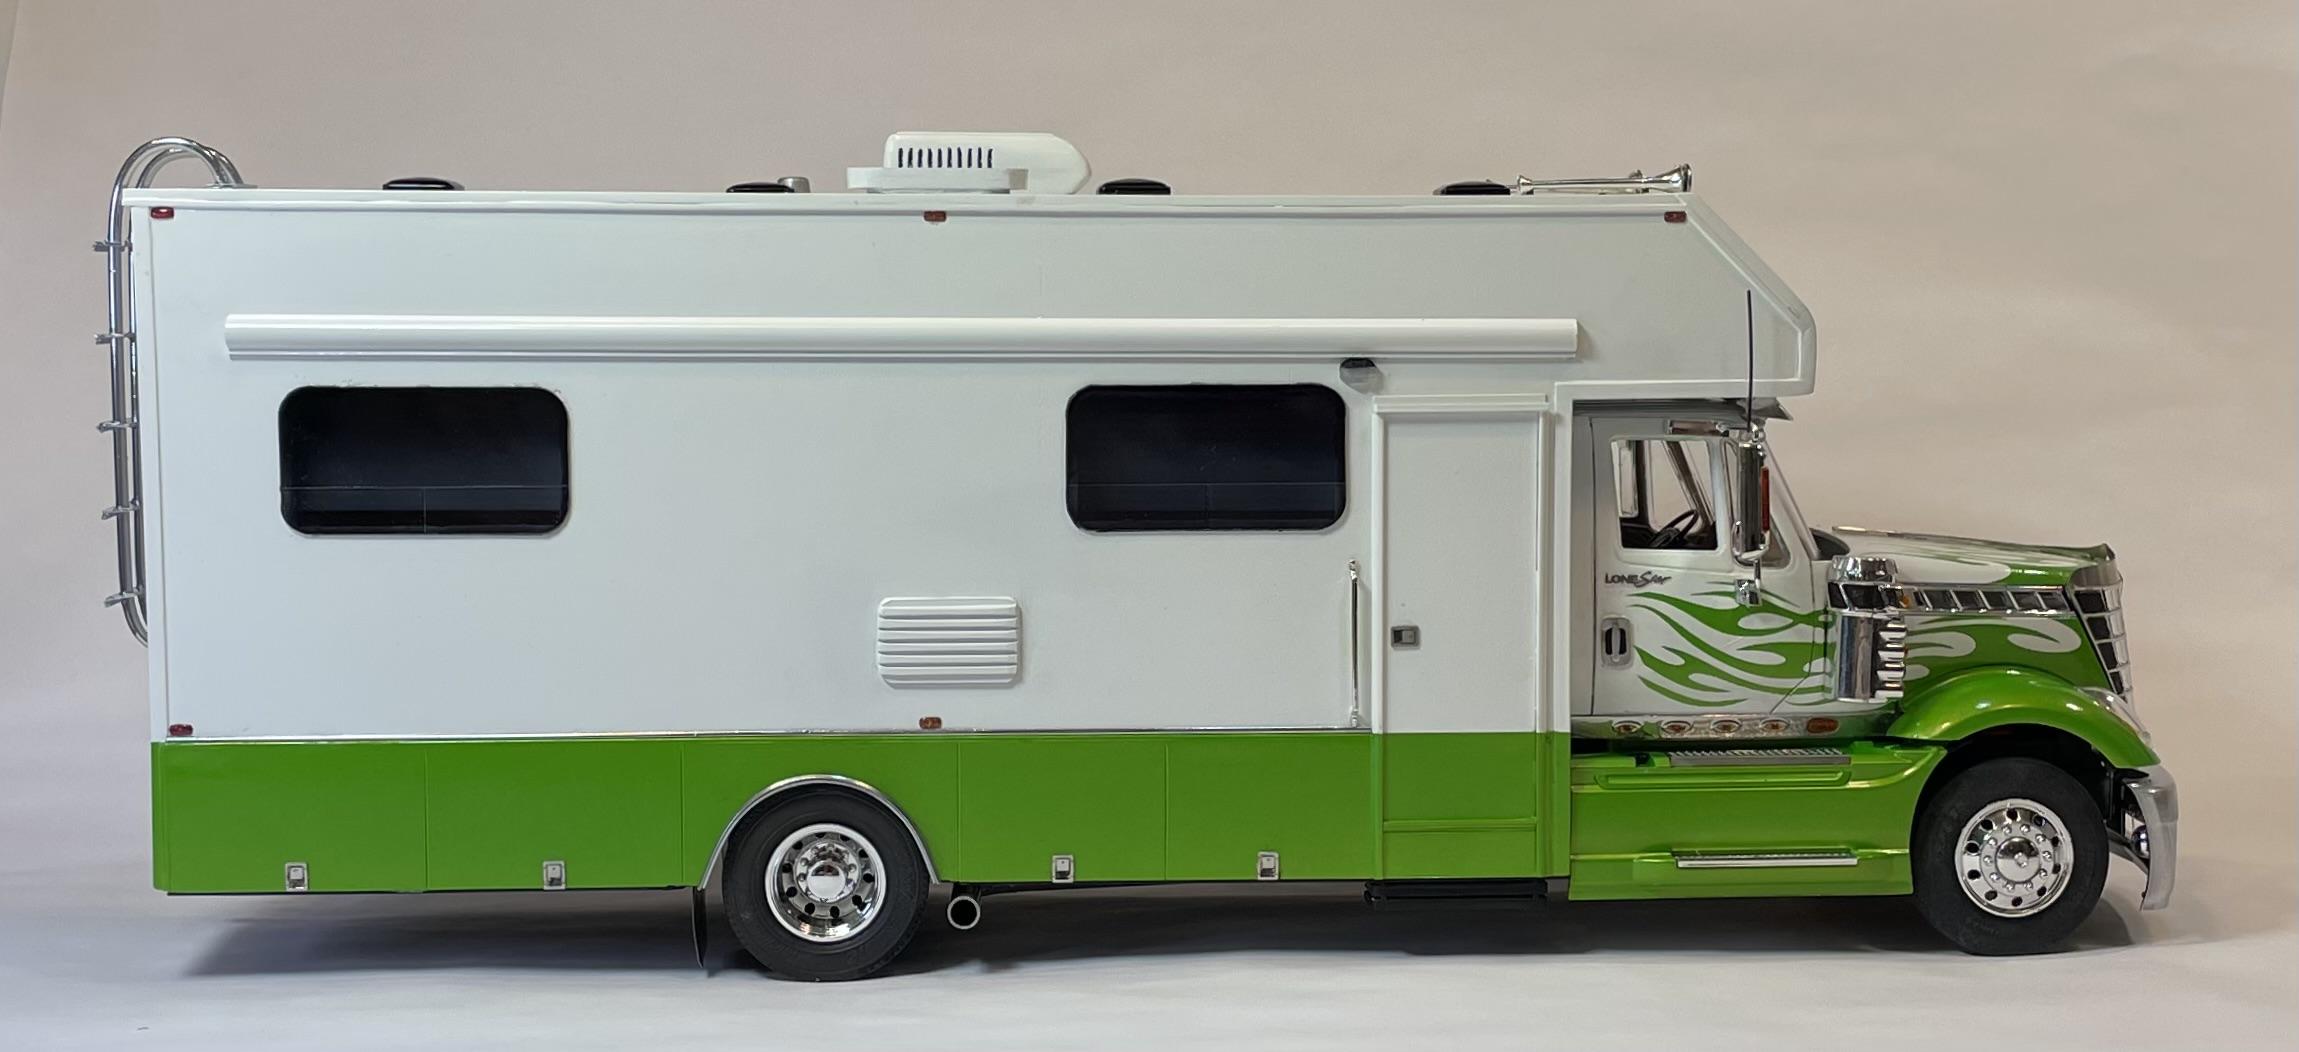
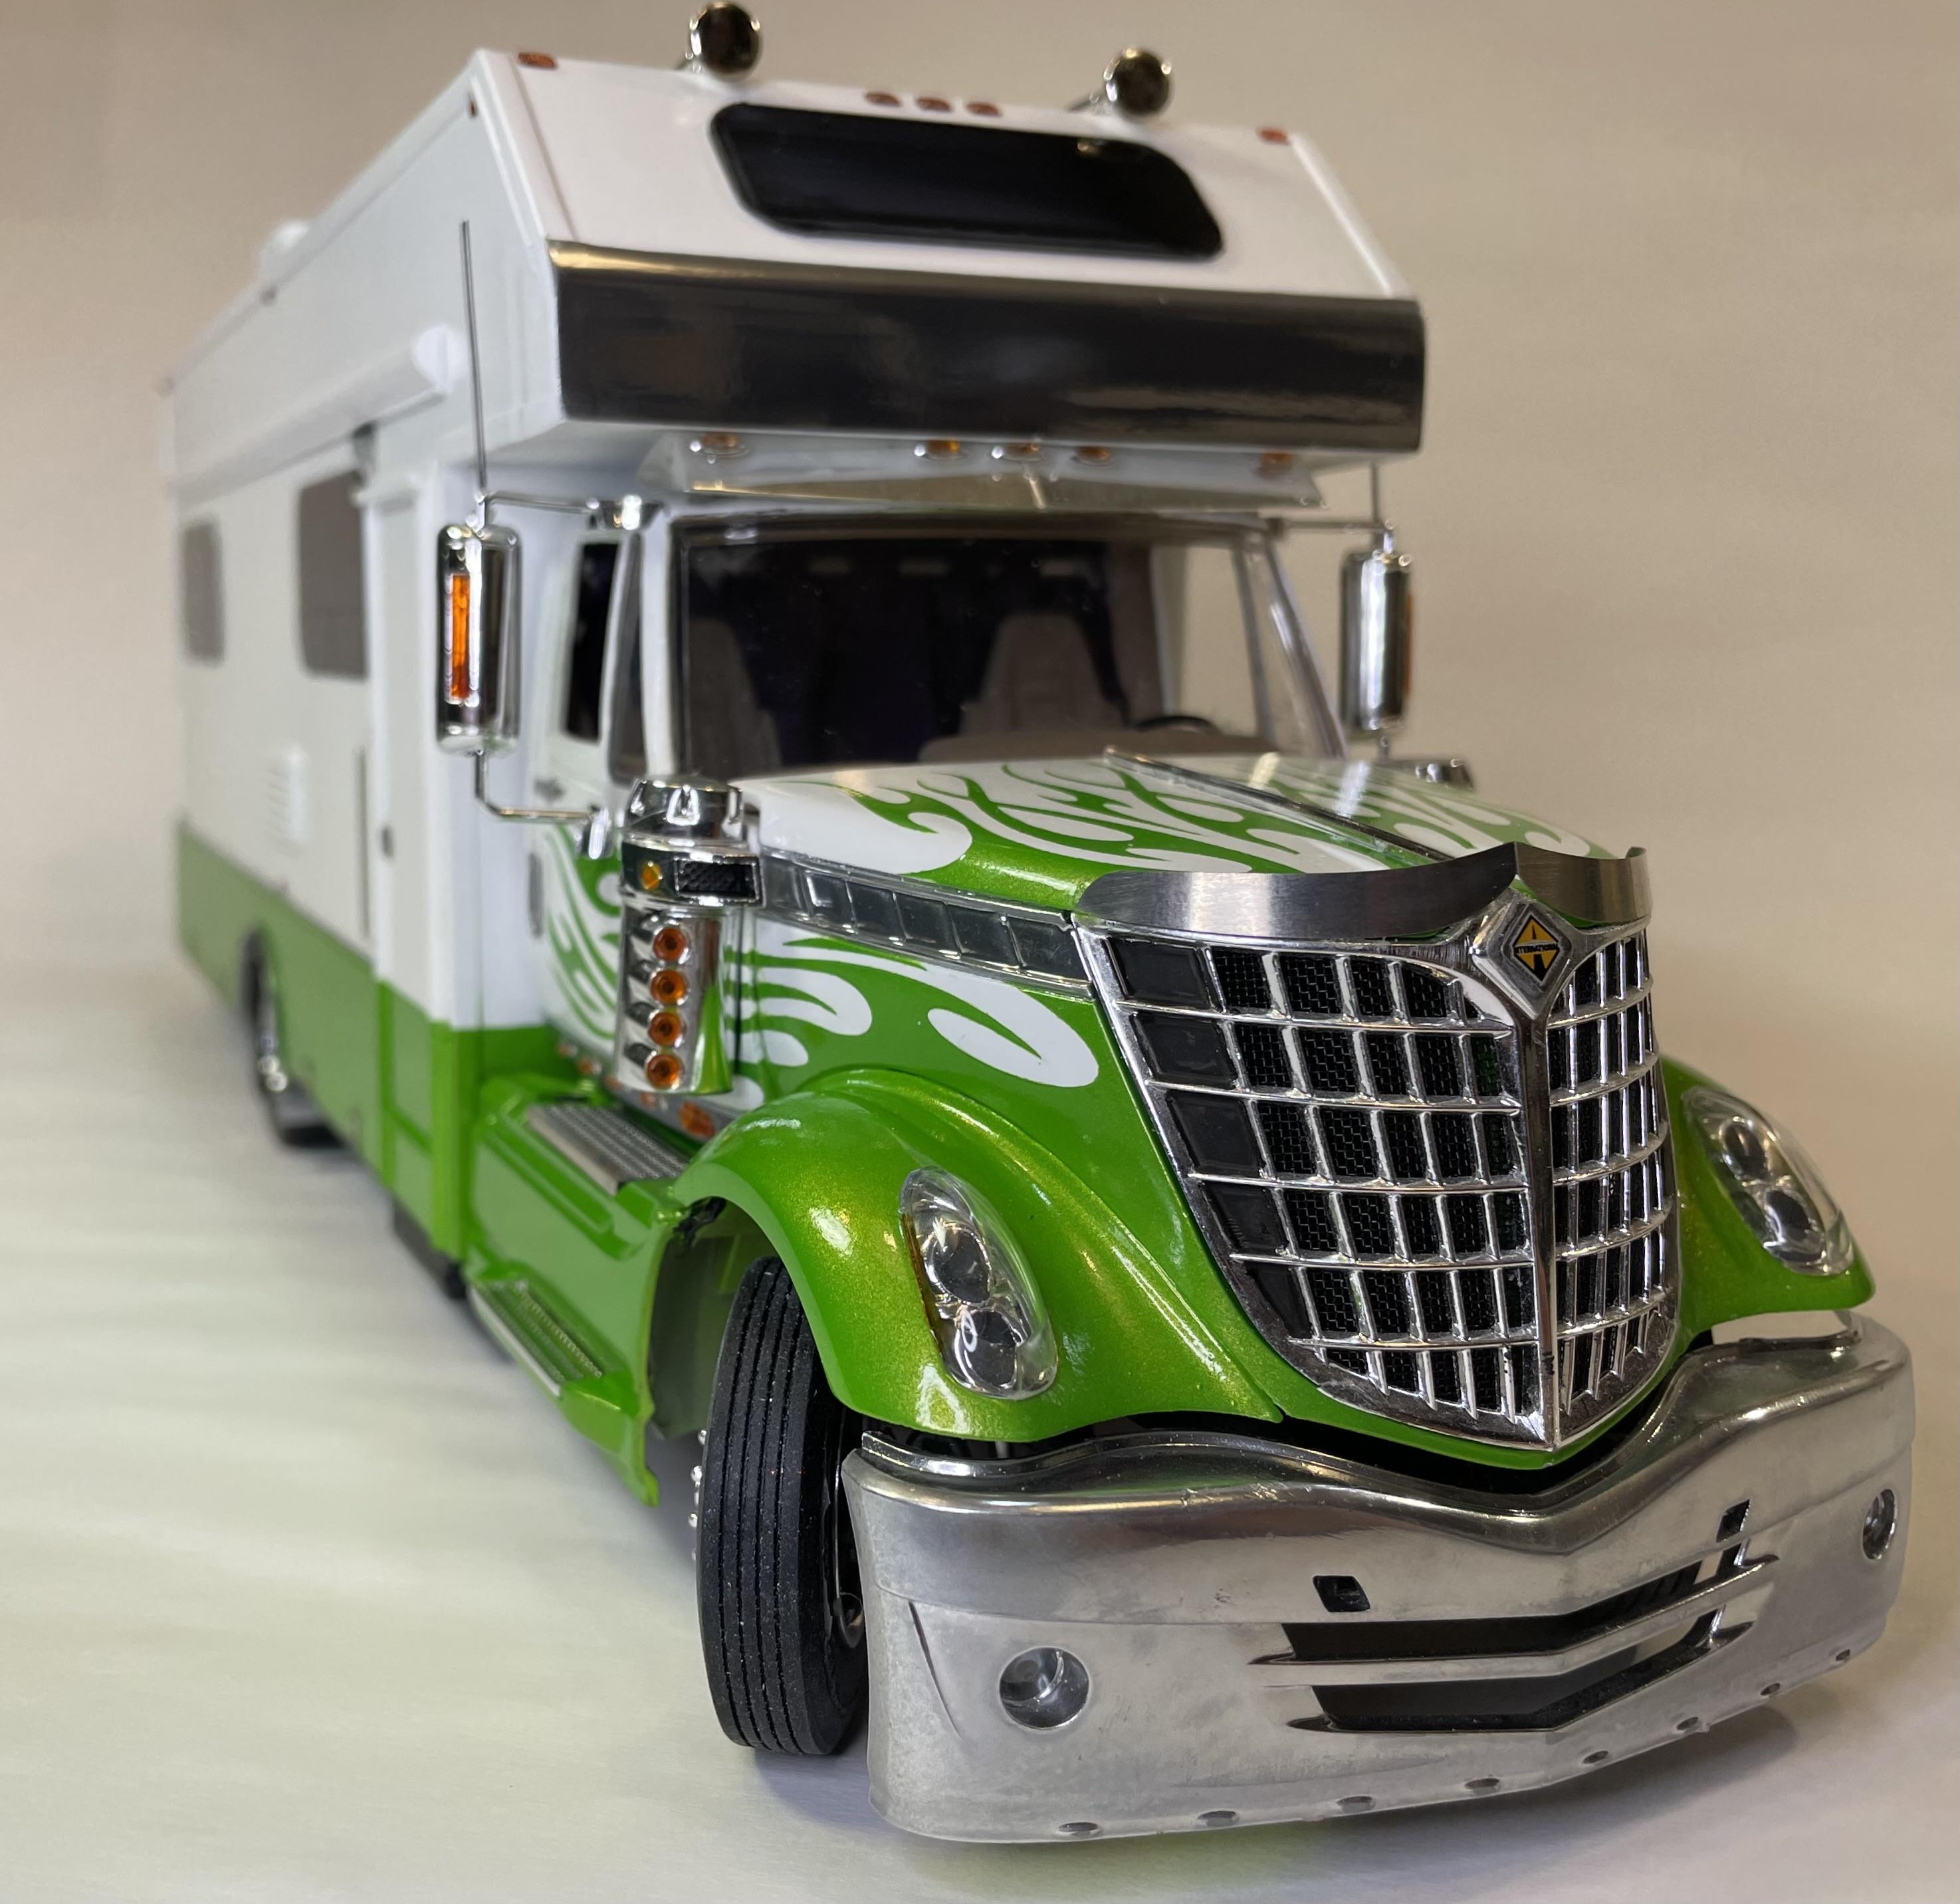
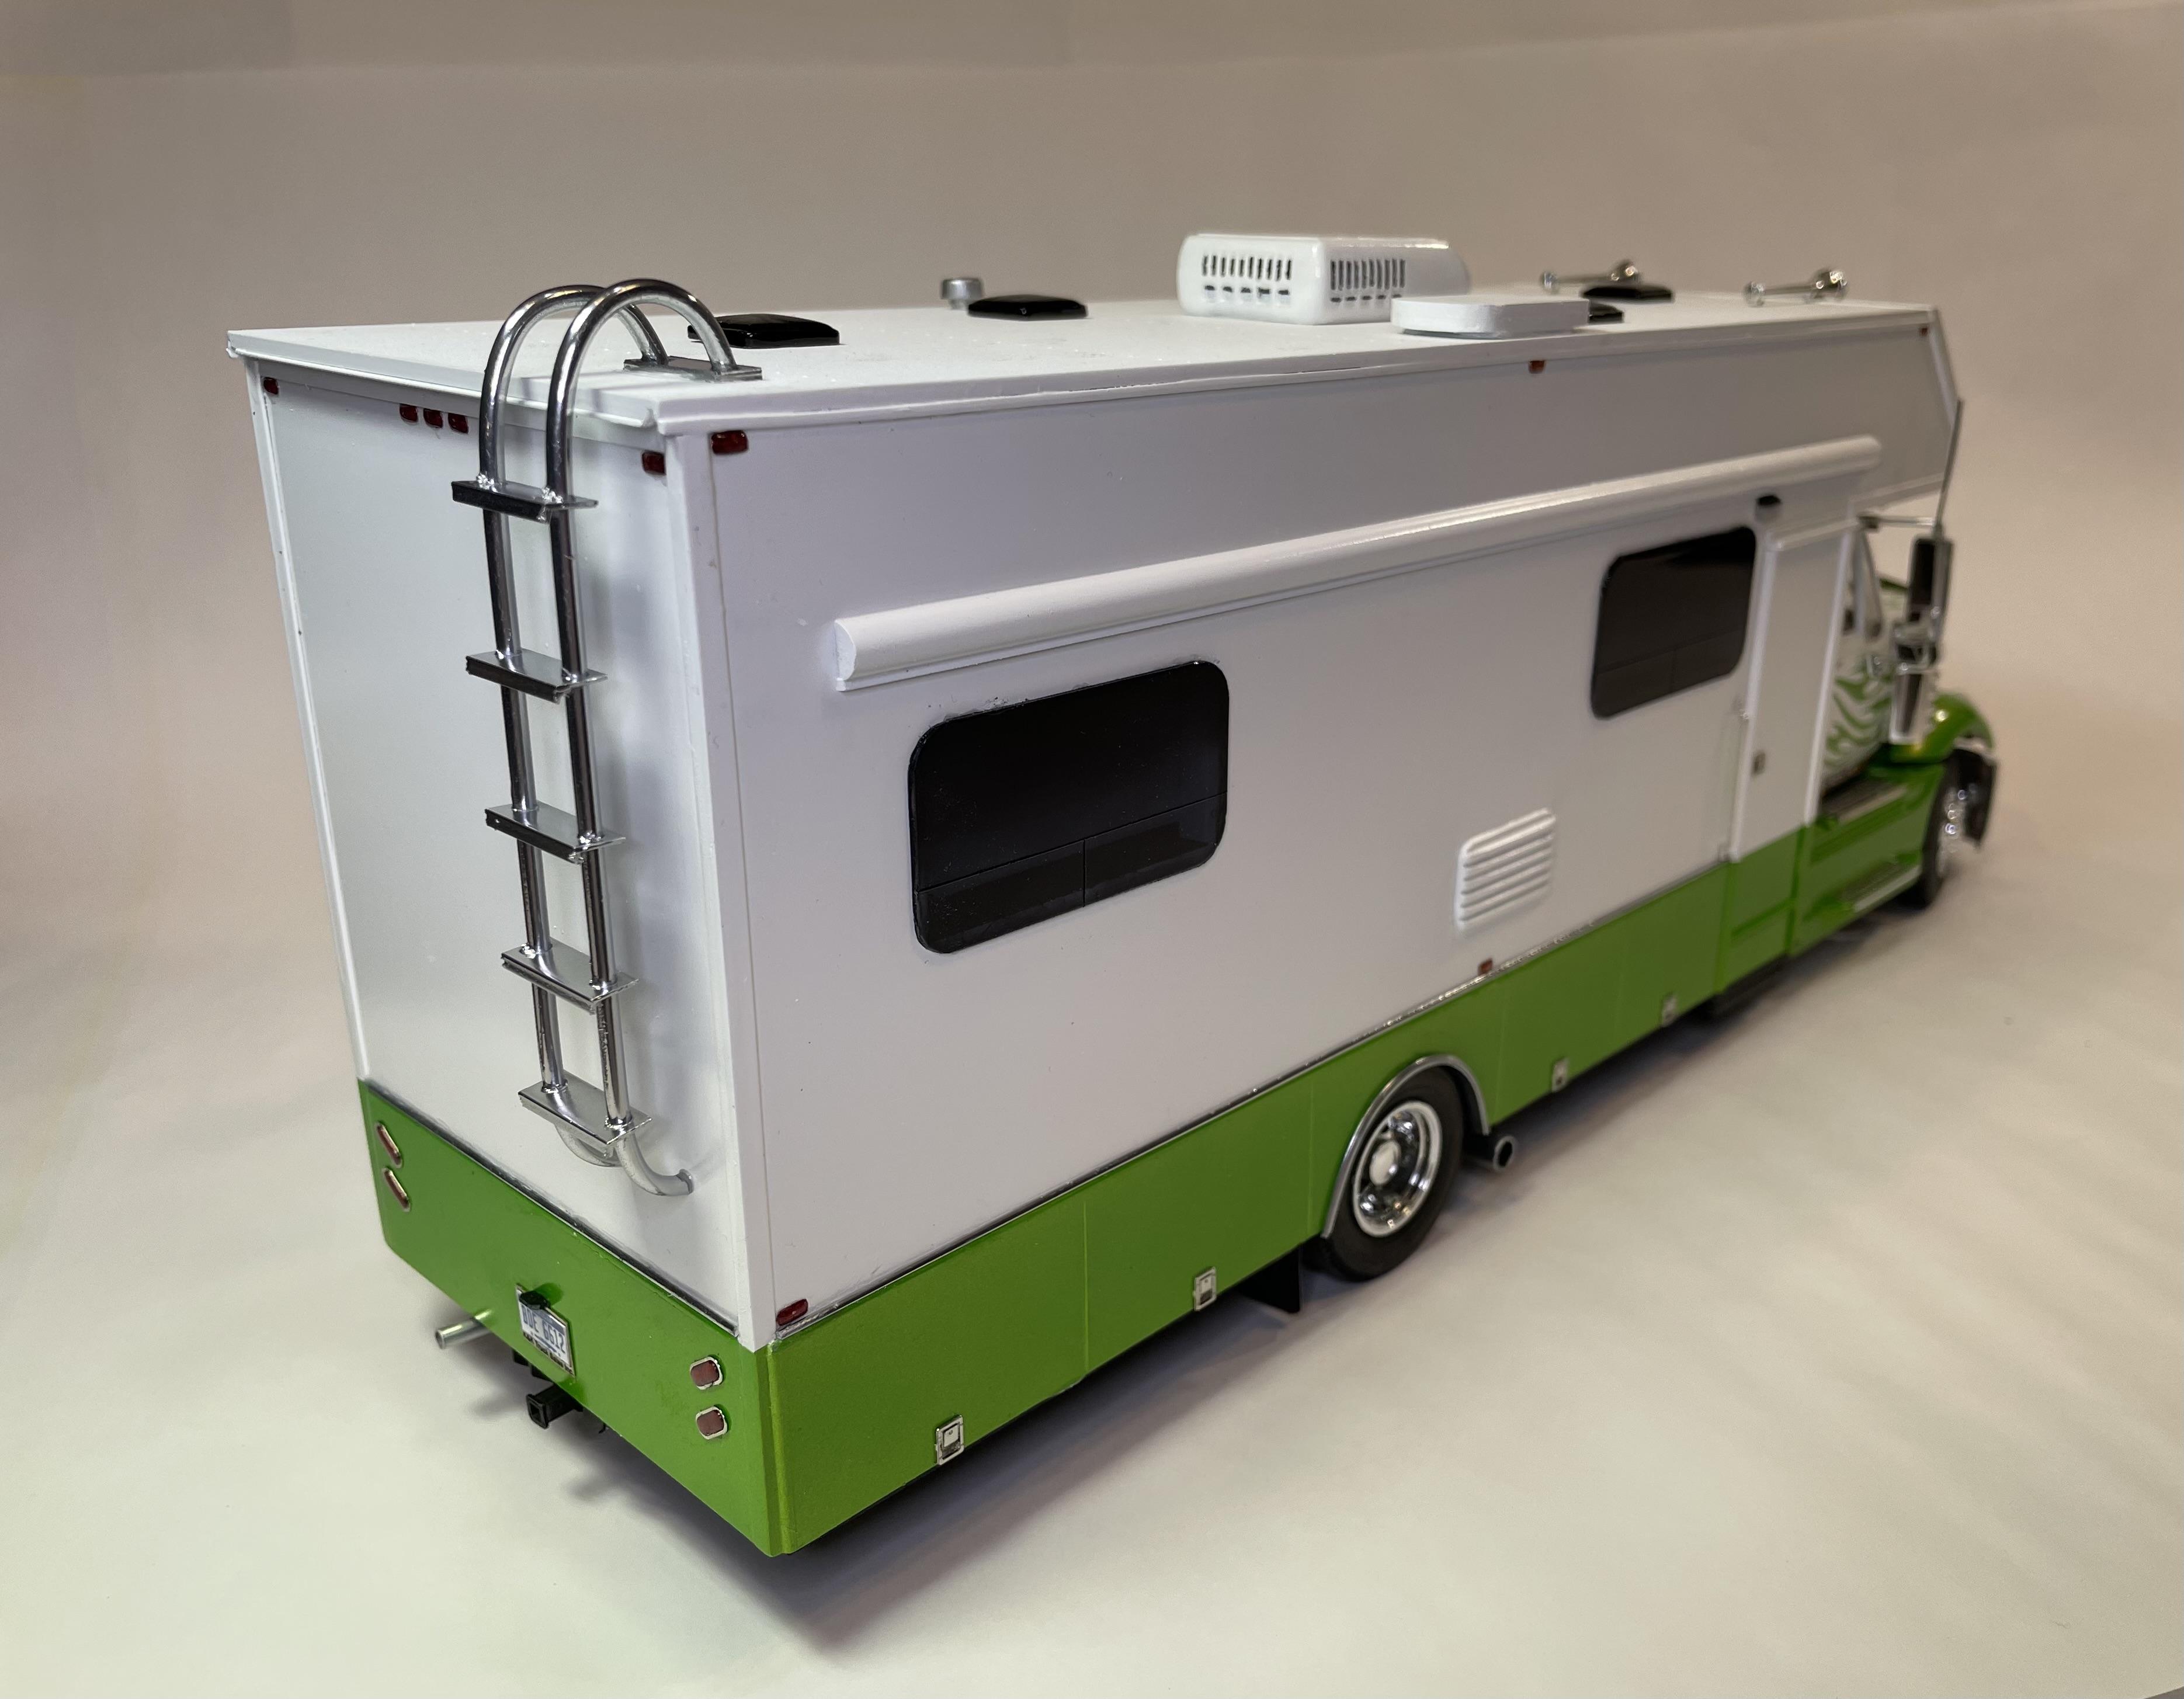
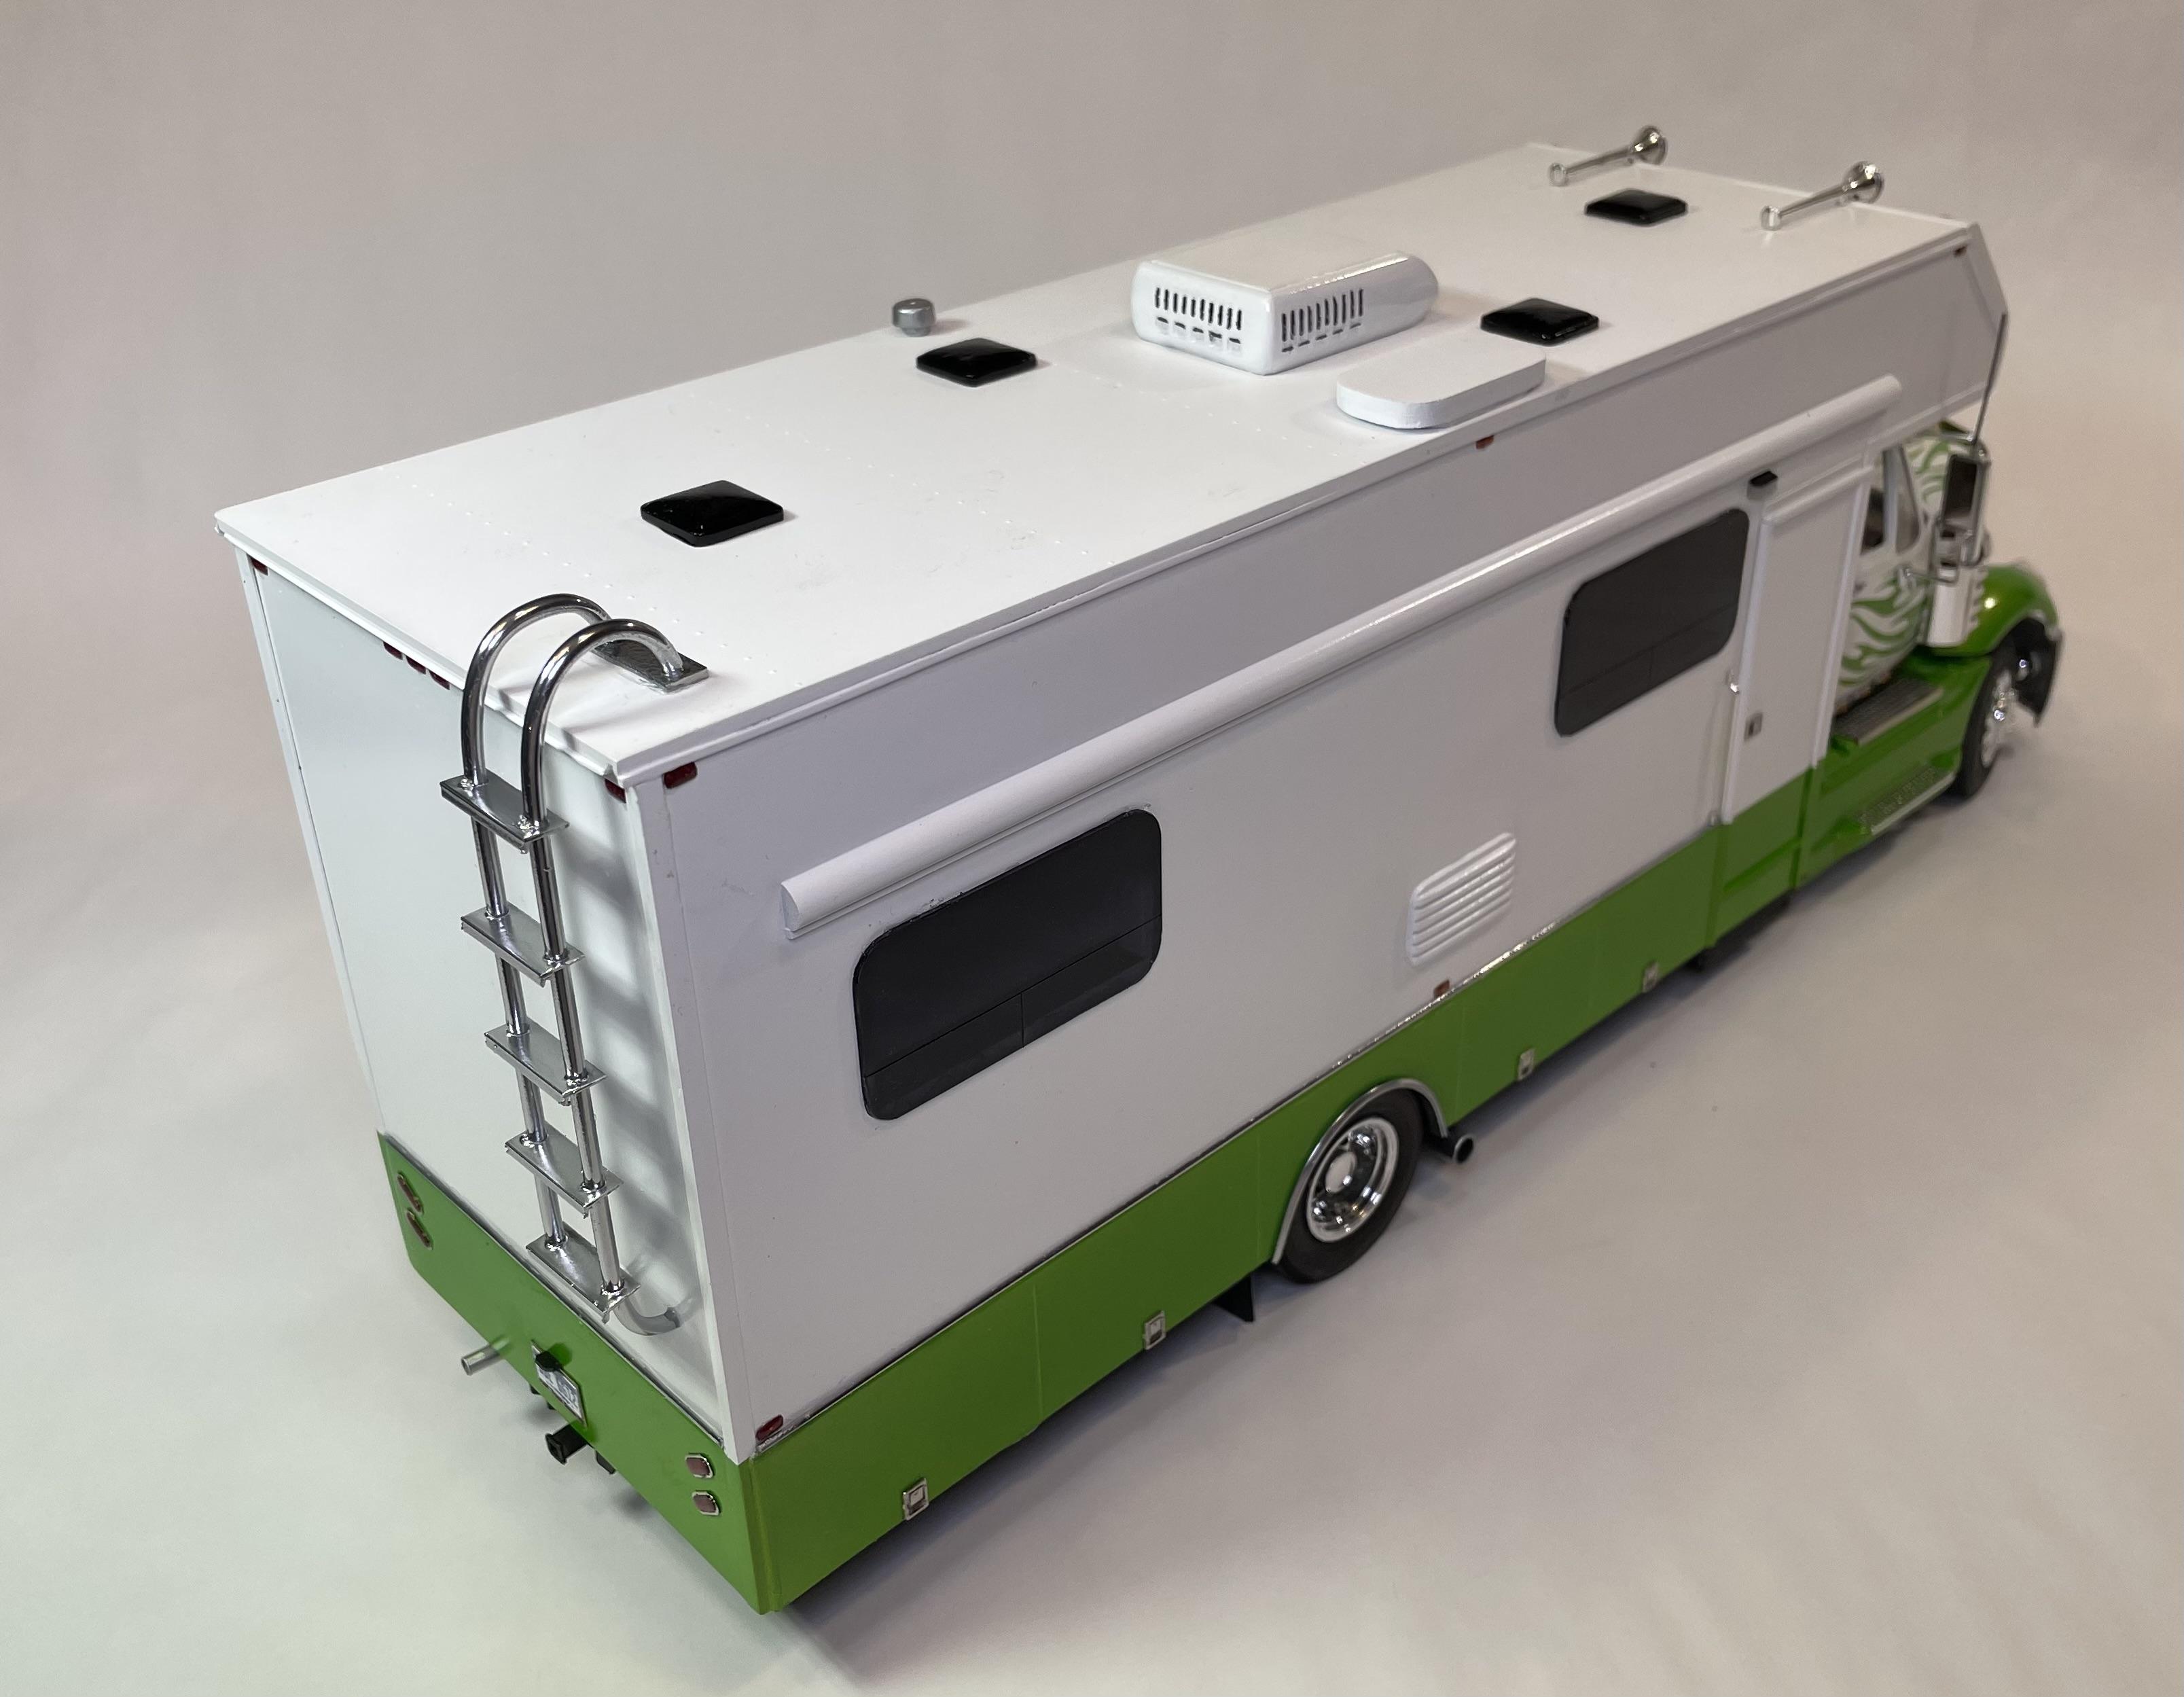
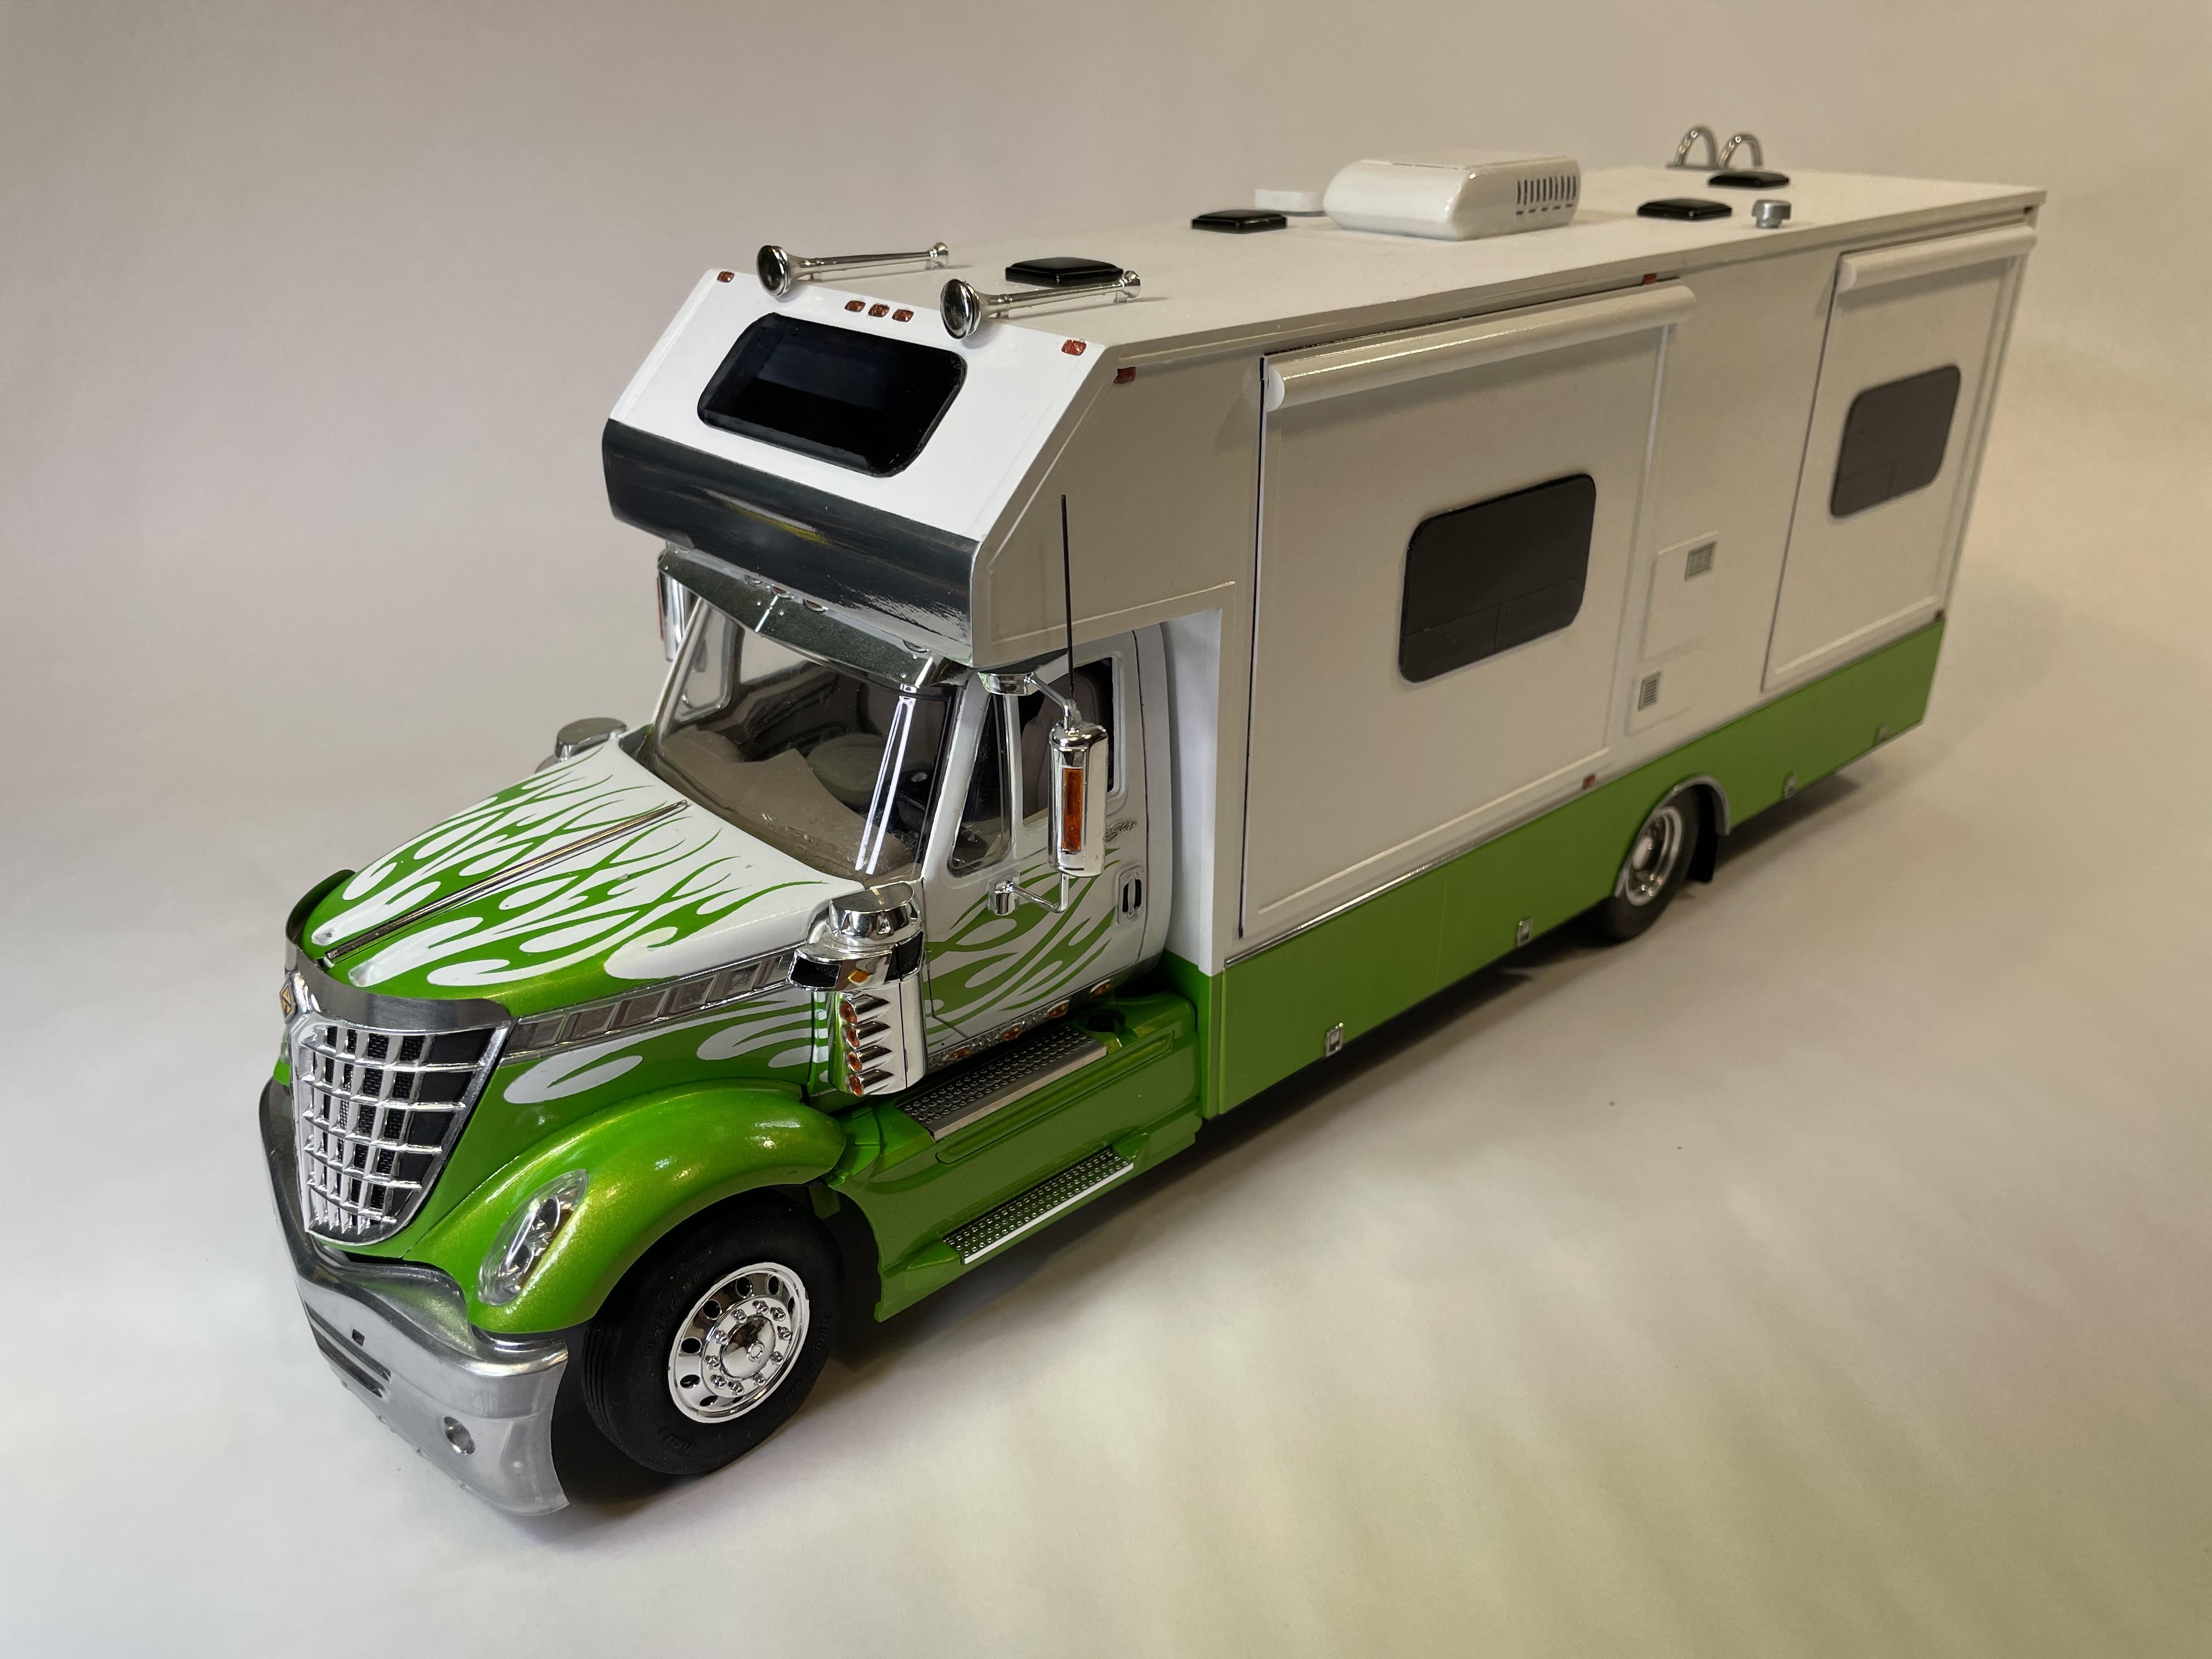
Here’s the latest addition to my fleet of RVs. An International Lonestar RV Conversion. A fun build, and I’m sure it would make an even more fun 1:1 RV, right?
-
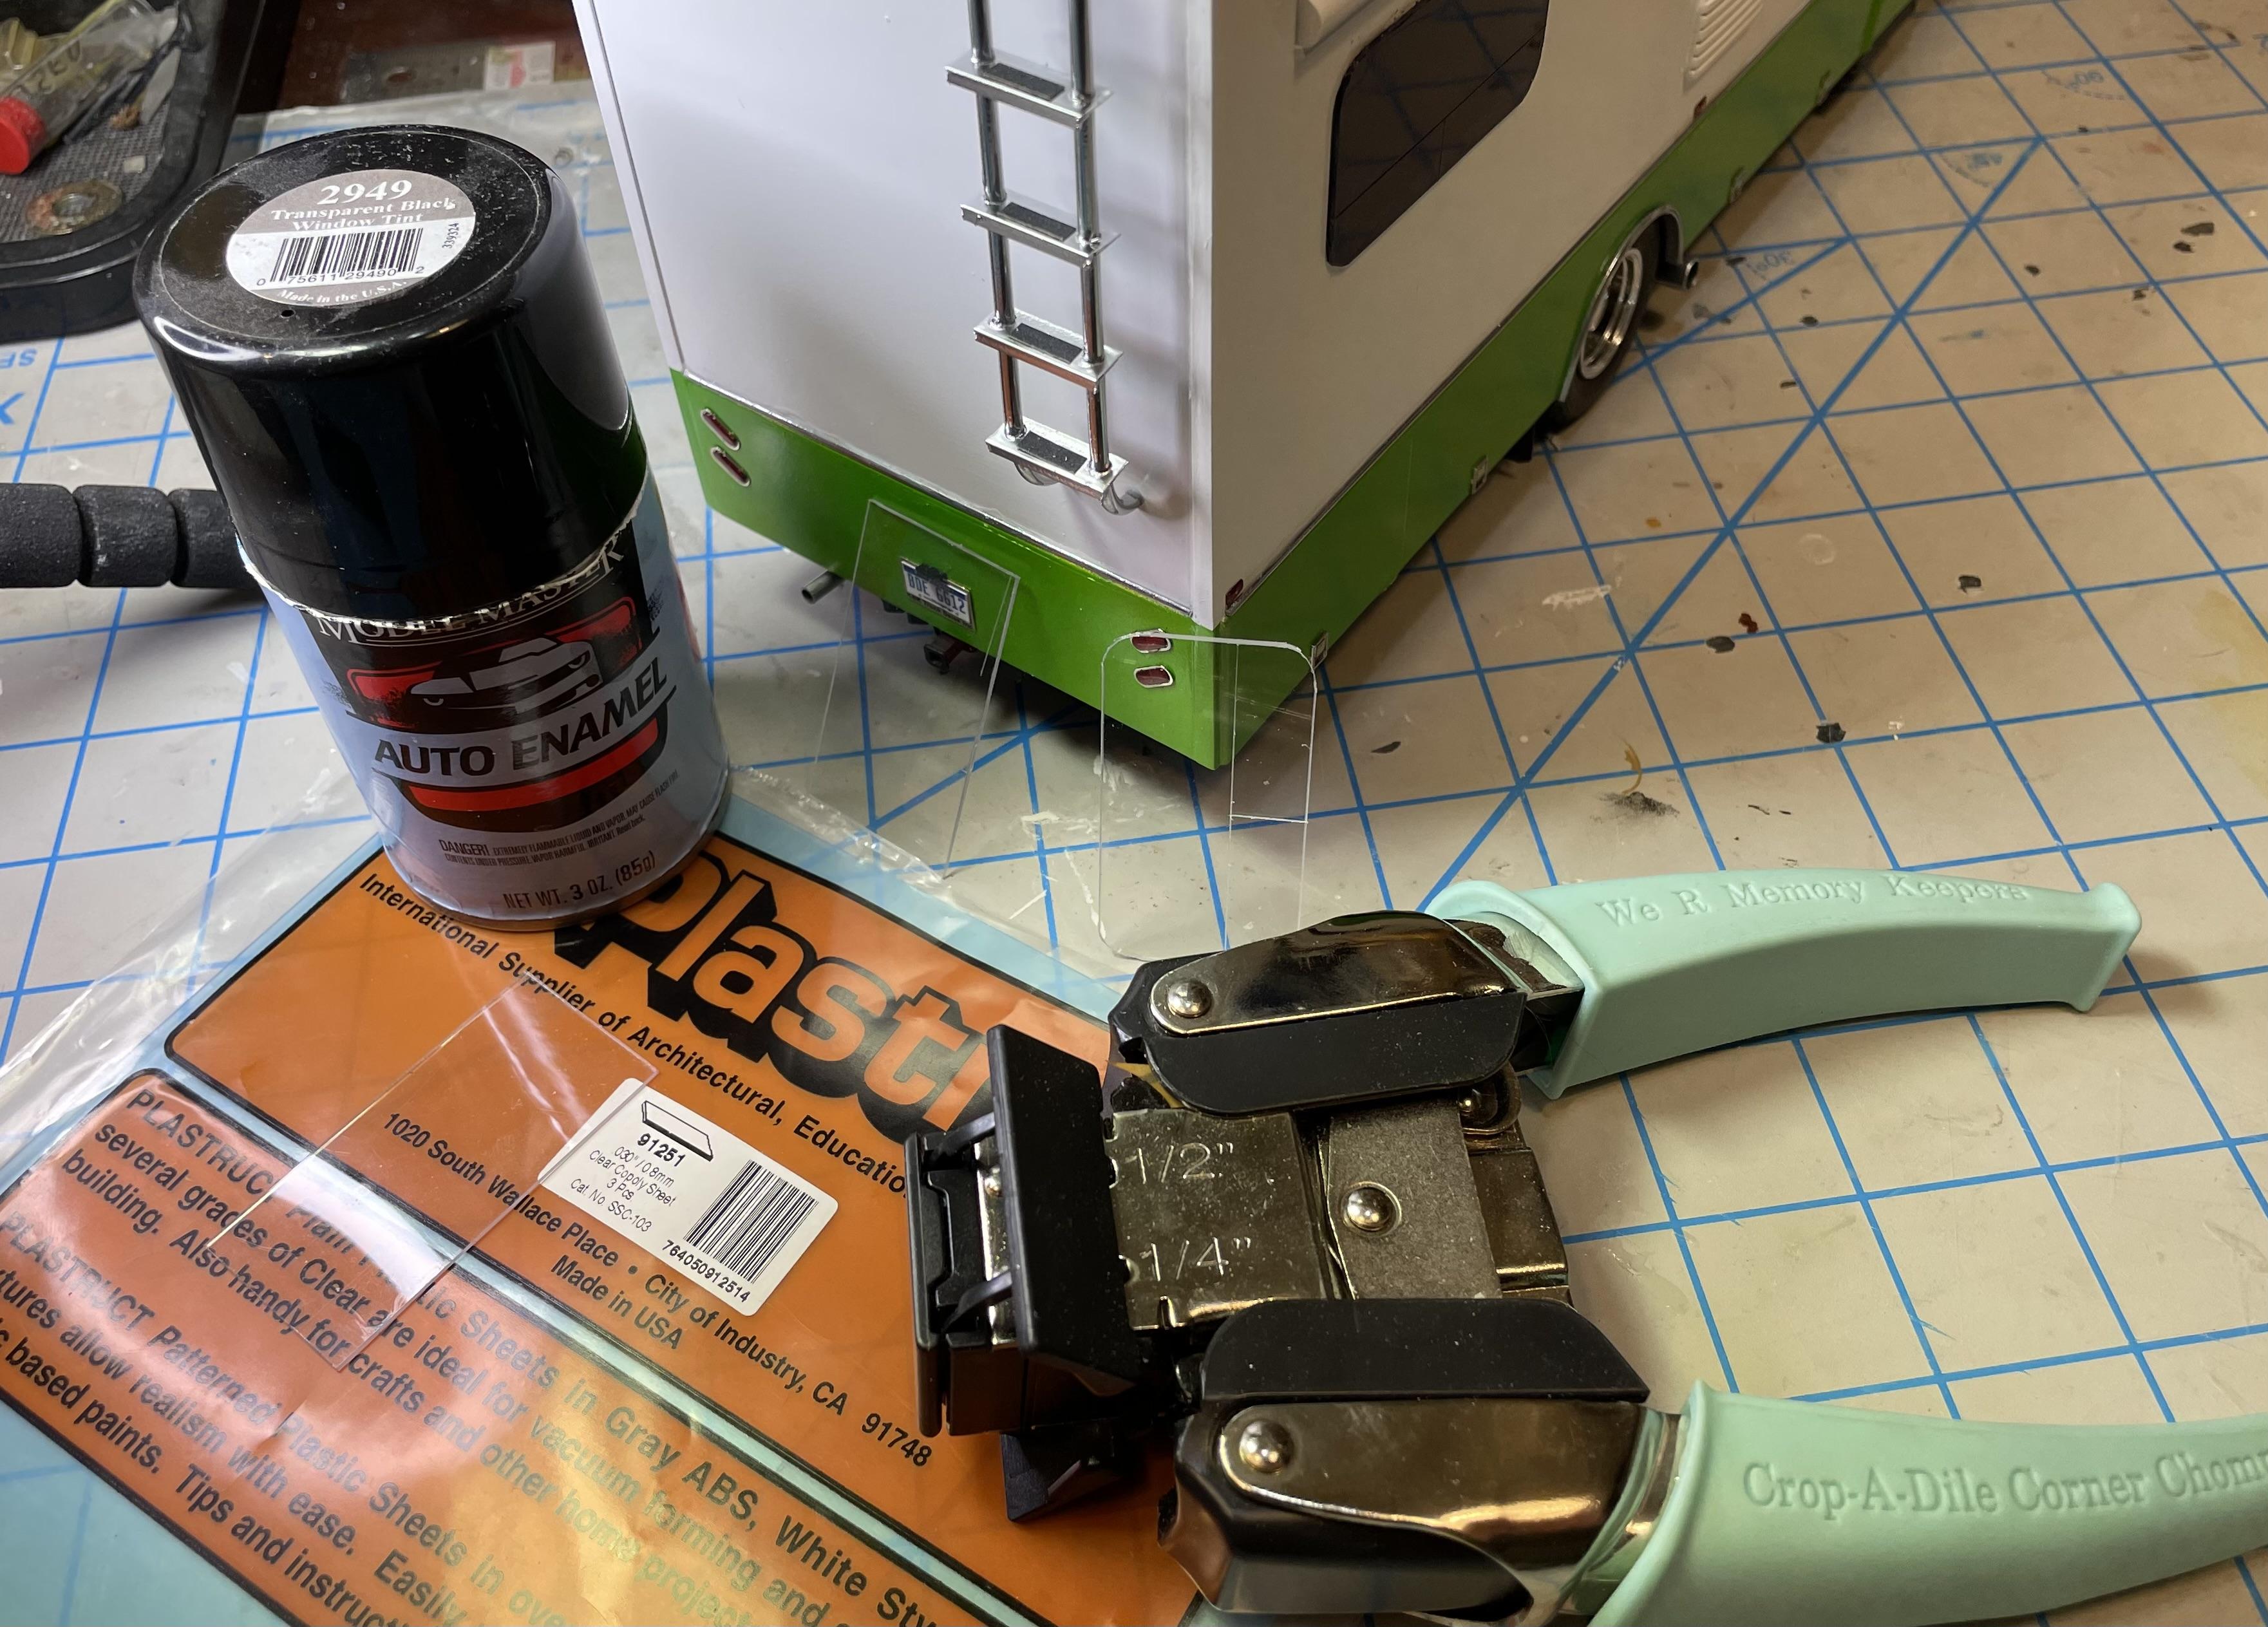
I used Plastruct .030” Copoly Sheet #91251, cut to the rectangular size I needed, then I used a corner cutter from Hobby Lobby to get the 1/4” radius corners. It’s called a “Crop-a-dile Corner Chomper”, meant for paper, but it does well on thin styrene and clear copolymer sheet. Scribed the portion of the windows that can open outward, then I laid them on painters tape, and sprayed one side with a couple light coats of Model Master 2949 Transparent Black Window Tint. I put window “shades” inside using corrugated styrene sheet. The enamel window tint seems to cover more evenly than the Tamiya Lacquer version, though I’m more partial to Tamiya in general. Maybe it’s the copoly, but the enamel seems to work better. I’m almost out of it, so I’ll have to see if I can find more somewhere.
-
New Detroit Diesel Series 60 Engine
vincen47 replied to Randy D's topic in Truck Aftermarket / Resin / 3D Printed
I copied the above post from Claudio into Google Translate: “Hi, I'm Claudio, I designed the engine for Pasquale. I confirm that for the transmission I based myself on the Eaton-Fuller RTO9513, adapting some details to the printing needs. As for the availability of TKs, rest assured that both GPmodeling and Spotmodel and other retailers will soon have their warehouses stocked.” -
Diamond Reo/Montone dump body done!
vincen47 replied to Scott Eriksen's topic in Model Trucks: Big Rigs and Heavy Equipment
Great build, all around. I enjoyed watching it come together. -
New Detroit Diesel Series 60 Engine
vincen47 replied to Randy D's topic in Truck Aftermarket / Resin / 3D Printed
Thanks! I agree, the bell housing is similar to the Paccar(?) transmission above. The rest of the transmission looks like an Eaton, with the rear splitter unit looking like a 15 speed, though they are also similar to a 13 or 18. Either way, the detailing he has done is amazing. I pre-ordered mine through Spotmodel today. The unit price itself was a little more, but the shipping quote to the states was much lower through them compared to GPmodeling, so it was less expensive overall. https://www.spotmodel.com/product_info.php?products_id=60235 -
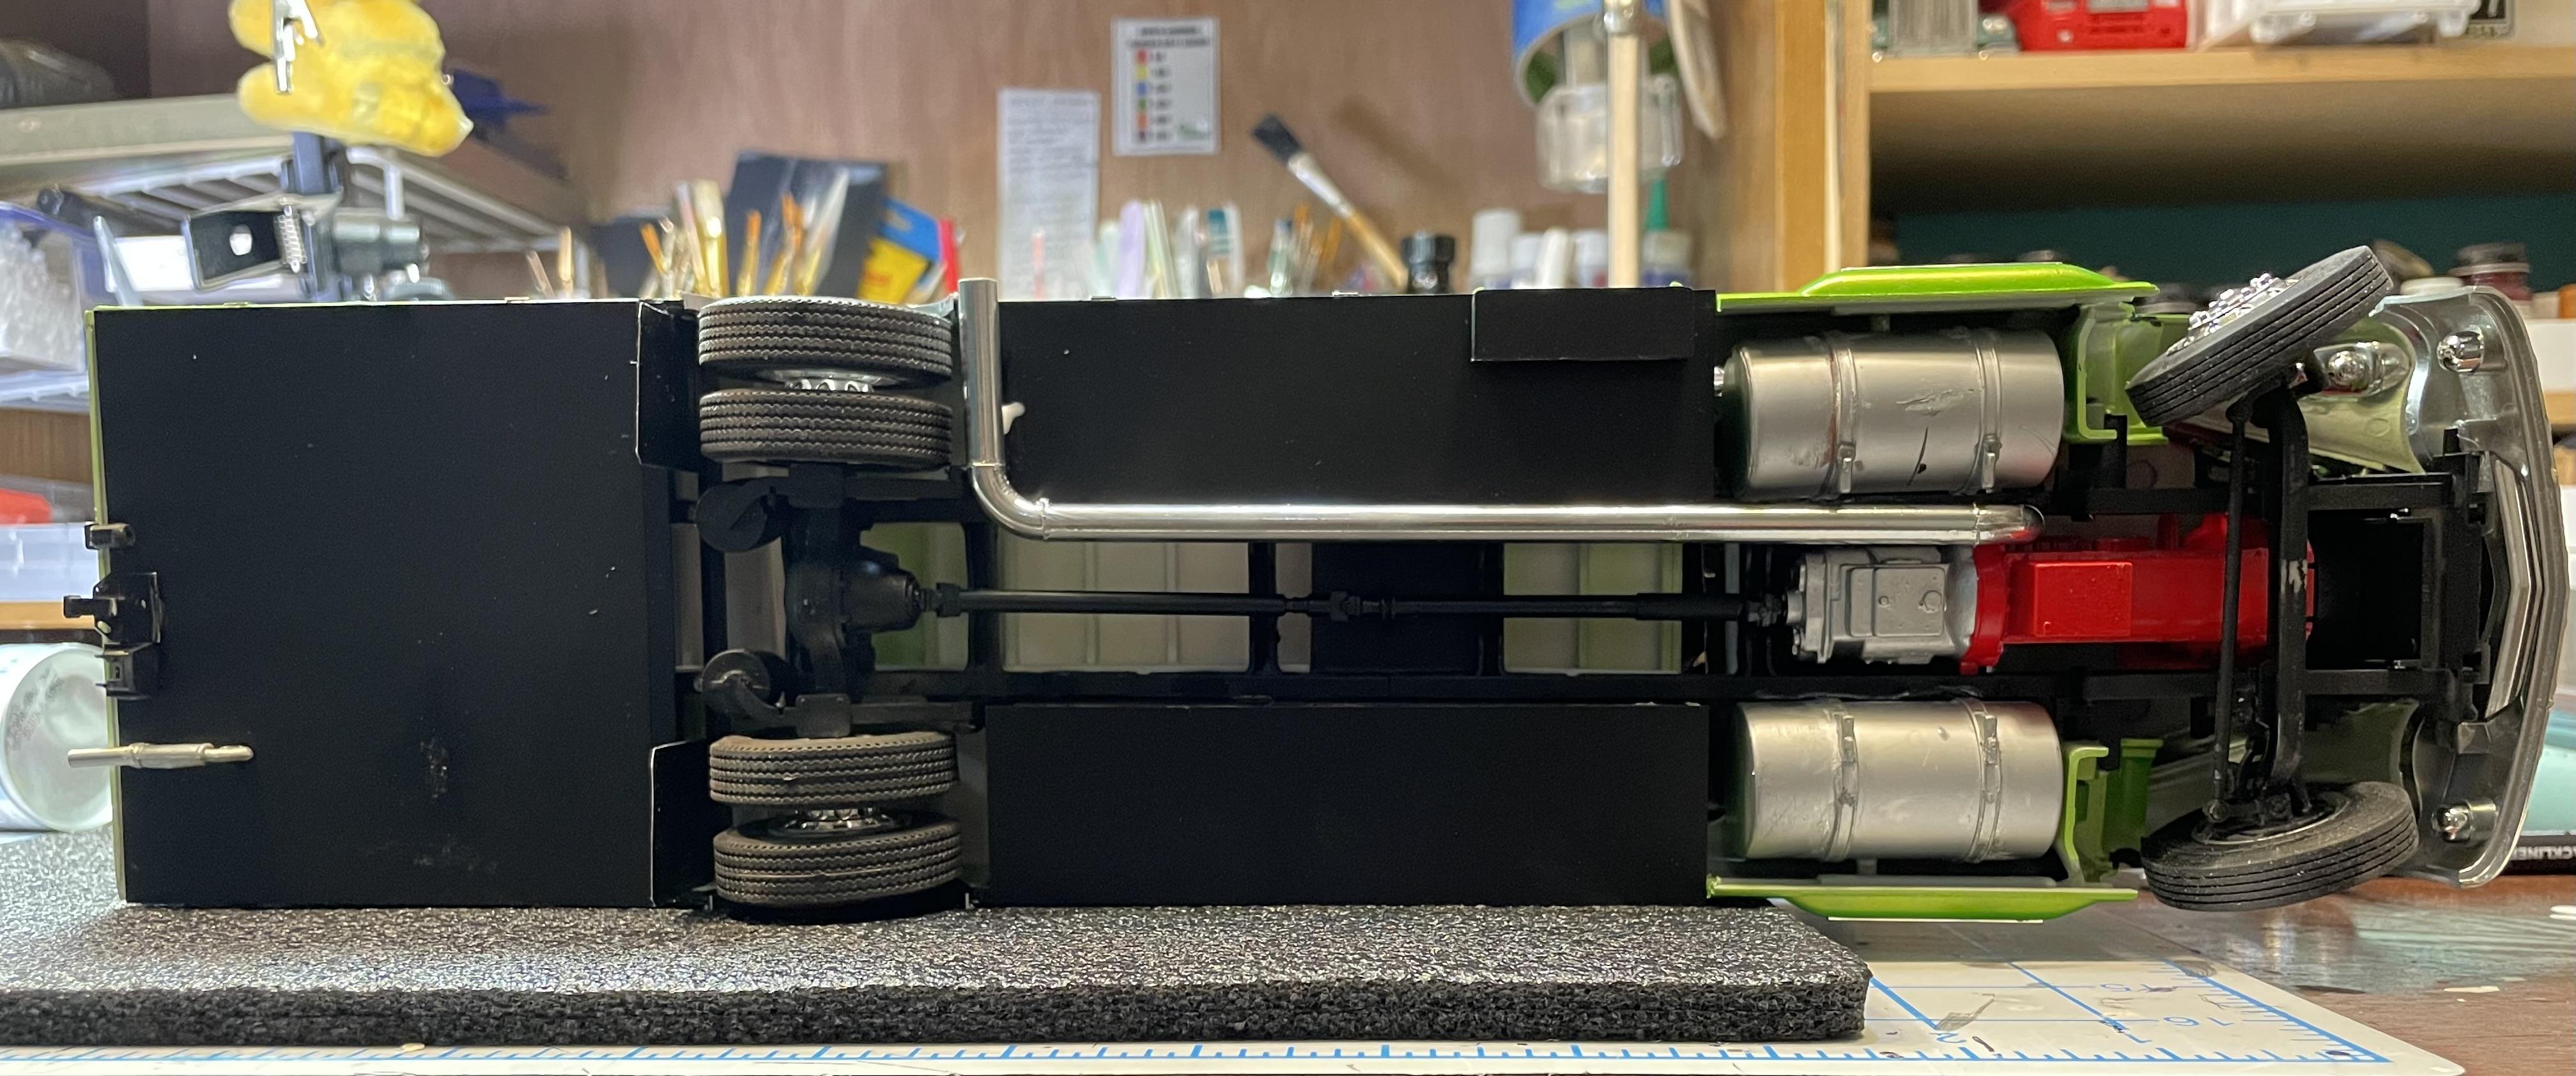
Yep, looked at them a couple months back and thought there has to be a spare parts truck I could use for a fairly simple project. The glue bomb daycab Lonestar chassis fit the length of the side panels perfectly. The chassis was missing one of the axles, but the rear axle on the chassis lined up perfect with the front wheel opening on the sides, so I filled the rear opening. Only being a scale 32’ RV, a single rear axle is fine.
-
Excellent all around. Great weathering and an awesome display with the shed. Makes me want to get one of those kits.
-
New Detroit Diesel Series 60 Engine
vincen47 replied to Randy D's topic in Truck Aftermarket / Resin / 3D Printed
Amazing detail. I’m definitely going to make a purchase. Do you know what particular transmission he based it on? It looks like an Eaton, but I don’t recognize the bell housing. -
Here is a relatively quick scratch-building and glue bomb save project I started about six weeks ago. I typically don’t build this quickly. Tamiya pure white and candy lime green. It’s curbside - both the RV body and under the non-opening hood (just a simple engine block painted Cummins red). The real production Lonestar trucks did not come with the Maxxforce 15 that’s in the kit. Since I’m a stickler for engines, I wasn’t going to detail it out if it wasn’t in the real truck. I wanted to build more of a “home-built” toter, nice, but not a more fancy production-style coach like my Aeromax RV or my current 379 RV project with radius corners. Though, it has the fancier frameless windows you see on new RVs these days, mainly because, well, they are much easier to make. Years ago, Oldr-n-drt was kind enough to send me the cut styrene sides to a toterhome body, which I put to good use on this project. It’s been a long time, but thanks again! For the cab and chassis I used a badly warped daycab glue bomb I got off of eBay that had been sitting around waiting for inspiration to put it to use. I stripped, filled, sanded, and did my best to straighten it. Gluing the hood shut helped a lot. First time doing a flame paint job. I used masks from Lazy Modeller. A little tricky, requiring a bit of touch-up, but not too bad. I used a portion of the aero skirts from a Prostar, modified to fit. Most of the kit chrome was in bad shape and had to be refinished with Revel spray chrome. The front tires are Bridgestone steers from Moluminum. Photo etch from Czech Truck Model. Be sure to ask if there is something I didn’t cover. Hope you enjoyed it.
-
Peterbilt 379 RV
vincen47 replied to vincen47's topic in WIP: Model Trucks: Big Rigs and Heavy Equipment
Thank you. I don’t always detail everything to the max, but this particular project has always been my ultimate “dream” subject/build. -
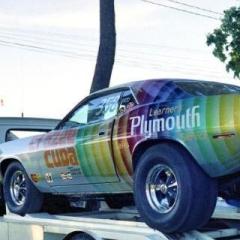
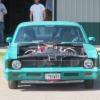
Ha, well, that’s unique. One of those, “Hold my beer” moments when the idea of using a Nova popped into the guy’s head.