dougwintz
-
Posts
278 -
Joined
-
Last visited
1 Follower
Recent Profile Visitors
3,835 profile views


dougwintz's Achievements
MCM Avid Poster (5/6)
-
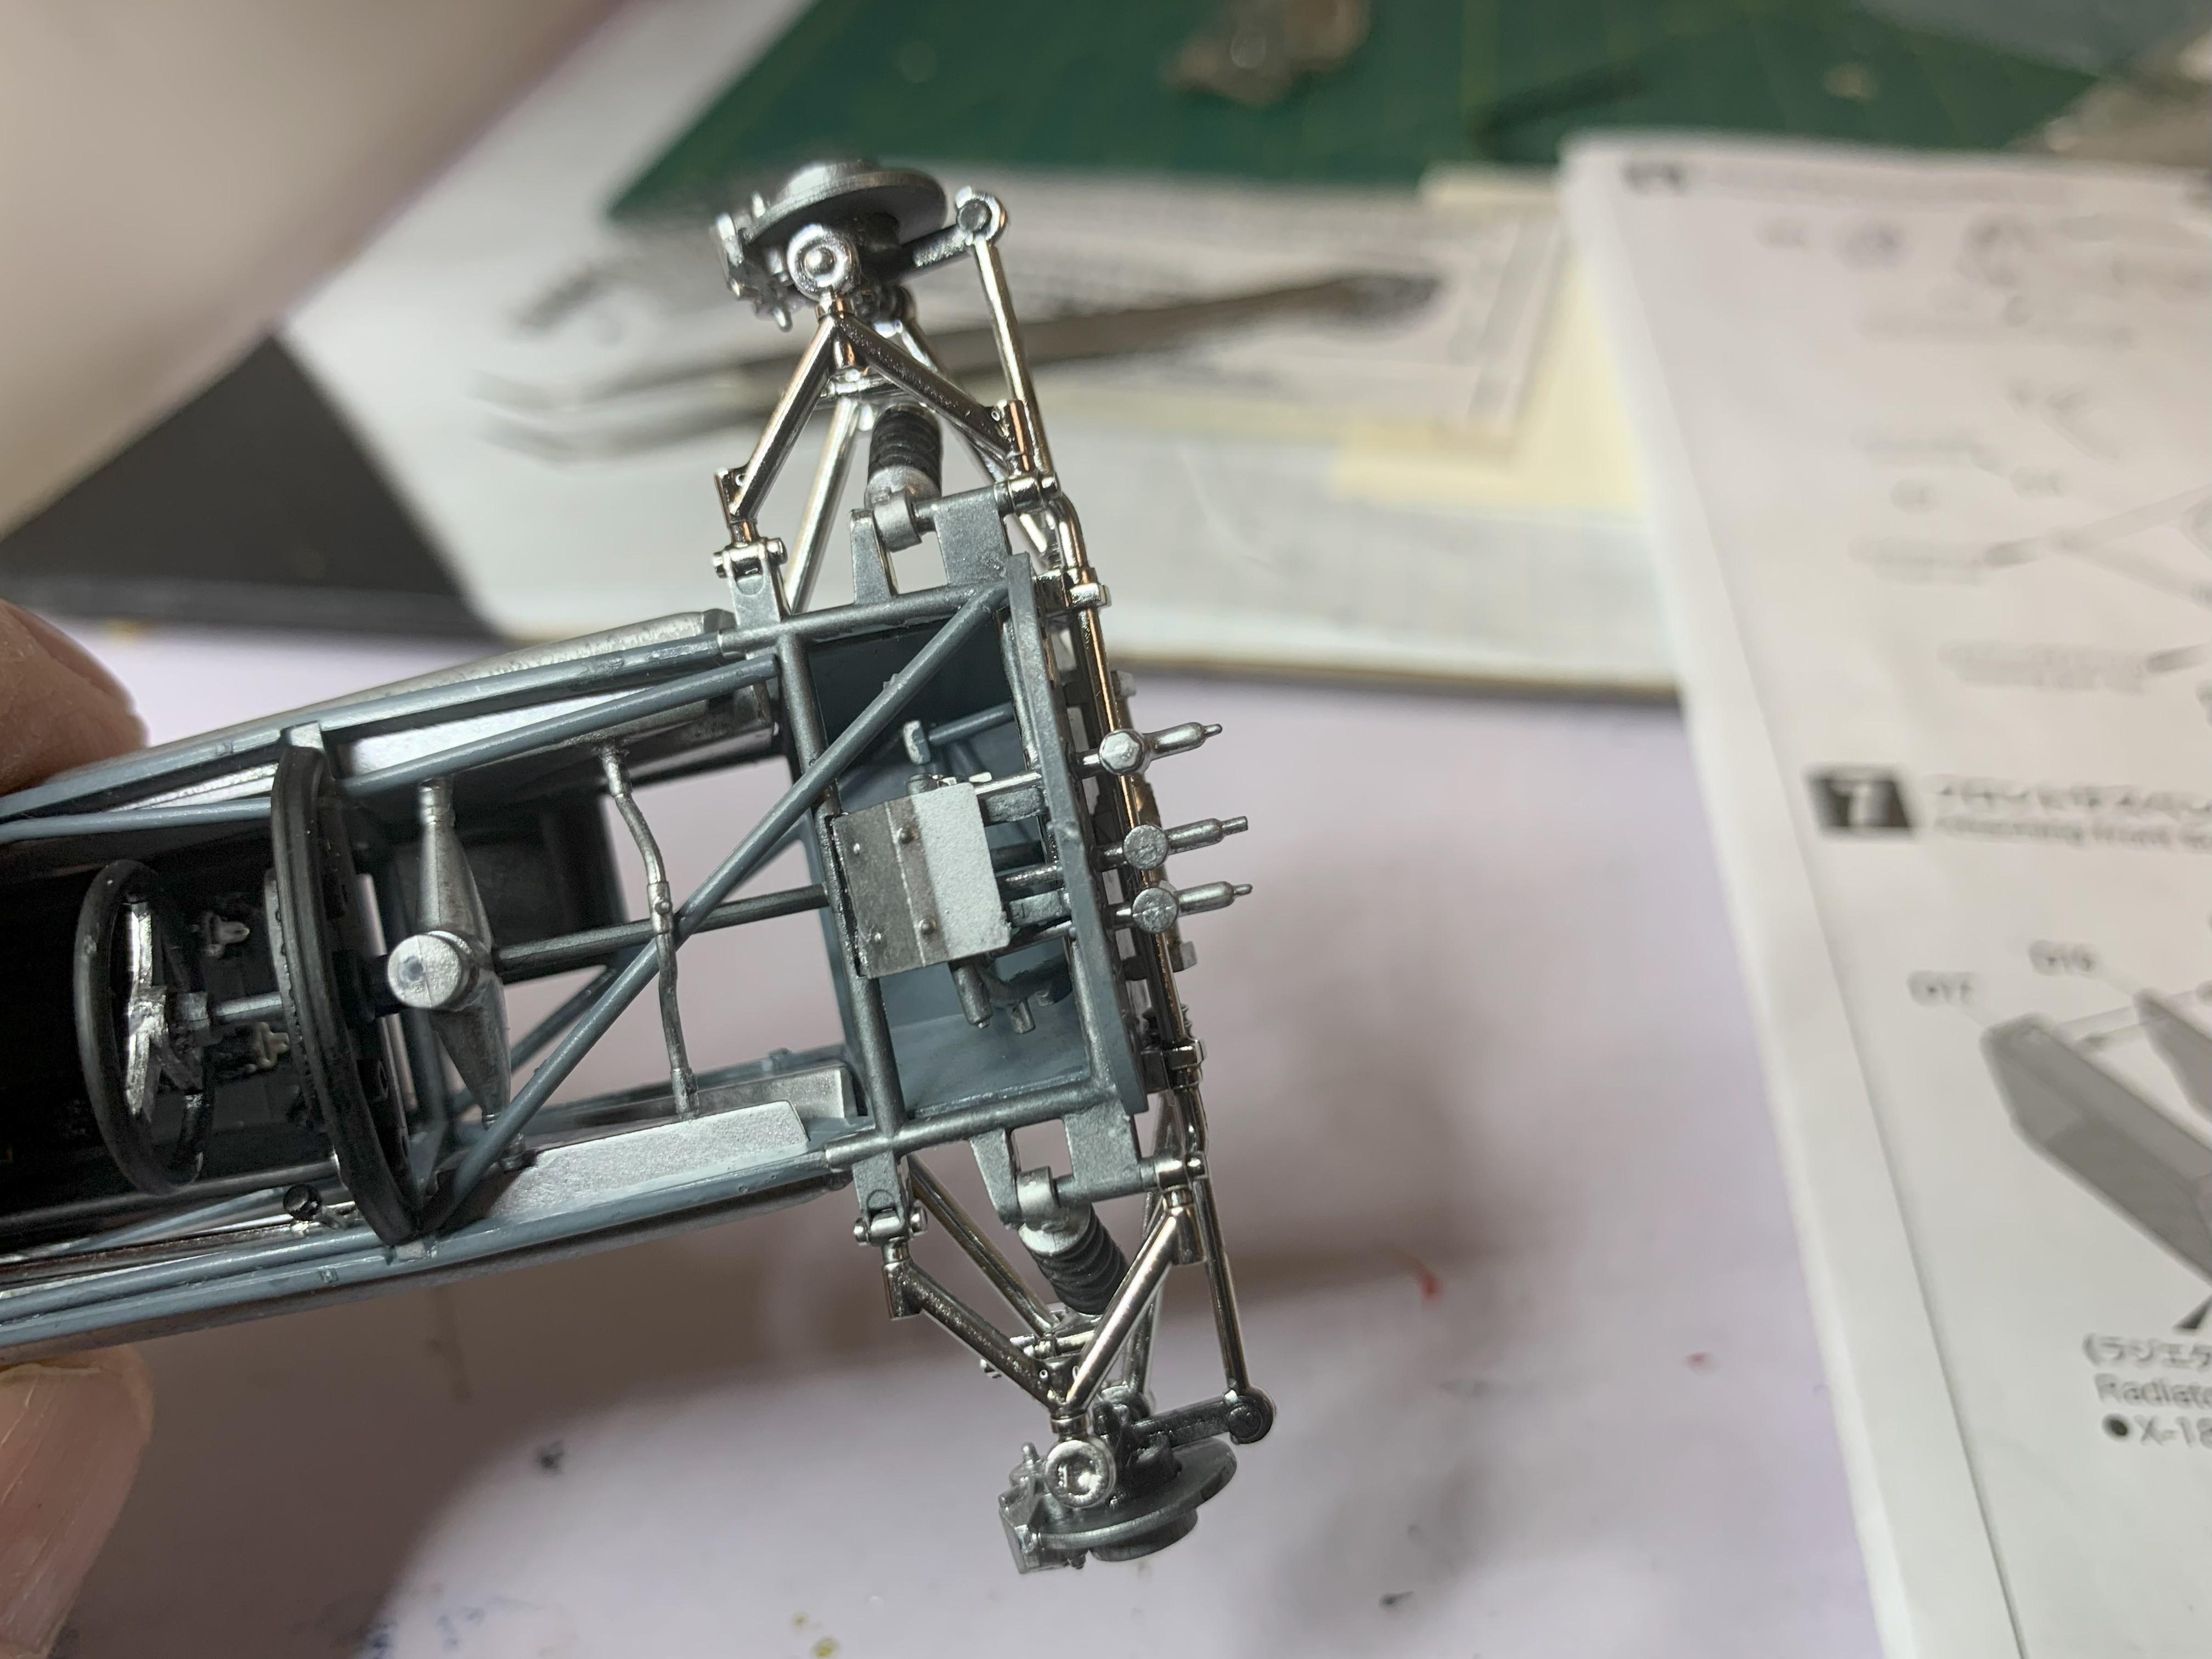
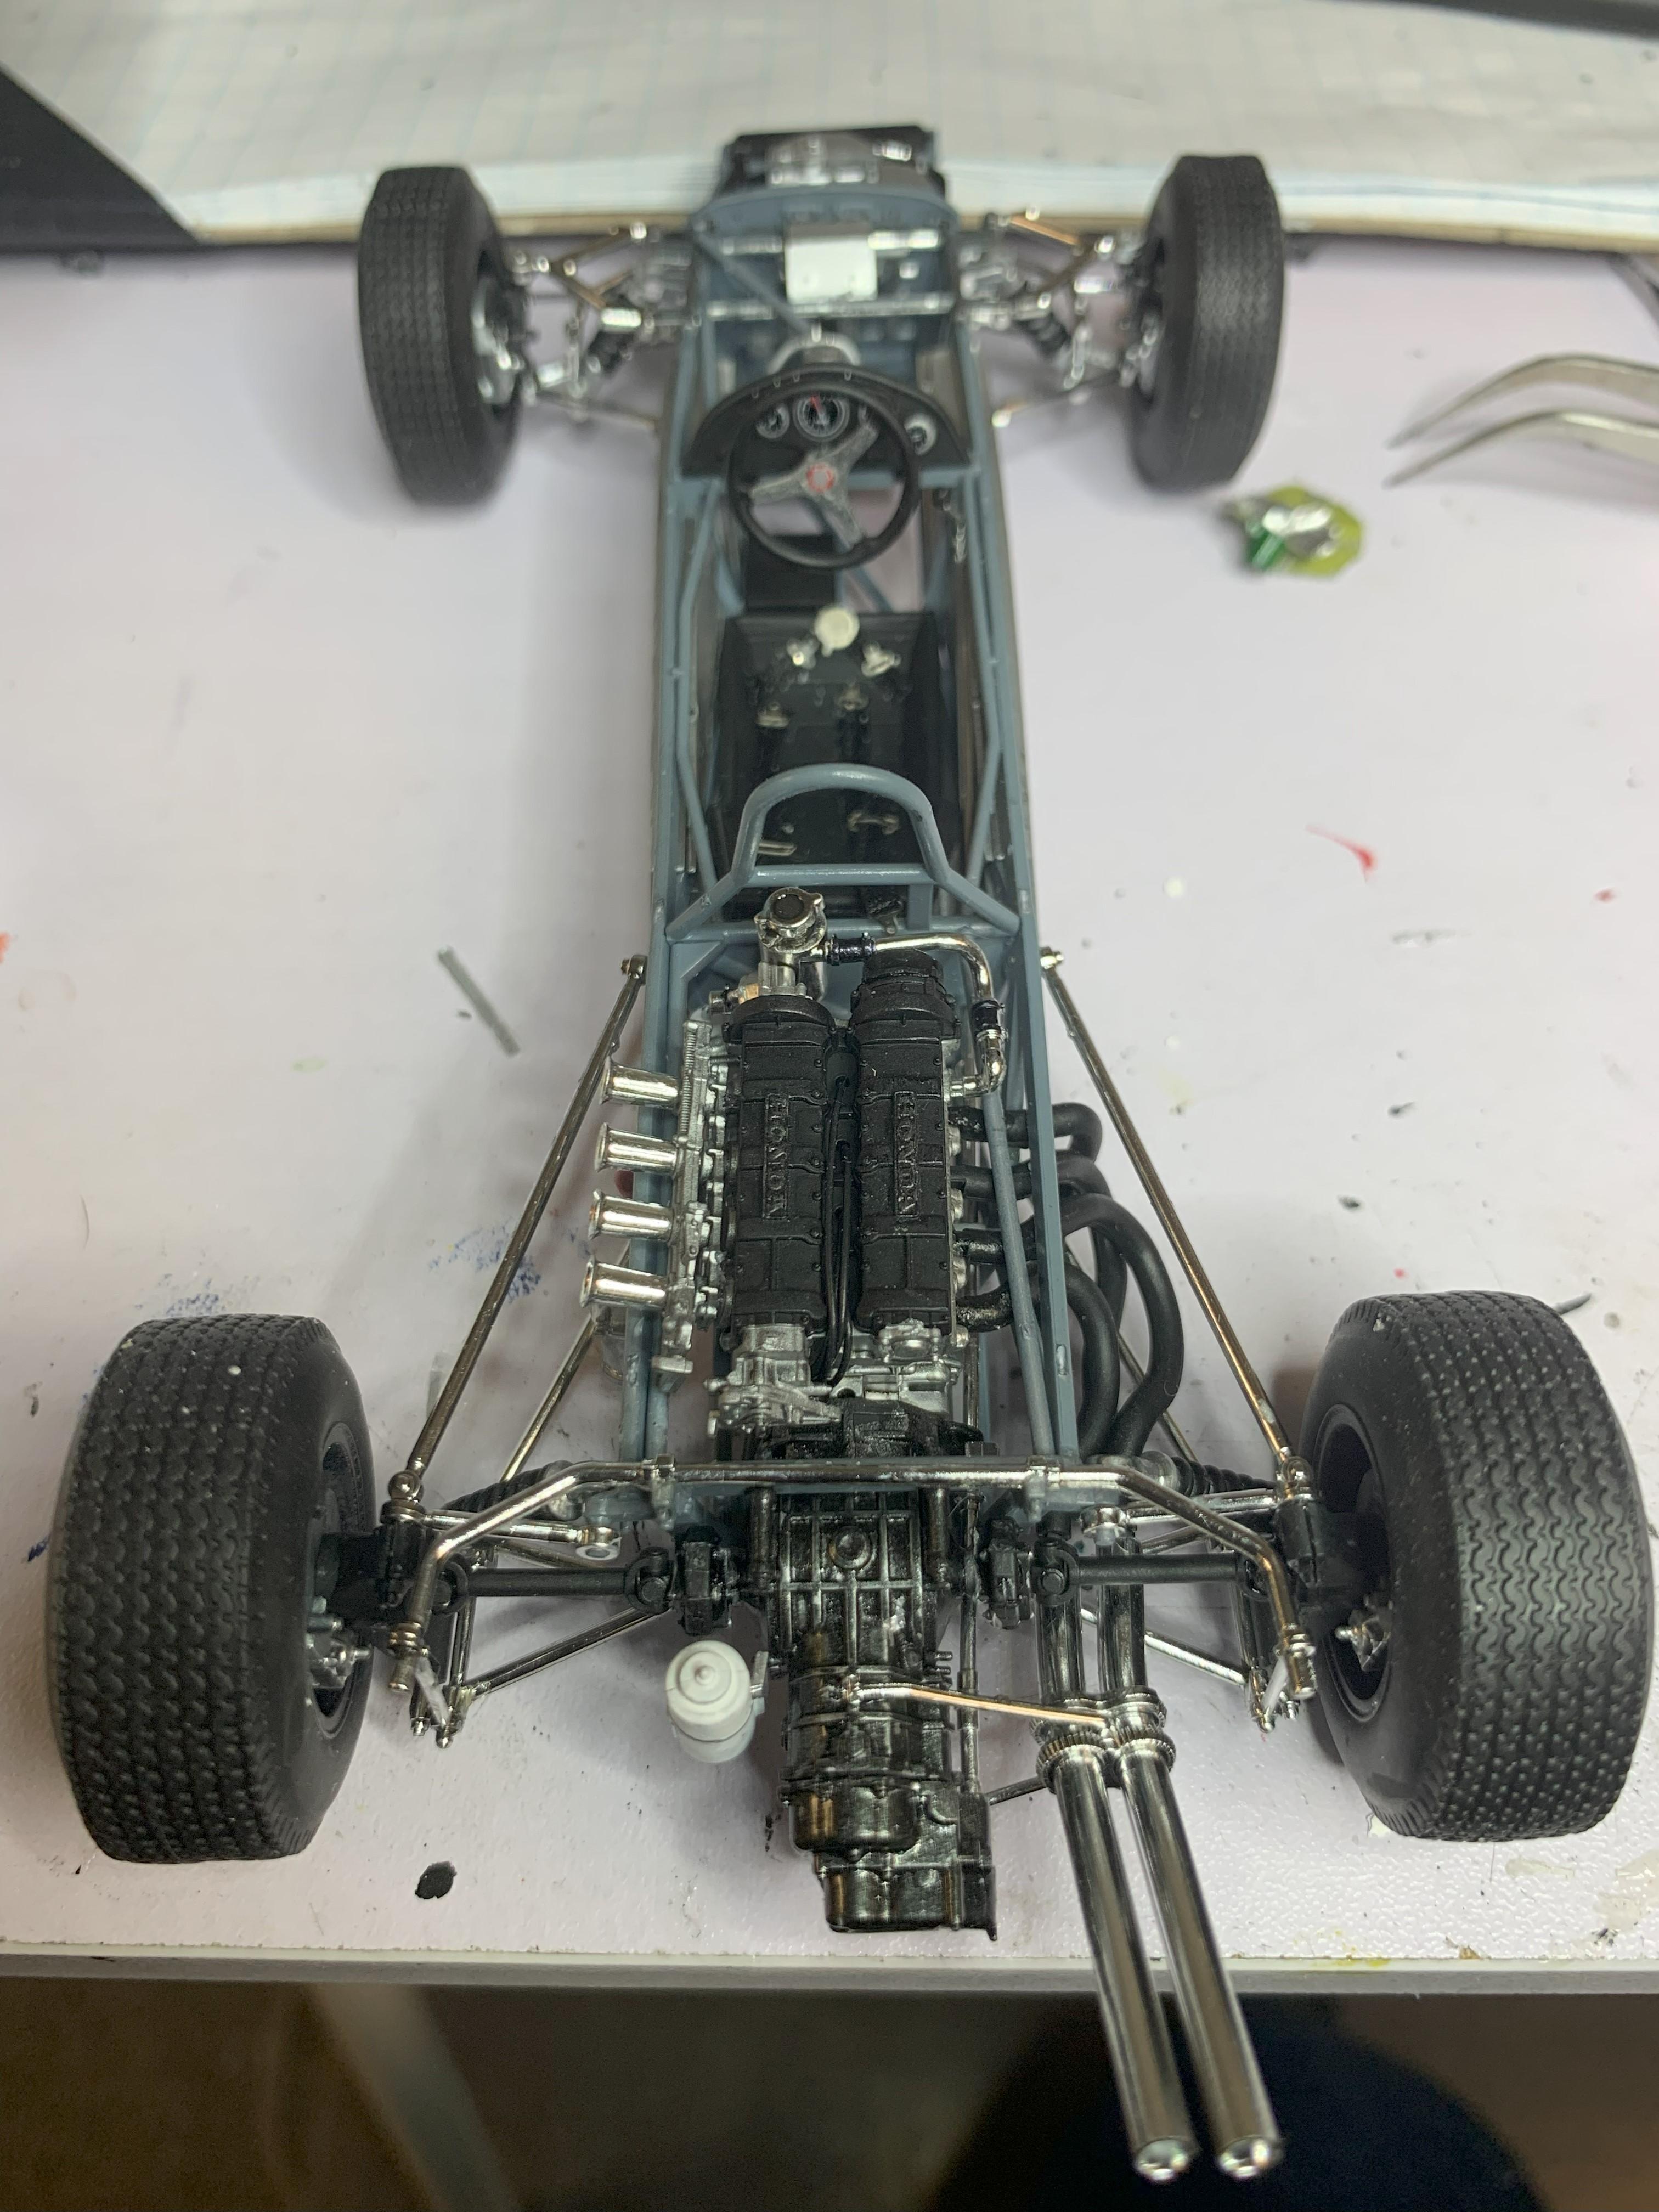
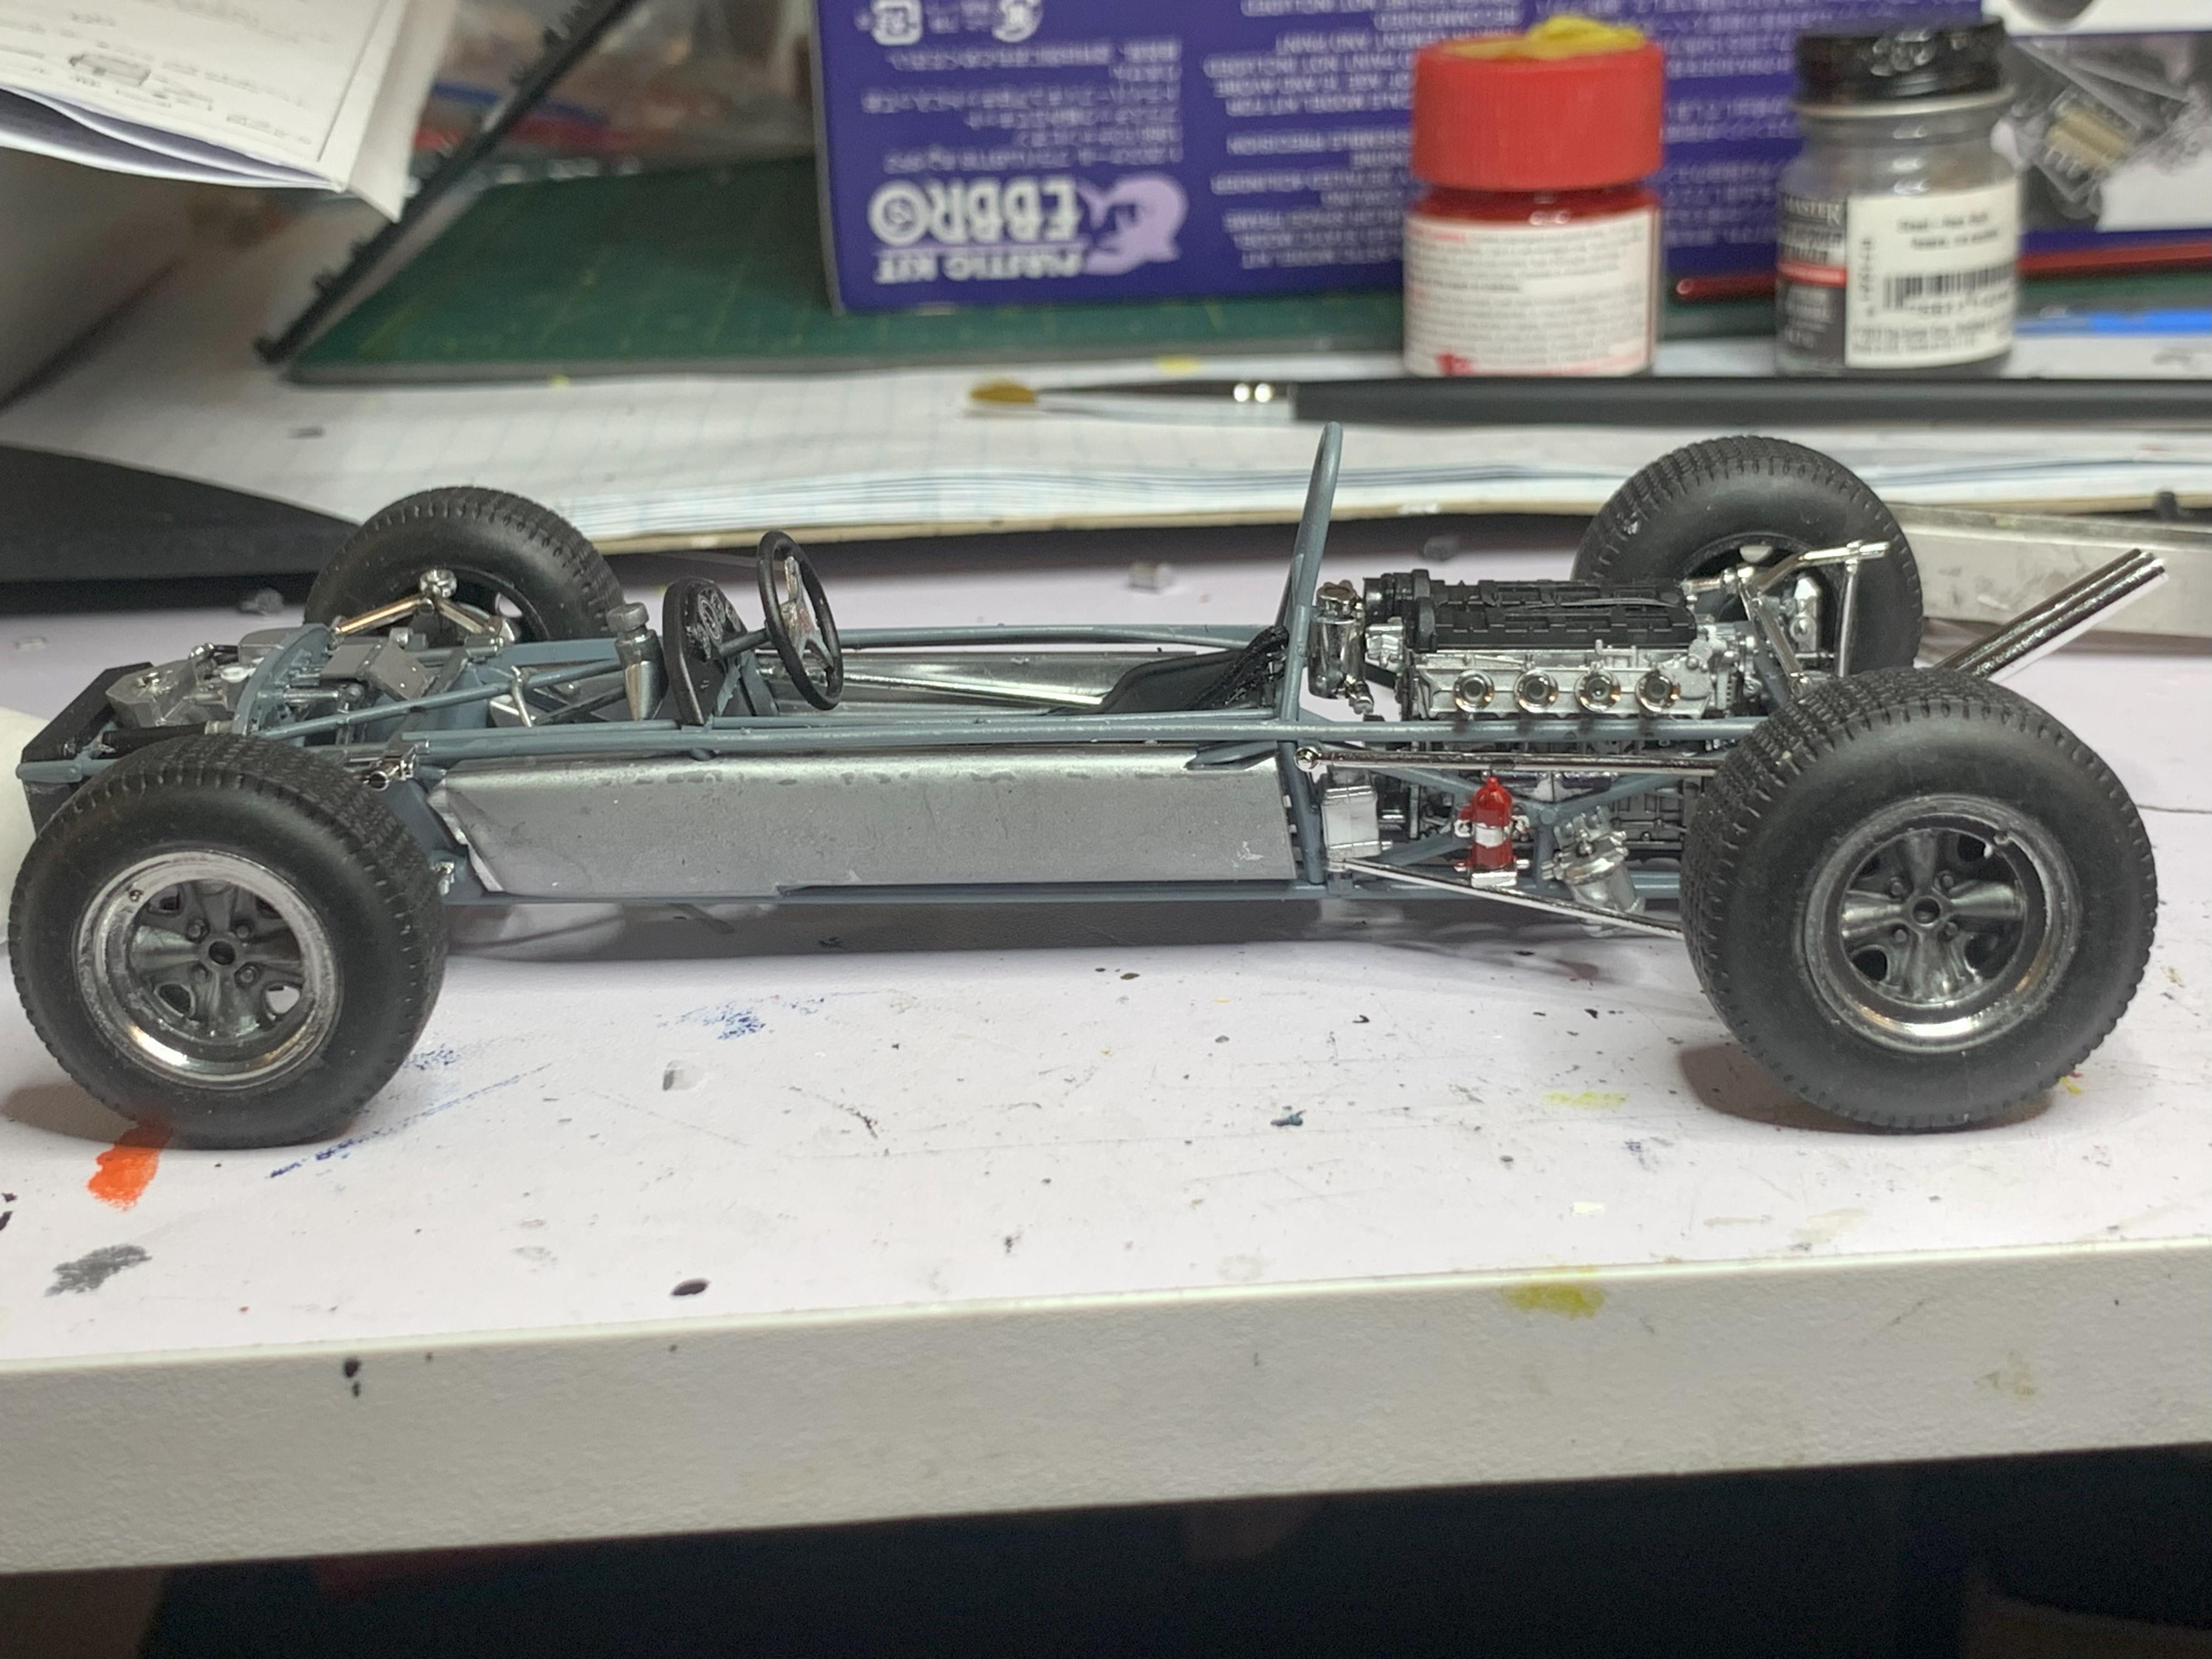
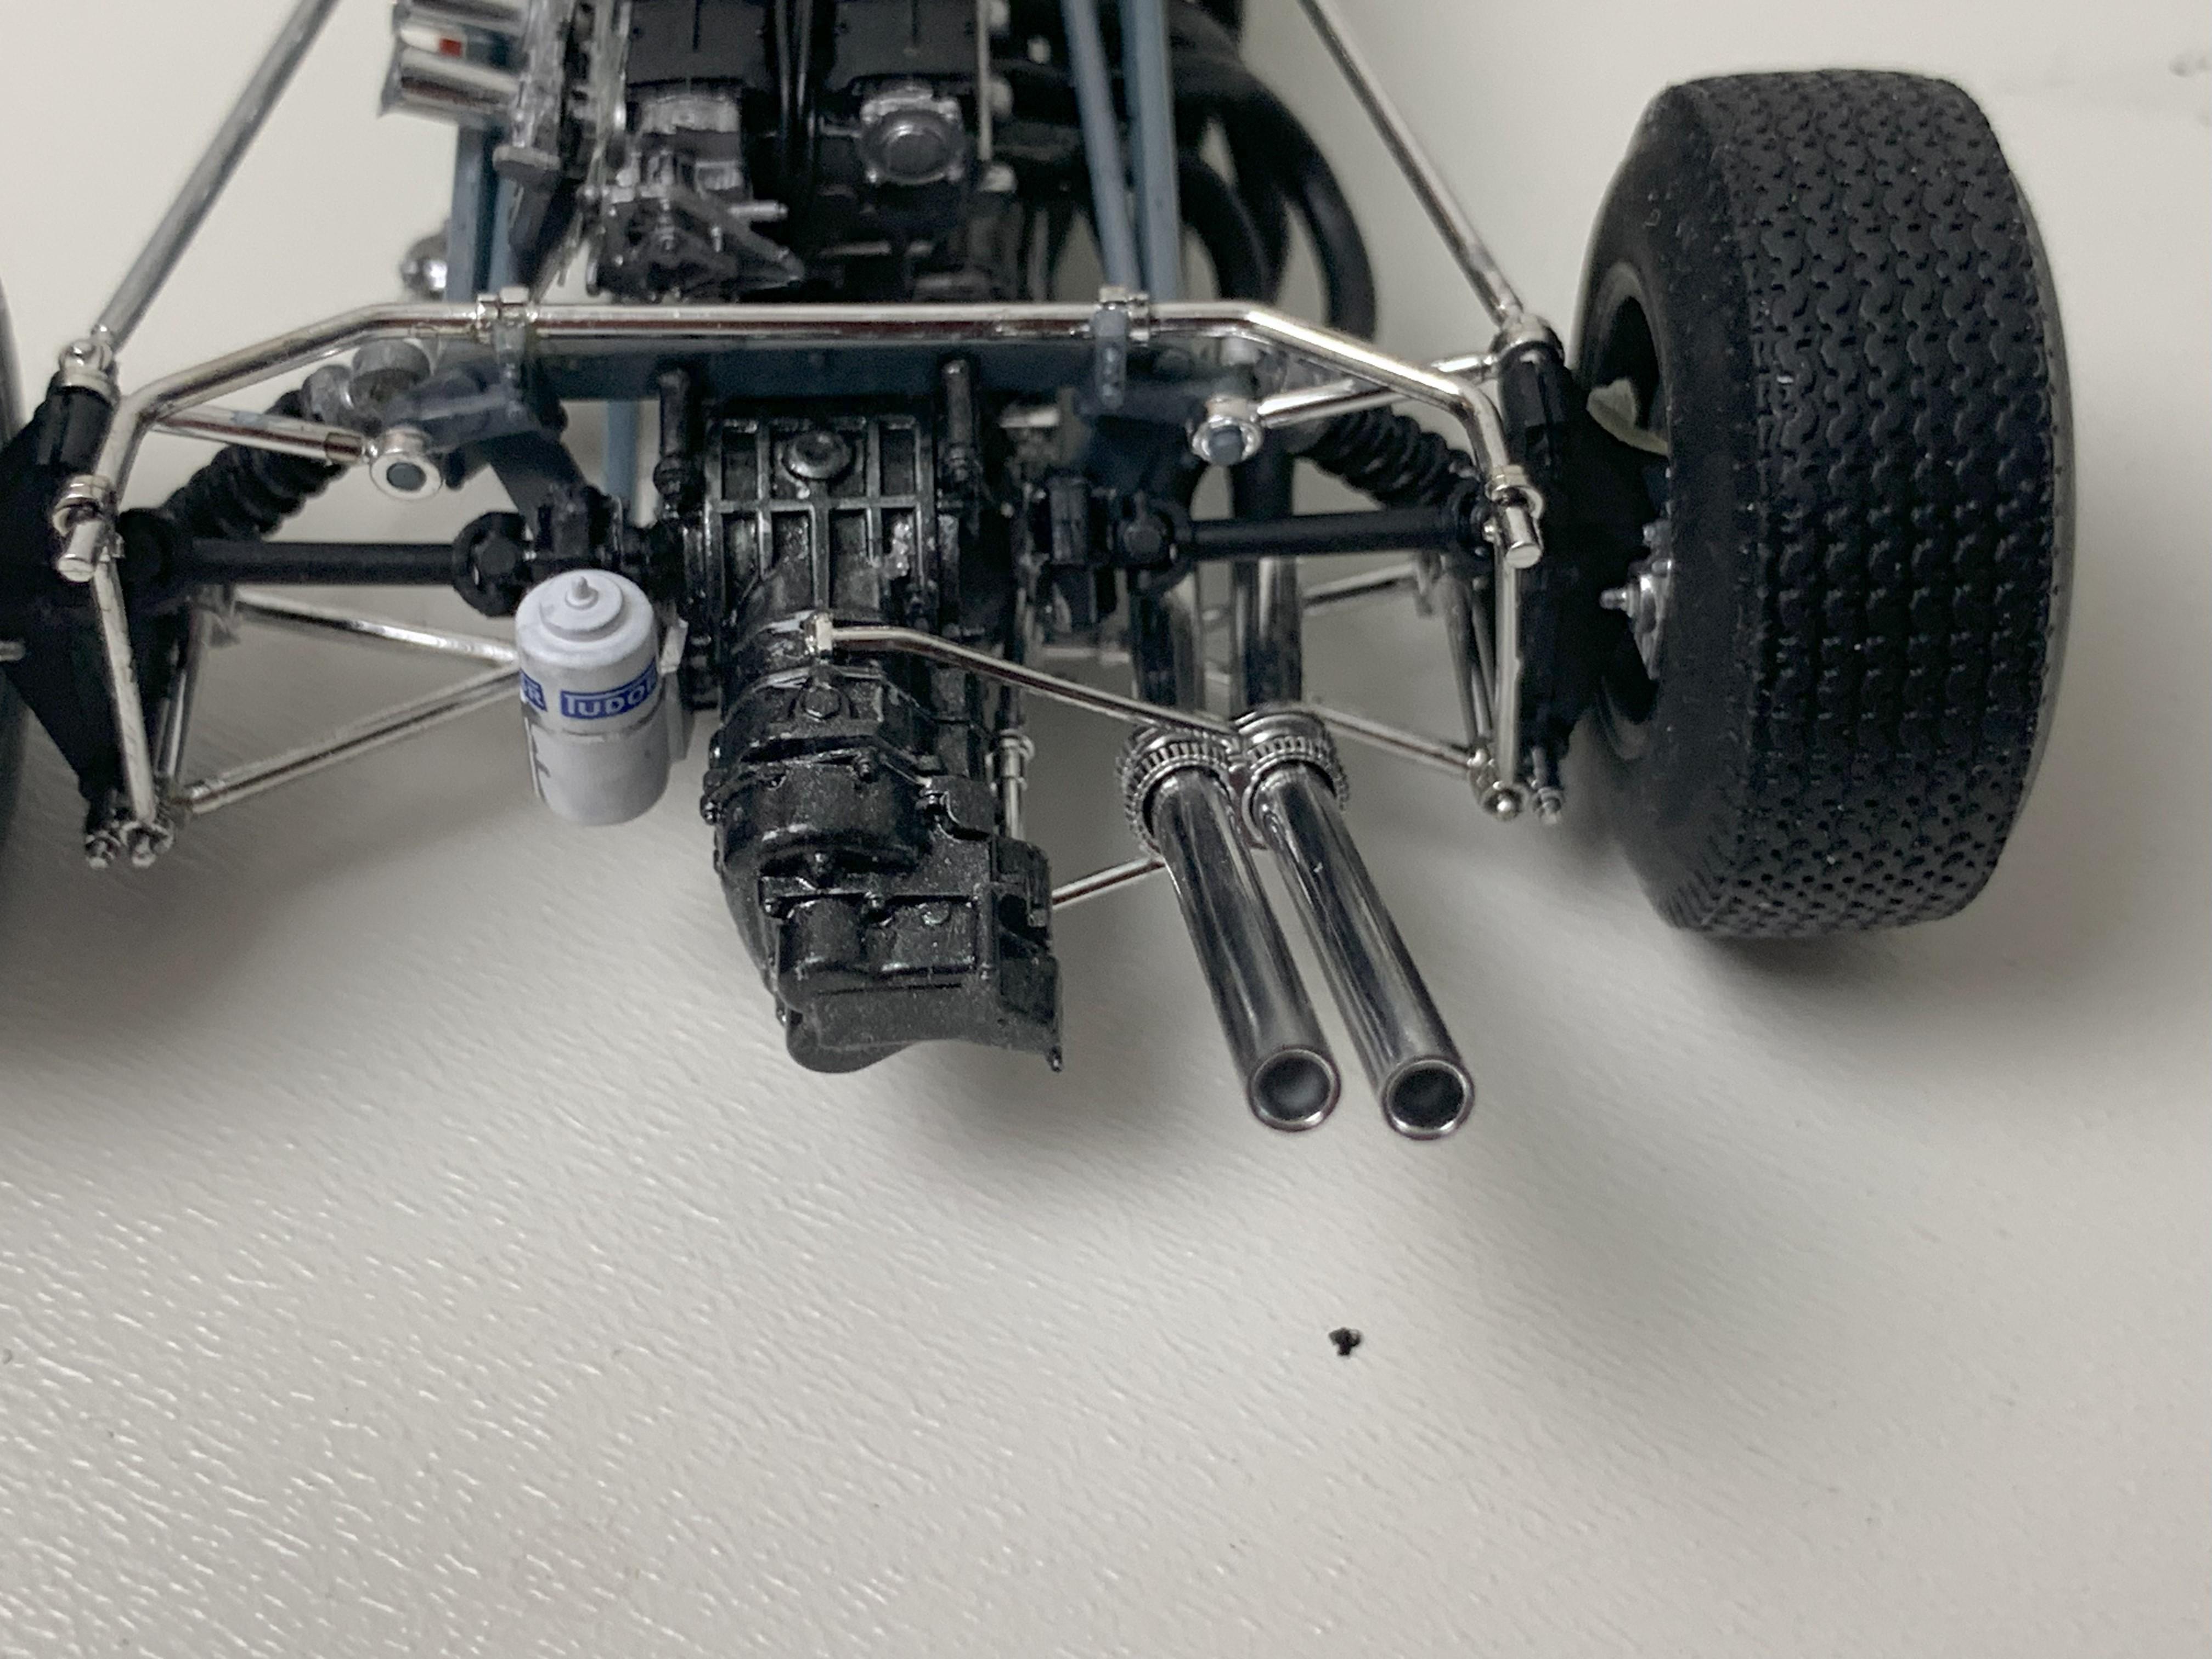
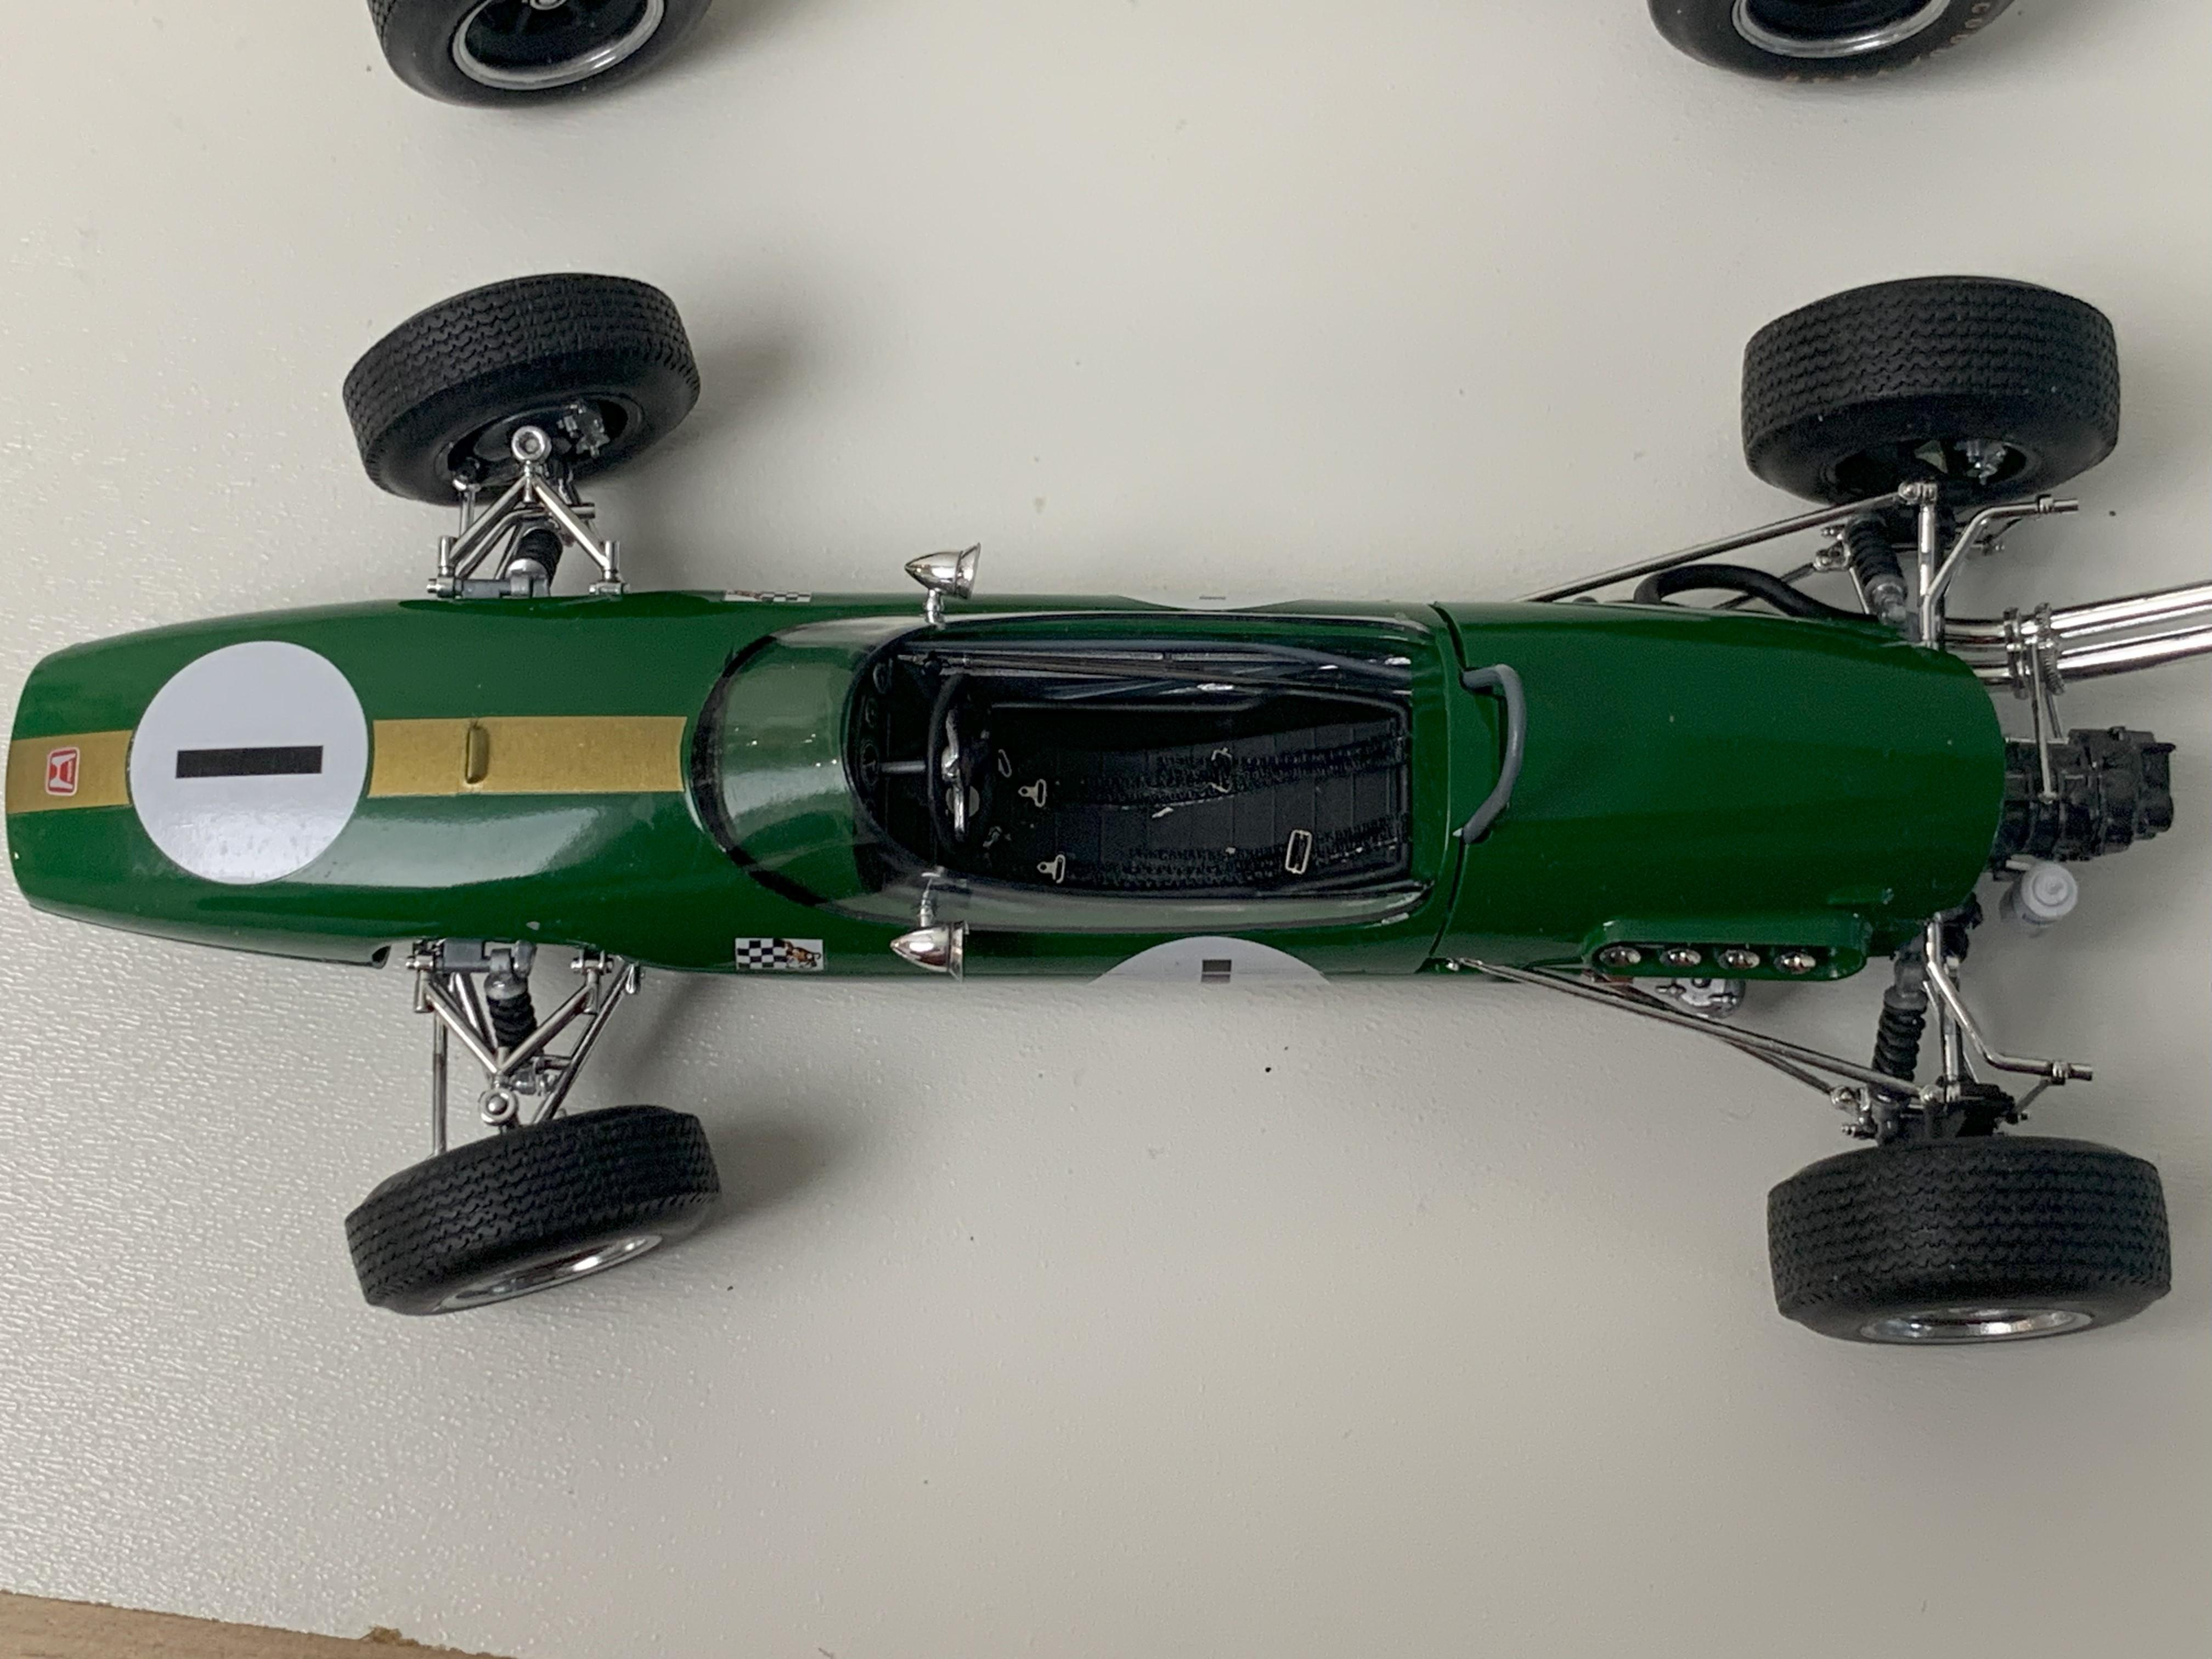
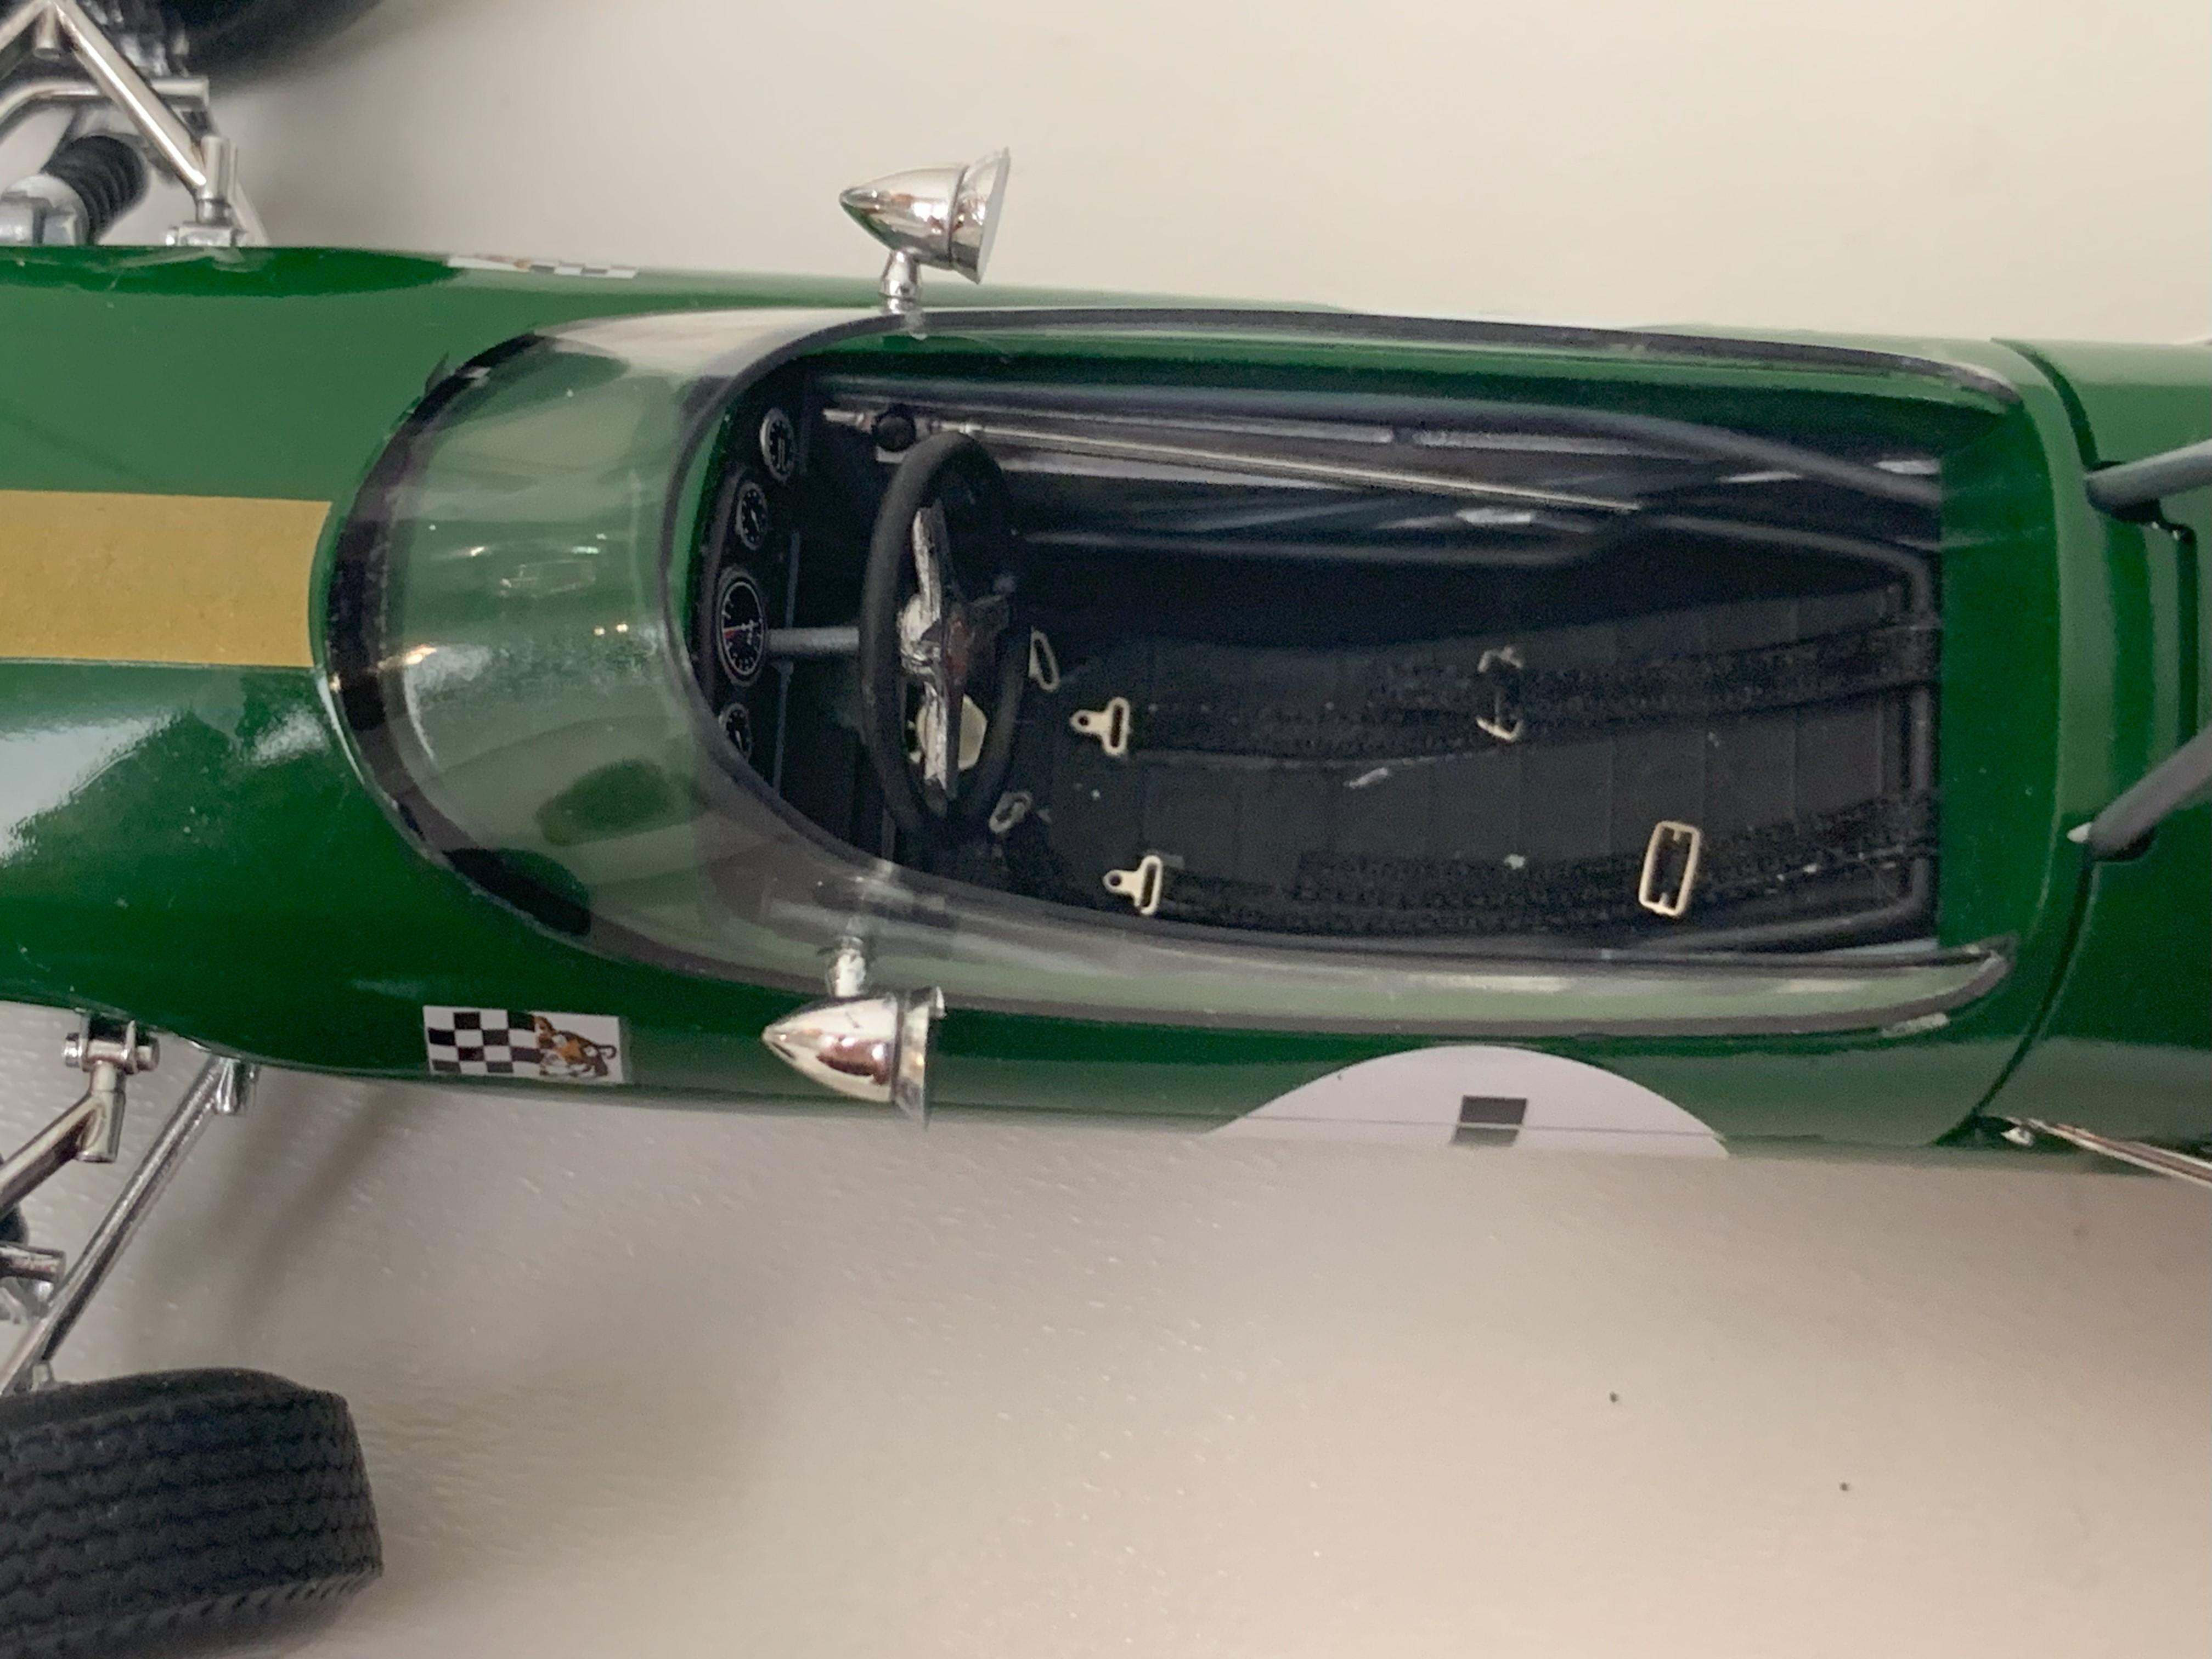
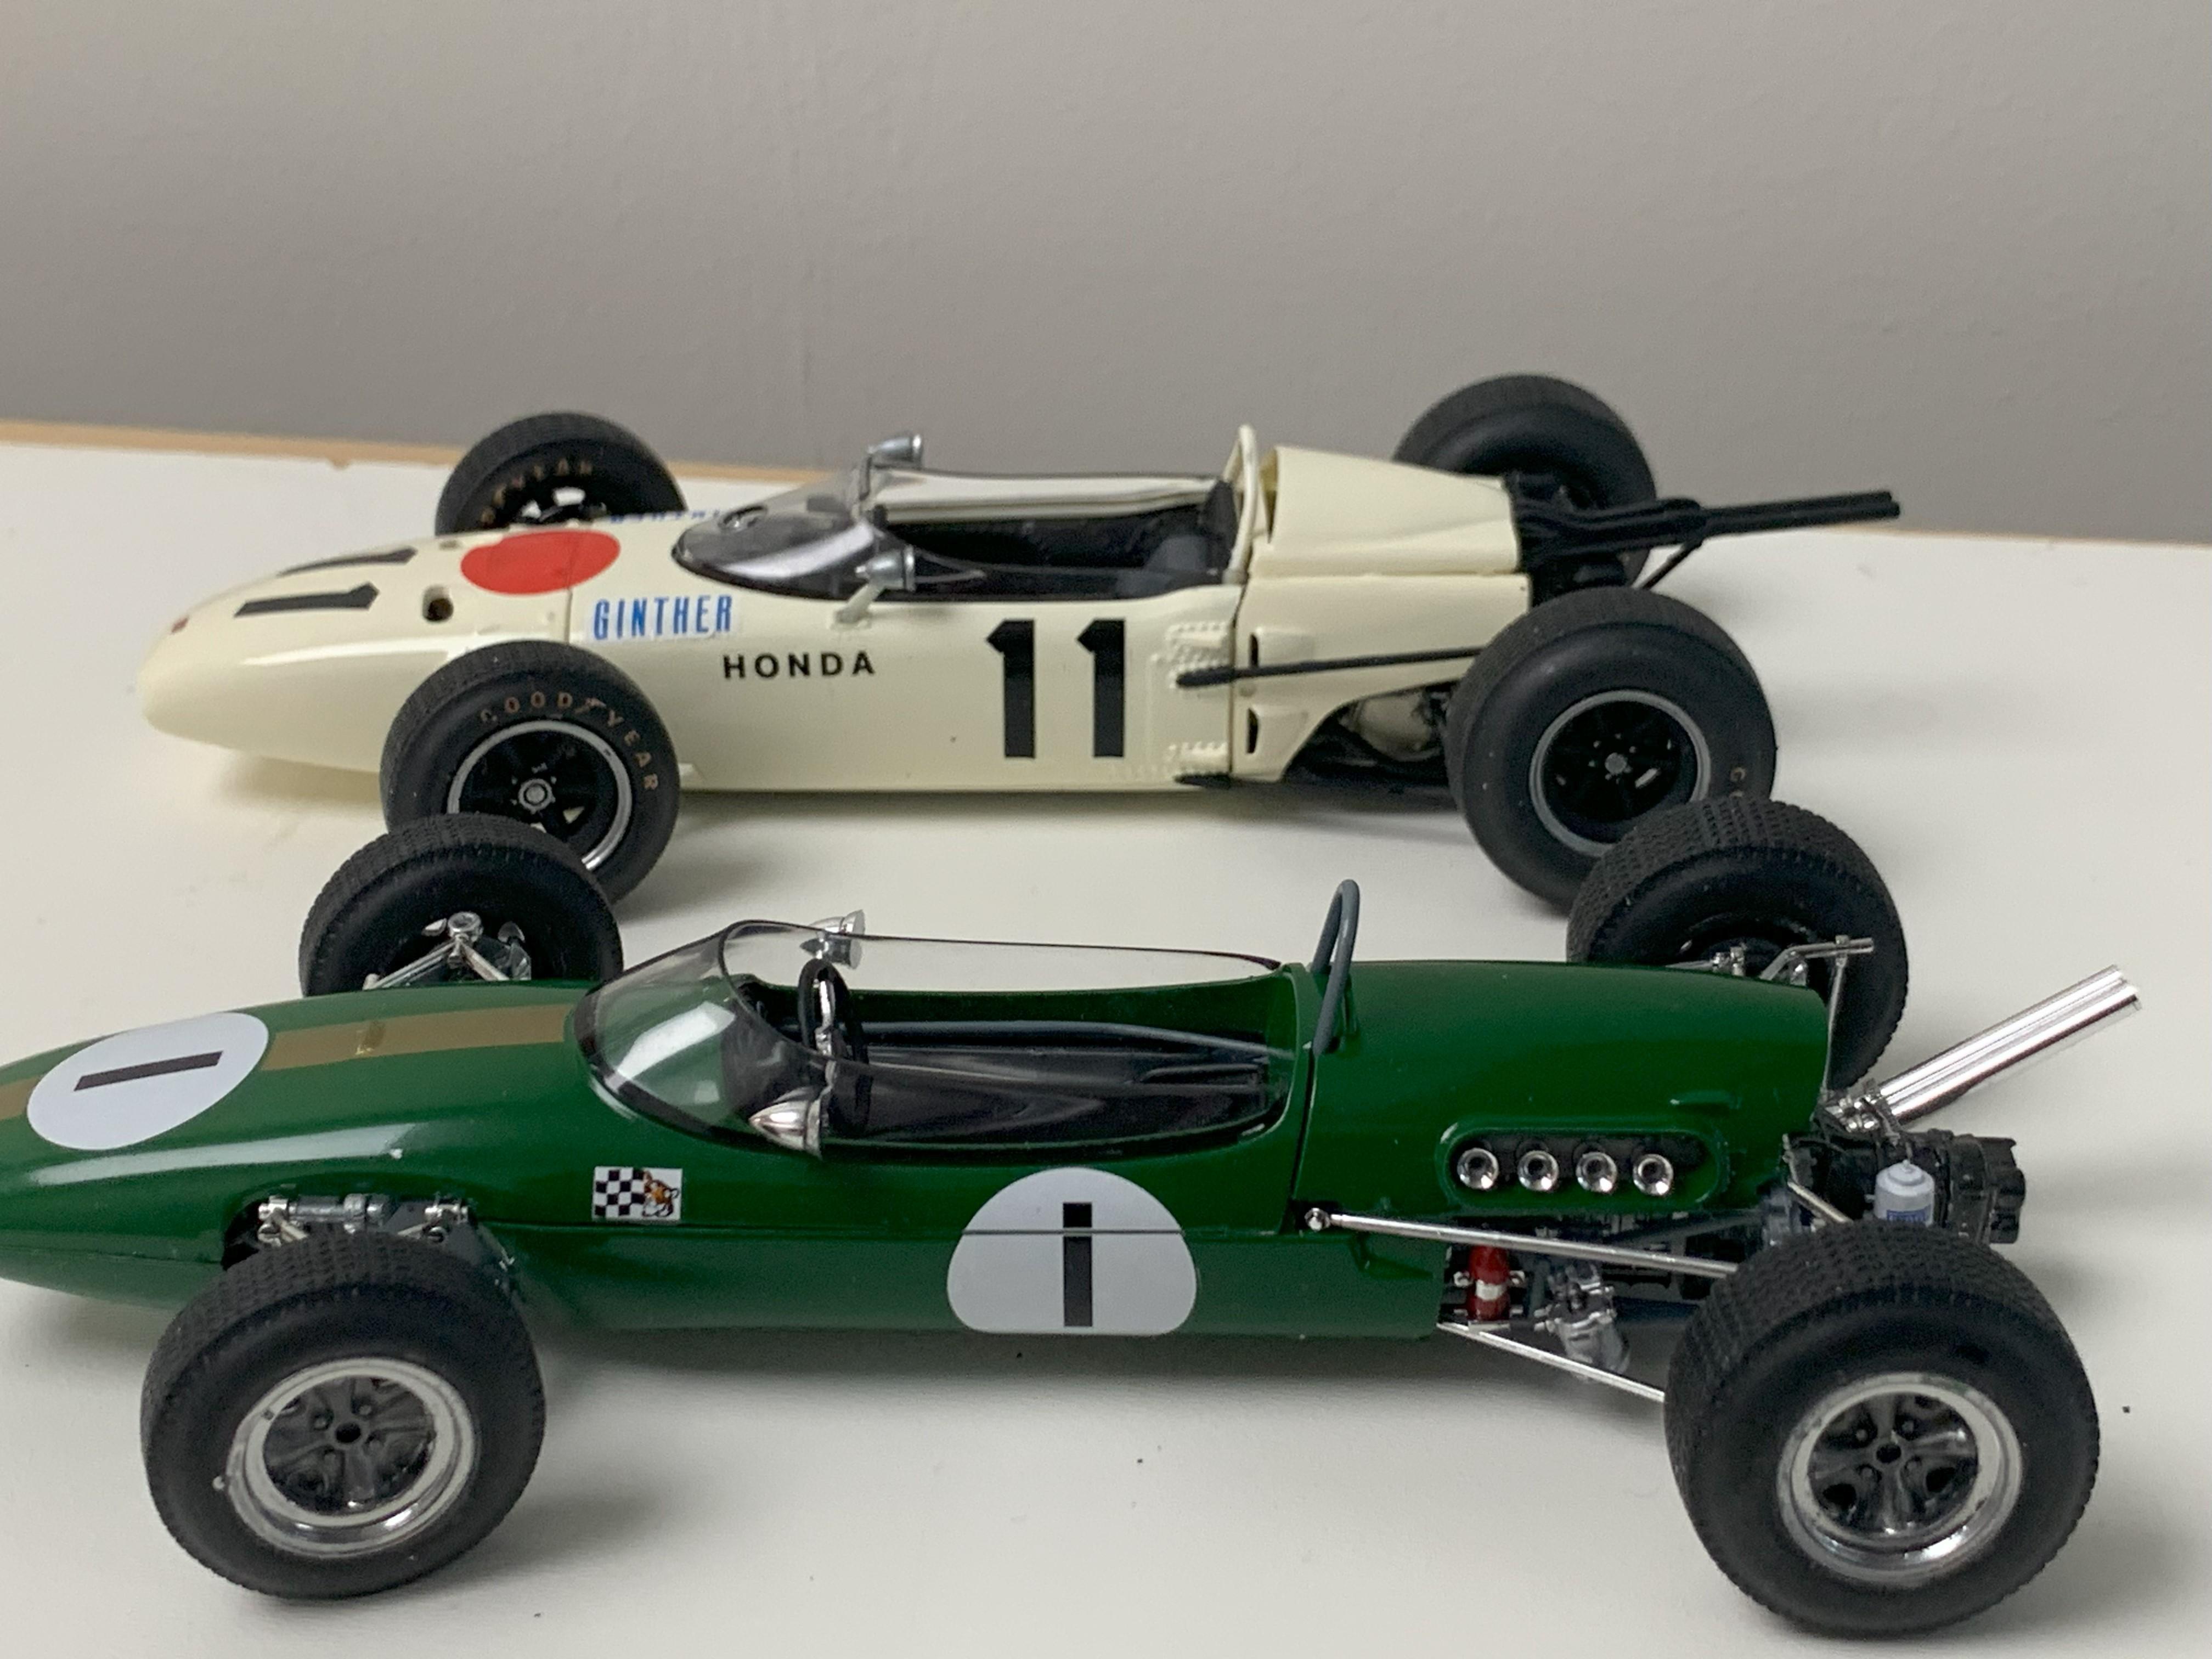
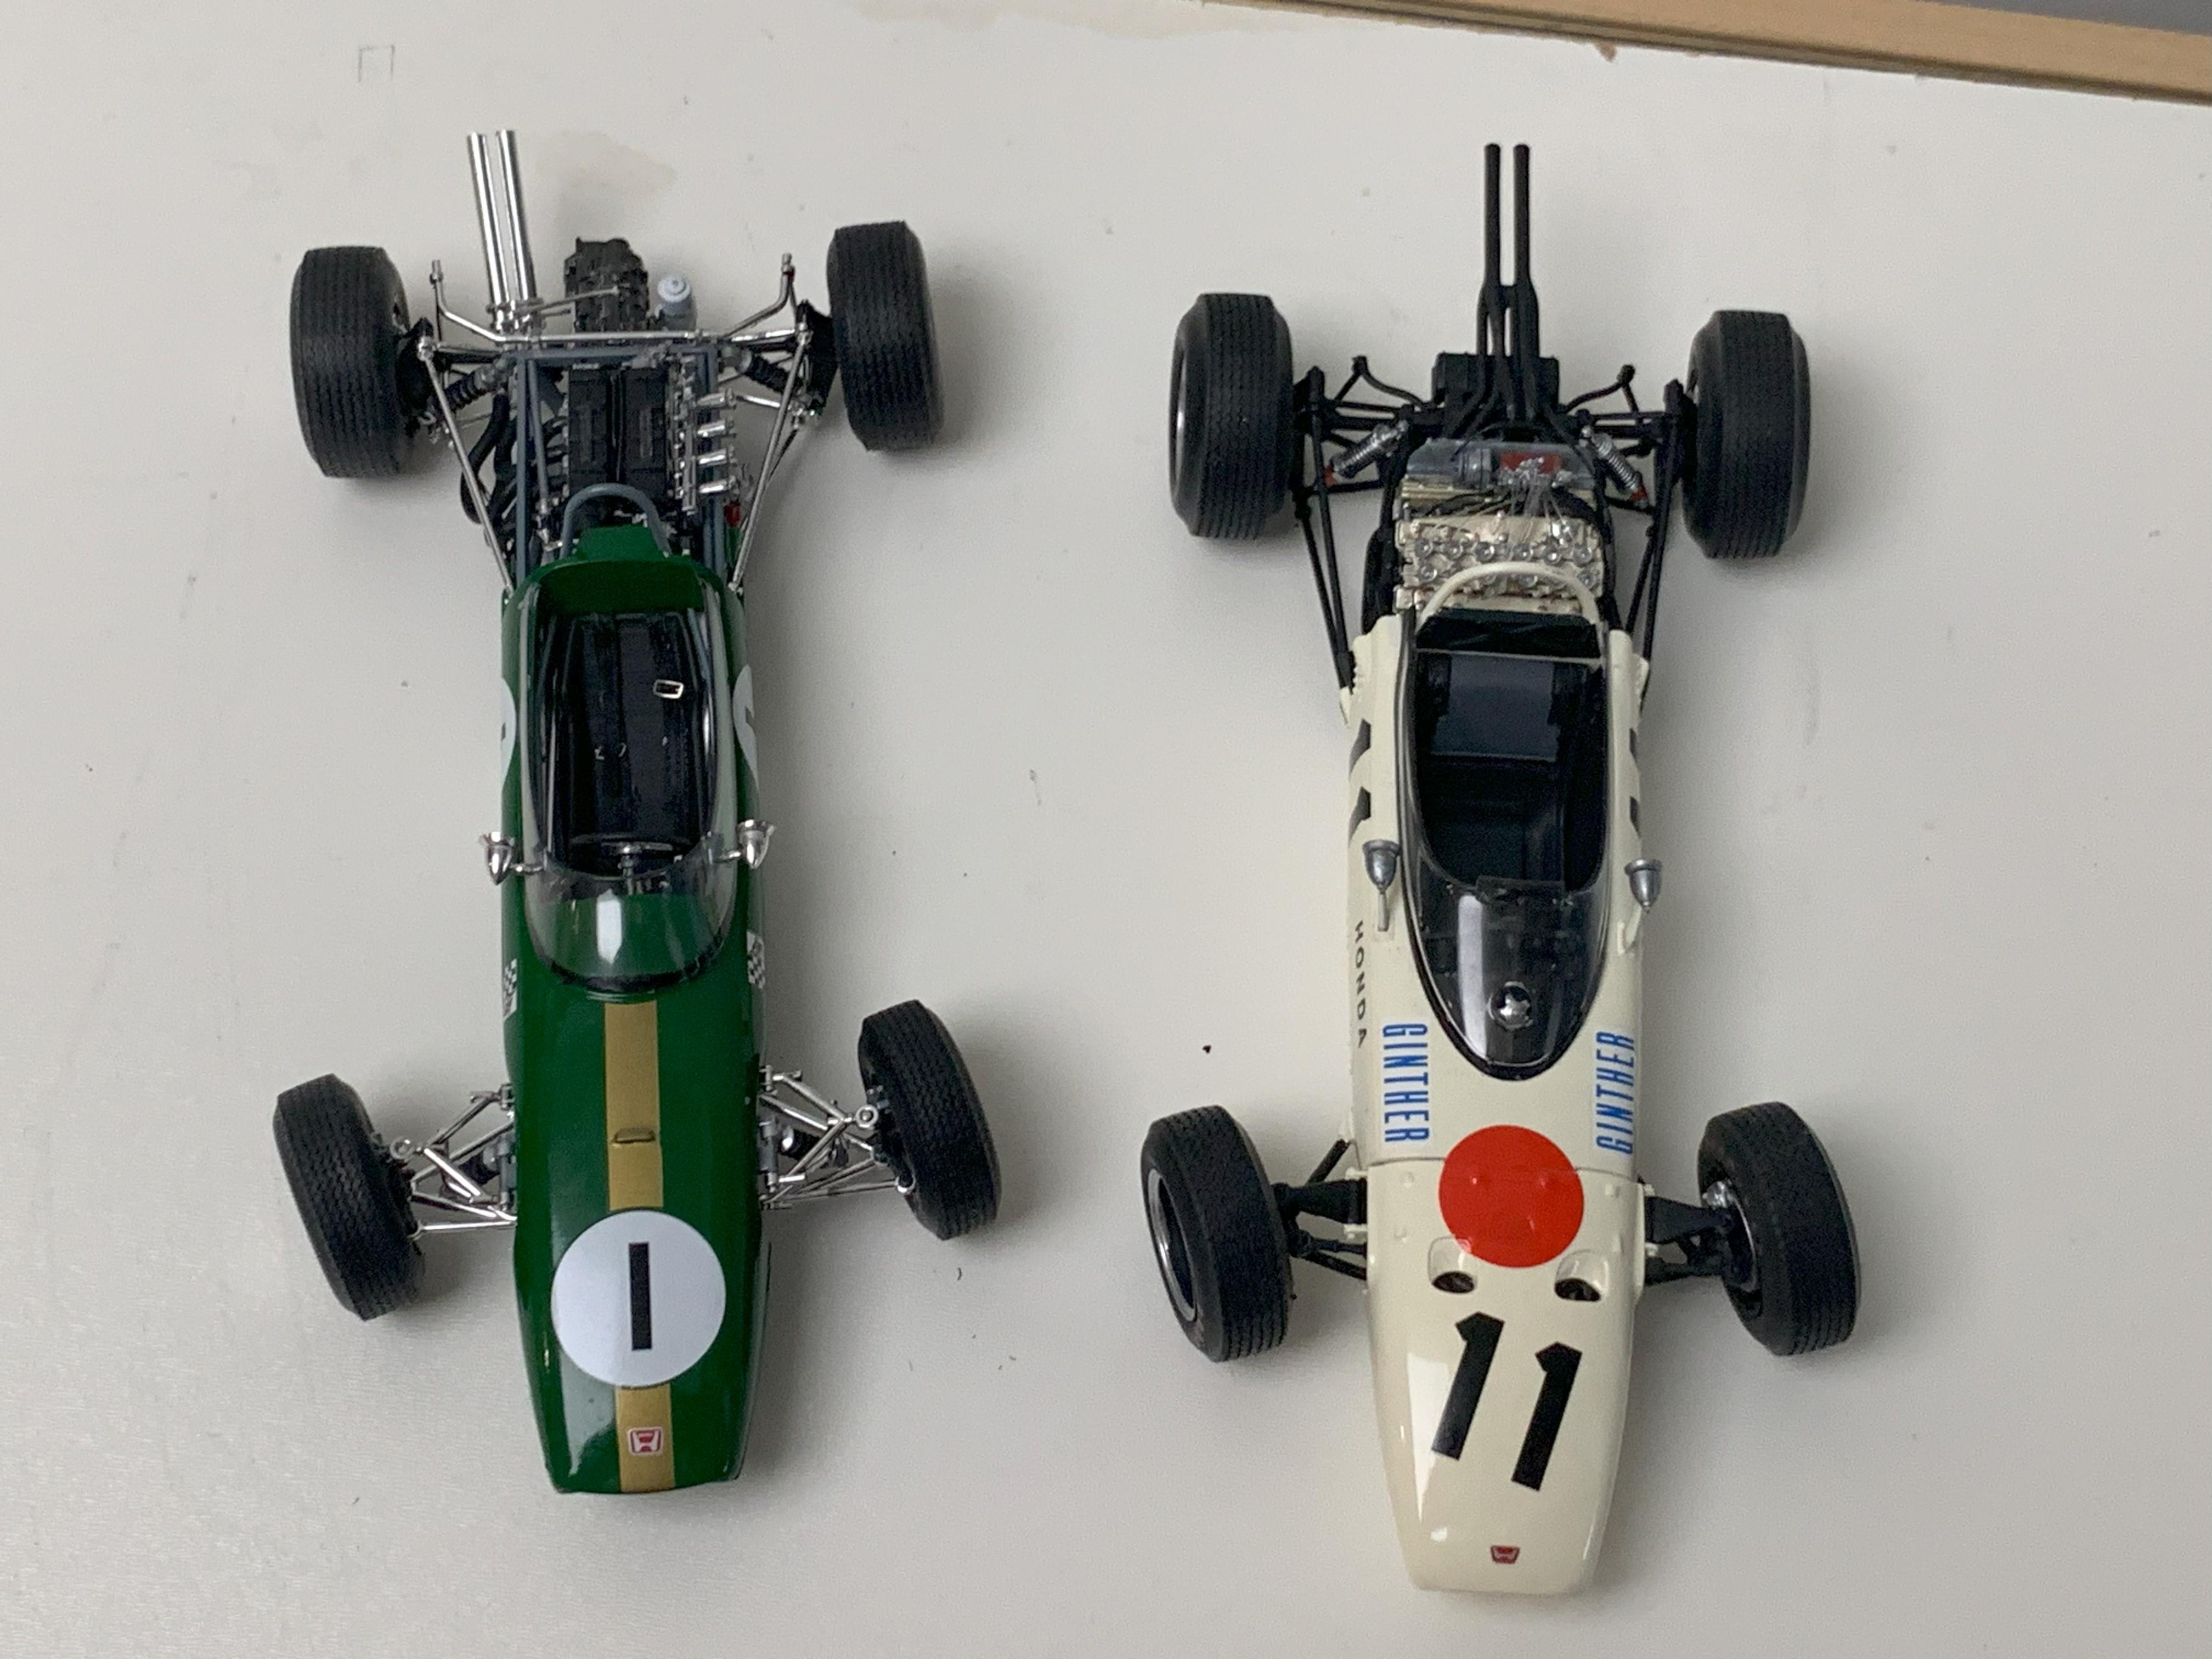
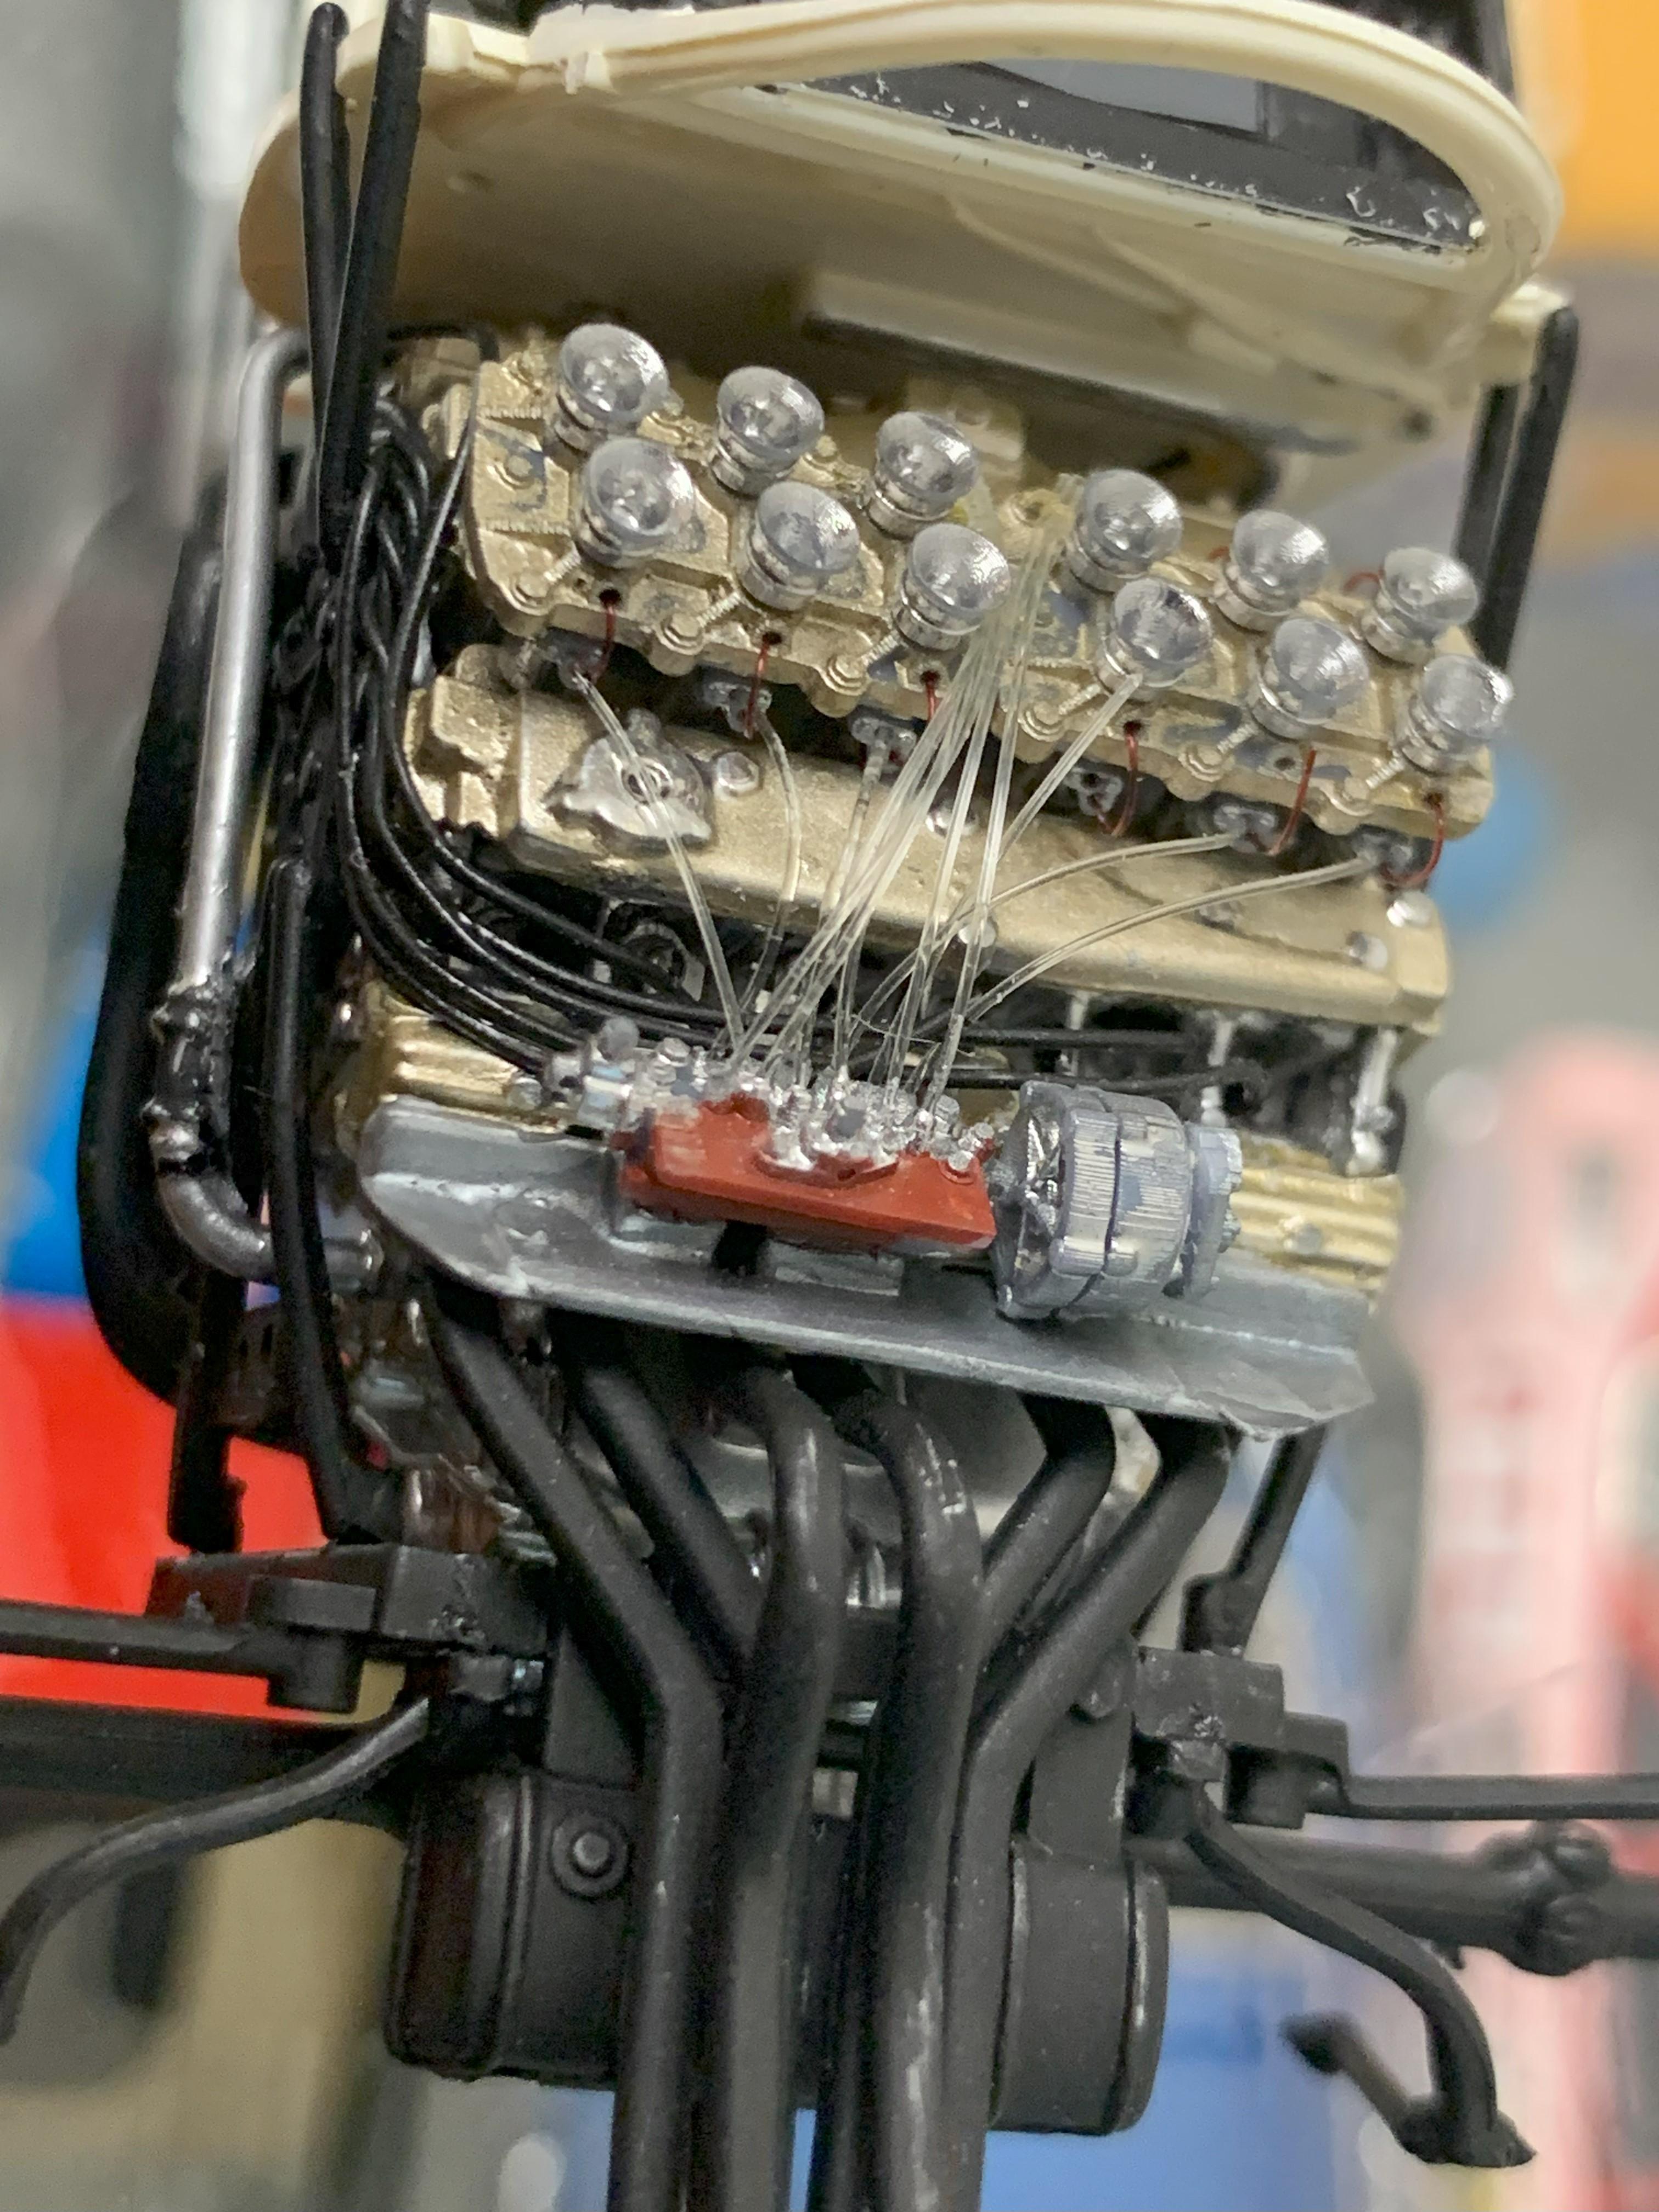
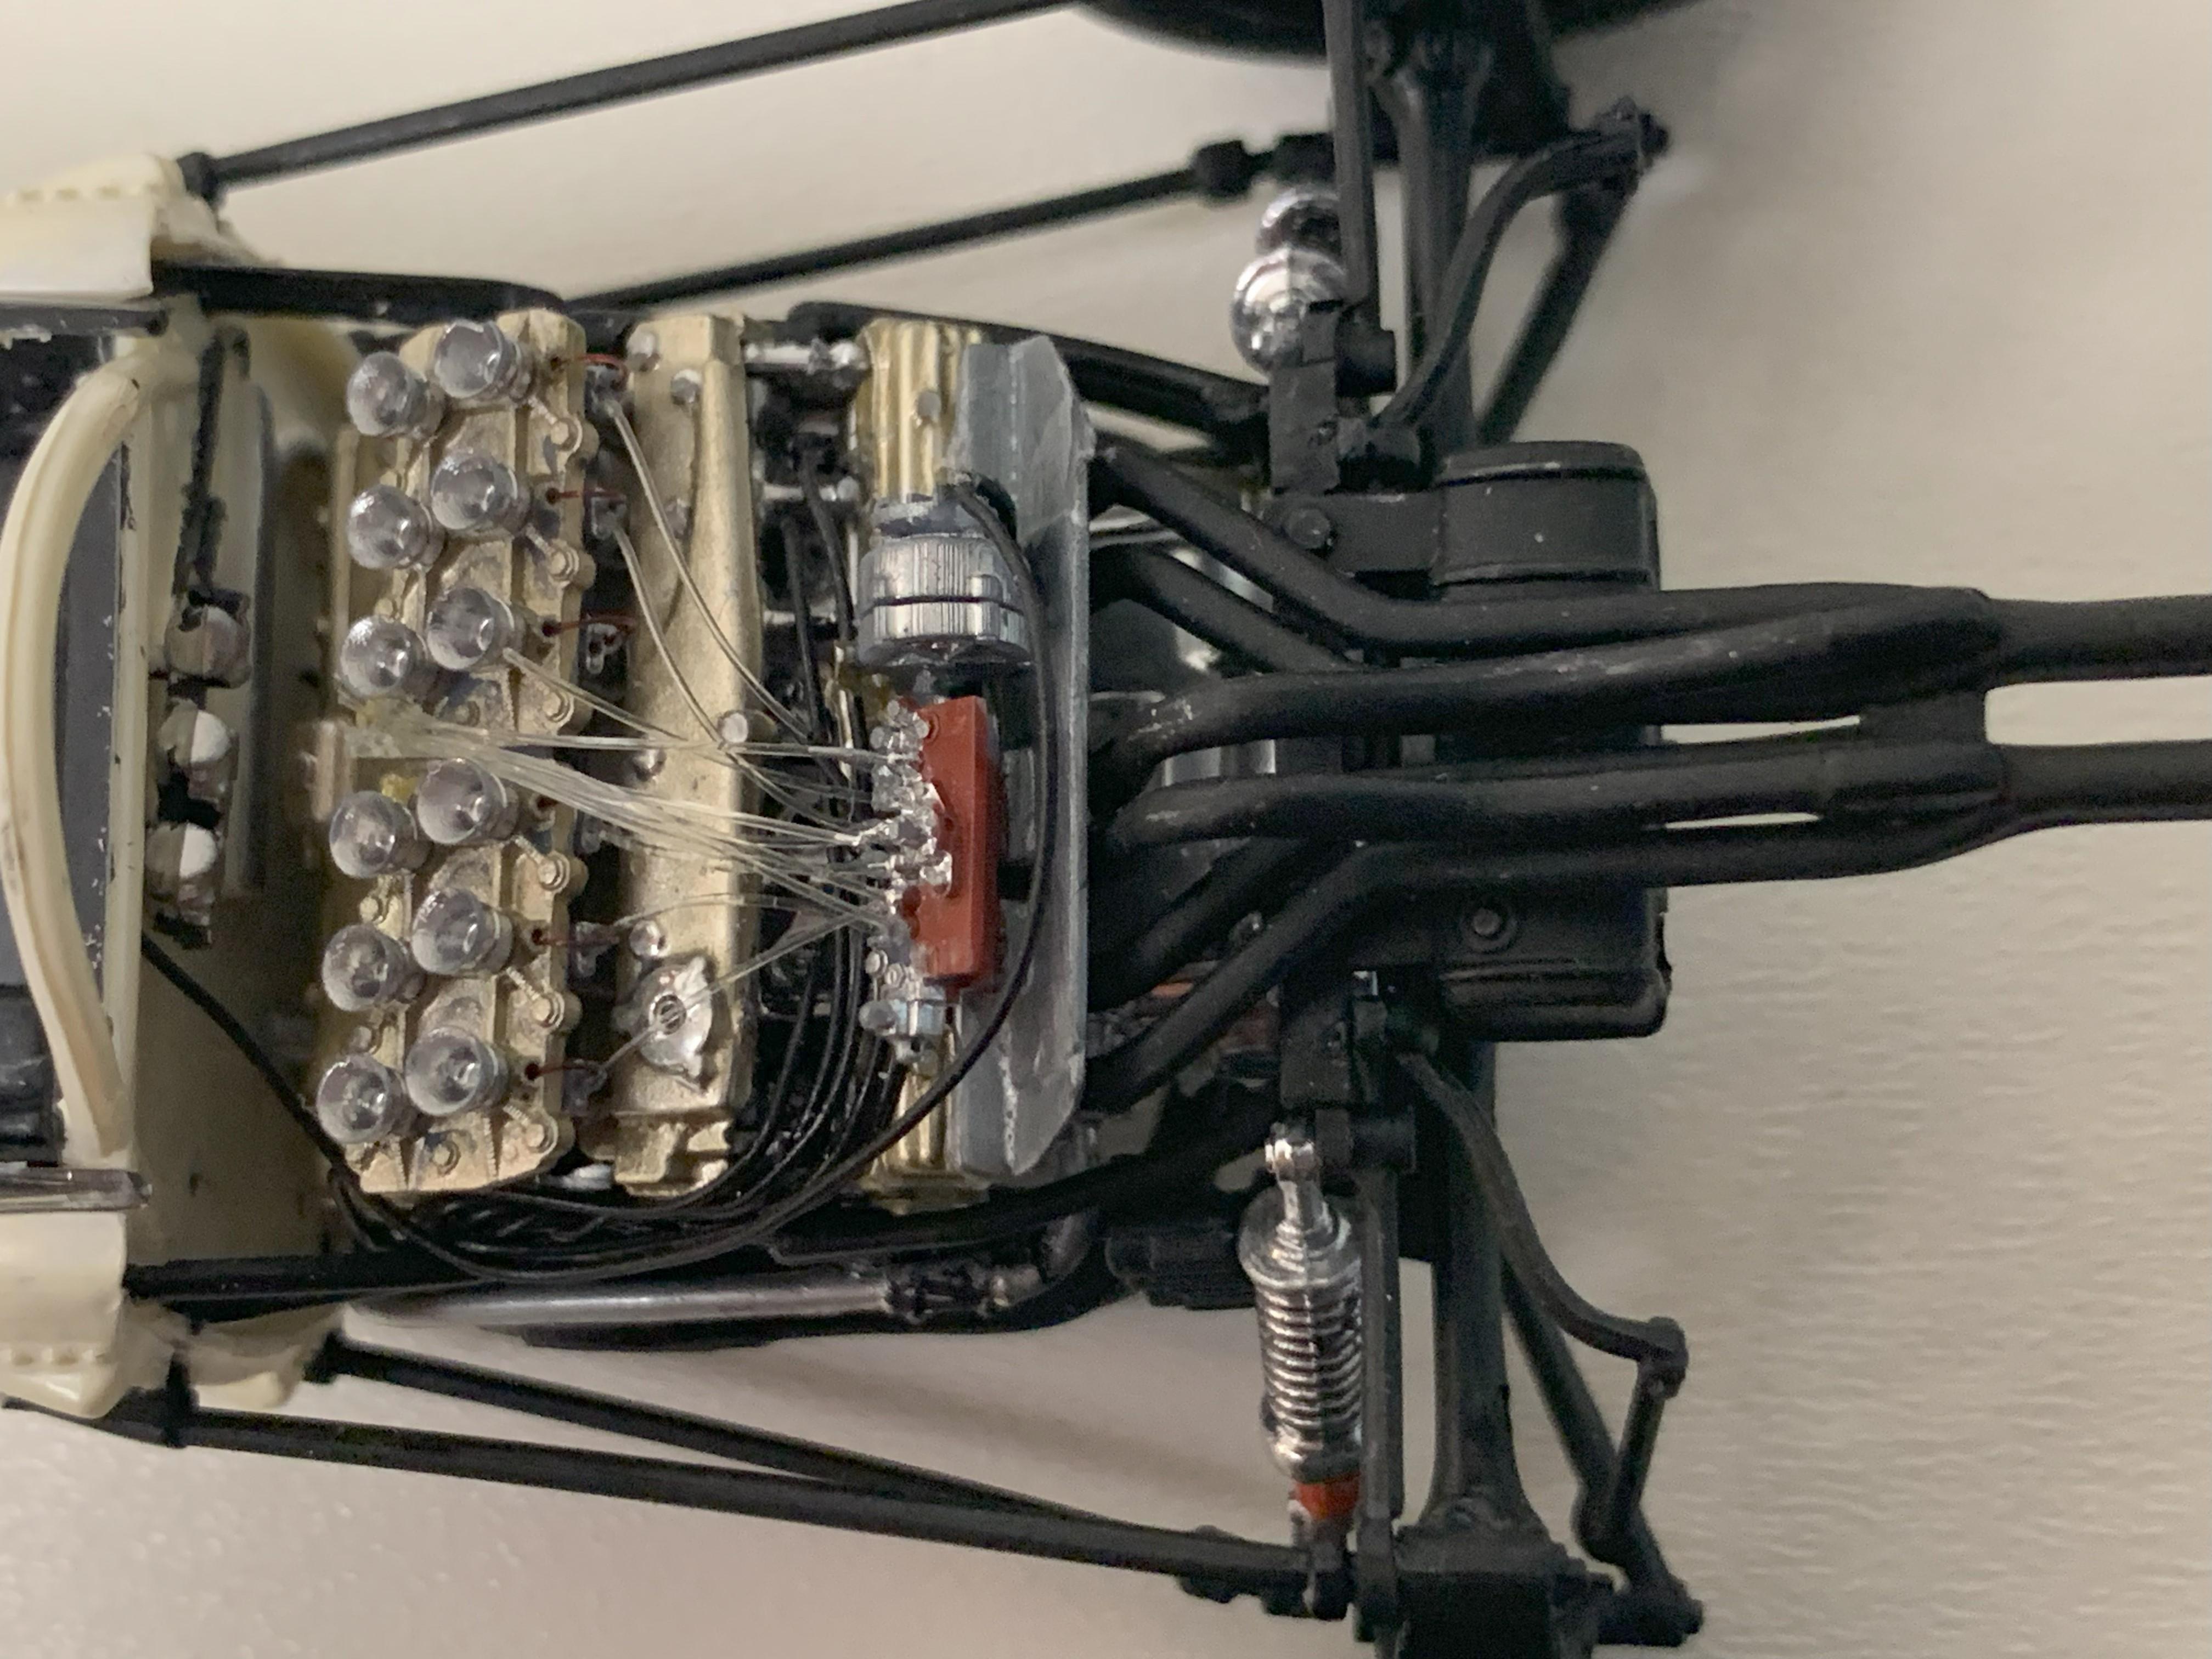
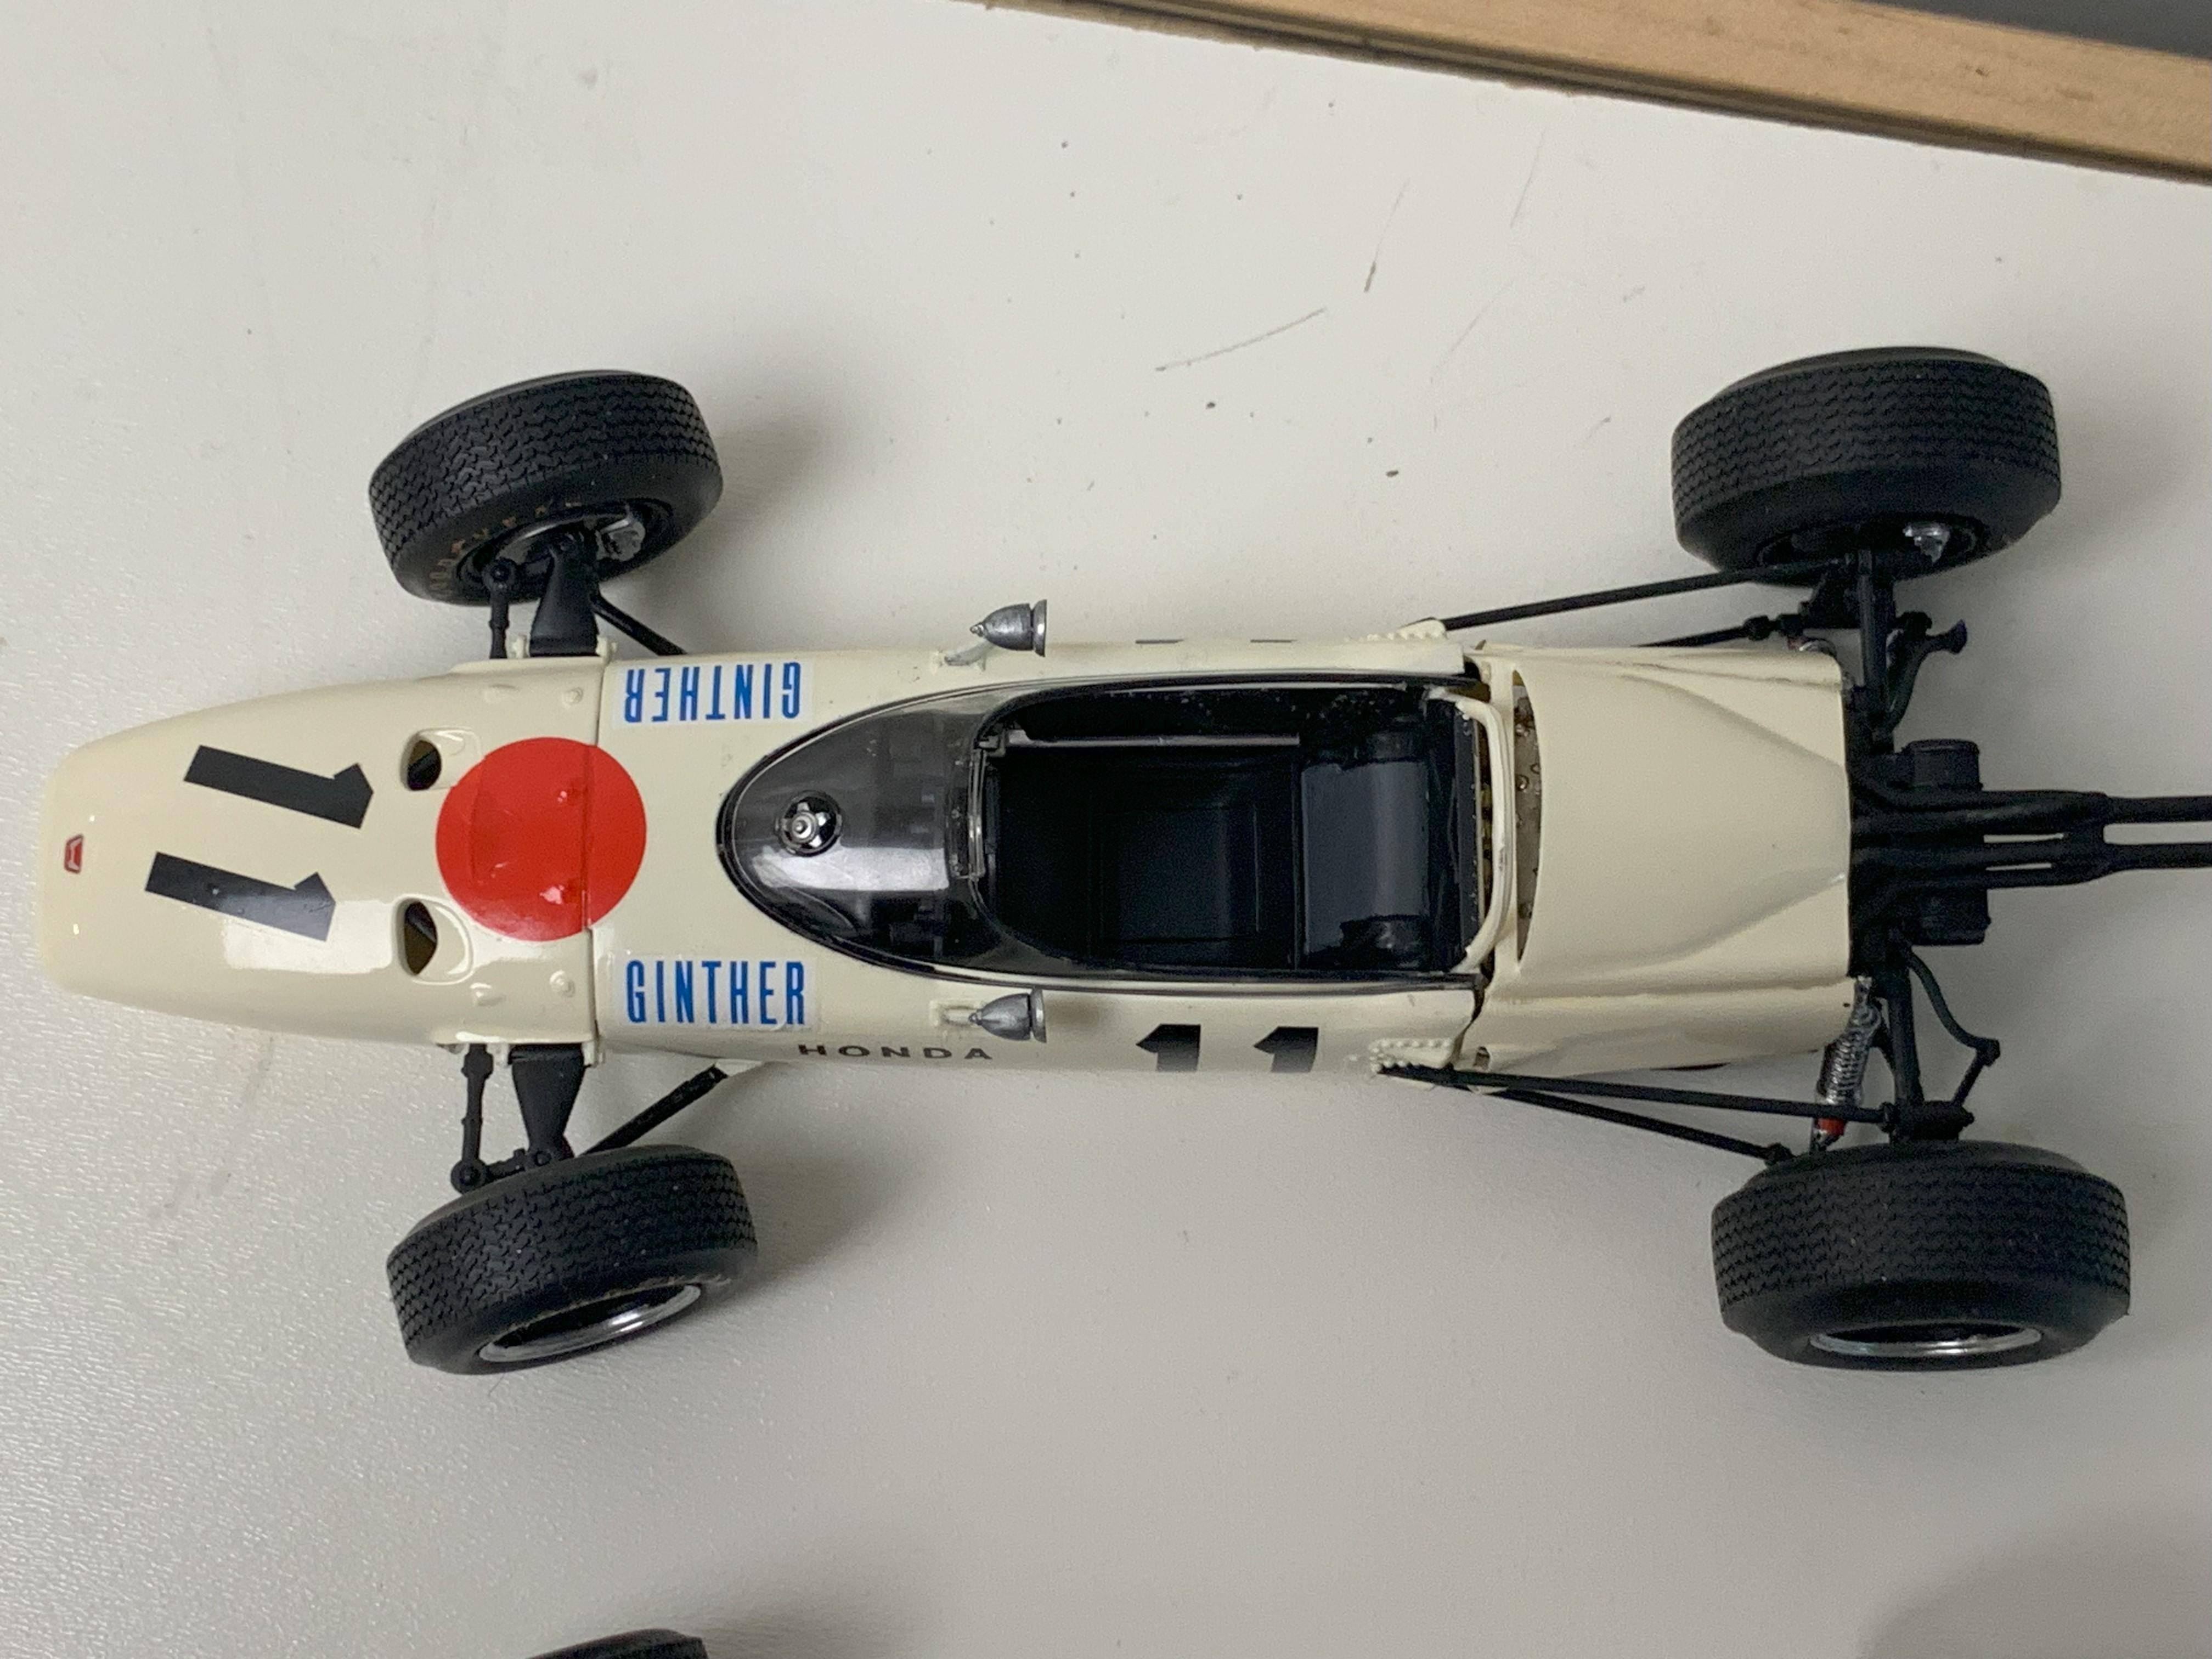
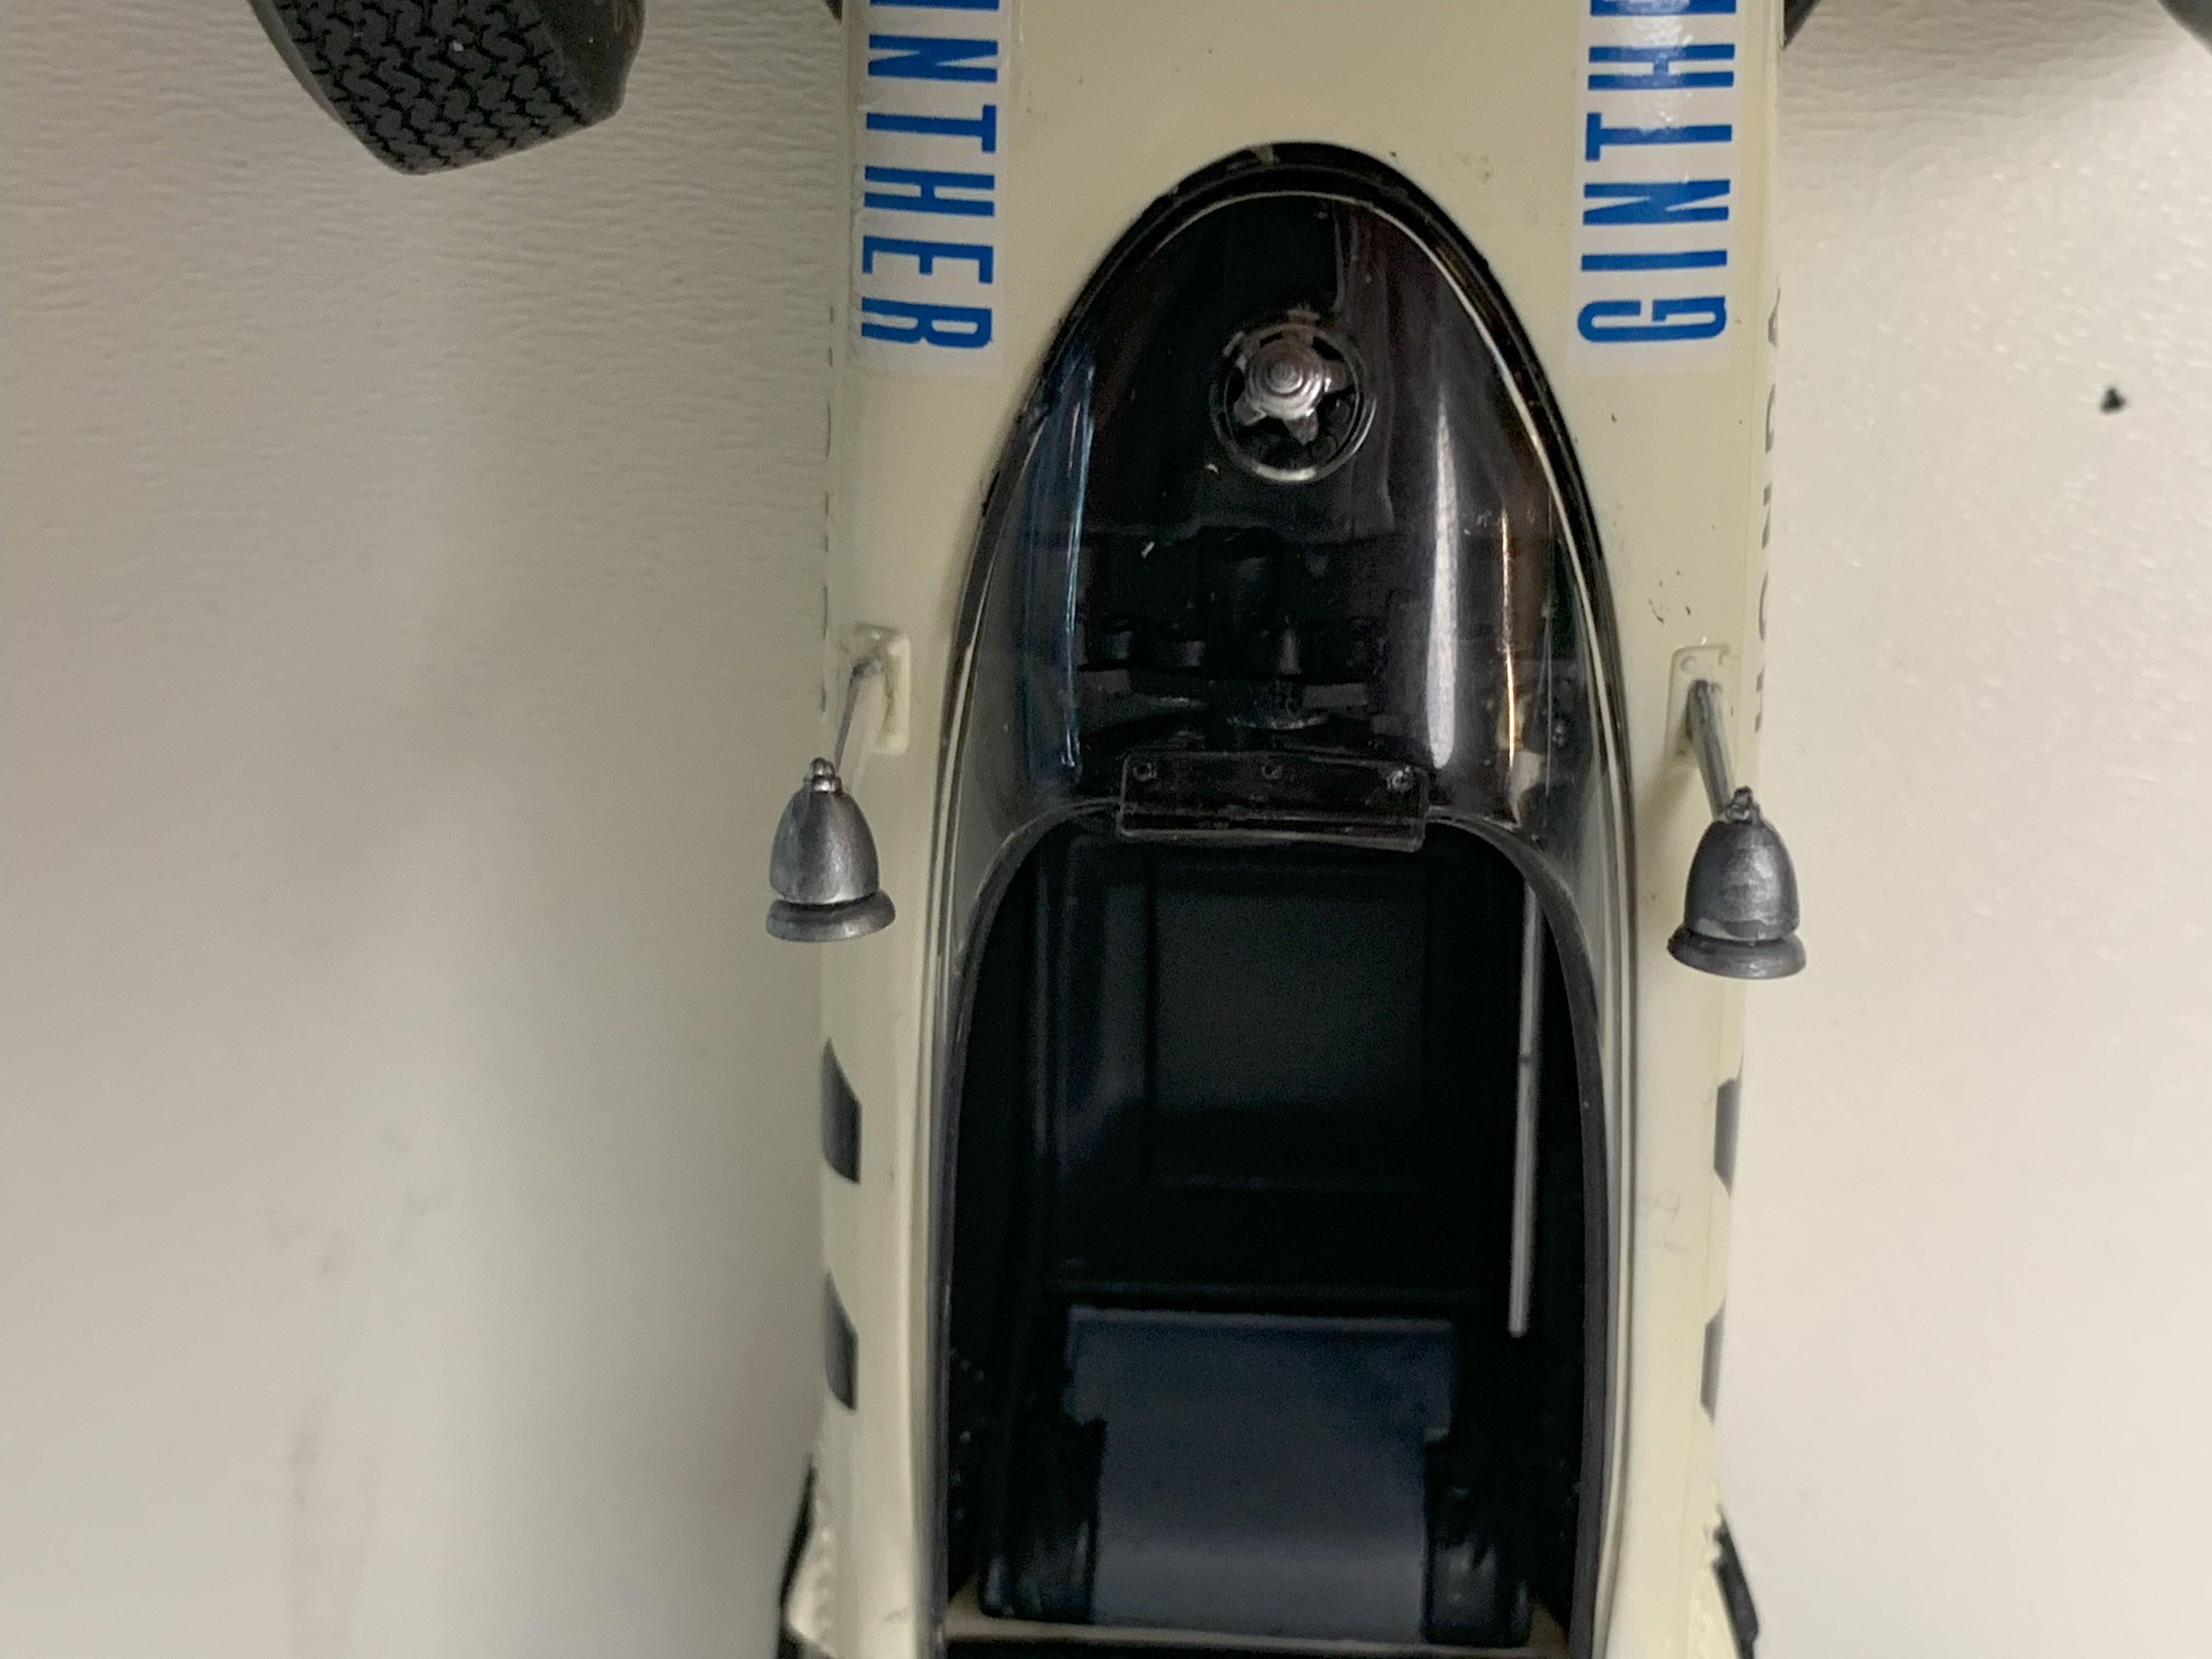
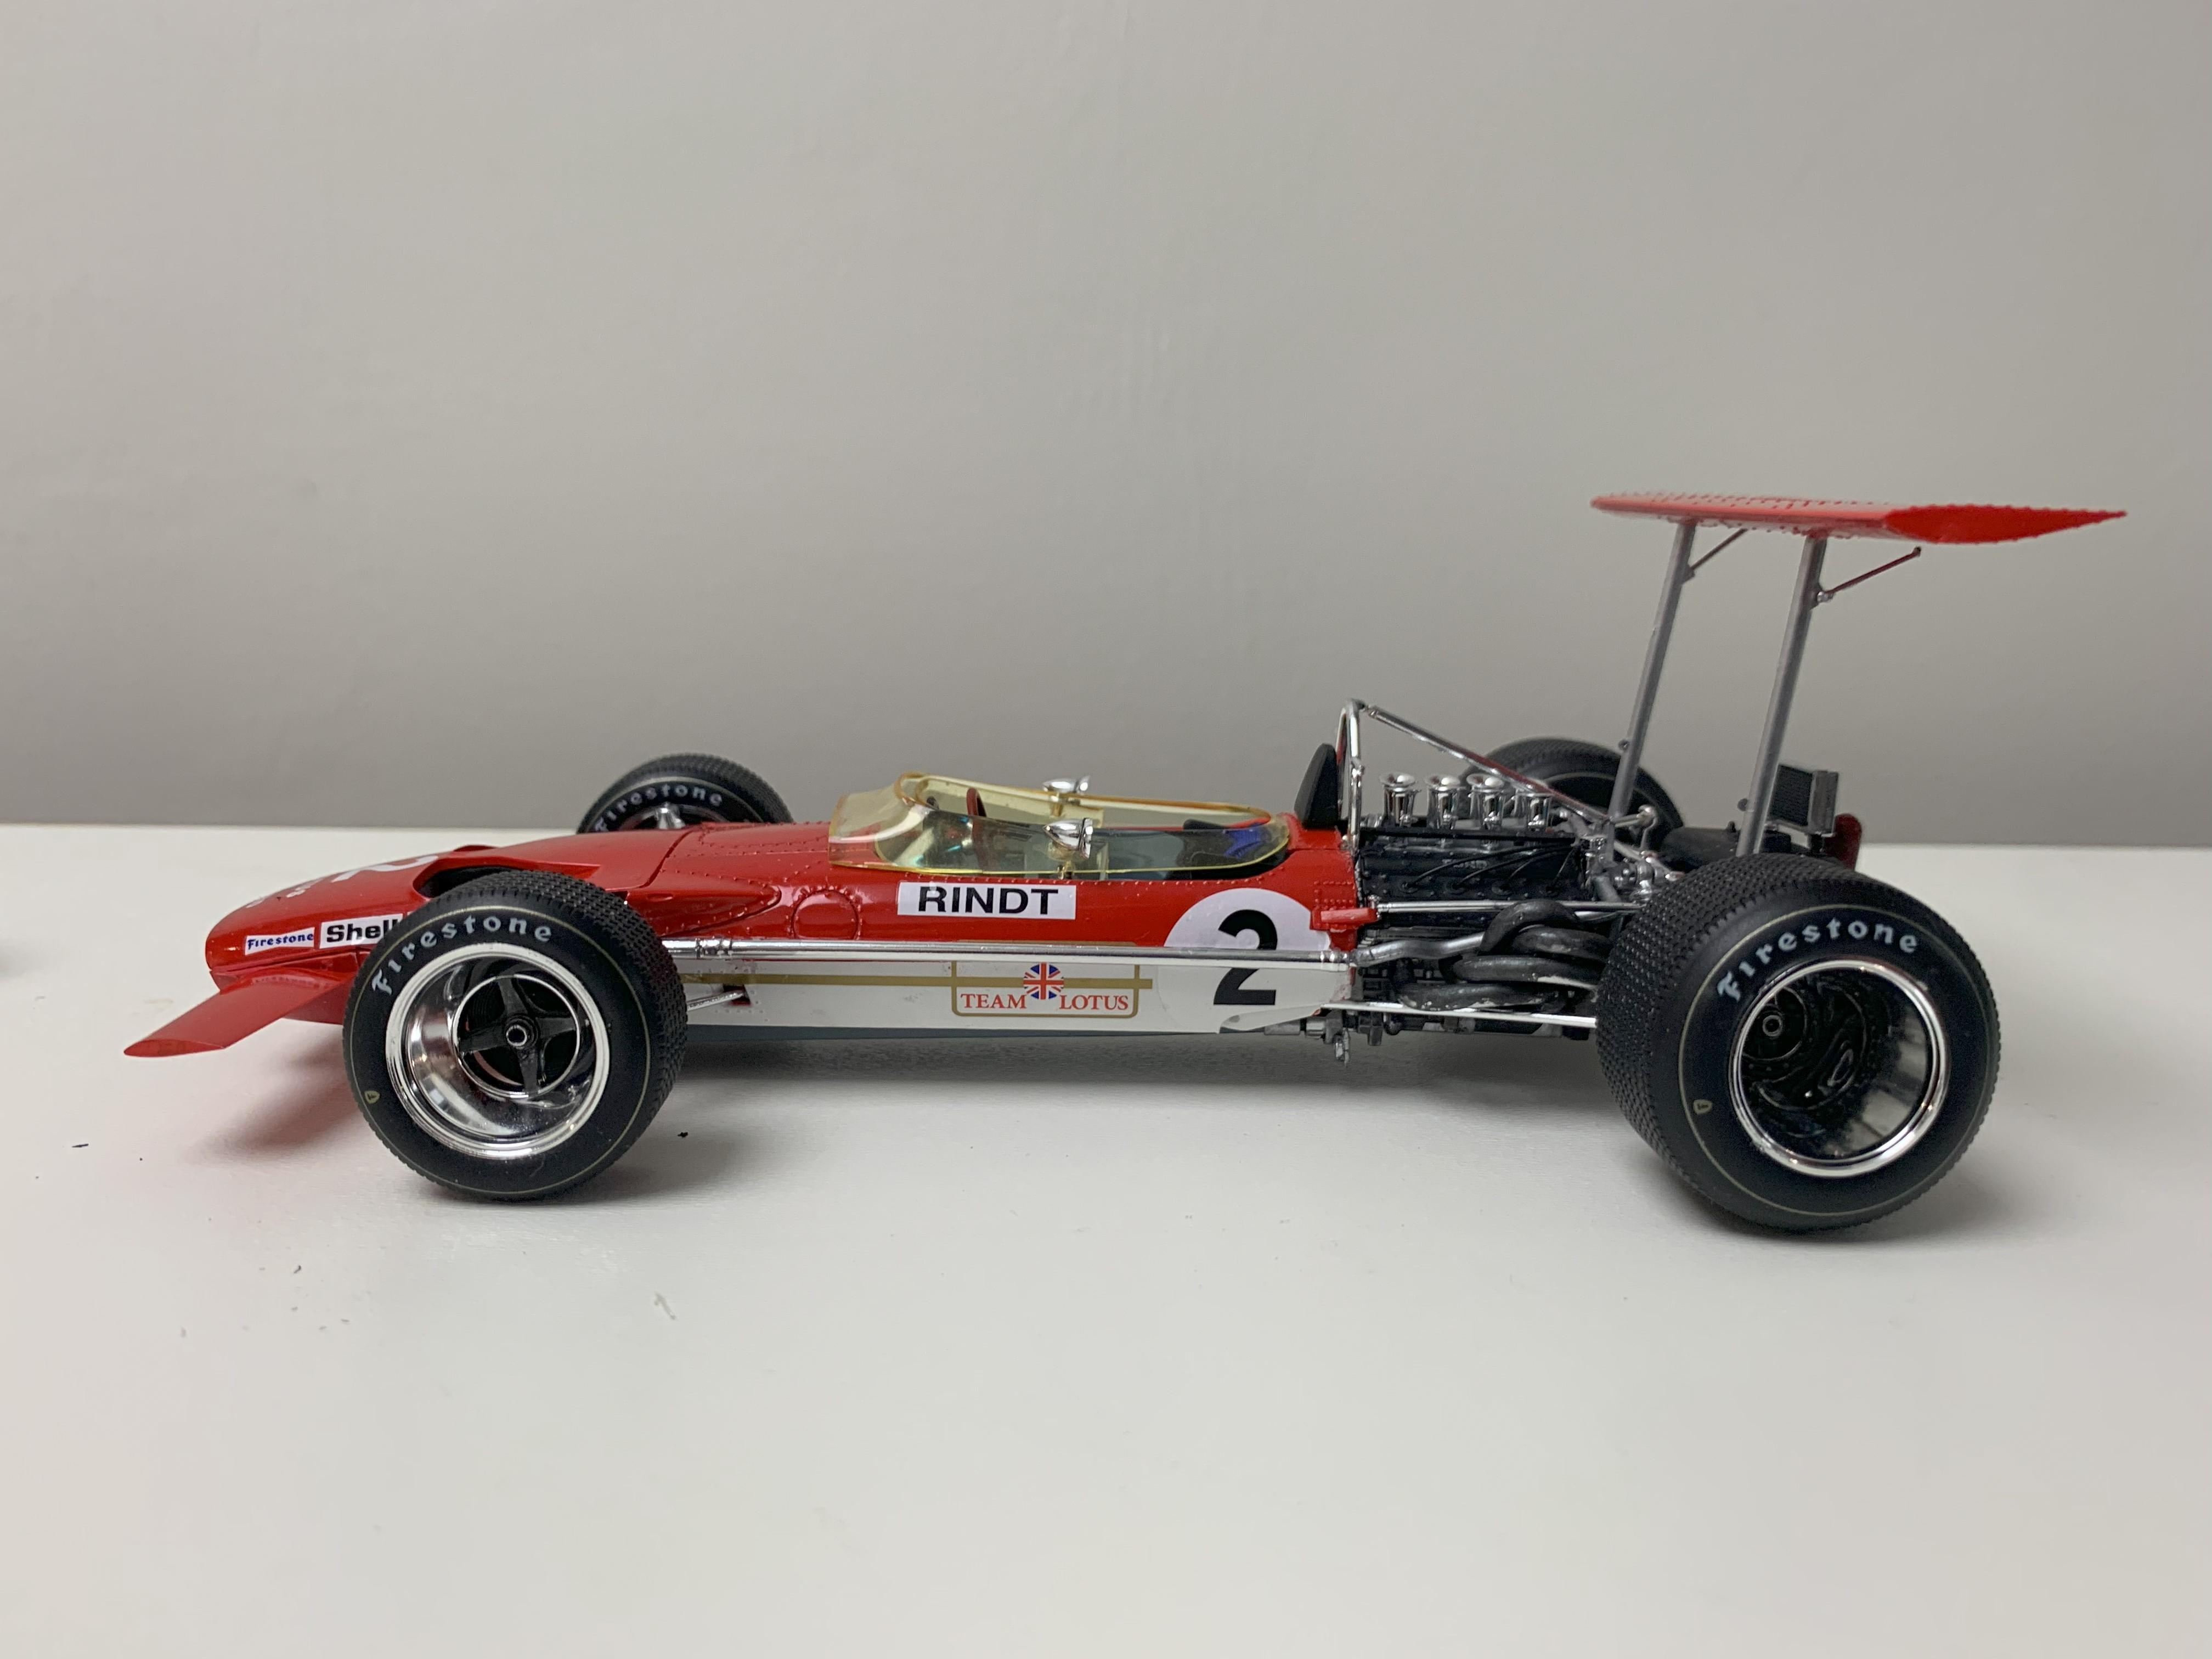
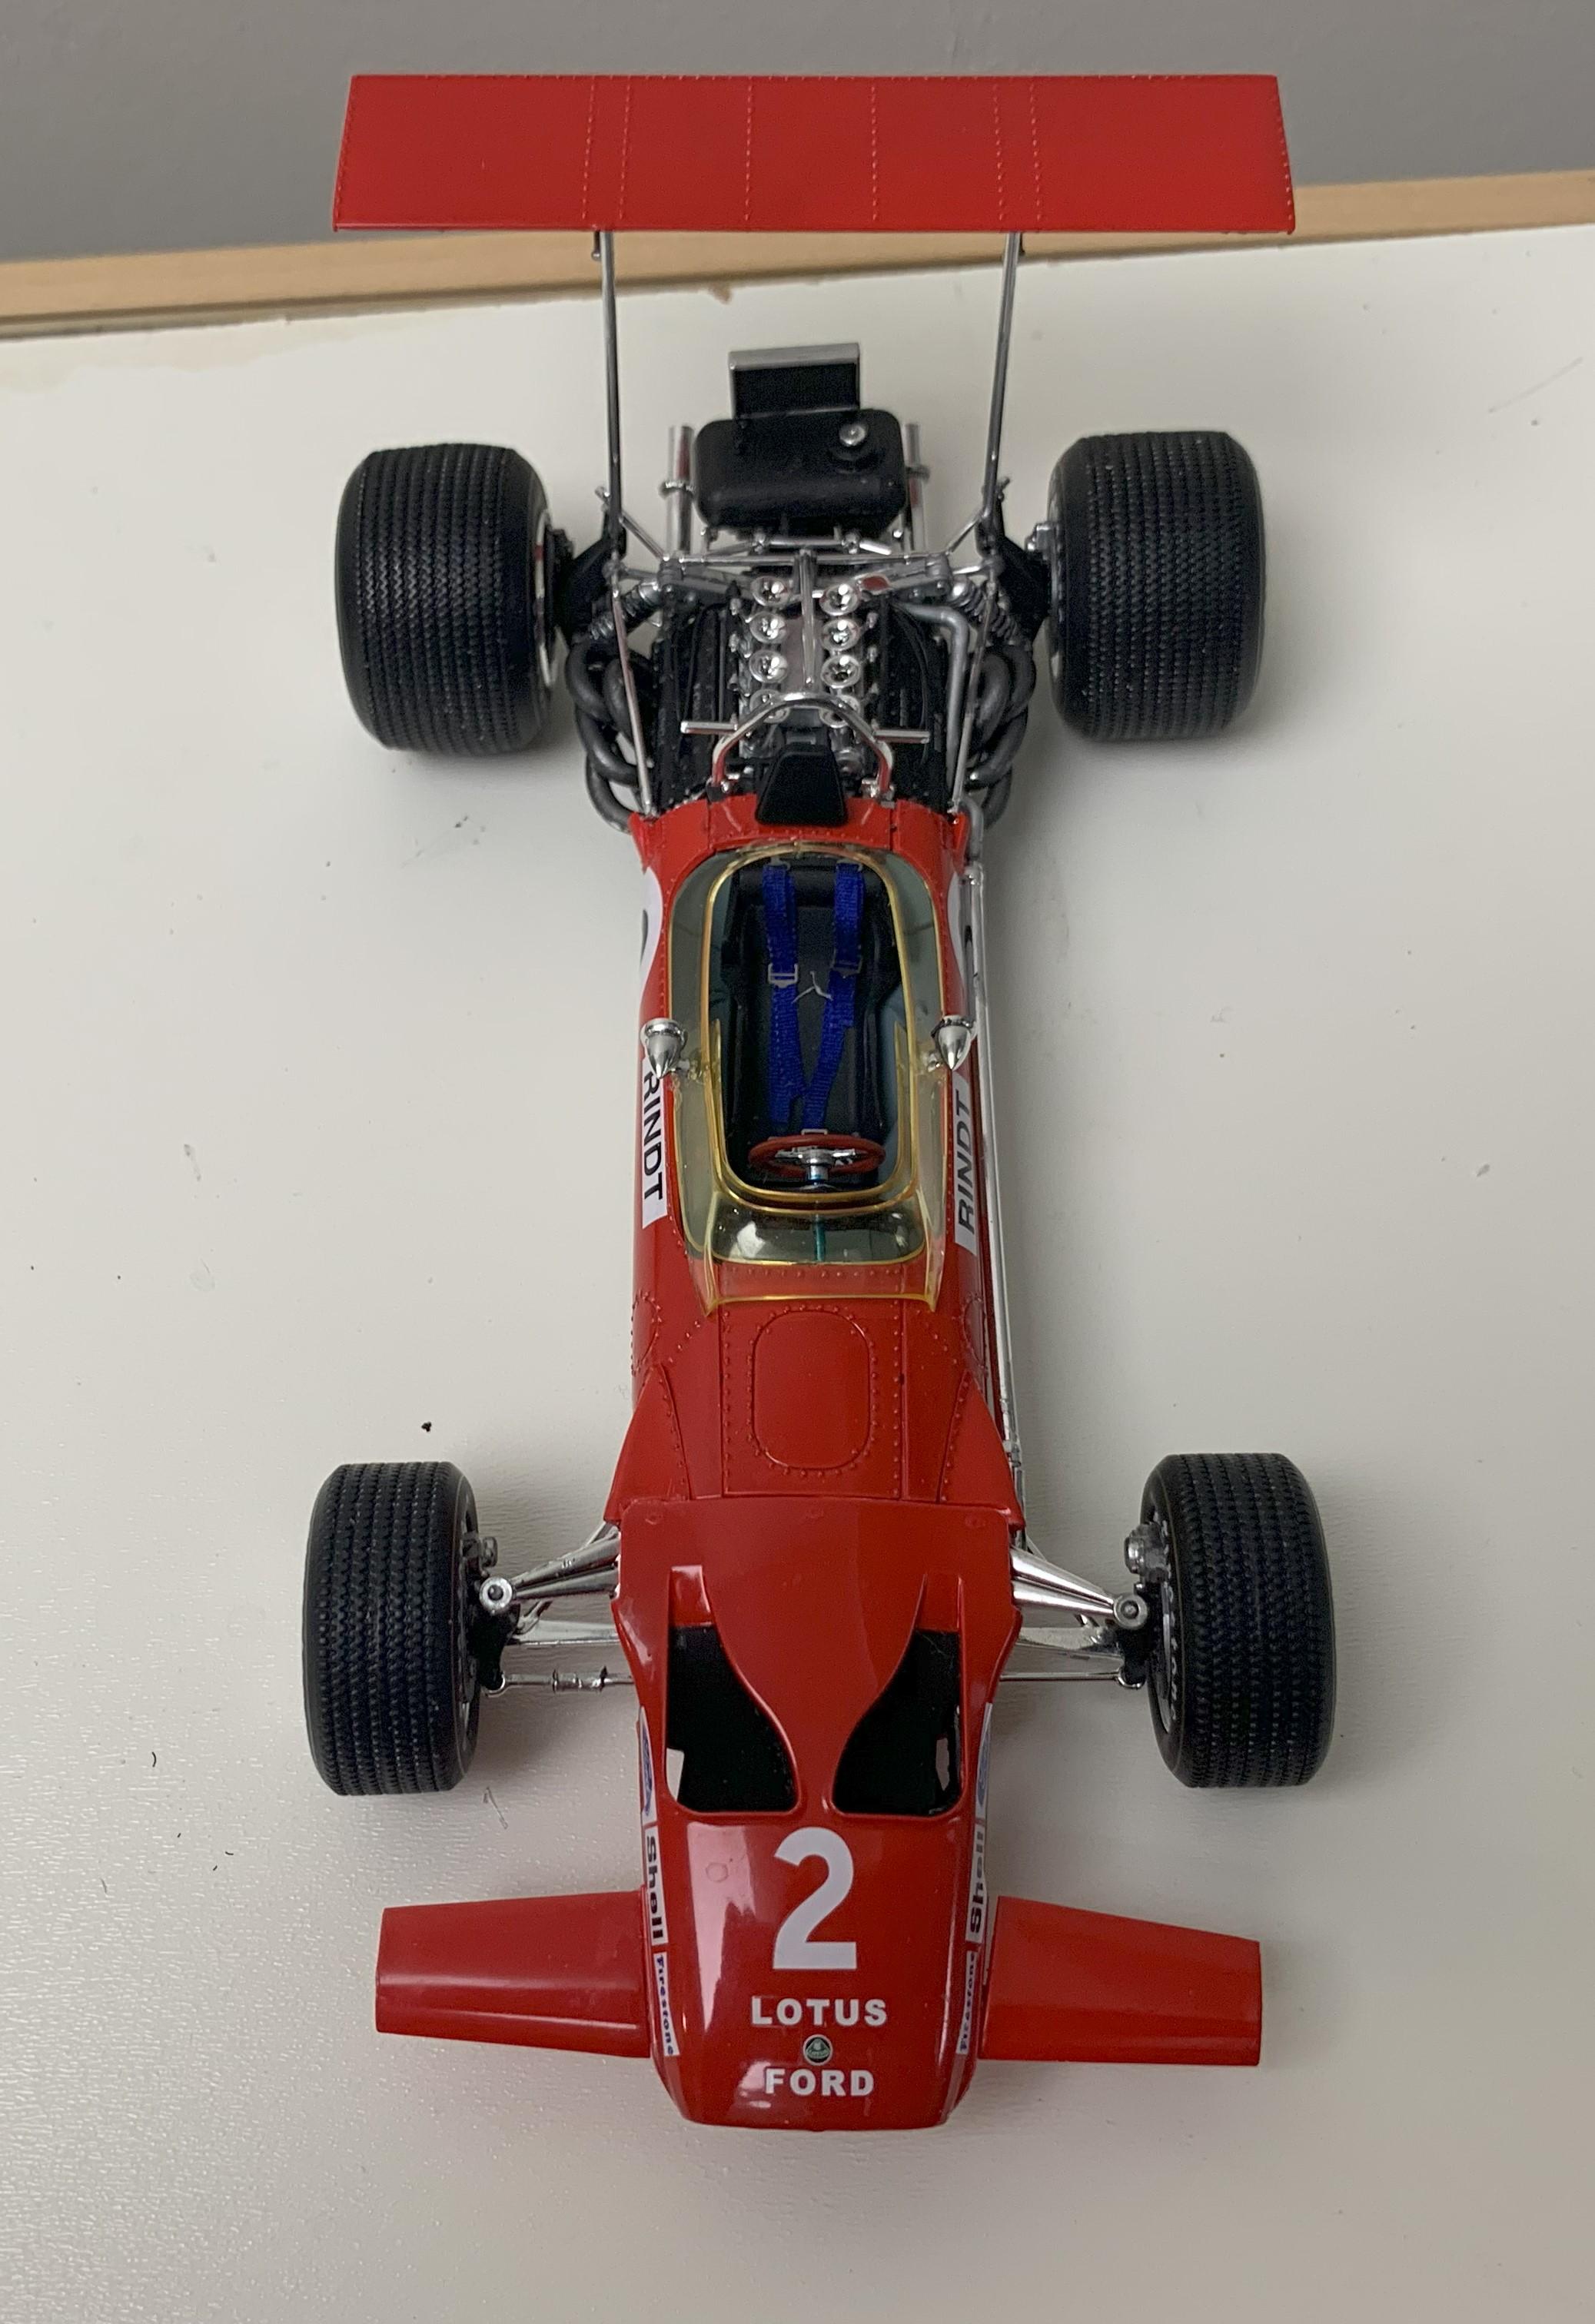
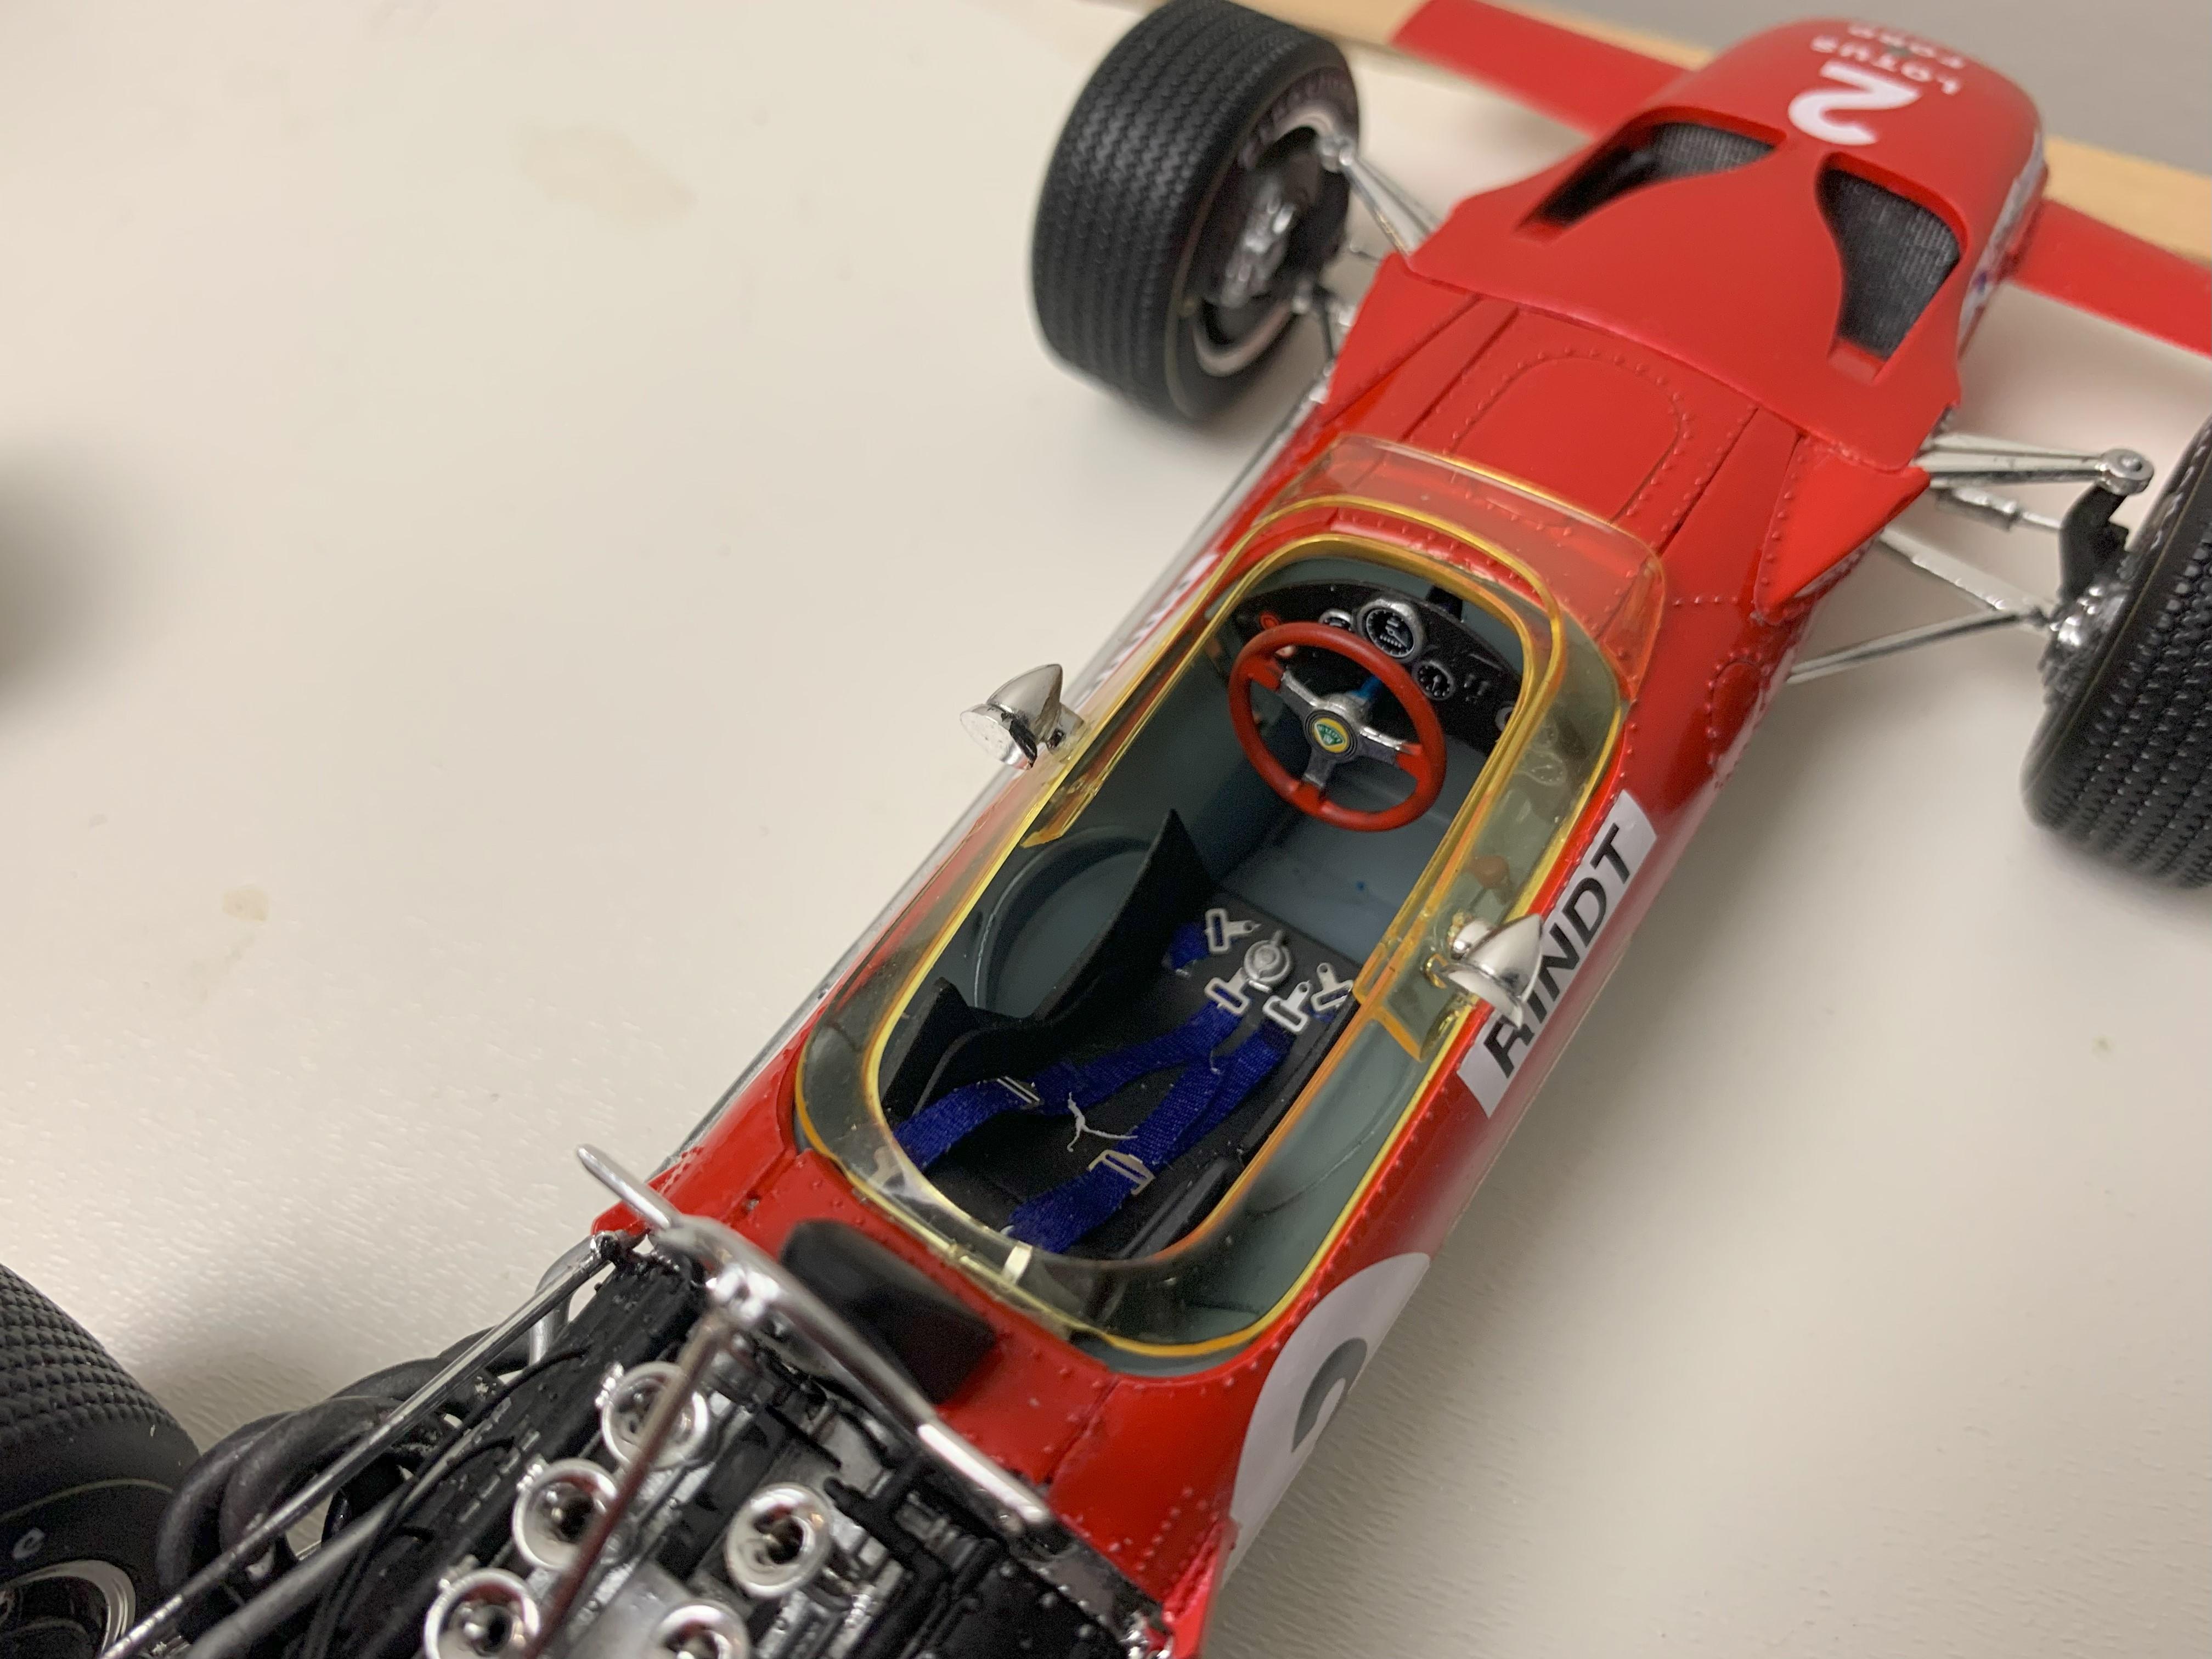
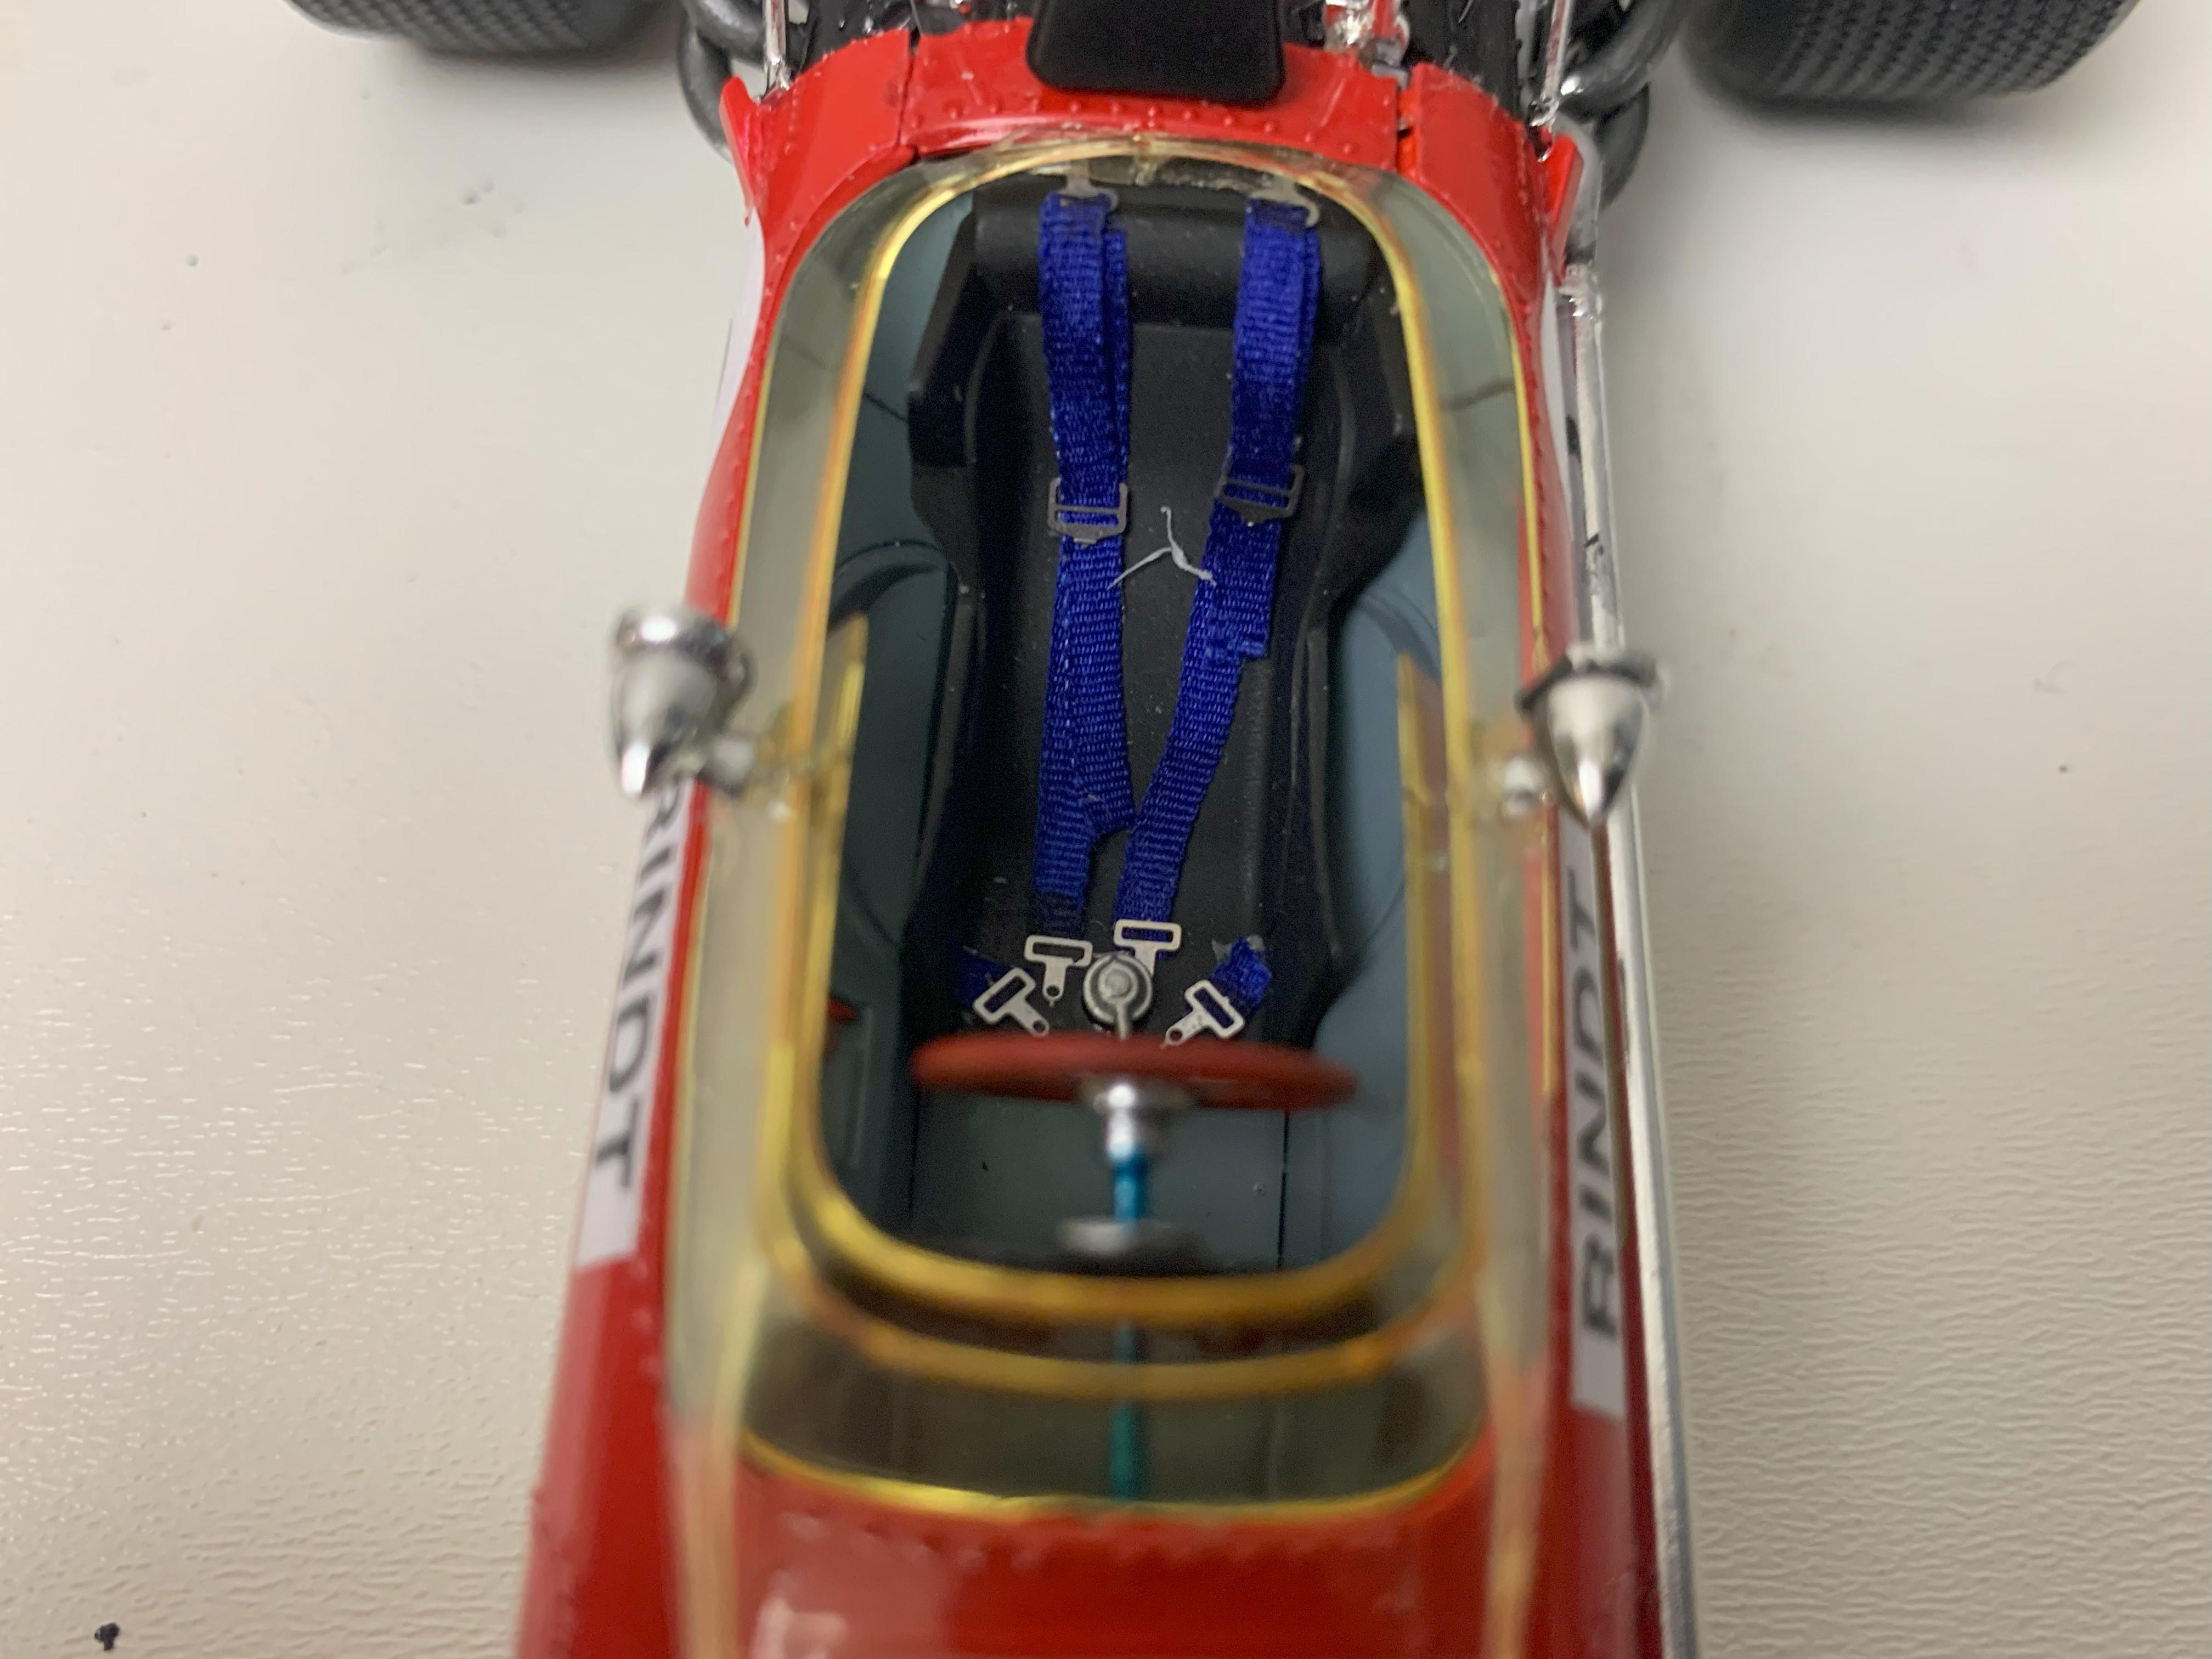
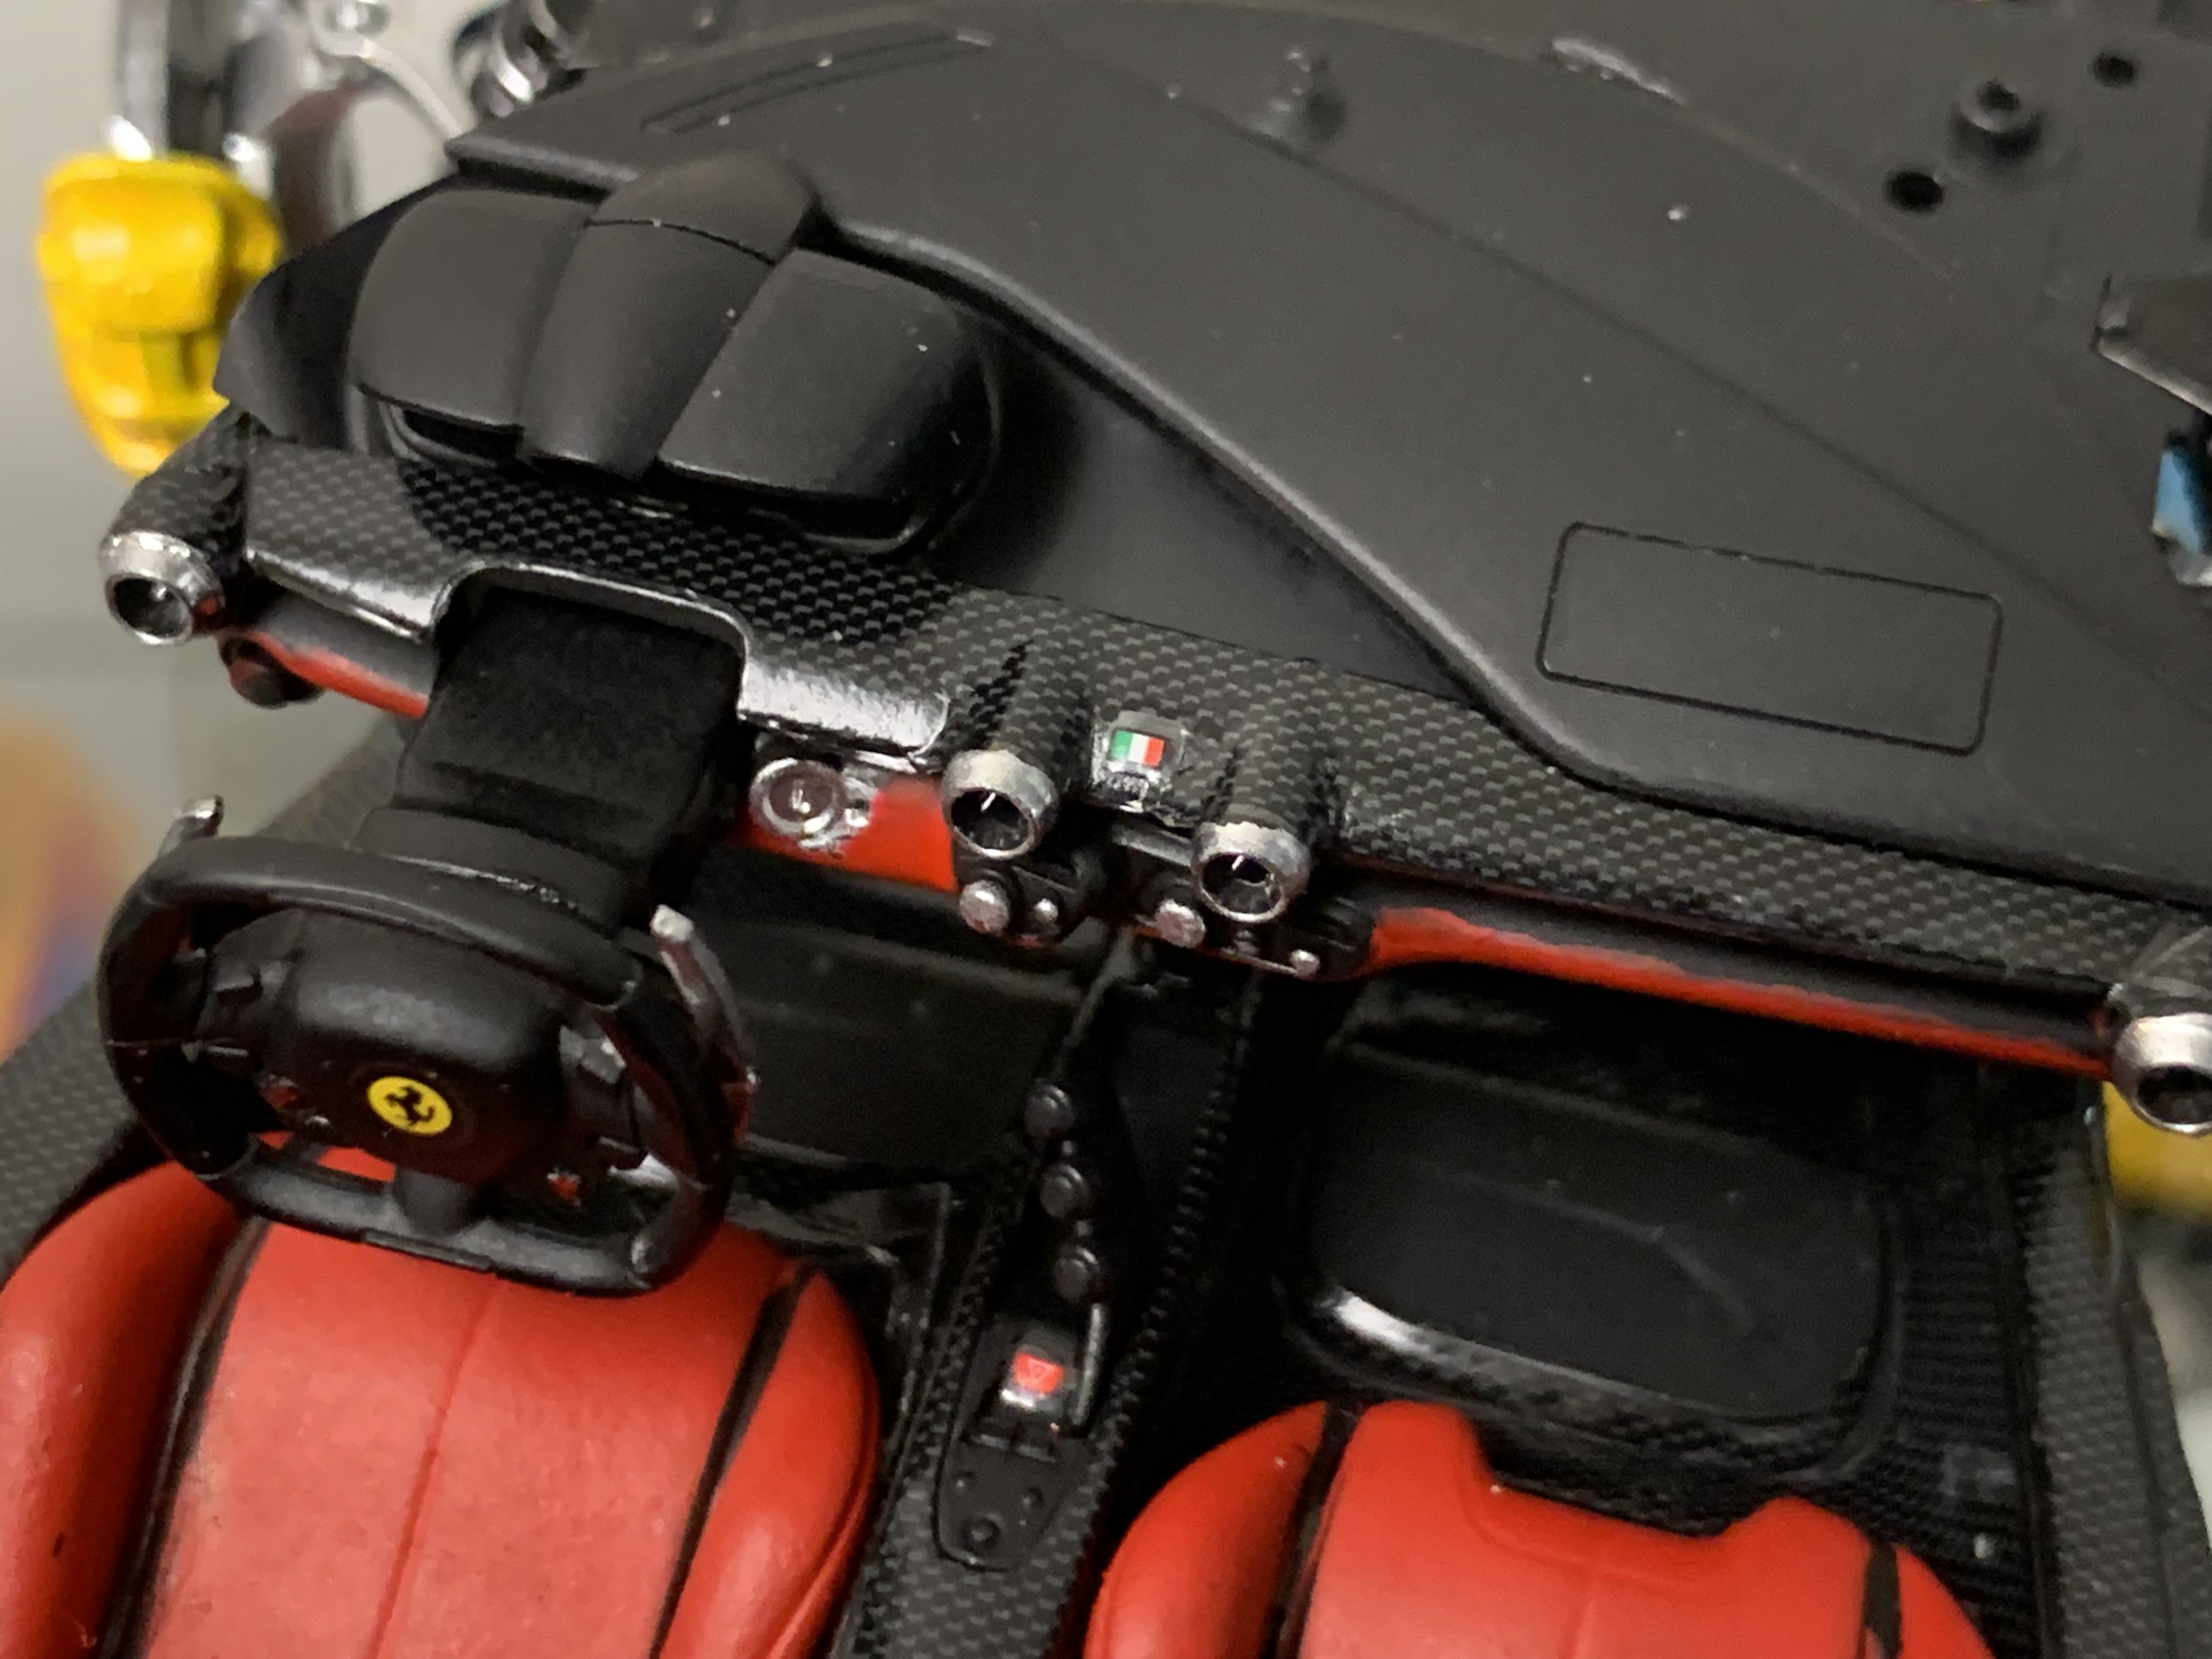
Spent some time building these kits, the Ebbro Brabham Honda F2 BT18, Lotus 49B Ford and Tamiya Honda RA272. Salute to Rich Chernosky who did a similar series and a great set of builds. Some things I learned. It's a shame you can't see all the suspension parts once the car is built because there's a lot of great detail. The Ebbro kits are for me, very, very difficult. I found that dry fitting the pieces first (especially suspension), then applying a small about of glue while they were in place worked best. I put the tires on to the brake drums first, then glued that unit to the rest of the suspension. That way I didn't destroy the work I already put together by trying to press the tires into brakes. I ran out of patience with the gold decals on the Lotus - I should have painted that detail. So you are looking at a version that never existed. I'm going to build this car again sometime and do that. Always something to learn.

- 13 replies
-
- 12
-

-
Hi Stephen. It's actually a decal from Mike's Decals https://www.mikesdecals.com/sta-power-bobby-isaac-torino-powerslide-048-p-113.html
-
Two Lotus 49's, 67 Clark, 69 Hill
dougwintz replied to Rich Chernosky's topic in Other Racing: Road Racing, Salt Flat Racers
Really great work Rich. I searched on this topic because I'm building the same Ebbro kit, the Gold Leaf version with the high wing. I have encountered a lot of fitment problems and working through them. Front suspension, engine mount, etc. Looking forward to getting this one out of my system. -
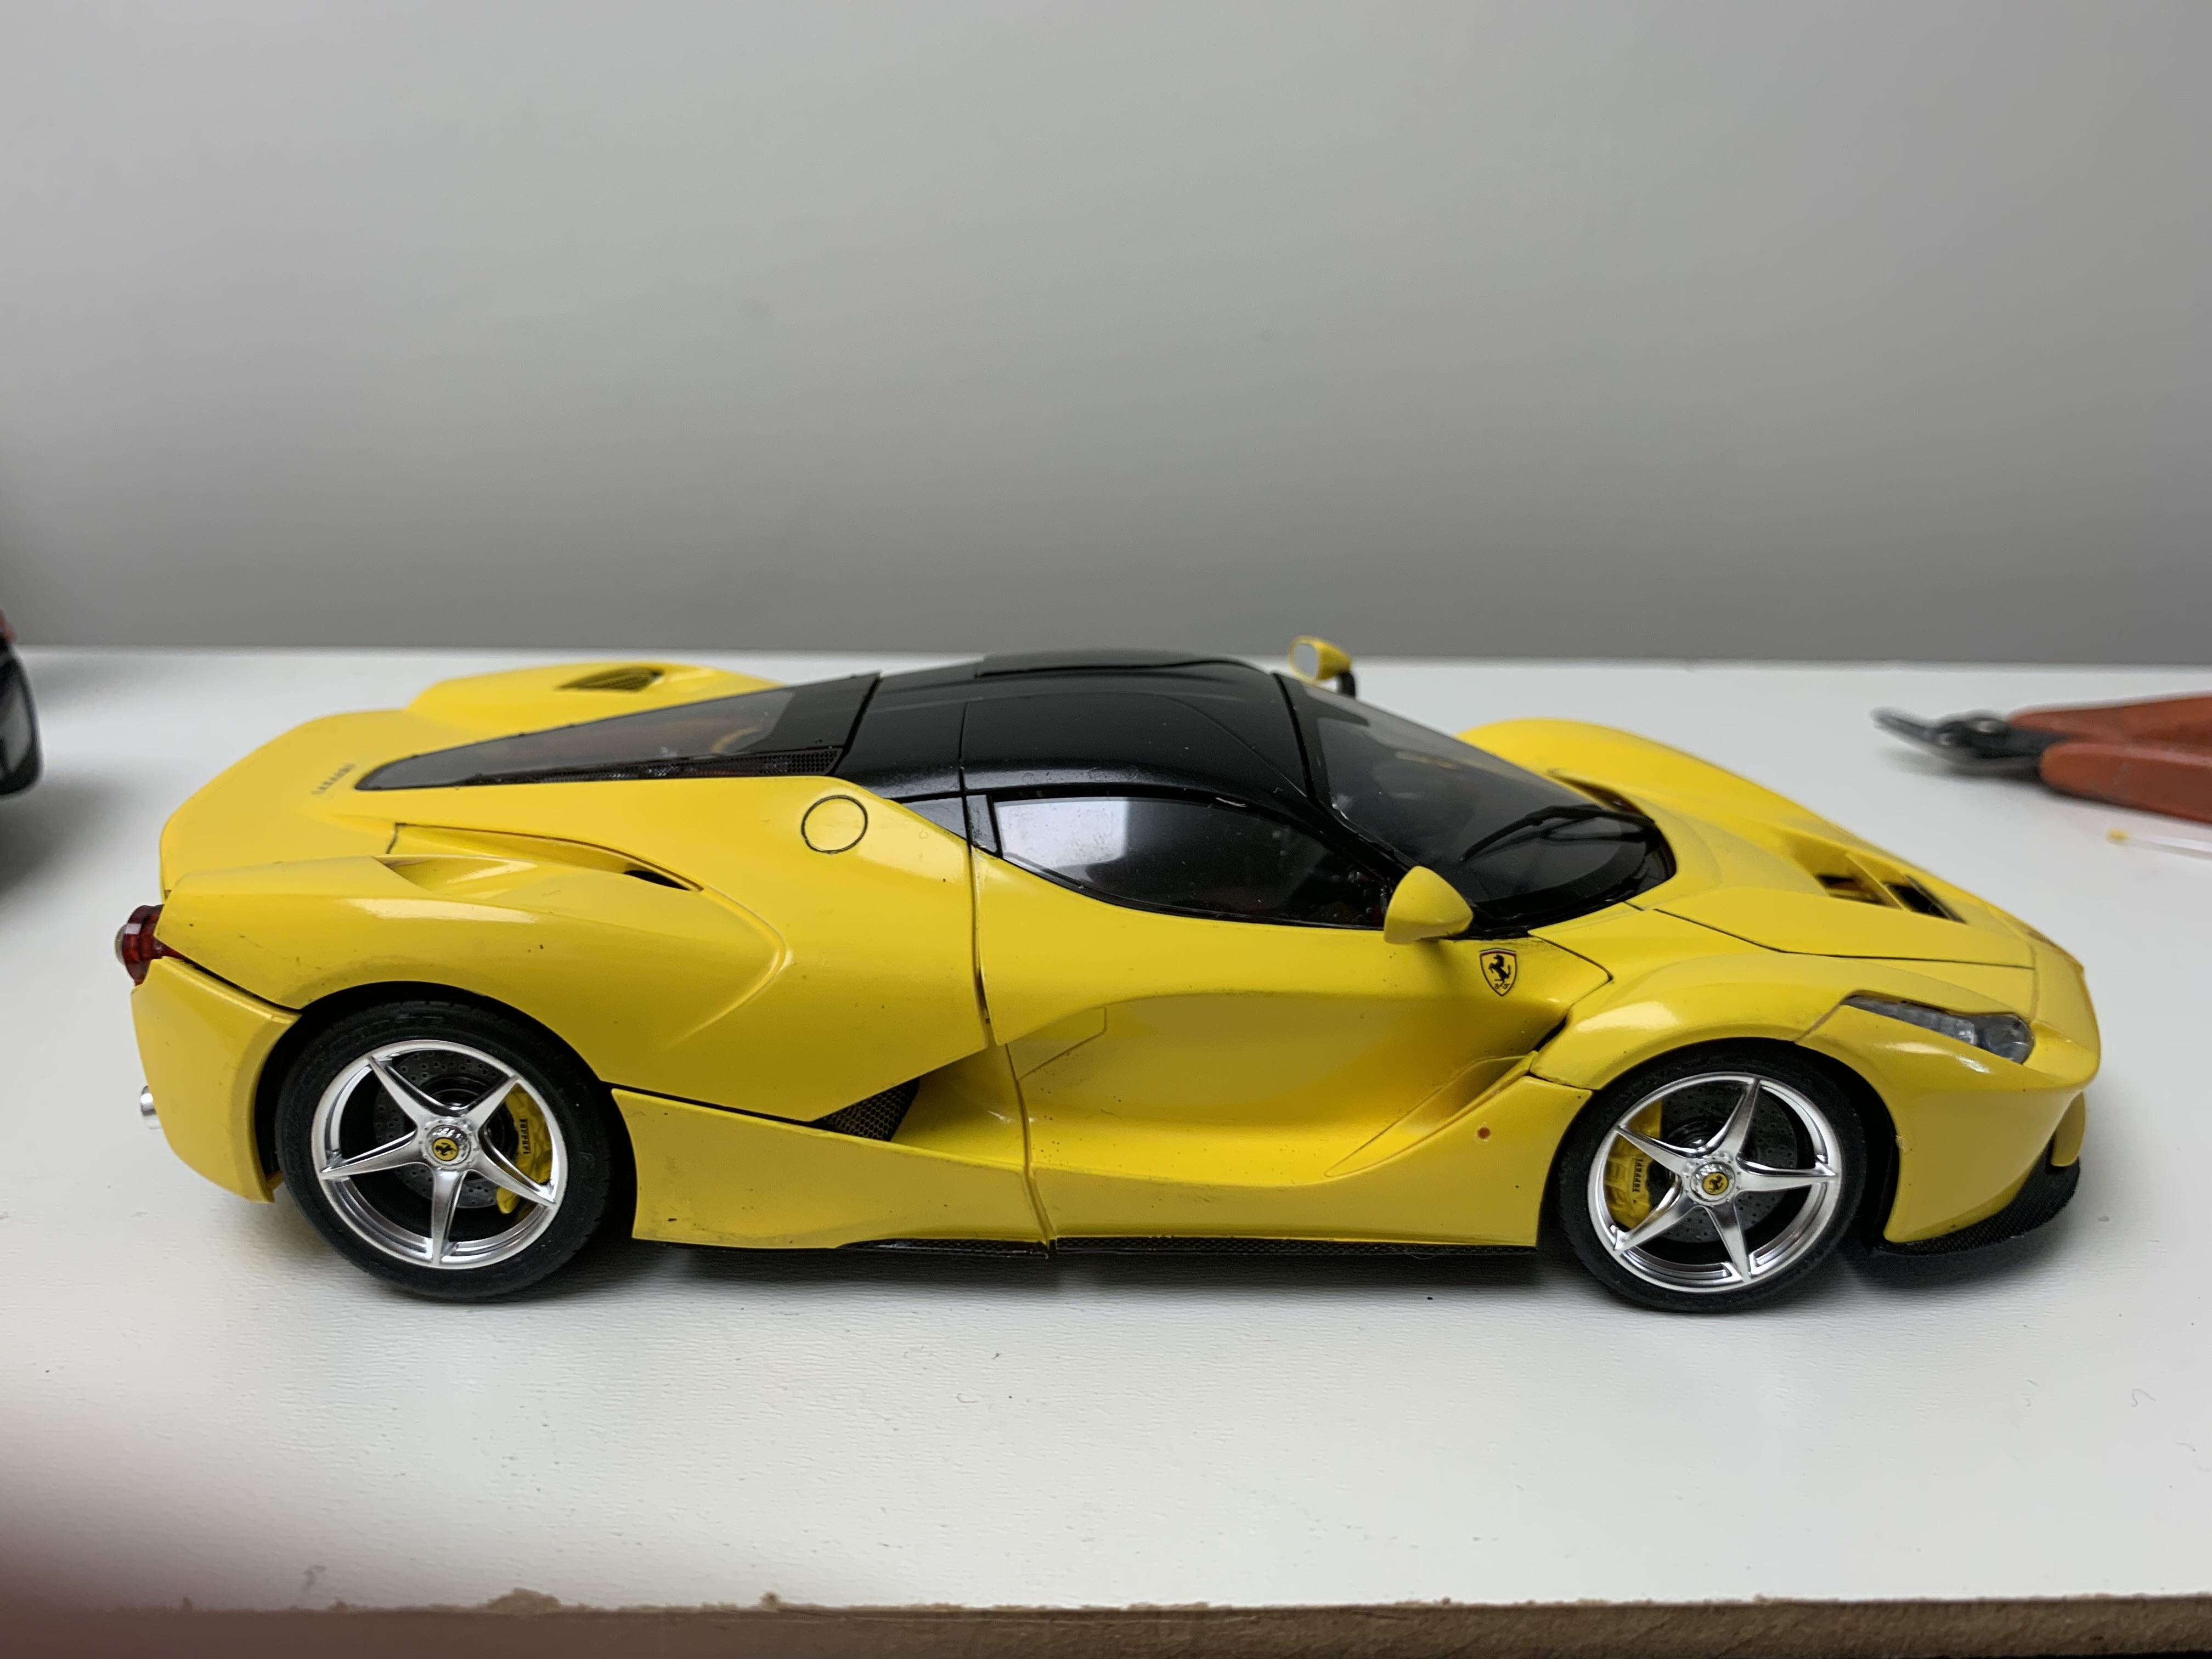
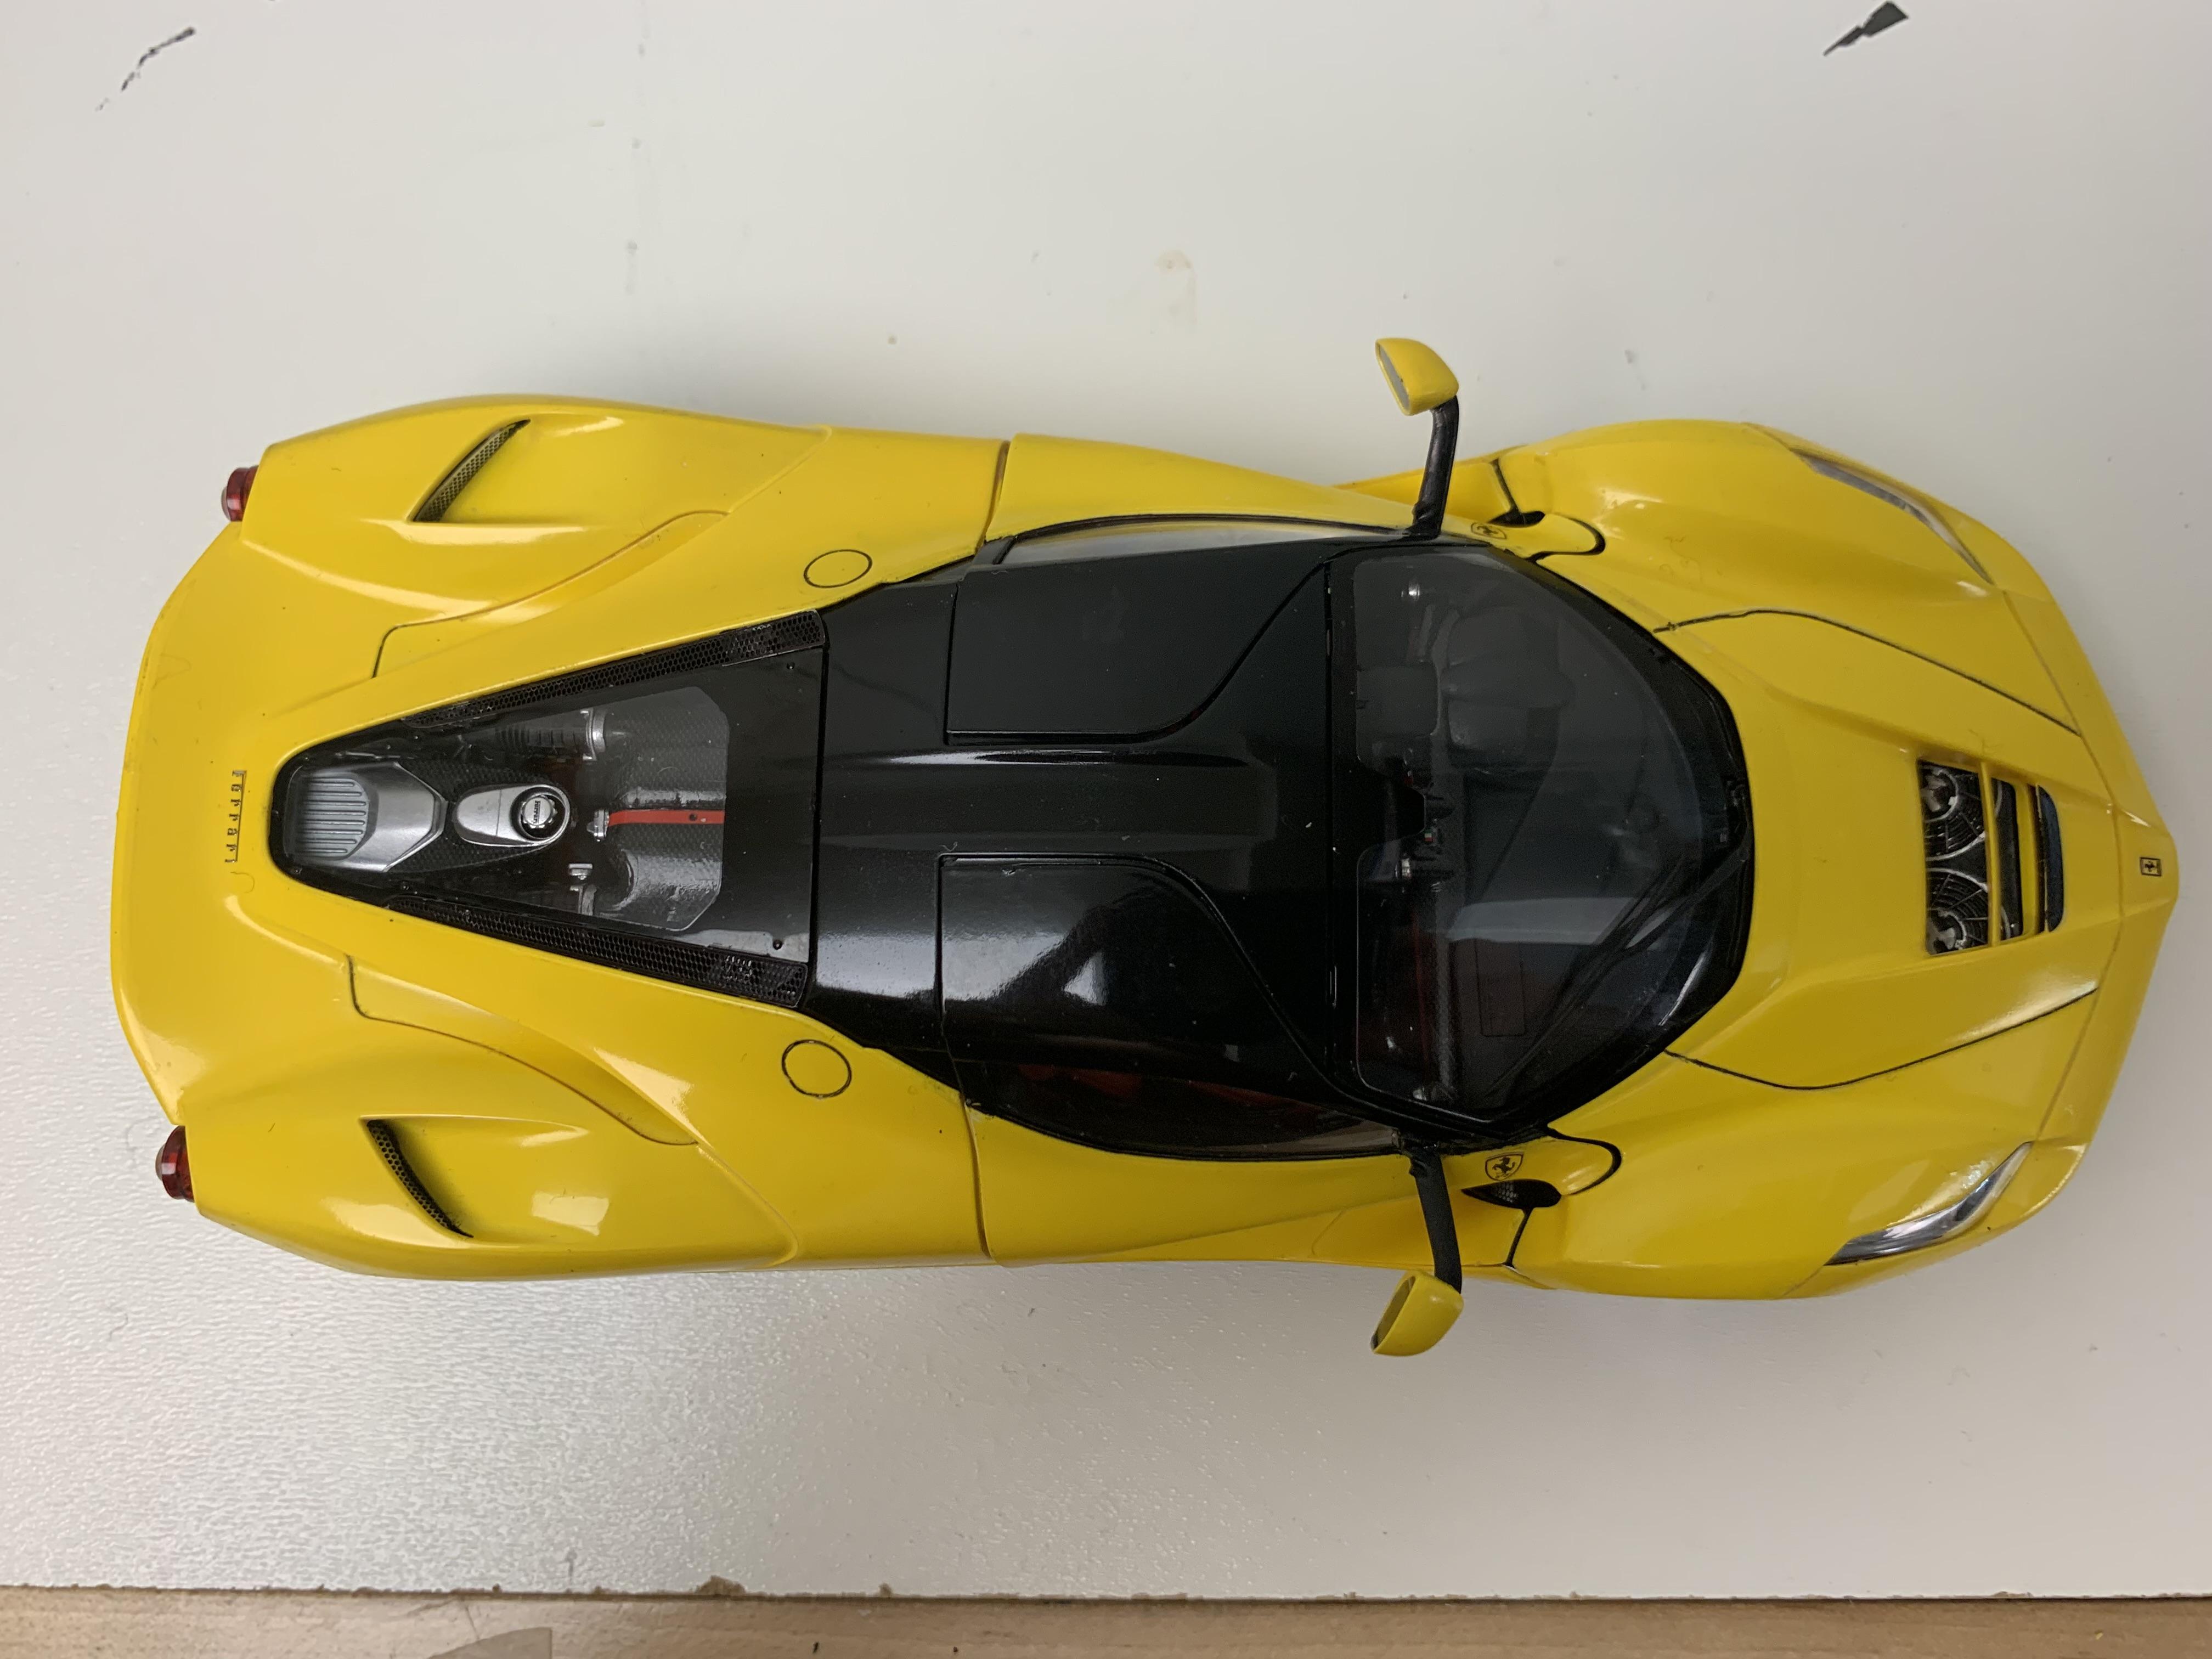
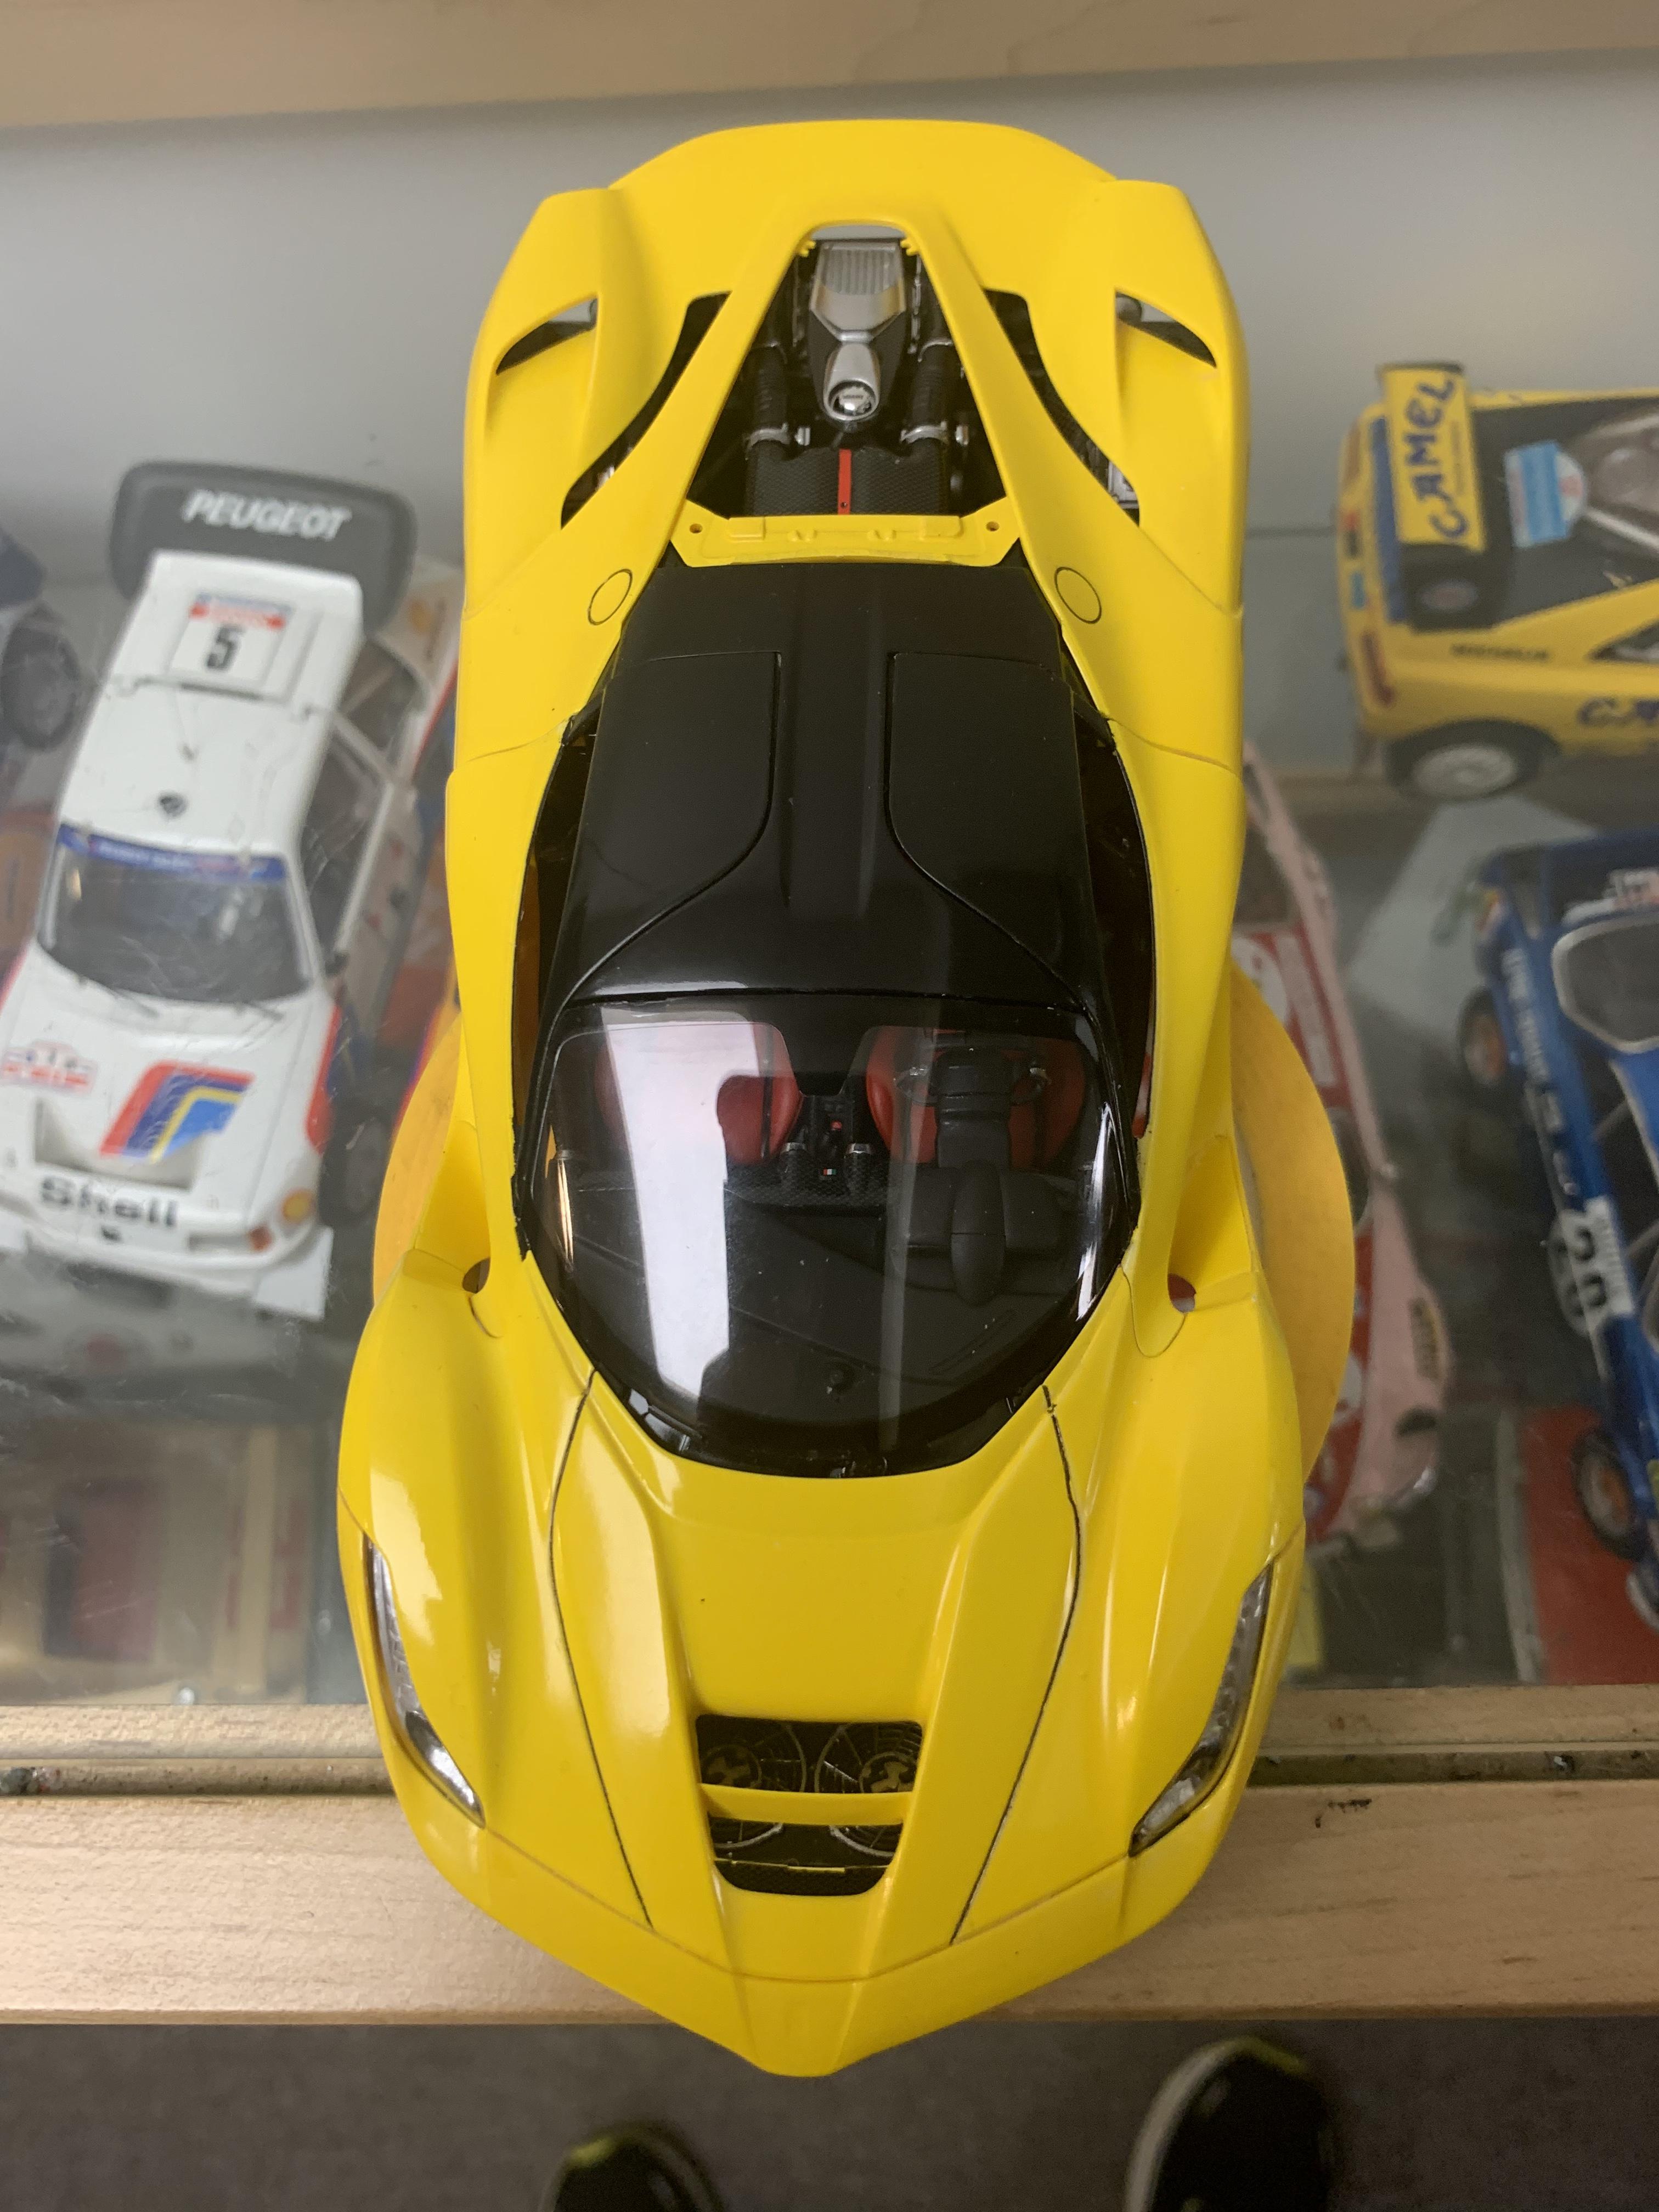
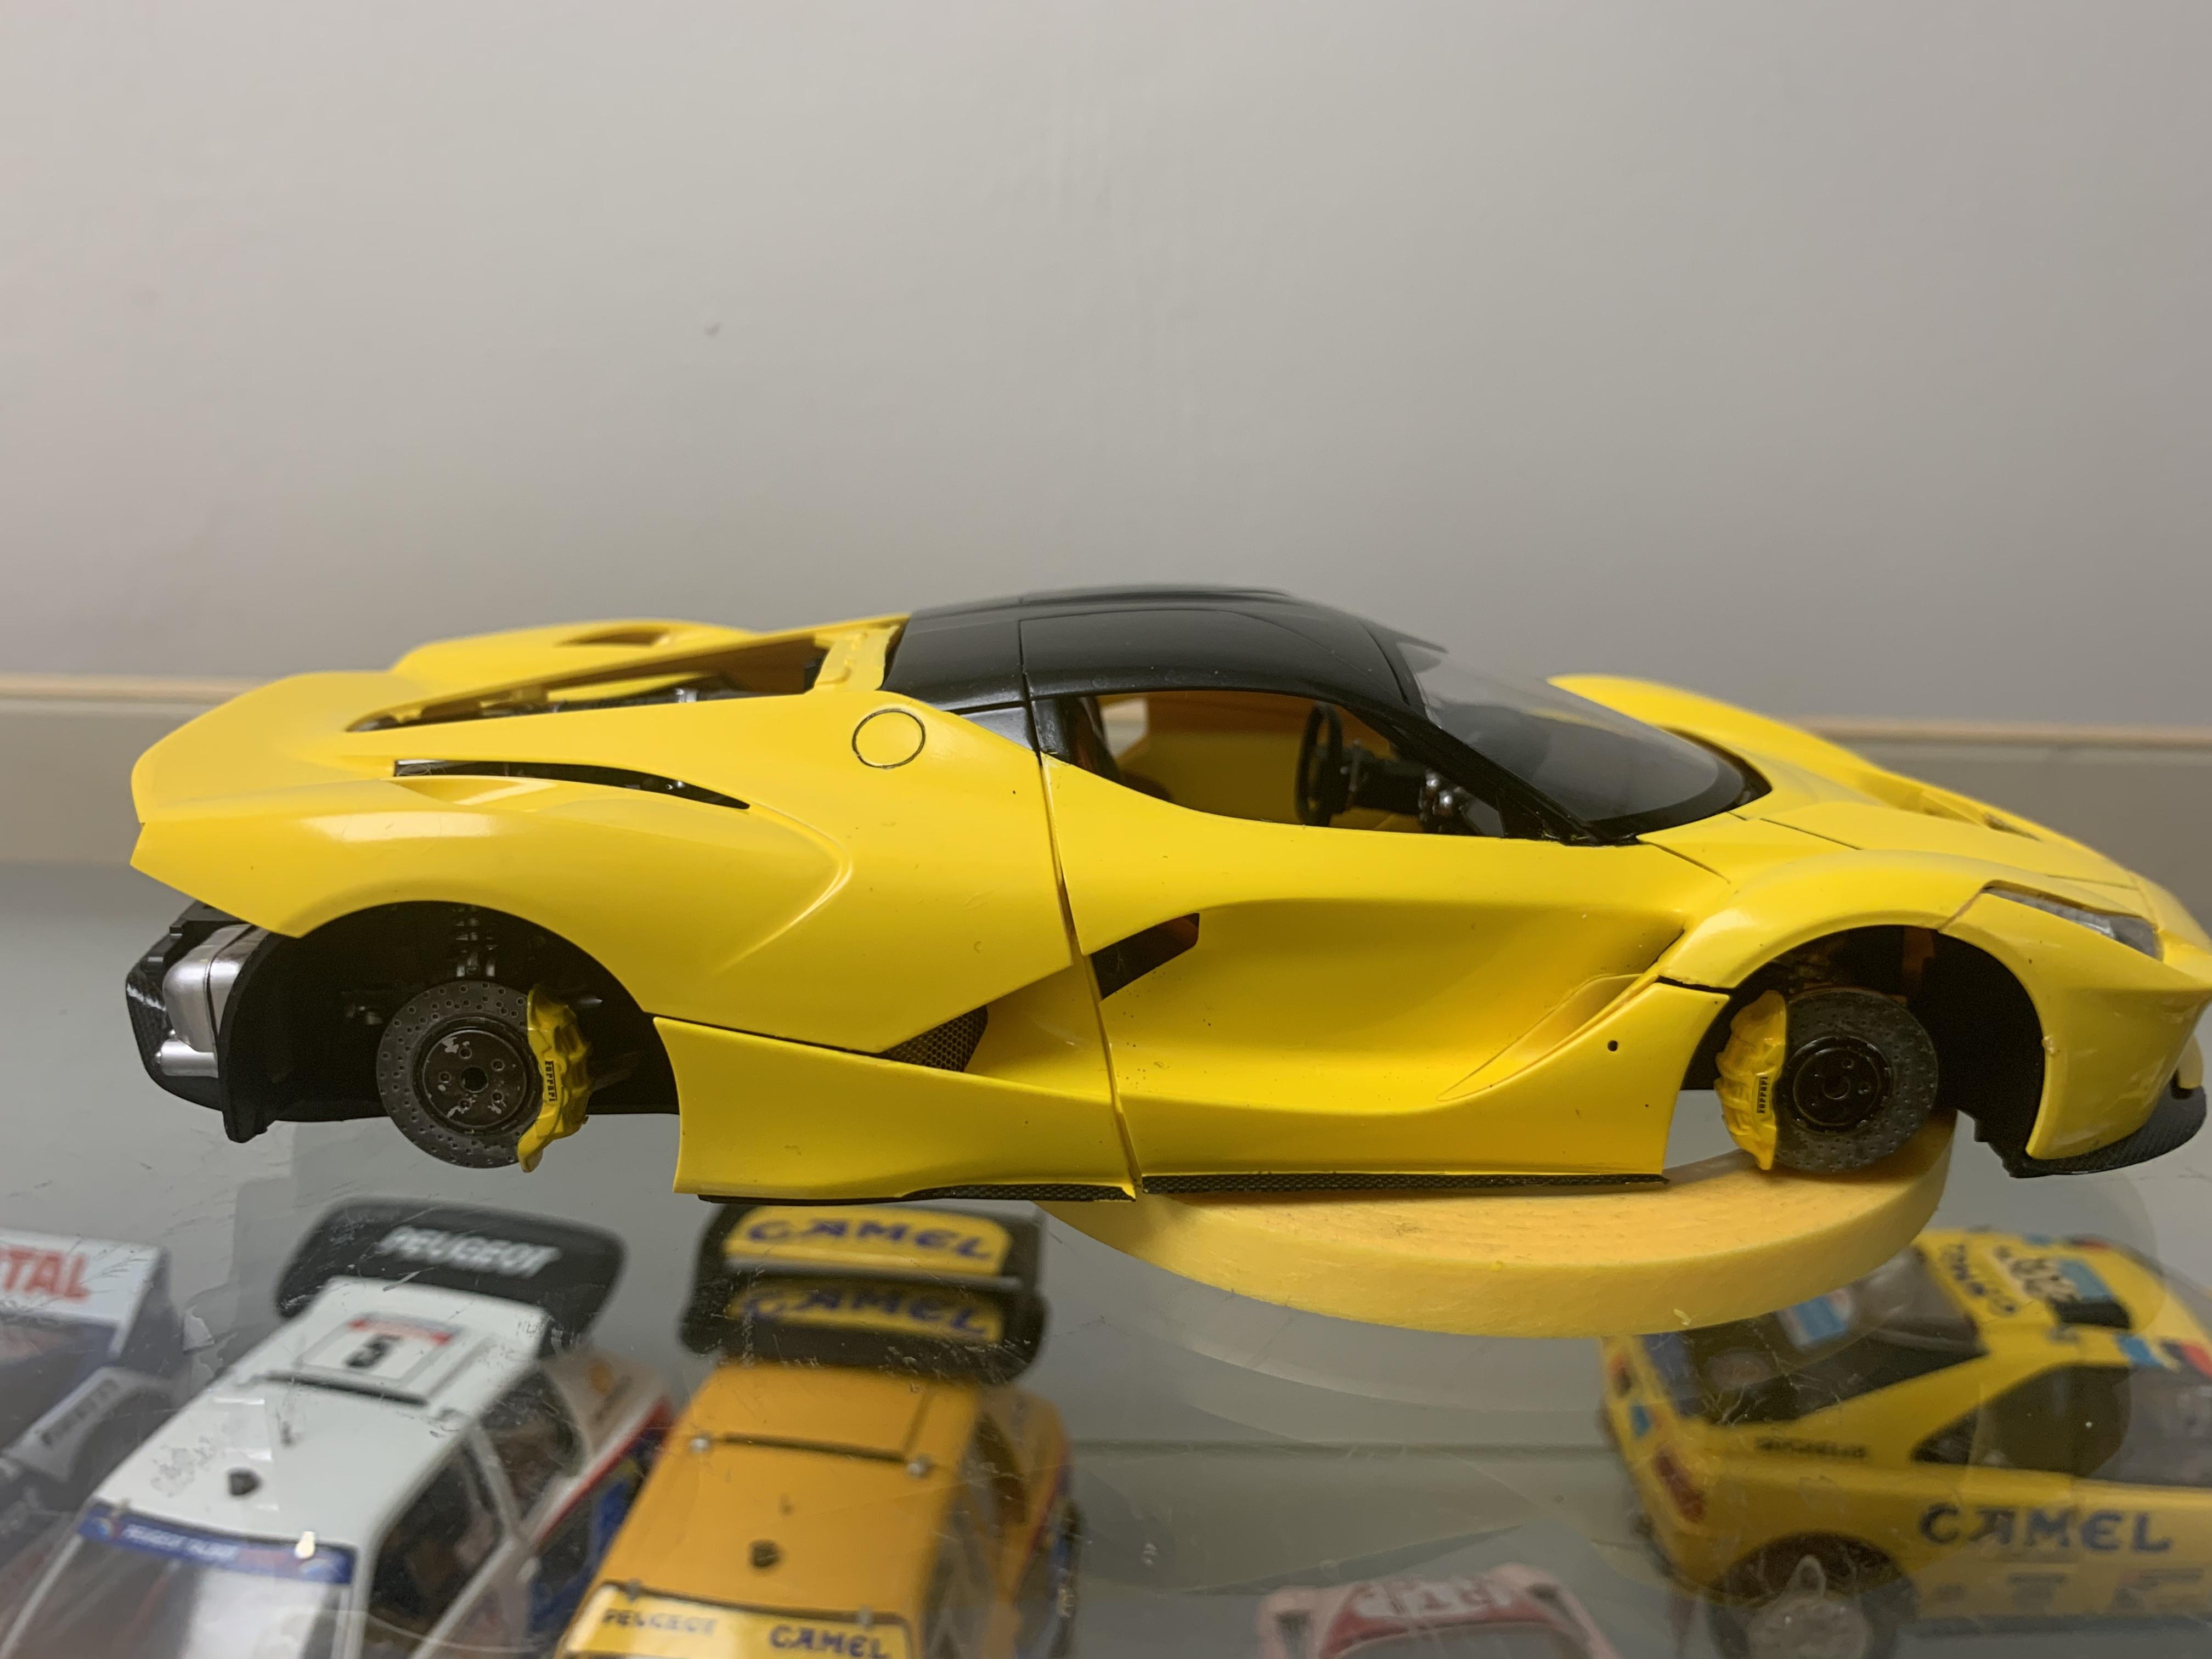
Thanks for all your comments. I'm done. As usual, some lessons learned, but overall rewarding.
-
....and once again, the photos show I need to do some clean up on the paint!
-
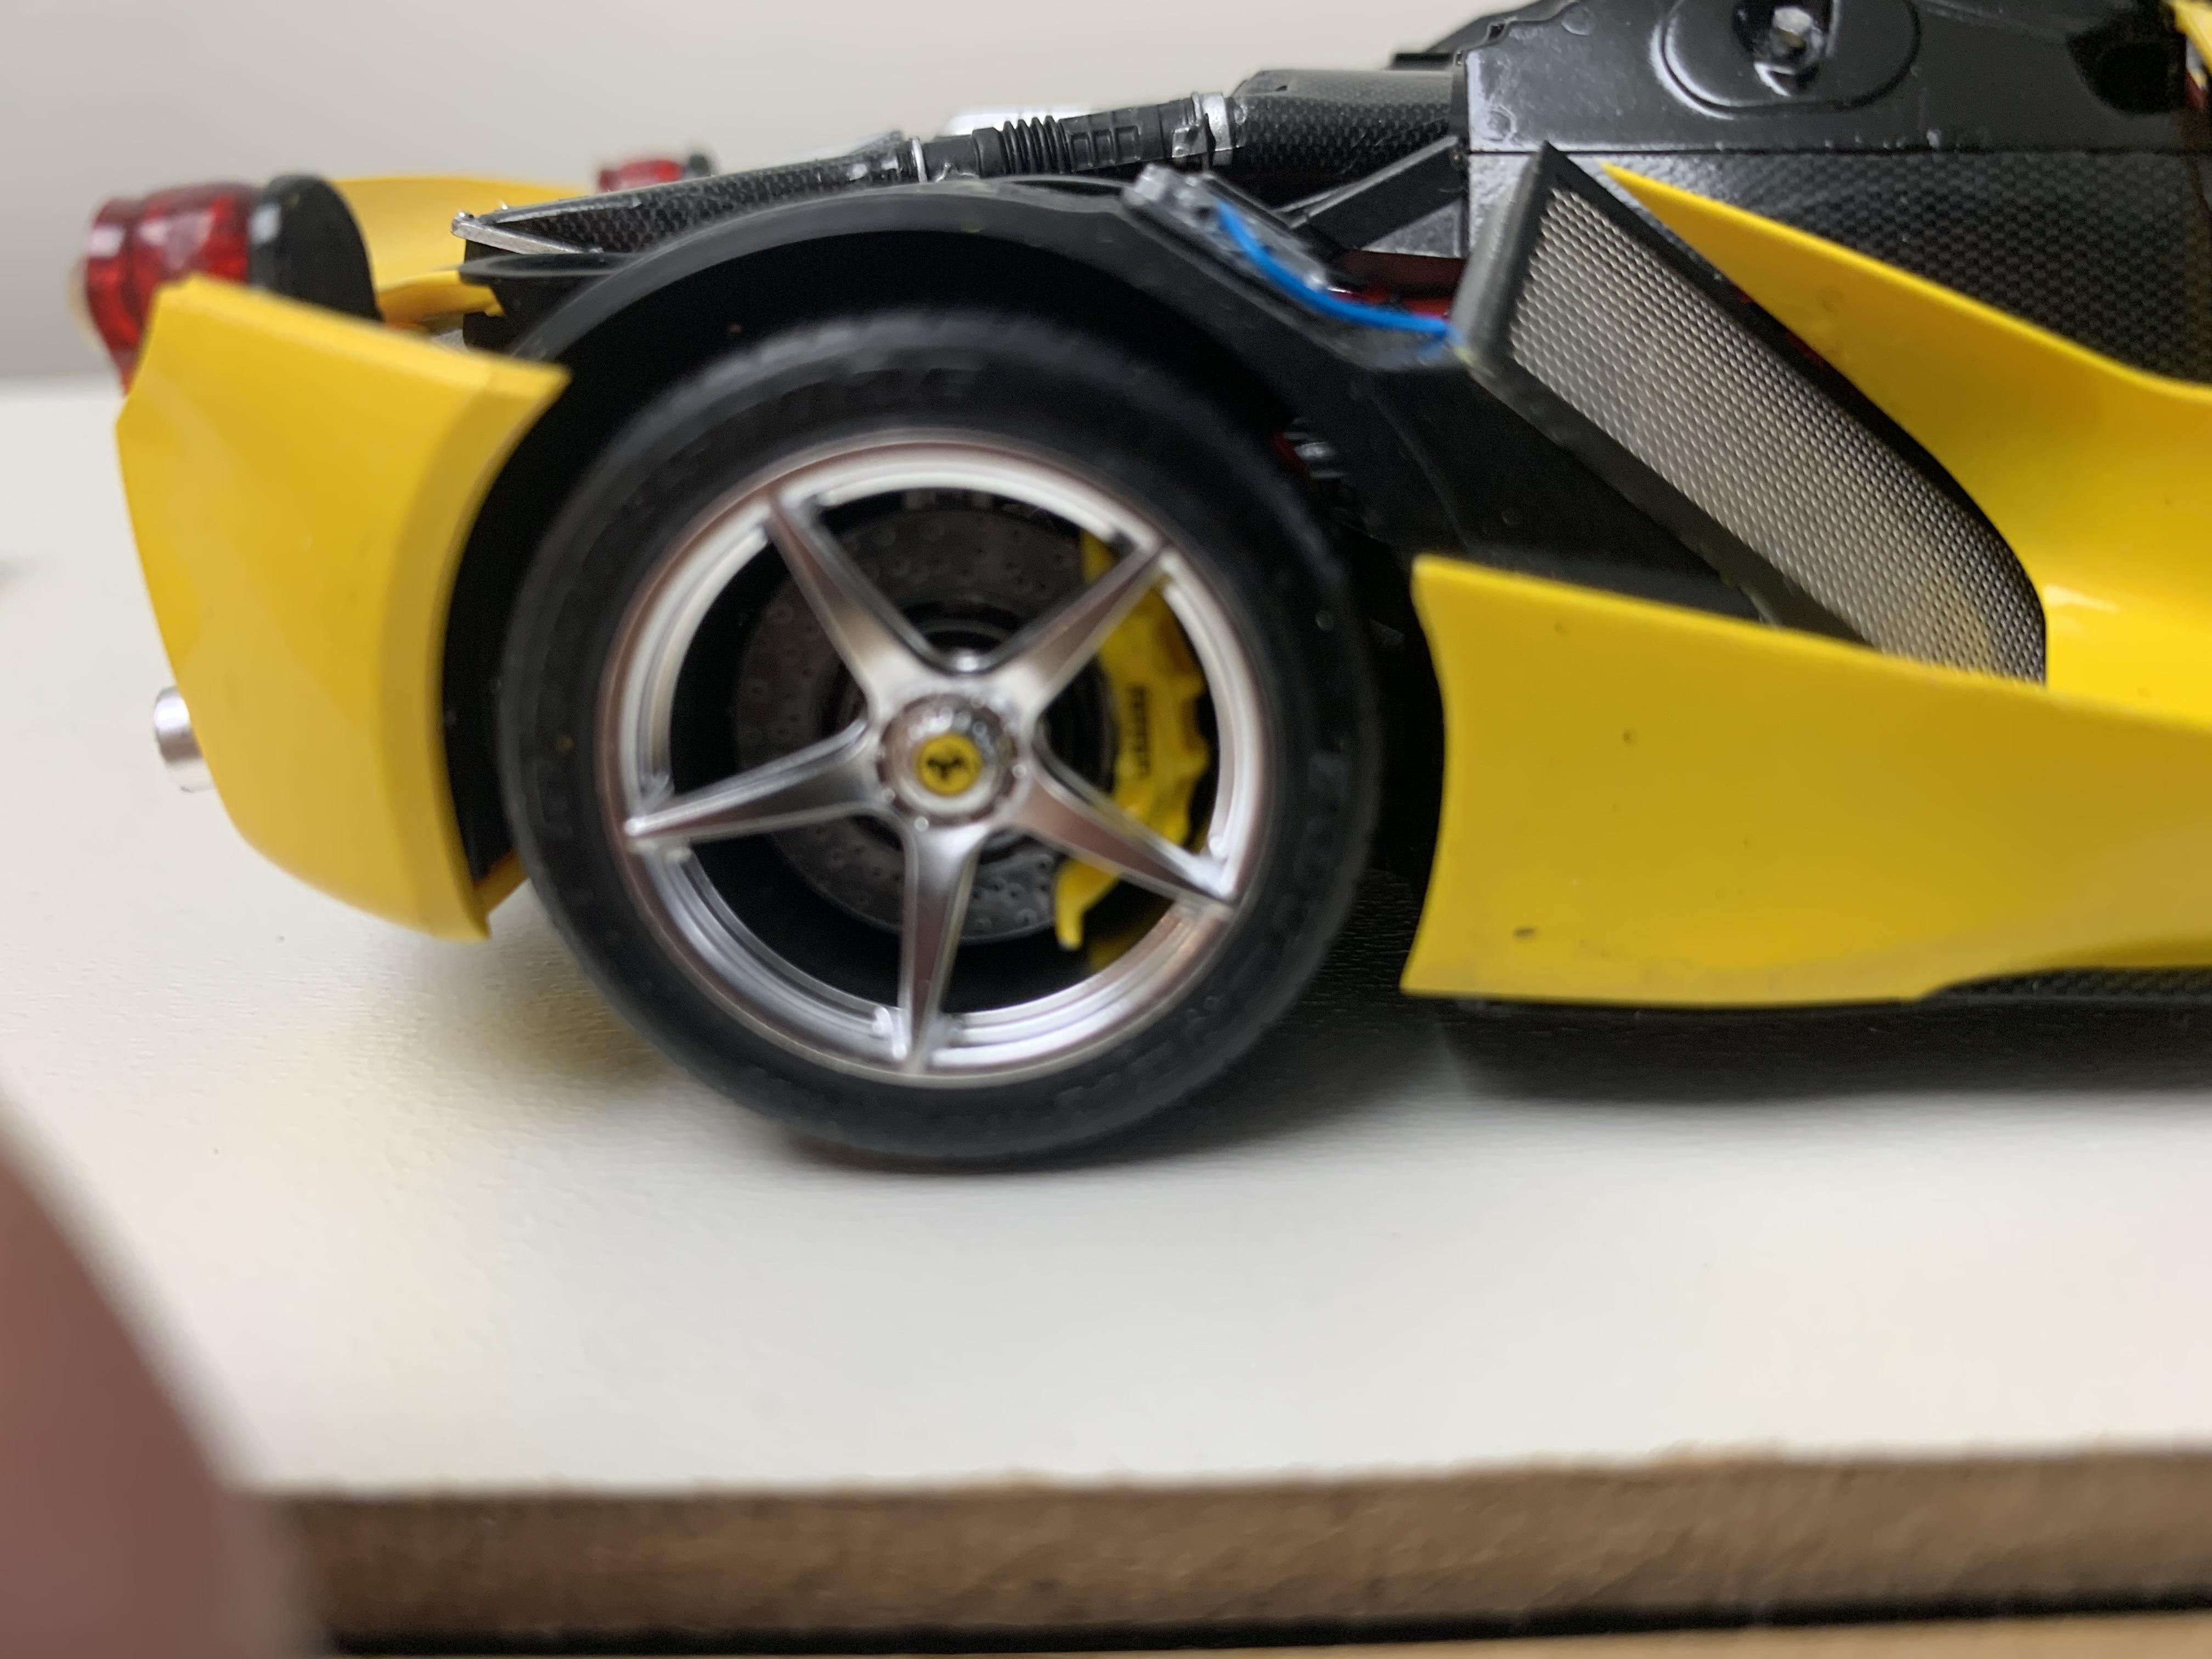
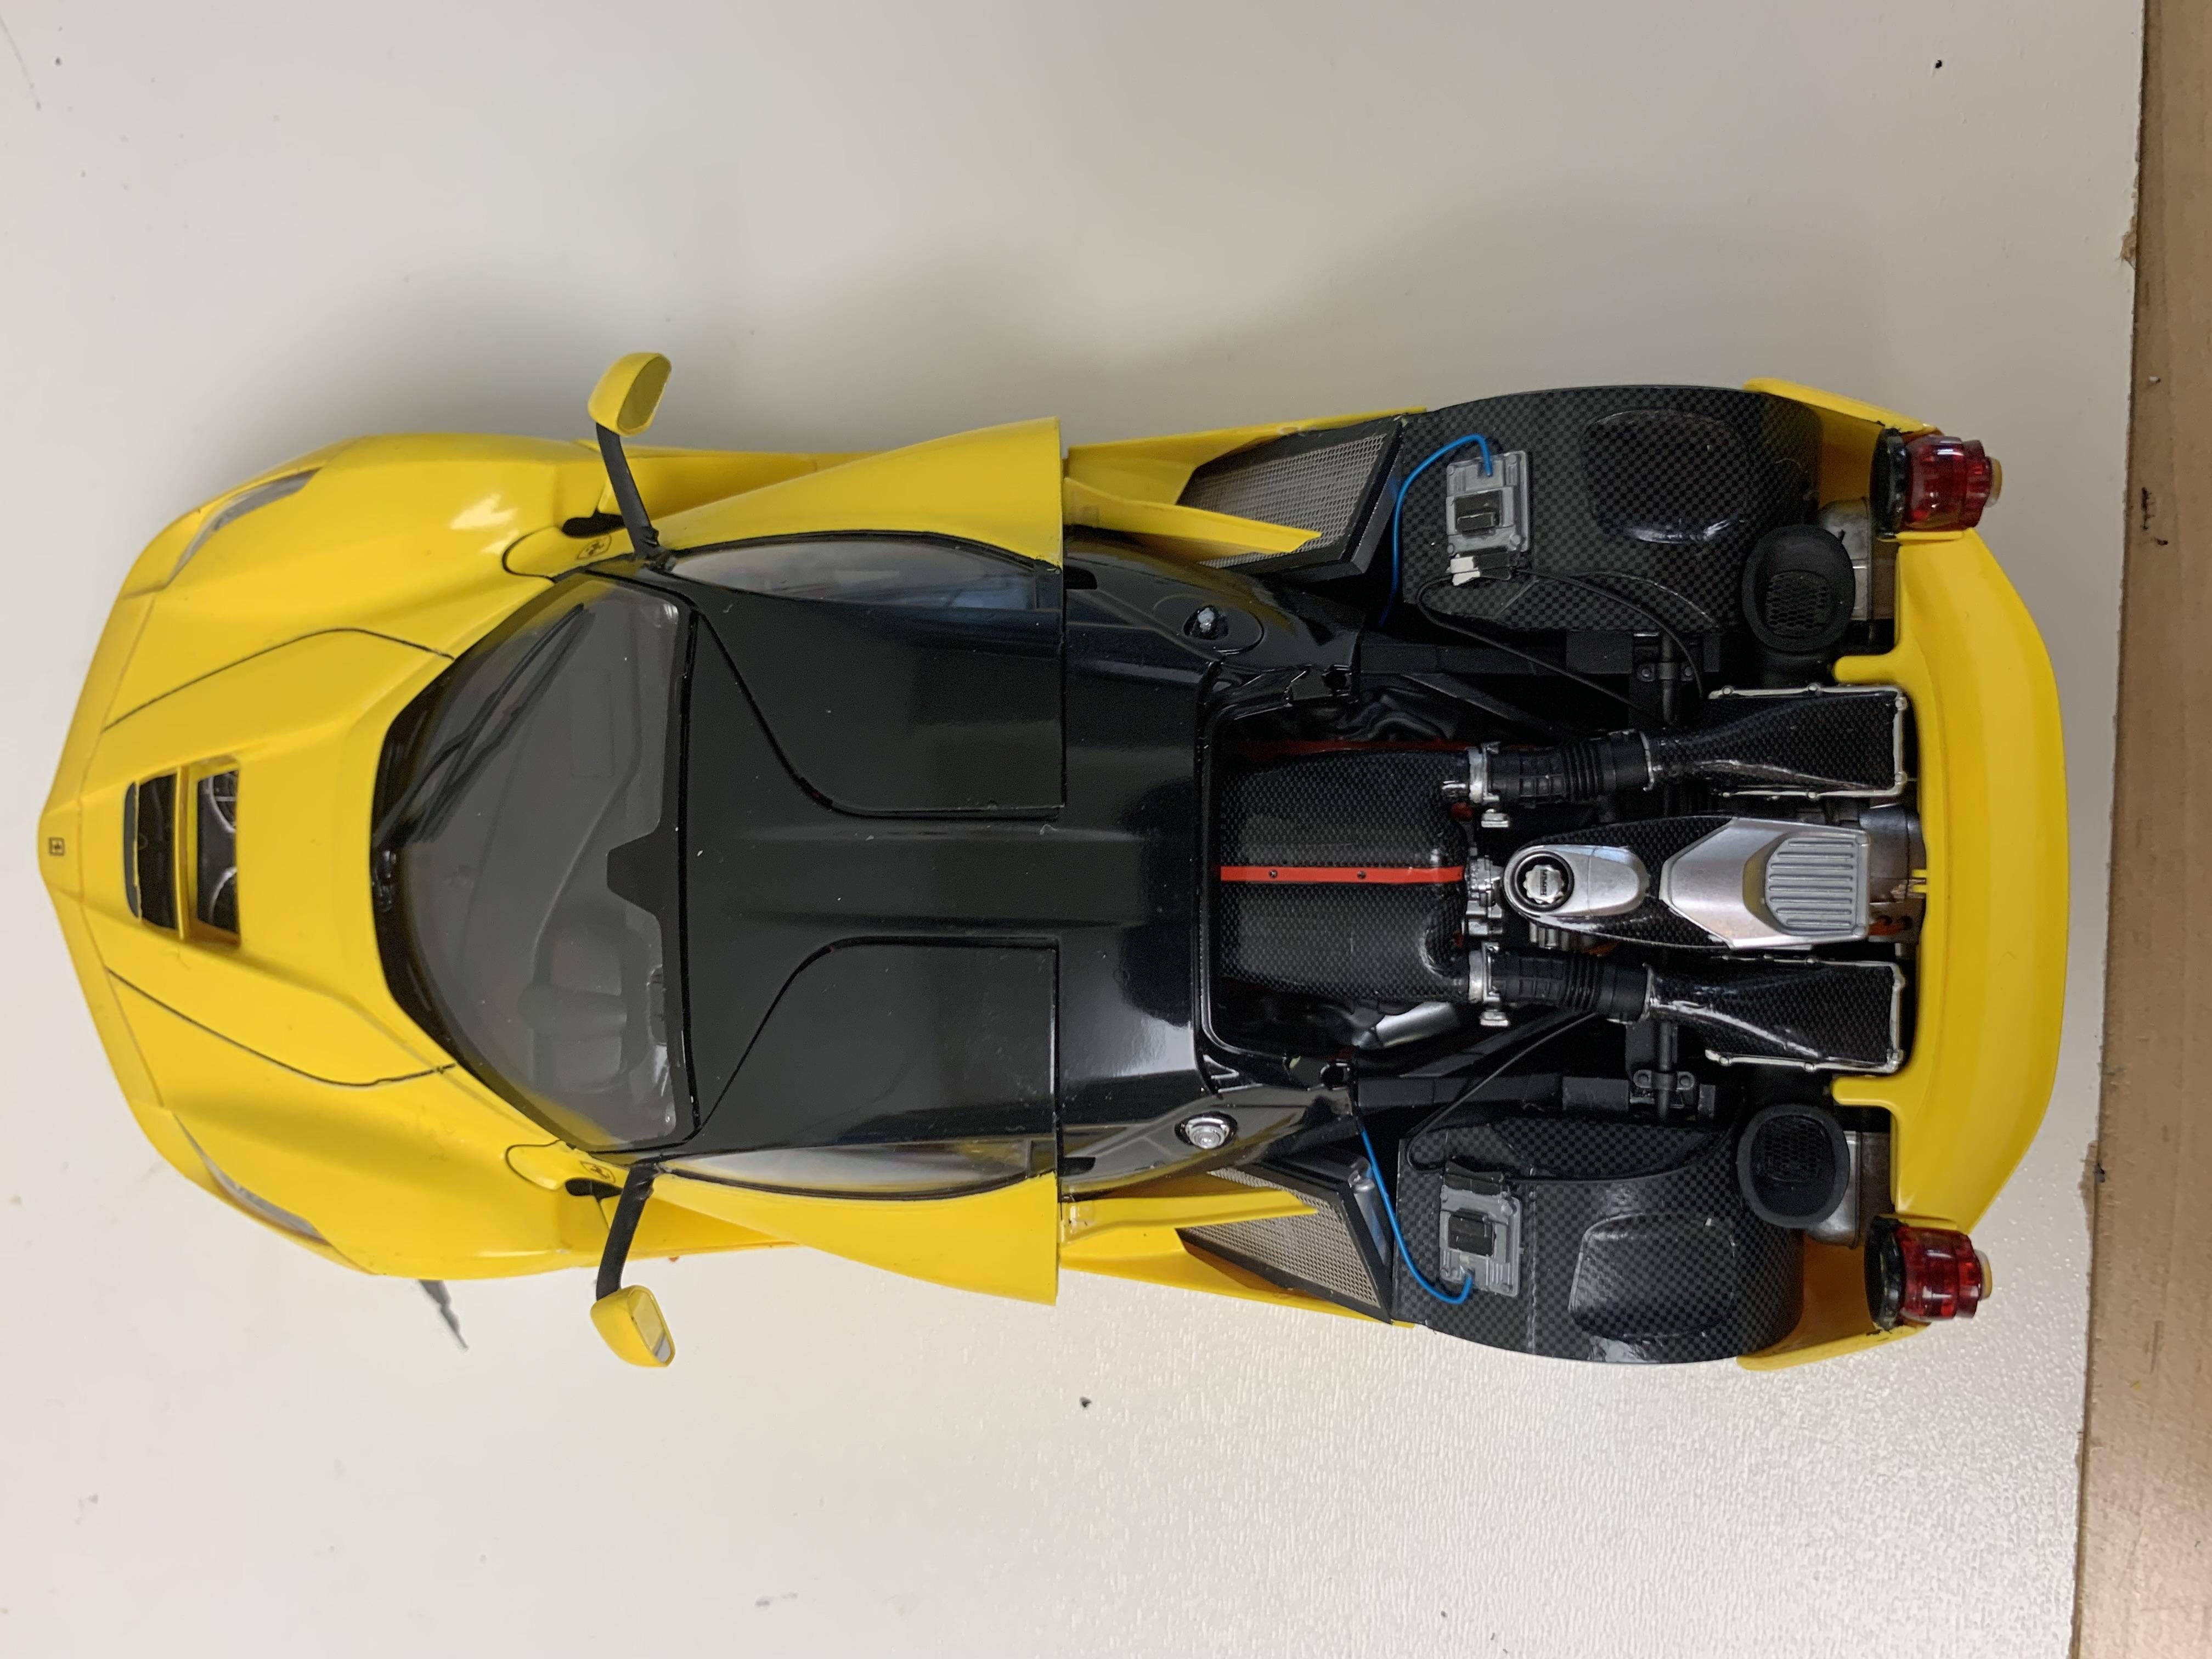
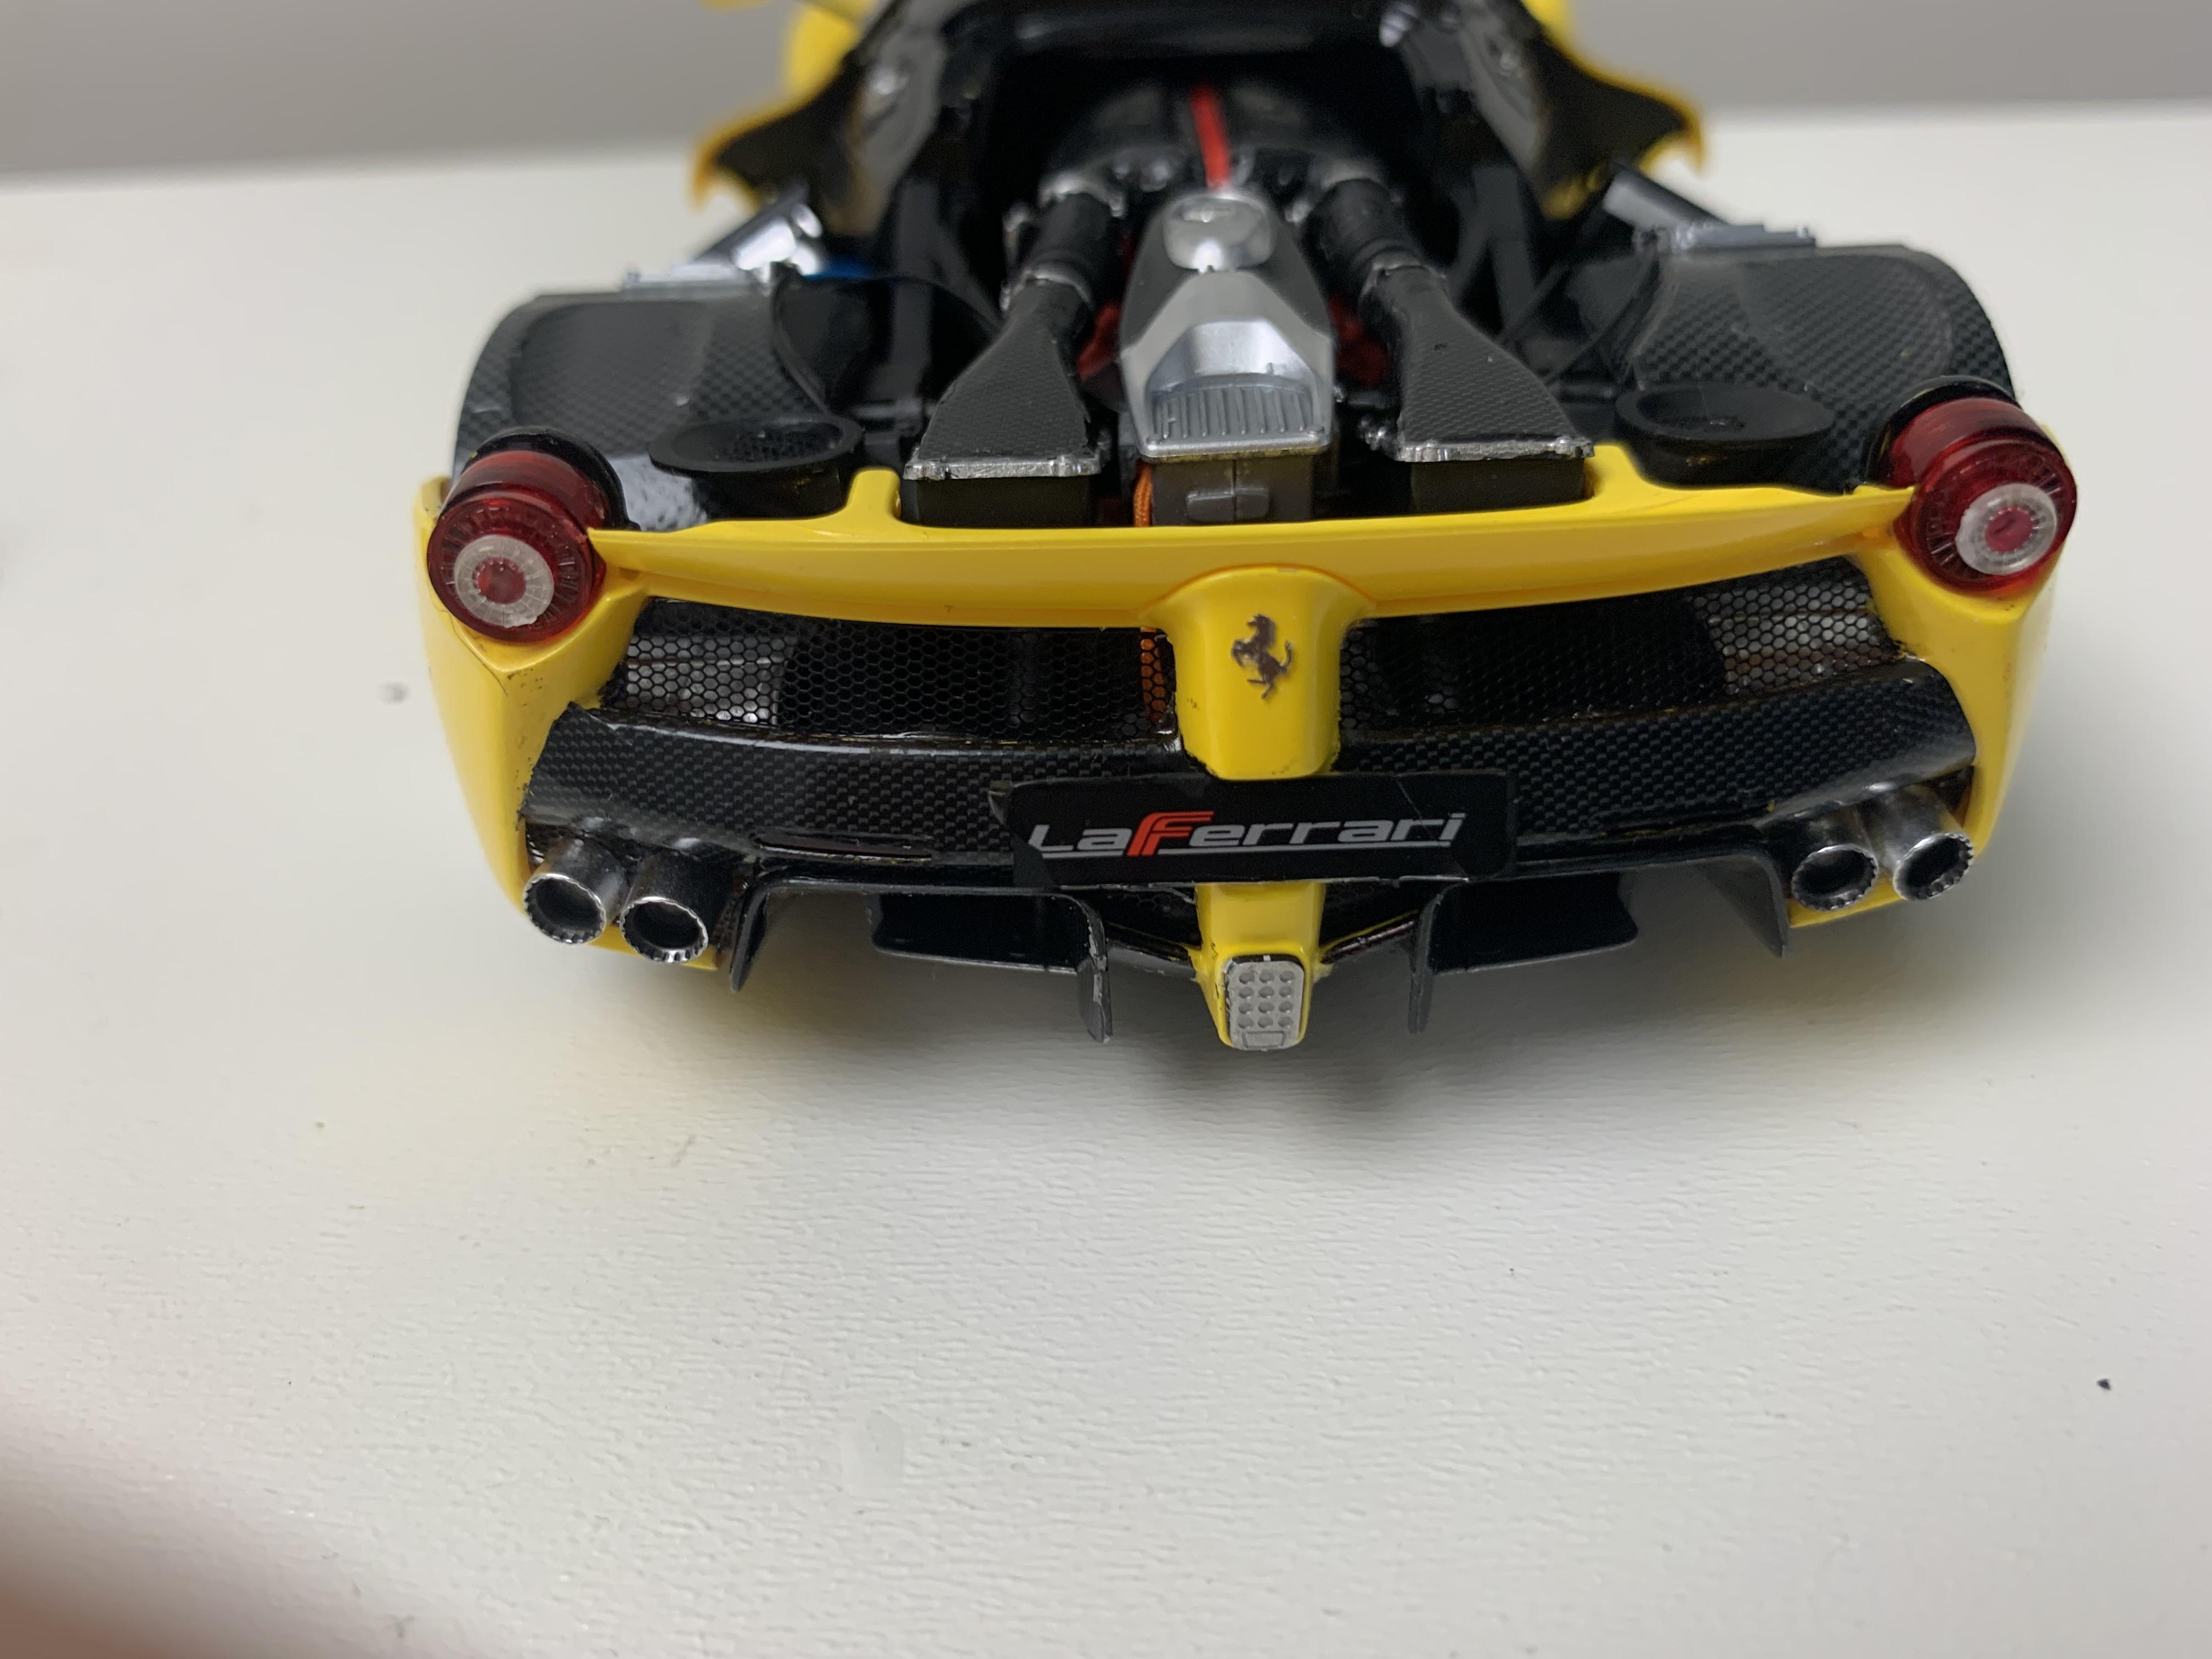
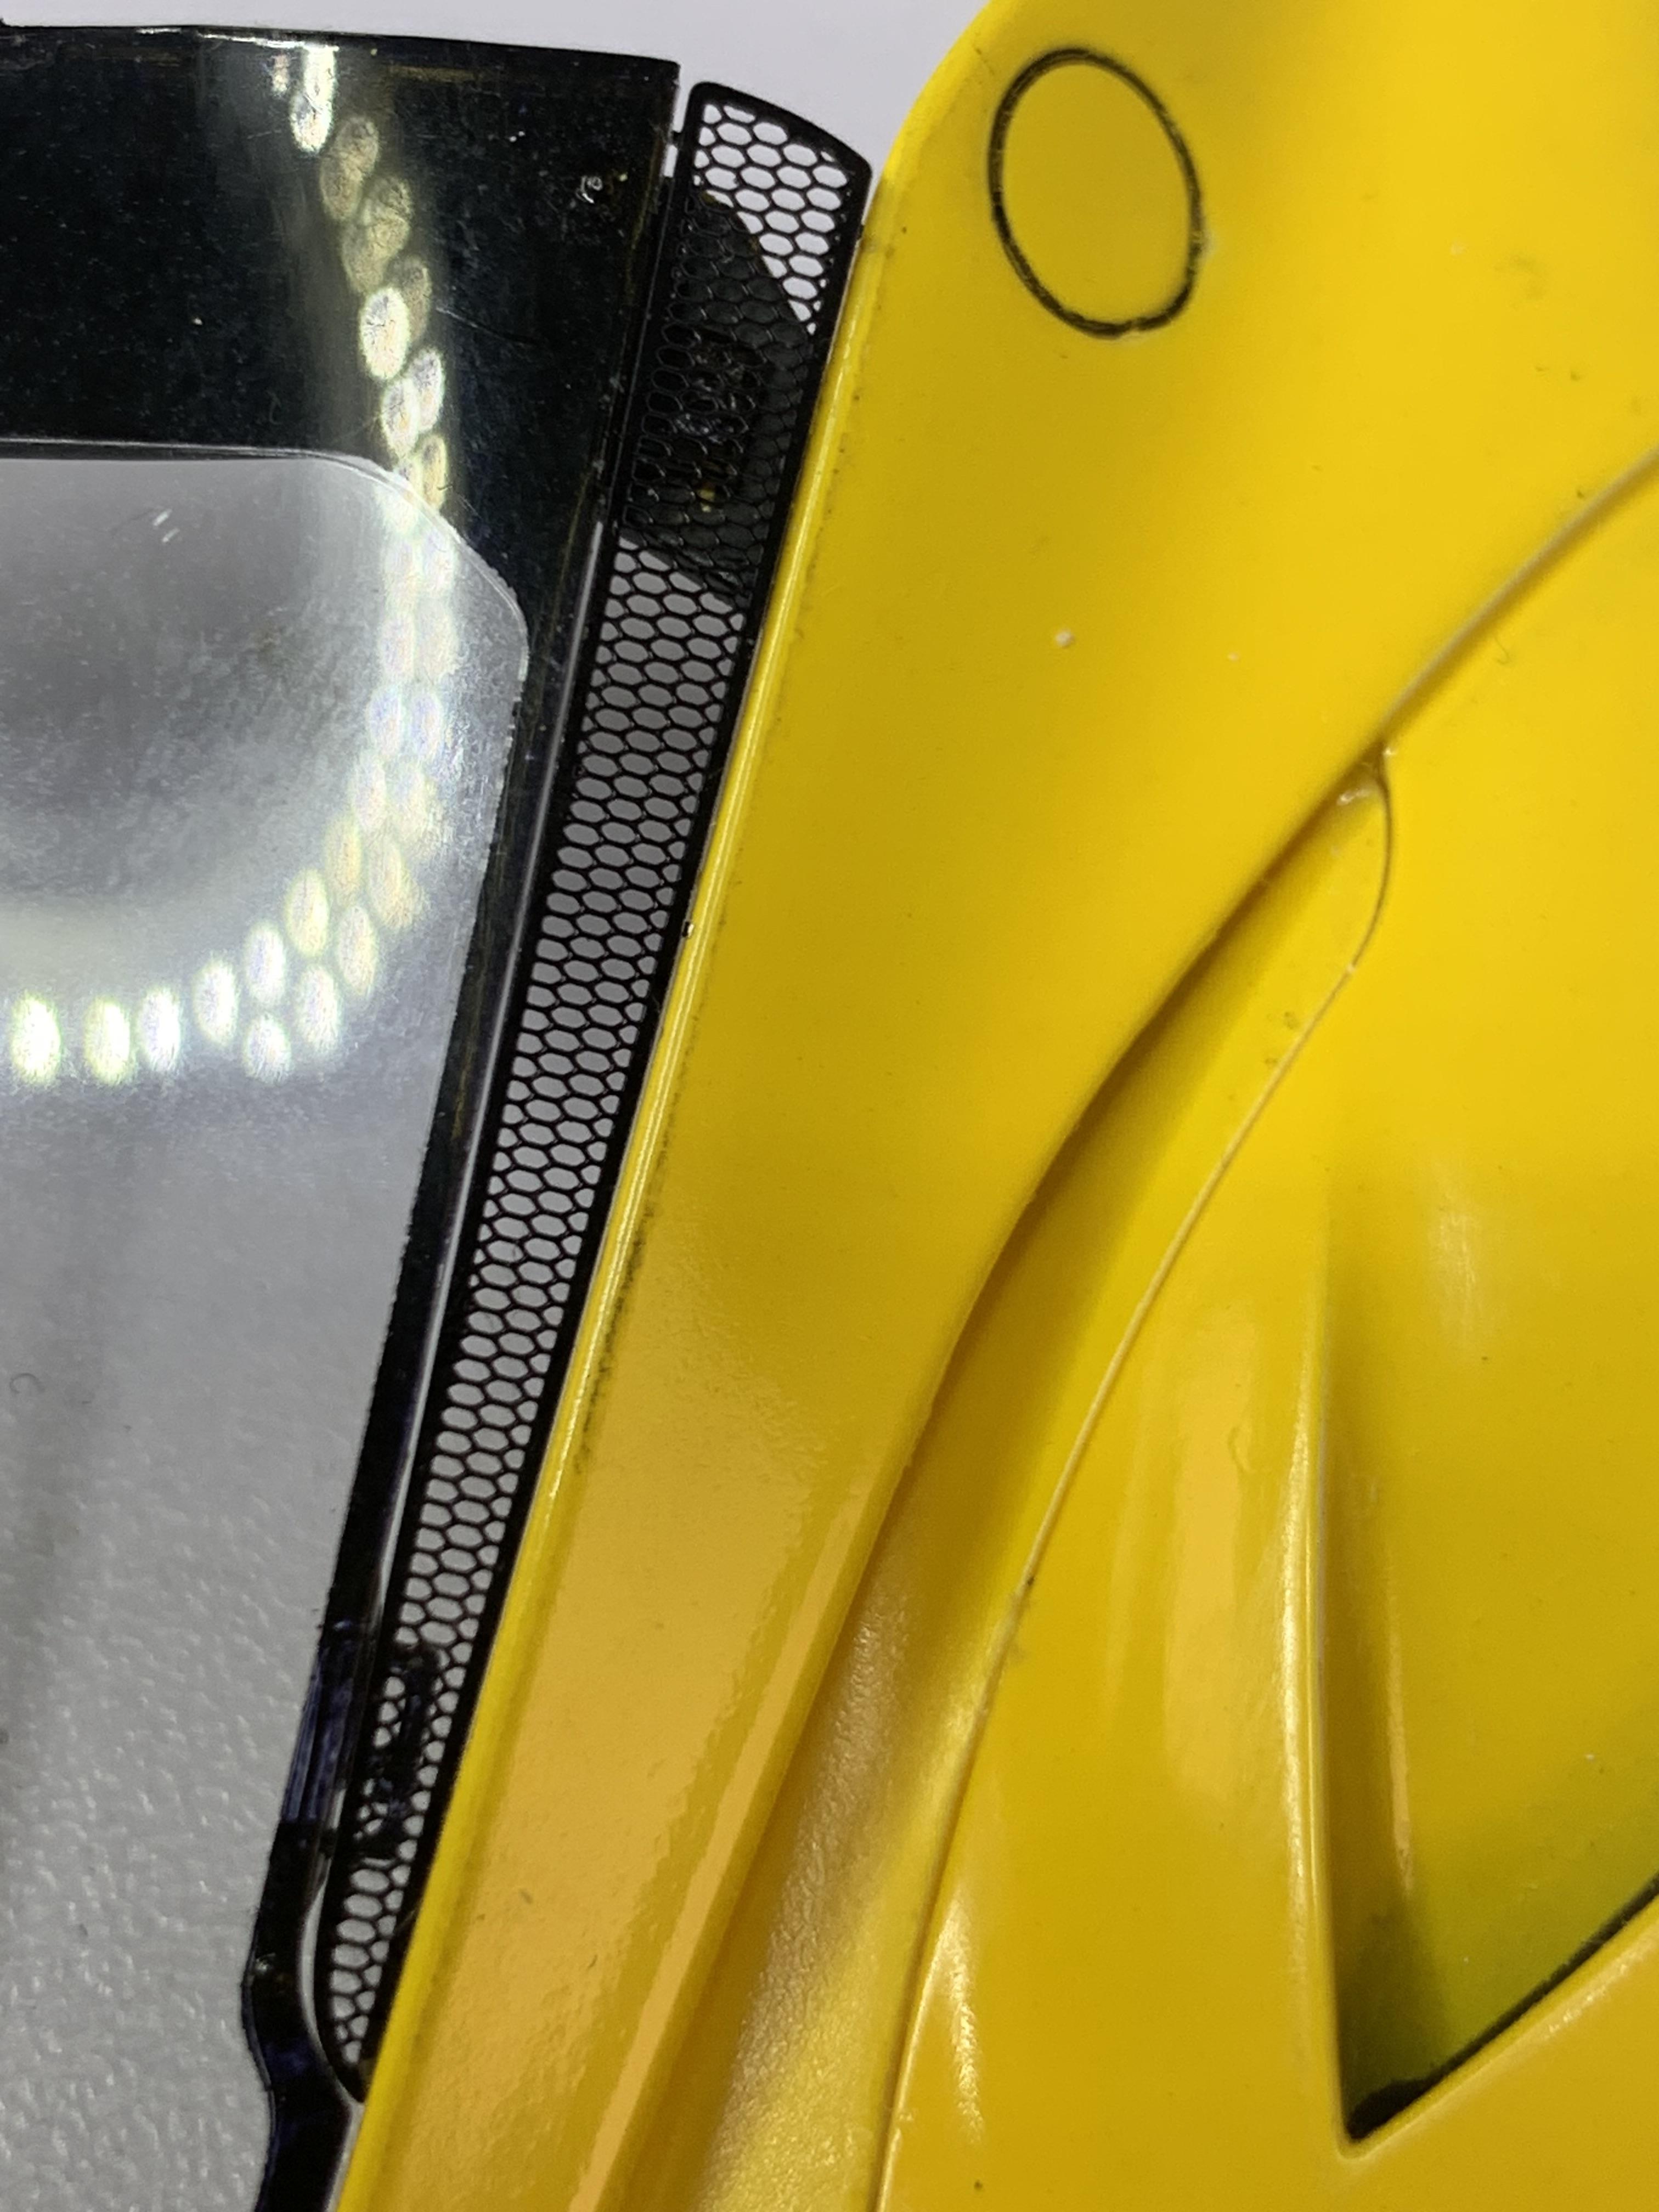
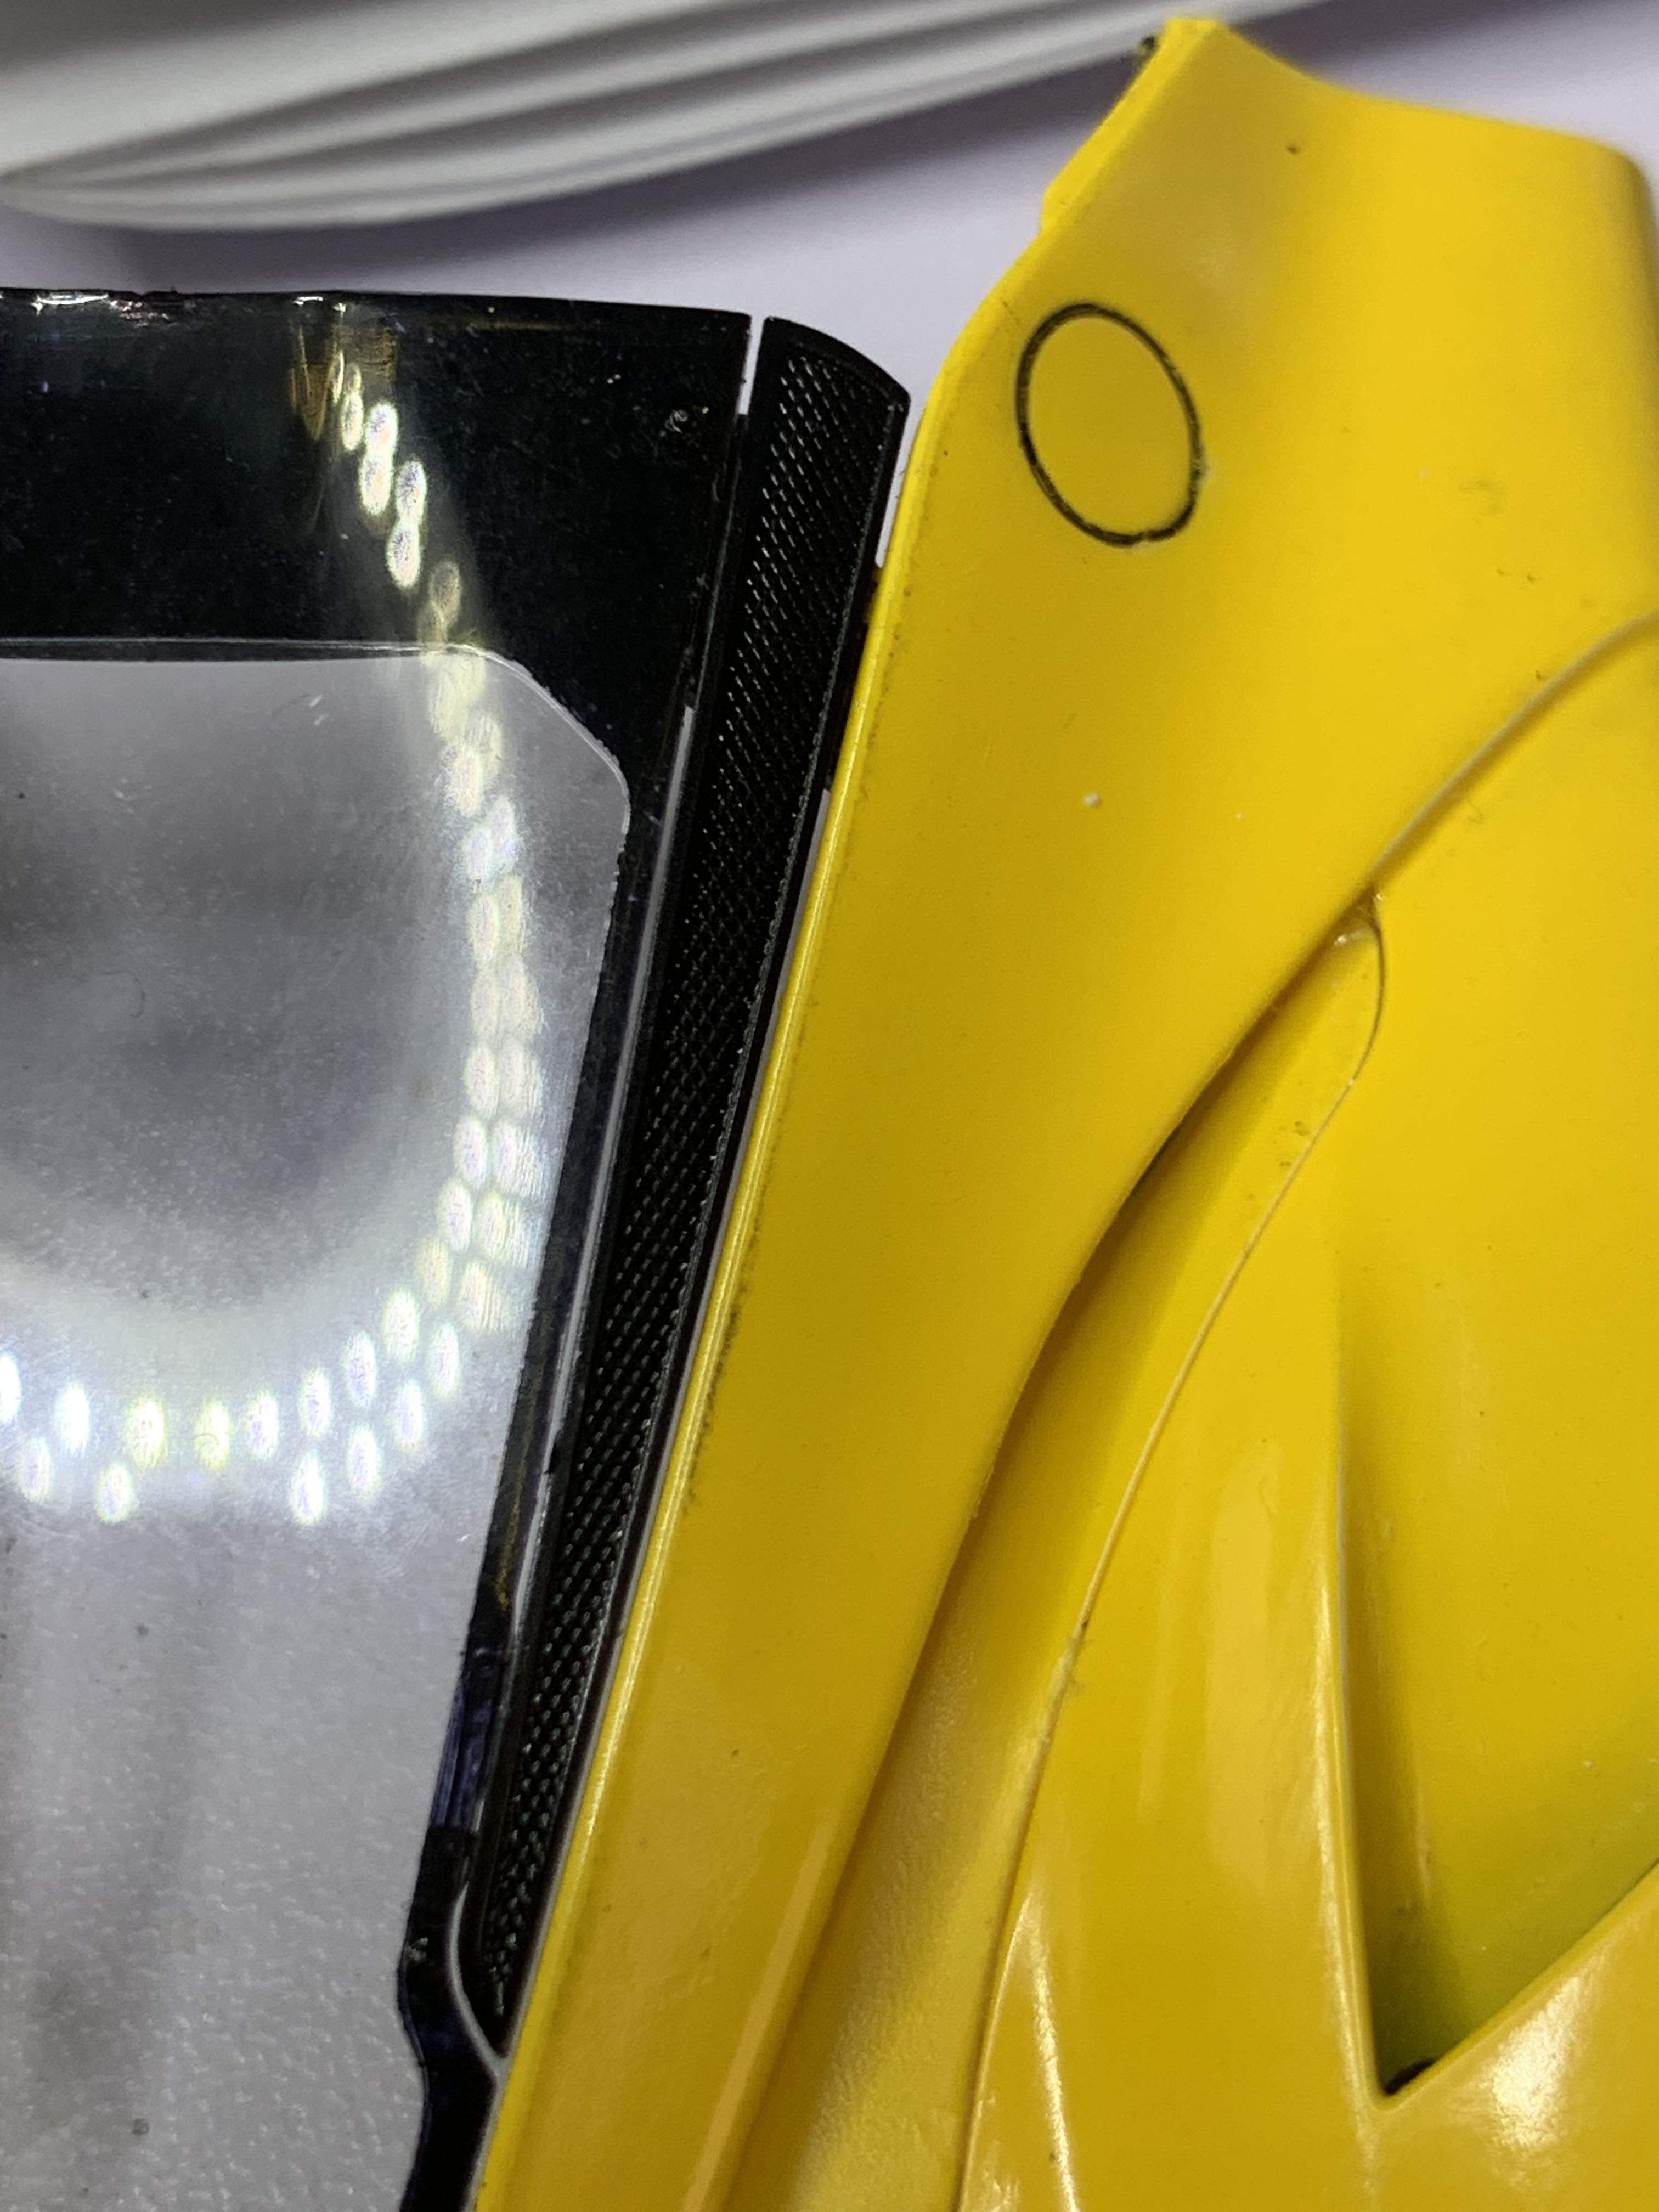
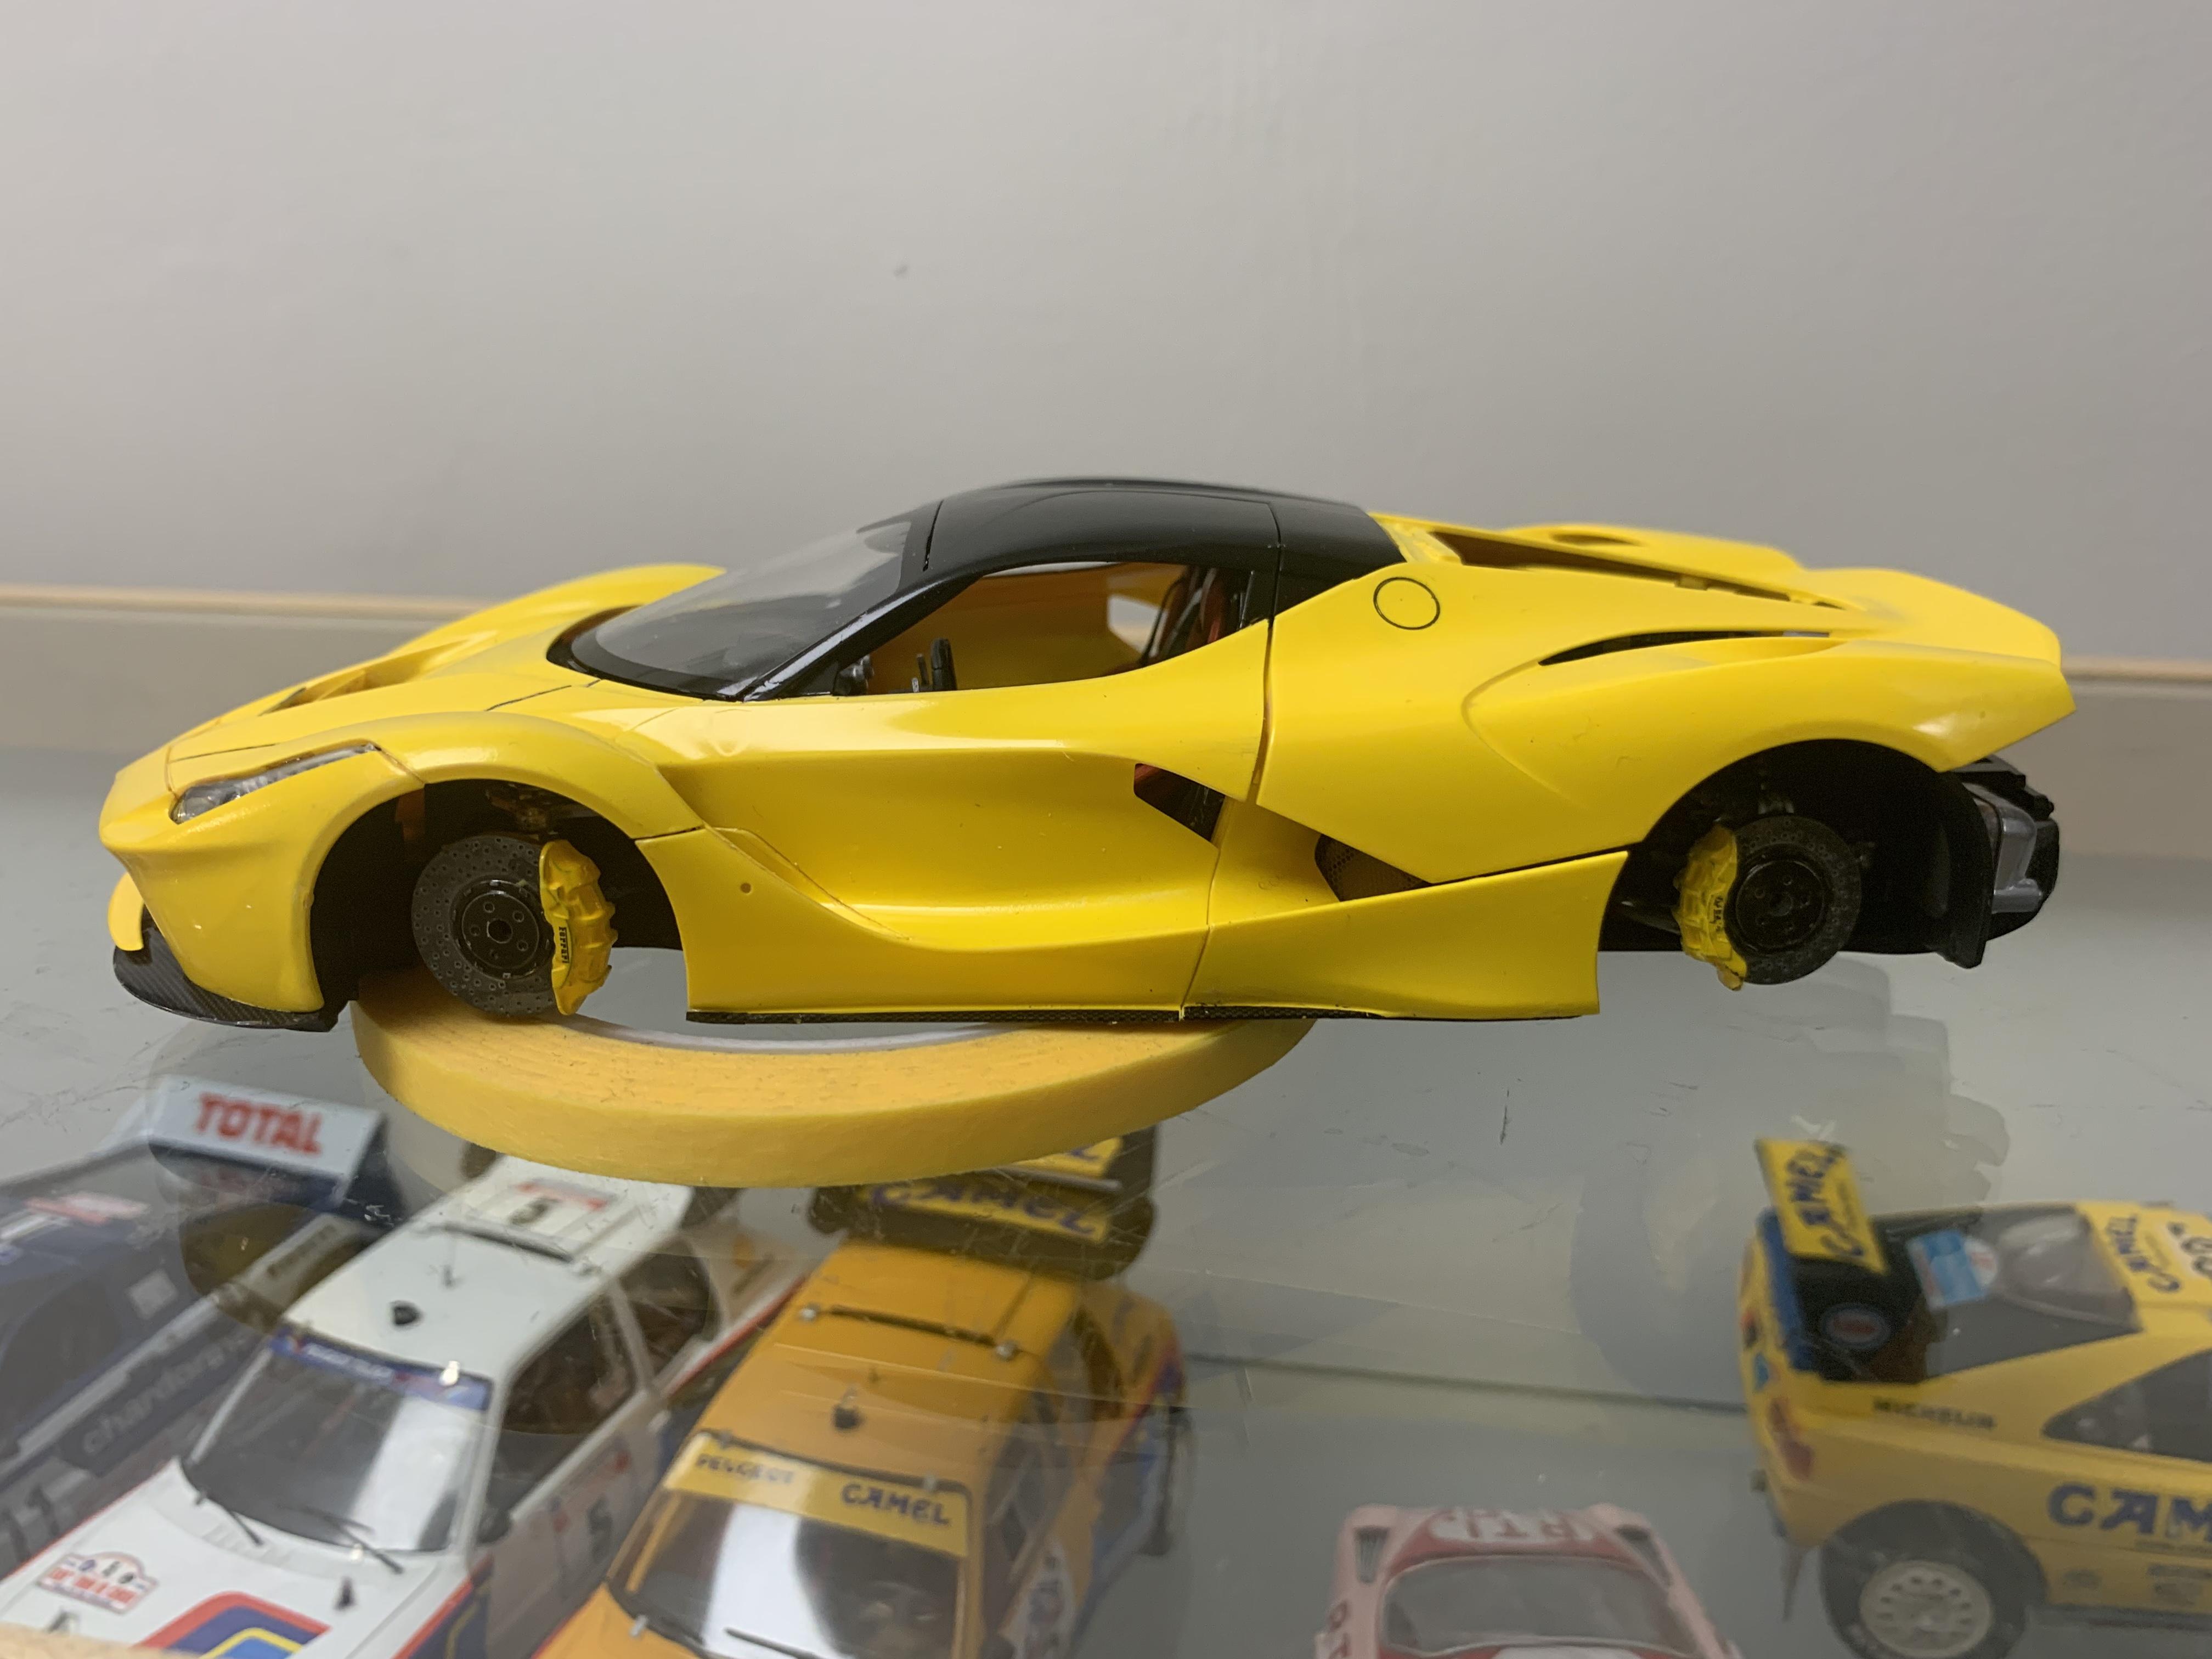
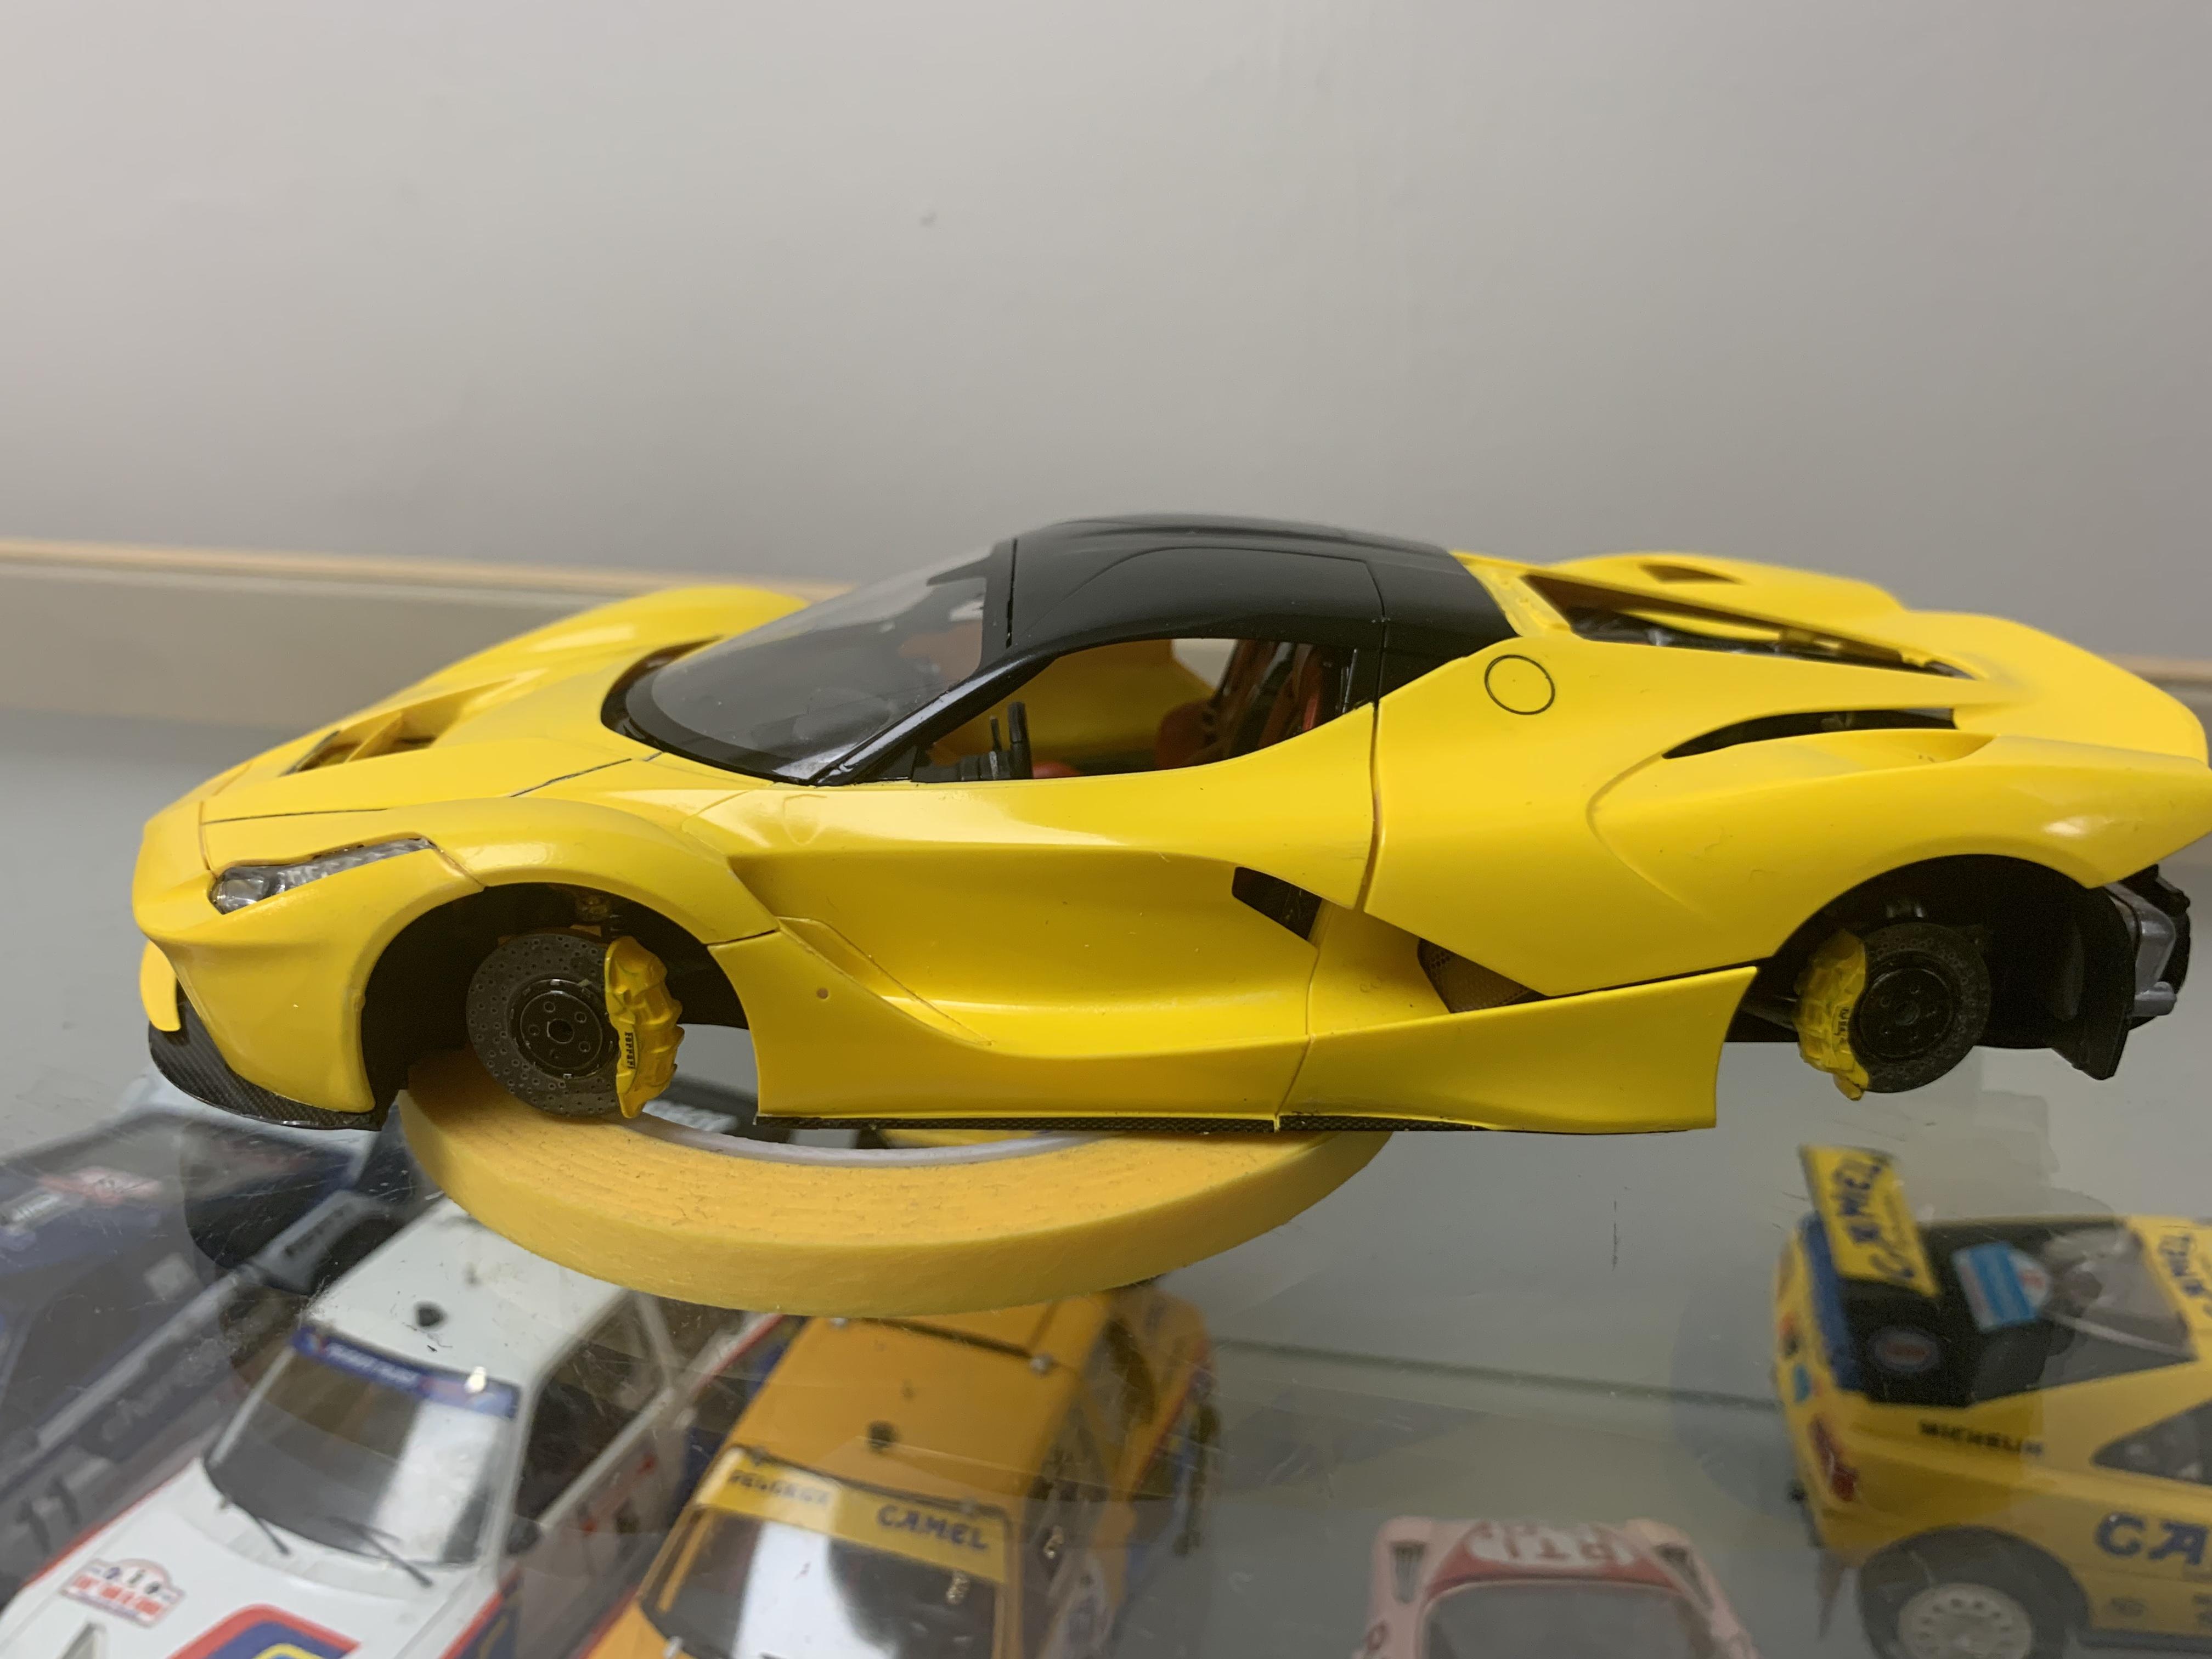
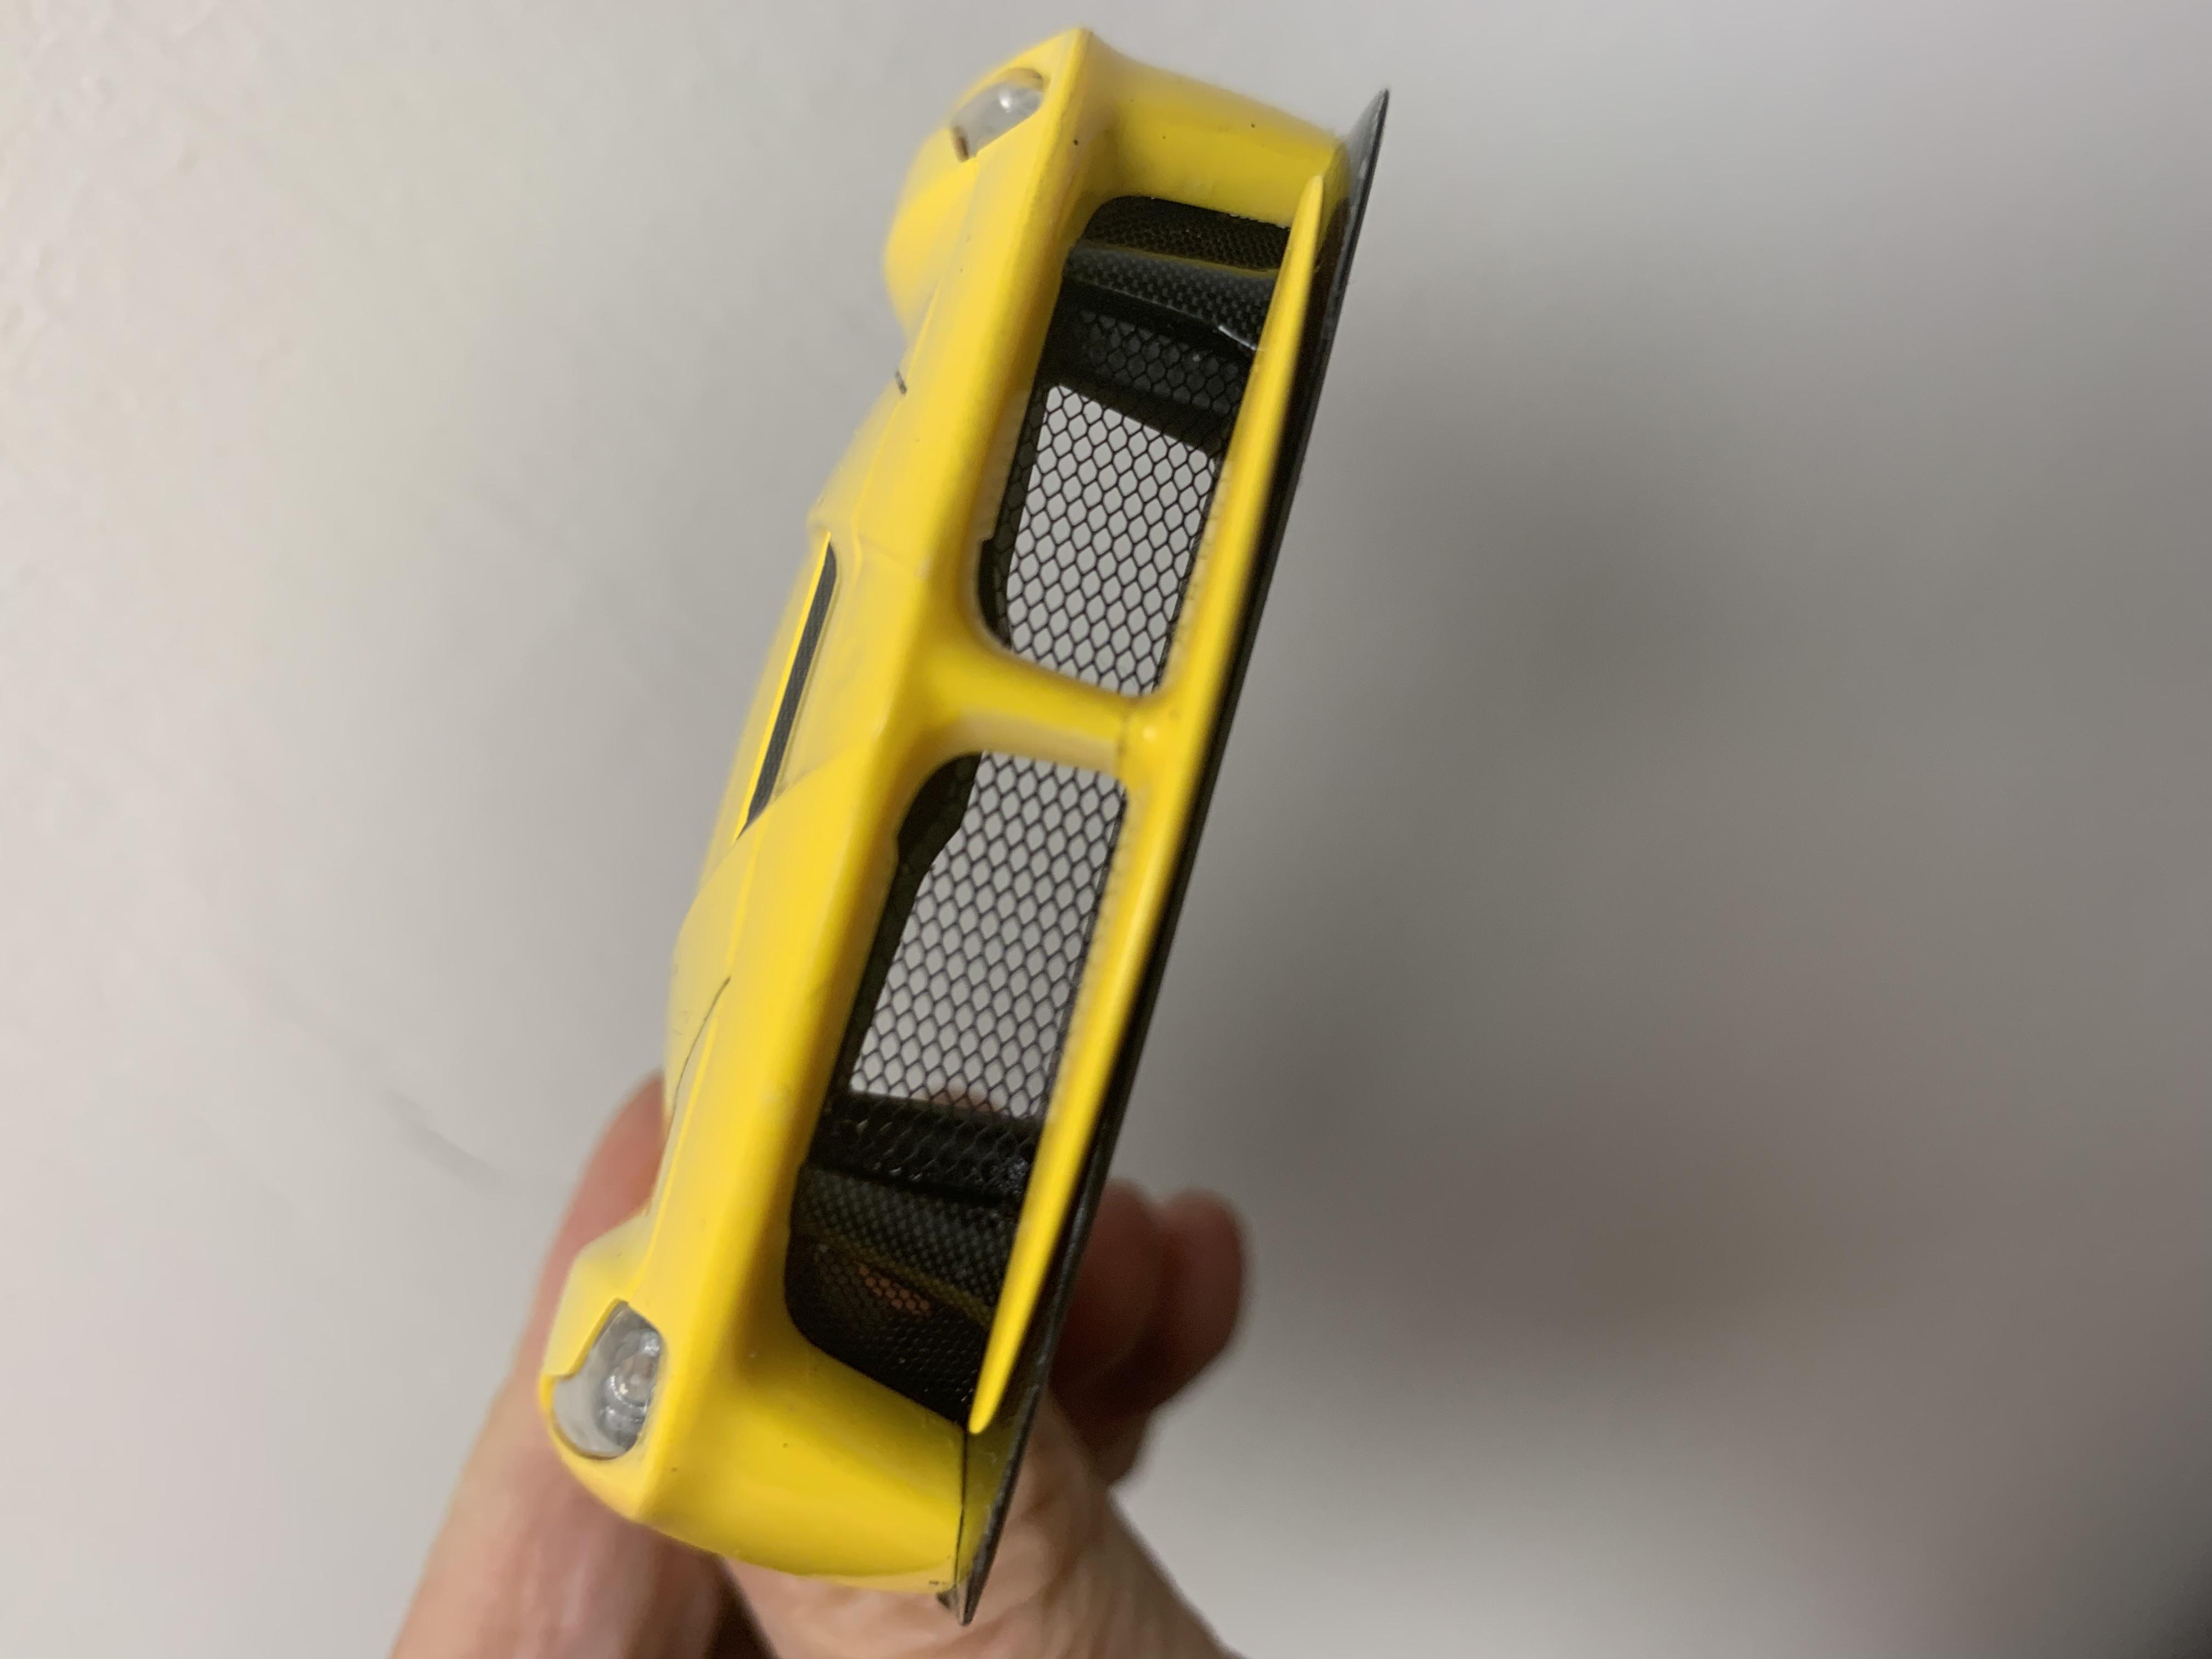
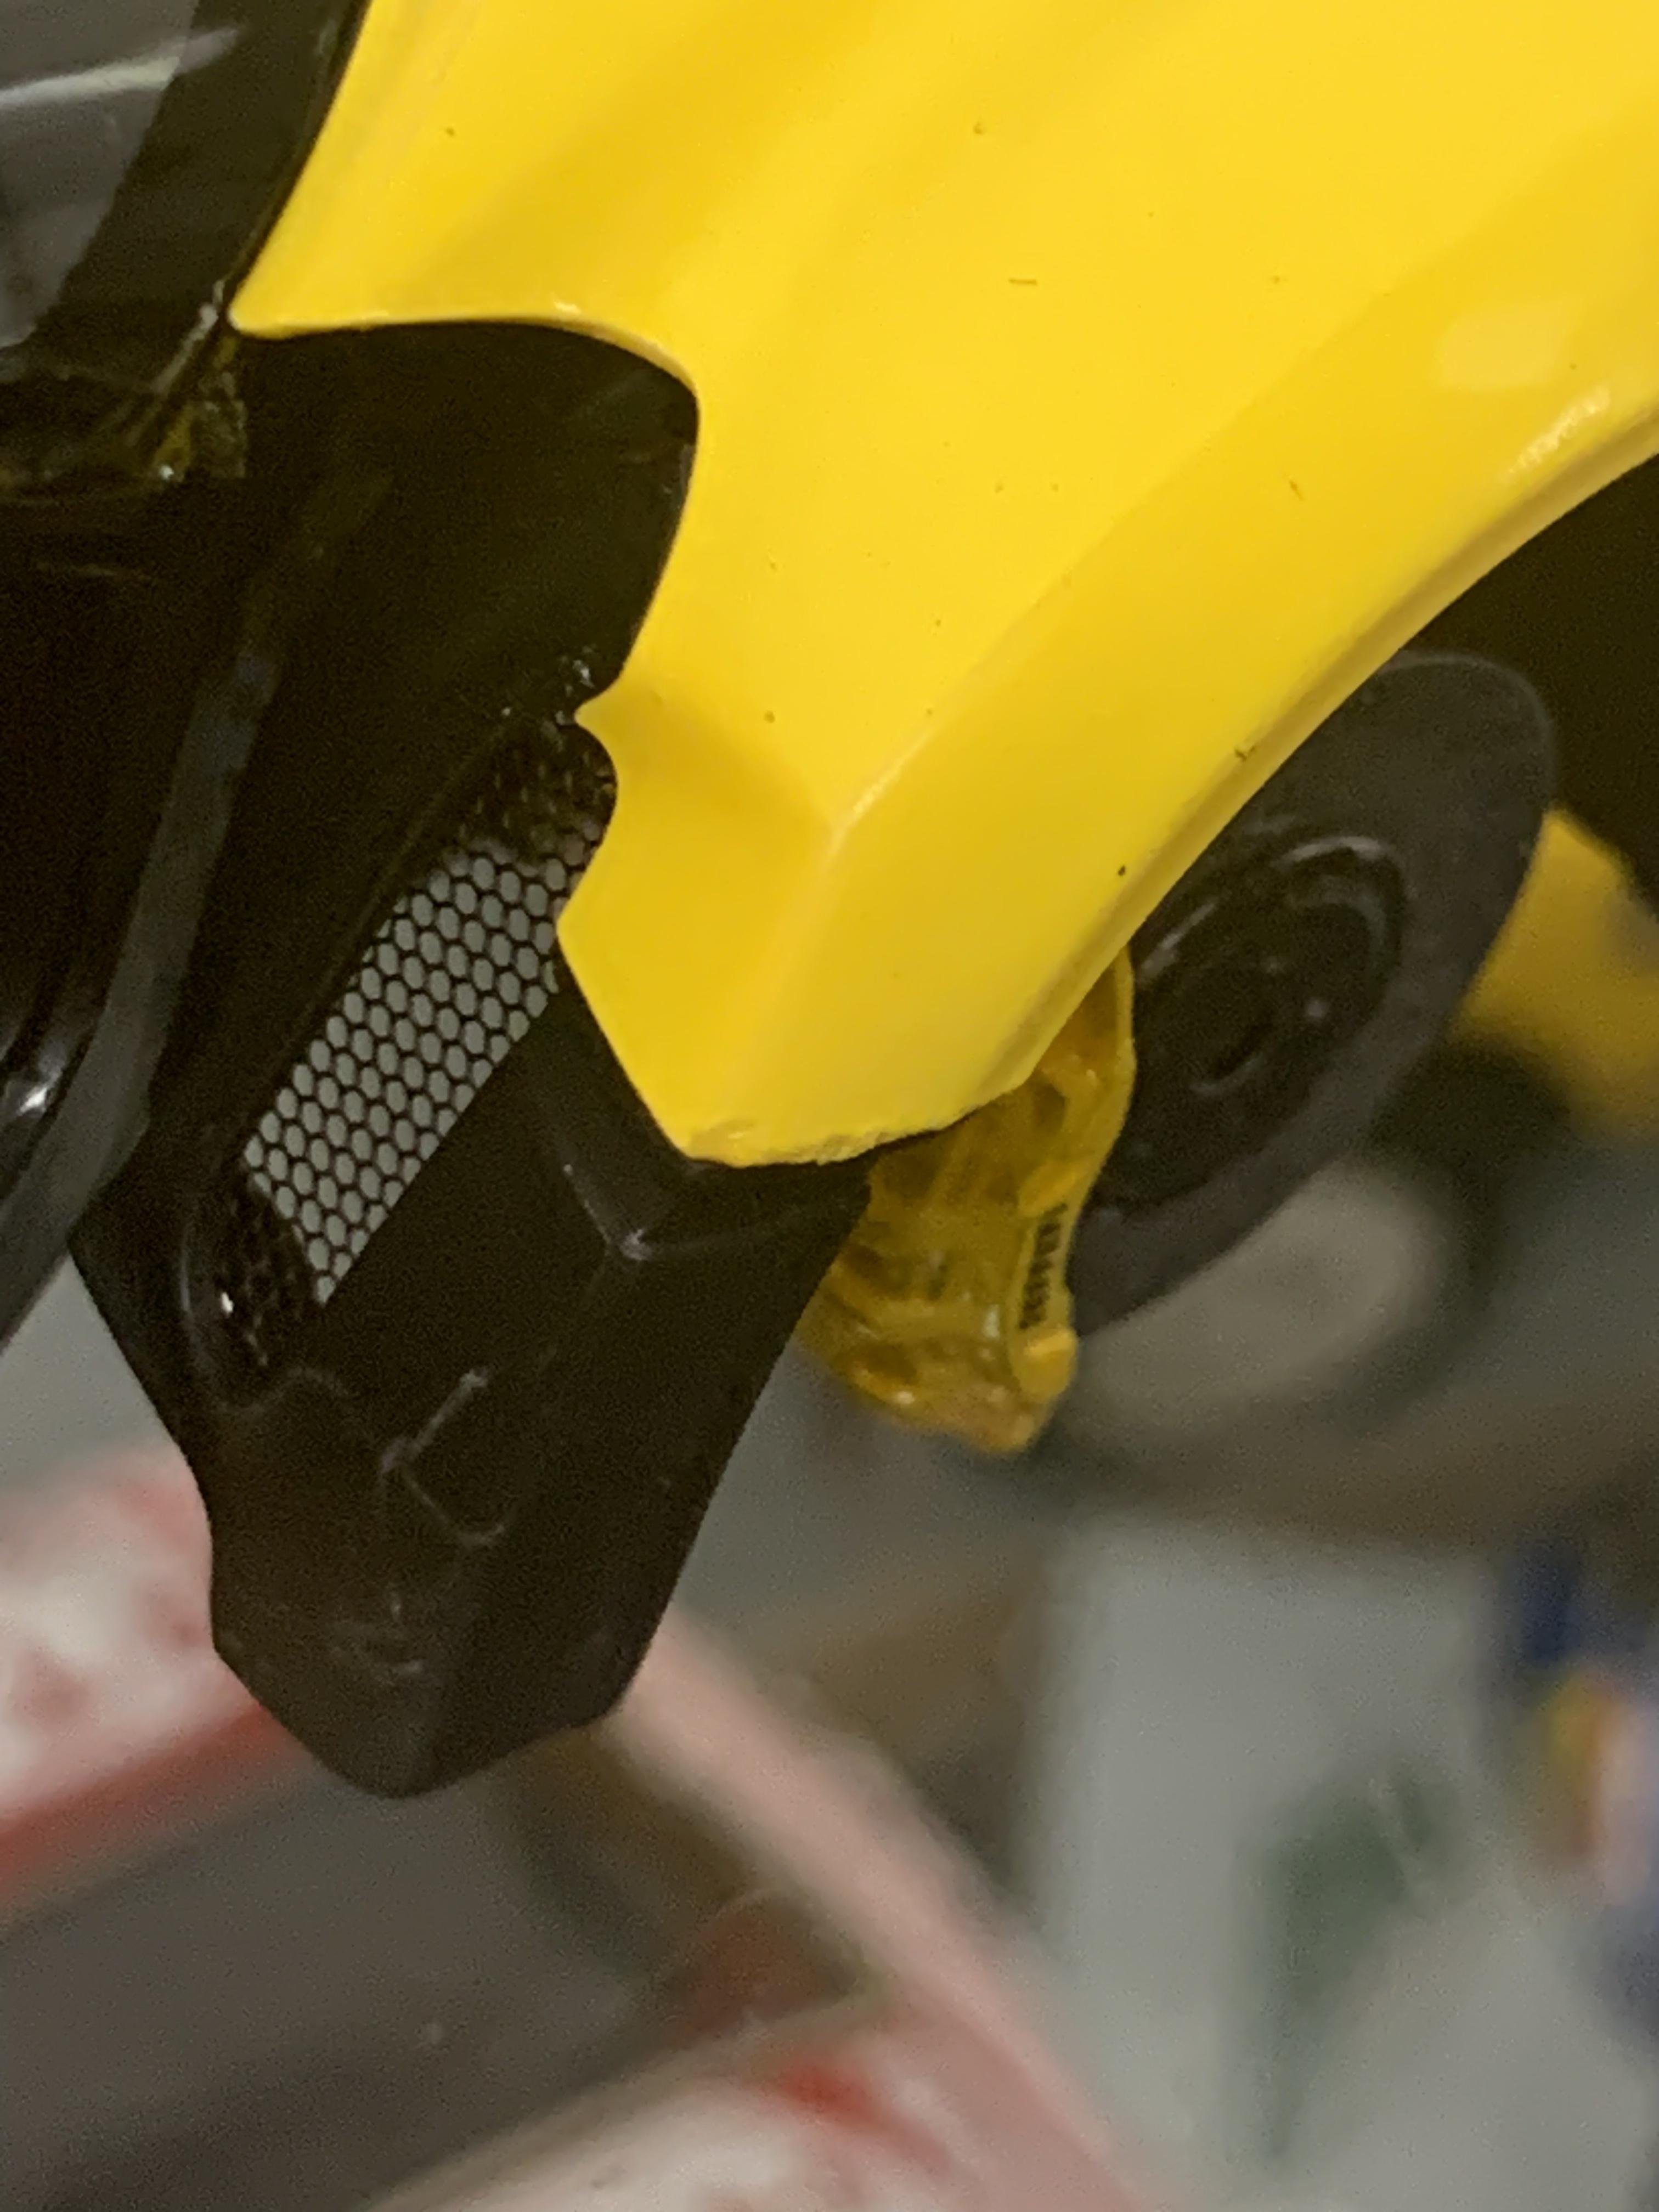
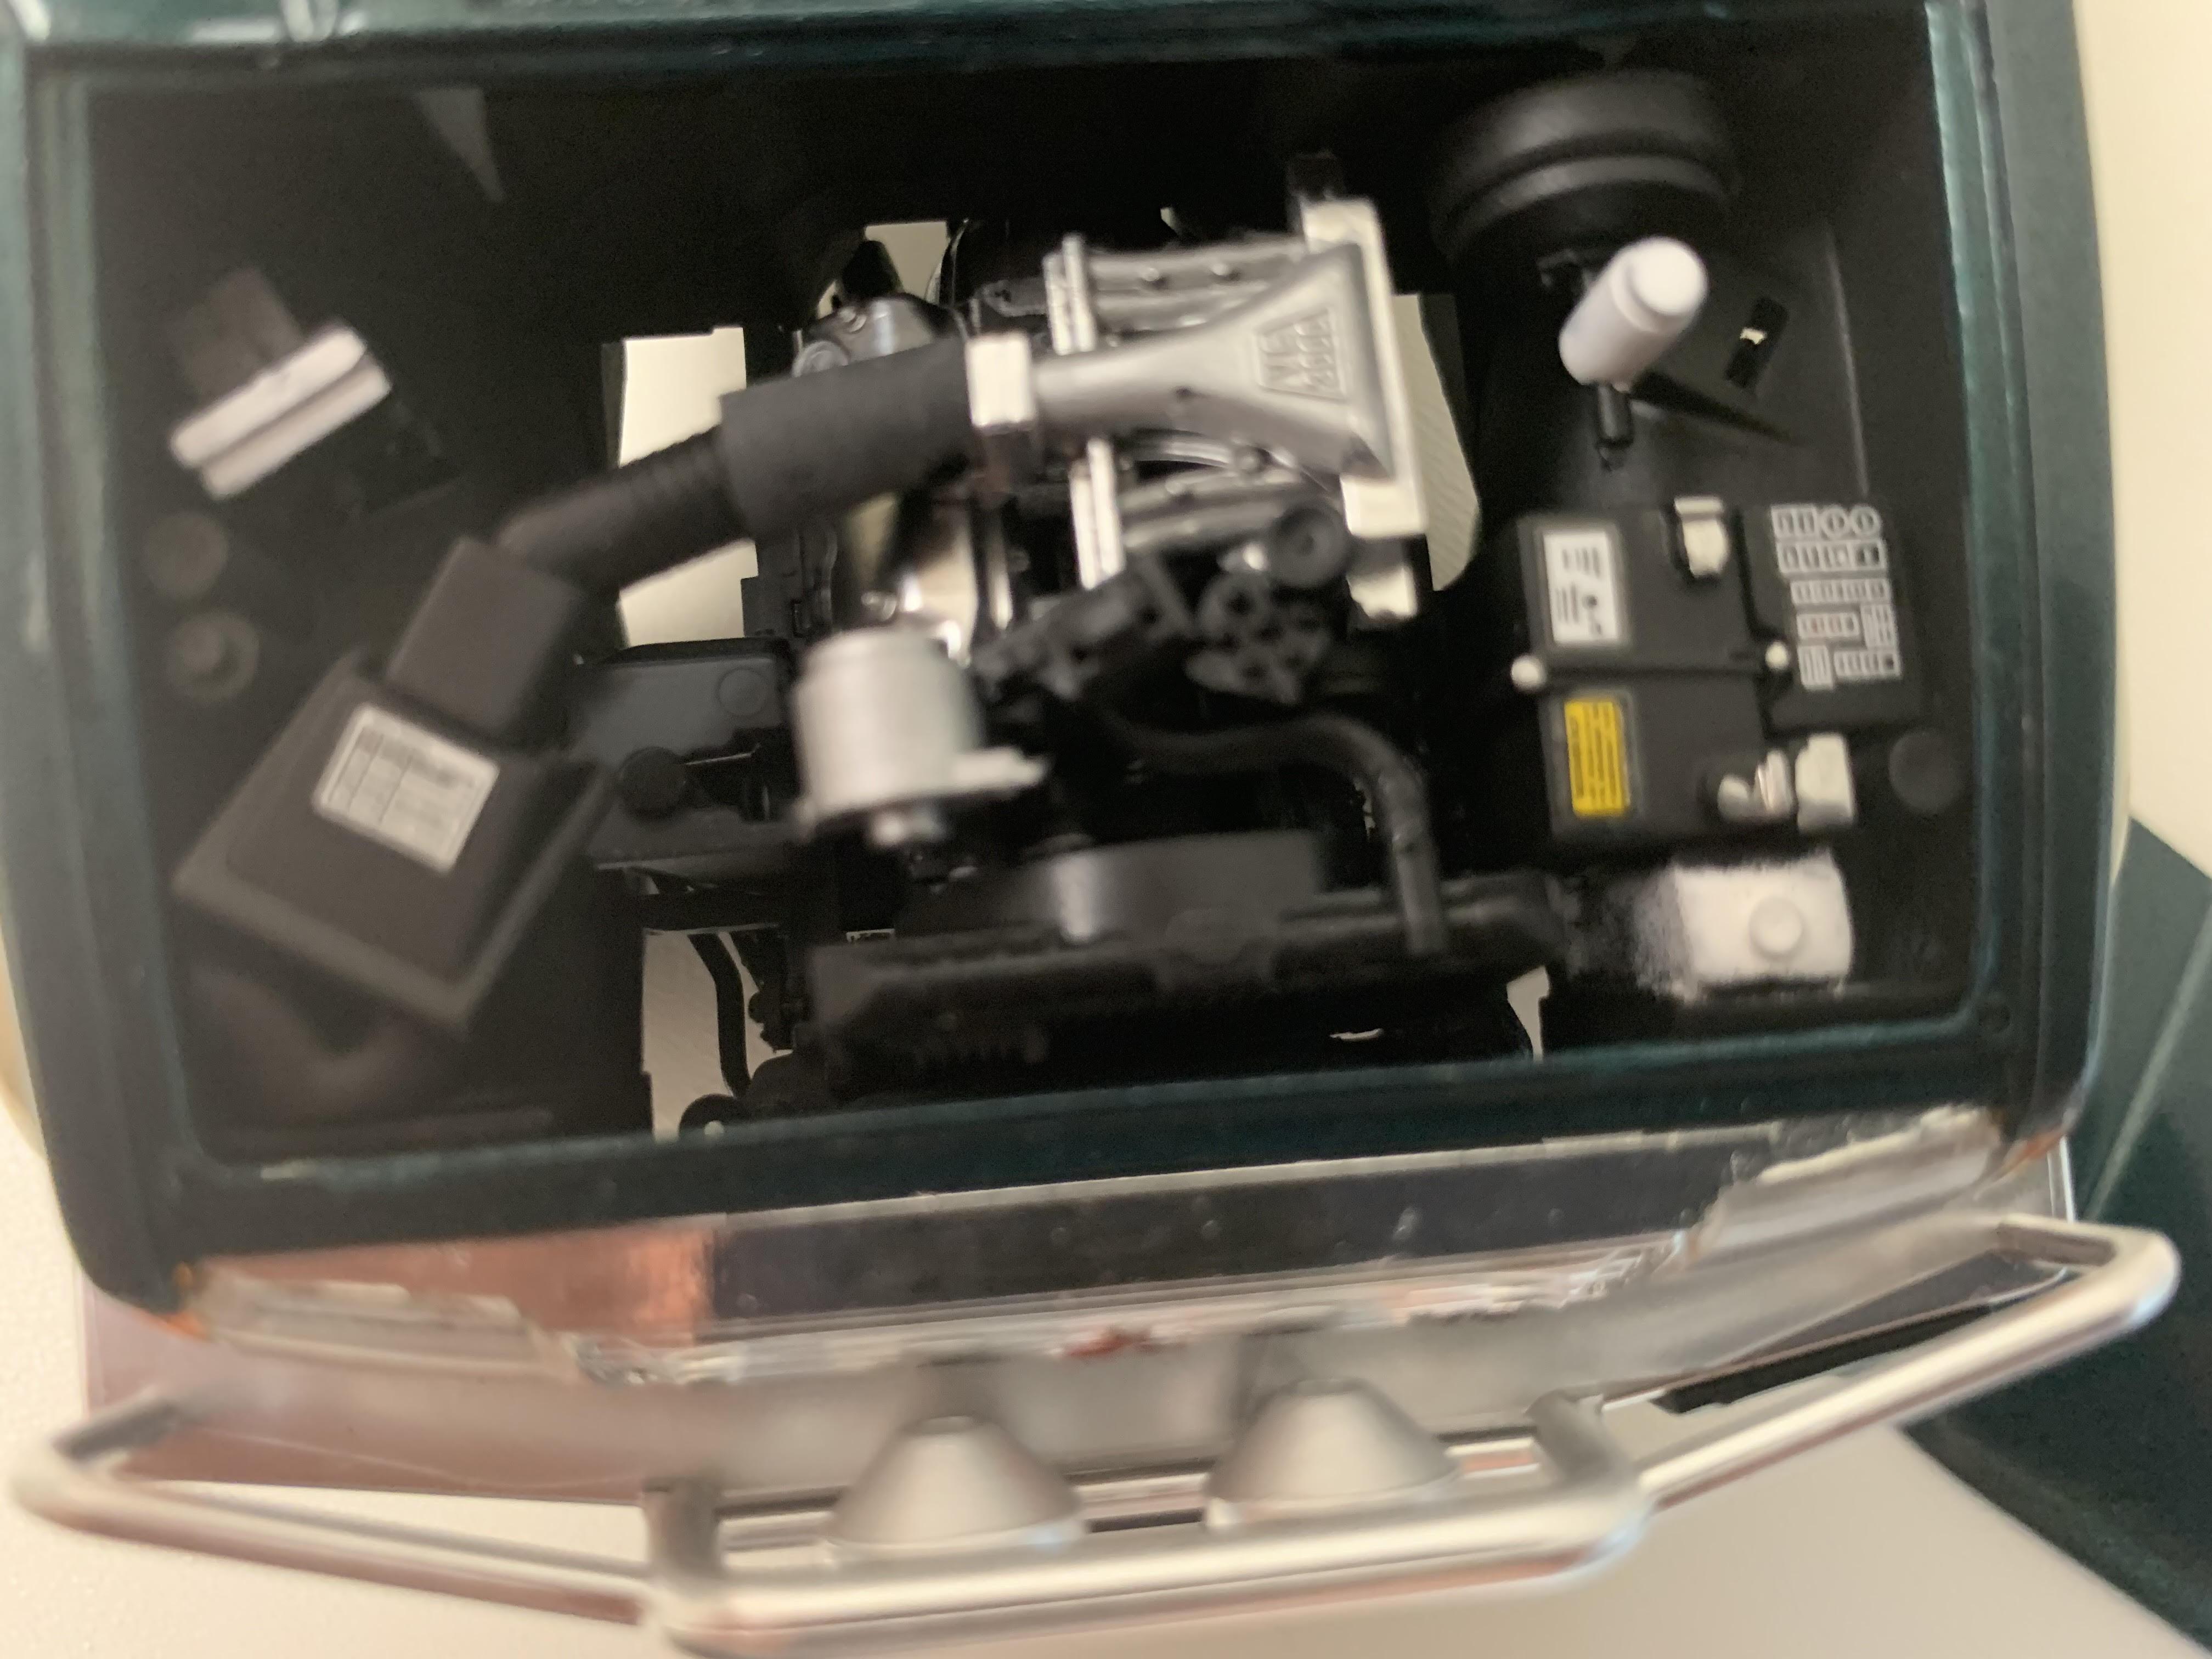
I had to make a decision on the vents that sit alongside the back engine cover. The parts in the Tamiya kit are solid plastic. The parts in the Hobby Design detail kit are mesh. I took a picture of both, and decided to go with the mesh. I'm always divided on how useful some of the photoetch kits are - I seem to only use about 50% of them.
-
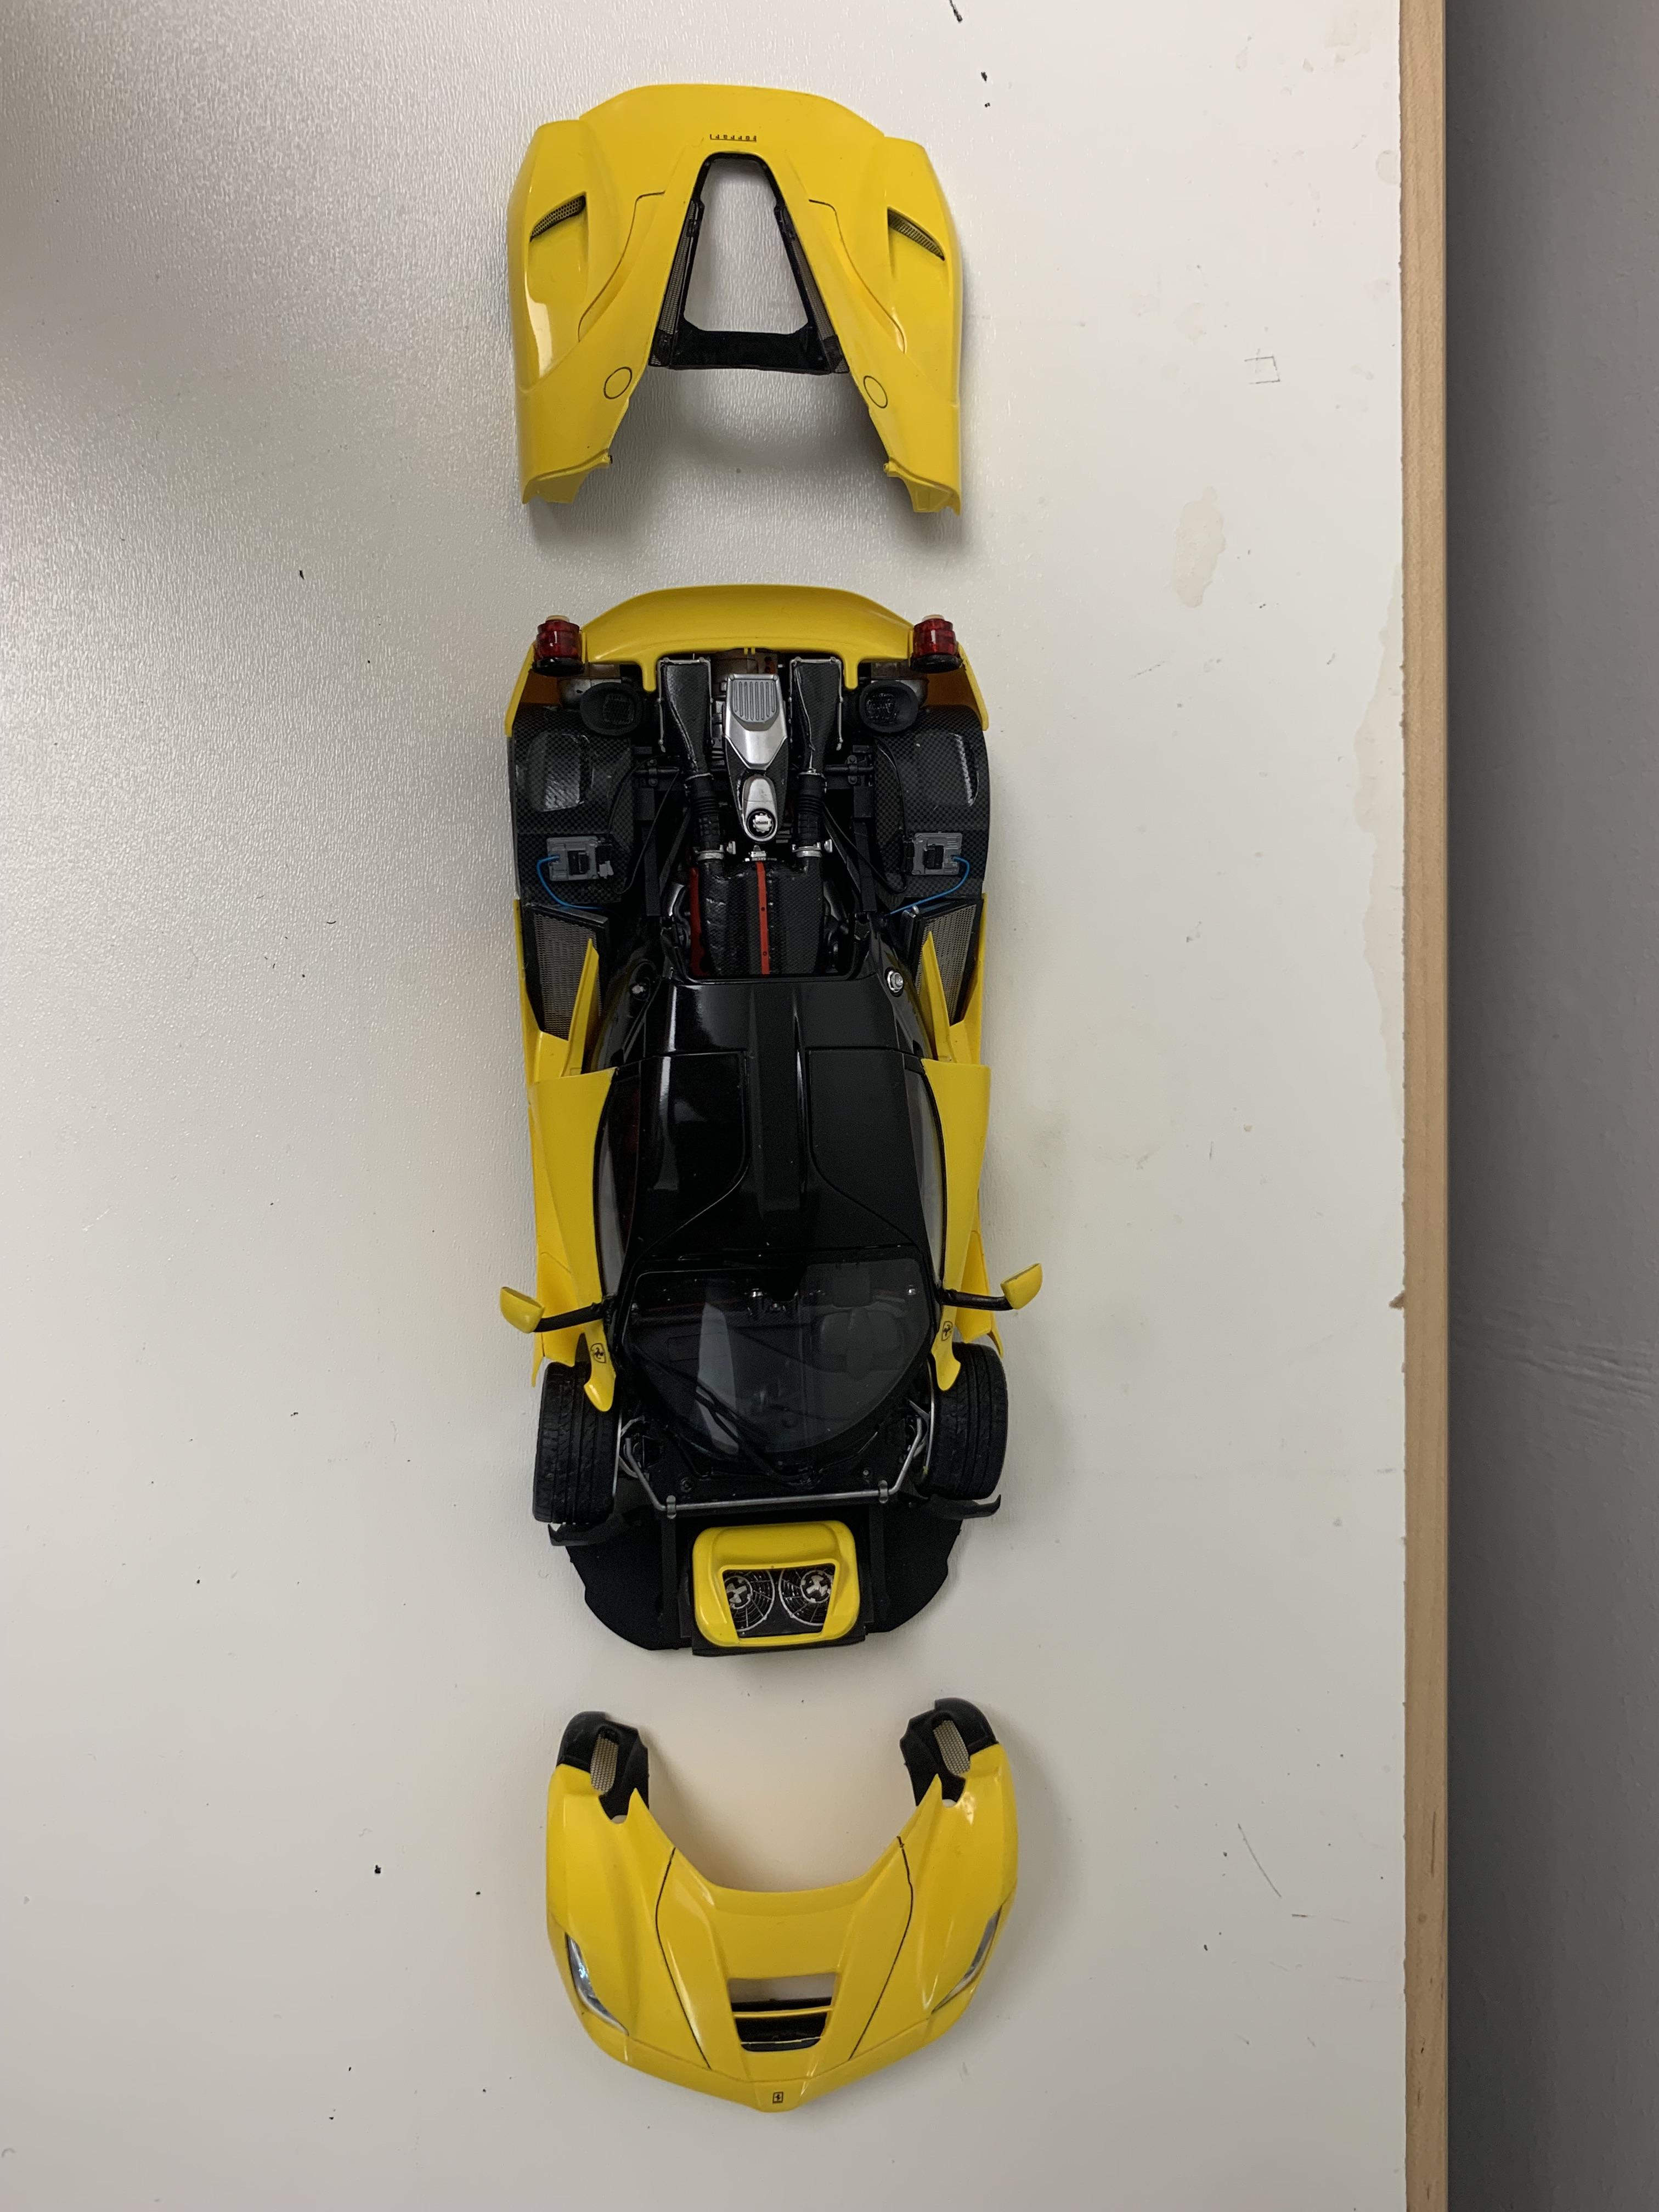
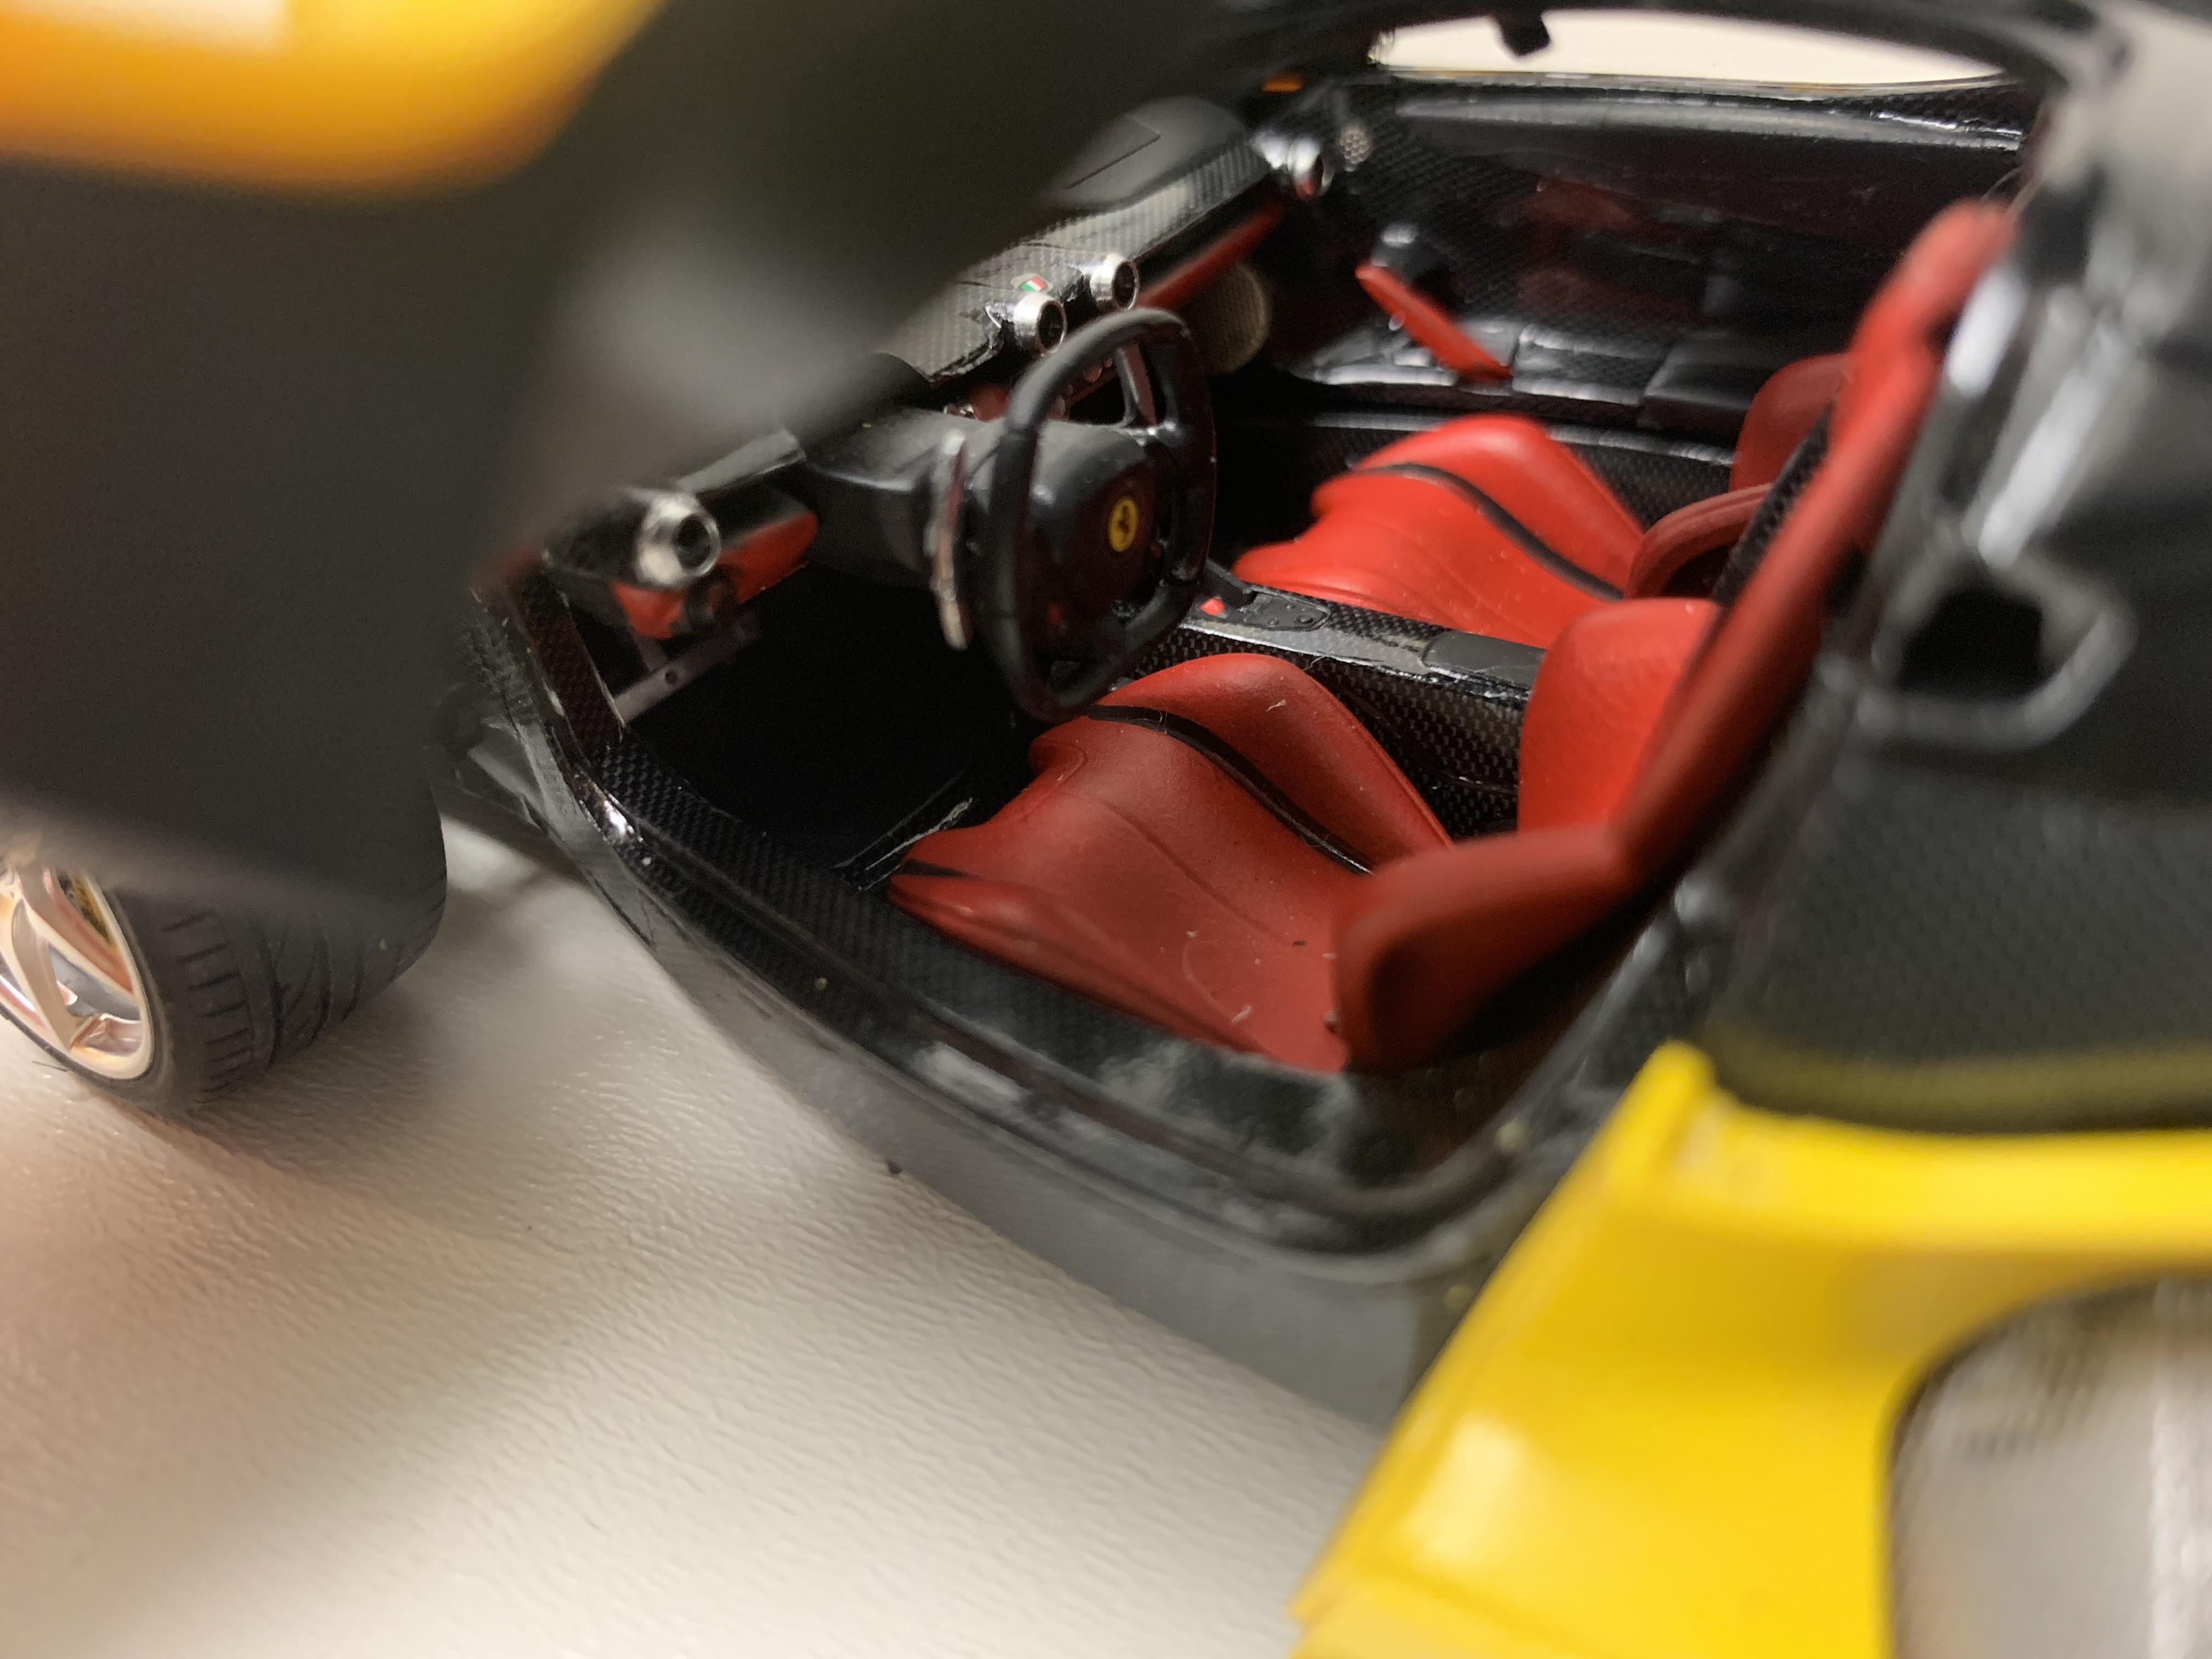
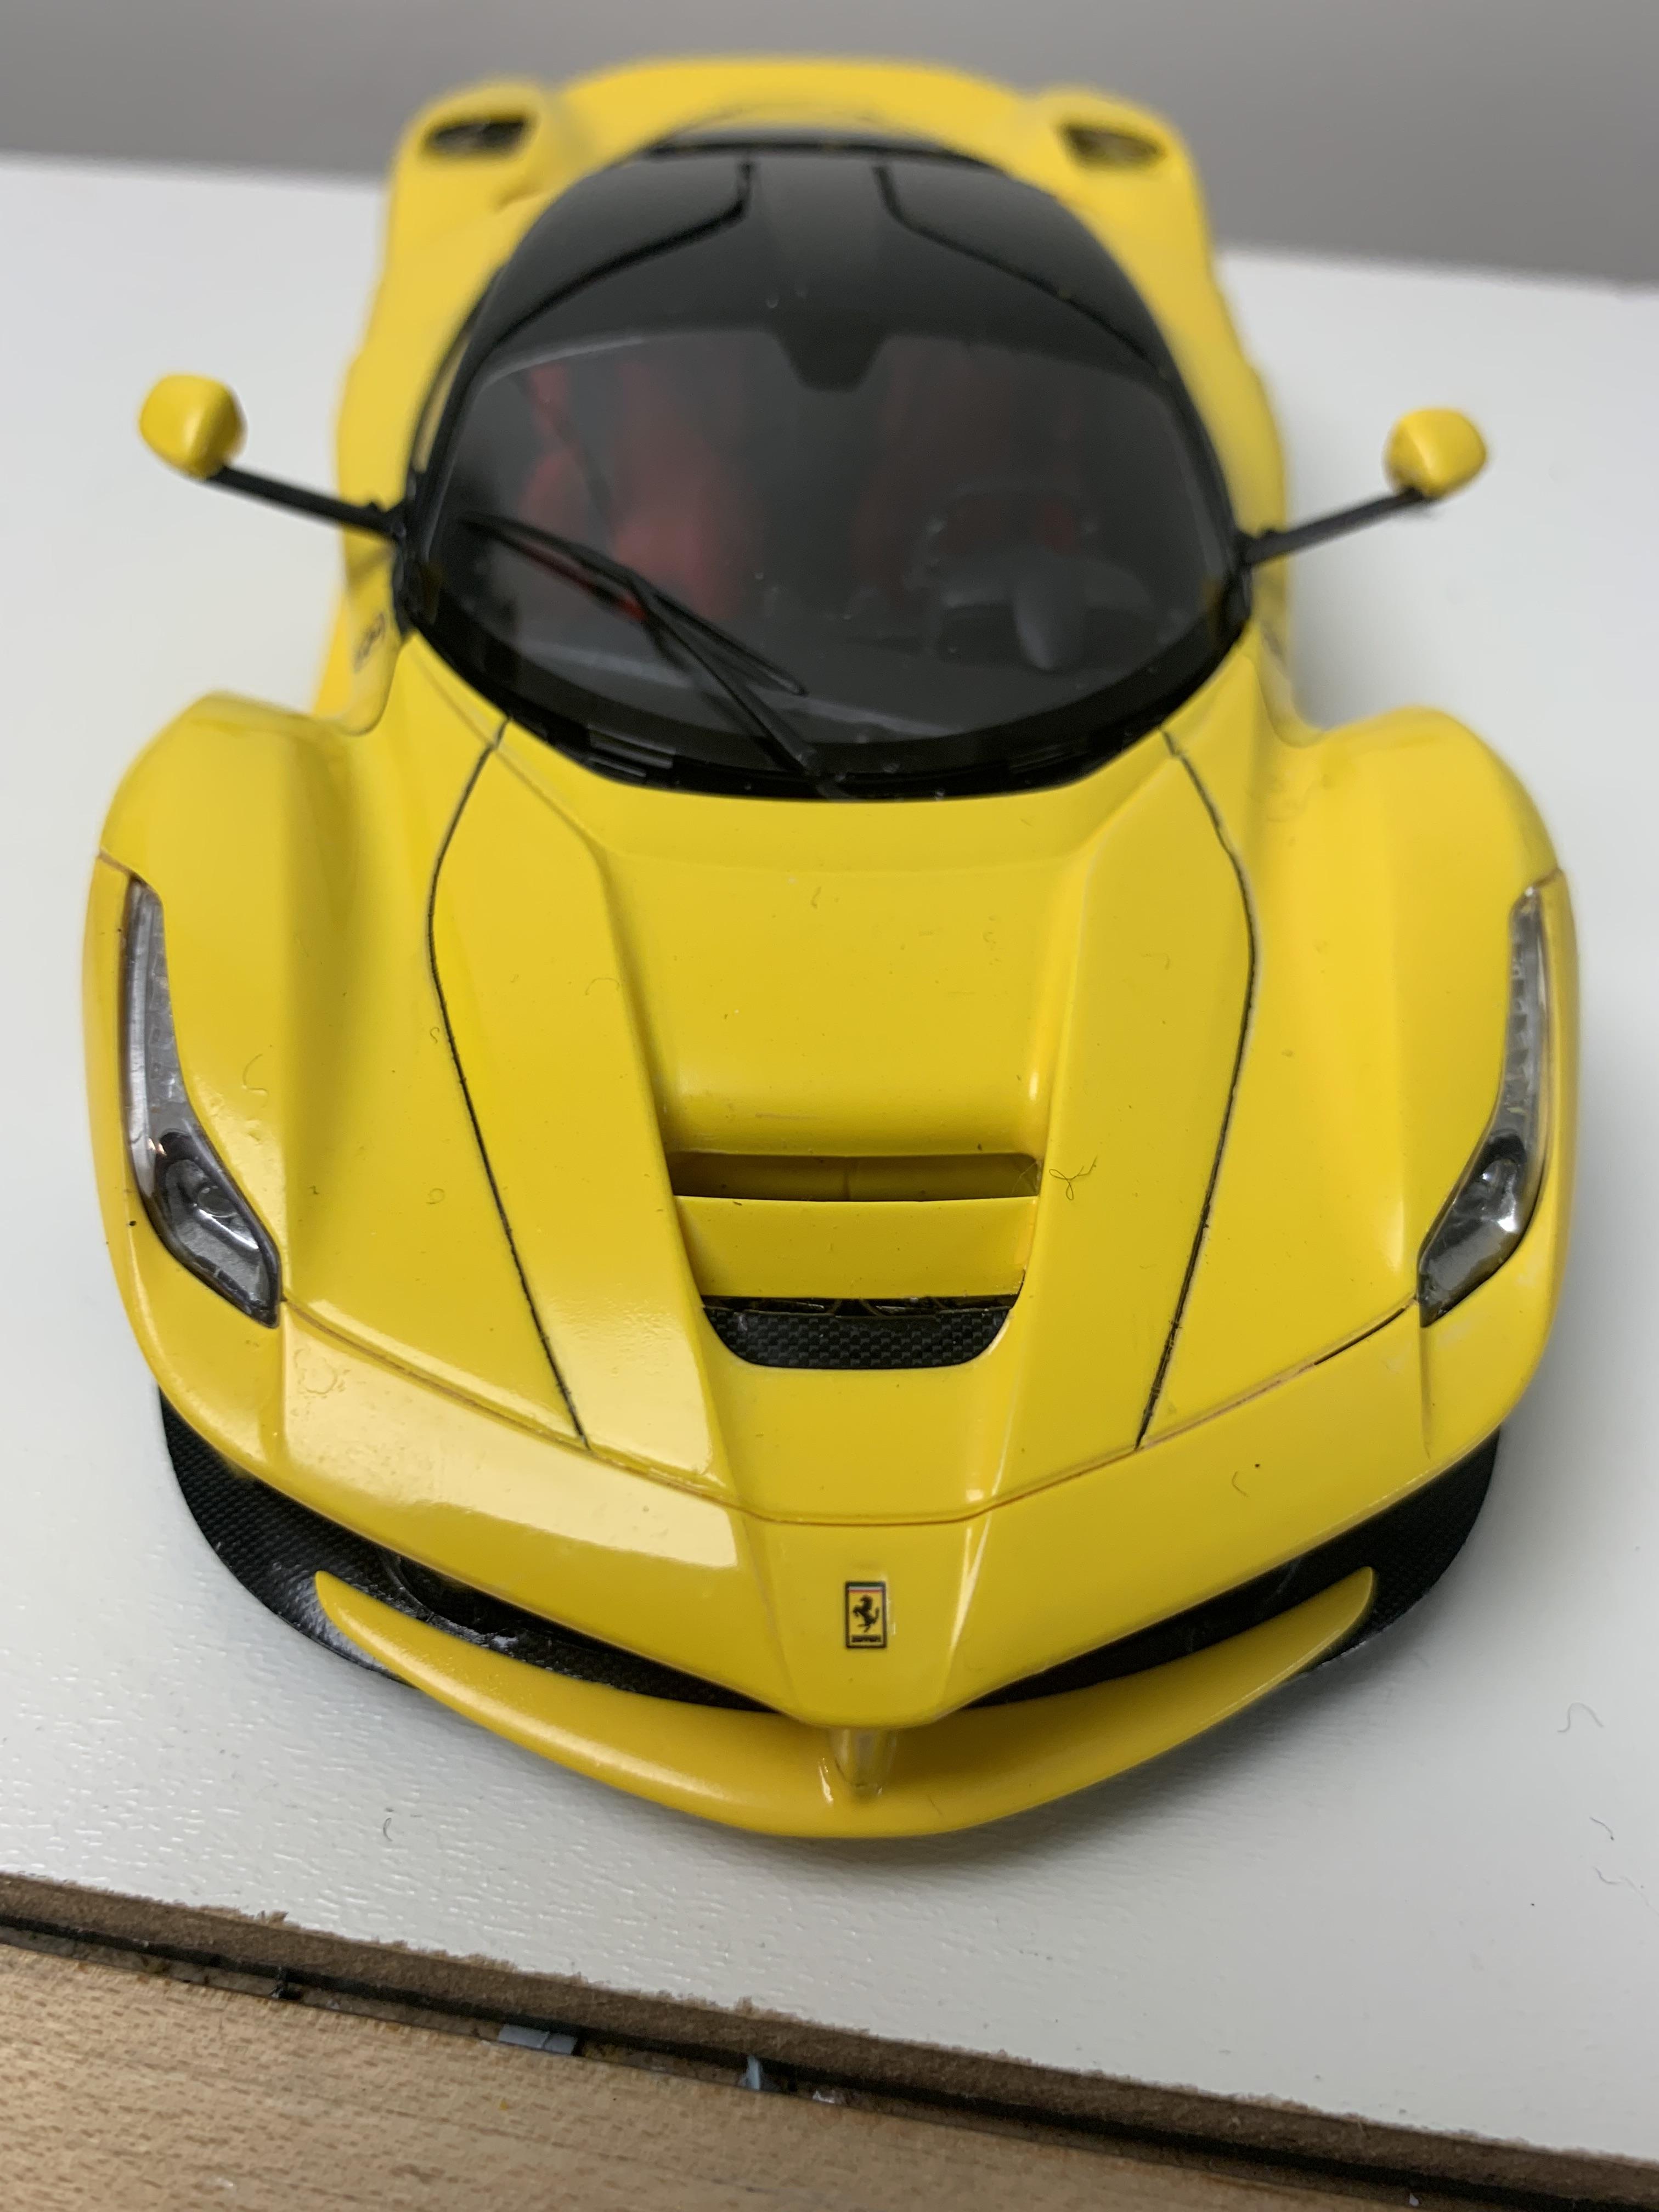
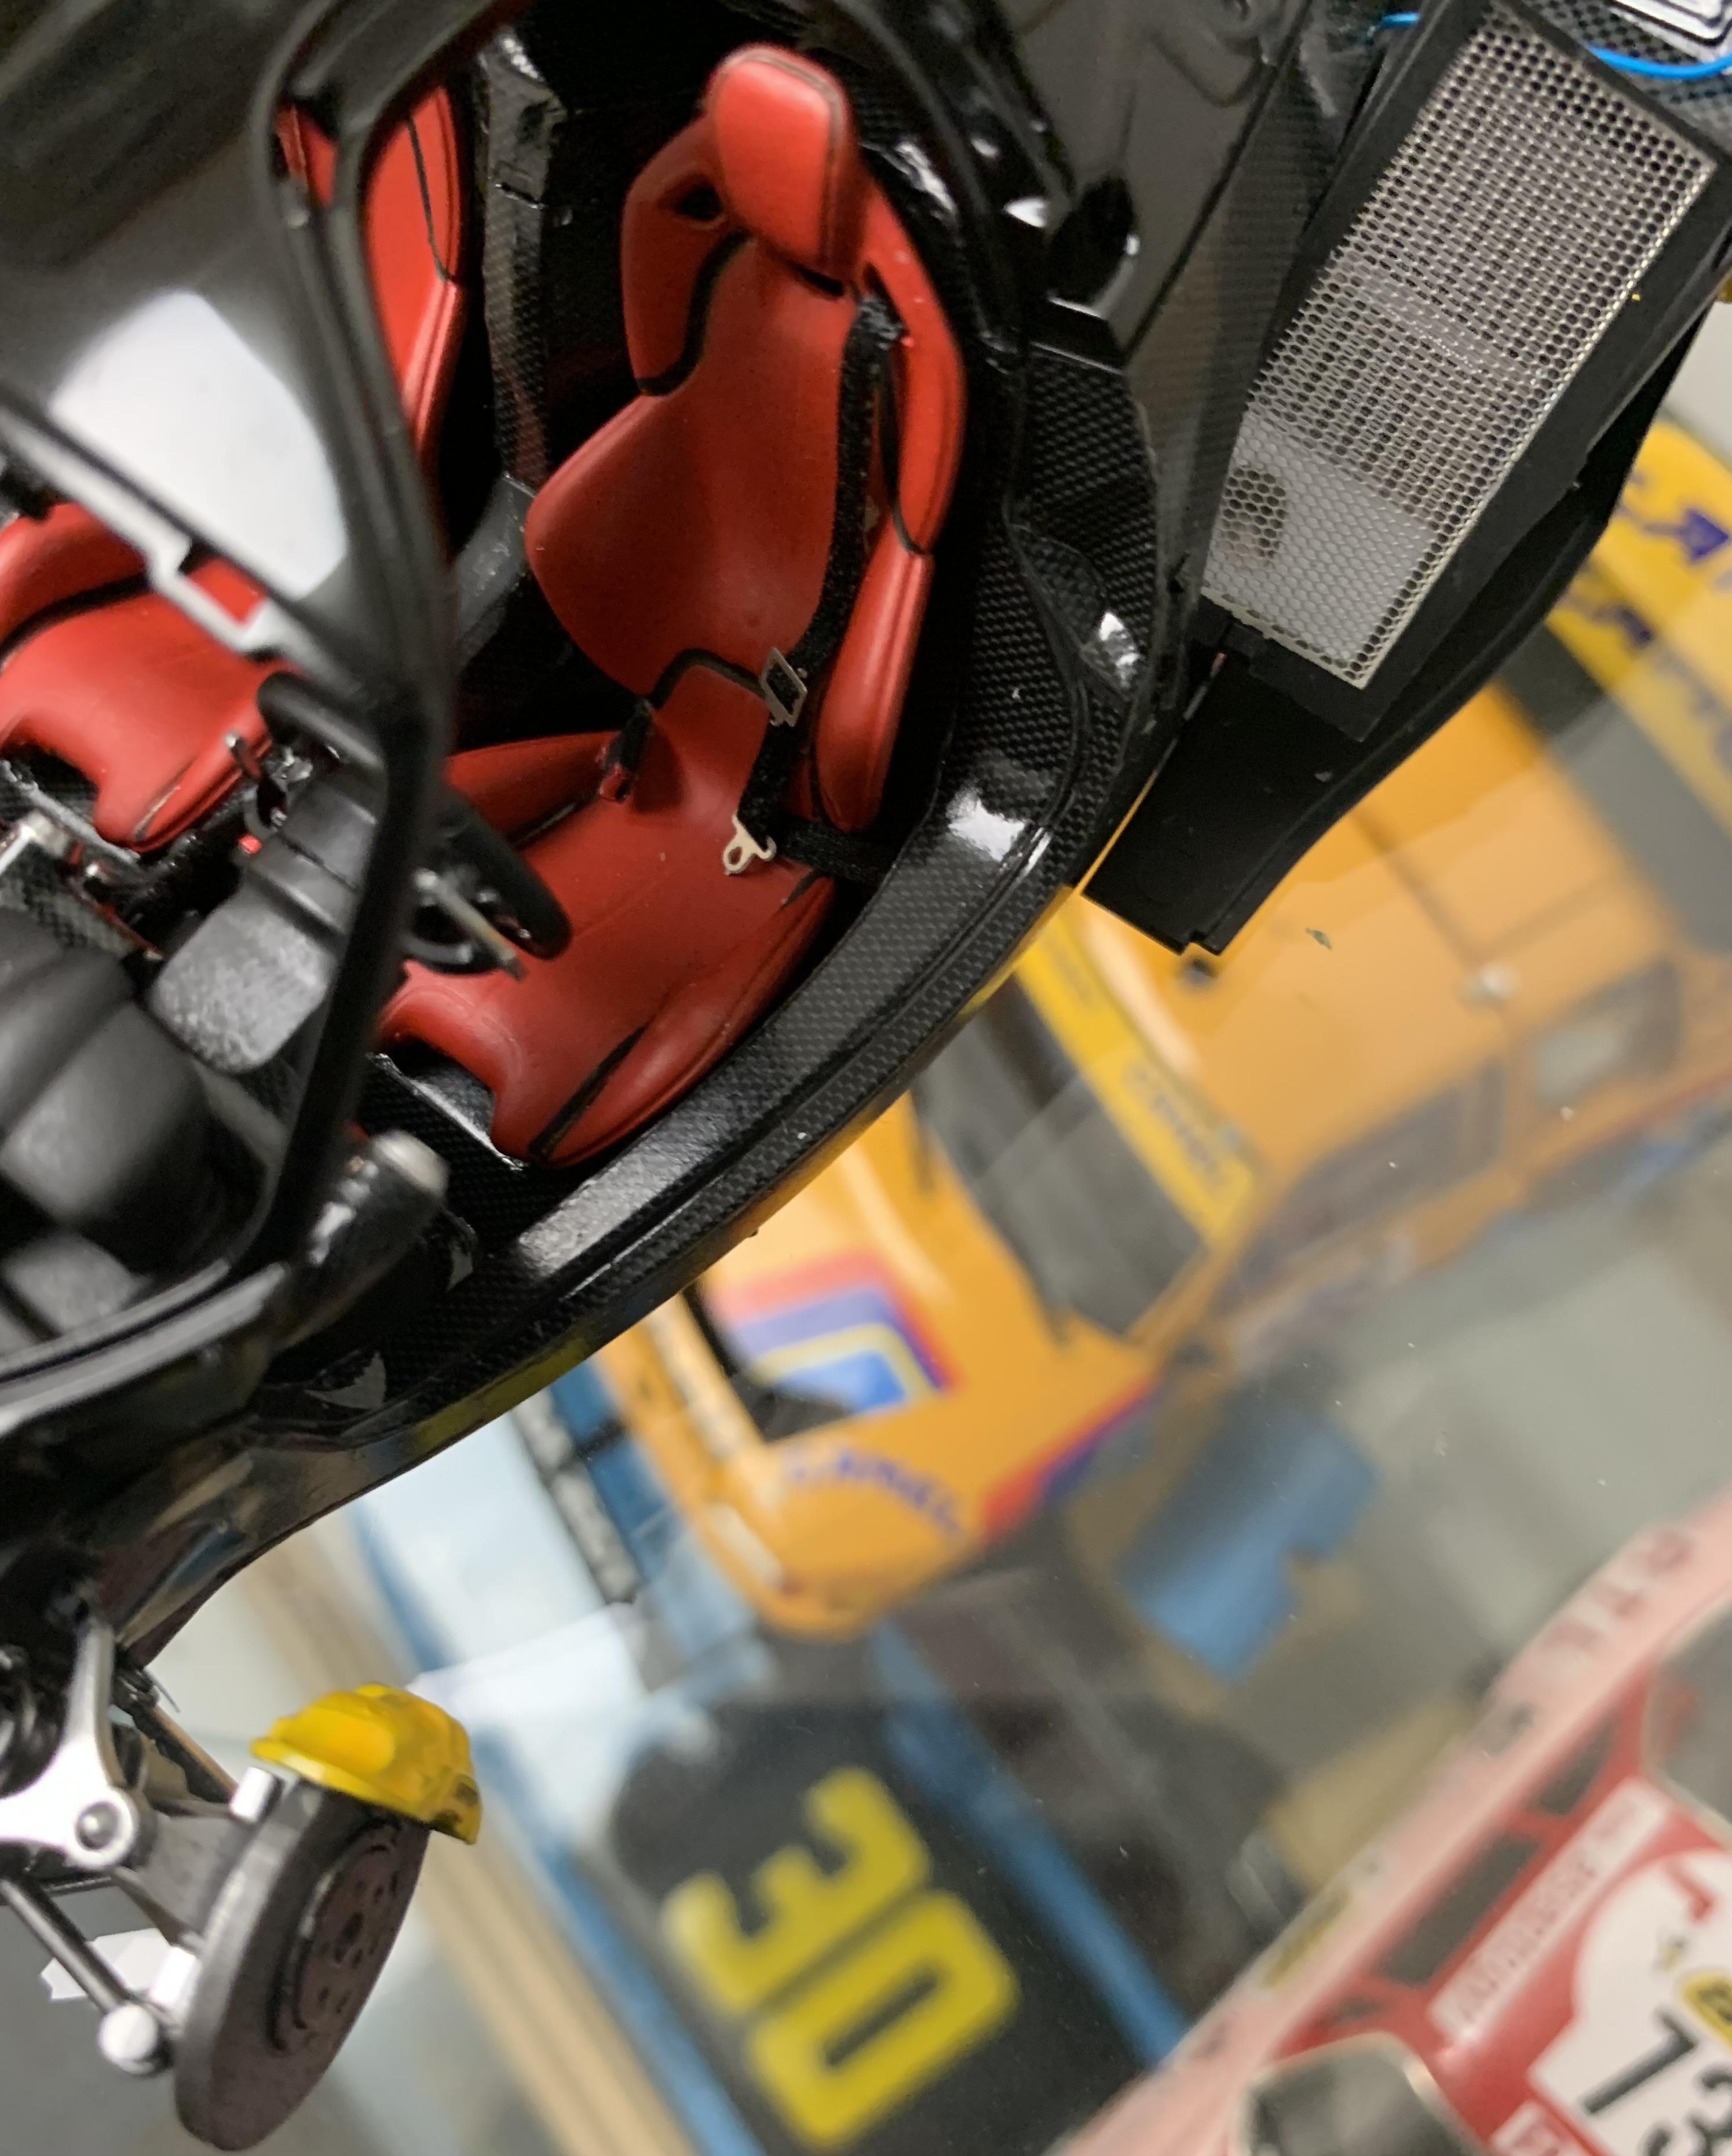
Thanks. I agree. Very challenging. The doors came together ok, although I had to read the instructions about 10 times until I got it right. The bigger issue for me were the rest of the body panels. I scraped some plastic from underside of the engine cover - because it seemed to be hitting the rear wheel wells and causing a big gap. Then there is a side body panel that covers some of the radiators - and I adjusted them so they closed the gap with engine cover. I'm not done yet, so this could still go south on me. But so far so good.
-
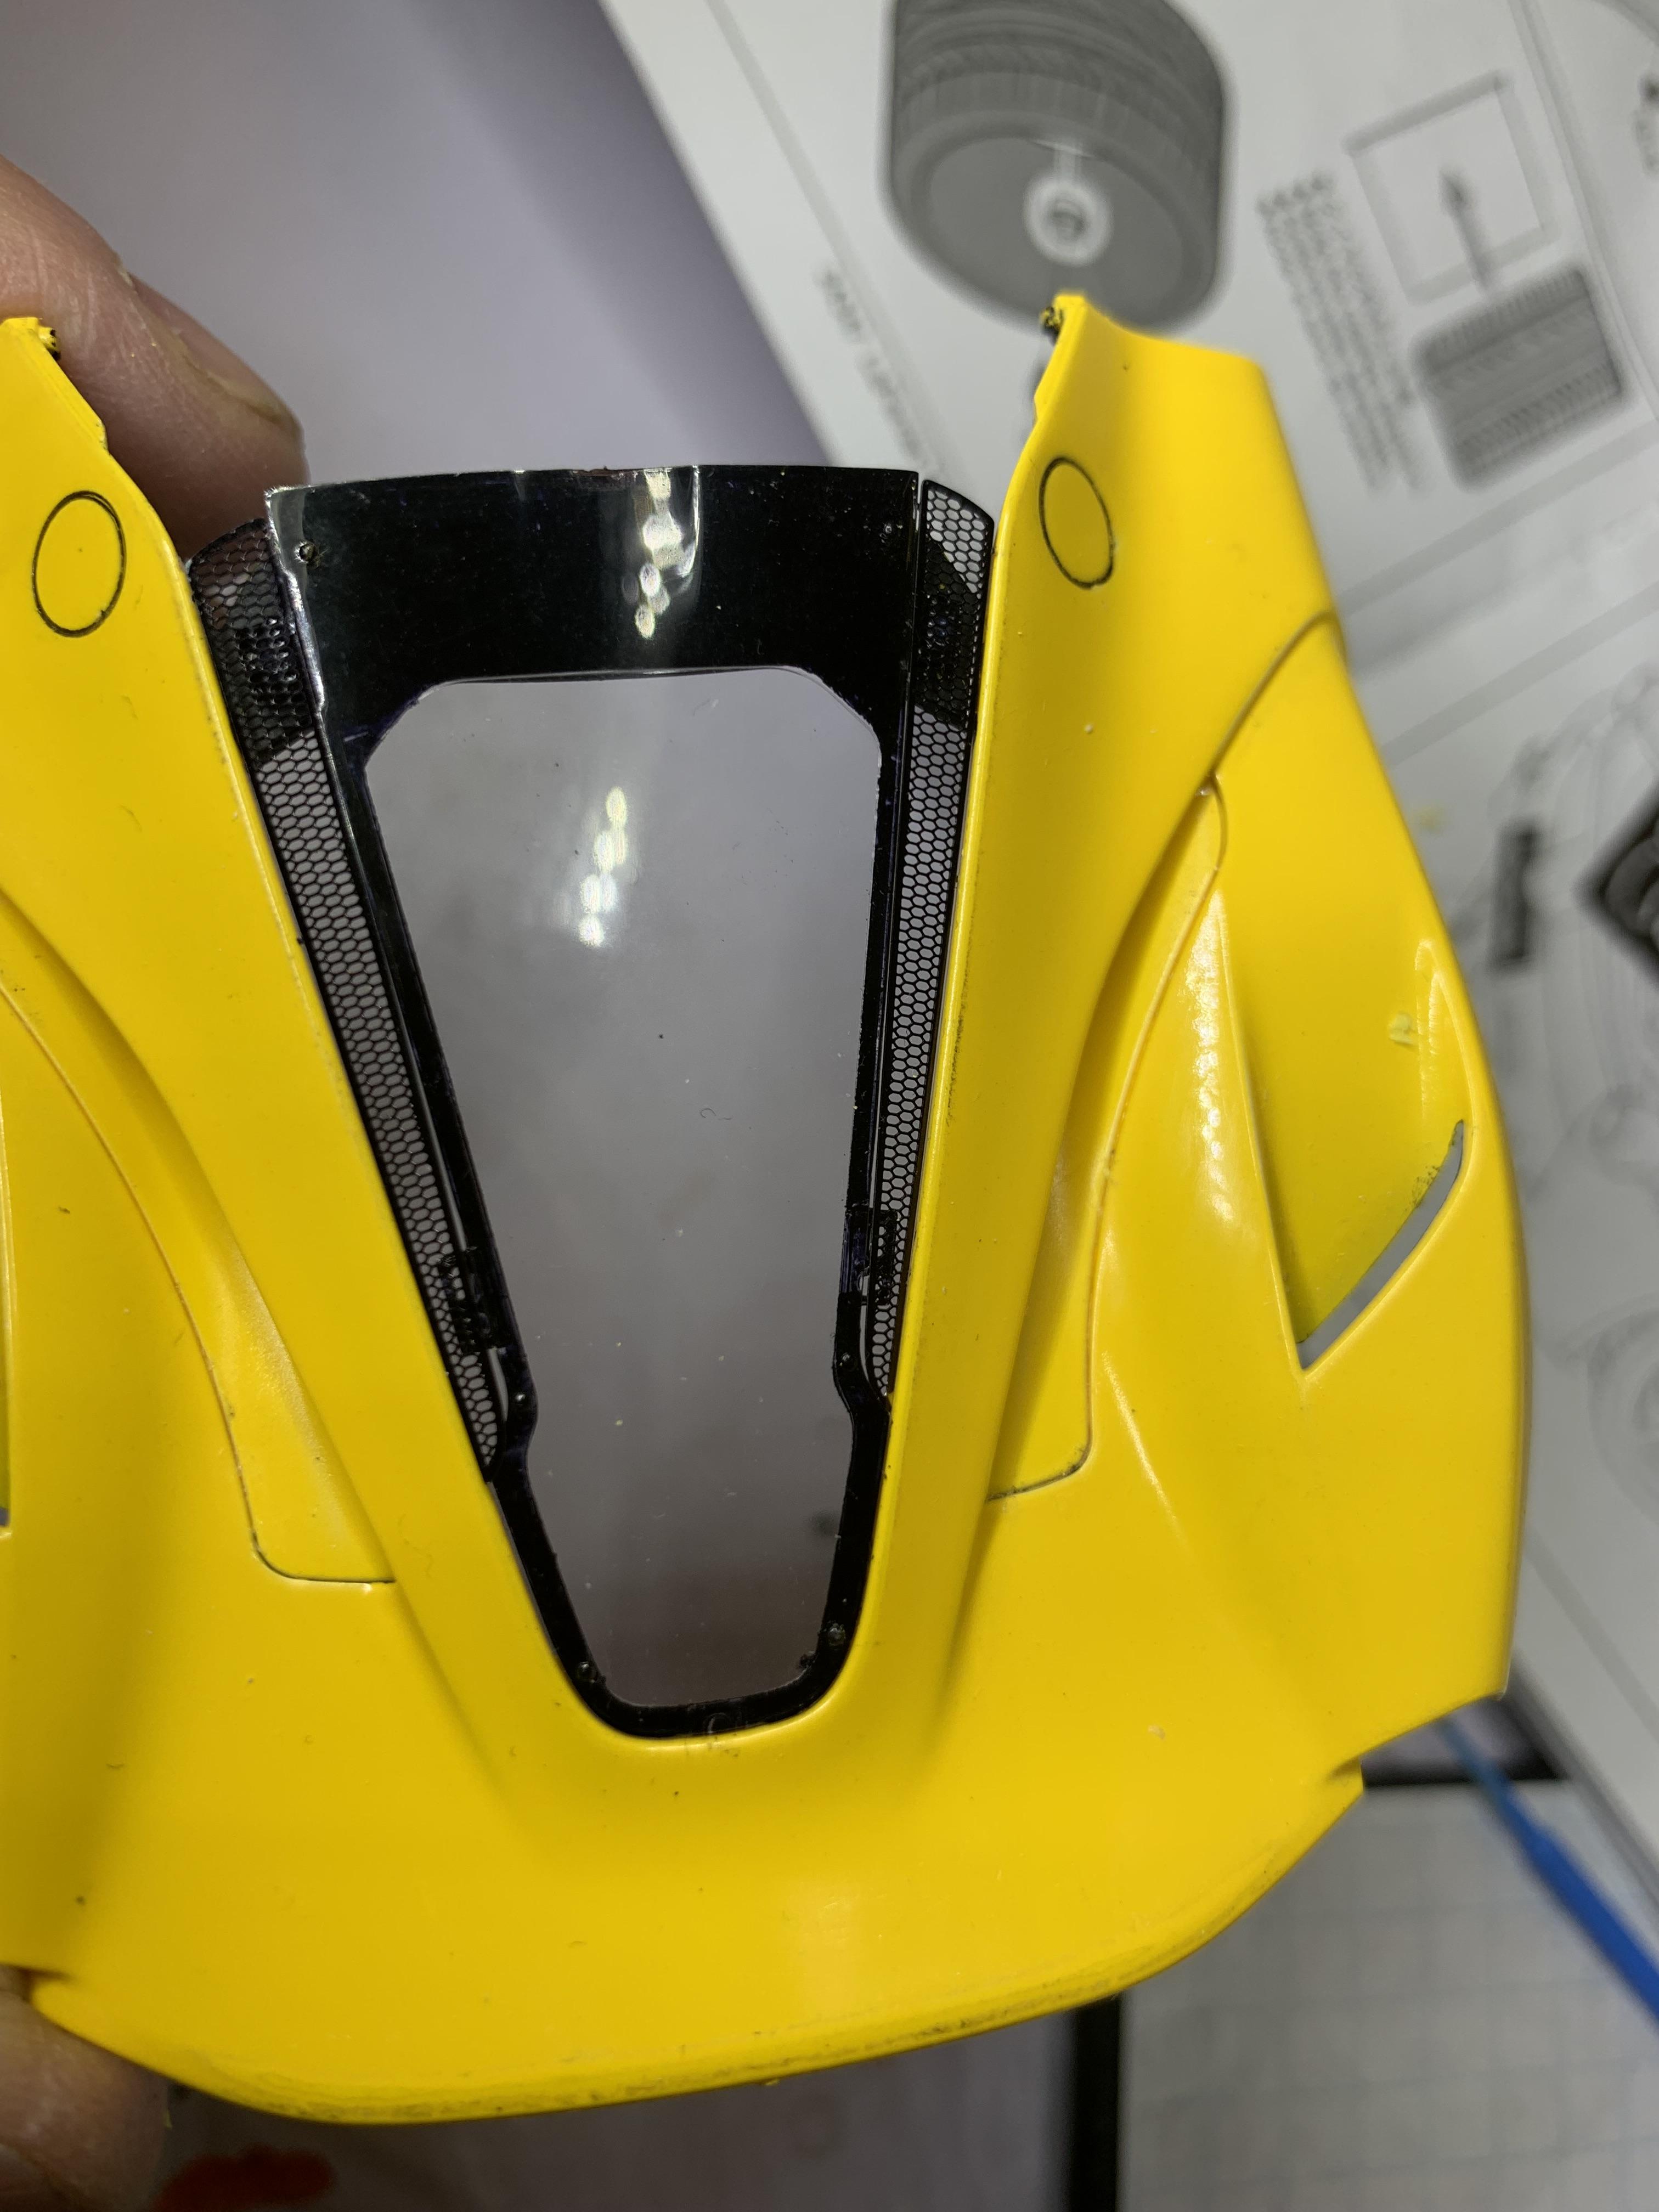
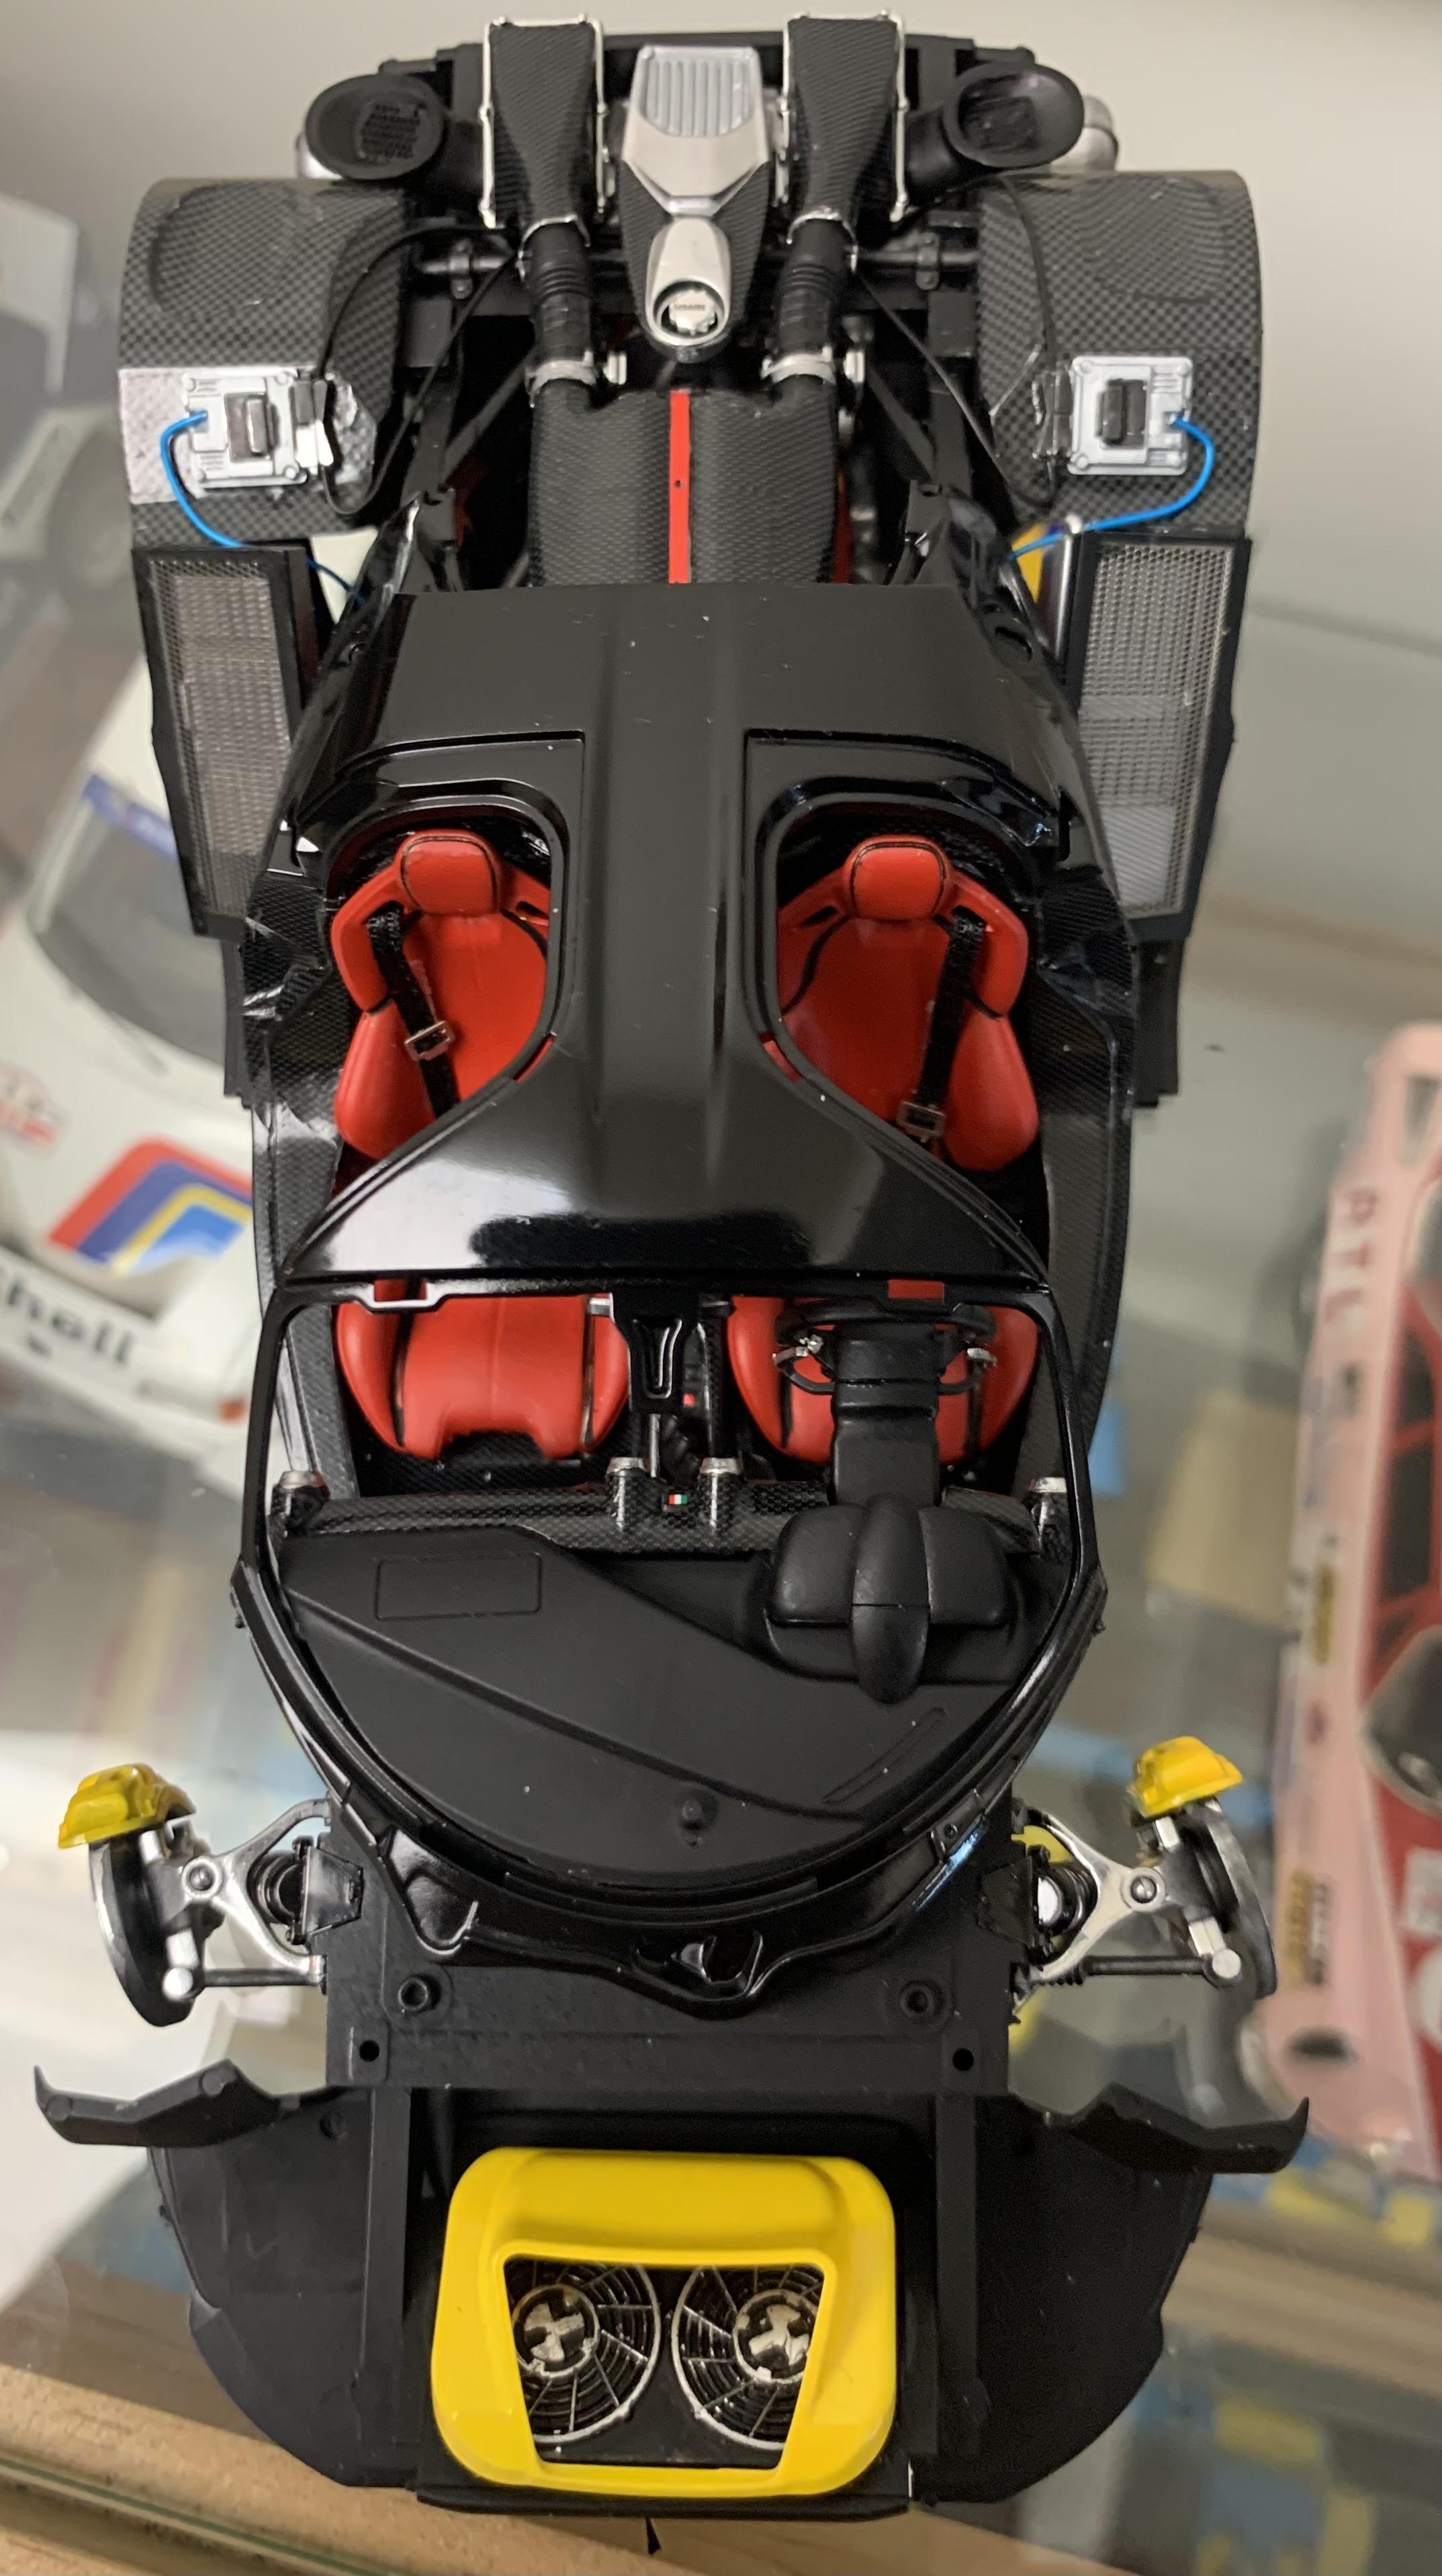
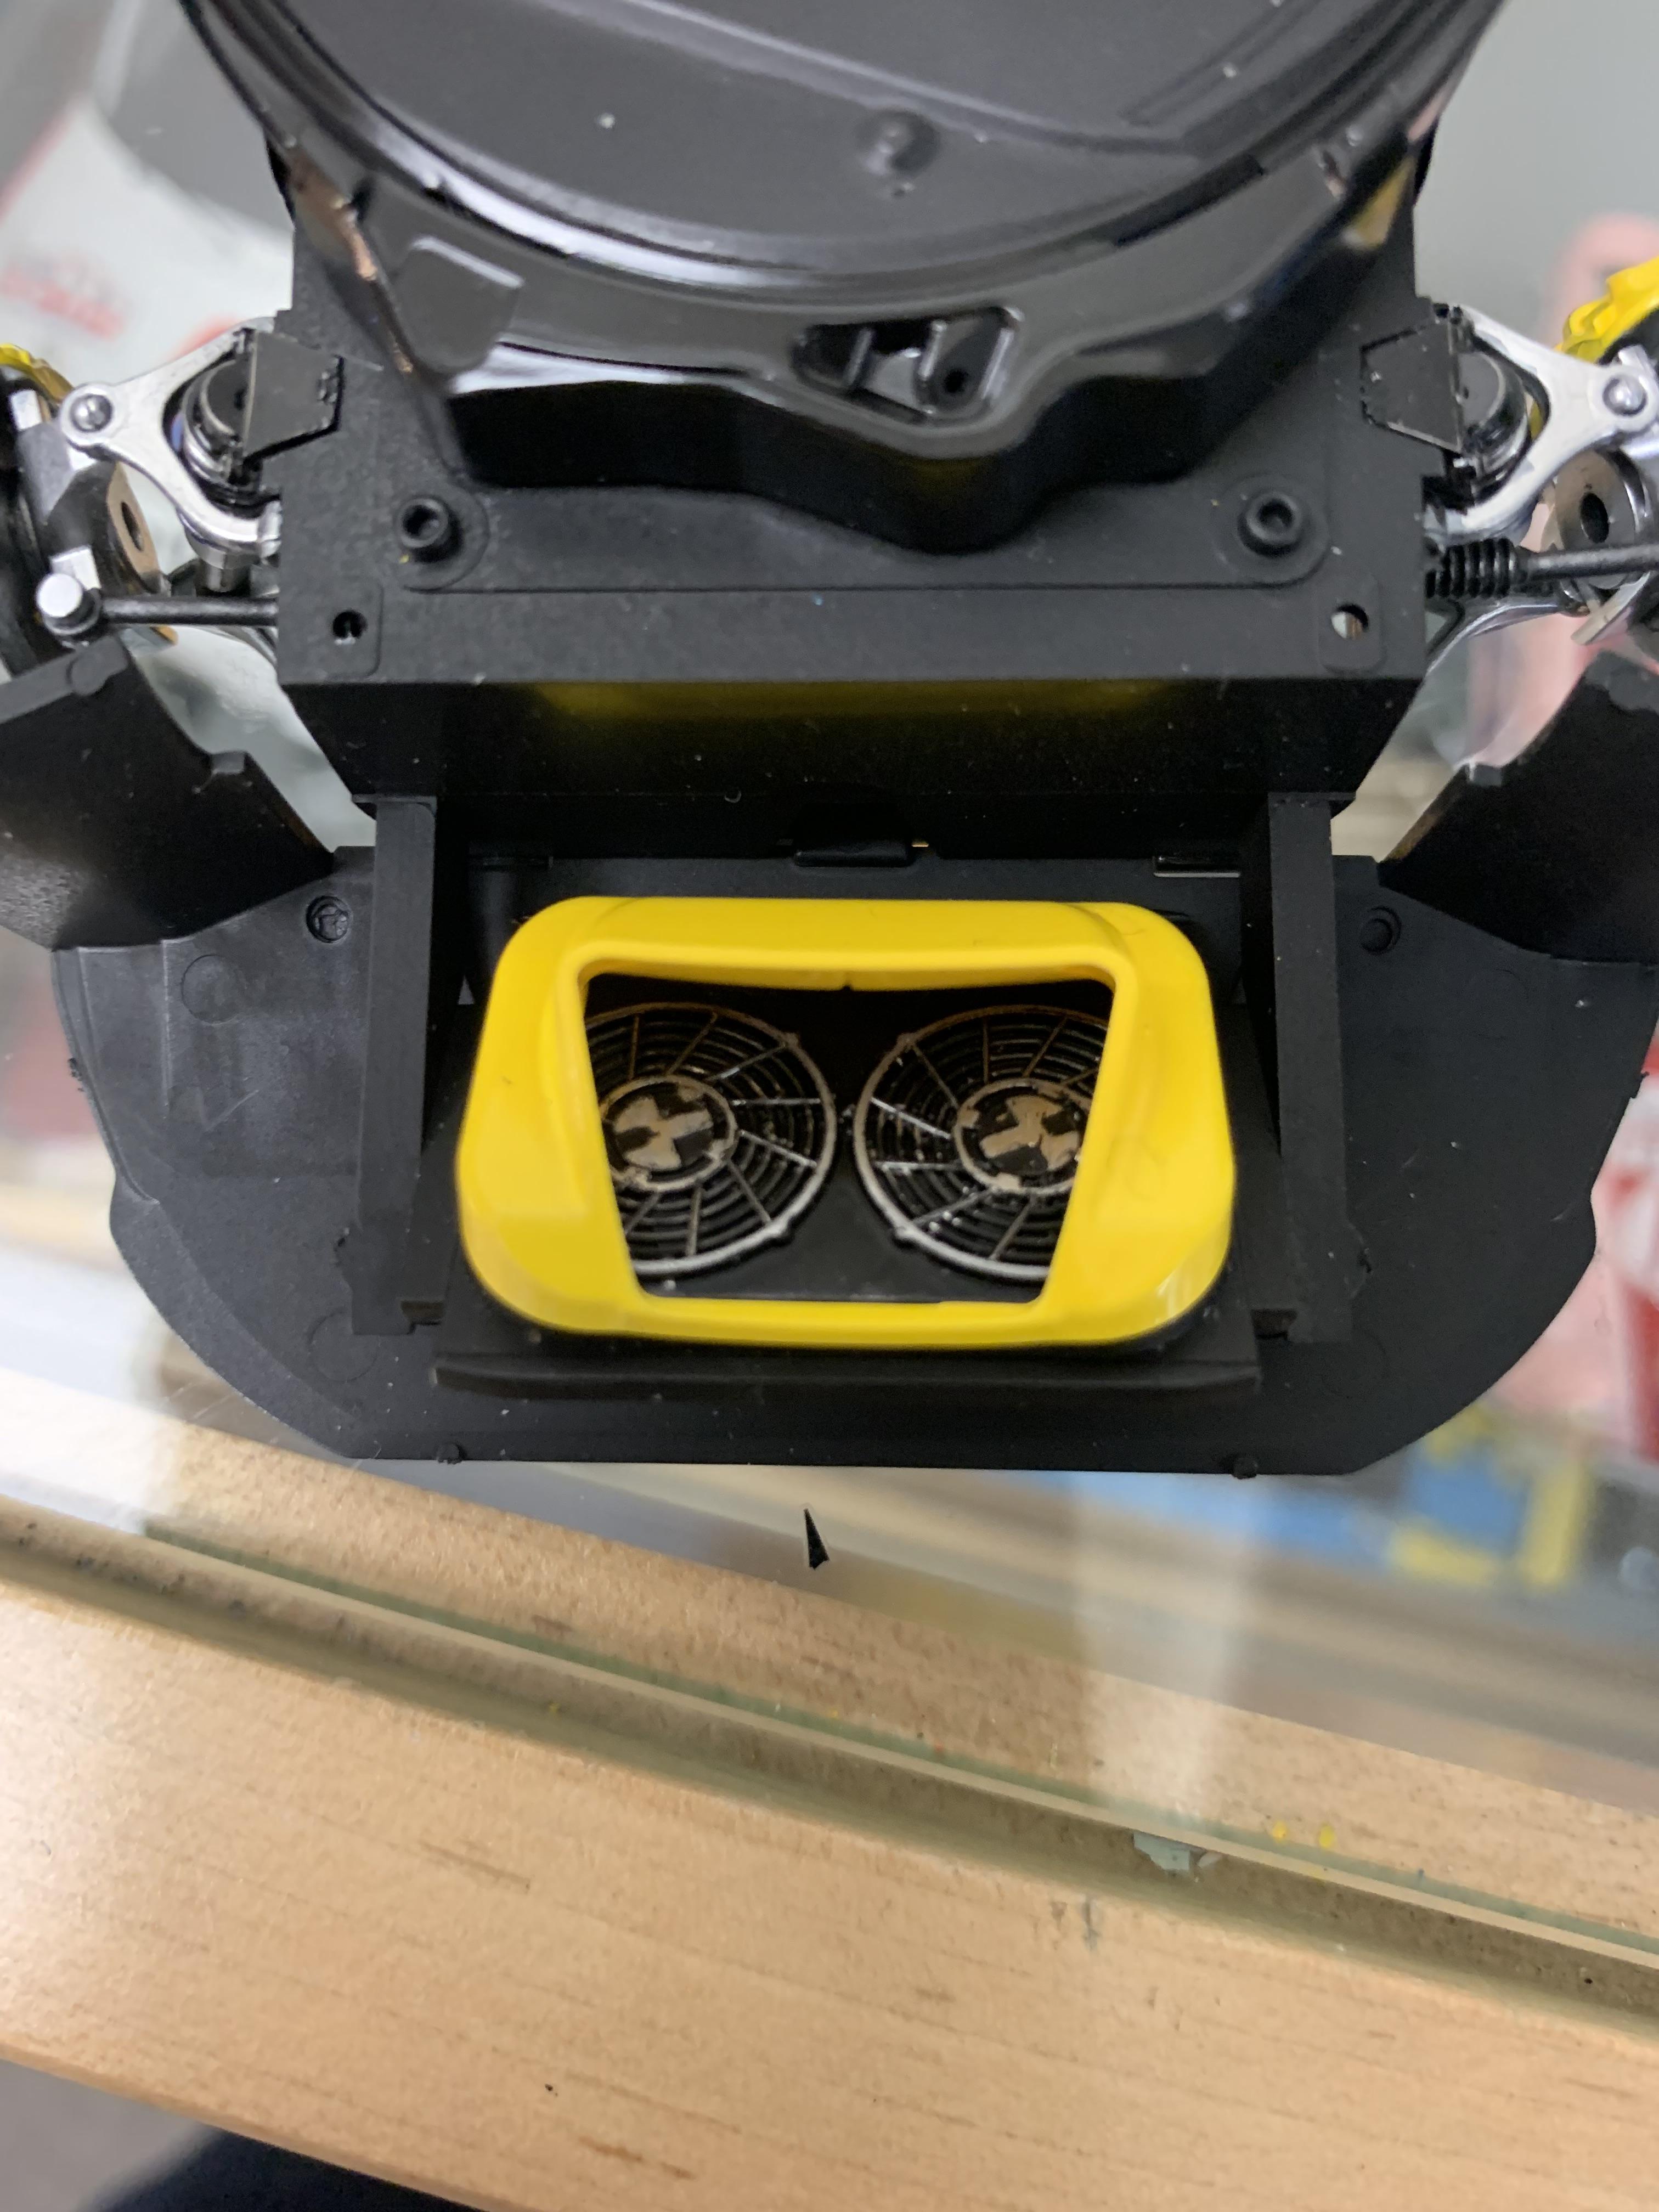
Now, test fitting the body panels. Color is Tamiya TS 16. Sprayed and glossed over the yellow body as it came in the kit. Used after market mesh for various vents and ports.
-
Thank you. I would advise to do a lot of test fitting of the body panels. Still working that out but more updates soon.
-
WIP for first build of 2024. Used after-market carbon fiber and photo etch. Looking forward, the biggest challenge for this Tamiya kit is body panels fitting together with minimal gap. At least, that's the case for me. Taking a long time to complete this, next up will be test fitting the body panels. Happy 2024 everybody.
-
Renault Estafette service van
dougwintz replied to dougwintz's topic in Model Trucks: Pickups, Vans, SUVs, Light Commercial
Yes....it is 1/24 scale. From Heller, a French company. But you can actually get it here https://www.modelroundup.com/Renault-Estafette-Delivery-Van-p/heller-80743.htm -
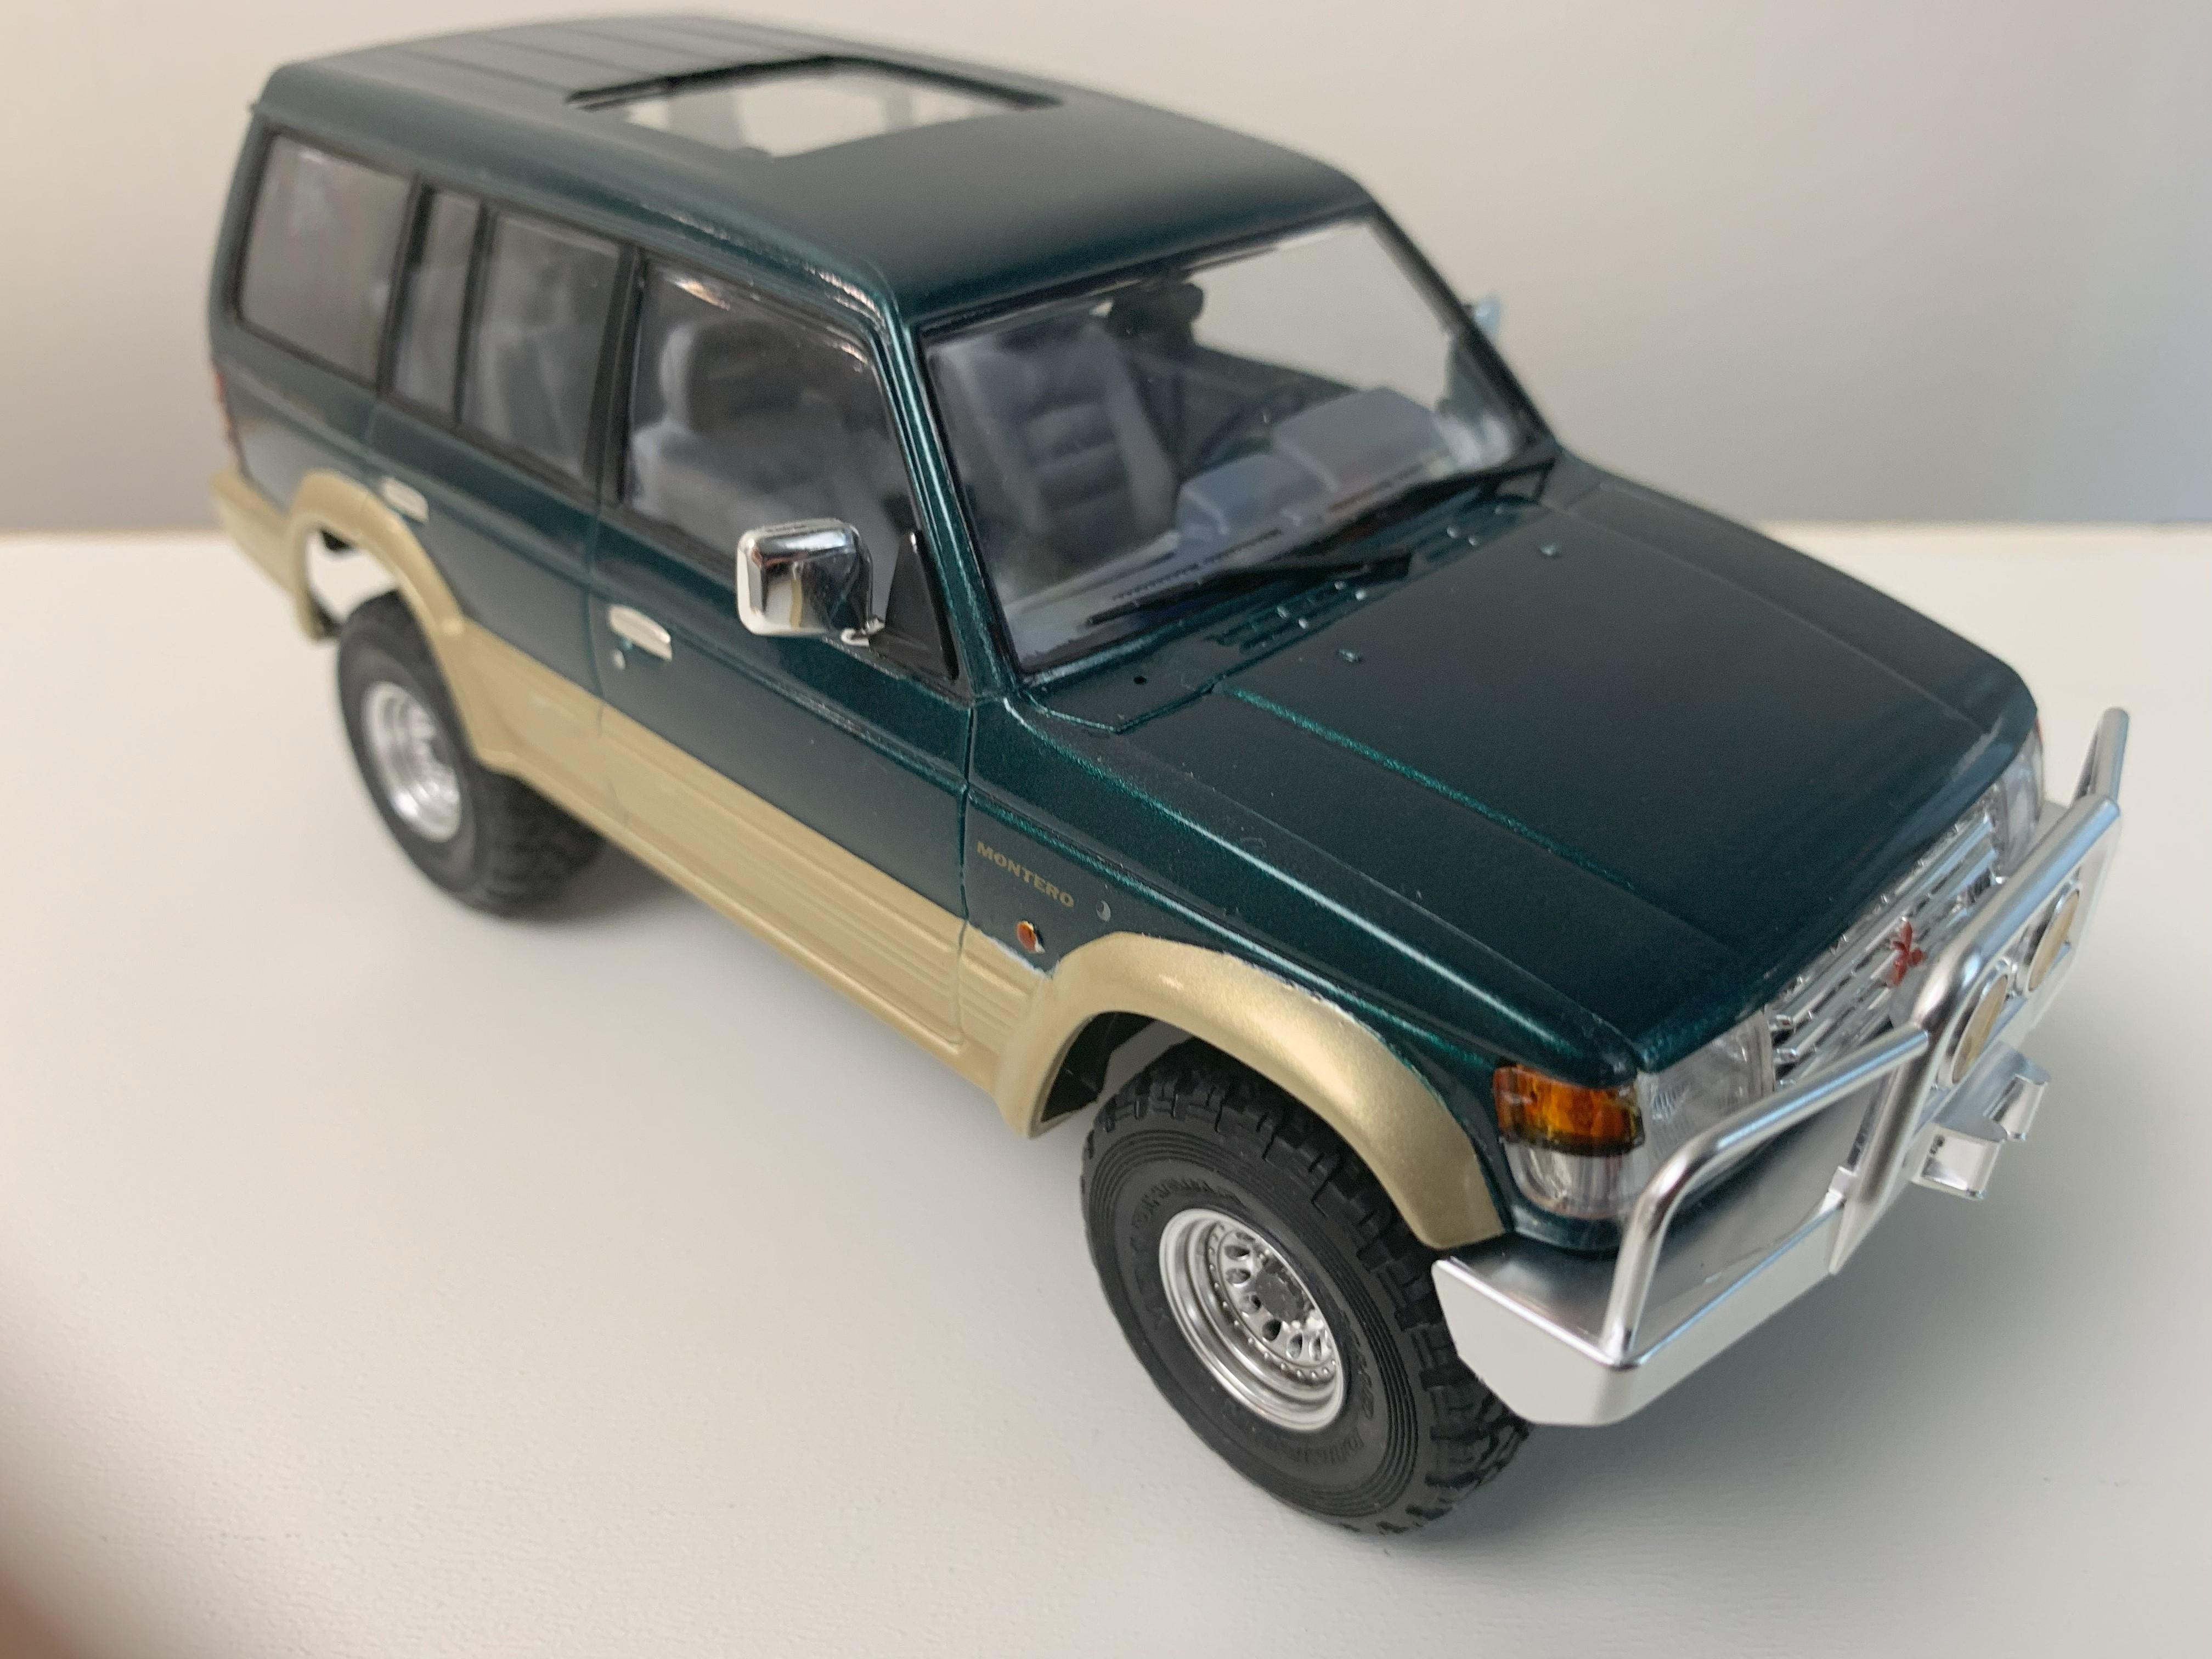
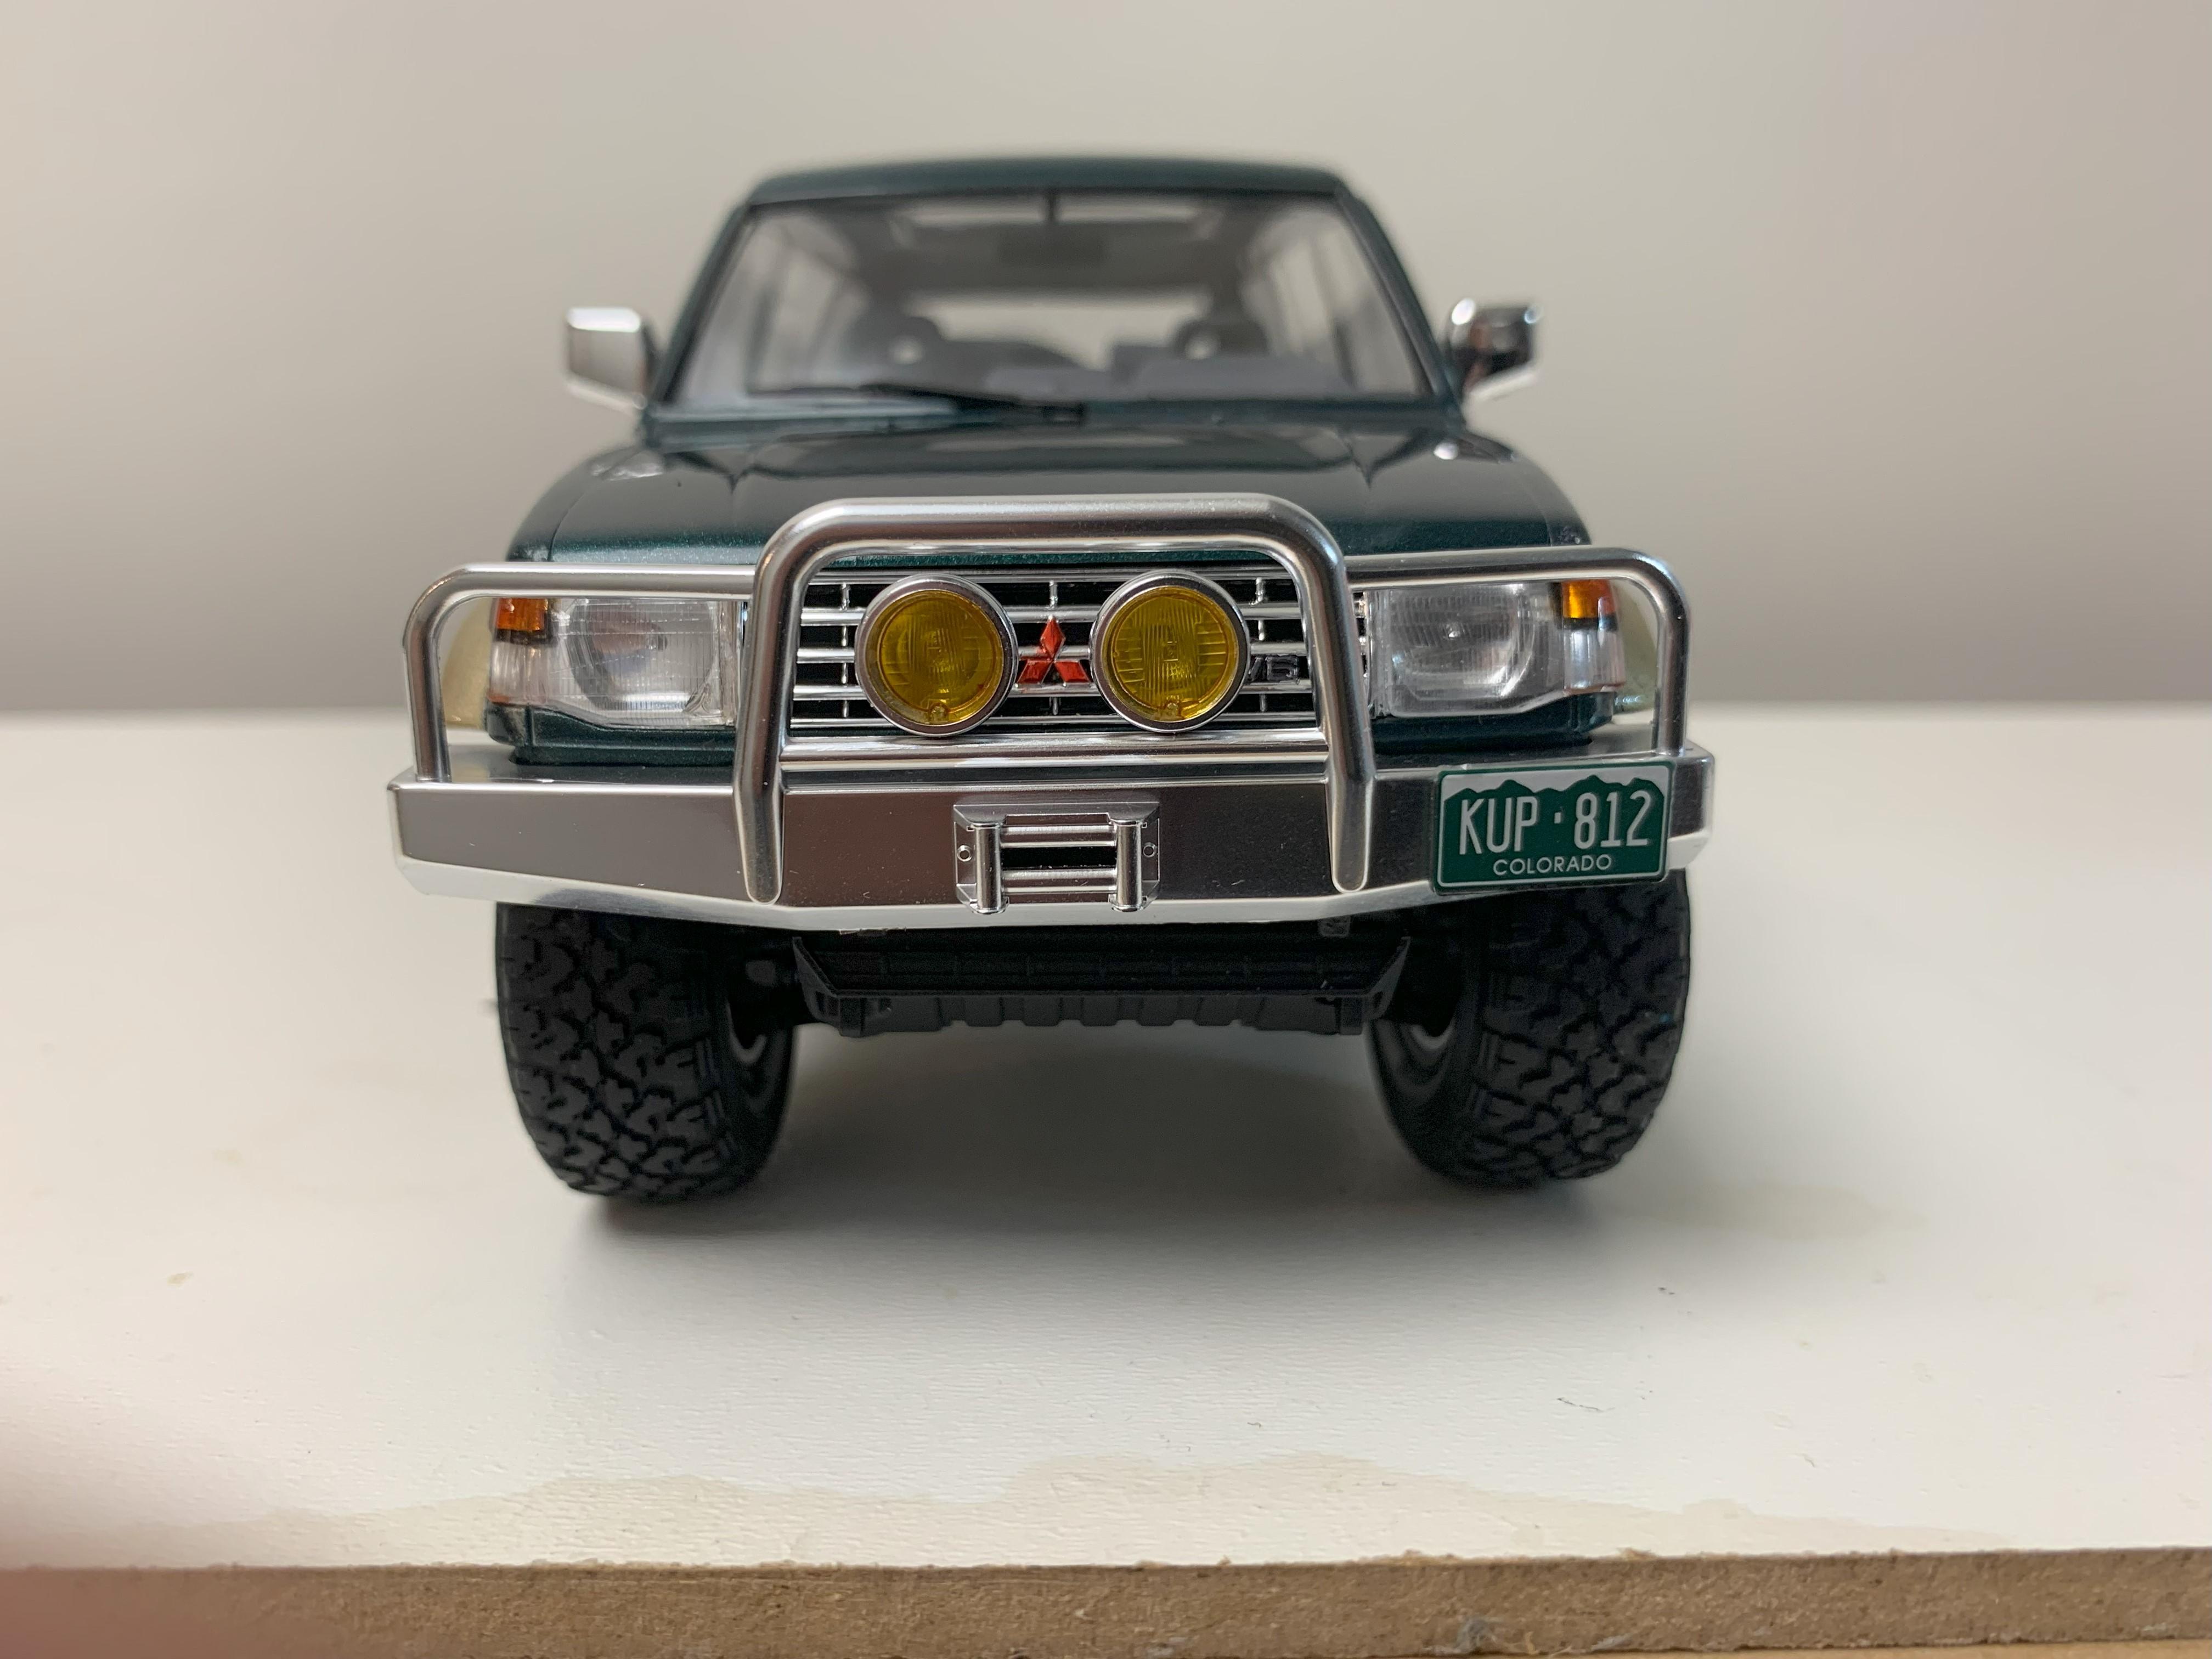
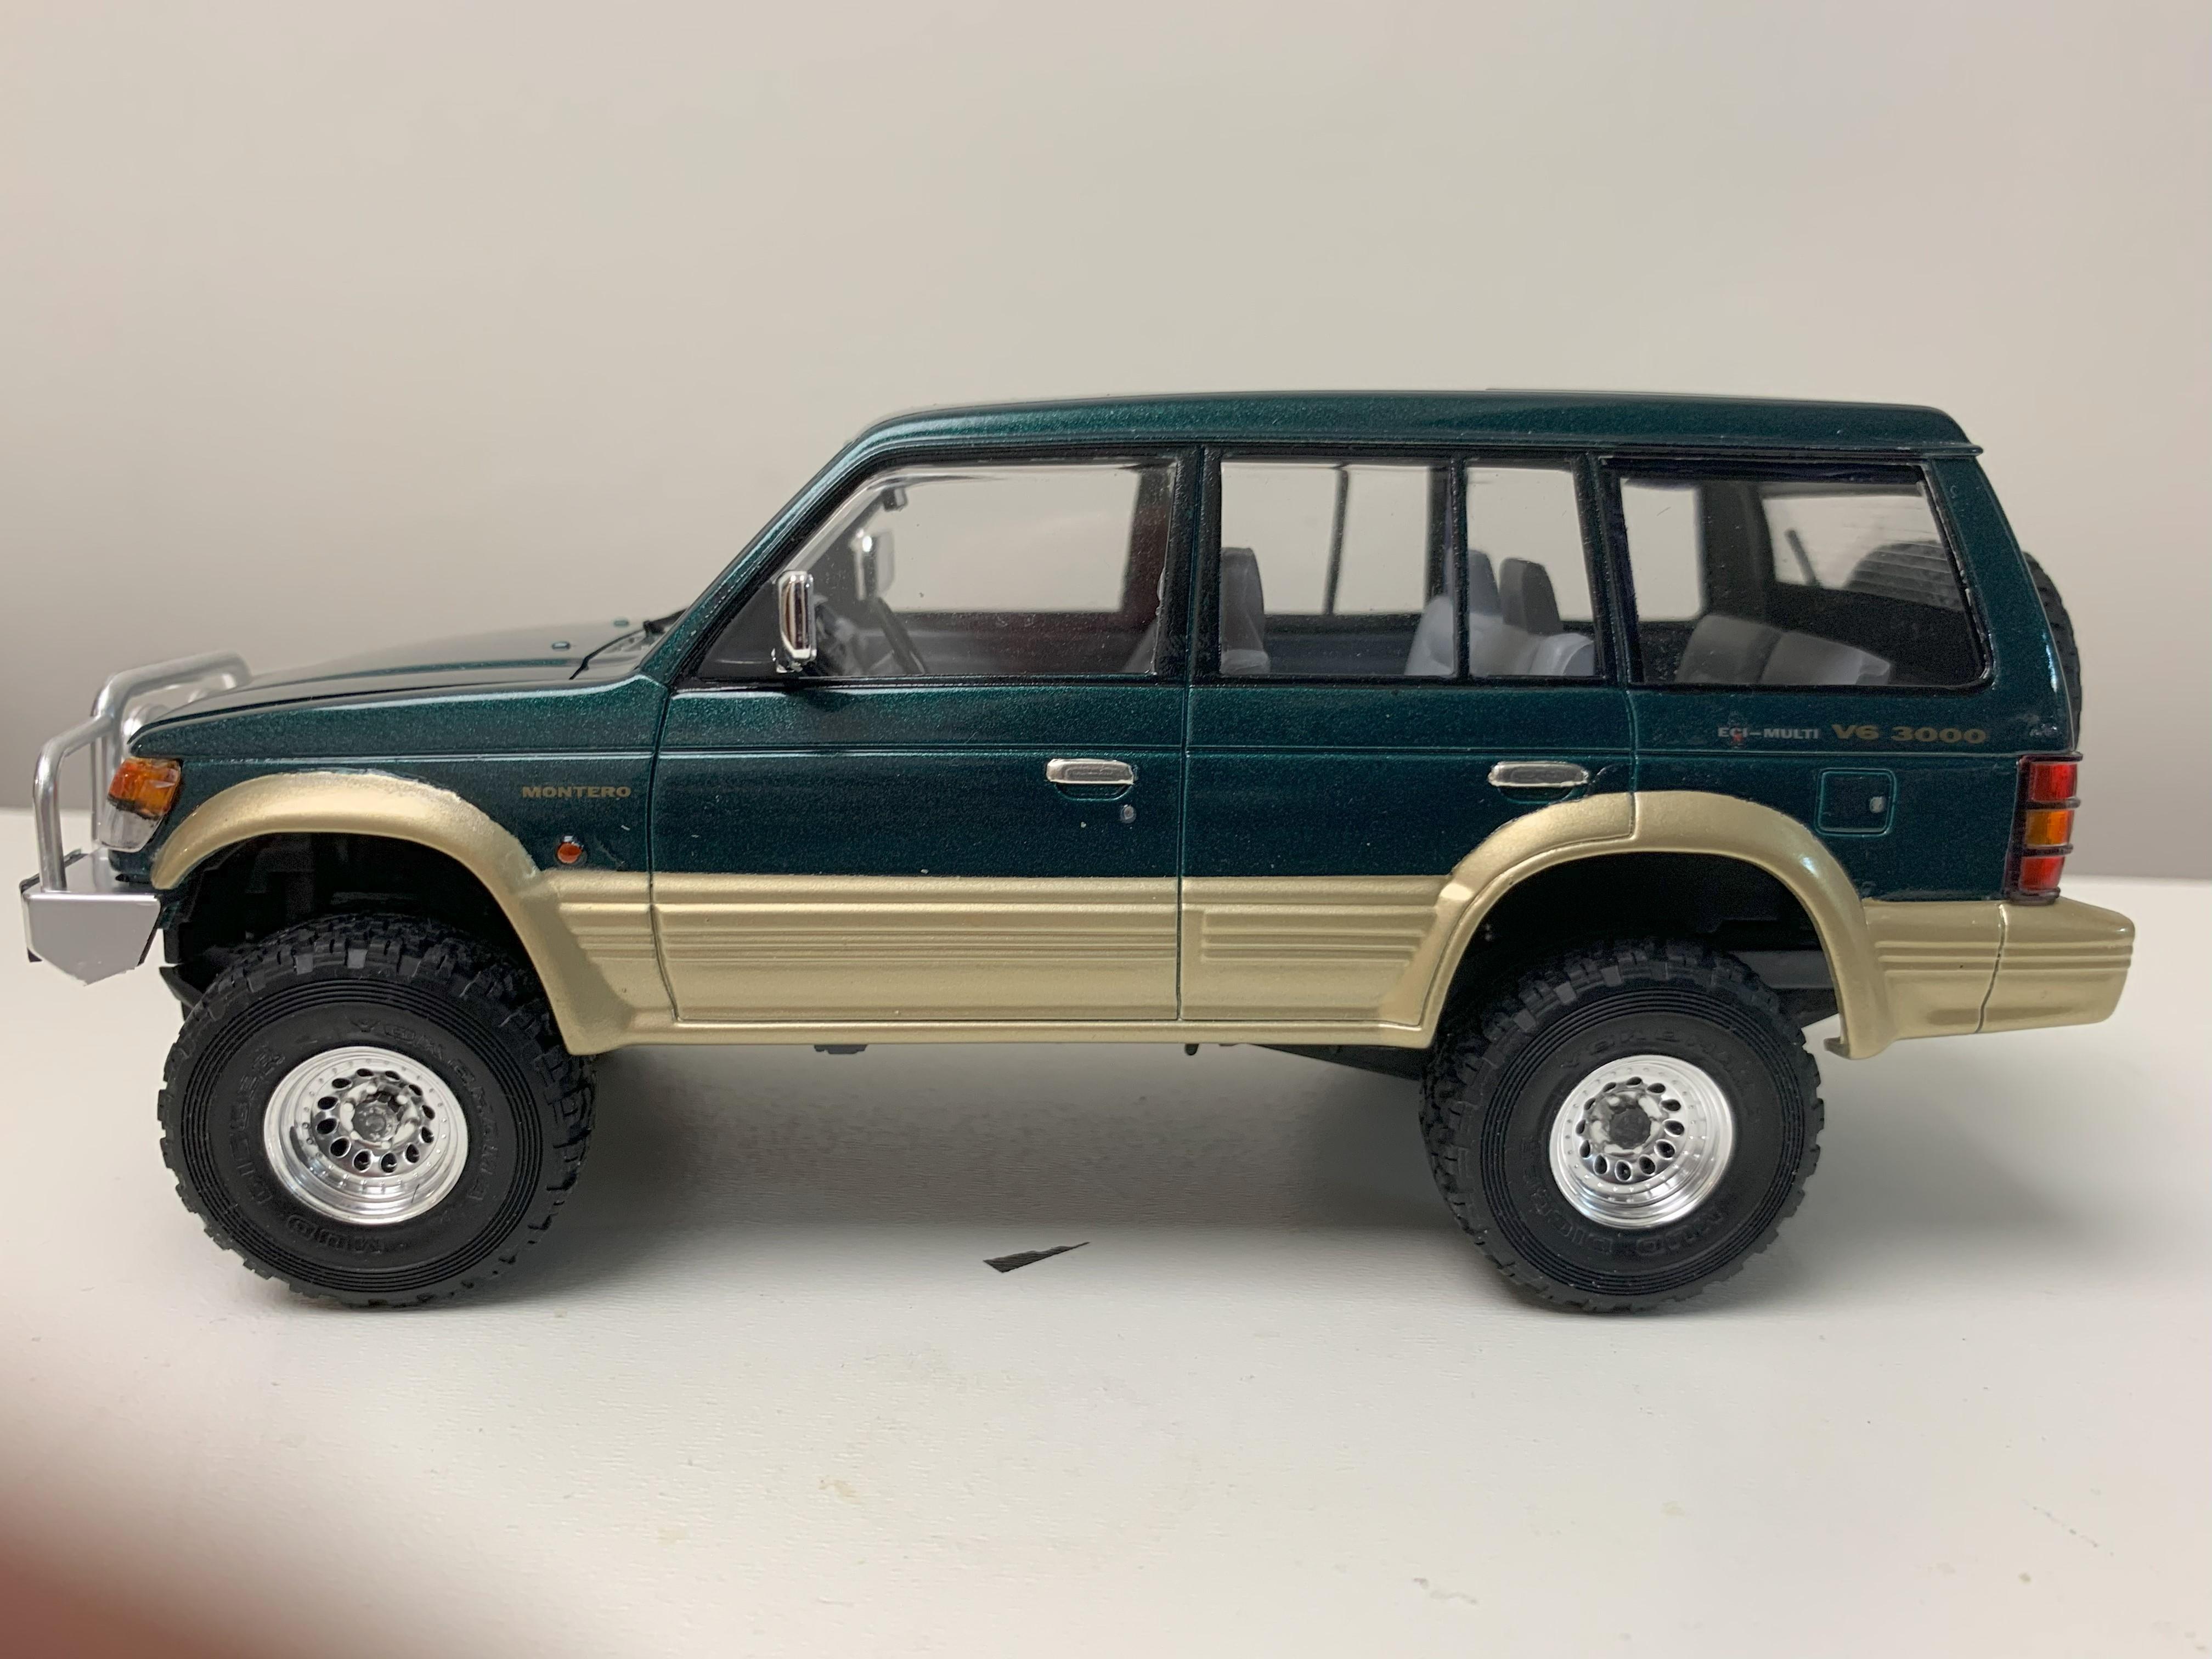
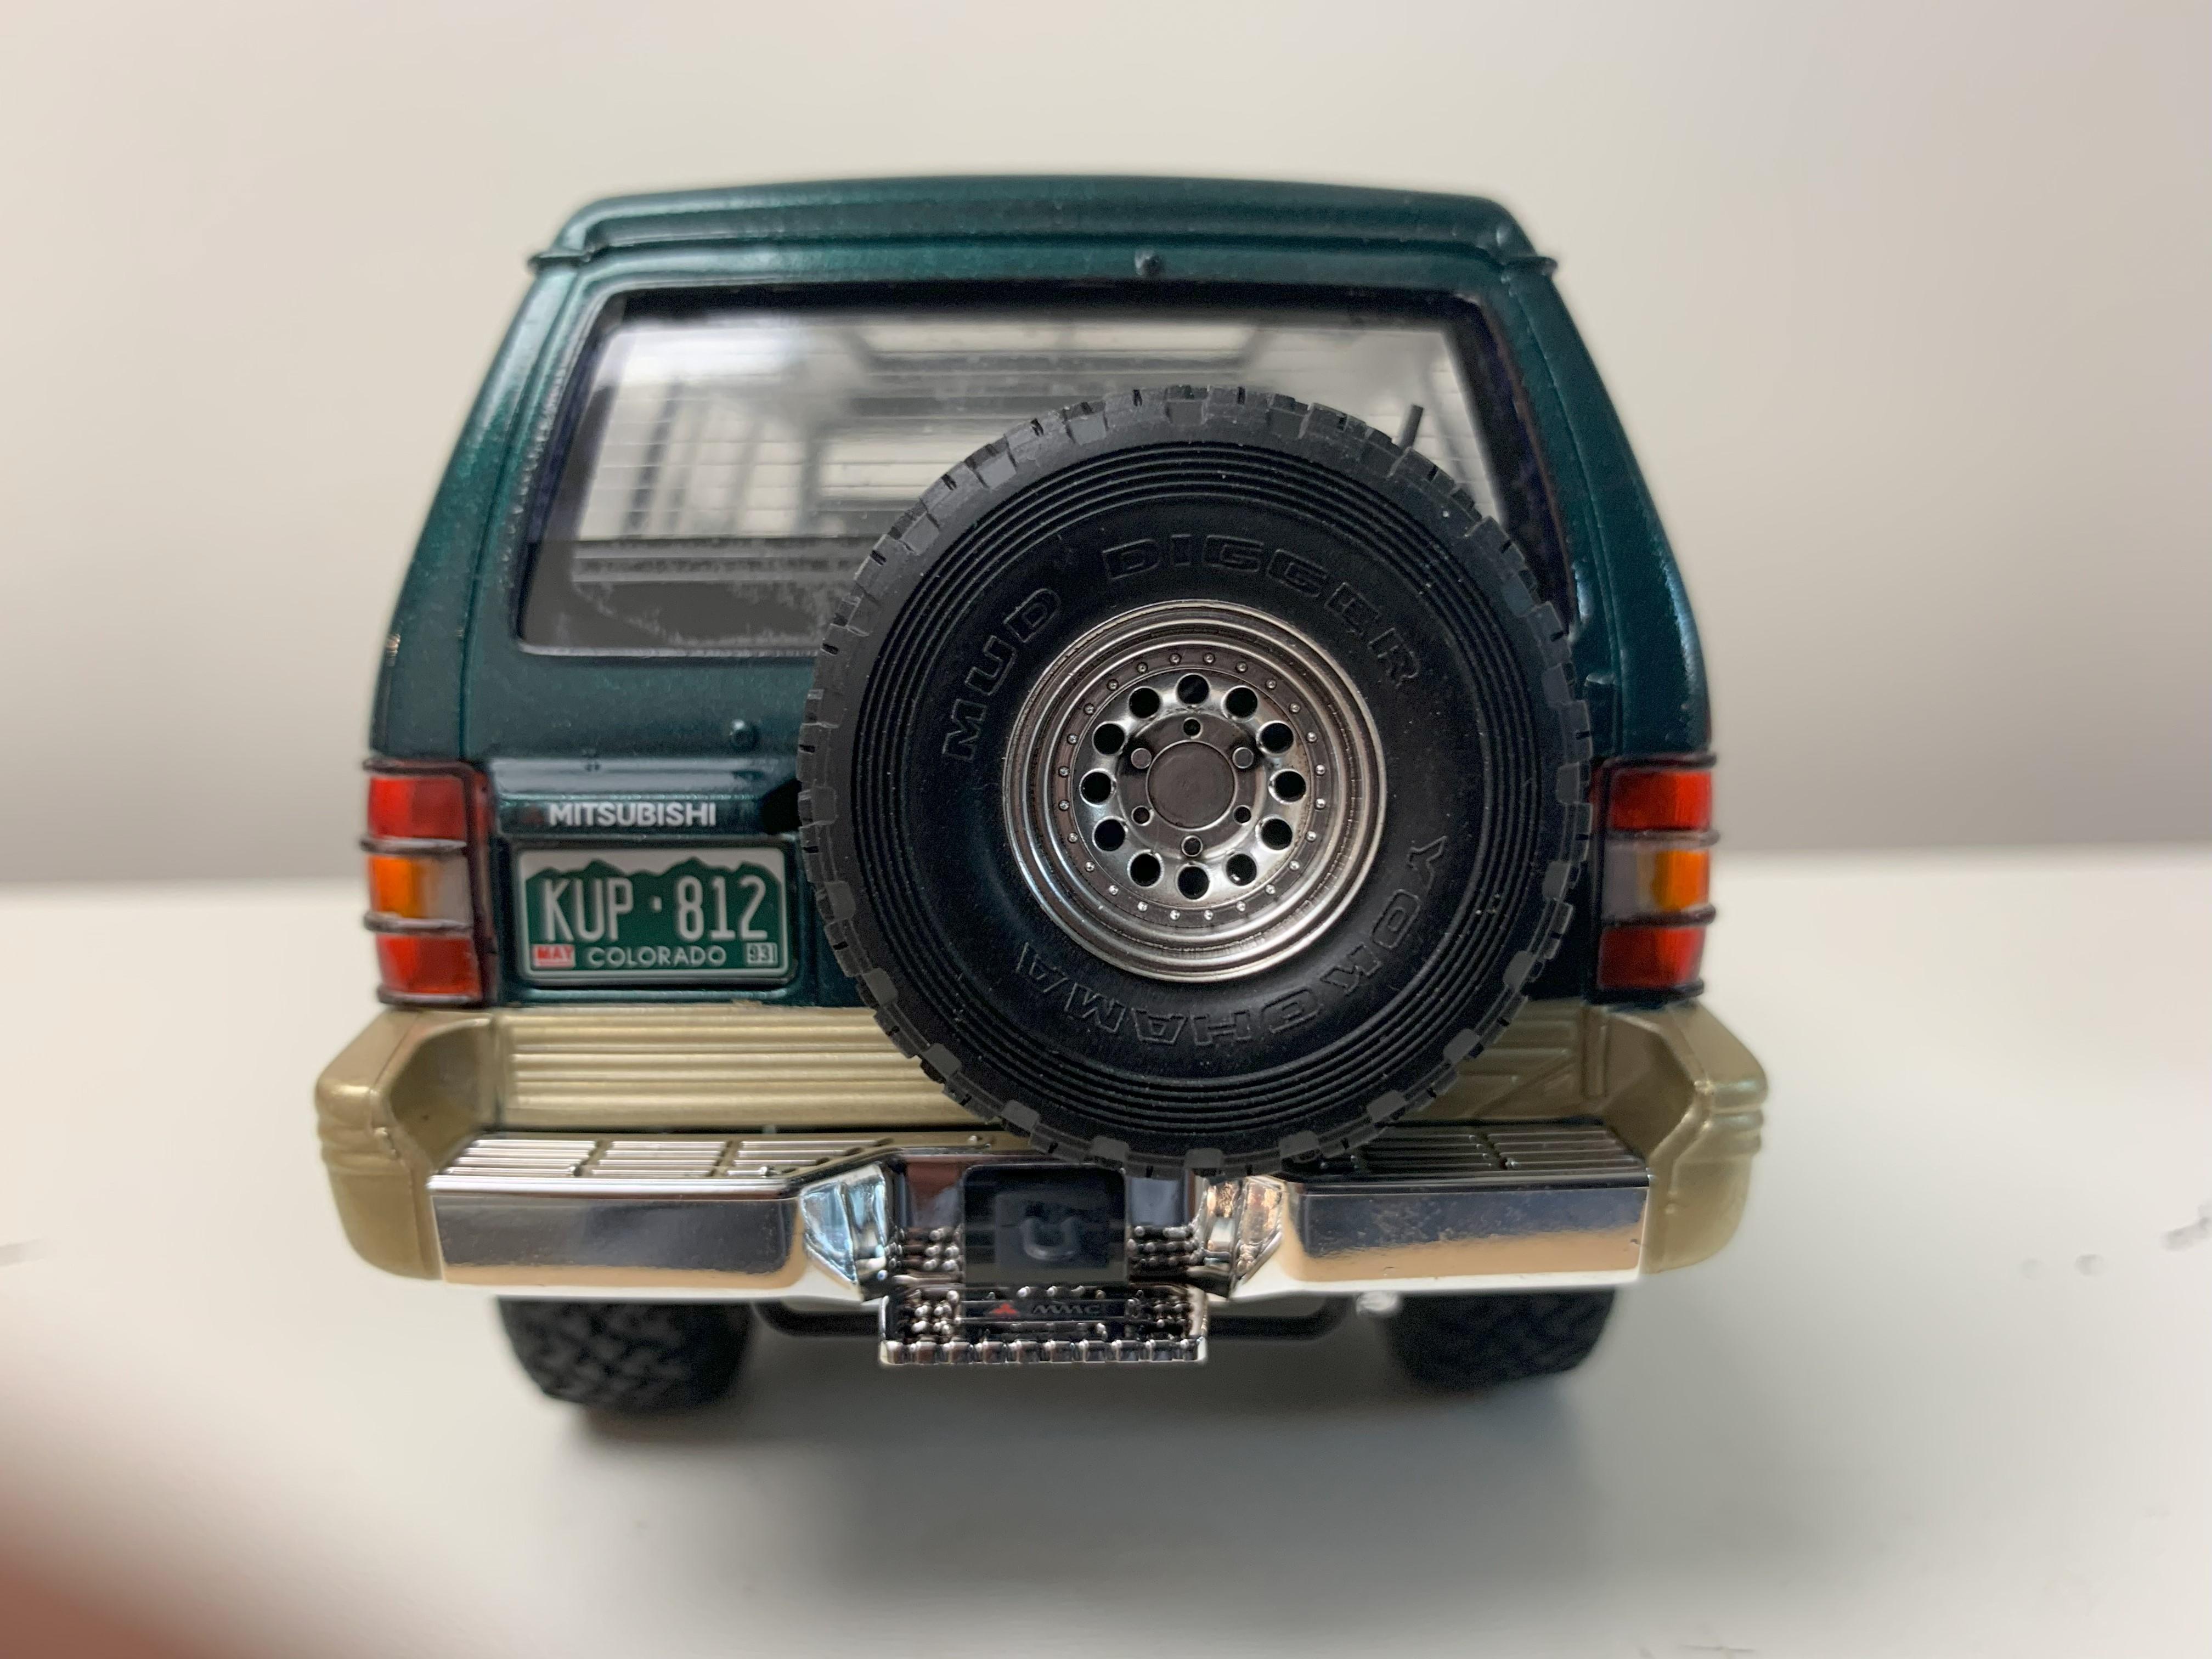
Mitsubishi Montero
dougwintz replied to dougwintz's topic in Model Trucks: Pickups, Vans, SUVs, Light Commercial
Yes...those are the tires that come with the kit. Really good looking tires. -
Mitsubishi Montero
dougwintz replied to dougwintz's topic in Model Trucks: Pickups, Vans, SUVs, Light Commercial
-
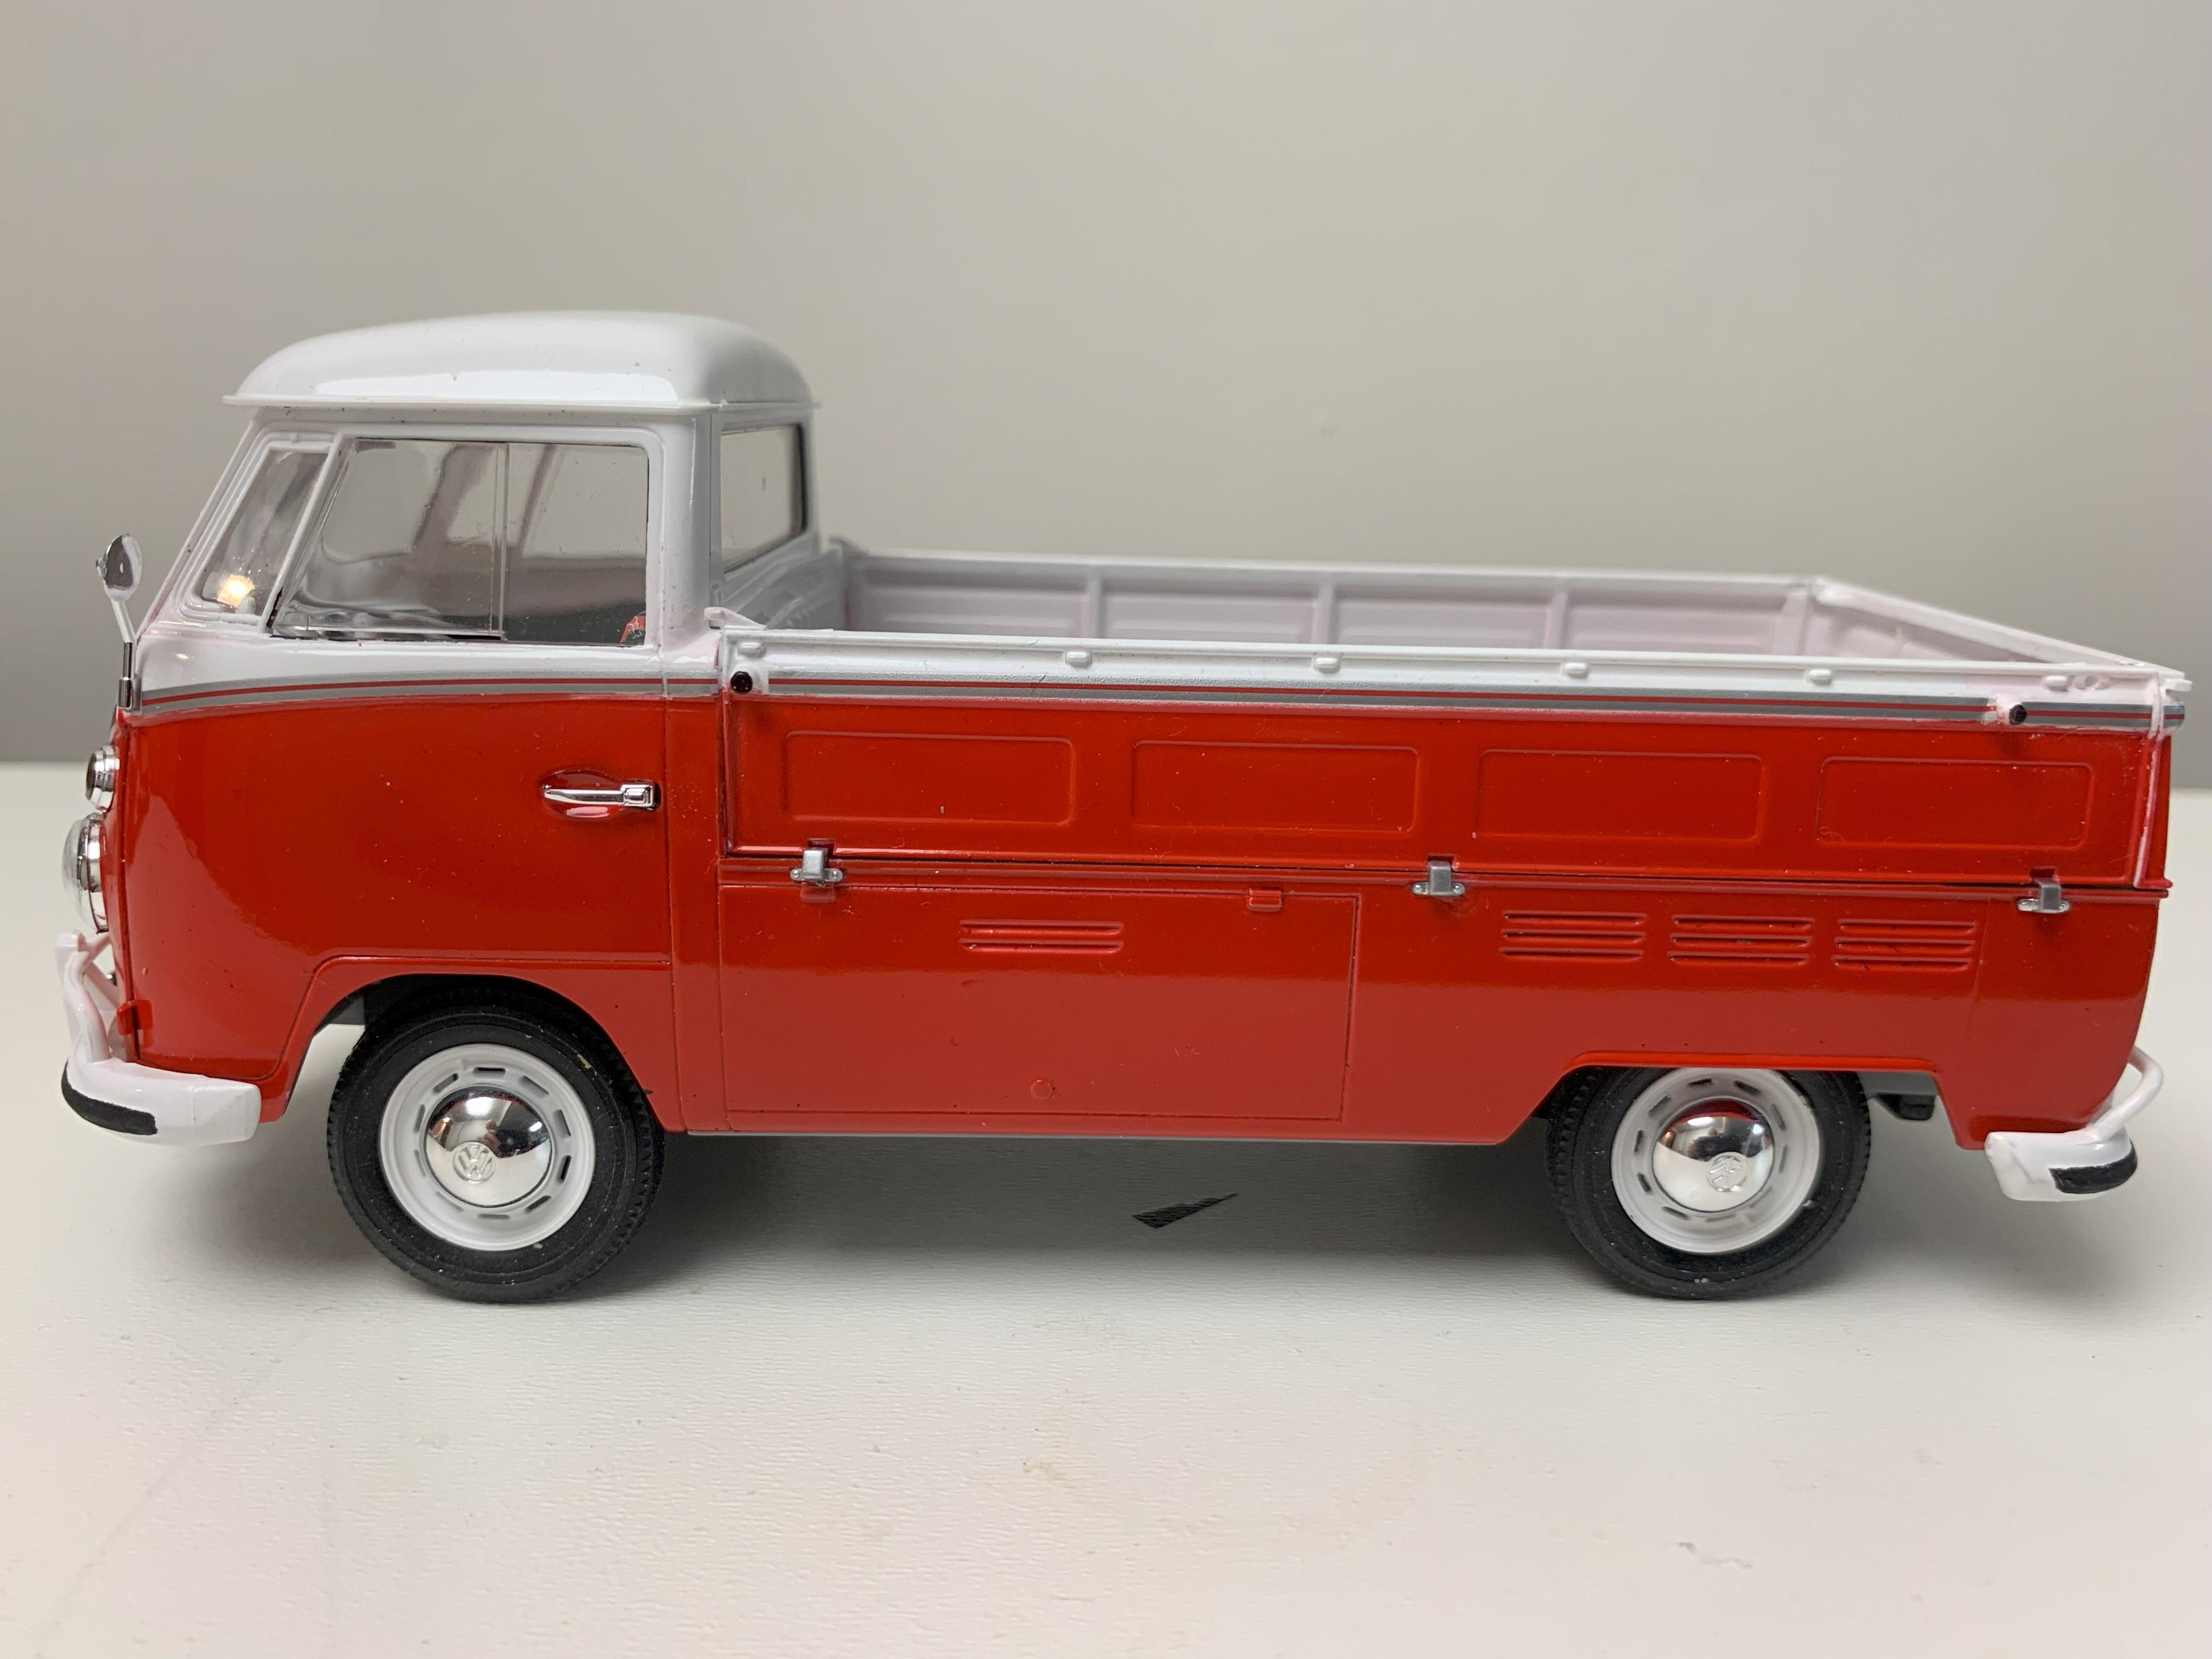
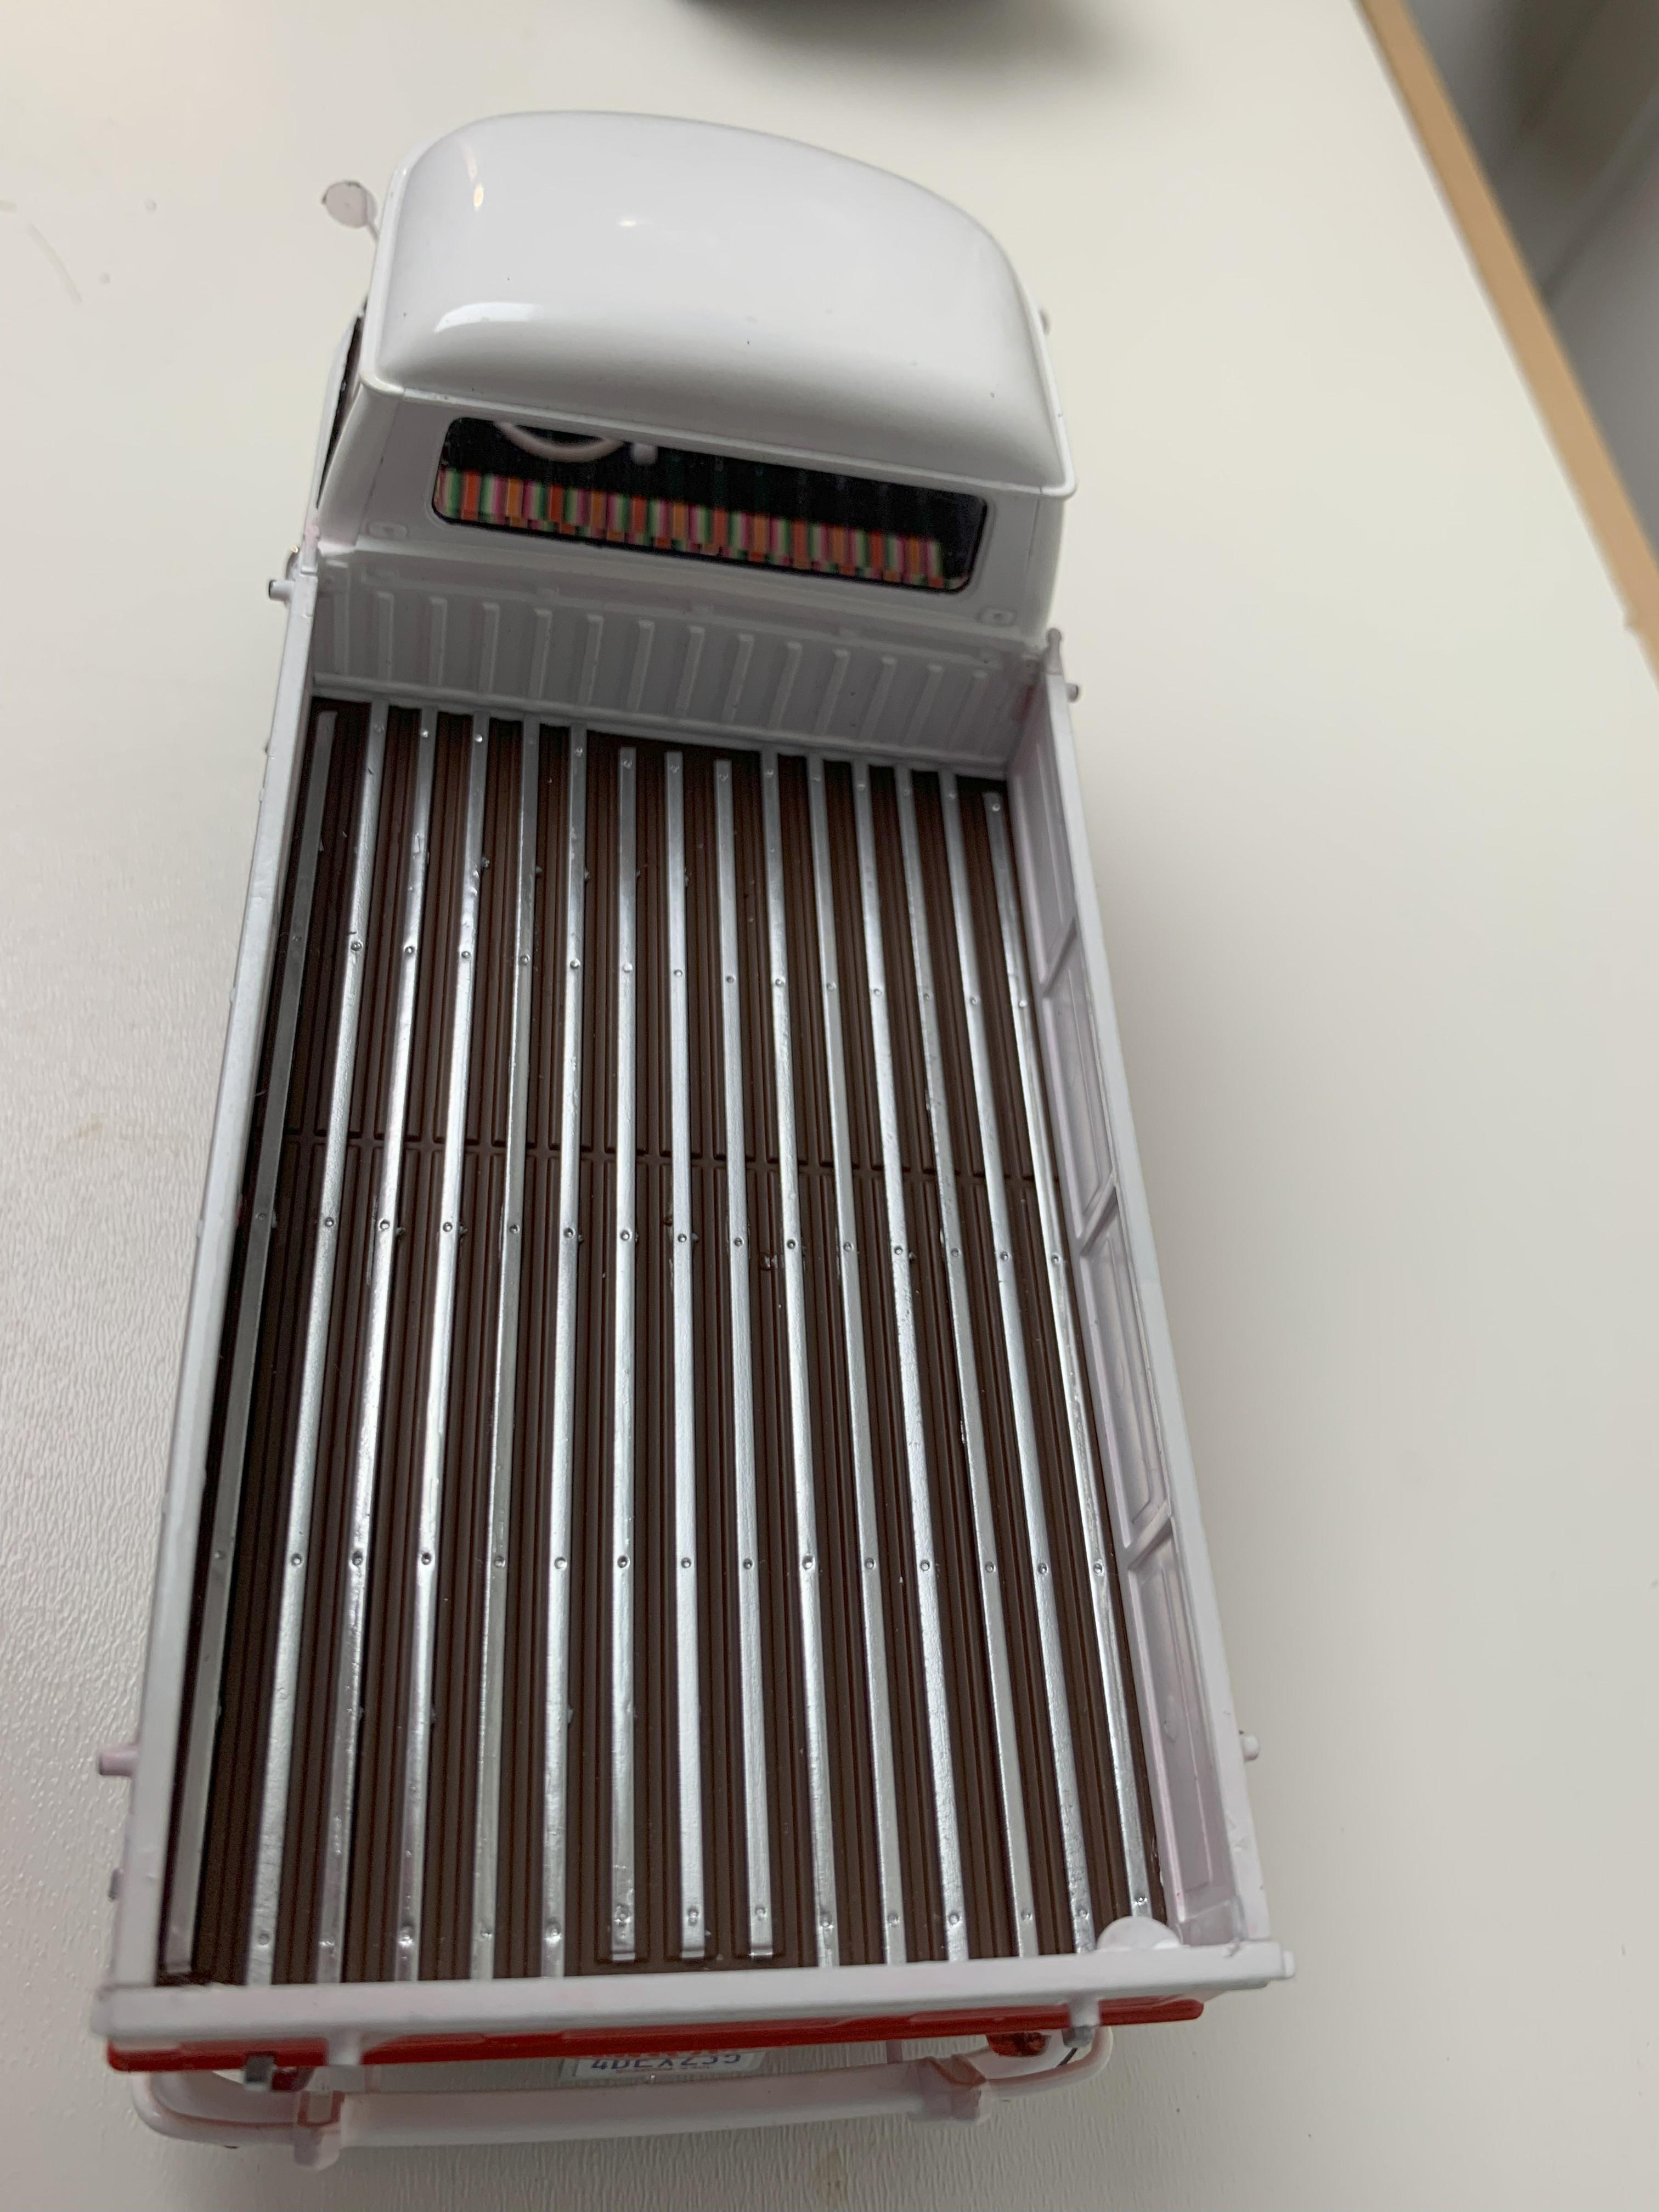
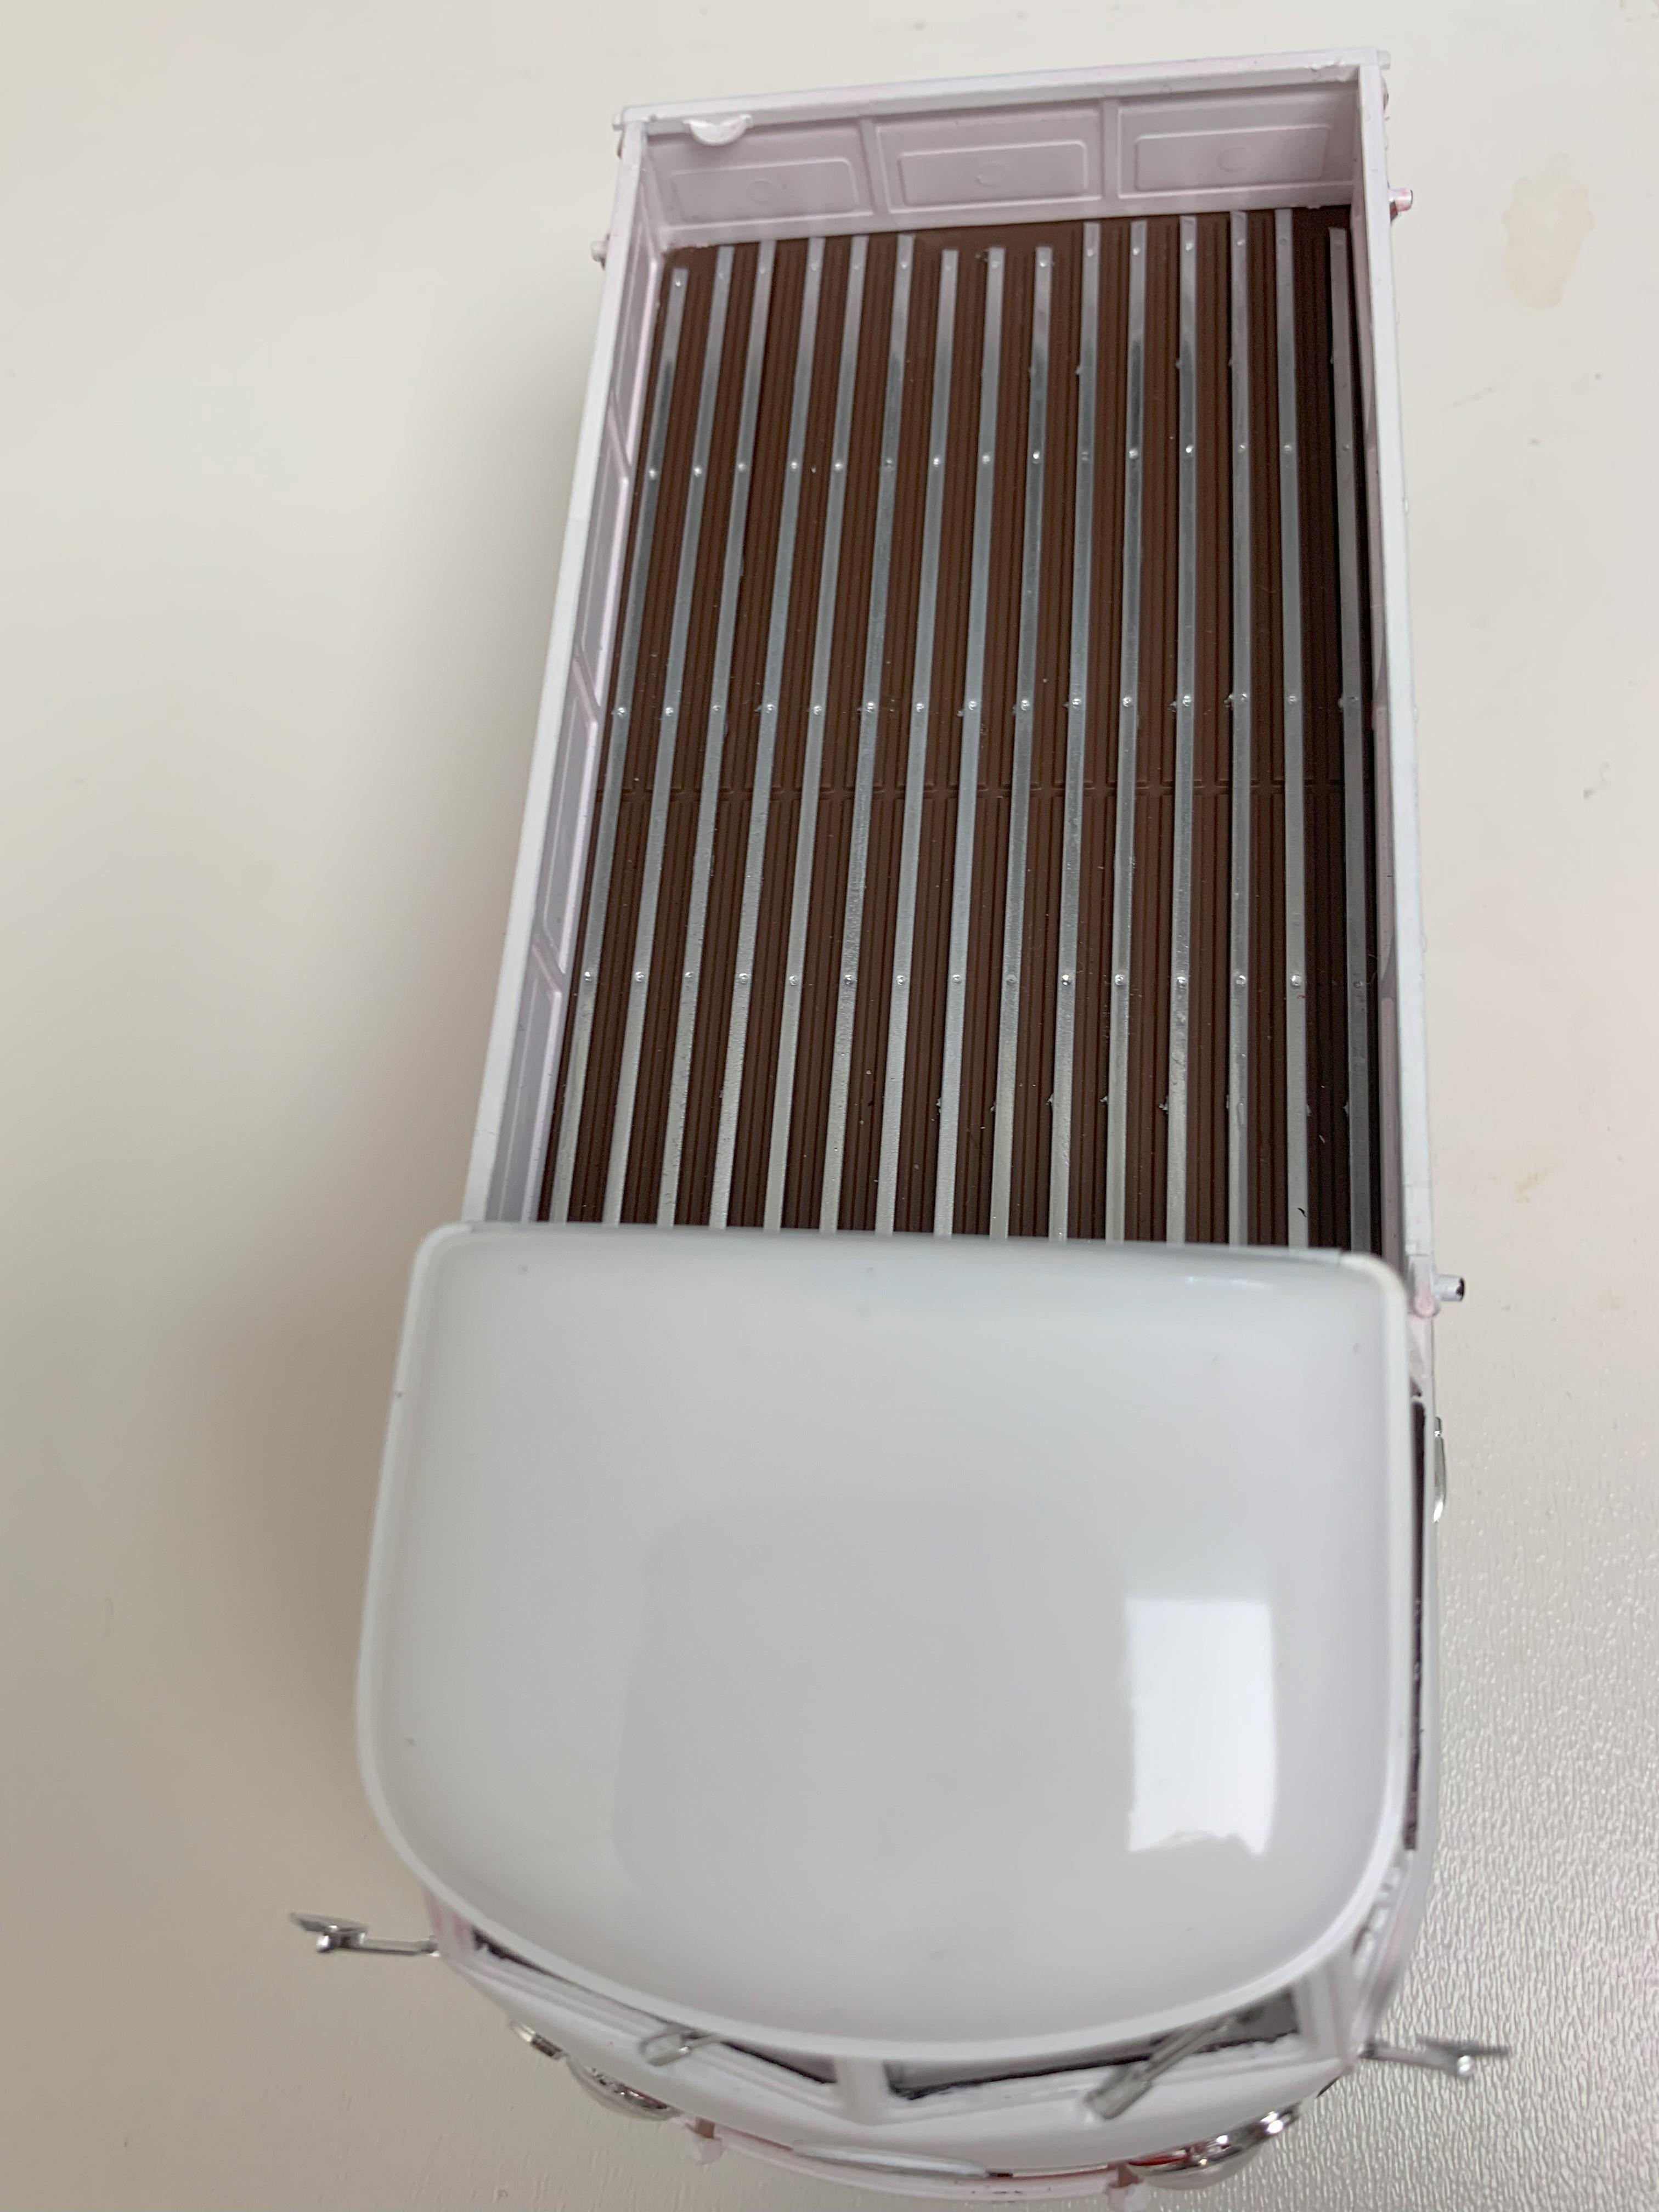
Nice kit, but a curbside. I added some decals for the bench seat. I used Molotow chrome on the rails in the pickup bed.
-
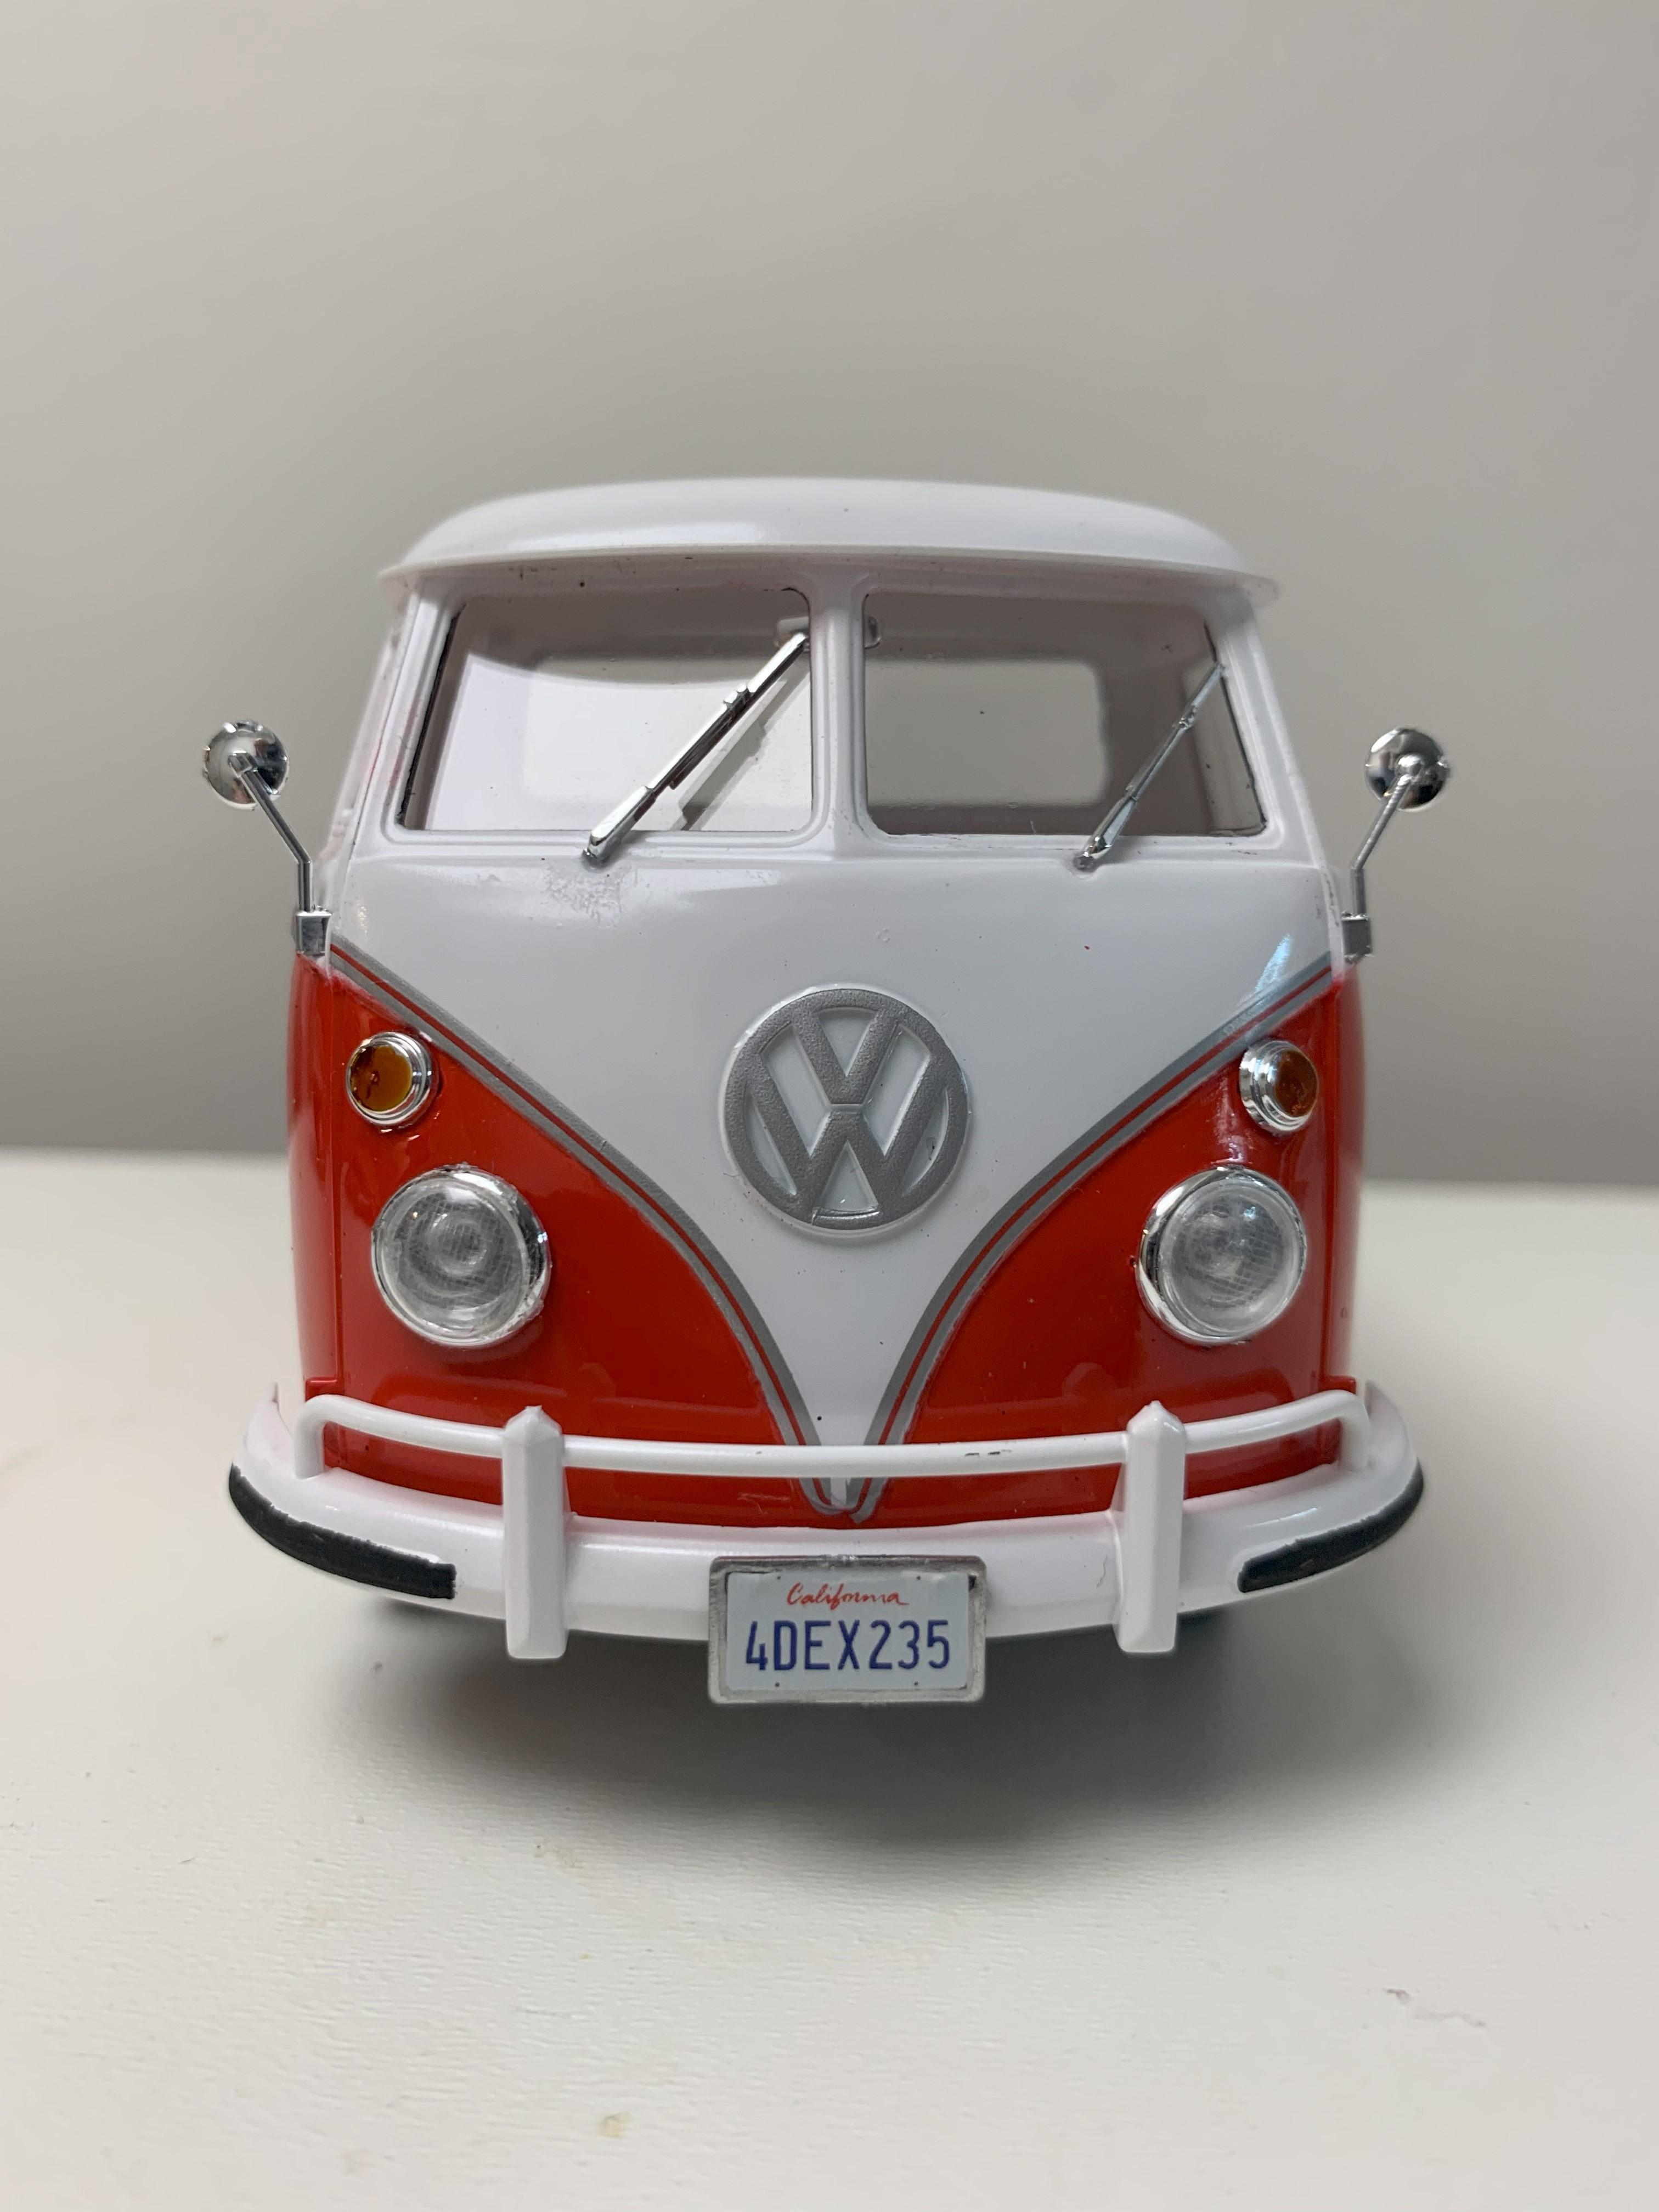
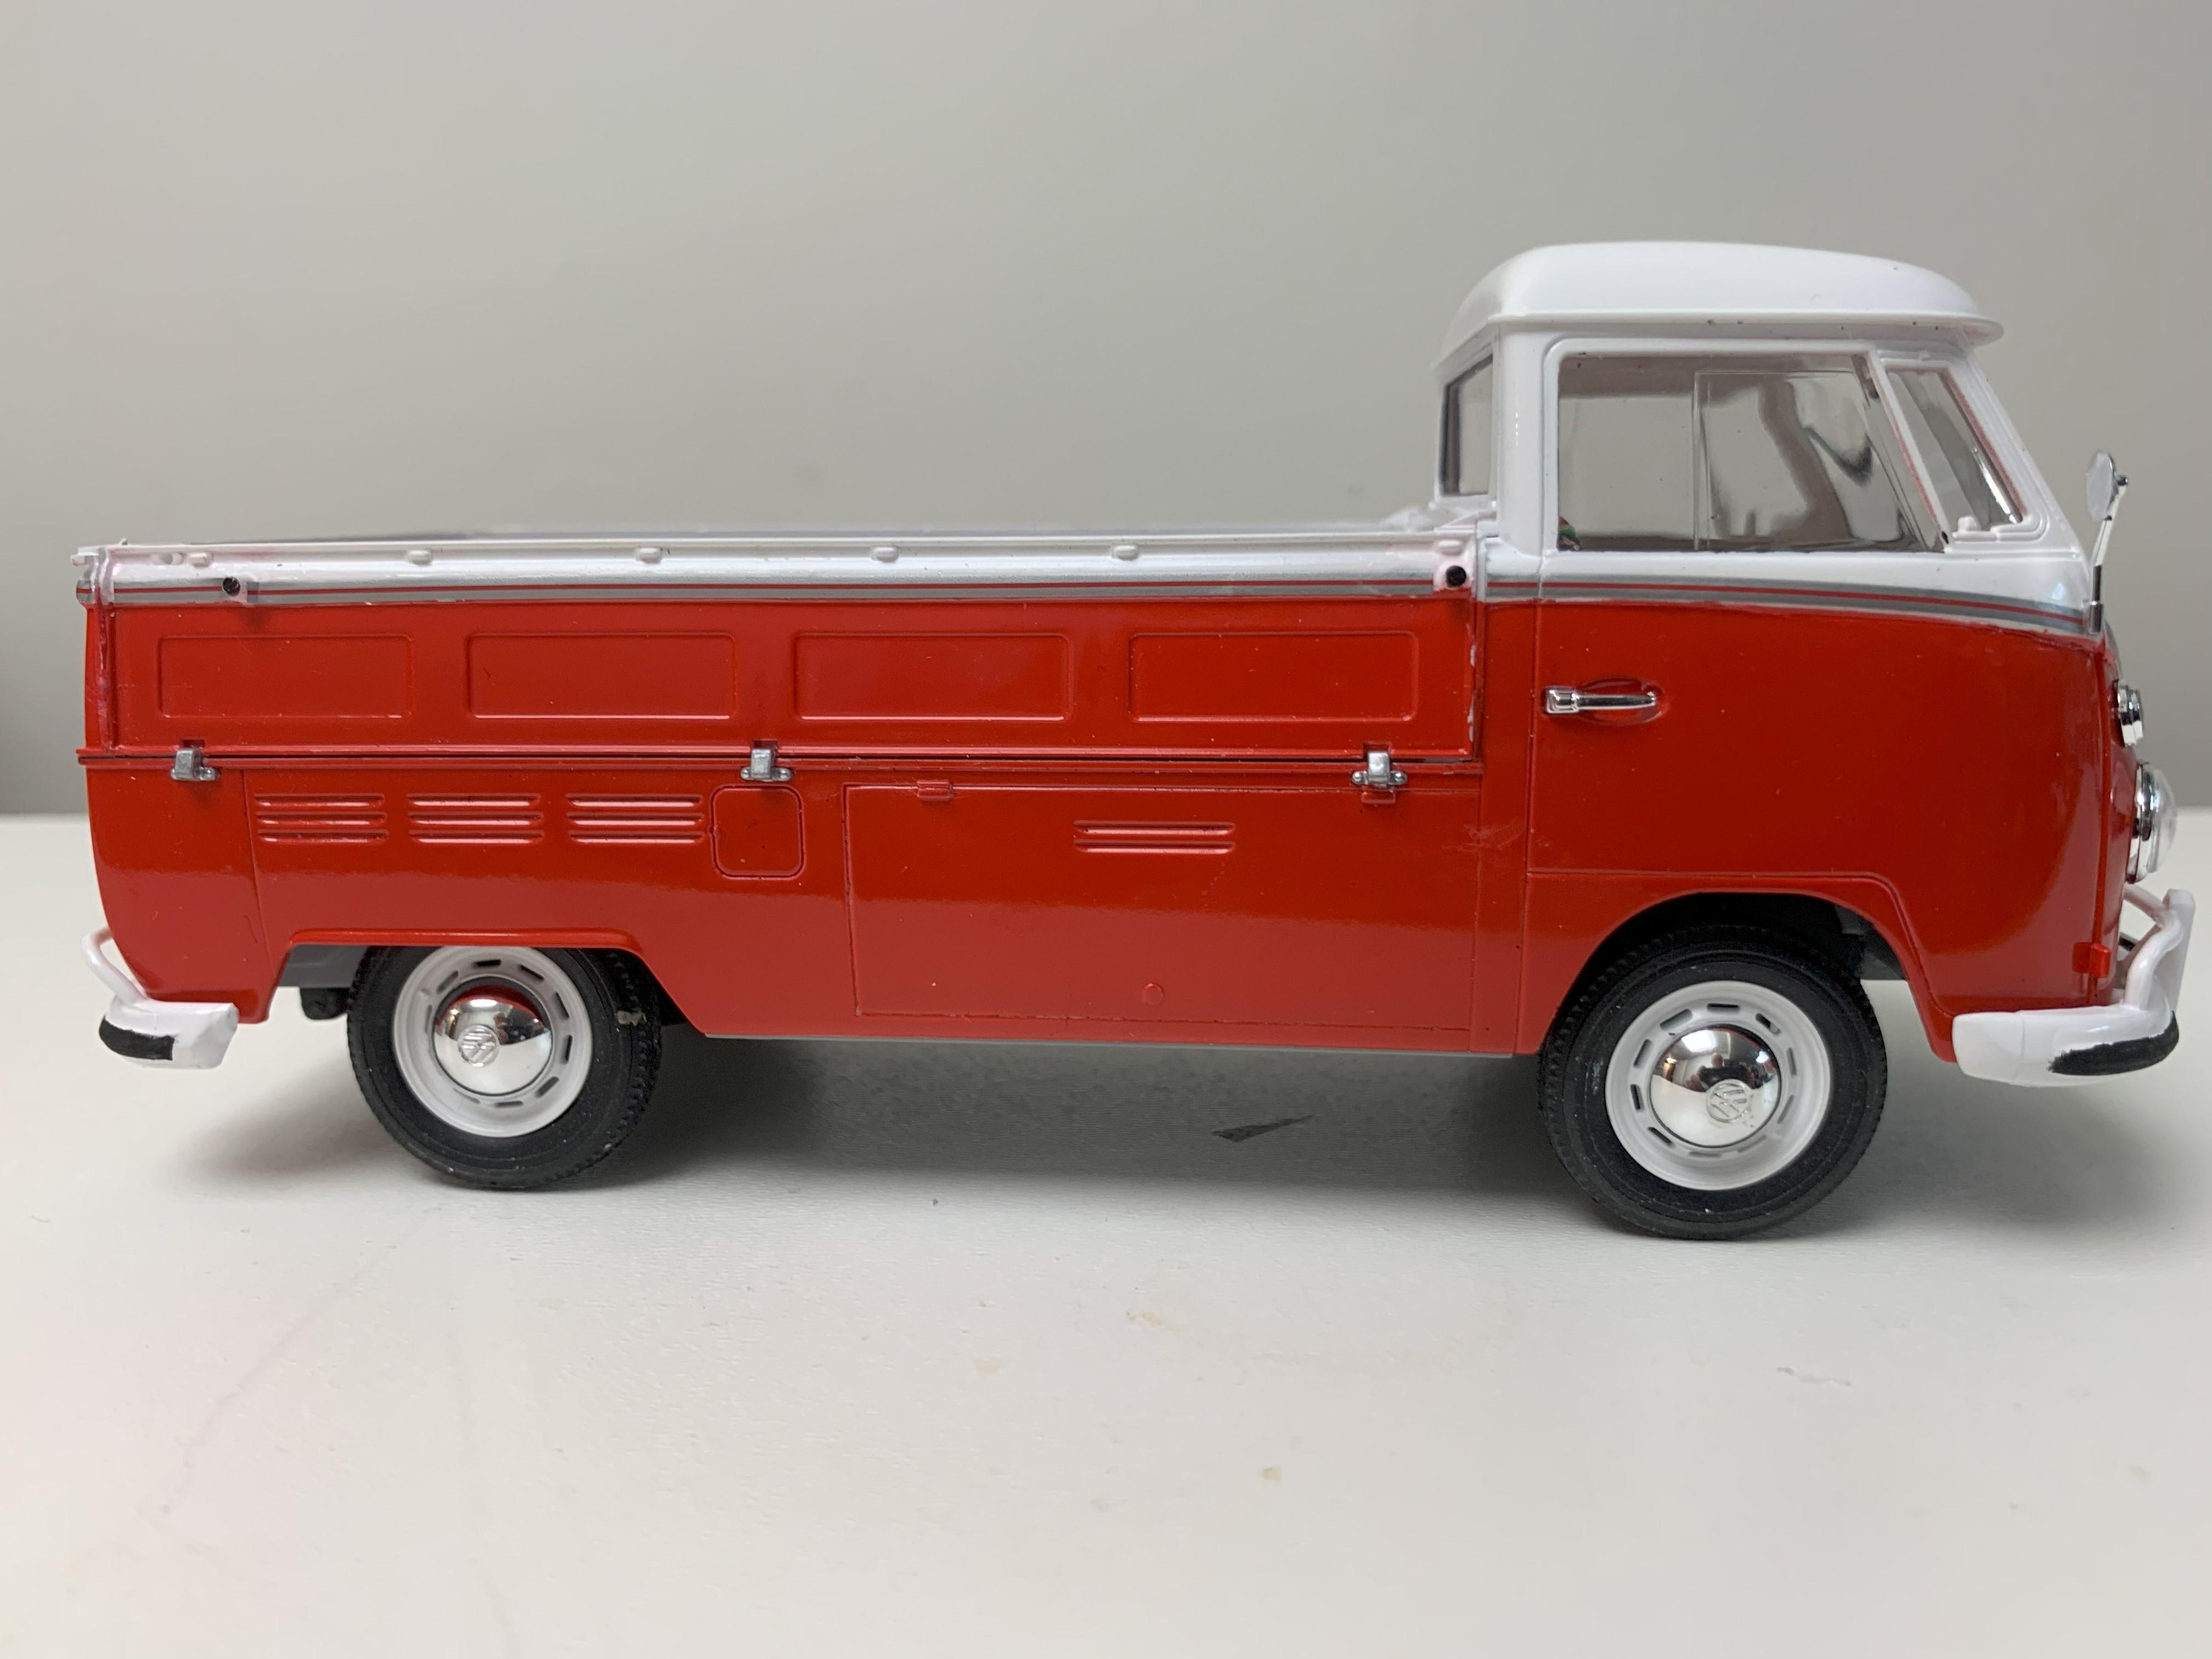
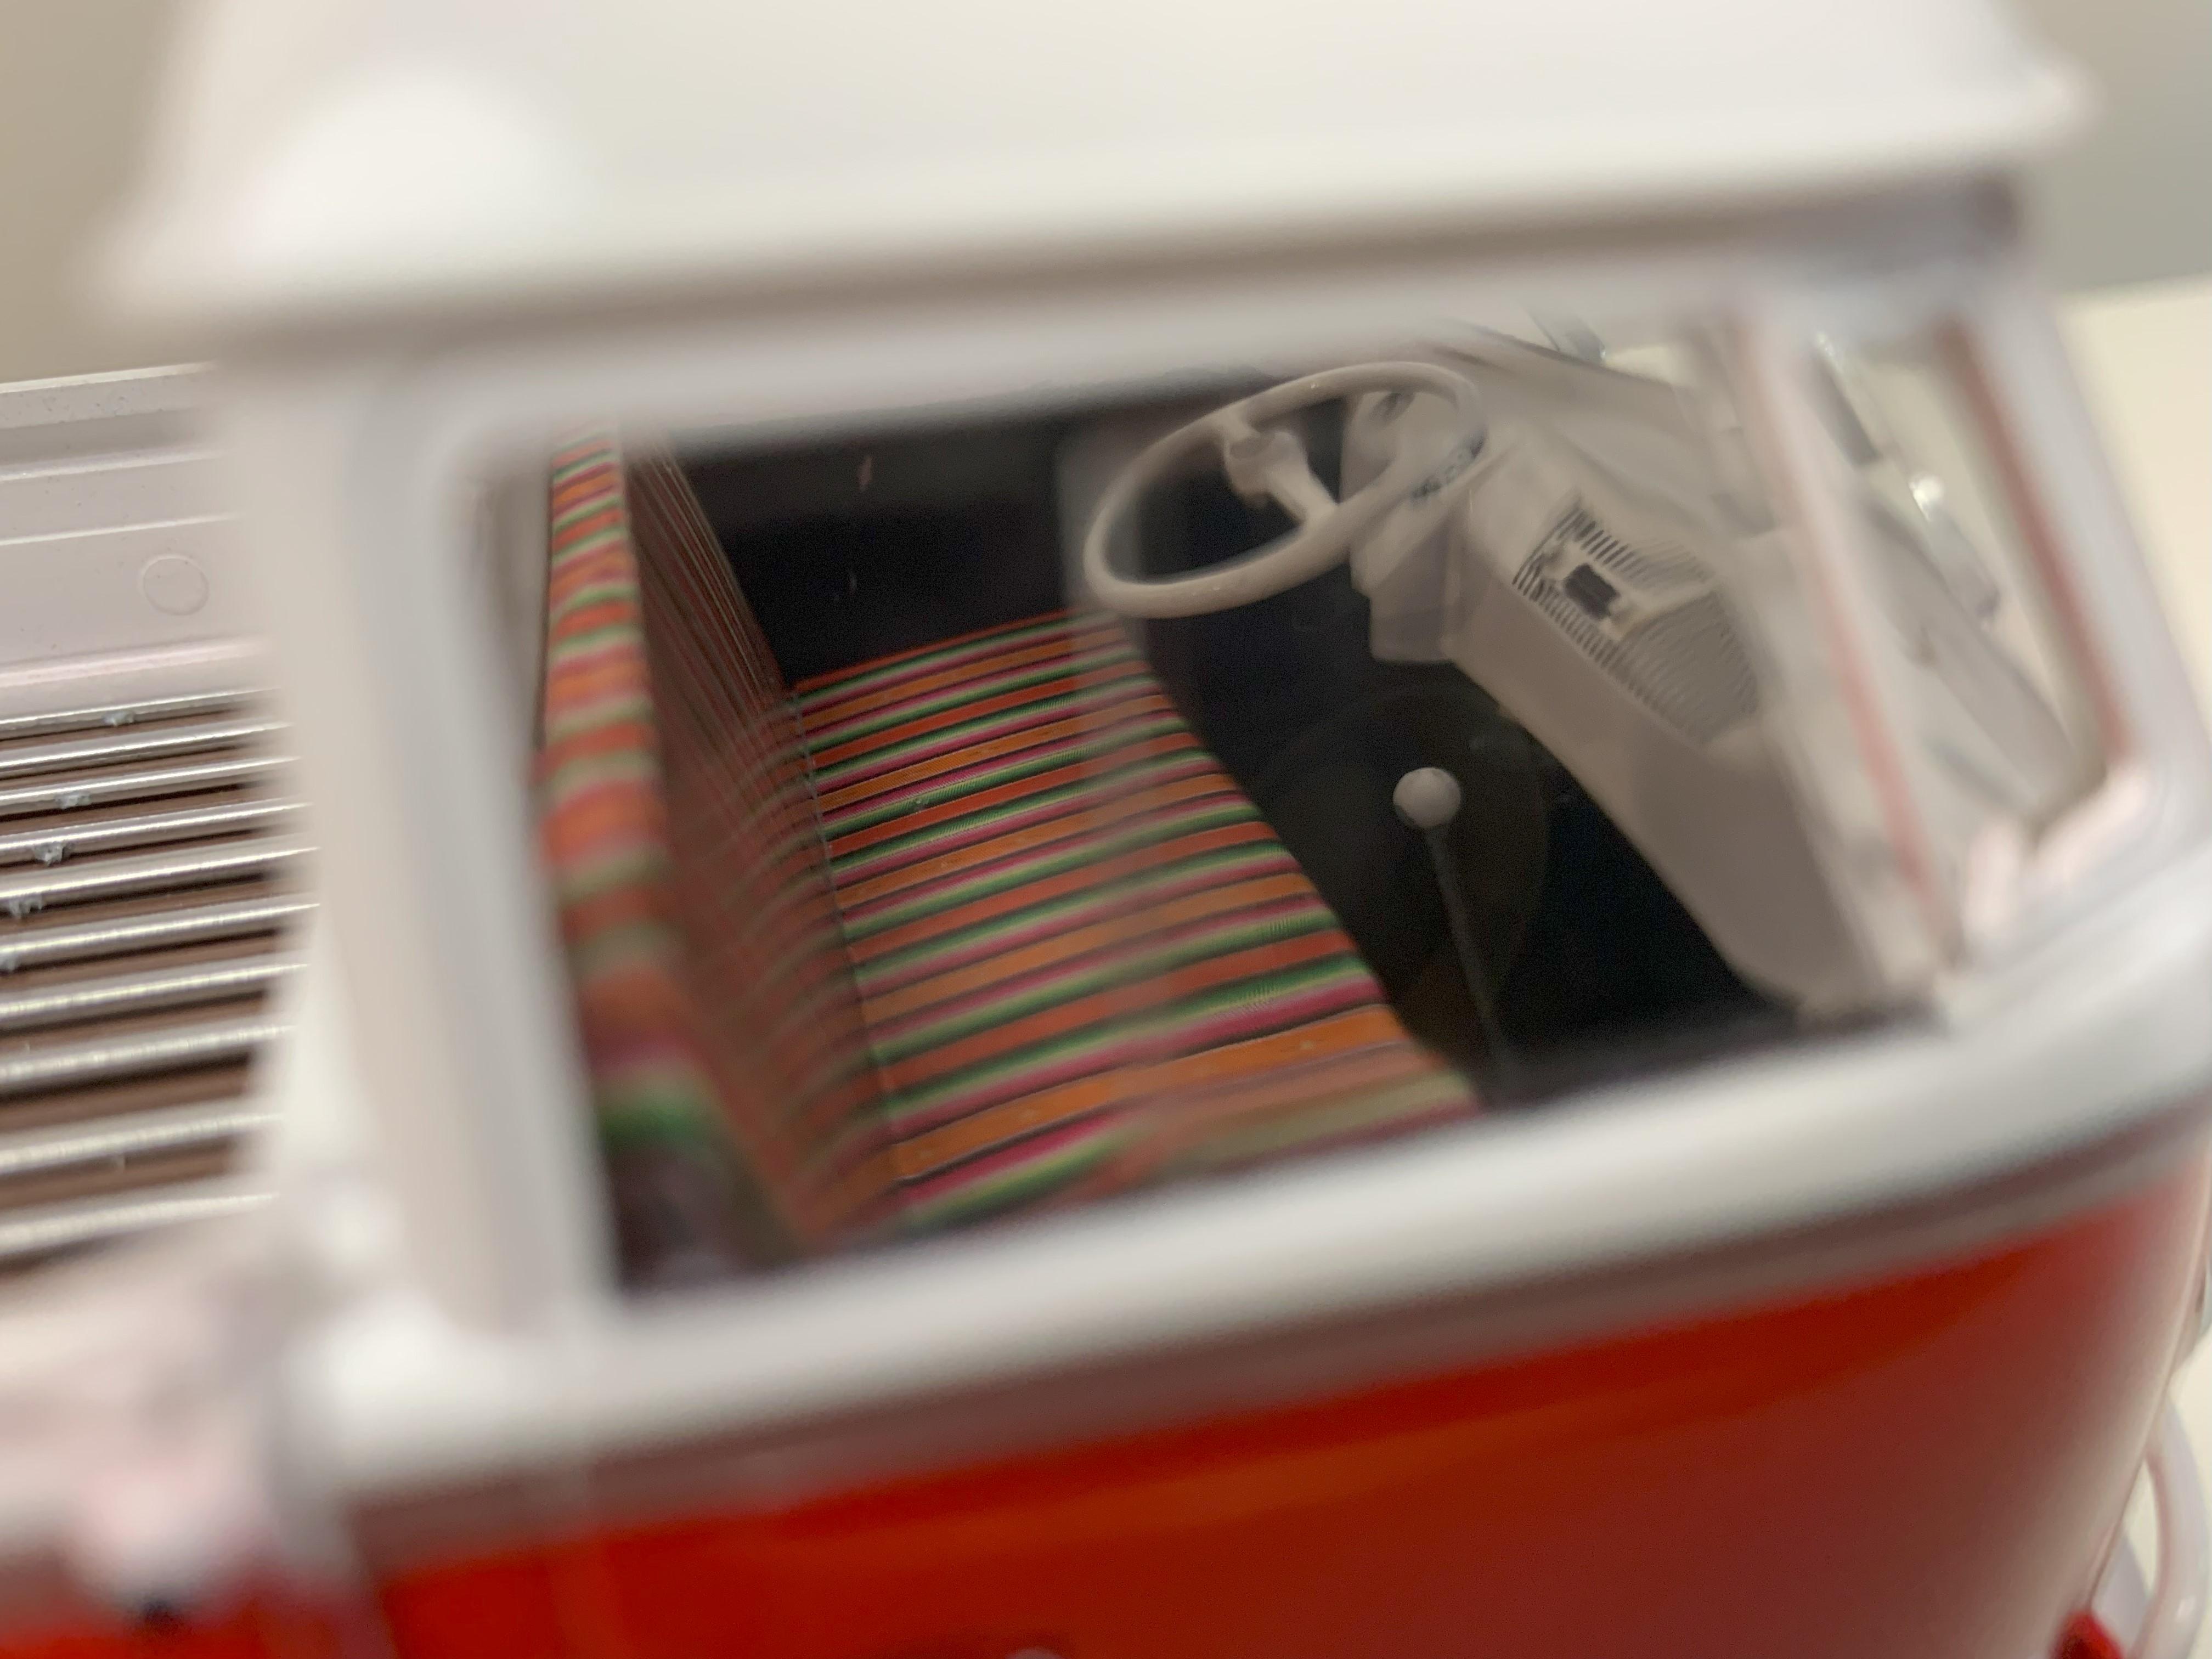
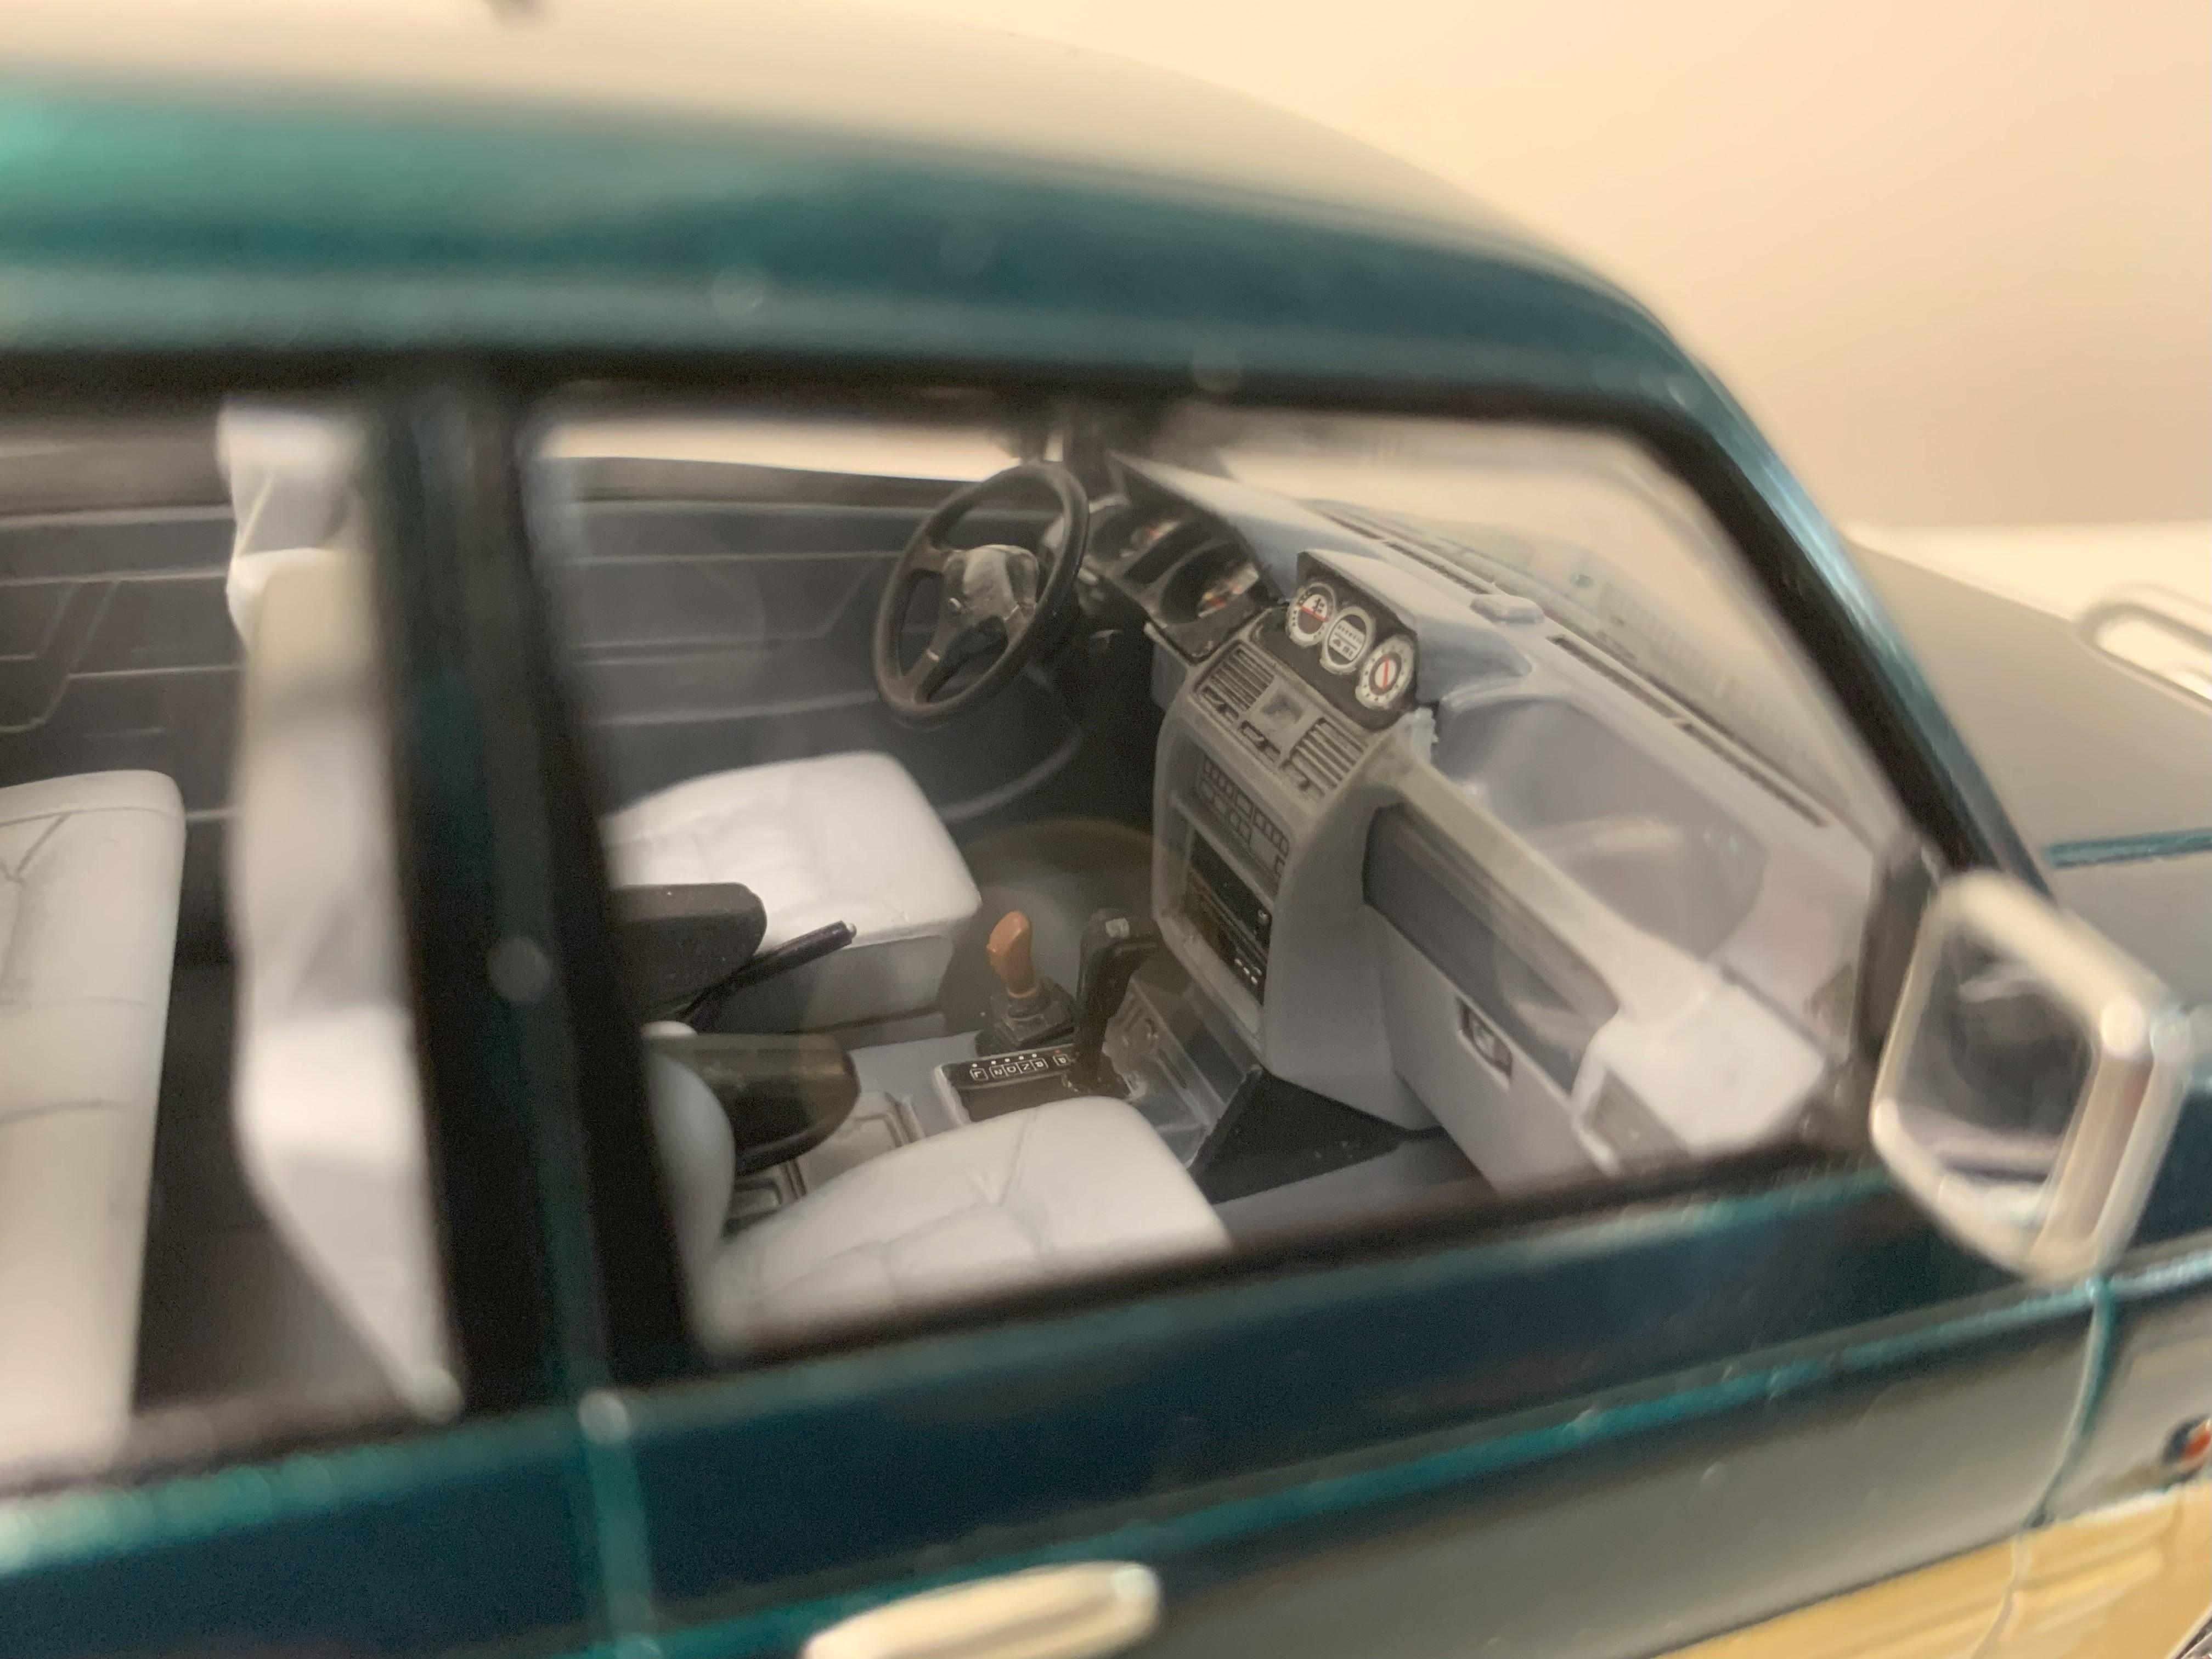
This is the Tamiya kit and as usual, all the parts fit together really well. I decided to try a two tone paint job, took a lot of time to mask, but came out pretty well.