Edward Gore
-
Posts
629 -
Joined
-
Last visited
1 Follower
Recent Profile Visitors
9,873 profile views


Edward Gore's Achievements
MCM Ohana (6/6)
-
Off-road thing
Edward Gore replied to eldiablo78's topic in All The Rest: Motorcycles, Aviation, Military, Sci-Fi, Figures
Love this 😍 What dry transfers do you use? -
ongoing oilfield project
Edward Gore replied to cdntrucking's topic in WIP: Model Trucks: Big Rigs and Heavy Equipment
Very impressive scratch building ! -
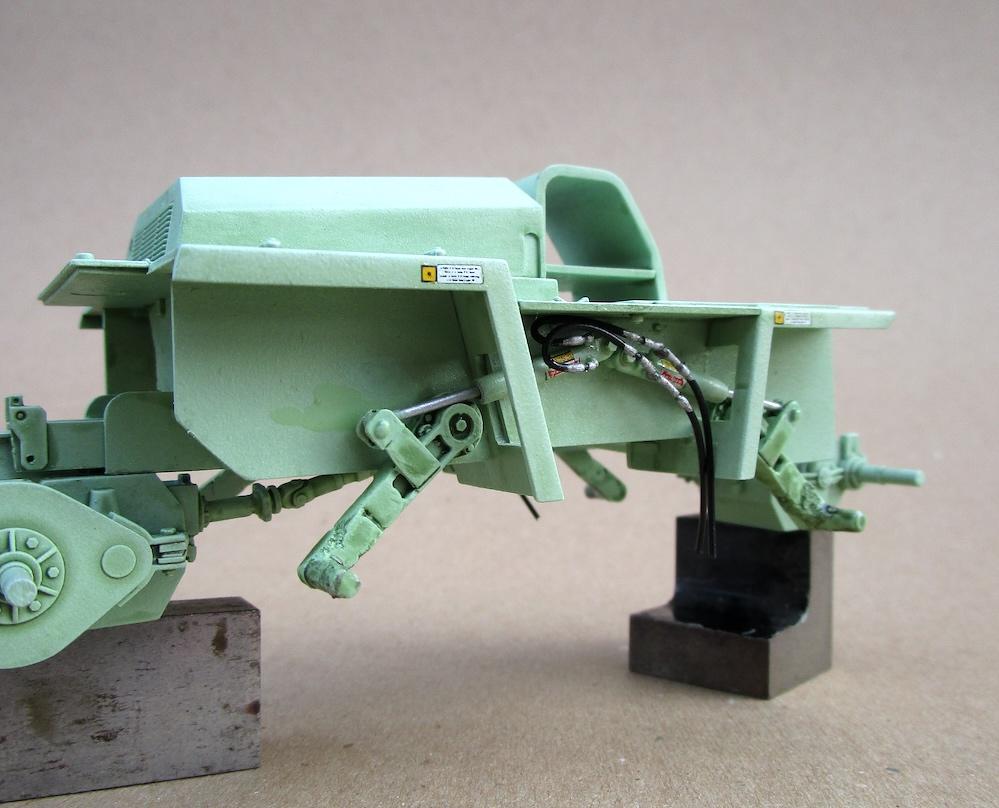
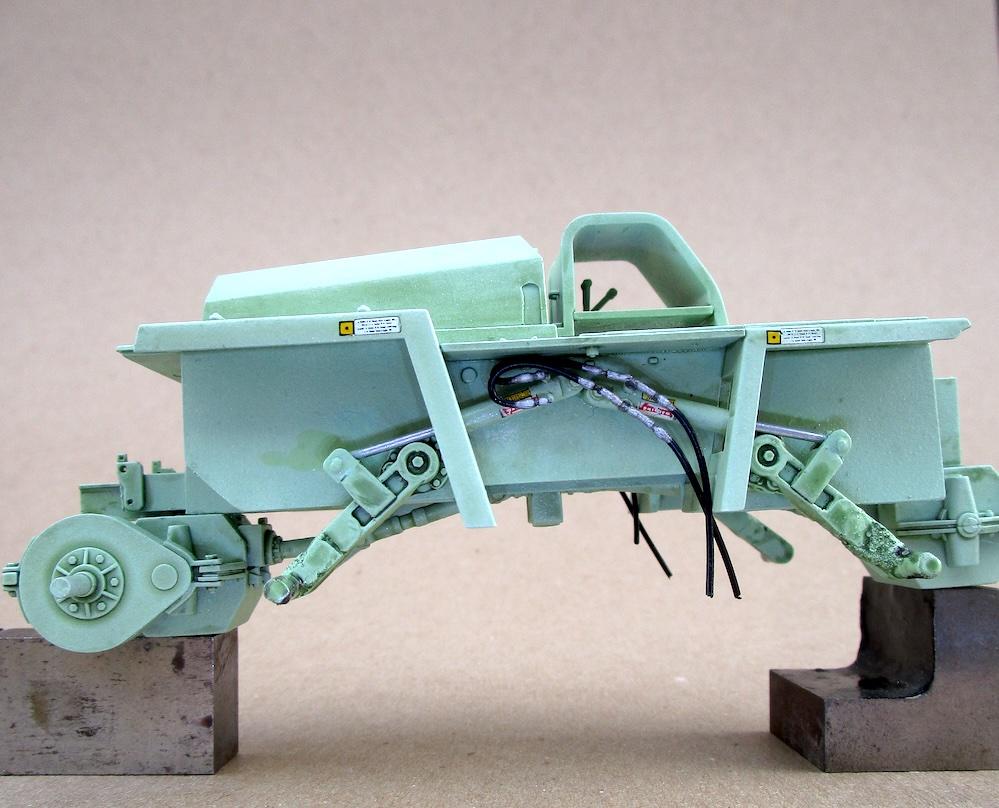
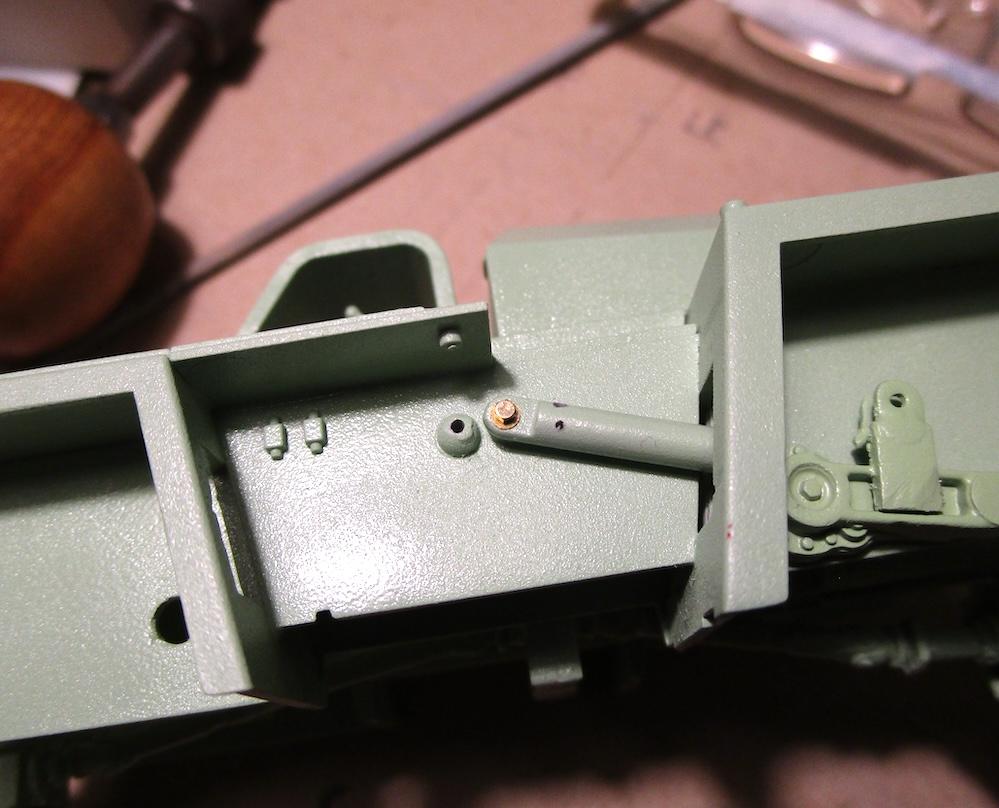
Gluing in the hydraulic lines for the road wheel arm cylinders. A few decals set onto position. Thanks for looking in ...

- 49 replies
-
- 1
-

-
- trackmobile
- tractor
- (and 2 more)
-
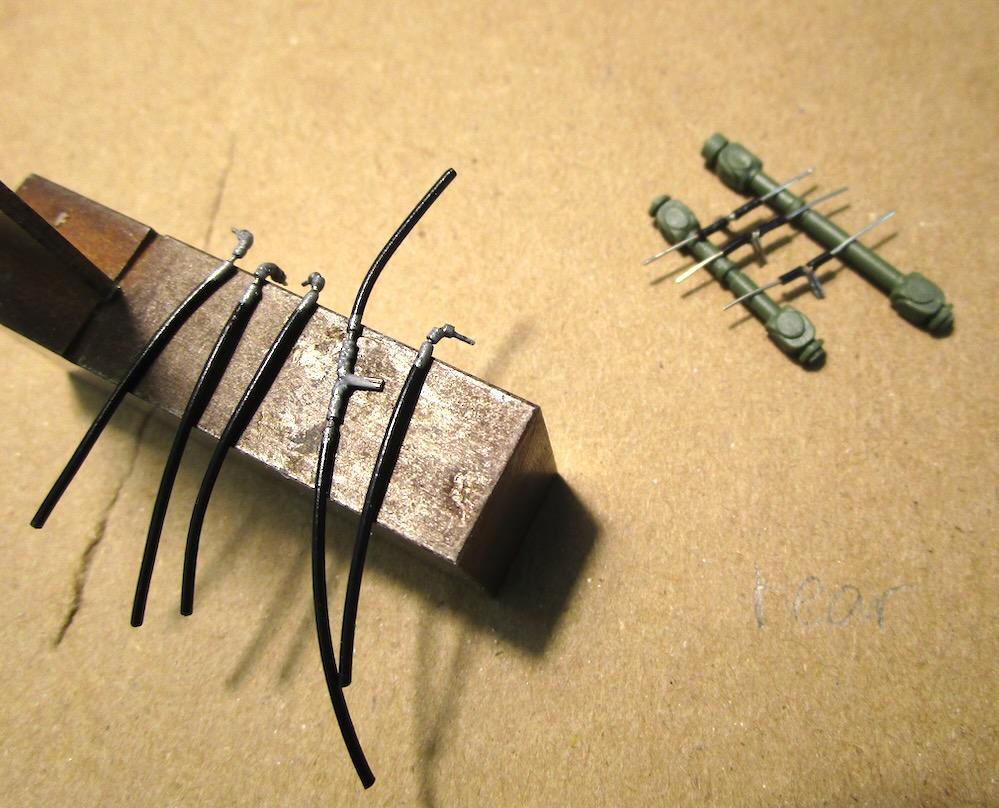
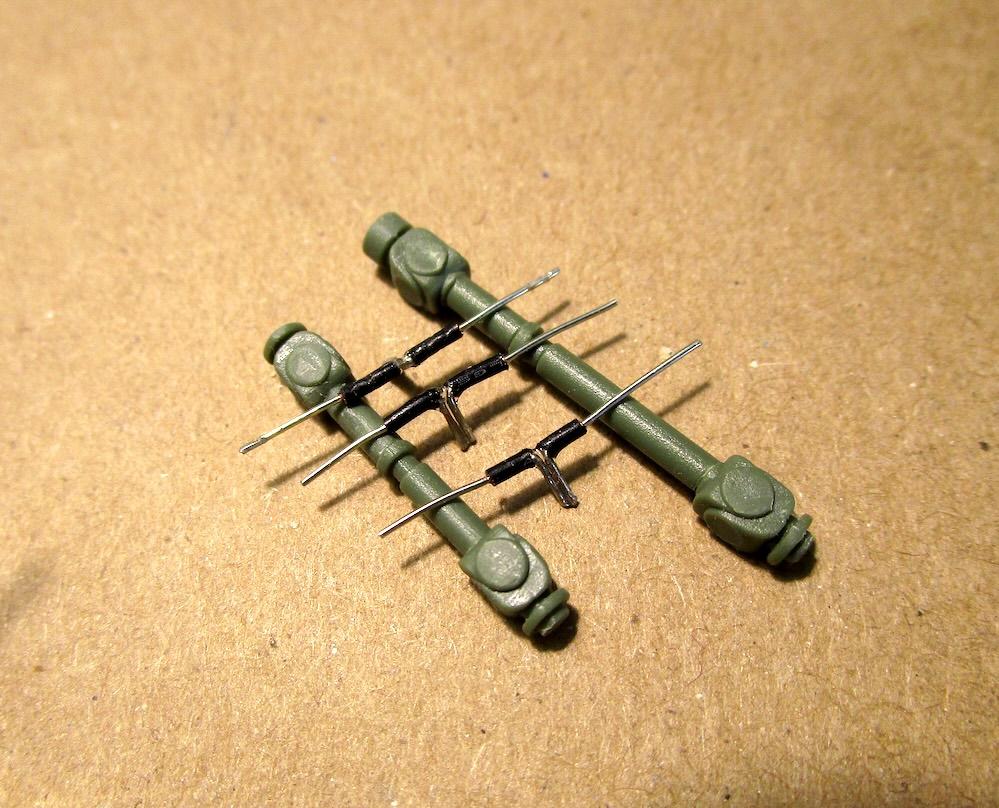
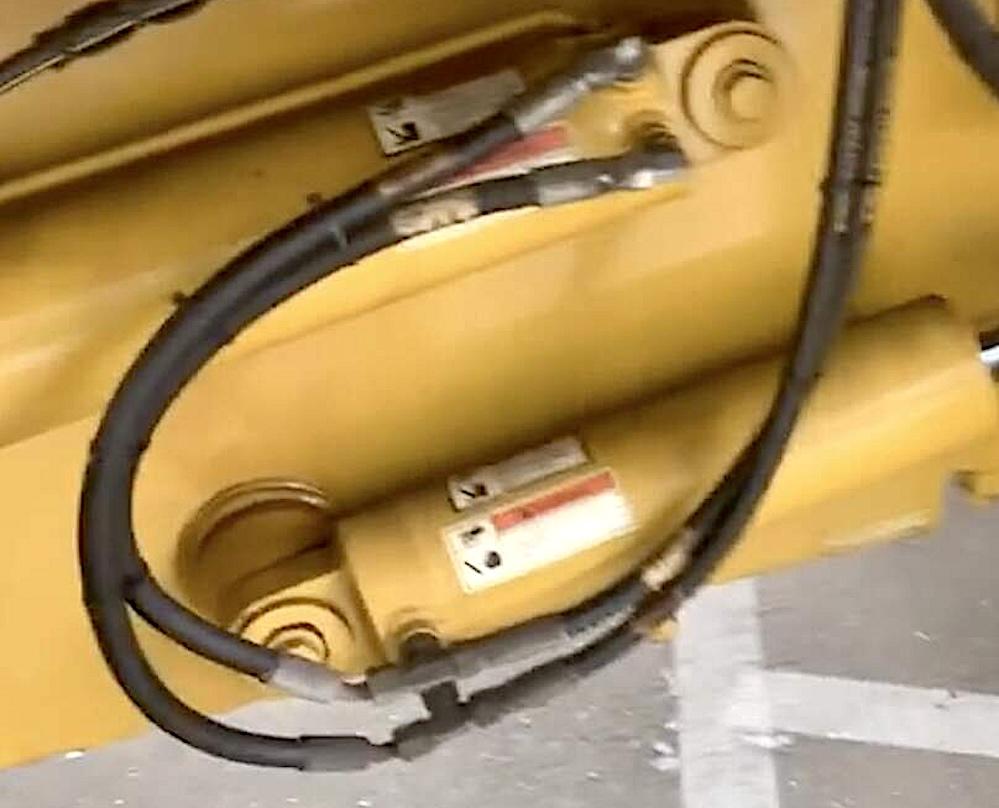
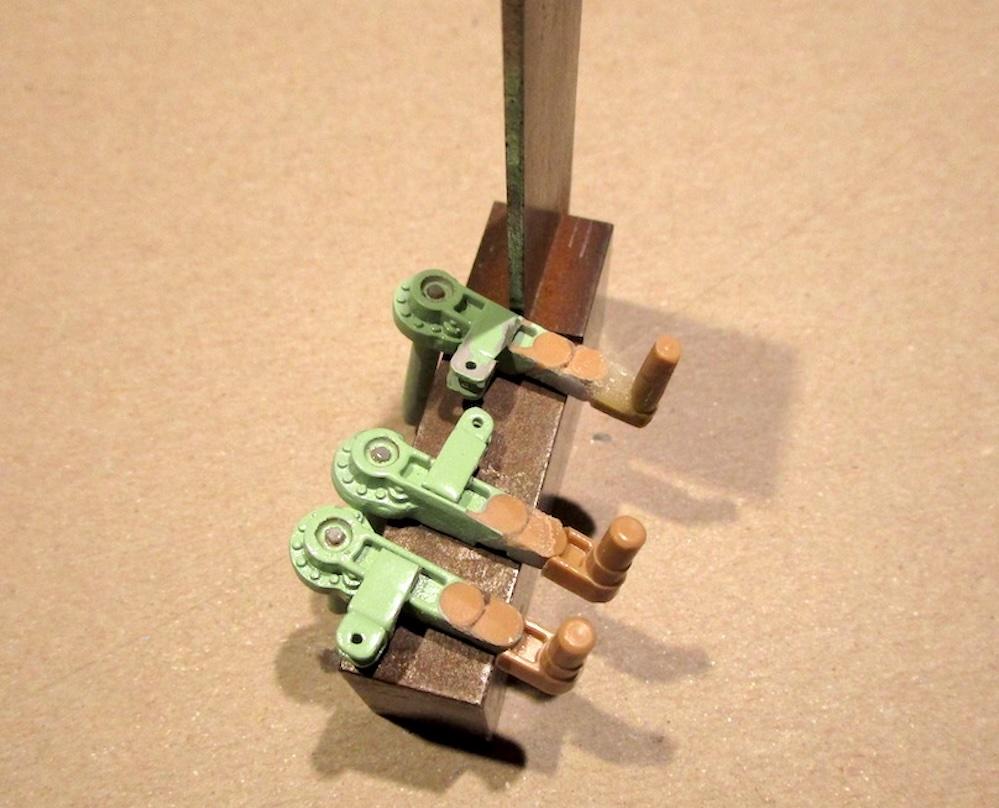
Working on the hydraulic fittings and hose. I'm making them from insulated solid wire so the road wheel arms can articulate and the hose will have the flex needed. The wire is removed from the flexing part then the insulation is reinserted onto the ends of the wire which will represent fittings and glue into the cylinders. The hydraulic cylinders are mounted with what looks like a giant bolt and washer fastener so I went shopping for Scale Hardware. This will also allow articulation of the road wheel arms with a strong fastener.
-
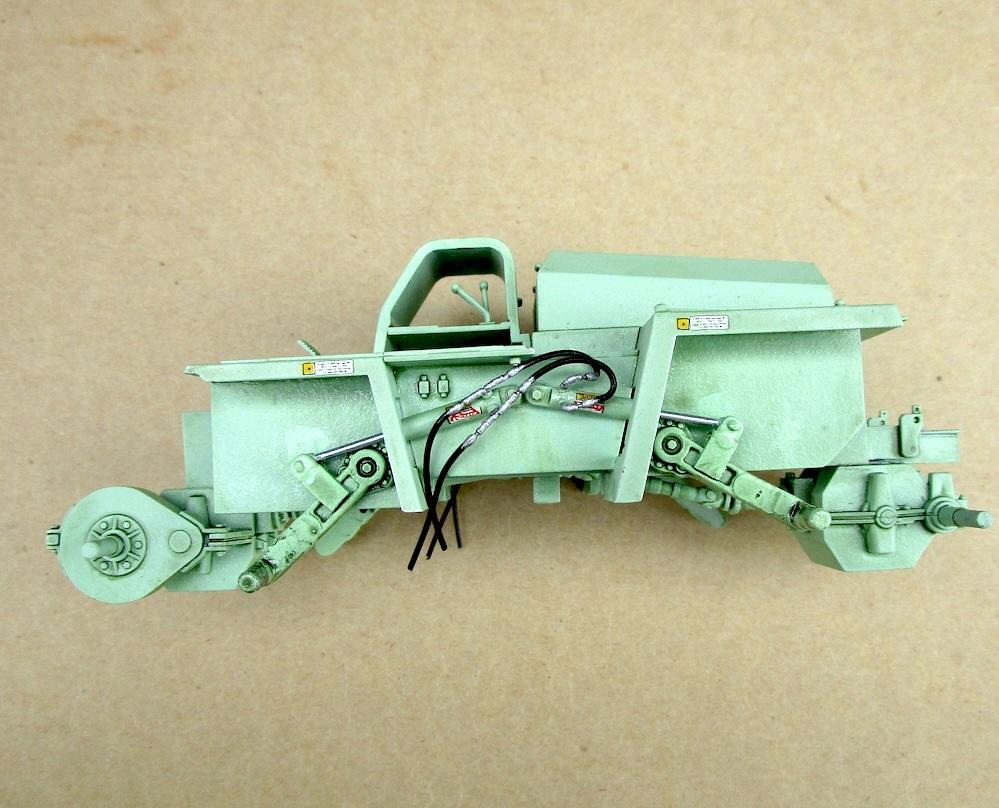
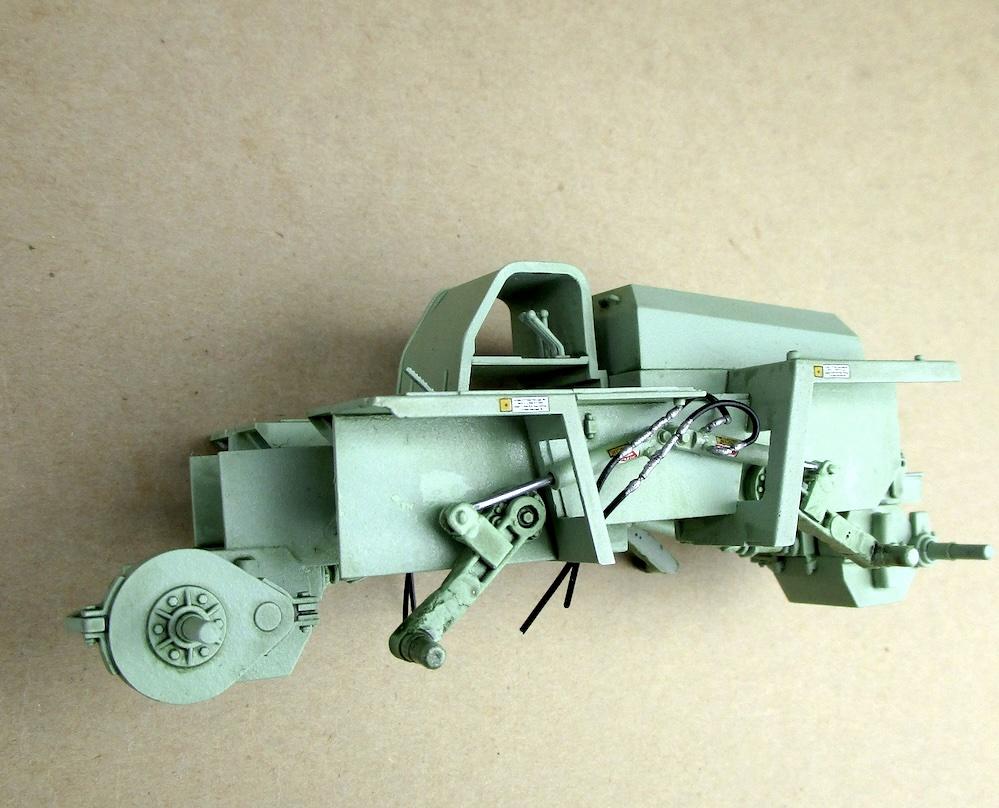
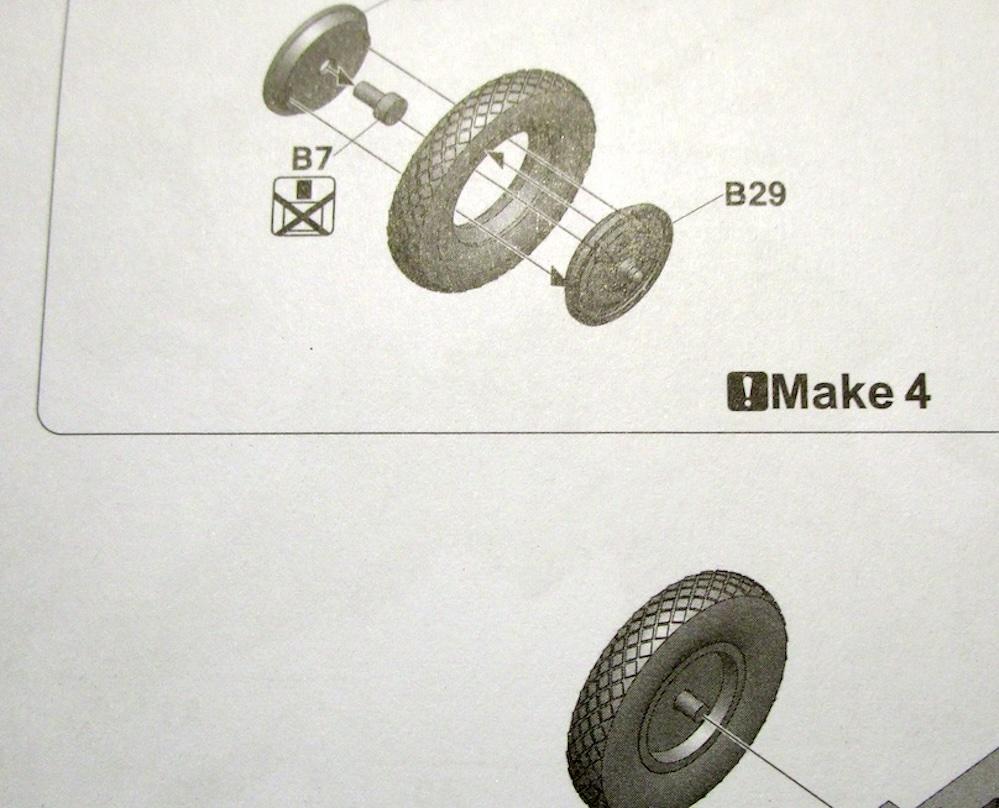
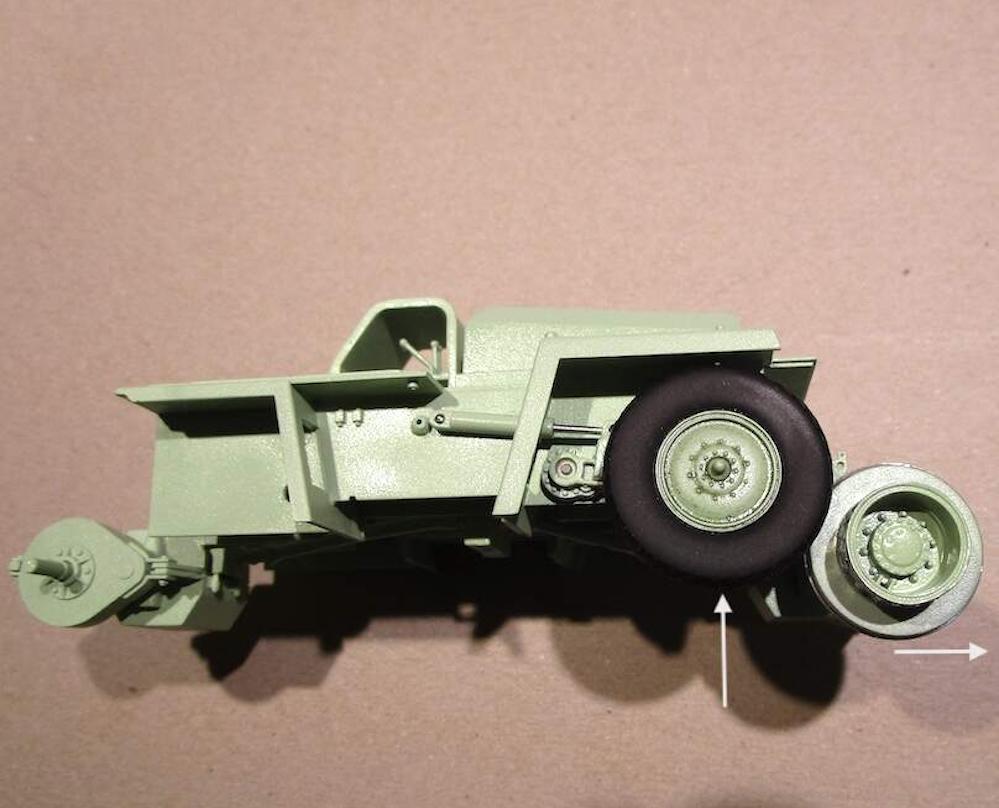
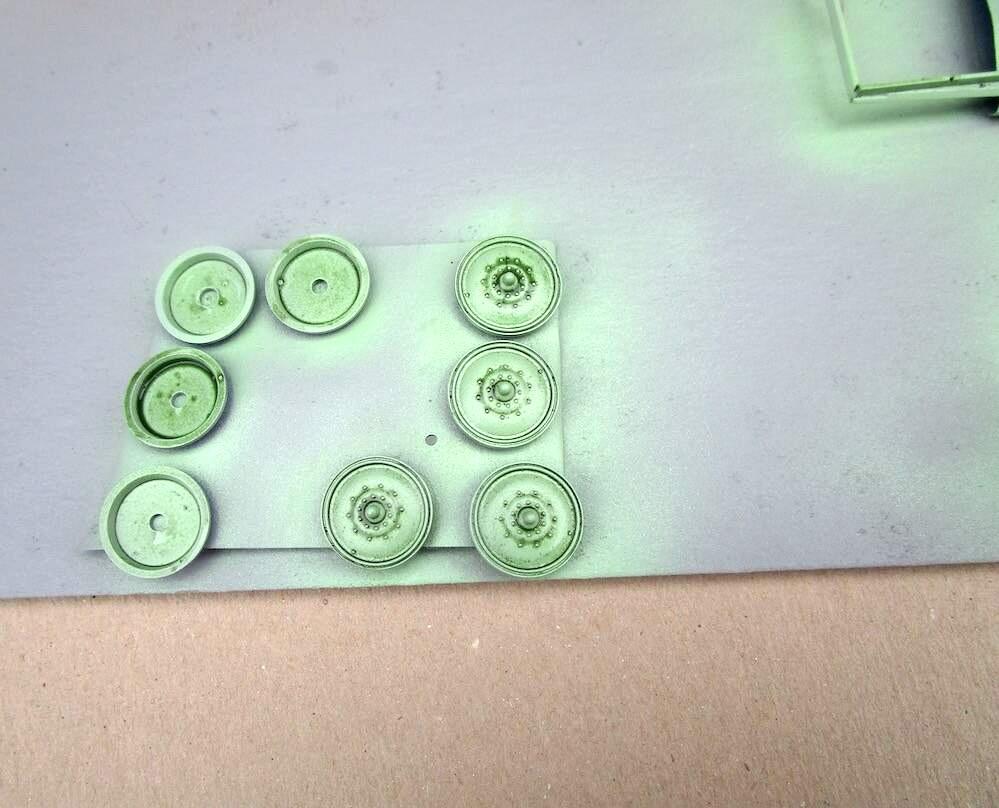
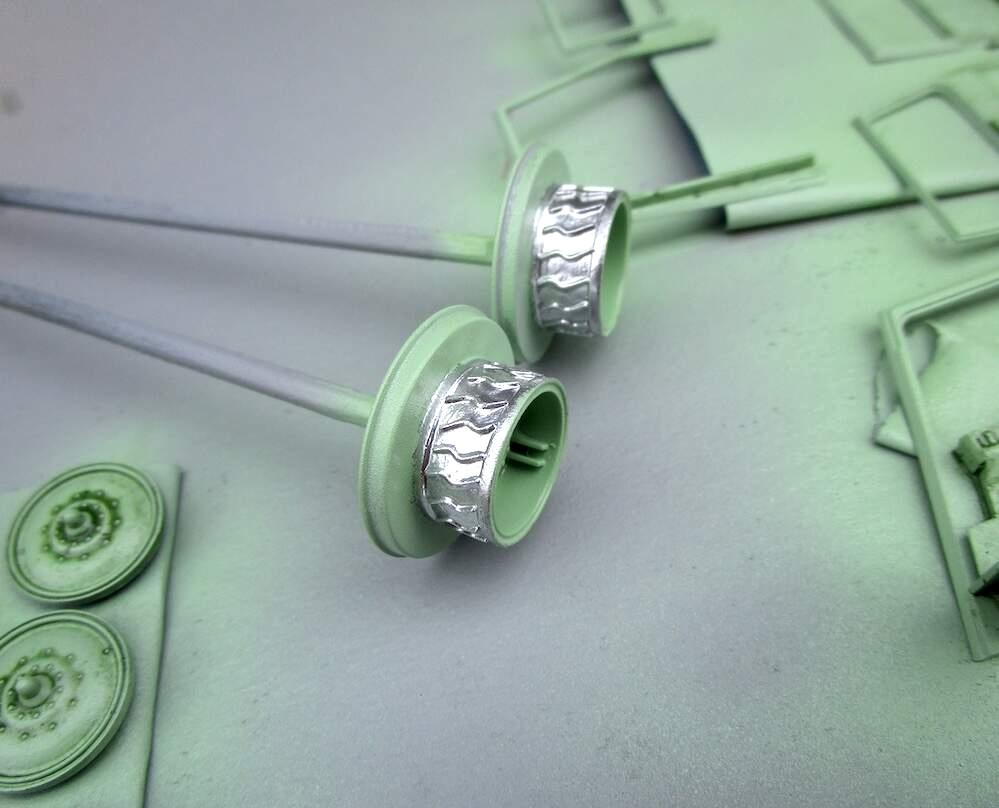
Road wheel assembly. these are the wheels that will drive on pavement off of the railroad. Dry fitting I discovered that the road wheel arms need to be extended further so the drive cones on the traction wheels will make contact like the 1/1 prototype. Traction wheels are slid outboard (rearward) during rail operation and the road wheels are raised up. Then if driving on the paved road the road wheels are lowered and the traction wheels slide inboard (forward) so the drive cones make contact with the rear road wheels to drive.
-
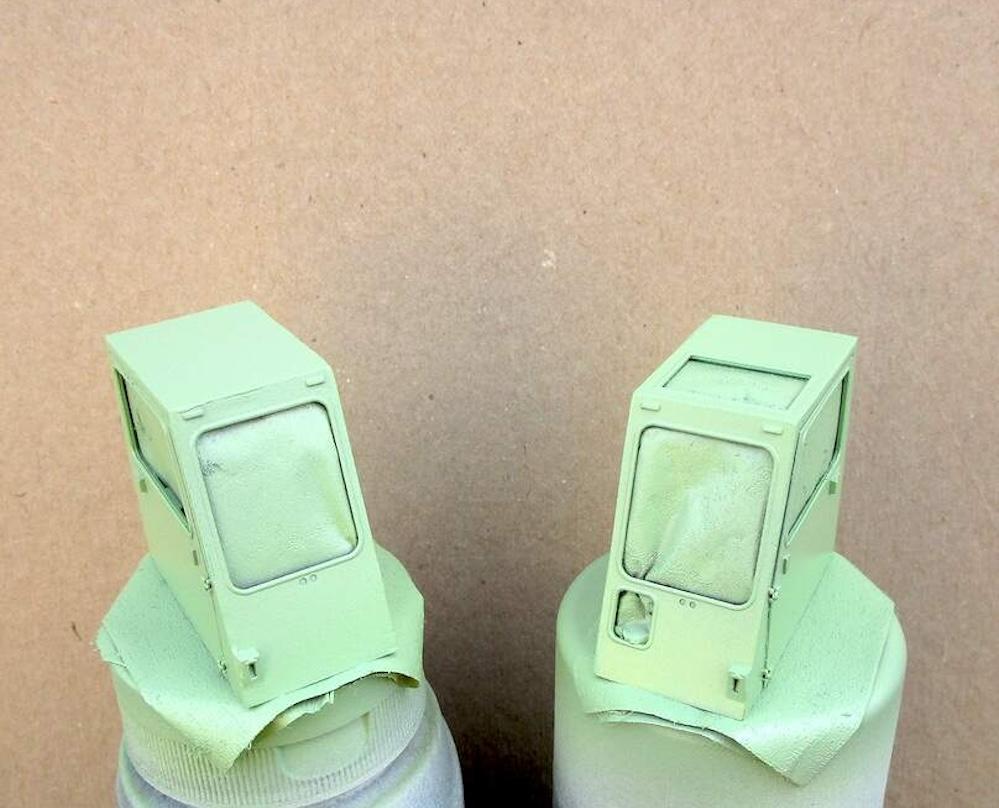
@gotnitro? Yes, I'm pleased with the color as well. Sponge method sounds, well sound. May try that next time. Thanks for commenting.
-
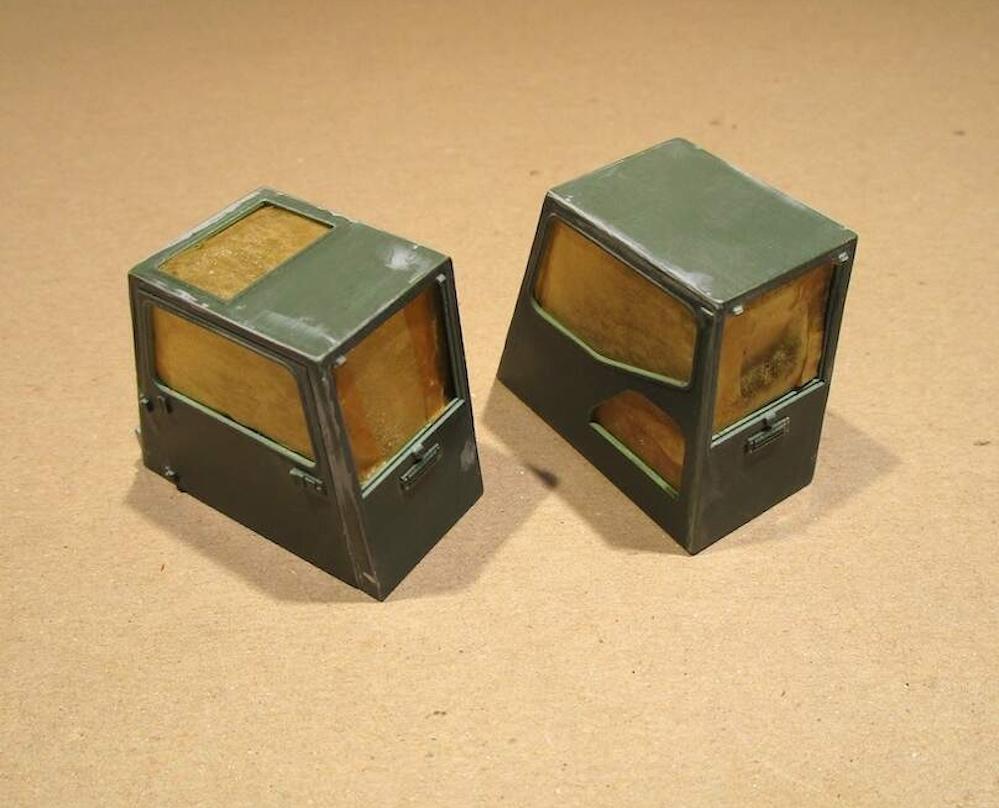
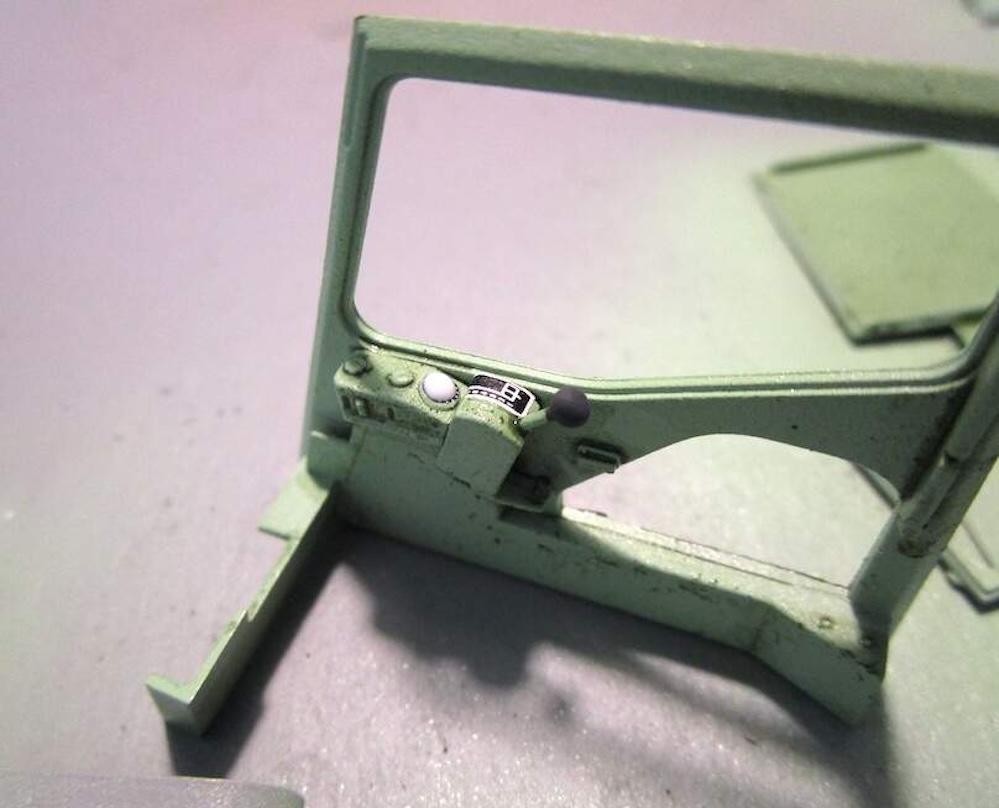
Window weather stripping painted on the driver cab. Painting the brakeman's cab today. I'm doing this before I glue the glass in place.
- 49 replies
-
- 2
-
-
- trackmobile
- tractor
- (and 2 more)
-
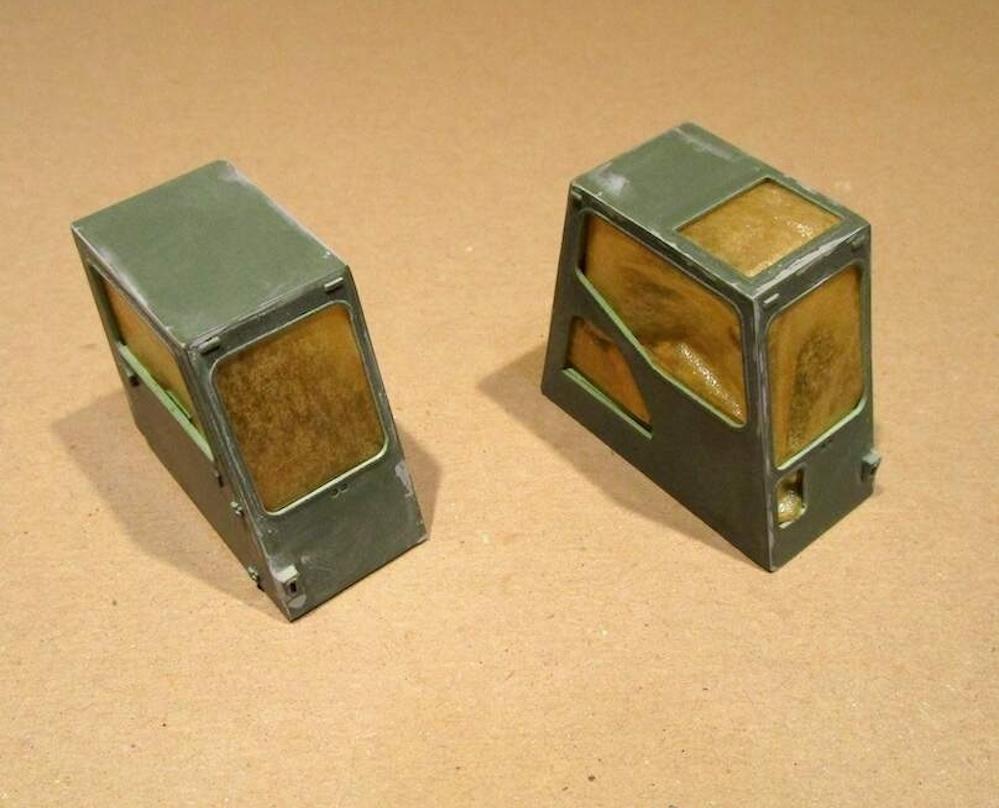
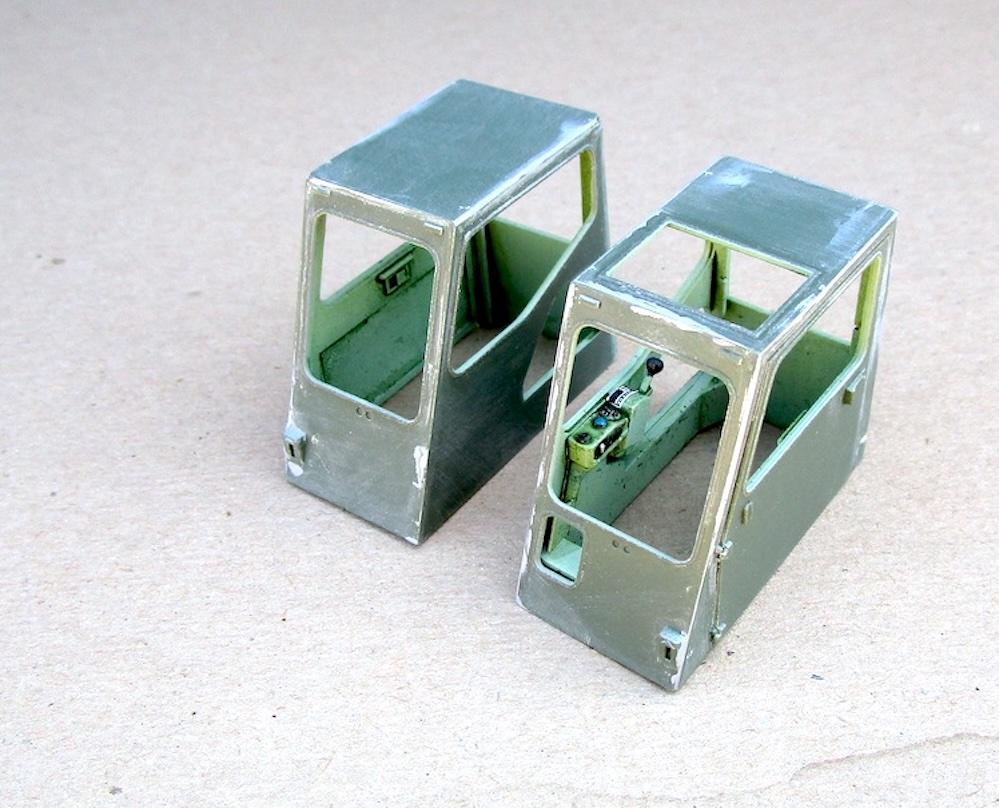
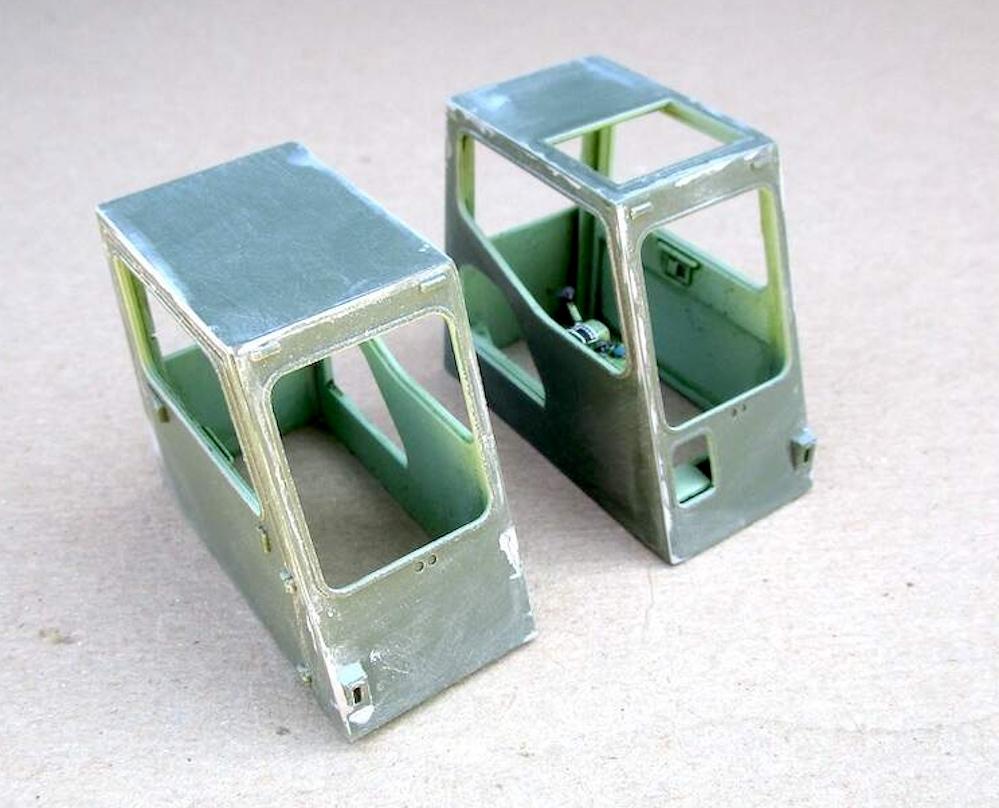
This was the only way I could figure out how to build and paint the cabs. Paint the insides first then build the cab subassemblies. Then mask from the inside to protect what I've already done inside so I can paint the outside. I still need to glue in all the glass, cleanly as well 🤔
- 49 replies
-
- 1
-
-
- trackmobile
- tractor
- (and 2 more)
-
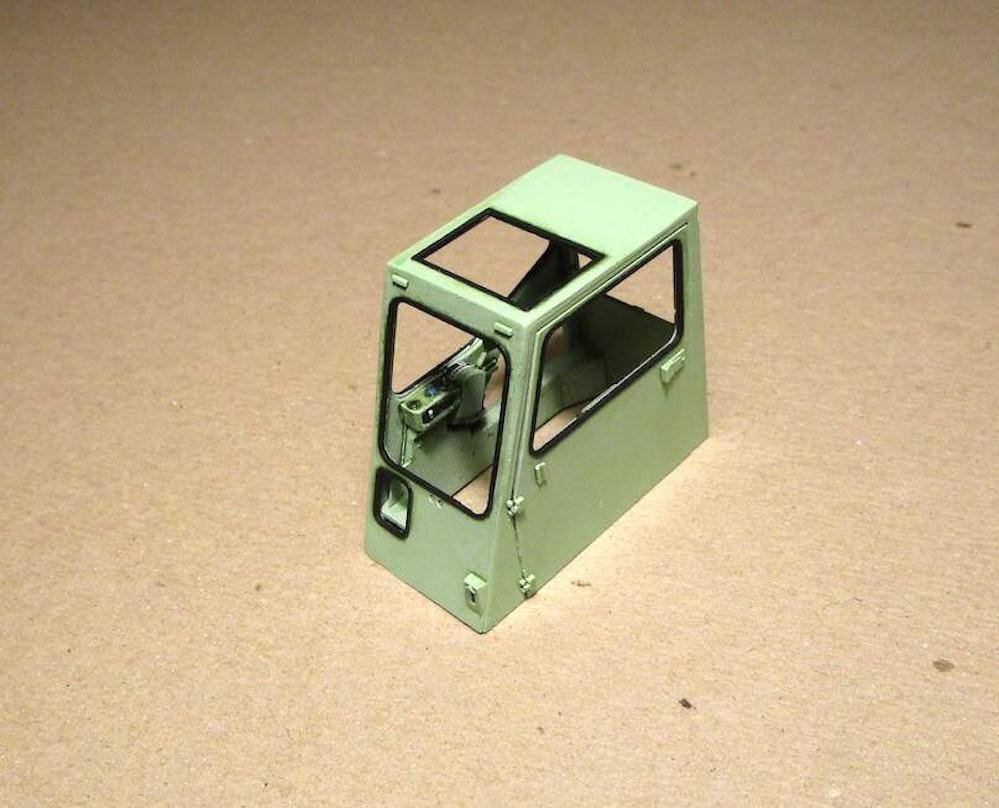
Assembling the cabs. I'll mask the openings before painting the outsides.
- 49 replies
-
- 1
-
-
- trackmobile
- tractor
- (and 2 more)
-
Handmade pickup
Edward Gore replied to YEKUN's topic in WIP: Model Trucks: Pickups, Vans, SUVs, Light Commercial
Very nice scratch build. I just figured out what the rims are made from 👍💡 -
Hi @Scott Eriksen, Thanks for checking in! I'm still in to 1/35 armored stuff when I'm not building static stand alone rolling stock, sci-fi, figures, oddball kit-mash ups, oh yeah or cars and trucks 😁 Recently there are a lot of 1/35 kits from Academy, Amusing Hobby, Border Models, Miniart, Meng.... with full interior including engines, transmission, drive train, and driver compartments. A little pricy for those not interested in the 1/35 scale range starting at $50USD and up. My favorite builds of those kits are when they make them exploded view display builds 👍💡
- 49 replies
-
- 1
-
-
- trackmobile
- tractor
- (and 2 more)
-
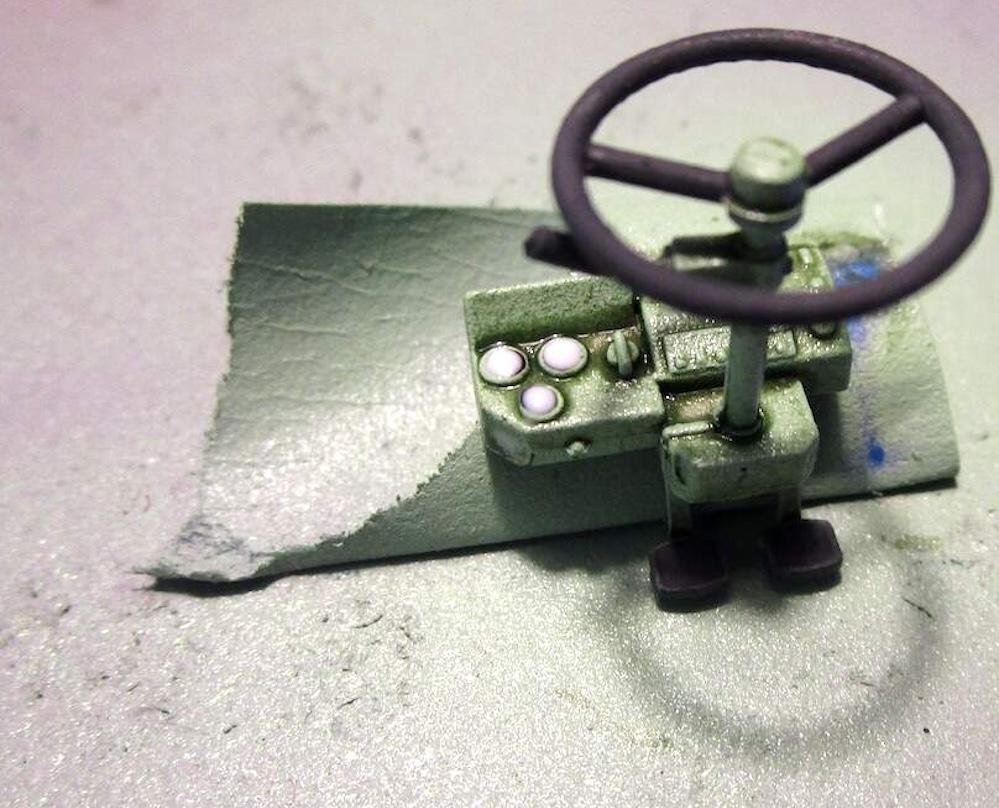
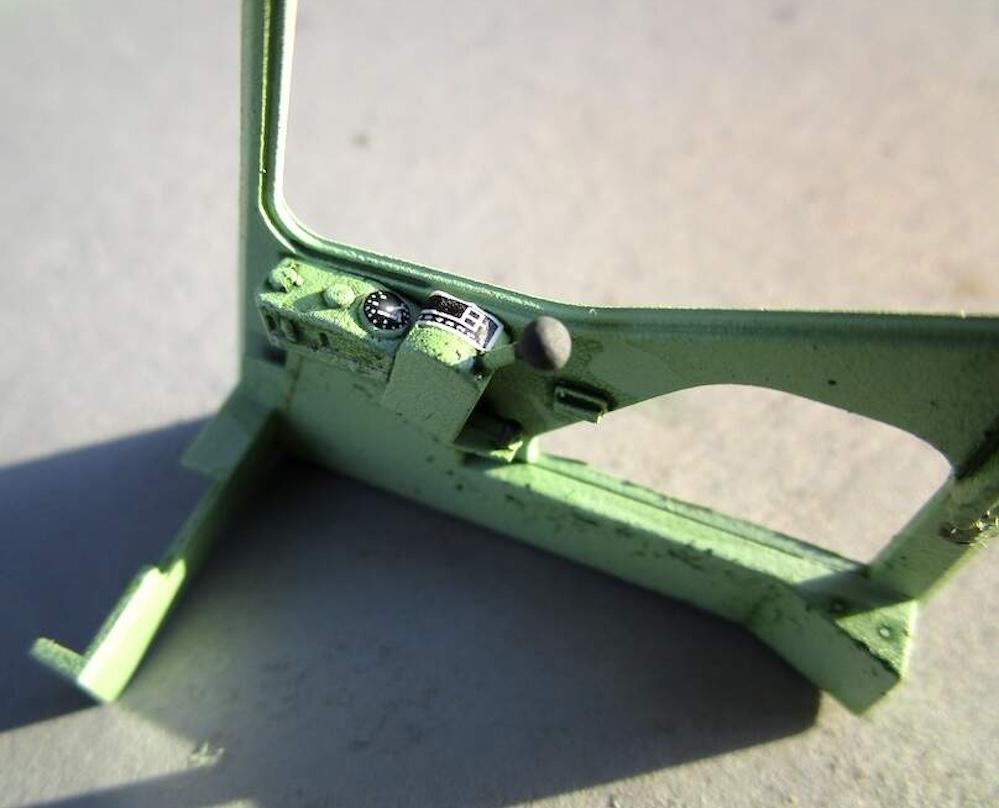
Thanks for the compliments. The dials and gauges are so tiny in 1/35 that I wanted to magnify them. Putting a sort of dome on each one did that I think. The weathering is actually accidental at this point in the build, Lol. Thank you for the compliment.
-
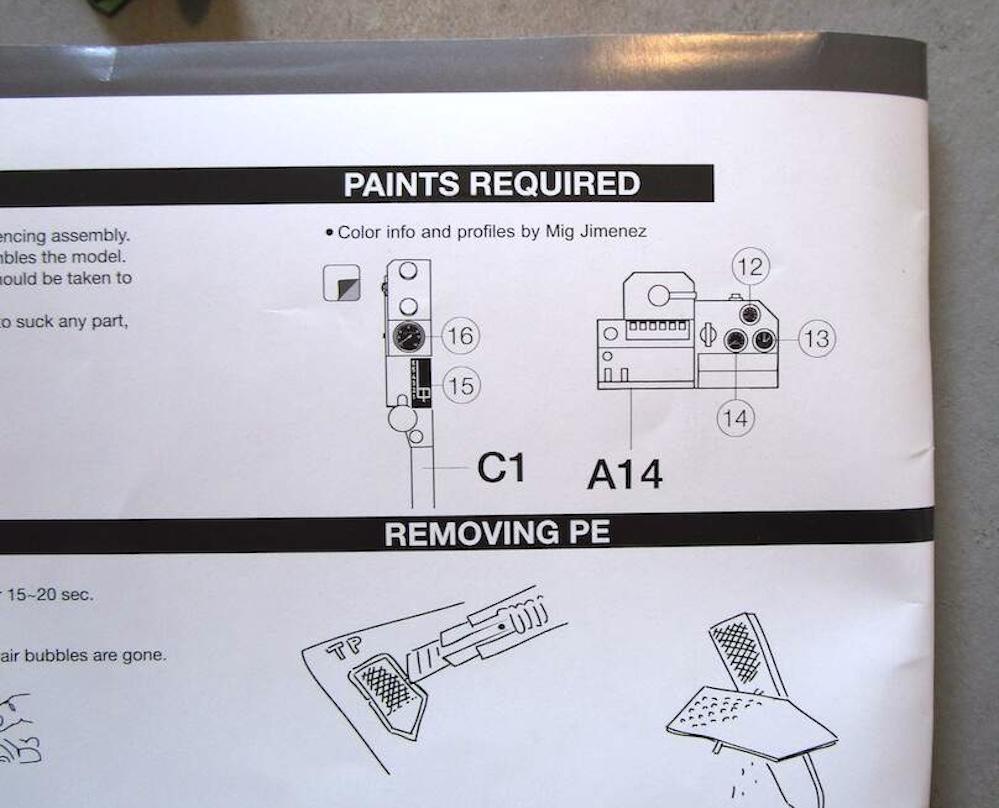
Interior detail getting done. Kit decals installed upside-down, probably. They are so tiny. Creating gauge lenses with a drop of Kristal Klear.
- 49 replies
-
- 1
-
-
- trackmobile
- tractor
- (and 2 more)
-
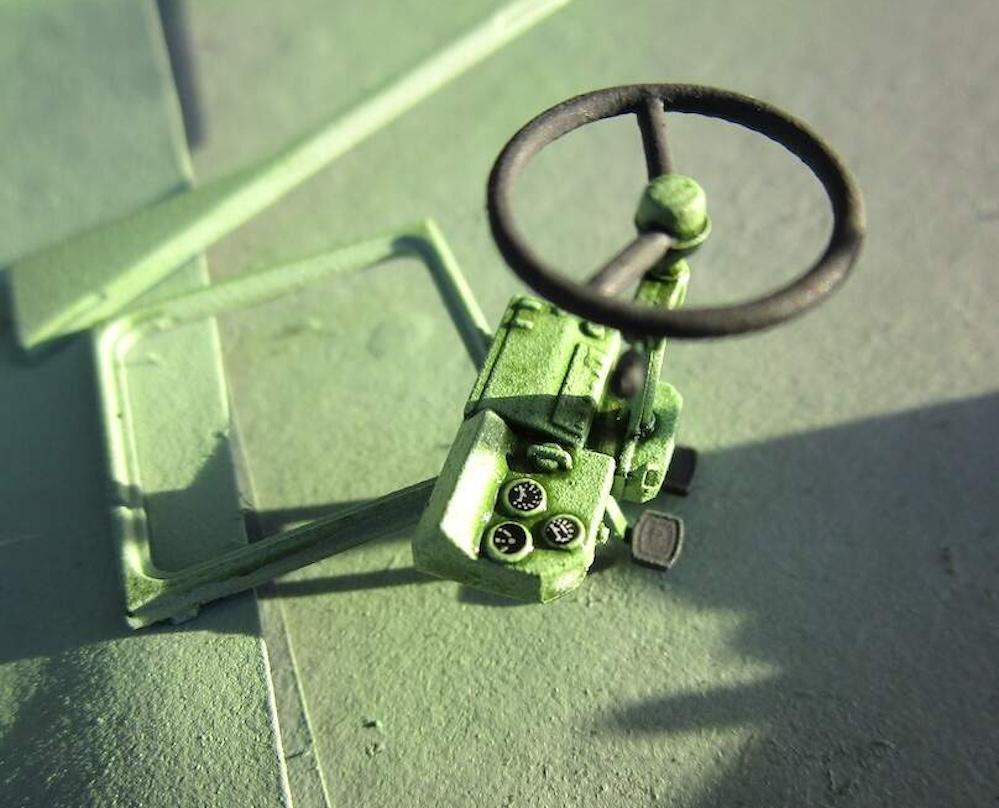
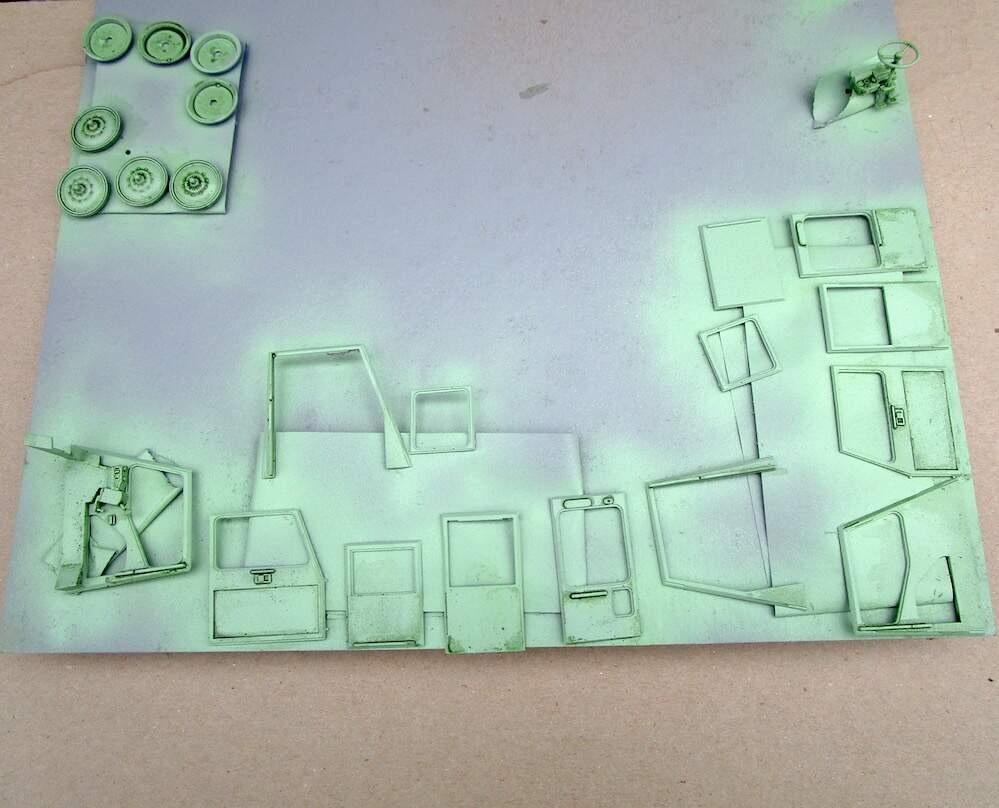
This model is based on the Trackmobile but is my own design using kits I already have in the stash. Trackmobiles I see online are usually yellow or orange so I want mine to have that sort of U.S. Forest Service green. Paasche, indeed it is!
-
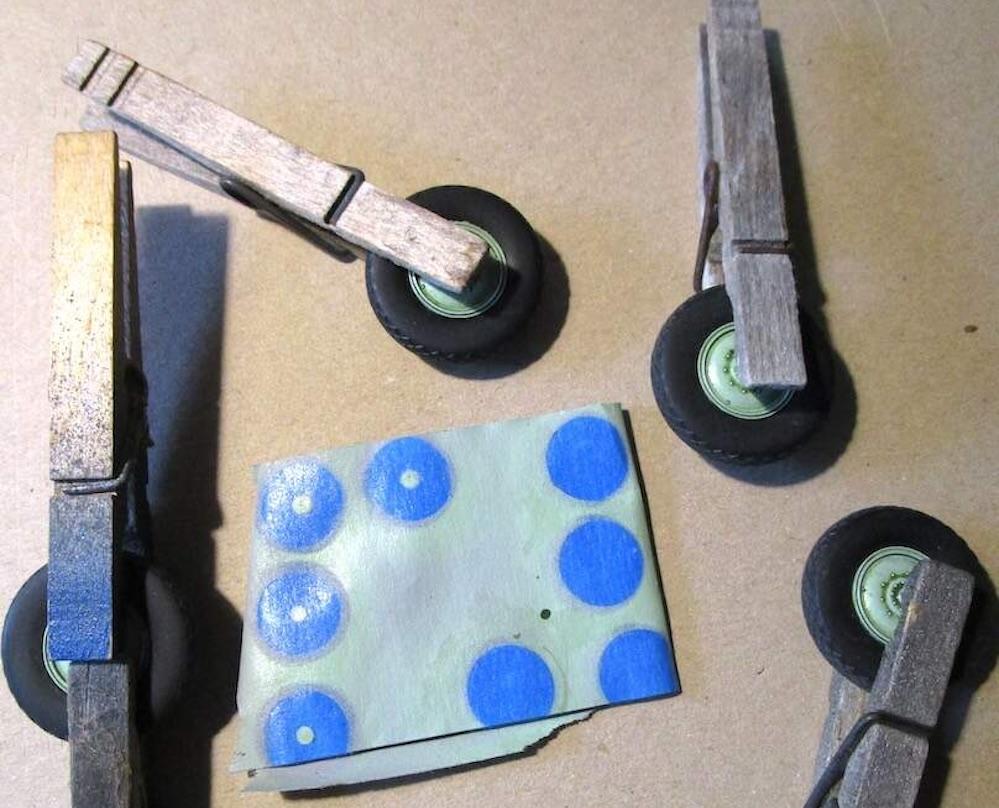
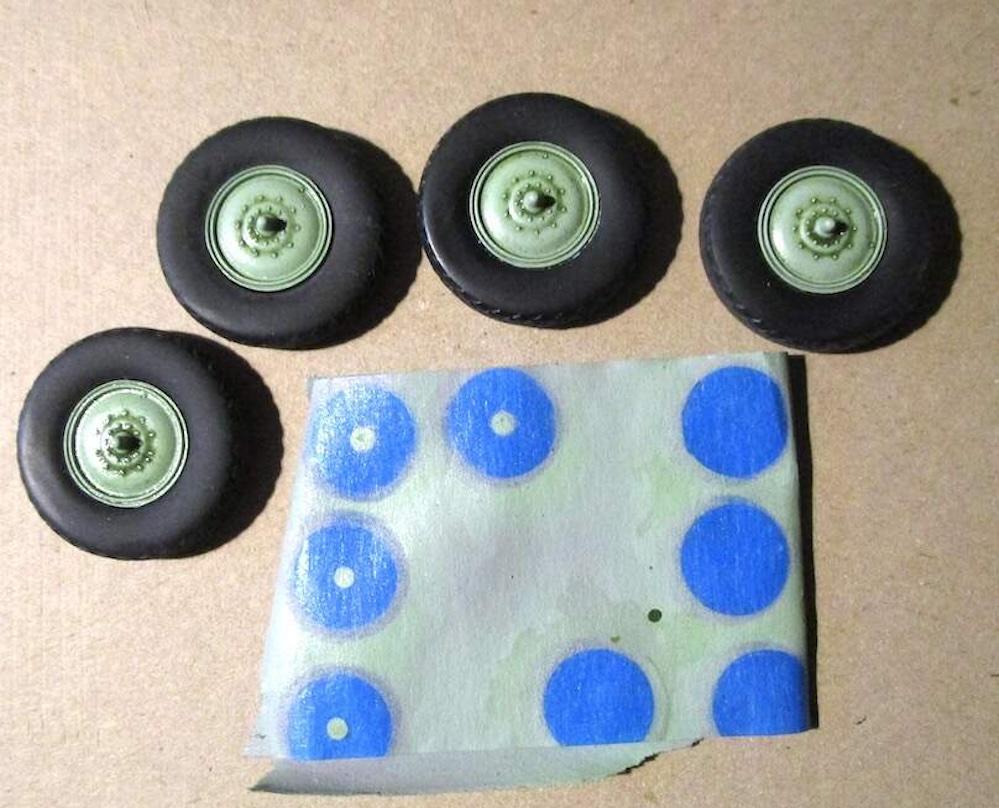
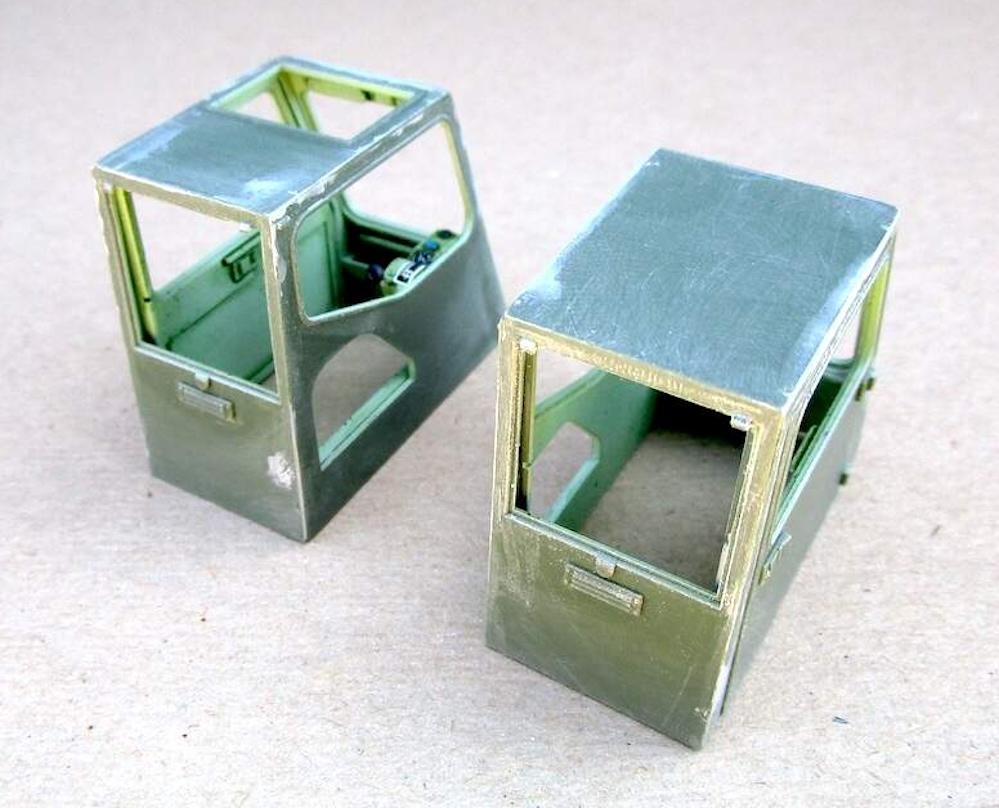
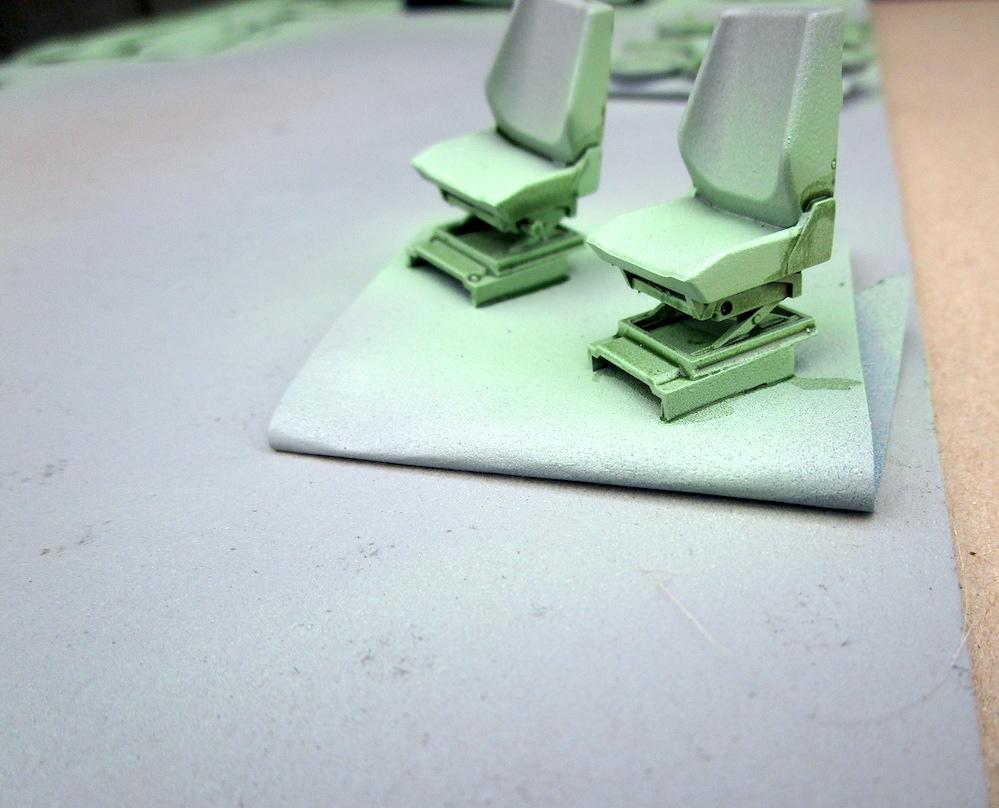
Added a pin wash of dark green to compliment details on the inside of the cabs. A little on the wheel hubs and seat mechanisms as well. Then masked and sprayed the drive cones ‘chrome’ to simulate polished wear. These will receive a pin wash of bronze and black later.