kenlwest
-
Posts
213 -
Joined
-
Last visited
kenlwest's Achievements
MCM Friend (4/6)
-
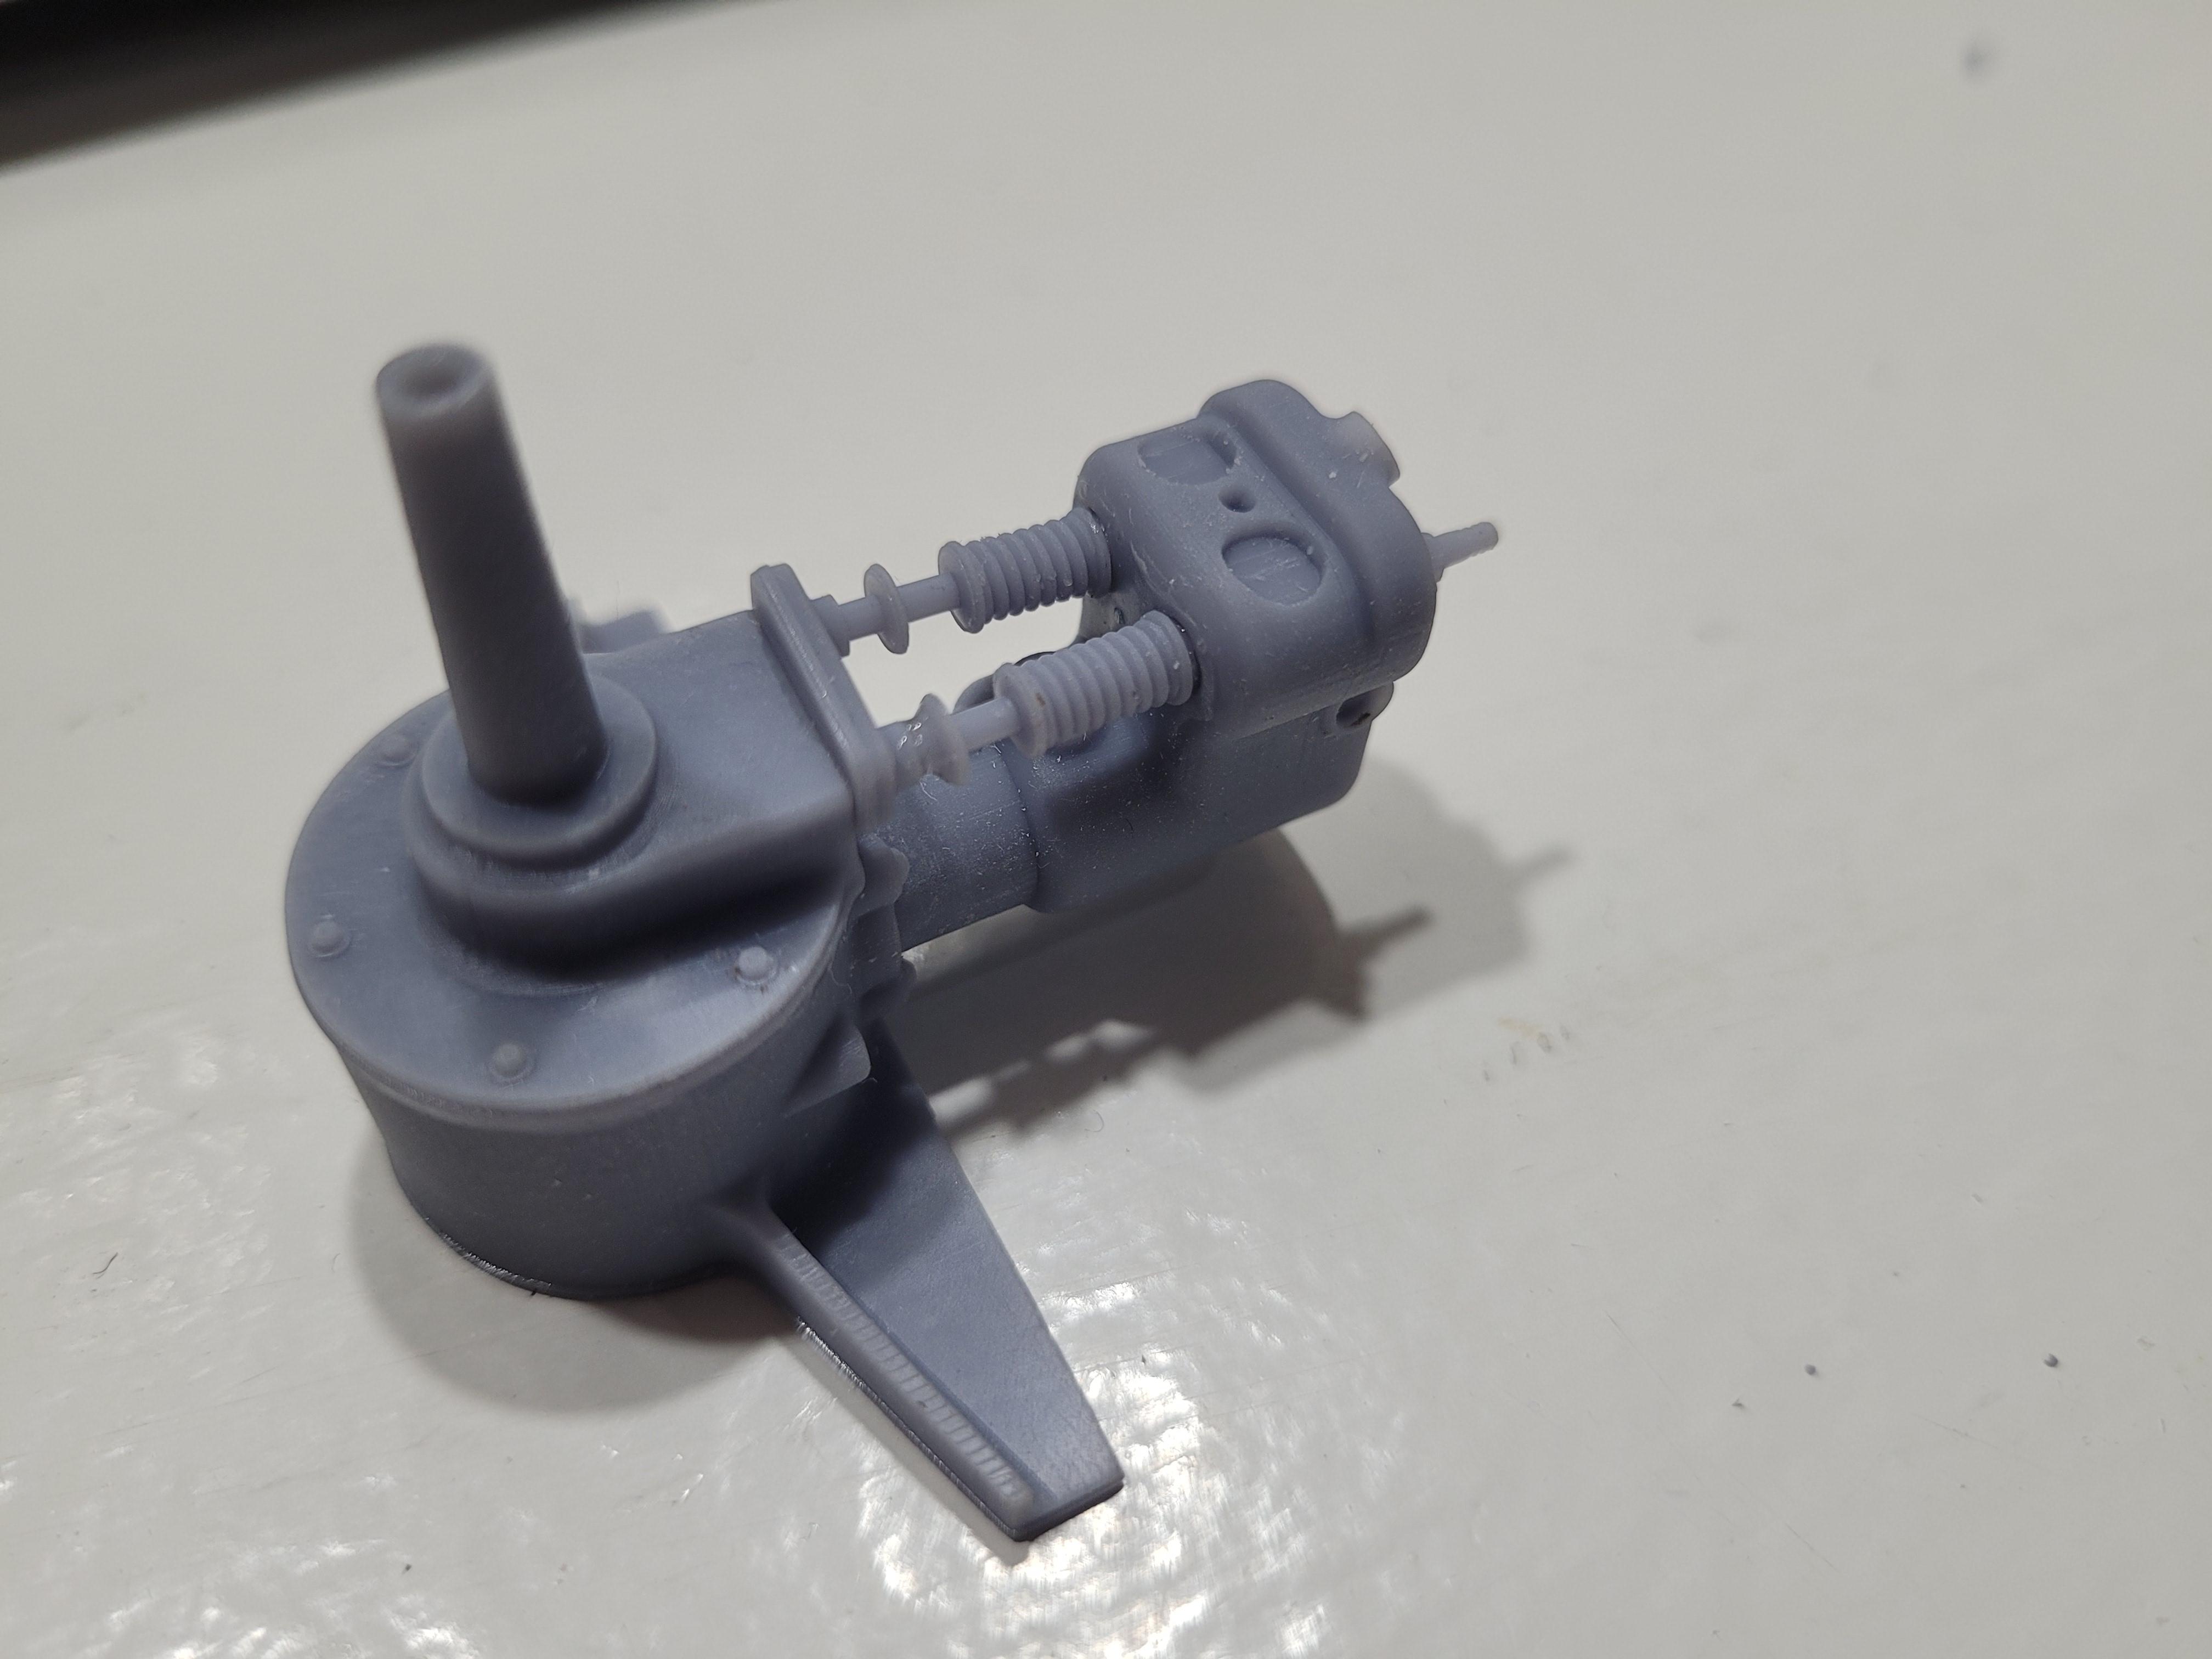
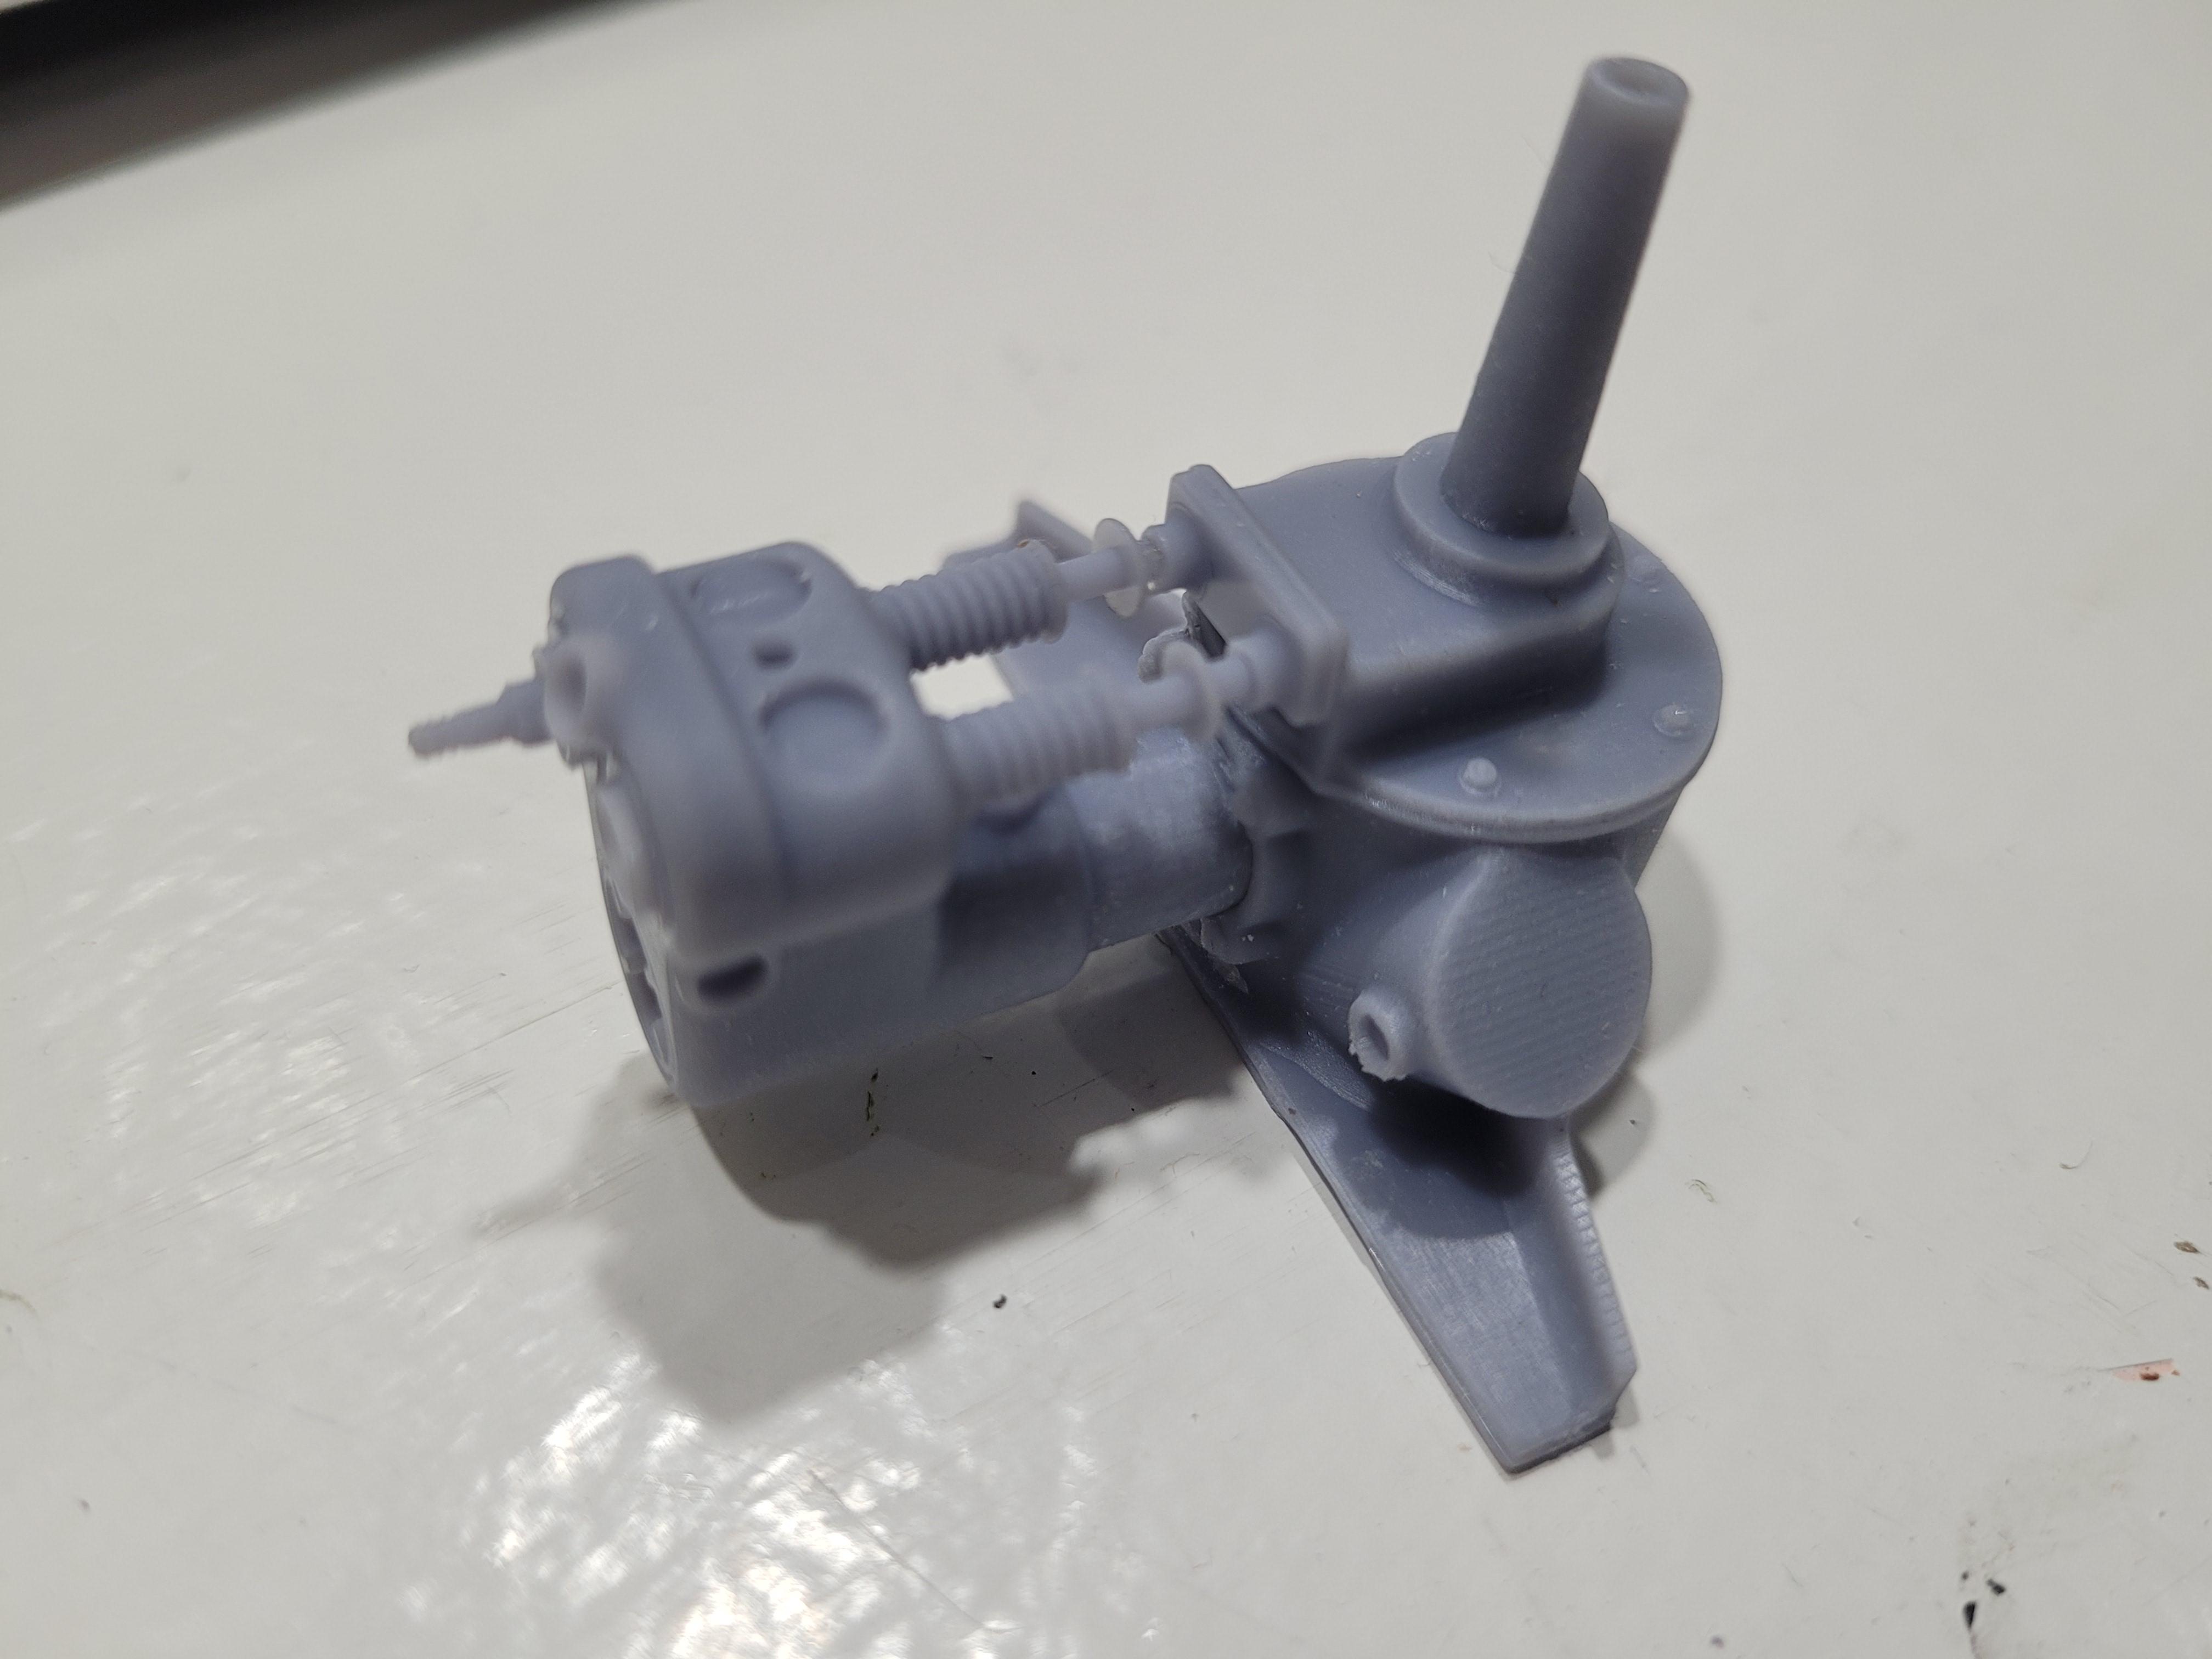
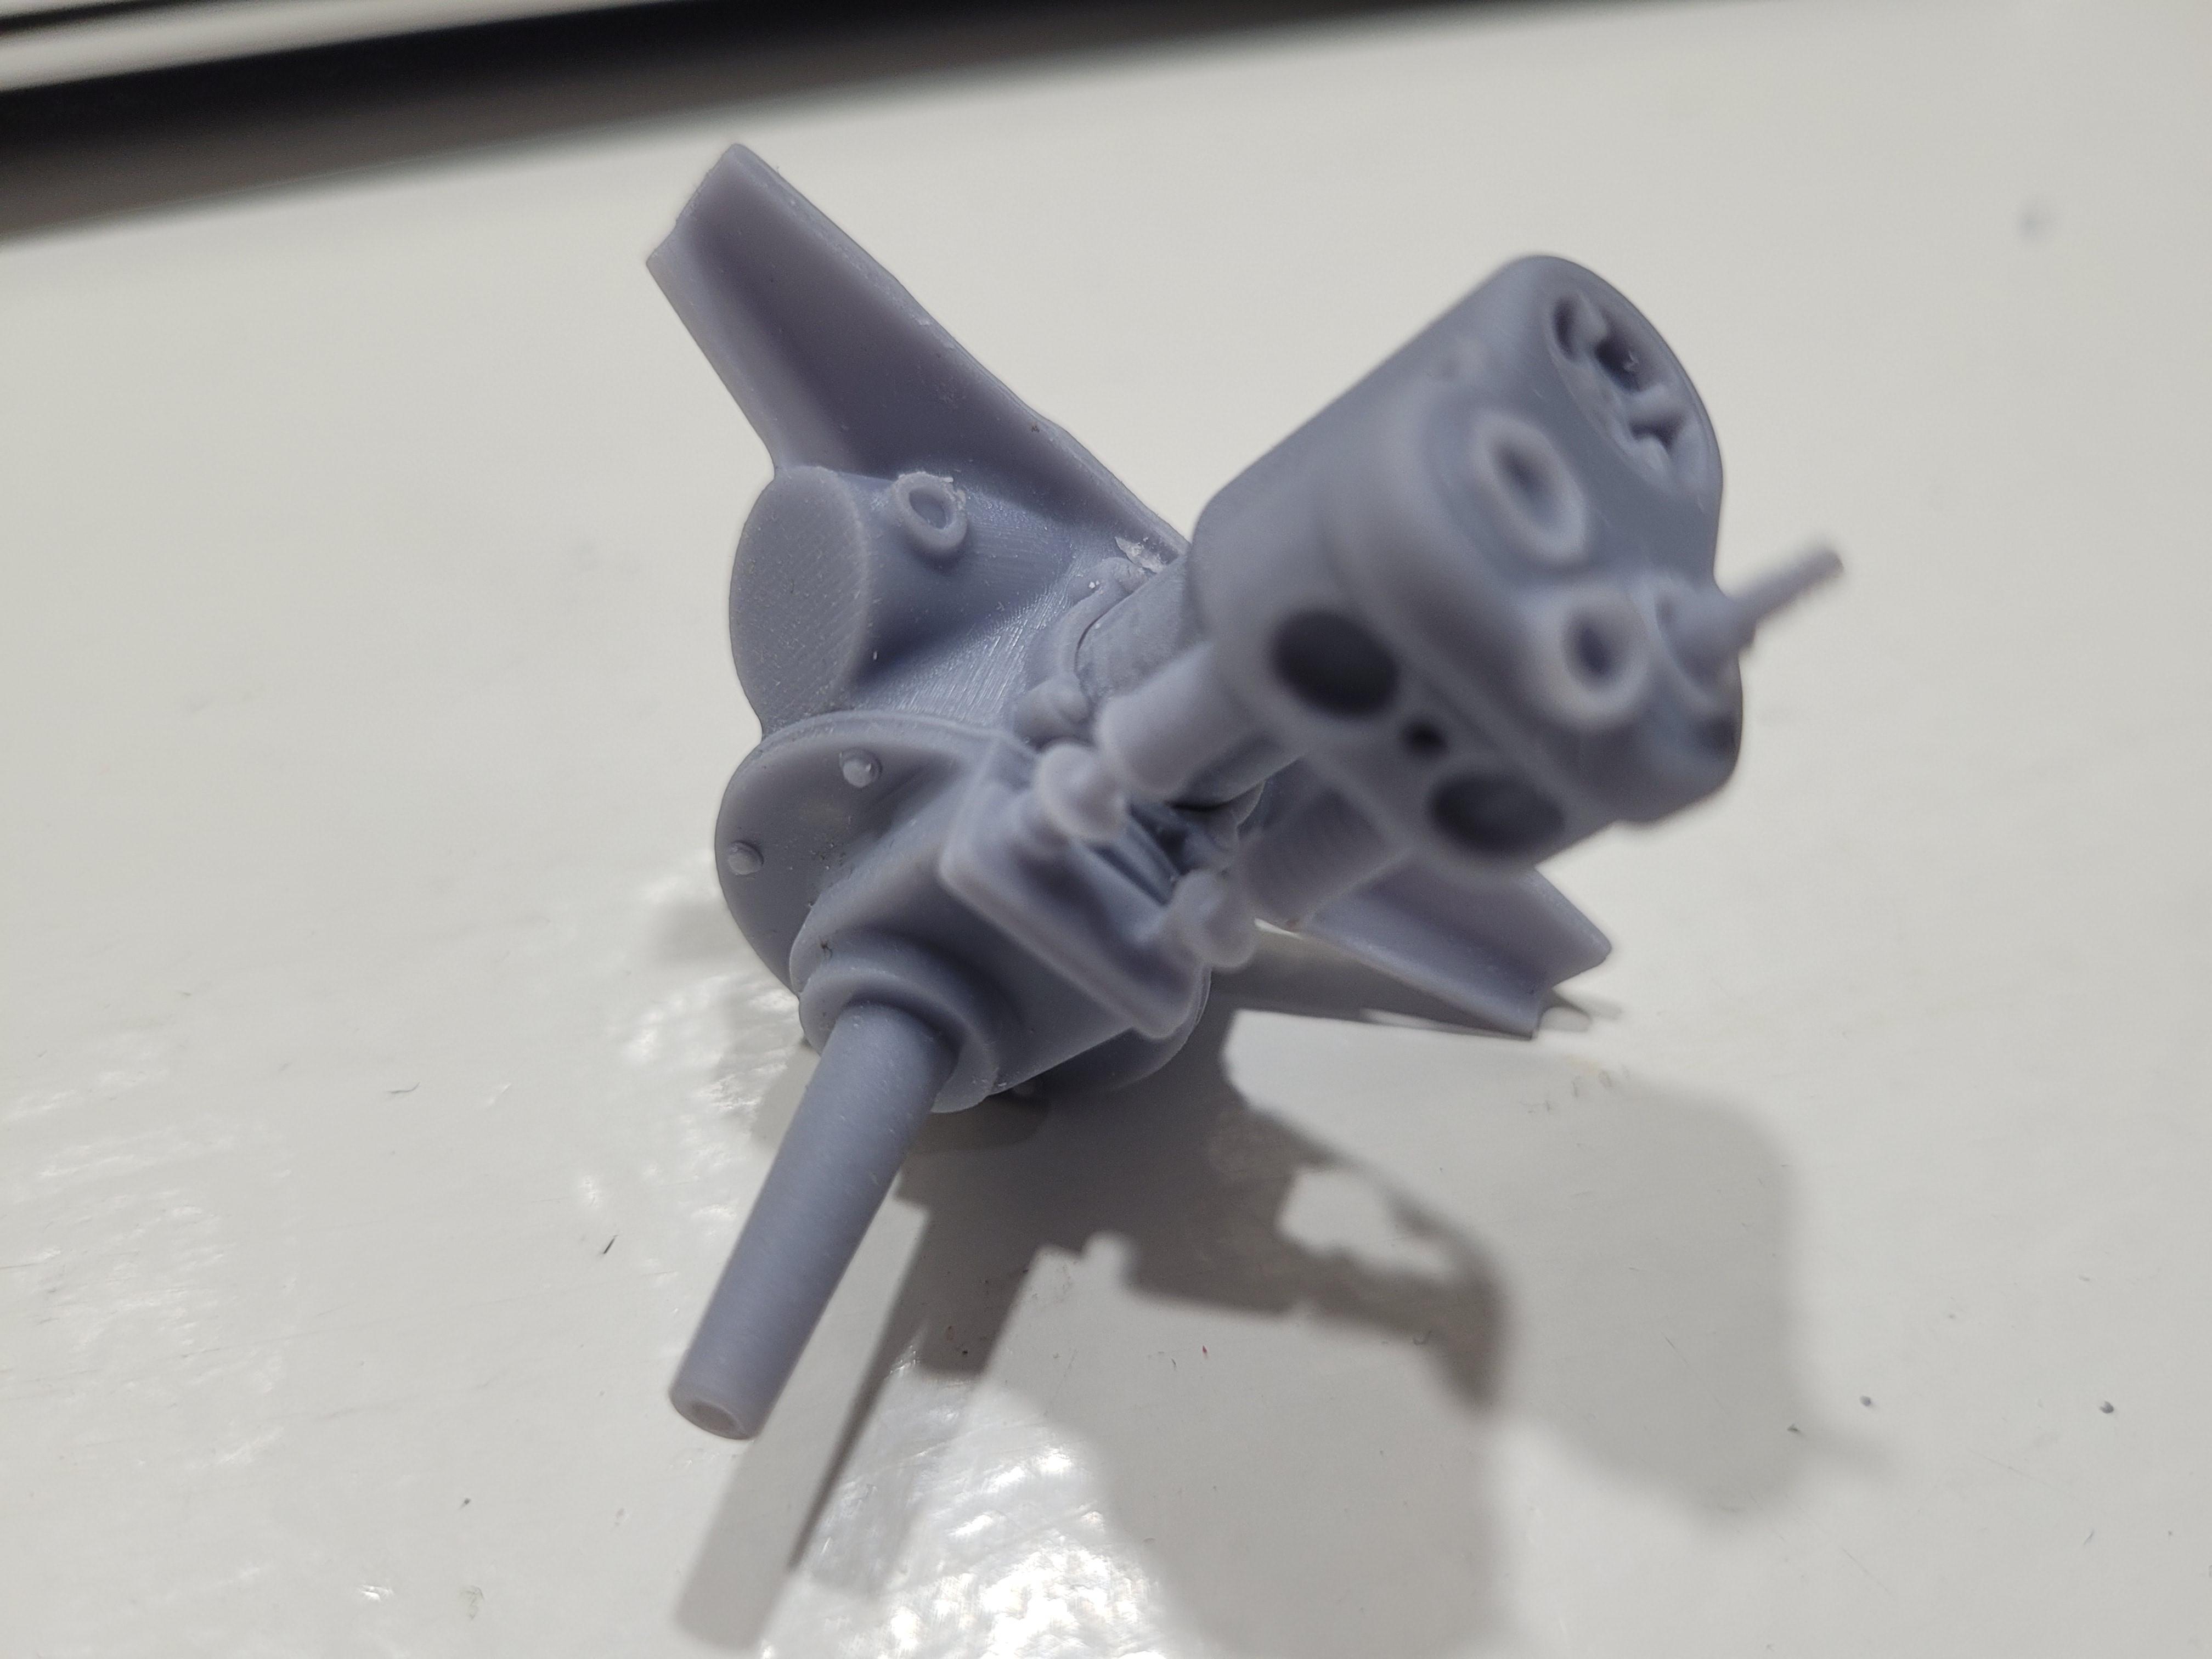
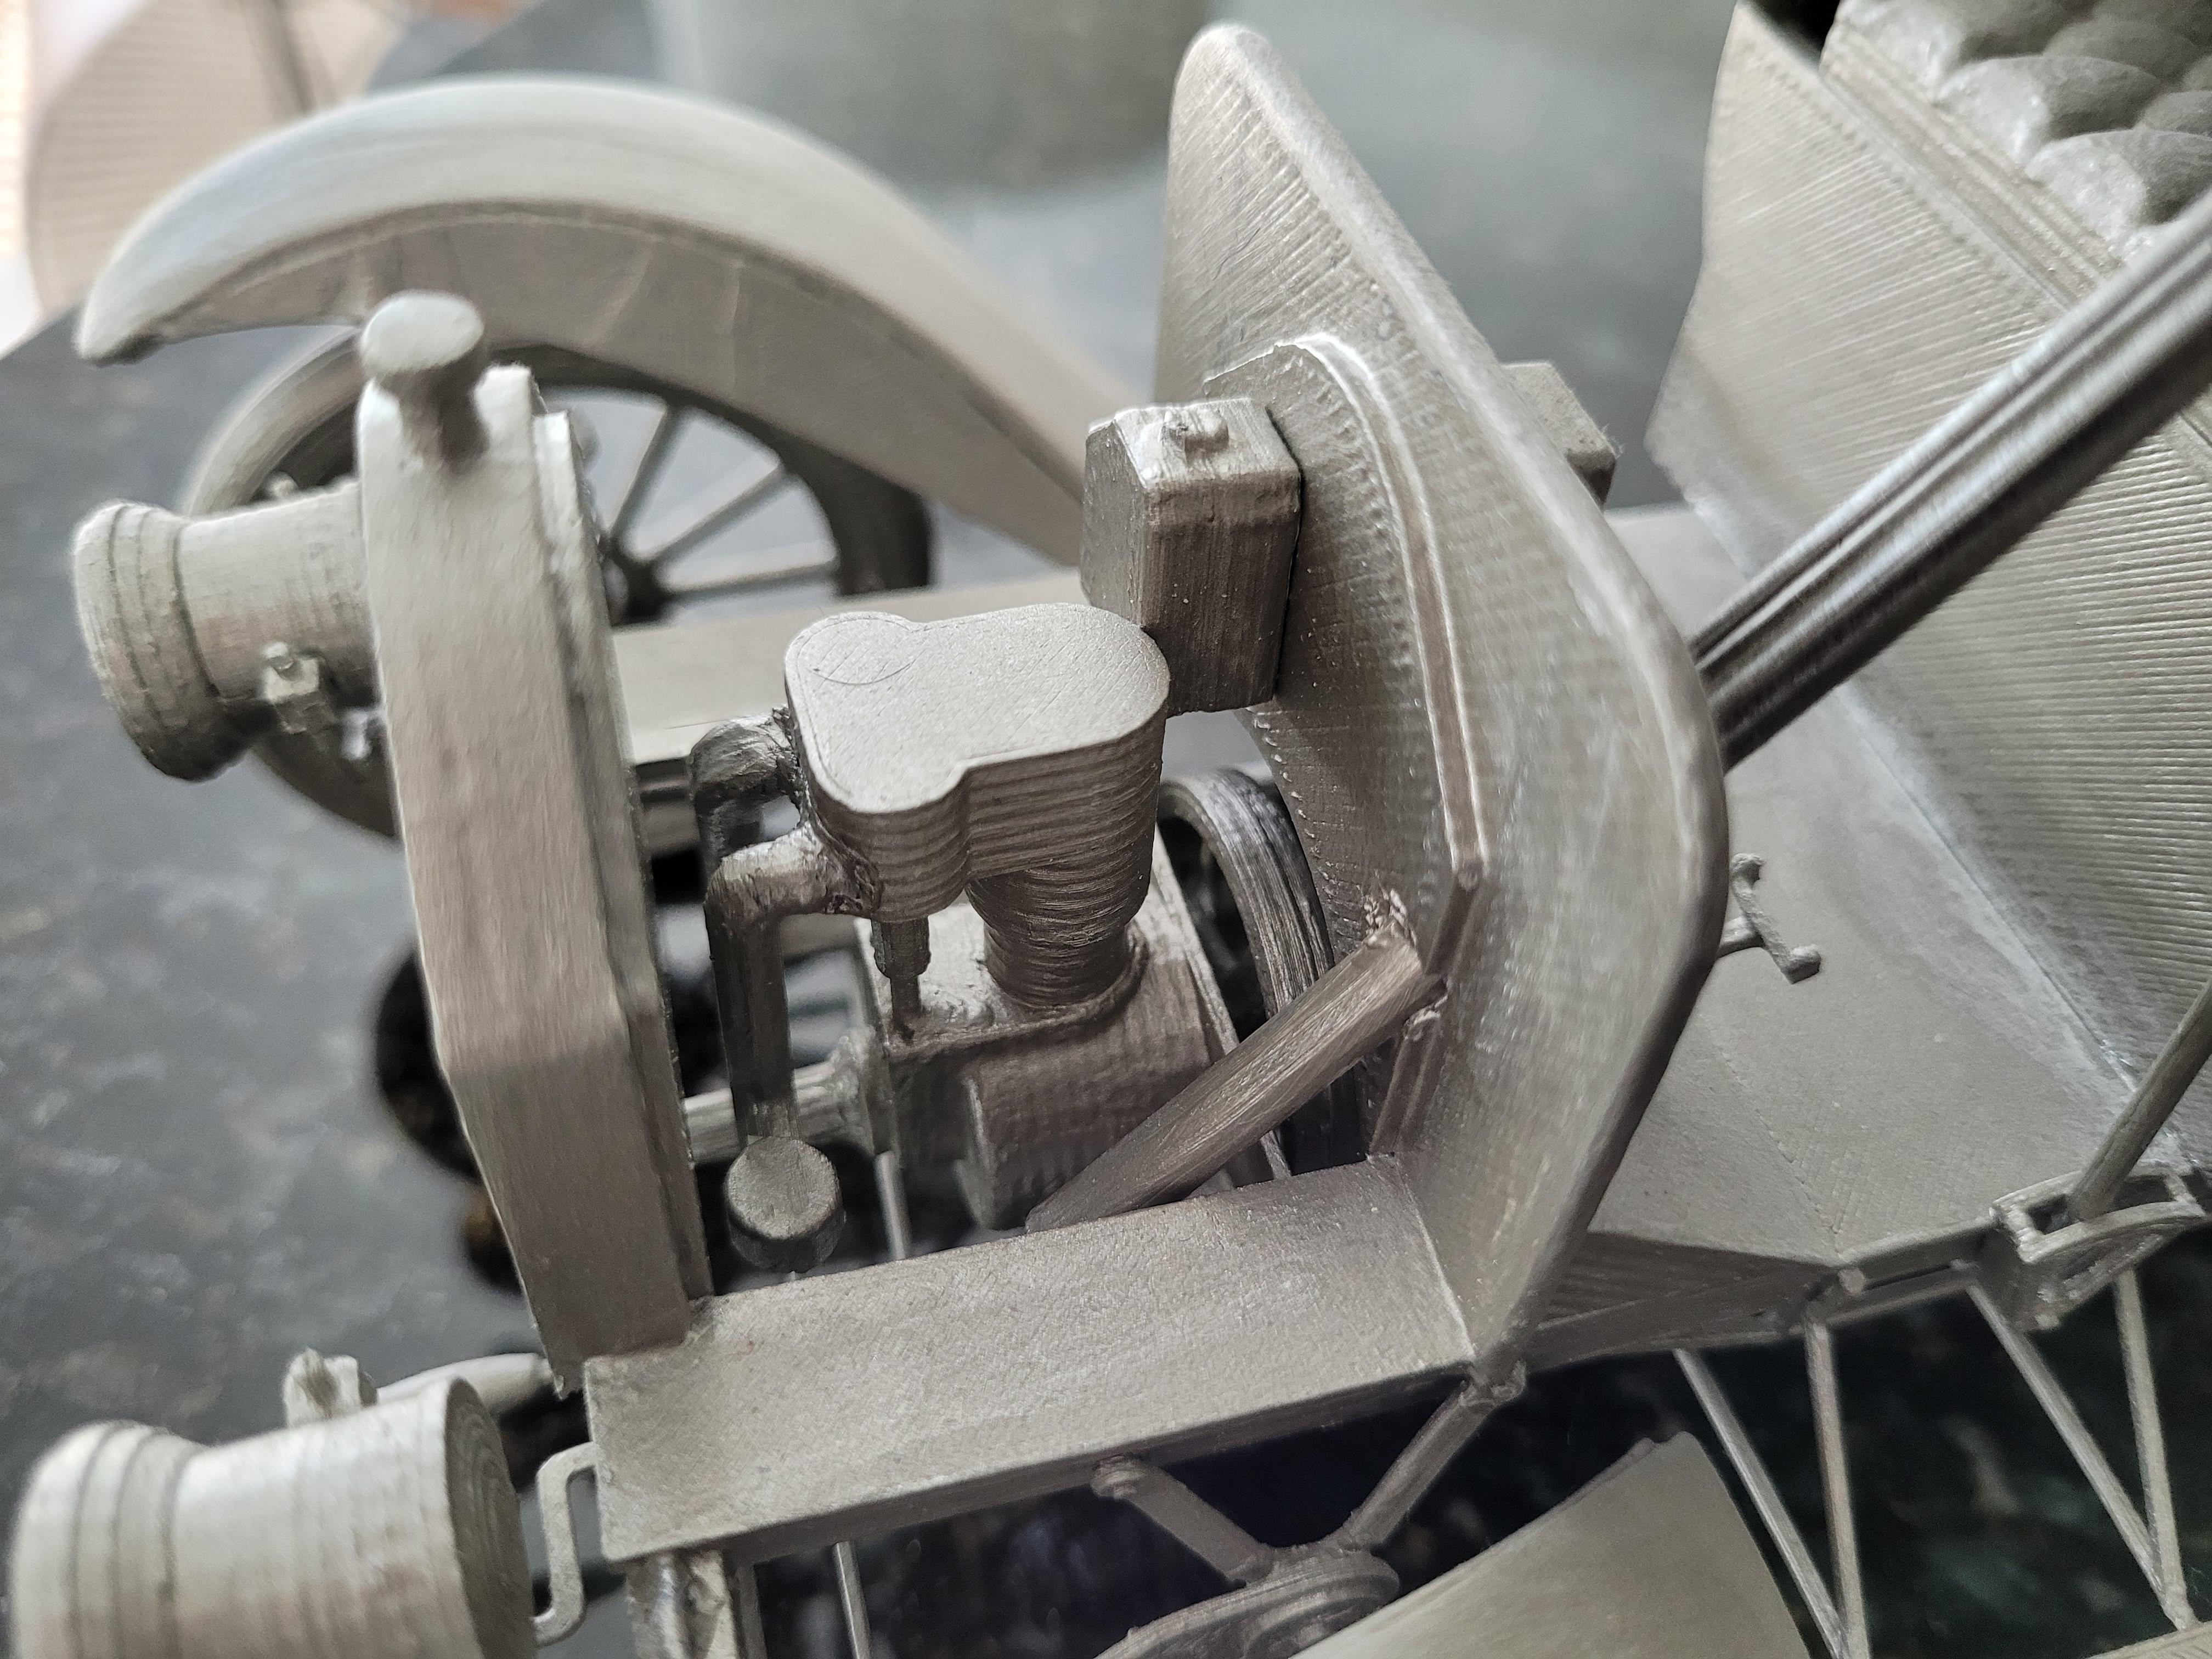
Tonight, I put the engine together, minus the hoses, intake and carburetor. It may be hard to see. But the valve springs can be seen, as well as the spark plug. Until it is painted, resin parts can appear to lack detail, just like styrene parts.

-
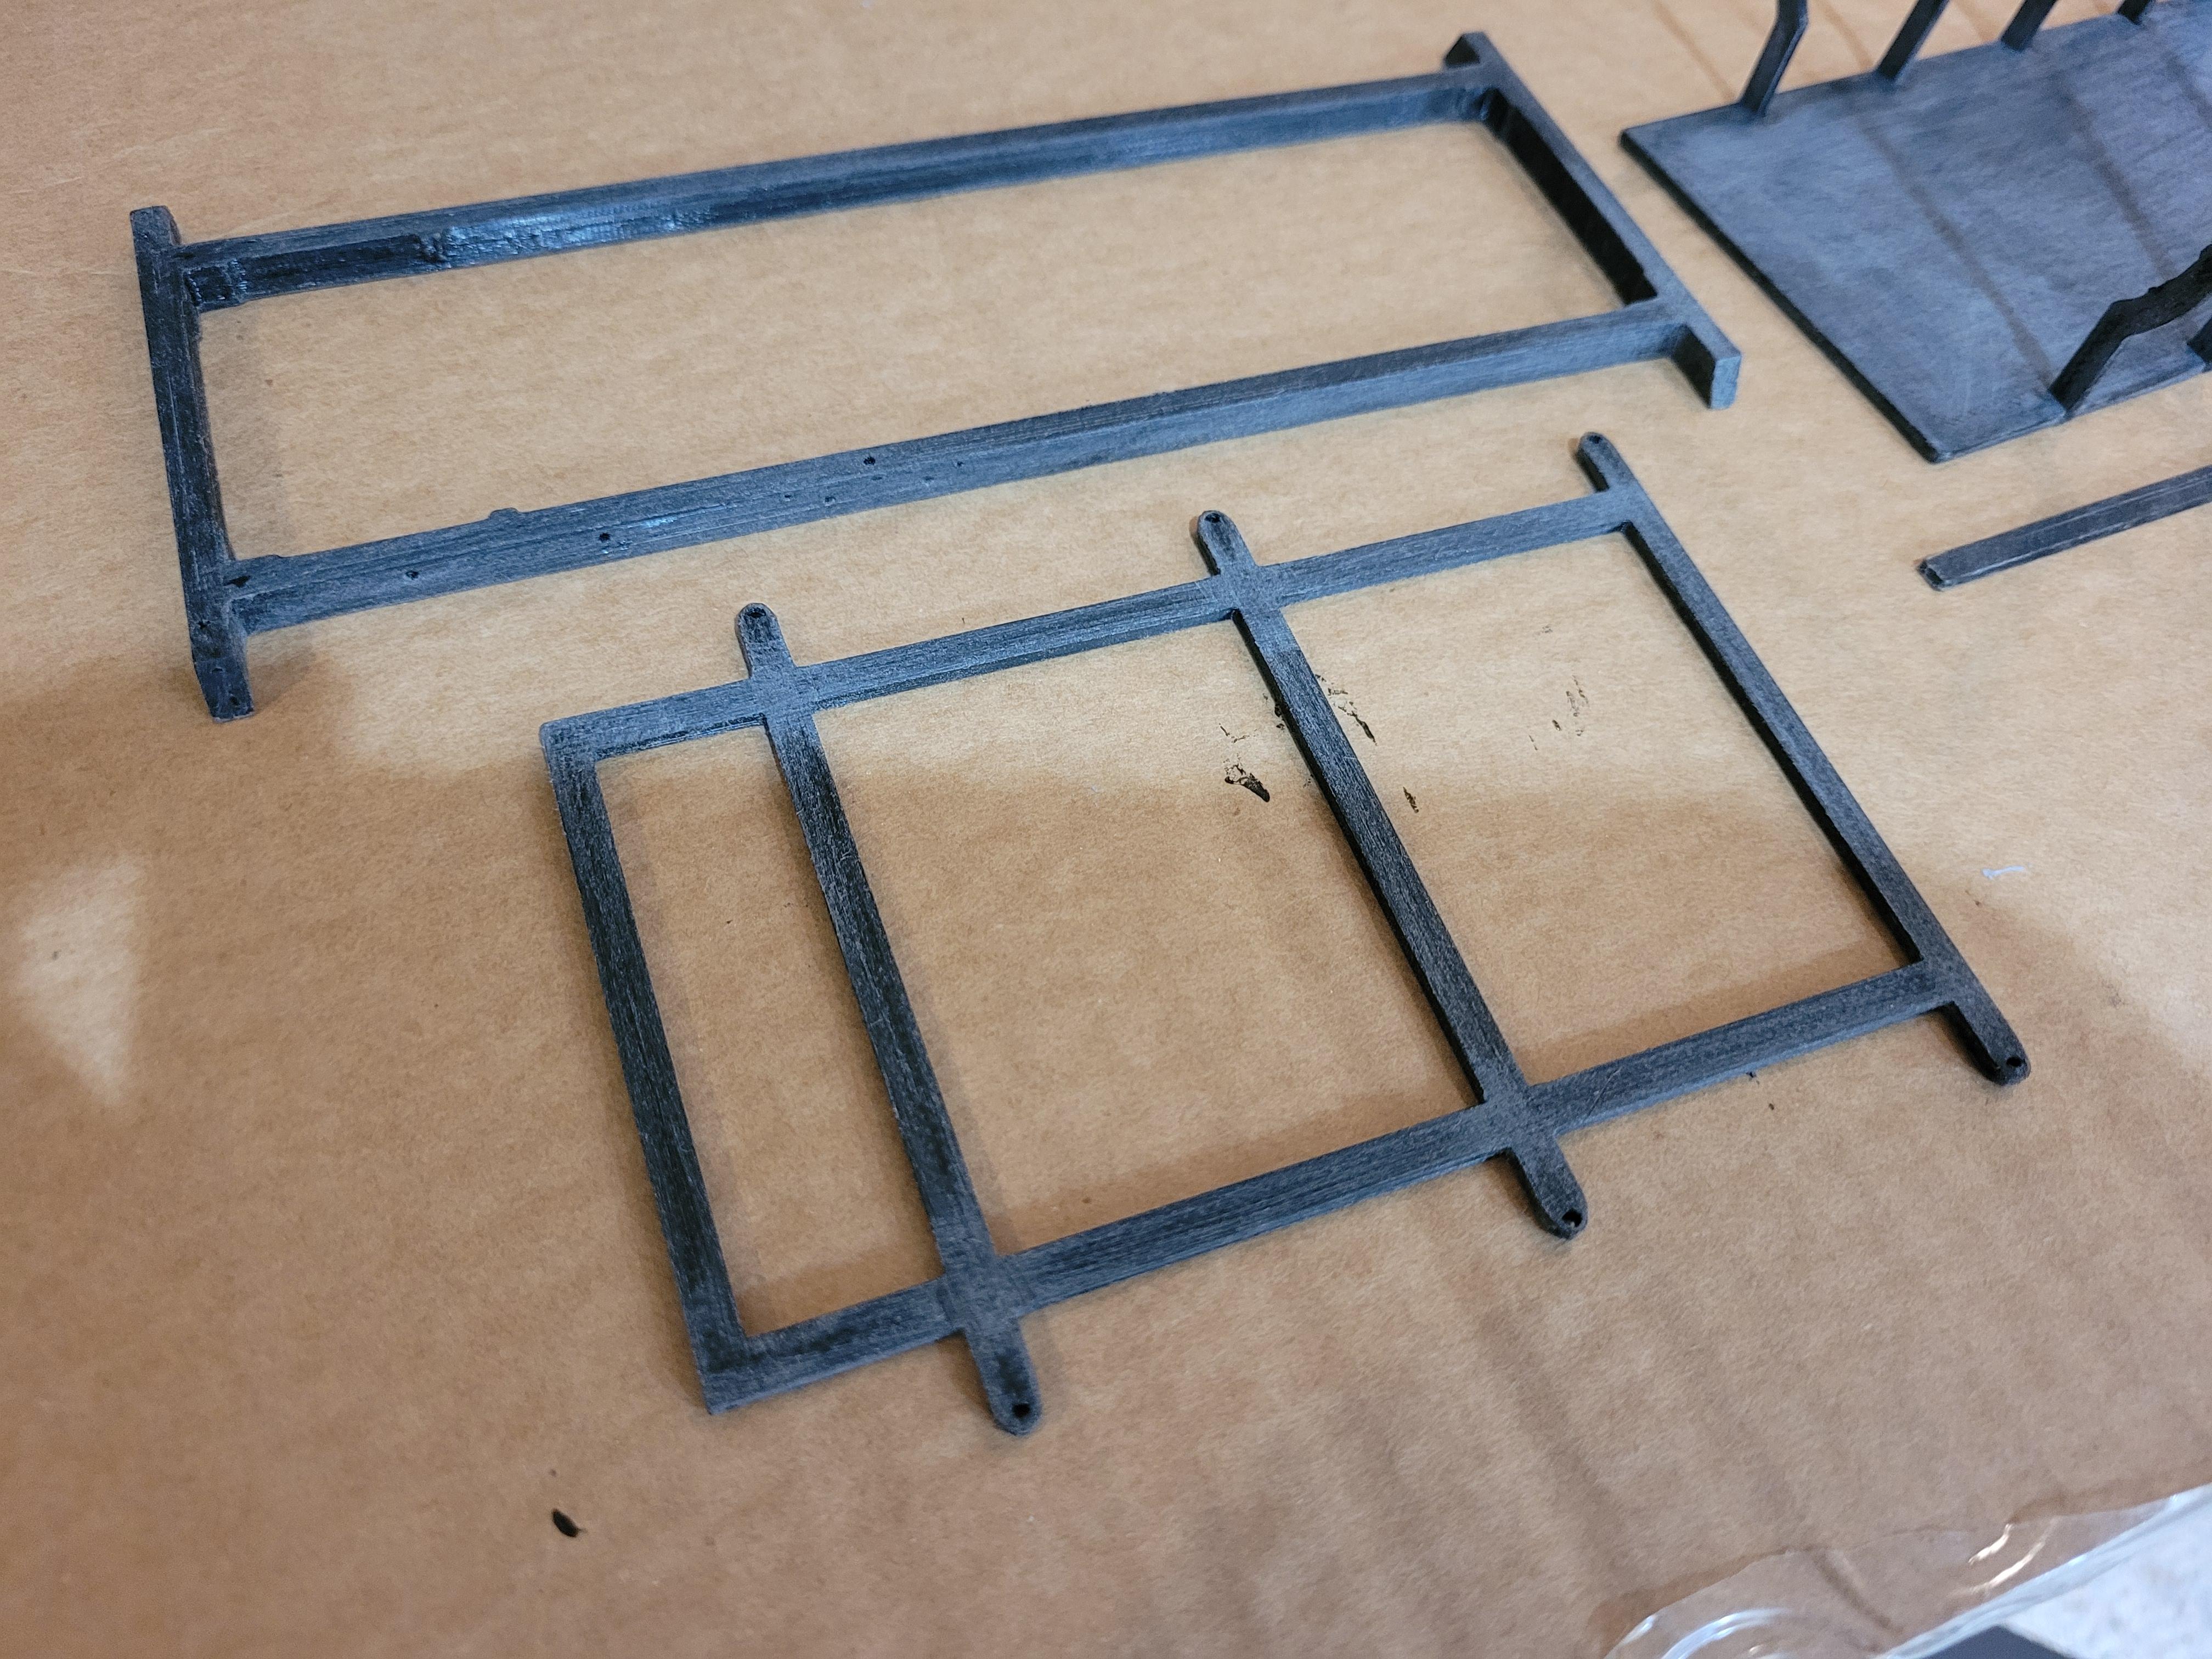
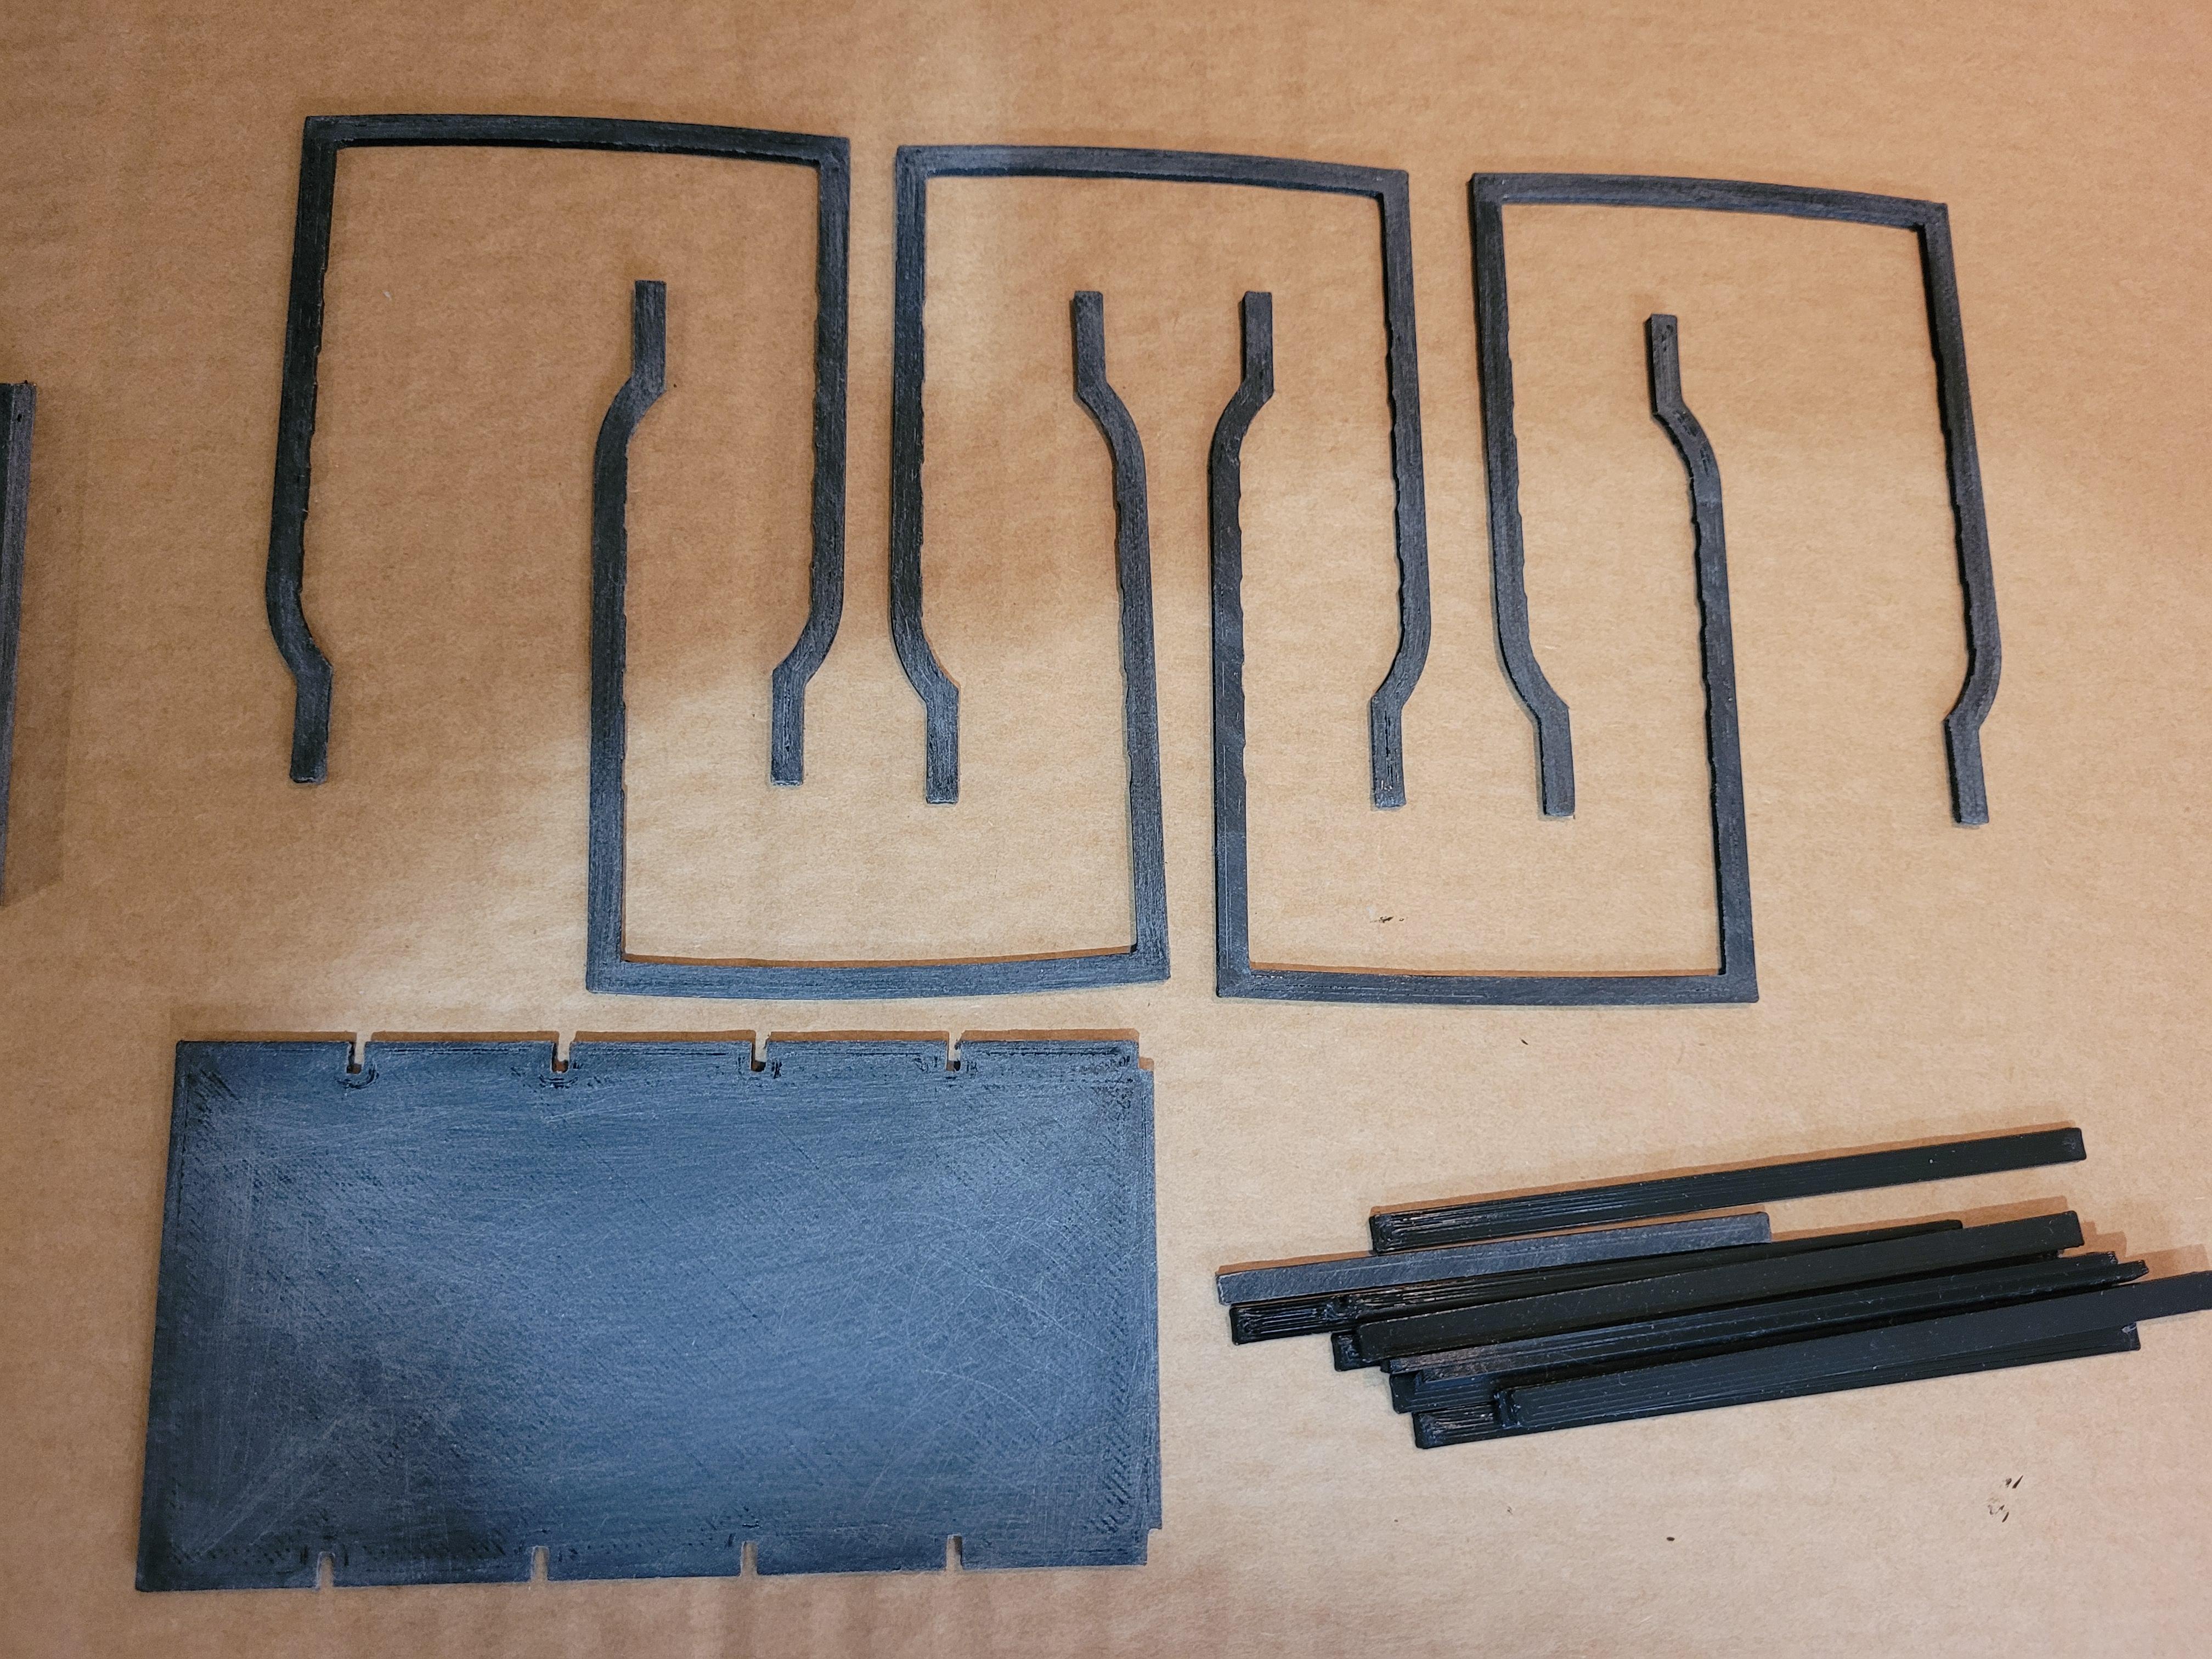
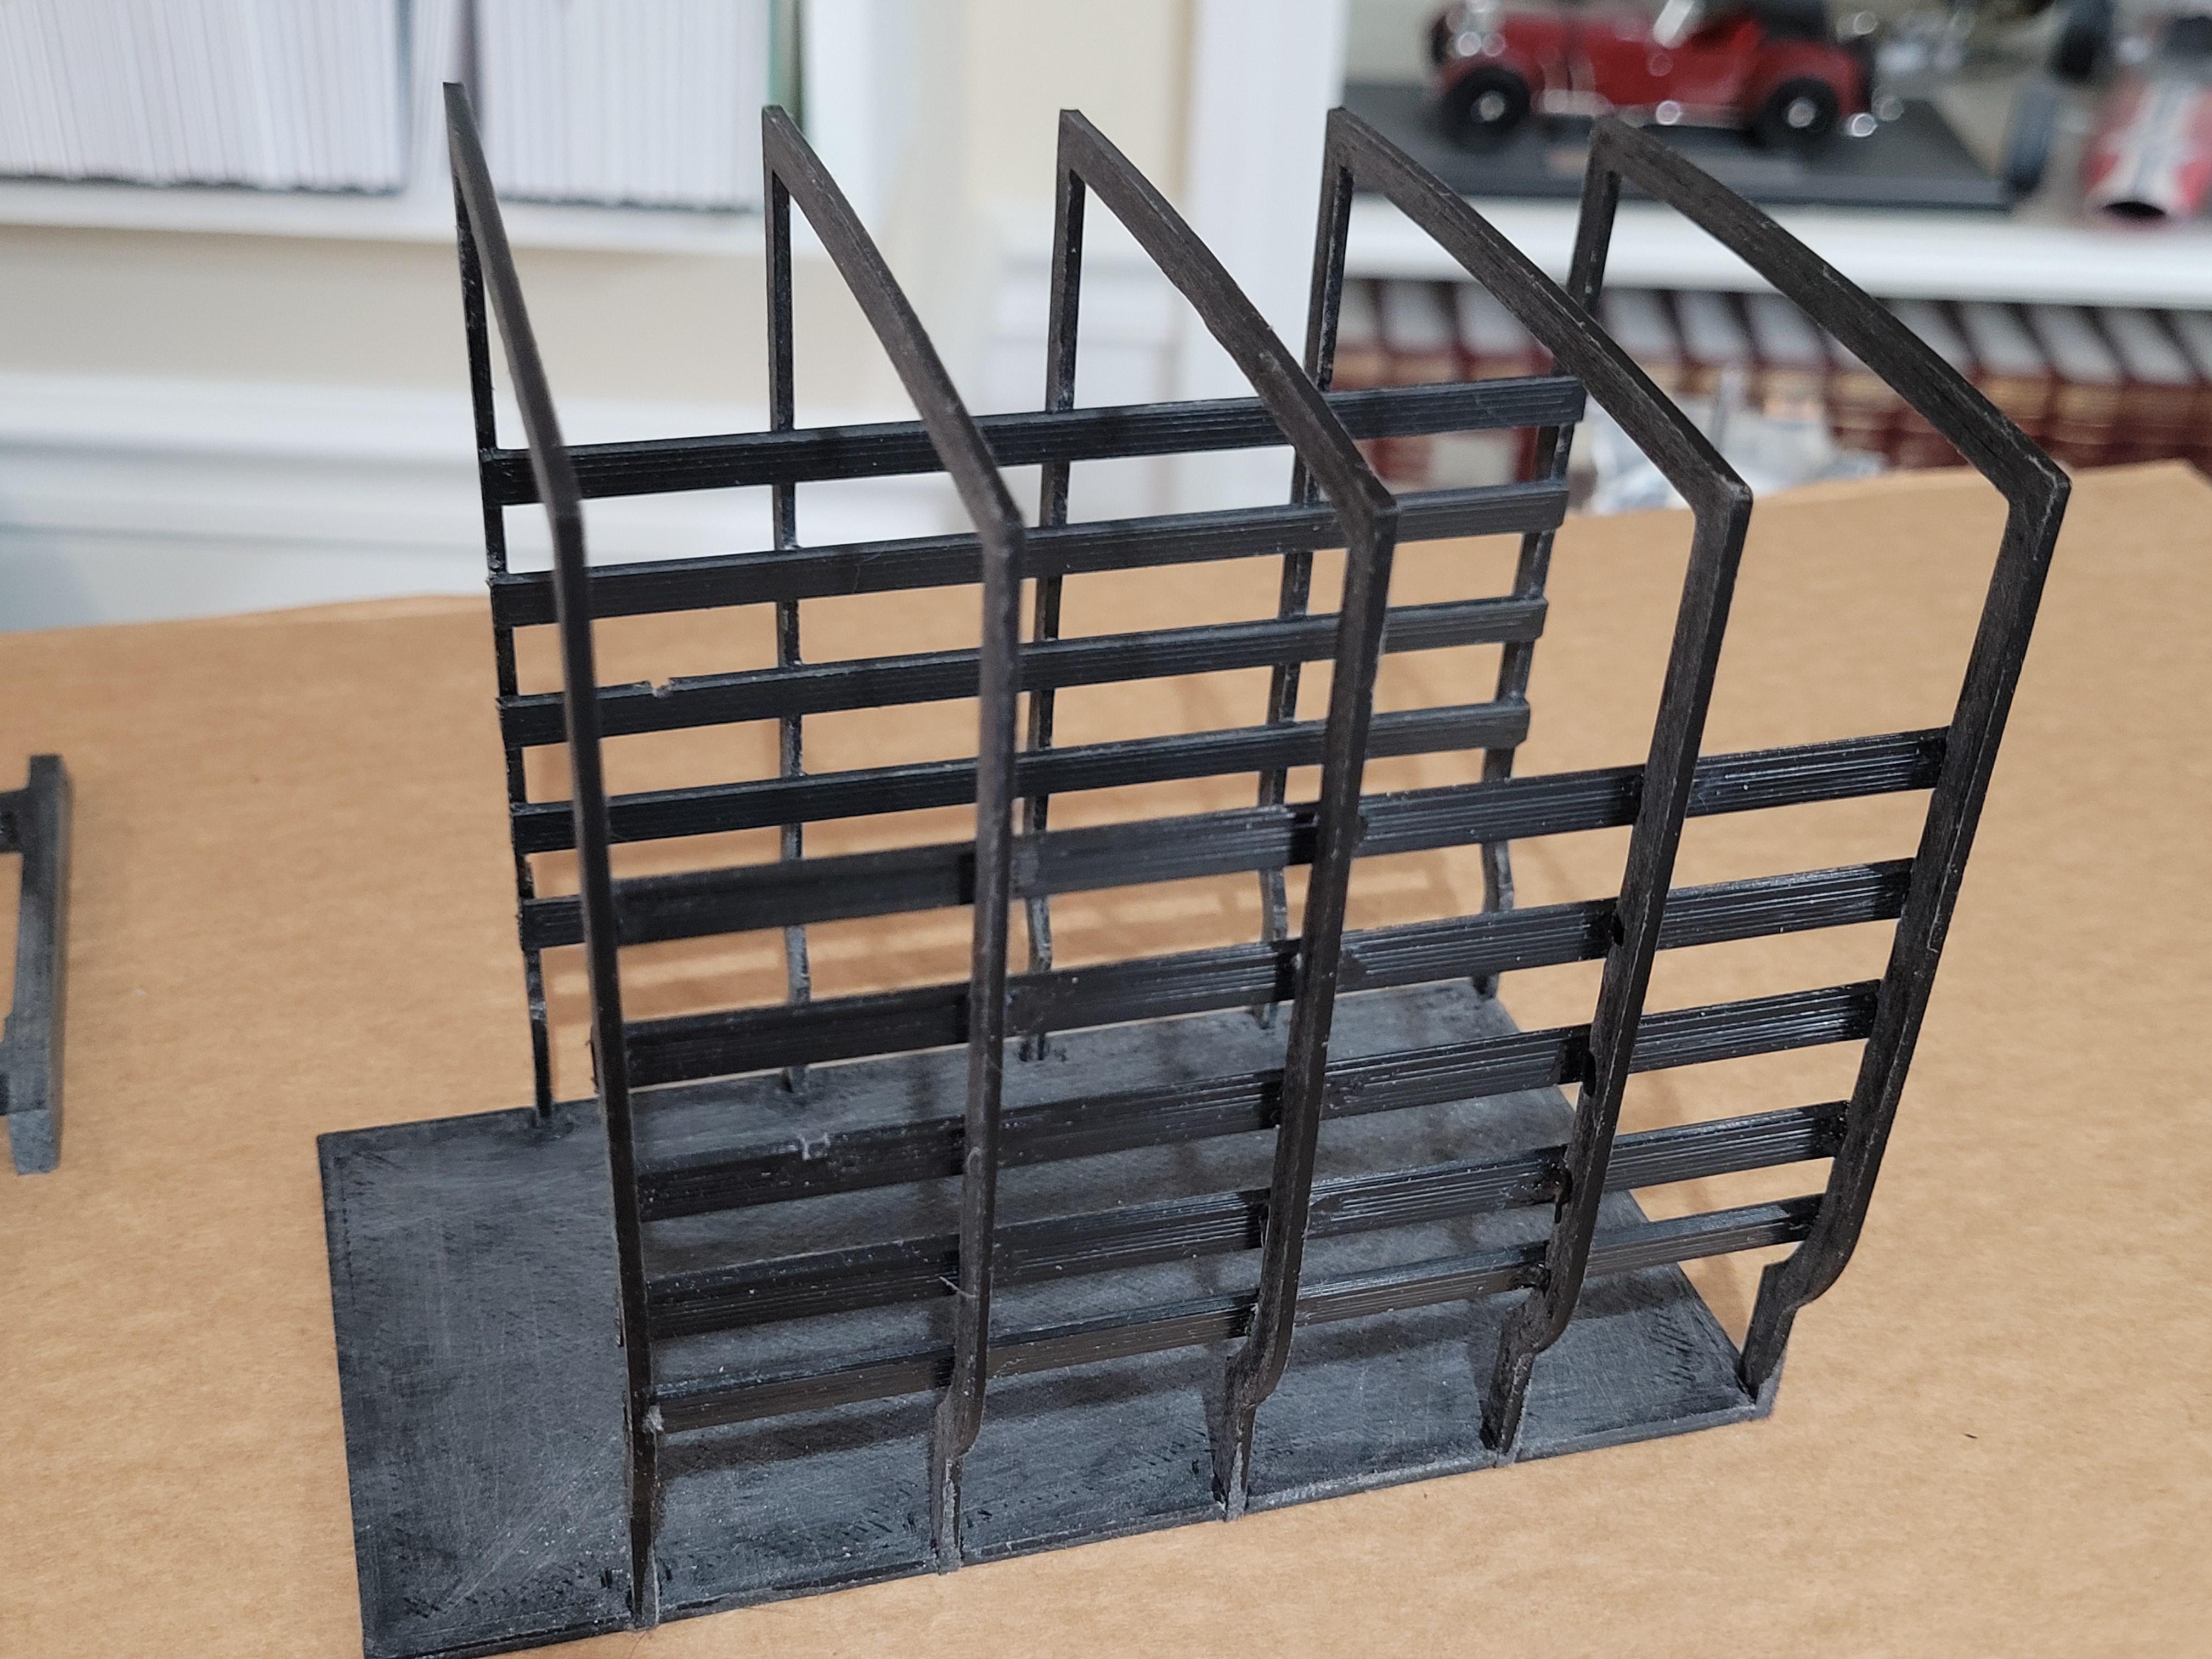
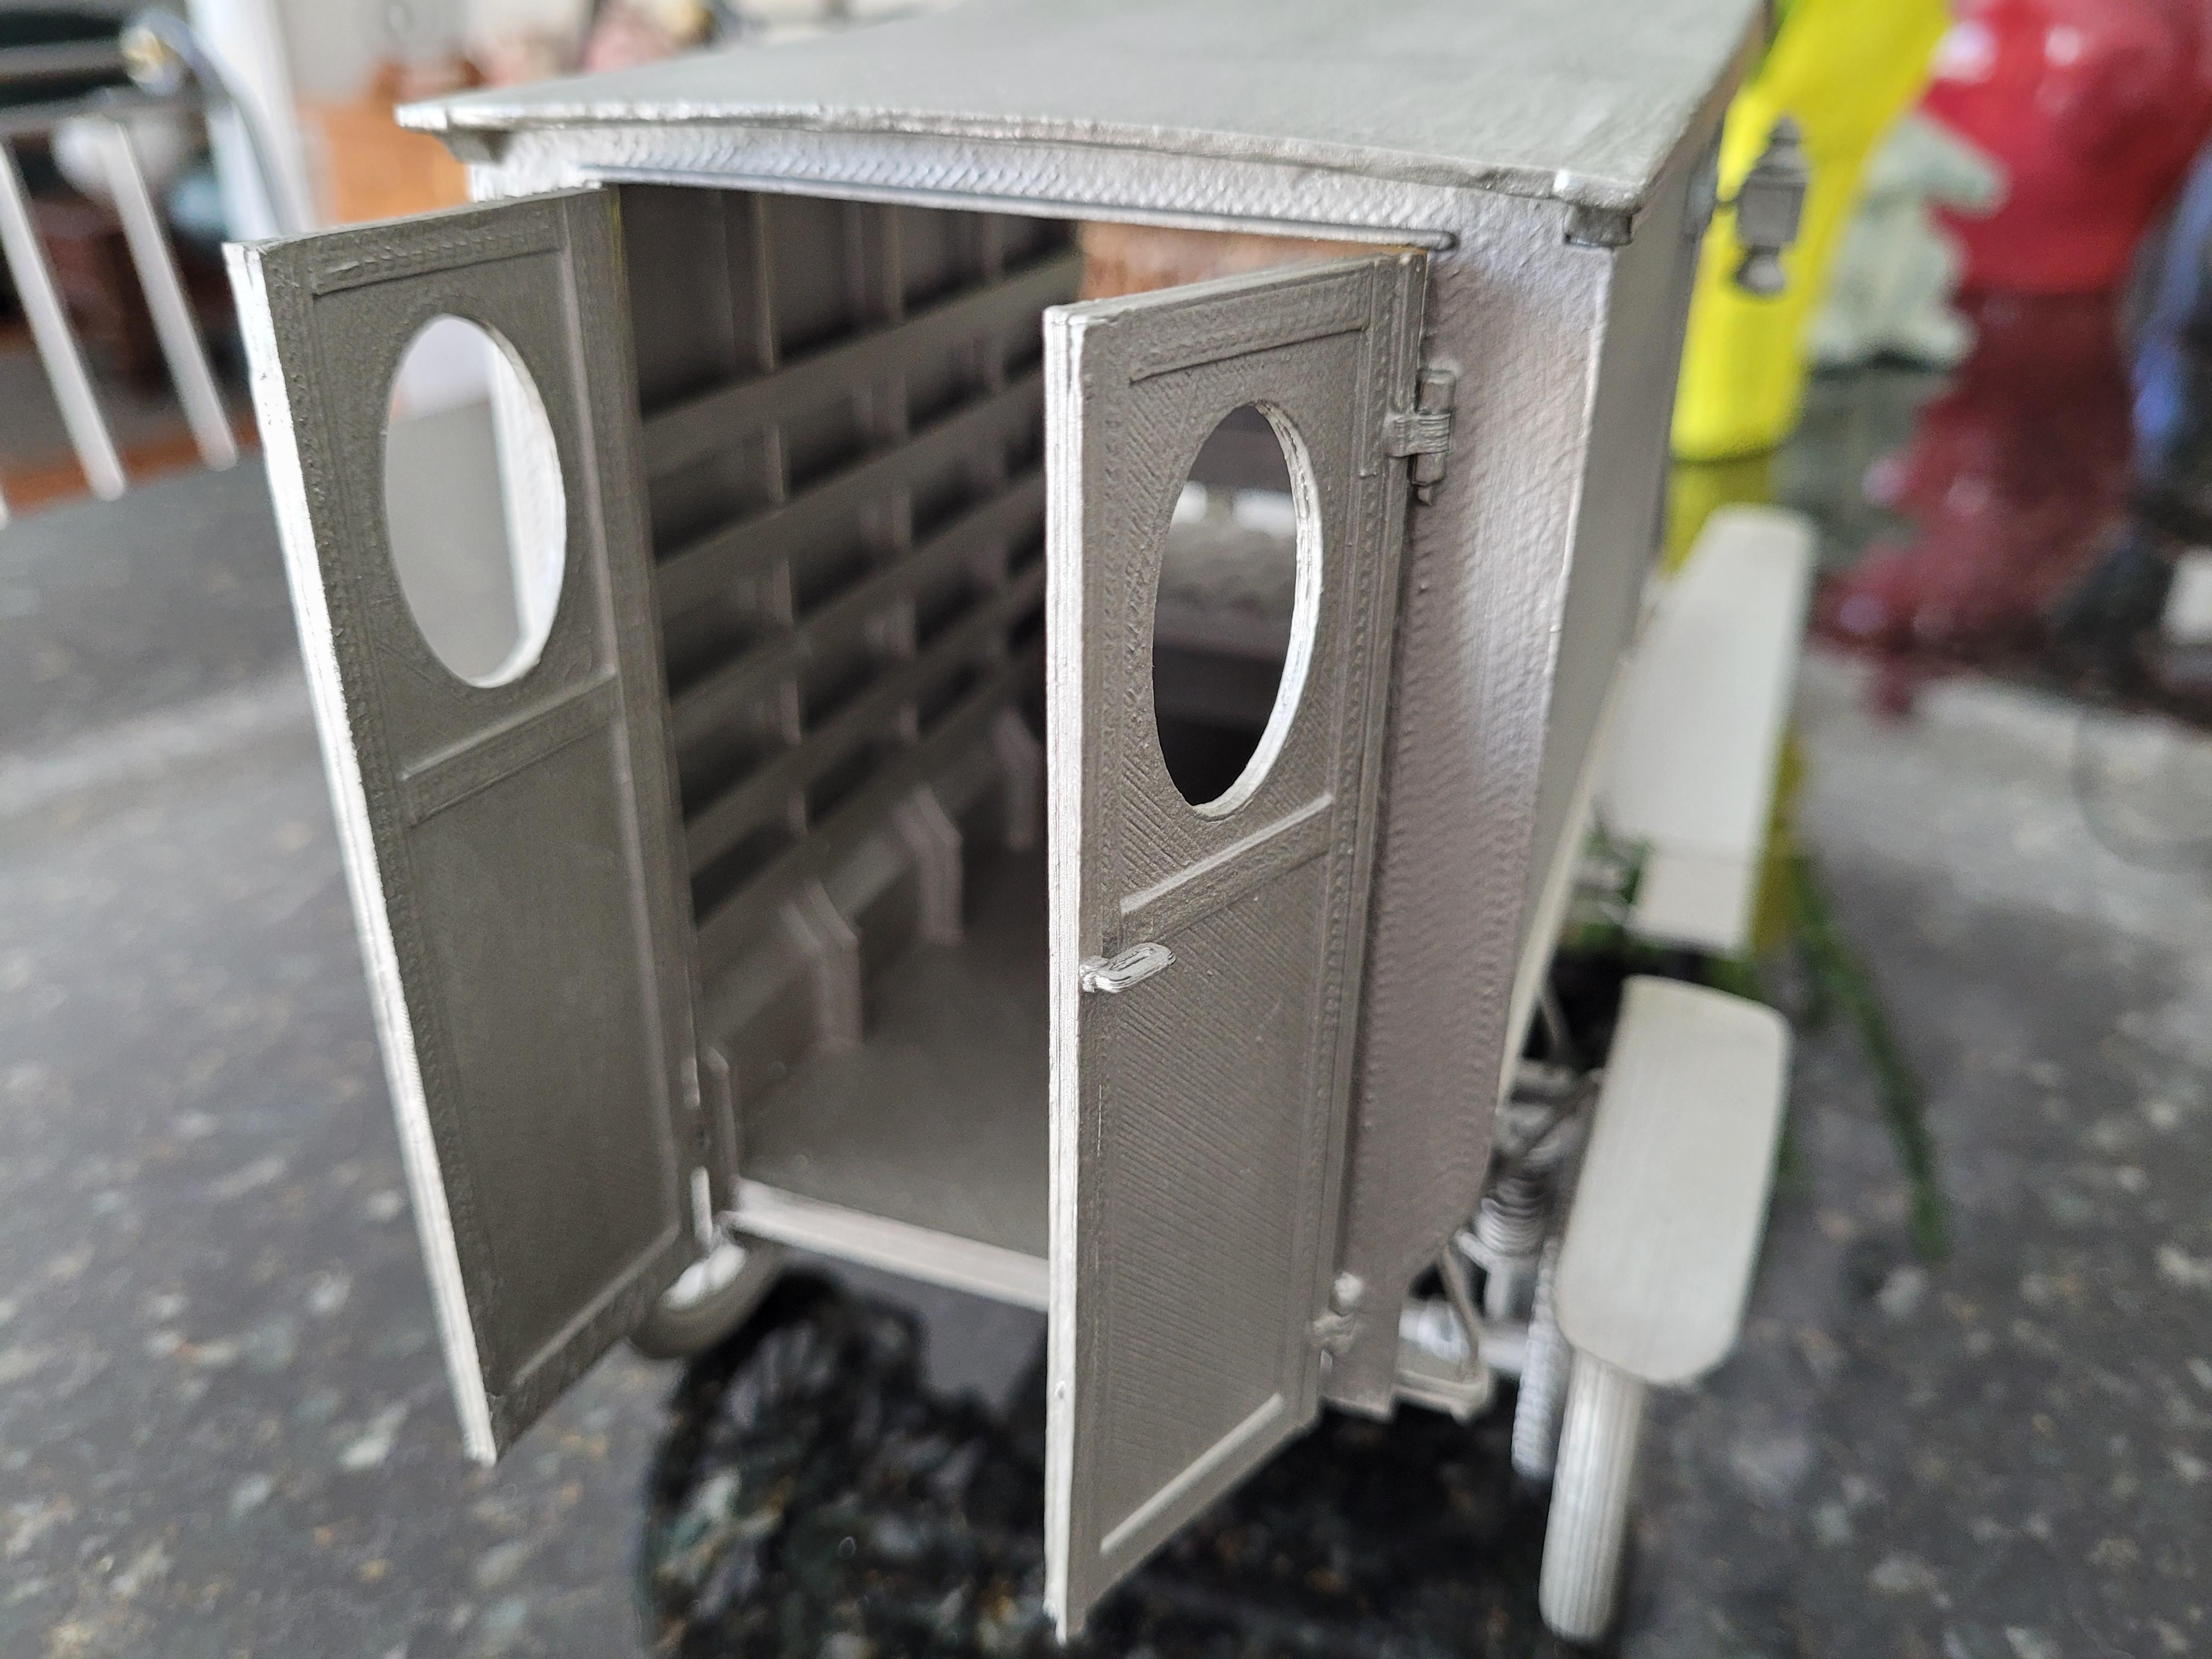
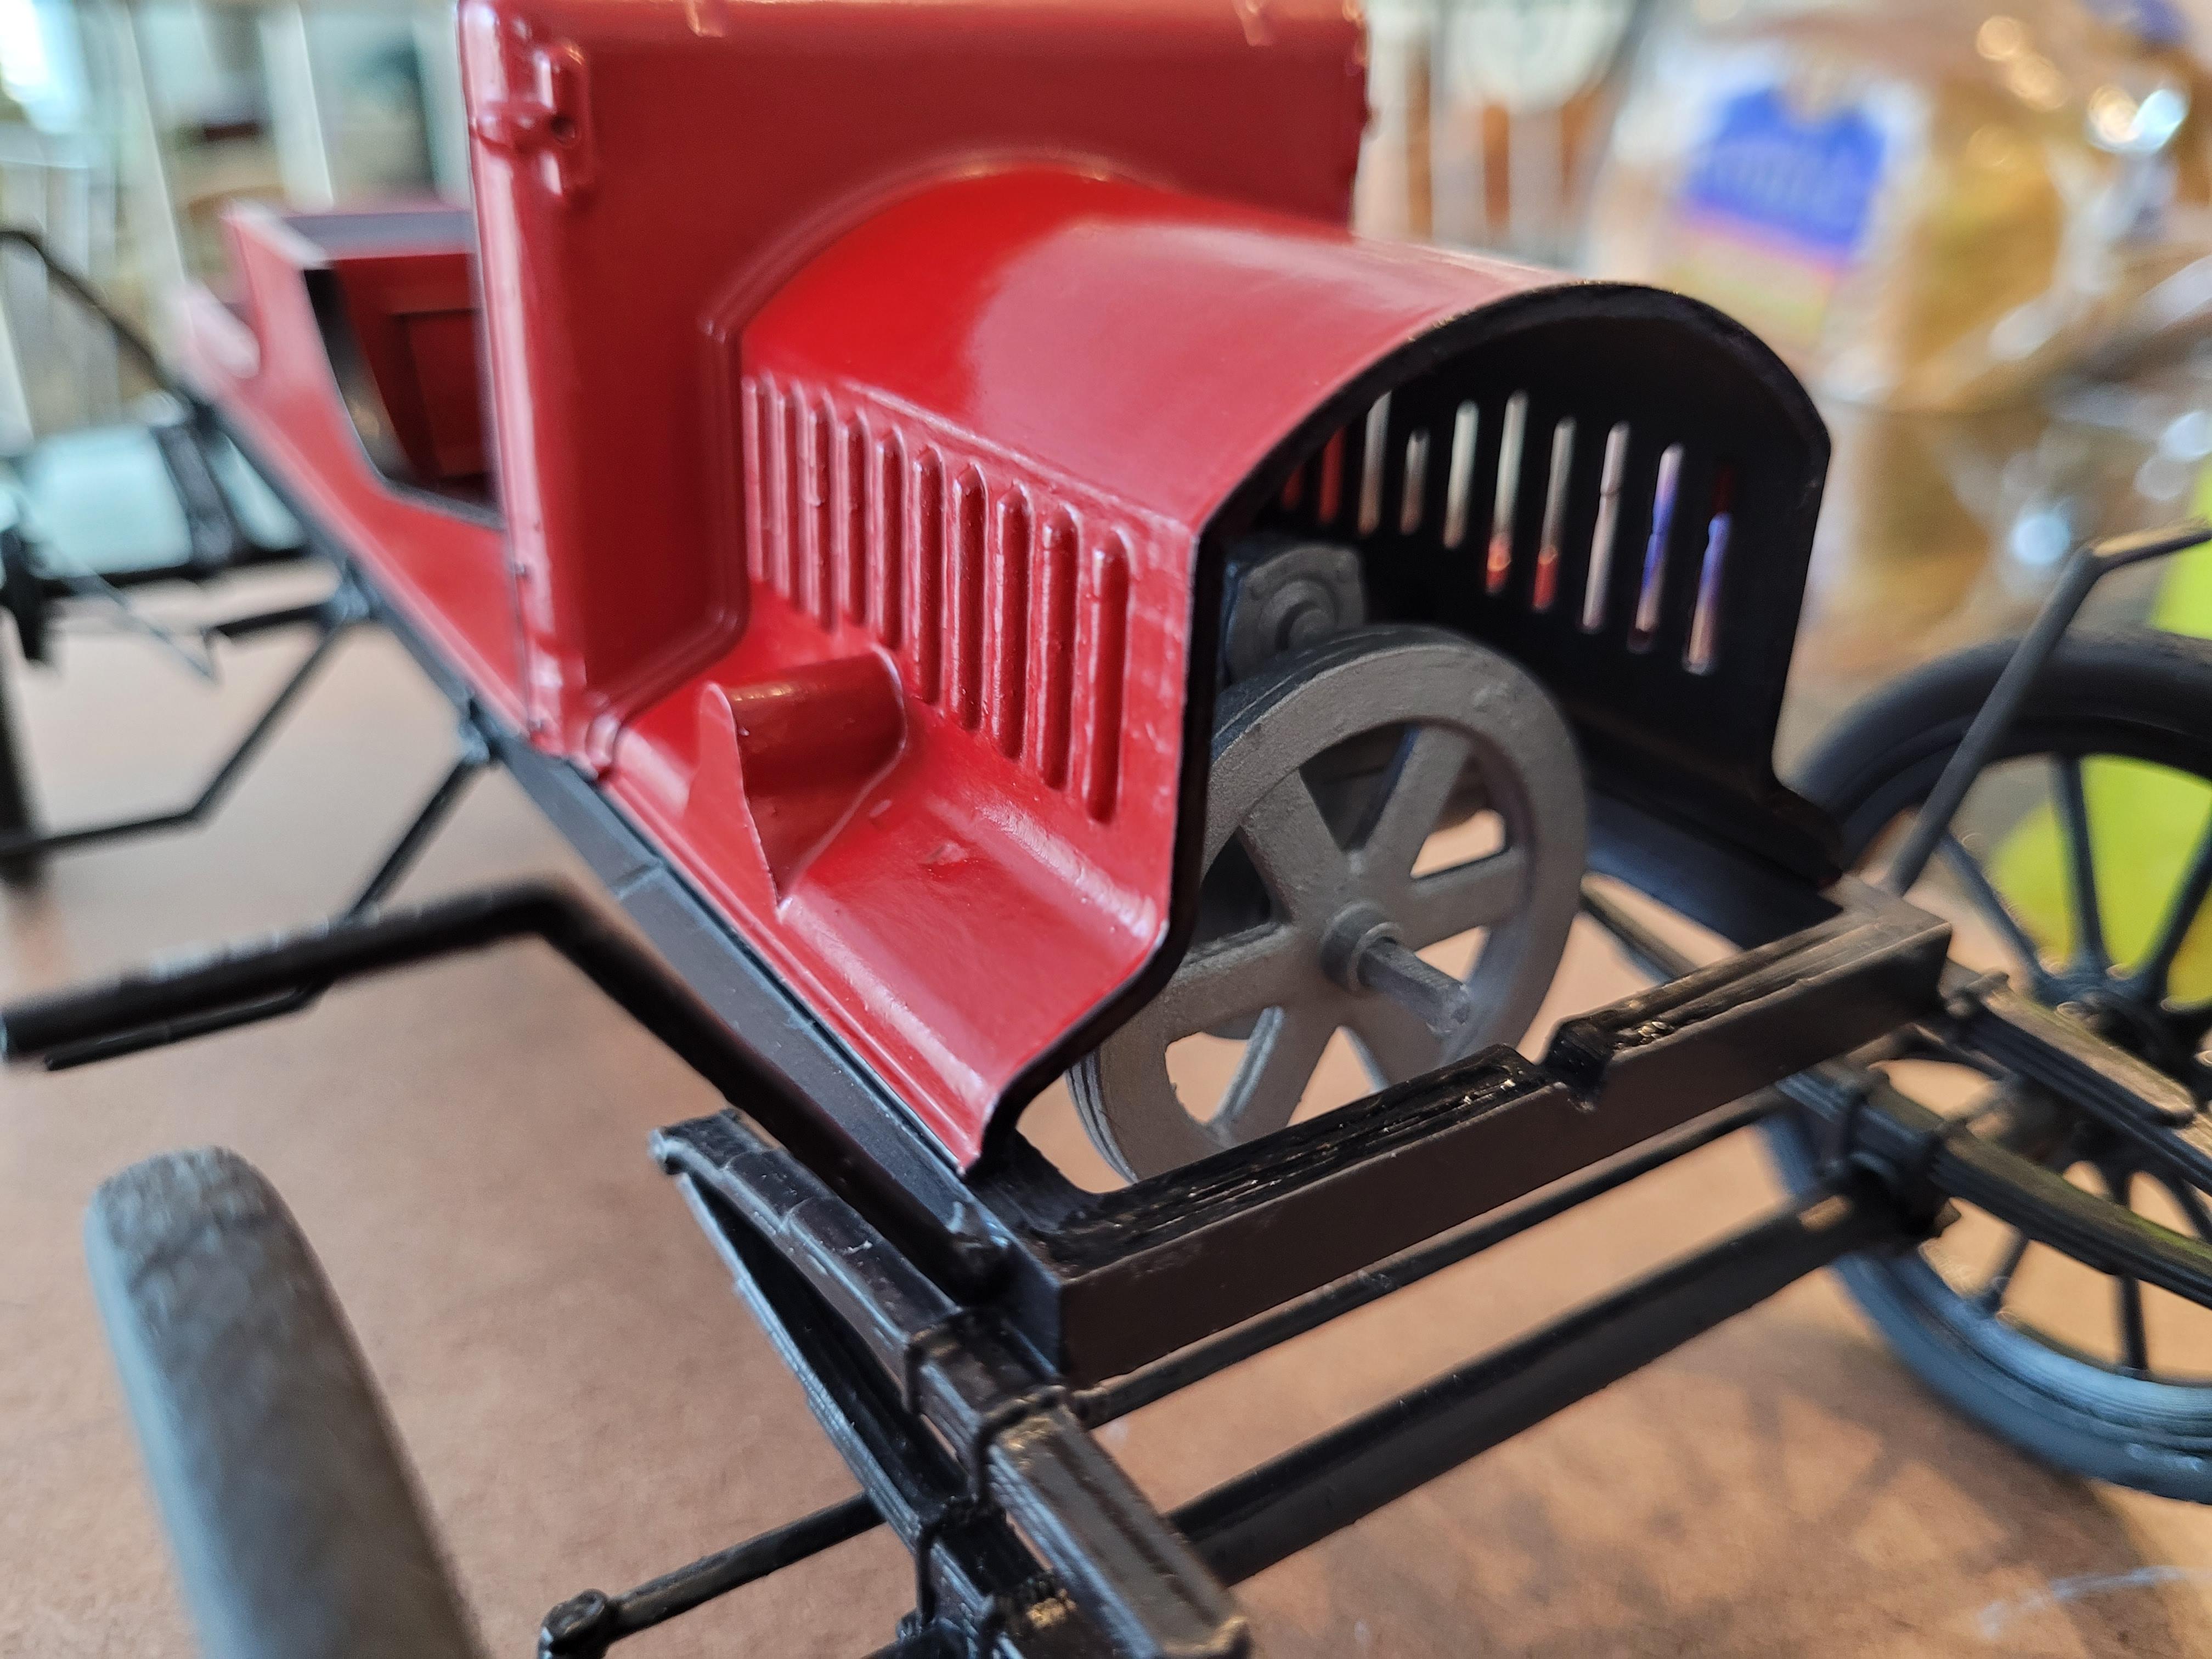
The inside of the cargo box will be visible, from both the front (past the seat, and from the rear (through the swinging doors. The inner truss system will need to be painted before the side panels are attached.
-
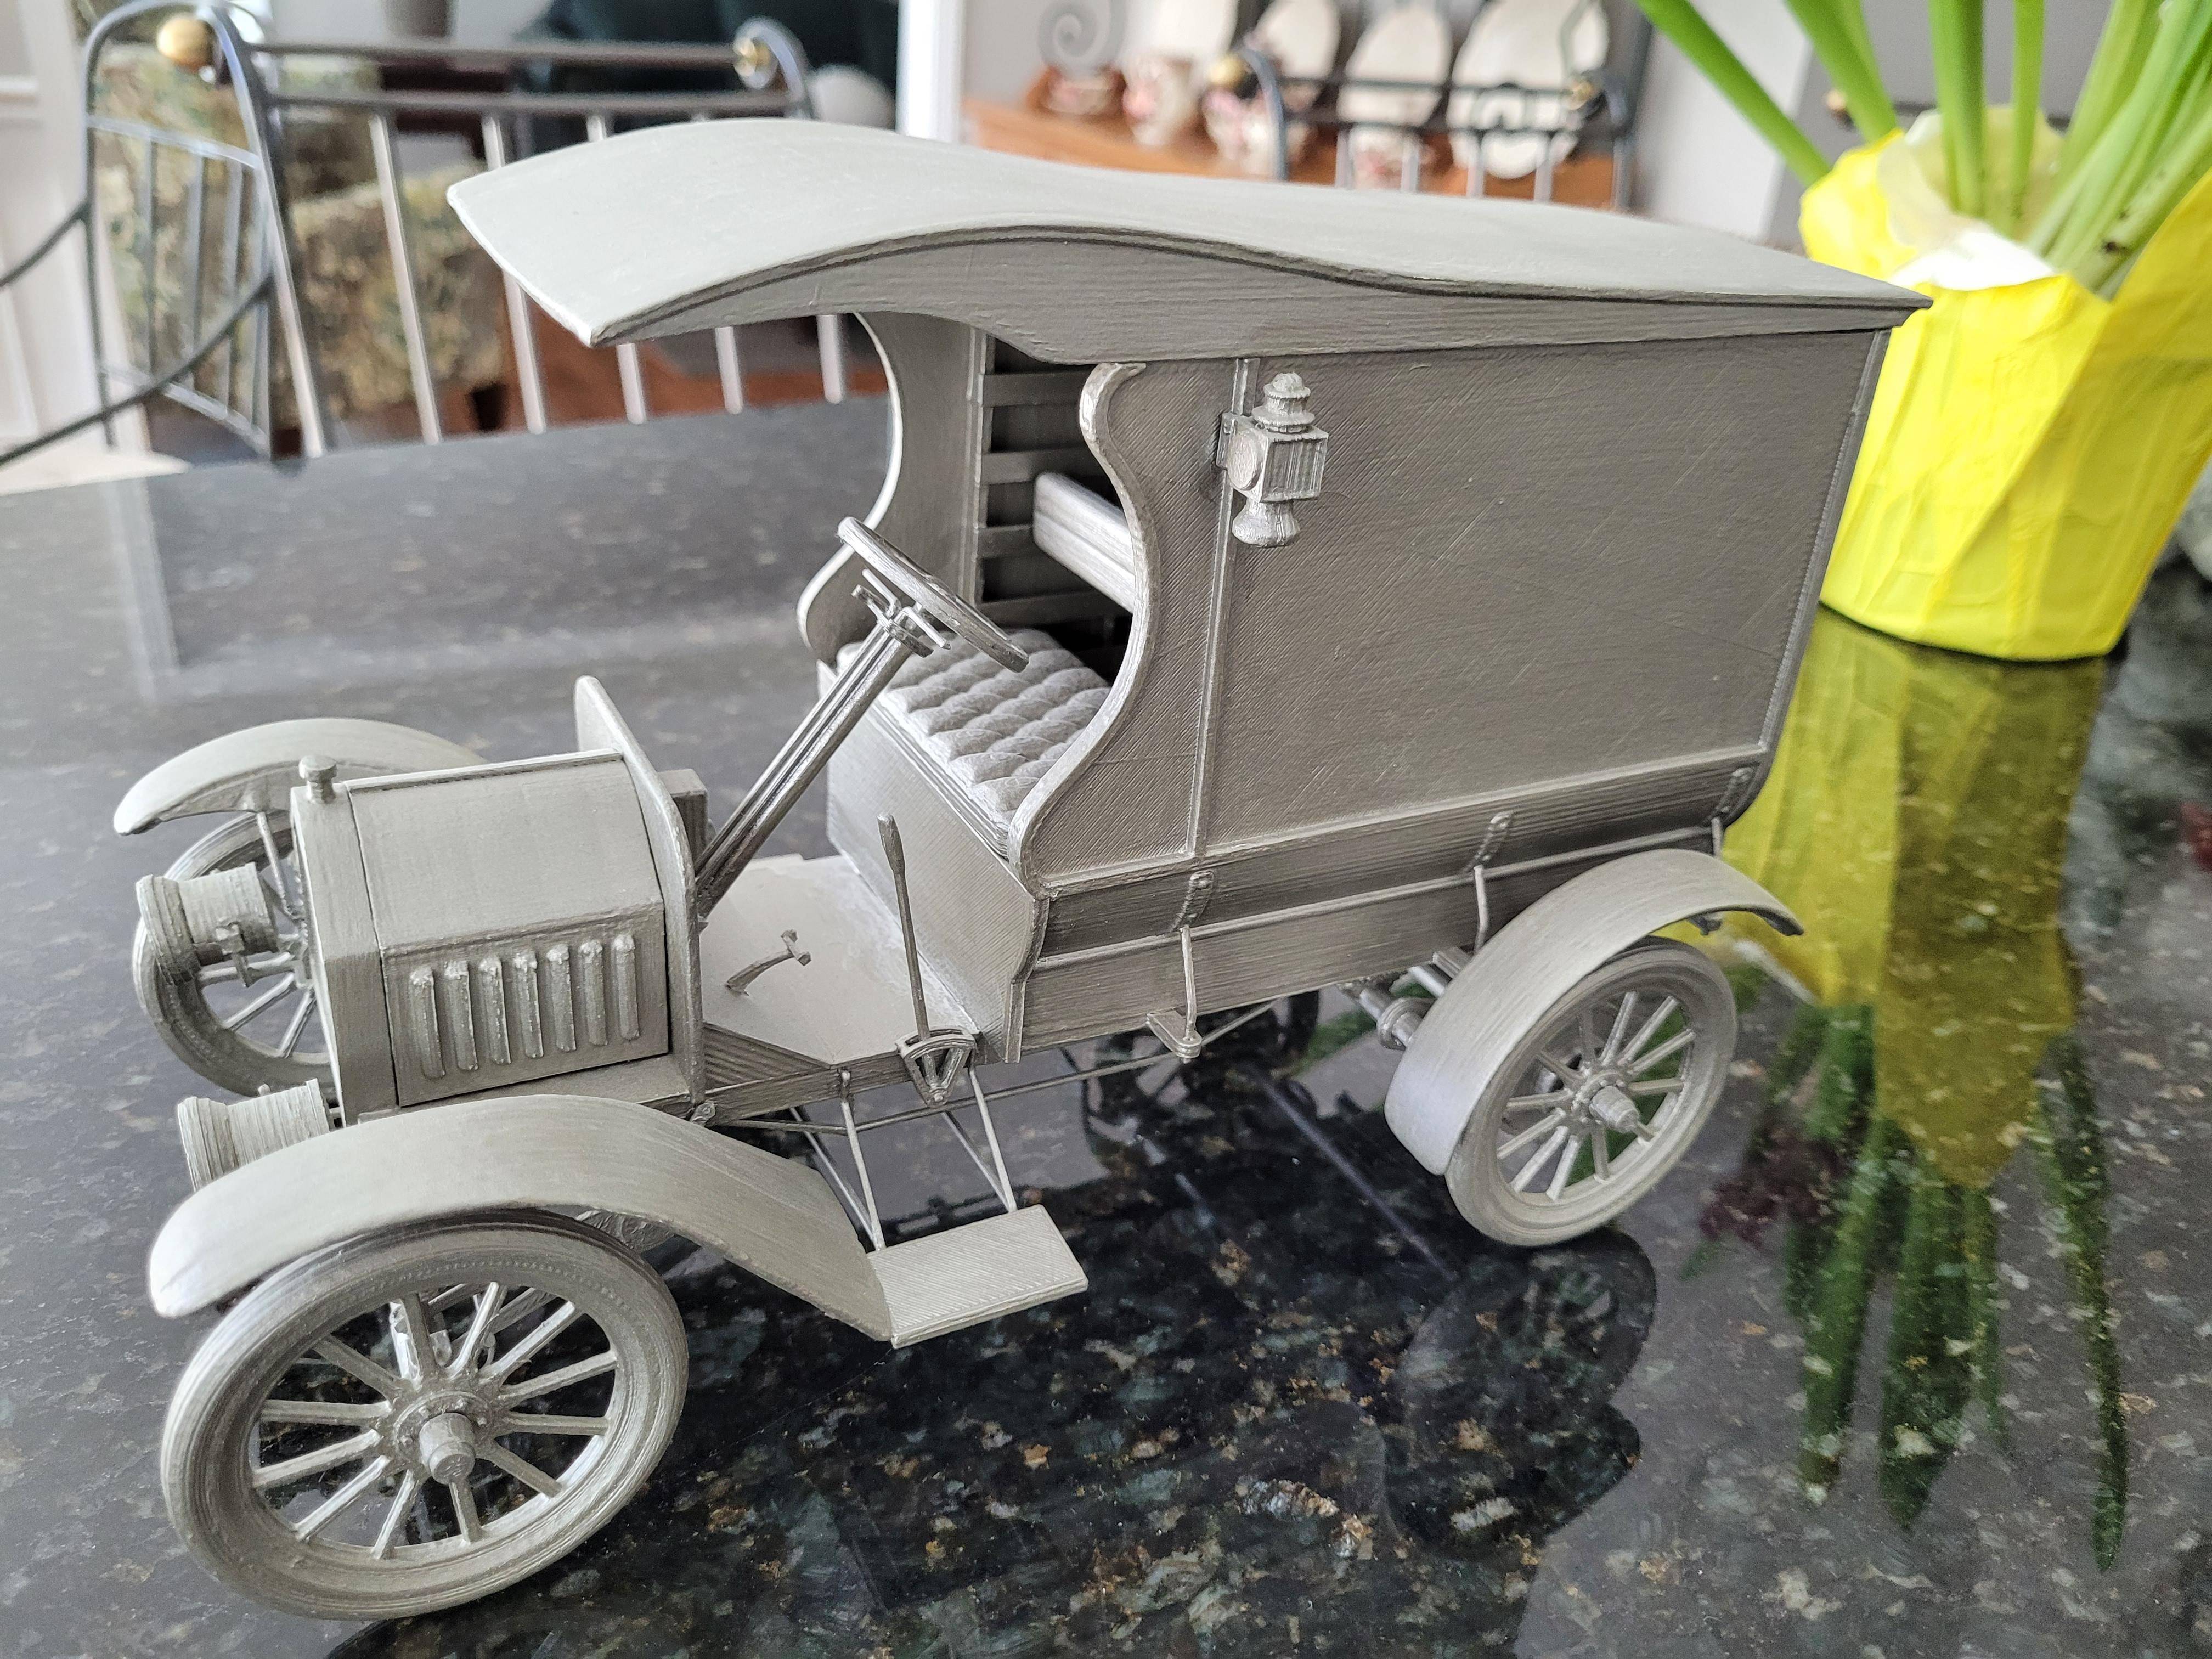
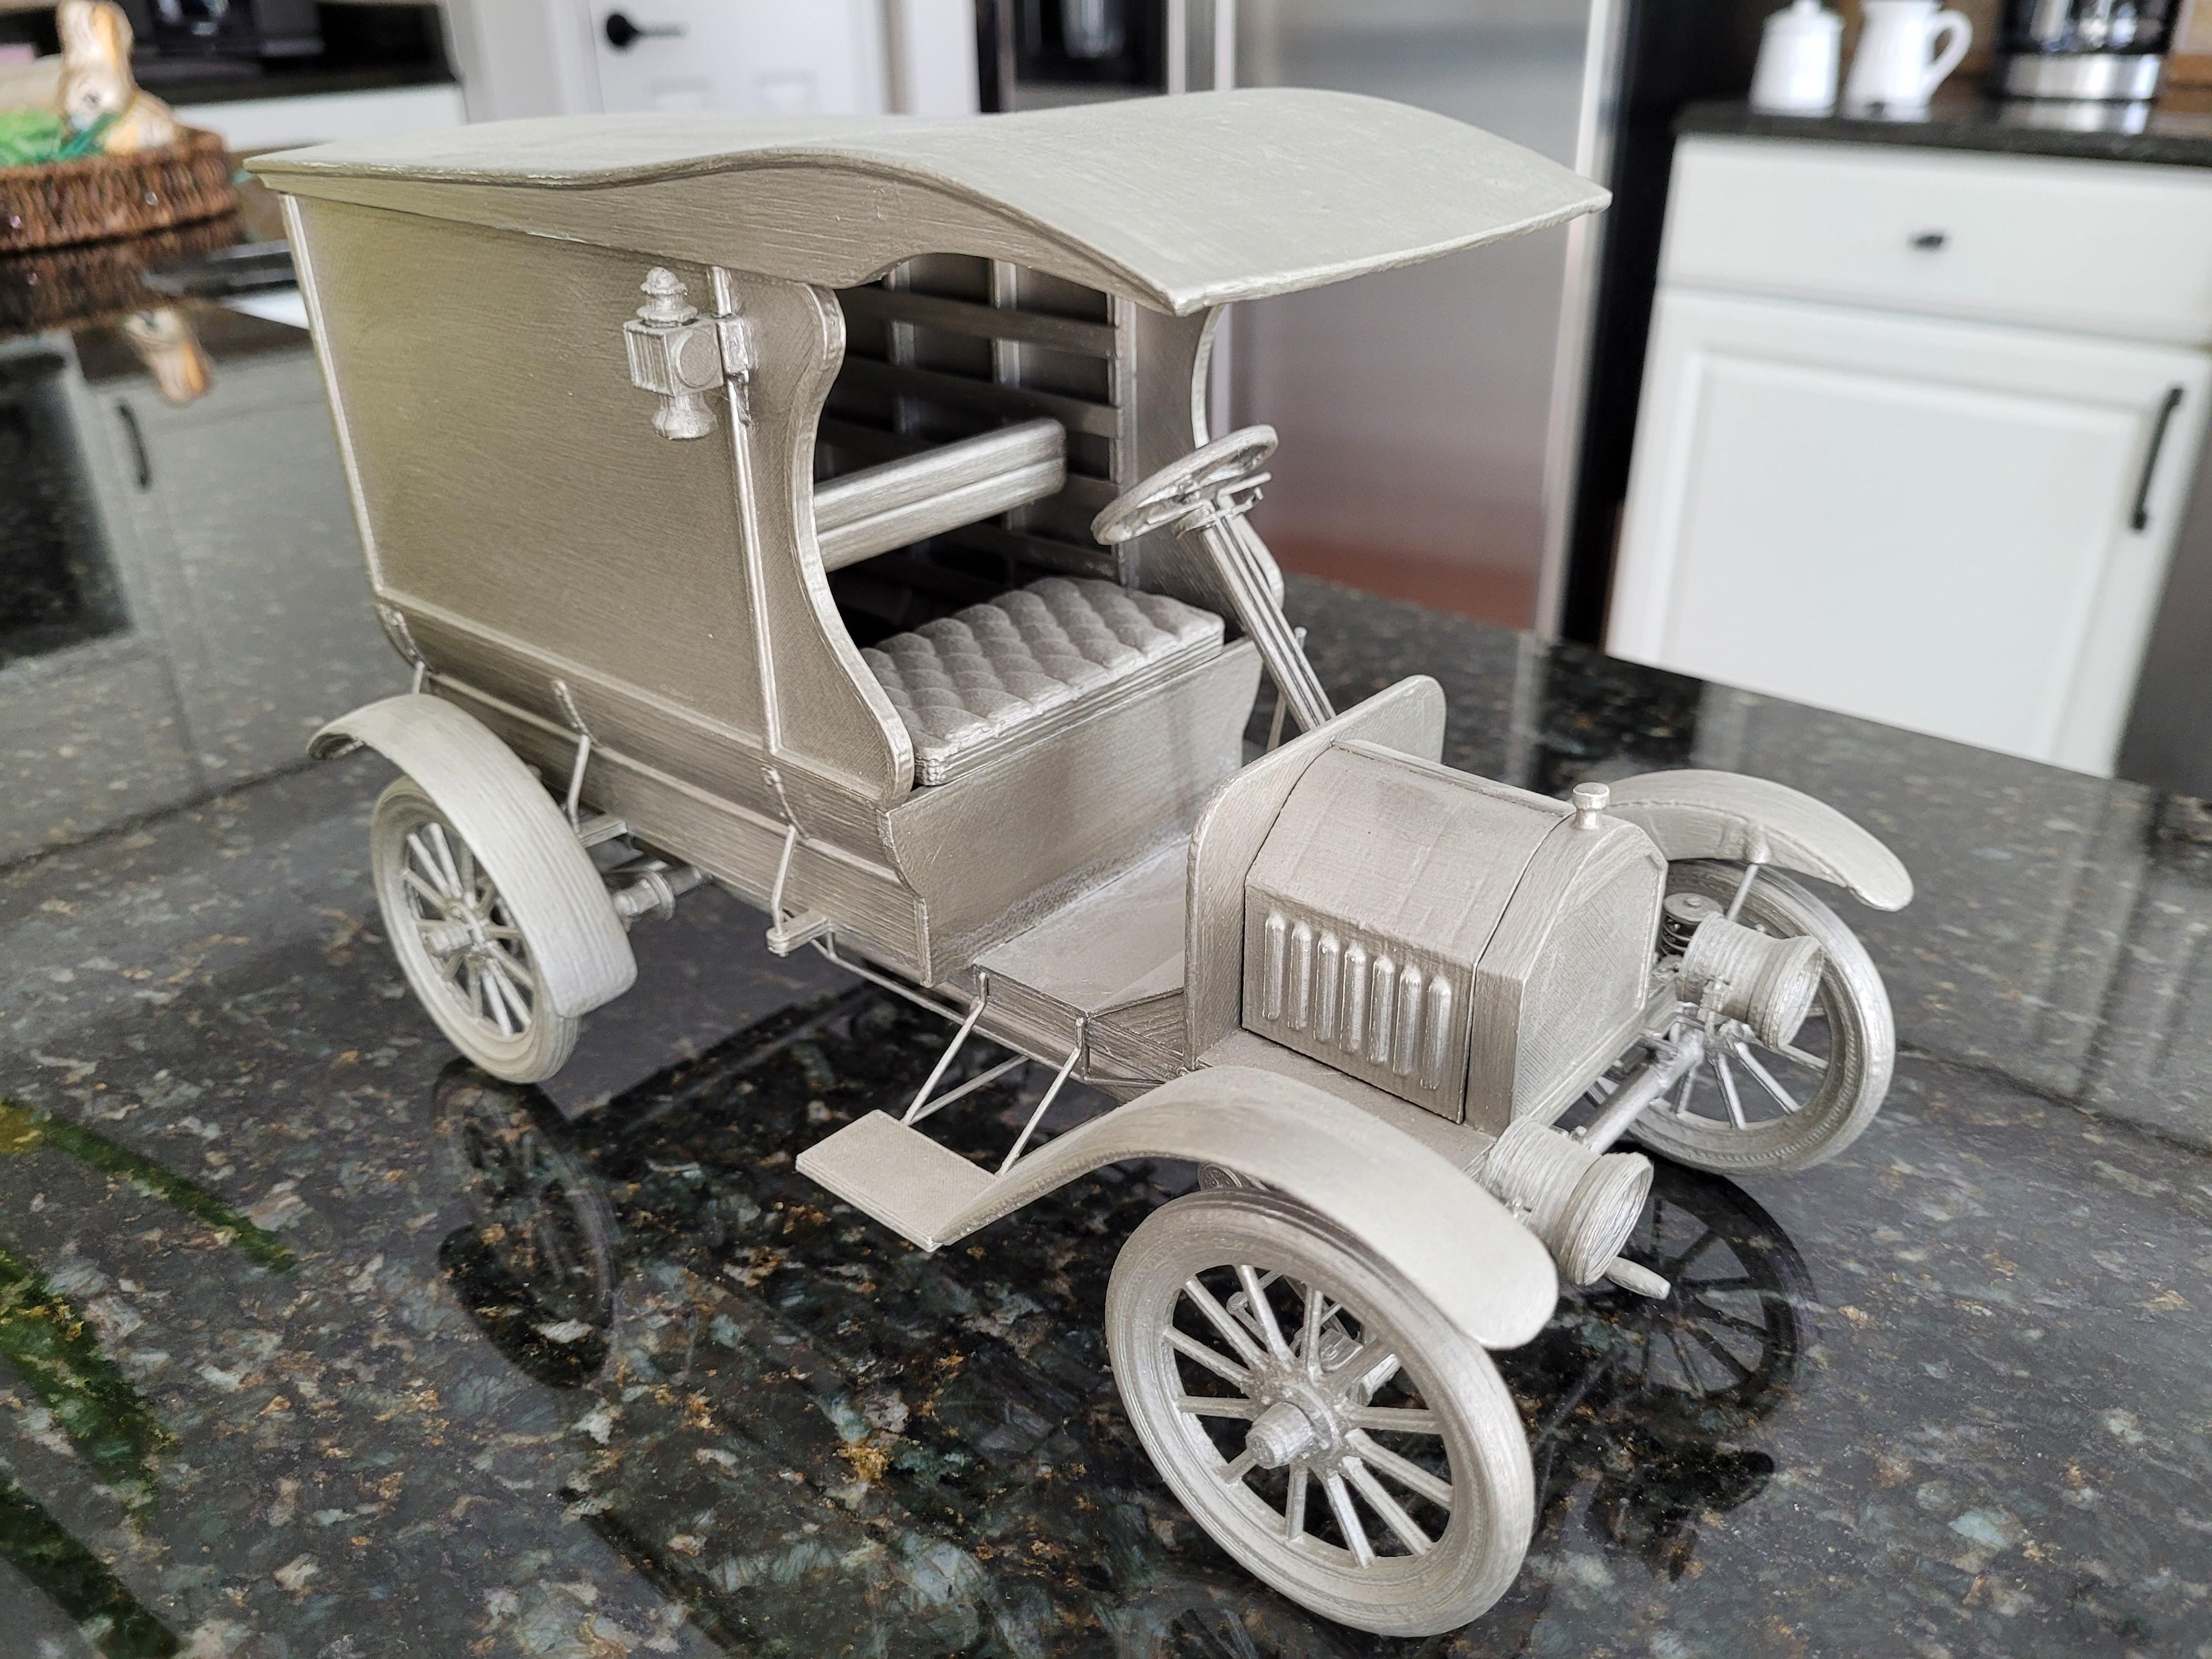
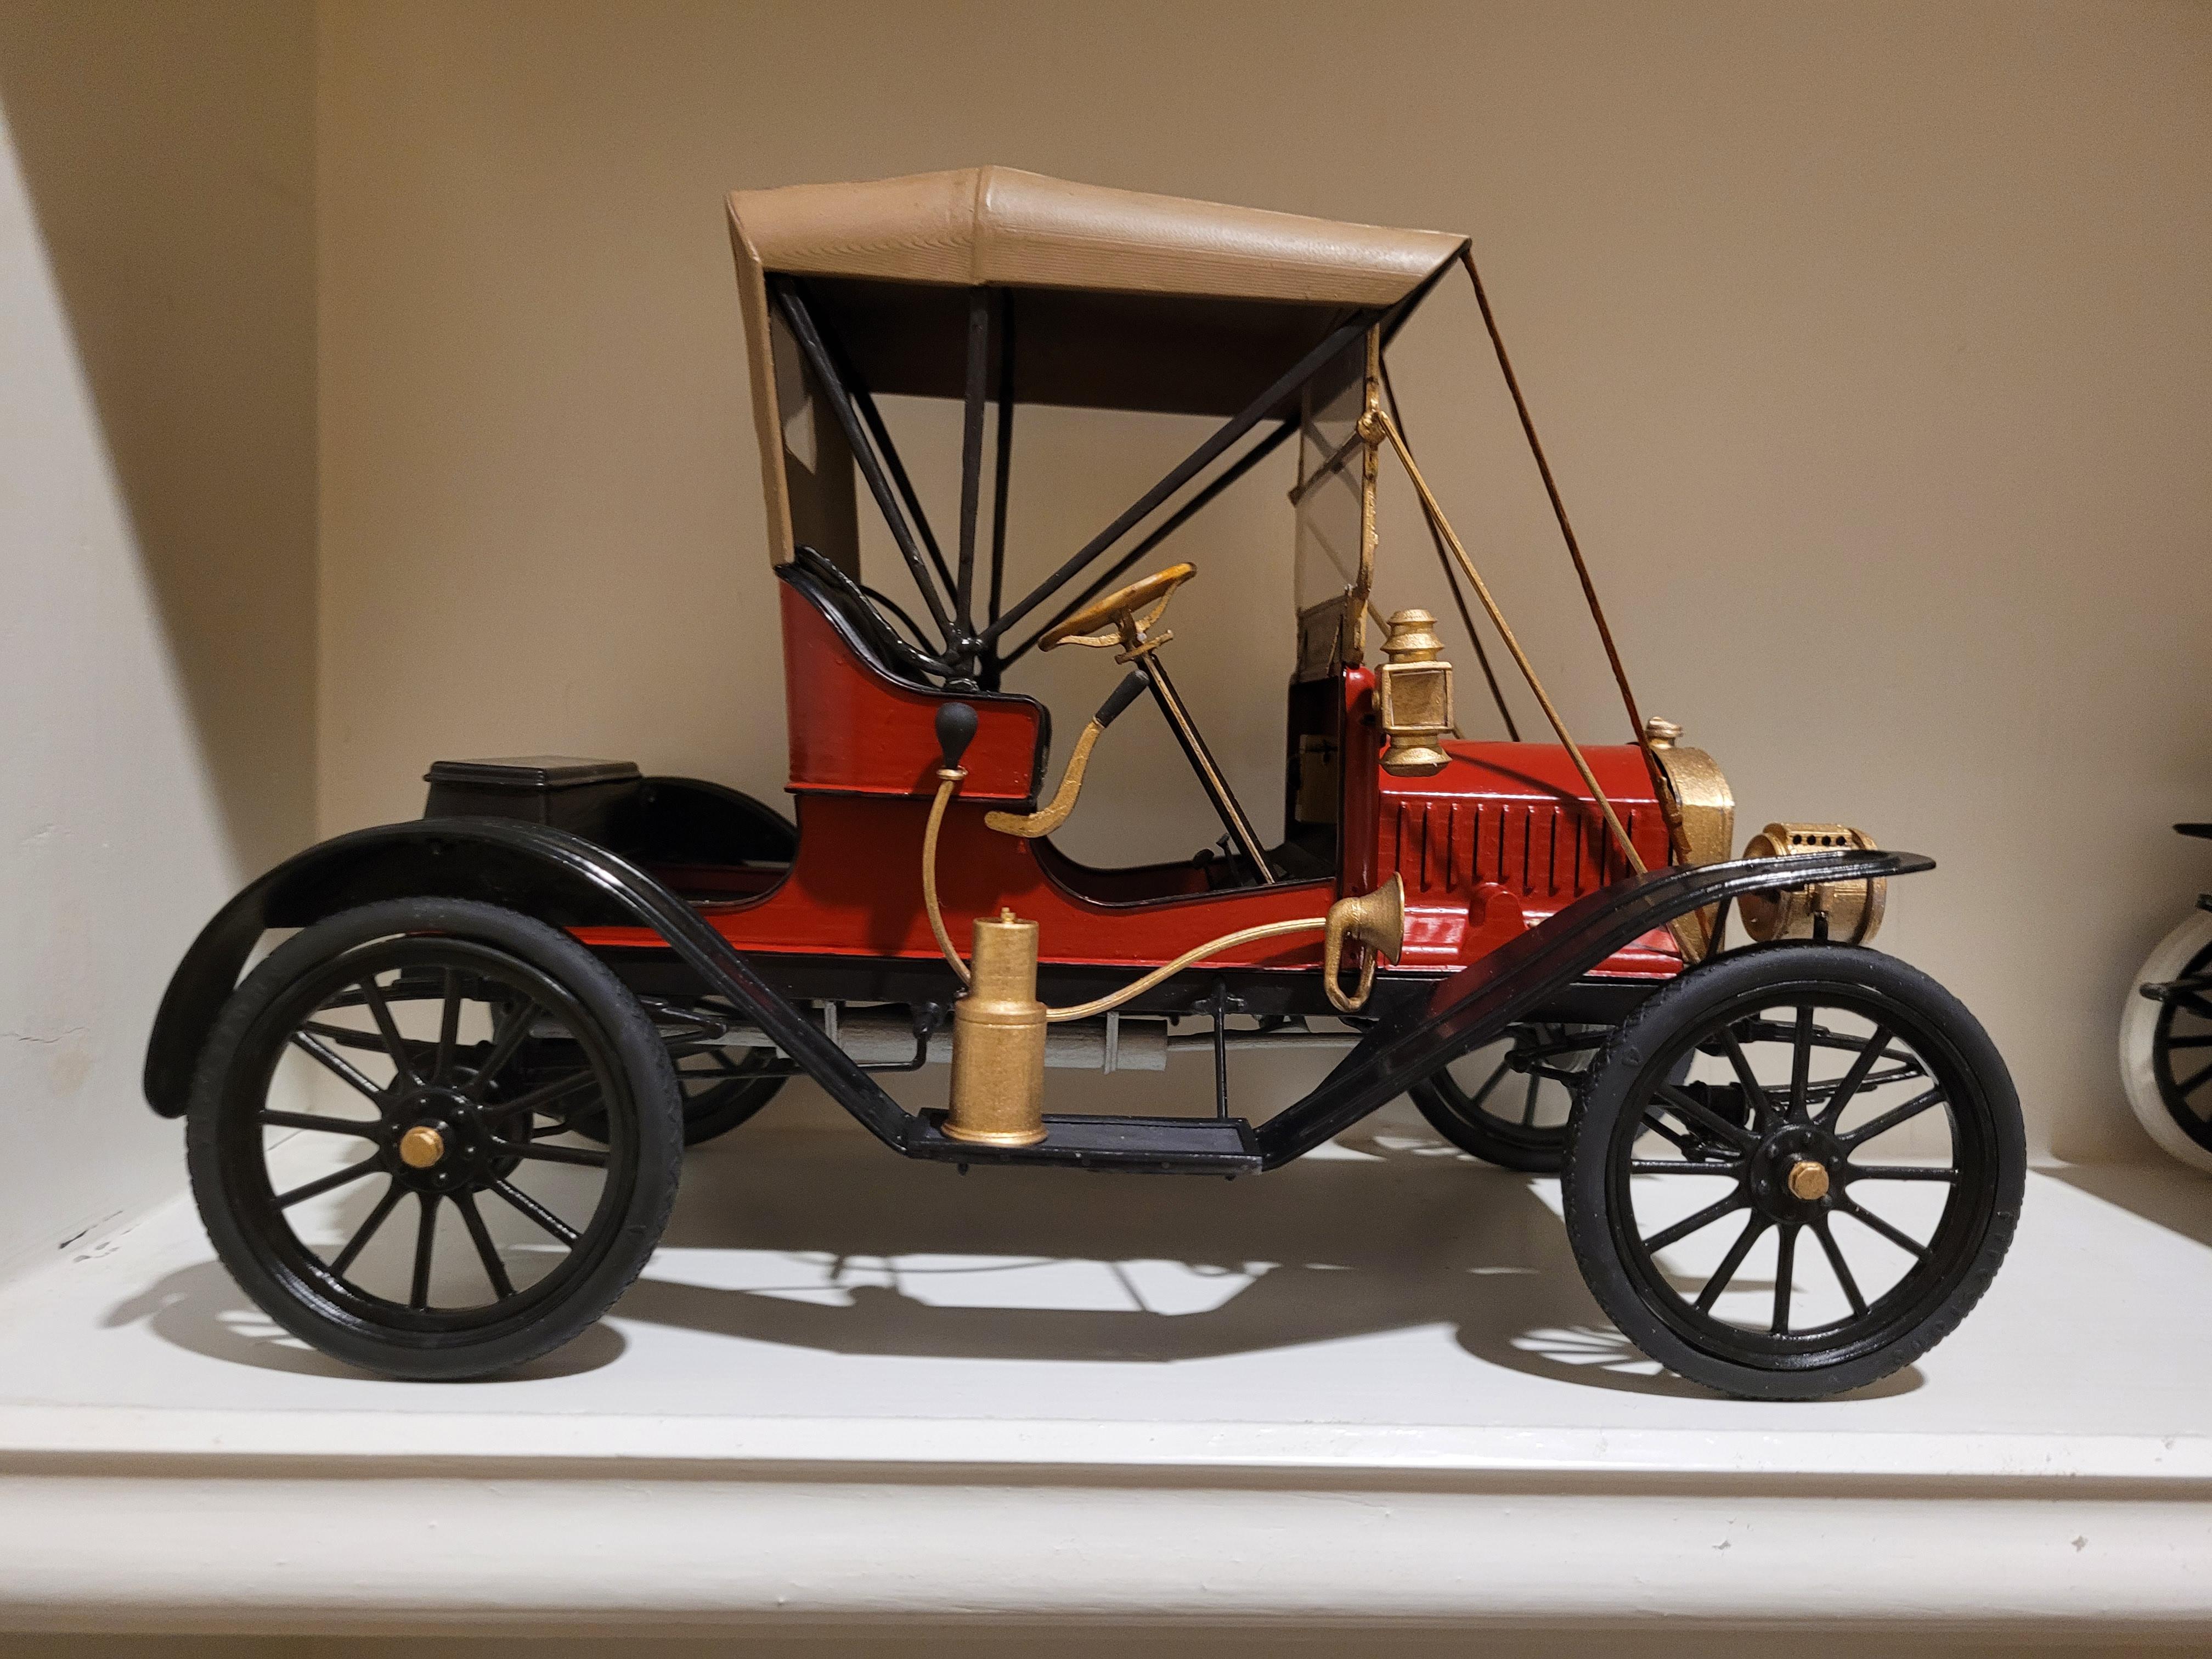
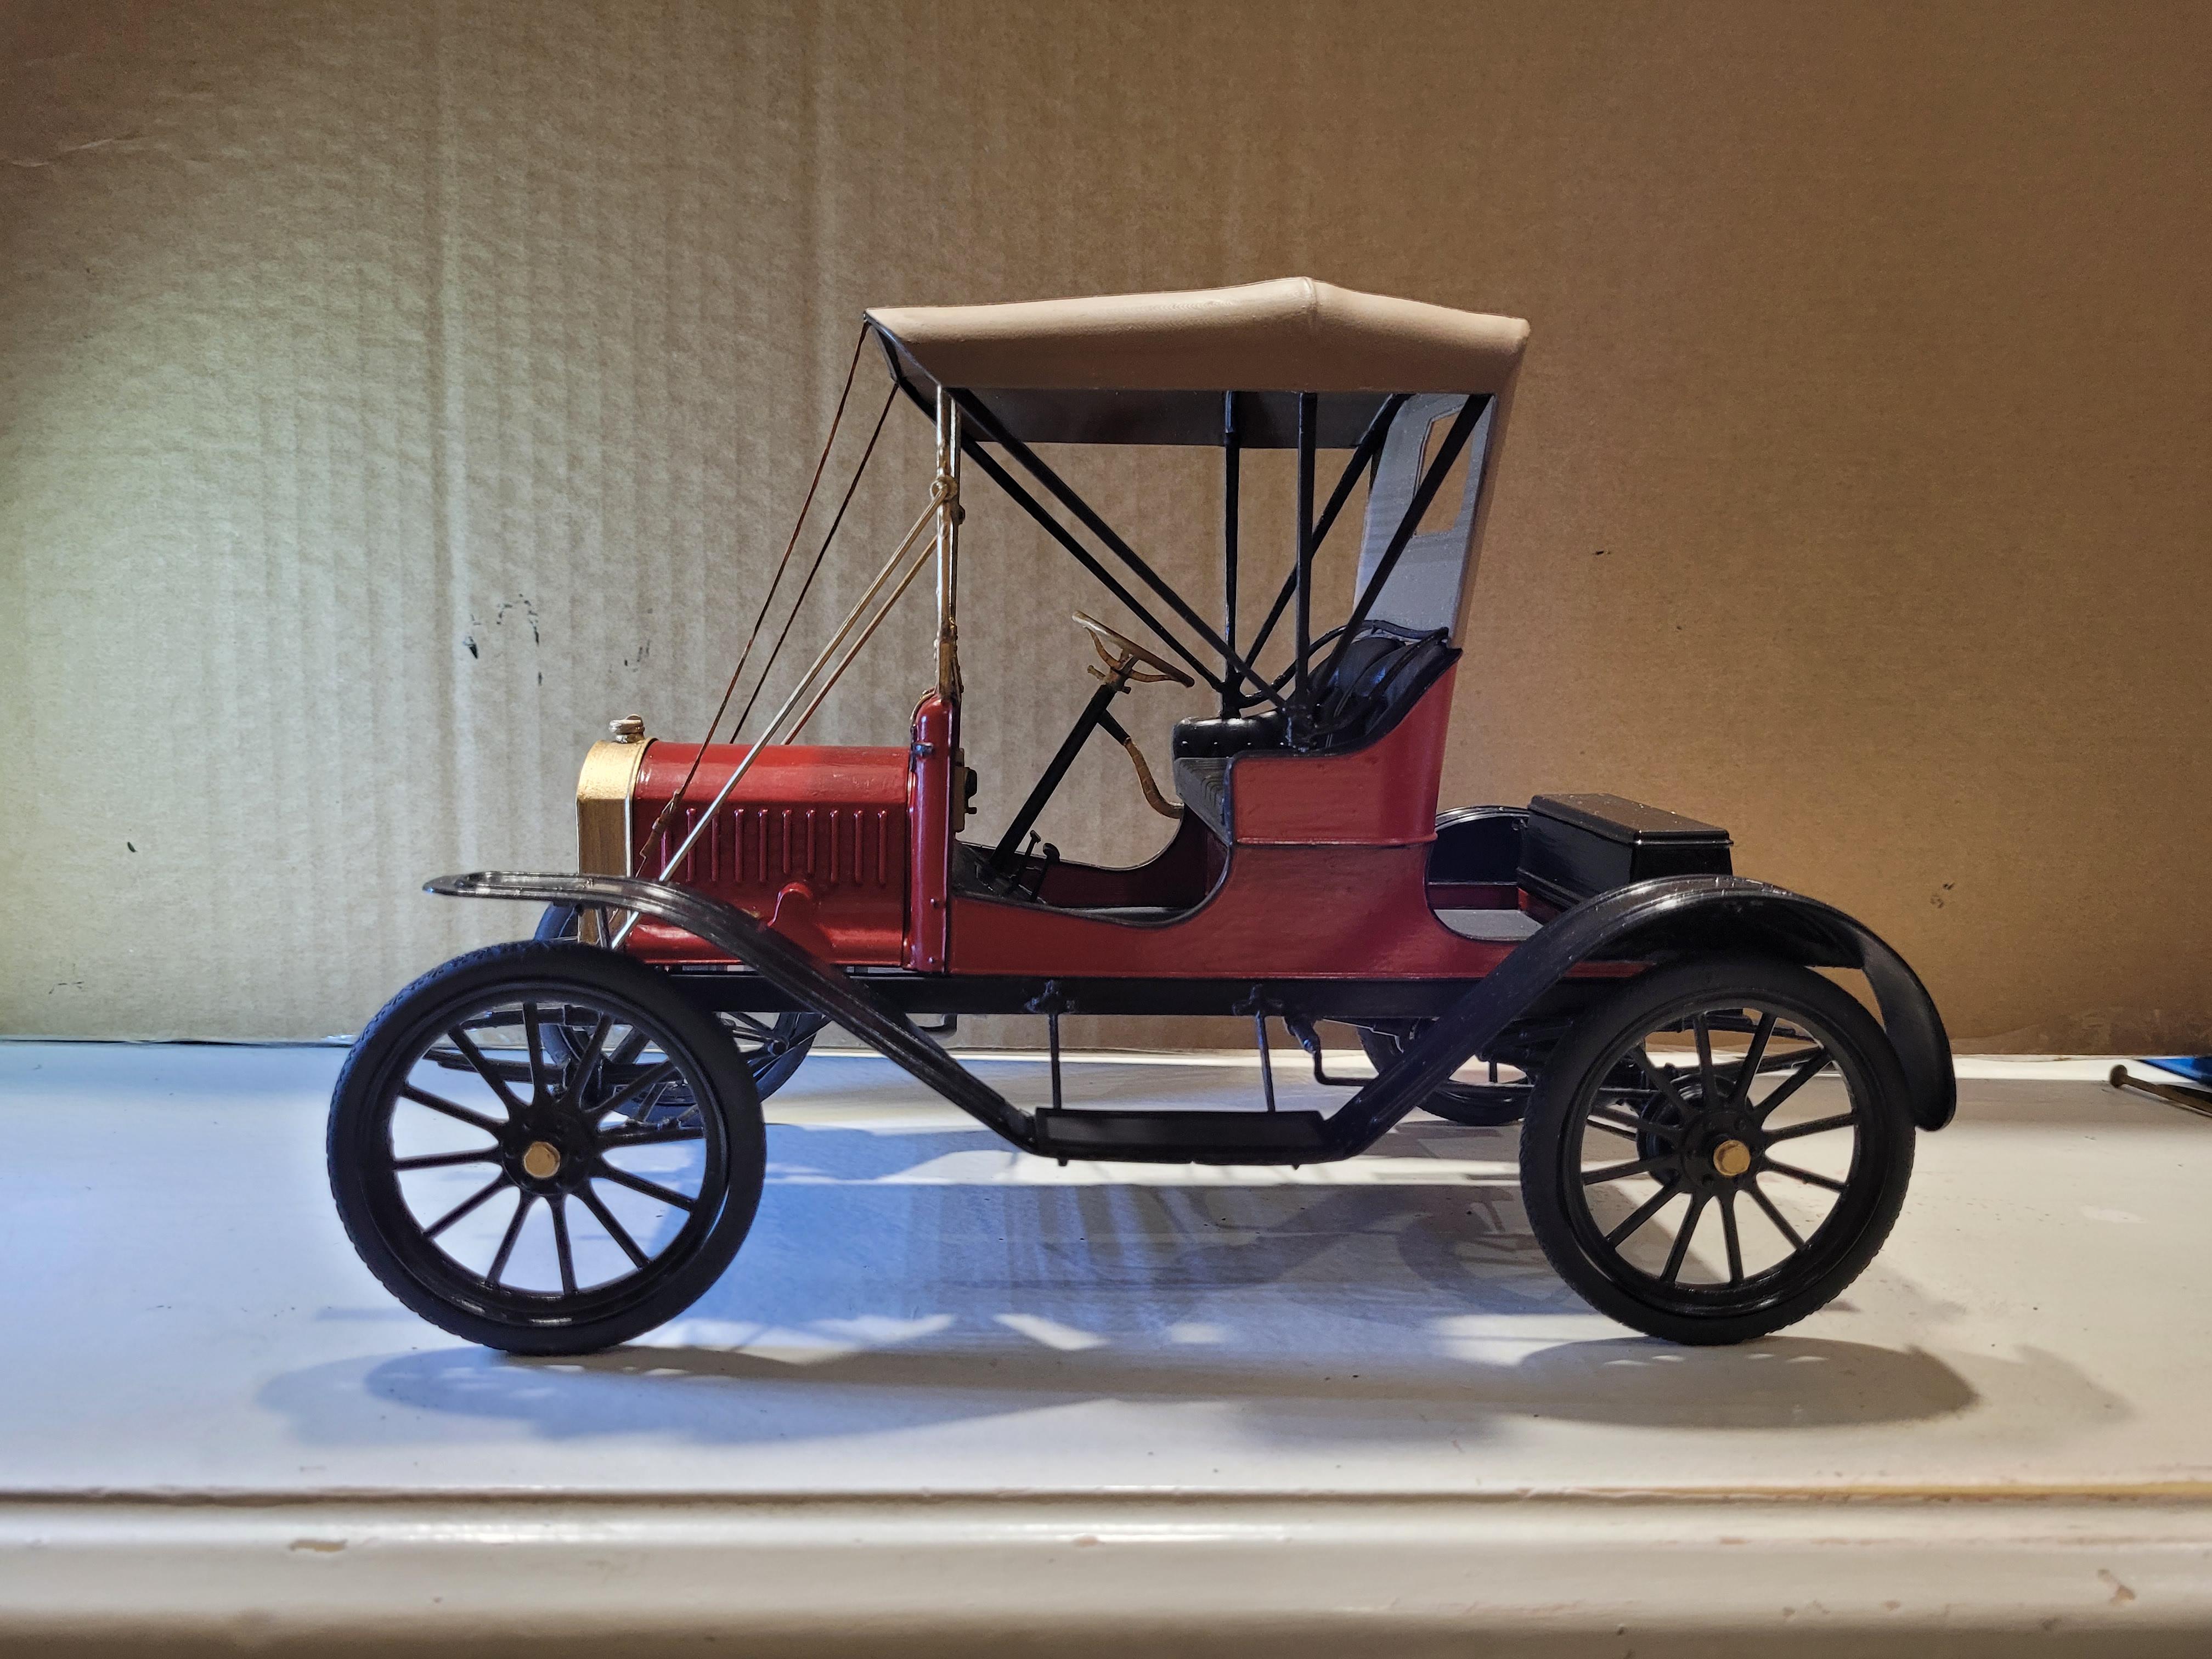
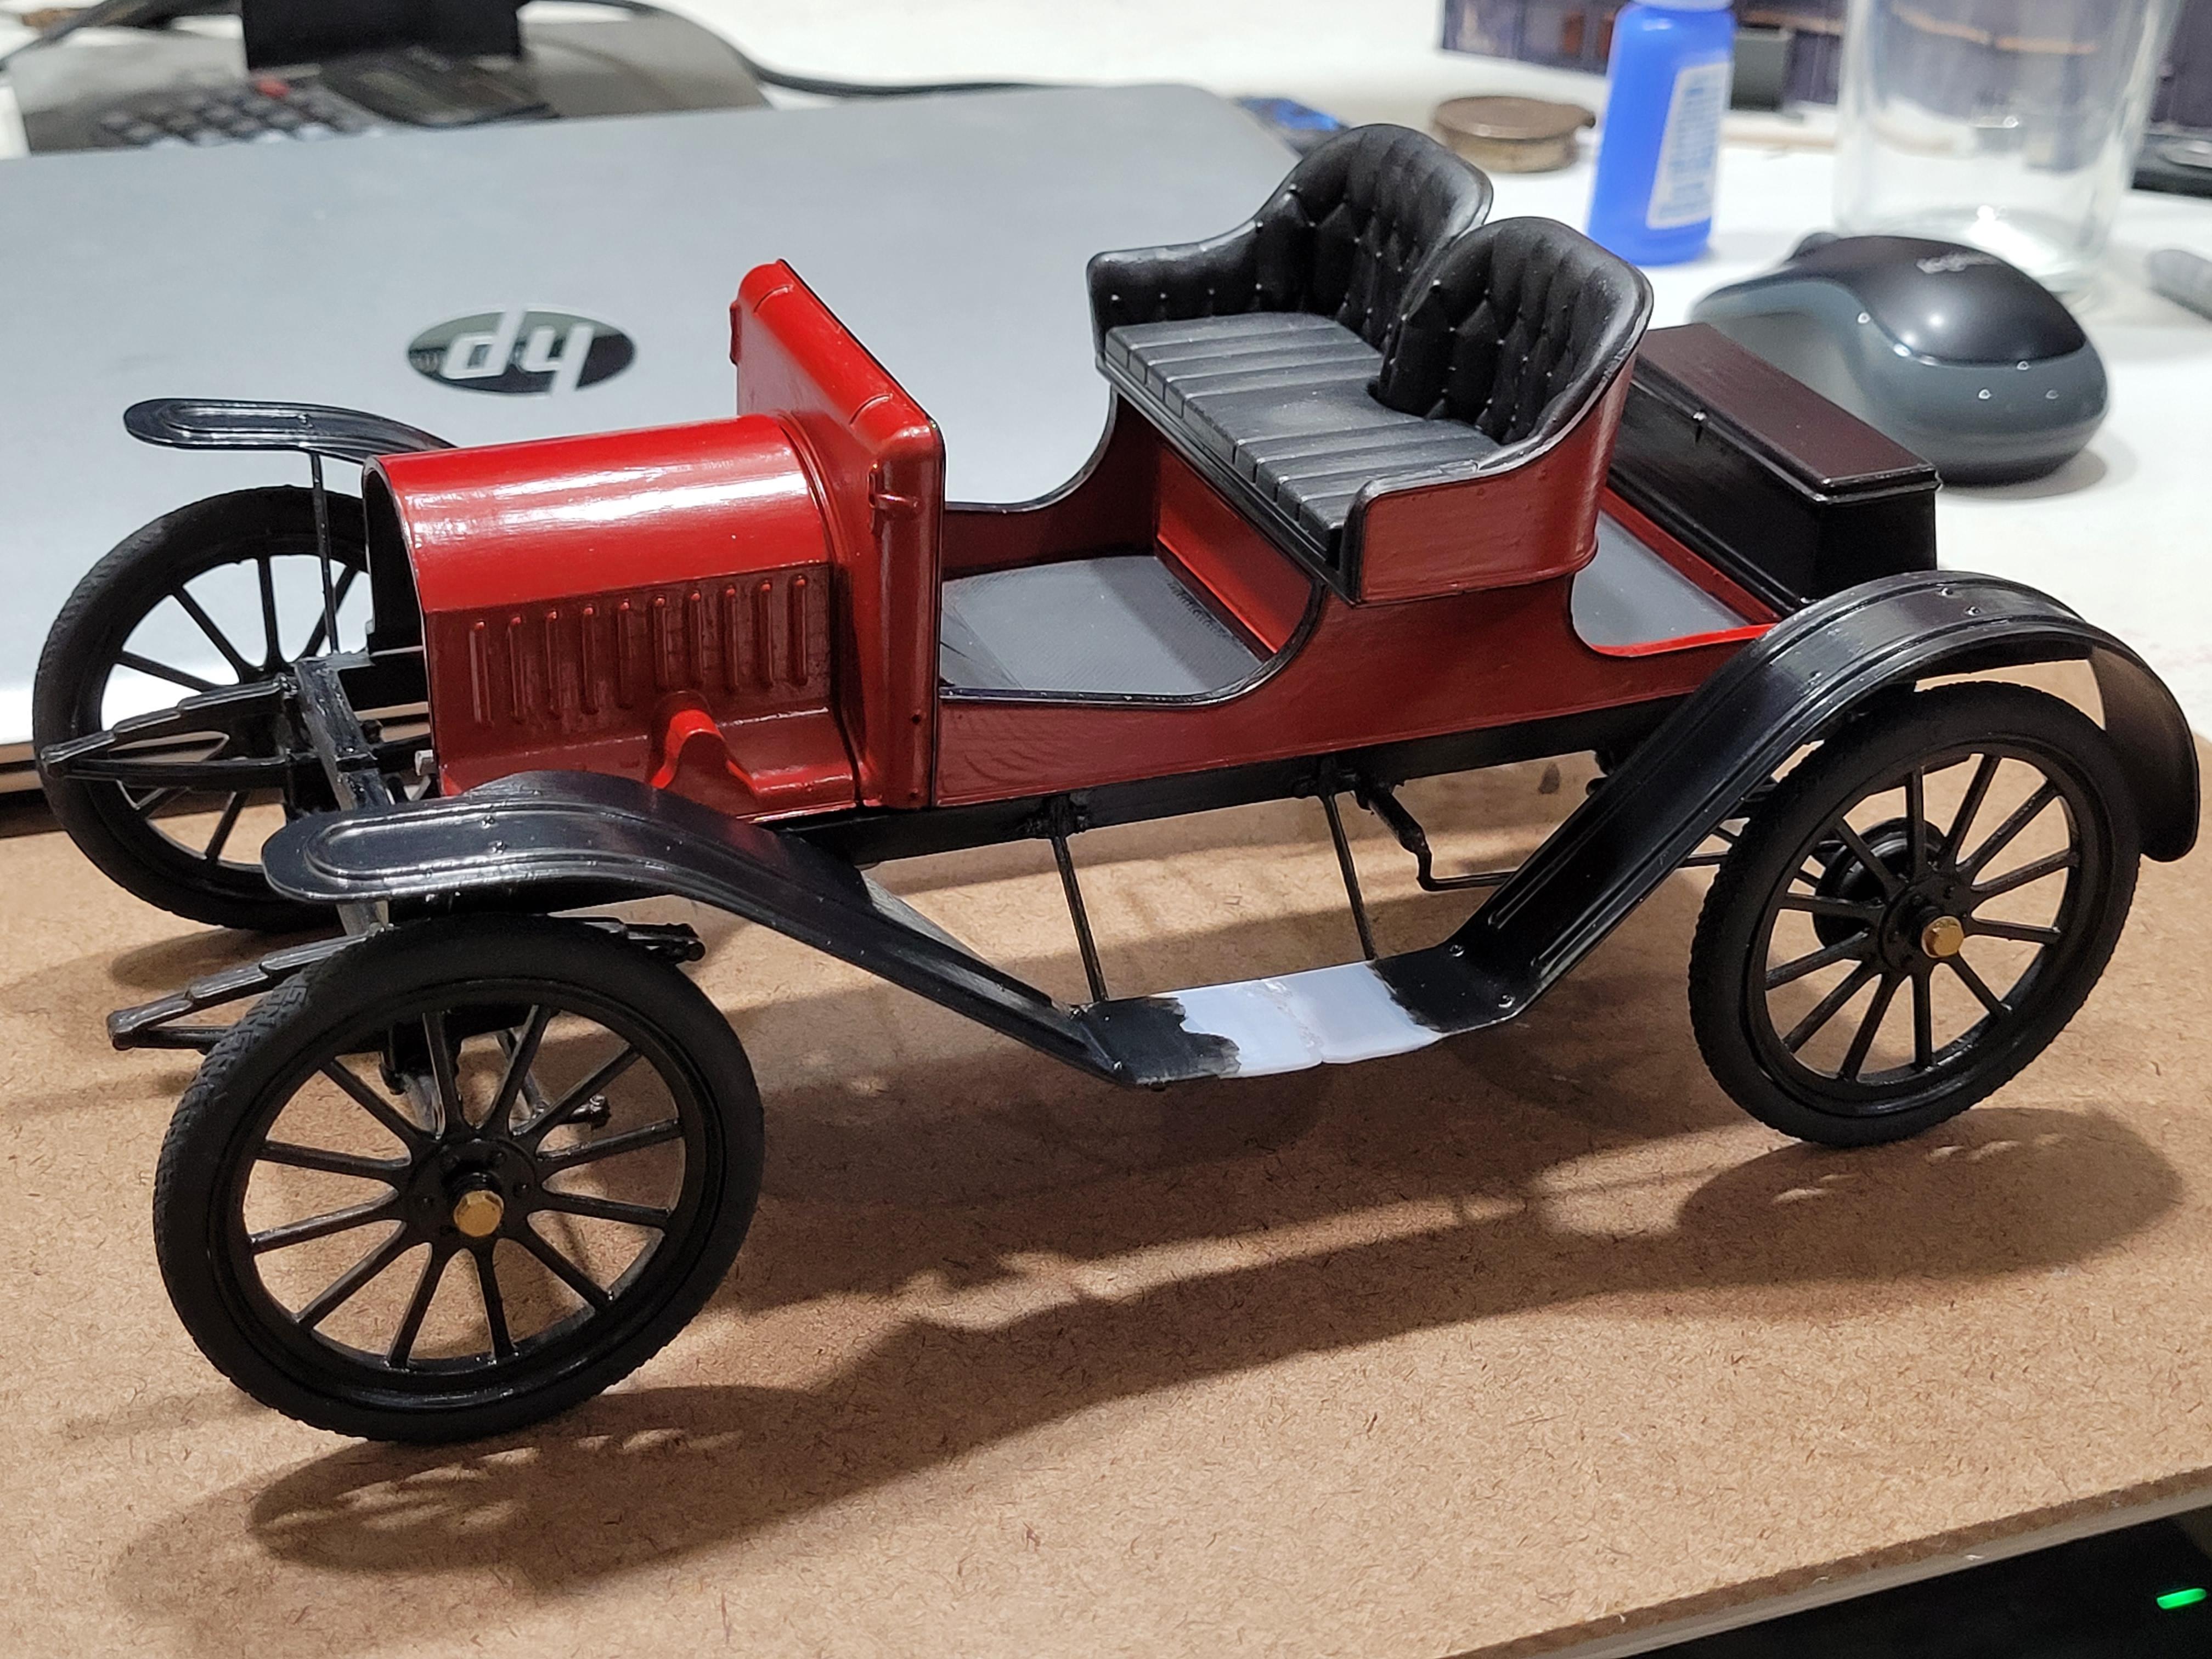
Many years ago, when 3d printing became affordable and accessible to hobbiests, I transcribed this into CAD from an old Hudson Miniatures model plan, then printed it out, assembled it, and painted it pewter color. The model depicts the general arrangement and correct dimensions, but lacks detail. This thread will document a redo of the model, but many corrections will be made, and loads of detail added. At the end, I will show a before and after. I hope you will enjoy the redesign/build process.
-
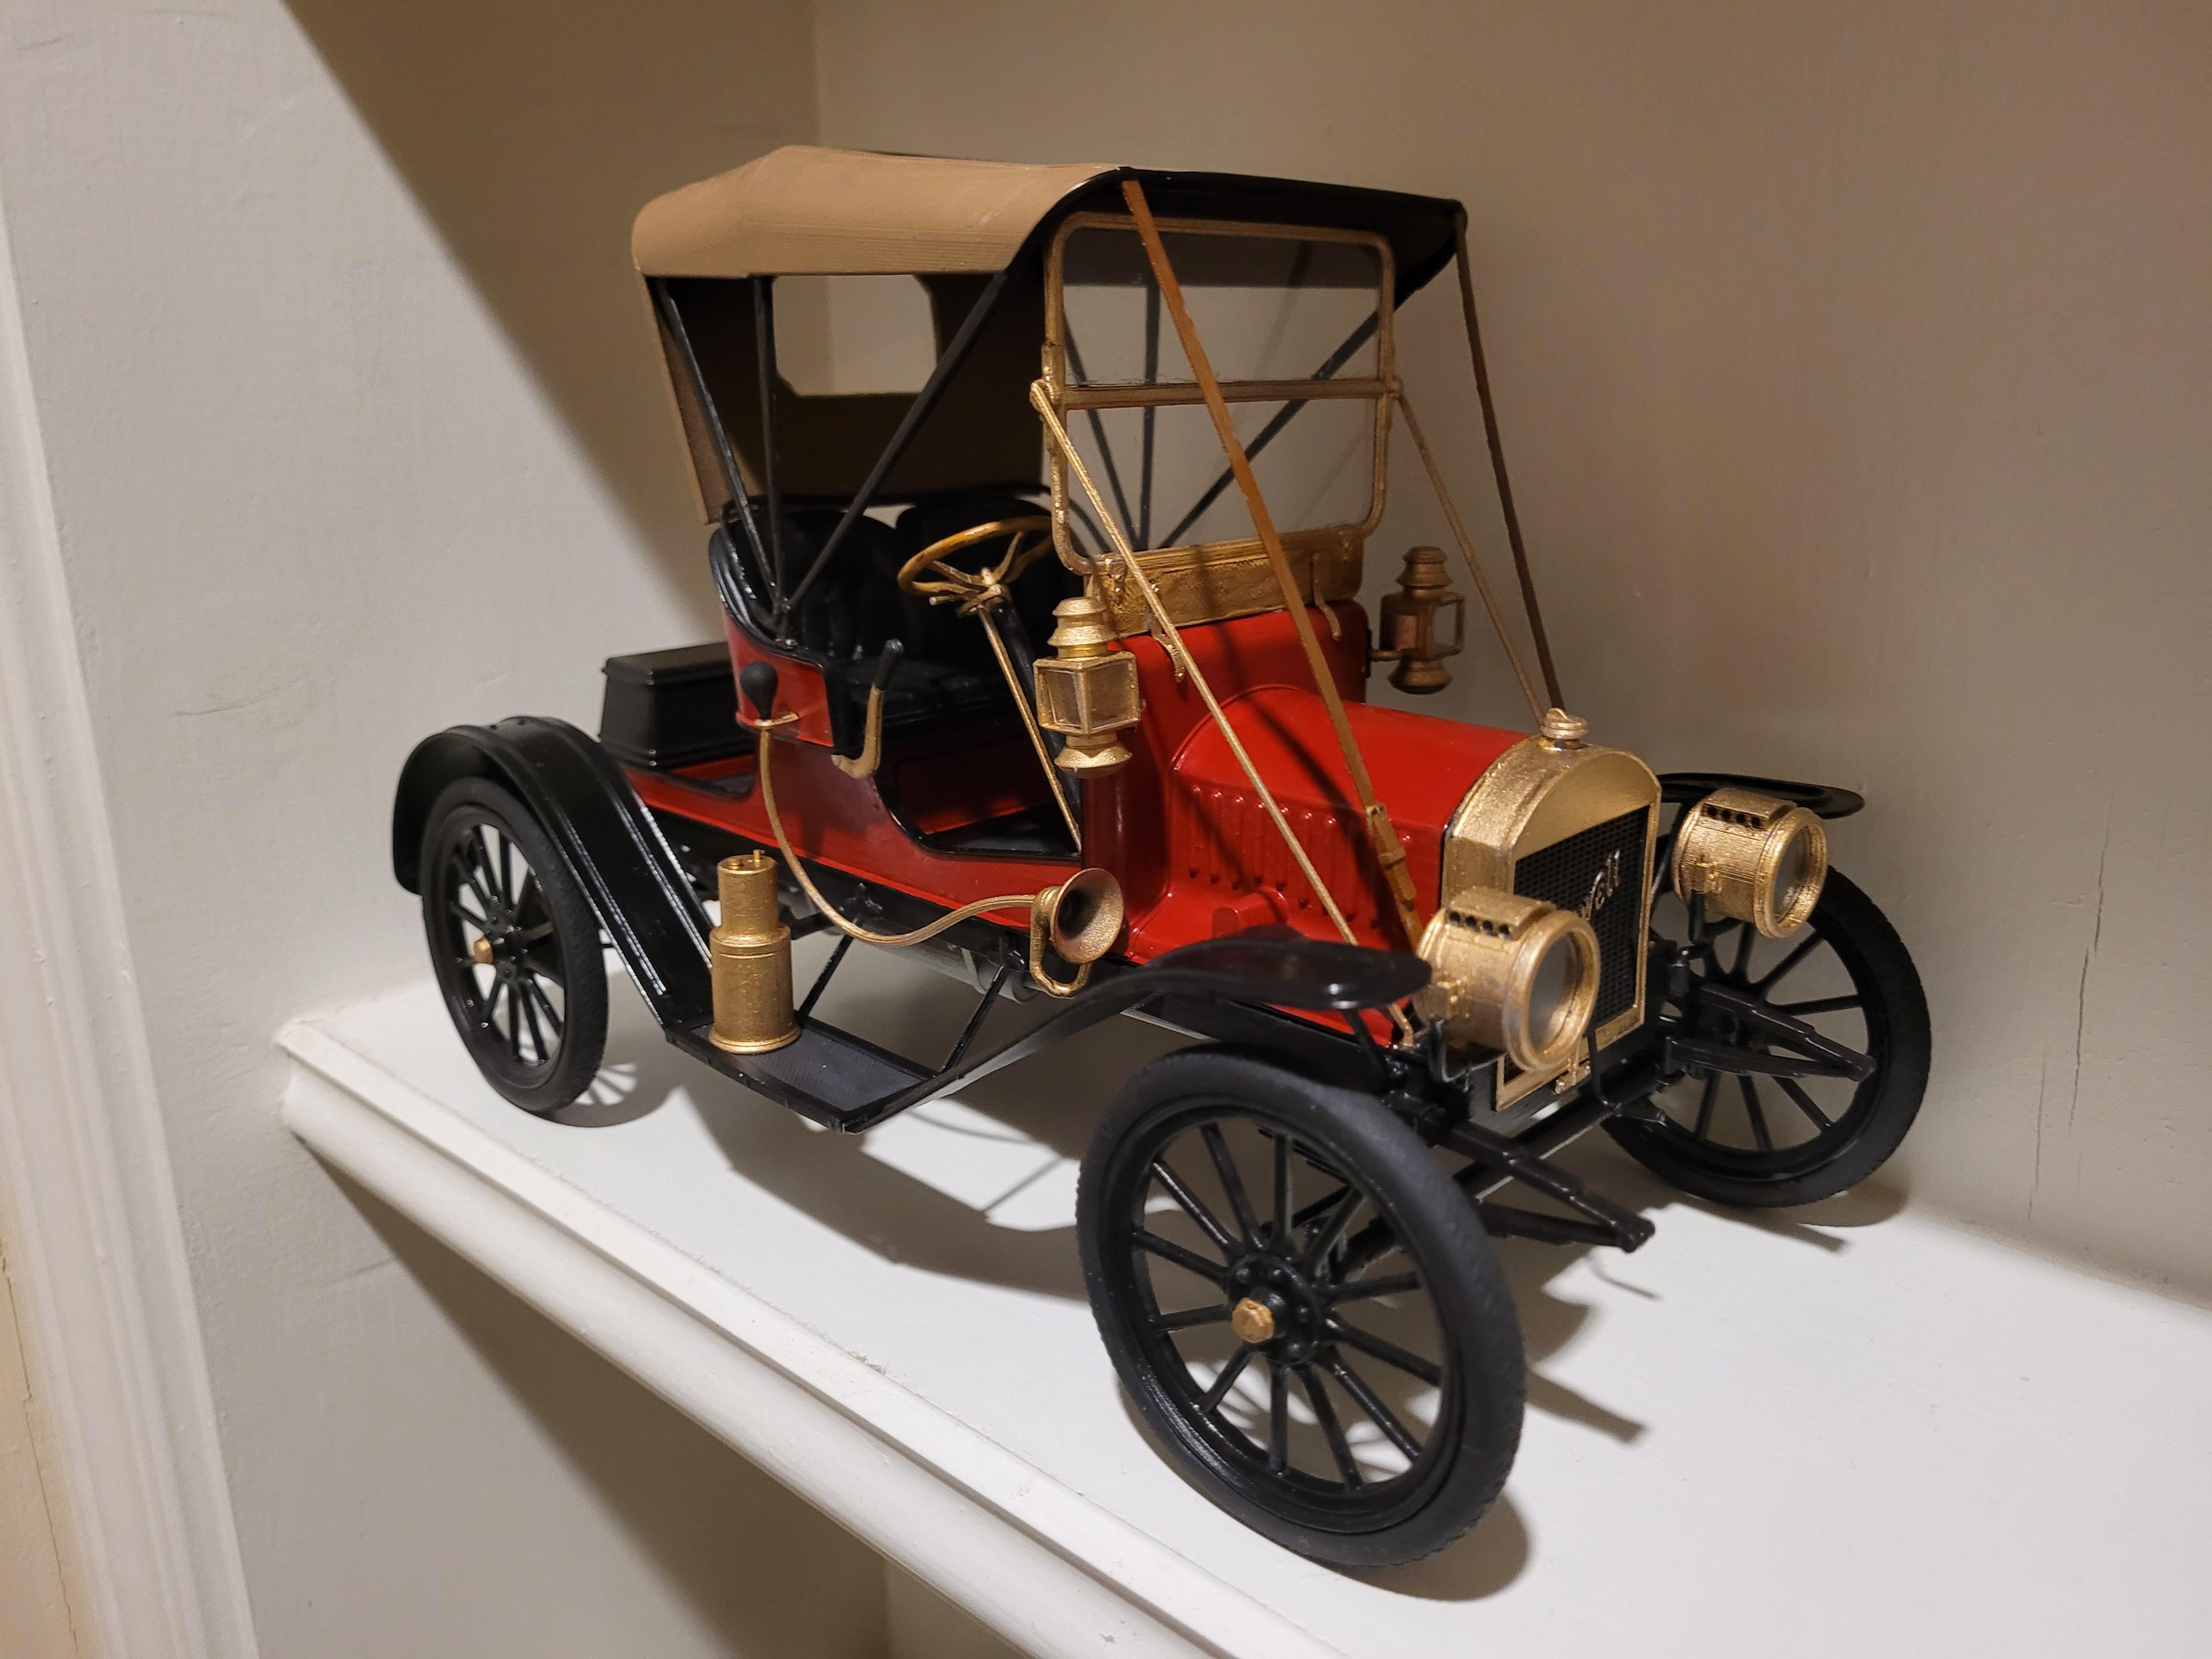
The process: I transcribed a 1/16 scale plan from a Hudson Miniature balsa model kit from 1949 in CAD. Then I scaled up to 1/12 scale. I gathered hundreds of pictures from the Internet to add details and refinement. I used 2 different types of 3d printers, filament (FDM) and liquid resin (DLP). Here is the result. It's not the typical subject matter found on this forum, but I hope you like it.
-
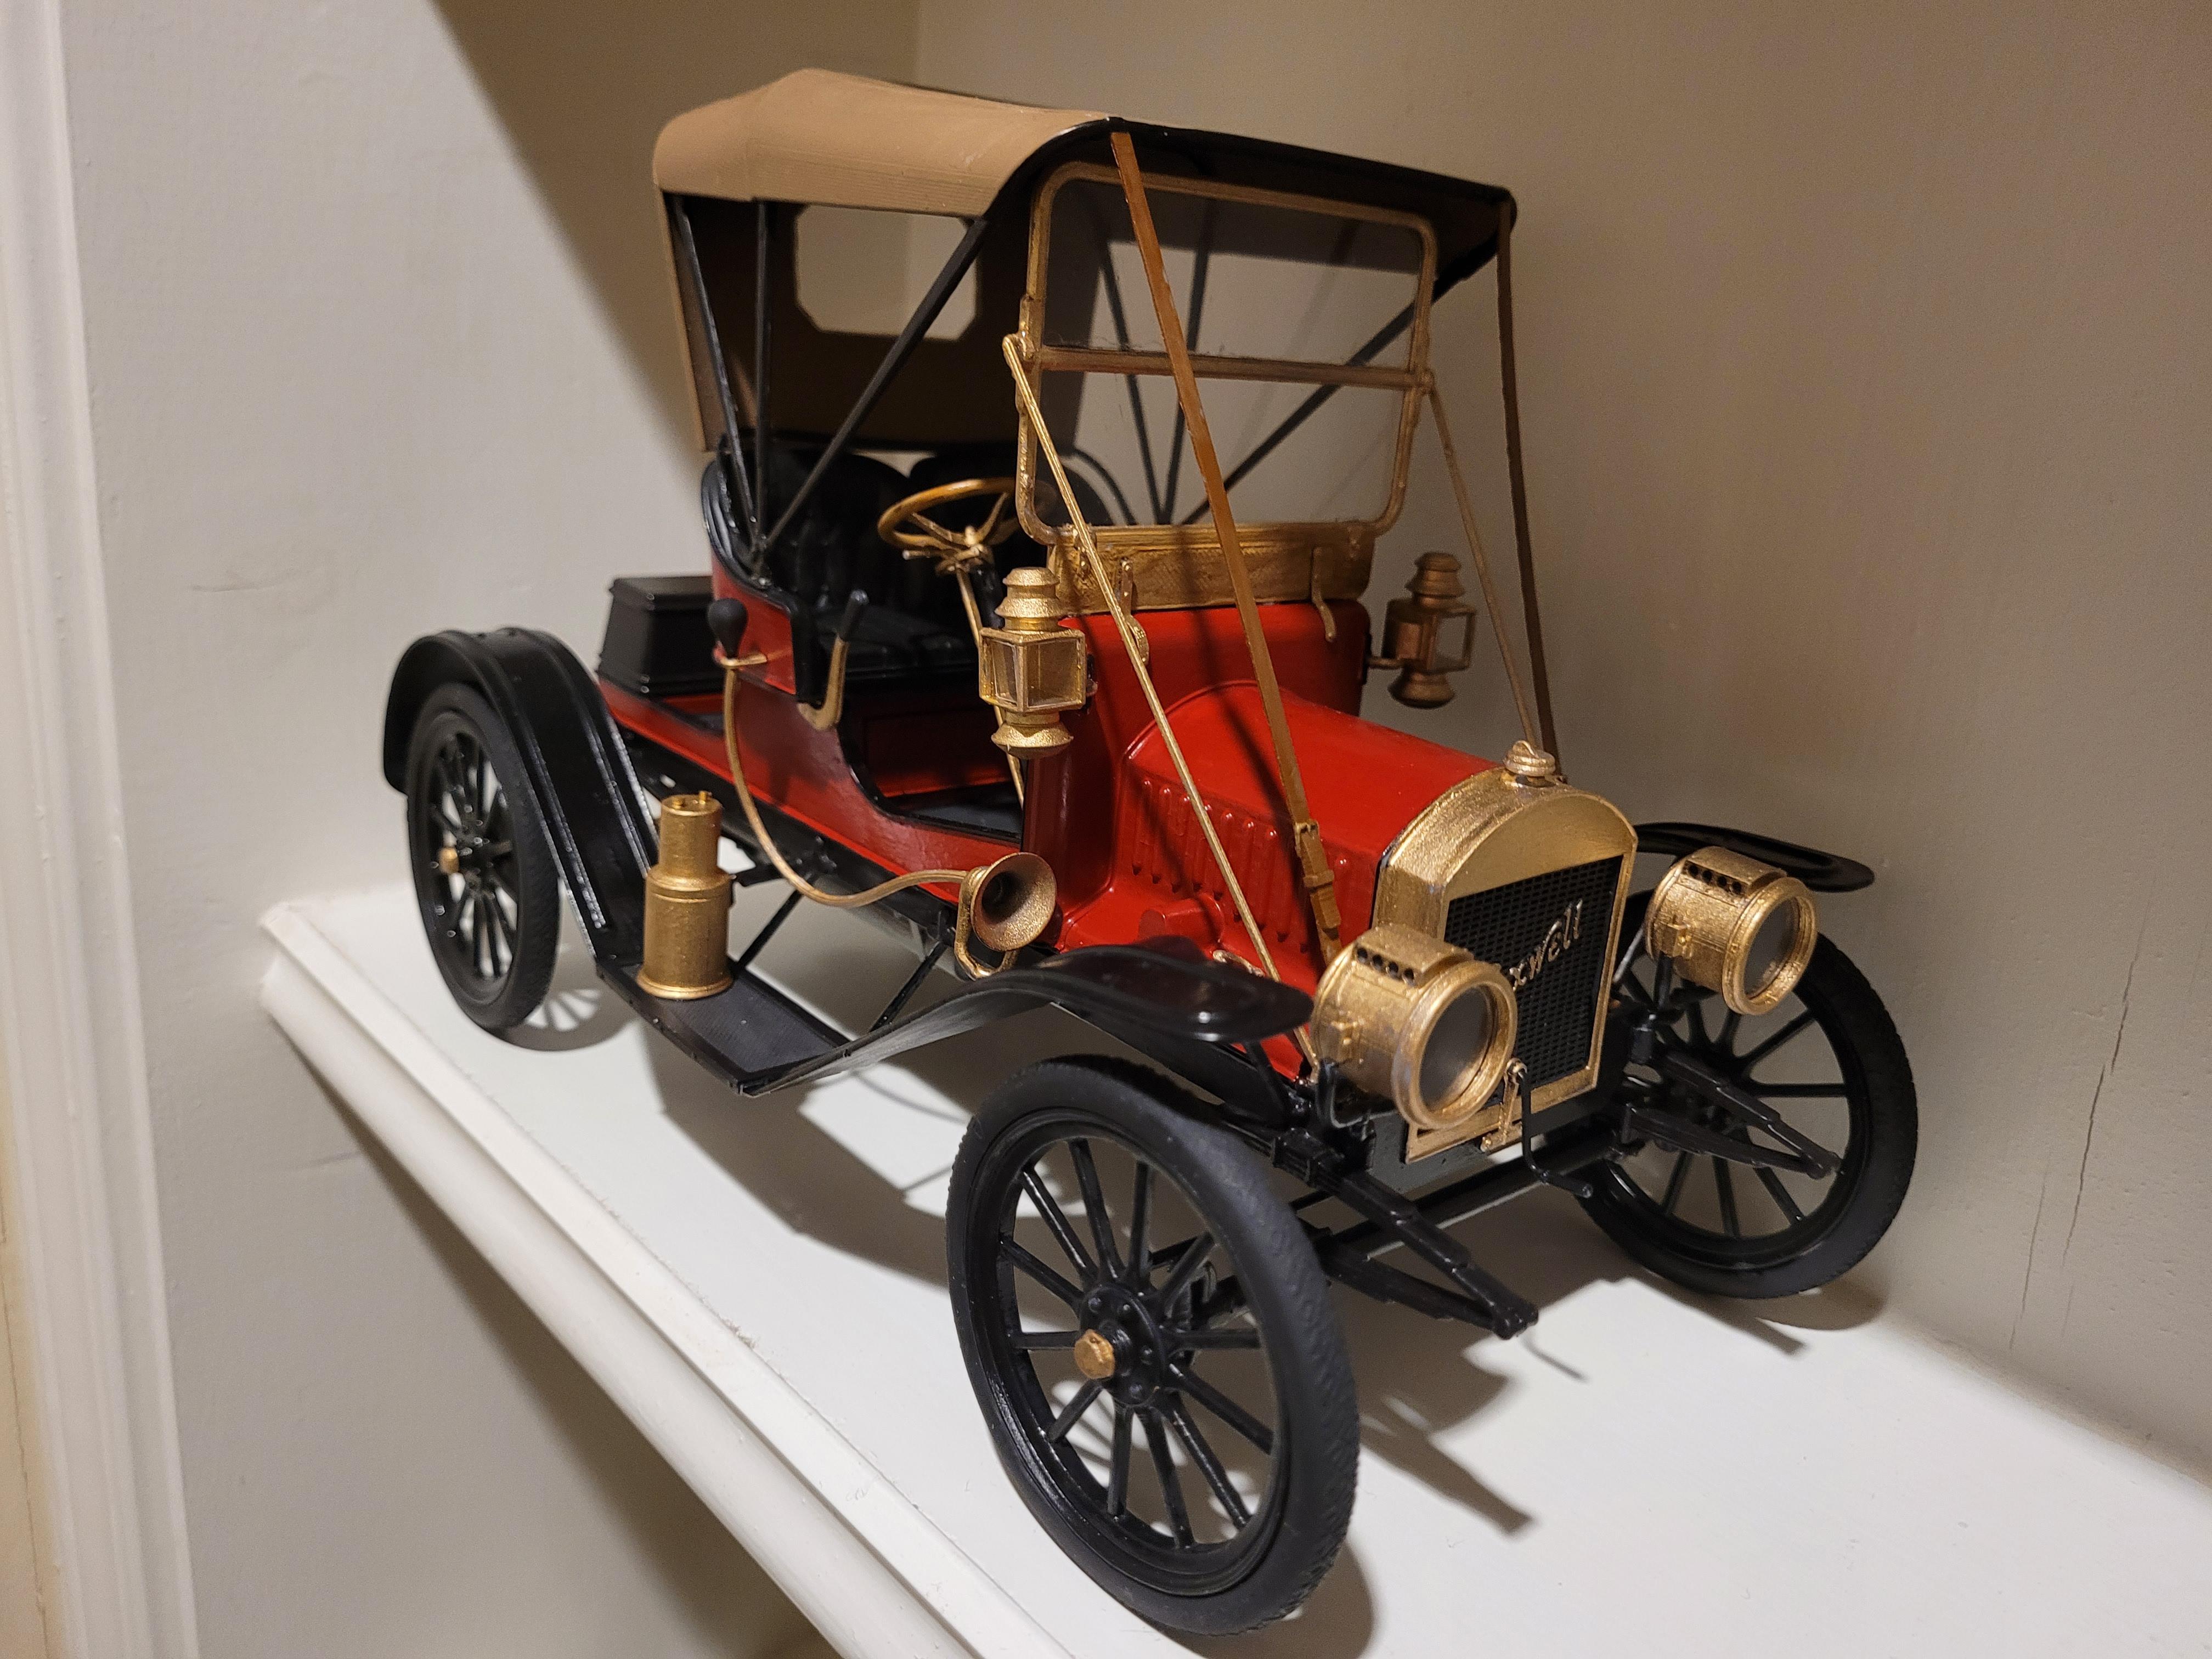
Head lamps and coach lights have been added. I used squadron clear for the windshield, back glass, and all lamps. Only the tail lamp to go, then I will post final pictures in the Under Glass section.
-
The horn is added..
-
The umbrella has been added, along with the windshield supports and leather top hold down straps. Next, the horn, lamps, and glass... then off to the shelf.
-
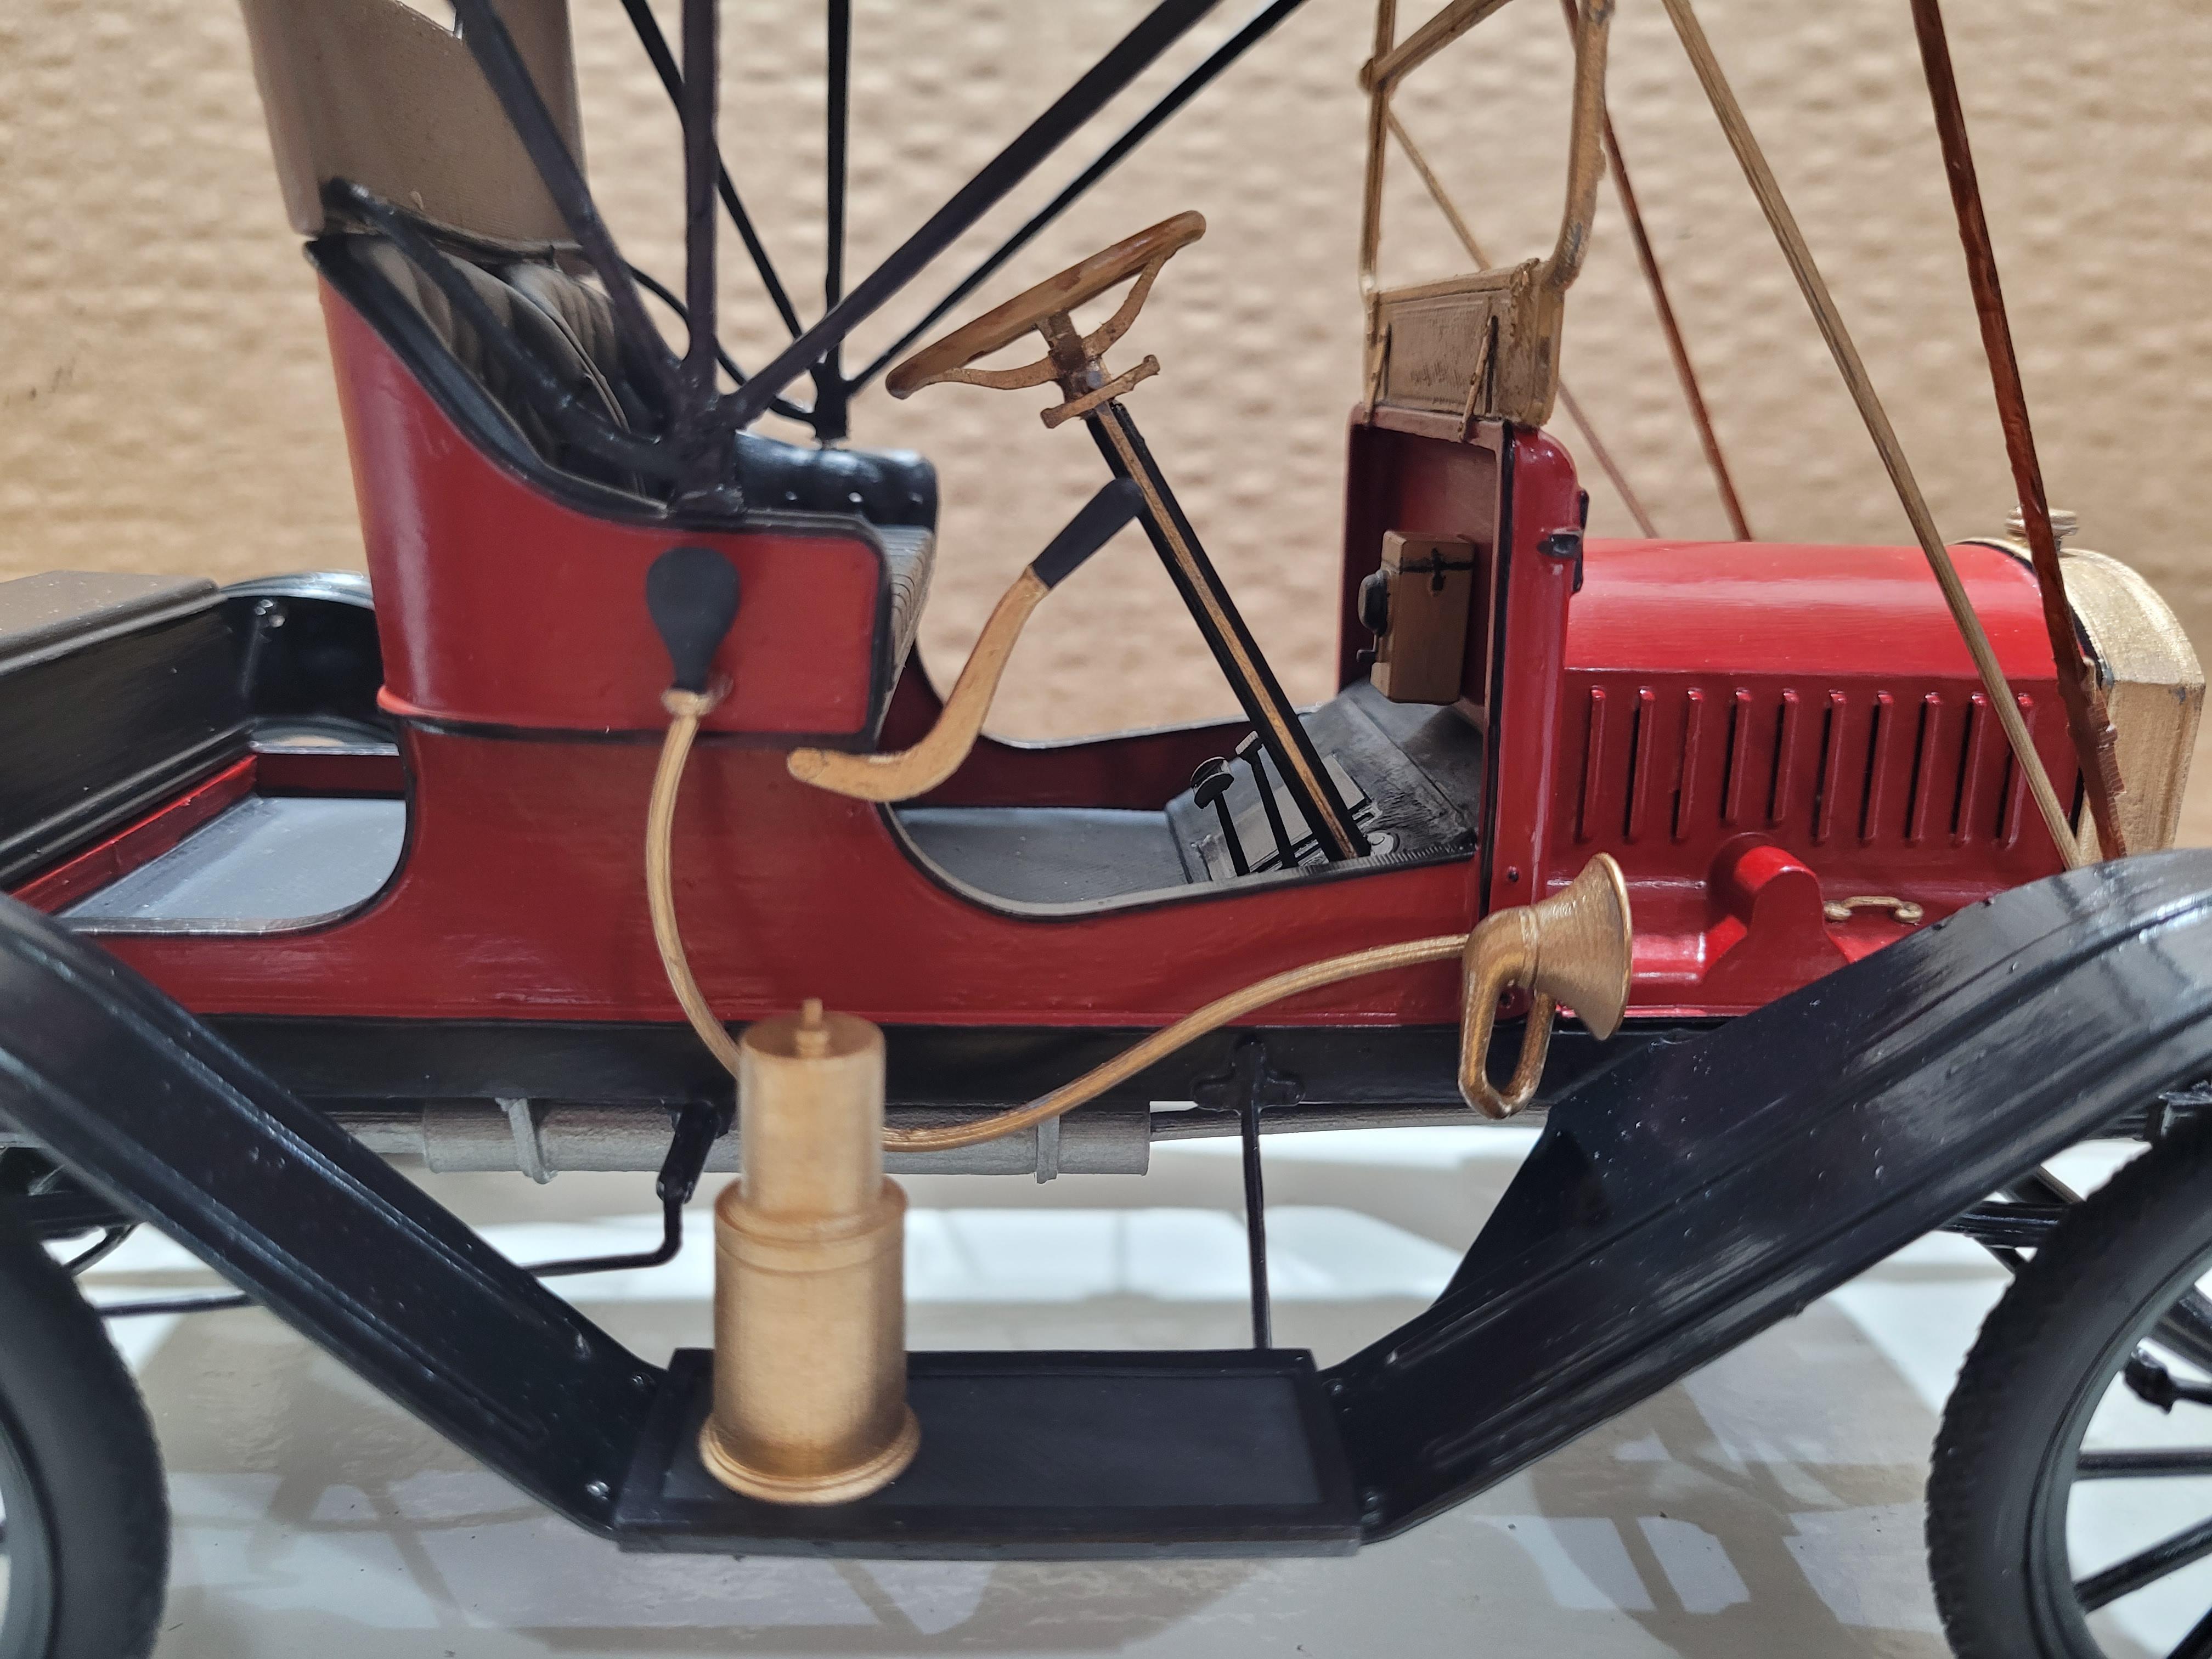
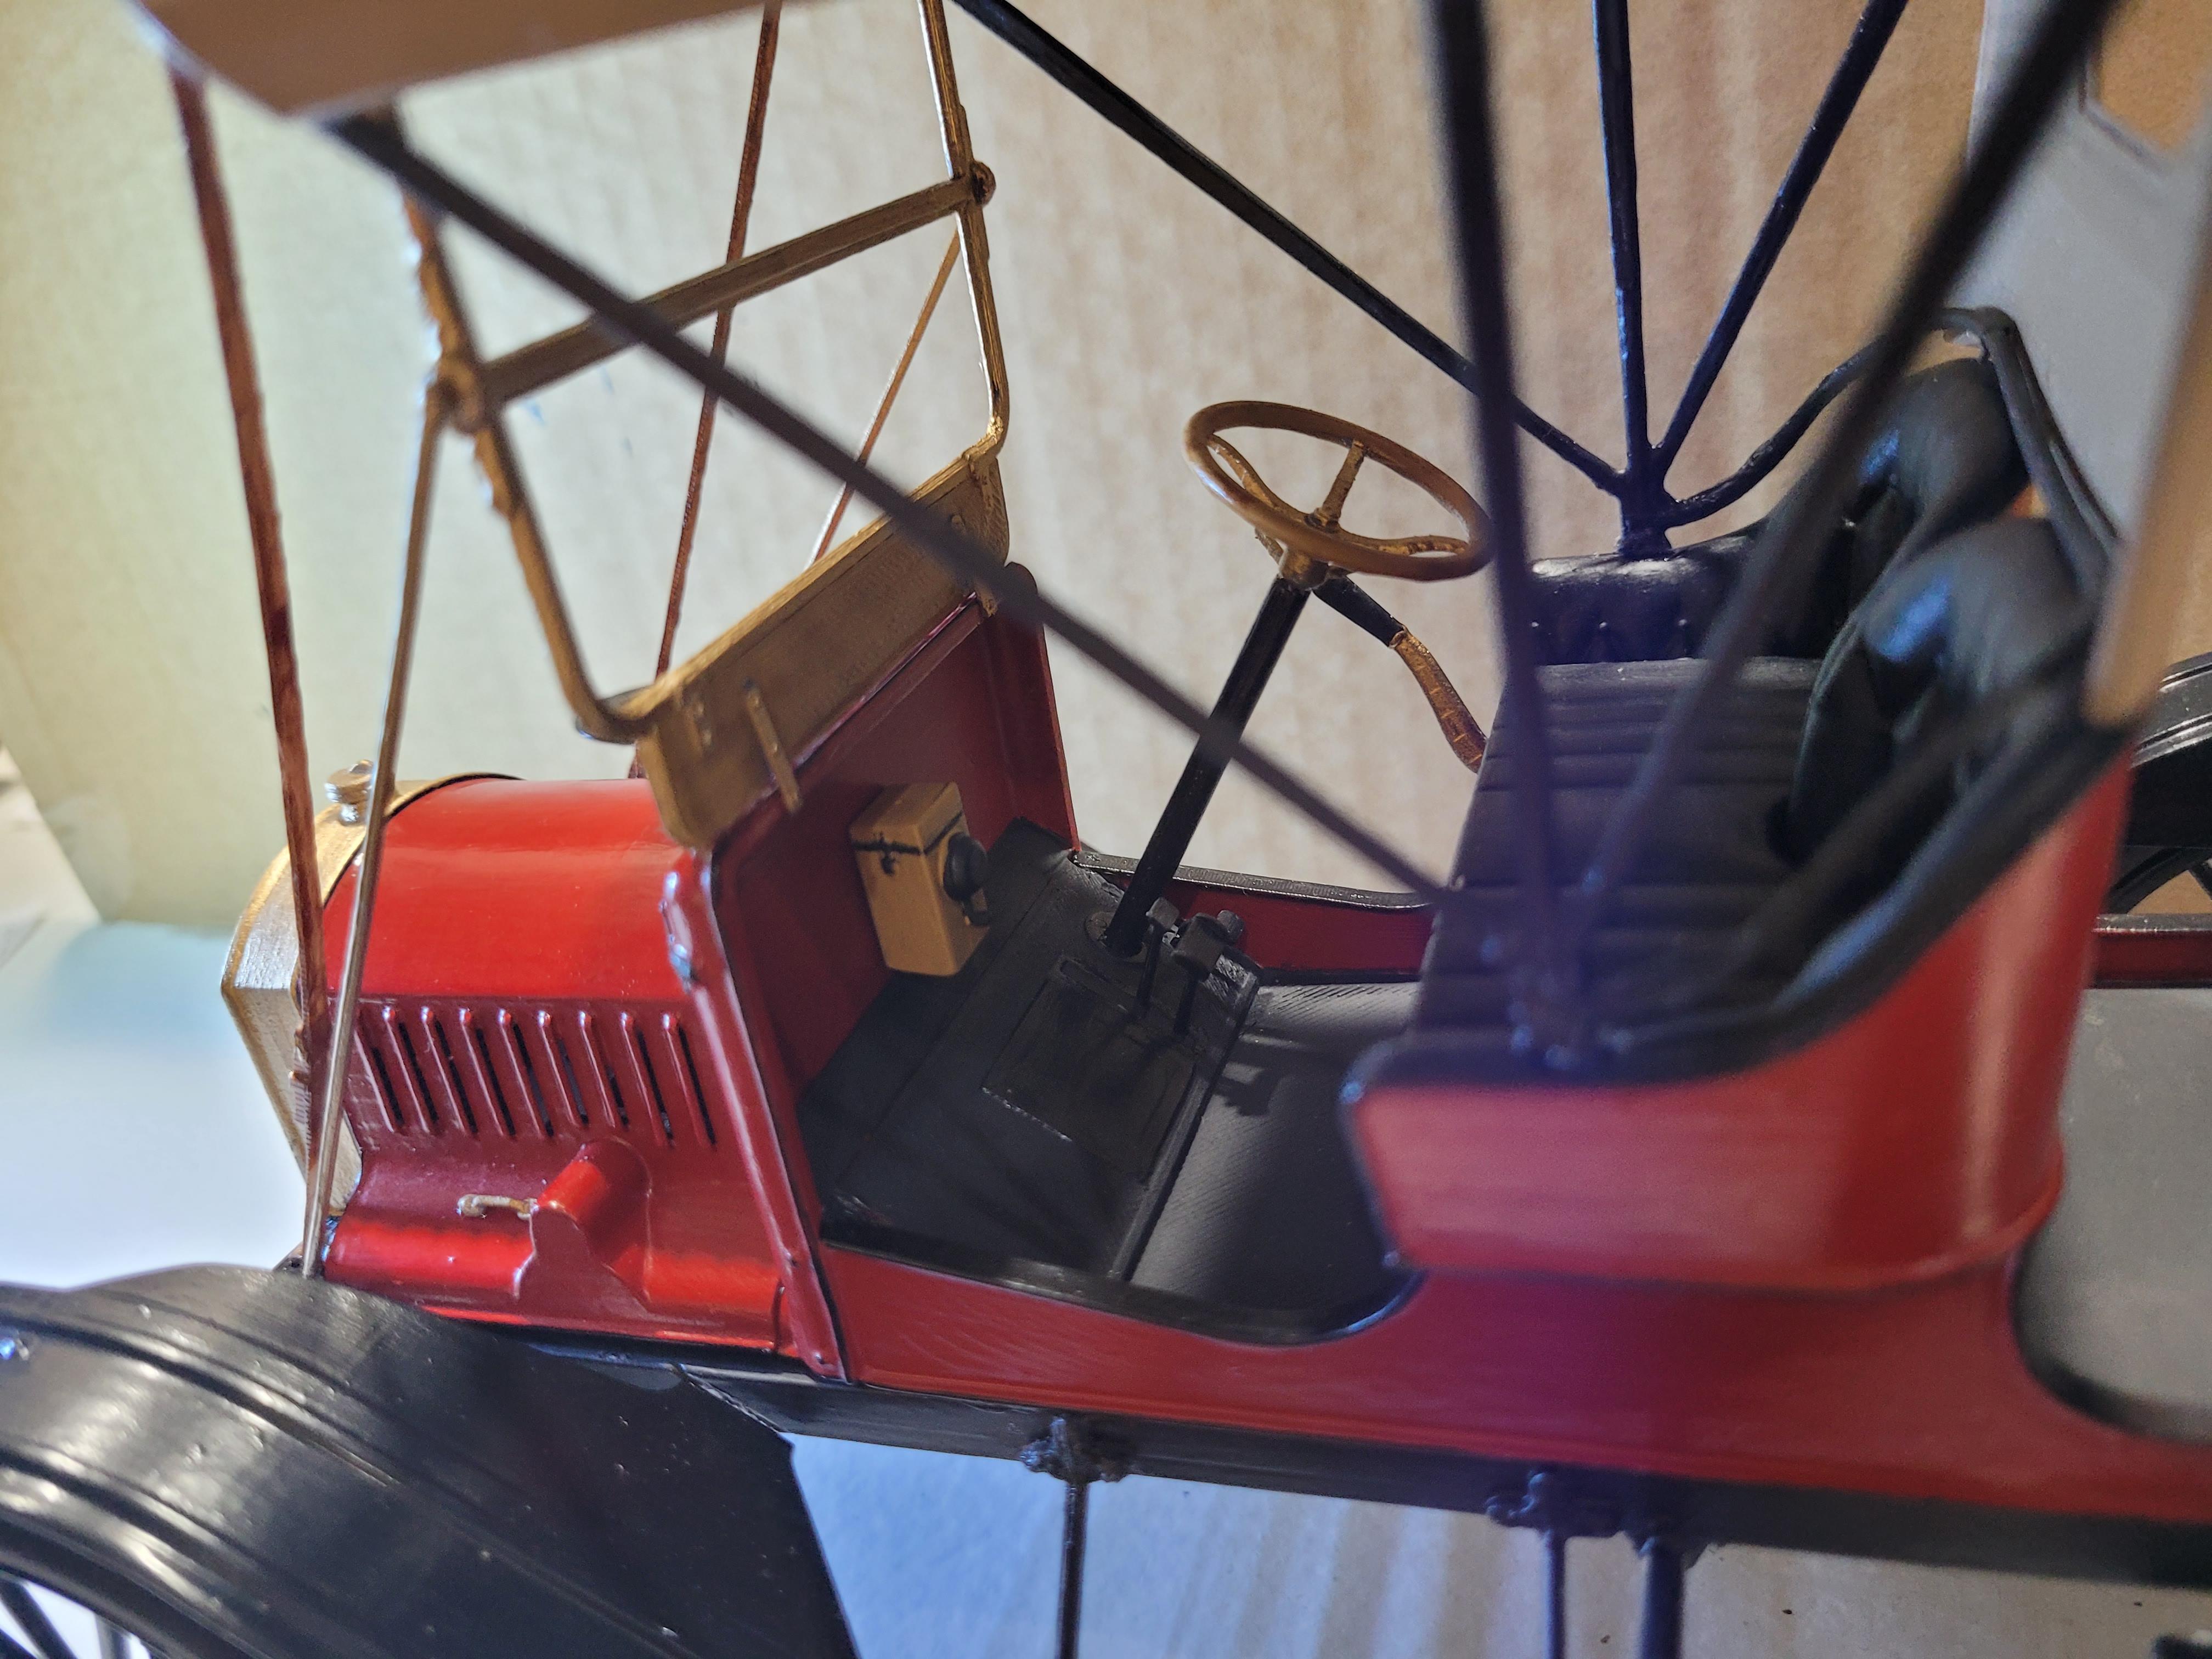
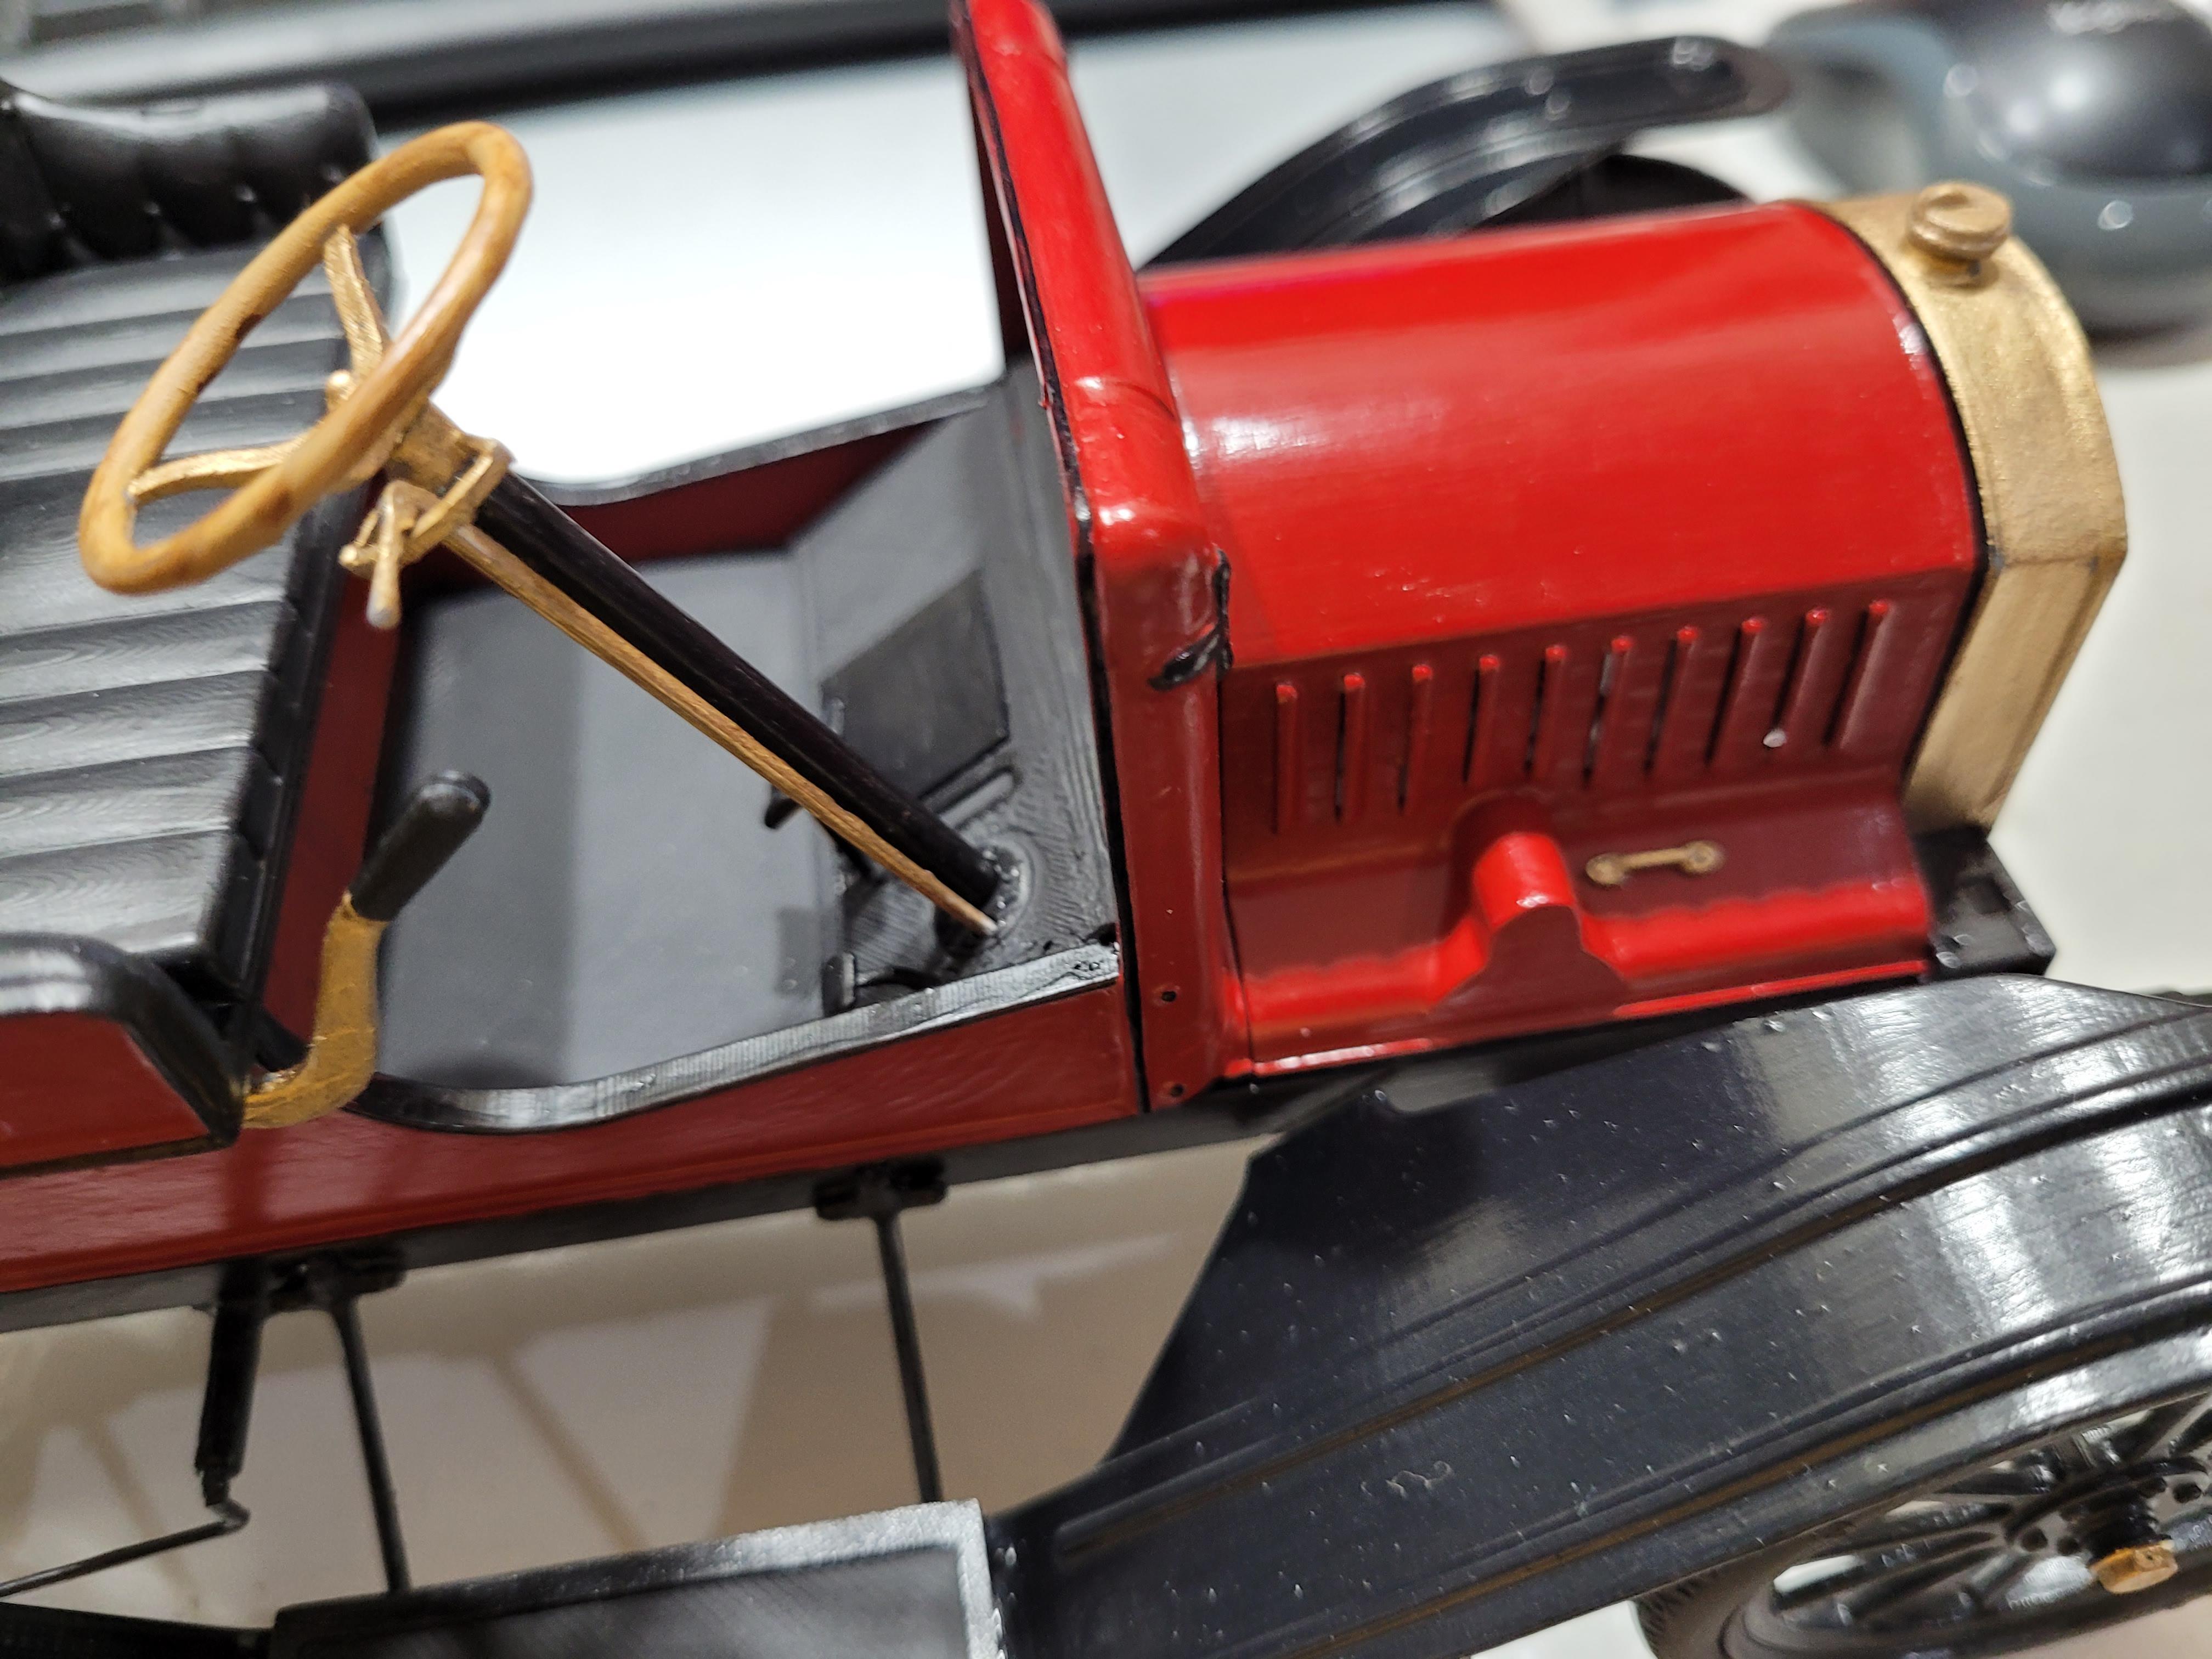
Hood handles, steering wheel, and controls added.
-
Running Boards and Starter Crank.
-
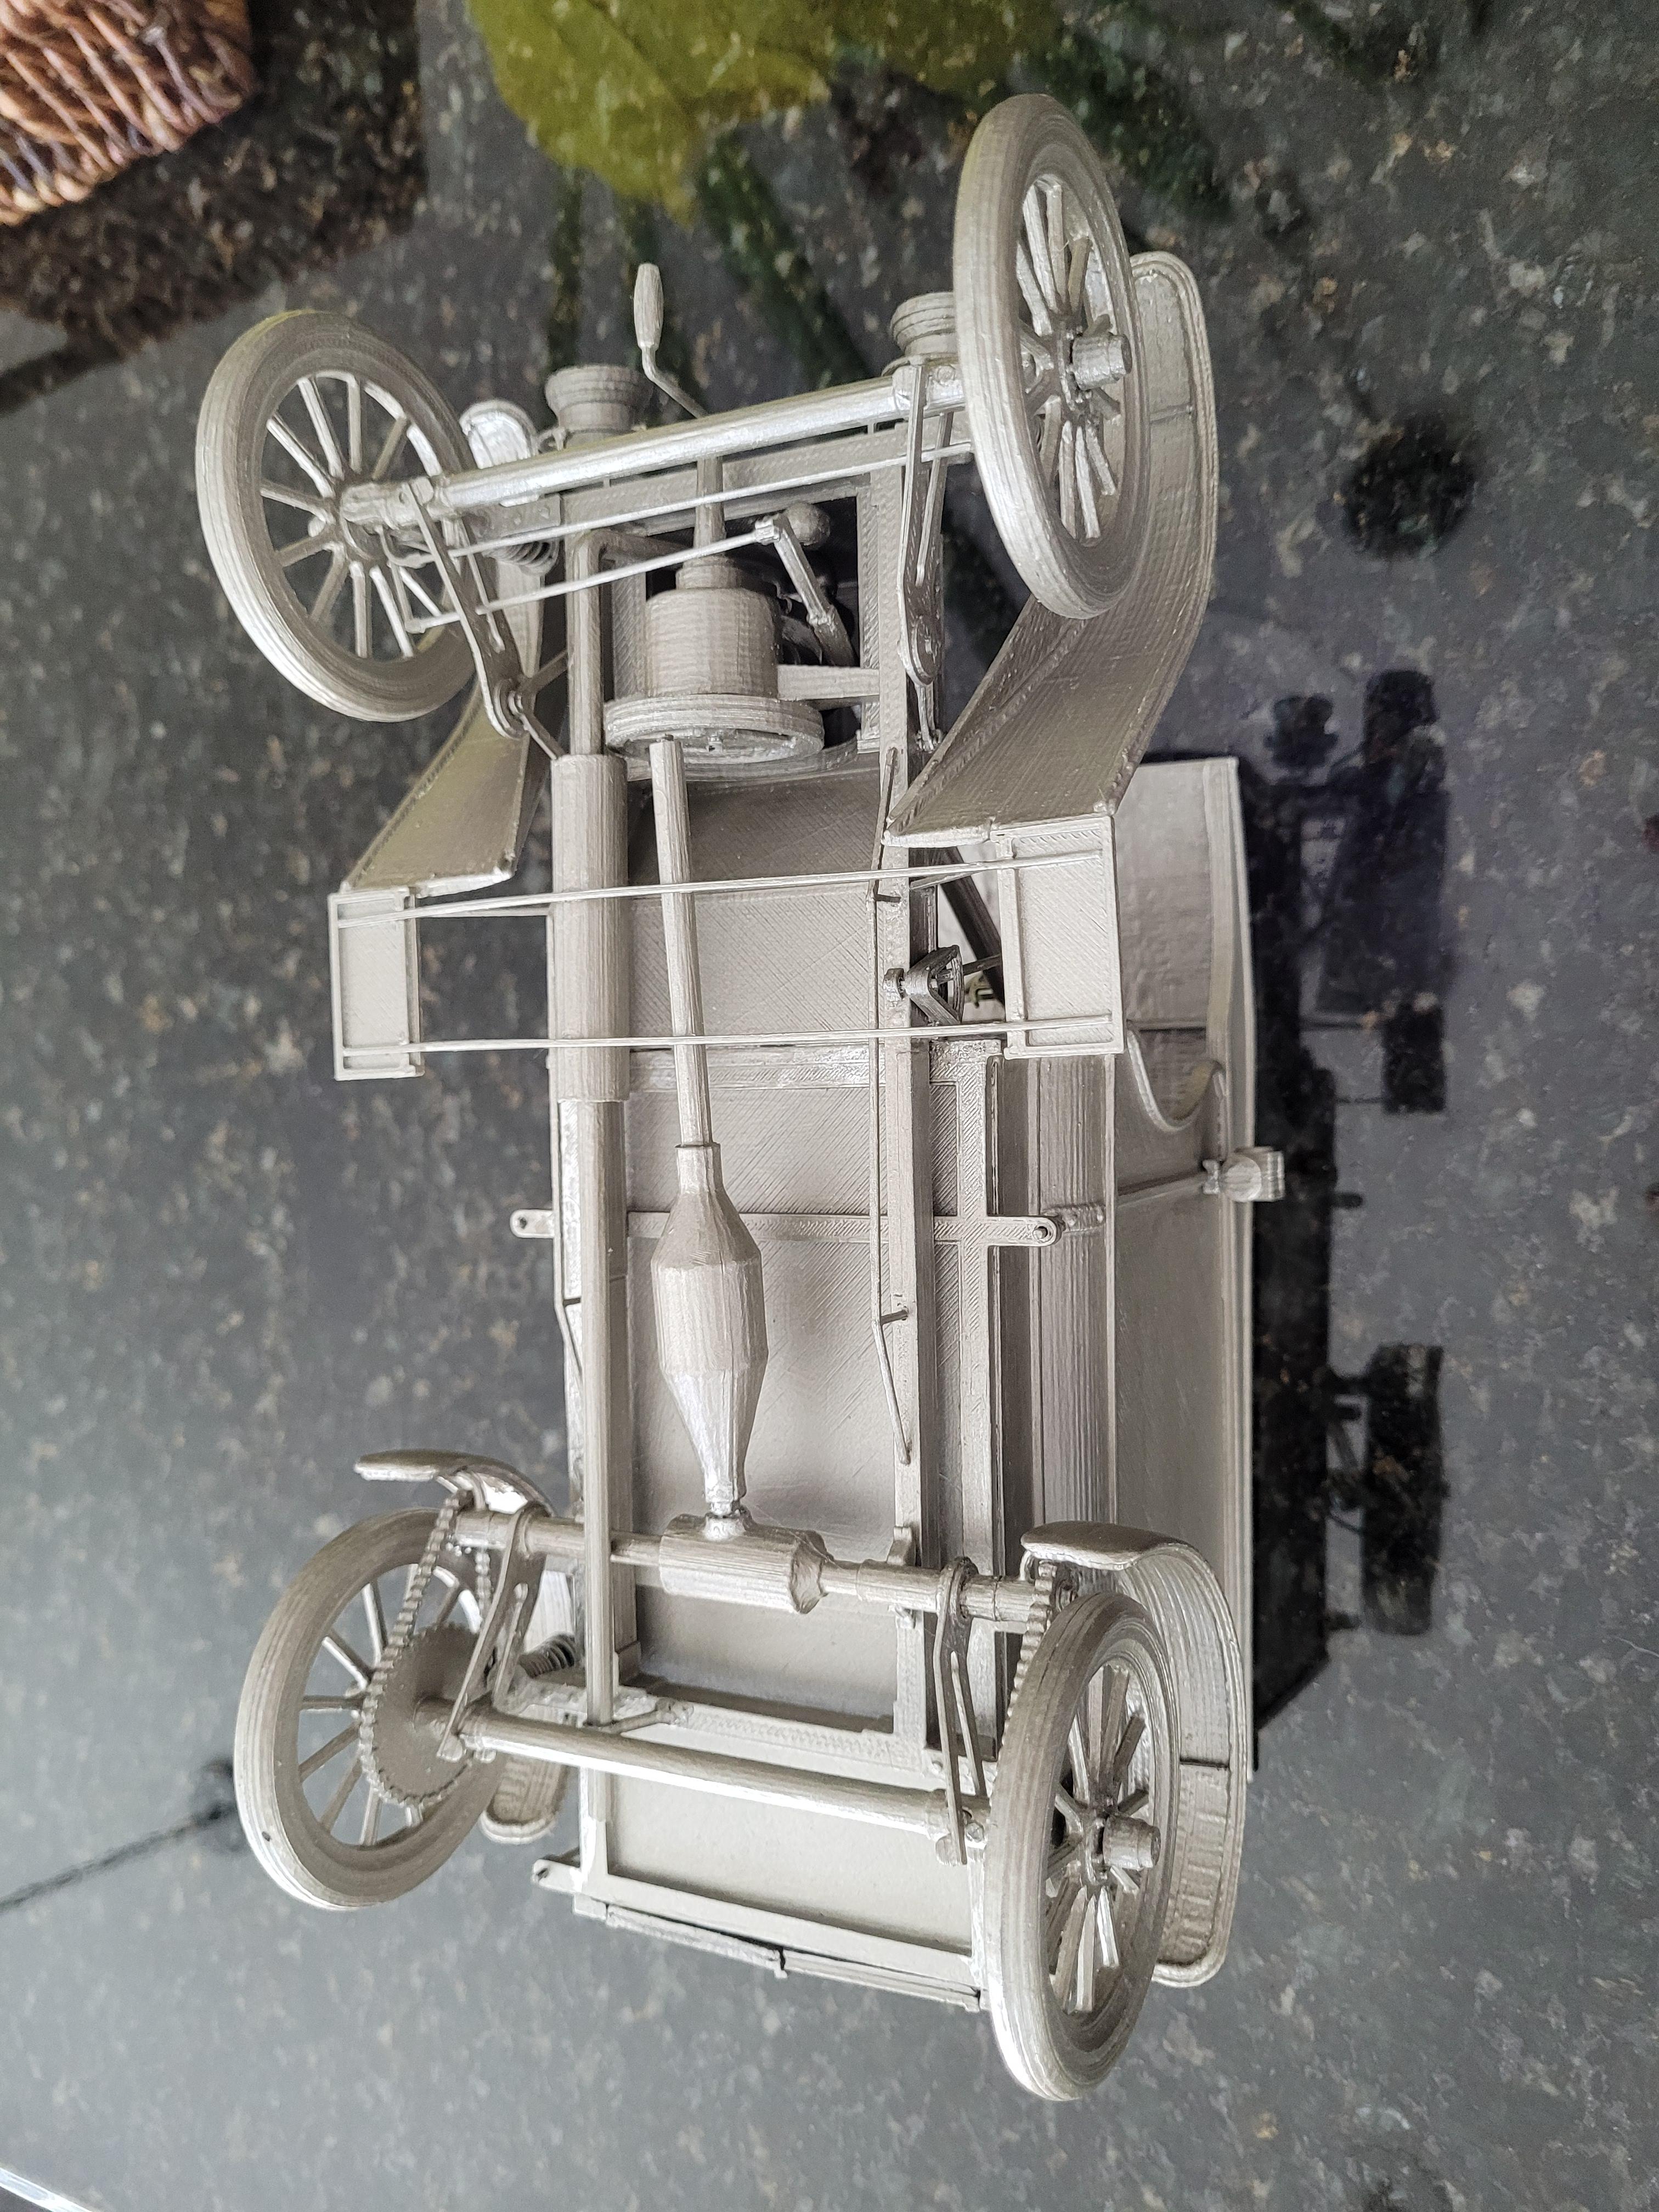
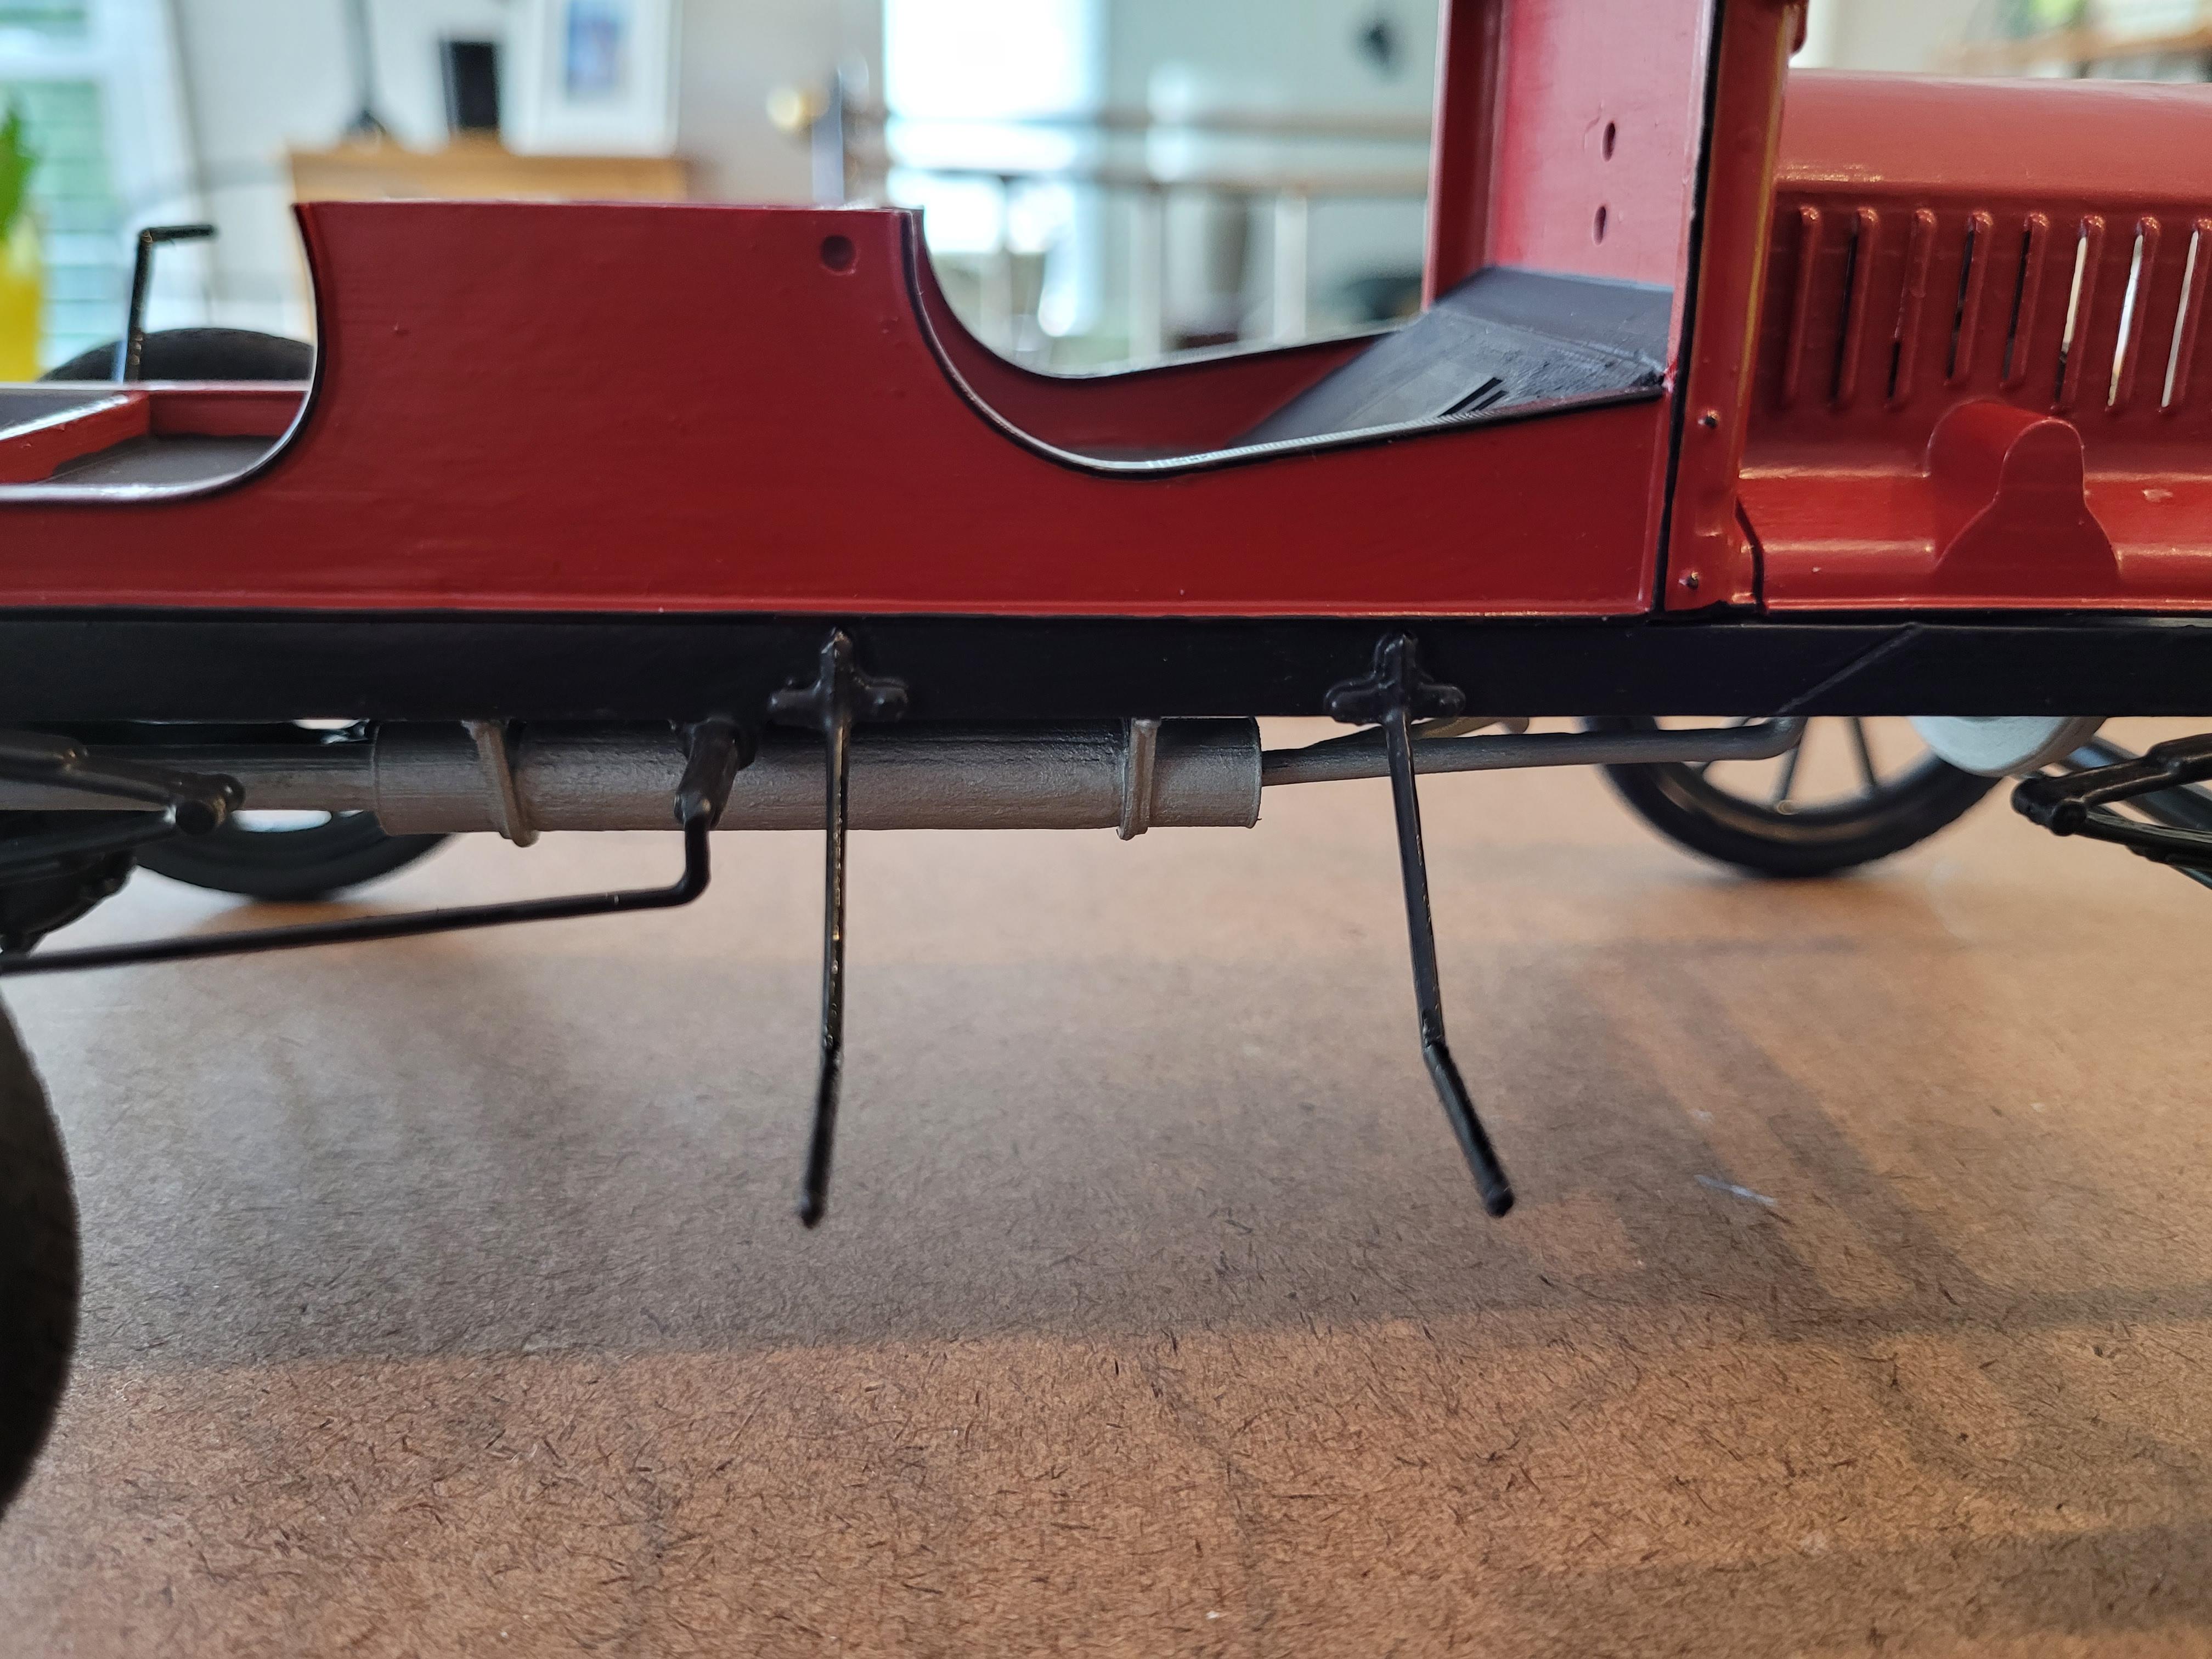
A picture of the under side, with the drag link in place.
-
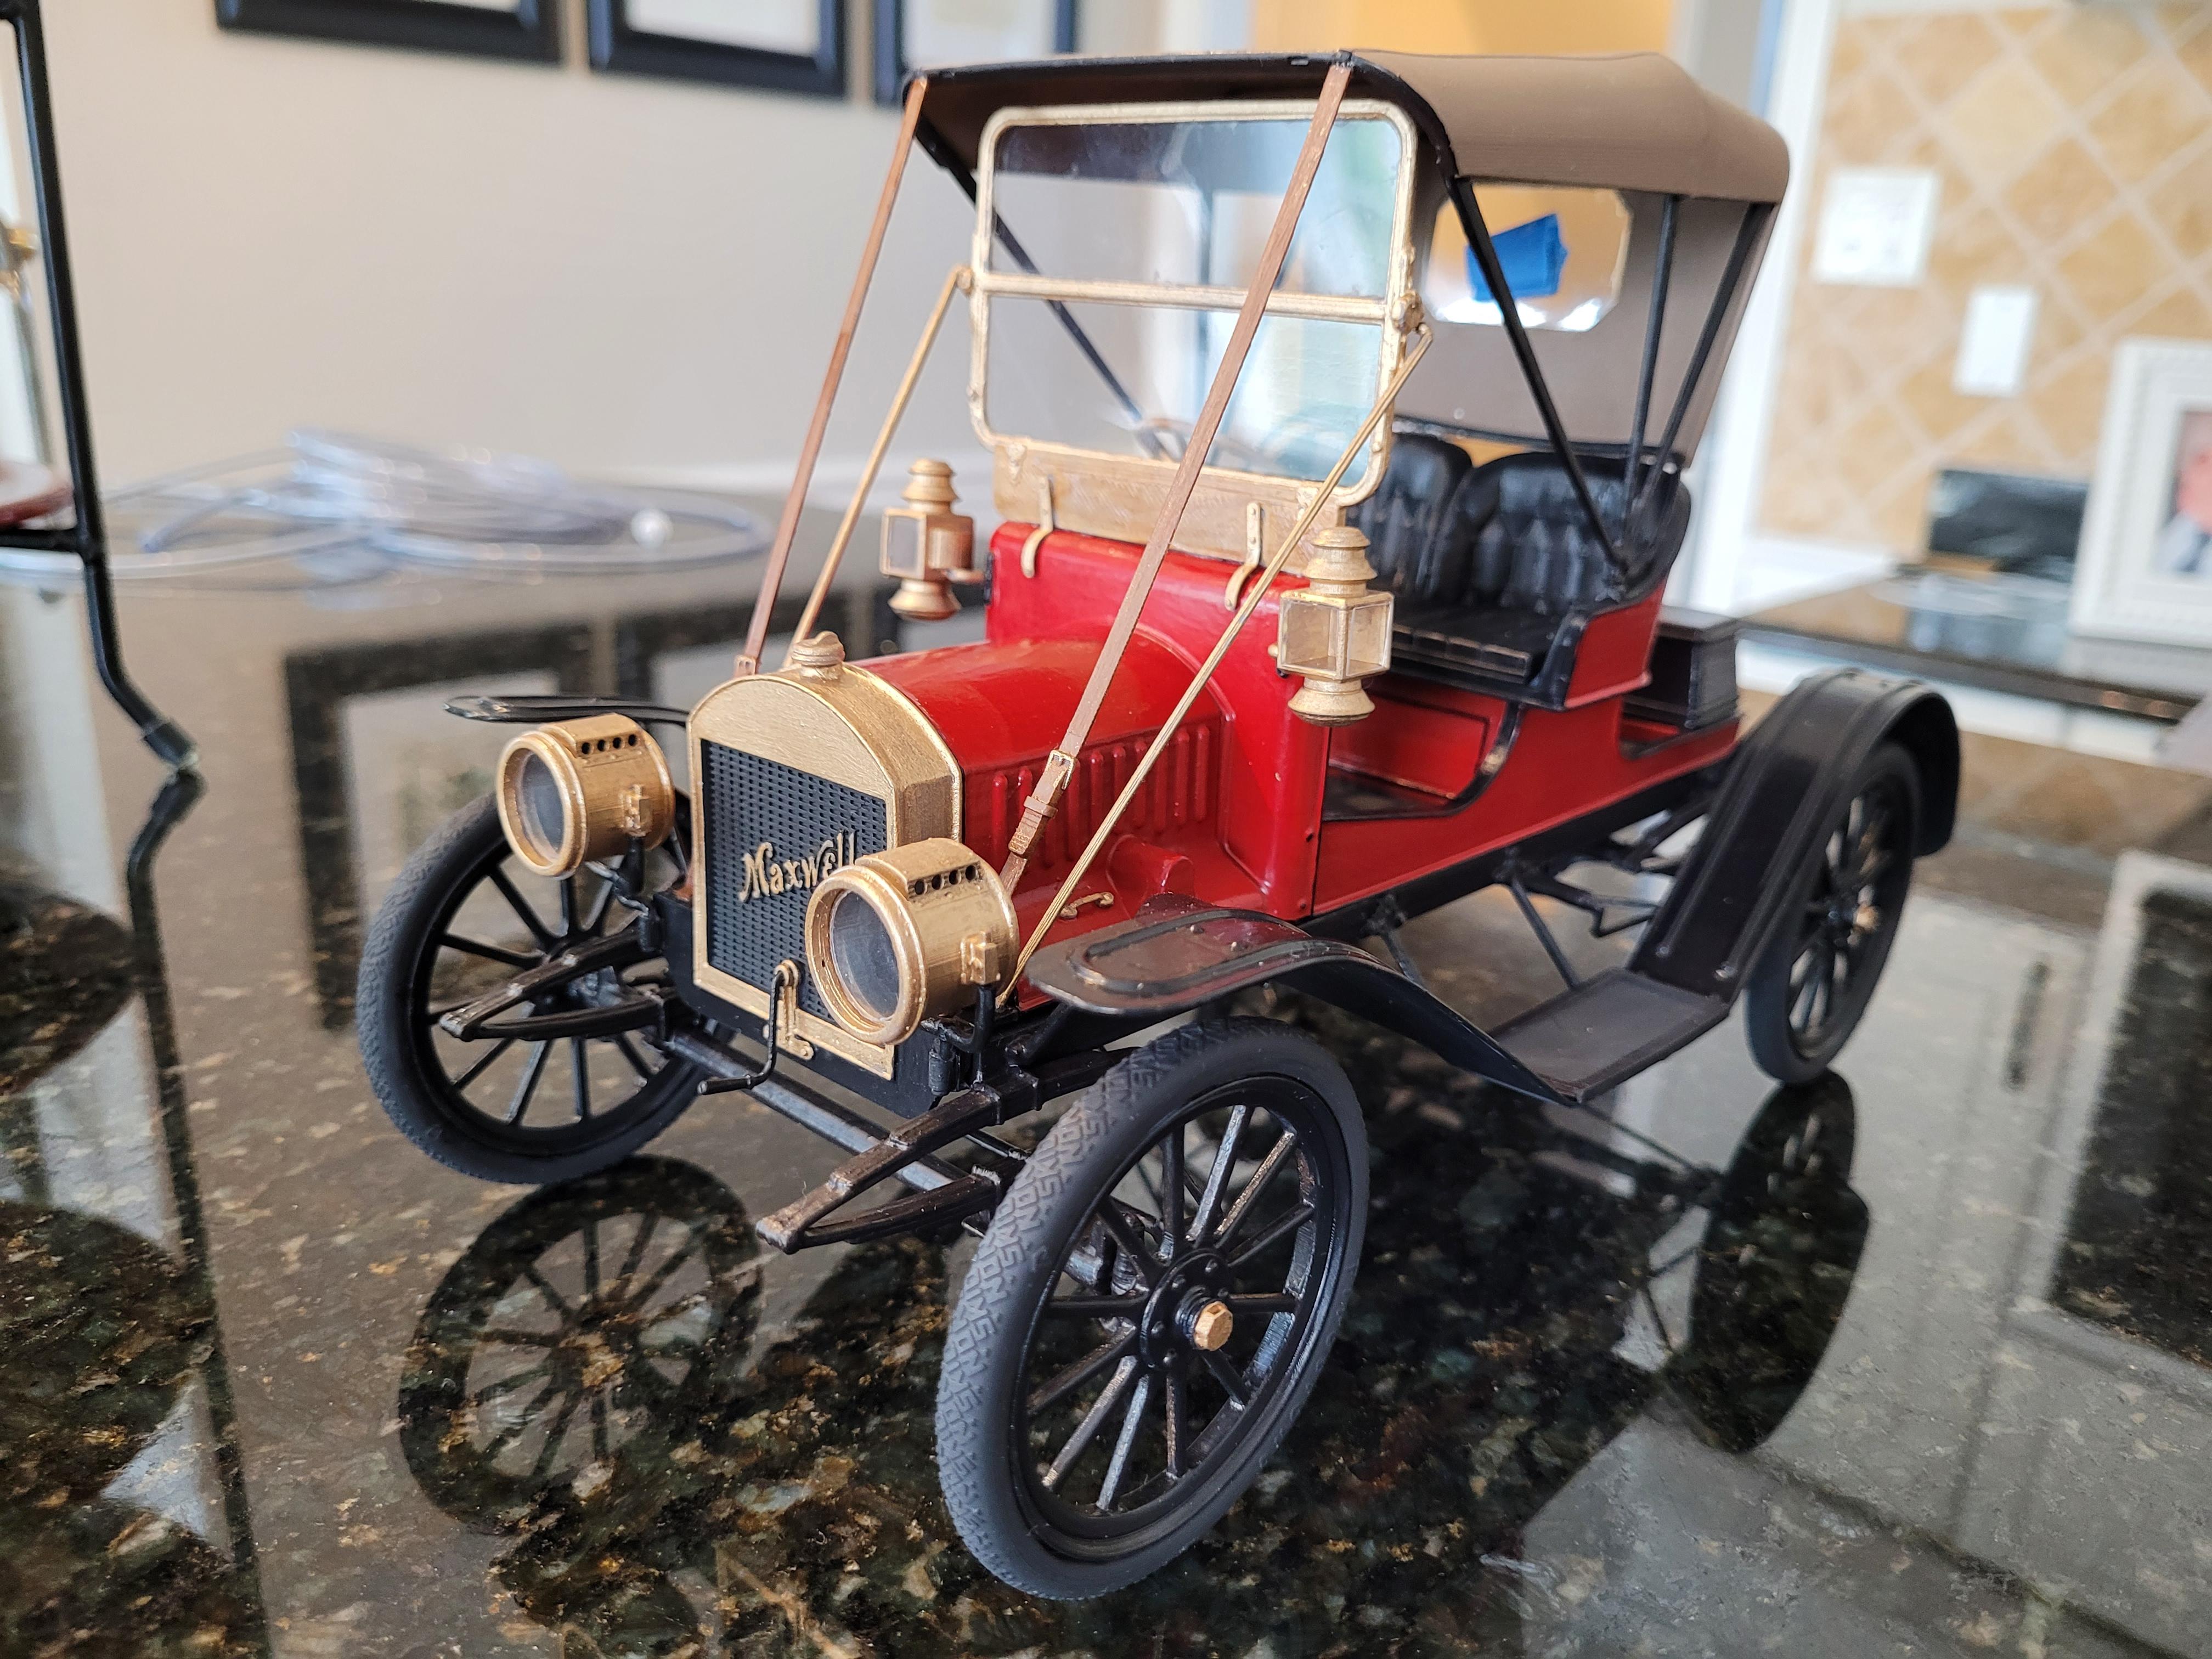
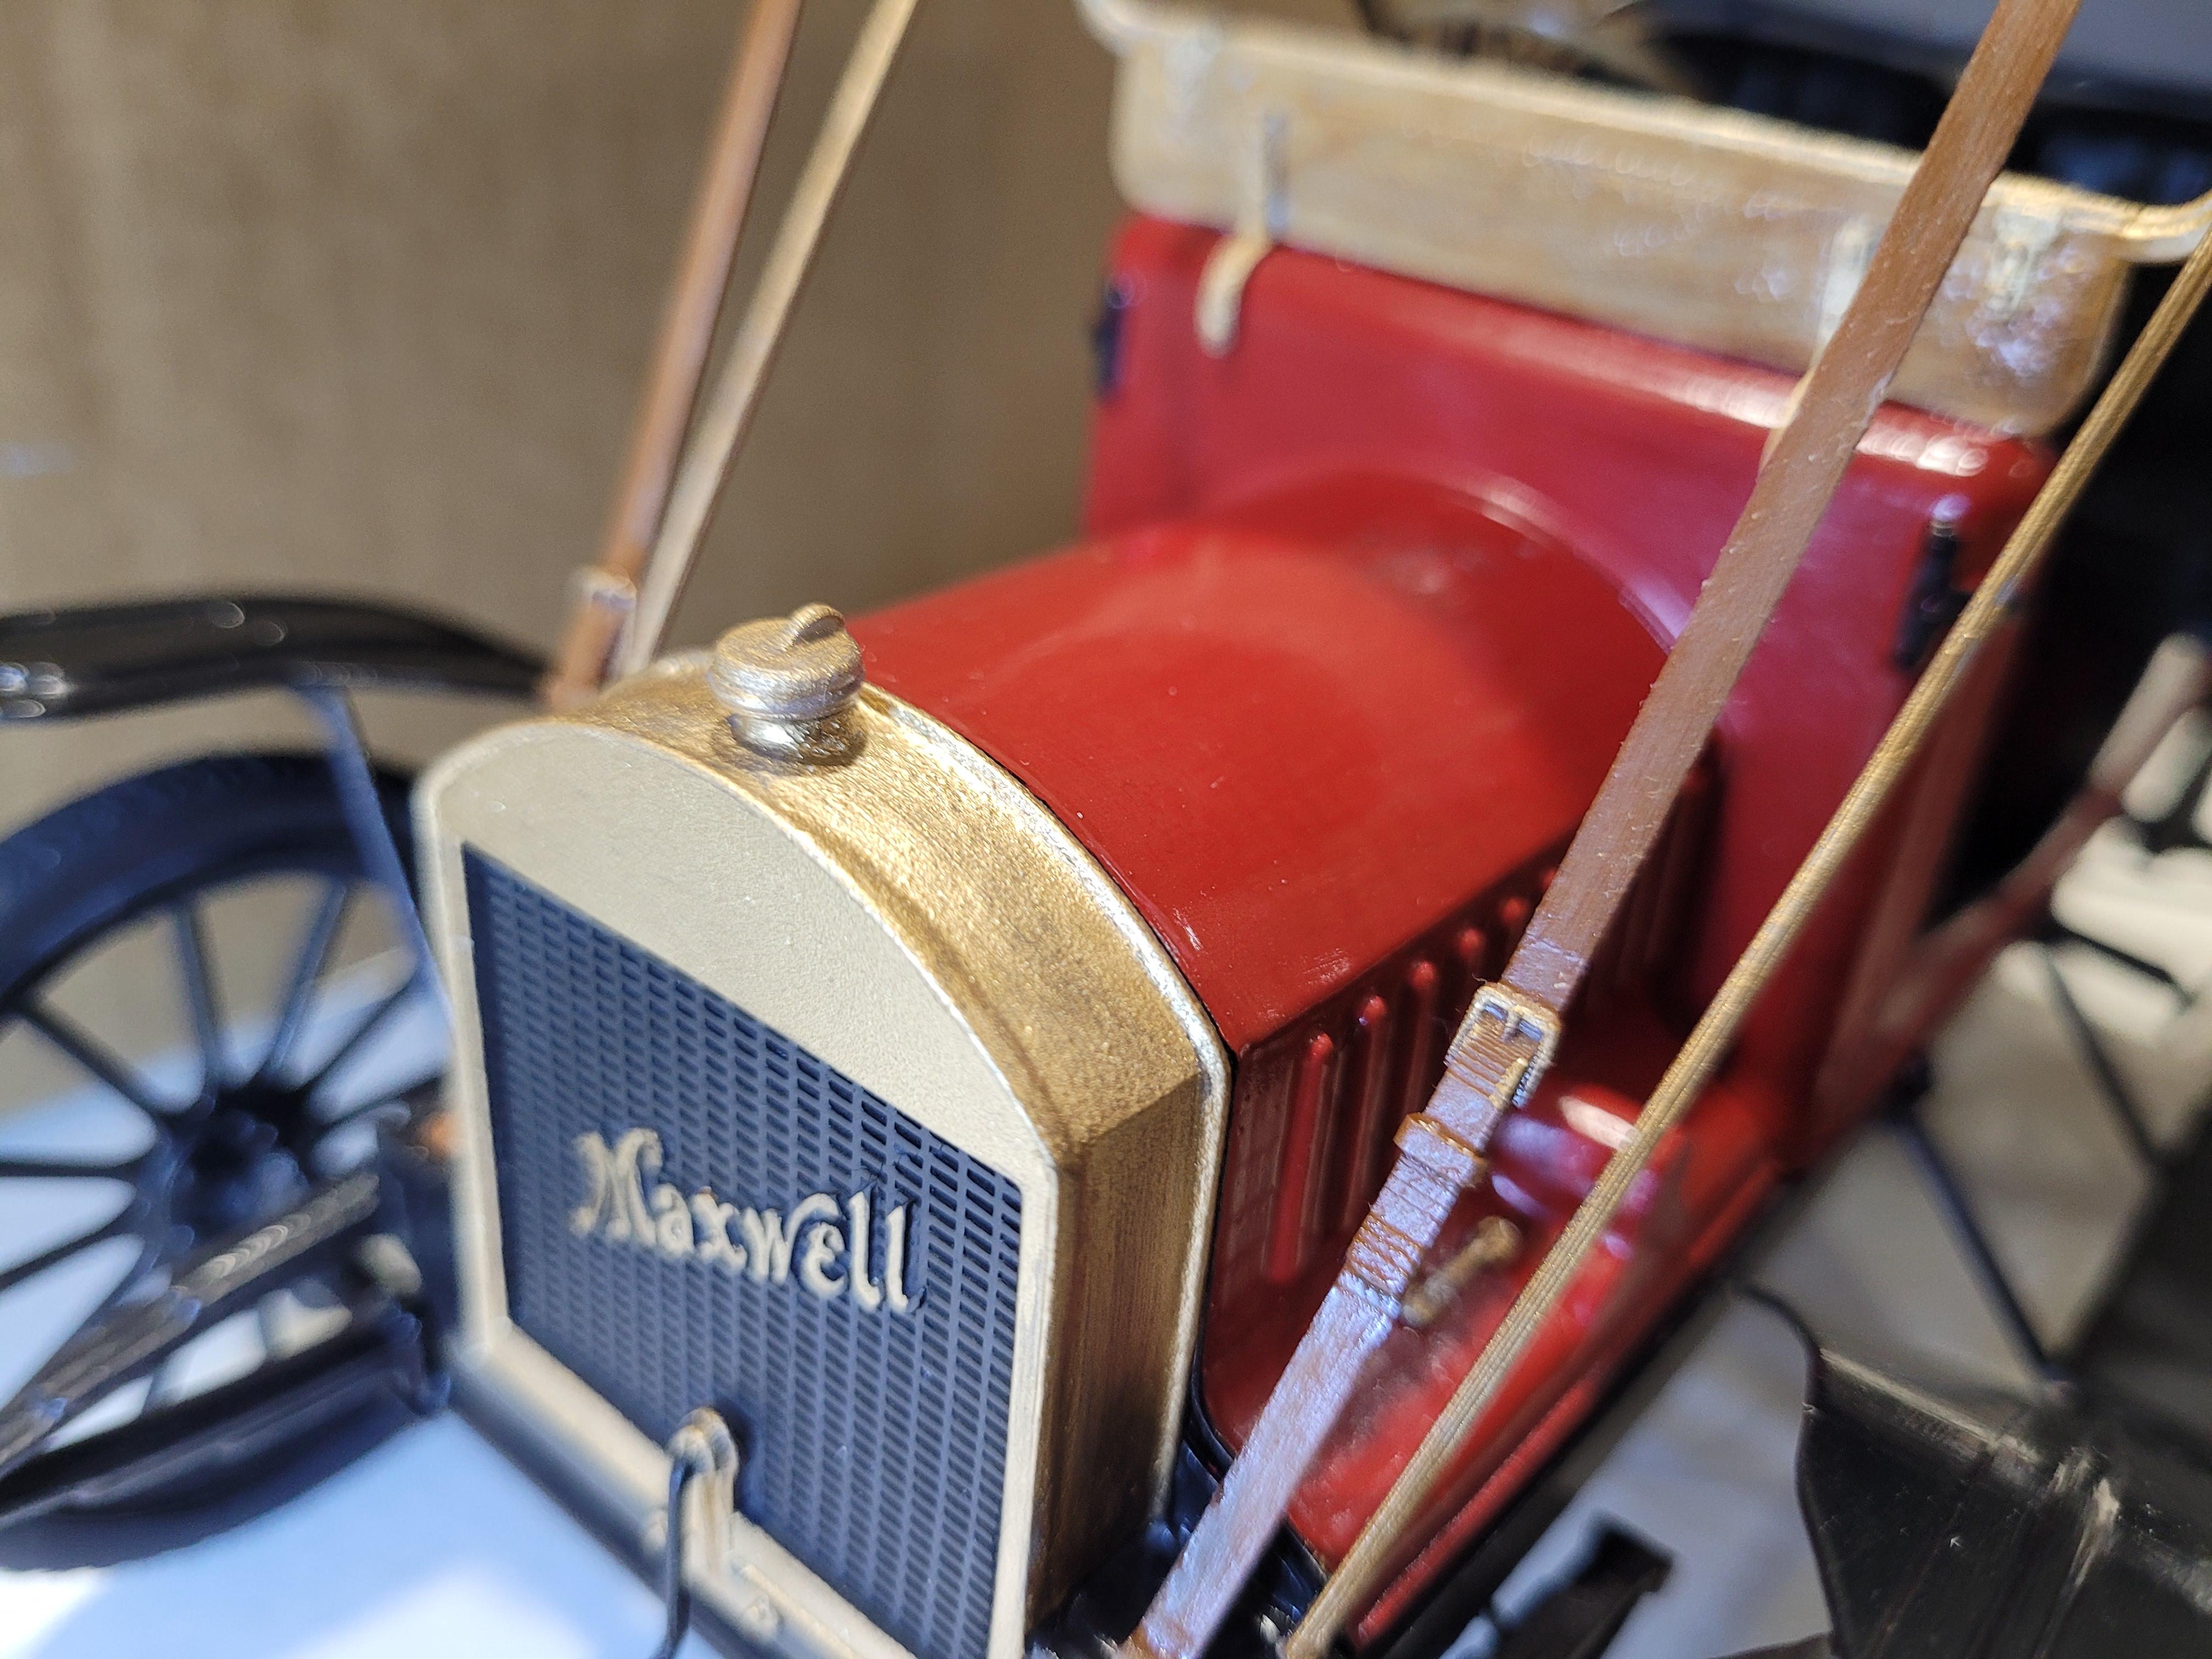
Many brass era cars display their brand/logo on the radiator. It draws your attention, and its the same for scale models like this.
-
-
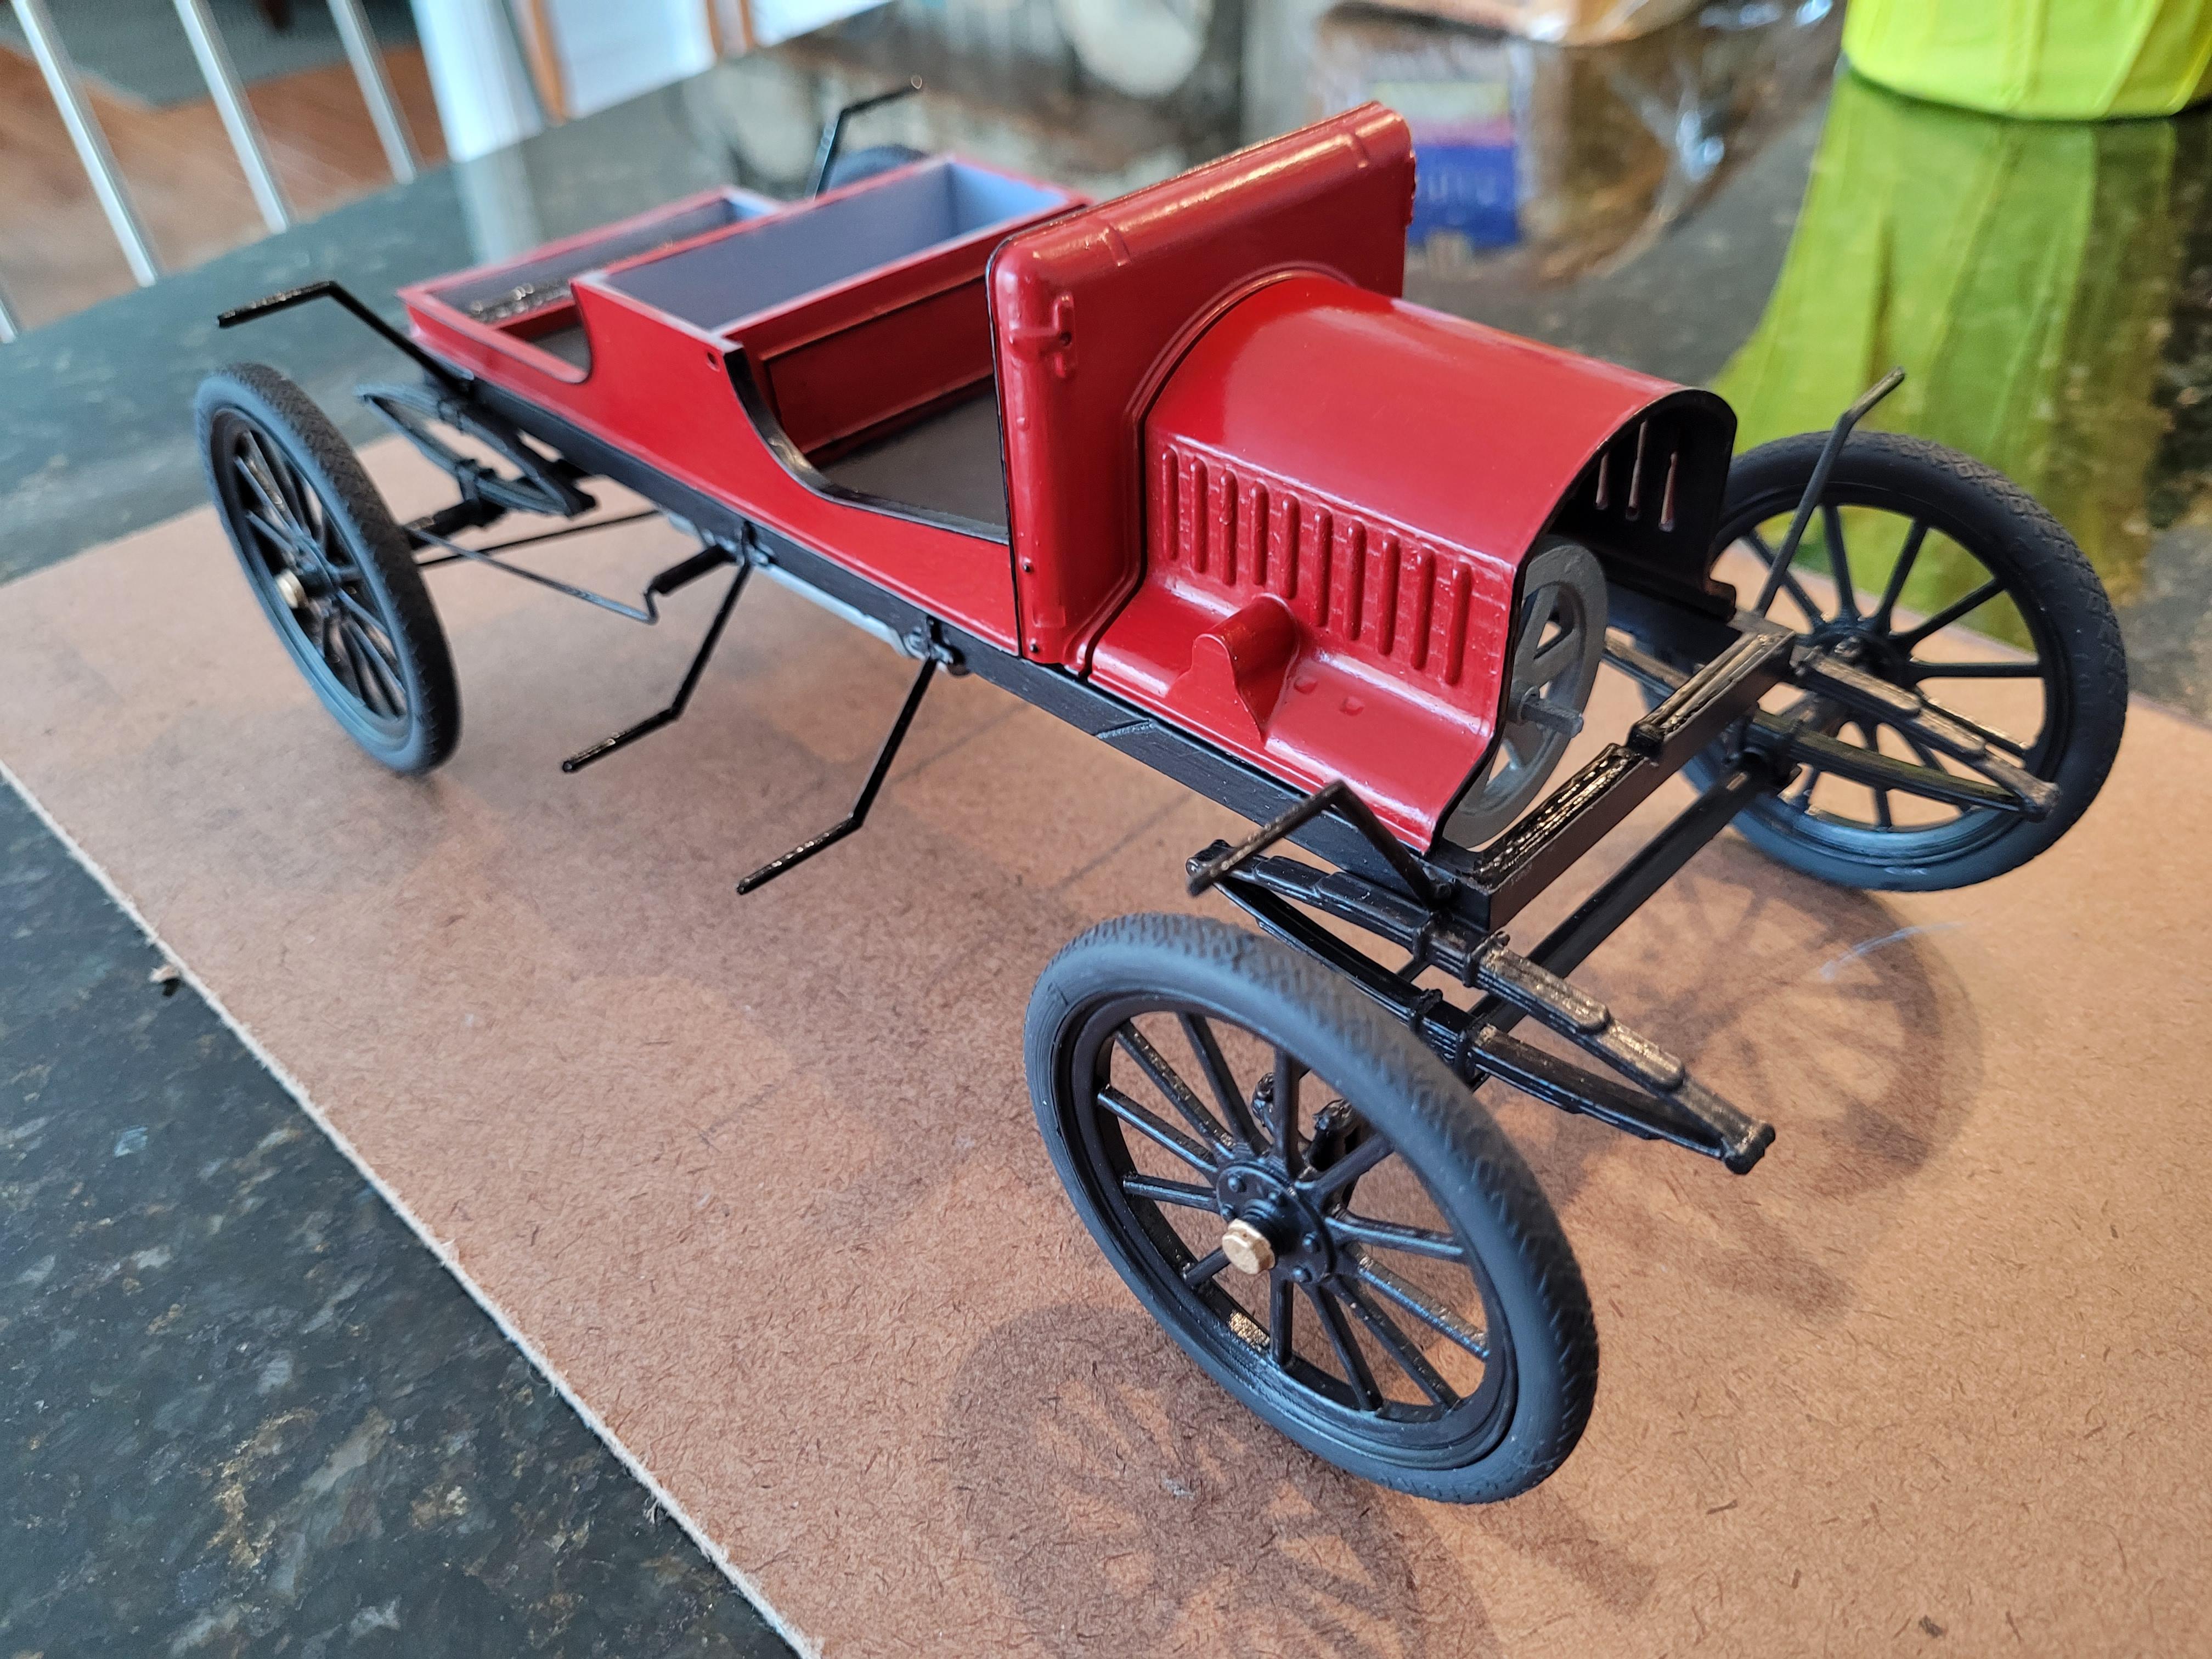
I added the fenders. The seat and trunk are sitting in place.
-
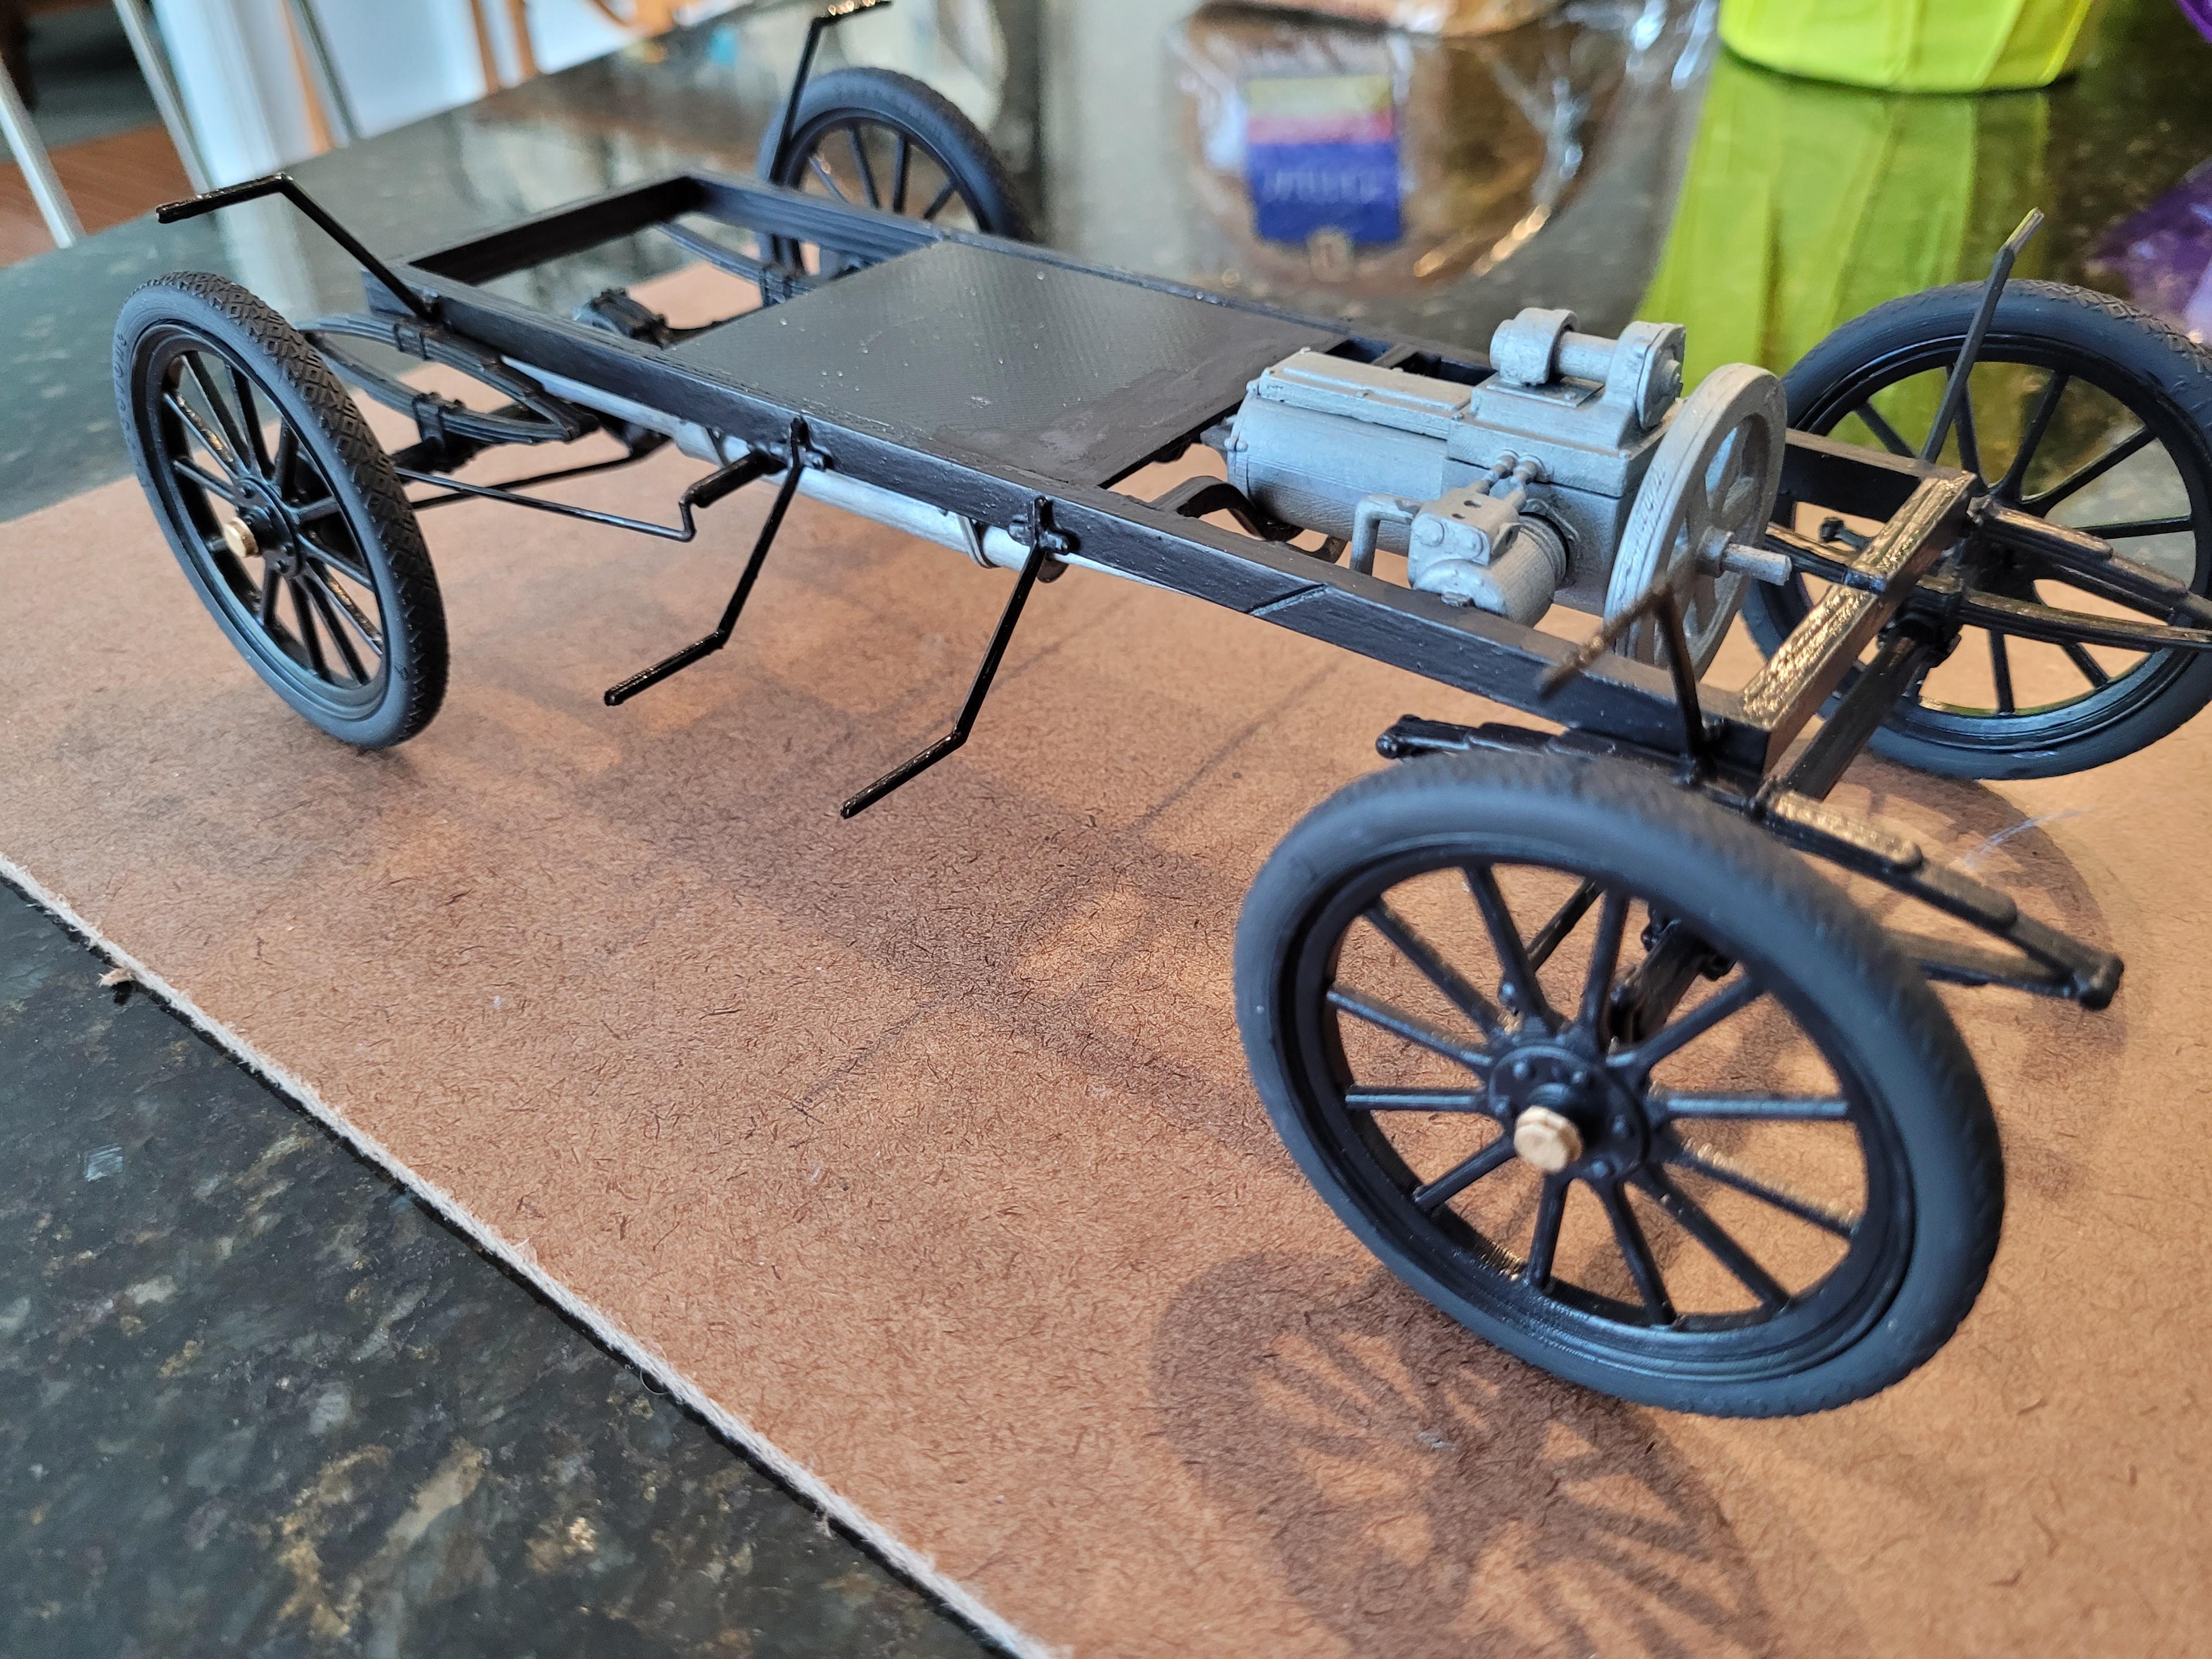
The wheels are mounted to the axles, to create a "rolling chassis" as we would call it today. I set the body and hood in place just to see how it looks/fits. Note the cooling louvers in the hood are printed open, which is possible in the larger scale, and provides a more realistic look.
-
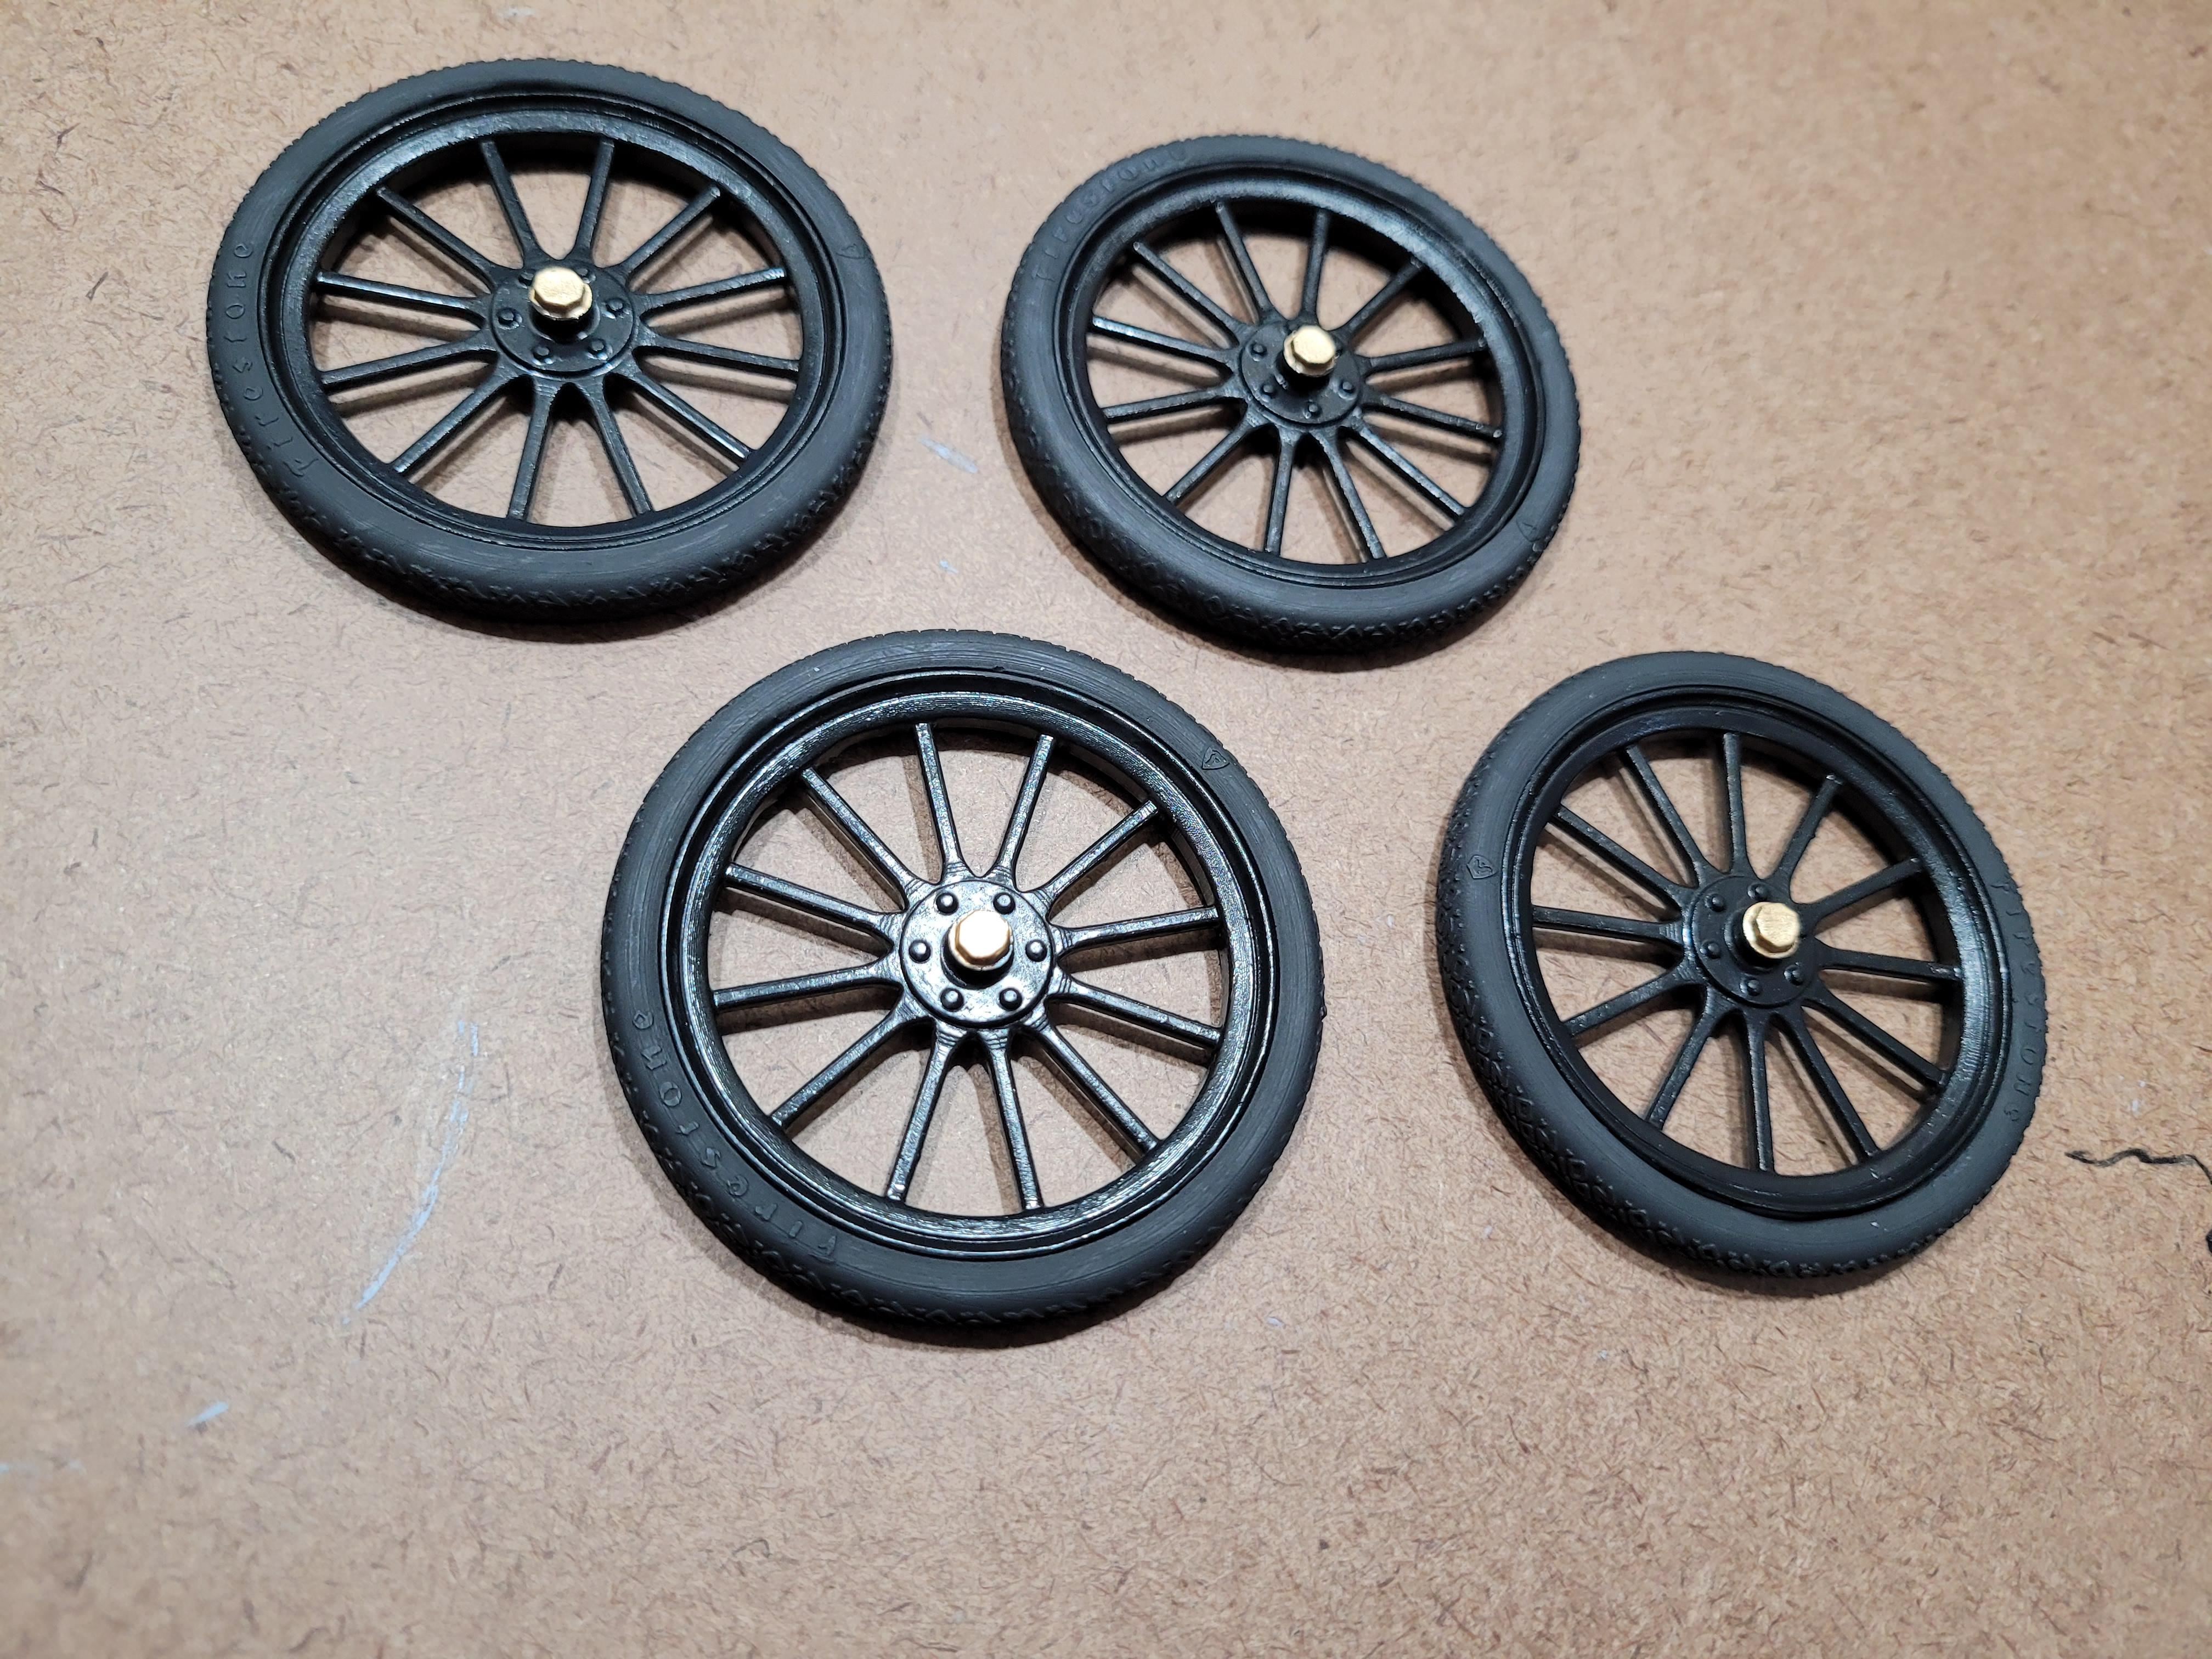
Here are the tires and wheels. I reprinted these because the earlier prints were too large, and I wasn't happy with the FDM wheels. I scaled them down, and printed them with resin. Both tires and wheels were painted in flat black automotive primer. Then the wheels were coated with one layer of semi gloss polyurethene.