polybius
-
Posts
112 -
Joined
-
Last visited
3 Followers


polybius's Achievements
MCM Friend (4/6)
-
Very nice! Love it! The '75 along with the erroneous '76 version of this kit are hard to find and expensive so it's great to see one so nicely built.
-
Beautiful build! It's great to see one done so nicely!
-
Awesome! I've always wanted to see one nicely built as yours is!! Well done!!
-
Very nice work! It looks great!
-
In the mid to late 80s, GM had some seemingly radical concept cars including the Pontiac Banshee, Corvette Indy, and Olds Aerotech. Revell and Monogram tooled them up as kits, and a few years ago I'd finished up a Banshee. This Corvette Indy was next up, and since it's a rather basic kit it shouldn't have taken as long as it did. I'd been back and forth about the color, as there were different iterations of the 1:1 concept car in red, blue, and silver. After hosing the body down in some Tamiya LP-11 silver I was pleased with the choice. The only assembly issue that popped up was with the sequence for the glass, interior, and chassis. Without paying much attention to the instructions, I'd planned to secure the interior into the body and then slip the glass "dome" into position. What I hadn't planned for was discovering it was nearly impossible to simply "slip" the window unit in once the interior was in place. The unit is molded with the partition between the interior and engine bay, so it is actually slotted into the the interior bucket directly under the "basket handle" roof structure. Rather than pulling the very securely glued interior out, I opted to trim the rear partition section of the window unit and managed to slip it in without too much fuss. The silver version of the concept car had clear front and side marker lenses, so I was stumped about how to make them clear without causing a calamity. In hindsight I should have cut out the recessed lens areas on the body and maybe some clear resin or styrene would have worked. It looks at home next to the Banshee on the shelf, and there's an open spot for the Aerotech whenever it makes its way from the project stash. There's a lot of great reference material since the Corvette Indy was covered extensively in the press at the time. Thanks for looking!

-
This build was recently finished up after marinating for a while on the shelf of stalled projects. The thought of the extensive masking that was needed for all the trim was daunting, but in the end it wasn't as troublesome as feared. The kit is an older tooling from Revell that dates back to the early 80s and has a pretty interesting history of branding and boxing. The only other Mk2 Golf/GTi that I'm familiar with is the Fujimi tooling, and it's definitely different than this Revell tooling. It went together surprisingly easily for the most part. The trickiest part seemed to be the front subframe and engine attachment process. The kit's wheels are base Golf style steelies, and are more fitting on a Mk1 Rabbit diesel than a GTi. I sourced some appropriate GTi wheels from a Fujimi kit, since my plans for the Fujimi kit include an upgrade to some era-spec BBS rims. The Fujimi wheels fit directly on the Revell axle nubs, and required no adjustment at all to get the proper stance and fit. The paint is DupliColor VW Tornado Red followed by Rustoleum clear lacquer. Most of the trim is either MrColor black surfacer or Tamiya semi-gloss black. The interior is basic and the tooling lacks detail, so I didn't detail it much aside from the dash cluster and switchgear. I'm a fan of 80s "pocket rockets" like the GTi, and had owned an '86 GTi 8v for a short while. My '86 was Mars Red, so it was a bit more orange than this darker Tornado Red that I prefer. It brought back memories, and I'm glad it's off the bench and onto the shelf. Thanks for looking!
-
Very nicely done! The Monogram versions have their own issues but we have to work with what they've tooled over the years. The most amusing one was the Monkees version of the then-new '87 GT vert that had an updated body but retained the '84 chassis, engine, and interior. I hadn't realized the Revell drag version of the LX notch had the stock parts, so that's a great bit of information! It looks like despite the newer Revell being 1/25 and the older Monogram being 1/24 that they look pretty darn close in dimensions. Great work on your build!!
-
 Thanks everyone! I appreciate all the great comments and feedback! It was enough motivation to spend the last few days buttoning up its GT coupe counterpart. I have some ideas in mind for a Cobra coupe project and maybe a Saleen as well. The Pennsylvania State Police confiscated a red '94 Cobra coupe back in the later 90s and decorated it with some decals and lightbar to use for community events and such. A friend who was a trooper at the time had it for a few days, and I might or might not have gone for a ride around the block. The Saleen coupe conversion will be a bit trickier because of the side skirts and different wing options, but it's certainly doable. In the meantime these two will be happy hanging out together on the shelf. Thanks again!
-
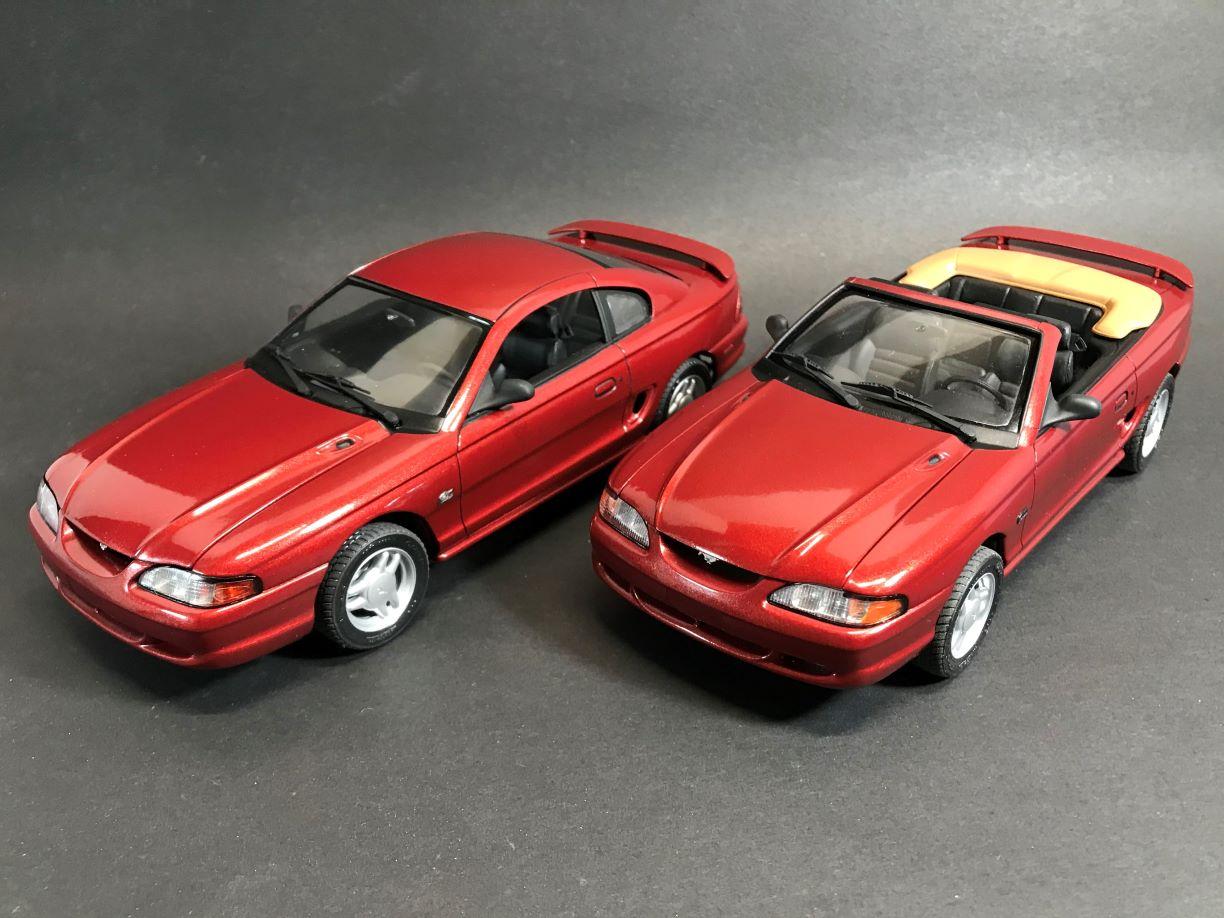
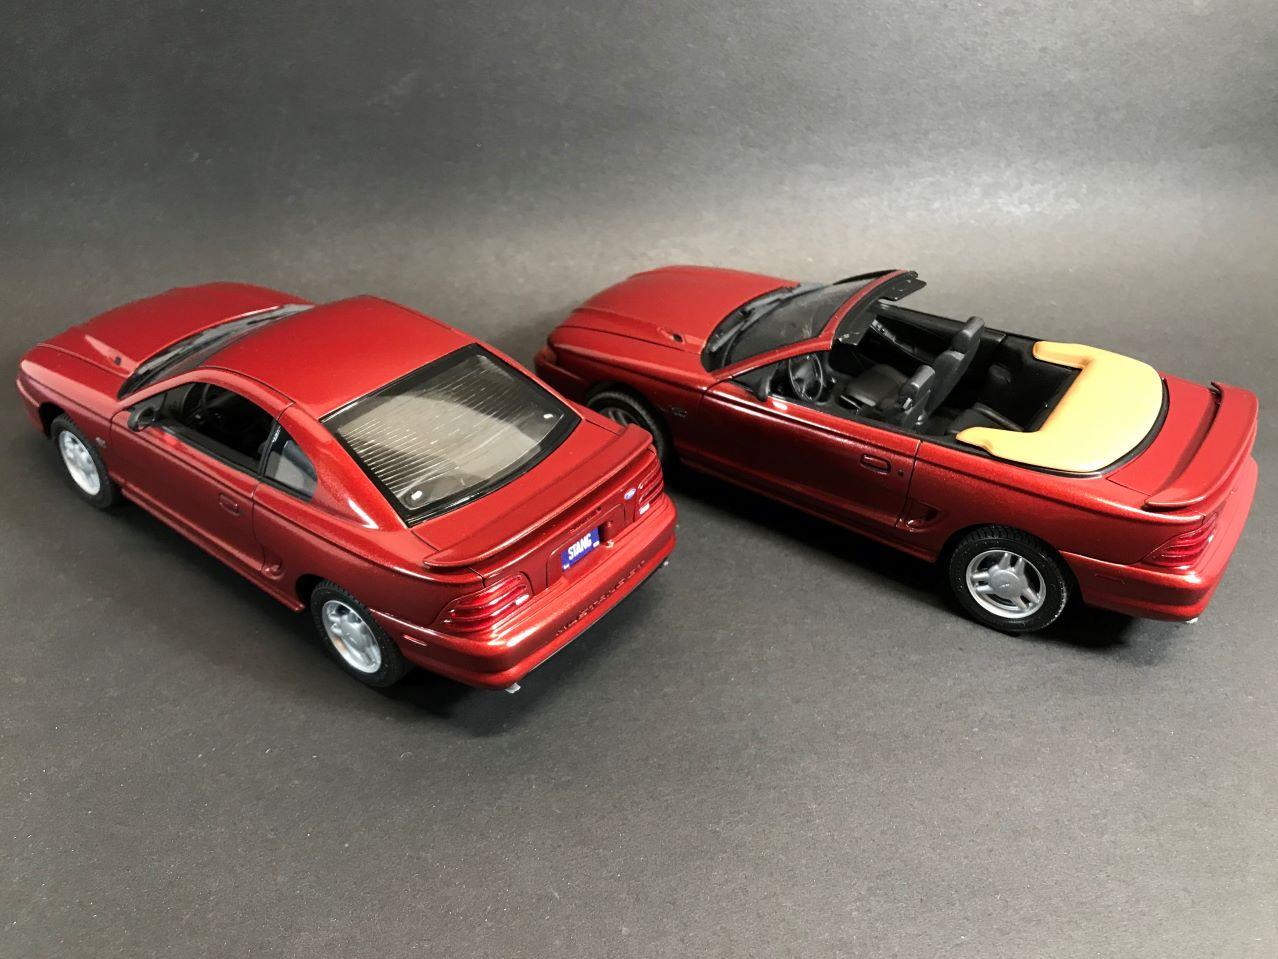
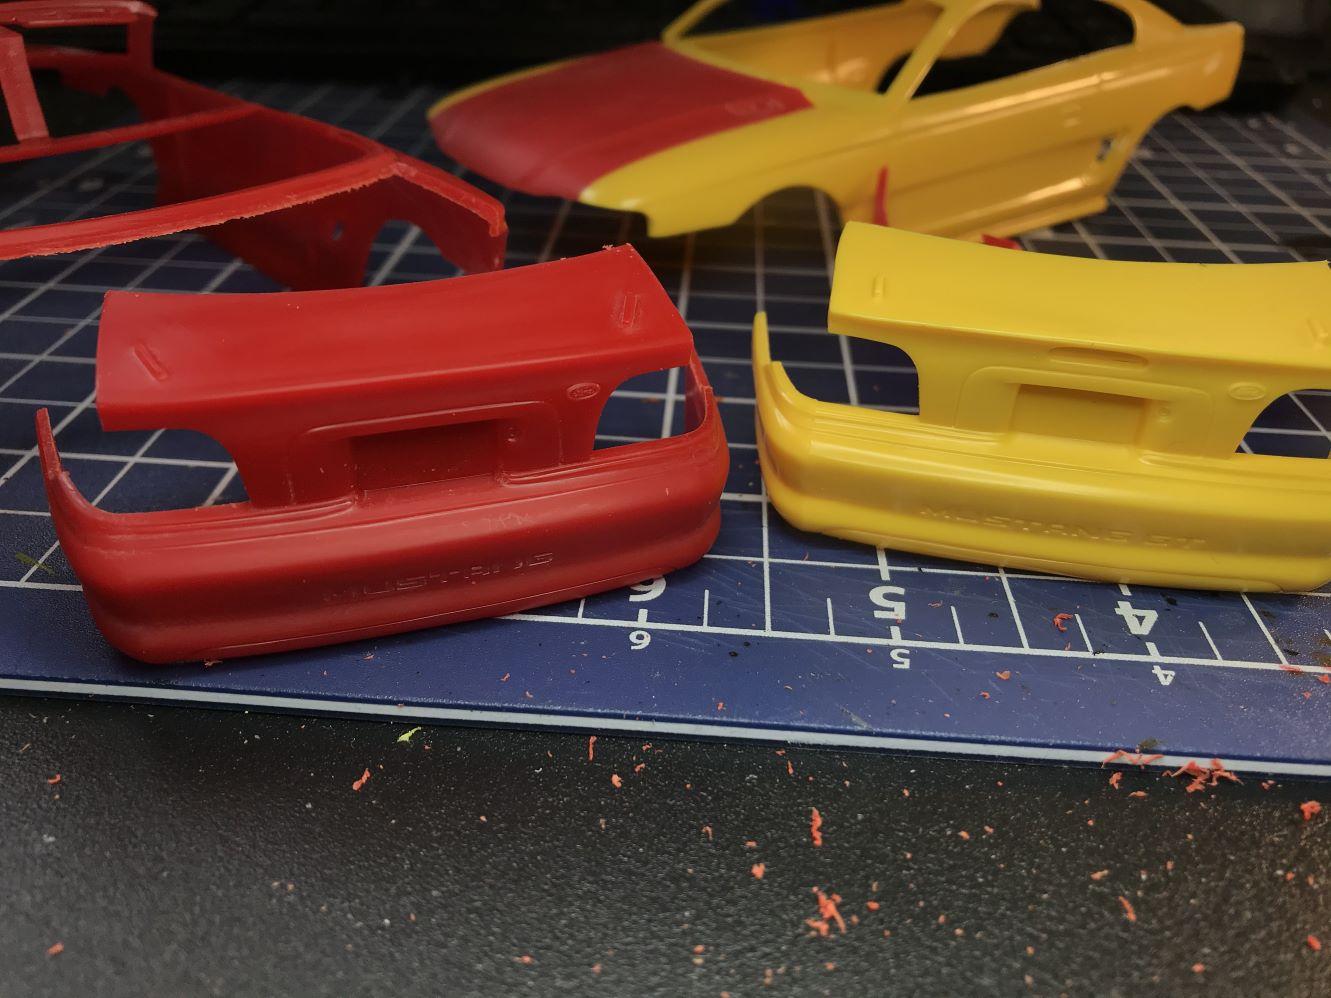
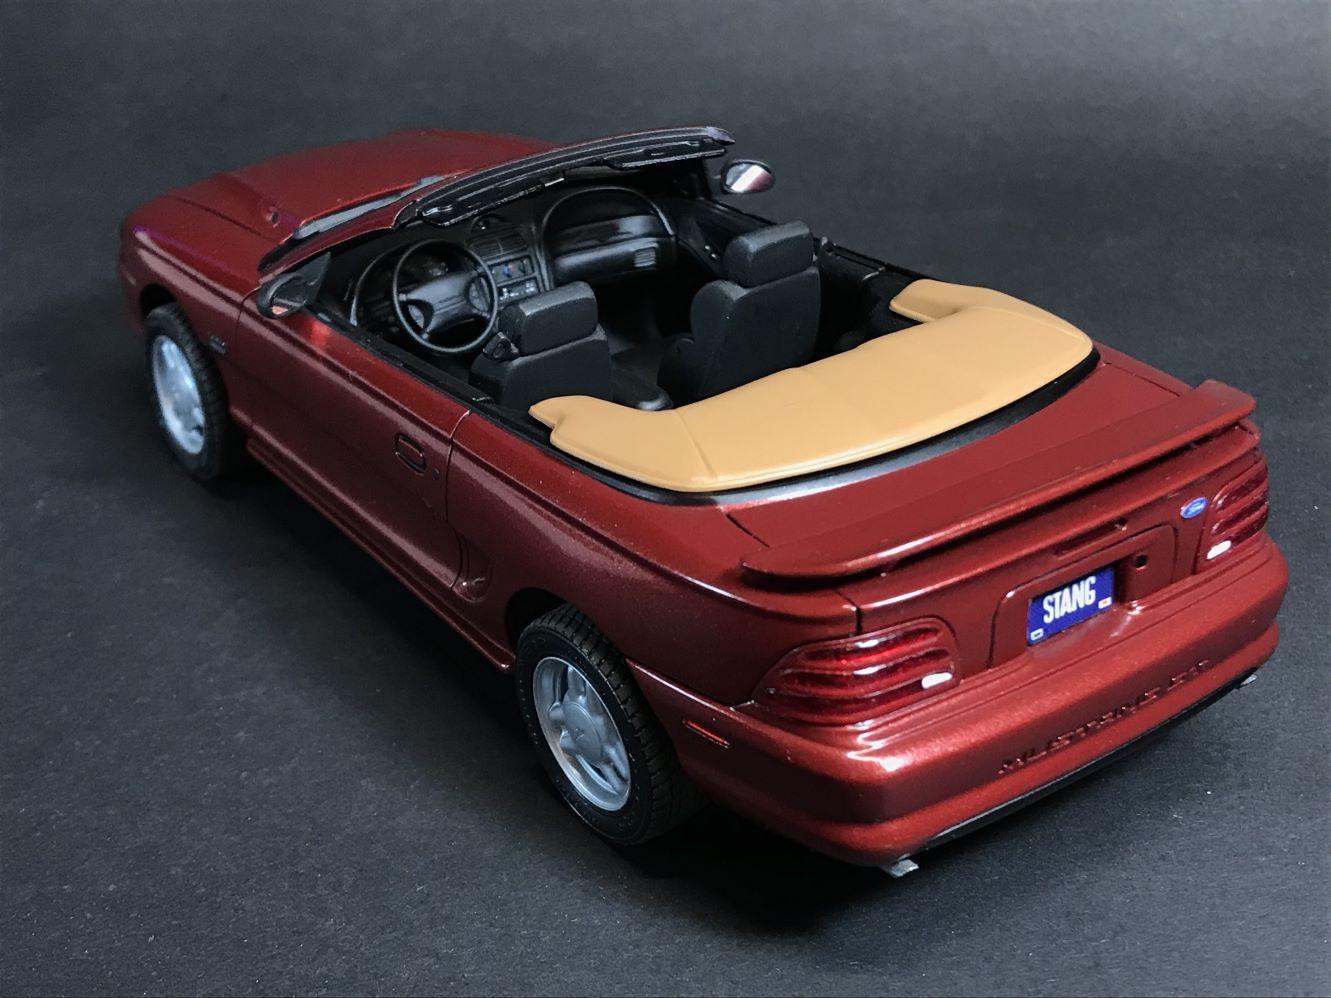
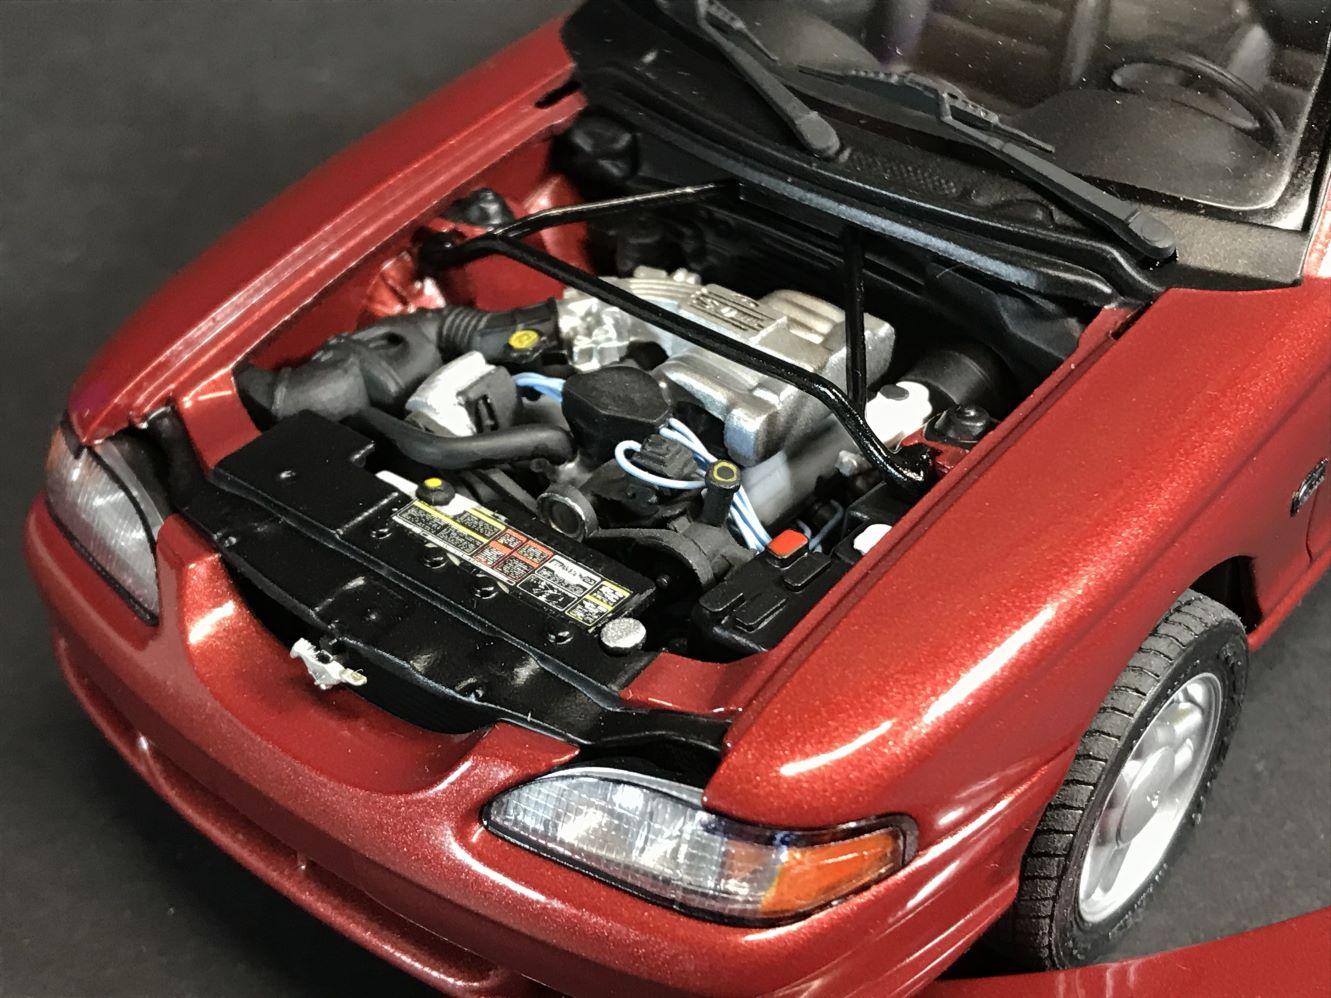
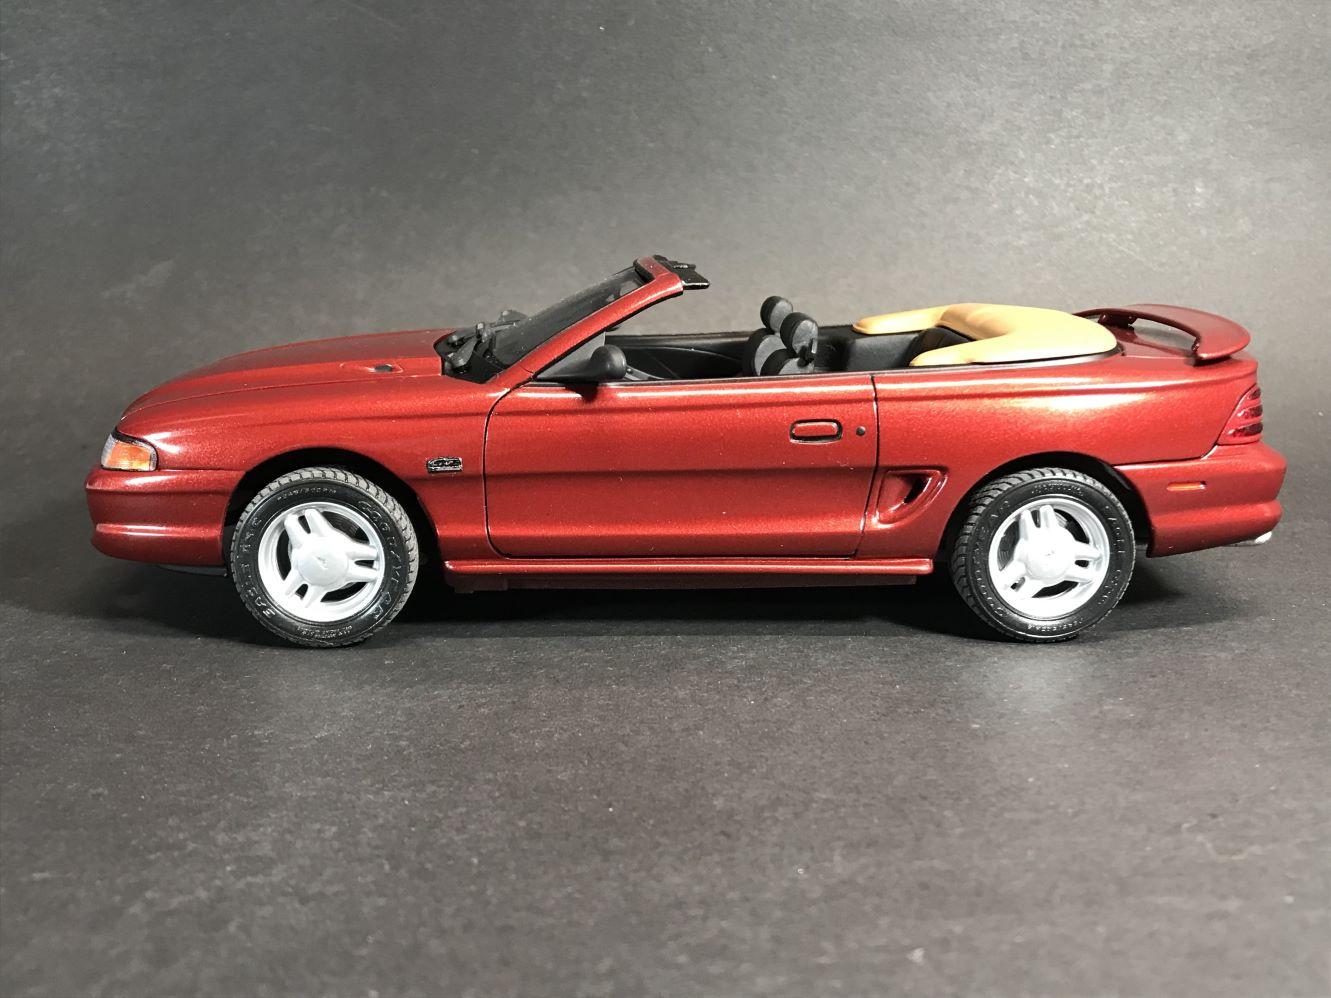
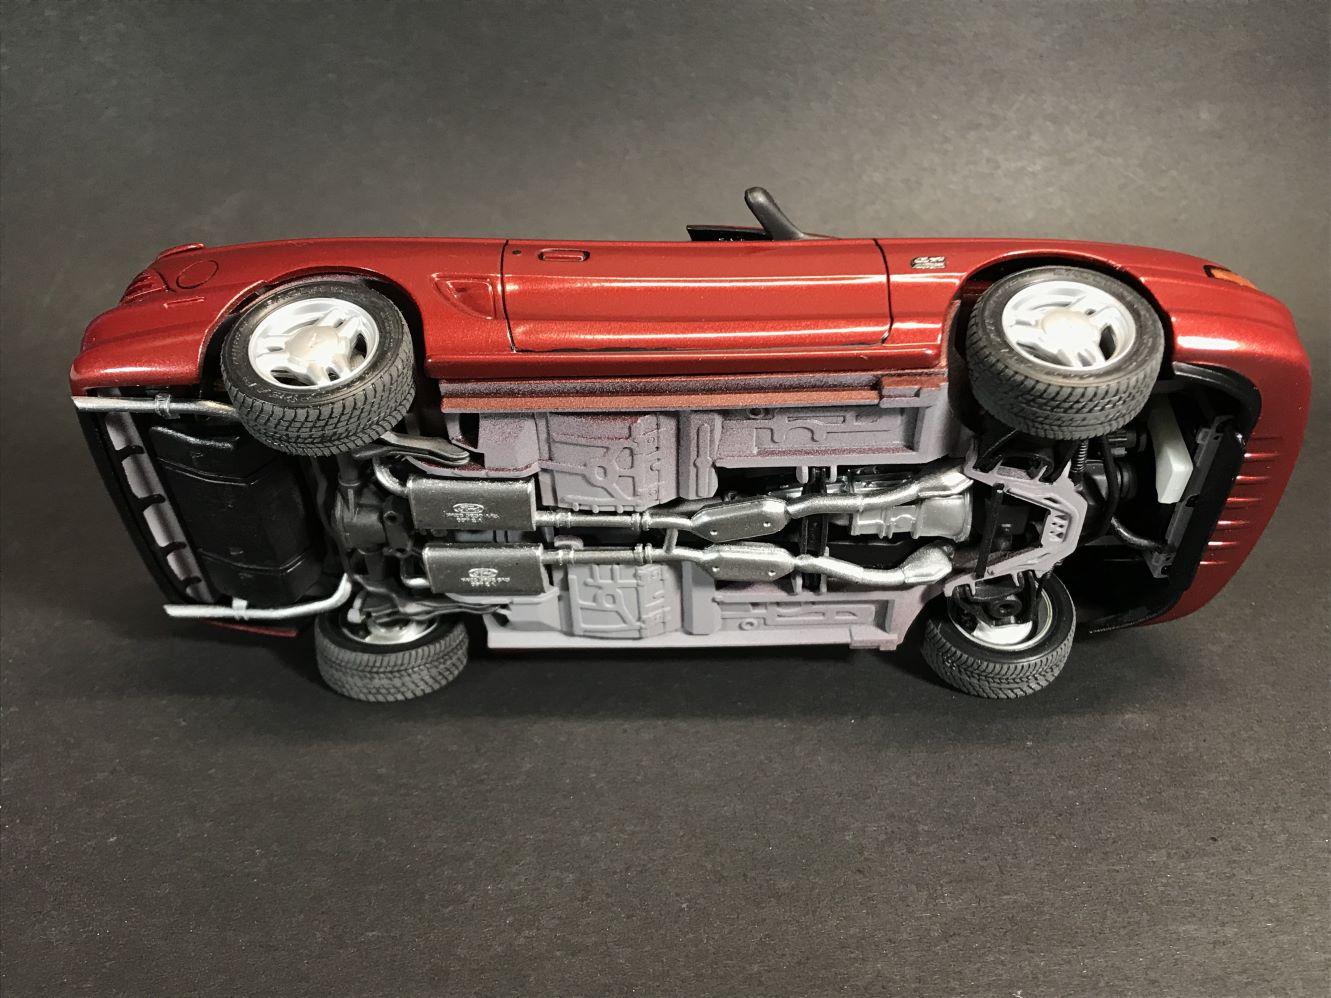
This project started nearly two years ago, but it has roots dating back to 1995. That year I'd bought a slightly used year-old '94 GT coupe 5sp, and not long after another guy in town showed up with a nearly identical one only his was a convertible. We had some fun stoplight showdowns, but I quickly tired of white-knuckled driving every time it rained. There's a reason traction control was invented. About two years ago when this build project started, I'd just learned that the guy who had the convertible all those years earlier had recently passed away. It was enough motivation to get the build(s) started. The plan was to build them both simultaneously, but the 'vert took the checkered flag in fitting tribute. I wasn't a fan of AMT's '94-97 Mustang kits. The other consideration was how to come up with a GT with a convertible body. AMT and Monogram offered the GT in coupe bodies only, and Monogram/Revell only offered the convertible in SVT Cobra trim. For a correct GT bodied convertible, I settled on swapping the front and rear clips from the Monogram GT coupe to the Monogram Cobra Pace Car body. The Cobra scripts were also removed, and I made some molds of the GT fender scripts from the GT coupe donor body. The GT coupe donor also provided the correct GT convertible drivetrain and the correct 5.0L HO engine. The GT coupe wheels were correct for the convertible as well. Both AMT and Monogram/Revell offered only the 17" tri-spoke optional wheels, and despite box art on the AMT kits showing the standard 16" 5-spoke pony wheels, they were never in the actual kits. After slicing and dicing the GT front/rear along with the same procedure on the Cobra 'vert body, the swap went smoothly and everything lined up nicely. The trunk decklid was a bit tricky since the 'vert has an extra trim piece where the base of the rear window is on the coupe. This wasn't an issue for the 'vert versions, but if you'd want to make a Cobra coupe using the GT coupe body, the rear clip from the Cobra 'vert might need some fiddling to match up with the coupe's rear window. After the body was primed with some black Stynylrez, the color coats of DupliColor lacquer were applied. I typically wait weeks or months between primer, color, and clear coats. In this case, almost a year passed after the body was clear coated before final assembly started. Then, the catastrophe happened. With the body and trim finished, windshield installed, and ready for the interior and chassis to be mated, a small speaker fell off a shelf and directly onto the body as it sat on the bench. The windshield and frame flew in different directions and upon realizing what had just occurred I fully experienced the five stages of grief. So, here we are. I picked up the pieces and put them in the box with the rest of the build, and didn't look at it for six months. A few days ago I decided it needed to either be repaired and built, or it had to be scrapped. Rebuilding it would have required stripping it down and starting again. The more I examined the broken and snapped parts, the more it became apparent that they'd broken apart quite cleanly. With some fiddling and careful gluing and structural reinforcement, the windshield frame and windshield were reattached and it was 'good enough' to be worthwhile finishing it. The saving grace, perhaps, was that the paint and clear coats were fully cured when the crash happened, and none of it chipped off. In the next few months I'll finish up the GT coupe version that matches the one I owned. In the meantime, I'm glad this 'vert is finally off the bench and on the display shelf.
- 12 replies
-
- 10
-

-
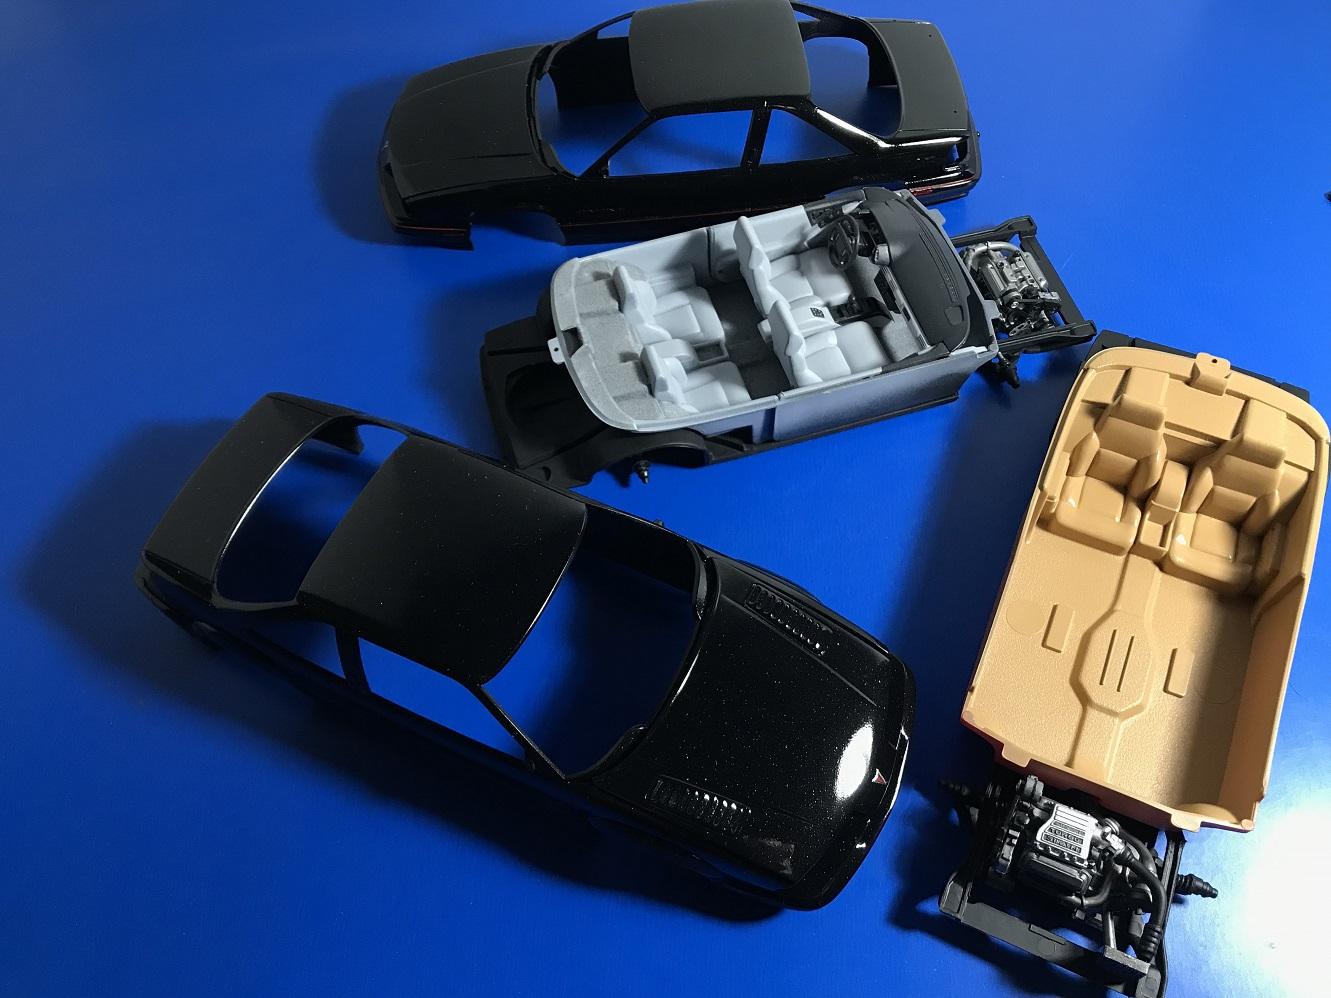
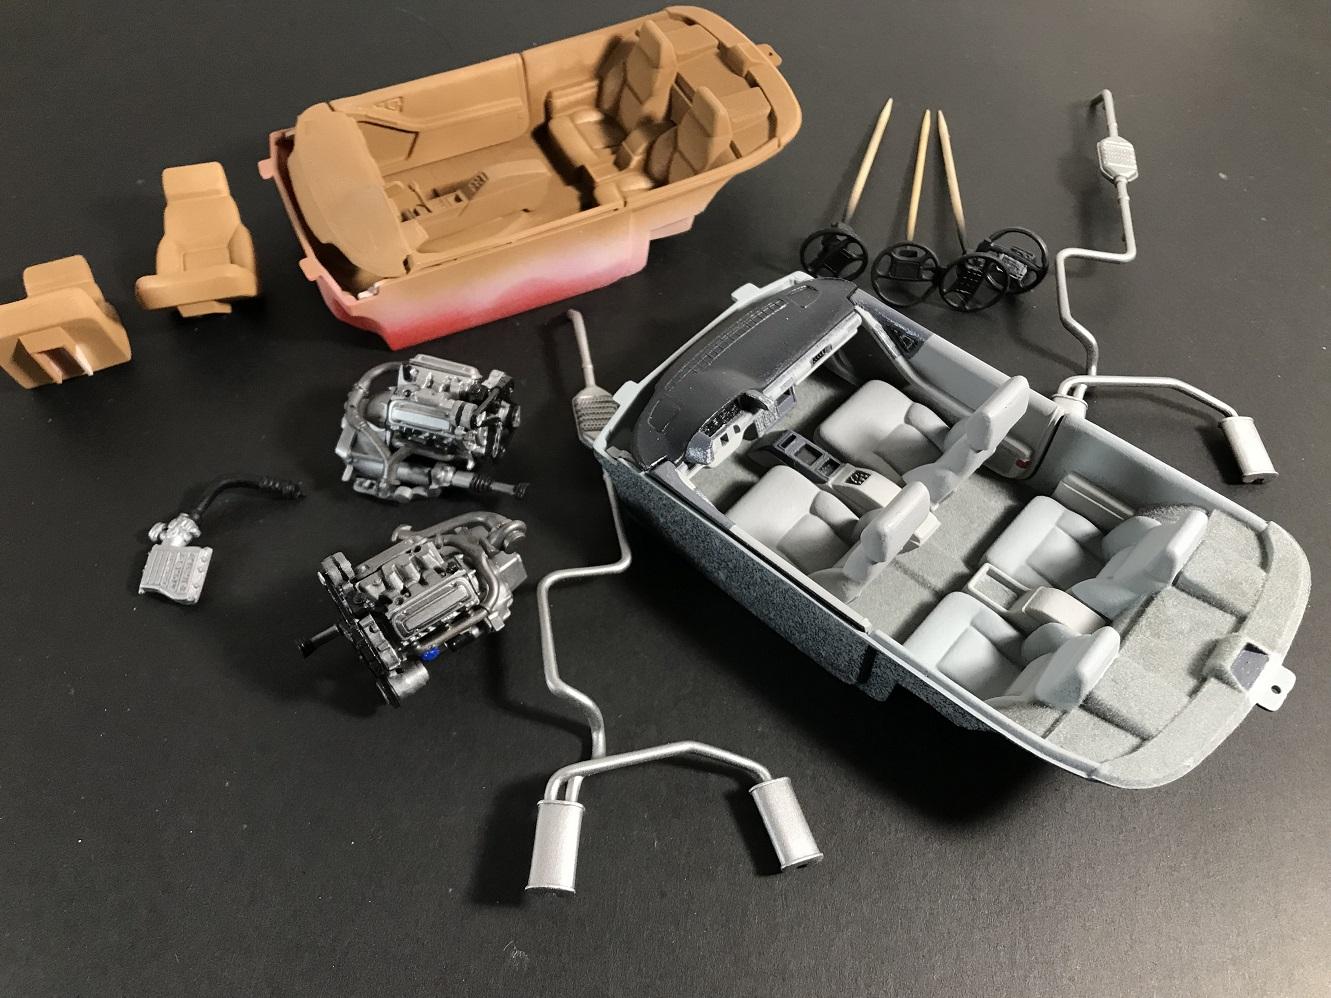
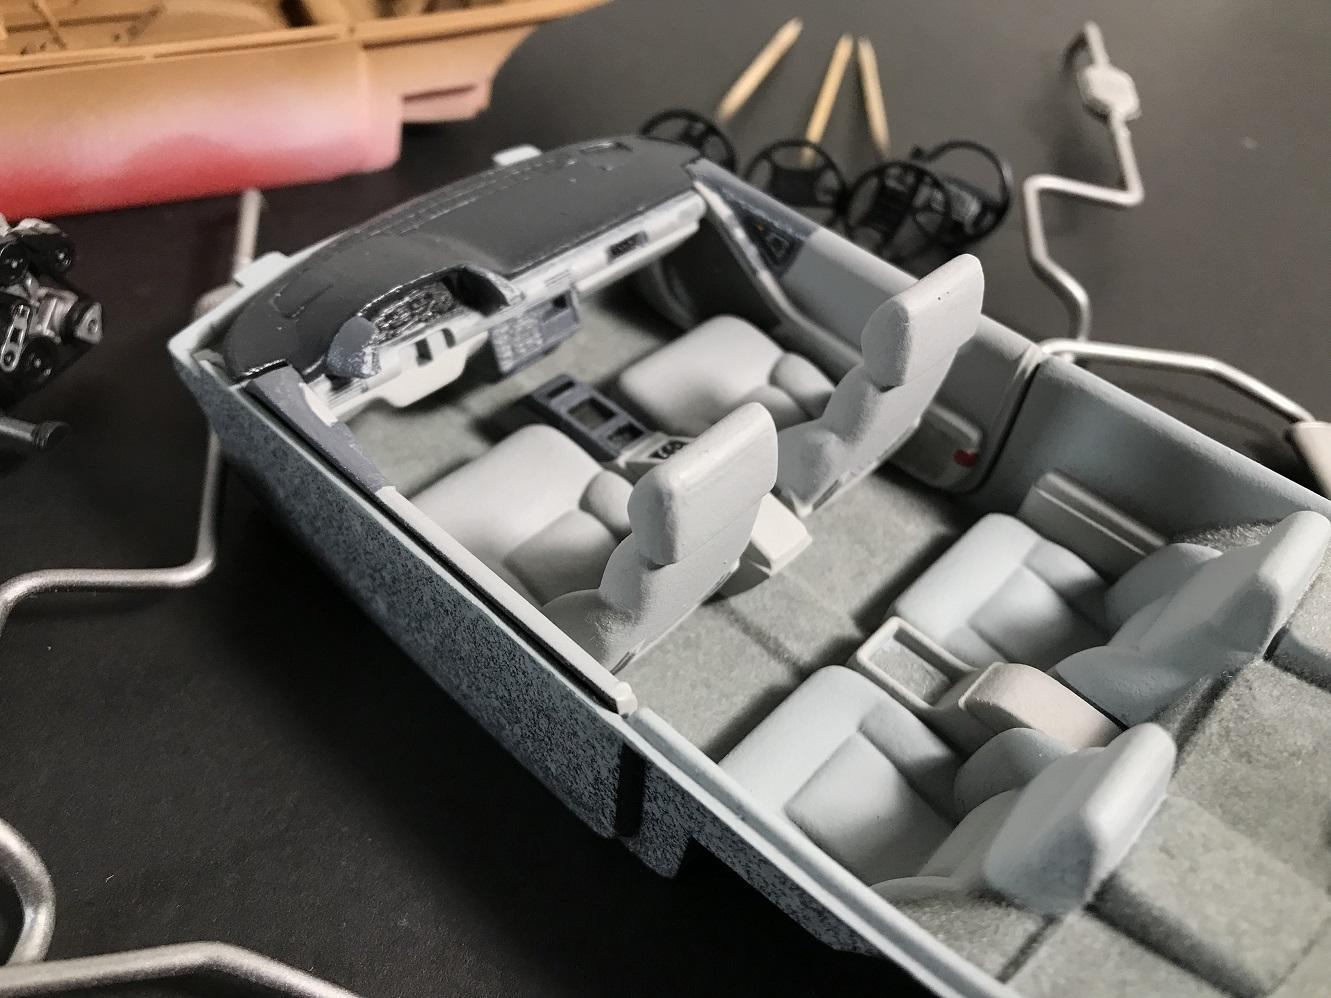
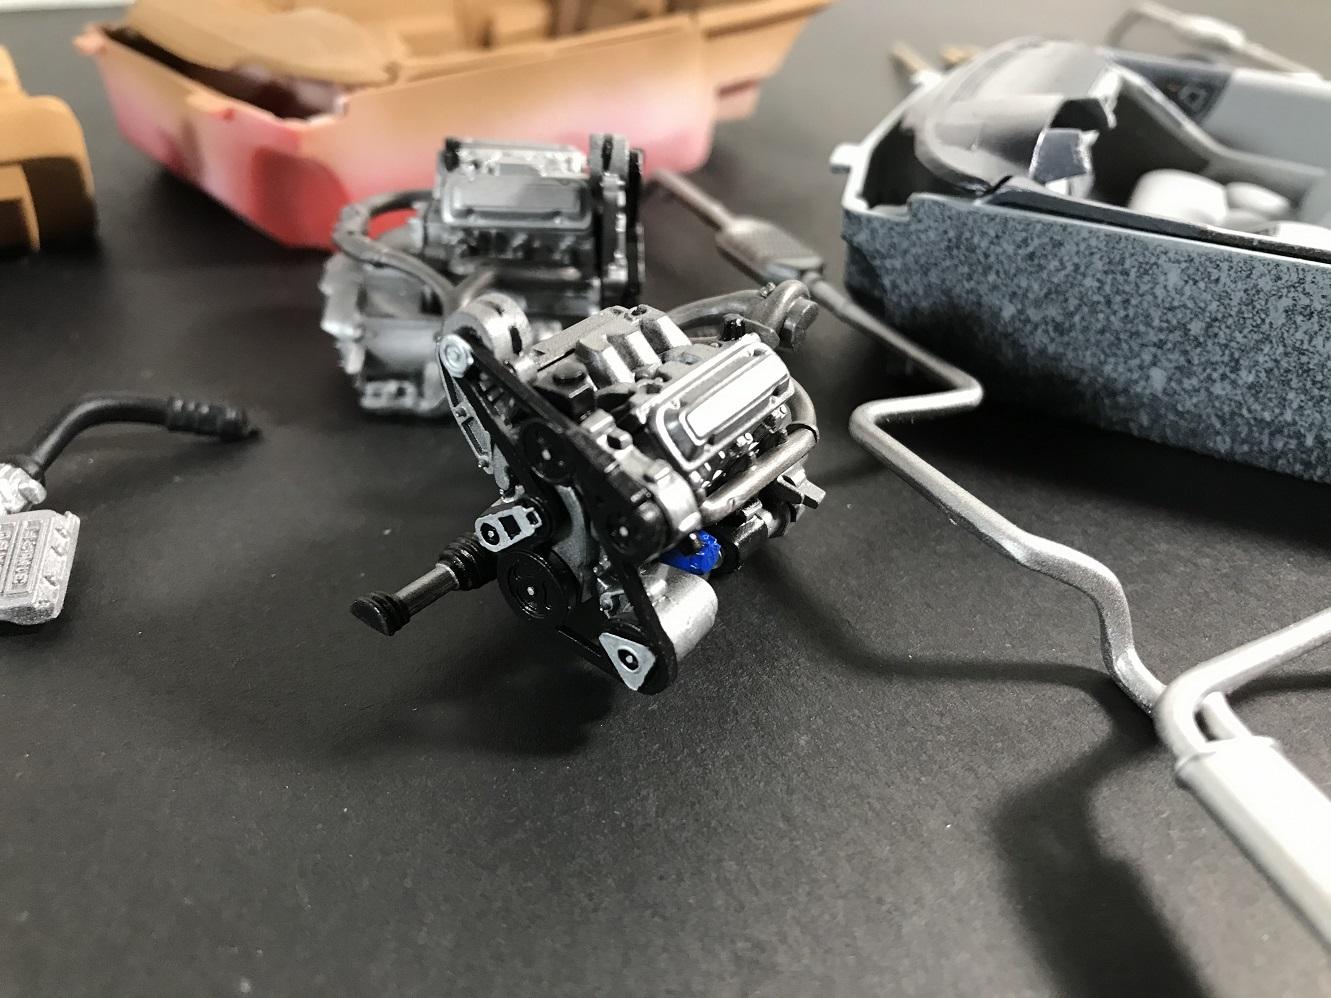
Thanks! Over the weekend there was some progress. After tinkering with some more color variations, both interiors were stripped down and redone. The grey one for the SE is just about wrapped up, and next steps will be honing down the color variations for the tan/camel version for the McLaren. Engine assembly and fitment is mostly done as well, with just a few details left like the corrected 3.1L intake plenum for the normally aspirated SE. The plumbing for the turbo and intercooler on the McLaren was straight-forward.
-
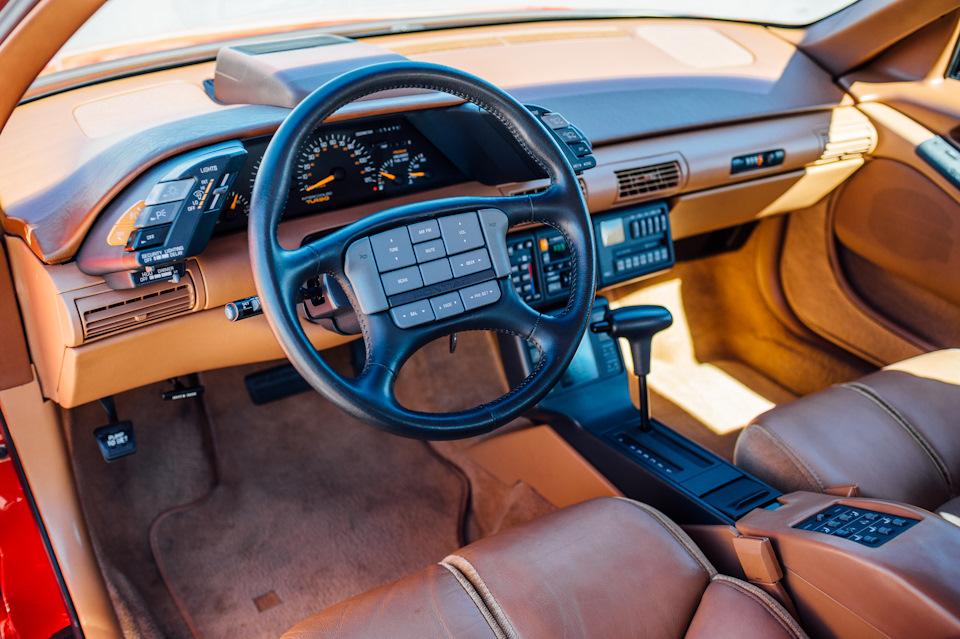
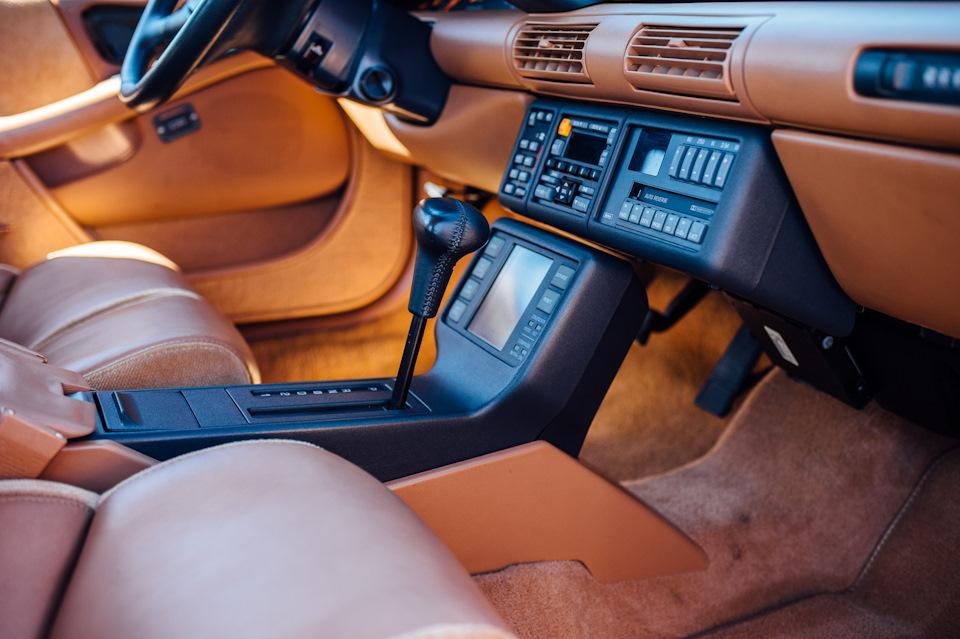
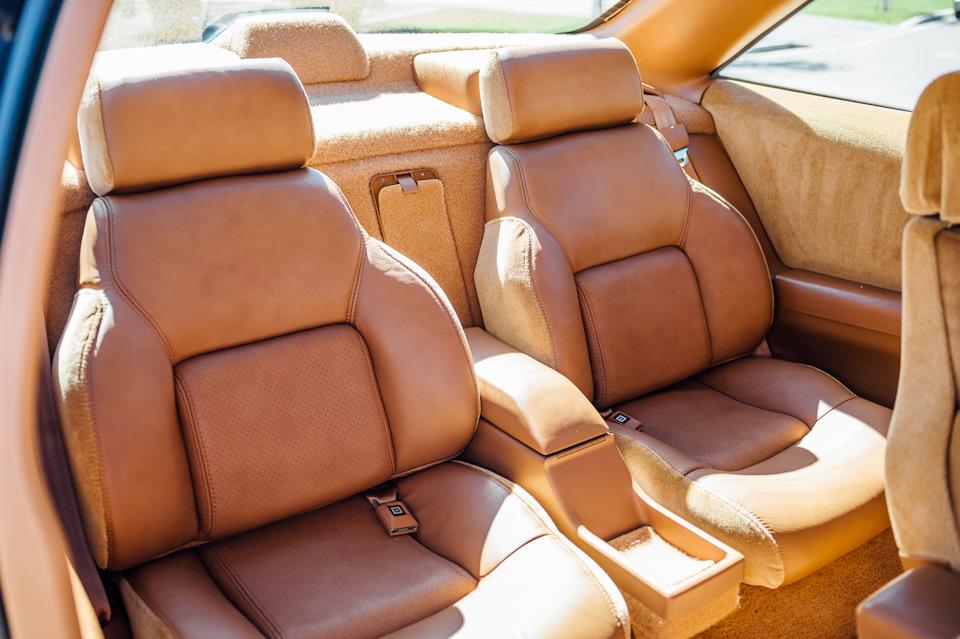
Thank you! Yes, the four-place buckets were standard fare for the SE and McLaren trim levels, and the Revell toolings accurately represent them. The digital dash cluster is accurate for '88 SE but not for '90 SE and the McLaren, though. It's also missing the driver information center screen that bridges the underside of the radio and the front edge of the center console. The later '91 and '92 GTP updated toolings had corrected upholstery patterns and included the heads-up display unit that should have also been included with the McLaren version. I might get ambitious and scratchbuild some of these missing items as the builds unfold. Aside from my memory of having touched every one of the gazillion buttons in that interior, there are some great reference photos online of the 1:1 interior and other details.
-
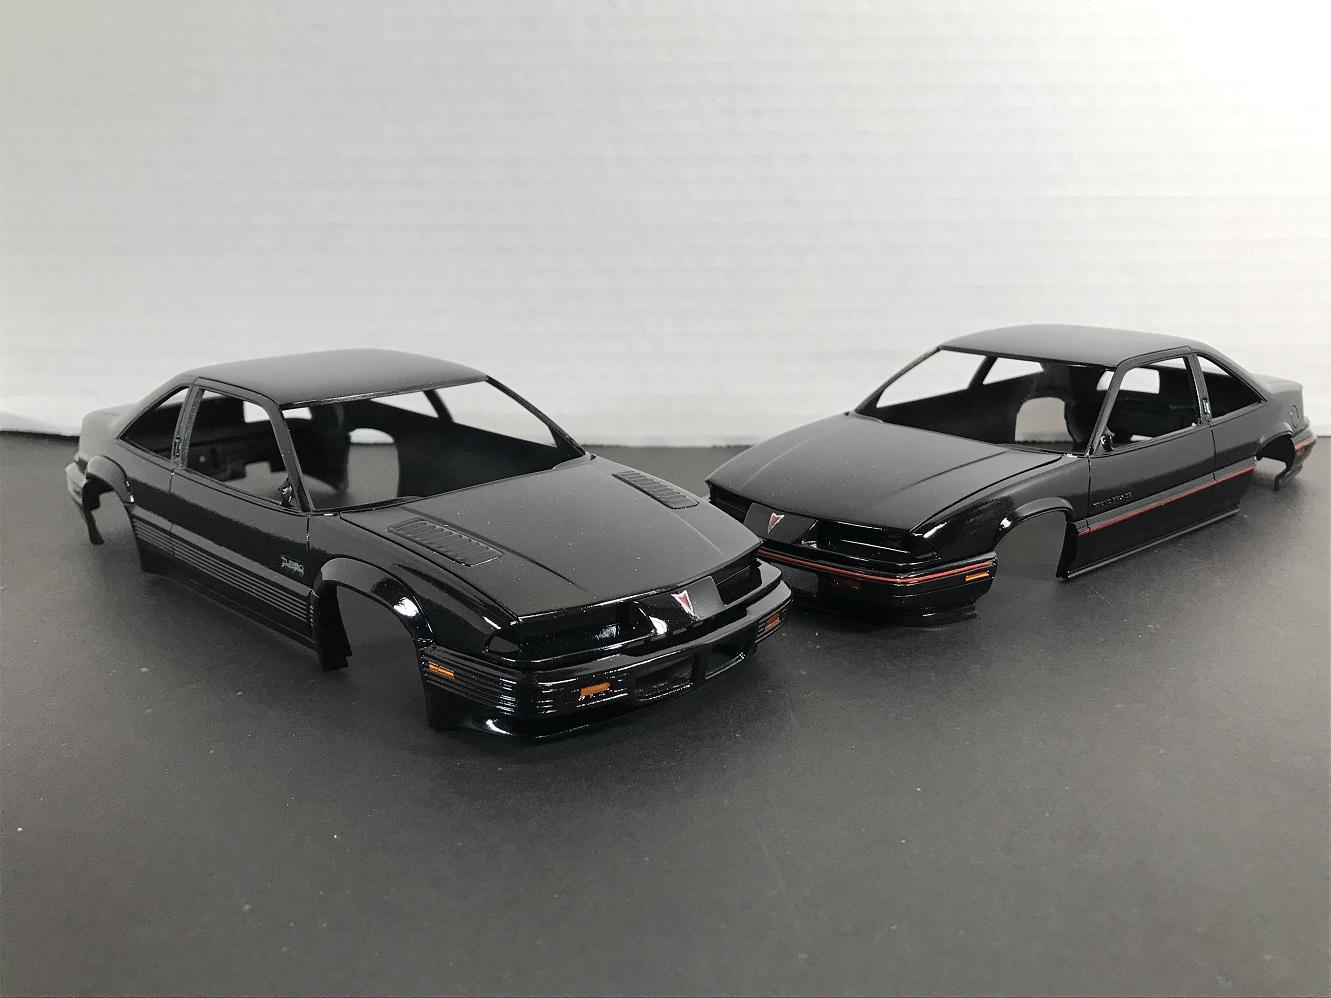
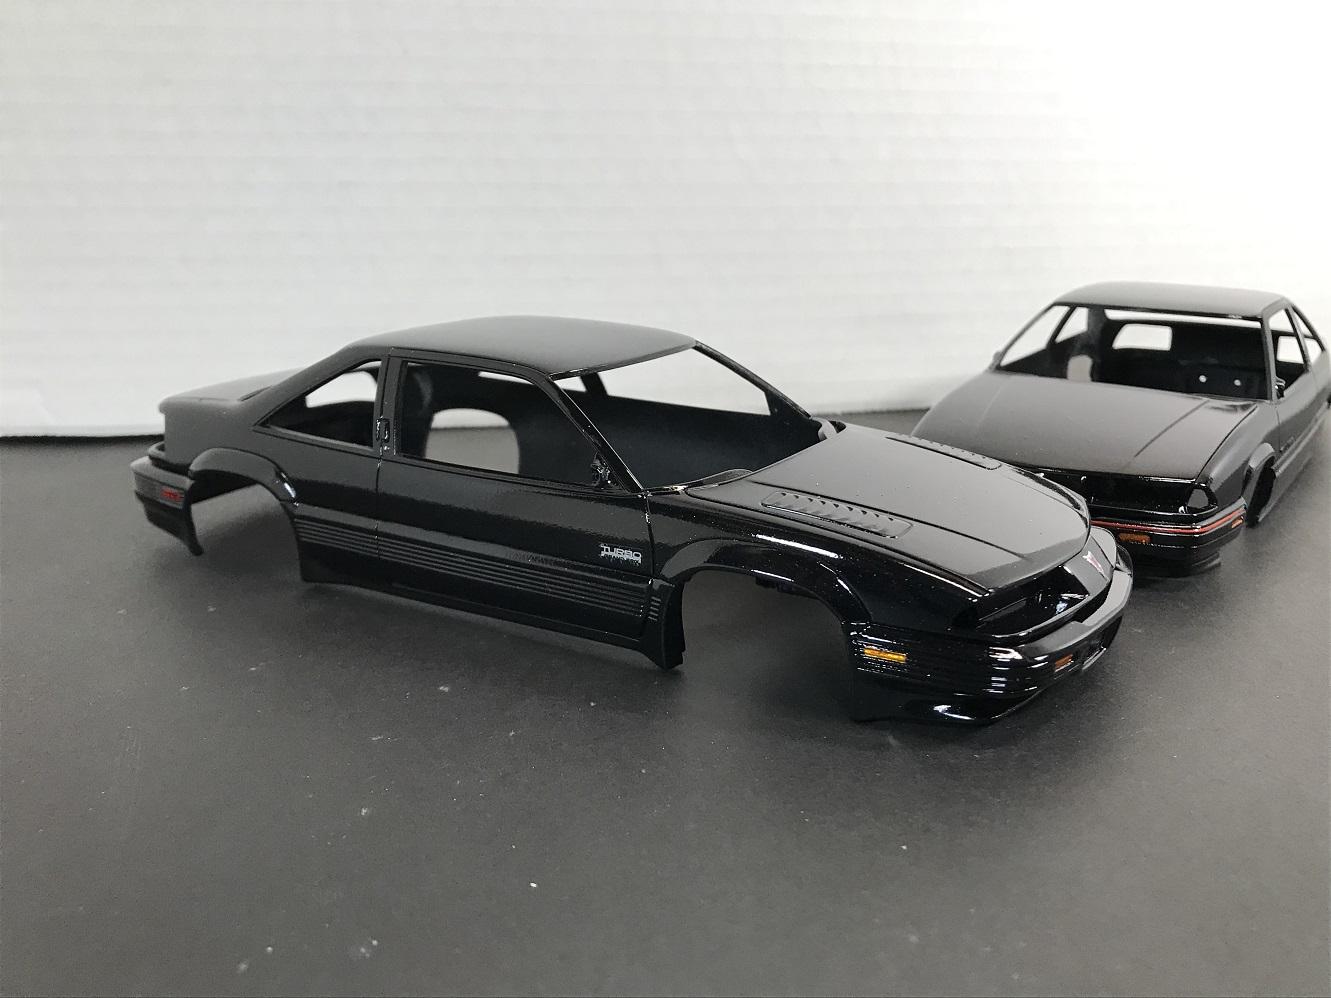
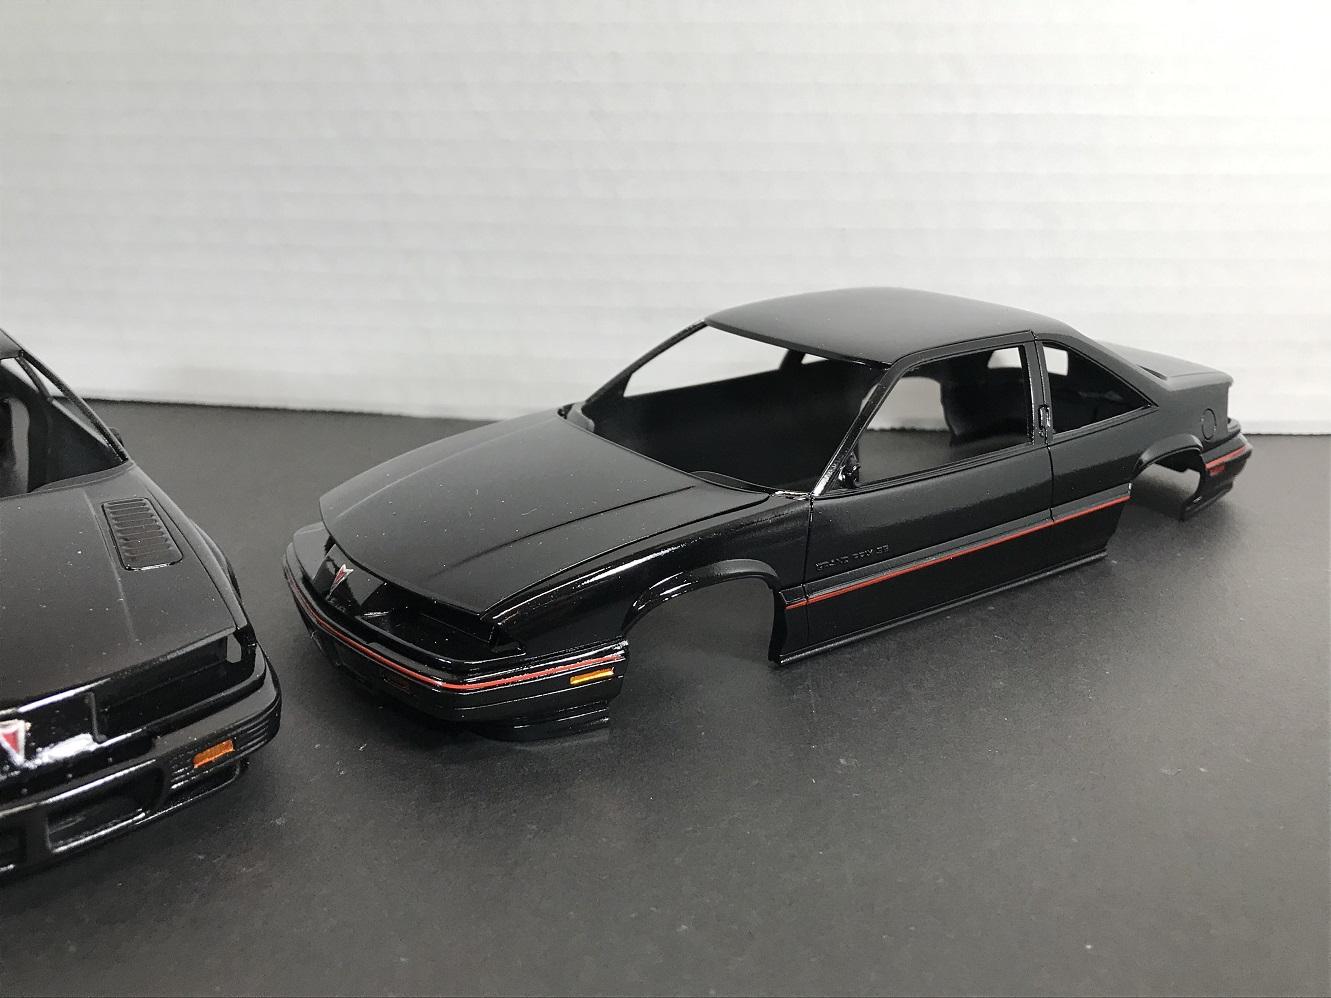
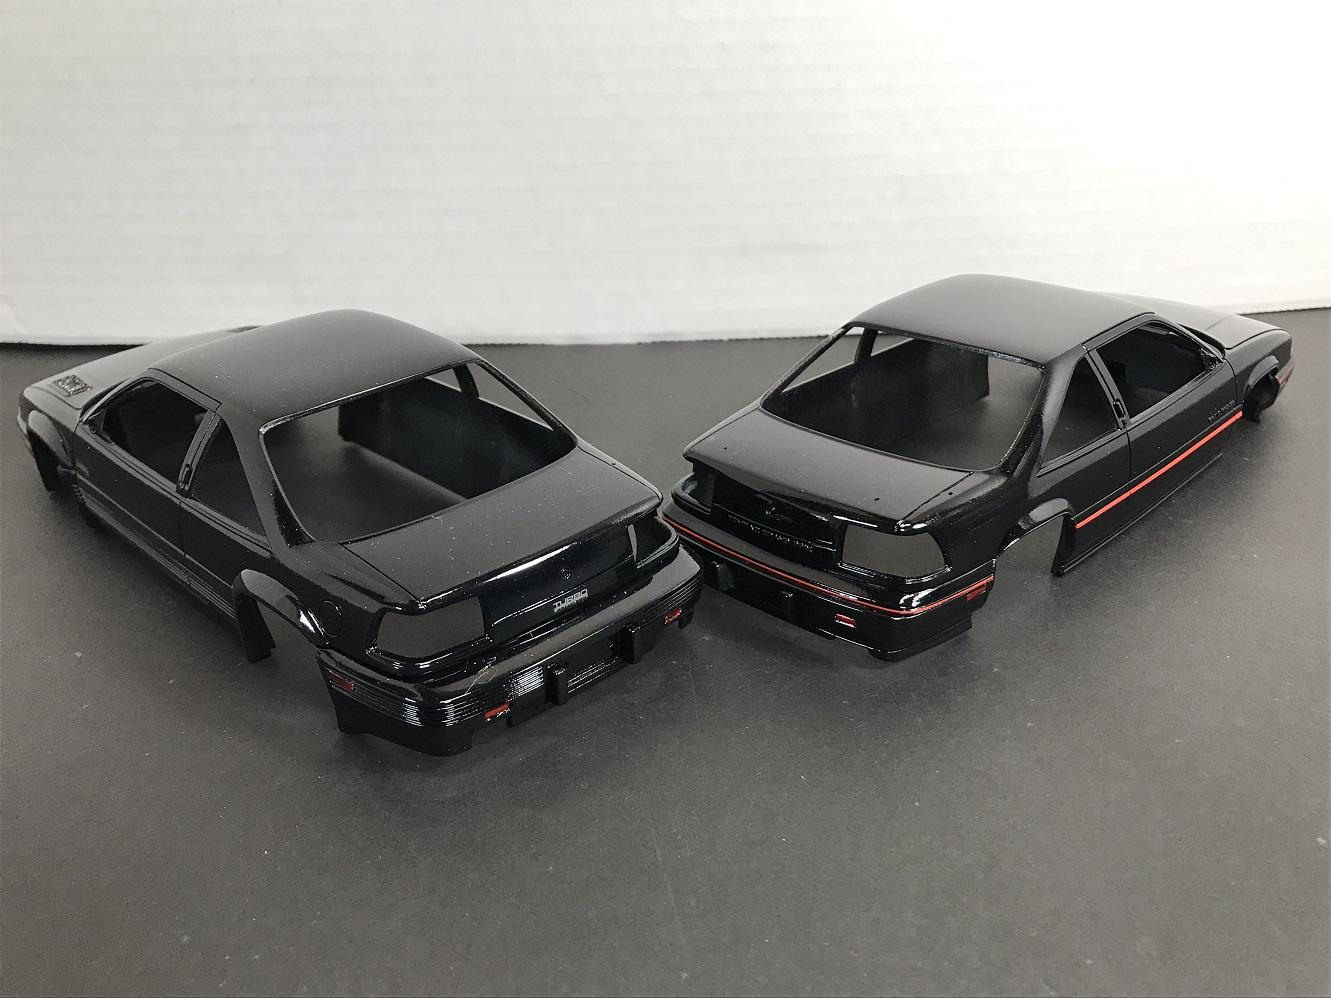
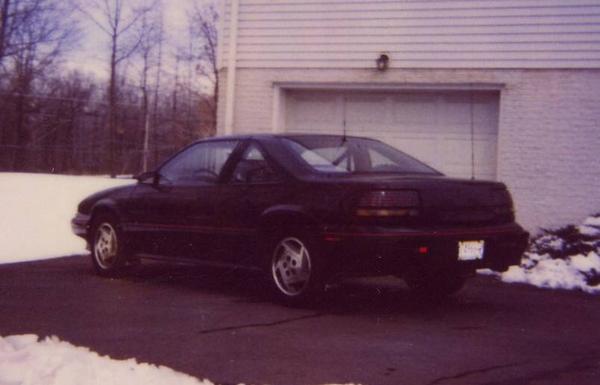
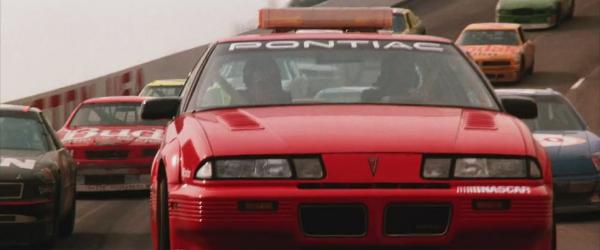
The Revell 1/25 Grand Prix kits from '88 to '92 are some of my favorite. I was a teenager and nearing driving age when this GM-10 platform was introduced, and when the first version of the kit was released the Grand Prix had just been named Motor Trend Car of the Year. Over the years I'd tried to build one here and there, and besides the '88 SE and '90 SE kits that Revell released, Pontiac introduced the ASC McLaren Turbo in mid-'89 and Revell was quick to update the tooling for this hi-po variant. The tooling later became the '91 GTP and '92 GTP versions with a very nice tooling of the 3.4L DOHC V6. By '94 I'd been driving for two years and was already on my second car. Needing something more reliable and comfortable, I'd traded my '88 Mazda MX6 in for a four year old '90 Grand Prix SE with only 24,000 miles. It'd been sitting on a Pontiac dealer's used lot, and looked like it'd been taken care of pretty well. I drove it home, and the next day a grumpy old guy in a VW Dasher ran a stop sign and smacked into it. With its 3.1L V6 and 4-speed automatic, it wasn't terribly fast but it was a smooth and comfortable ride. My lead-footed needs led me to sell it not long after it was repaired from the crash. The McLaren Turbo versions were expensive and hard to find, so the best I could ever do was try to build one in scale. For this project I'm tackling both builds at the same time, because conveniently my '90 SE was the same metallic black as the McLaren Turbo was offered in. The bodies have been prepped, painted, detailed, and cleared. They'll just need some polishing out and final details at this point. The interiors are similar for both trim levels, and differ mainly in colors as my SE was grey and the McLarens were only offered in a camel tan color. One of the faults of Revell's corner cutting involved the engines in the SE kits. The original '88 correctly had the 2.8L V6 that was replicated in the kit. But the later '90 SE should have been tooled with an updated 3.1L intake plenum and airbox. It's an easy enough proposition to correct the airbox by scratchbuilding it, but the molded-in script on the intake plenum is another story. The nice thing, however, is the McLaren Turbo version has an updated 3.1L plenum just with the different turbo-specific airbox and ductwork. Some kit bashing and part-swapping might be the best solution in the end. We'll see..
-
Very nice and clean build! Looks great!!
-
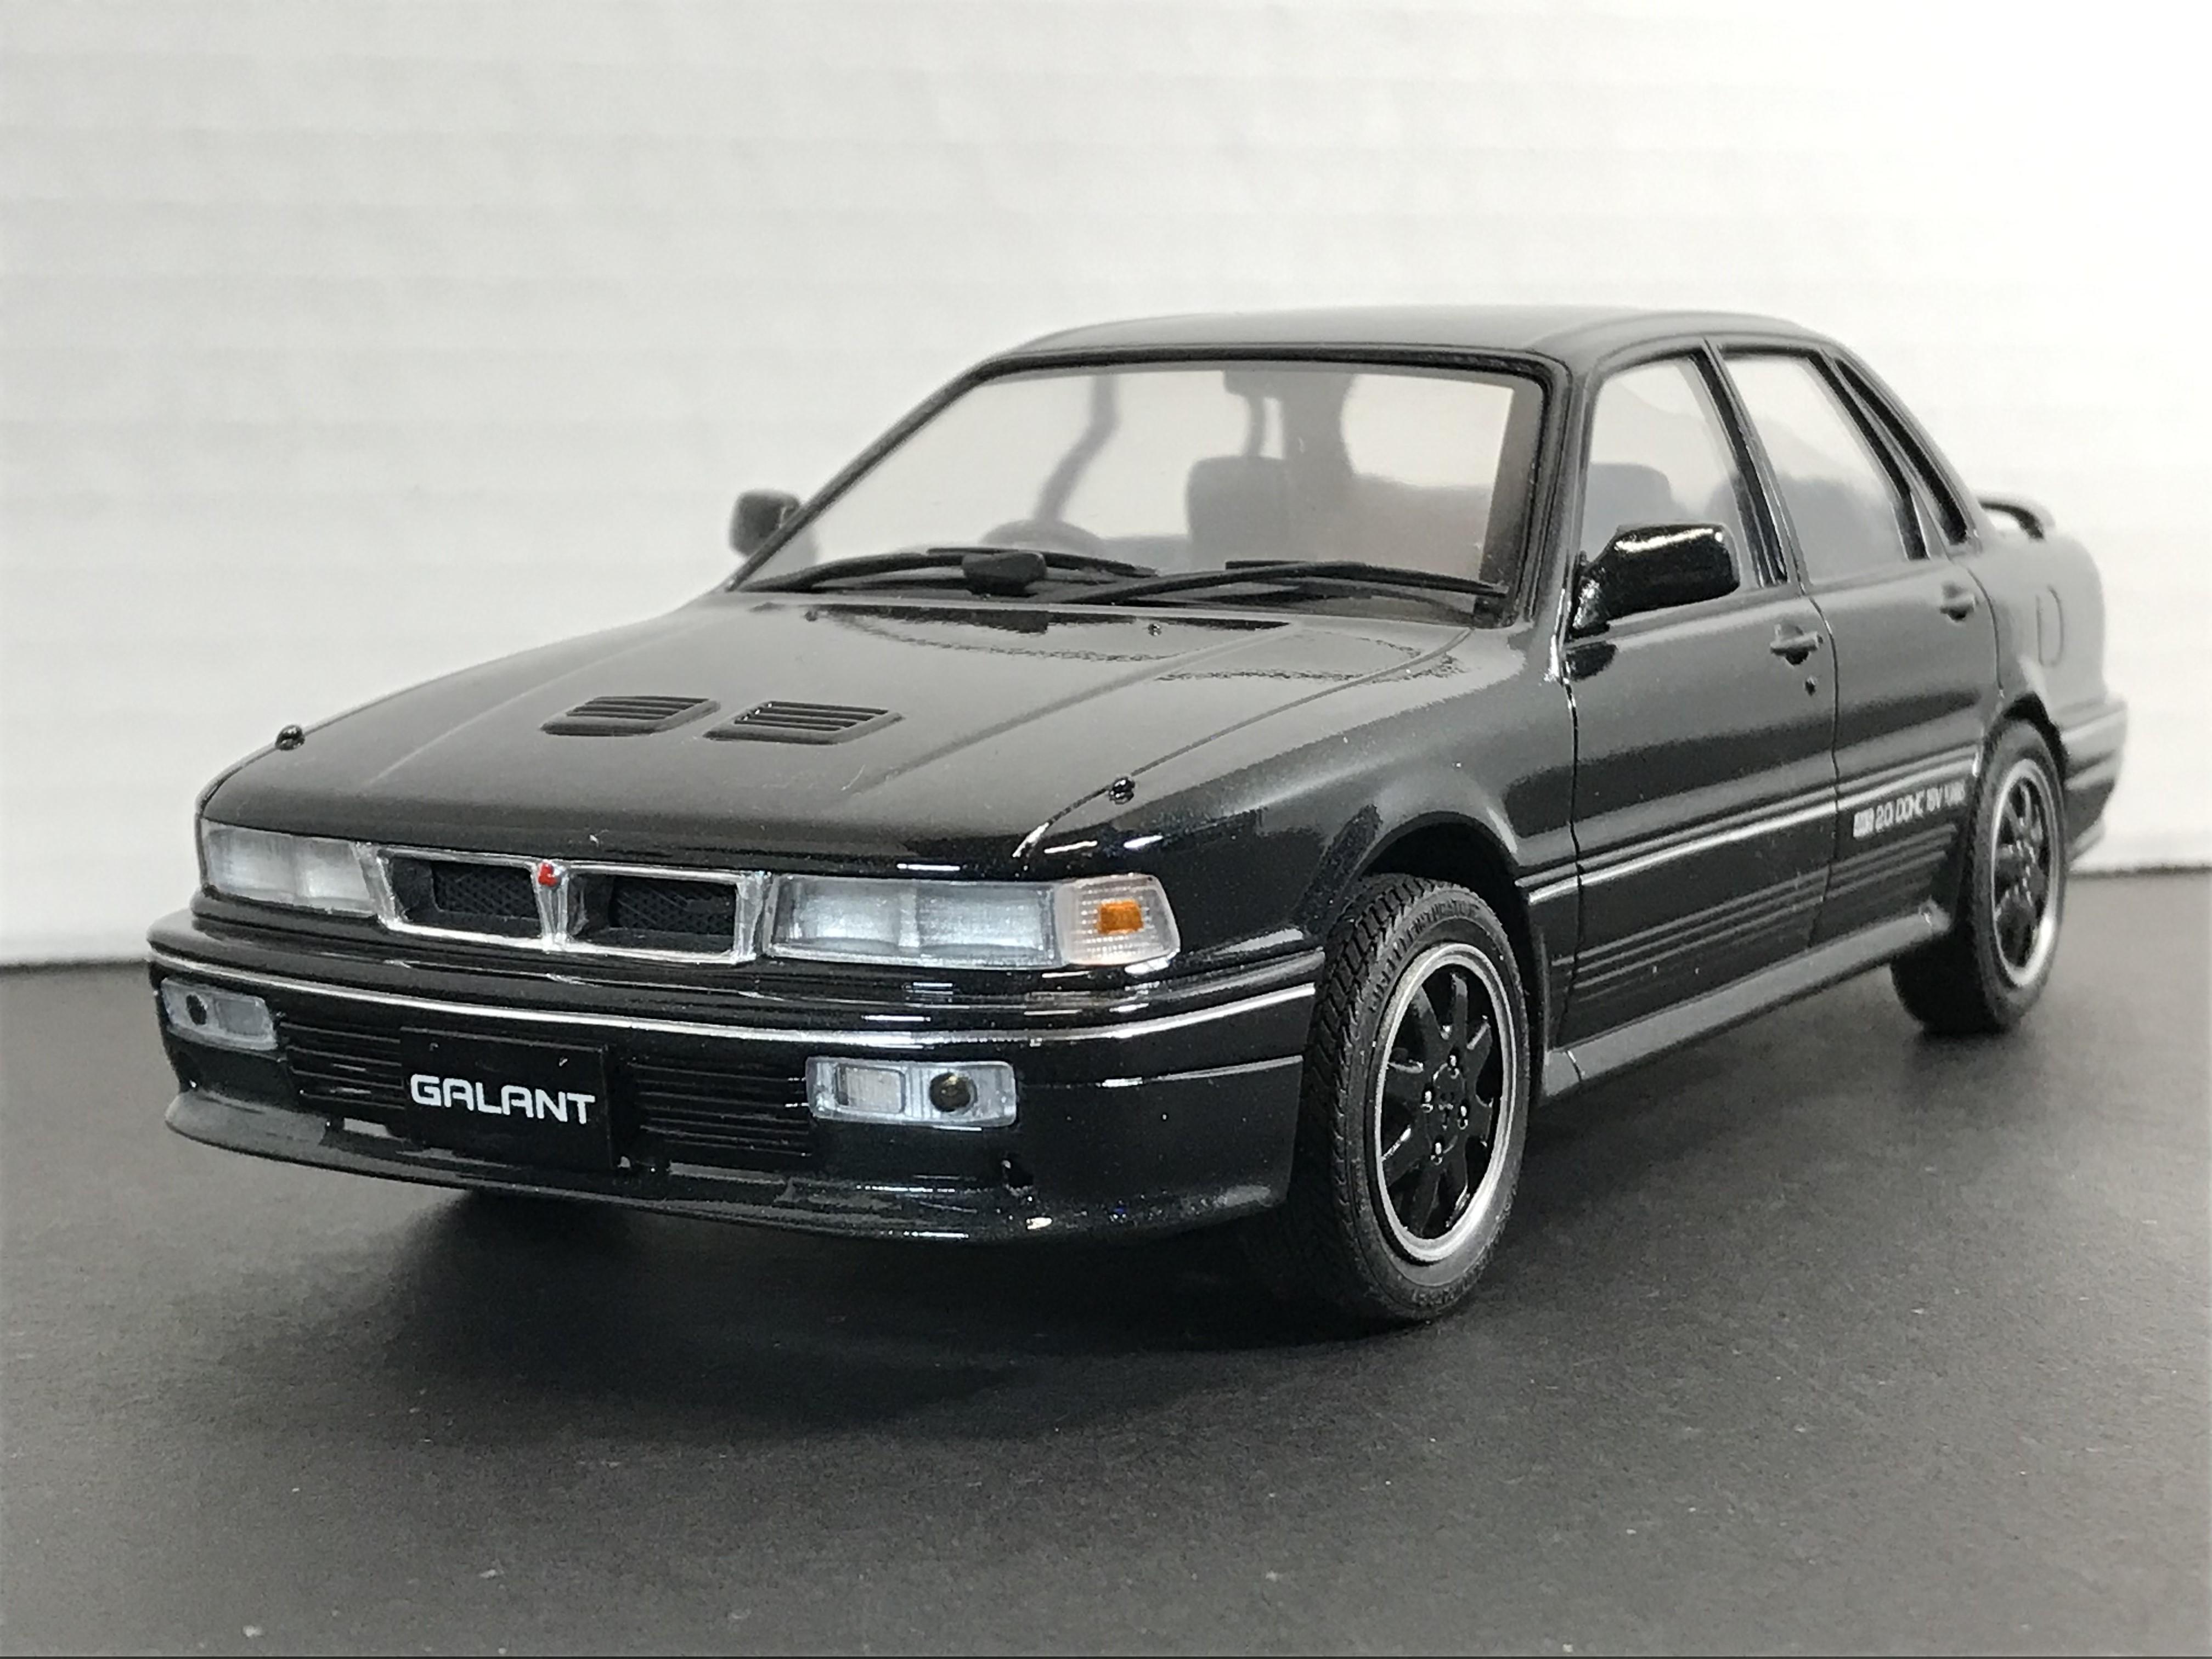
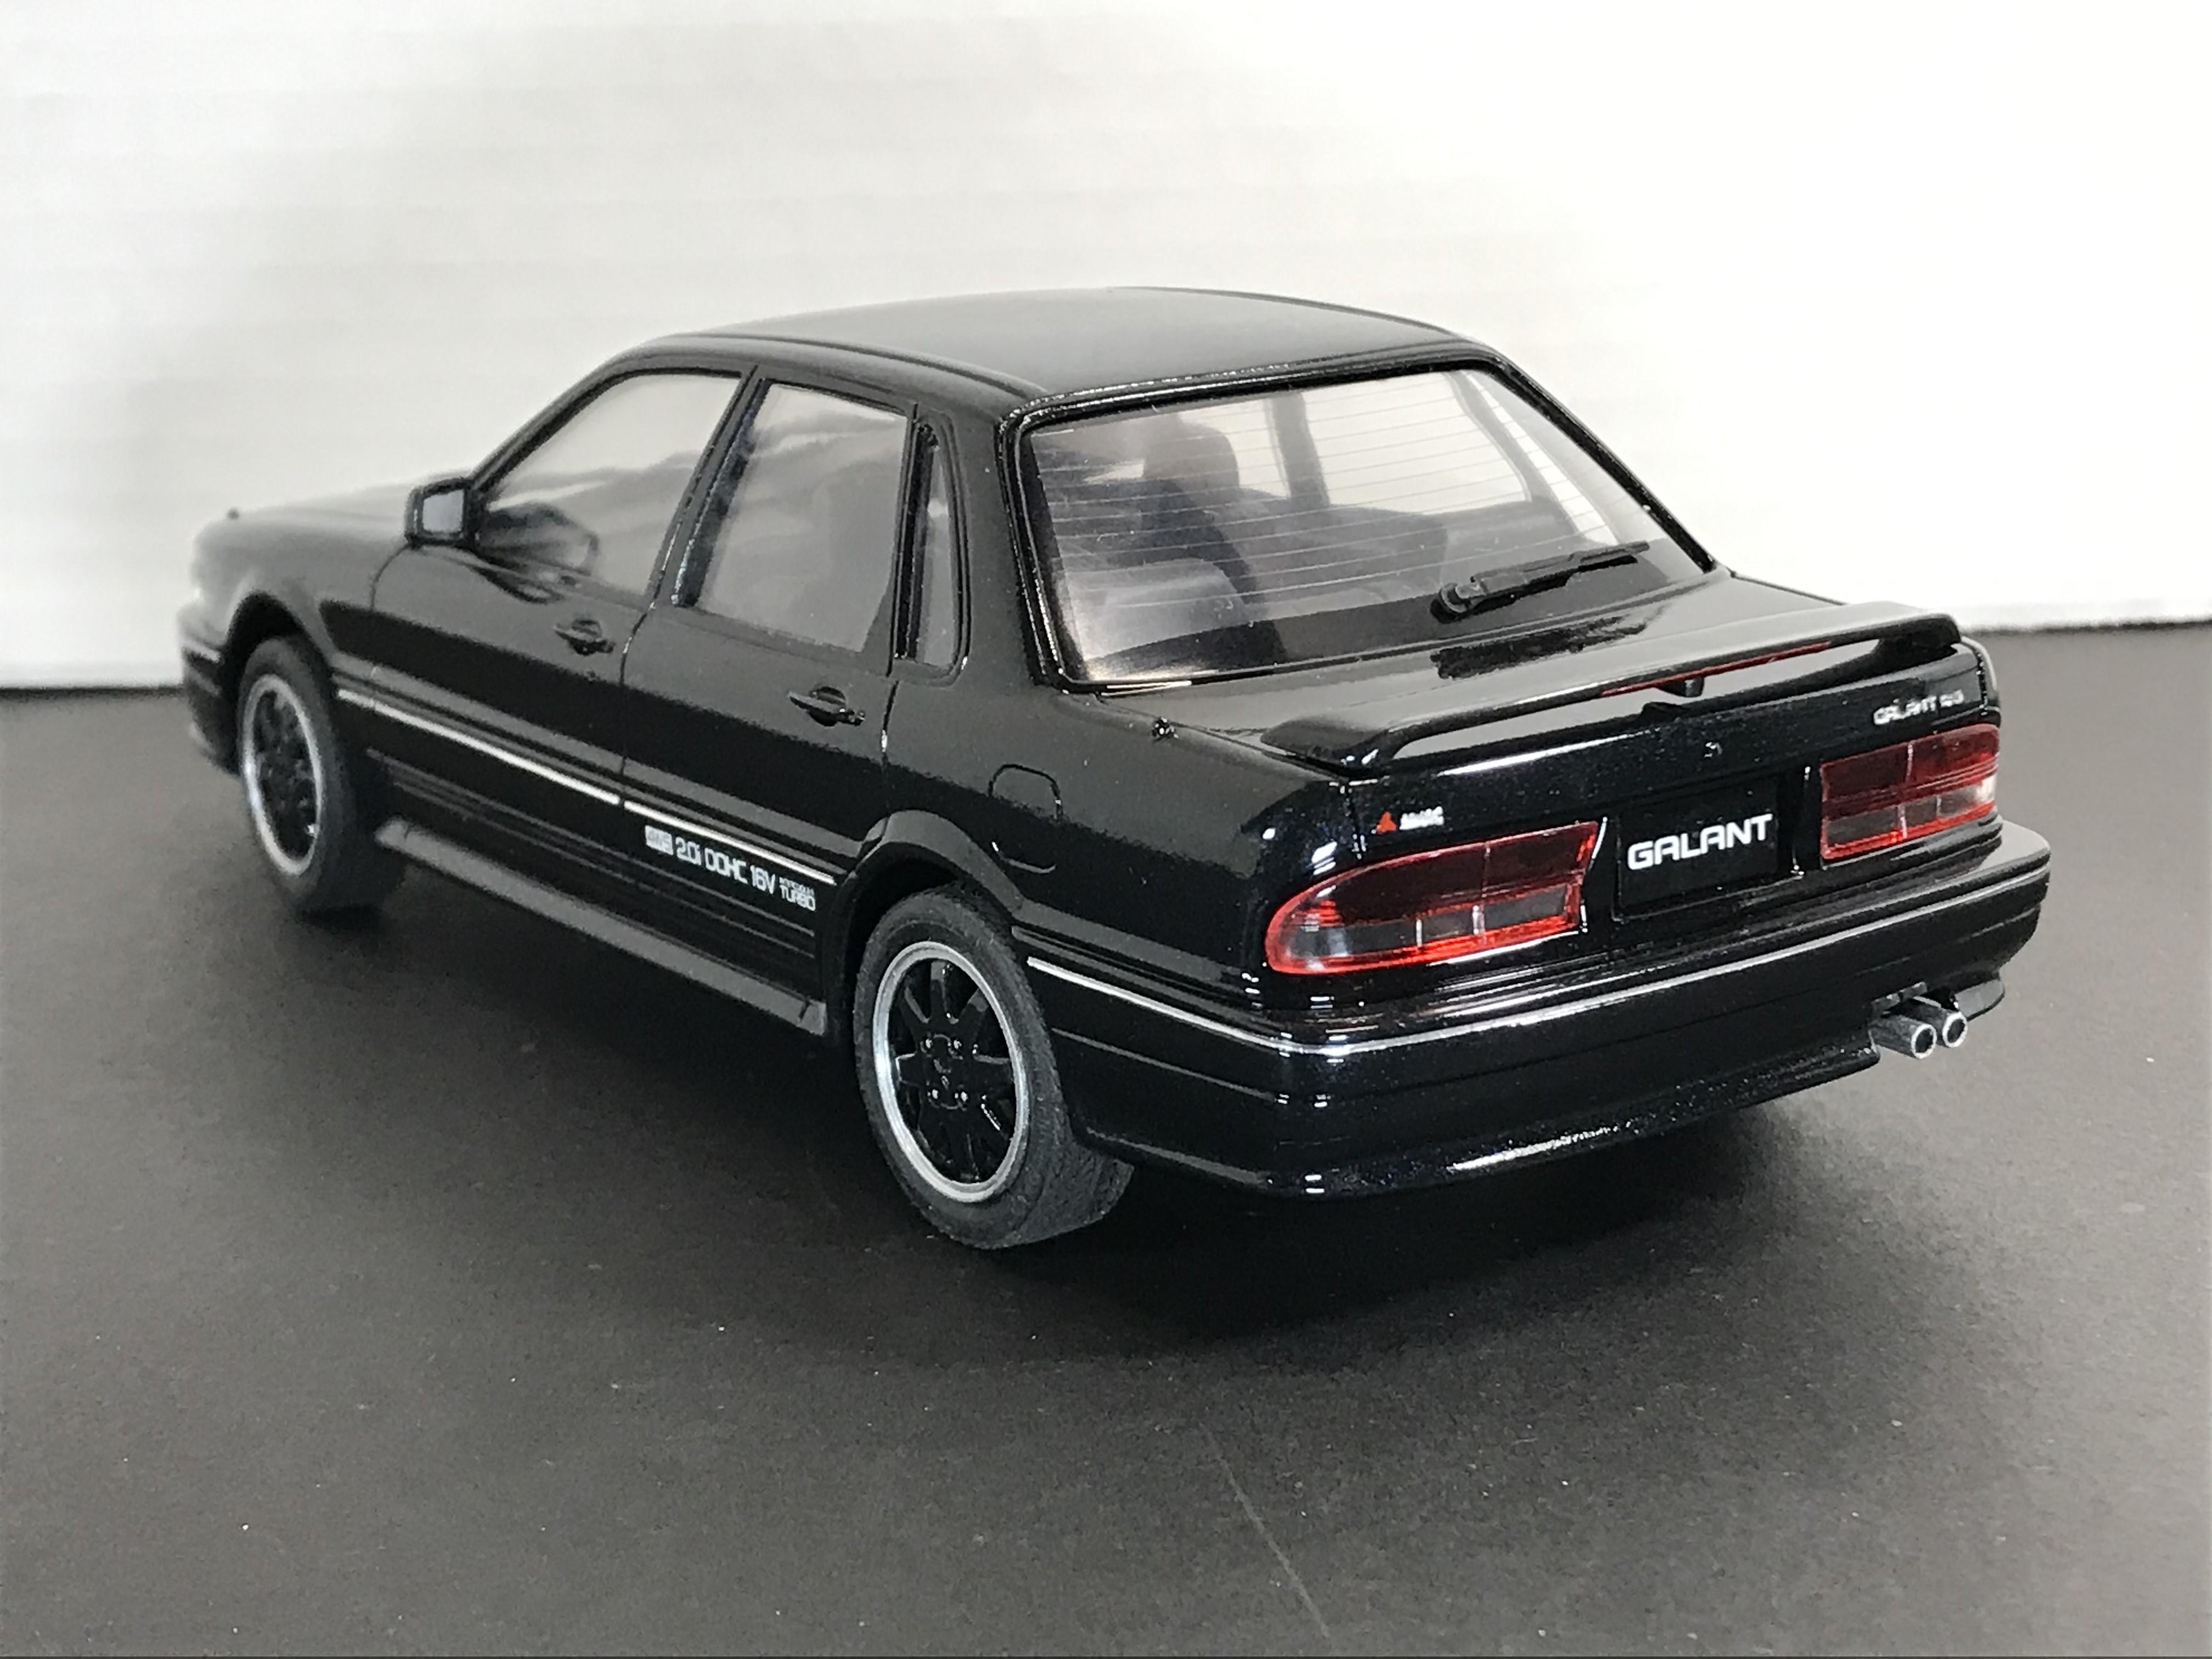
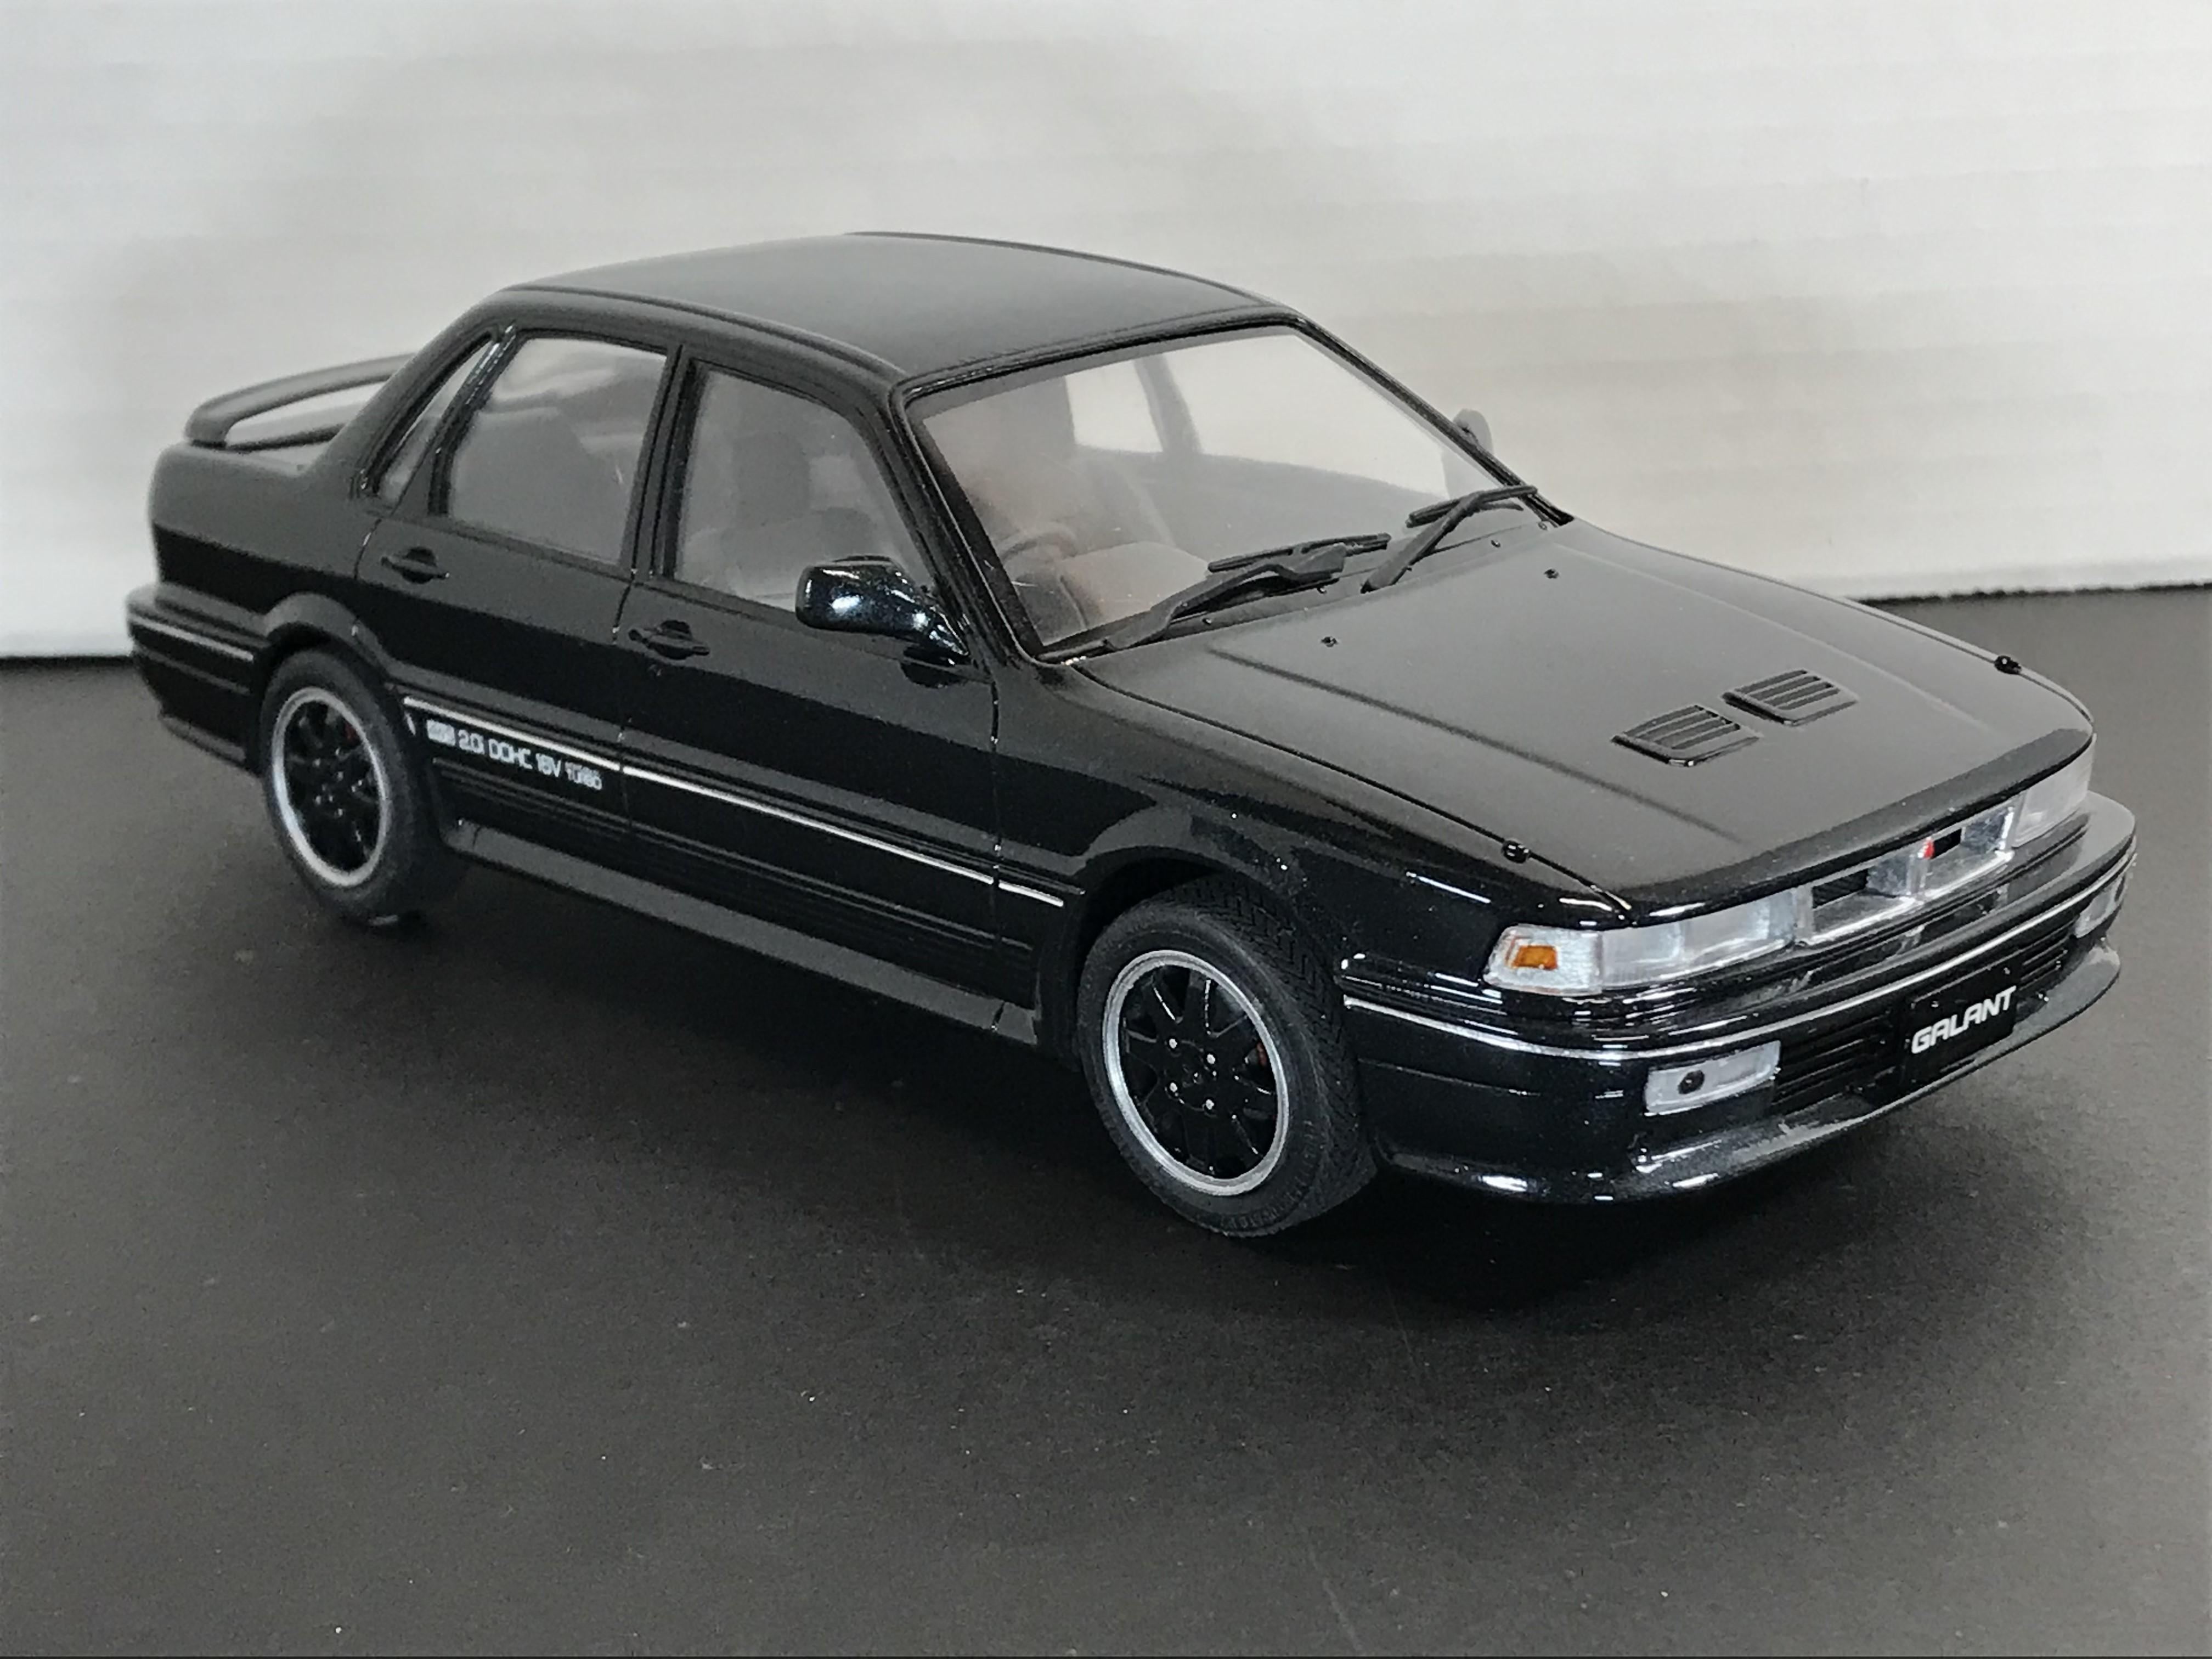
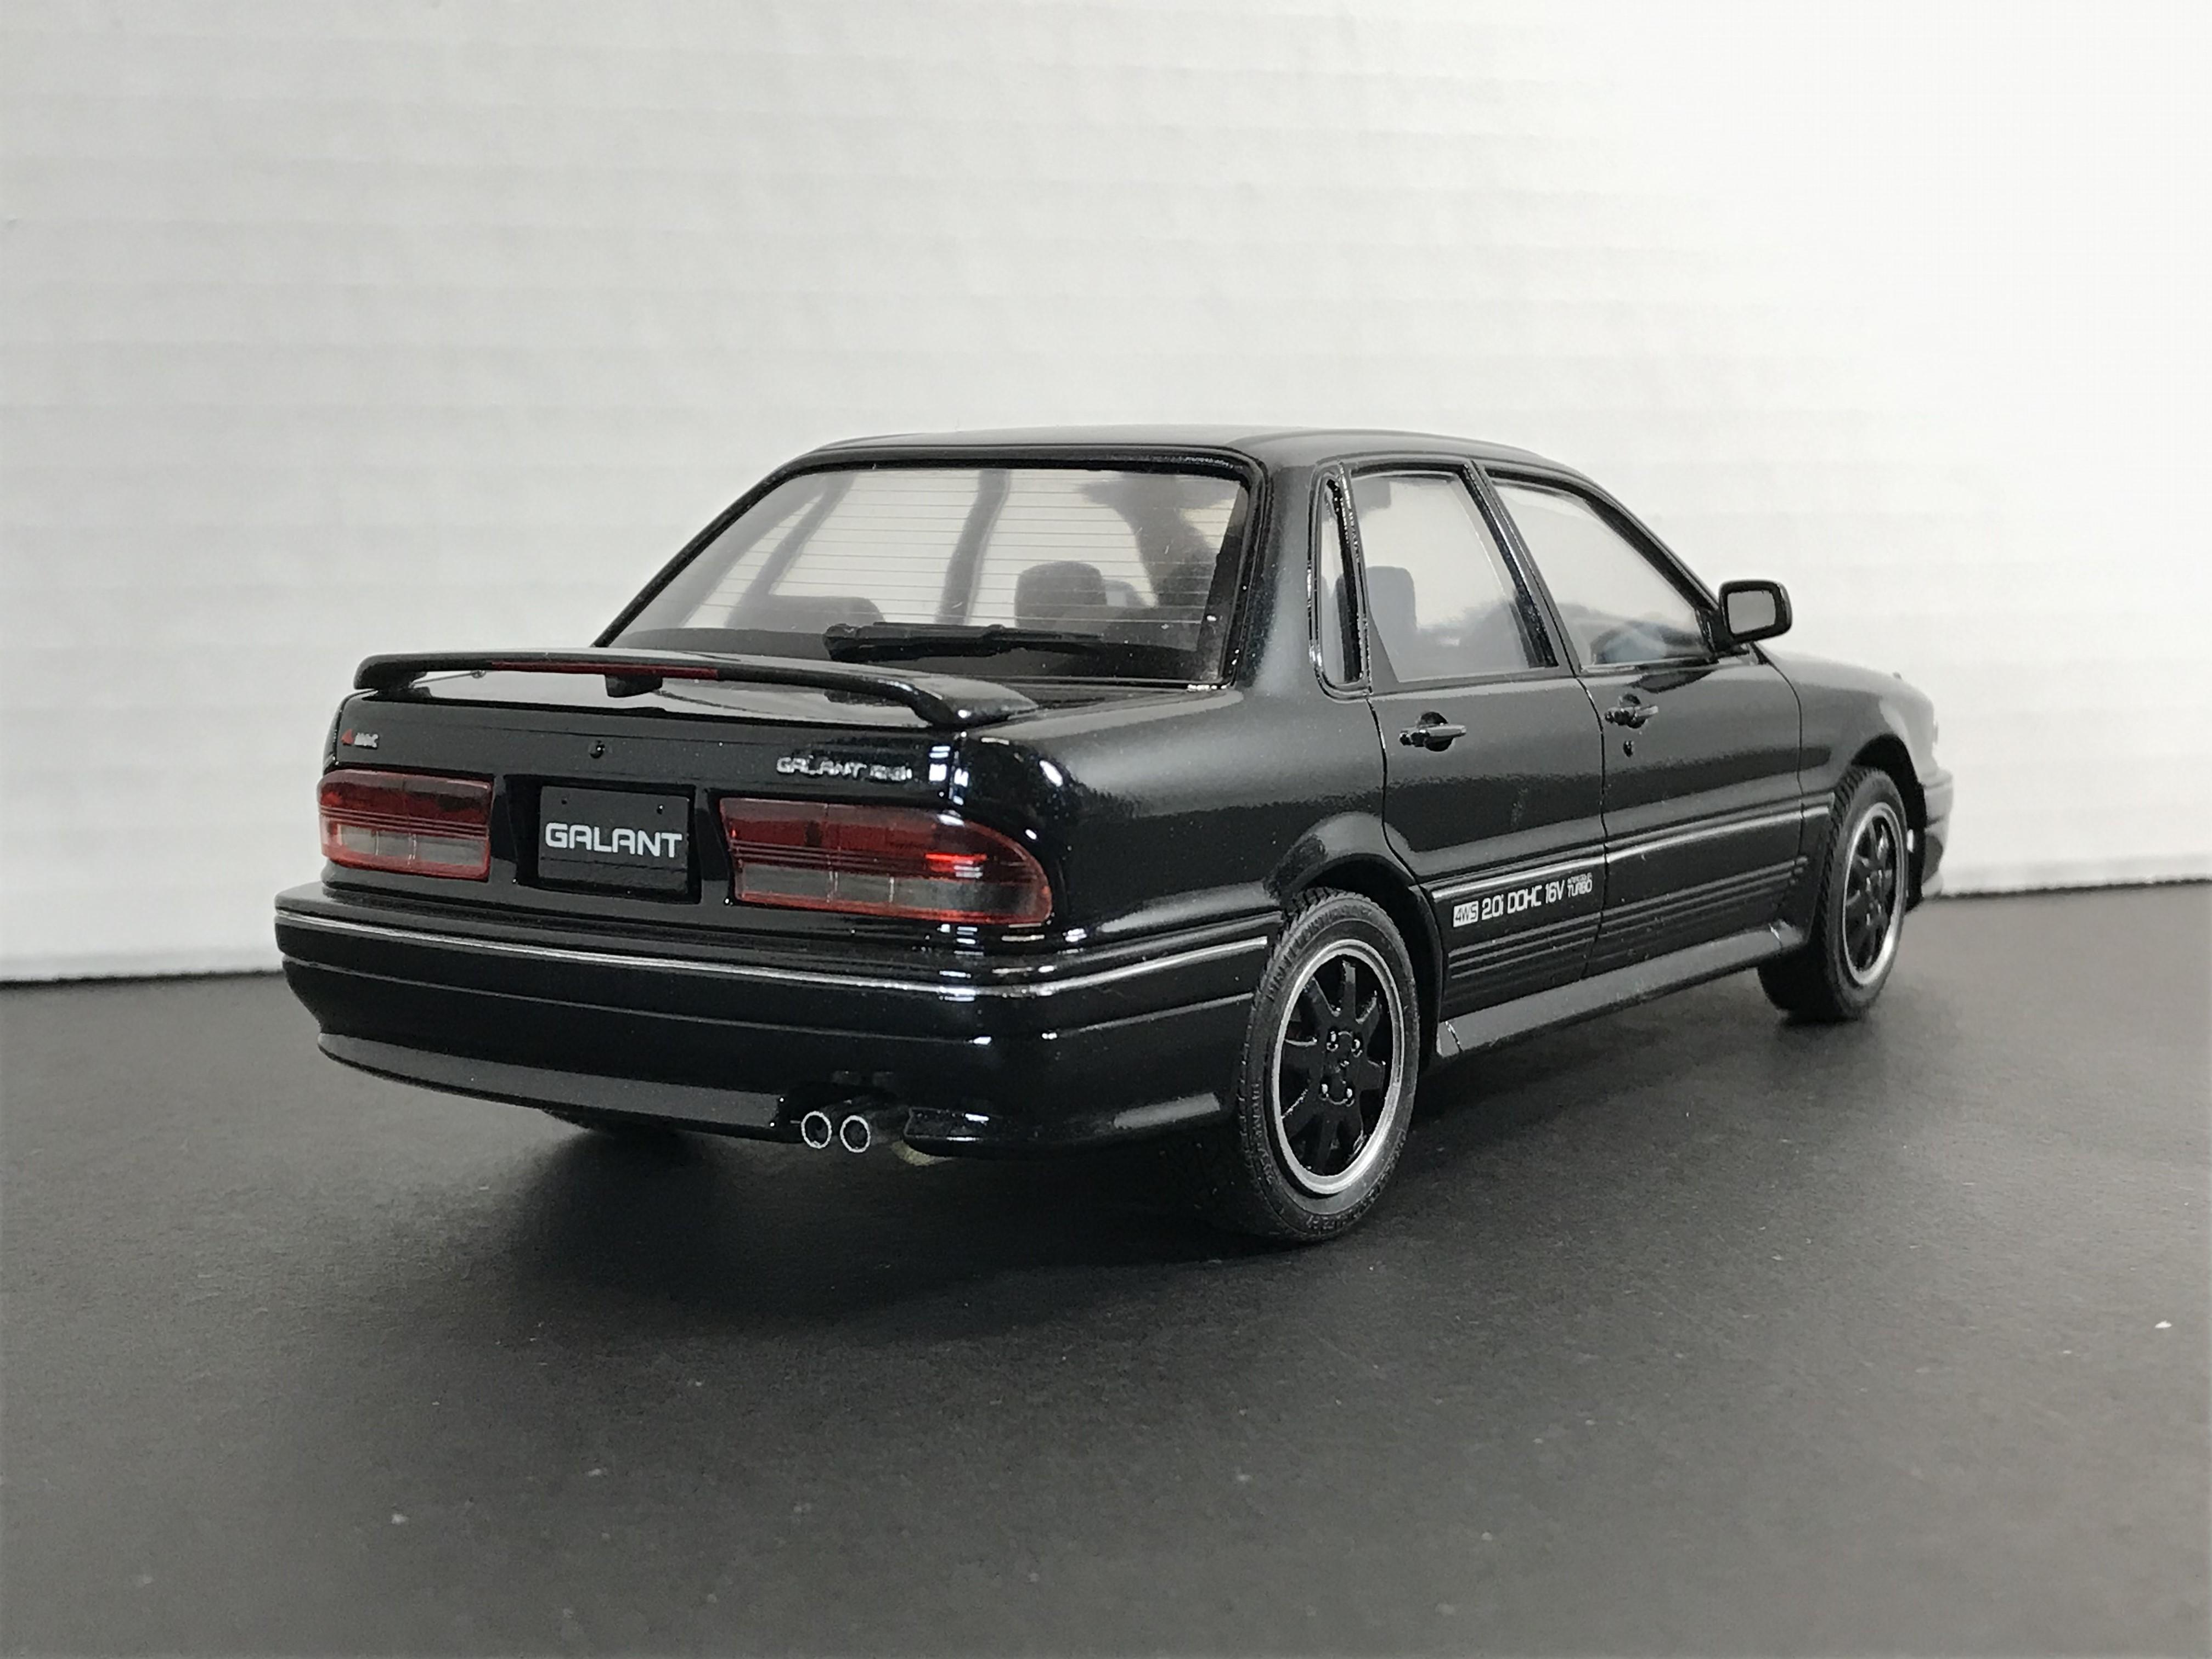
This build recently wrapped up after some months of tinkering with it. It's the early 1990s generation of the Mitsubishi Galant VR4 sedan. This was essentially the same platform that spawned the popular first generation Diamond Star Motors (DSM) Eagle Talon, Mitsubishi Eclipse, and Plymouth Laser. I'd owned a '90 Galant GS 5-speed as a used car in the later 90s, and while it was adequate in that normally aspirated front wheel drive form, I'd lusted after the premium offerings like the Galant VR4 and Talon TSi with their turbo and all wheel drive setups. My Galant GS met its fate by rolling out of the driveway one night and directly into the neighbor's tree. It was bizarre but appropriate given its temperamental nature and annoying repair needs. Hasegawa released this kit in the 90s, and it's essentially a curbside with no engine, basic chassis, and not much interior detail. It was a quick build mostly for mojo and nostalgia. The paint is actually a Nissan grey/green metallic, the same color as on a 1:1 '01 20th Anniversary Maxima SE that I'm trying to bring back to life. It was a close match for some of the Mitsubishi colors offered on the Galant and I had some leftover. It mostly went together easily, but the chassis needed some fiddling and seemed to have interference with the windows and interior tub. Or perhaps the interior tub and the firewall area. Otherwise, after making some adjustments it was close enough and found its place on the display shelf. I'll get around to building another some day likely in one of the two-tone schemes. For now, this will do. Thanks, and enjoy!
-
RoboCop Ford Taurus police car 1/25 AMT promo conversion
polybius replied to polybius's topic in Model Cars
Thanks! Indeed, the true police package was a base model L with the slotted grilles, black steel wheels with silver 'cop caps', and dual exhaust with the 3.8L "Essex" V6. RoboCop was on the big screen before there was a factory police package, and they presumably used the then 'futuristic' looking new Taurus as hypothetical cop cars of the future. These kits and promos were issued much later, but incorrectly with the SHO bumpers, trim, and engine so they require some hefty reworking to get them looking the part. There were some resin casters in years past that popped some conversion kits and even station wagon versions. The 3D print market is picking up the slack, at least. Cheers!

.jpg.9960b506eebb03c4484a3fd1fde37547.jpg)
.jpg.3f3338e19f46a301c85a85a2b533d5bd.jpg)
.jpg.0b6f92af662a47d1f0b878ca97d1c265.jpg)
.jpg.0da72b8bebe9fa92bc84fc9369b54d18.jpg)
.jpg.2a13c7e178064497c02a75f79c7ffe20.jpg)
.jpg.830501885d2ce4eae12e5748cfceab36.jpg)
.jpg.15b9d8c5f0a8c72a0dd2680395d52236.jpg)
.jpg.008d693903acb7a4026d6802541d46ad.jpg)
.jpg.bf3043e34a57a462ec70f23a8bc0e391.jpg)
.jpg.2e88cac4f0107d5d4cace125f93efd85.jpg)
.jpg.d7a7155c7ca729a70eced76af3077fec.jpg)