Codi
-
Posts
2,484 -
Joined
-
Last visited


Codi's Achievements
MCM Ohana (6/6)
-
Well executed Ken. One to be proud of certainly. cheers, tim
-

1/48 Dragon Ta-152
Codi replied to mustang1989's topic in WIP: All The Rest: Motorcycles, Aviation, Military, Sci-Fi, Figures
I see what you're describing Joe with the ZM engine. A lot more to work with, hopefully it fits well for you. Great subject on a pretty rare plane. Will be sure to follow your progress too. cheers, tim -
T41 Bugatti sport coupe
Codi replied to charlie libby's topic in WIP: Other Racing: Road Racing, Land Speed Racers
Charlie, I'm remiss in getting caught up on your build. Loving this engine come together and the set-ups you shared to make it in the first place. VERY interesting and helpful. cheers, tim -
full detail 1/16th Gordie Bonin BubbleUp Trans Am Funnycar
Codi replied to Ian McLaren's topic in WIP: Drag Racing Models
Ian, Seat looks really good in position and I enjoyed the process you shared on how you did yours. You're clipping right along for sure. cheers, tim -
Chris......Good one.......sadly no, they're not sponsoring me. cheers,tim Tony Coomer, I apologize for not acknowledging your earlier post and wanted to say thanks. "Master of Sherline" is quite a stretch but I do appreciate the sentiment. They make great equipment. cheers, tim Thank you Bob!! cheers, tim Francis, thanks and you're right, Tamiya makes an excellent product, we're lucky as hobbyists to have such a resource. You've talked me into it btw on the doors. They will be coming out too and I've settled upon how the car will be presented when finished. Should be pretty cool. cheers, tim Randy D. Whatever I do I assure you it will have zero on your Birdcage Maserati. I'm going to do a 75' Don Hardy style chassis and will do my best to be 95% accurate with it. Most of the bits I've made to date should be perfect with it. Plan is do get the bulk of the body work done over the next couple months and then draw up the chassis so I can get it made. I'll paint the car next Spring and then assemble it all by Summer 25'........keep your posts coming too please! cheers, tim Daniel, thank you too, that grille was time consuming but when it all comes together at the end it should add that little bit of interest to the build. cheers, tim
-
That's absolutely stunning Jim. Can't wait to see the finished car but I'd be happy to have her just the way she is today. Gorgeous. The mica pearl, did you use Pearl-X ? Just curious. cheers, tim
-
Ferrari F 2003 GA
Codi replied to Chris Smith's topic in WIP: Other Racing: Road Racing, Land Speed Racers
I love the V-10 era of F1 and stance of this car to my eye was one of the best. If only they could have run with 70's era fat slick rubber all around it would have been even better. Great job sir! cheers, tim -
What a tremendous display of talent Francois. I learned a lot while cruising through this thread. Its definitely one to go thru multiple times as I know I've missed some things while going thru it just now. Thanks for sharing. cheers, tim
-
That's fantastic JT. The color is gorgeous and you lay down some great paint. Oh, and that engine ain't too shabby either. I'll be sure to follow along. cheers, tim
-
You are one talented individual Bill. If this is where "modeling" is going I'd say it has a bright future indeed. This type of creativity and excellence should excite anyone young enough and ambitious enough to learn the skills to do that.......marry it will some basic fabrication skills and the sky is the limit. Congrats, a big fan! cheers, tim
-
1968 mustang fastback
Codi replied to Brudda's topic in 1:1 Reference Photos: Auto Shows, Personal vehicles (Cars and Trucks)
The camaro IS nice Bruce.........but having a soft spot for Ford's I have to say the Mustang is just stellar. Great job my friend. cheers, Tim -
For the life of me I don't know how to delete the last 2 pics which were downloaded by mistake of the tool mentioned earlier in the thread......sorry bout' that.
-
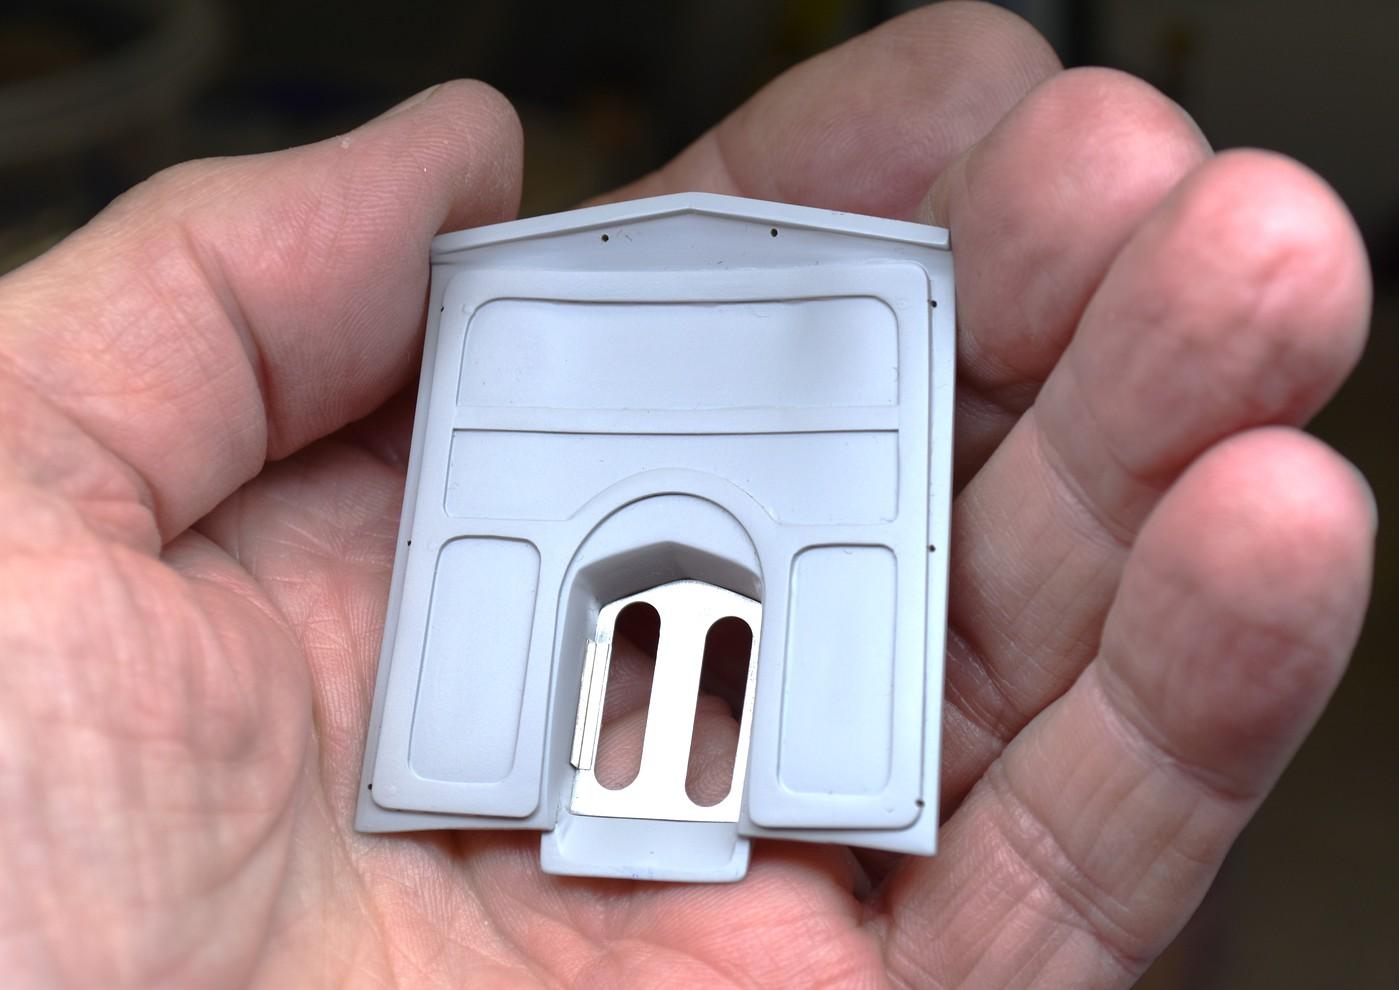
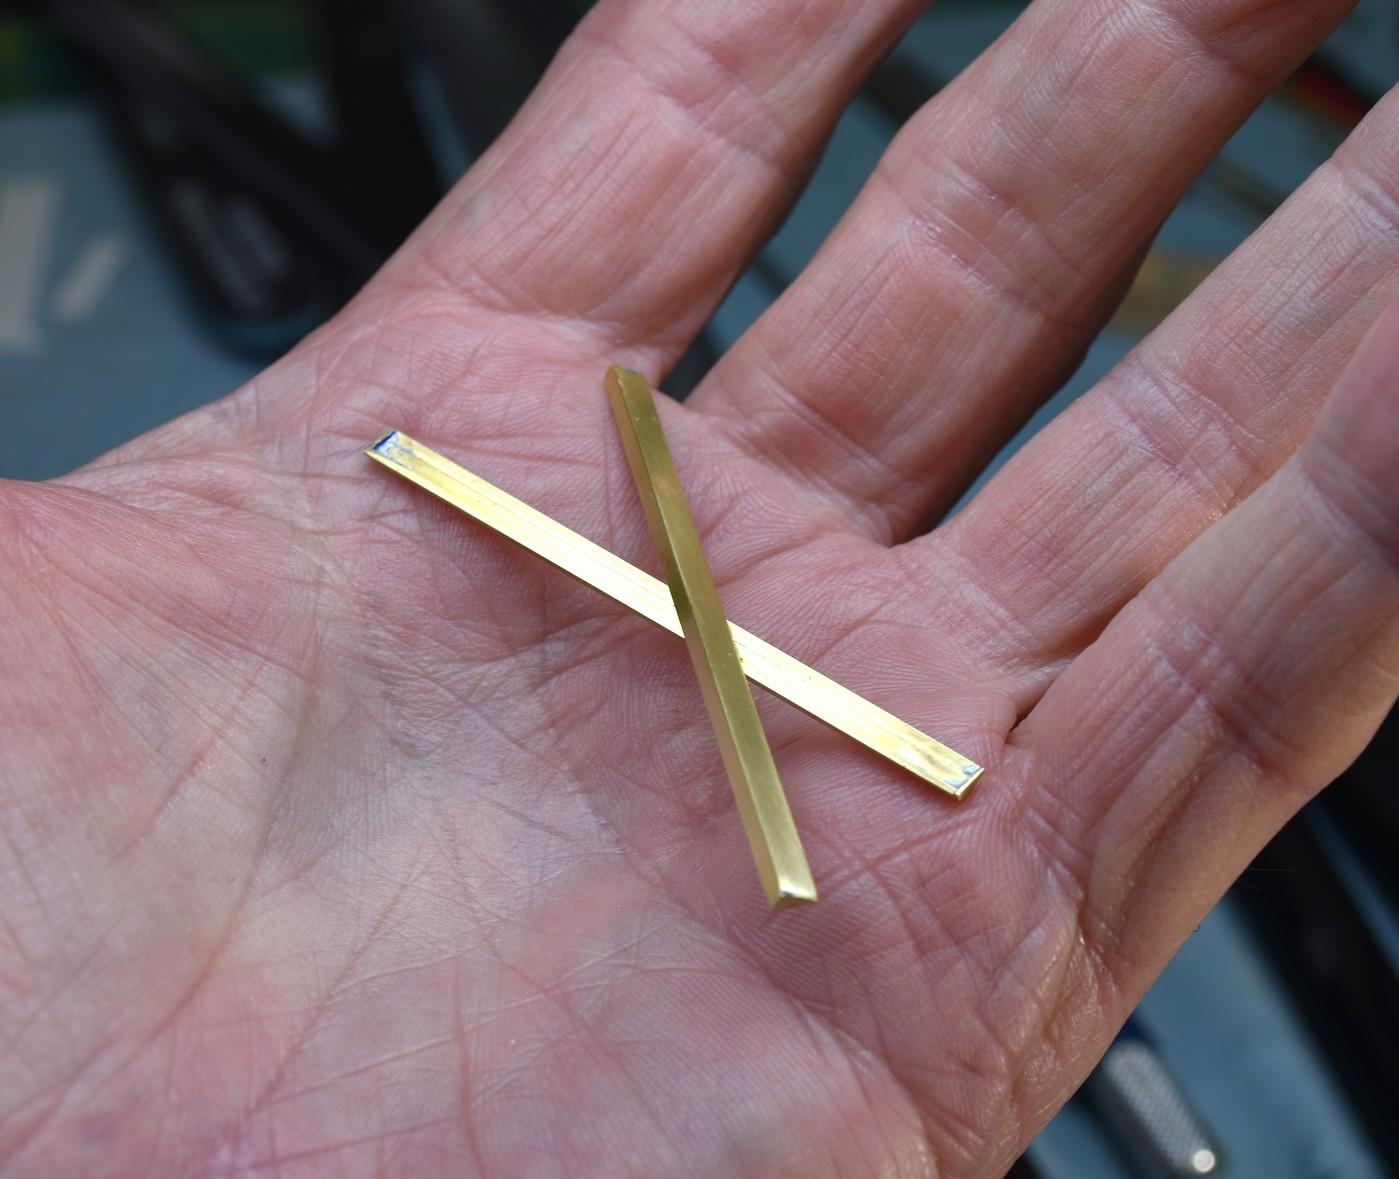
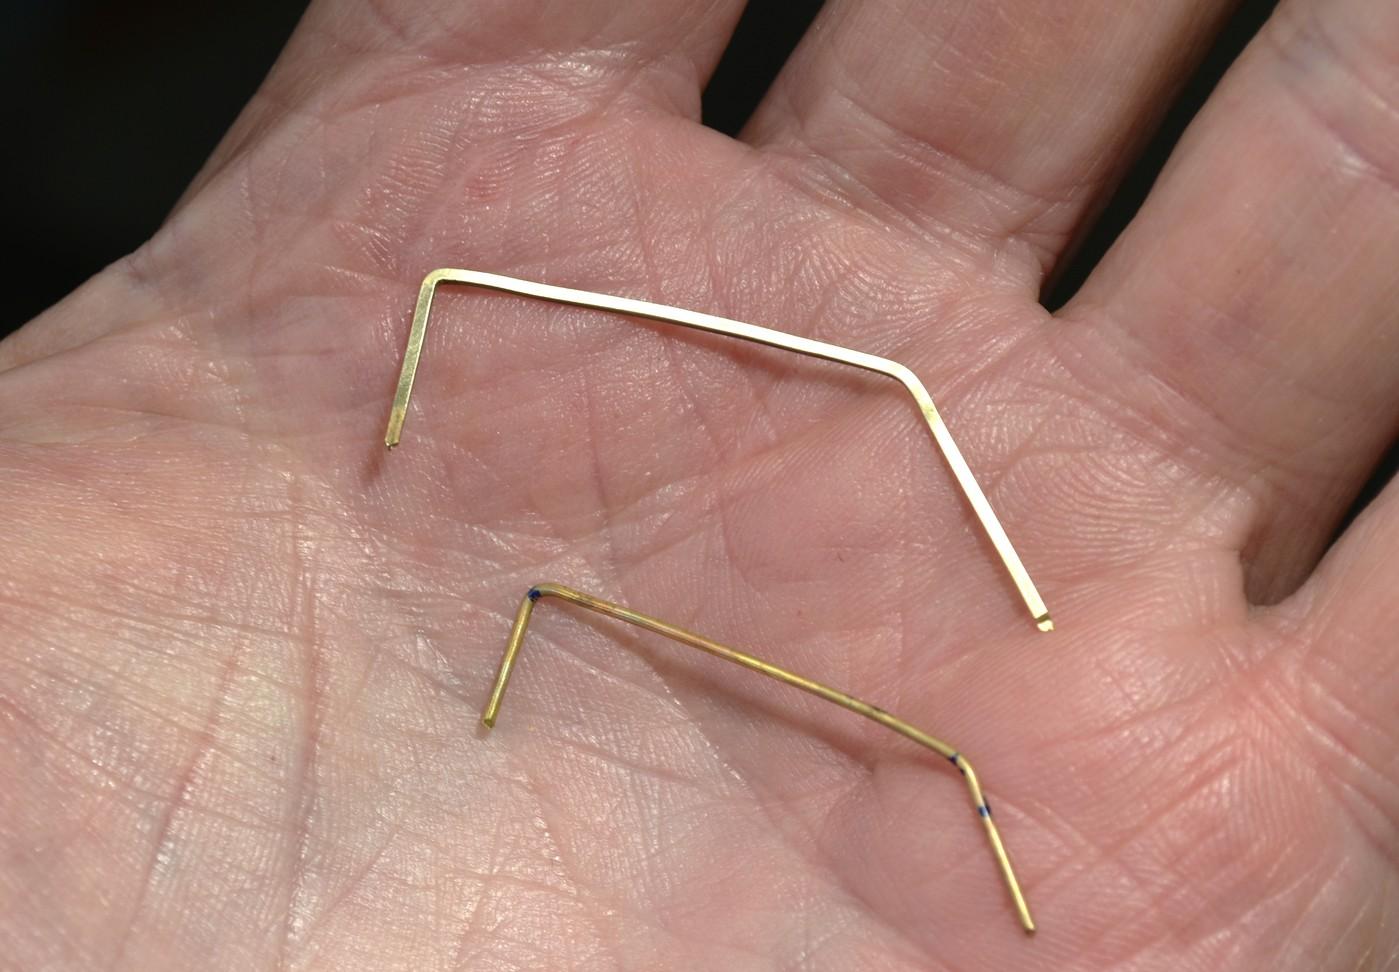
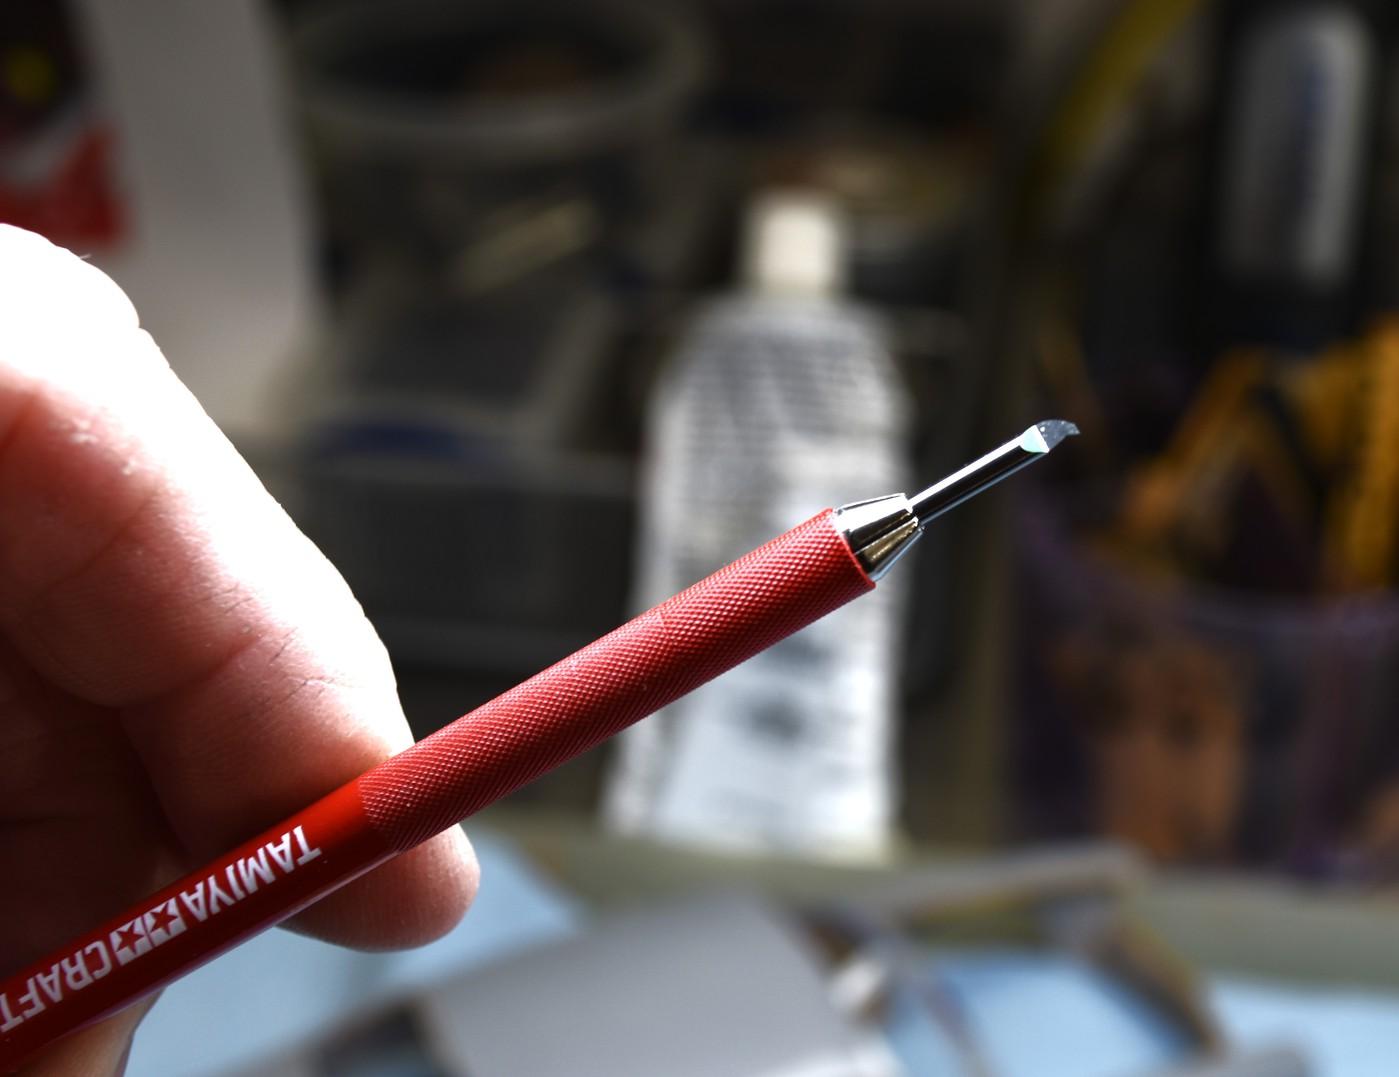
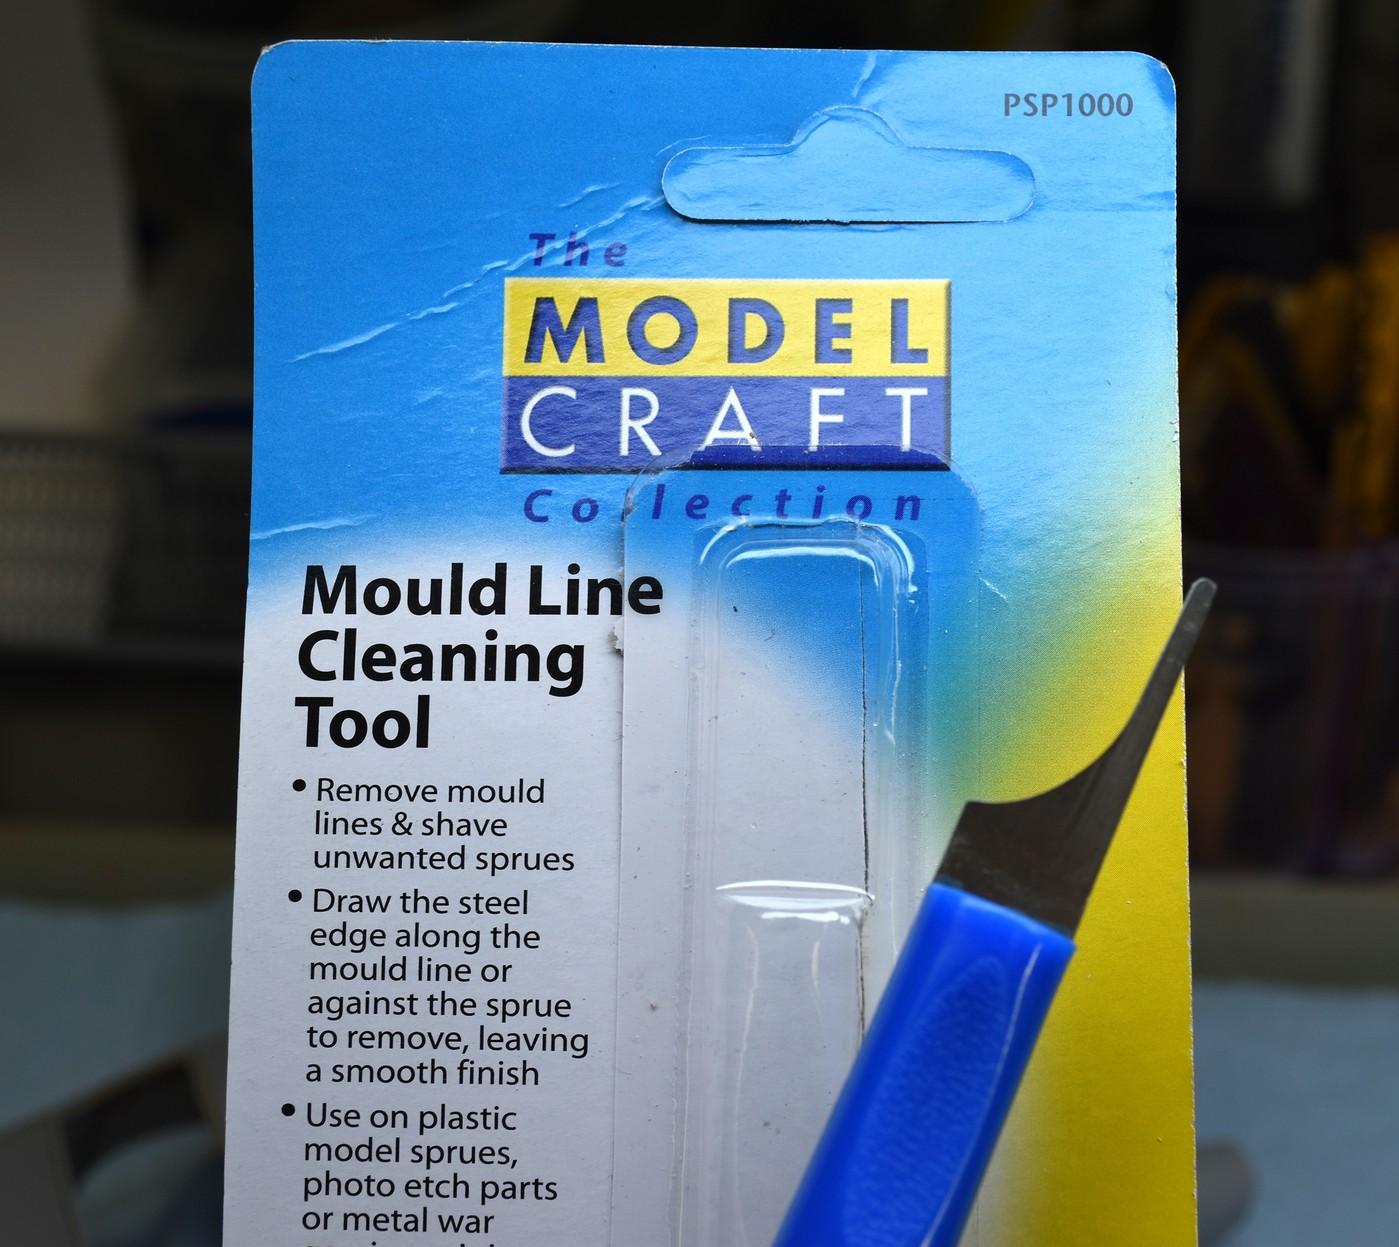
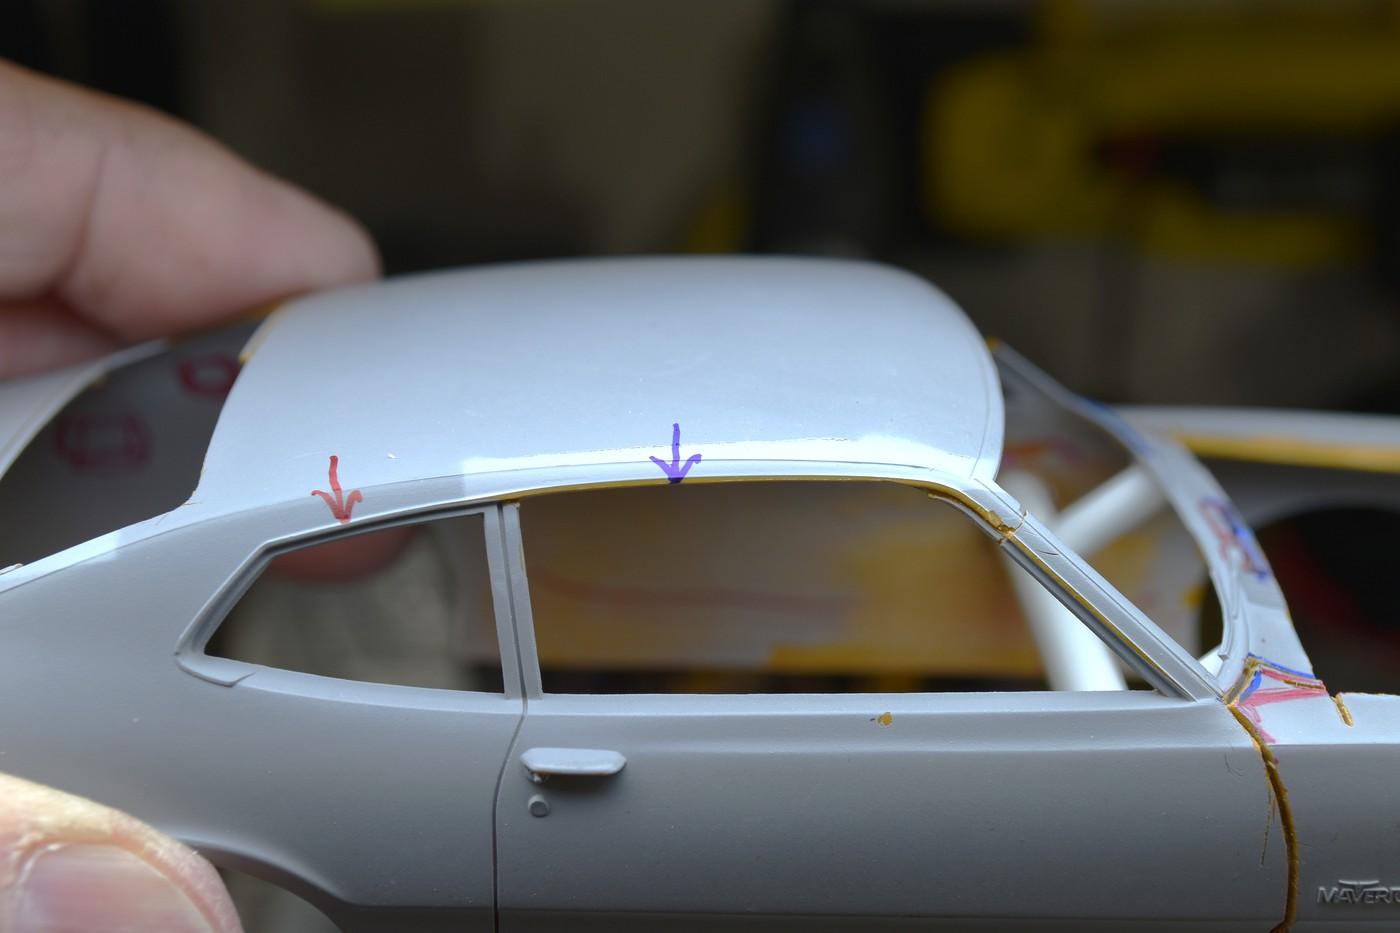
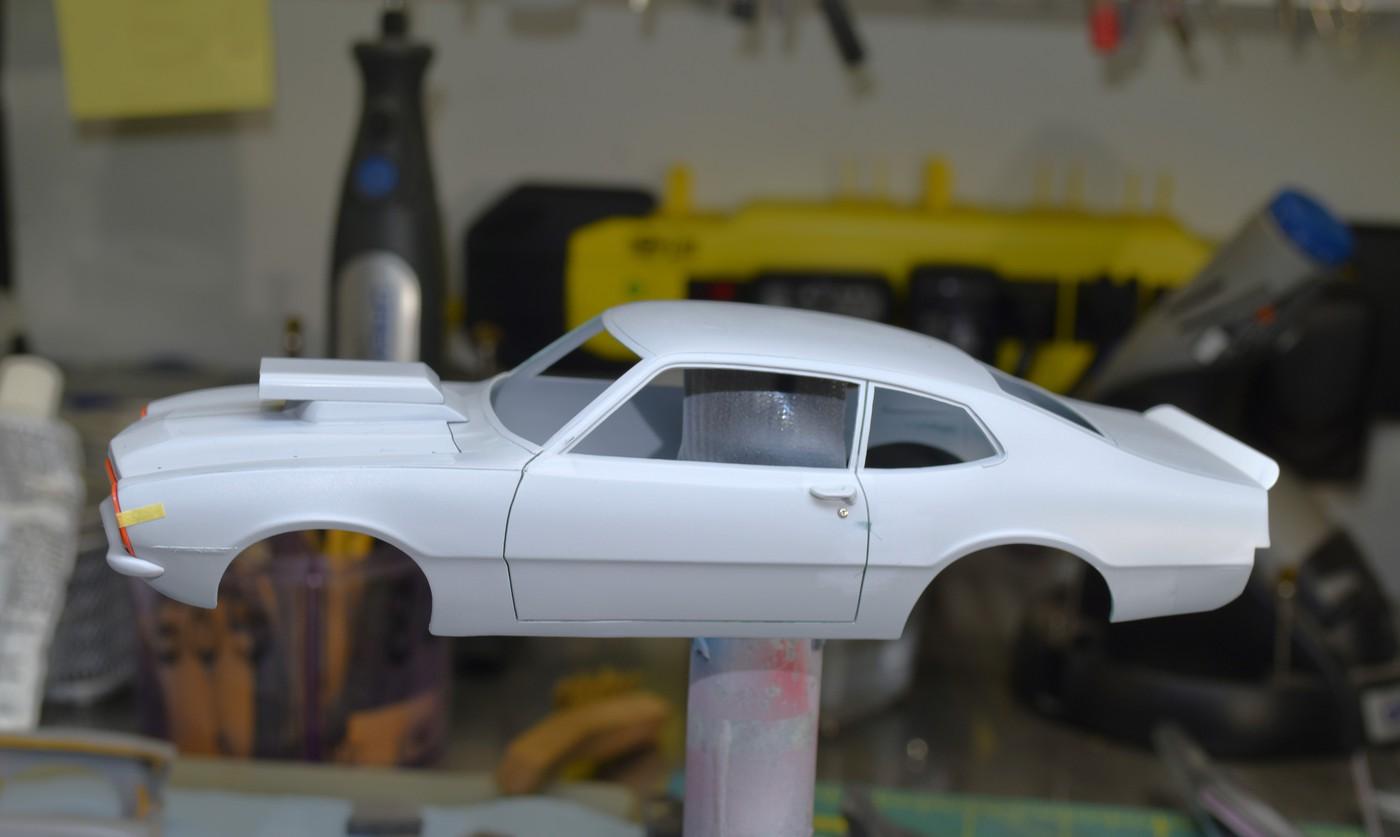
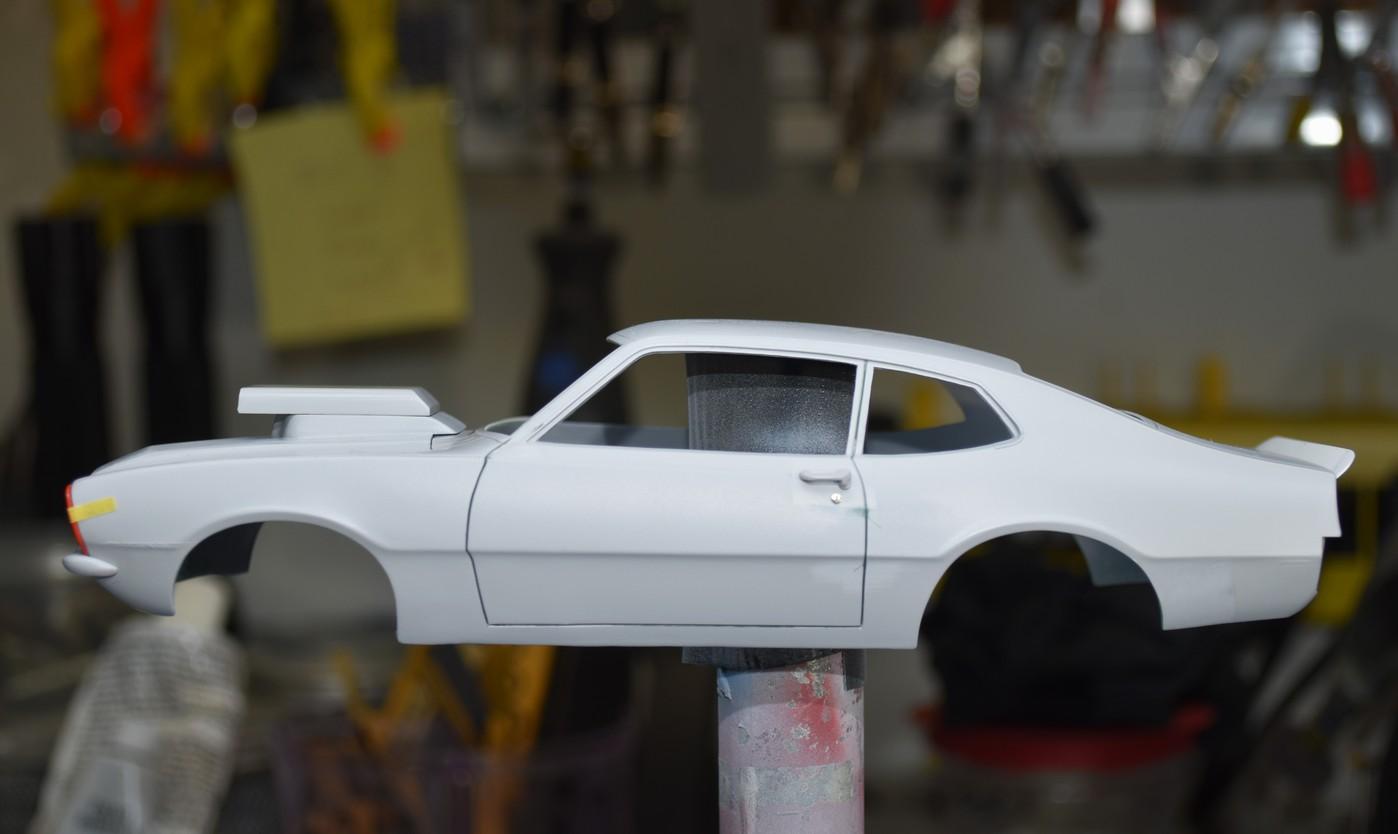
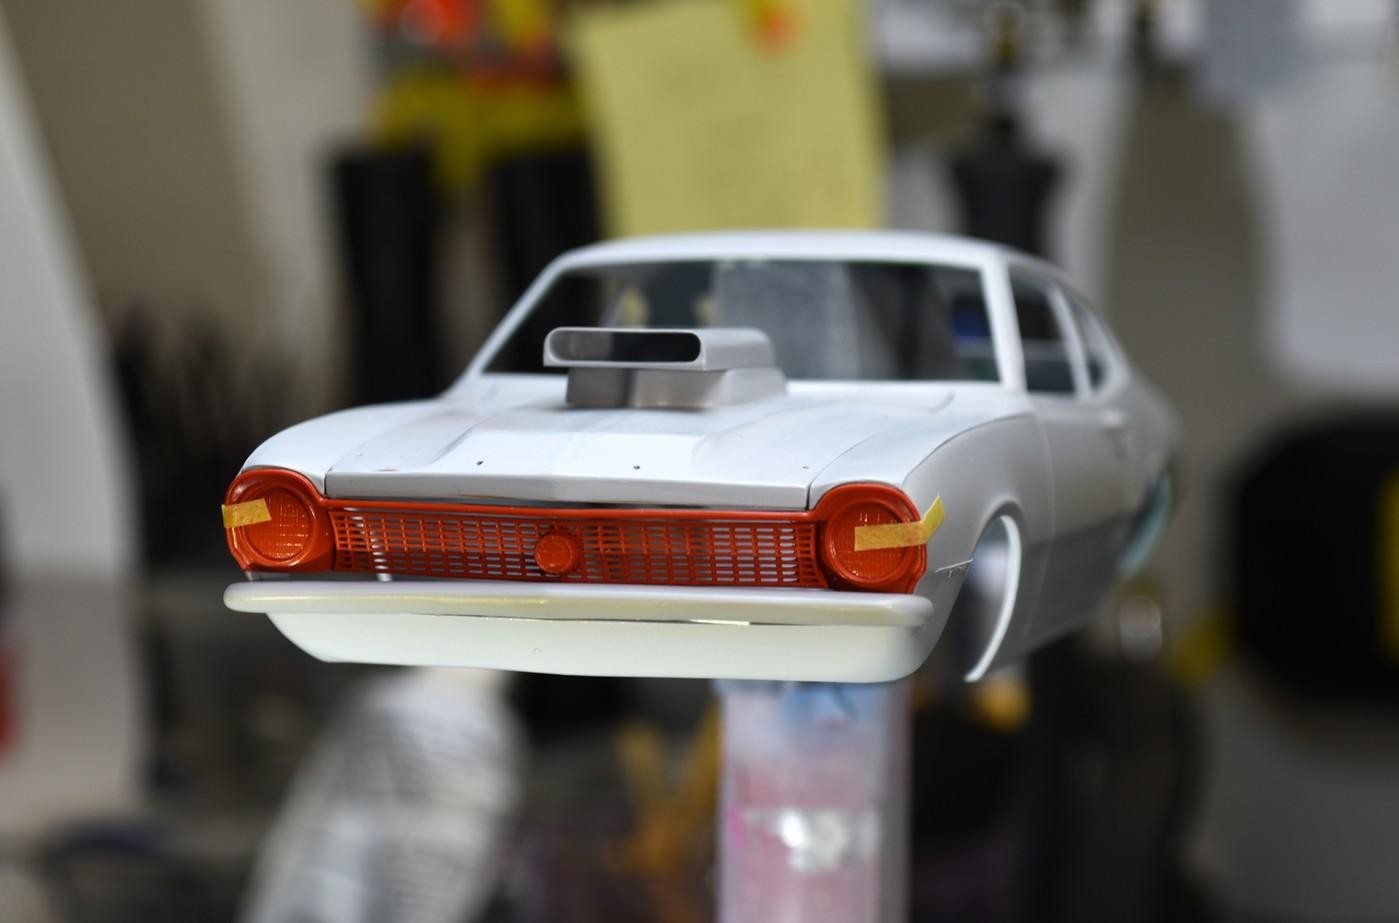
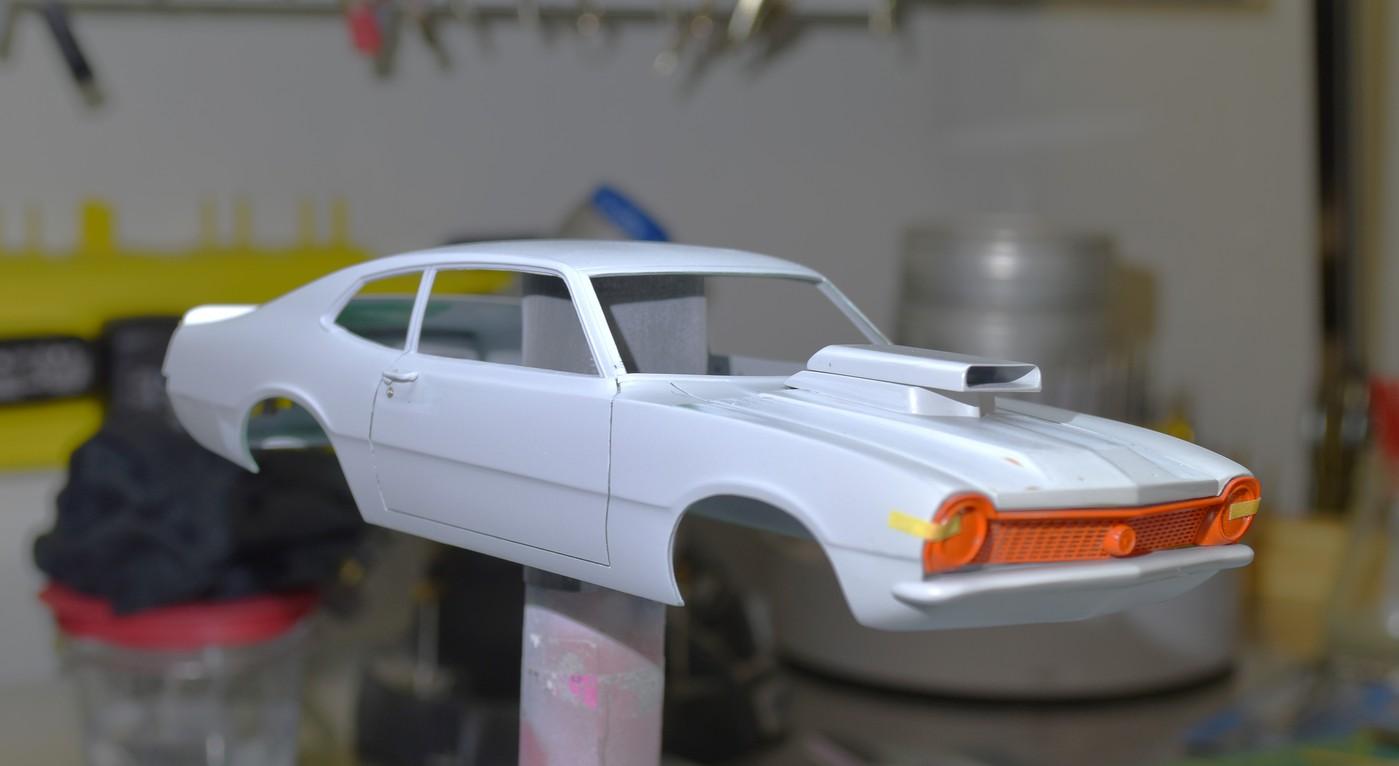
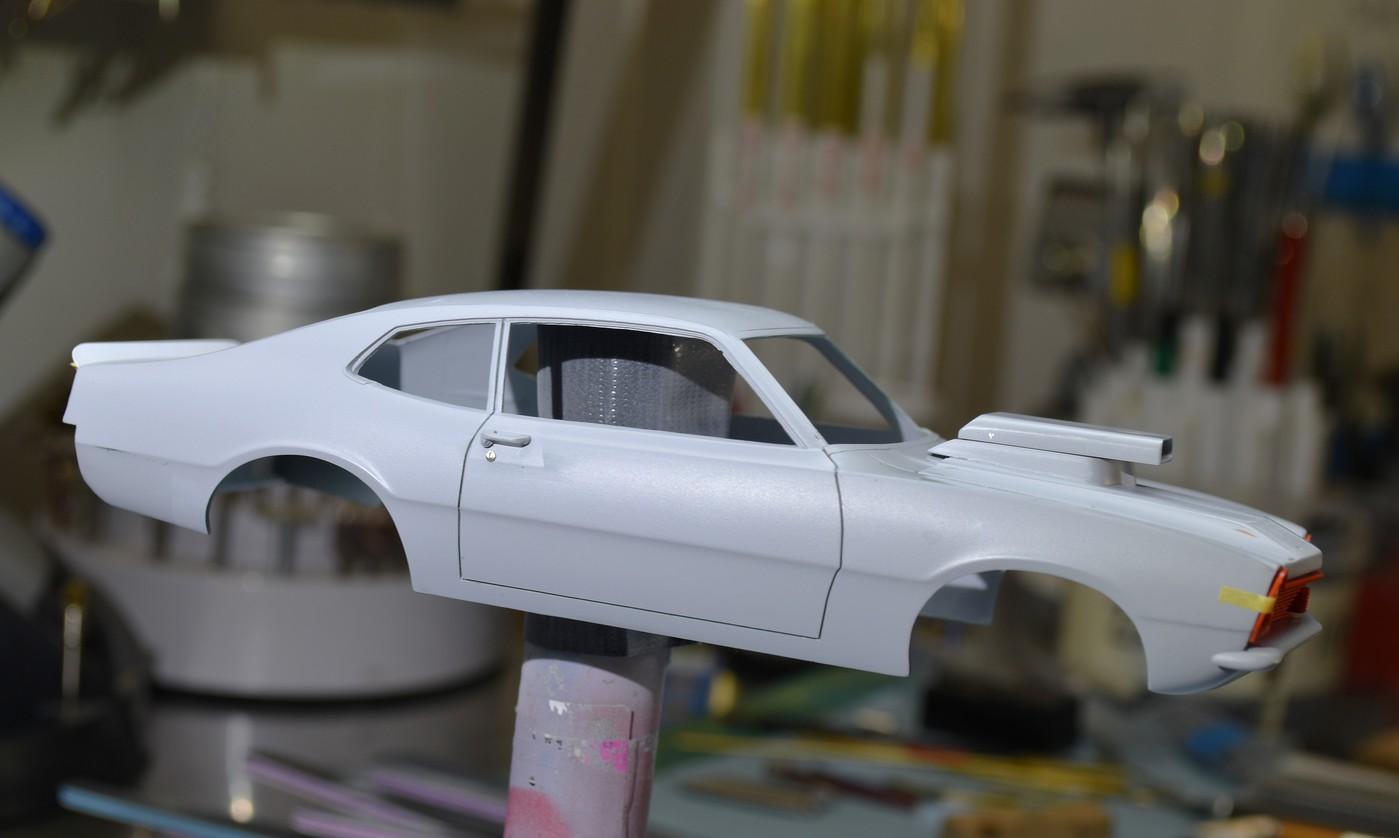
Roger & Chris, thanks fellas for taking a moment to check it out, yes, I was away far too long....... Claude, That glue, PolyZap in the pic that I posted was a dud I'm afraid. I was messing with something on the body and the part on the hood popped right off. What I've discovered is that my best results is either Super Thin Glue by Ammo/MIG or Tamiya's Super Thin glue, either one that sets in 10 or 30 seconds. Just for good measure, after joining certain parts I add Zap-A-Gap either thin or medium. So far now, so good.........but man these bodies are SOOO fragile. All the recent body work I've been undertaking has been quite delicate to say the least. Glad I bought the additional promo bodies as I can experiment on certain techniques before trying them on the build body itself. Thanks for your note too! cheers, tim Today I'm posting some bodywork updates & progress "report". First you can see the under-hood support I came up with to replicate the fiberglass hood. I don't know why the aluminum plate looks crooked in the pic as it's not. I was going to use hood pins to secure the hood but by 75' dzus fasteners were the more common method used. In anticipation of opening up the doors, trunk and removing the front clip from the car I fabbed a pair of brass rocker panels (the chassis will be all brass) and messed around with a technique of forming windshield frames using sq. brass rod. The test worked well and if I decide to take the doors out, that's what I'll do. This tool by Tamiya is the bomb for scribing btw........this one is the .2mm blade. This next tool I stumbled across and I experimented on the practice body with it to remove the drip rails.......it works great and I highly recommend it. In this pic the red arrow clearly shows the remaining drip rail and the blue arrow shows where I removed it and scribed out the window frame using the Tamiya scriber. These next pics show the new door handles ( I removed the molded in handles and used modified parts box handles that I modified to get the right shape) I also added the door lock and re-located it as the stock location on the kit is wrong. The side marker lights front and rear were removed. The front lower valance was filled & smoothed in. The windshield wipers were removed & the cowl vents eliminated (that was a mess) which necessitated that I add the windshield/cowl trim back that had to be removed. The mock-up shows a possible 4" spoiler that I'm considering on the final build. The 75' rules stipulated that one could be added even if the actual car didn't have one but it couldn't be an aerofoil & could not exceed 4" in height. Still debating it and comments are welcome on adding it. Next step is to thin out the body where needed before starting to cut out / off the doors etc. that I mentioned before. I'll add the brass rockers for strength and to help keep everything aligned and I have to remove the drip rails. Another good pass of body work refinement and I think I'll almost be done with this initial part of the bodywork. To everyone, cheers !! Tim

-
full detail 1/16th Gordie Bonin BubbleUp Trans Am Funnycar
Codi replied to Ian McLaren's topic in WIP: Drag Racing Models
Very nicely done Ian. This is gonna be a sweet build. cheers, tim -
’72 Dodge Demon Drag Racer 1/25 scale
Codi replied to AmericanMuscleFan's topic in WIP: Drag Racing Models
Hi Francis, well I had a solid 6 pages or so of catching up to do but all of the things you've accomplished we fantastic. Loving the results AND the methods shared. Keep em' coming! cheers, tim