butter
-
Posts
63 -
Joined
-
Last visited
Recent Profile Visitors


butter's Achievements
MCM Regular (3/6)
-
64 Dodge D100 Pickup Pro Street
butter replied to AmericanMuscleFan's topic in WIP: Drag Racing Models
Hi Francis. That rear end assy. is perfect!!! Beautiful!!!!!!!!!!!! As for my FD-100 build, I have got the dash and windshield fitted in, a headliner built and am about to permanently install the cab floor. Next I think I will assemble and fit the bed floor into the box. Thanks for asking. Other than you there doesn't seem to be a lot of interest in the project so I haven't updated the thread. -
Hi Tim. Once again a super clean in scale build of a very interesting subject. I never expect anything less from your table an you always deliver! Ron B.
-
64 Dodge D100 Pickup Pro Street
butter replied to AmericanMuscleFan's topic in WIP: Drag Racing Models
Hey Francis. Awesome -
So true!!!!
-
Have you considered separating the pulleys, cutting groves in them where the belts run and running thin black tape to simulate belts. With all the beautiful work done on the interior and the amount of detail in the rest of the motor, I am betting you could easily fix up the pulleys as I have described.
-
Nicely done! Usually not a fan of red, but it looks awesome on this body style.
-
64 Dodge D100 Pickup Pro Street
butter replied to AmericanMuscleFan's topic in WIP: Drag Racing Models
Hi Francis. Perfectly executed as always! I will consider the same approach for the bumpers on my F100. -
De Foosing the FD-100
butter replied to butter's topic in WIP: Model Trucks: Pickups, Vans, SUVs, Light Commercial
Hi Francis. Thanks for your continued interest and support! You are absolutely correct about the windshield. I did the panel truck windshield that is posted earlier in this thread as you describe. I am more concerned about doing the rear window with clear styrene because of the severe curve on the edges. Also, doing the windshield with clear styrene actually makes fitting the dash easier. We will see how it goes. That is where I am heading next on this project. -
De Foosing the FD-100
butter replied to butter's topic in WIP: Model Trucks: Pickups, Vans, SUVs, Light Commercial
Got some frame work done. Used Ertl 53 F100 frame as a starting point. Built a channel for the middle of the frame rails because the real truck frame is only boxed around the front and rear end. Corrected the frame cross members. Added front body mounts and running board braces. Scratch built Heidts Mustang II front suspension and 4 LInk rear suspension. Rear coil overs are modified R-D Unique coil overs to represent the adjustable coil overs on my truck. Next up I will work on building door hinges, building inner front cab corners, permanently installing the floor and trying to figure out how to fit the dash up to the wind shield without it looking stupid. All comments and constructive criticism is welcome and encouraged.
-
64 Dodge D100 Pickup Pro Street
butter replied to AmericanMuscleFan's topic in WIP: Drag Racing Models
Hey Francis. You need to mark your calendar for the final GSL contest in Salt Lake City in Early 2023. My guess is the best of the best from all over the world will be there. (Just saw an update about it in the contests thread in the General info forum (I think that is where I saw it.)) I will see you there if you make it. -
Just ran across this awesome thread. This interior is superb!!.
-
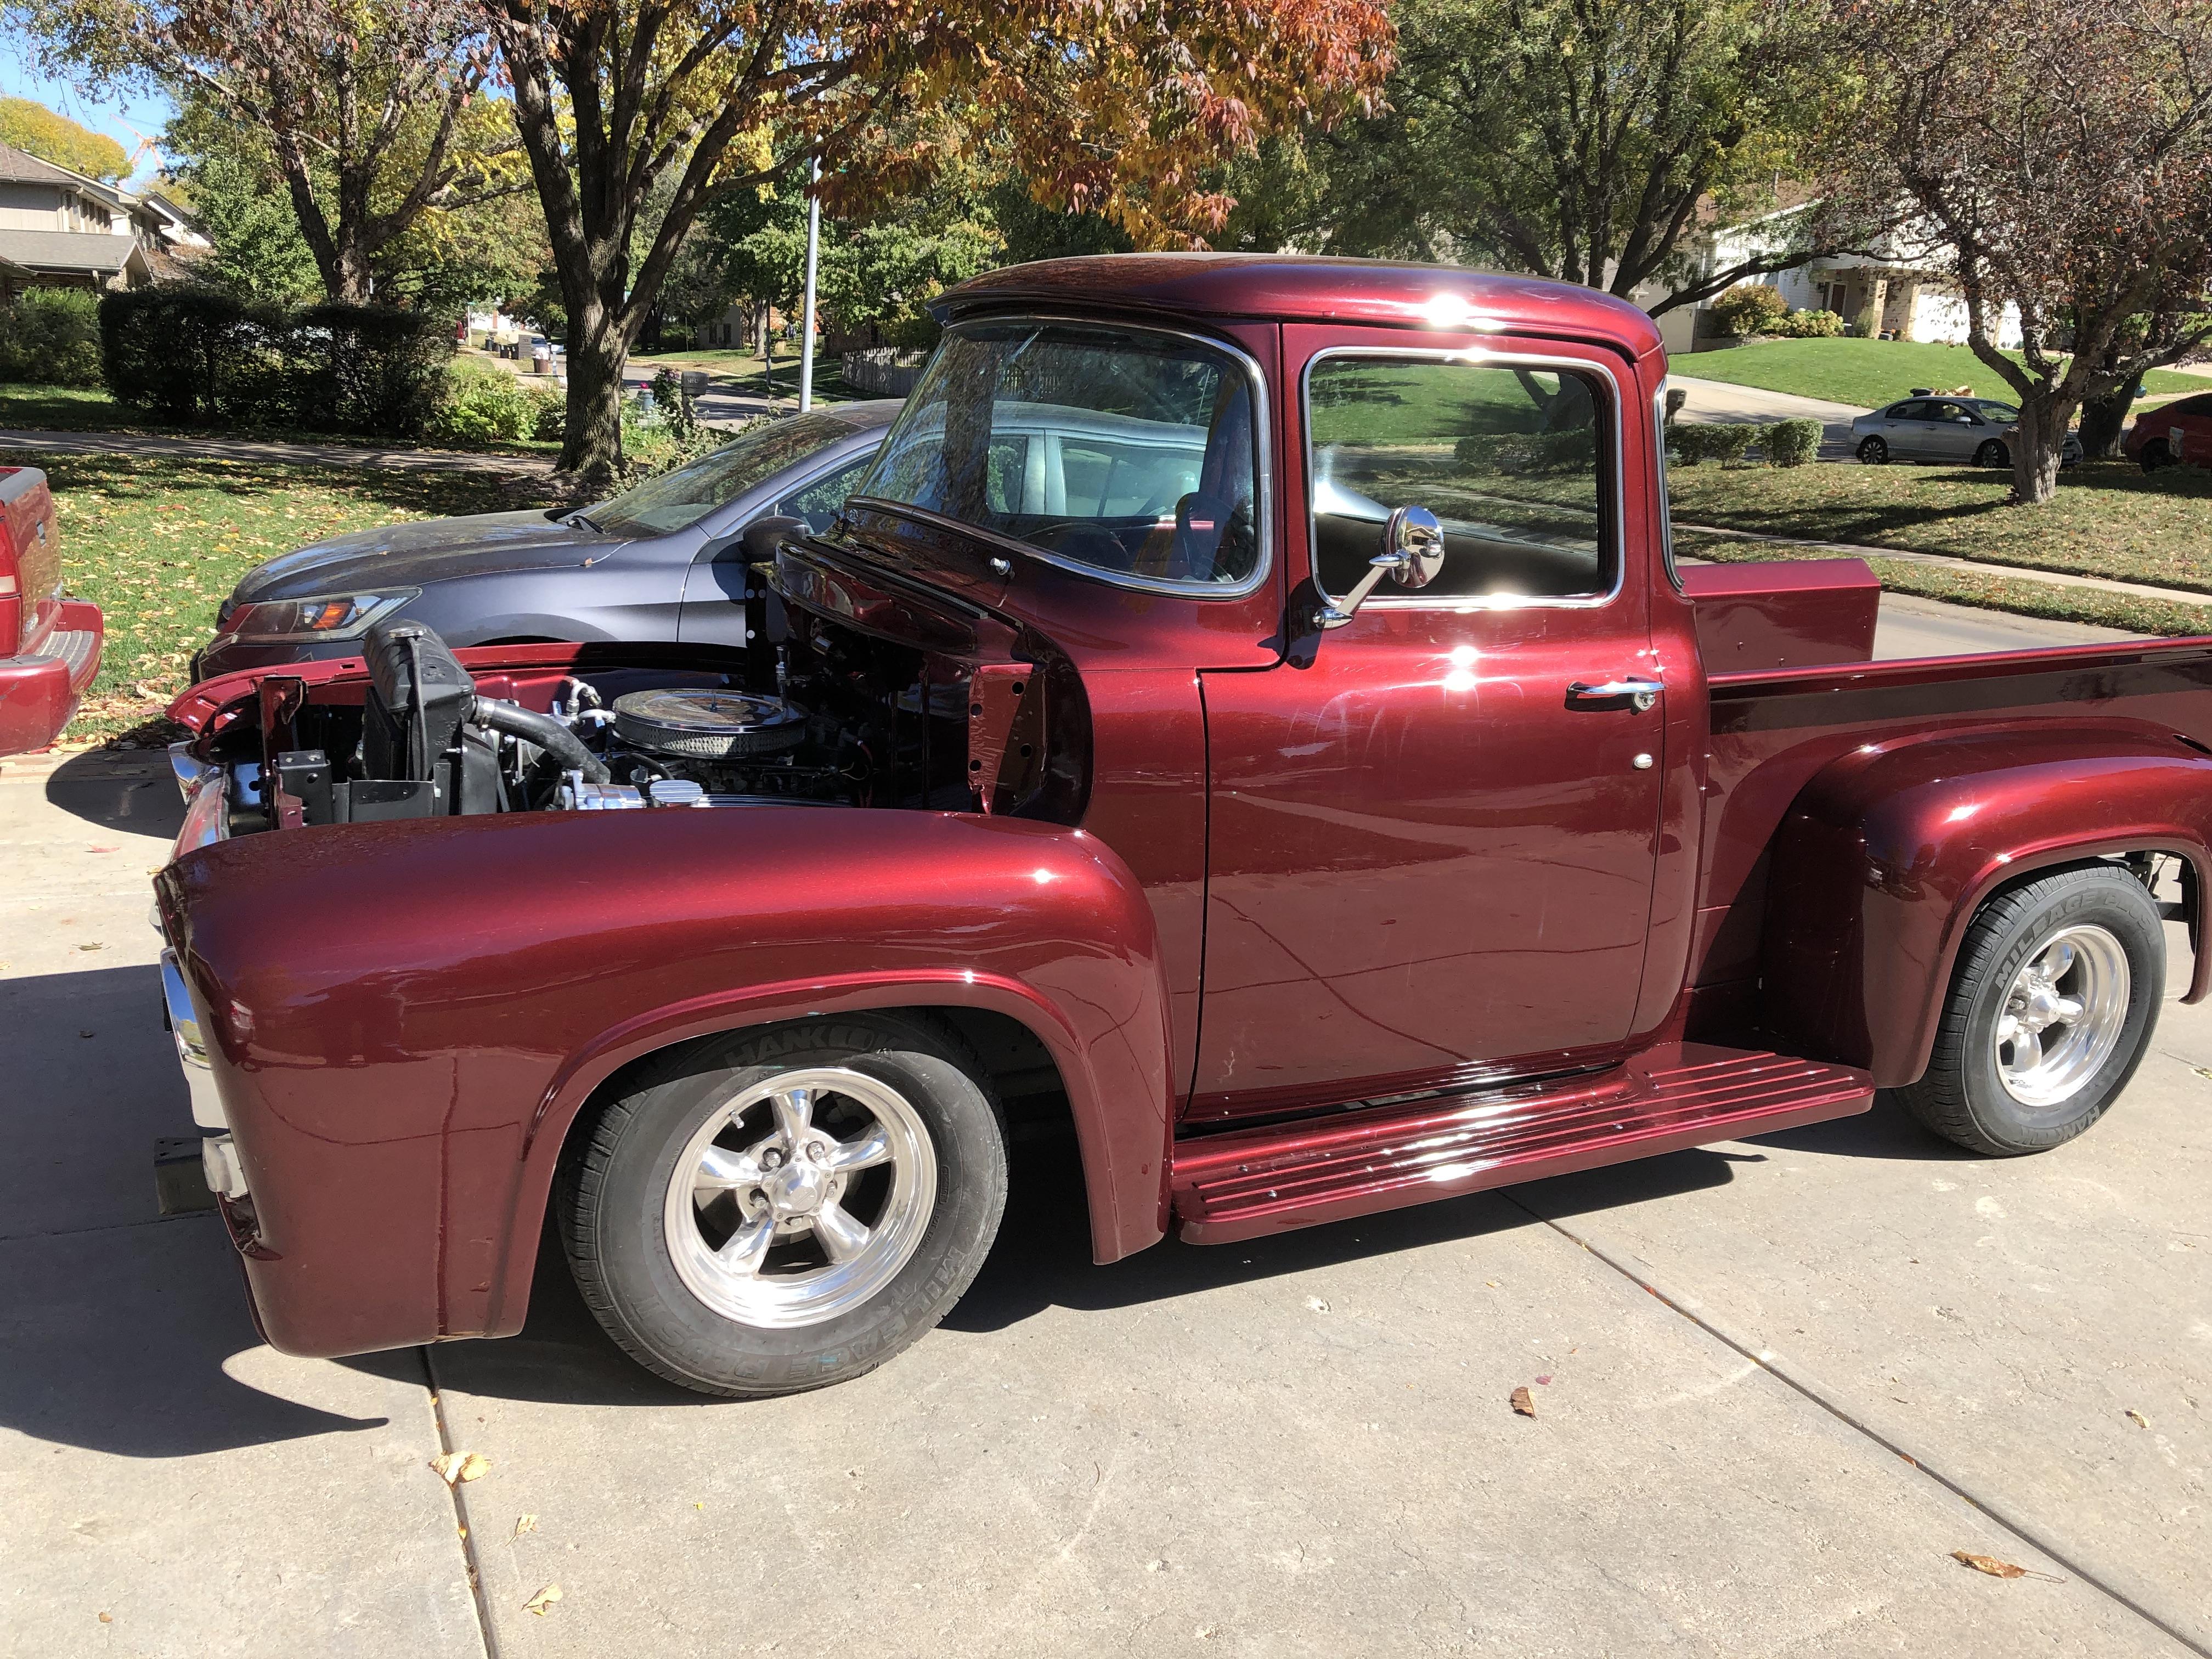
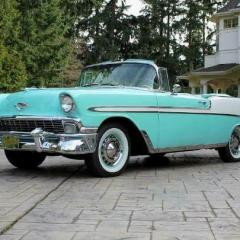
Hey Tim. Thanks for the kind words about my models in the Cutlass "el Camino" thread. As I said before it was an honor to be featured in your Street Rodder column. I am just about finished with my 1:1 56 F100 (interior is being installed as this is written) and am in the process of replicating it in 1:25th scale. See the thread "DeFoosing the FD100" in the "Pickups and Vans" in process section. Attached are a few pics of both projects.
-
IronHide TopKick C4500
butter replied to Sergey's topic in WIP: Model Trucks: Pickups, Vans, SUVs, Light Commercial
Try super glue gel 80 to 90% and testors liquid cement, for the rest. I find this combo really keeps things together. The bond isn't "brittle" like super glue alone, and you have a little time to move parts around because the liquid cement seems to slow the super glue curing time by several seconds. -
Very nice!! I like the little touches like the "aluminum" piece on the top of the tail gate.
-
64 Dodge D100 Pickup Pro Street
butter replied to AmericanMuscleFan's topic in WIP: Drag Racing Models
Thanks for the info. i will have to give it a try and see what happens. BTW, you nailed the shape and geometry of the real hinge, nicely done.