jet
-
Posts
19 -
Joined
-
Last visited
1 Follower
Recent Profile Visitors
1,446 profile views


jet's Achievements
MCM Member (2/6)
-
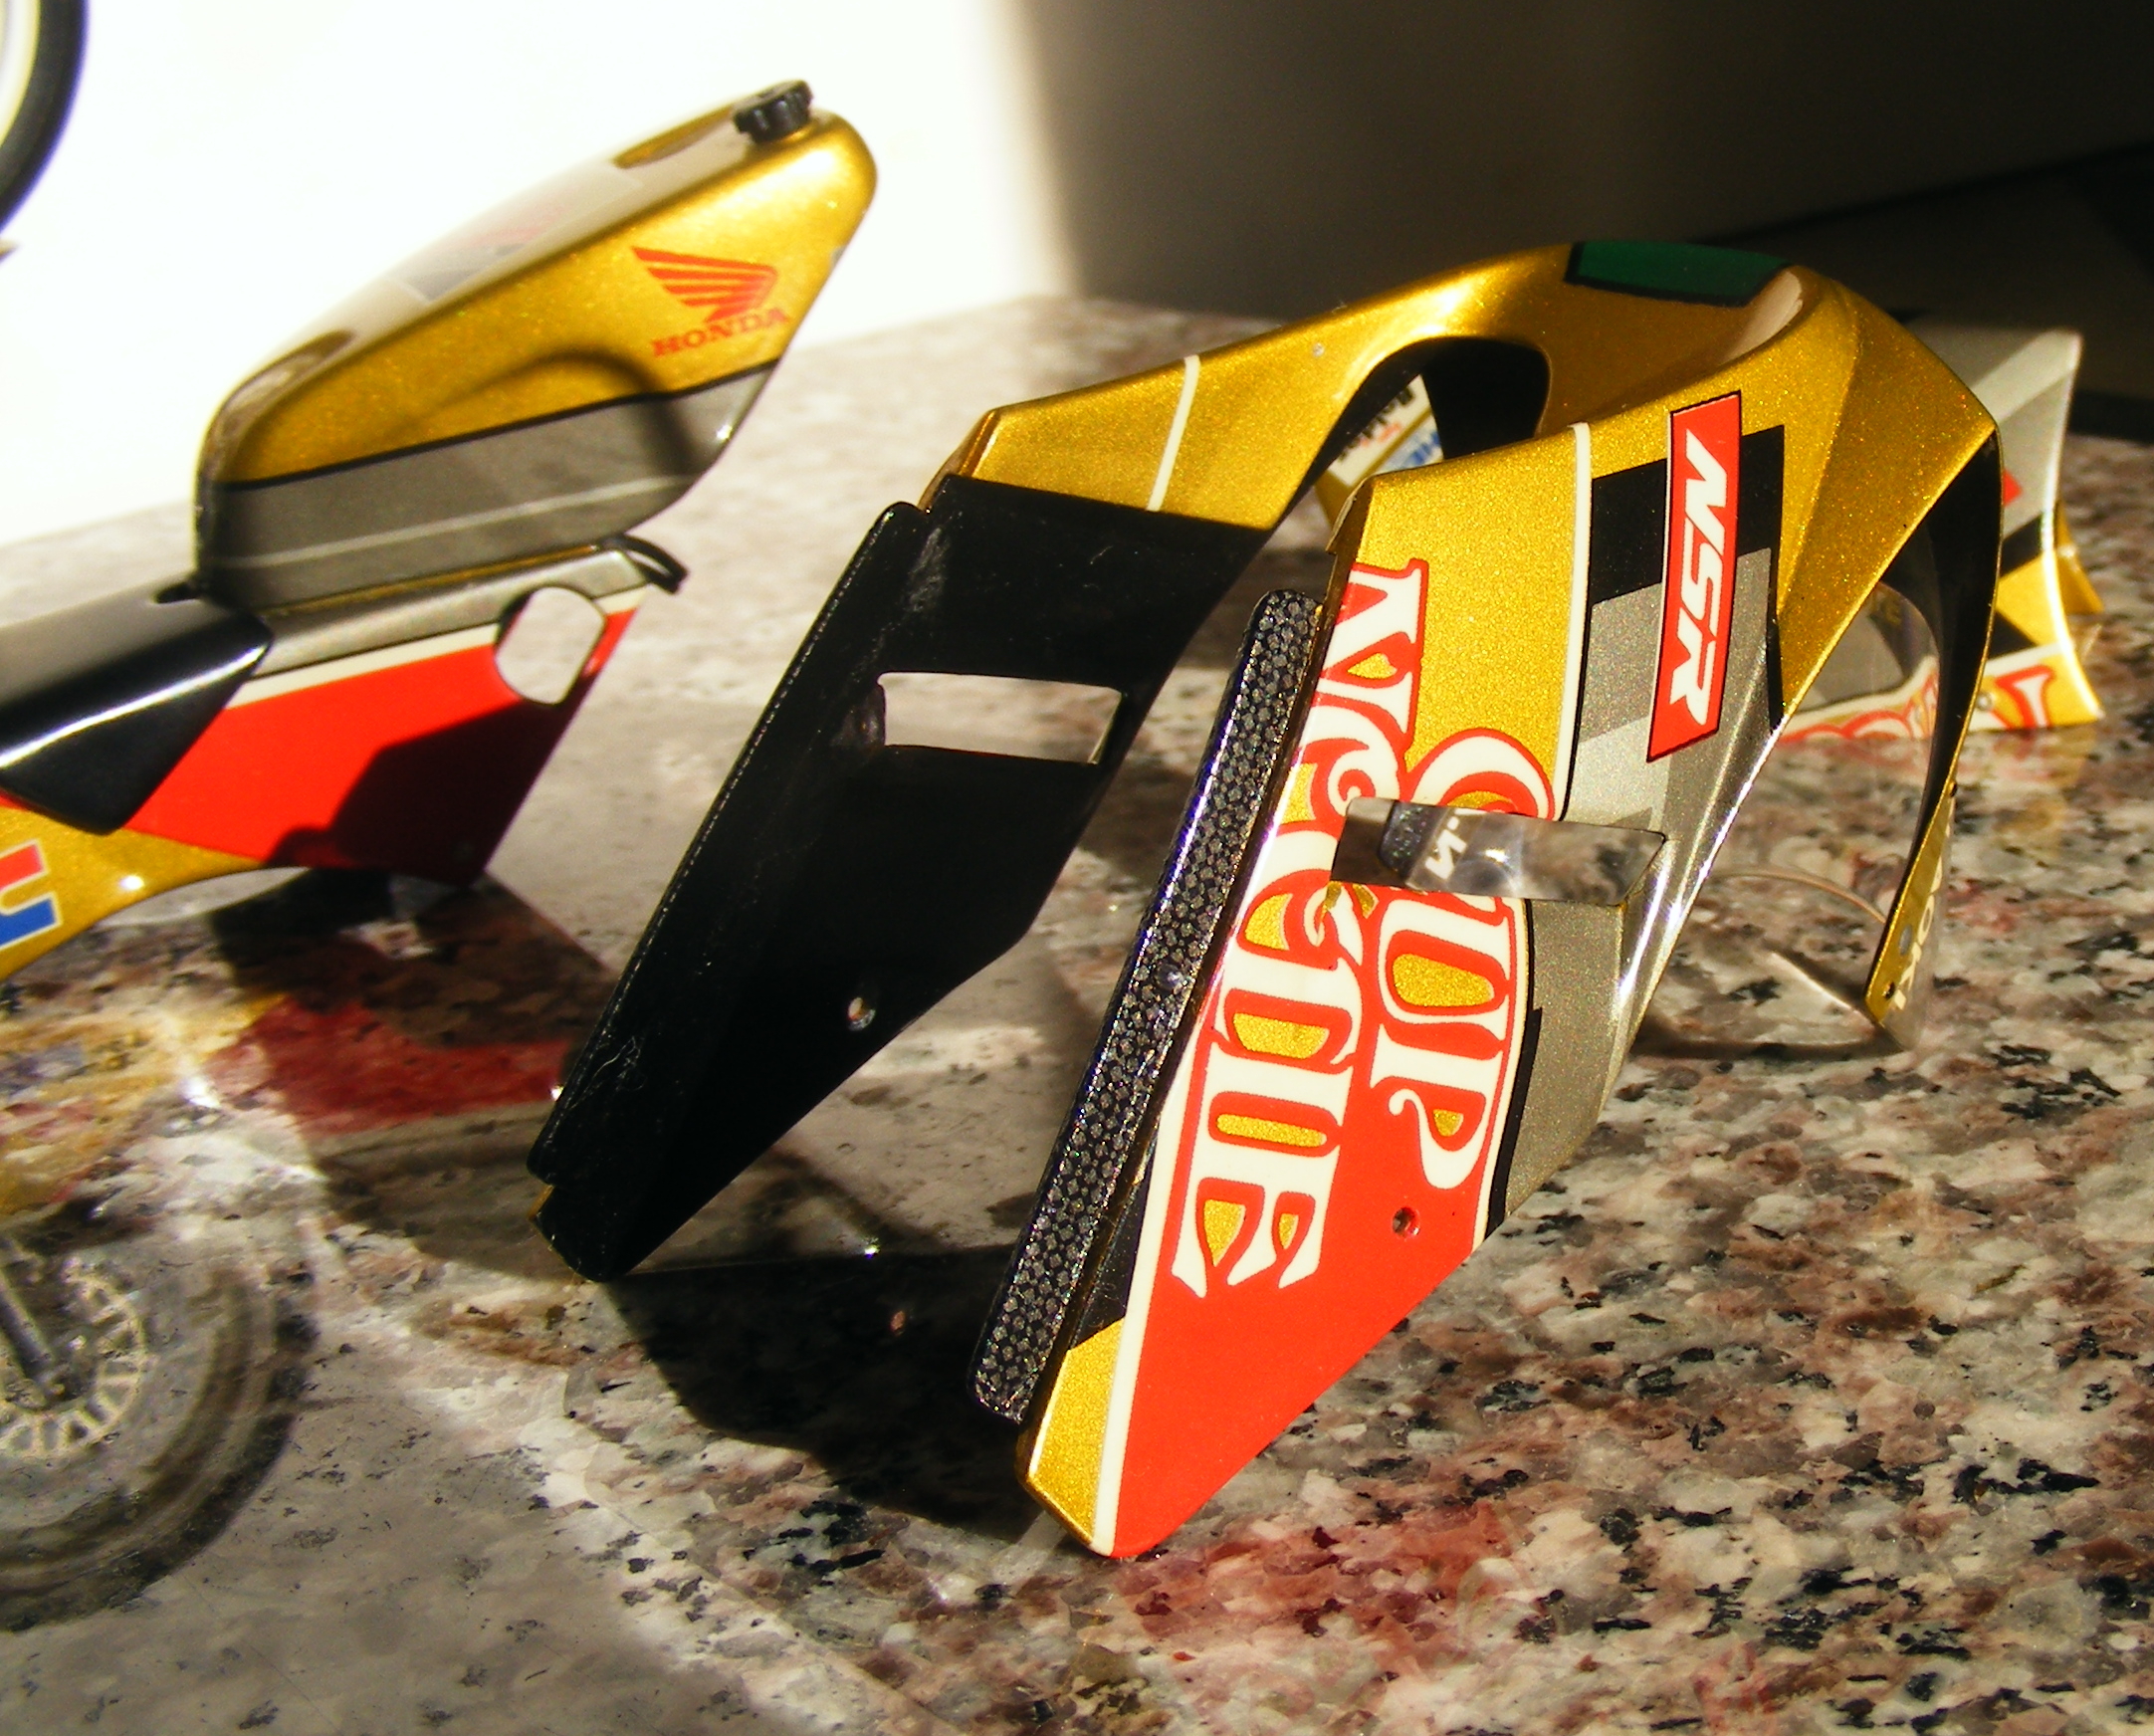
 Turn Signal Amber for sure but as Snake said, play with the base color. I've used it over Copper, Gold, Brass and even Yellow. You want to play with the gold base to get that color because the Amber is a transparent candy metallic color. It likes the Gold because its the brightest of the list. Aluminum washes it out badly. I used the Amber and toned it with just a smidge of clear green off a 1/4oz bottle of Jade Green Metallic. This is all over Gold base and in direct afternoon sun through the window. Look through the Metalizer line also for some gold colors. It might help the tone but not the size of the fleck because my Gold laid down almost reflective but it was all lost through the larger flake in the Amber. There is a compliment to the Amber with their Stop Light Red metallic. I haven't tried it as a toner to bring more orange into the amber but I'm sure it would work okay
-
Polishing paint without clear?
jet replied to 1hobby1's topic in Model Building Questions and Answers
I have pretty good luck with Model Master 1/2oz Enamel and their thinner. Lacquer thinner flashes too fast and softens the paint. It dries fast but at a penalty. I can get a perfect water gloss with the proper mixing. I build bikes and race cars where you cannot always polish the paint. It has to be right the first time. Clear coats I avoid because it changes the character of the color in my opinion. Any orange peel is taken care of by choking off the fresh air with putting the parts in a small box and capping it. It allows the solvents to loosen the flash and it all self levels nice. Some colors will not dry with a high water gloss even though they are in their gloss lineup. This I will add a small amount of clear enamel in the last coat to give it help and it works. -
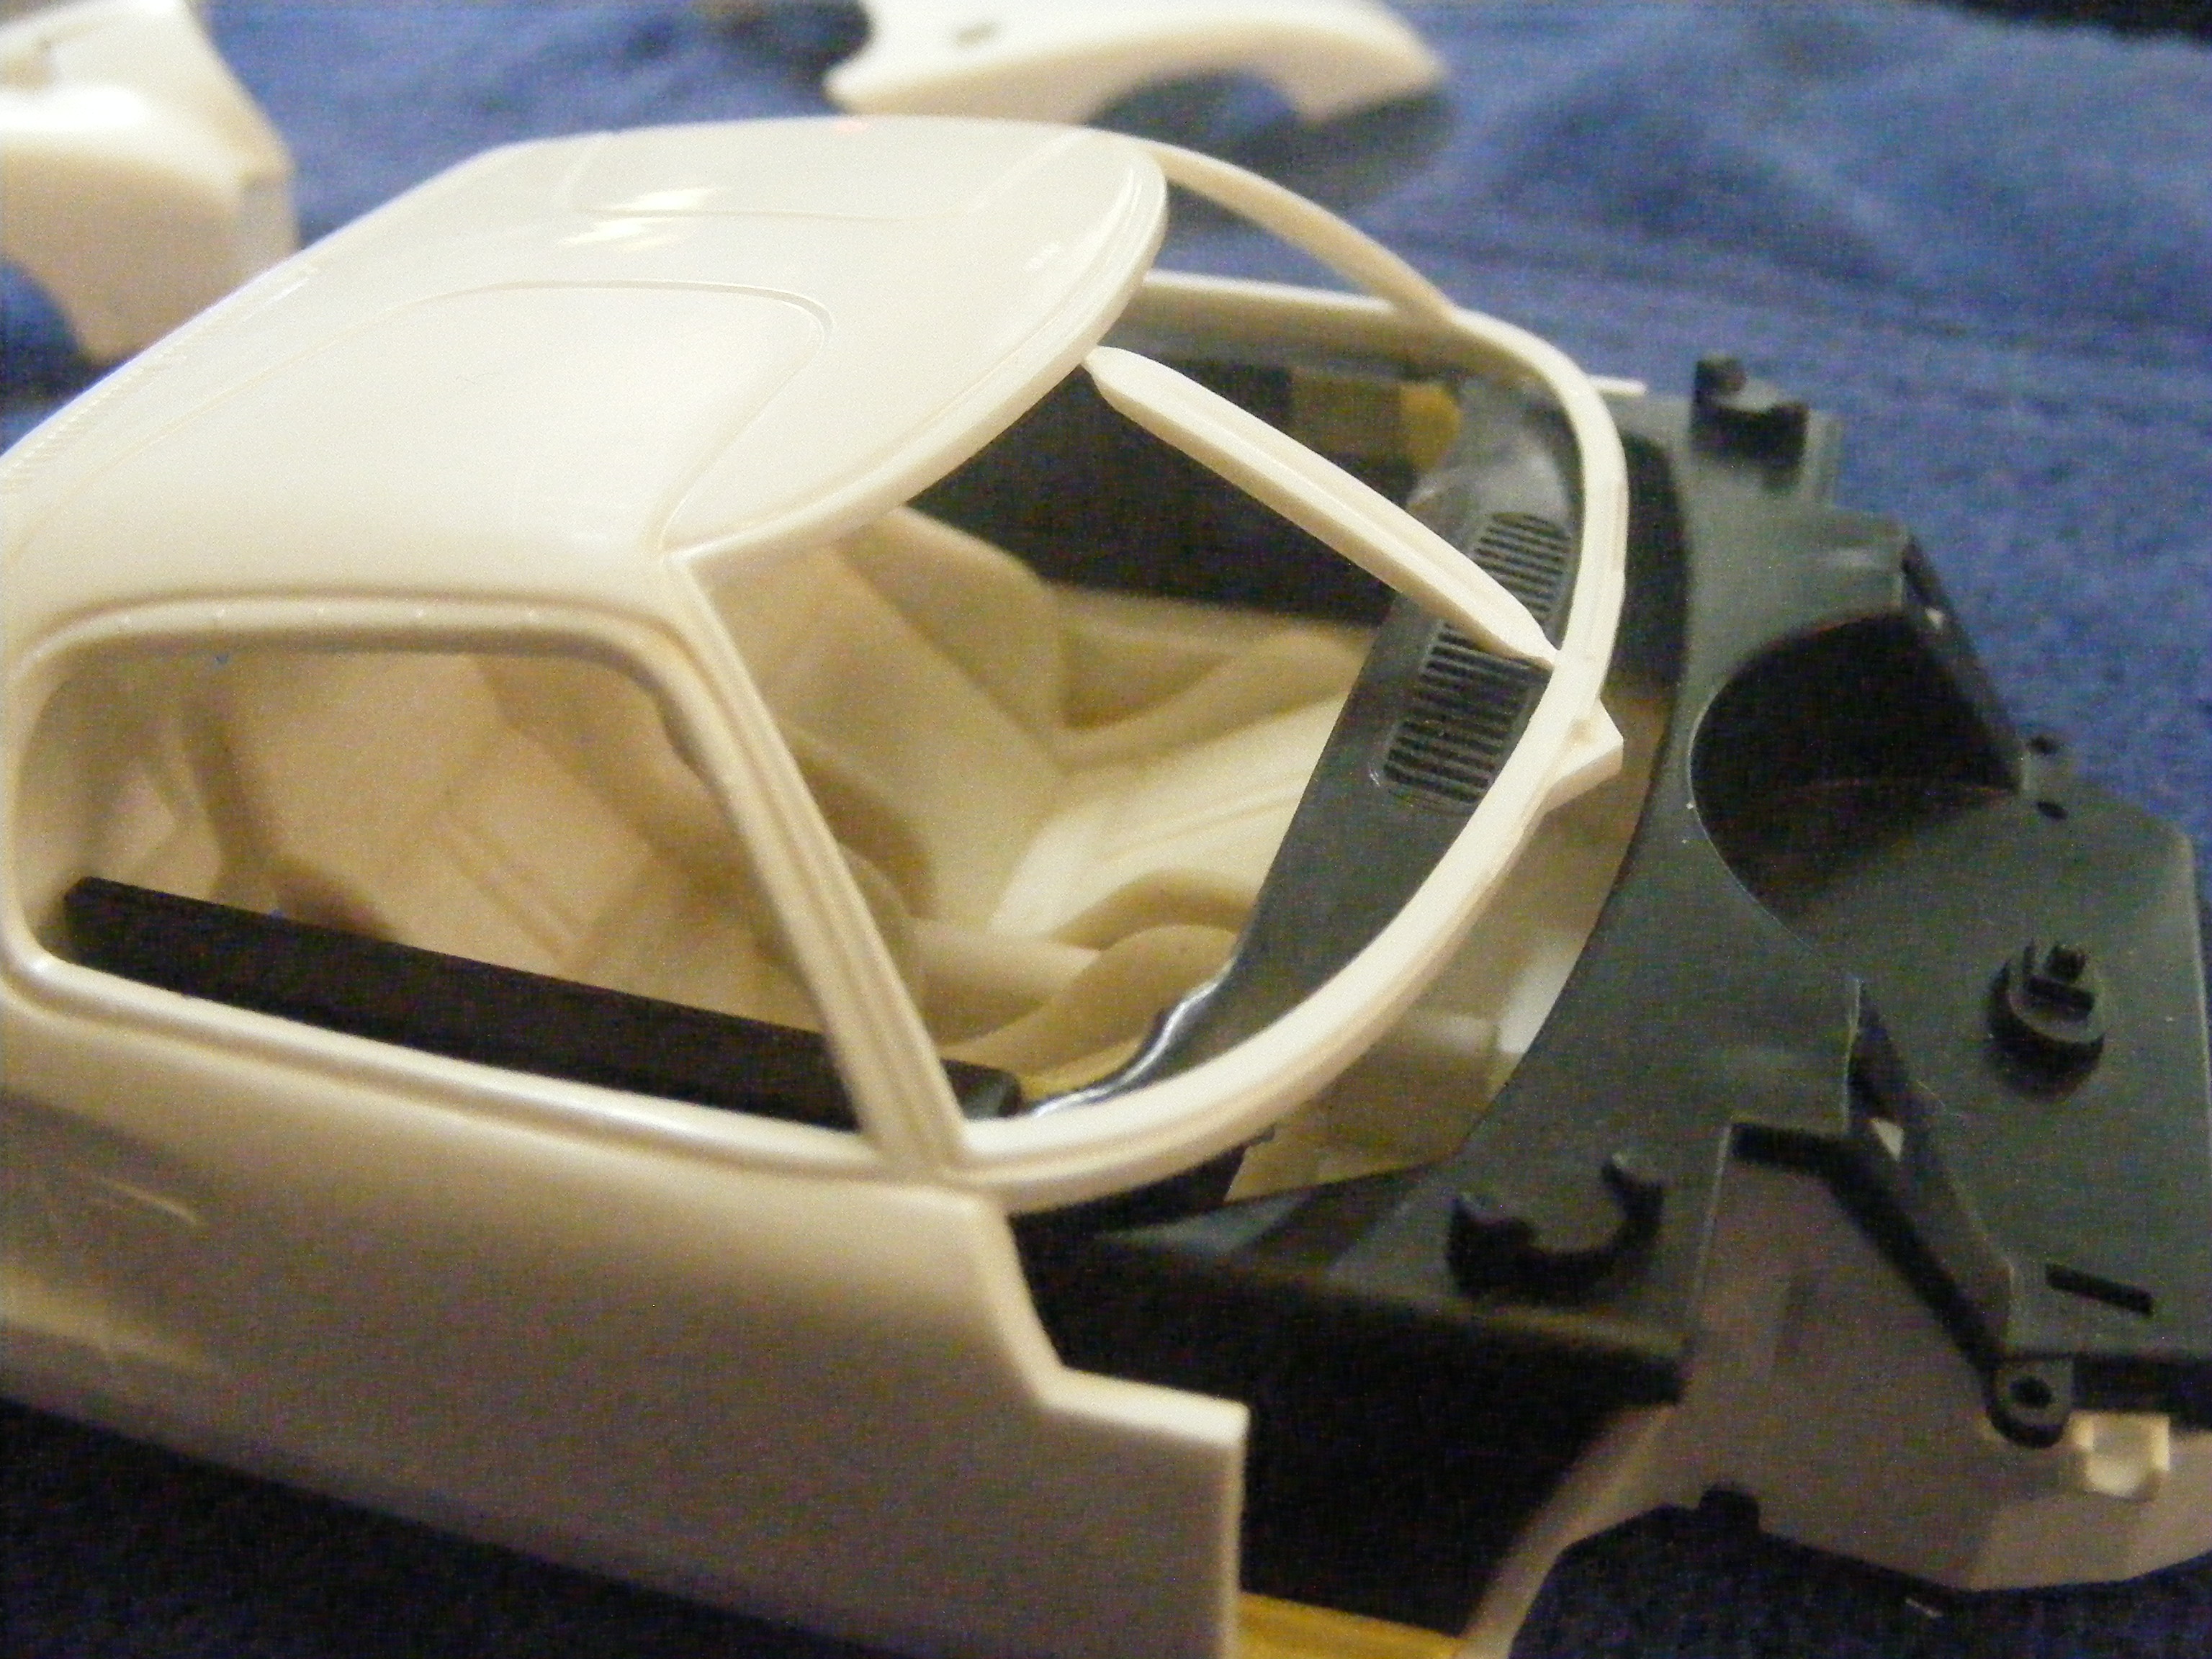
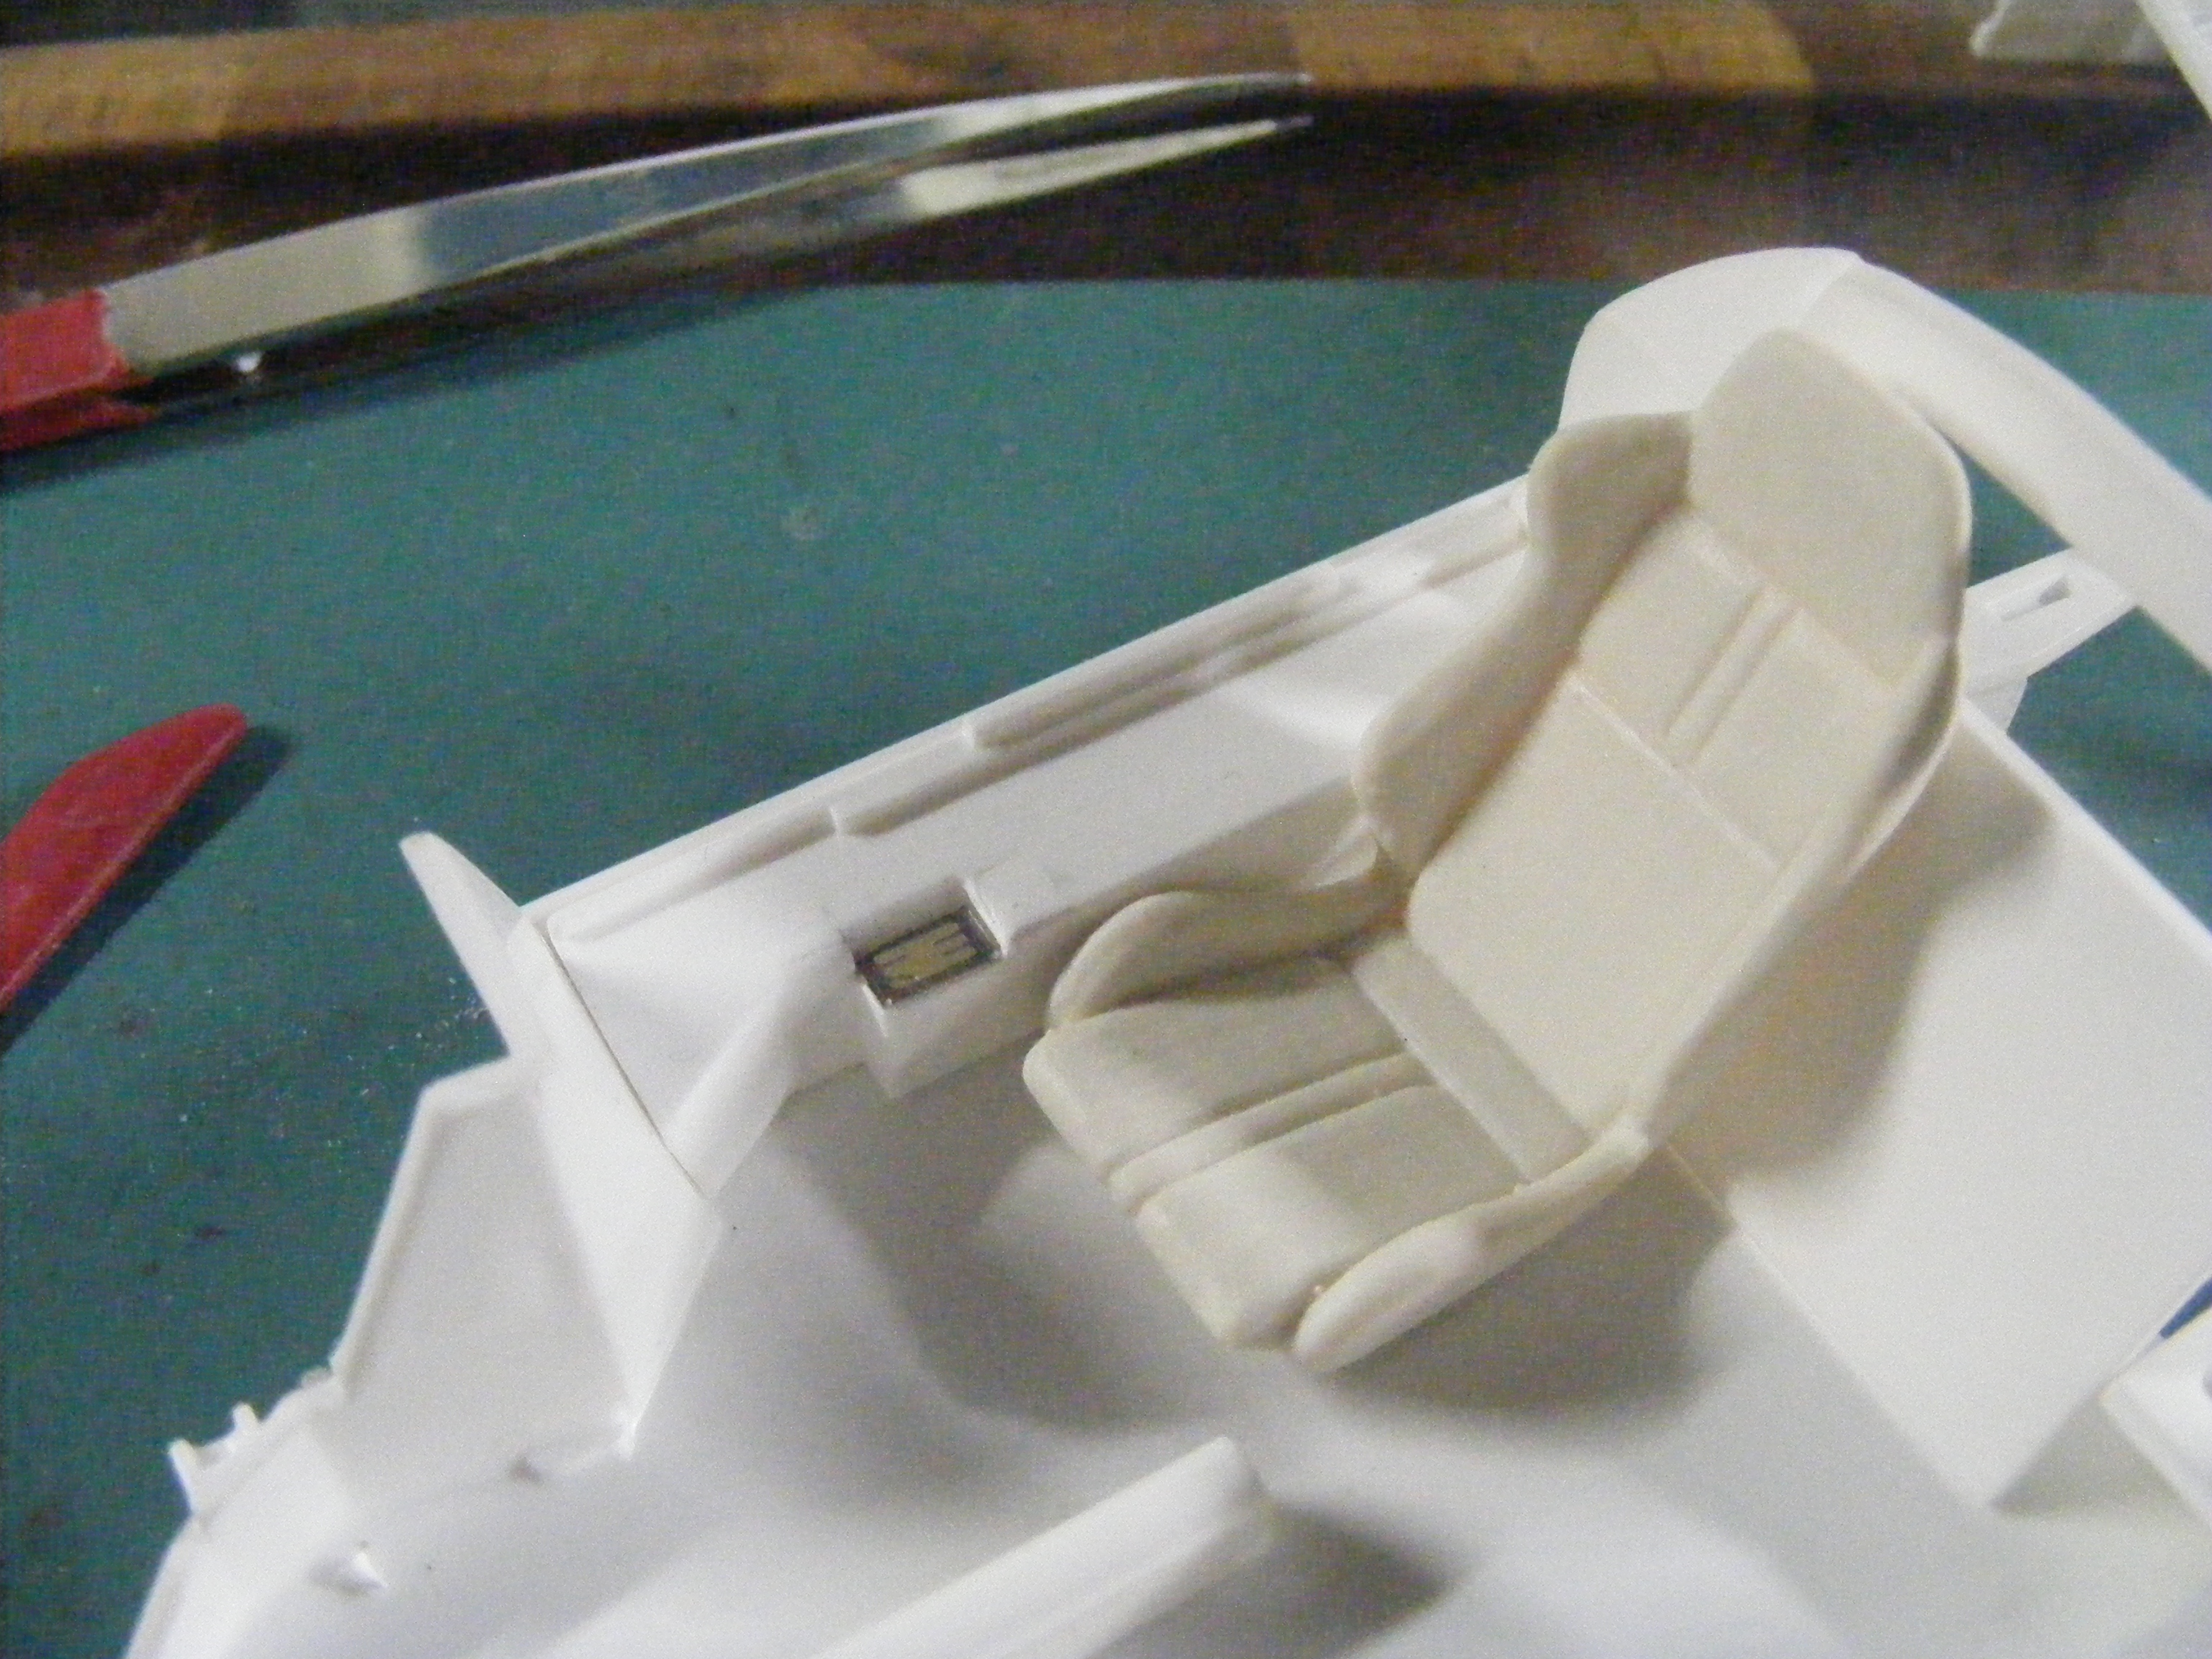
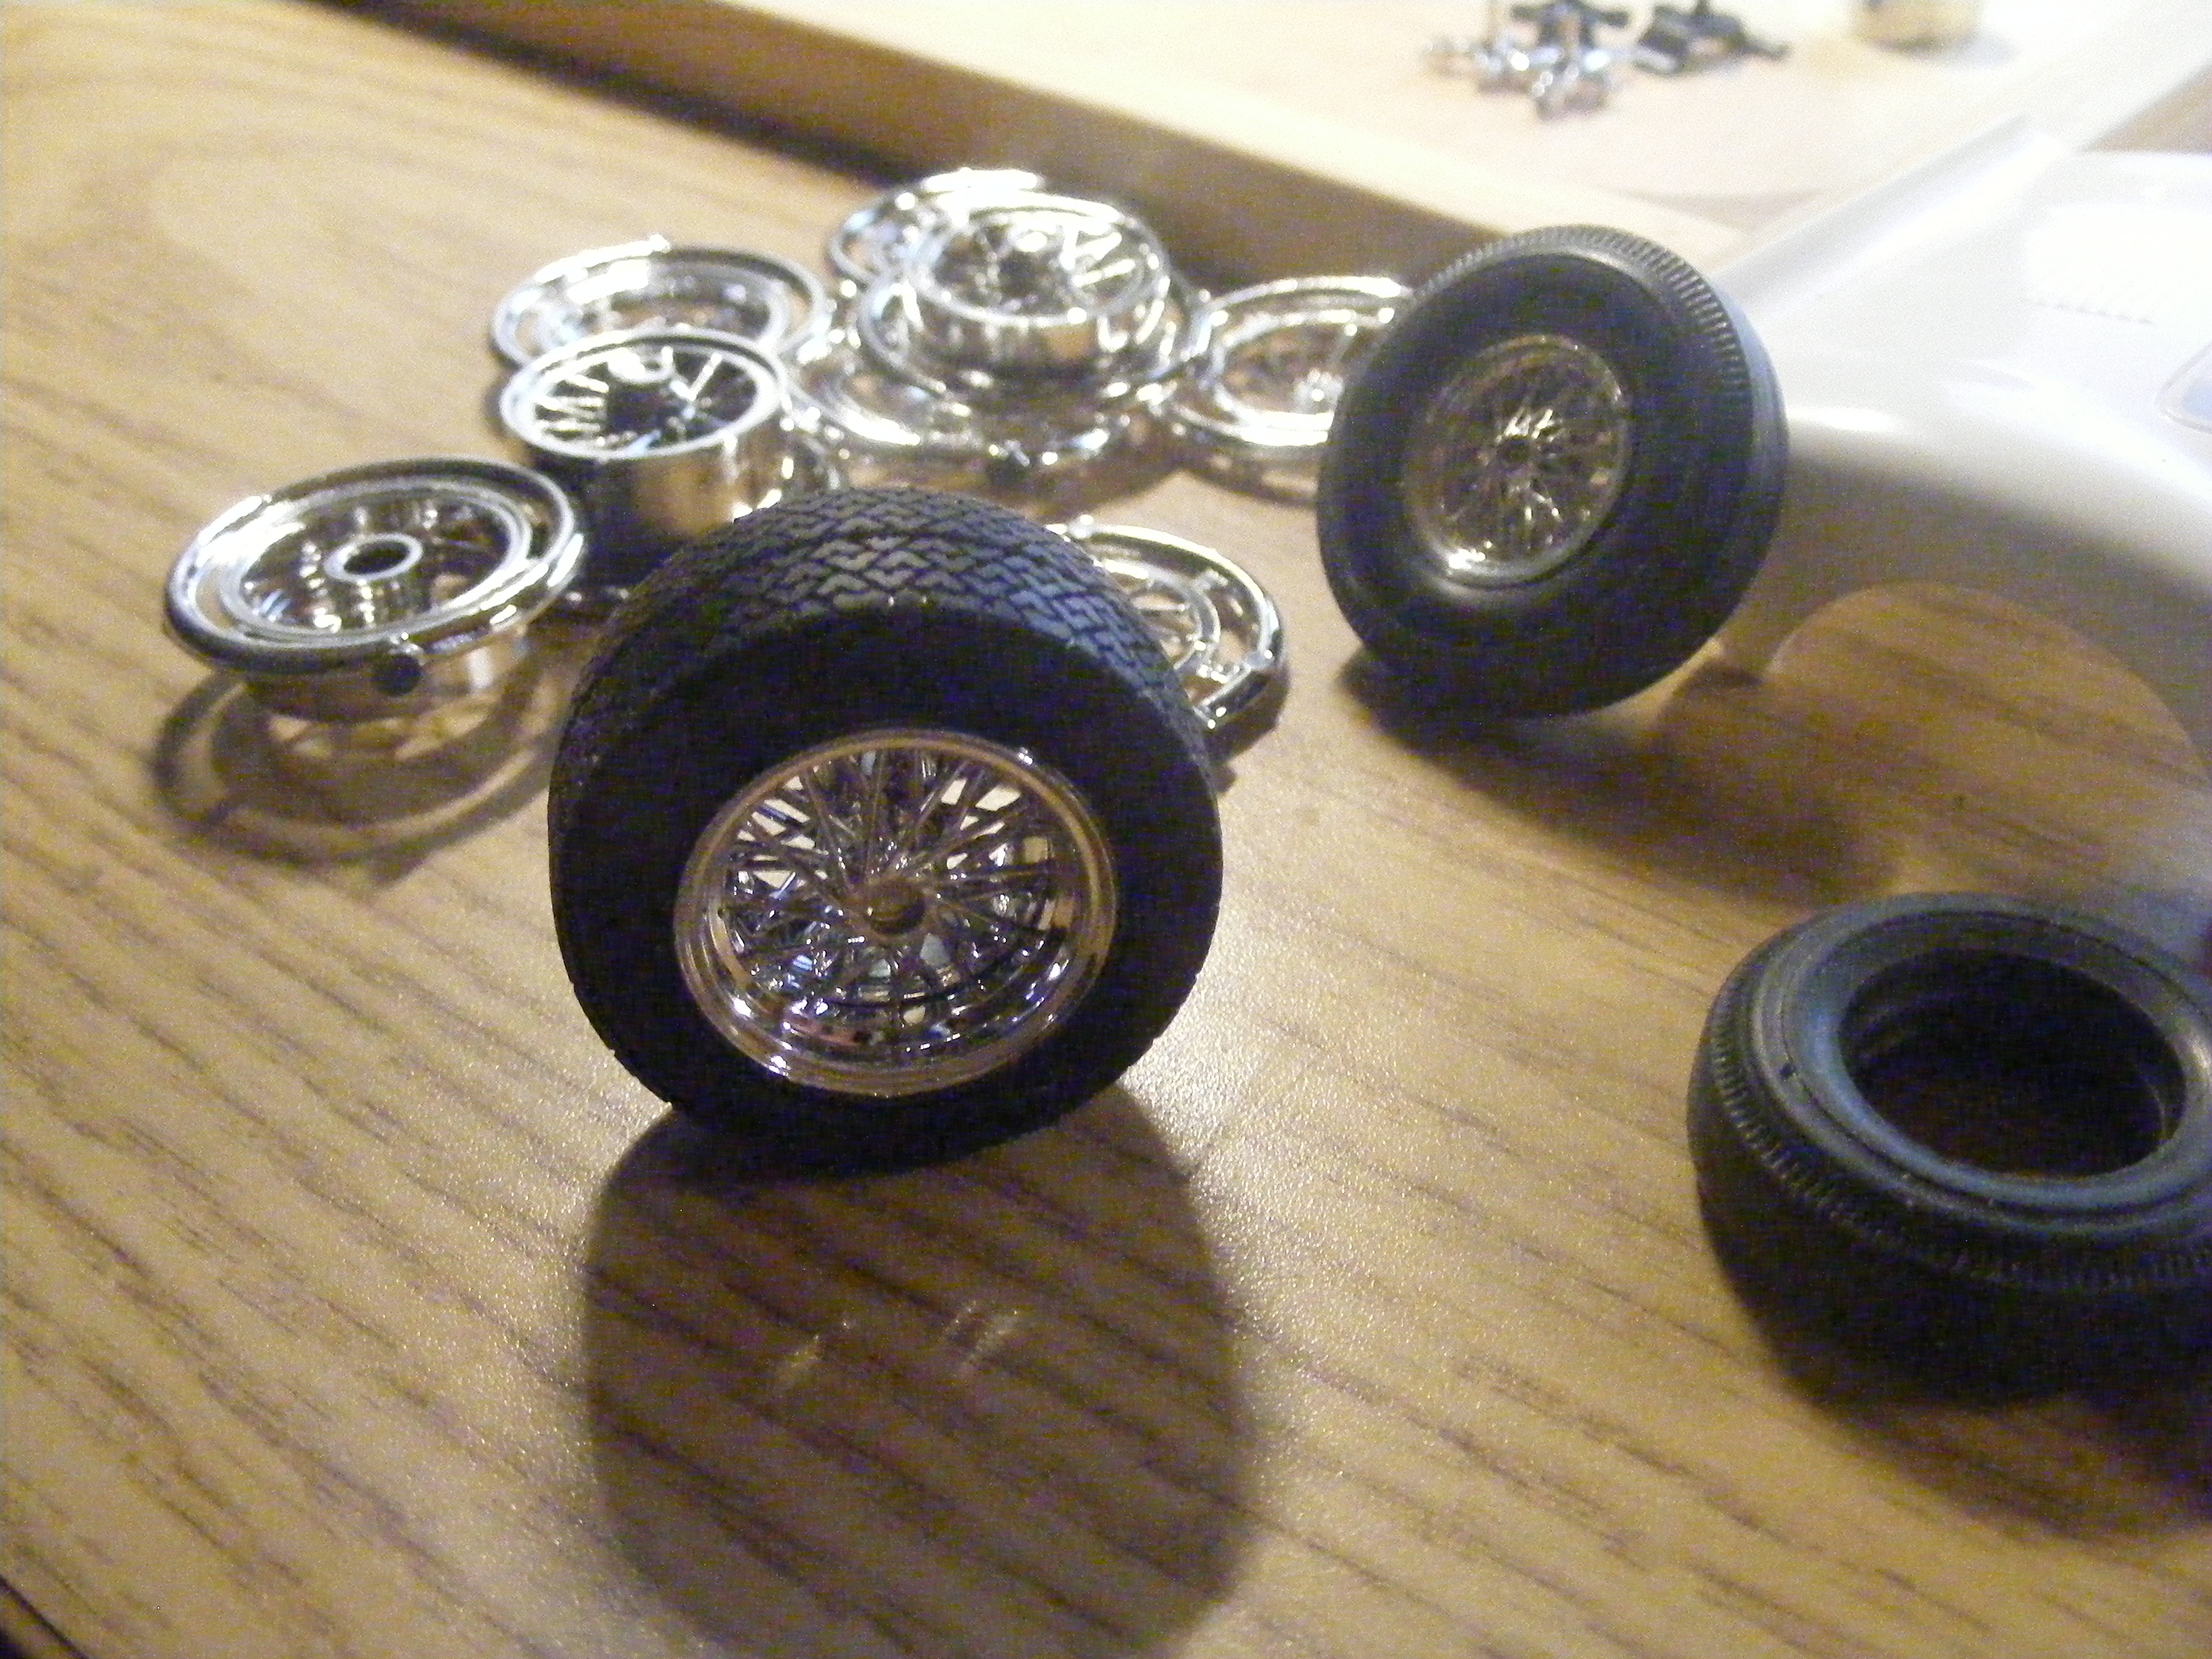
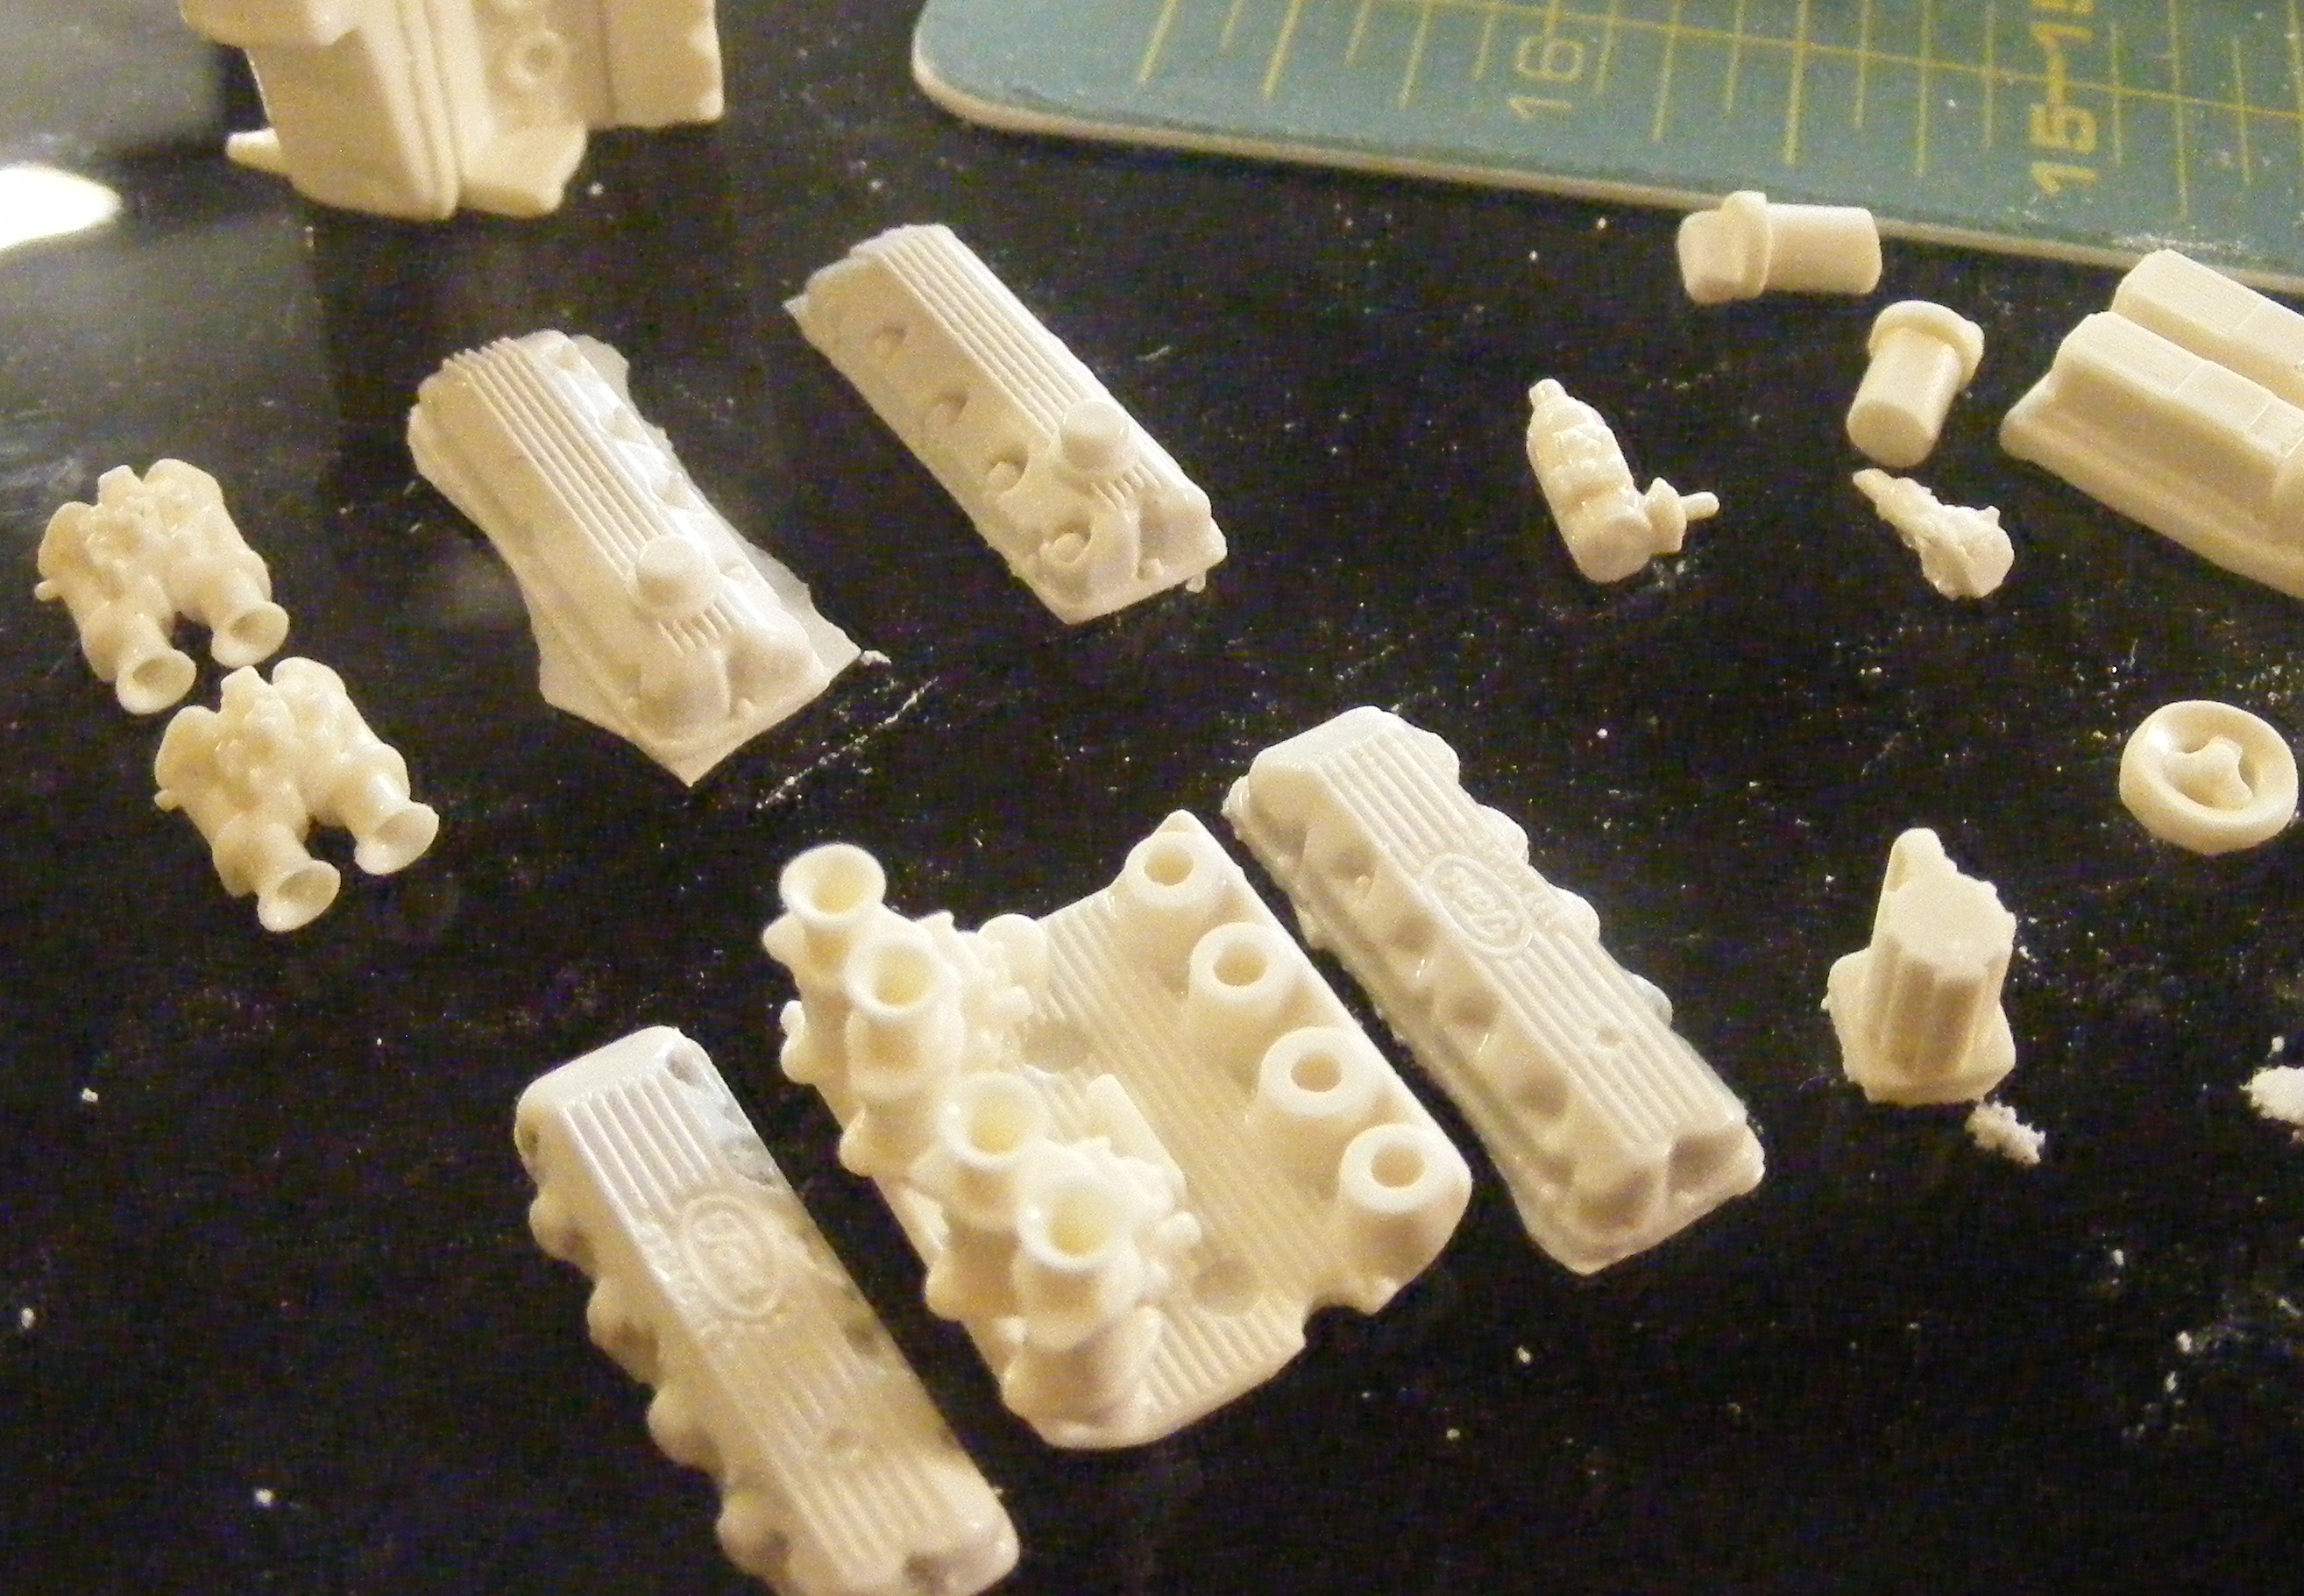
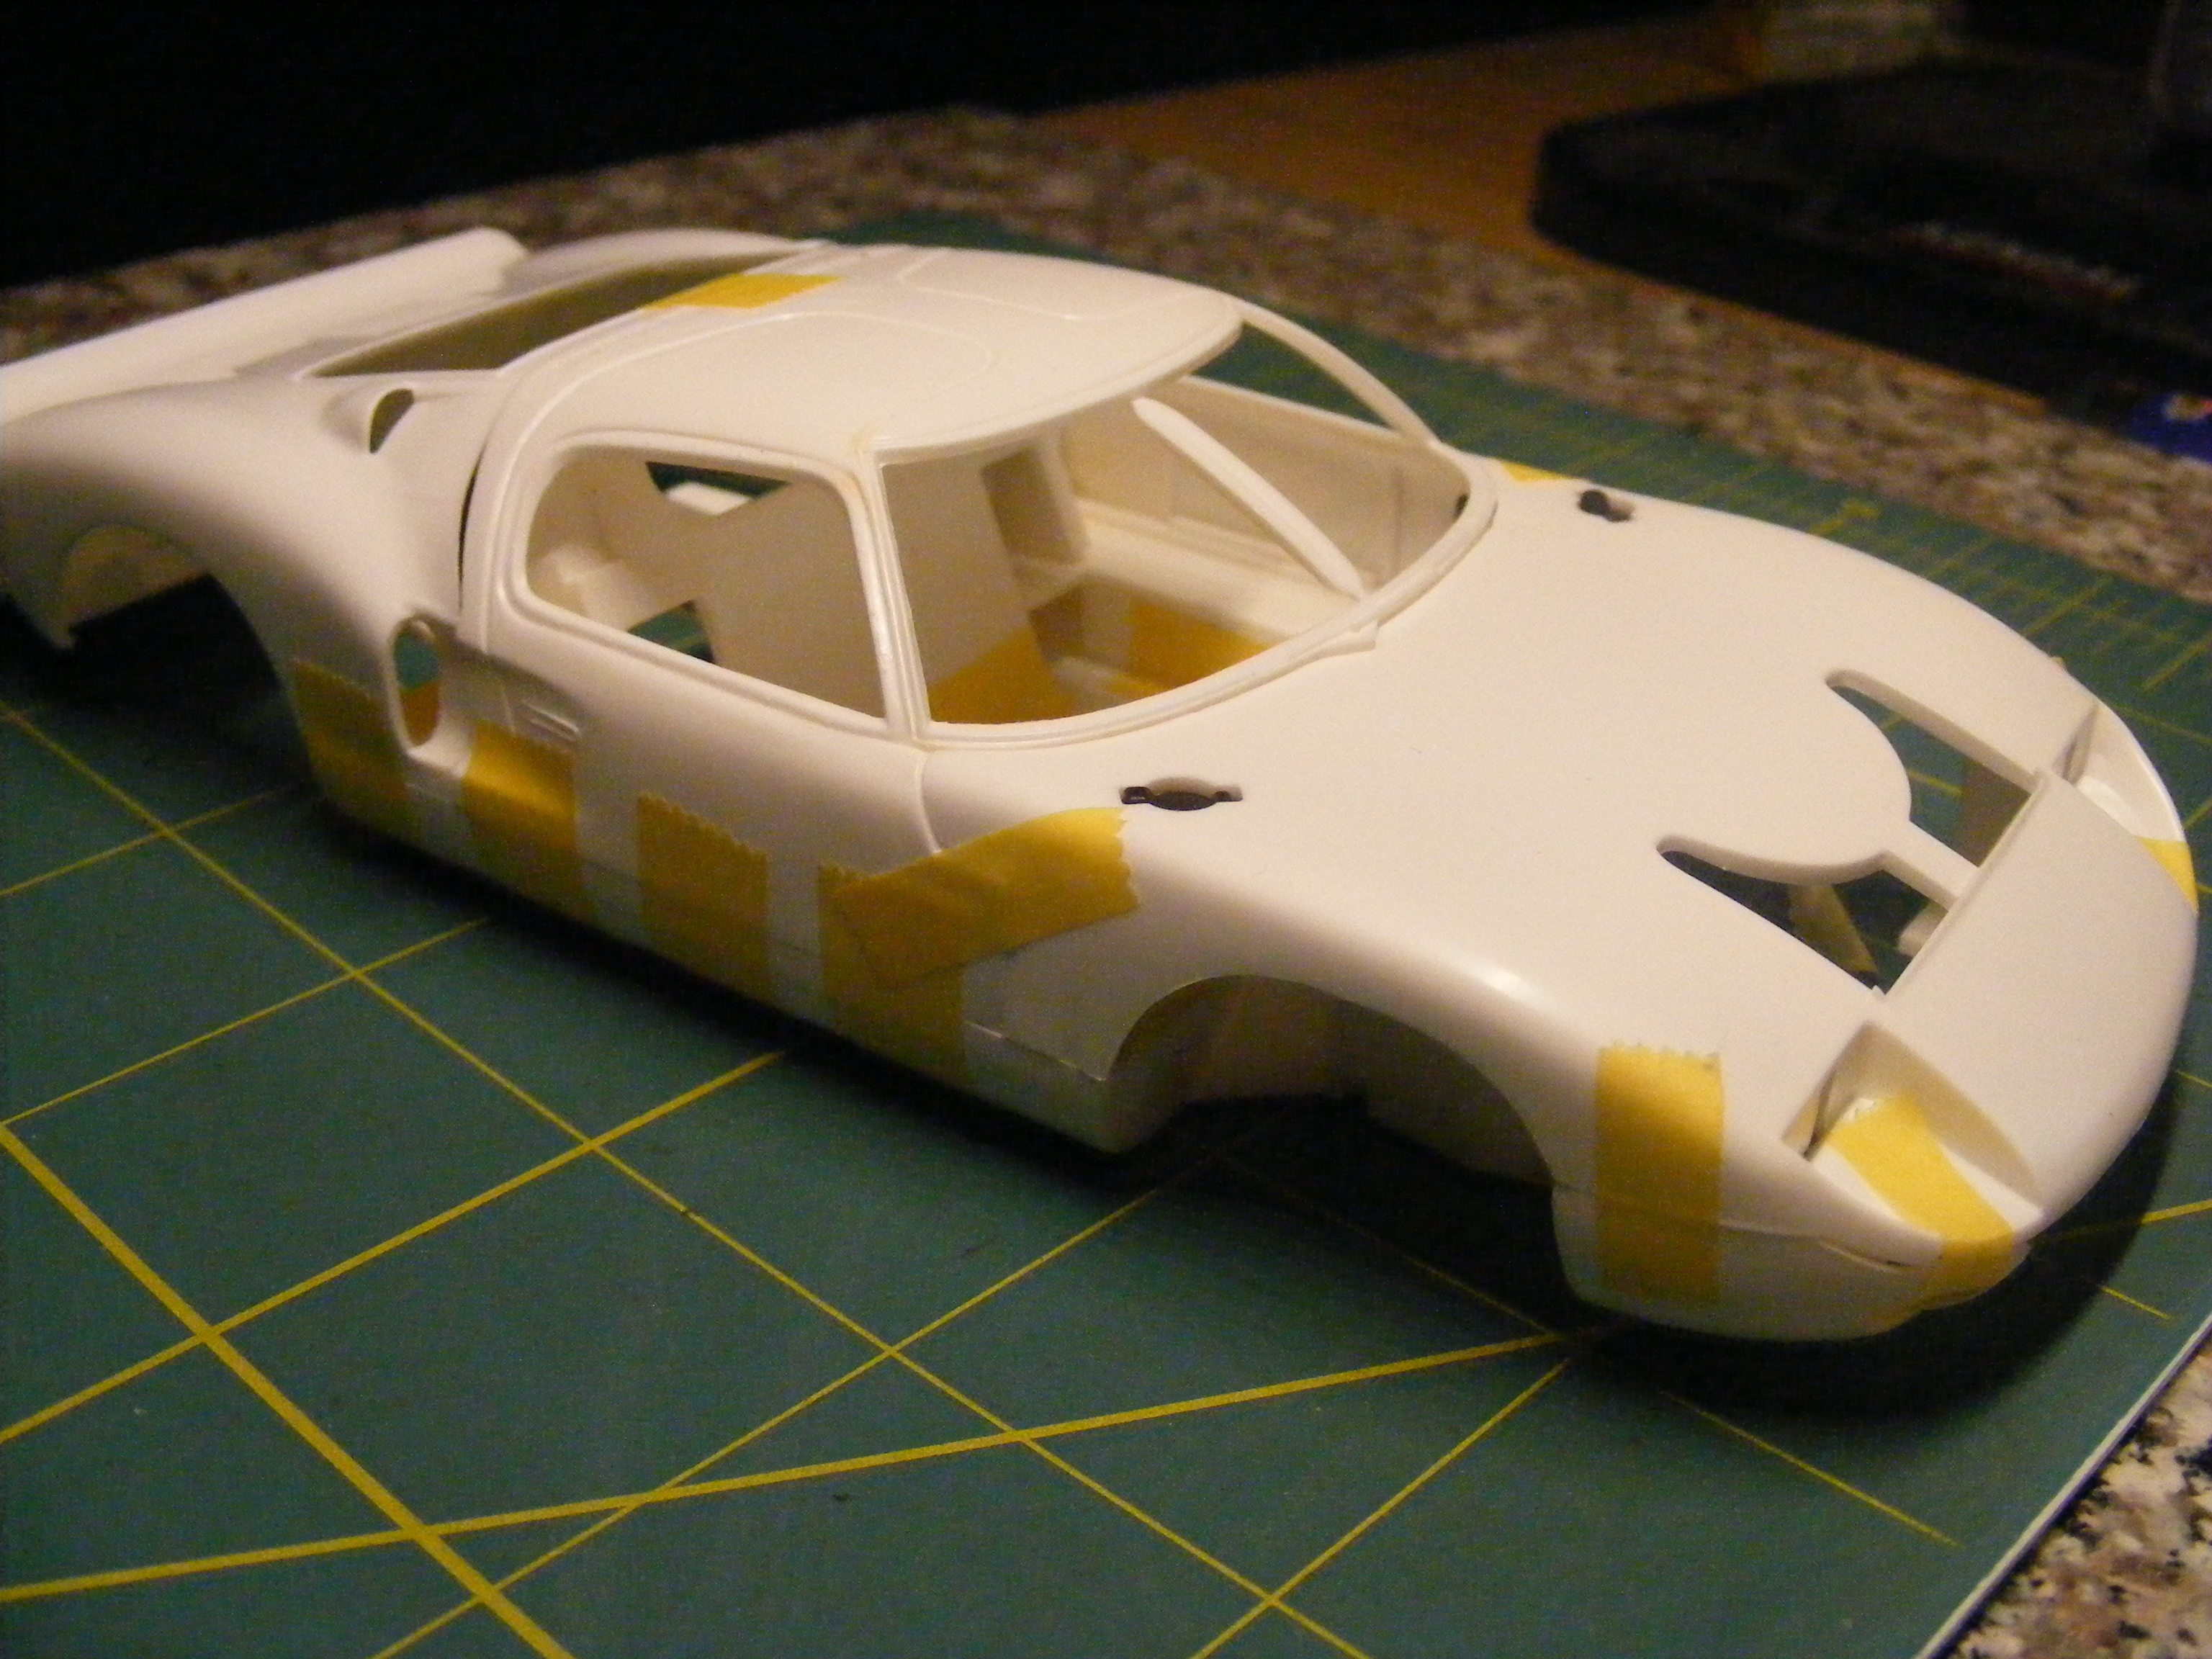
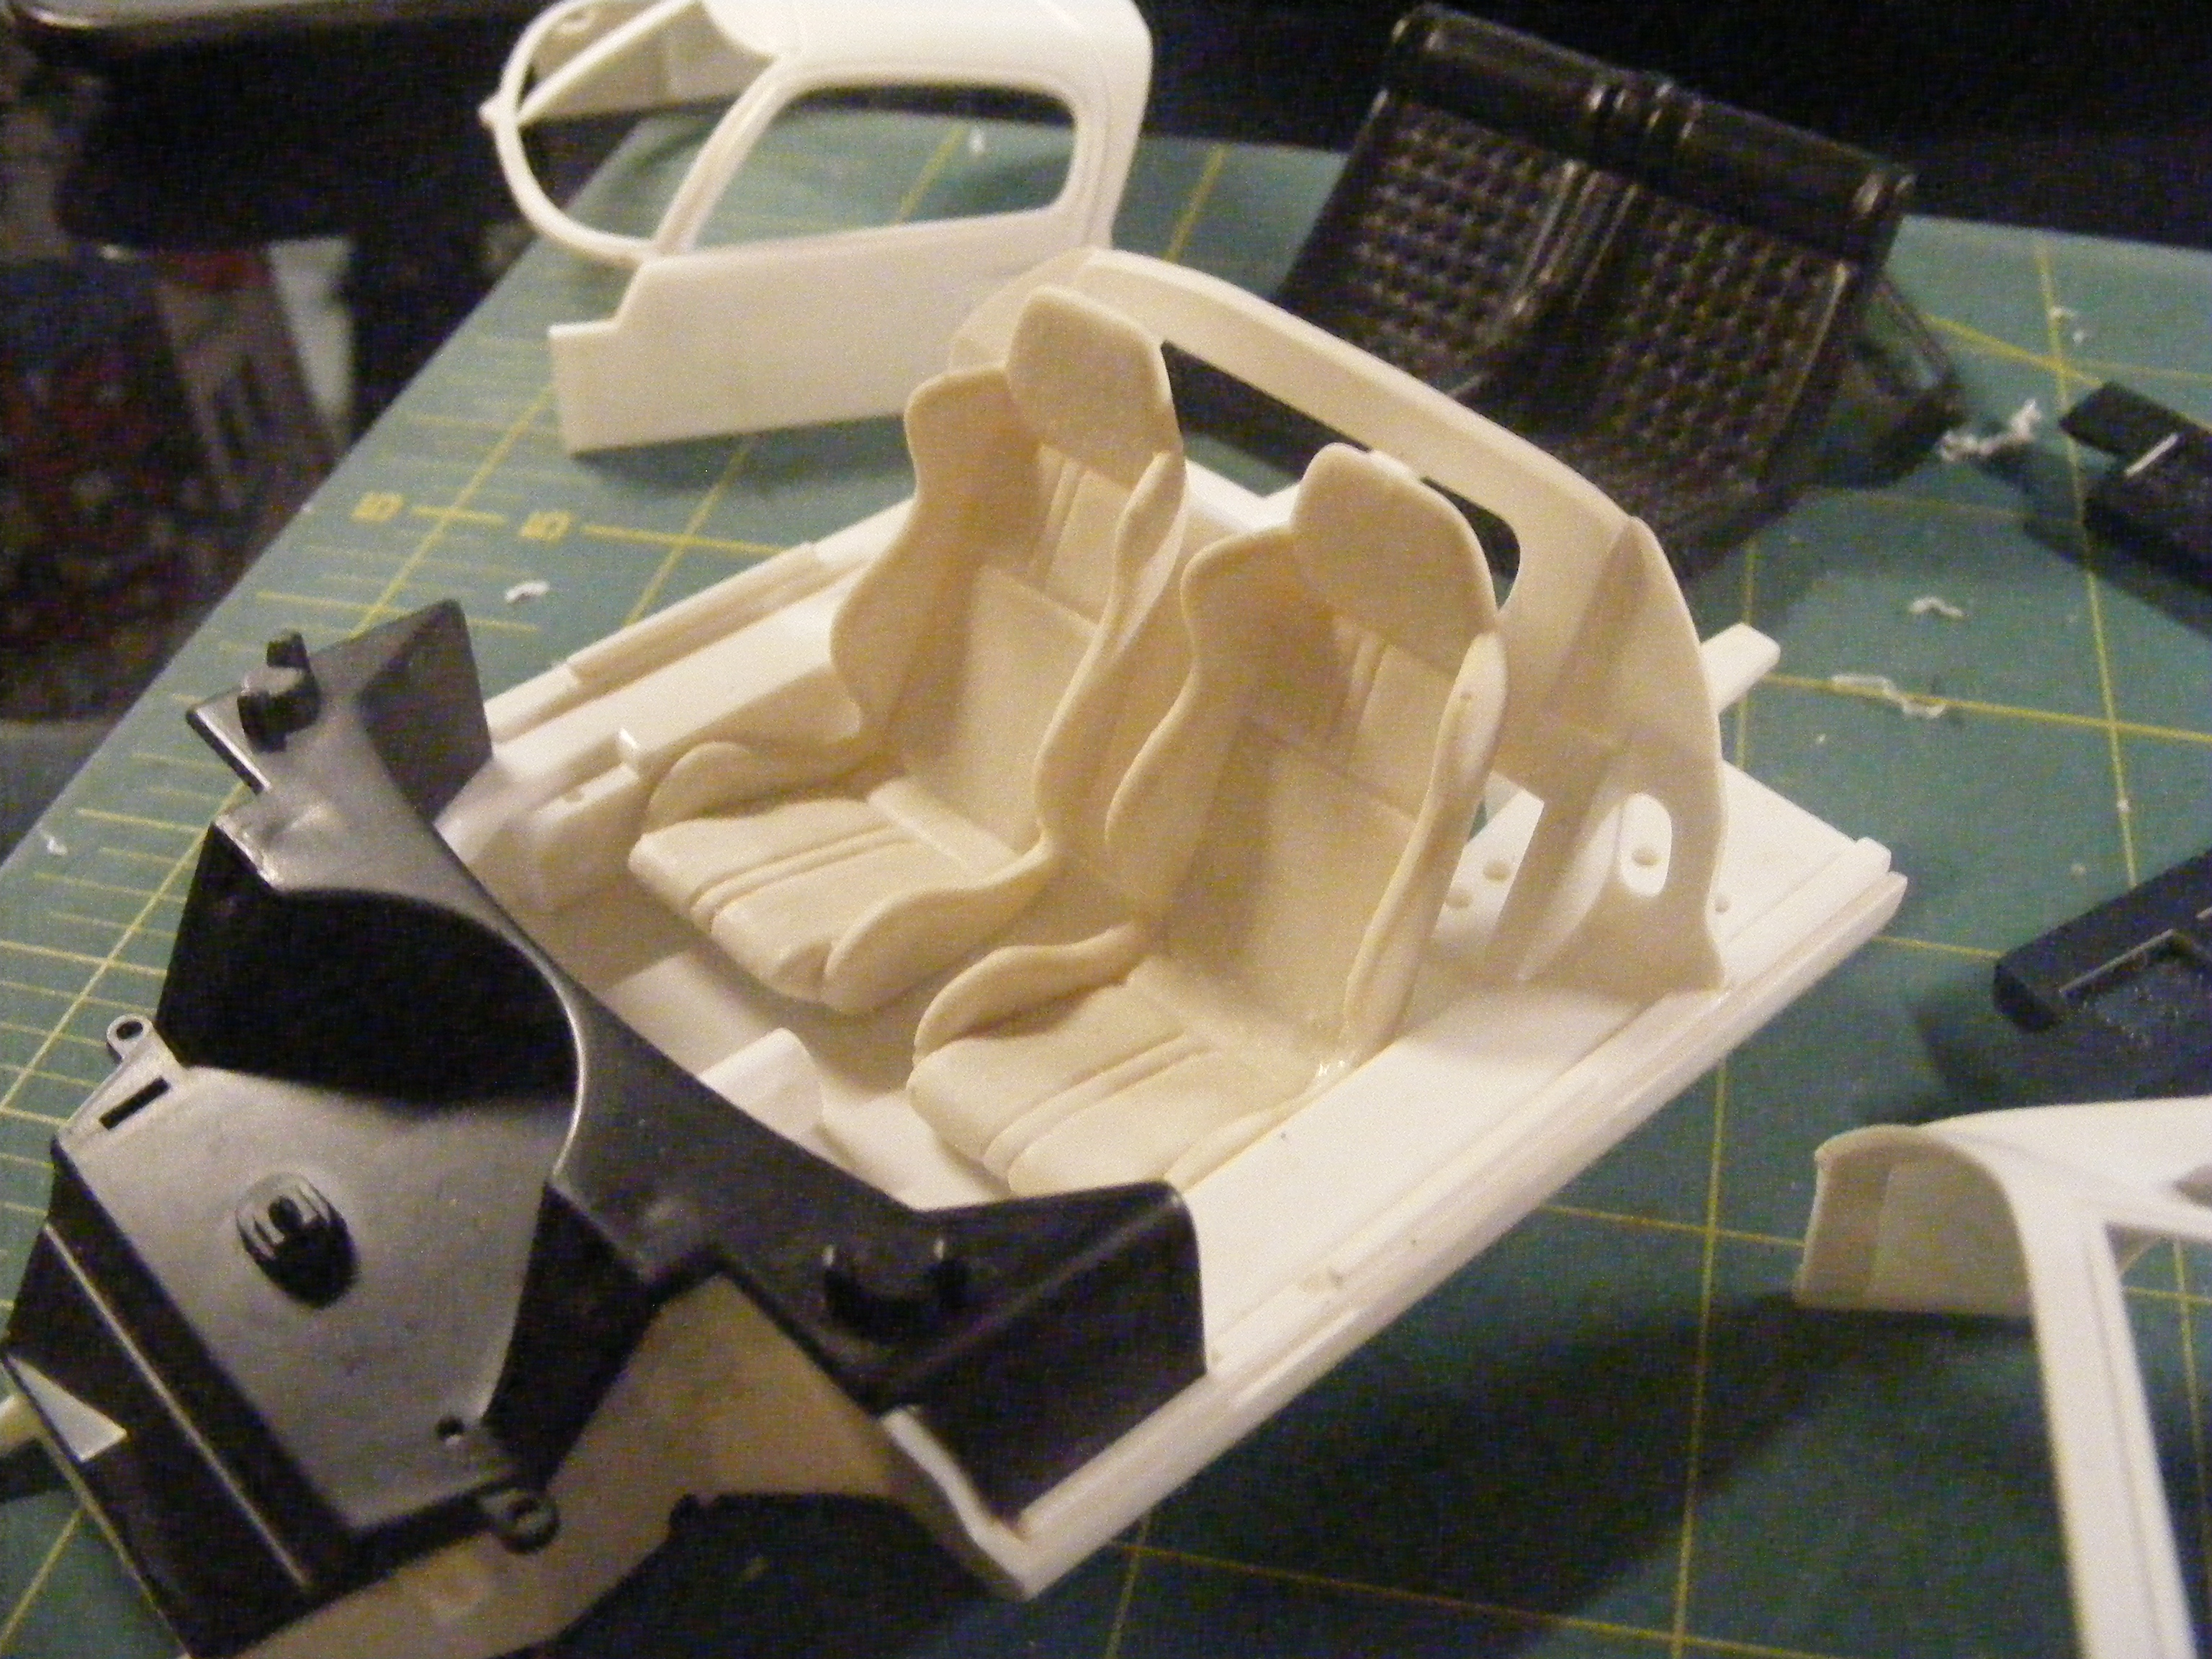
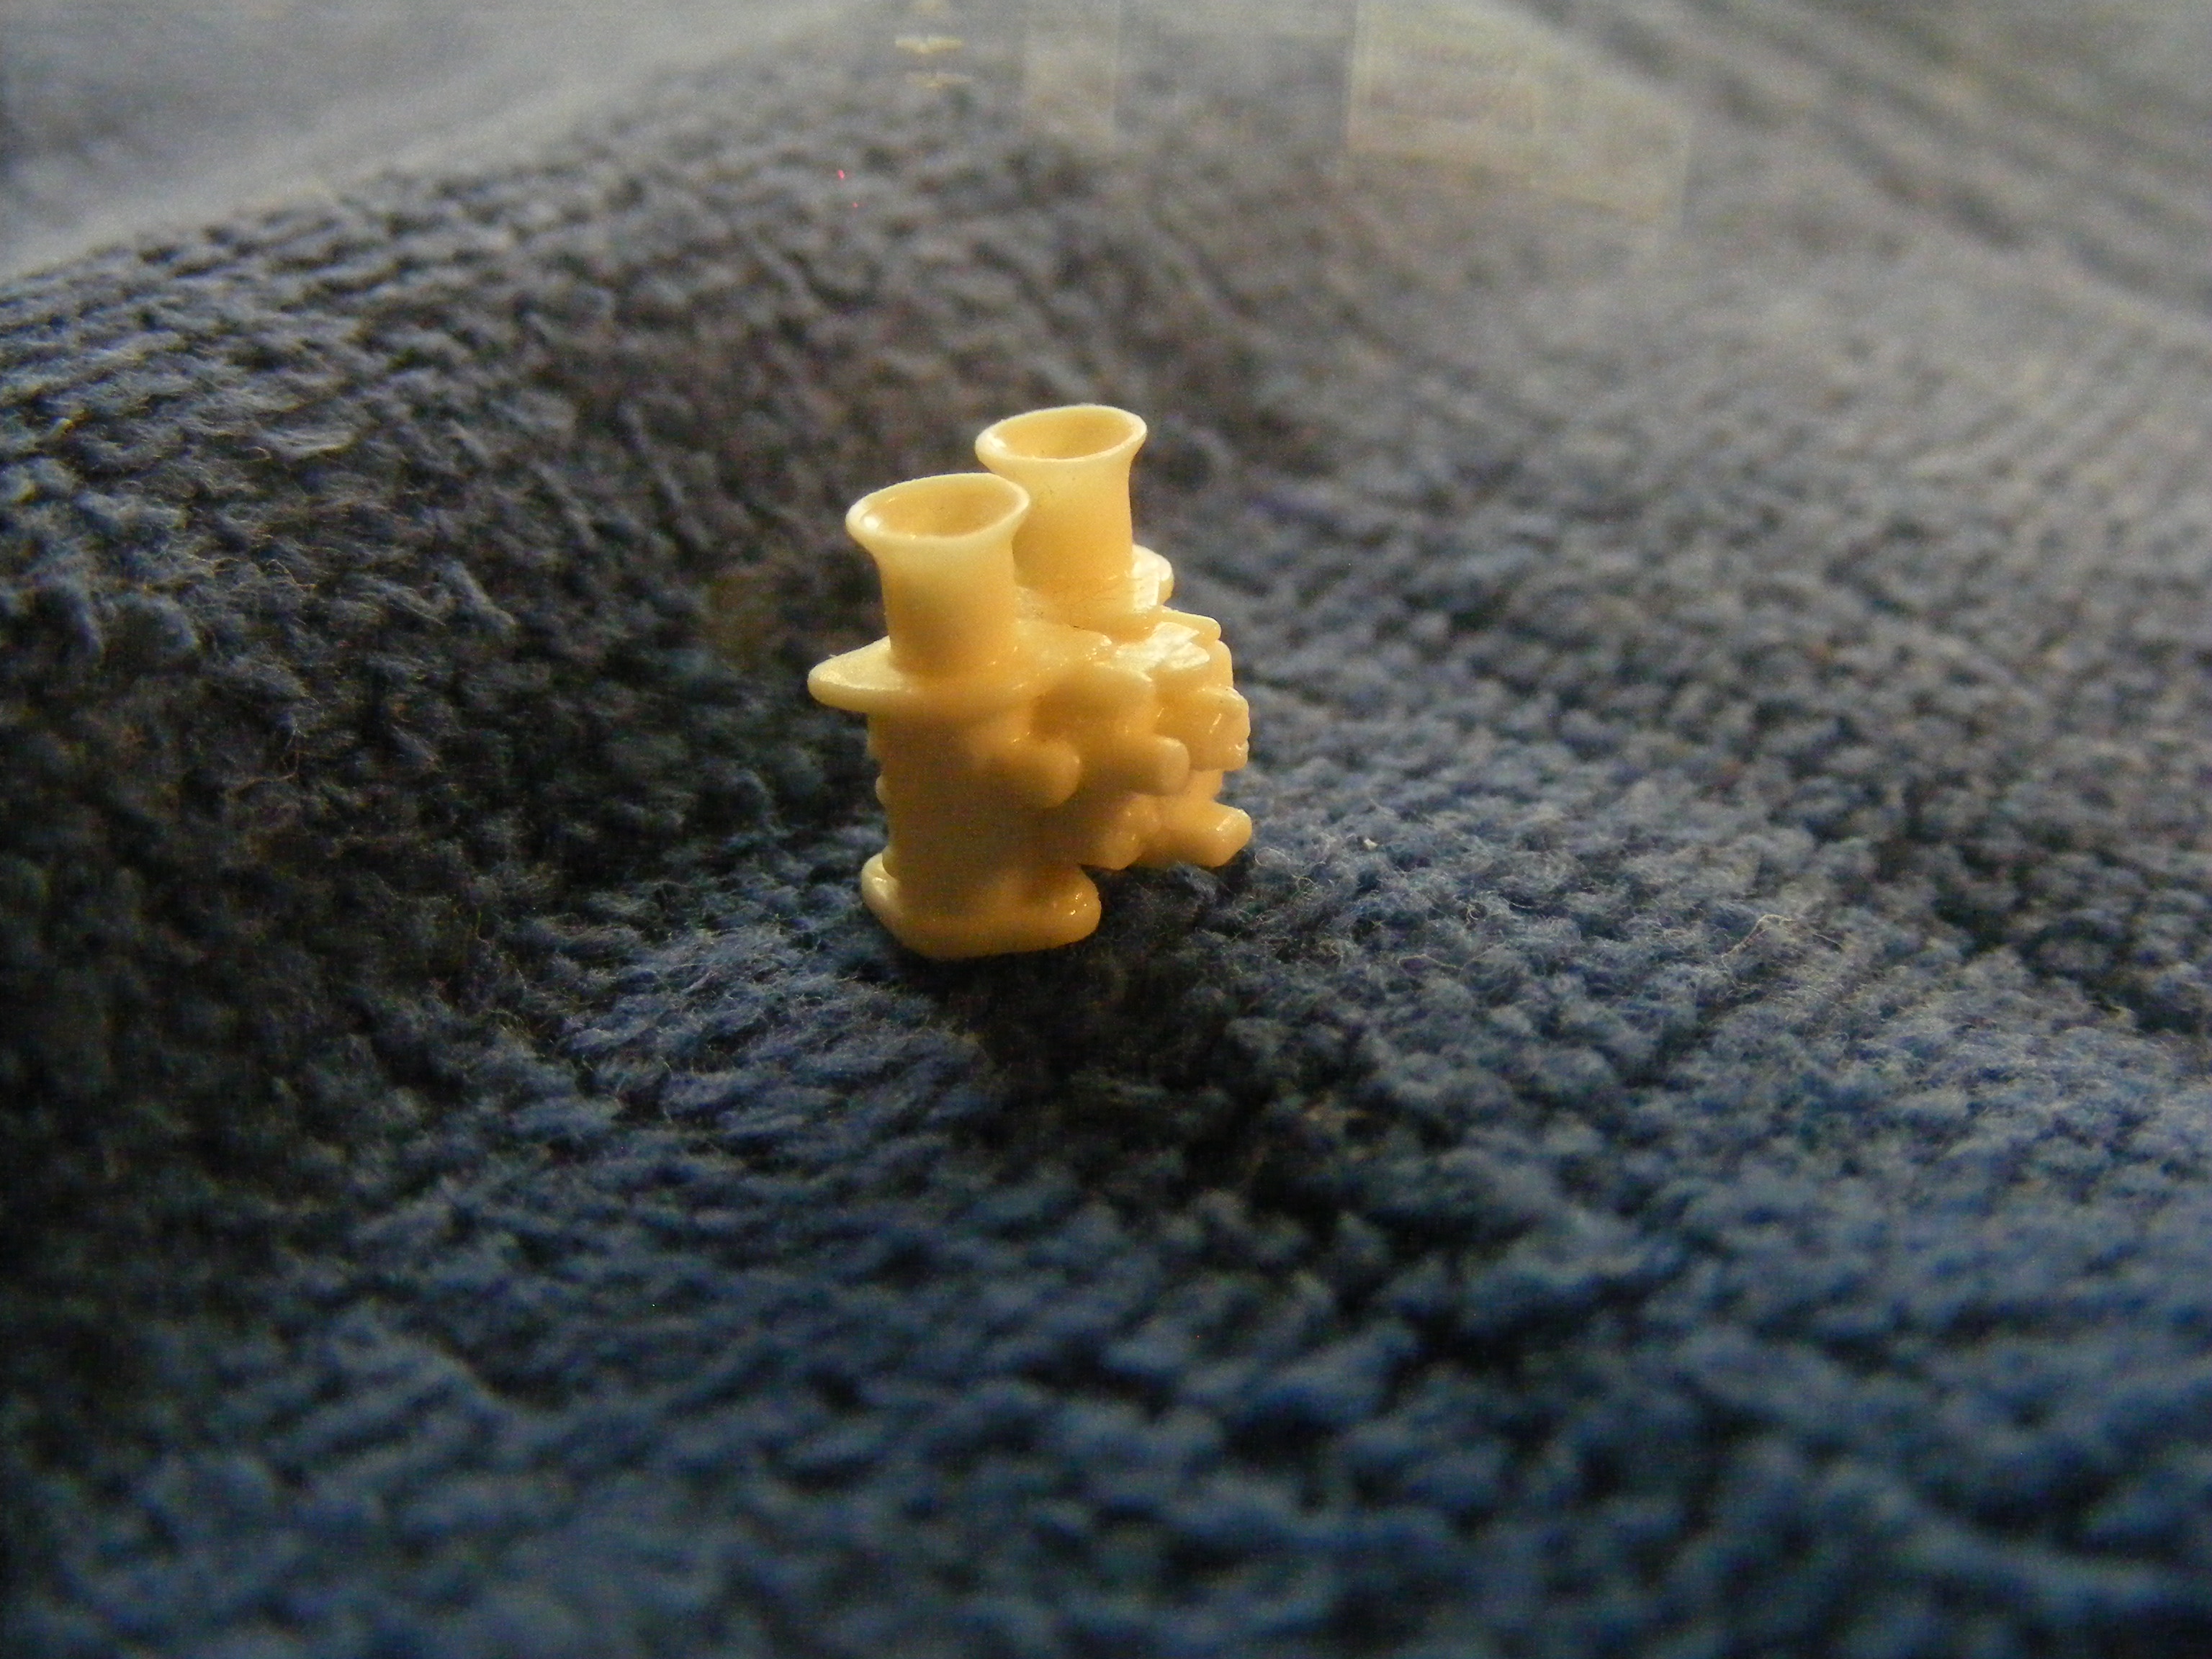
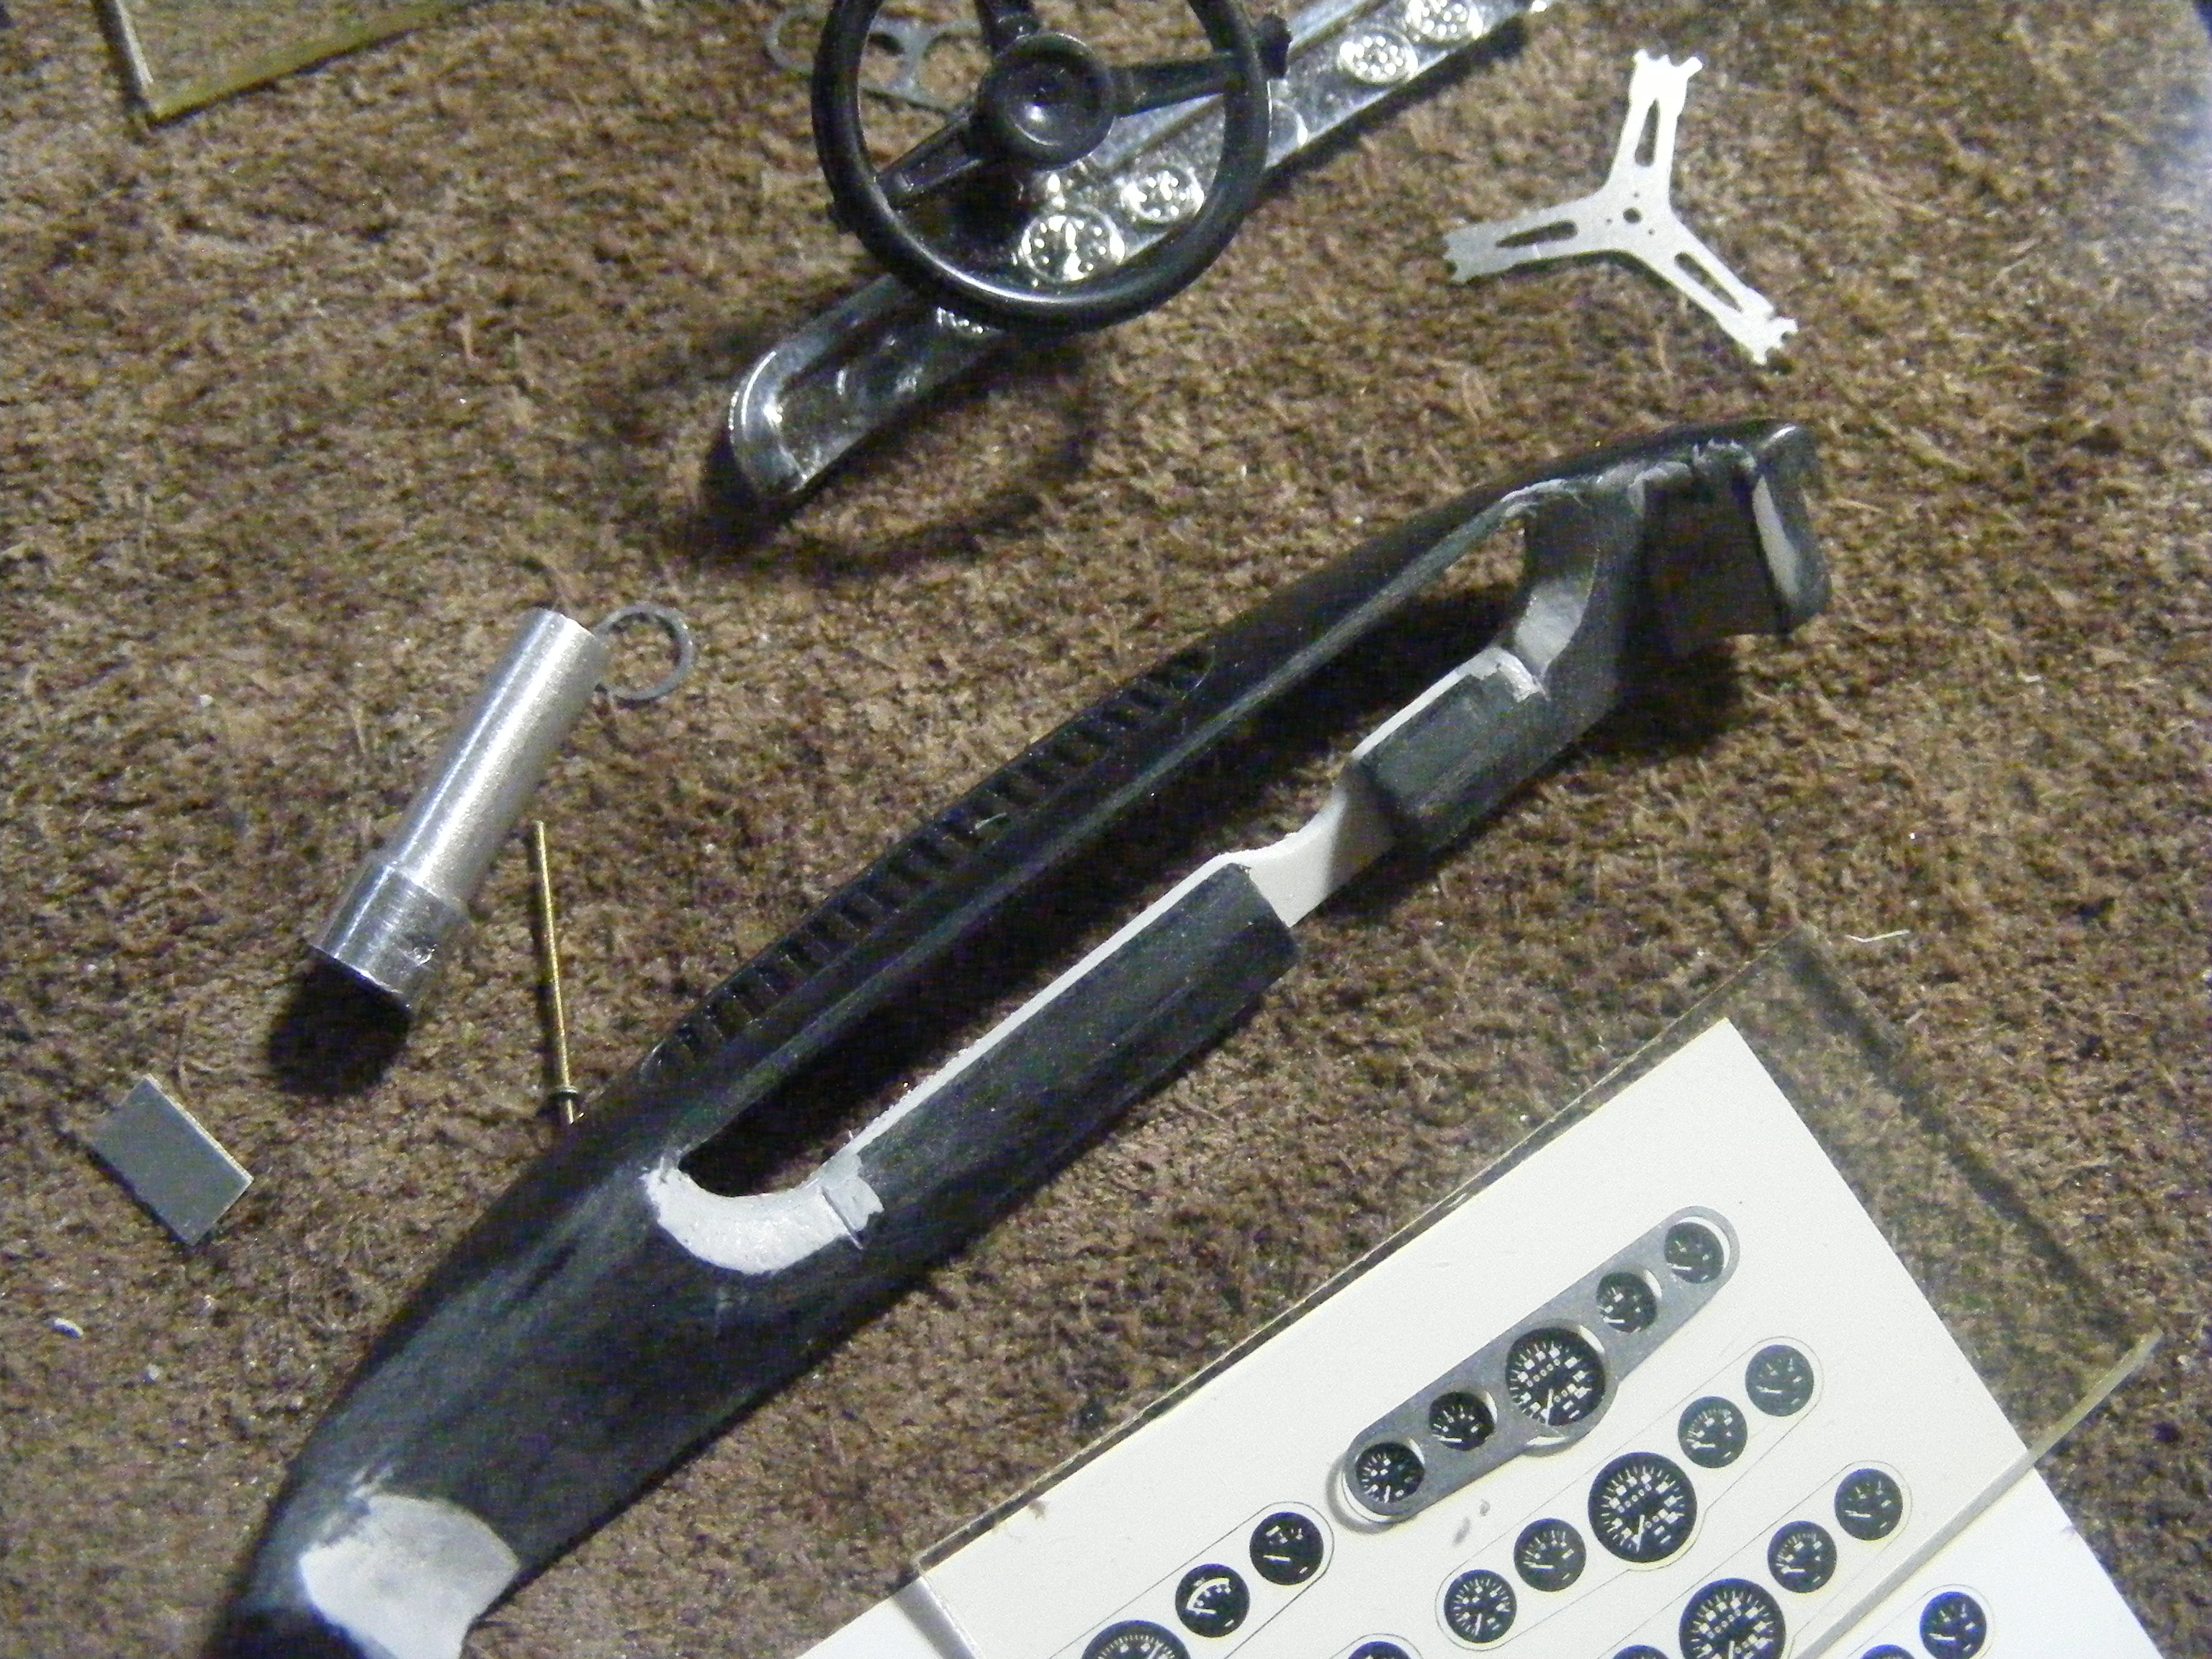
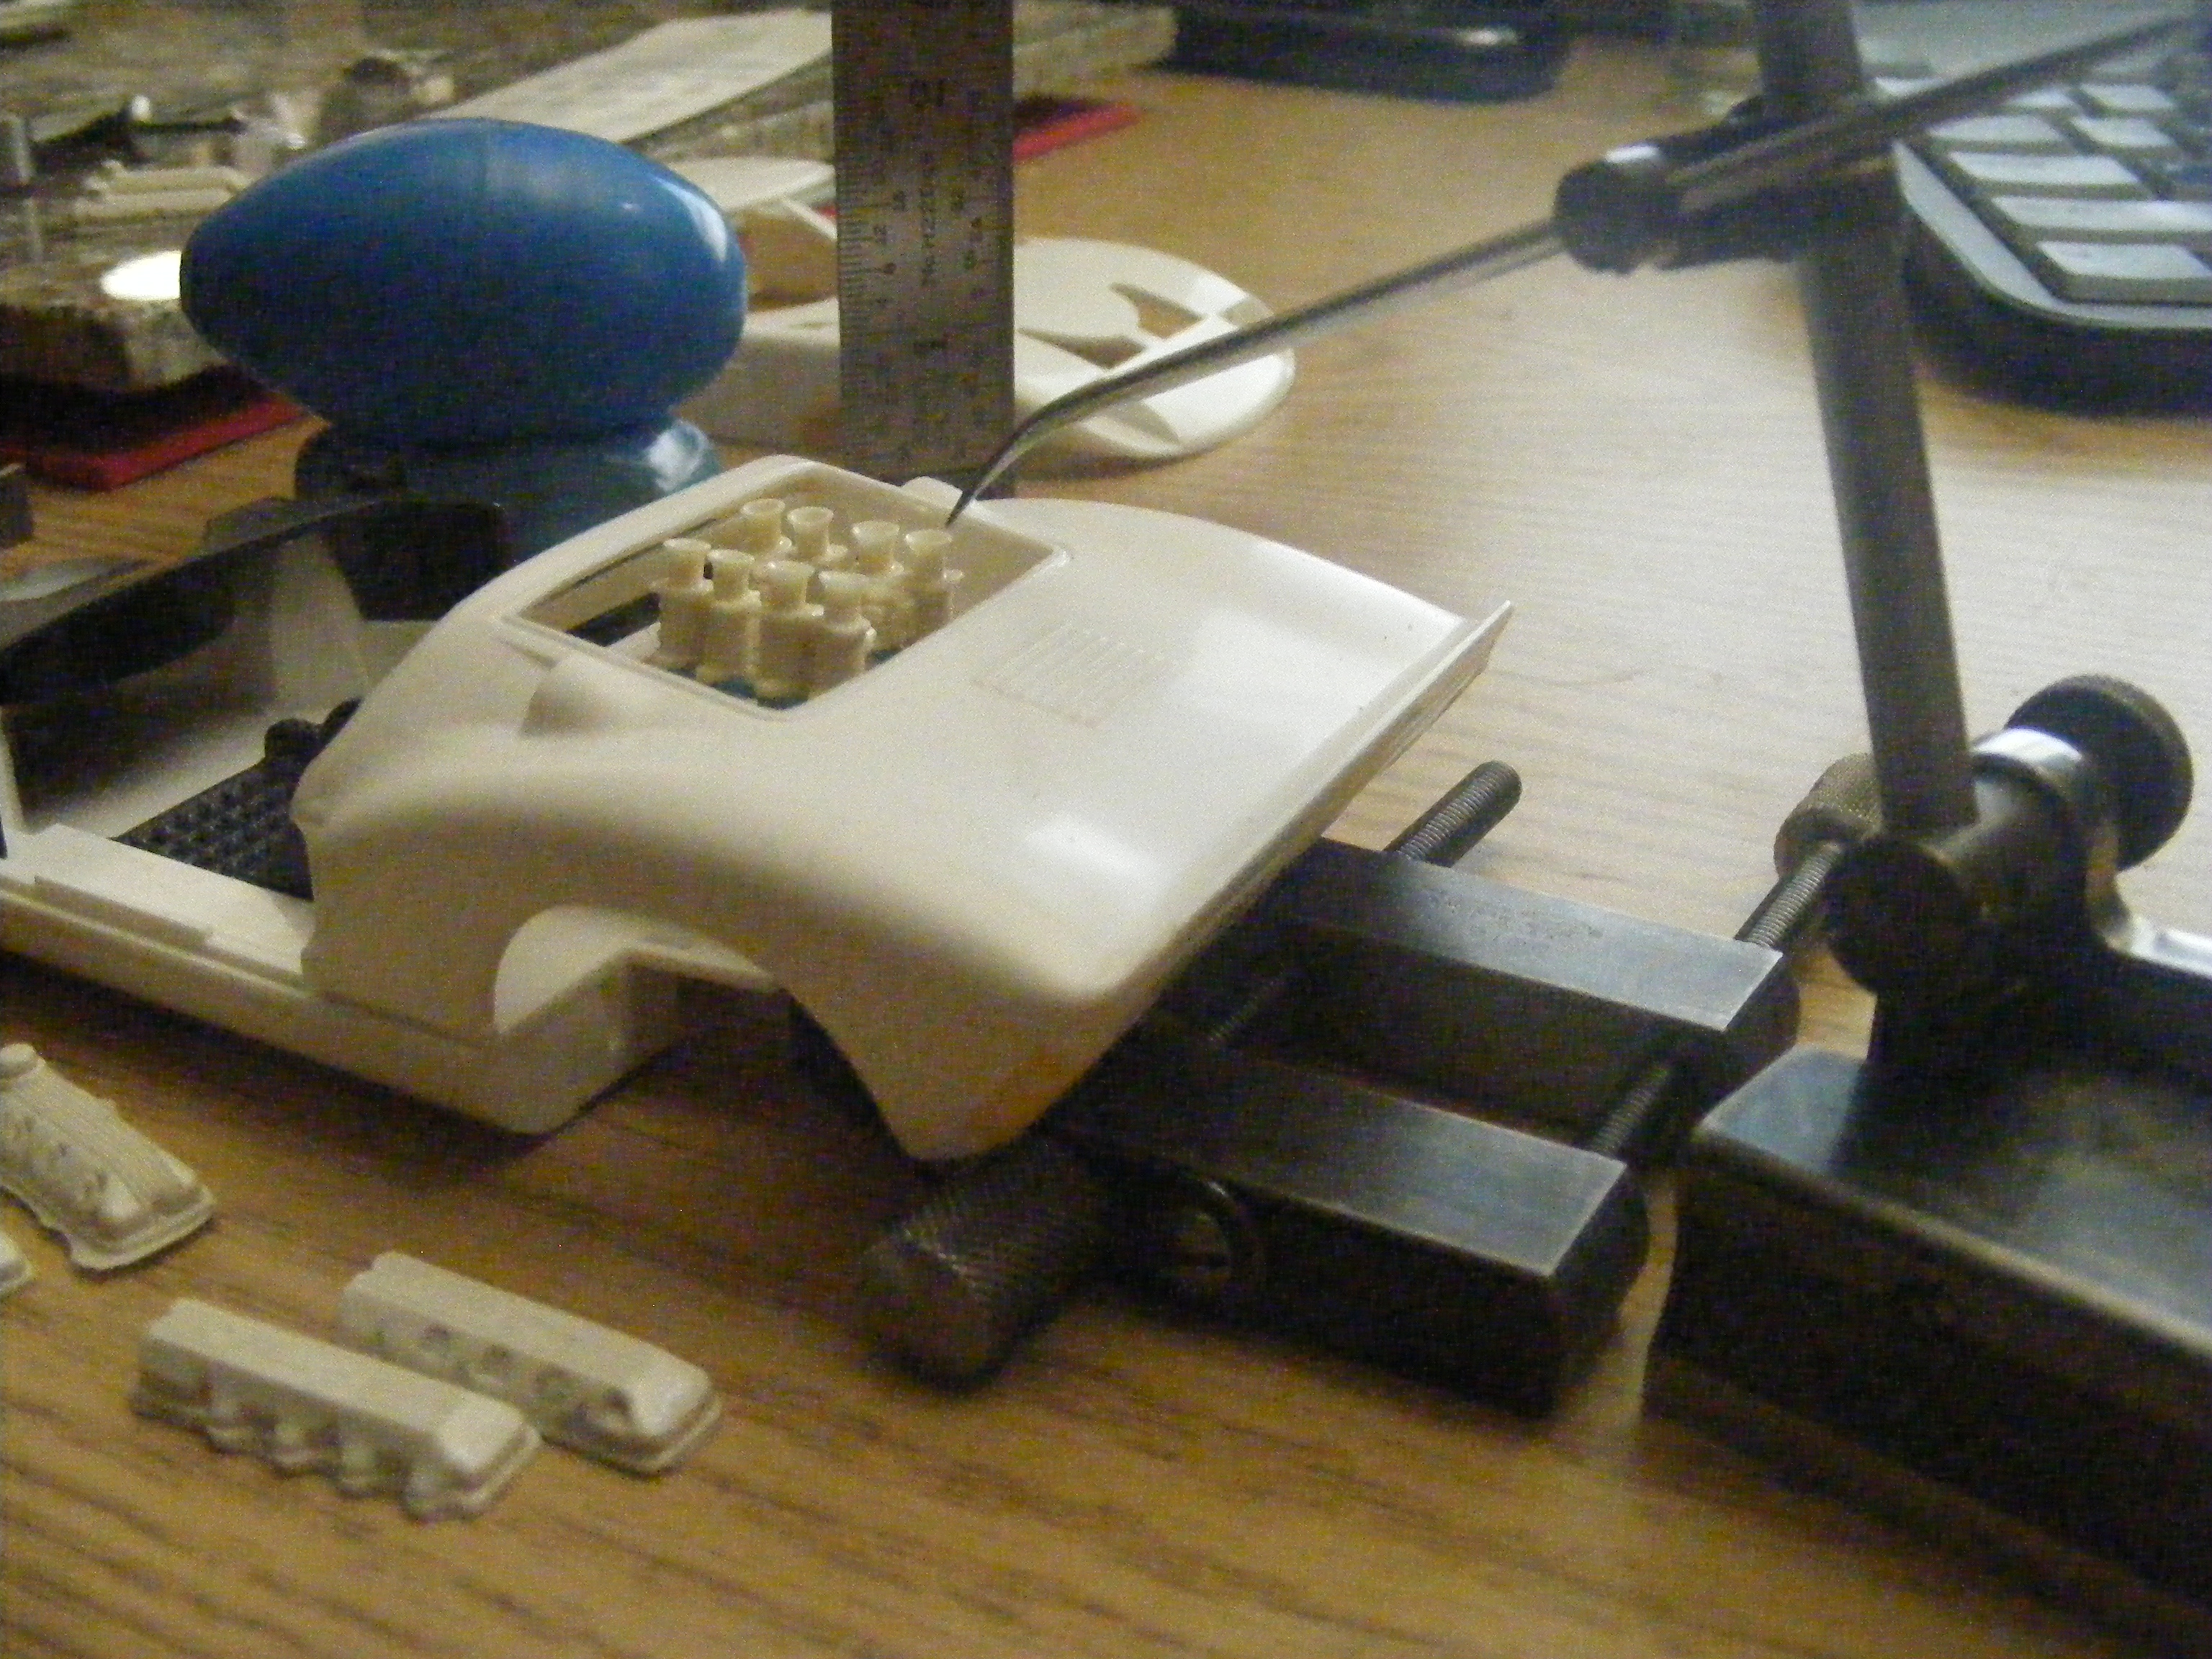
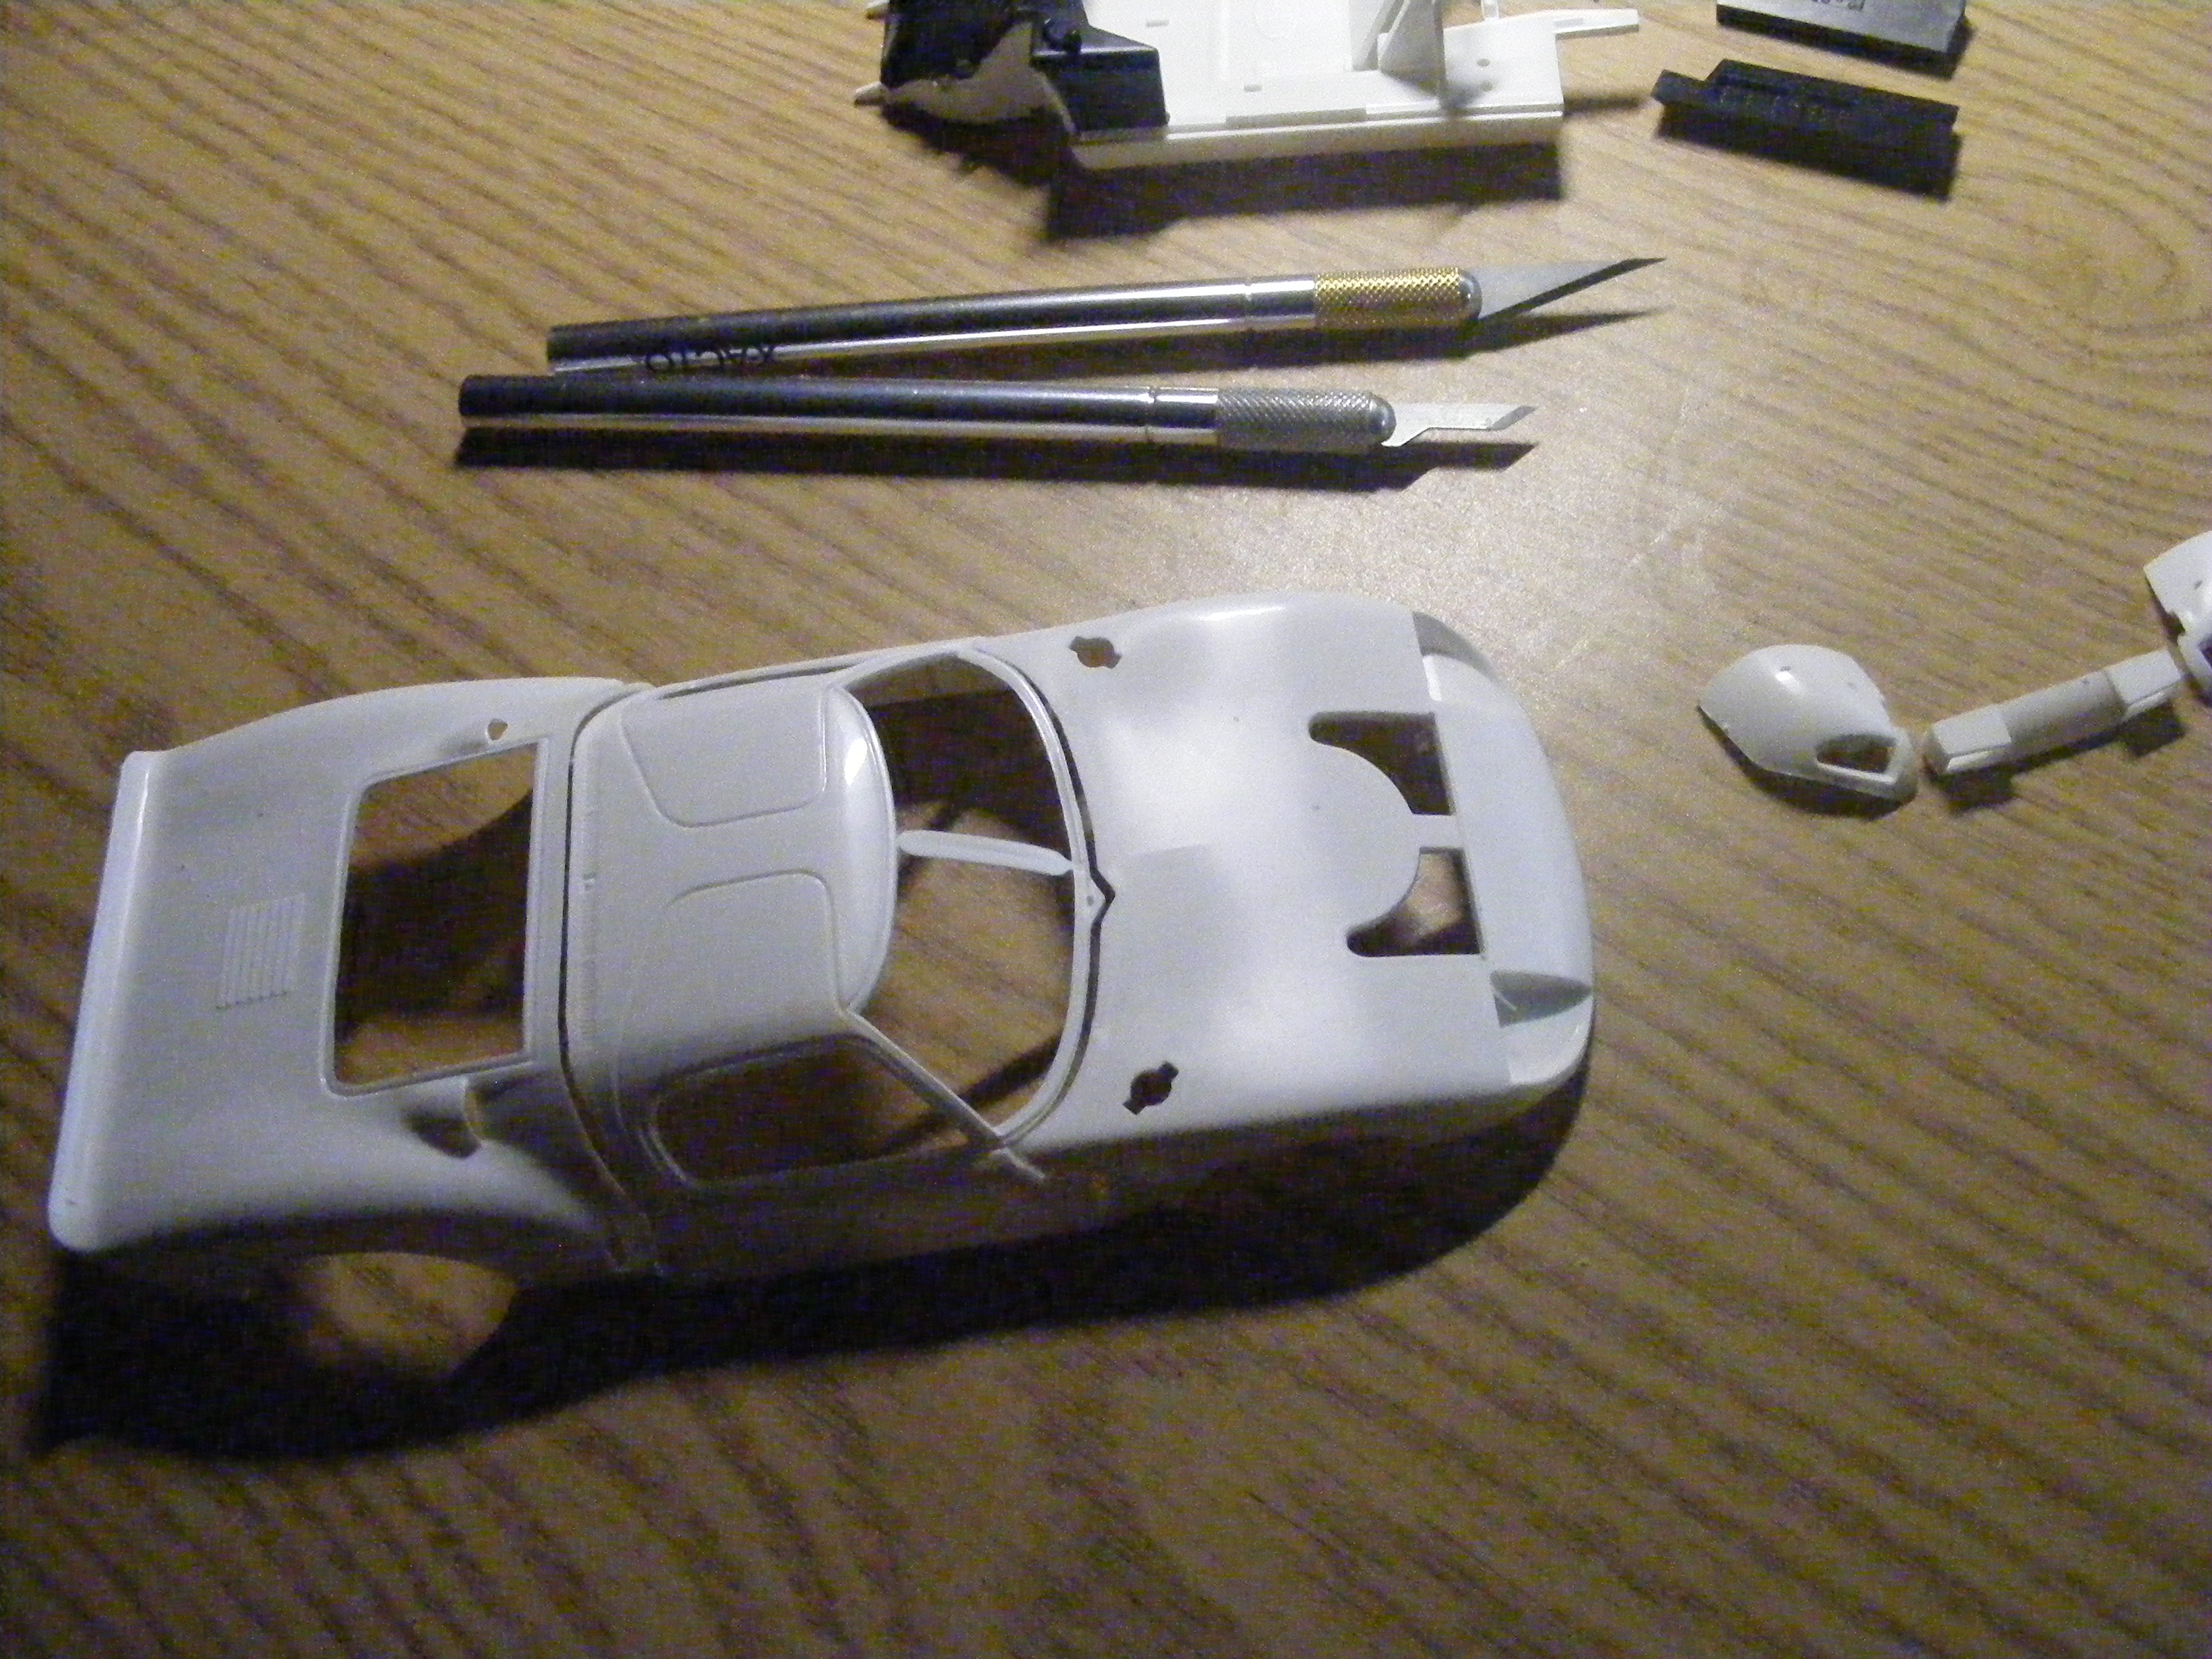
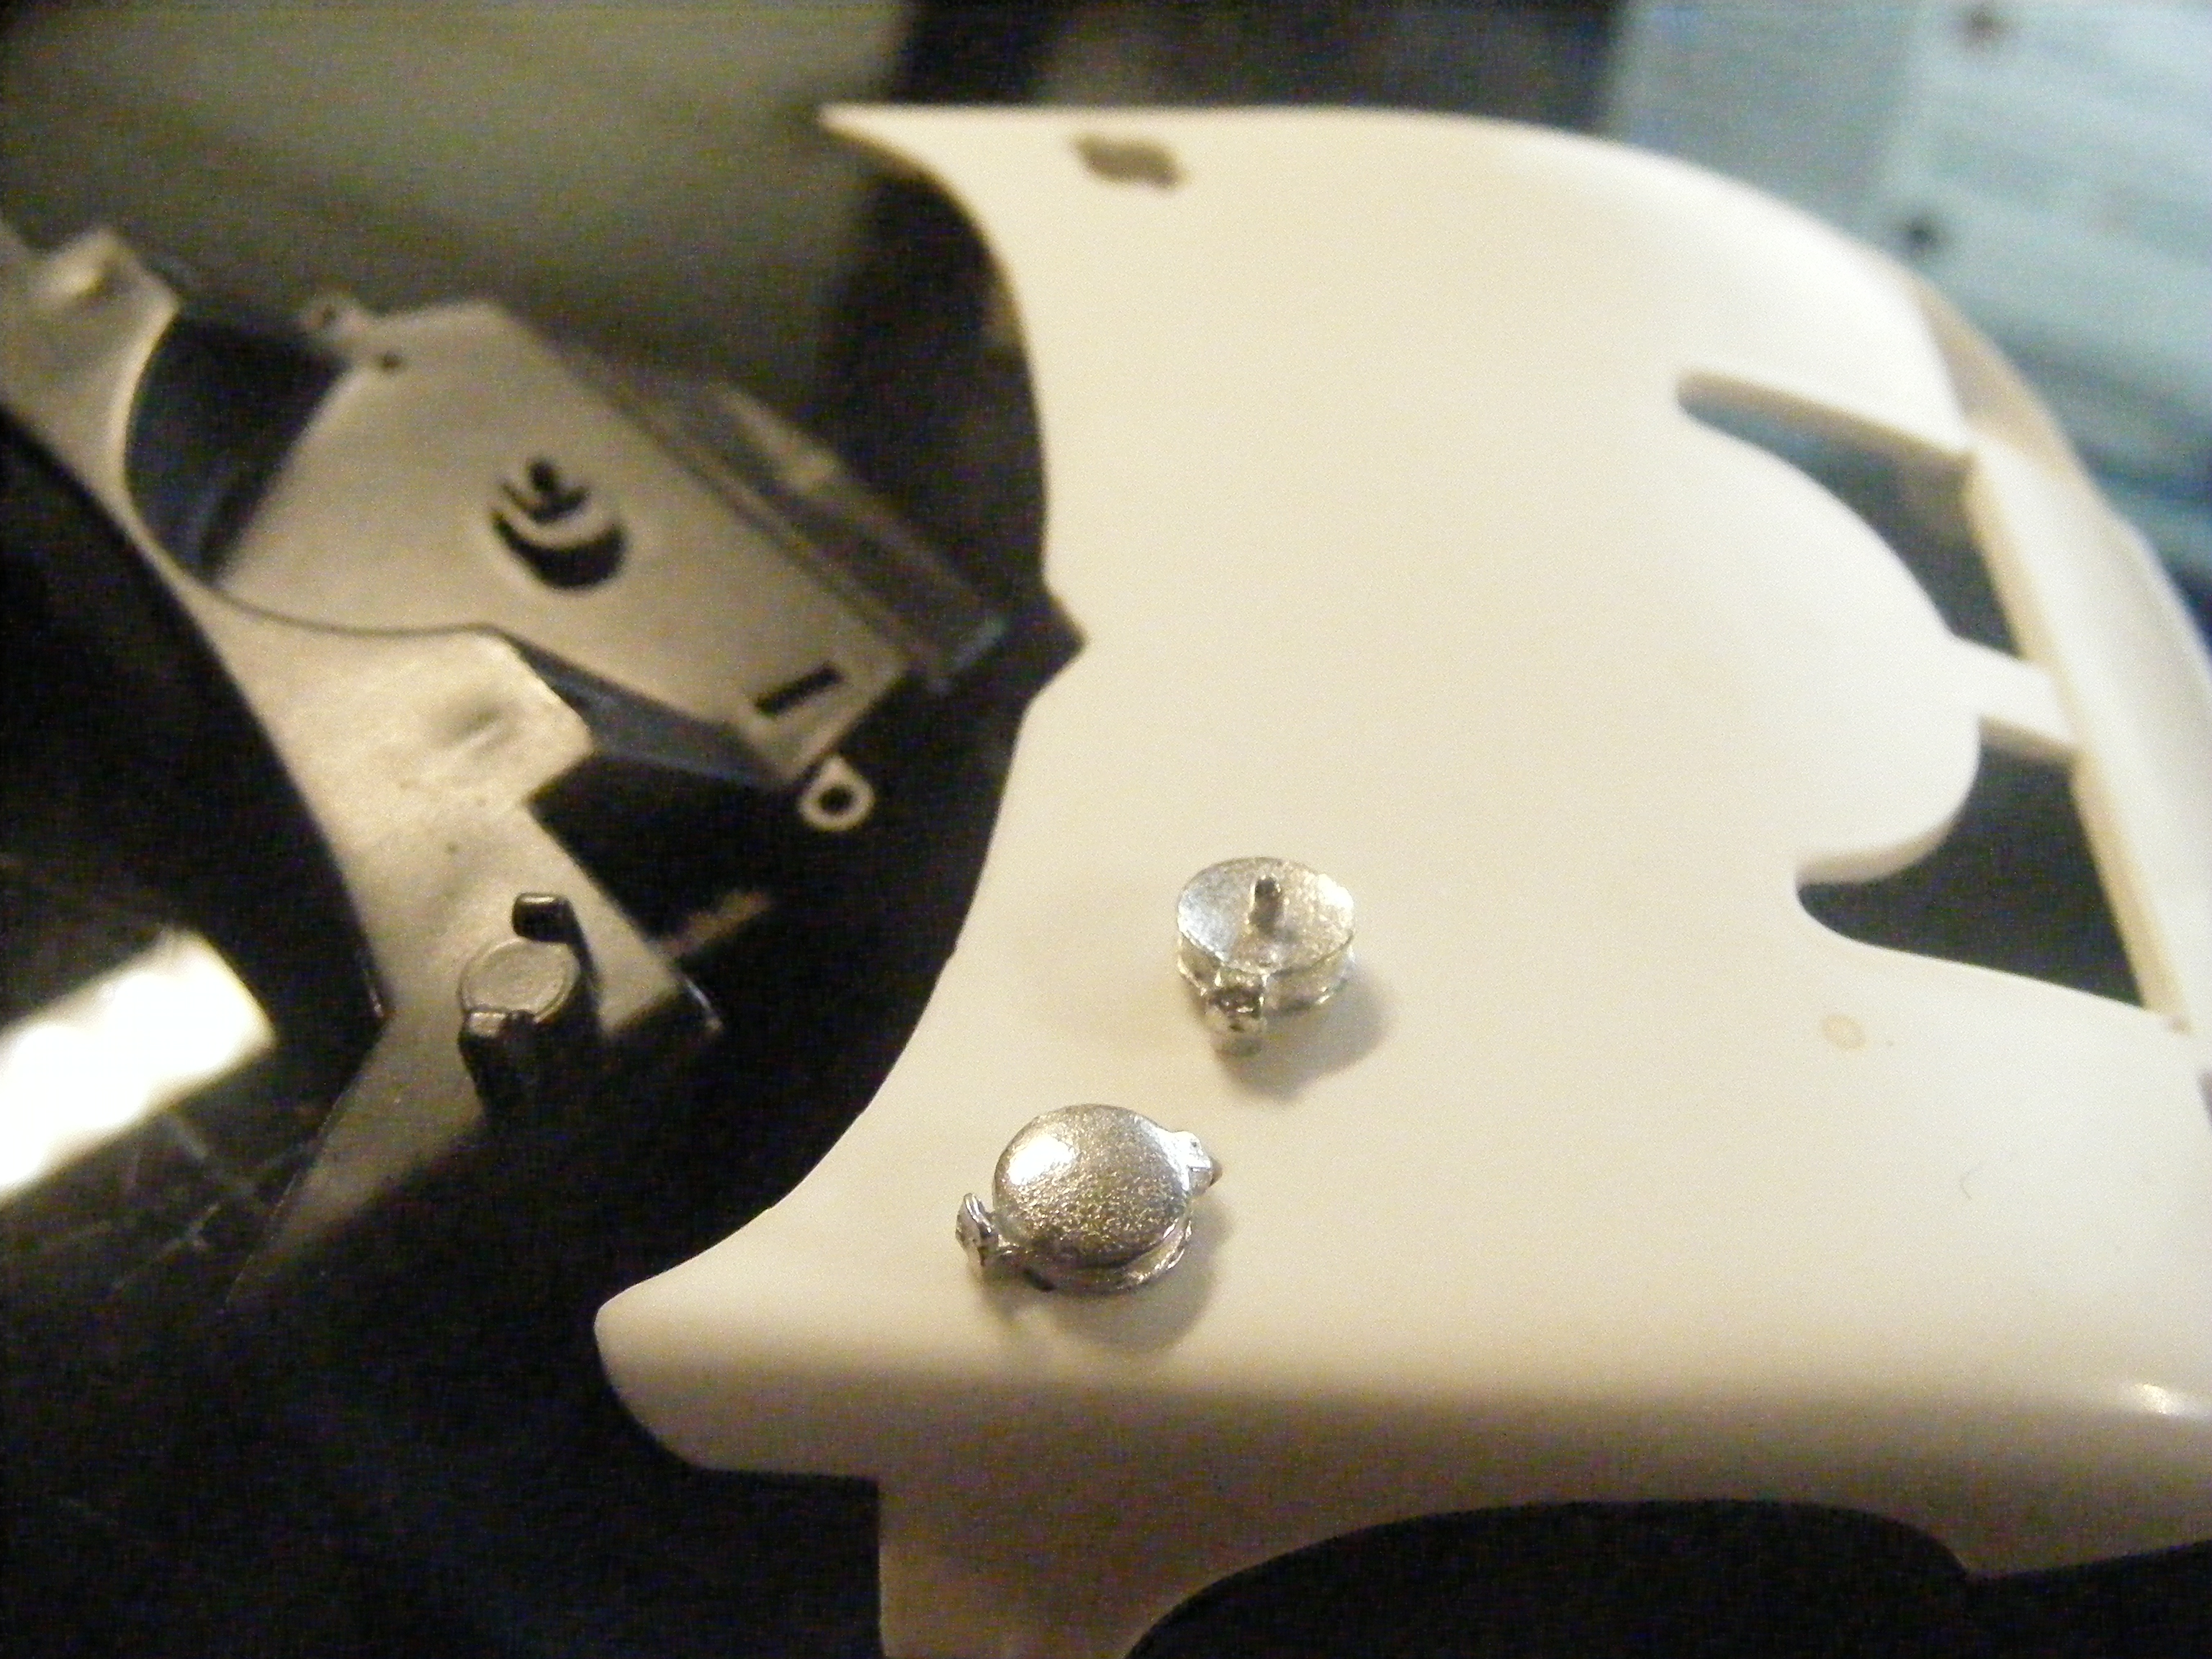
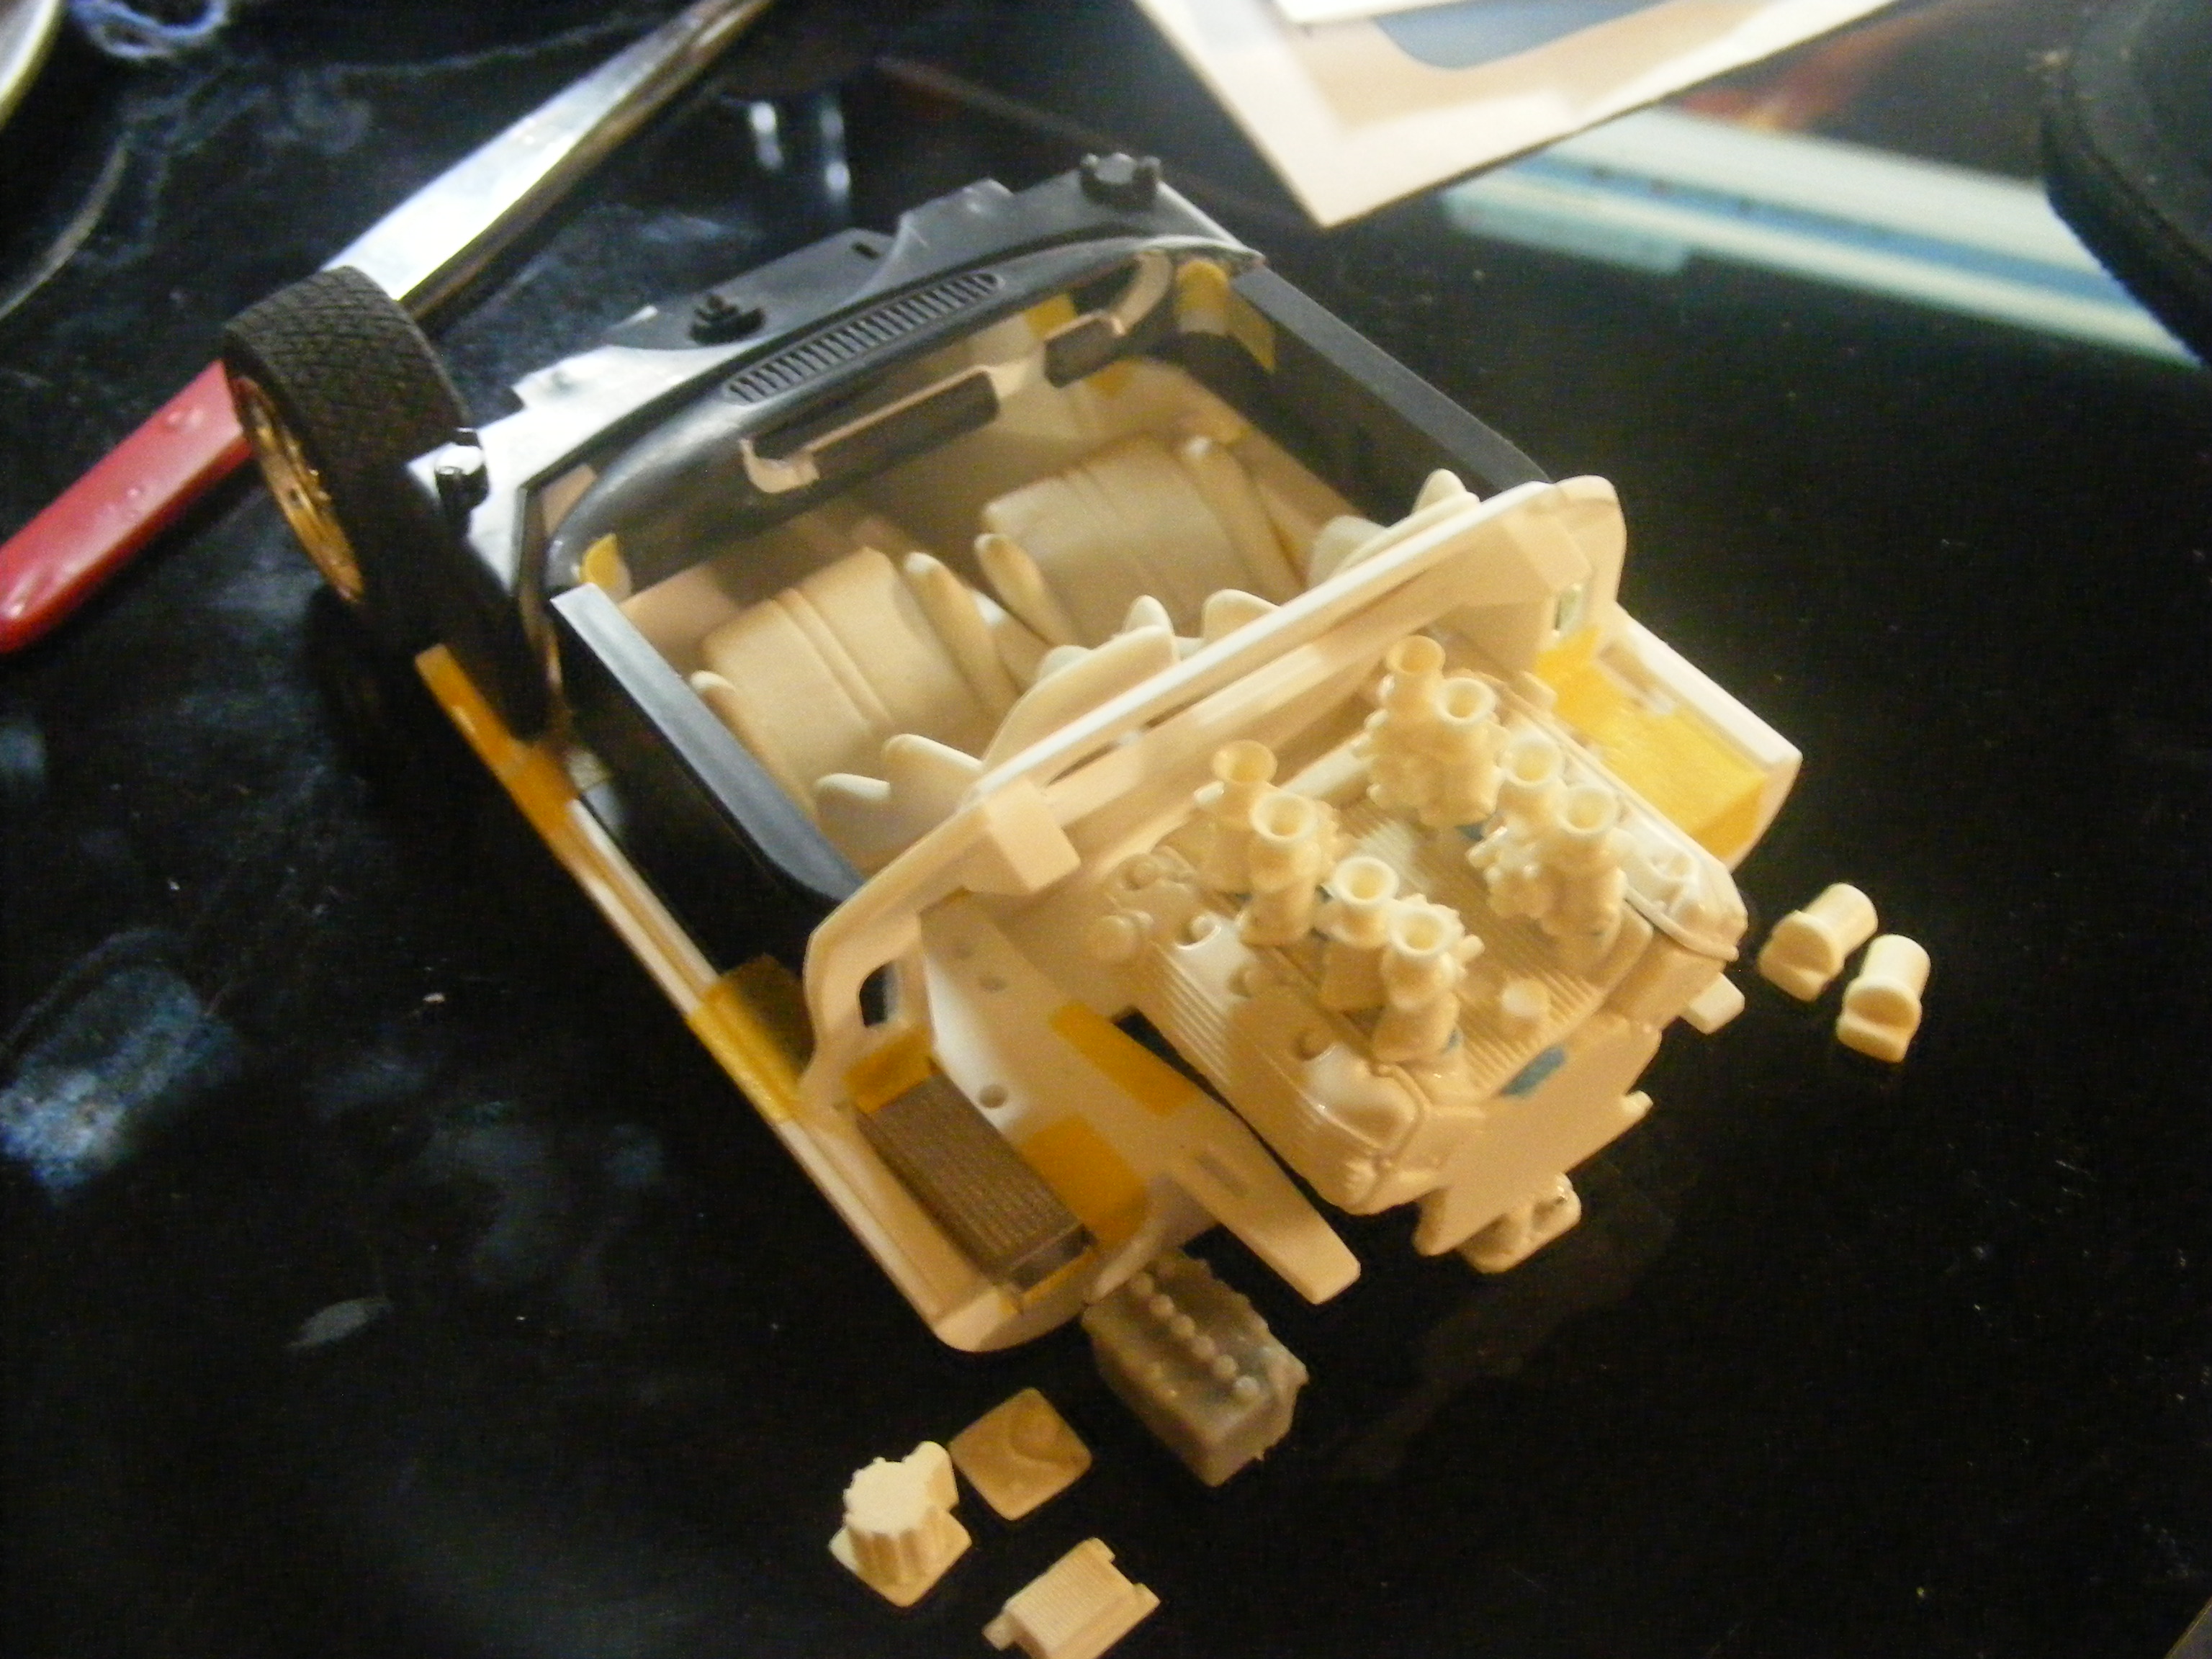
This car in real life is only 40" tall which makes this kit in 1/25 scale pretty small and using a large engine and in 1/24 scale, it is not a good match. The exhaust might have to be changed to a down and out instead of up and over type layout and the engine cylinders are laid down pretty flat so that doesn't help much either. I picked up some .015 clear styrene for the gauge project for today but that might change to leveling out the resin seats so they match. One was sanded too thin to work with so Im going to stick them to some fun tac, square them up and then pour some JB weld under them, let them set and sand the edges. They are too tall so I'm going to cut down the headrest some, put in some seat belt holes and separate the backs from the seat to lower them and then reglue the seat bottoms Plenty of room for a wiper motor to finish off the wiper PE kit. There's a resin one but too costly to order so I'm going to gather pics and scratch build. The first cut on the kit was to widen the shift gate area for PE The stock rear tires were a joke. The fronts were fine and the wire wheels weren't bad but I stepped it up with some Fujimi Narrow Wire Wheels 18" and a set of big and littles from the ancient parts box I've kept along. Arii BF Goodrich tires which might have to be cut for width as much as I hate the thought of it. I bought a Revell Shelby Cobra S/C kit for some small donor parts like a gas cap and mirror, maybe the wire wheels if the big boys dont work. I've sanded some detail off of the firewall already that will work nice on the GT. First time having to sand resin too. An 8 x 8 aluminum brownie pan and a thick glass picture frame which is all glass with some good 3M paper on it works. Other ways do not. I bought some brass rod ends on a PE sheet to help fab some suspension rods. Adding a PE oil cooler in back, nice small unit. I really want to see my trio of 60's cars built.
-
My first custom and it is a challenge. Aurora Ford GT with Outlaw Resin Ford 427 big block with Weber carbs.
-
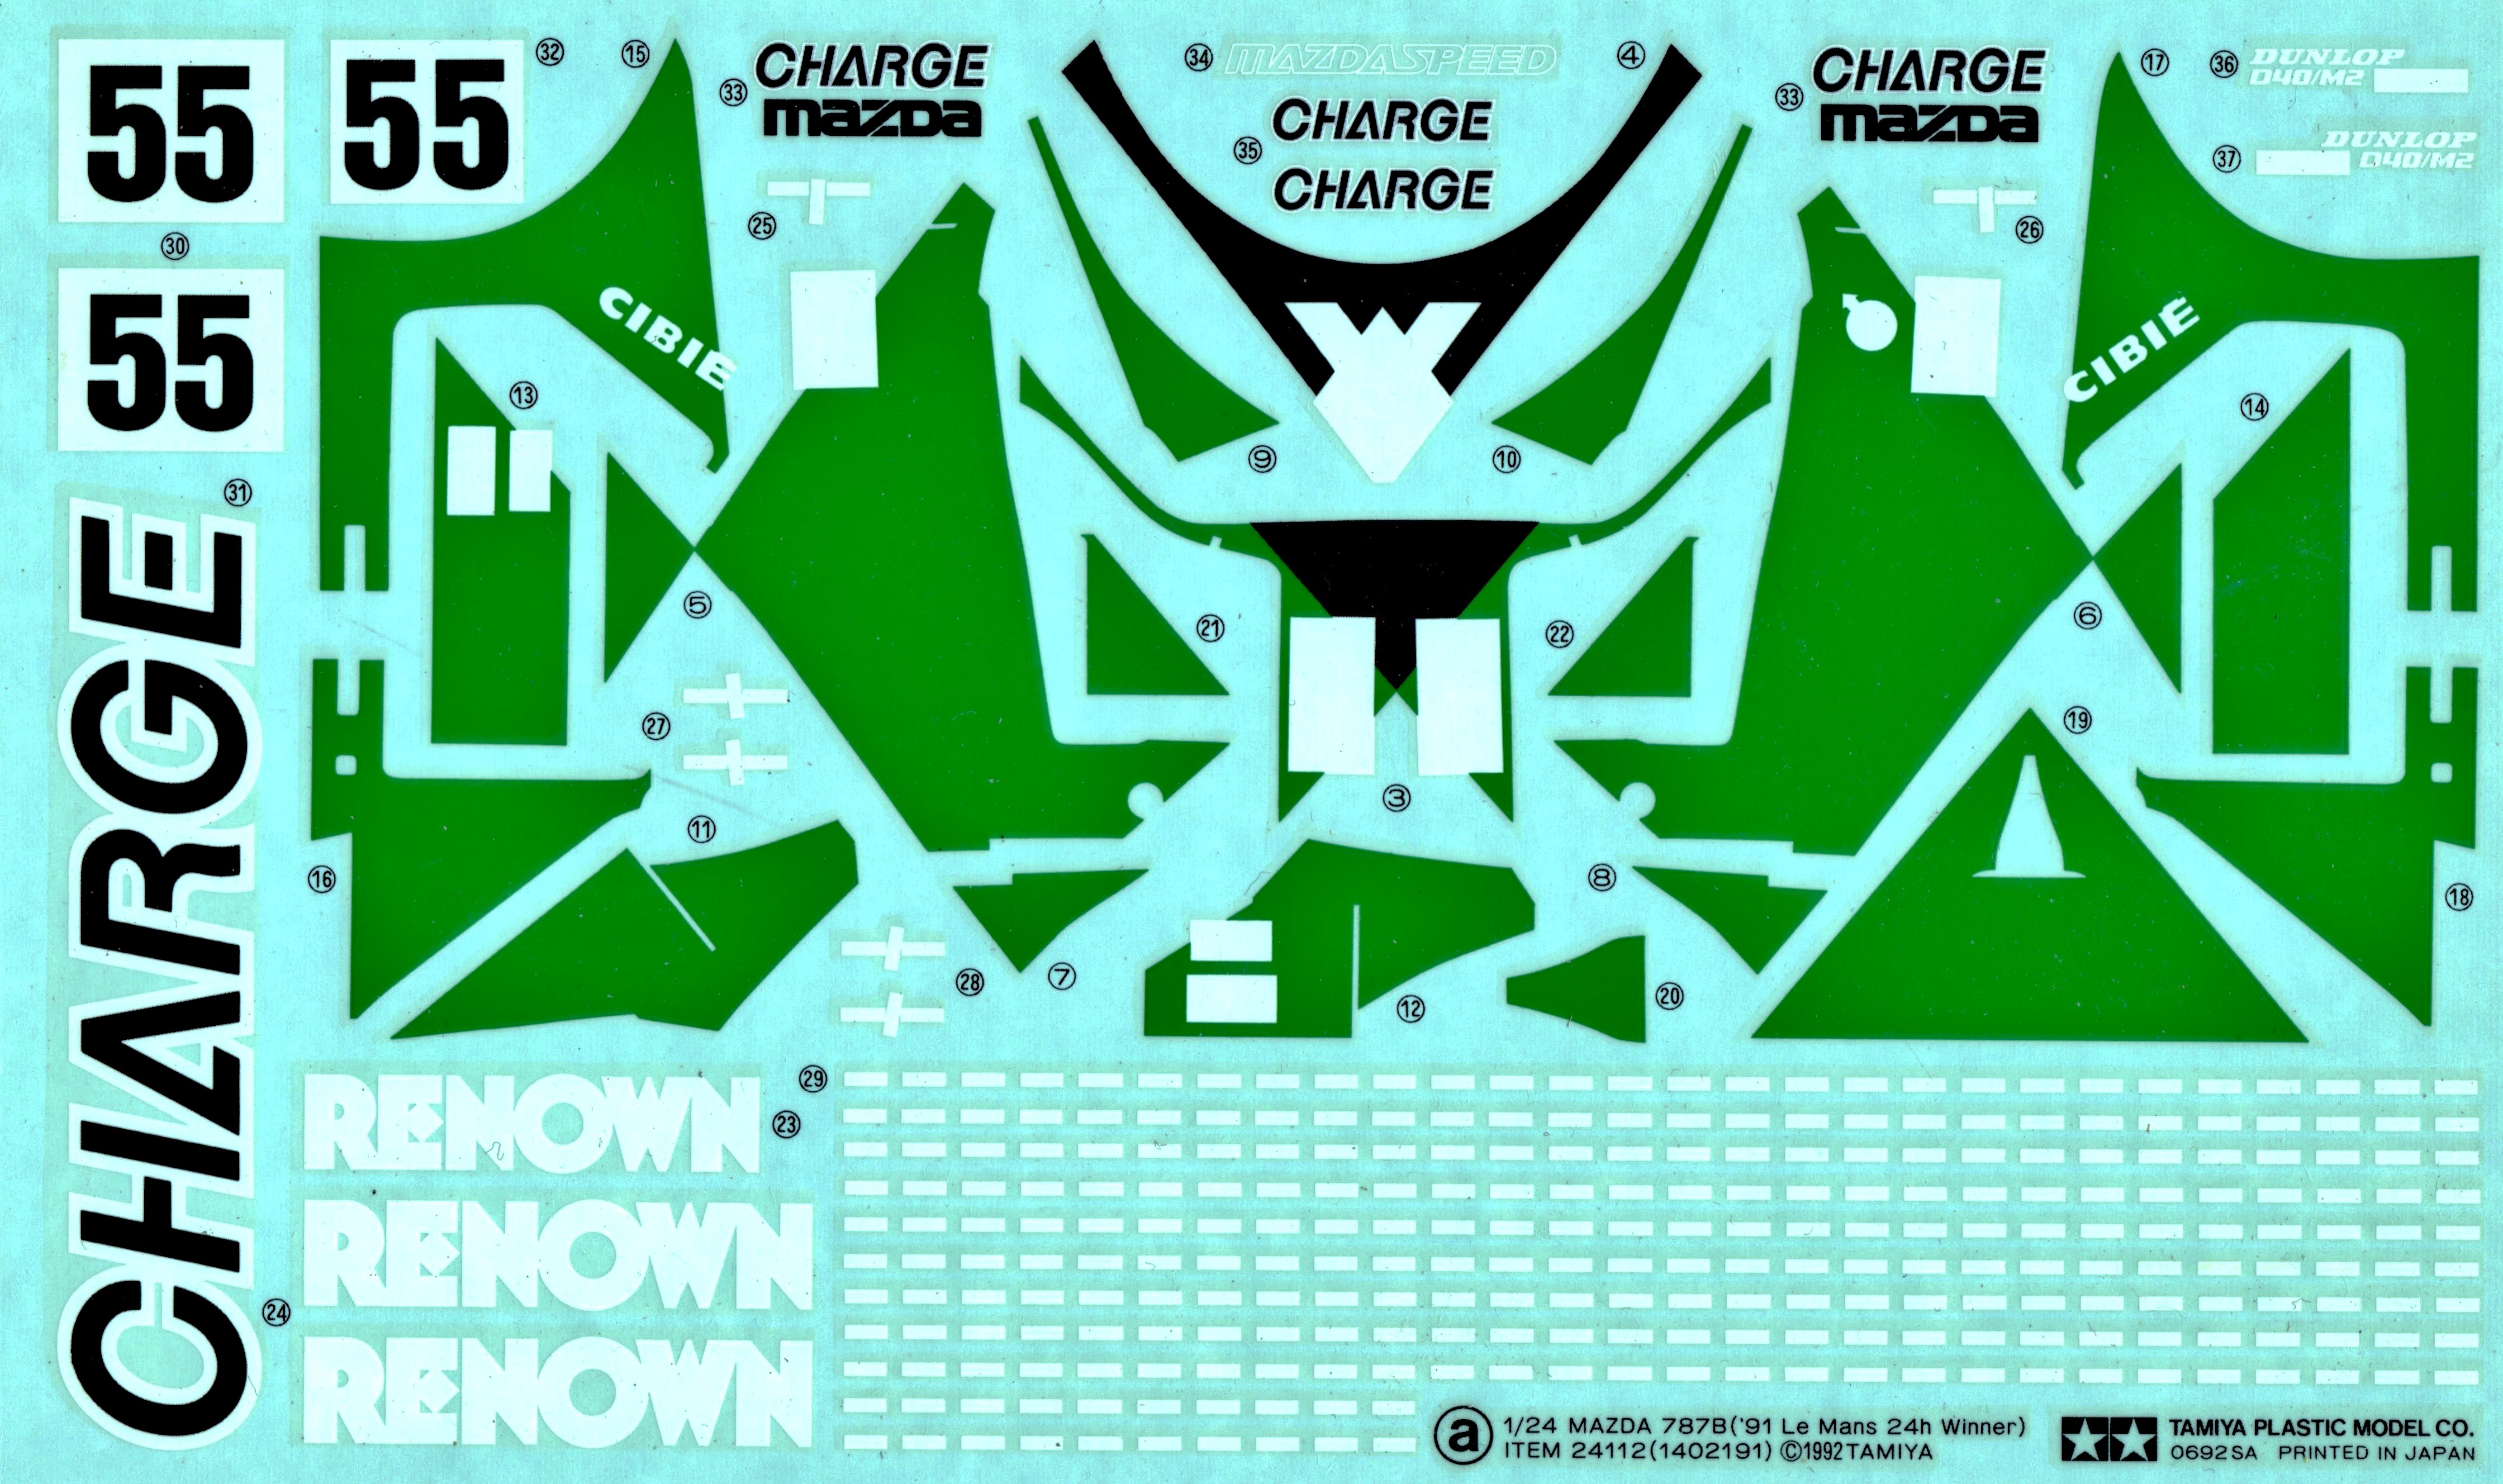
I've bought a tin each of this and I'm going with it. Both colors over a flat white base. Humbrol enamel and airbrush. I've never used it but I am very familiar with model enamels. I trust them. The orange can be of opinion somewhat, but if you are painting the green, you have a sponsor decal to cut out to worry about blending. Your best bet on getting the shade right is using your own opinion and testing paints and base colors using a piece of CHARGE original artwork with their colors printed, or using Tamiya box art. They are accurate. Since they are florescent colors, you have to be the judge because of its nature but you can get the tone close.
-
Hi Peteski, When the bottle is settled, there is a cloudy blue layer that stays on the bottom. I've seen it before on the first bottle I bought both brand new. I suspect this is the problem. I am searching out other brands because I rather use enamels. I can get a nicer gloss out of the airbrush with it. Tamiya has clear colors in their enamel line, but makes me wonder if the clear colors are true enamels as the rest. I've never seen any notes that call out they should be thinned with any other type of thinner than the enamel. I've watch a few Gundam models painted on Youtube with other types of clear colors, Mr. Hobby and such, but have no idea if they are any better or not. I've already experimented with clear tamiya tint colors through the airbrush and I'm very uncomfortable with being able to consistently get a perfect gloss out of it so that is part of the reason I am searching for other types, and hopefully one lands as an enamel base
-
I'm wanting to do a clear view body and wondering if anyone has tried some of the clear colors (including inks maybe) that produce the least amount of distortion. I've tried Tamiya clear and the blue is all cloudy no matter what. It just isn't "clear". Any suggestions?
-
Binders are fine but I like to keep them with my kits in my unbuilt kit collection. I use comic book covers which are clear plastic sleeves. They fit all of my tamiya boxes, they won't work folded. they have to stay flat. Instructions and decals fit inside with a piece of white bond paper facing the ink of the decal. Some I have had in storage for years in cold and hot storage rooms without any aging.
-
Techniques needed please. I'm aware of Hasagawa's trim film. Does not work well on curved glass nor is it currently available. Thinking of iridescent pearl powder suspended in Future floor wax where different concentrations can be experimented with and airbrushed. Uncertain of its clouding vs flip/flop effect. http://www.dickblick.com/products/jacquard-pearl-ex-pigments/ http://www.dickblick.com/items/27103-5001/ http://www.dickblick.com/items/27103-3405/
-
Tamiya Mercedes 300SL Announced, new pics added to OP
jet replied to martinfan5's topic in Car Kit News & Reviews
I contacted the builder of the Tamiya display to find out what model year(s) the kit is designed around. The instructions say it is a 1957-1959 version for those looking for photo reference and options. -
American Graffiti figures ?
jet replied to 57peppershaker's topic in Car Aftermarket / Resin / 3D Printed
Search for Jimmy Flintstone resin. All types of figures, including plenty of greaser dudes and dudettes. -
After spraying, cover your model with a shoe box. this will remove your overspray/orange peel. It allows the solvents still trapped in the paint to melt the flash coat and wet out like it should. Keep it covered too long will do too good of job and you will start to lose your coverage on sharp edges, such as panel lines. Use a clear vaccum formed cake box cover if you wish and watch. Five to ten minutes should do it. Stop the process by removing the cover. Increase the process by including a solvent soaked rag inside the box.
-
12" composite marble tile from the flooring store works nice for a lot of things
-
That kit sat next to my TNT440 snowmobile kit on my dresser for a long time. It does have some issues but its a great subject. I grew up down the road from a Mercury snowmobile test ground and the guy who ran it showed me the shop one day, and his scars from a sled he built very close to that, only not V8 powered. Drag racing snowmobiles were his gig.
-
Monogram Cessna 180
jet replied to 2002p51's topic in WIP: All The Rest: Motorcycles, Aviation, Military, Sci-Fi, Figures
I like the Cessna. I have a few Minicrafts collected and was trying to choose which one to try all metal. I have the Beech Bonanza V tail started. And stalled. I can't let myself put the stock windows in it. They're horribly distorted and thick and I want to see the interior. All of them are very nice in the "weekend wings" series. http://www.pinterest.com/gluefinger/minicraft-148-beechcraft-bonanza/ Just playing around a bit with the kit. It was given to me one day and felt safe to dice it up. Everything is engraved pretty nicely all around and can build into a nice full detail kit. I wish the landing gear was movable. I am hoping to build in some navigational and cabin lighting. I found a small board with watch battery LED unit that flashes. Thinking of running fiber to the wings and tail and stashing the unit under the floor or behind the cabins. I have all the Weekend Wings collected mostly as Minicraft packaging but they are all originally Bandai kits. Take a look through my Pinterest page and you'll find them. I stored the instructions and decal for them there. http://www.pinterest.com/gluefinger/