Bill Eh?
-
Posts
1,089 -
Joined
-
Last visited
3 Followers

Recent Profile Visitors
12,015 profile views


Bill Eh?'s Achievements
MCM Ohana (6/6)
-
 I believe you have the answer to this, illustrated in the pictures posted of Harry Pristovnik's Ducati and Tom Andrukaitis' Tasca Ford Thunderbolt. In my eye, neither of these has a toy-like appearance. We don't have pennies in Canada, so I guess that is my nickel's worth LOL
 -
Pat, that is a shame about the decals. That livery would have been quite impressive.
-
Is Super Shop Real?
Bill Eh? replied to oldcarfan's topic in General Automotive Talk (Trucks and Cars)
See the topic "under to good to be true, hobby time model kits" -
Although it looks the same, it is not a Gaahleri airbrush. It is a DragonAir Model DA04 Airbrush 0.5mm trigger action. I'm not sure if this is a private branded product for SMS. I bought two of the Gaahleri trigger style airbrushes, a GHAD-68 and a Swallowtail. I really like them both. If you go with a Gaahleri, the Swallowtail would be my recommendation.
- 35,934 replies
-
- 2
-

-
- johan
- glue bombs
- (and 1 more)
-
Atlantis Models has bought another lot of tooling/molds.....
Bill Eh? replied to Dave Van's topic in Car Kit News & Reviews
Thanks for sharing that new-to-me information. You're right about the new illustration styling being uninspiring. In spite of that, I still purchased the Mooneyes and Yellow Fever kits. -
Atlantis Models has bought another lot of tooling/molds.....
Bill Eh? replied to Dave Van's topic in Car Kit News & Reviews
Curious, how would Atlantis have access to Revell copyright artwork? -
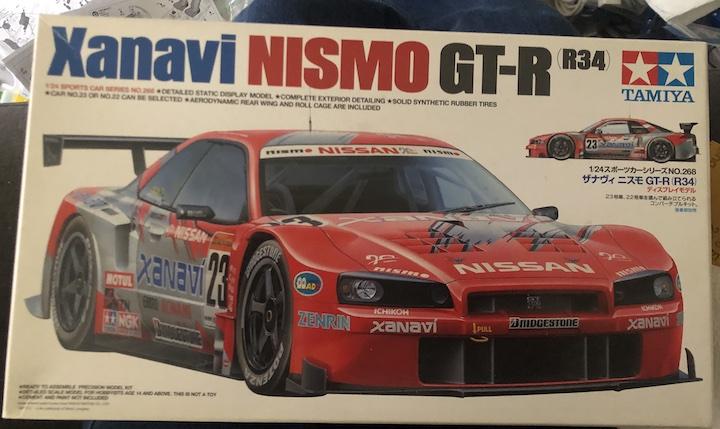
This past Sunday, the Group 25 Model Car Club had its Spring contest run in an NNL format. One of my favourite vendors from London was there and of course he had a kit which caught my eye. The final Tamiya racing iteration of the Nissan GT-R34 (Xanavi NISMO). These kits are becoming very rare. A good friend has a line on a set of decals so that I can build it as the Calsonic version.

- 35,934 replies
-
- 3
-
-
- johan
- glue bombs
- (and 1 more)
-
If you can possibly find a disposable clear plastic spoon. You might be able to modify it so as to come close to matching the curvature of the Badman hood scoop. Another option is to find the fairly recent reissue of the Monogram '55 Chevy Bel Air Street Machine 2' n 1. It has all of the Badman parts, although the clear parts are clear, not clear red.
-
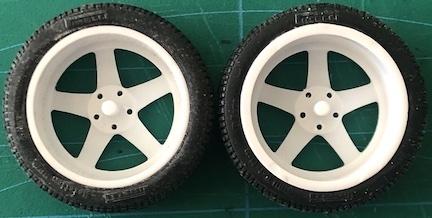
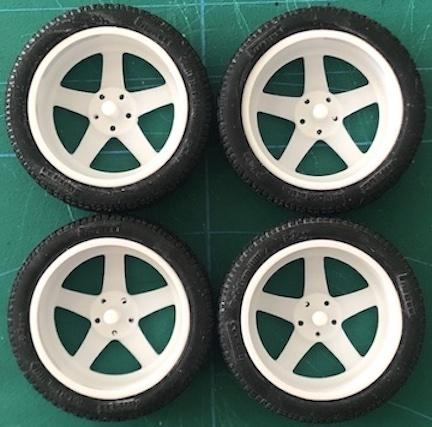
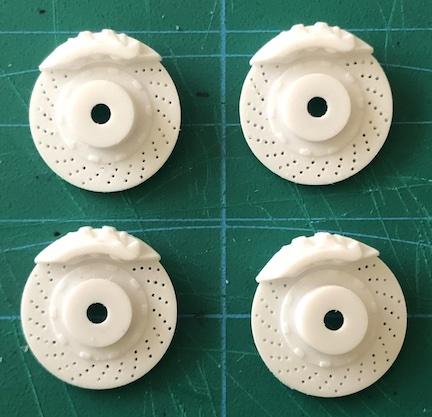
I understand the logic behind the lip that Tamiya includes on the back-edge of their one piece wheels. The appearance to me is overly thick. The wheel on the right is original and the wheel on the left has been sanded down to eliminate the lip. Here are all four wheels with the lips removed. I really appreciate the detail and appearance of Tamiya tires right out of the box. The material Tamiya uses has a realistic "rubber-like" appearance. And of course the Pirelli detail is a bonus. This is an older boxing, so I'm not sure if this is still the case with more recent issues.
-
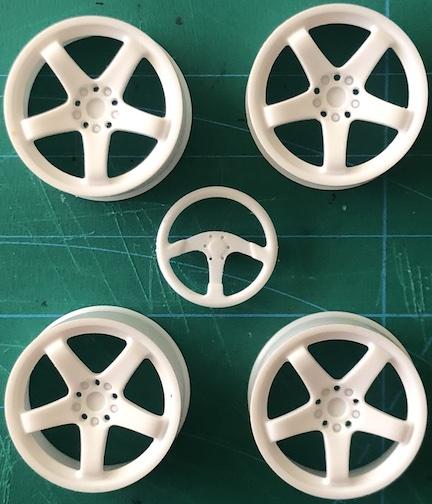
Drilled out some lightening holes in the wheels from my Tamiya GT-R 32 NISMO kit.
-
Ist time using 2k clear
Bill Eh? replied to Mike 1017's topic in Model Building Questions and Answers
I have the same Splash 2 part clear as well. The bottle of the clear itself, I believe is twice the size of the catalyst. Since it is Splash's product, then yes it is three parts clear to one part catalyst. Make the mixture first and then thin to a good consistency for airbrushing. Wise words from Mark indeed. Use good ventilation and wear a respirator mask if you have one. -
Ist time using 2k clear
Bill Eh? replied to Mike 1017's topic in Model Building Questions and Answers
Usually that would be the interpretation. I have never heard of a product which uses that in reverse, 3 parts catalyst to 1 part clear. Does this clear seller have a website. I believe in double checking things first. LOL -
I know this one is a stretch, but... Mods, if you need to move it, go right ahead.
- 35,934 replies
-
- 8
-
-

-
- johan
- glue bombs
- (and 1 more)
-
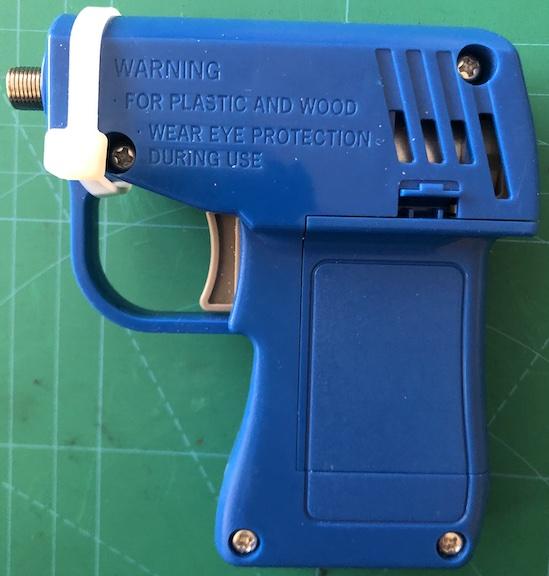
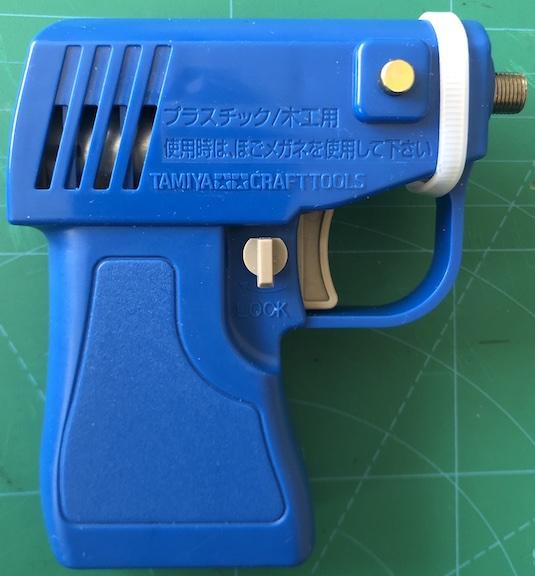
Yesterday I finally got around to finishing the disc brake face drilling. Doing this with a pin vice and a 0.3 mm bit is risky at best. That size of bit is so easy to break! So I thought that I'd give it a try with my Tamiya battery powered drill. My only issue with the Tamiya drill is that the screw that holds the body shell halves together, up near the drill aperture, is not tight enough to keep the two halves firmly together. Keeping this area snug is important, as this is the area of the drill that contains the gearing and the drill chuck. I did not want to risk tightening the screw any further. There is the risk that the metal screw might strip out the plastic. So, I came up with another idea to hold the two body shell pieces tightly together, a nylon zip tie.