ModelcarJR
-
Posts
1,378 -
Joined
-
Last visited


ModelcarJR's Achievements
MCM Ohana (6/6)
-
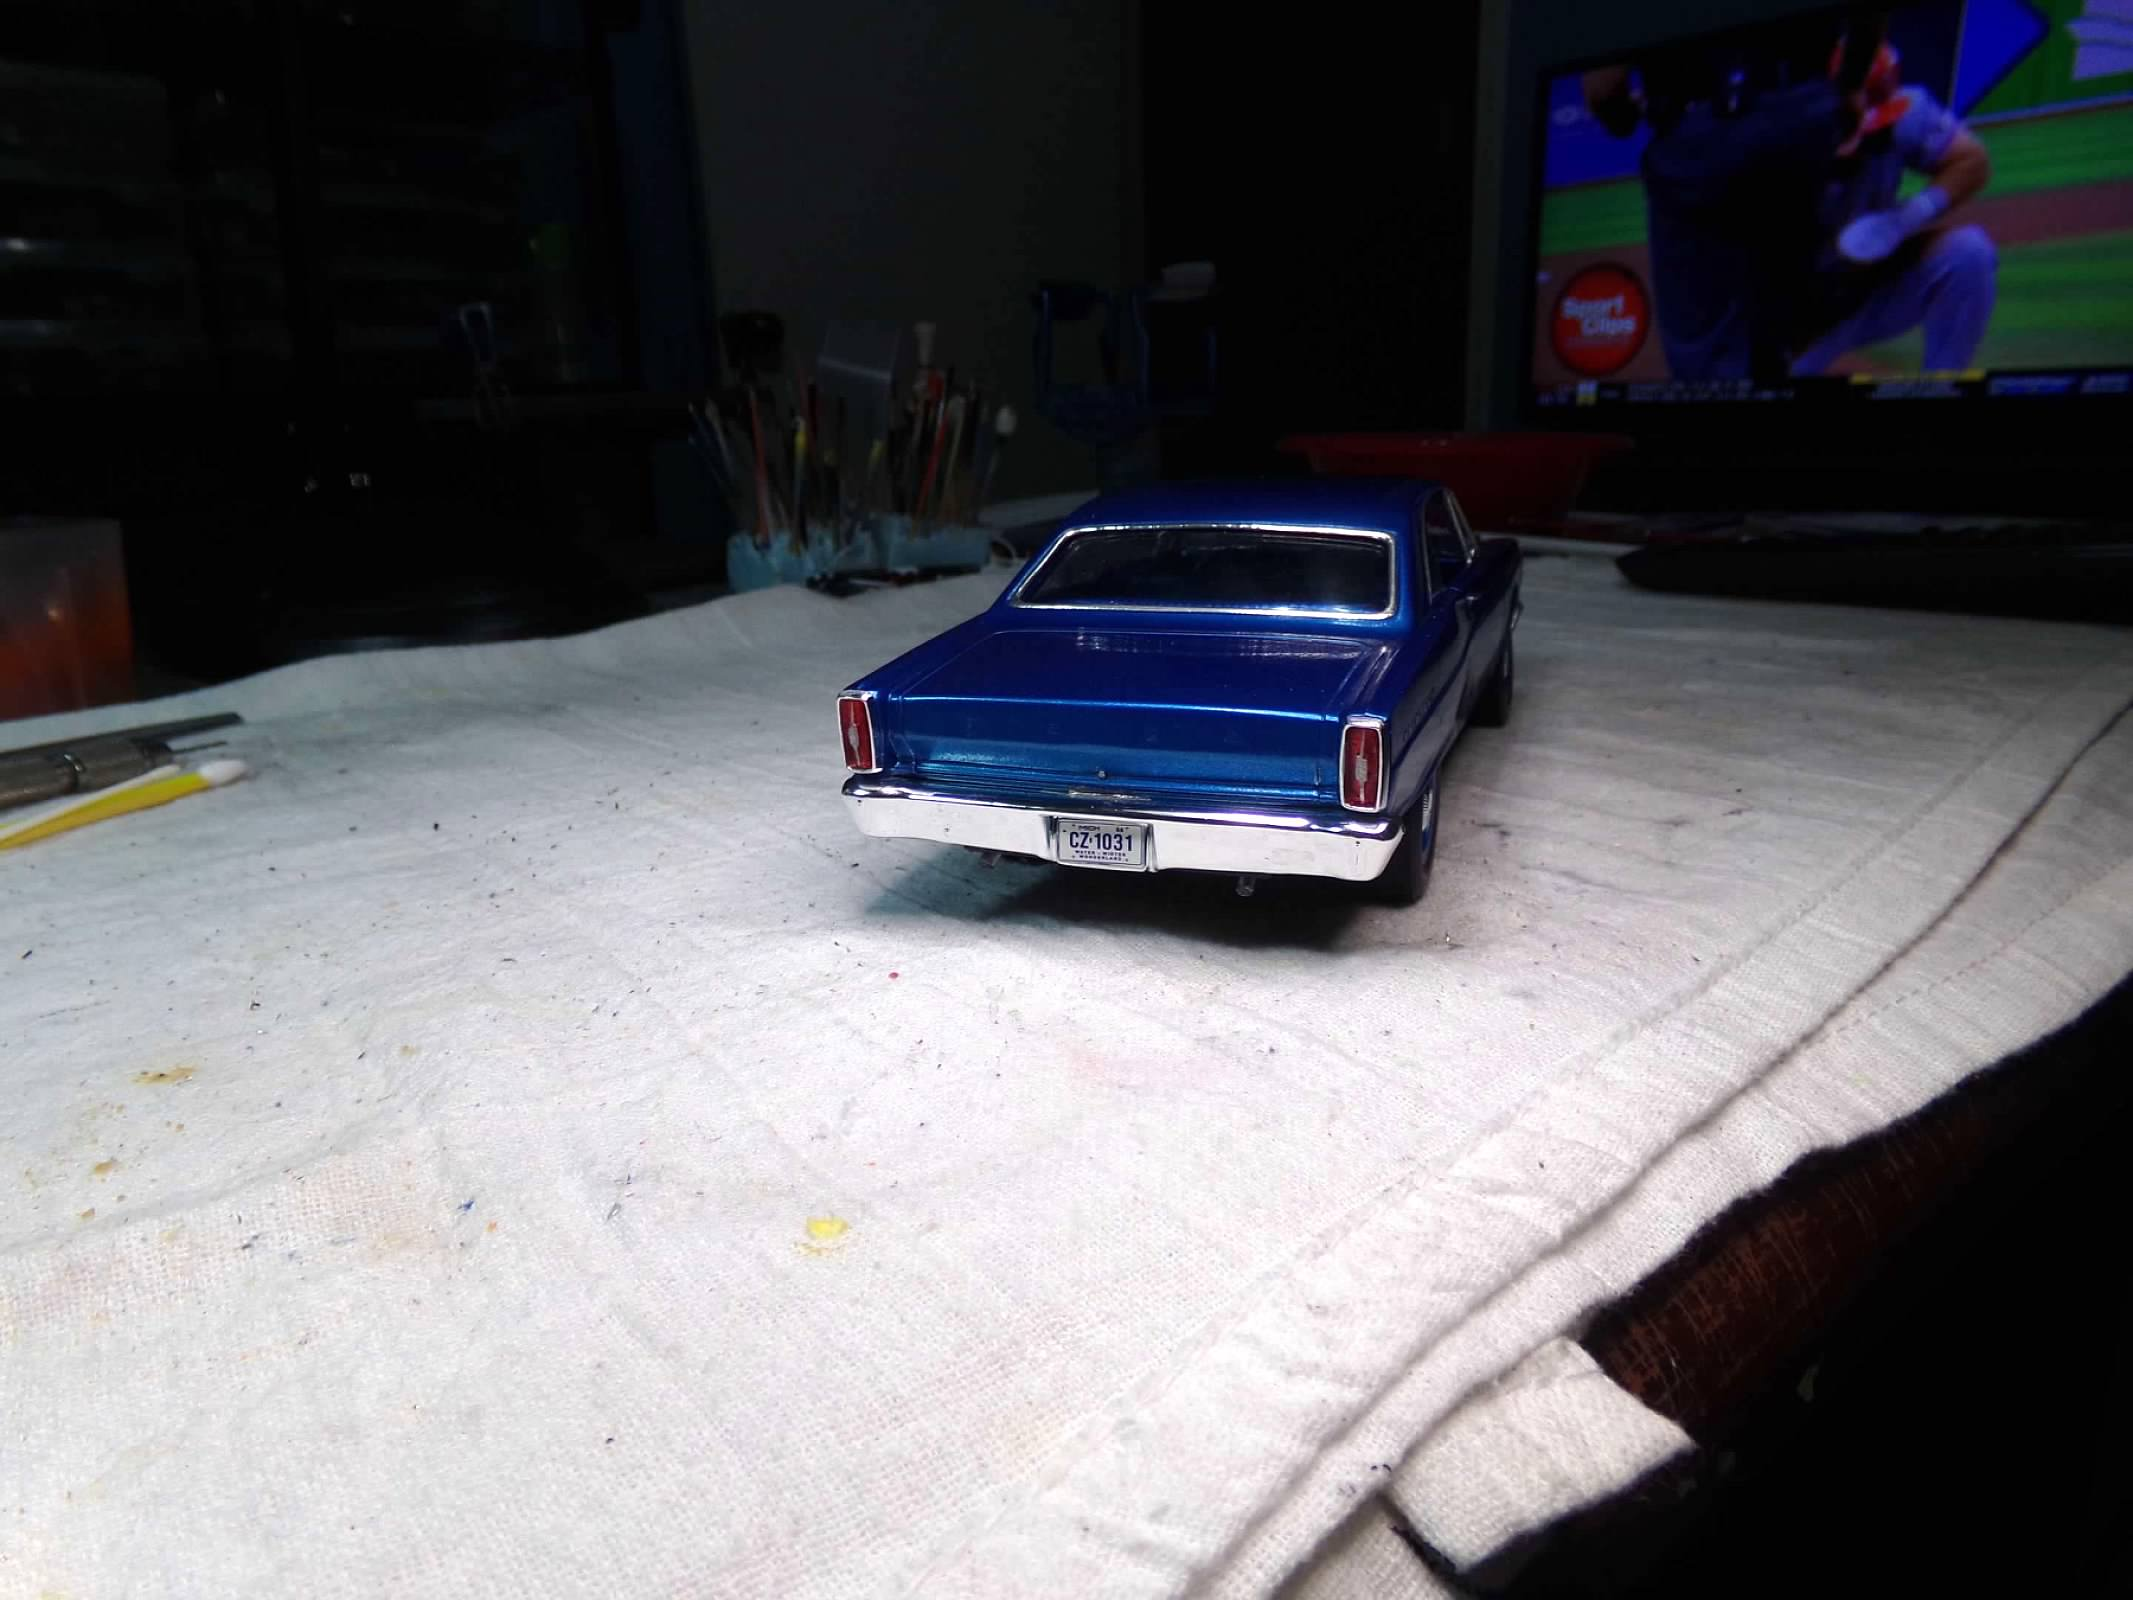
Thanks, Jim! No the kit did not include slicks. All the parts are on the car, except the rocker trim, the horns and some side badges that are not in the instructions. Also there was a remnant interior console but no bucket seats. What you see is pretty much it! I thought about using some cheater slicks on this but didn't want to waste them on this build. Probably the last AMT Ford or maybe even the last Ford with separate inner fenders that I will build. Thanks for looking! 😎
-
Thanks, Jim and Len! I appreciate your comments! Well, I didn't think the inner fender liners were that far off but that was all the difference. Once I had them square, I was able to move the body back just a bit, maybe 1/16" so that the wheel position looks good. Not enough room for the horns but that's OK with me. The horns are there somewhere. everything else went OK but the decals in this kit are terrible and the Ford lettering would not register. So I was able to use chrome pen on the front but not the back because they are too shallow and I am not talented enough to draw a letter with a chrome pen. I left off the side rocker chrome because I thought it looked better without it. Thanks for looking! 😎

-
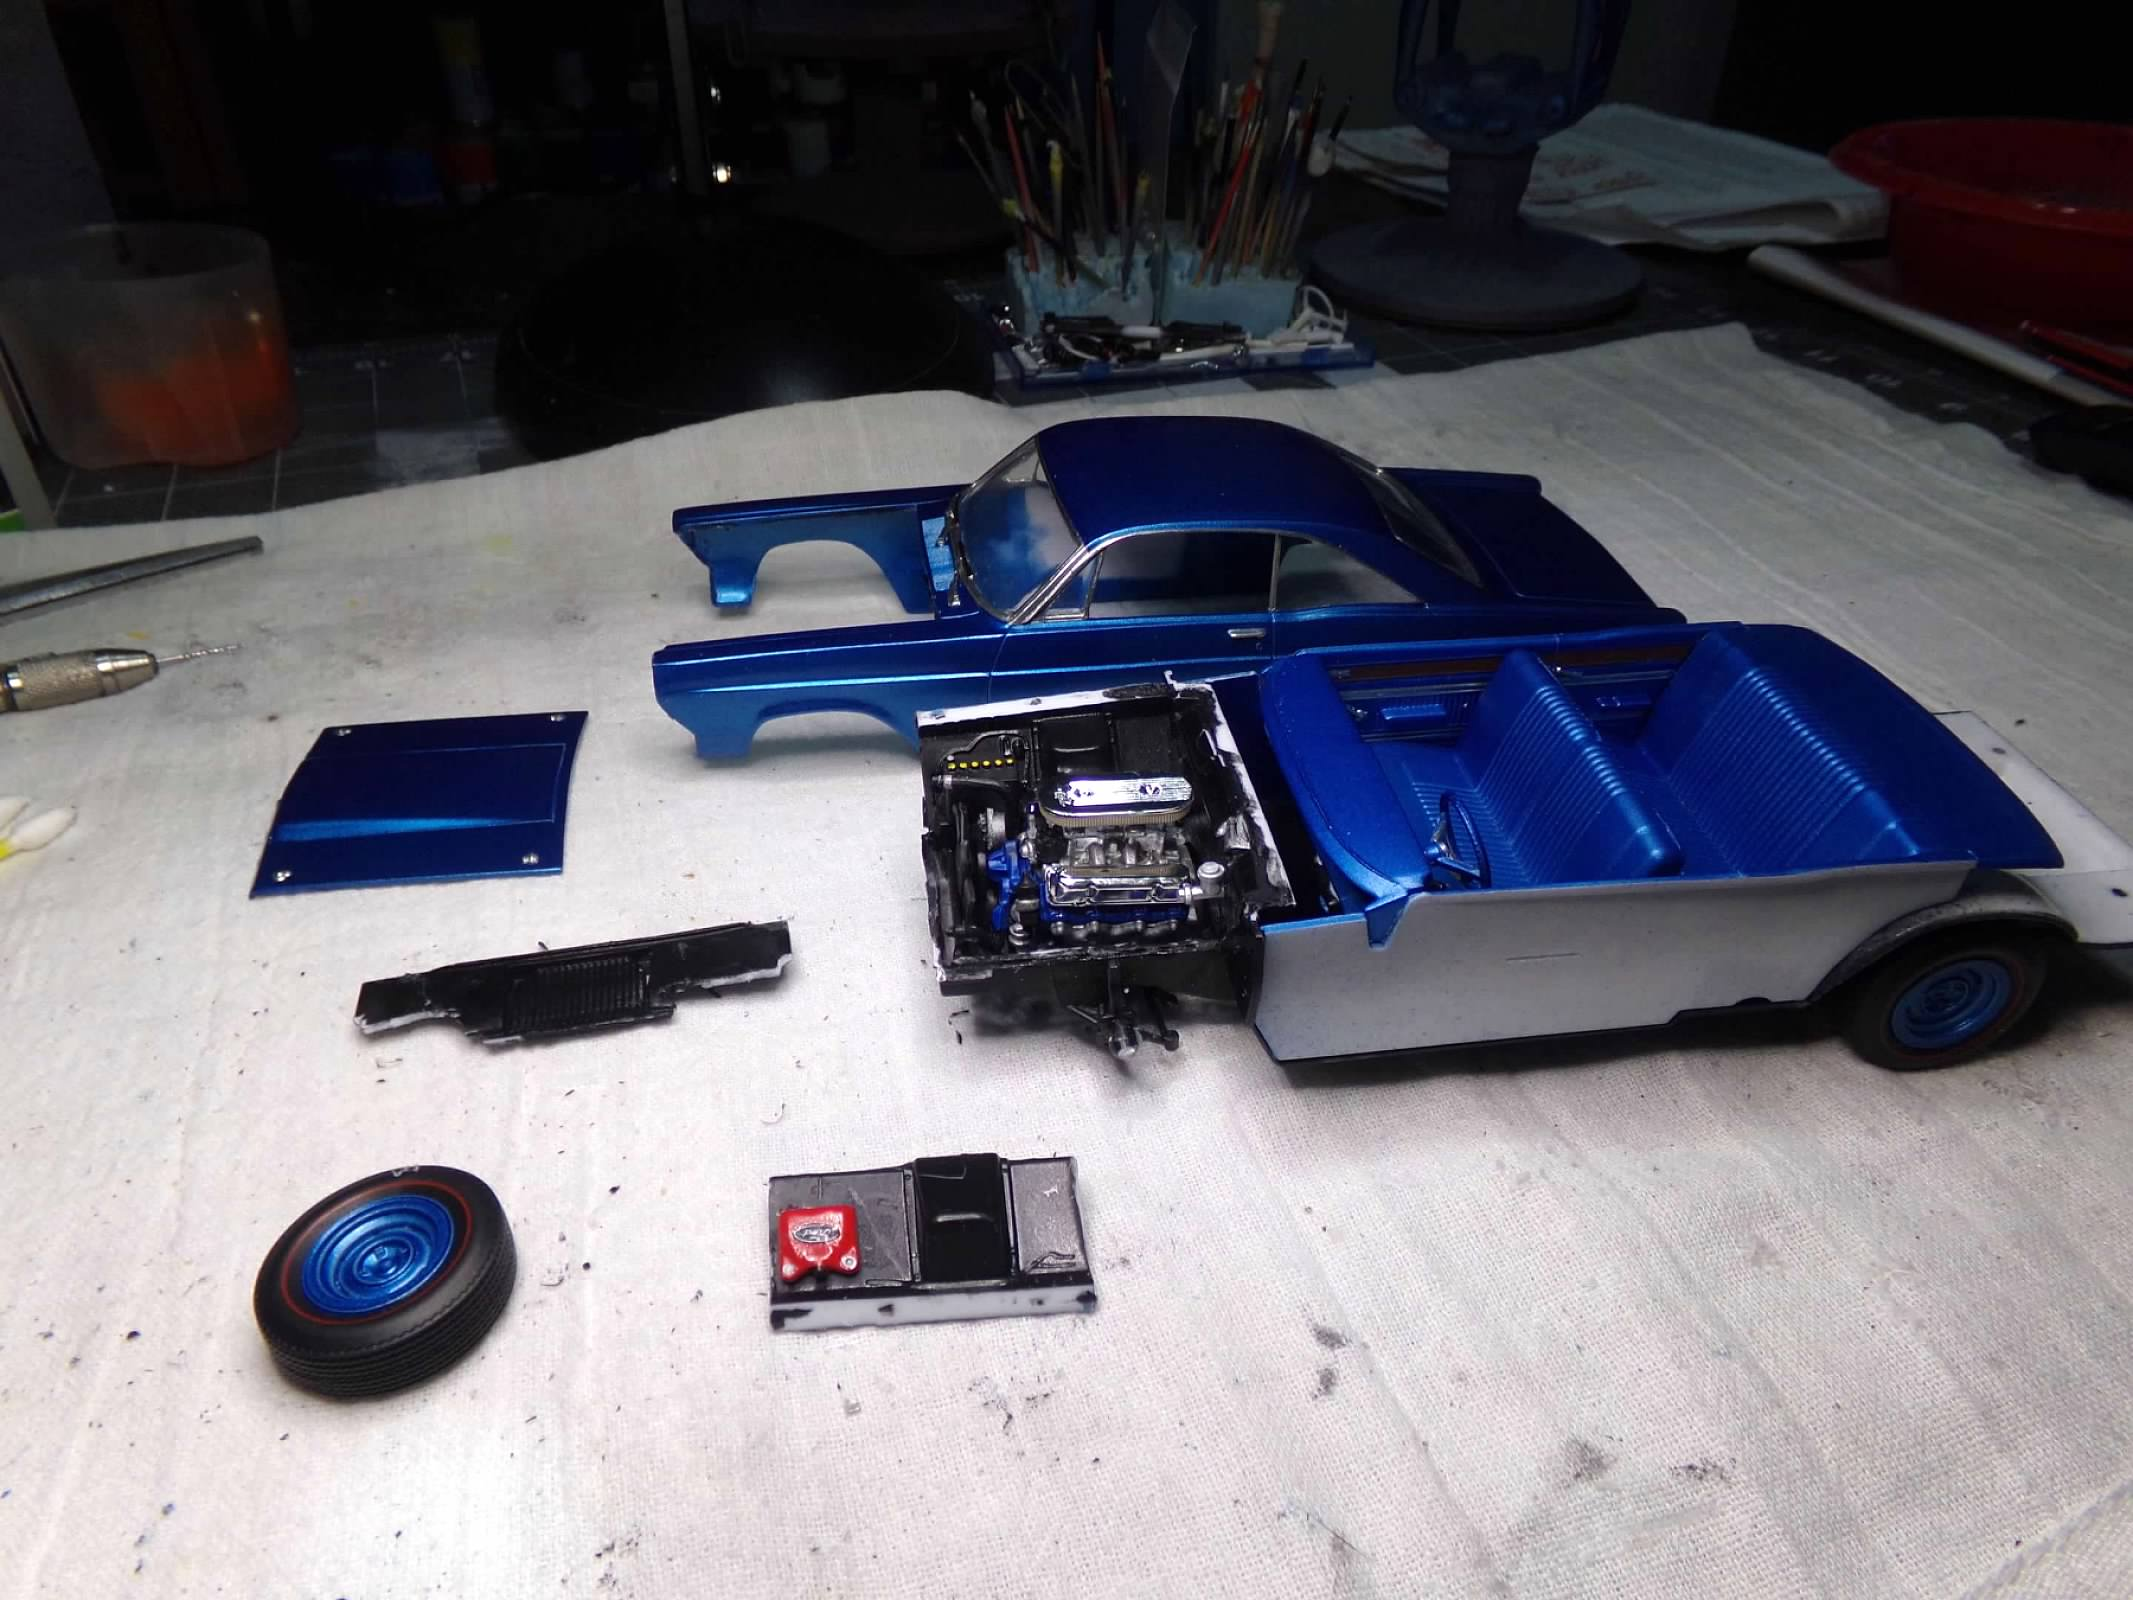
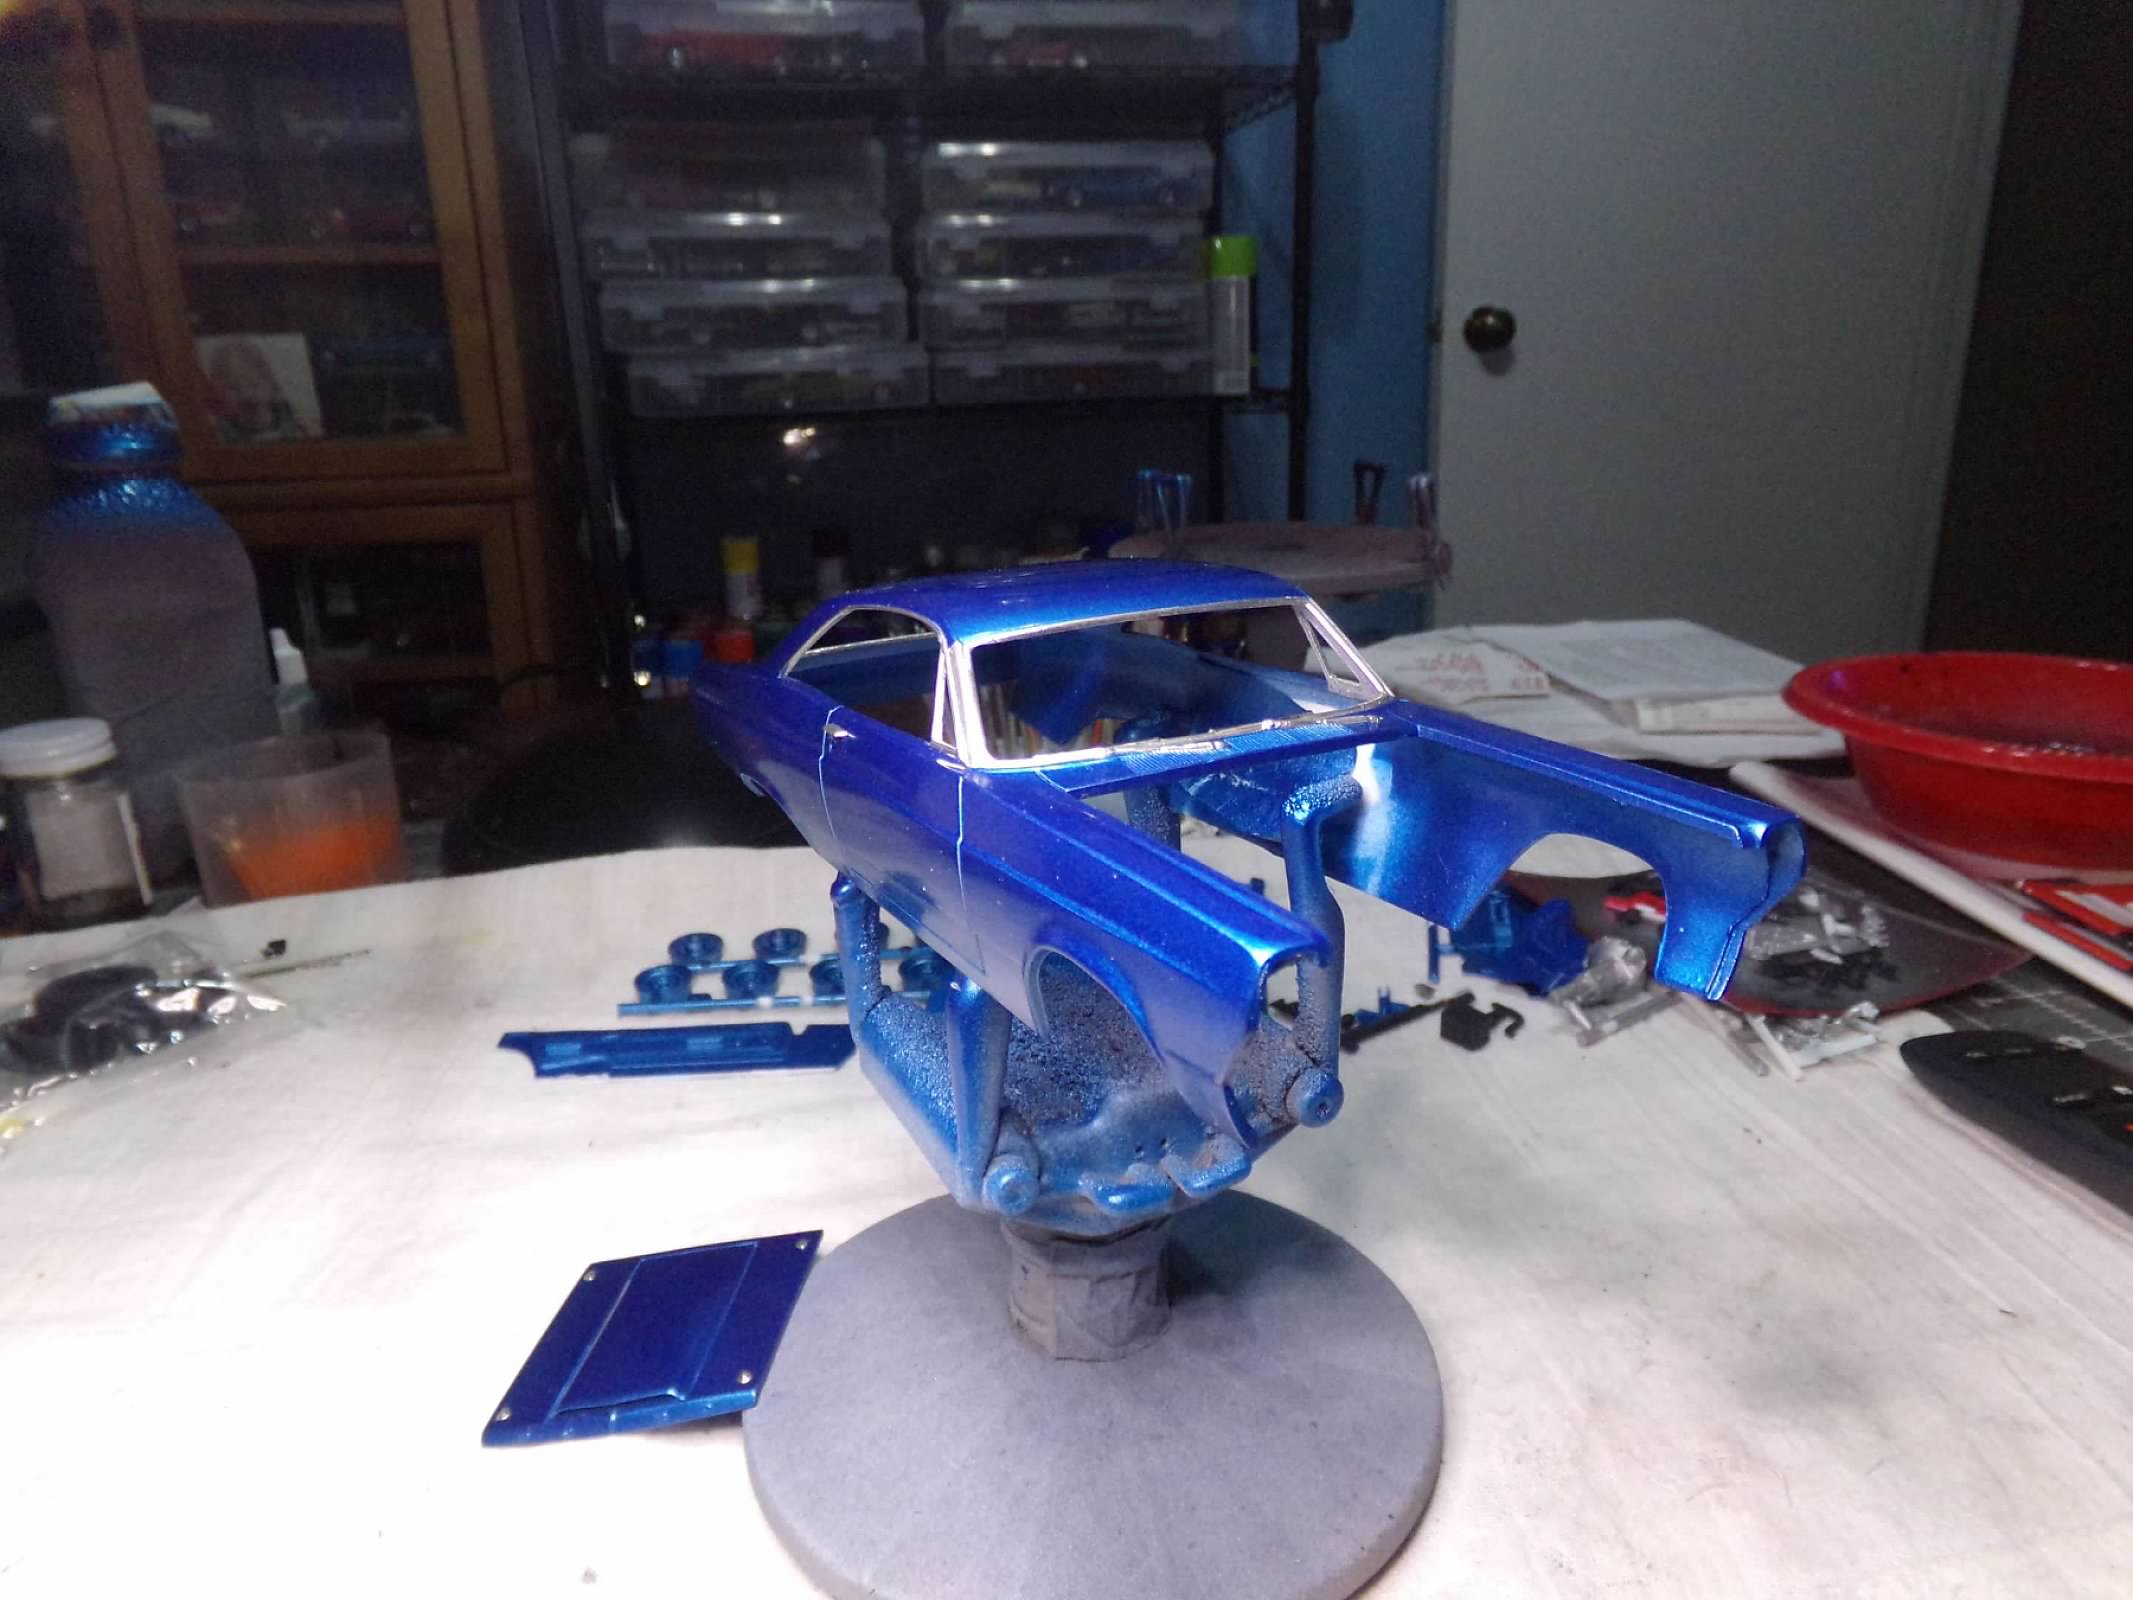
Thanks, everyone for the lively discussion! Yes, Lenny, the tires are wider on than the GT/GTA but that doesn't account for the issue with tires outside the fenders. Well, I thought I was on the way home with this one but that may have been wishful thinking! For the third time, i tried to attach the body to the frame/engine compartment/interior assembly but it wasn't to be. The first time I mounted the body too far forward and the wheel position was not good. The second time I got the wheel position just right but the front bumper/grill assembly wouldn't mount on the body correctly. I tried to "customize" the radiator support and front of the frame with my sprue cutter hoping that I could bend the grill/bumper a bit in the middle to clear the middle of the frame but that was to no avail. So the third time I was right back to where I was before with the wheel position. Part of the problem is the inner left fender liner/spring tower/kingpin that is an issue with all the Fords. Its as crooked as a backyard stick. So I have taken everything apart again. Now it will sit for awhile so I can think about how I can solve the other issues with the wheel position. Fixing the left side inner fender issue will help but I don't think it will solve the problem. I really don't want to shorten the rear springs and drive shaft and that will only solve the rear wheel problem. The front wheels are still an issue. Maybe I can move the radiator support (or what is left of it) in toward the engine so I can move the frame forward a bit more. But I'll let it sit a few days and work on something else. I normally don't do that and work on only one at a time but this one will be the exception. Thanks for looking! ☹️
-
Looks great, David! You really did a nice job on the paint! Hang in there! 😎👍
-
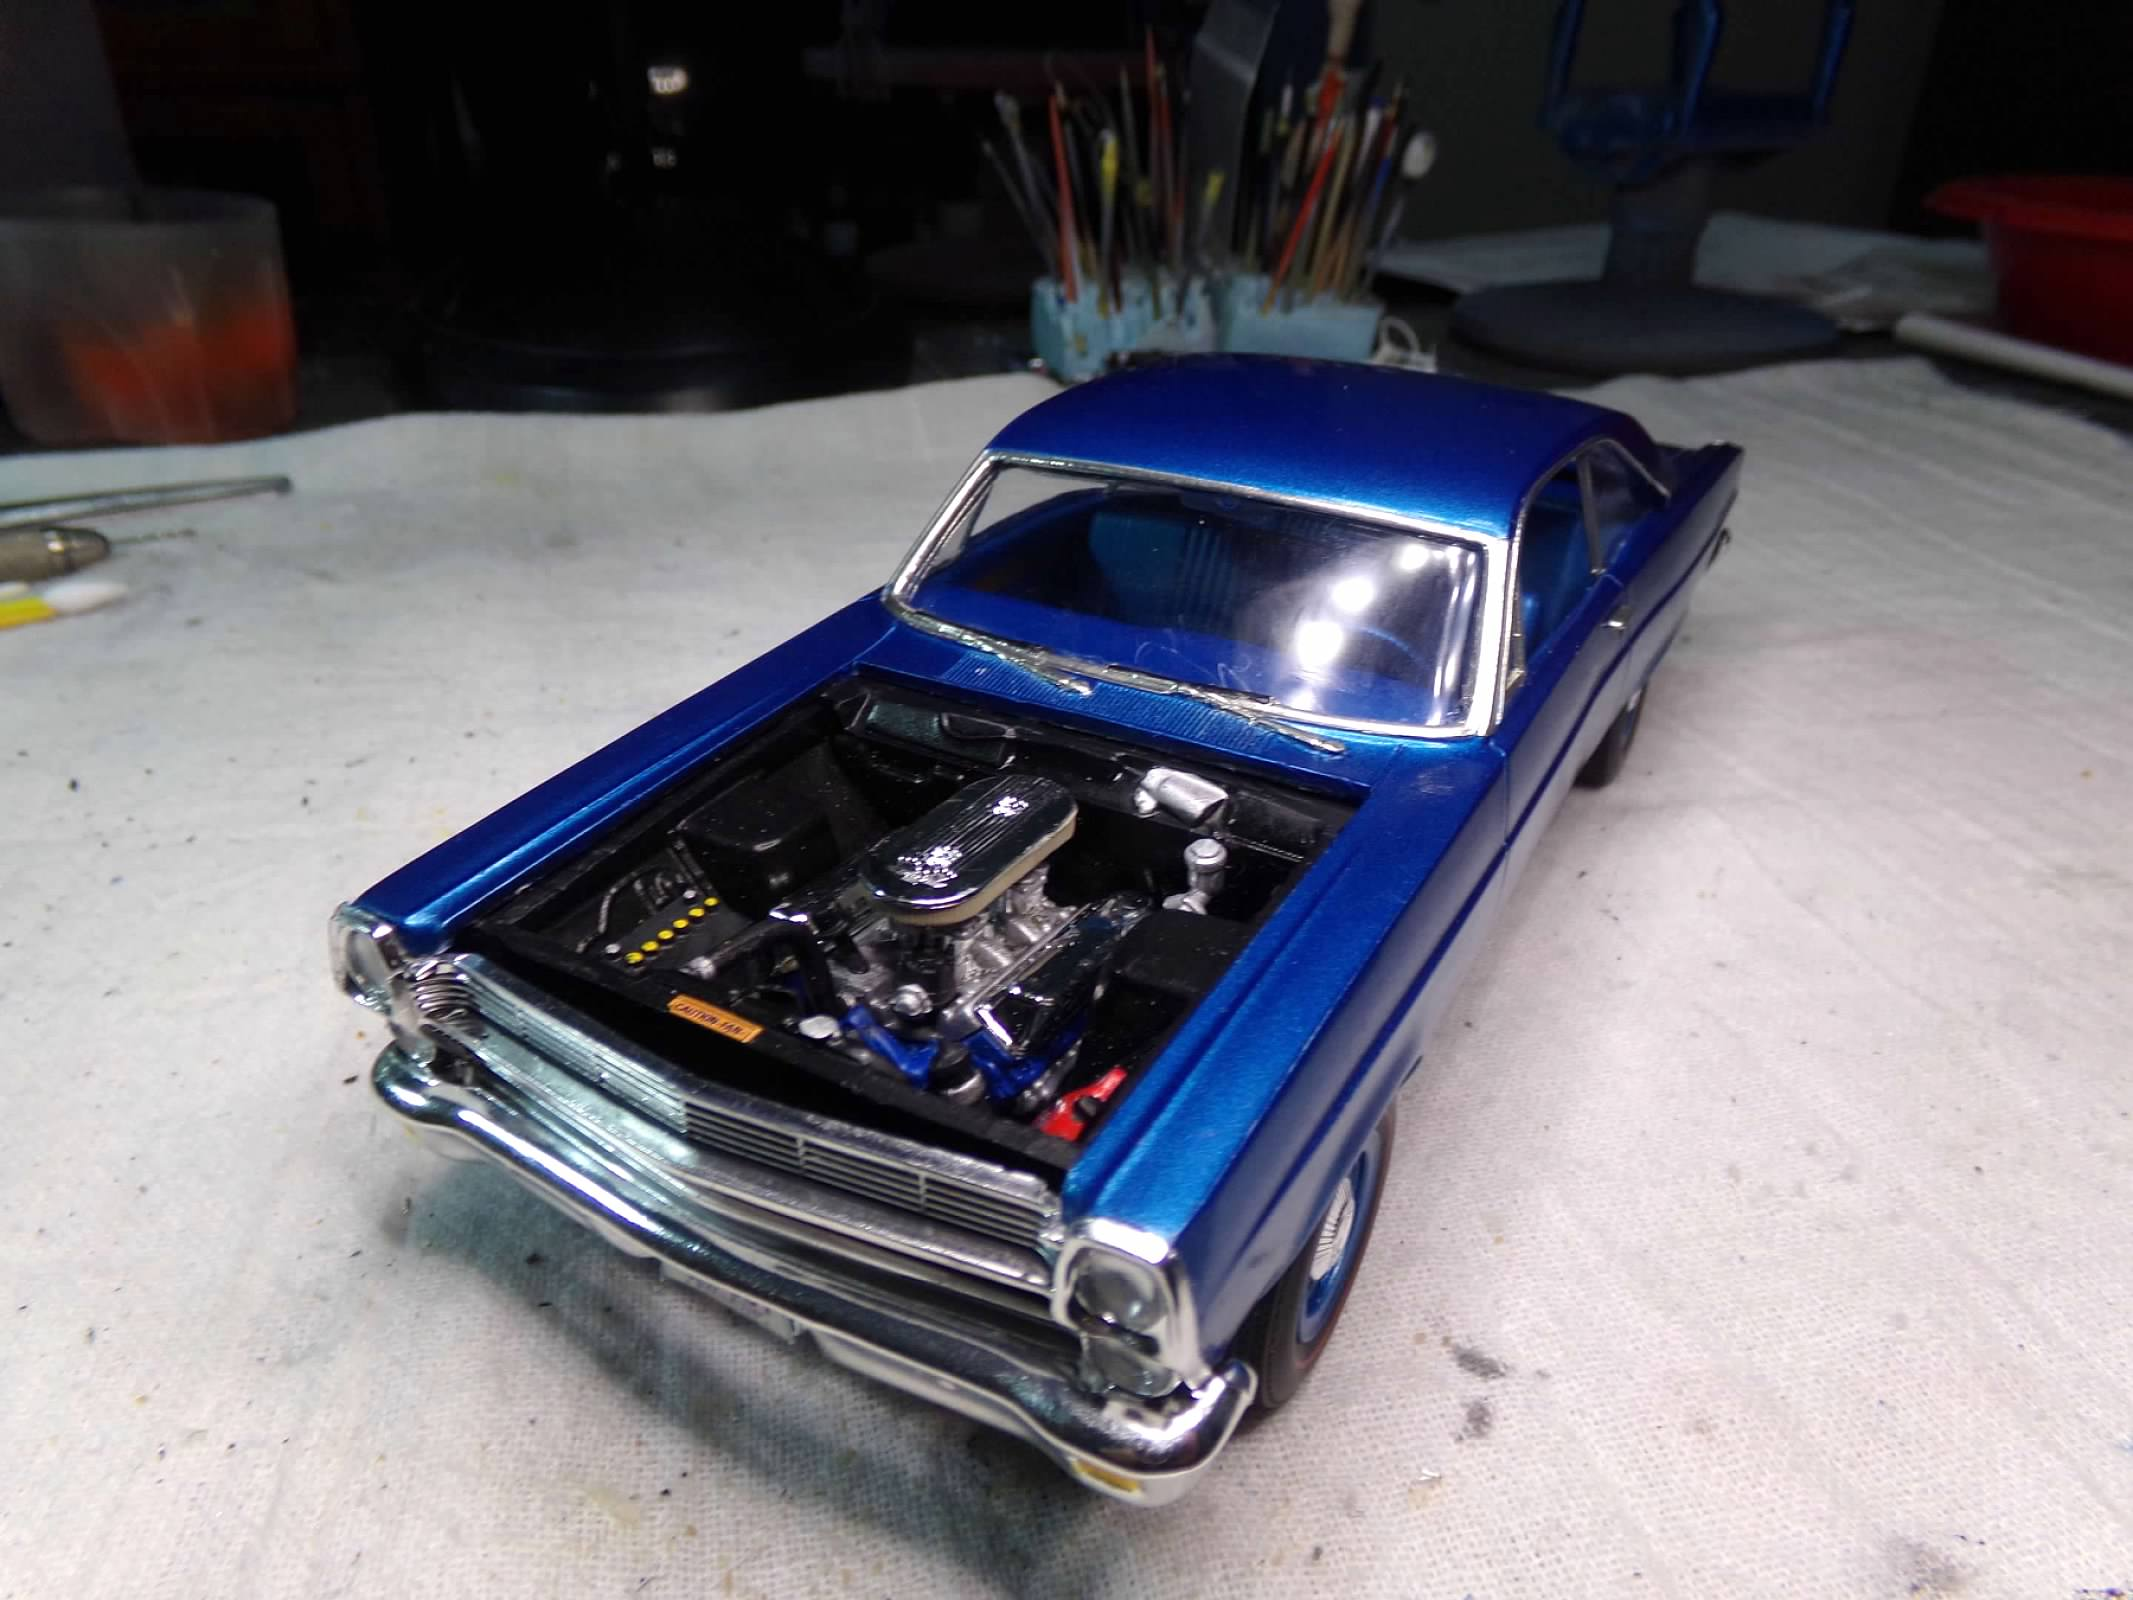
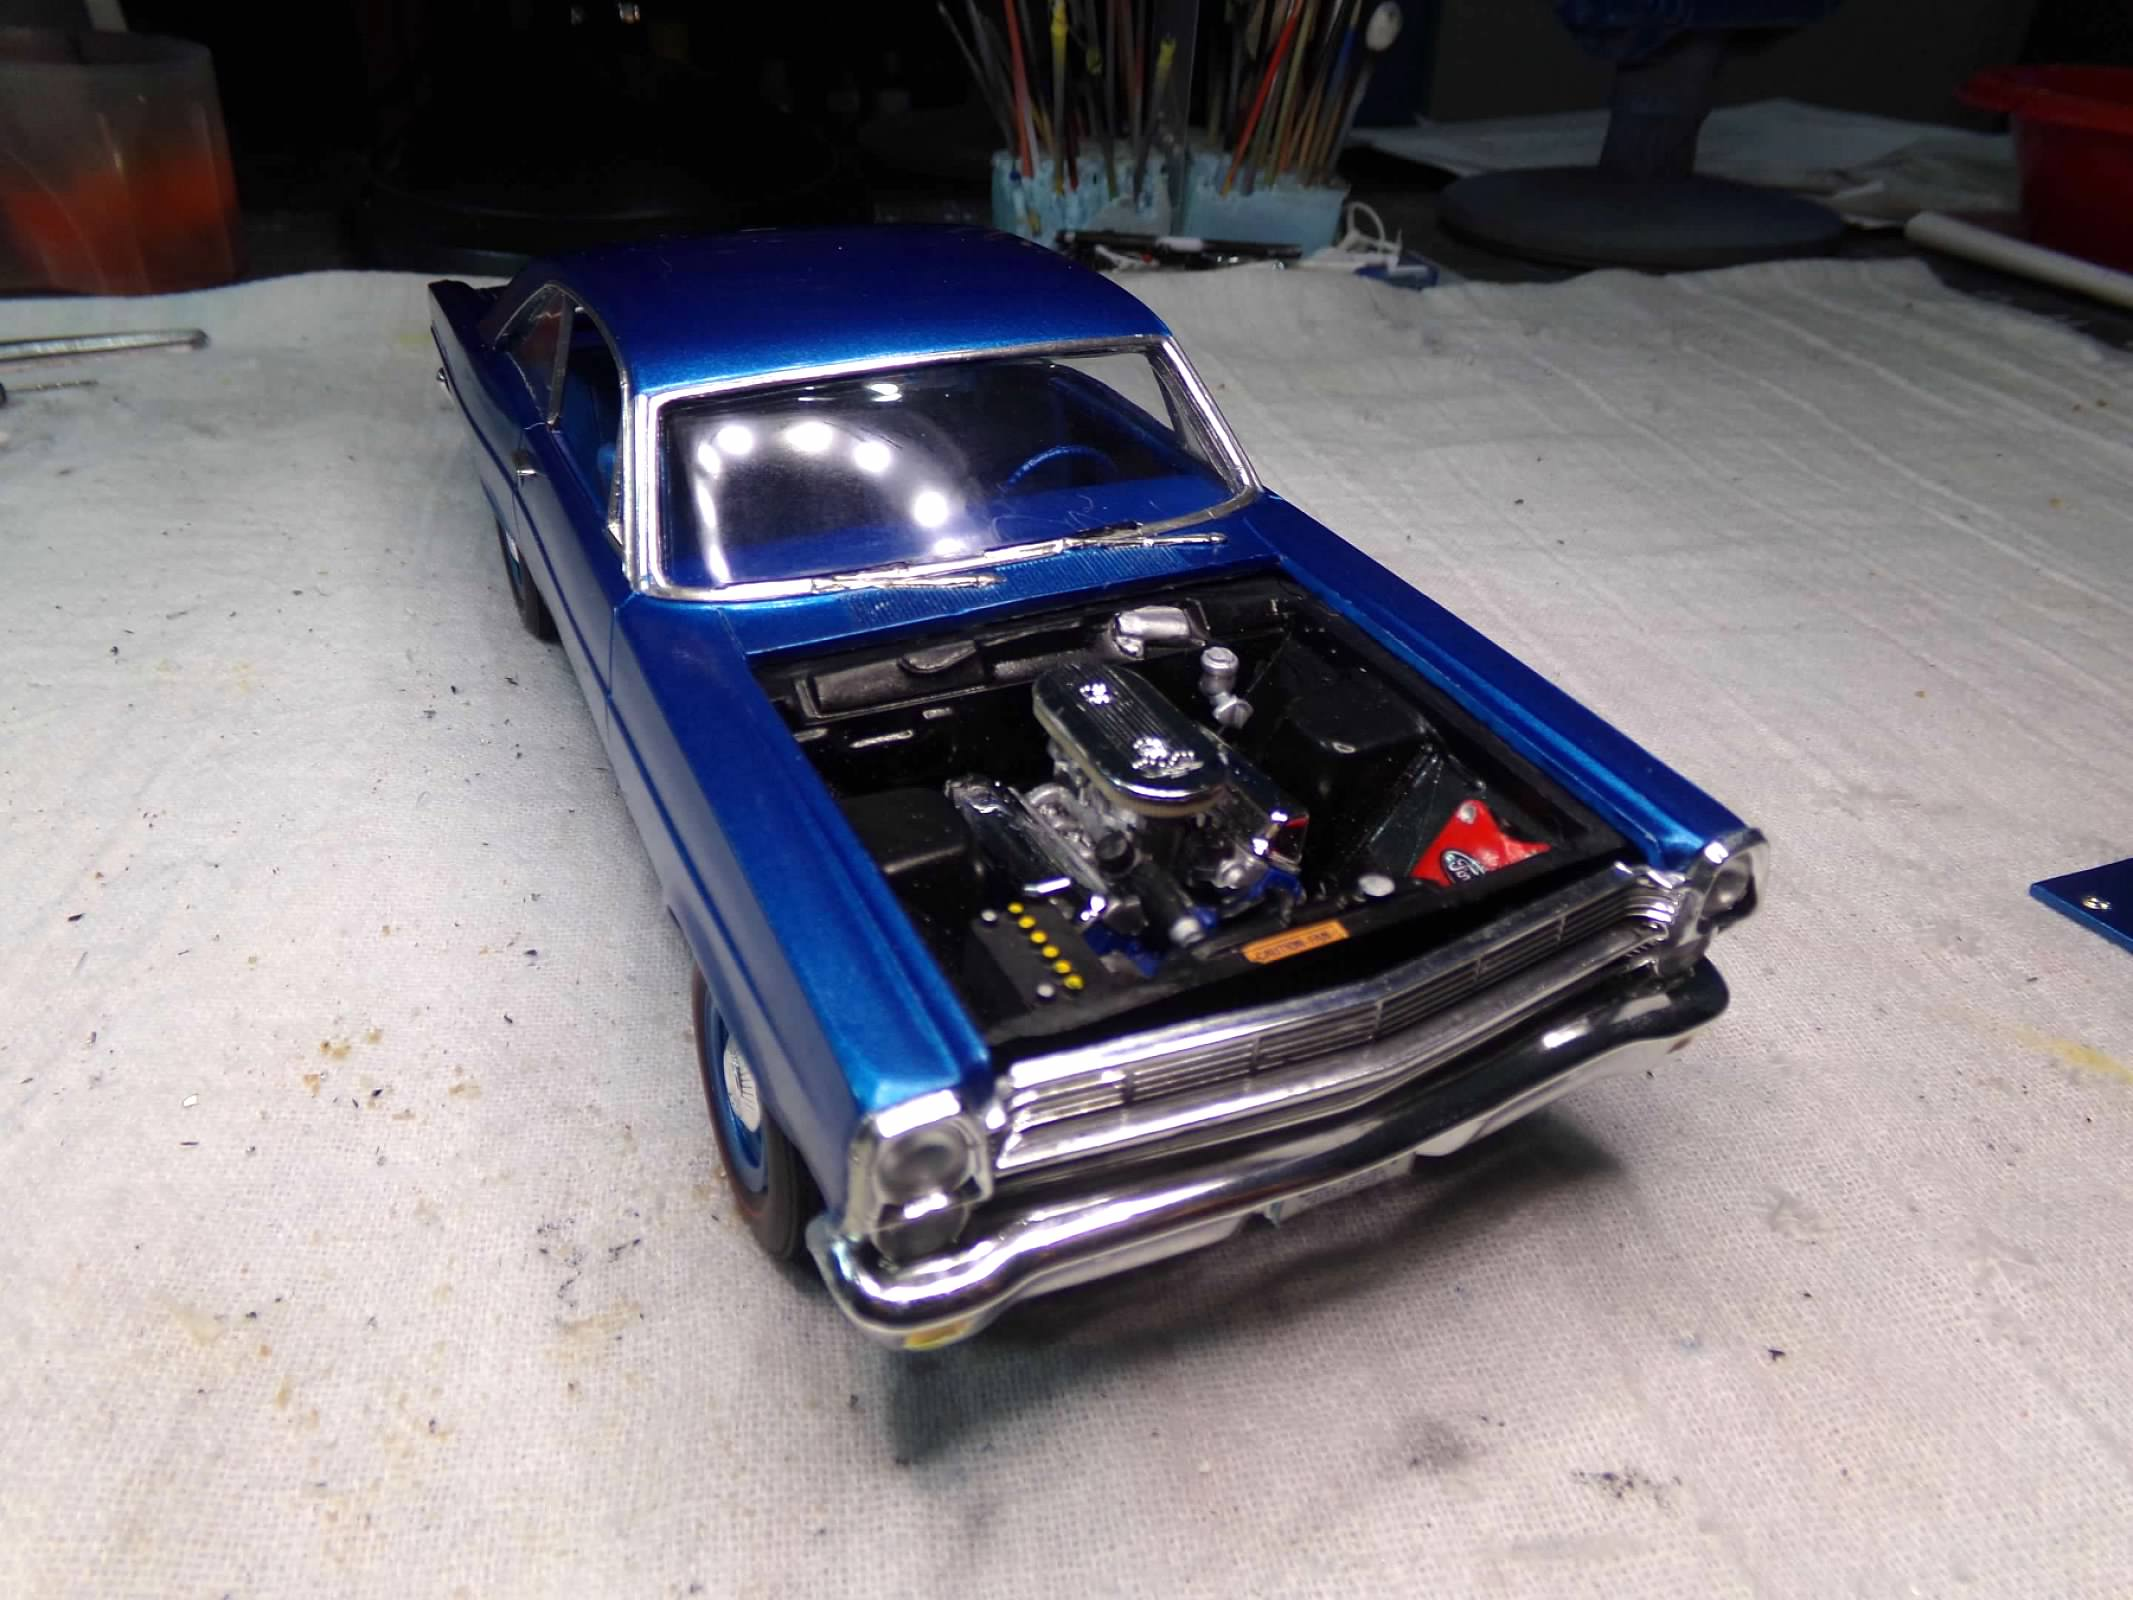
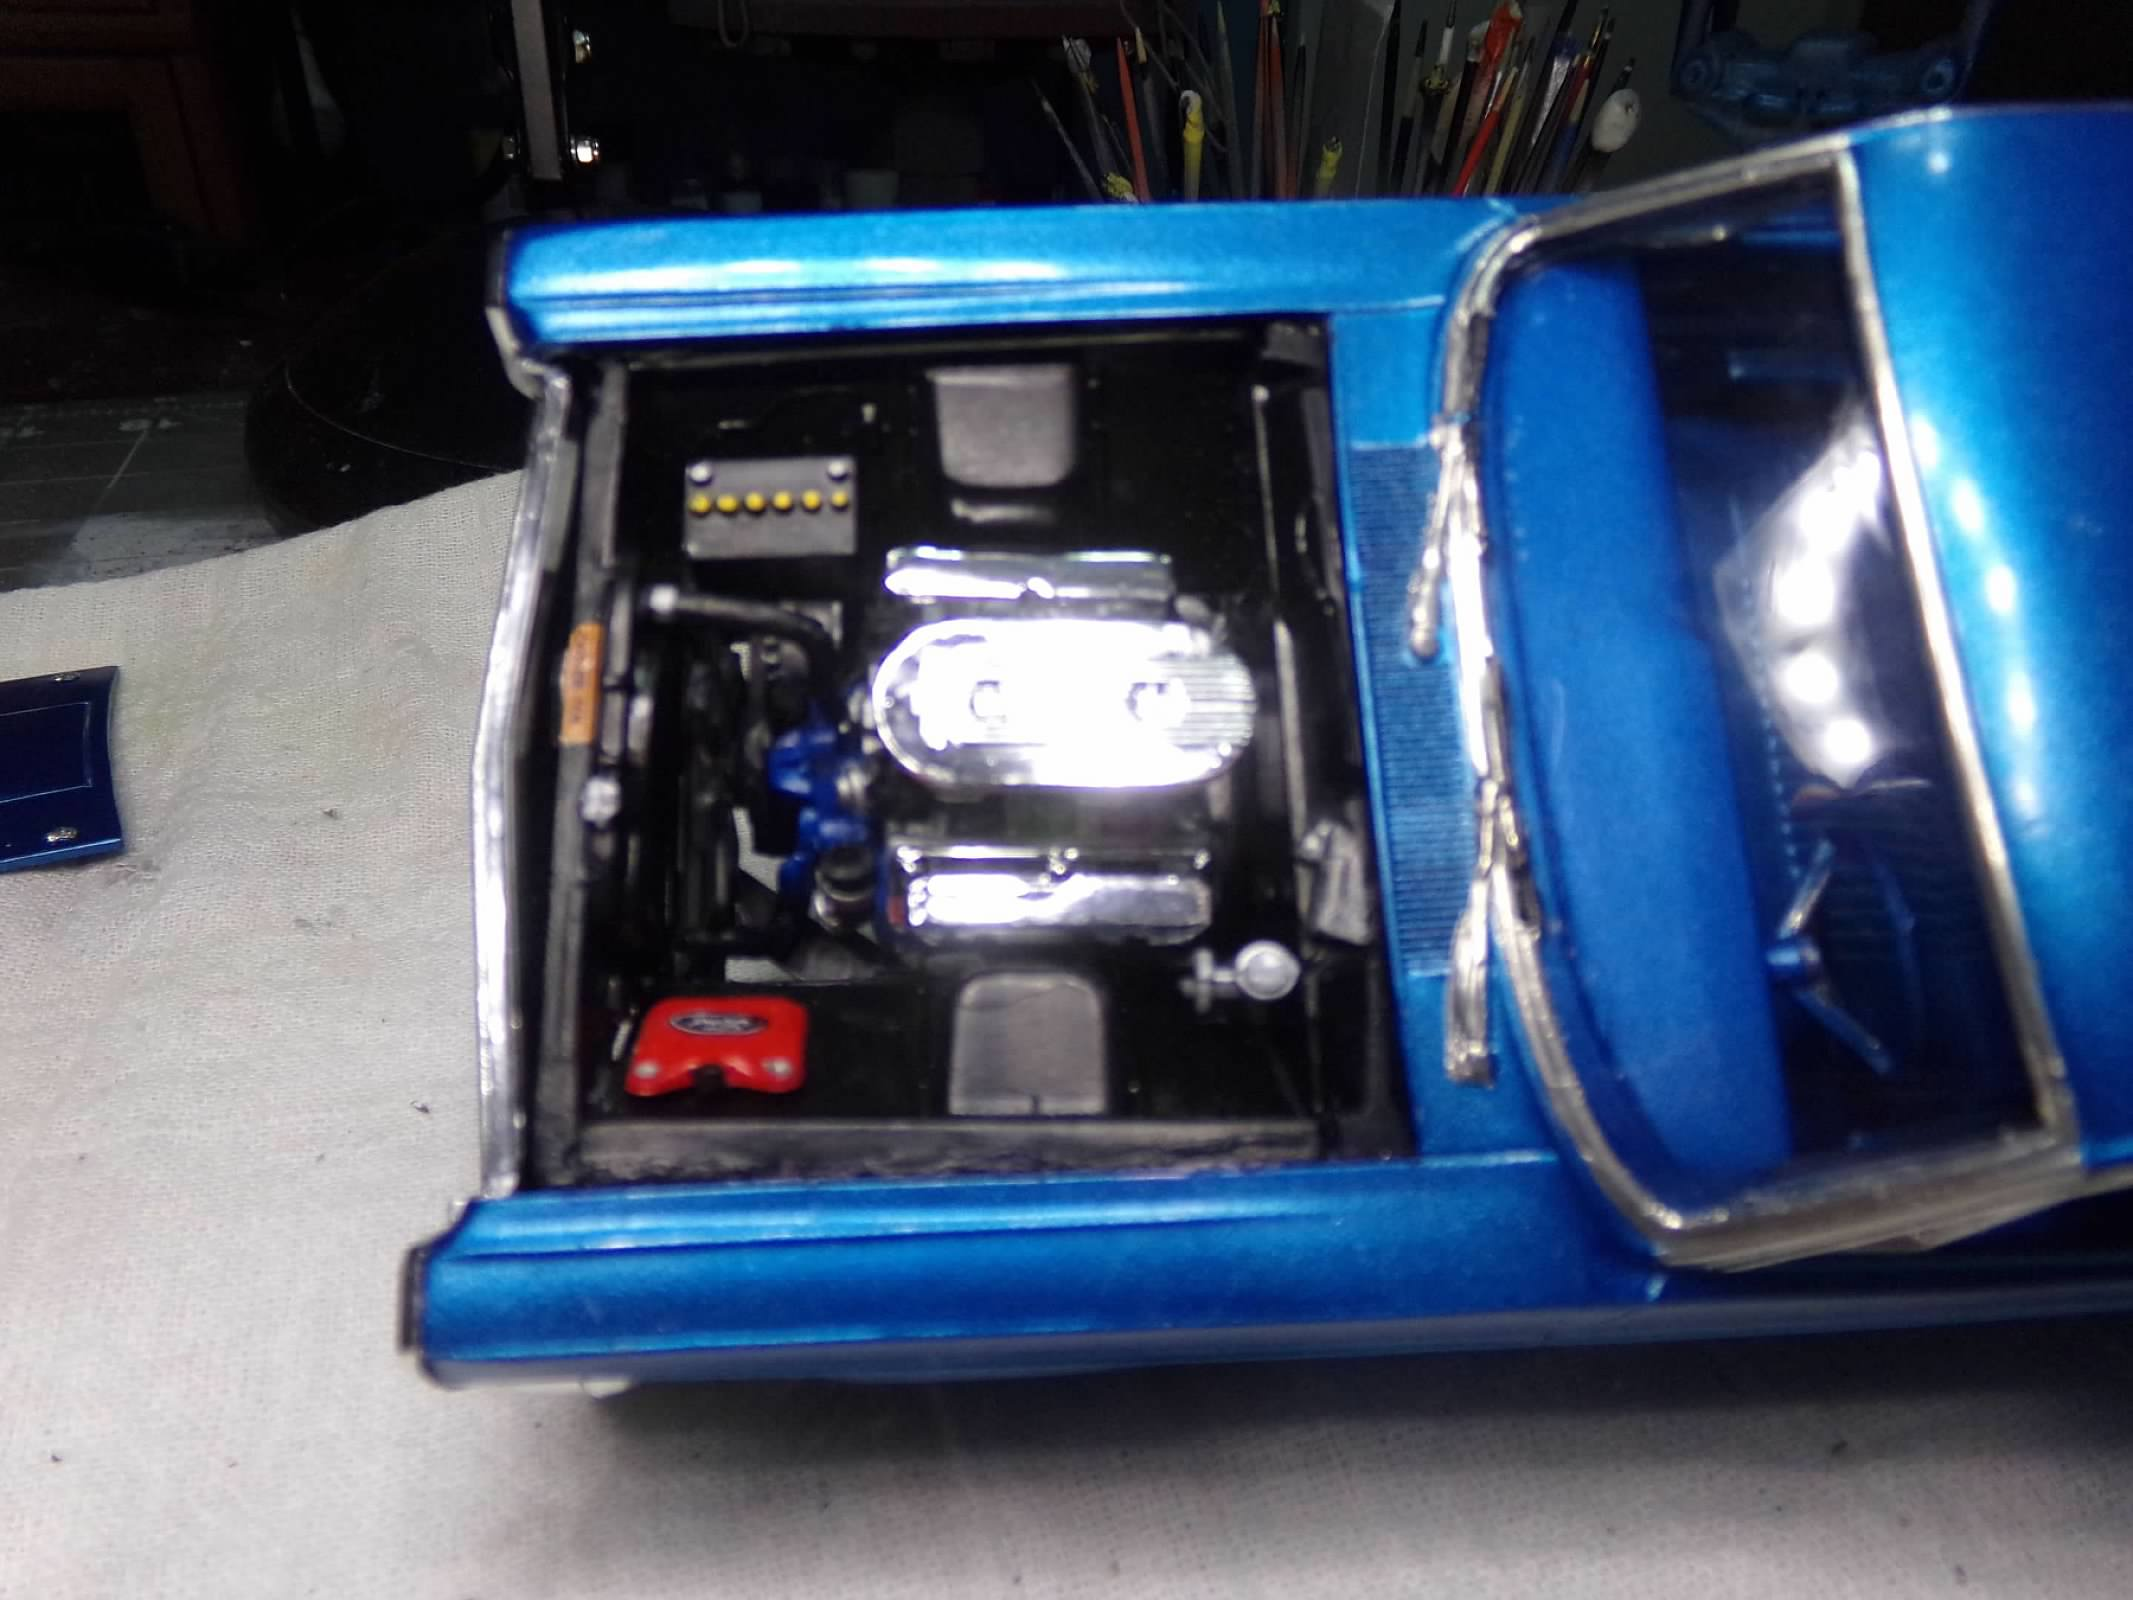
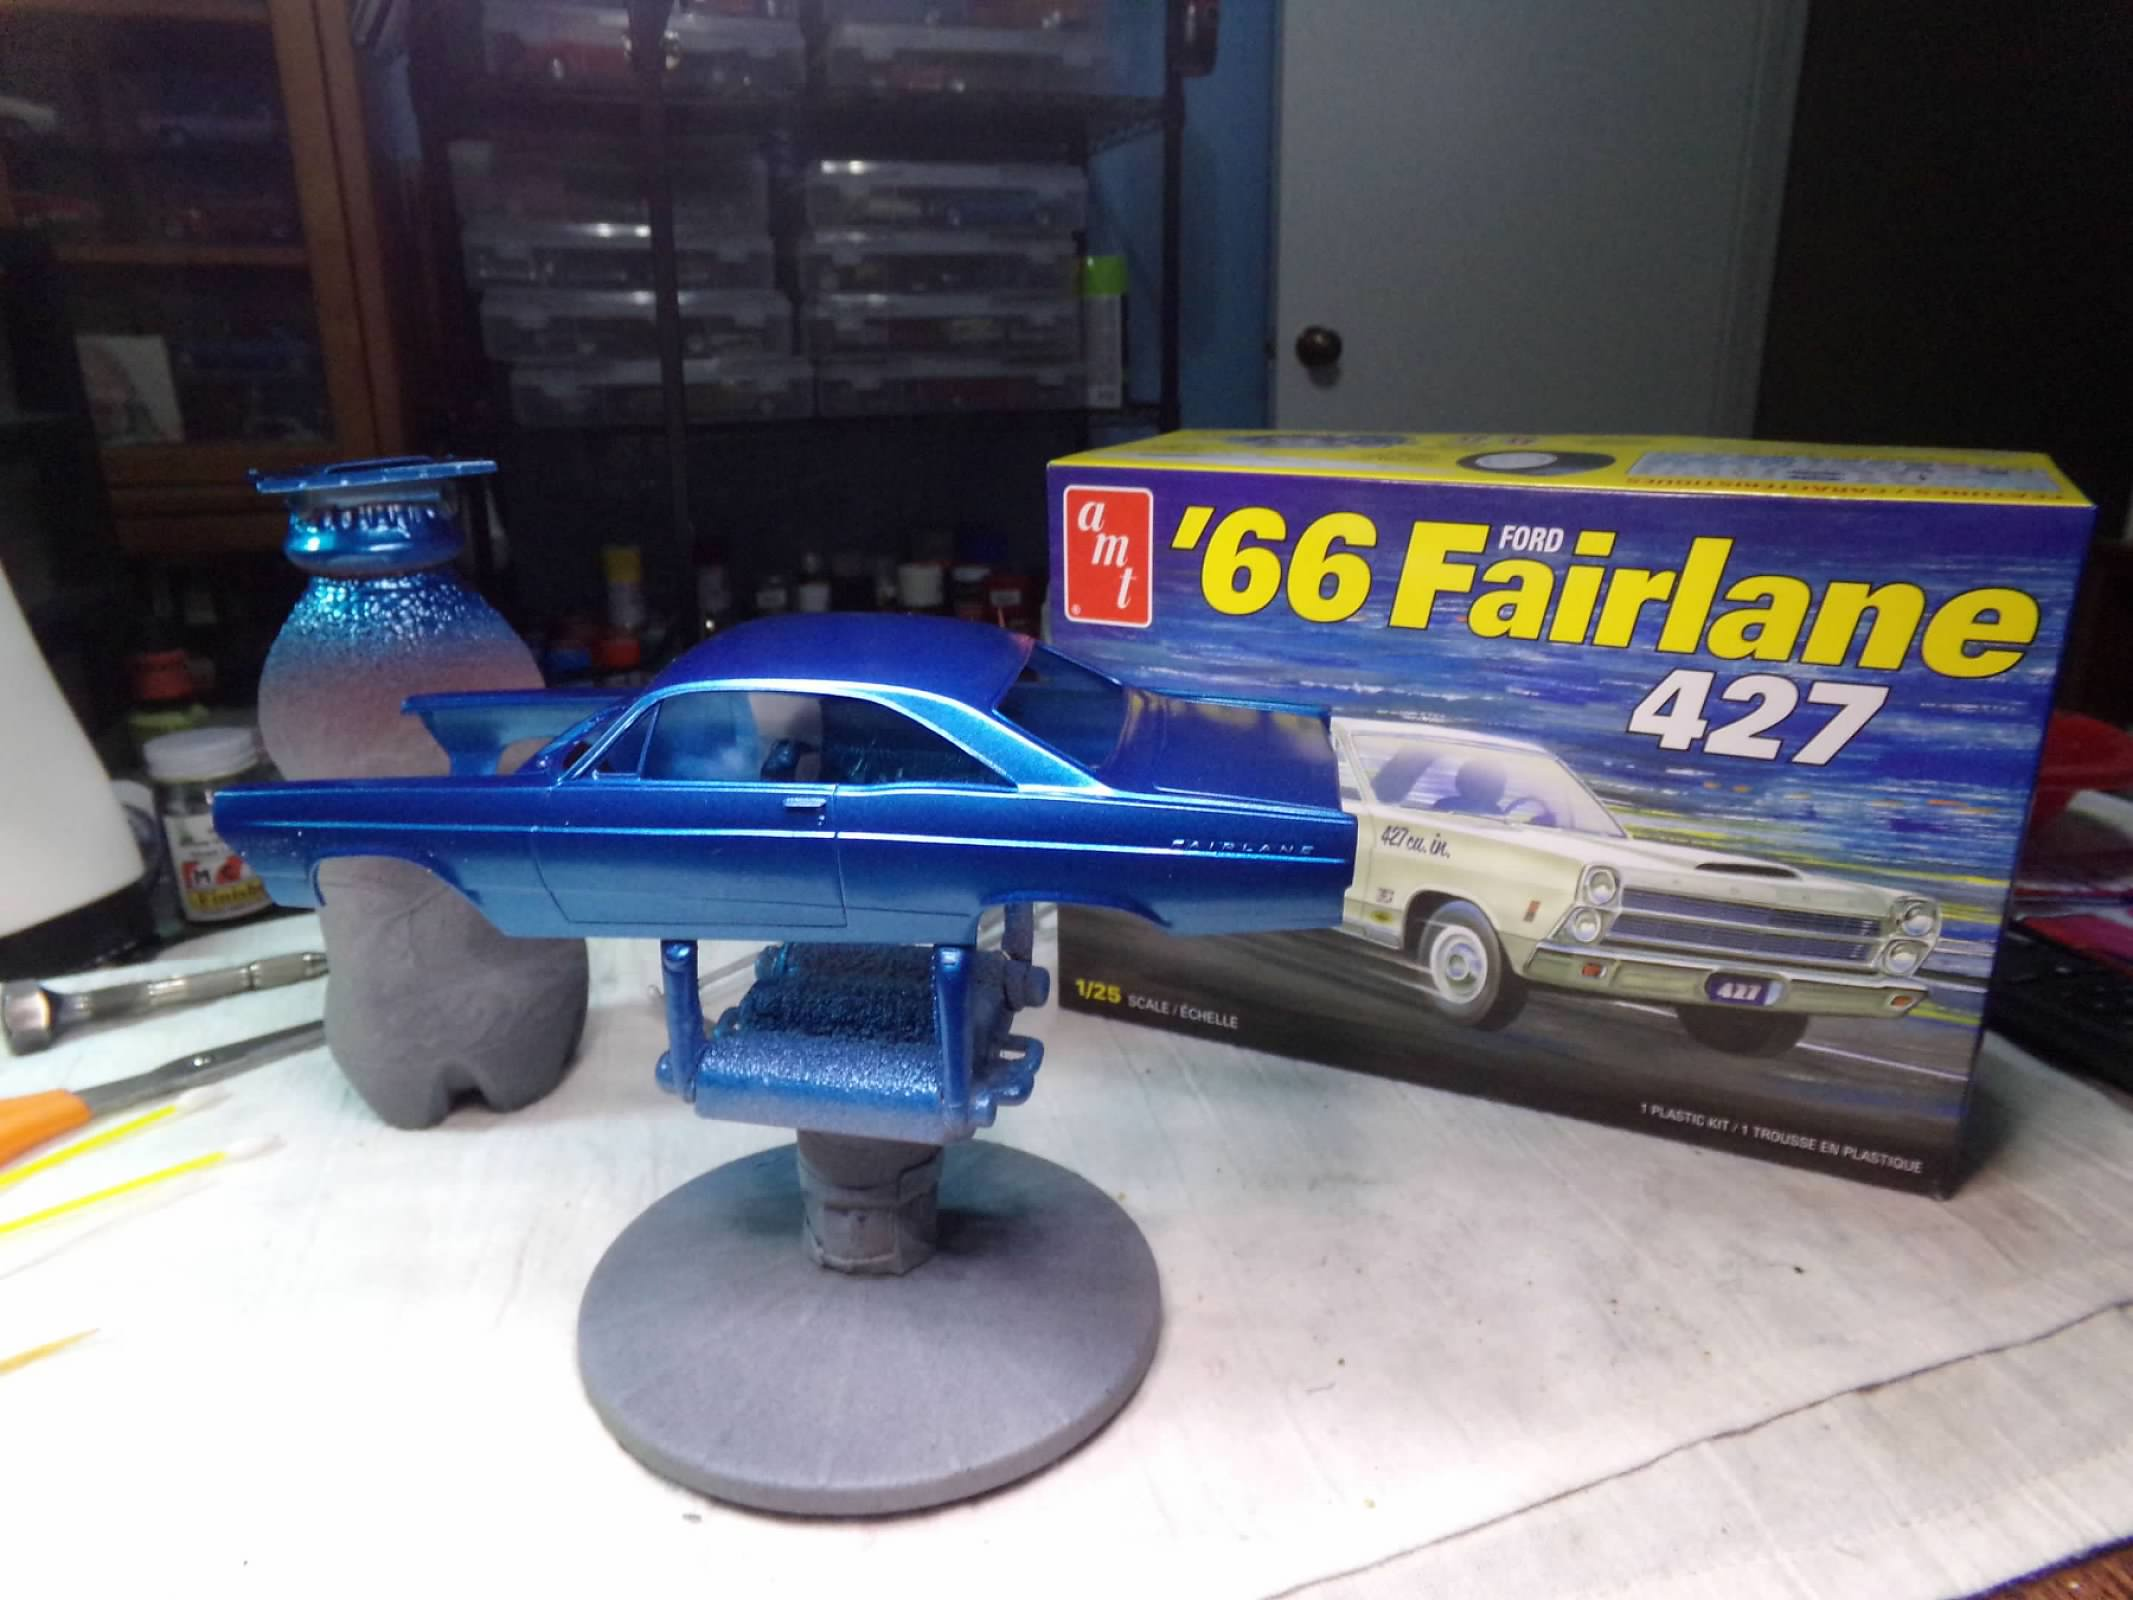
Thanks, Jim! I appreciate the info! I noticed that the instructions indicate that all 66 Ford Fairlane 427s were white out of the factory. Almost done with this one. I built the engine box stock, finished he chassis and installed the window glass. I wasn't able to get the steering poseable. I checked the red one again and noticed that it was the same front suspension but one of the wheel kingpins is loose on the left side and that is why it is turning. The steering linking has also broken free. So I guess I'll have to fix that. I also had to shorten the front wheelback stems on the the one I am currently working on in order to get the front wheels to sit inside of the front fender. The hood at the cowl sinks so I will have to make sure that I get the body glued down tight in front. They put a set of redline tires in this kit, I am not sure why. They look a bit too close to the wheel to me and they are hard to see with the blue but I am going to use them since I don't want to look for other tires to fit the wheels. I might turn them around since they don't really add anything, IMO. While installing the window glass I noticed that there were no mirrors in this kit. No interior mirror and no outside mirrors. I guess this model was meant only for straight line racing. So since I have no extra interior mirrors in the parts box, I stole one from another AMT kit, the Petty stock car released not too long ago. I have already built one of those and have robbed other parts from this second kit so I won't be building it anyway. But I had intended to enter this one in box stock at the annual IPMS contest in a few weeks so that out now. But mirrors are a pet peeve of mine because you can't drive a car without at least an interior mirror. But I have plenty of other possibilities, so this one is destined to be a shelf sitter. Thanks for looking! ☹️
-
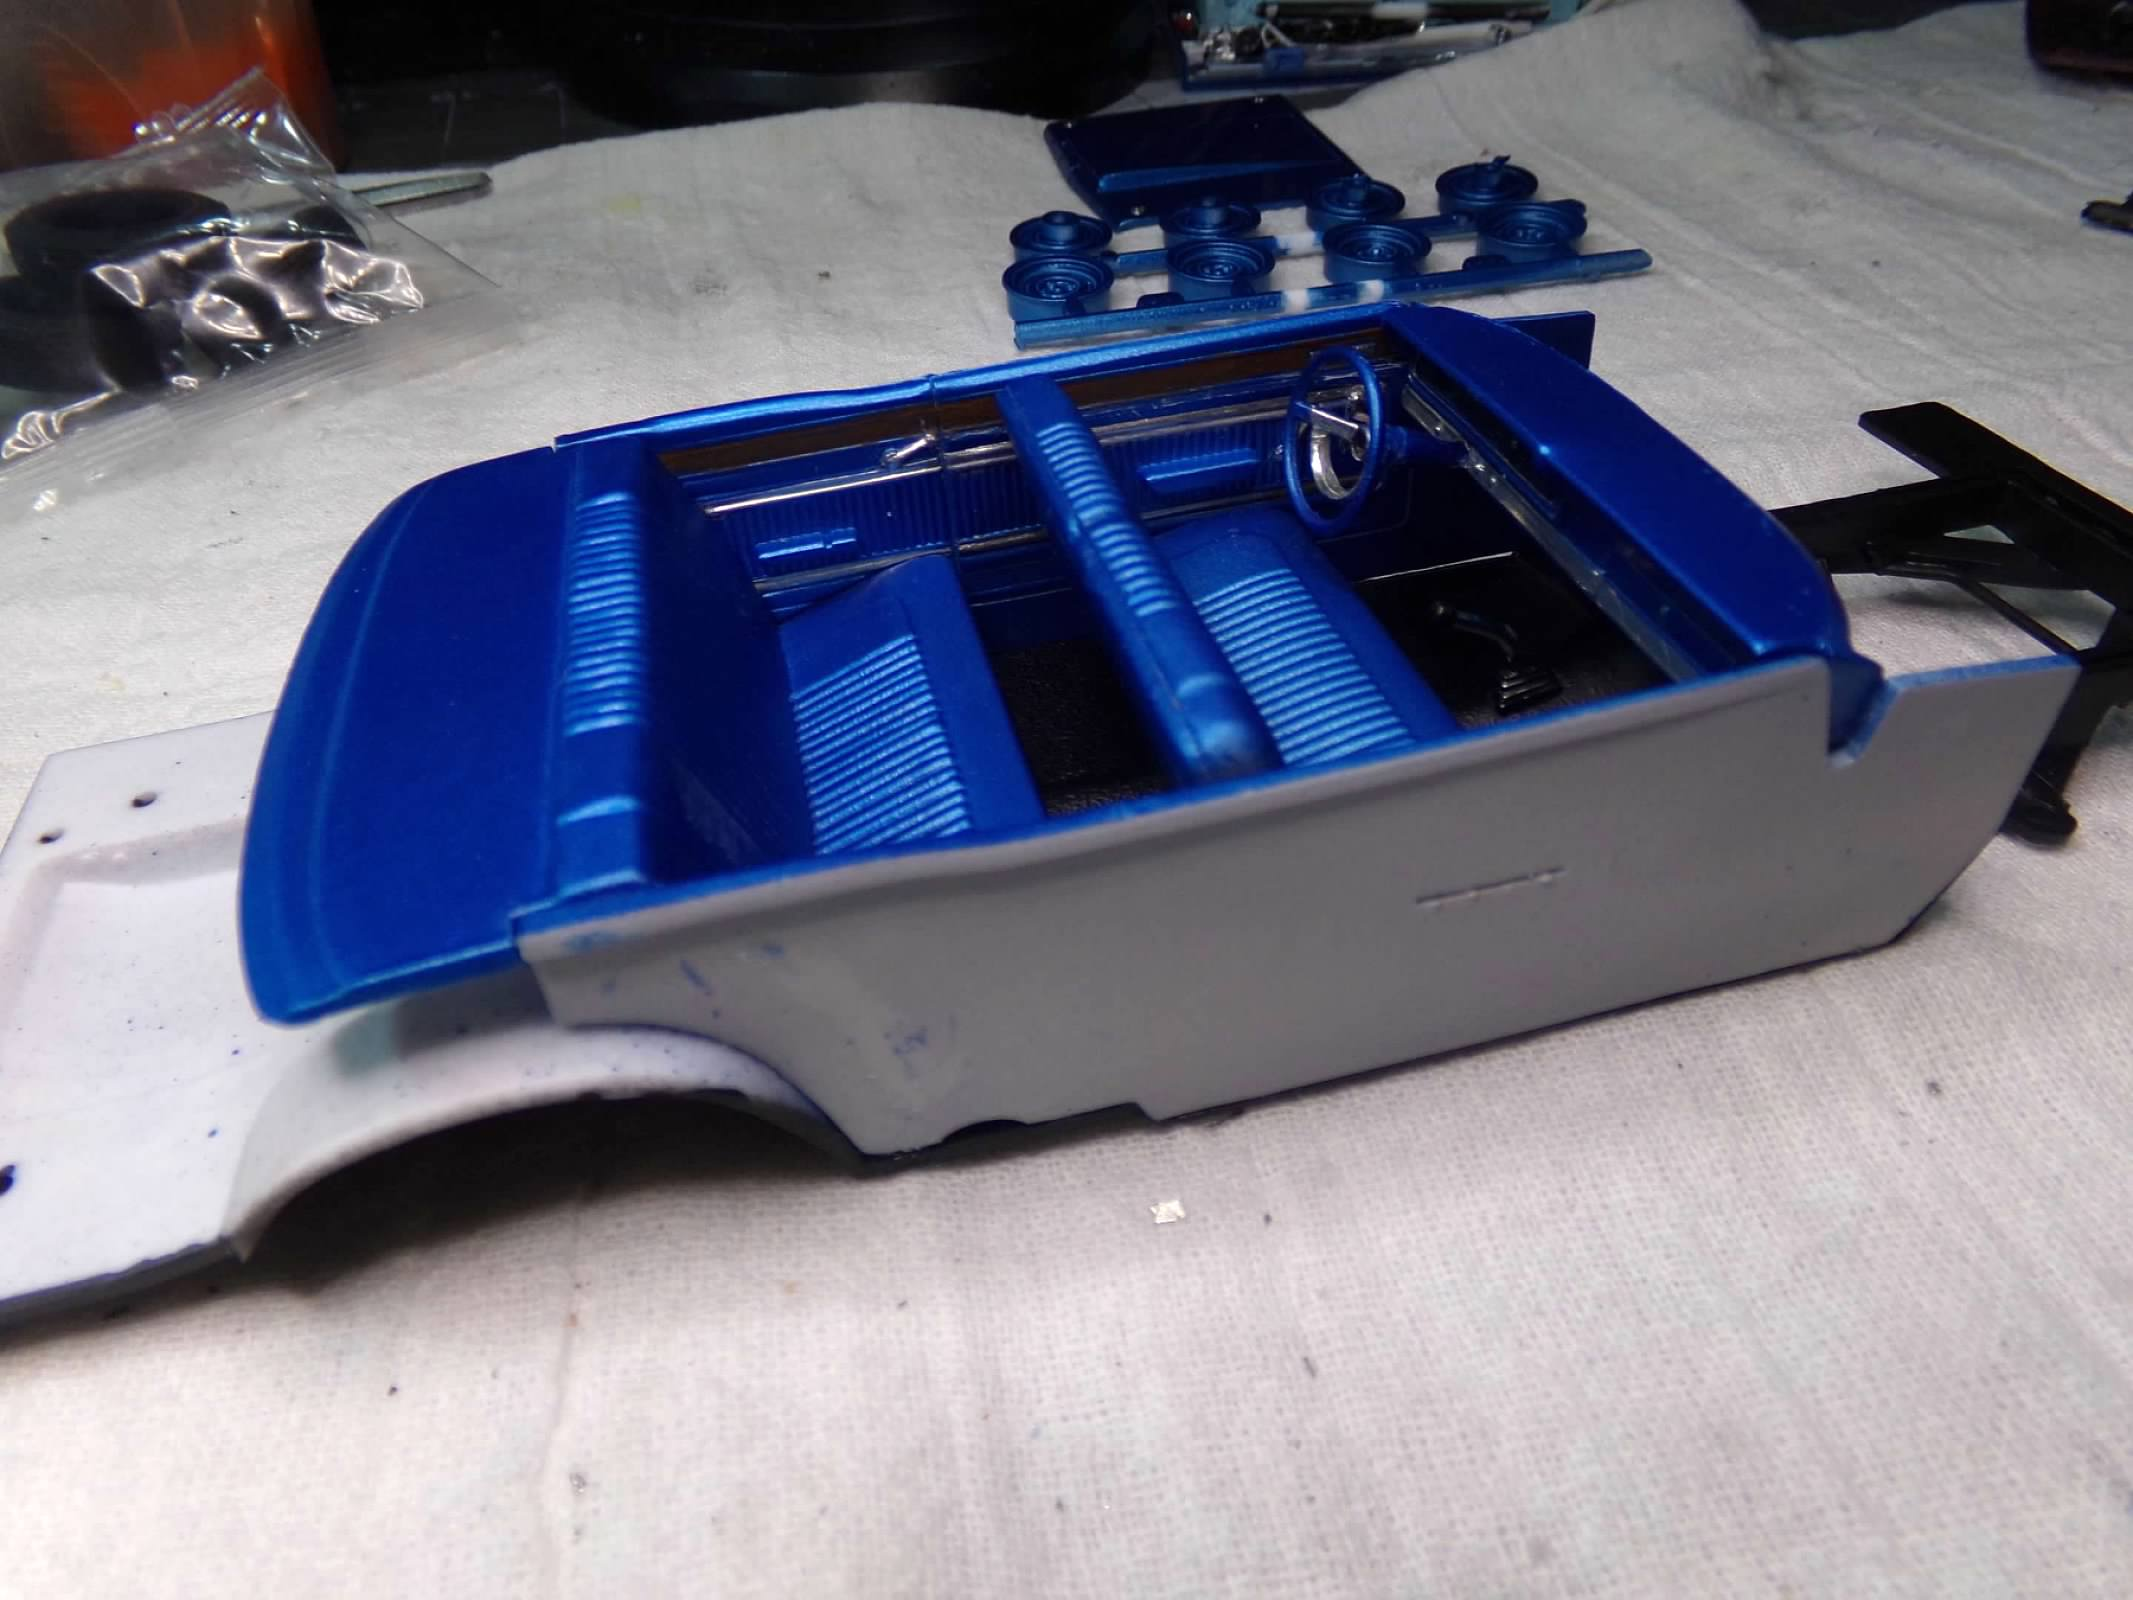
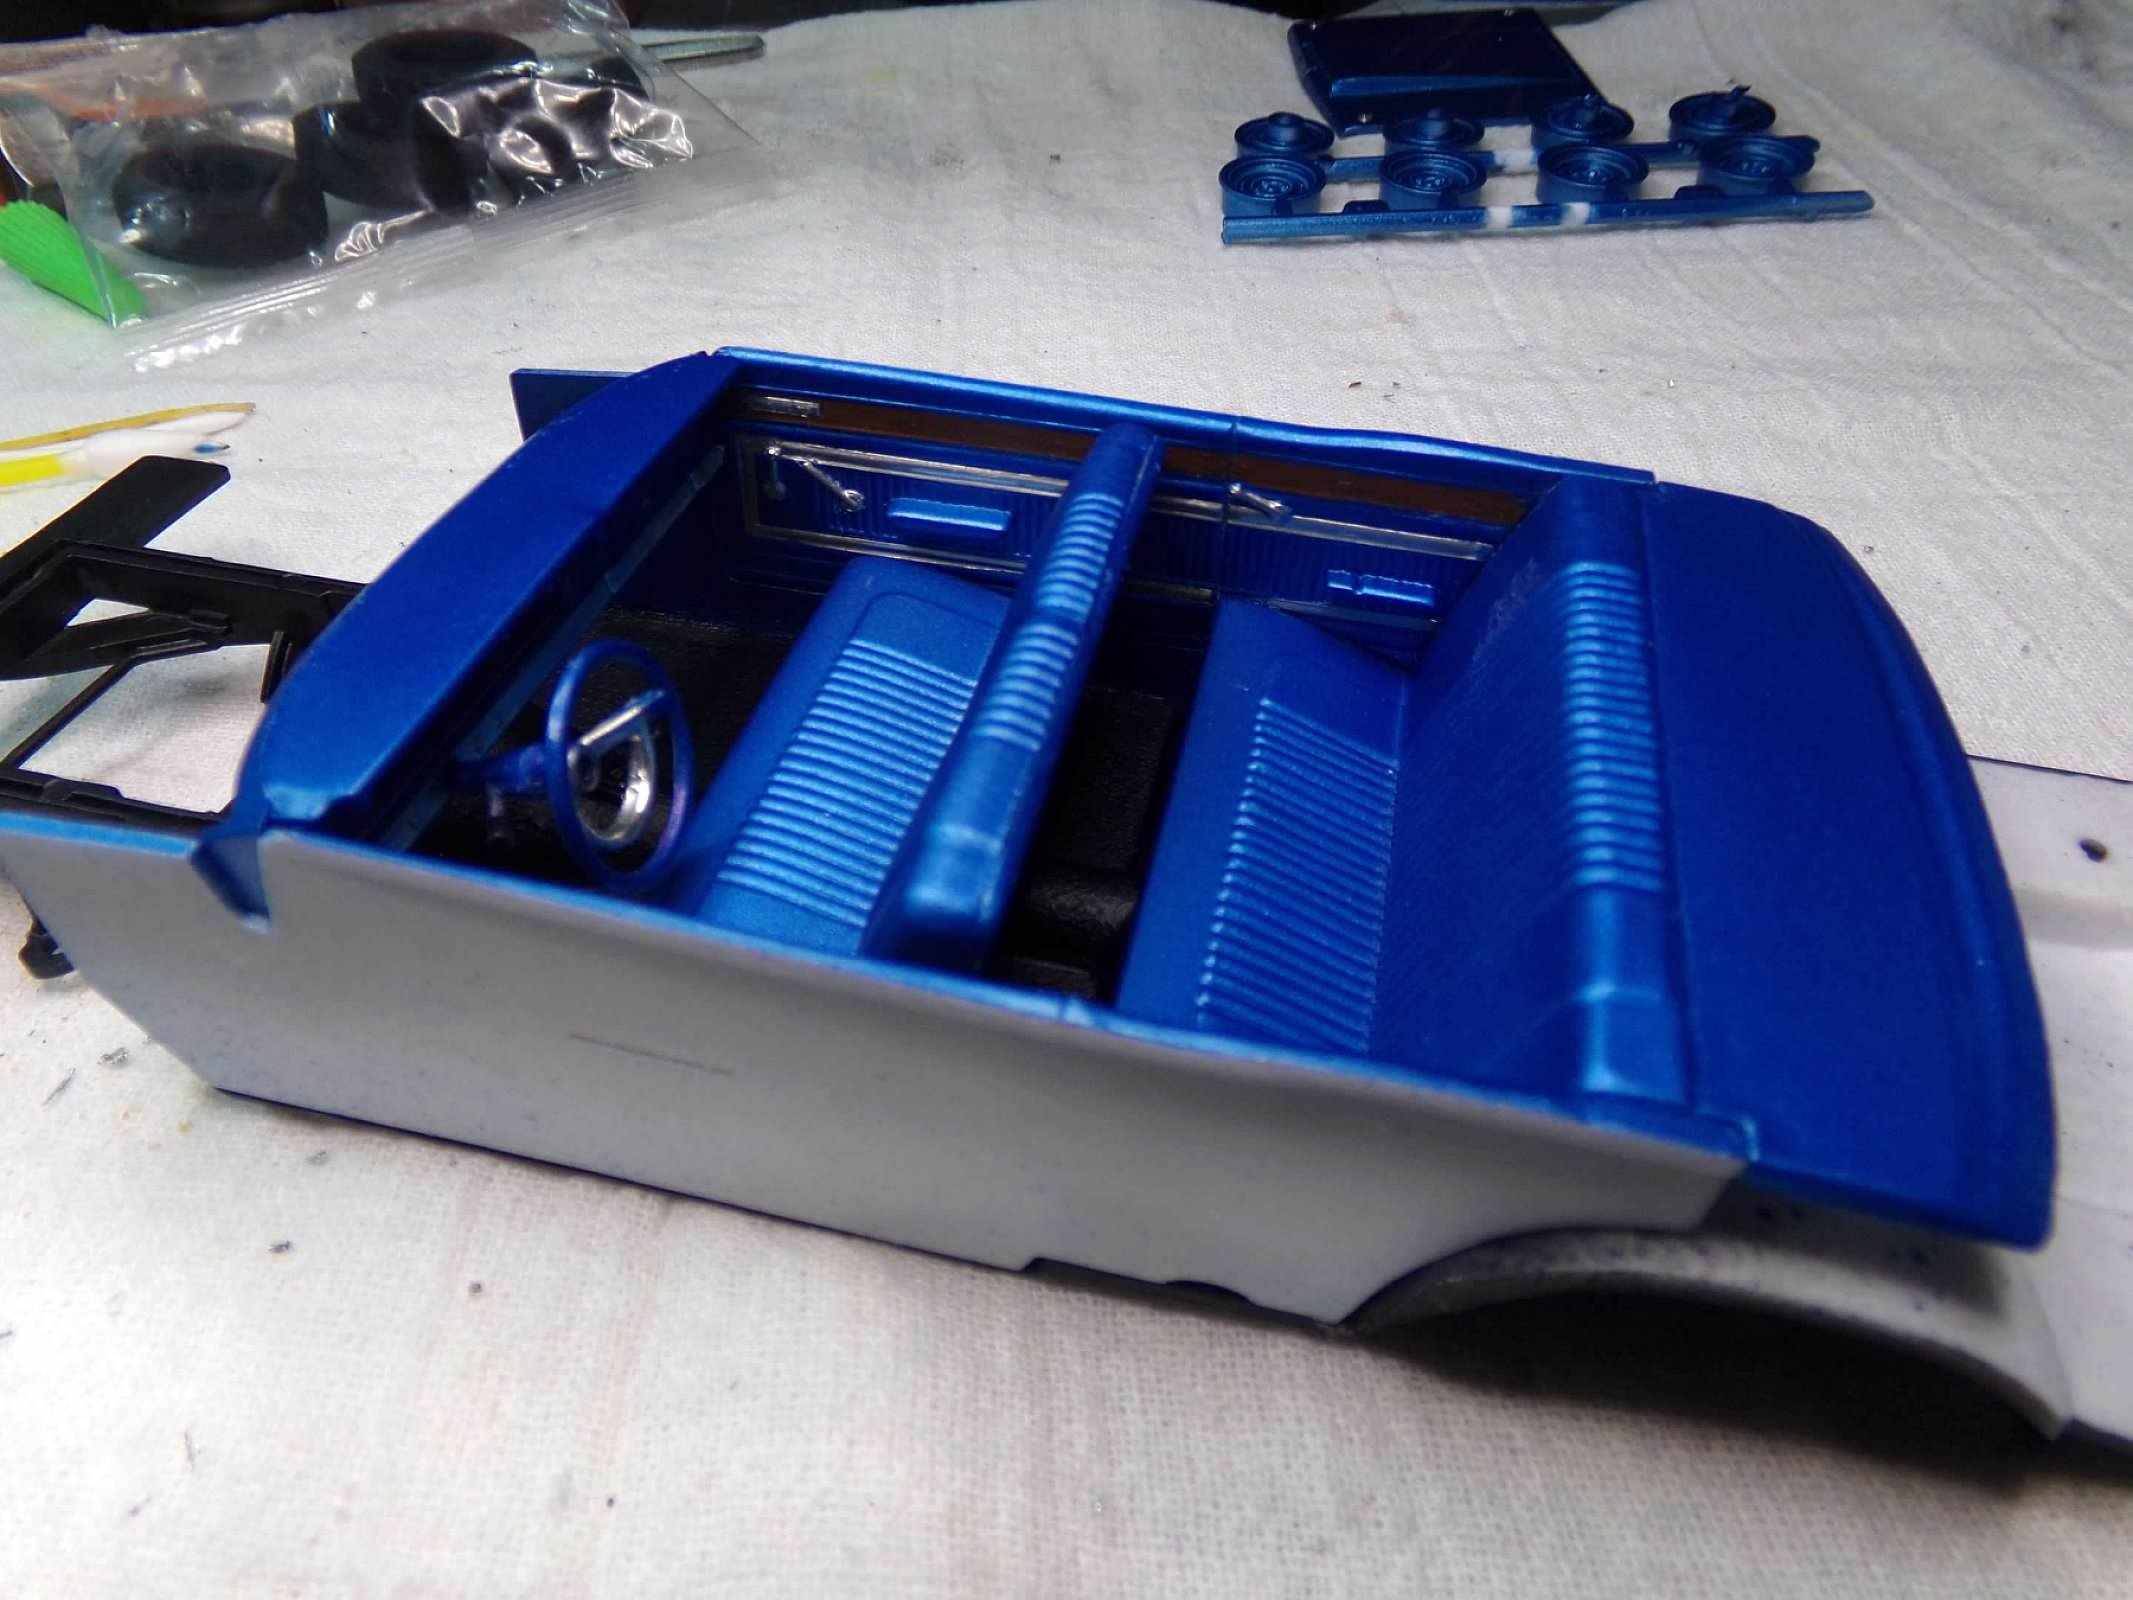
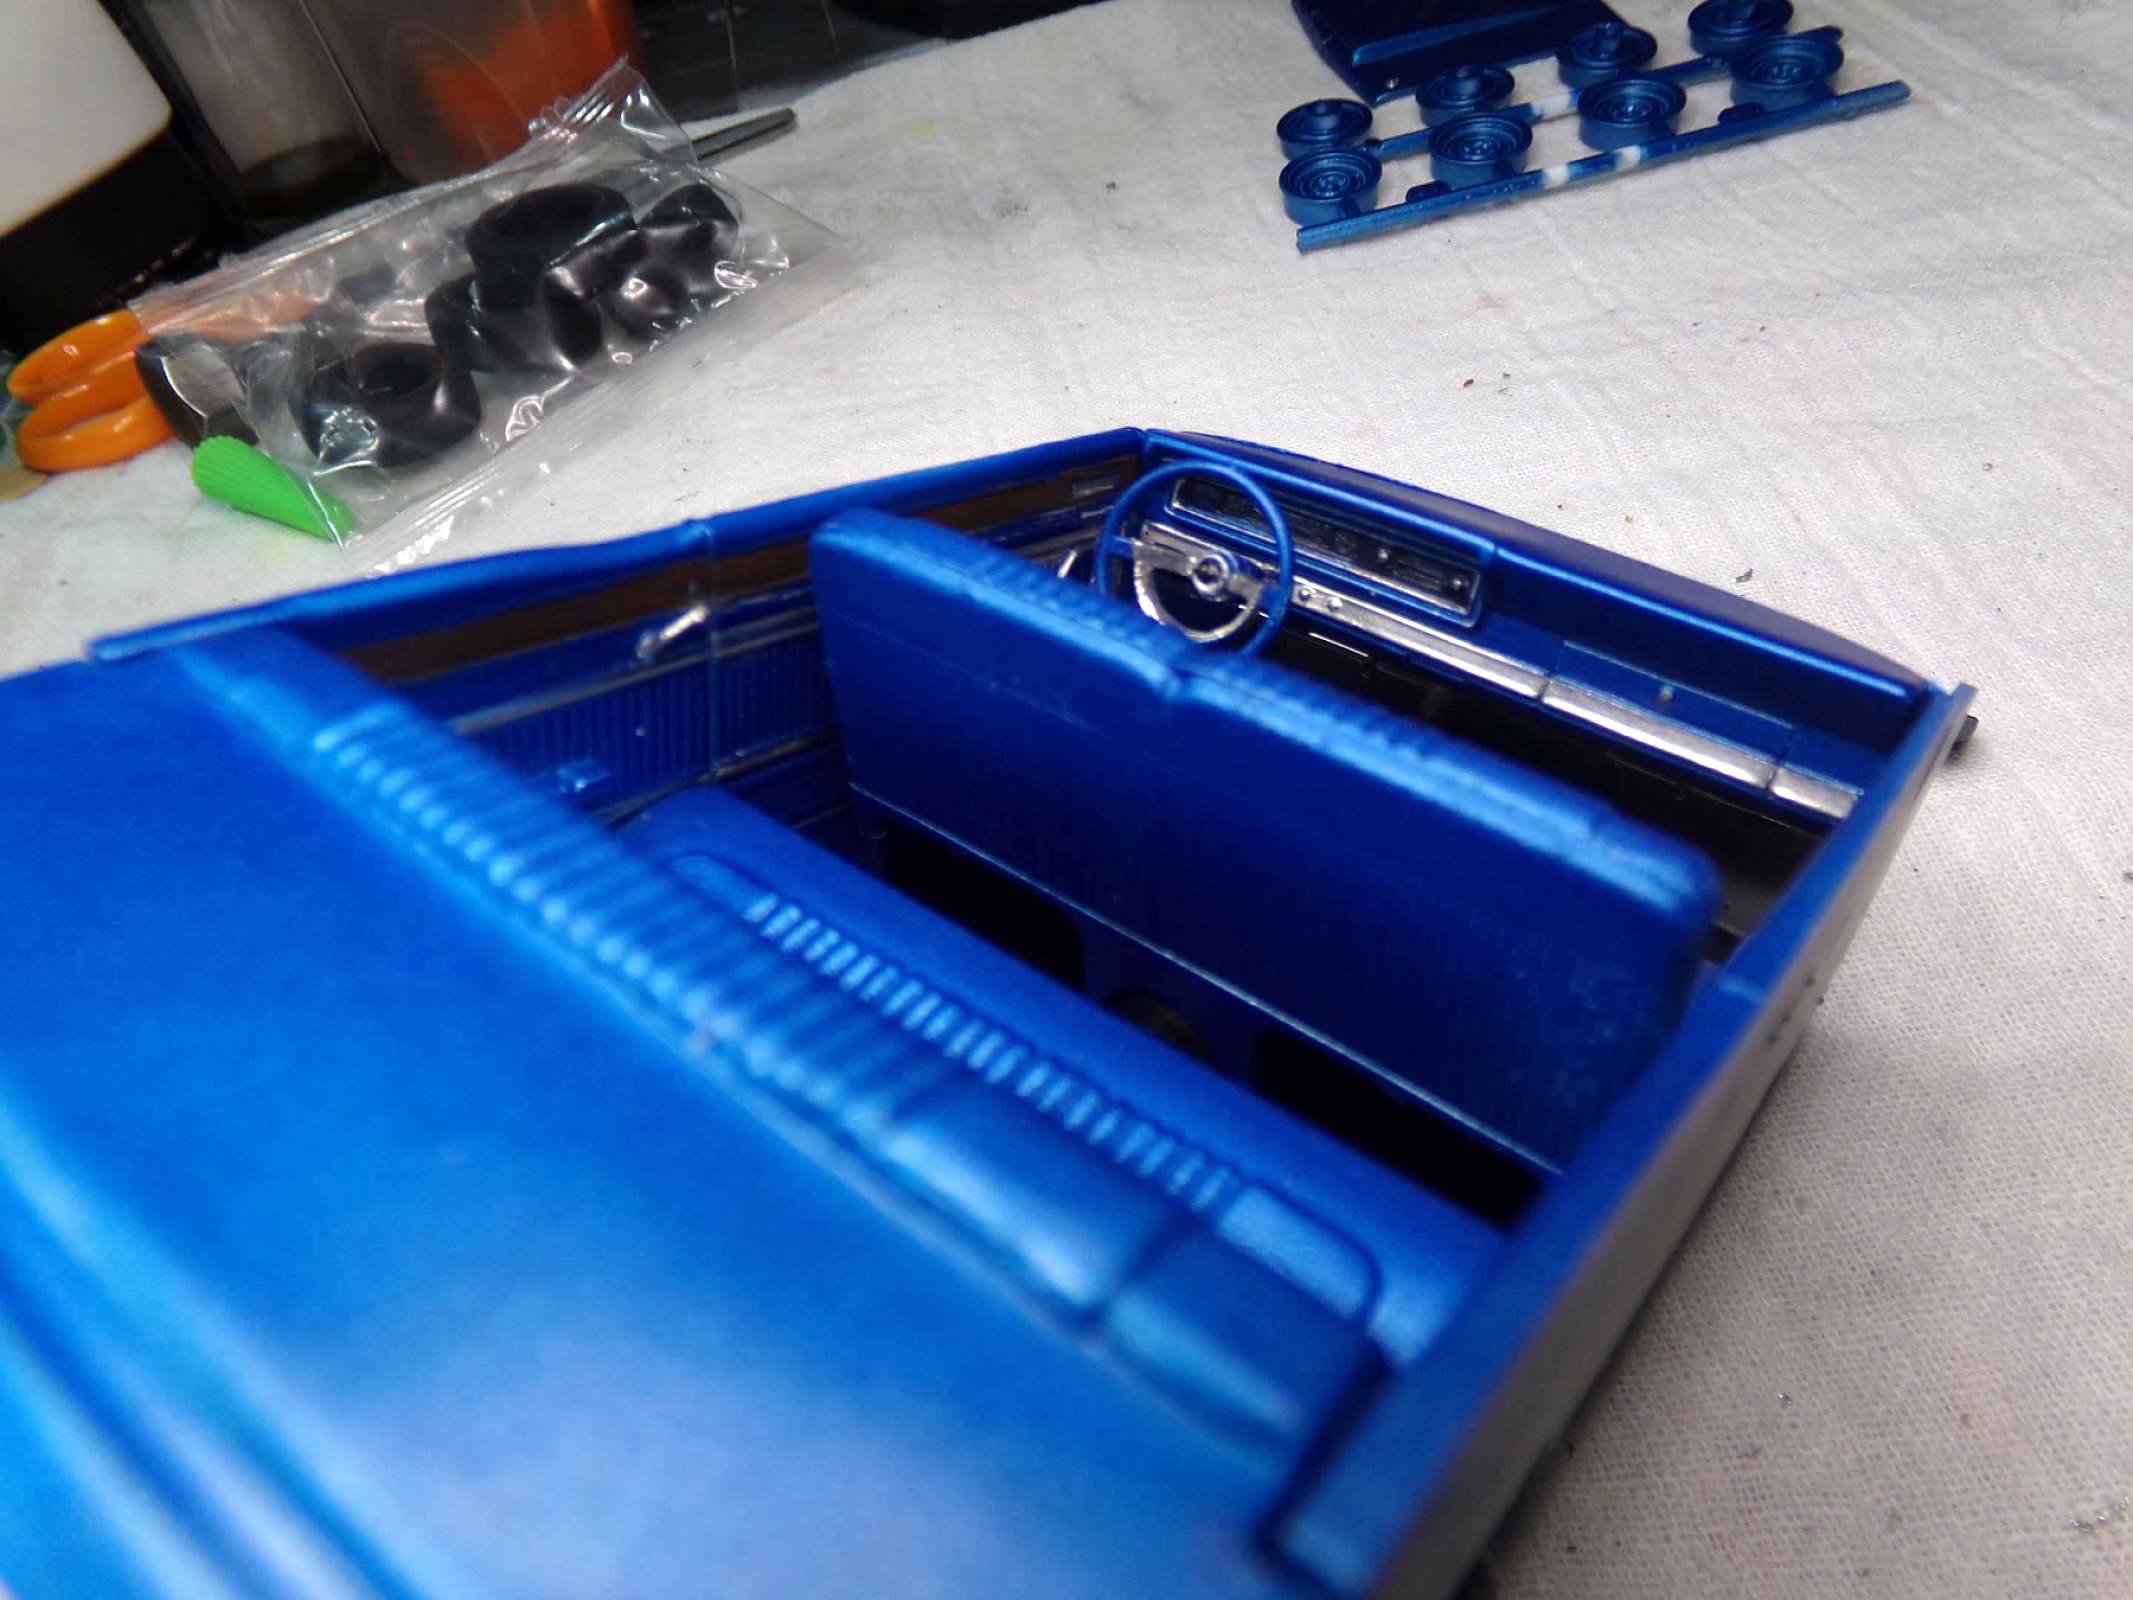
Thanks, Jim! I appreciate your comment! Yes, the hood scoop is a separate piece and without it they would be a long trough in the hood. I think that this kit is mainly a quarter mile race car just like the box art, although there aren't any race car parts like a roll bar, etc. I haven't seen the article that you forwarded but I can't view without disabling an ad blocker which I don't want to do. Thanks though! Here are some photos of the interior. The speedo decal included in the kit has no registration of the numbers so it looks like a black decal. I didn't use it I just painted that the panel black and trimmed the outline with chrome pen and added a chrome piece of trim on the bottom of the dash. The chrome trim on the doors is probably too thick but its what looked good to me. I also added wood trim as it was engraved that way on the door but I left off the chrome trim around the wood as I thought it looked too busy once I got one door done. So I removed it. I re-painted the floor black as the blue I had on it clashed with the blue on the seats, doors and dash. I didn't add any chrome trim on the seat because its not molded on the seat. Thanks for looking! 😎
-
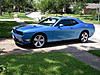
Thanks, All! I appreciate your comments! Jim, I didn't see your question until just now. Len, thanks for bailing me out! I am not spending a lot of time with this one as it is not as detailed as the GT/GTA kit. That kit, that I build years ago, had bucket seats, console, nice wheels, rear quarter windows, poseable steering, etc. I realize that this one is a different model and style. But it still would be nice to have bucket seats and nice wheels. I don't have the right bucket seats in the parts box and no sense looking for an alternate set of wheels. I'll just built this one quickly and move on. Here's a photo of the one built years ago. Thanks for looking! 😎
-
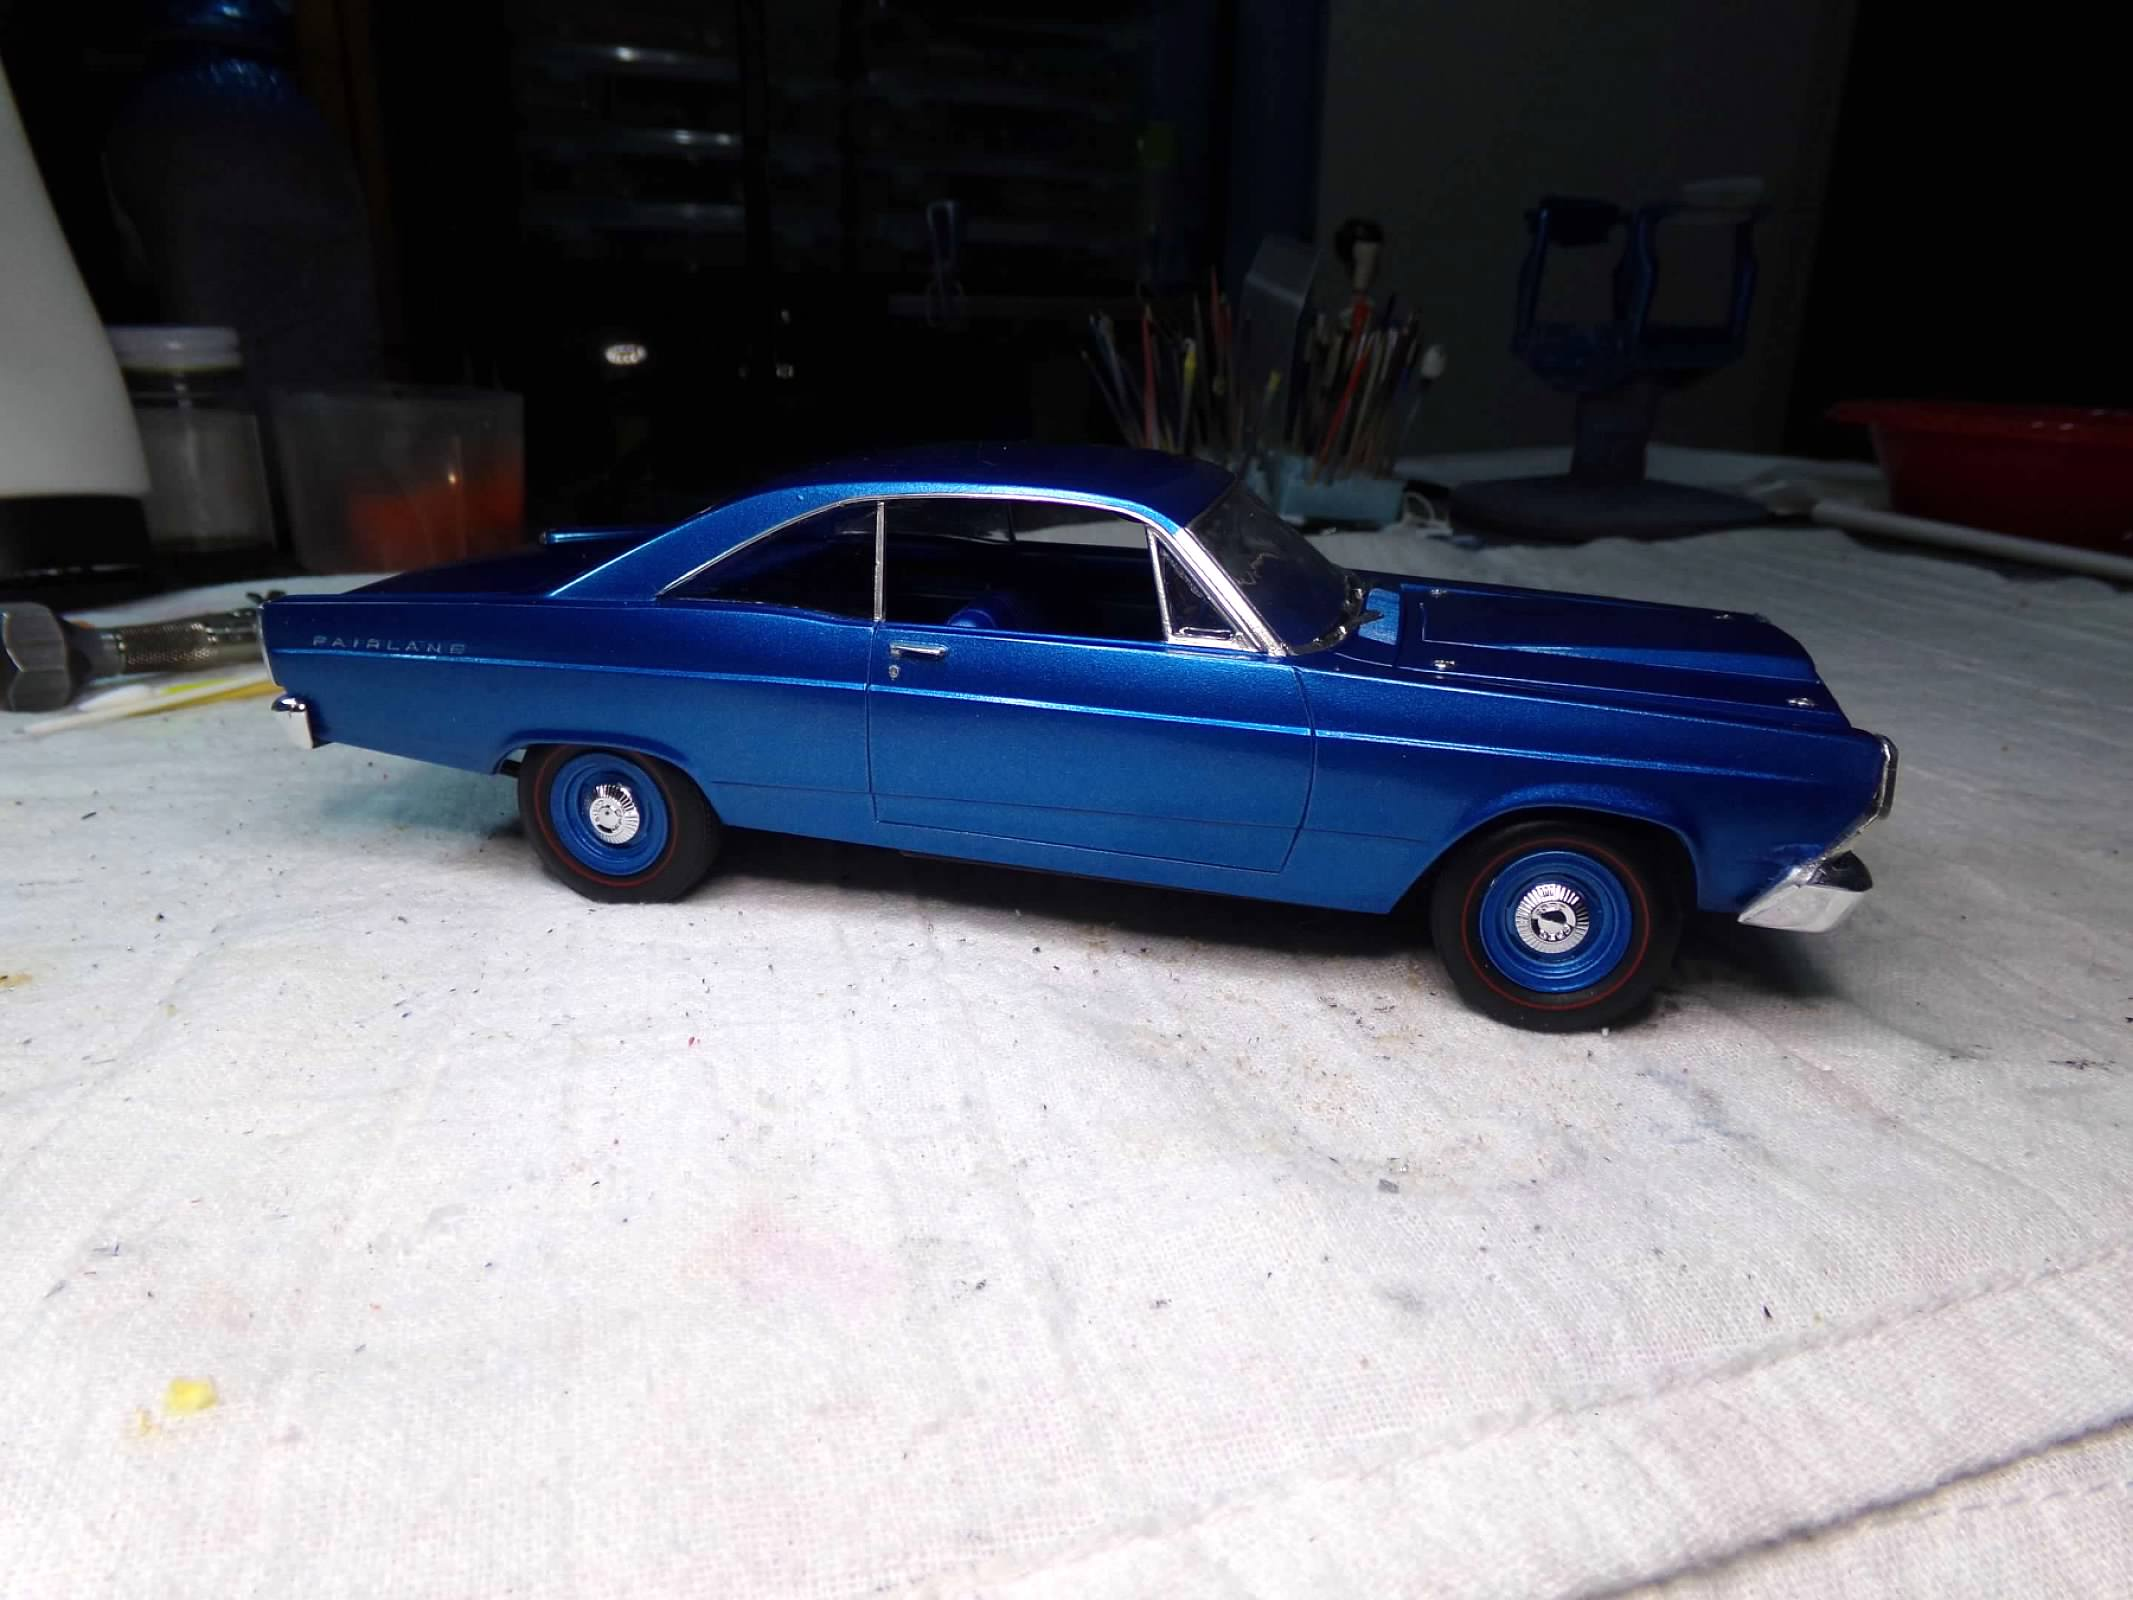
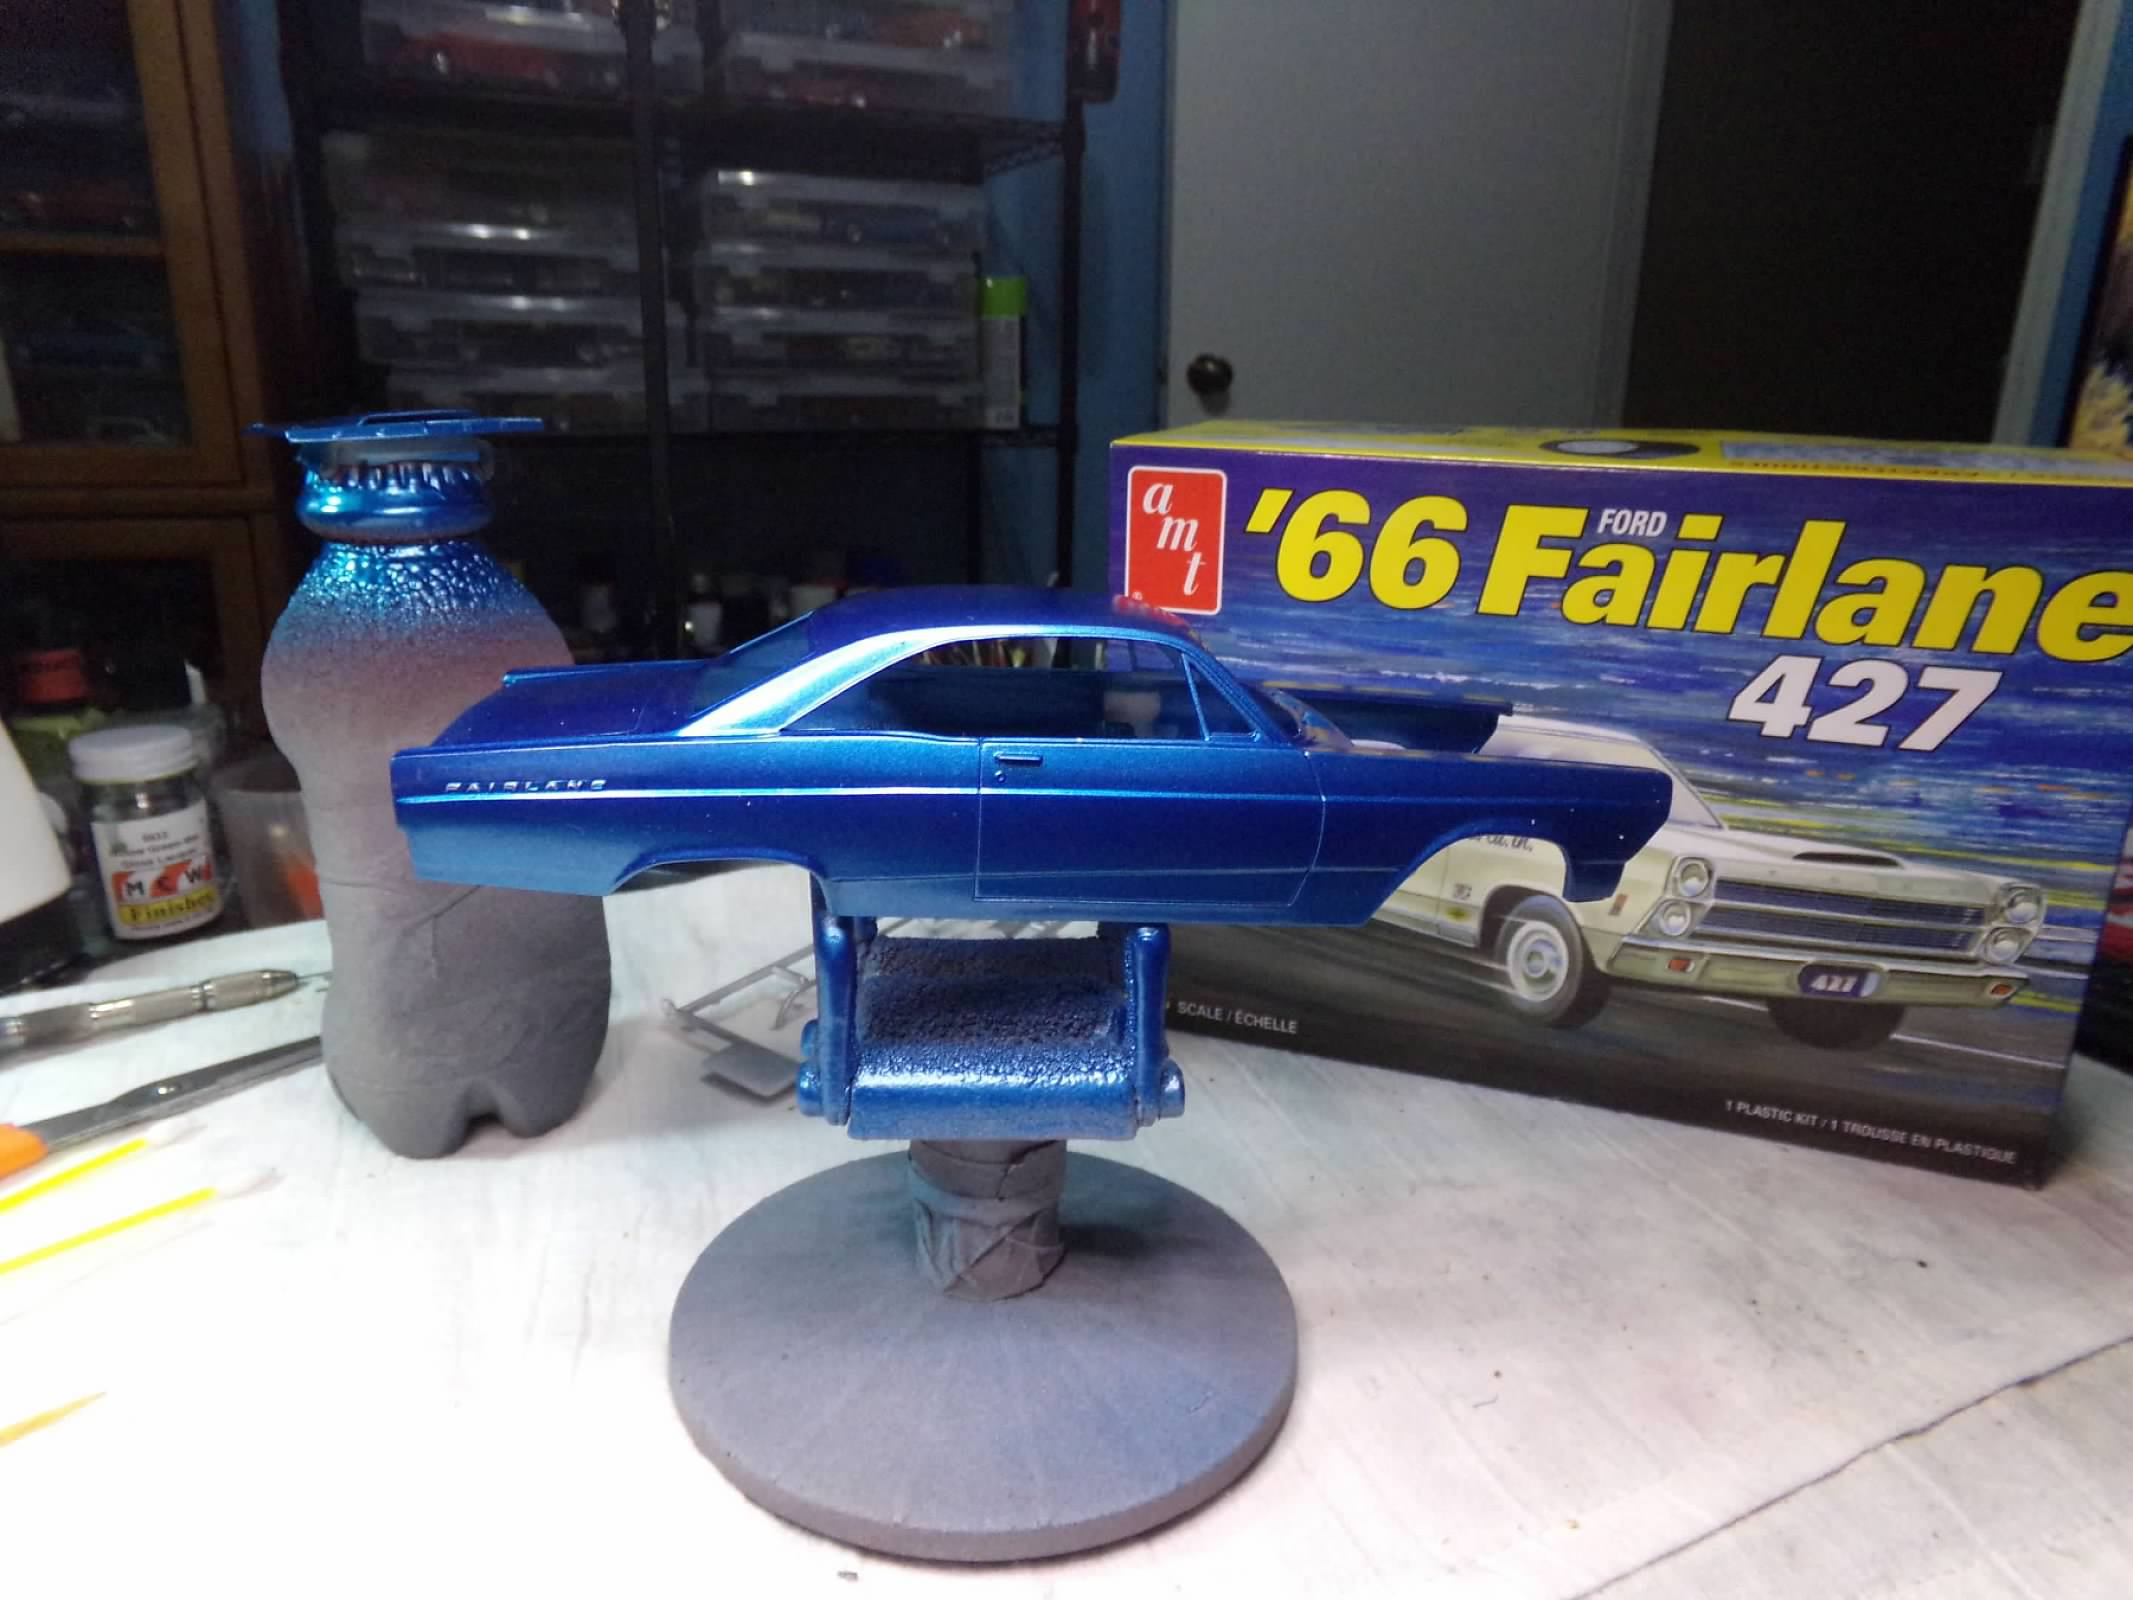
Thanks, Mike, Bob, and Graham! I appreciate your comment! 😎 Rubbed out the body today and foiled it. The Ford lettering on the hood and trunk are too shallow to foil either before paint or after. I'll have to use the kit decals on the trunk and hood. There's rocker chrome also included in the kit. I'll be working on the interior tomorrow. Thanks for looking! 😎
-
Thanks again, everyone! 😎
-
Its pretty easy, Mike! Make sure the foil is cut so it covers the letters and toothpick it down good. When the topcoat is dry after about 1/2 hour, use a small Tamiya cotton swab dipped in lacquer thinner (not too wet, wipe it a bit so that lacquer doesn't run) then rub it across the letters only, very carefully. Use more than 1 cotton swab, if necessary. It is much easier than foiling the letters after and then tediously cutting out each letter. That takes awhile. And using a chrome pen will probably clog the letters or run the chrome on more than the letters. Give it a shot. The worst that can happen is that you have to re-paint over the letters and try again. Or not!
-
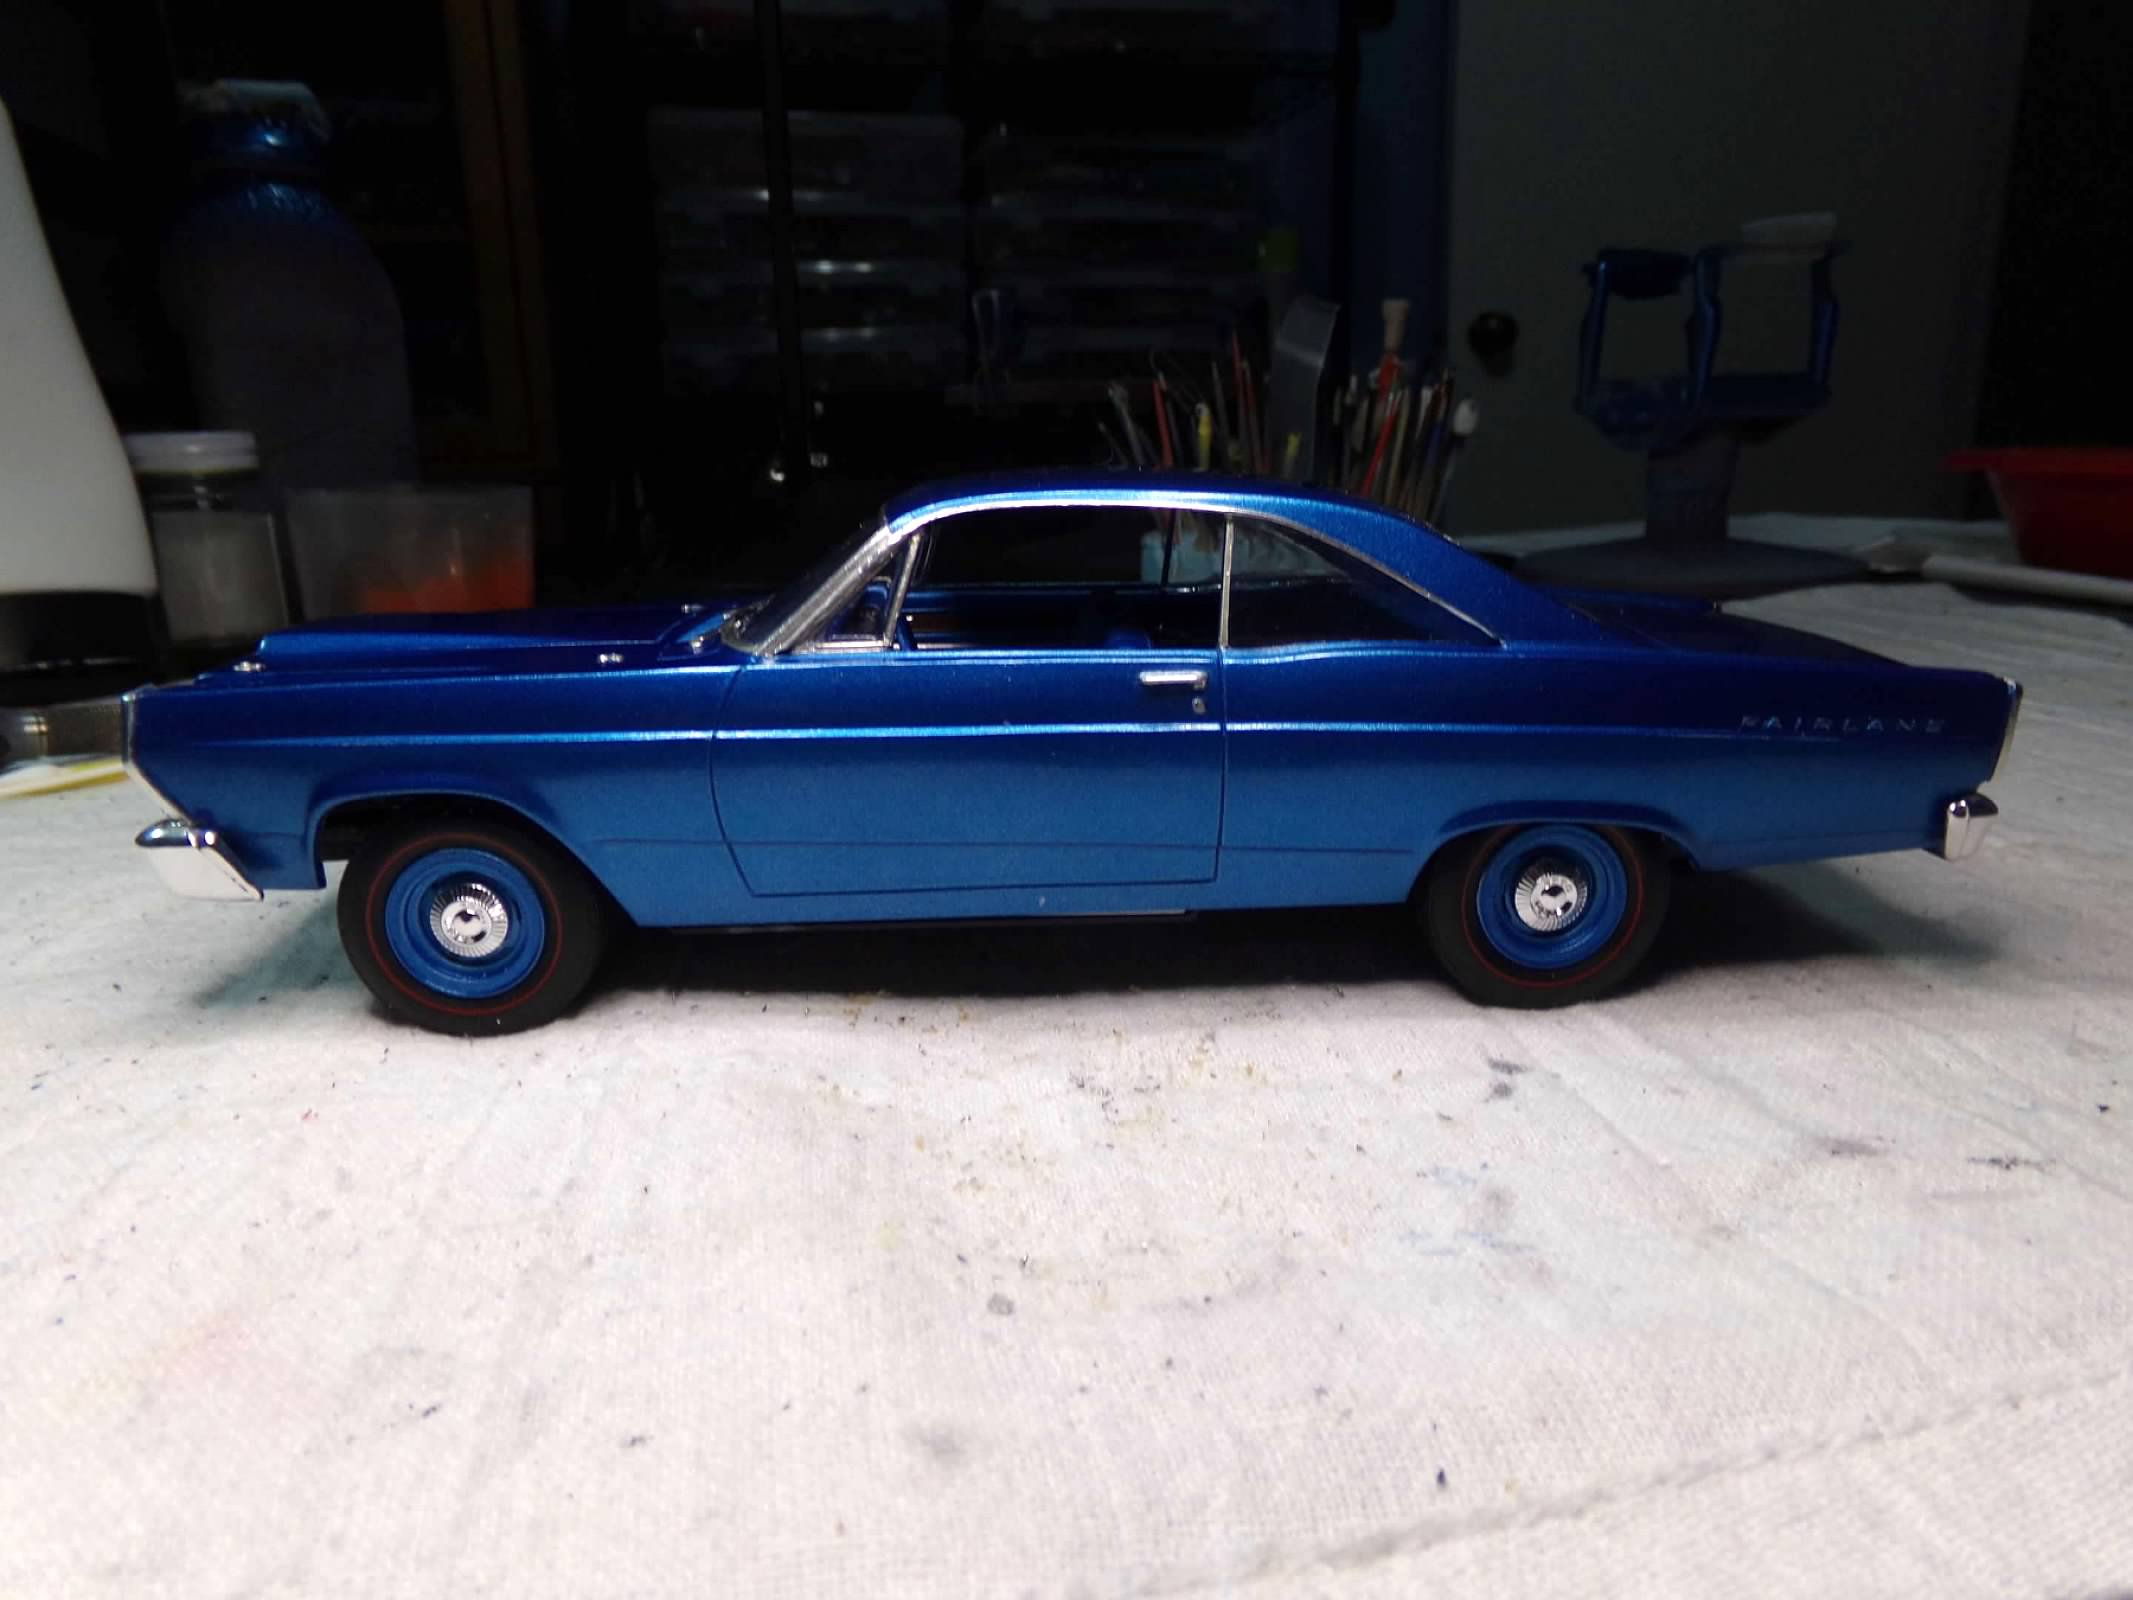
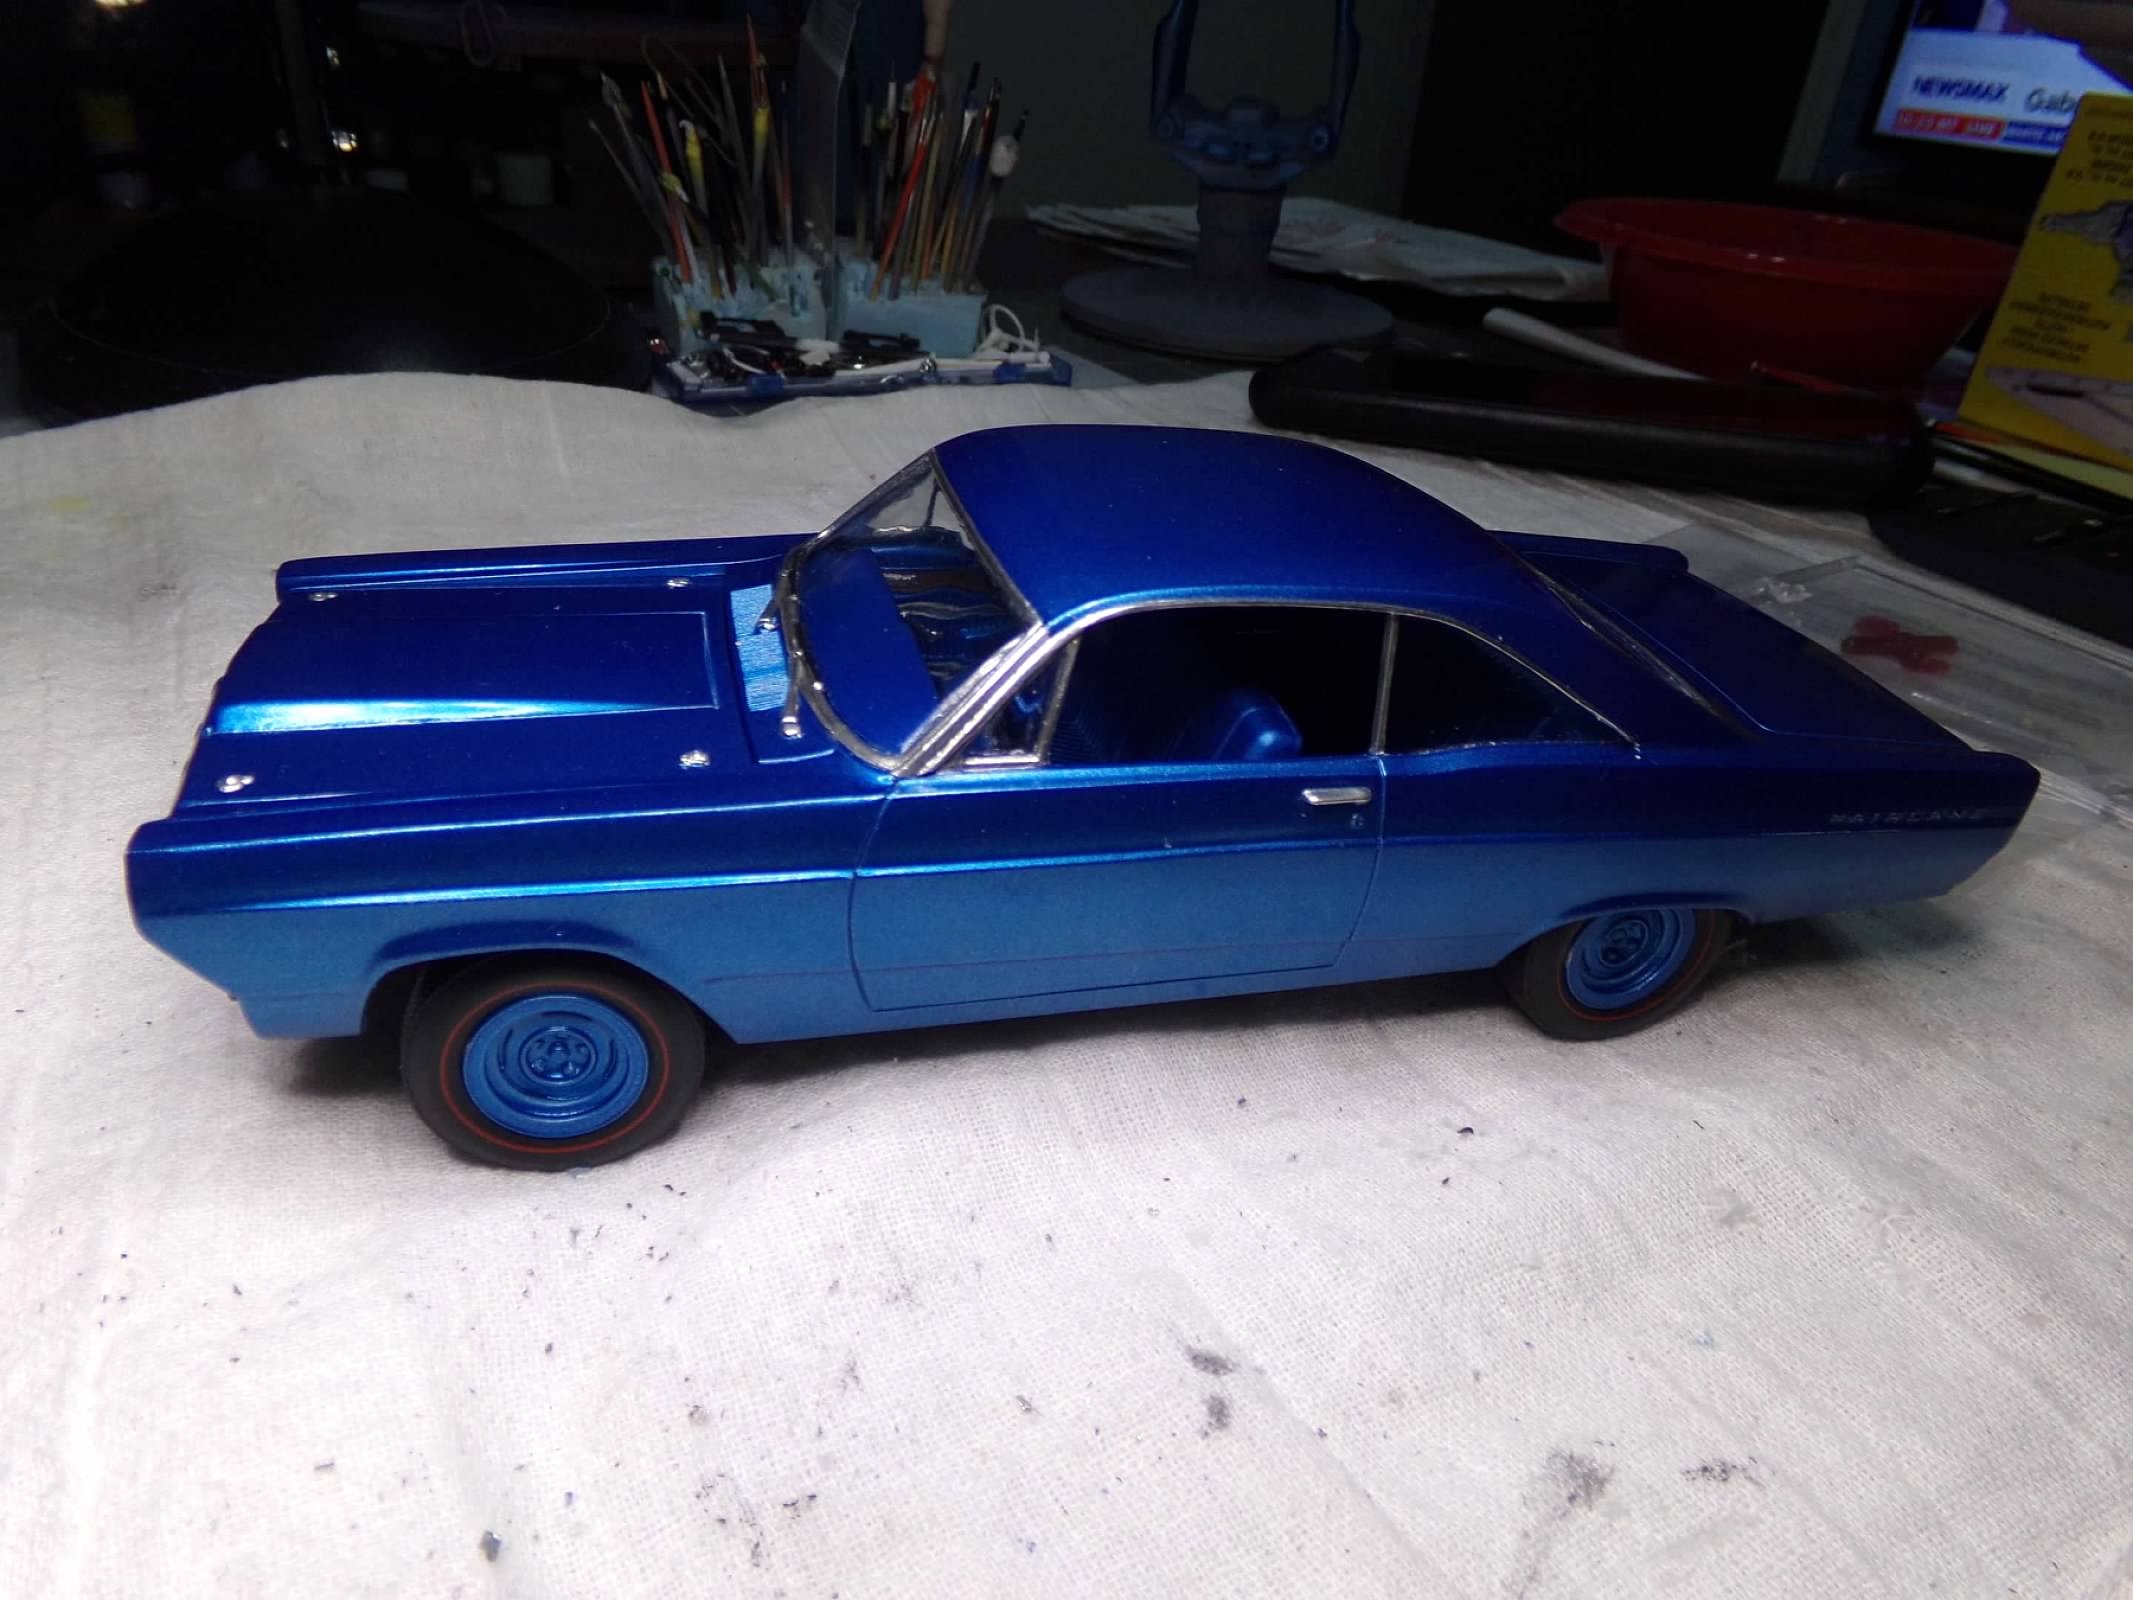
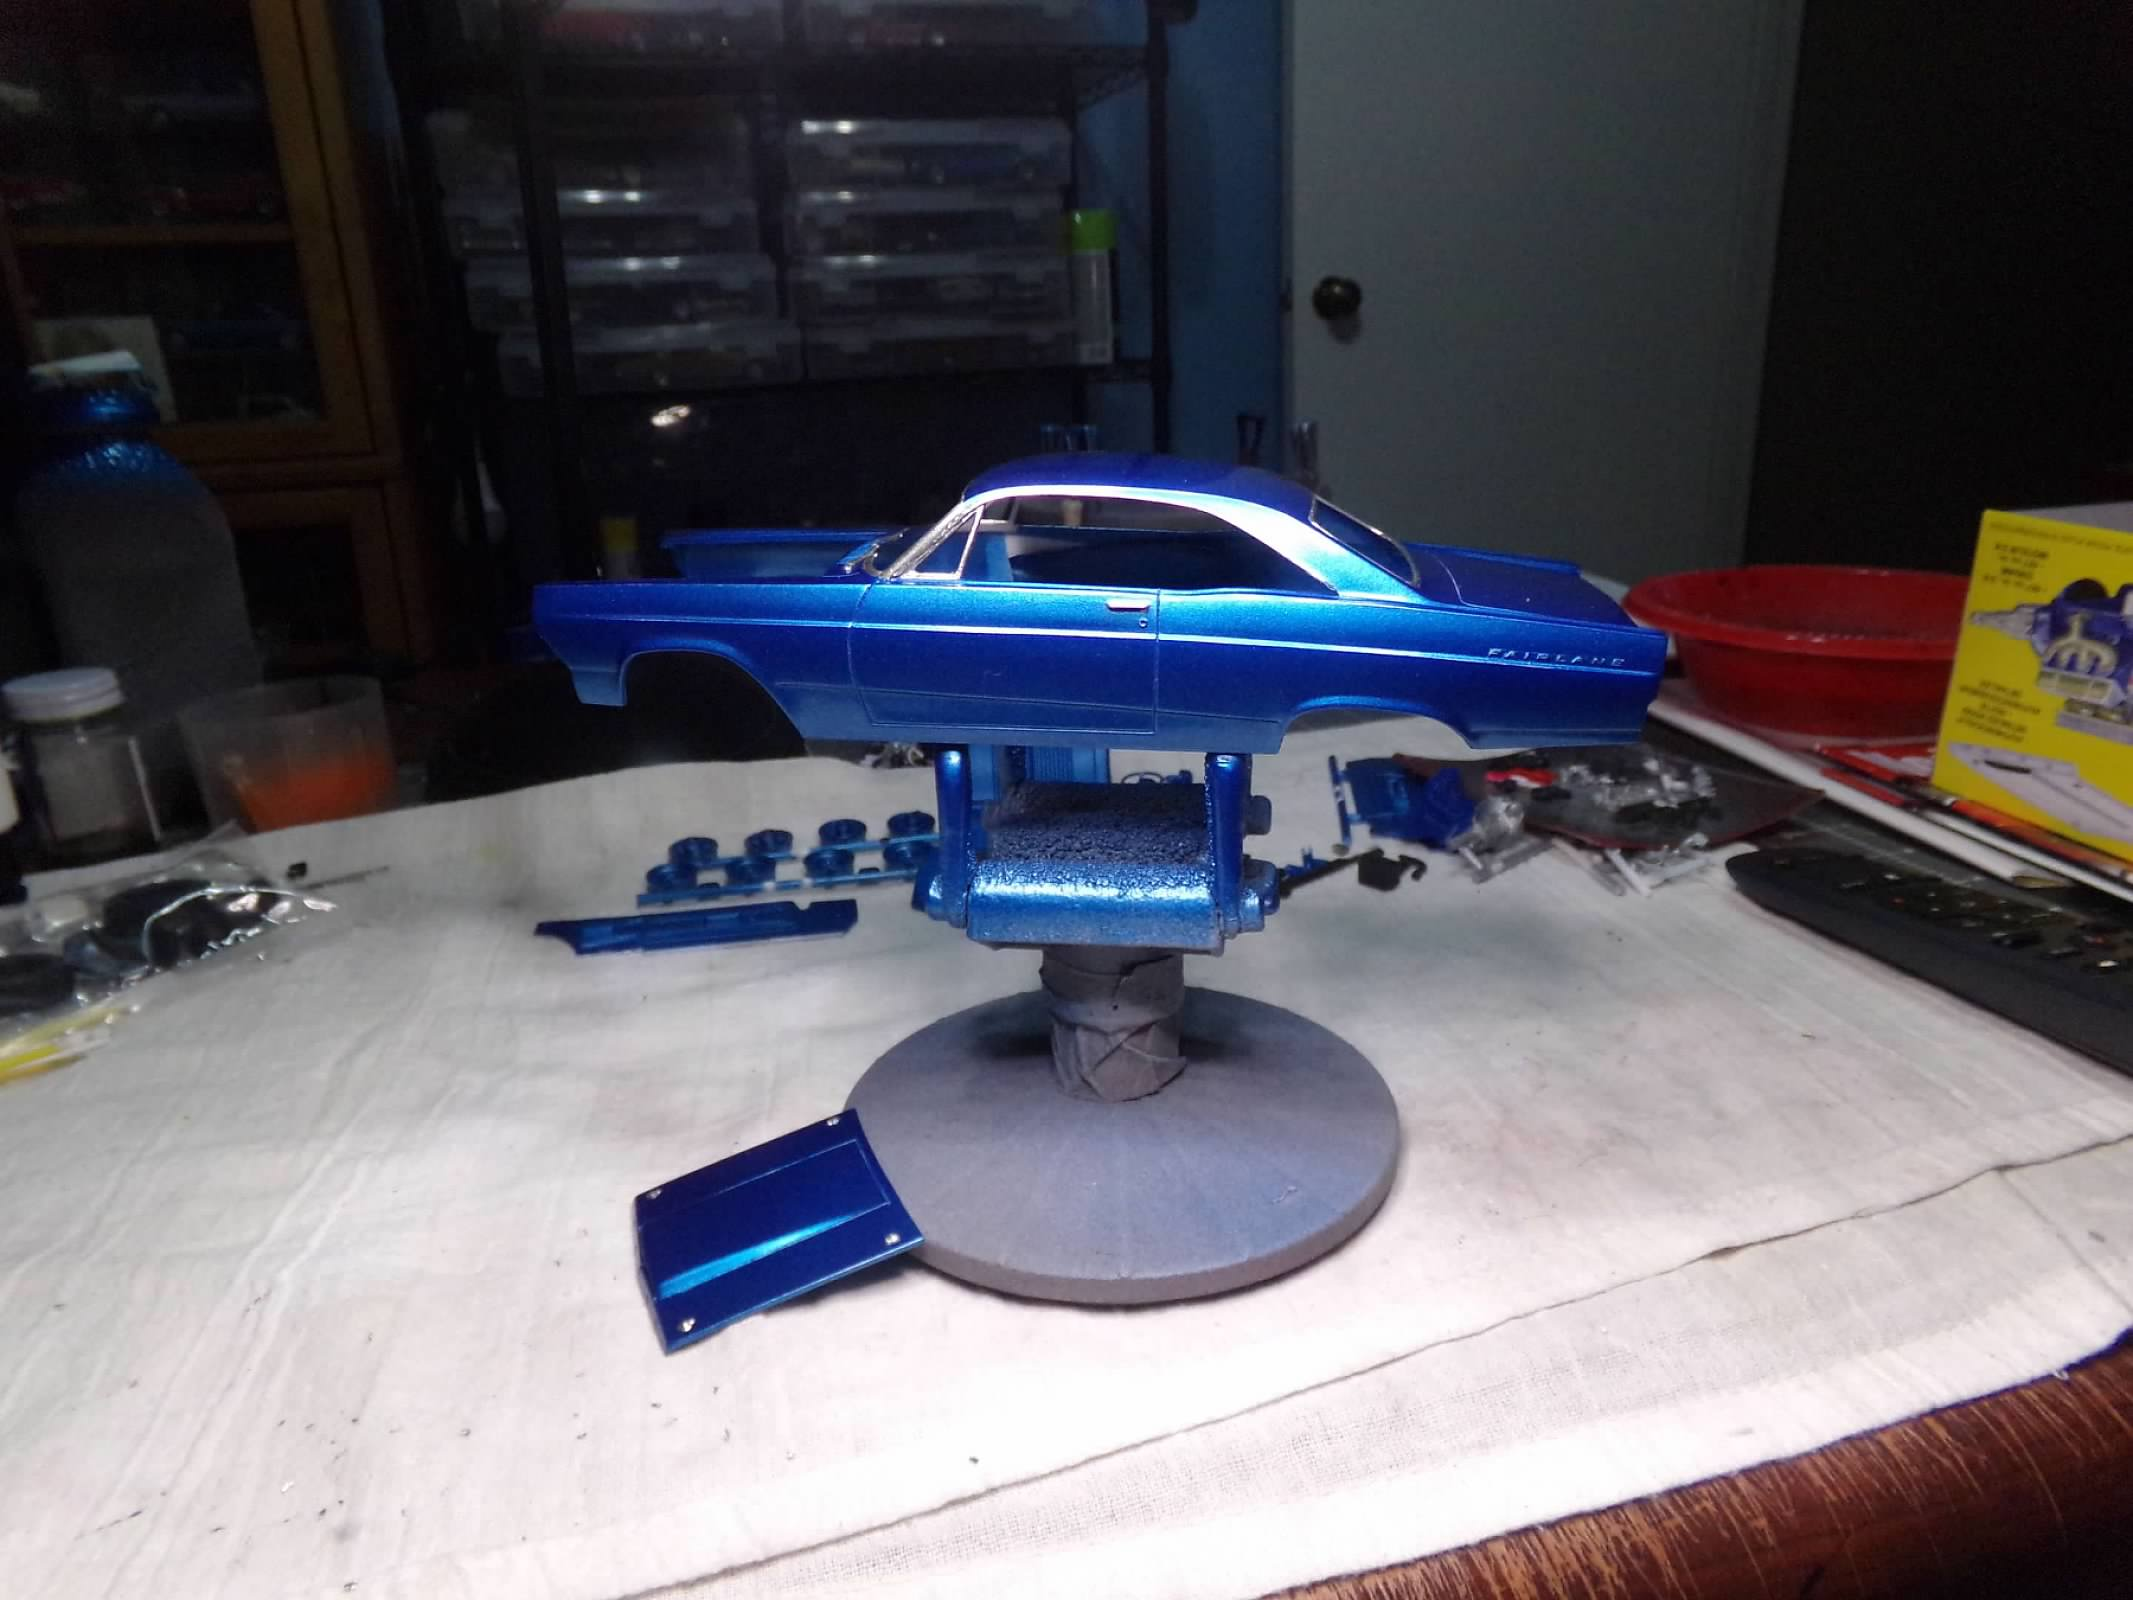
Picked this one up last week at HL. I've built the GT/GTA years ago. It was more detailed and had a 390 in it I believe. This one is pretty simple, bench seat, steel wheels with dog dish hubcaps. I've painted the body Dupli-Color Bahama Blue Metallic. I foiled the Fairlane lettering before the finish coat of paint and then revealed the BMF lettering with some lacquer thinner. So that's done. I painted all the other parts today so this one is ready for assembly. I had a partial can of Tamiya light blue metallic so I used it on the interior hoping for a little different shade of blue. Actually, it is very similar to the Dupli-Color. I just used some Dullcote on the seats and painted the carpet dark blue. I'm out of pre-wired distributors and I guess they are backlogged. So this will be a simple box stock build. Not too many parts anyway and its looks like a simple assembly. I'll rub it out and foil it tomorrow. Thanks for looking! 😎
-
Thanks for the comments, everyone! 😎
-
Thanks, everyone! I appreciate your comments! 😎
-
Very nice! Nice, clean mild custom! I like it! 😎👍
-
Looks good, David! Nice paint and foil! 👍😎