midnightsteele
-
Posts
24 -
Joined
-
Last visited
Recent Profile Visitors
1,490 profile views

midnightsteele's Achievements
MCM Member (2/6)
-
Safely Bending Styrene
midnightsteele replied to midnightsteele's topic in Model Building Questions and Answers
Well before I attempted to bend the plastic, I knew I would have to trim a little so it would match up to the filler panel behind where the bumper will go under the grill. I wanted to try the hot tap water tip first and work my way up in case that didn't work. During the trimming process....... I will be gluing it back in place after the trim, let it sit until tomorrow and in the meantime do another section if the build. Grrrrrrrrrrrr
-
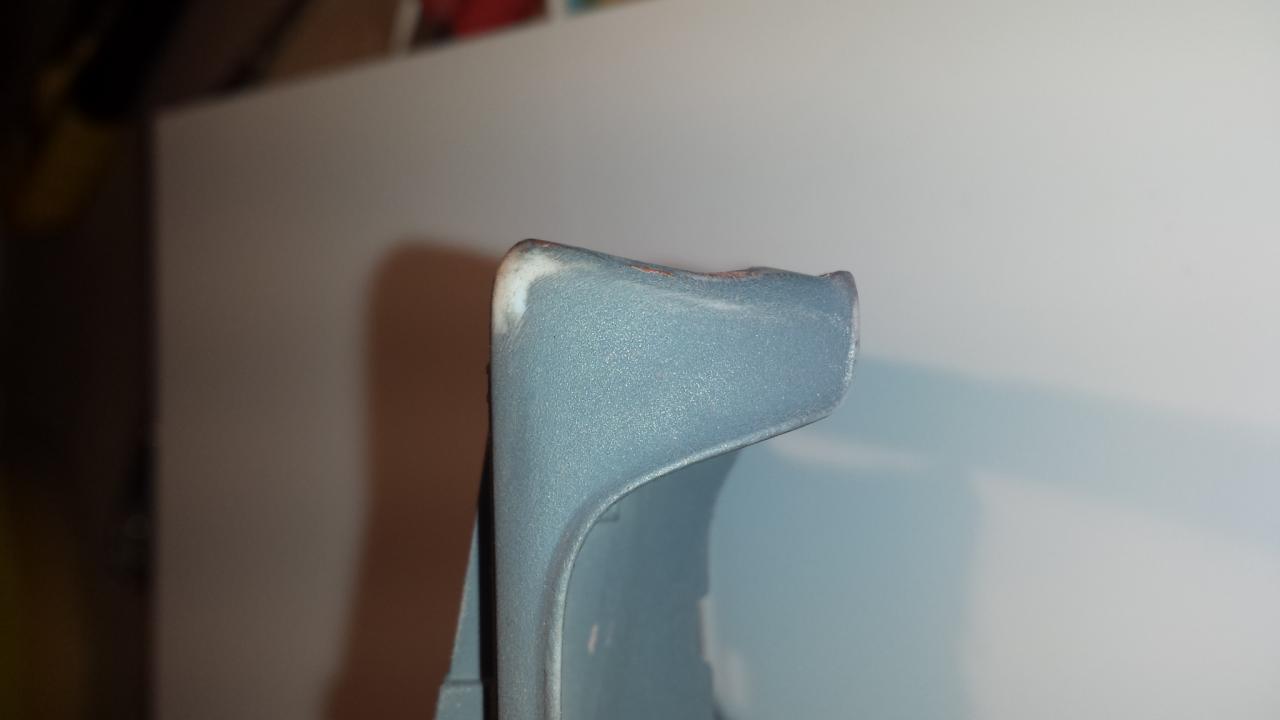
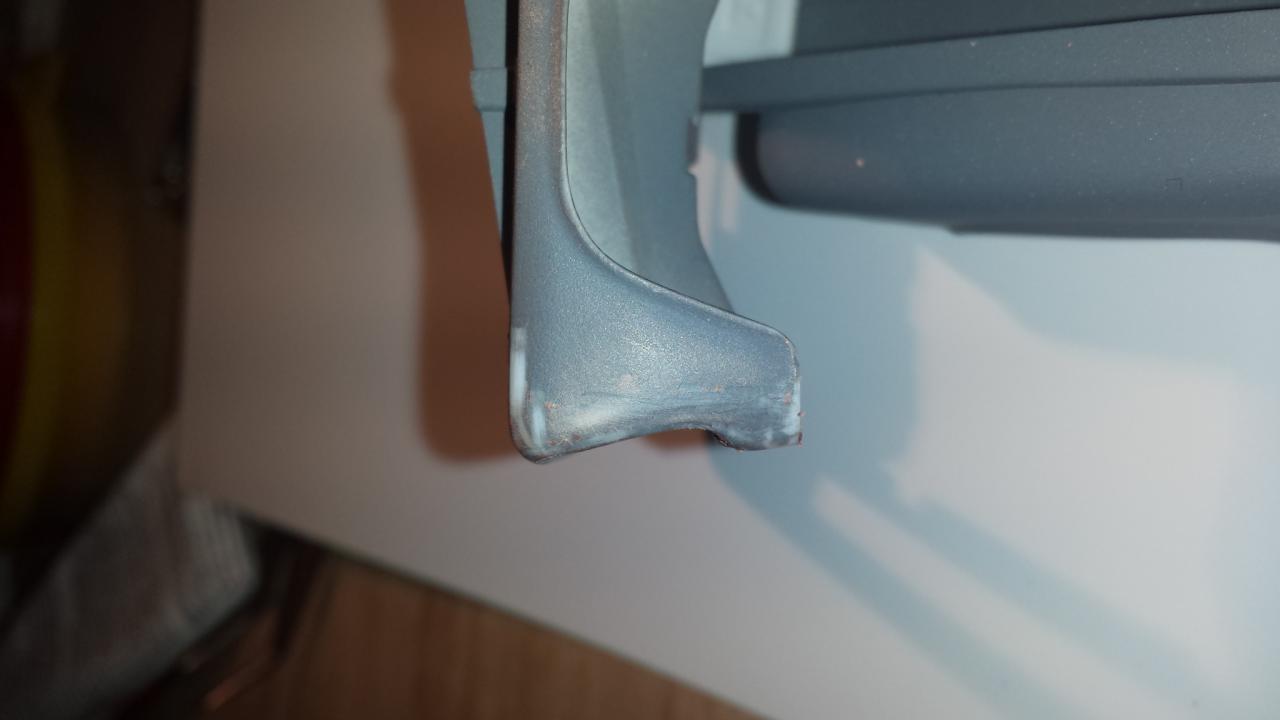
I have a slight alignment problem on my 65 Chevy truck. You will notice in the two pictures the differences in the angles on the front of the fenders. Although the fender on the drivers side is correct, the one on the passengers side is pretty much a final product. I know "what" I need to do, I just don't know "how". The lower left needs to be heated and bent inwards to the grill section to match the other side. How do I do this without damaging anything else? I can take more pictures if needed. Passengers side is the first picture and drivers side is the second... and as always thank you.
-
Thanks guys for the tips and critiques. Admittedly I didn't research the chassis issue. I went off the instructions. Although my future builds won't be so stock specific, I do enjoy one that is as close as possible sometimes. I am doing a 65 Chevy pickup now and it needs to be correct on several things like the chassis. I will do a little more research before I fire up the paint. James
-
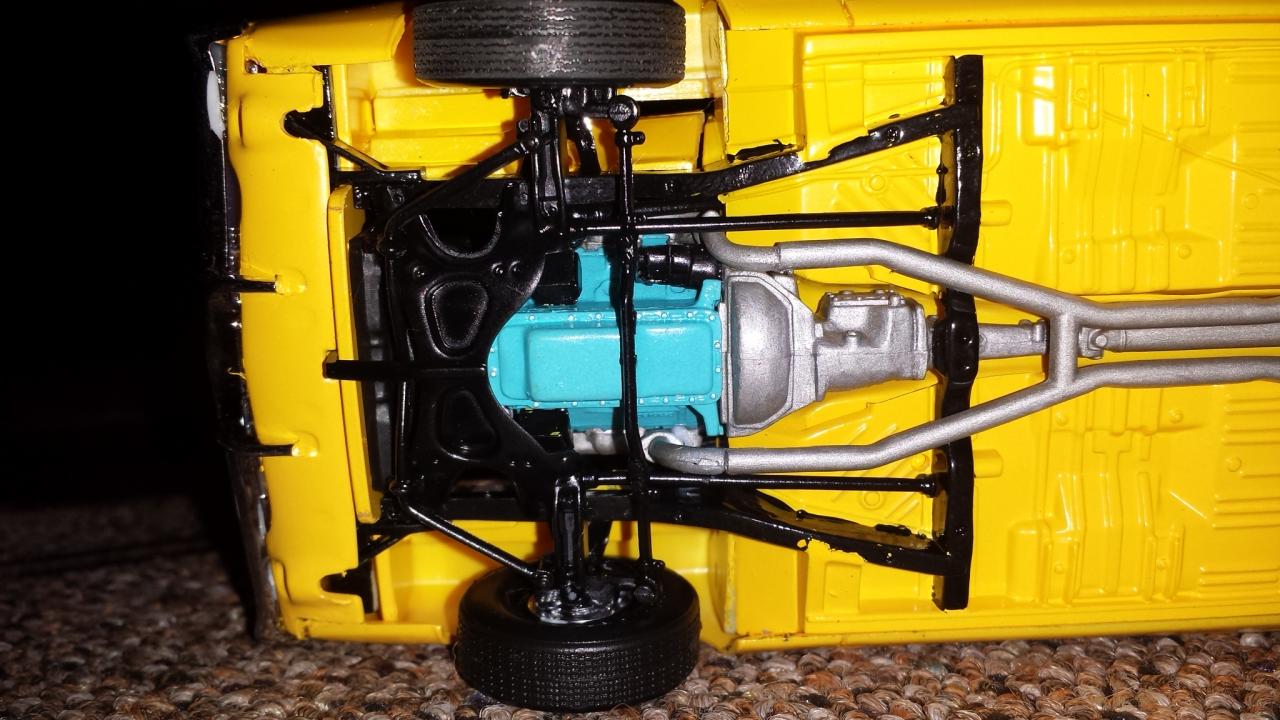
What a detailed engine! How did you make the spark plug/distributor boots? James
-
Using Putty
midnightsteele replied to midnightsteele's topic in Model Building Questions and Answers
Guess I should have mentioned what kind of putty I'm using. Using Bondo spot and glazing. Cool looking car BTW. JAMES -
Sorry bout the sideways pics. Not sure why that happened... James
-
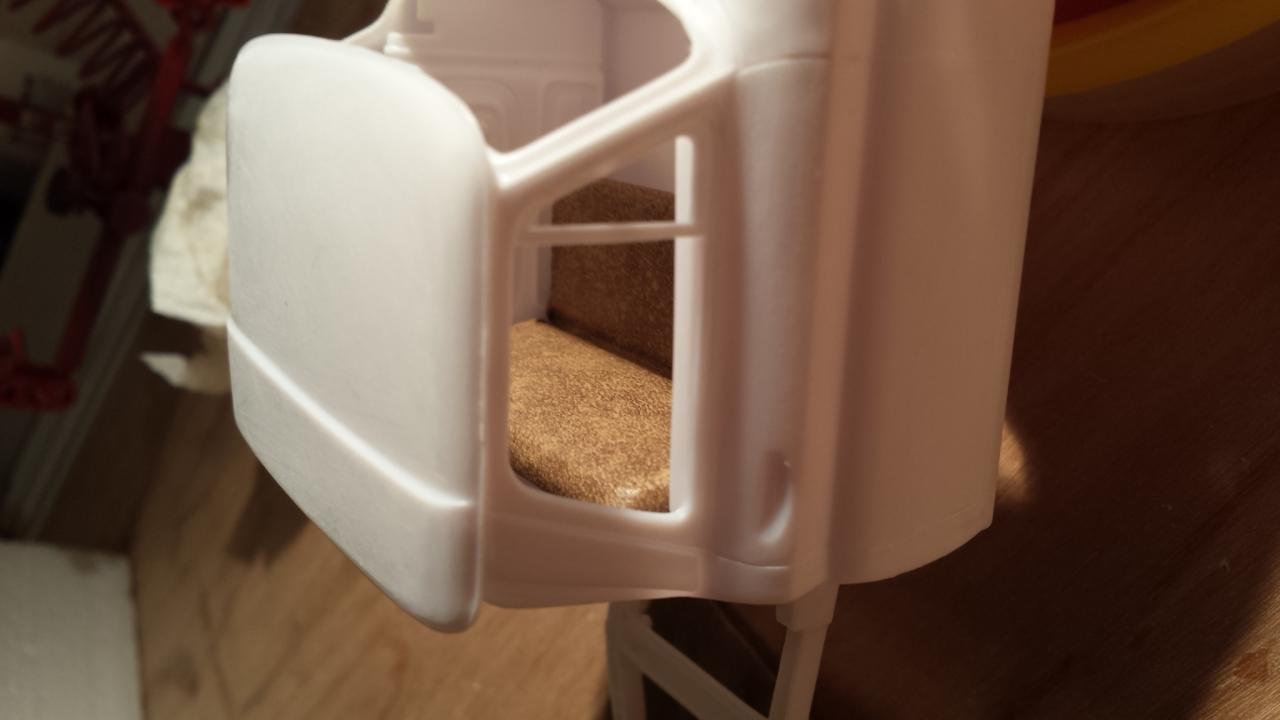
My first attempt at actual upholstery.
-
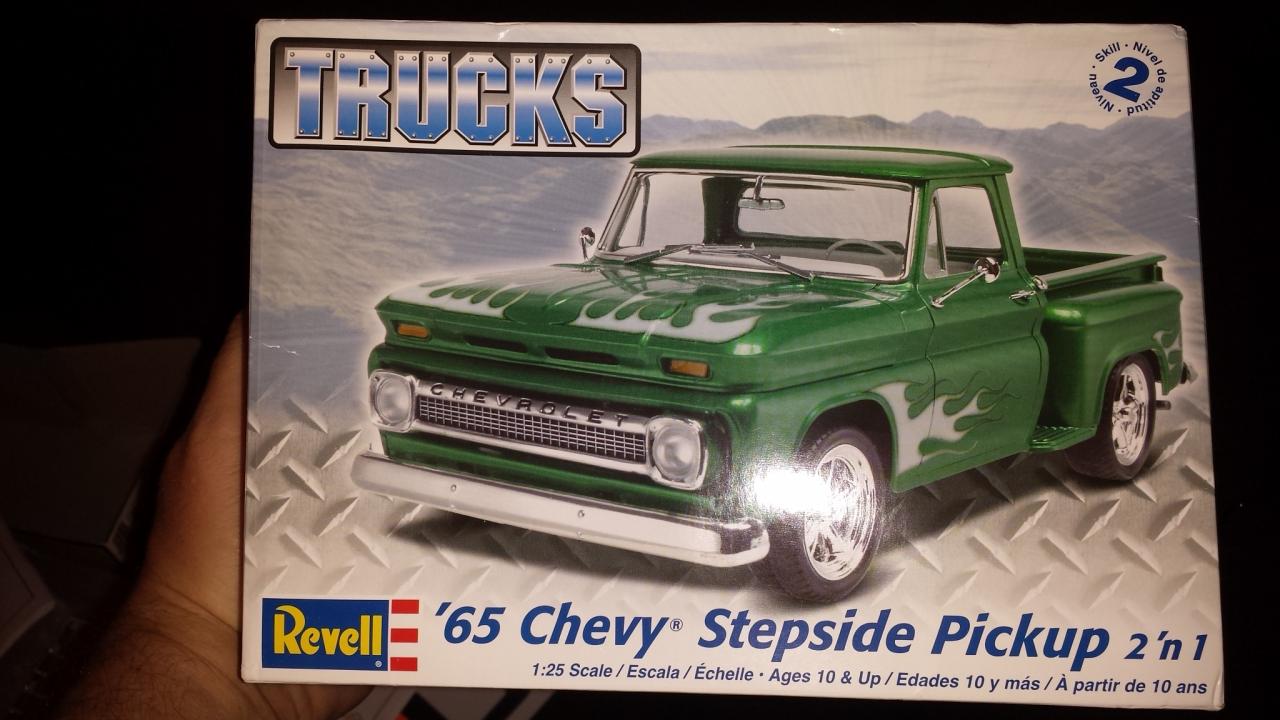
If you know from the begining that you will need to putty some areas, do you go ahead and start filling or start with a base of primer like you would on a 1:1? I have started the Revell 1965 Chevy Stepside and right off, the cab and hood will need putty to fill seams between glued pieces. James
-
This one will be for my Ag dept. annual "Aggie Day" fundraiser. The truck will be Testors Star Spangled Banner Blue (trying to get close to the FFA colors) with the FFA crest on the doors. The truck will be reasonably close to stock meaning no drops or suspension upgrades. Most of the people that attend this function are older farmers and i want to try and produce a piece they would most likely appreciate the most. I will "attempt" to scratch build a bumper pull single horse horse trailer. It will be auctioned off during the event. I am going to try and use some of the things I have seen on here such as solder wire for exhaust, spark plug wires, and actual fabric on the seat. I welcome any and all comments and suggestions.
-
Thanks for the tips slusher. I will incorporate them in my next build. I could use the same paint I use on the body but put a dull coat over it so I retain the color match? James
-
PLEASE READ DECANTING RATTLE CANS
midnightsteele replied to midnightsteele's topic in Tips, Tricks, and Tutorials
Ha! Those old clod hoppers ought to be thrown away they been on the porch so long. I should have been so lucky to be wearing those but oh no I had to be wearing my flip-flops so my feet looked like they had been touched by Midas! -
Thanks. I wasn't too fond of the color to begin with but its the color car she had. Now that I'm almost done, it kind of grew on me... James
-
PLEASE READ DECANTING RATTLE CANS
midnightsteele replied to midnightsteele's topic in Tips, Tricks, and Tutorials
Yeah I learned a valuable lesson today. First time out of the shoot. Next time I'm just going to let them steep for a couple hours. I was just going off the advice of one of the videos I watched that said if you shake it a little every 15 minutes or so it would speed up the process. I'm just going to try a little more patience lol James -
PLEASE READ DECANTING RATTLE CANS
midnightsteele replied to midnightsteele's topic in Tips, Tricks, and Tutorials
The paint was Krylon gold. This incident happened after I transferred the paint from the rattle can to the open bottle. I taped a bendy straw to the spray nozzle and used cellophane to cover the top of the bottle. I stopped when my bottle was half full. I let it sit for about 15 minutes while I occupied my time trying to smoke a cigarette and chasing my weenie dog around the front yard because he didn't want to go back in the house. When I picked up my half full bottle of gold and gently shook it, it literally shot out of my hand and straight into the other half bottle of Krylon flat black I was also decanting. That one, once struck by the bottle of gold, also wanted to go projectile lol. Luckily neither of them hit the bottle of primer I had sitting. After two and a half hours, the primer was good to go and is now closed. It was quite the hoodoo and my landlord (lives right next door mind you) is going to be upset to say the least. I will have to paint the whole porch and part of the front of the house. Tomorrow I'm gonna do it again lol... -
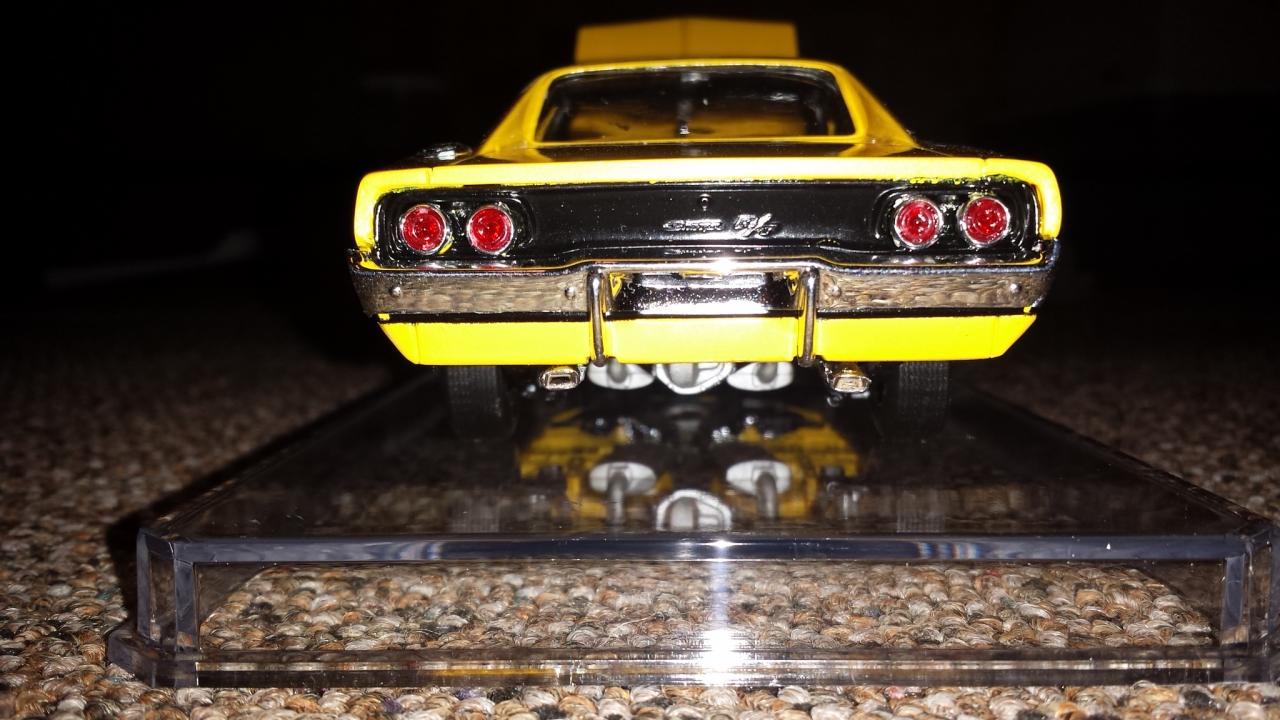
This is my second in 15+ years so she ain't very pretty. The first one was a 1970 1/2 Camaro that's not too good enough to show. I welcome constructive critism. I still need to get the door handles on. One got cut in half while trimming it. I used the wrong type blade (curved). Im looming for some that will work if you have any. Some areas I know I need to improve on include but are not limited to: trimming flash, conducting mockups for proper fit meant as you will see in the stance and front valance, and better glue for the rear view mirror (picked up some today). I also need to get some BMF. I got some of the testors brand but the stuff I didn't want to stick wouldn't come off... I also have pretty Sharkey hands these days so I need to figure a way around it as you will see behind the transmission on the undercarriage. Its not near as good as some I've seen on here but I'm getting my practice in. This one is for my mom. She used to have a 69 but this was the only one I could get at the time.