Funkychiken
-
Posts
2,408 -
Joined
-
Last visited
2 Followers

Recent Profile Visitors
6,231 profile views


Funkychiken's Achievements
MCM Ohana (6/6)
-
looking fantastic! how many house did it take in front of the computer to get it all modelled prior to printing?
-
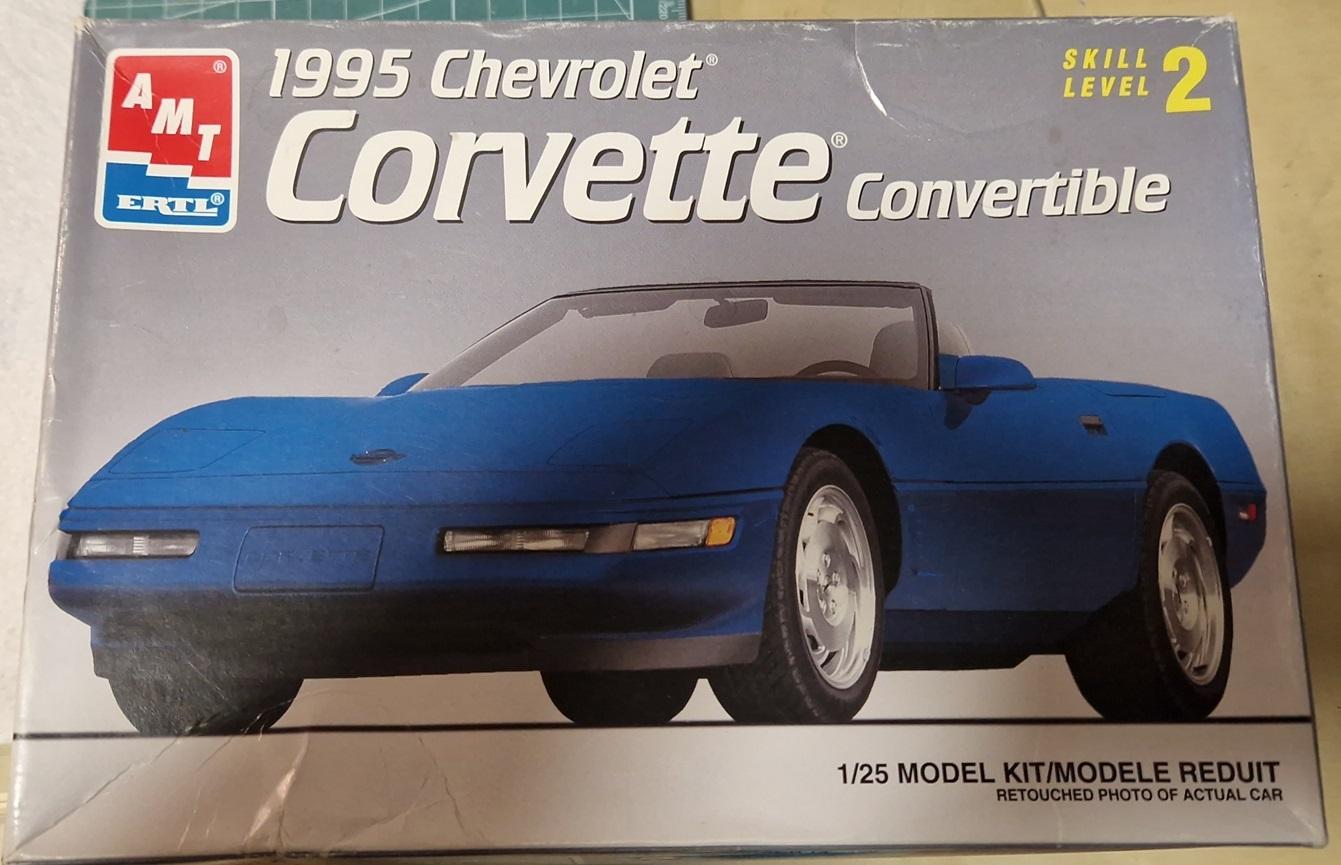
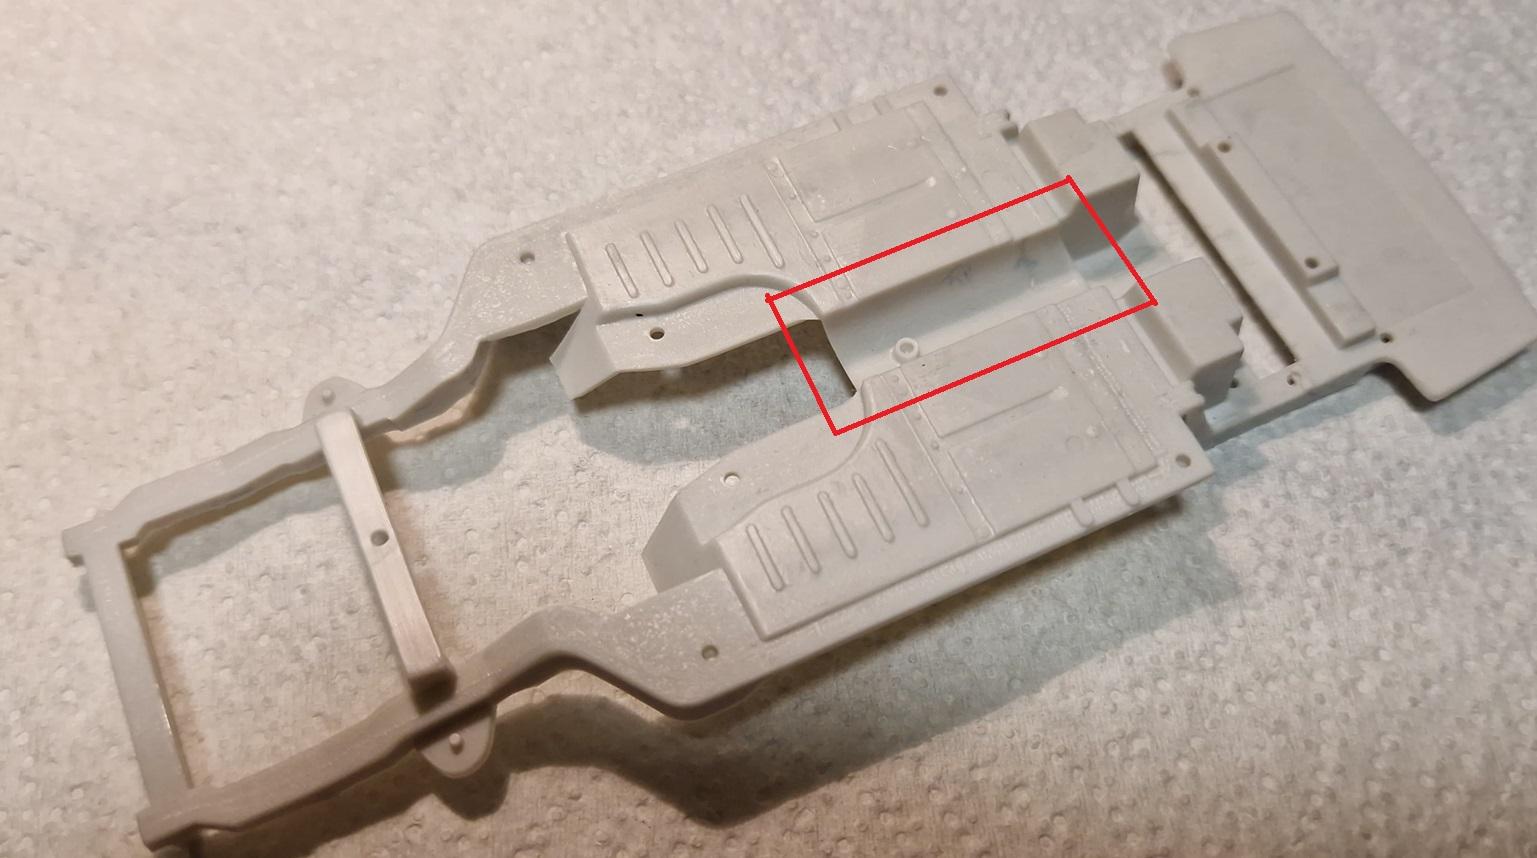
Hi All I love corvettes - especially the late 80s and 90s cars - grew up with these as posters on my walls. I'd love to do a hald decent job with this kit - any experience of it out there? the first of 2 issues I see so far are that the engine bonnet is not the same width as the rest of the body, probably sits as an overhang by about 1mm. Currently my plan is to sand it down, as heating to re-form it will end up a disaster. the 2nd issue is seen in the image - When test assembling the body, with the interior tub in position (which is a snap fit) the transmission tunnel in the chassis (highlighted in red) hits the underside of the interior tub, and rocks on that surface. the bottom of the chassis then hangs a it low at the sides of the body. My question - if you ahve built this - is if this will work out through the build, or if I just need to add stabilizers to stop the rocking, or if I have to sand down the other side of the transmission tunnel to remove the inteference (or minimize, as I think i would have to cut the top of the tunnel off to completely remove the inteference) thanks for any help!

-
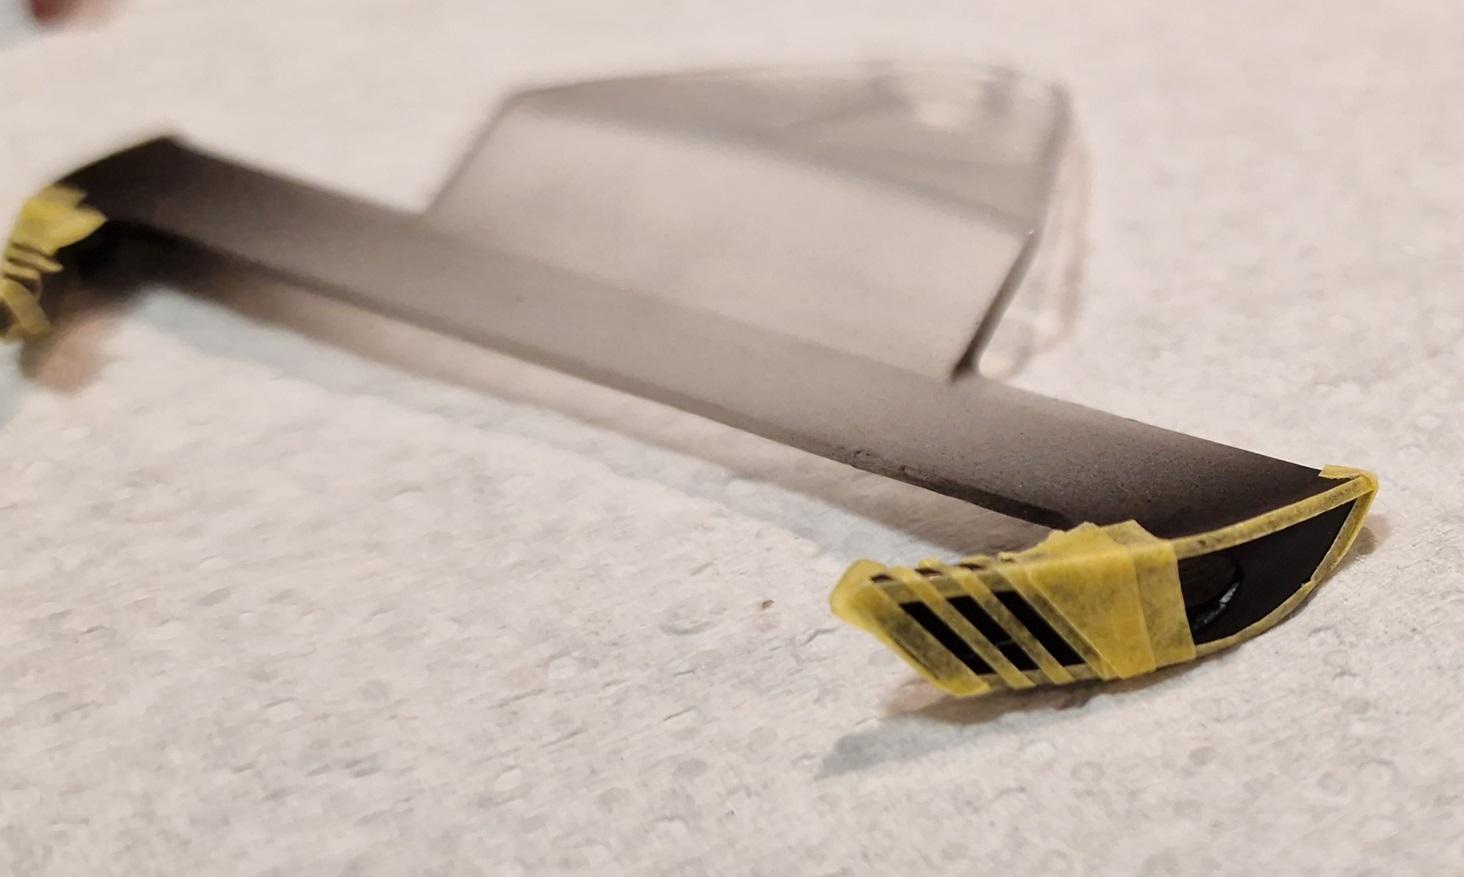
The final piece of the puzzle is the headlamps. the plan is to drill a hole, feed 2mm aluminium through for main beams & paint the rest + add a clear cover to make it look like a light housing. Pictures show the drilled head lights then I cut off the end of the aluminium tube & filled with PVA to mimic the bulb lens Then painted black & masked for silver. Plan B is to smoke the clear light covers. Plan C is to fill in the holes I've drilled & spray them silver, but I'm sure it won't come to that.
-
Interior is now complete, the dash has been assembled but haven't got a pick yet. It has flocked flooring, PE speakers and pedals
-
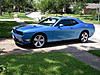
Finished the polishing - not burnt through anywhere - which is also a first! no touching up at all. Final masting, spraying / detailing and then final assembly to follow. I am well chuffed, the pictures do not do the paint job justice, it looks brighter and in scale flakes in real life... After polishing pictures I tried to get 1 shot in natural light, but it was couldy.
-
This received a base coat of Aston Martin Intense Blue from Proscale paints, followed by a few coats of 2K clear - also from proscale. This is my first use of their 2K. I broadly followed their instructions and it laid down well. It did have orange peel - which can be seen on one of the 3 images. The other 2 images show the contamination that floated into the paint during painting. This was sanded & polished over the weekend, pictures to follow soon! Rear showing orange peel: Paint contamniation1: Paint contamination 2
-
Hi Noah, the other one is a Ferrari Enzo, thanks for the comments, appreciated!
-
That's coming together quickly, looking great!
-
I like what you did with the heat lights, the paint looks in scale too!
-
That top coat went on silky smooth! Great car, fantastic build!
-
Aoshima Hilux Surf
Funkychiken replied to o-man's topic in Model Trucks: Pickups, Vans, SUVs, Light Commercial
It's a cool truck! -
2022 Ford Mustang mach-e
Funkychiken replied to michelle's topic in Model Trucks: Pickups, Vans, SUVs, Light Commercial
That is great! Paint finish looks superb and the windows came out perfectly too! -
Beautiful build! Thanks for sharing...
-
Wow, looks fantastic. I have a soft spot for Astons, I love your build
-
Comstock Team Ford GT40 MKI P/1037
Funkychiken replied to Phildaupho's topic in Other Racing: Road Racing, Salt Flat Racers
I do like your GT40 , very well executed