minkos
-
Posts
49 -
Joined
-
Last visited
Content Type
Profiles
Forums
Events
Gallery
Everything posted by minkos
-
The tri-tone is really cool. I have a bunch of MCW cars in the queue. Any global tips?
-
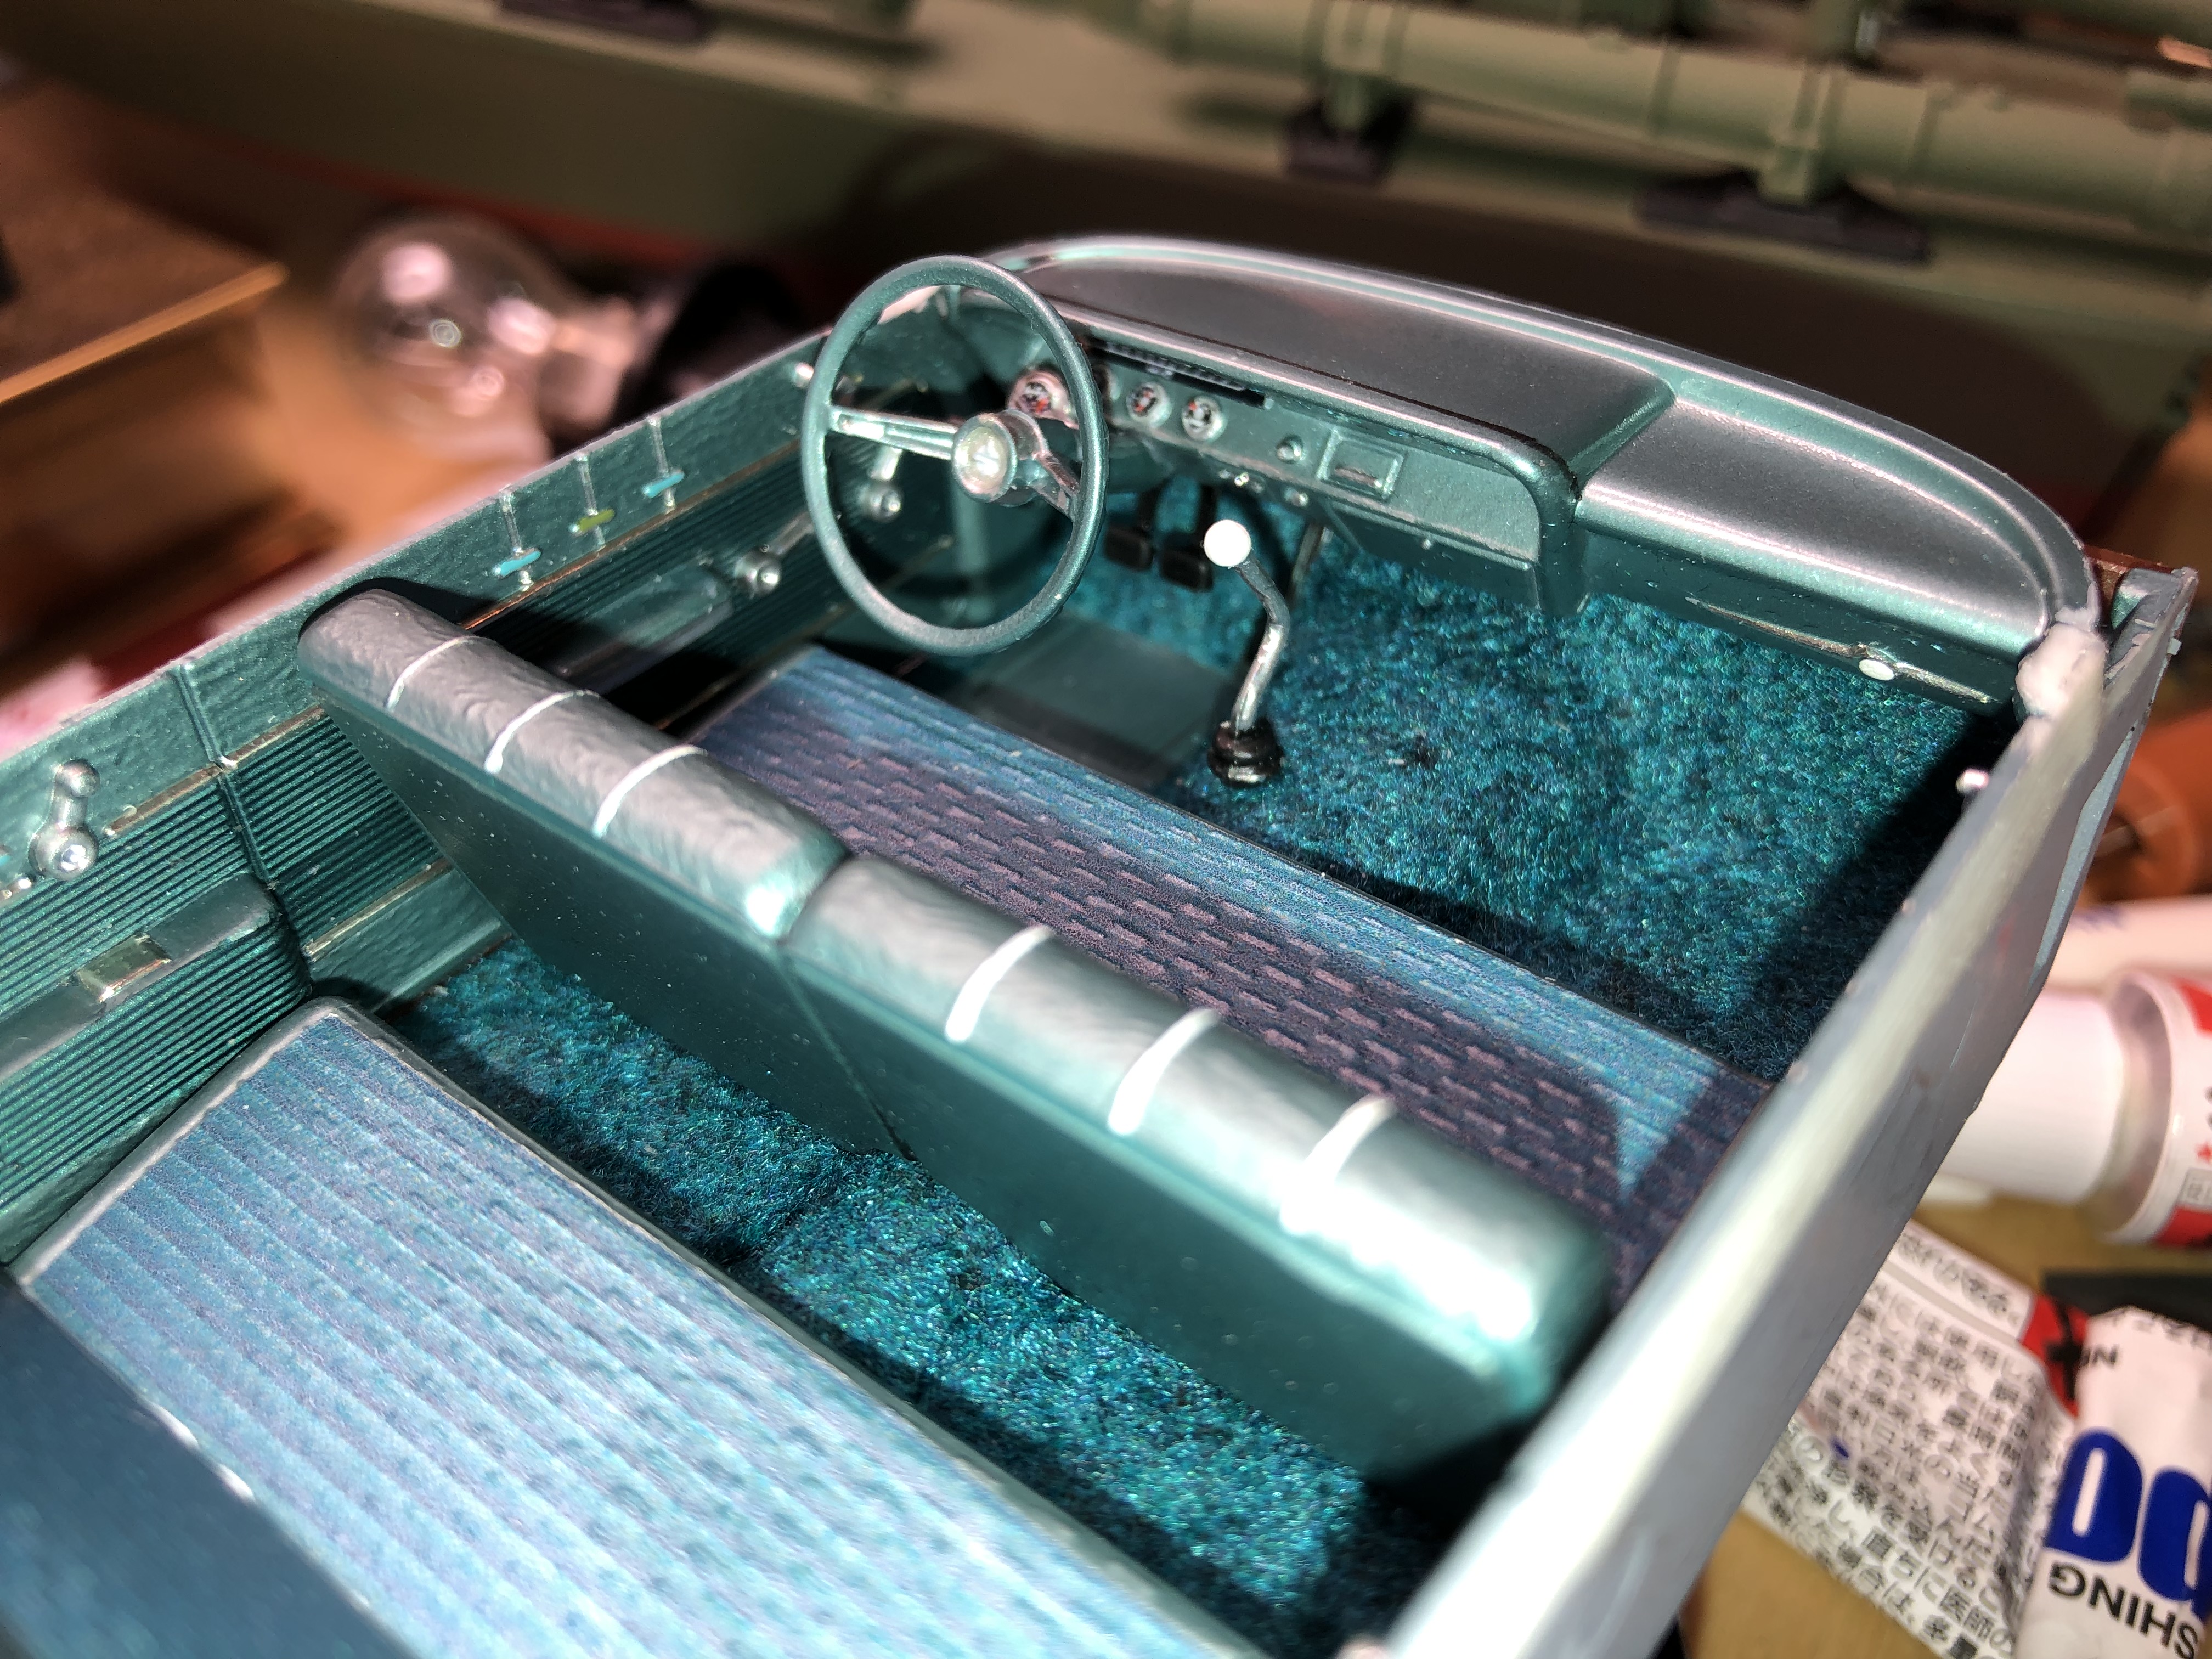
Thanks everybody! As for the seats, I made decals of the cloth fabric seat inserts using a swatch from the '62 Chevrolet dealer album repeated over and over and then shrunk down to 1/25. That is still an experimental process for me.
-
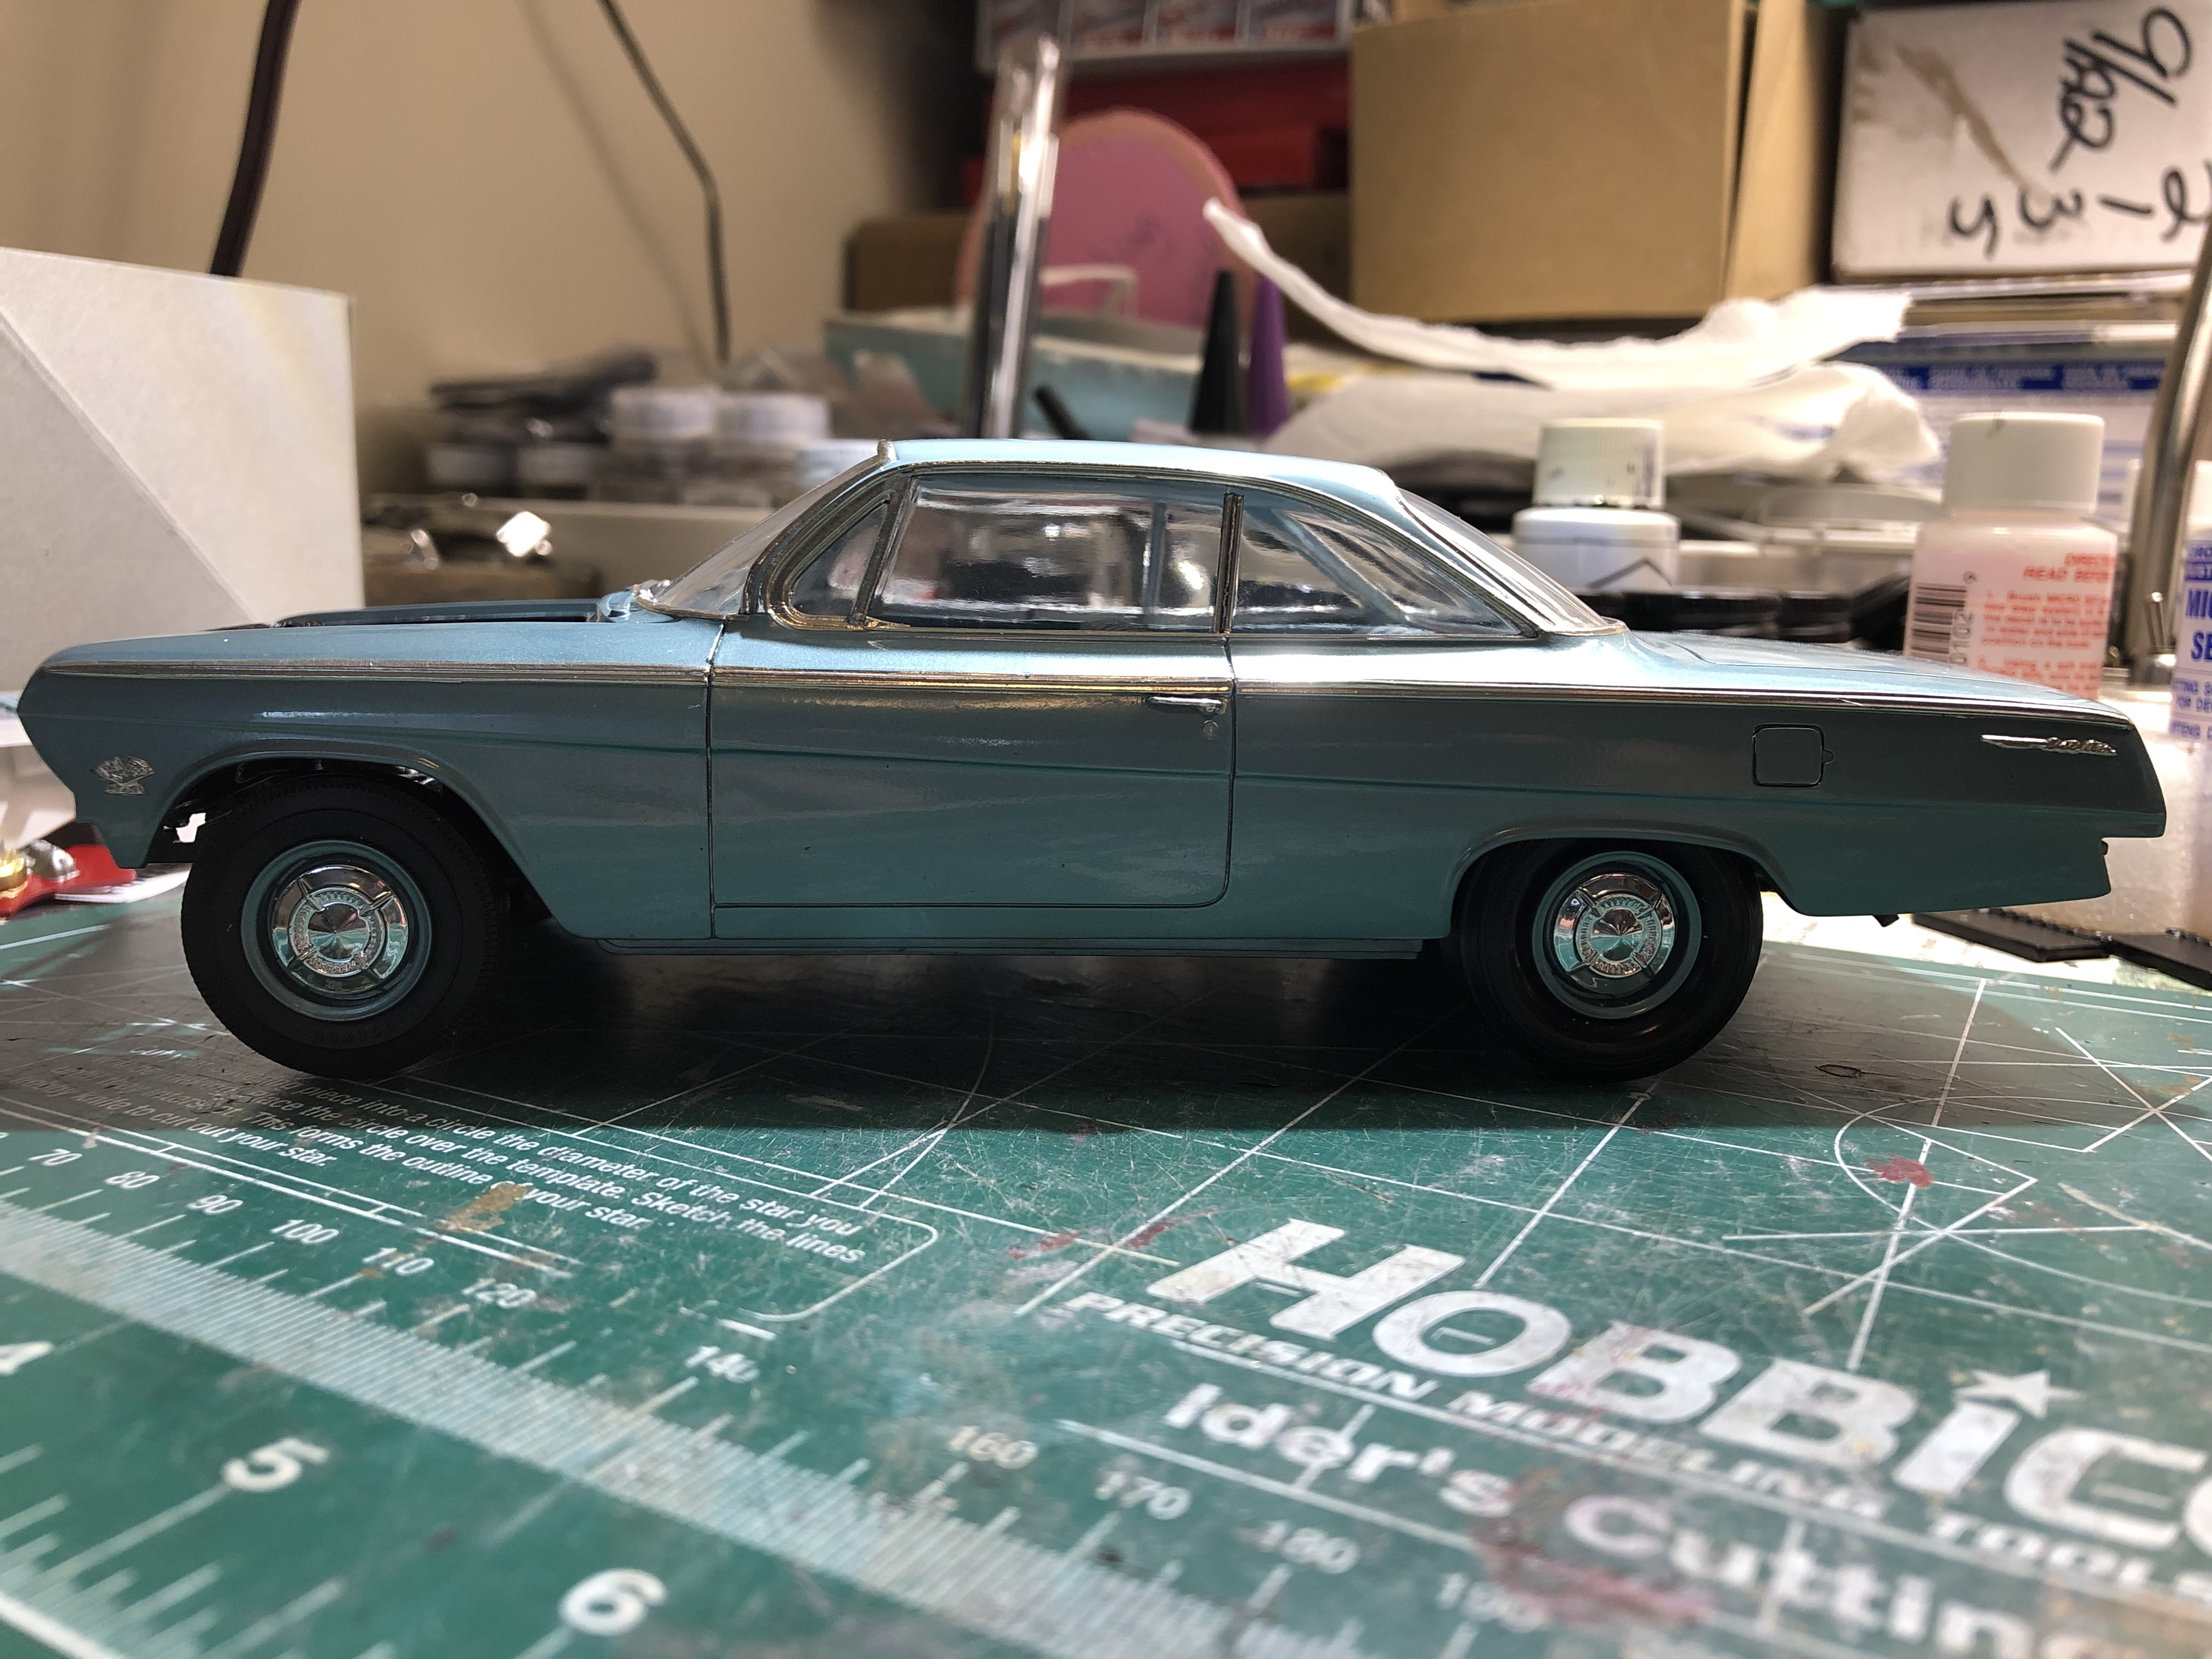
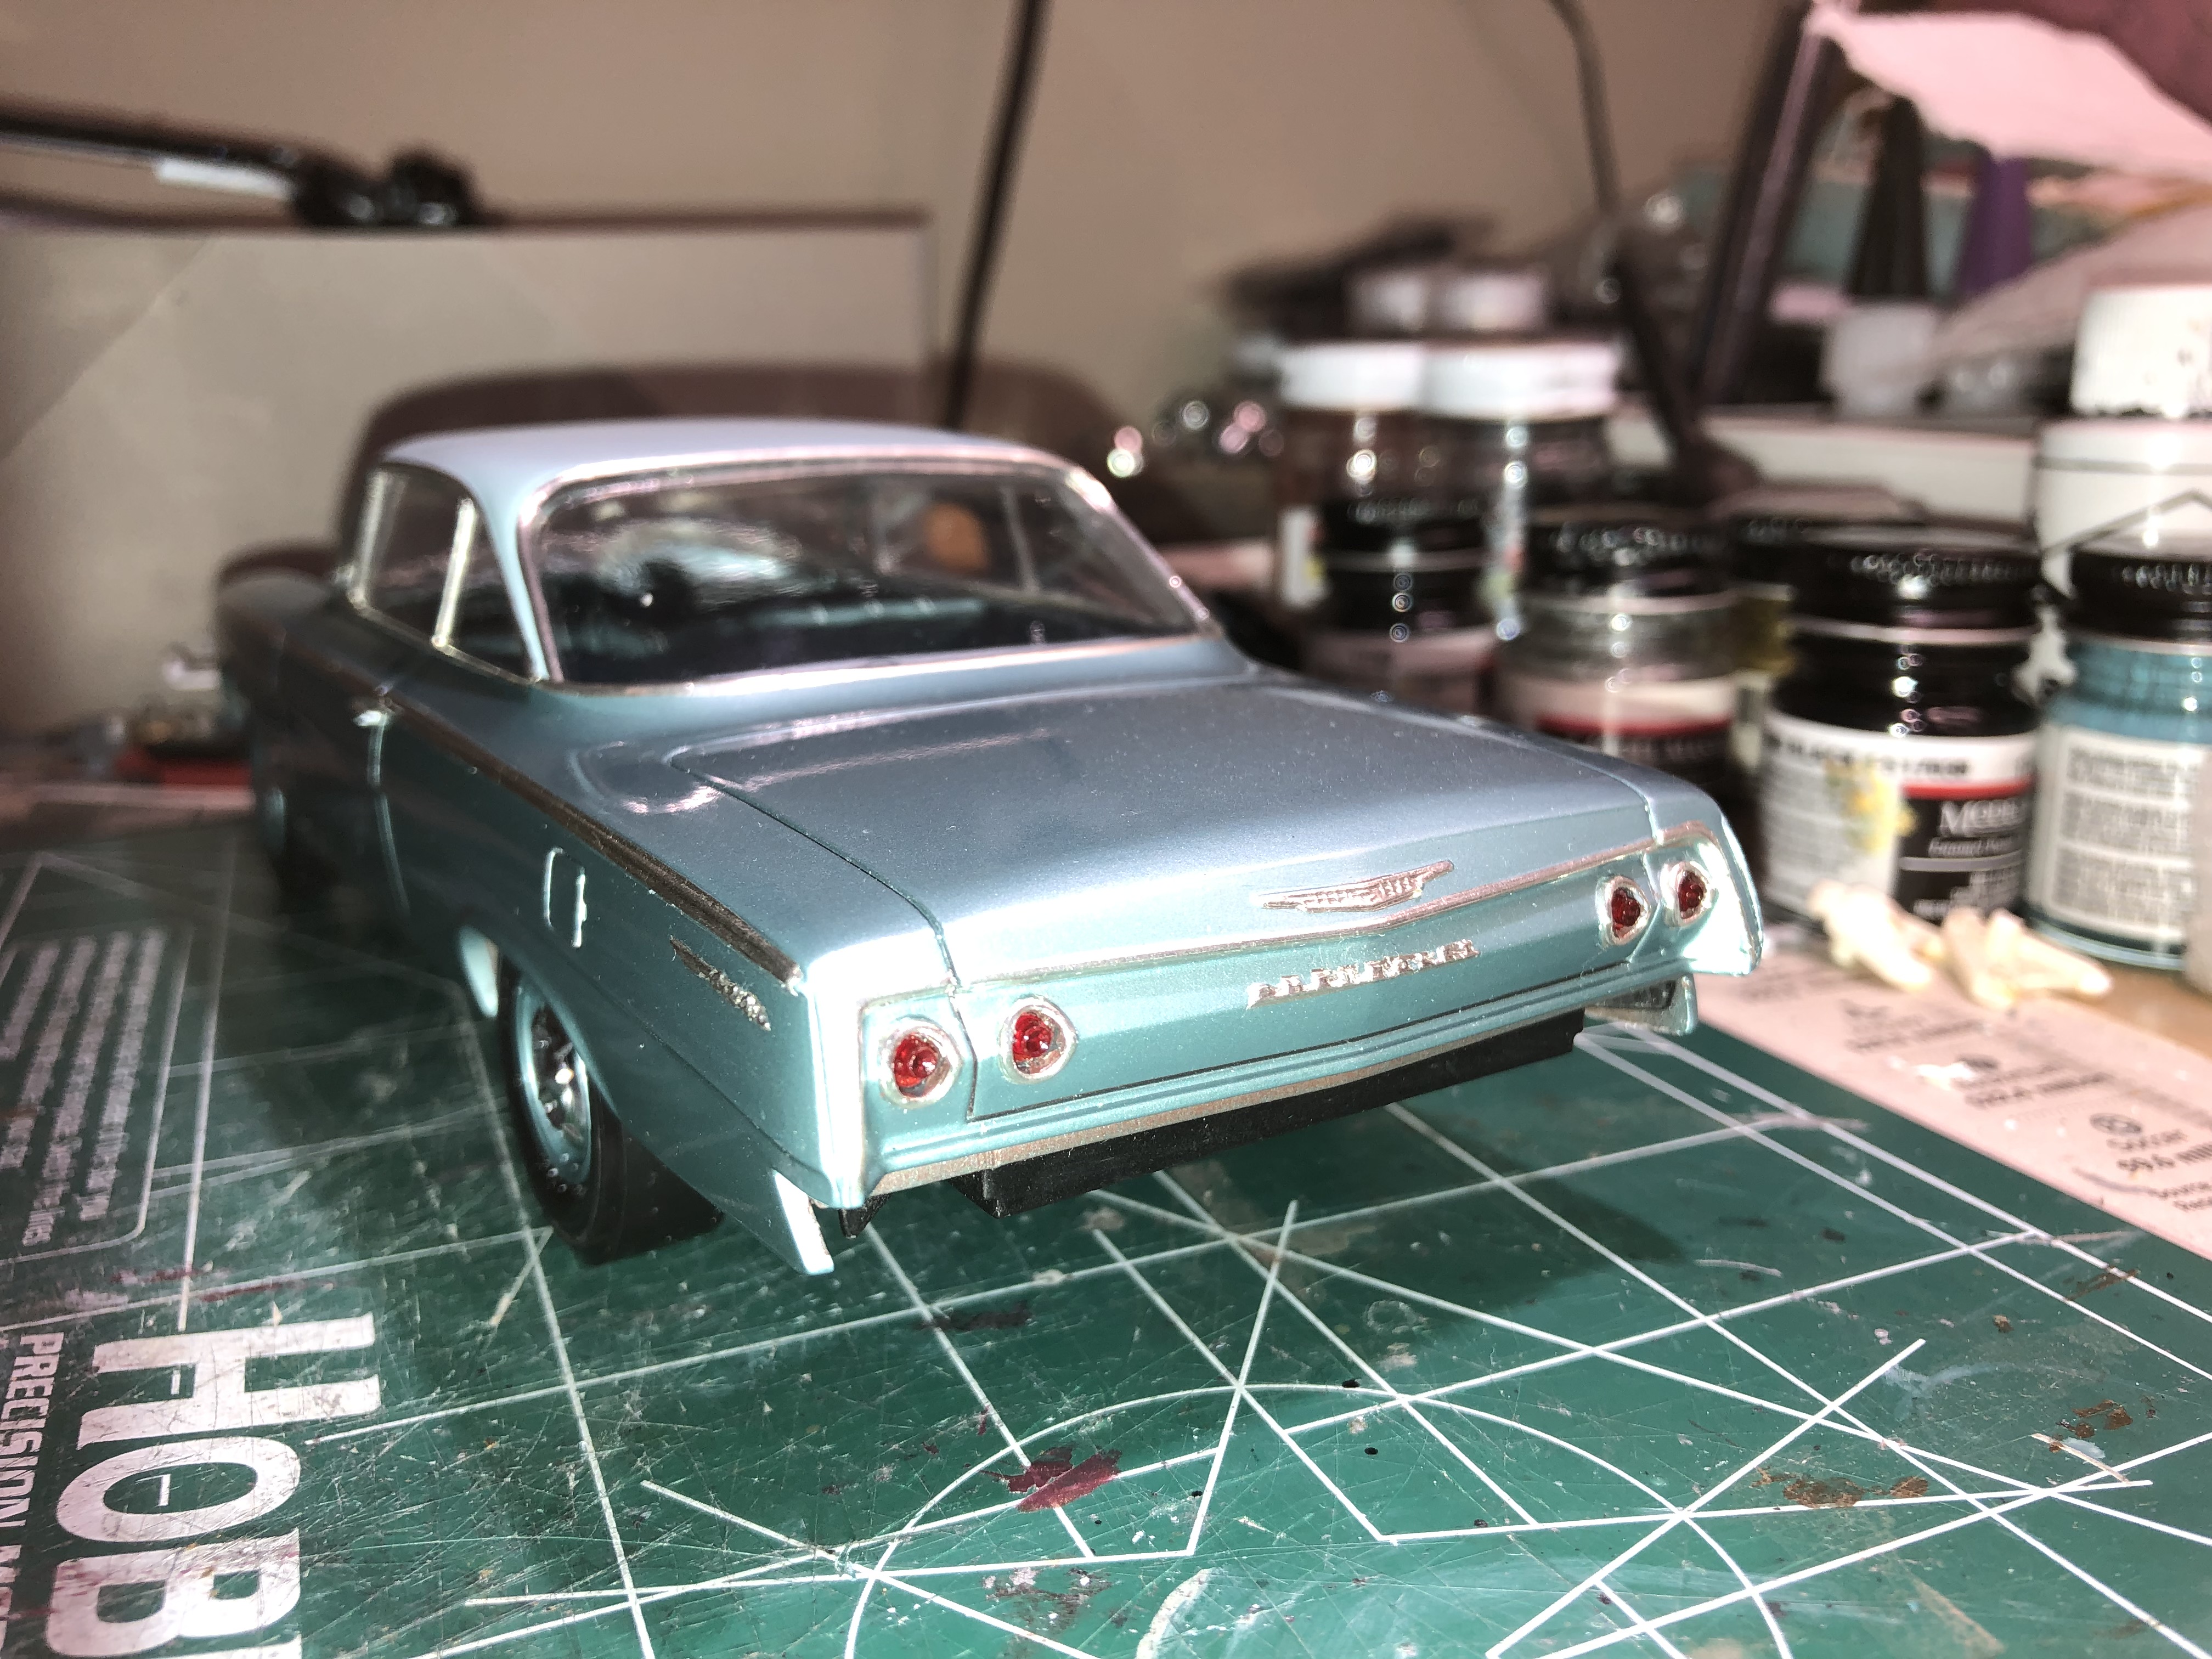
This kit (the AMT Northwind variant) was rather troublesome in final assembly, nothing seemed to fit right. Or perhaps I was the cause of my own trouble... Anyway, you see these cars all the time in red or white, I decided to try code 965 (Twilight Turquoise over Twilight Blue).

-
1962 Bel Air final assembly
minkos replied to minkos's topic in Model Building Questions and Answers
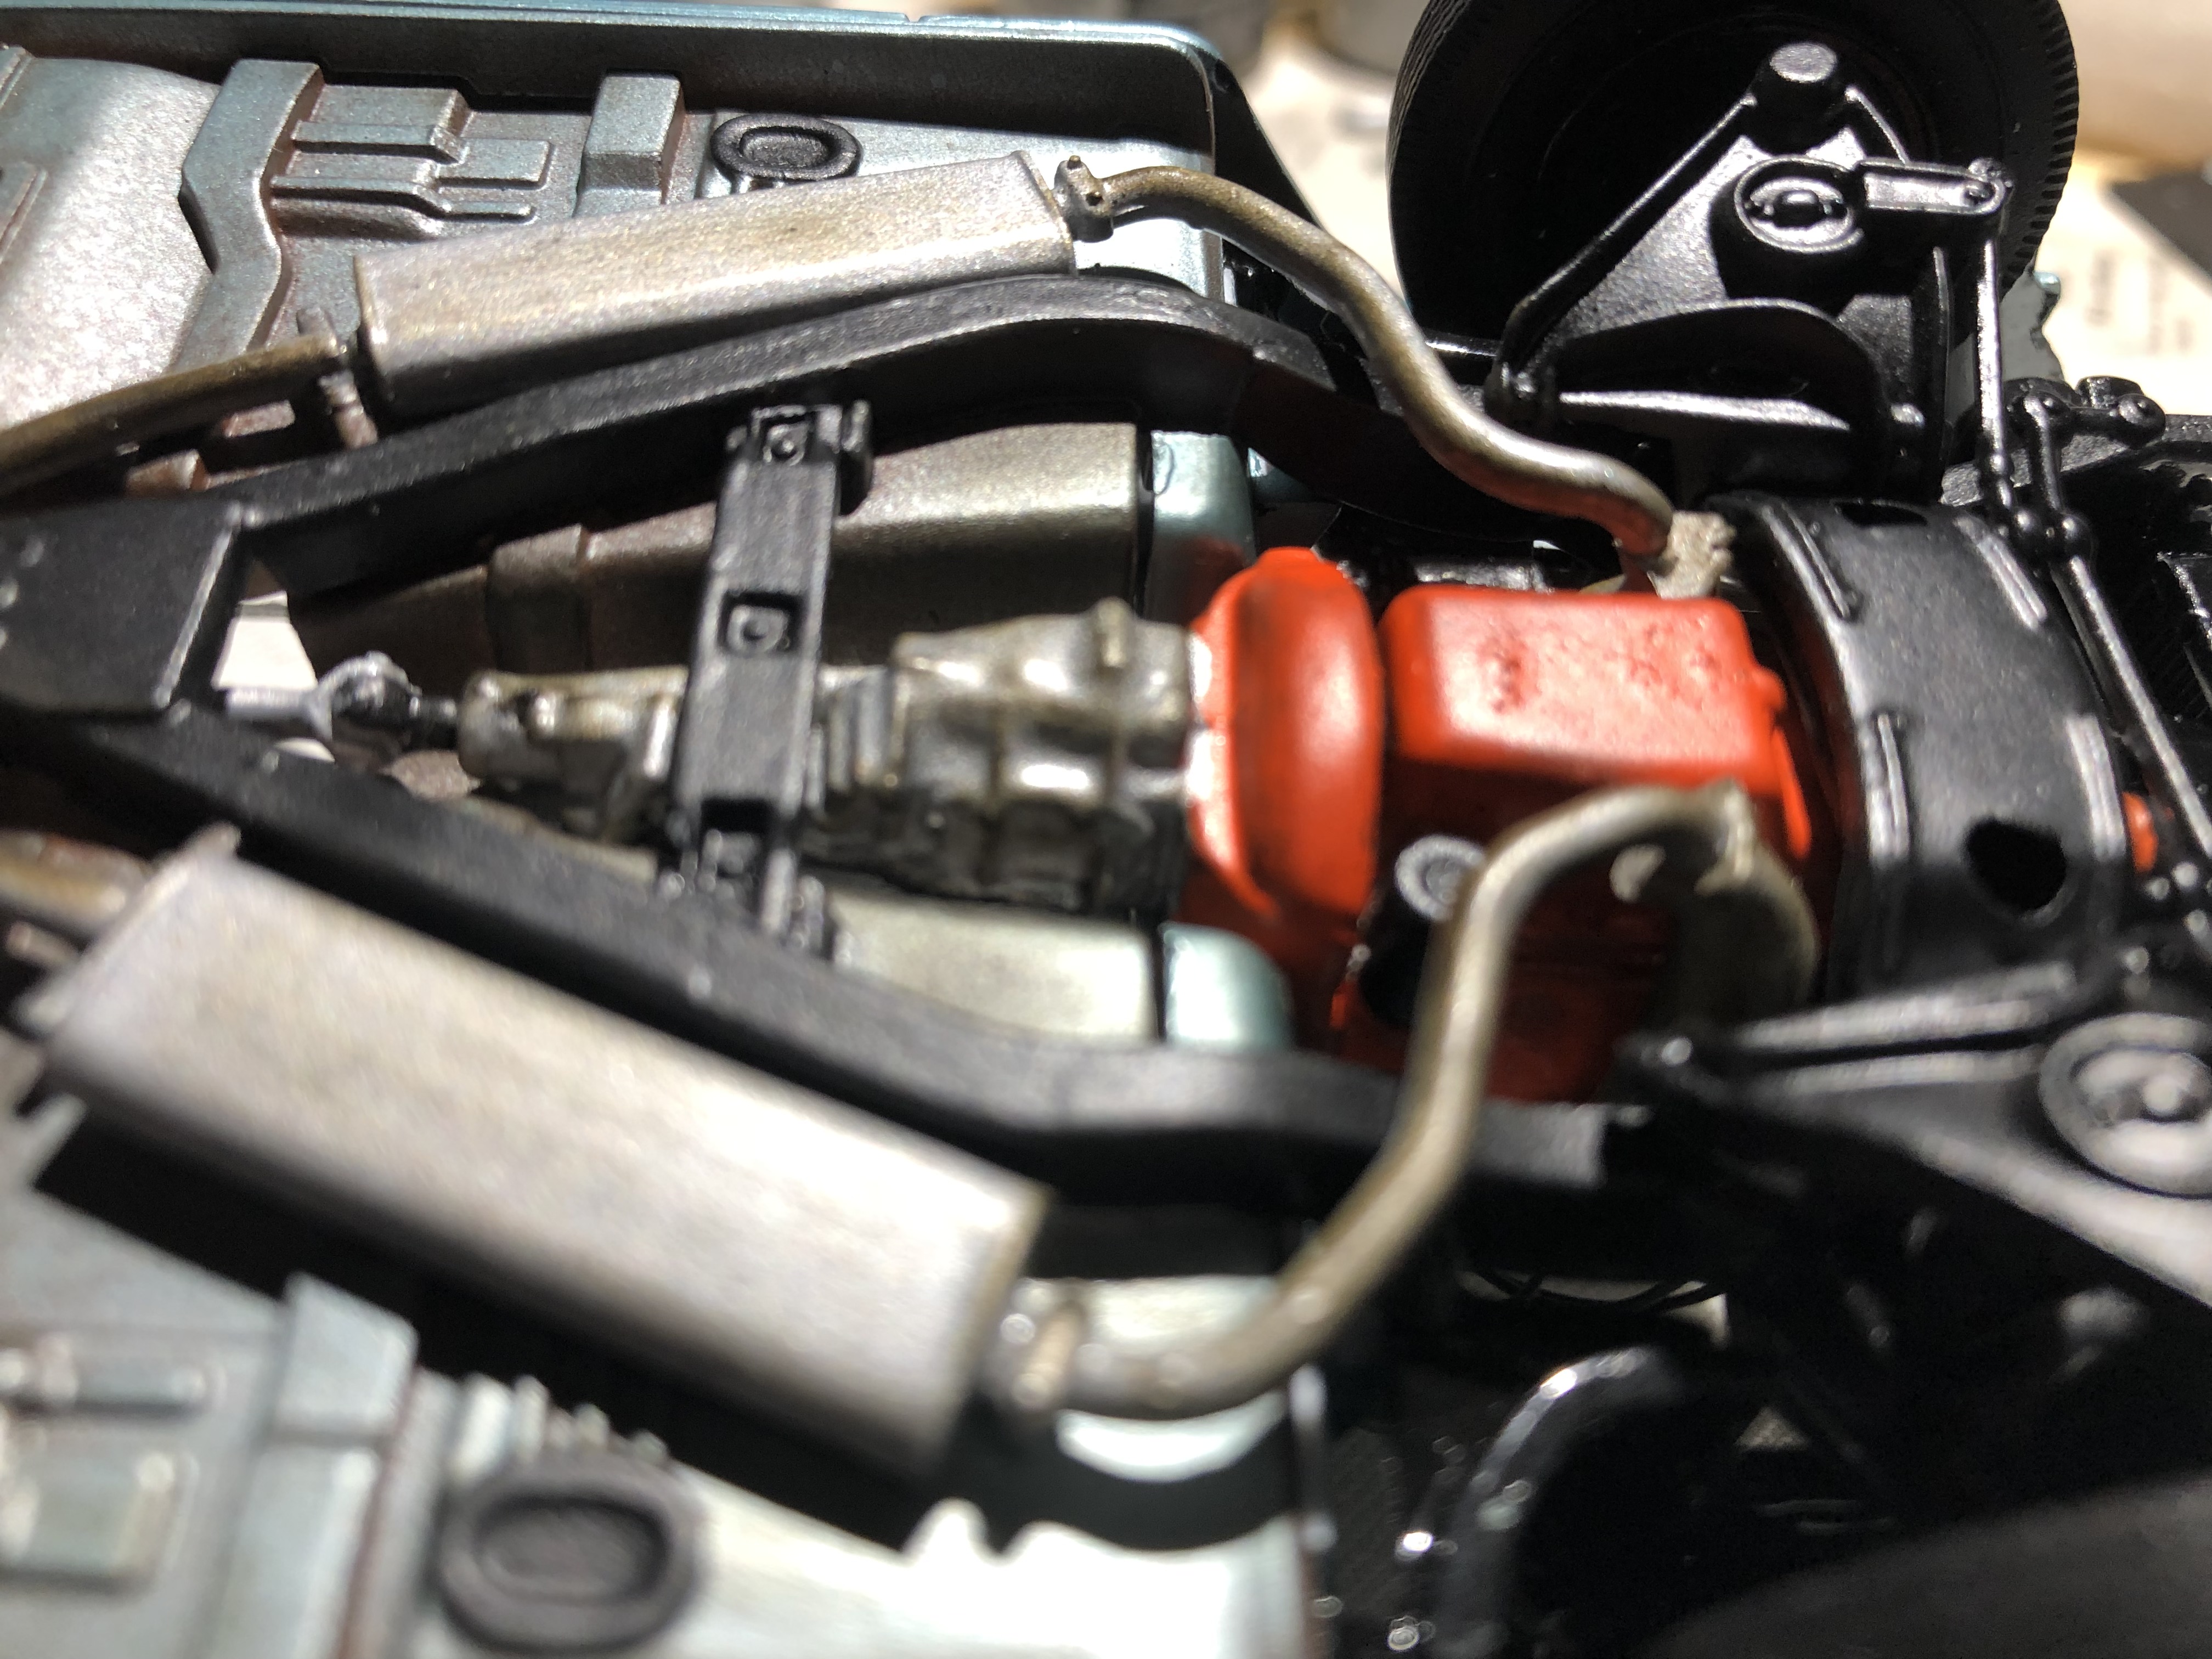
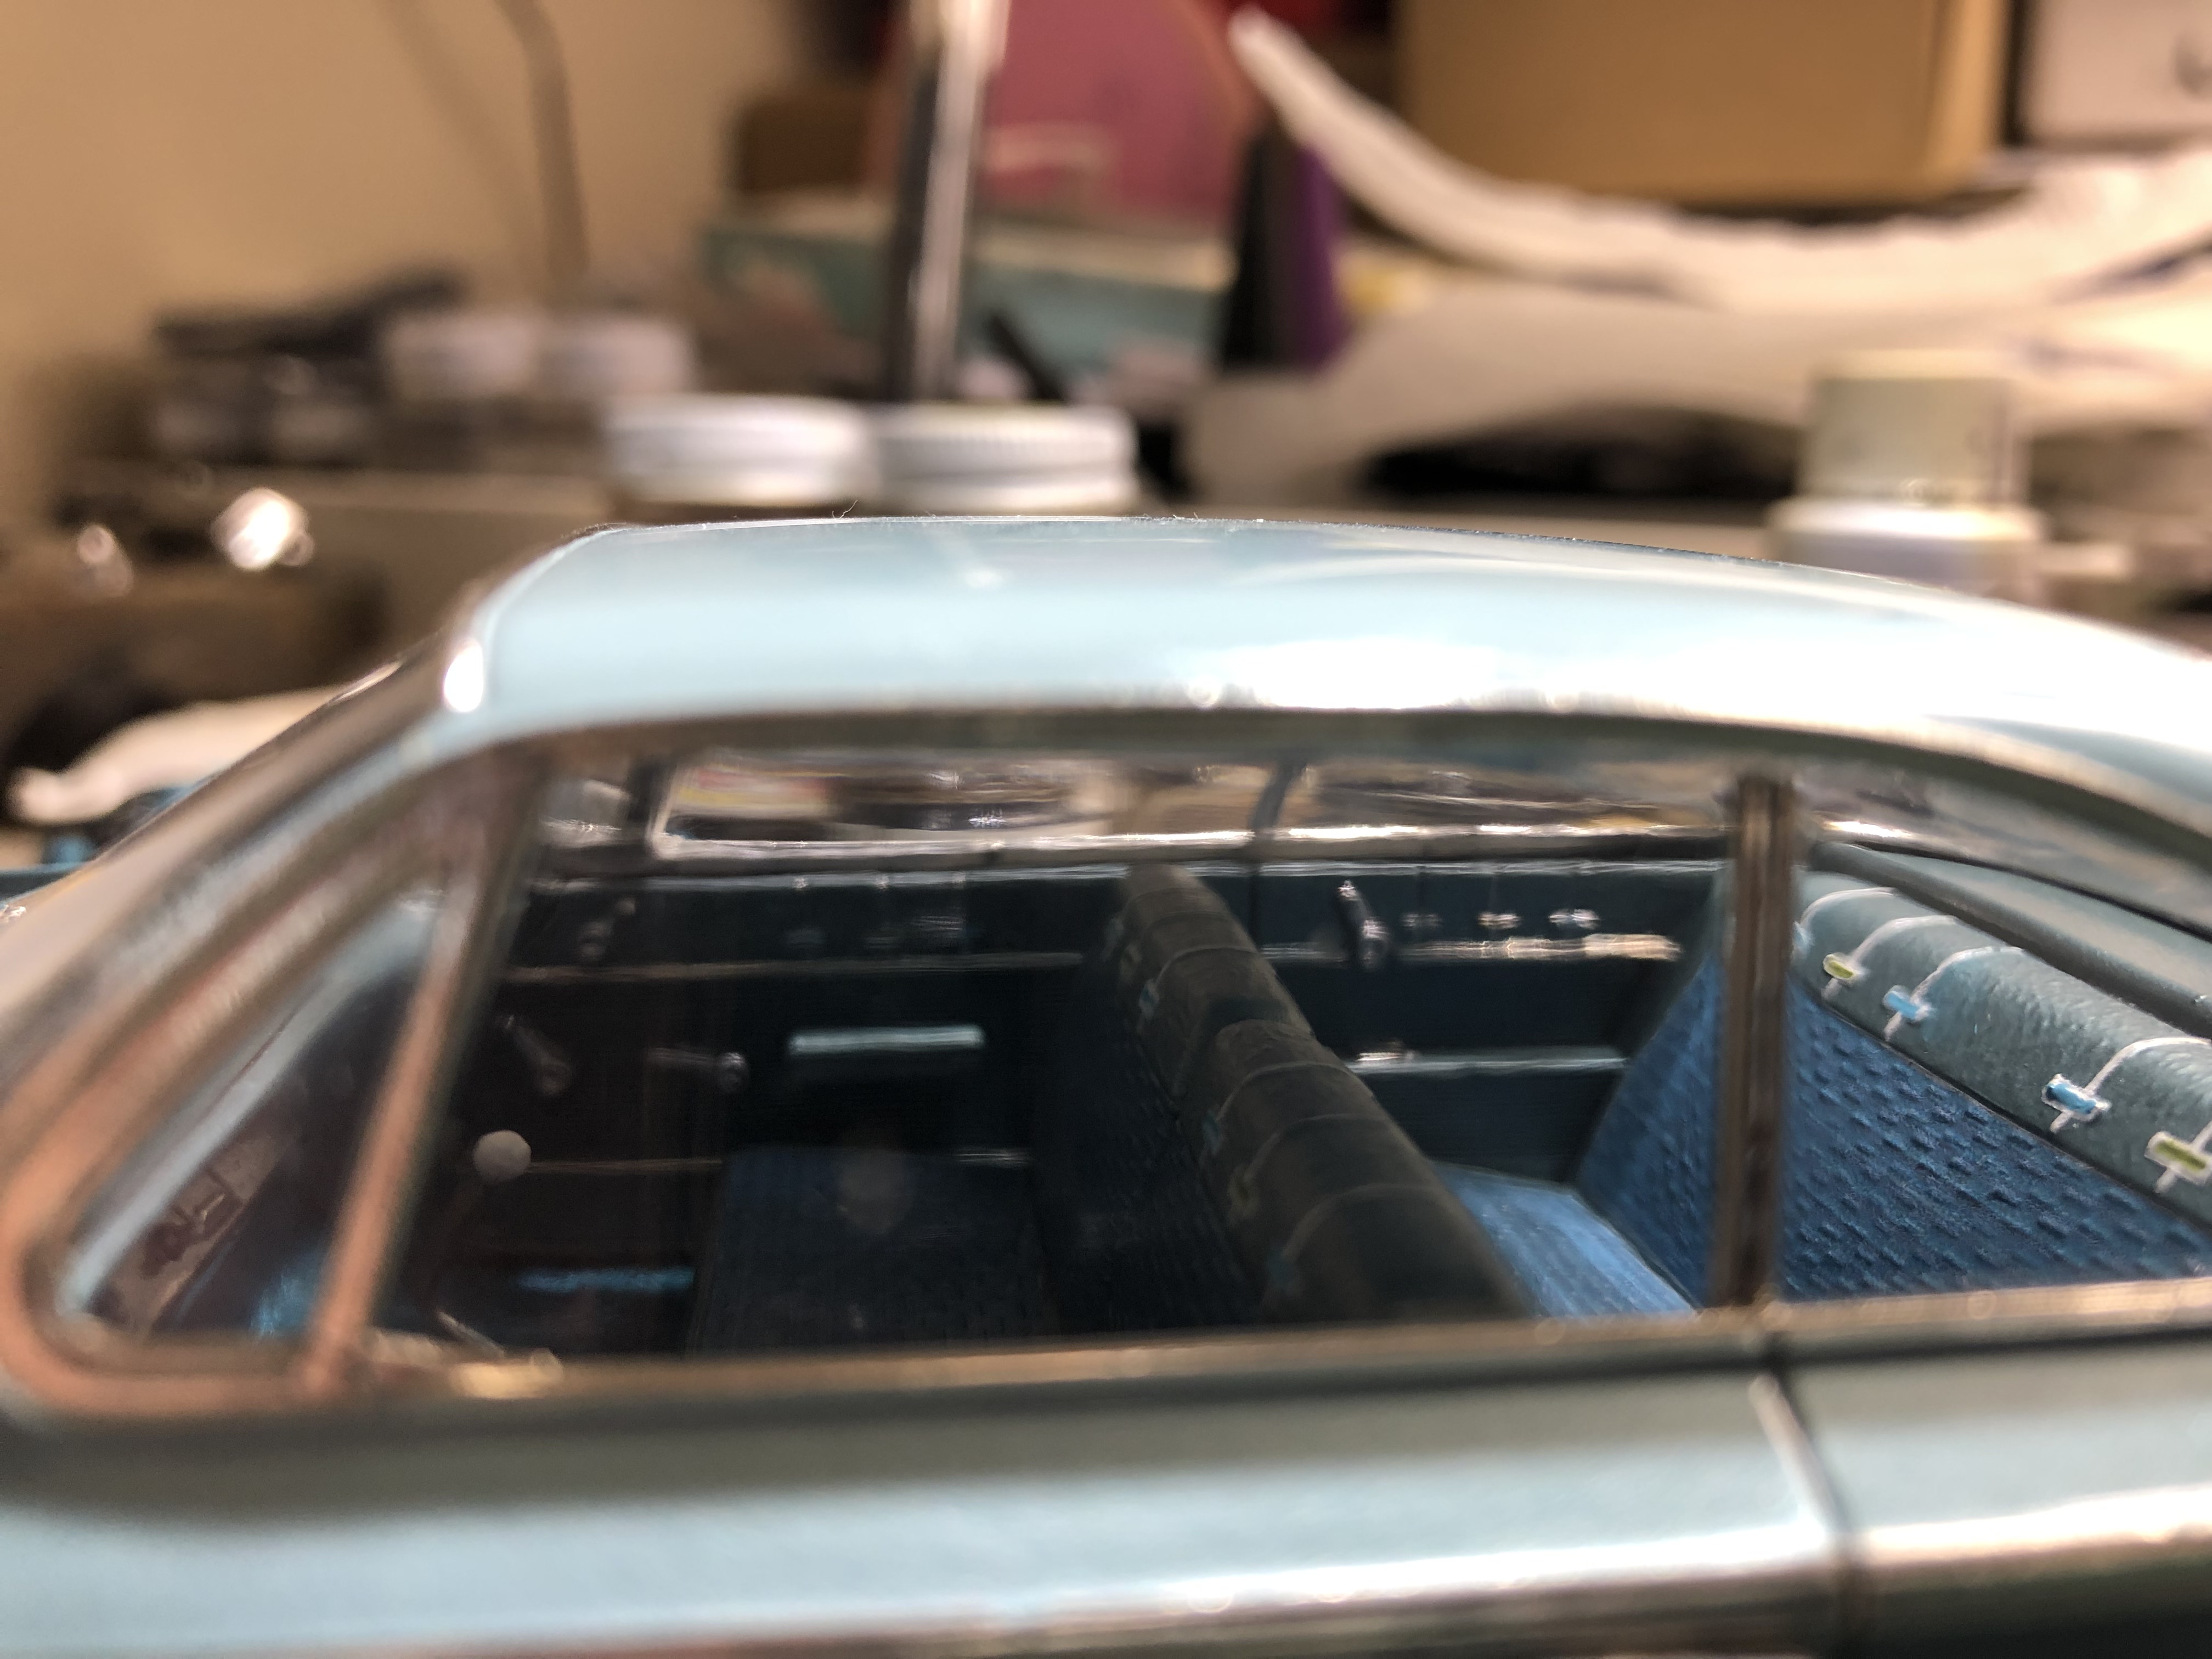
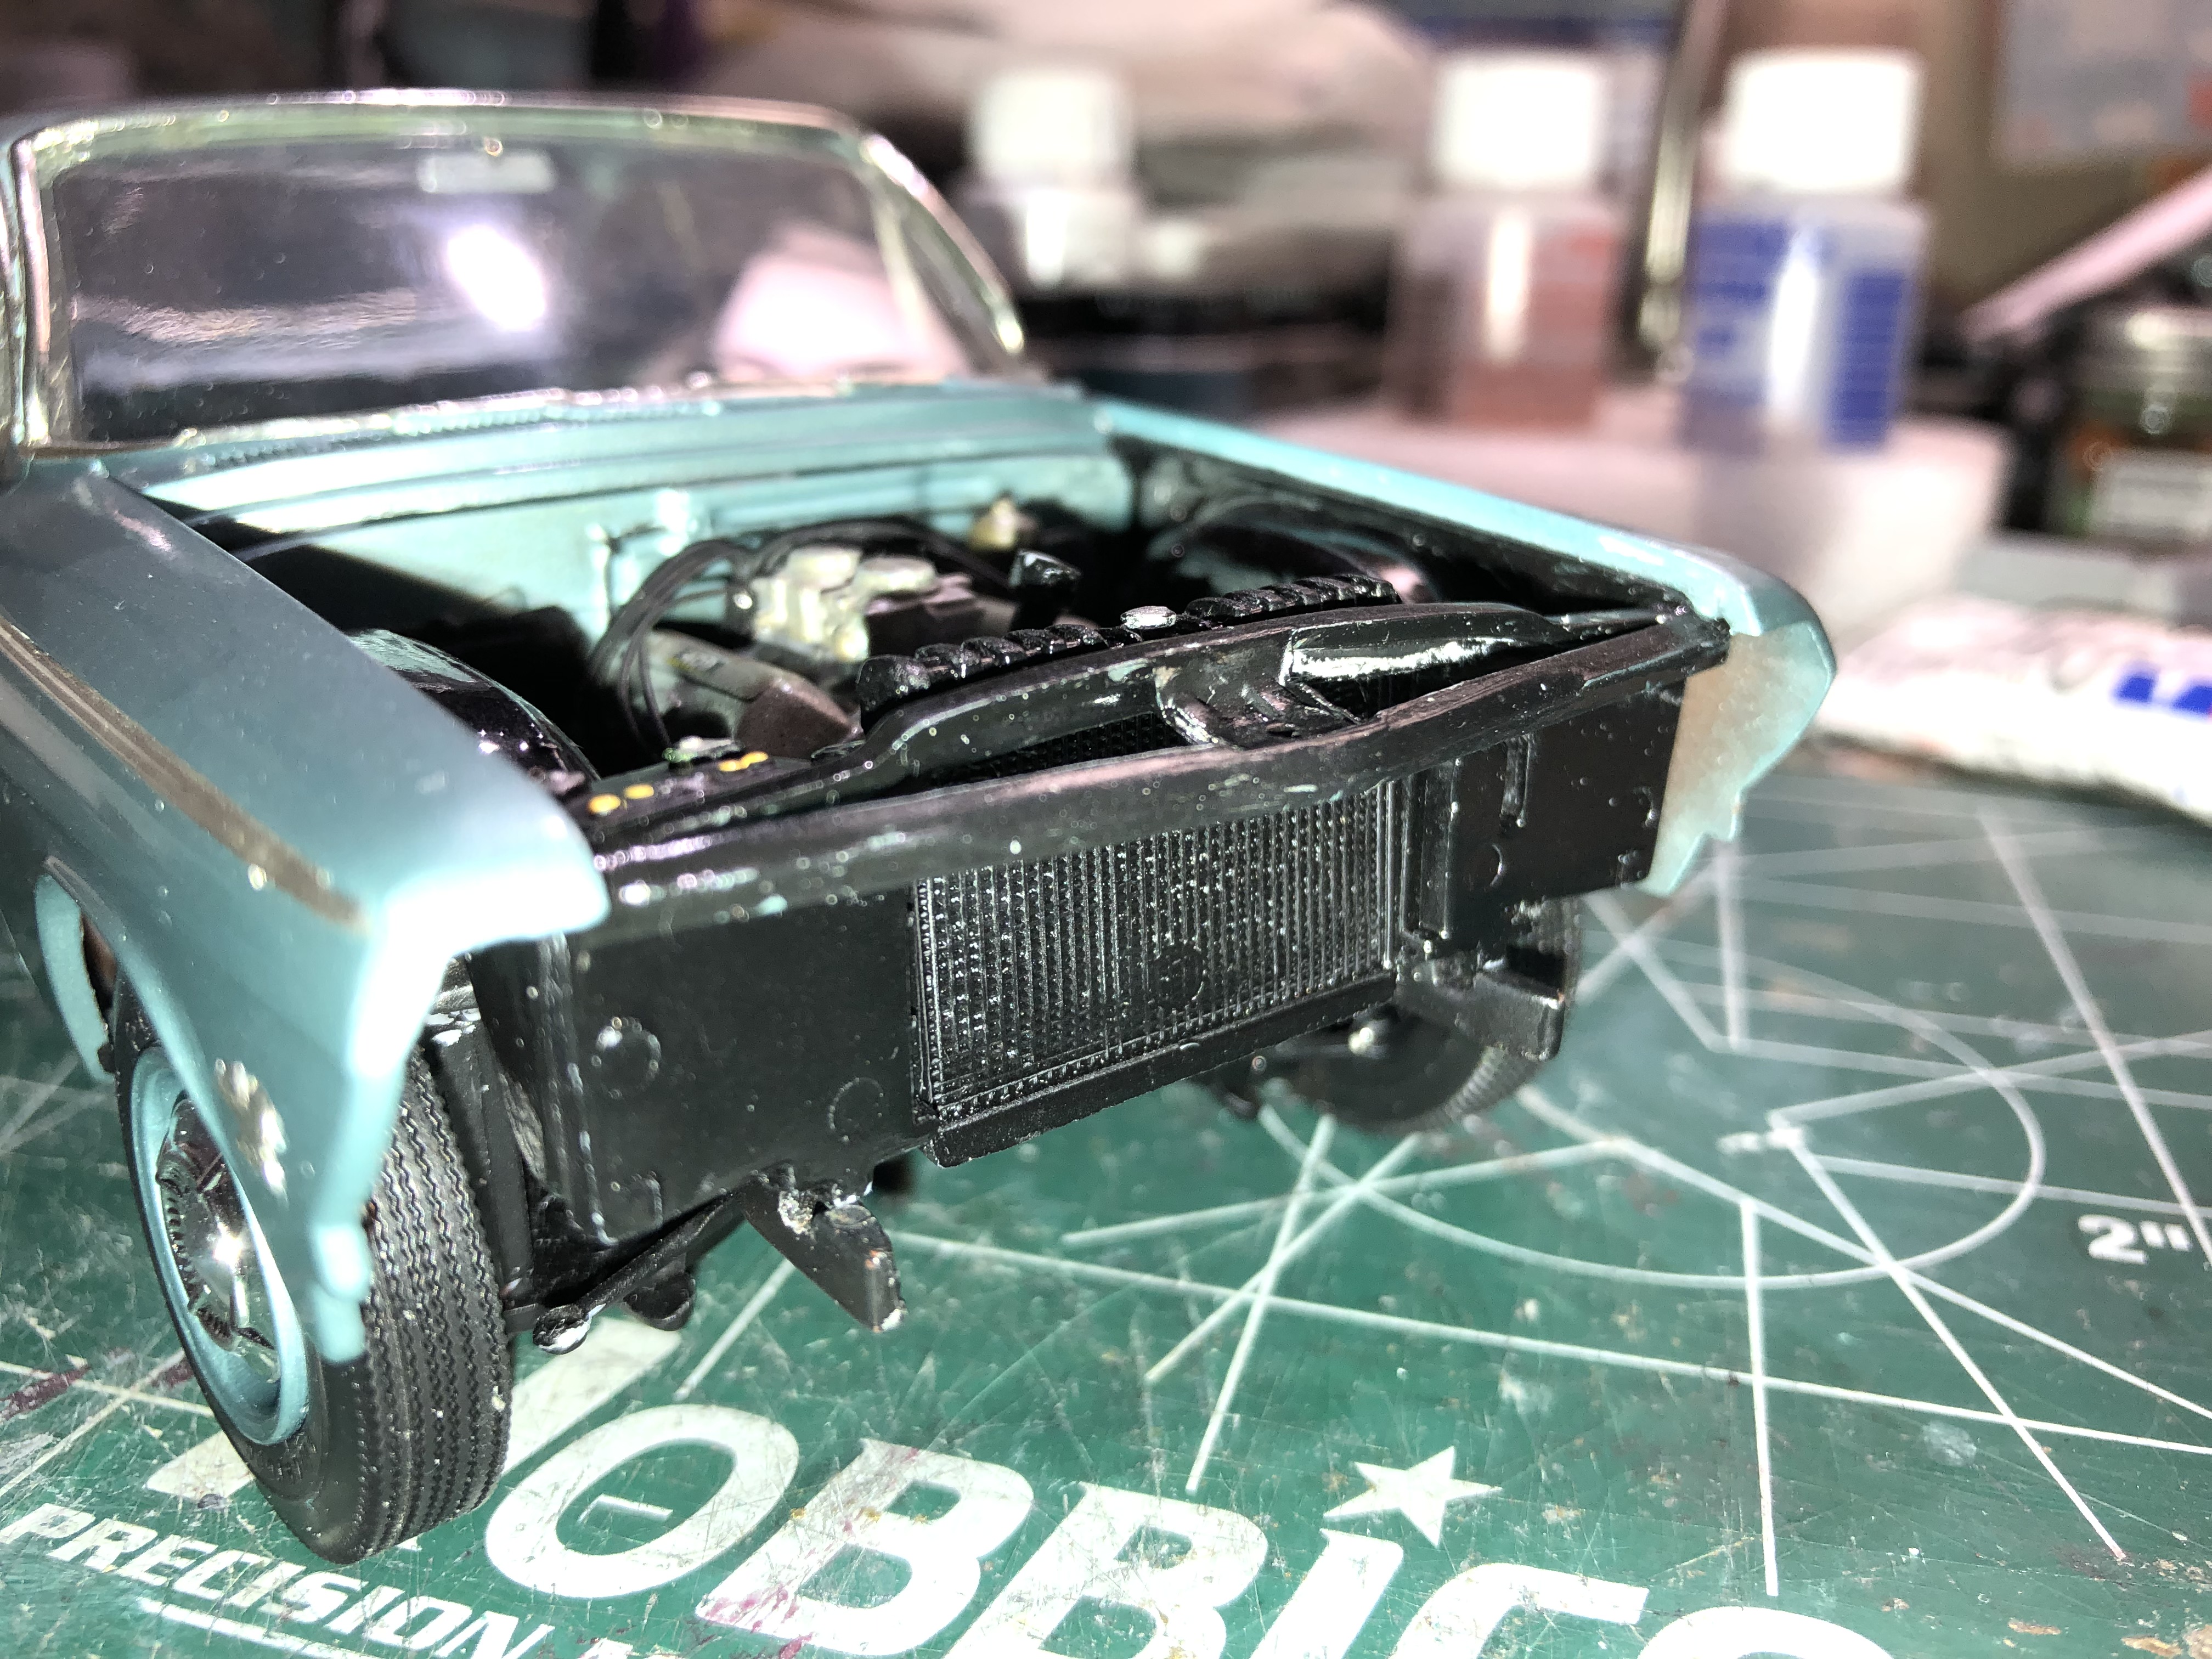
Thank you all for the feedback and compliments. the trouble seems to be with the tub, since the body fits well on the chassis without it (see photo of firewall as it butts up against the floor pan). I think it is either the windshield hitting the dash or the back window hitting the parcel shelf. Kit is the Northwind type and I've got the windows glued in against the roof as far as they will go, I think.
-
Hello everyone. i'm having some difficulty getting the final assembly done on the AMT 62 Bel Air. It seems no matter where i grind with the dremel, the body and tub won't sit on the chassis plate low enough. and the tub wont't sit high enough in the body ...the photos show both problems. Has anyone else had similar issues with this kit, and if so, any suggestions? Thanks in advance.
-
62 VW Samba Bus
minkos replied to Mahogany Rush's topic in Model Trucks: Pickups, Vans, SUVs, Light Commercial
Really nice work! I have the flower power bus kit that i will build one of these days. It looks complicated.... -
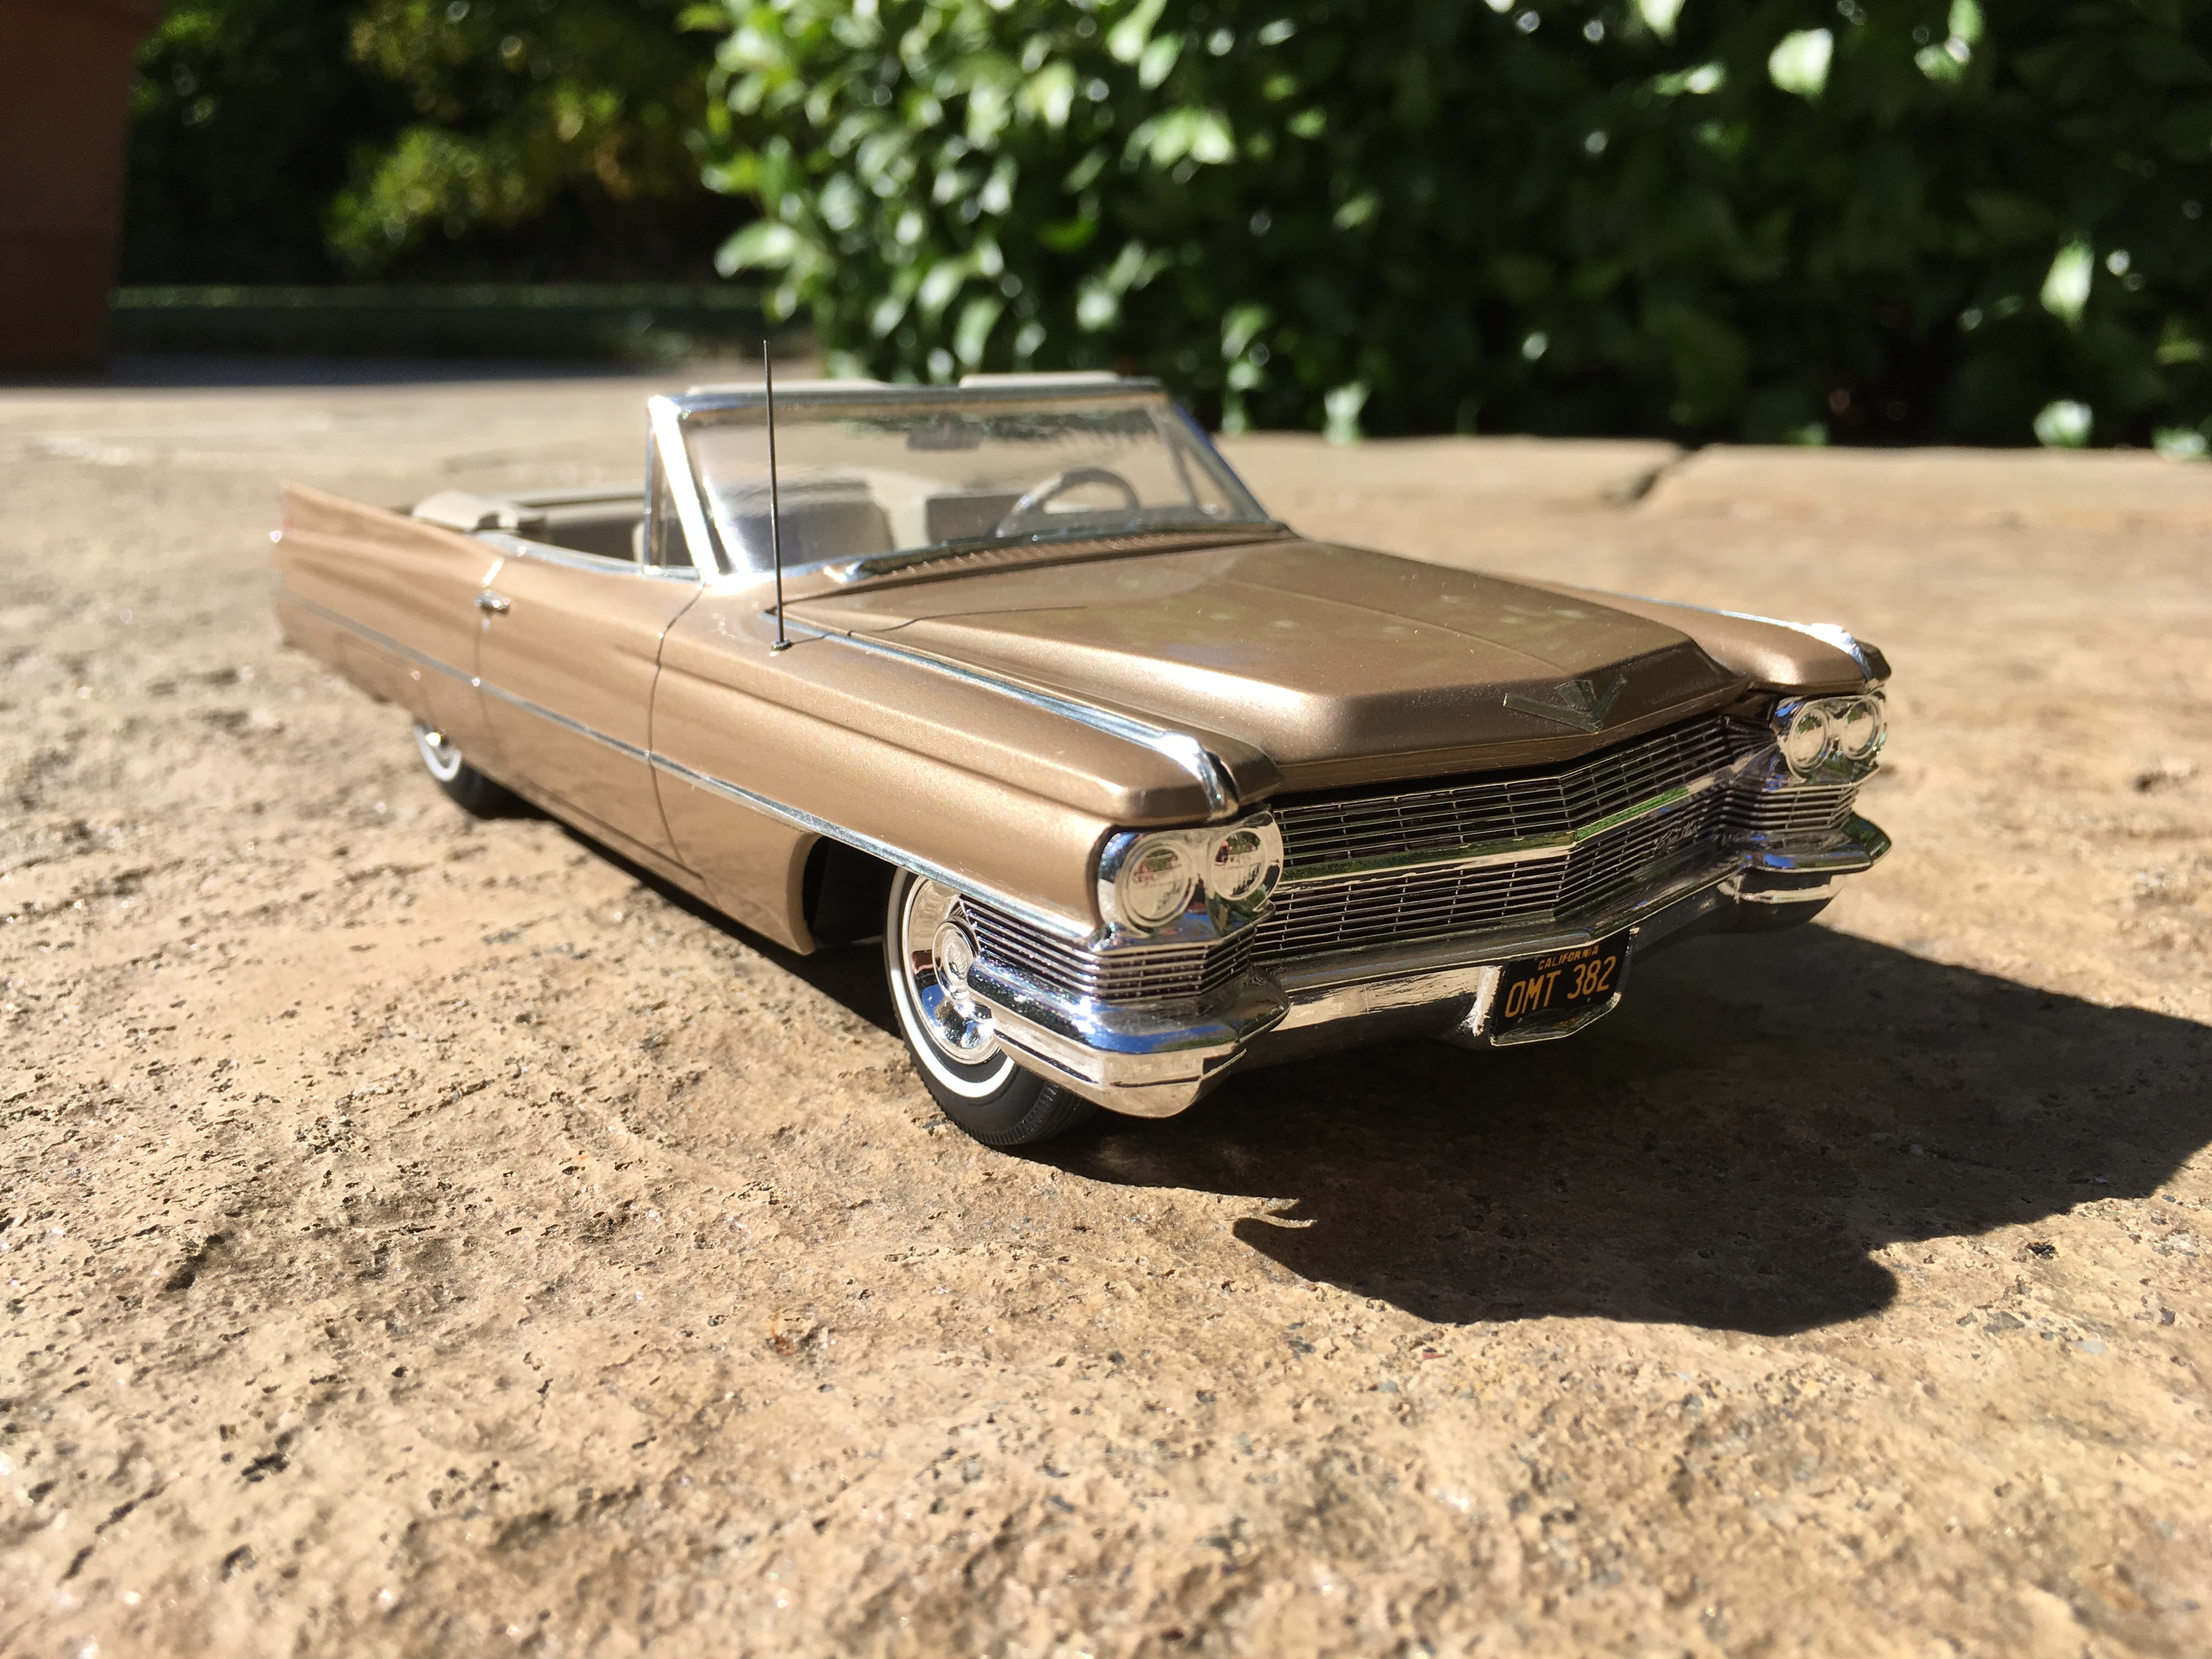
Inspired by Tom99's awesome glue bomb resurrections, here are a couple of mine...Johan '63 Cadillac Series 62 Coupe in Cardiff Gray and a '64 Cadillac de Ville Convertible in Sandalwood. Must figure out a way to get the hoods to sit flat.
-
Beautiful work. Super nice rescue on the Invicta.
-
superb work. love the tri-tone exterior.
-
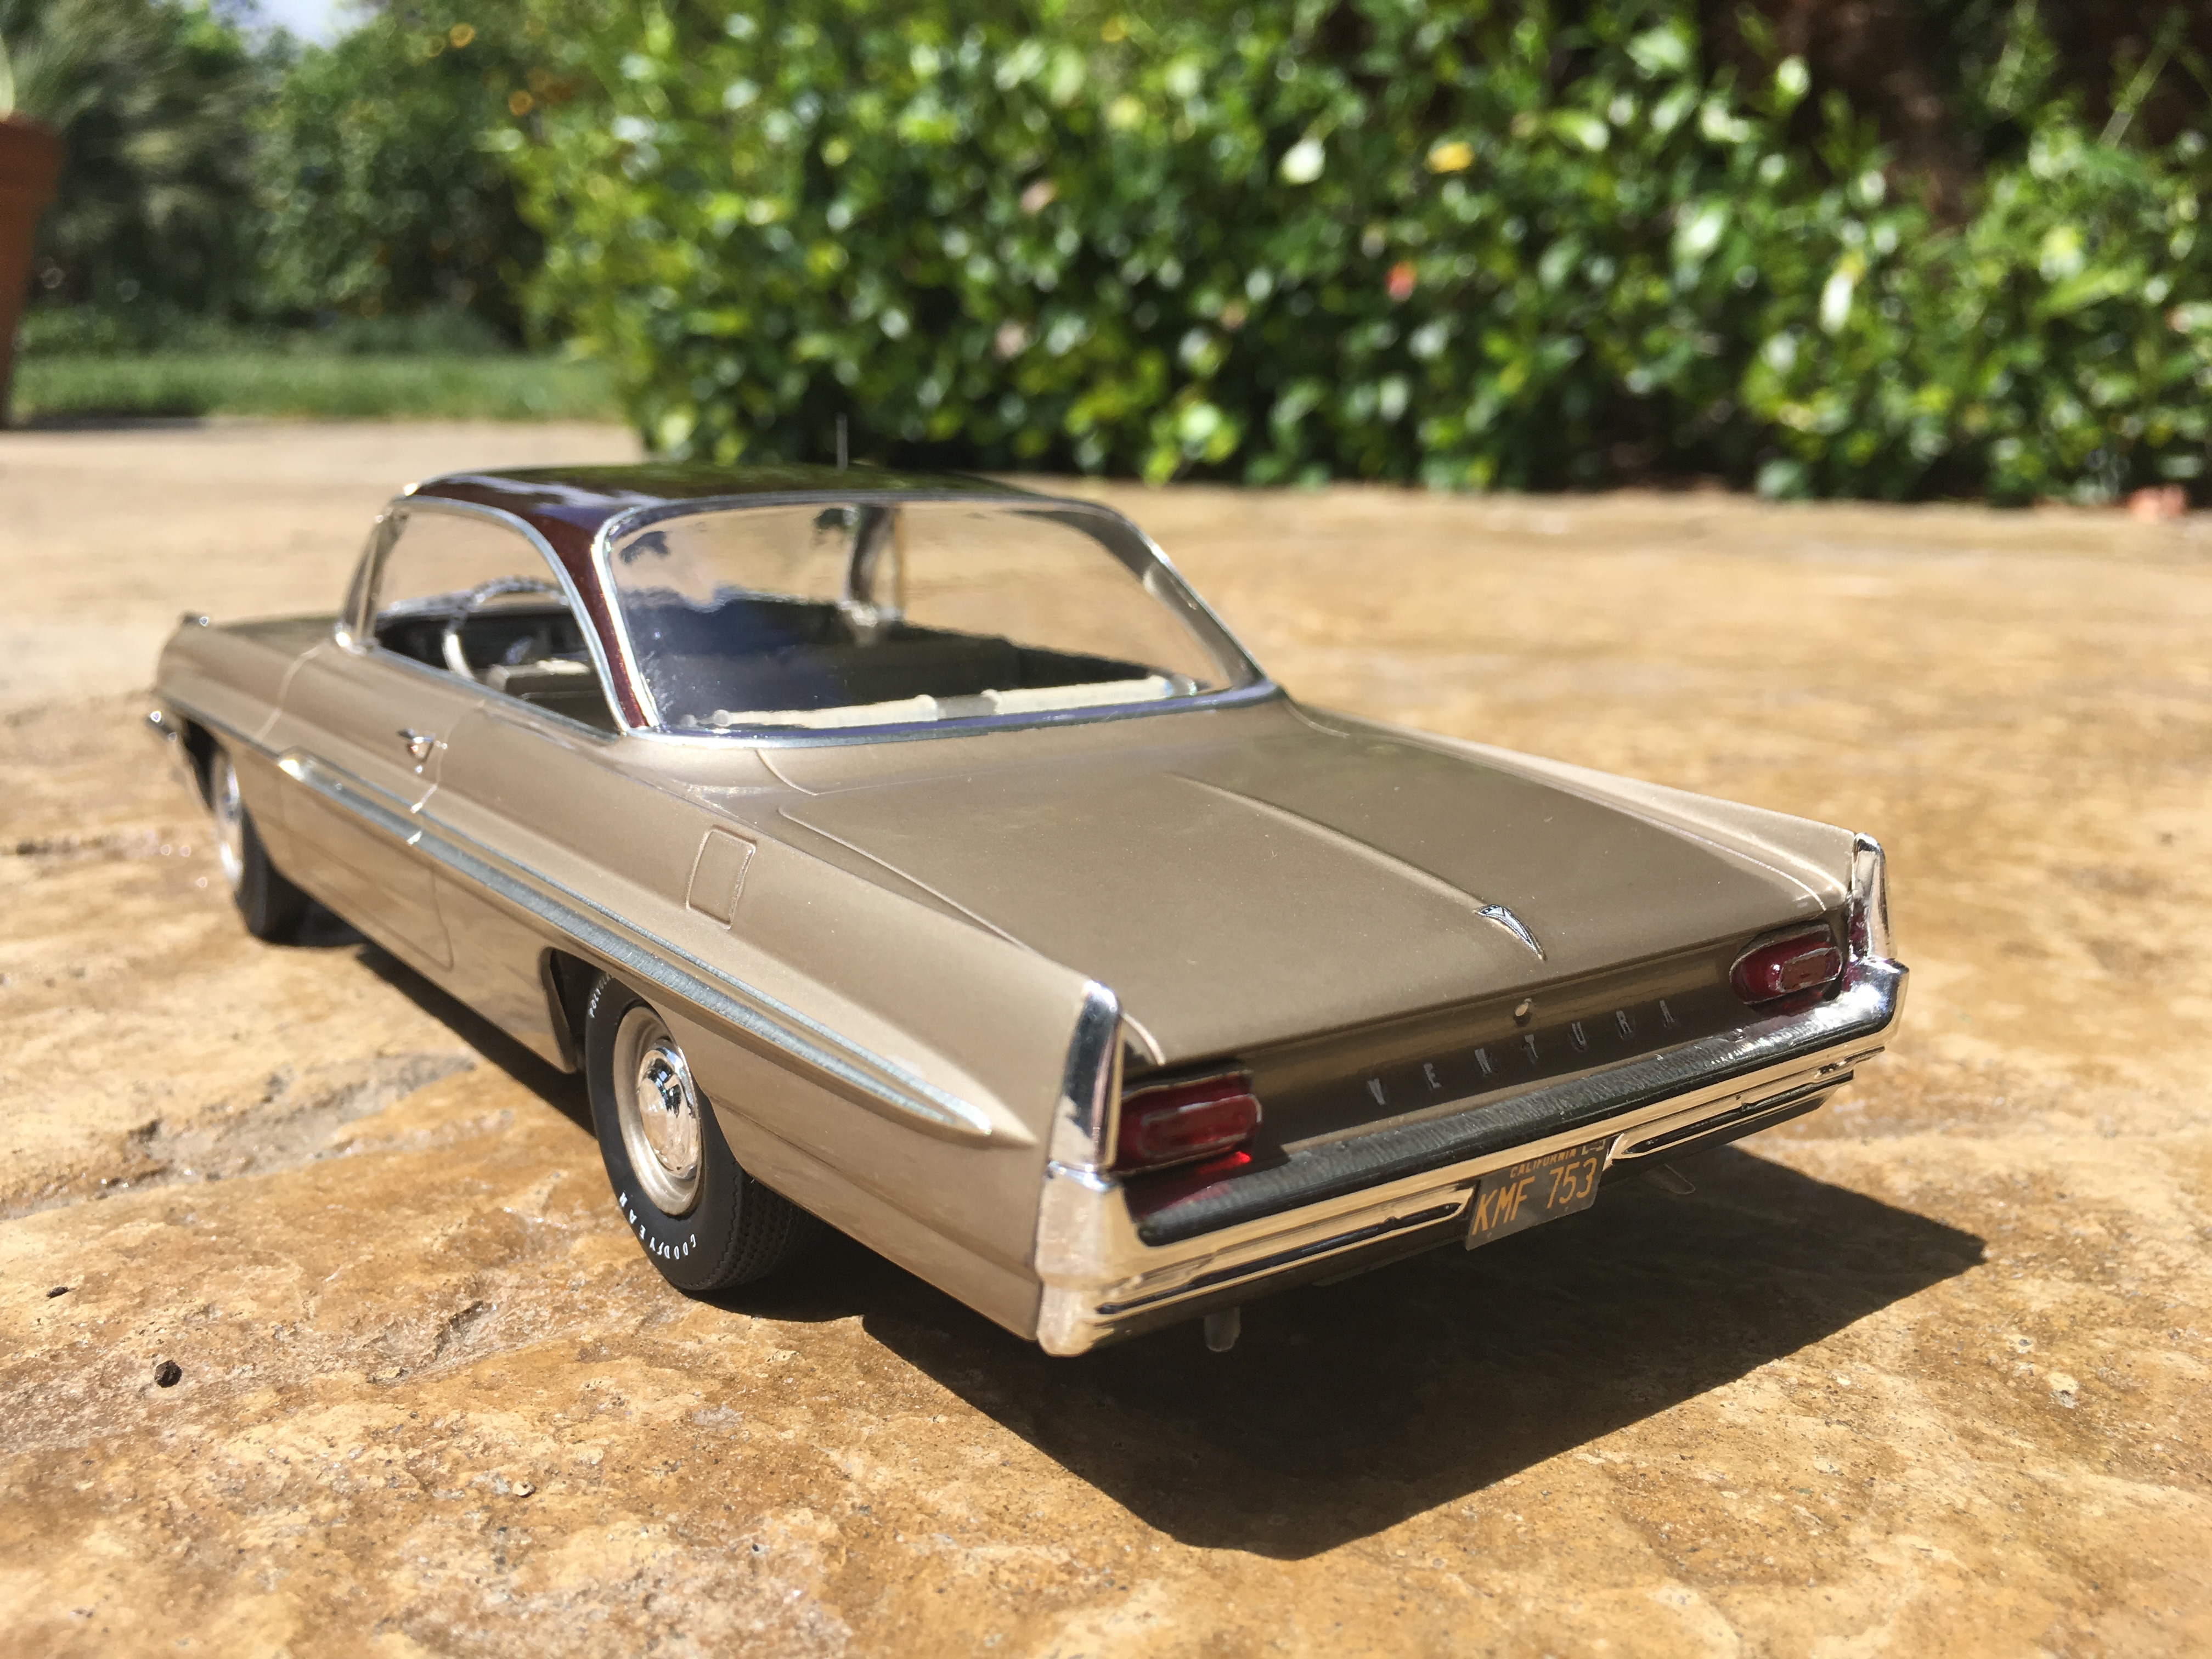
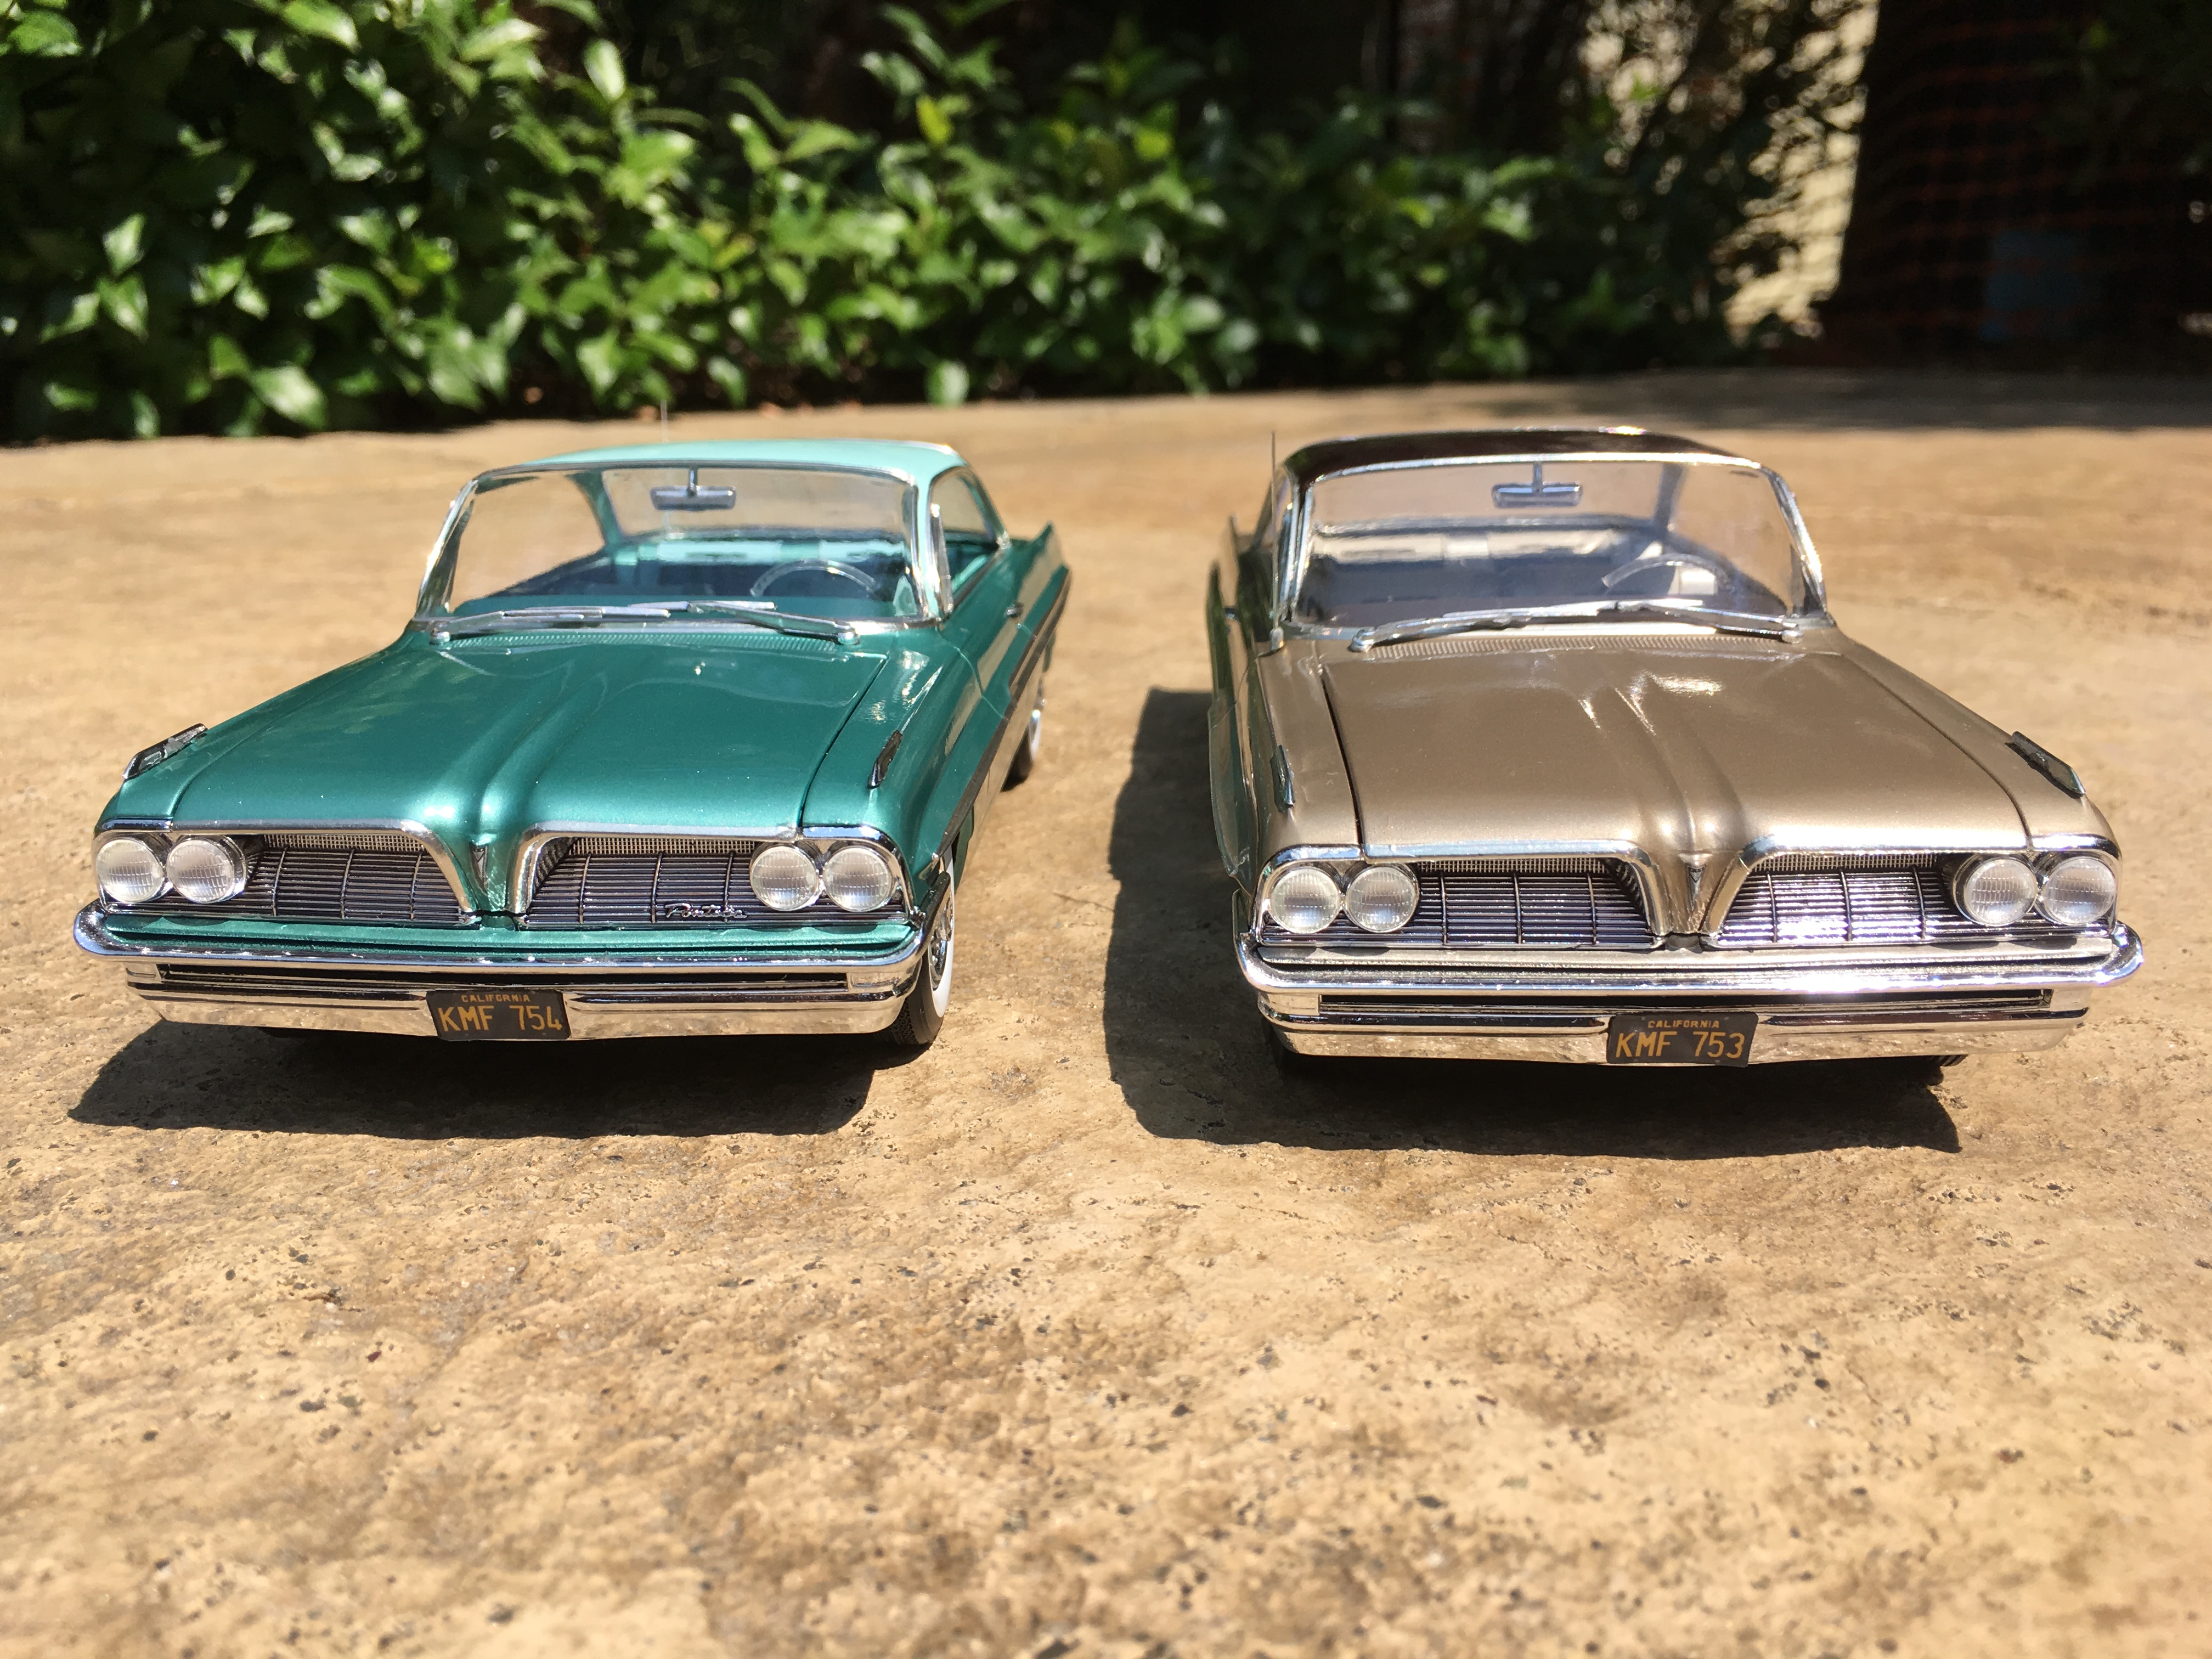
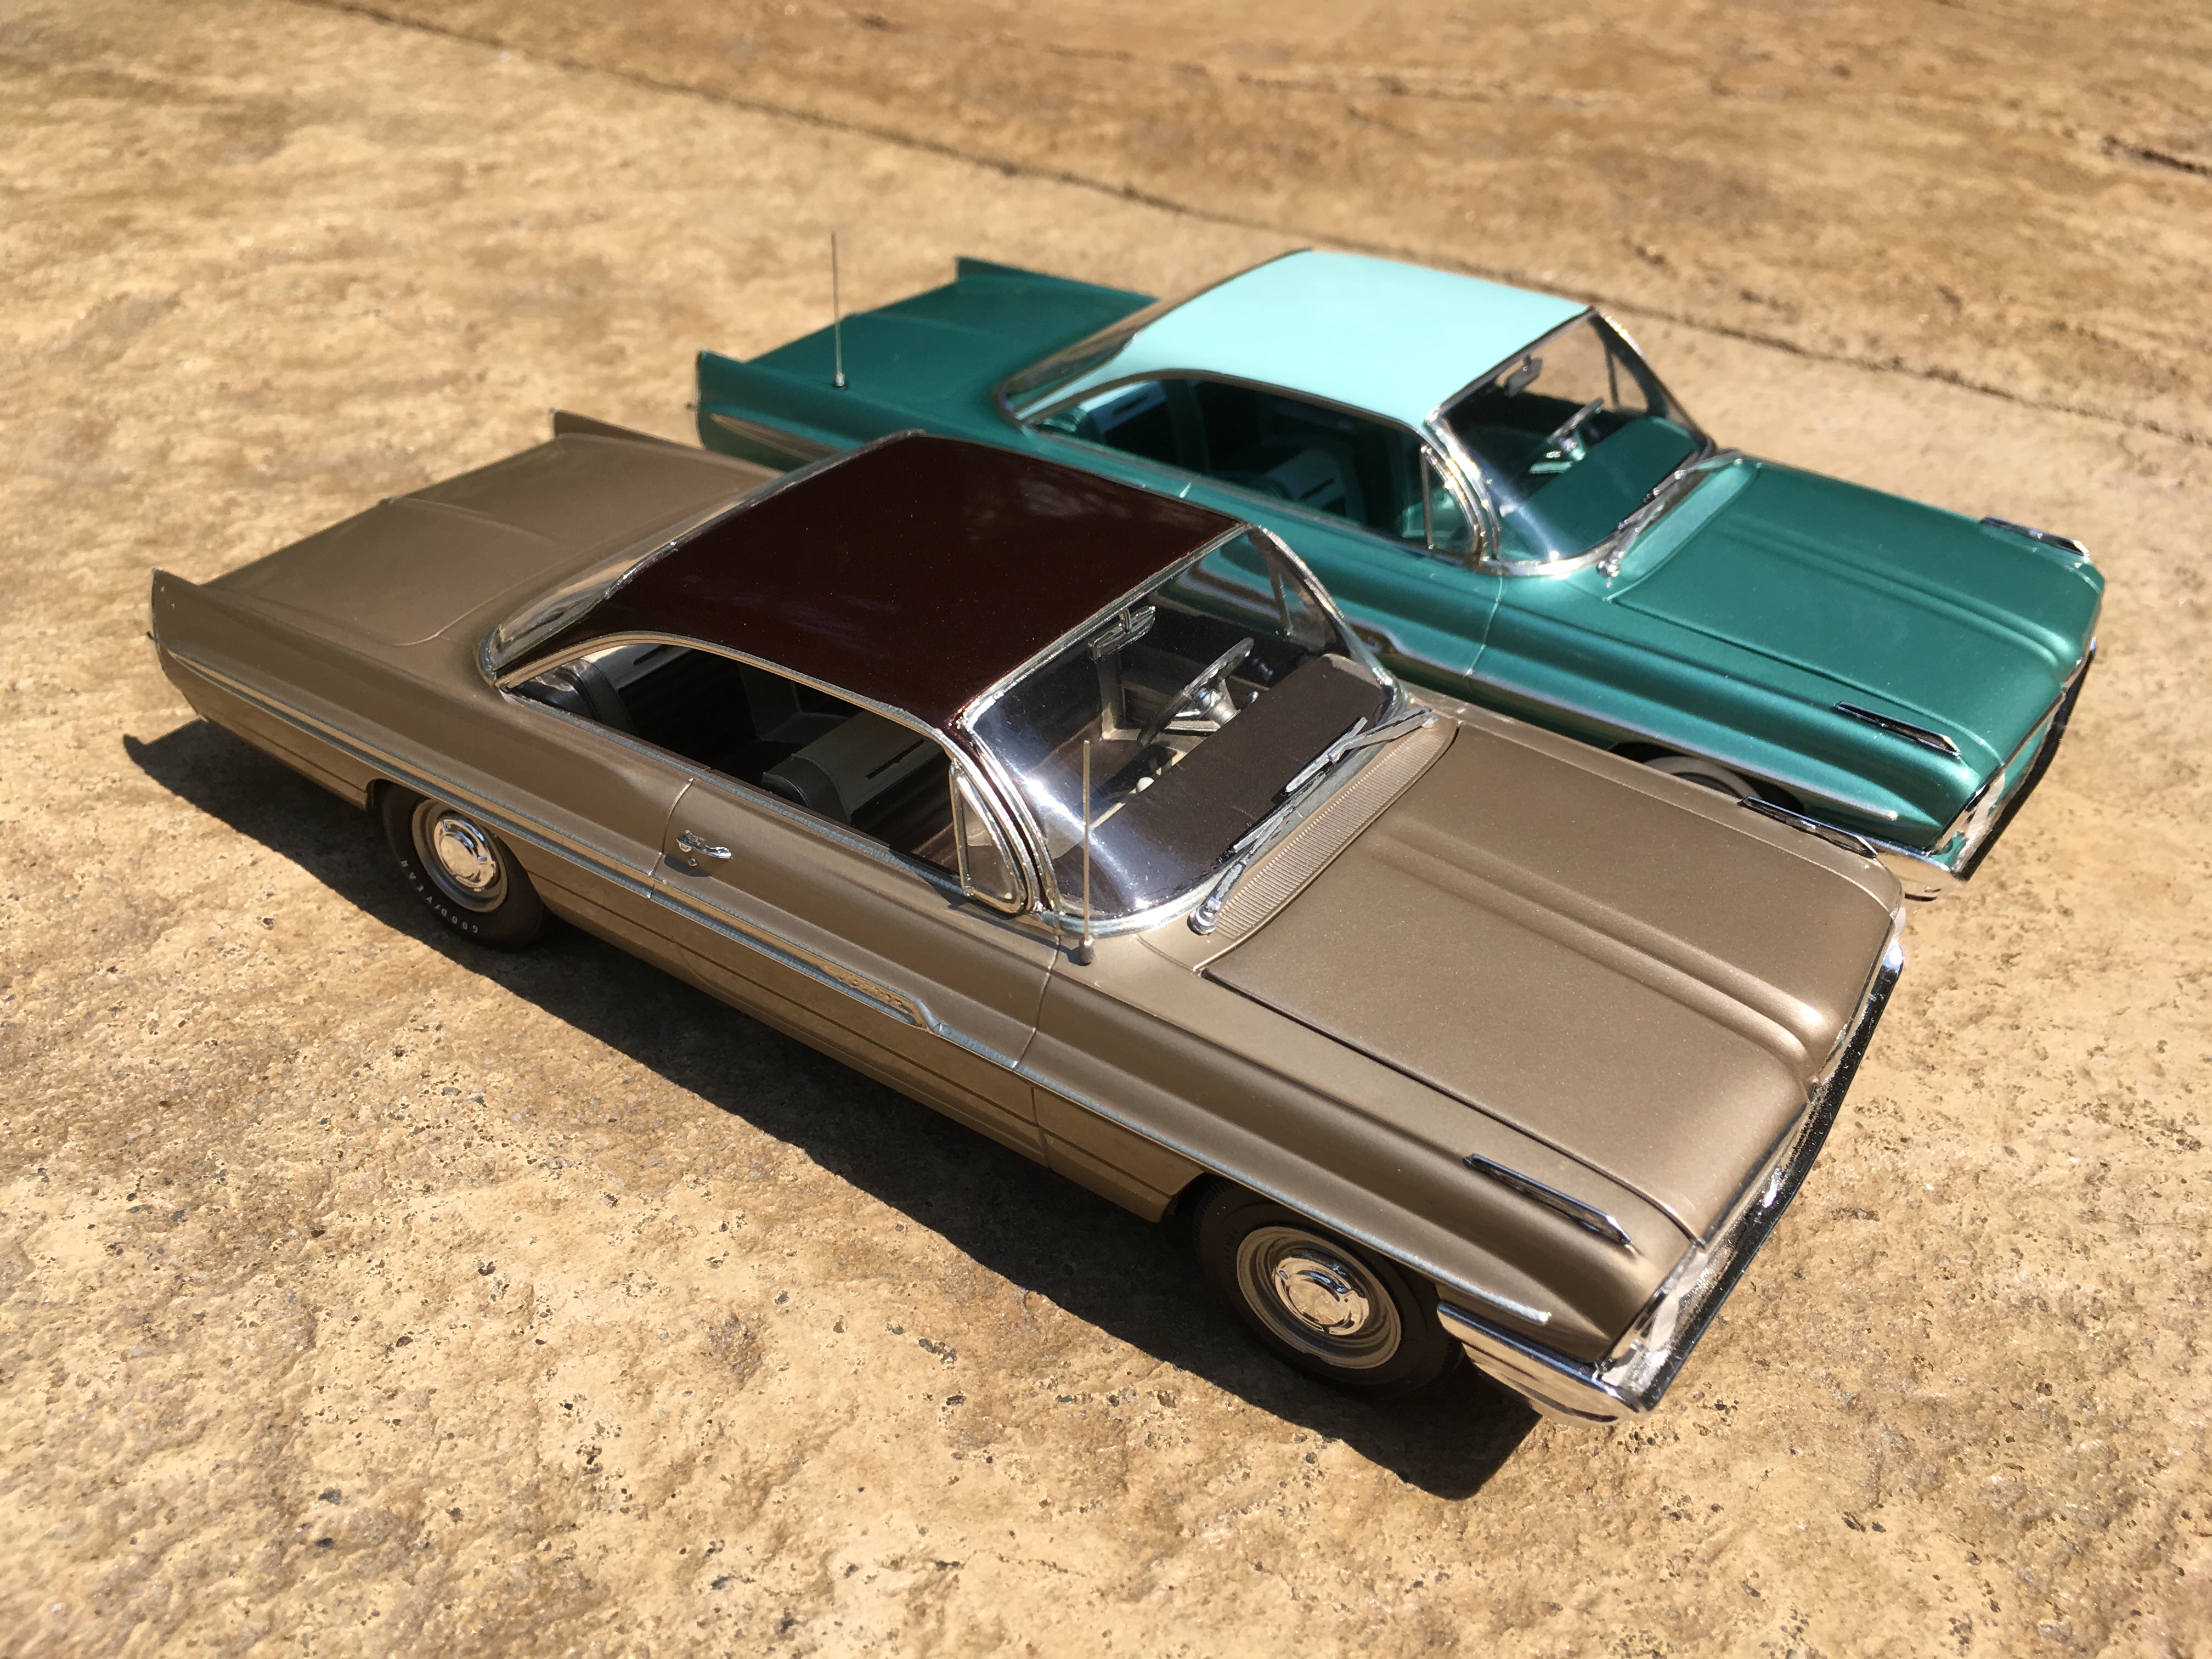
Thank you! here are a couple of other photos of the gold one. Good luck with your StratoChief.
-
Thanks all. Mr. Obsessive's tips are what helped me through this build (thank you Bill)! As to the core support, most of the upper portion has to be removed, out to about half of the grille pin receptors on each side. I also removed a little of the backside of the grille/bumper piece. Actually this is the second Moebius Ventura that i built; on the first one (finished in Mayan Gold and Cherrywood Bronze), i chickened out on the 8 lugs and went for the steel wheels and poverty caps. After going to a local car show recently and taking a bunch of photos of 8 lugs in 1:1, i finally got my act together and conquered the scale versions.
-
Sorry for being late to the party...I finally finished this car, Jadestone Green with a Seacrest Green top. Took a while to get though the issues with the 8 lugs, the front glass, and the front grille/core support.
-
very nice work. one of the car magazines did a write up on that rally when it happened. i wonder if any of those cars are still around today.
-
nice looking build. i fell in love with these cars after seeing 'its a mad mad mad mad world" when i was 12.
-
wonderful build, excellent color. is it "sunset mist?" i've got a bunch of johan kits waiting in the queue, this makes me want to move them up!
-
filling the sinker marks correctly
minkos replied to minkos's topic in Model Building Questions and Answers
excellent suggestions all, i will try them out. thanks very much. -
Hello, i am having trouble mastering the most elementary of body filling tasks, that of filling the sinker marks on the trunk lid. The photo is of a '64 Pontiac Bonneville convertible, with the sinker marks circled. I used bondo over a thin guide coat of lacquer primer, sanded it to what i thought was smooth (didn't feel anything when running my finger over them), then hit it again a couple of times with the primer, sanded that with 600 and 1000, then shot the lacquer color. i could have sworn that i'd filled the sinker marks correctly but obviously i didn't. the bondo looks like it's too low. any suggestions on how to do this properly? thanks very much.
-
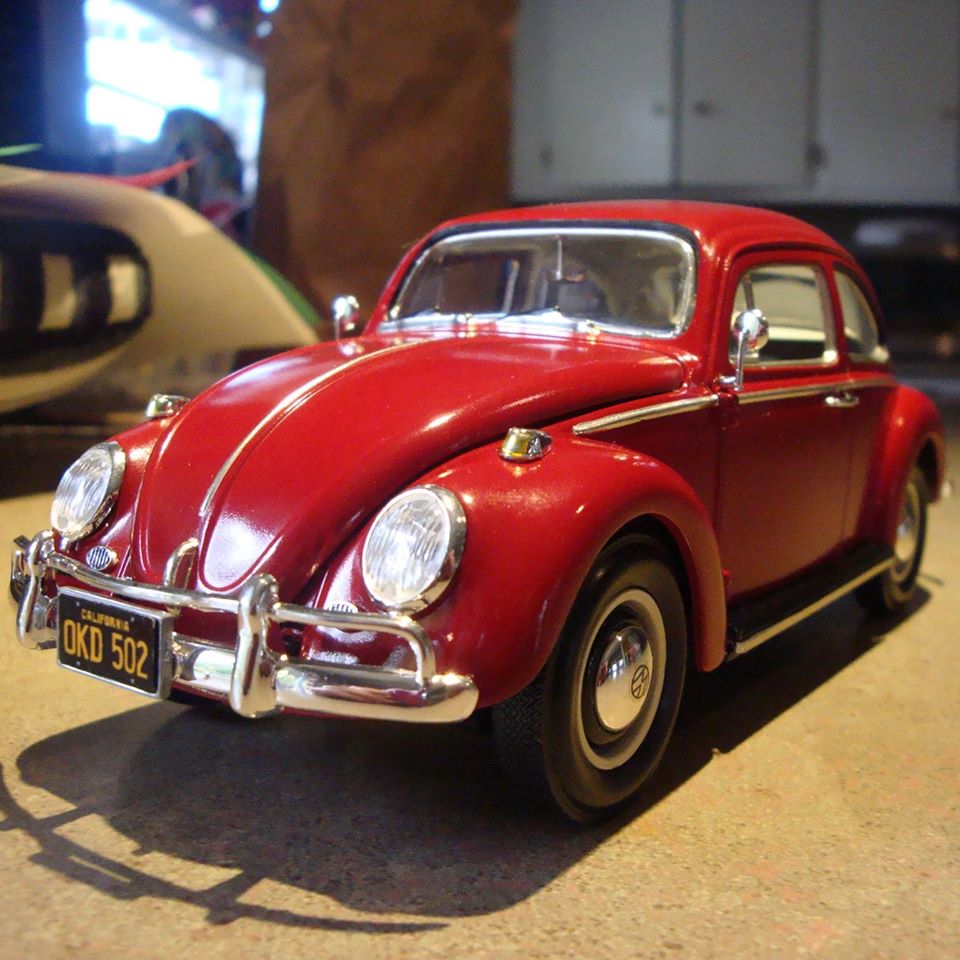
thank you all for the compliments! the polar lights spiderman kit is one of the better early '60s VWs in terms of detail. i added some details and had to work many of the parts and pieces to fit together better in a non-snap tite environment. MCW supplied the ruby red in lacquer. the next one that i do will be the same kit in sea blue with the identical gray interior.
-
bone stock 1964 vw in ruby red, made from the polar lights spiderman kit. i am still getting the hang of upholstery decaling.
-
painting raised letters and emblems
minkos replied to minkos's topic in Model Building Questions and Answers
thank you for all of the suggestions, i tried the dry brush method and it works pretty good. -
hello, sorry in advance for asking a question that's probably been discussed before, but what is the best way to apply chrome paint to raised letters, emblems, etc? the closest i've been to success is using a the edge of the end of a toothpick, but it isn't fine enough and even when it does go on ok the paint gets laid on too thin. any pointers? thanks.
-
hello, do you know if anyone has made a correct interior tub and dash for the '66 buick wildcat? the amt kits that i have seen all have a '65 interior and dash. thanks
-
thanks to gluhead, matching the top edge of the trim to the top edge of the foil worked pretty good.
-
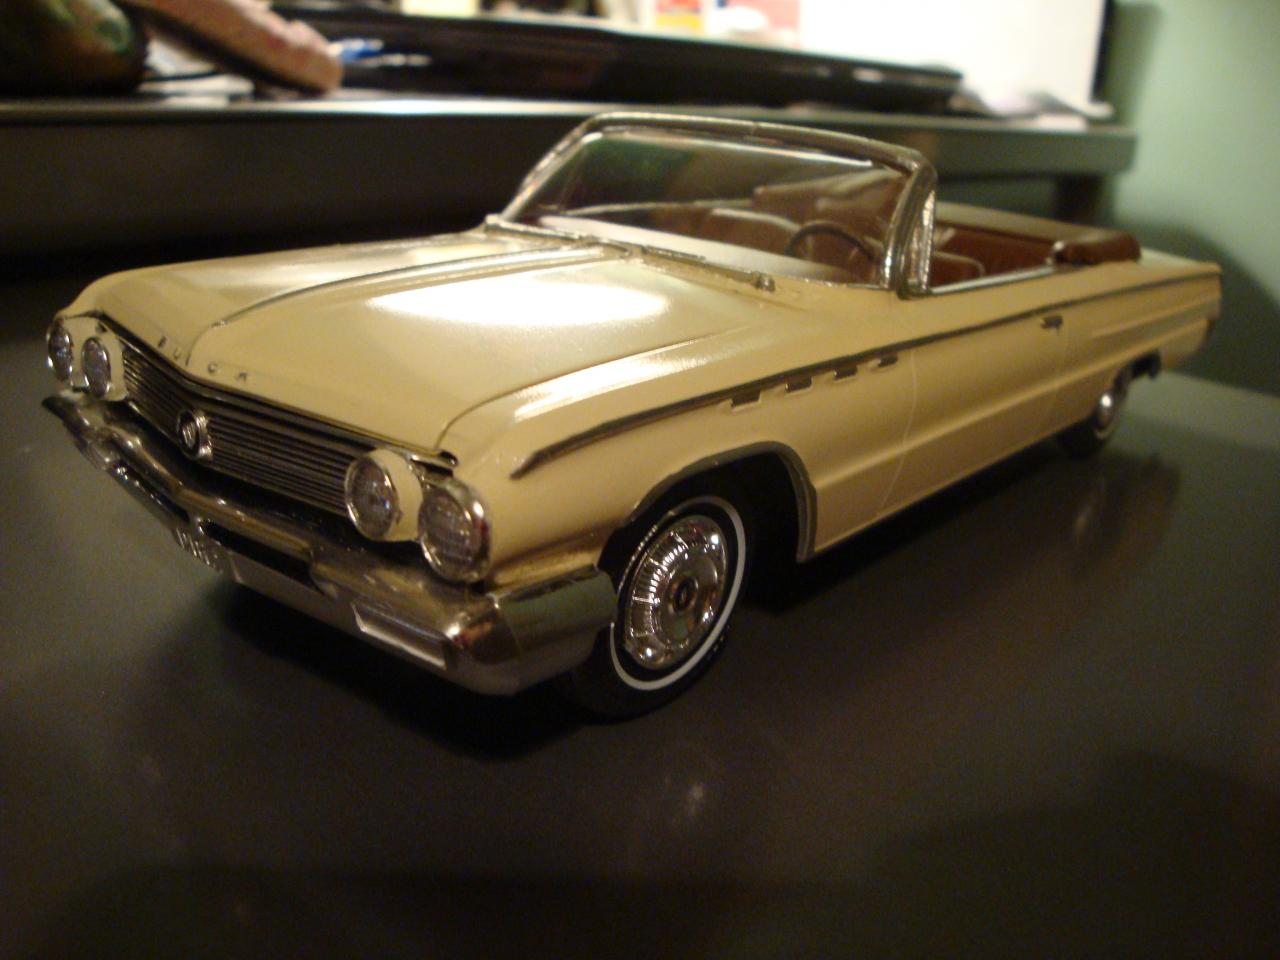
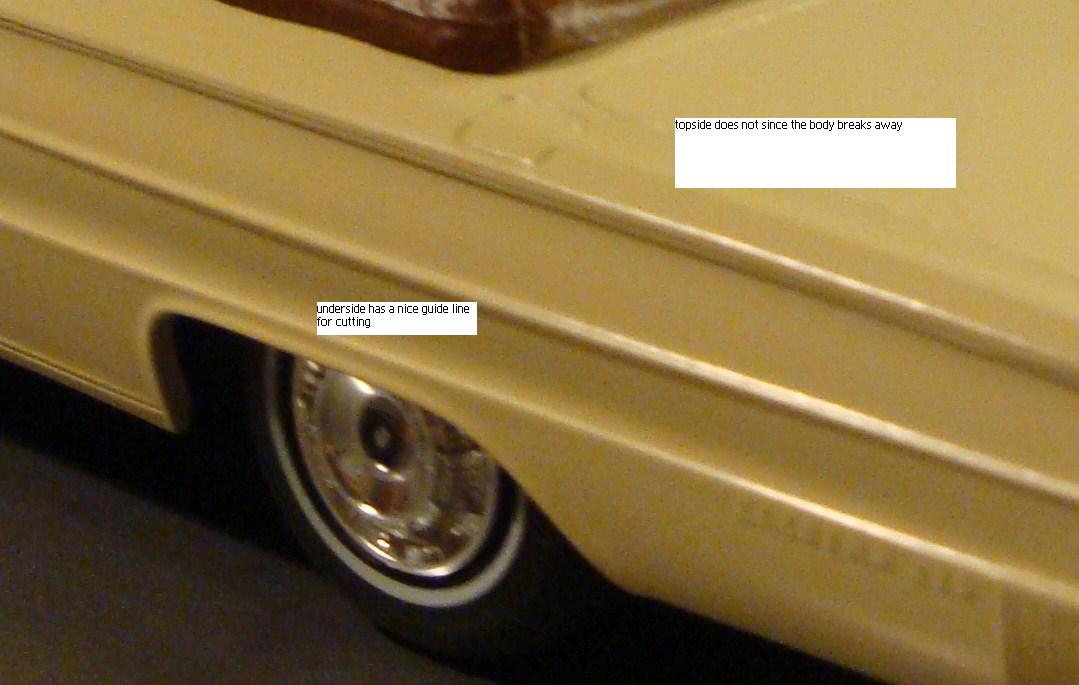
hello, i am wondering what would be the best way to trim a long straight piece of bare metal foil along the side of a car? the problem i'm having in particular is on the side trim of a '62 buick electra convertible. the underside is easy to do since the knife can run along the bottom of the raised trim casting, but the topside has no such guide since it coincides with the crease in the body. what can be used in lieu of freehanding that won't also get cut by the knife blade? thanks very much.