rsxse240
-
Posts
633 -
Joined
-
Last visited
Content Type
Profiles
Forums
Events
Gallery
Everything posted by rsxse240
-
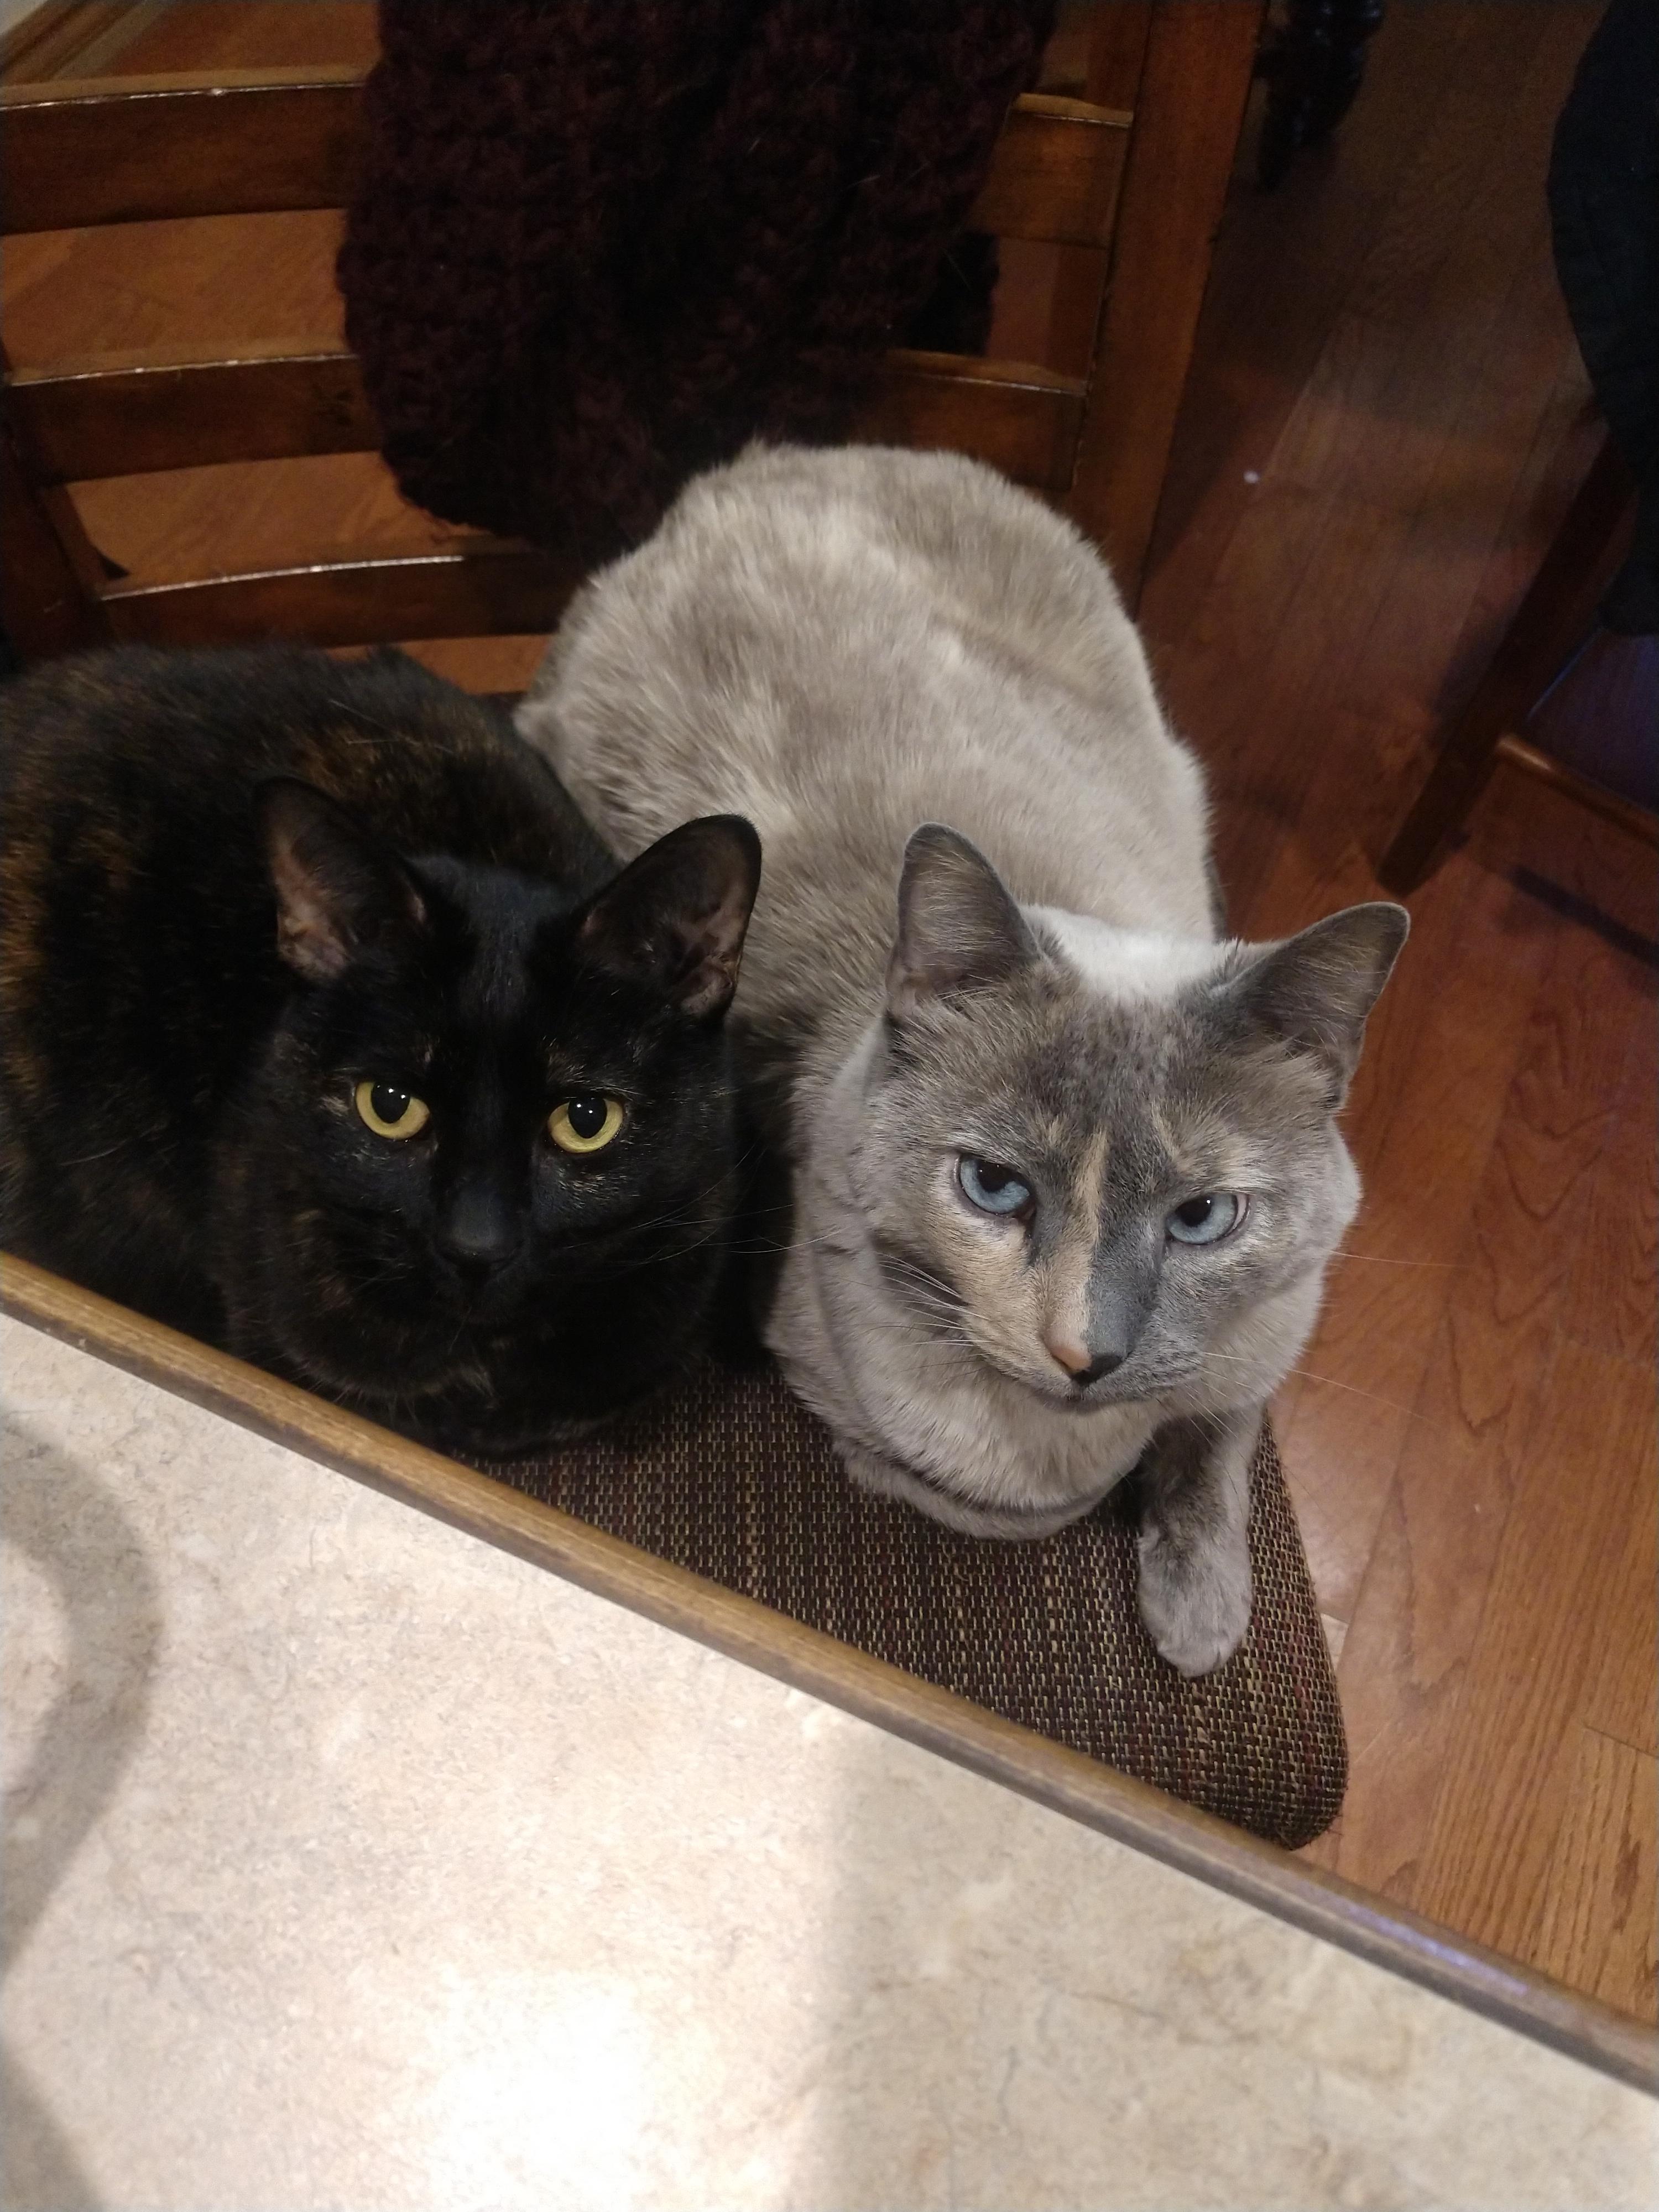
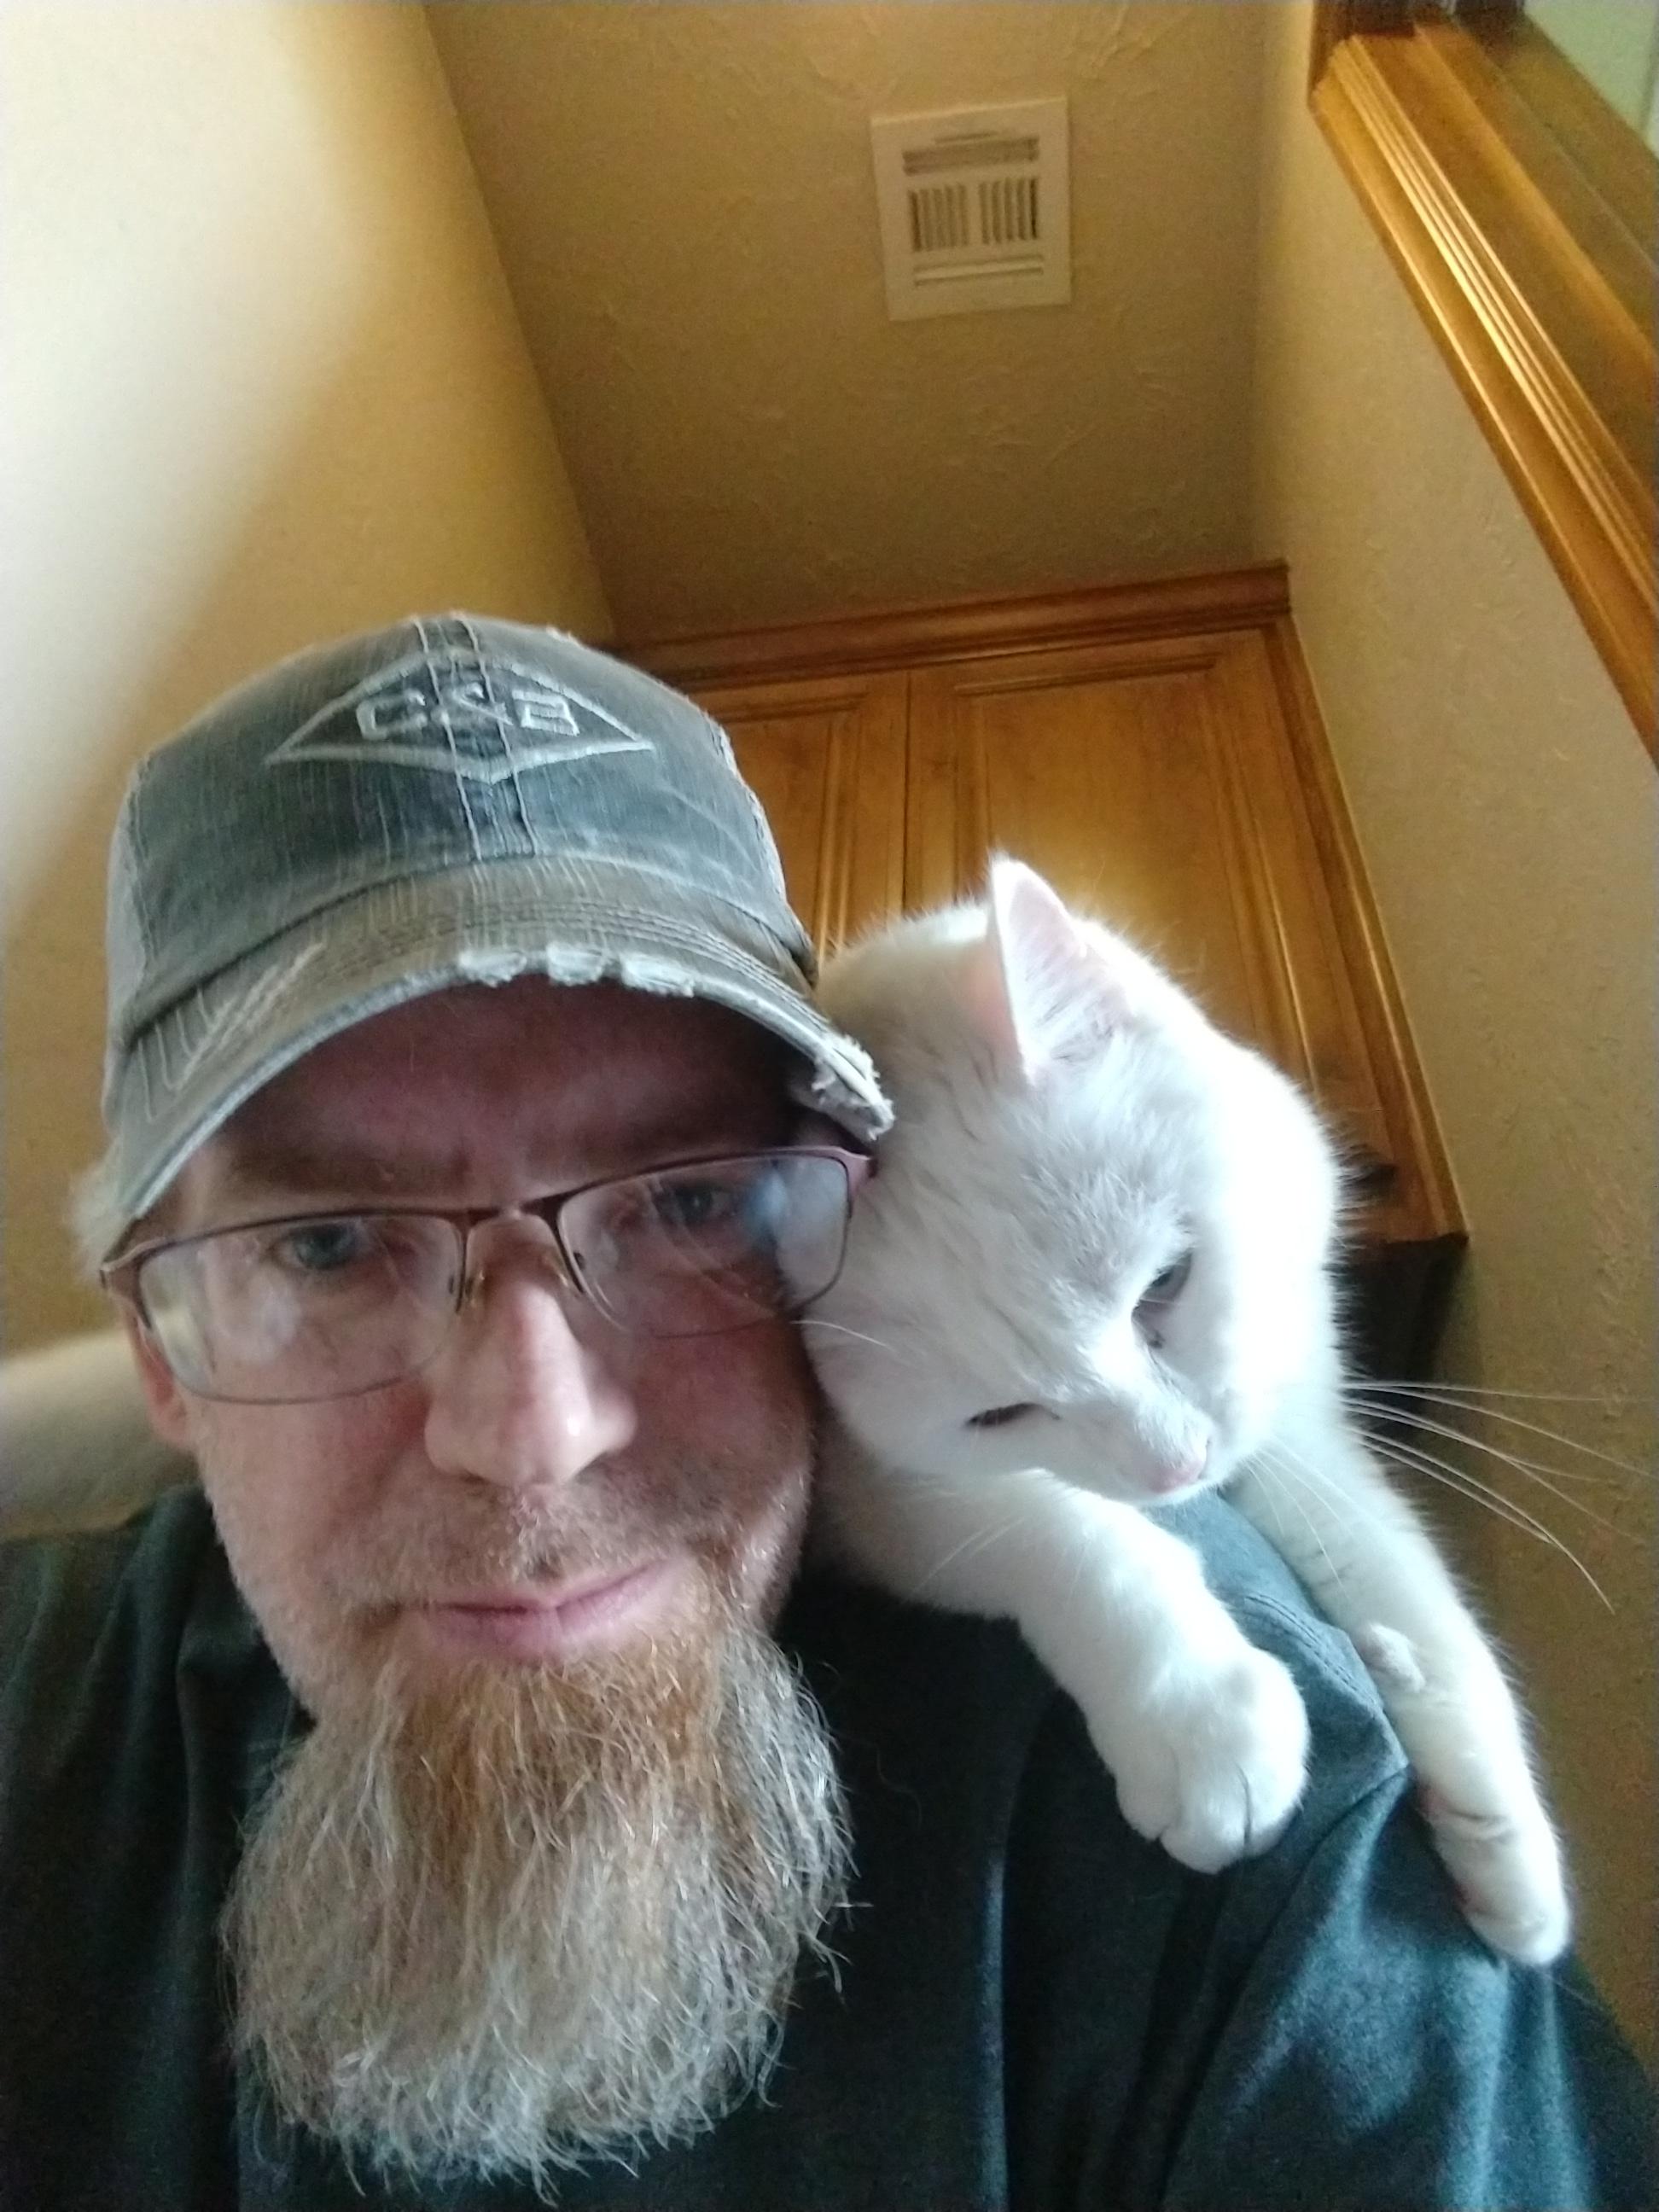
Bones, Gracie and Liz

-
I'll see if I can make something happen this weekend.
-
Thanks, I really appreciate the compliment! I still have the mold for the lights, but my clear resin is bad. I've been trying to get some non-UV blocking silicone so I can make them with UV resin for clarity and so they don't yellow. When I get that sorted out, I will also be doing popular tail lights for kits that come with solid red and chrome lights, so as to provide a clear paintable piece that can correctly represent clear and amber lenses on cars with multi colored tail lights, like most pickup trucks that have the reverse lights in the tail light lense.
-
'95 Ranger XLT
rsxse240 replied to Plowboy's topic in WIP: Model Trucks: Pickups, Vans, SUVs, Light Commercial
So...I don't guess I am understanding how you are mounting the trans to the engine. If the trans is cut loose from the engine, the new engine should be just as far forward as the one that just came out. I get the Taurus intake is bigger. I guess I'll have to build a Ranger SHO to find out. Keep the good work coming!! -
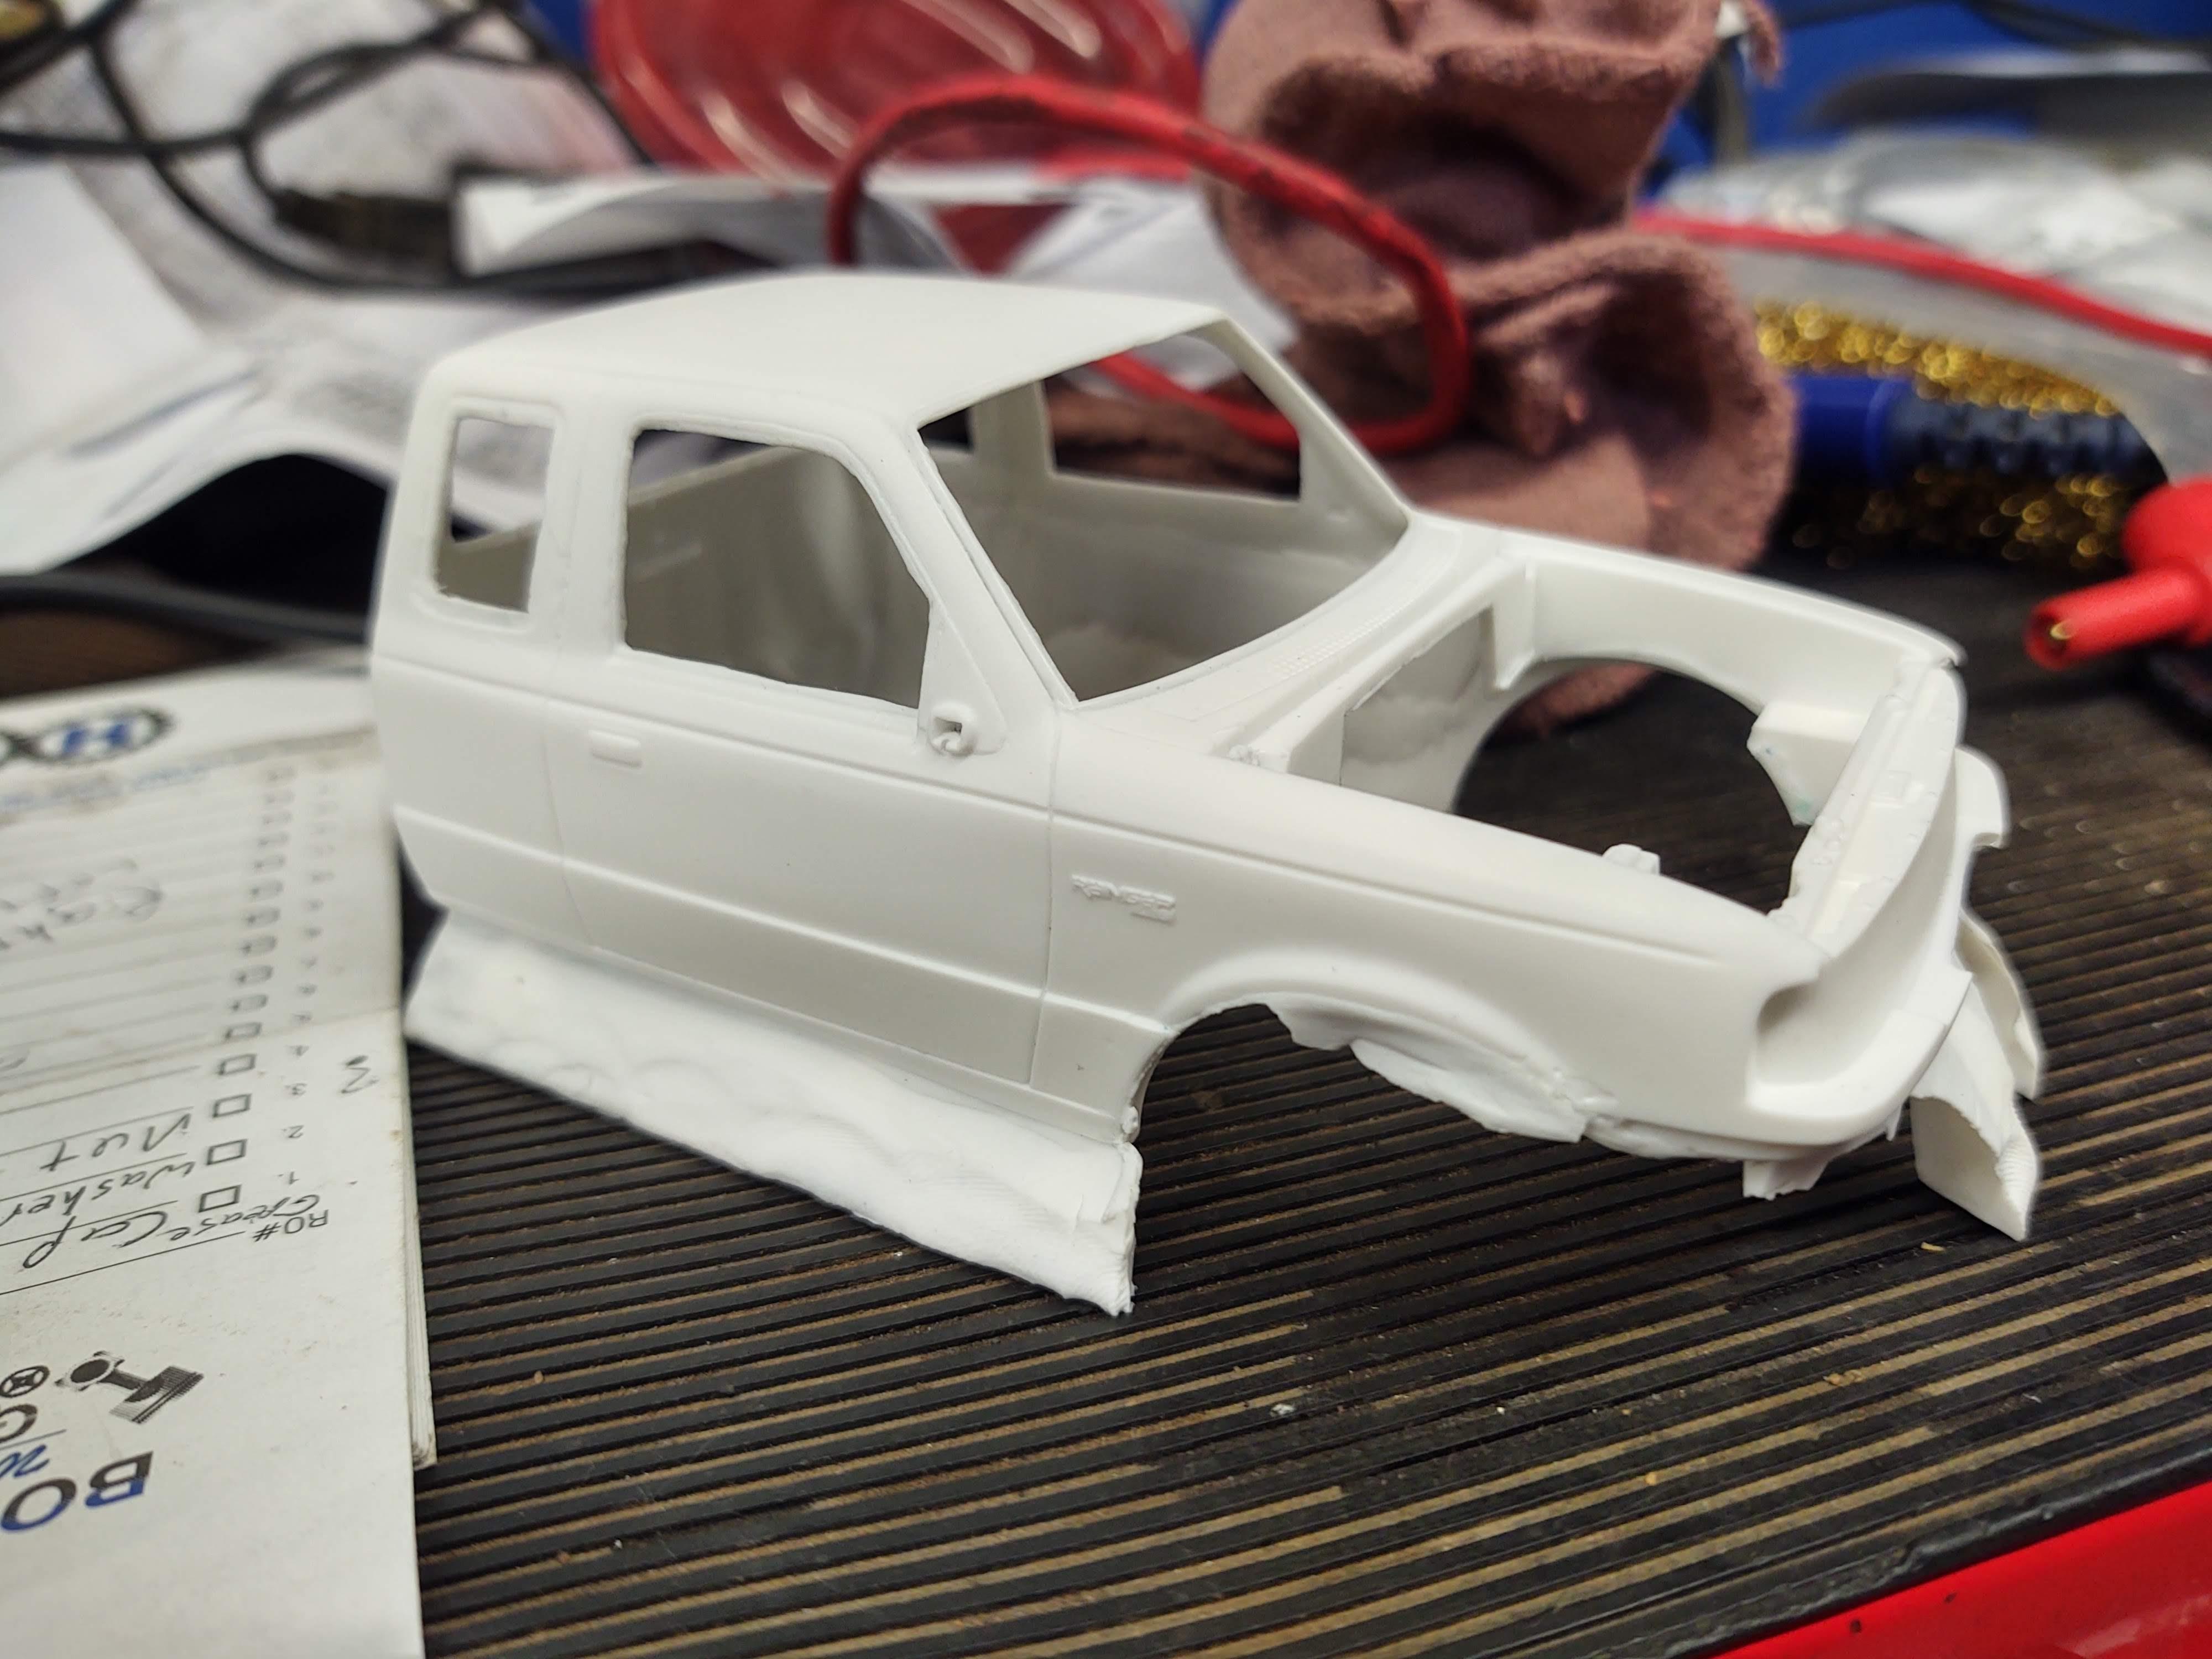
I made it from a couple of AMT 1995 regular cab kits. Unfortunately there's no other Ford ranger kits available other than the AMT 93 regular cab STX, 93 Splash, 95 XL (Coca Cola), 95 XLT, and the AMT long bed 4X4 promo.
-
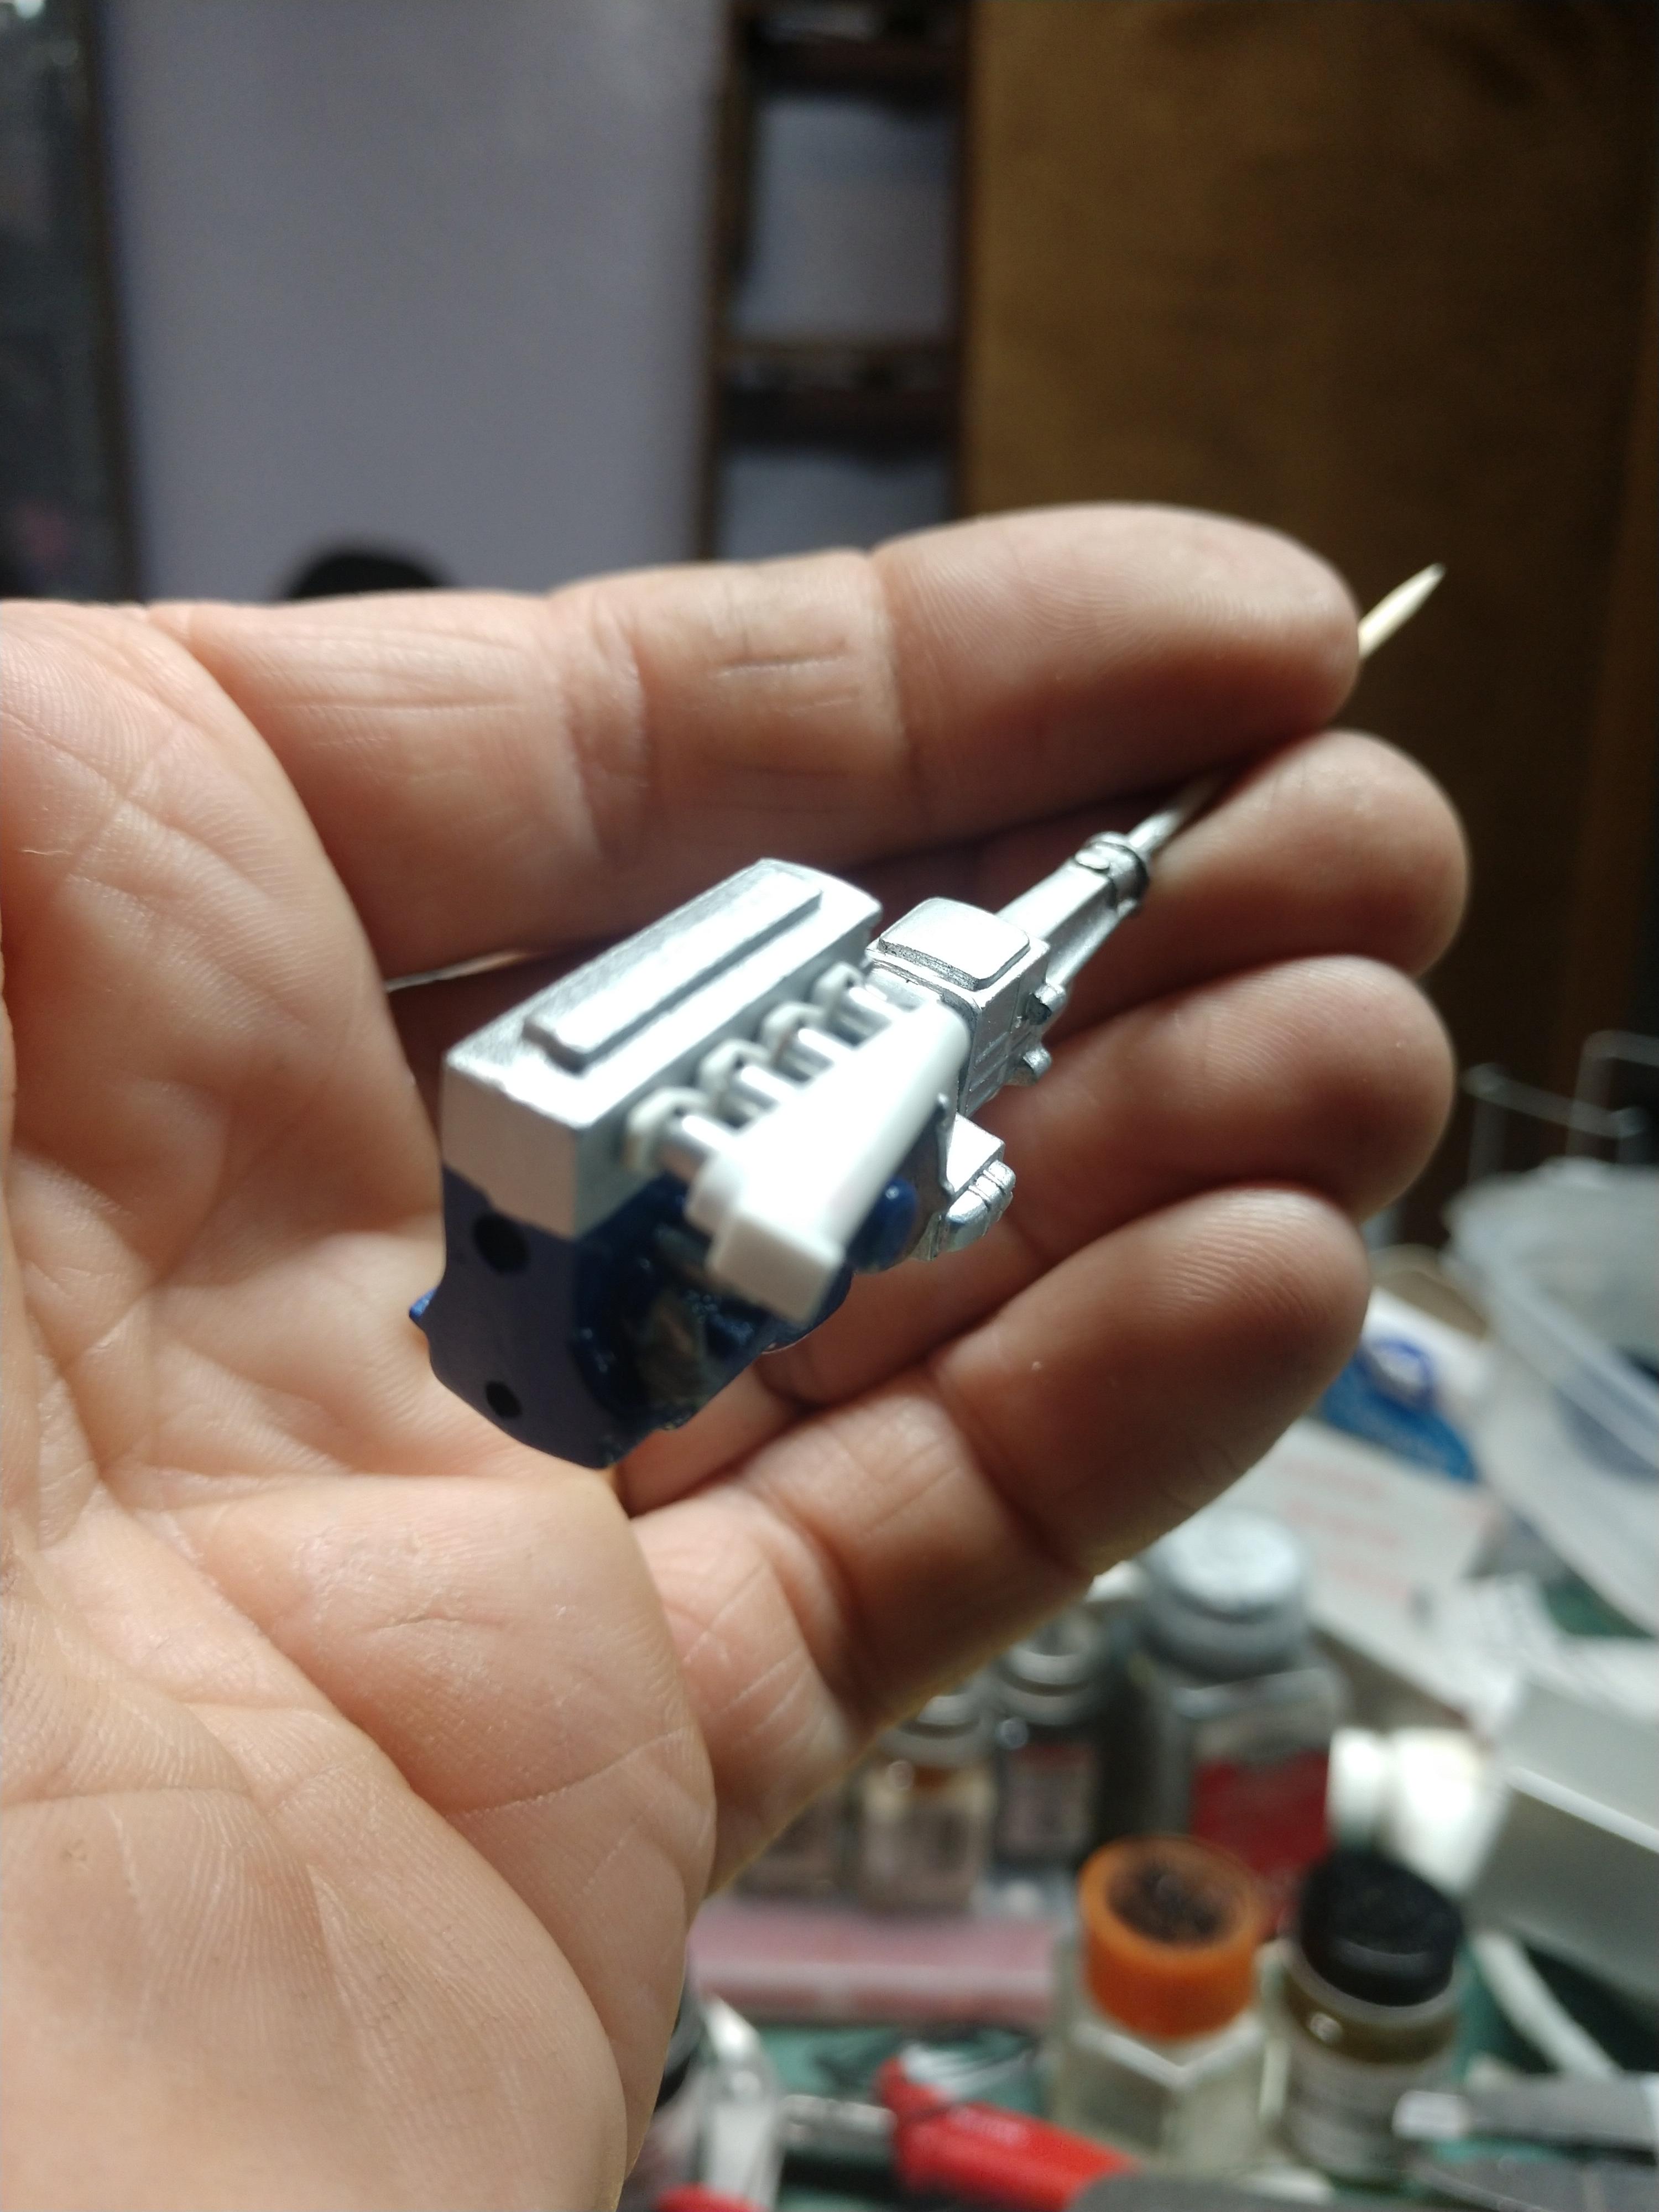
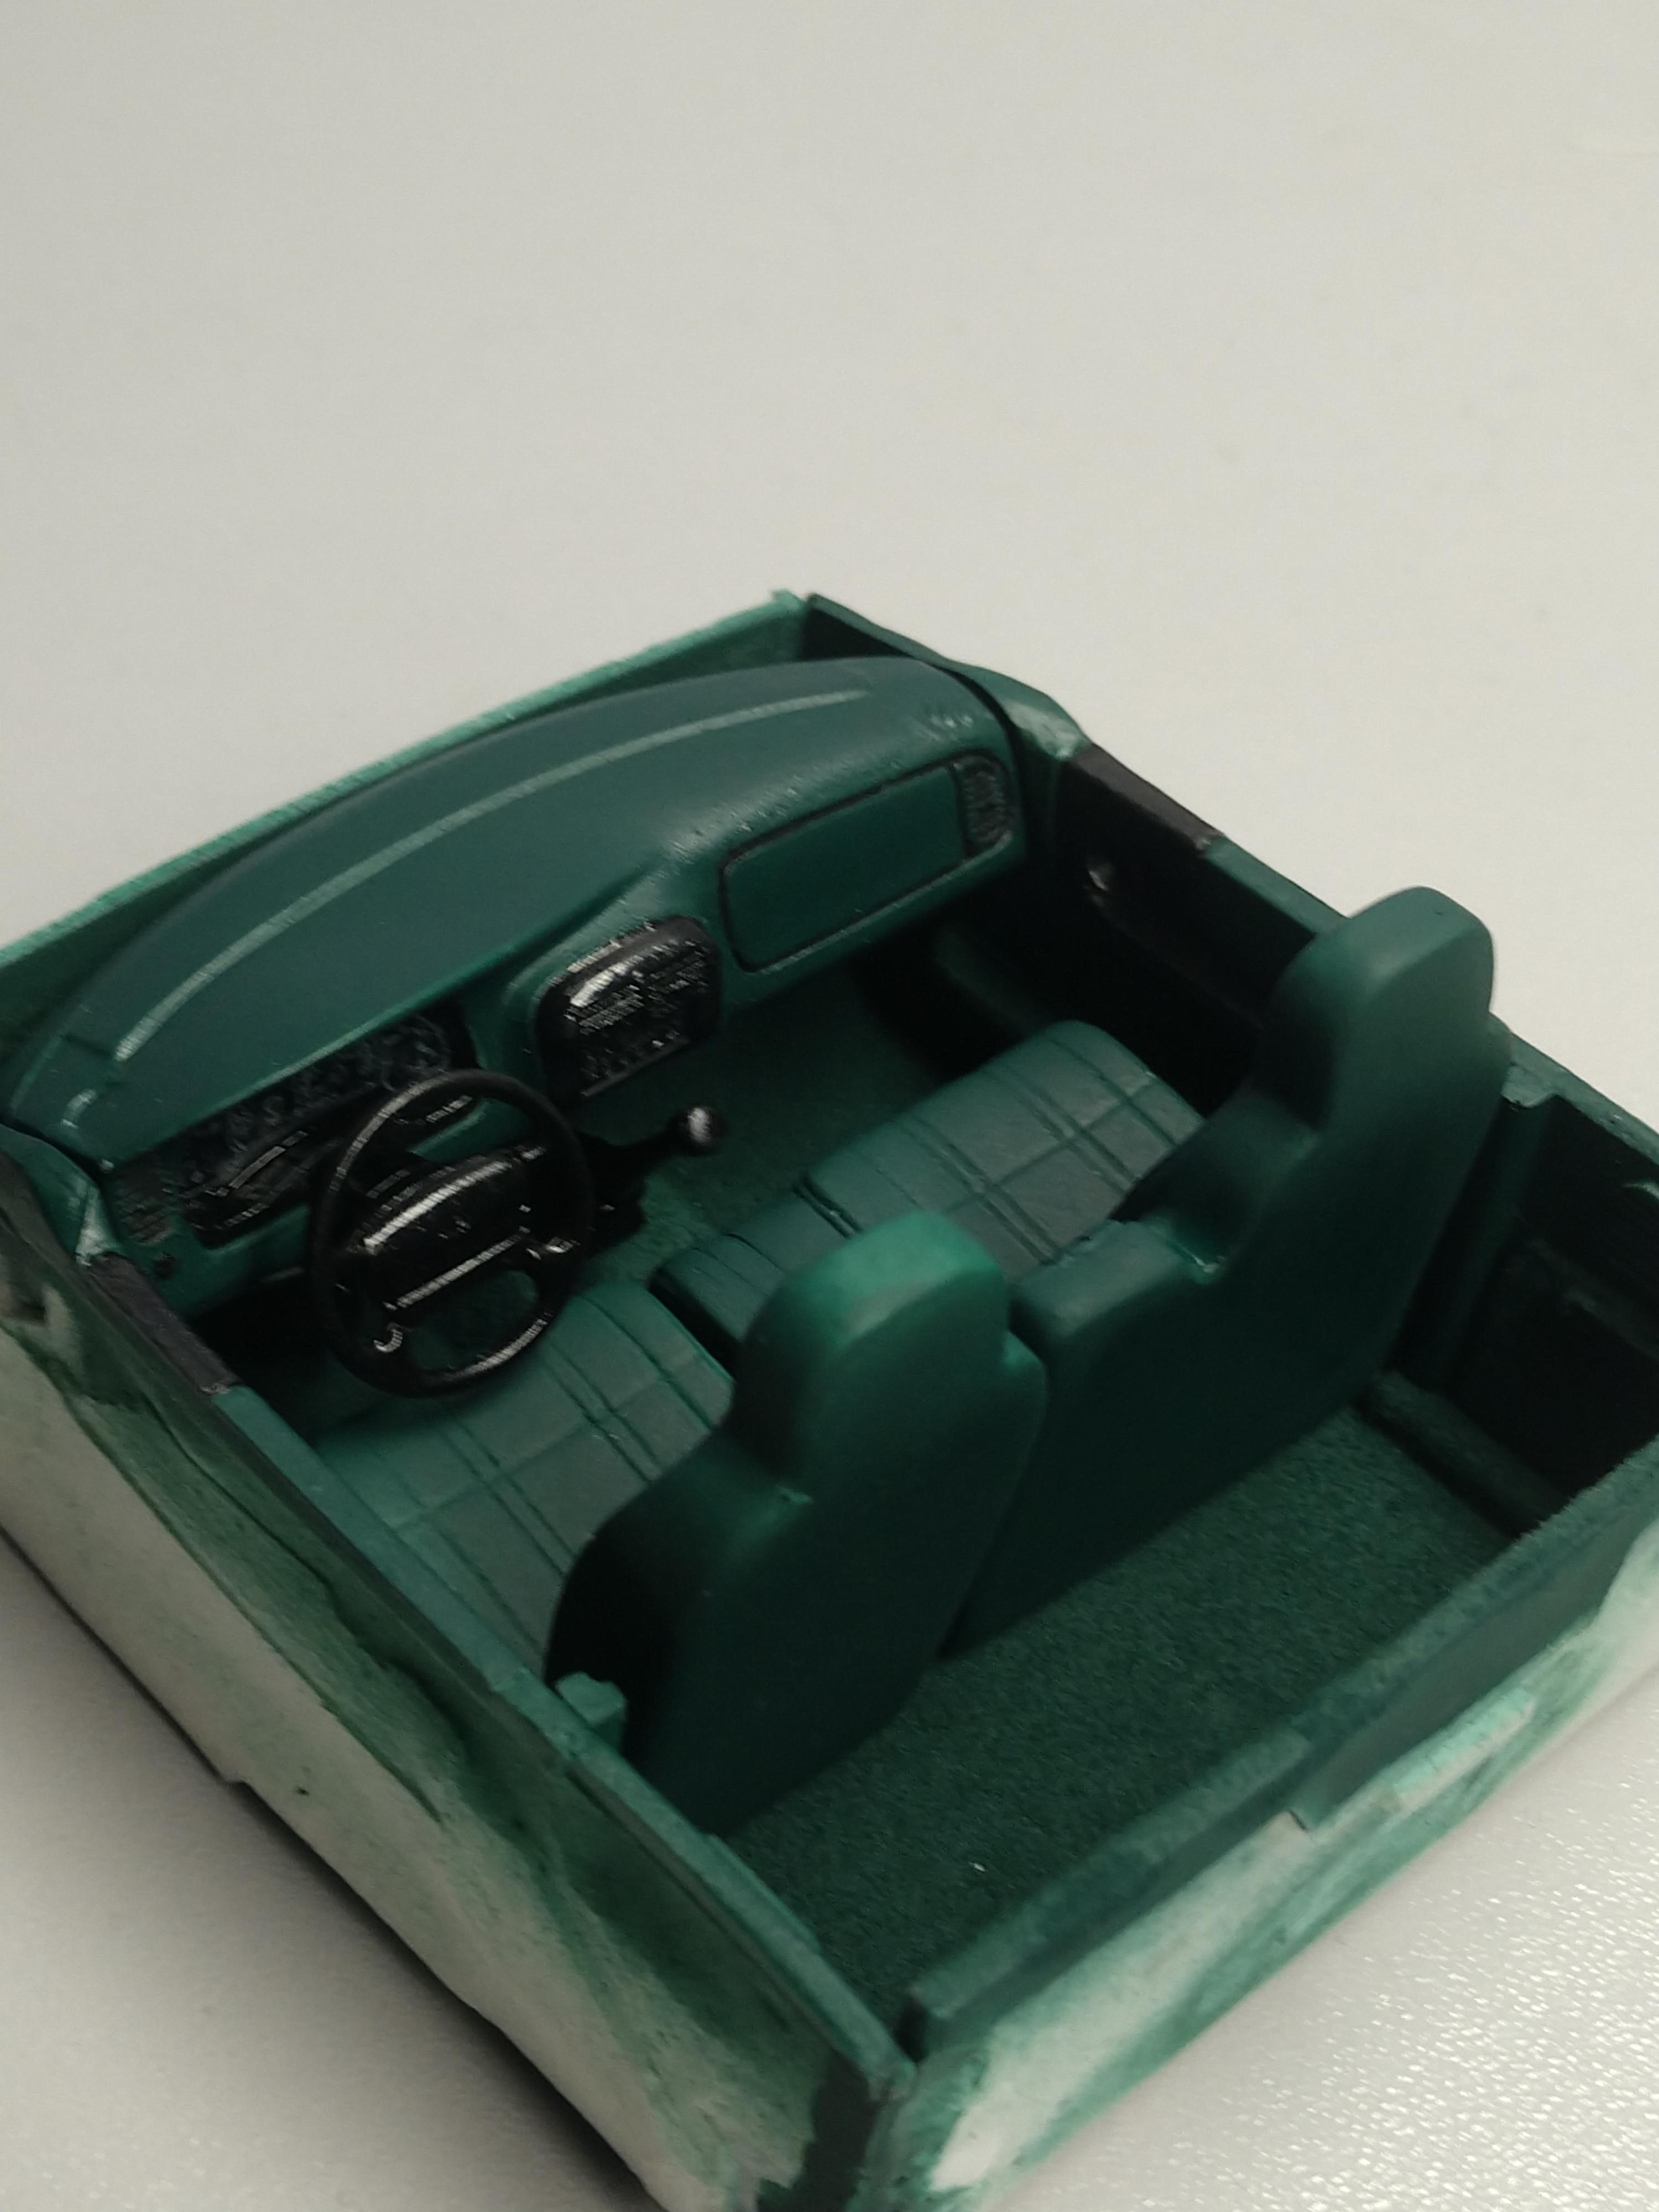
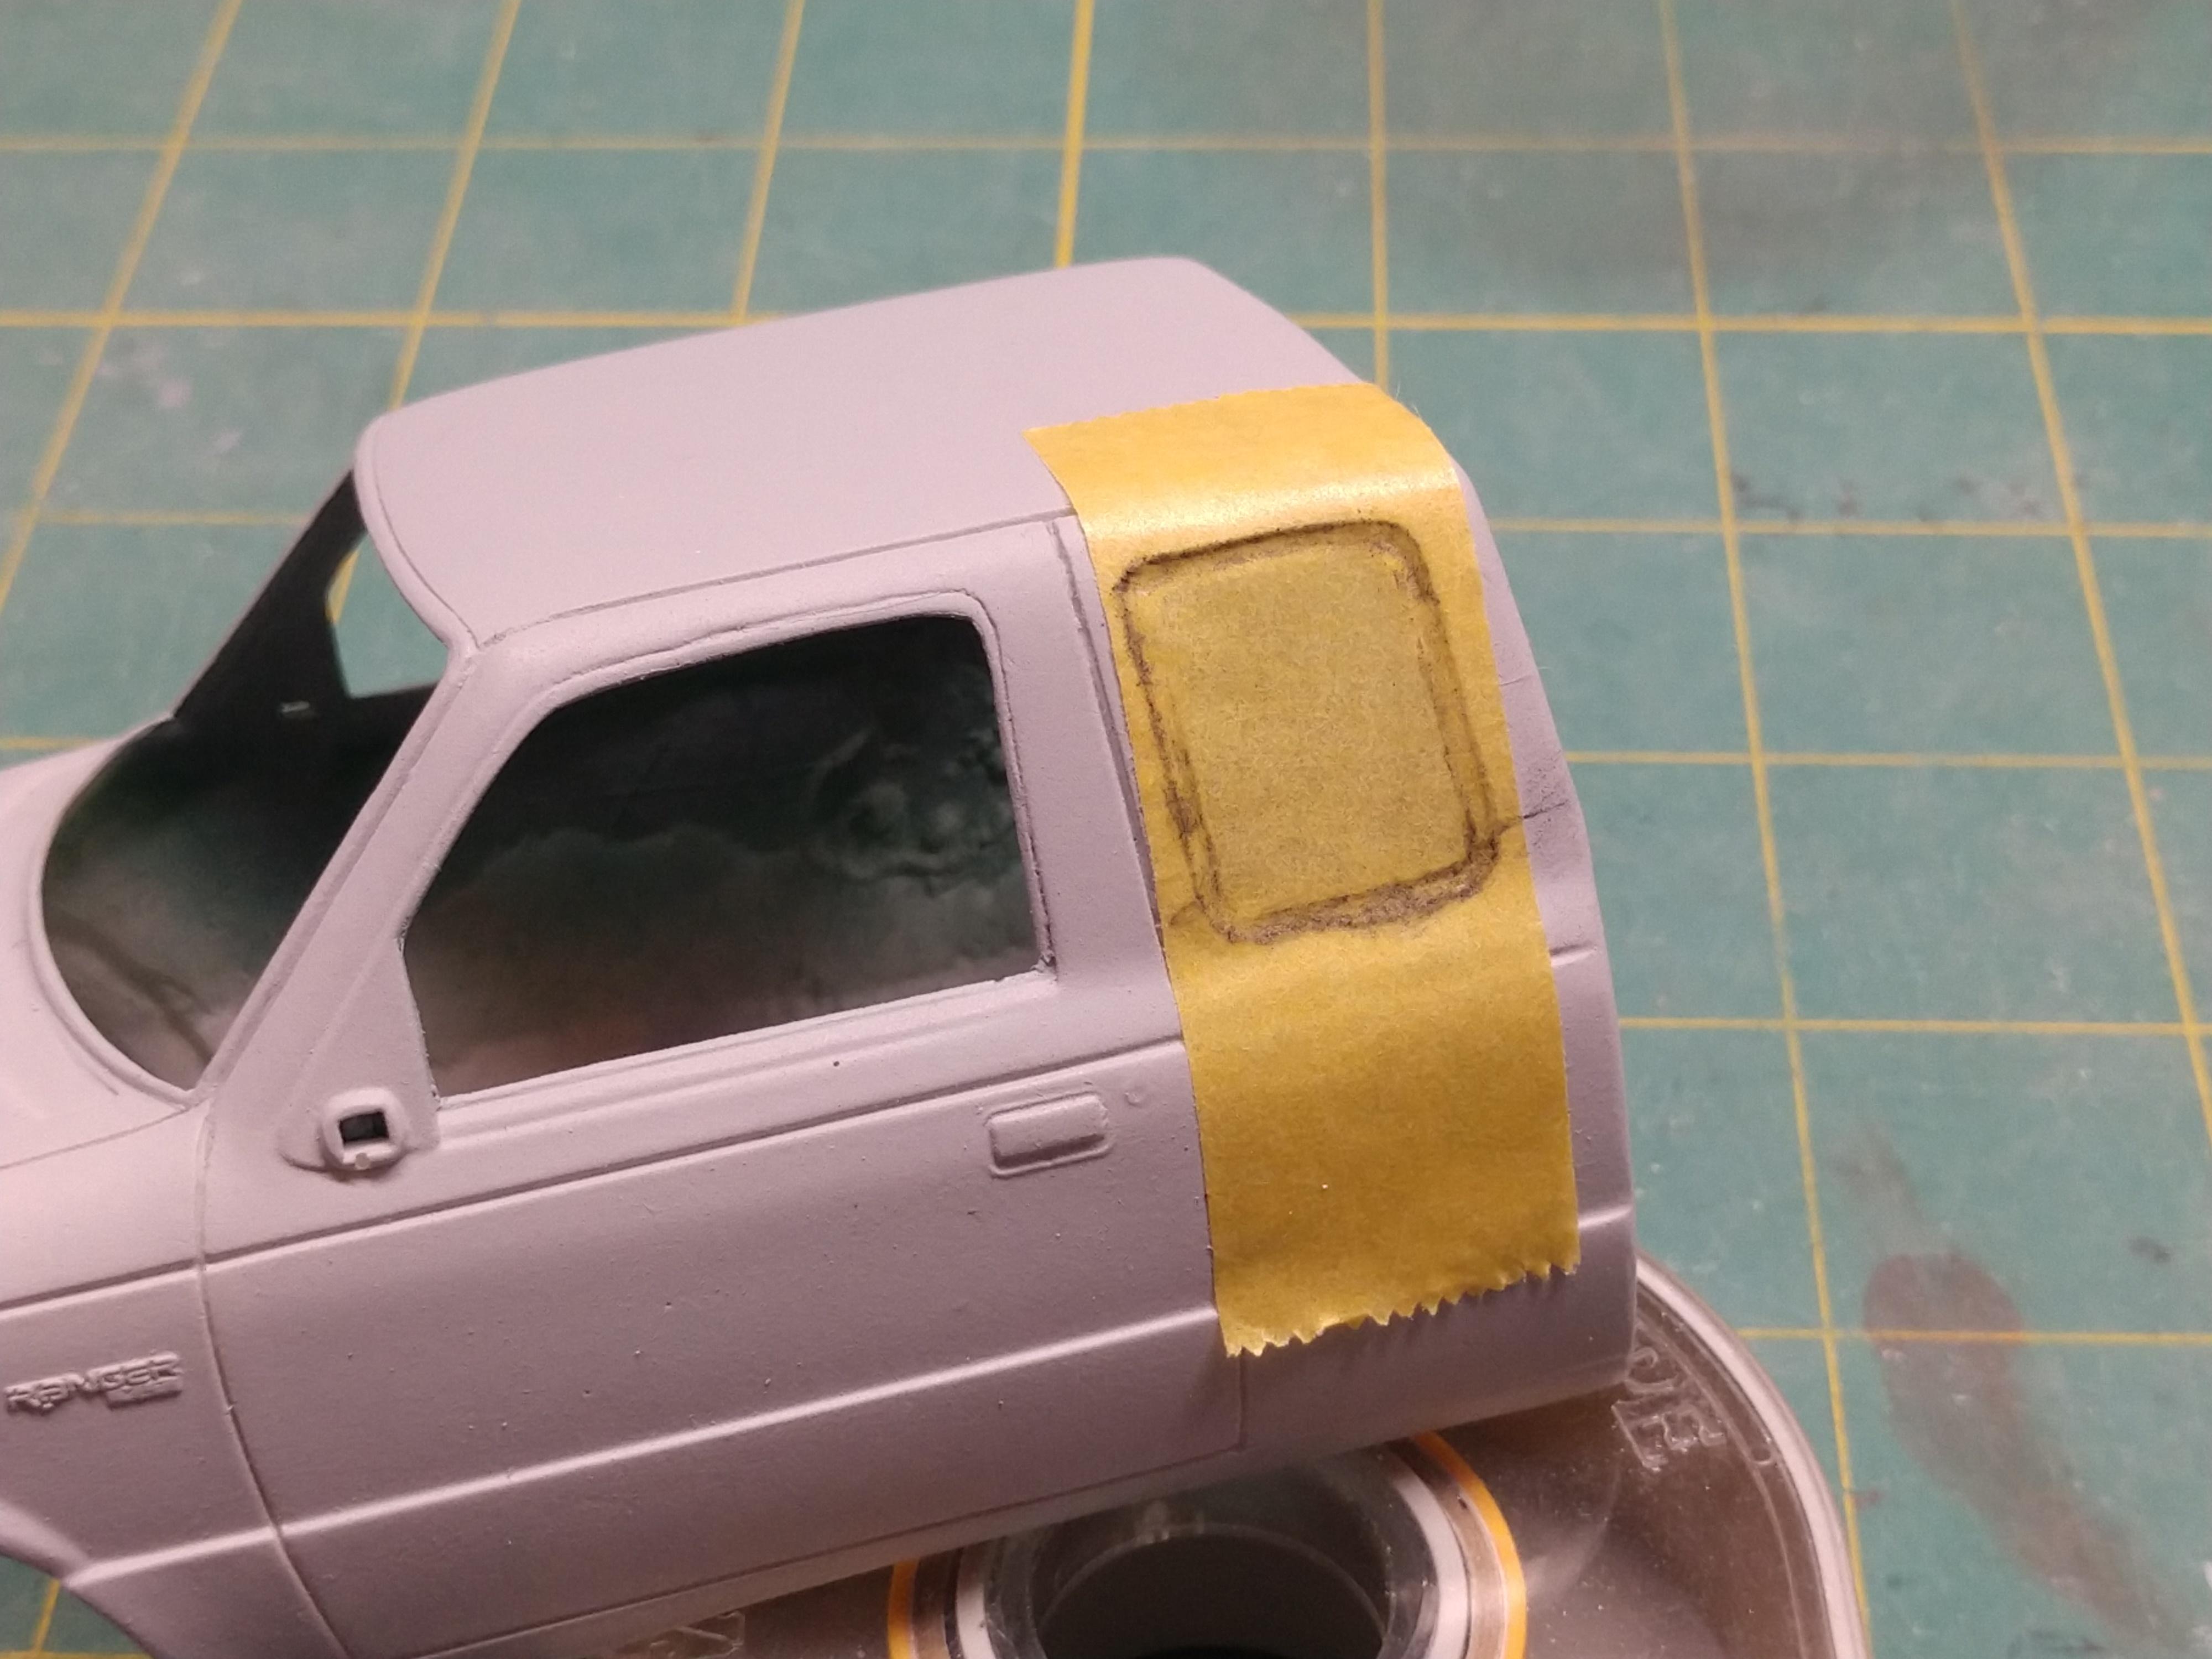
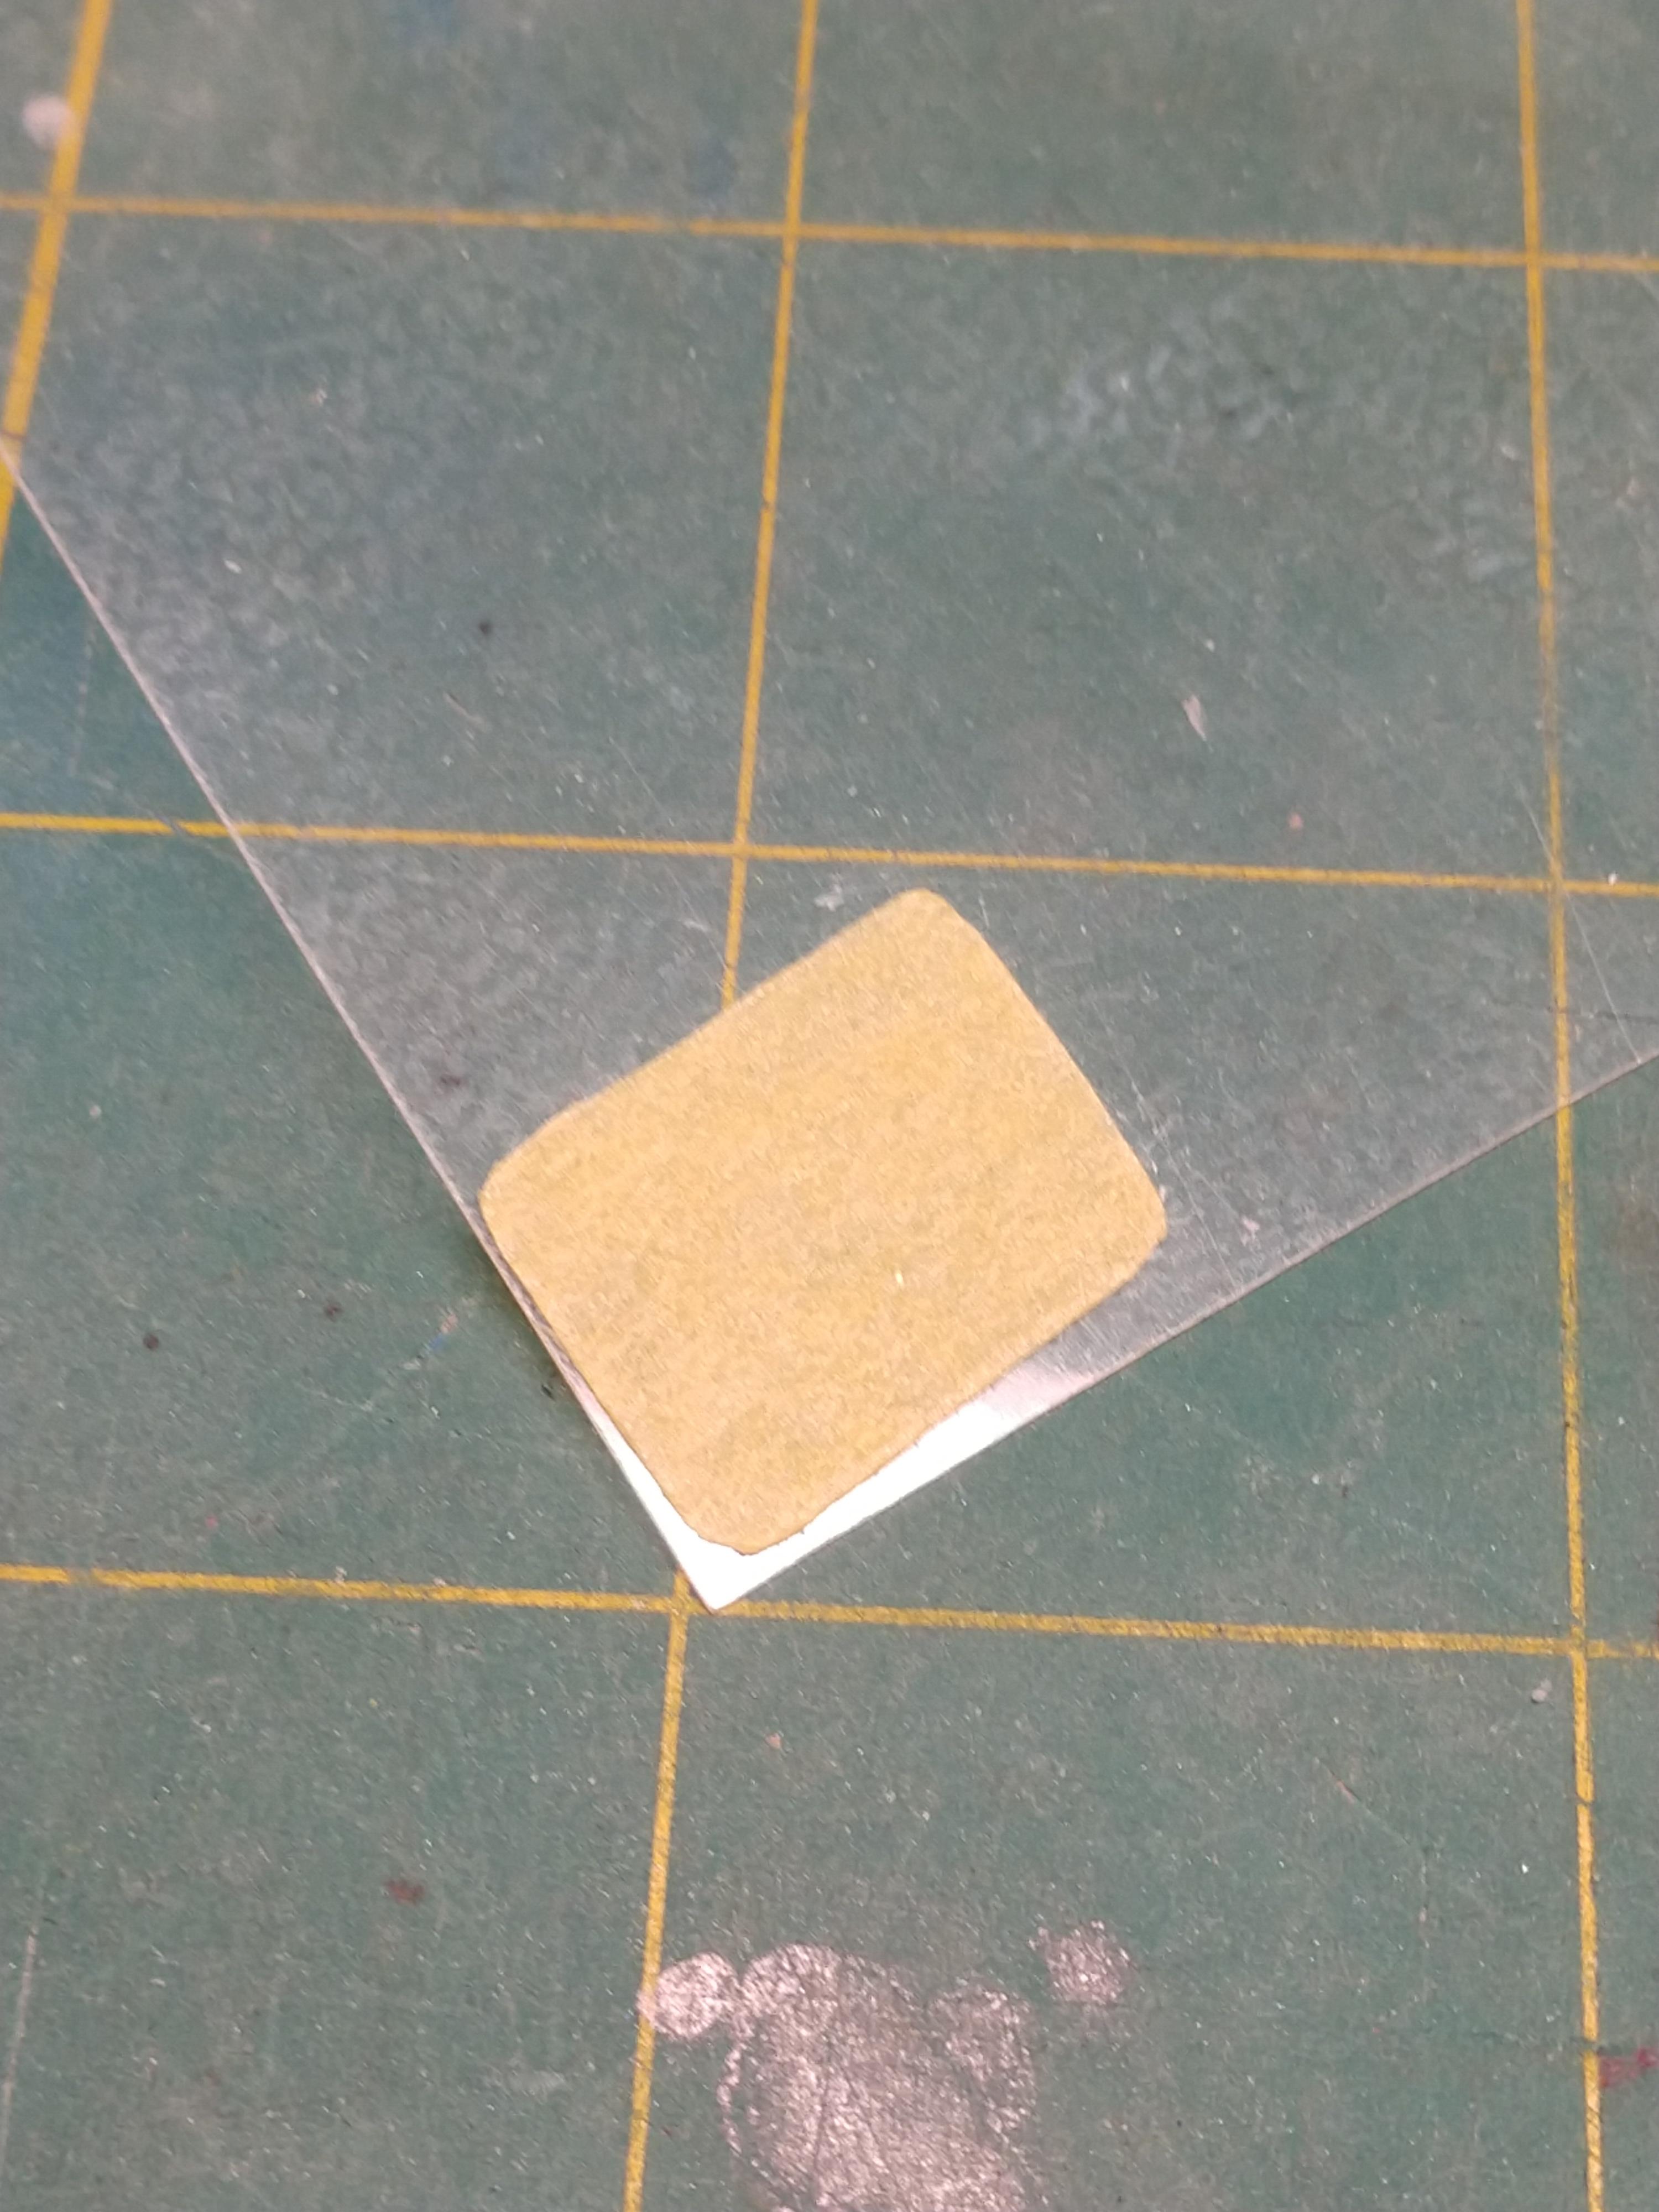
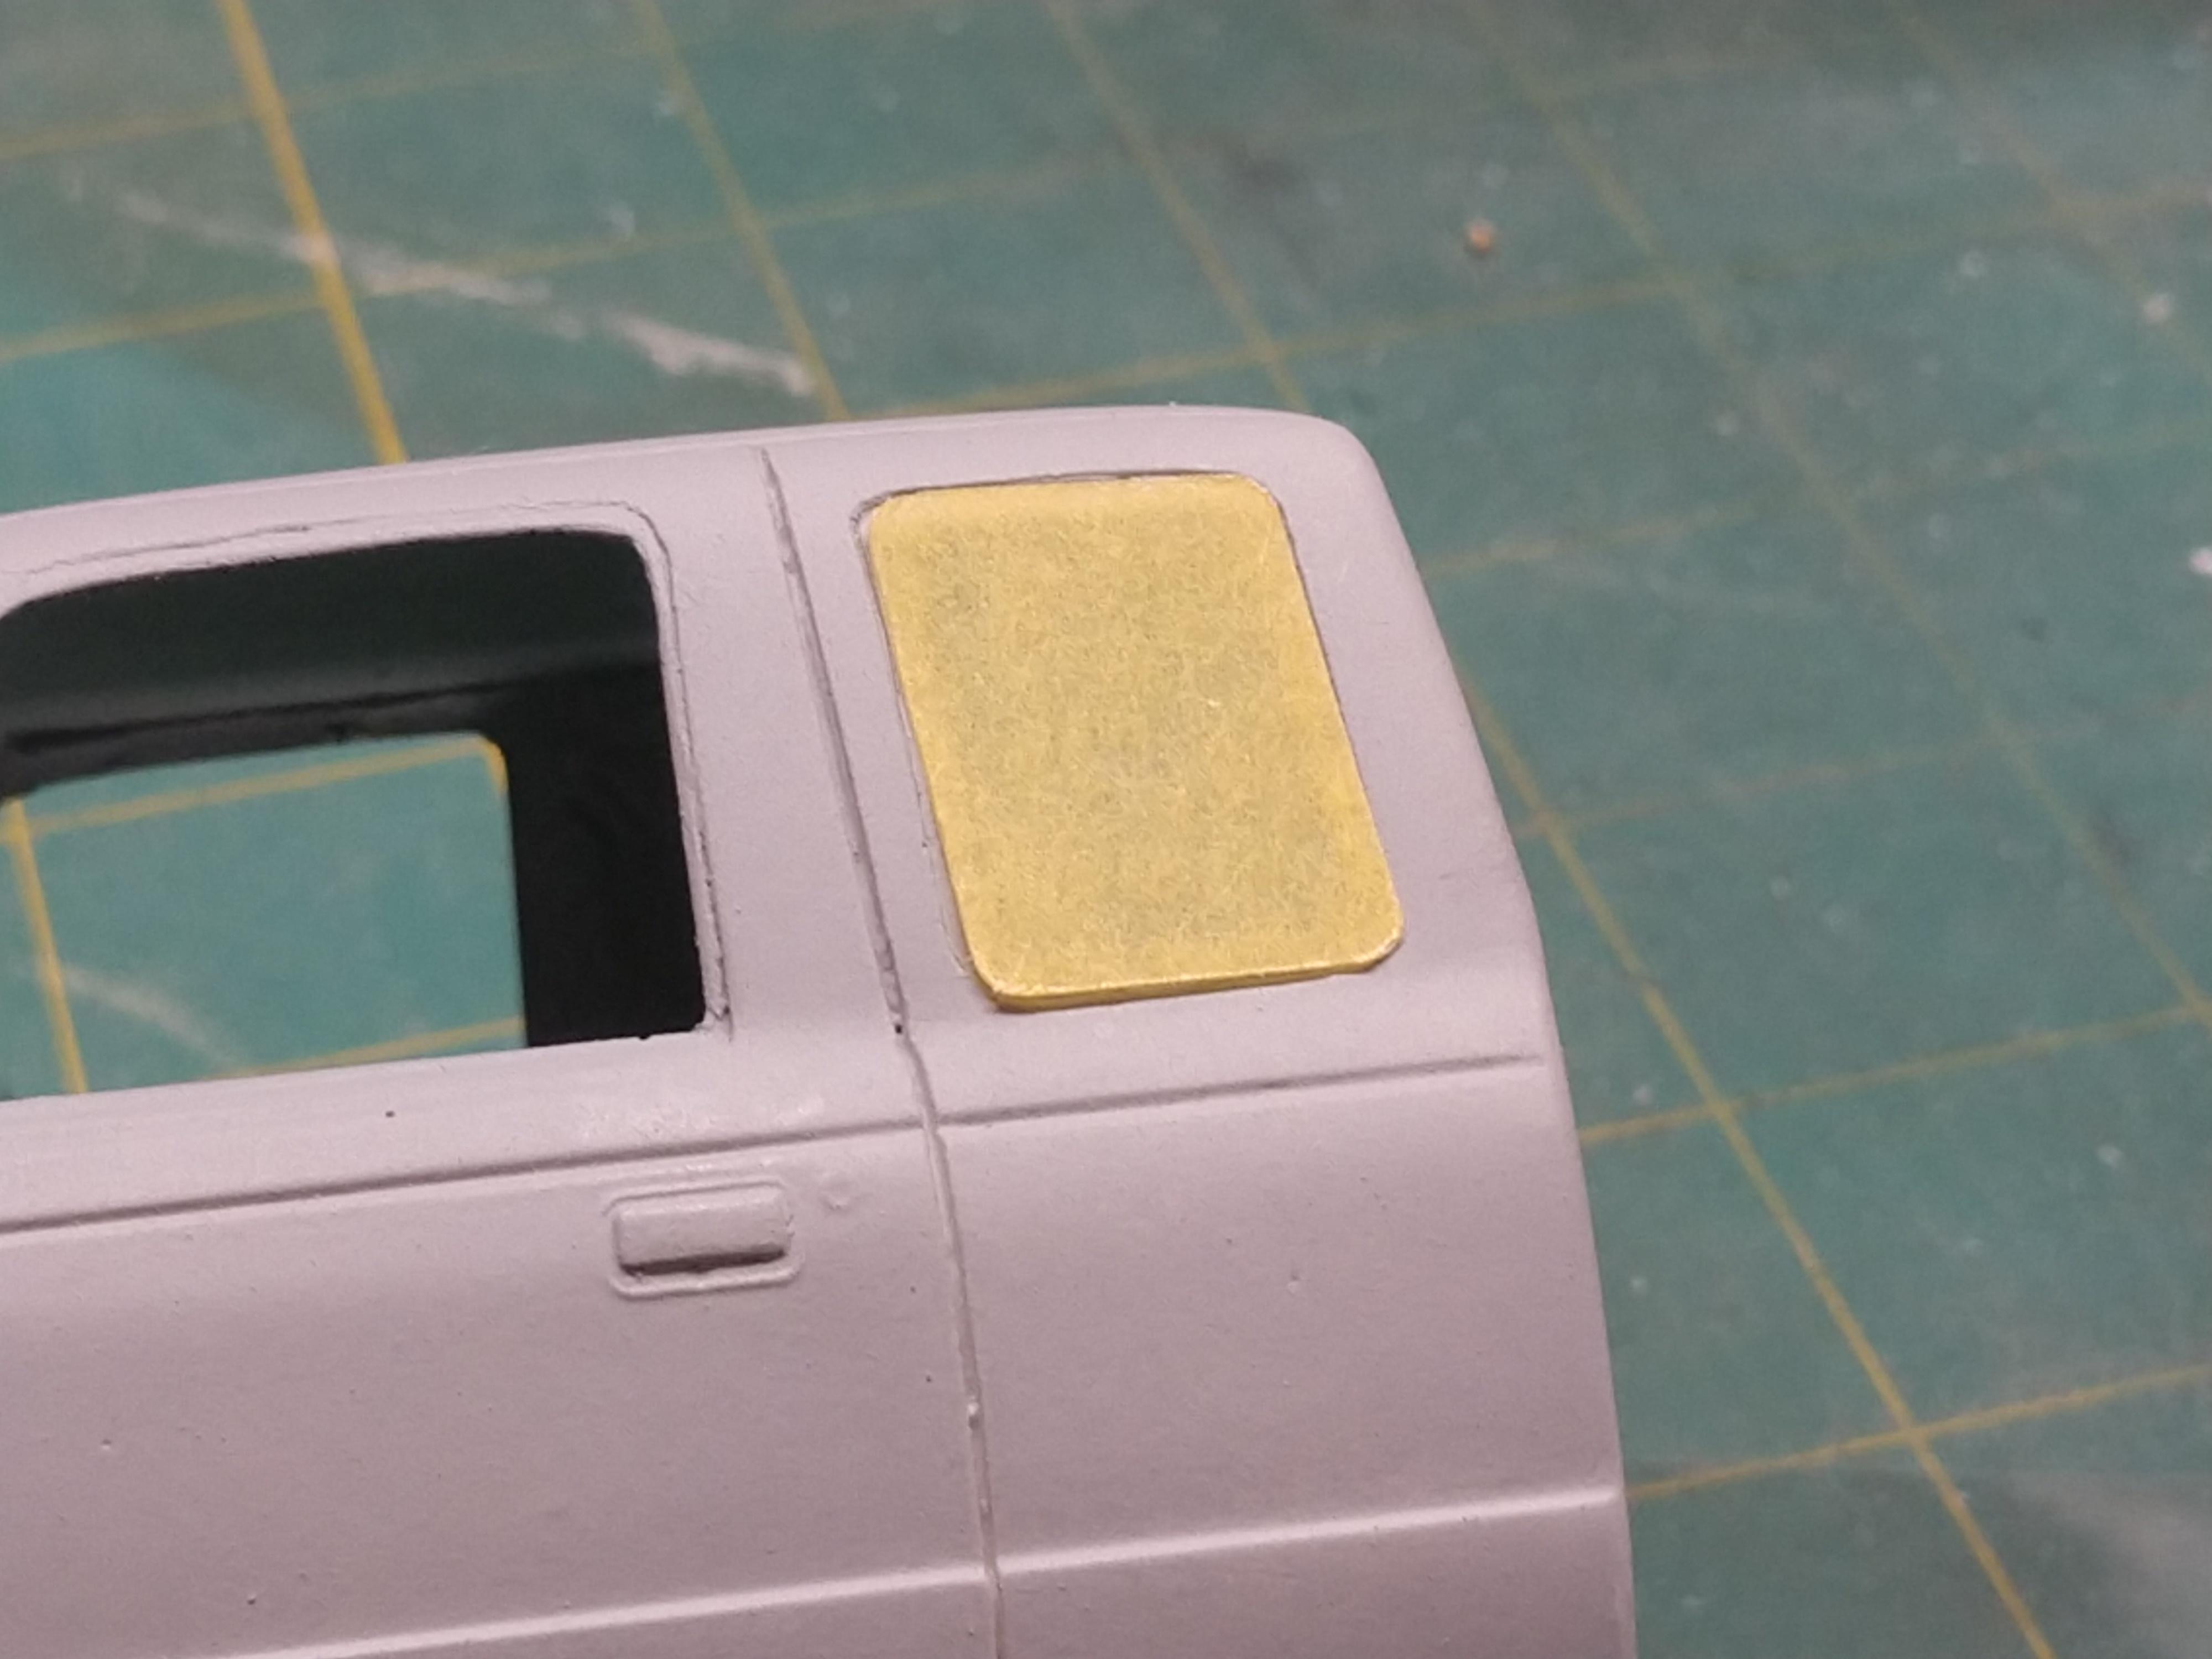
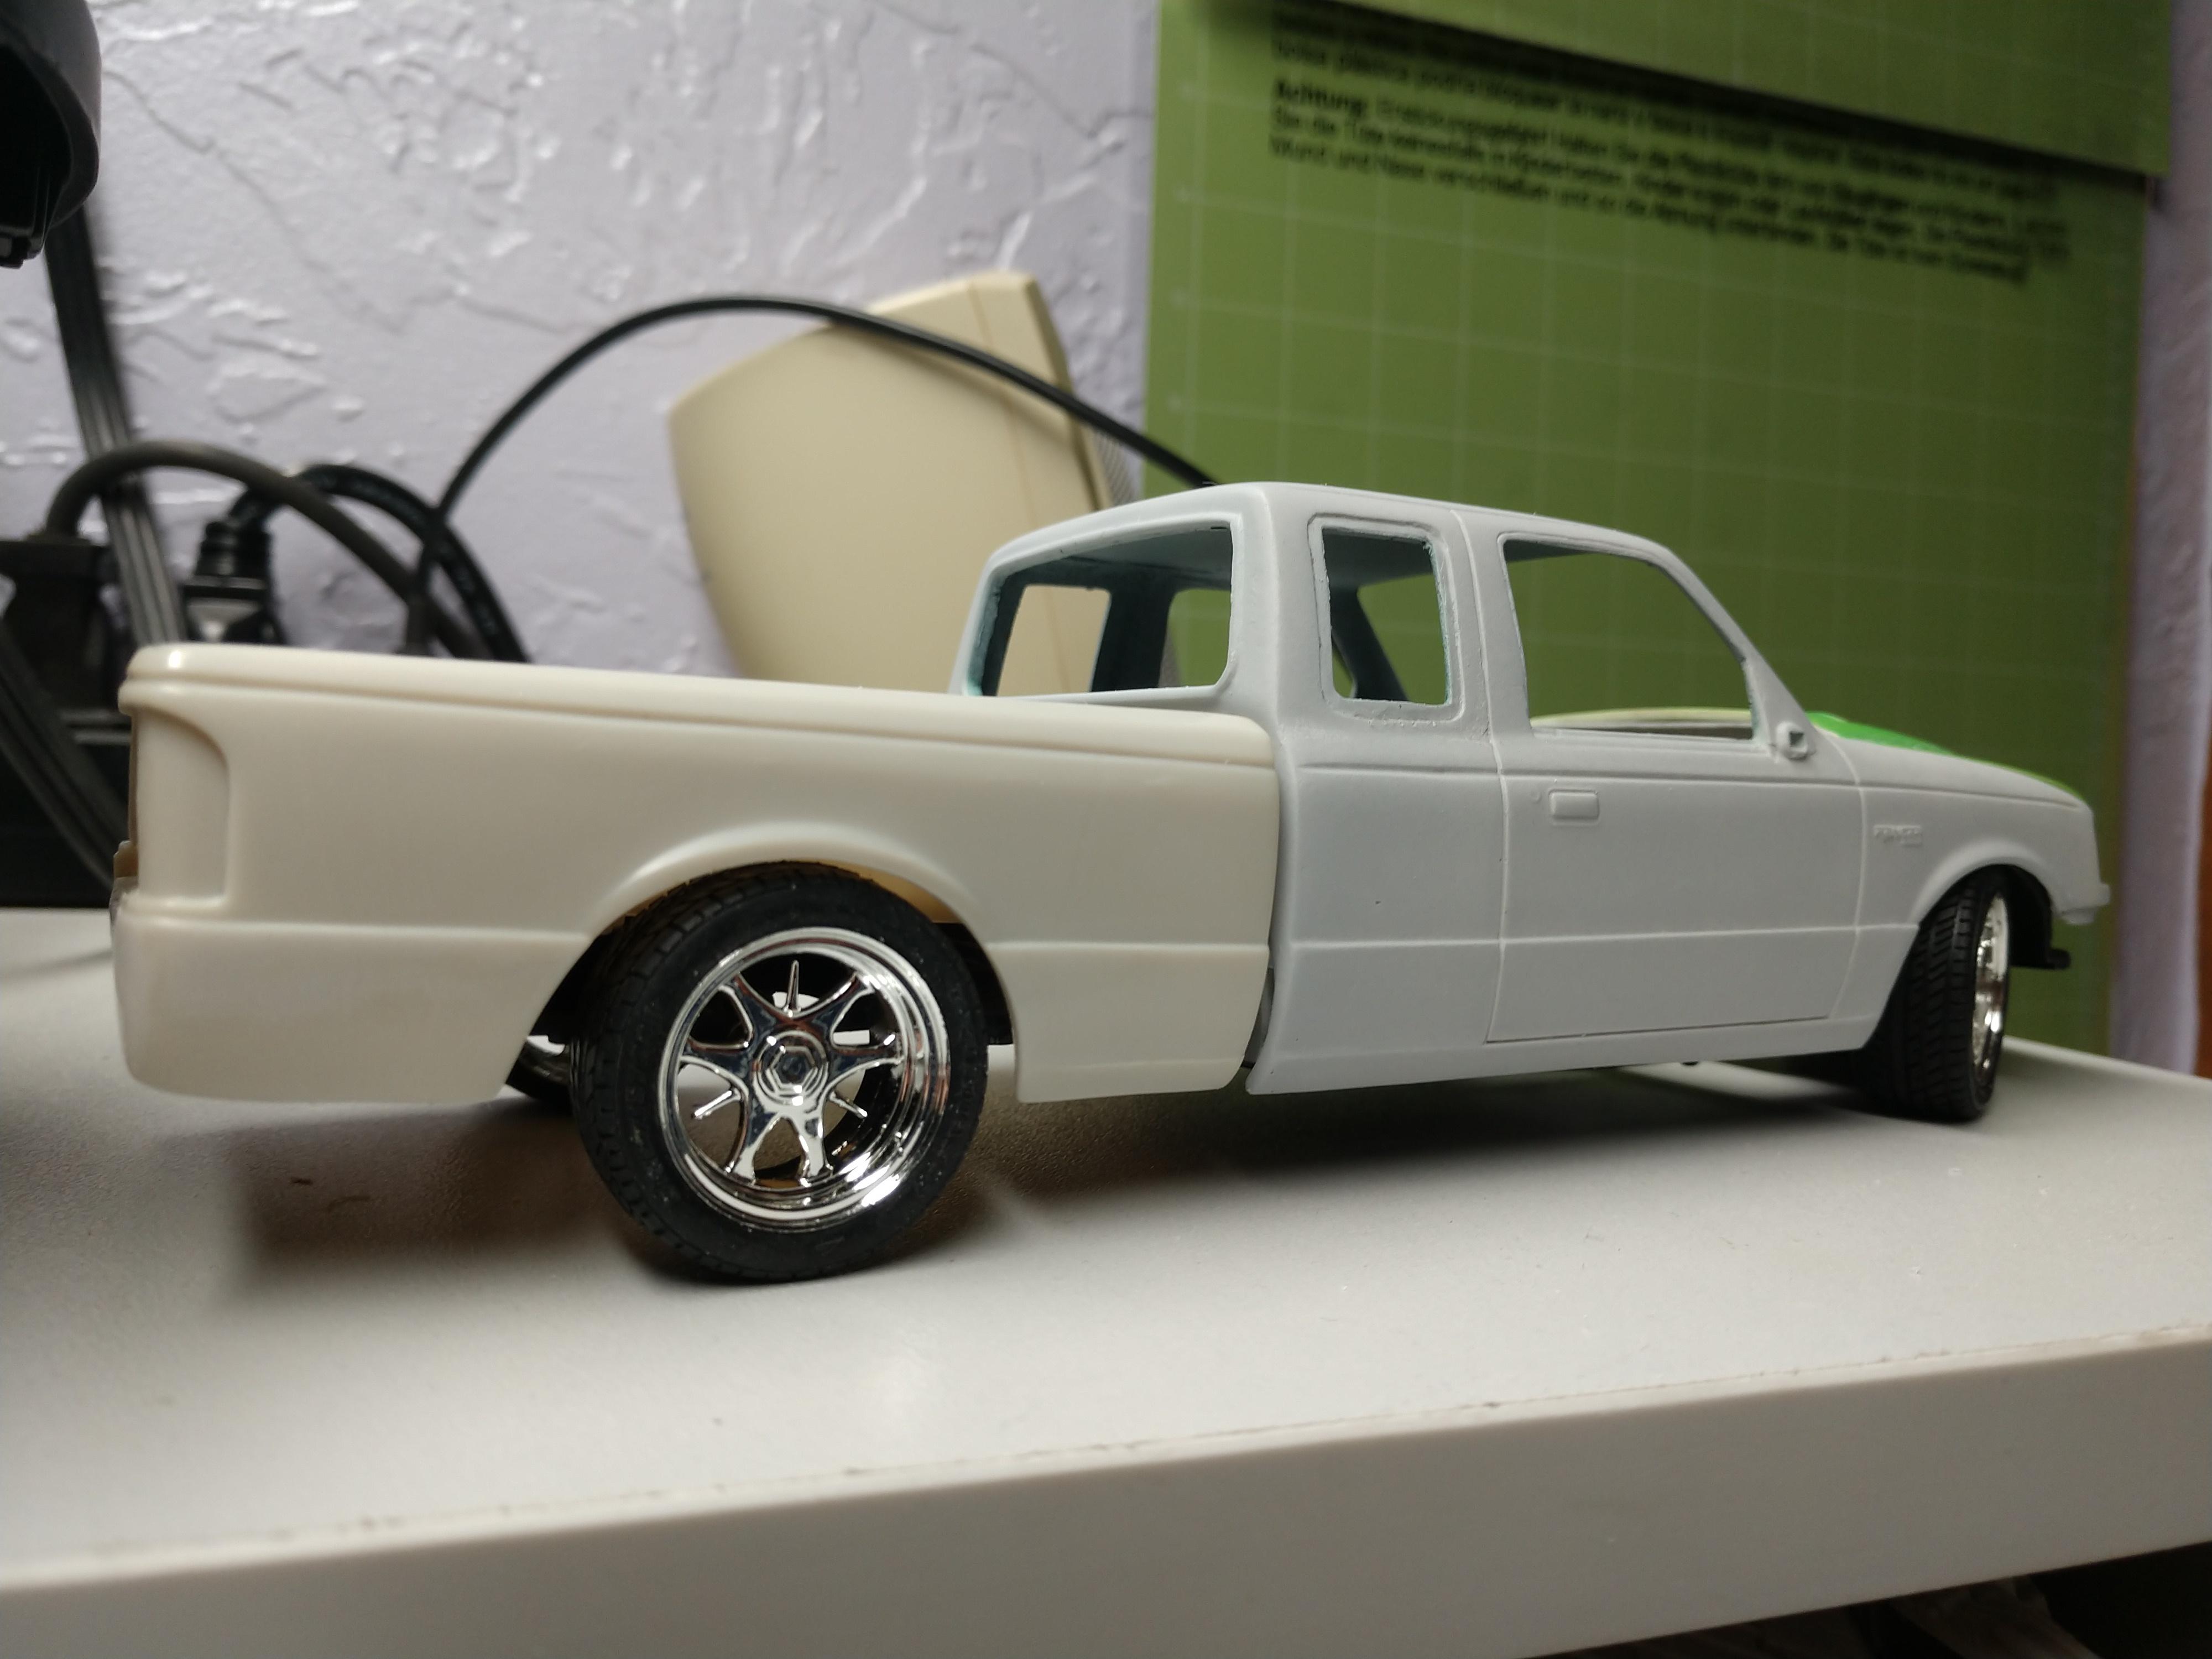
Started with the engine and got the interior done. I'm using the Monogram SVO Mustang 2.4 Turbo engine. Made a new intake manifold from styrene and aluminum tube. Made the bench seat from a F150 fit. I know the split is on the wrong side, but it's been 23+ years since I owned the real truck, so I just didn't want to be bothered to build an accurate seat. LOL I've also done some work on the side glass. Seems like it worked out ok. Now I hope t isn't another year before I post more progress. Lol
-
So a LONG time ago, I started a project of an extended cab Ranger to replicate my 1:1. As many of our projects go stagnant, it went on to the shelf of doom, not to see the light of day for about 20 years. Well, as skills and building materials improve, I resurrected the old codger, finished the roof, made a game plan for the side "glass" and finished the body. I stretched out the chassis, interior pan, and body using two kits, then modified the door panels for the interior using those fake credit cards and strip styrene. Made molds of everything and cast up a few sets. So today I have made visible progress. Lowered the rear suspension, painted some stuff. So I had to check the ride height. I hope to have the drivetrain sorted out soon so I can start with the details. I'm kinda stoked about this one. Hopefully it doesn't take as long as the SVO did! Thanks for looking!
-
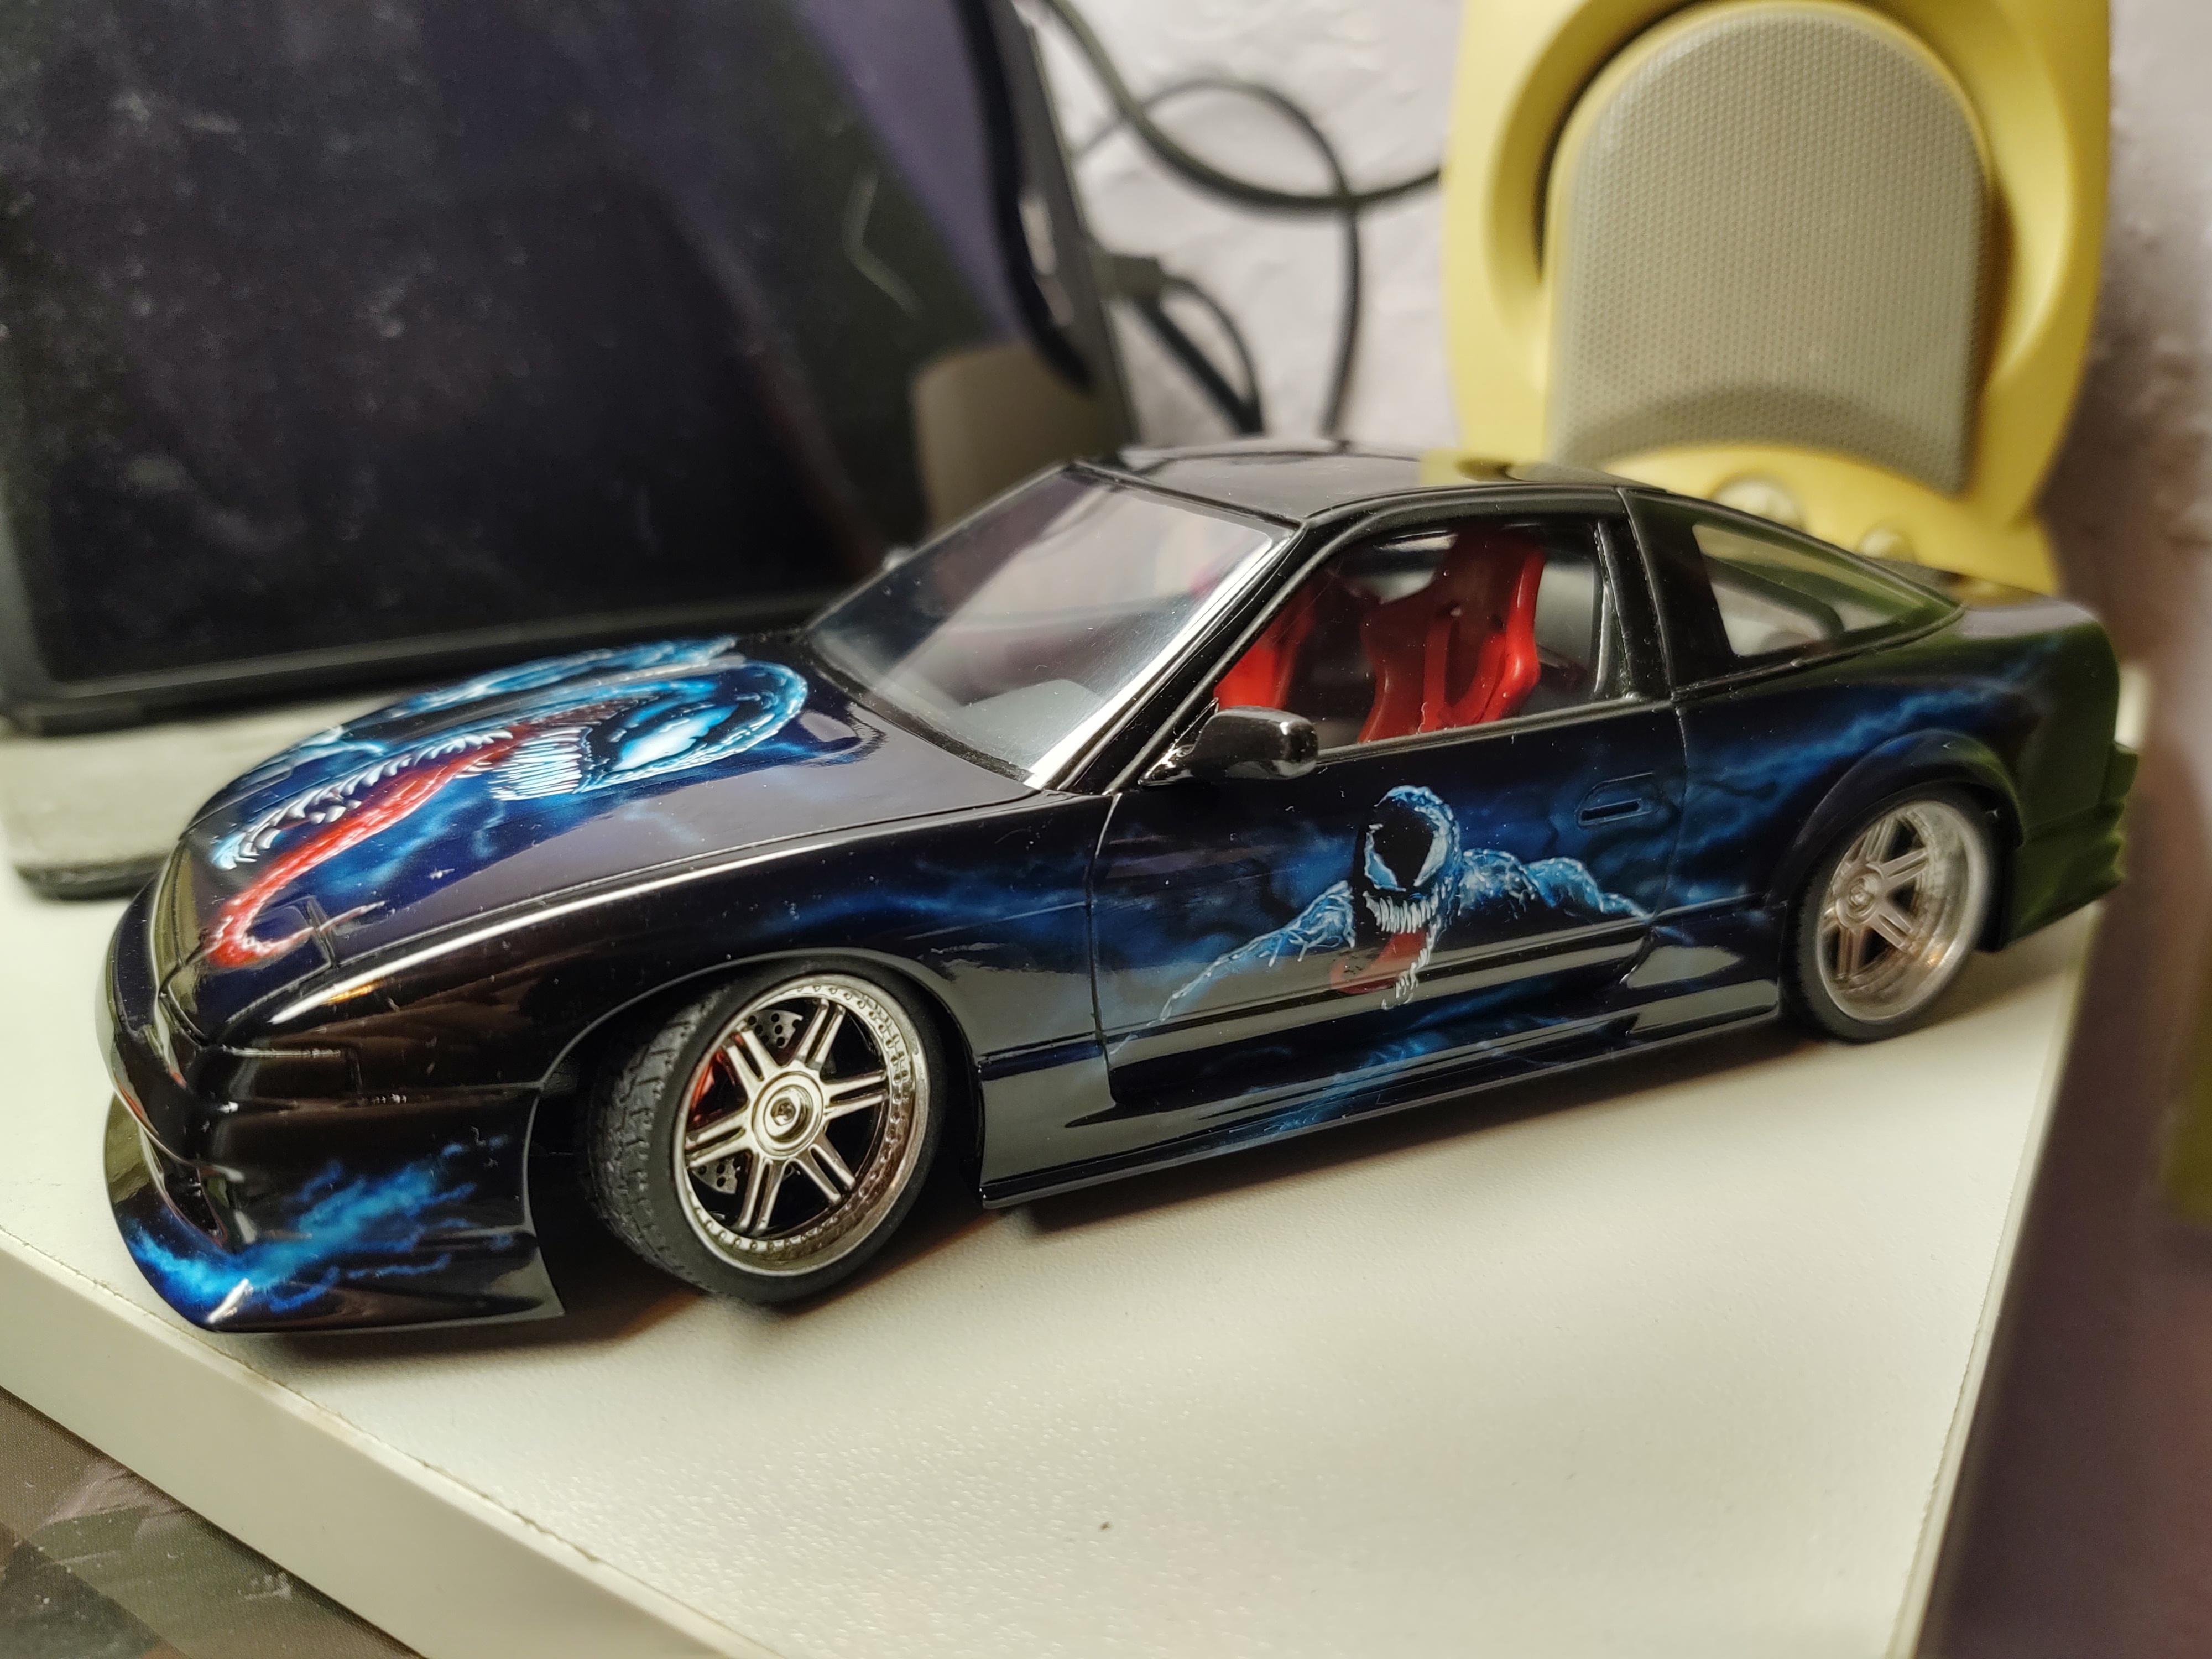
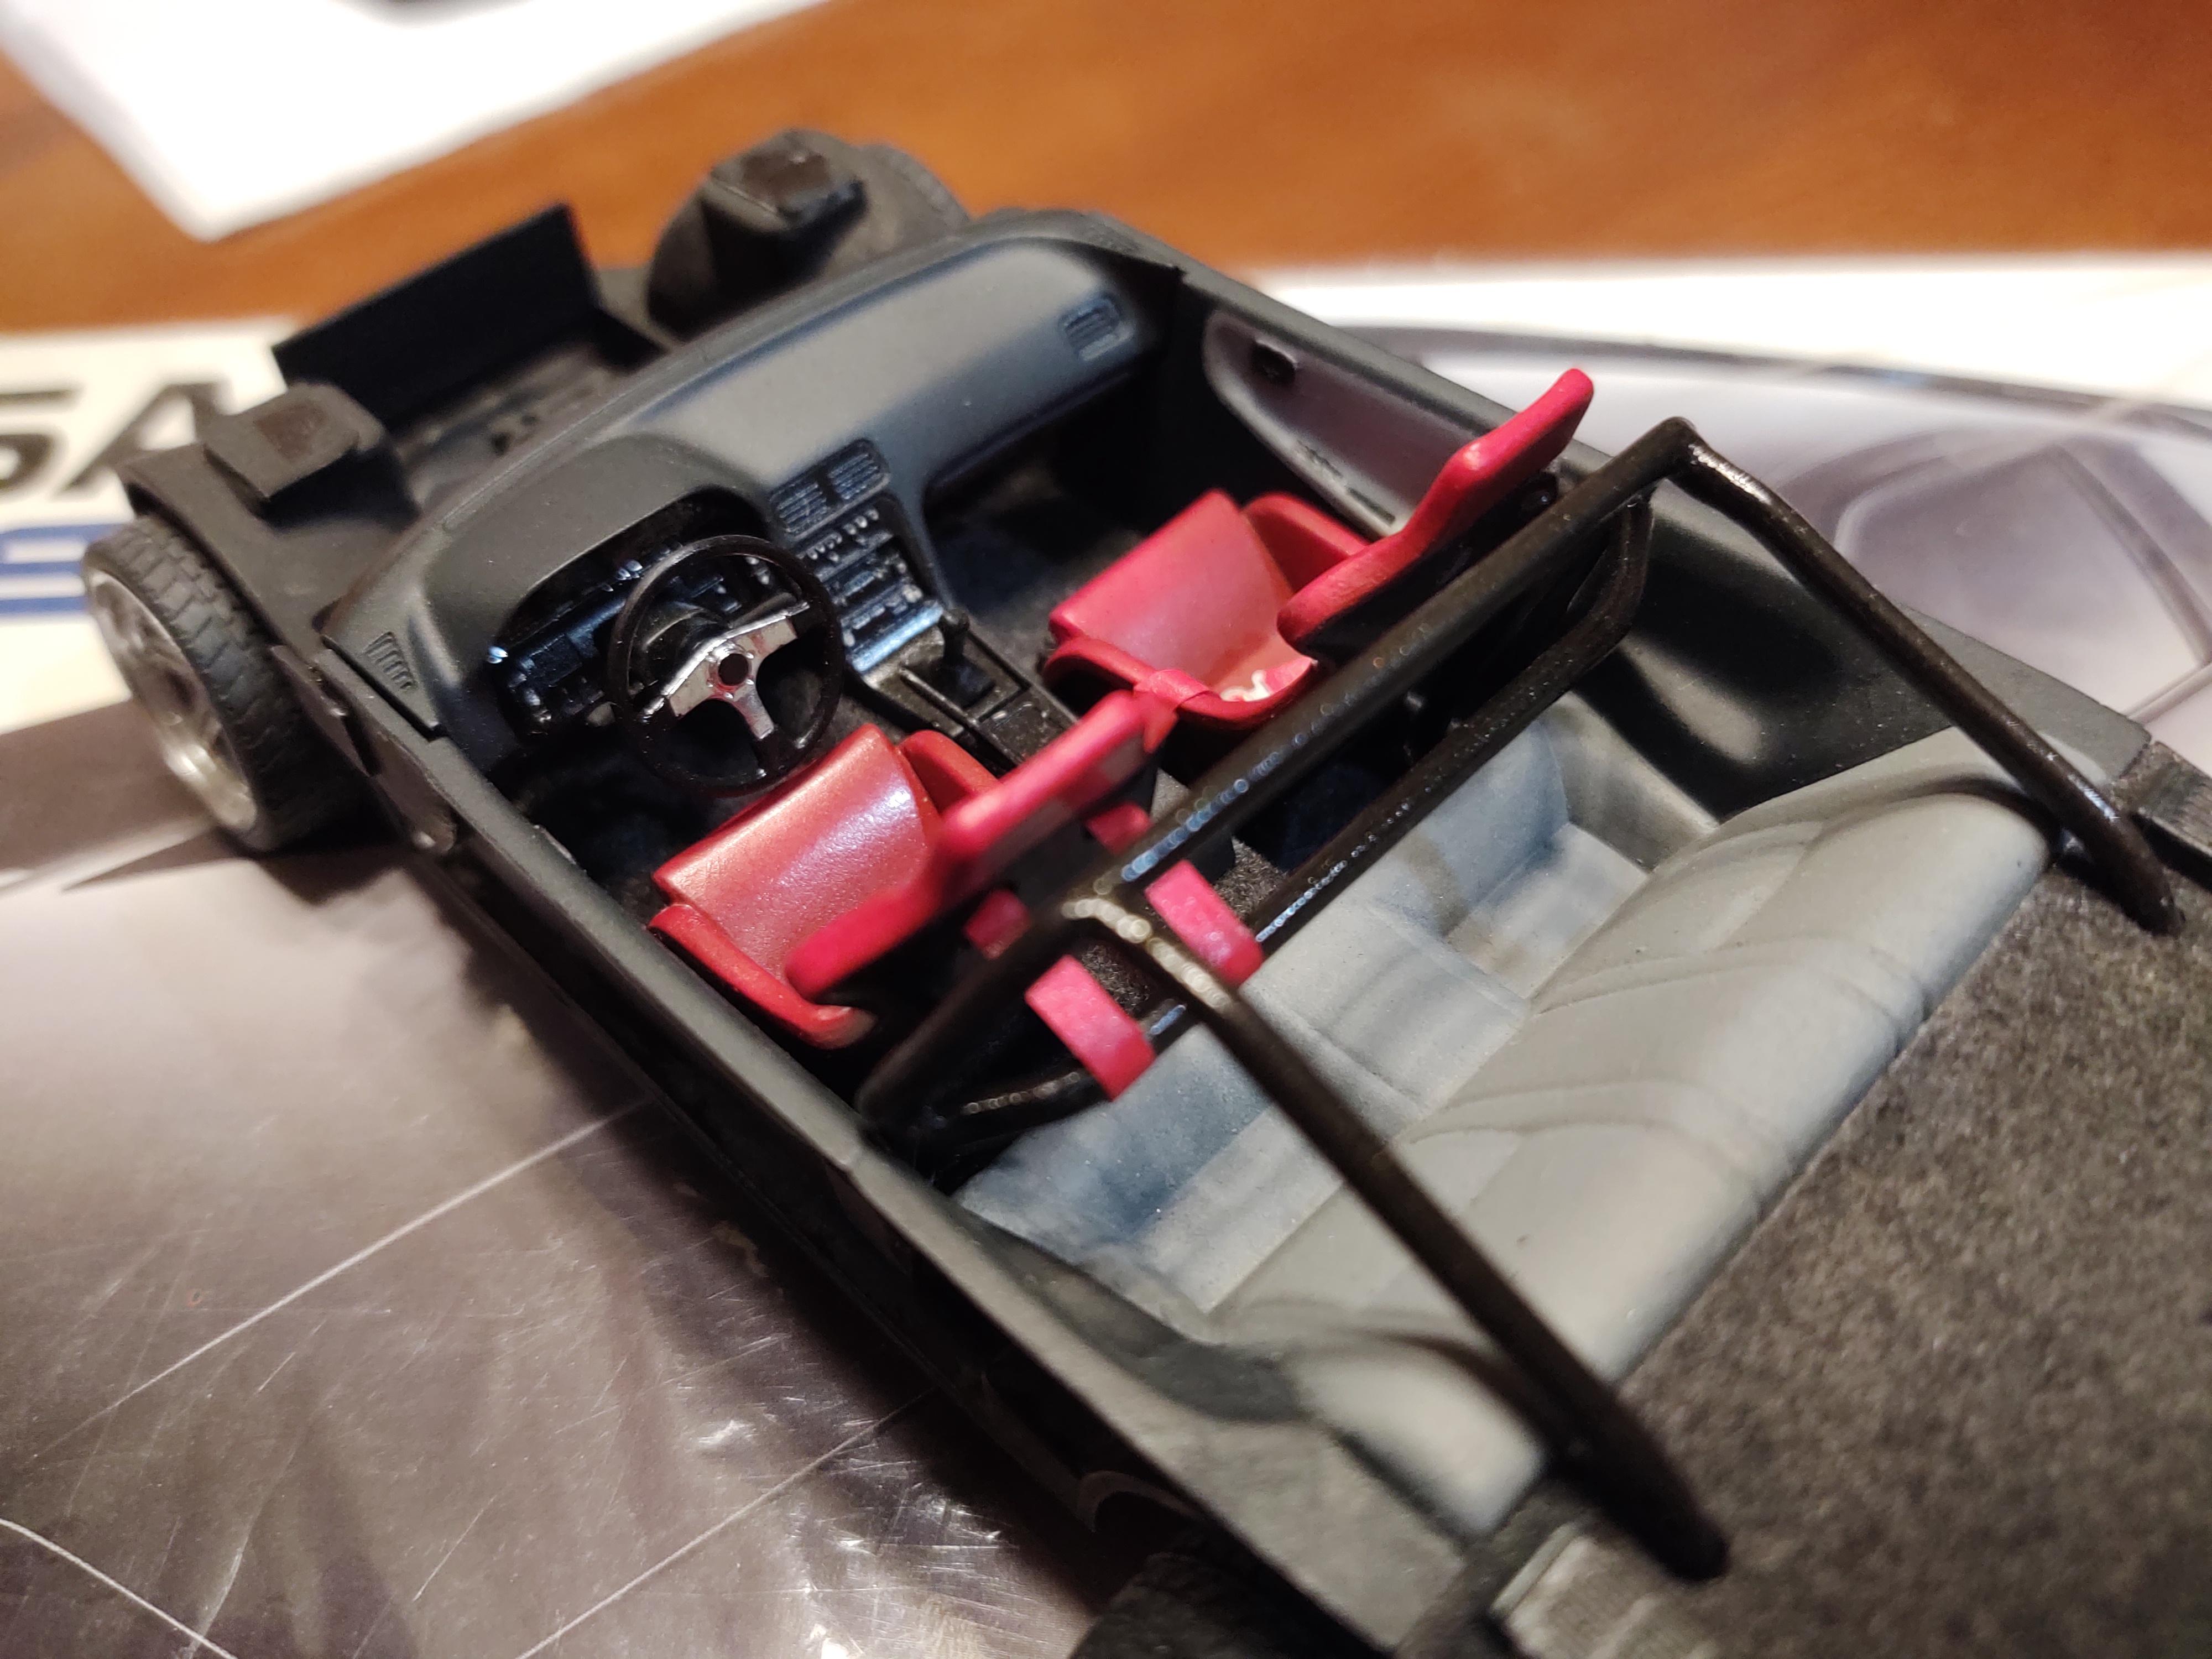
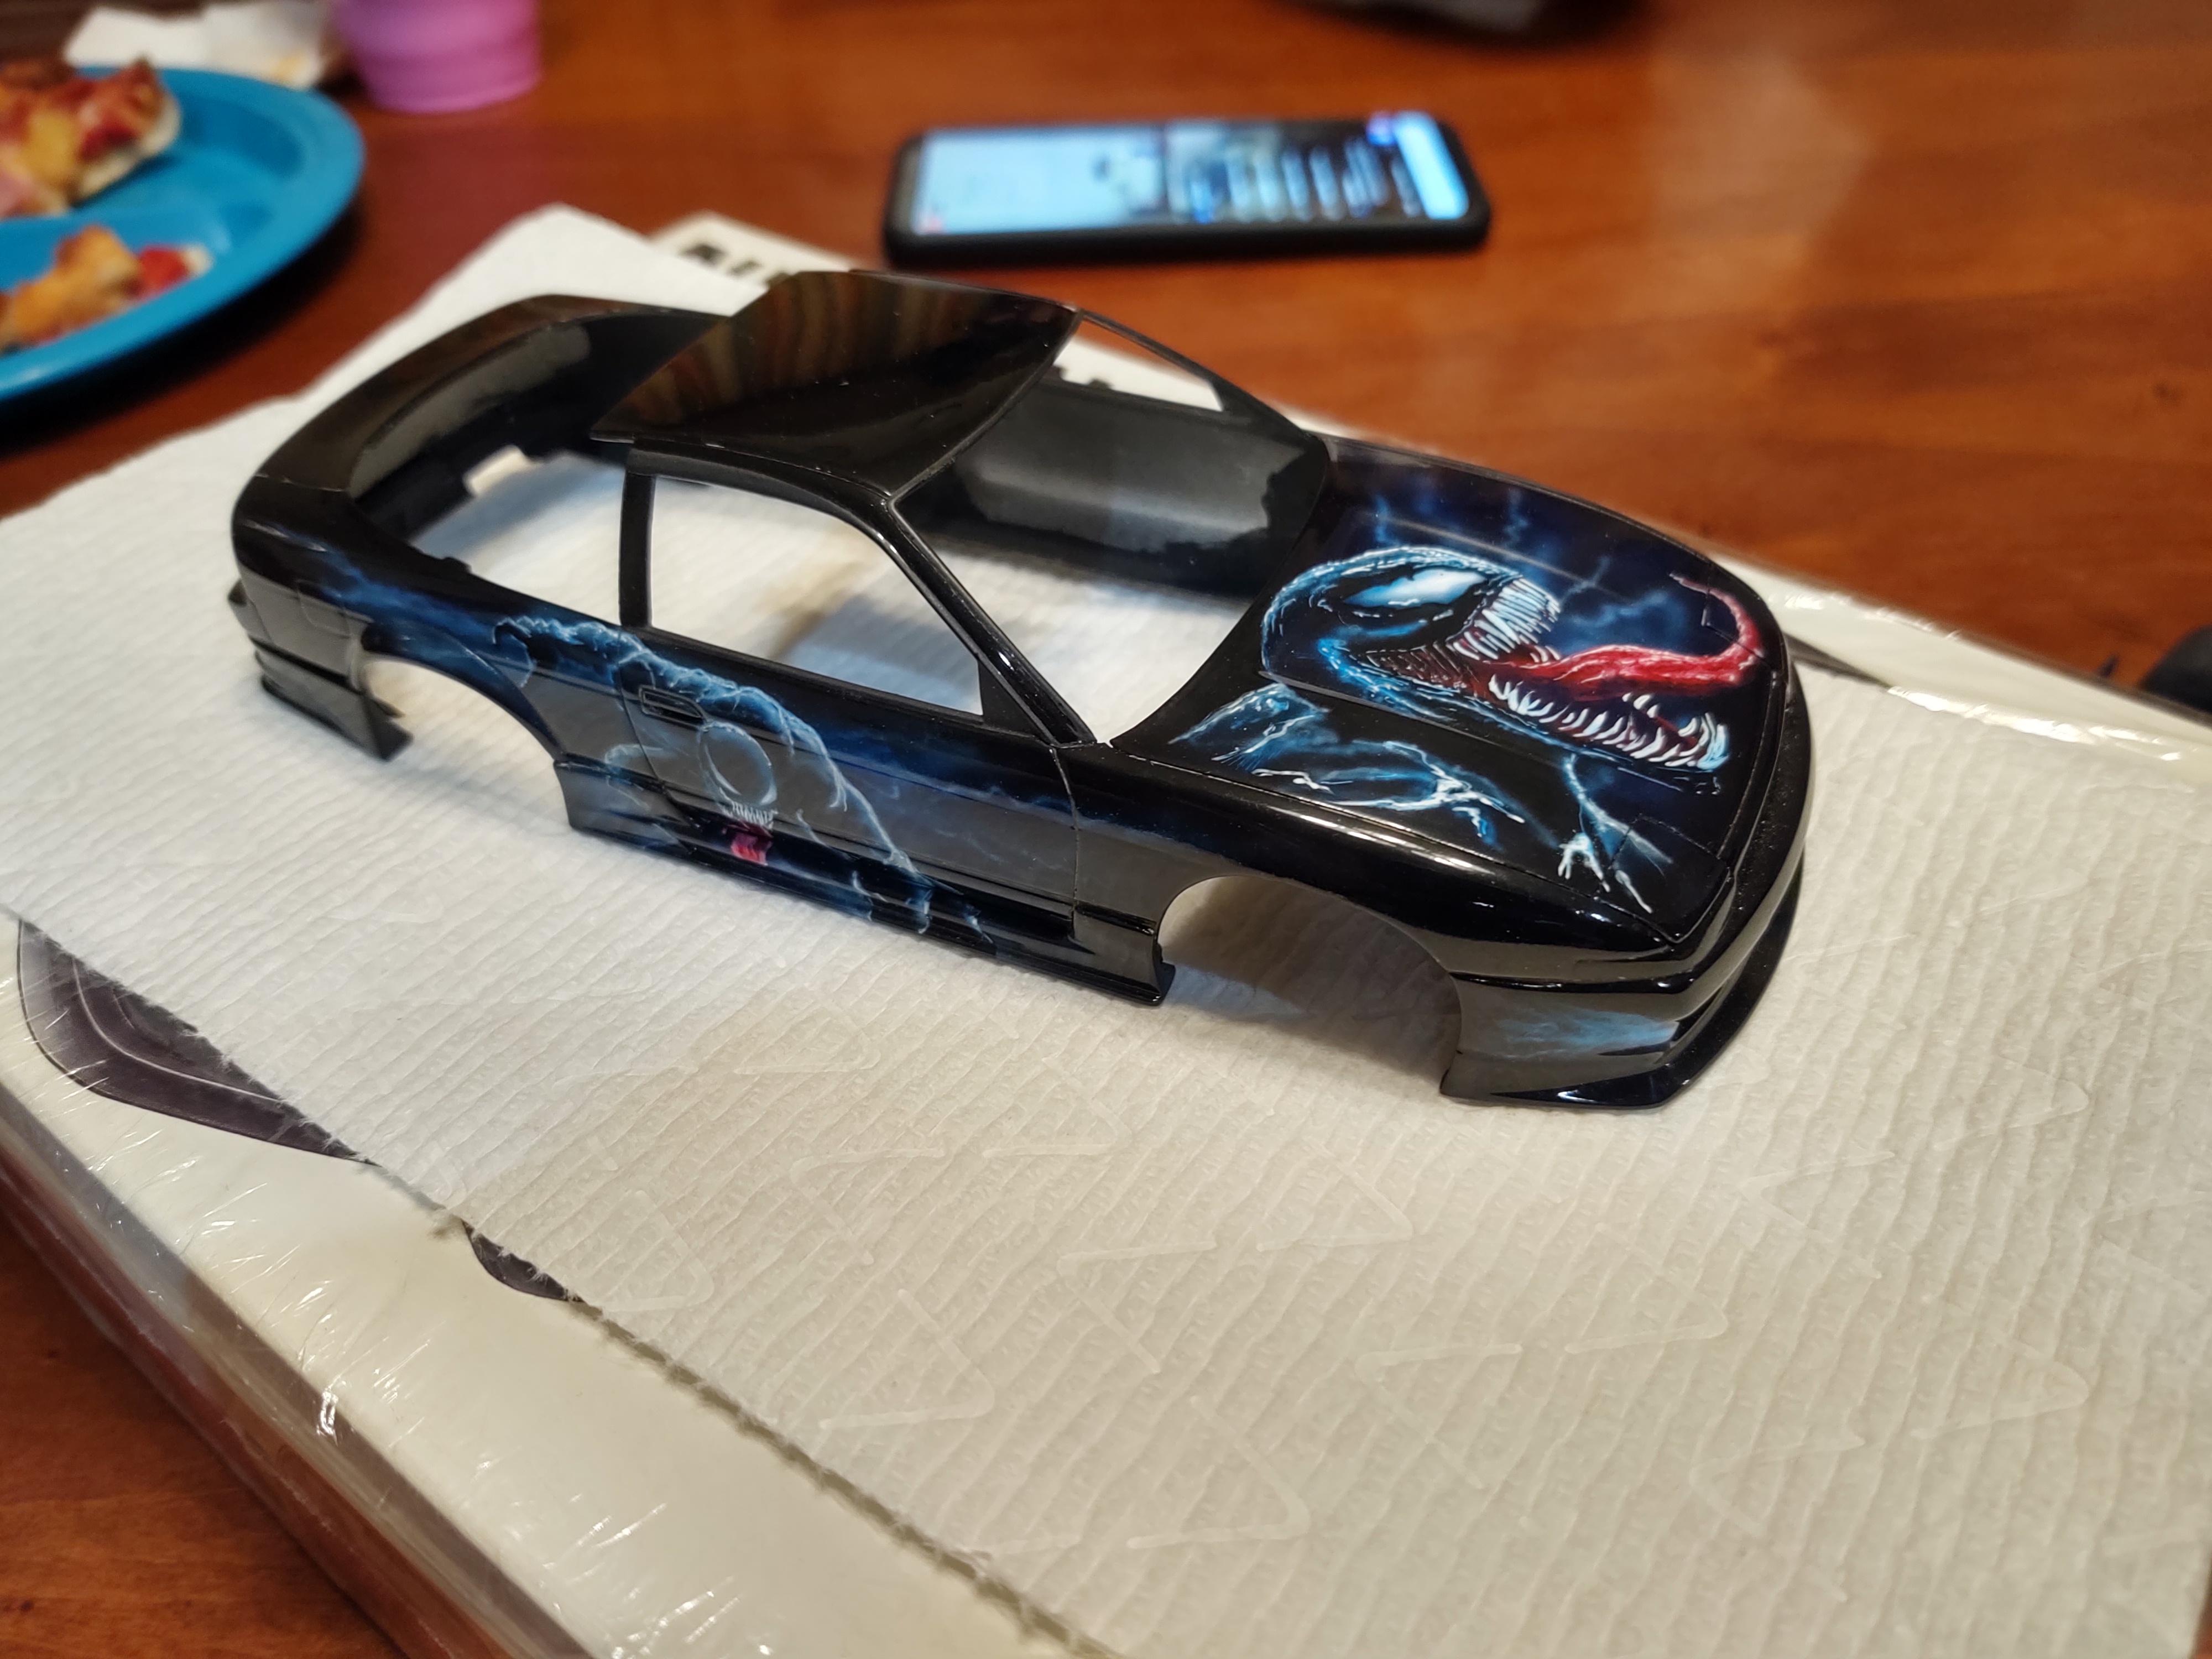
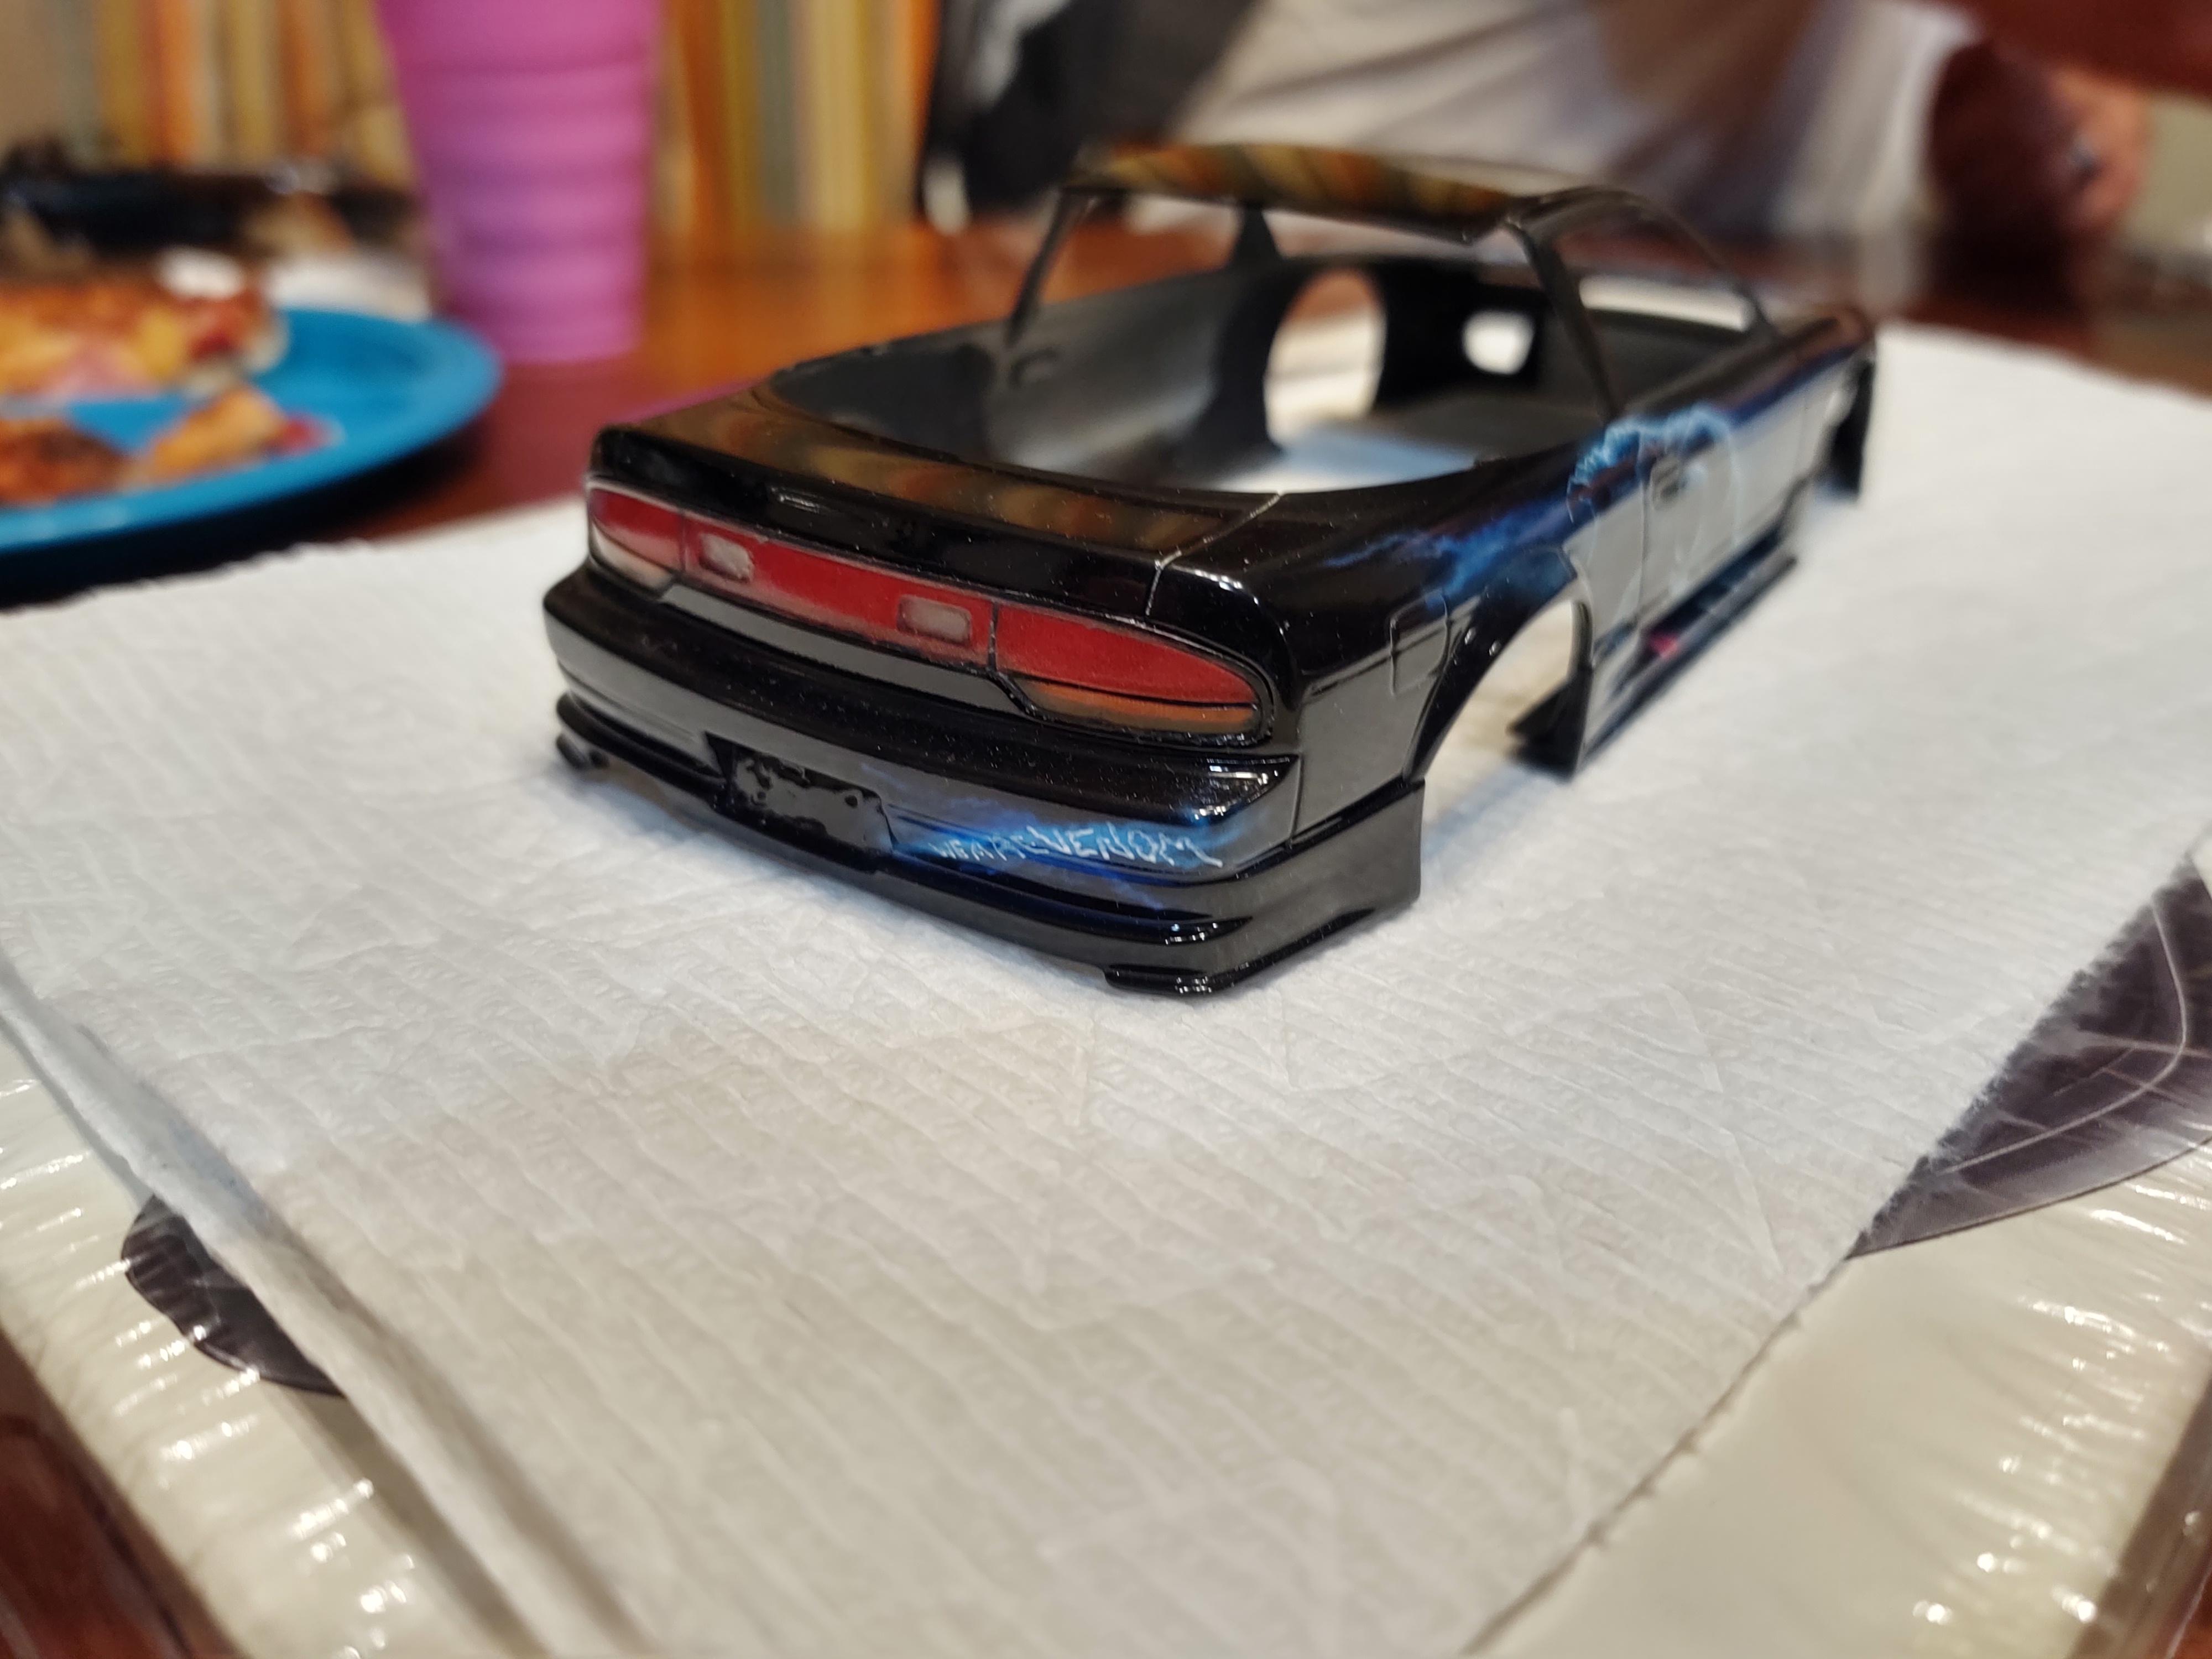
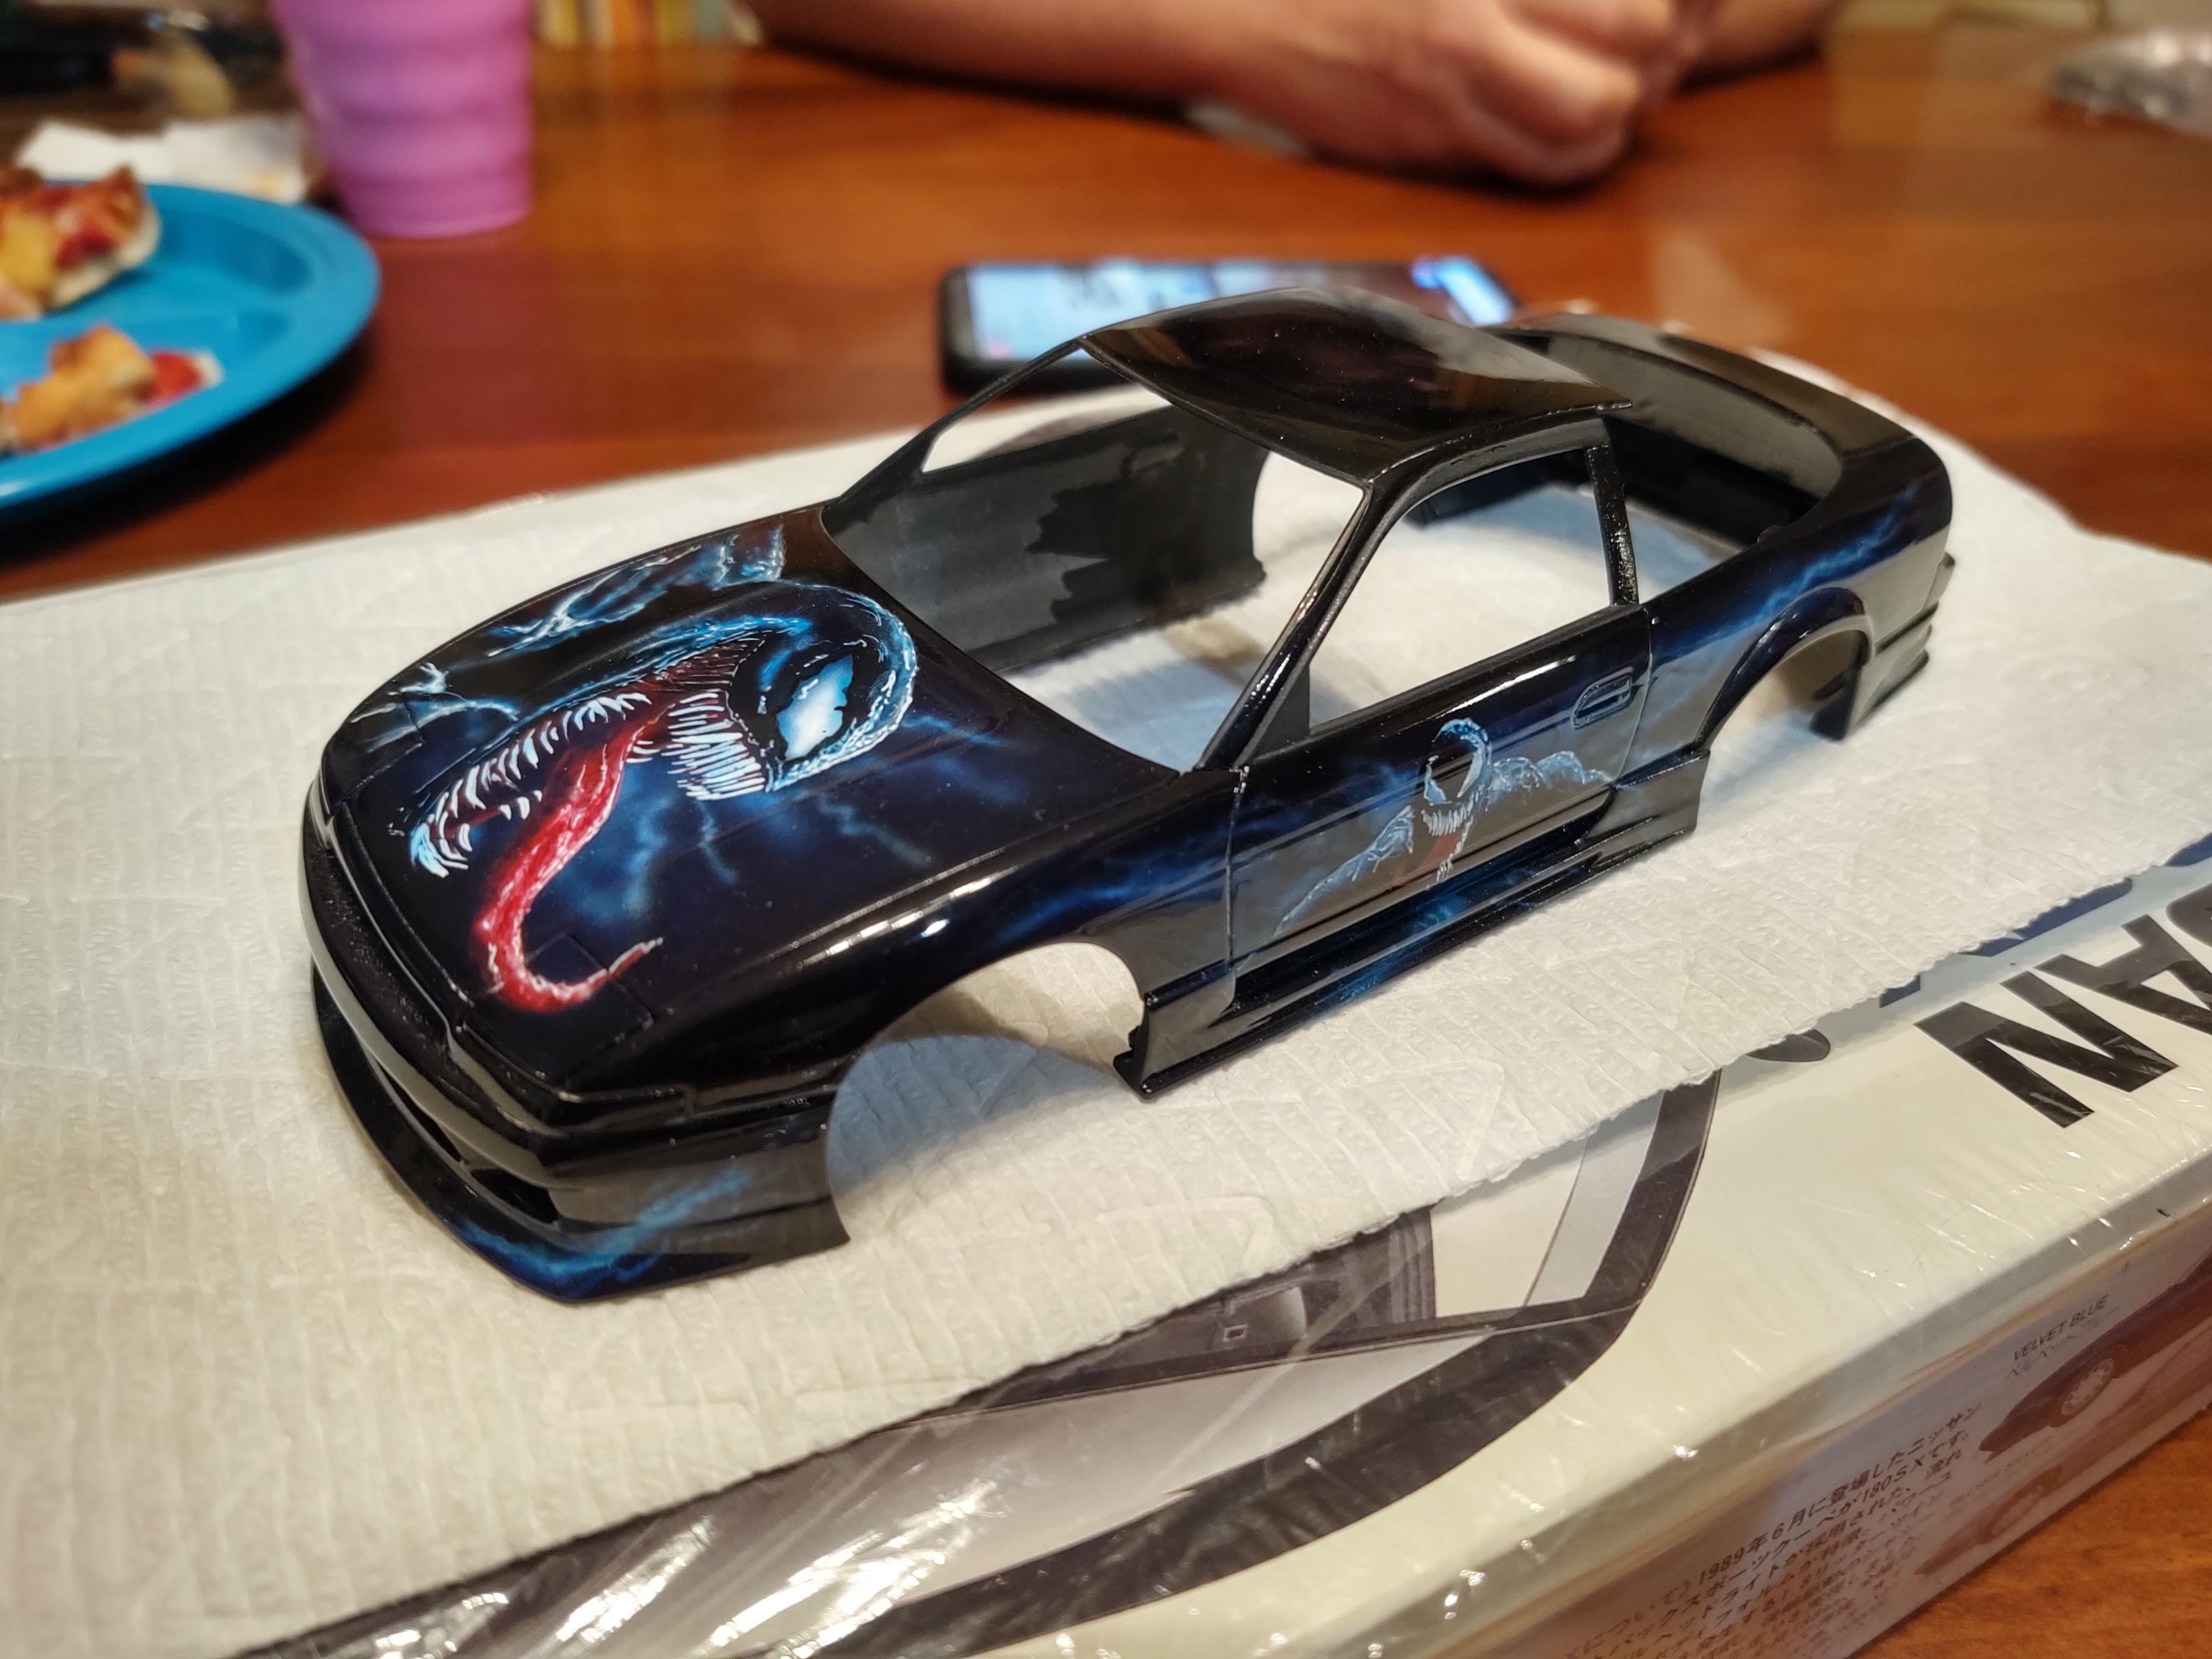
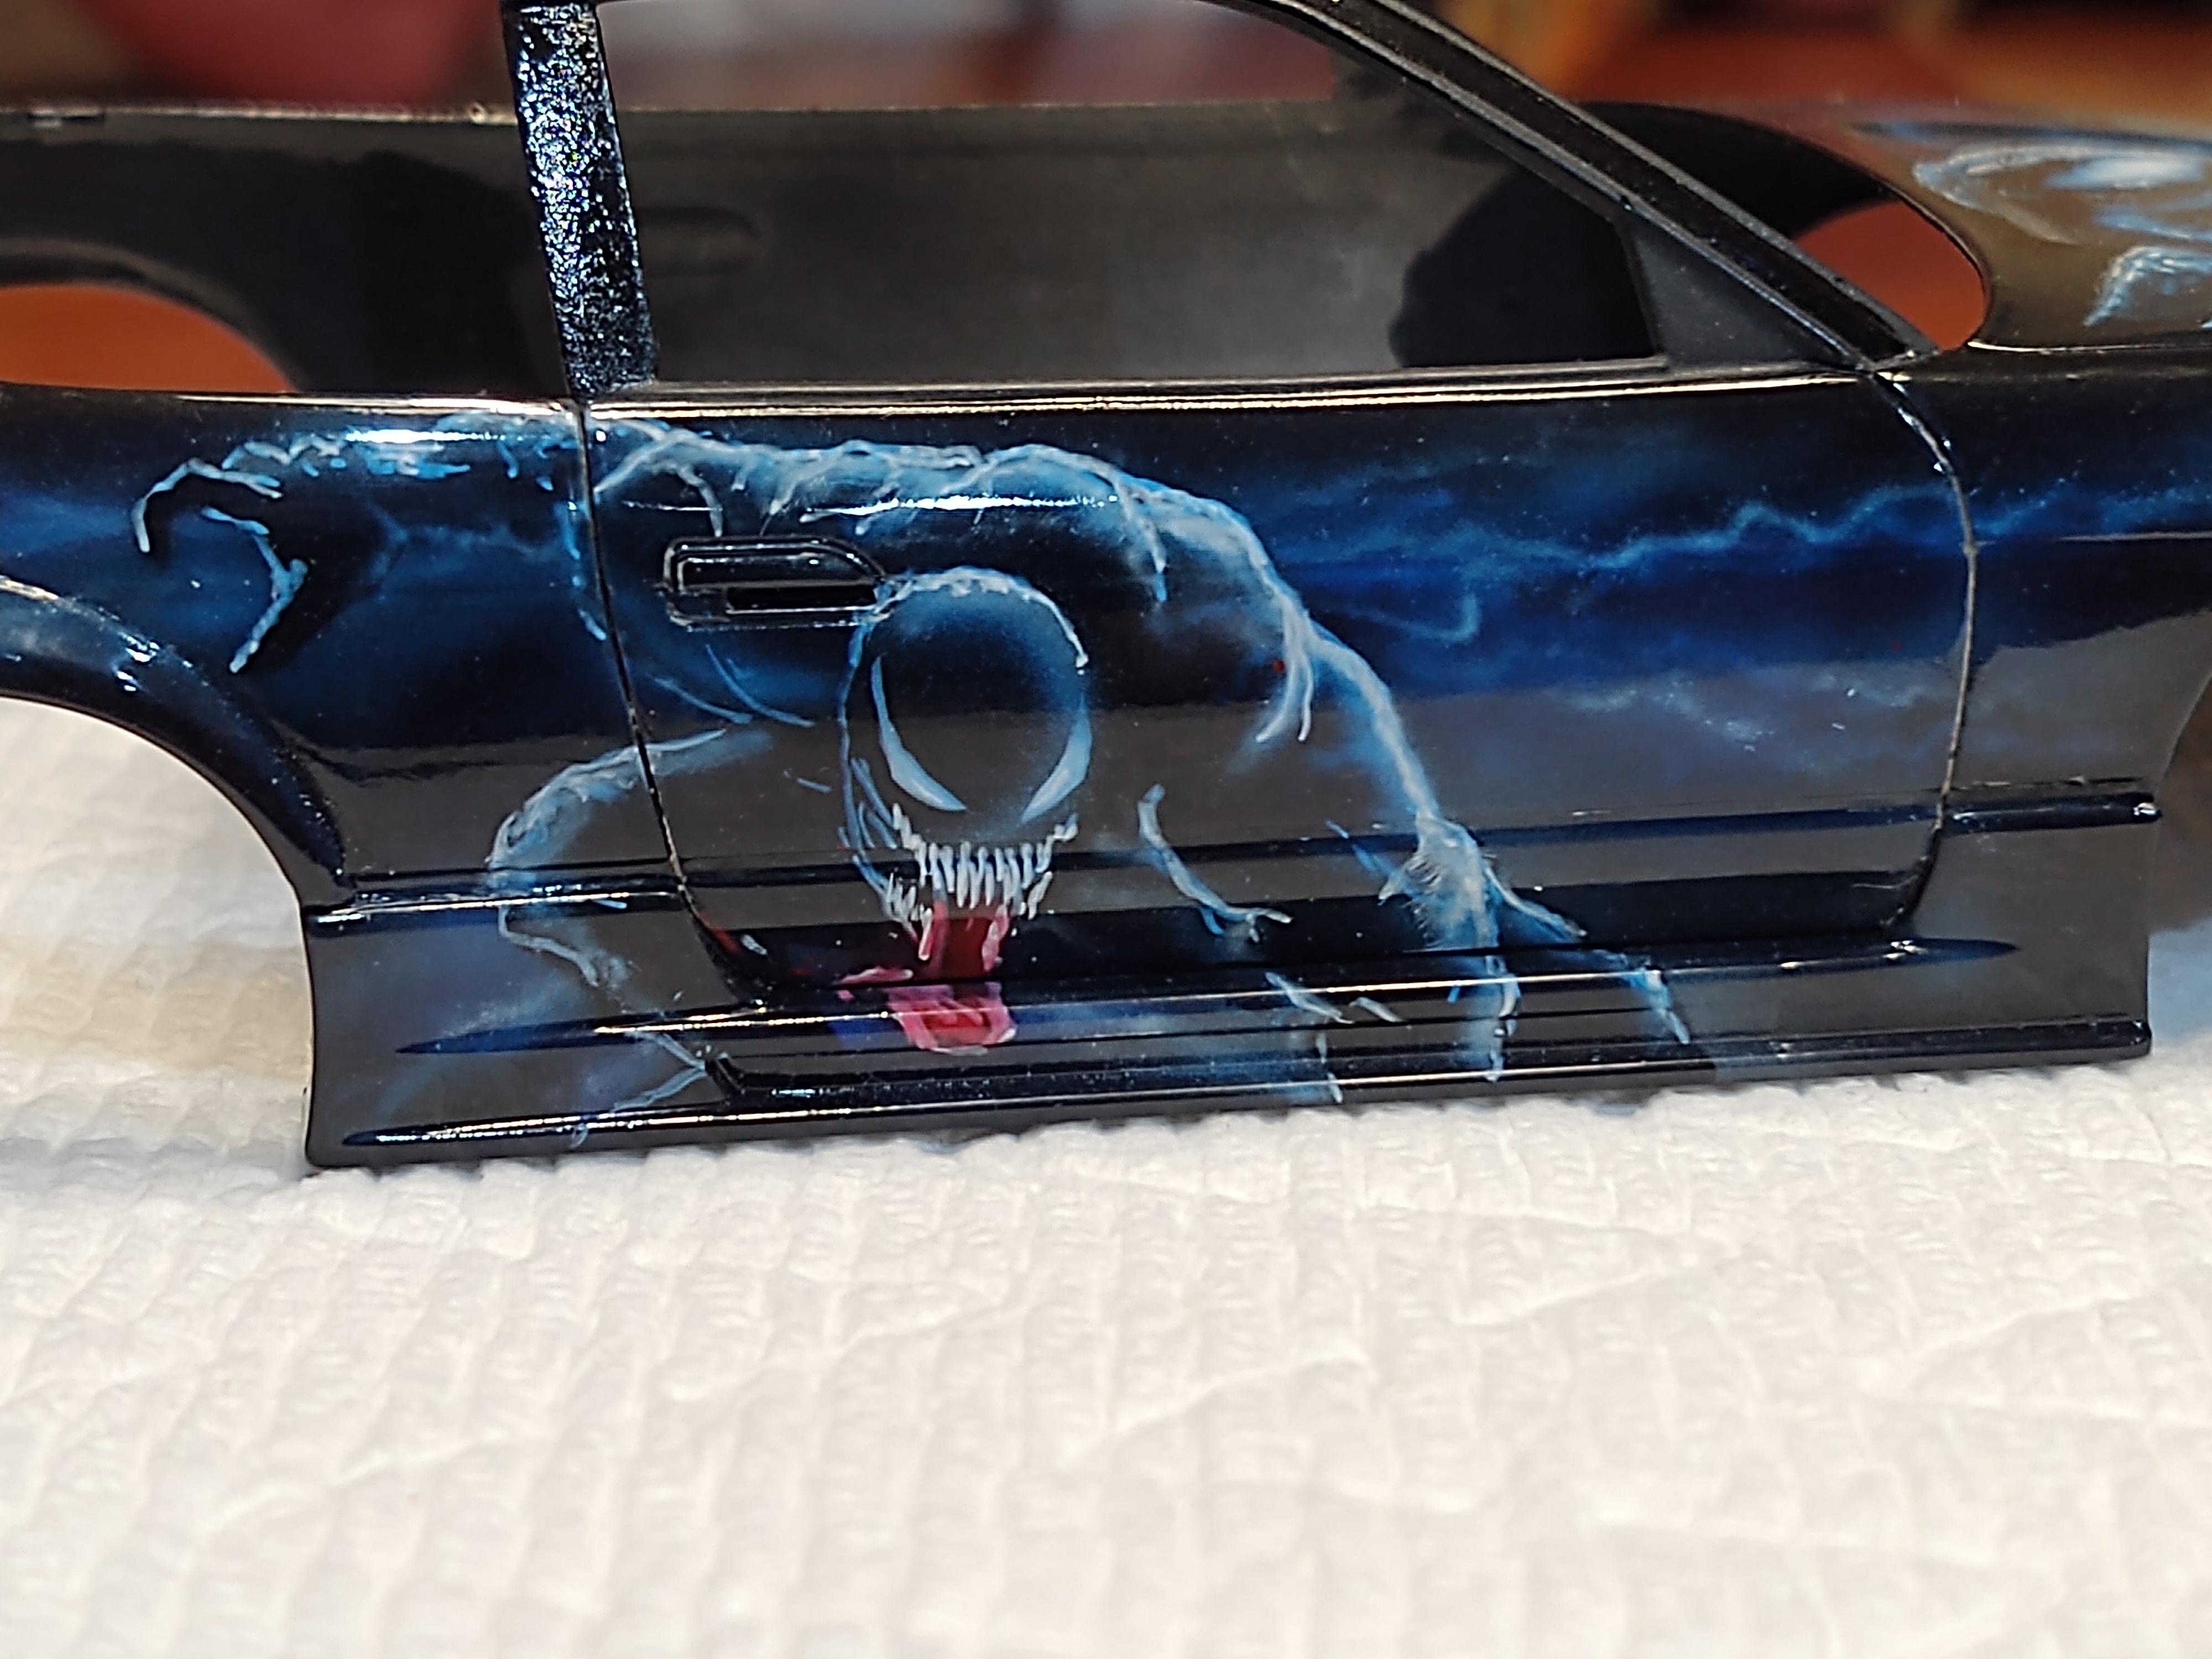
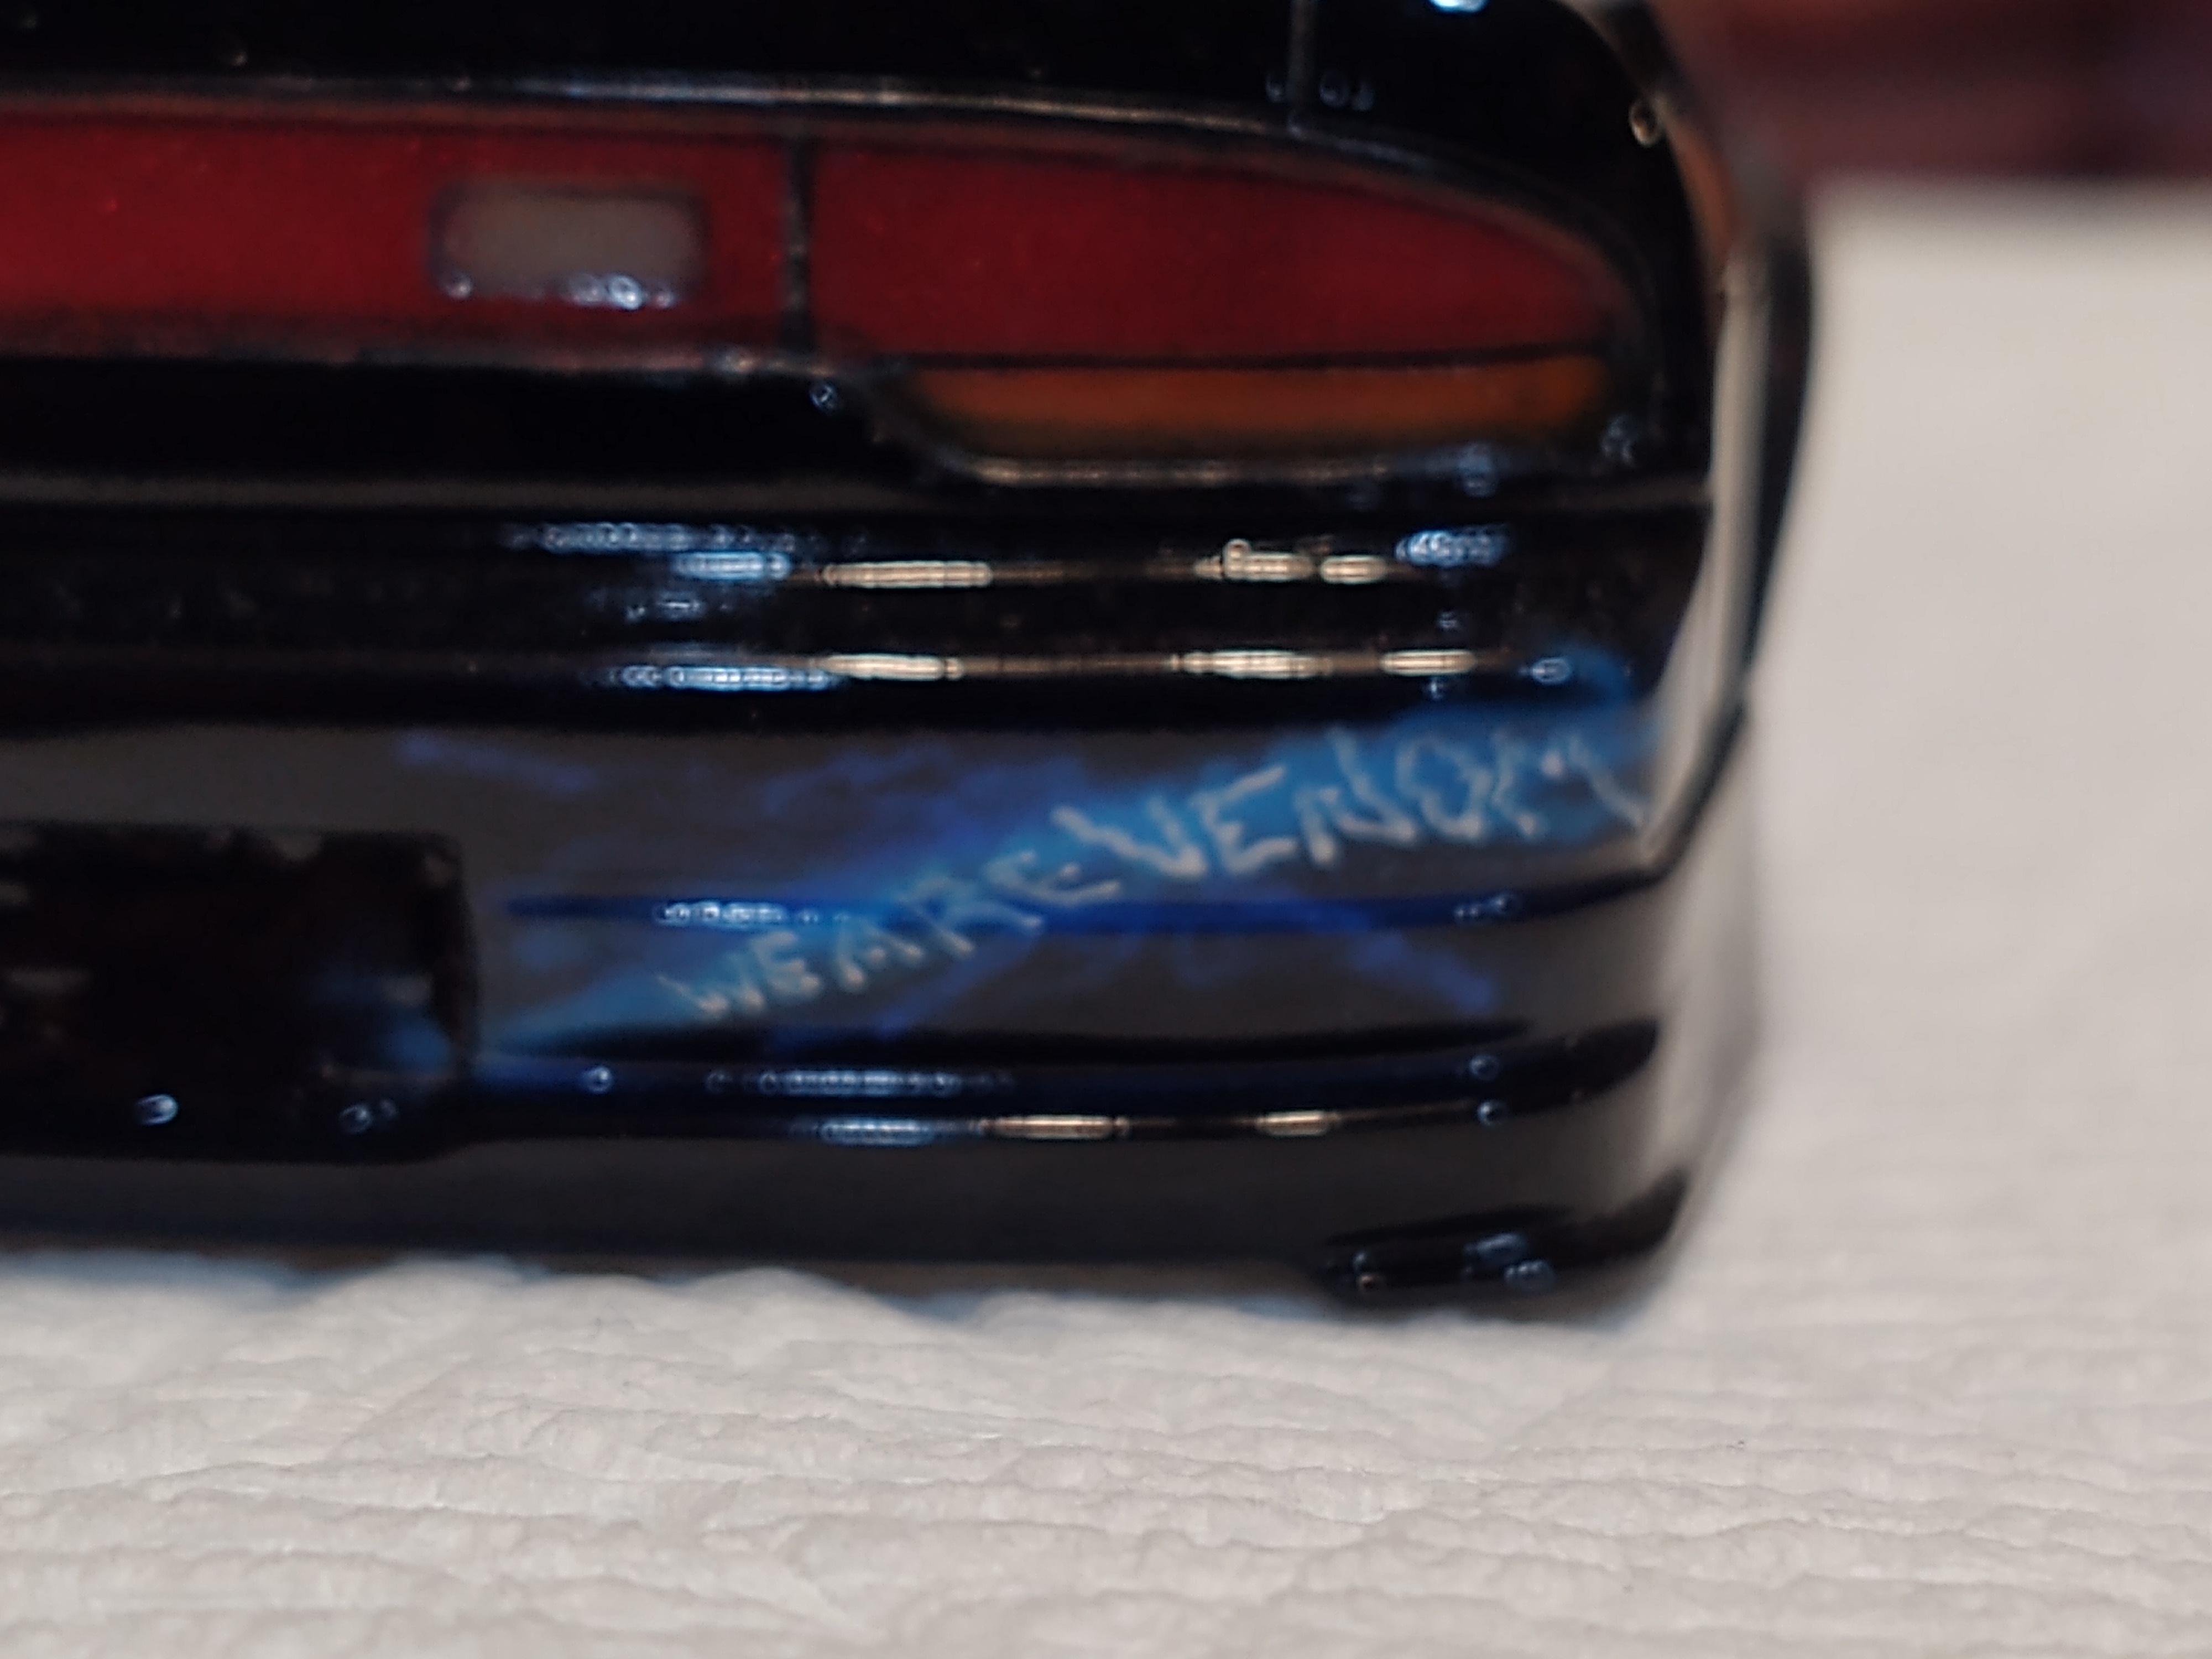
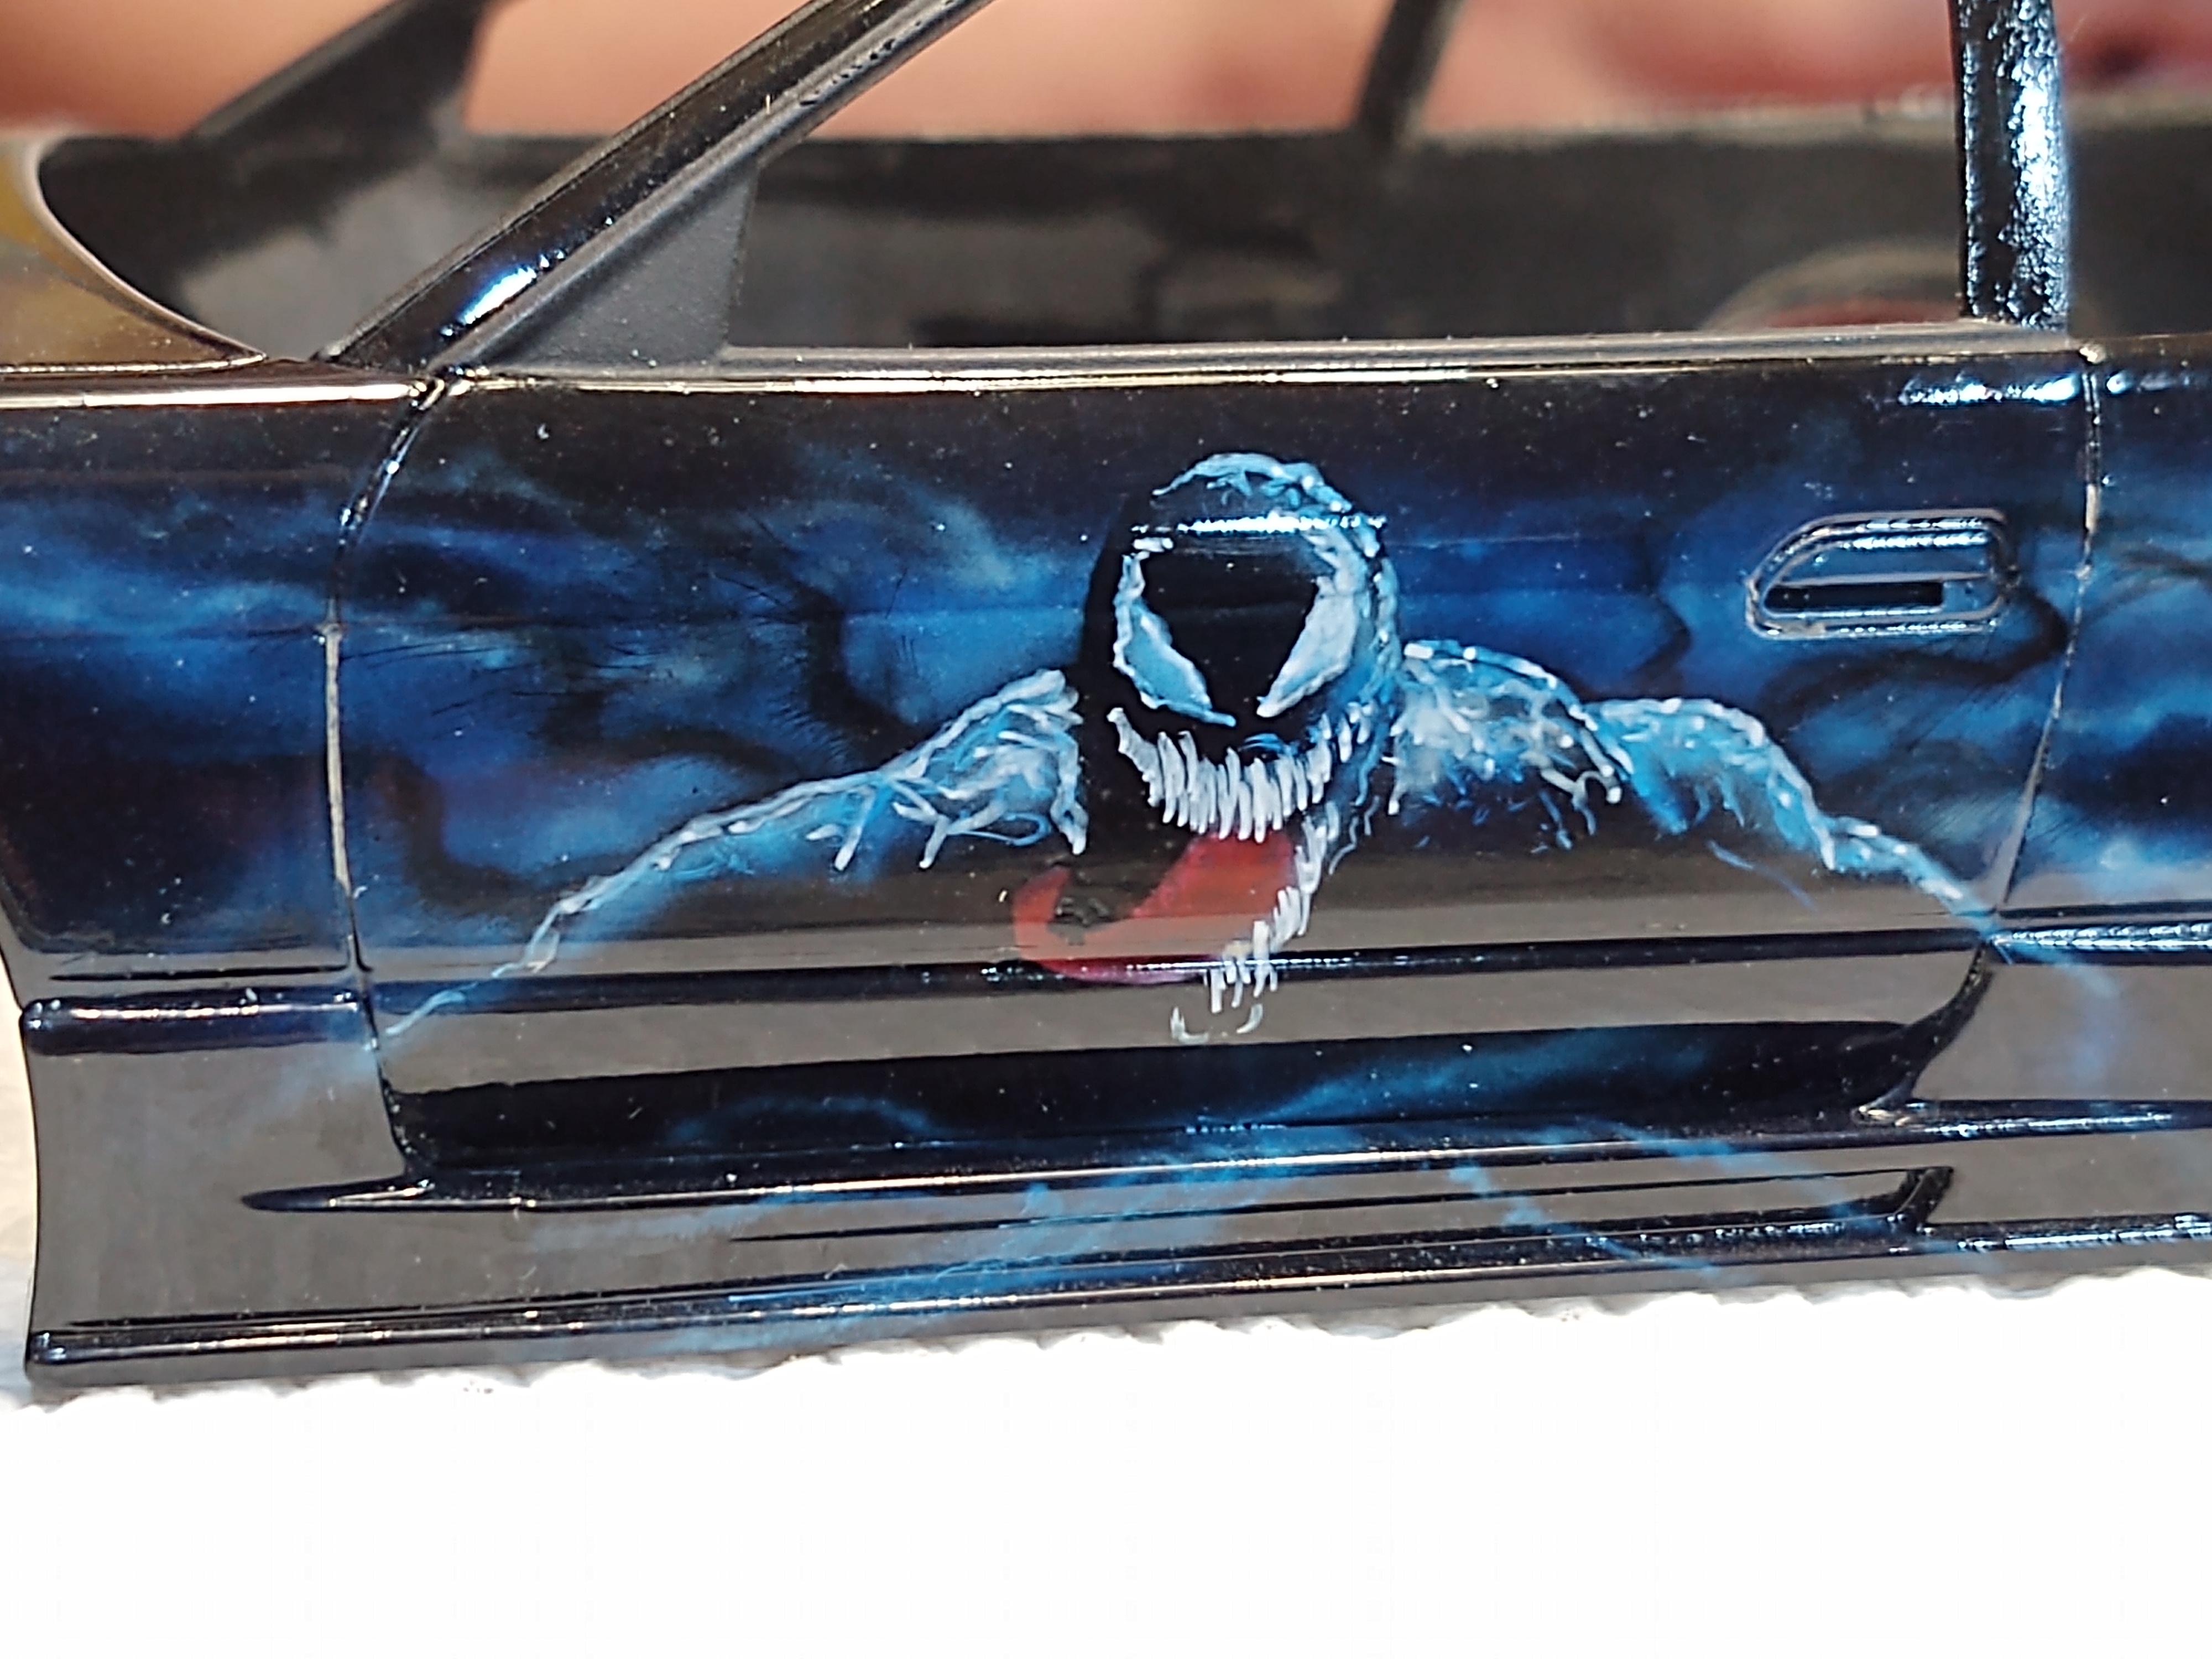
The Venom 180SX paint by Alexander Jurck, built by me.
-
It is. Airbrush and hand painted details. I am trying to find the YouTube video he posted of the progress.
-
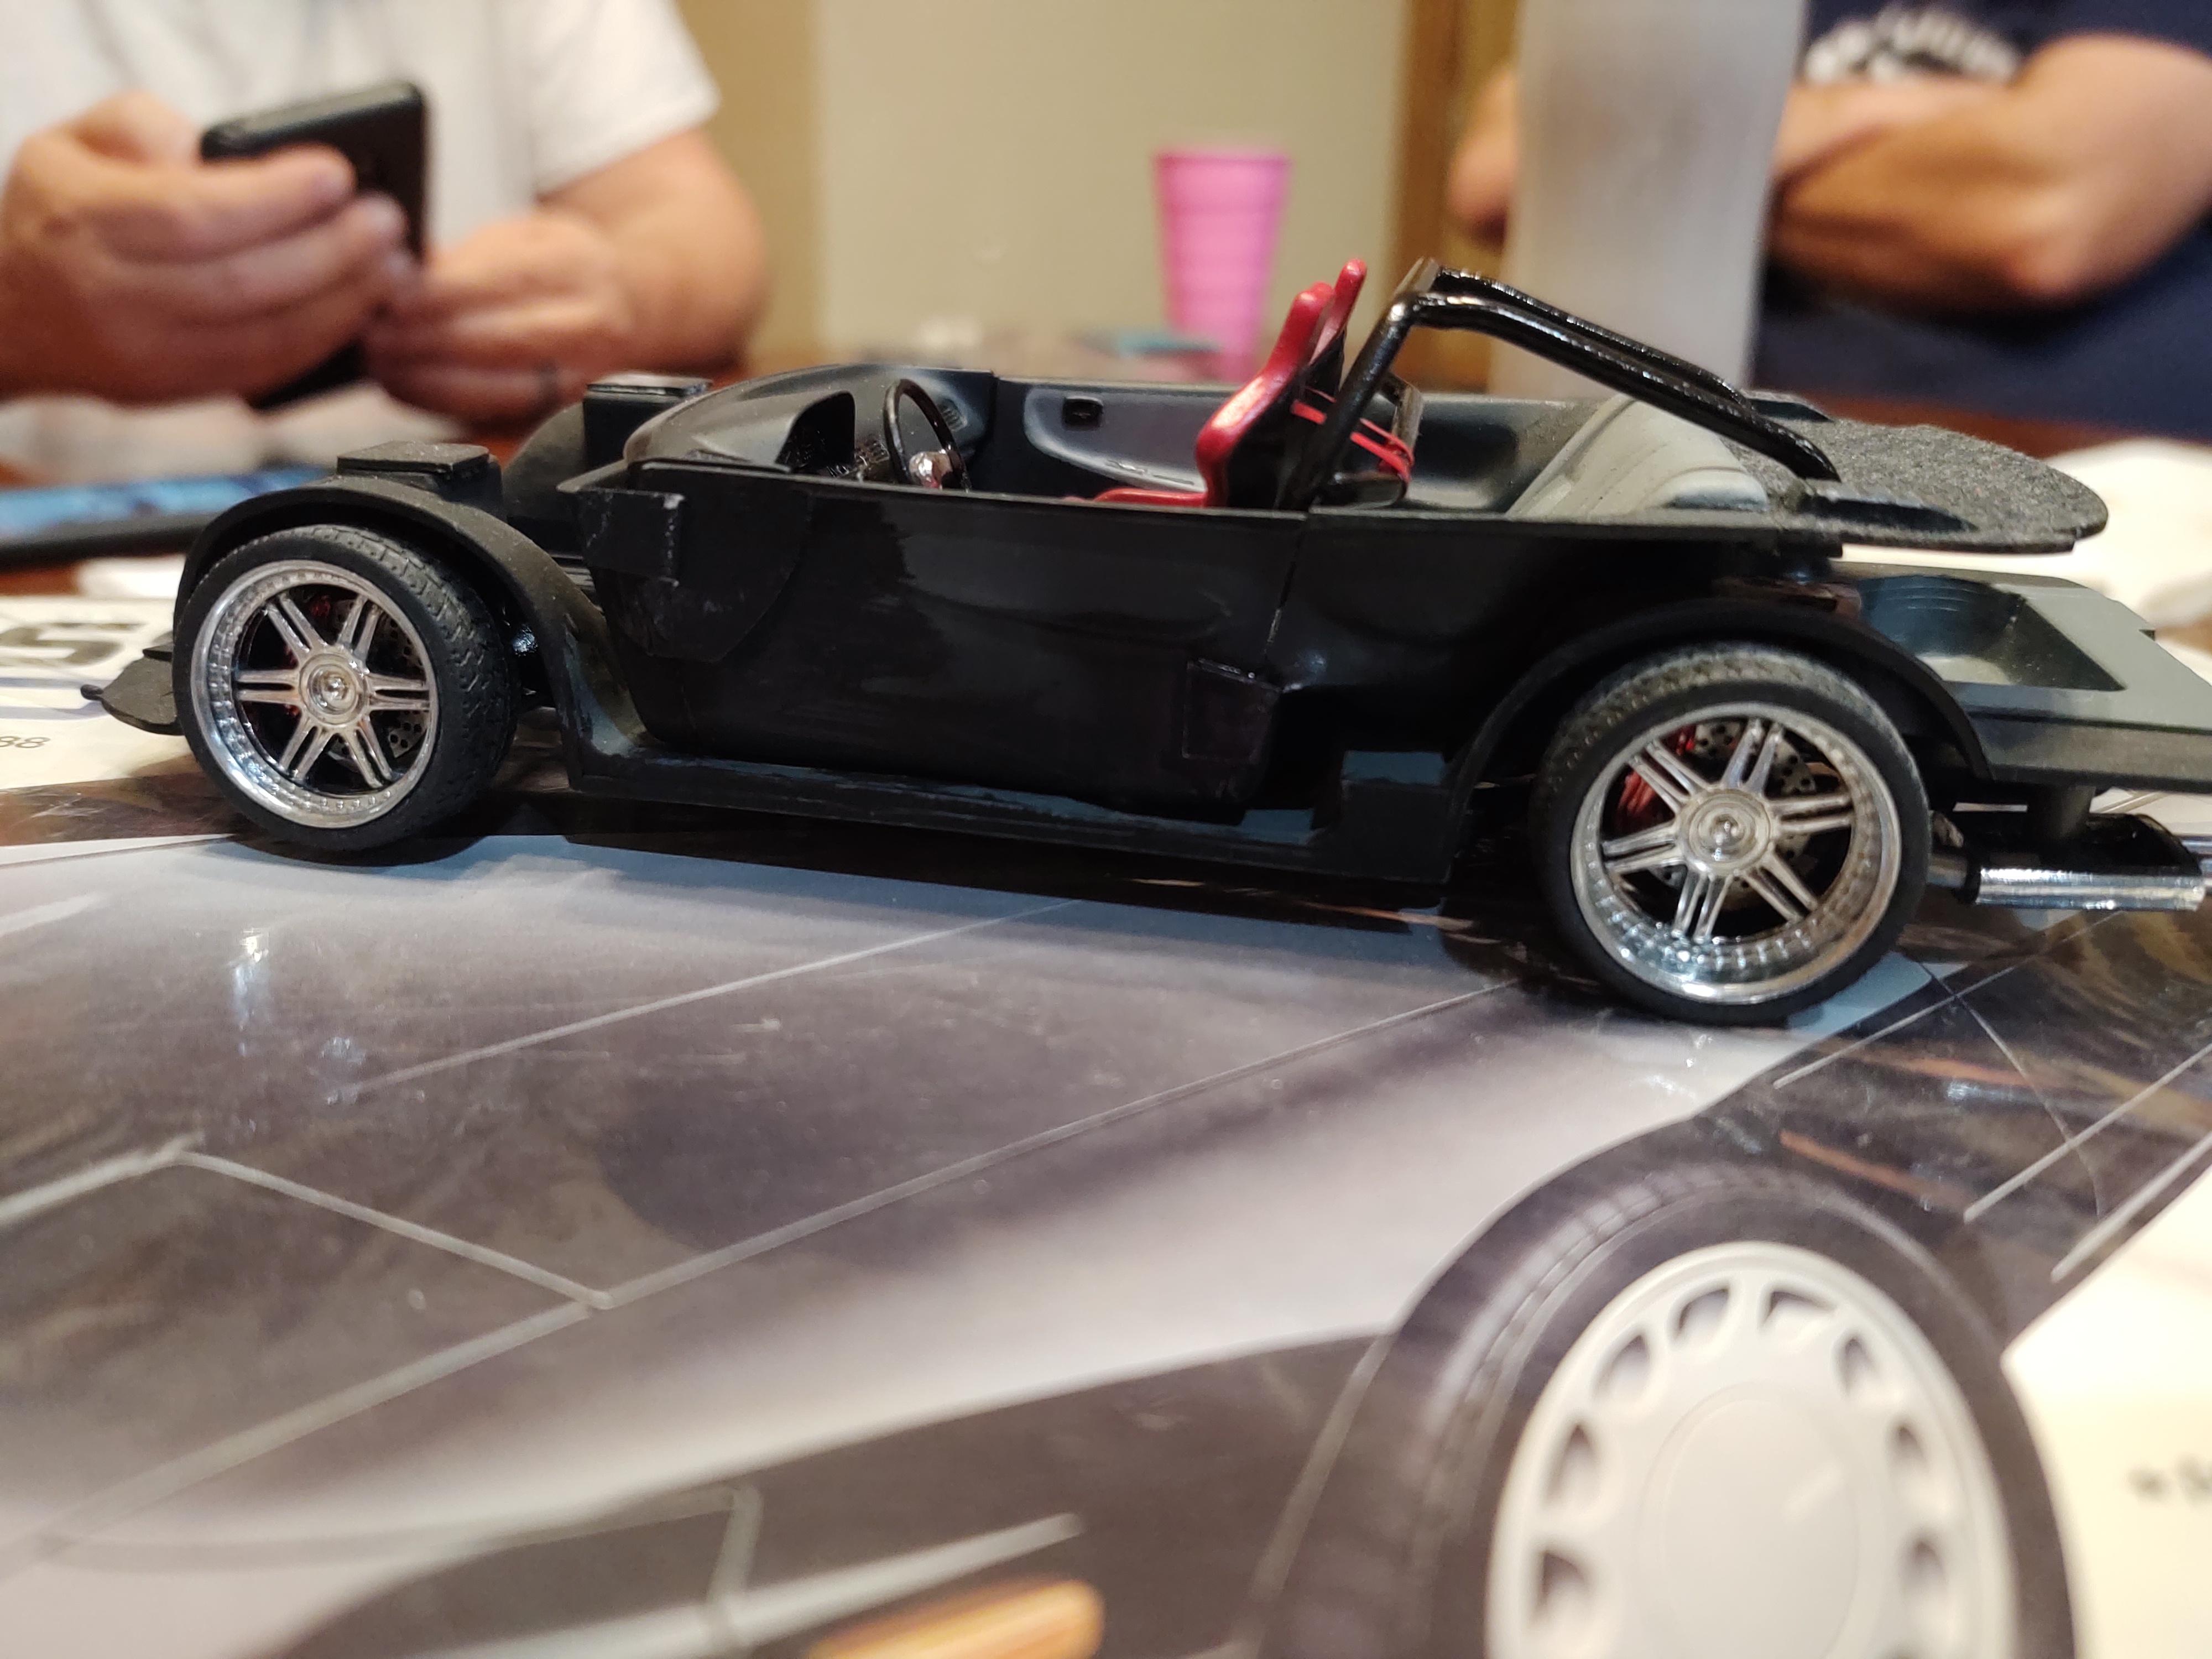
My good friend, Alexander Jurck, posted he would trade a paint job for a Moebius F100, so I sent the truck and a freshly re-primed 180SX. We decided that VENOM would be the theme, and he did his magic. It is all airbrush and detail painted by hand.
-
Surprise!
-
-
My God has it already been a year+ since I updated this! Well, I'll have to get on it then. Such a huge surprise for those who haven't seen it yet. MAJOR update coming this evening!
-
Looks great Joe! You going to bring it to Oklahoma and show it off?
-
That's something from the old speed racer cartoons. Looks amazing! I never knew Shelby and DeTomaso did a project.
-
I recently picked up the Revell Mad Mudder Blazer kit with the intent to make a slammed C5 Square Body. The problem is the lack of a roof in the kit. 3 questions about it. 1: Does anyone have a roof from an older kit they would allow me to borrow and make a copy of? 2: Does anyone else want a roof for their Mad Mudder? I wouldn't mind making a few to share. 3: does the 2WD Chevy stepside share the same chassis components as the blazer kits?
-
Looks great so far! Tough kit to build. Good luck! I started one a bazillion years ago and haven't finished it. The windshield frame keeps breaking. I suggest you paint it asap, and put in the windshield to prevent this from happening.
-
Photoetched Homemade
rsxse240 replied to Gabriel Leidentz's topic in Model Building Questions and Answers
Unfortunately I have nothing to show. I have done a LOT of research, but have no PE tools or chemistry -
Another way to deal with molded-in lenses
rsxse240 replied to ChrisBcritter's topic in Tips, Tricks, and Tutorials
Great idea! I will definitely be borrowing this! I have also made molds of grills and bezels with lenses moulded in. Then cast the whole part in clear resin, followed by some Molotow Chrome. -
Super Glue Accelerator-Home made
rsxse240 replied to 69NovaYenko's topic in Tips, Tricks, and Tutorials
I stumbled upon the quick curing of CA with soda or talc on accident. I was using CA as a filler, and tried the powders as a type of aggregate, to "thicken" it up and make it easier to sand and shape when cured. It was a somewhat successful trial, but there's putty and styrene that work better with less mess. -
Photoetched Homemade
rsxse240 replied to Gabriel Leidentz's topic in Model Building Questions and Answers
To etch completely through, use no coating. Halfway through, coat one side. To leave impression, coat one side. -
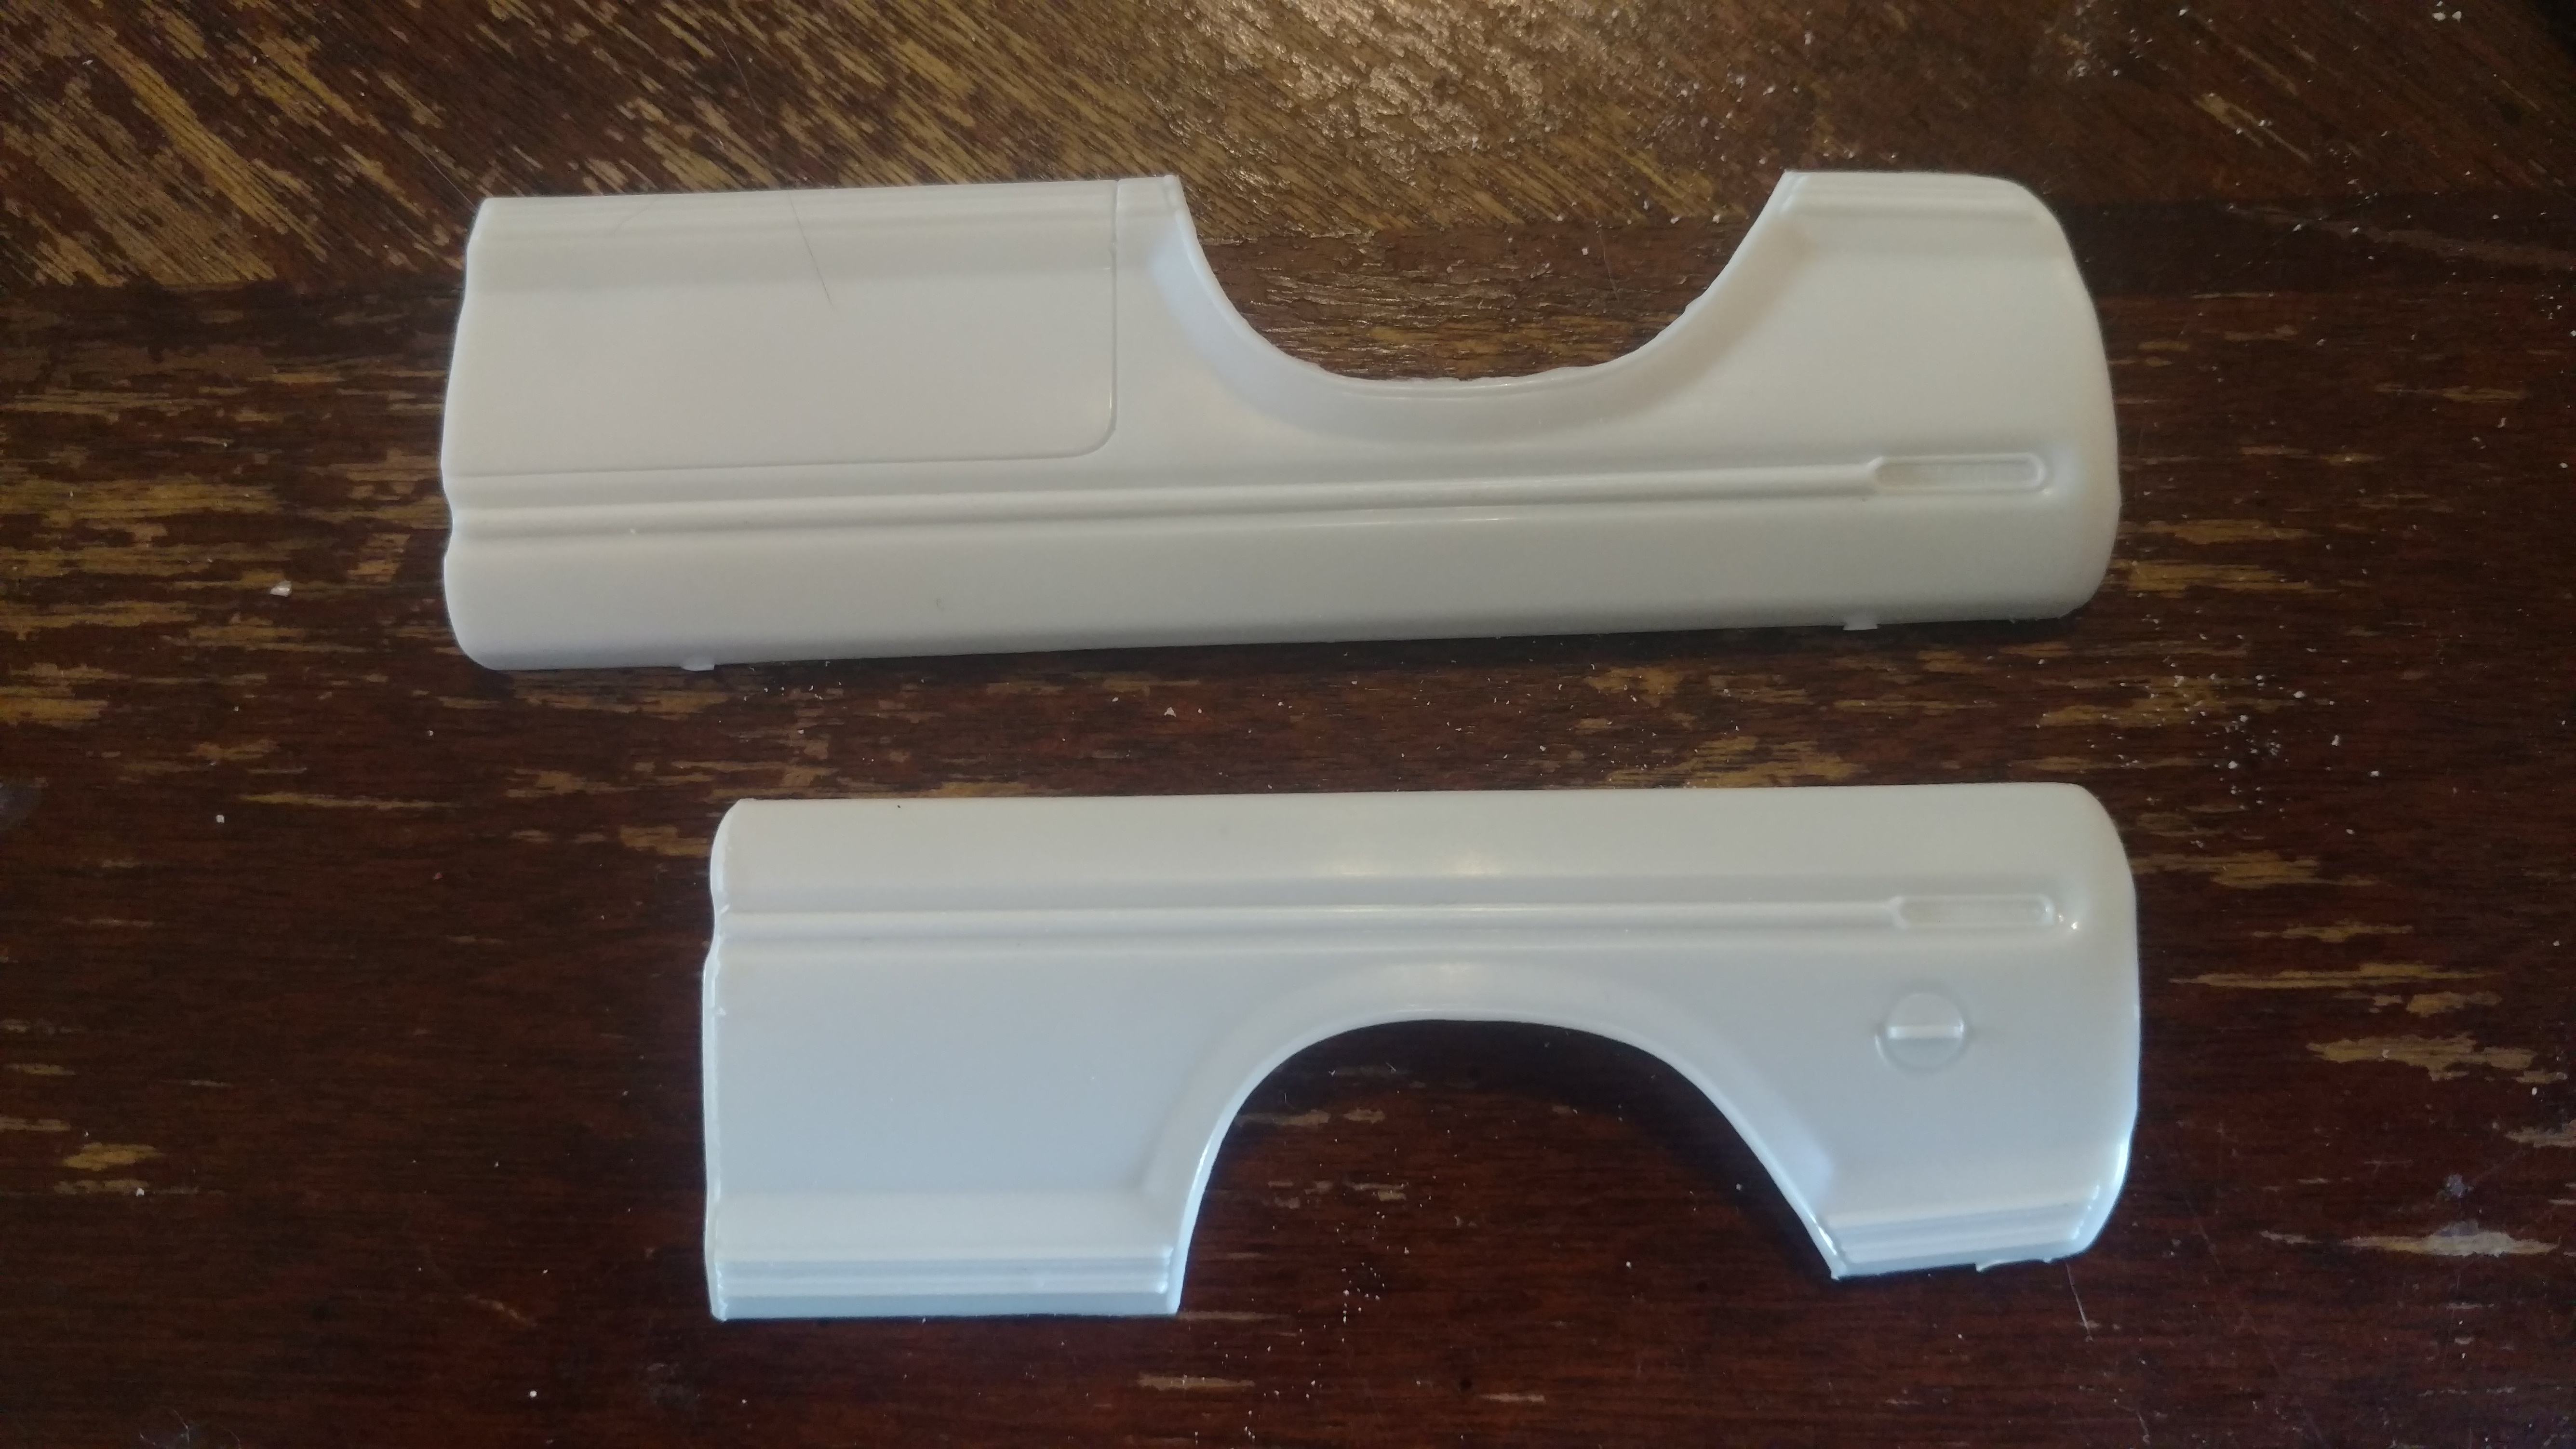
Shortening the AMT Firestone F350
rsxse240 replied to rsxse240's topic in Model Building Questions and Answers
That was it! Thanks, bud! -
Shortening the AMT Firestone F350
rsxse240 replied to rsxse240's topic in Model Building Questions and Answers
Good idea! I happen to have a bump side short bed, but I can't remember if it is 1:24 or 1:25. ...More research. lol -
Some time ago, I saw someone had shortened the F350 bedside on the AMT kit. As I am unable to find it and use it as a guide, I started one myself. I got the bedsides cut to length, now I need to adjust the wheel opening. I am unsure of where exactly to place them. I know the opening needs to move forward and down. I am not in possession of a 1:1 so I can only rely on images and as they are at all different angles, it is difficult to get accurate measurements. Here is the one side done and the other original to compare. Both are now cut to length and the leading edges are done.
-
Do you/can you use nail polish for paint.
rsxse240 replied to Heartattaq's topic in Model Building Questions and Answers
I can't say that I have ever heard of I can't say that I have ever heard of it. Edit: I just looked it up on YouTube and it doesn't seem feasible for modelling application, but that doesn't mean it isn't good for ANYTHING in modelling.