

rsxse240
-
Posts
633 -
Joined
-
Last visited
Content Type
Profiles
Forums
Events
Gallery
Posts posted by rsxse240
-
-
This is Sinful Colors nail polish over Testors Model Master flat black (as primer/base).

I thinned it about 1 part paint to 1 and ¼ medium temperature lacquer thinner from the auto paint store. I found Kleen Strip (or typical hardware store brand) is very "hot" and dries too quickly and gives the paint no time to flow out, leaving a very rough texture.
-
Look up "Mini Tub". It is very common and quite easy.
-
I agree with the Bondo. Although, for just getting rid of scratches and very small imperfections, I have found the Tamiya filling primer is excellent. It is almost as thick as putty, but seems to be a much finer product.
-
Is the Revell engine a decent offering or just a top half, die cast style? Could it be used in a Galant or Evo with relative accuracy?
-
On 3/31/2019 at 10:01 PM, LouO said:
Not the flashiest of colors, but it easily works for some stuff. I like your test subject. Looks like it sprayed well for you. What do you thin it with? and what psi do you usually shoot nail polish at?
I thinned this with a medium "temperature" lacquer thinner from Orilley Auto Parts. I have used the Kleen Strip brand but it was too hot and would dry before hitting the body causing a very grainy texture. Also it seems the Orilley stuff seems to mix into the paint as opposed to dissolving the carrier (if that makes sense), as the Kleen Strip brand does.
The pressure is very subjective with nail polish. Most times you want a very low pressure and build up very thin coats, but with the size and quantity of flake in this paint, I had to crank up the pressure and REALLY open up the needle. I used a #3 needle in my Paasche VL at about 25-30 PSI to keep it wet and flowing until it was on the car body.
-
Sadly I was polishing the clear and there were some bumps in the base black, which came up through the paint as I was wet sanding and left black speckles everywhere. I have wet sanded the whole car and will be spraying another coat of the green this evening, since I can't work on the real cars in the driveway. Pics to come shortly.
-
Is that the same kit just before and after decals?
-
I guess I can't post pics from Google.
-
So I am thinking about getting an Eclipse kit. The AMT and Revell are the same scale, both have the F&F "Brian's Eclipse" markings but Revell also has a 2-N-1 that has a different body kit. I am curious if the Revell kit has stock parts or just optional tuner parts.
How do they all compare? I've messed with the AMT kit in the past, wasn't very fond of it, but that was before I realized that I liked the Eclipse and I never really even looked into the box before I traded it.
https://images.app.goo.gl/iGAsgYjLAbHrrnWZ7
https://images.app.goo.gl/6BC7RPoFNKDLbxw68
https://images.app.goo.gl/ZShMjLuBCUW7Nsoh7
-
Yes, the nail polish isle is a great place for colors, but be aware, they are usually priced about like House of Color paint. Like $10/bottle. I always look at the cheap stuff. If it's more than a few dollars, I walk on past.
-
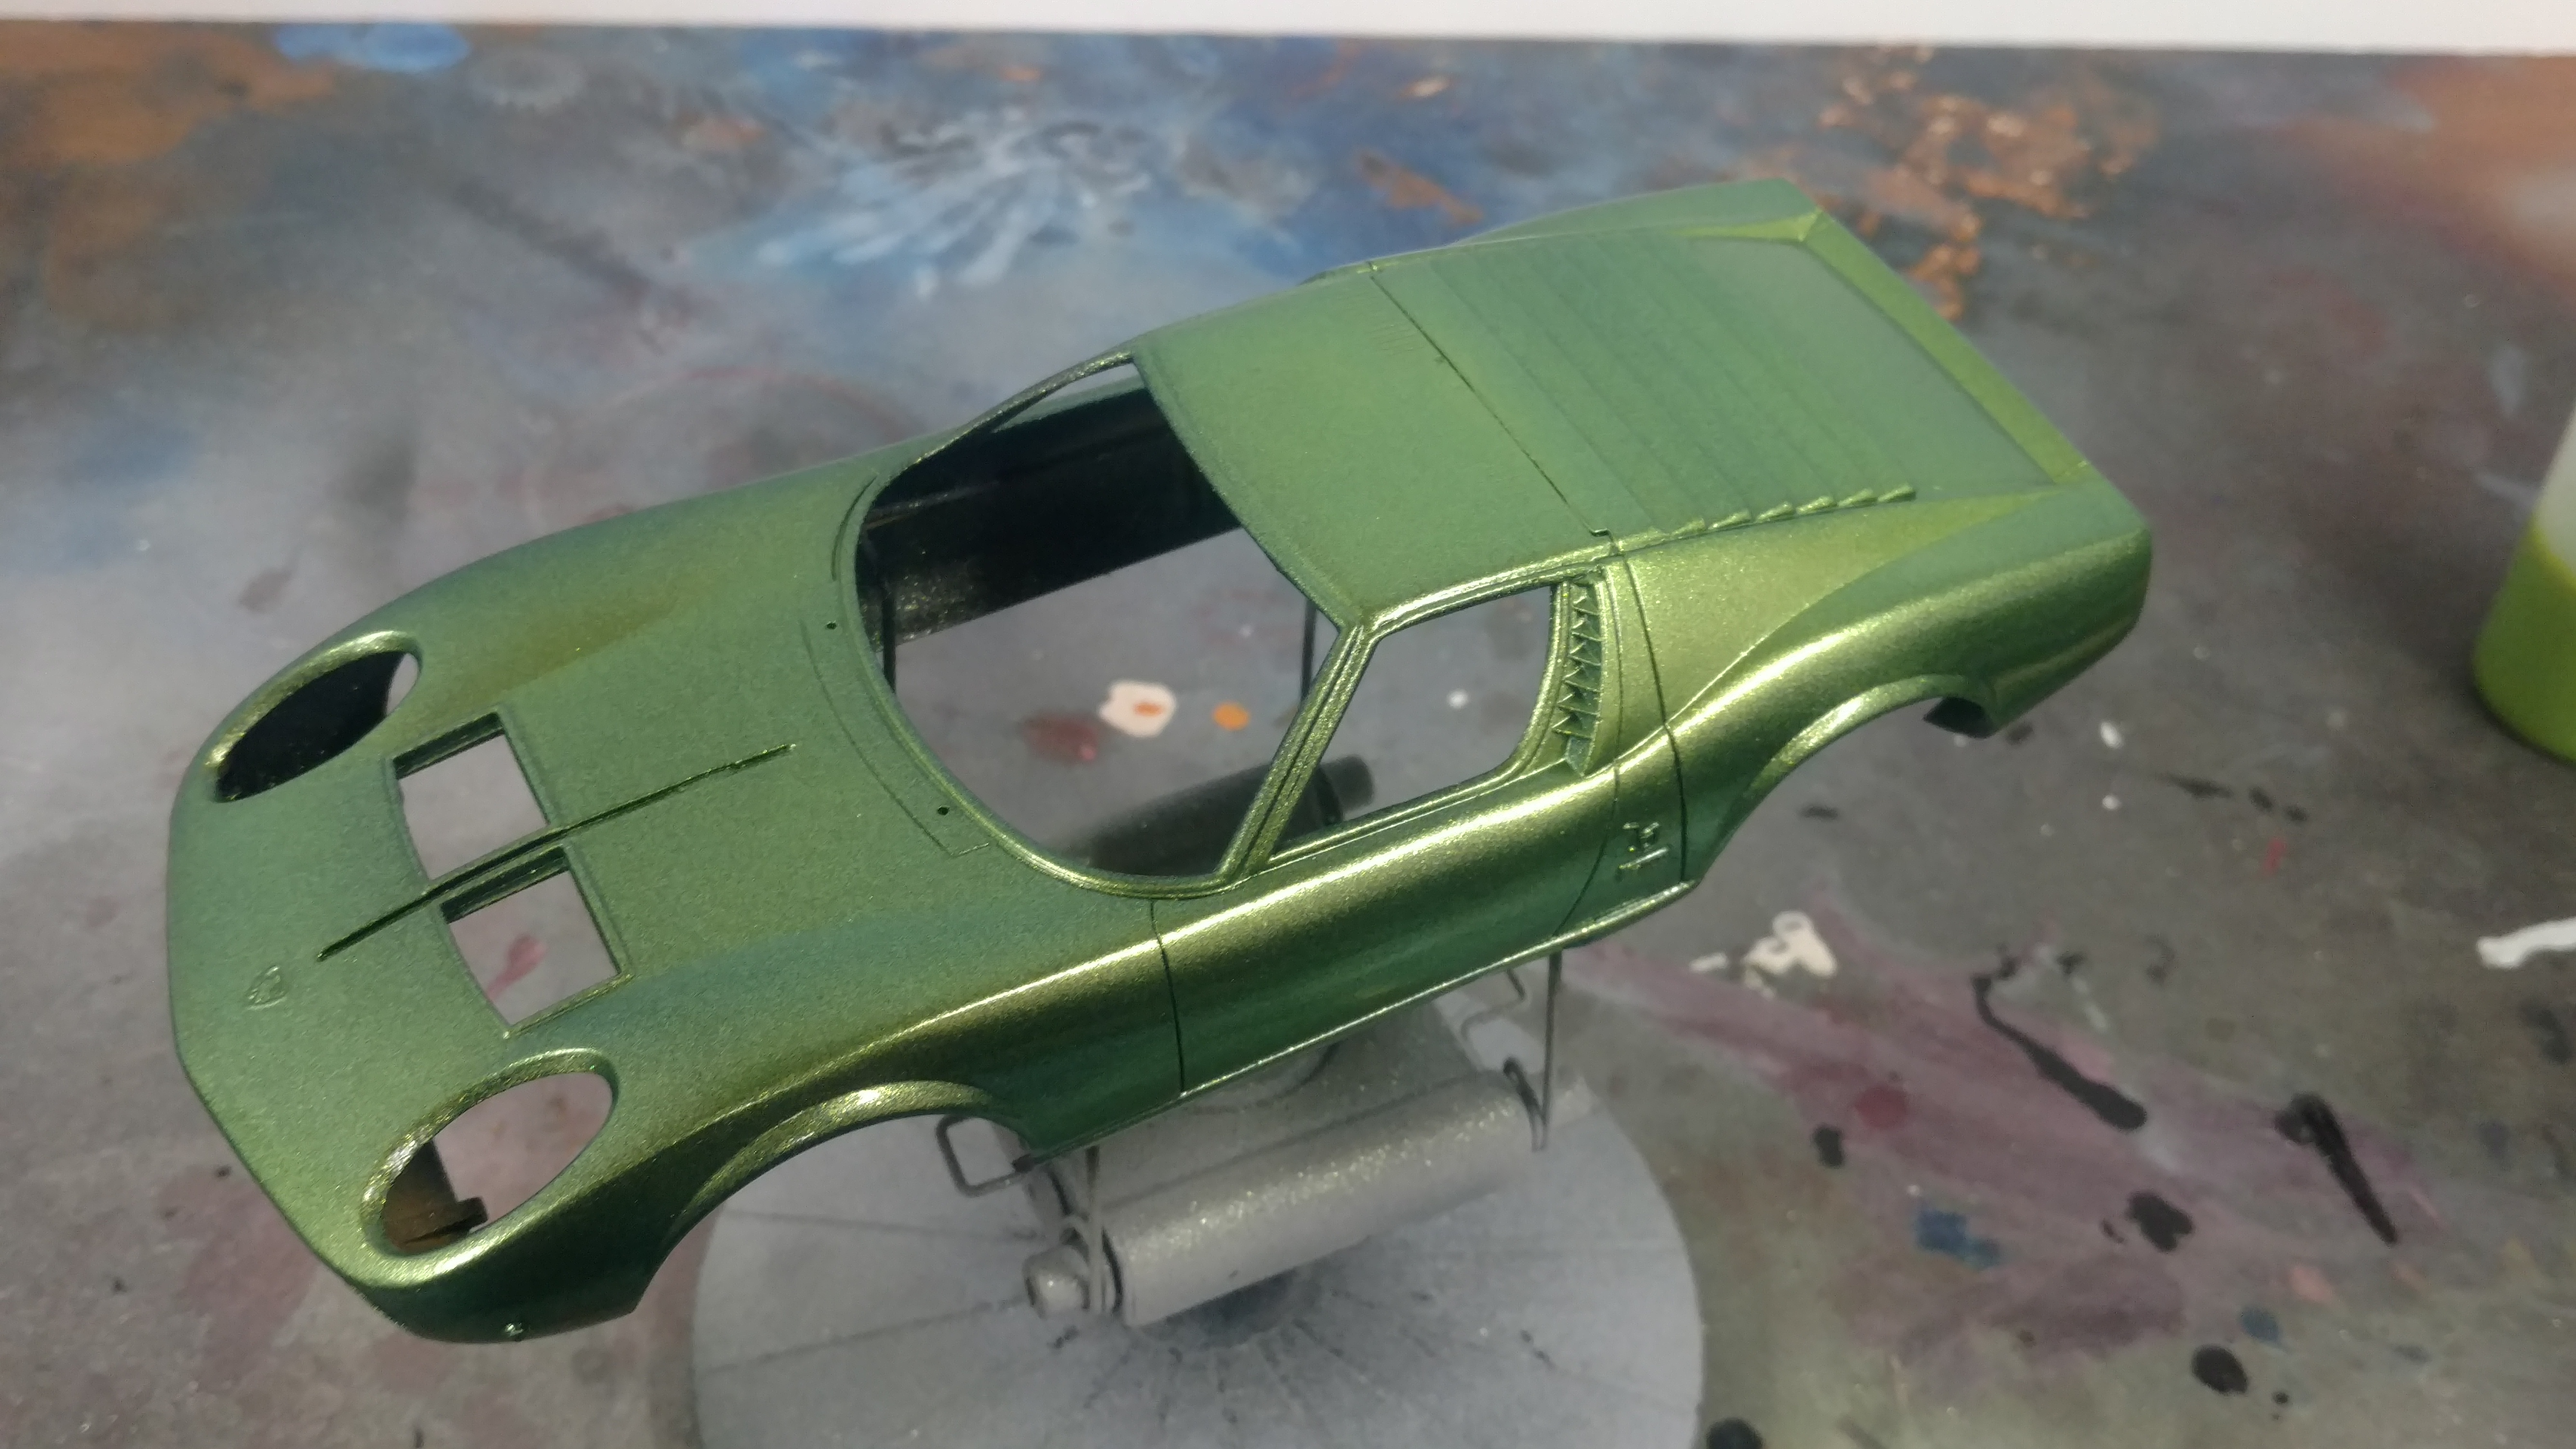
I liked a color of nail polish I saw at the store while waiting for the wife to gather her H&BA goods. It was pretty cheap, at $1.50 for 1/2oz jar (or there about). It was called Sassy Lassy (green metal flake) by Sinful Colors.
I quickly found out that it was a clear coat with green metal flake and no actual pigment, but pressed on...lol I made a pun...
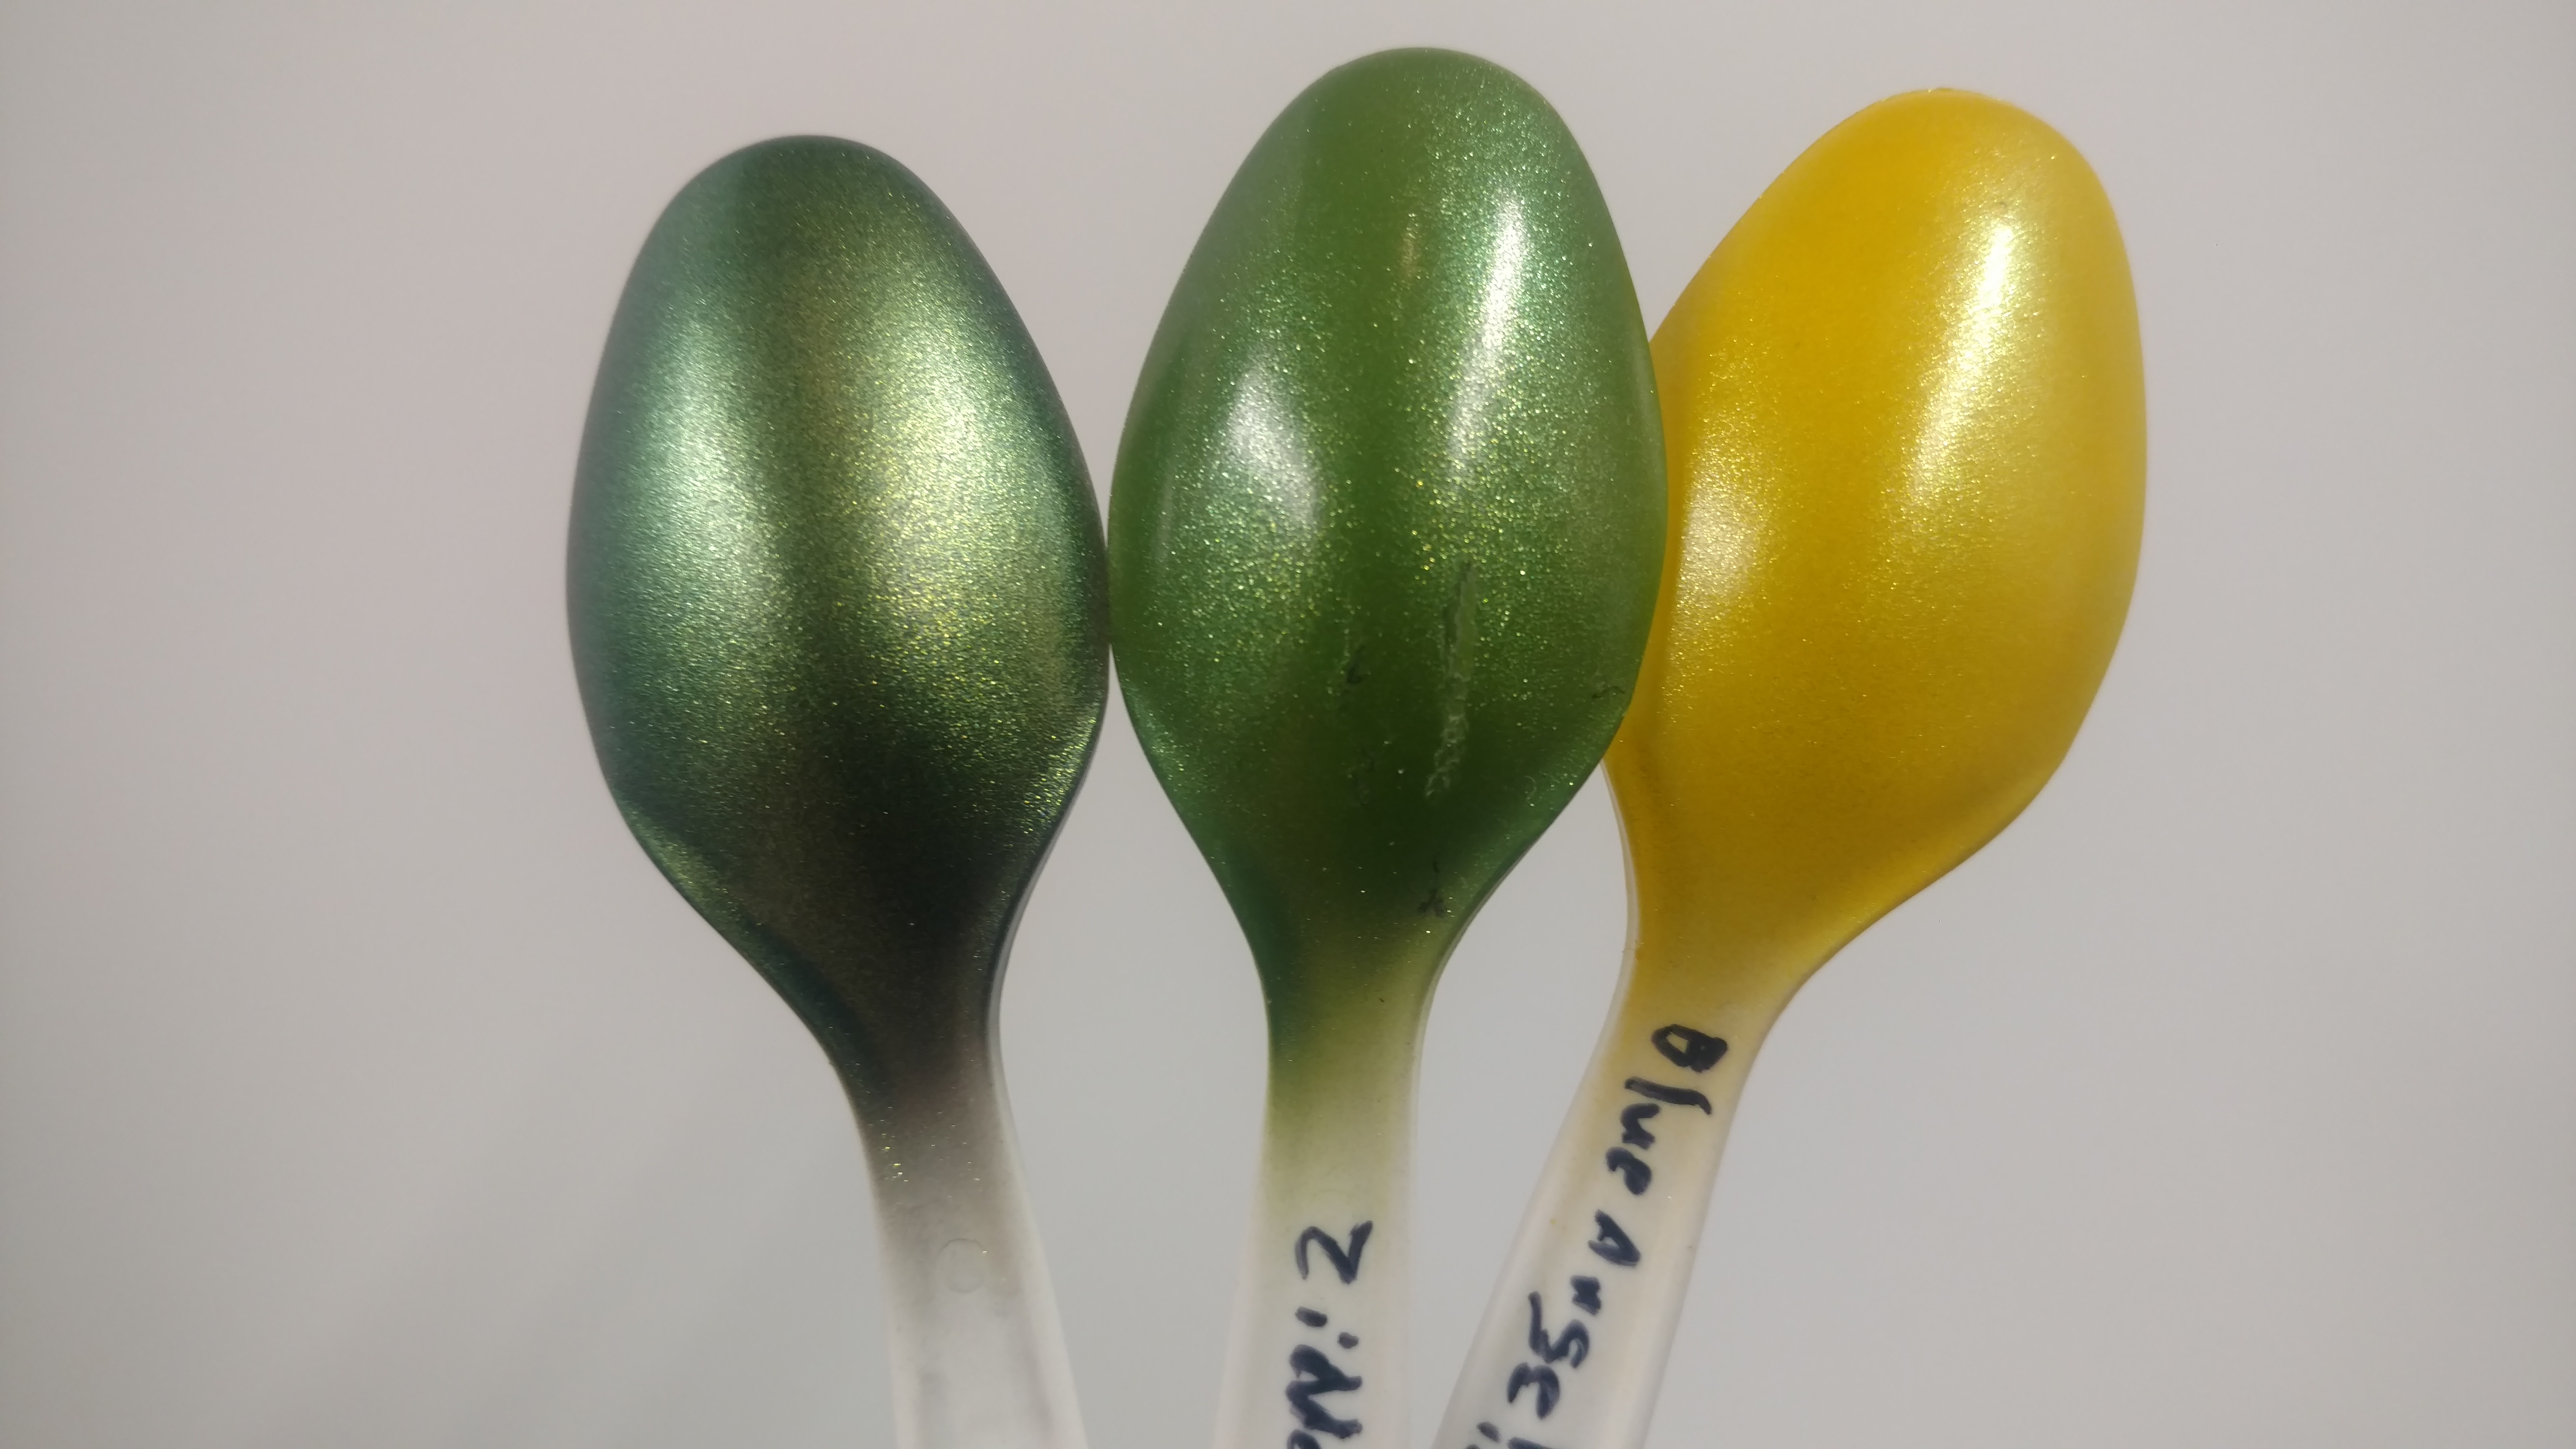
So, green flake over Testors Flat Black, over Model Master Green Zinc Chromate, and over Blue Angel Yellow.
The yellow, was first and OBVIOUSLY not green at all! The Zinc Chromate was second (the middle spoon), so I tried the flat black and loved it. So I mixed up the whole bottle about 30% paint to 70% lacquer thinner and shot at a very low pressure... about 15psi through my Paasche VL with #3 needle. Found a kit that needed this color and tried it out. This is what I got:
-
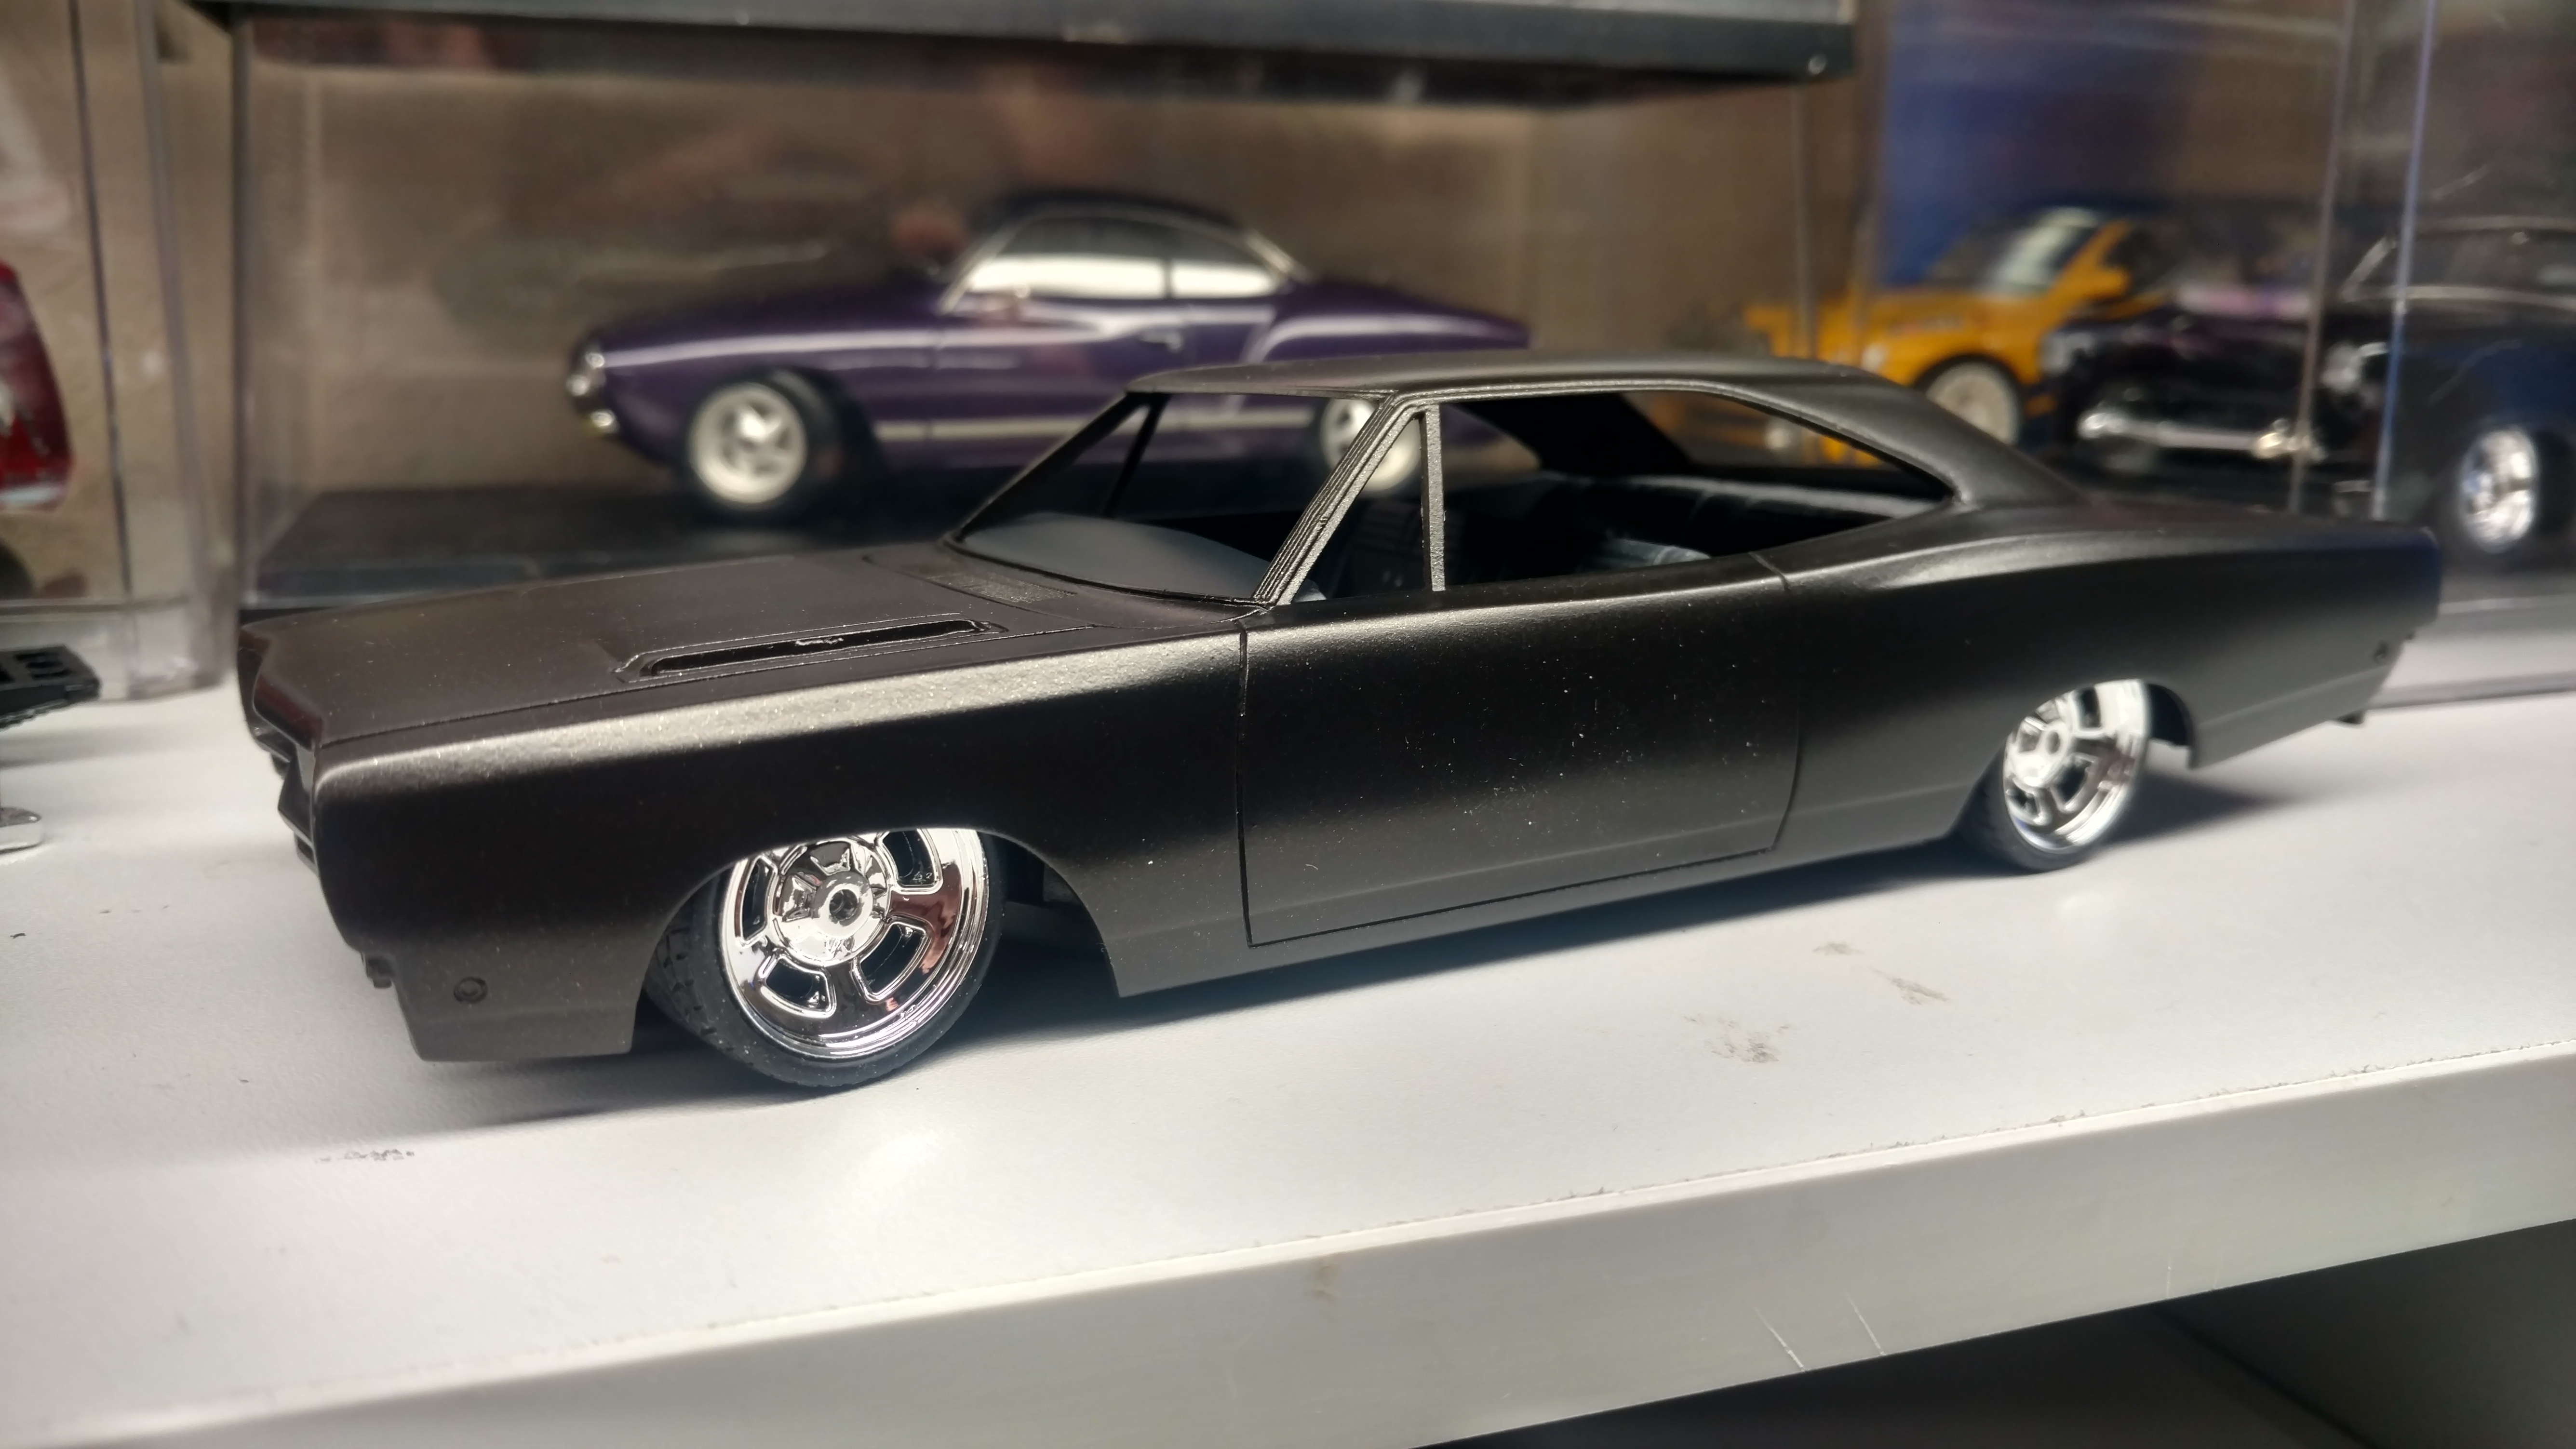
Quick mock-up. Very early, the paint job and stance need work.
-
Here is another better lit picture of the paint.... really not much BETTER, but better lighting.
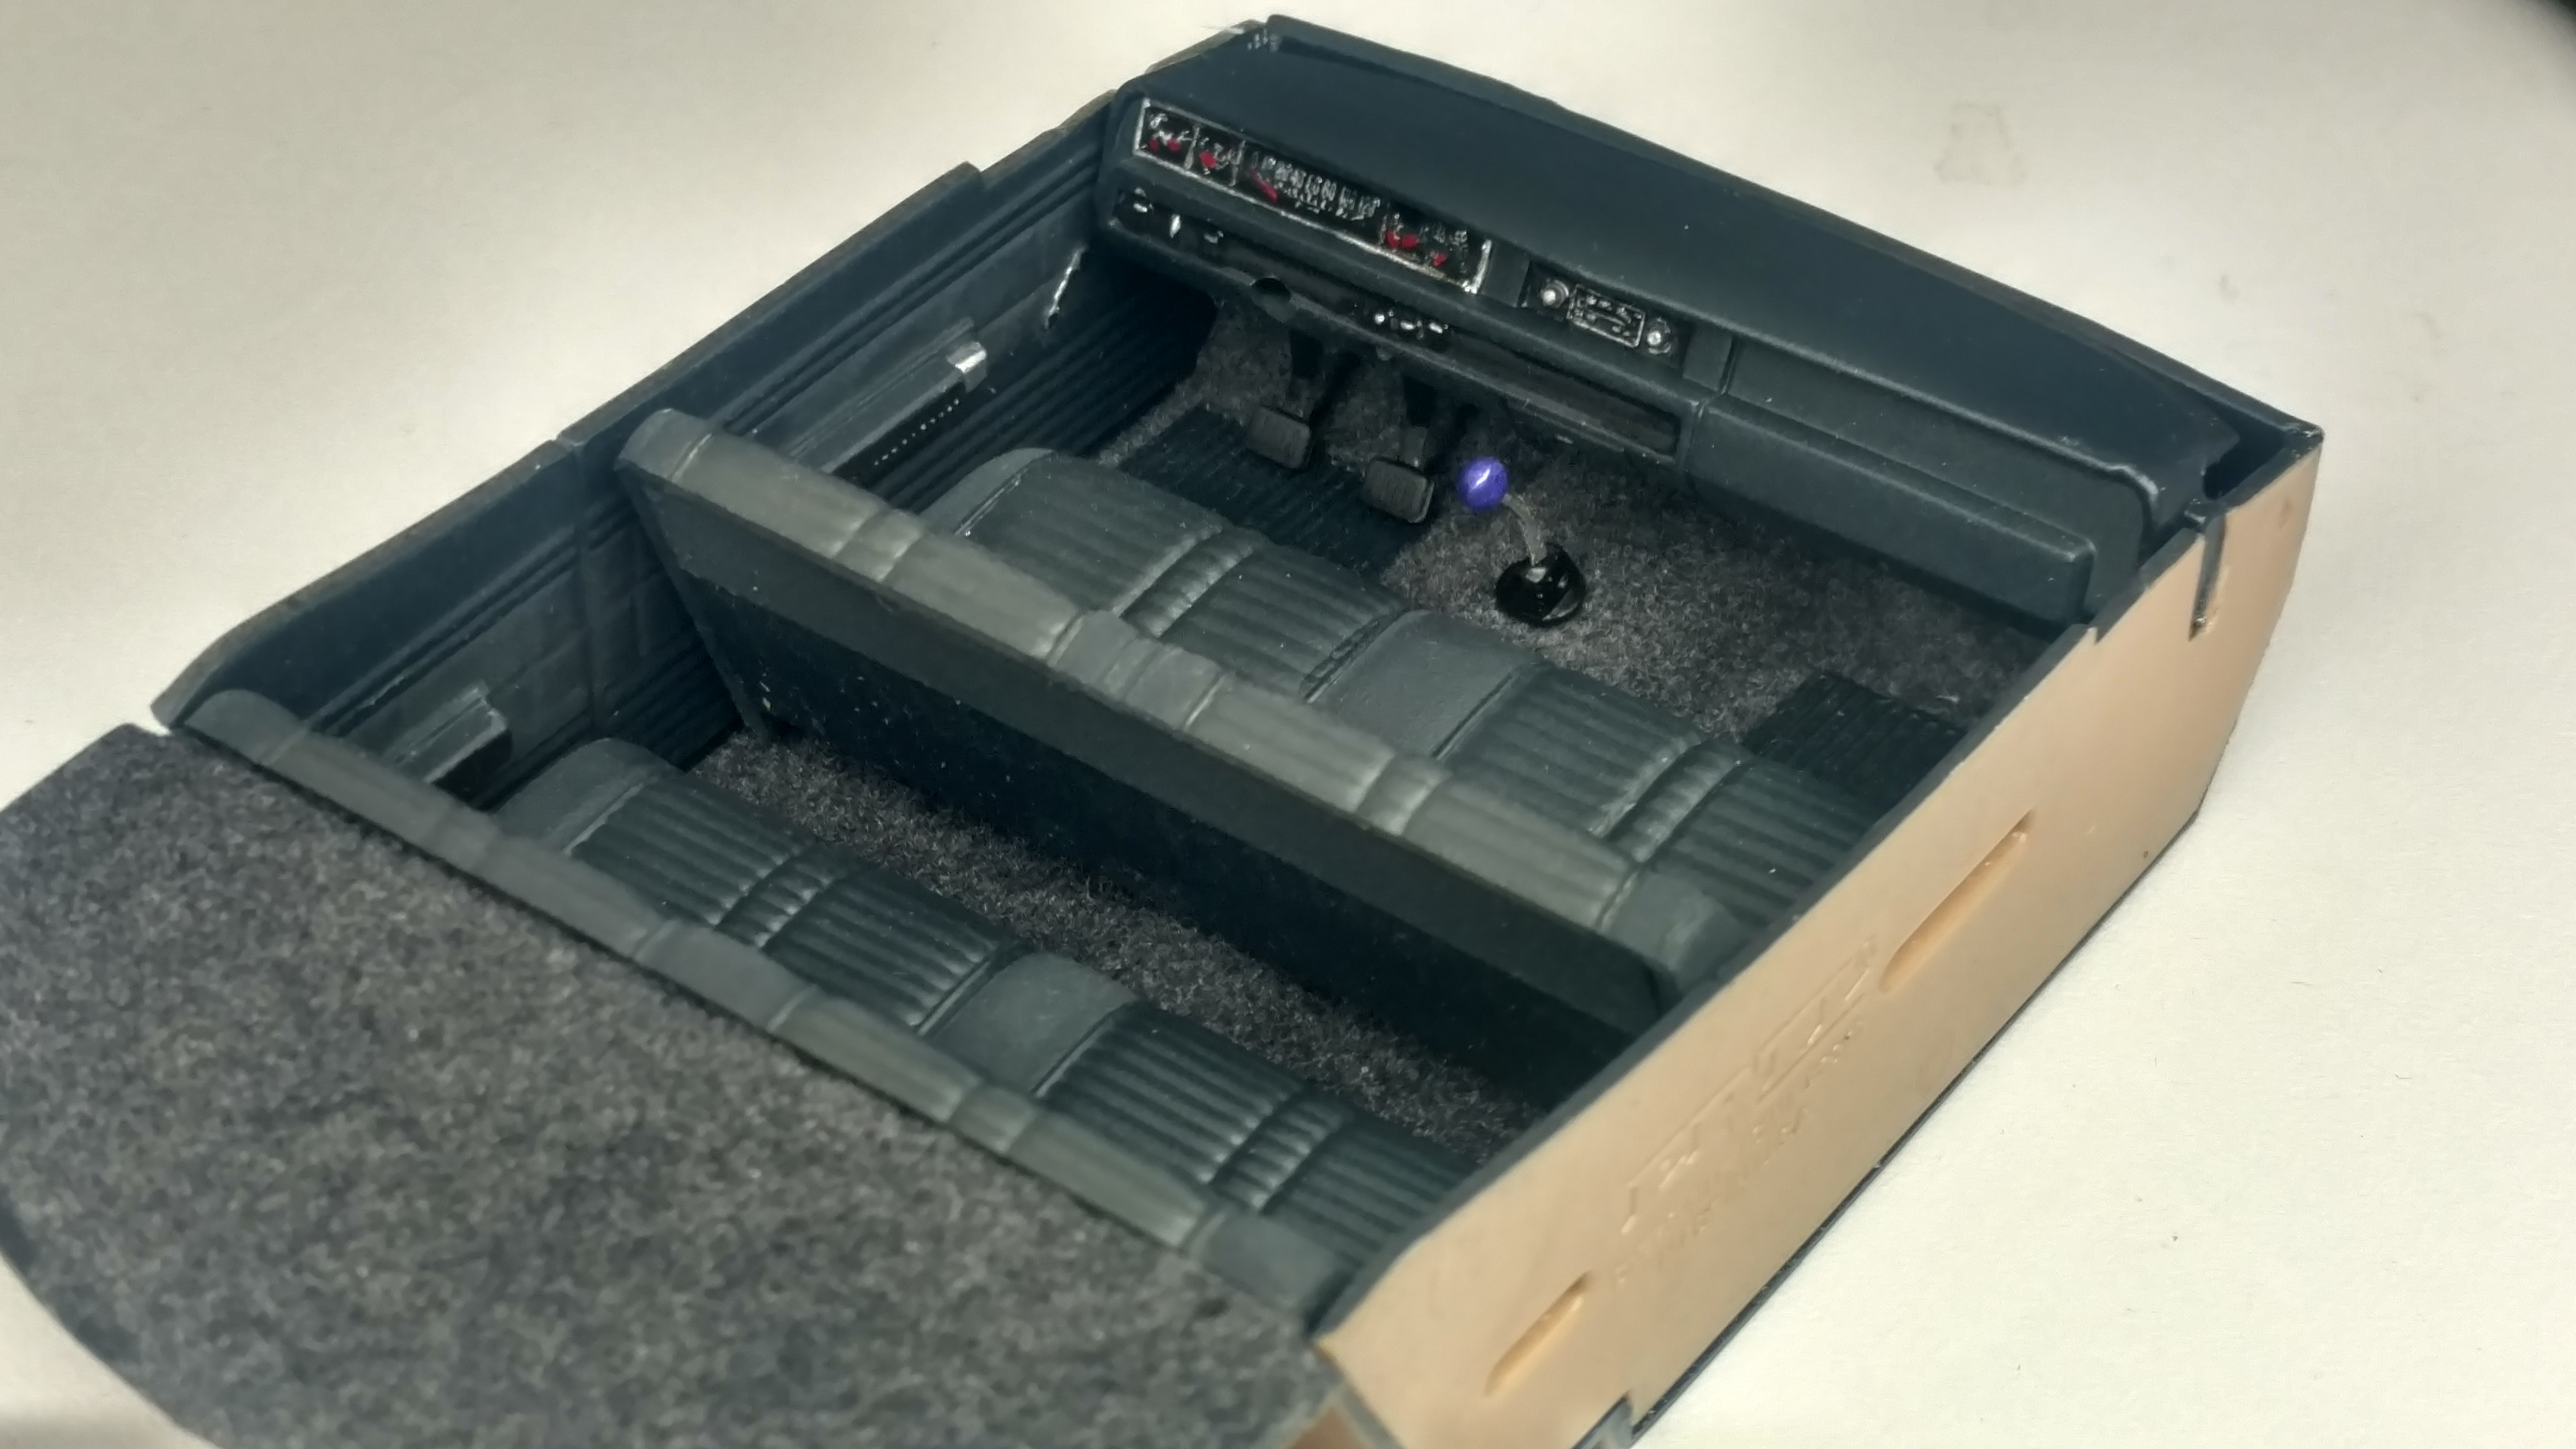
And here is the interior
-
So far the interior is done. Black on black and some various dark grays. A very purple shifter knob will match the accent stripe.
I will get pictures of the interior soon.
-
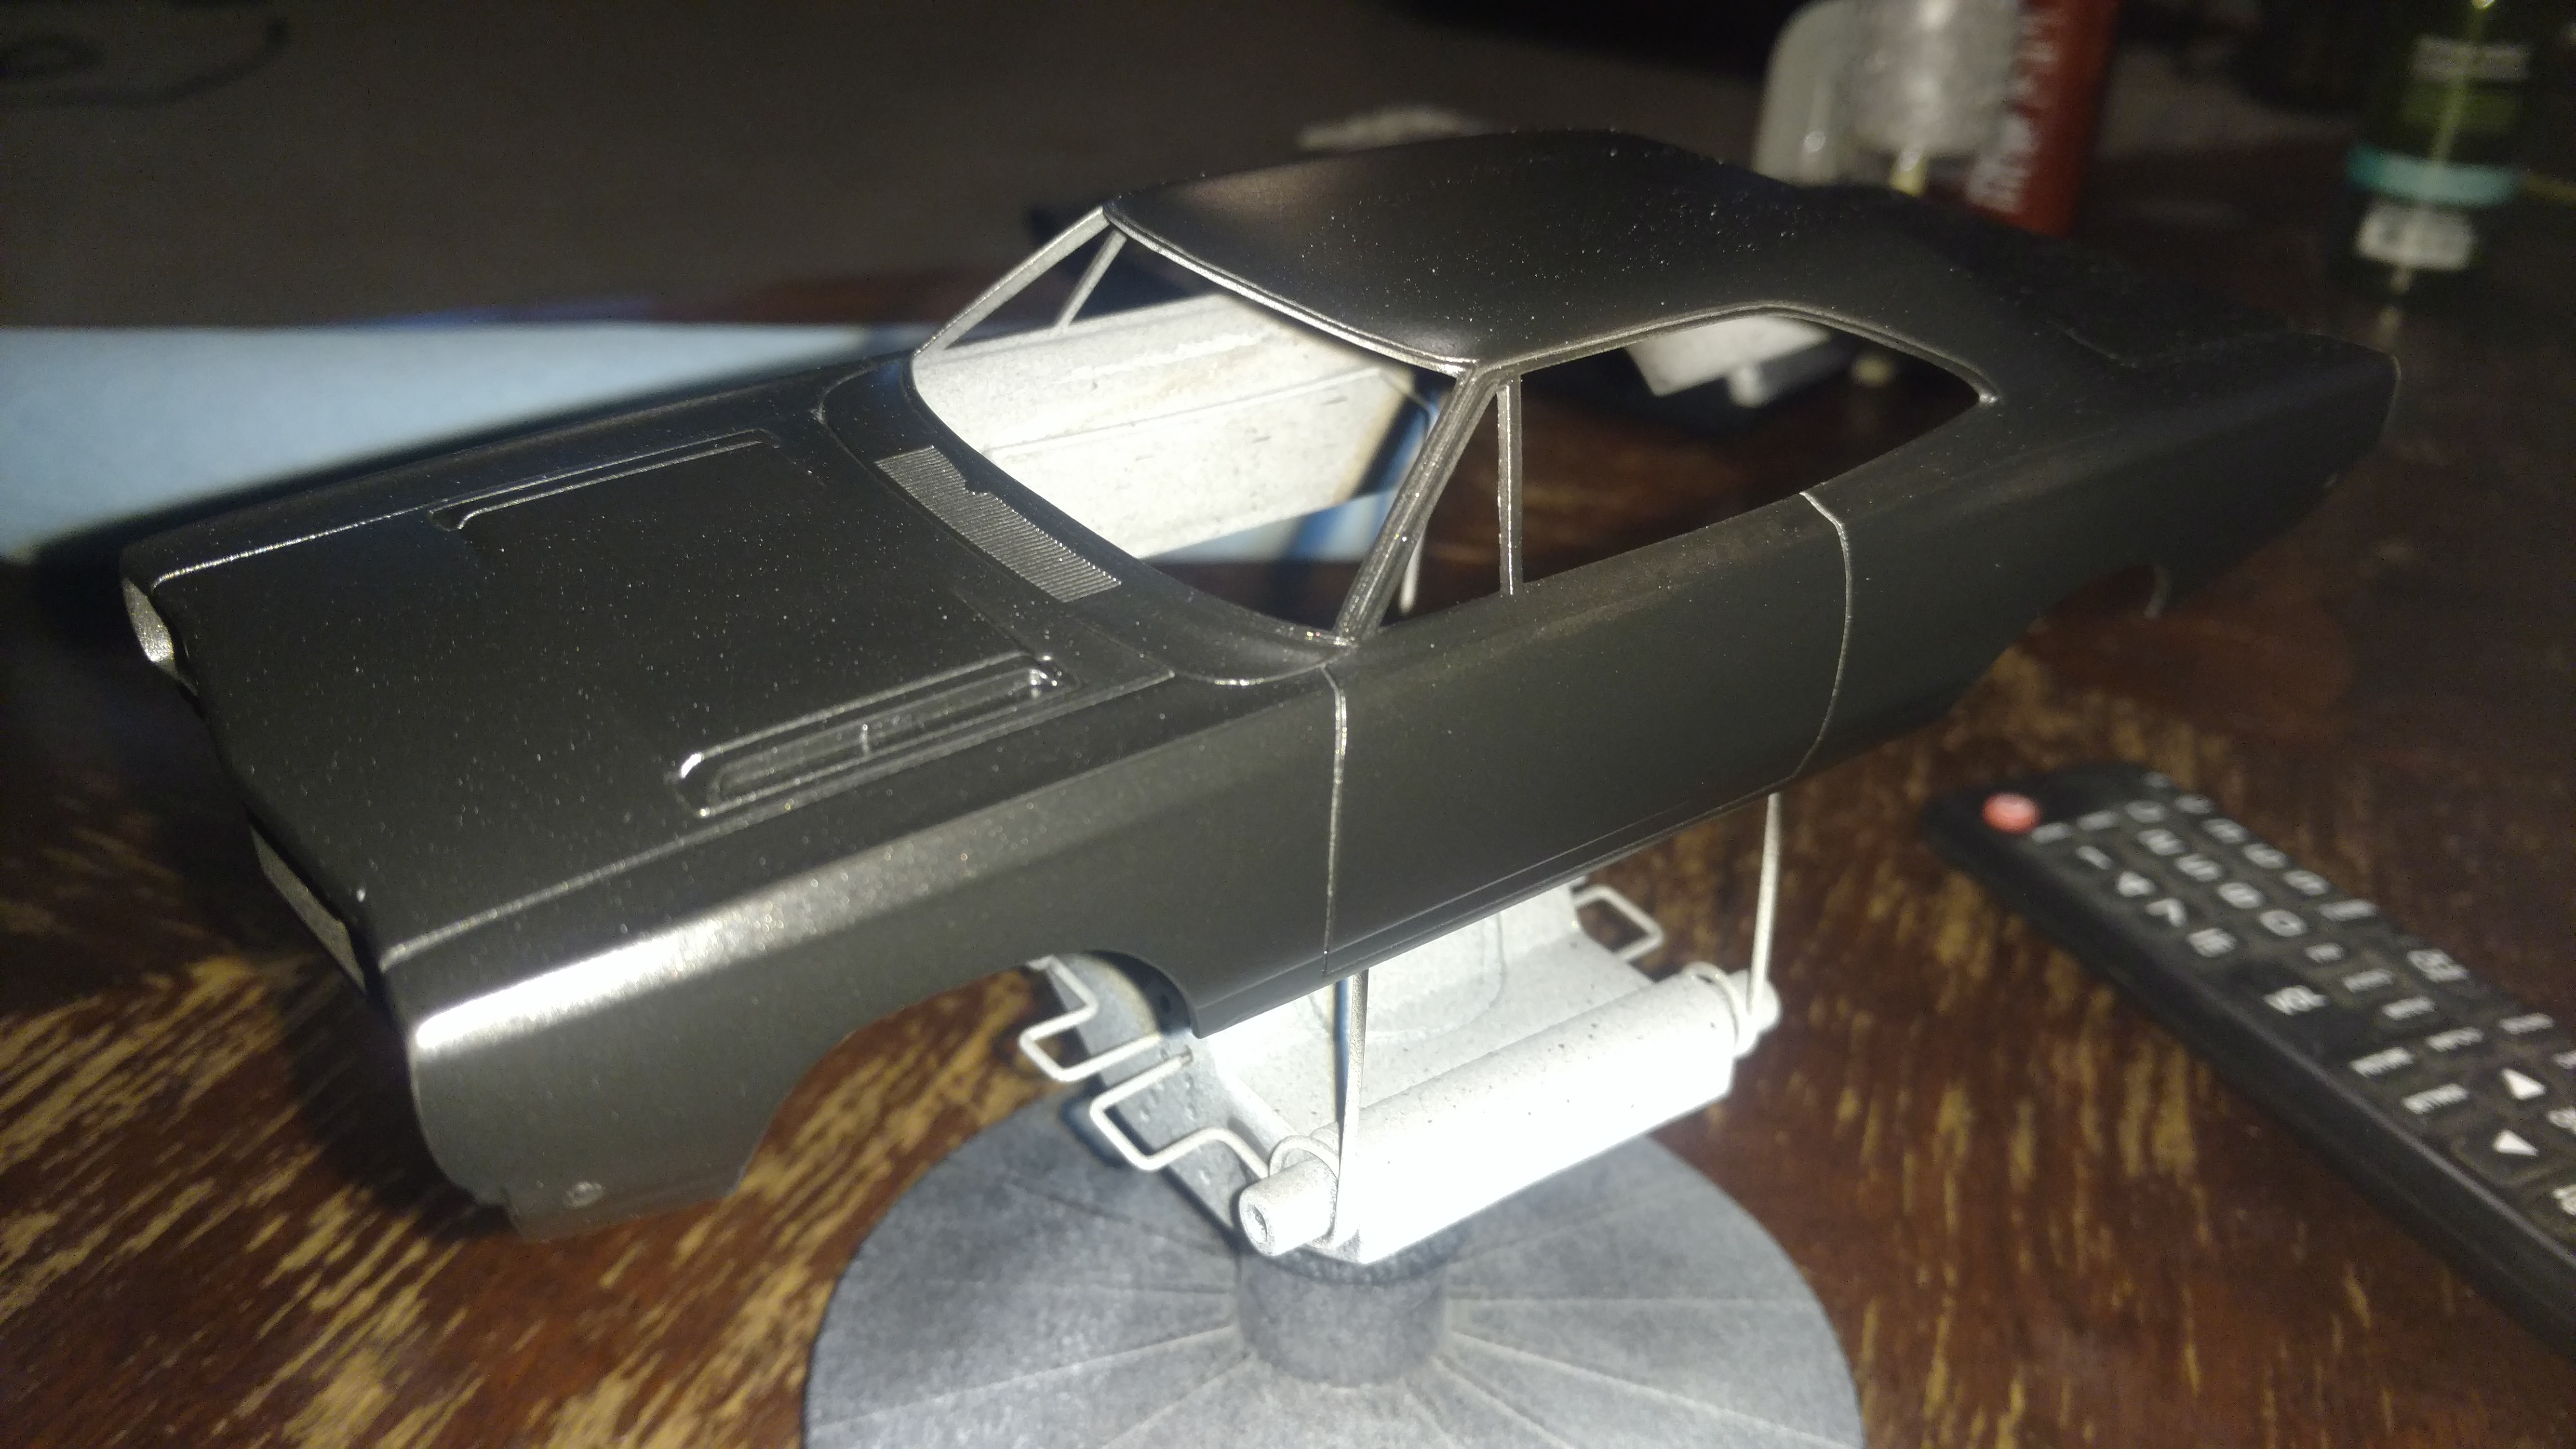
I have been trying to get this one painted for quite some time. This is attempt #5. I tagged this as "cheap paint" because I used Folk Art Craft Acrylic paint. The color is Sequin Black, thinned with Createx reducer and some balancing clear mixed in to help with flow.
I need to wet sand some dust specks and then clear coat and polish, but at this point I am very happy with the results.
-
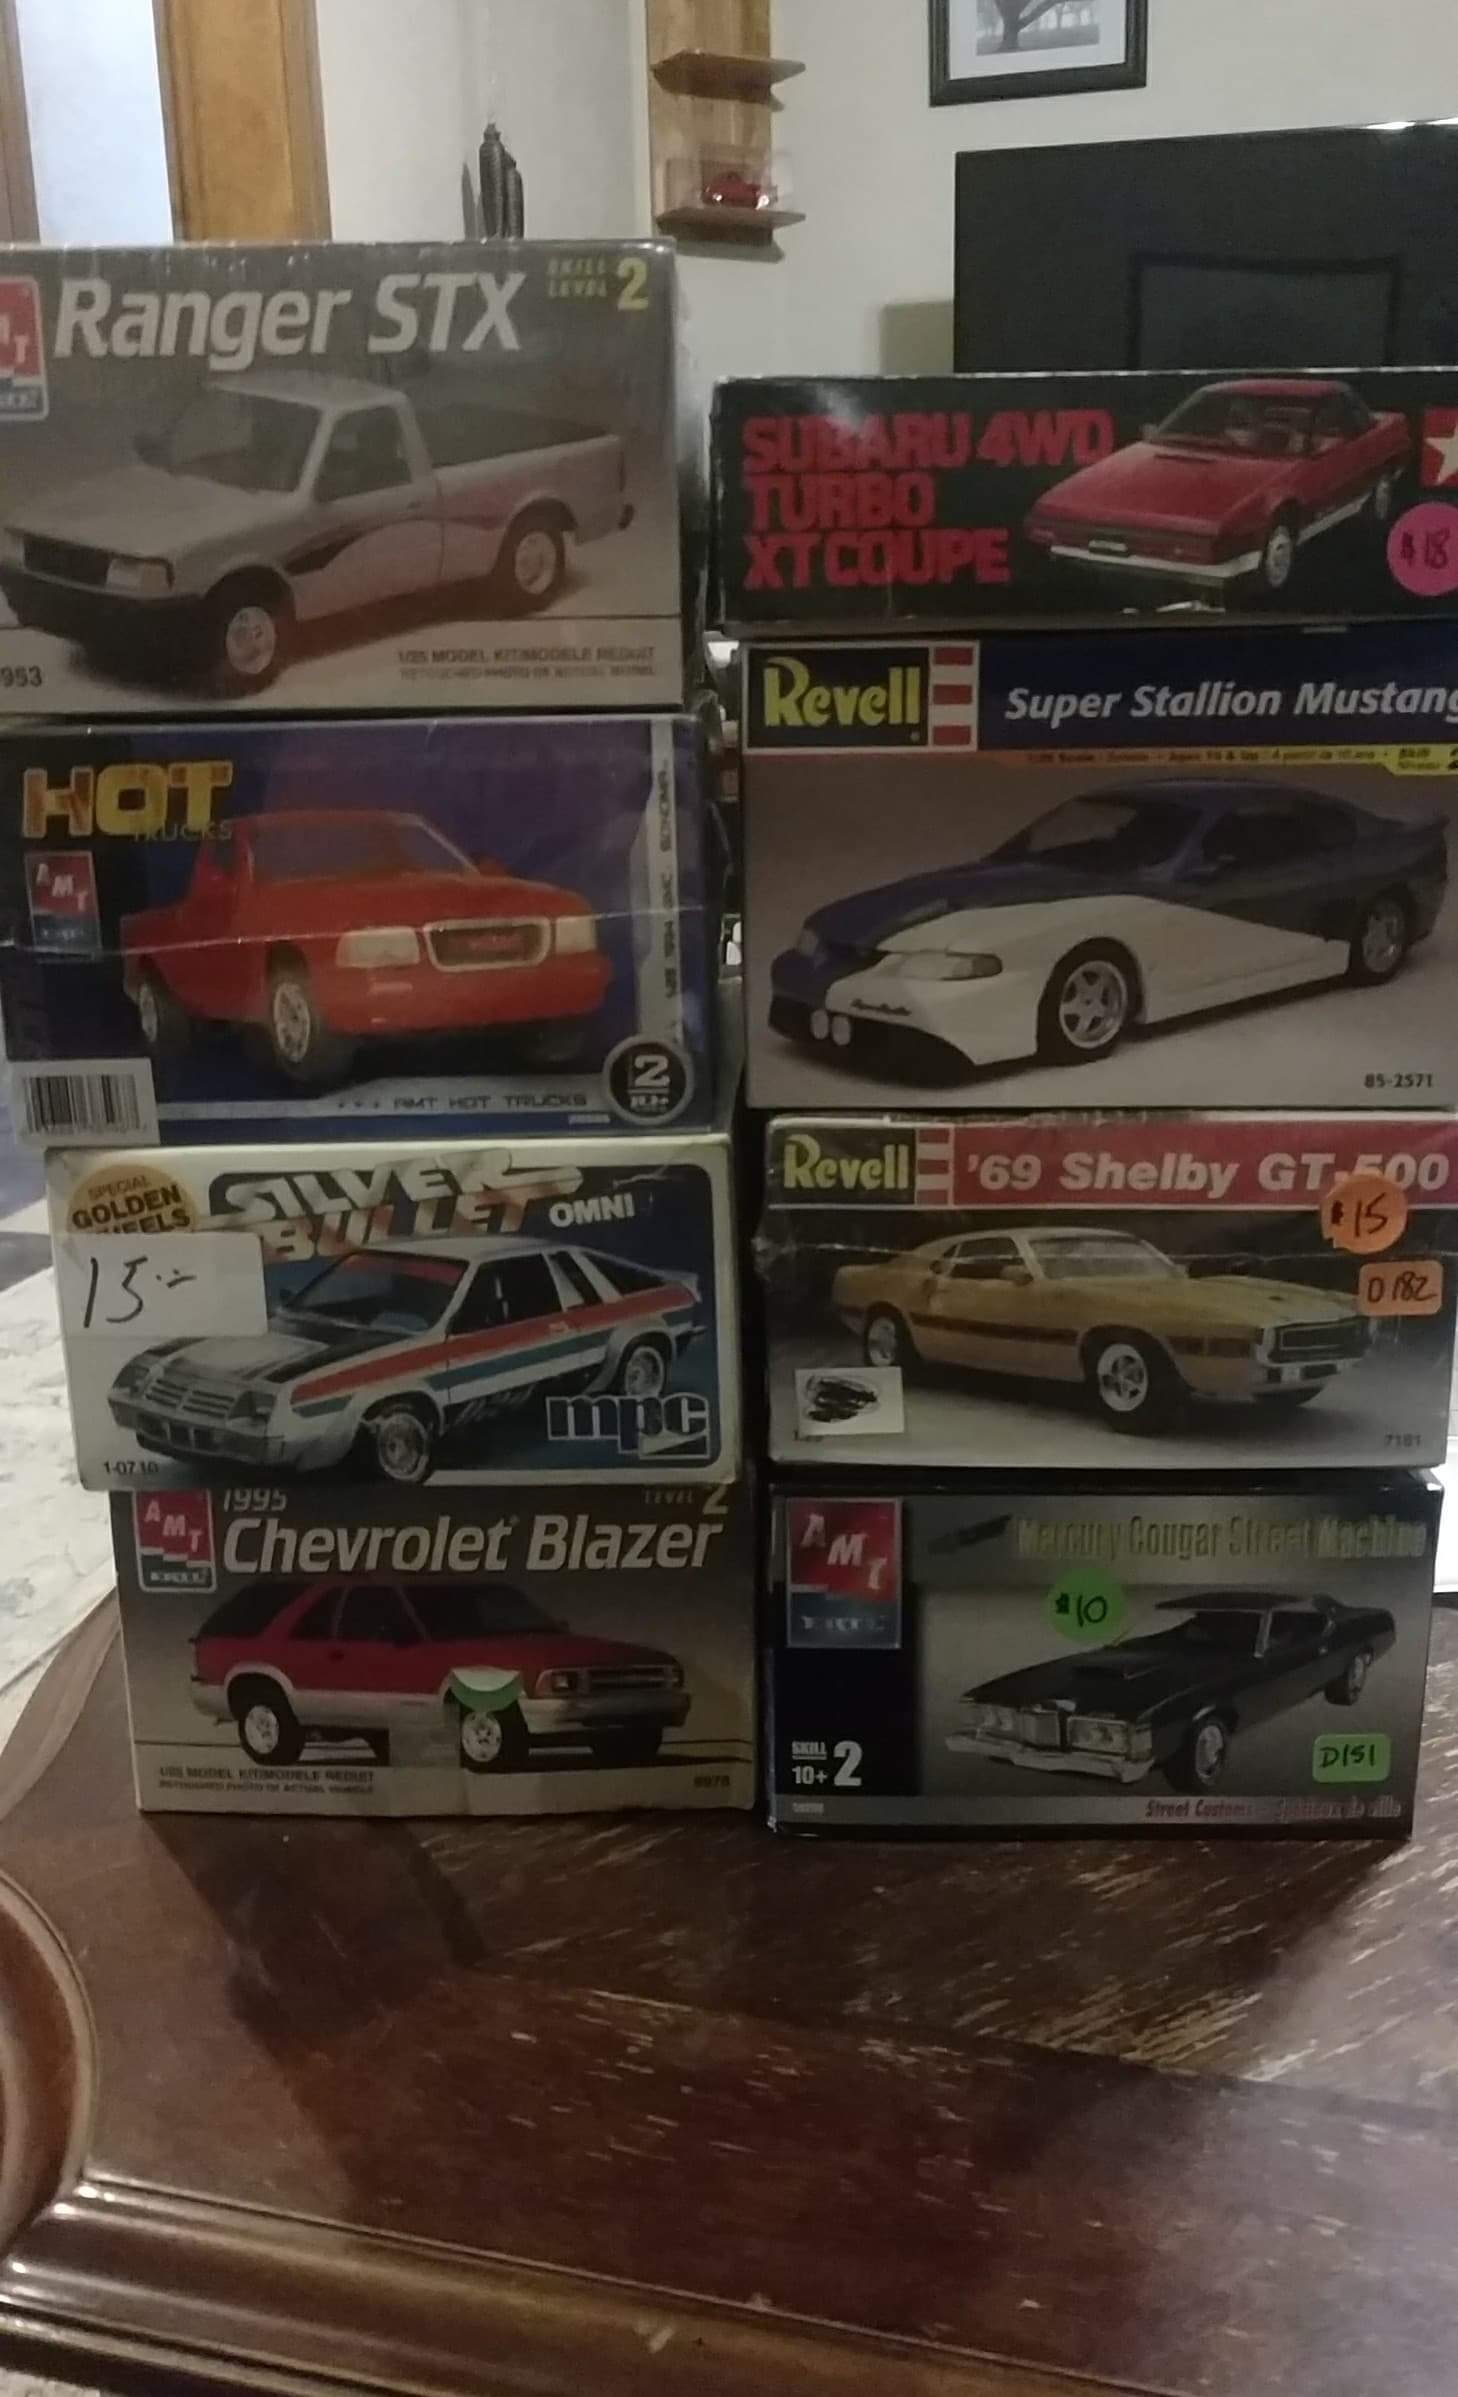
Not today, but yesterday, a great haul from the MCMA Model Car Shootout 2019! Great show, great models and great people! Can't wait till next year.
-
On 2/18/2019 at 5:05 PM, FordRodnKustom said:
I like the way this old AMT Ford came out. All good ole Testor's paints. Once in a while I seem to get it right LOL.
That is one SEXY Skyliner!
I have a Starliner in the stash waiting for some more love. Maybe she will see some bench time soon, thanks to you.
-
I will share this with the Oklahoma guys.
-
On 1/31/2019 at 9:08 AM, Intmd8r said:
I am in the process of experimenting with Testors Acrylic paint and sharing the some of the frustration in the post. What has been you experience with curing time? I know elements like temperature and humidity are a factor, but I'm looking more of a baseline to start with.
The Testors gloss clear takes about 10-30 minutes to dry enough to handle, if you spray thin coats and let them set up between coats. I have wet sanded as early as one hour after spraying...on very hot/arid days. I have also wet sanded too early, resulting in stripping the paint, two days later on really humid days. One thing I suggest is painting a spoon or something to test on, before you ruin your paint job.
Using a hairdryer to fast cure your paint will help a lot! Wet sand in 15 minutes if done properly. Be careful you don't over-heat the plastic and warp it.
-
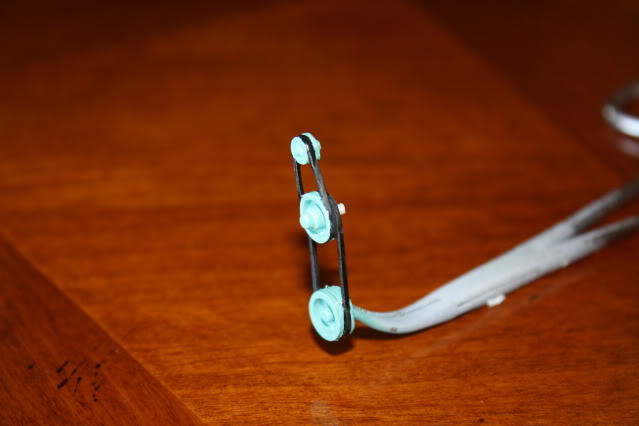
Belts from the Detroit diesel I built in an AMT GMC Astro 95.
-
All Testors acrylic, wetsanded and polished.
The trick was to get enough layers to build up a workable thickness. But the key is to have a perfect base on which you are spraying over. Make sure your primer coat is flawless and smooth, not just out of the can. Then wetsand your base color after it has been thoroughly cured. Acrylic paint sprays so thin that it takes forever to build up a good workable surface but it has so many advantages over enamel and lacquer paint. But there are drawbacks too like: clean up, clogging up your airbrush, learning to use it, just to name a few pros and cons.
-
This is a very multi-layer question.
Just painting a headliner, box stock build, I like Snake's plan.
Covering mold imperfections and such, 89AKurt's plan would work well with any number of materials.
I have used both of these examples and had great success. But there's no limit to how detailed you can get. I have used sheet styrene to build up interior details on a, b, and c pillars to give depth and dimension and used masking tape for headliner. I've used Bondo to fill in spaces to smooth out the inner roof.
The thing is to find a 1:1 reference photo of what you wish to replicate, then through trial and error, asking for suggestions, and brainstorming, come up with a plan to achieve your goal.
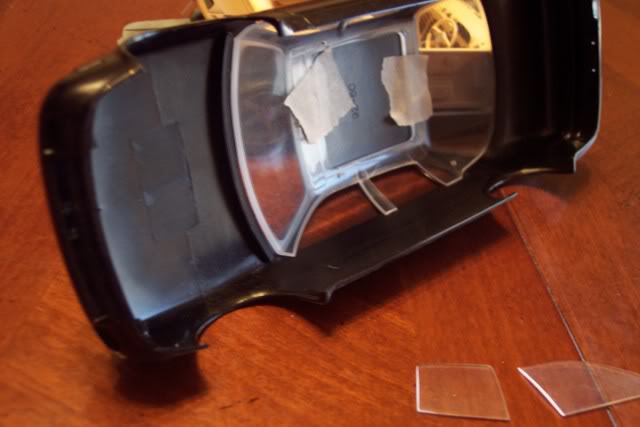
You see in this picture, I had a full bucket type "glass". I temporarily installed and scribed the door window opening to the bucket, carefully scribed out the door glass leaving the bucket minus the door glass to represent the interior trim plastics. I then shaped and polished things accordingly. I then used masking tape to cover the square hole in the headliner, did some creative masking and painting to create a very believable headliner and inner roof. Then I thinned and polished the door glass and installed them to be halfway down. All because I wanted to hang the seatbelts where they belong. Lol
Here's the finished product. See how well the effort payed off? Oh, no, you can't see it, but it does look very good, take my word. Hahaha
-
It makes sense that a metalizer would rust as metal flakes are used in this product. Sure, you used "aluminum" but it was probably mixed with several other types of metal to get the tint they were looking to achieve. When metalizer isn't sealed with clear, it is exposed to humidity and acts like metal. Magnesium will turn gray, aluminum will turn white, steel and iron turn rust red, etc.
-
Testors Model Master ice blue pearl acrylic, shot through my Paasche H. Clear coated with Testors gloss acrylic clear, wet sanded and polished (to eliminate the very slightest orange peel that was likely from the primer)


Do you/can you use nail polish for paint.
in Model Building Questions and Answers
Posted
I haven't had a problem with sinful colors yet. And though they won't tell what they're using as a base, it thins with Testors reducer, and even mixes with their paint, so I presume it is enamel. Also, since it is so cheap, I would guess the maker isn't using lacquer as a base. I use lacquer thinner as it expedites the drying/curing process and it is readily available at reasonable prices.