maysula
-
Posts
158 -
Joined
-
Last visited
Content Type
Profiles
Forums
Events
Gallery
Everything posted by maysula
-
looks very nice!
-
1/12 Porsche 962c
maysula replied to primabaleron's topic in Other Racing: Road Racing, Salt Flat Racers
Stunning work! And a great display as Usual Tomasz 🙂 -
Good looking car 🙂 Great work and the wheels are very nice !
-
Thanks all 🙂 And thanks John, glad you liked it ! The block is airbrushed with a classic color, Alu 56 Humbrol enamel, gives a nice matt finish I think. The gearbox is also painted with Humbrol metalcote , a mix with 003 and 004. The rest is mostly done with acrylics, some parts is painted with Alclad colors, body with Tamiya spraycan TS-15, floorpolish on top.
-
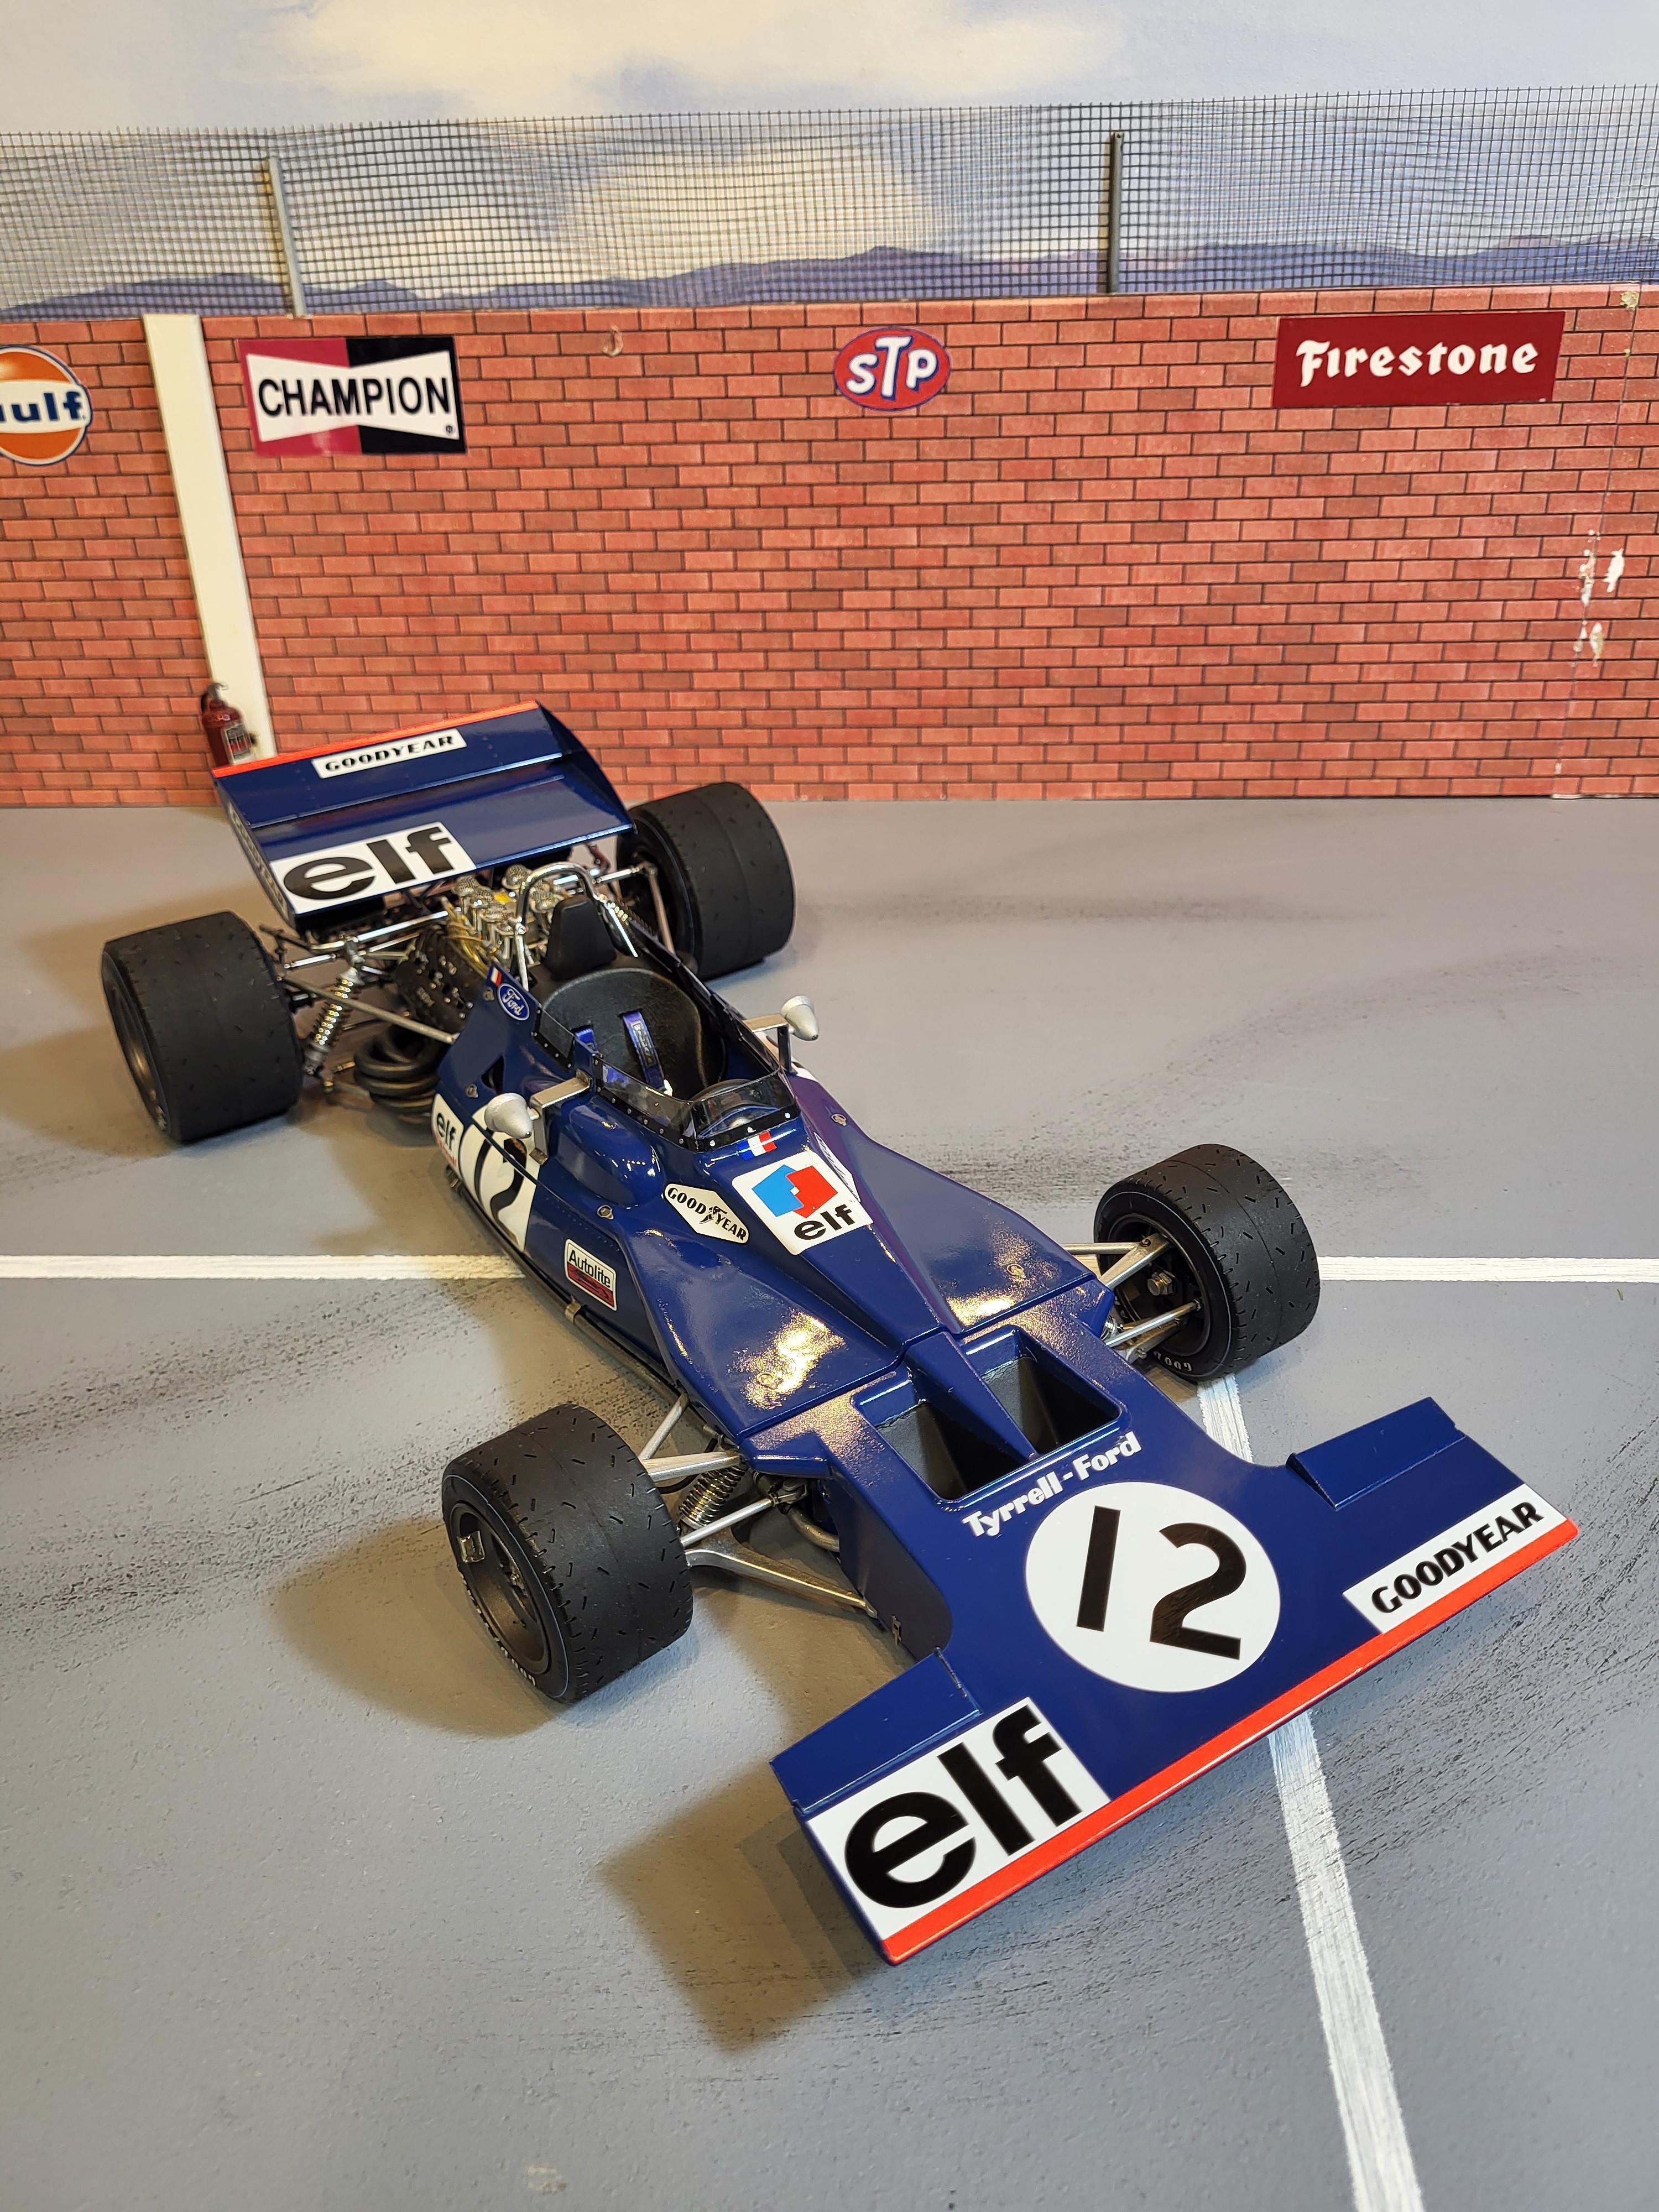
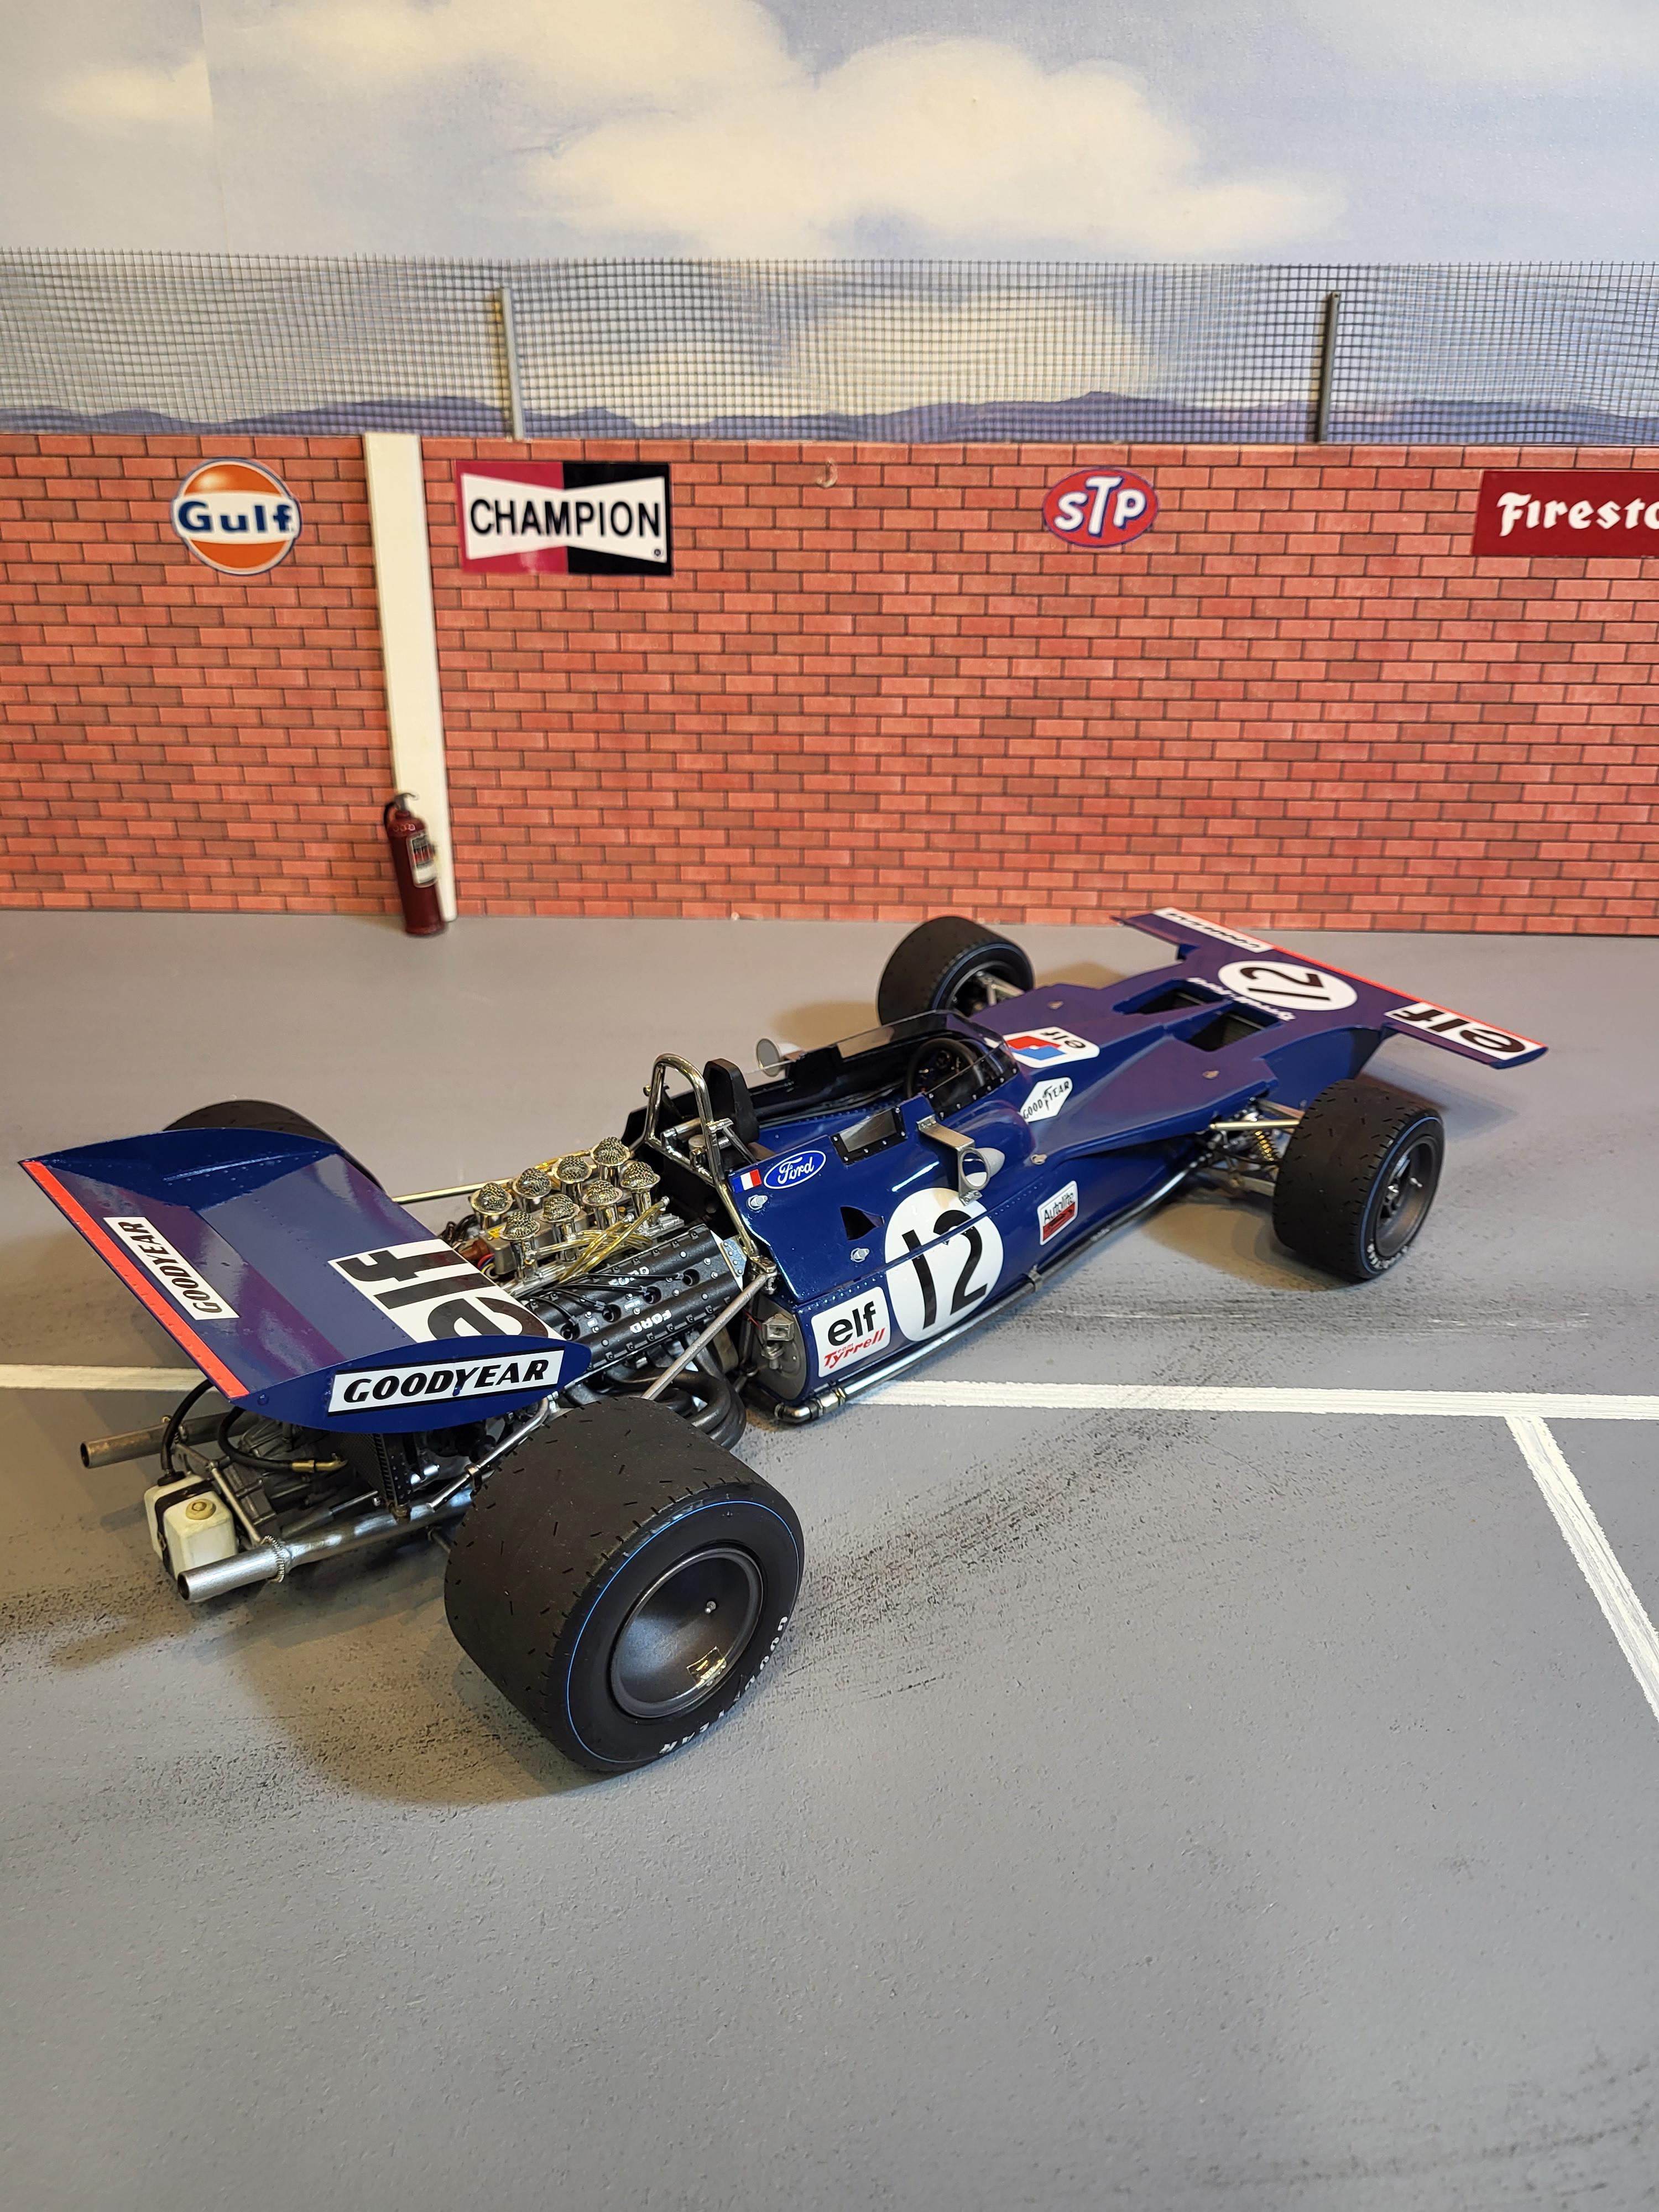
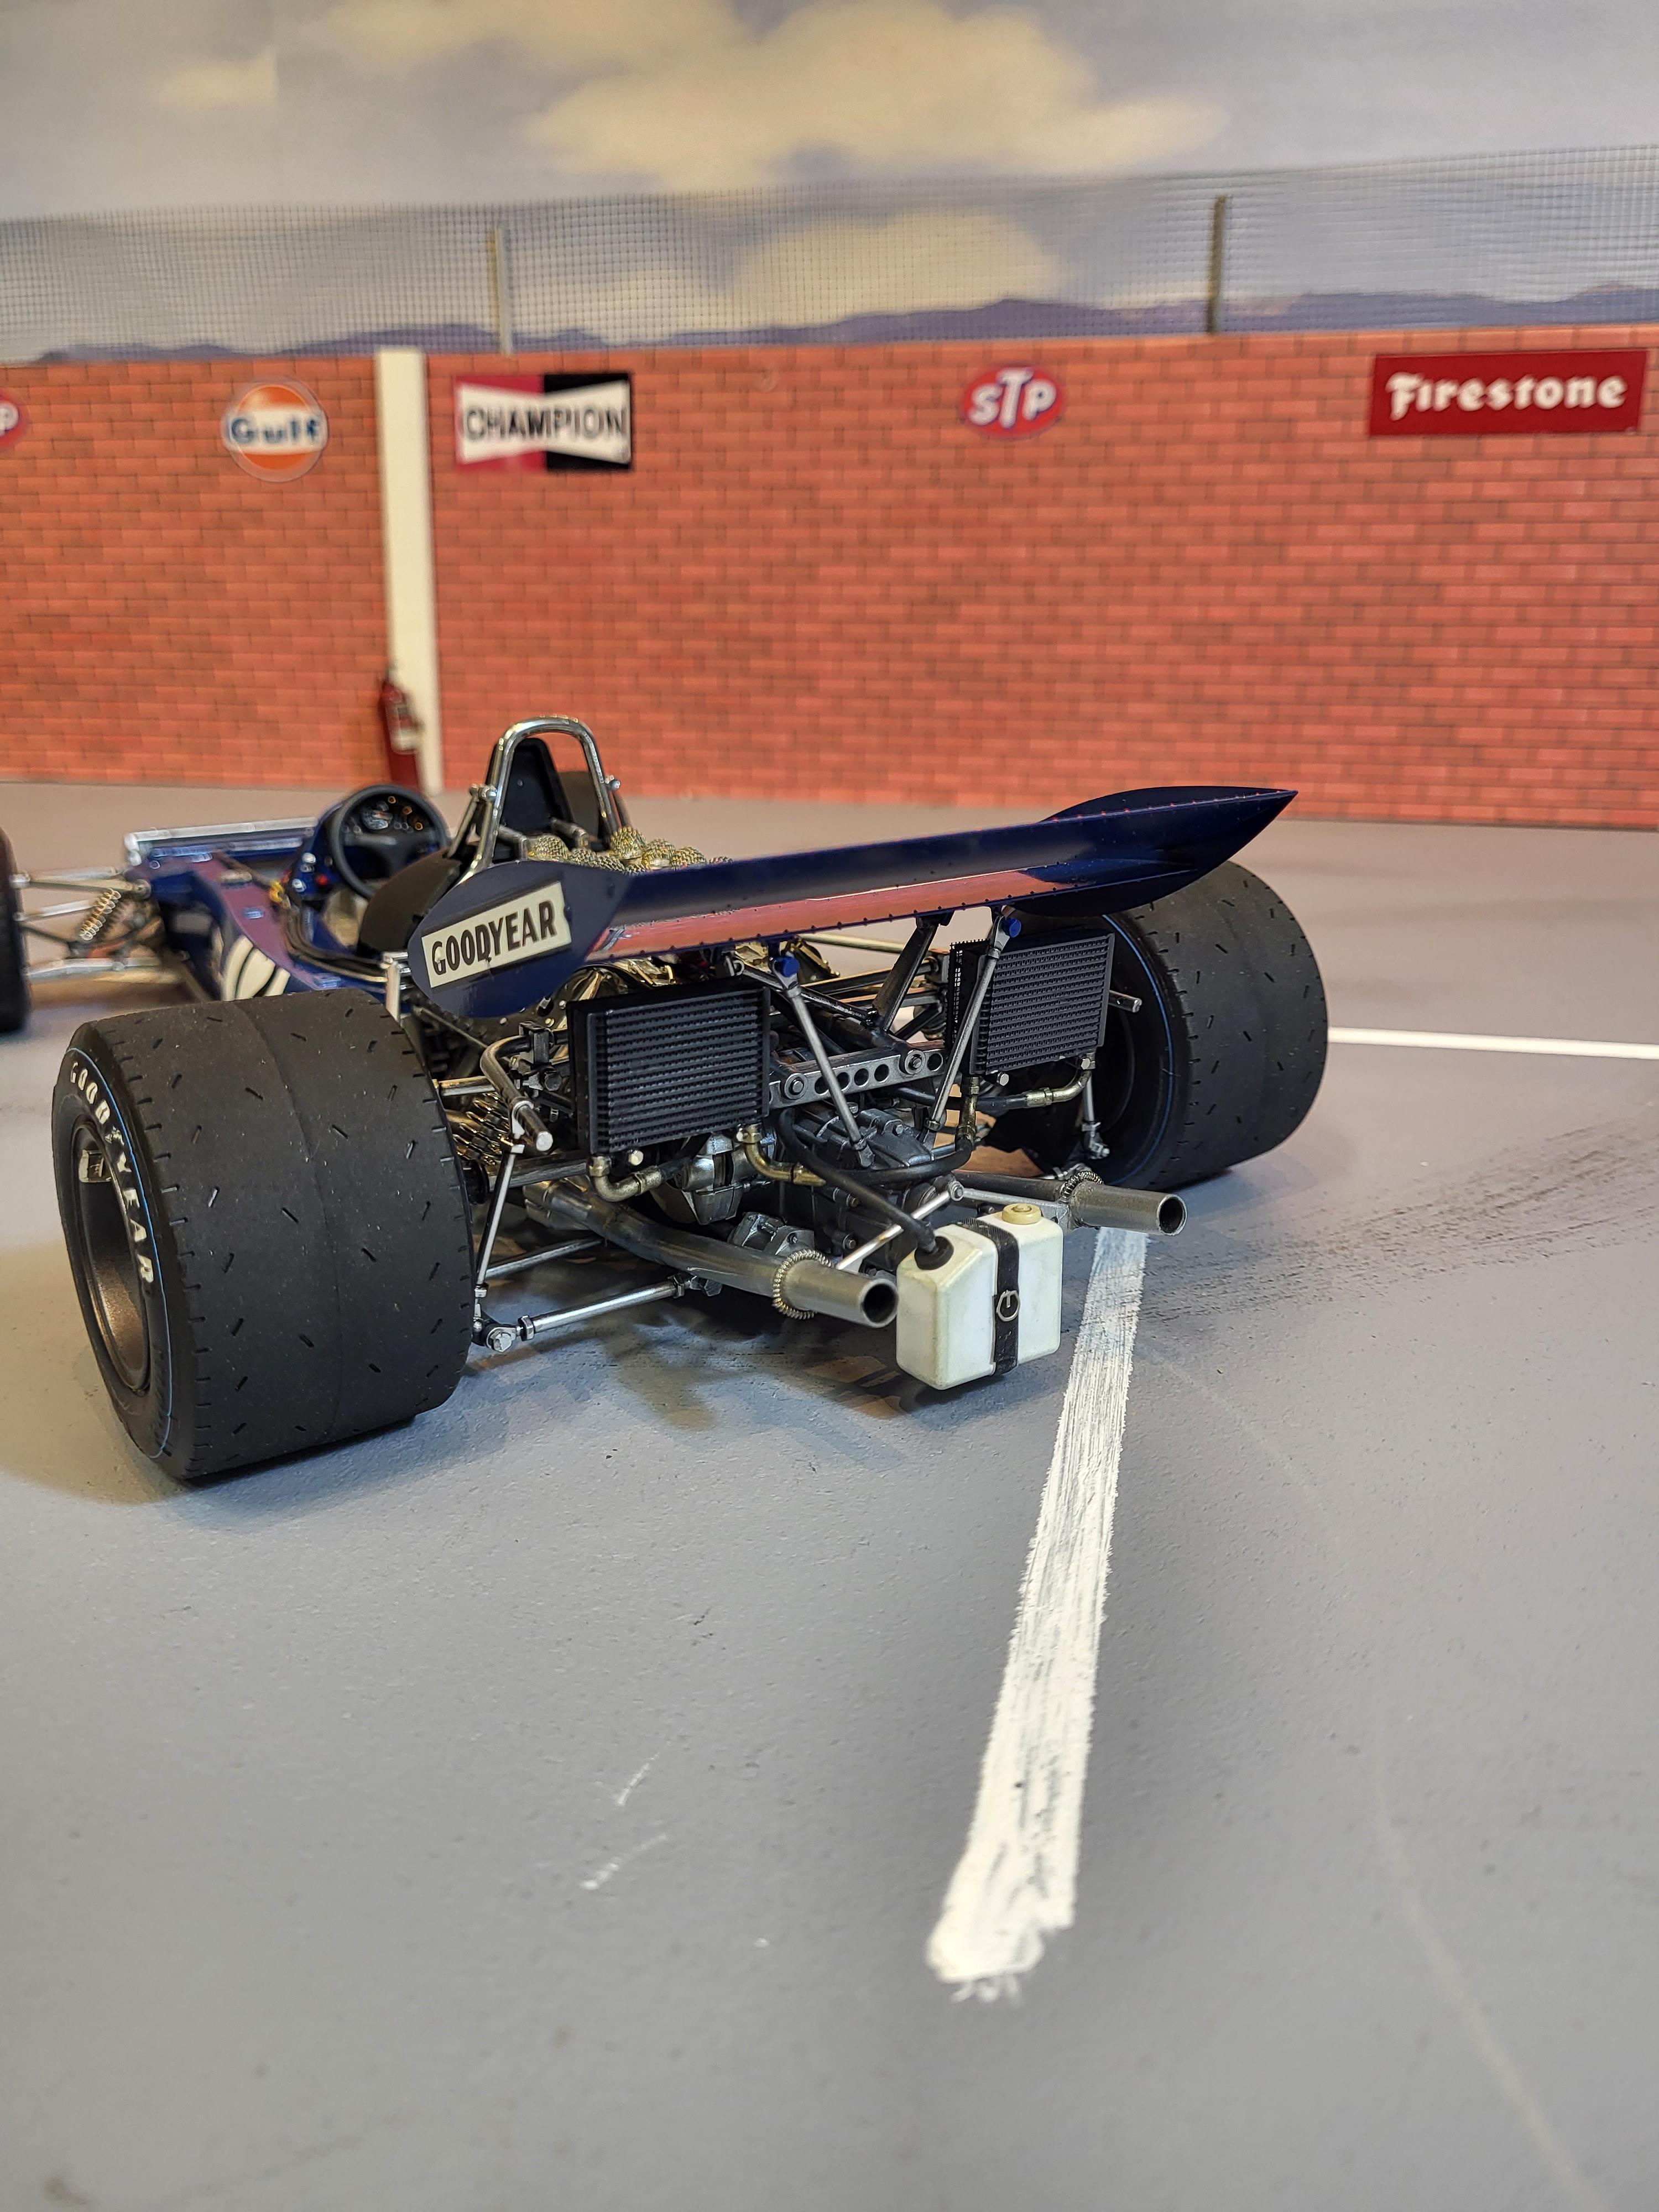
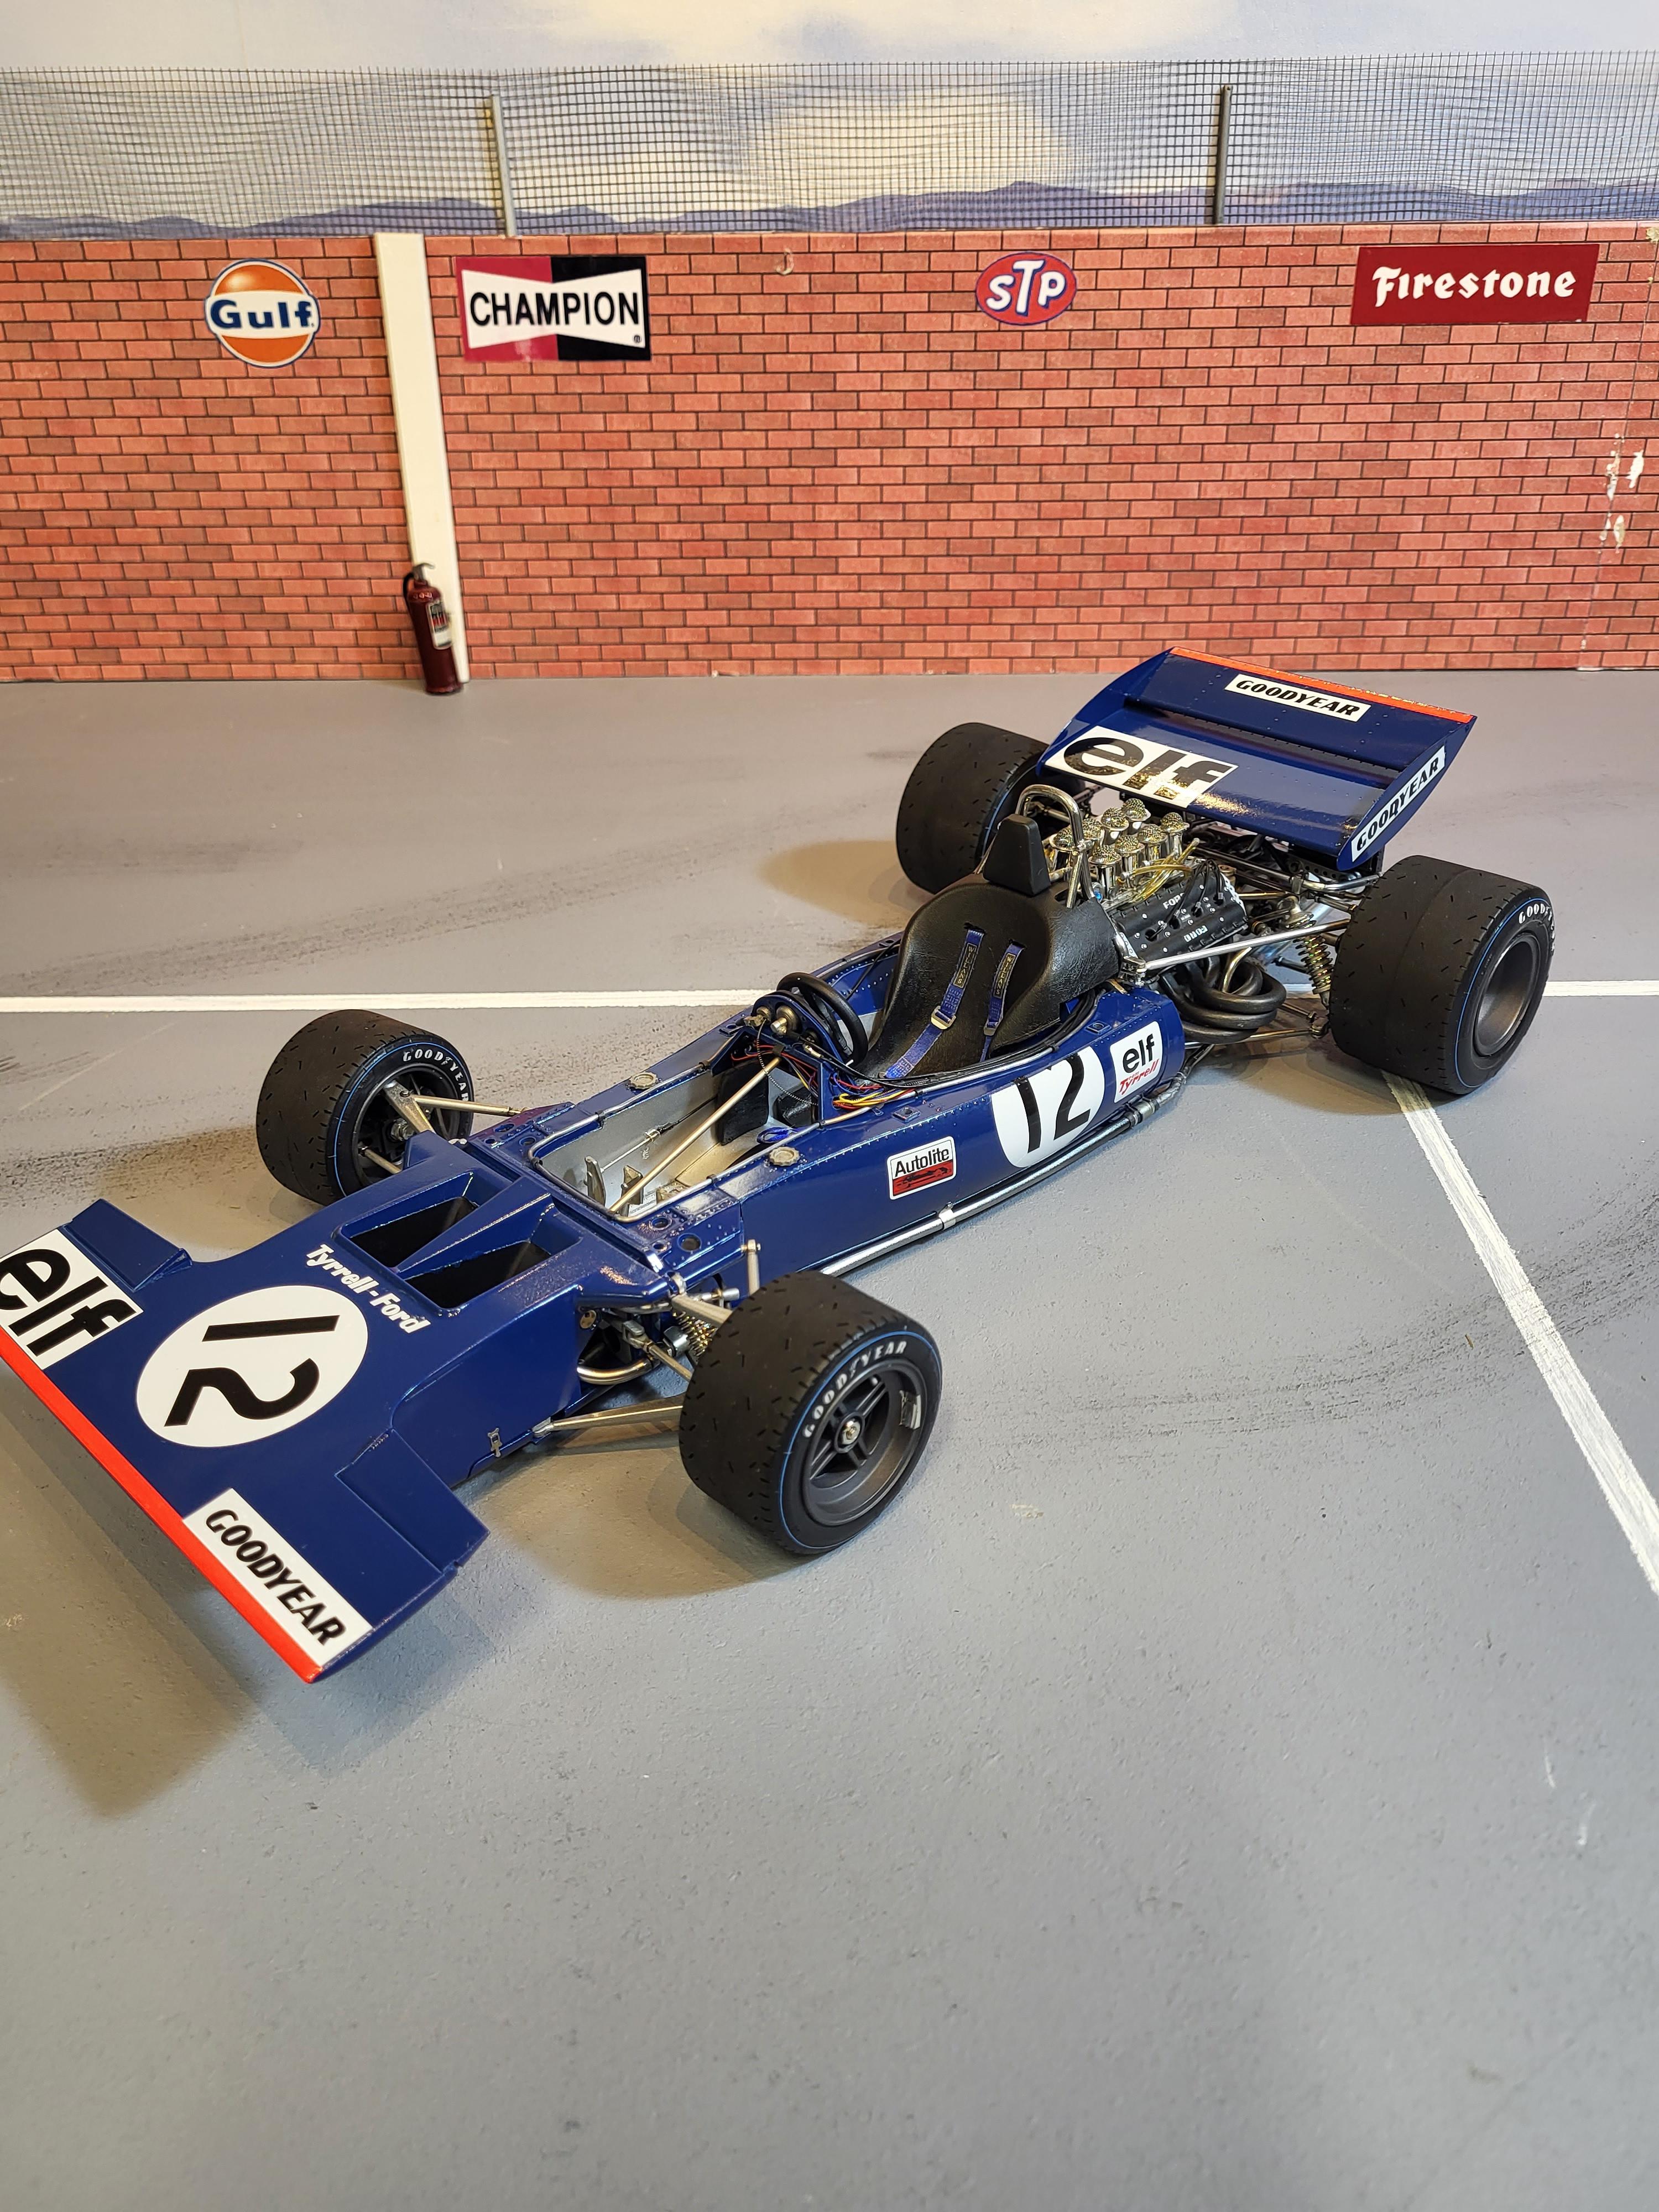
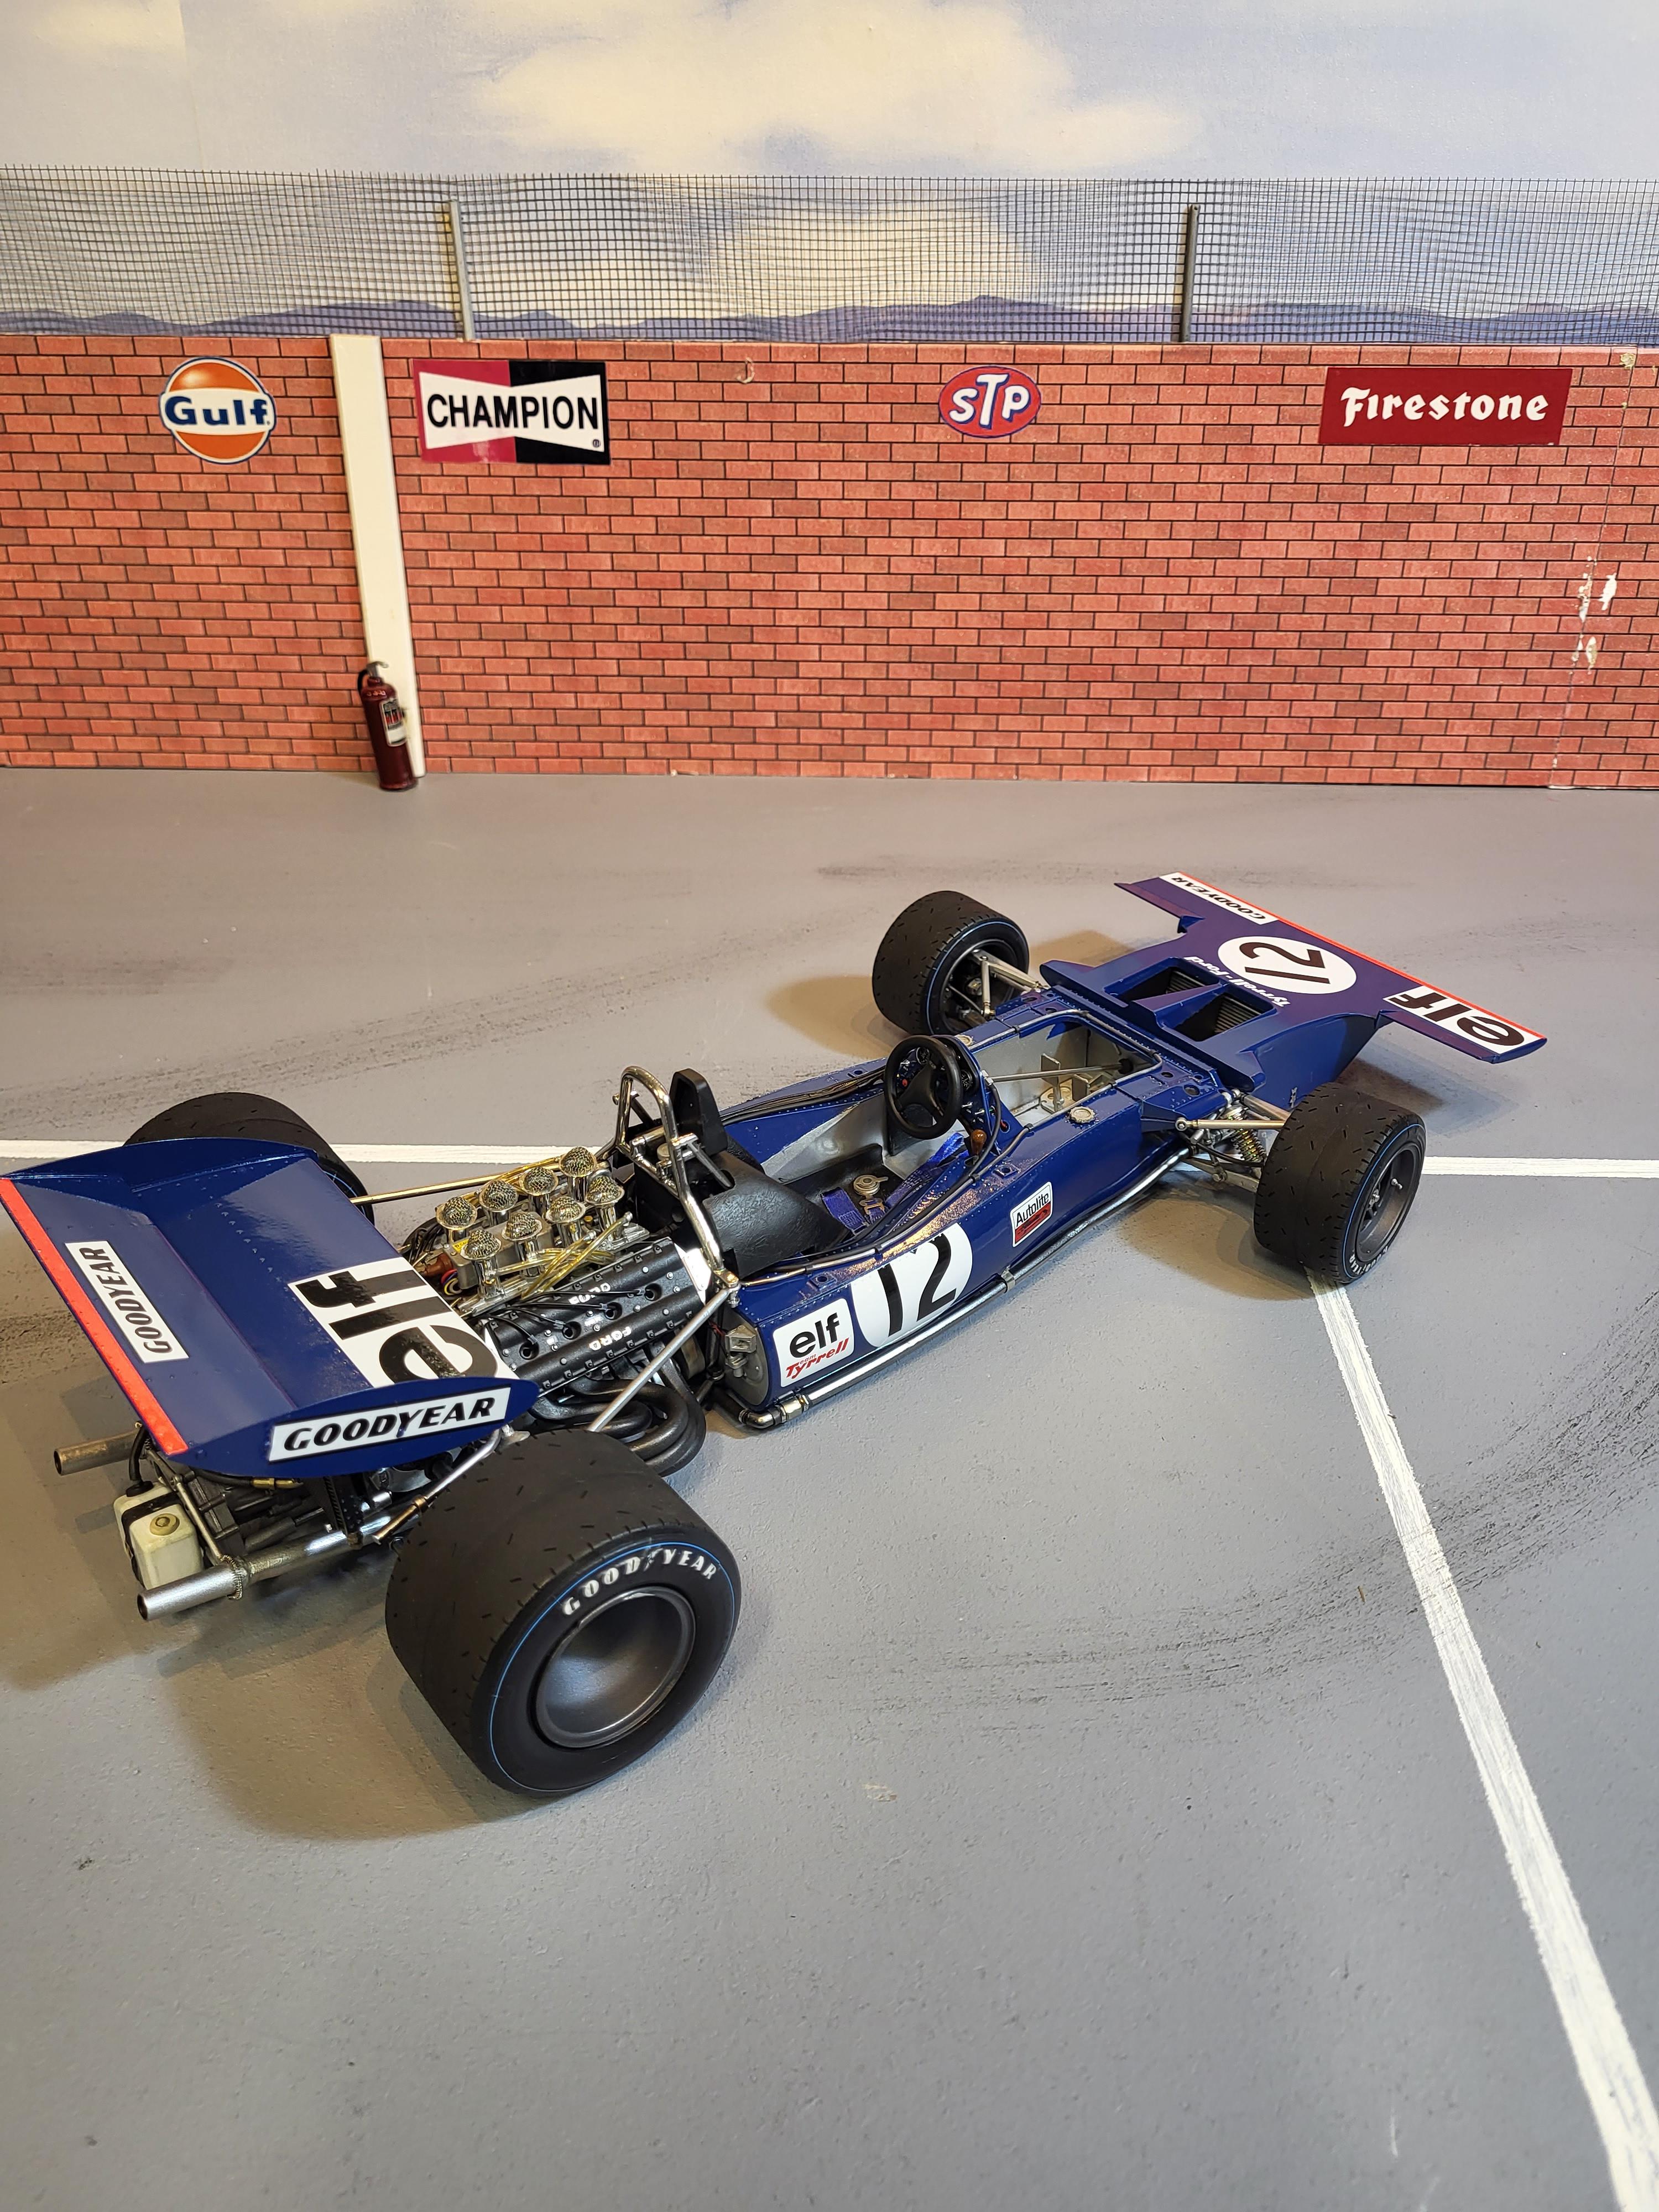
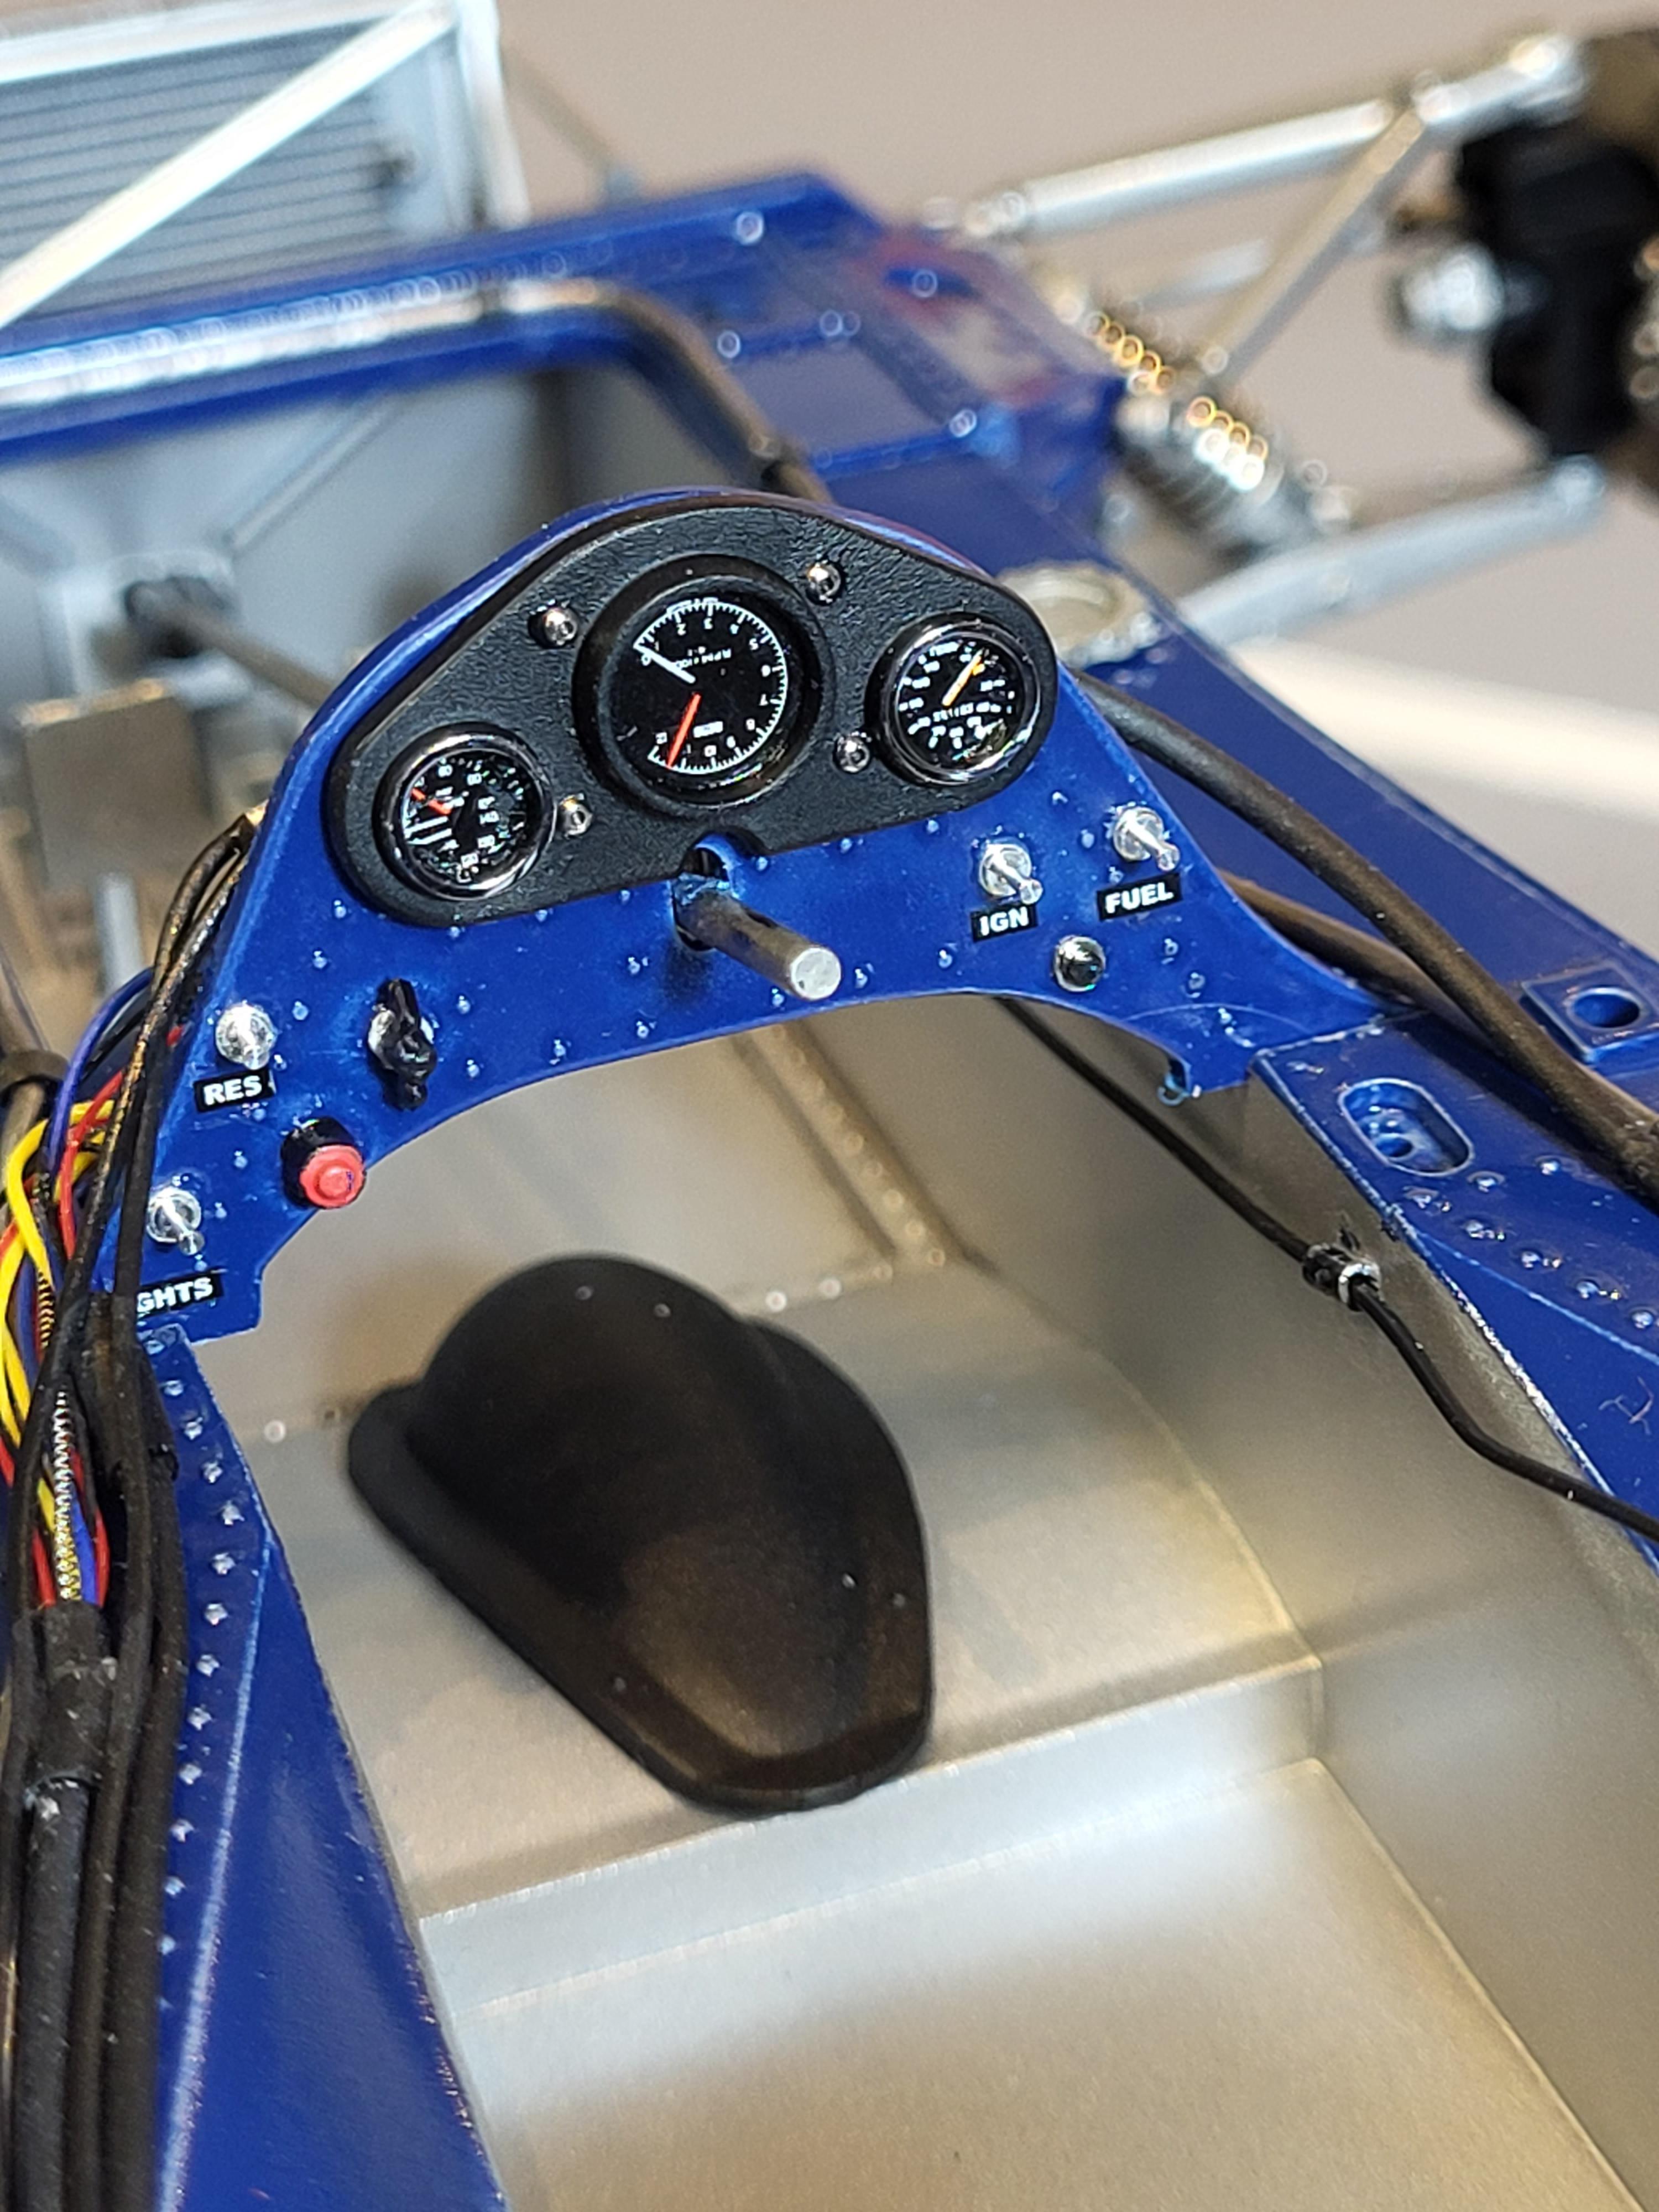
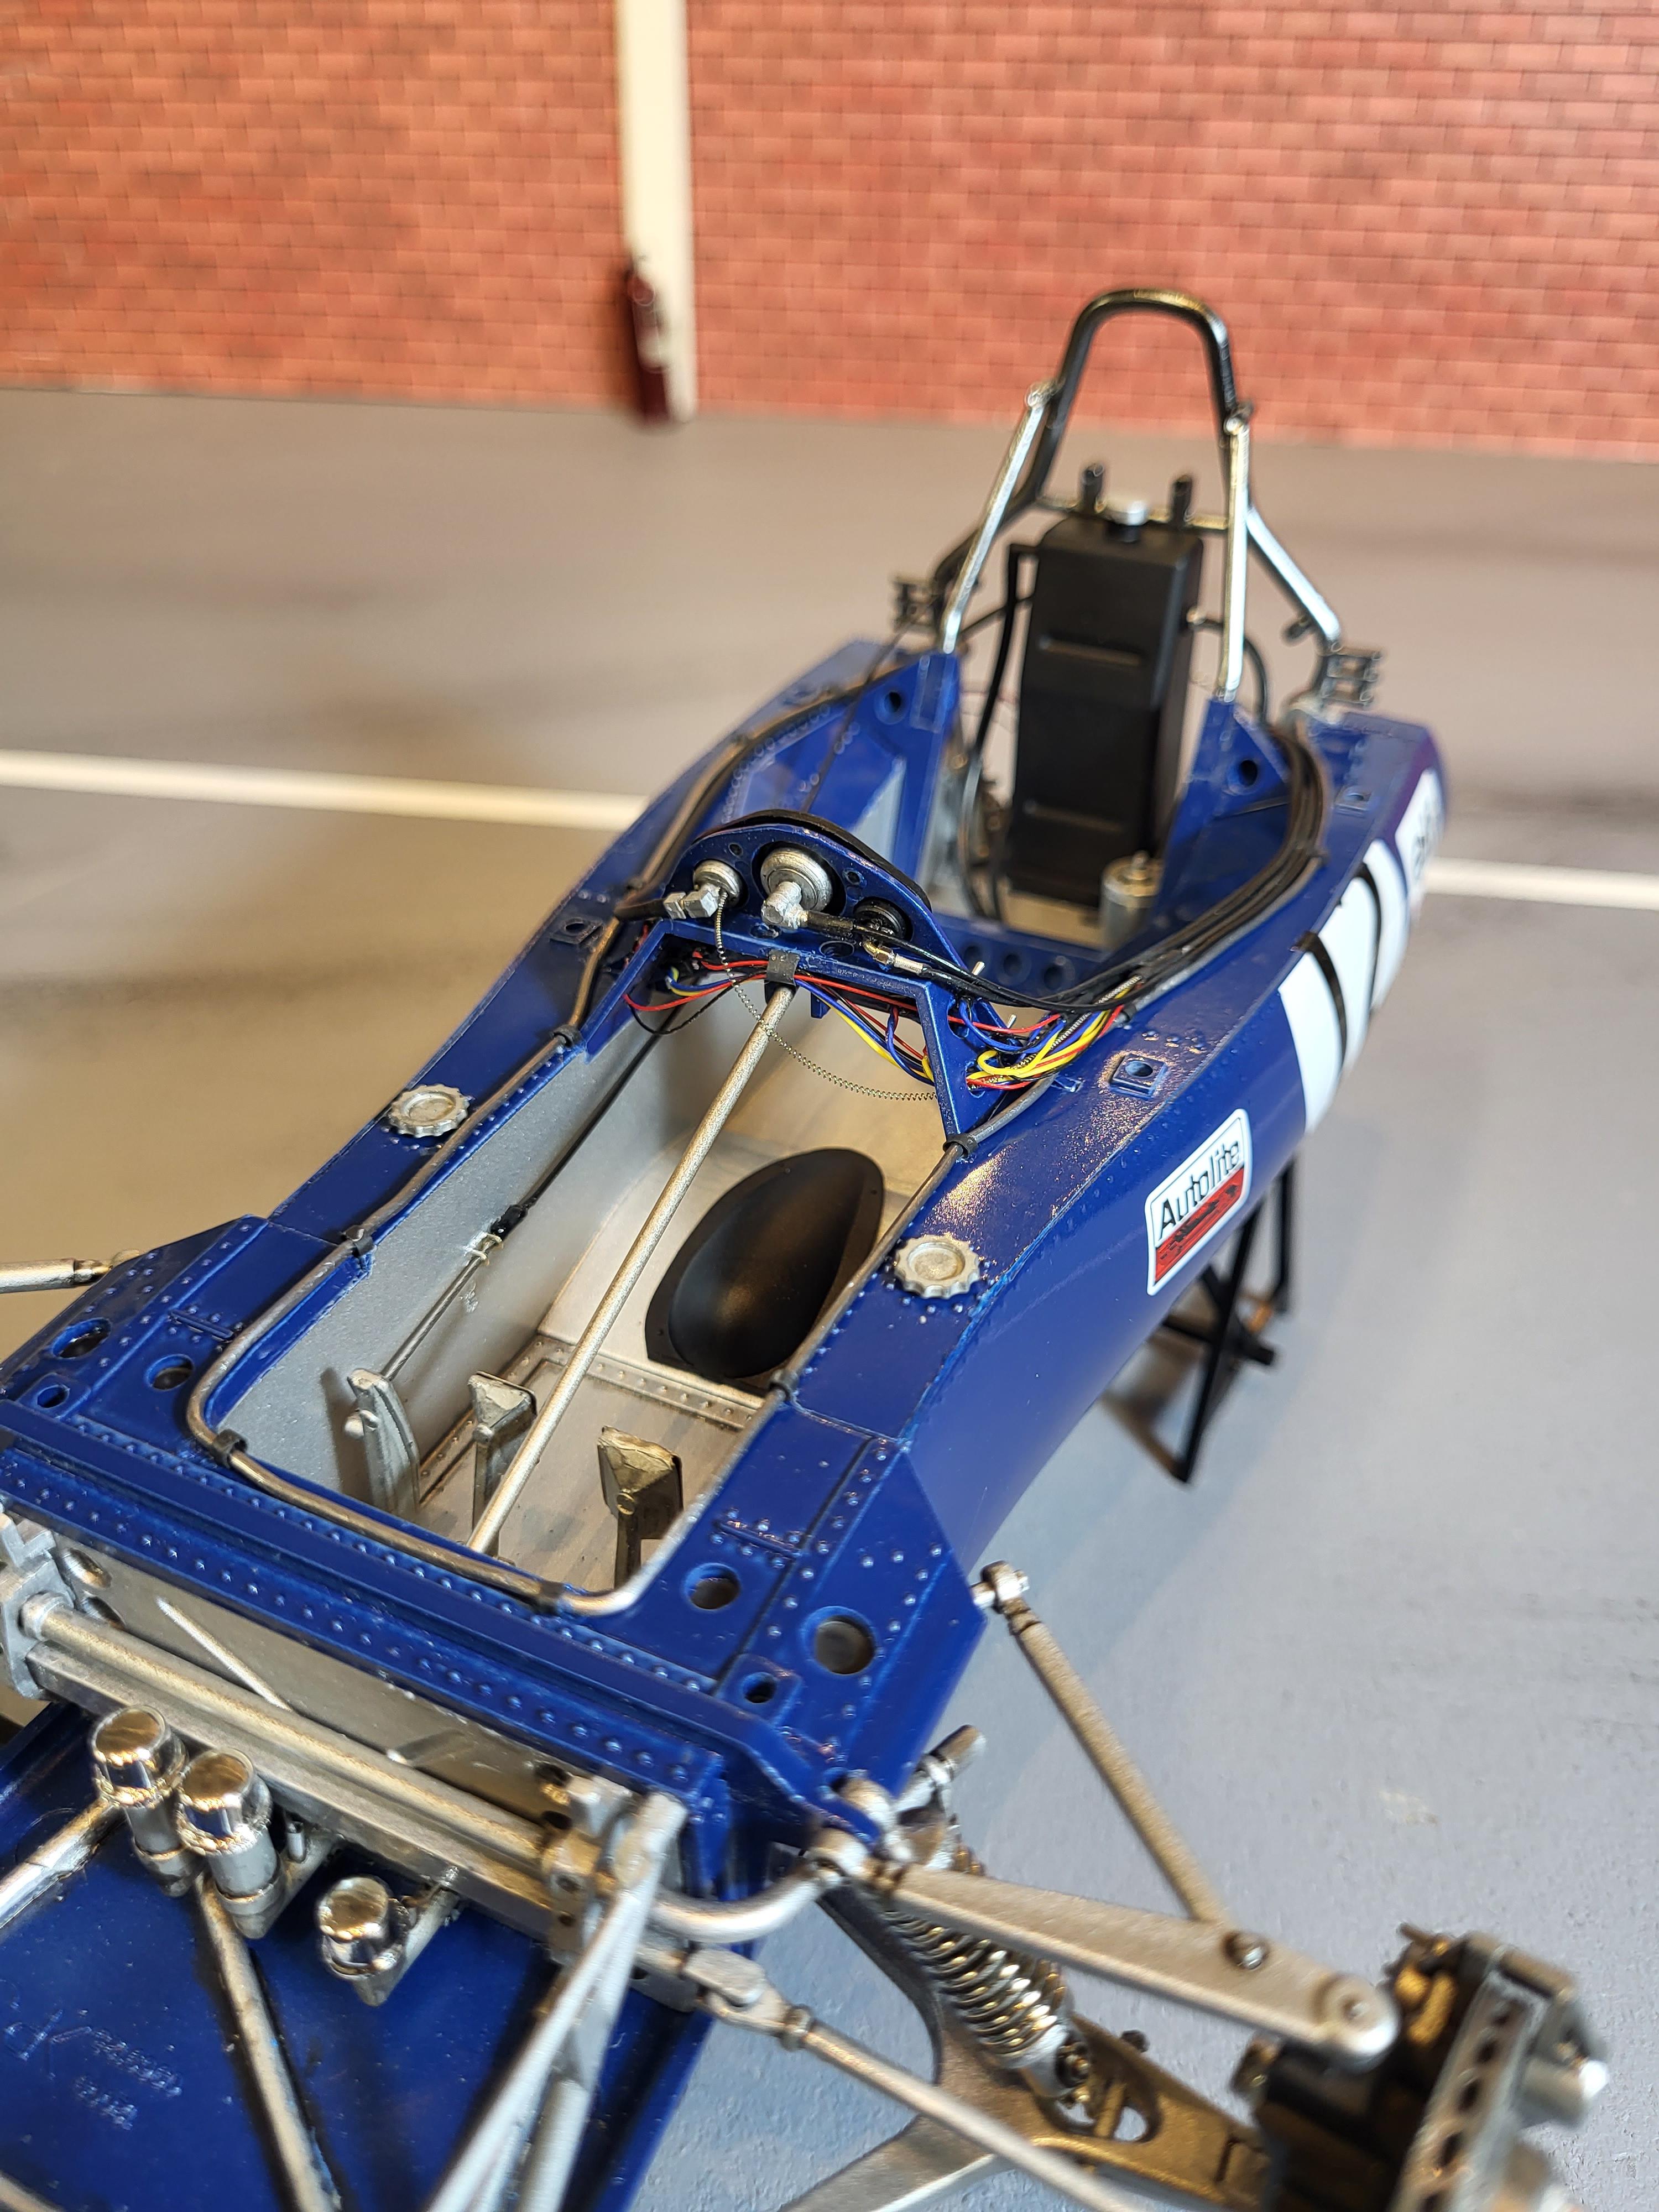
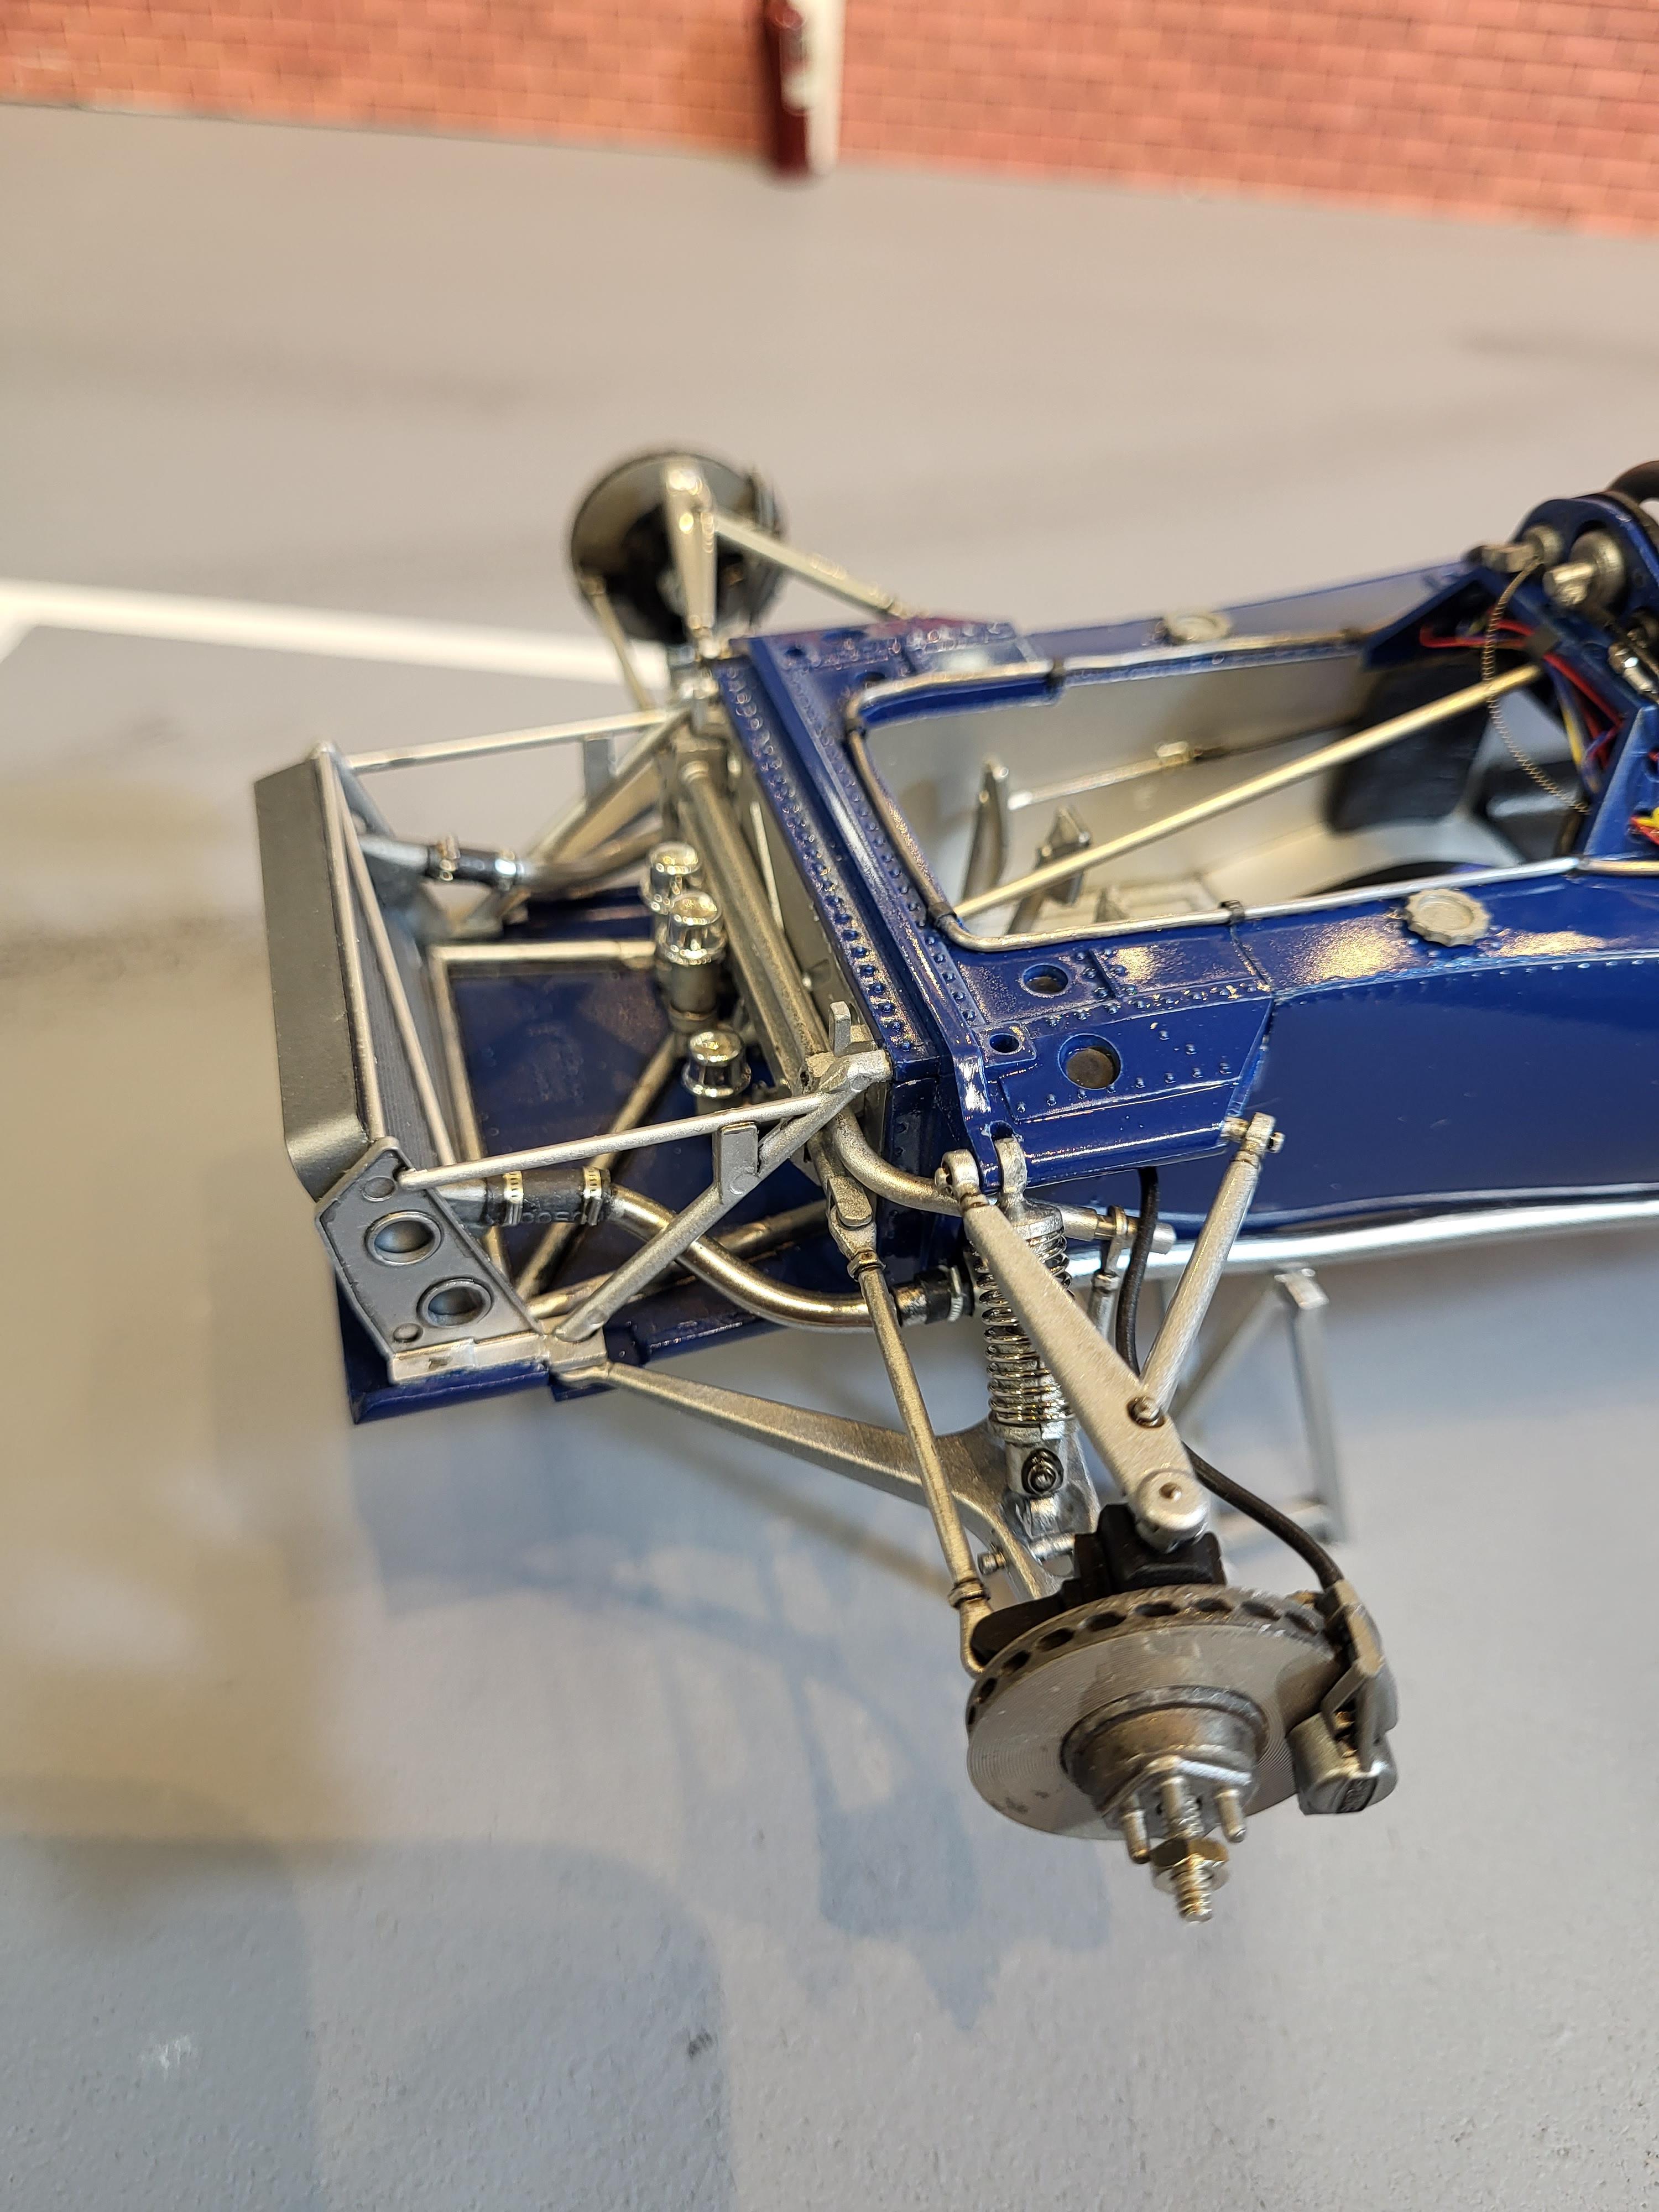
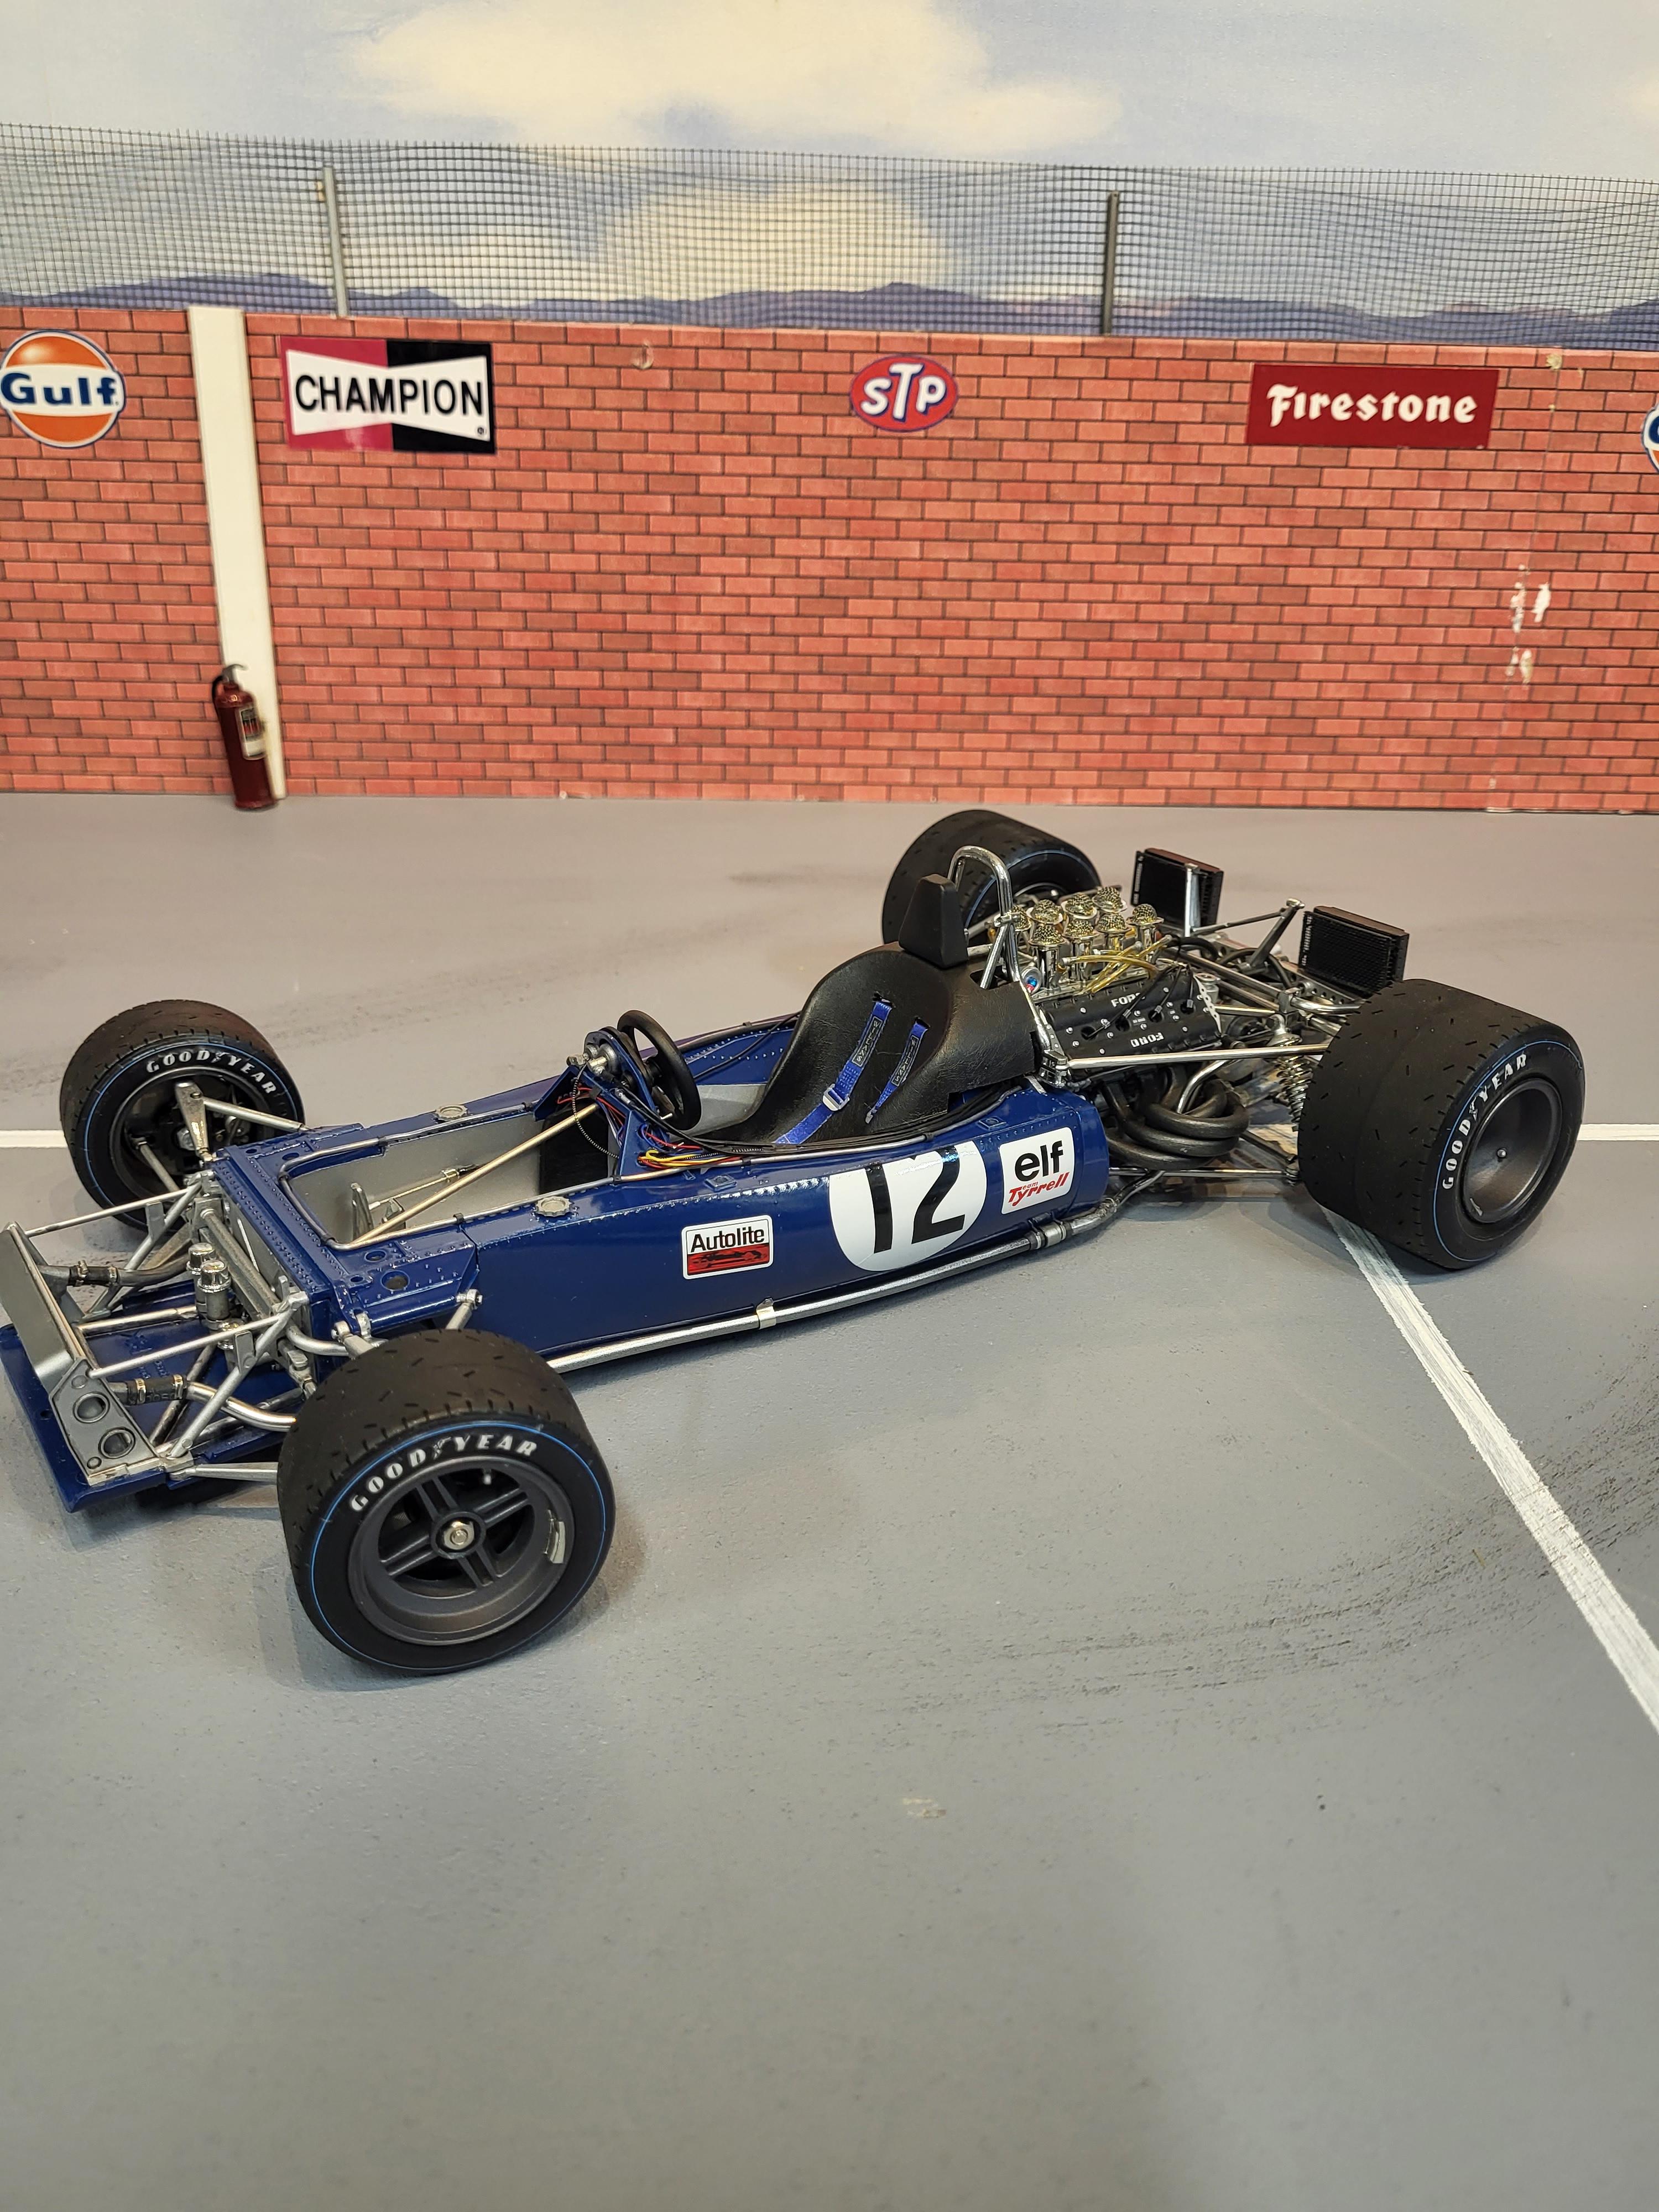
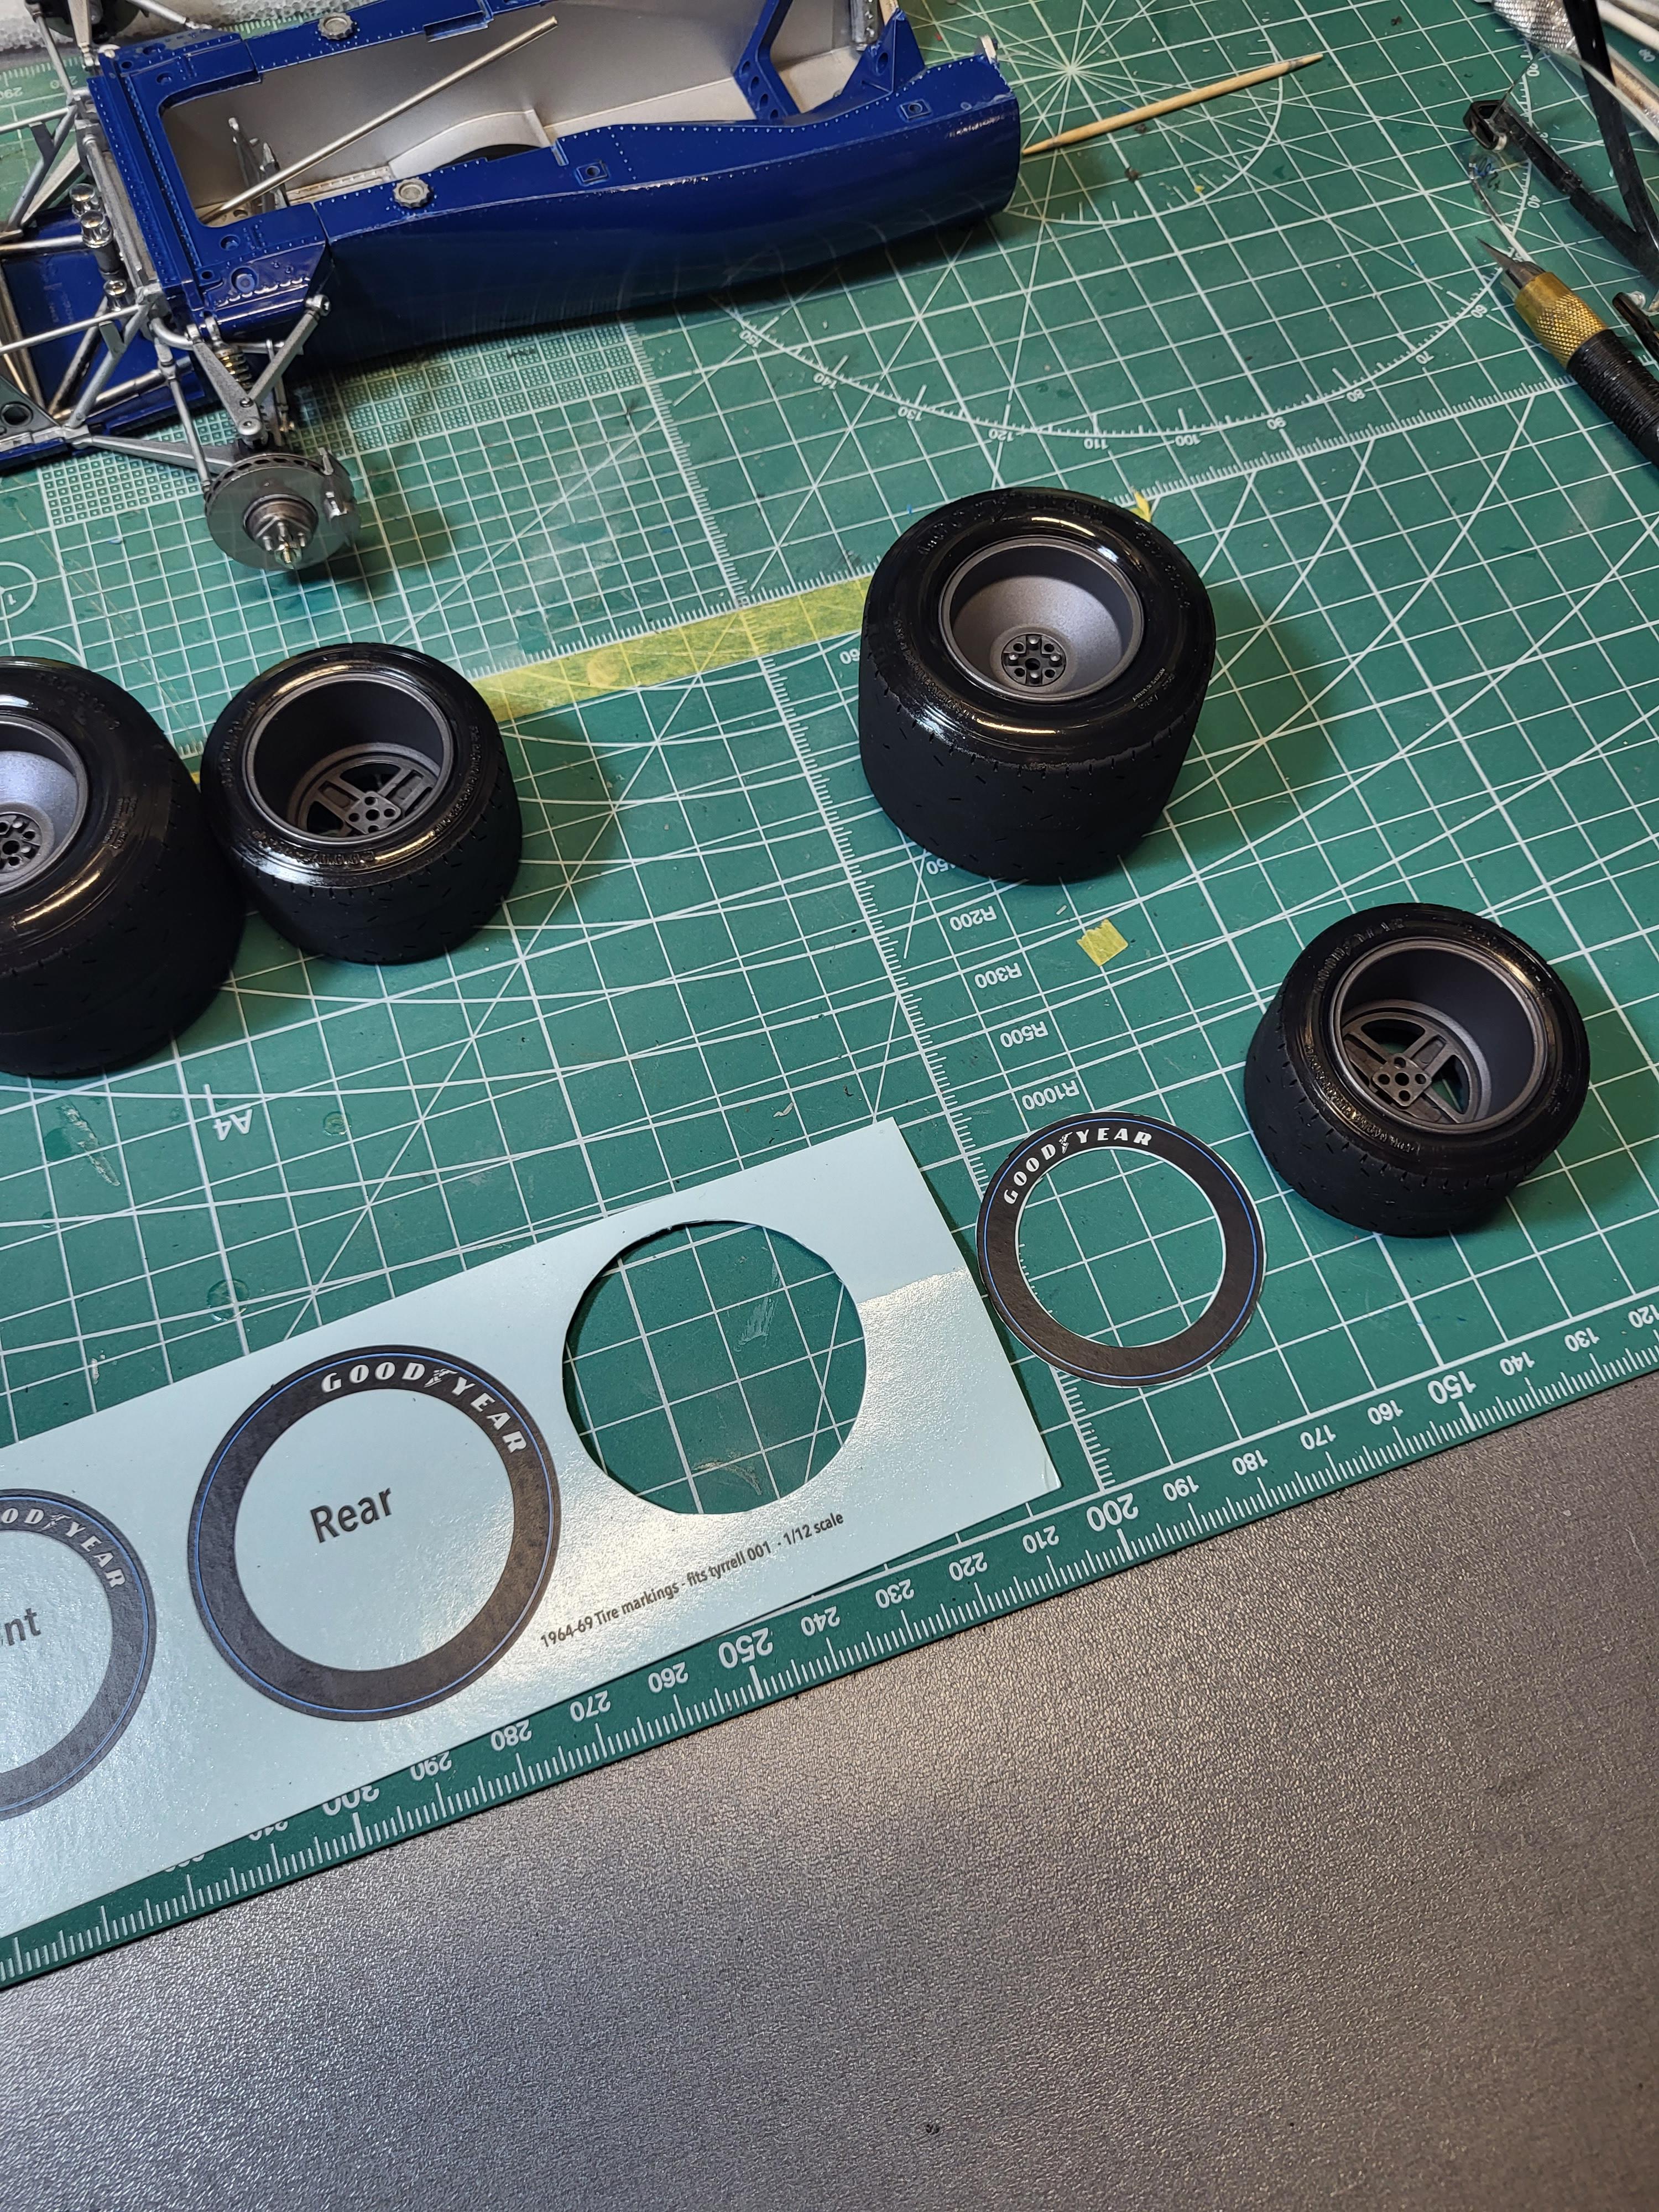
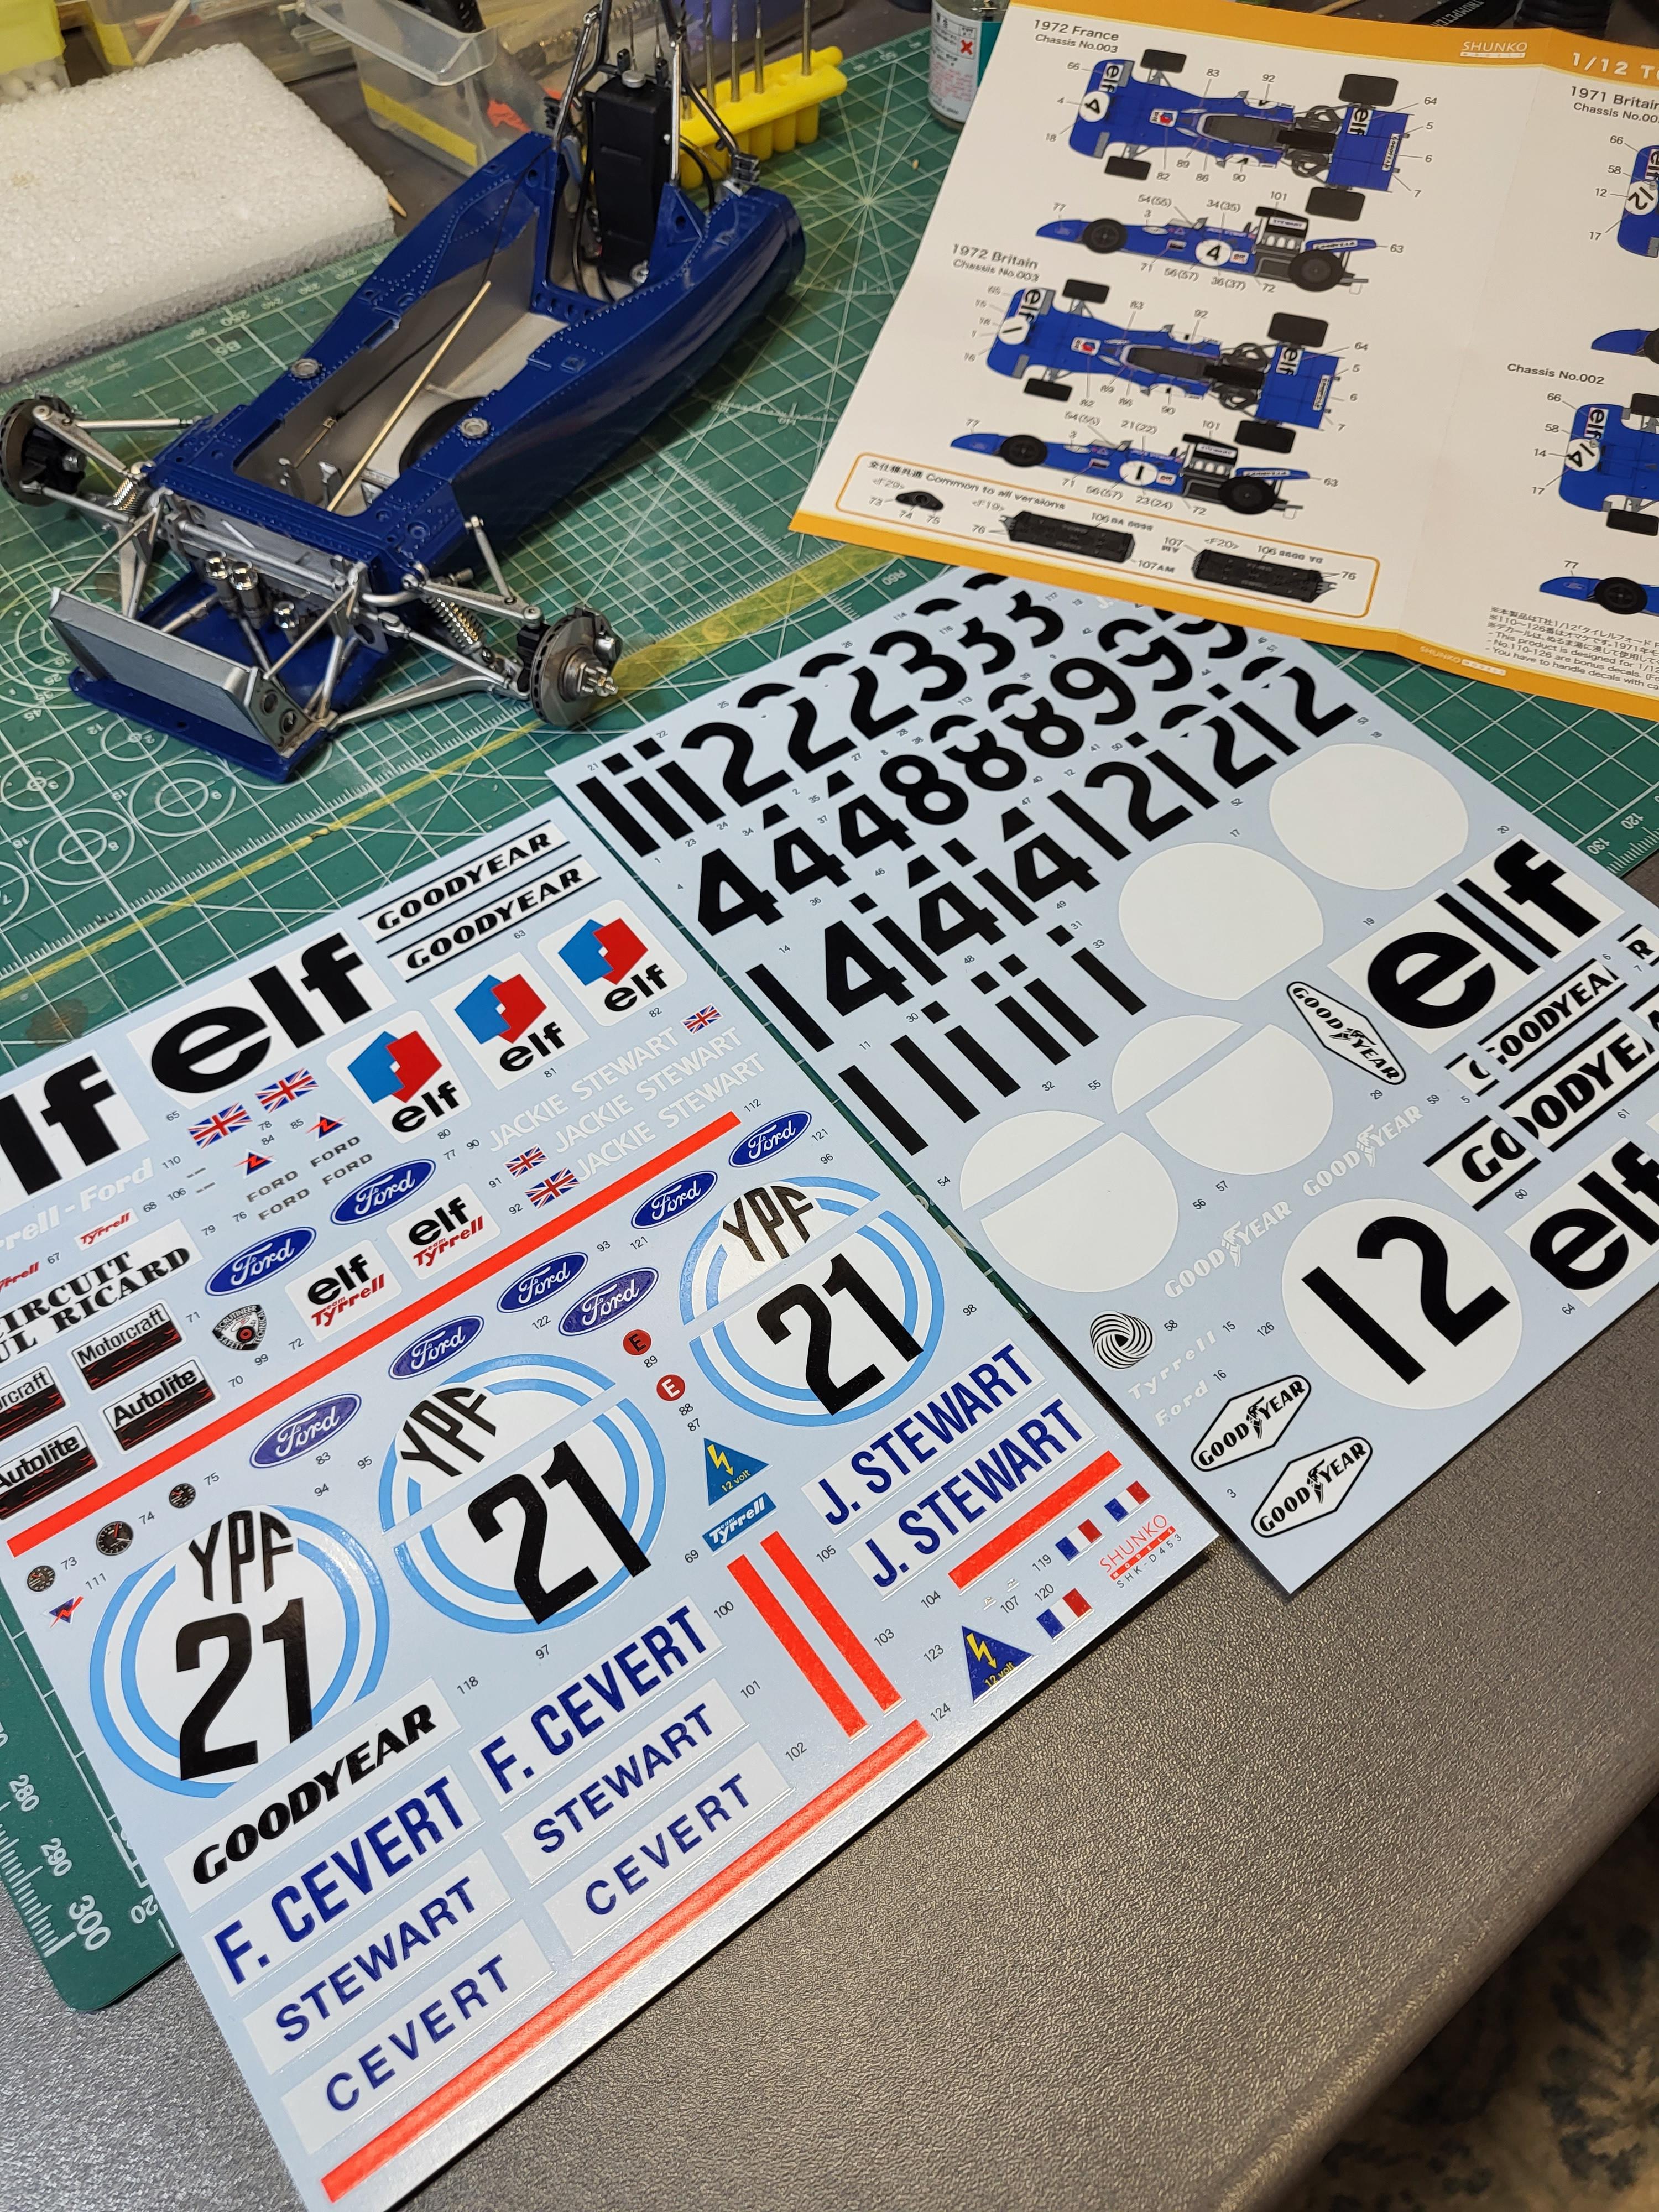
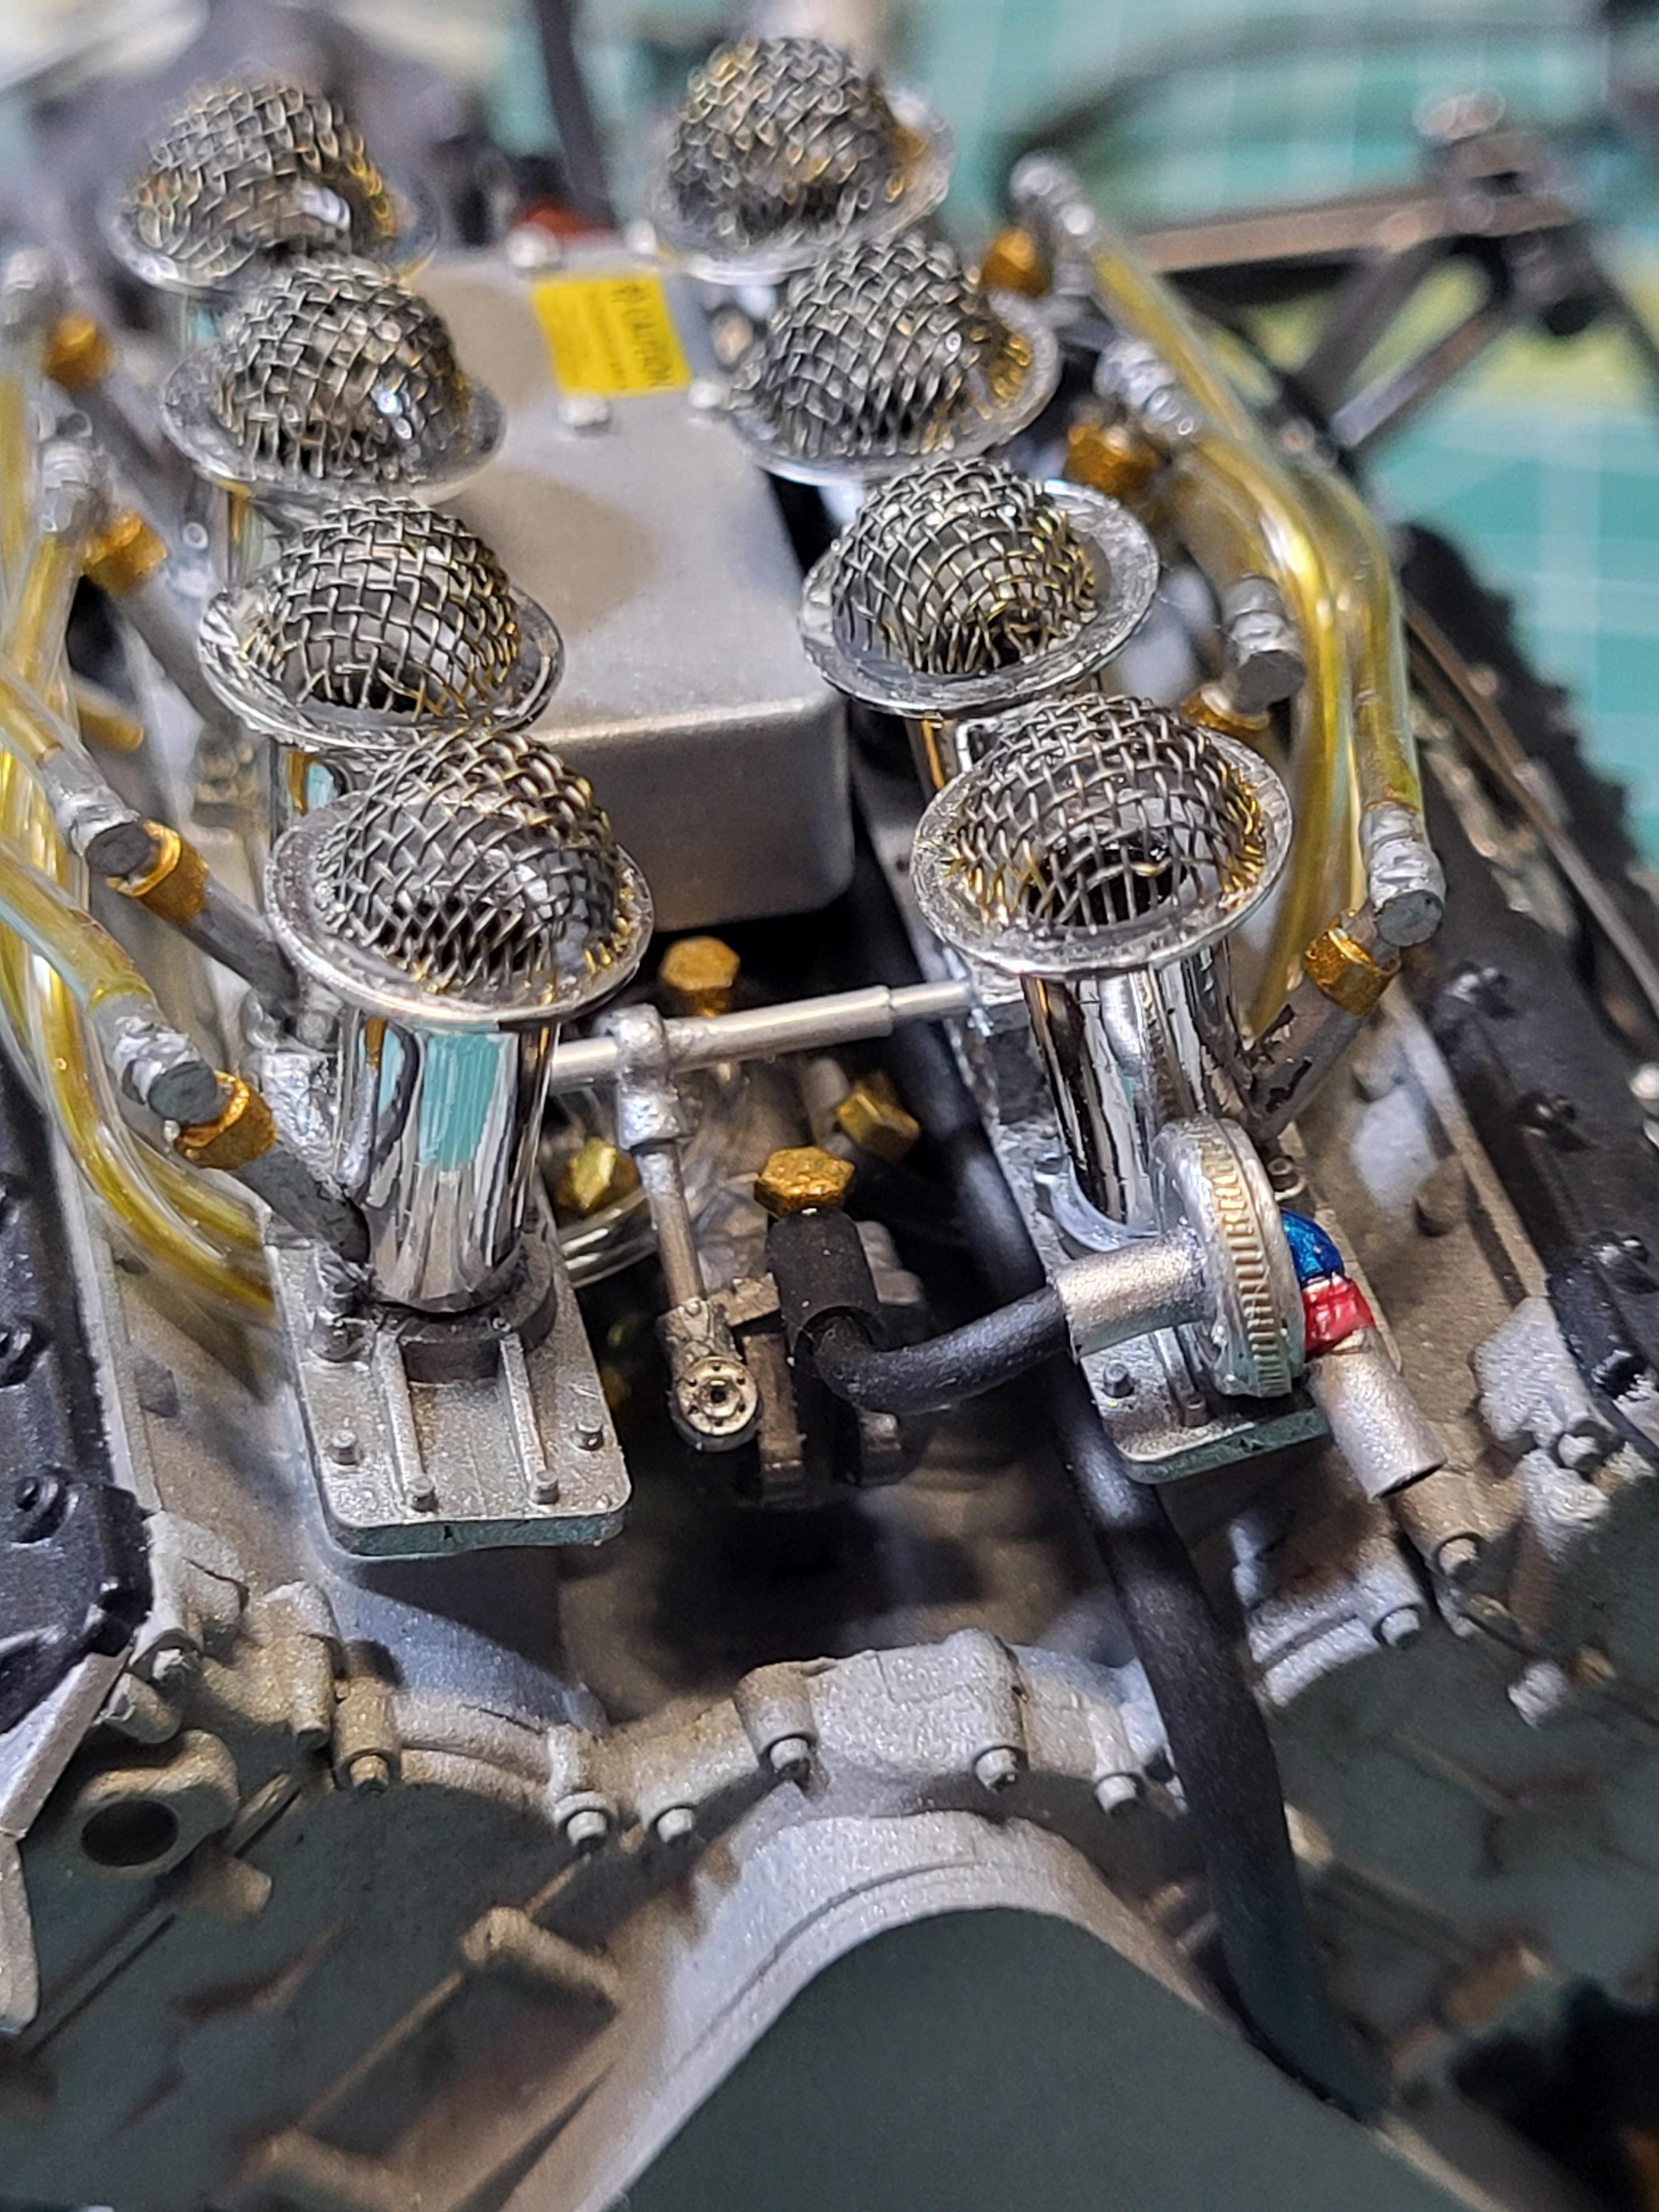
Hi I did a coversion of Tamiyas Stewart Monaco GP car, there is only decals for Stewart in the kit. I used mainly decals from Schunko, tire decals is from Indycals. The main difference on Ceverts car is the rearview mirror support, extended glass part on the cowling. Also the coolingpipe in the lower side of the body is routed in another way at the engine. Added bolts ,screws and electrical stuff around the engine and on the dash. also added some parts around the engine that was not provided, my english is not so good so I can,t explain what it,s called in technical terms. I hope you understand and see for your self 🙂 . The front cooler has got new mounting support for the pipes. Thomas

-
Alfa Romeo 8C 2300- 1/12 Italeri Kit!
maysula replied to jaymcminn's topic in Other Racing: Road Racing, Salt Flat Racers
Great work ! Like the weathering very much , a very nice kit to build too. -
Wow! Like this very much 🙂 Looking forward to more pictures 🙂
-
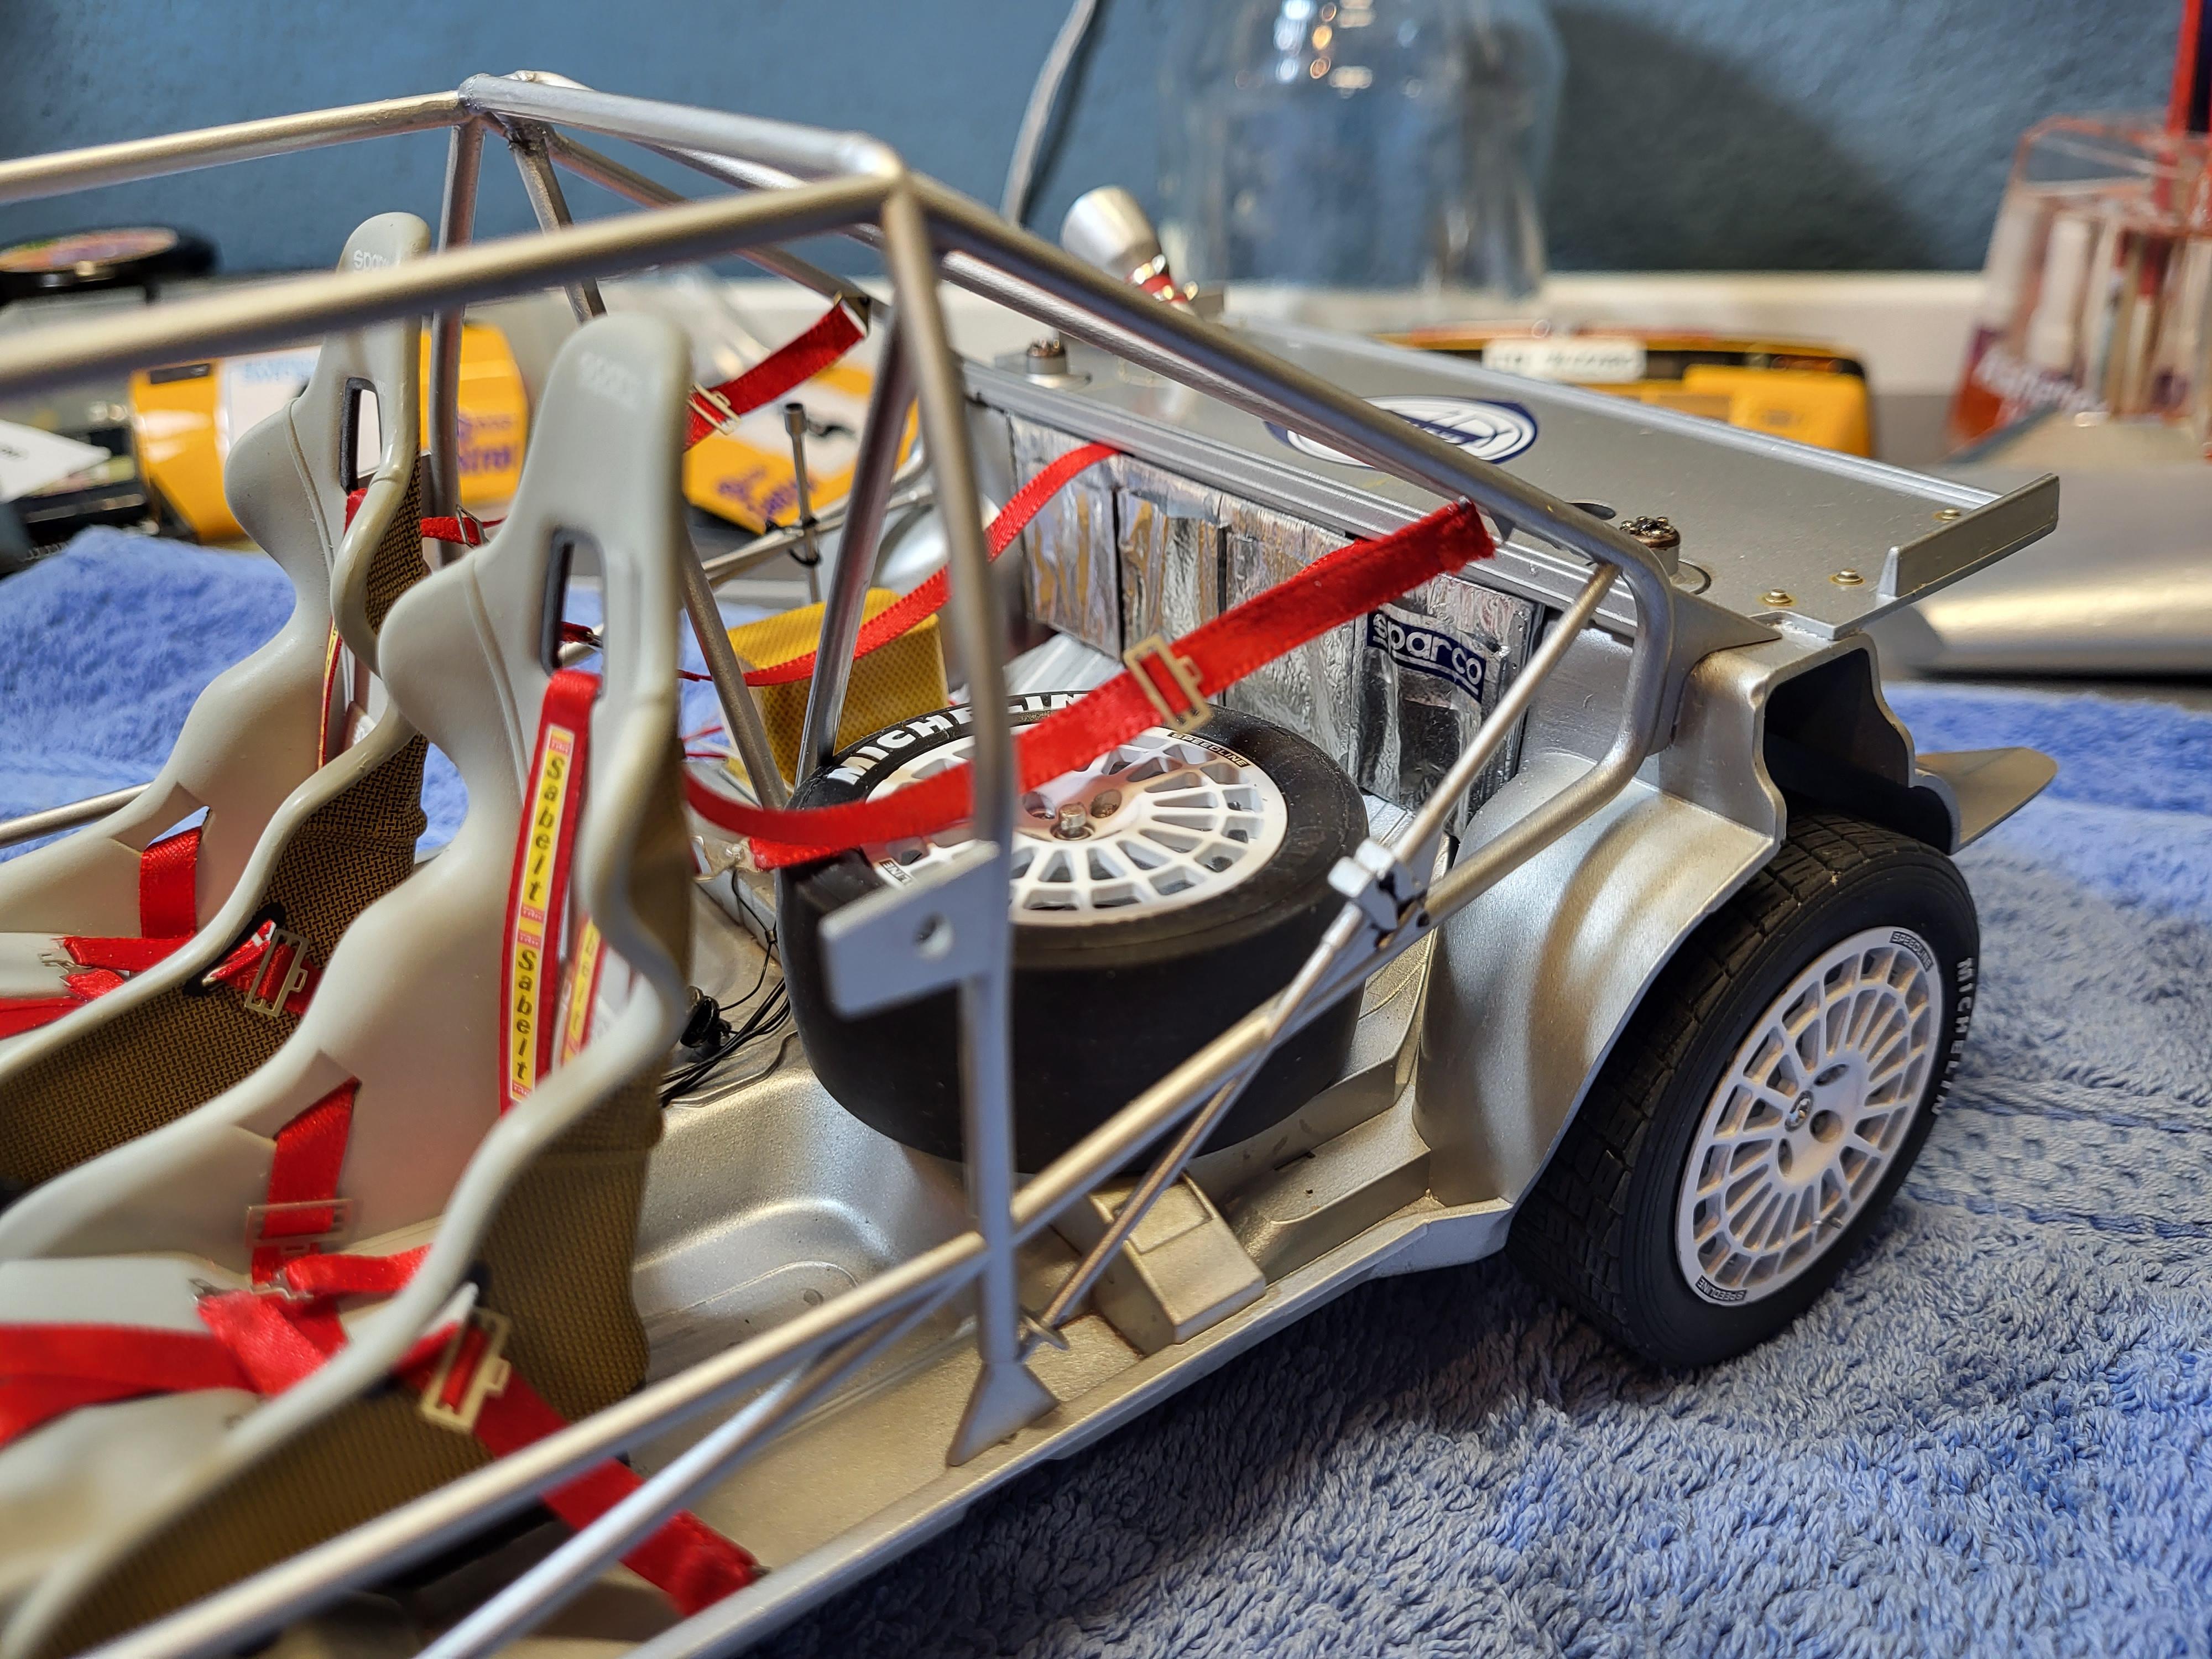
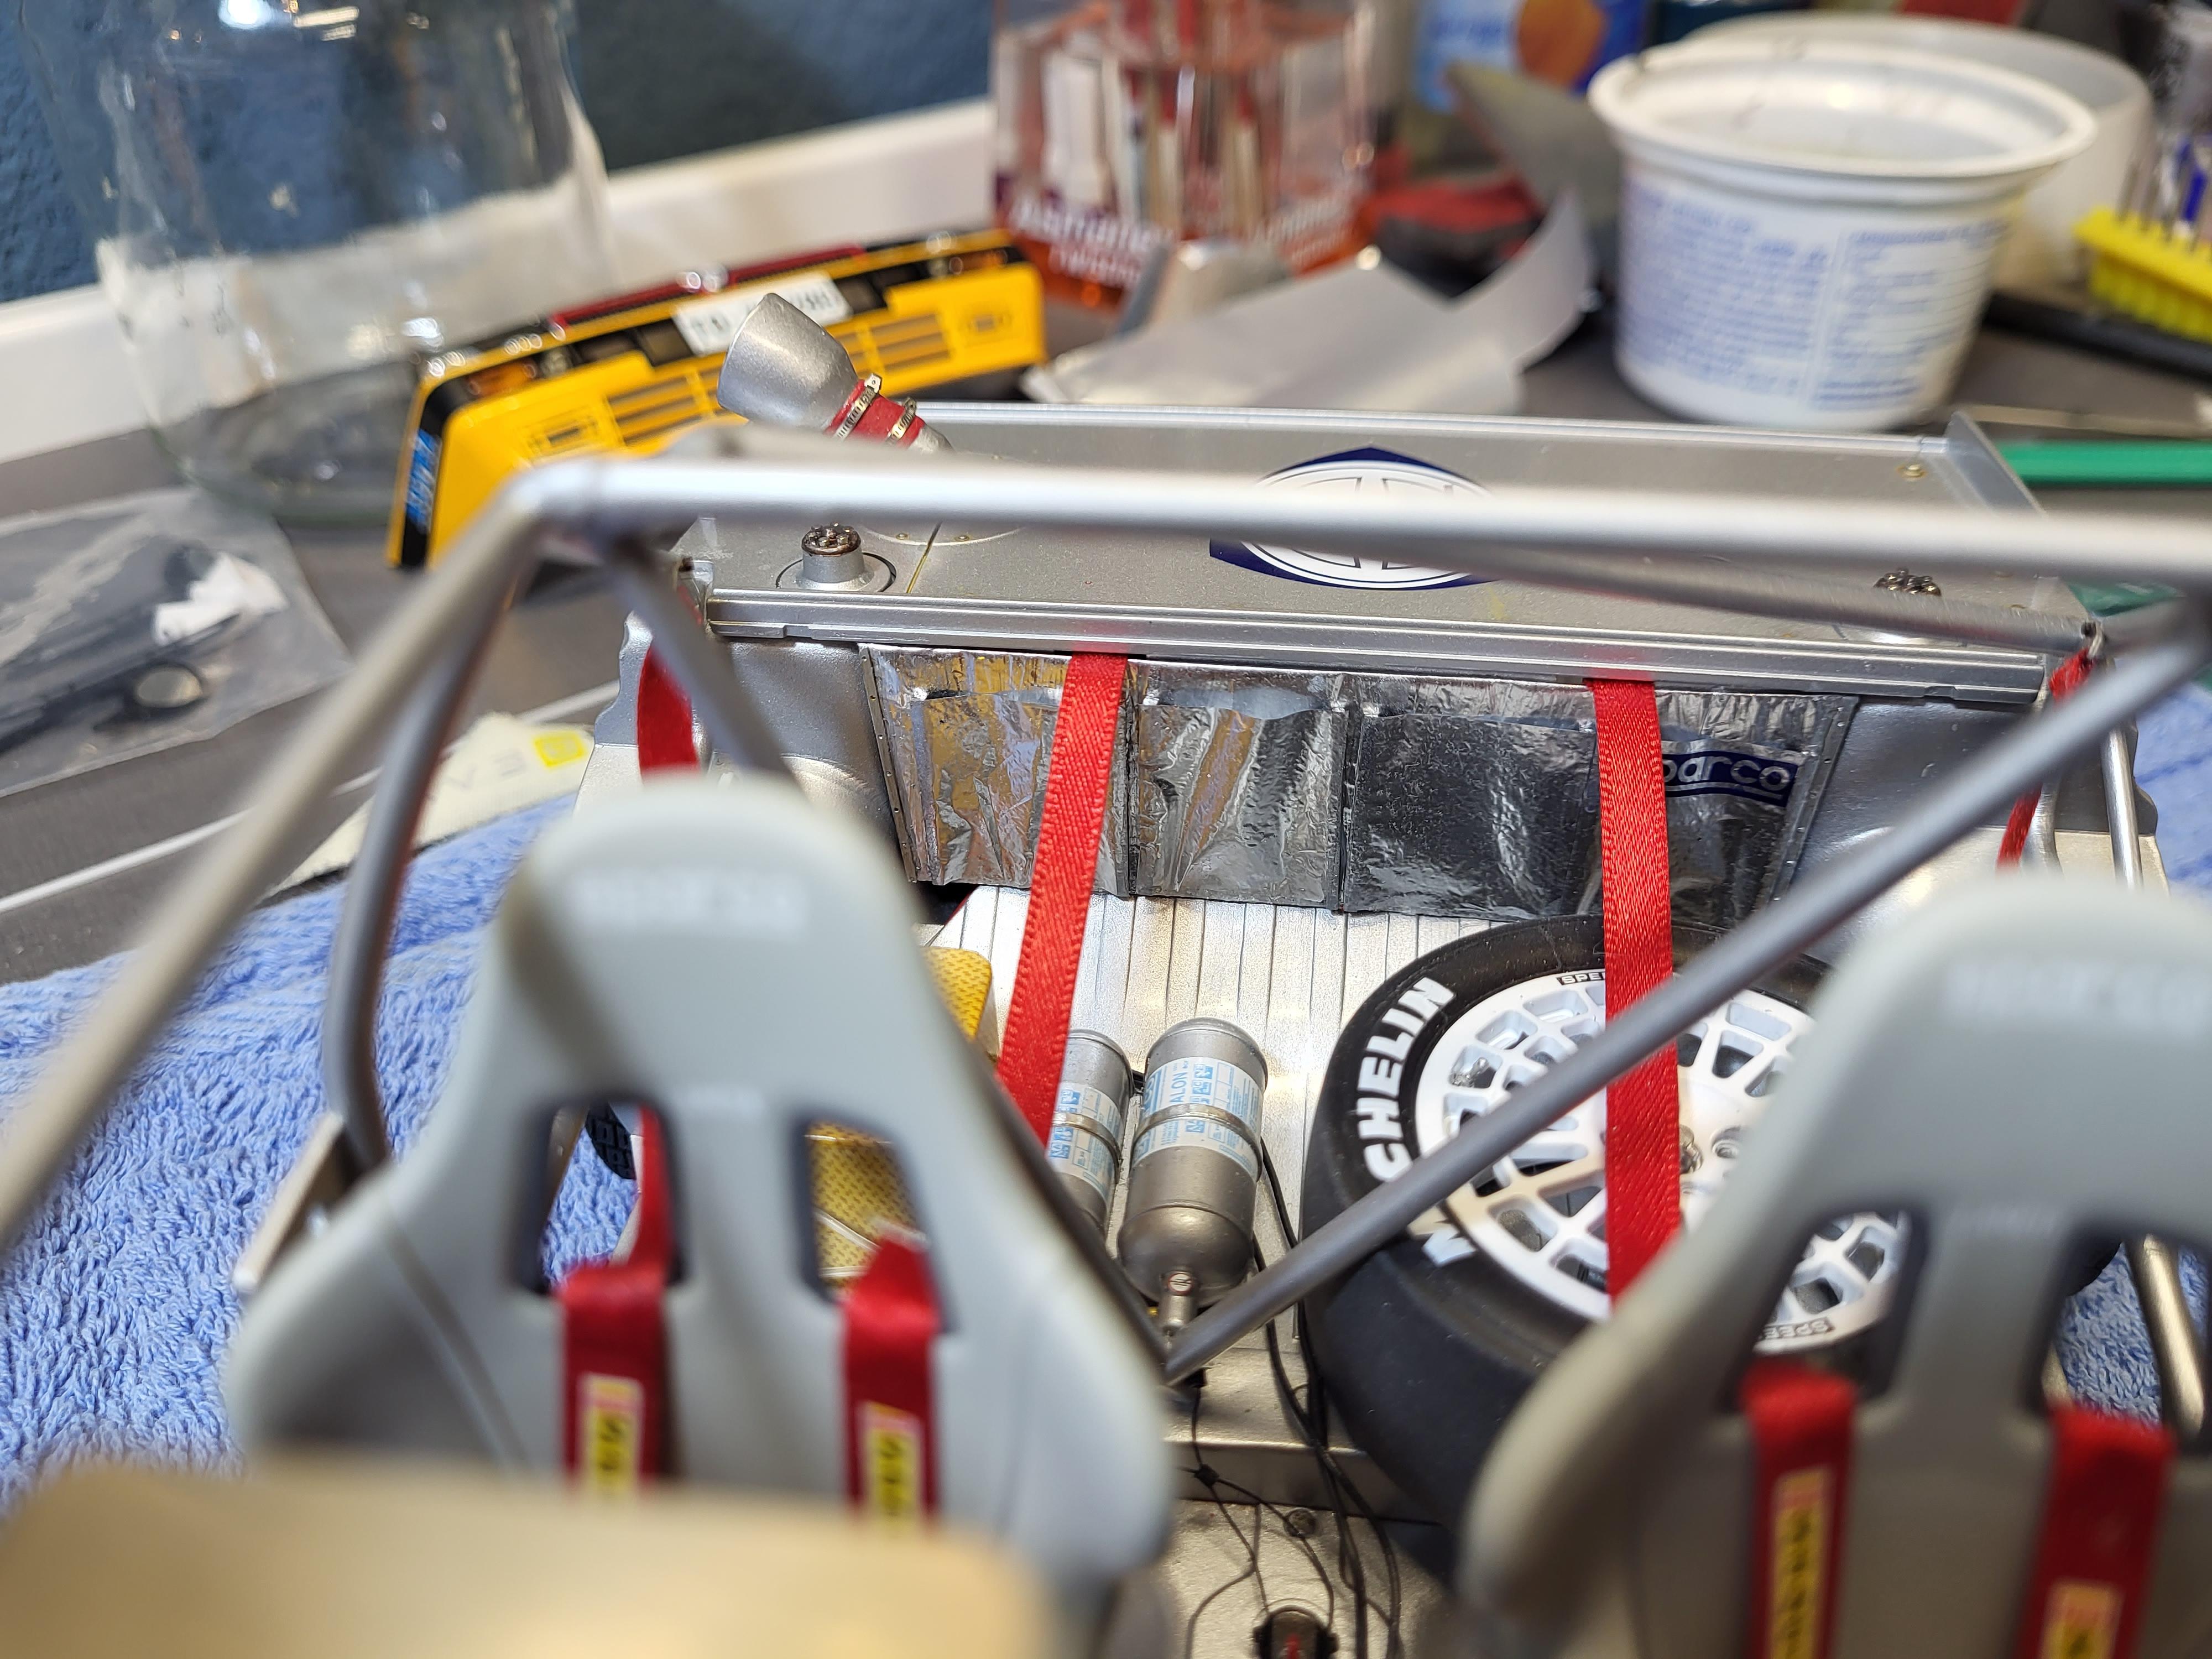
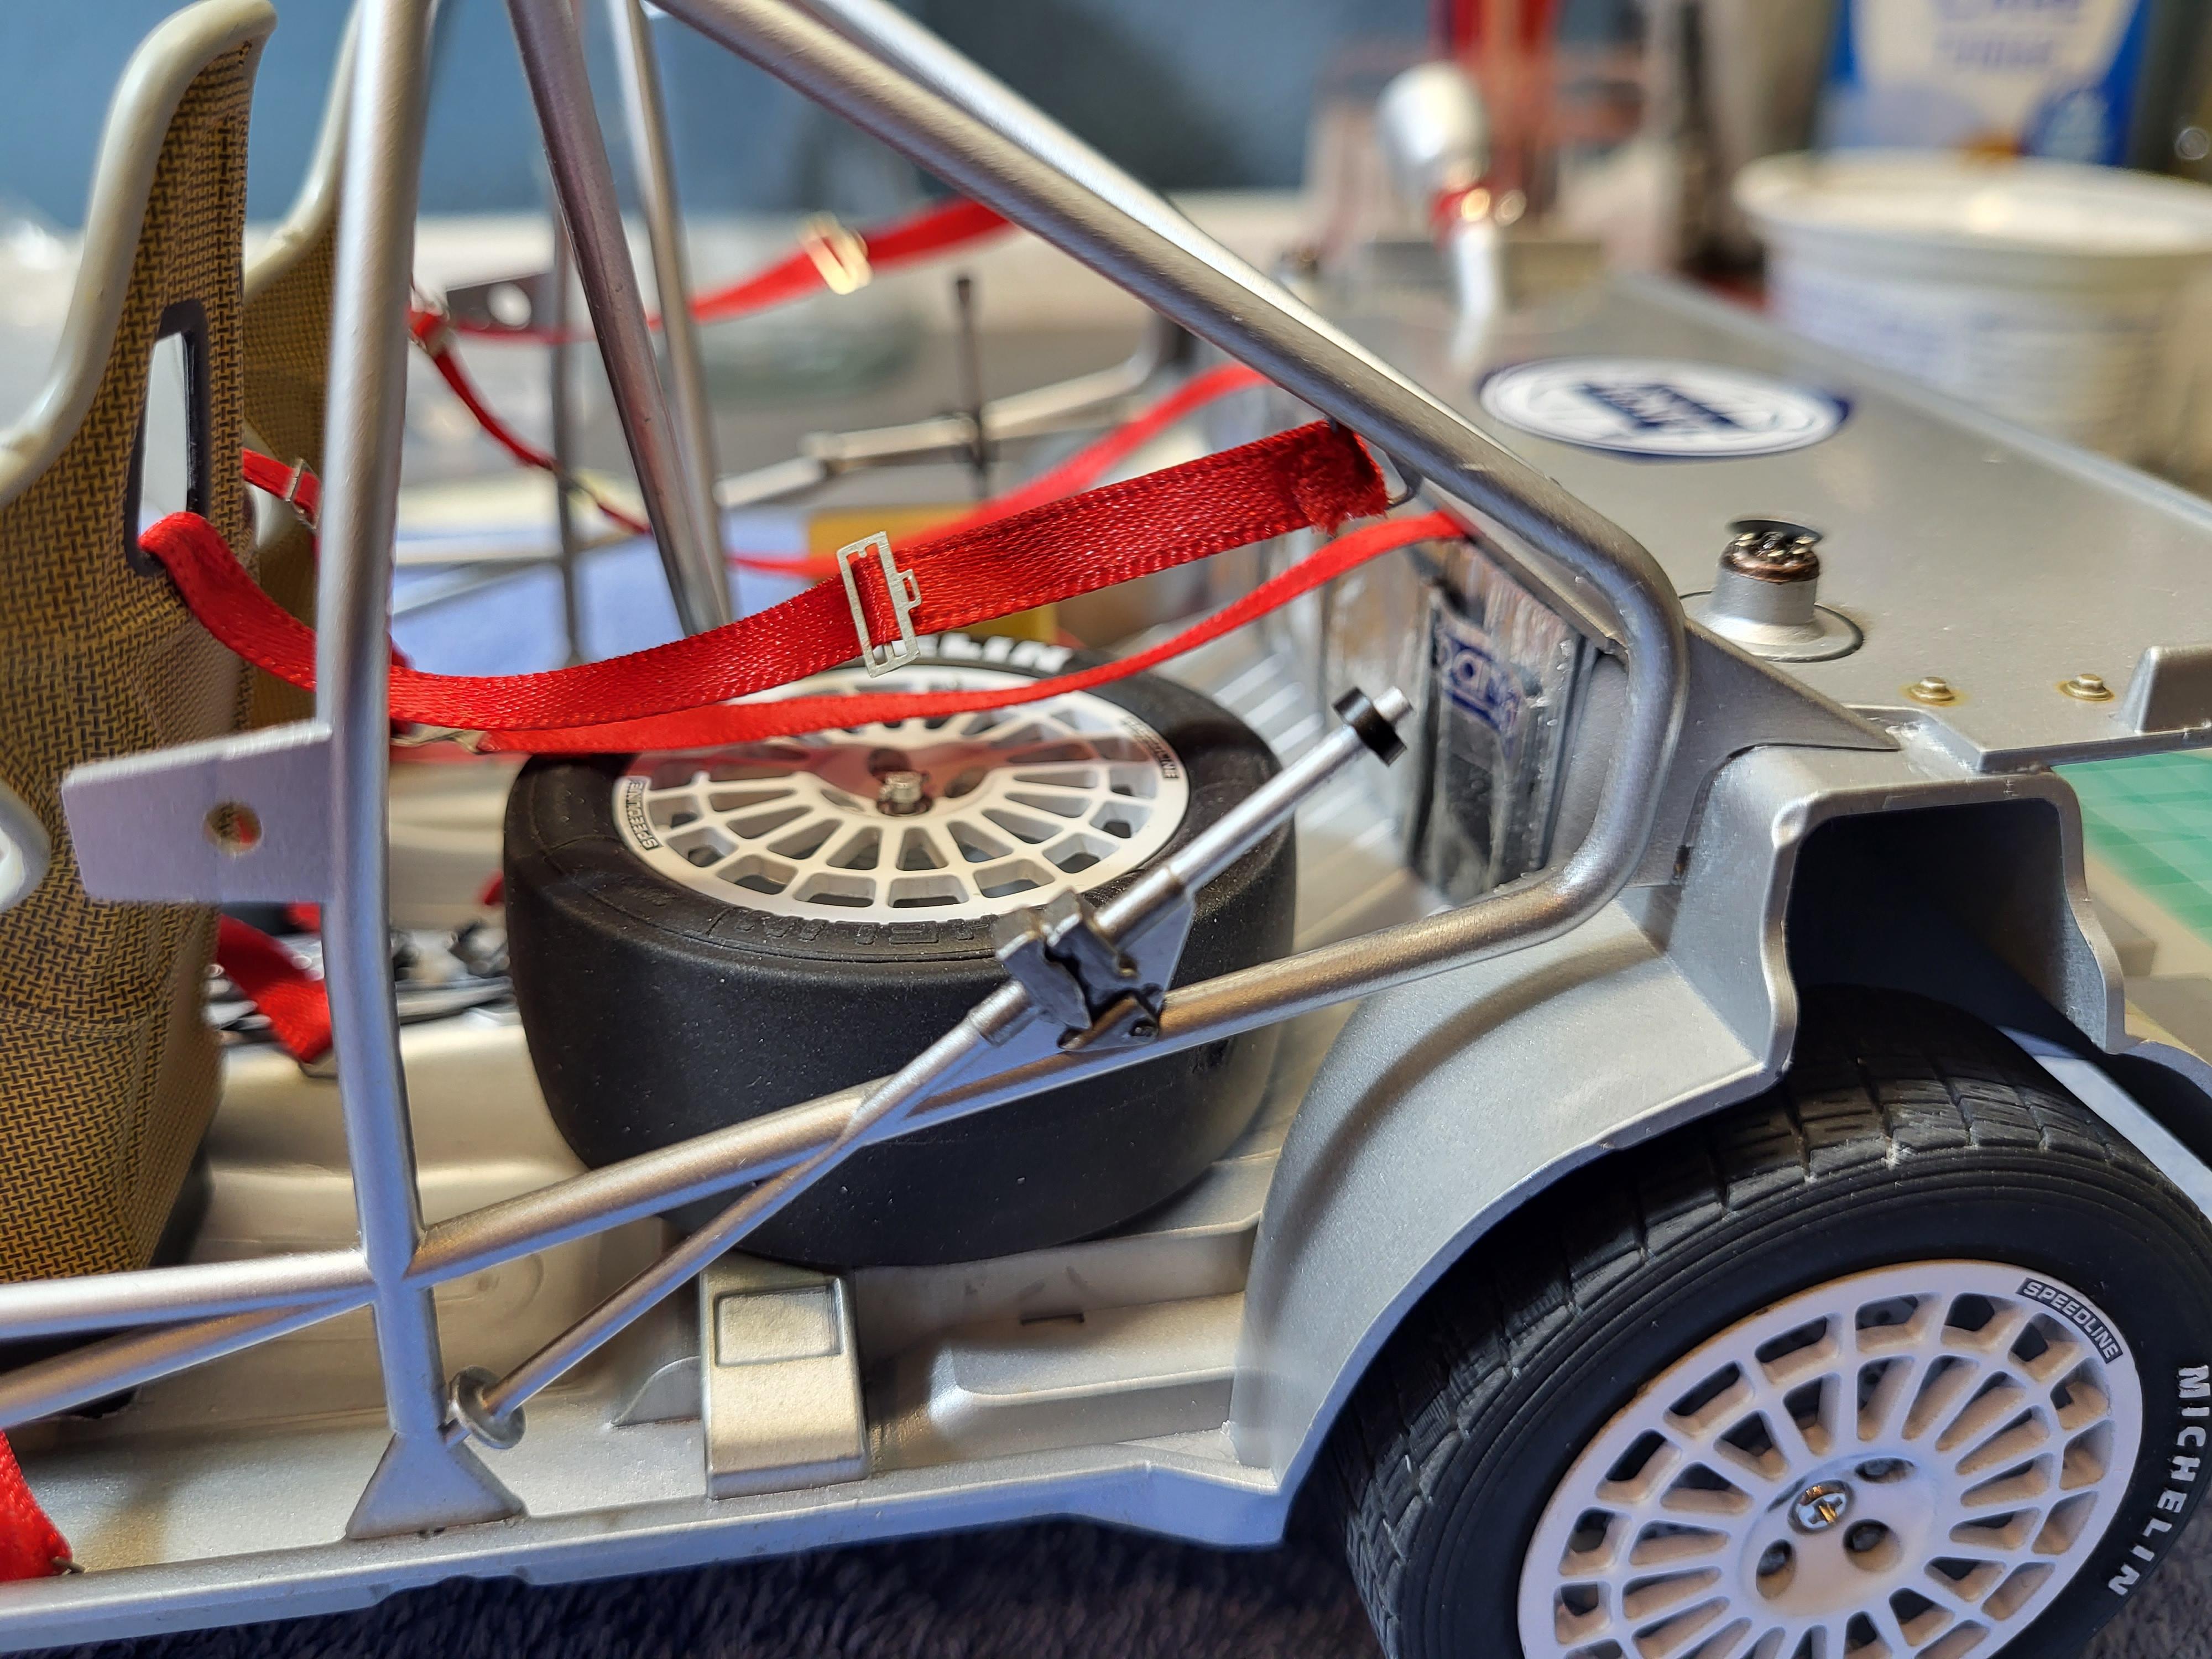
Thanks 🙂 I have a w.i.p. on this, I replaced a lot of plastic hexbolts to metal, screws in various places. Added braided lines with connectors, also wires hoses and such stuff in the interior and under the hood, engine and so. also some extra stuff on the chassi, uprights , exhaustsystem. Did some modification on the dash support to the floor, added the alu foil ( don´t know the english name for it )to the rear of the interior. and of course the 3D graveltires. I can highly recommend this kit ! Liked it alot 🙂
-
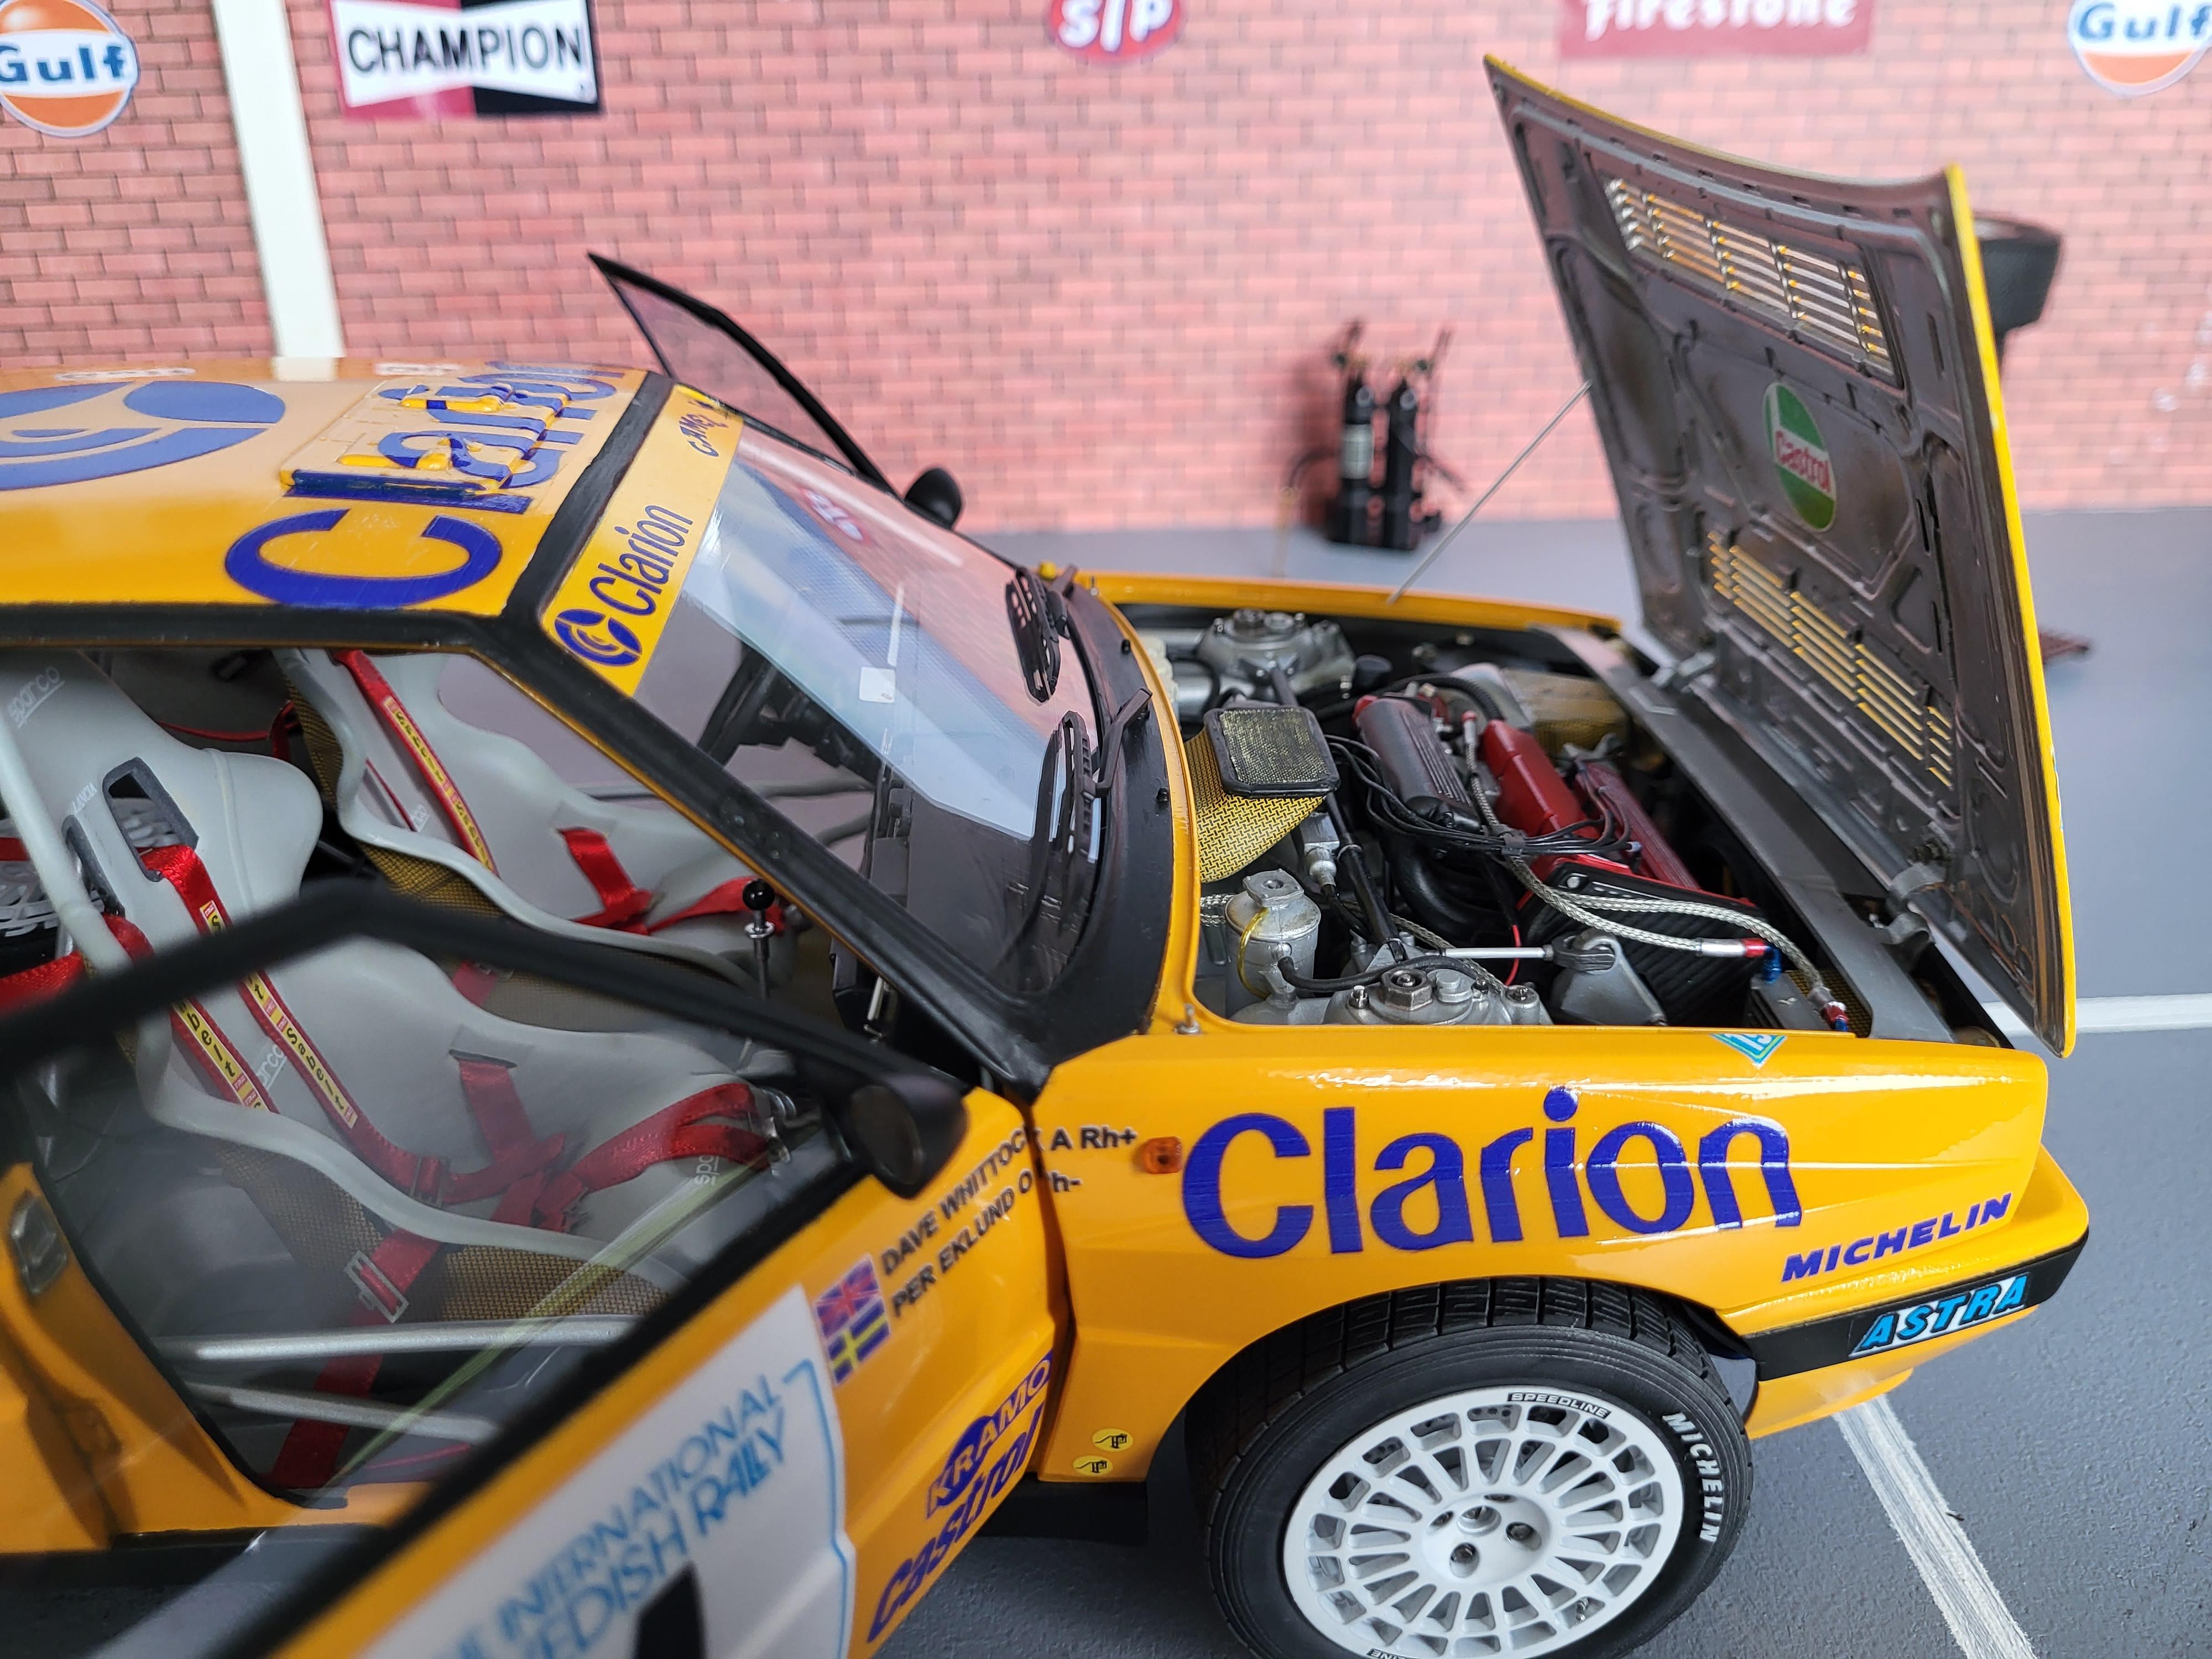
This car had a 8V engine and the hood was flat, the kit has an 16V engine, it´s higher so the hood is raised in the middle. I belive the resin hood was only tested on the bodypart itself, not with the chassi mounted. The resin hood can only be mounted in a open position
-
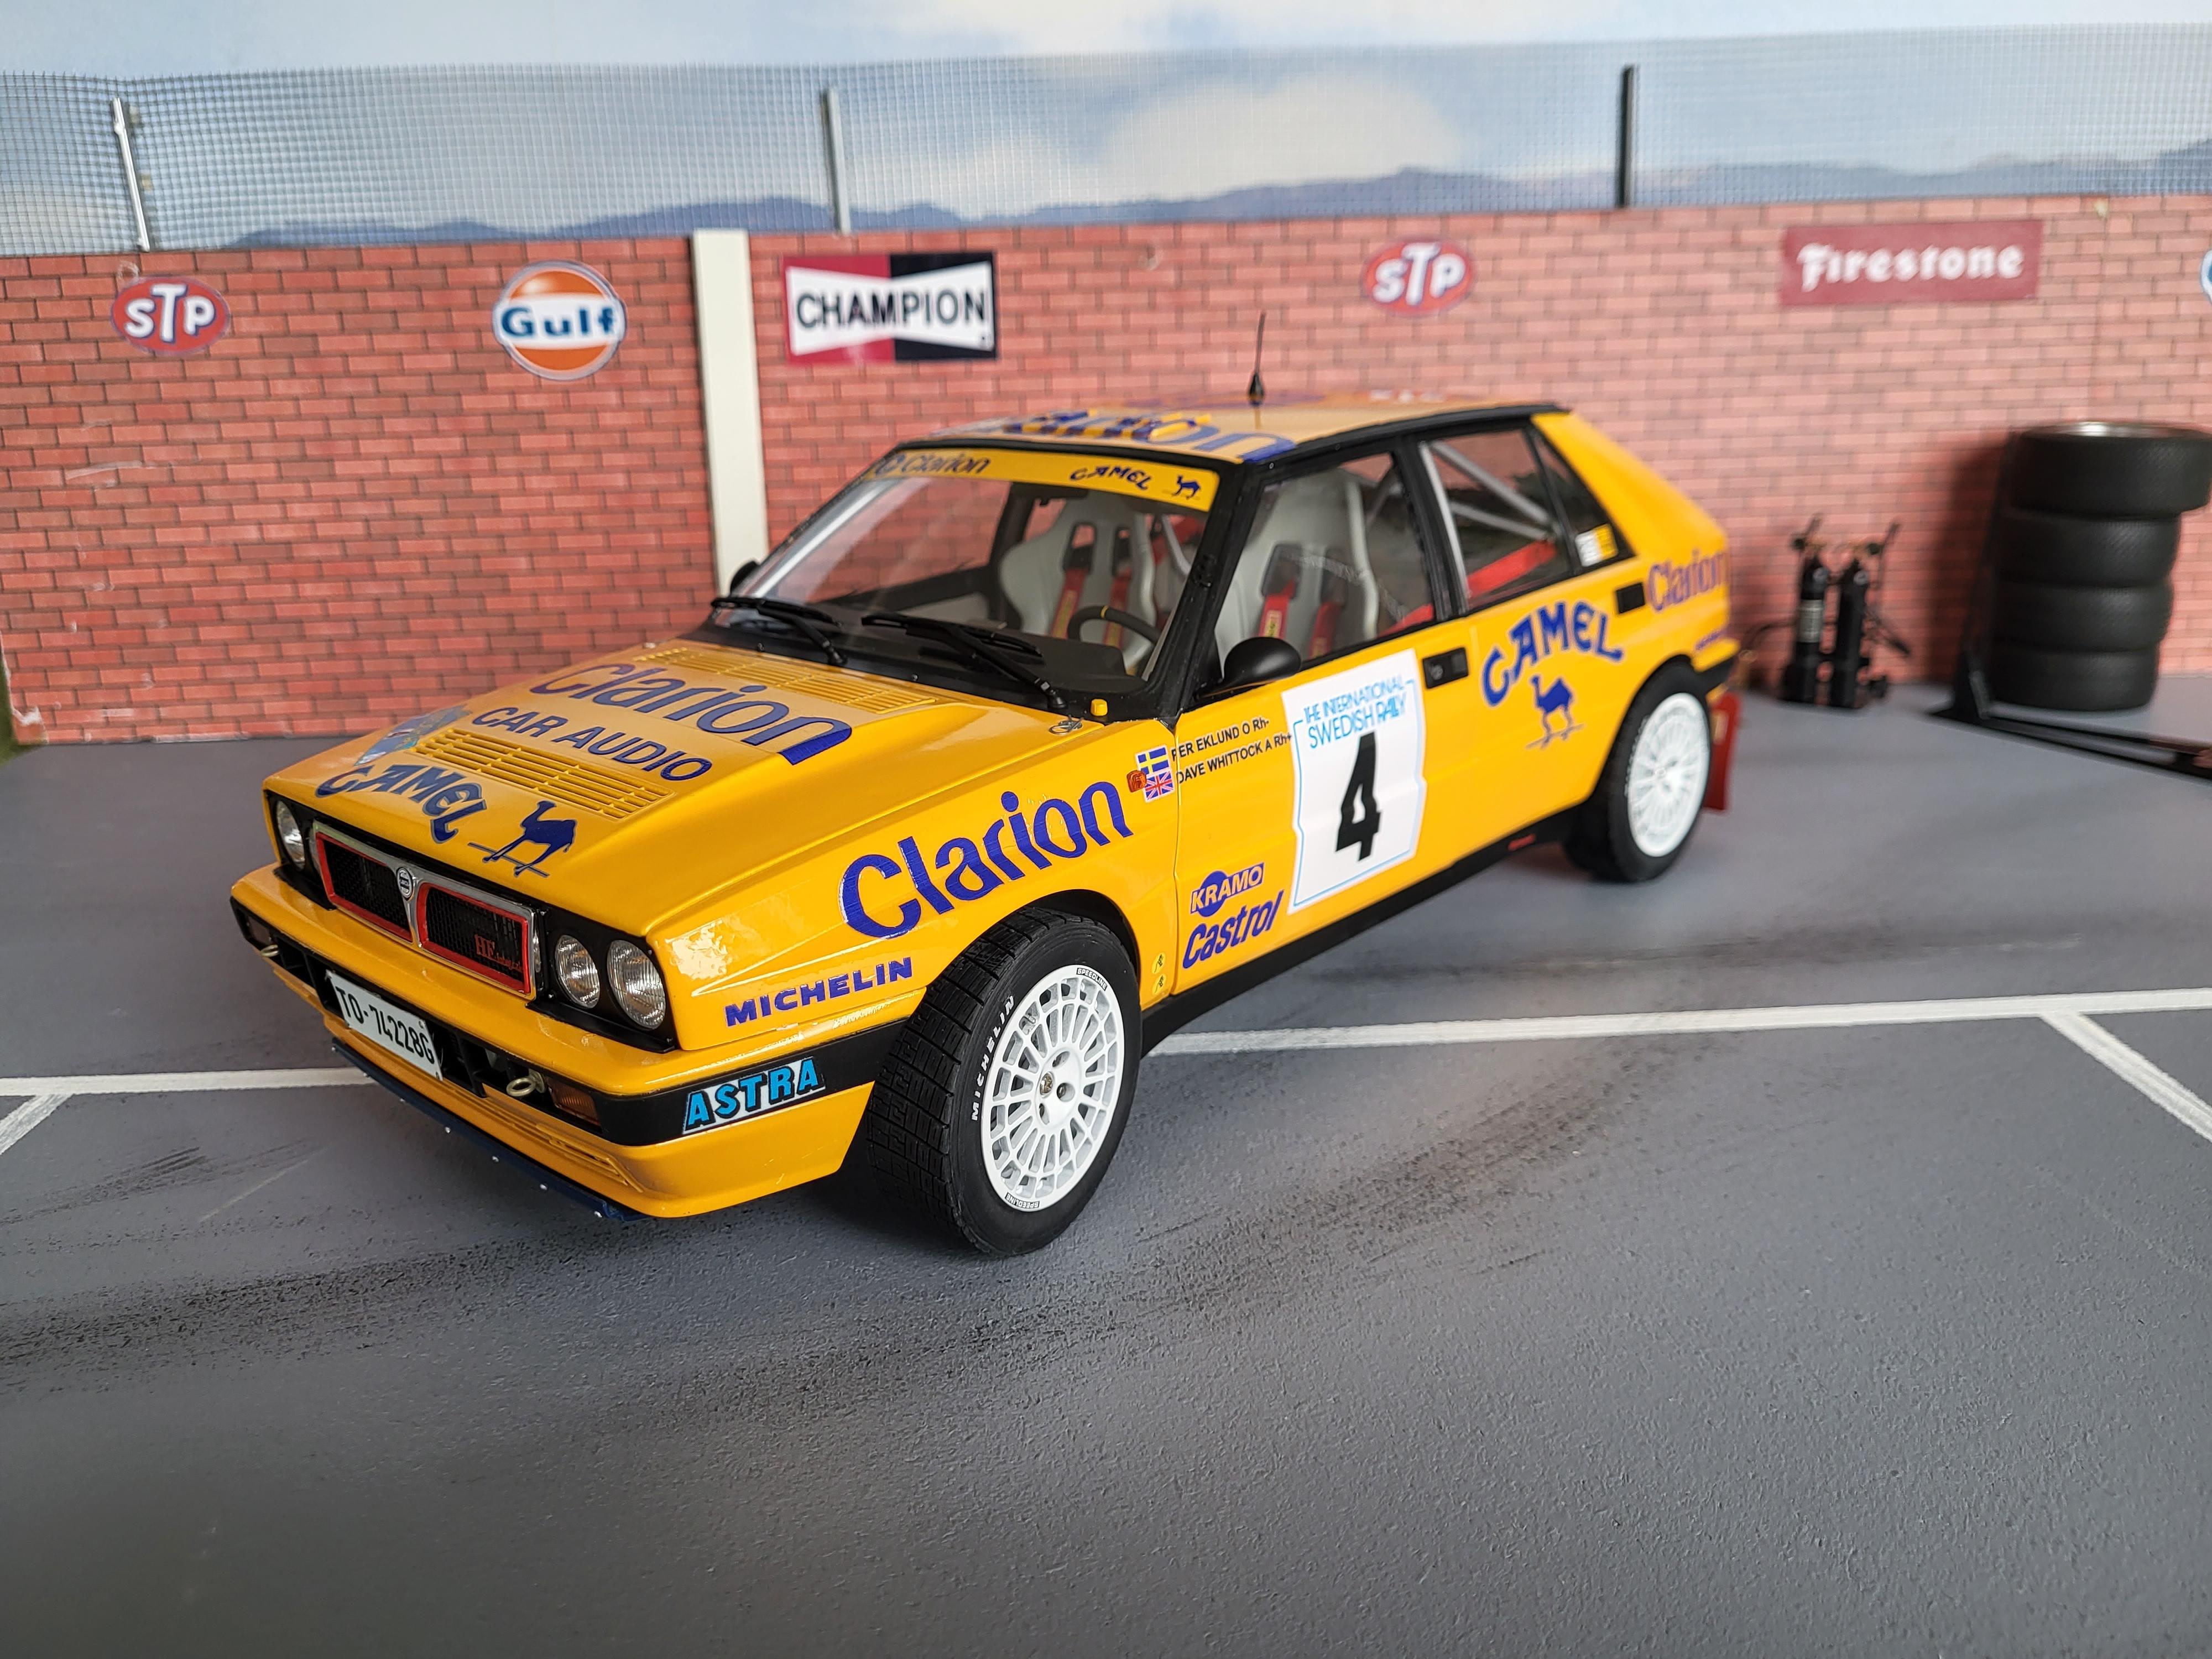
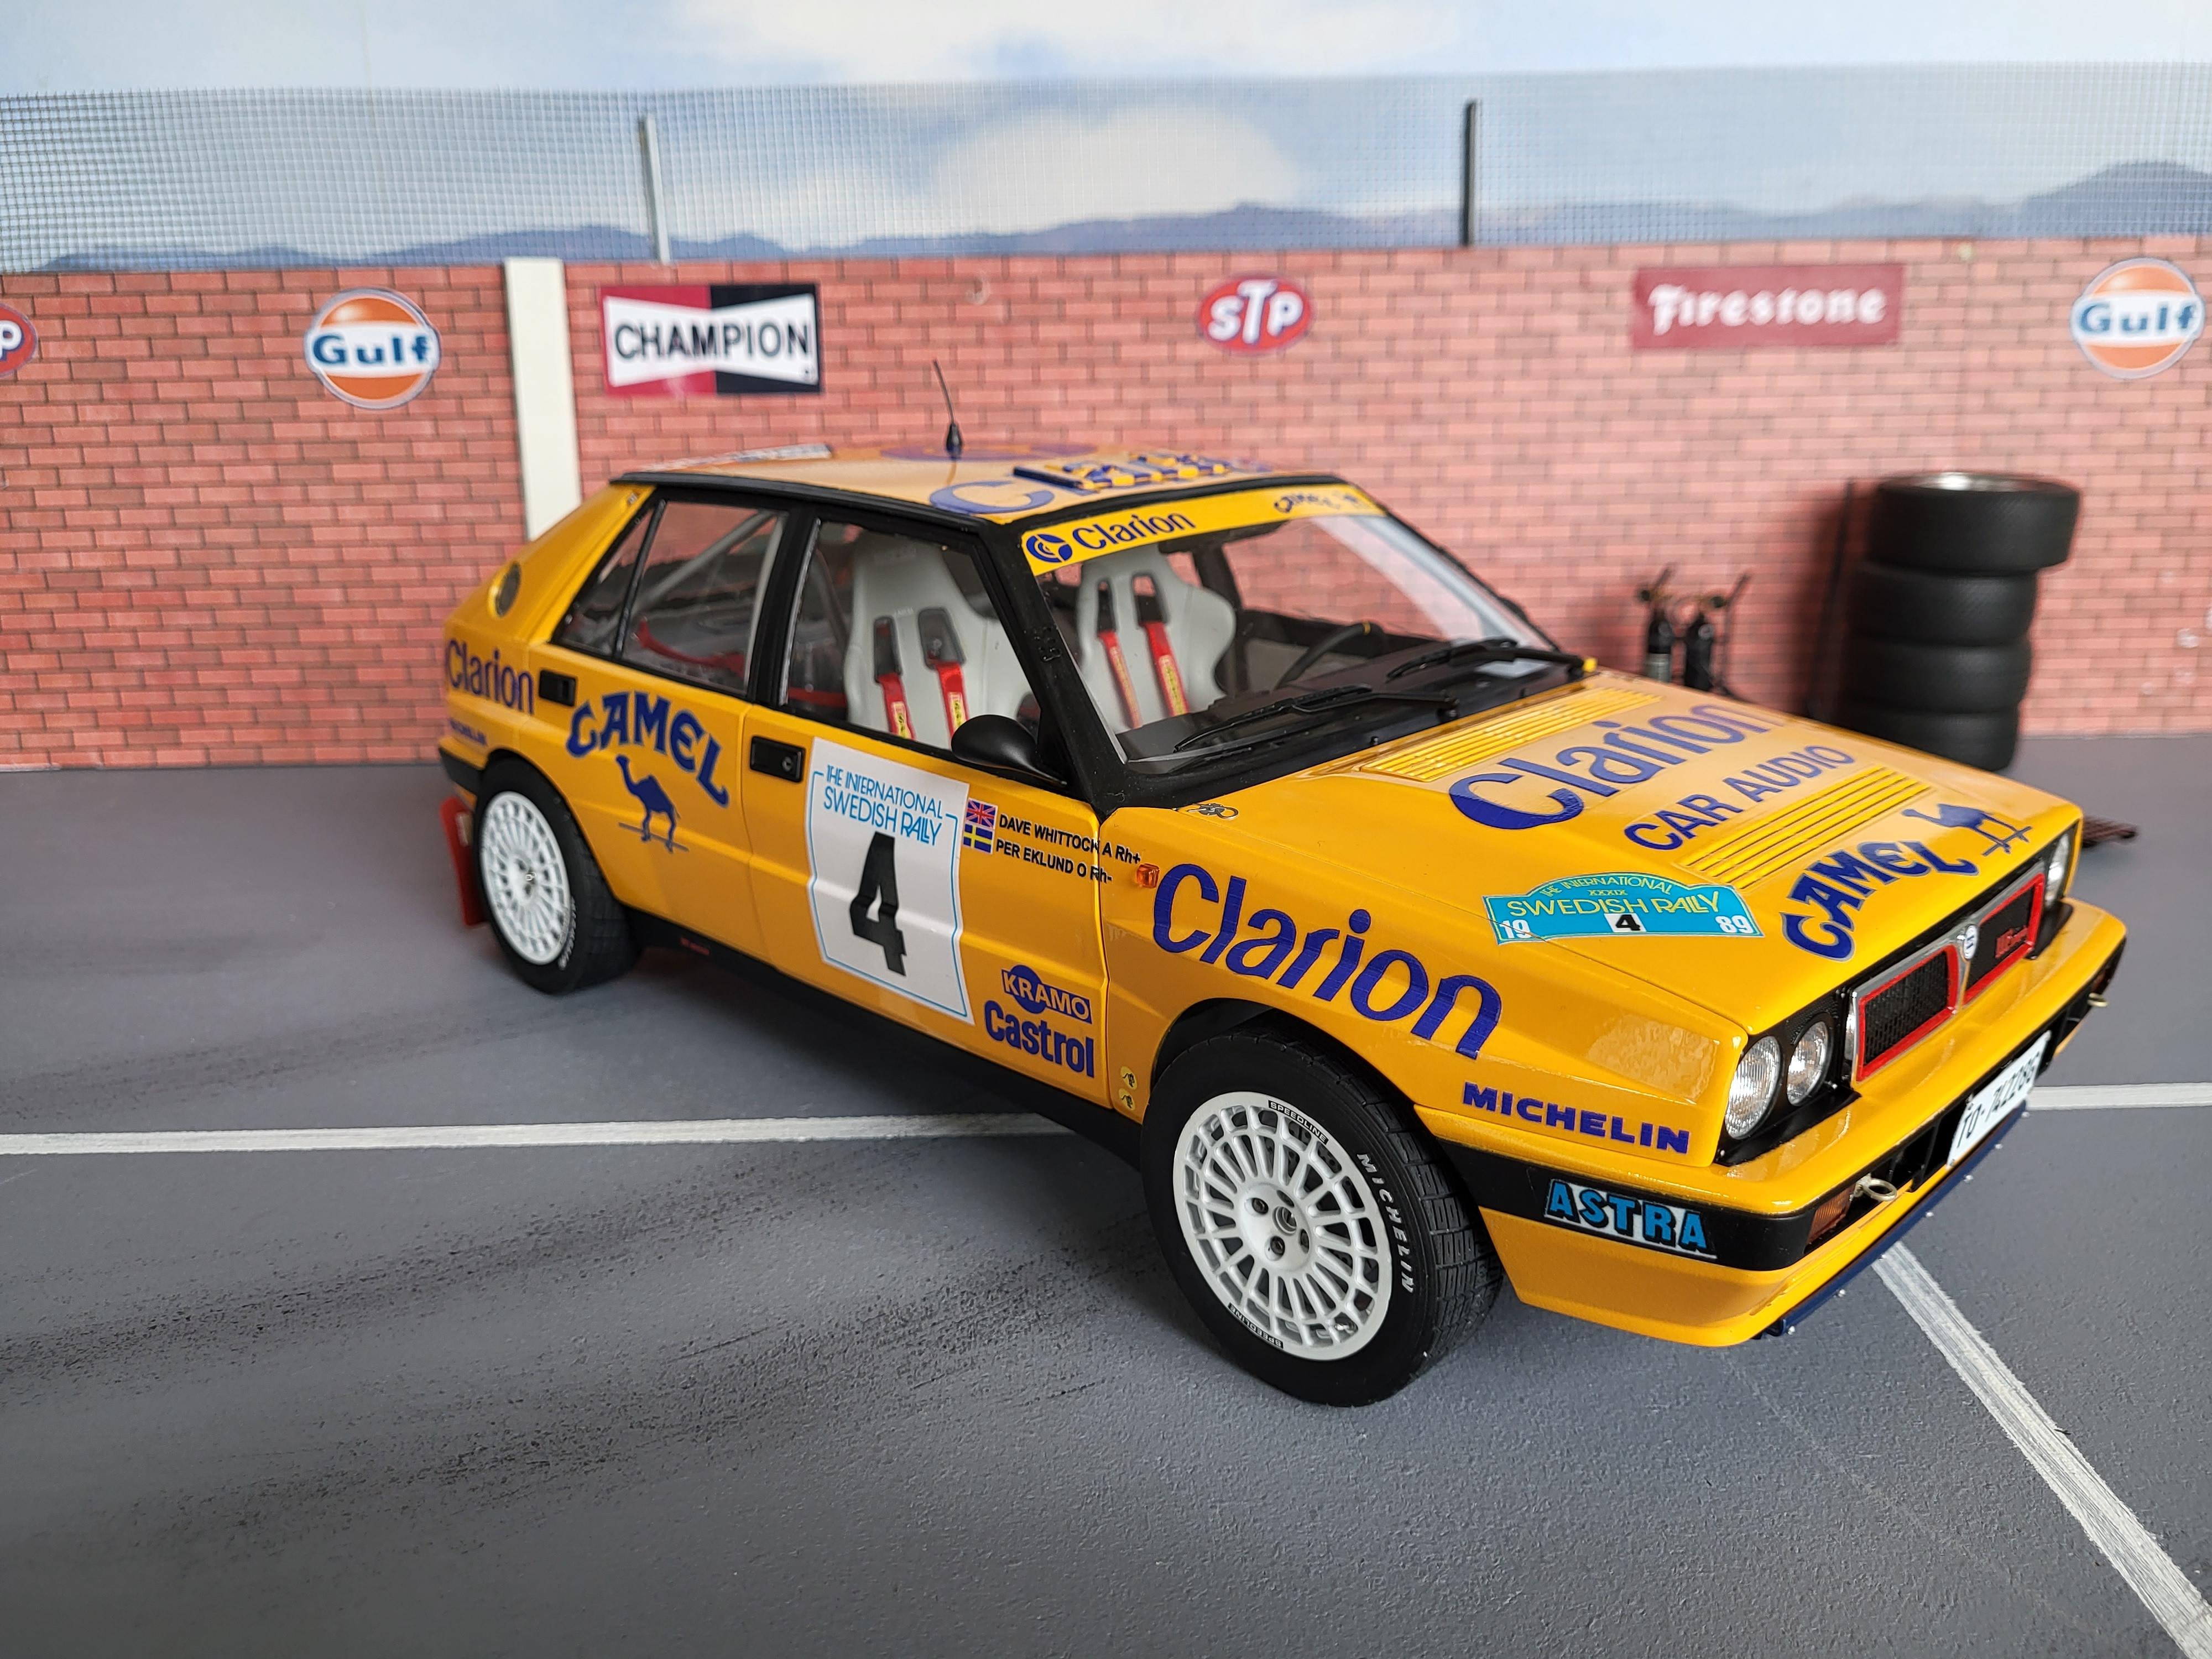
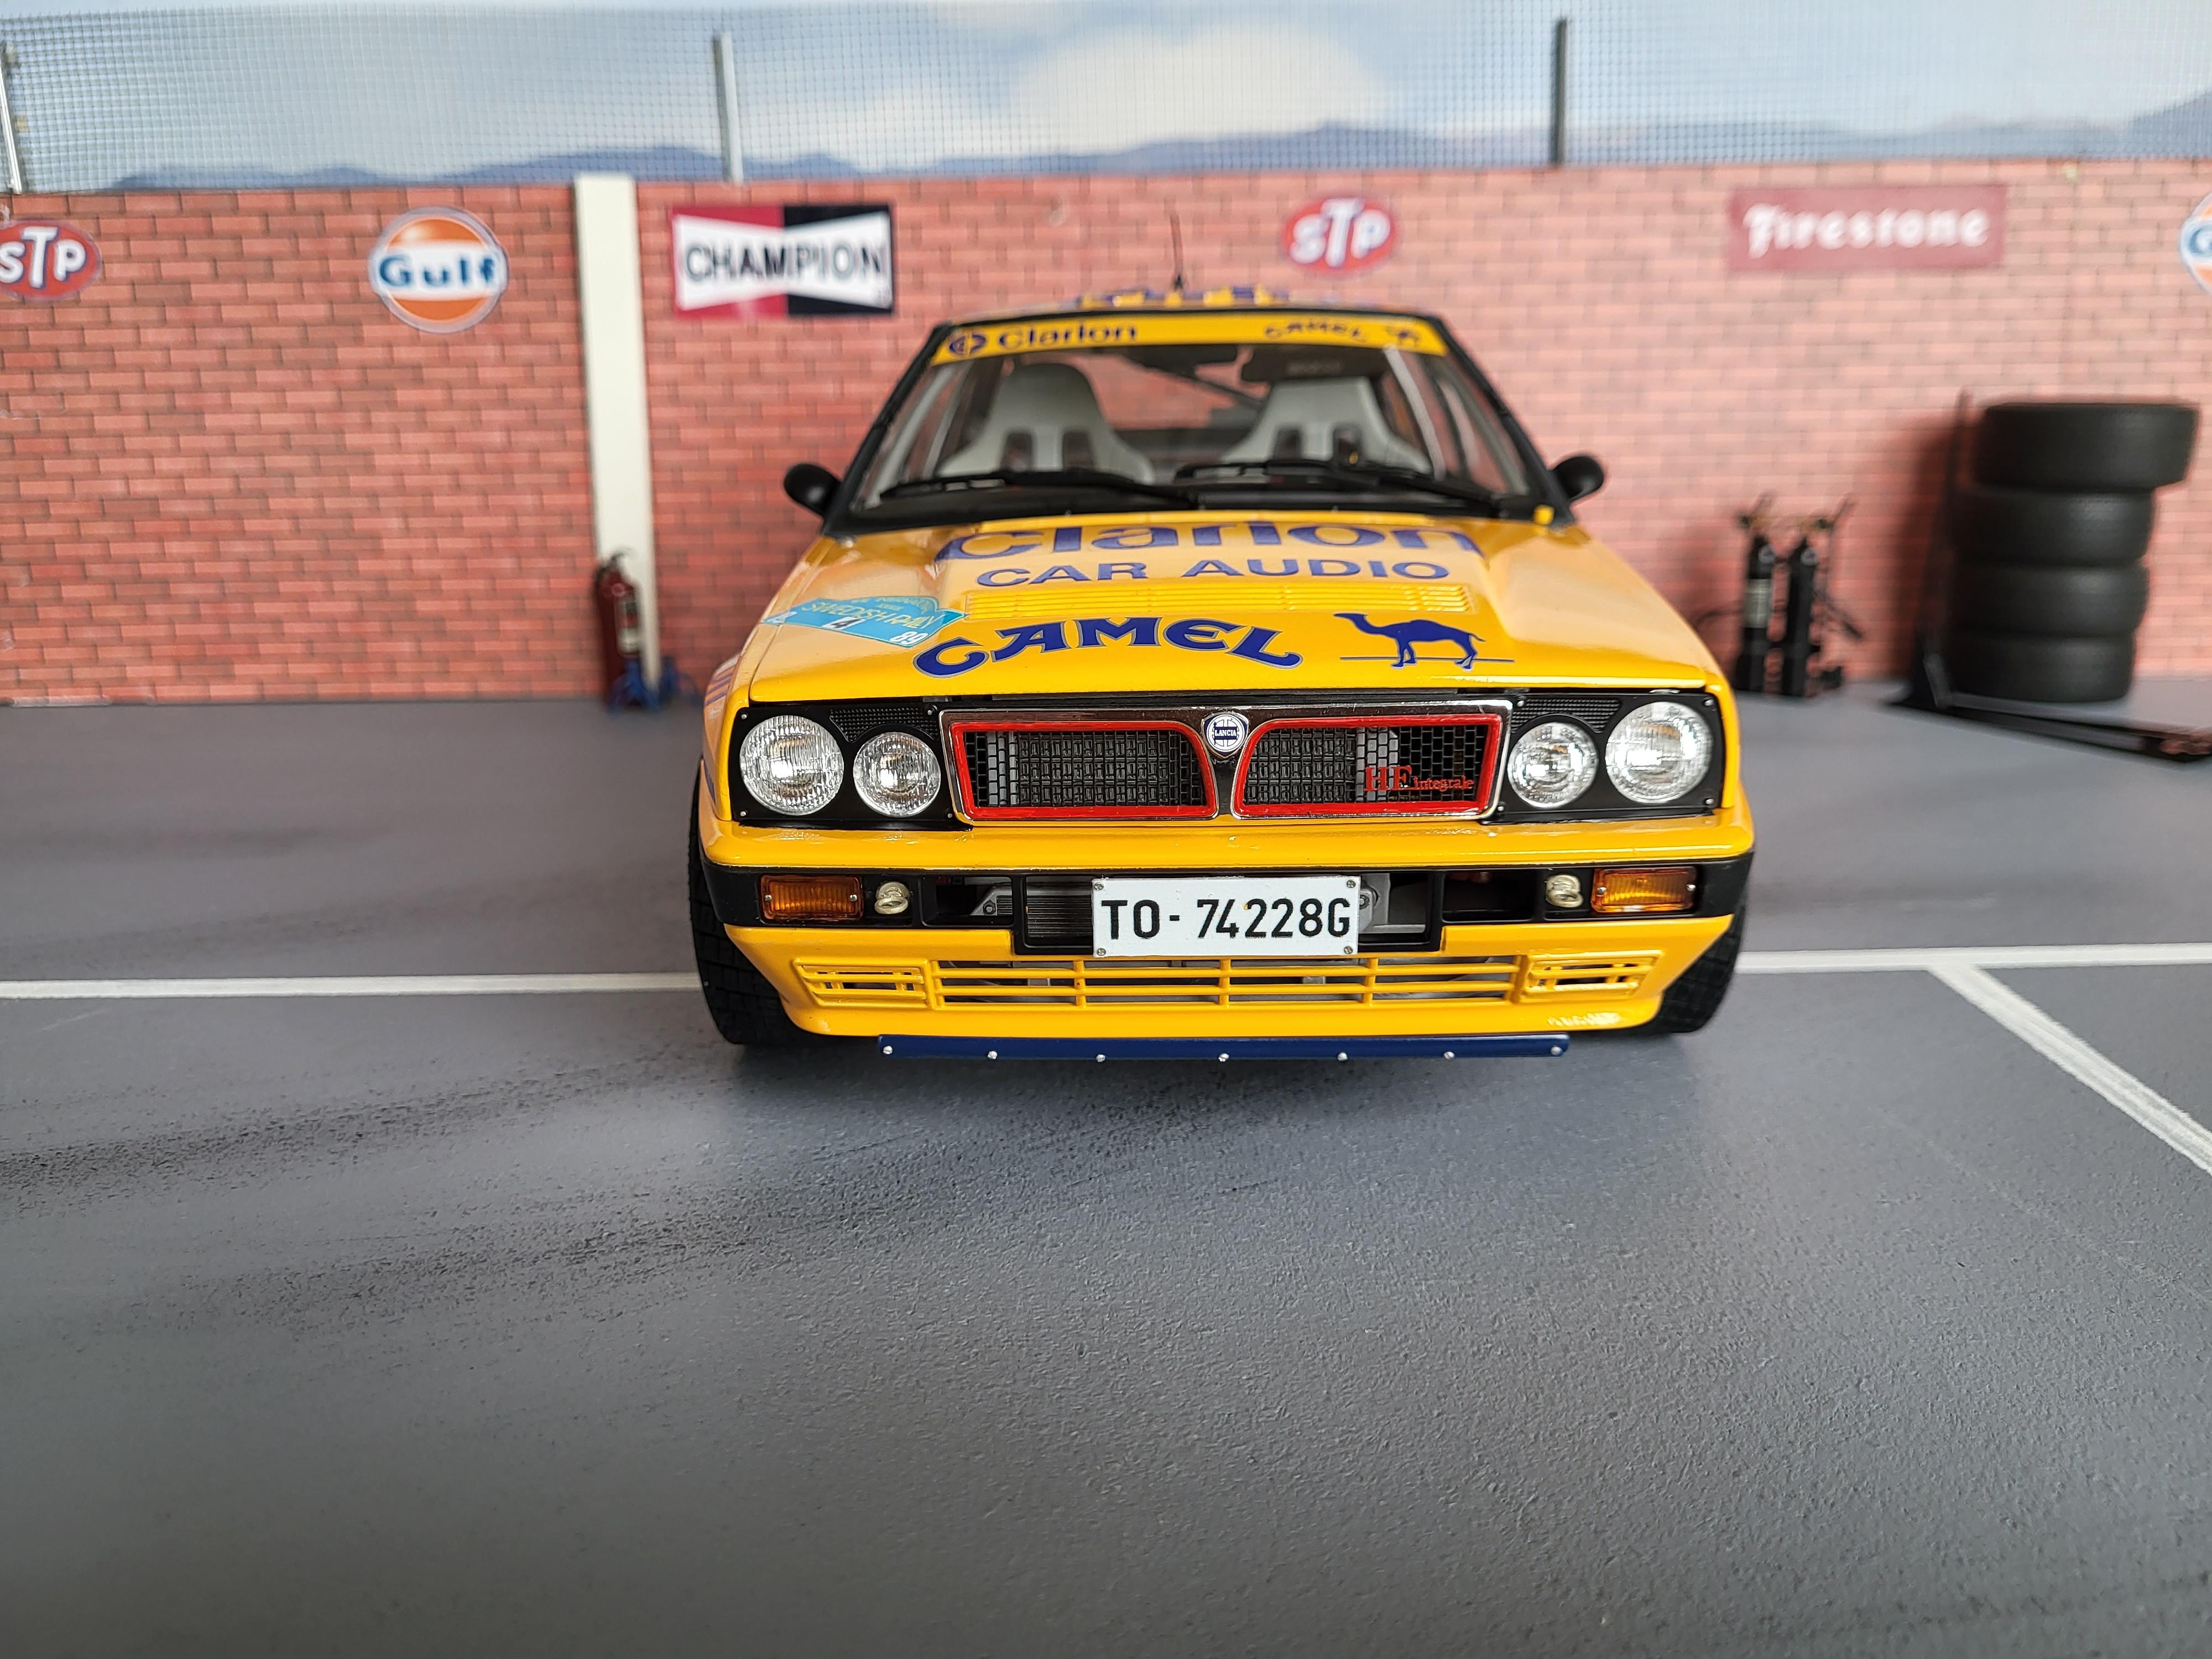
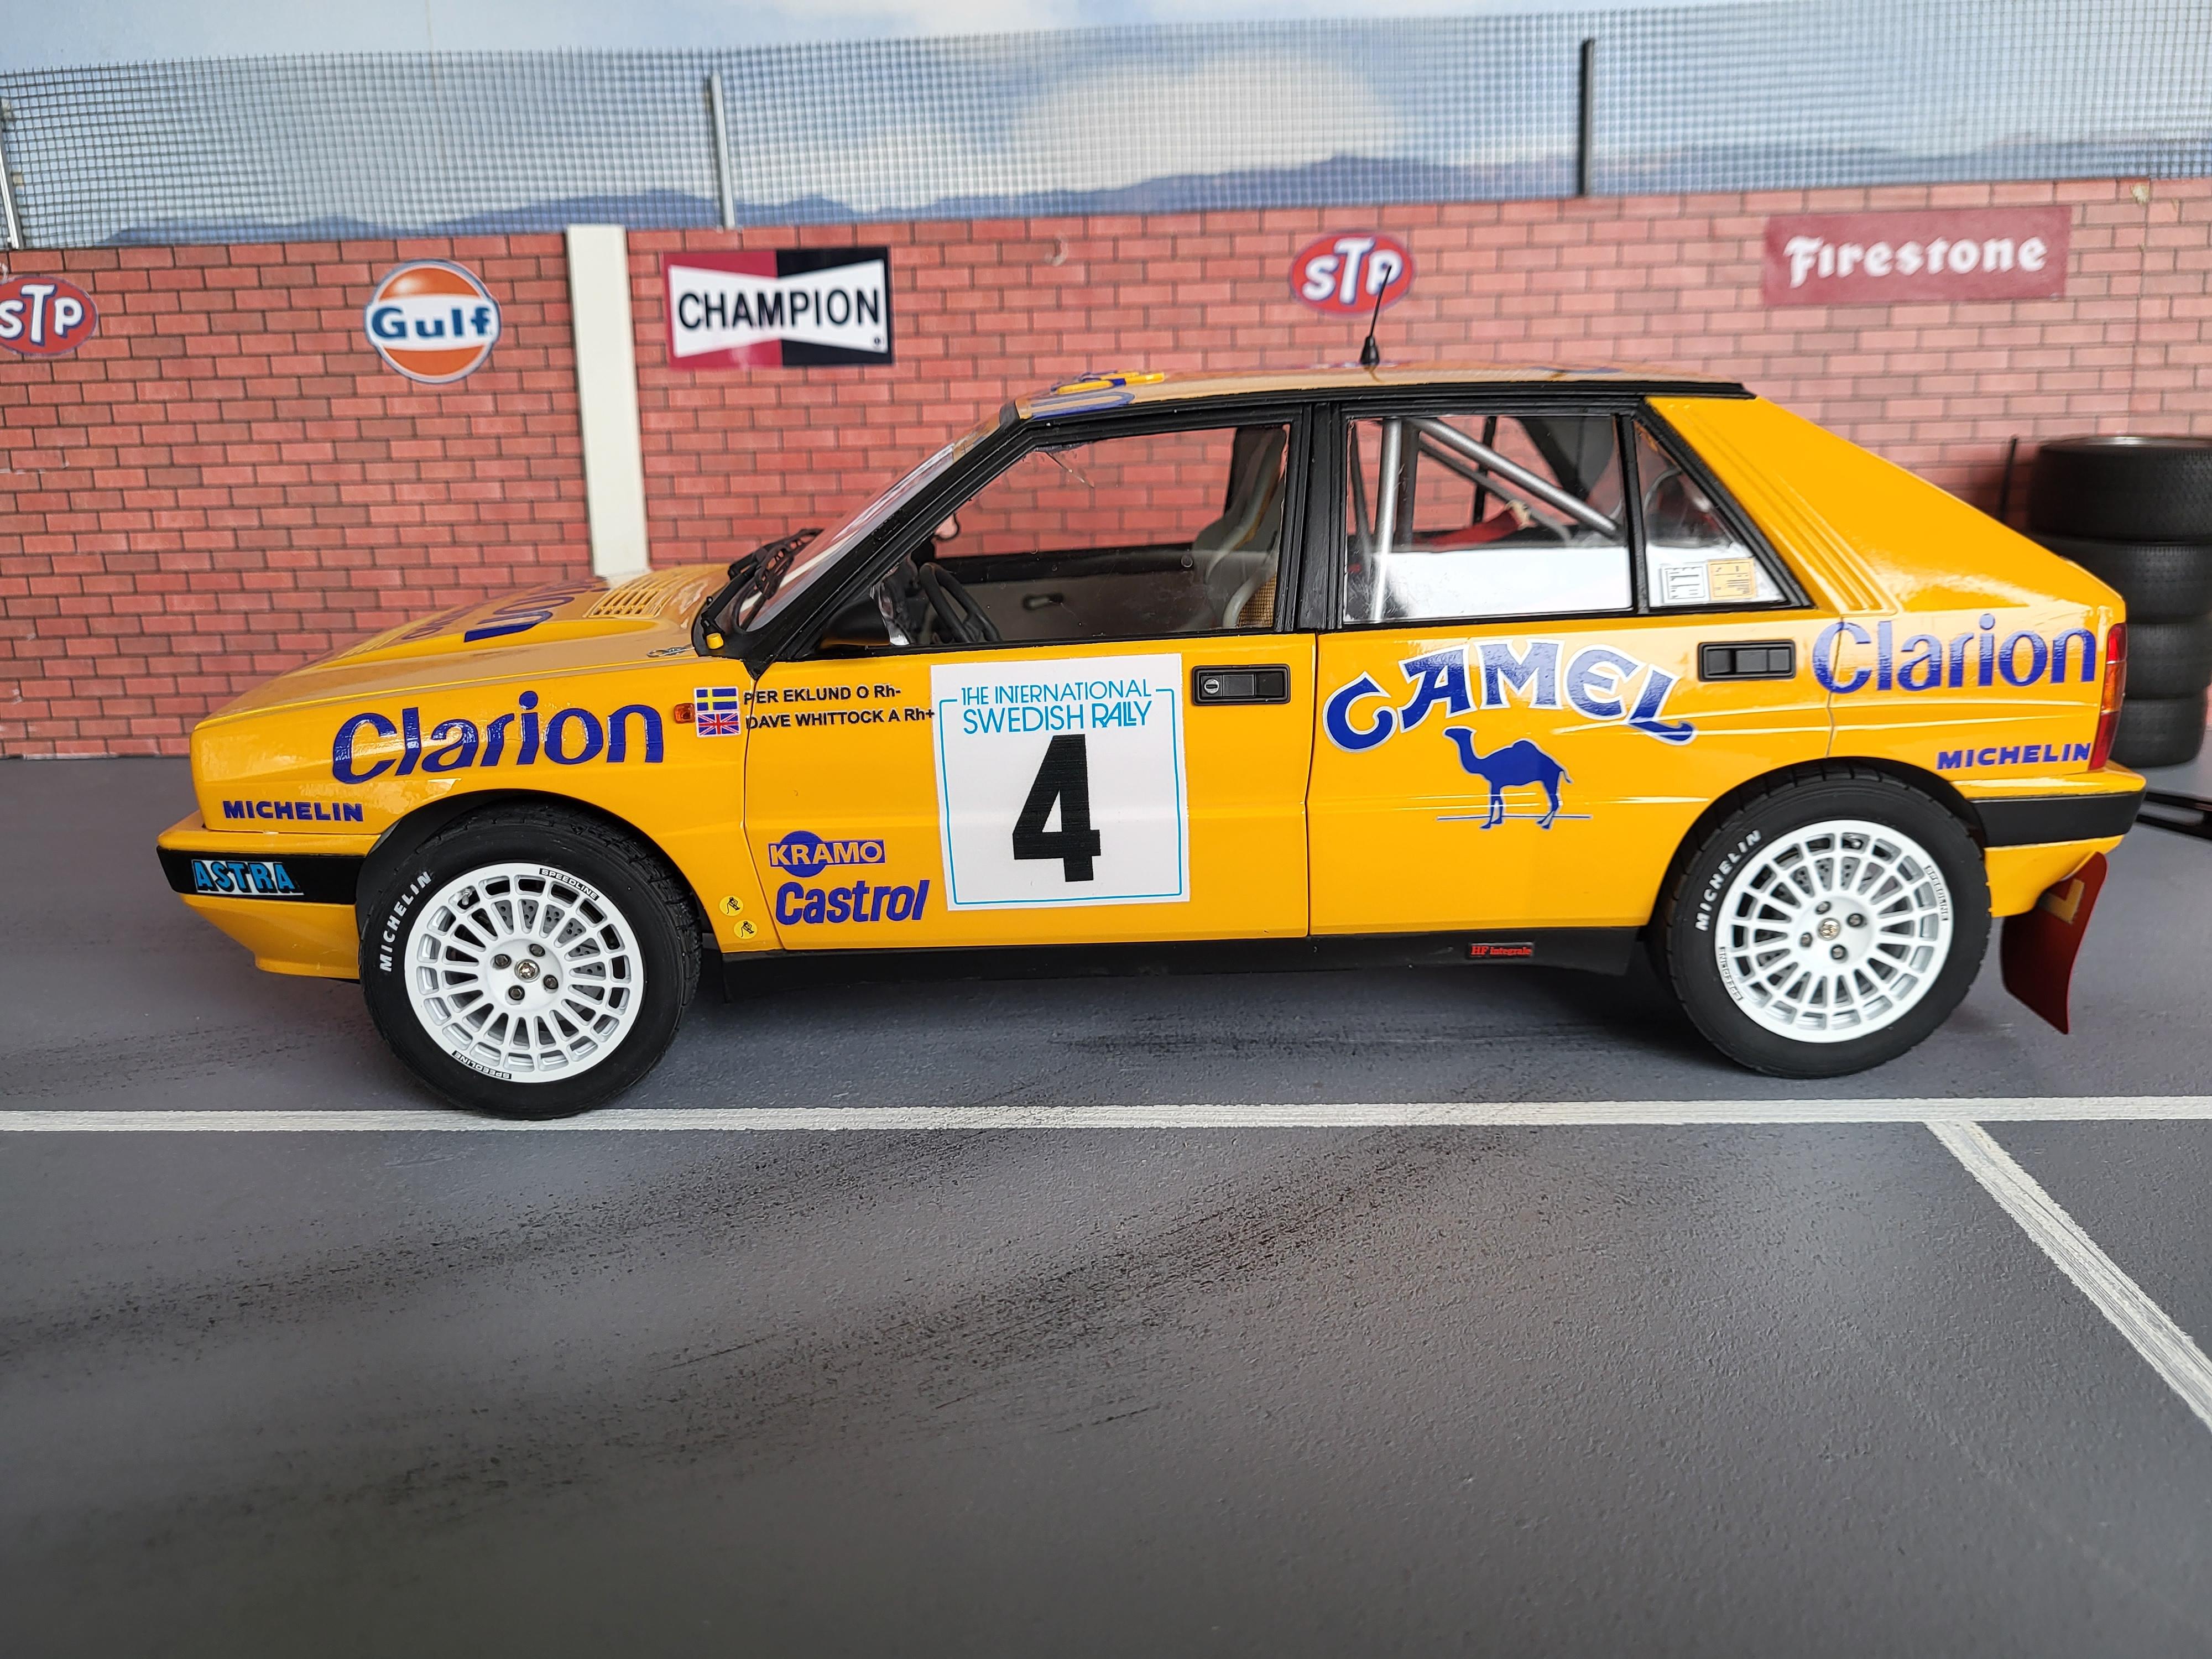
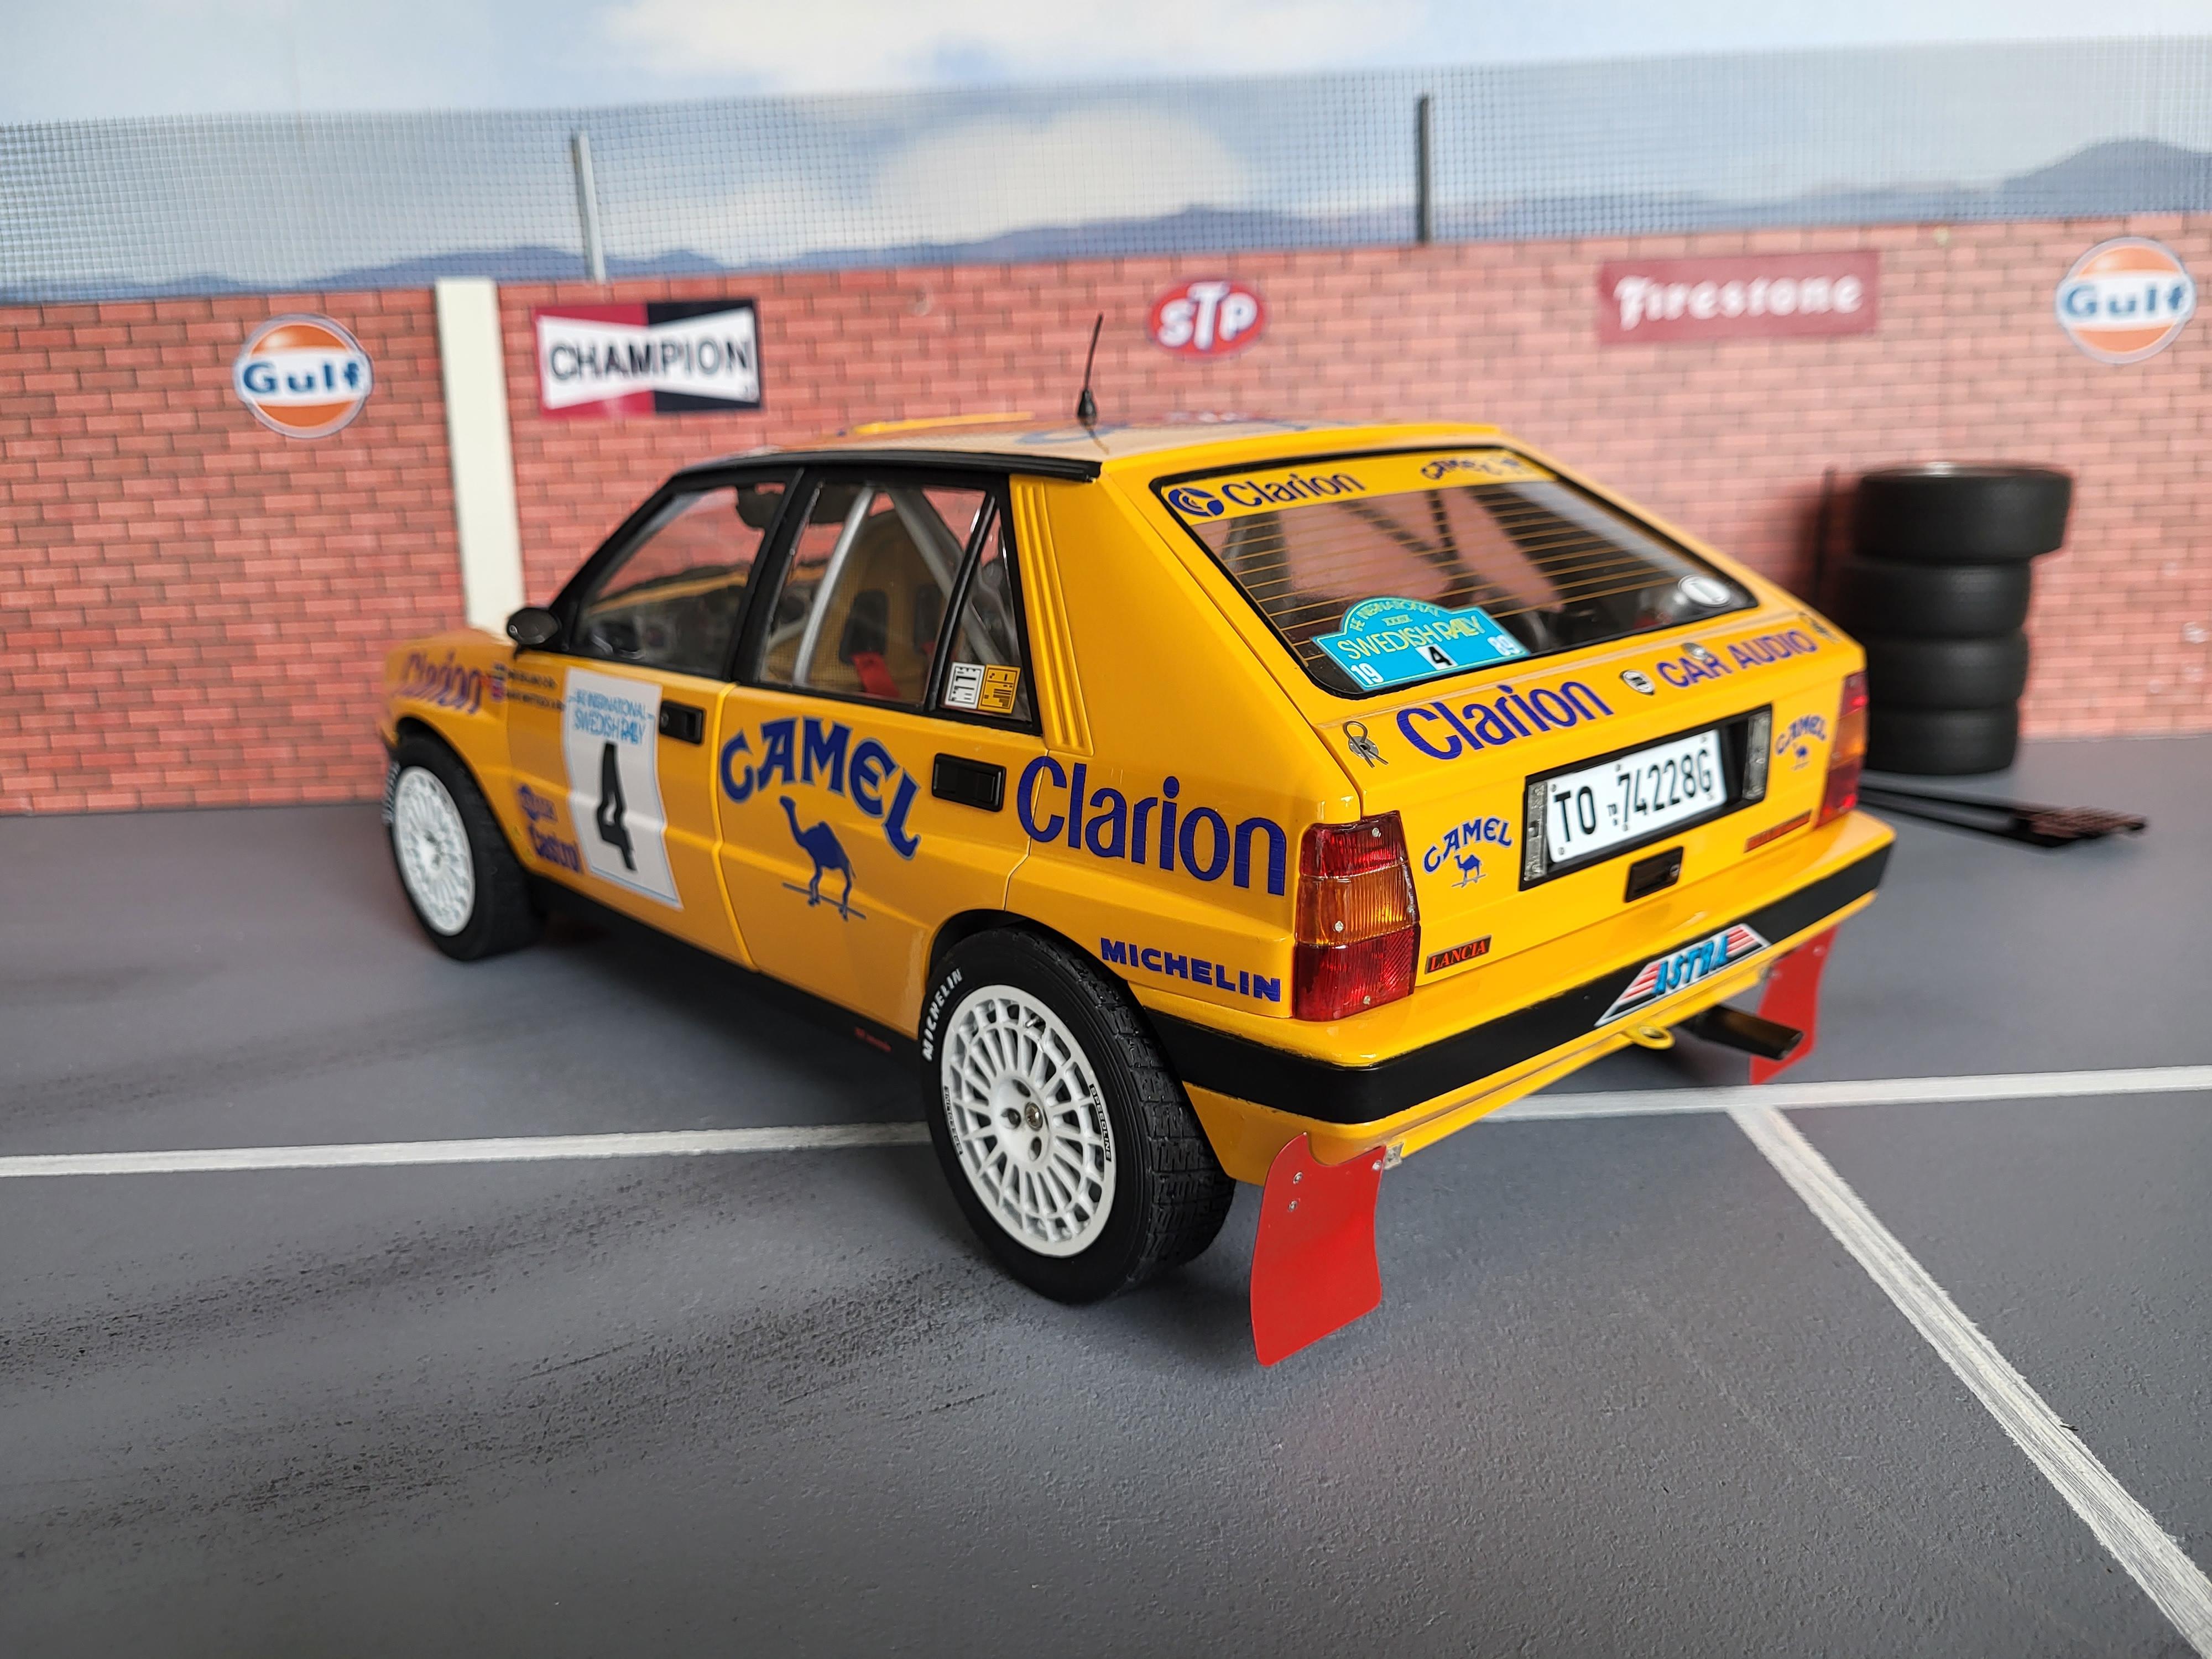
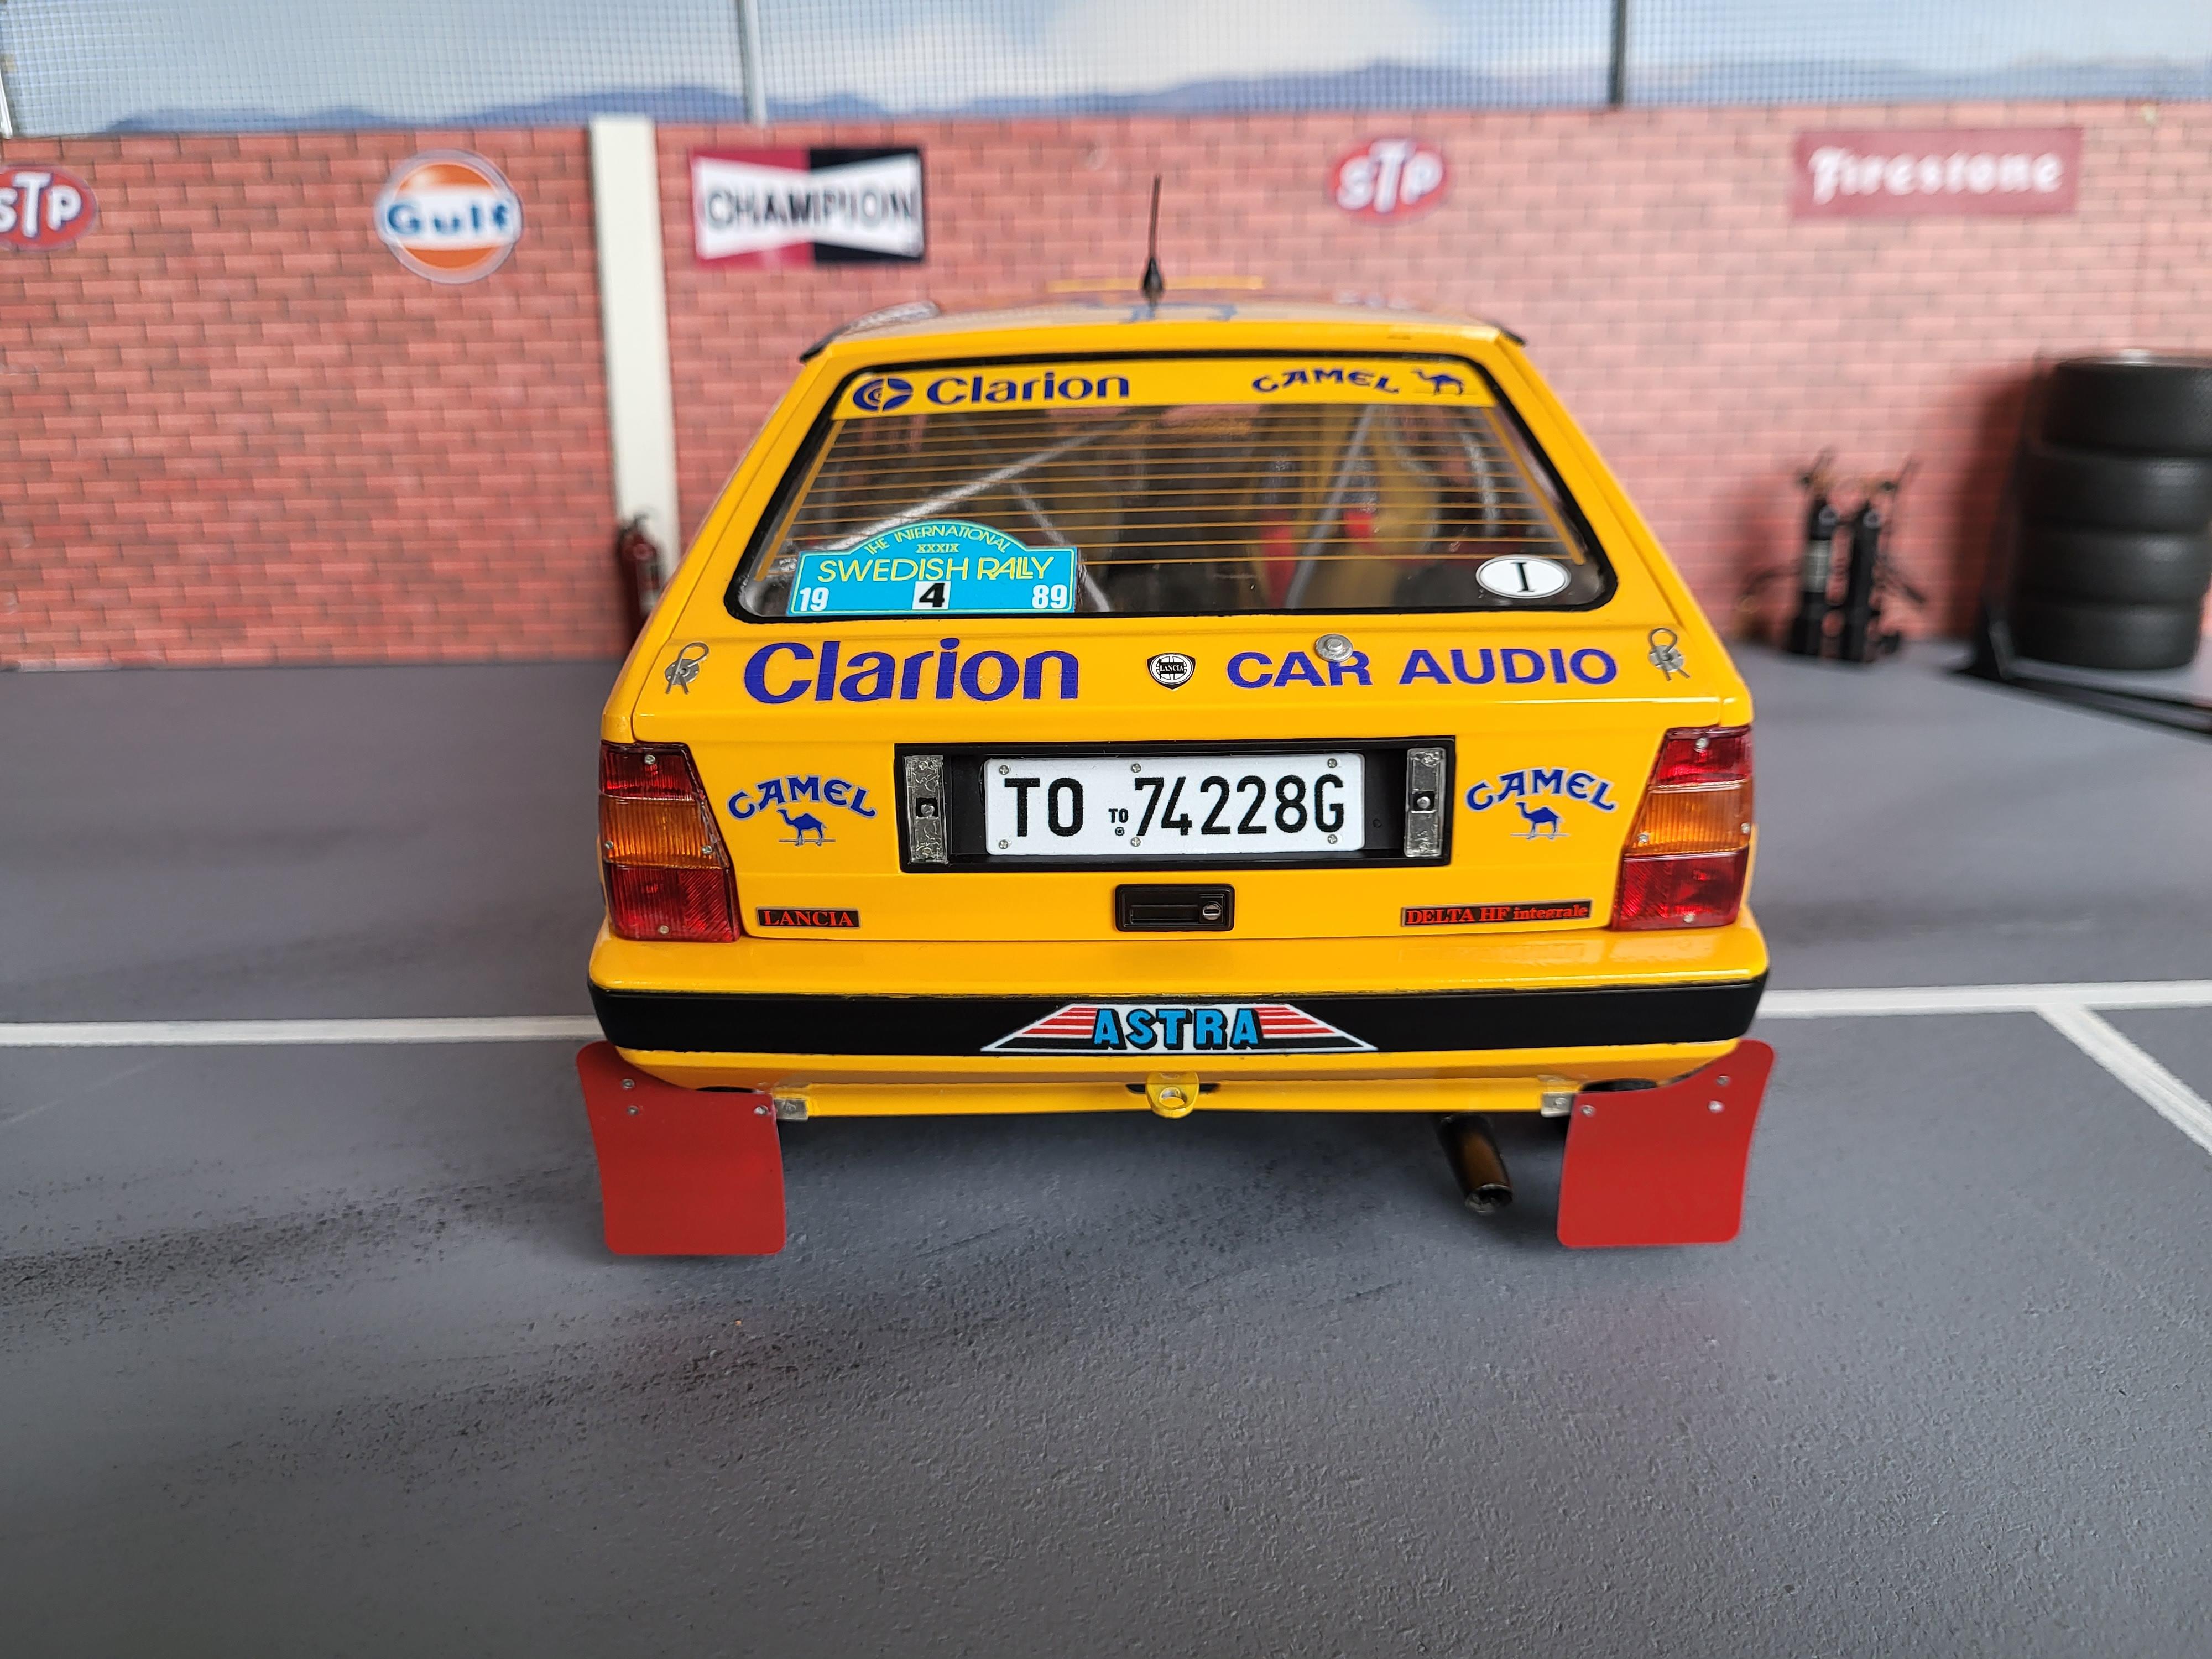
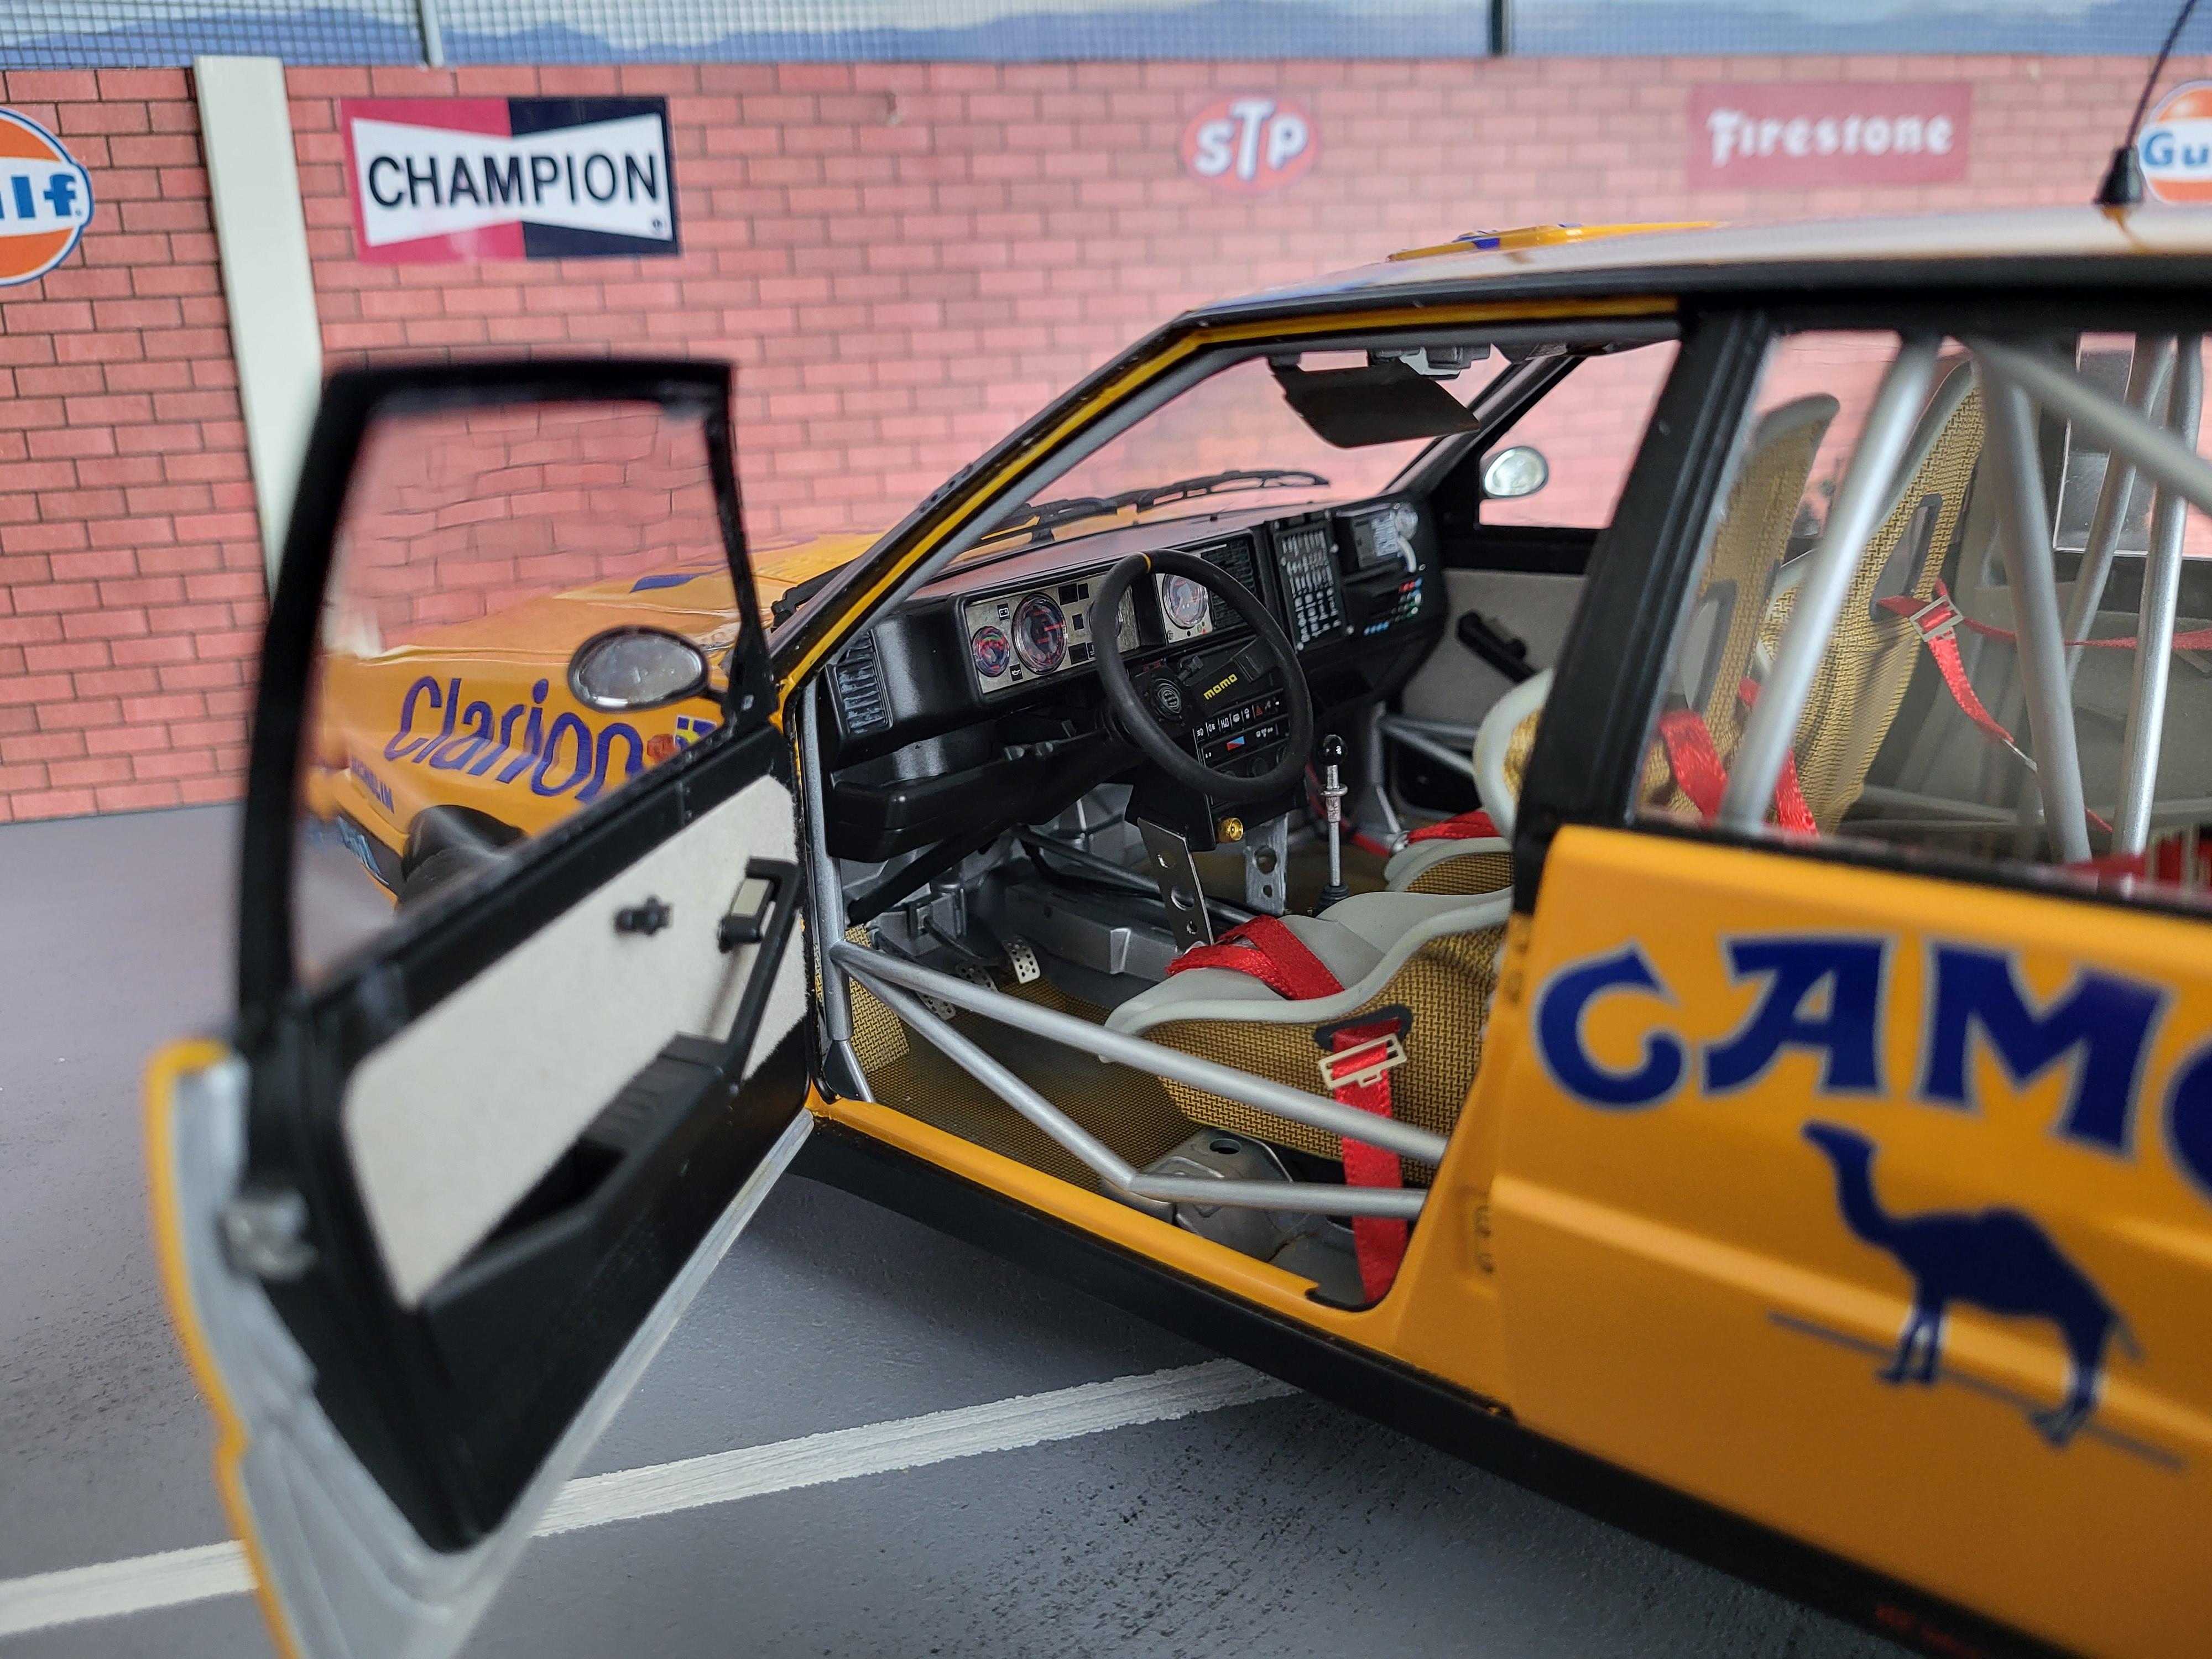
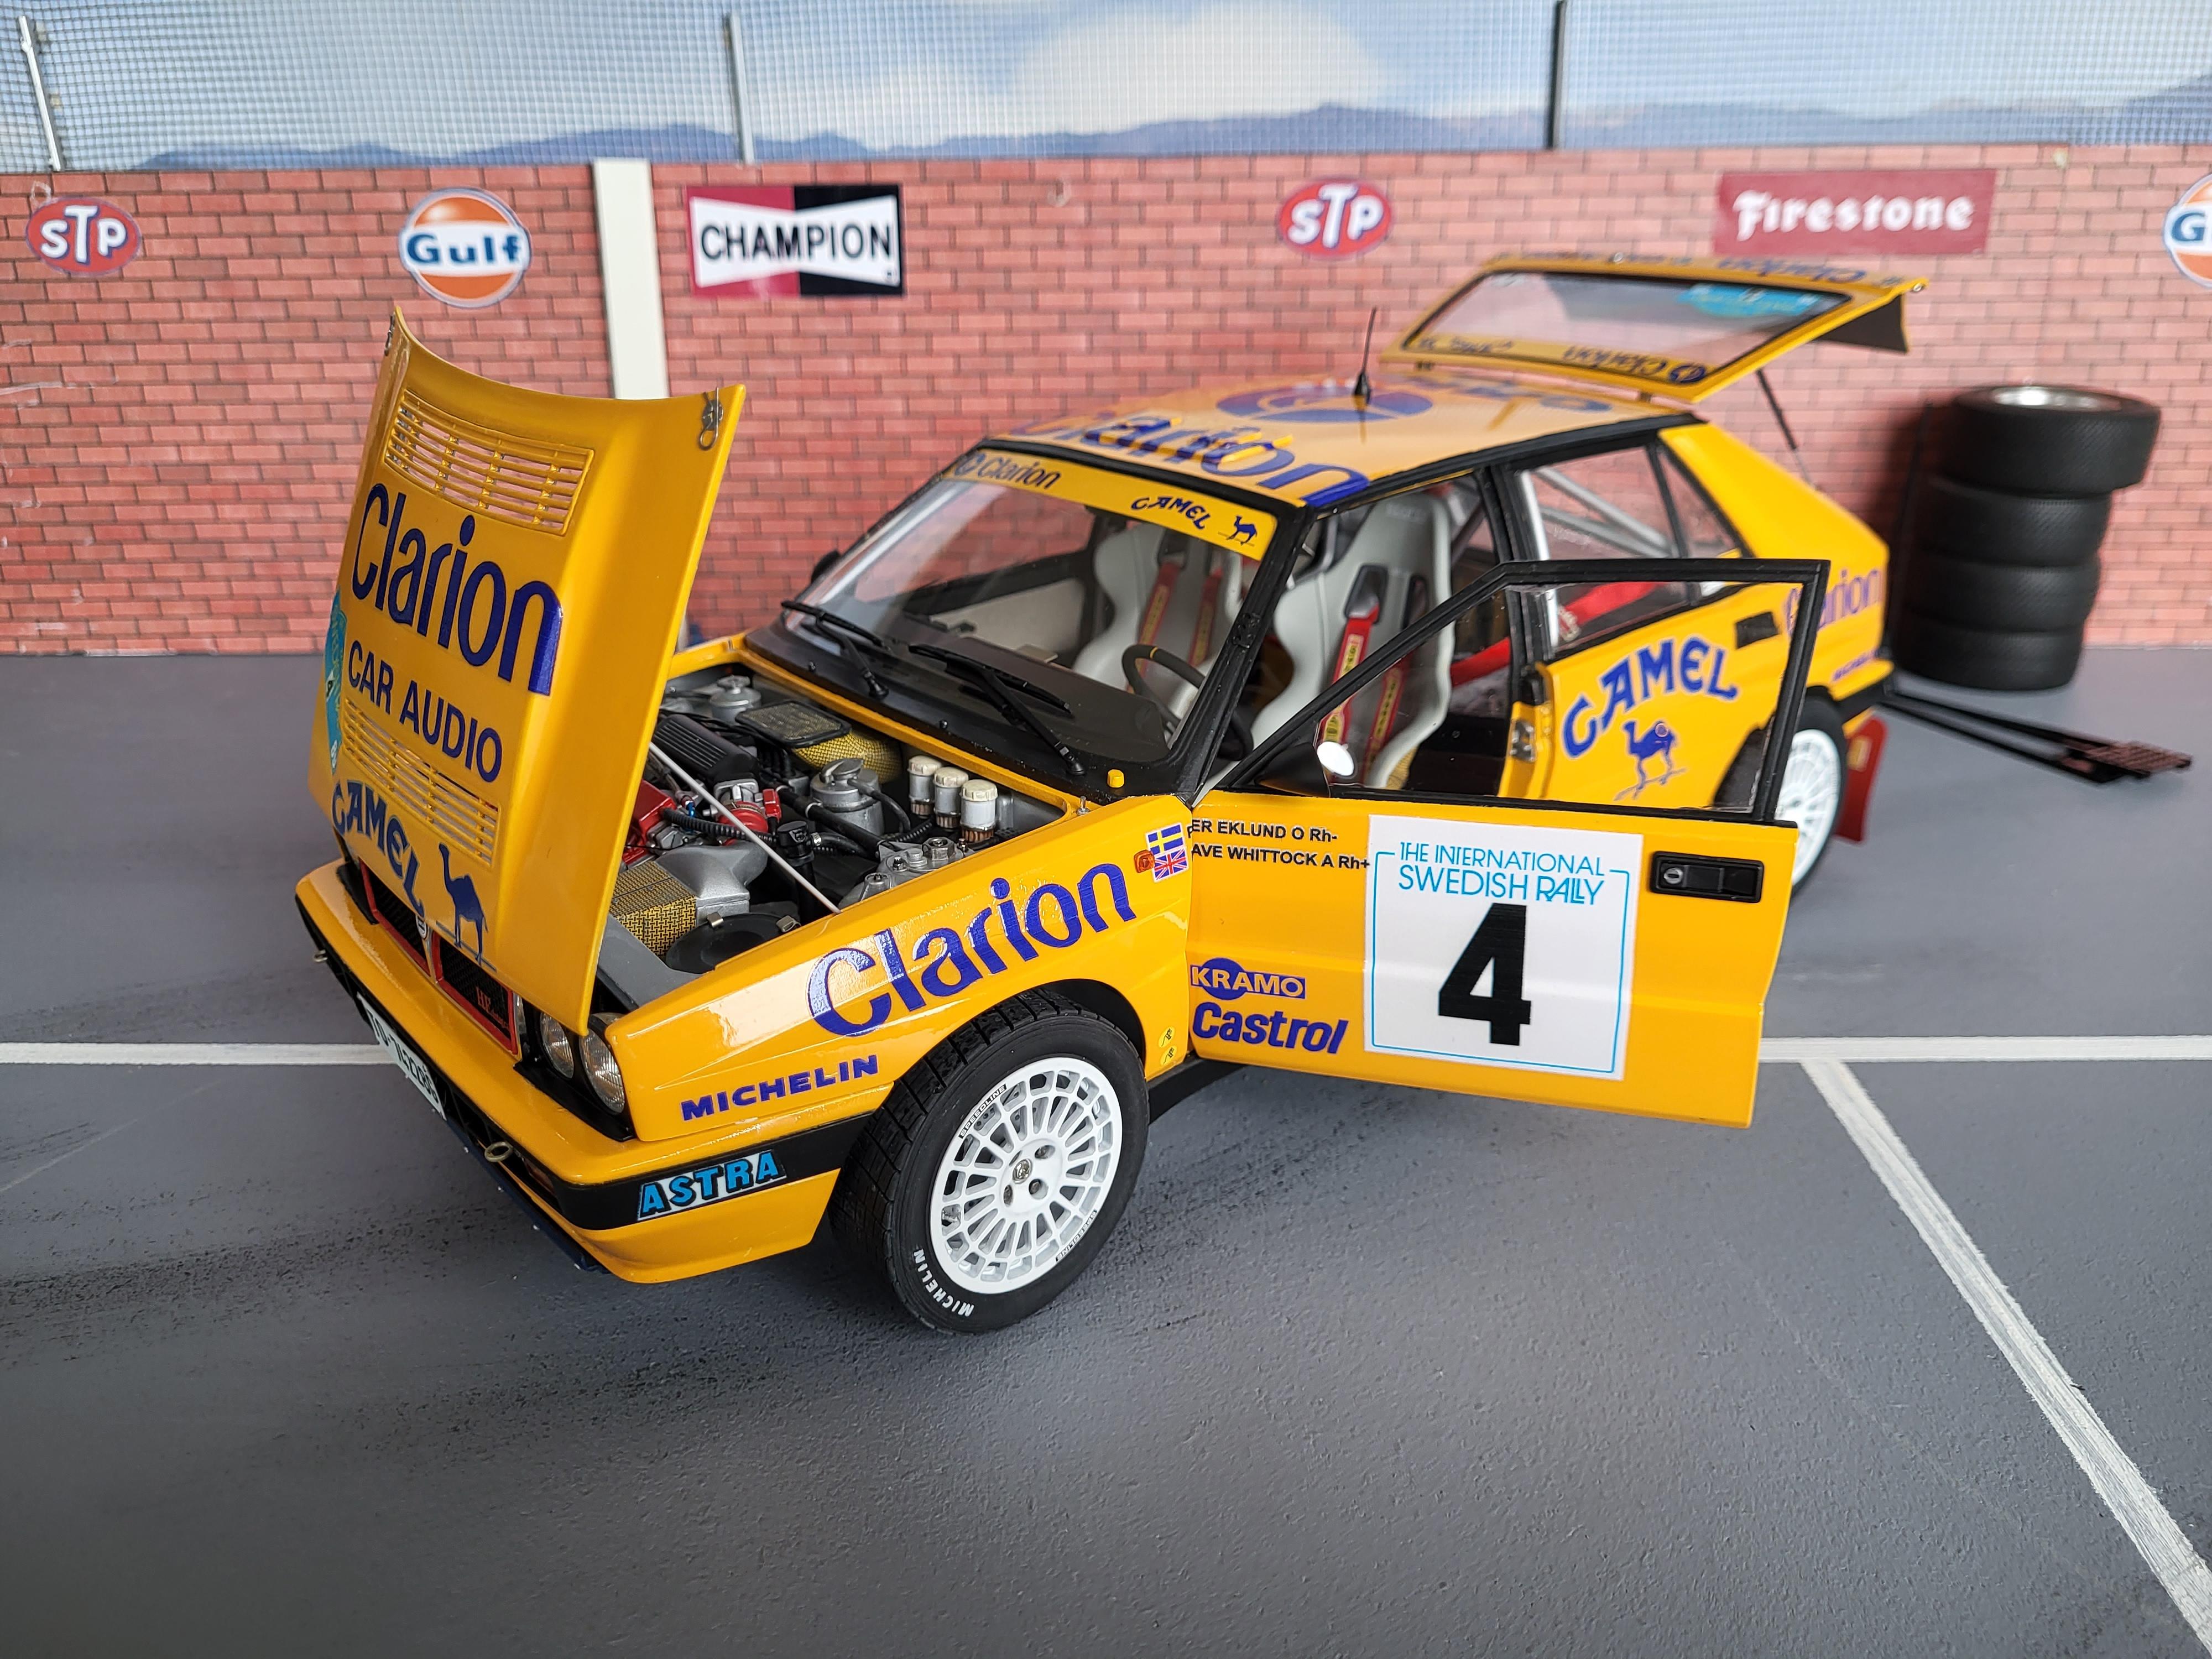
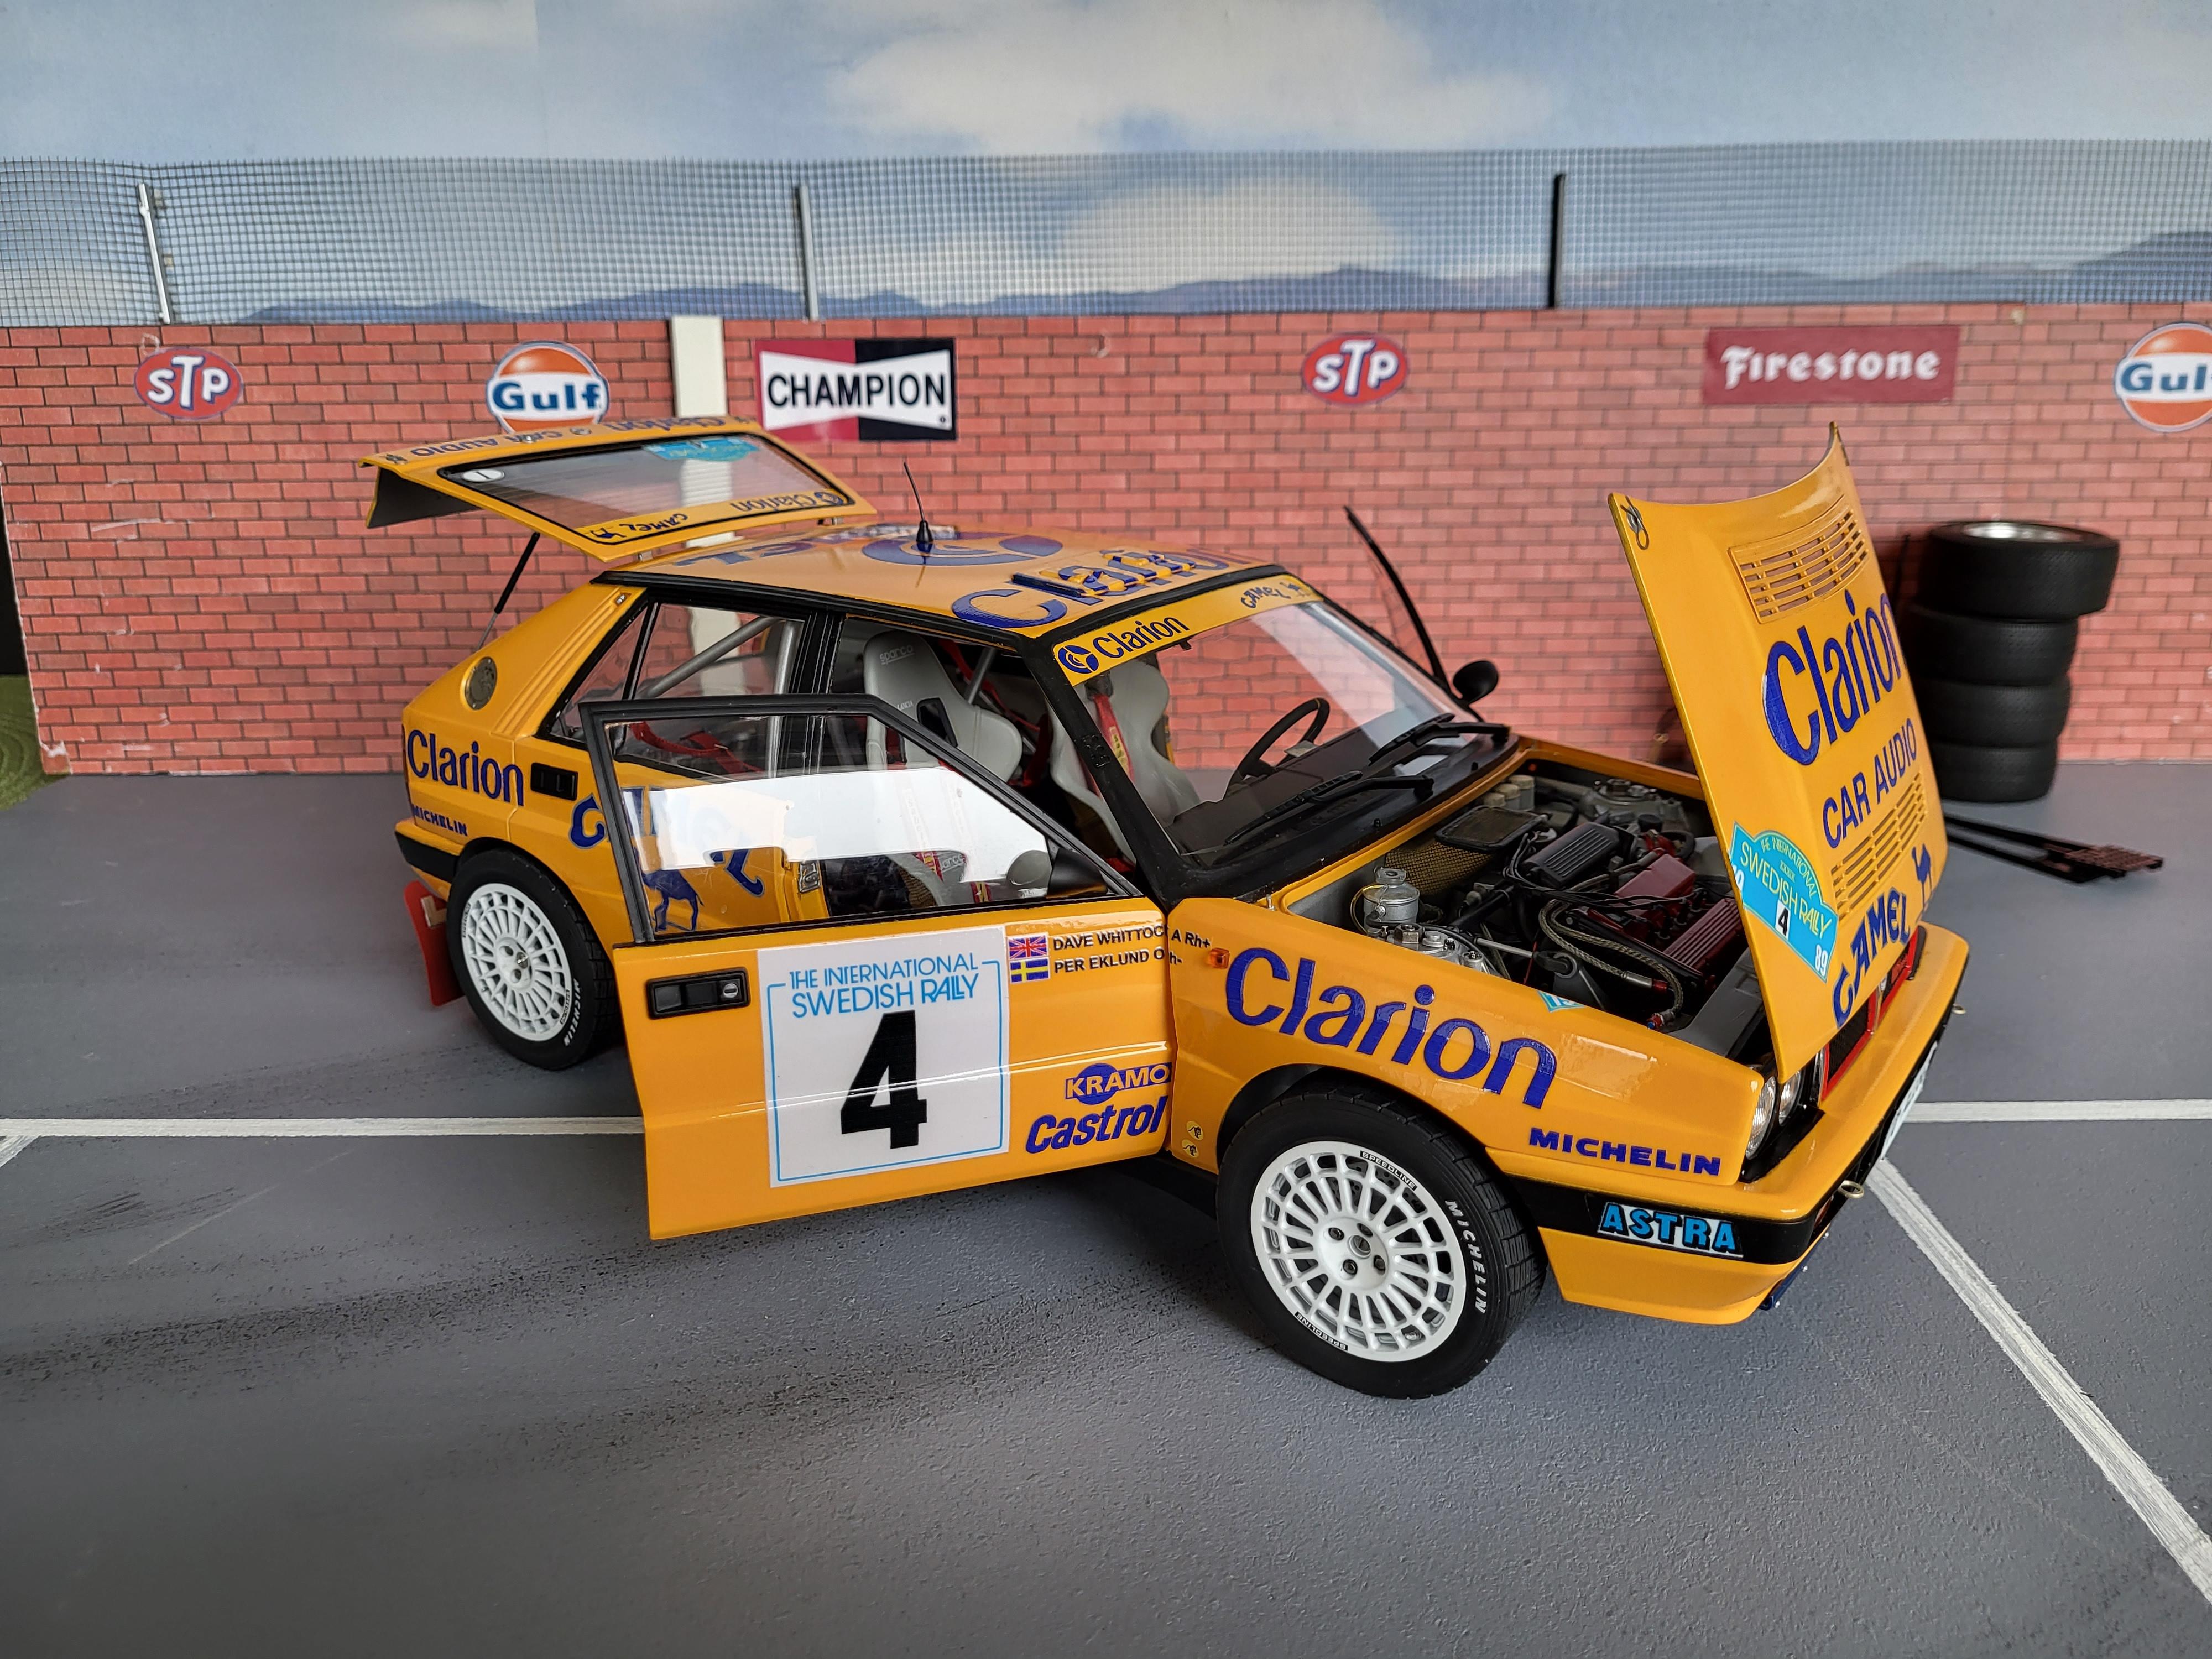
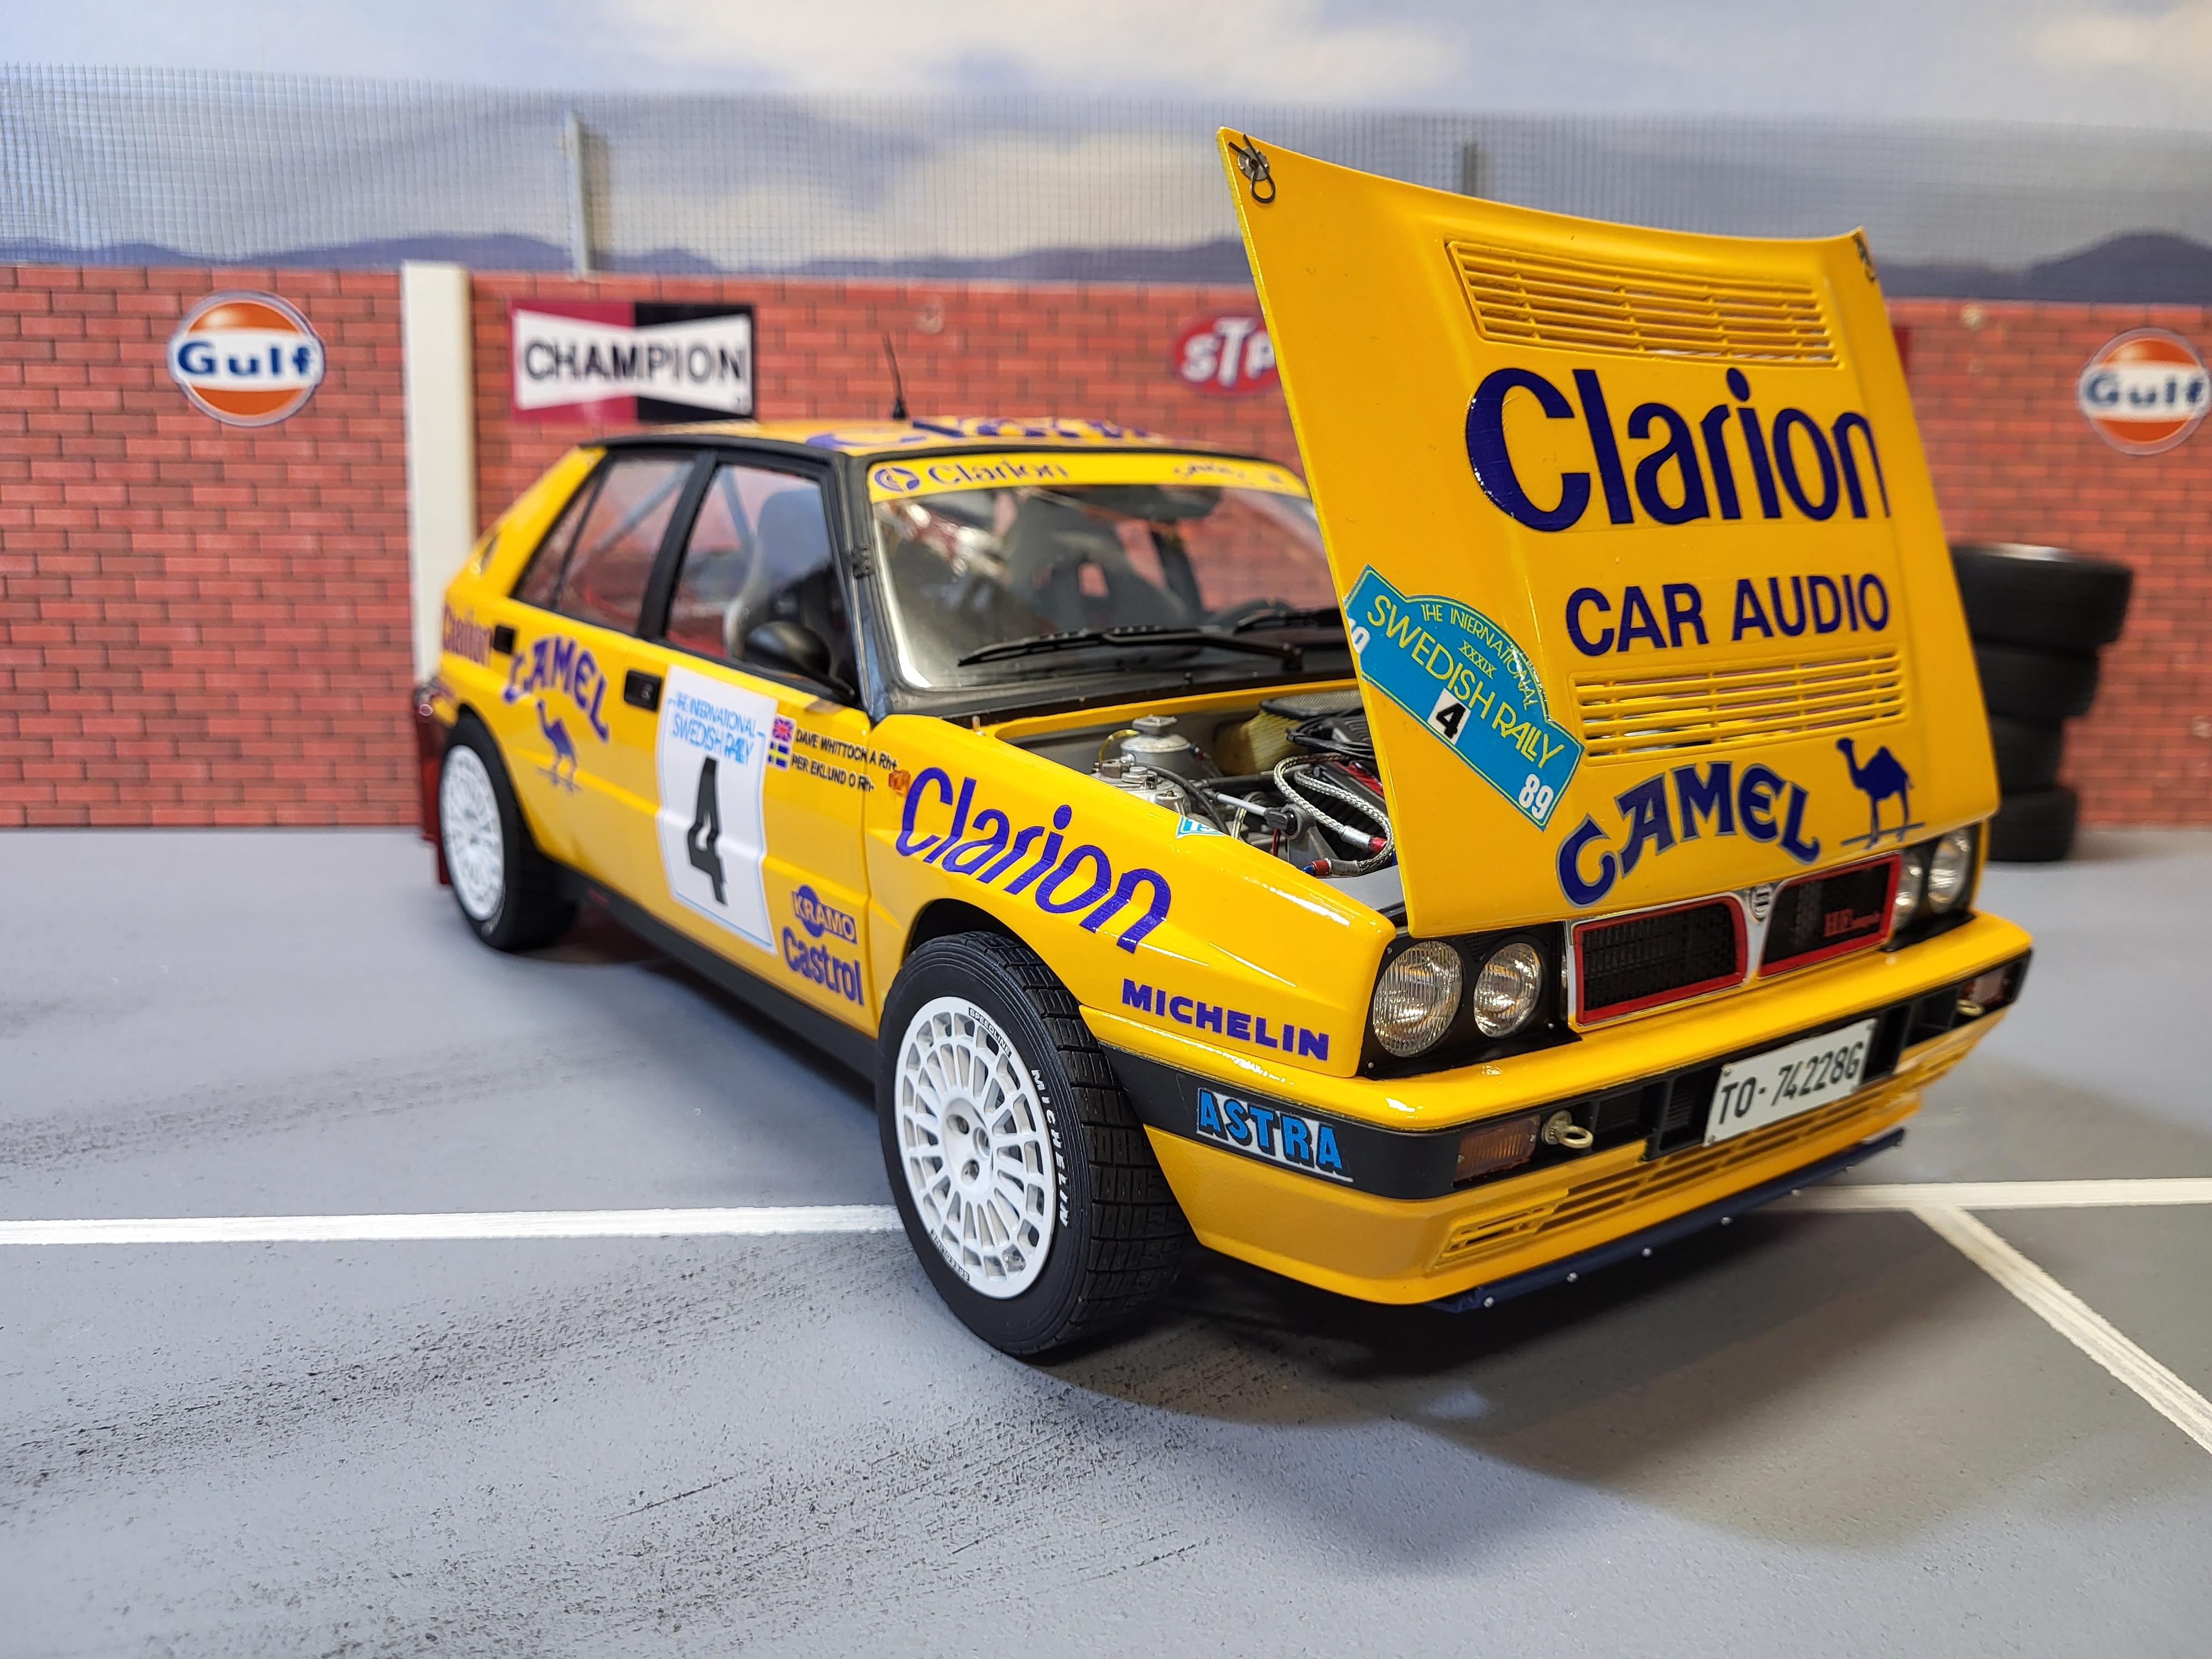
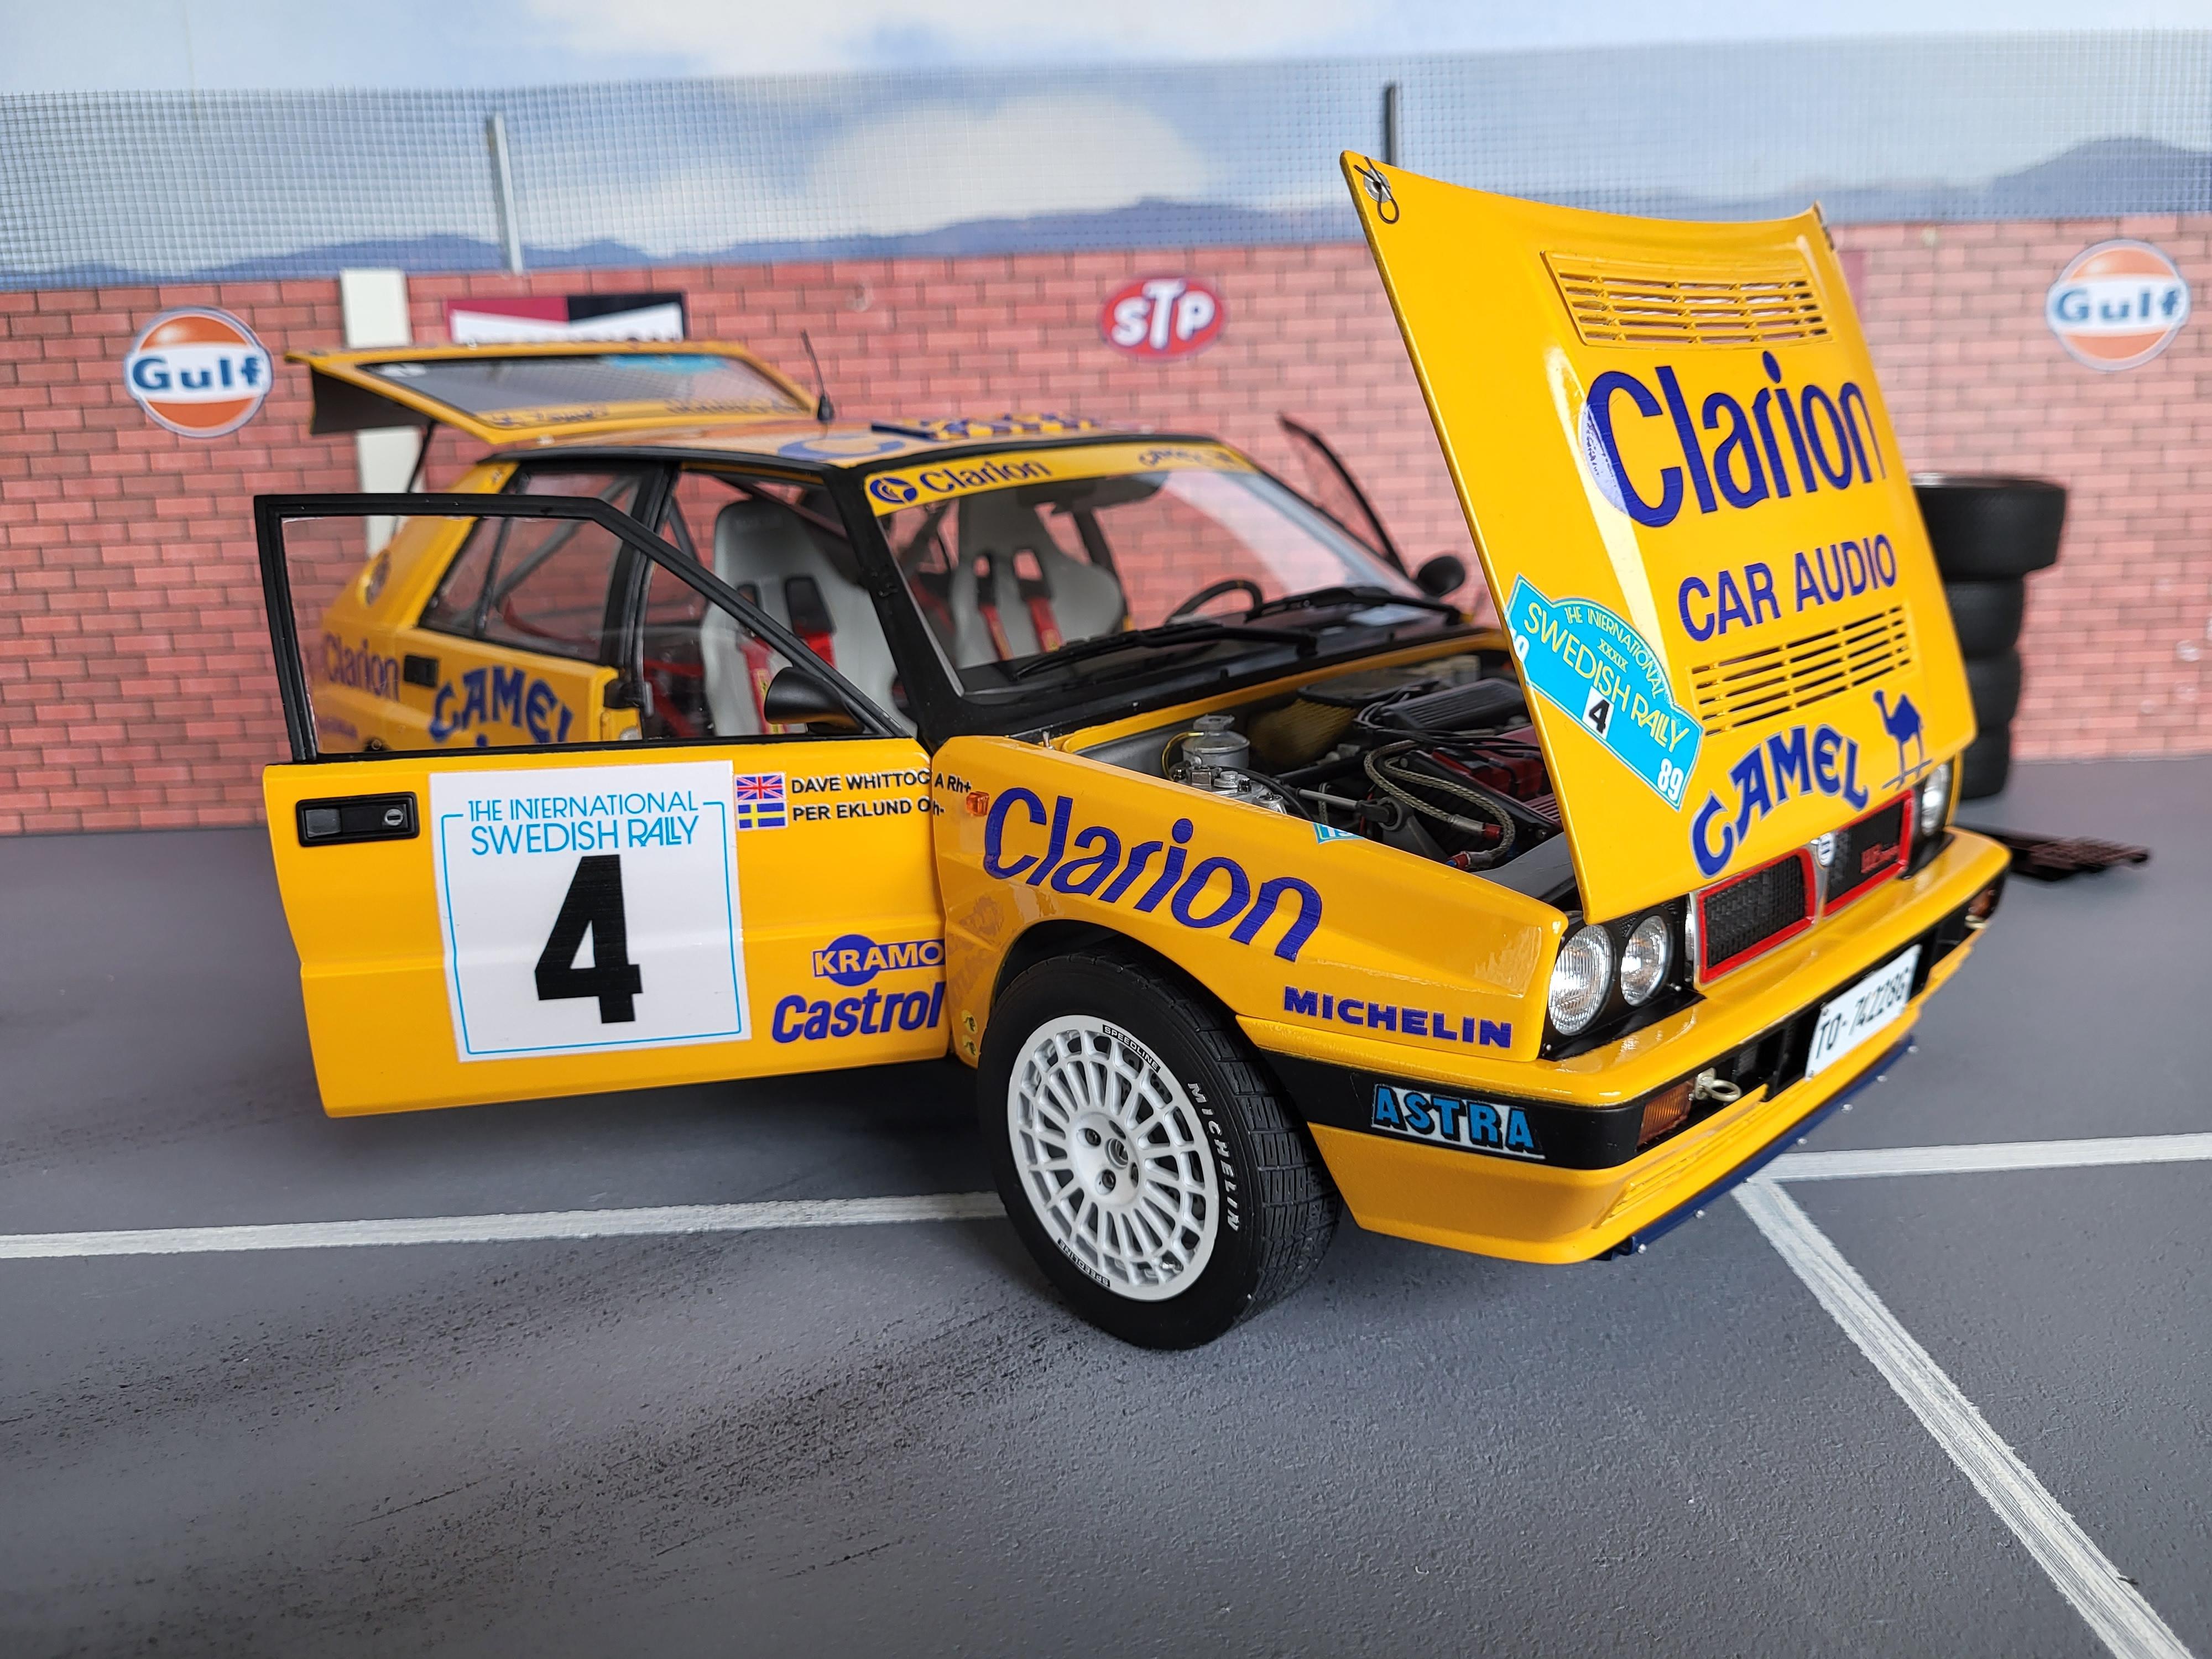
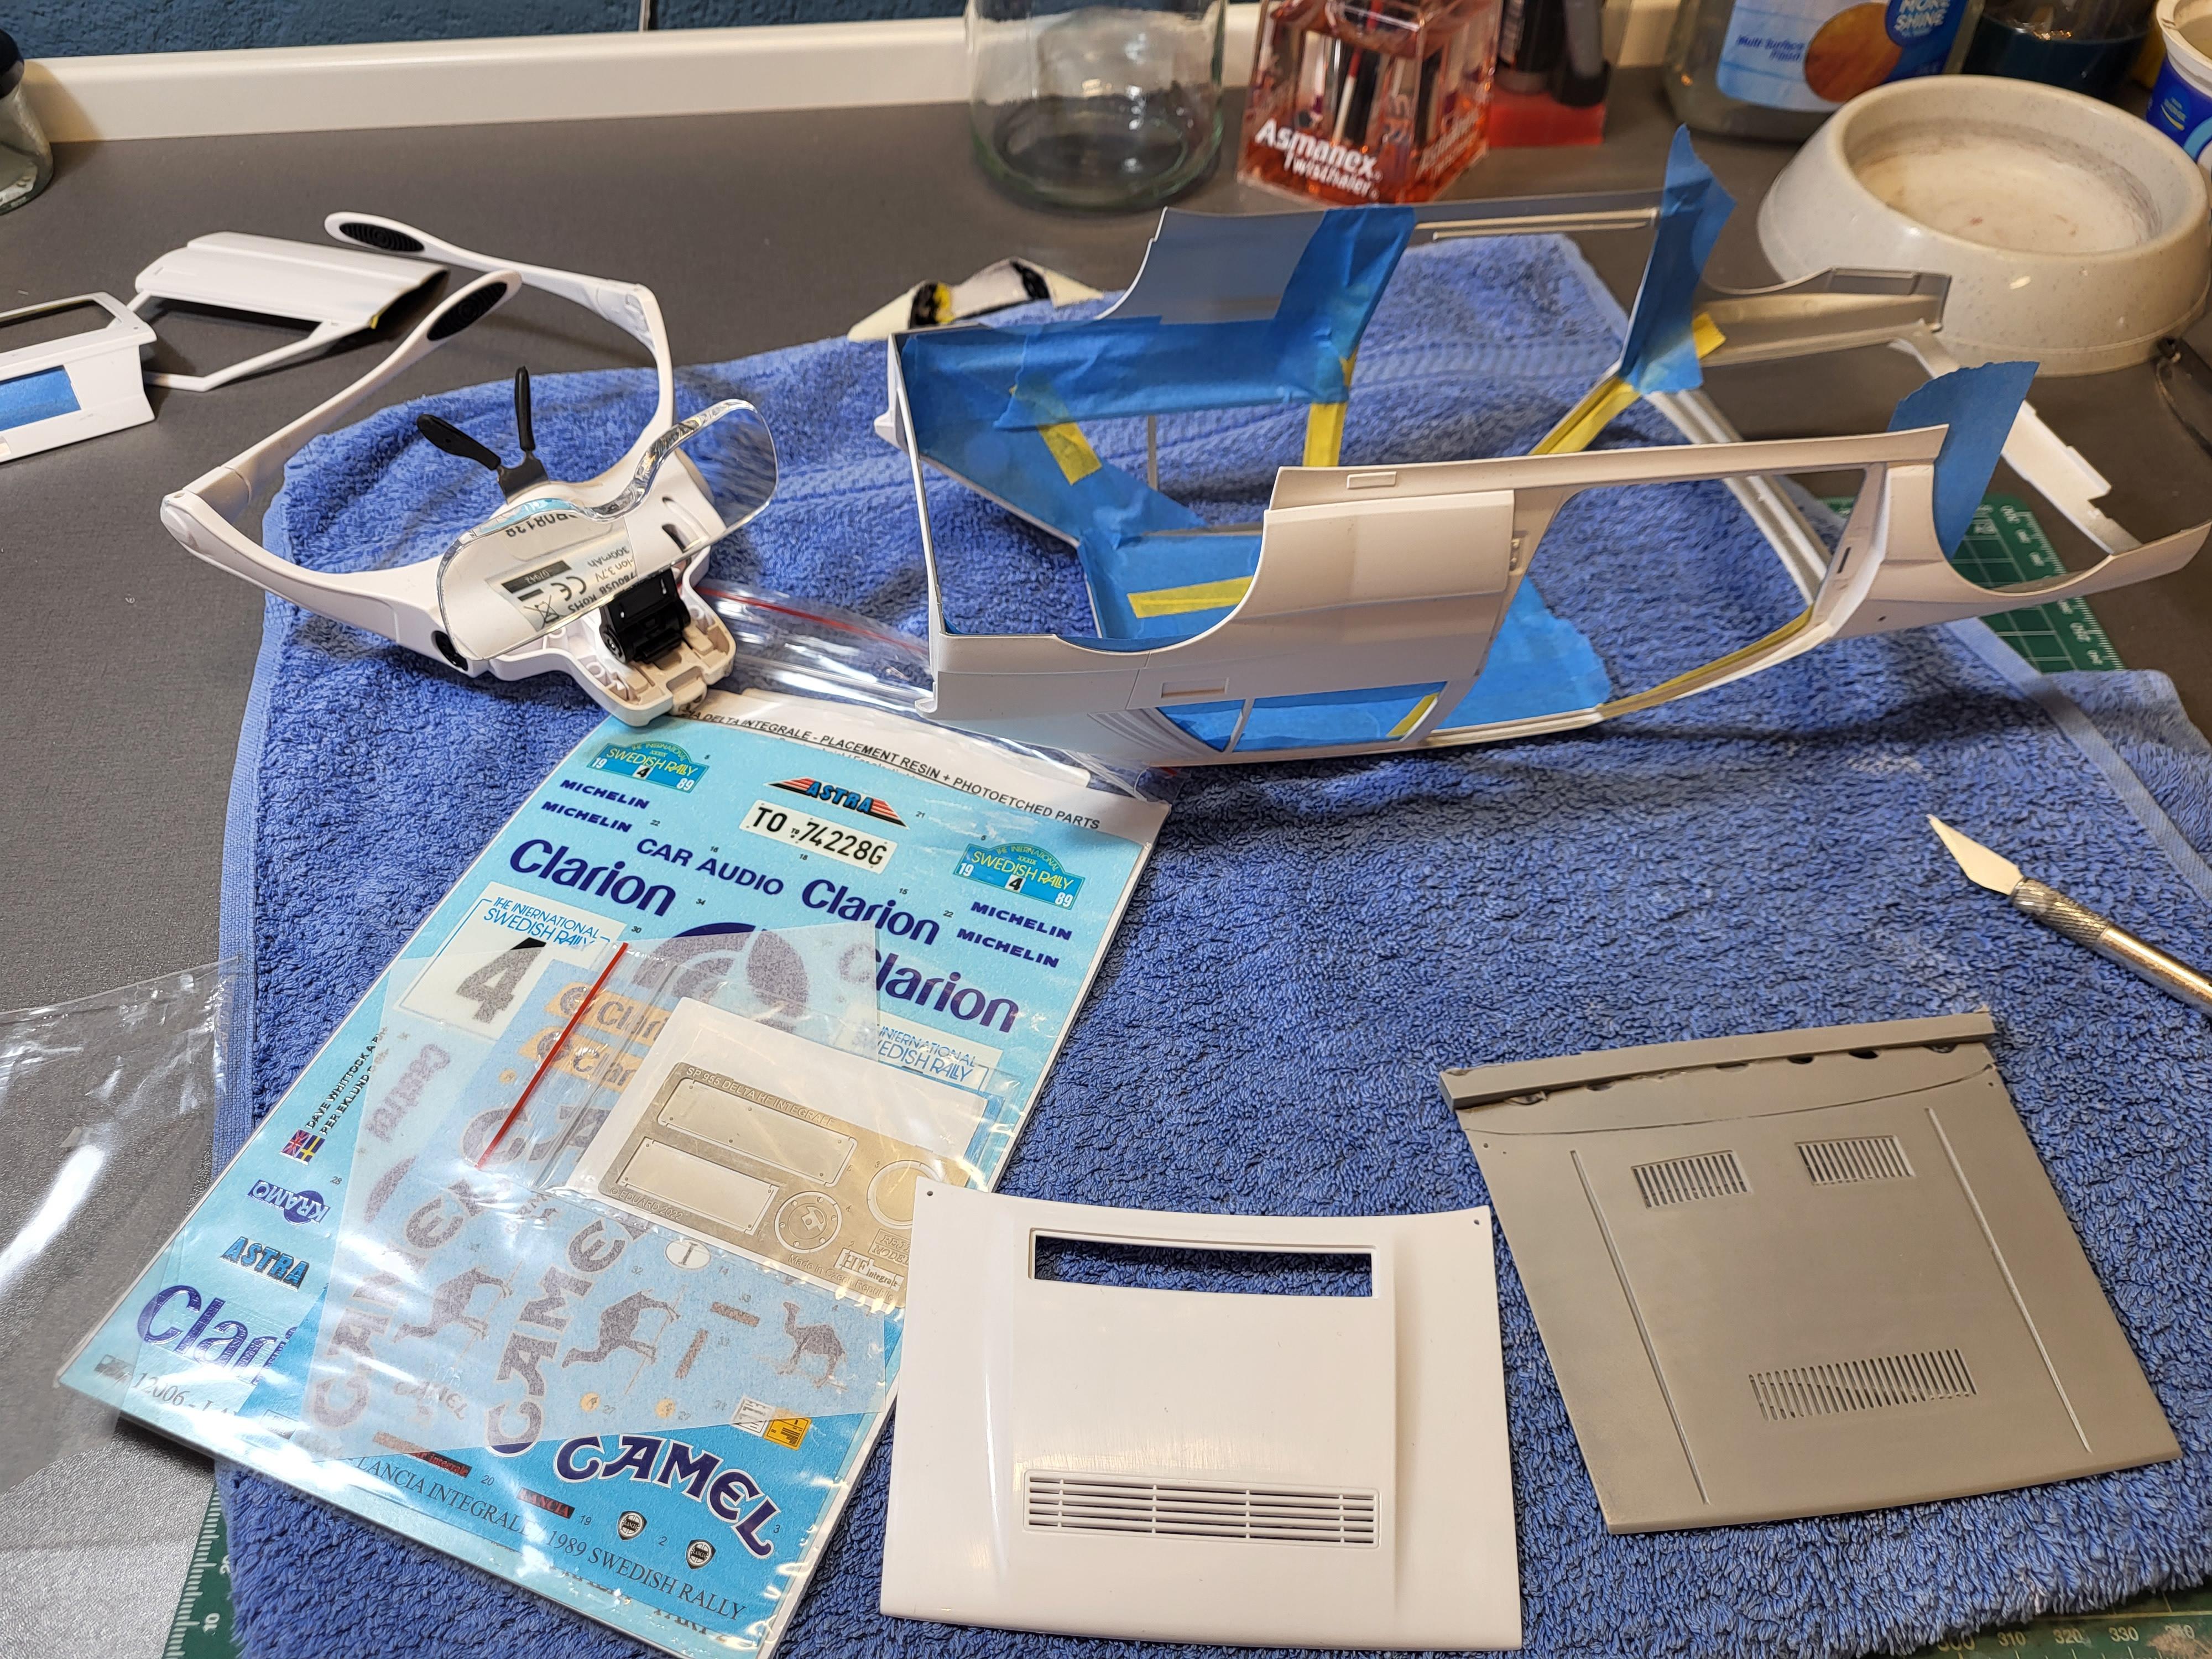
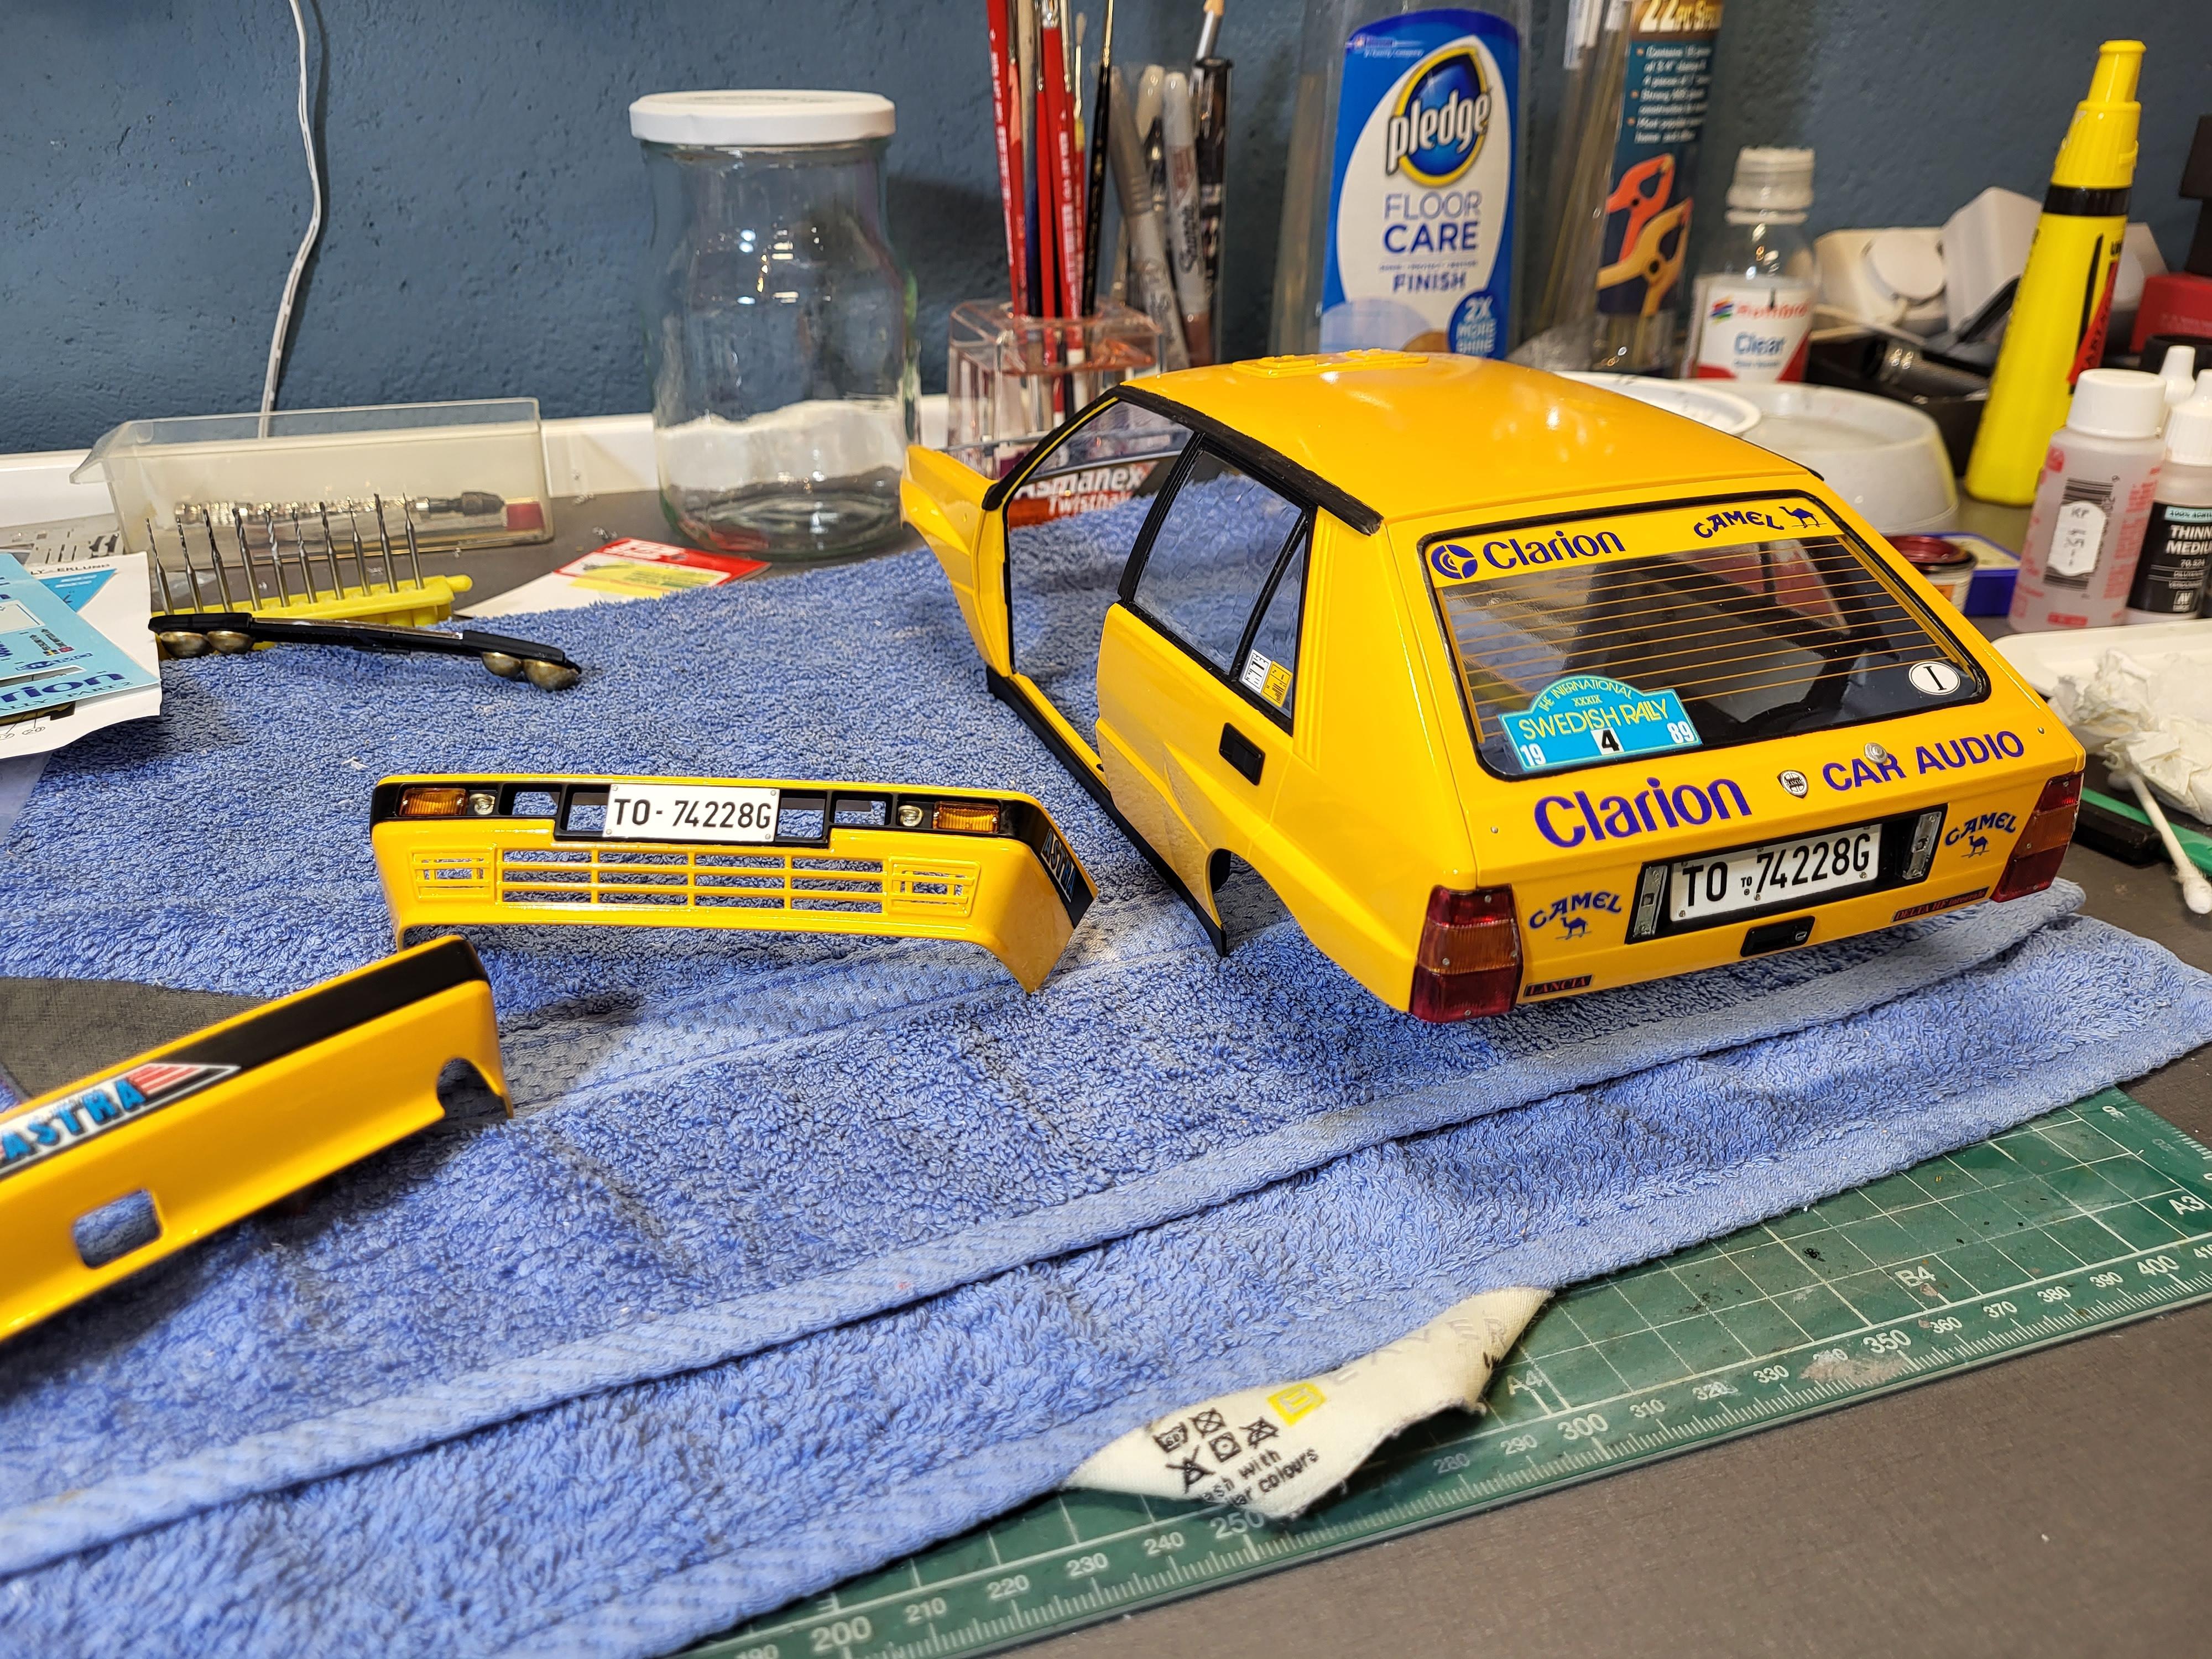
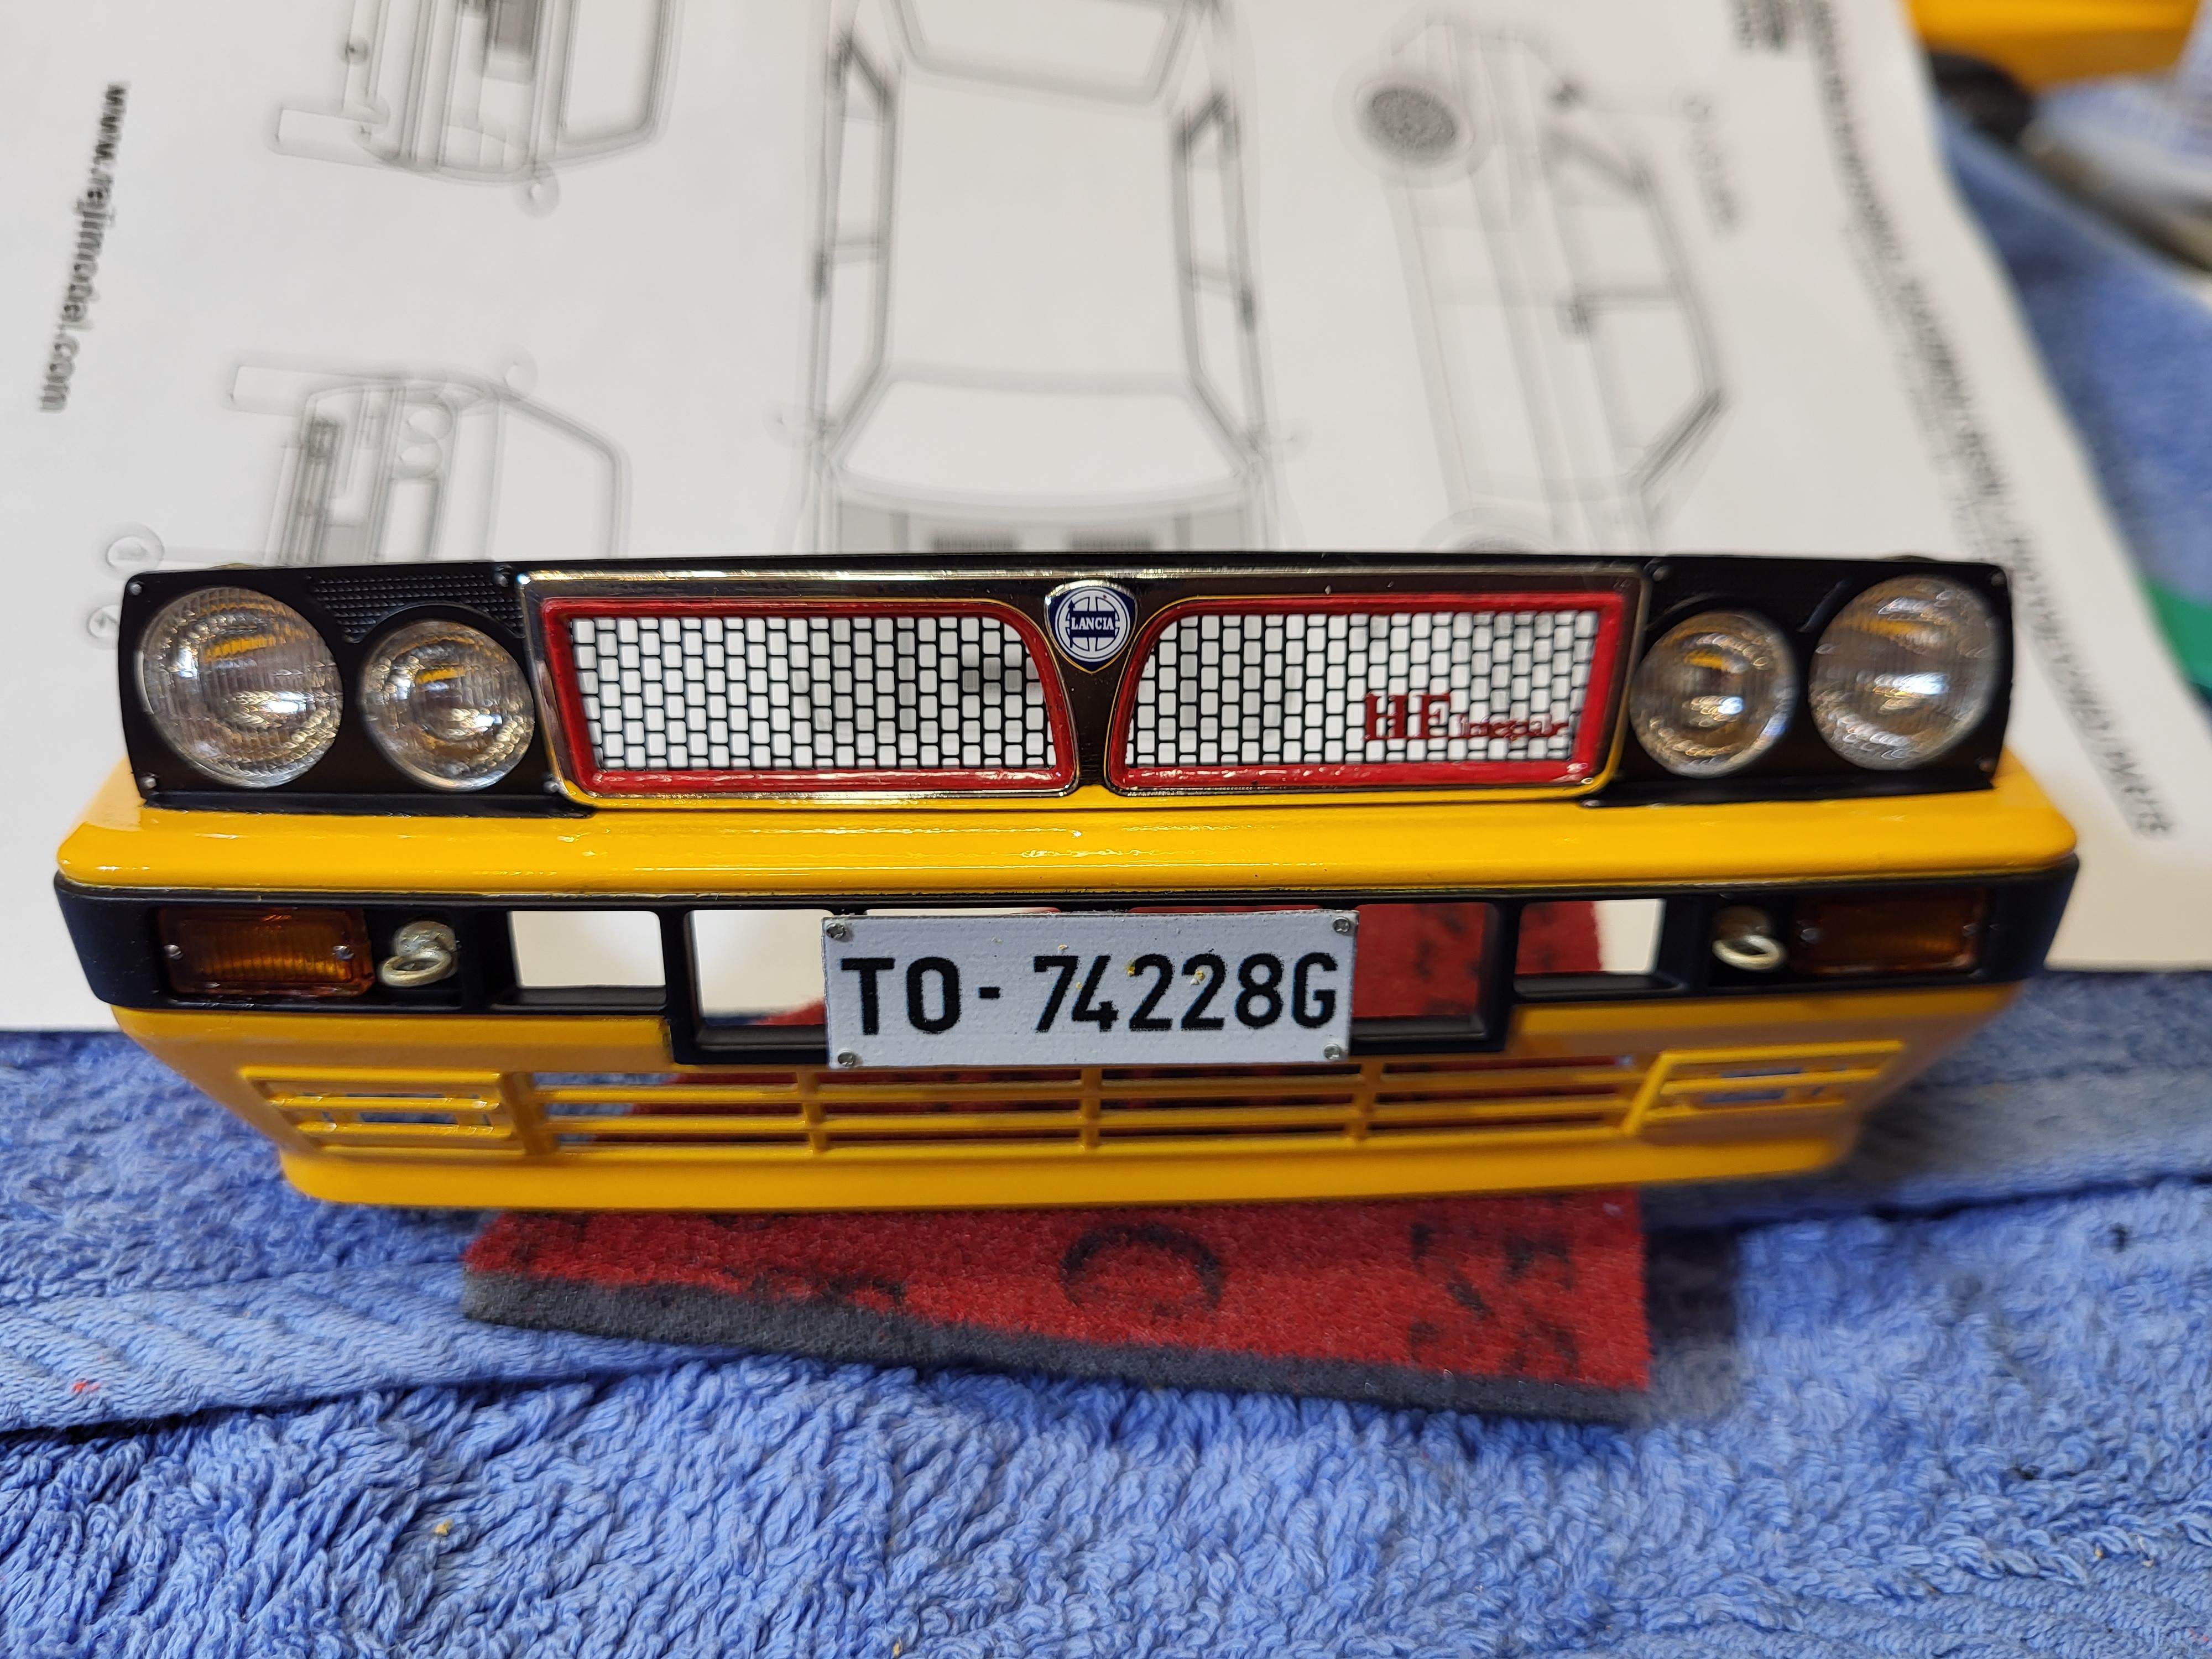
Thanks Marcus 🙂 I belive more yellow Deltas will come, also I think more liverys will come from the aftermarket to. My decalsheets was from 2 different makers, the Camels was very nice, but the Clarion had a 3D feeling, a litlle raised, and they was difficult to lay down smooth to the surface. maybe all of the decalsets are like this..
-
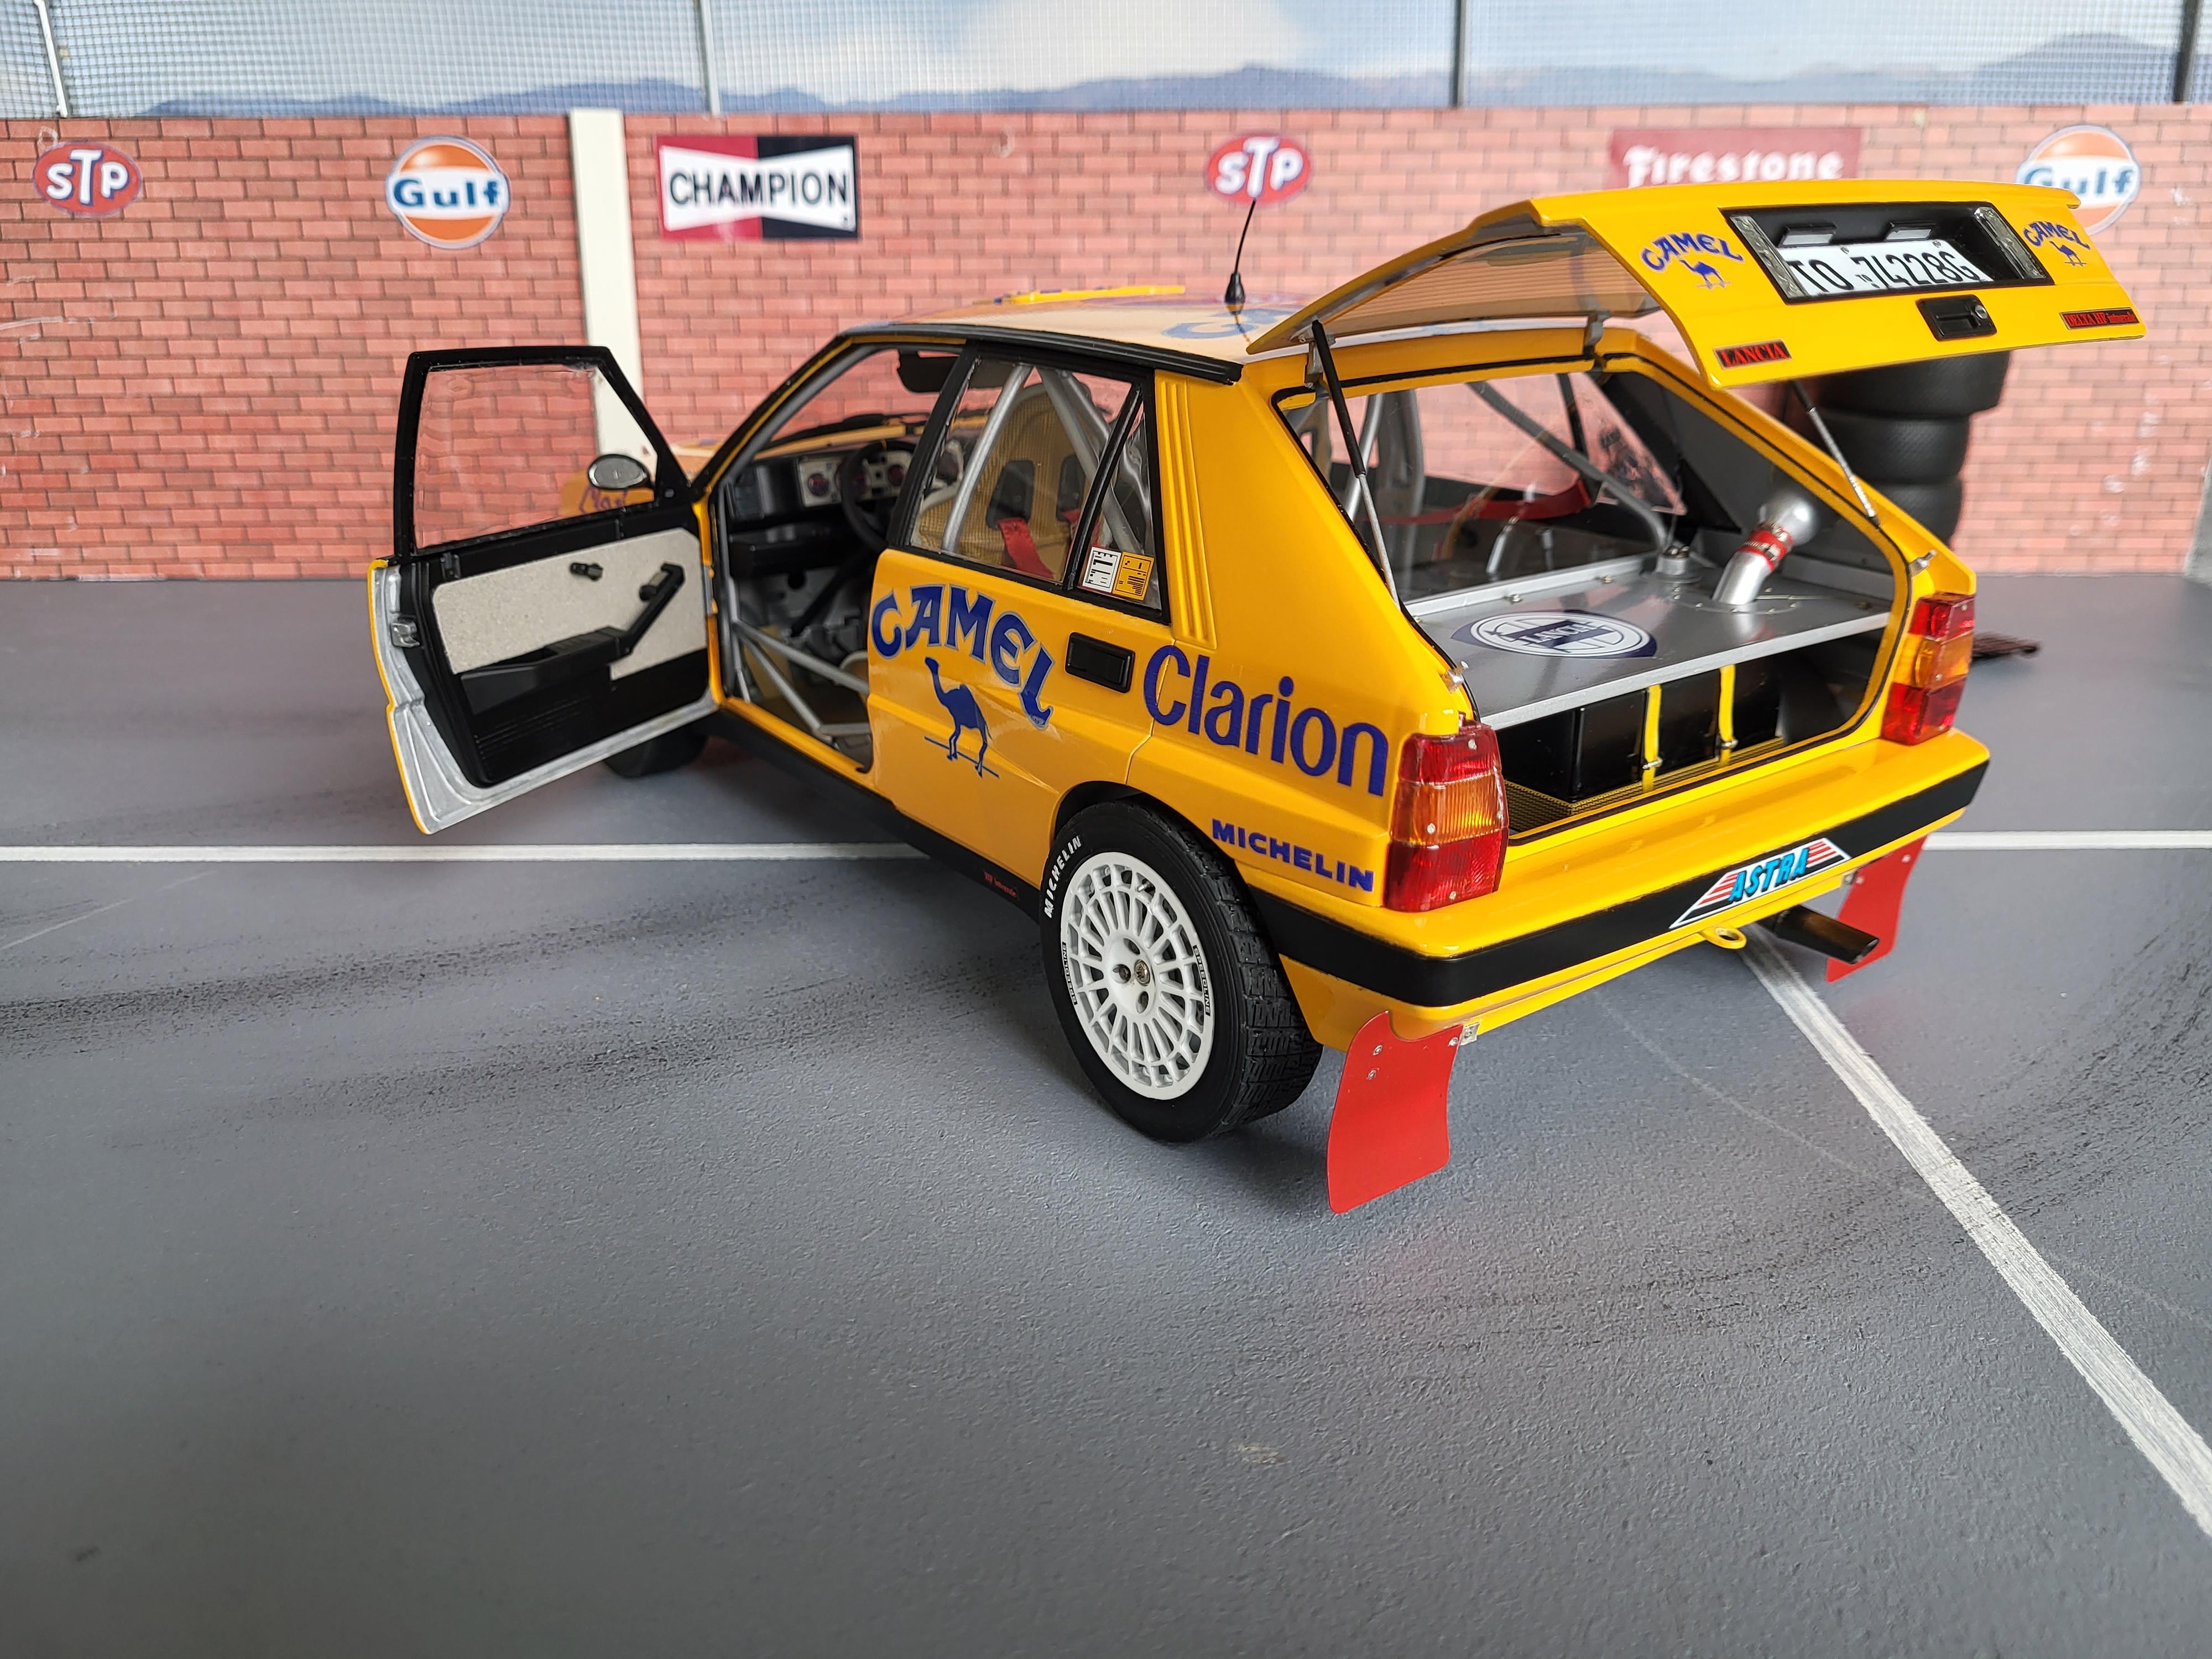
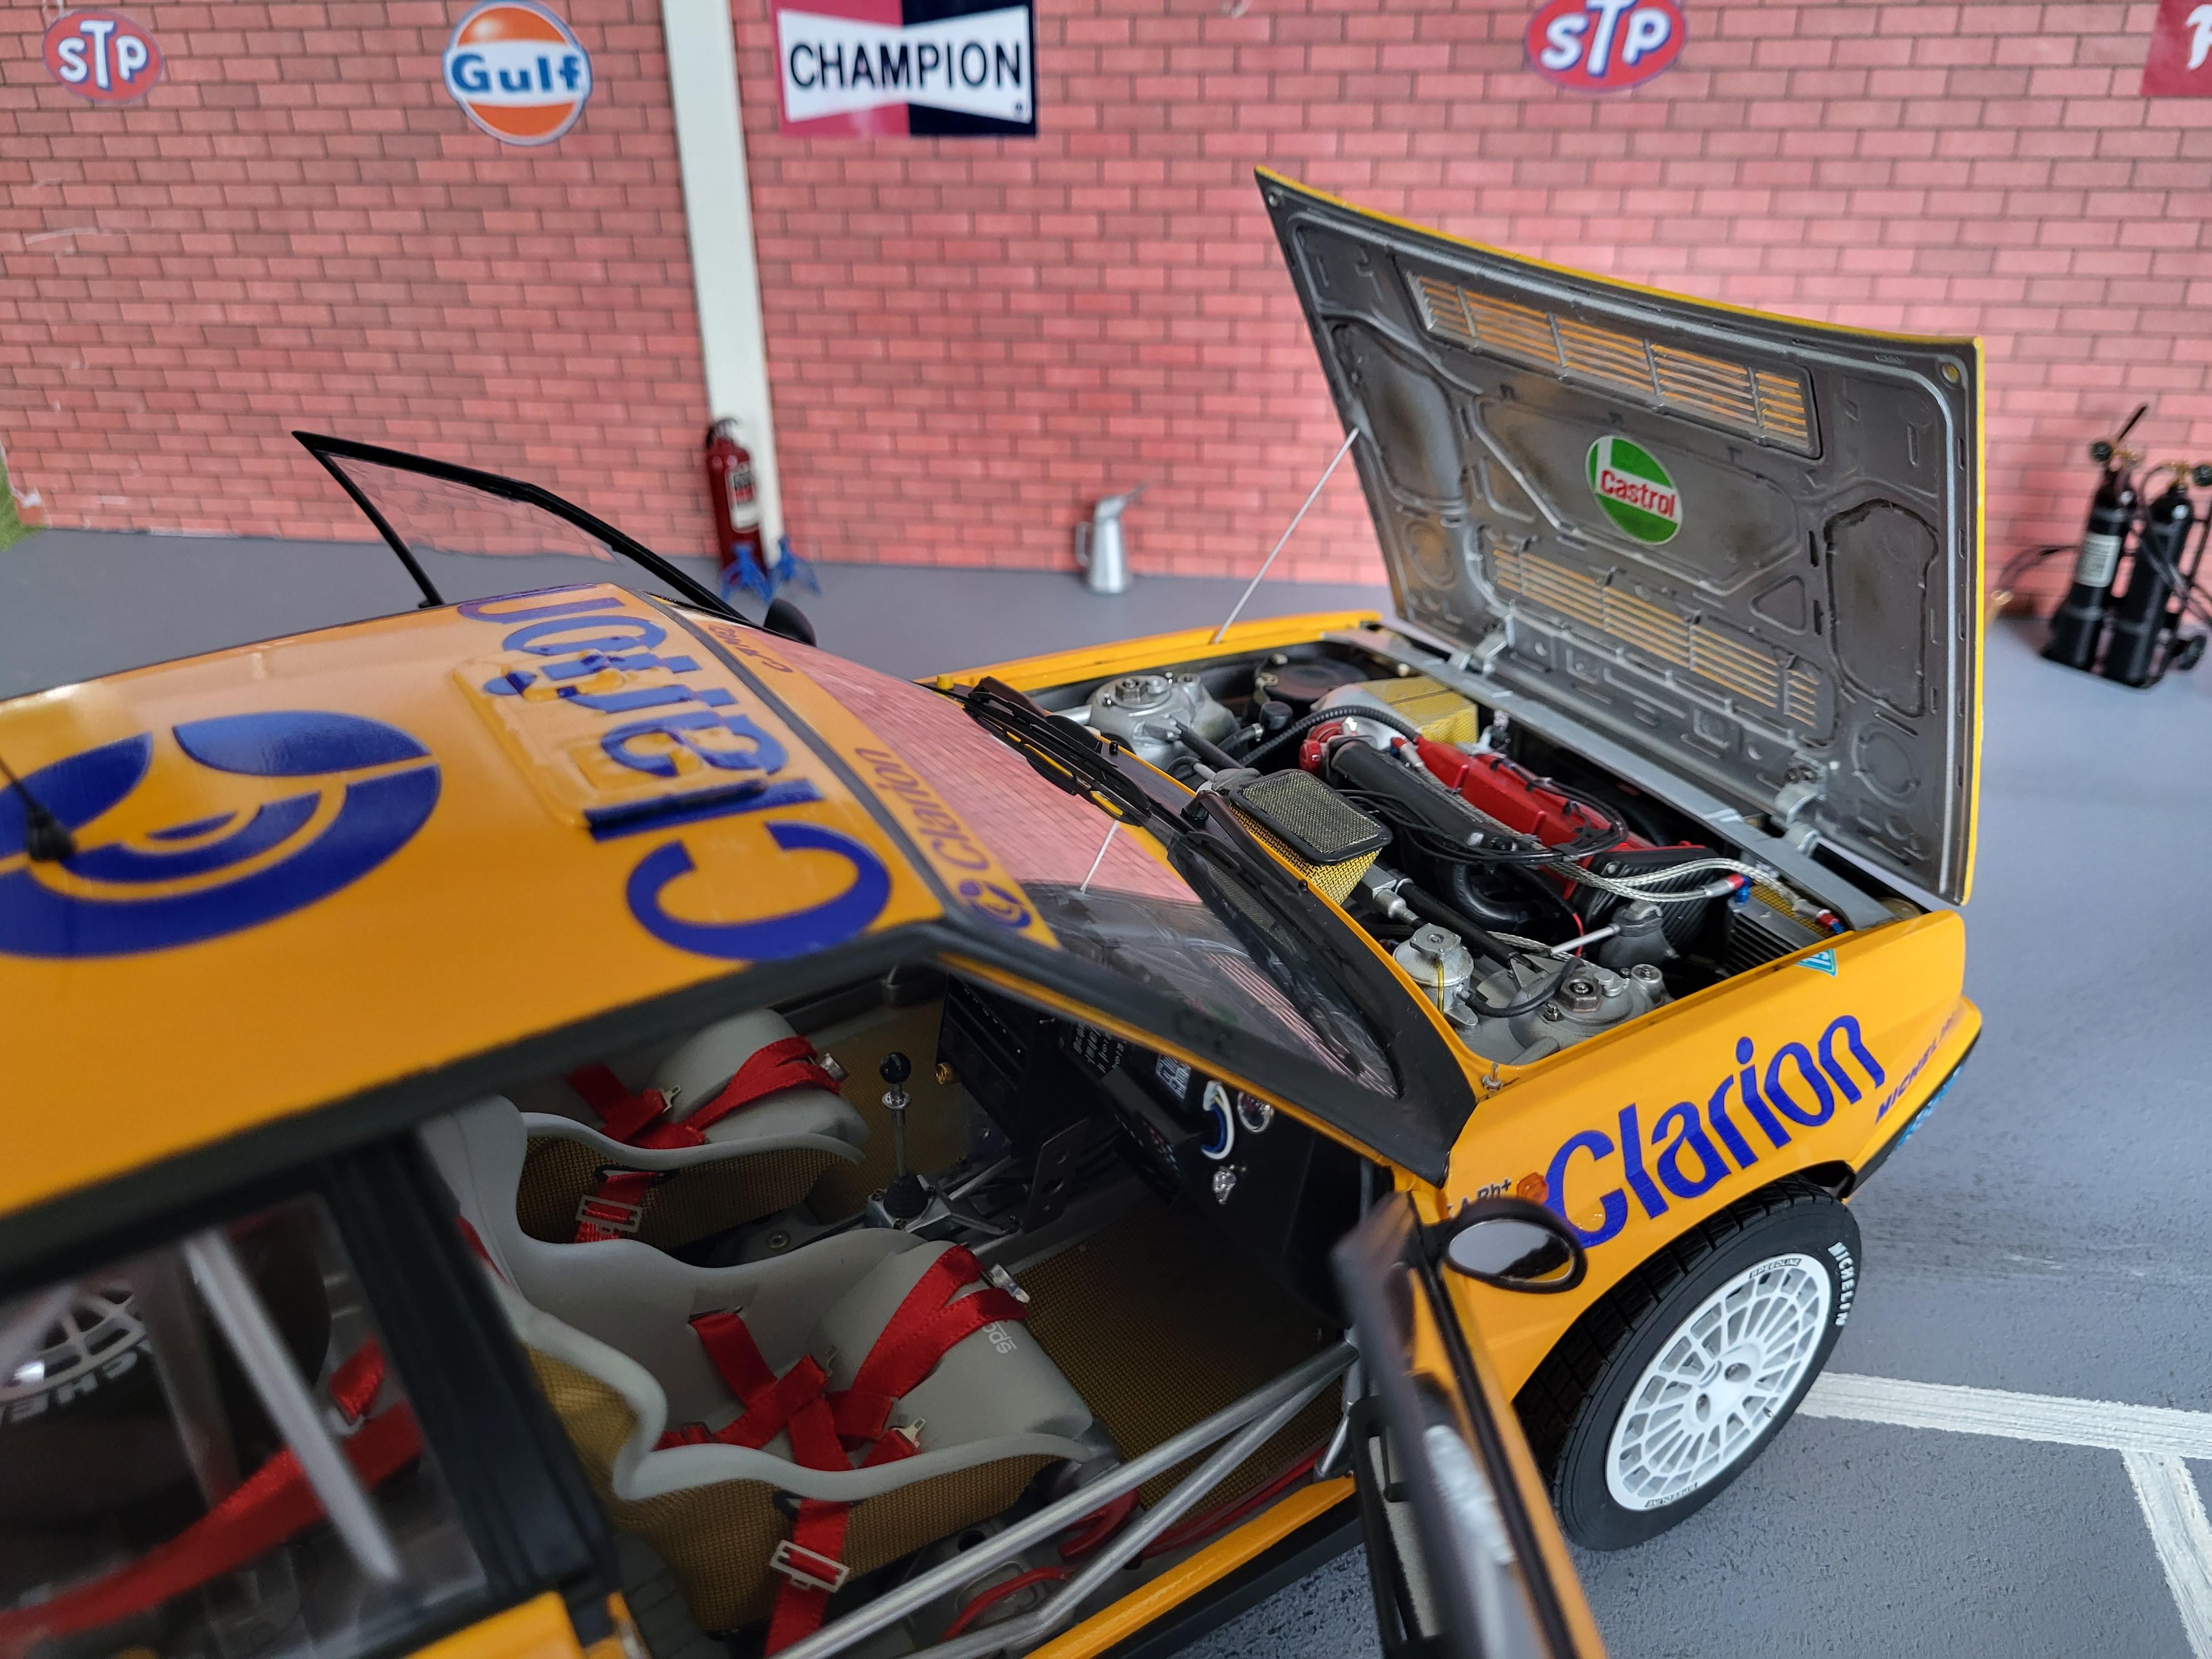
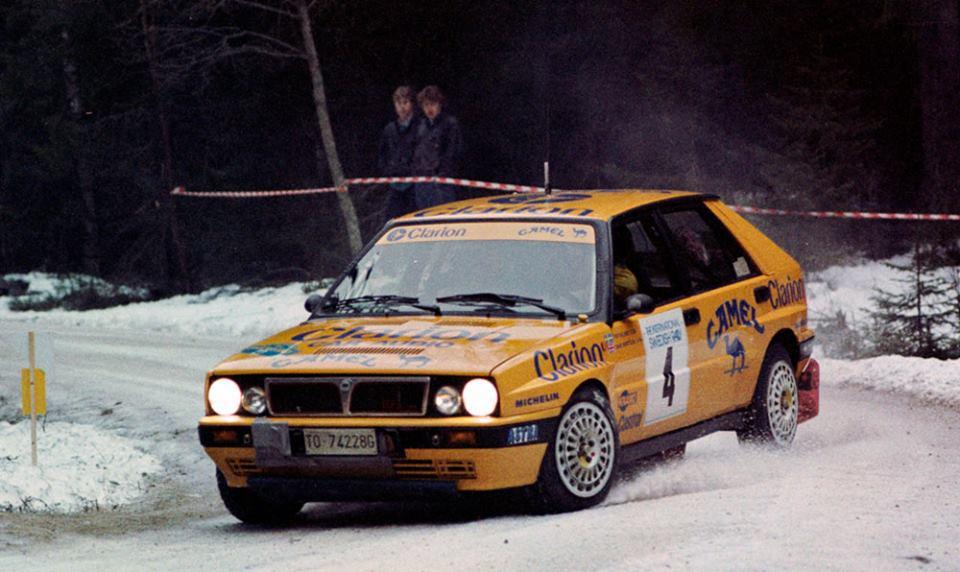
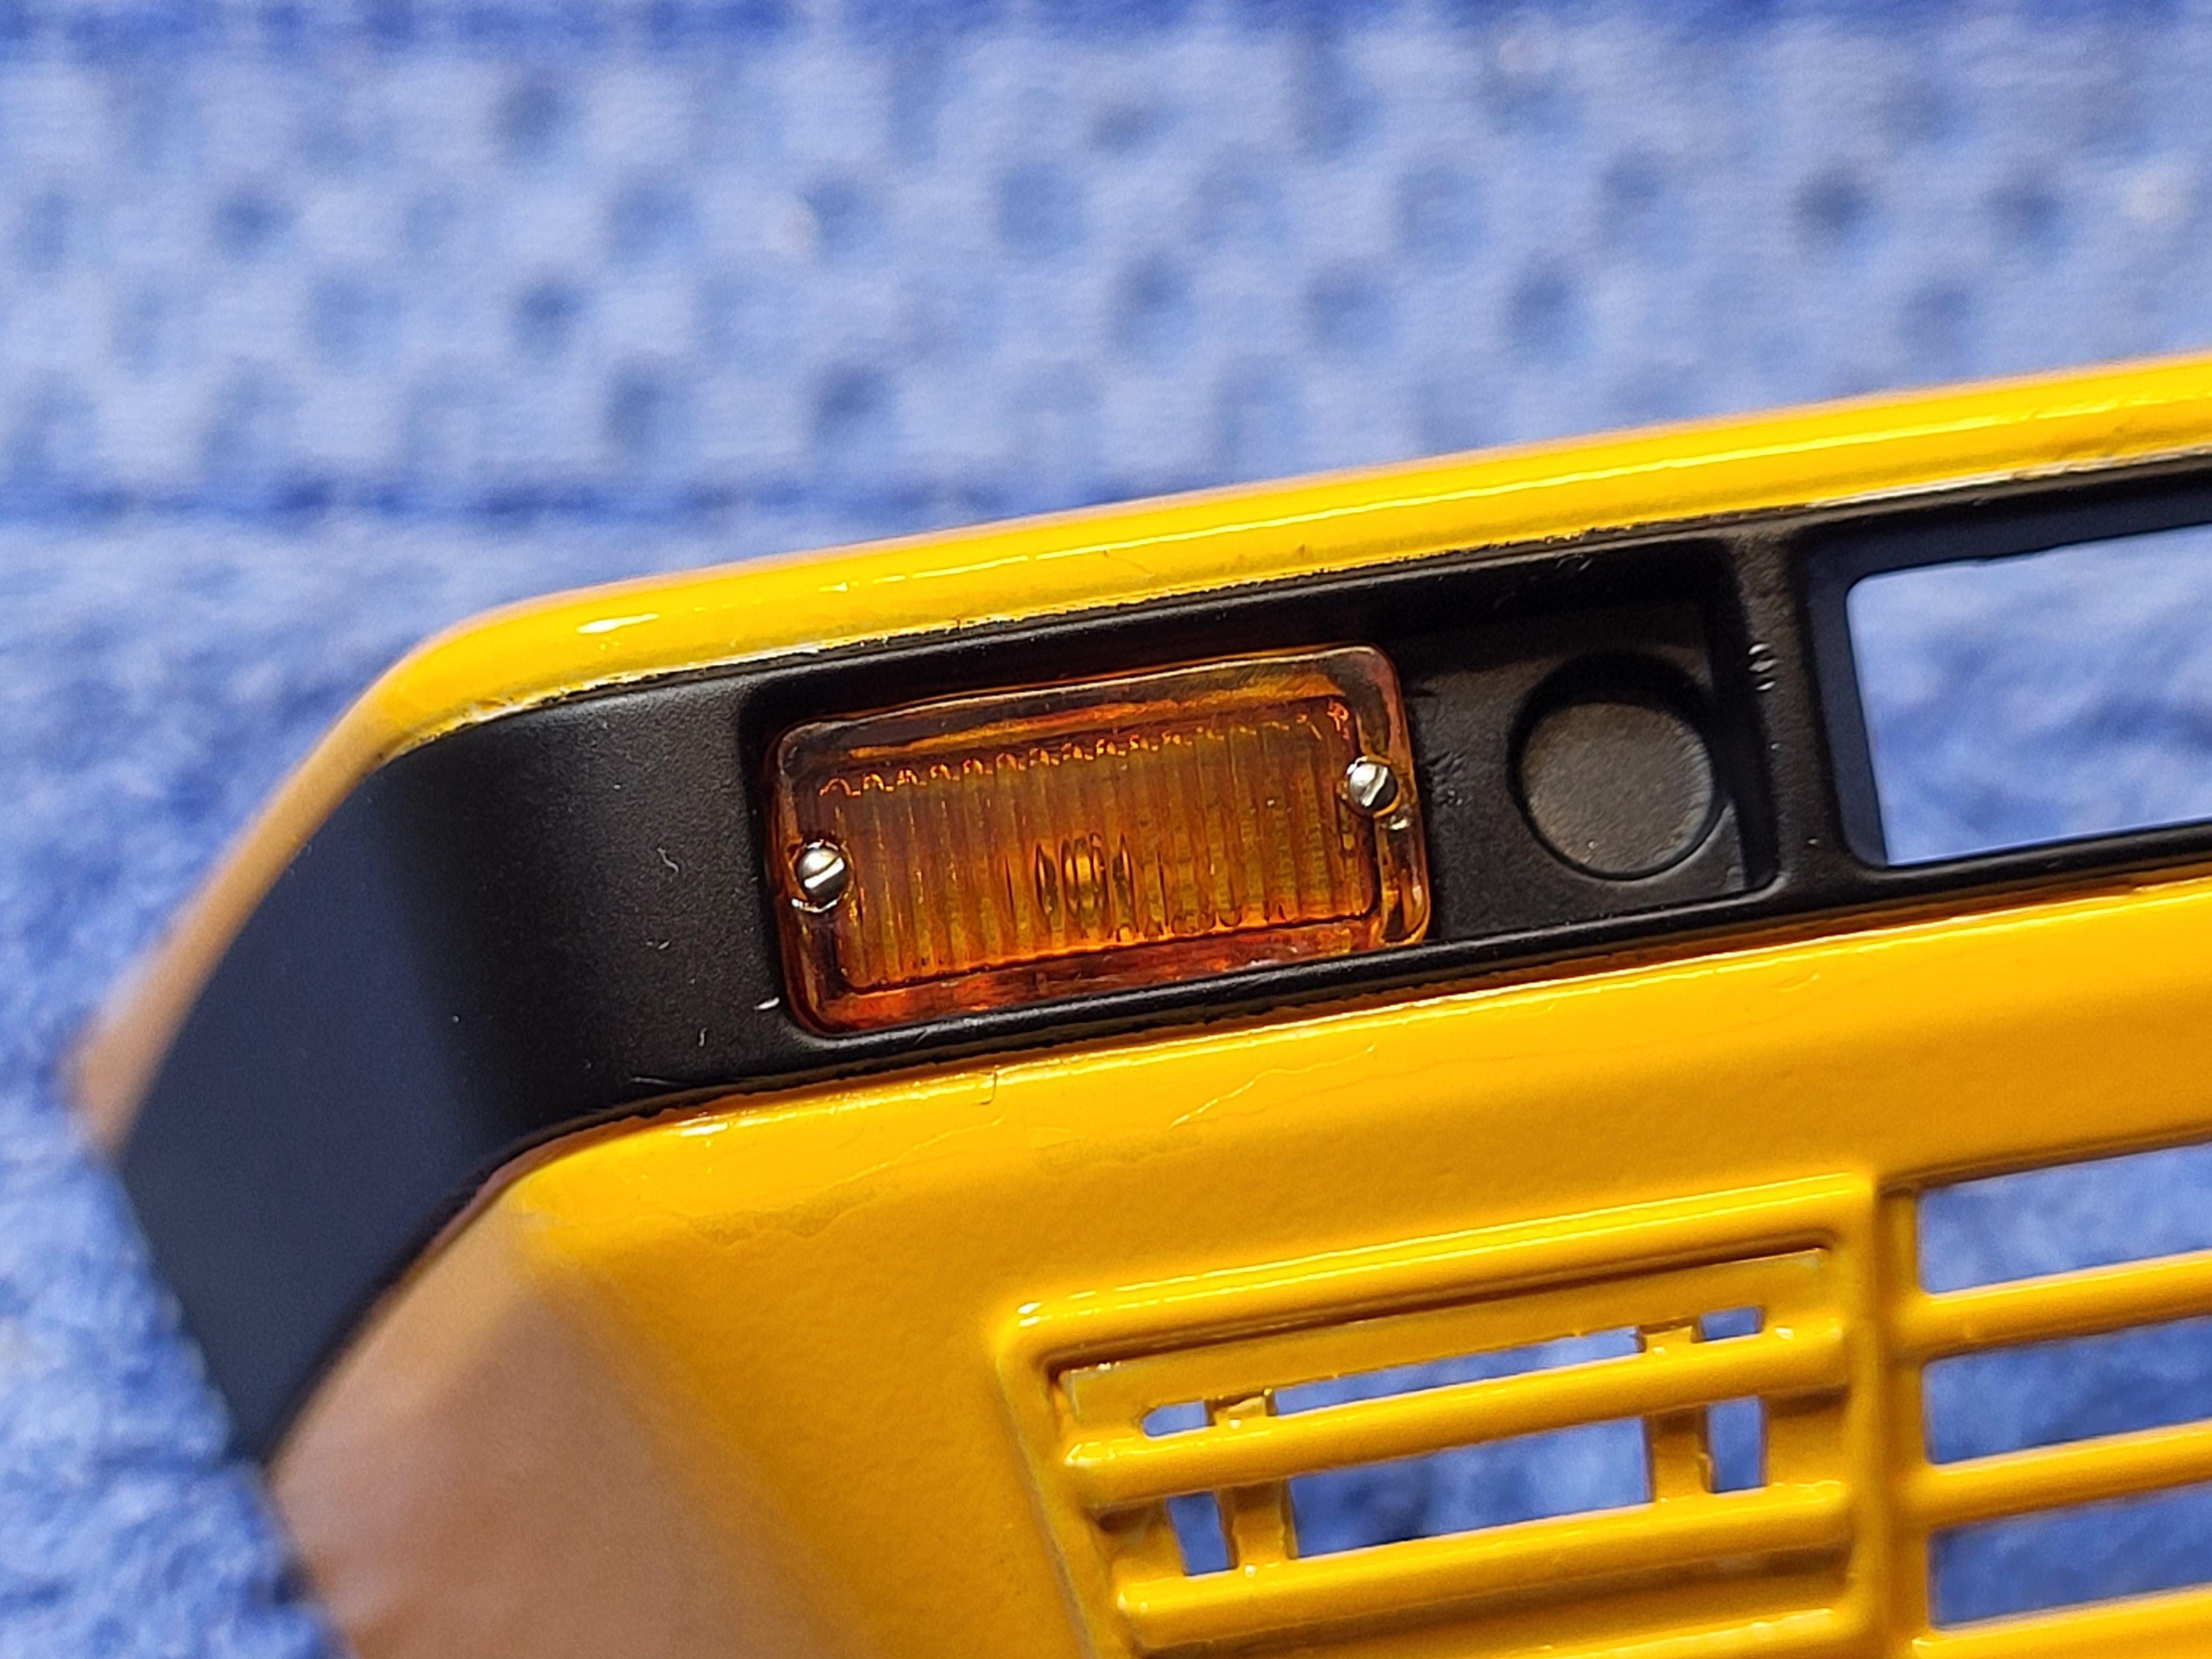
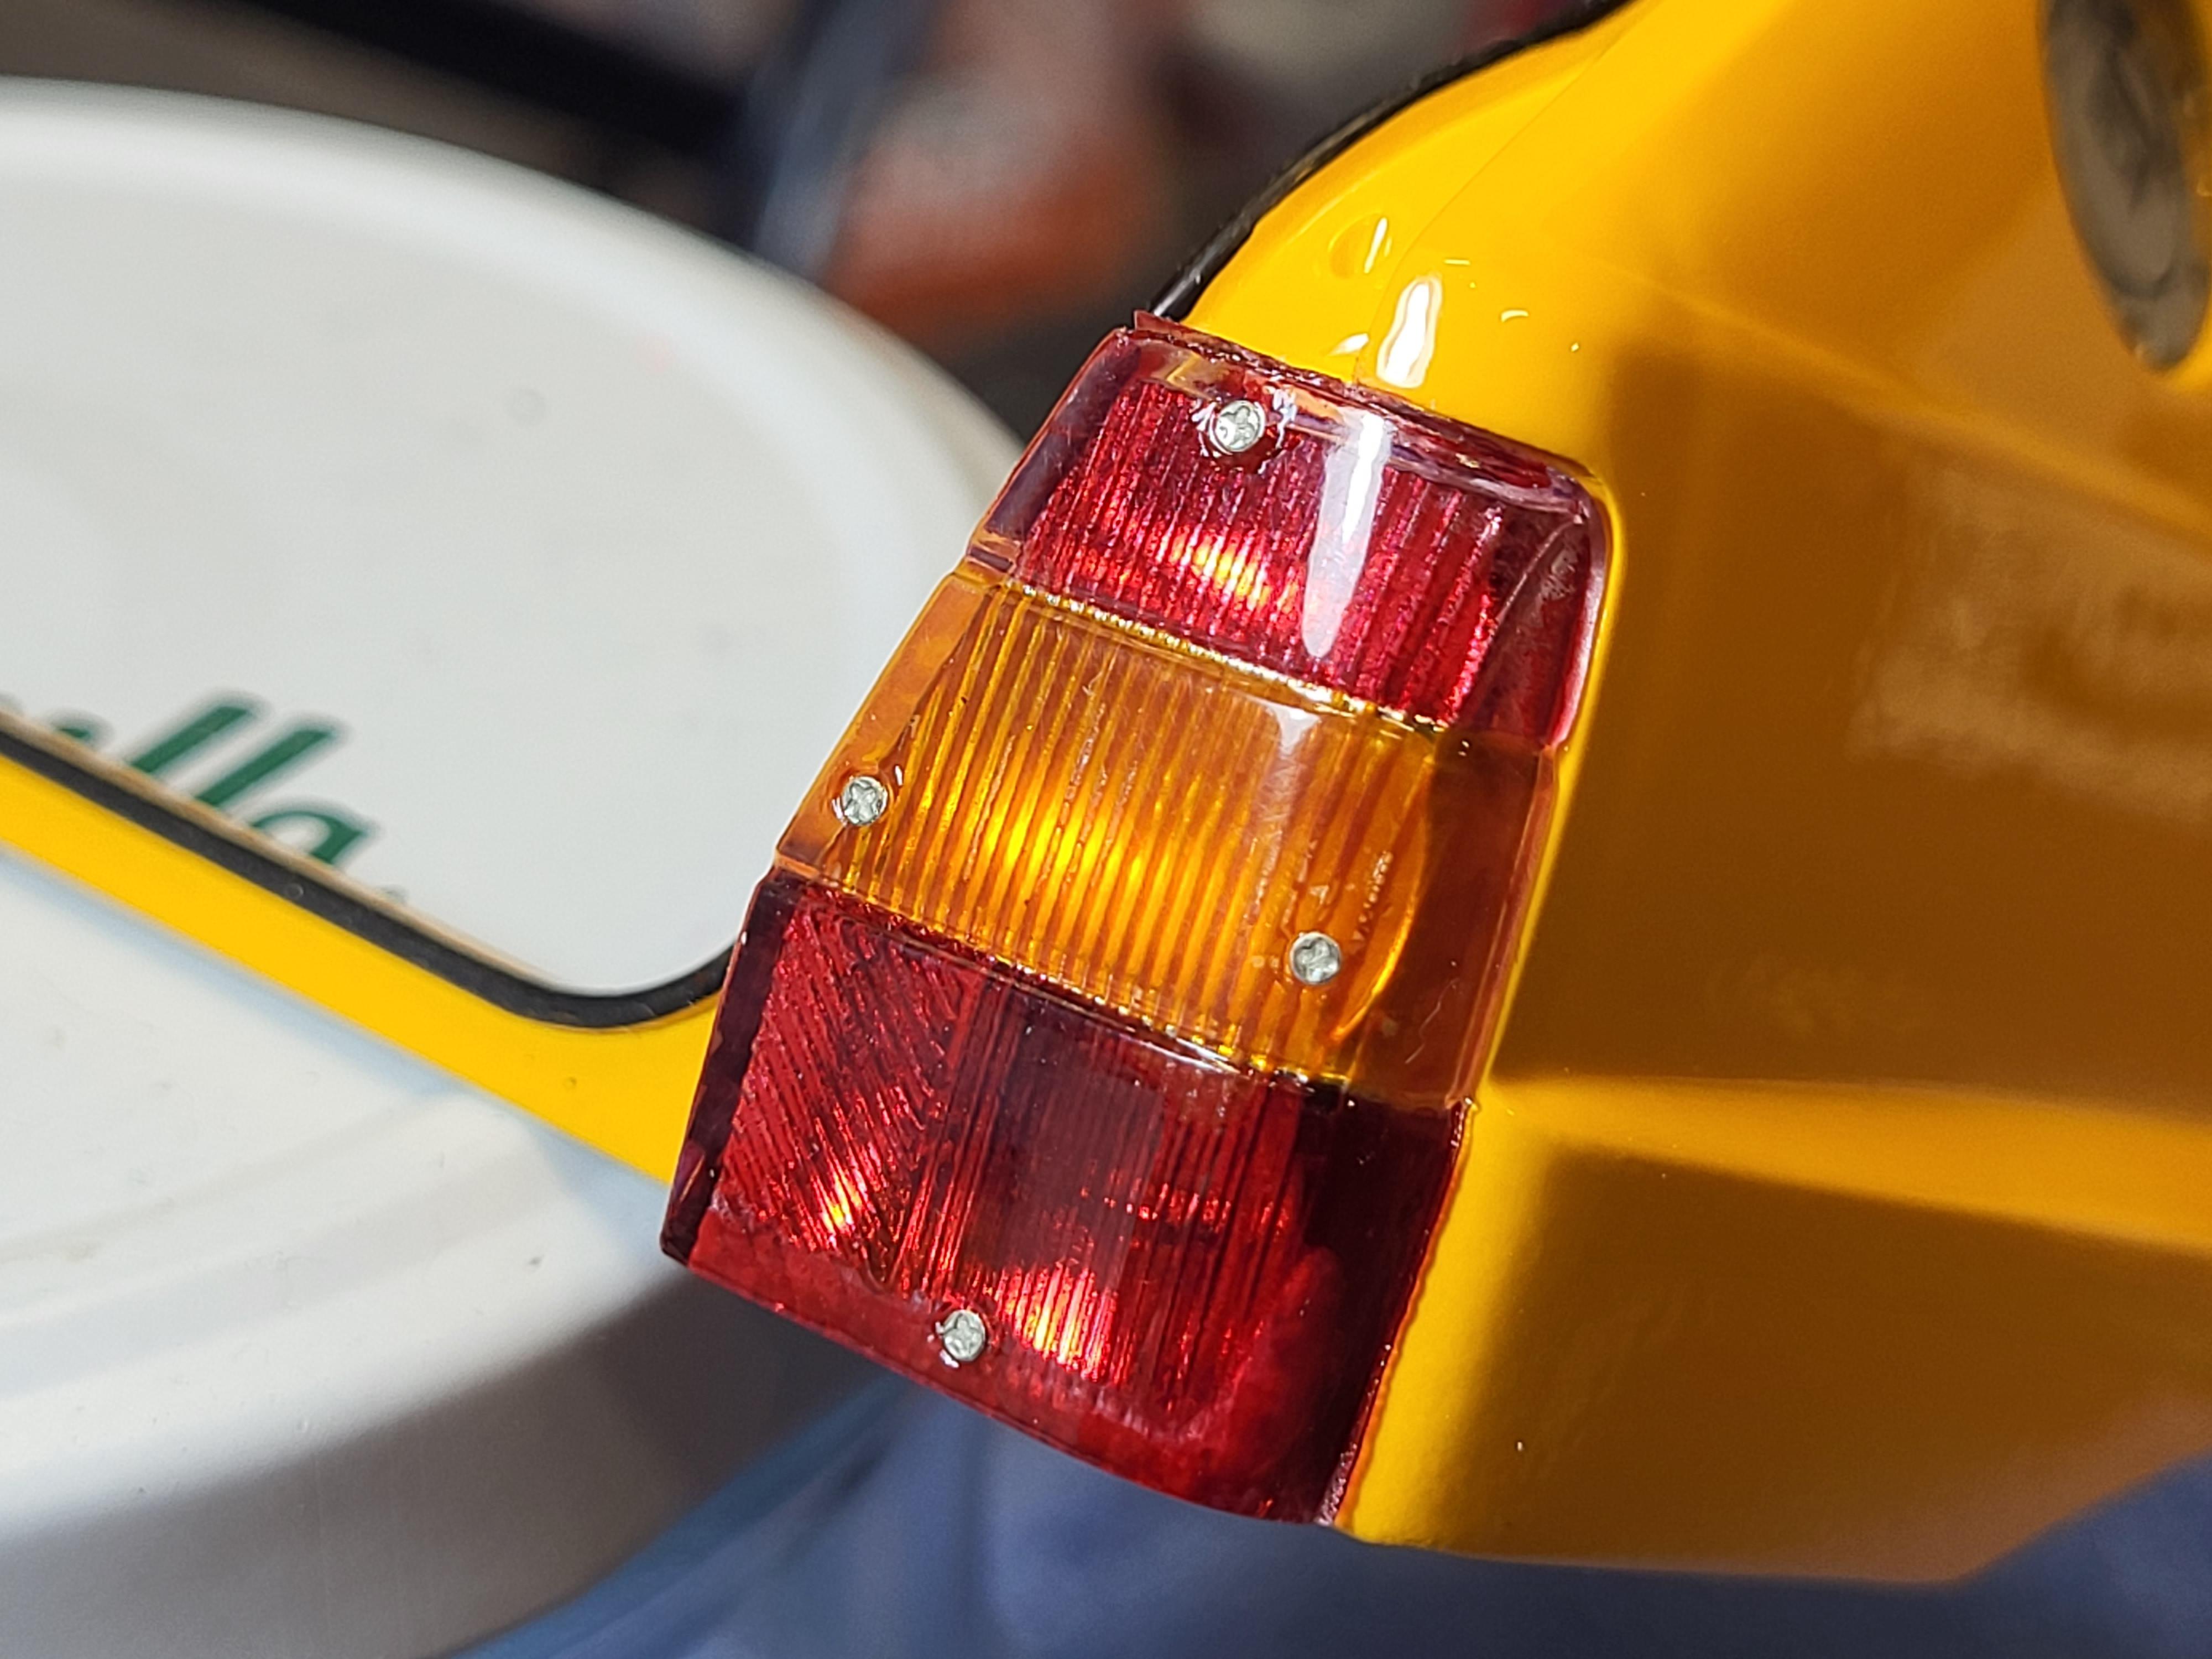
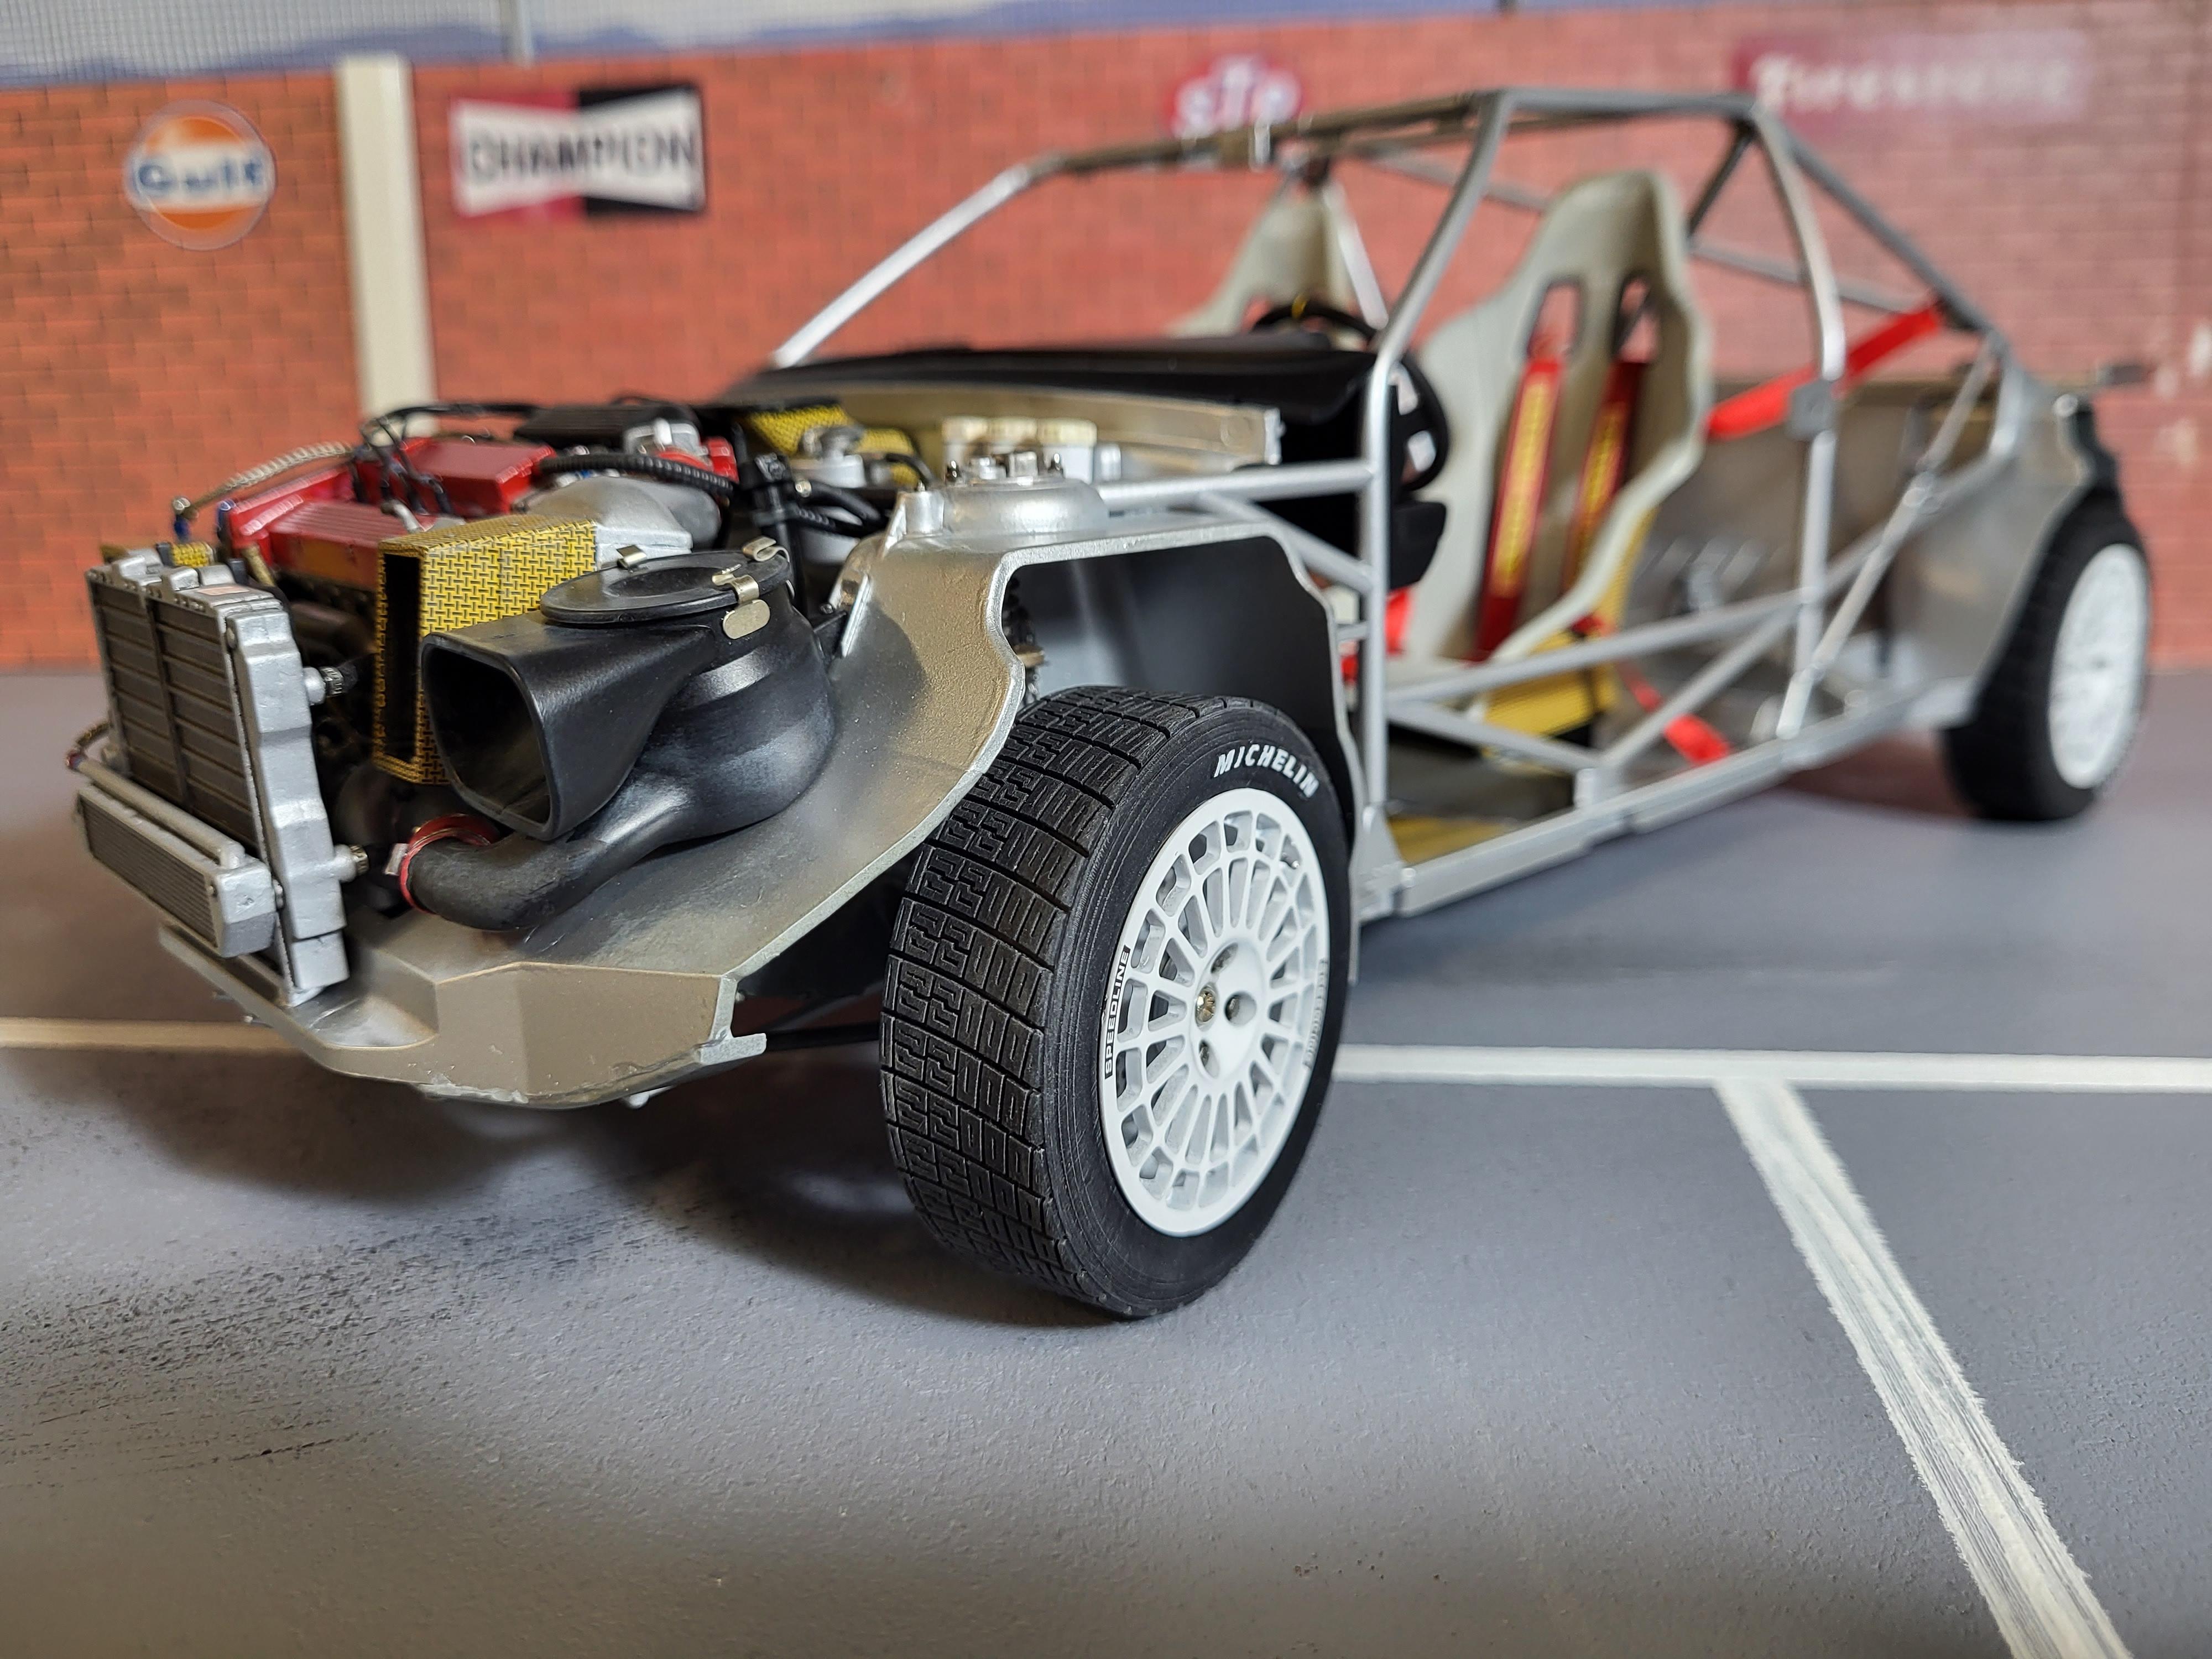
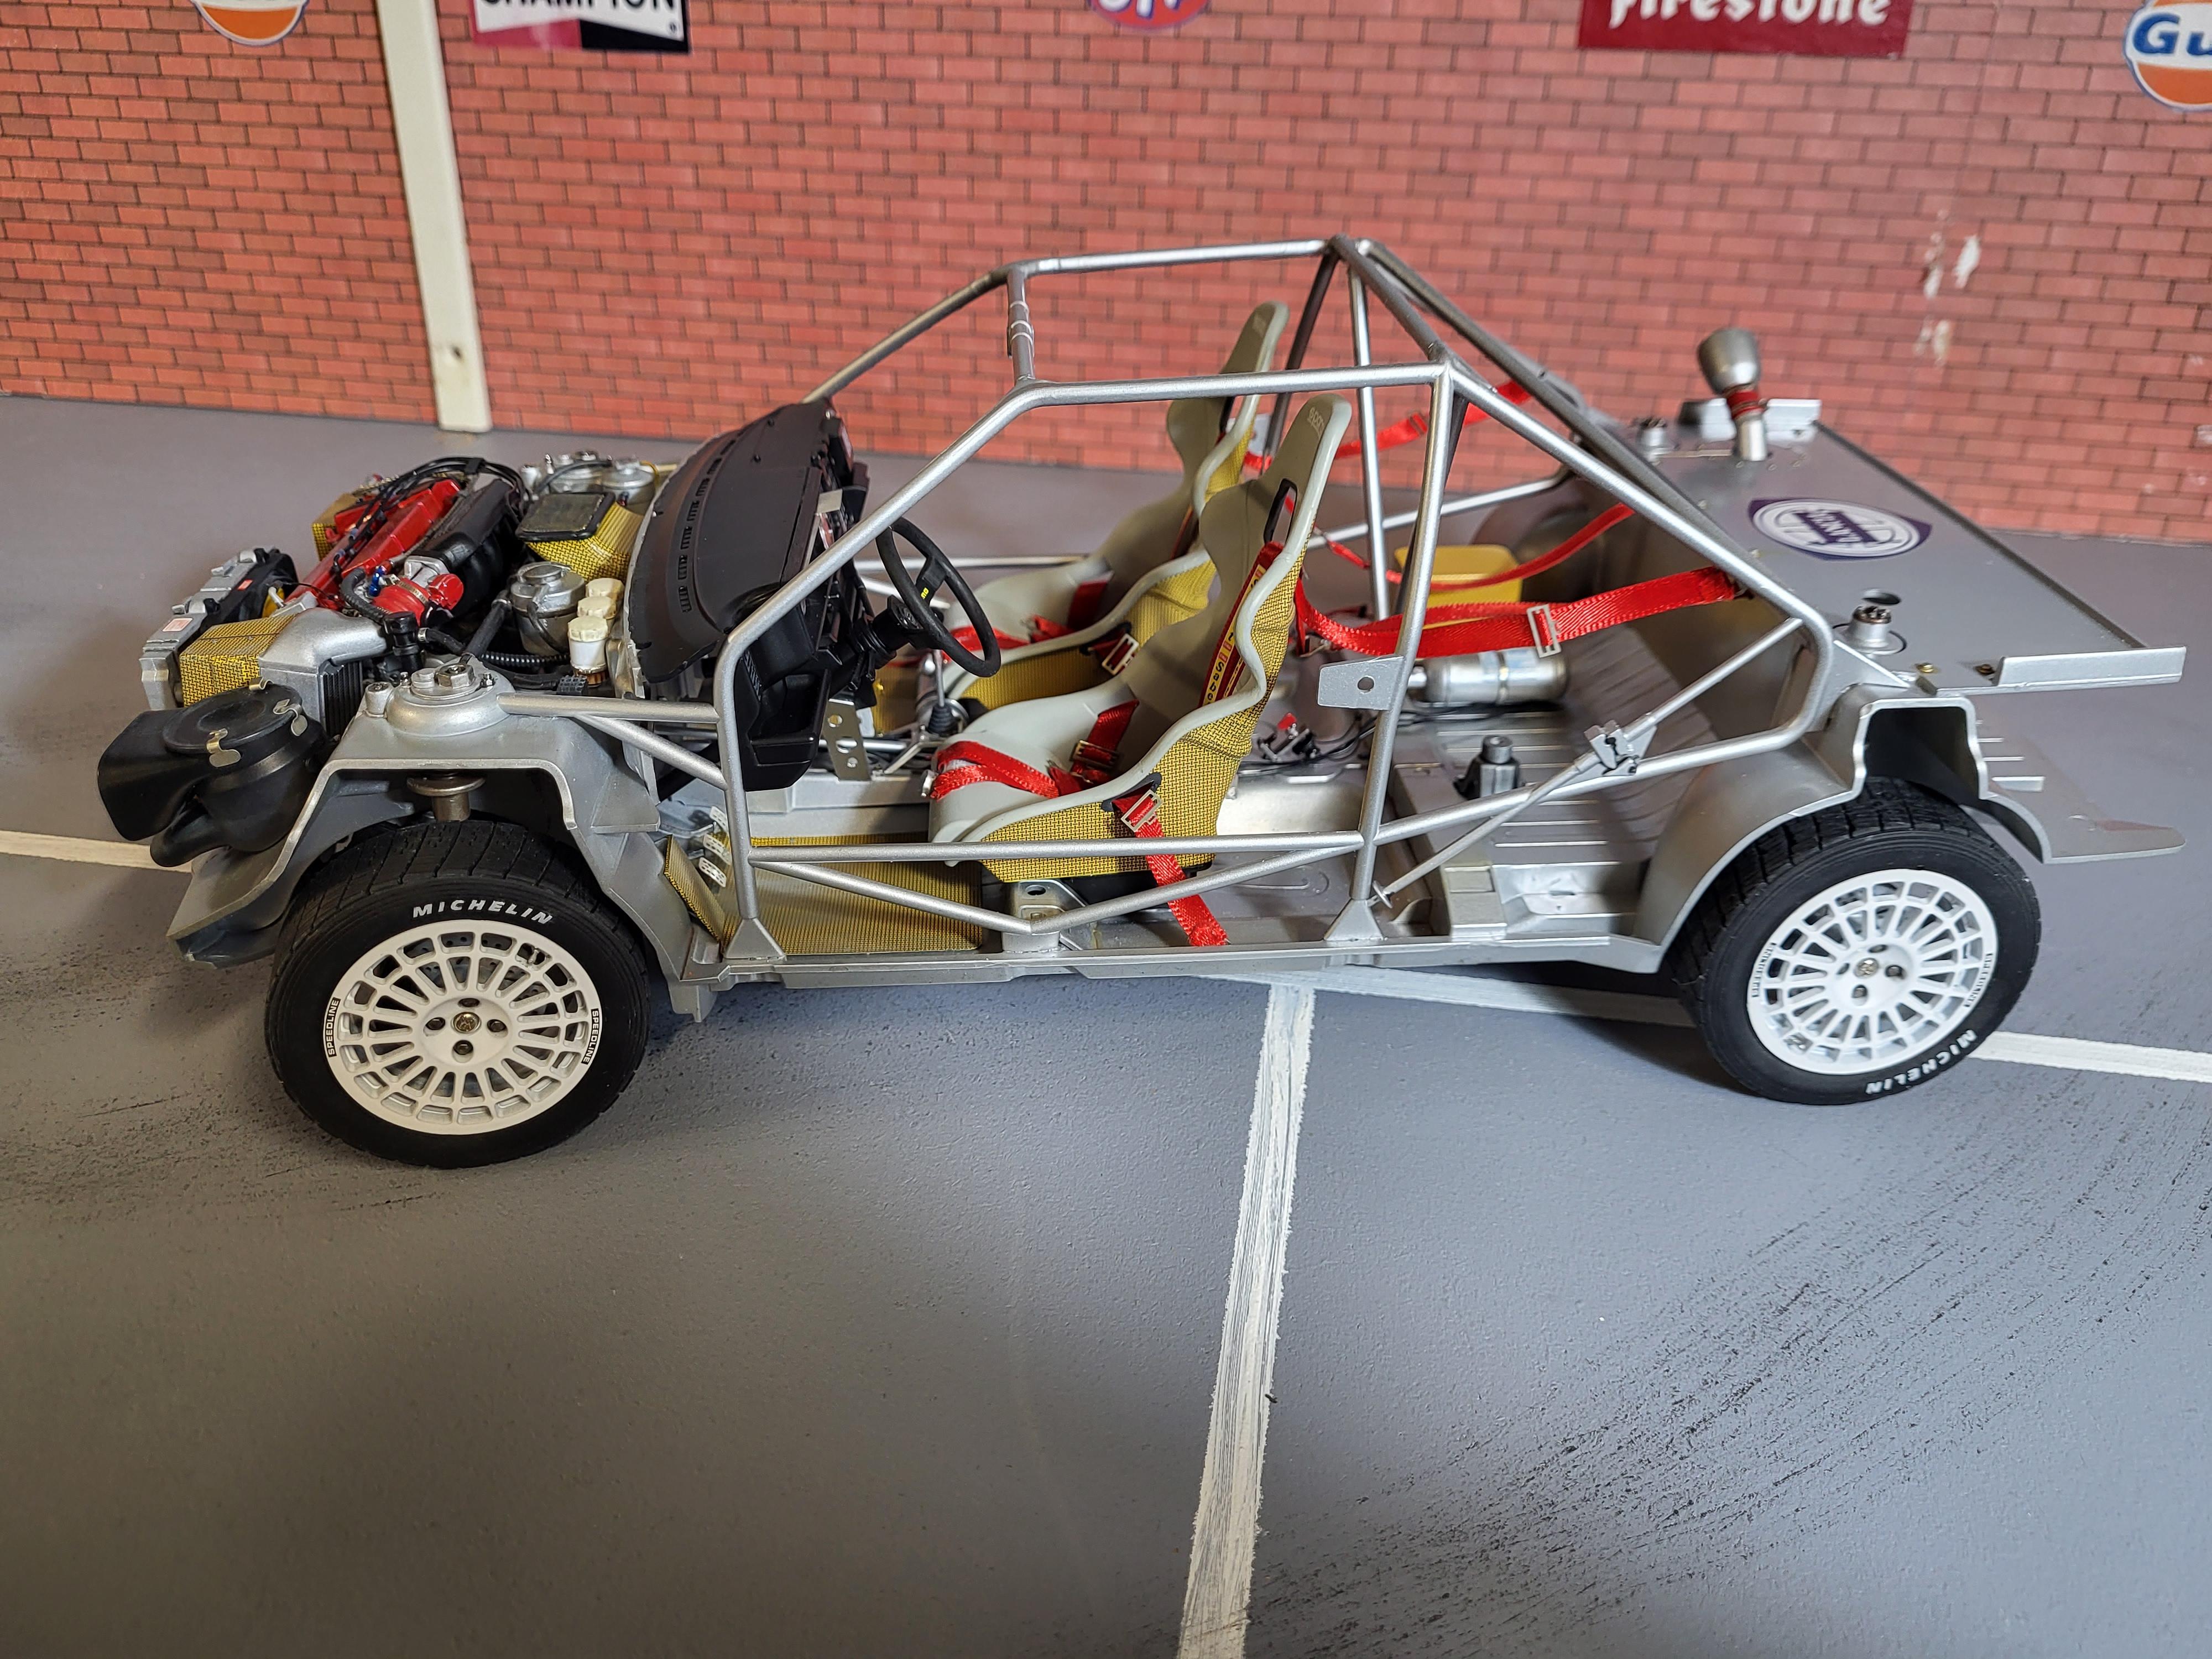
Hi Now is my Swedish Delta finished. Conversion Decals from Reji, a resin hood and also a etch sheet was included. The hood itself looked very nice but doesn´t fit at all when the engine is installed. That hood is nearly flat and used for the 8V engine who was in this car. The Kit has the 16V engine , wich is much higher so the kits hood is higher in the middle. I bought 3D printed gravel tires , looked better than slicks for a winter rally 🙂 Painted with Tamiya TS-34 Camel yellow. The kit itself is very good and fun to build, the only problem I got was the bolts and nuts for the wheels , they didn´t match !? .Another builder have the same problem, hope Italeri fixed that now. I have a W.I.P on this forum also. Thomas
-
Good work and display 🙂
-
Hi. Got the decalset for the car, also some etch parts and a new hood in resin. Unfortunatly my hood has "shrinked" just to small, I glued Plasticcard to the edges it was better but didn´t fit properly. When the hood was made it must have been tested to the bodypart only. with the body mounted to the chassi the engineparts are way to high so the hood is useless 😞 but the hood itself it looked very good. I have also added some more stuff in the rear of the interior. Thomas
-
Hi Ricky. The extra bar you asked about is the jack for the wheels, I have modified it a little bit.
-
Italeri 1/12 Lancia Delta HF
maysula replied to Wolfangel's topic in WIP: Other Racing: Road Racing, Land Speed Racers
Nice to this version Marcus ! I´m bulding this too. I can see that you didn´t use the resin hood from the Reji decals set. My hood was to "small" so I had to glue plasticcard on the sides and the back. but the fit is long way from perfect. Yes, it´s a very nice kit, no major problems , only my set of nuts and bolts for the wheels didn´t match. Thomas -
Thanks Rich and all of you 🙂 The Per Eklund decals is now on it´s way so I have started to prepair the bodyparts for camel yellow. some more modifications on the front bumper is also made. more later 🙂
-
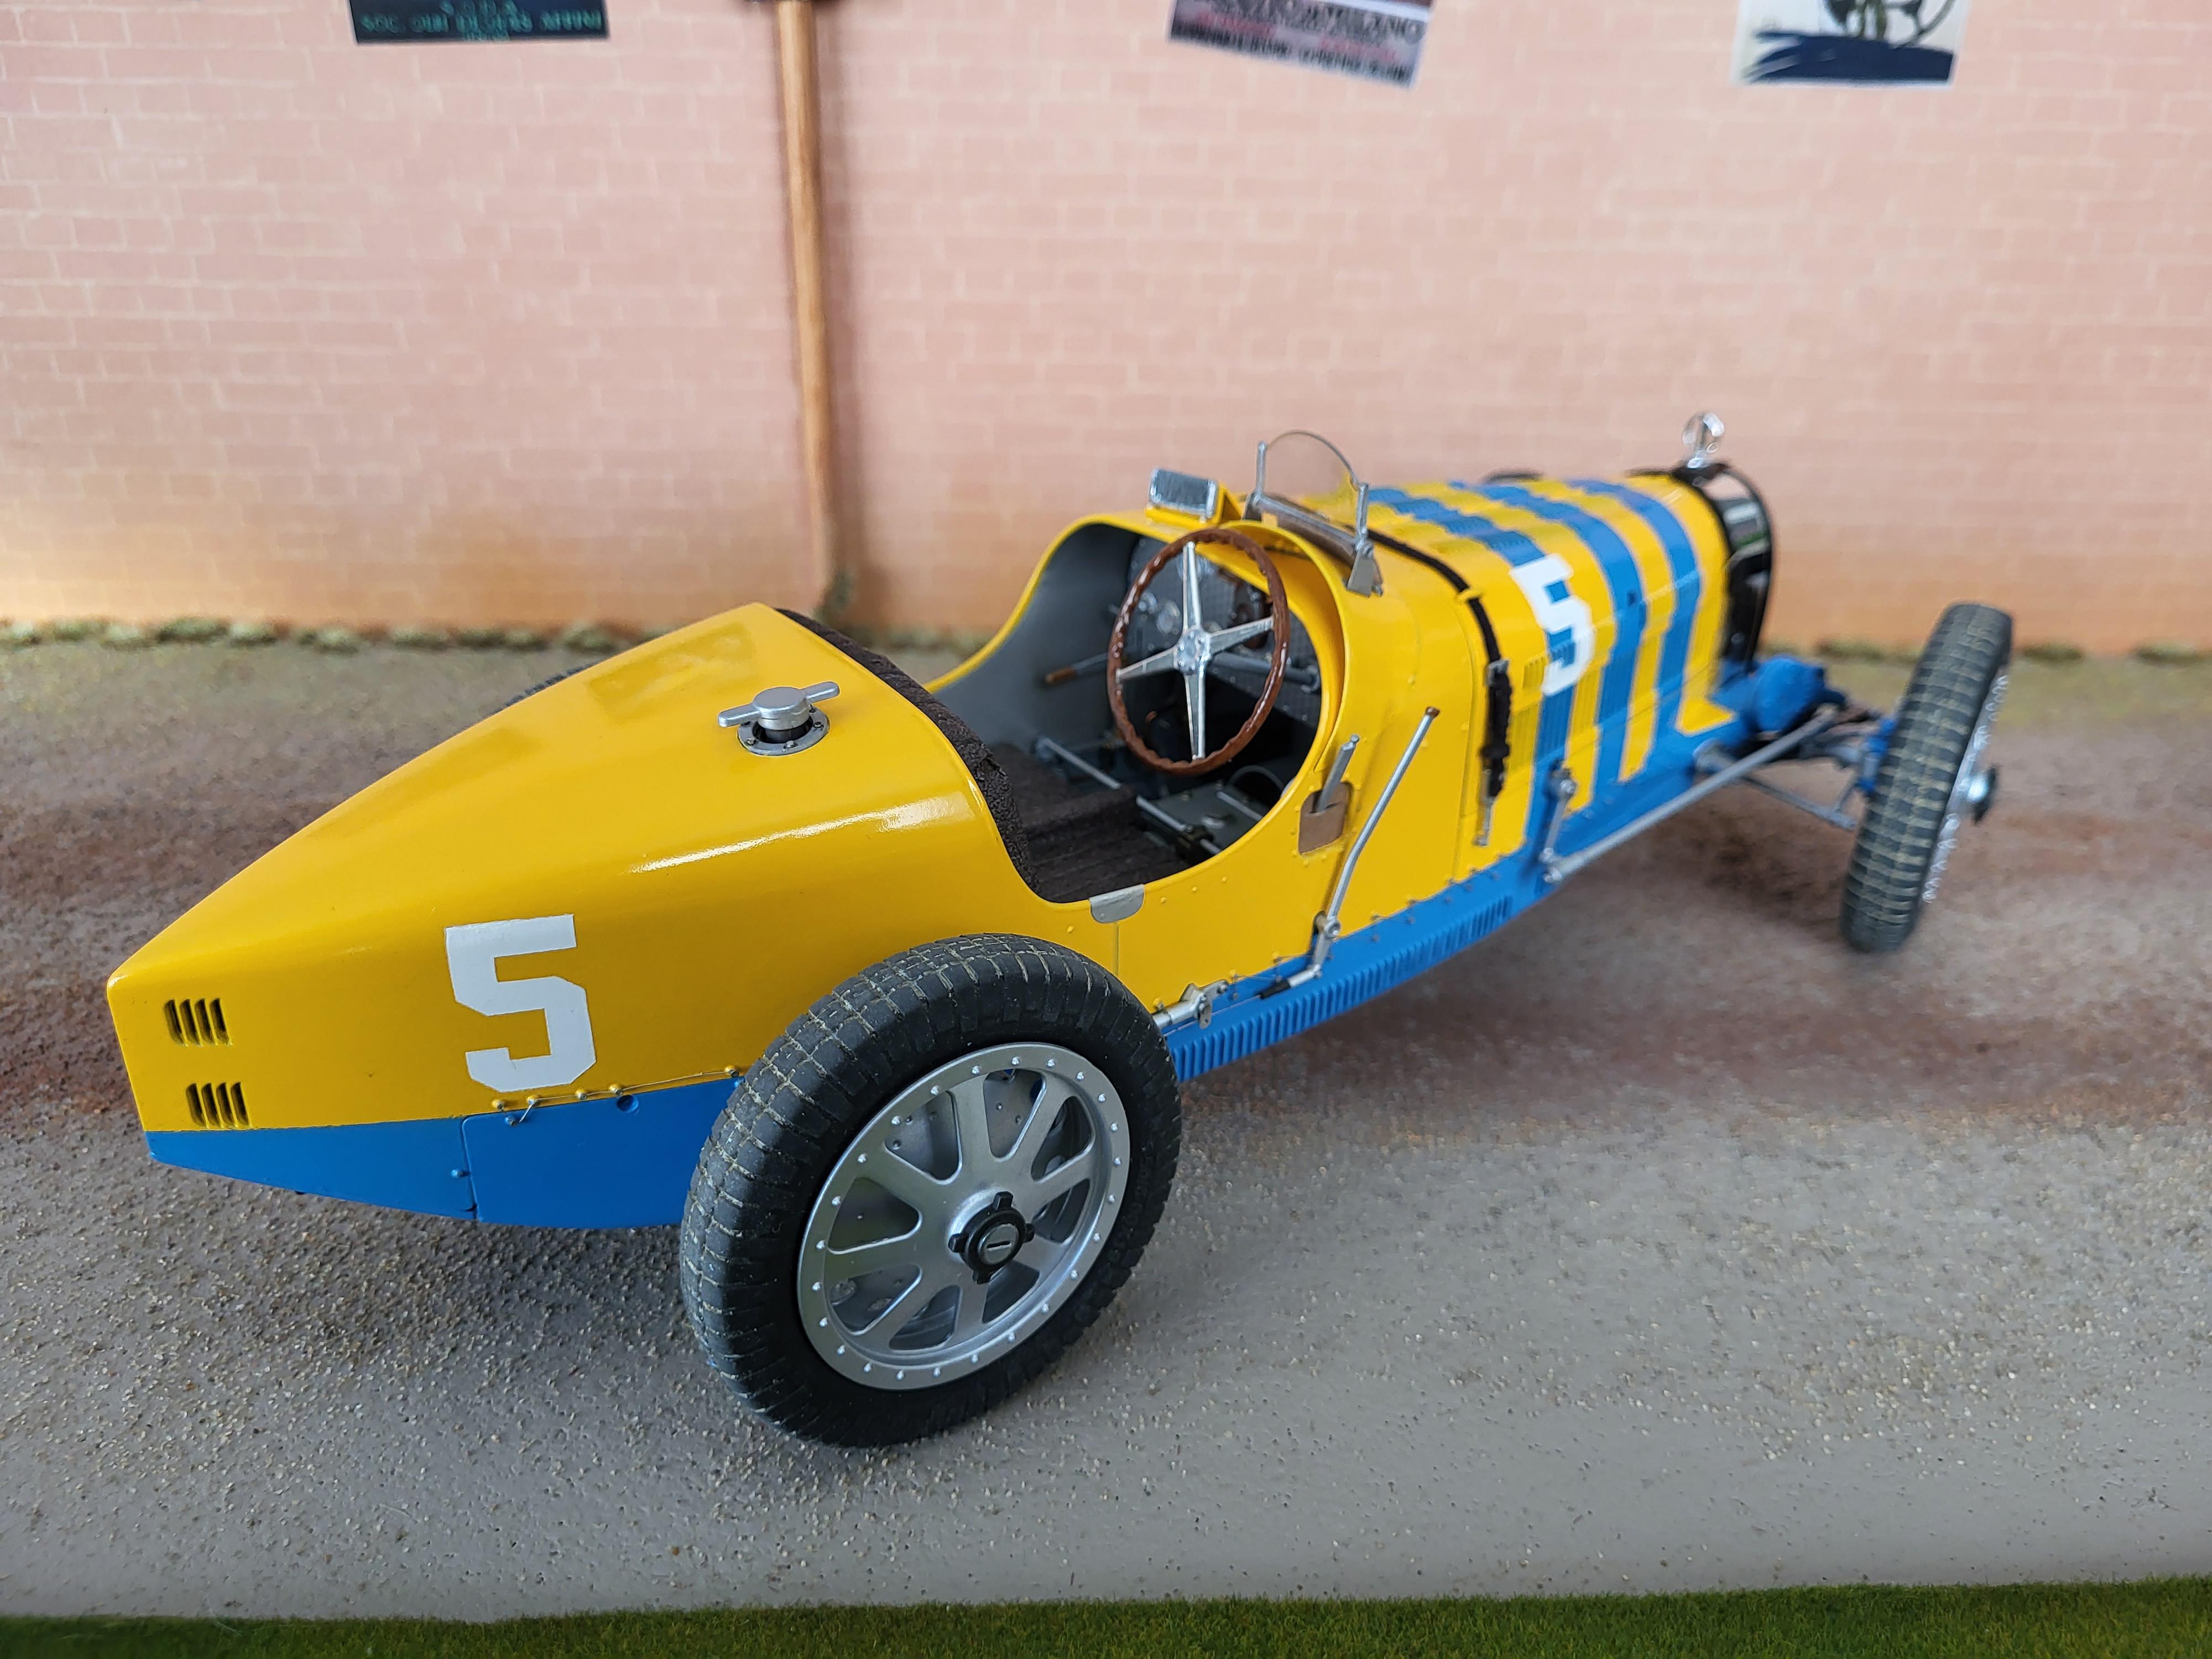
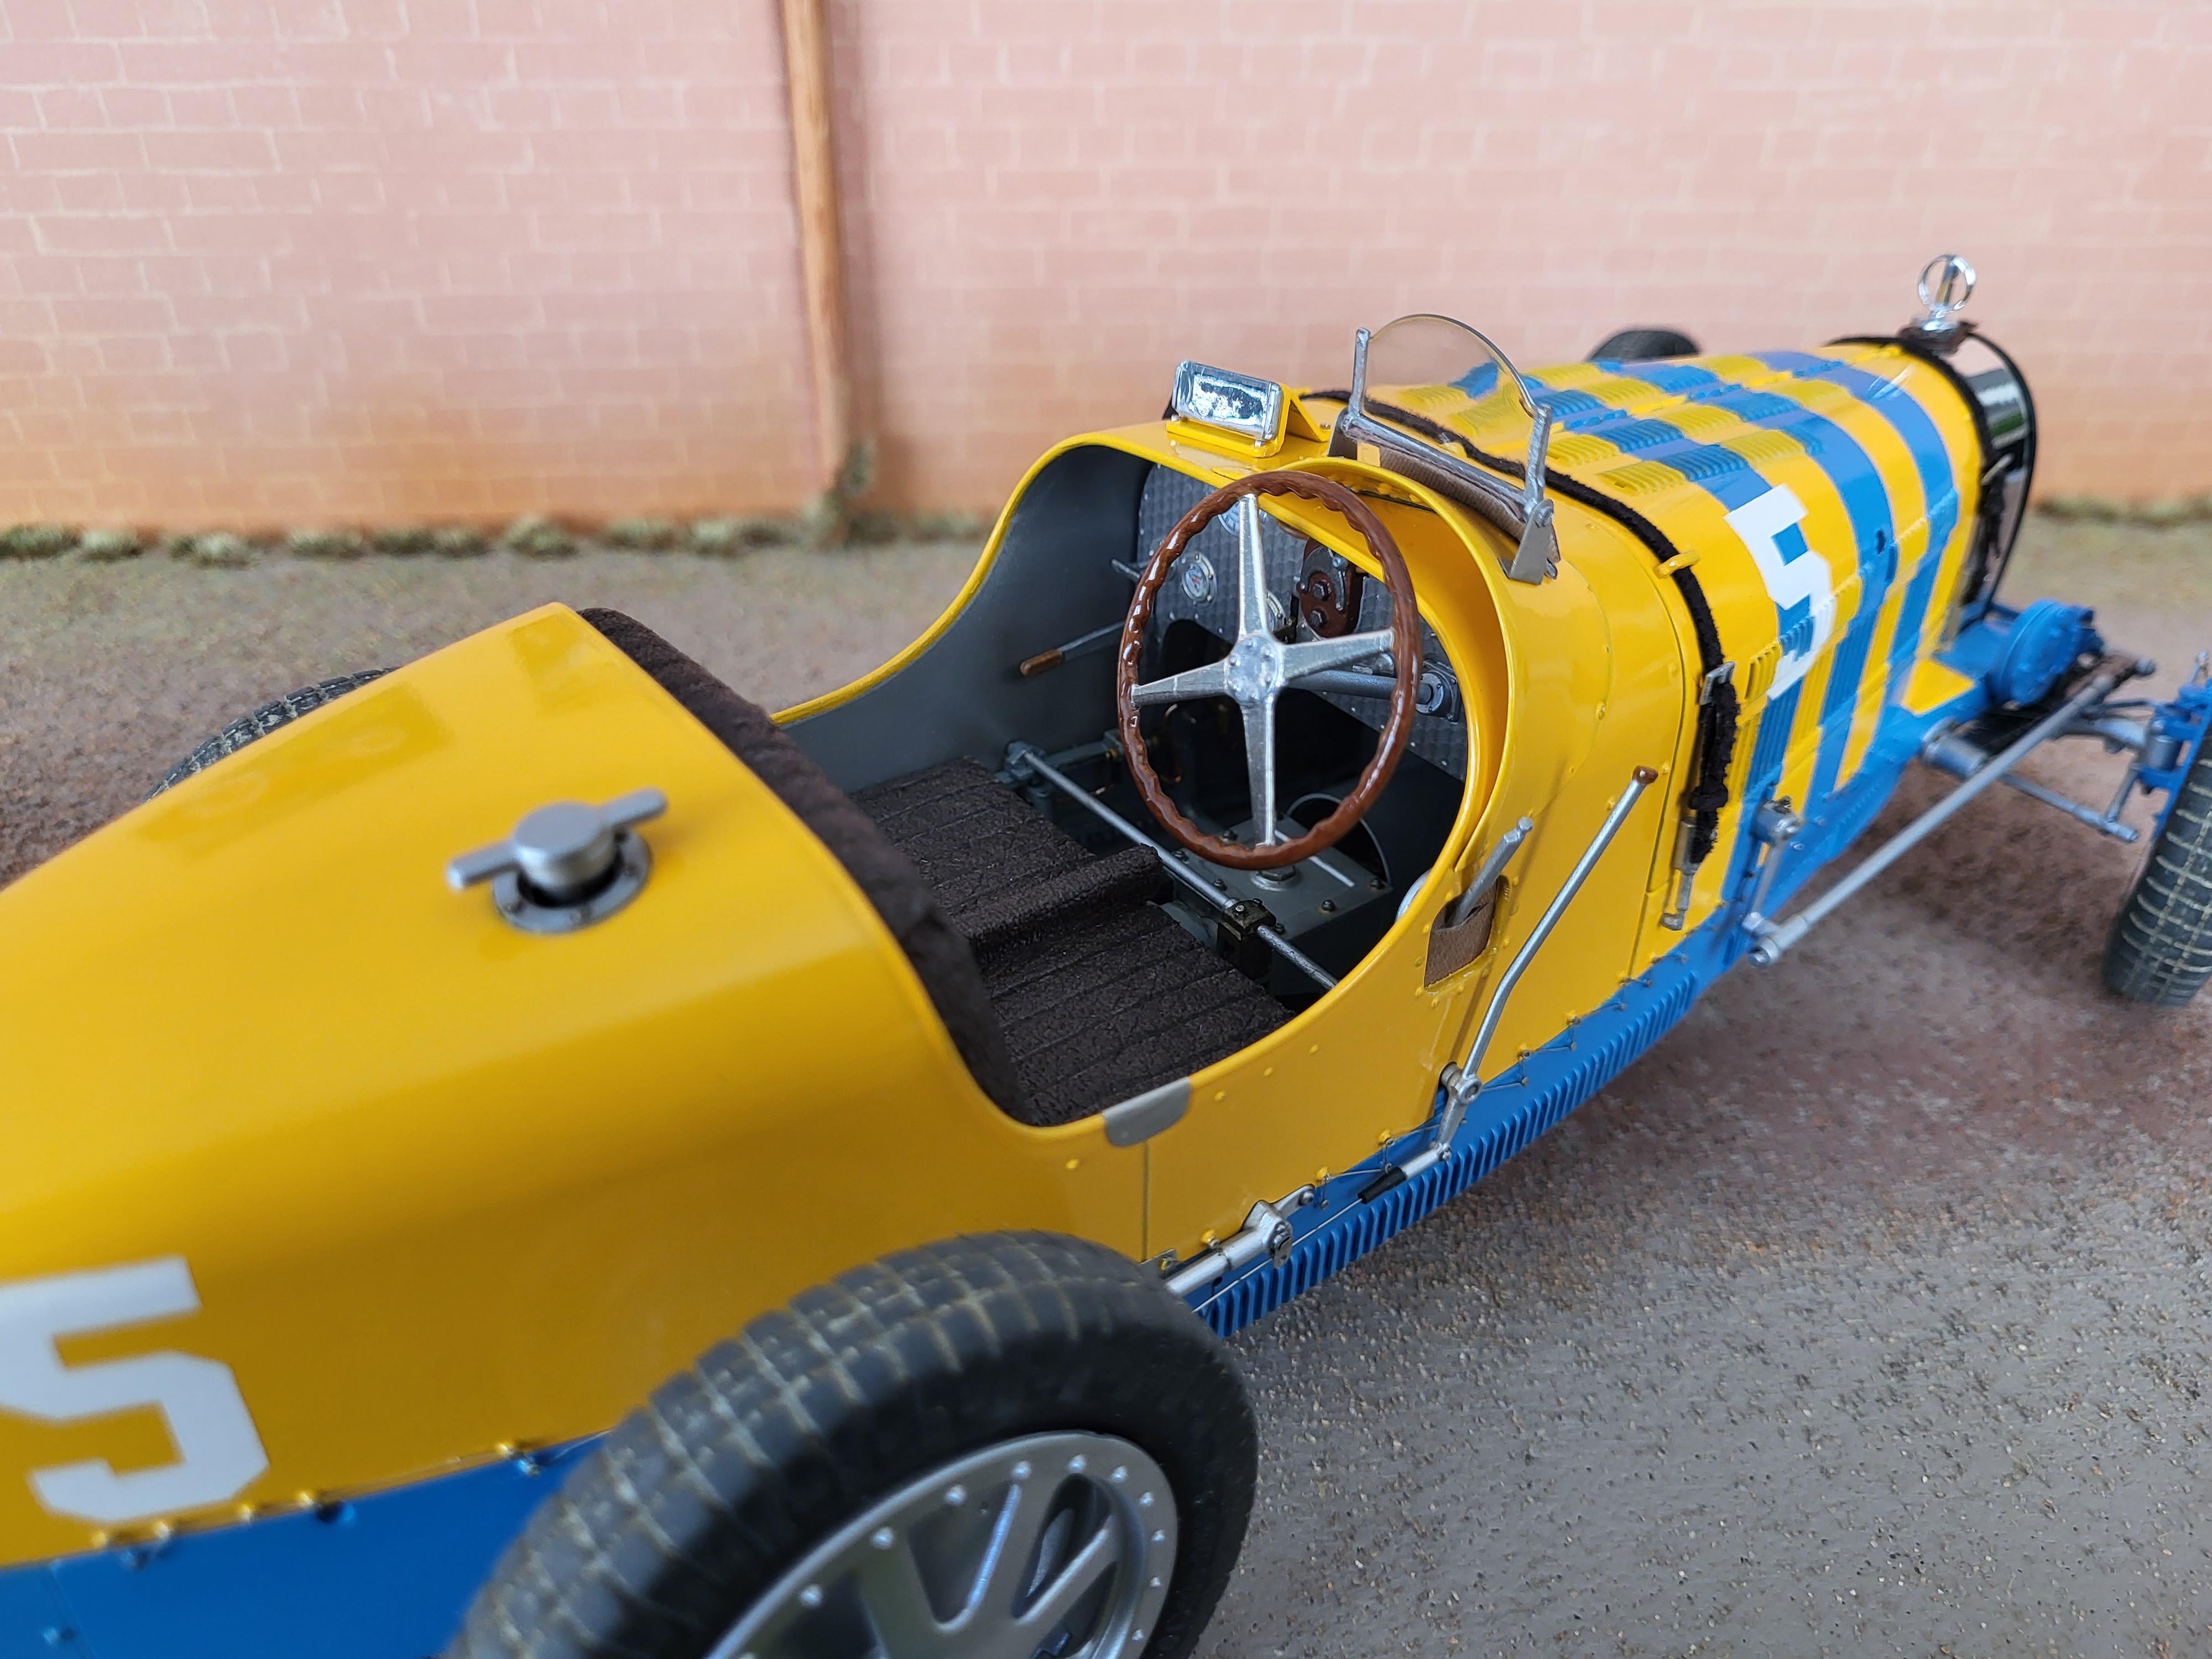
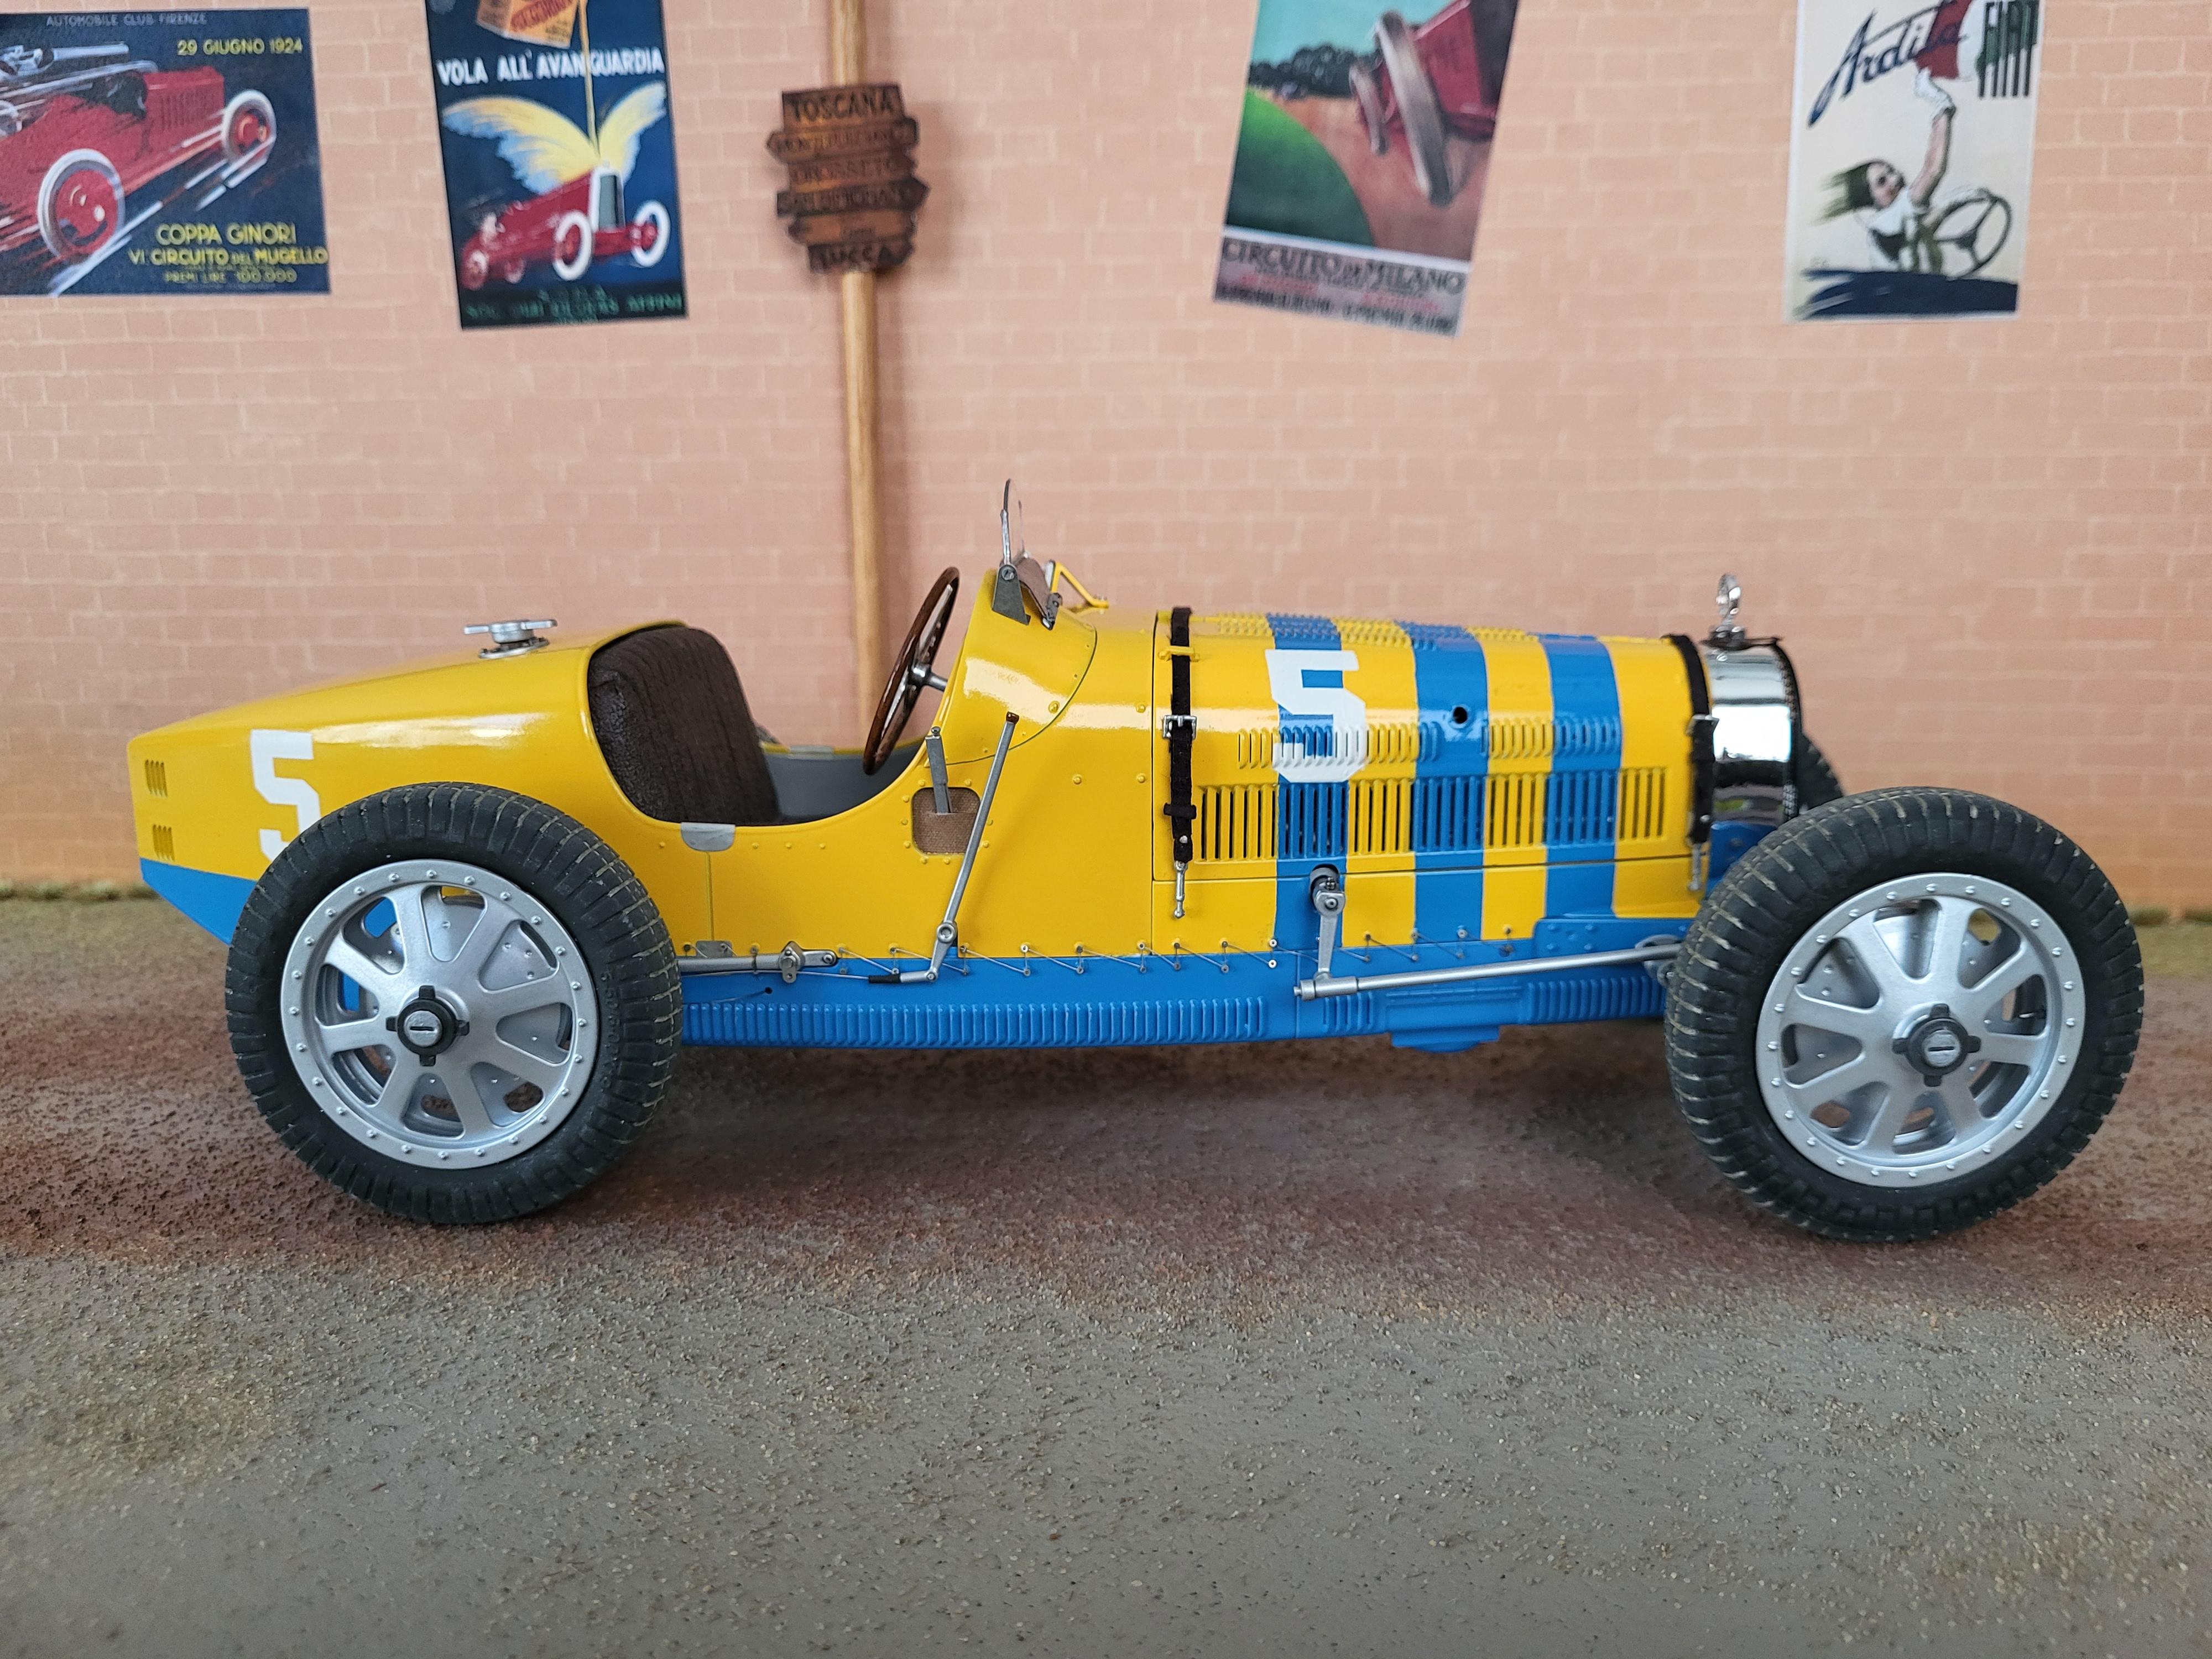
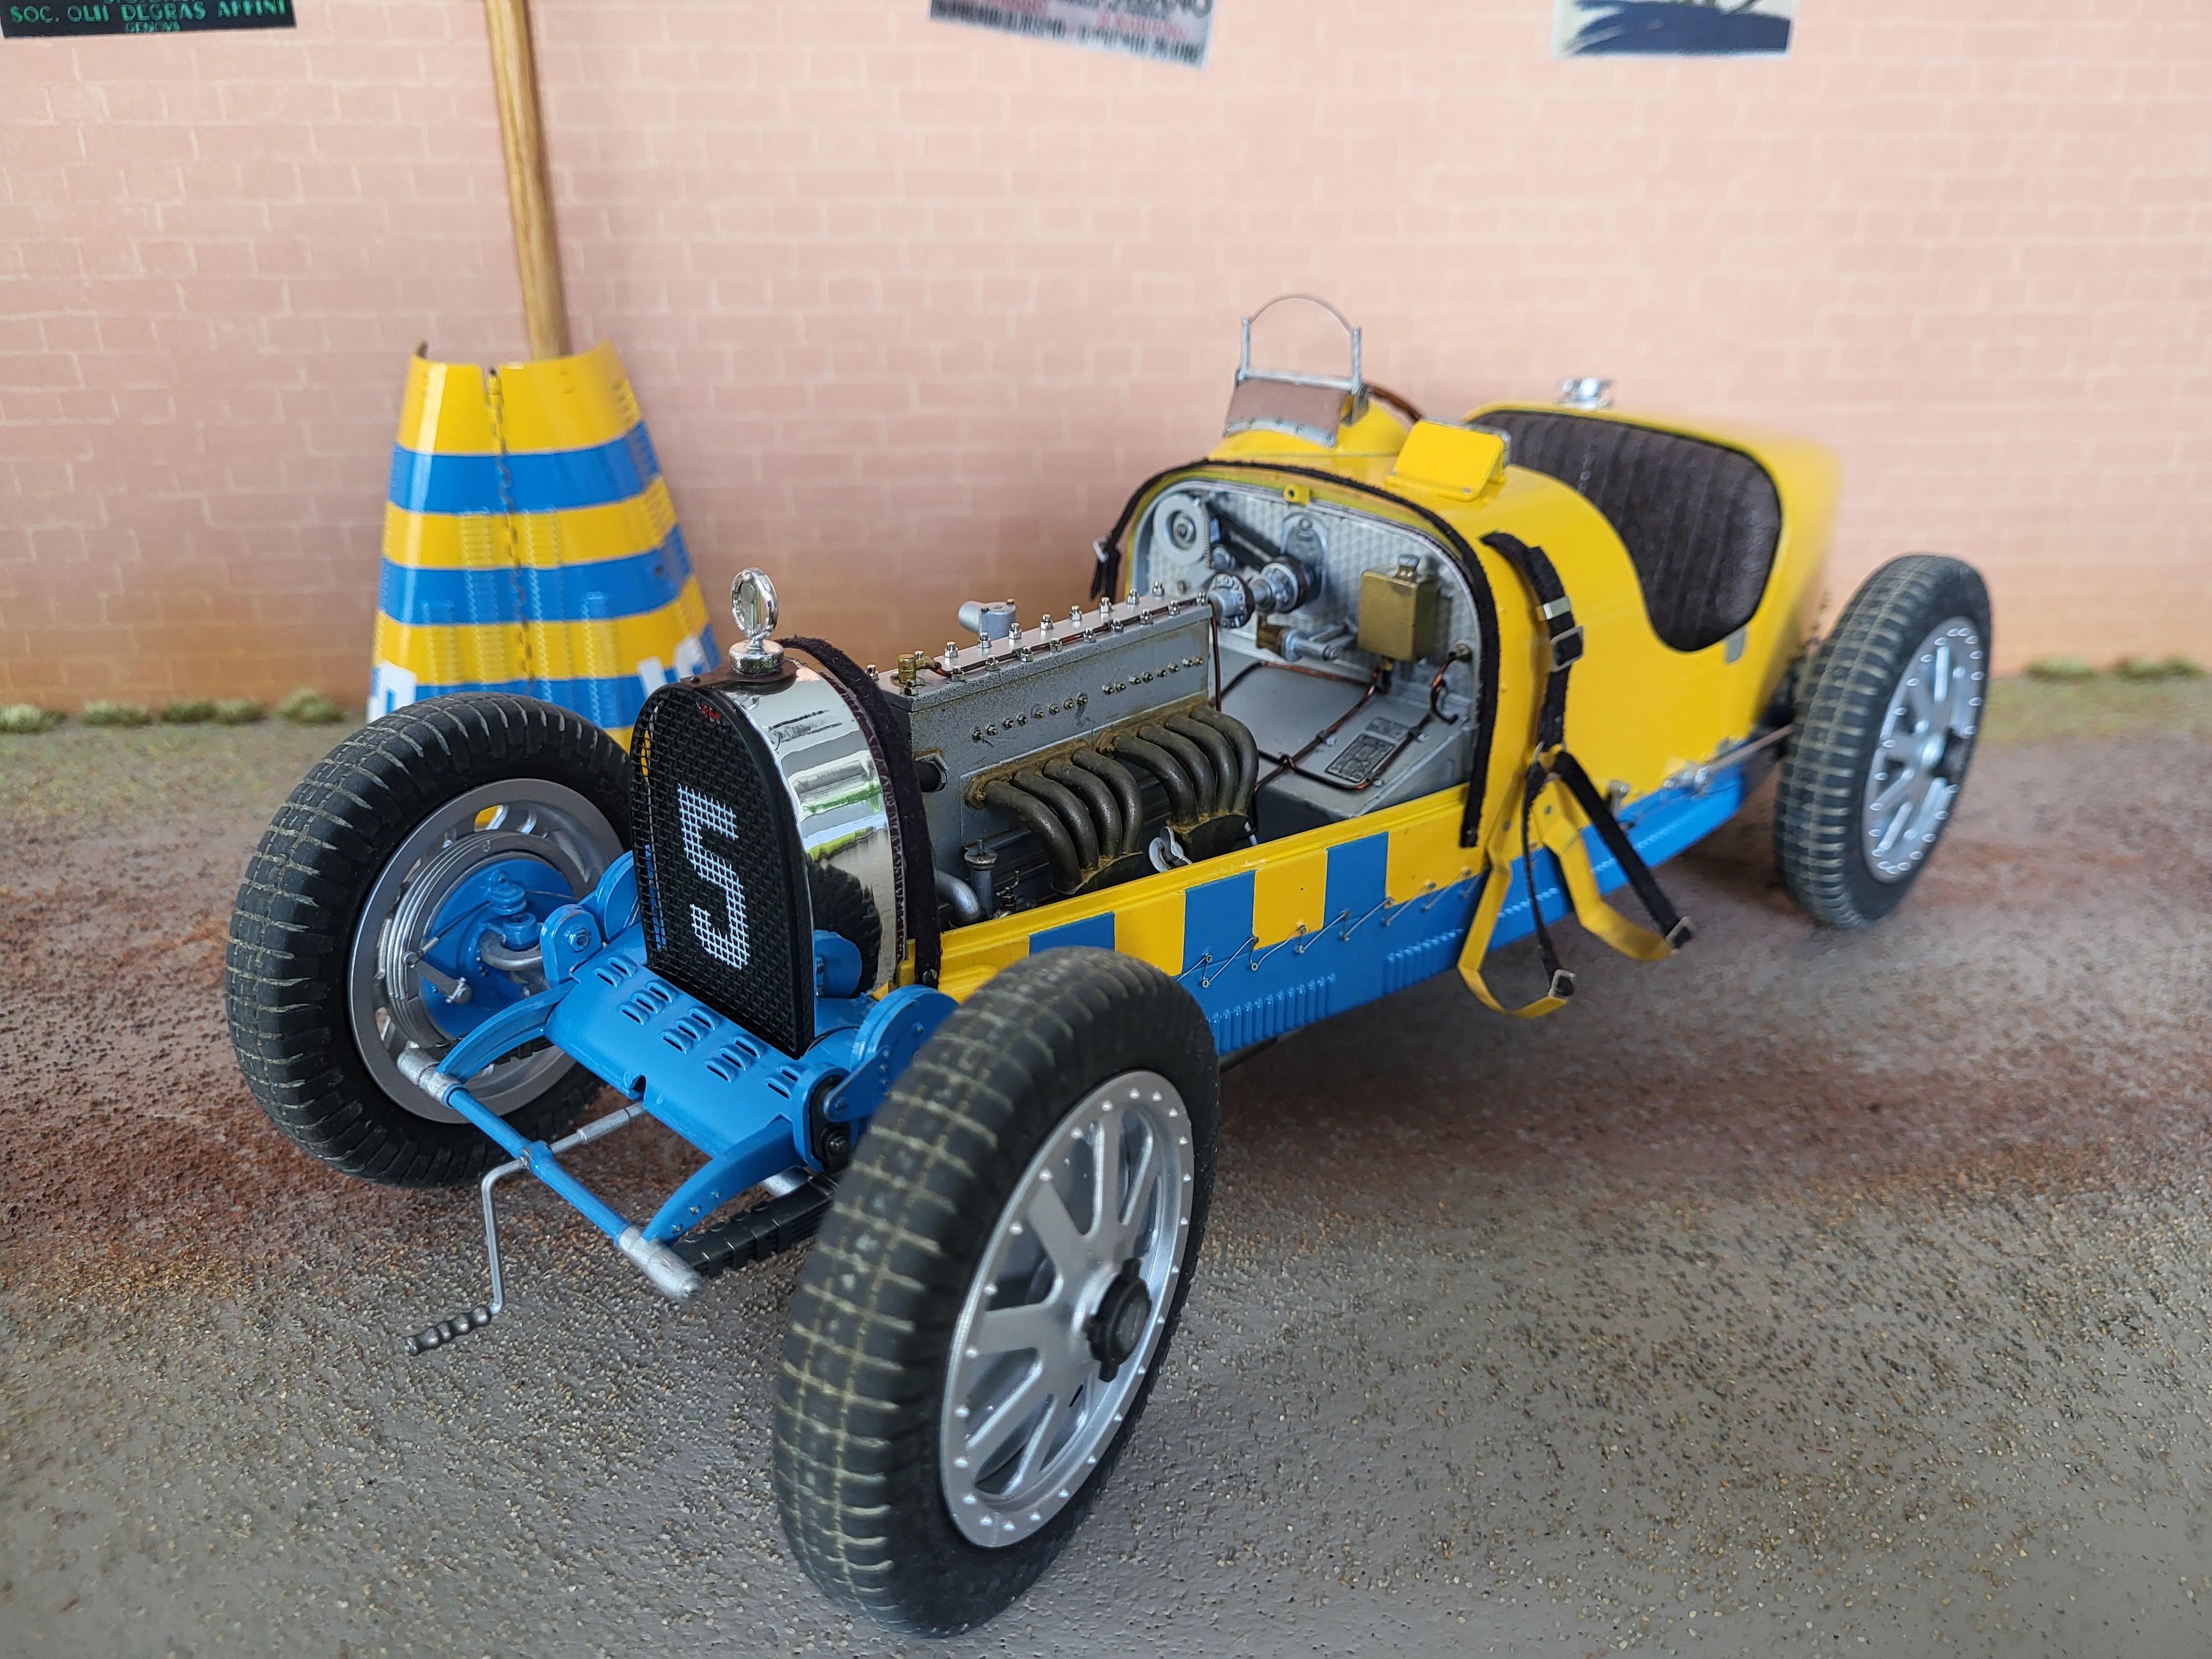
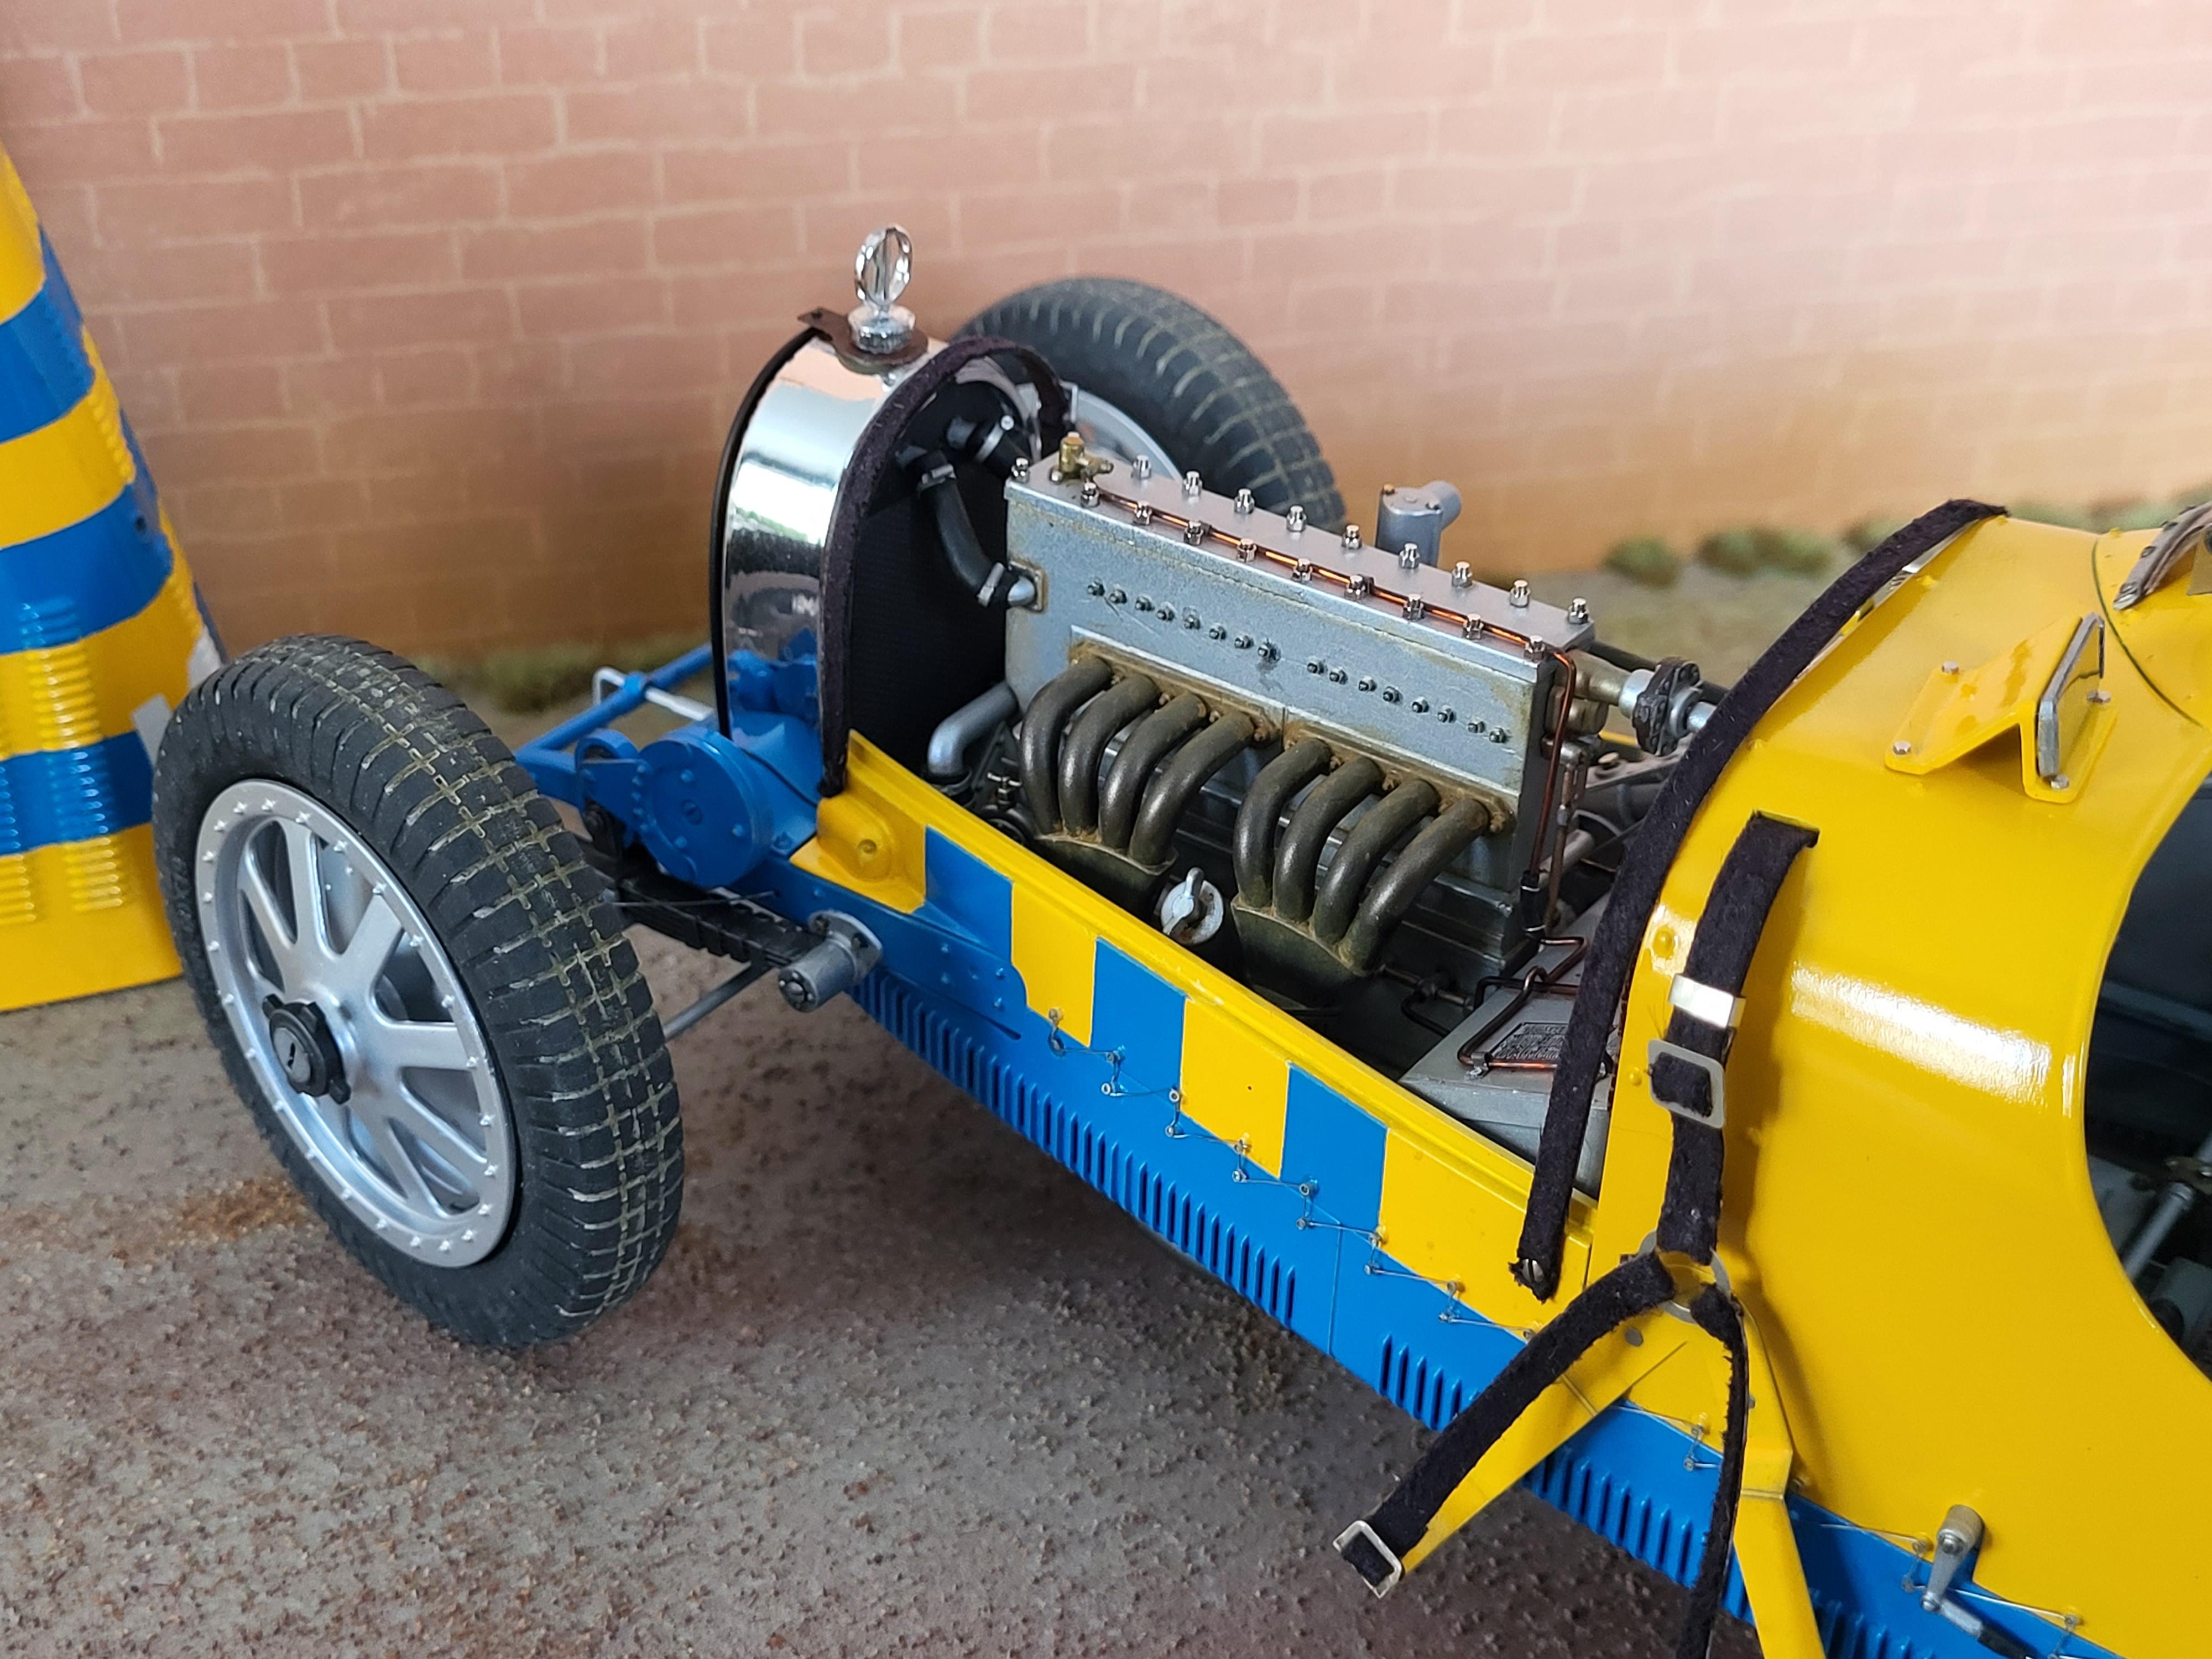
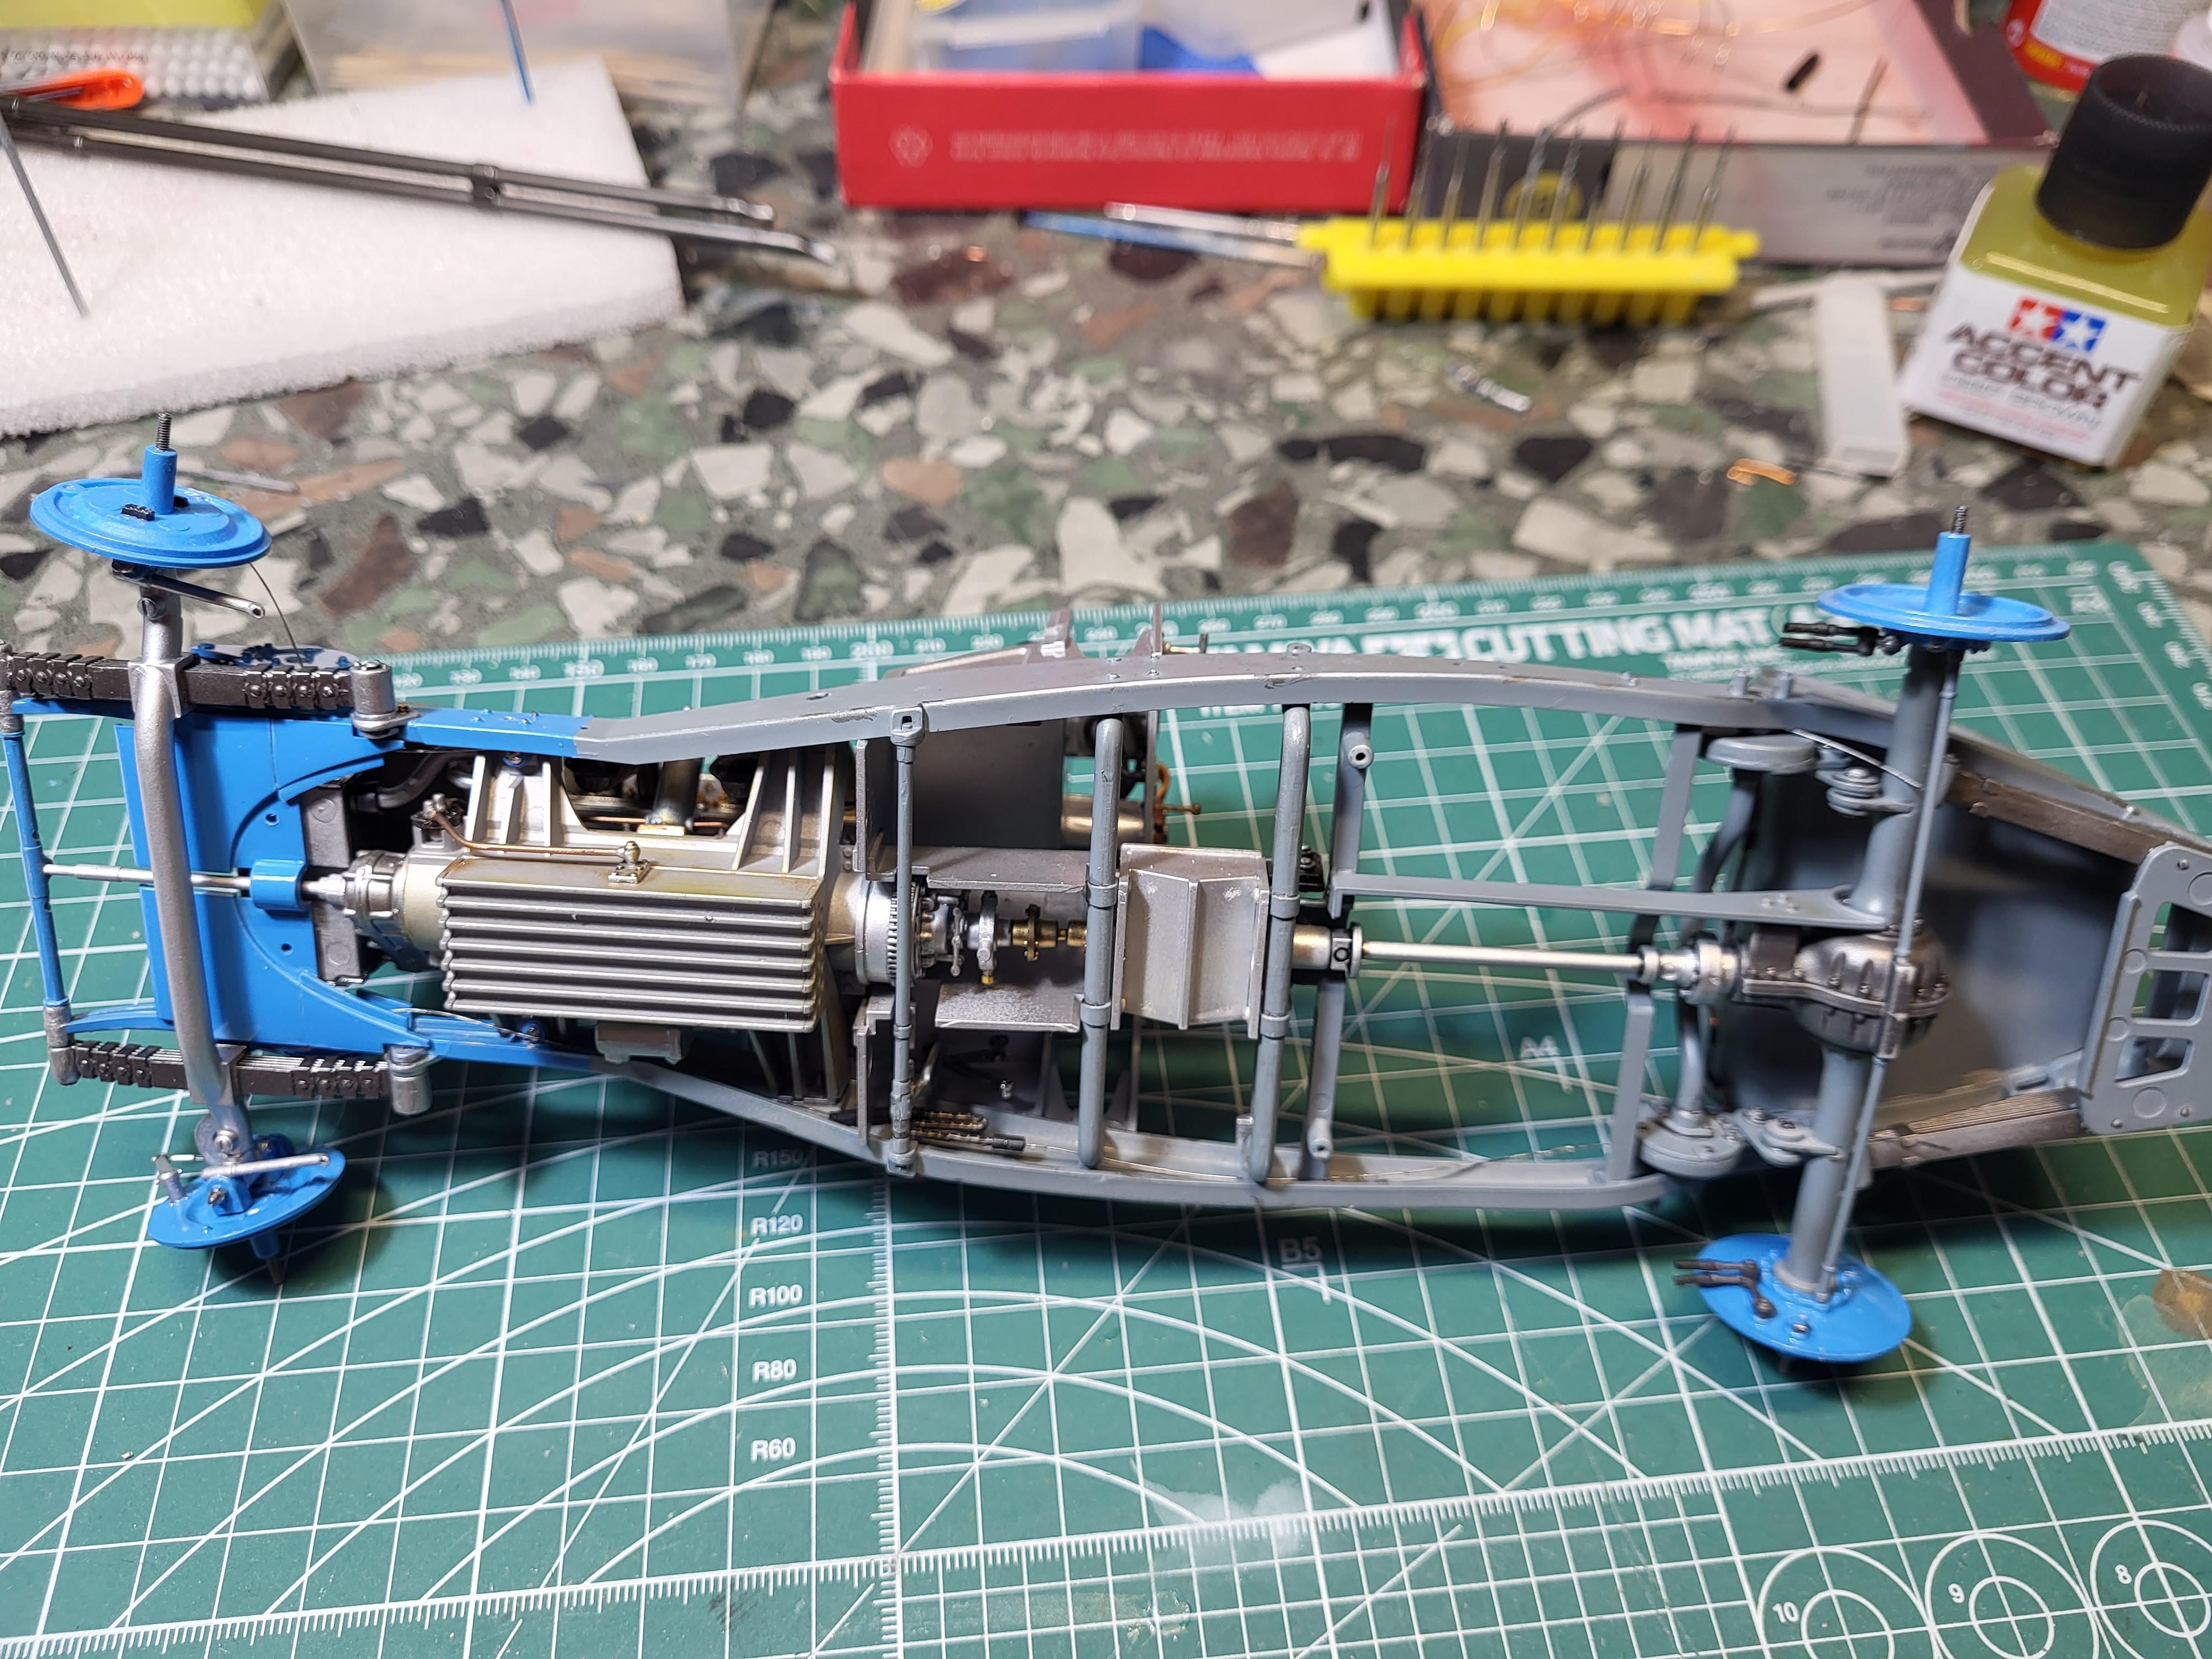
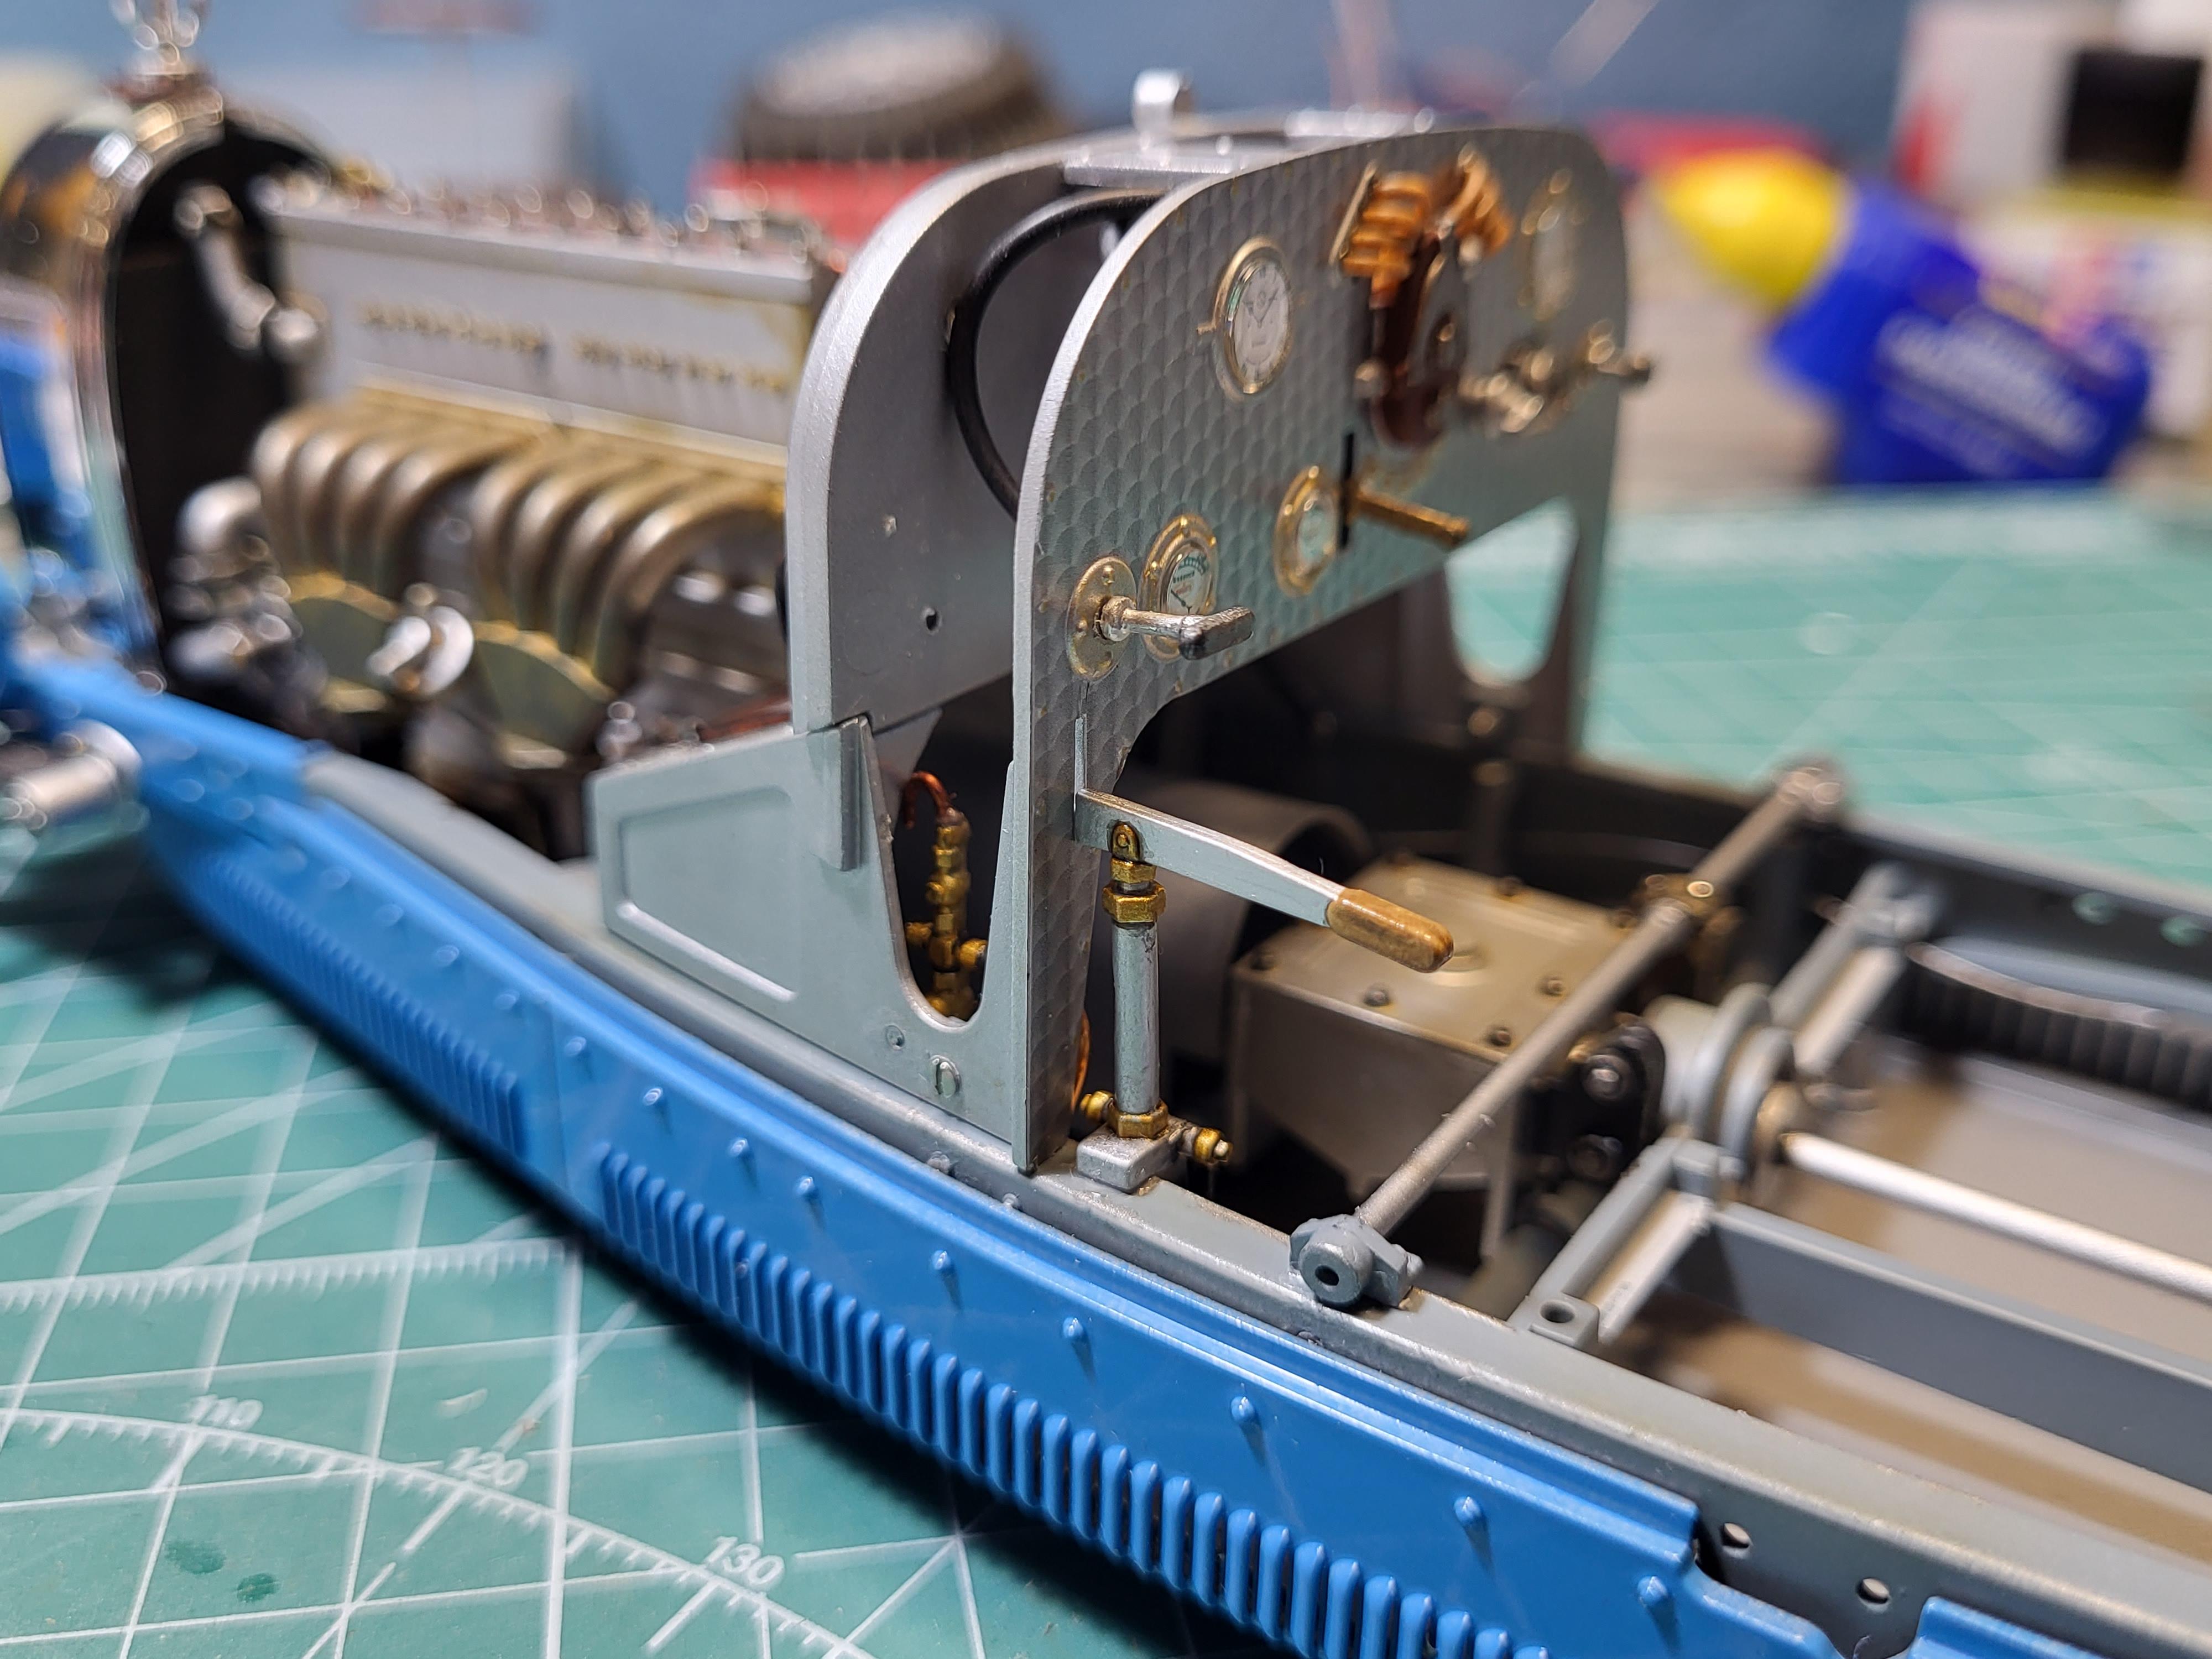
Hi This is my Swedish version of the Bugatti, in that era cars raced in nation colors. Body painted with spraycan Tamiya TS-10 french blue and TS-47 chrome yellow and Tamiya clear. I also have a WIP on this build. http://www.modelcarsmag.com/forums/topic/177412-italeri-bugatti-35b-112/ Very nice kit ! I will do another version later. Thomas
-
Italeri Bugatti 35B 1/12
maysula replied to maysula's topic in WIP: Other Racing: Road Racing, Land Speed Racers
Thanks for that info Thomas 🙂 -
Italeri Bugatti 35B 1/12
maysula replied to maysula's topic in WIP: Other Racing: Road Racing, Land Speed Racers
Hi Tomas, your 3D fasteners is very interesting! Is it for sale ? I tried to fix this wire on my build but not satisfied at all, but I have one more kit to do later so your fasteners looks very tempting 🙂 -
Hi I got help with makin 3D printed gravel tires, looks so much better than slicks on a winter rallycar 🙂 Tack för tipset Anton ! Thomas
-
Italeri Bugatti 35B 1/12
maysula replied to maysula's topic in WIP: Other Racing: Road Racing, Land Speed Racers
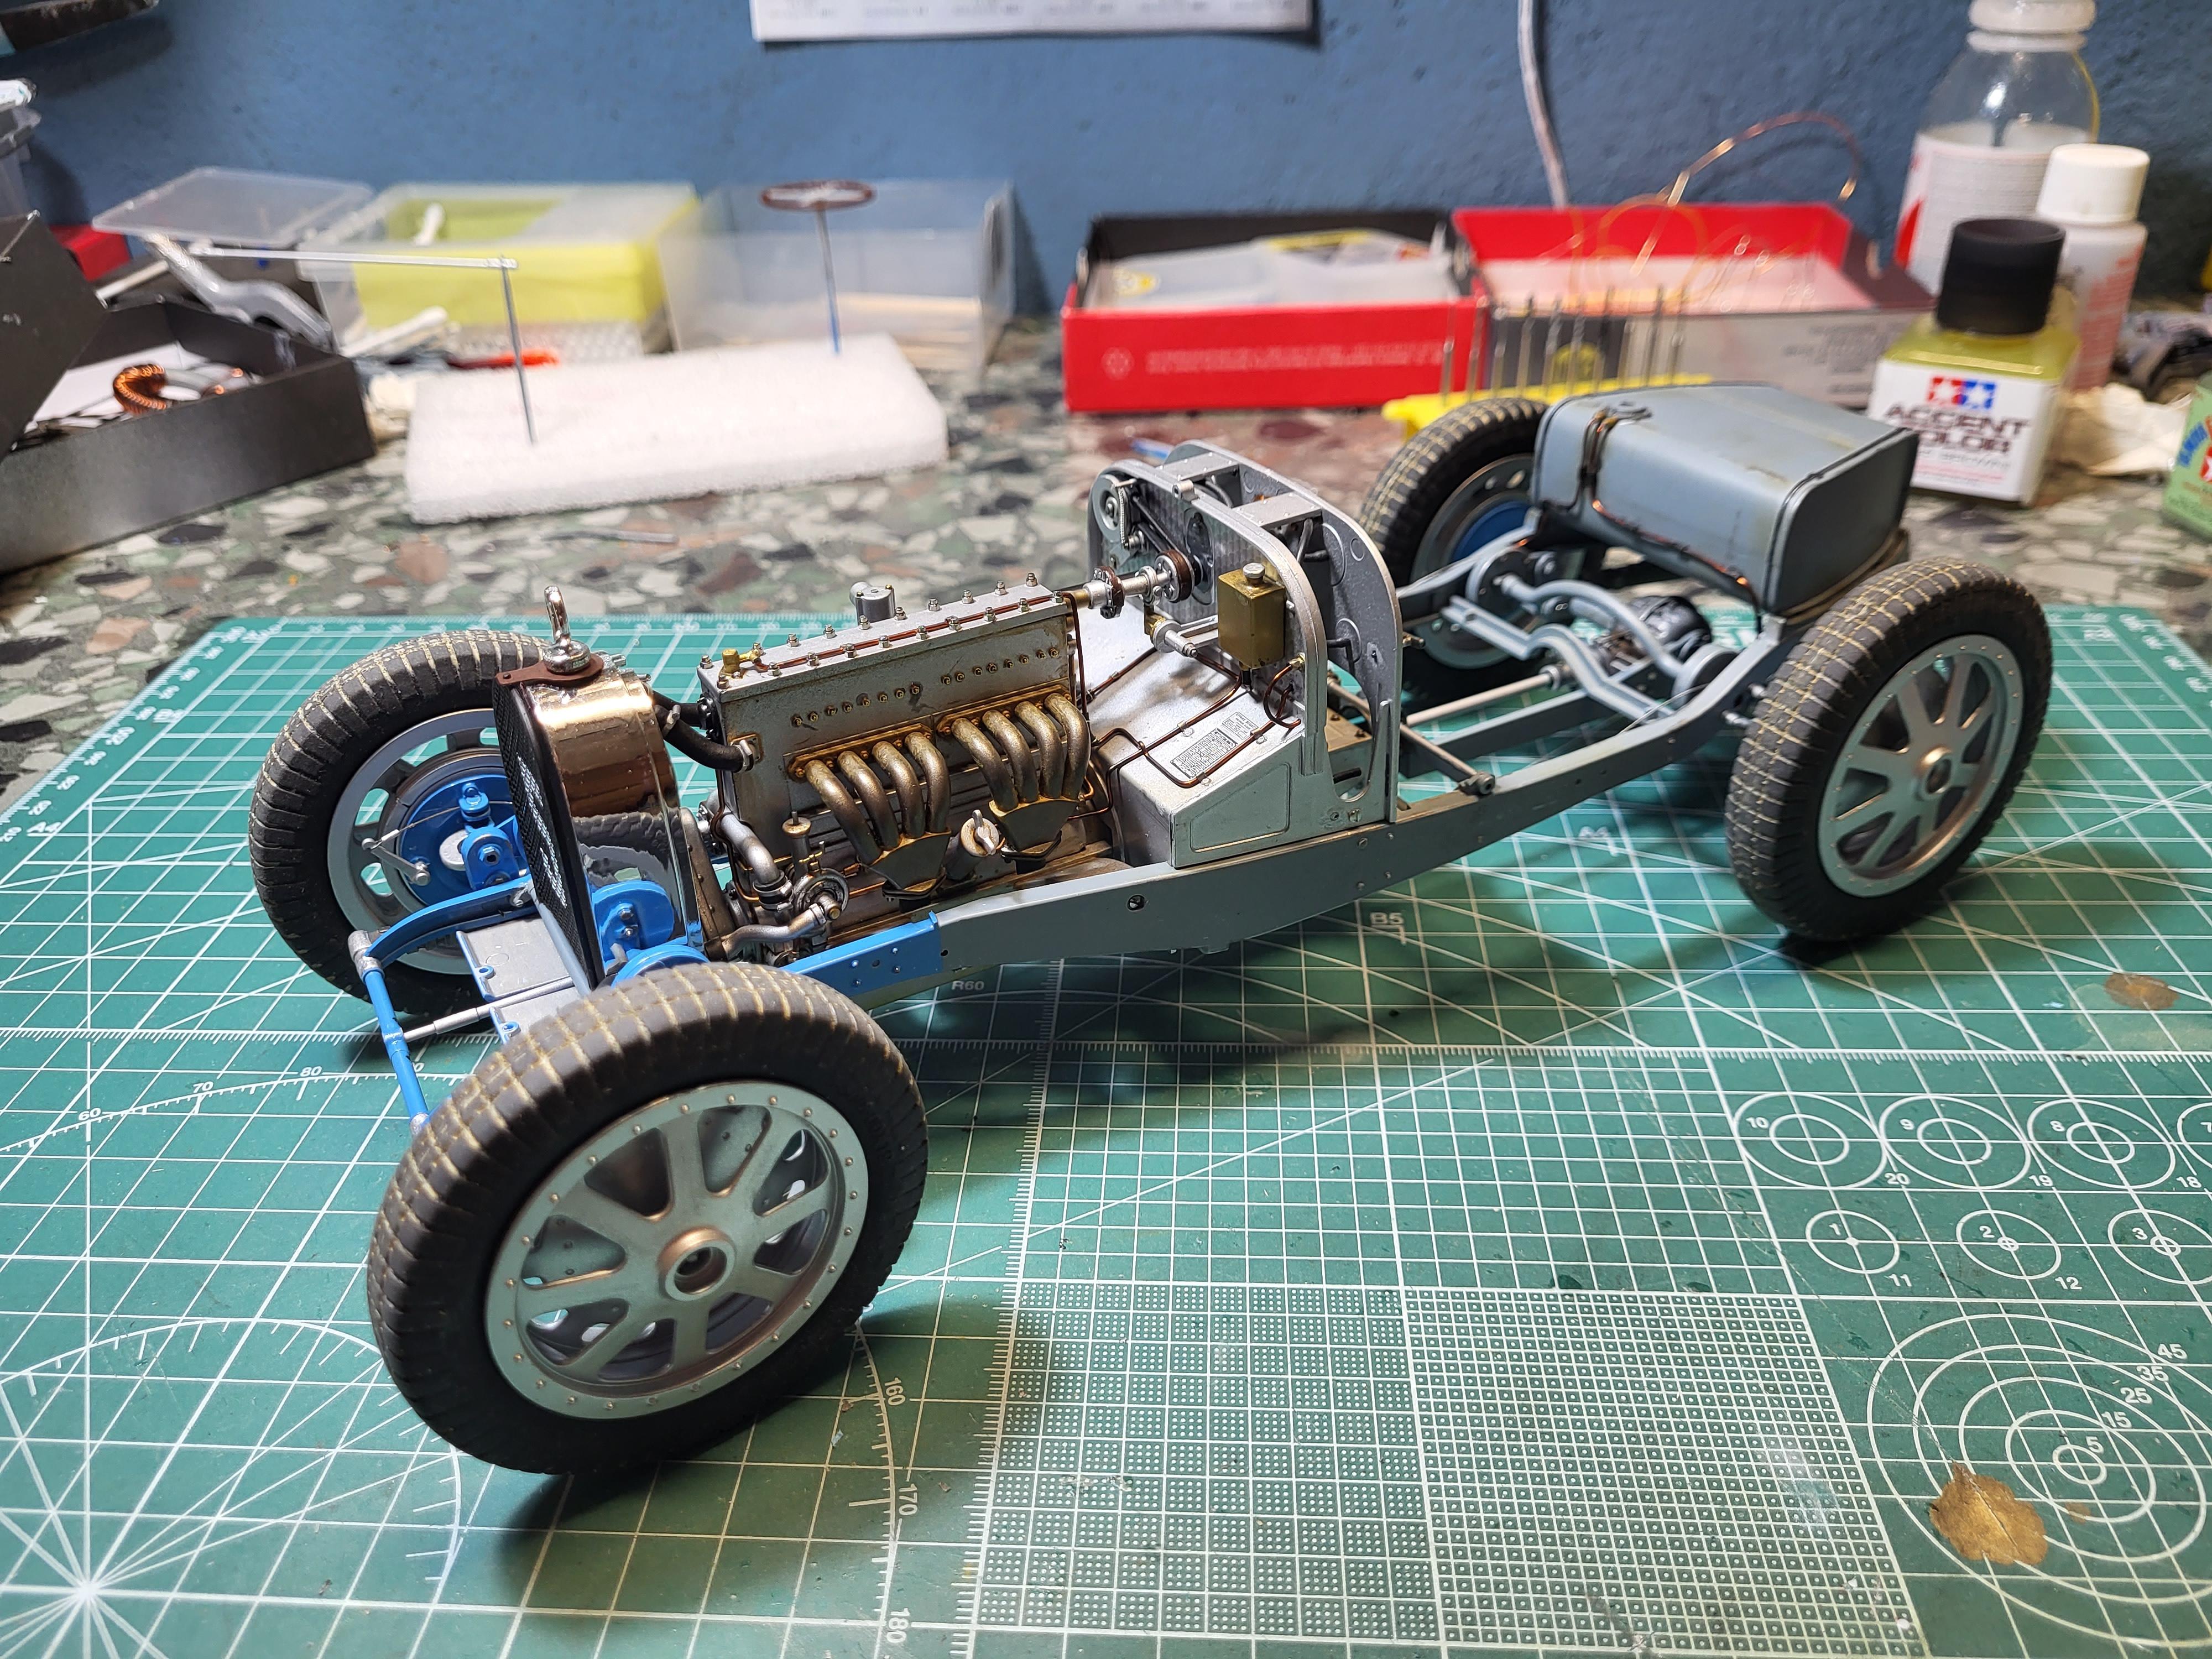
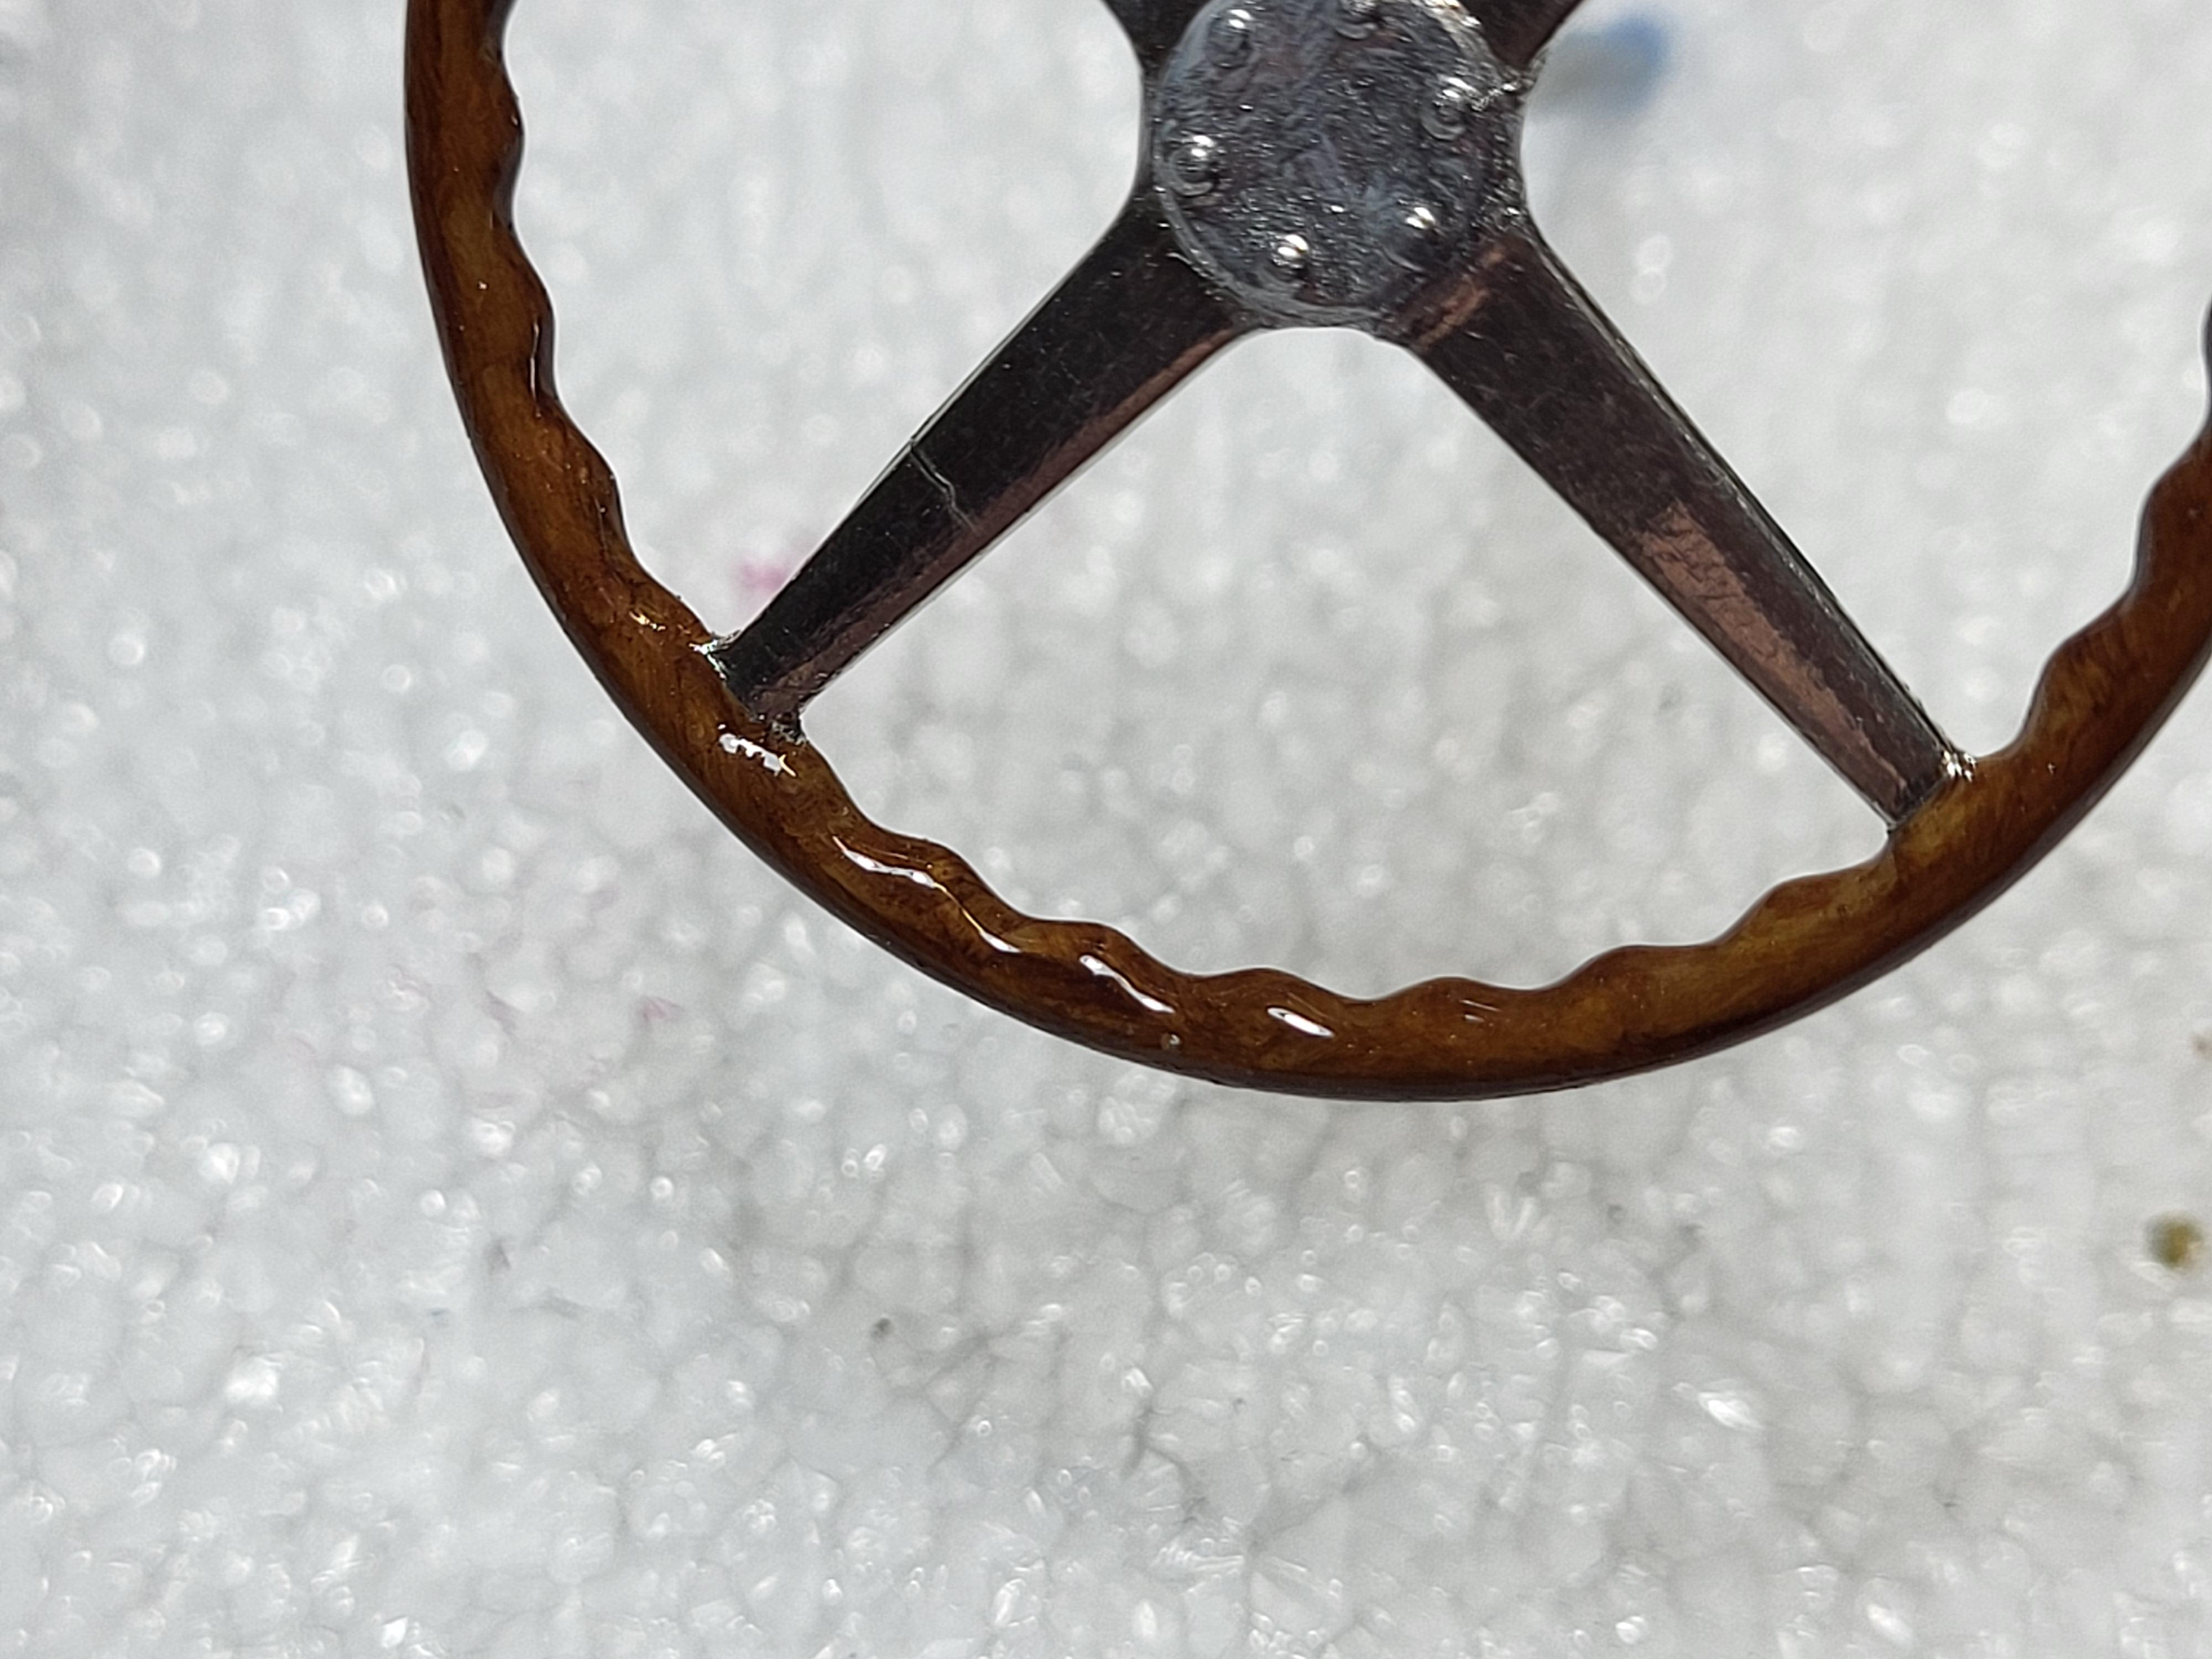
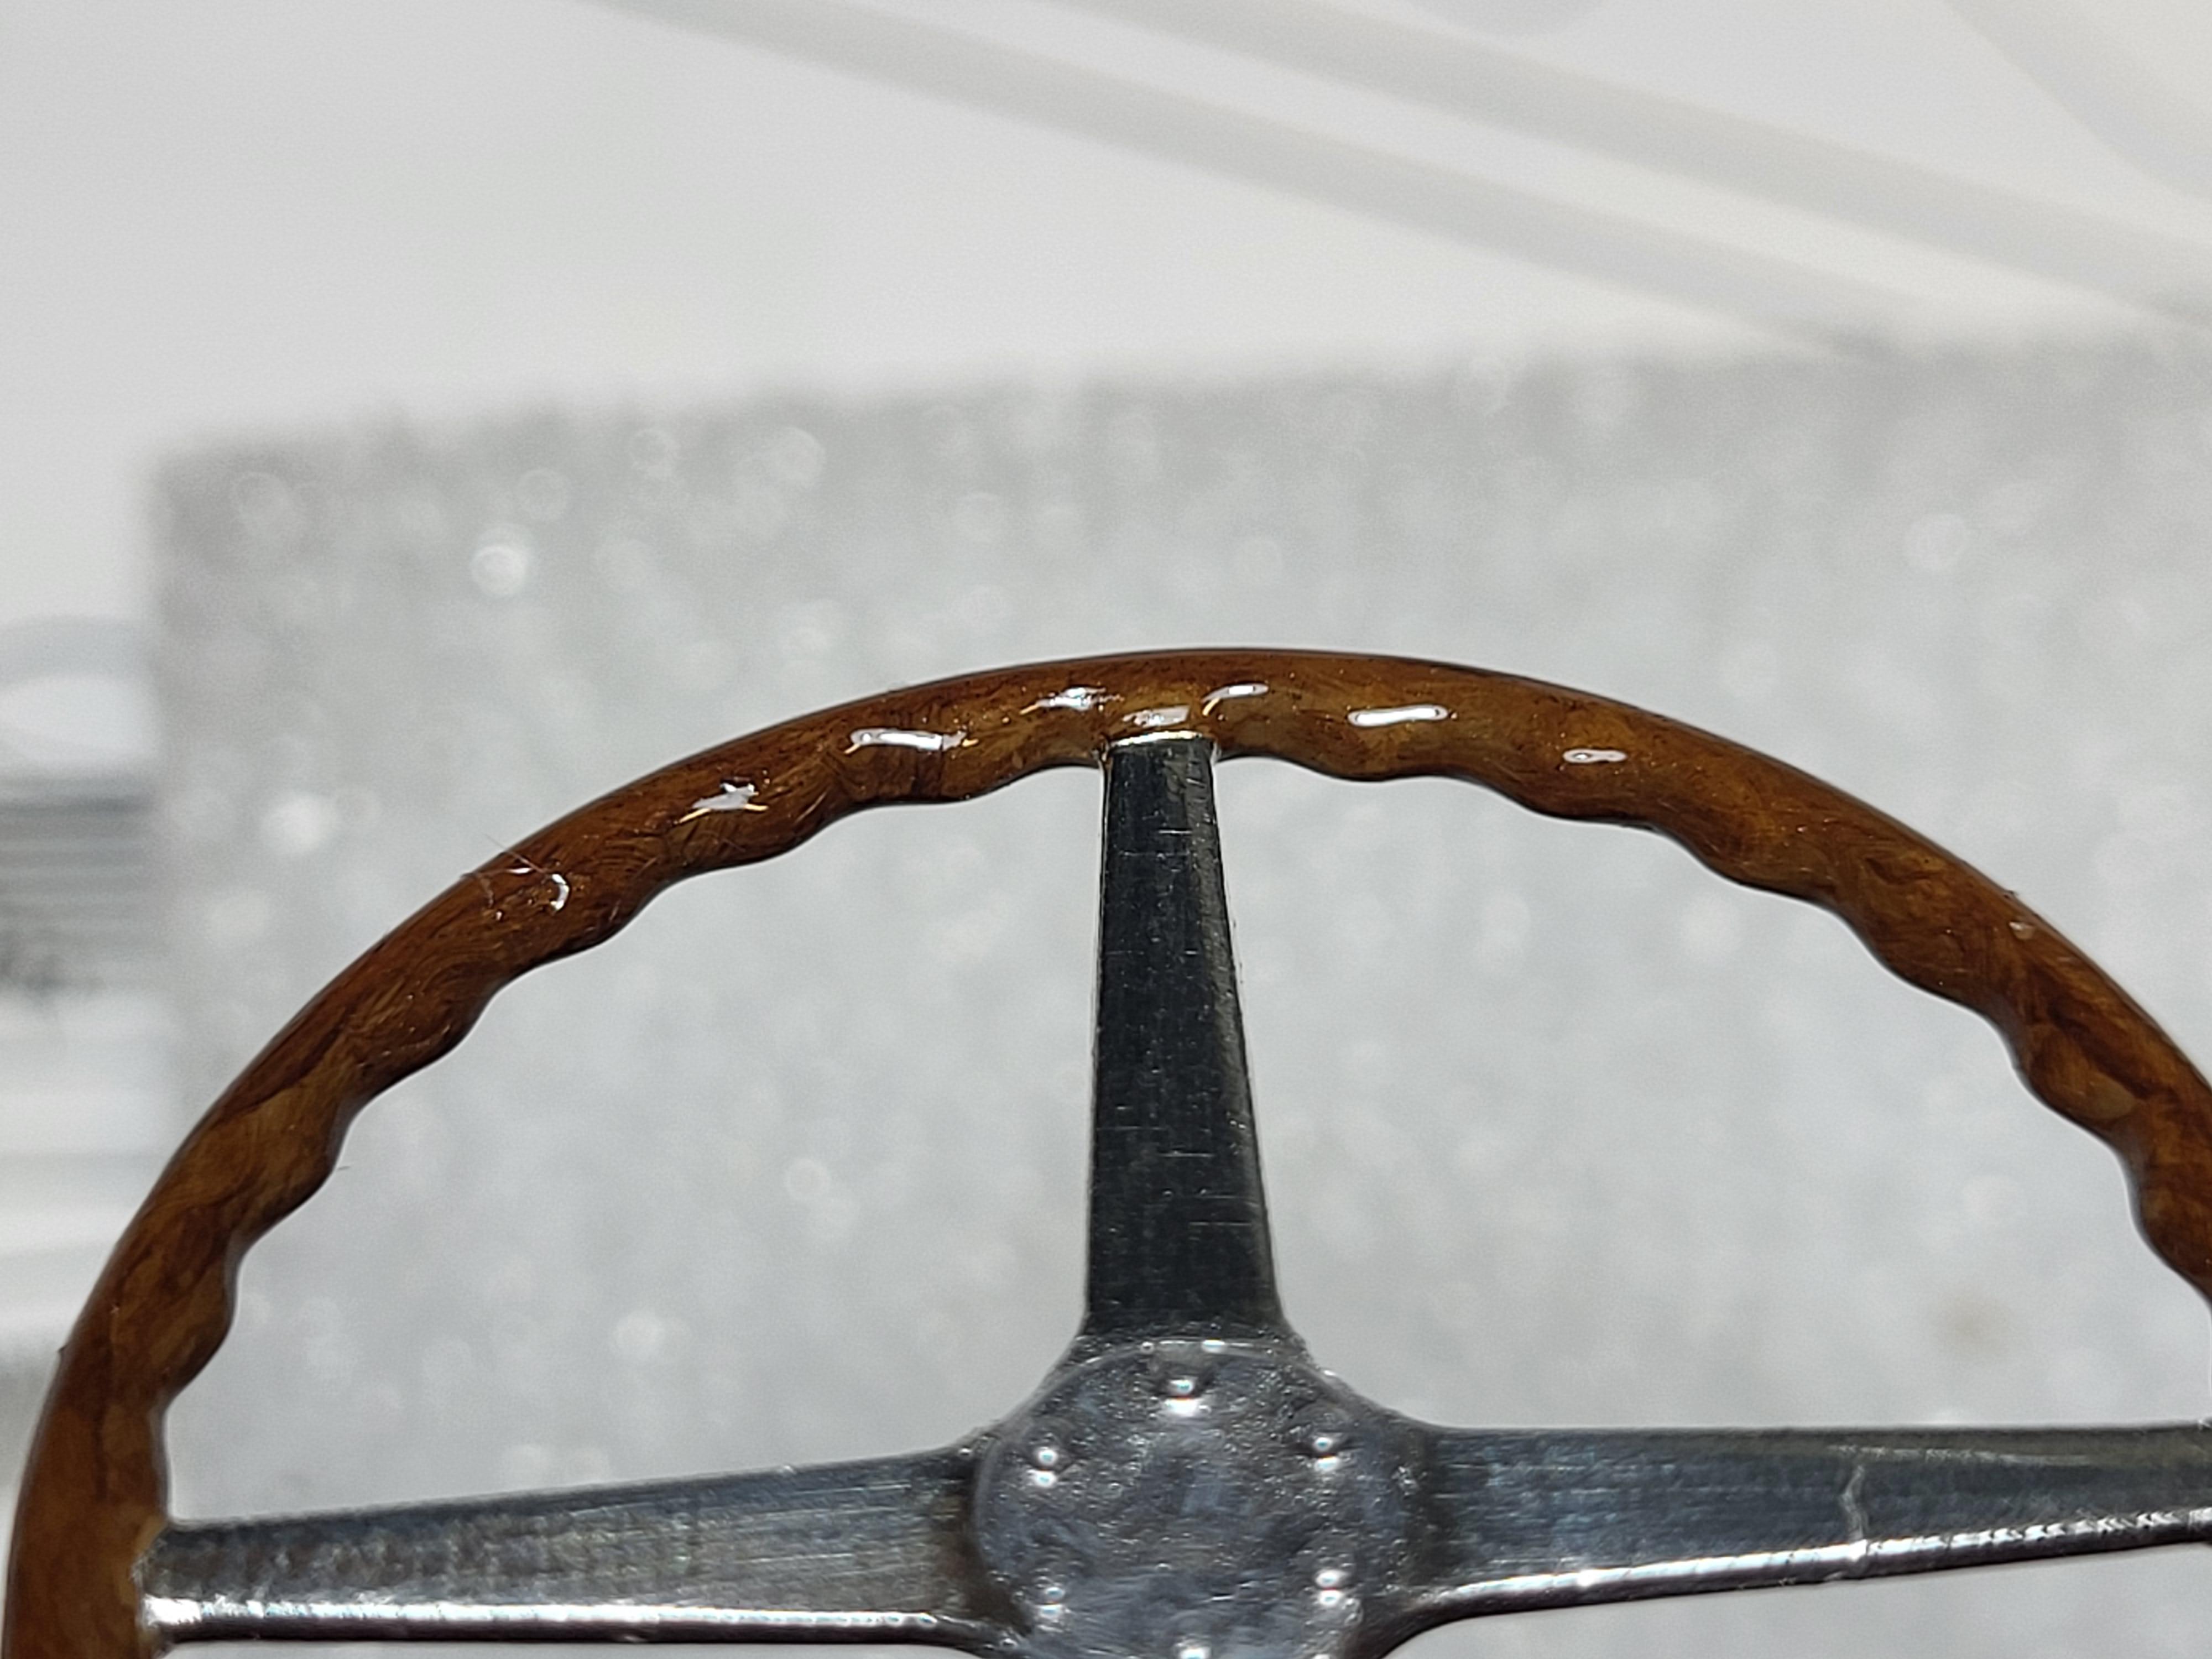
Hi. S**t happens 😞 When overspraying the main bodypart with clear I dropped it to the floor ! After I calmed down and the bodys varnish had cured I sanded it down and used fullprimer to fill in the small scratches.. didn´t work at all😞 So I put the part in brakefluid for a few hours, and then the paintjob started all over again. I have painted the steering wheel with artistspaint and then Humbrol clear, added some more nuts and screws on some parts. The seat has a got an old wallcovering with a leather surface. More later Thomas
-
Airfix Bentley Blower in 1/12
maysula replied to maysula's topic in Other Racing: Road Racing, Salt Flat Racers
Thanks Pierre ! I´m glad you like them 🙂 -
Found him 🙂 Waiting for answer now
-
Hejsan 🙂 Have no studtires, I´ll contact him ! thanks 🙂
-
Hi. You can use styrene sheet instead, I had that in my mind but I pressed the etched panel a few times to the floor and finally I thought it looked ok. I added a footrest to the left on the drivers side, not provided in the kit as you know.