Byron5150
-
Posts
388 -
Joined
-
Last visited
Content Type
Profiles
Forums
Events
Gallery
Everything posted by Byron5150
-

Simple model car display base. (1/24 or 1/25th scale) HOW TO
Byron5150 replied to Byron5150's topic in WIP: Dioramas
Thanks man, and thanks for the compliment on my diorama! Why thank you so much for the kind comment!!! -
Thanks man
-
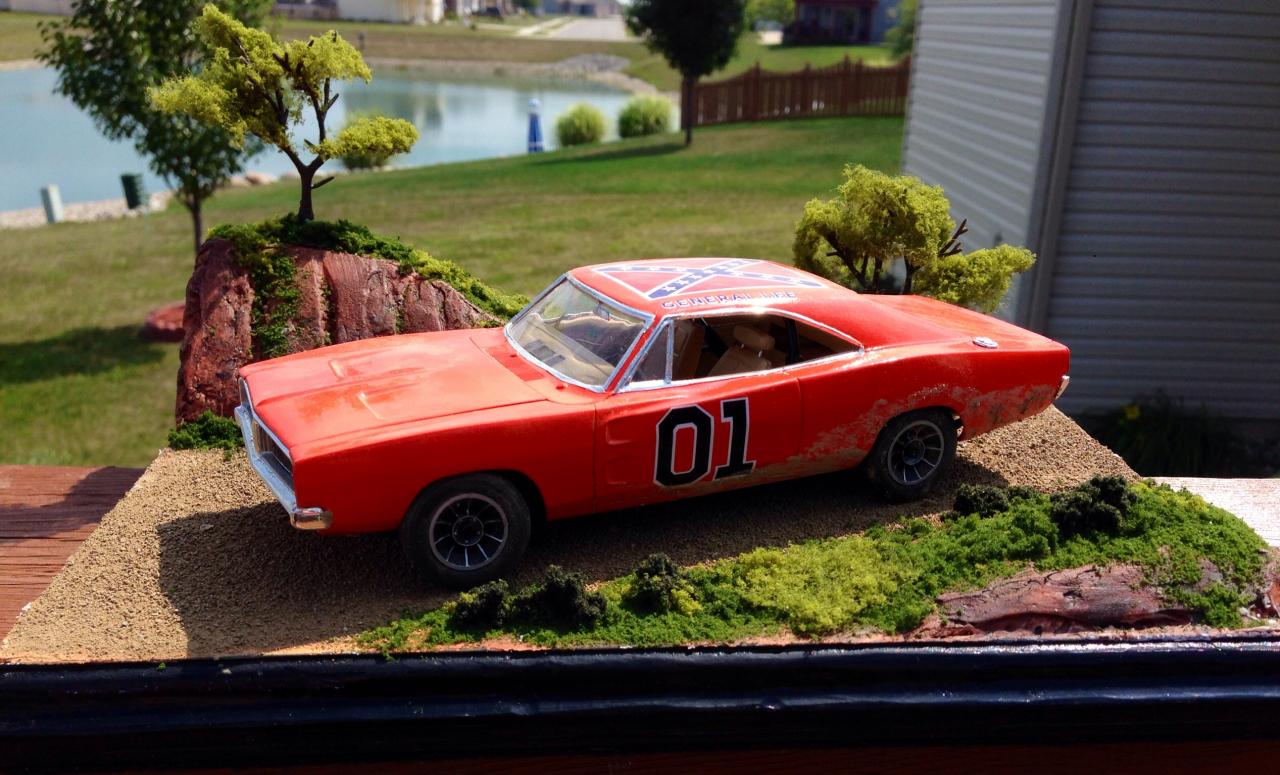
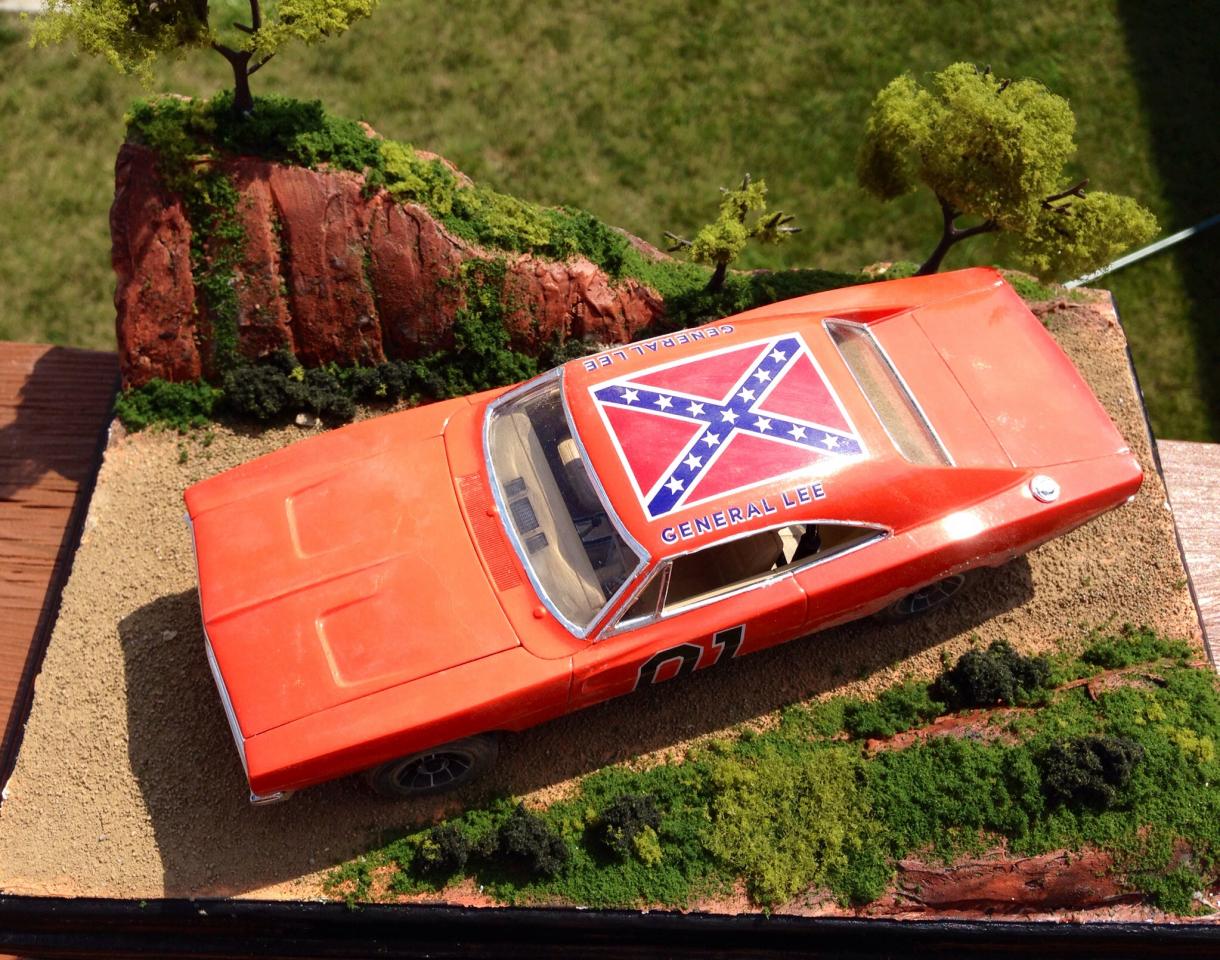
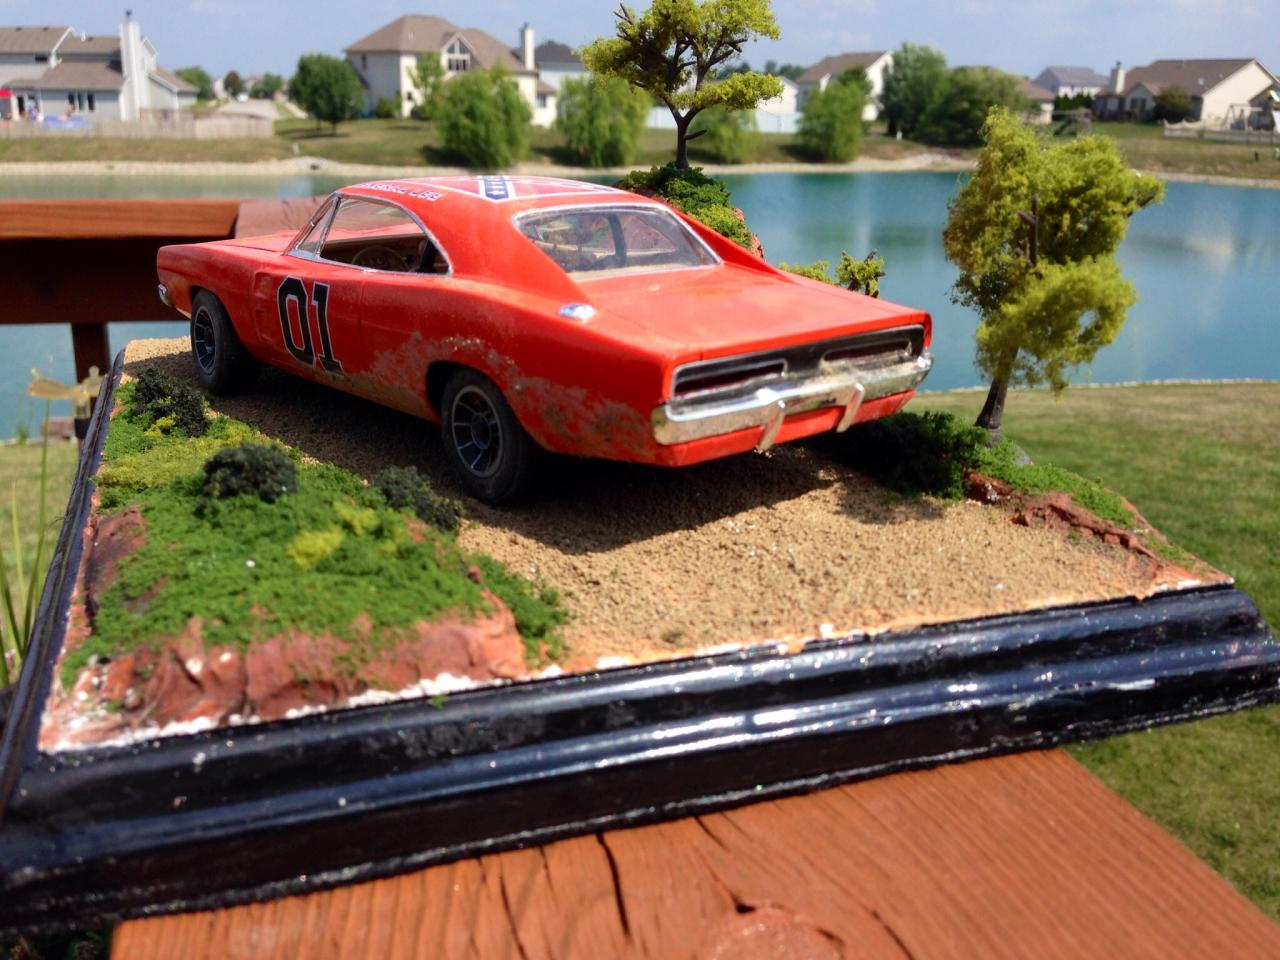
Here's the charger slightly weathered. For a diorama I built specifically for this car. The trees are a little small but it's the only ones they had at my hobby store. I think I may make the push bar out of a pop can.

-
Revell's Original Mini Cooper Final Assembly
Byron5150 replied to microwheel's topic in WIP: Model Cars
this is turning out great, I'm very enthused about the building process -
nice work
-
this is looking real nice great job on the body
-
Henry J Twin Turbo - Didn't see that coming..........
Byron5150 replied to Codi's topic in WIP: Drag Racing Models
wow im speechless on the detail of that engine -
Simple model car display base. (1/24 or 1/25th scale) HOW TO
Byron5150 replied to Byron5150's topic in WIP: Dioramas
Alright I will say this is my first time doing a diorama to this extent. But the how to was mainly for and idea for a base. Step 6 Add your grass and trees, bushes etc. Give it one last coat of scenic cement. Step 7 Remove the tape surrounding the colored base and using contact cement apply some form of carpet to the bottom. I used black automotive speaker carpet. So now if it's on your table or at a show, the bottom won't scratch anything. Step 8 weather your car or project (optional) And also optional you can glue it to the diorama . Thanks for watching and hope this helps.
-
This looks amazing!! Great job on the pumps and doors!!
-
Simple model car display base. (1/24 or 1/25th scale) HOW TO
Byron5150 replied to Byron5150's topic in WIP: Dioramas
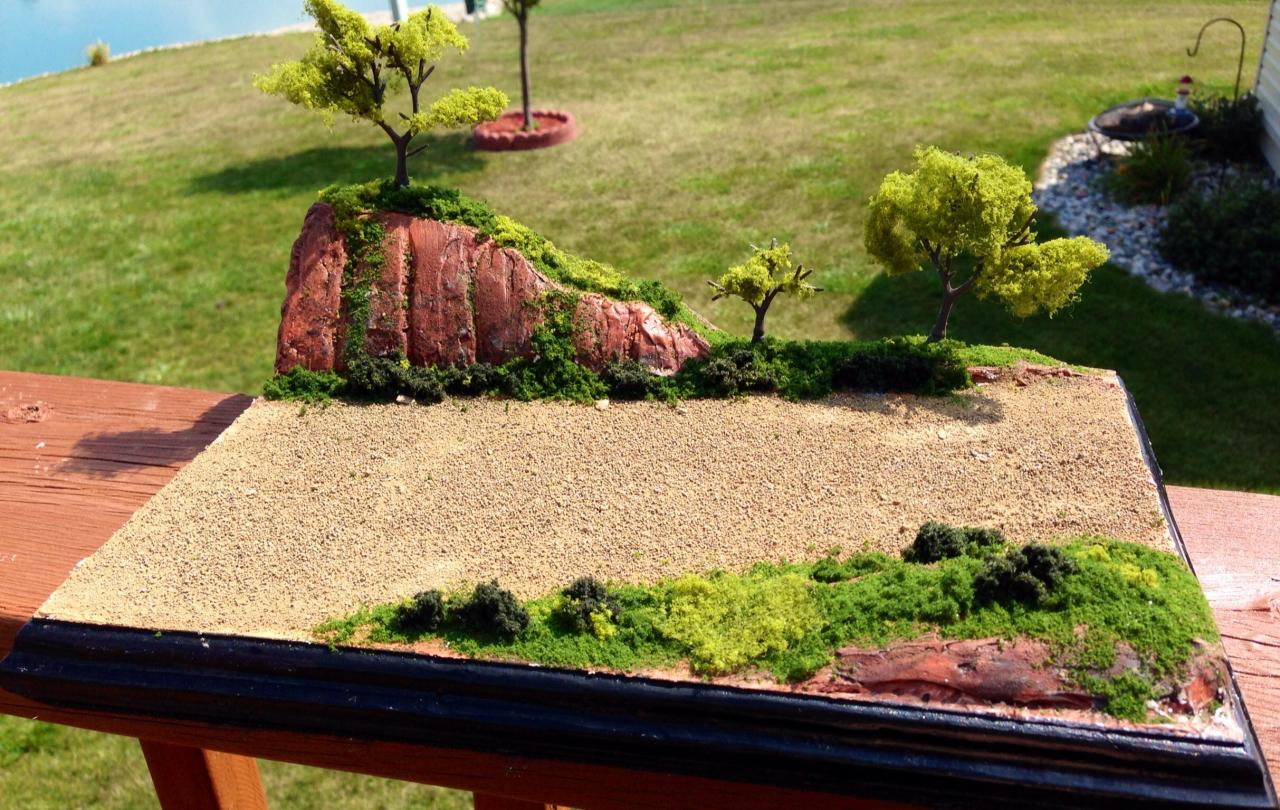
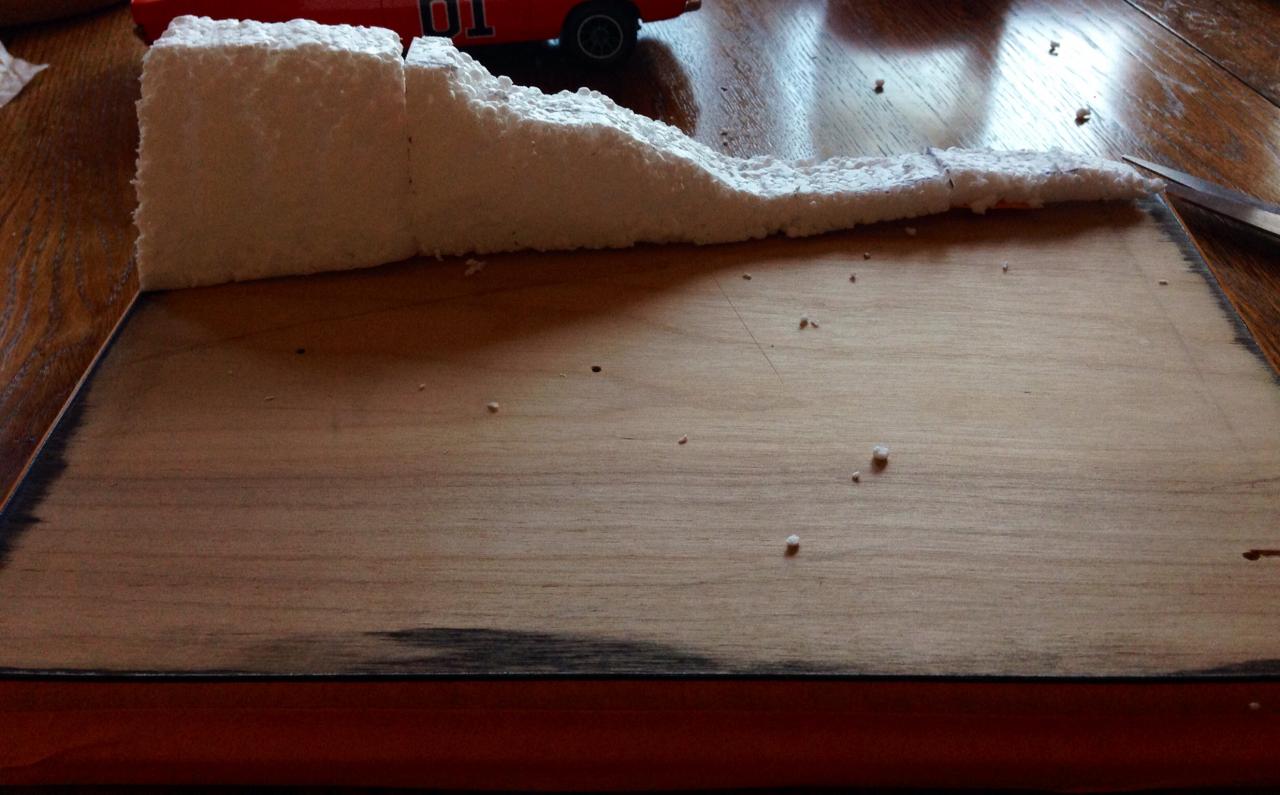
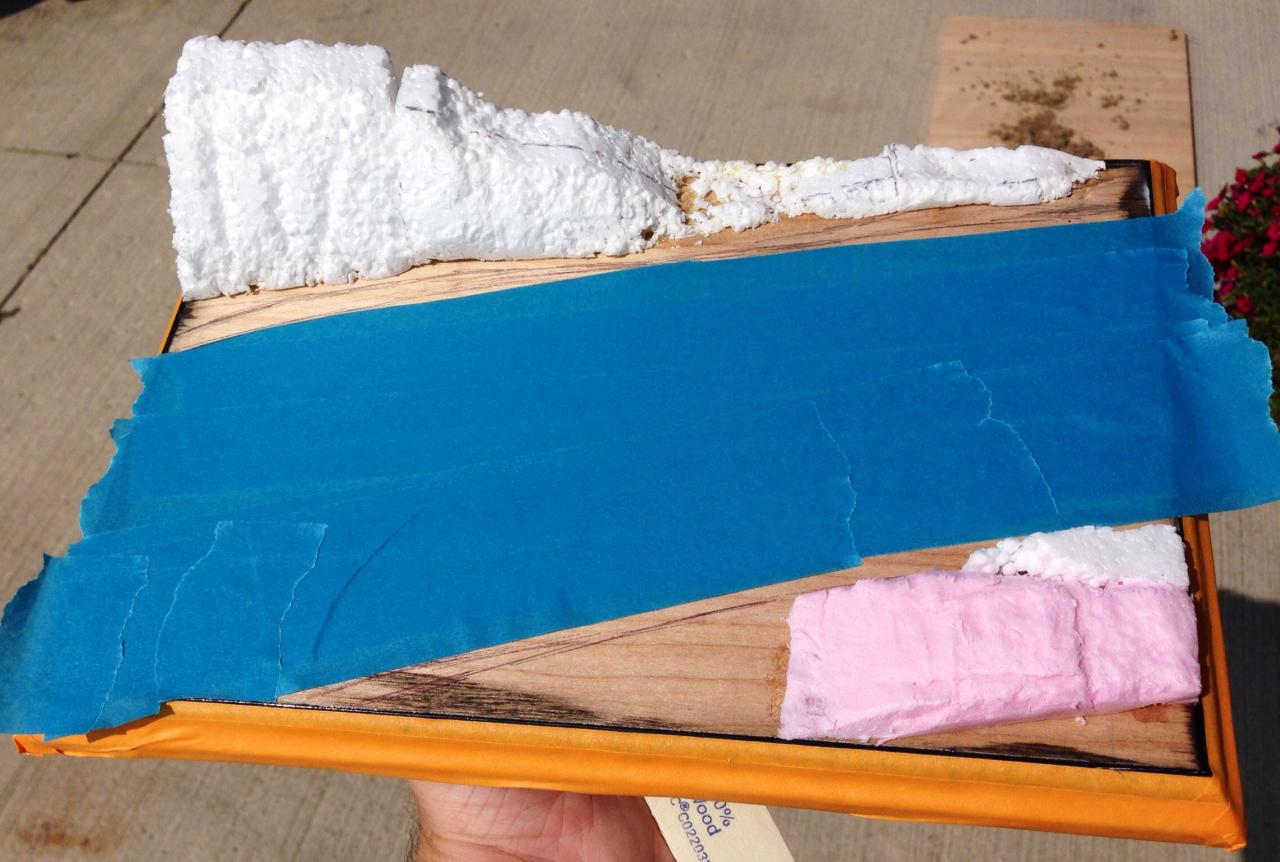
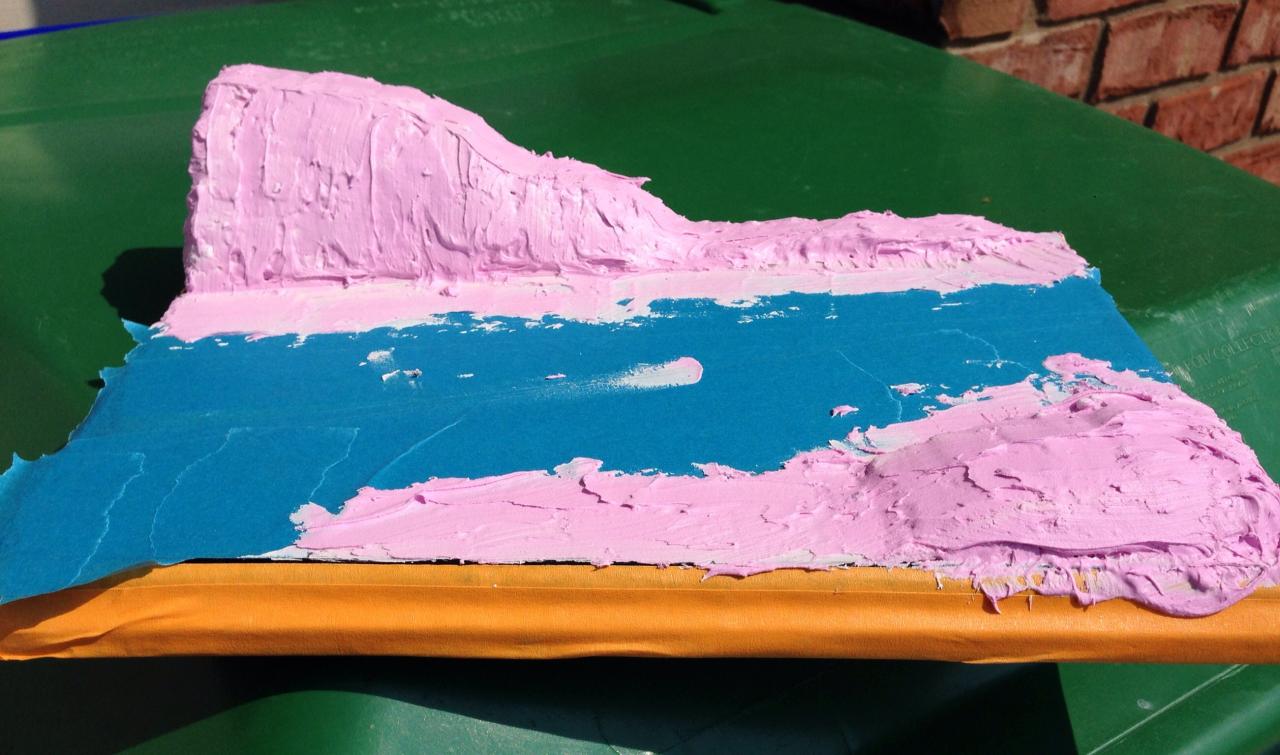
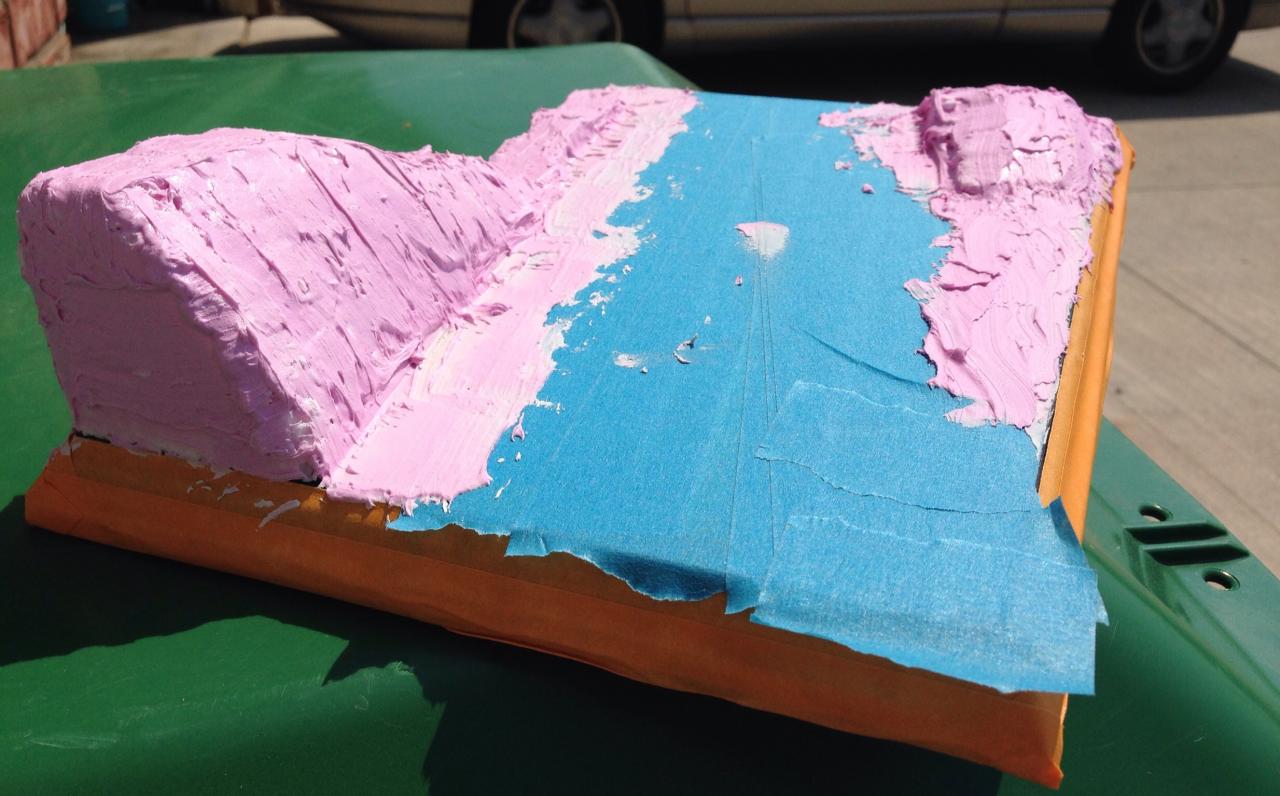
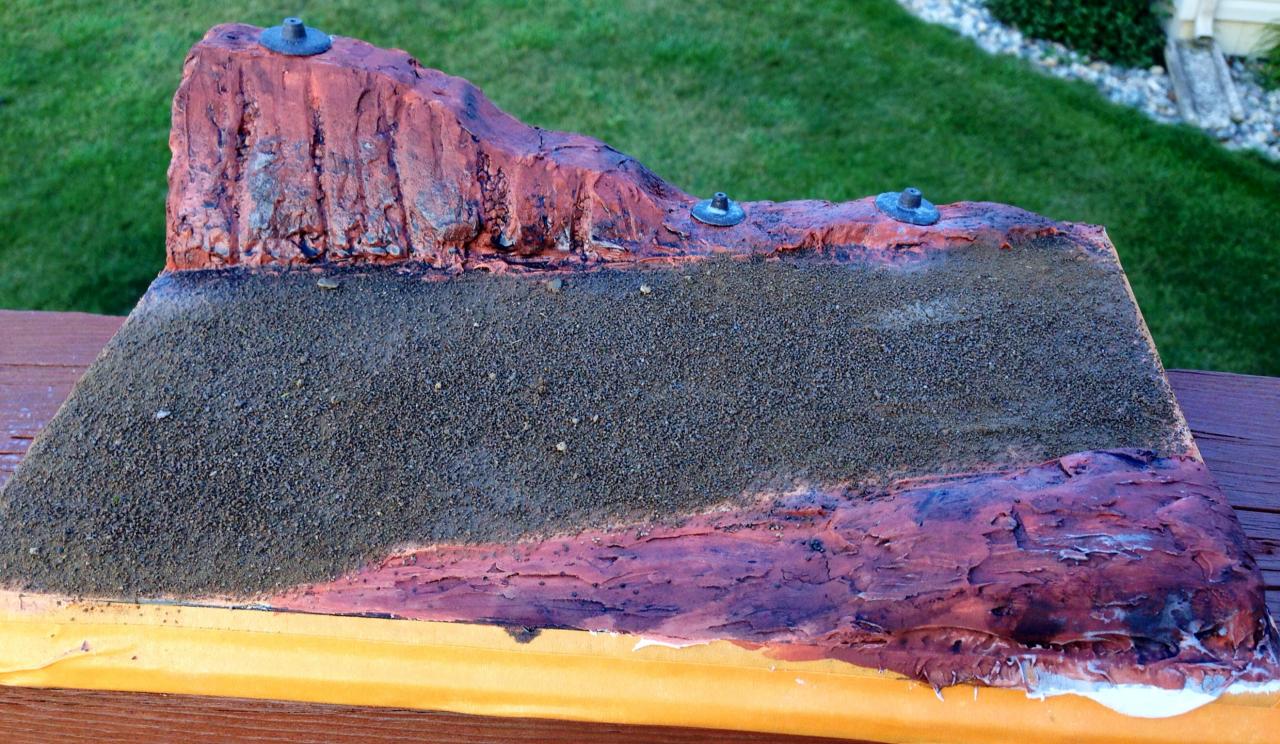
Step 4 Draw a basic layout of your design based on your imagination and the size of your work piece. Step 5 Starting the diorama using foam or styrofoam or any plaster style molding things for different kinds of elevation. Plaster everything including the flat surfaces unless doing a flat road or parking lot of sorts. After that dries paint to your desired effect, add a black wash to add some depth for rock terrains. Using scenic cement or watered down craft glue. I bruished on where I wanted the dirt. Applied real dirt that was baked to get the moisture out and to kill any organisms. Also the dirt was sifted through a mesh. To the desired scale. After you have it layed spray scenics cement over the surface to hold it in place. I used woodland scenics glue. Real dirt. And various acrylic colors of varies brands mixed at a 1-1 ratio with water. And the black was mixed at roughly a 15-1 ratio (paint/water) Allow the paint to fully dry before the black wash as the water can remove the other paint. I used foam brushes. Btw I used a dry wall filler/ putty that goes on pink and dries white. I wouldn't recommend this because it easily cracks and doesn't dry rock hard through out. I would recommend a craft style plaster. Stay tuned
-
looking good!
-
Simple model car display base. (1/24 or 1/25th scale) HOW TO
Byron5150 replied to Byron5150's topic in WIP: Dioramas
Thanks man!! I will give a hint I'm building this for my recent general lee build if u guys have seen it. But it can apply for any build any model etc -
Wow thanks for the amazing words man. I really appreciate it, I've spent a lot of time and hours into just the bay. And it's nice to hear you and others enjoy it. Byron,
-
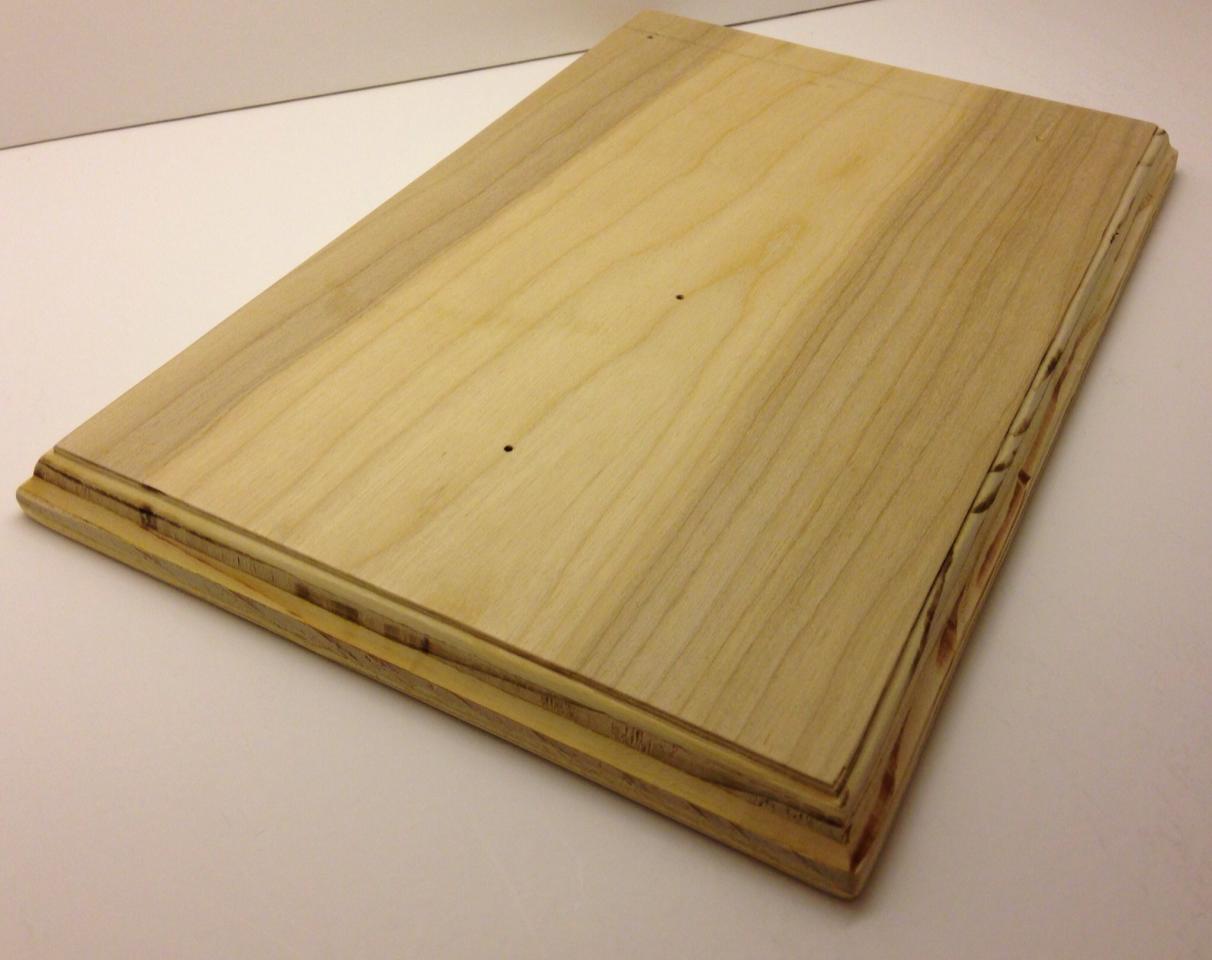
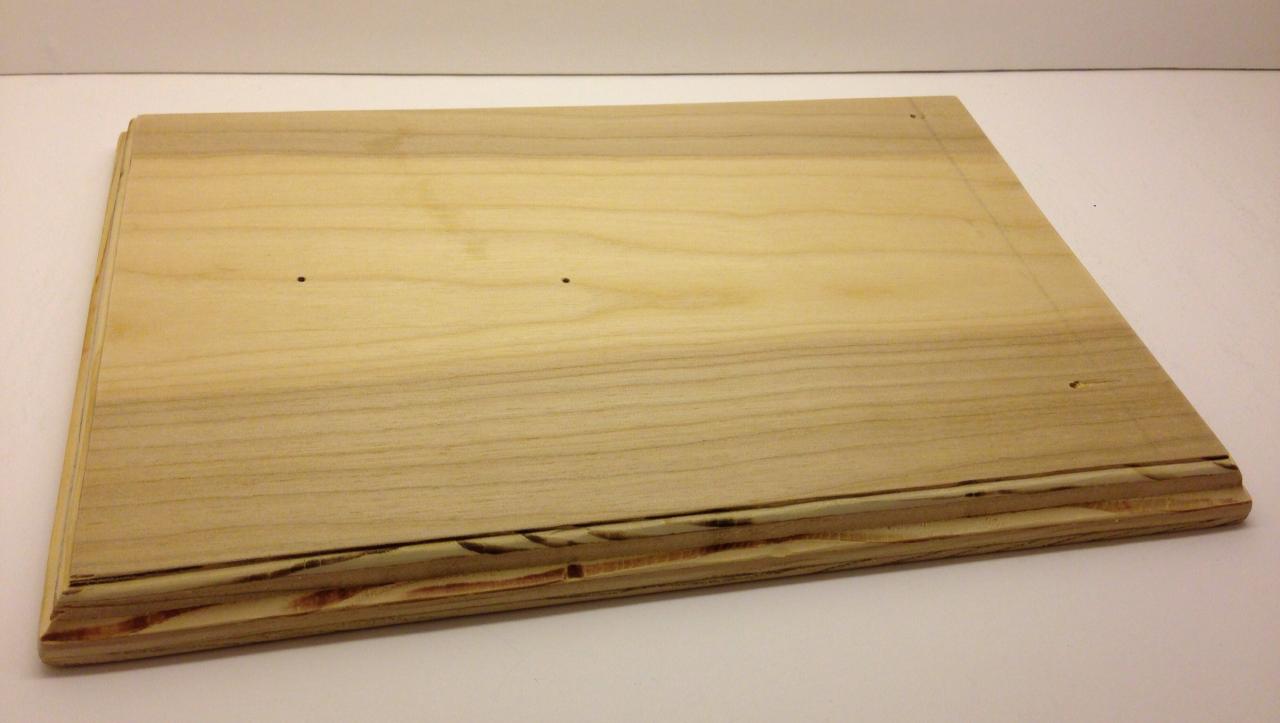
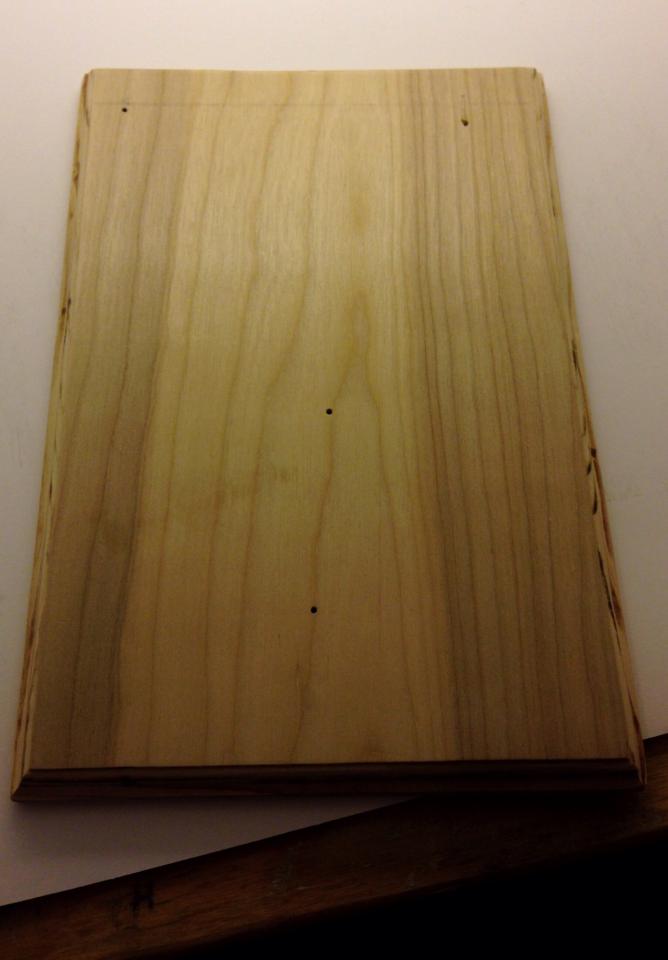
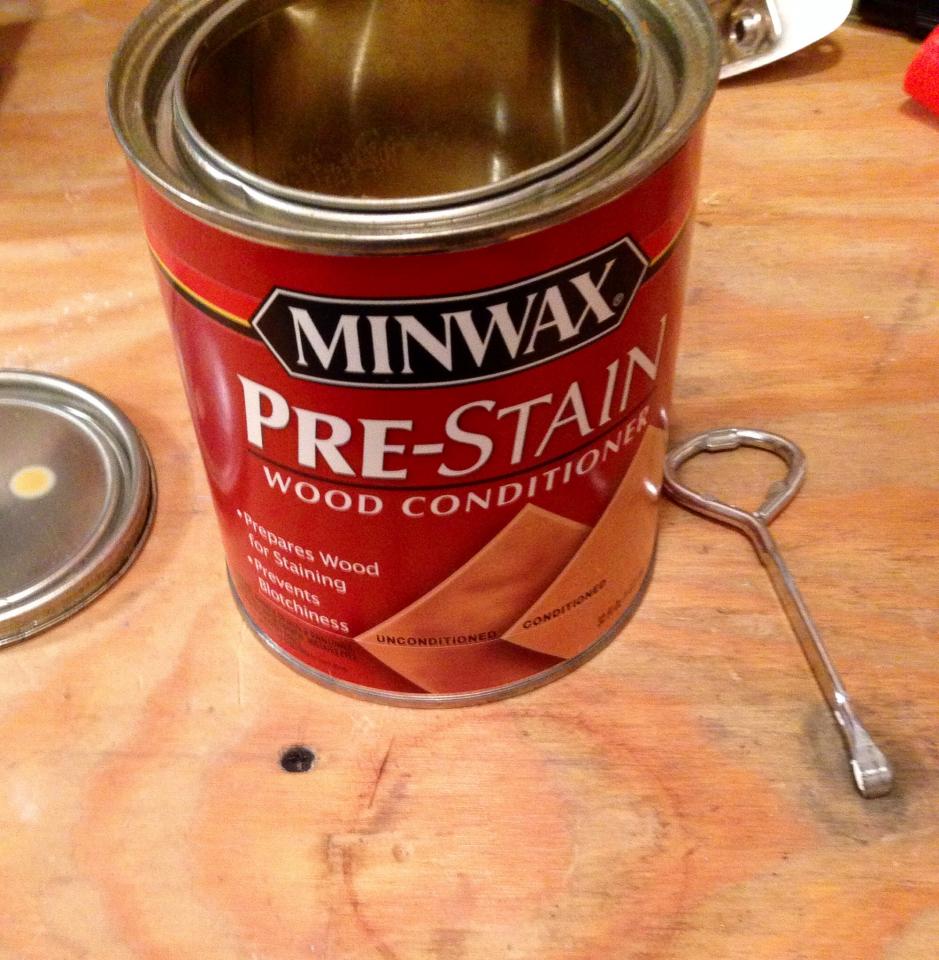
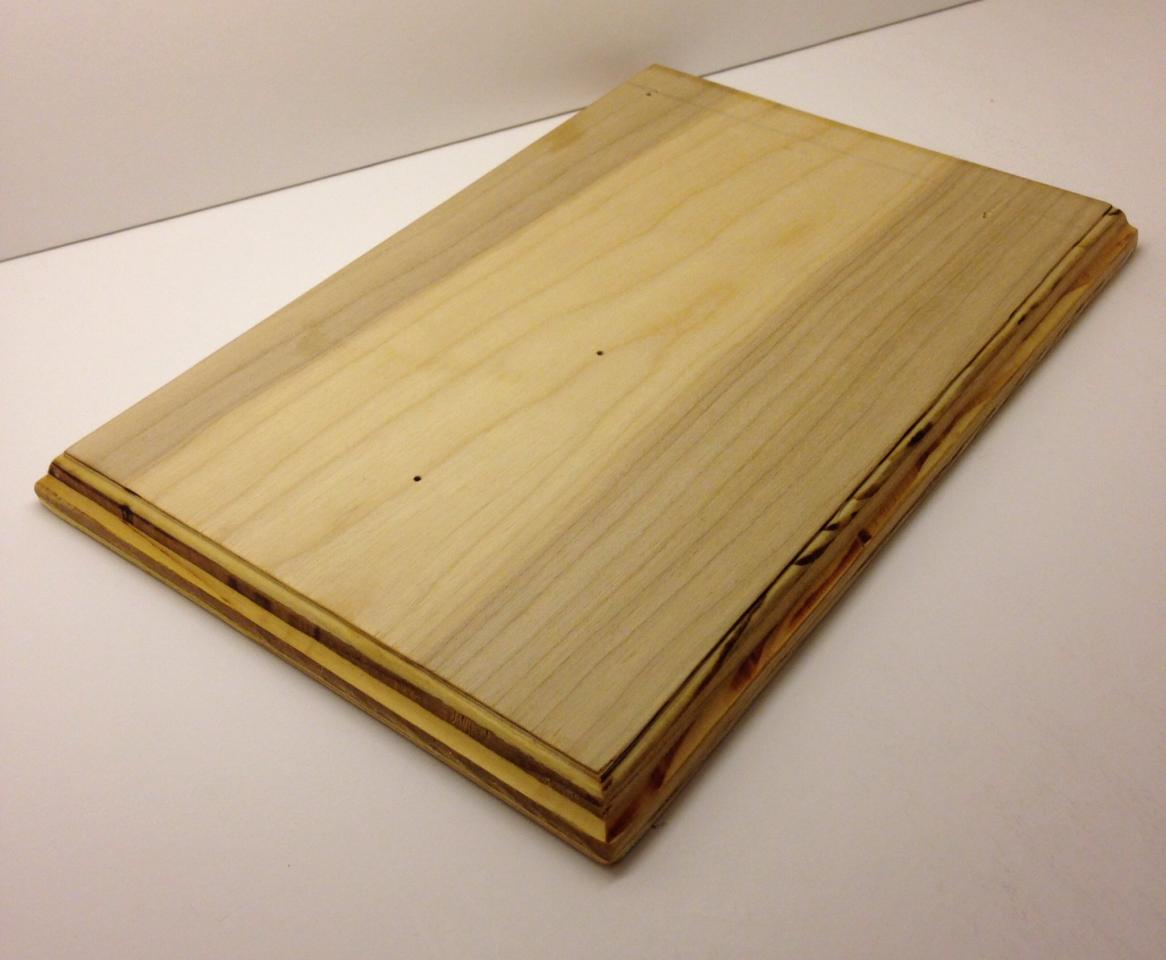
Hey guys just wanted to do a small how to as well as show the process of my show base. This can be made as a diorama base or a nice stained wood base. Materials: 1 2'x2' of 5/8" or 1/2" plywood, birch, mahagony, pine, anything good for staining. 2. Stain and pre conditioning stain ( optional) 3. Router and bits (optional) 4. Obviously a saw or something to cut your wood with. 5. Masking tape, (optional see later) 6. Diorama materials (optional) 7. Double sided tape or nails and wood filler if you choose. 8. If you don't want to stain the trim then you can paint it, if so you will need primer and color of choice. 9. Sandpaper 100 grit & 220 grit. Step 1 The base here is 20cm by 30cm. Start out by cutting to your desired size. If you have a square handy, it's always a good idea to double check and make sure everything is nice an squared. I agreed with this size because I can easily put it on a shelf if I choose or if you do model car shows, it's a decent but affective size to display your model car. Or if you have something that's not a car you can make it to size for that as well. But this how to is for cars specifically 1/24 & 1/25th scale. Step 2 Once you get your board to the desired size, go ahead and rough sand it with 100 grit sandpaper. Along the cut marks, so there's no sharp points or splinter pieces. Using doubled sided tape or nails (which is what I used). Secure the board to a work bench or another piece of wood. Using the double sided tape or nails, secure it down. So it won't move around while your routing. One thing to note if use nails and you plan to have this base as a plain wood base. You may want to use only double sided tape, so the fill marks can't be seen through the paint or stain, that you'll be applying later. Once that's done, grab your router and rout the edges using the desired bevel that you prefer, and make sure it's a bearing bit. And run it along the sides of the board until your happy with the rout/ shape. After that's done sand everything down with100 grit, followed up with 220 grit sand paper. I corned the edges off on mine. This is what you should have by now. Step 3 Now it's time to determine if you want to spray paint, or stain the trim or the entire base. If you prefer to just have a wood base by itself. If you want to add a diorama into the base then only paint or stain the trim. I chose to stain mine. So I cleaned the base with some naphtha to remove any oil, dust or dirt. (You could use a lightly damped rag for this as well) Then proceed to apply your pre condition stain, to help aid in blotchiness of the stain. Follow the directions on the can of stain. Here's where we are now. Alright stay tuned for the other steps and thanks for looking Cheers & Happy modeling, Byron
-
Hi guys here's the last bit of electrical wiring I made this with very thin Kevlar wire then wrapped it with some Teflon tape and I painted it black. I just touched it up it looks like lumps But hey first time making a wire like that. I routed it my own way as well. I believe thise engine bay and it's wiring is done. Now I just have to drill a hole in the radiator support to put my hood prop rod. To allow for a movable hood prop rod. Now I just have to make the push bar . And she will be done. Sorry for the shaddow.
-
Thanks Carl Im working on the final wiring as we speak
-
Thanks dude Thanks man
-
Great progress keep up he good work
-
Haha right!! And thanks for the kind comment. I just wanted it to be somewhat accurate reality wise. It's definitely fun detailing but it makes the time of your model of being done even longer Thanks again man!
-
Thanks man!! I'd have to say for my first time doing this kind if work it's not to hard as long as you have the right mind set, patience, and a creative mind for resources and material. Thanks again guys.
-
Thanks man, like previously stated it's my first time going this detailed on a model car engine, and parts.
-
Very nice paint job!!
-
Looking good dude!
-
1/32 Gowland & Gowland hot rod conversion
Byron5150 replied to wkennerley's topic in WIP: Model Cars
This is gonna be sweet! -
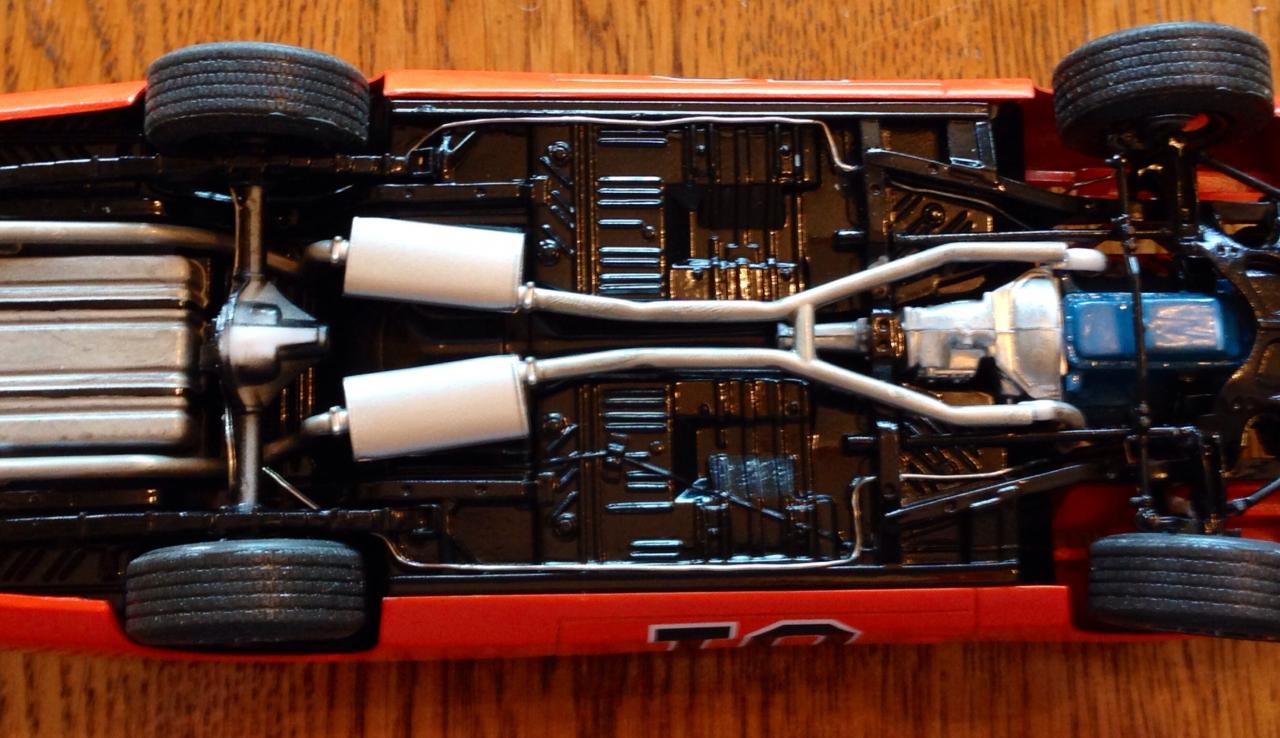
Got the brake lines installed. Fuel lines installed. Got the lines that go into the carburetor installed. All brake lines on the chassis are installed, may not be 100% stock accurate down there but I just sort of custom routed them. I used my trusty new pin vise to put holes where I needed them ( man I love this thing!! ) I used .22" rosin core 62/32/2 solder for fuel and brake lines. It looks pretty scaled to me and easy to CA and maneuverable. Just gotta paint a few things on the firewall , install the wiper motor and a few electrical cords. And the air cleaner hose and the engine work will be done. And of course some touch up painting under on the chassis and suspension. Cheers, Byron