-
Posts
880 -
Joined
-
Last visited
Content Type
Profiles
Forums
Events
Gallery
Posts posted by Plastheniker
-
-
Les, I already gave that info in my last but one post. The same info applies also to my most recent post today in the indicated topic. Today I circumvented the malfunction by posting my missing text as a JPG.
😀
-
-
For almost 4 weeks always the same malfunction. Can we expect any remedy, and if so, when?
-
Since January 20 it is still impossible to post more than 2 or 3 sentences. JPGs are no problem.
My latest attempt today:
Laptop HP Windows 11
Firefox
21:15 CET
Under Glass Cars
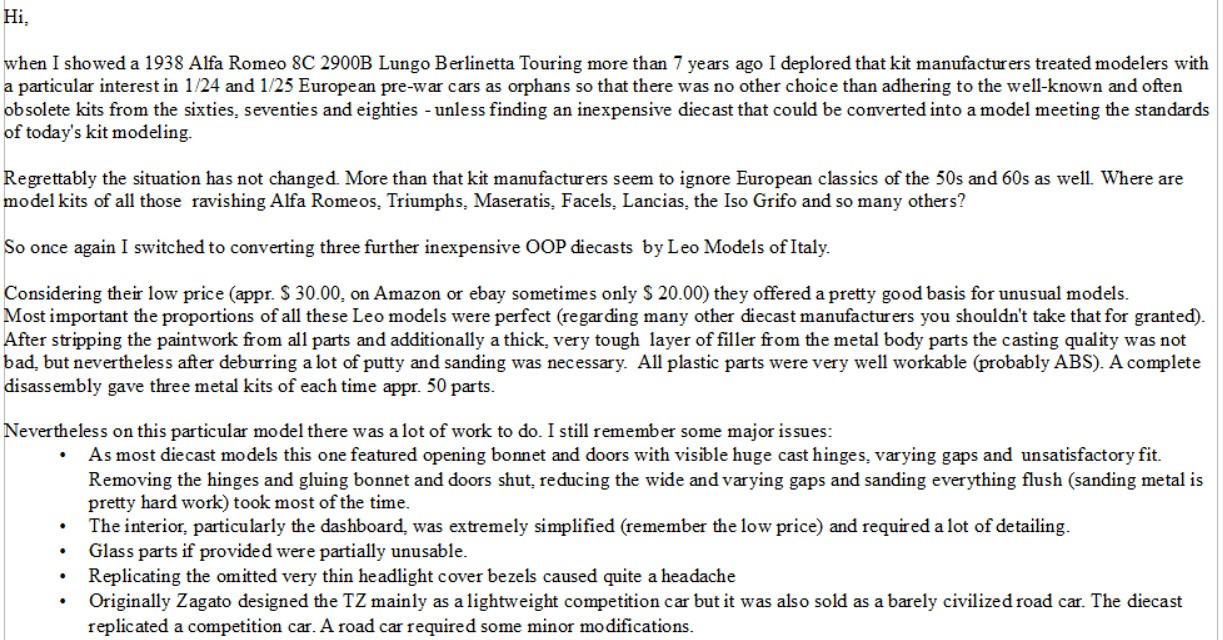
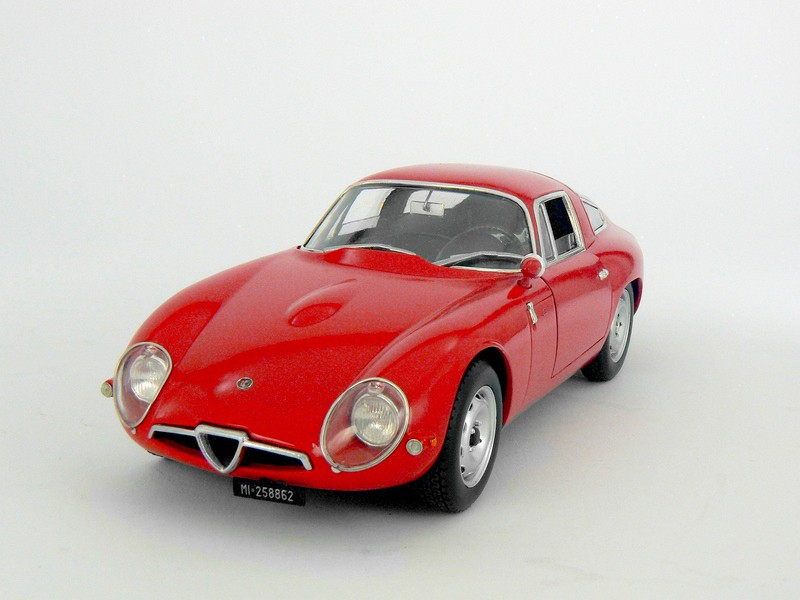
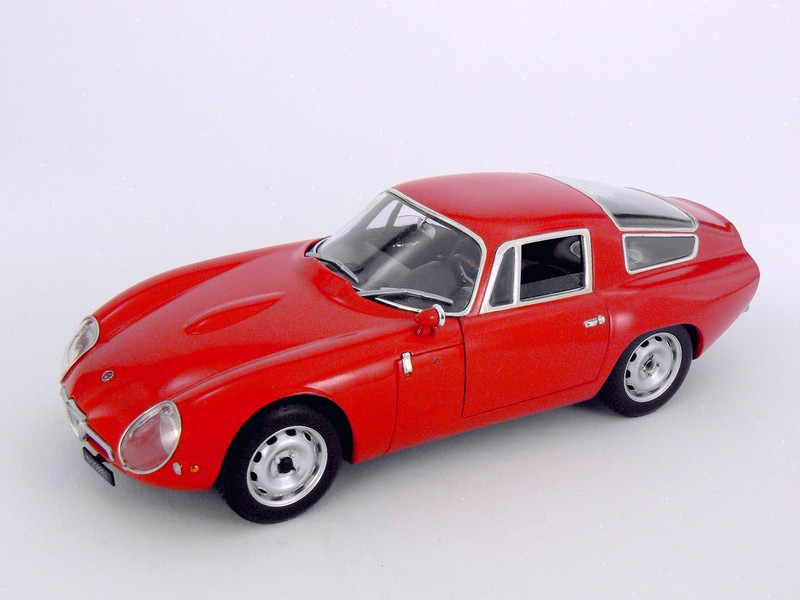
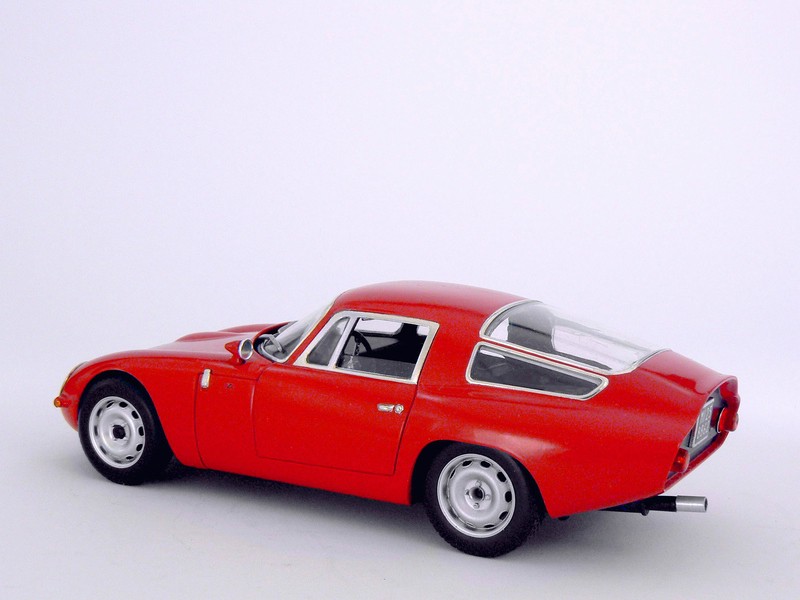
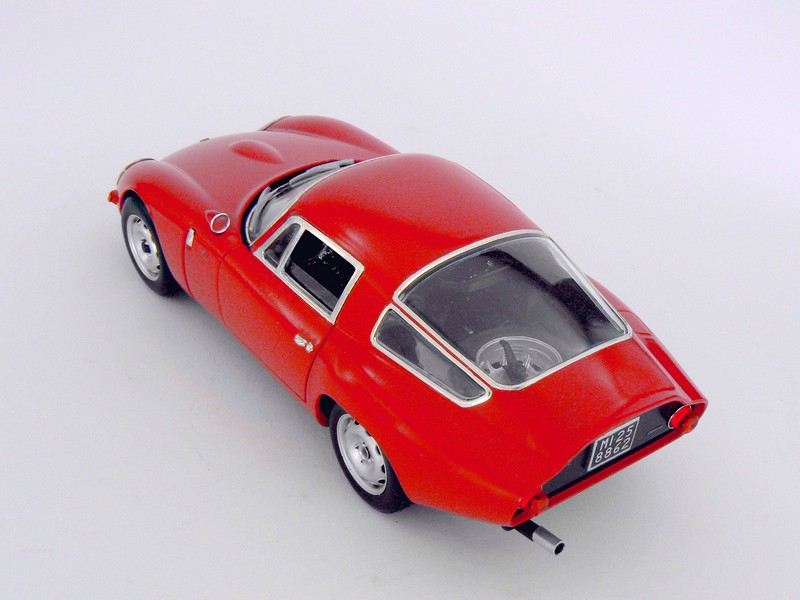
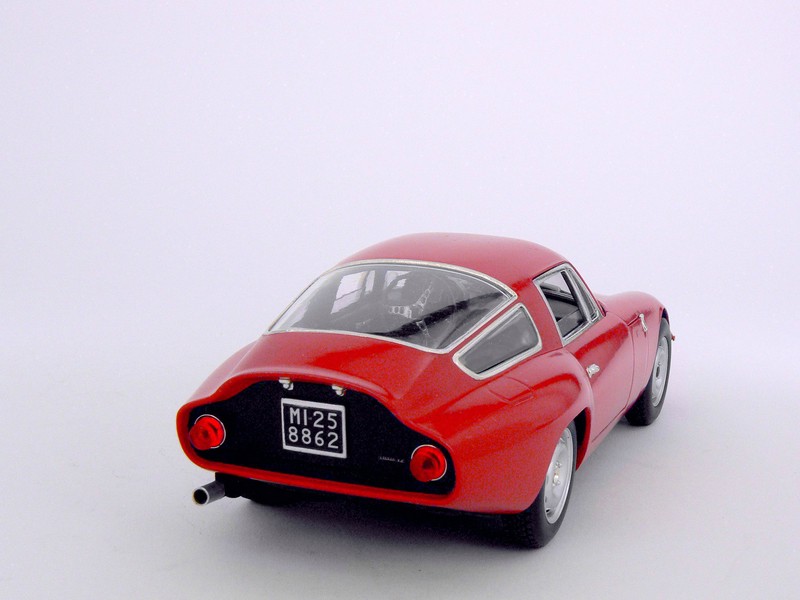
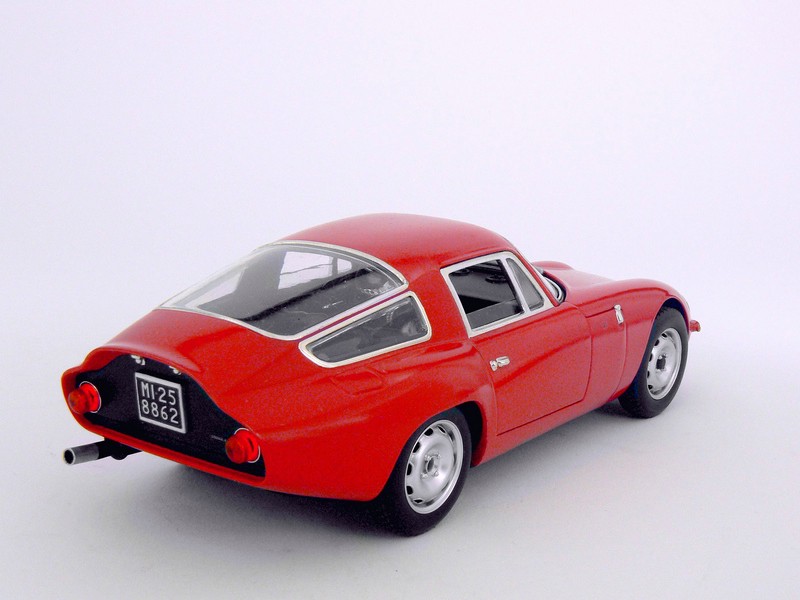
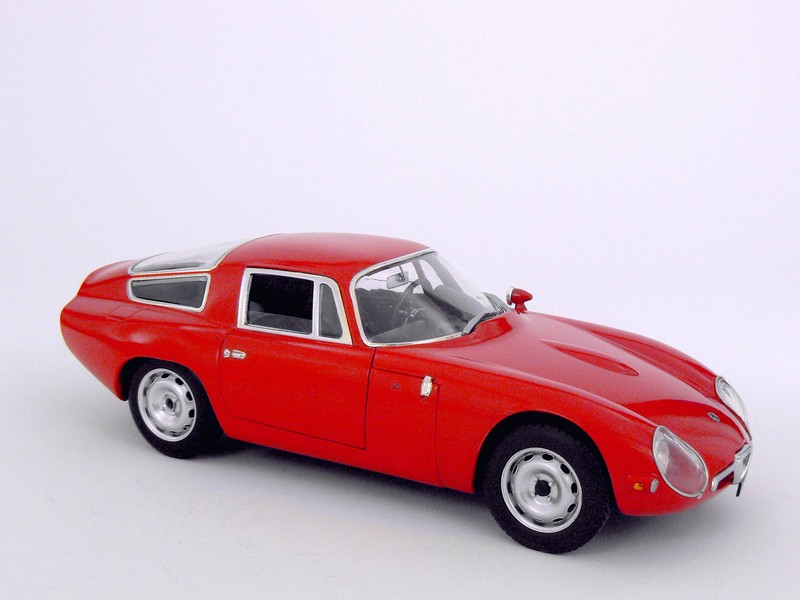
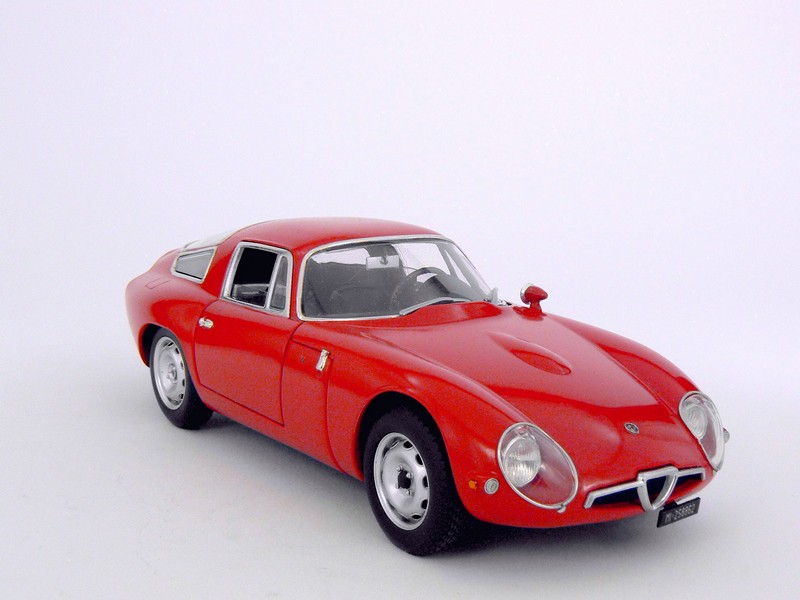
Attempted reply in topic "1963 Alfa Romeo Giulia Tubolare Zagato (“TZ“) Road Car"
-
After one week it is still impossible (see above) to post a longer text, no matter if thread or reply. Any information would be appreciated if this will be a permanent problem.
-
Posting any longer text is still impossible.
-
Unfortunately I am still unable to post my prepared text.due to the continuous forum malfunction.
I will keep on trying.
-
This might be the the solution:
If starting a new thread or a reply contains a longer text the malfunction will appear.
If you reduce your post to one or two sentences and (in my case) 9 pictures everything works.
-
 1
1
-
-
Sorry, posting a longer text as a reply seems to be impossible as well..
-
-
Another day but still the same malfunction.
This is possibly a general problem. There are almost no recent topics in the Under Glass/Cars subforum since Wednesday..
-
Typing first and copypasting is what I always do.
After one day it is still impossible to start a new topic.
-
I am trying to start a new topic for appr. 8 hours (Under Glass / Cars).
Everything works as usual until I click the Submit Topic button. Then the Oops! That page can#t be found ...appears.
Logging in and out several times doesn't help, switching to other browsers either..
-
Helmut, they all look grea! My personal favourites are the bizarre Ami 6 and the beautiful Cobra Coupe.
-
Weathering of most modelers looks overdone, but yours is absolutely realistic. Rust only on a few spots and the differently bleached paint are spot-on!
-
 1
1
-
-
-
All 14 are excellent, my personal favourite is probably the E-type.
-
 1
1
-
-
Thanks for the response!
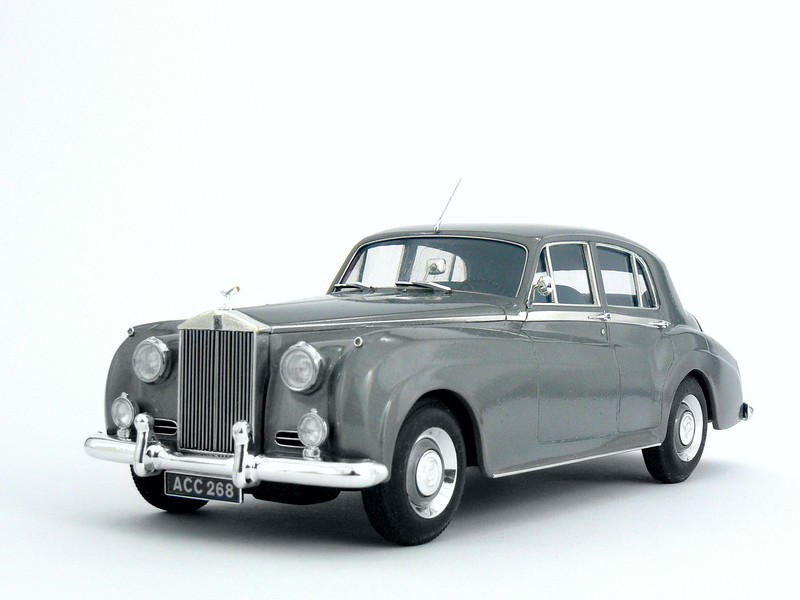
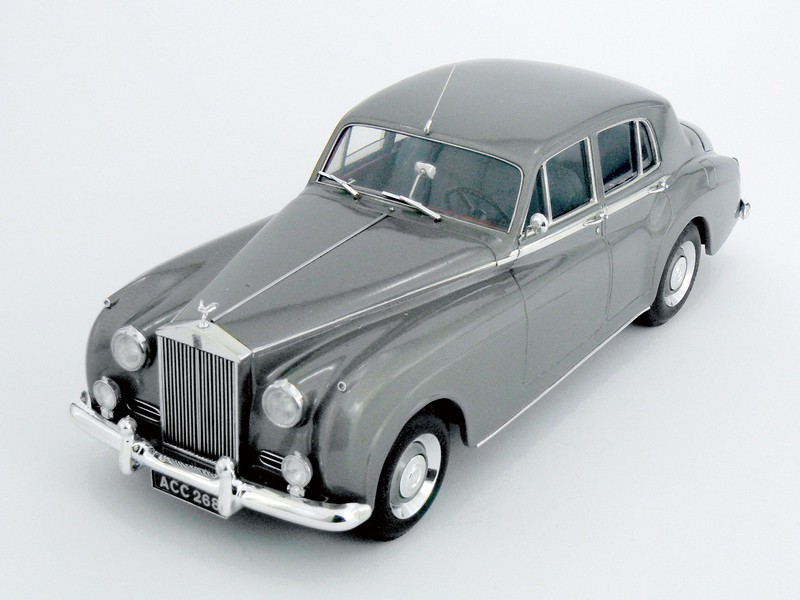
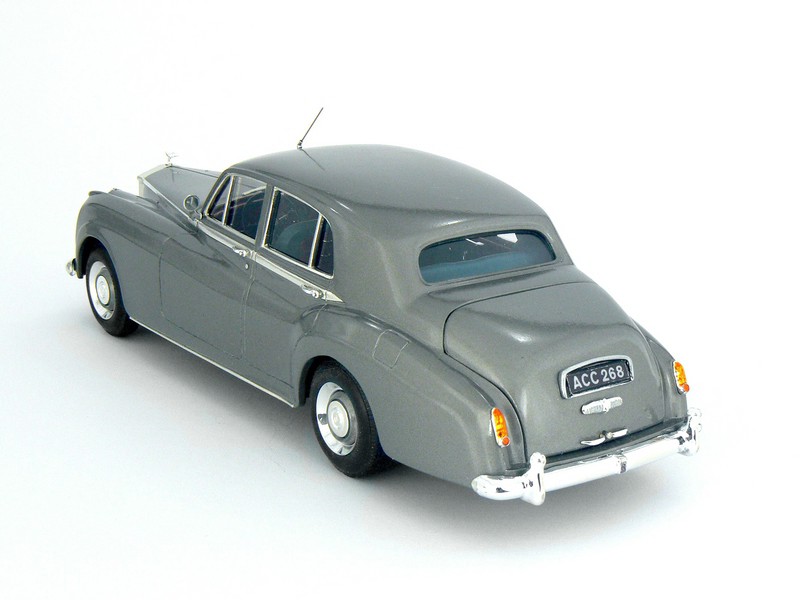
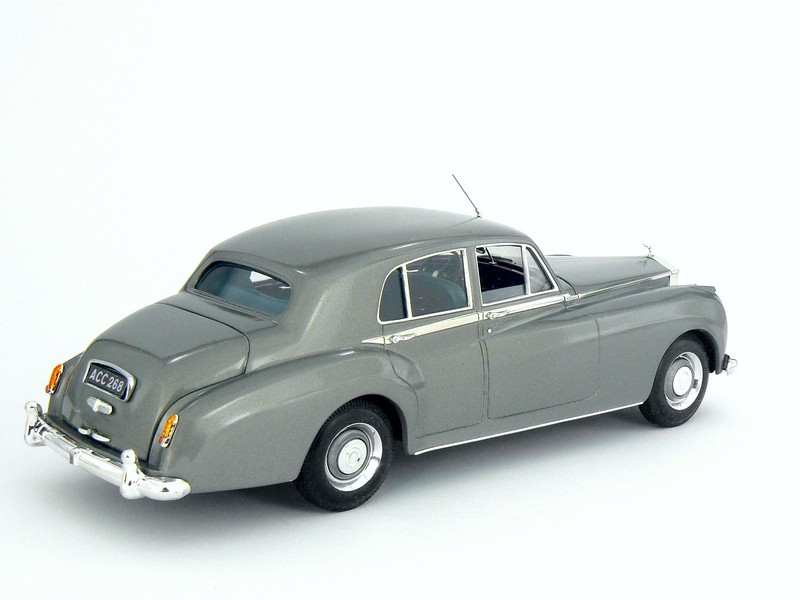
22 hours ago, Matt Bacon said:Oh my word! That’s the best built one of those I’ve ever seen or am likely to see. Though I think it’s more a fantastic model “inspired by” the kit rather than built from it… Well done indeed. I do find it odd that despite well over a century of being “the best cars in the world”, as far as I’m aware that kit and the SE Finecast Silver Ghost are the only 1/24 Rolls Royce kits (unless you count the very fine rendition of the Merlin in Airfix’s Spitfire, Hurricane and Mustang superkits…)
best,
M.
Not forgetting two rather simple Phantom kits by Mongram from the sixties(?) and the excellent but inexpensive Phantom II (Maharaja's delight) that seems to be still available.
20 hours ago, lordairgtar said:You made yours very well. How did you deal with the under hood blob of an engine? I looked everywhere for a 3D print of the proper engine but no luck. I have decided to make better head lights too. Yours look great. For a better body, locate the first issue of this under the Hubley brand. Molded in light blue and seem a tiny bit crisper. The later ones seemed to be very misaligned at the front edge of the door and it's transition to the hood atrea. I will probably rob one of my early Monogram kits for the Spirit Of Ecstasy ornament as those are closer to scale. I lengthened my body 1/4 inch in the middle of the rear doors to create the long wheelbase version and redoing the glass trim as the rear doors of the long version have wing windows at the rear of the rear doors.
Mostly I build my models curbside with bonnets glued shut because I want them fit and sit as perfectly as possible. Therefore the ridiculous one-piece engine of the Minicraft kit was no problem for me. I am sure that I drilled out the kit fog lamps, but I can't remember if I drilled out the headlights, too, or if if I replaced them. I took the mascot from Italeri's Phantom II kit.
-
All twelve look great! My favourites are probably the Esprit and (hard to believe it is a 1/43 model) the DB 5.
-
 1
1
-
-
Perfect work, the paintwork looks spectacular!
-
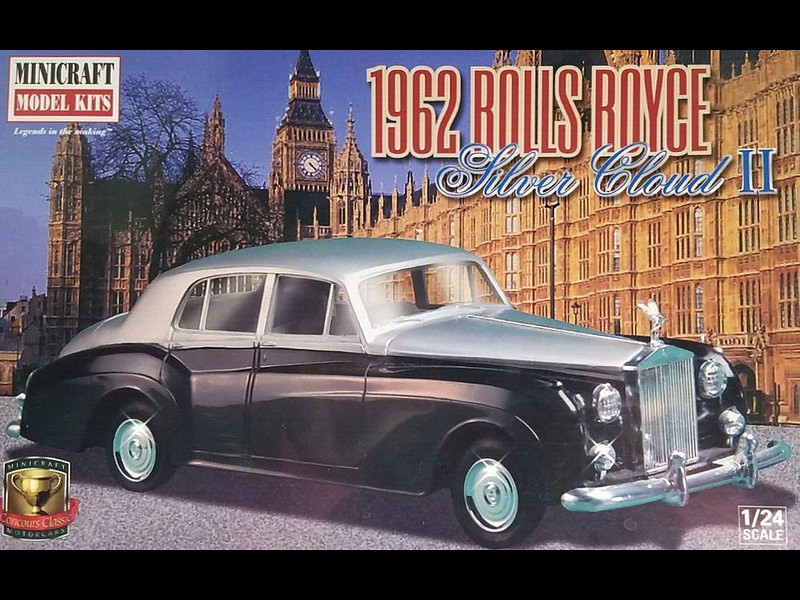
The good about this kit is that all dimensions of the body are correct and that the present kit manufacturer is honest enough to show a photograph of the model on the box cover (even if it is obviously retouched.).
The rest is disastrous even if you consider that the kit dates back to 1960. After more than 60 years of modeling this was one of the crudest kits I have ever encountered.
-
Already the box cover showed two striking shortcomings: the wheels were way too small (rather 1/32), in contrast the radiator mascot was way too big (appr. 1/16). Built with the kit wheels the model would resemble a dachshund – a long body on very short legs.
-
Casting quality was terrible. F.e. the lateral chrome mouldings disappeared completely on both sides near the windscreen, and I had to make a new radiator mask because the kit part had numberless surface irregularities.
-
Calling fit poor would be euphemistic. There were huge and varying gaps between the main body part and the two halves of the bonnet as well as the boot lid. Fortunately there were no opening doors, rescribing all door gaps was sufficient. The shape of the wheel wells had not much to do with the shape of the fenders.
-
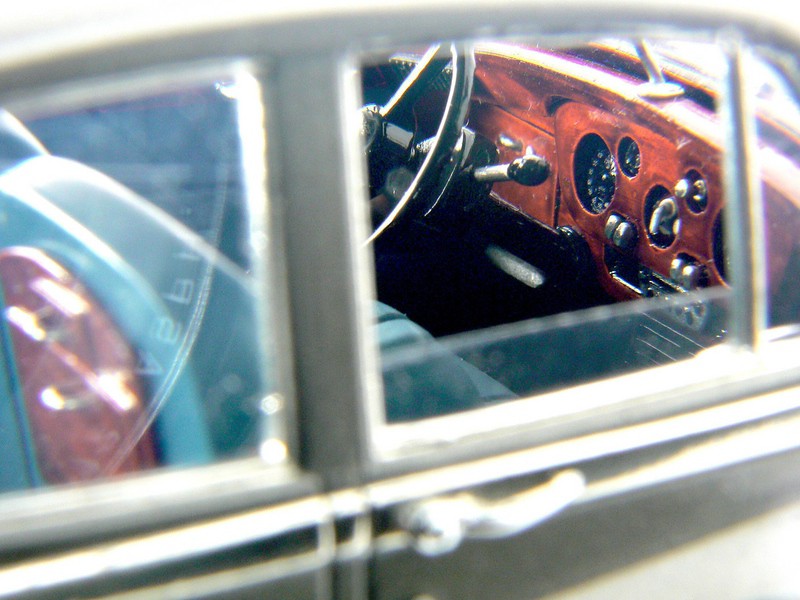
The interior was really unique: It consisted of only 3 parts, namely steering wheel, dashboard and all the rest (floor, door panels,front/rear seats and rear window shelf) cast as one big single part. For the first time I saw that there were no gaps between seats and door panels. Any interior details or instrument decals? Forget it!
-
No glass parts for headlights, foglamps, taillights, moulded wipers and doorhandles, no mirrors, no boot lid handle, botched windshield area, omitted chrome moulding on the lower edge of the body, no license plate carriers, no decals and …..
The list could be continued endlessly.
The kit consisted of appr. 30 parts, 19 of these 30 parts were unusable and discarded.
Somewhere in the forum I saw a topic “Are model kits toys?“. IMO this one is.
It is no kit as such. I suppose that it was designed originally as an inexpensive toy meant to be assembled by children easily within one or two hours.
-
 13
13
-
-
Very nice results!
Particularly the Cord turned out very well. It is hard to believe that this excellent kit ist now almost 60 years old.
-
 1
1
-
-
Thanks for the response!
There are not many 1/24 scratch built buses on the web (if there are any at all), not to speak of double-decker buses.
The reason may be that such a project presents three problems that can hardly be solved simultaneously.
-
Since such a model is almost 20“ long and 7“ high it must have sufficient torsional rigidity but without stabilizing reinforcements in the (visible) interior. The numerous door and window openings increase the lack of stability even more
-
For a realistic model only thin sheet can be used. Thick sheet would show at the door and window openings. Thick sheet, however, would be actually indispensable for enough stability.
-
For making things even worse only few (stabilizing) sub-assemblies can be glued in place while building because the whole interior must remain accessible for final painting and for applying BMF.
Admiittedly such a project requires some modelling skills but even more important is planning virtually each and every step in advance b e f o r e starting the project. Otherwise a failure is bound to occur.
-
-
Excellent work, very realistic!
-
 1
1
-



Oops, That page can't be found.
in How To Use This Board
Posted
Dave, I'm afraid this can't be the only explanation. I checked my refused text several times but I didn't find any of these four words.