Cien1986
-
Posts
437 -
Joined
-
Last visited
Content Type
Profiles
Forums
Events
Gallery
Posts posted by Cien1986
-
-
-
-
Looks fantastic.... want to see what coming next
-
Sweet.... nice build
Is that revell kit? Its slot in body....
The body stretch so much when inserting the chassis when the interior is attached on it.... but mine in 12th scale...
-
It sill wiper and the plate number is not complete yet..... still figuring best way to attach it.... since its not 100% fit....
-
-
3 hours ago, iamsuperdan said:
Excellent work on this one!
Many thanks for your nice comment Dan.....
-
10 hours ago, Anglia105E said:
Thanks very much Henry....... only 40 days to the big exhibition now. Working to get the diorama ready for this important event.
David
Wish you great luck and doing well on the exhibition.....
-
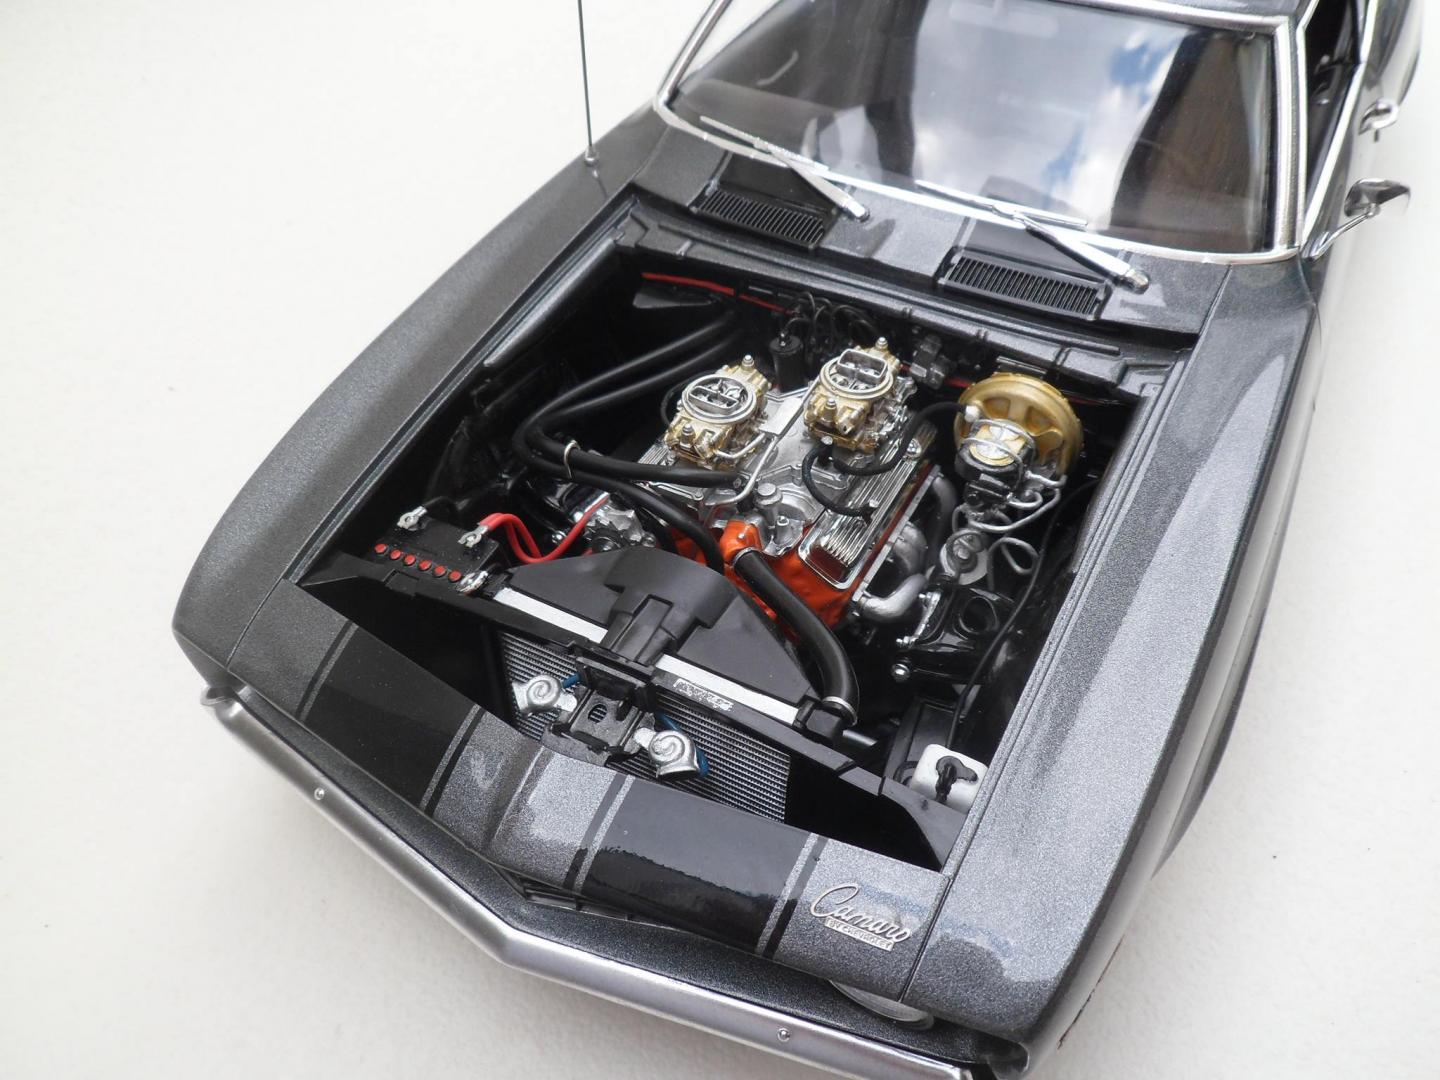
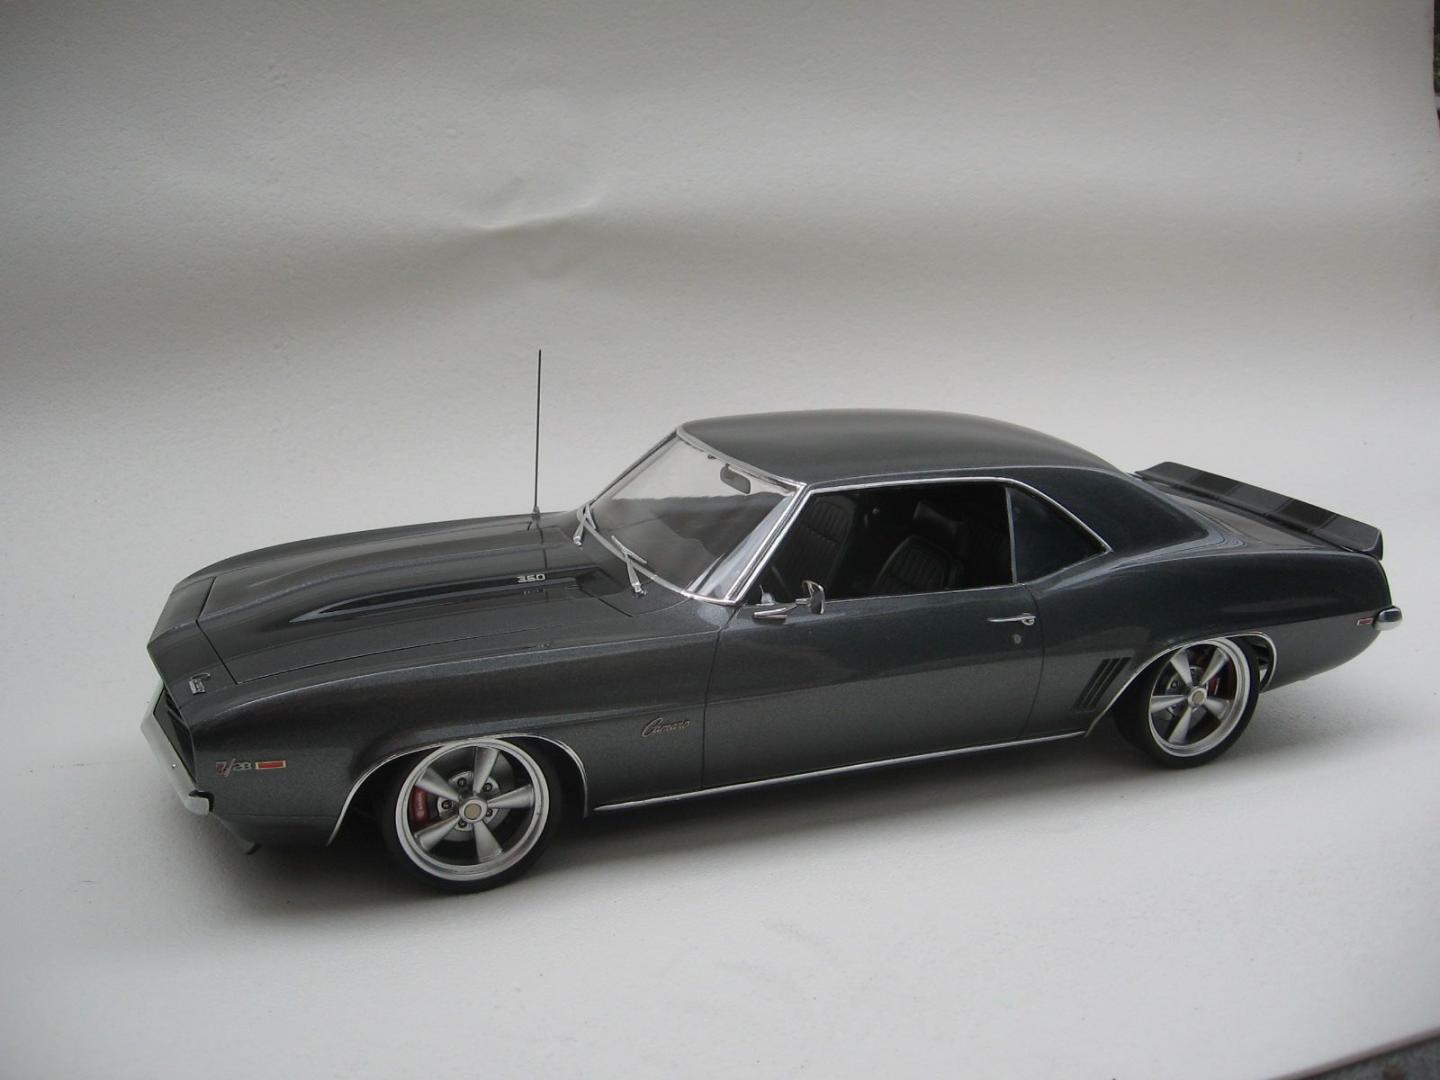
Now the kit is near completion stage..... still attach emblem
, script and door handle....
-
7 hours ago, Kronic Designs said:
Outstanding job Henry, looks great.
On 5/12/2018 at 8:01 AM, Steve Osbourne said:Henry...this is awesome.
On 5/11/2018 at 6:59 PM, Jantrix said:This is some really clean and meticulous work. I'm very impressed. Looking forward to more.
Thanks for the nice word guys..... really appreciate it.....
-
Good job on cleaning the frame part looks tidy and clean......
Let see what coming next......
-
Good way to put out junk
-
Your work always catch my eyes.....
-
This is one of my build.... but i am just a regular weekend warrior builder... nothing compare to pros here.....
-
Yeah here i am.....
-
I think the easiest way is to drill the body for the tailight to fit....
But if youn want to do it the hard way then you can sand it down to reduce the size then spray it with clear red coat to hide the scratch mark....
-
4 hours ago, Brudda said:
I am using Sherwin Williams tcp urethane clear. It says to mix 4:1:1 4 parts clear , 1 part reducer and 1 part hardner. I spray it thru a sata minijet with a .8 tip.
Many thanks for sharing your trick..... really appreciate it....
So its 2k polyurethane.... it explain why its so shiny n glossy
-
2 minutes ago, regular guy said:
' hope to see more pic coming...... '
Sure.Have a pic for you tomorrow.
It's getting real late here in California. 2:00 AM
Will do that about 10 hours from now for you.
Haha thanks for your kindness.... its 4pm at my place....
-
4 hours ago, Twokidsnosleep said:
Doesn’t your weather go from -20 and blowing to +30 with 99% humidity with a week of spring flooding in between??

I will try the Tamiya decanted unless I find a better midnight blue
Seems like weather really effect the paint curing process....
I never experience it since i live on tropical area....
When the weather goes bad.... did the paint not cure?
-
I
4 hours ago, regular guy said:' May i know what enamel brand you are using? '
Yes.You may.Testor's Enamel.
http://www.hobbylinc.com/cgi-bin/s8.cgi?tag7_i=1099&cat_s=RHD&mfg_s=tes&sort_i=3
The 1/4 ounce bottle. $1.39 and $1.49 ones.
' But what model you are building '
It's a Lindberg.Like this one.
http://www.autoworldstore.com/product_p/lnd72324.htm
They sold out of the Mercedes Racer.
These kits are simple kits.
I picked that because I don't have a lot of time to build model kits.
I see.... you are using testor....
The most important is not the kit simple or not....
But more to self statisfaction..... since we are not build for anyone....
Good luck on your progresss.... hope to see more pic coming......
-
I will be watching this one....
-
On 2/21/2018 at 8:04 AM, Belugawrx said:
Still stuck in paint, now starting to think about masking the blue number and spraying the gold,...
Anyway it'll be a bit, I have too many other things to keep me busy,...stupid stupid stupid
Cheers
Masking the number will be quite a job.....
Amazing build so far..... keep it coming......
-
Old times people using brush to finnish the real car.... since airbrush is not invented yet at that time
But i never try it on scale model.....
Do you mind share with me the trick and the picture you already paint with brush?
-
On 2/20/2018 at 3:26 AM, regular guy said:
Progress report.
Cut some parts off parts trees.
Did it with Exacto knife. Used little piece of hobby plywood underneath. Perfect!
Picking out a glue next.Testors original or thin solvent glue? Leaning towards testor's because of gaps between parts and that is what I am used to.
BTW Paints are on the way. Enamels instead of acrylics because they cover better.
Just recommended colors. Red, Flat black,Wood,silver and flat brass.
May i know what enamel brand you are using?
From what i experinced.... i choose enamel not by their coverage....
But what model you are building..... since its old model car kit... people usually finish real car with enamel .... so it may look real at some point.... corect me if wrong......


.jpg.0ee7feb32465c2f8cb35fb619d10920c.jpg)
LHD Gulf Seven
in WIP: Model Cars
Posted
That seadbelt hardware is so real....
How do you transfer the pattern into brass?
Do youncut it with ferric chloride?