
Timonator
-
Posts
271 -
Joined
-
Last visited
Content Type
Profiles
Forums
Events
Gallery
Posts posted by Timonator
-
-
Thanks everyone!
-
On 12/19/2022 at 1:30 PM, harti20 said:
Hi all
")
Thank you. Don't take my build as example as I have absolutely no clue when it comes to racing cars. I'm just trying to follow the instructions on this build (...more or less 😉 )
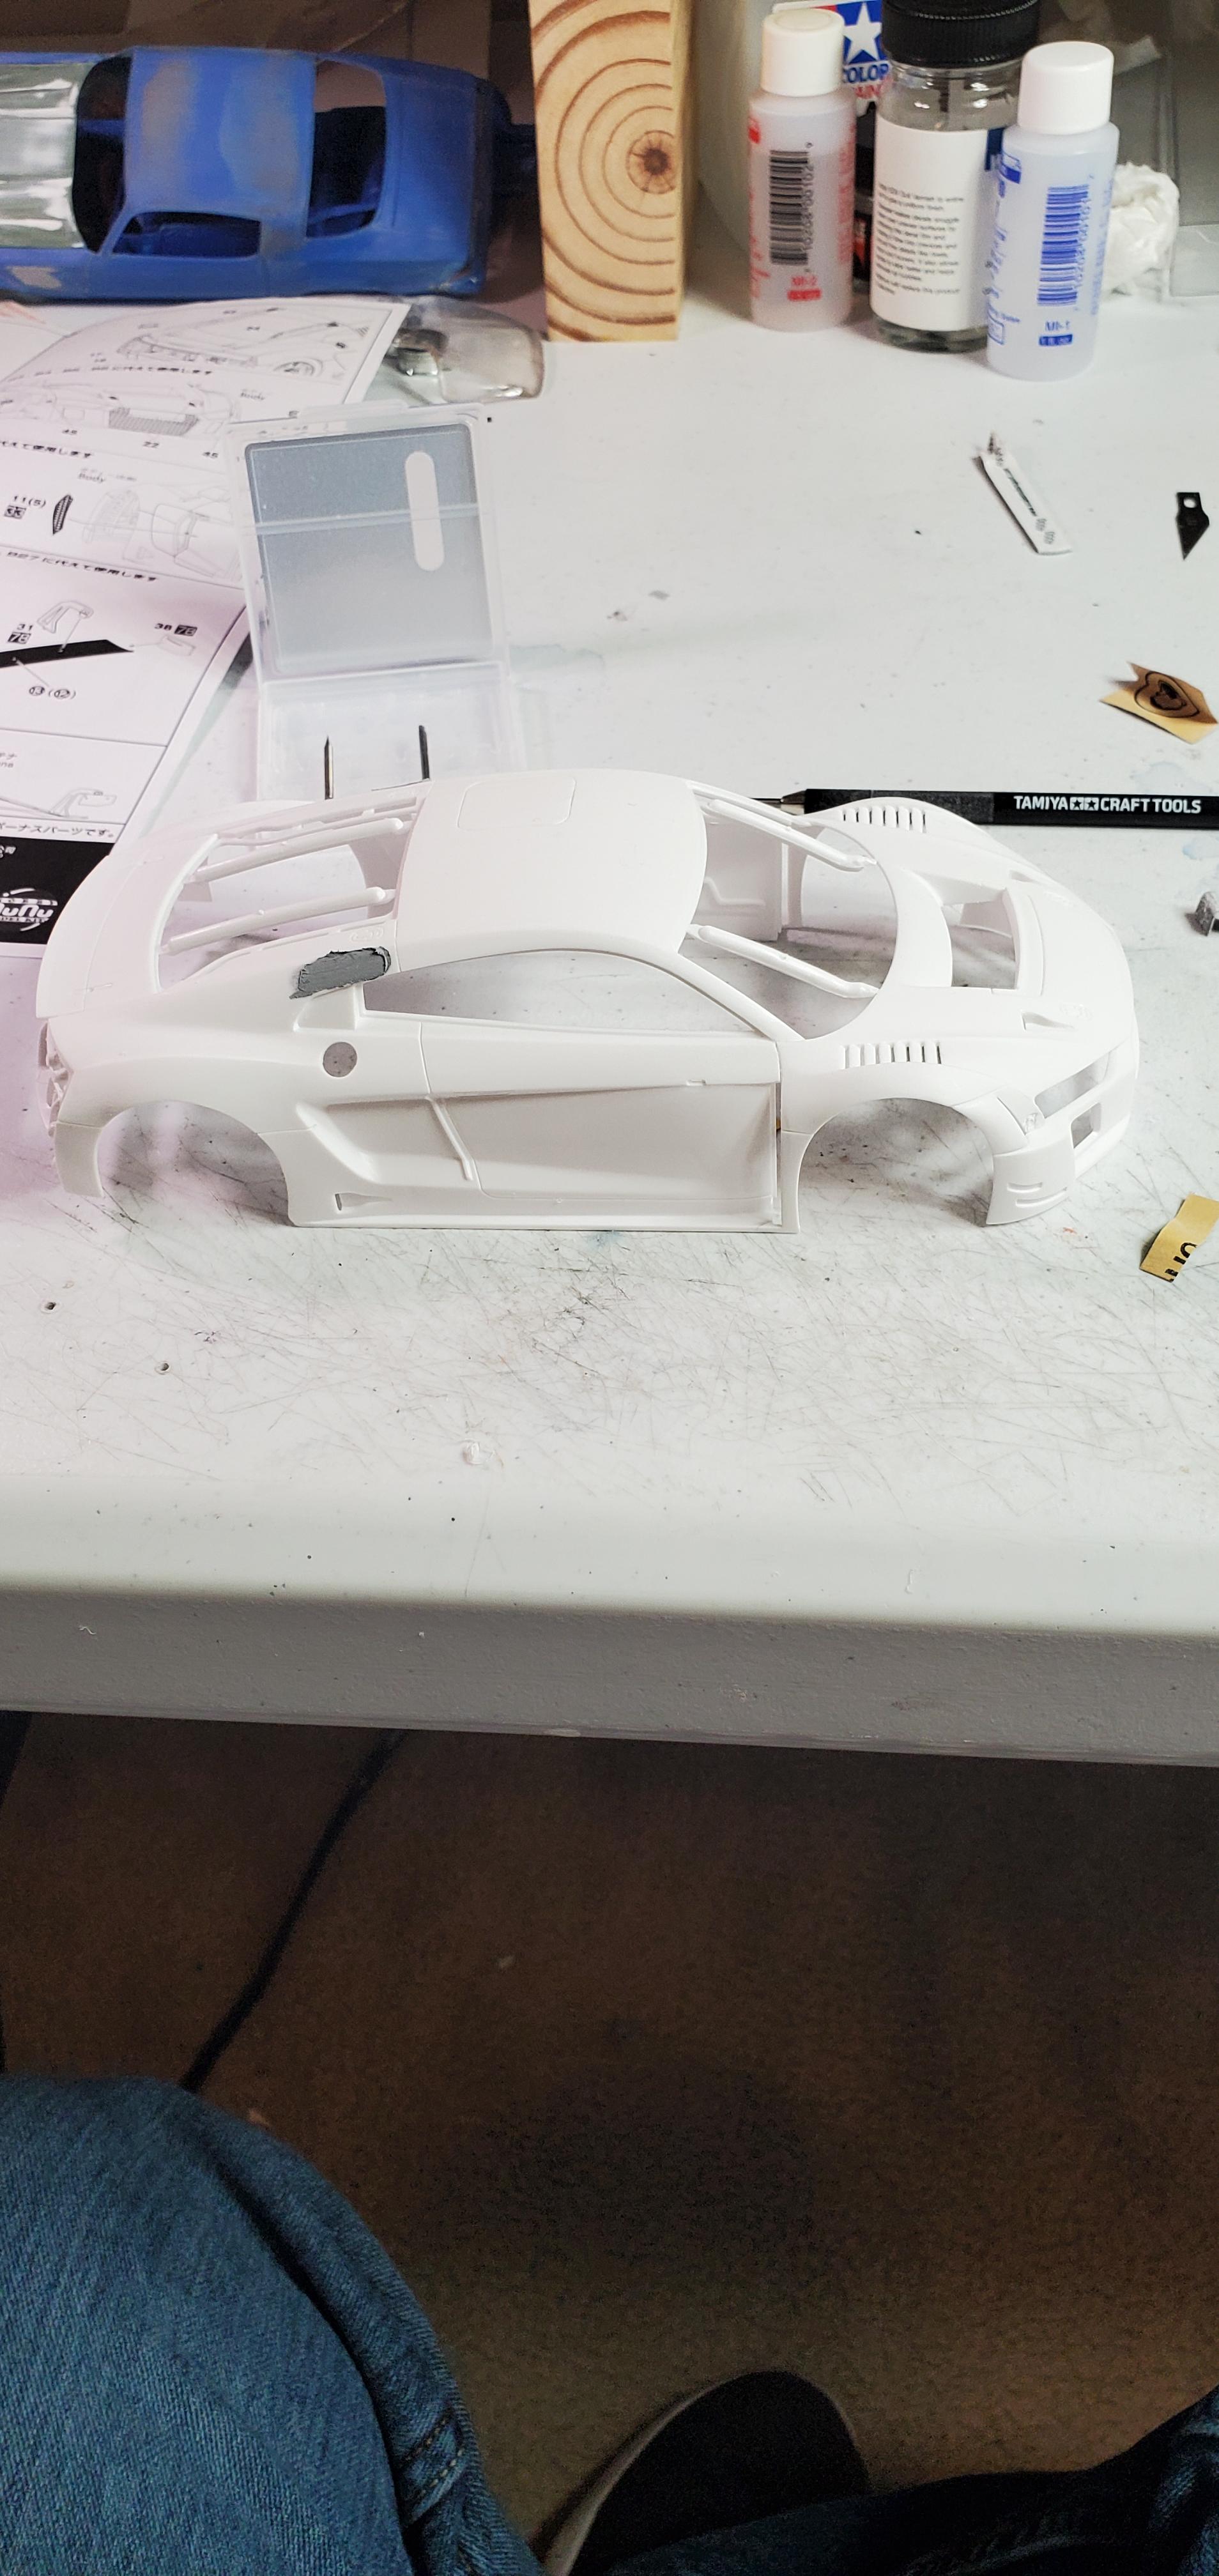
Thank you very much. I think, AK is an acrylic primer, but I don't think that was the issue, as I had it happening again on other parts where I only used Zero Paints. It is as if something in the part itself showed through. I already heared of "ghost lines" that appear after painting, maybe that's the first time I have to deal with them... What helped so far was spraying a coat of Zero Paints Black Primer with microfiller. That covered all of those lines.
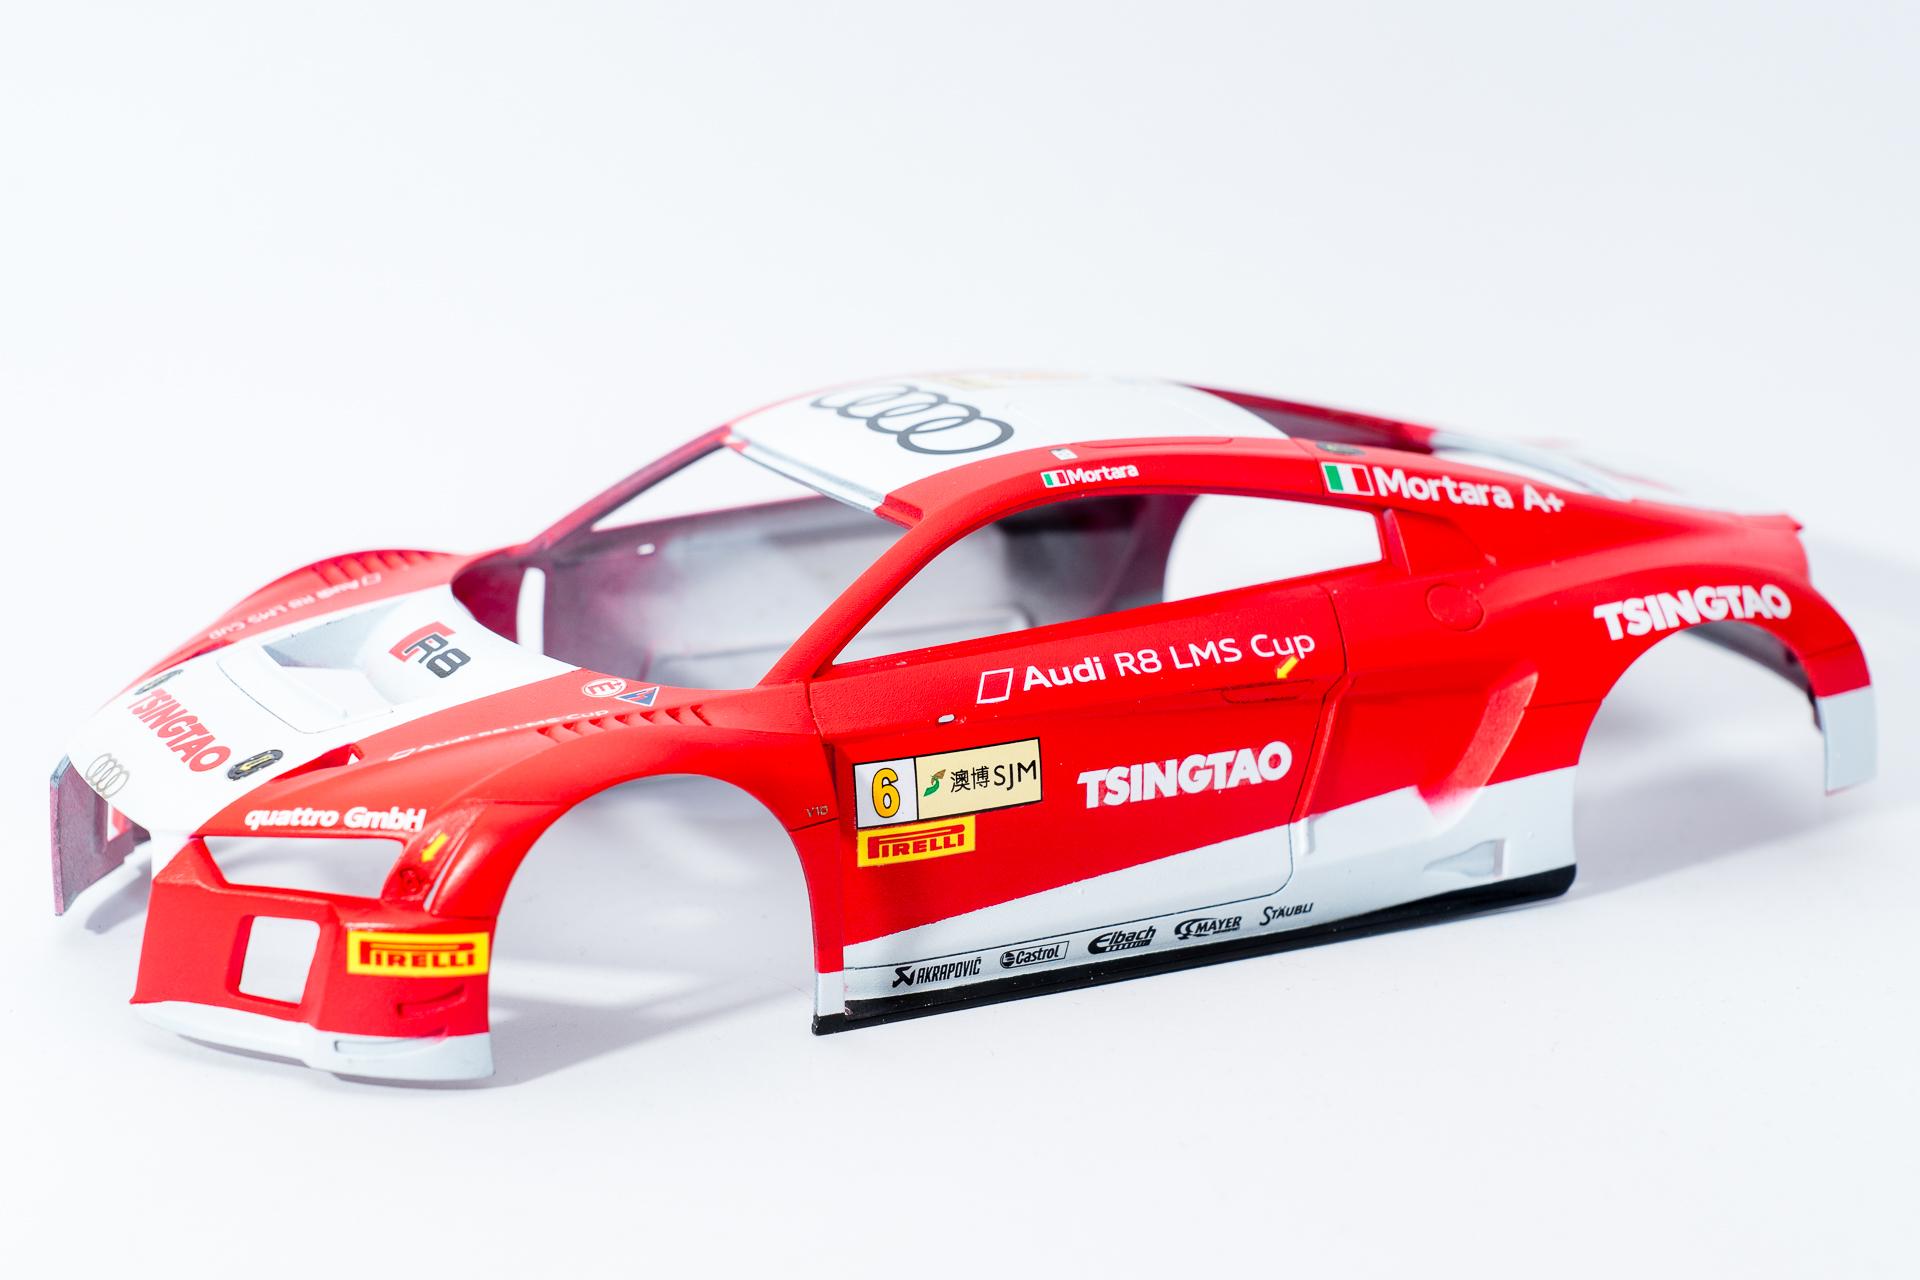
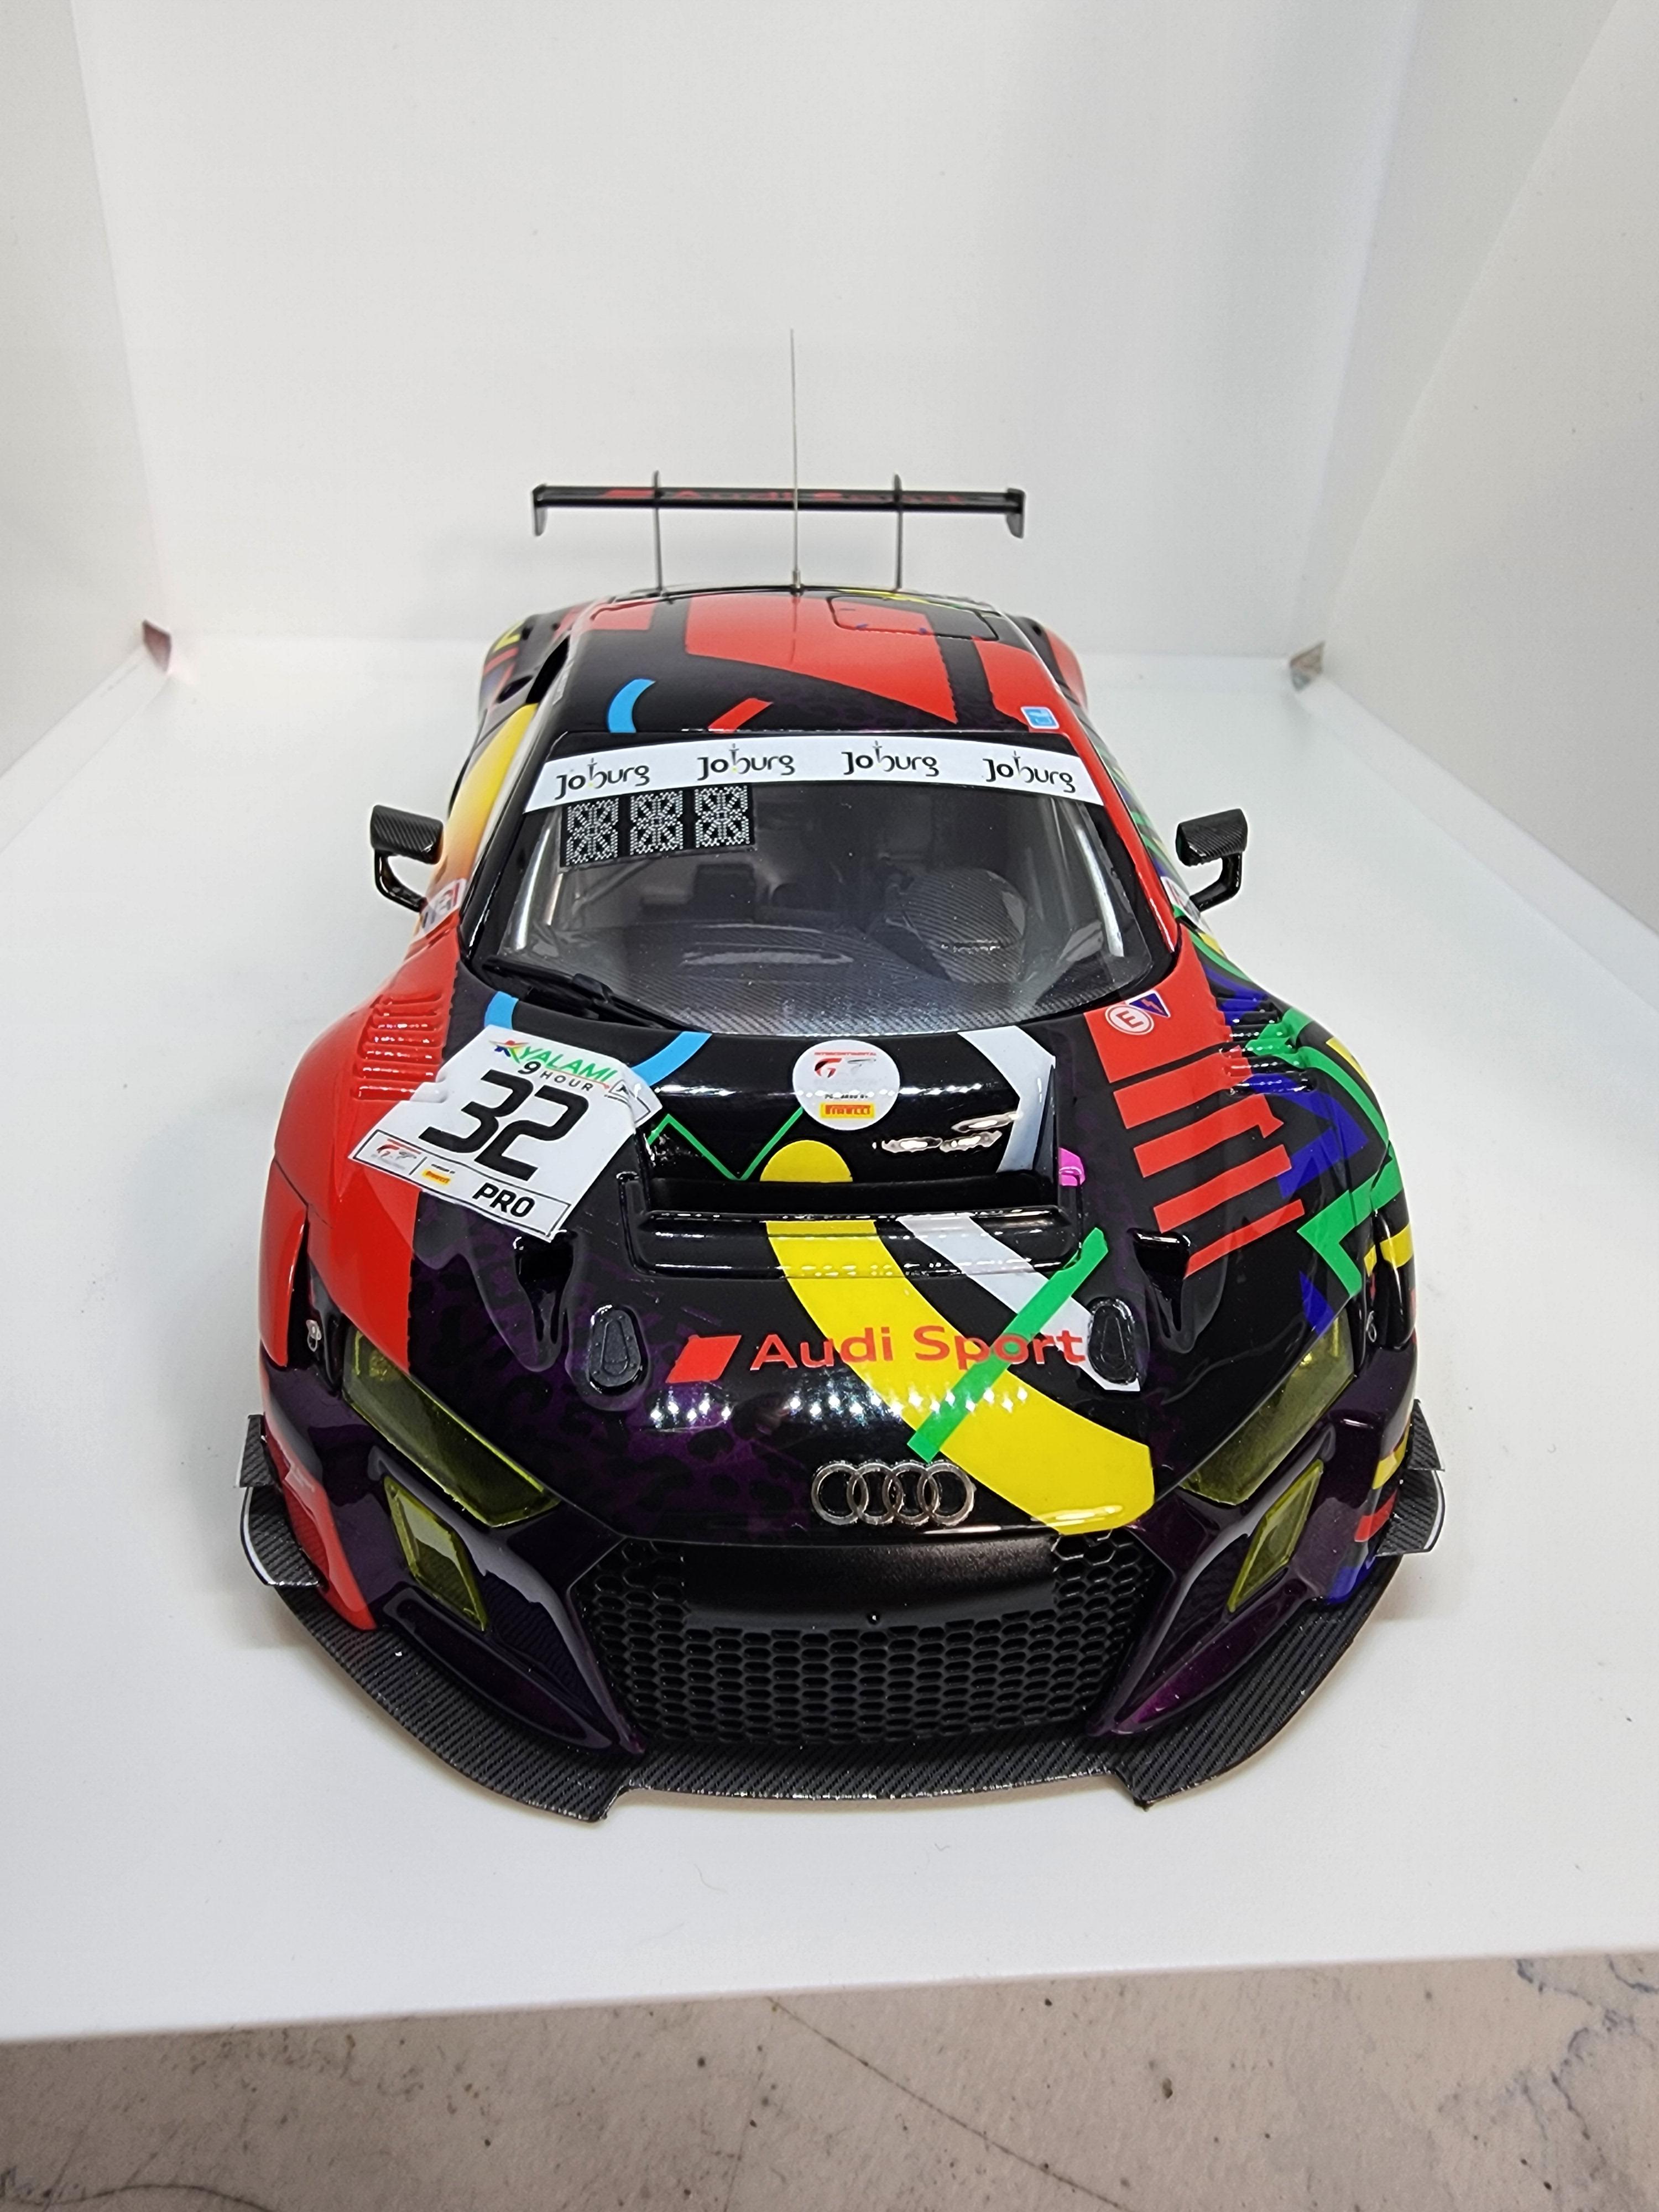
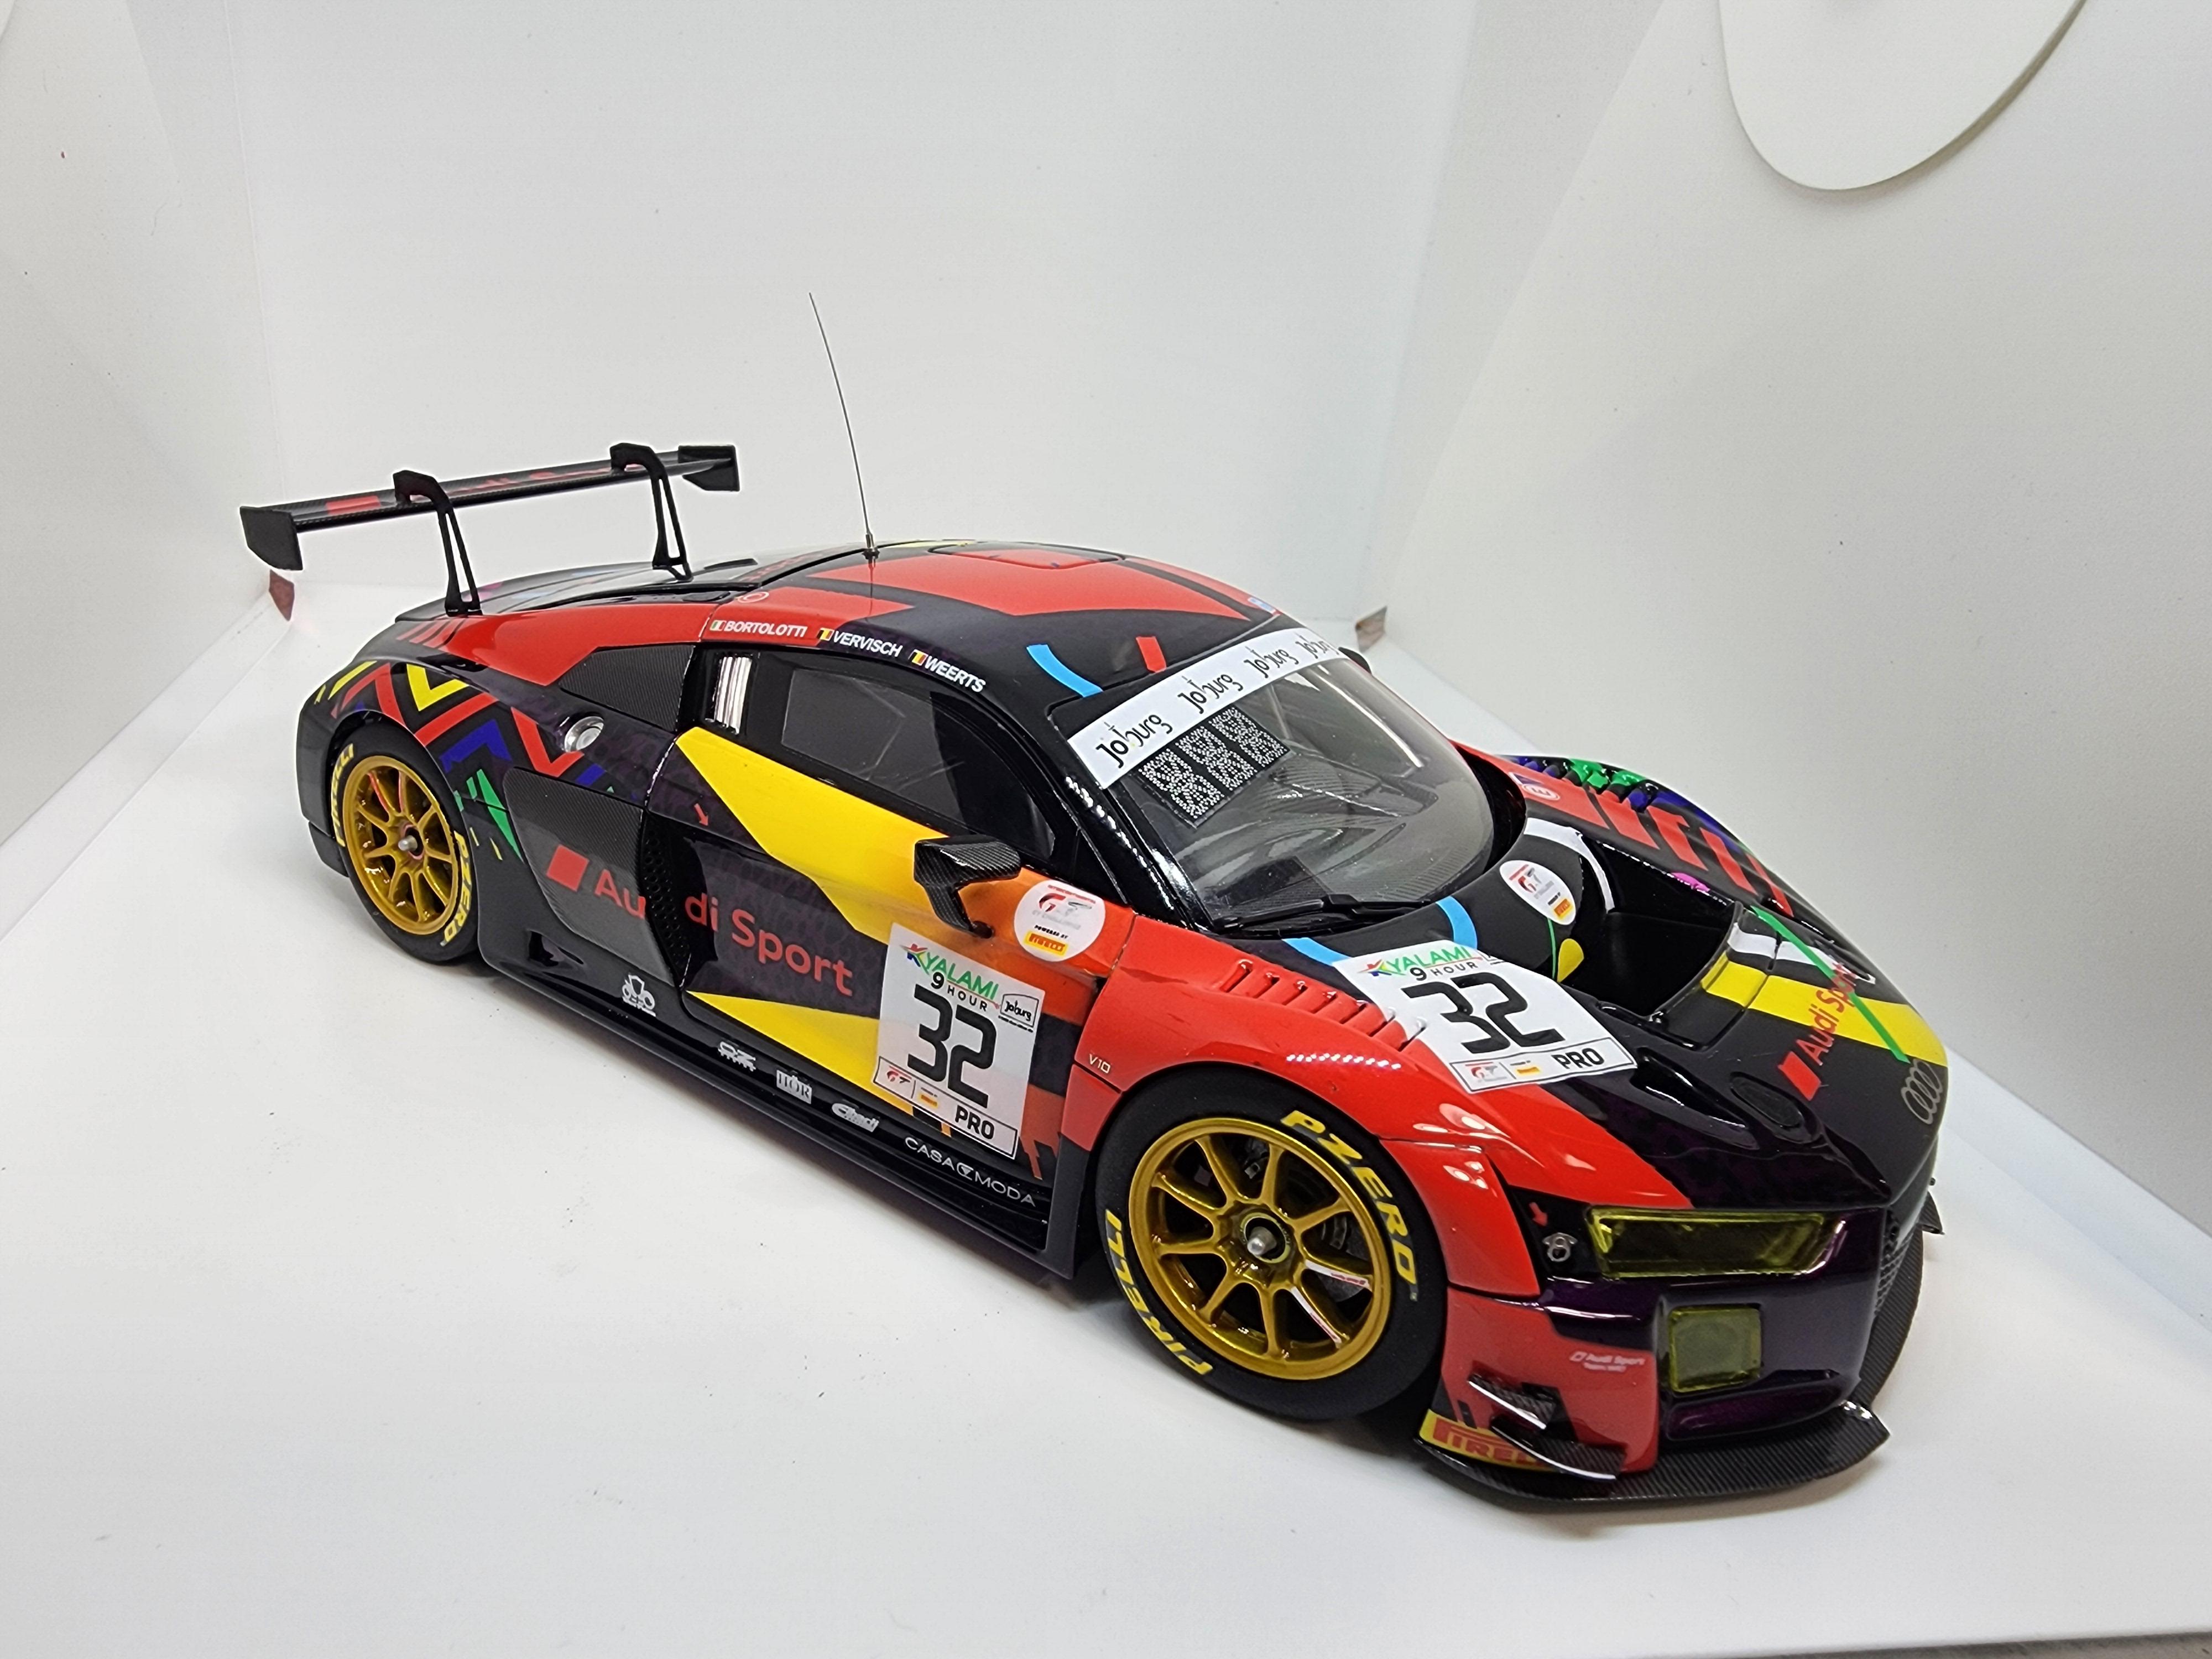
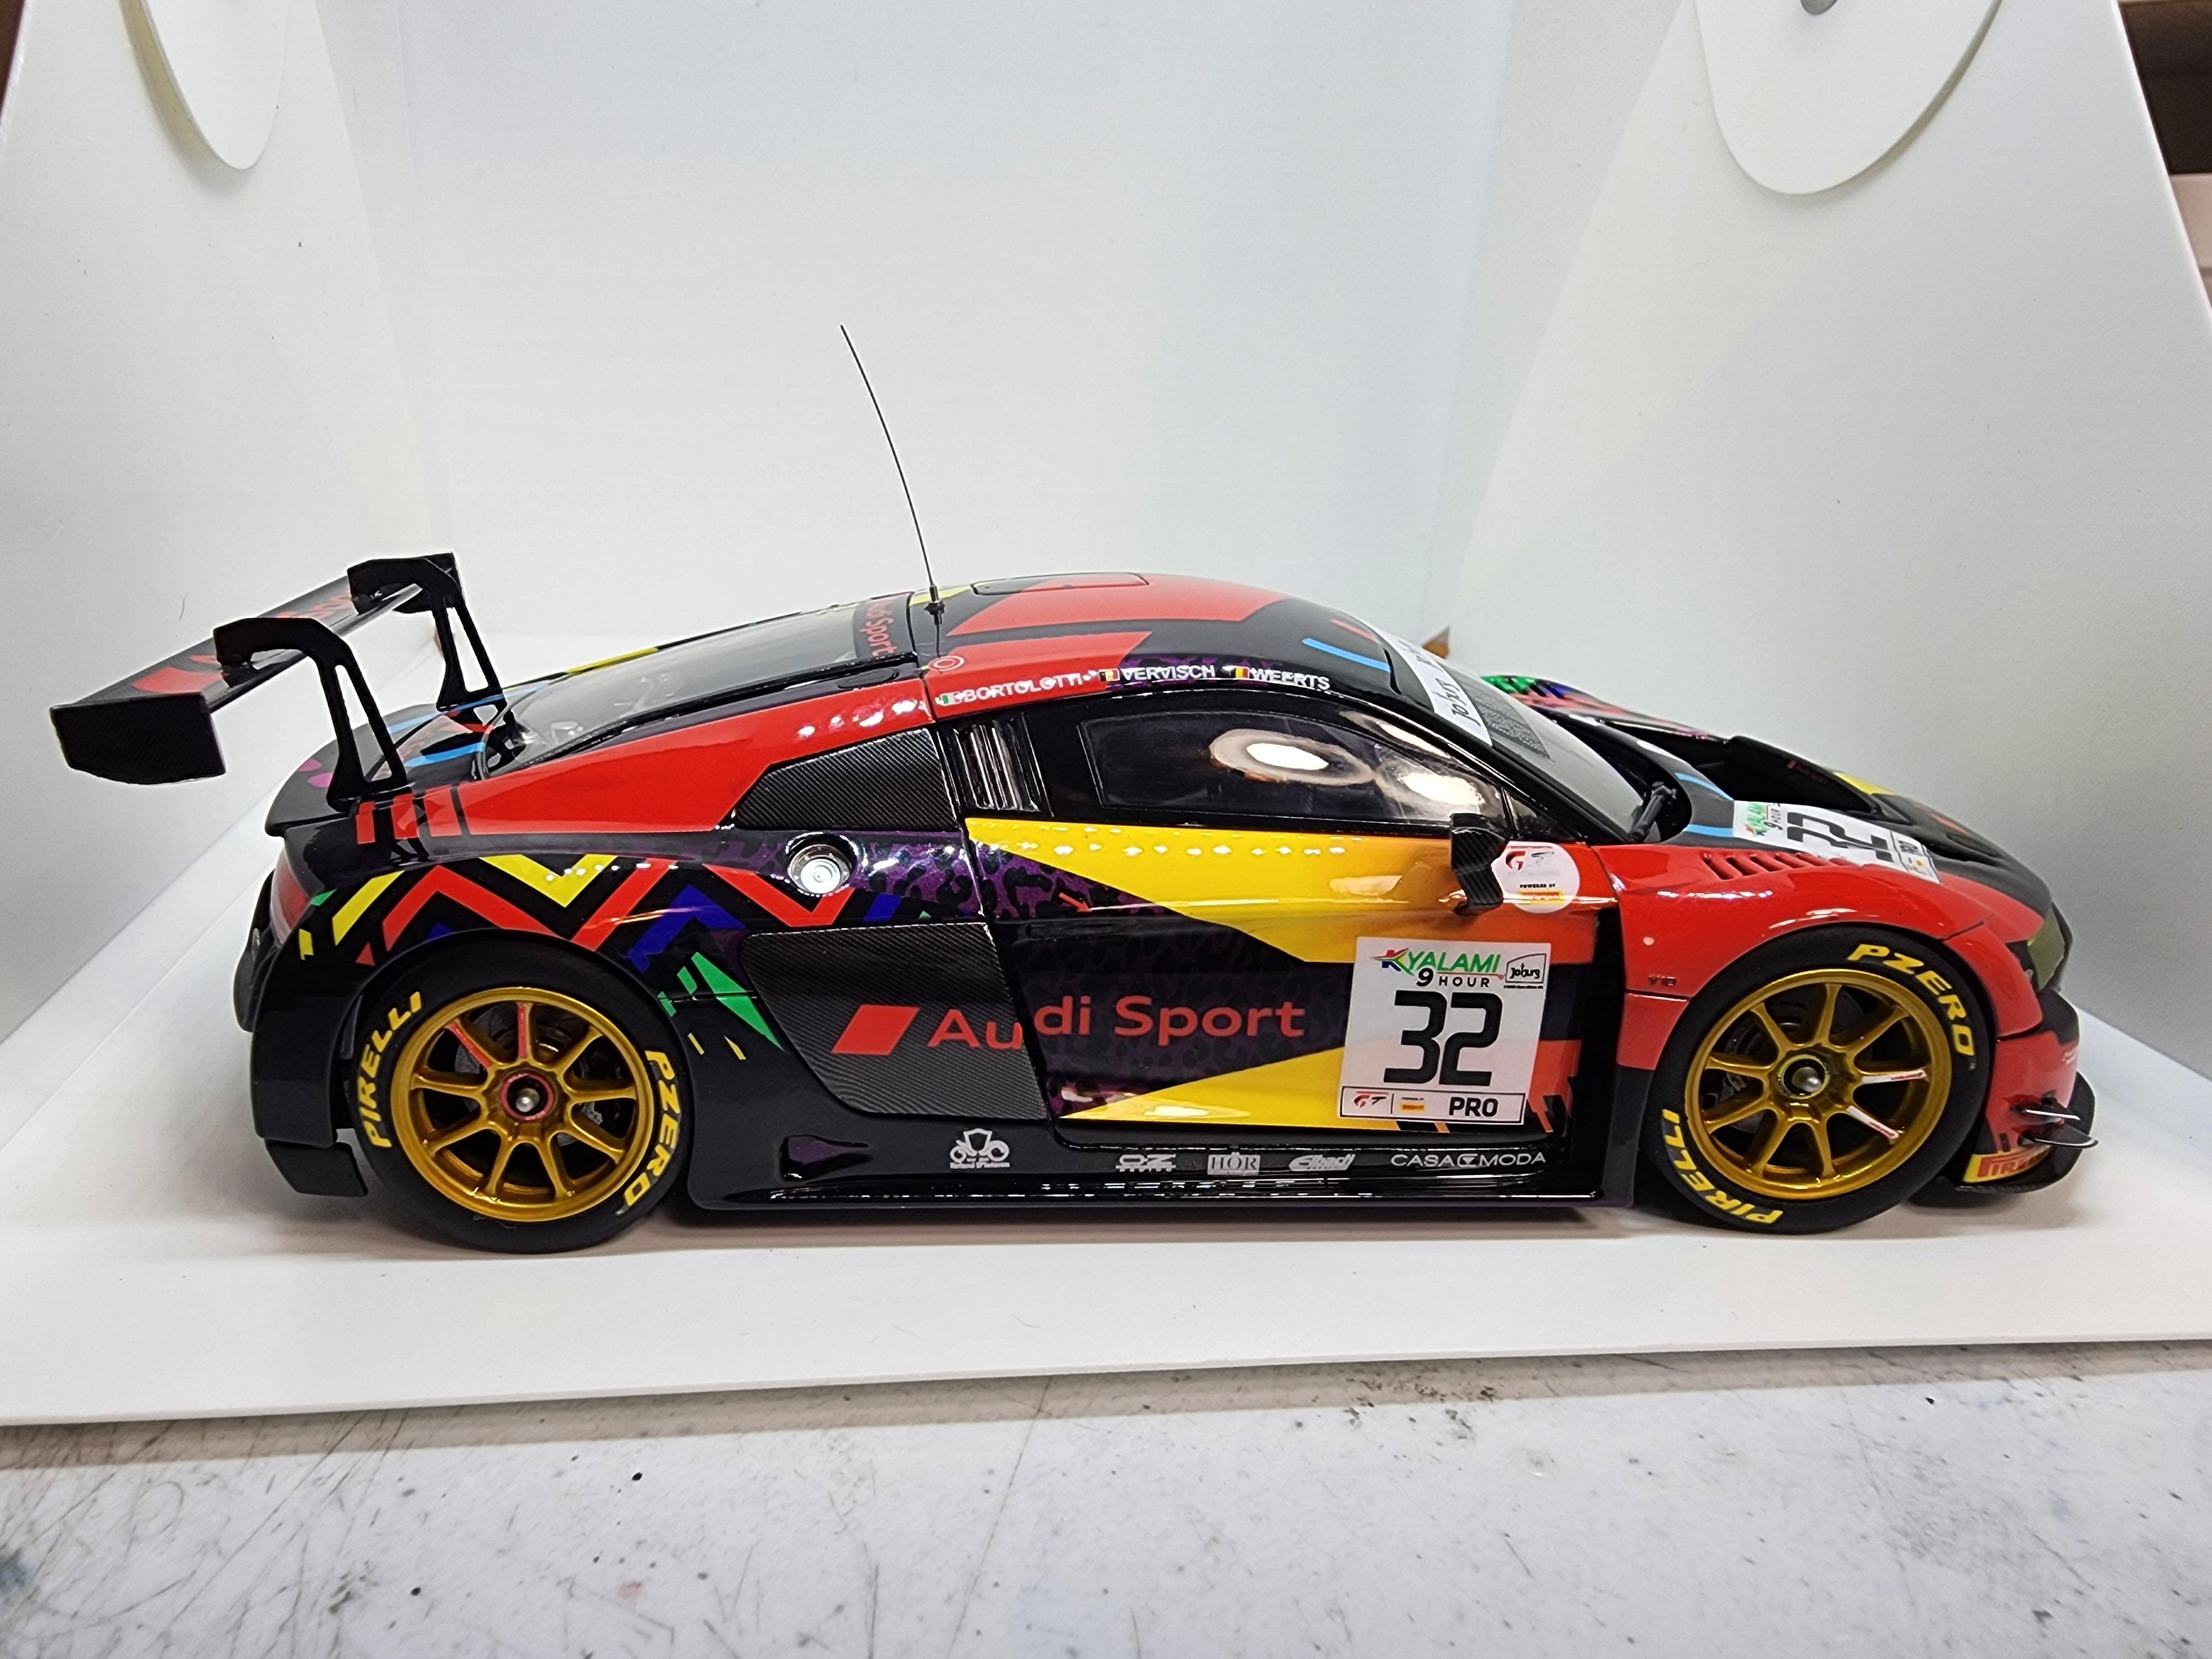
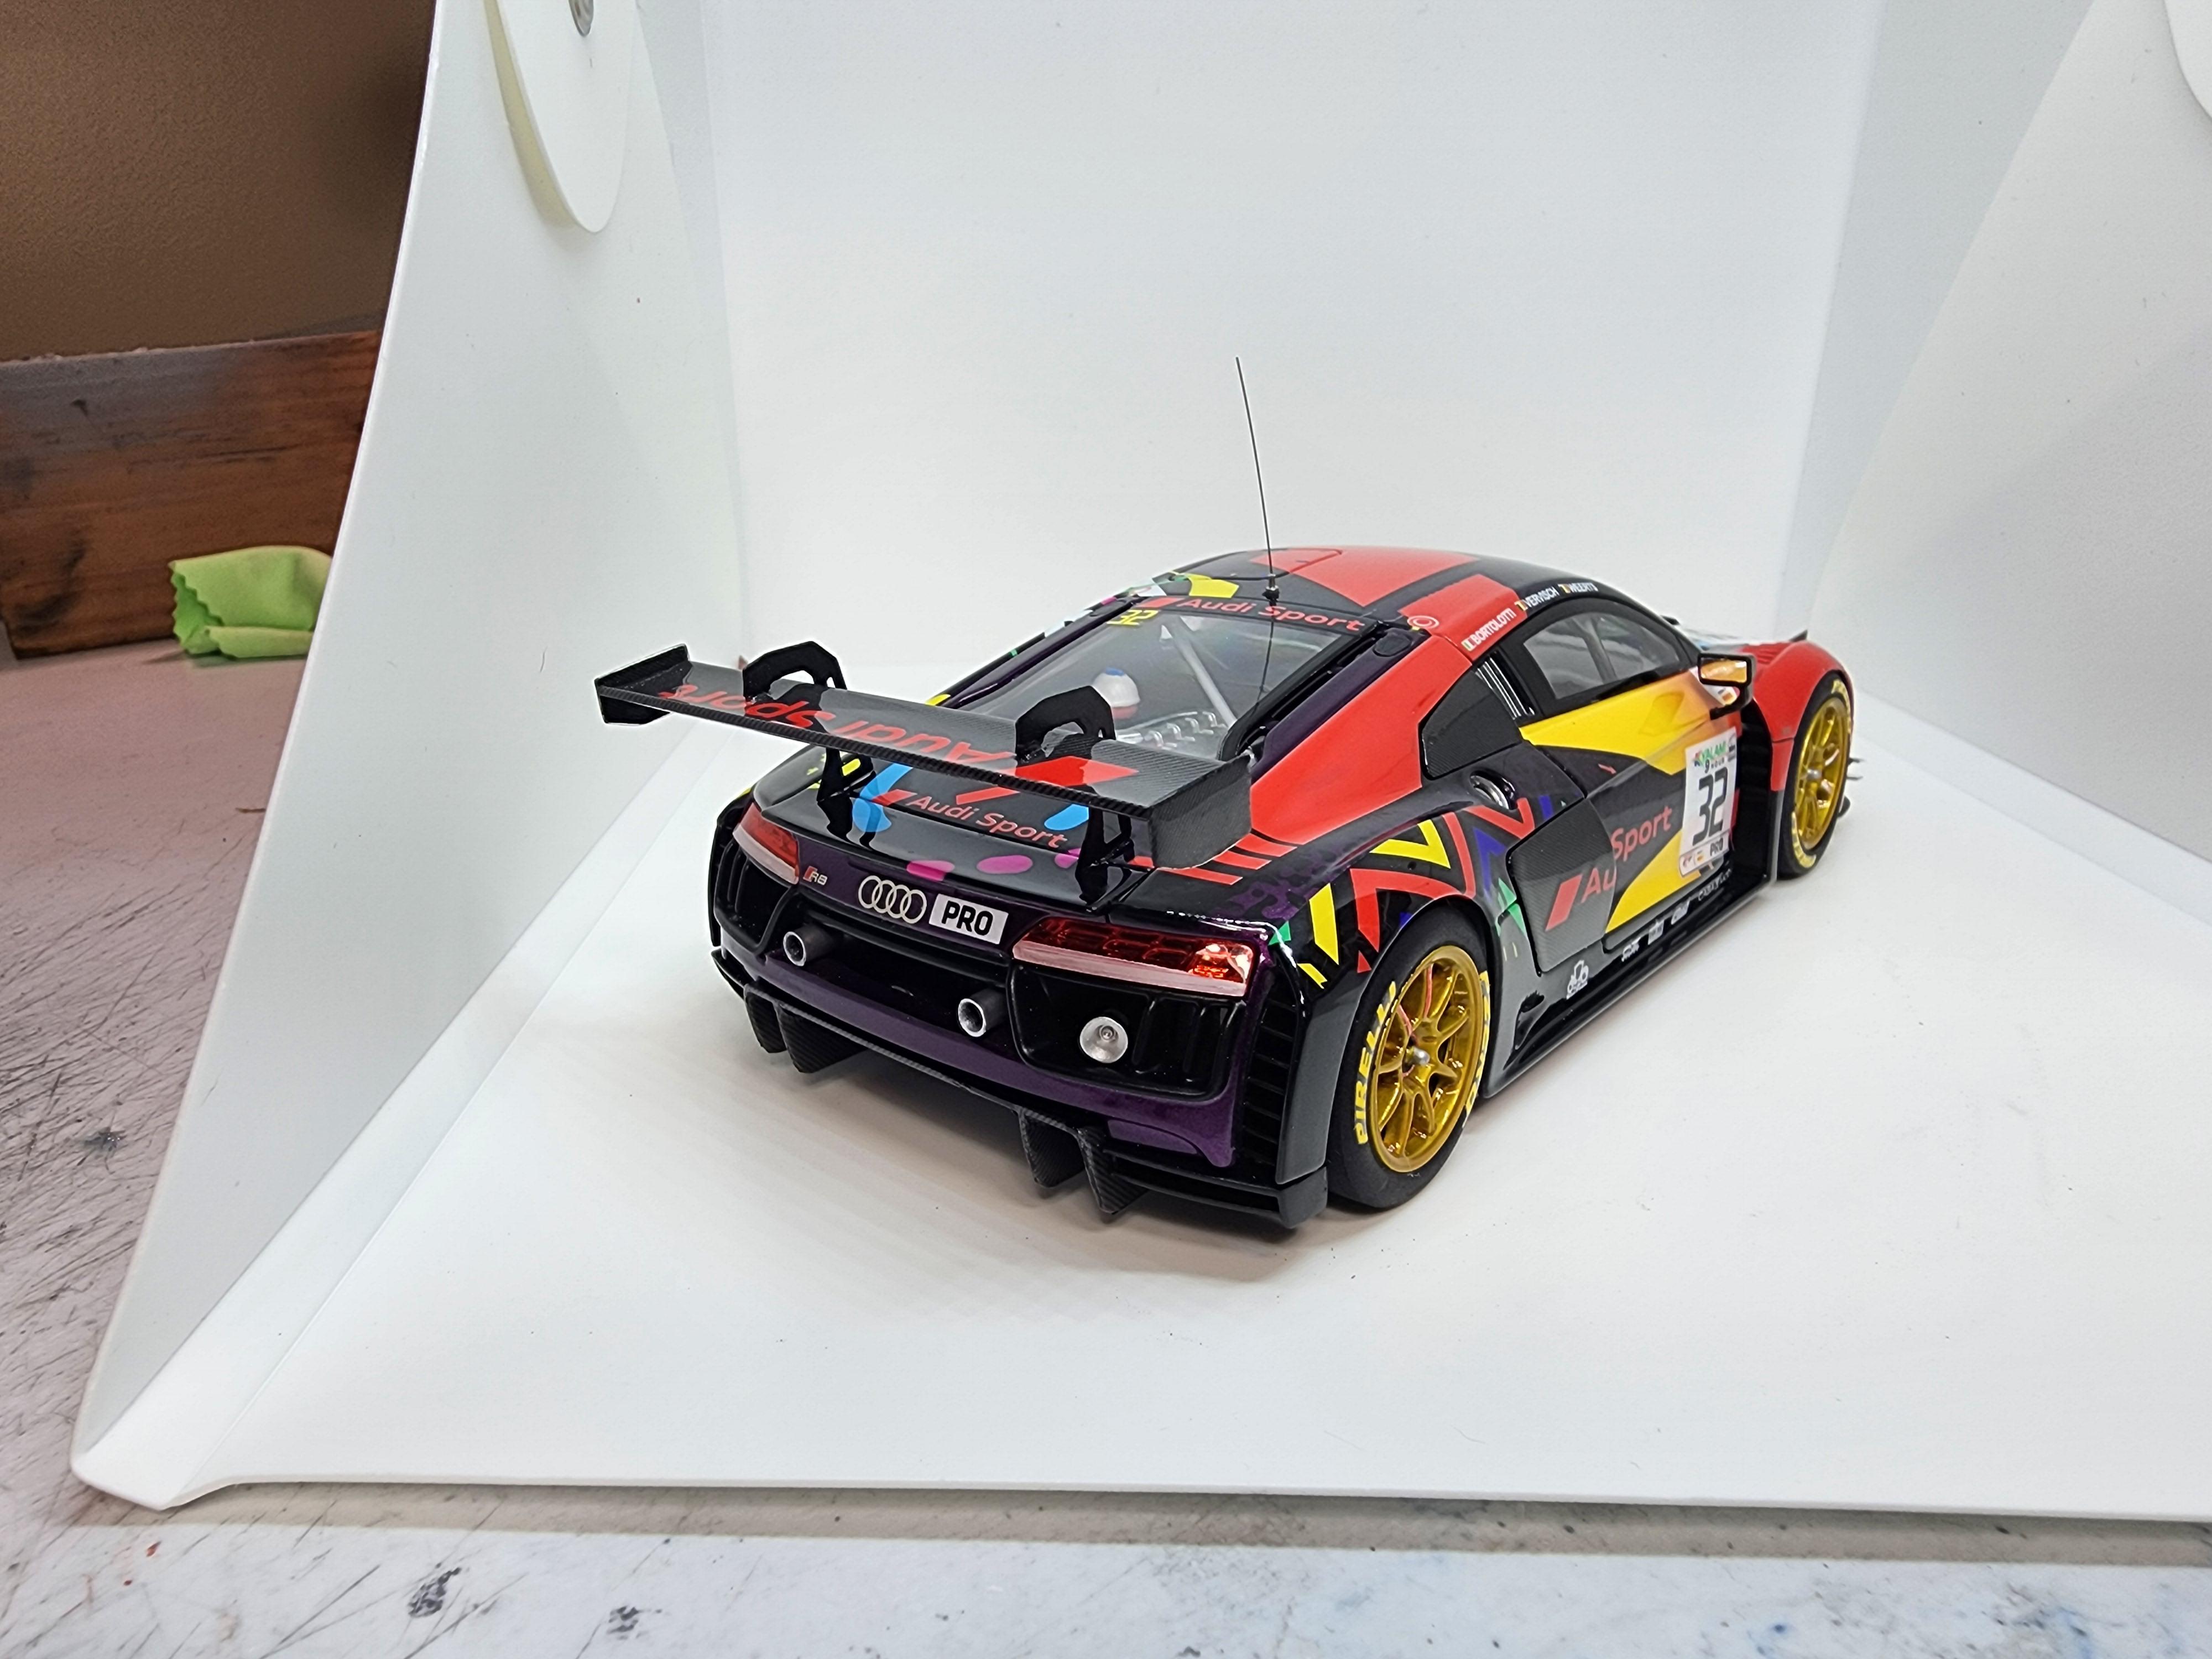
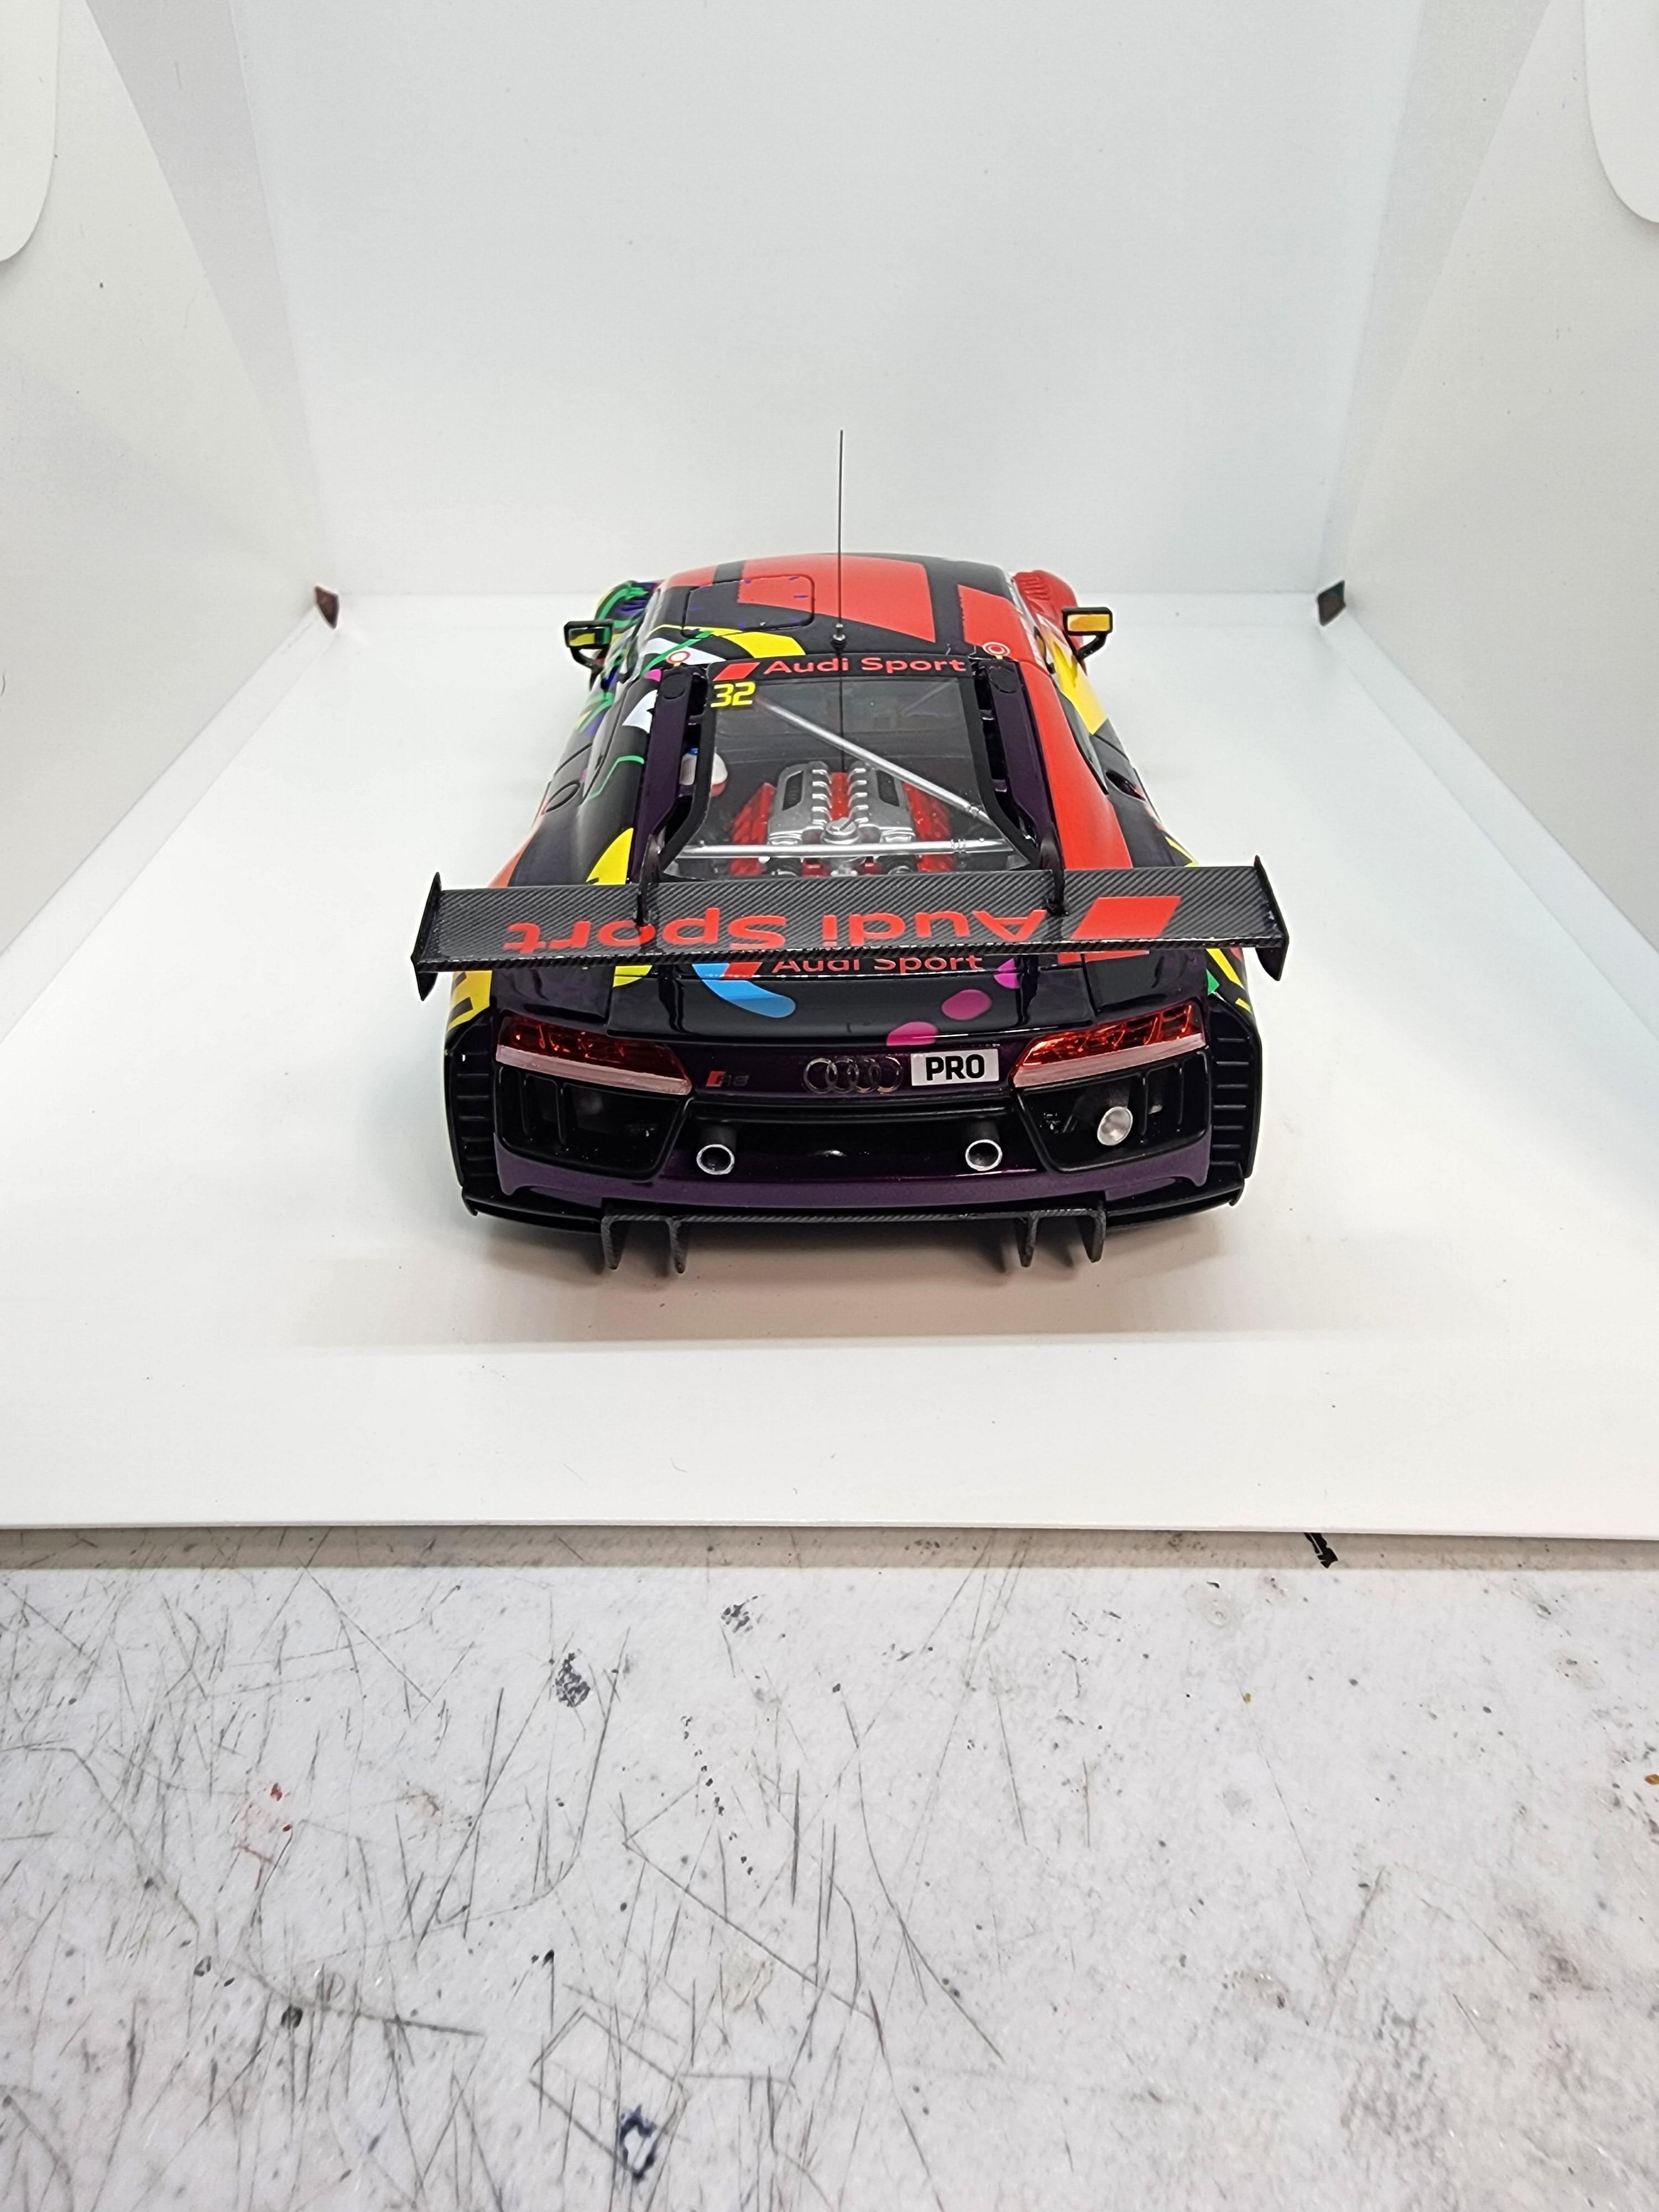
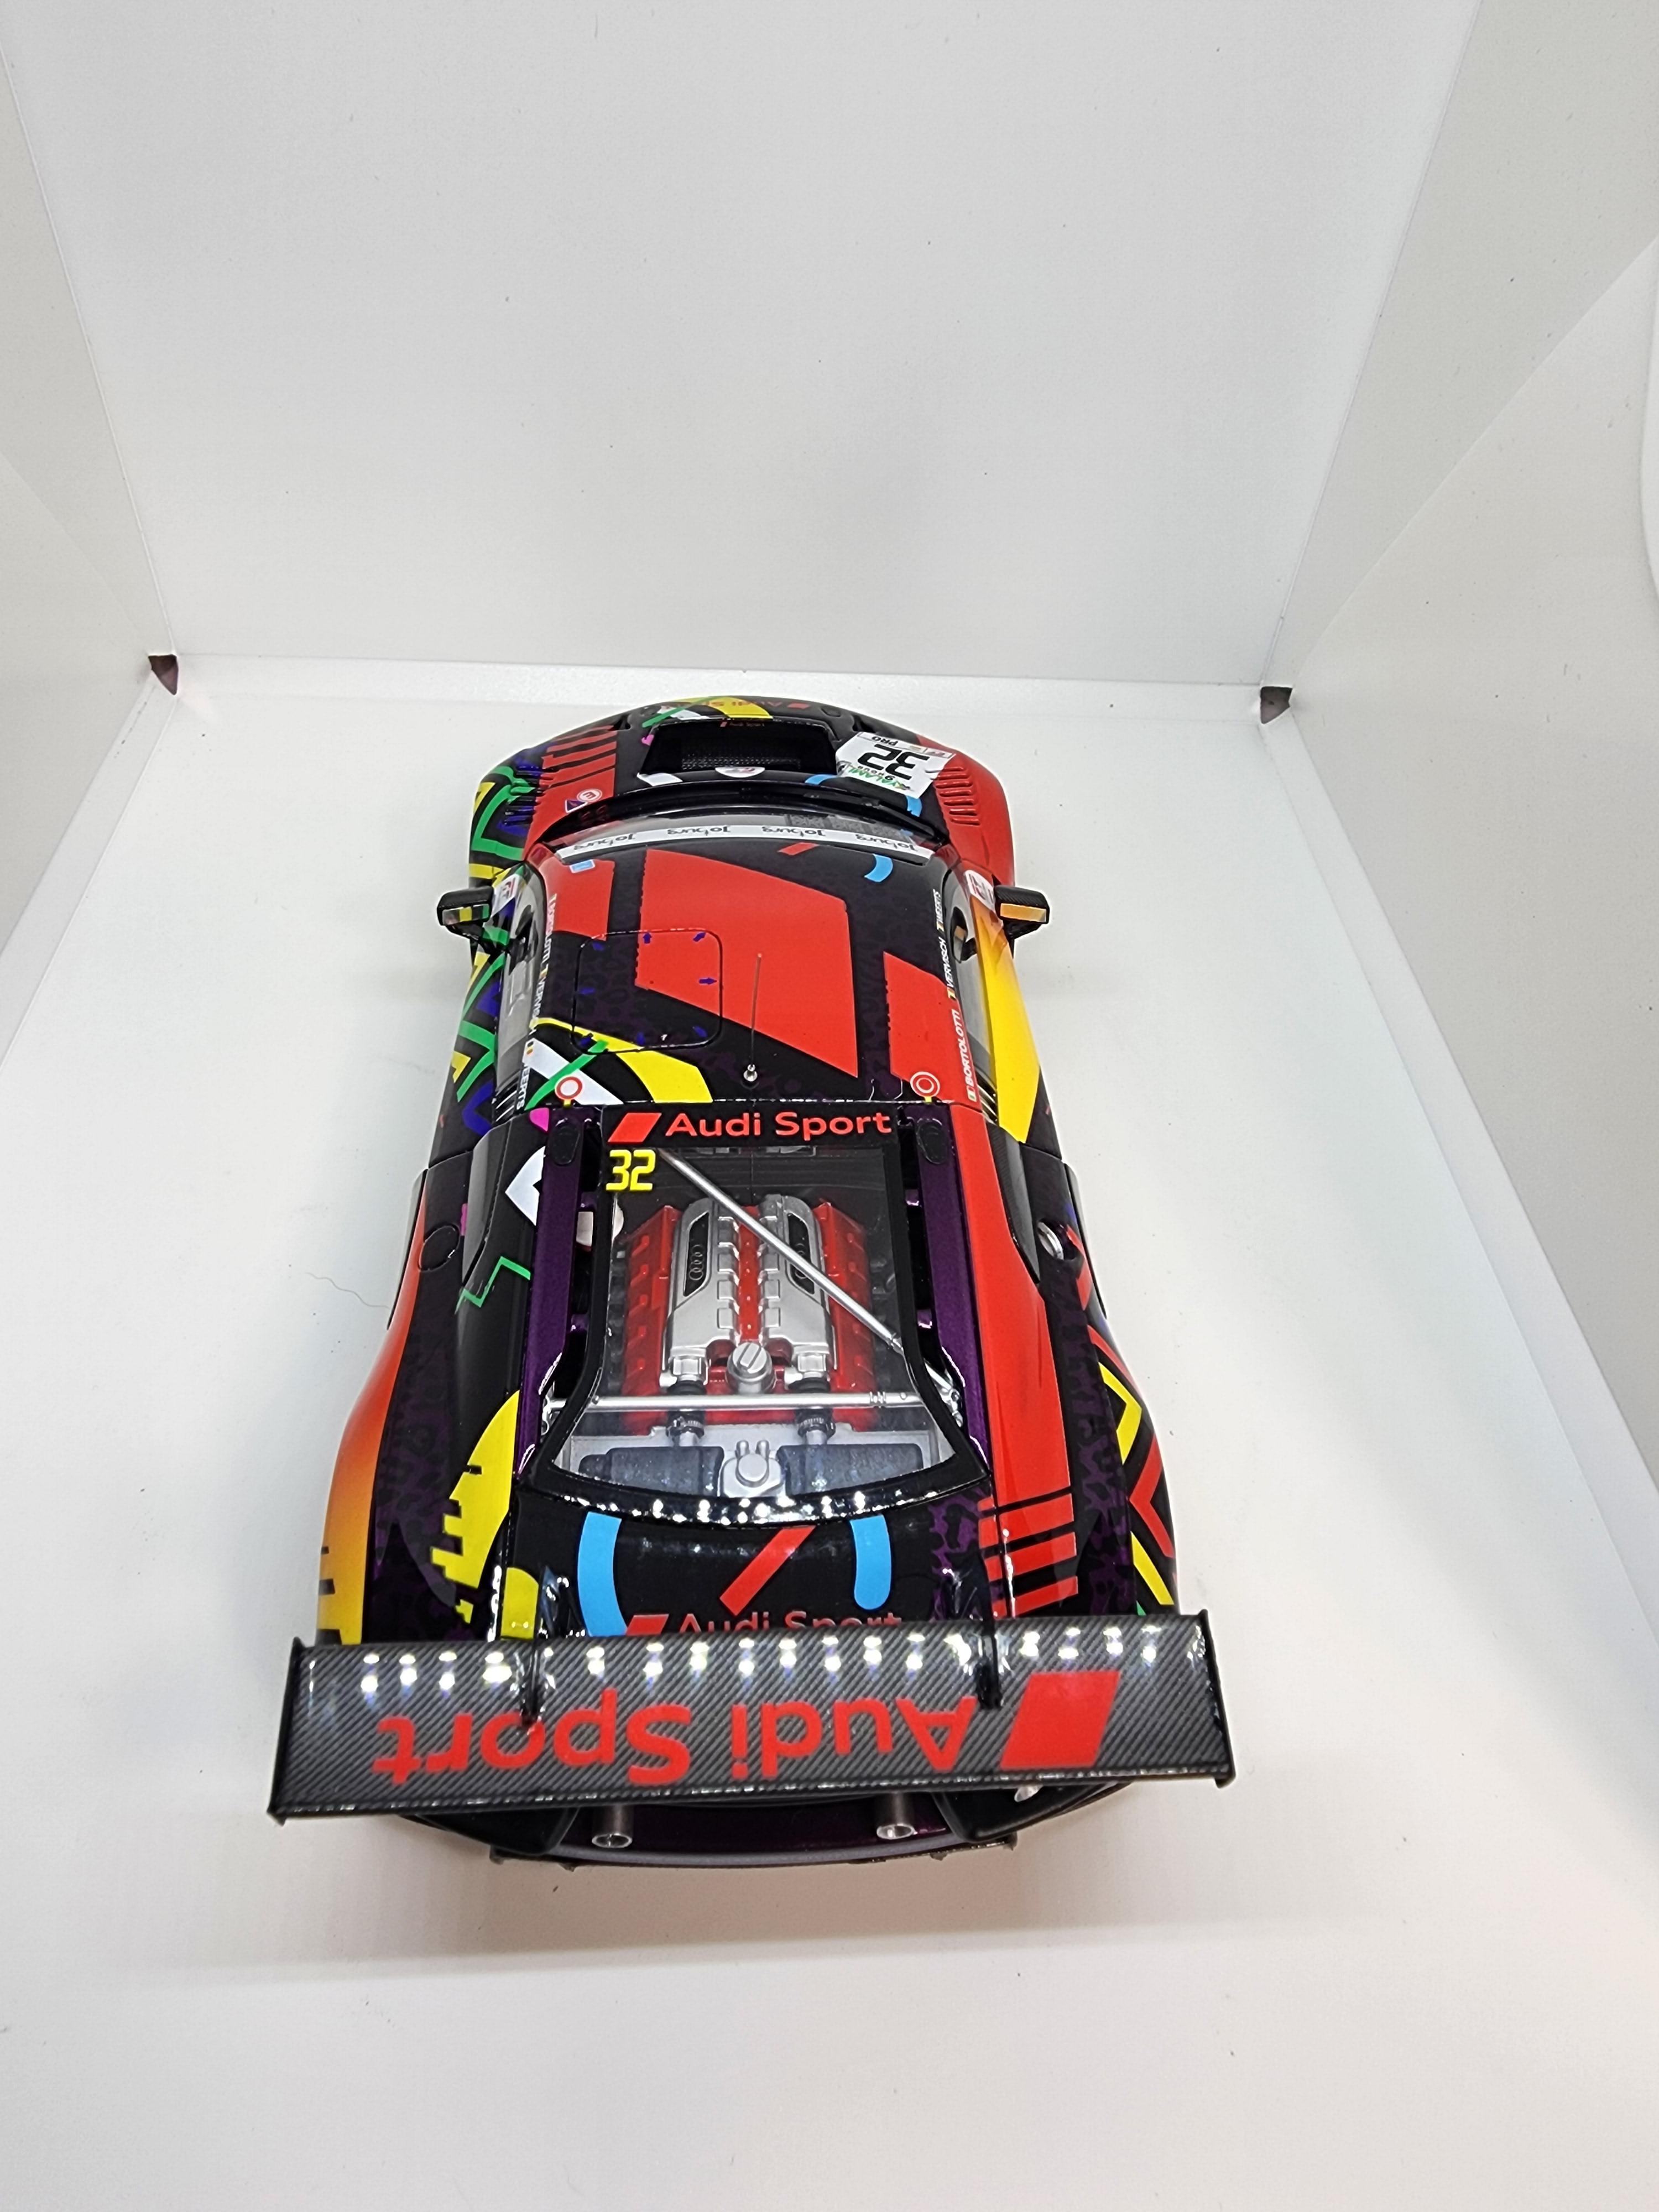
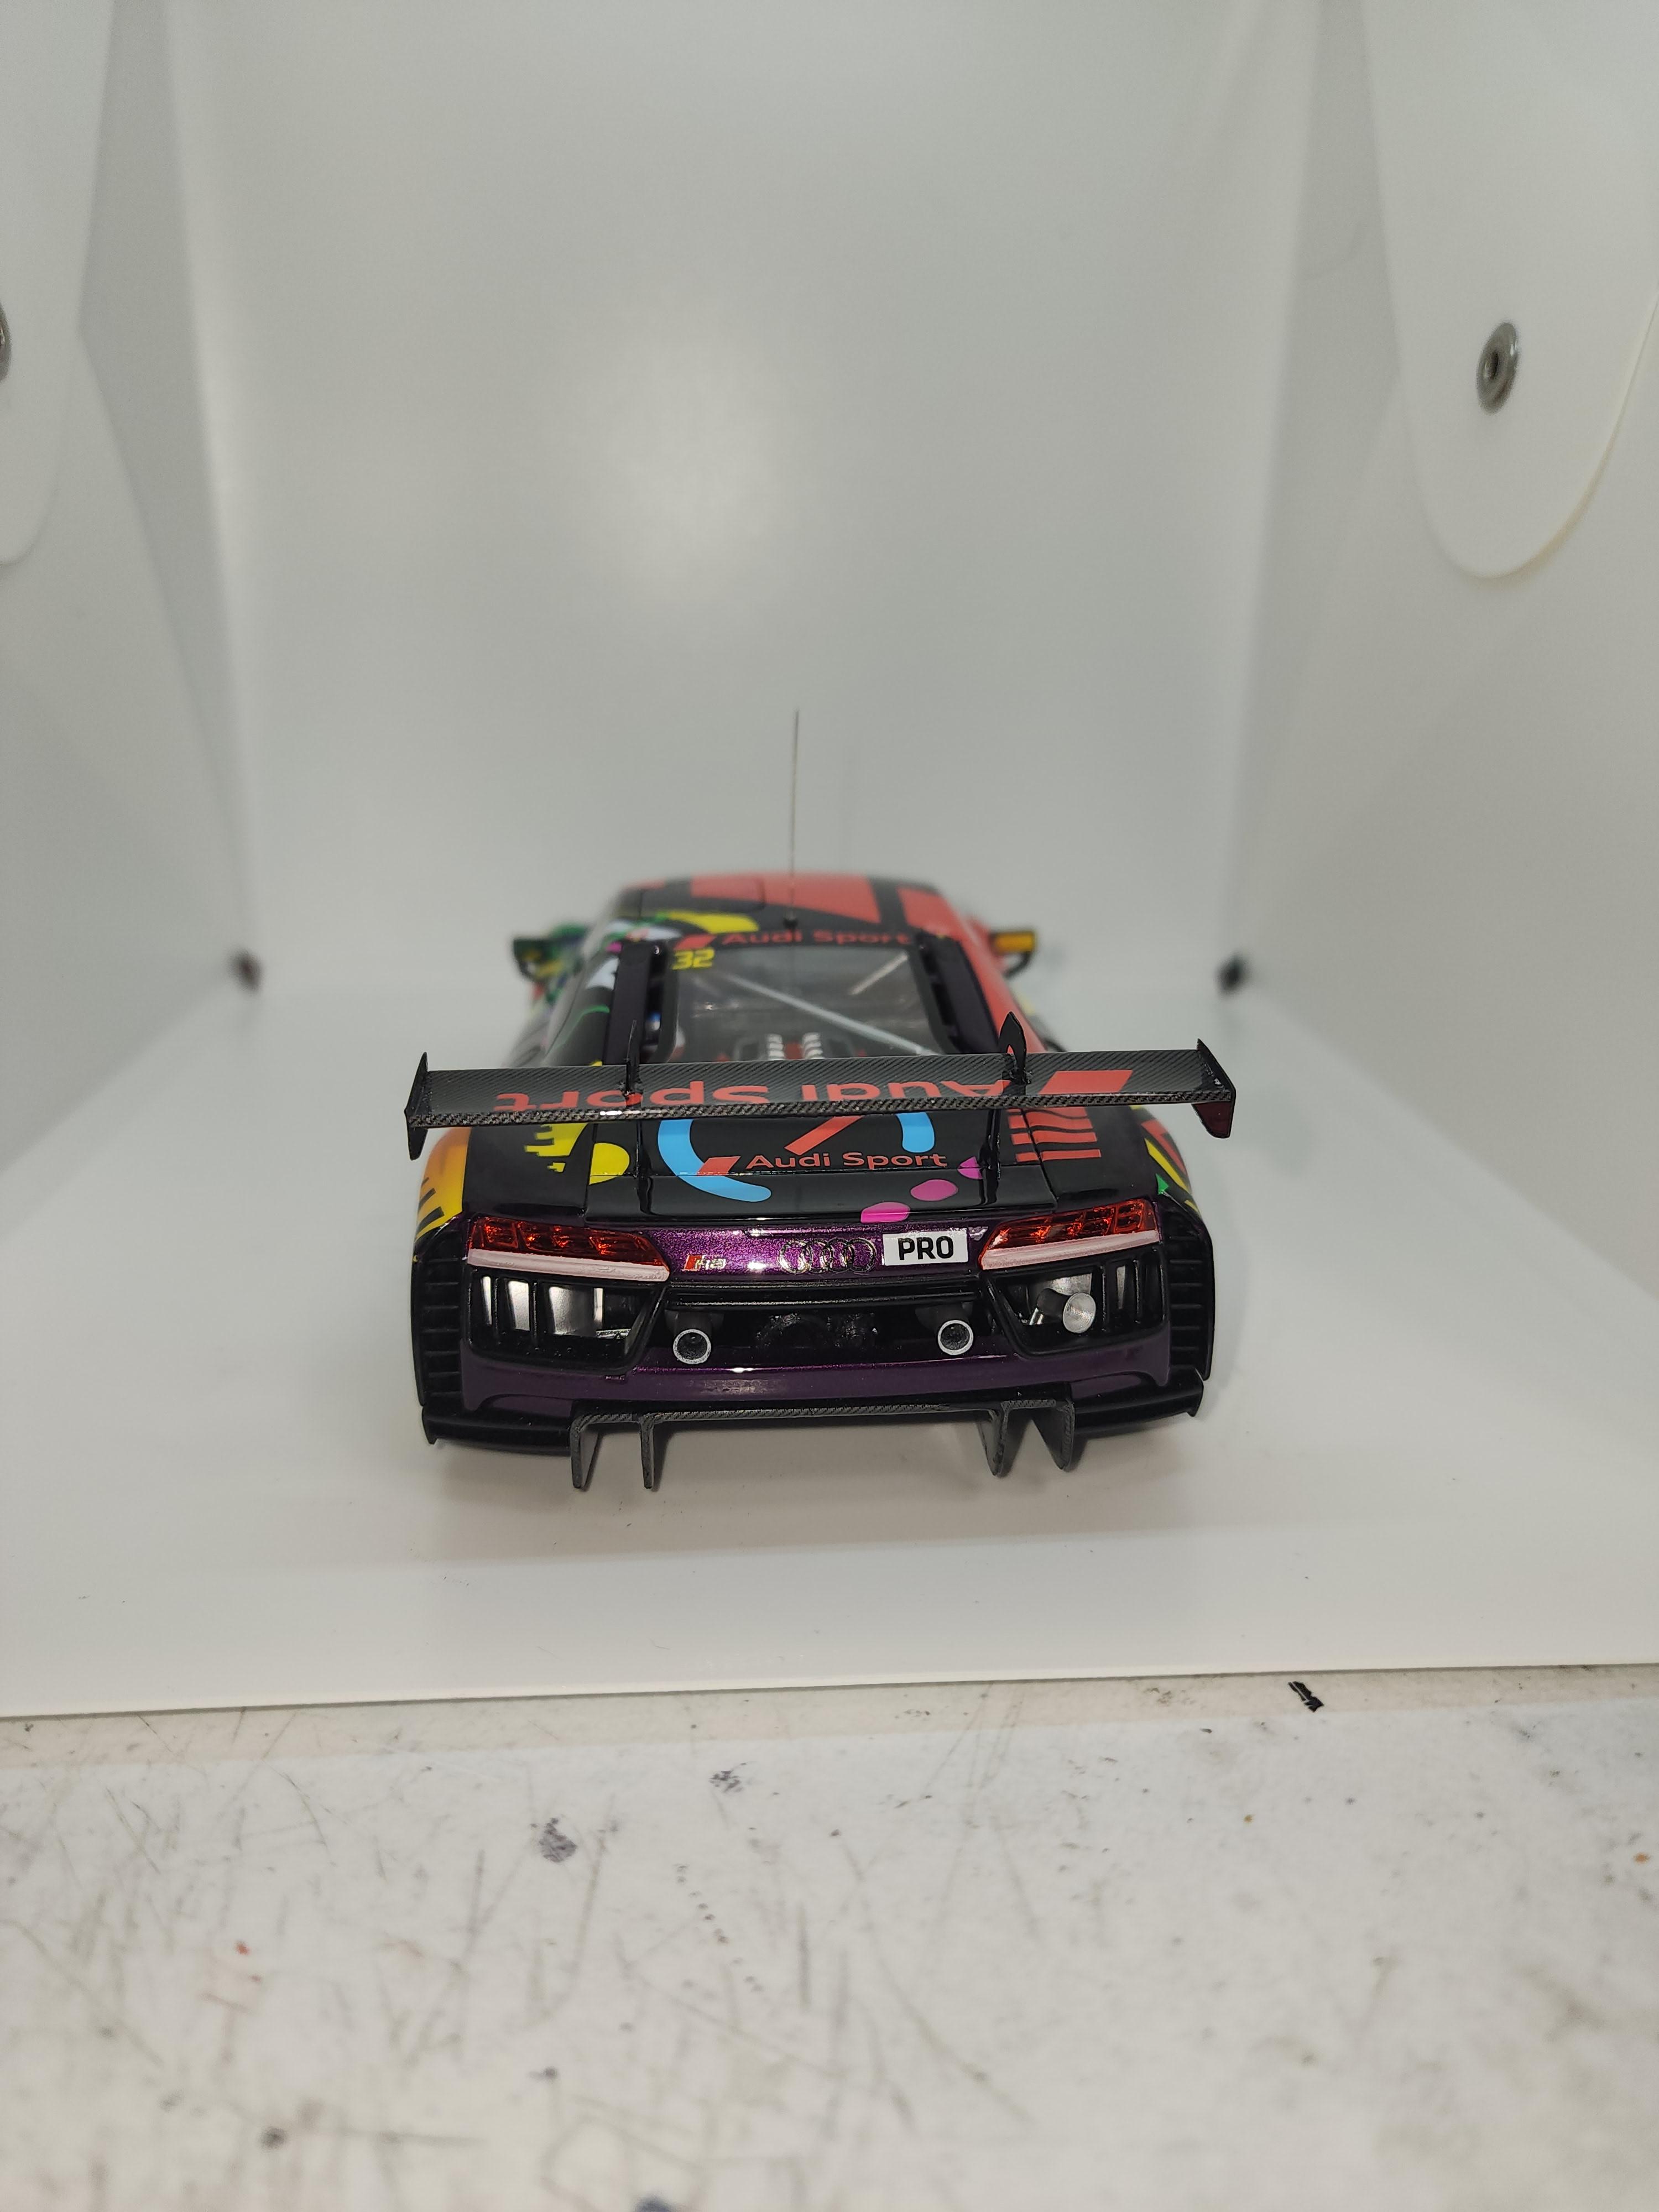
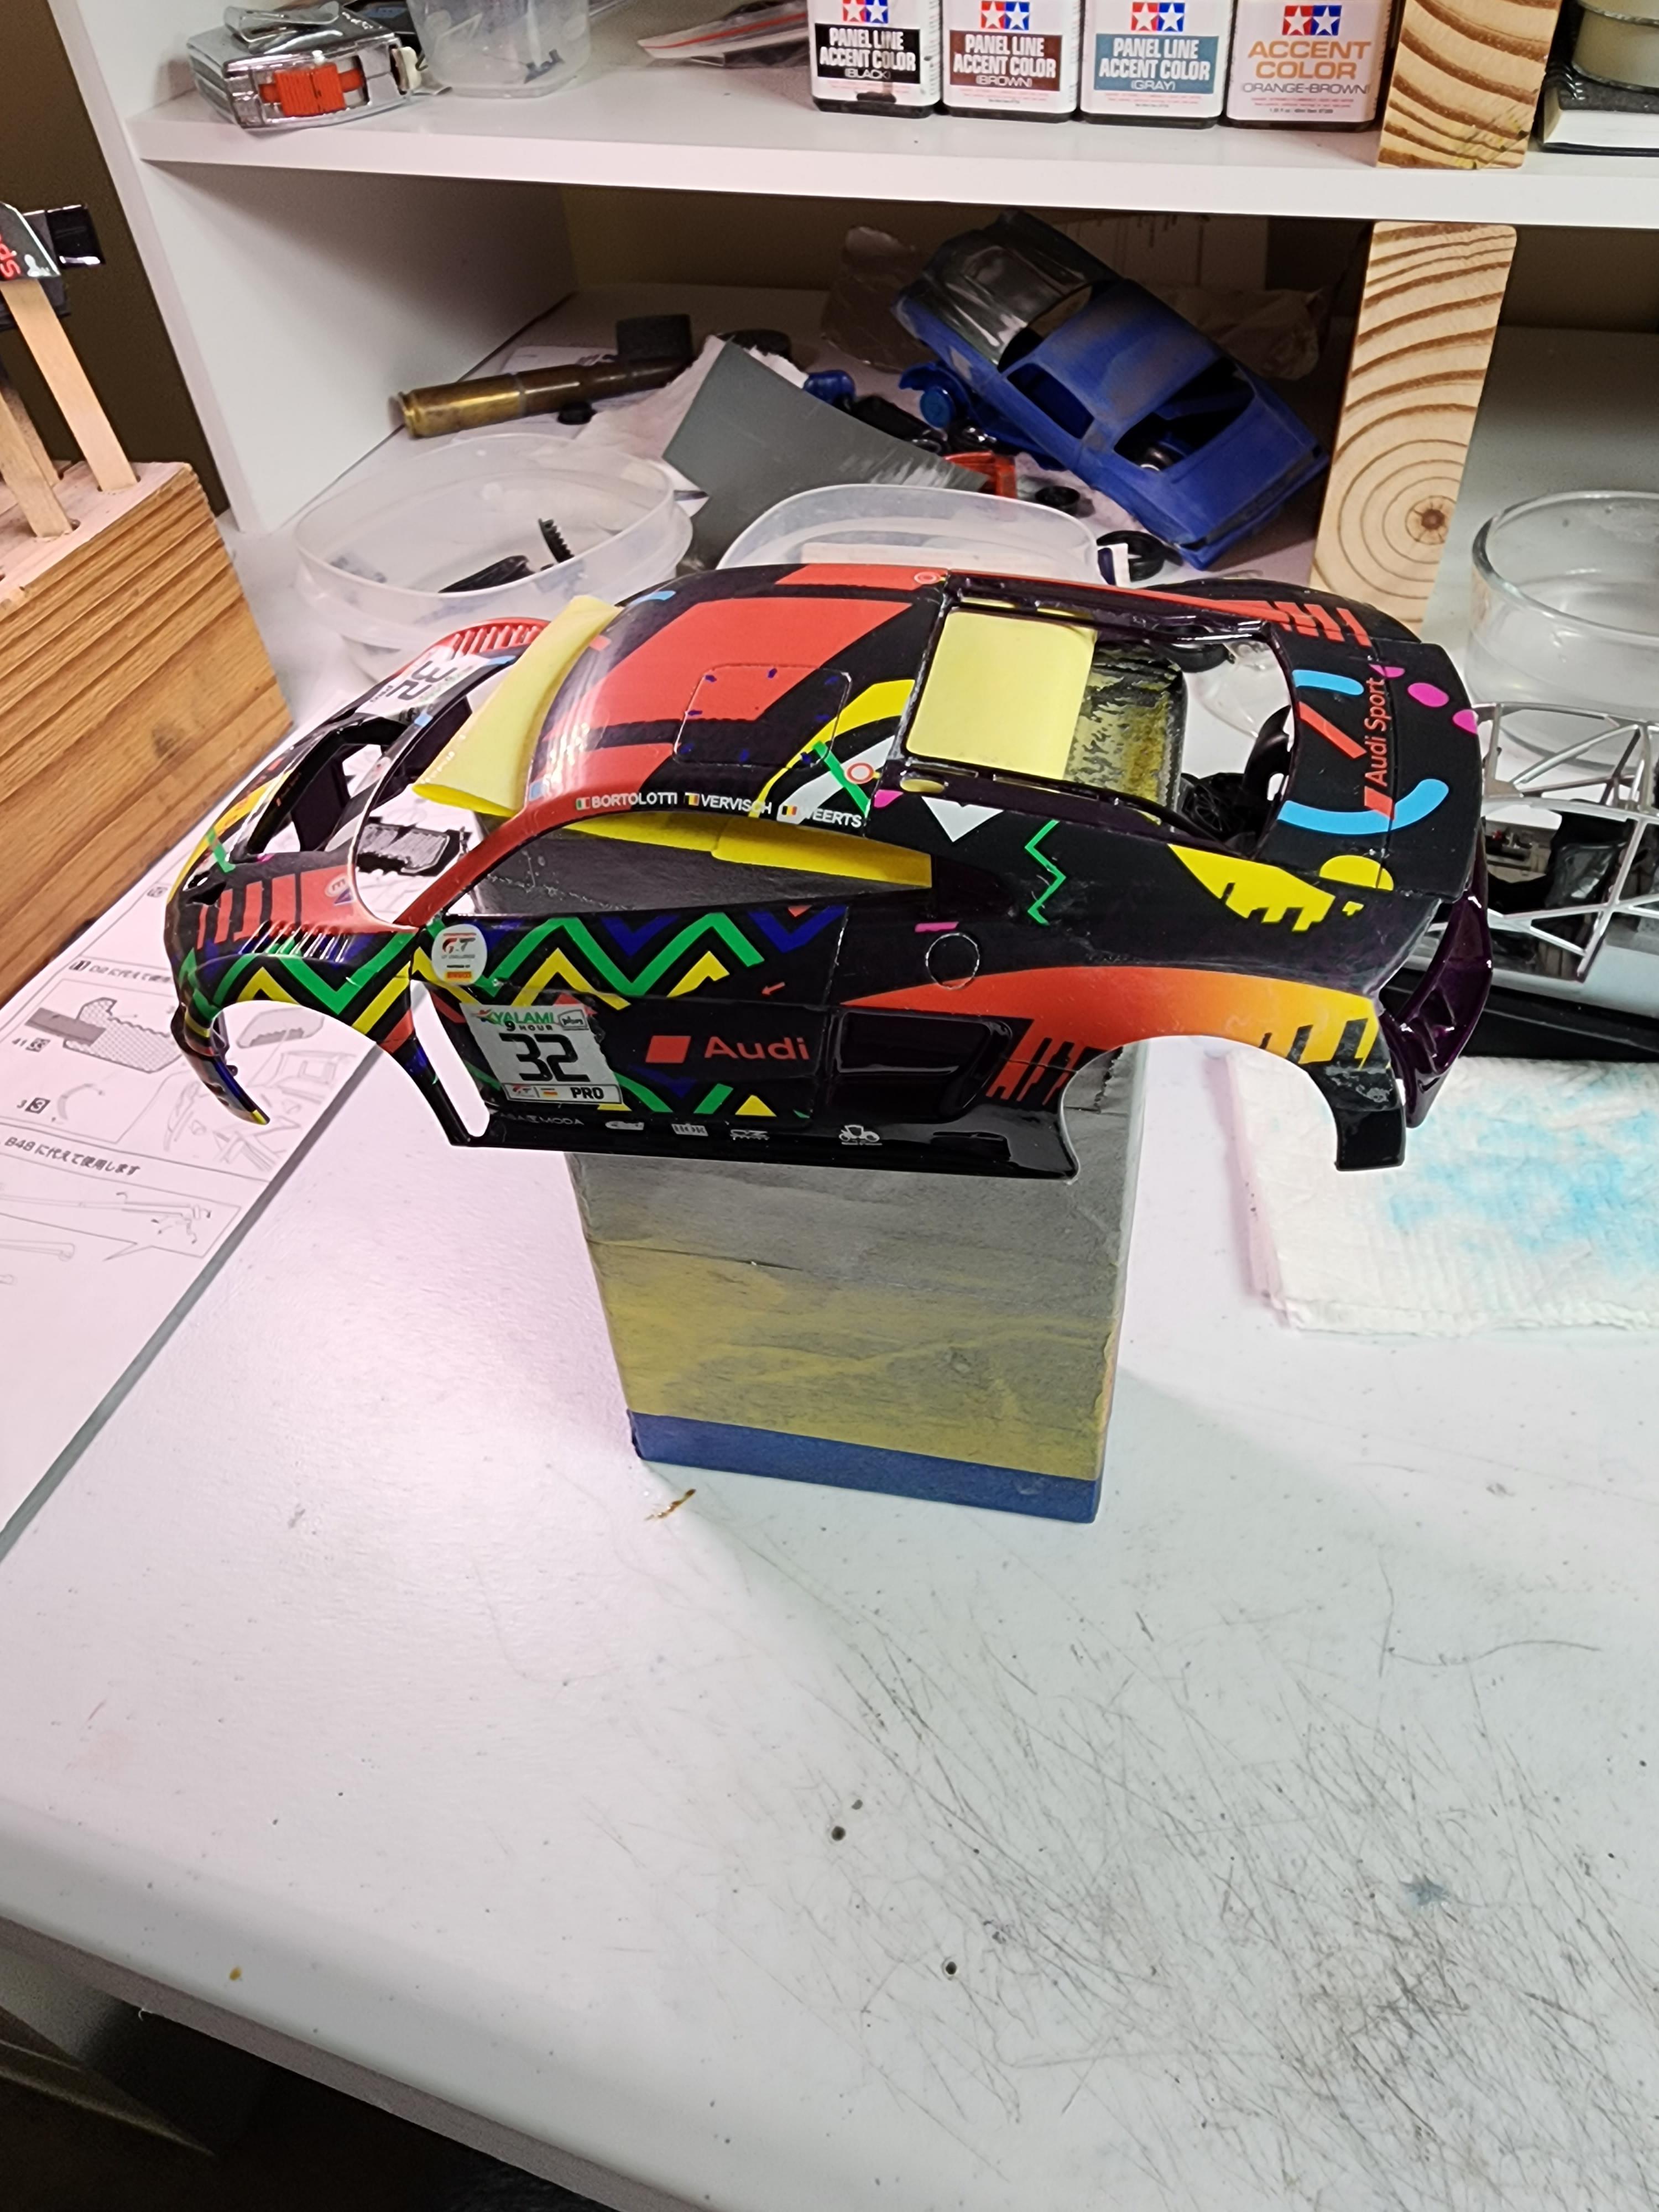
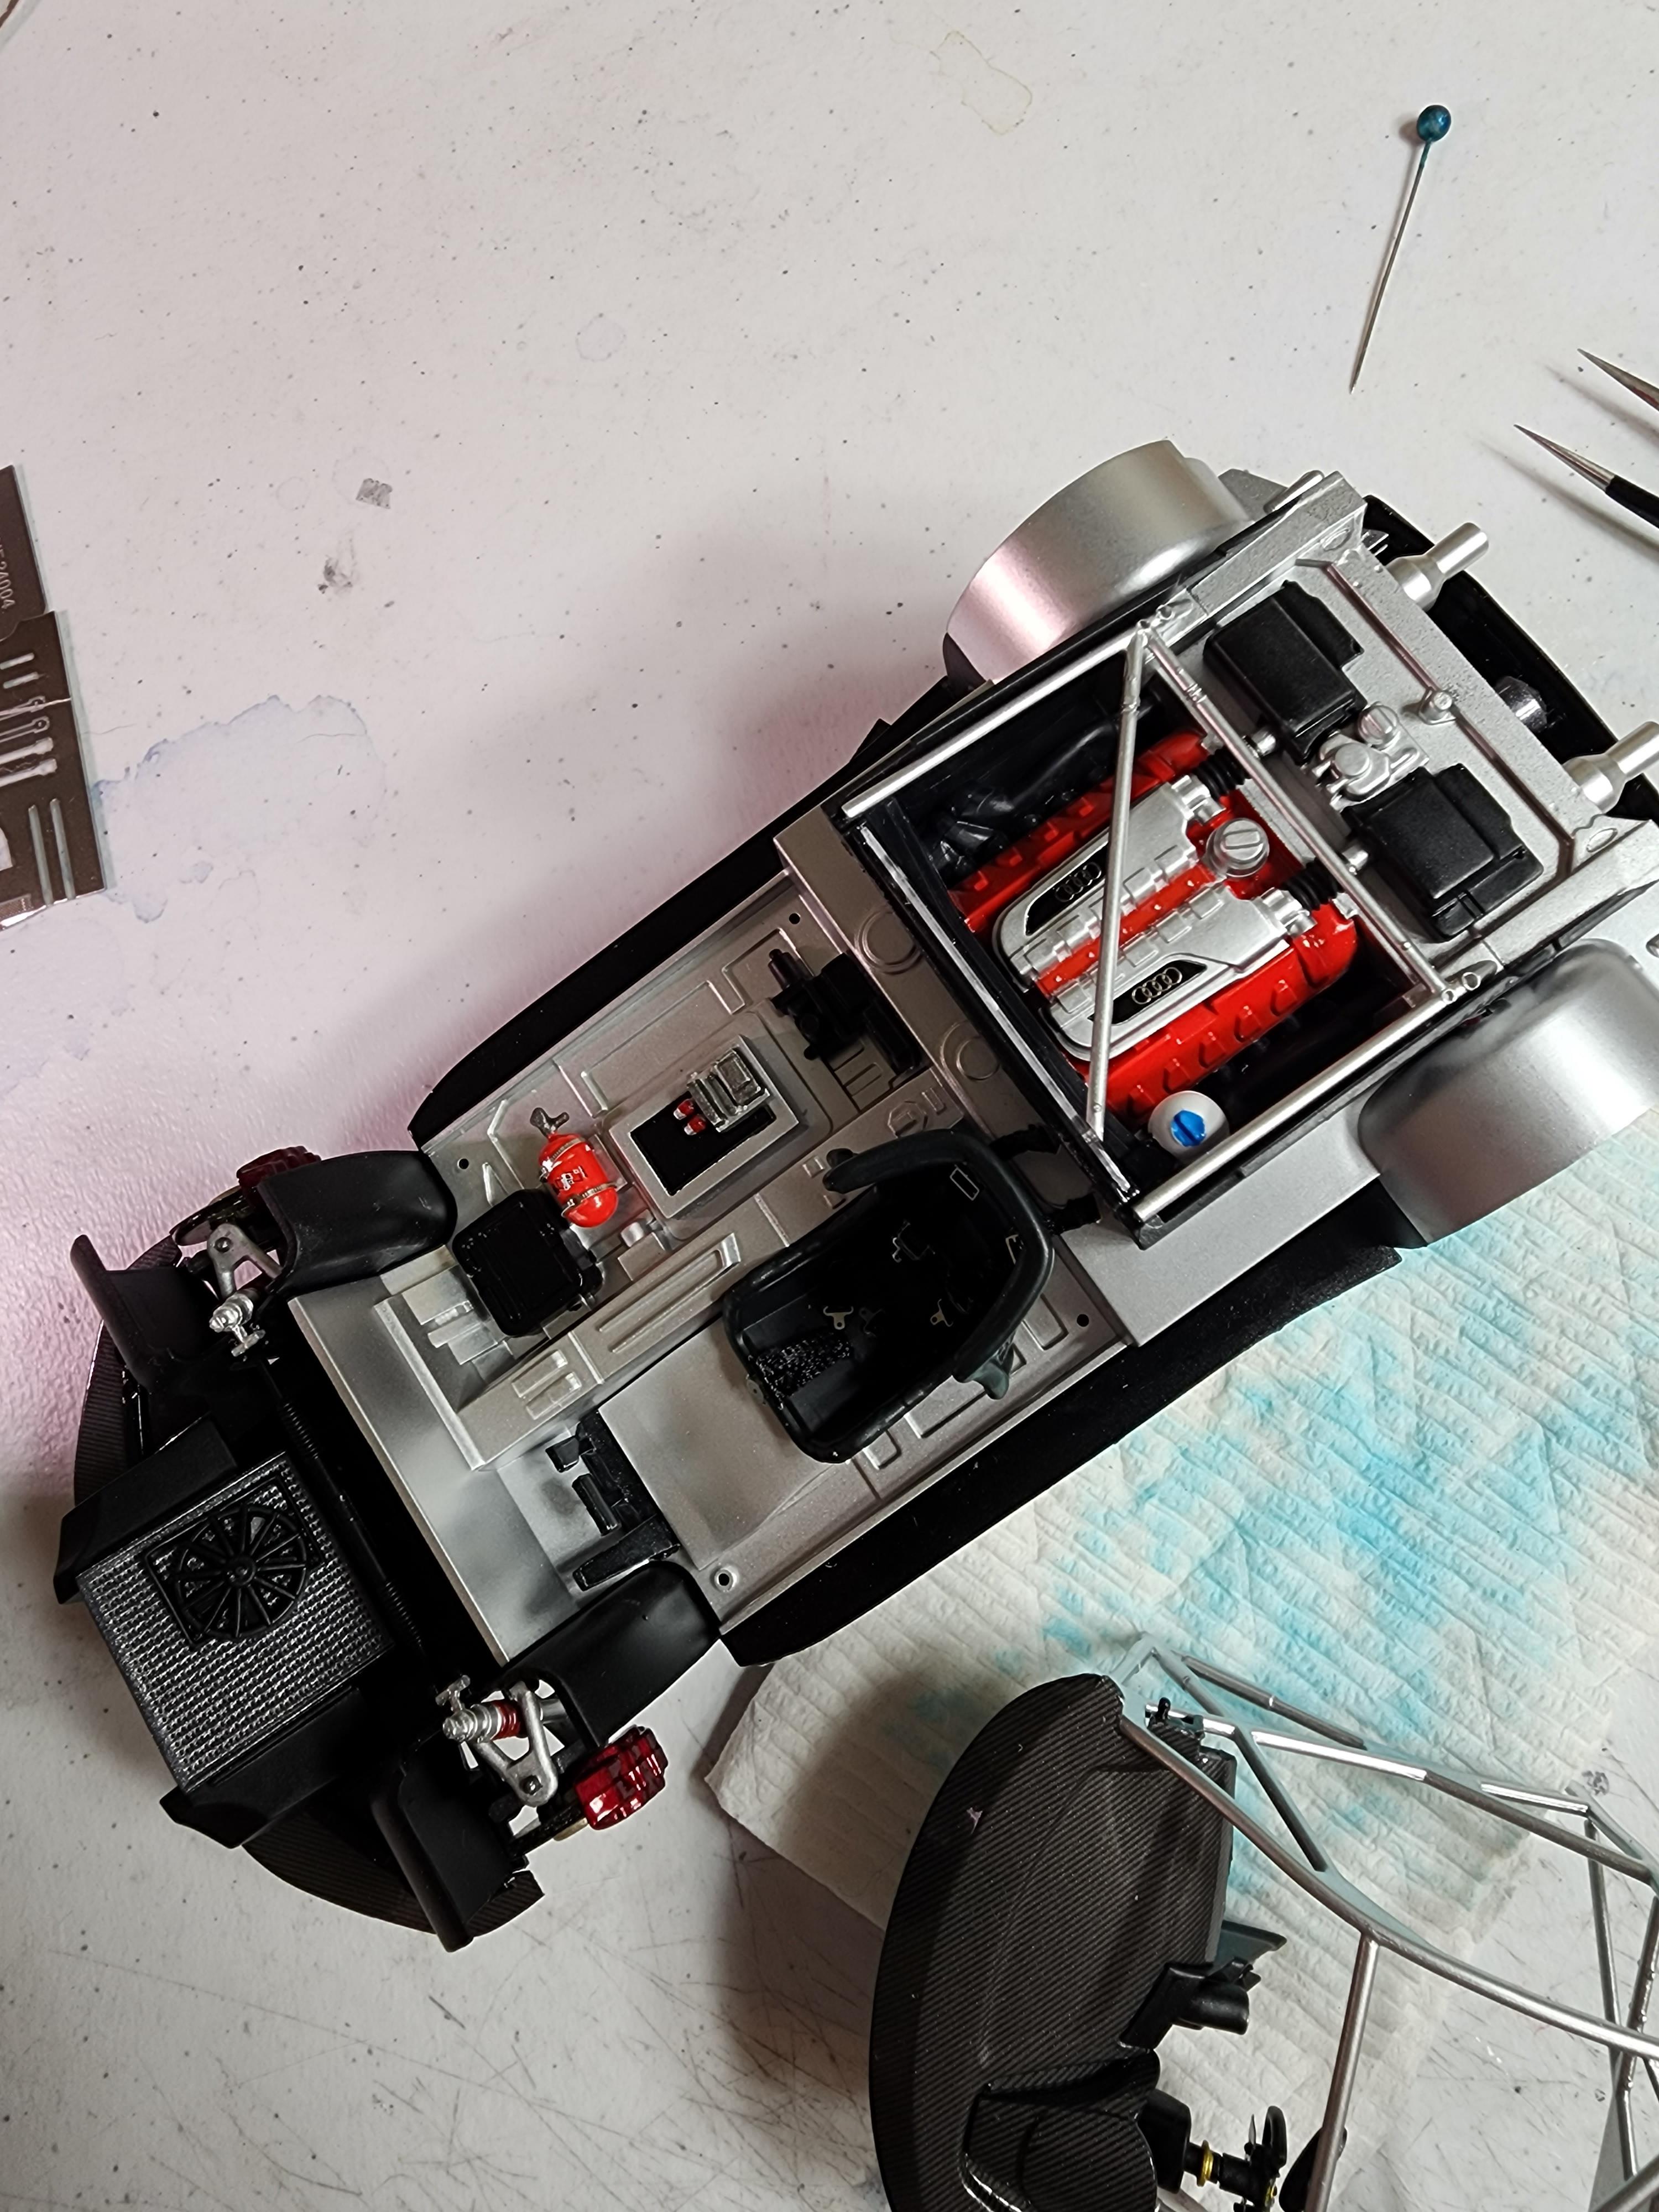
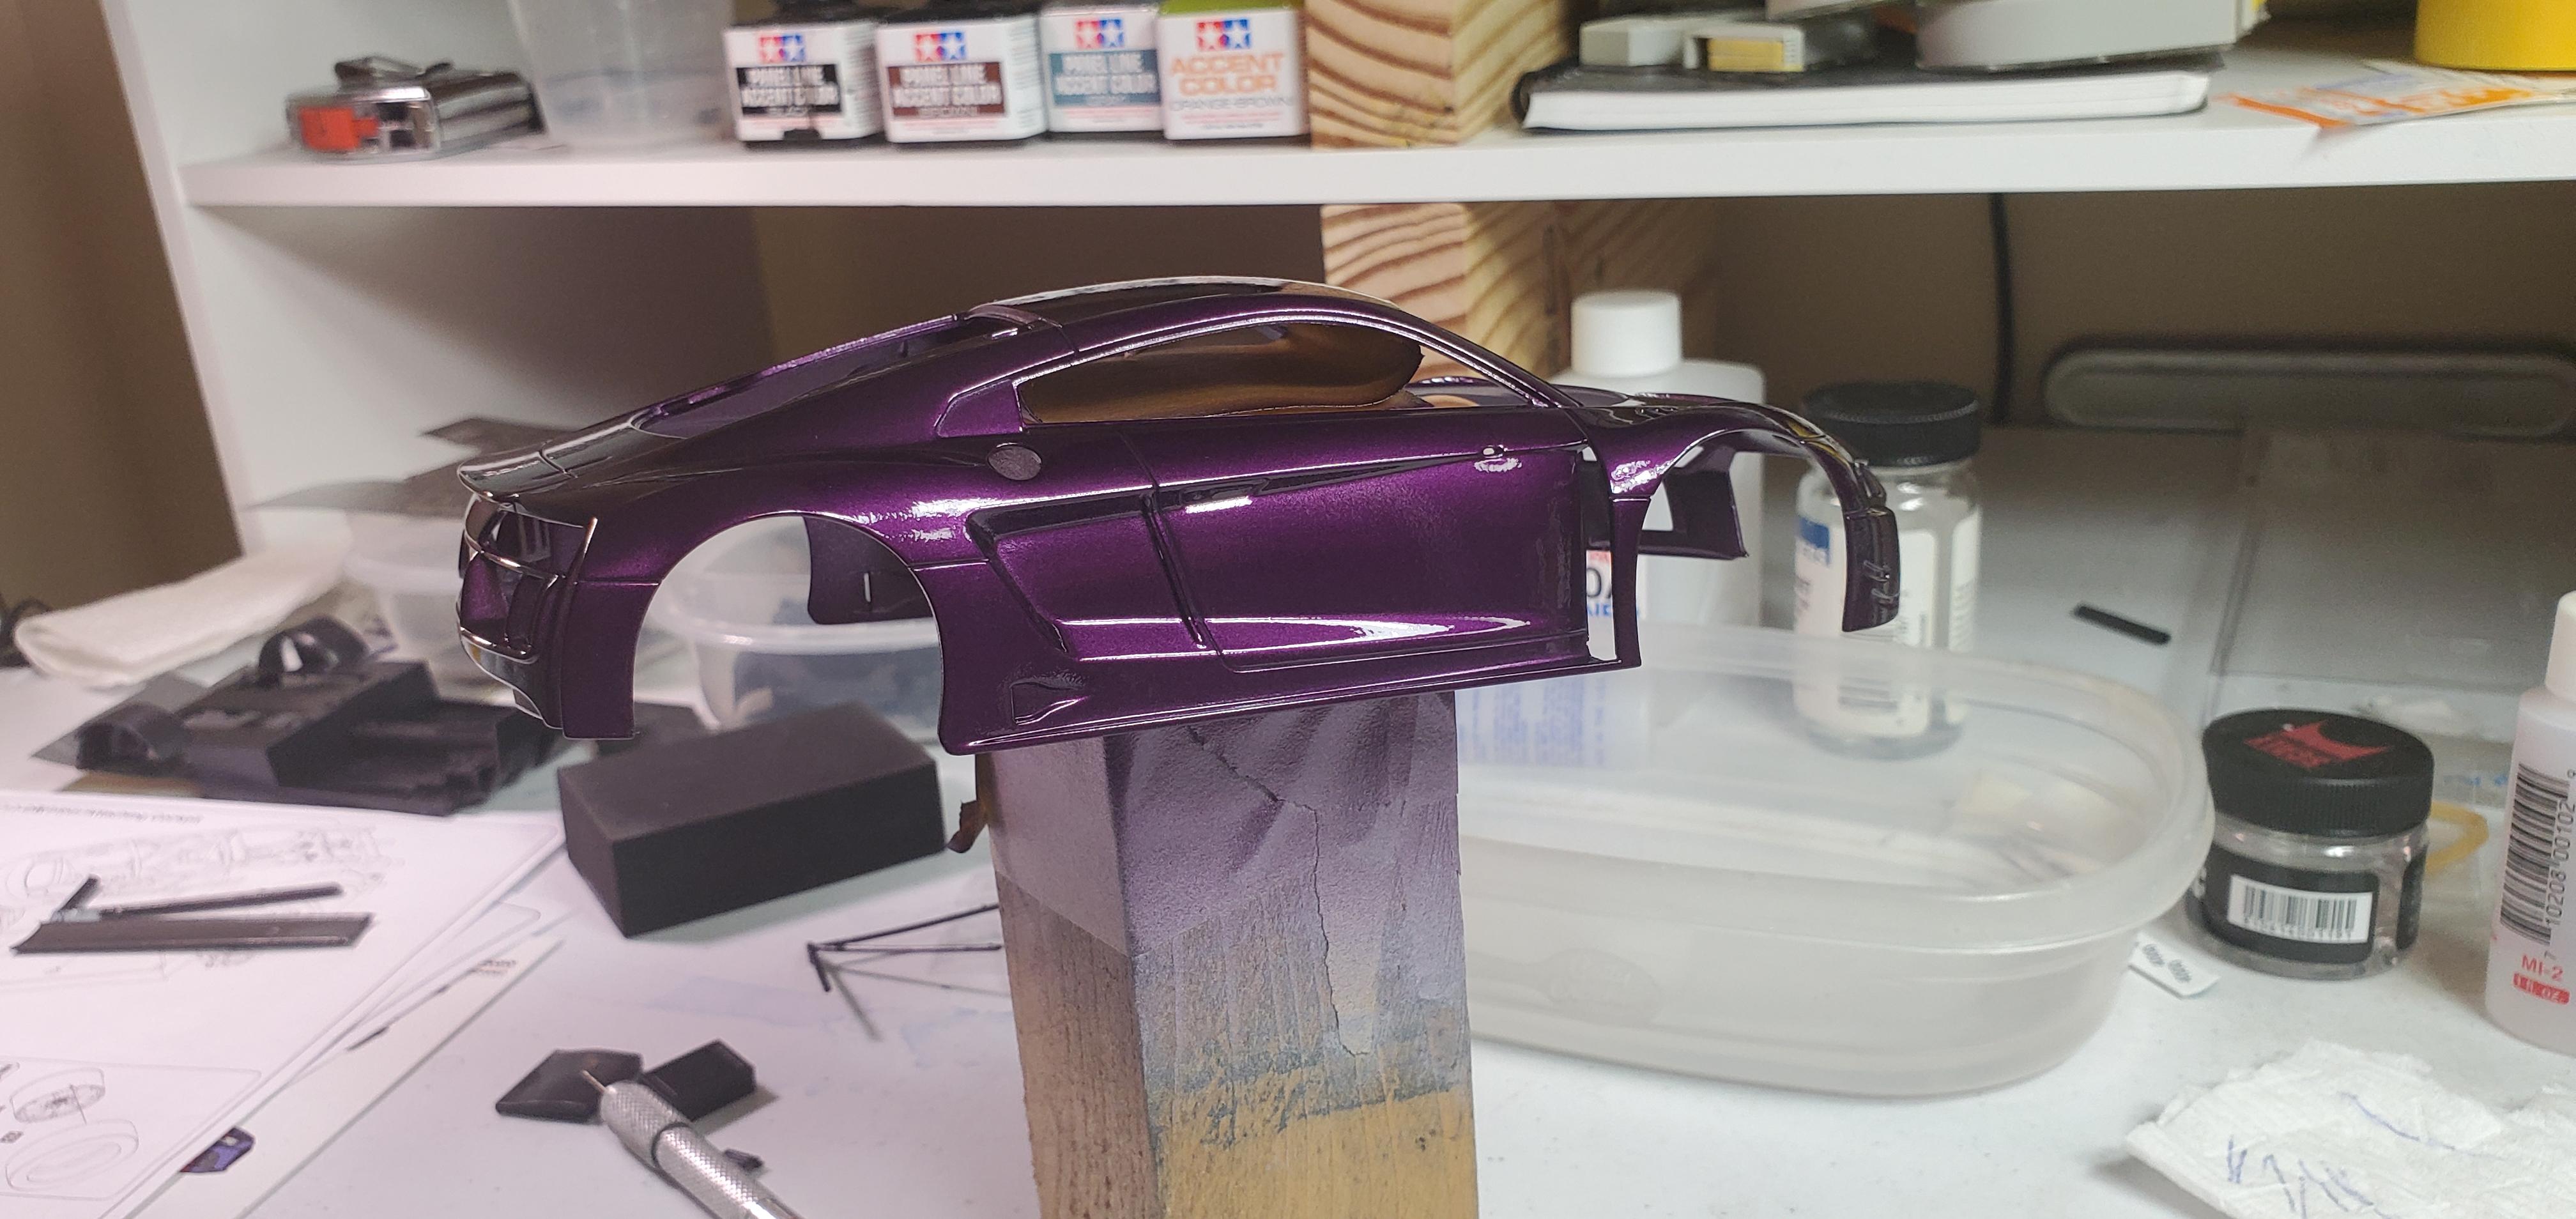
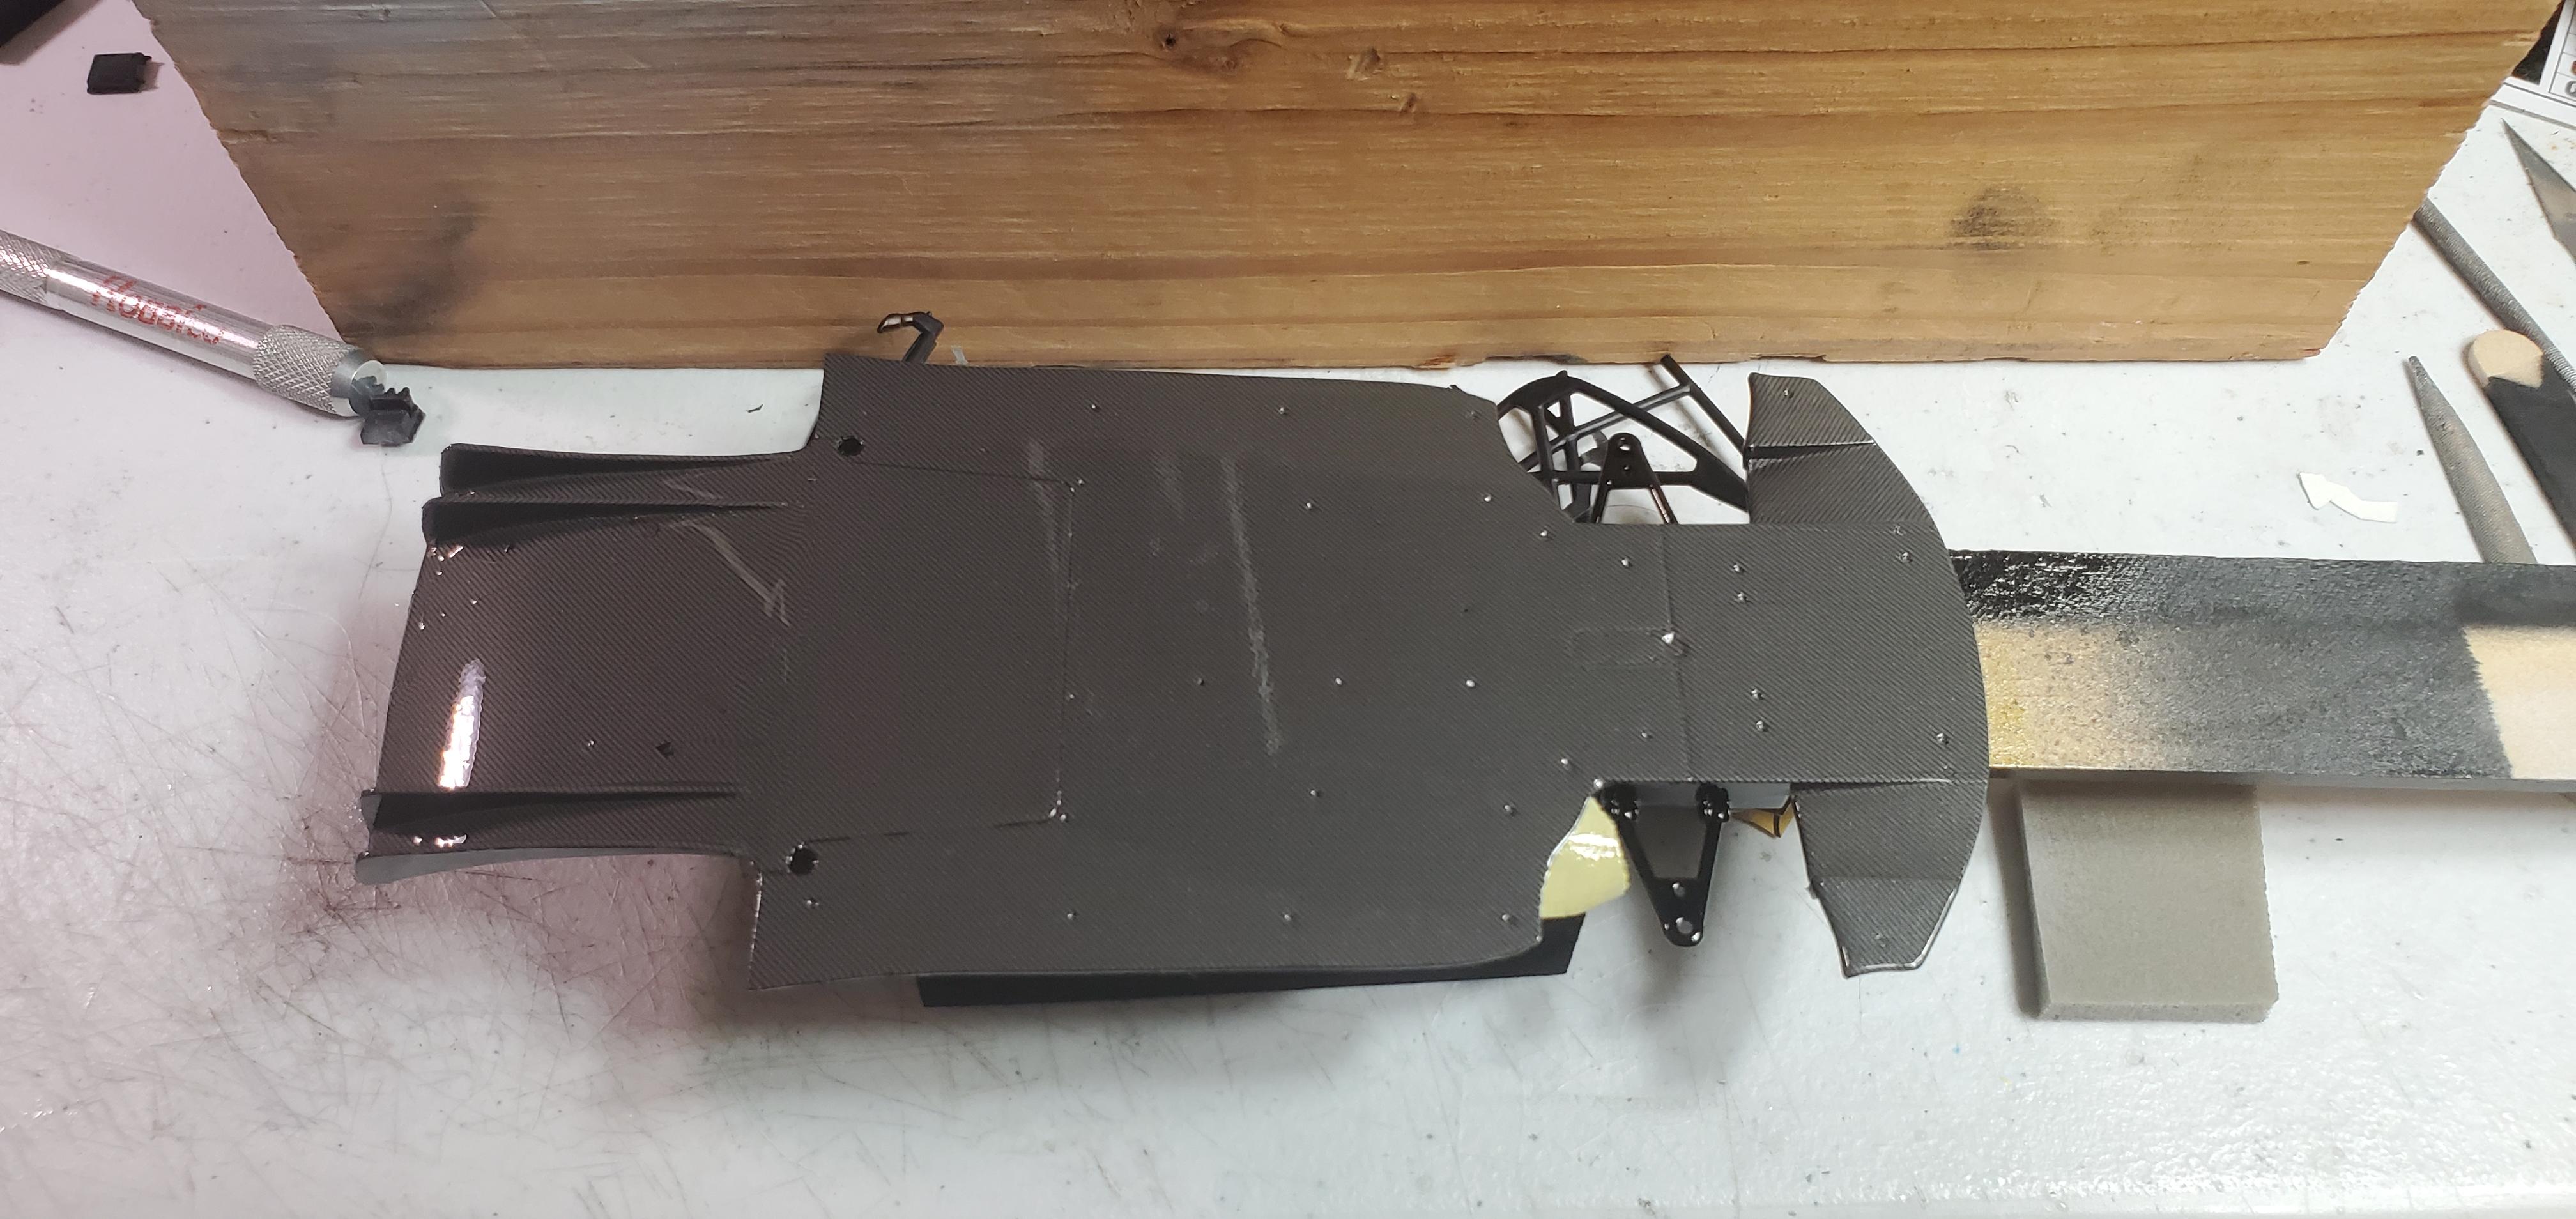
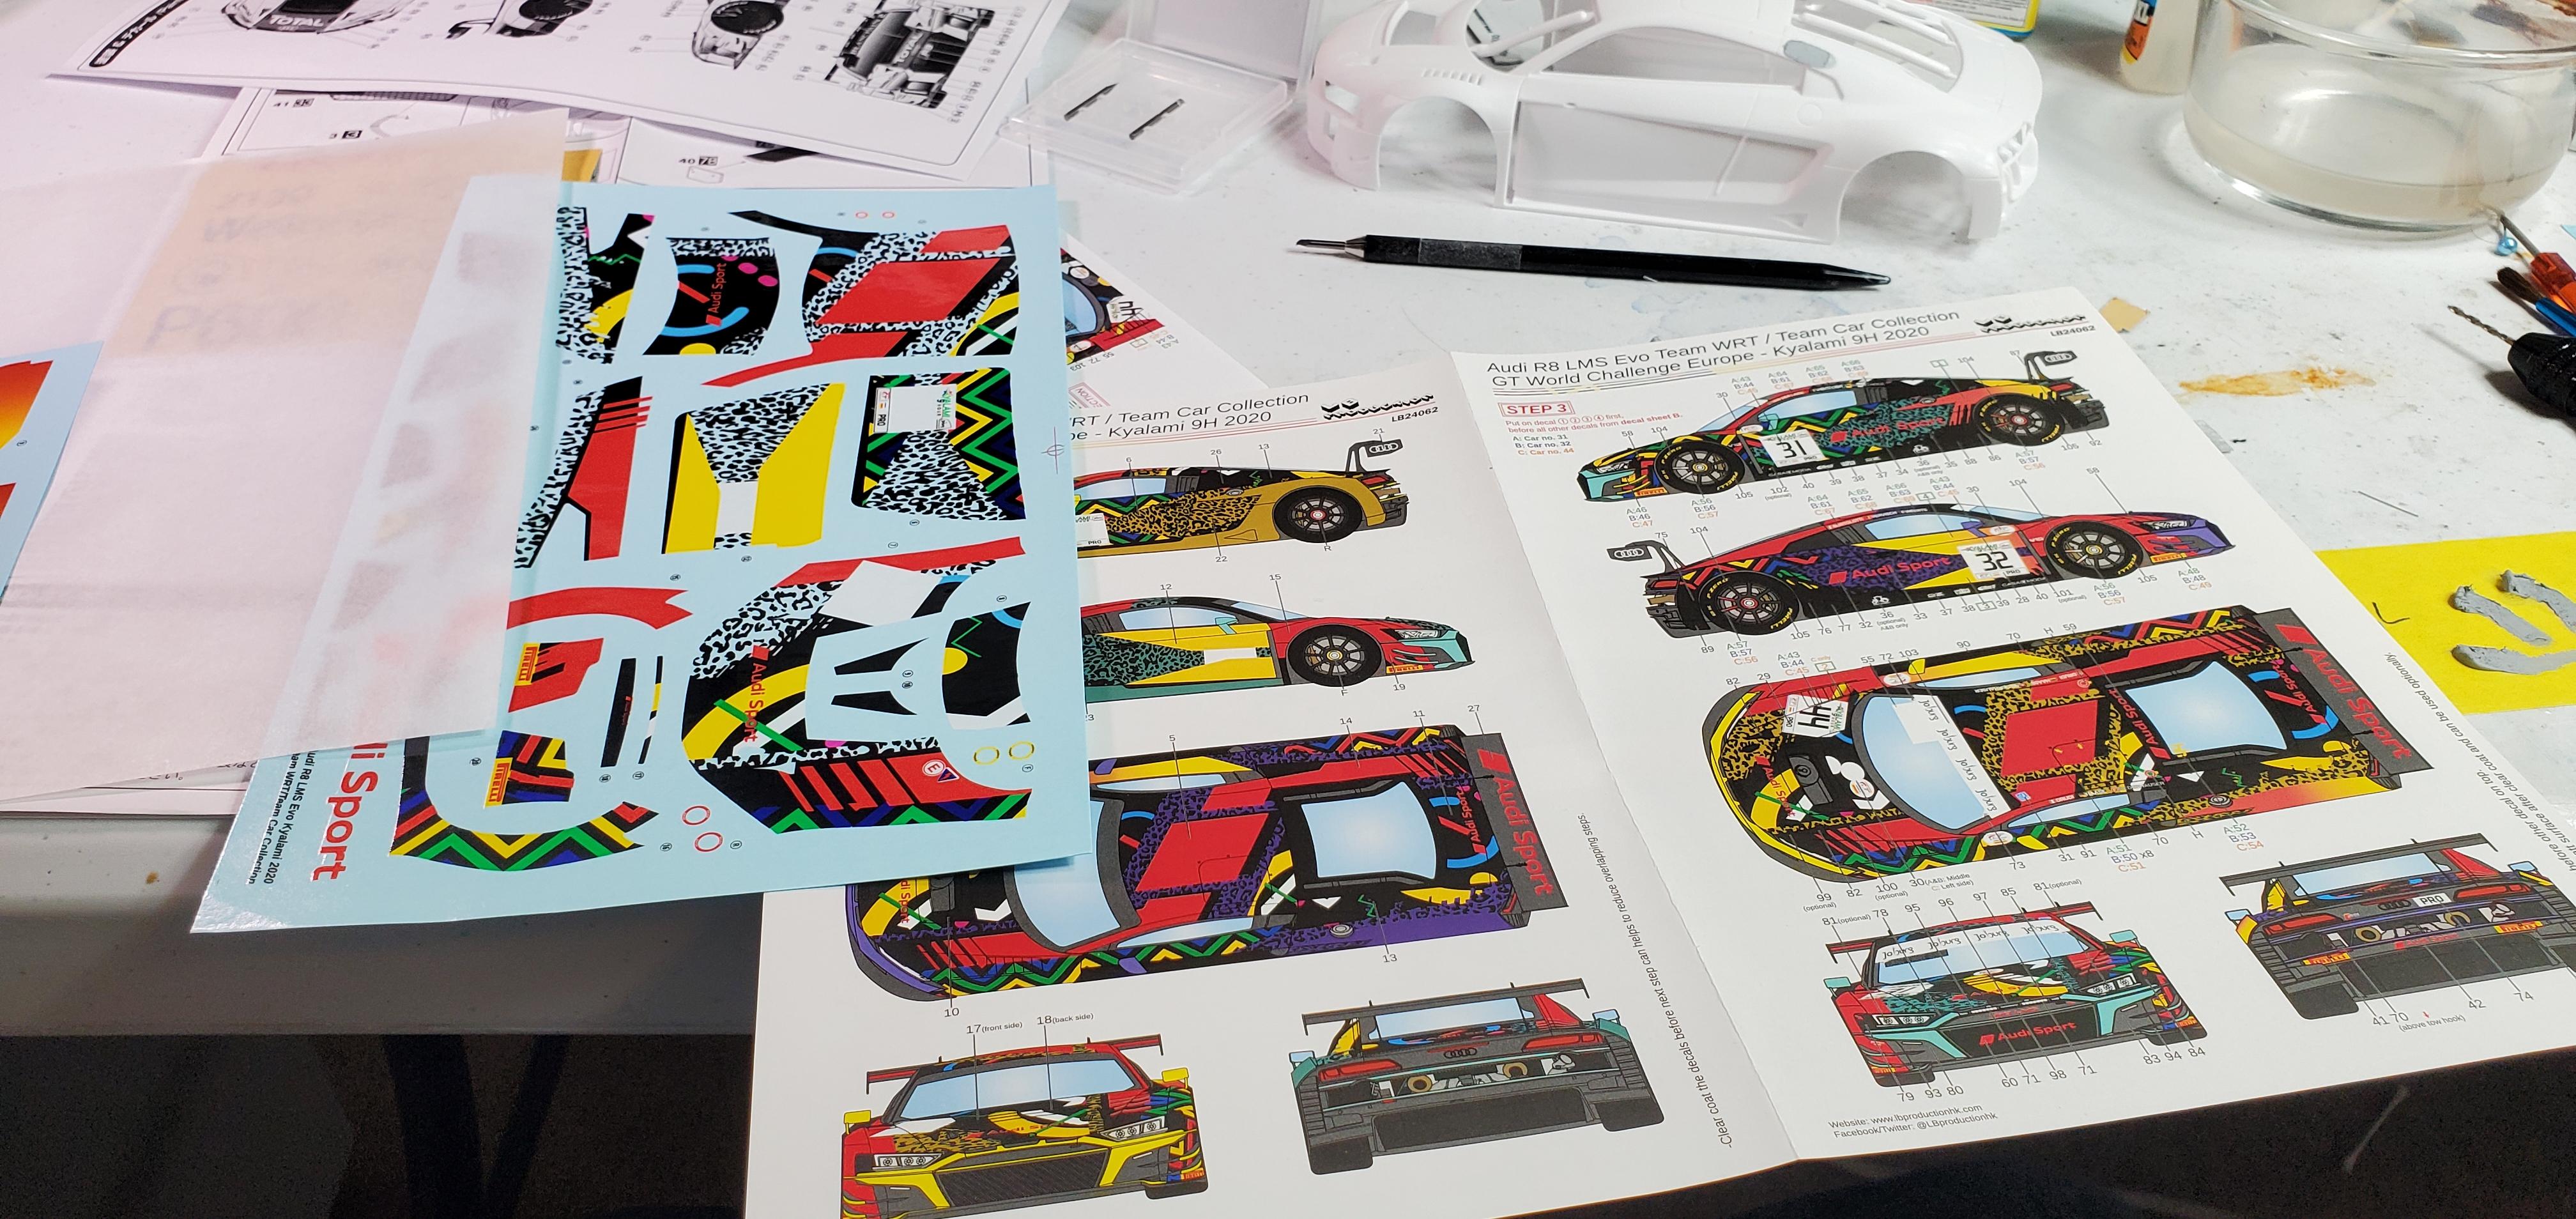
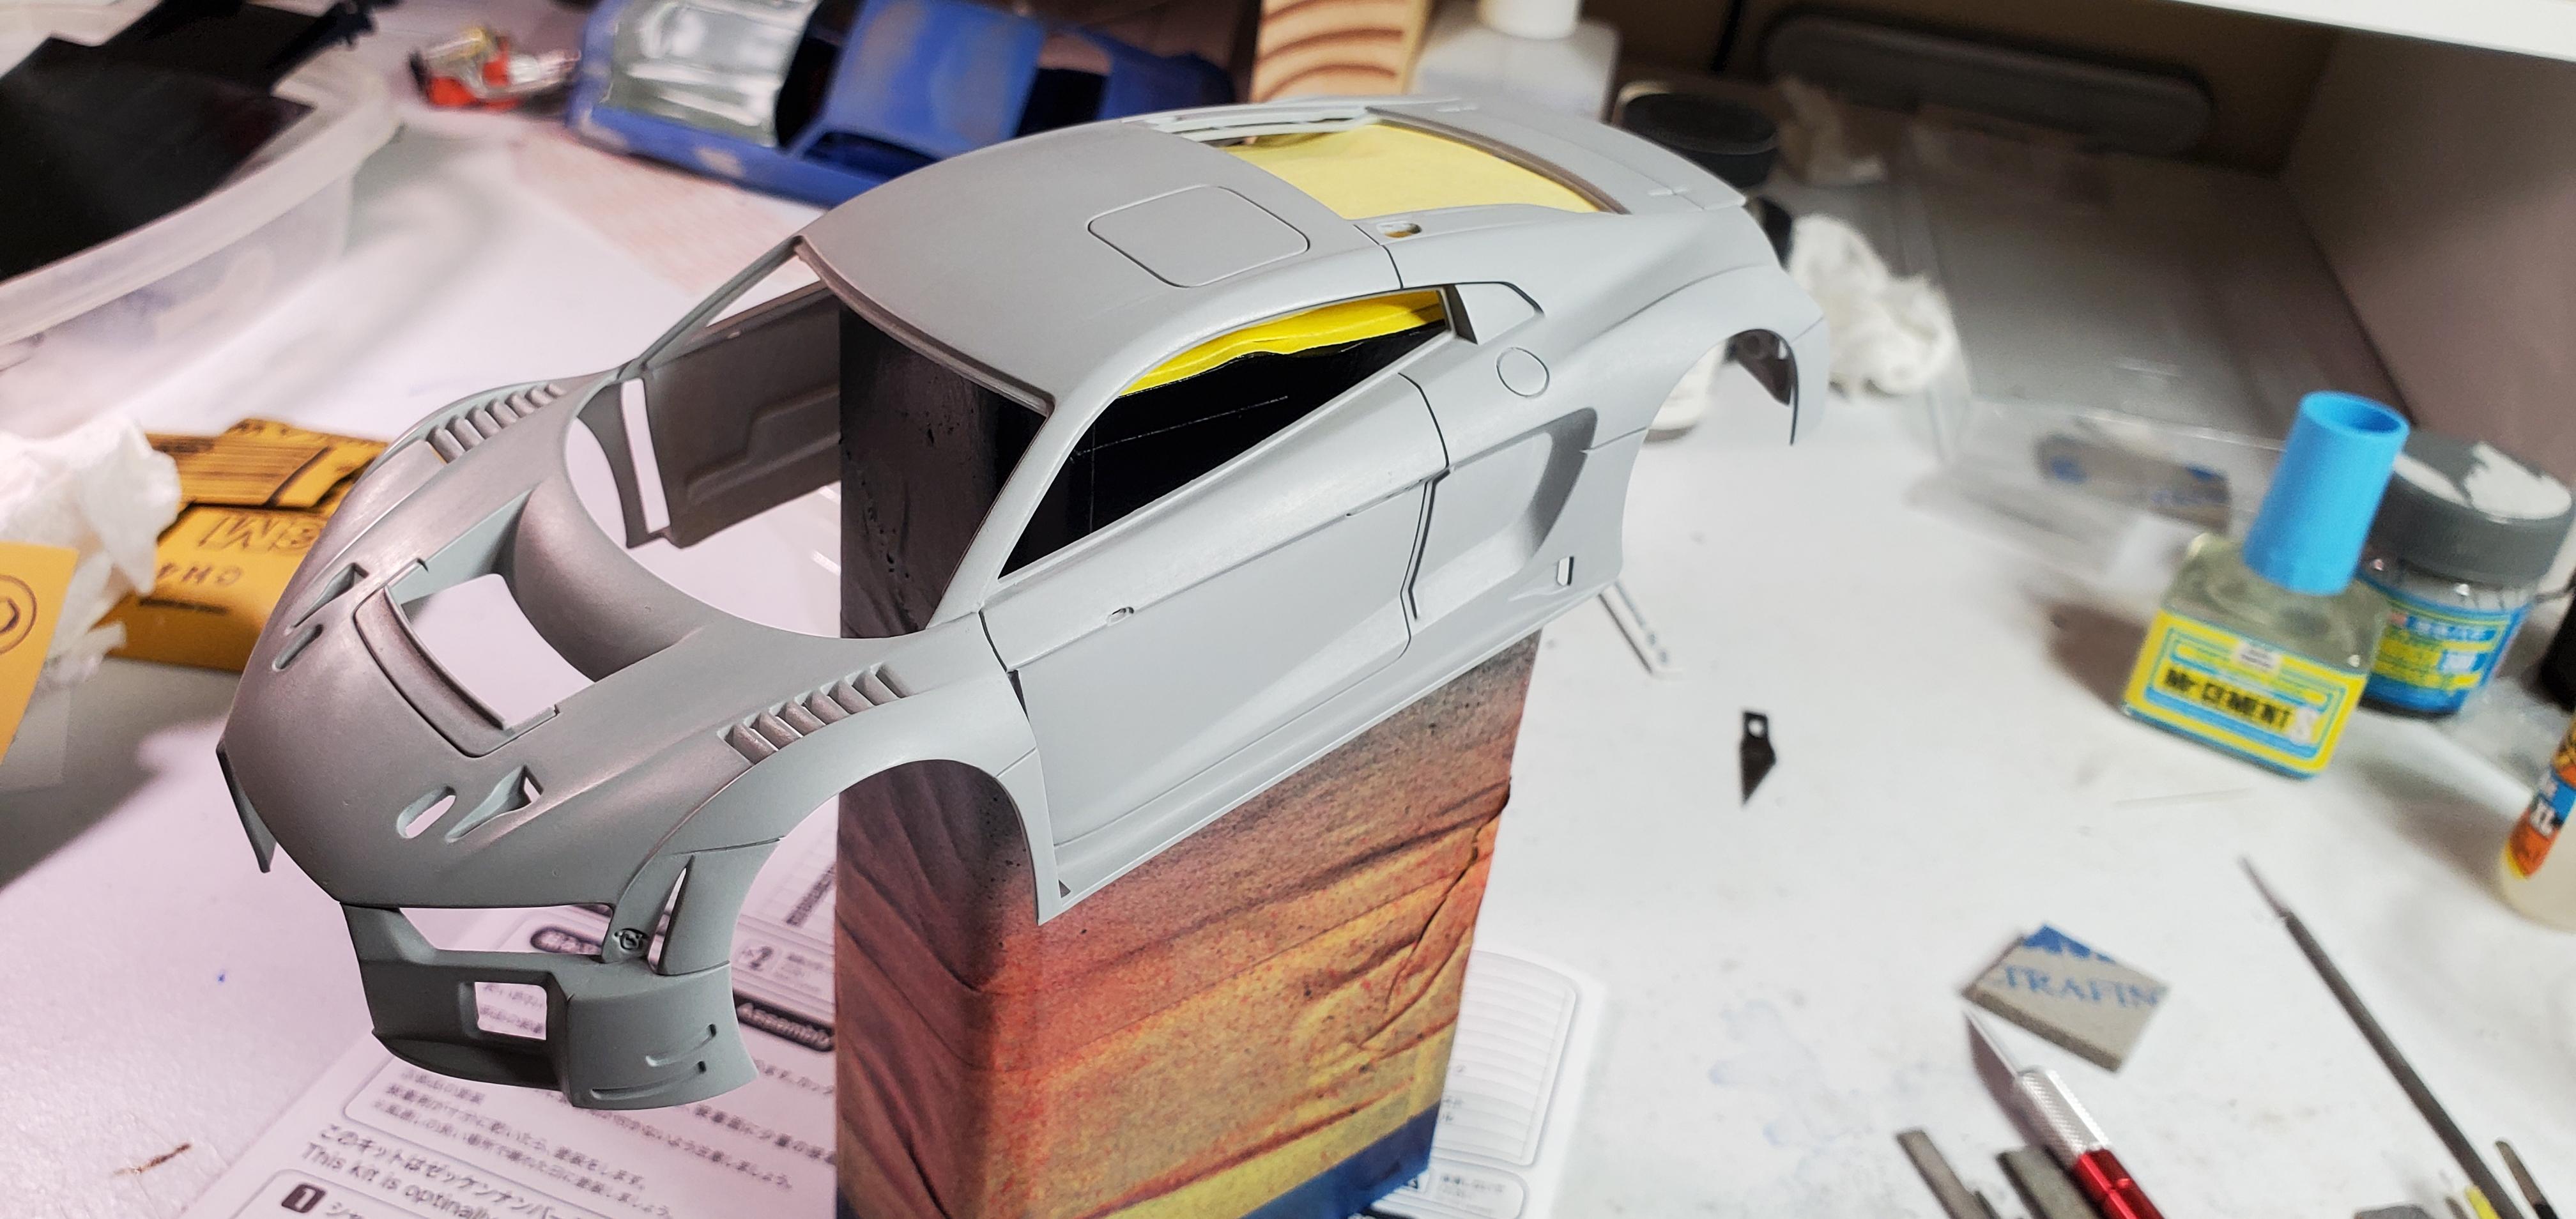
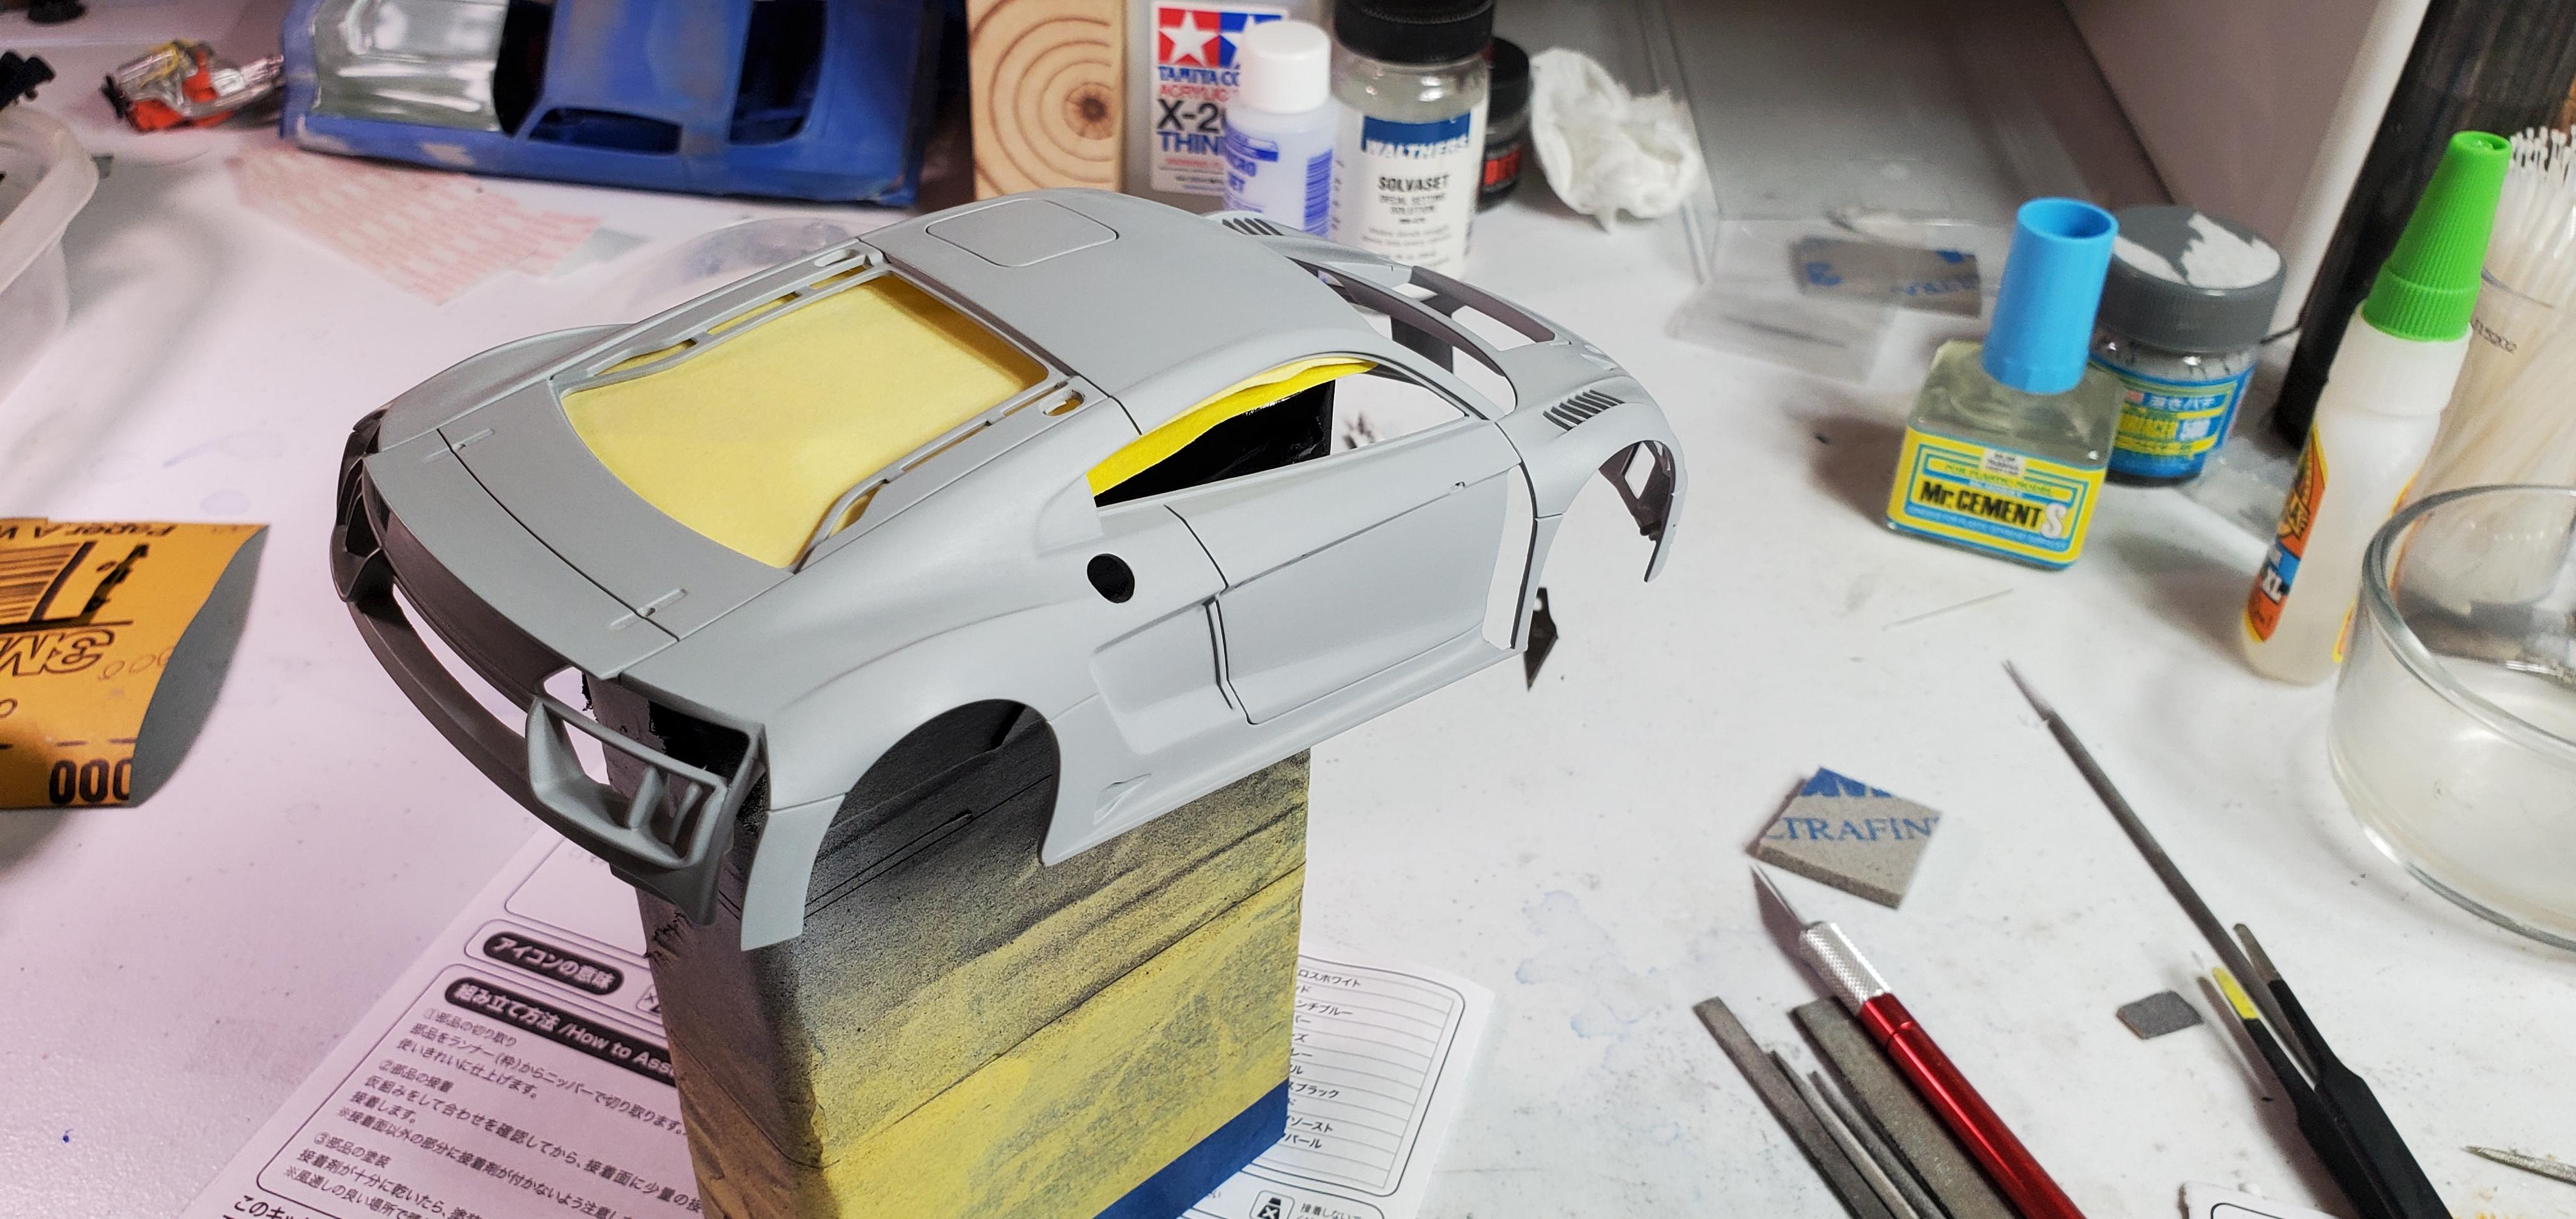
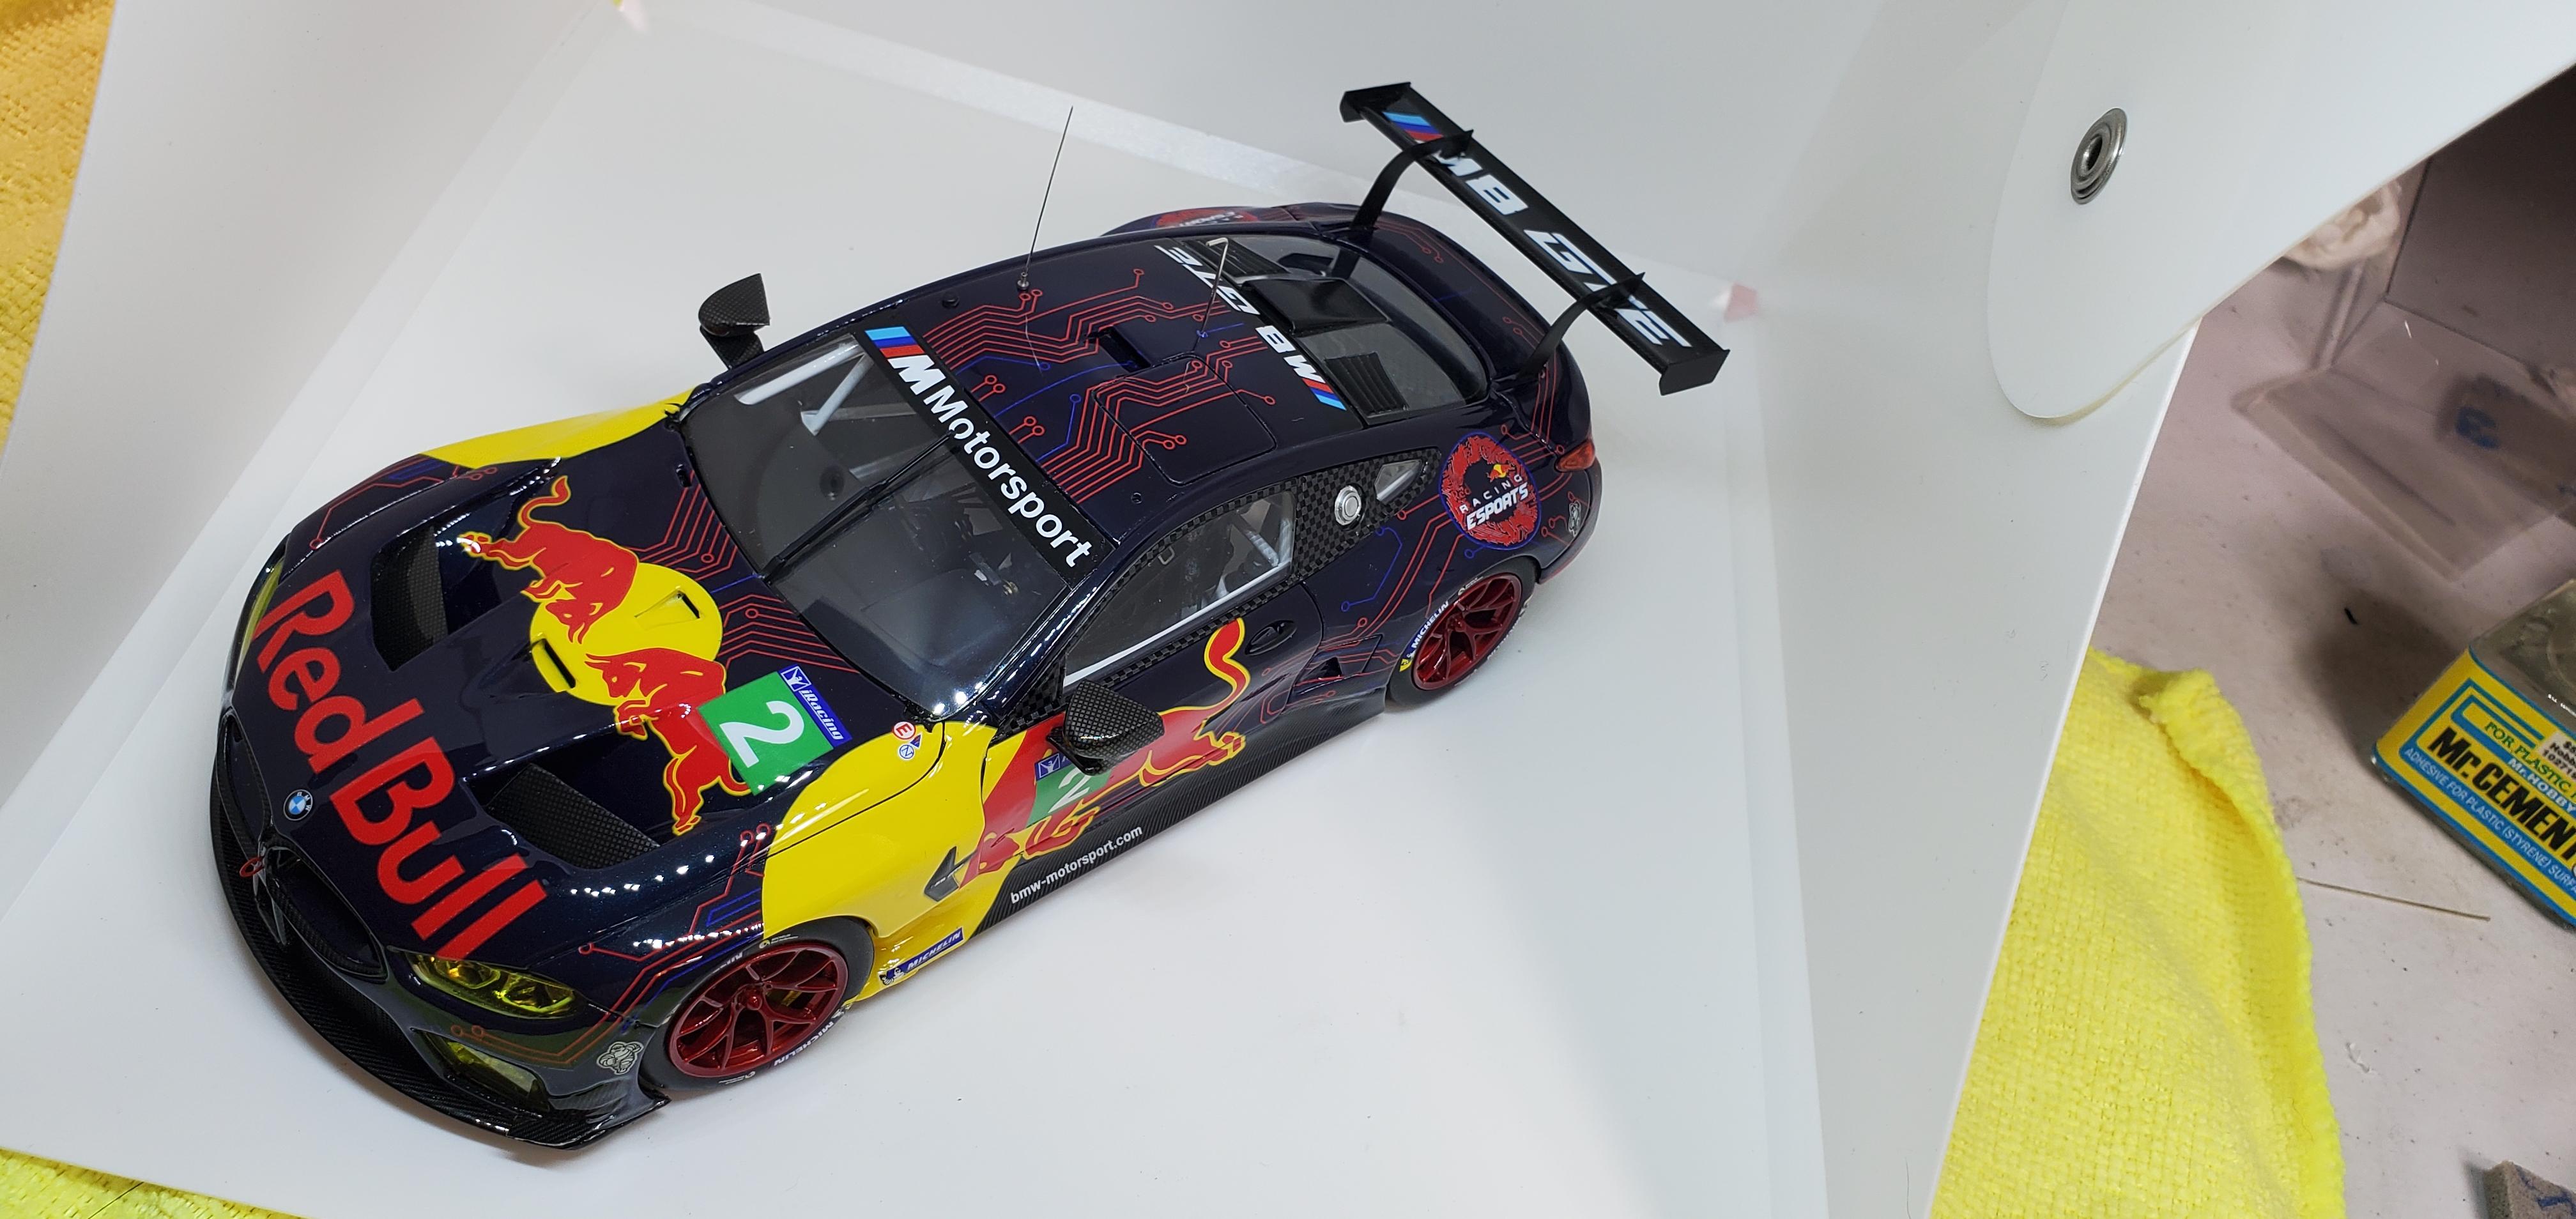
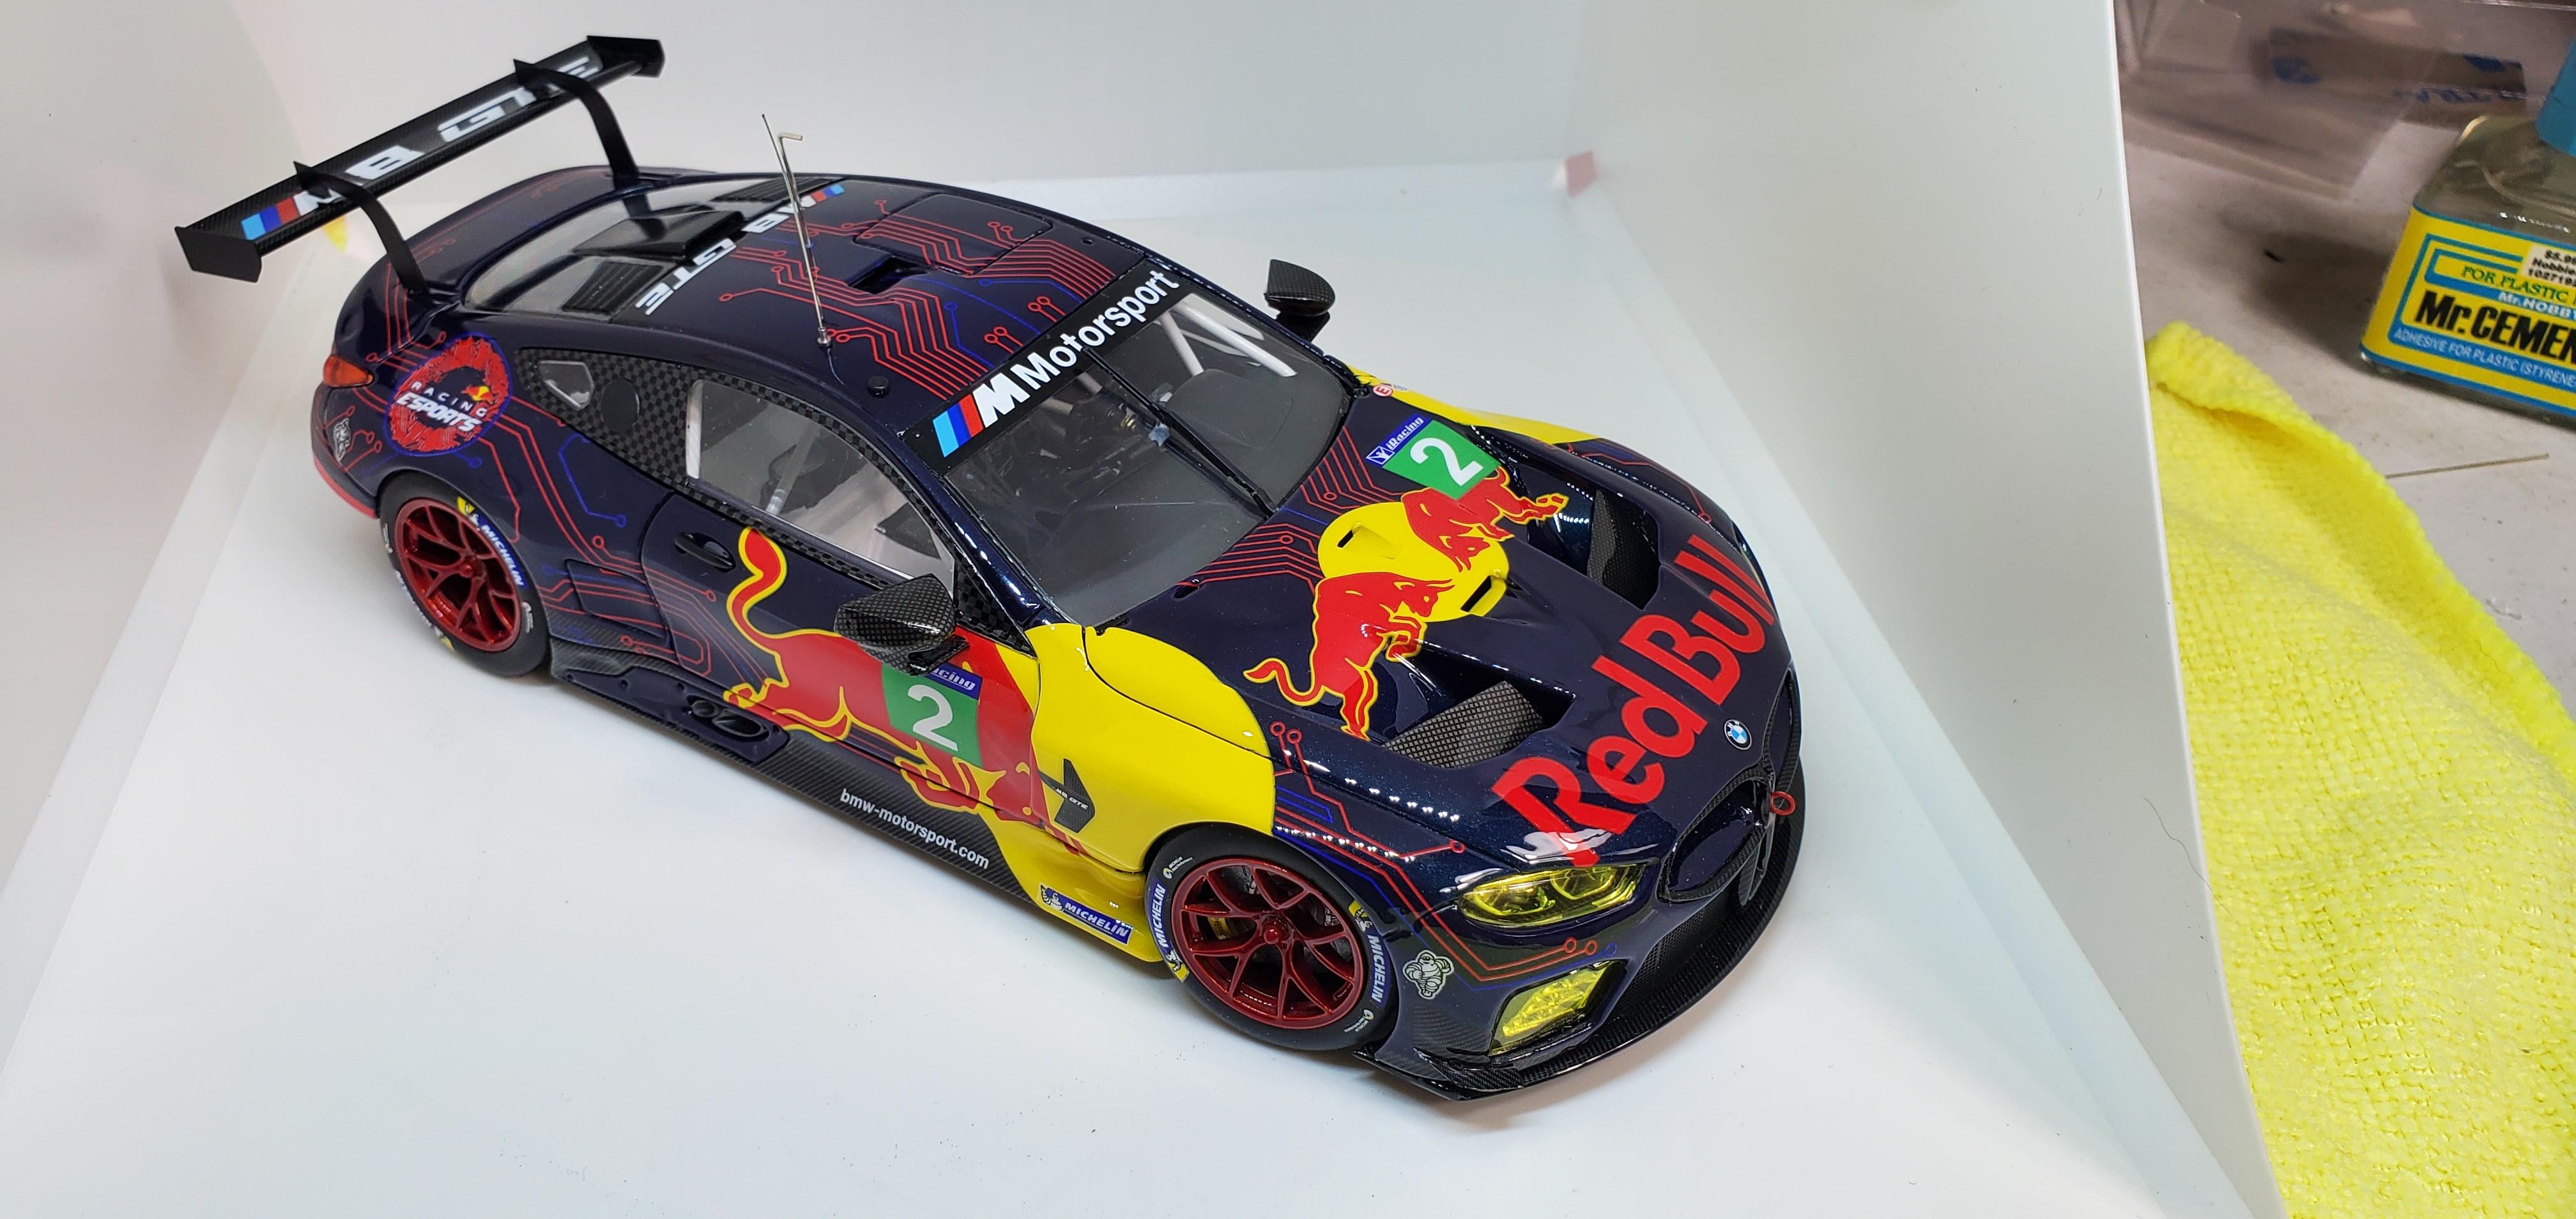
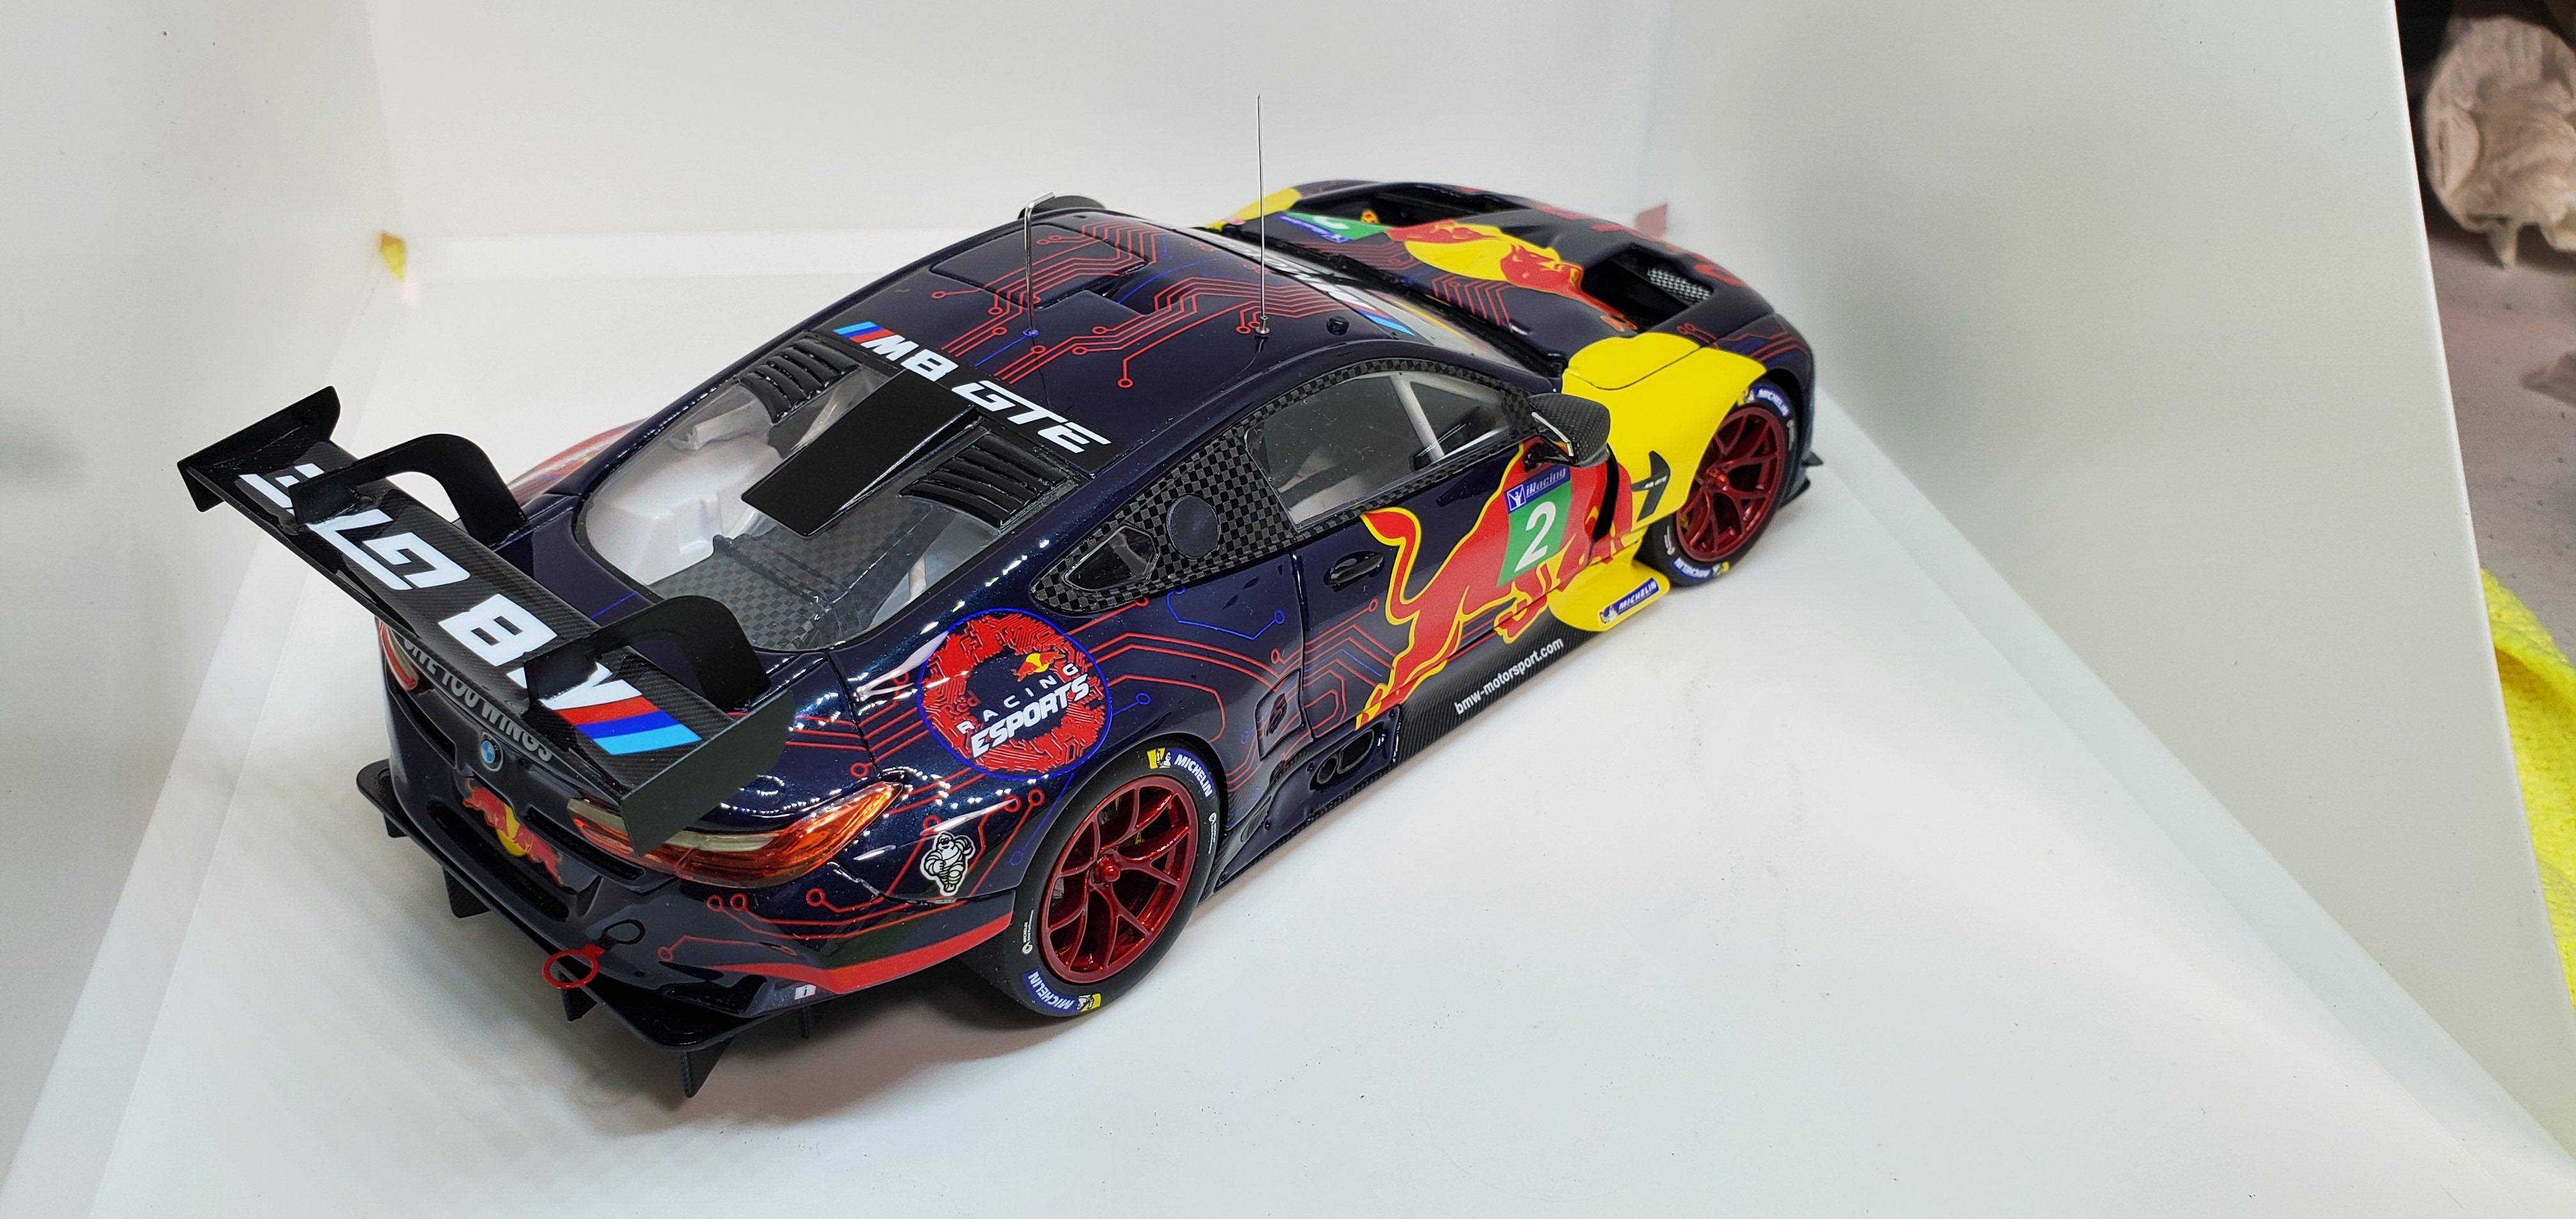
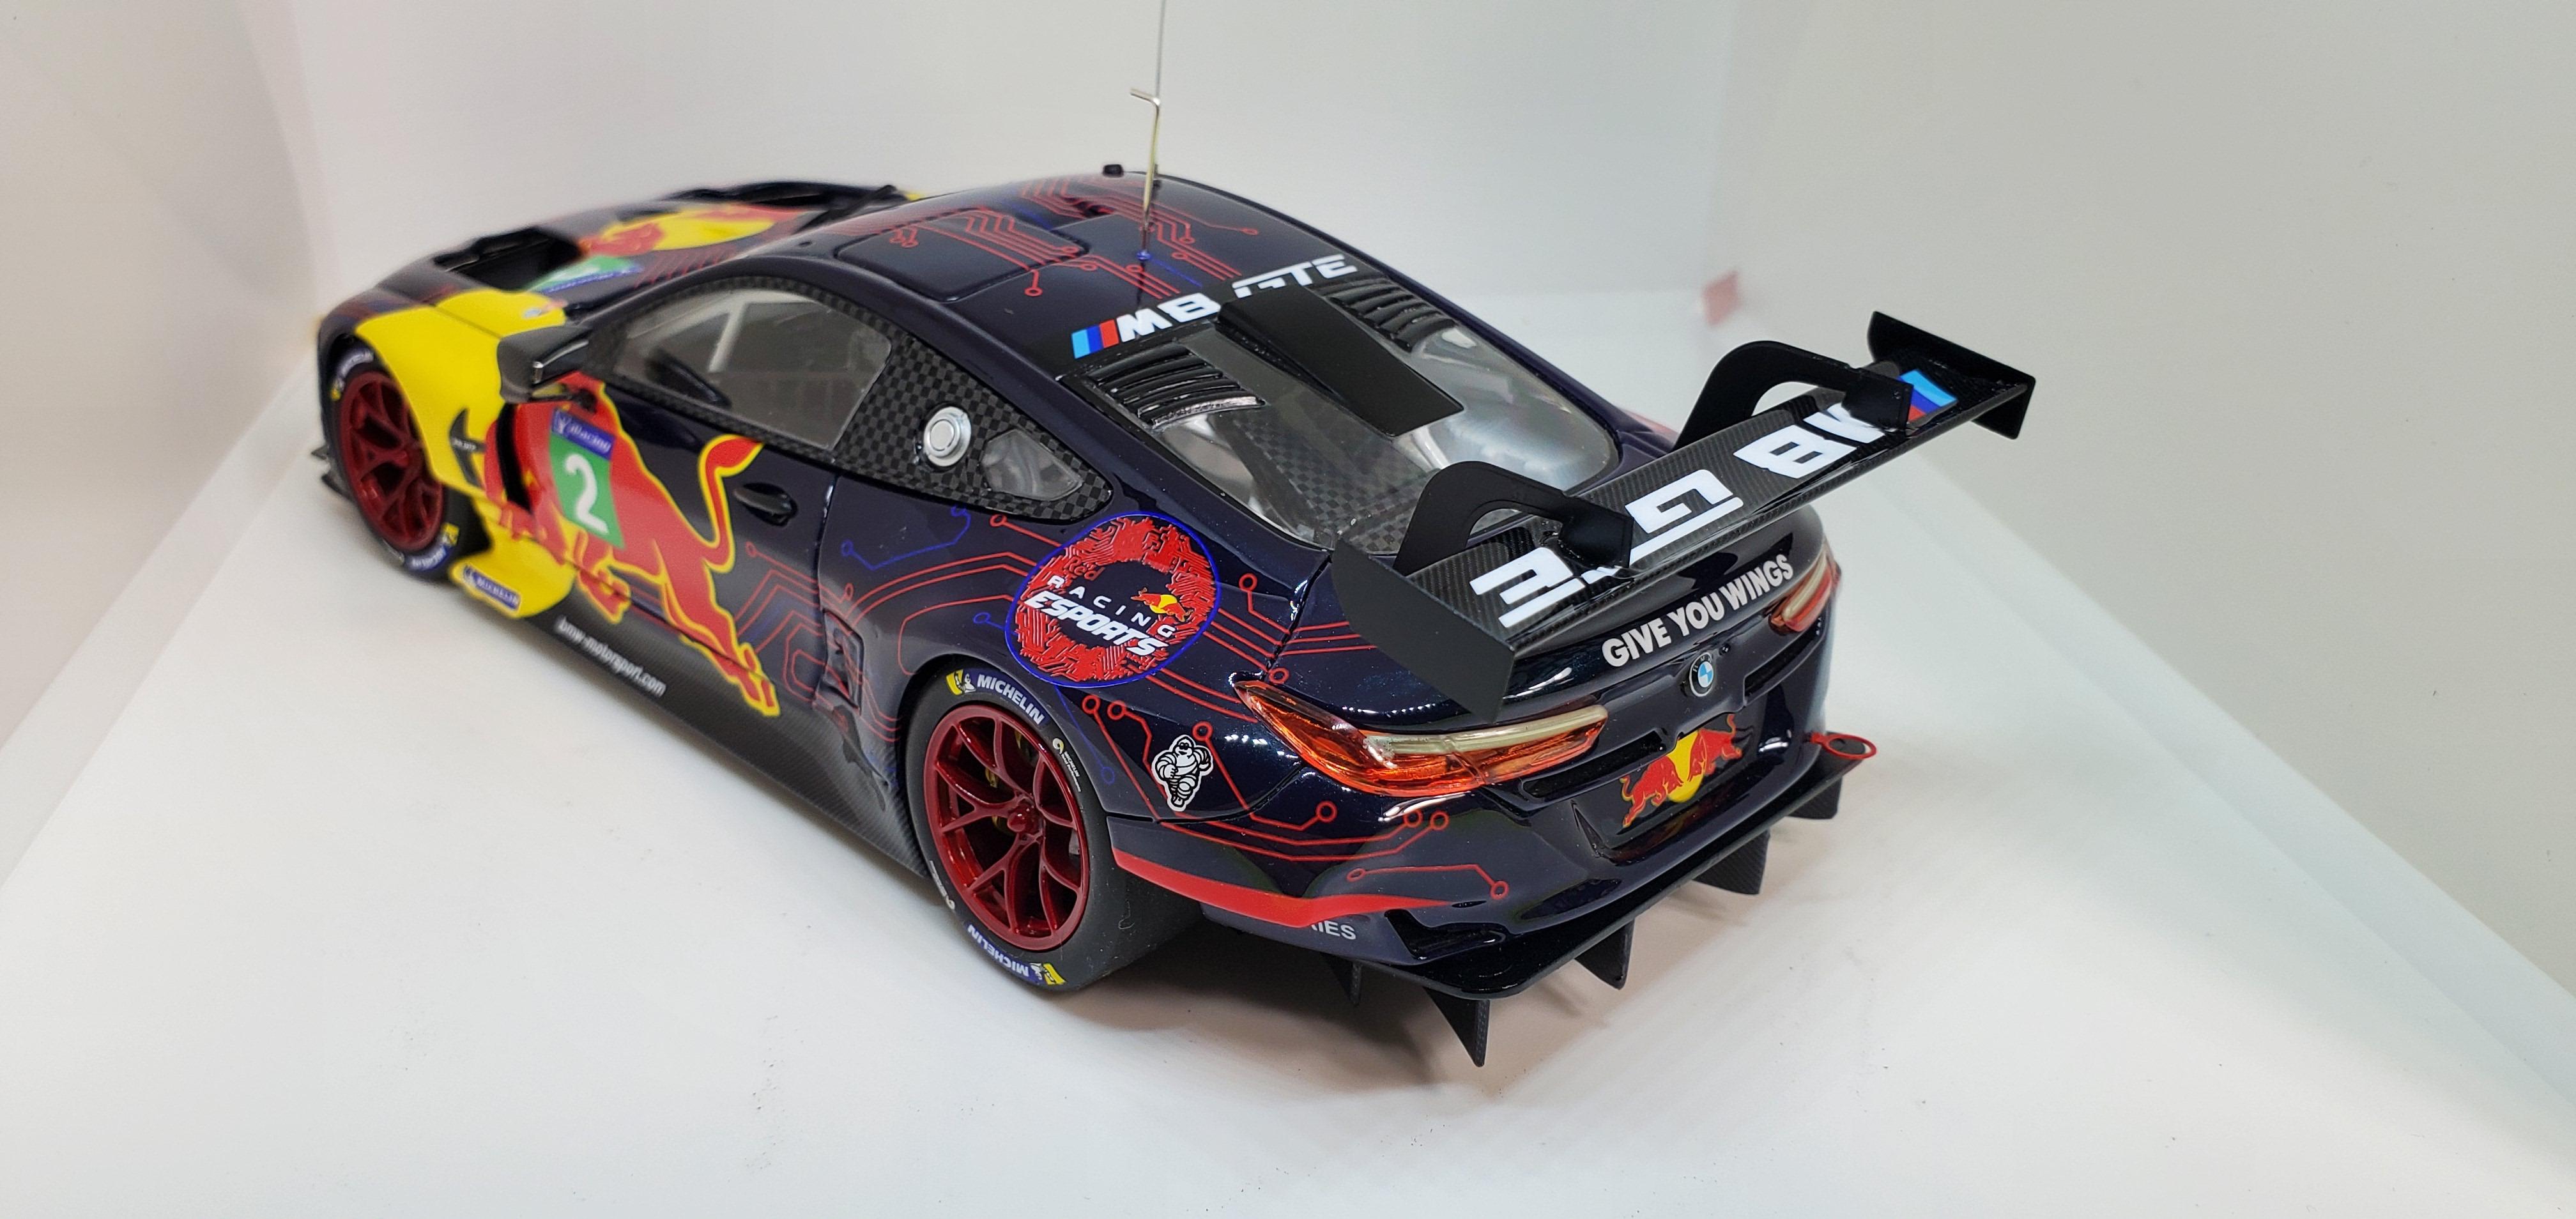
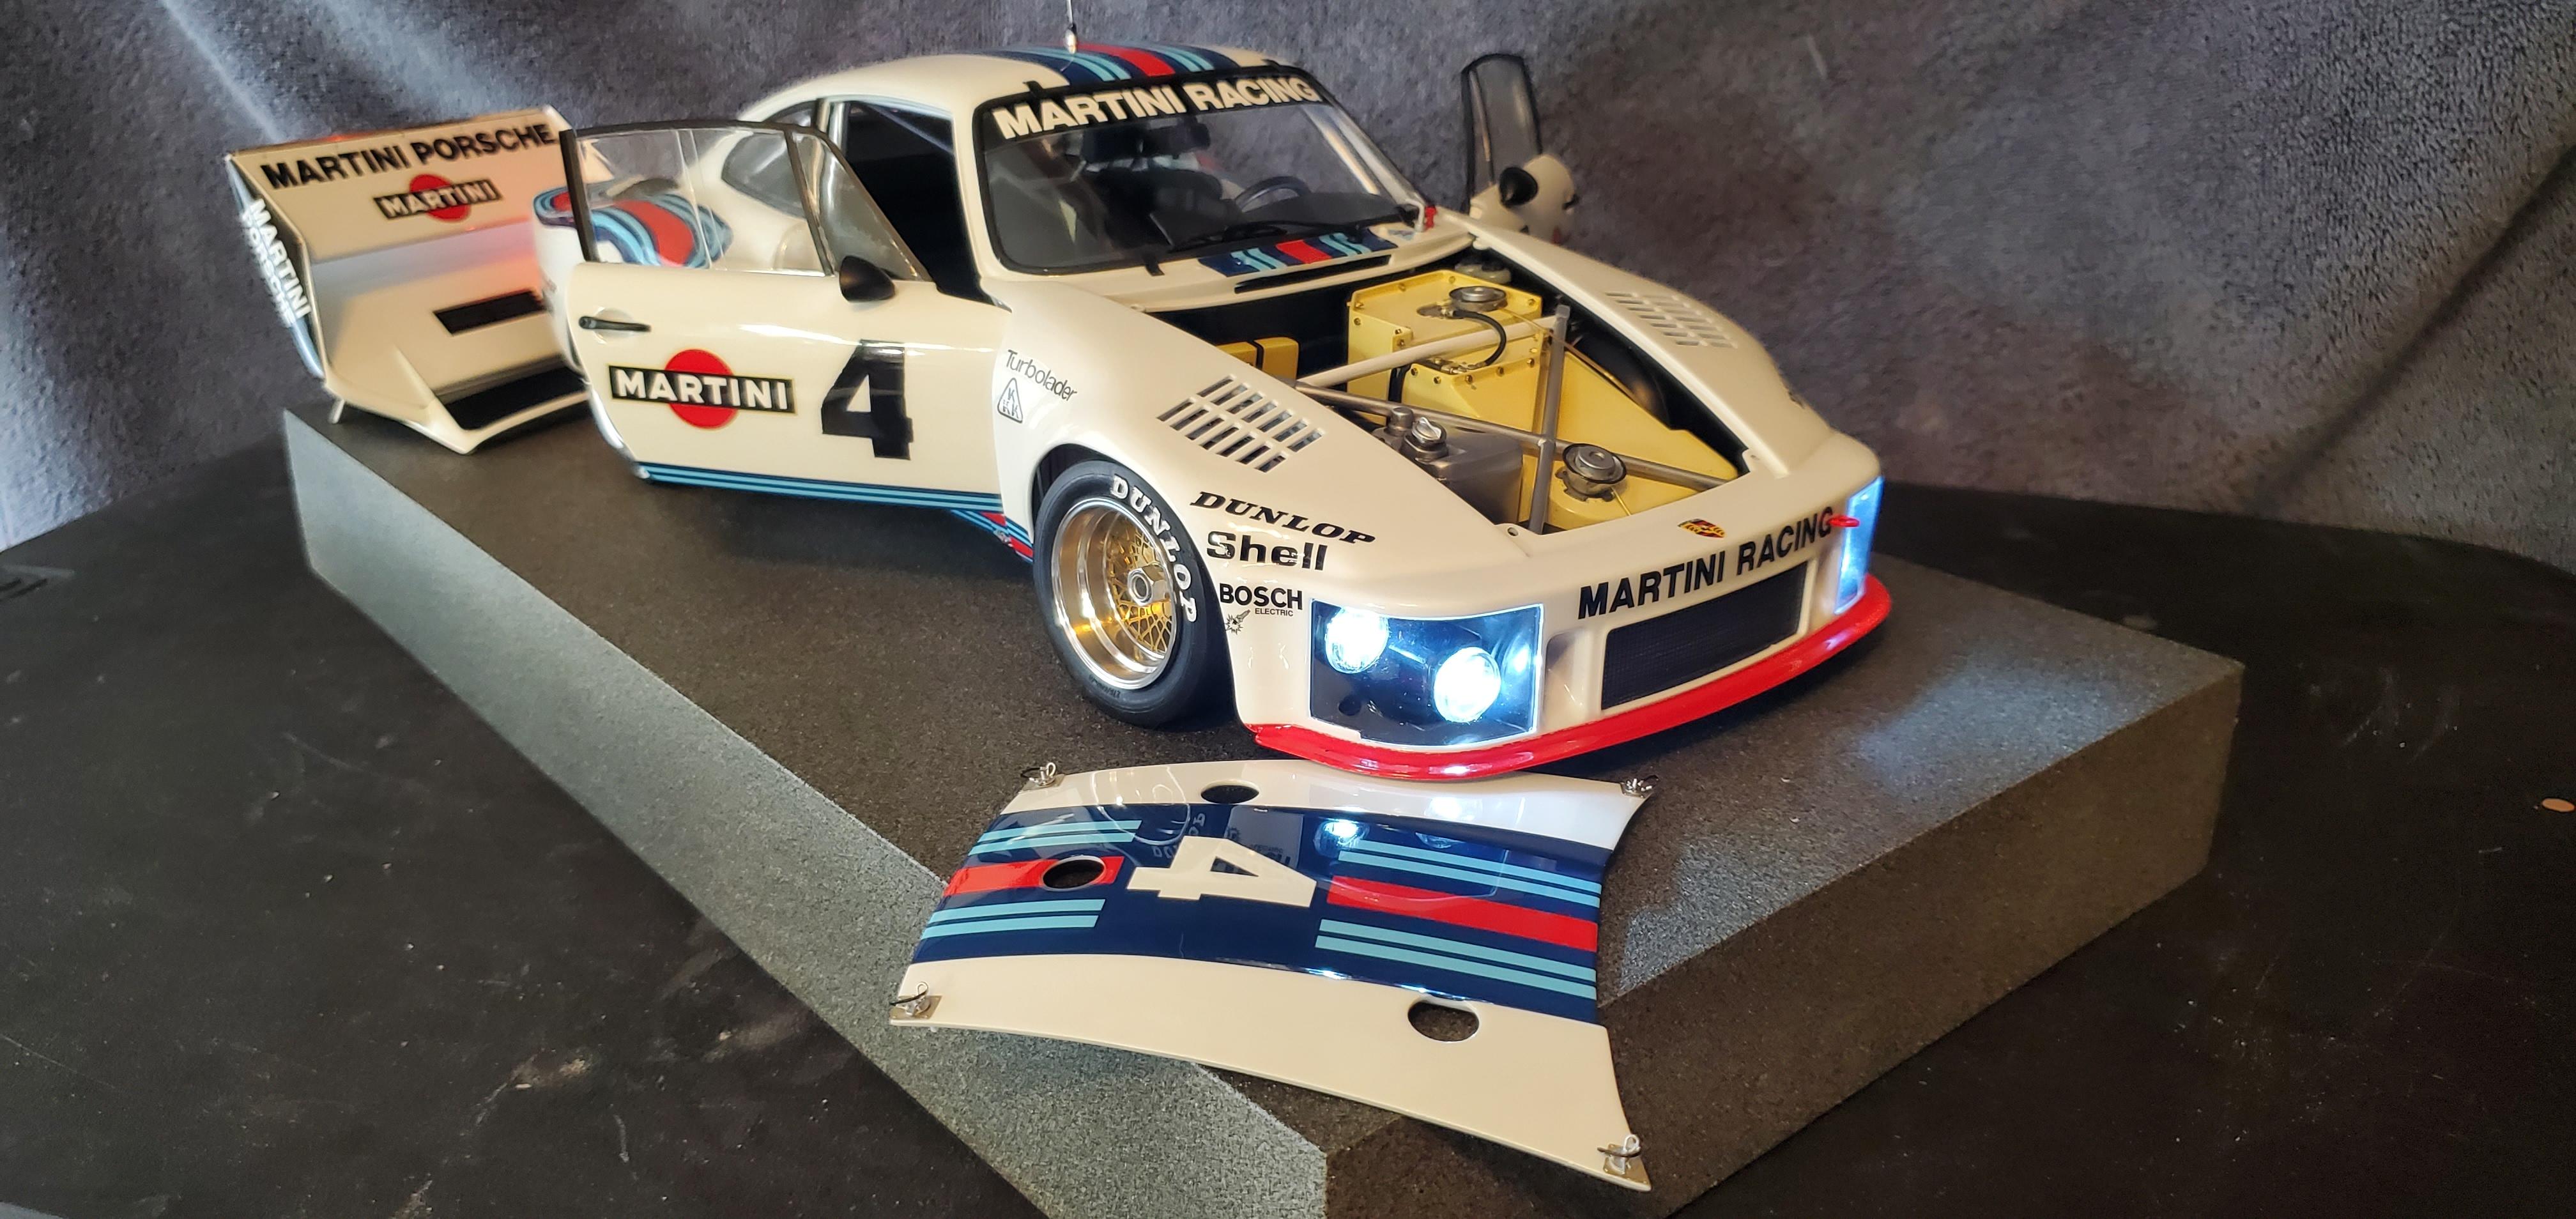
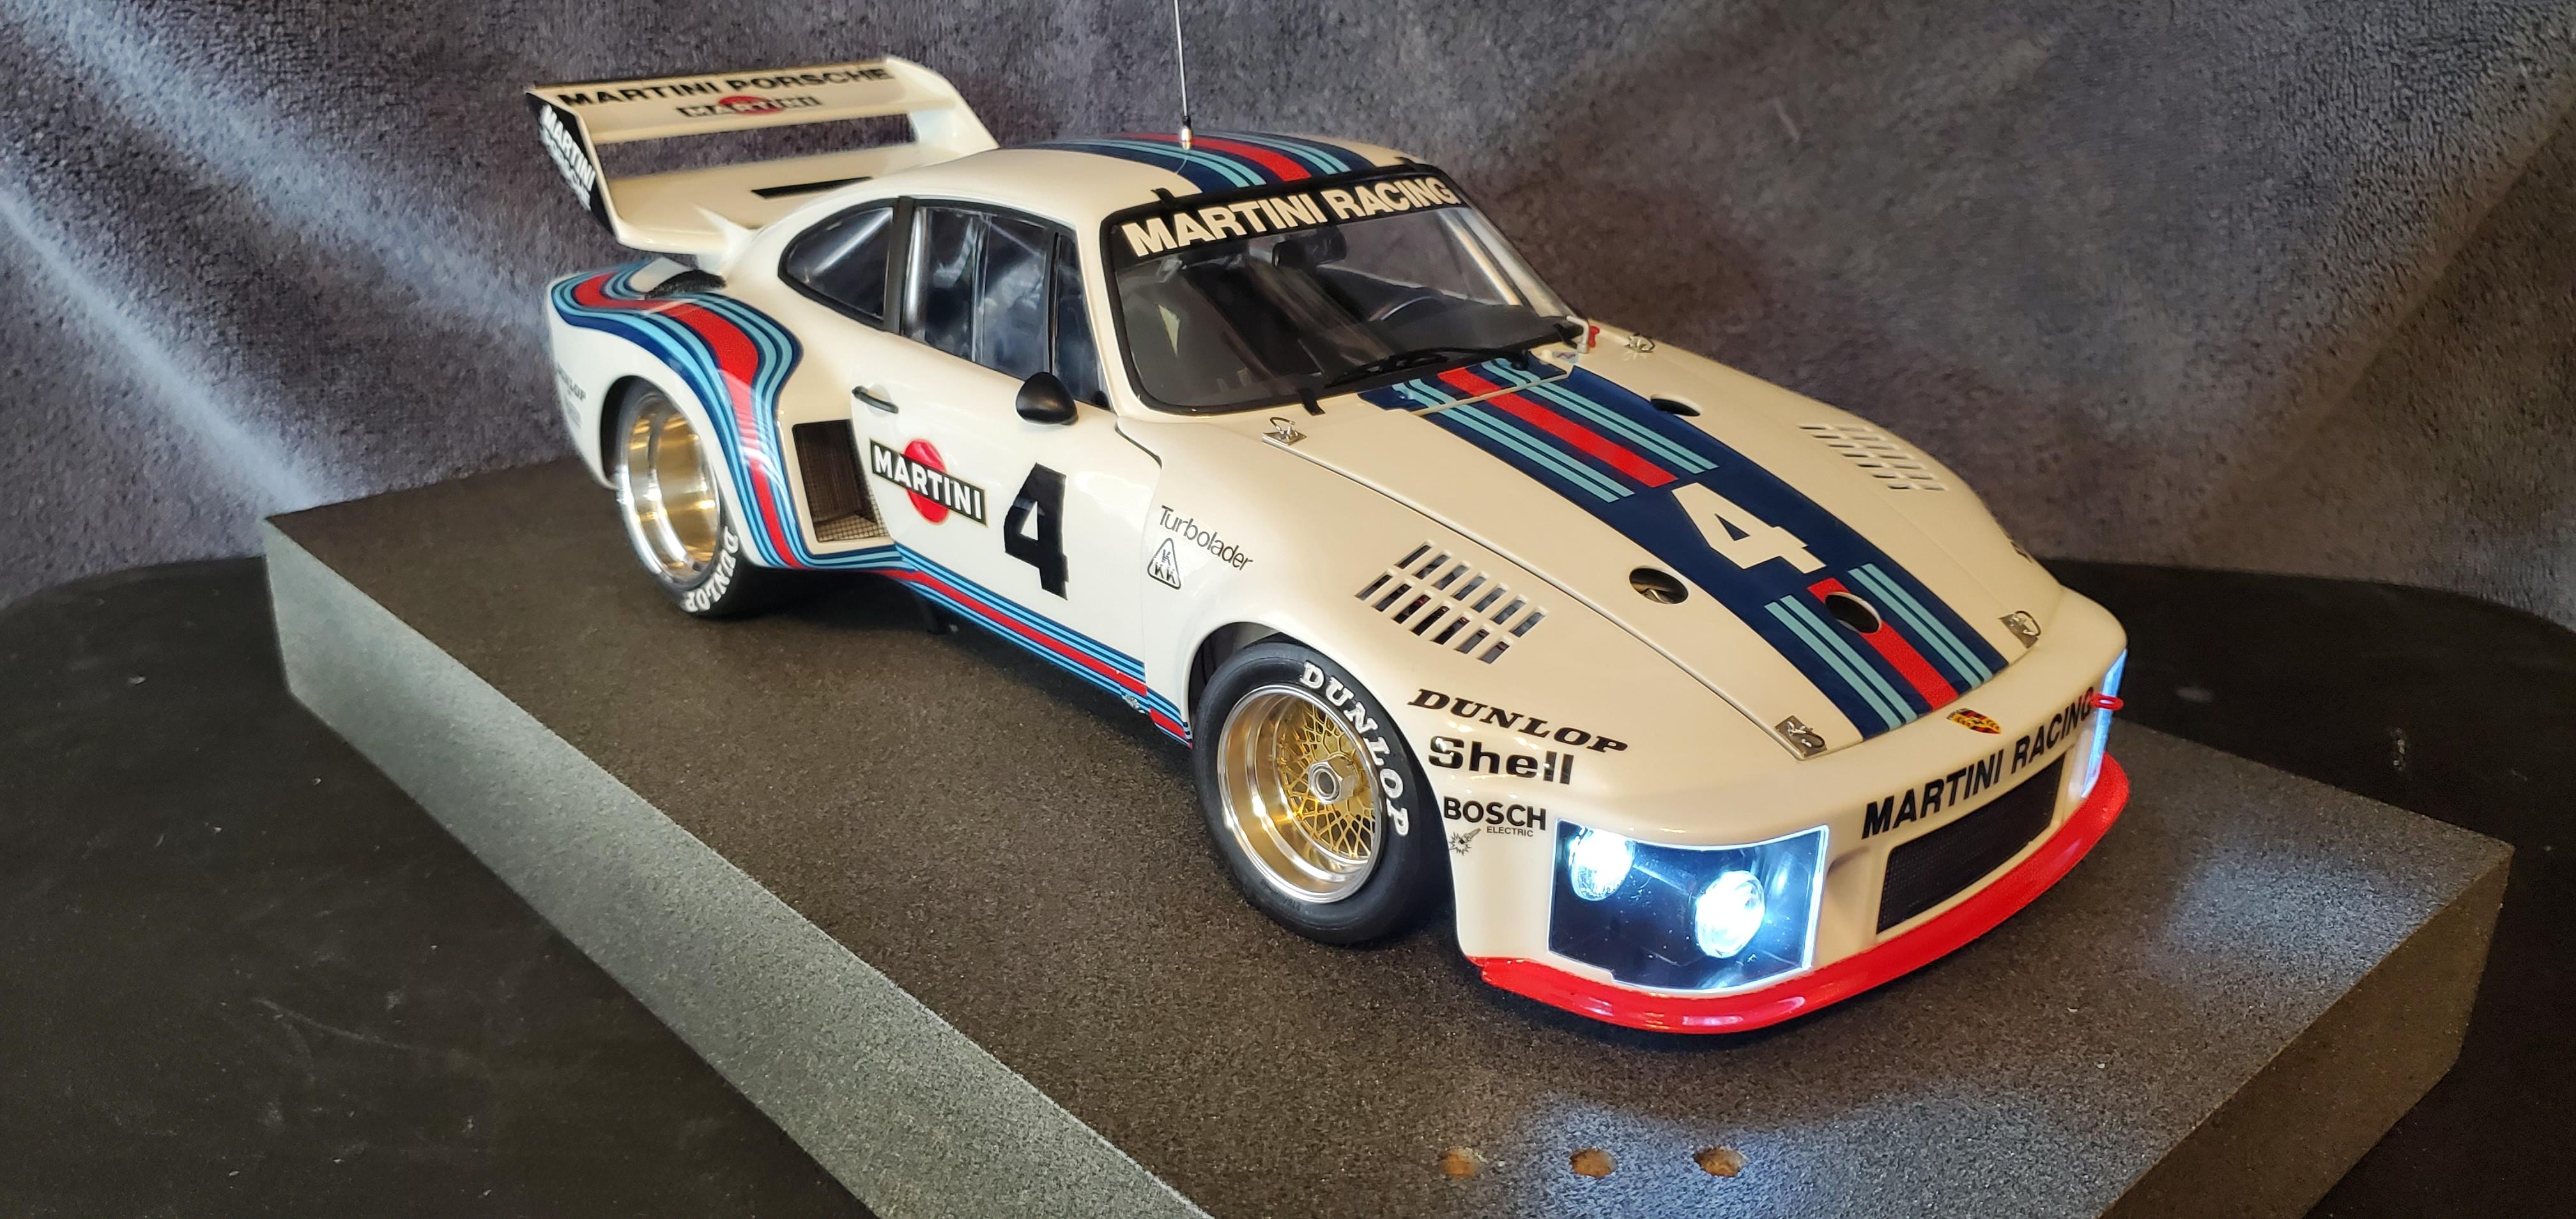
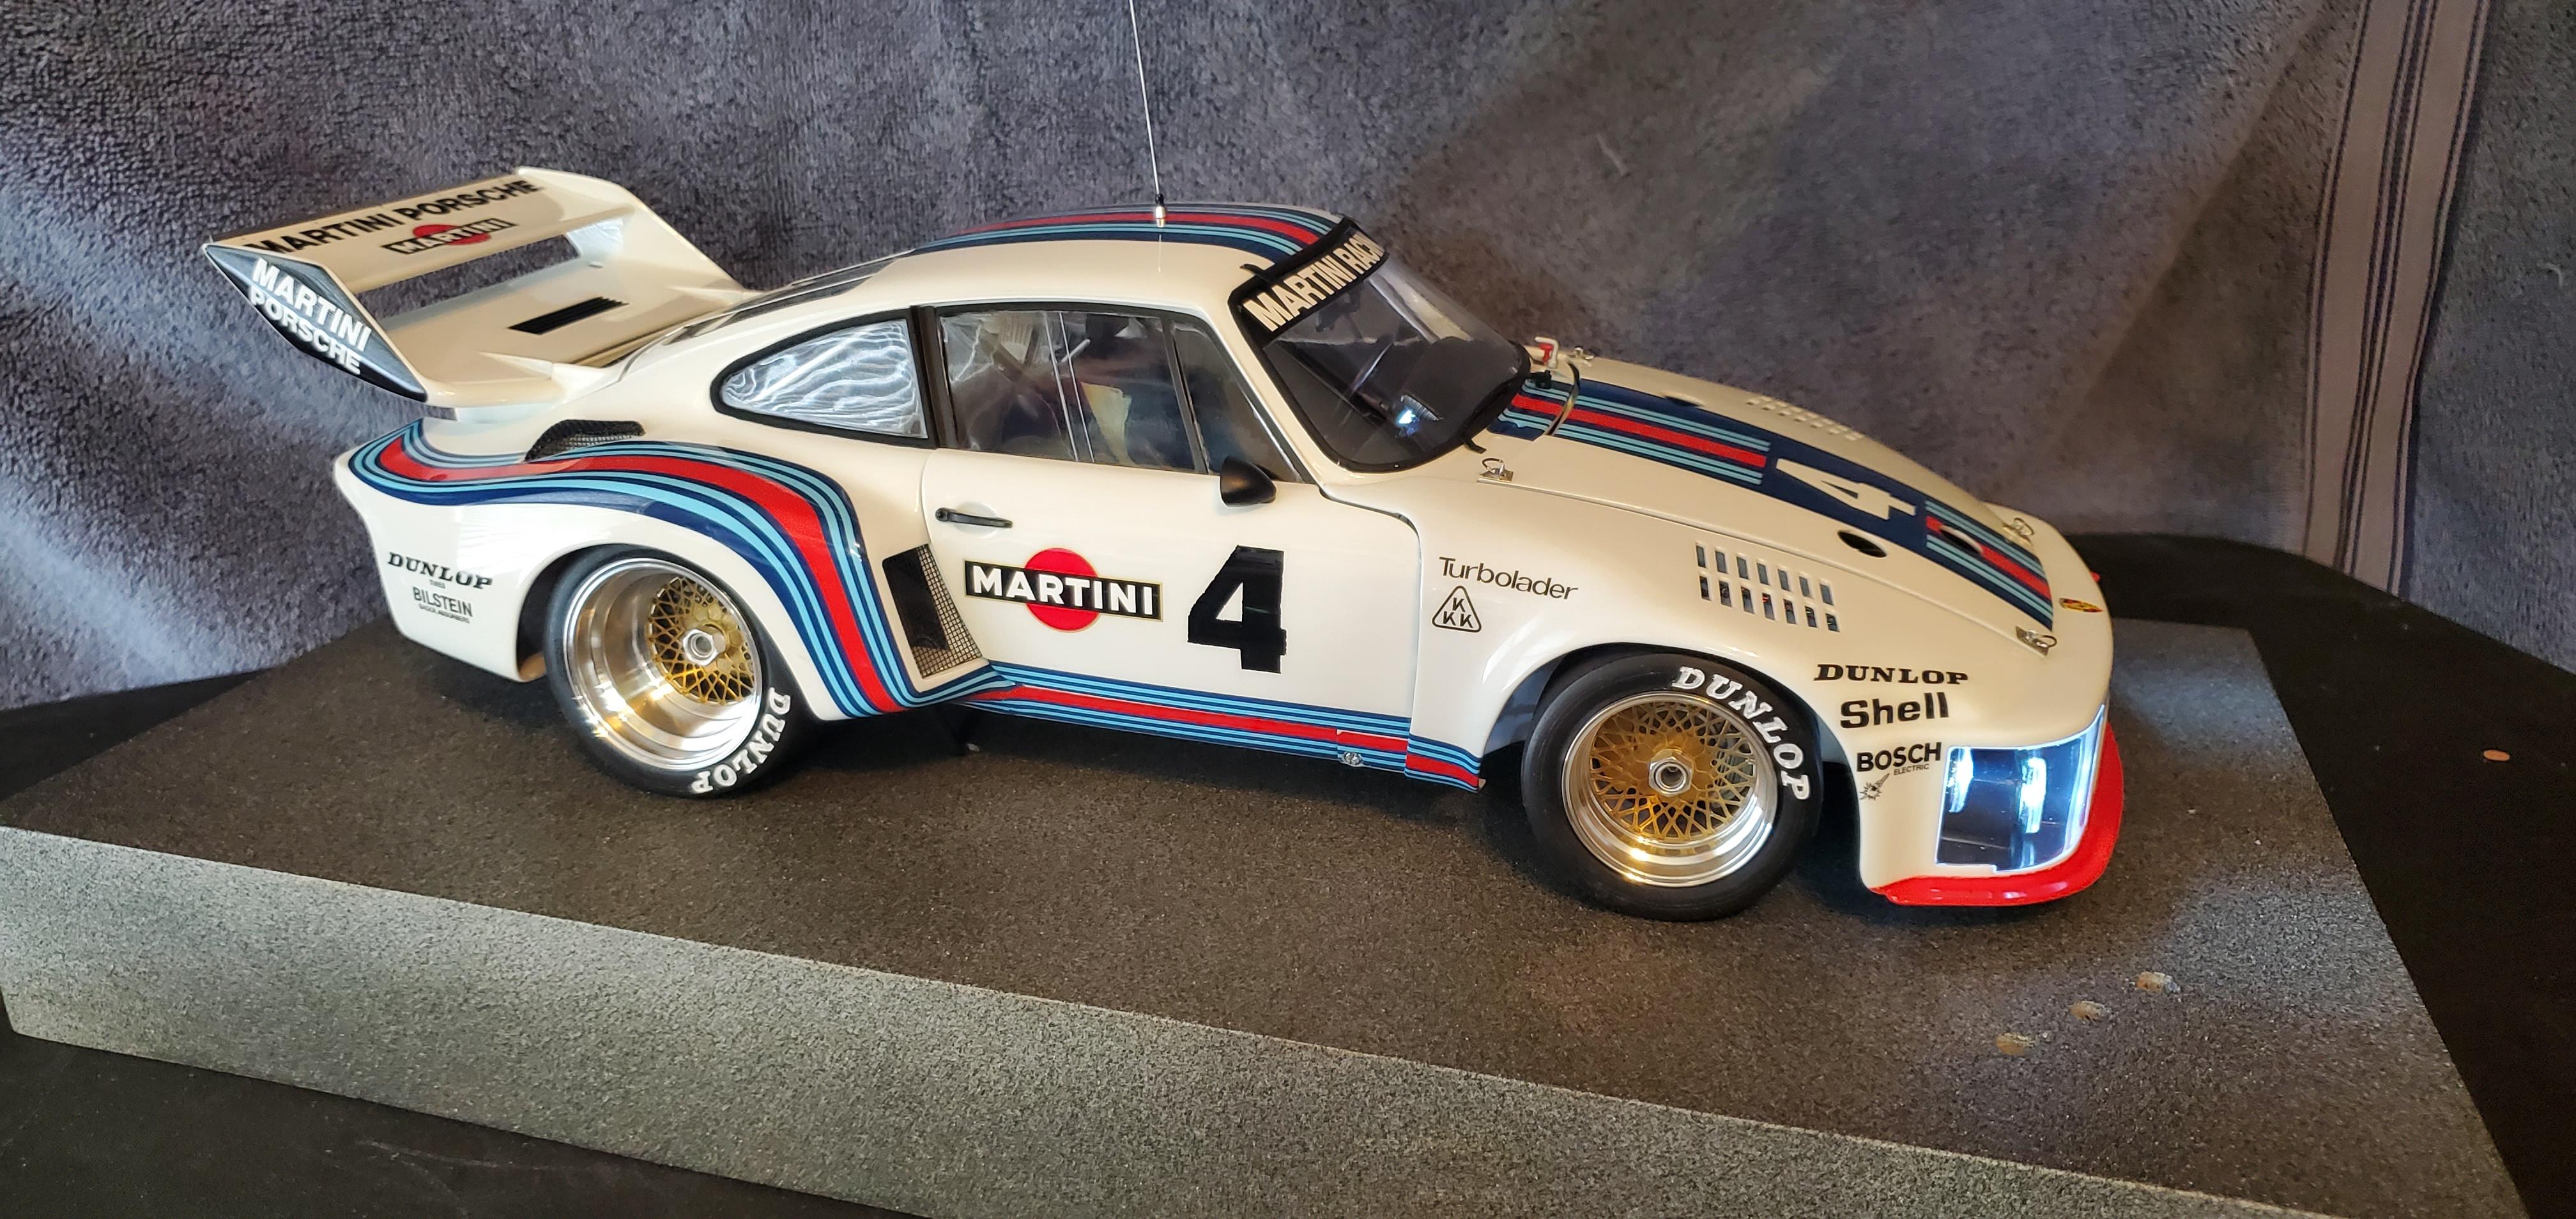
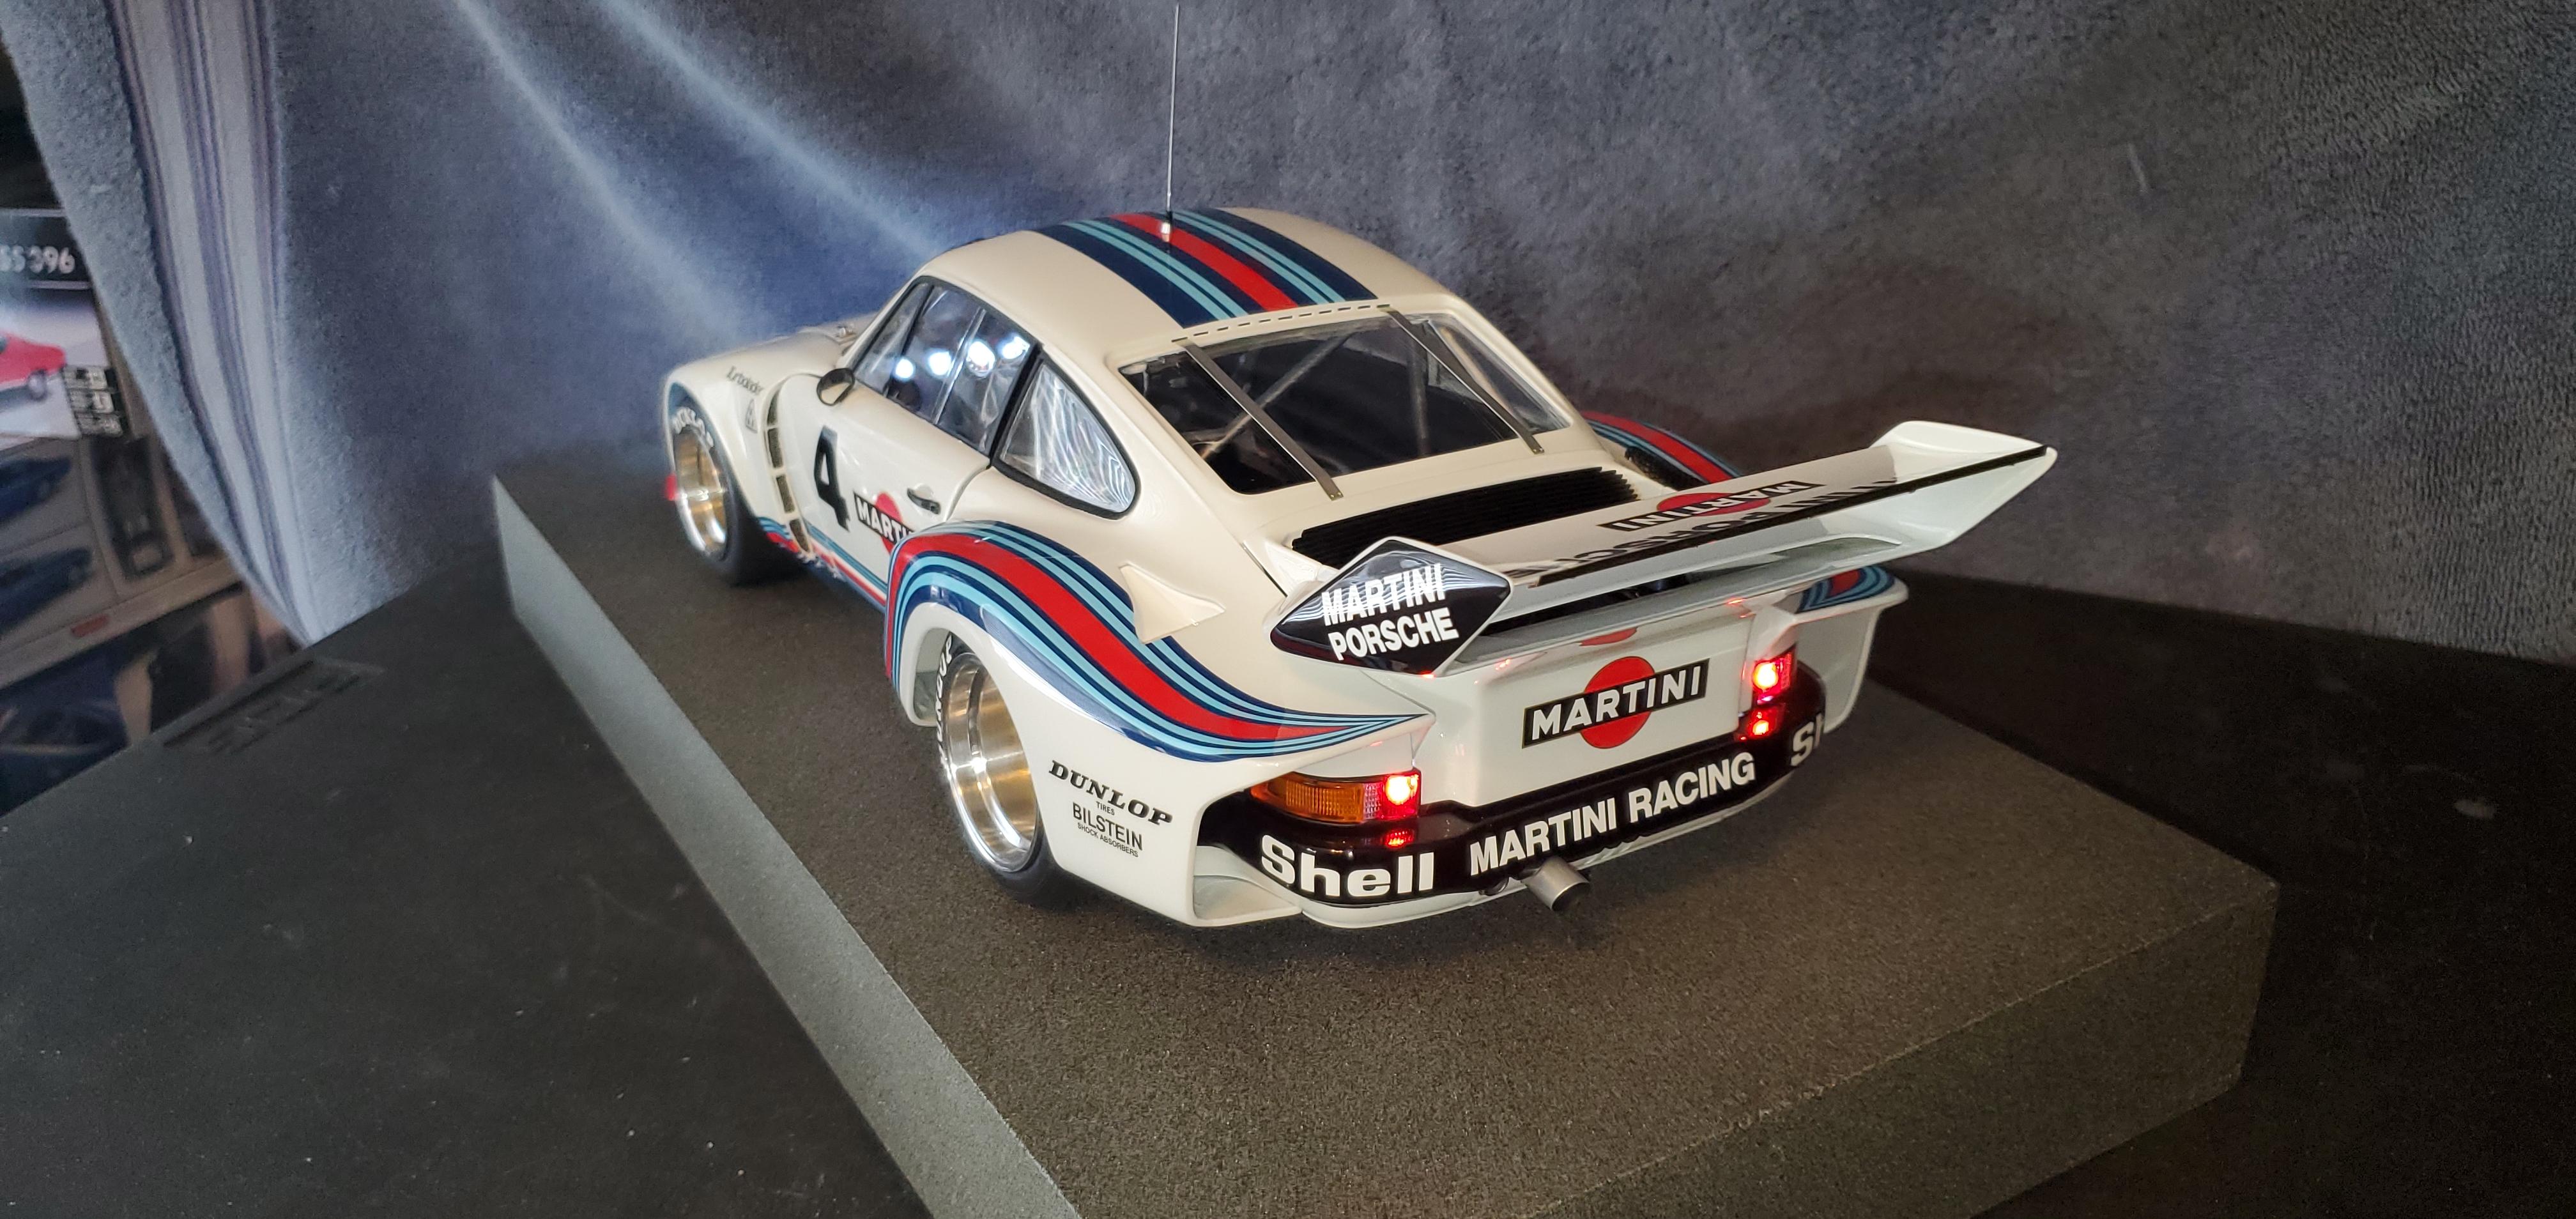
Last week I got quite a lot of bench time, so I used it to apply the decals to the body on friday and saturday. As much as I dislike the kit so far, as much I love the decals that have been supplied with the kit. They are amongst the best decals I ever dealt with. They're very thin, without getting torn apart when handling them and their print is very accurate so that you almost have no transparent edge around them. But the best ist how they conform to the surface. Just damp a cotton swab with some MicroSet, go over the decal with the cotton swab very lightly and the decal crawls into the tiniest crevice and around every edge 👍

Sunday was clear coat day

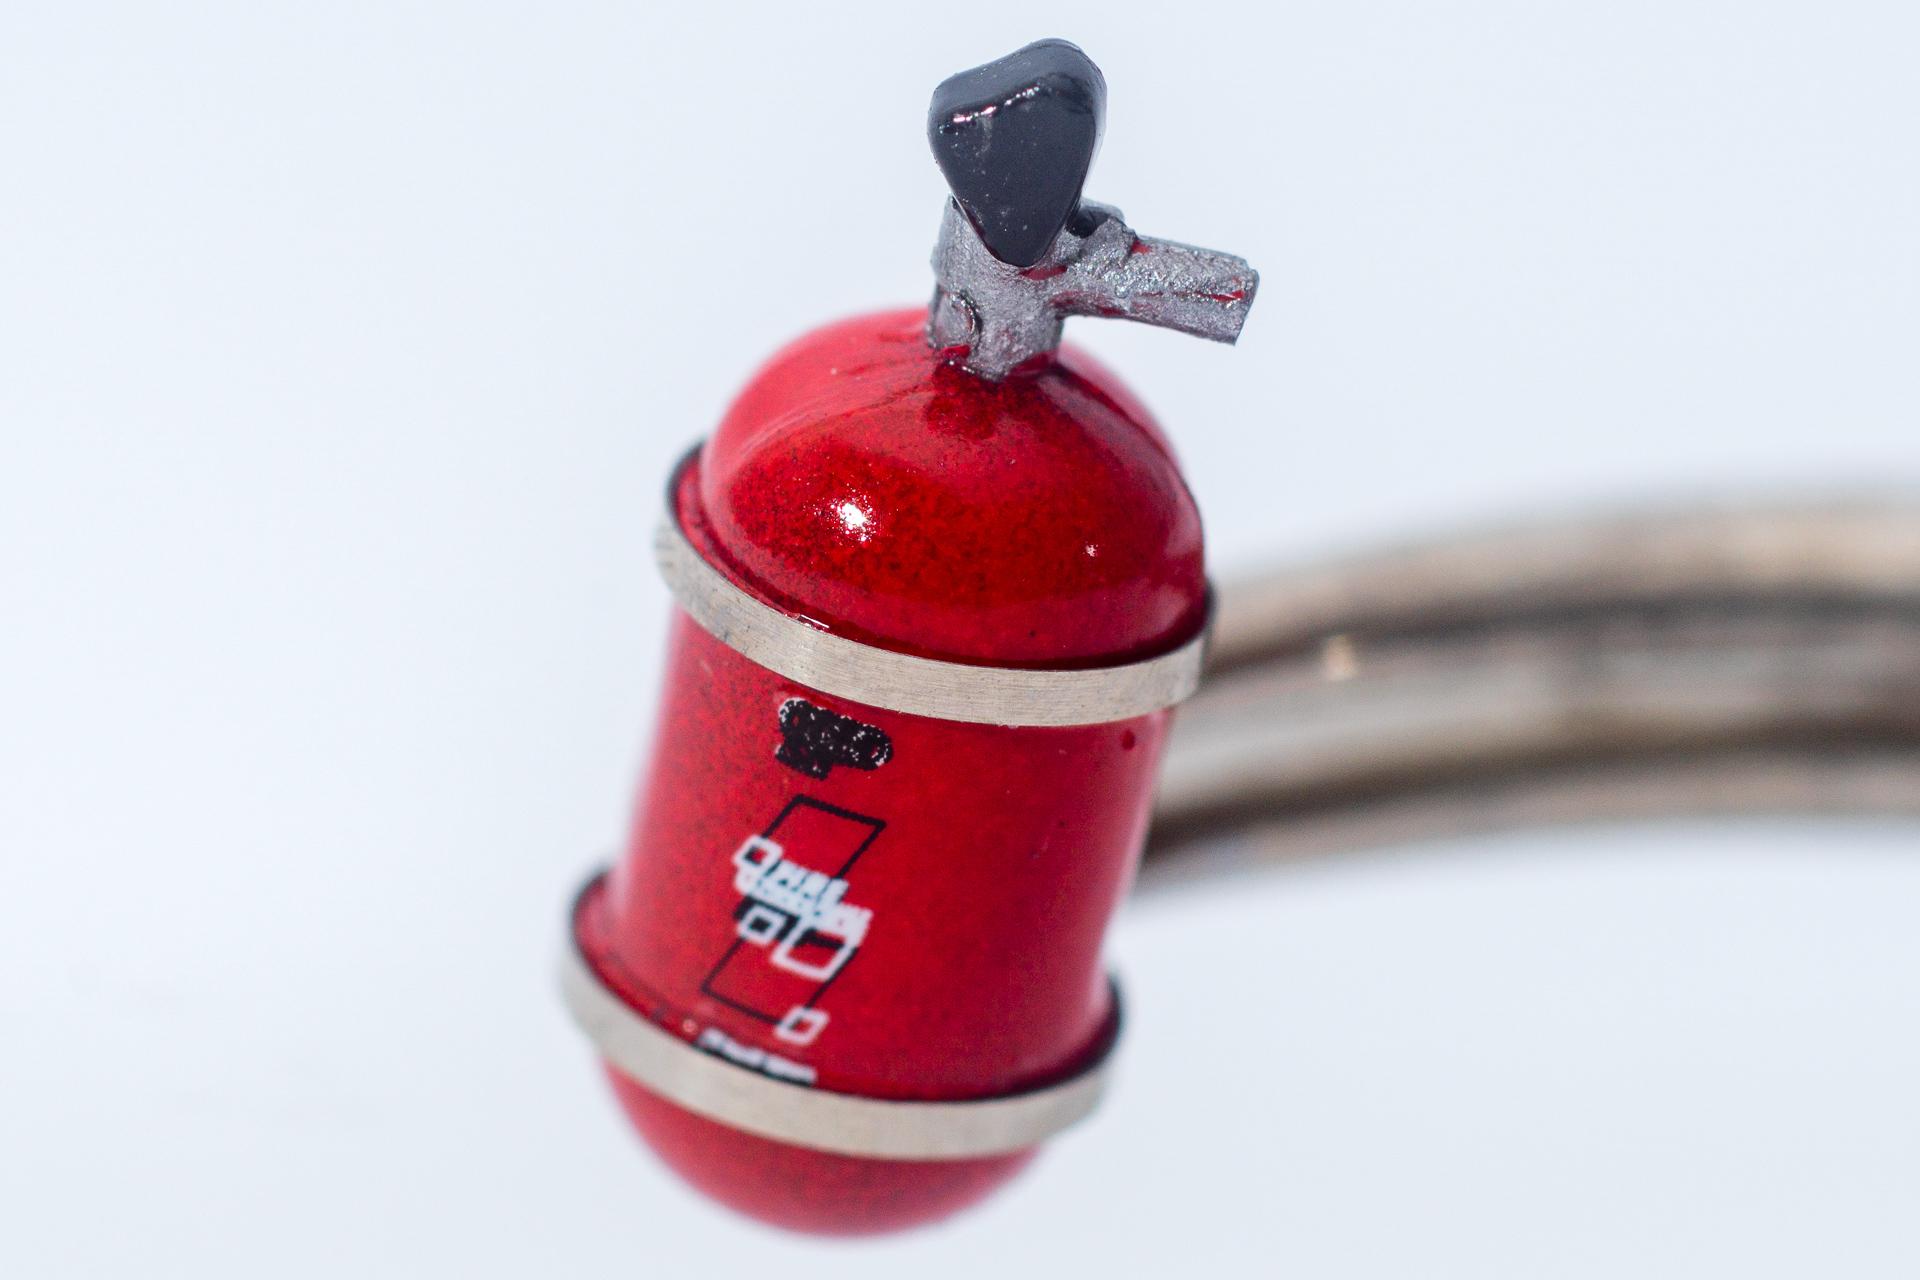
The fire extinguisher was clear coated as well with some leftover of the 2K clear
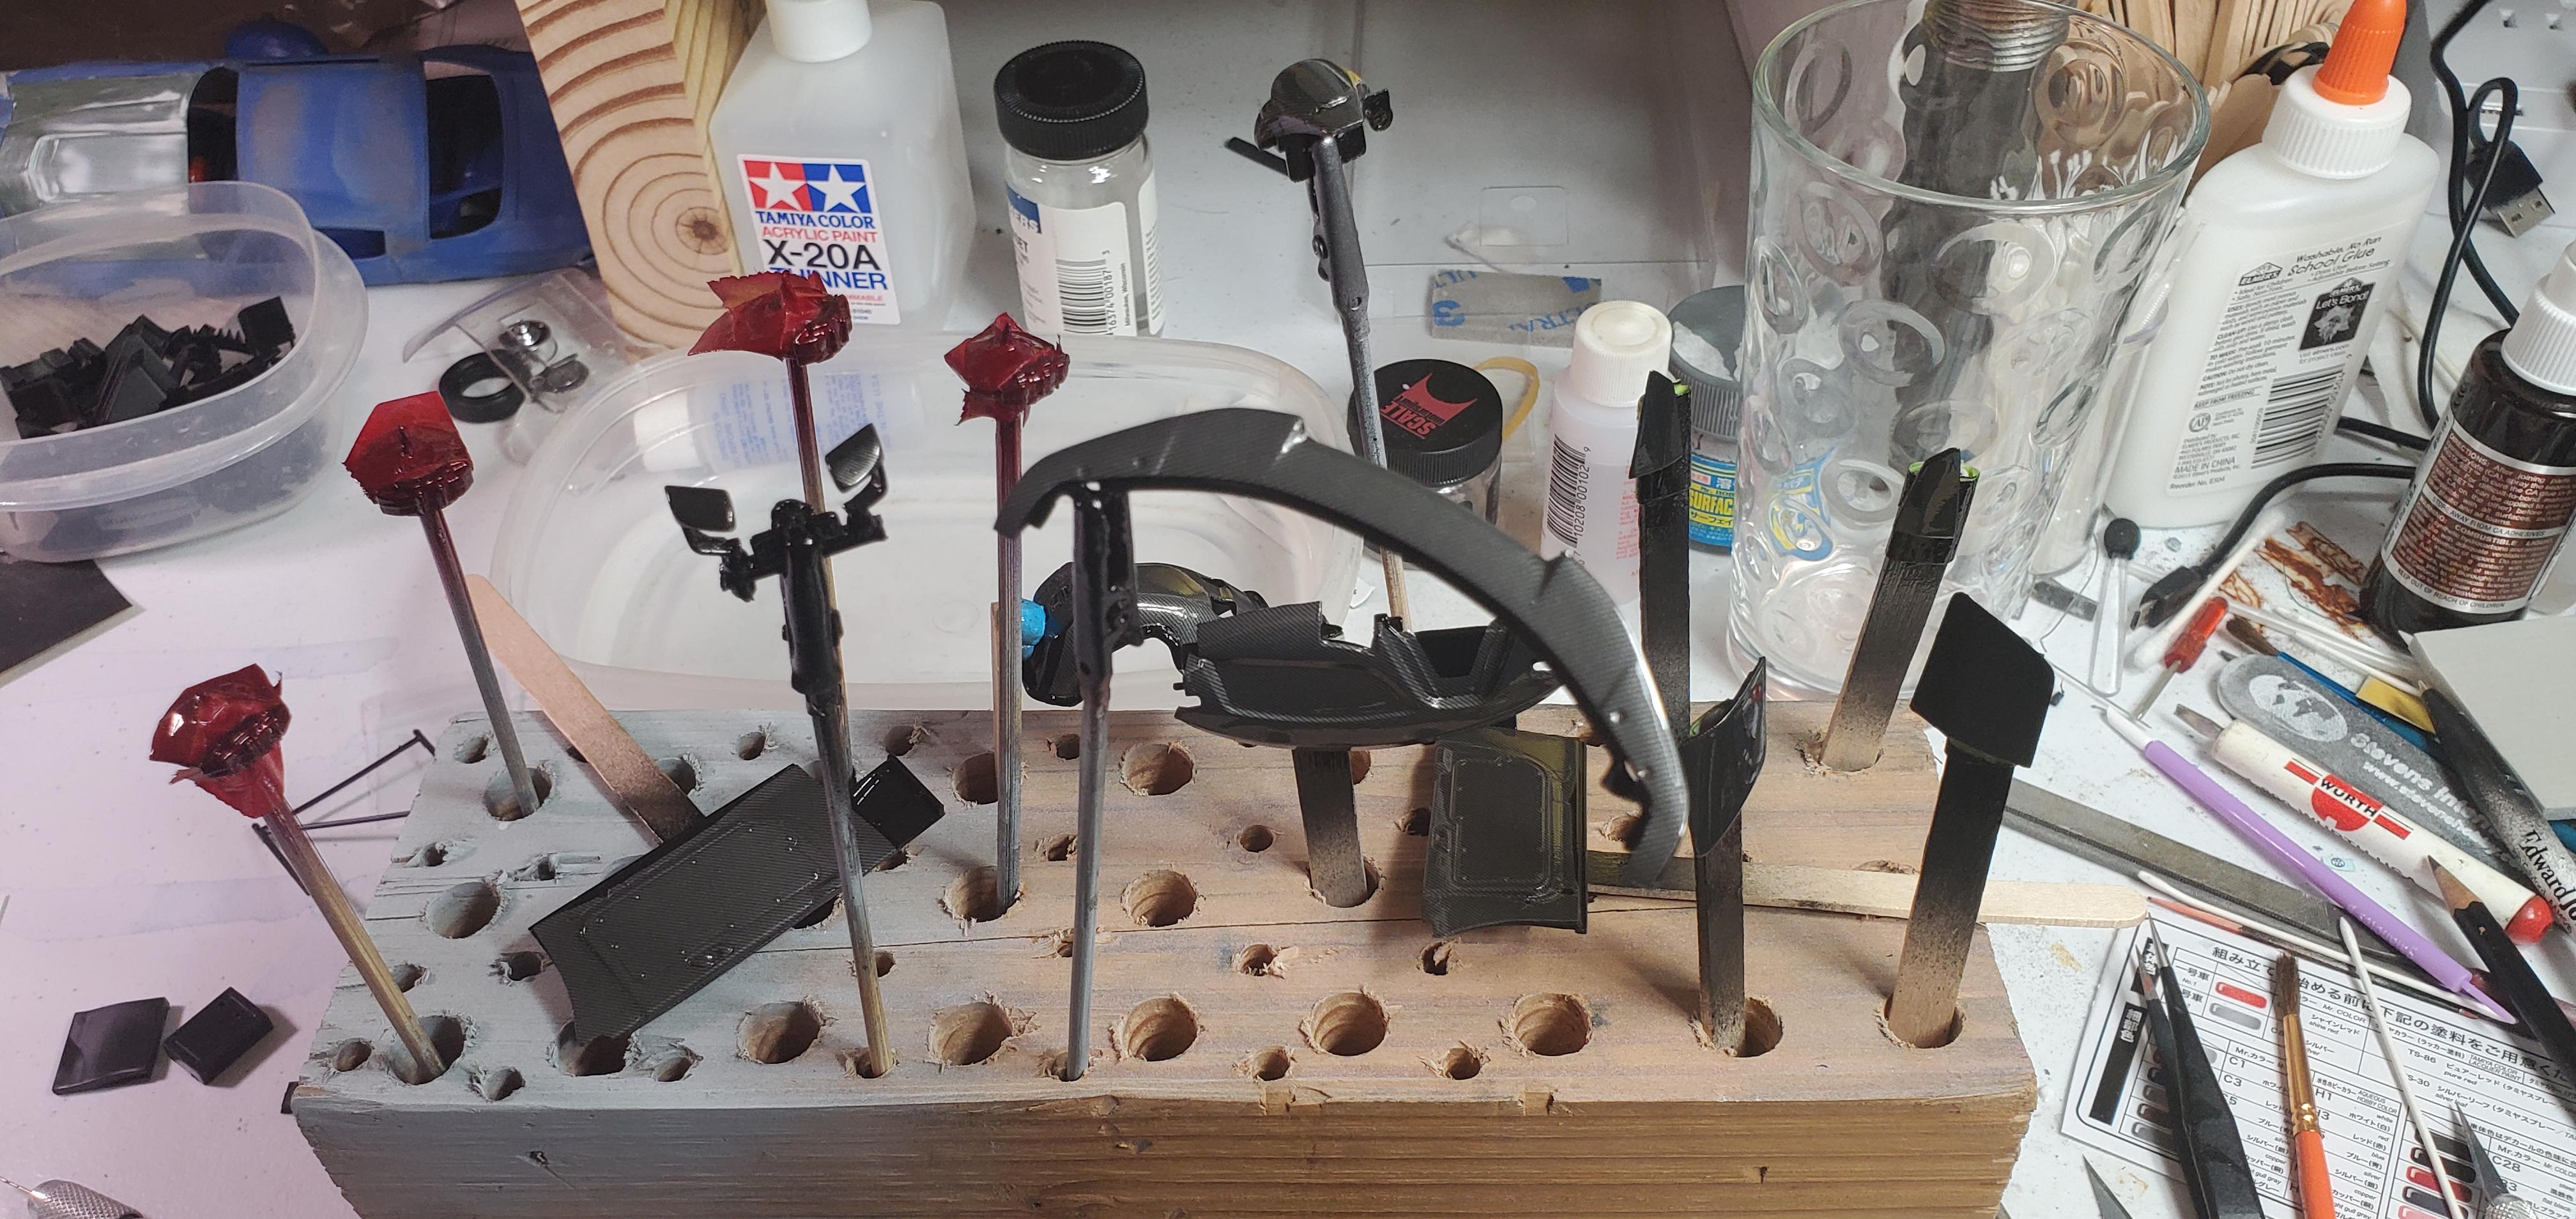
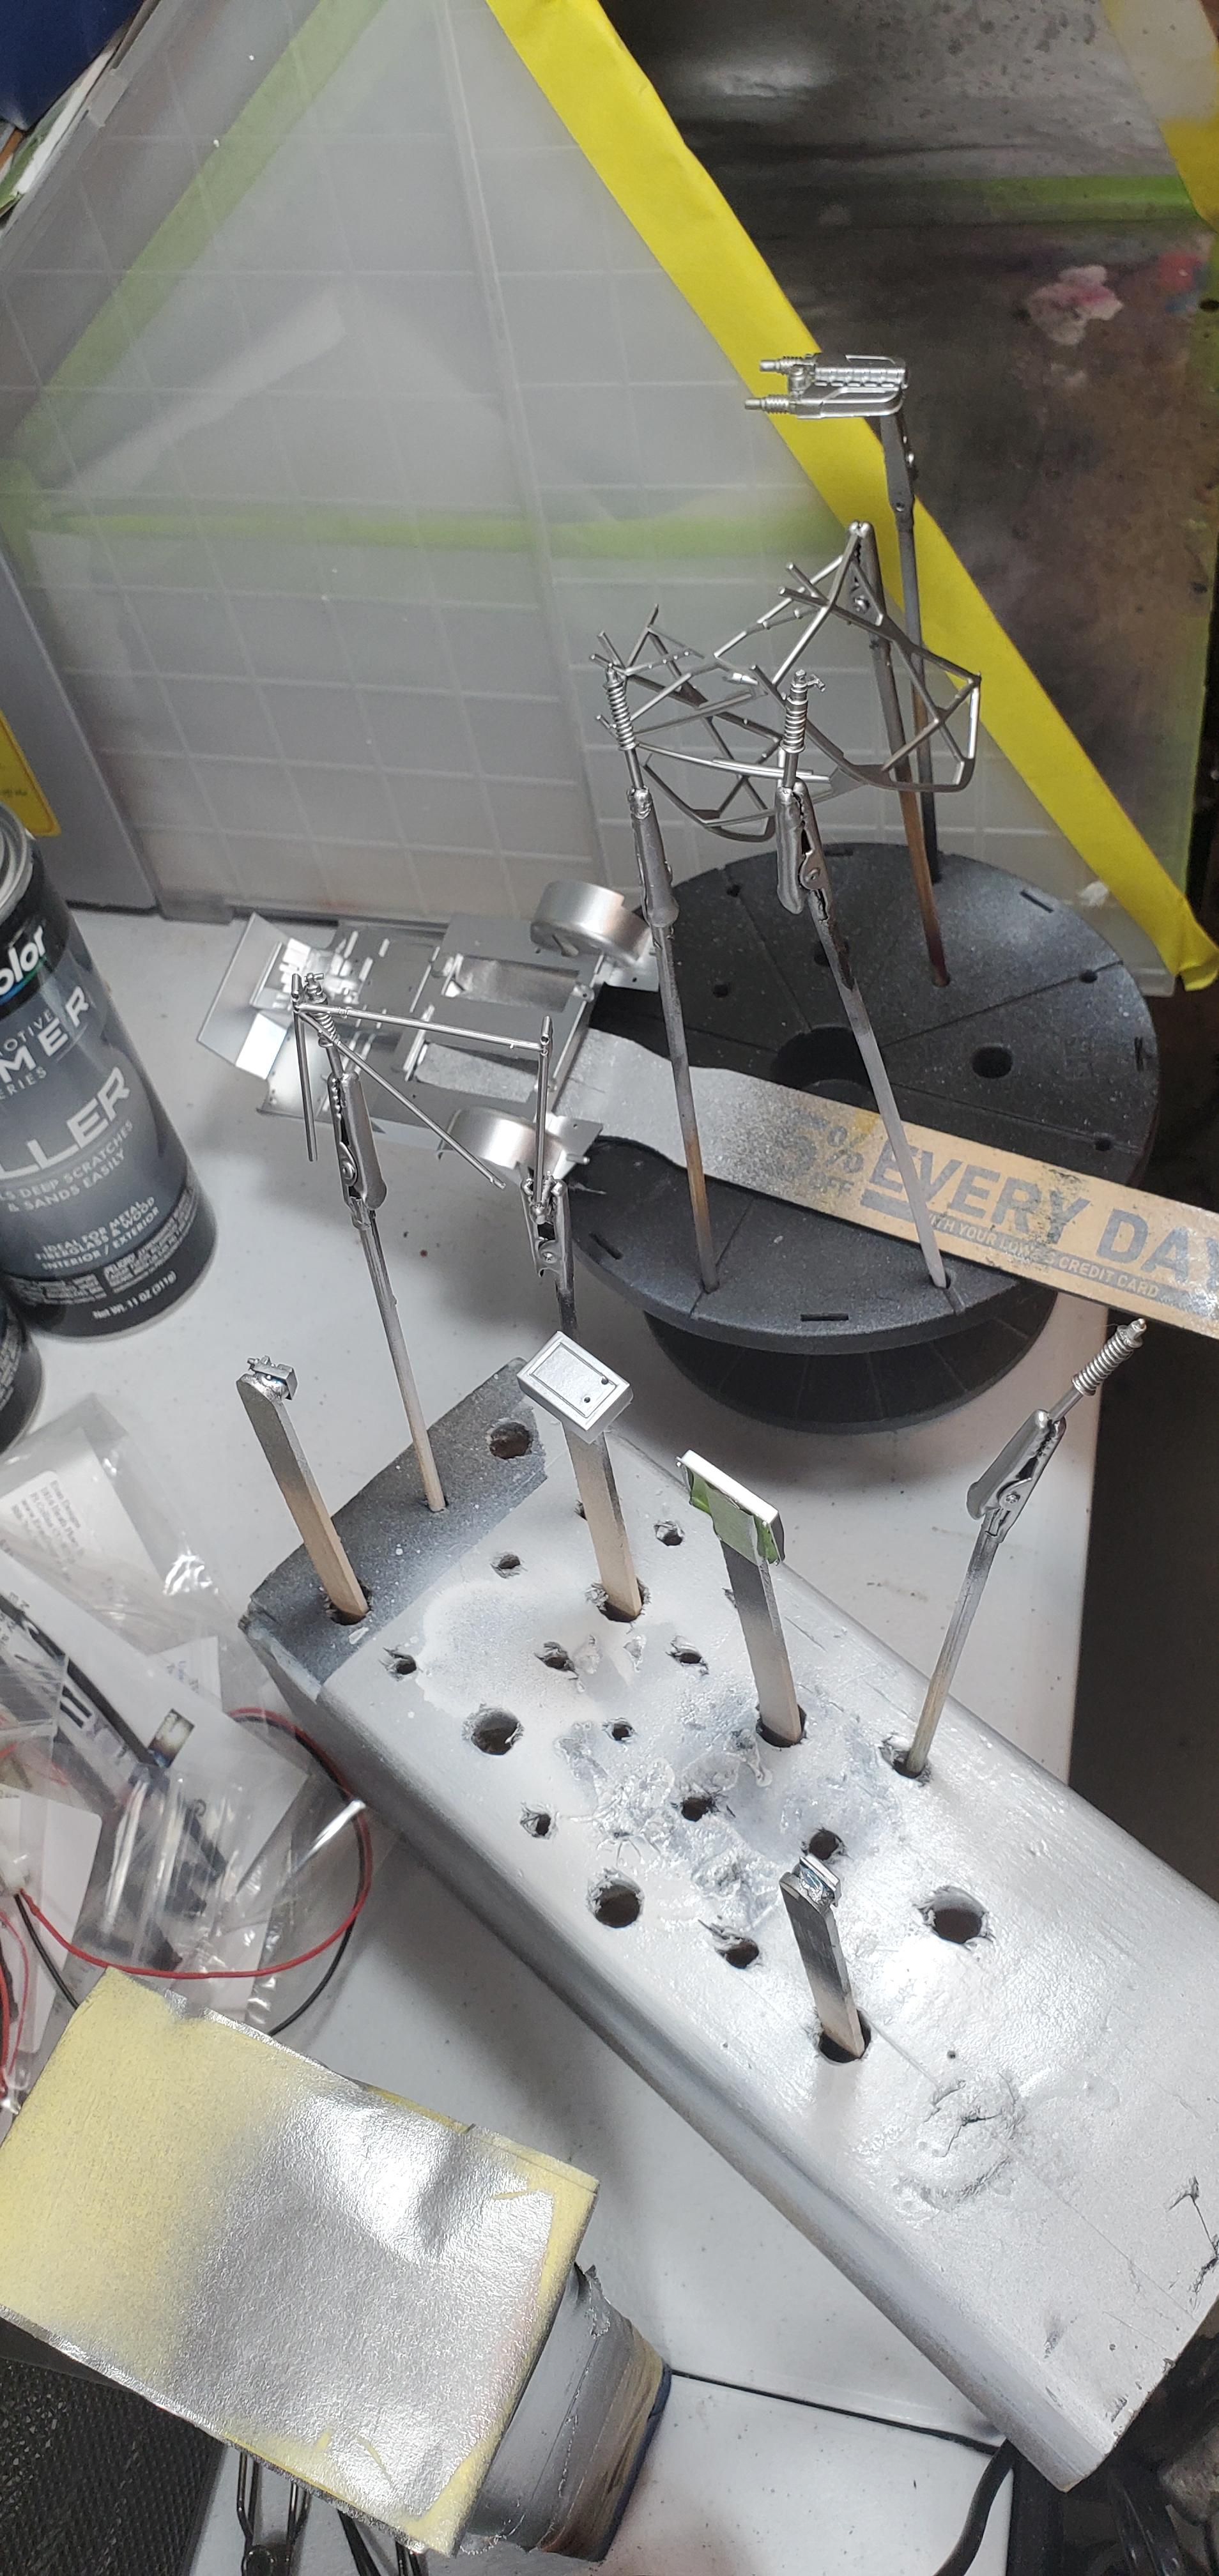
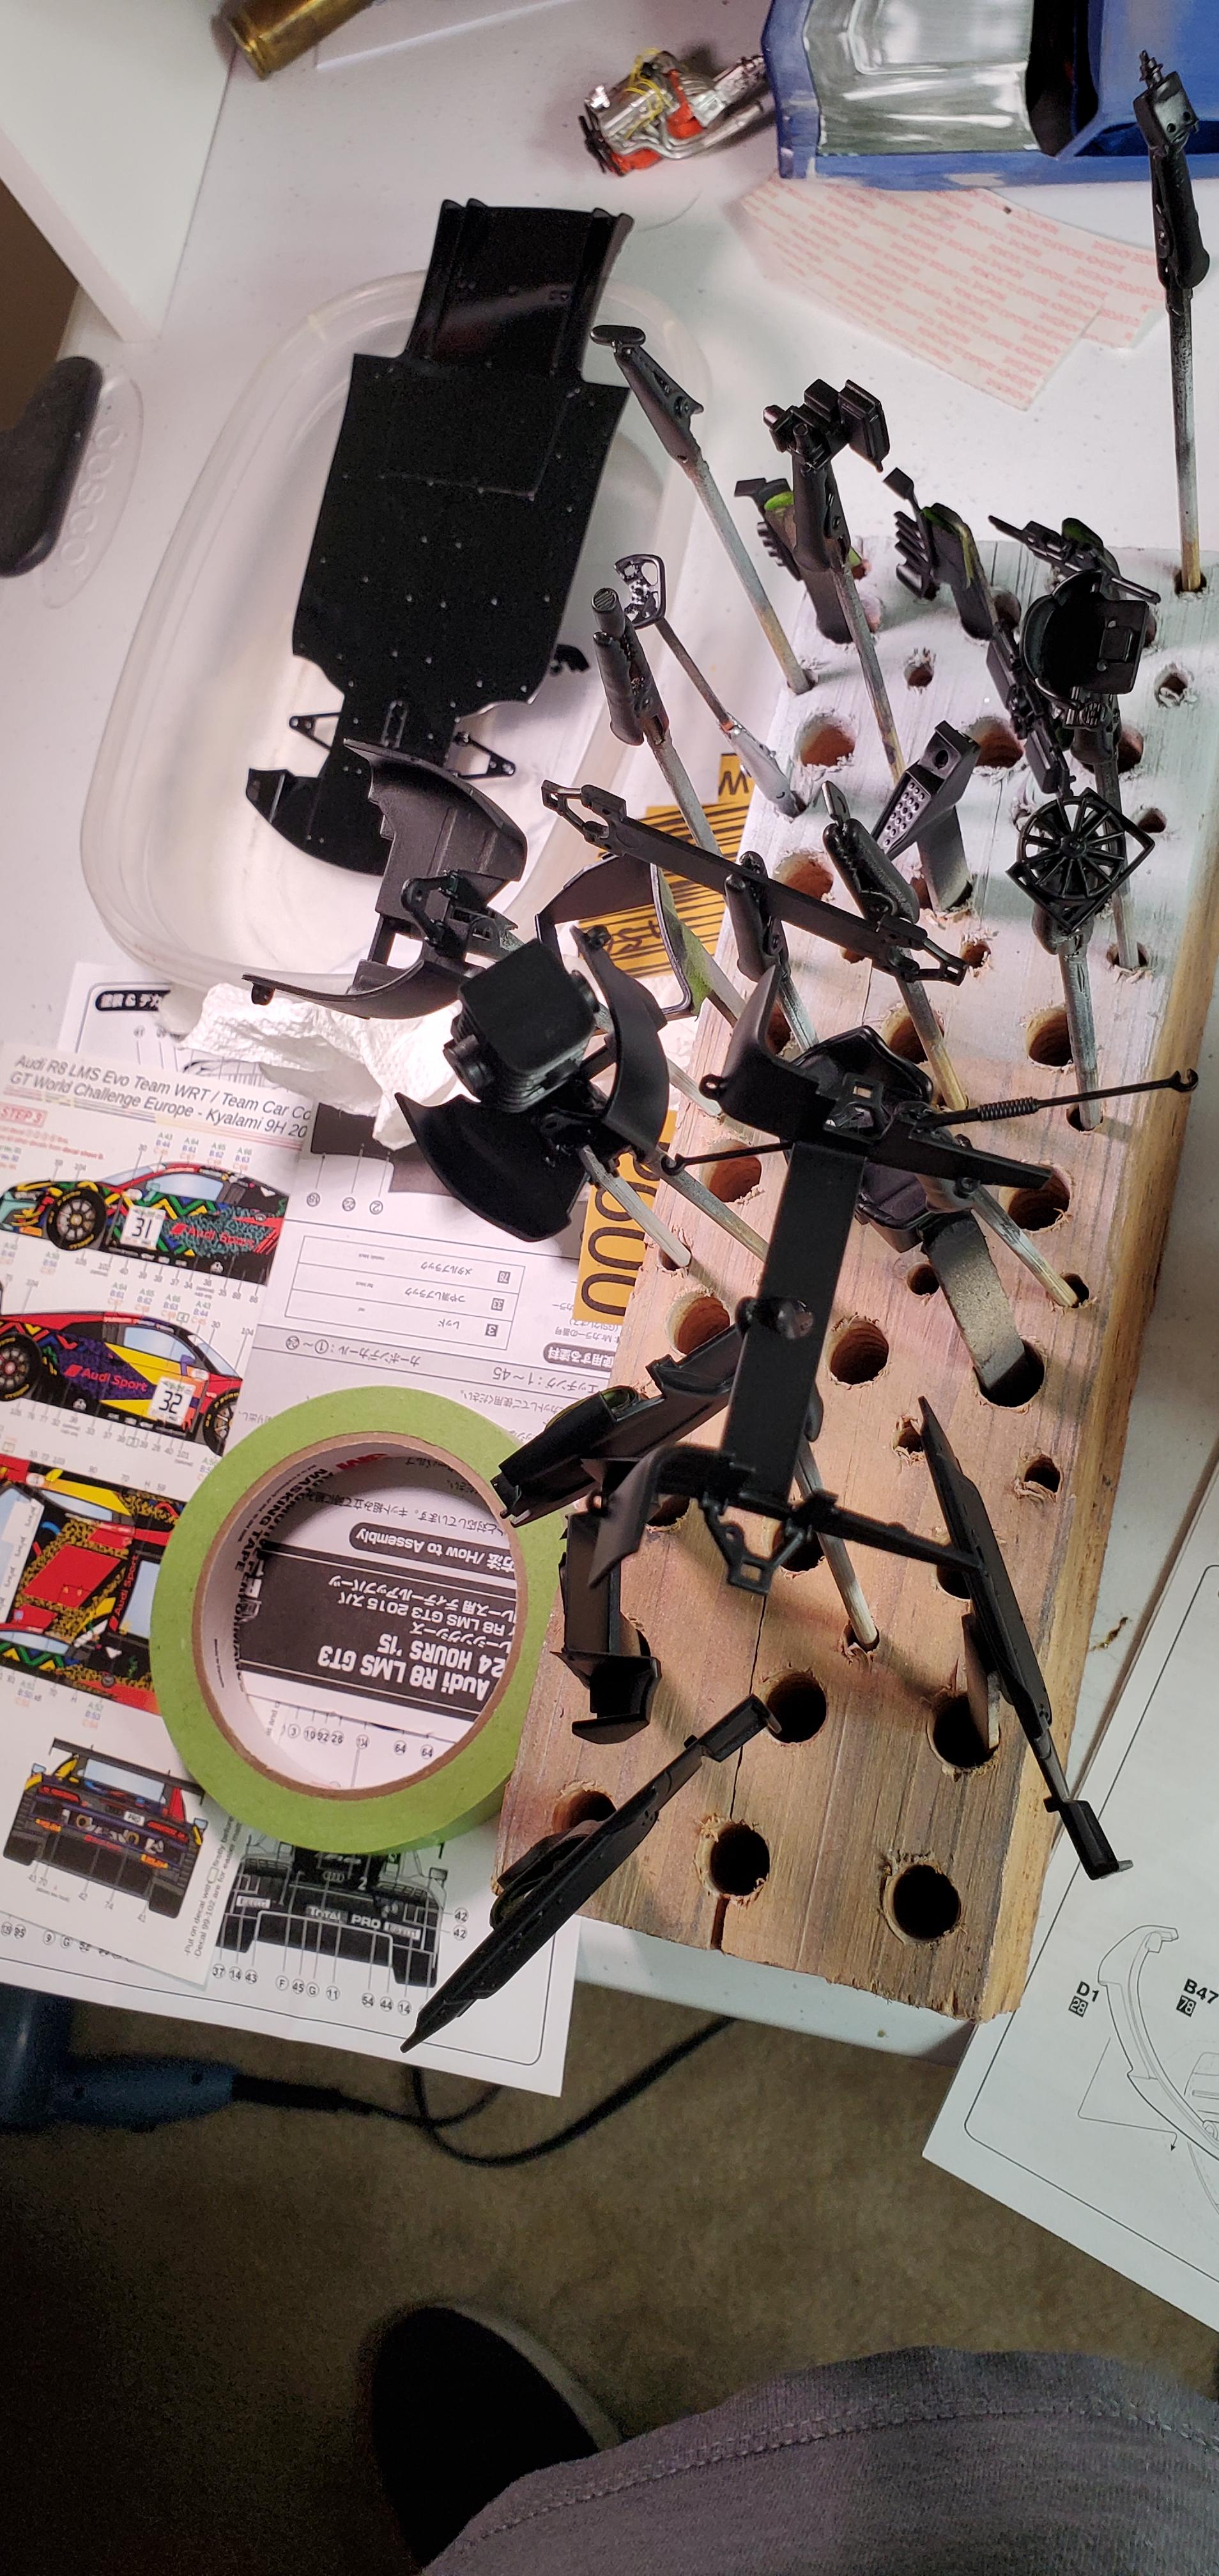
Instead of watching the clear dry, I decided to continue work on the interior and applied a few PE parts
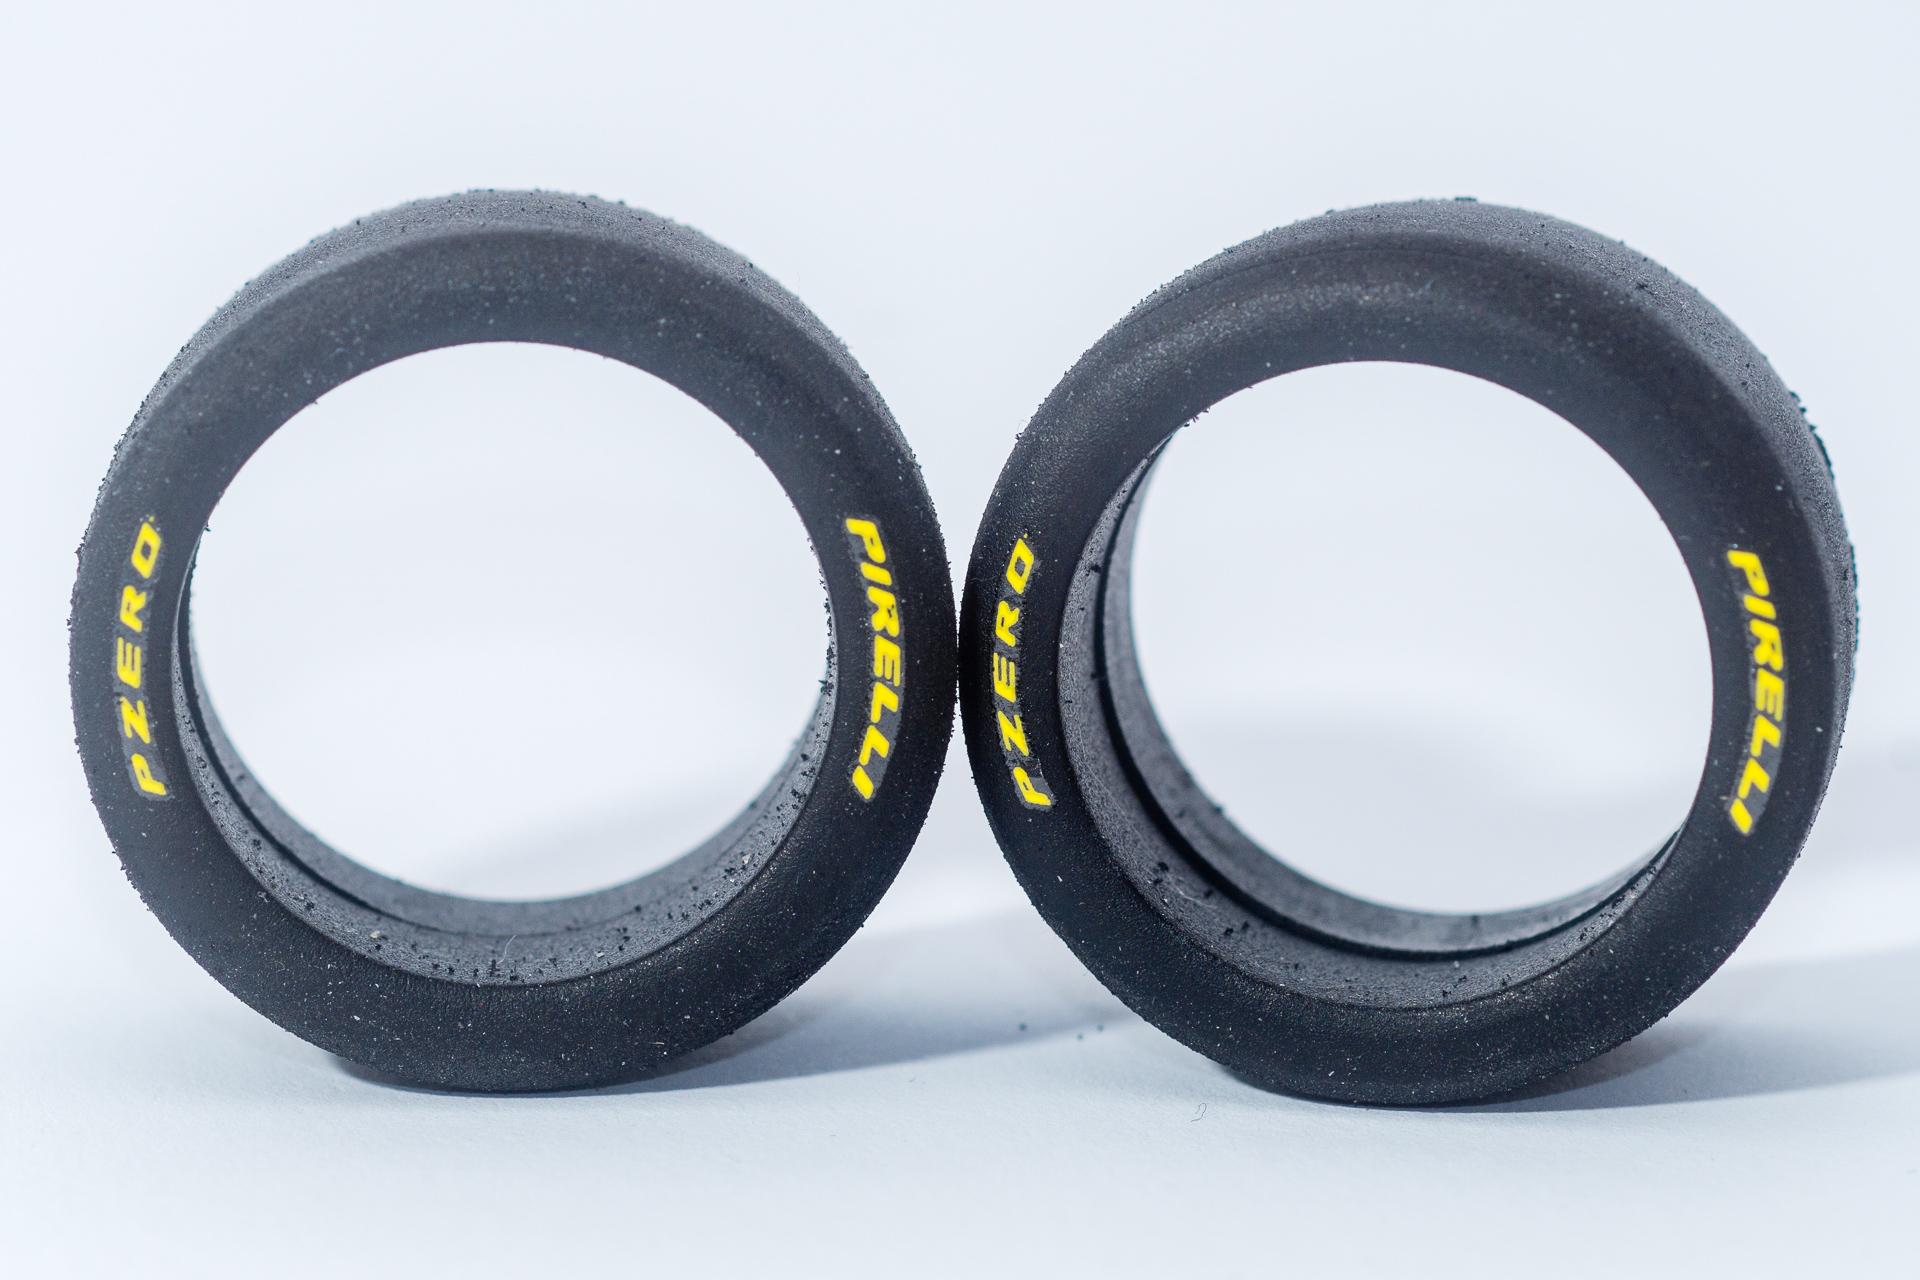
When I applied the decals to the body, I also applied them to the tires. One decal per tire is still missing. I ran out of time on saturday and forgot them always afterwards
Finally the seat has been almost completed. I only have to install the seat belts before I can install it
That's it for this week's update. I wish you all a nice week without too much stress and a Merry Christmas.
UrsHow did you get the seat fabric to look like that? It looks really good !
-
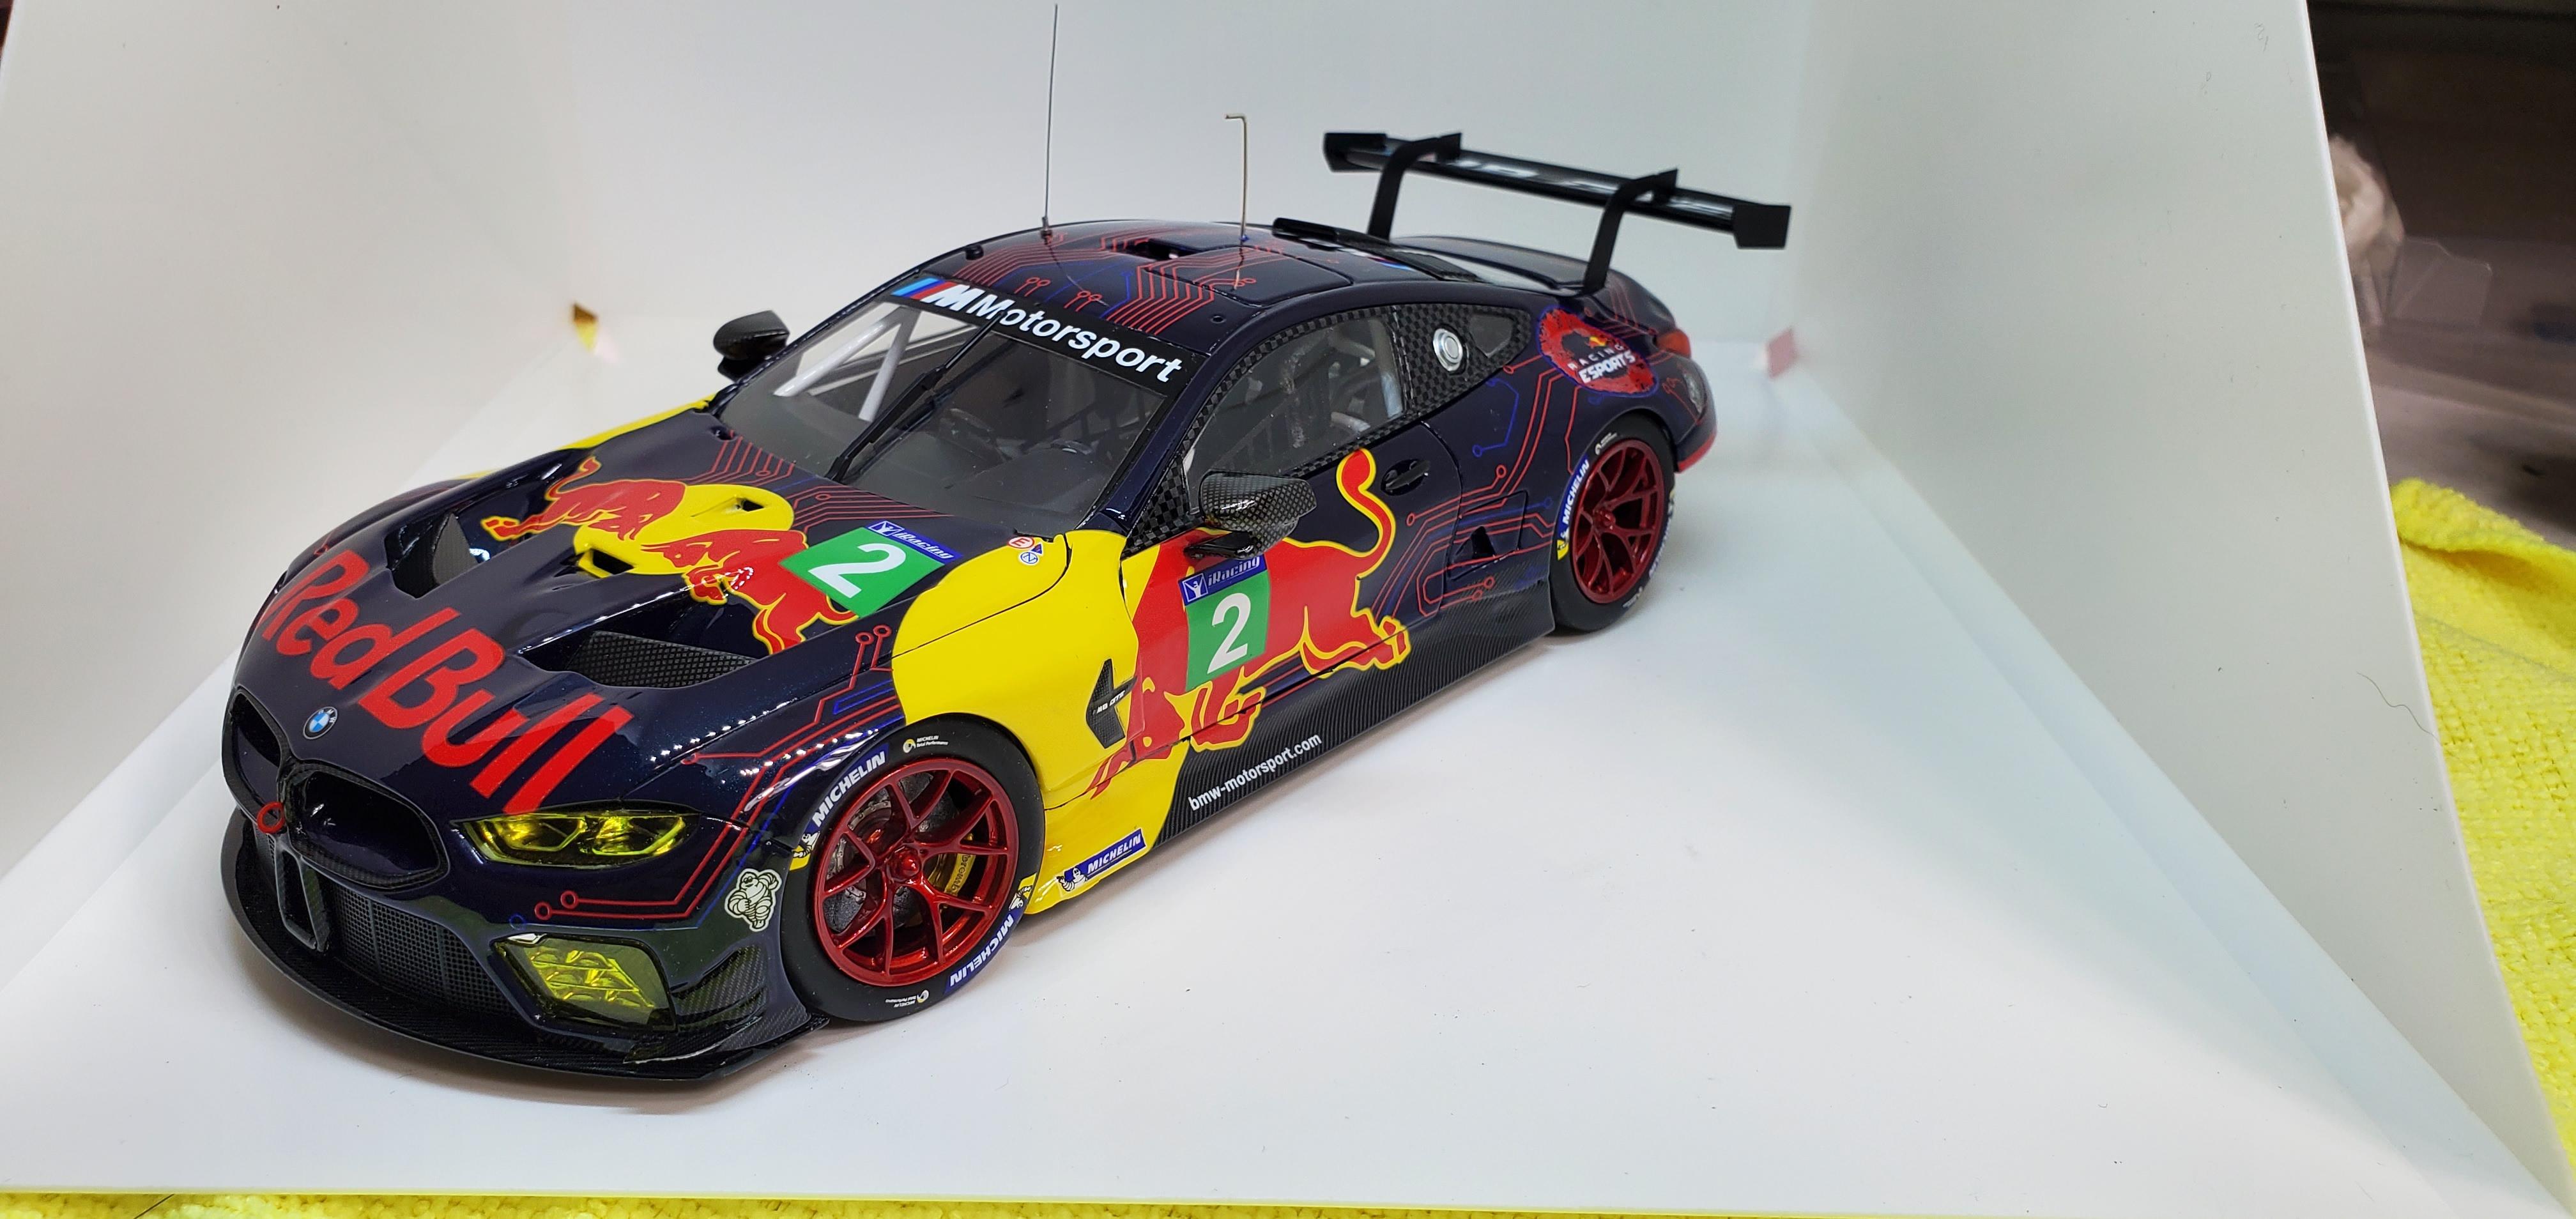
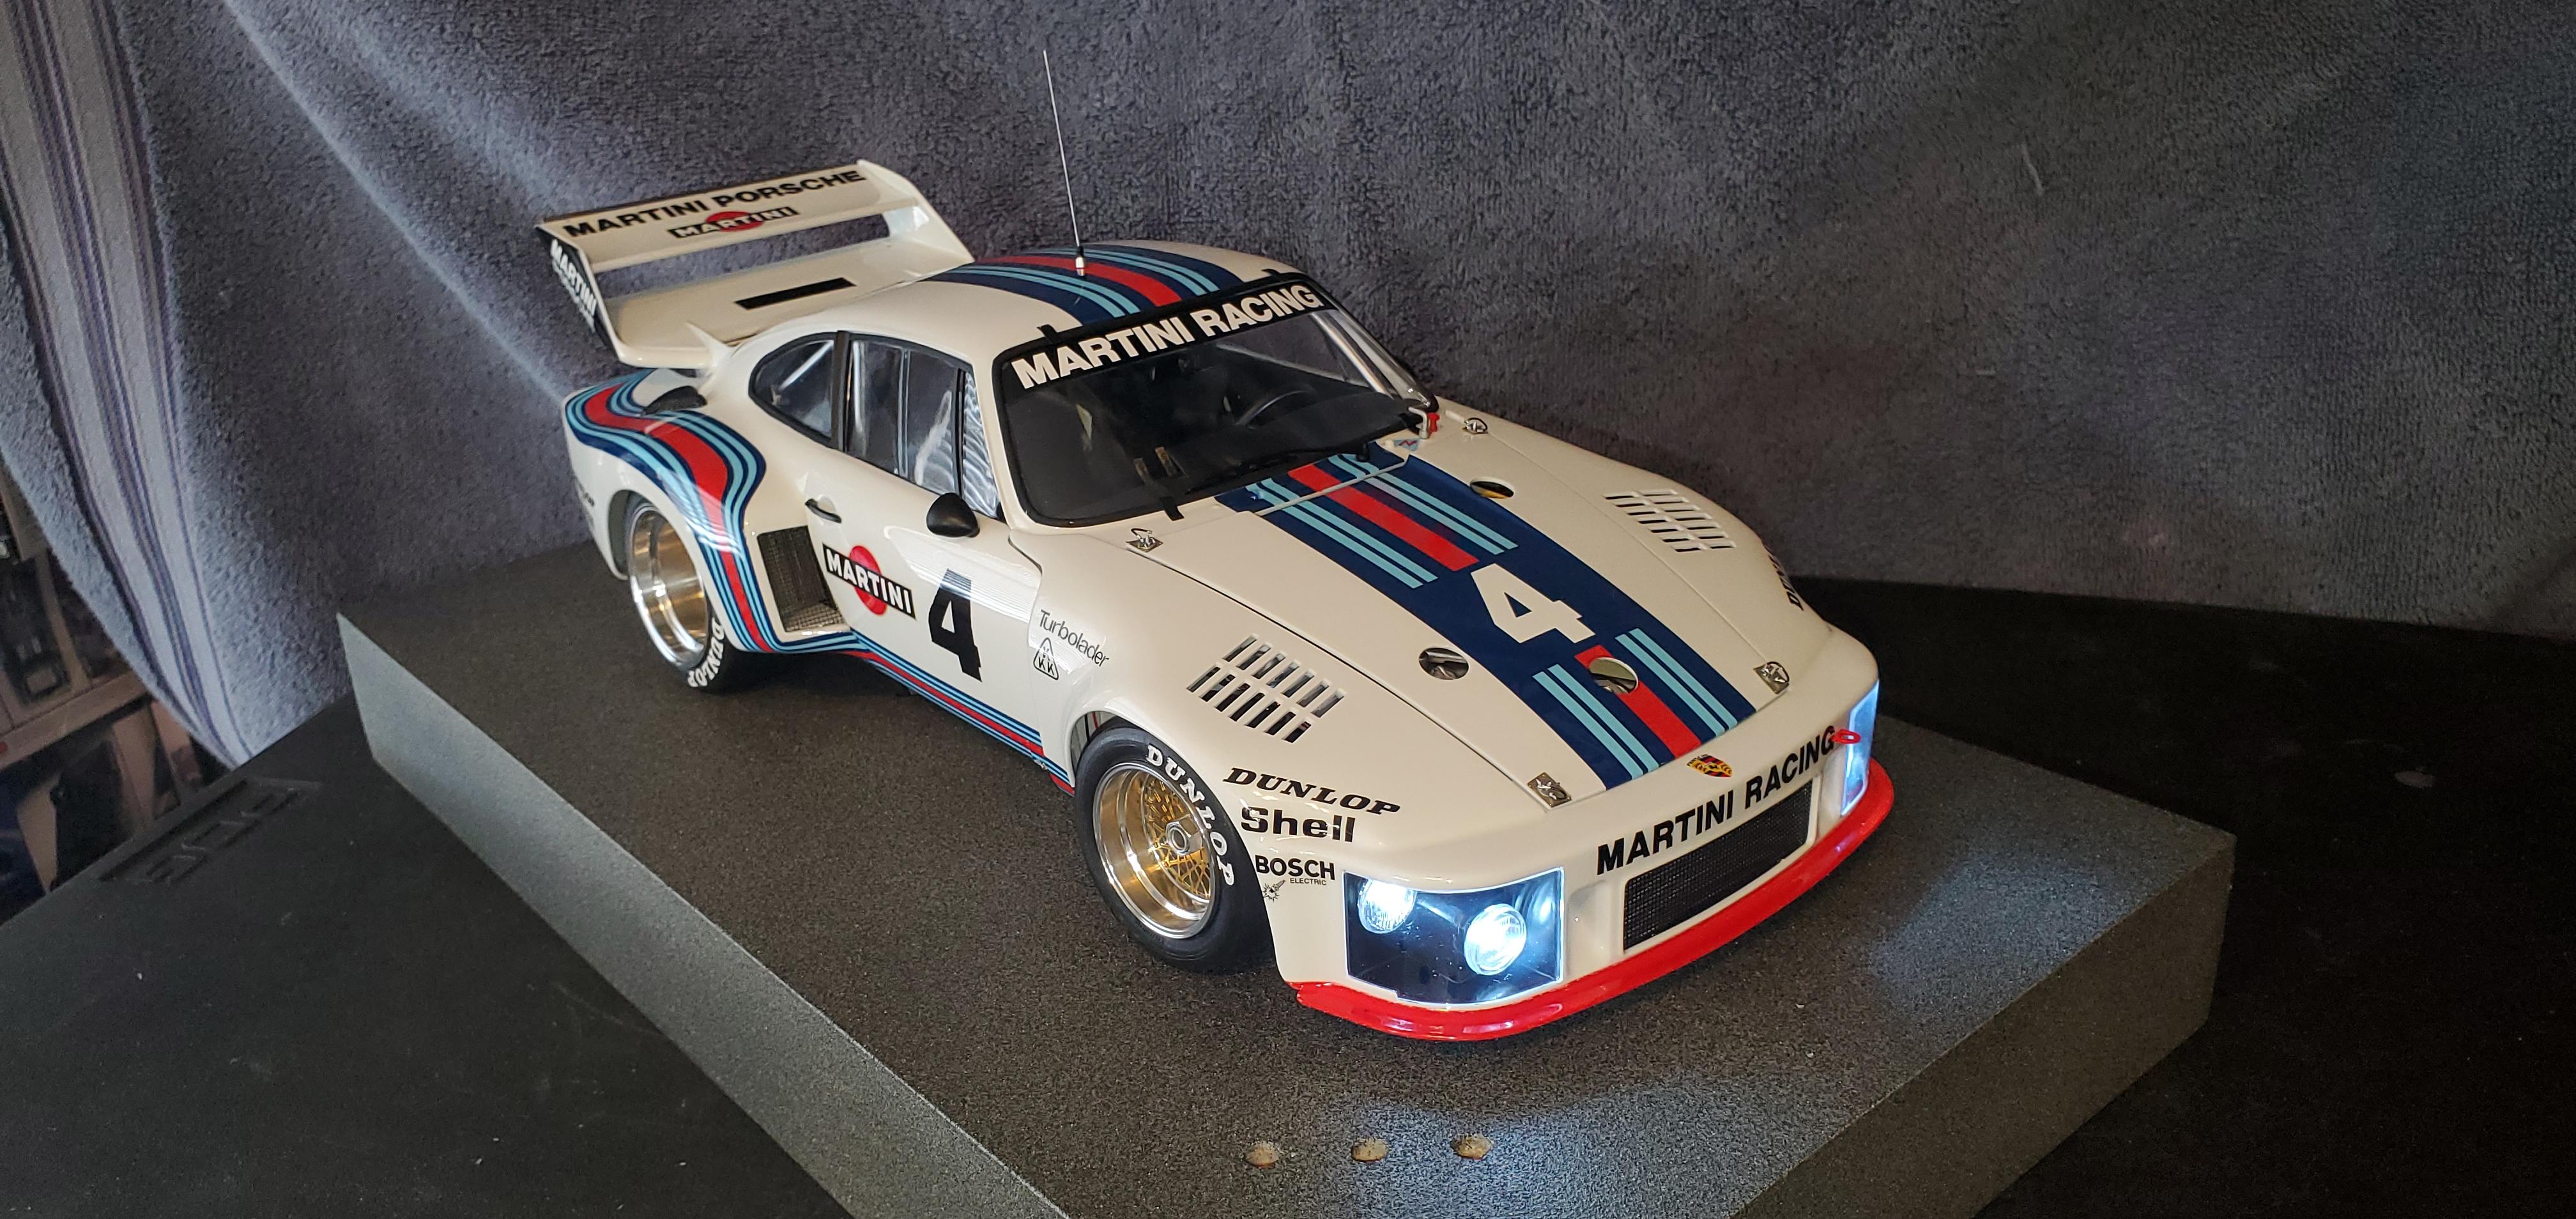
I hope everyone likes it. Tons of decals !

-
 1
1
-
-
-
9 hours ago, Funkychiken said:
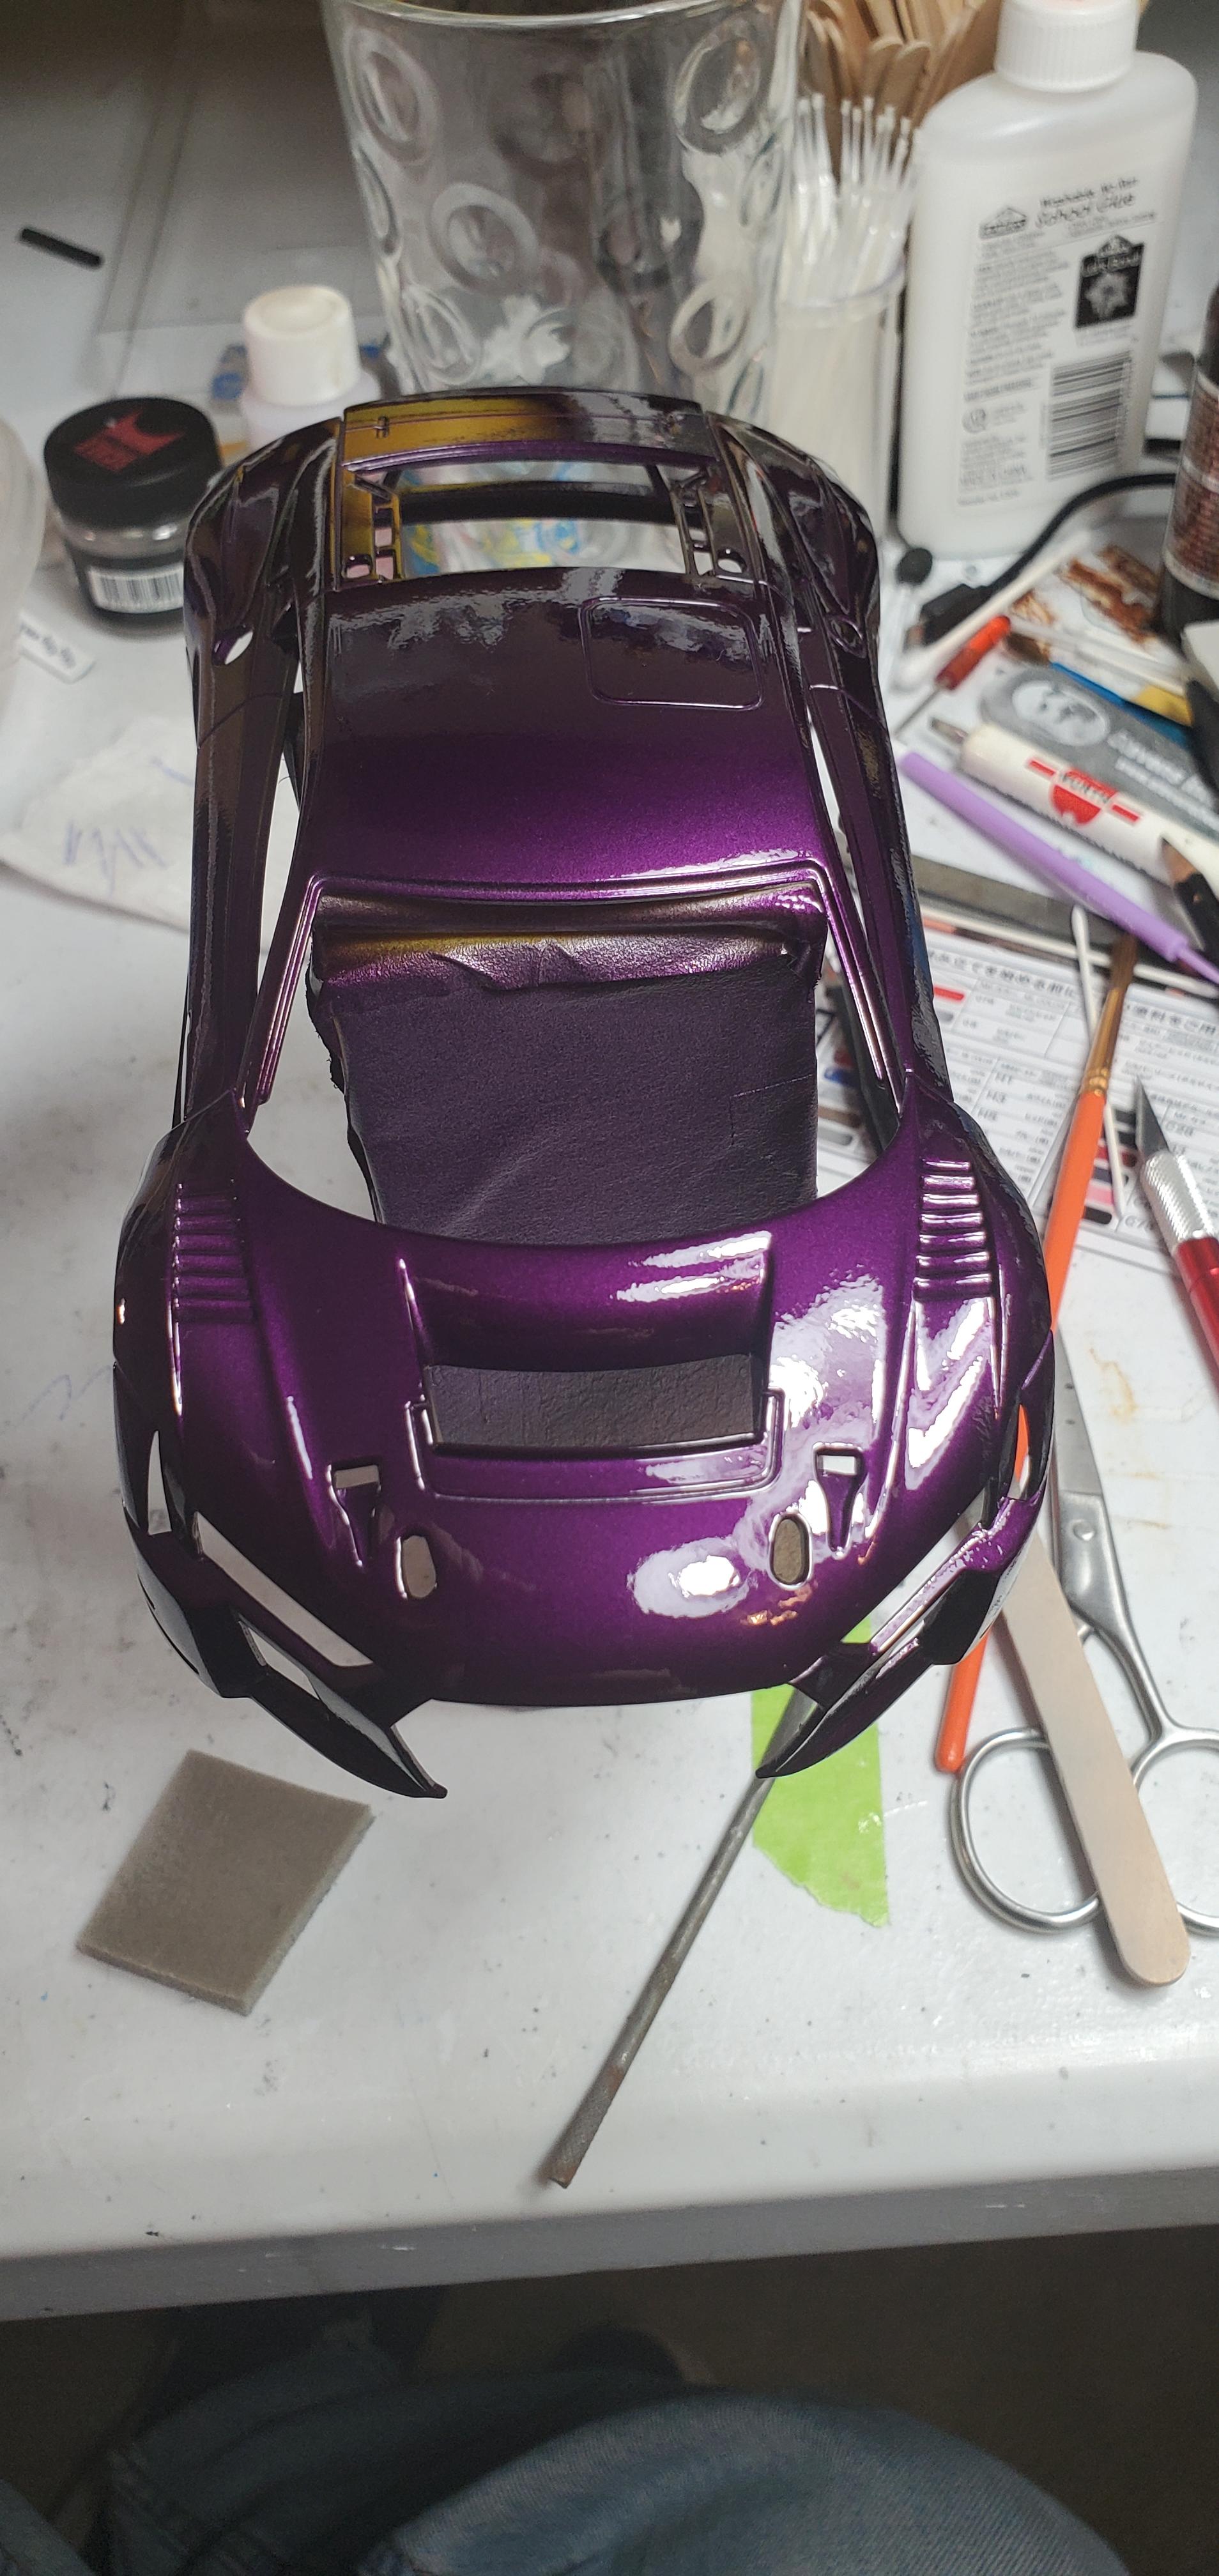
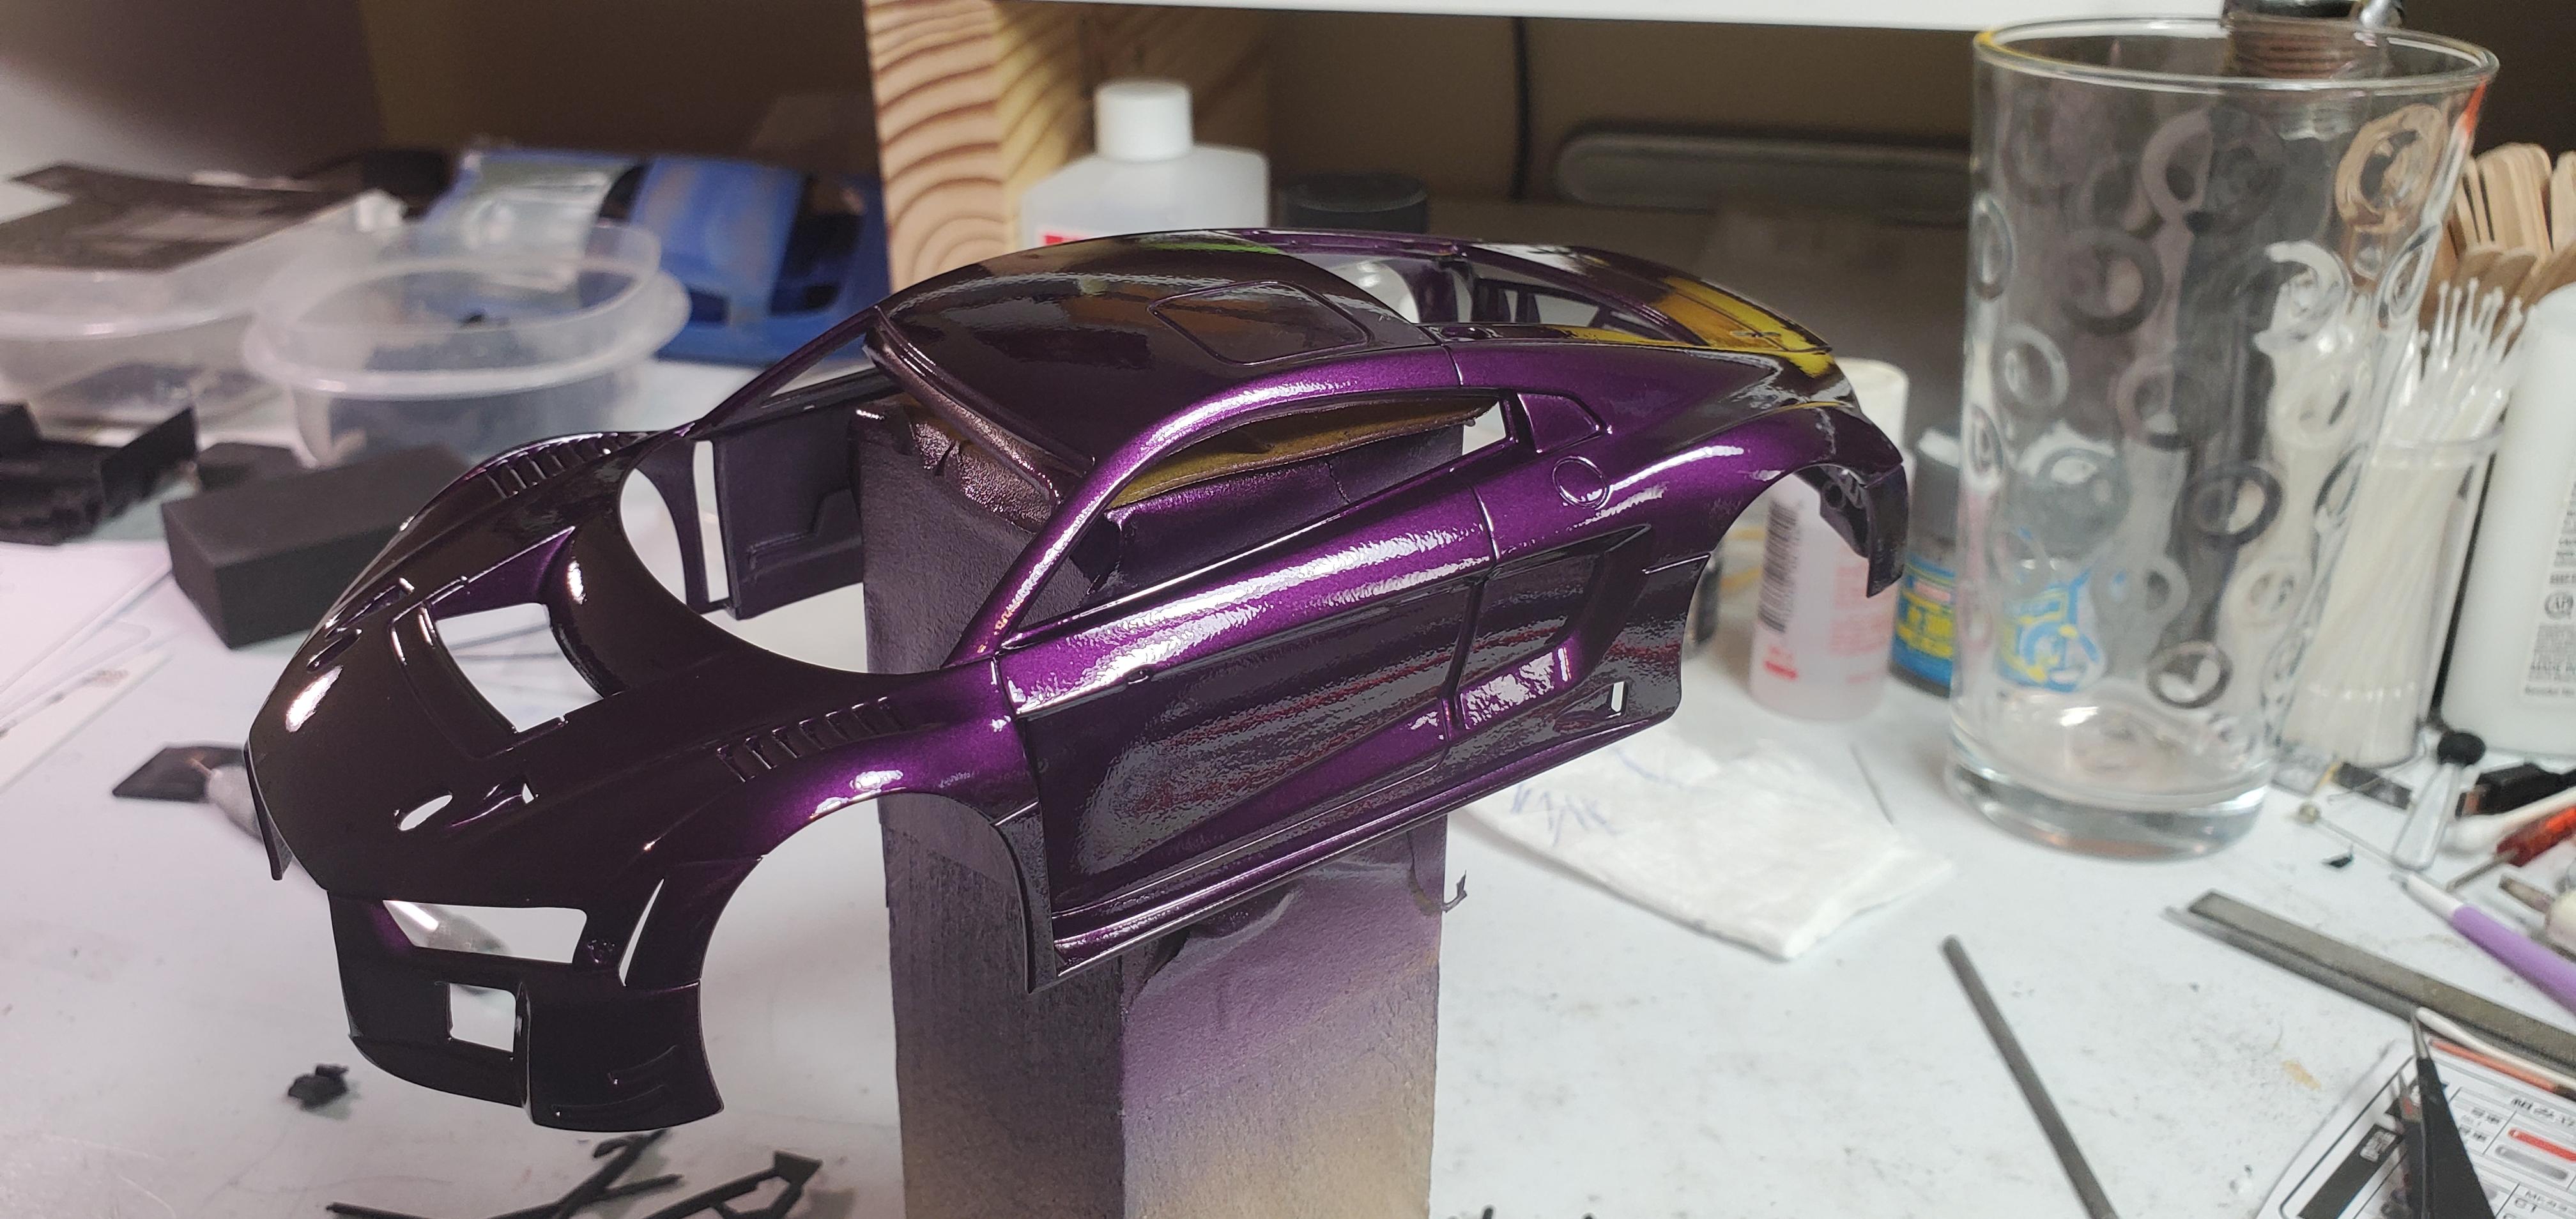
It sure is a lovely purple, but the livery you see in one of the images has no purple!
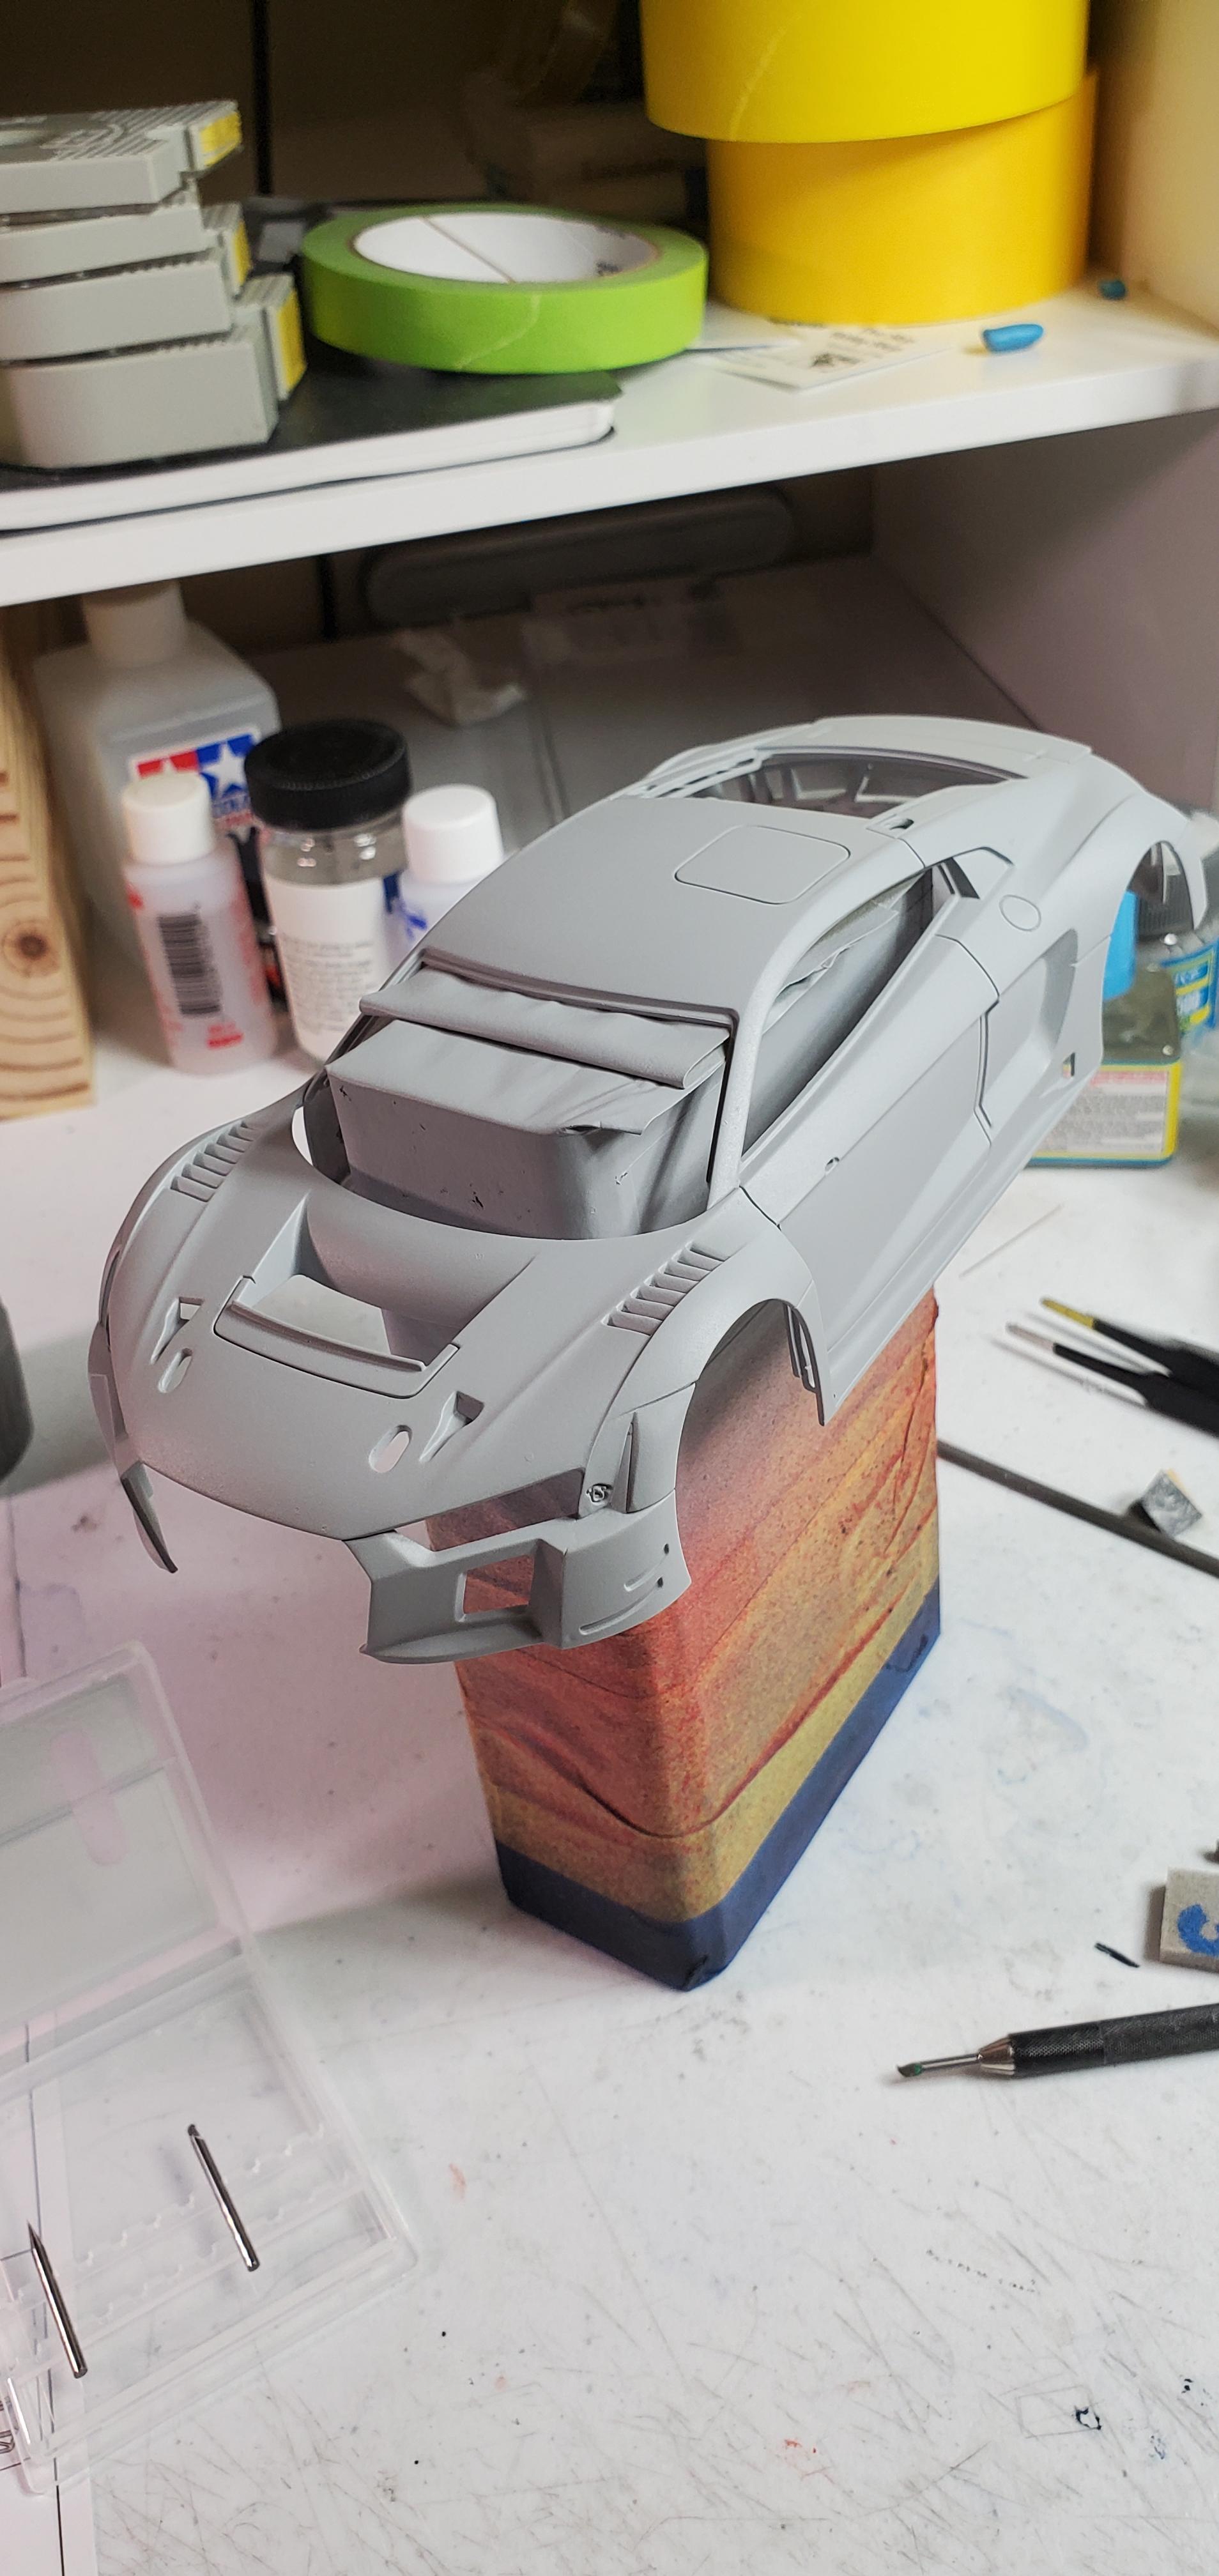
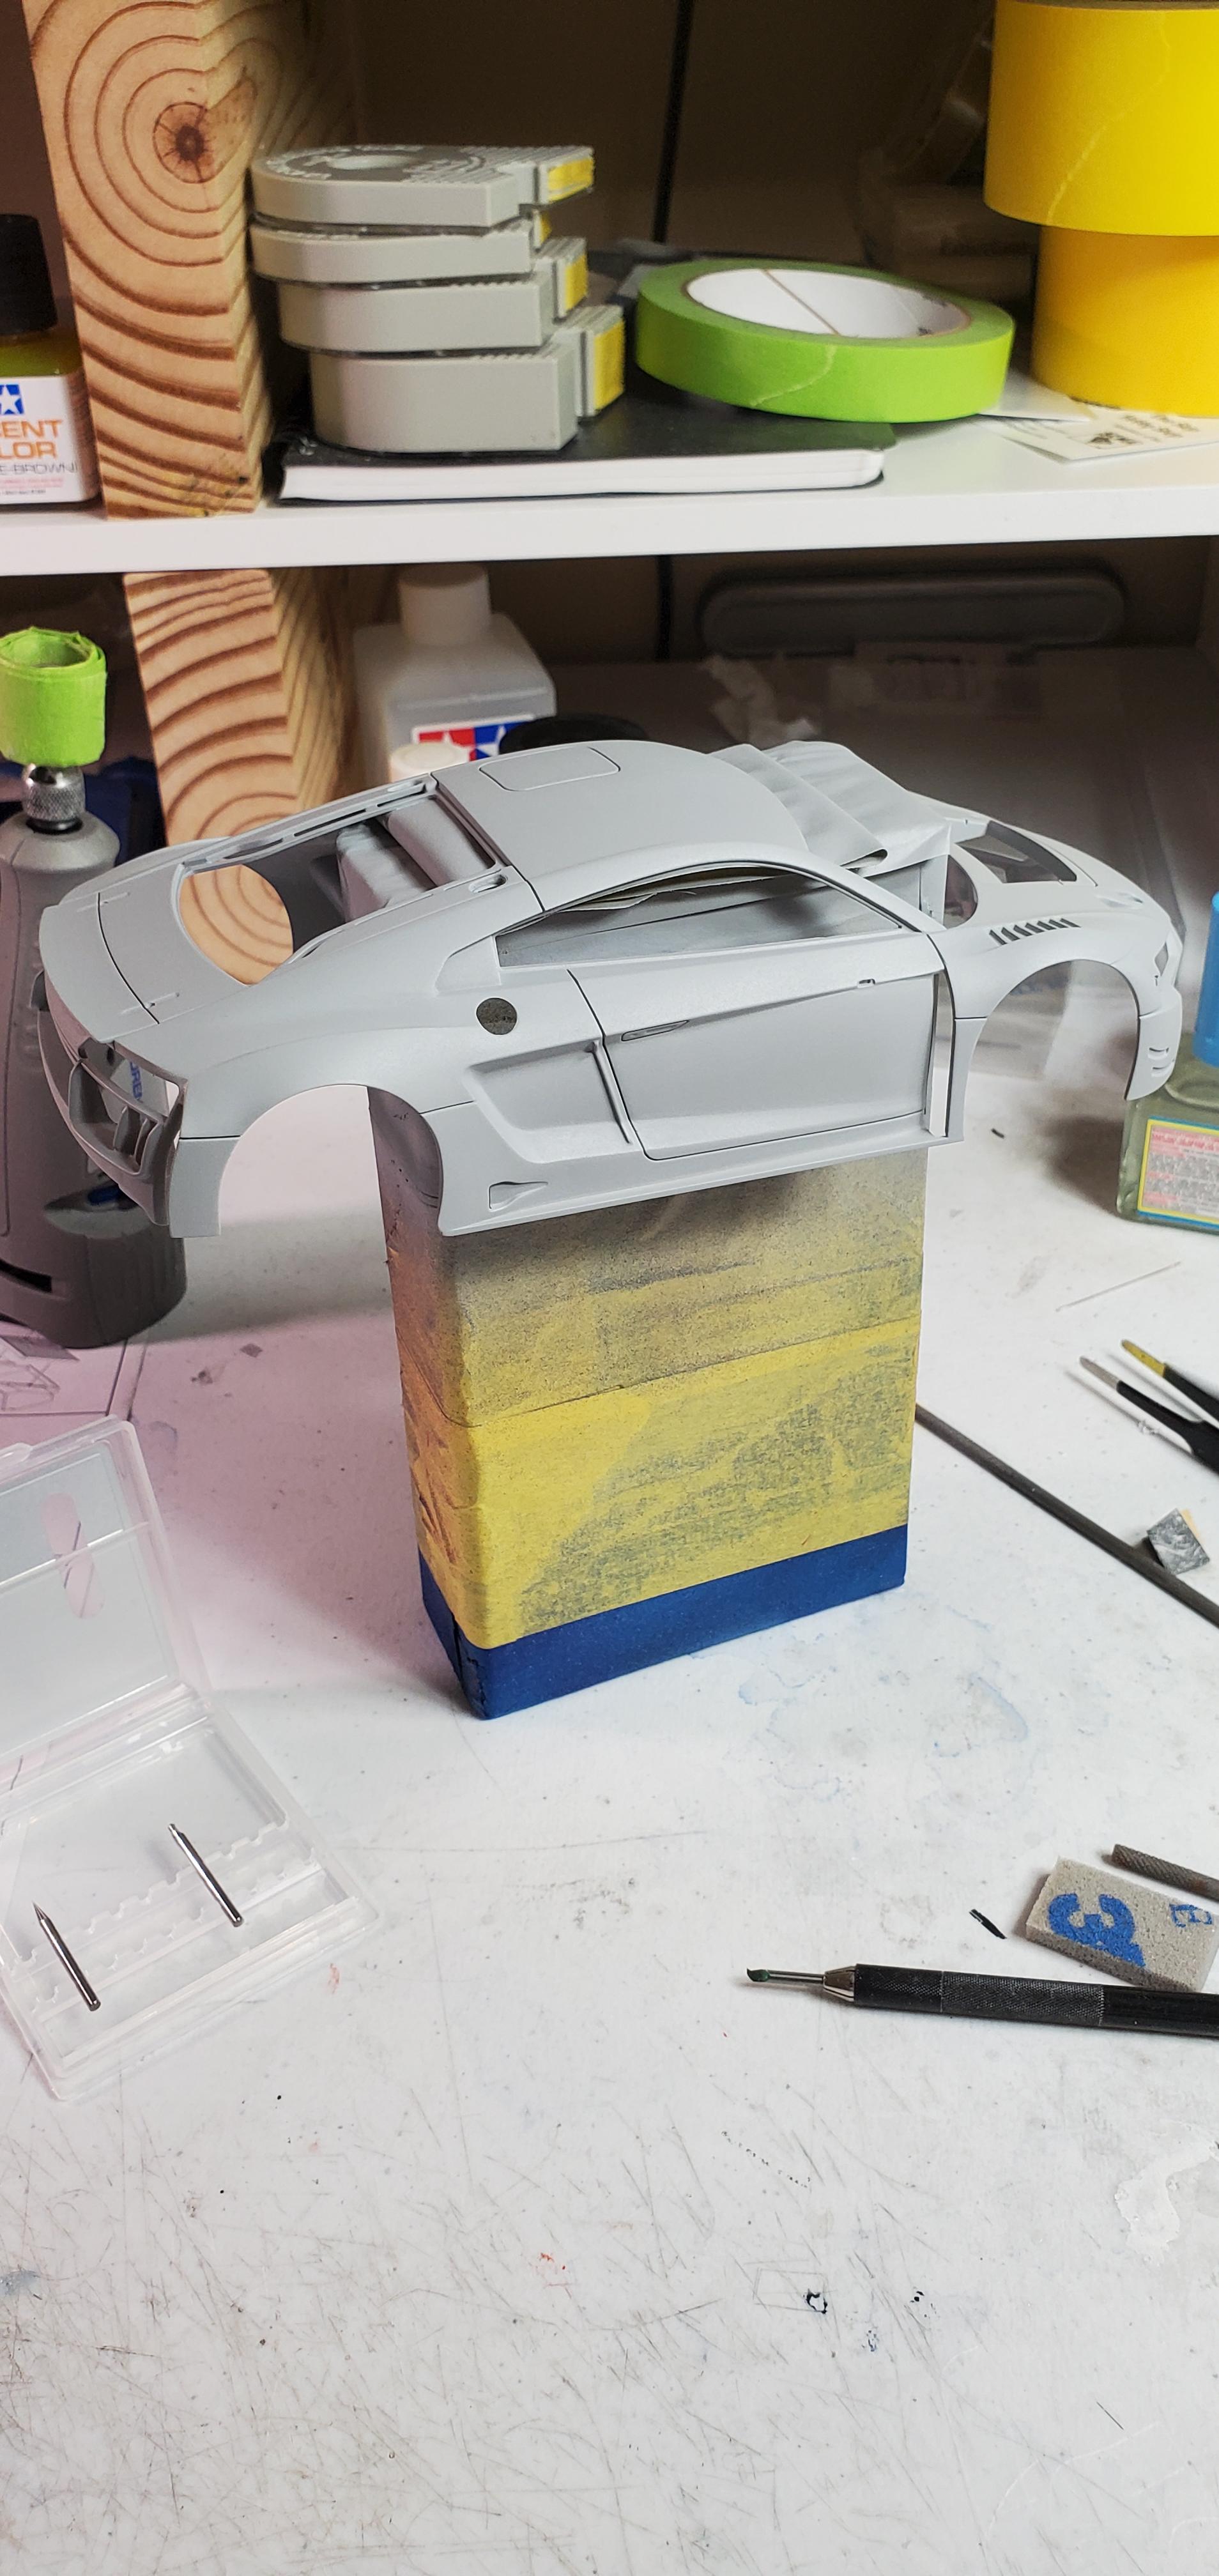
Looks like a really intricate body shell for sanding to smooth out the orange peel. Good luck!
There are actually 3 different suggested base color schemes with this livery. I decided to take some liberties on this build.
-
I got the base color on the body today. The clear came out a little peely but I'll smooth it out before I apply the decals. I also clearcoated most of the cf decal parts.
-
1
-
-
Thanks a lot everyone ! It was a fun build, now I'm building the R8 to go with it.
-
Thanks all !
-
Right from LB productions
-
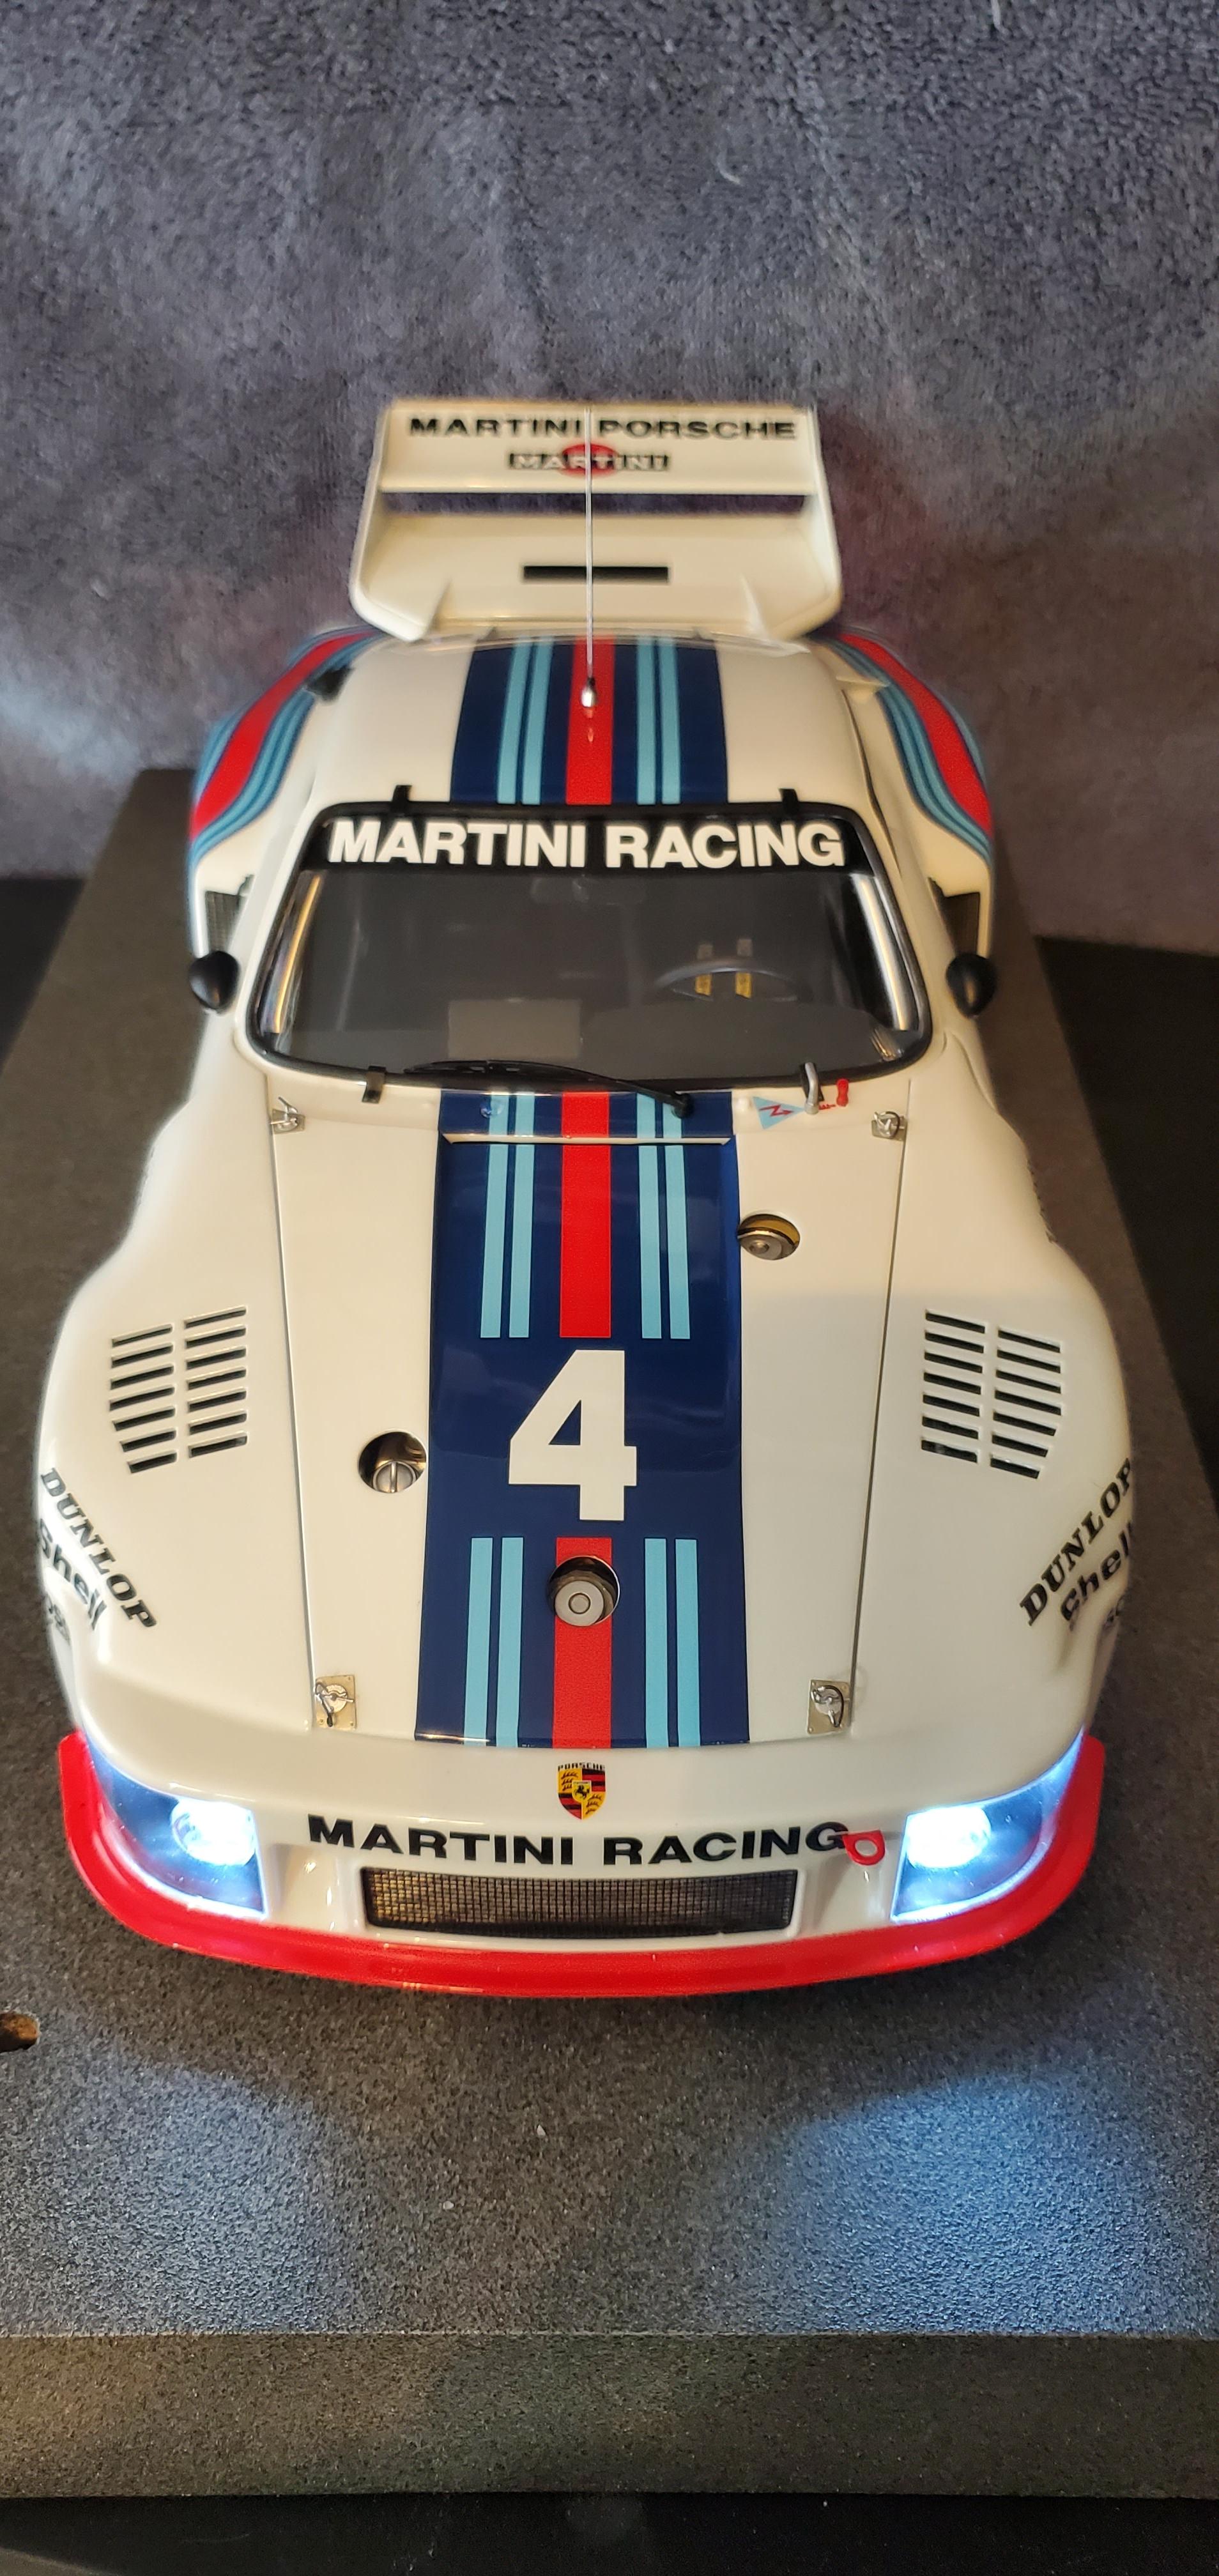
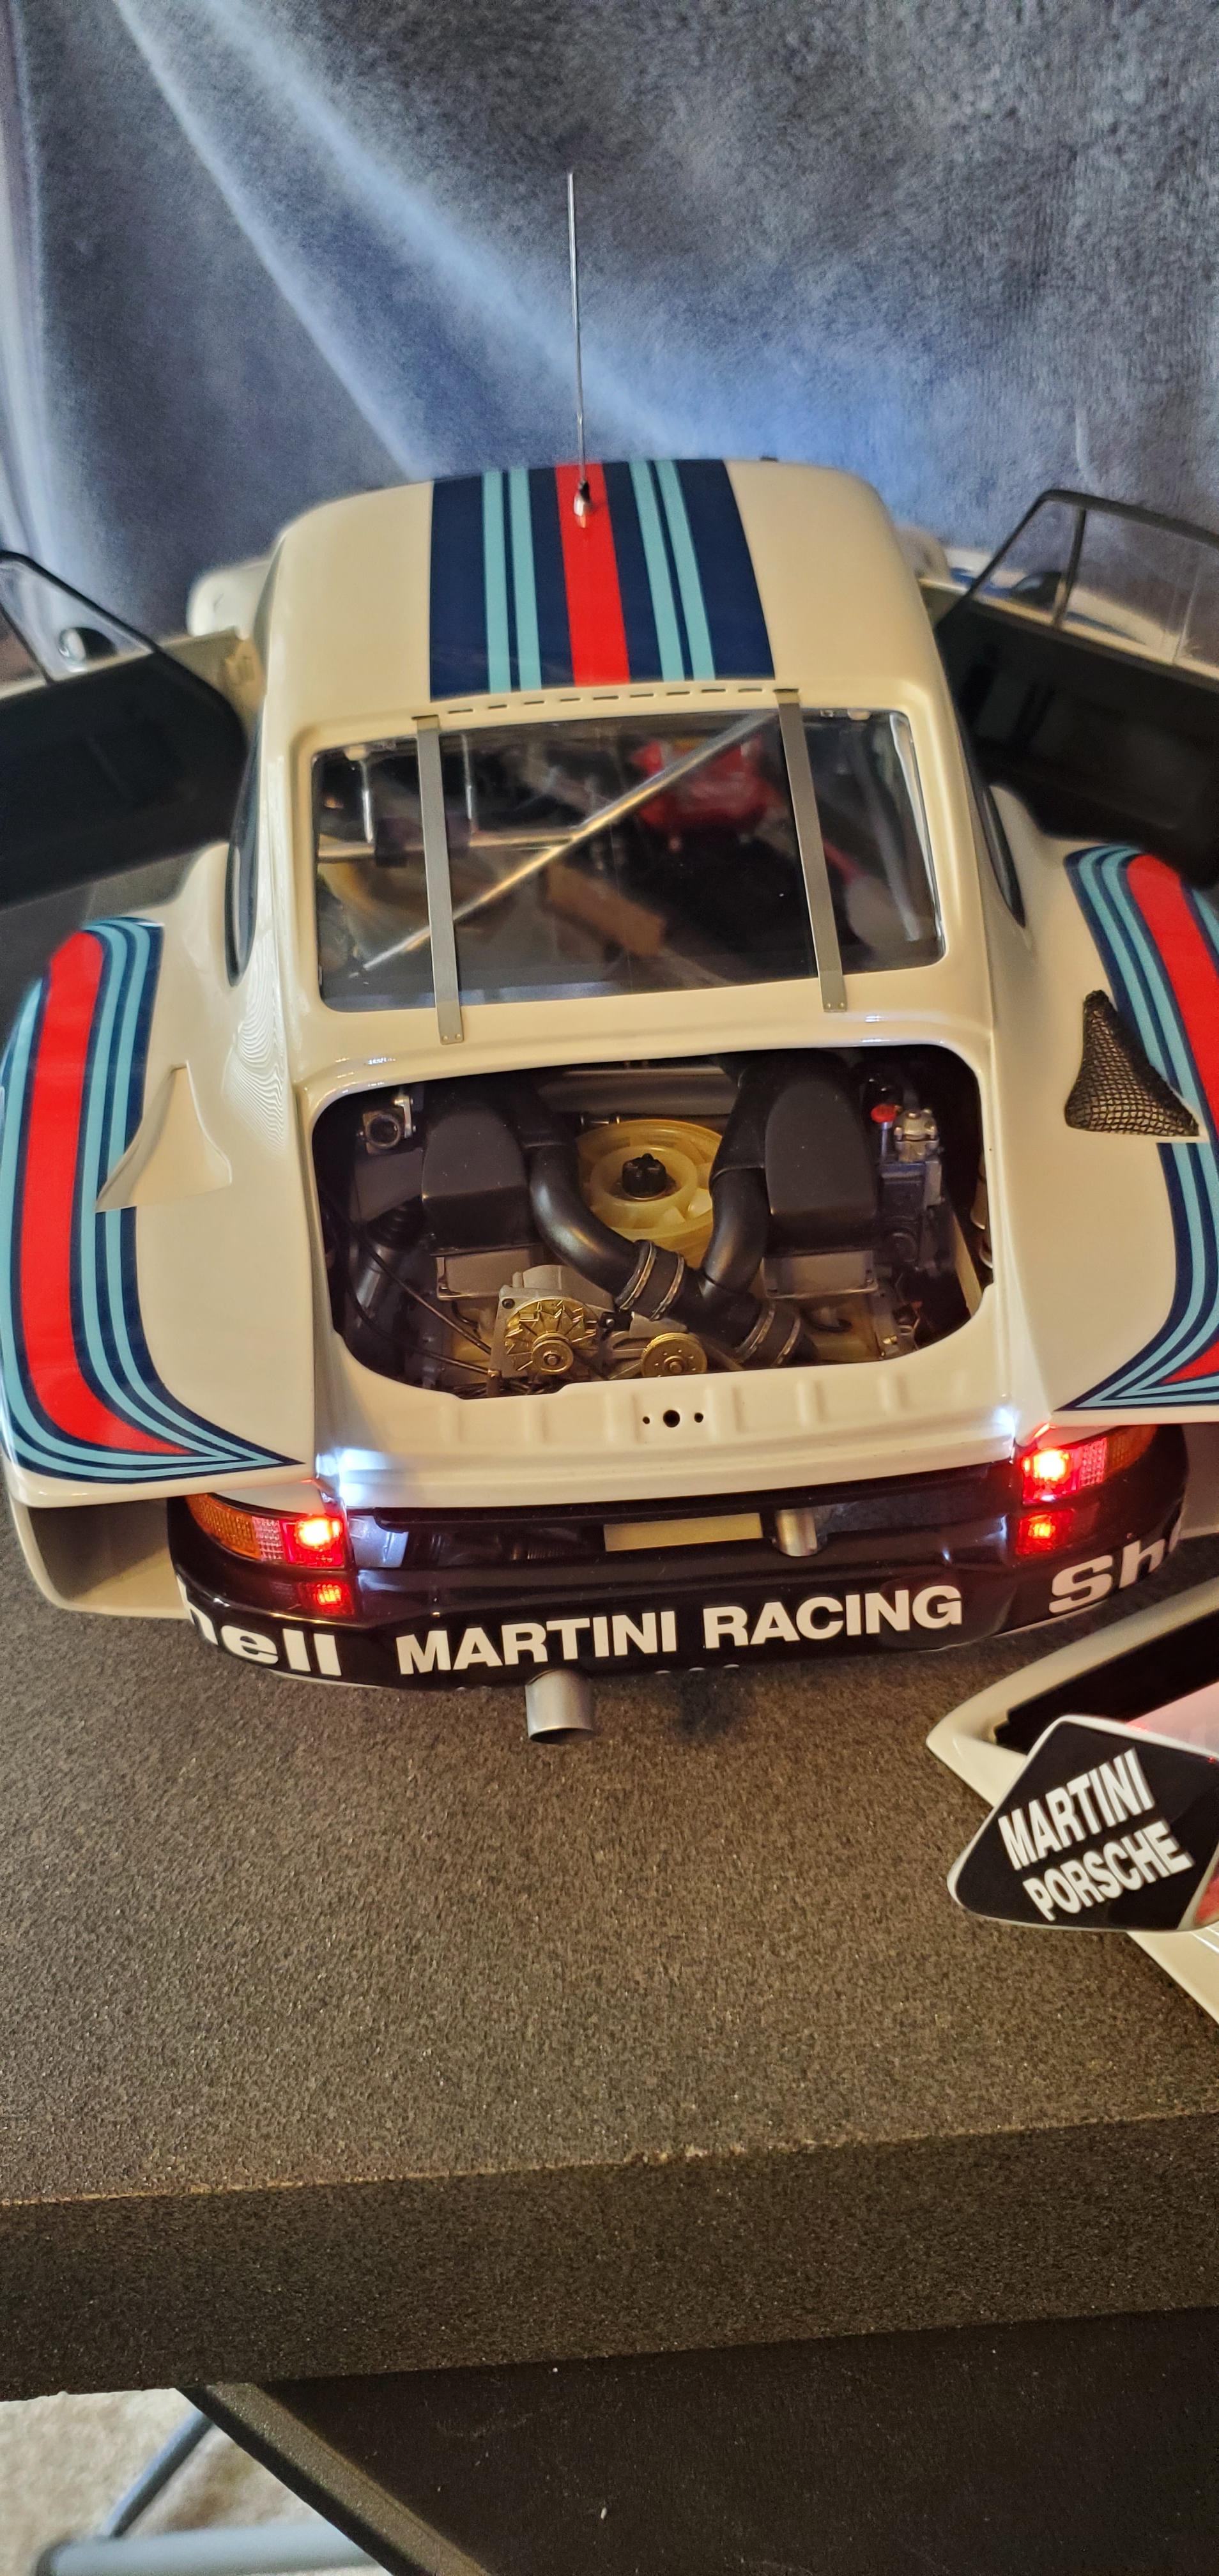
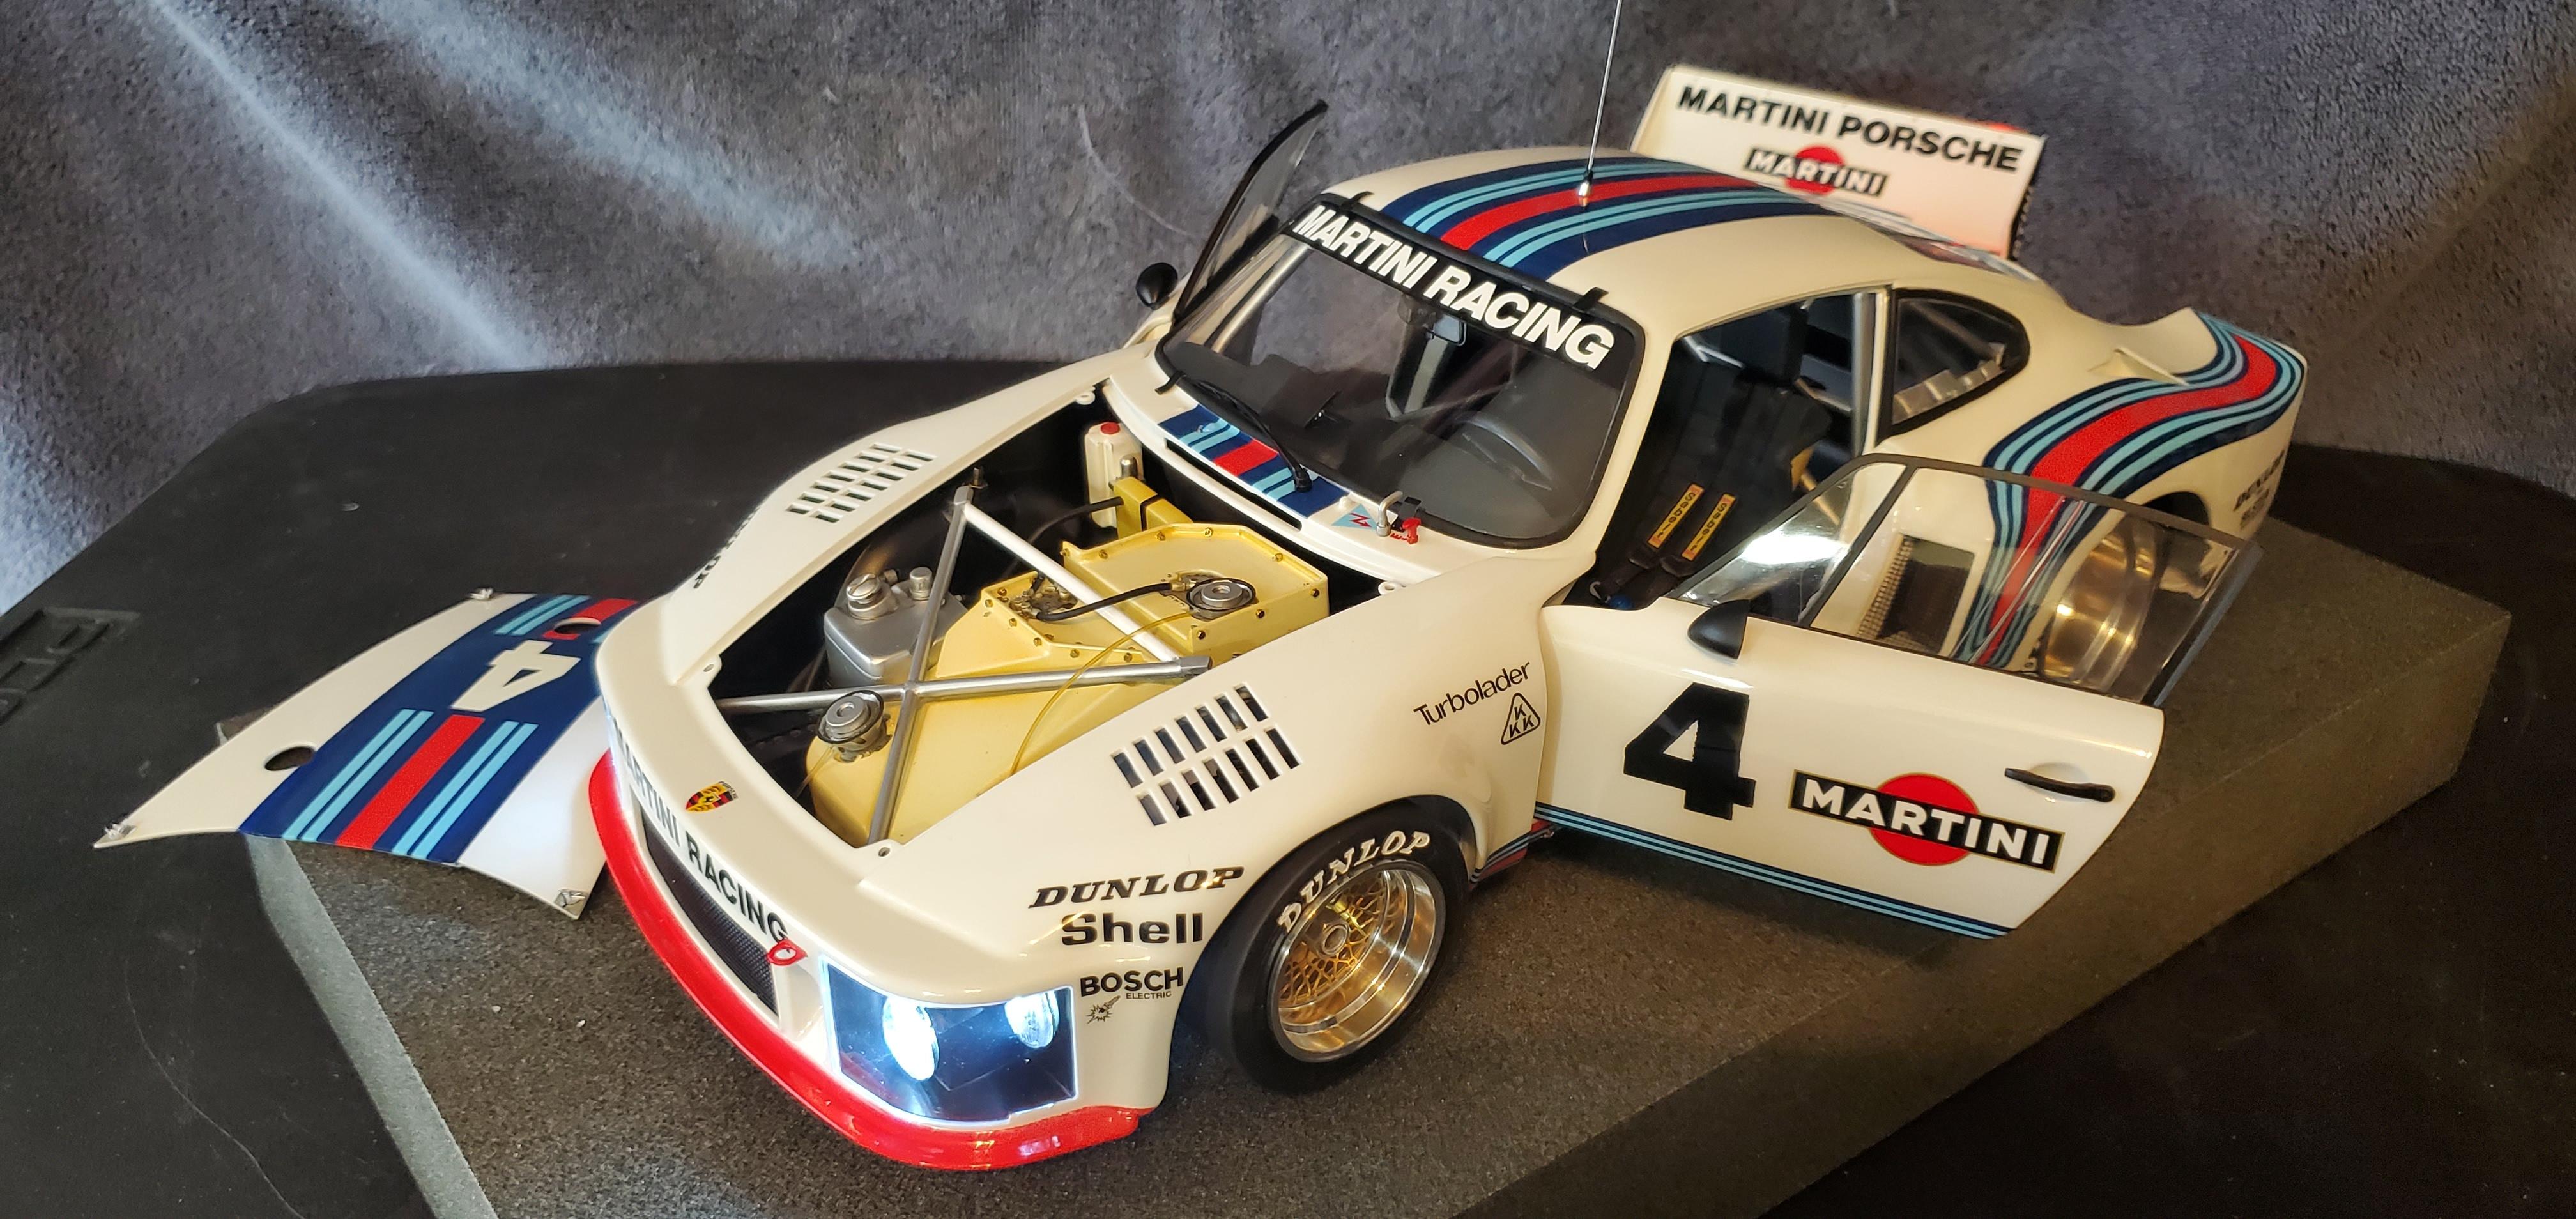
I really liked the way my NuNu M8 came out so I decided to give it a racing companion.
-
2
-
-
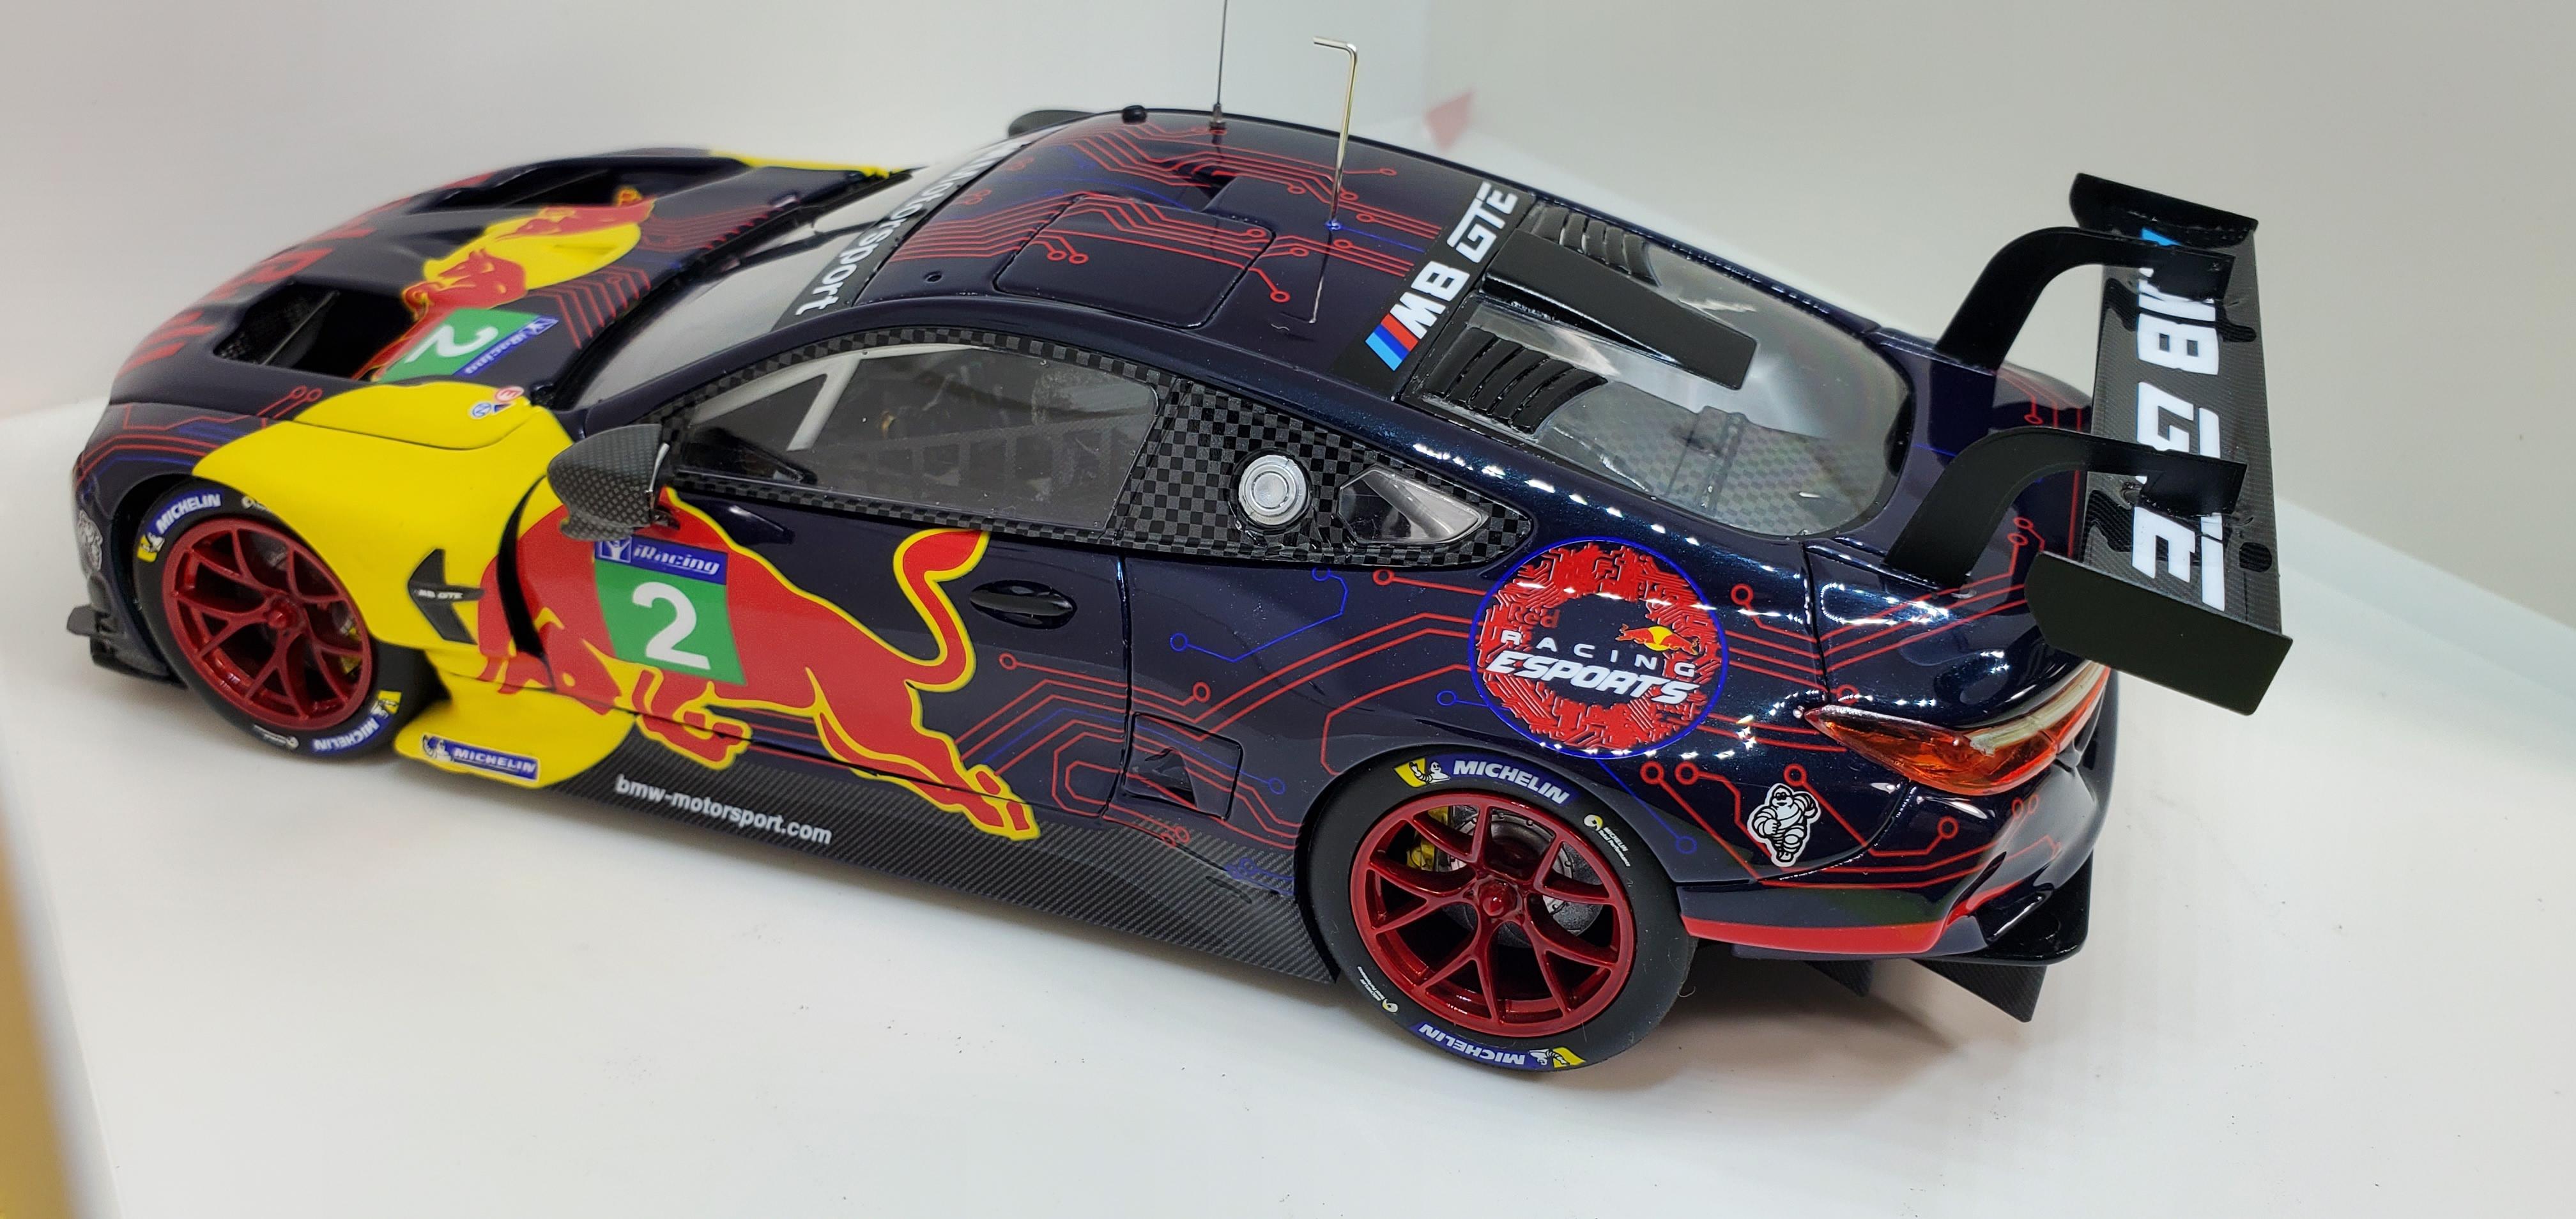
This is my build of the NuNu M8 GTE. I added decals and their upgrade kit.
-
4
-
-
Looks awesome! Makes me want to build a gasser.
-
 1
1
-
-
This is our clubs new website. It's a work in progress and pretty bare right now but here it is
Hey, check out my website, "South Carolina Model" with this link: https://www.charlestonmodelers.com/
-
2 hours ago, Pierre Rivard said:
Congratulations Tim. An absolutely gorgeous replica of a brutally fast and scary race car!
Top notch build
Thank you Pierre
-
1 hour ago, 1959scudetto said:
Very impressive model, Tim - looks like the real thing (awsome lighting, too) !
Thank you !
-
14 minutes ago, ChrisR said:
Awesome!
Thanks !
-
3 hours ago, Pete J. said:
Very nice rendition of this classic kit! Where did you get the rims? They are most certainly not the kit rims.
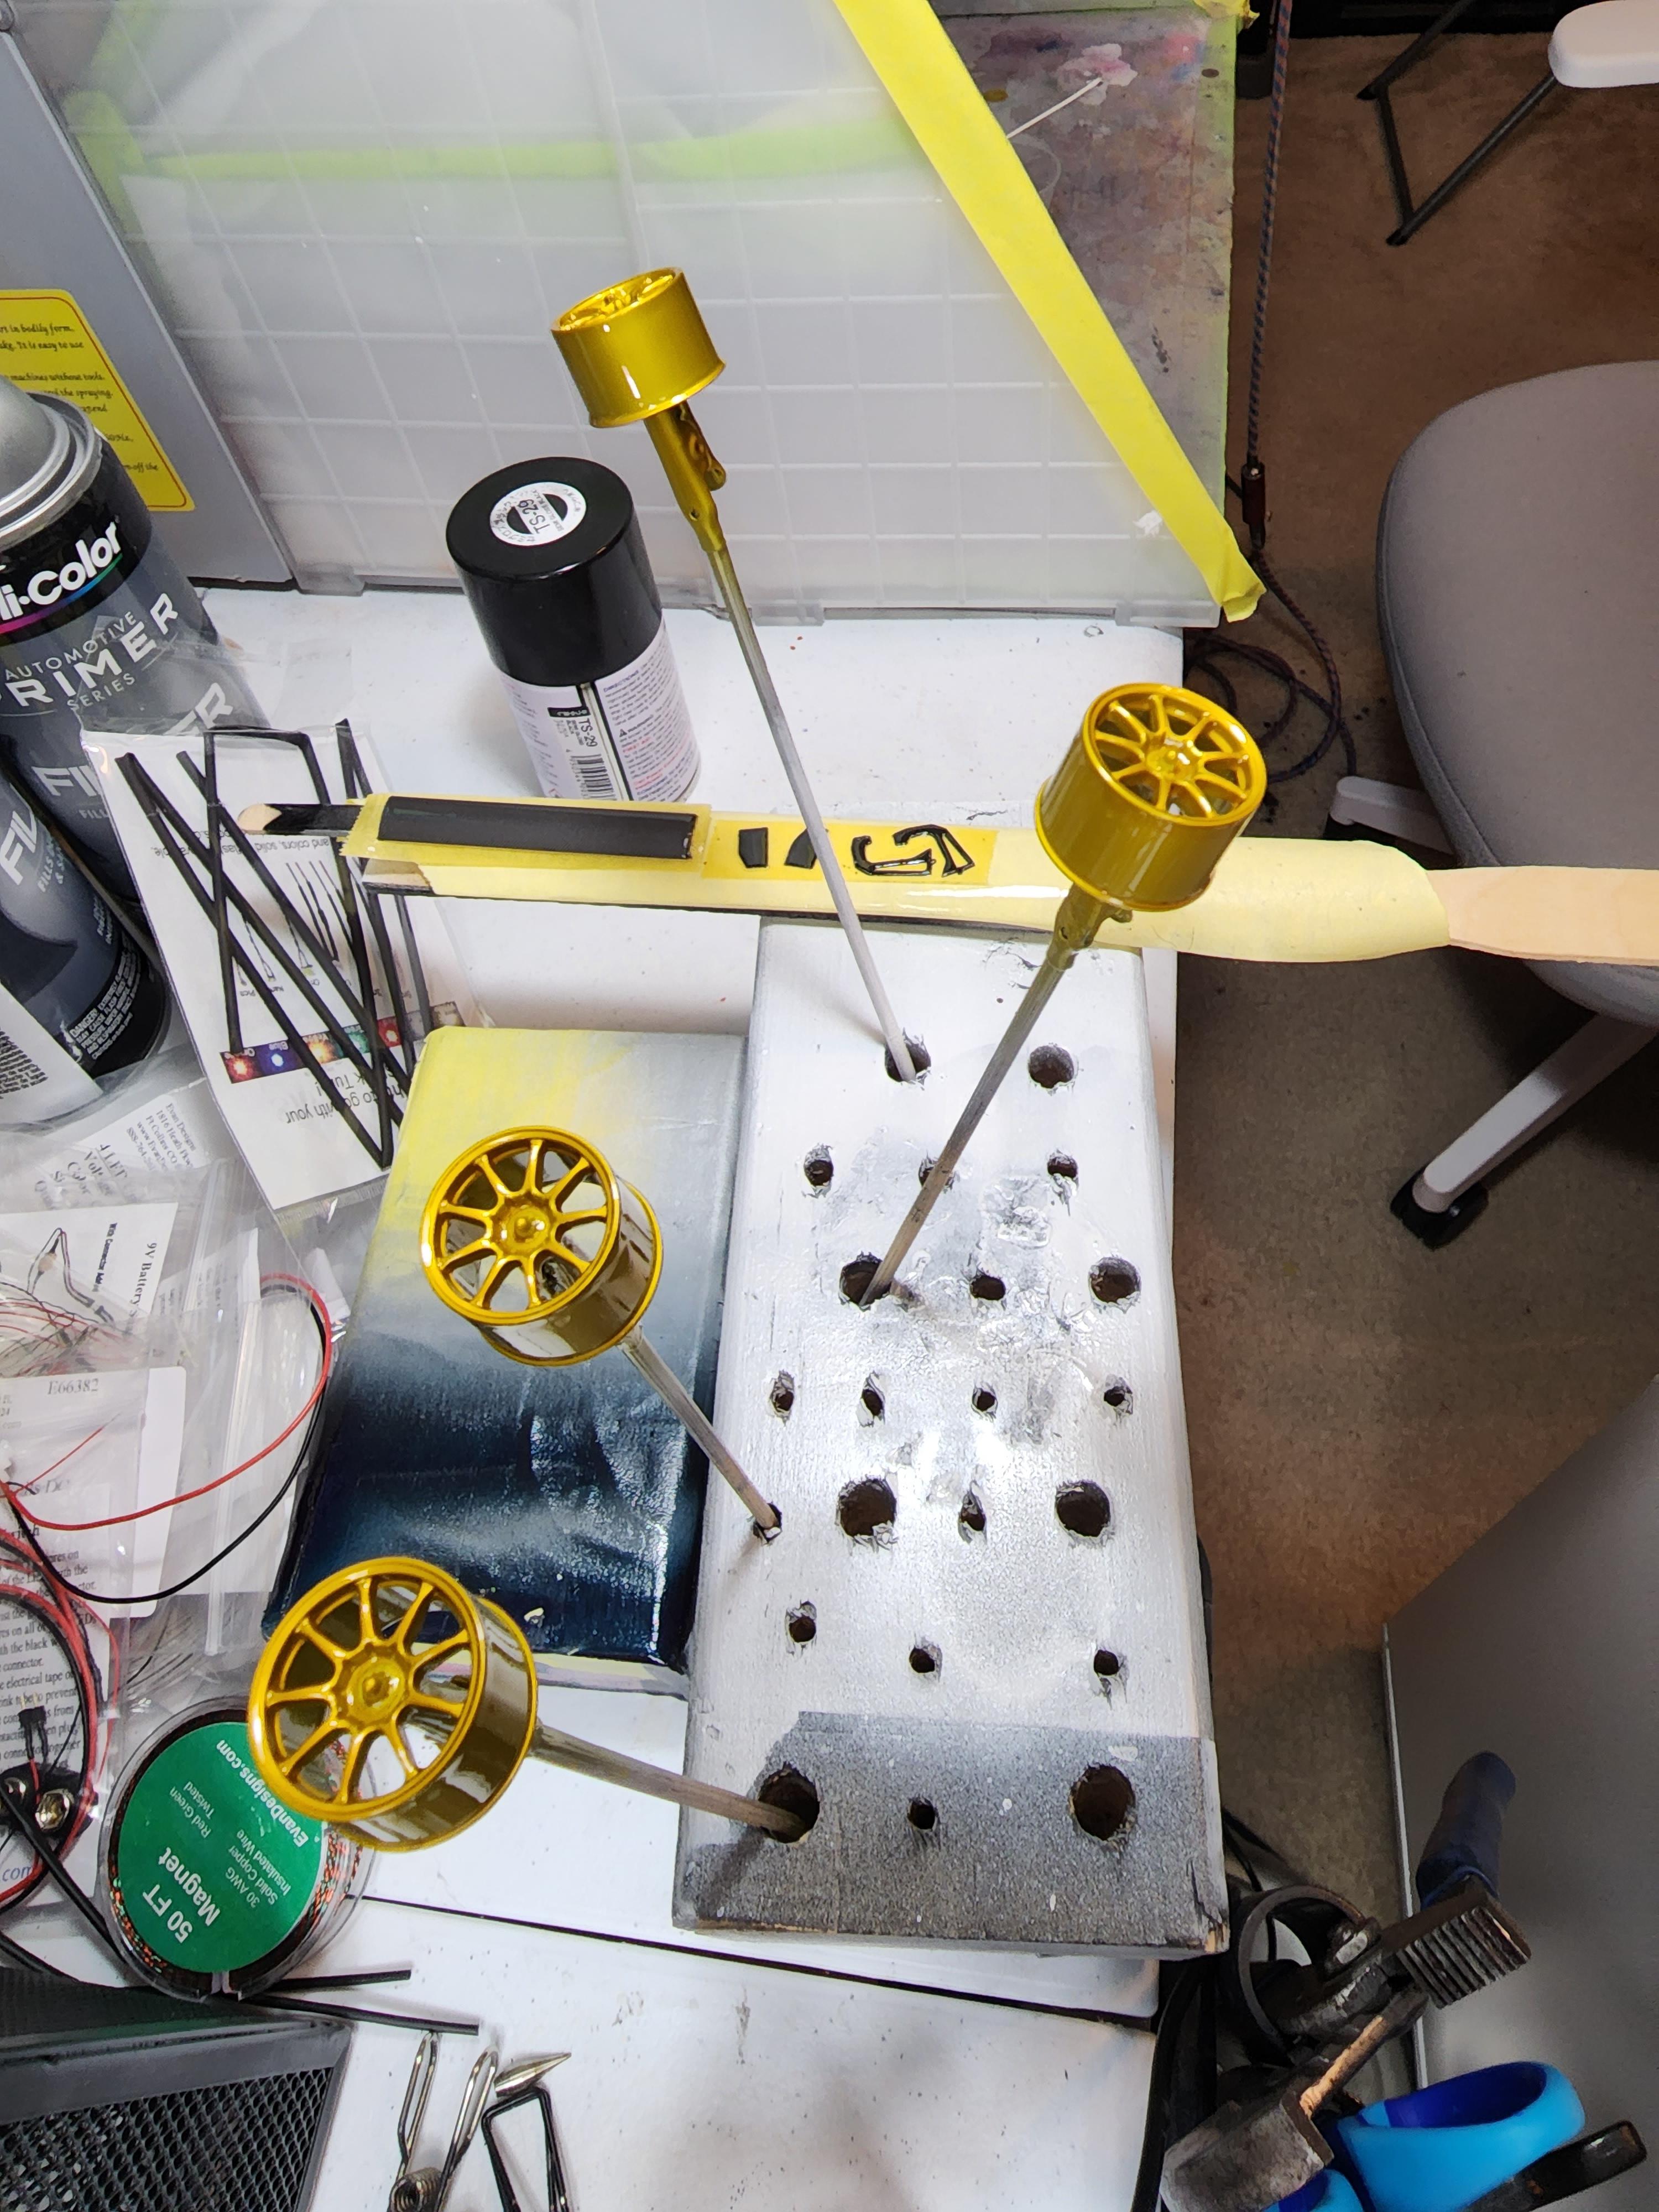
Thanks!, the rims are by dancing bear and the centers are photo etch that come in tge tge scale lab 24 kit.
-
Thanks everyone!
-
10 month build finally finished.
-
3
-
-
1 minute ago, Chris Smith said:
Tim. Most of the engine and other detail parts are made of white metal. I have a three step method of prepping and painting them
1. removing seams, drilling appropriate holes and sanding any unwanted cast marks.
2. I put the parts in small batches into a magnetic tumbler with a burnishing fluid for about 15- 20 minutes for cleaning and polishing.
3. Prime , base coat, color. I use mostly Alclad for my metal colors. But I do leave the parts polished if it calls for it. Like the air boxes. I used 1500 grit sand paper then 3000 grit, then I polished it with rubbing compound . Then shot some 2k clear to seal the decals.
Thanks for sharing your method. What do you use for burnishing fluid ?
-
Looking Awesome ! How did you paint the chrome/polished aluminum parts ? They look really good.
-
Looking amazing !
-
1
-
-
I contacted Tamiya and they said that it must have been done on a Monday and that they would send me new ones. But I am skeptical since my old release kit and new release version both have it.
-
I will definitely contact them but I'm trying to get it finished for the Atlanta show.


Outlaw decals
in Wanted!
Posted
I'm in need of a good set of decals for the Revell Roth Outlaw. The ones that I have are pretty yellowed. Does anyone make new ones ?