Chris D
-
Posts
106 -
Joined
-
Last visited
Content Type
Profiles
Forums
Events
Gallery
Everything posted by Chris D
-
Wow, those cars are amazing. Like others, I was fooled by the images thinking it was a real car. Great job, you have a lot to be proud of! Chris D.
-
Thanks Rich, your comment is much appreciated!
-
Thanks for the kind words Bruce and Rich. I know it is nothing like the detail of yours Rich, but as my skills develop I can add some of those handmade fantastic little details you are such a master of. Chris D
-
Thank you Stan and Jason for the kind words. Jason, you are right, there should be side windows there. At some point I will have to see if I can learn a way to add them in. The car can still be taken apart as I have not glued the whole thing together. Thanks for the suggestion. Chris D.
-
Ok, now I get it - After seeing this, I like Rat Rods too. Great project! Chris D
-
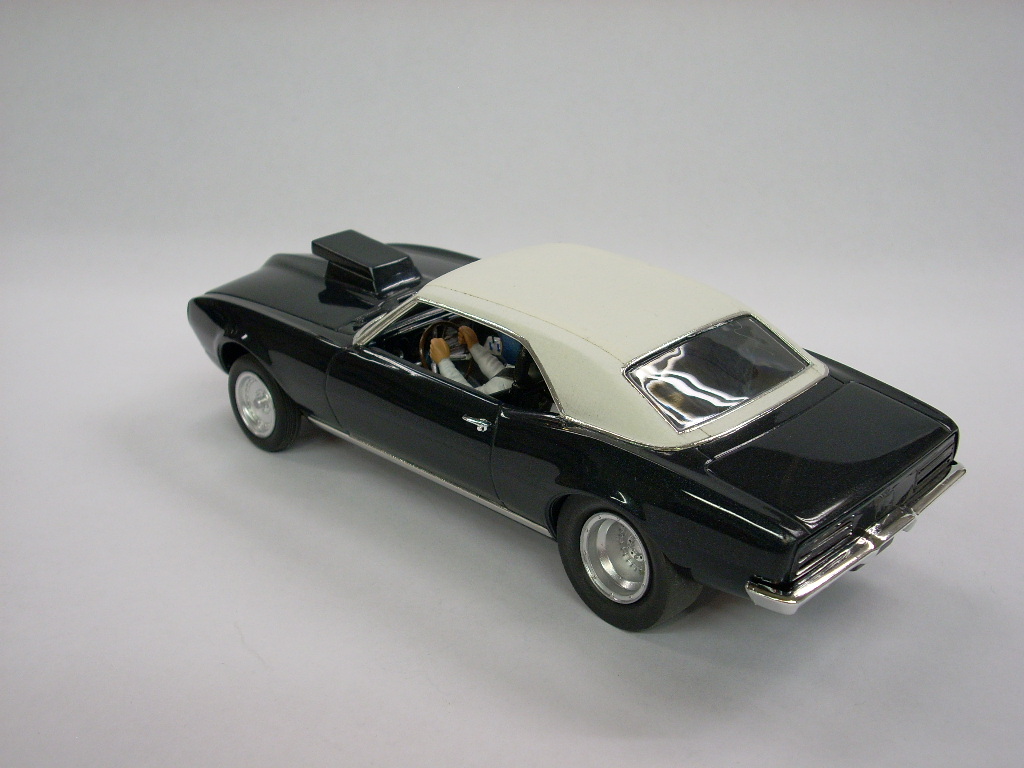
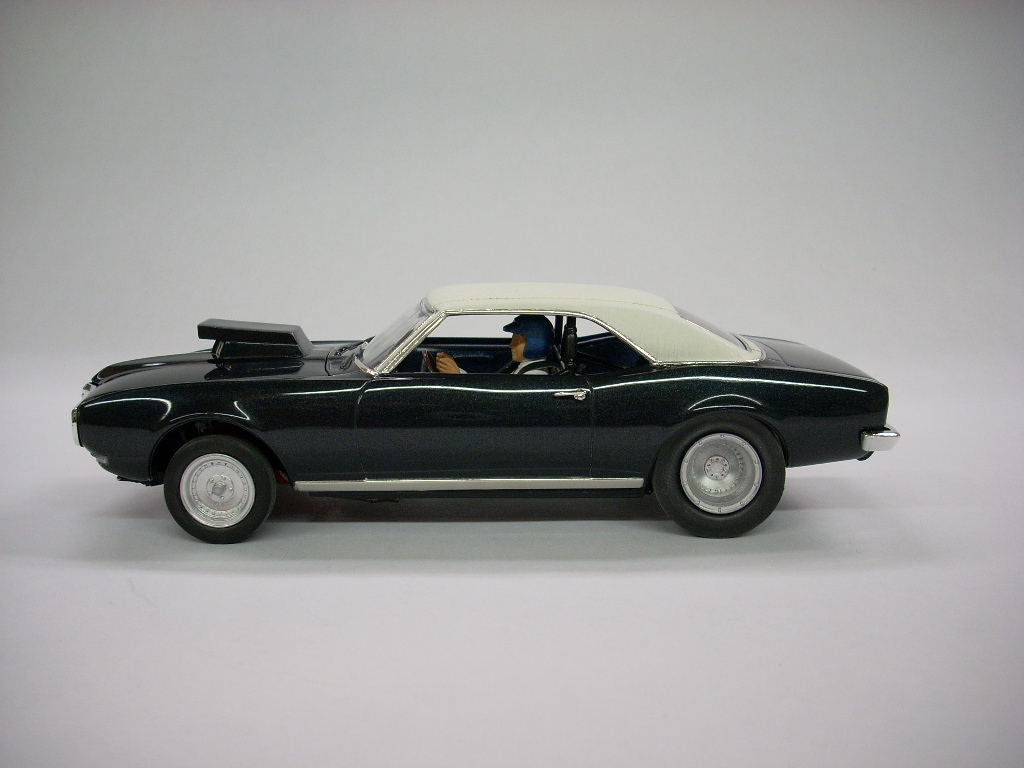
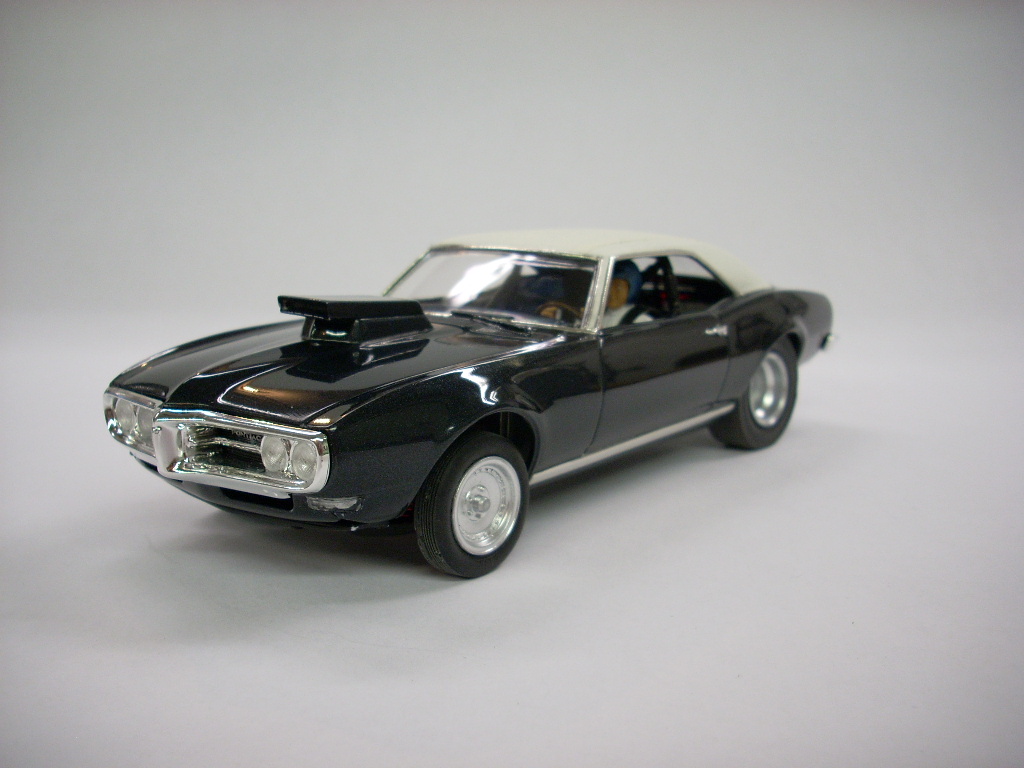
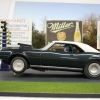
It appears my "I'm finished" went away with the latest server crash. Here is the car finished... I have the whole story of this car posted in the diorama section with 4 different models and 4 different dioramas. Thanks for looking and feel free to comment. Chris D.

-
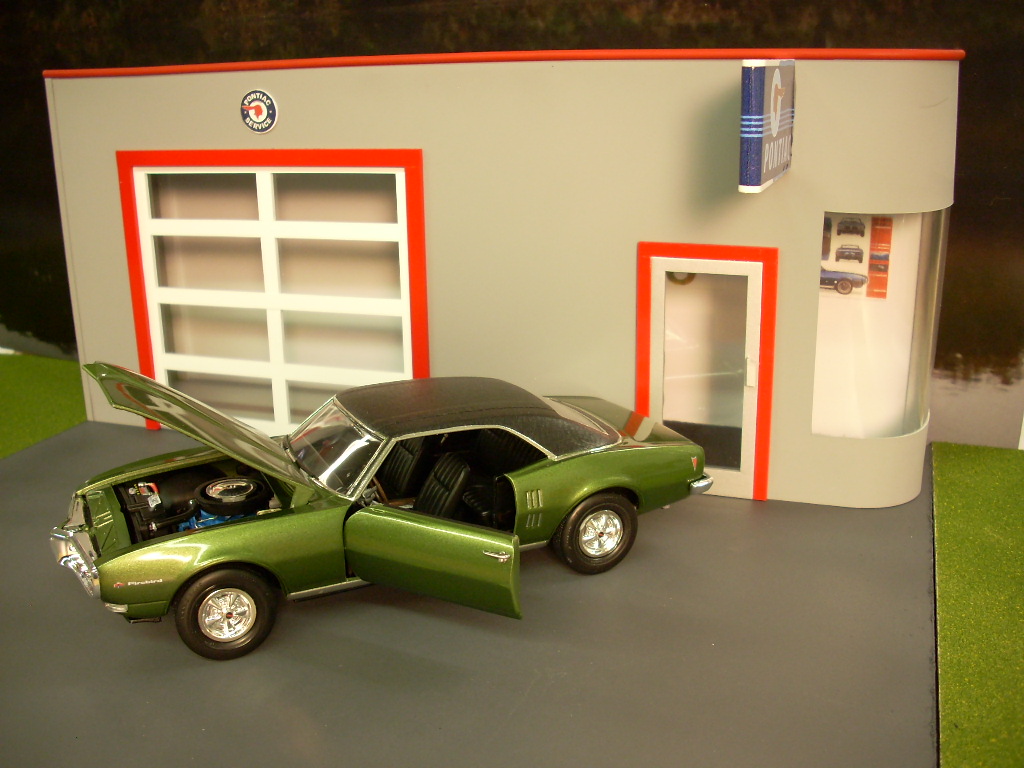
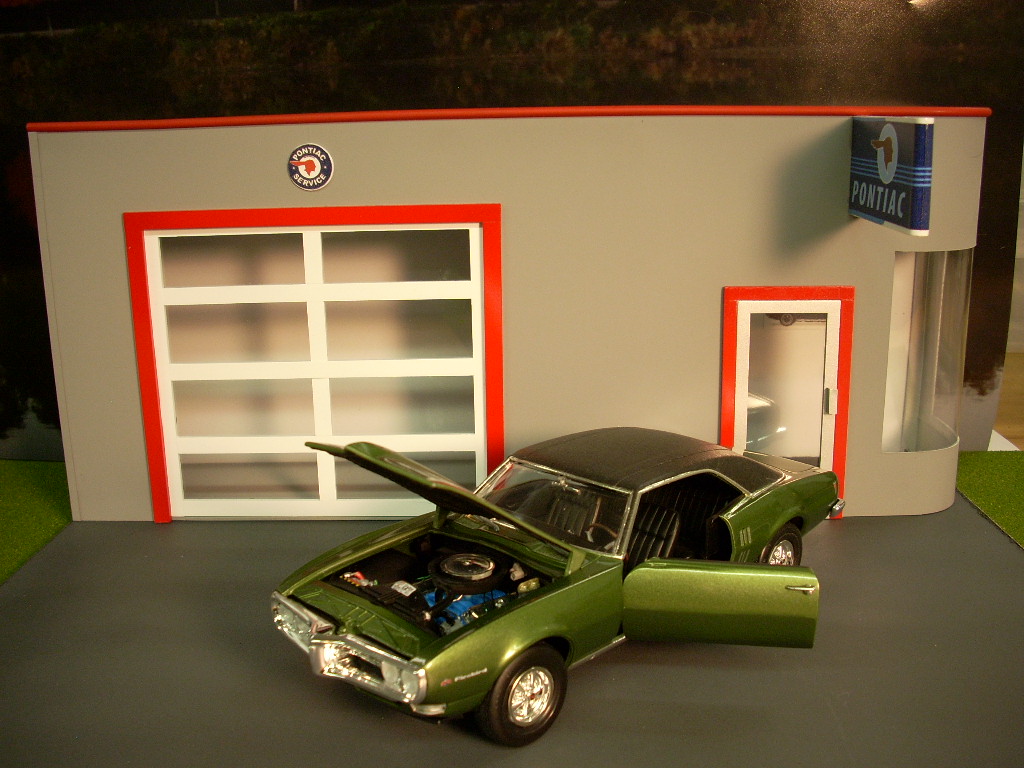
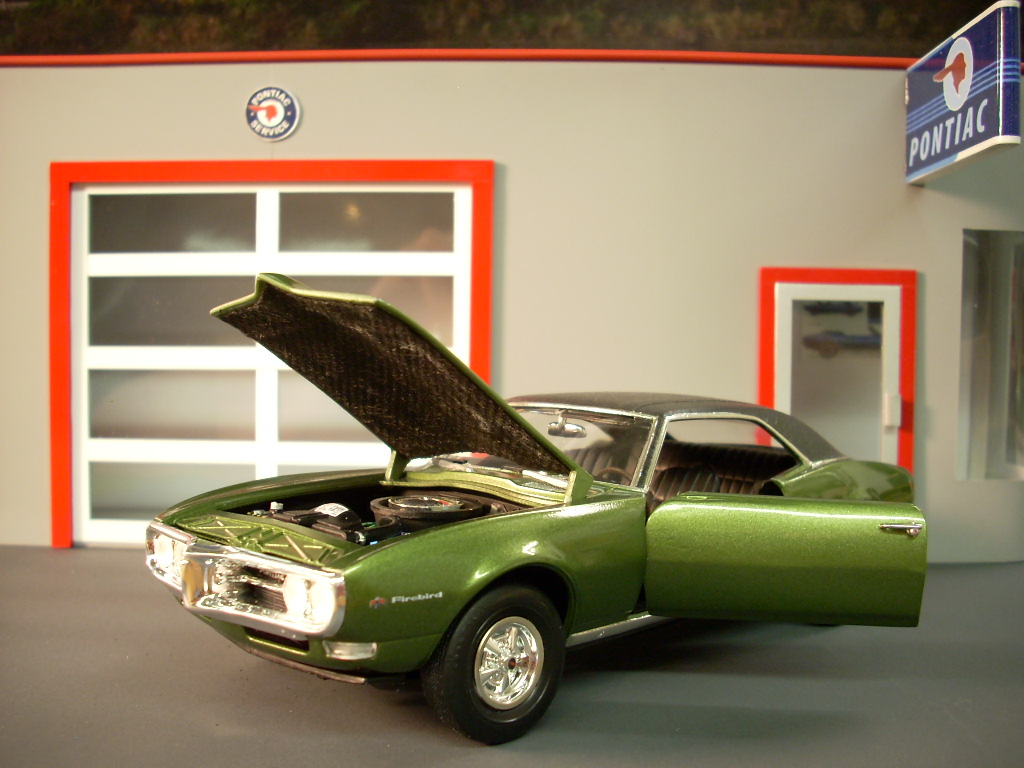
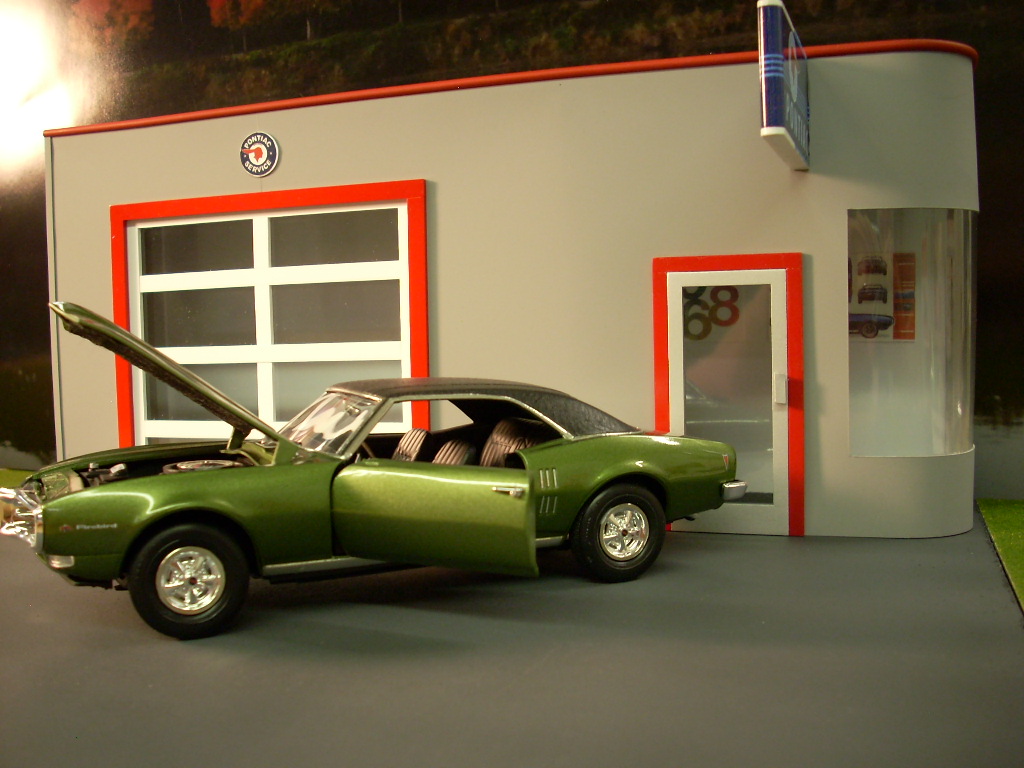
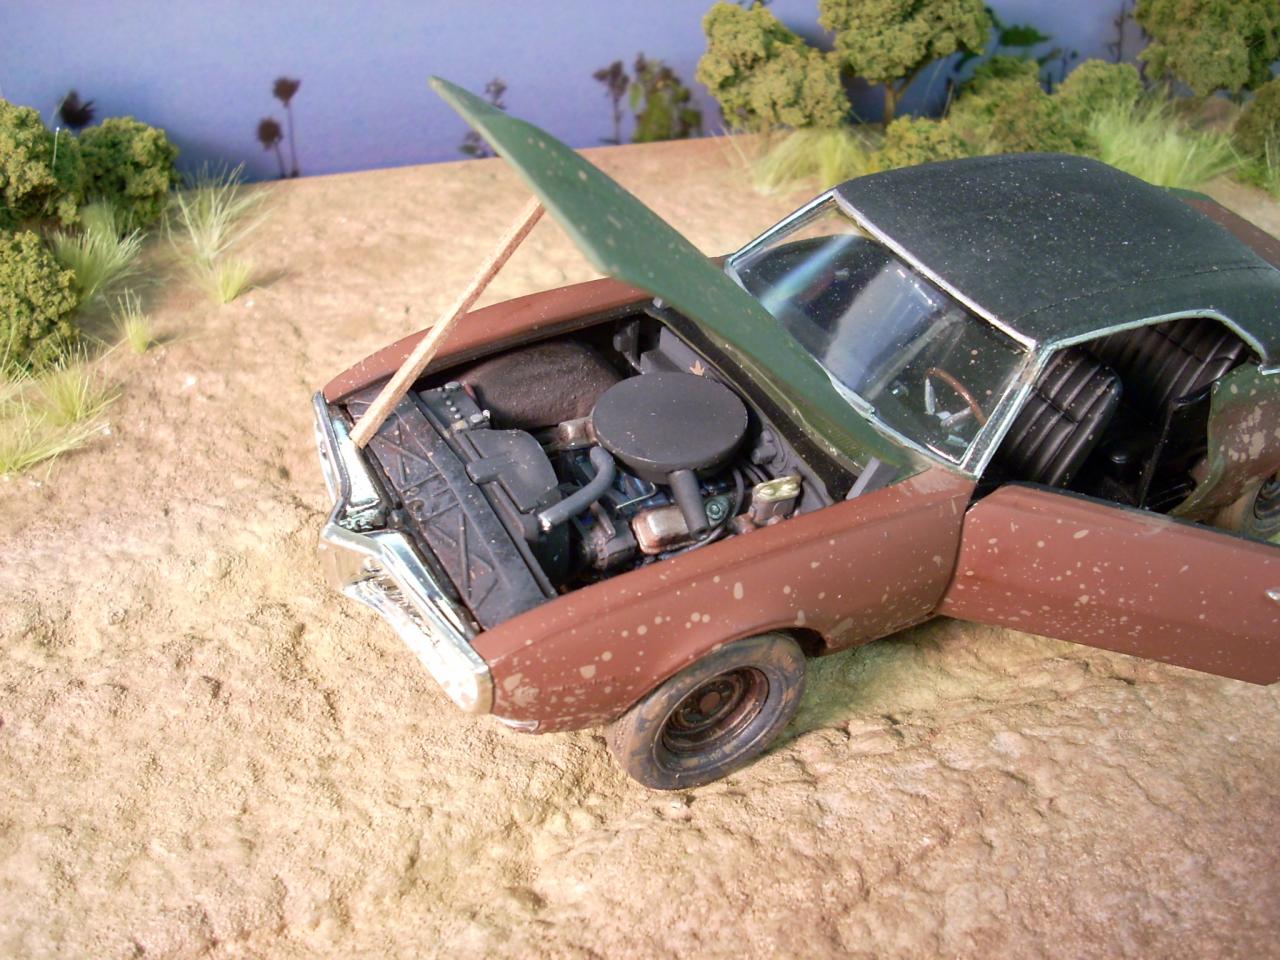
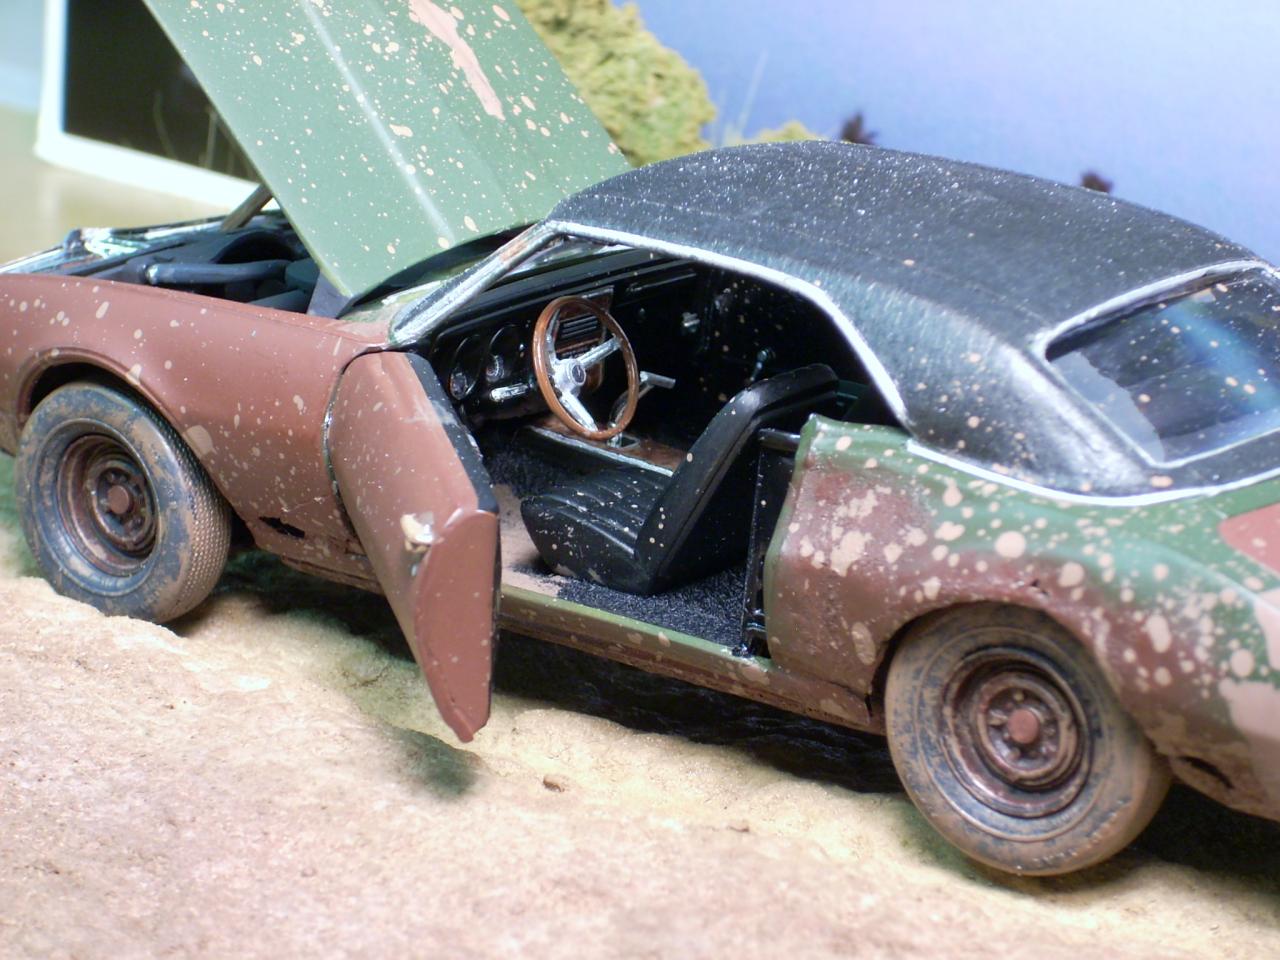
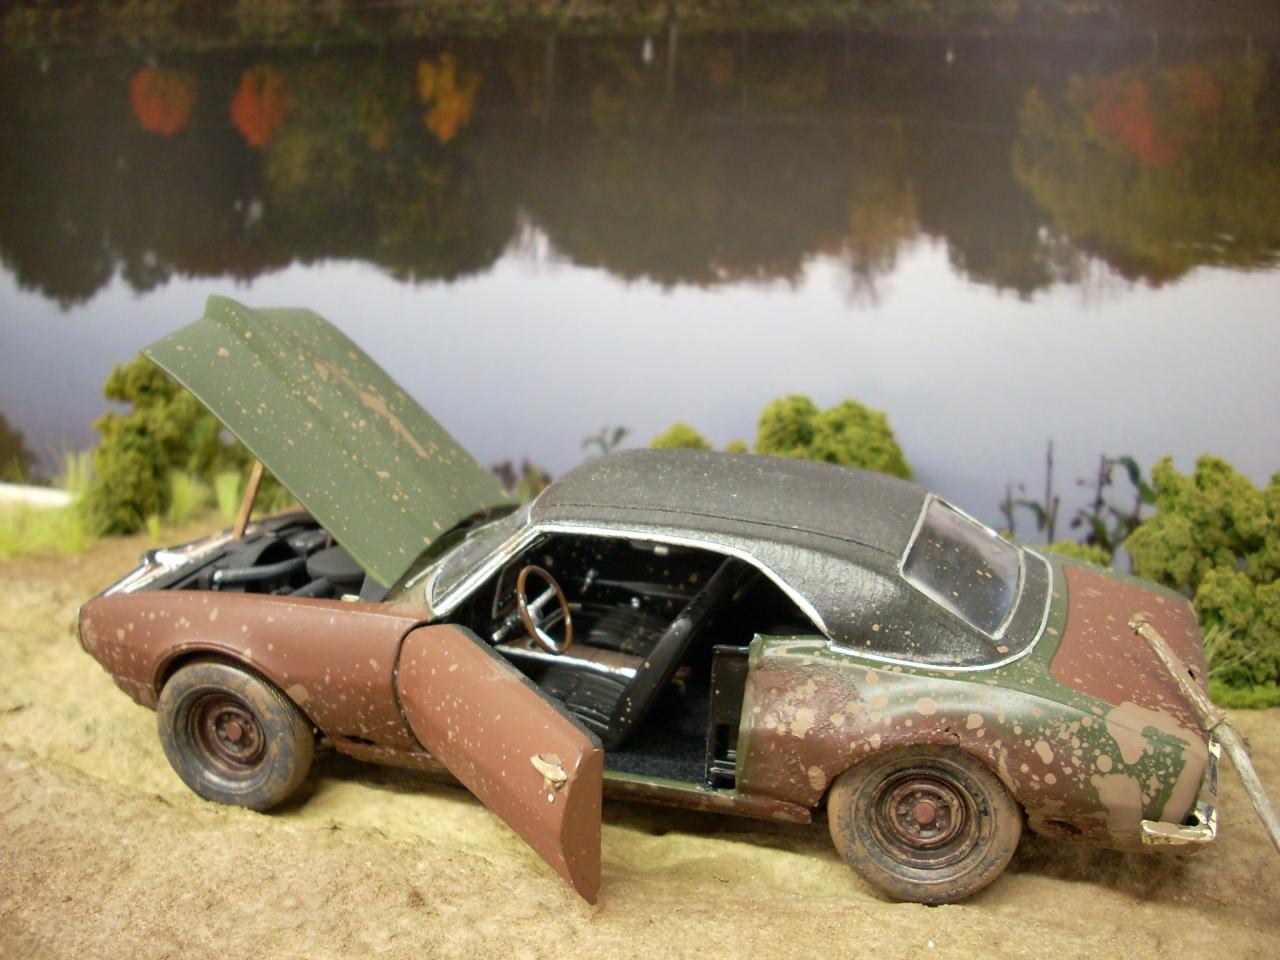
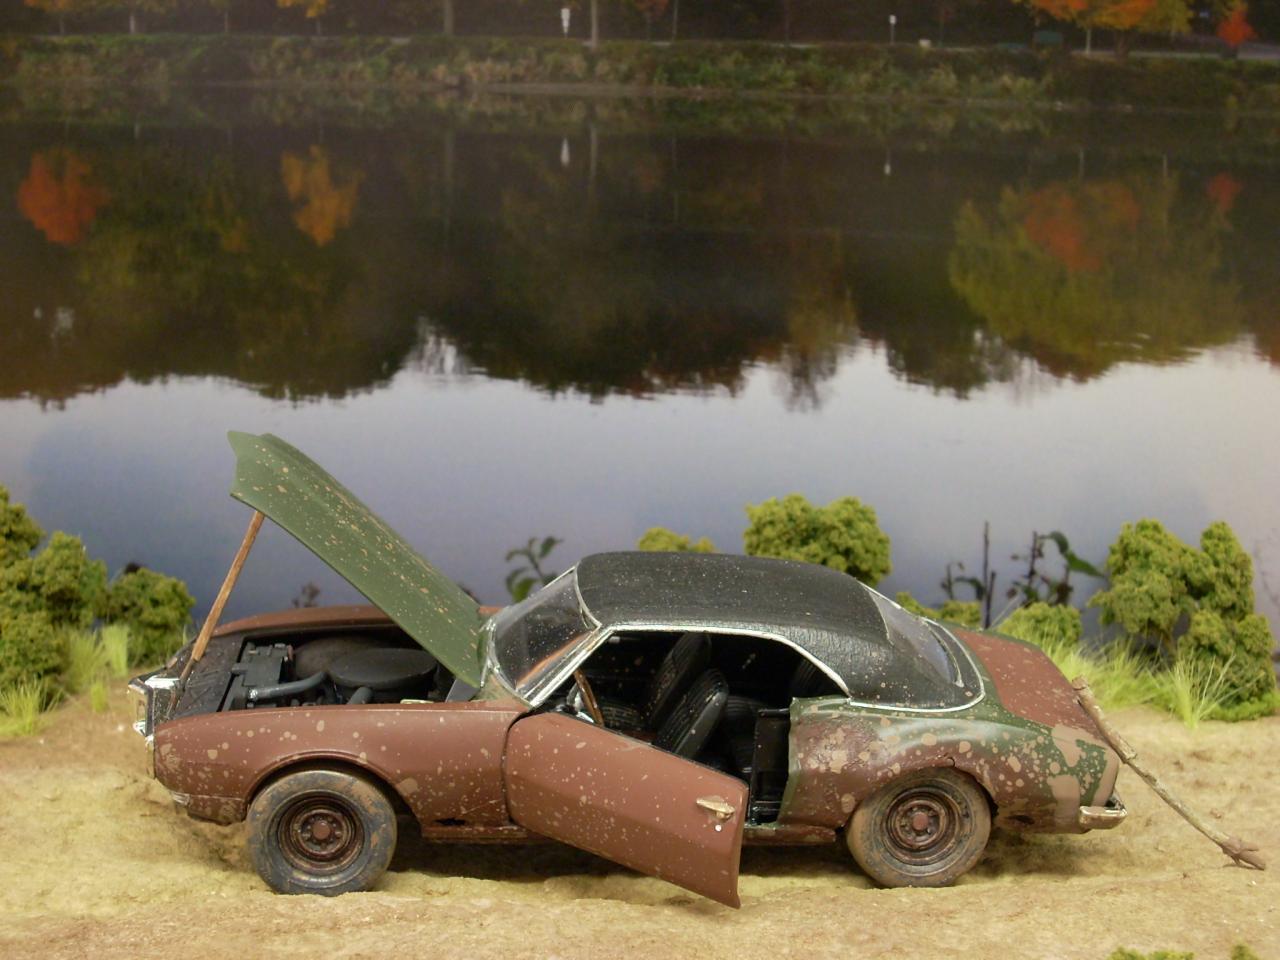
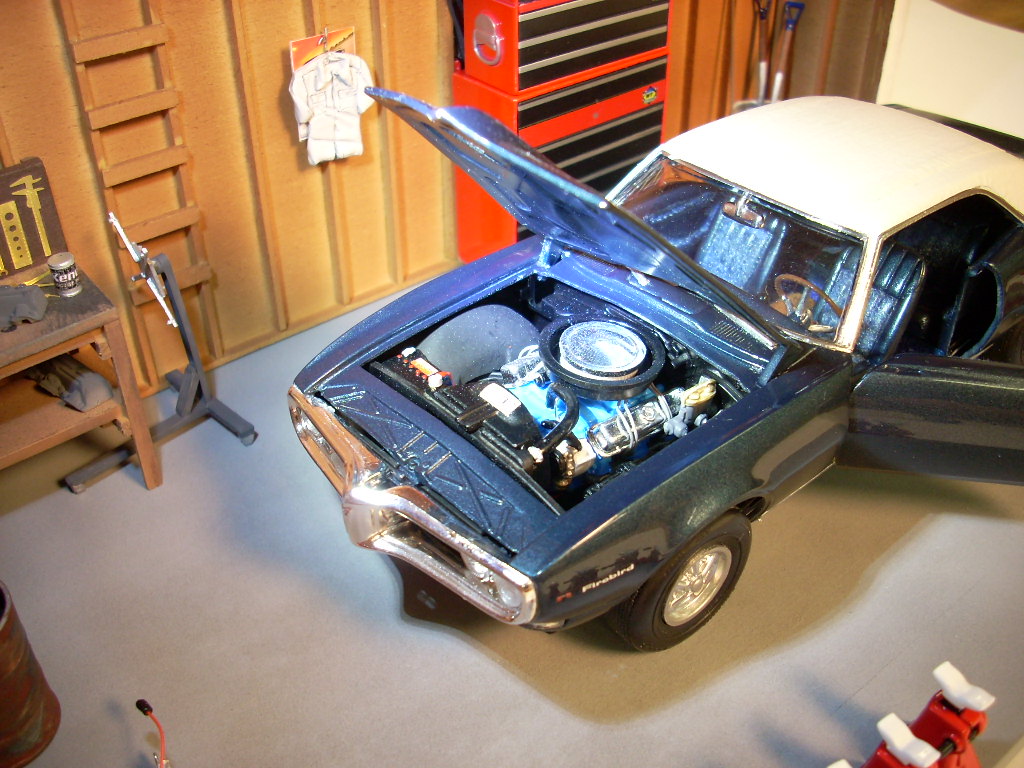
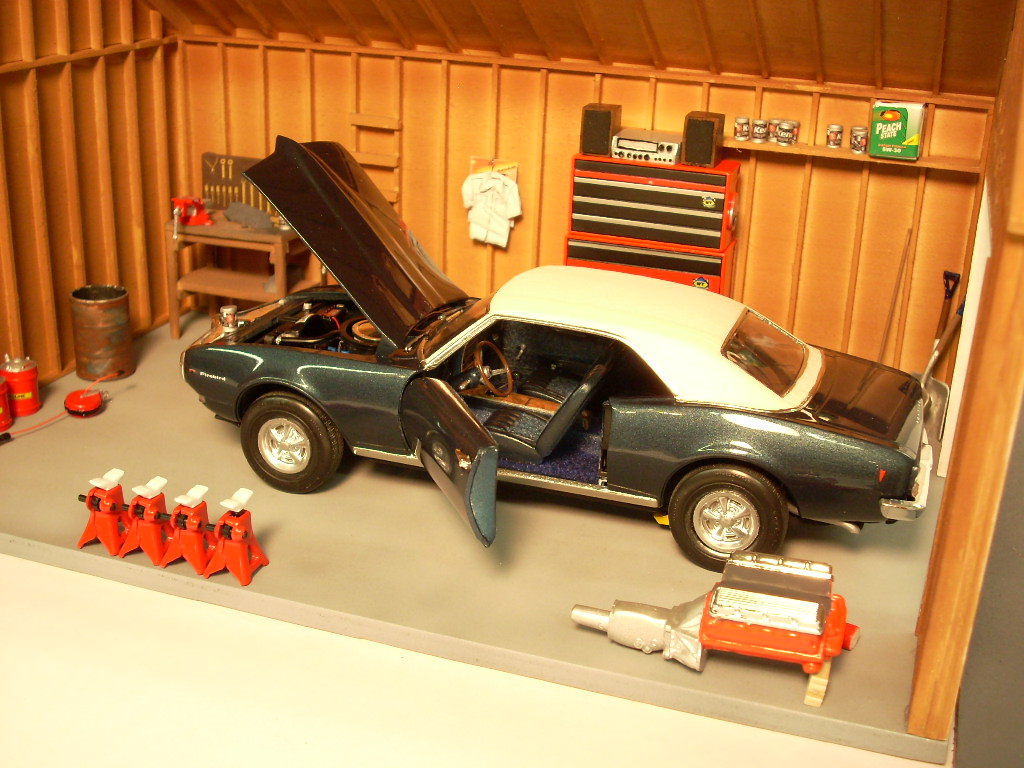
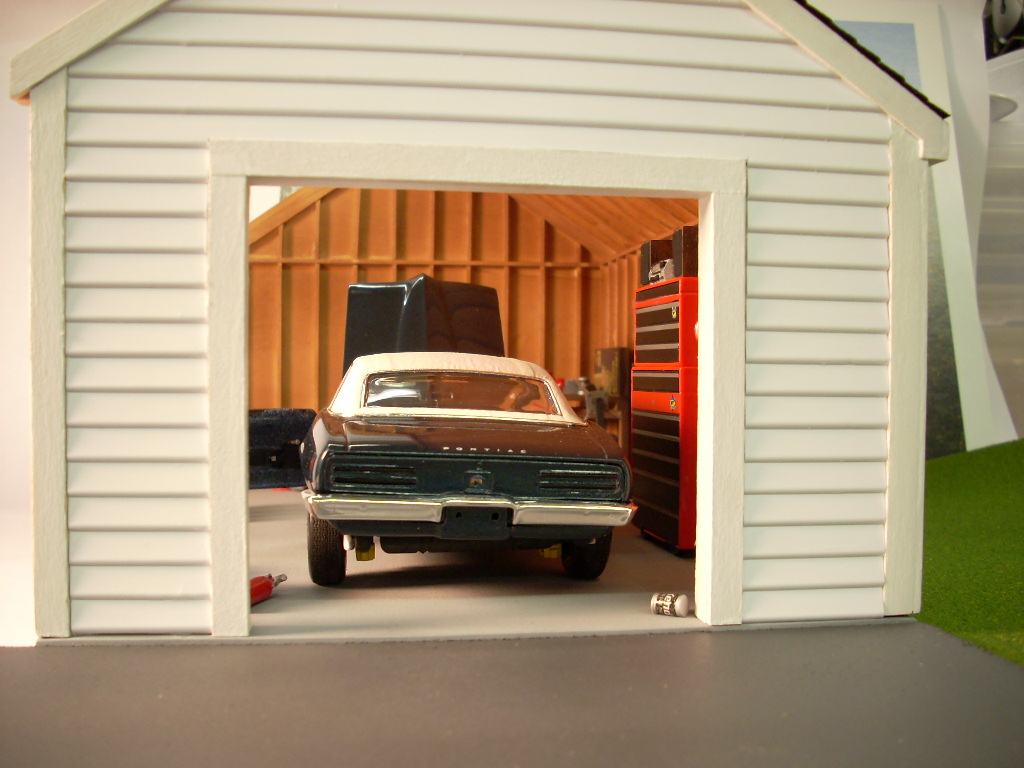
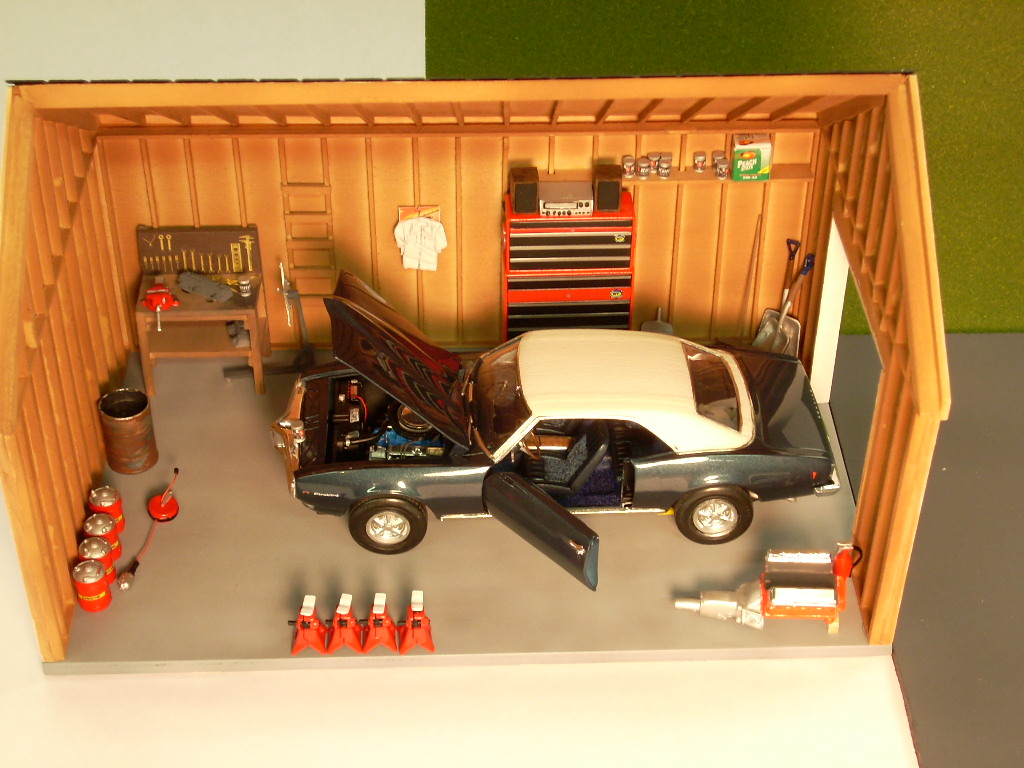
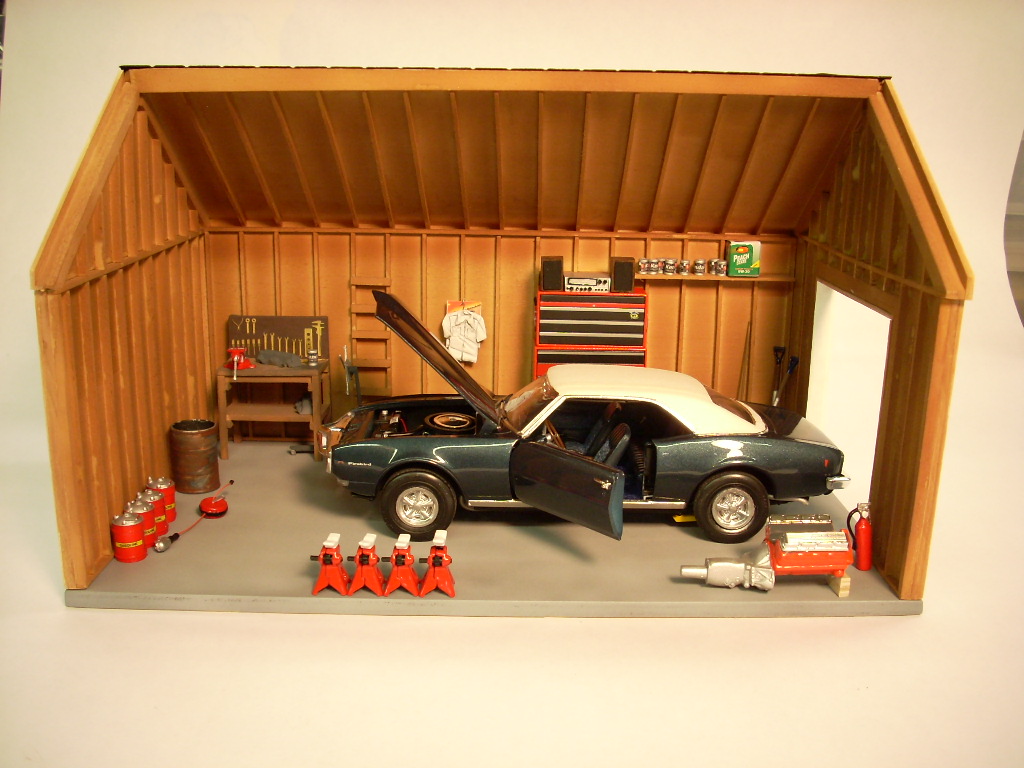
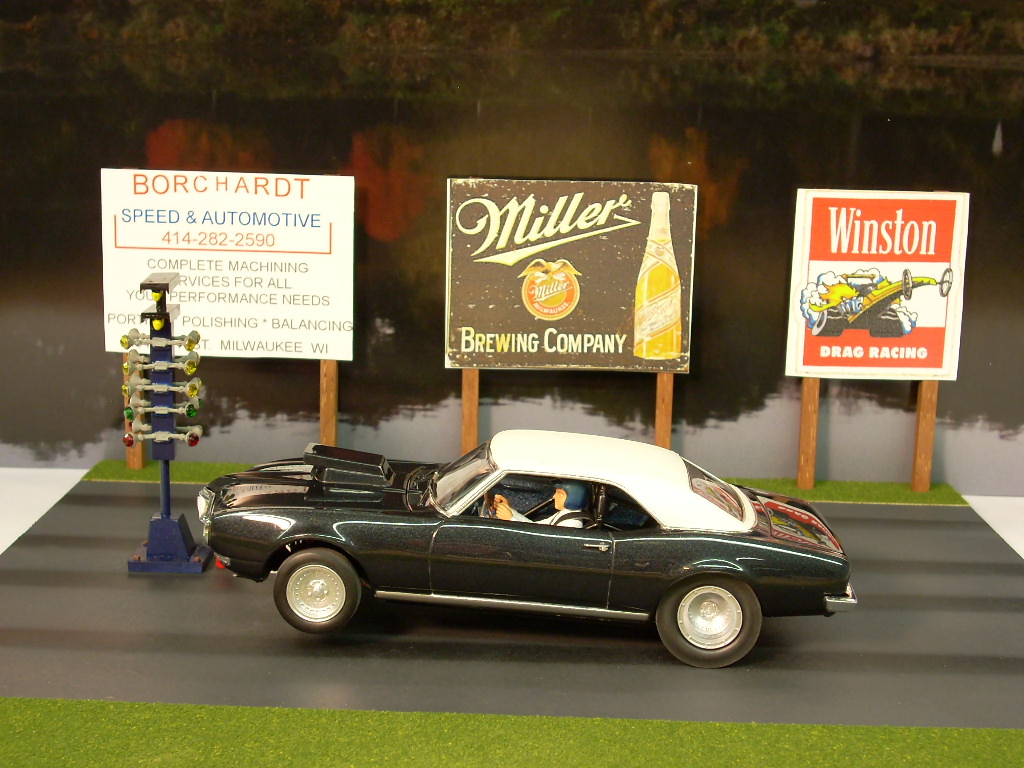
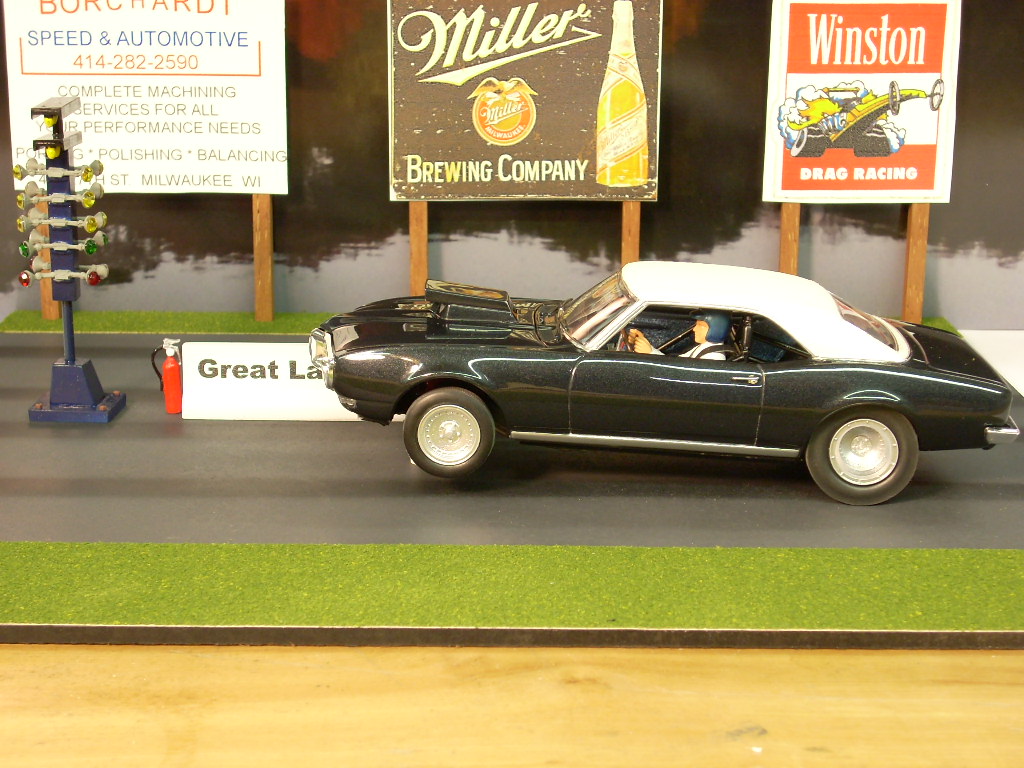
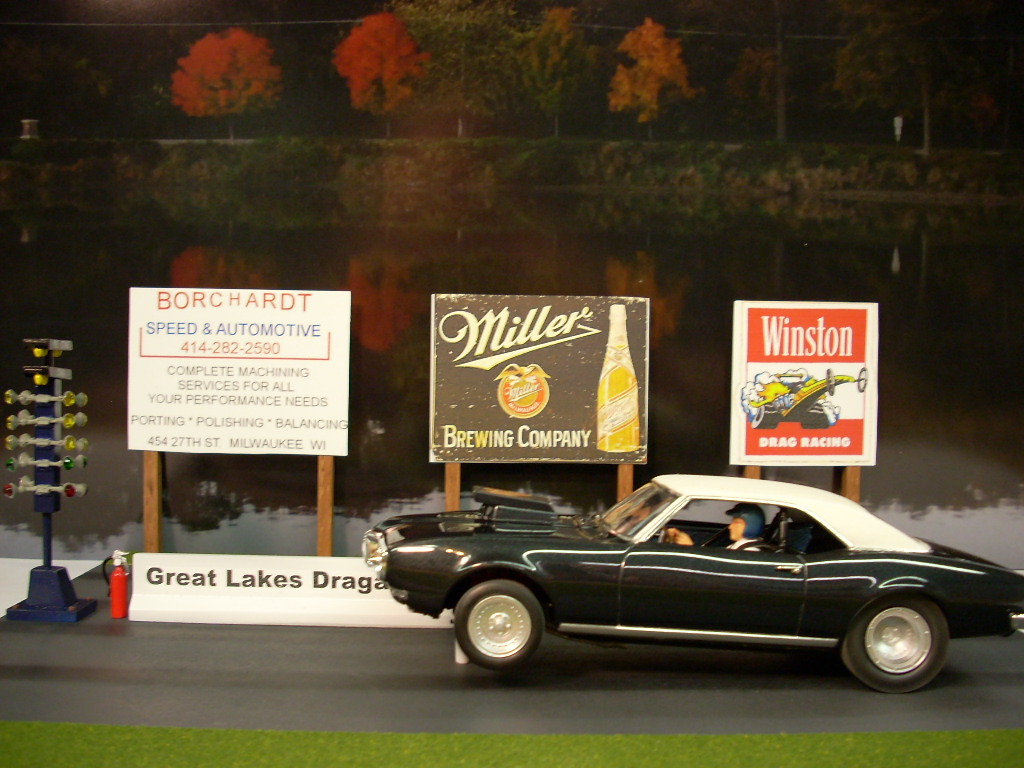
Hello all, I posted this just before the last server crash so am not posting it again. This set of dioramas tells the story of my 1968 firebird from original purchase to when I sold it. I did not purchase the car new, I purchased it used as a rust bucket in so parts of this story are assumed.. The 1:1 car was a 68 Firebird with a 350 engine and a 3 speed manual transmission. I didn't purchase the car new so I don't know what the actual dealership looked like. I found some vintage photos of dealers around that time and created this structure. I will add more bits and pieces to it as time and interest allows. The signs were images found on the net and then sized / printed on Testors white decal paper then applied to styrene. Inside the office area, you can see additional promotional posters that were made same was as the exterior signs. I bought he car around 1978 as a rusted out dented up driveable wreck. I drove it for about 1 year this way and liked the car so much I decided to turn it into a restored street rod. On about the last night before I parked it before restoration, a buddy and me went "Four Wheelin" with it and got it stuck in the mud. The actual place were we got stuck didn't have a river behind it but I liked that photo so enlarged it for use in the diorama. There is a log (twig) leaning against the back of the car, yes we tried and failed to lever it out of the mud that night. I didn't have an actual photo of the car stuck in the mud, but did have one in my driveway the next day. It was a faded photo but helped me remember some of the details so I could create the scene. I have this diorama posted elsewhere on this forum. About 1980 the car was rebuilt with all new sheetmetal (which I stored in my bedroom till it was needed). I put a Pontiac 455 engine in it with a 4 speed transmission. I have no photos of the car during that phase so I had to work a lot from memory. The garage scene is pretty close the "real". I only have a few photos of the outside of the garage looking in through the overhead door. But, having spent so many hours in that garage a lot of memories exists and many came back while building this diorama. Some detail bits have to be replaces like the tool box, its scale is off (must be 1/18 or something). While building this, I enjoyed reliving the many good times in that space with my cars. The final phase of the car under my ownership was when I converted it to a drag car. I did the conversion in 1981 and raced until 1985 at Great Lakes Dragaway in Union Grove WI. Again, I had a lot of fun during that time. The scene depicted is close but those that have been there know, there isn't a river on the far side of the track, rather there is a big tree and then cornfield. Being late in the fall when I built the diorama, I couldn't take a good backdrop photo so I will save that detail till next summer. One of the billboards is a pretty close replica of the real thing based on the one photo I have of me racing there. The other billboards were images I found online that fit the need. I did attempt to recreate the artwork of the original billboards but my skills are not good enough. The whole process of building all four models and dioramas took about 2 or 3 months working on the weekends. As I just got back into modeling since I was a kid, I had a lot of learning to do and had a lot of fun doing so. I also fulfilled my desire to relive that period in time with that car - it was a great time. Thanks for taking a look and allowing me to share my life experiences with you and I certainly would appreciate comments. Chris D.
-
Thanks Stan, You are right, there is something special building a replica when it is one of your own. All those fond old memories coming back to life. Good luck on that Impala! Chris D.
-
r/m 67 Camaro..... Outlaw..of course... (updates 02/18/15)
Chris D replied to tyrone's topic in WIP: Drag Racing Models
Wicked cool Tyrone, another masterpiece in the making. Chris D. -
Wow, very cool hood, one of these days I will have to try my hand at sculpture like that as it adds a lot to the vehicle! Chris D
-
Hi Stan, Great project, fantastic detail. I have a question for you regarding the braided fuel lines, how did you attach them? I have to do that soon on my firebird and am not coming up with any ideas that would work good. Chris D
-
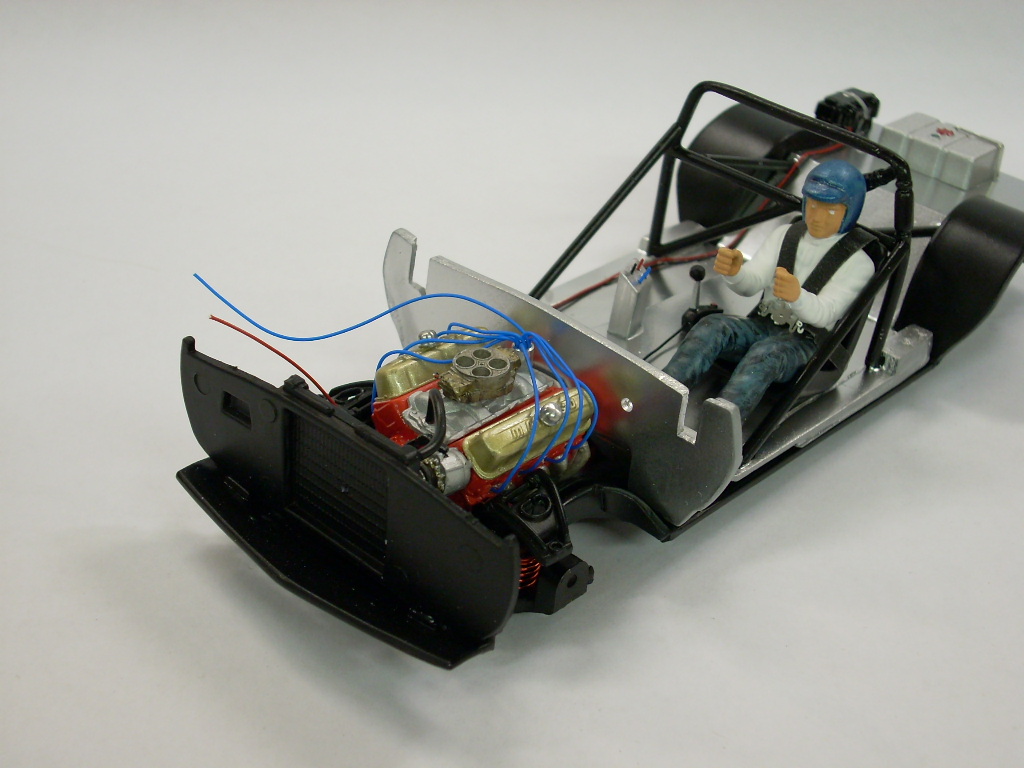
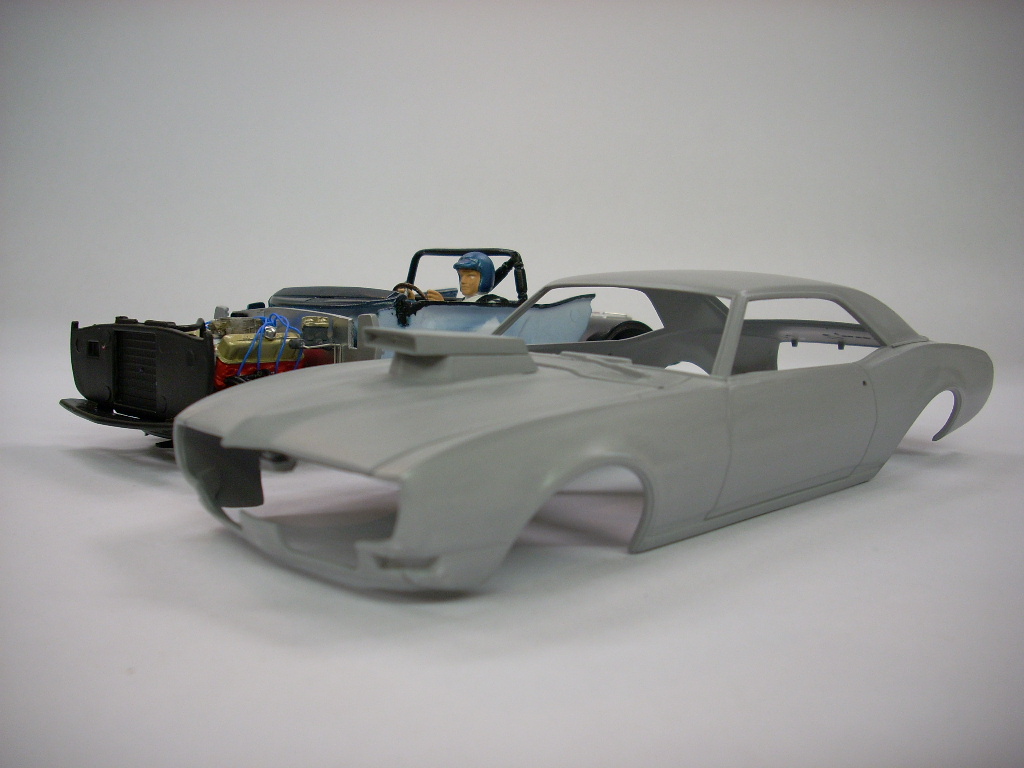
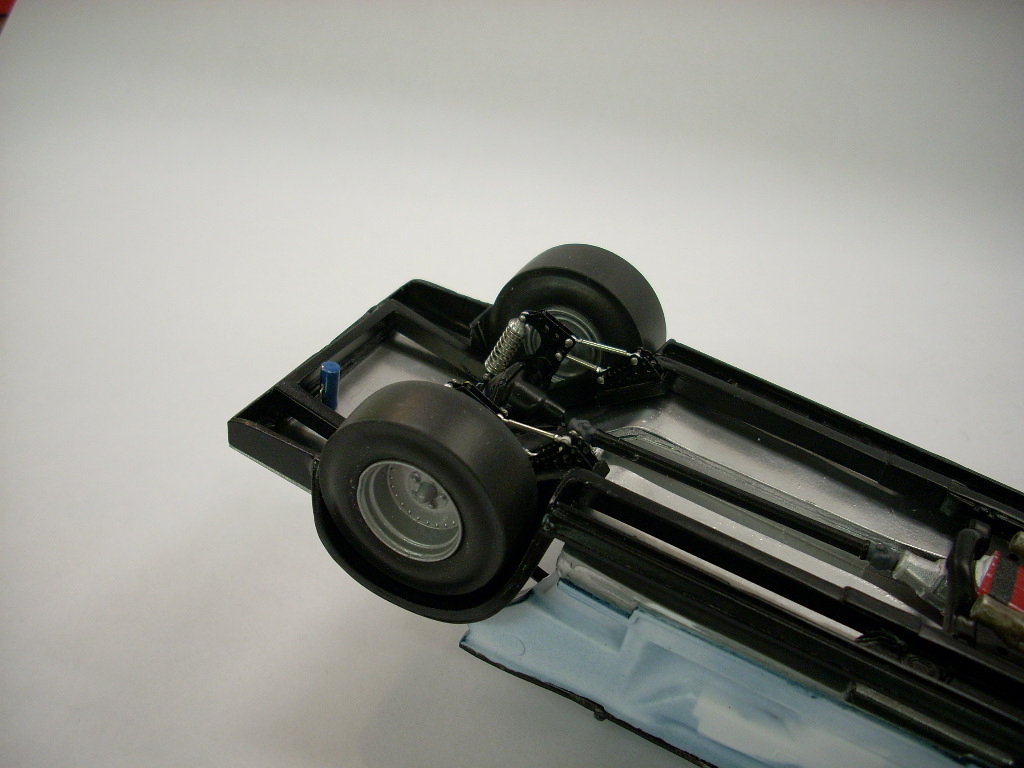
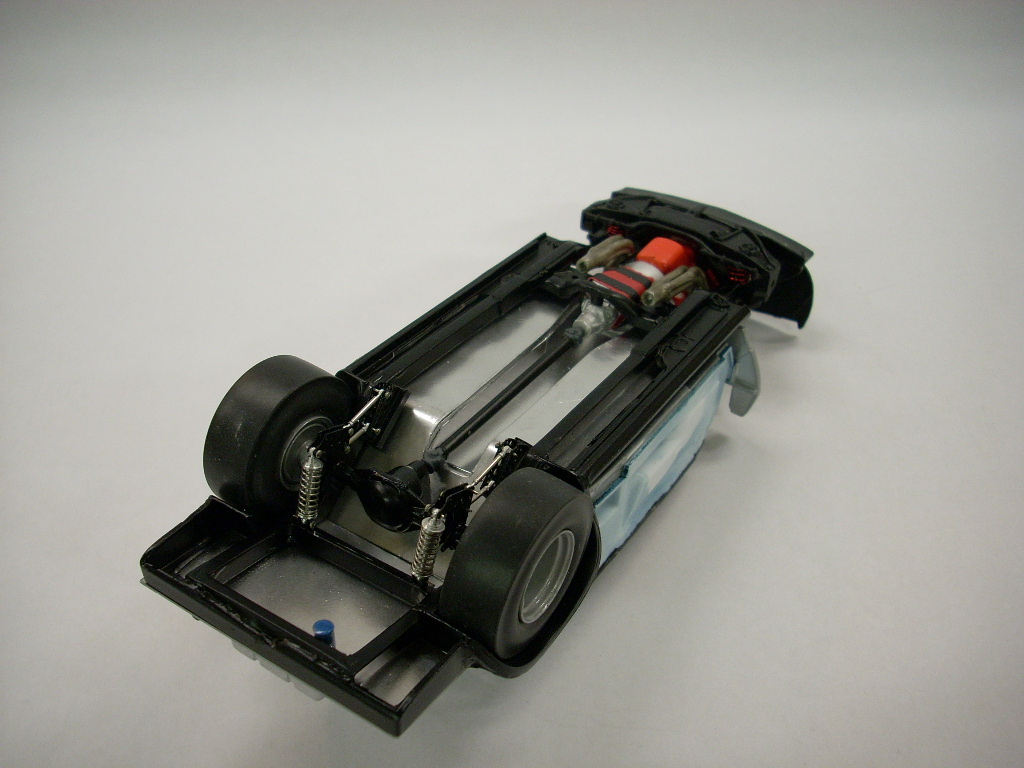
Hi everyone, Thanks for all the feedback and comments, I really appreciate it. I got some good bench time in this weekend and made some good progress on the car. I got the chassis primed and painted after finishing the mock up for the four link suspension. Test fit the engine again and all was well. Another test fit for the interior tub and that was fine. You will notice the wheel tubs are black rather than aluminum. On the 1:1 car the wheel wells were steel but I don't recall their original color so I just went with black. After some fitting around the wheel tubs, I was able to install the door panels and dashboard. I goofed up on the four link suspension a little bit. I thought I was going to get bolts from Scale Hardware to fasten everything together, but they don't make bolts small enough with enough thread length. As I was stuck, I went in the house for lunch and was watching my wife pin one of her quilts and those pins looked a lot like little bolts. Luck was with me, the pin diameter was a perfect fit for the heim joints and shocks. Simply insert them, apply a dab of super glue with the Looper tool and then cut off the excess pin. Learned a valuable lesson though, don't use your good, precision cutters to cut pins, the pins are harder than the cutting edges and I ruined my good side cutters. The four link turned out pretty good and I am pretty pleased with the end result. While not in focus very well, you can also see the electric fuel pump and plumbing to/from it. Also not very clear is the transmission blanket. In bracket racing, you had to have a blanket to contain explosions of the transmission. I remember mine was red on the 1:1 car with black straps. I also remember it was a pain to install/remove. To make this I used red duct tape for the blanket and then used left over seat belt material (Black tape from the kit) to create the straps. Here it is as of the end of the day. The master cylinder is installed and plumbed, the fuel distribution block is plumbed in the input side, and the coil is wired to the distributor. I am saving the braided fuel lines till the last as I suspect they will be very delicate when attached to those really tiny A/N fittings. With the chassis work in pretty good shape, I moved on to the new body. I had another body prepared all the way through primer stage, however, I cut the door open as my original plan was to display it with the door open like the 3 other cars. However, this one will end up in a diorama at the drag strip launching off the line, having the door open wouldn't have been very realistic (and I didn't want to learn hinged doors just yet). Like the previous body, I shaved the scripts and emblems, filled the vents behind the doors and primed it with Tamiya primer. I ordered another set of centerline wheels as I am not happy with the ones I have now. With those I will have a rolling chassis. Next weekend I should be able to get color on the car and then move on to detailing. With the long weekend I am hoping to wrap it up. I will probably pick up a food dehydrator to help with drying the paint so I don't have to wait another two weeks for the paint to set up before detailing. Thanks again for taking the time to look and I really do appreciate all the comments. Chris D.
-
Kerry and Mike, Thanks for taking a look and the kind words. I really appreciate you noticing the chassis work, that has been very challenging as it is the first time I have tried anything like that. Mike, get started on that bracket racer! Hopefully you still have access to it or at least photos of the car. I am finding it sort of fun trying to match the details from the 1:1 car. Even more fun is how many memories are starting to come back to me from my time with this car. Certain details that are not in the photos that I have of the 1:1 and were not in my memory while building are coming to surface. Chris D.
-
Wow, what an inspiration, you sir are an amazing builder. Chris D
-
Great looking car, love all the details. Chris D
-
Thanks guys, Much appreciated! Chris D
-
As a 68 bird guy, I like this build, love the color too - very interesting. Chris
-
Cheap air brush booth extractor
Chris D replied to aurfalien's topic in Model Building Questions and Answers
where are you guys getting replacement filters? Chris D -
Thanks for the comment Stan. Chris
-
Thanks for the kind words everyone, much appreciated. Posting photos of models here is a bit worrisome with all the great builders here. You have all made me feel welcome! Thanks again, Chris D.
-
Thanks Jeremy and Dennis, certainly appreciate the kind words. Chris D
-
Outstanding detail, very realistic looking! Chris D
-
Harry, that is just amazingly pretty, great model. Chris D
-
Alright, I see what is going on here, this is not a model but an actual car made to look small. This is all trickery with smoke, mirrors, and magical camera tricks. Ughh, I am going back to playing with Lincoln Logs, much better suited to my modeling skills. Just amazing work, I don't have words... Chris D.
-
What a sweet looking gasser - I believe this is the first truck gasser I have ever seen too. Very cool Chris D.