

Austin NJ
-
Posts
44 -
Joined
-
Last visited
Content Type
Profiles
Forums
Events
Gallery
Posts posted by Austin NJ
-
-
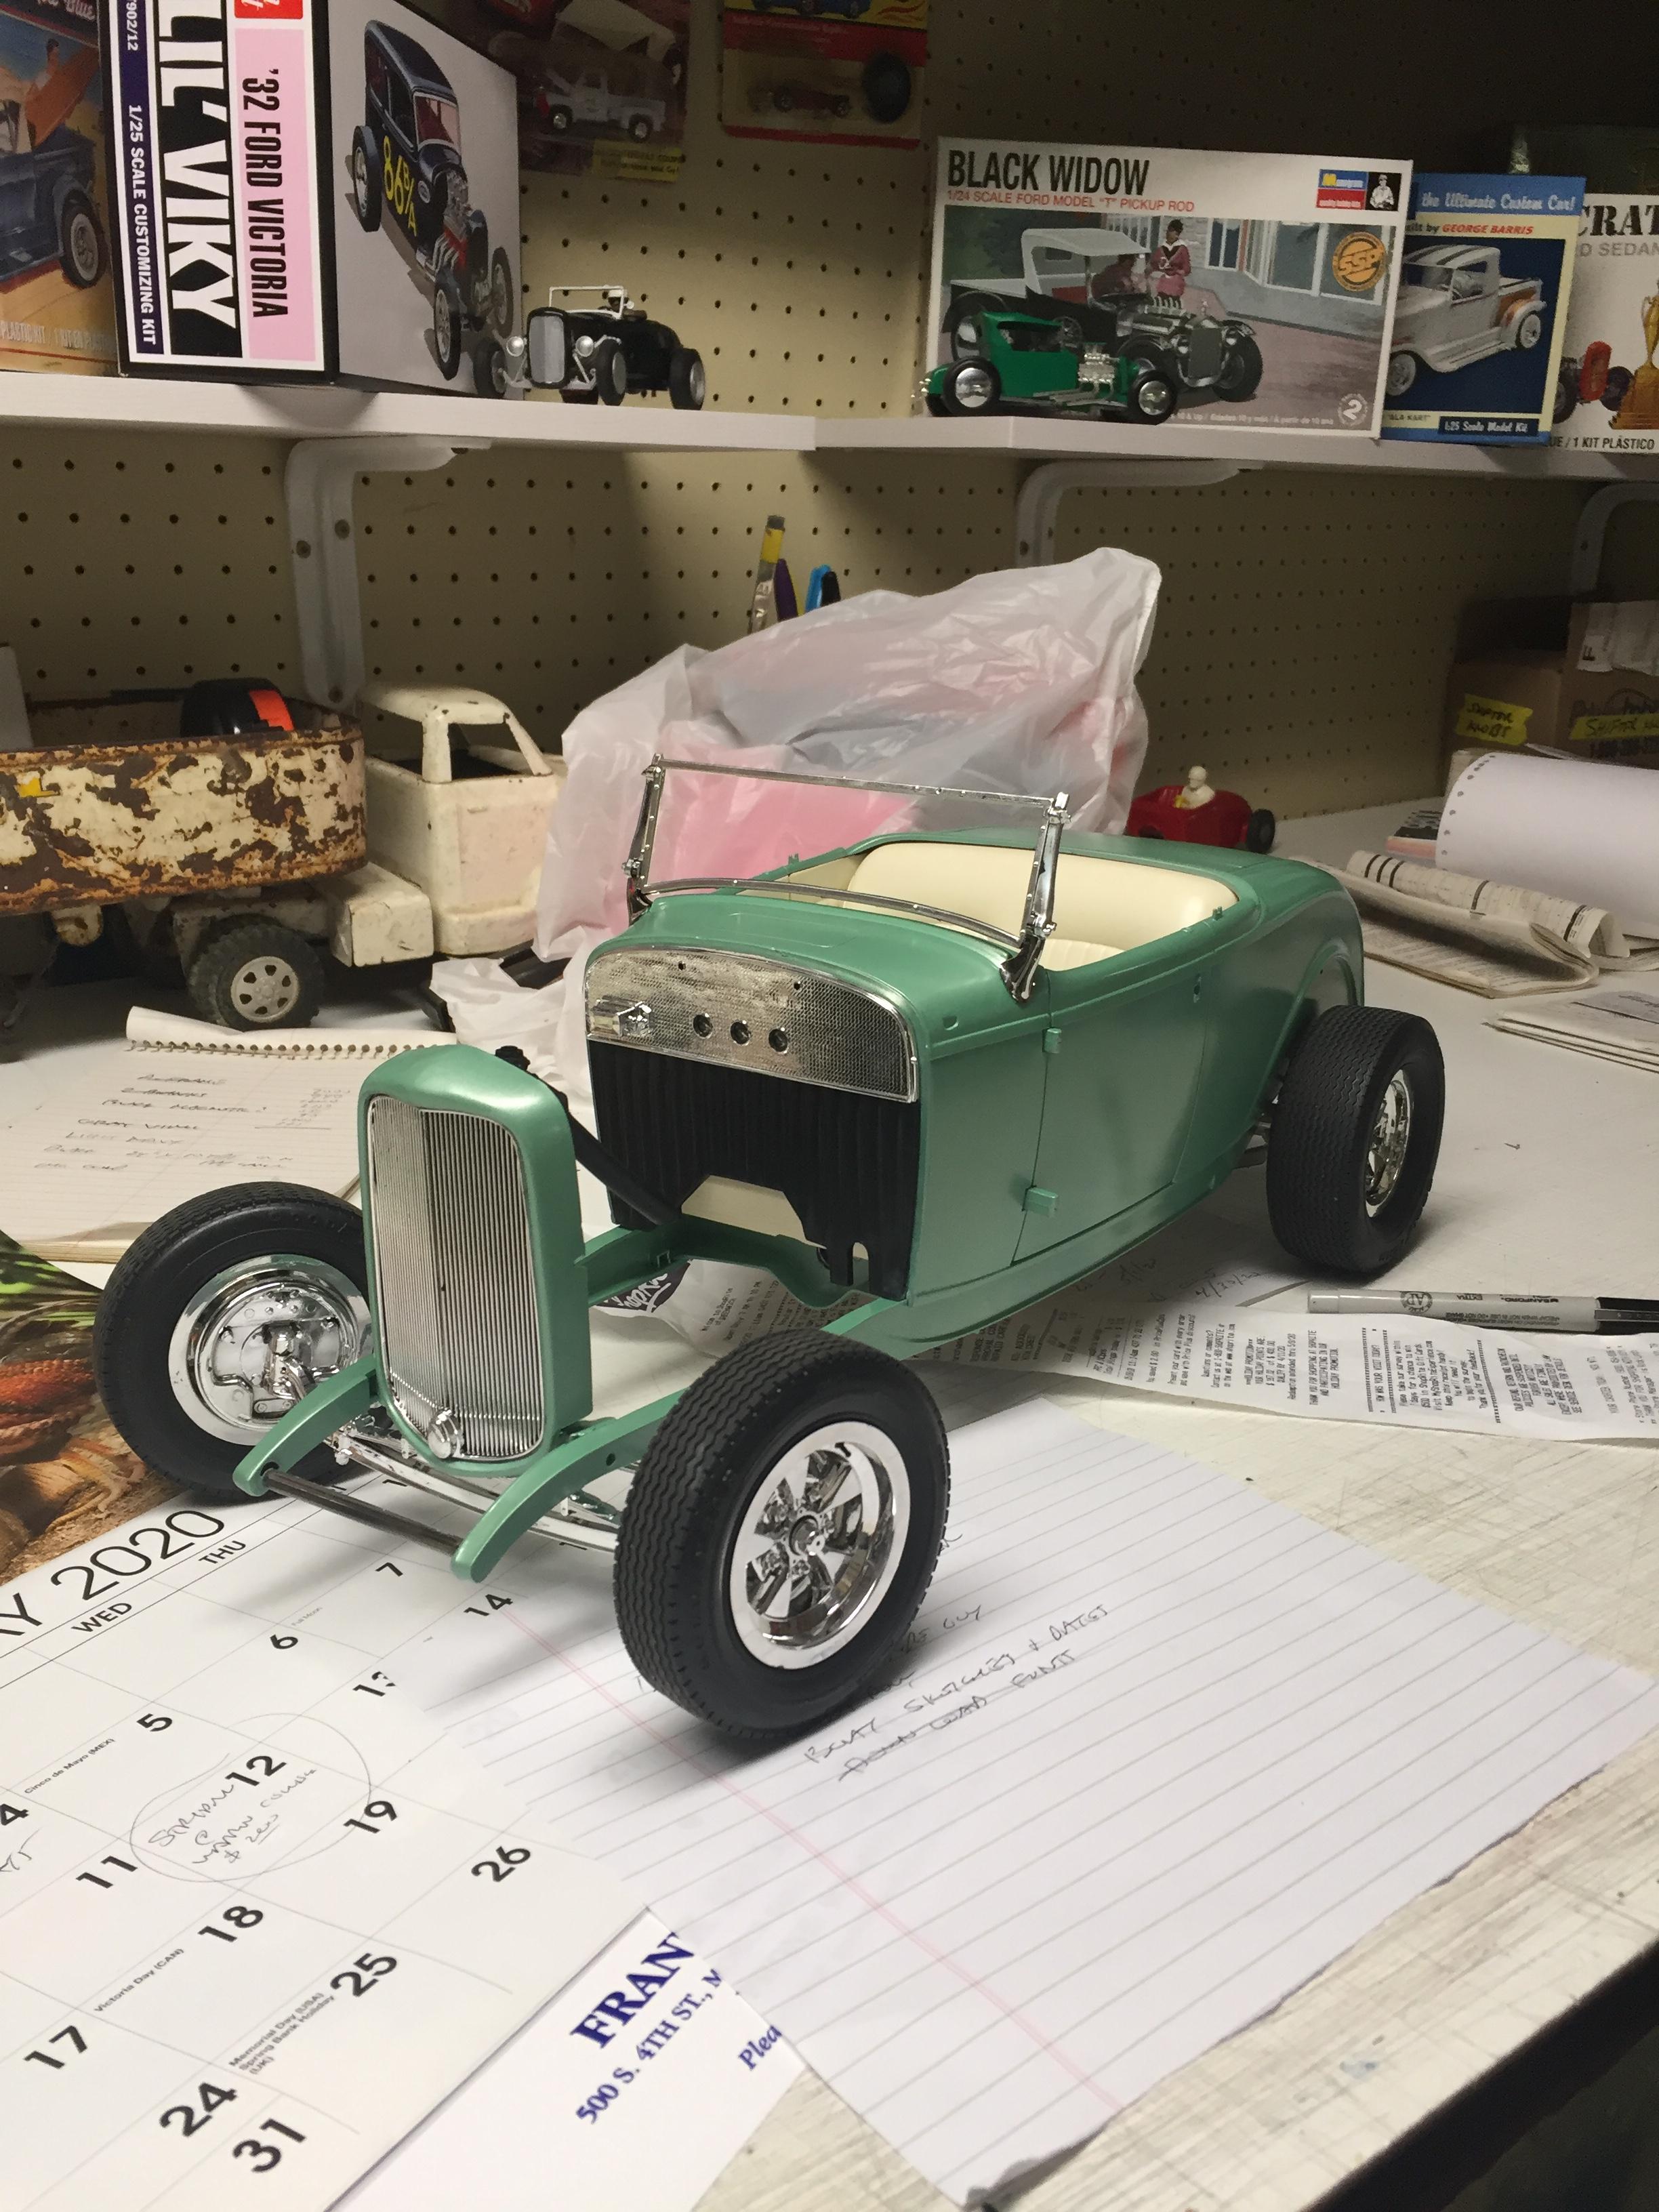
I haven’t been able to post pictures on here for a while but this is my current project. I’m going for a 60’s build and really dig how it came out. I’ve finished a bunch of 1/24 hot rods in the meantime but haven’t tried out the 1/8 stuff.

-
 1
1
-
-
It literally looks like you sprinkled rust into the paint. Haha nice.
-
What happened to them re-releasing that kit? I remember Revell at the NNL East saying they were going to in 2018... did something else pop up and now they aren't supposedly going to release it anymore?
By the way, your coupe looks really cool with that blue paint and black wheels with hubs and rings.
-
That is wicked cool; I'm going to have to look out for this kit on ebay.
-
I got a mini casting kit so now I’ll be able to cast a bunch of stuff! Thanks for the reply GerN, I will look into that. I want to try making a dropped axle next, but I’m not sure where to start.
-
Hi everyone,
I was trying to find a topic on here about casting your own backing plates but could not find anything about it. I have a set of scale 40 Ford backing plates and was wondering if and how I could make an "unlimited" amount of them for my own personal projects by casting them in resin.. if that is the right term? If anyone has any tips on how to mold my own brakes that would be greatly appreciated.
Thanks,
Austin
-
The best 49 Ford I’ve ever seen in real life and modeling. So awesome. I really like the door gaps and detailing in the interior.
-
Glued some more parts on but the pictures don't do this thing justice. The shadows are lost in the black and you can't see all the details but it looks awesome in real life.
-
Looks really cool I've always wanted to build something with a straight six.
-
Got some paint on some parts today but still gotta get the whole interior, firewall and windshield straightened out before I can finish it up. Is it possible to just use flat styrene for the dash? I want a clean look to it like a hand fabricated one on a real car. And I have no idea what to do for the windshield... any tips anyone has would be greatly appreciated.
-
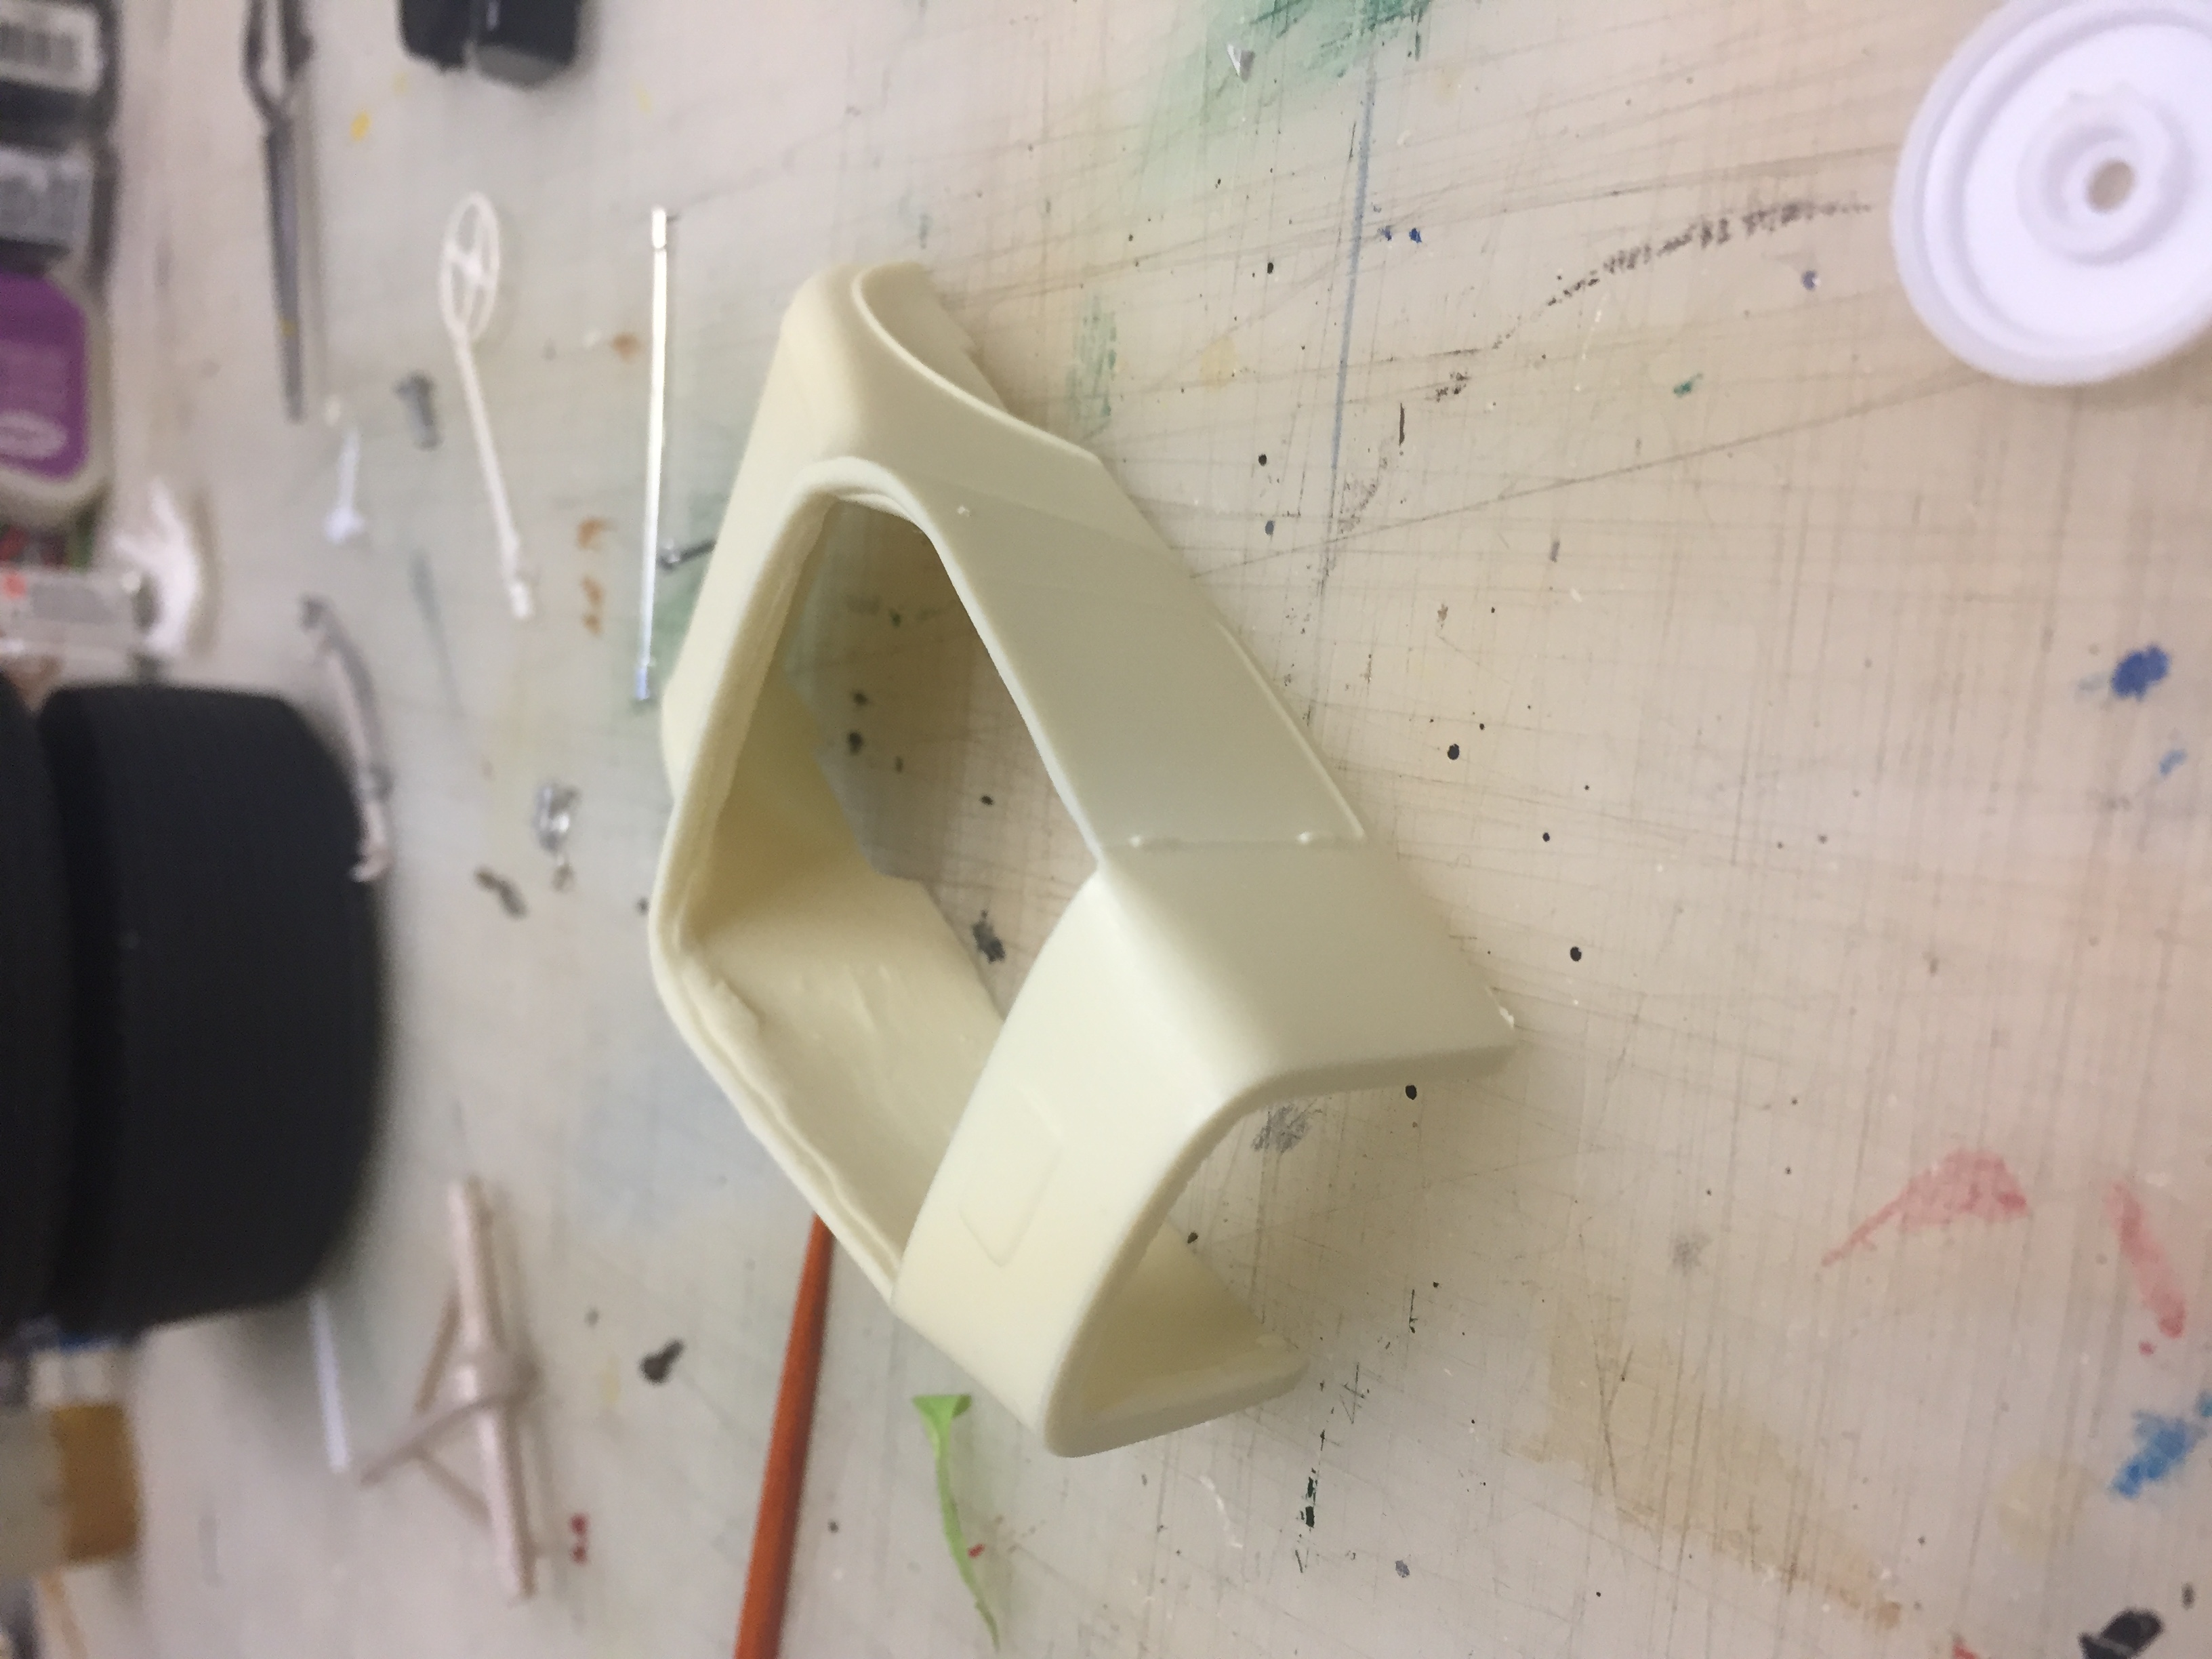
I decided to extend the z a little more to drop the back. I think I shaved too much off the other wheel well.. is there any type of body filler I can make? I've heard of a homemade one using crazy glue.
-
This is a cool project.
Just a note of warning, it looks the heads you're planning to use are from the Model Car Garage? If I am correct, just know that those are 1/24. Normally, 1/24 vs 1/25 doesn't matter to me, but if you try to put those heads on the 1/25 block you're using they are going to be very big. You can either sand them down carefully to make them fit, but take the chance of damaging the beautifully molded cooling fins. Or, you can do like Bernard Kron has in the past, and add a couple pieces of plastic strip to the top of the block to fill the gap. Bernard, can you share a pic of what I'm talking about?
Which kits have blocks that are 1/24?
-
Cool idea using the 36 body with a 33 type top, I would love to see you use a 33/4 front end and grill to try to fool people to think it's a 33/4 coupe. Either way it will look awesome when all done.
-
This is how I'm hoping the car will sit when all together. I'm not sure what I'm going to do for interior, but definitely want a blasa wood floor, as for the plates for the z in the frame I probably won't do that. It is a flintstone body as well. Is it easy to cut through resin bodies to open the trunk and the passenger door? That might be a cool addition if it's easy. I think it's going to be black on black.
-
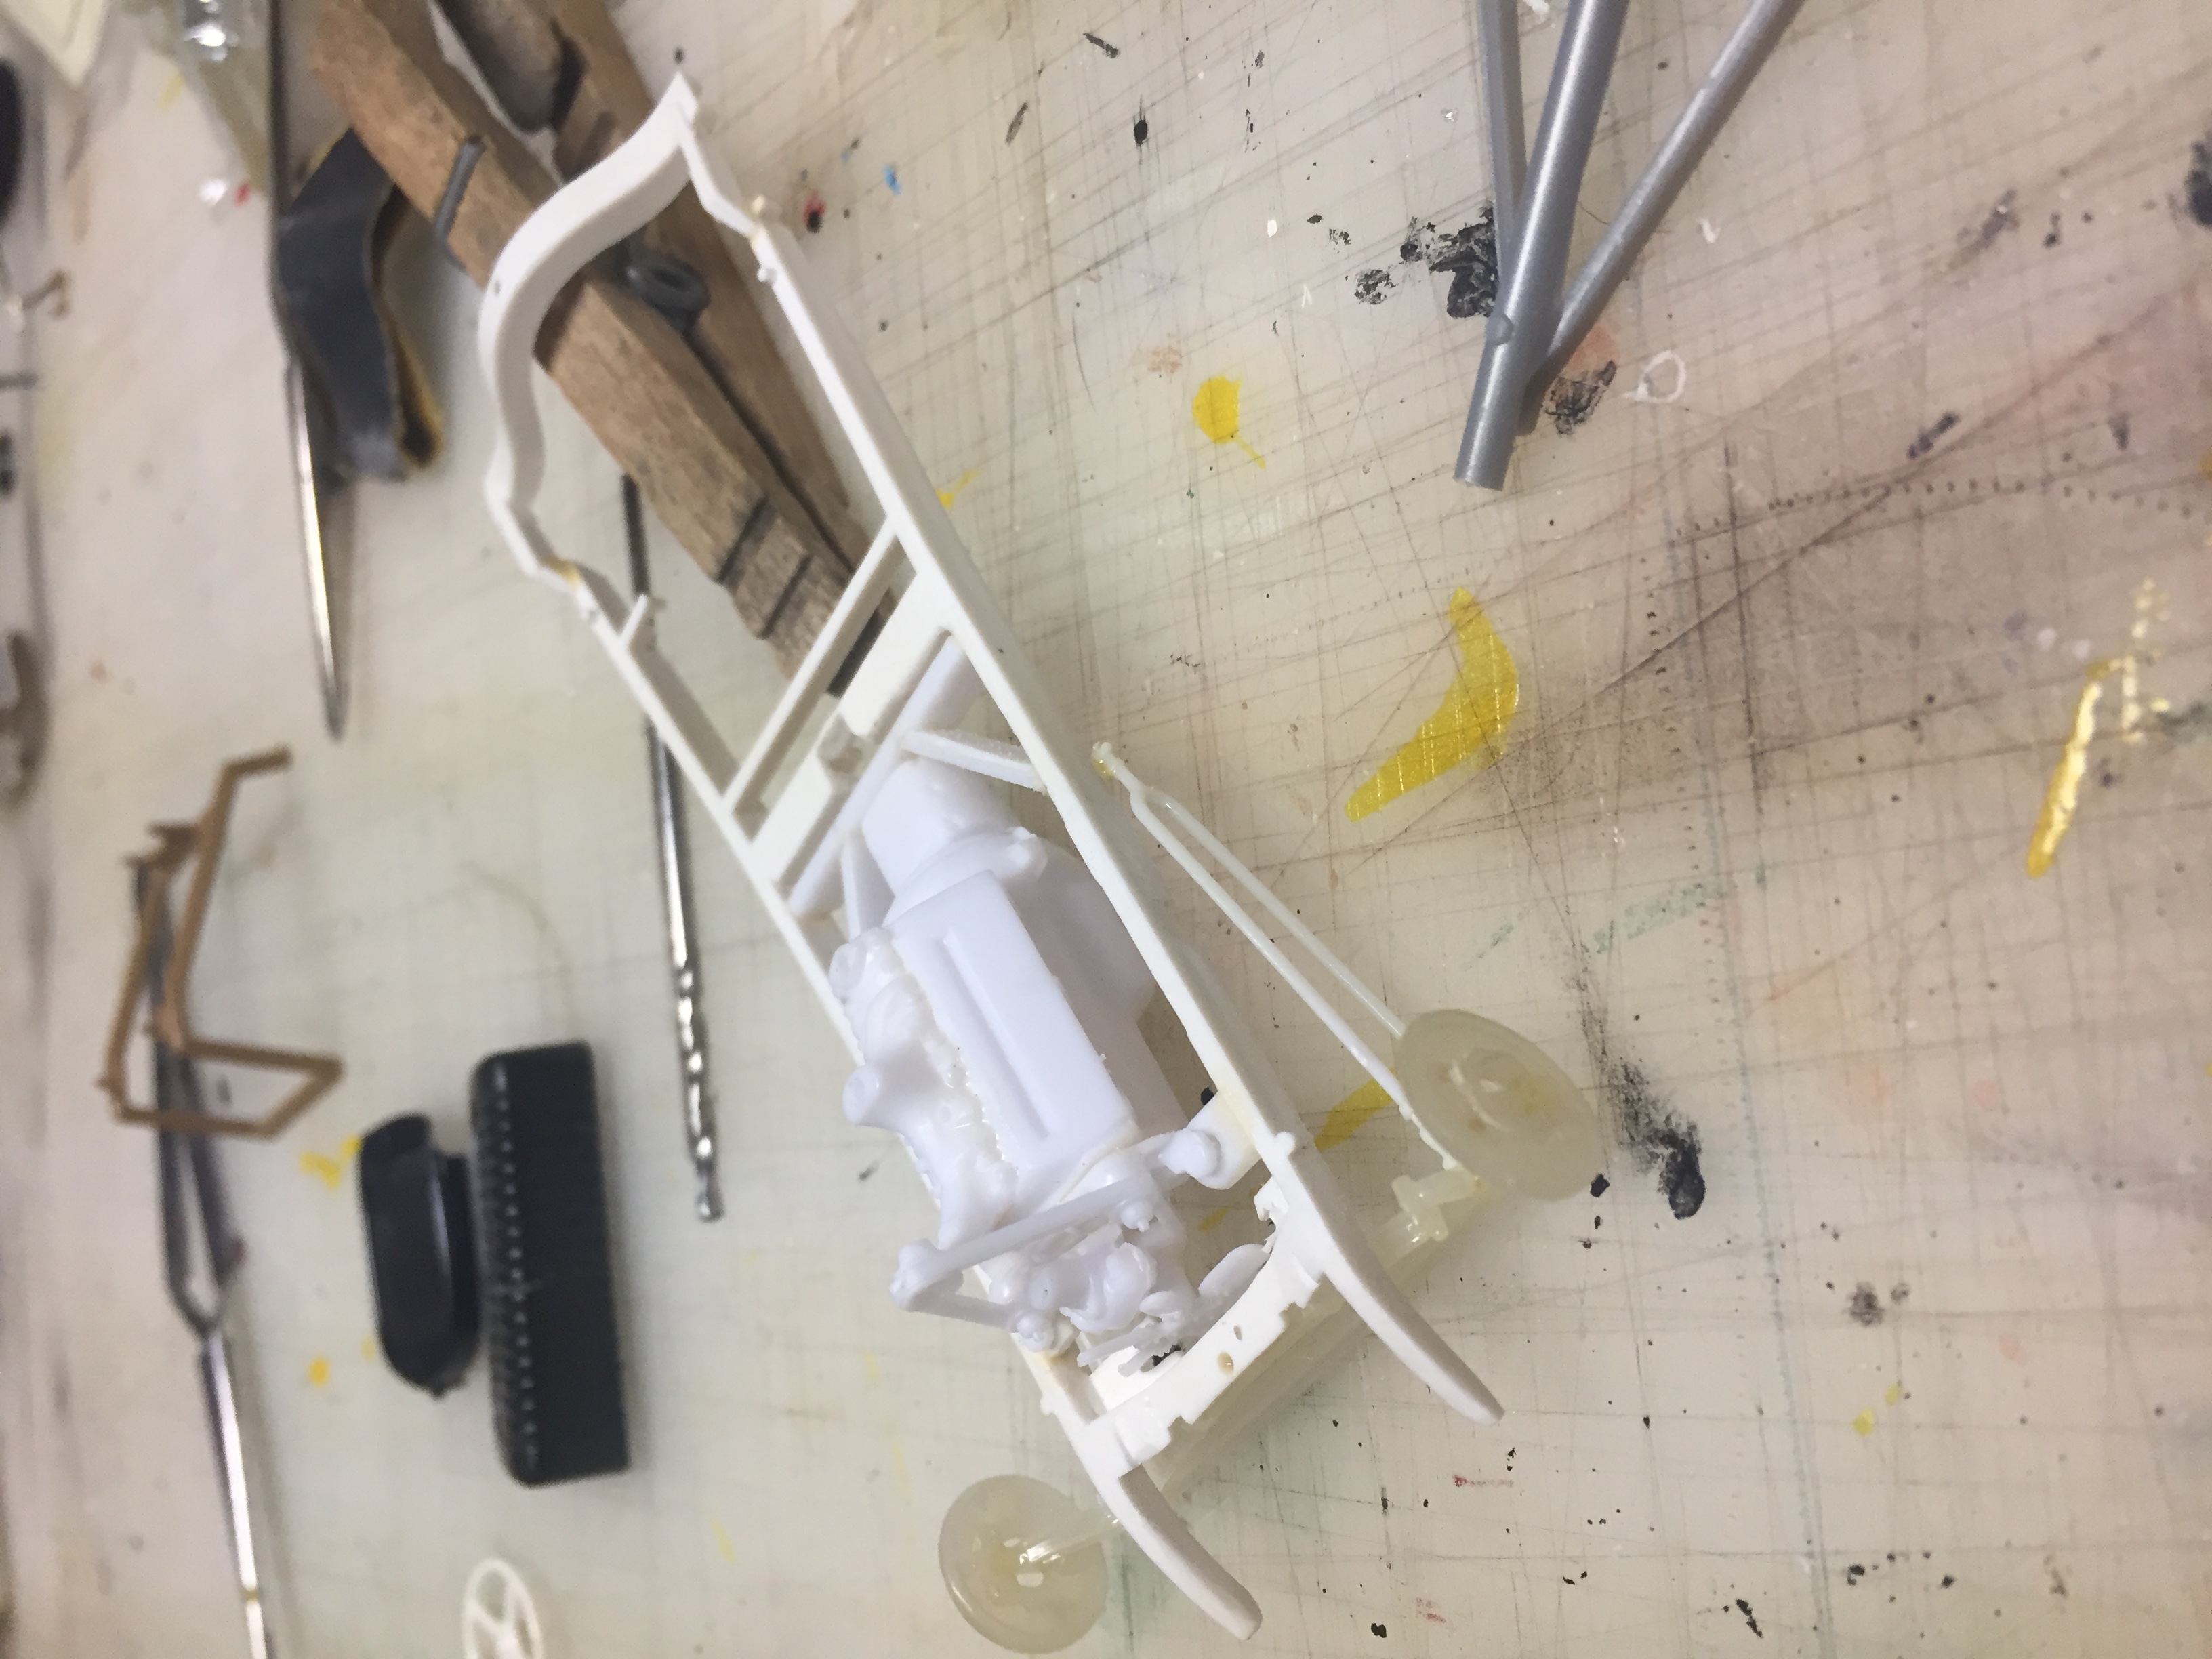
Started to piece together a car I'd like to build in real life one day. I tried to replicate a 32 k member in addition to z'ing the frame. I've never scrathbuilt anything so I'm learning as I go along and it's been fun! I need to build some headers for the flatty too somehow.
-
These kits are undoubtedly the best starter kits... I clearly remember me and my brother snapping this kit and the other 33 3 window coupe kit they have. They're real simple but so effective. Awesome job.
-
This thing is awesome it looks straight out of a barn for real, nice.
-
Finally got the hood all glued together and on. I like the look of the car better with the hood.
-
These early iron series are really nice. I've never even heard of them.
-
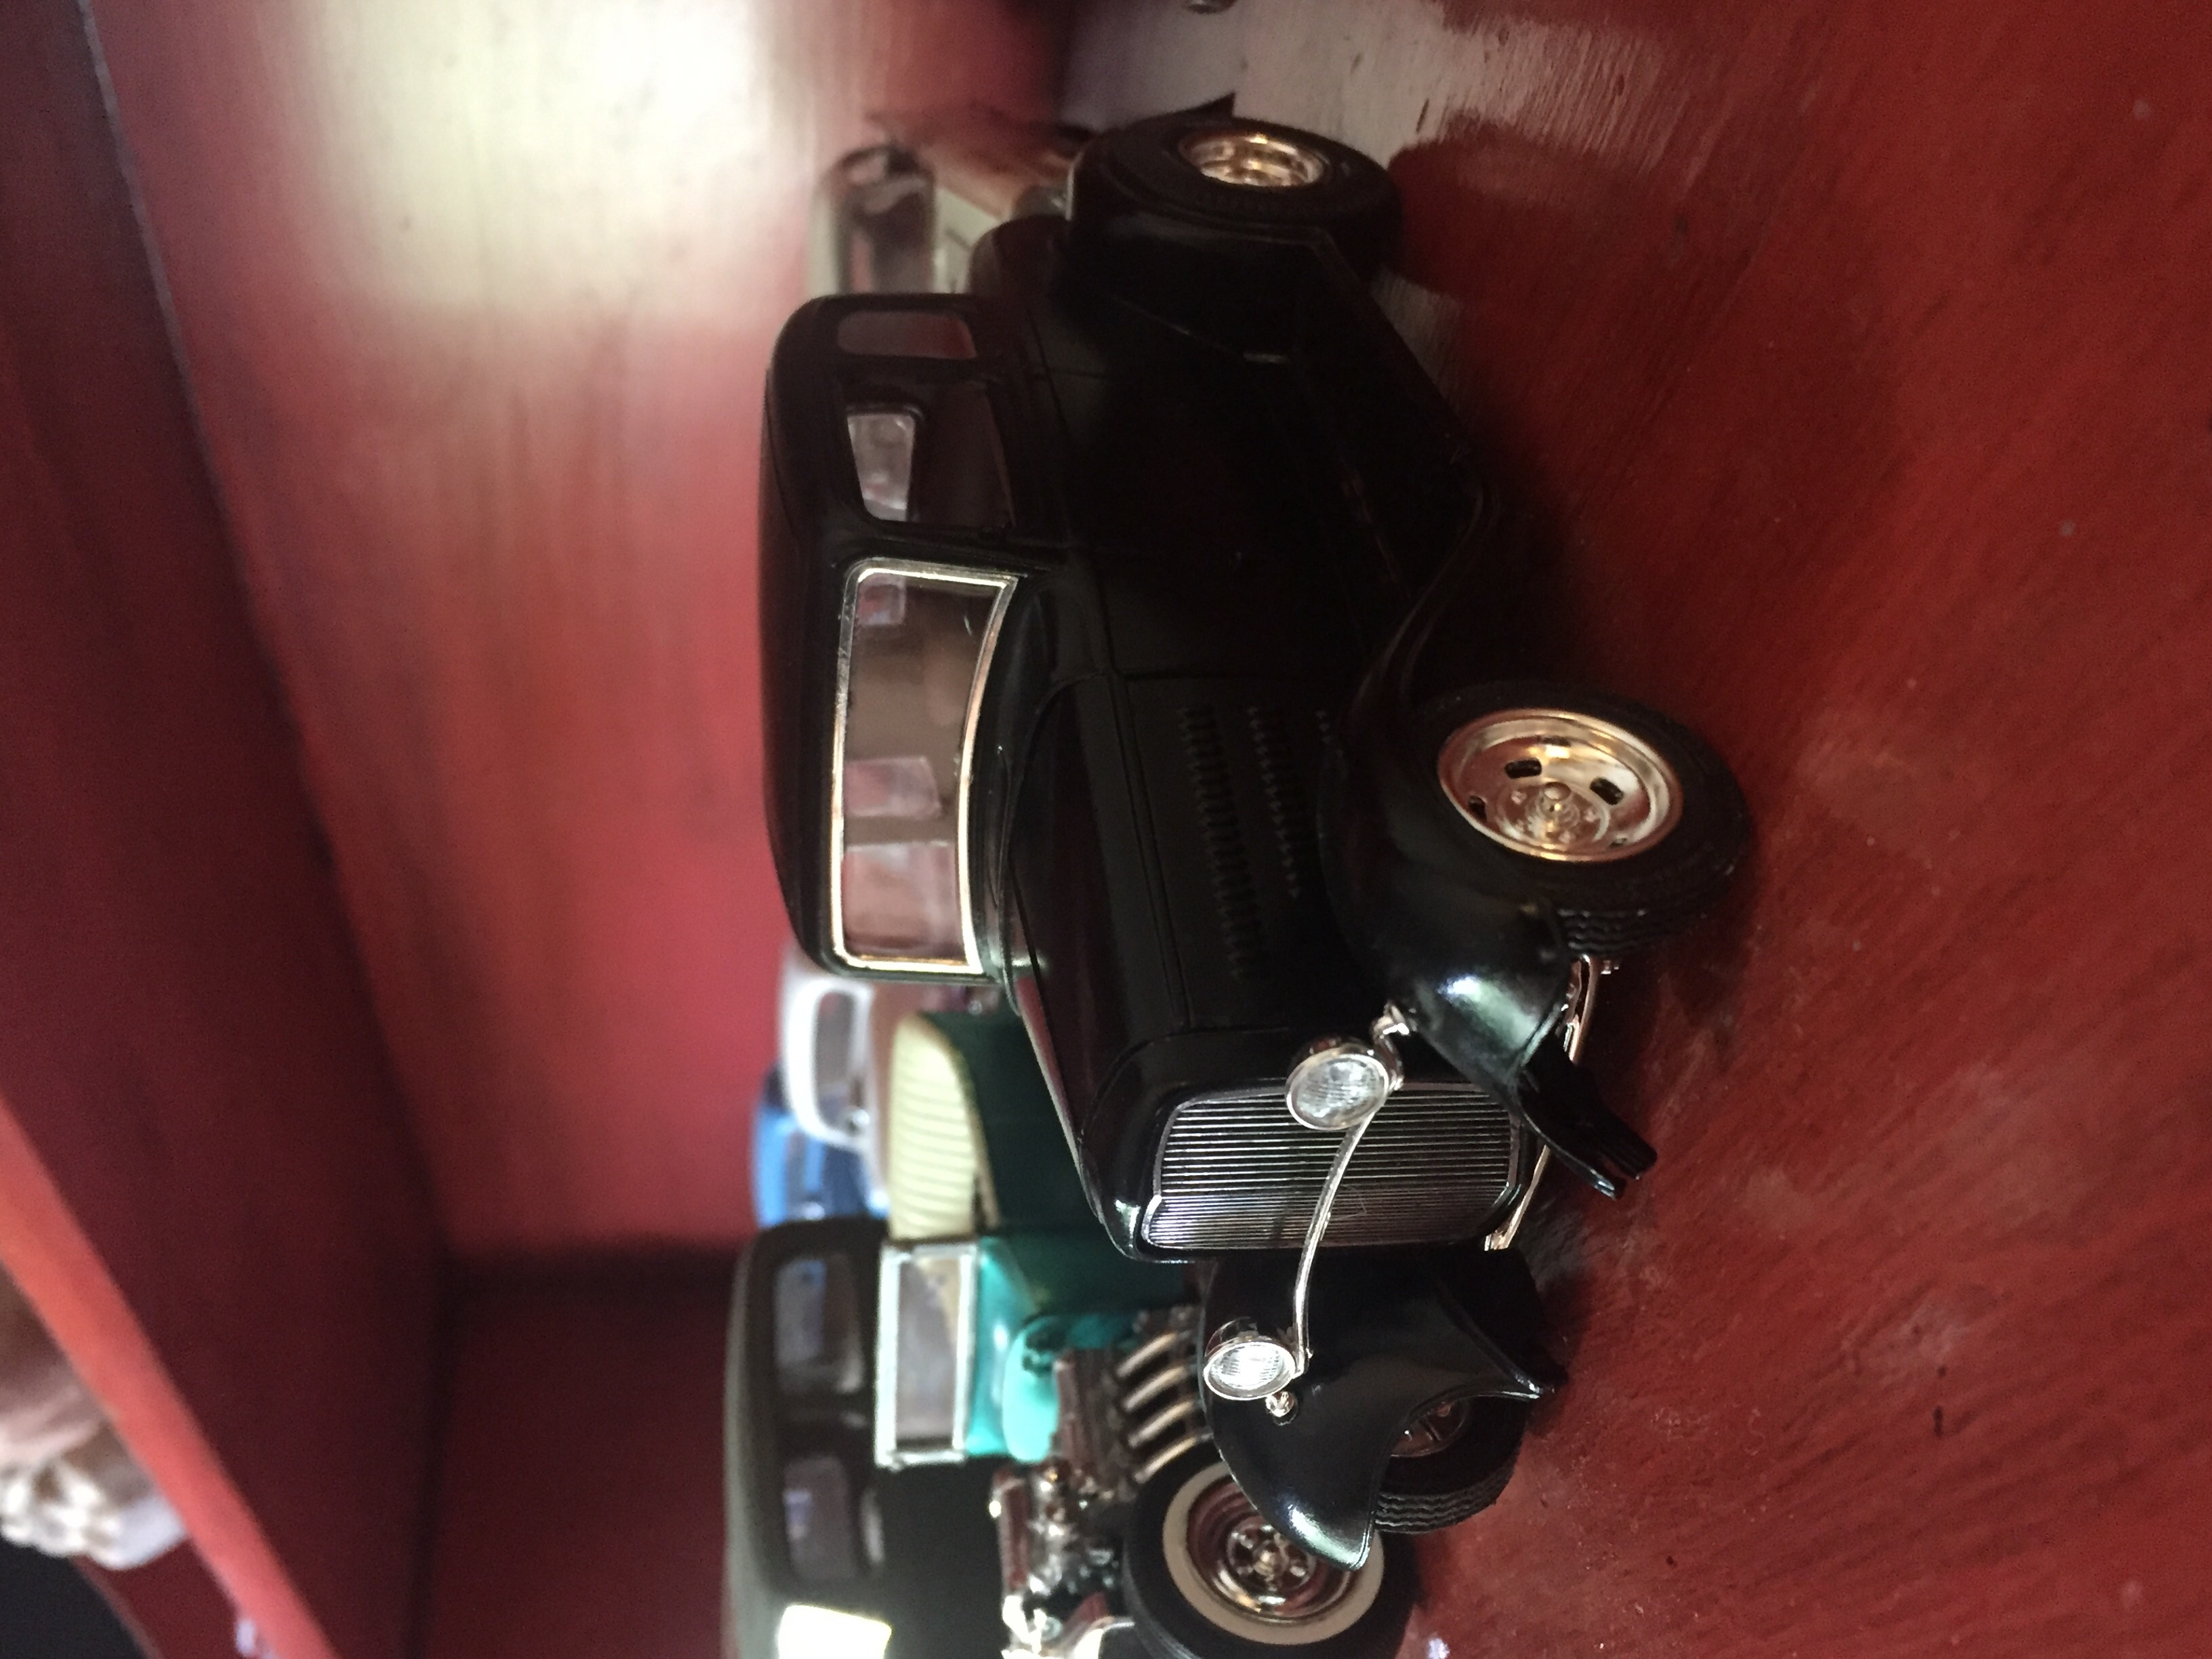
I lowered the front spring and switched up the wheels on an otherwise box stock kit. The Chevy engine is also a parts box item. No bumpers for a cleaner look. Can't go wrong with a five window coupe.
-
I like the white headers and the overall look its got. Nice
-
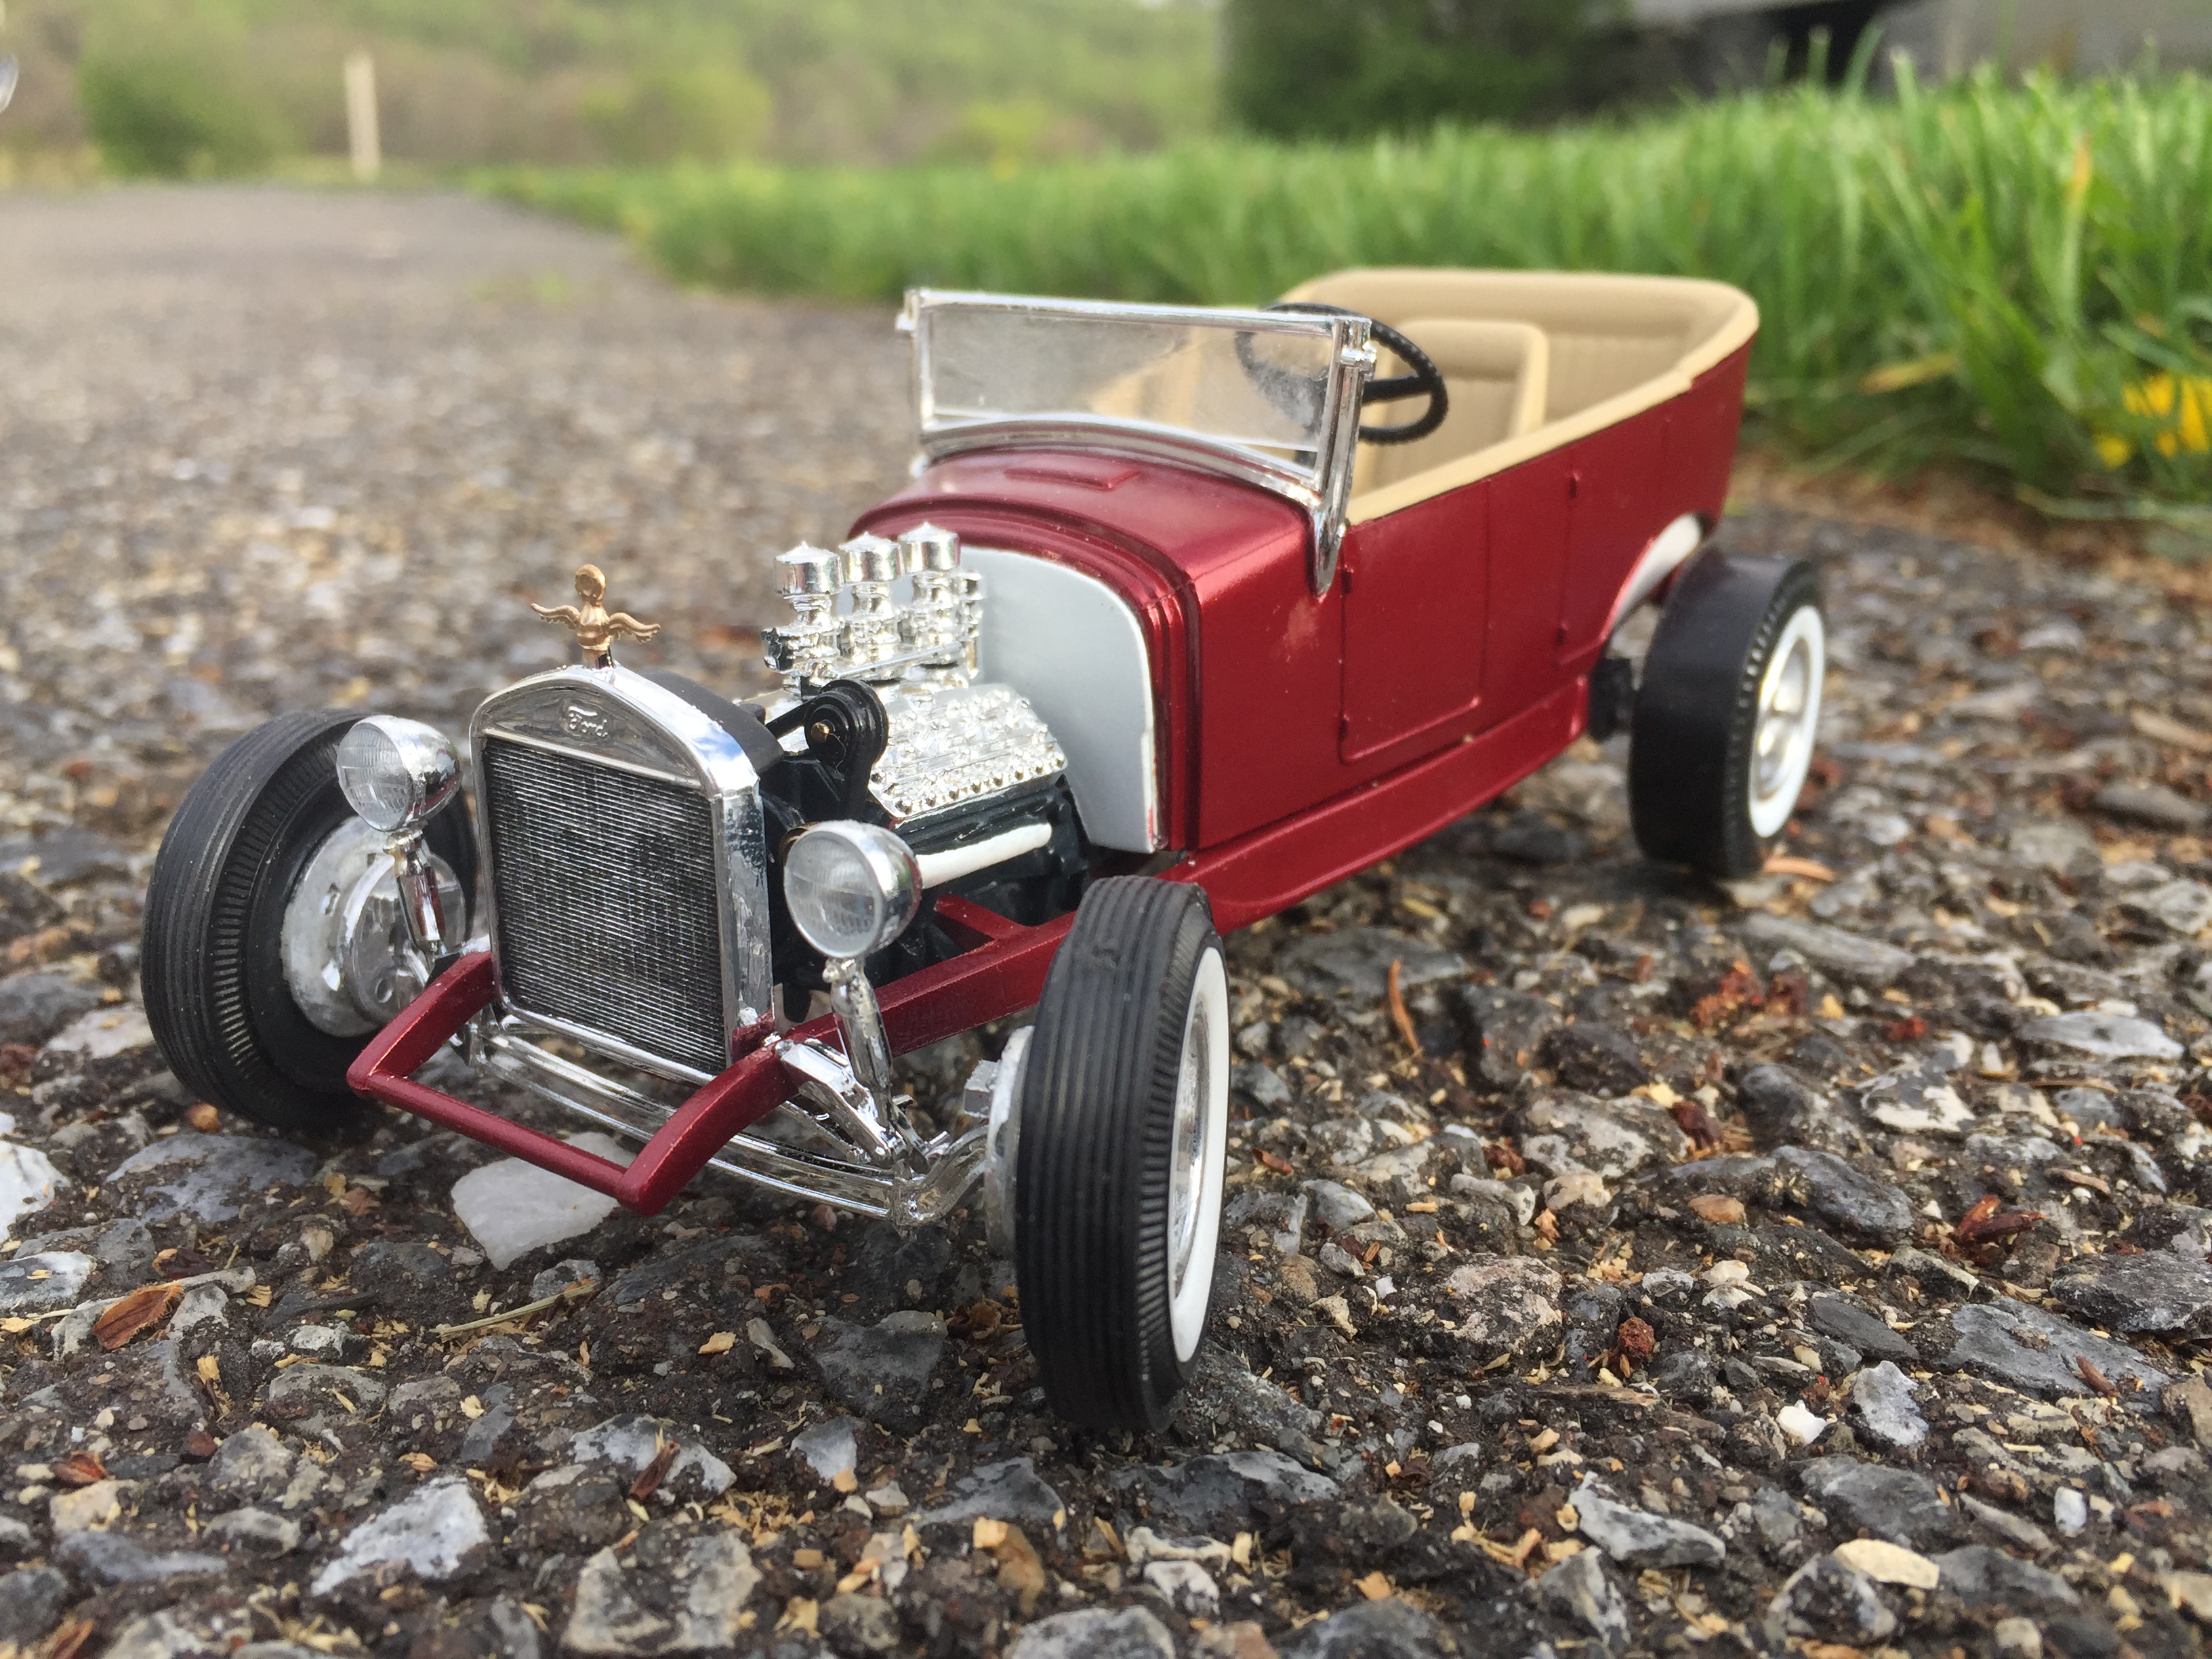
That's cool! I like the parts choices and color,it has that early 60s look.
The front shocks seem to be installed upside down though??
Only the most experienced modelers mount the shocks like that
just kidding I totally didn't realize it and made a newbie mistake hahahaha. -
Started off as the T touring kit with the independent front suspension and jag rear end. I wanted to build something more traditional so I used the 32 frame from the revell model a roadster kit and a bunch of other parts from that. Other parts are from parts box. This is my first scratch built rod and I'm happy with how it turned out. It's not that accurate but it looks better built and on the shelf.
-
Cool build subies are always nice, this car might go through tires really quickly though haha.


 just kidding I totally didn't realize it and made a newbie mistake hahahaha.


Monogram Big Deuce
in WIP: Model Cars
Posted
Thanks for the comments, the paint is a light green metallic from Tamiya.