

ratherbefishin
-
Posts
27 -
Joined
-
Last visited
Content Type
Profiles
Forums
Events
Gallery
Posts posted by ratherbefishin
-
-
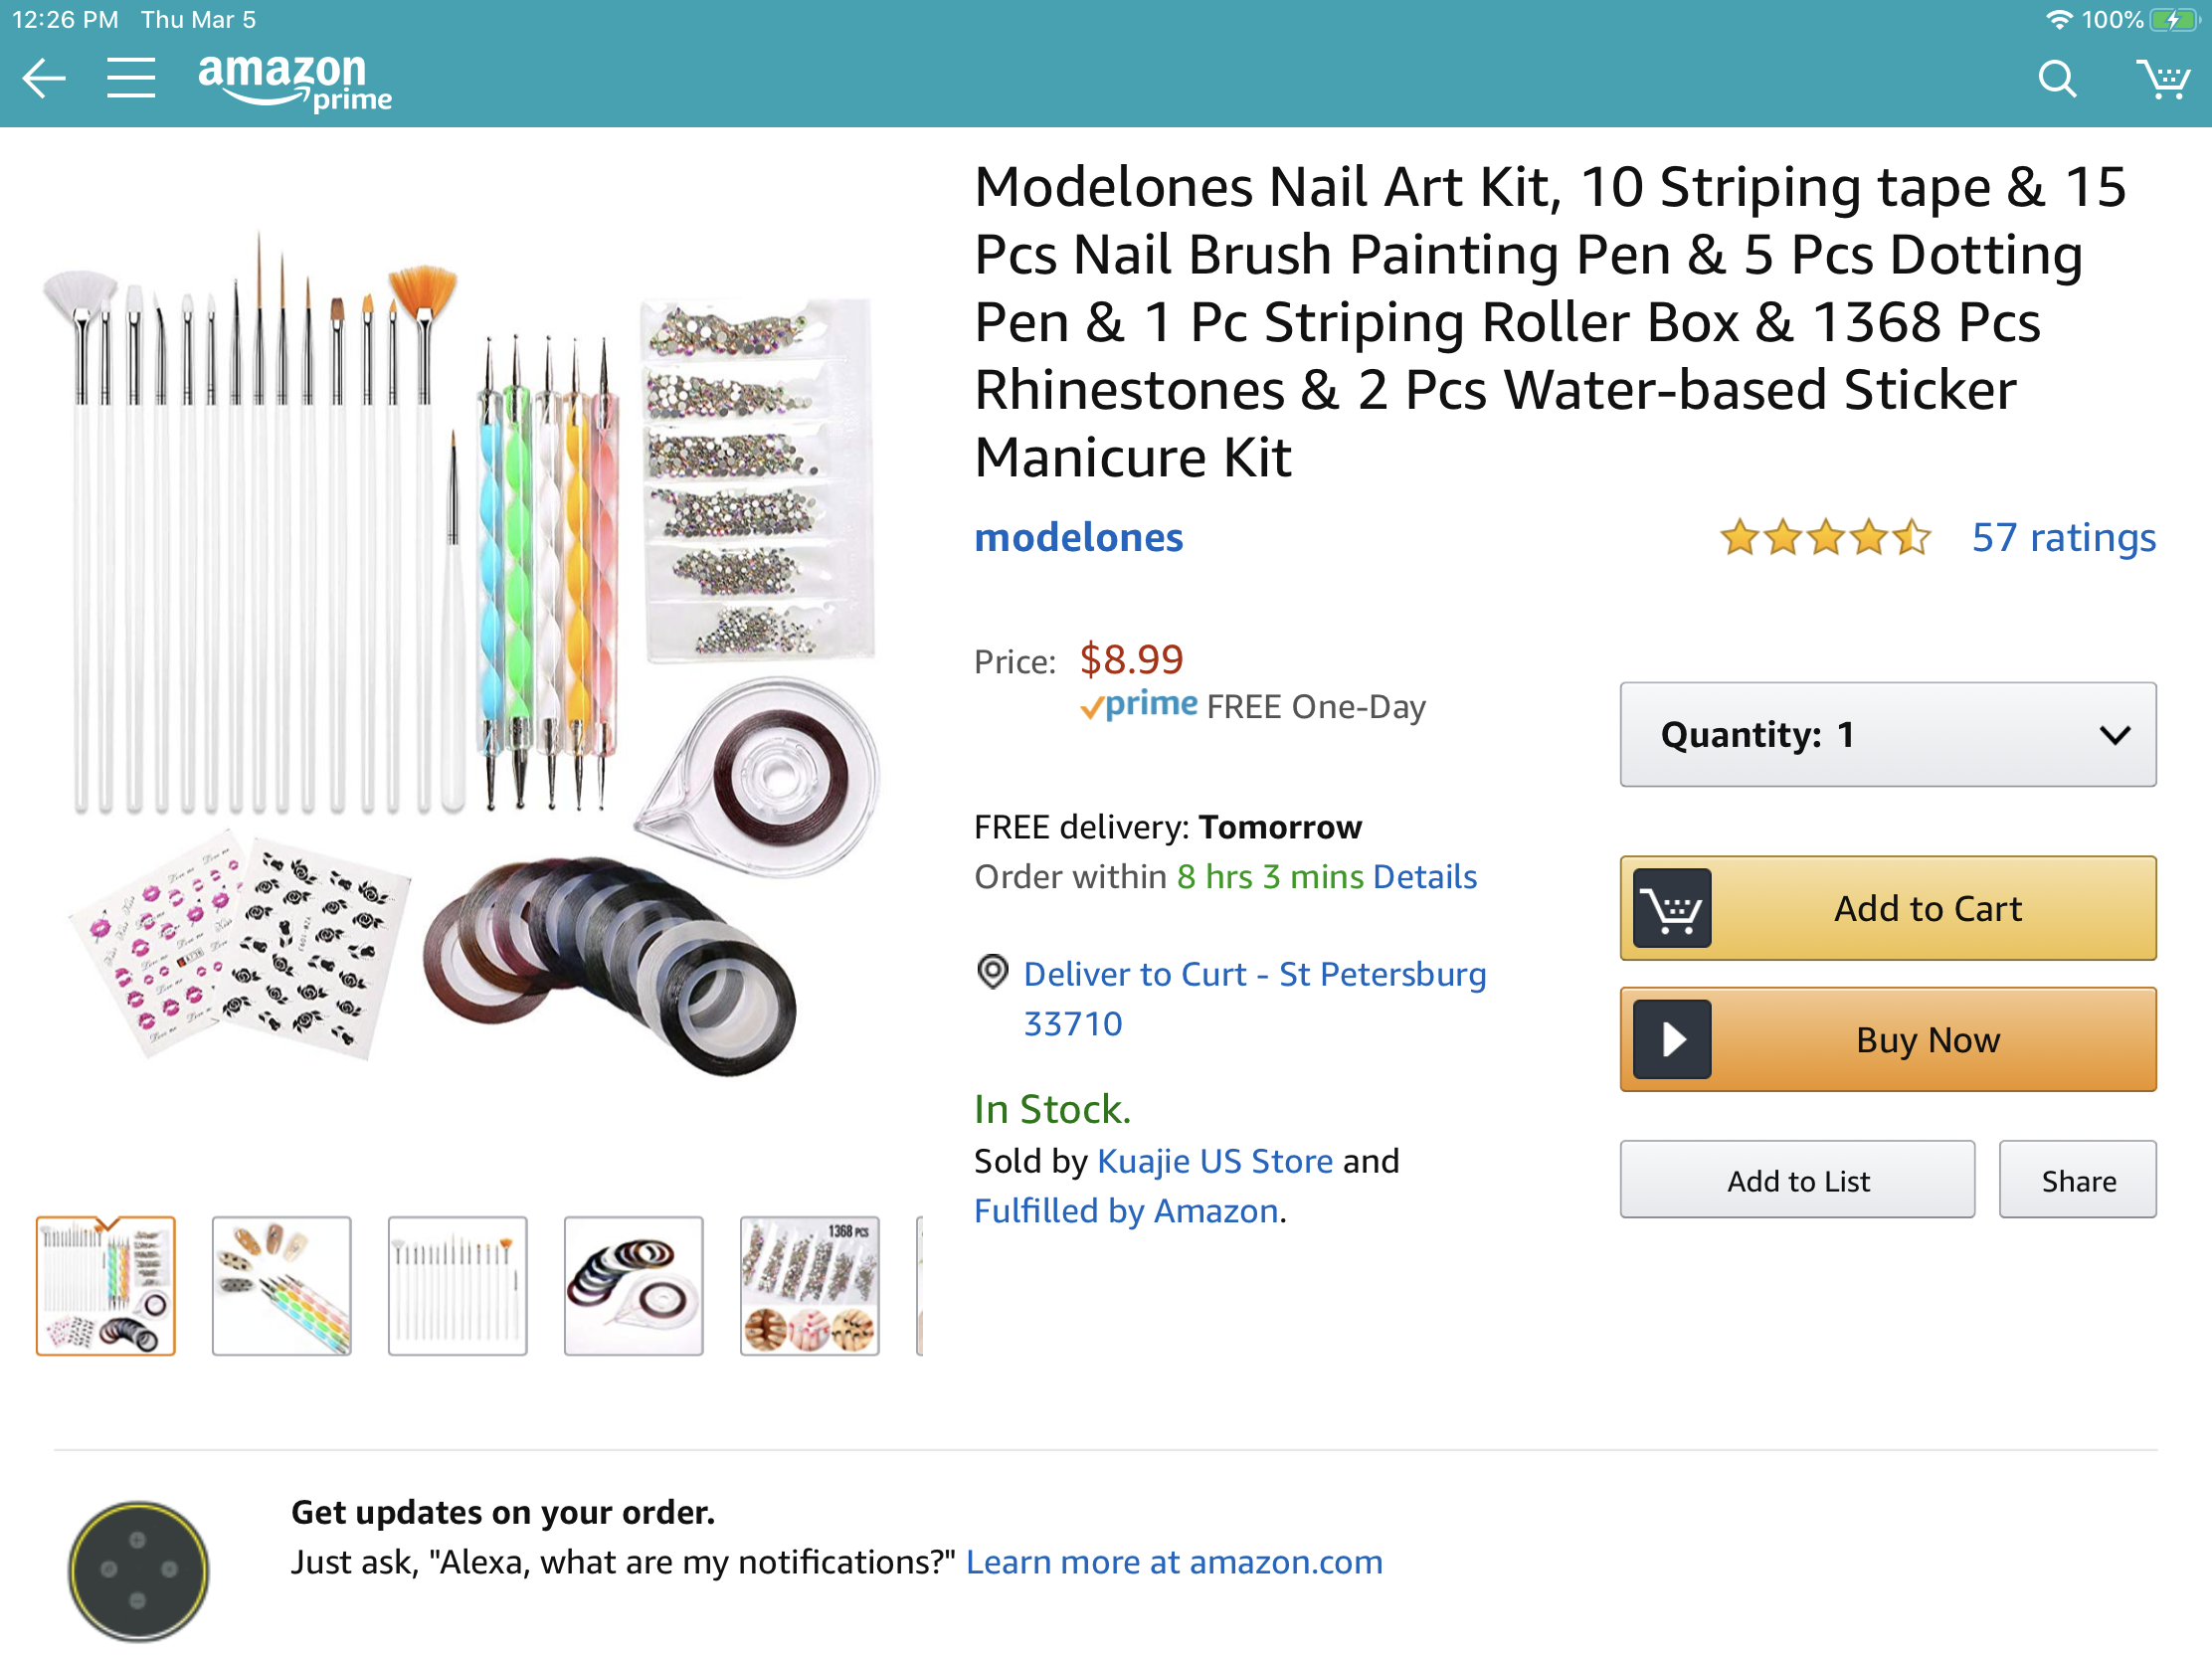
I may have stumbled on to something useful. A cheap “nail art” kit may be helpful in detailing, particularly in interiors. Just briefly tested a couple items but the paint dot applicators seem to work well and the tiny tapes do seem to stick to styrene, even painted styrene. I think the brushes are the cheap one and done version but could be useful for glue applicators. So far, no use for the stickers and sparkly things but, who knows?
Anyway, thought this might be of use to some, cheap and available on Amazon.

-
Like Steve, I made a wash but I used black “chalkboard” craft paint and water. Usually I need two coats over chrome, but it seems to work great with one coat for weathering a motor, chassis or suspension parts. Really brings out detail next to a gloss finish like steel wheels for depth and definition.
-
Not perfect but serviceable for me. Thanks for all the help folks.
Curt
-
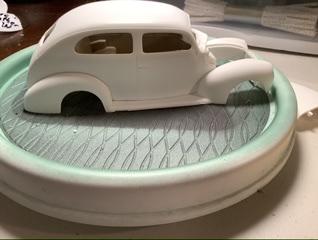
BY GEORGE I THINK WE’VE GOT IT!
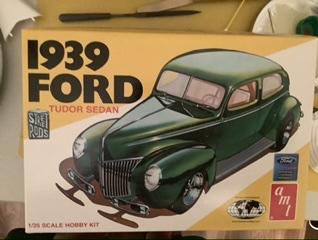
Thanks to all, hot water and slow gradual progress worked. Might have some seam issues to deal with but no big gaps anymore. I reckon this type of stuff is what this forum is all about, thanks for walking me through it. I really, really appreciate the interest, expertise, patience and wisdom. I drove this car my first two years of college long, long ago and this model is important to me.
-
3 hours ago, espo said:
Looking back at your pictures it looks like there is a gap between the point where the cowl and the front fenders meet as well as the rear fenders not meeting the body. You mentioned that the bodies bottom edge looked good so I'm wondering if maybe the fender/ running board part might be a little warped. Since you haven't painted it yet you might just soak the fender & running boards in very hot water then bend them ever so slightly and hold them until they cool. I would bend just a little at a time and see if it is helping before you go any further. As for the bending part I would support the area of the running boards at both ends a gently push down on the middle section until it cools. Let use know if this helps.
David, this might just be the ticket! Seems to be helping a little each time. I’ll continue this very gradual process. THANK YOU!
12 hours ago, Dave G. said:Oops, I think it says to remove that cross support between the rear fenders. Pretty sure I removed it and had no trouble with the fit.
Edit: Well, it's not in the instructions, it may have been embossed on the piece itself unless I'm thinking of another kit lol !
David, there is no mention in the instructions and from what I see, there is no cross member to remove. There was a sprue to be removed but it was on the outer side of one running board. Thanks!
-
7 minutes ago, Dave G. said:
I know you said the interior clears ok but did you try fitting the body to the fenders before the interior tub went in ? It really looks like the whole left side is sitting up off the fender assembly.
Yes, I did that first, had the same issue and then put in the interior to see if it might make a difference. That’s what I thought initially.
-
1 hour ago, espo said:
Have you looked at the bottom edge of the body where it rests on the running boards ? With age there may be some flash in that area that will keep the body from dropping down on the fenders properly. These used to fit fine years ago.
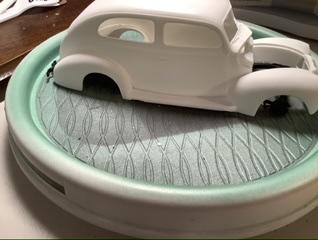
Yes, the body seems fine. But, then again, the fenders look ok to me, given these old eyes, but no flashing is visible anywhere. I am thinking about rubber banding the body to the fenders, then dousing the whole thing in a pot of very hot water for a few seconds and then letting it cool before I take off the rubber bands to see if that might work to force it to fit. Thoughts?
-
10 hours ago, Dave G. said:
I think the 39/40 gasser kit built stock shares the same body/fender parts. I just built one as a 39 back in Sept and it went together well. To me from the photos, it appears your fender assembly is warped. Mine fit well enough that I just literally tacked the assemblies together with a few well placed drops of glue in case I want to pop it apart at a later date for what ever reason. When I was a kid I cann't tell you how many of these sedan kits I built, always a fan lol ! But I remember one or two not quite as bad as yours but similar. I just glued it and weighted it till dry, as well as I can recall. As long as the seam lines mated I was happy, then sliced any openings for the bumper brackets as needed. They always turned out acceptable to me. A couple I turned into stock cars though, so those got all cut up and cut down anyway, very cool looking I might add, because you expect to see coupes done up as stock cars.. Just sayin.
Yours might be warped enough you may need to get a little heat involved.
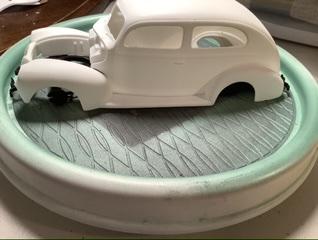
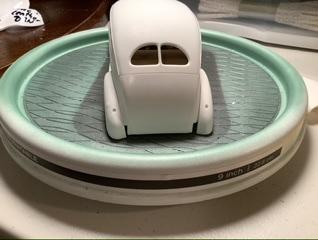
Tried some more sanding, nada. The fenders do have the little protrusions on the top and the body does fit but then jus rises up unless pressed into place.
I think I do near some “heat”. So, like a hairdryer? Just hold it in place and apply heat? How do I do this?
-
Both the body and the fenders look to sit flat. No gaps that I can see. I might just try to take a little material from the drivers side of the running board area, though it feels the same. Whatever it is it’s minute, just enough to not allow it to sit as it should. After work, I’ll check the fit on my 40 ford panel unbuilt, to see if it’s the same.
Thanks for the suggestions, keep em coming!
-
50 minutes ago, ZTony8 said:
Make sure that the two little tabs on the front of the interior bucket are in their holes in the firewall. That makes a difference.
I know, that’s why I put the interior tub in. It’s not the interior holding it. The same thing was happening when doing fit checks without the interior. The body will meet the fenders if I press it down but not sure that it will stay after gluing. Any other ideas?
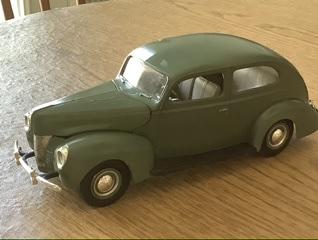
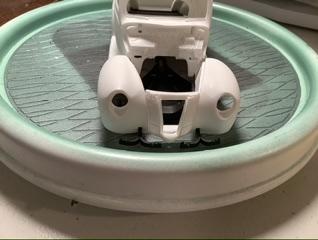
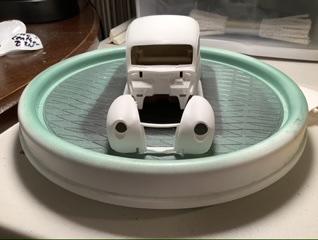
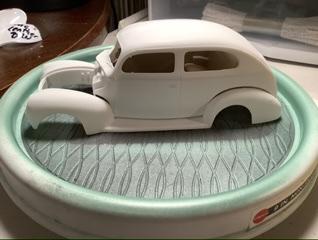
This is the kit, anyone else had this issue and how did you correct it?
-
The body just does not want to nestle into the fenders. Done a little filing at the joint, seems smooth, no high spots. Do I have warped feeders or body? If so, how can I correct it?
thanks!
-
-
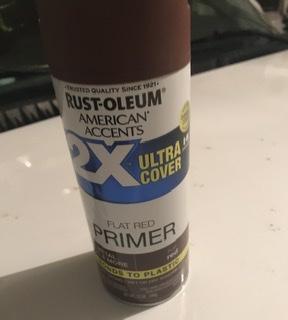
I want to use an acrylic for my topcoat. What primer do you recommend?
Thanks, Curt
-
I bought one of the $15 ish magnifying glasses with a light. Ok for a while but they are heavy on my nose, can’t wear readers underneath them and the mag lense kept falling off. Got a pair of Optivisors, no pressure on my nose, light, fits on my head not my ears so I wear readers underneath them, never missed the light on them. Just tilt them up when I don’t need them and don’t have to find a place to set them down. About $40 bucks and worth every penny.
-
Steve, it doesn’t say specifically that it is enamel primer, but it did leave a very grainy finish. I did have a better result with the 2x flat red primer. I will try the Duplicolor too. Thanks.
-
I appreciate ALL the advice,folks. I’ve primed two bodies in Rustoleum gray , using Tamiya over one and Krylon Colormaster on the second. The Tamiya has some orange peel issues (my fault) but was easily dealt with. The Krylon just seemed so thick, it was hard for me to do mist coats and ultimately the paint obscured detail. The only reason I chose Krylon was the color.
in the future I thinks I’ll stick with Tamiya for bodies and I need to find a less grainy primer. I did find that a light sanding really smoothed out the Rustoleum primer but I don’t know if that makes the primer less effective?
Thanks again for the help, I having a ball with this rediscovered hobby!
Curt
-
I am one of those that thought acrylic always meant water based, so I stand corrected. I always prime all parts before painting and frankly, it’s been my experience that ALL paints adhere better over some primer. Thanks for the help.
-
Right now I’m limited to using rattle cans. Can someone recommend an acrylic spray can manufacturer? Also, some newbie questions if you don’t mind;
-do I use a clear coat on all acrylic painted parts or just the bodies?
-I’m using craft acrylics on engine parts, interiors and chassis do I clear coat these as well?
-will using a matte finish clear dull coat work to replicate faded, weathered paint? Not rust, necessarily, but just to show age, weathering and avoiding the show room shine.
-in order to limit the thickness from rattle paints, are several mist coats preferred? Do I sand after each mist coat or just after full coverage?
-I am warming the can before each application and have to do my painting outside (Florida), I just hate the thick build up since I cannot thin the paint.
I would appreciate any other pointers you can give me and I appreciate your patience.
Thznk you,
Curt -
Am I the only one who keeps an egg carton on my bench to stage small parts waiting for paint or waiting for assembly? I use the pressed paper kind and it really organizes those tiny parts I’ve dechromed or primed/painted but not ready for assembly yet. Really helps to keep those gnarly bits from getting lost.
I’d be interested in how you folks keep your parts staged for later work.
Curt
-
I tried this technique after Steve responded to my query about badges and emblems. Still learning but getting more comfortable with it. I think I waited for my final coat to fully cure before using thinner on the foil and that seemed to be a mistake. My latest attempt was just after the final coat was touch dry and seemed to go much easier. Ditto on the tip of wiping the thinner on, letting it soak a little and then using a toothpick or modeling Qtip (not a regular one, way too much shedding) or those made for nail technicians to take the paint off the foil. Much easier.
I also found that regardless of when I was applying foil, lightly wiping the chrome trim area with a touch of School glue stick really helped the foil stay in place while I burnished it down. Learned that here somewhere. Works for me and the glue dries clear and wipes off with a damp make up applicator.
Great ideas here, thanks to all.
Curt
-
Great idea Trevor, thanks.
-
Steve, sorry to be a pest but how did you achieve that fabric top finish on the Chrysler. It’s outstanding.
-
Clearly I have a lot to learn and I’m quite certain I’ll not reach the level of many of you but I’m having a ball and I really appreciate the help. Never occurred to me to paint foil then wipe it off. Brilliant! Now just to master BMF.
-
Steve, I would be ecstatic to achieve results anywhere close to yours. Beautiful work. Thanks for the step by step instruction. I am at the point where I can try this now, though I will probably use a homemade foil. Mixed results but still better, and a lot cheaper than BMF.
Questions though. Why not do all foil work before the final wet color coat?
Also, in past build my paint build up diminished the detail on some insignia/lettering. Is there a method you recommend to restore this detail if it is obscured?
This has been enlightening.


Wheel Arch Molding Foiling Tutorial
in Tips, Tricks, and Tutorials
Posted
Another brilliant method! Thank you.
Curt