CabDriver
-
Posts
5,101 -
Joined
-
Last visited
Content Type
Profiles
Forums
Events
Gallery
Everything posted by CabDriver
-
Im a fan of Createx and Wicked Colors paints, and I haven’t tried that one…and now I want to! Looks great! And the interior colors you picked work great with it too!
-
I don’t know if you’re allowed, or inclined, to share pics of some of the cool 1:1 stuff you work on Bill, but I’m pretty certain I would enjoy seeing them if you ever did!
-
Visibility lends to credibility
-
I've enjoyed watching this one come together, and reach the finish line - a lot has happened in the world since this one hit the bench! Great work on the dragster AND the truck 👍
-
Interesting! I have a couple of the Ivo kits that I picked up just for the engines - I've been meaning to figure out being able to print some parts to make them a little more usable for hot rod builds. Can't beat getting 4 engines in a kit to repurpose, even if you do have to do a little figuring out to make them work
-

T2 HK Tank
CabDriver replied to Tcoat's topic in WIP: All The Rest: Motorcycles, Aviation, Military, Sci-Fi, Figures
I love the Terminator series of movies (and the TV show they did was pretty good too) - I've been wanting to do a T-800 build soon as I decide which kit to start with. Good start! -
Great looking build - I'd guess this is the collection of Parts Packs that Atlantis will be reissuing as a Keeler's Kustoms kit later this year, so it's interesting to see this build. Looks great, love the color, and the chrome mylar is a smart material to use for that firewall! Where do you source that, and what thickness is it?
-
Great pics - thanks for taking the time to document the show Tim! I recognized Tim Kasper's builds - he made one of the shows up here in NW Indiana last year, and is a supremely talented builder, and the paint on this one really caught my eye too: And this is a real eye-catcher too And I love this little Coupe! Some cool builds on the primer table too - always enjoy seeings works-in-progress! Looks like it was a great show!
-
I picked up a bunch of old Scale Autos a while back, and I recognized the teal and bronze cars from those, but don't recall seeing the blue one before. As usual, the stance, color and overall look of these really hit the spot...beautiful work! And they still look great 40 years later! Going to check out that Fotki link now for some more inspiration 😍
-
I chatted with Joey Wagner about his 1:1 turtledeck T that he's building right now, also without front brakes, and he said in his experience he doesn't mind the lack of front brakes too much - his Tamale Wagon doesn't have them either and he says if he brakes hard and locks the rears at least he can still steer, rather than all four wheels locking up. Of course, he's braver than me... Great looking build - super elegant and not at all cartoon-y looking - soon as my lotto numbers come in I'd like you to build me a real one please 😁
-
All New Meng 1/12 1988 McLaren MP4/4
CabDriver replied to Justin Porter's topic in Car Kit News & Reviews
Yes -
I’m sure I remember a thread with that build, but I’m not having much luck finding it…spectacular build, and masterful skills with replicating materials and textures!
-
I hope he's doing ok - I really enjoyed his "Fundamentals" video series. I don't know him, but I'd like to chat with him sometime Paging @LoneWolf15 (in case notifications go to his email) - Donn to the courtesy phone!
-
I'm sure you know Tom, but there's two versions of that kit...the 'full' version and the Quickbuilder version. Neither includes a frame...but both include a resemblance of front and rear suspension which attach directly to the body. The full detail version adds an interior and some kinda-engine detail (just what would be visible in the trunk of the real car, which isn't a lot...)
-
Amazon is trying a smaller version of this concept right now (not that they’re the only ones doing it): https://www.businessinsider.com/amazon-tiny-home-kit-allwood-getaway-cabin-loft-2019-7?amp I’d need about 6 of them to build something actually useful though, and by that time I would’ve been better off just buying a regular house…plus I never manage to build a kit without deviating from the directions anyway 🤪 Cool option for a little structure in a backyard to use for guests maybe or a small home office
-
The insane double standards of yootoob
CabDriver replied to Ace-Garageguy's topic in The Off-Topic Lounge
In our house, WAP stands for Worship and Prayer 🙏 😂 -
Nailing it! It’s looking great!
-
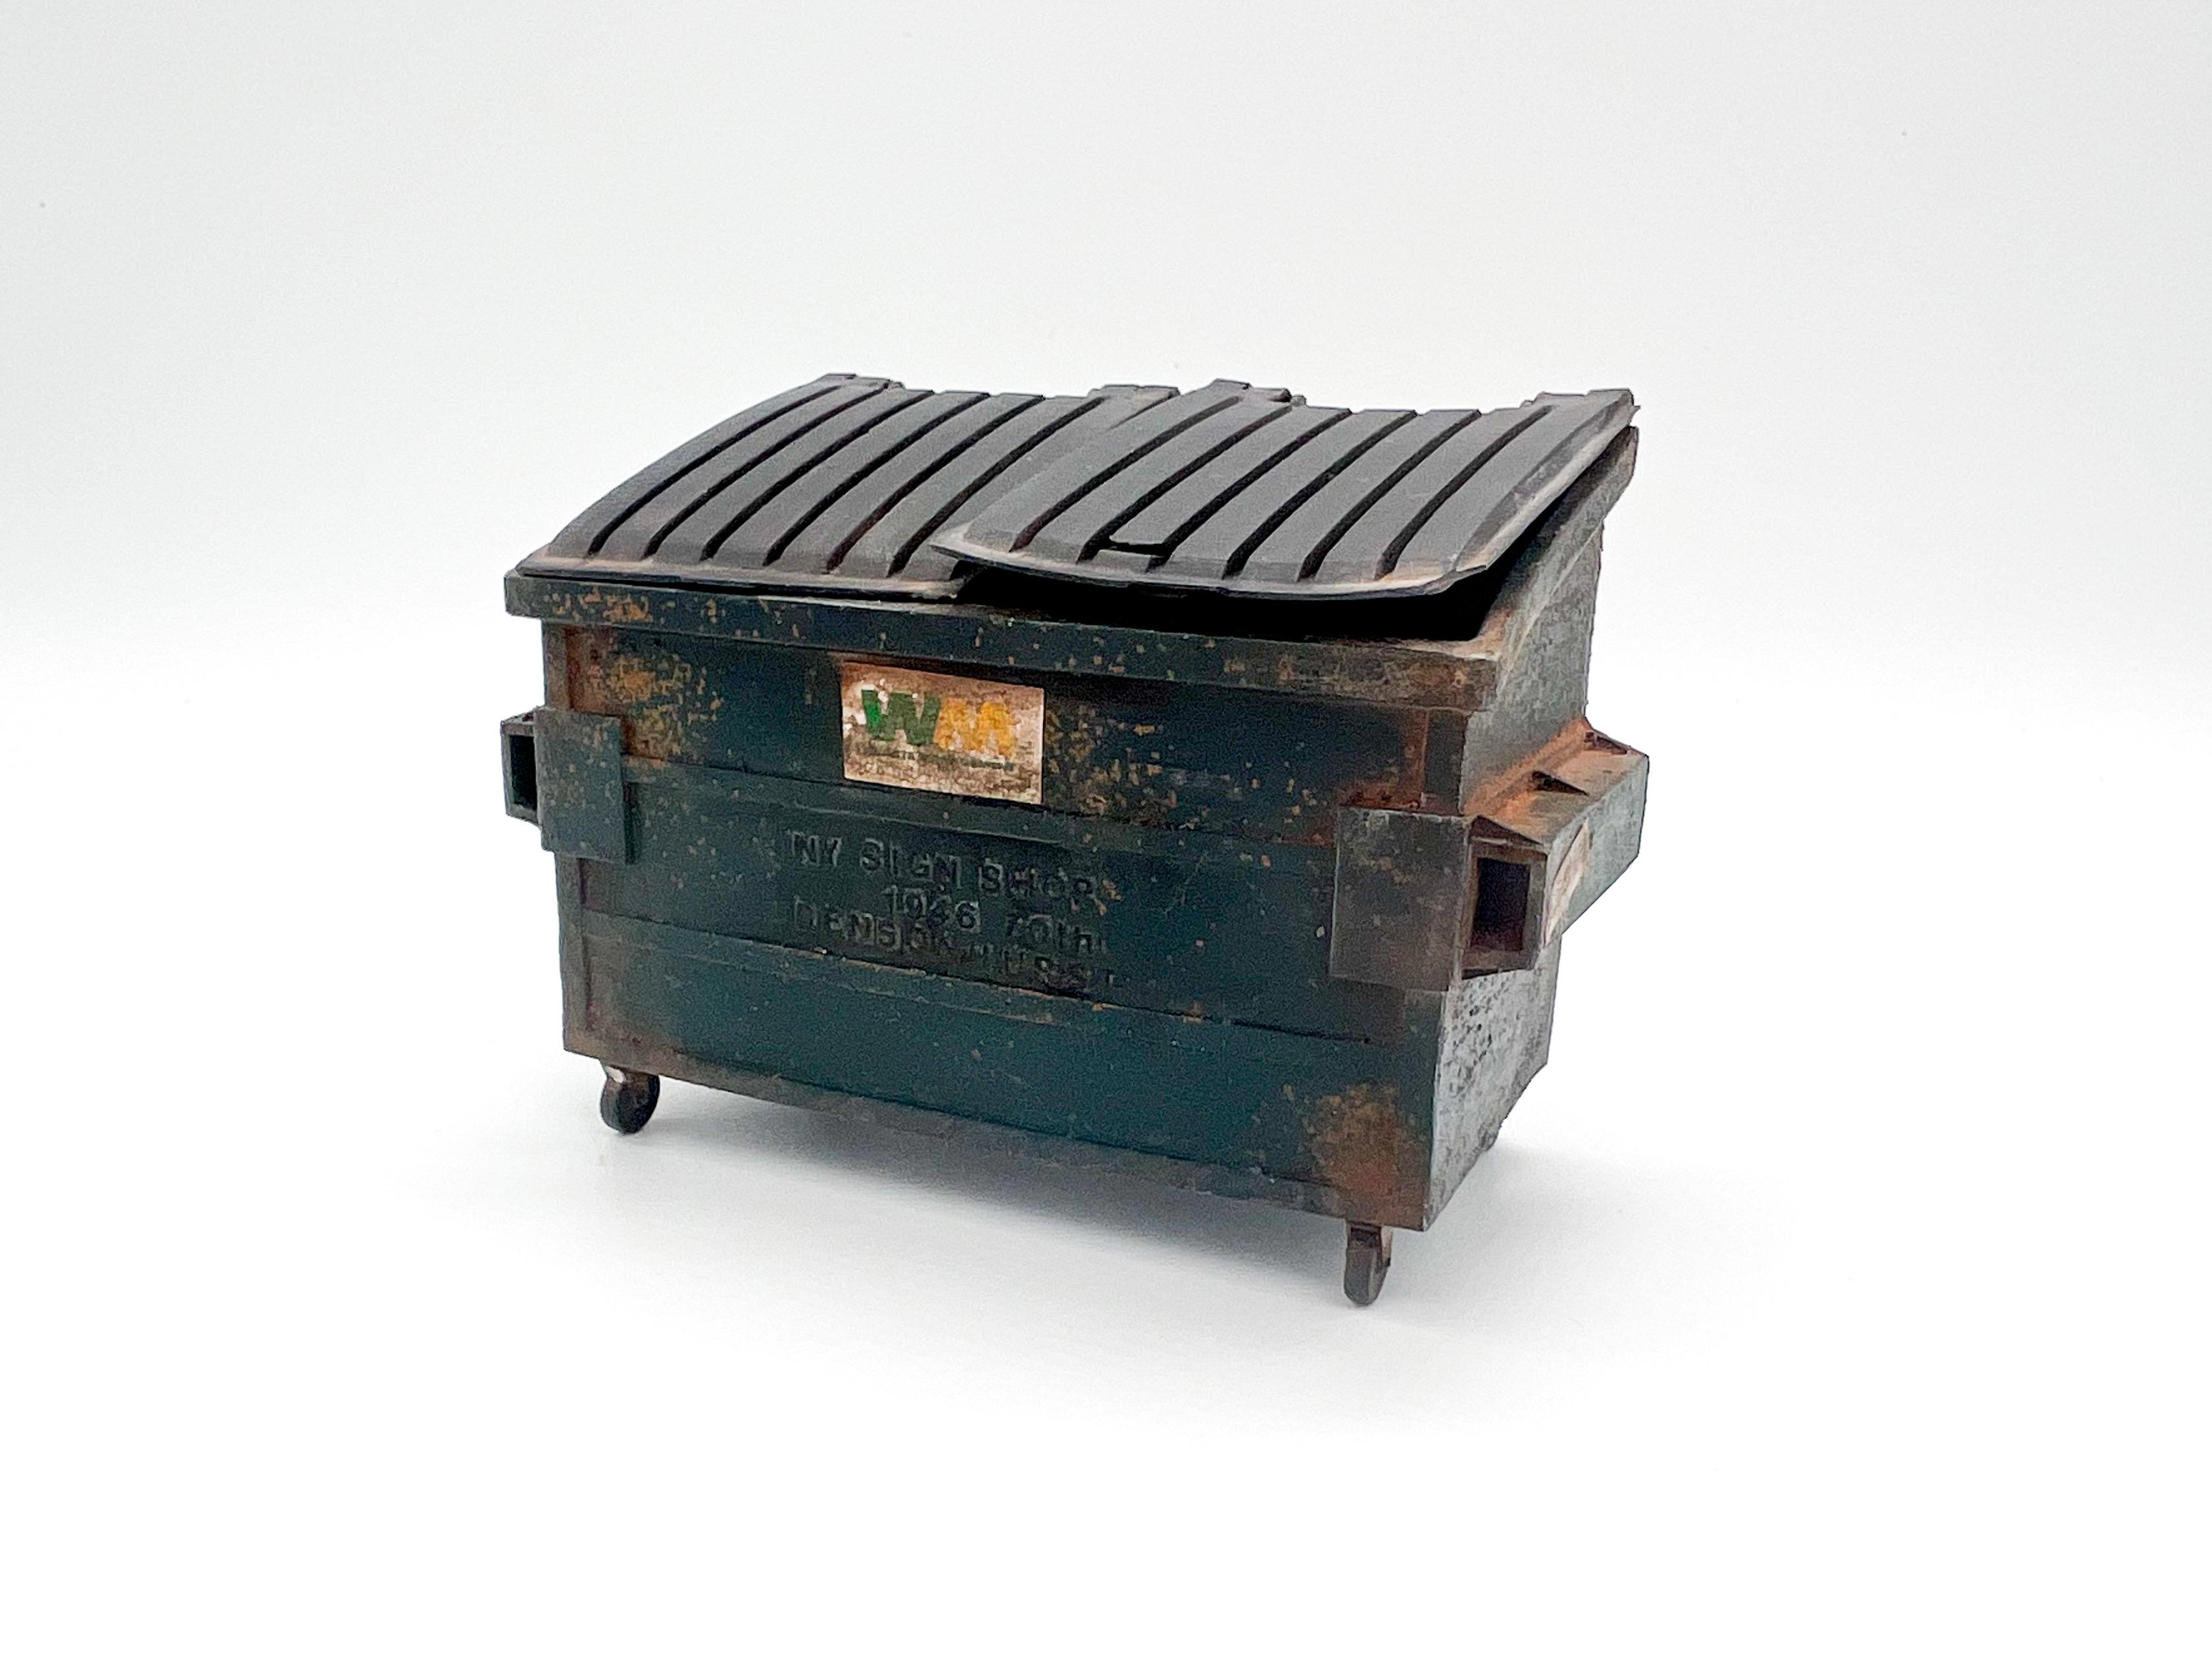
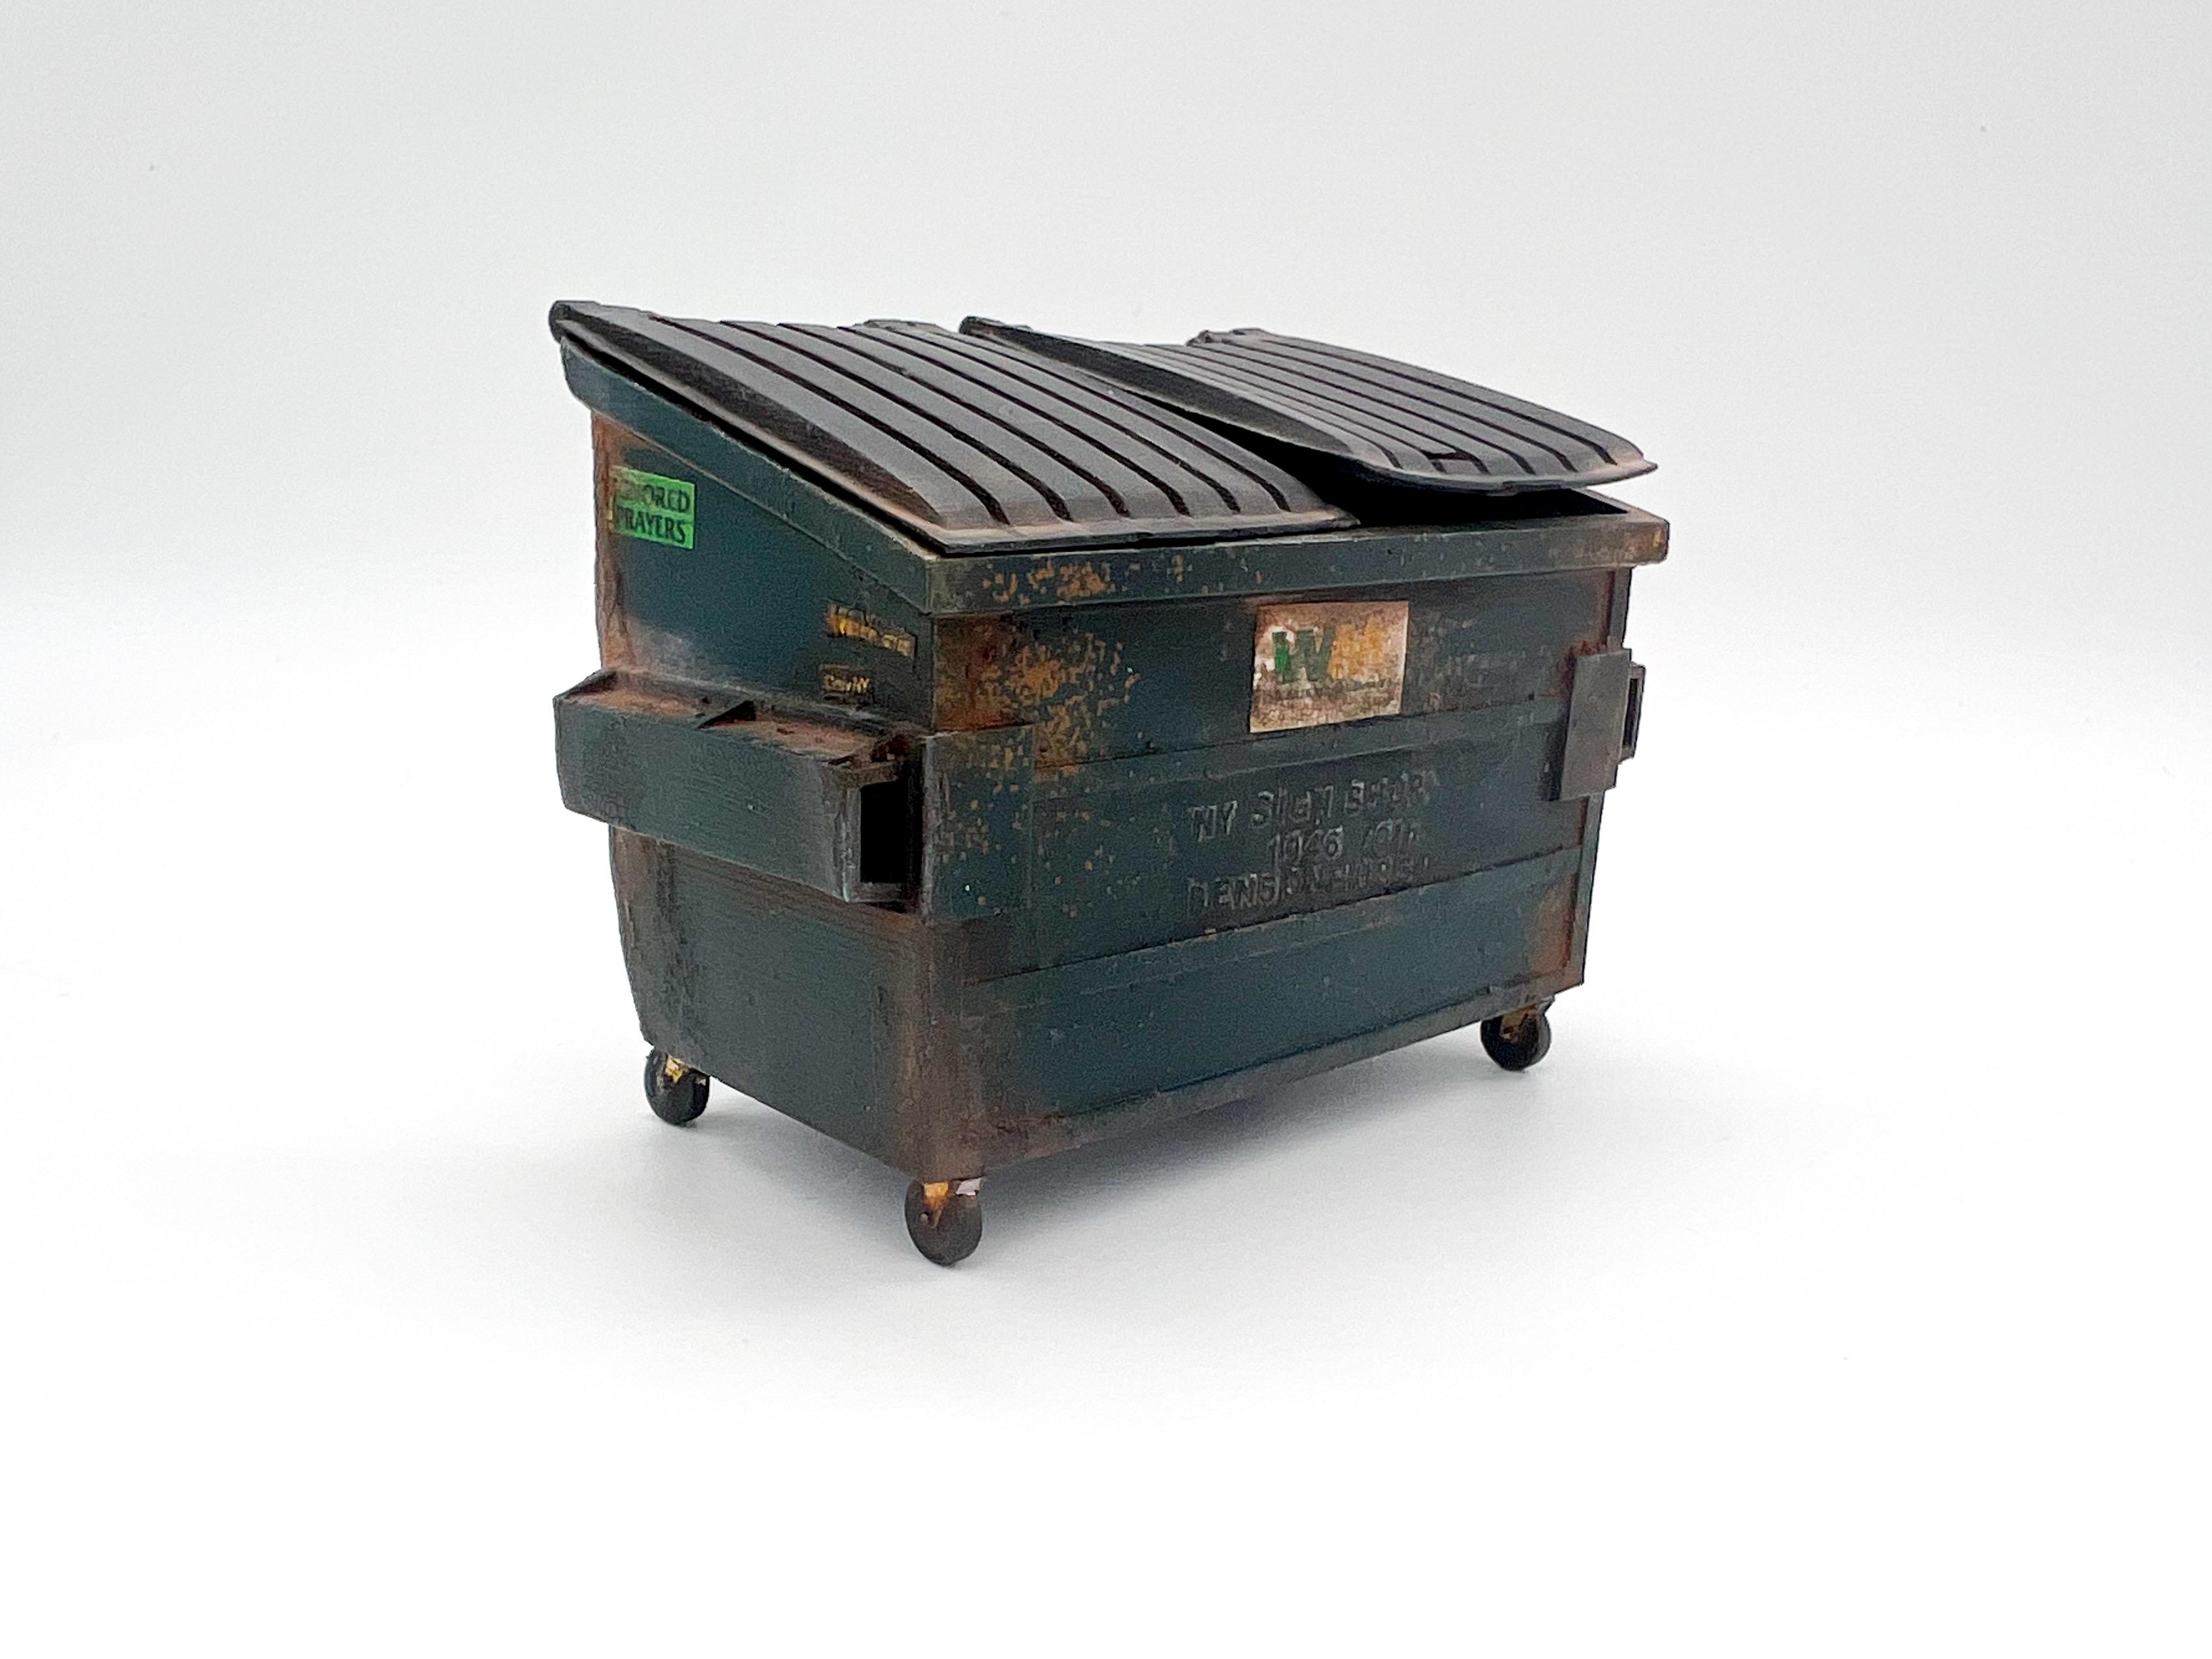
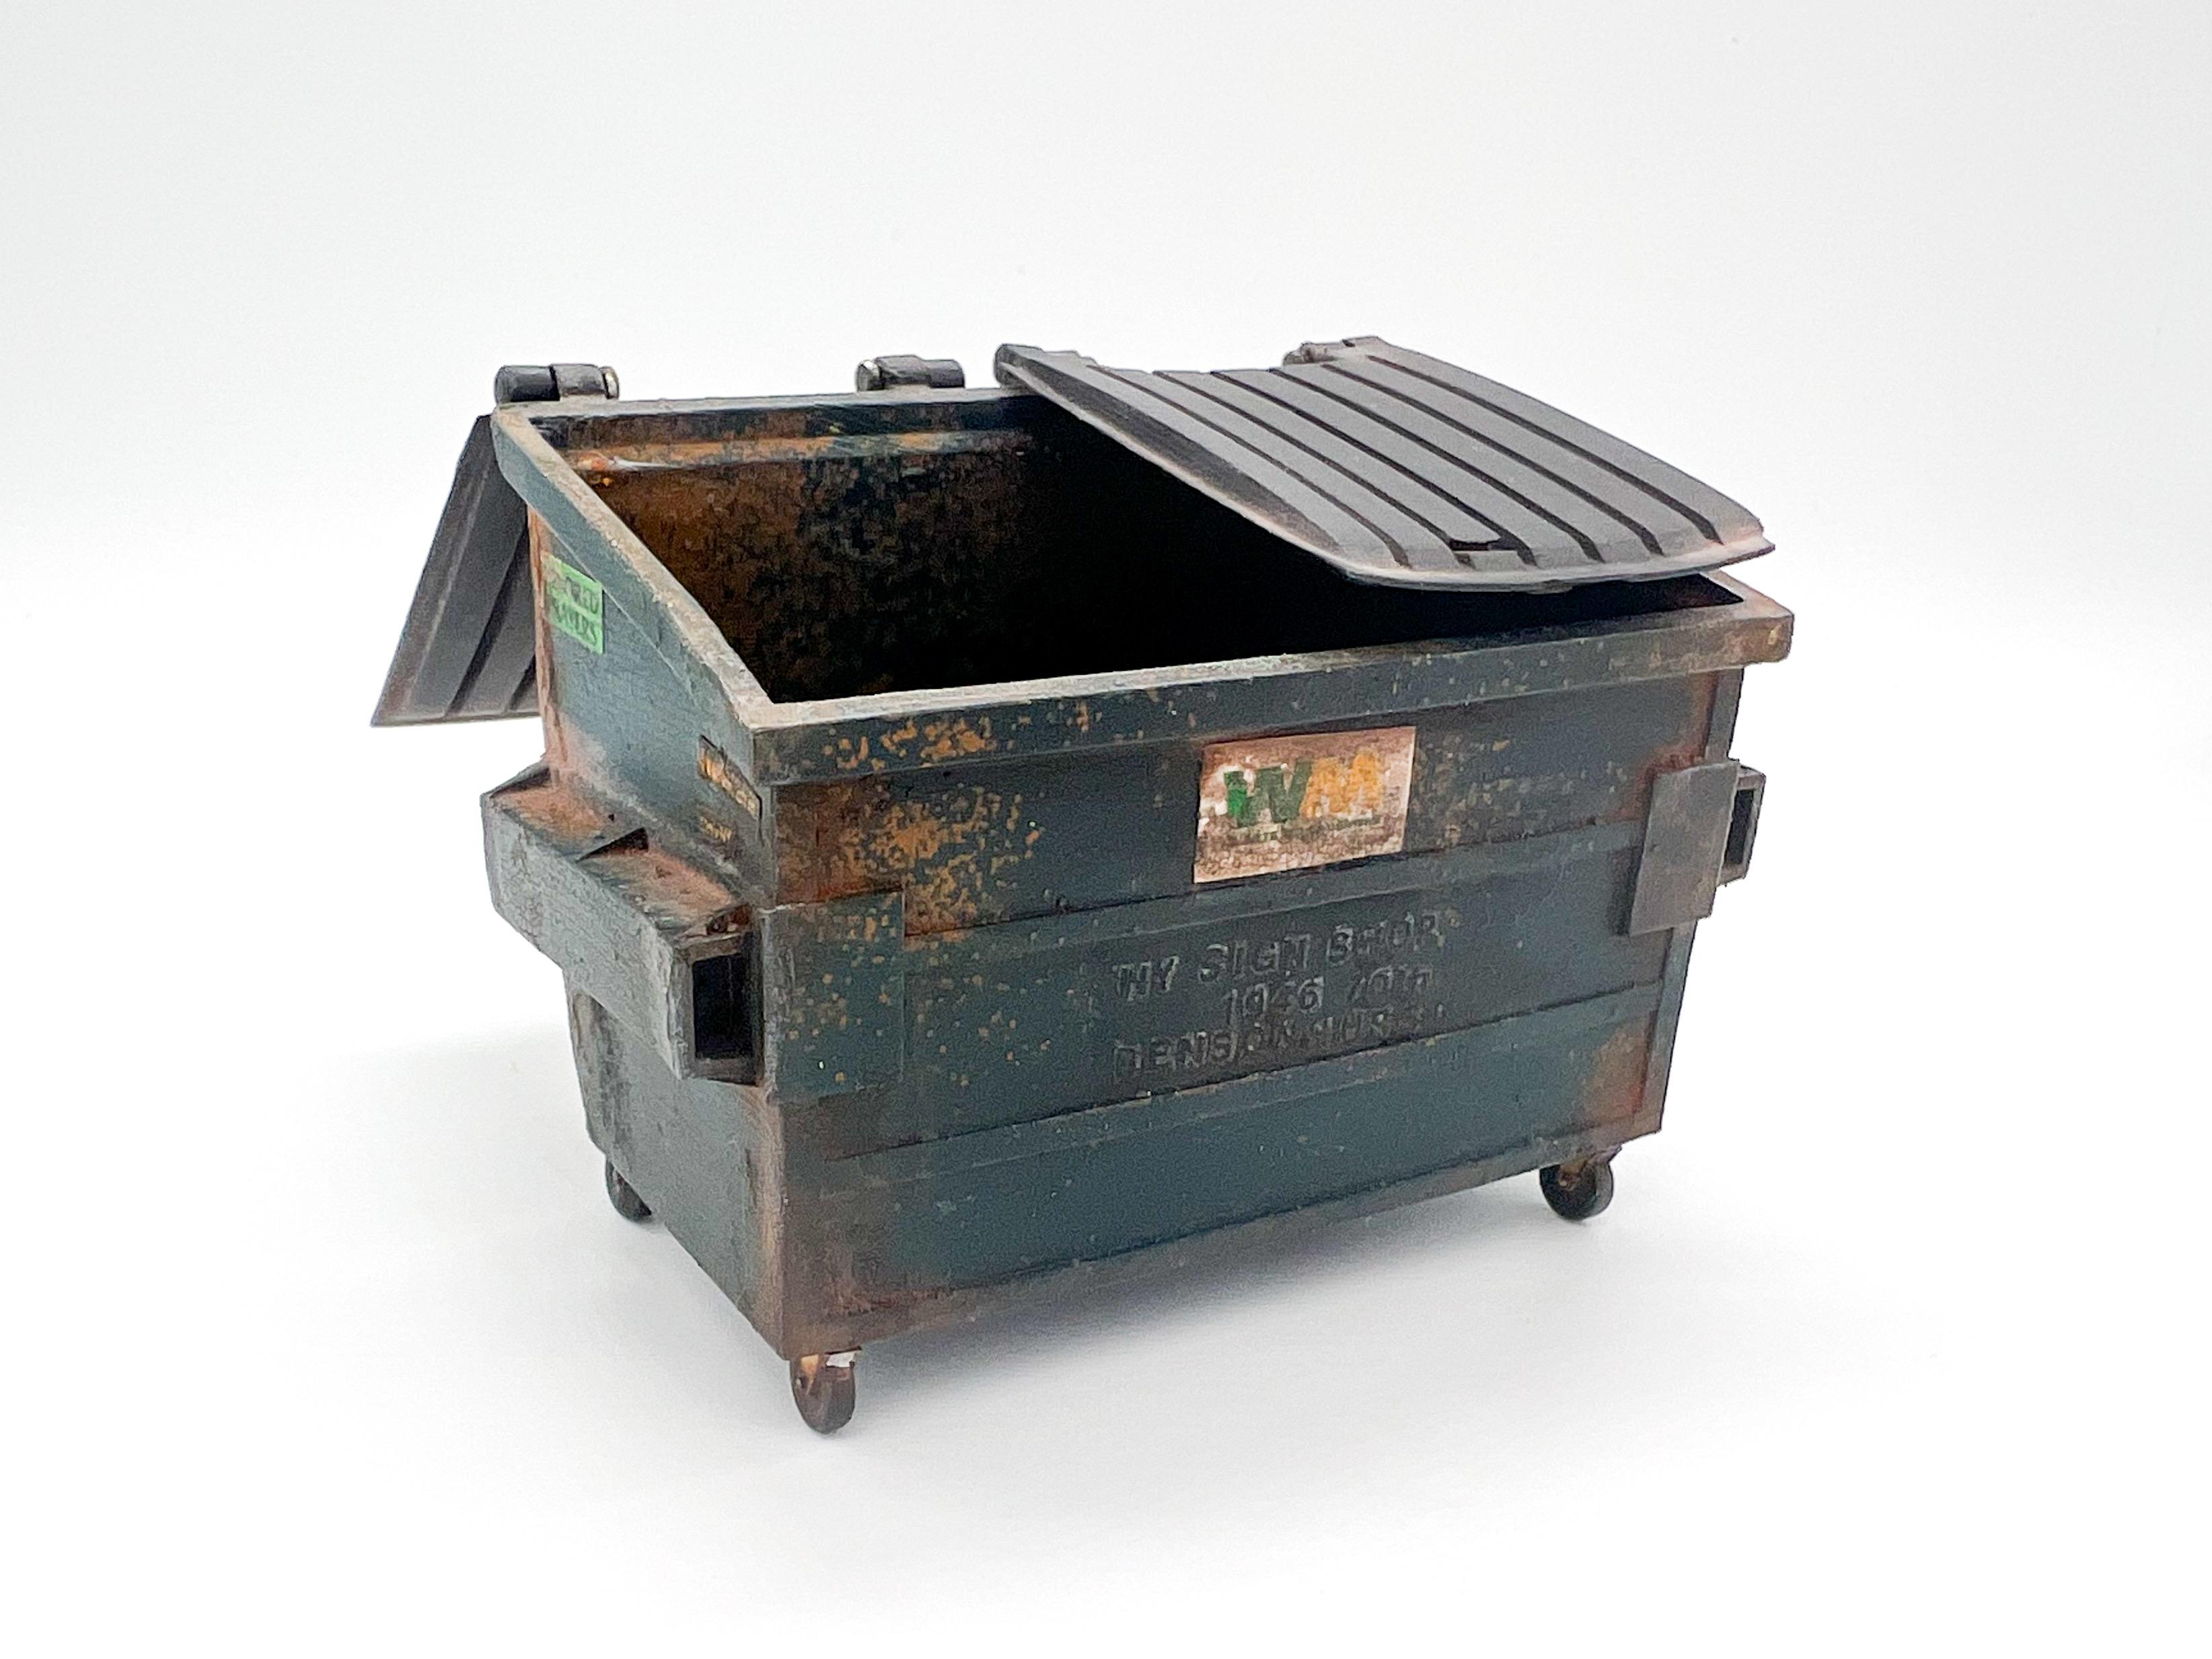
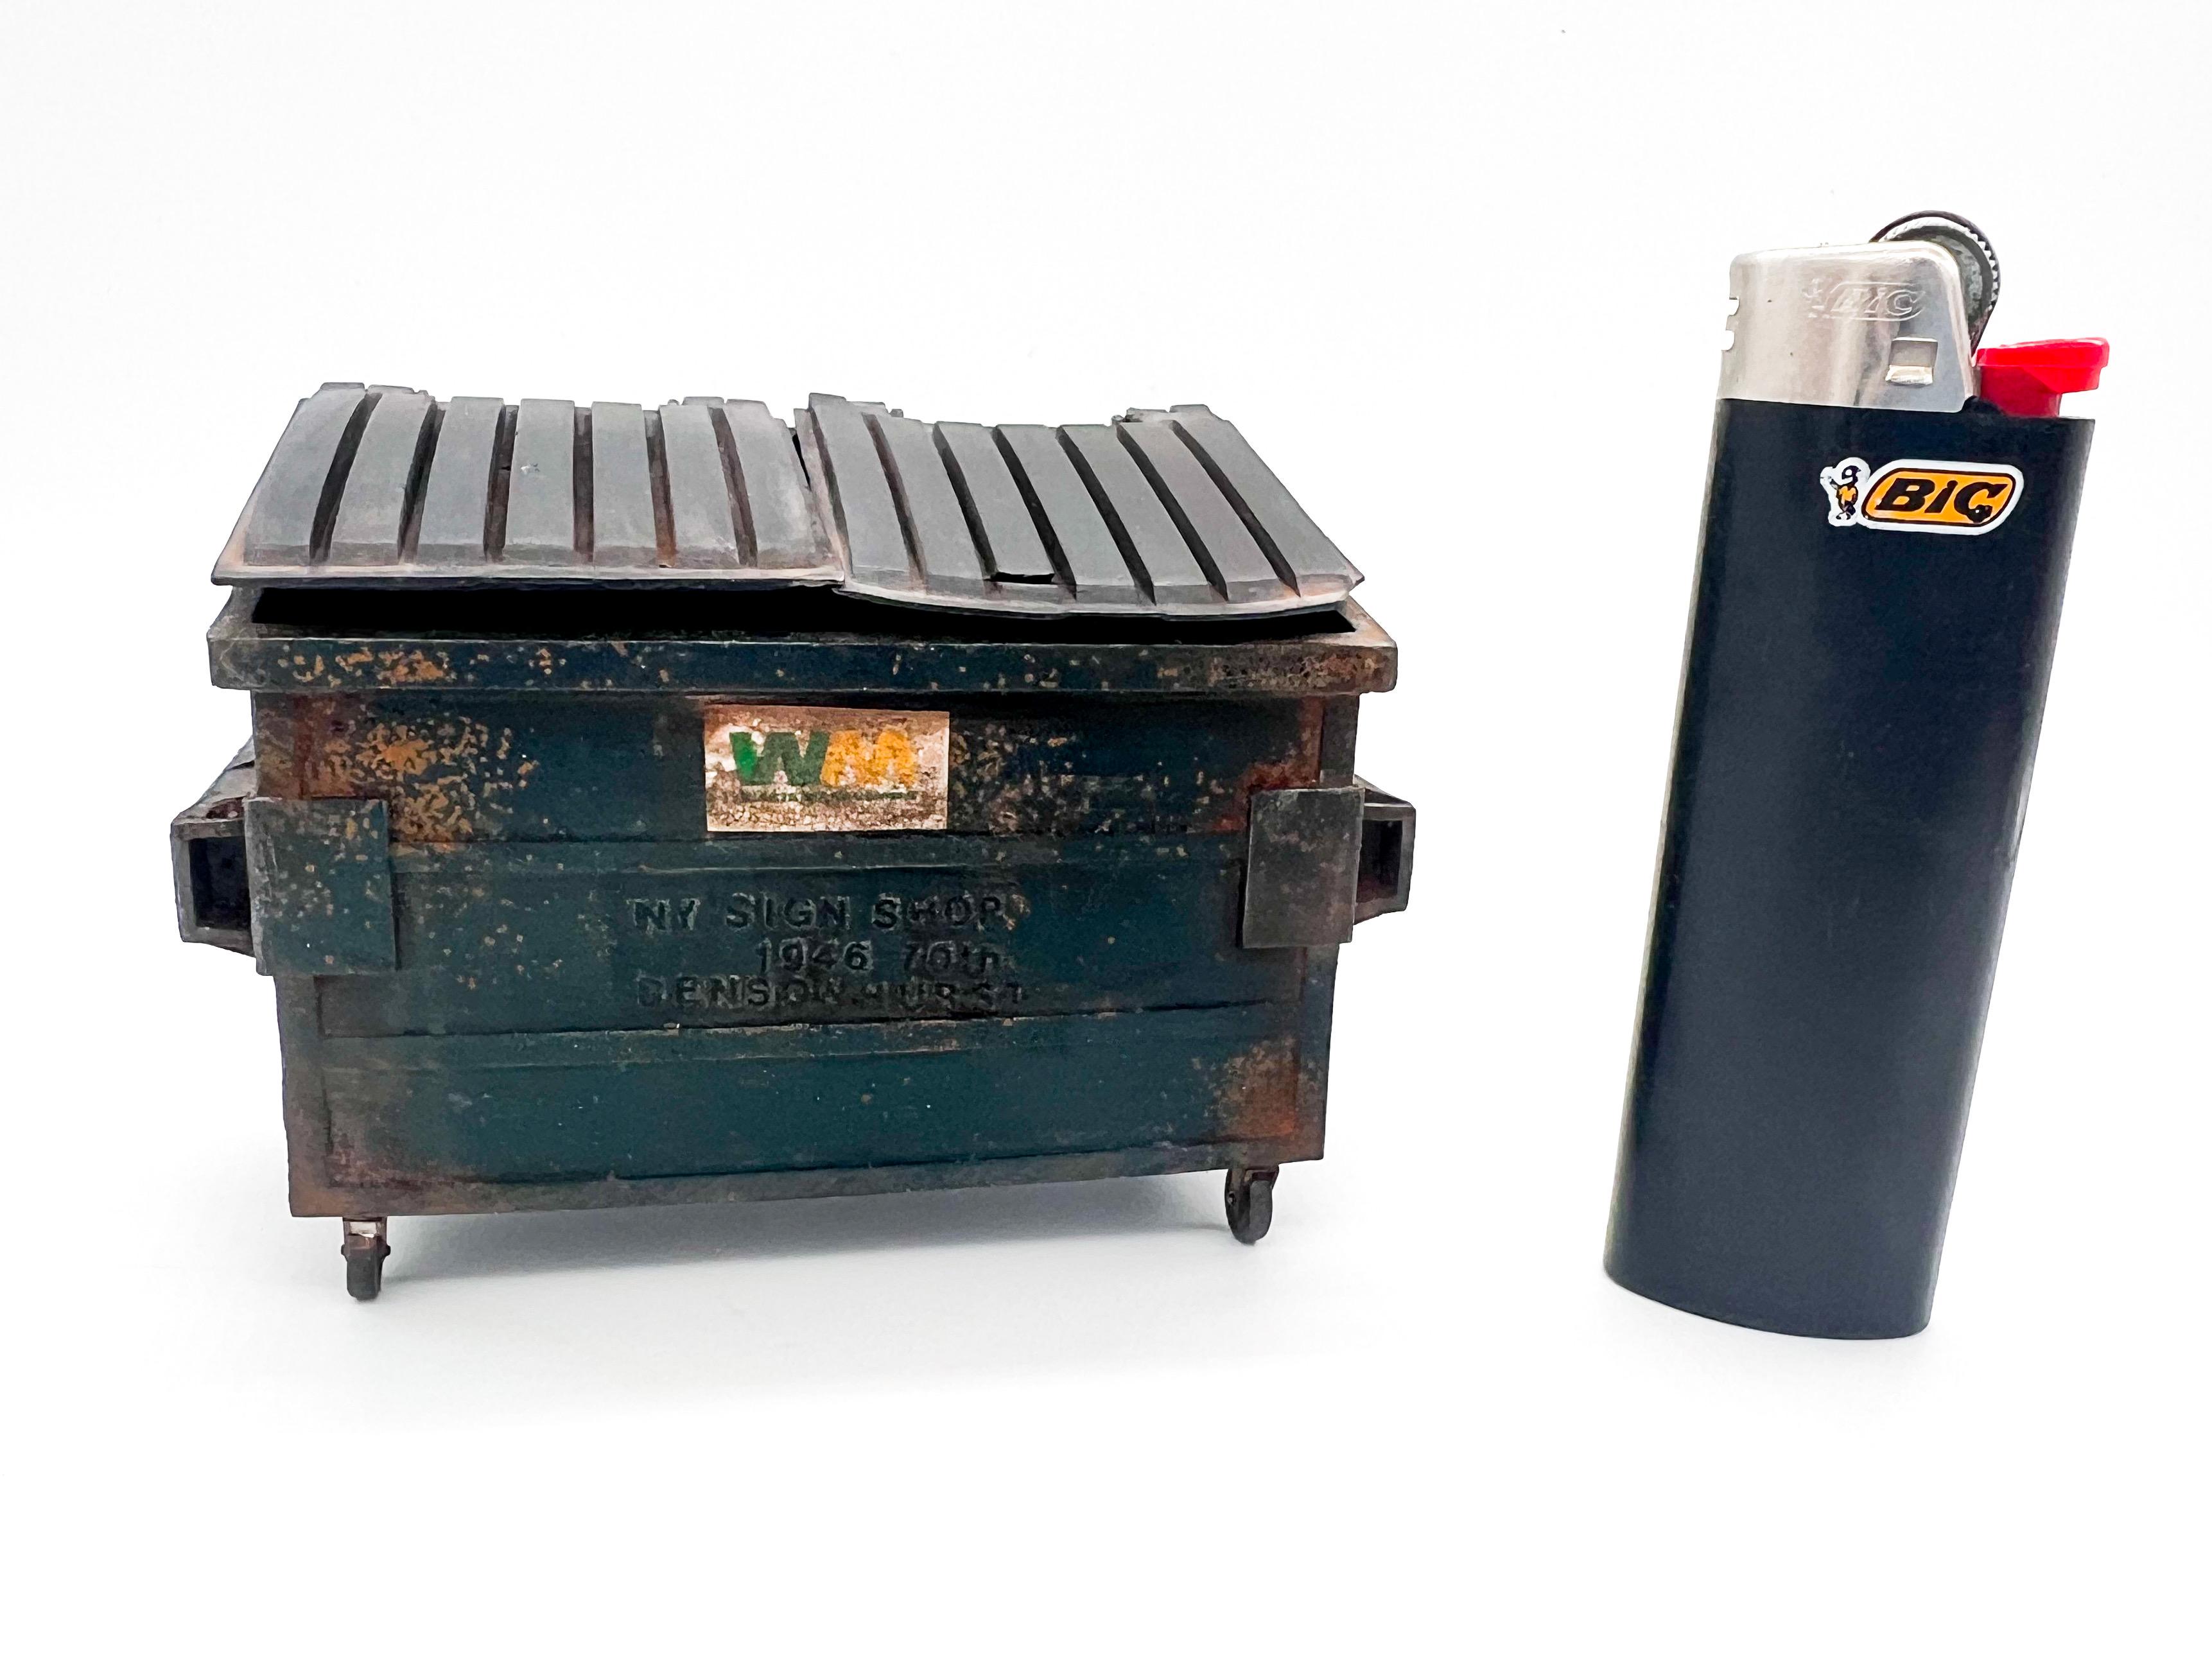
A Dumpster
CabDriver replied to CabDriver's topic in All The Rest: Motorcycles, Aviation, Military, Sci-Fi, Figures
Wow, that’s a lot of replies for a dirty old dumpster - thanks everyone!! It probably SHOULD - it’s 1:25…but I haven’t picked up one of those yet. It’s on my list! Being 3D printed it’s an easy fix to scale it correctly if it isn’t… Not quite - but it could be! It’s currently employed on my desk at work housung what the French call ‘trombones’: Three people at work noticed it already, and all three a) didn’t believe I made it and b) wanted their own. I could start a profitable side-line making mini dumpsters it seems 🤪 I never knew (or noticed) that - good info, thank you! Thanks again to everyone for all the nice comments - these little mini-projects are fun for a quick build! I’ve got some VW bus mini-bikes to complete as a quicky build next…
-
That’s a cool trick - nice work! You can get a subtler version of the same trick by laying the Saran Wrap down on the paint (un-wrinkled) and smoothing it down with your finger then removing…gives a kind of marble effect! Love seeing people’s paint experiments!
-
The 37 is cool, but I LOVE that Valiant! That's going to be a killer build too! Good tips on shortening the frame - I've got a few of these that I'd like to build and the kits are cheap and plentiful to pick up right now it seems
-
Your Approach to Building?
CabDriver replied to Calb56's topic in General Automotive Talk (Trucks and Cars)
I've been thinking about this topic a lot lately, thanks in part to talking to my wife (an artist) about art theory and different ways that art conveys a story. A lot of that kind of thinking is more suited to diorama builders, but there IS some crossover and some interesting ideas that we can apply to our builds. The way I'm thinking is there's a couple of ways to build a model. Most common, and easiest, is to build the KIT. We're drawn naturally through the process by how the kit is meant to fit together, and either fix, or don't, some of it's shortcomings. Maybe add some detail or switch out some parts, but mainly we're building the KIT. That's the activity. The other way to approach this mentally is to build a model of the 1:1 SUBJECT, and probably use a kit as a basis. There will likely be multiple inaccuracies in the kit parts - incorrect body lines, things that are out of scale due to the constraints of the manufacturing process; things that if we're aiming to build an accurate REPLICA of the 1:1 we need to fix. The end goal isn't to complete a KIT, but to build the REPLICA, perhaps using parts from the kit, perhaps building a lot from scratch. If you've ever seen one of Mark Jone's Super 7 builds, that's like the process I'm thinking of. A much different mindset, and much more involved, than working the steps of a kit and letting the way it's designed to fit together guide you. Neither way is wrong, but the mindset that you'll have going through each of these different processes will likely be wildly different. Am I trying to build the BEST replica of a '70 Charger possible, or do the best build of the AMT '70 Charger kit? How deep you want to dive into improving any given kit's shortcomings or perfectly replicate the subject matter will probably dictate which path you end up choosing. Back to the point of telling a story with your build - I've been trying to conscious of what I'm trying to convey with the finished product. For example, say I'm building a race car. Is this thing fresh out of the shop, ready to hit the track for the first time? Lightly weathered, as though it's had a LITTLE running but no serious competition? All beaten up from a long season? I think there's a lot we can add to the STORY our builds tell by thinking about some of this stuff, and it's something military modelers do a lot more than us car guys often do (even without needing to do diorama-y stuff like making a base and adding accessories to LITERALLY set a scene). I like the idea of adding easter eggs to a build too; little details that reward people who give the build more than a passing glance. Maybe the car you're modelling was notorious for dripping oil, so you add a little more weathering to the pan than normal. Or you're building a Chevy van and you show the paint starting to peel a little from the hood like all those white Chevy vans seem to do. Maybe it's a Mooneyes build and you incorporate a Rat Fink sticker because Mooneyes sells all the Roth stuff. I love stuff like that! -
Great looking build! Nice job!
-
I’m trying to make sure to grab at least one of each of the Atlantis bi-scale kits whilst they’re easily available…latest addition is the Mack truck: I think I have one of everything they’ve released in the ‘regular’ scales now…which is good considering they have a bunch of new stuff on the way. I’m gonna have a LOT of fun working through all their kits once I get to them (and there’s a bunch of the 1:32 ones I’d like to pick up too…) Wonder if a Beer Wagon would fit on the back in place of those logs? 😀
- 35,983 replies
-
- 3
-

-
- johan
- glue bombs
- (and 1 more)
-
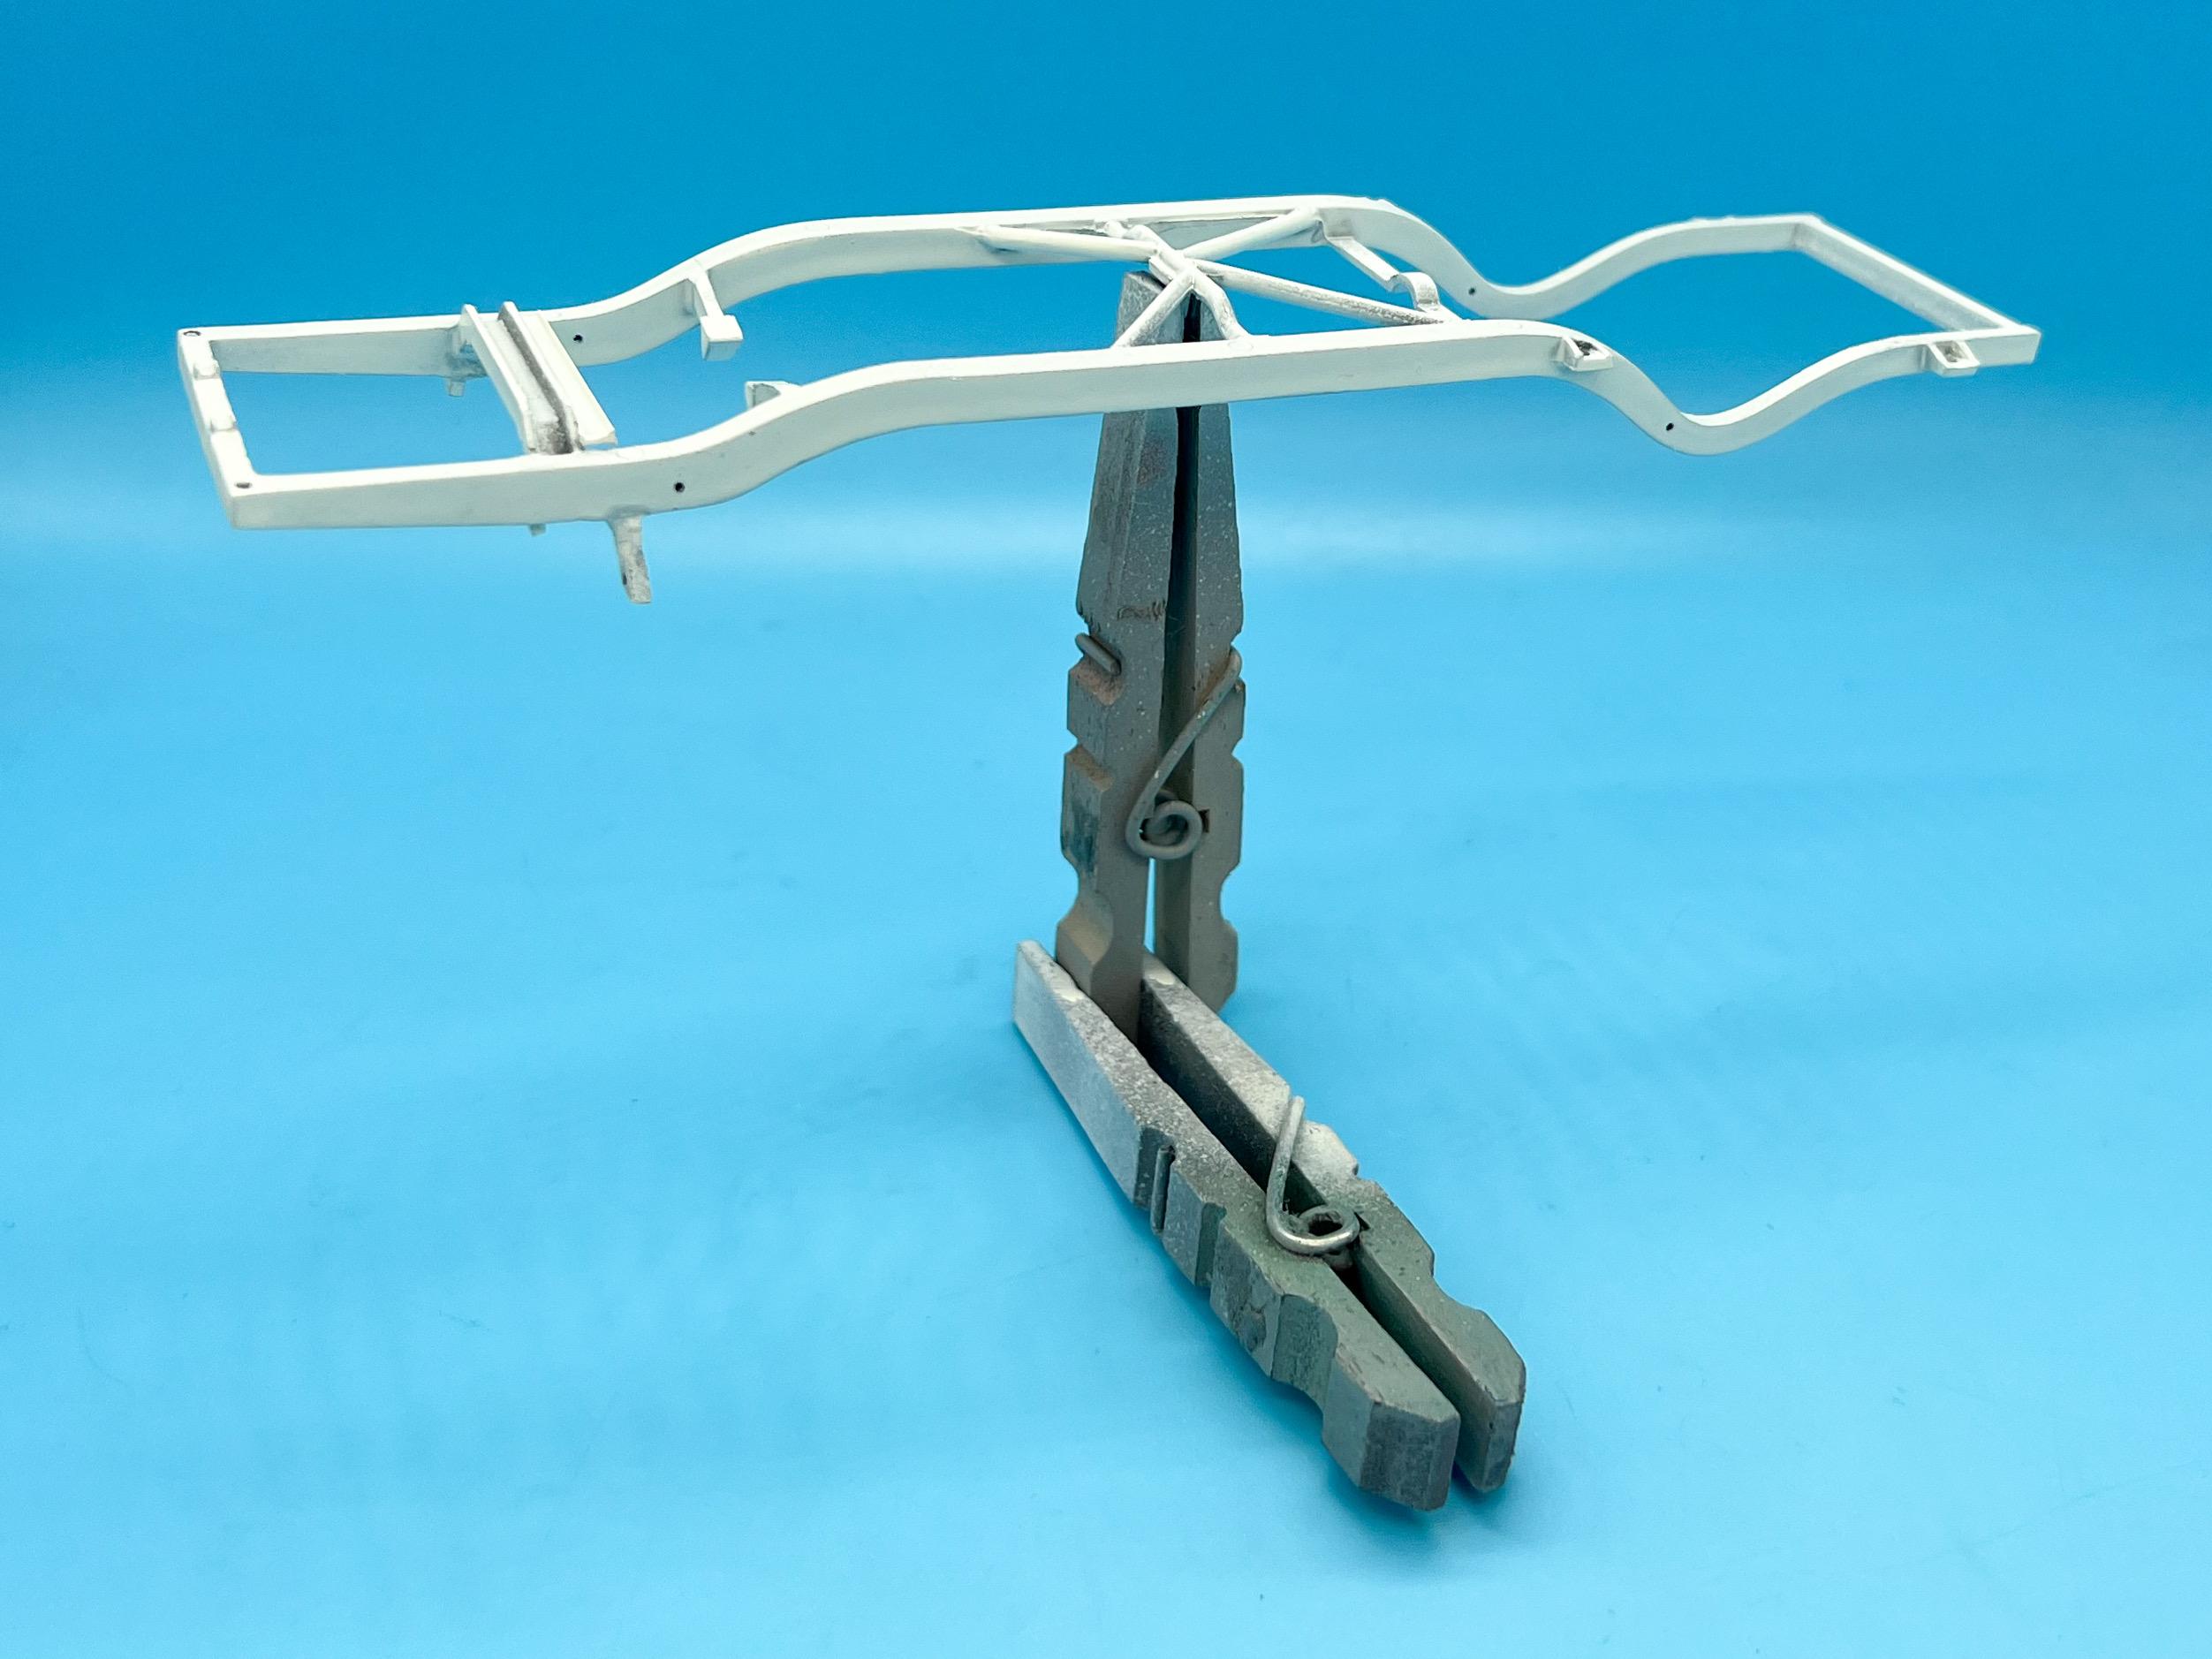
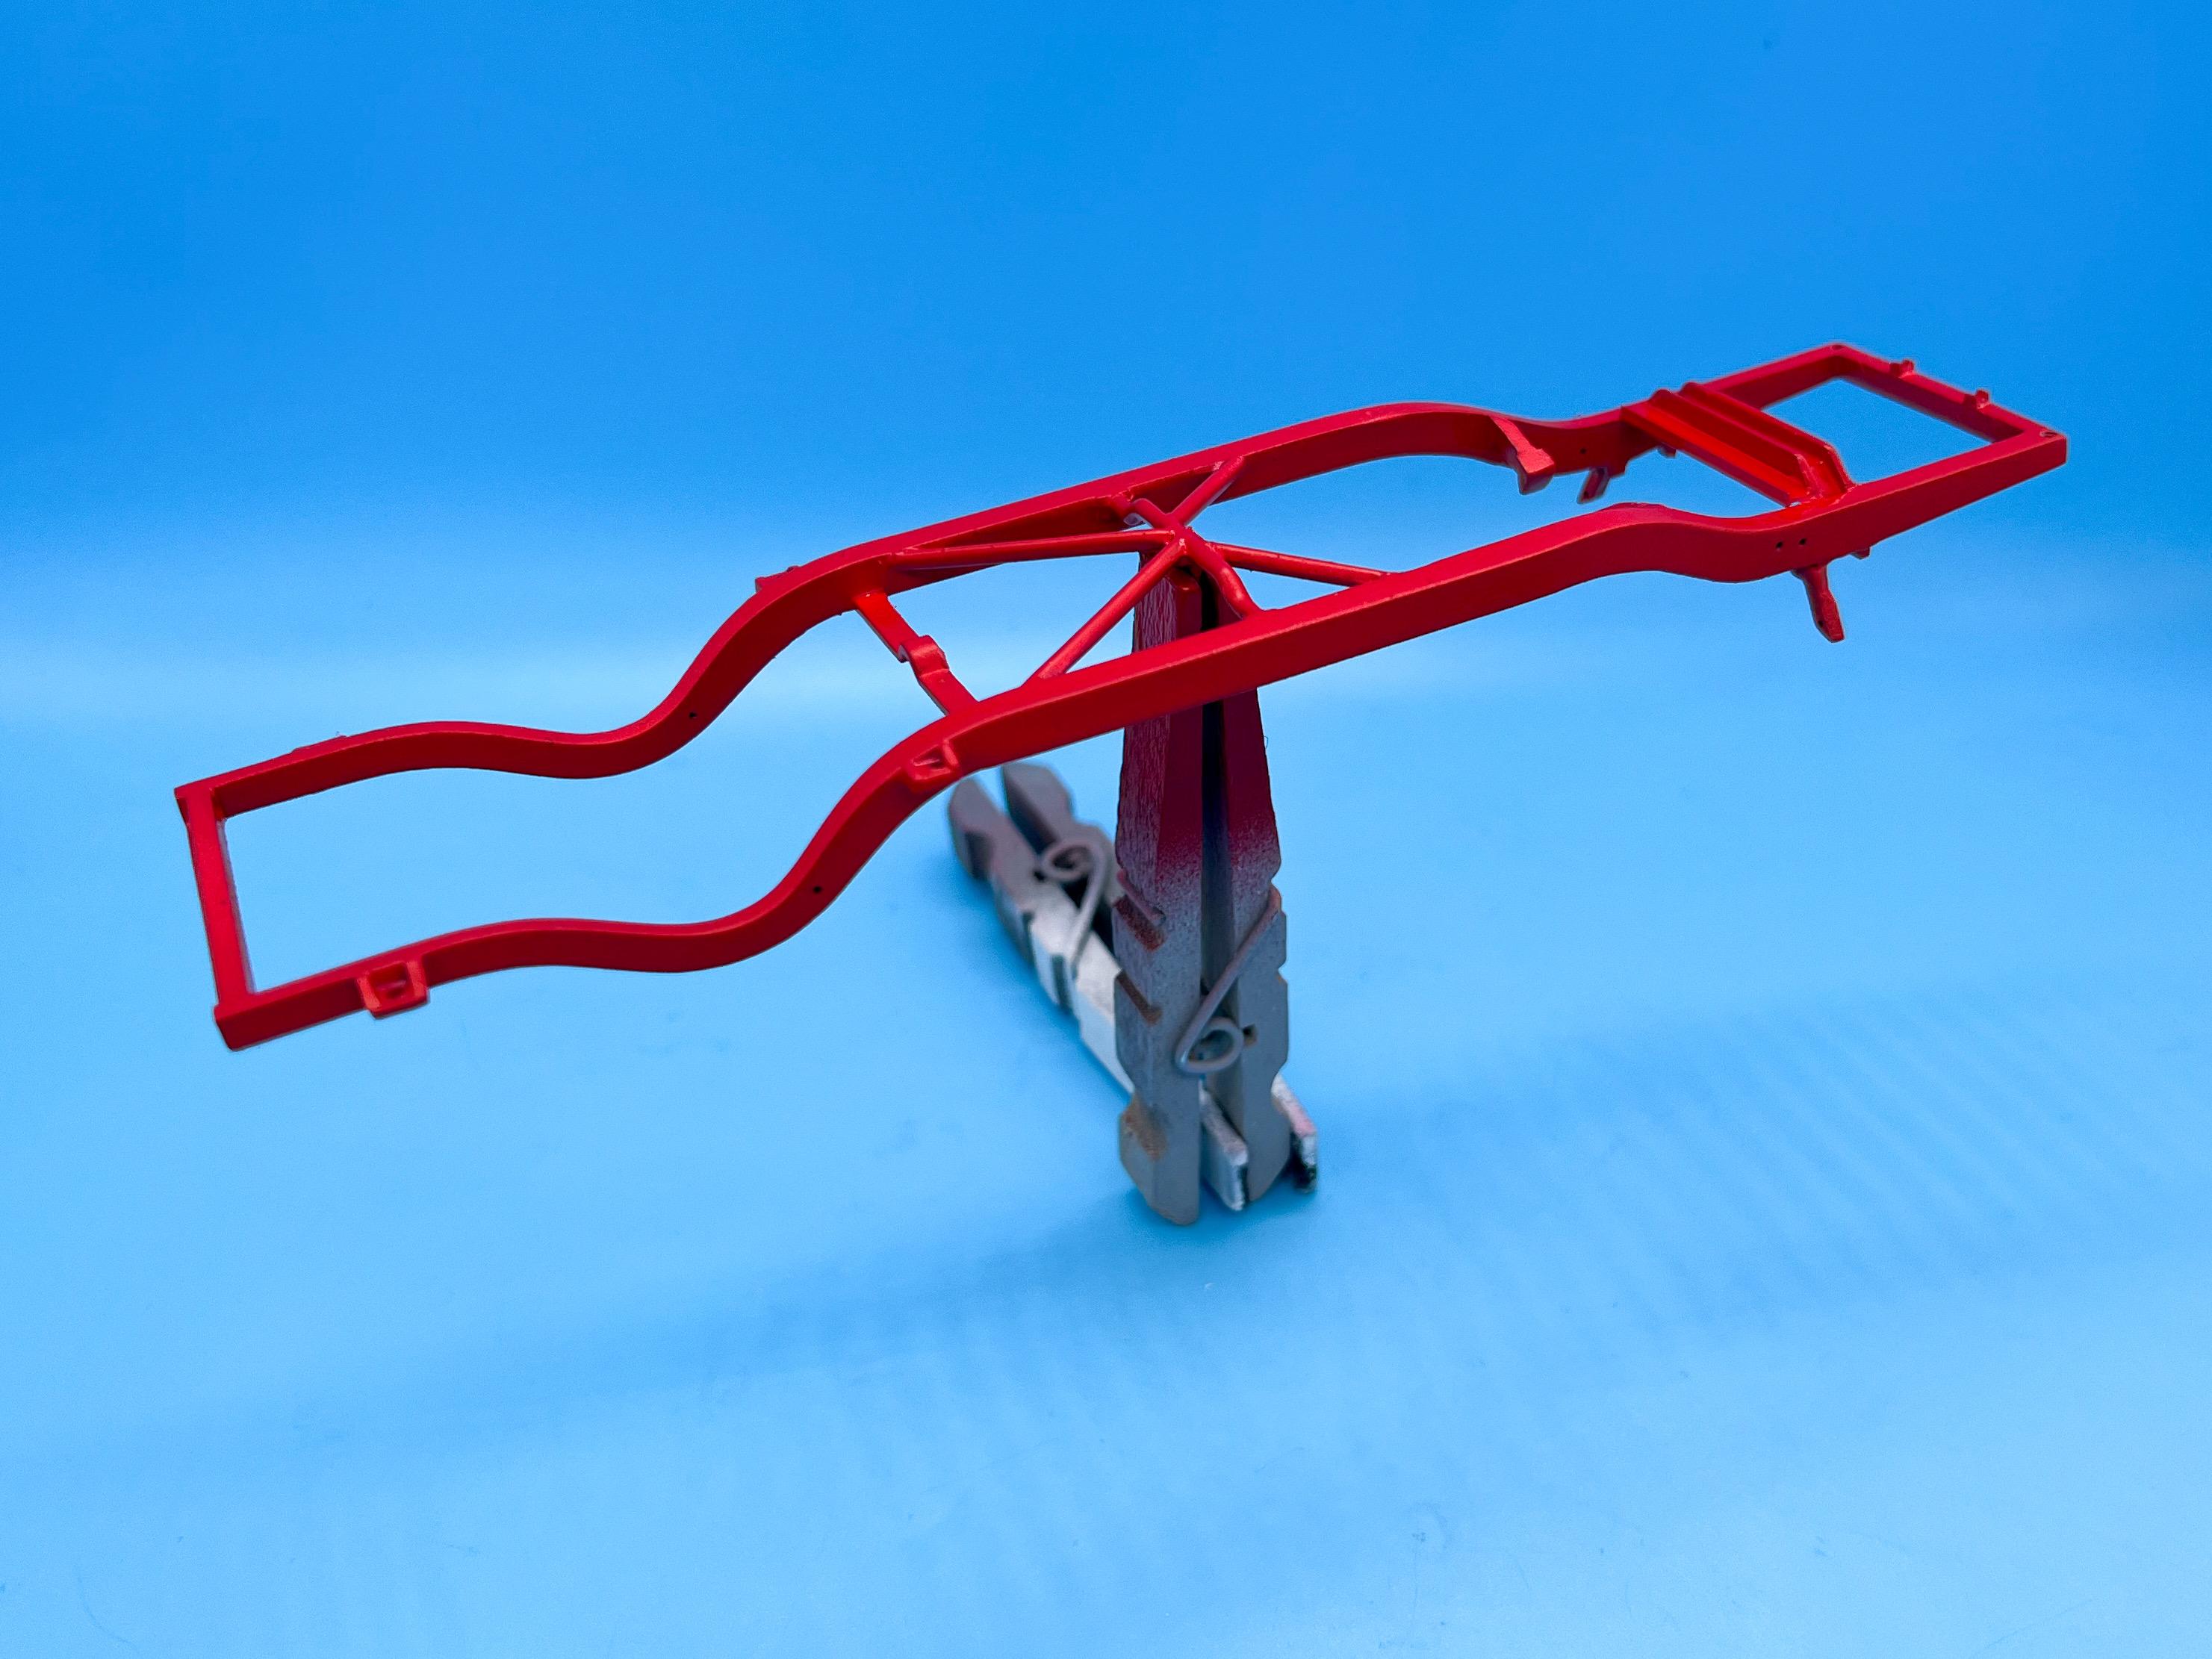
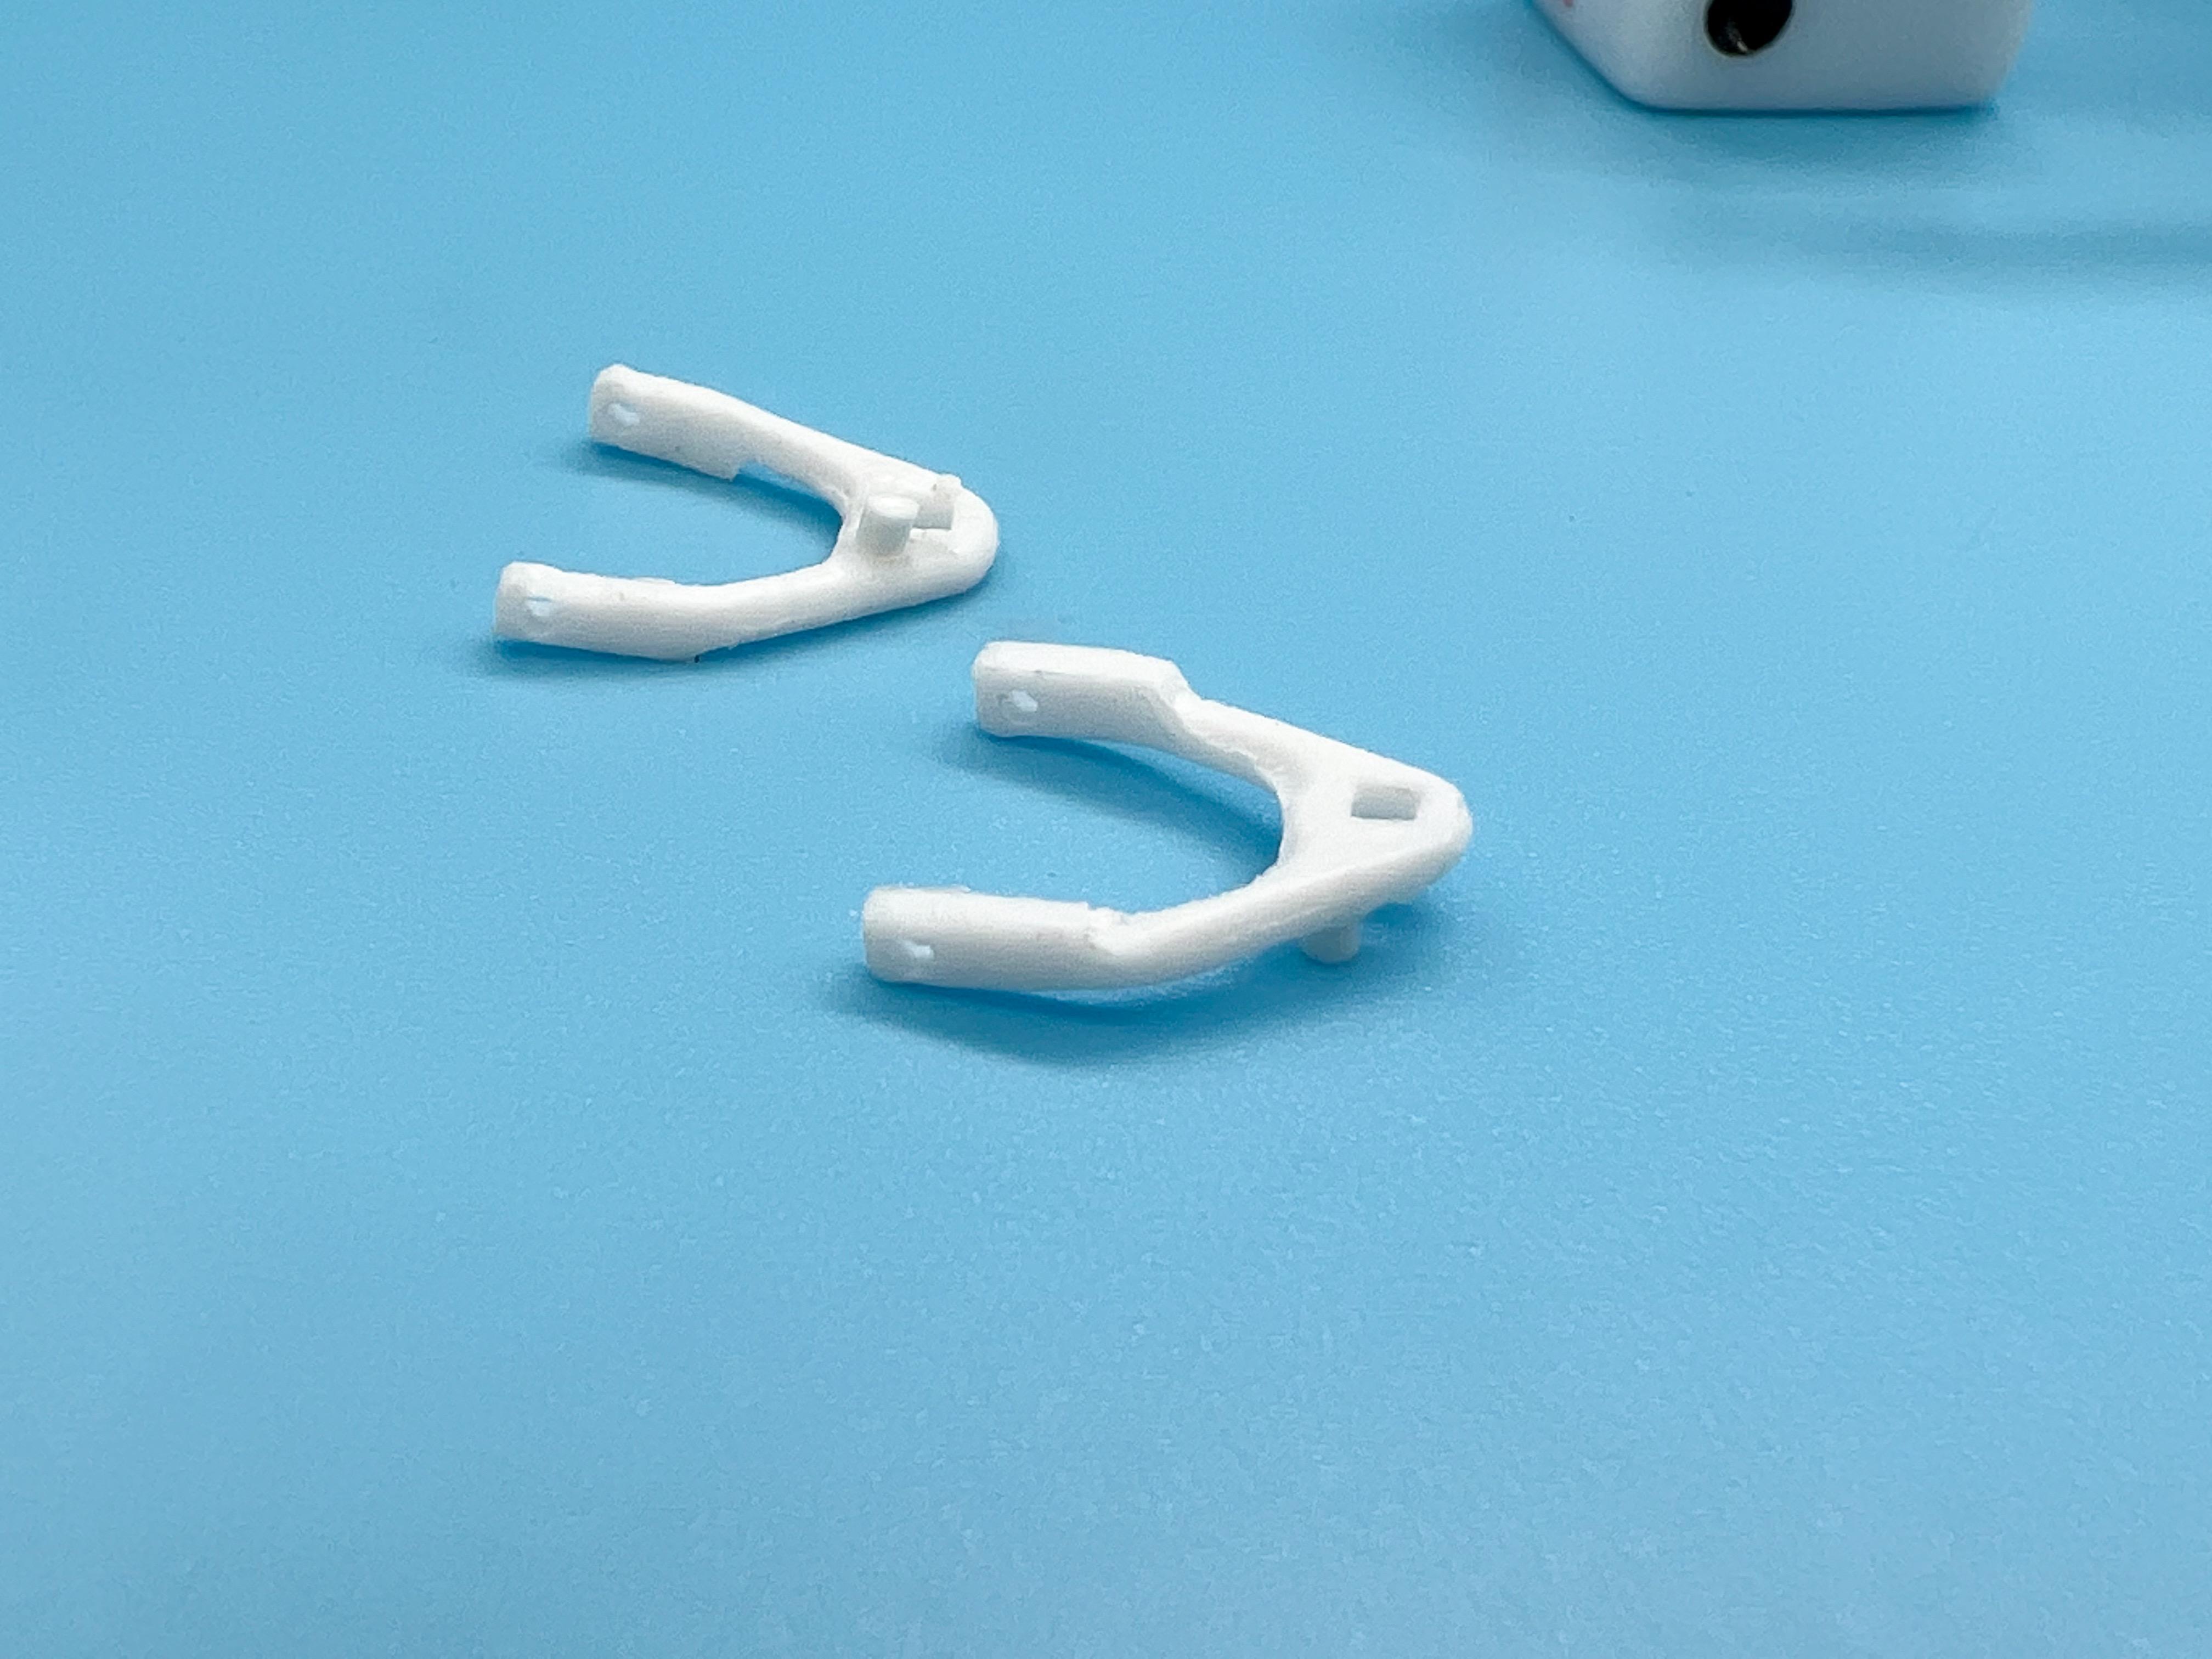
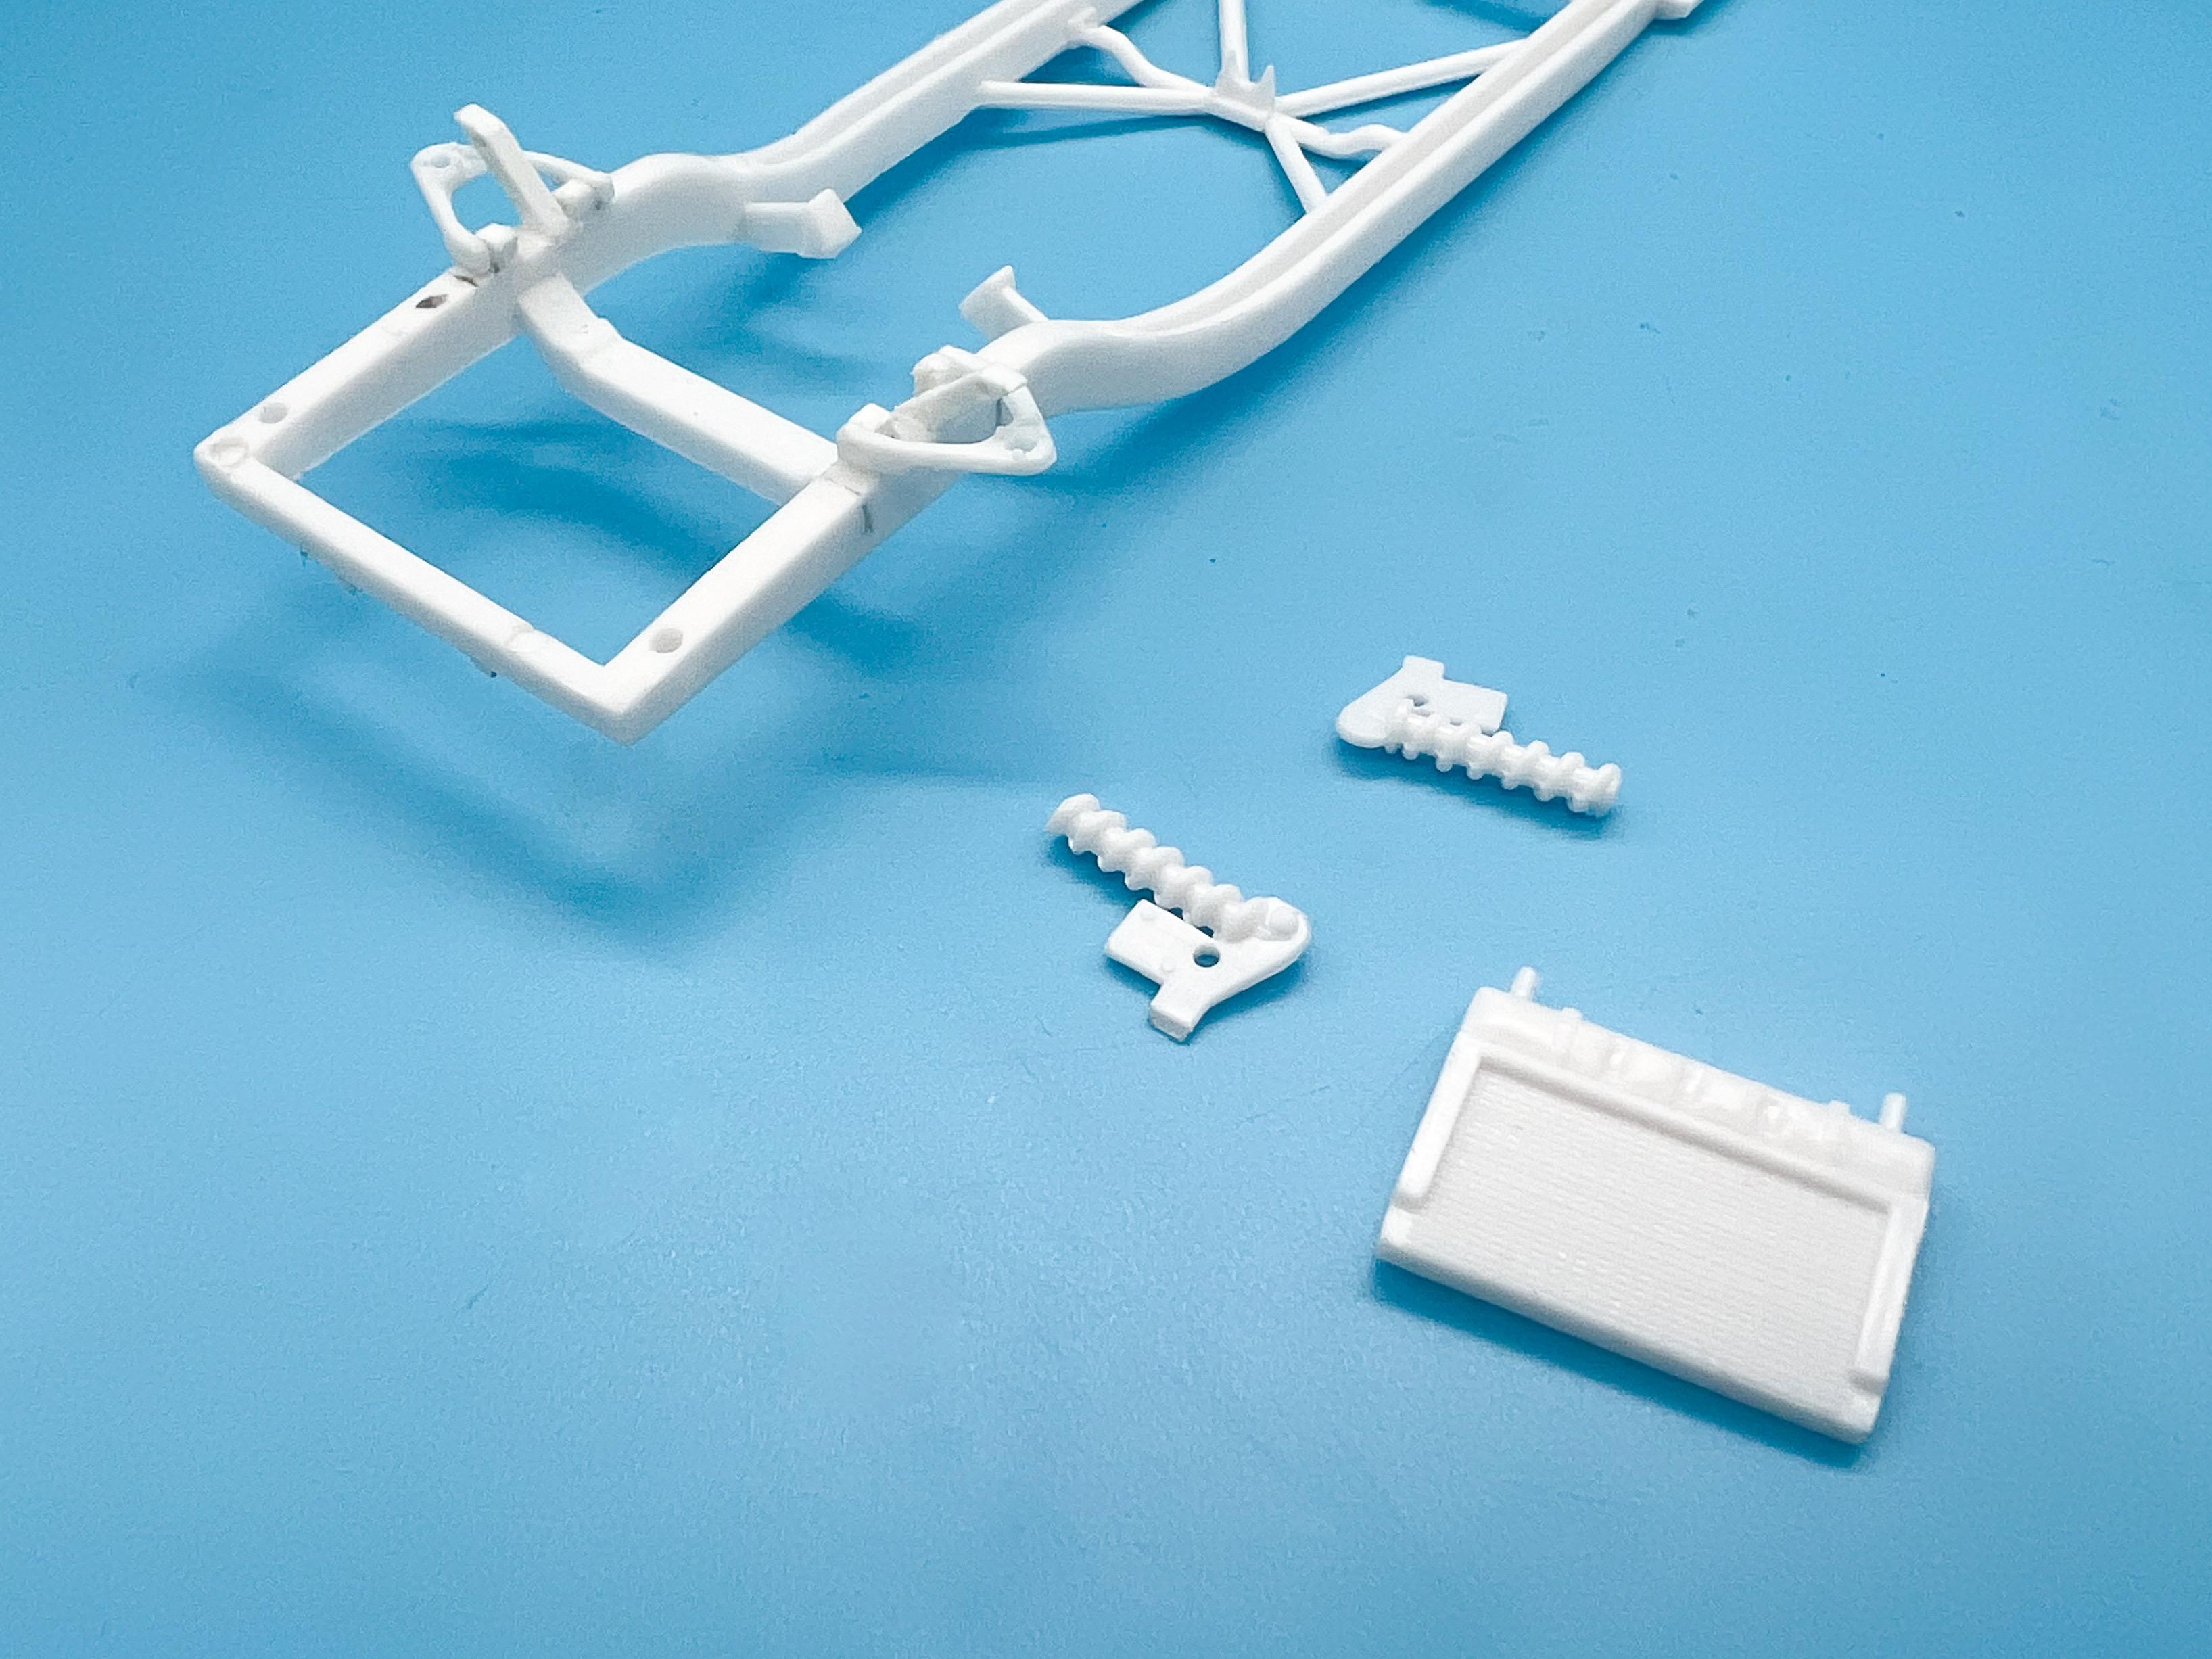
Thanks Daniel! And thanks Bob for the tip - yeah, I think my hood pin set has wire in there - I’ll have to open it up and take a look. A little more progress… Got the frame cleaned up for paint (after this photo was taken, obviously 🤪) And into primer: Did a little more cleanup and then got it shot with a nice bright Createx red: I’m trying to show off all the little details on this one, and not just shooting everything black will hopefully help with that… Drilled out the wishbones so I can add some bolt detail to them come assembly time: Cleaning up those wishbones after this pic took as long as cleaning up the frame, but with that done got some paint on these and a few other suspension components, plus the block and some engine parts: And did some prep on the body (even the stuff I think no one will ever see, just because of my conscience and not being able to NOT do it…) And I made a start on detailing up the radiator some, shown here before I had started painting the frame: I separated it from the shock mounts, made new mounts for it I’ll add some detail as I go to bring it up to speed a little… Excited to lay some clear on the frame, give it some light weathering (I’m going for ‘lightly track used new built’ rather than ‘end of season ruined’ for this one) and start to stick some parts onto it! More soon, soon as I’ve done more!
-
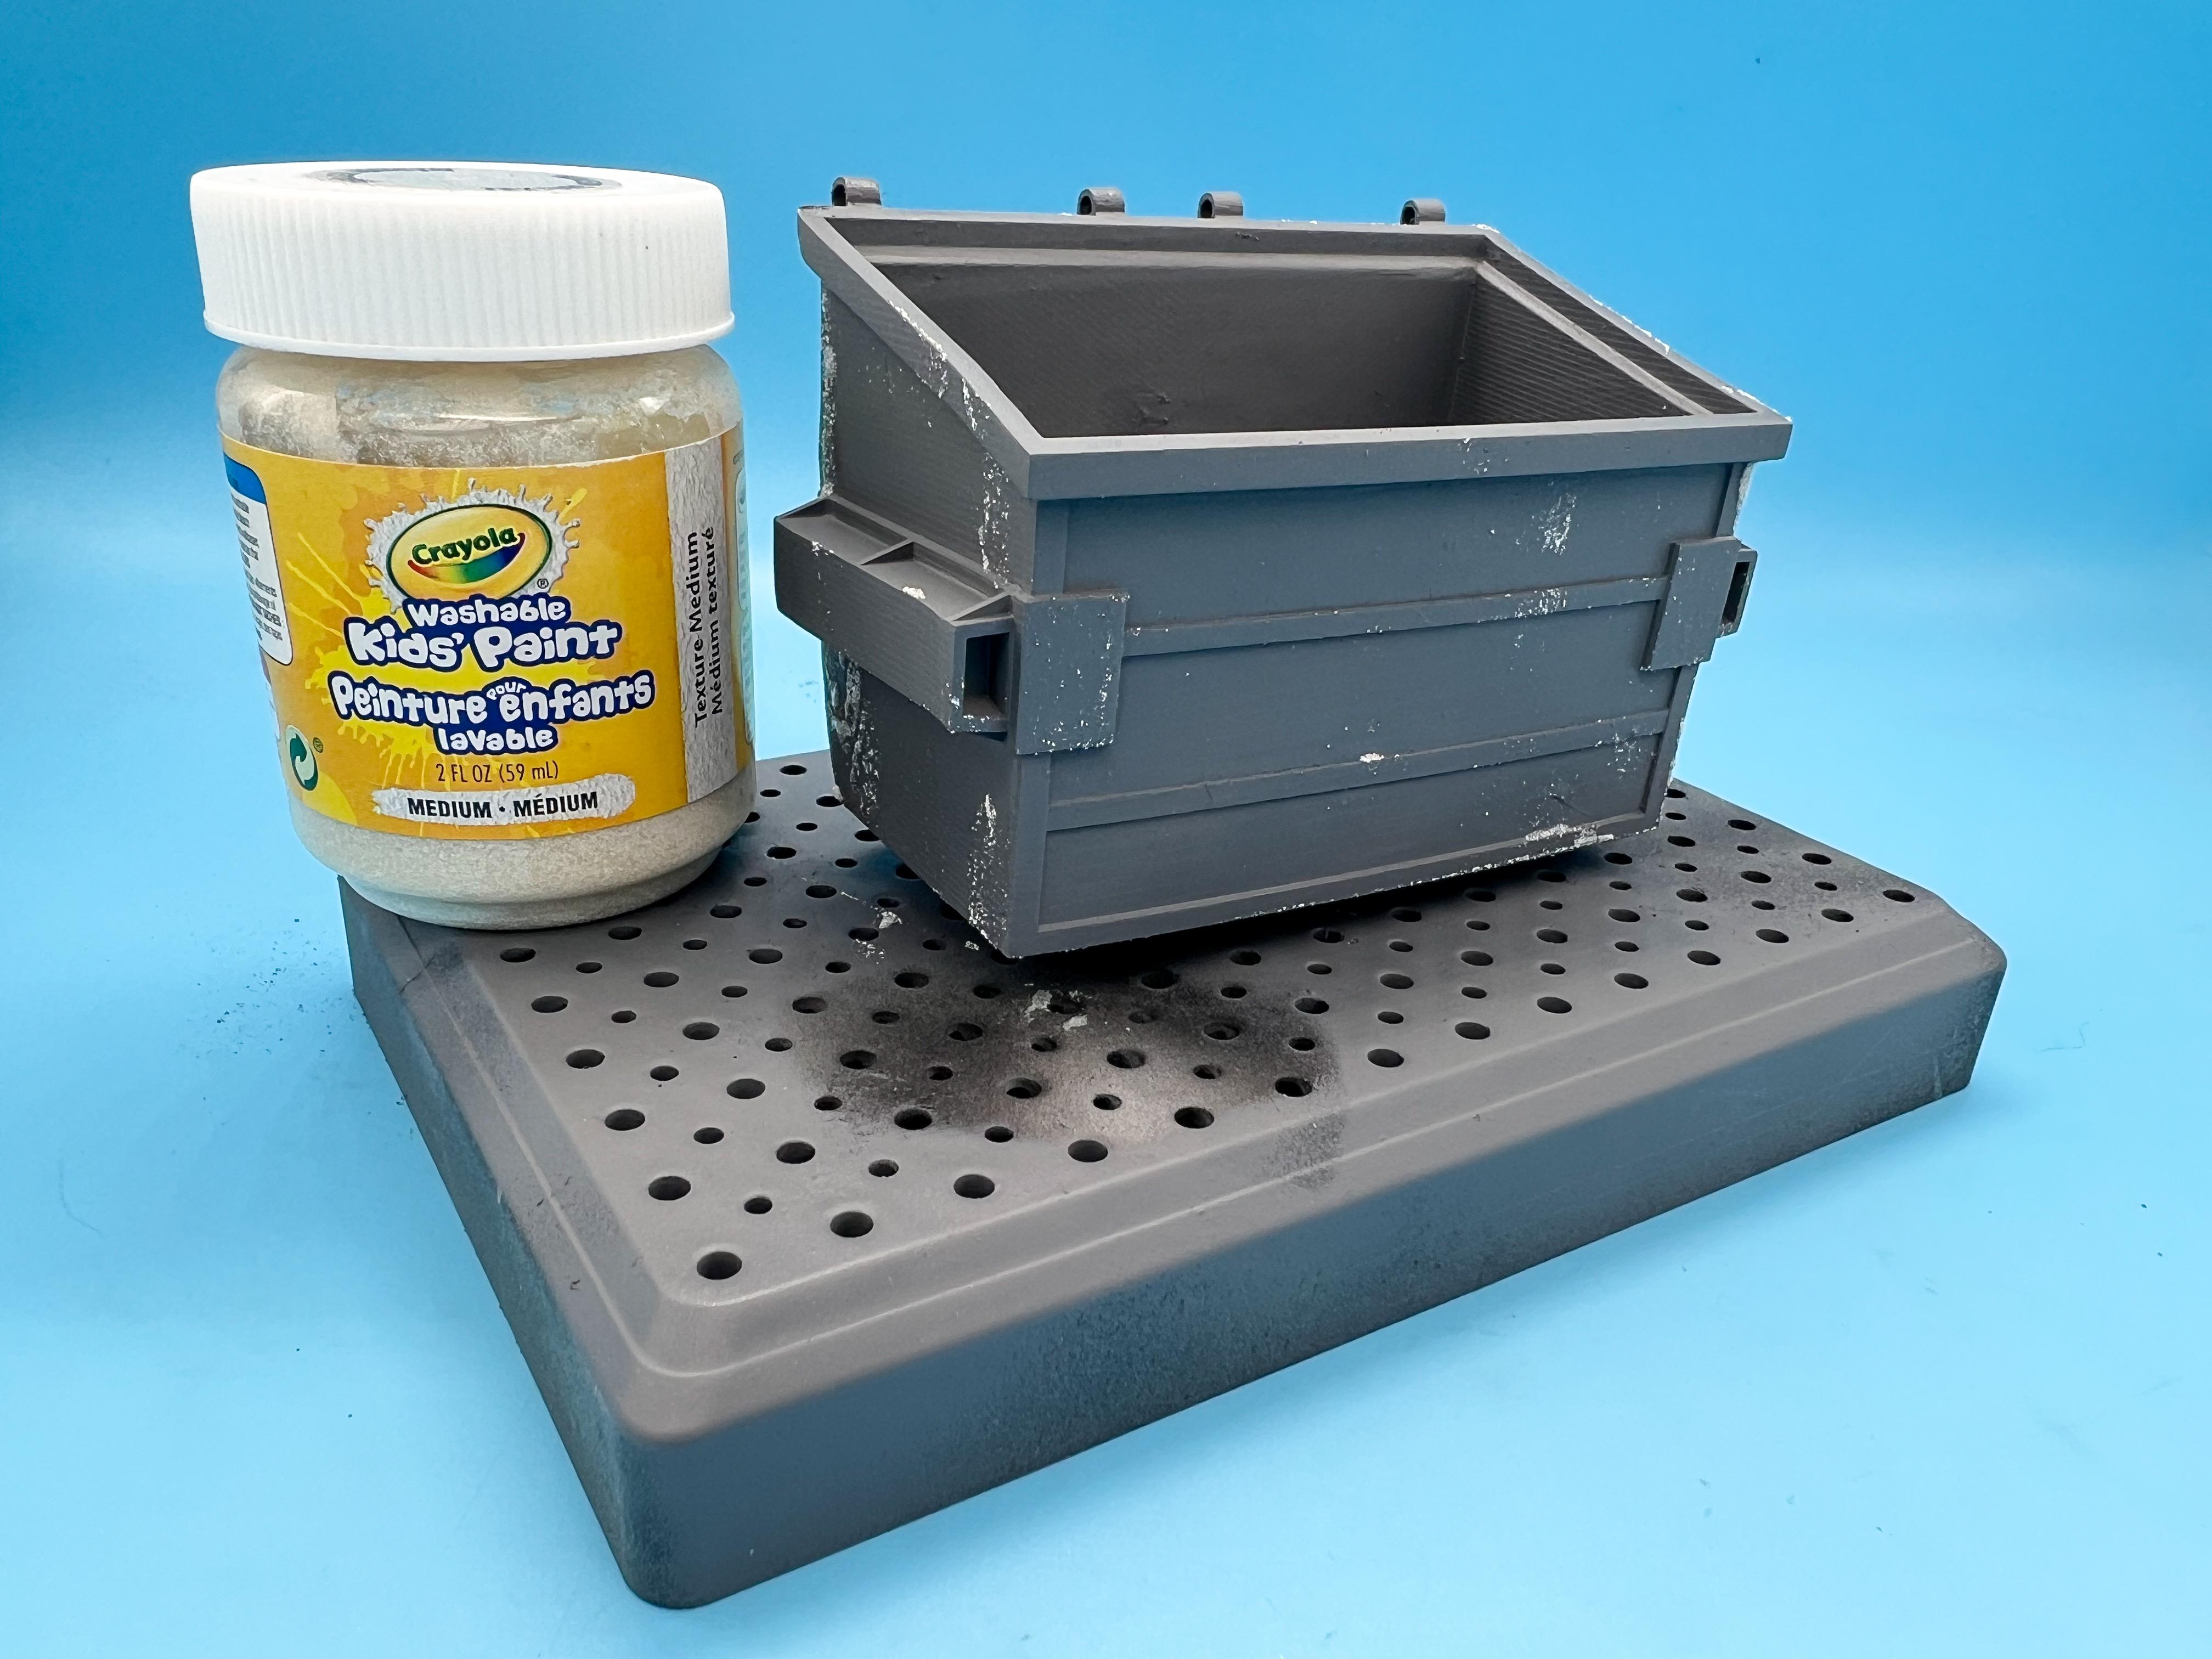
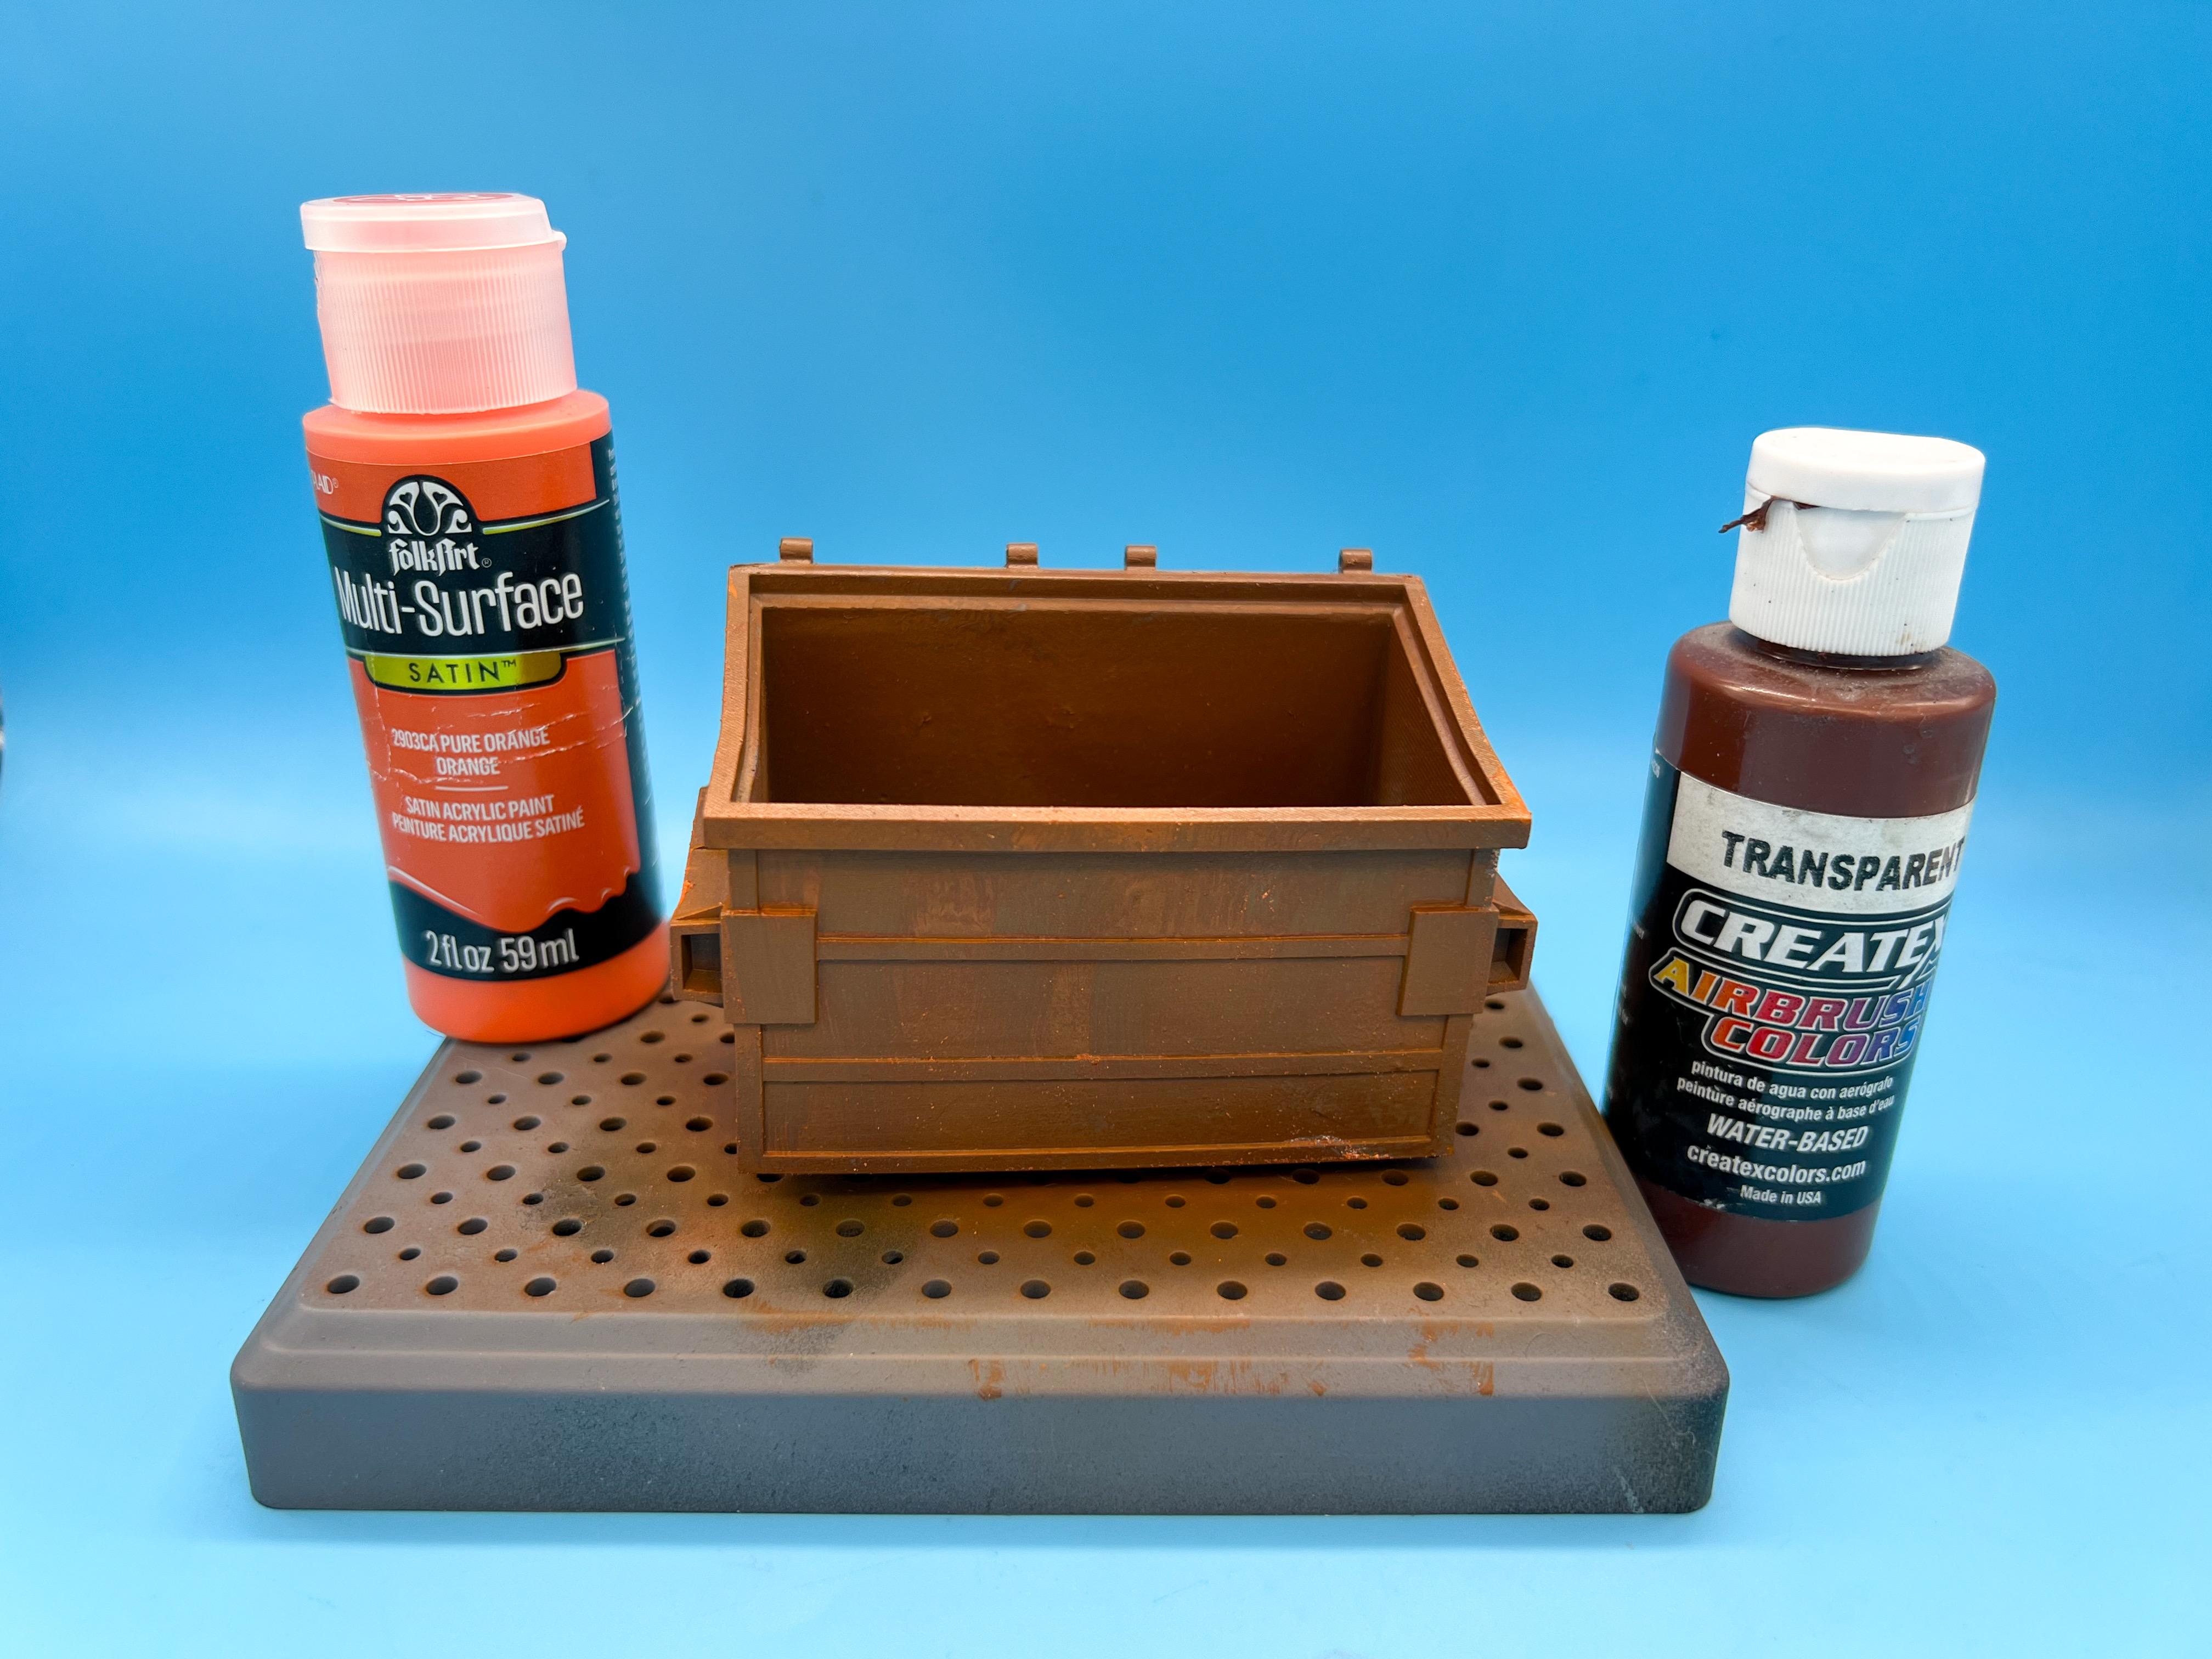
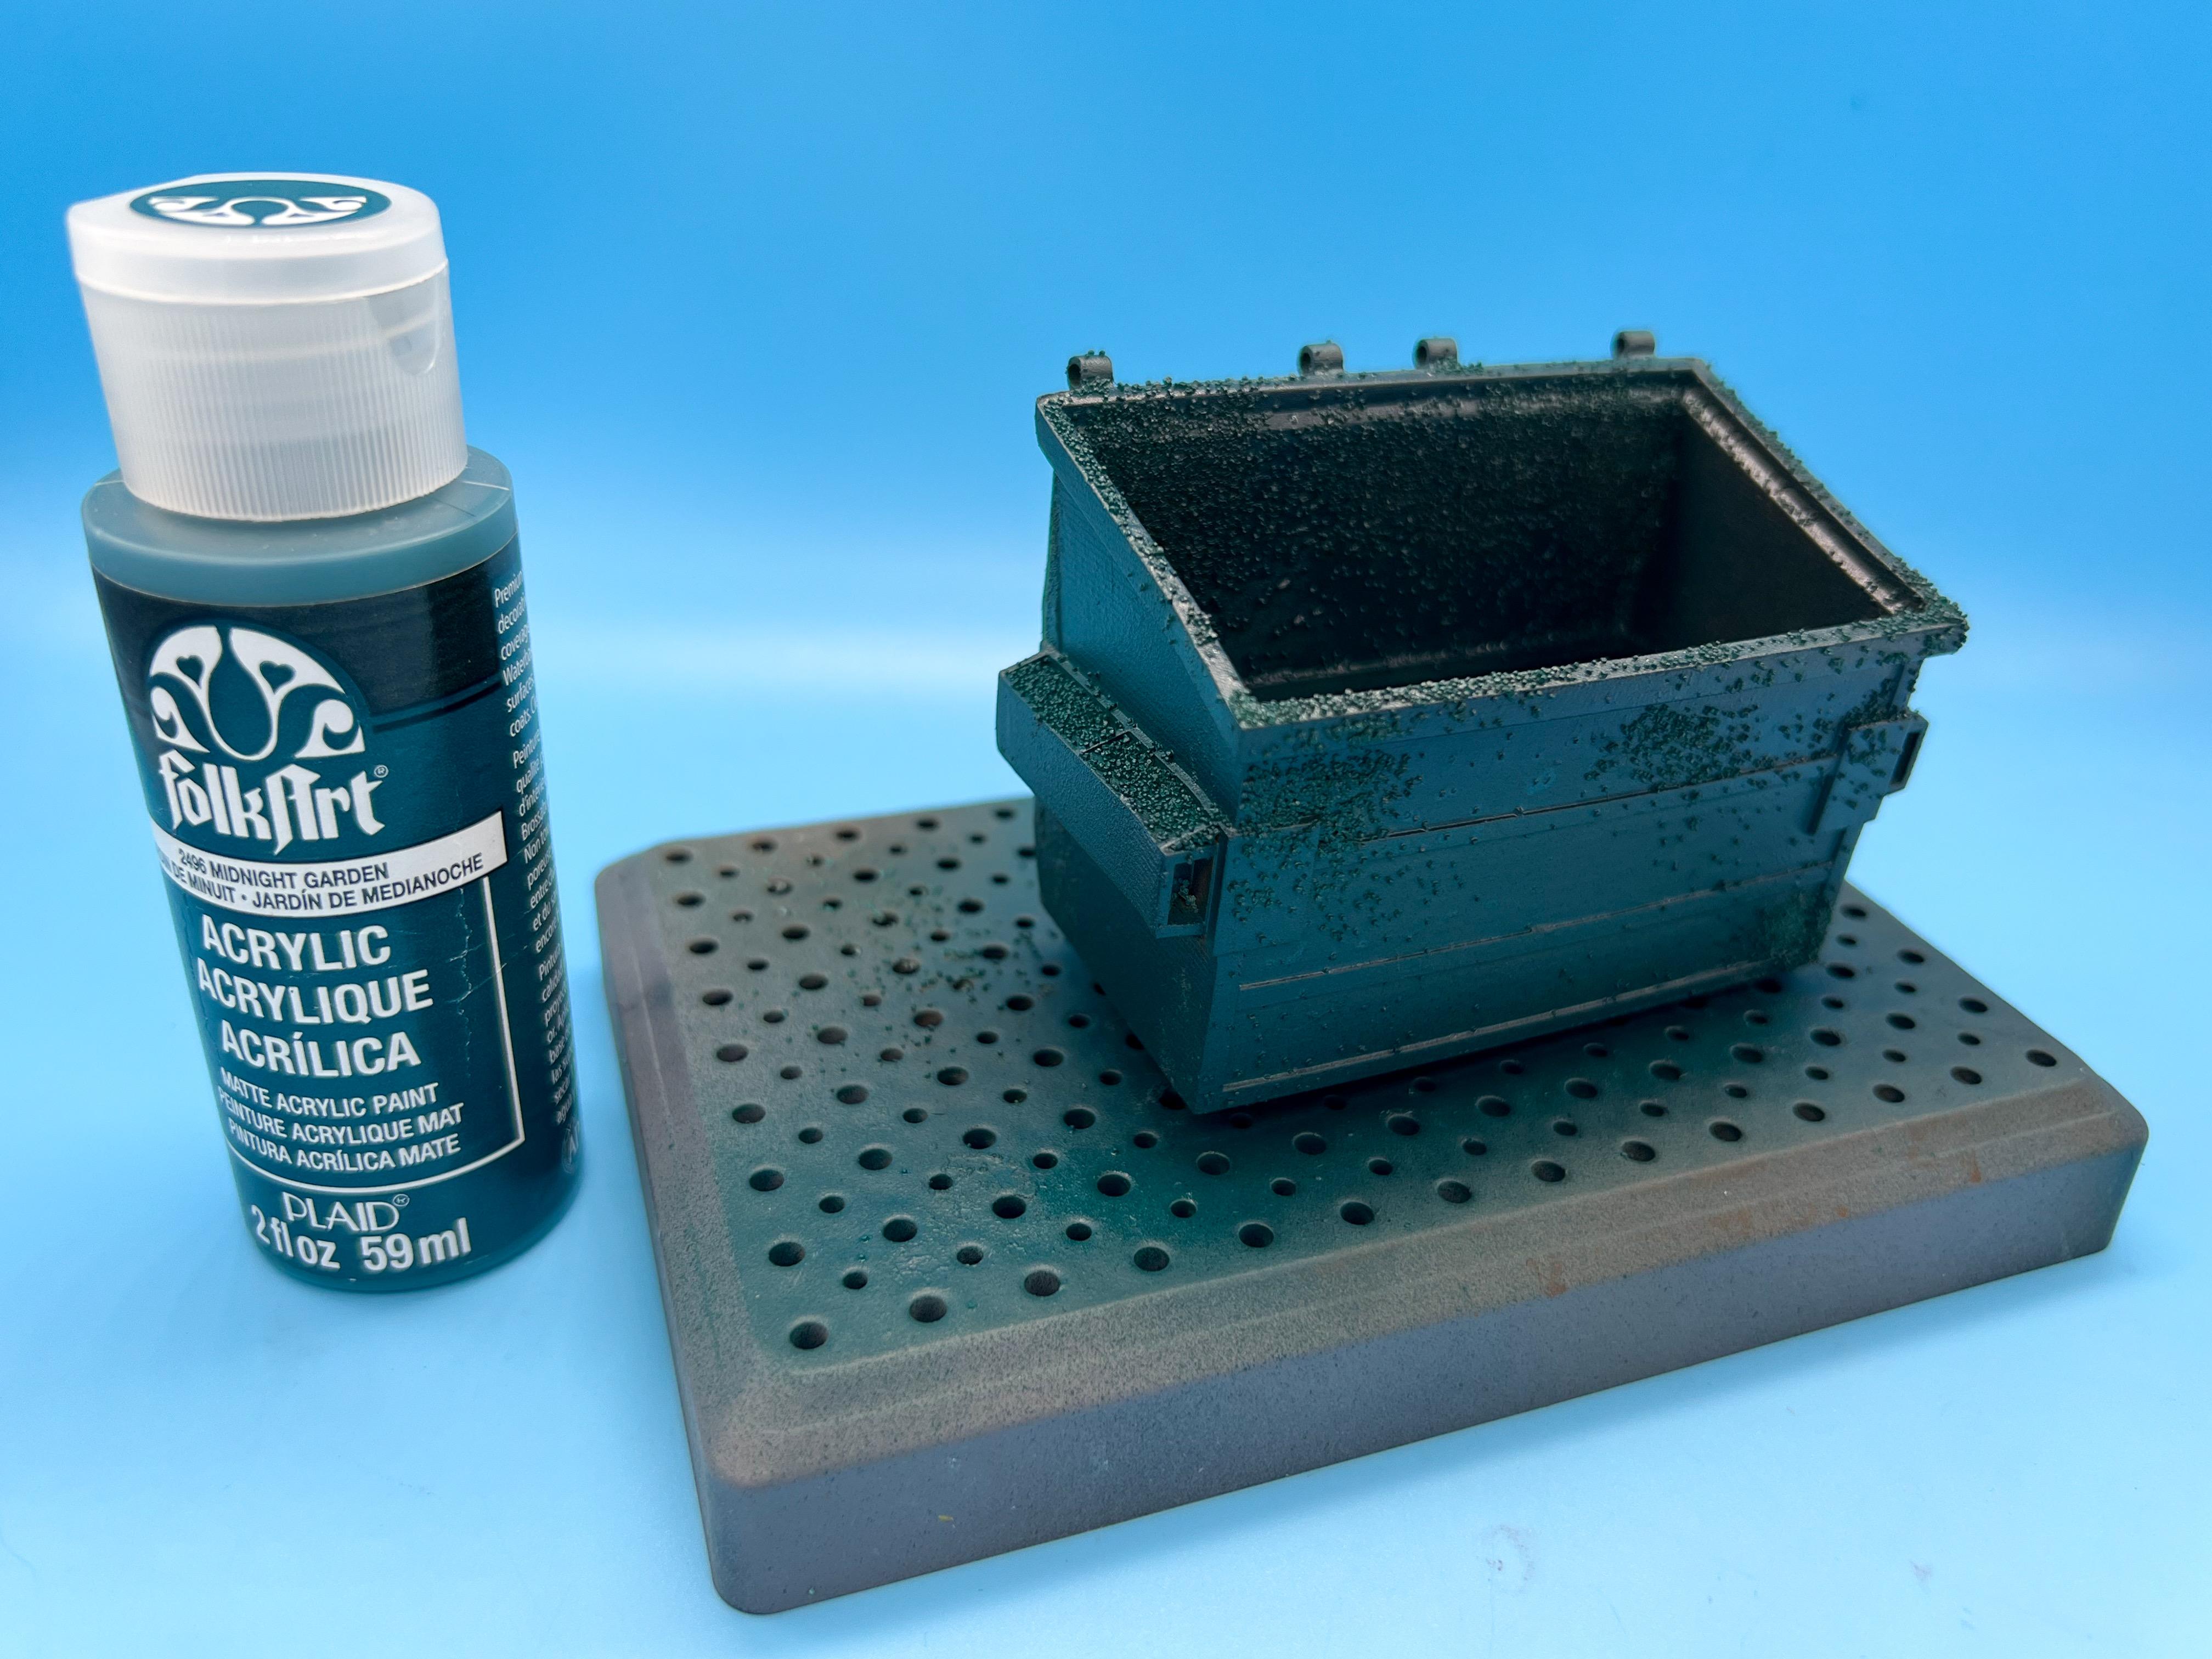
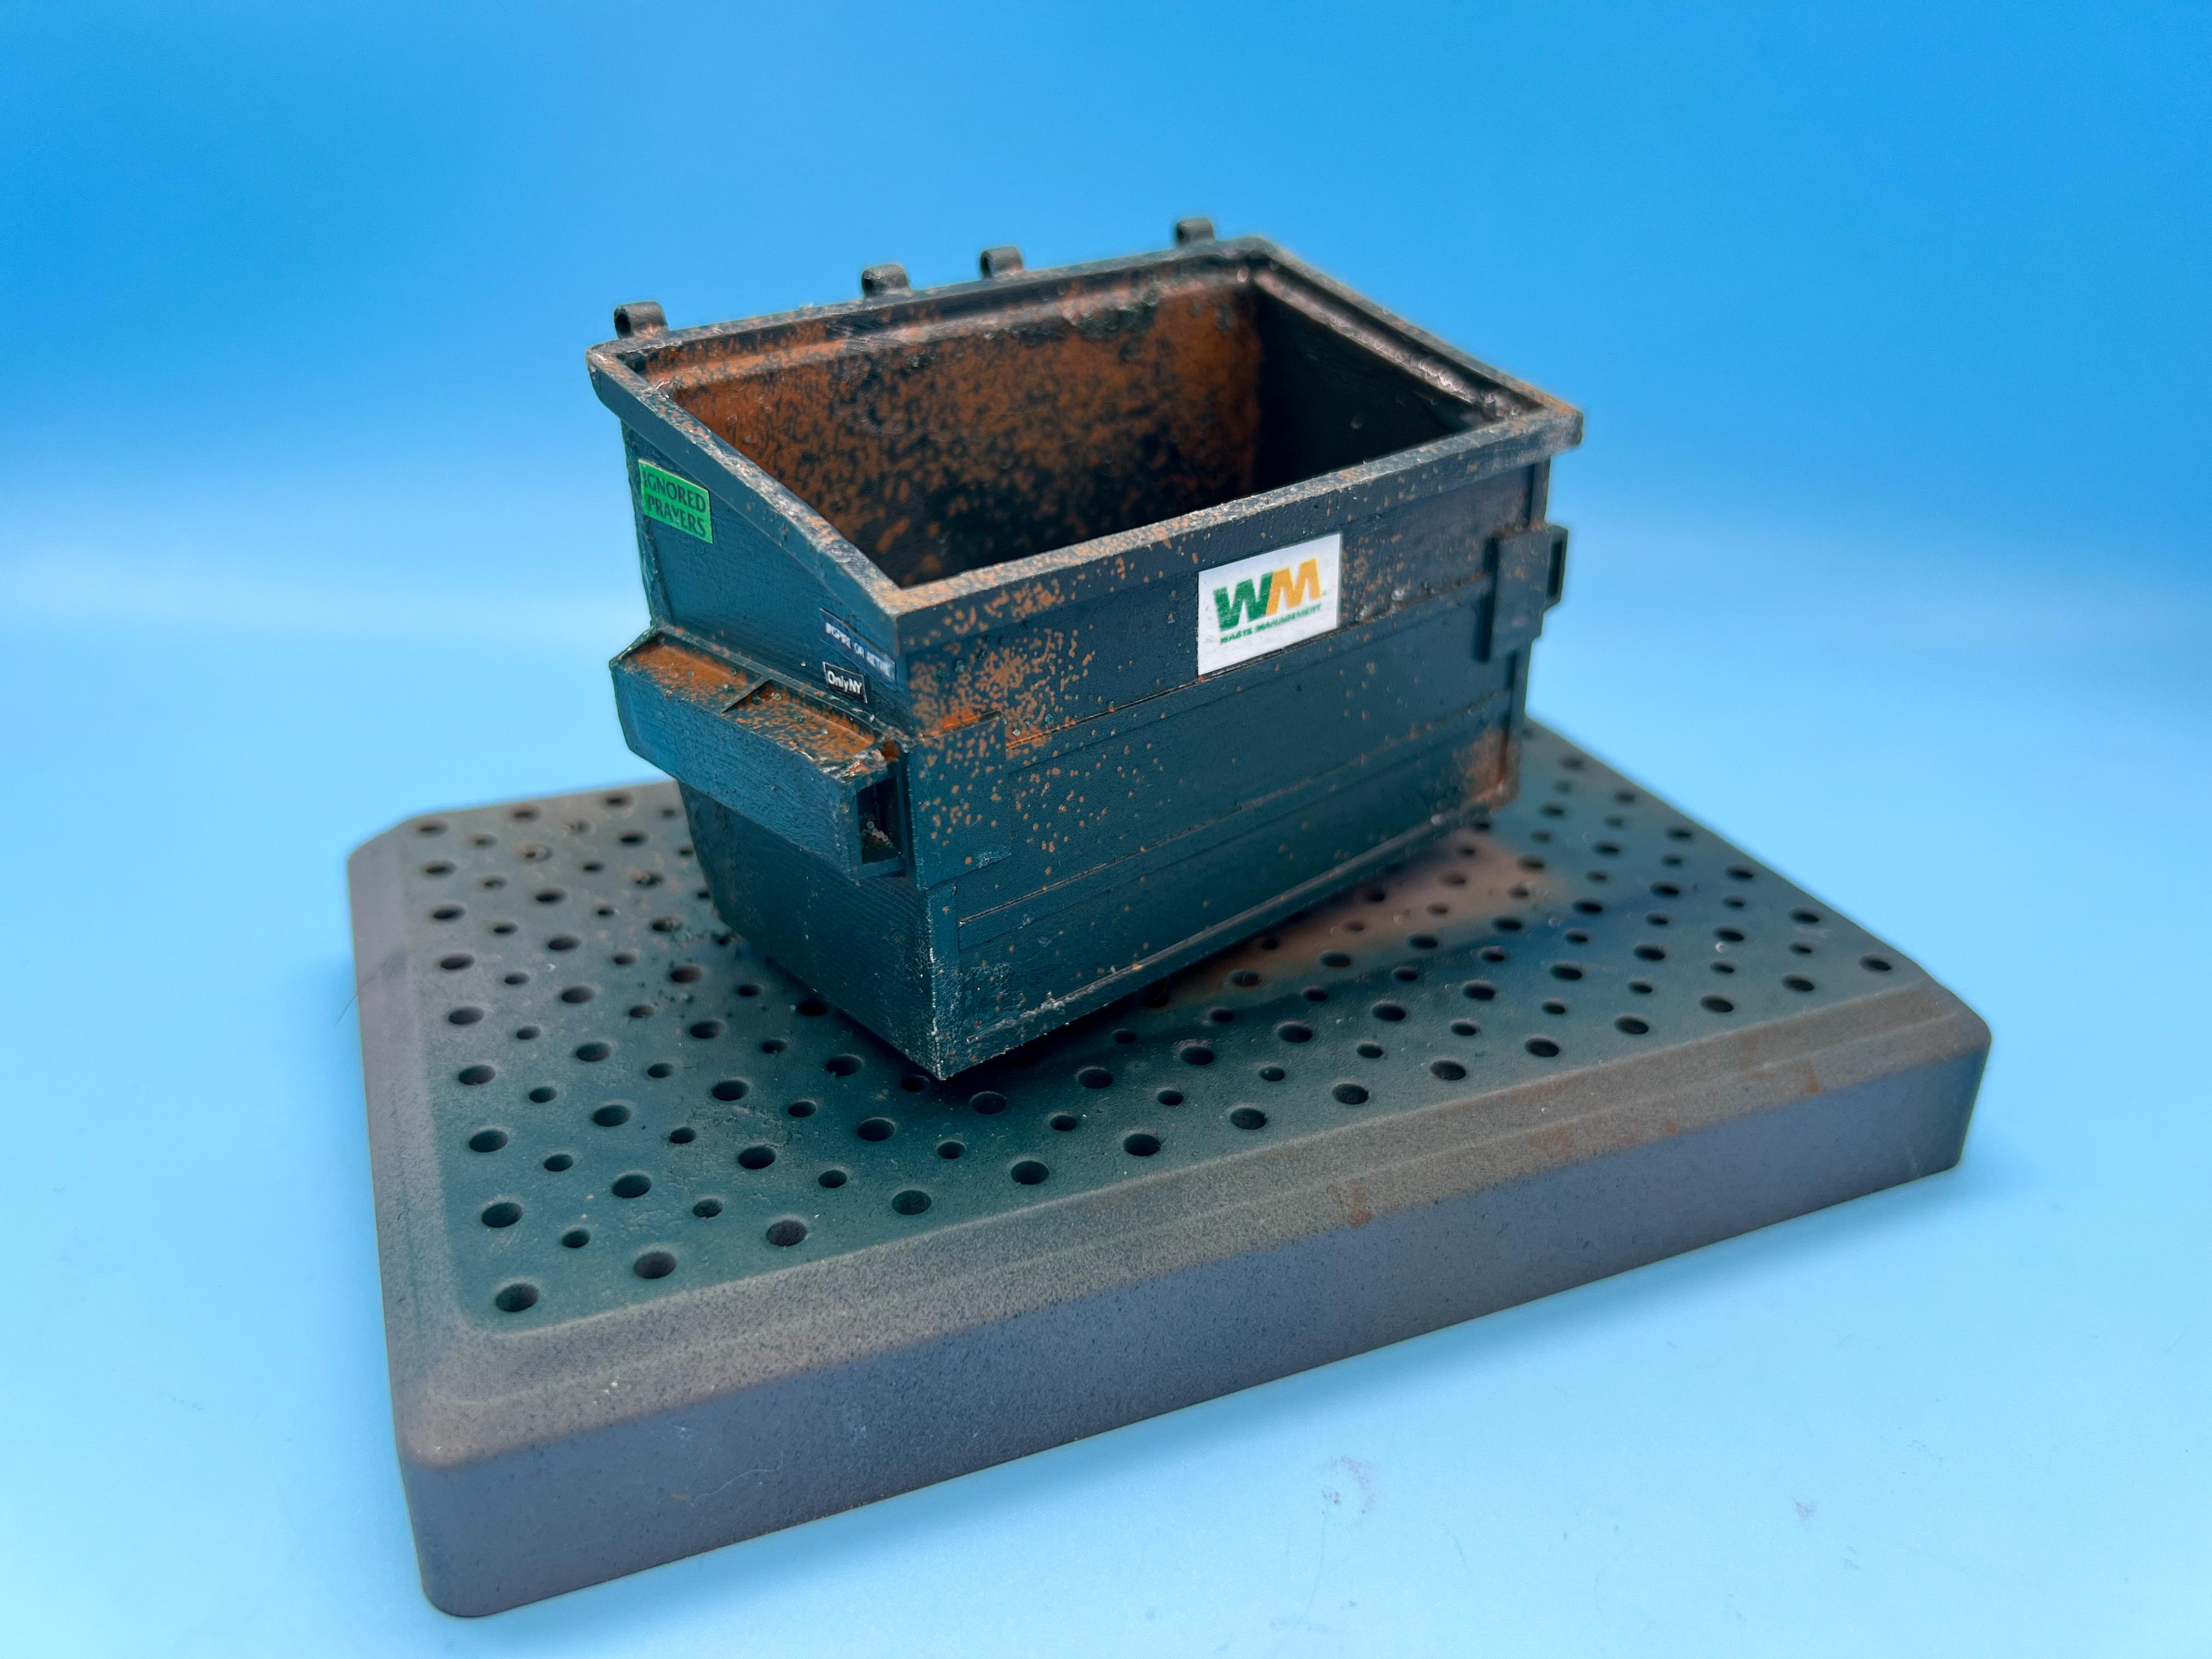
A quick weekend build to practice my weathering…started out with a 3D printed dumpster by Blackbox STL, and some Crayola textured medium that my wife got me “because you might have a use for it, some day”: Next, a couple of rust colors: Then some salt, and a dark green artist’s acrykic thinned with a little Createx reducer: Next, de-salt and add some decals: Then add a lid and wheels and a bunch more pastels and washes to really grime it up…and tada: Just a fun little Sunday project…I’m gonna use it on my desk at work to store paper clips 🤪📎