CabDriver
-
Posts
5,100 -
Joined
-
Last visited
Content Type
Profiles
Forums
Events
Gallery
Everything posted by CabDriver
-

What non-auto model did you get today?
CabDriver replied to chunkypeanutbutter's topic in The Off-Topic Lounge
I mean, I guess I could remake the noodles, but where am I going to find a material that looks exactly like 1:1 scale noodle? I hope one of the resin manufacturers comes up with an upgrade kit -
What non-auto model did you get today?
CabDriver replied to chunkypeanutbutter's topic in The Off-Topic Lounge
I was going to order this but then I read that the noodles are out of scale and totally inaccurate and that kind of noodle wasn't even ever offered by the manufacturer in that design pot -
I just picked up a bunch of this - Ollies had cans for 2 or 3 bucks...works great for me!
-
Good beginner kits?
CabDriver replied to 69_Stingray's topic in Model Building Questions and Answers
For hot rod stuff, the Revell 29 Ford practically falls together, and their older 32 kits go together really nicely too -
Incompetence and the "new normal"...
CabDriver replied to Ace-Garageguy's topic in The Off-Topic Lounge
Somewhat related - dealing with our vendors where we work is getting to be a bigger and bigger struggle - we have to make constant phone calls and chase repeatedly to give THEM an order, then chase constantly to make sure it actually arrives, then when it does arrive we don't get what we asked for. We recently ordered five sheets of a particular material; each of them measuring 4 feet square. A week later we received FOUR sheets, each measuring 5ft by 5ft. The vendor argued that we got the same square footage of material that we wanted, just cut 'slightly' differently to how we had specced it. We're always amazed that so many companies we deal with do such a bad job, but still manage to keep the doors open and the lights on. I've been pushing for us to start handling as much manufacturing in-house as we can to get away from dealing with these idiots - a step which the upper management here is fortunately smart enough to see is worthwhile. -
That looks killer! Way cool!
-
New Pop Up Ads
CabDriver replied to Mr. Metallic's topic in General Automotive Talk (Trucks and Cars)
Are you guys aware of this issue with the homepage too? Just letting you know in case you weren’t...
-
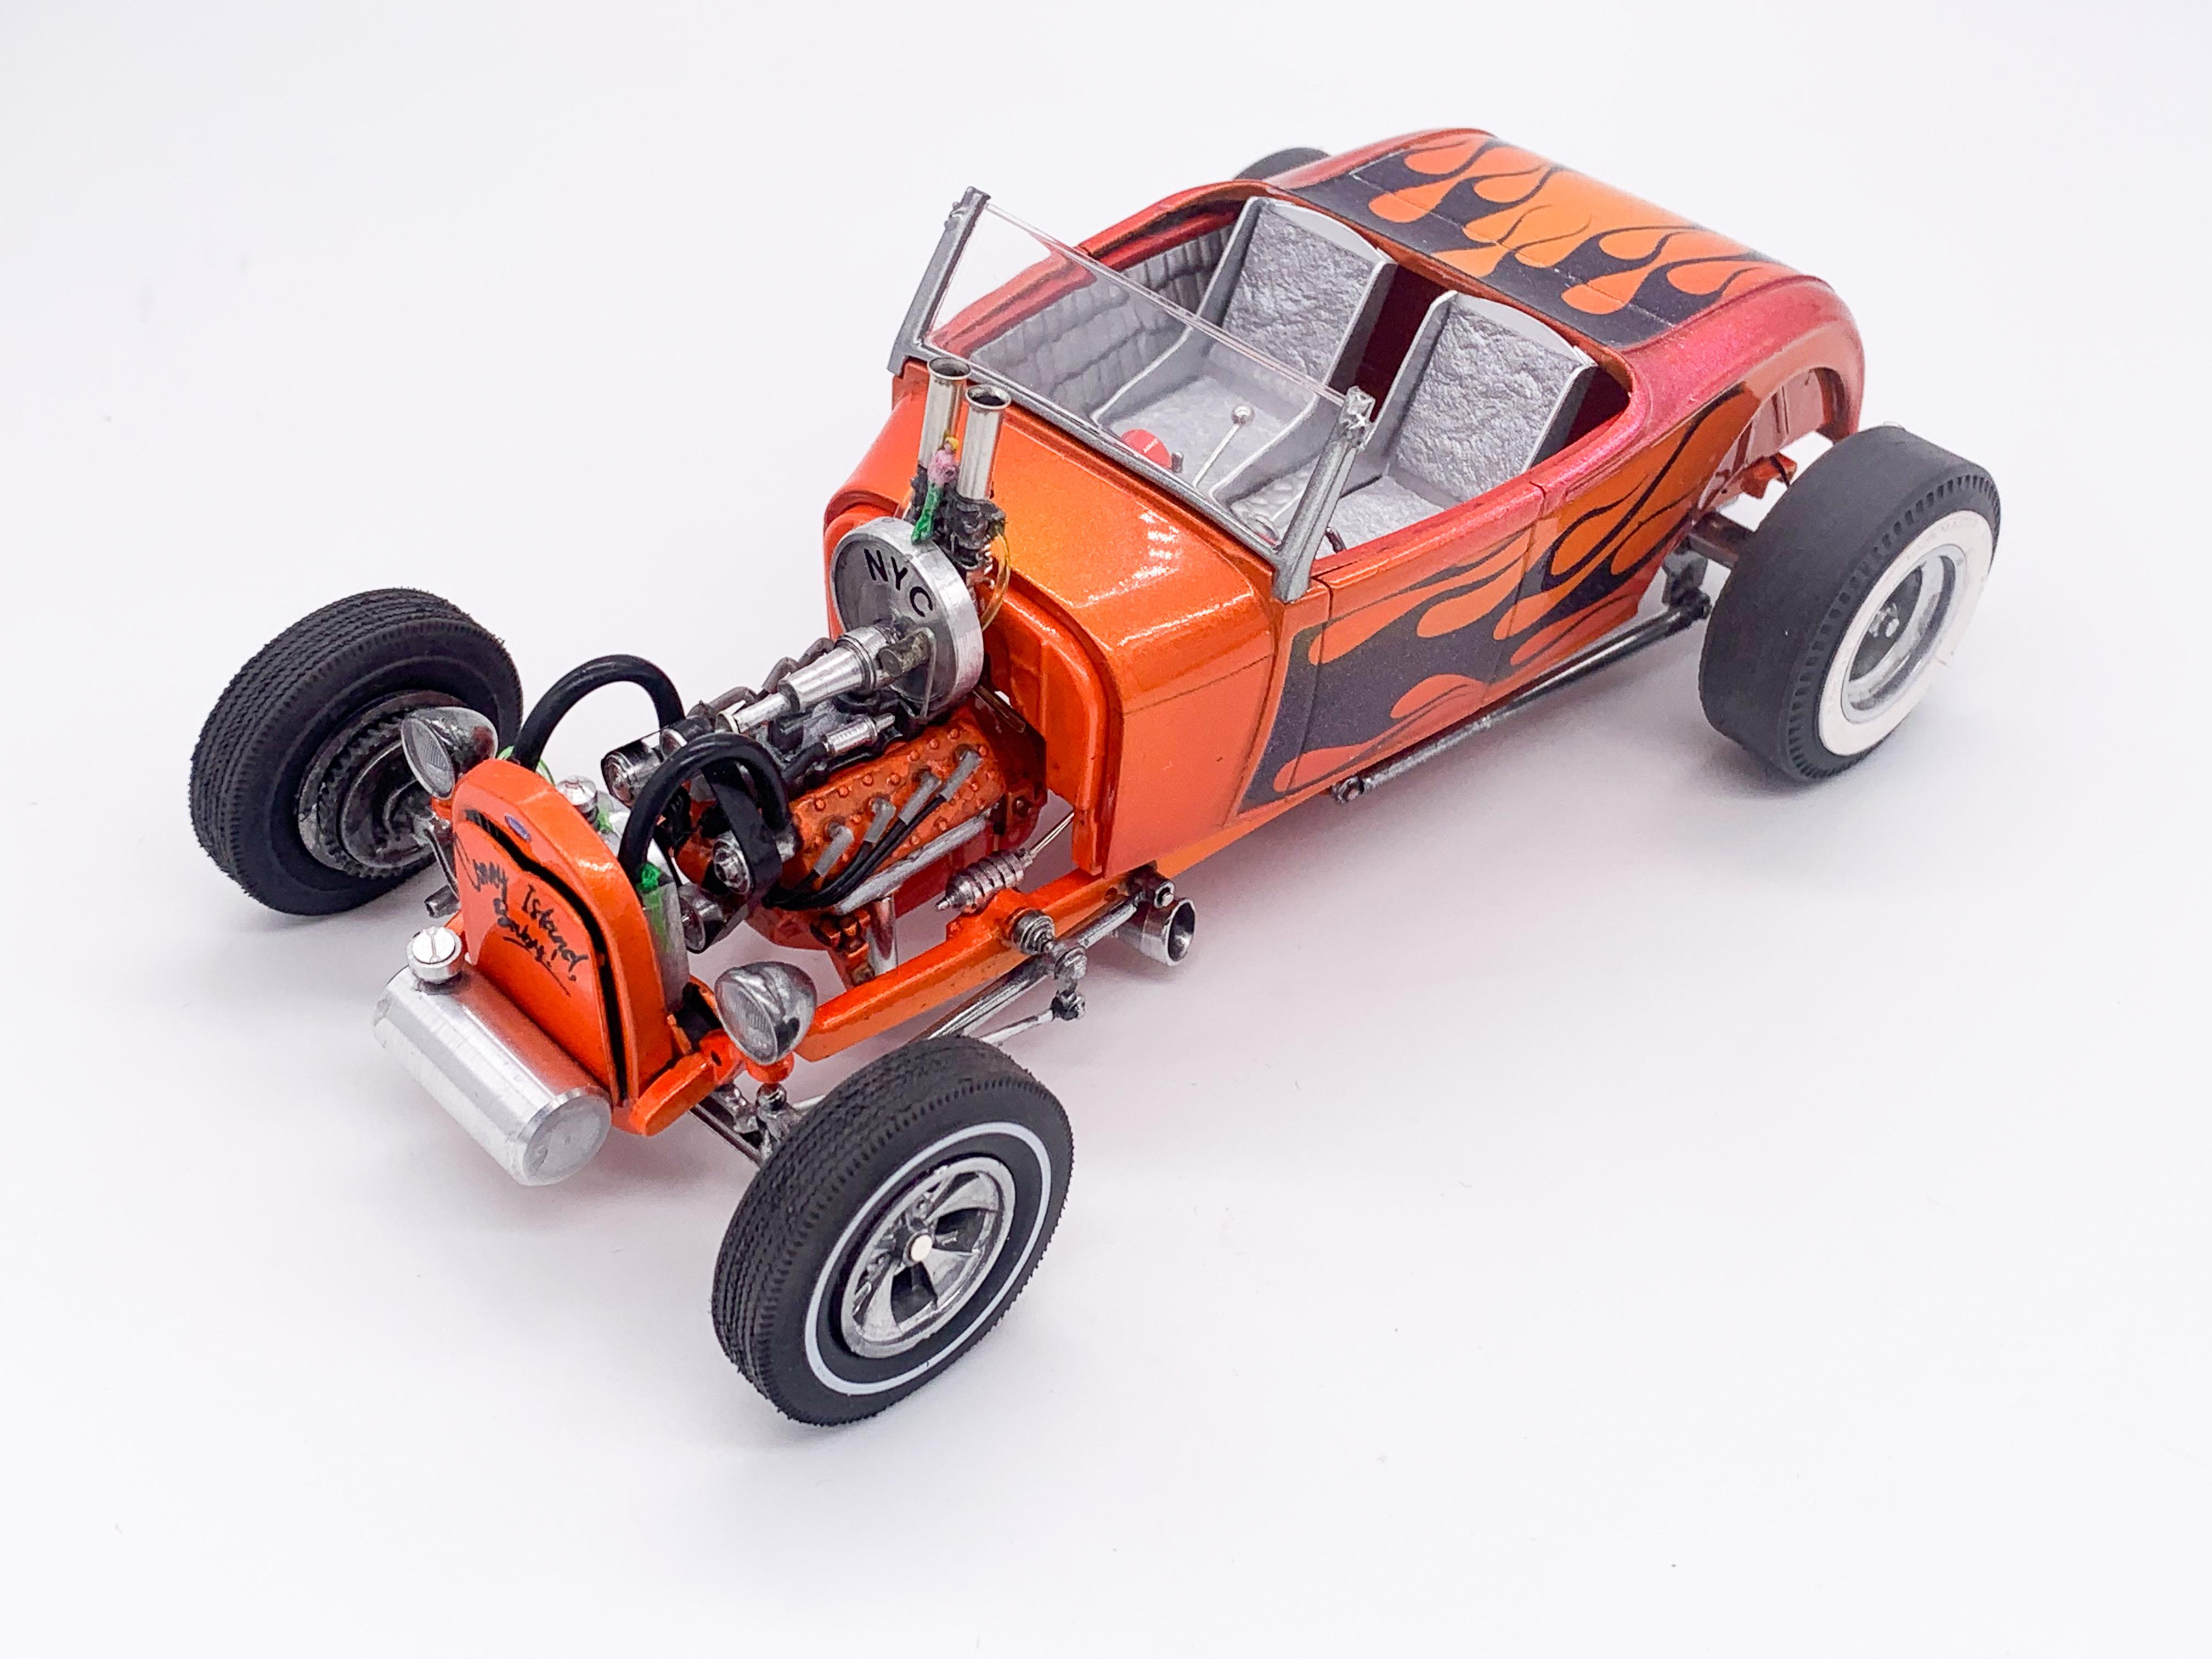
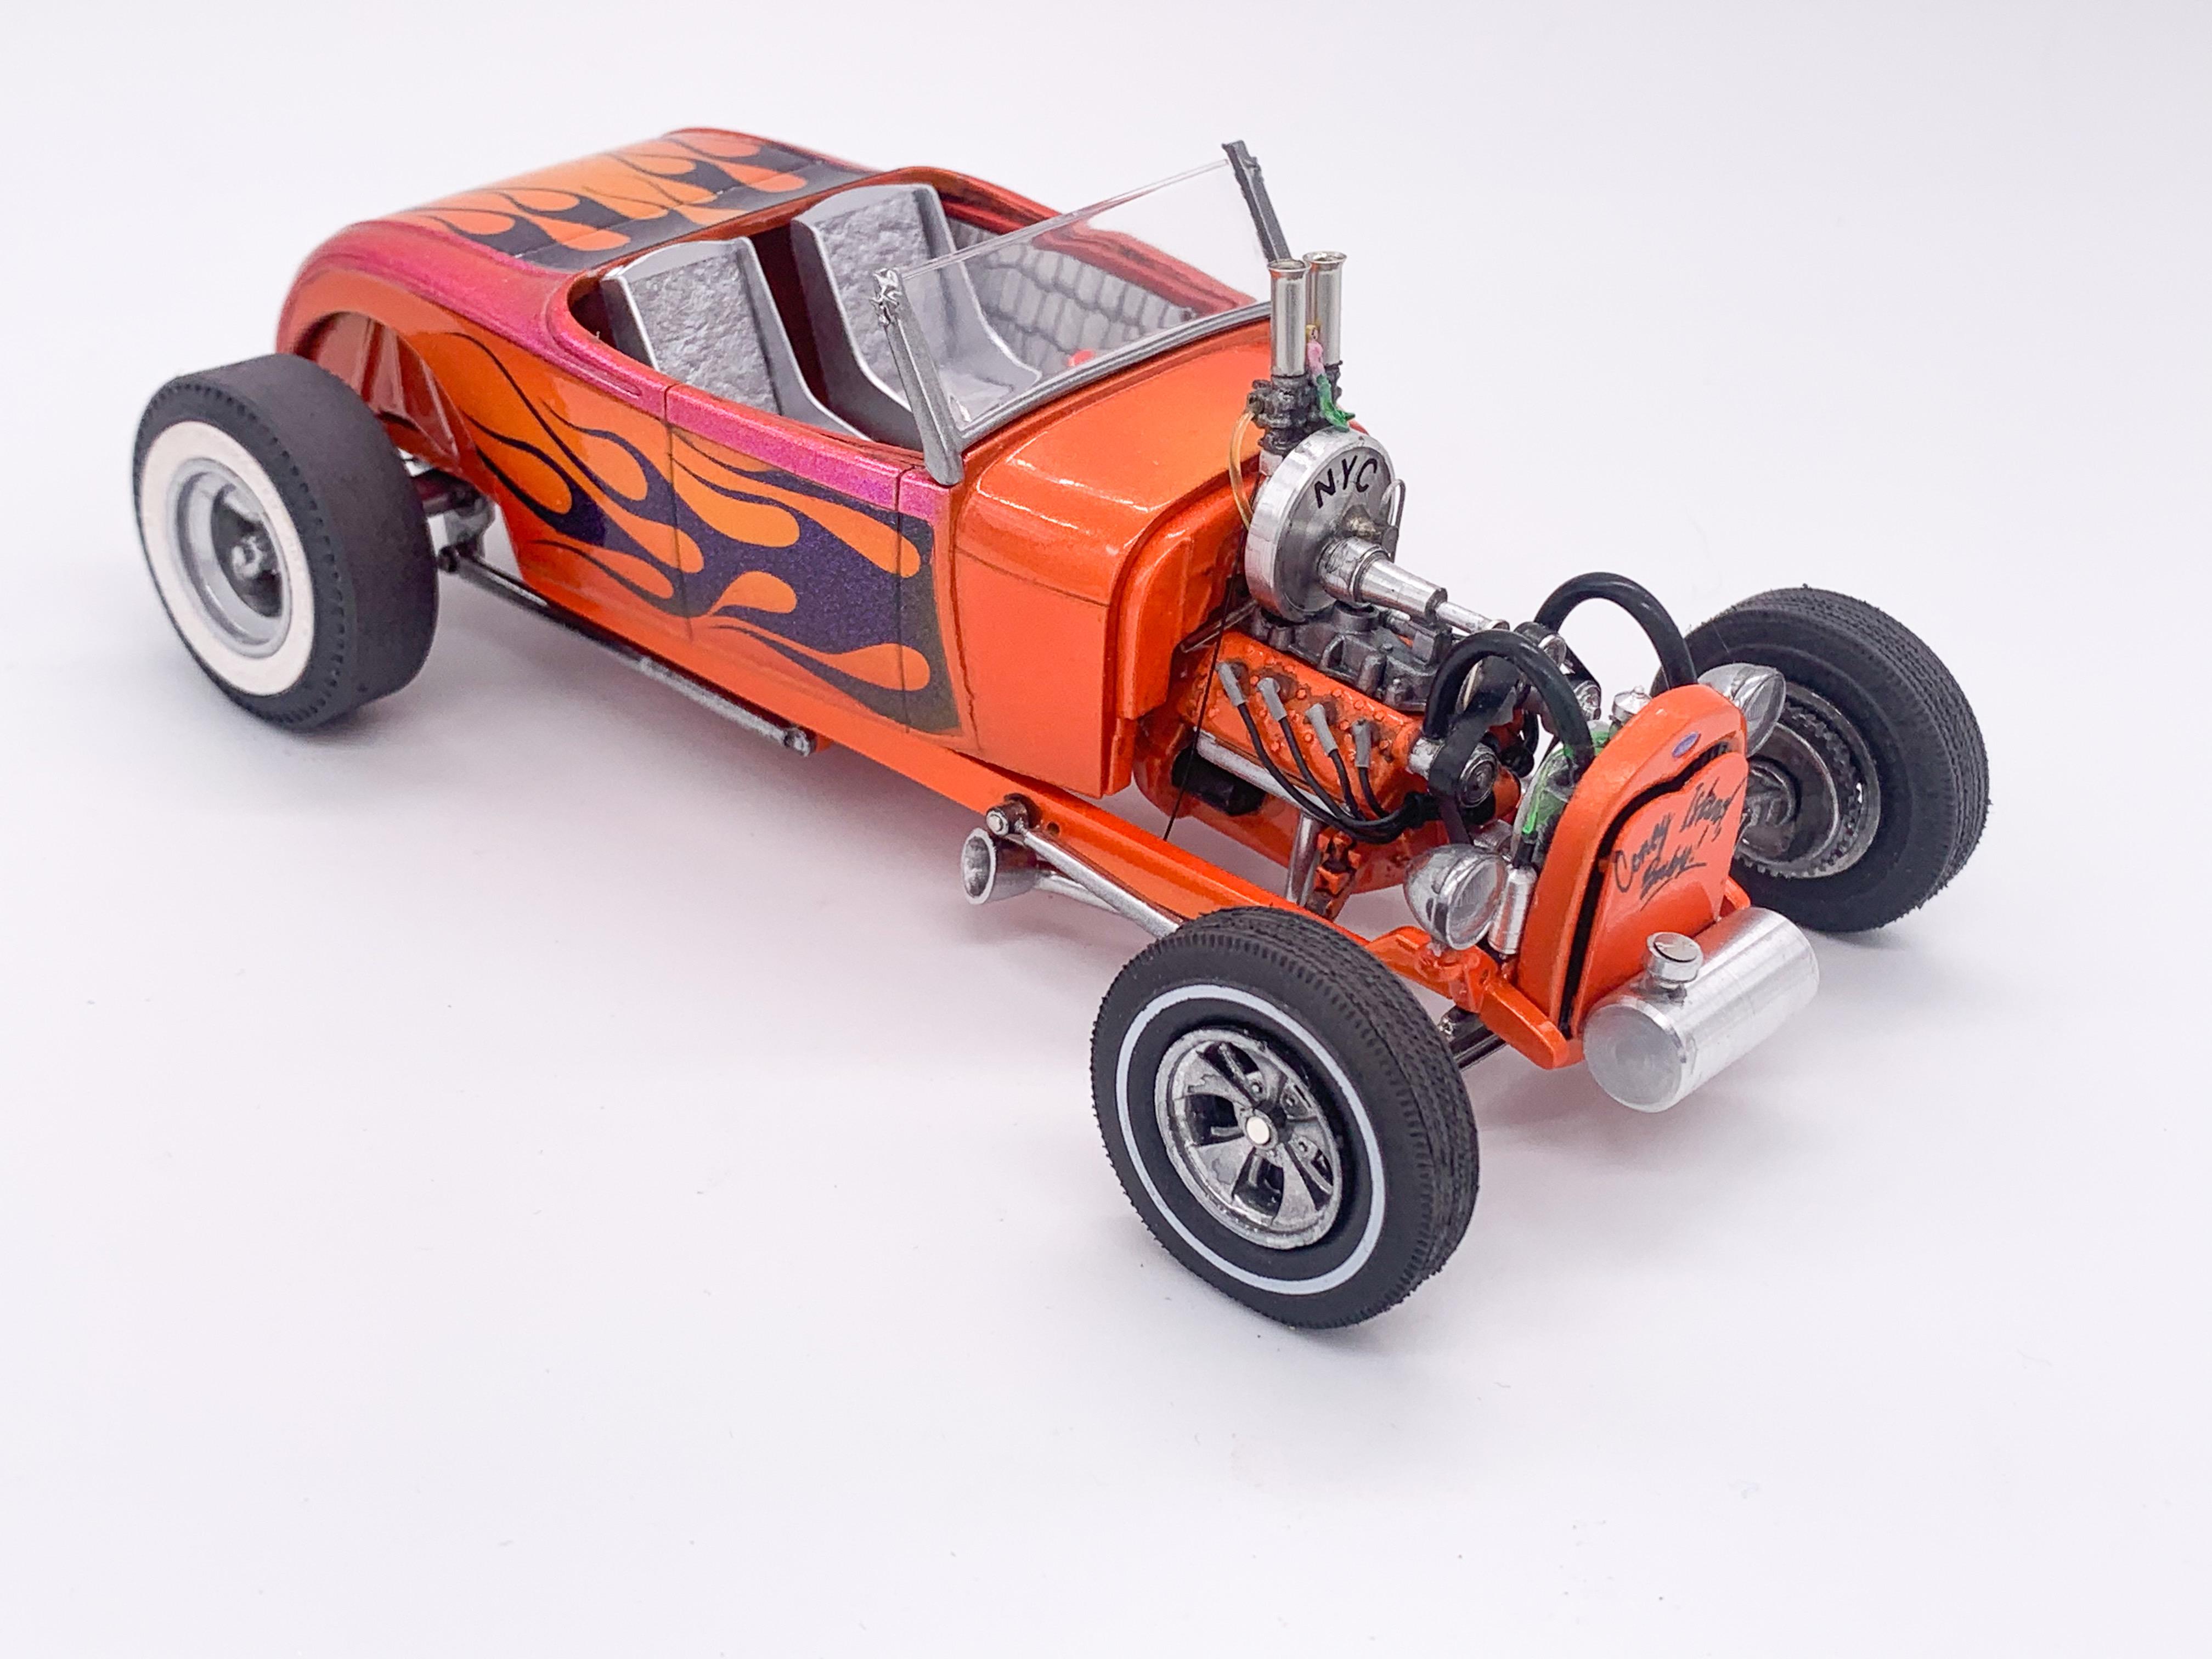
“Joker Is Wild” - AMT / Revell 32 Roadster Kitbash for DSC
CabDriver replied to CabDriver's topic in WIP: Model Cars
Thanks fellas! A little more progress...got the suspension and all that stuff mainly figured out - I think I’m going to go through and detail up all the Revell 29 bits for this one. Still not 100% sure if I want to swap out the axle for something more interesting. That engine bay soon filled up with that Hemi in there! Also stuck on ideas for the exhaust system - maybe some lakes headers? Mate the kit headers to the pipes from the 29 kit? Find some block huggers? Any ideas? 🤔 The Revell ones I’ve got totally aren’t going to fit under the frame nicely (but they do hang over it ok!)
-
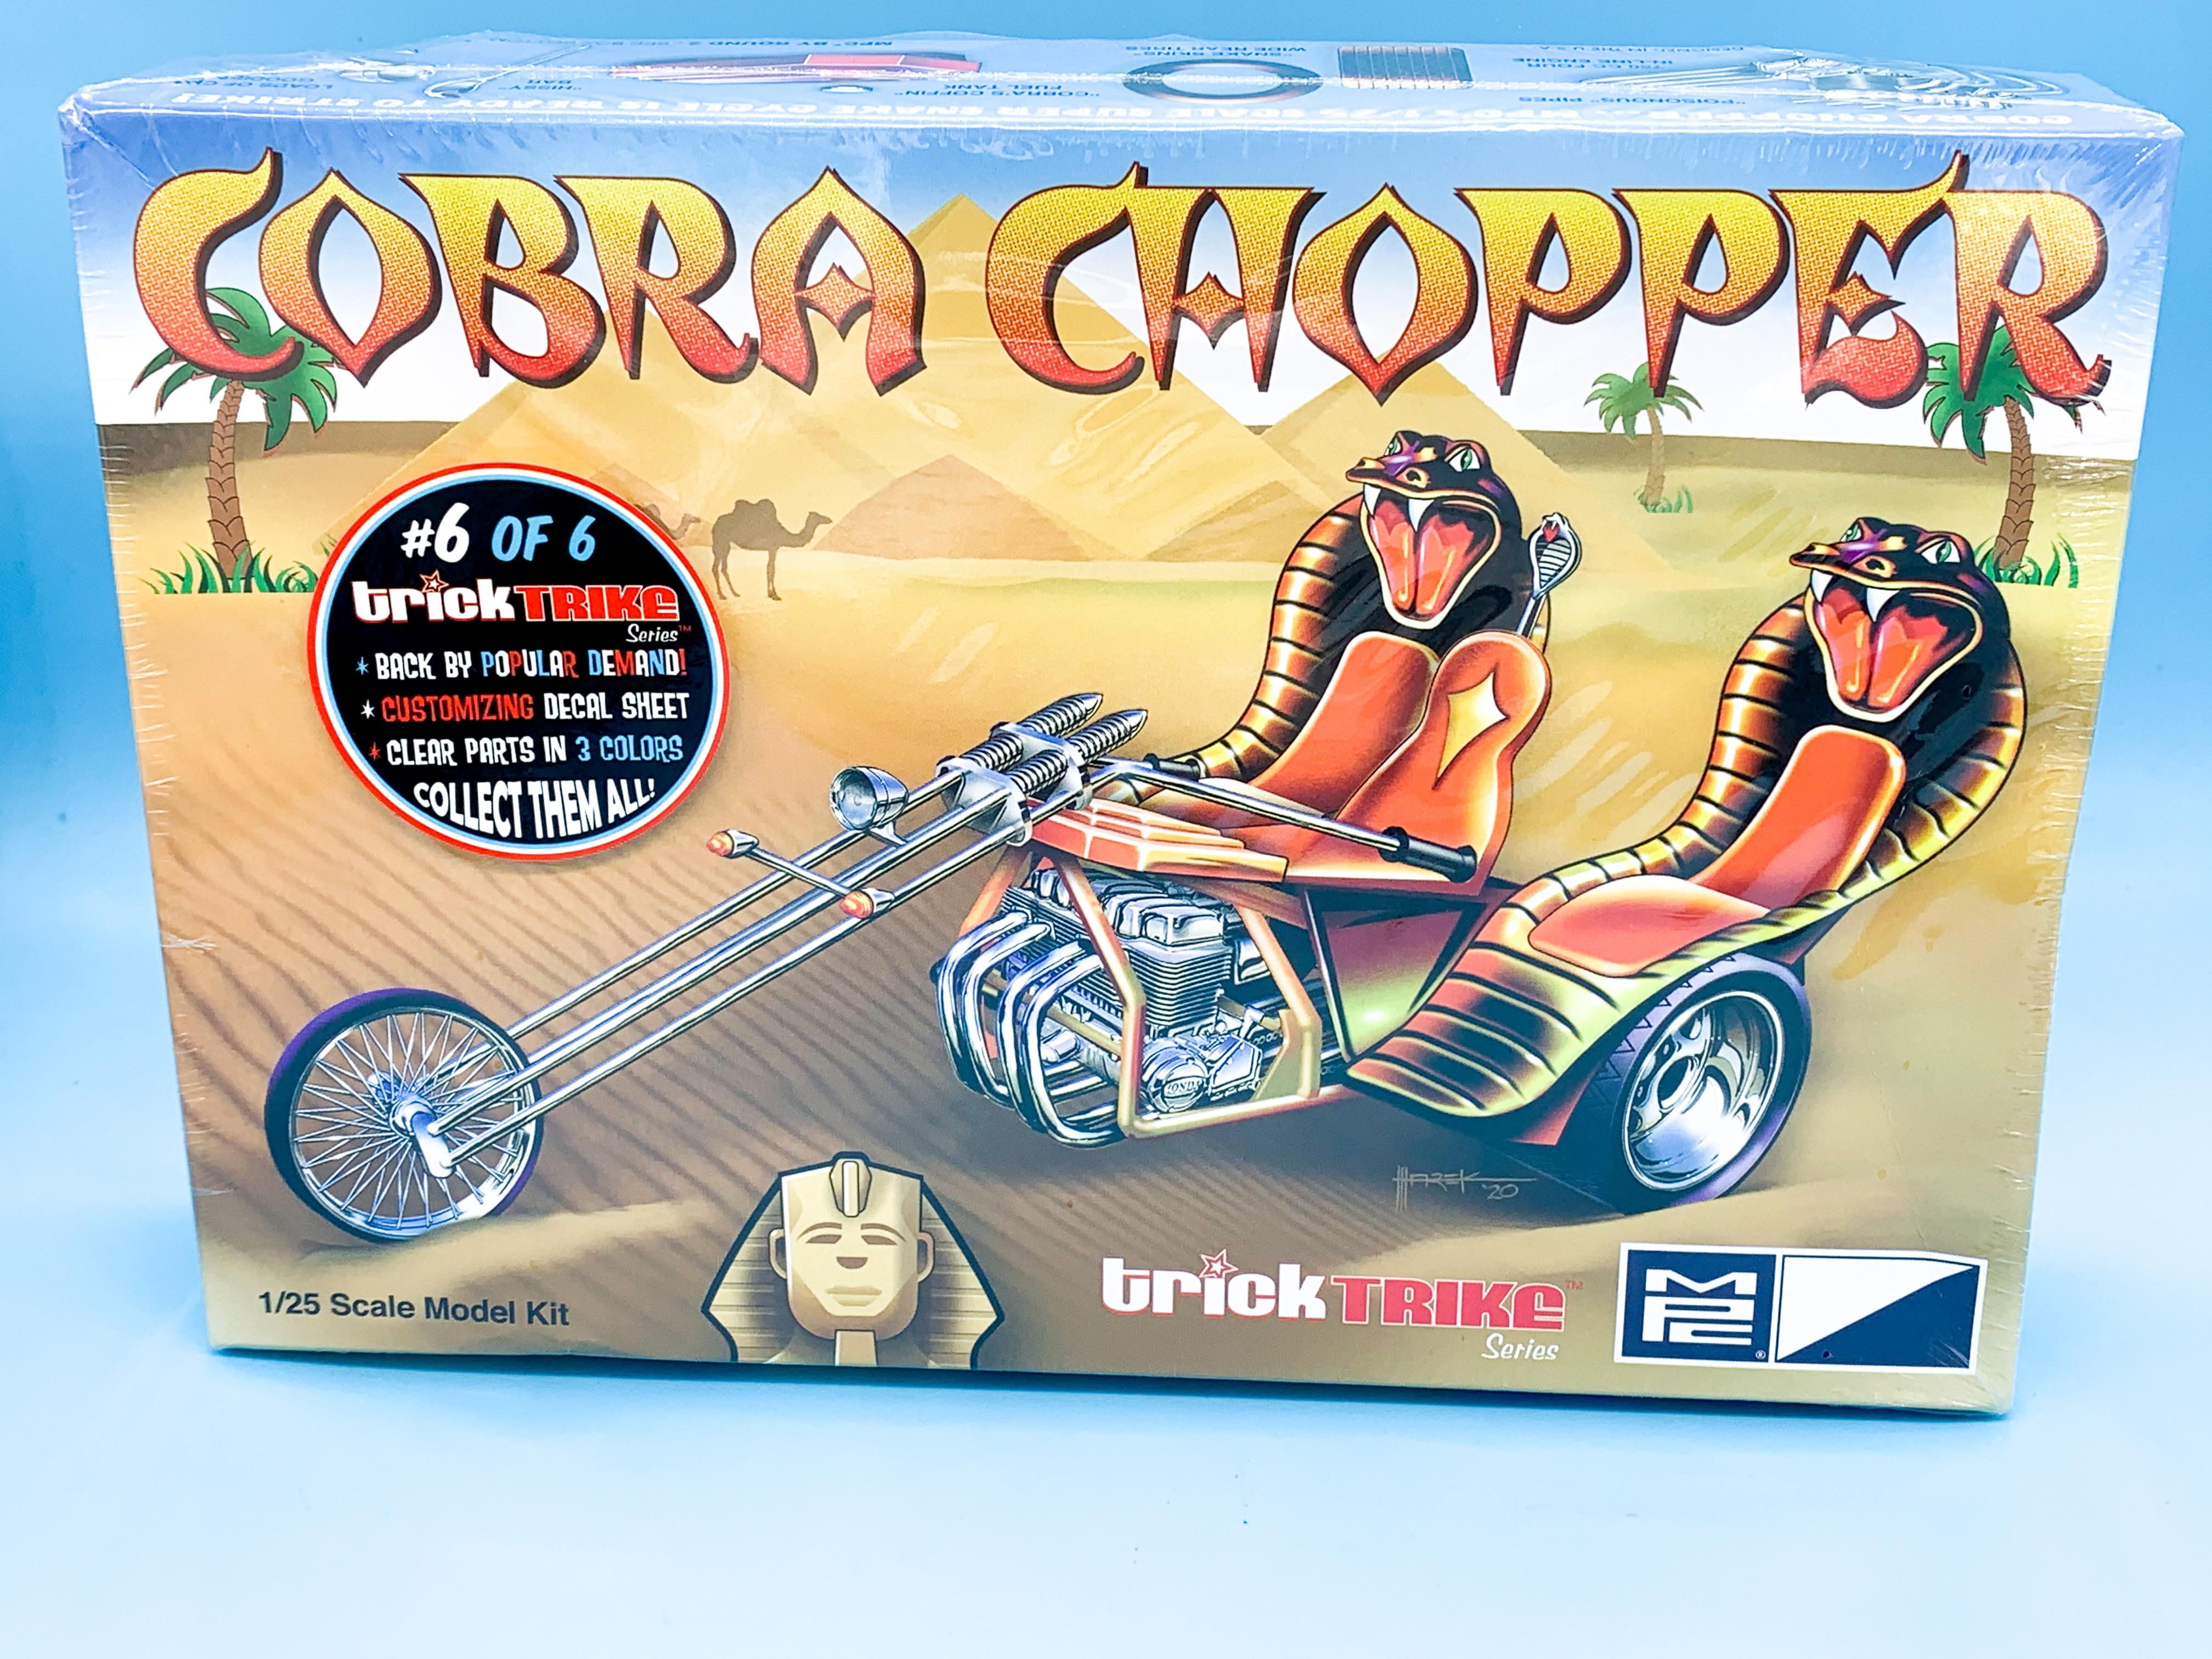
Got 5 of the 6 now - just the Torque Trike to get!
-
Love the revised paintjob on this one - creative way to make a fish-scale stencil too! Smart!
-
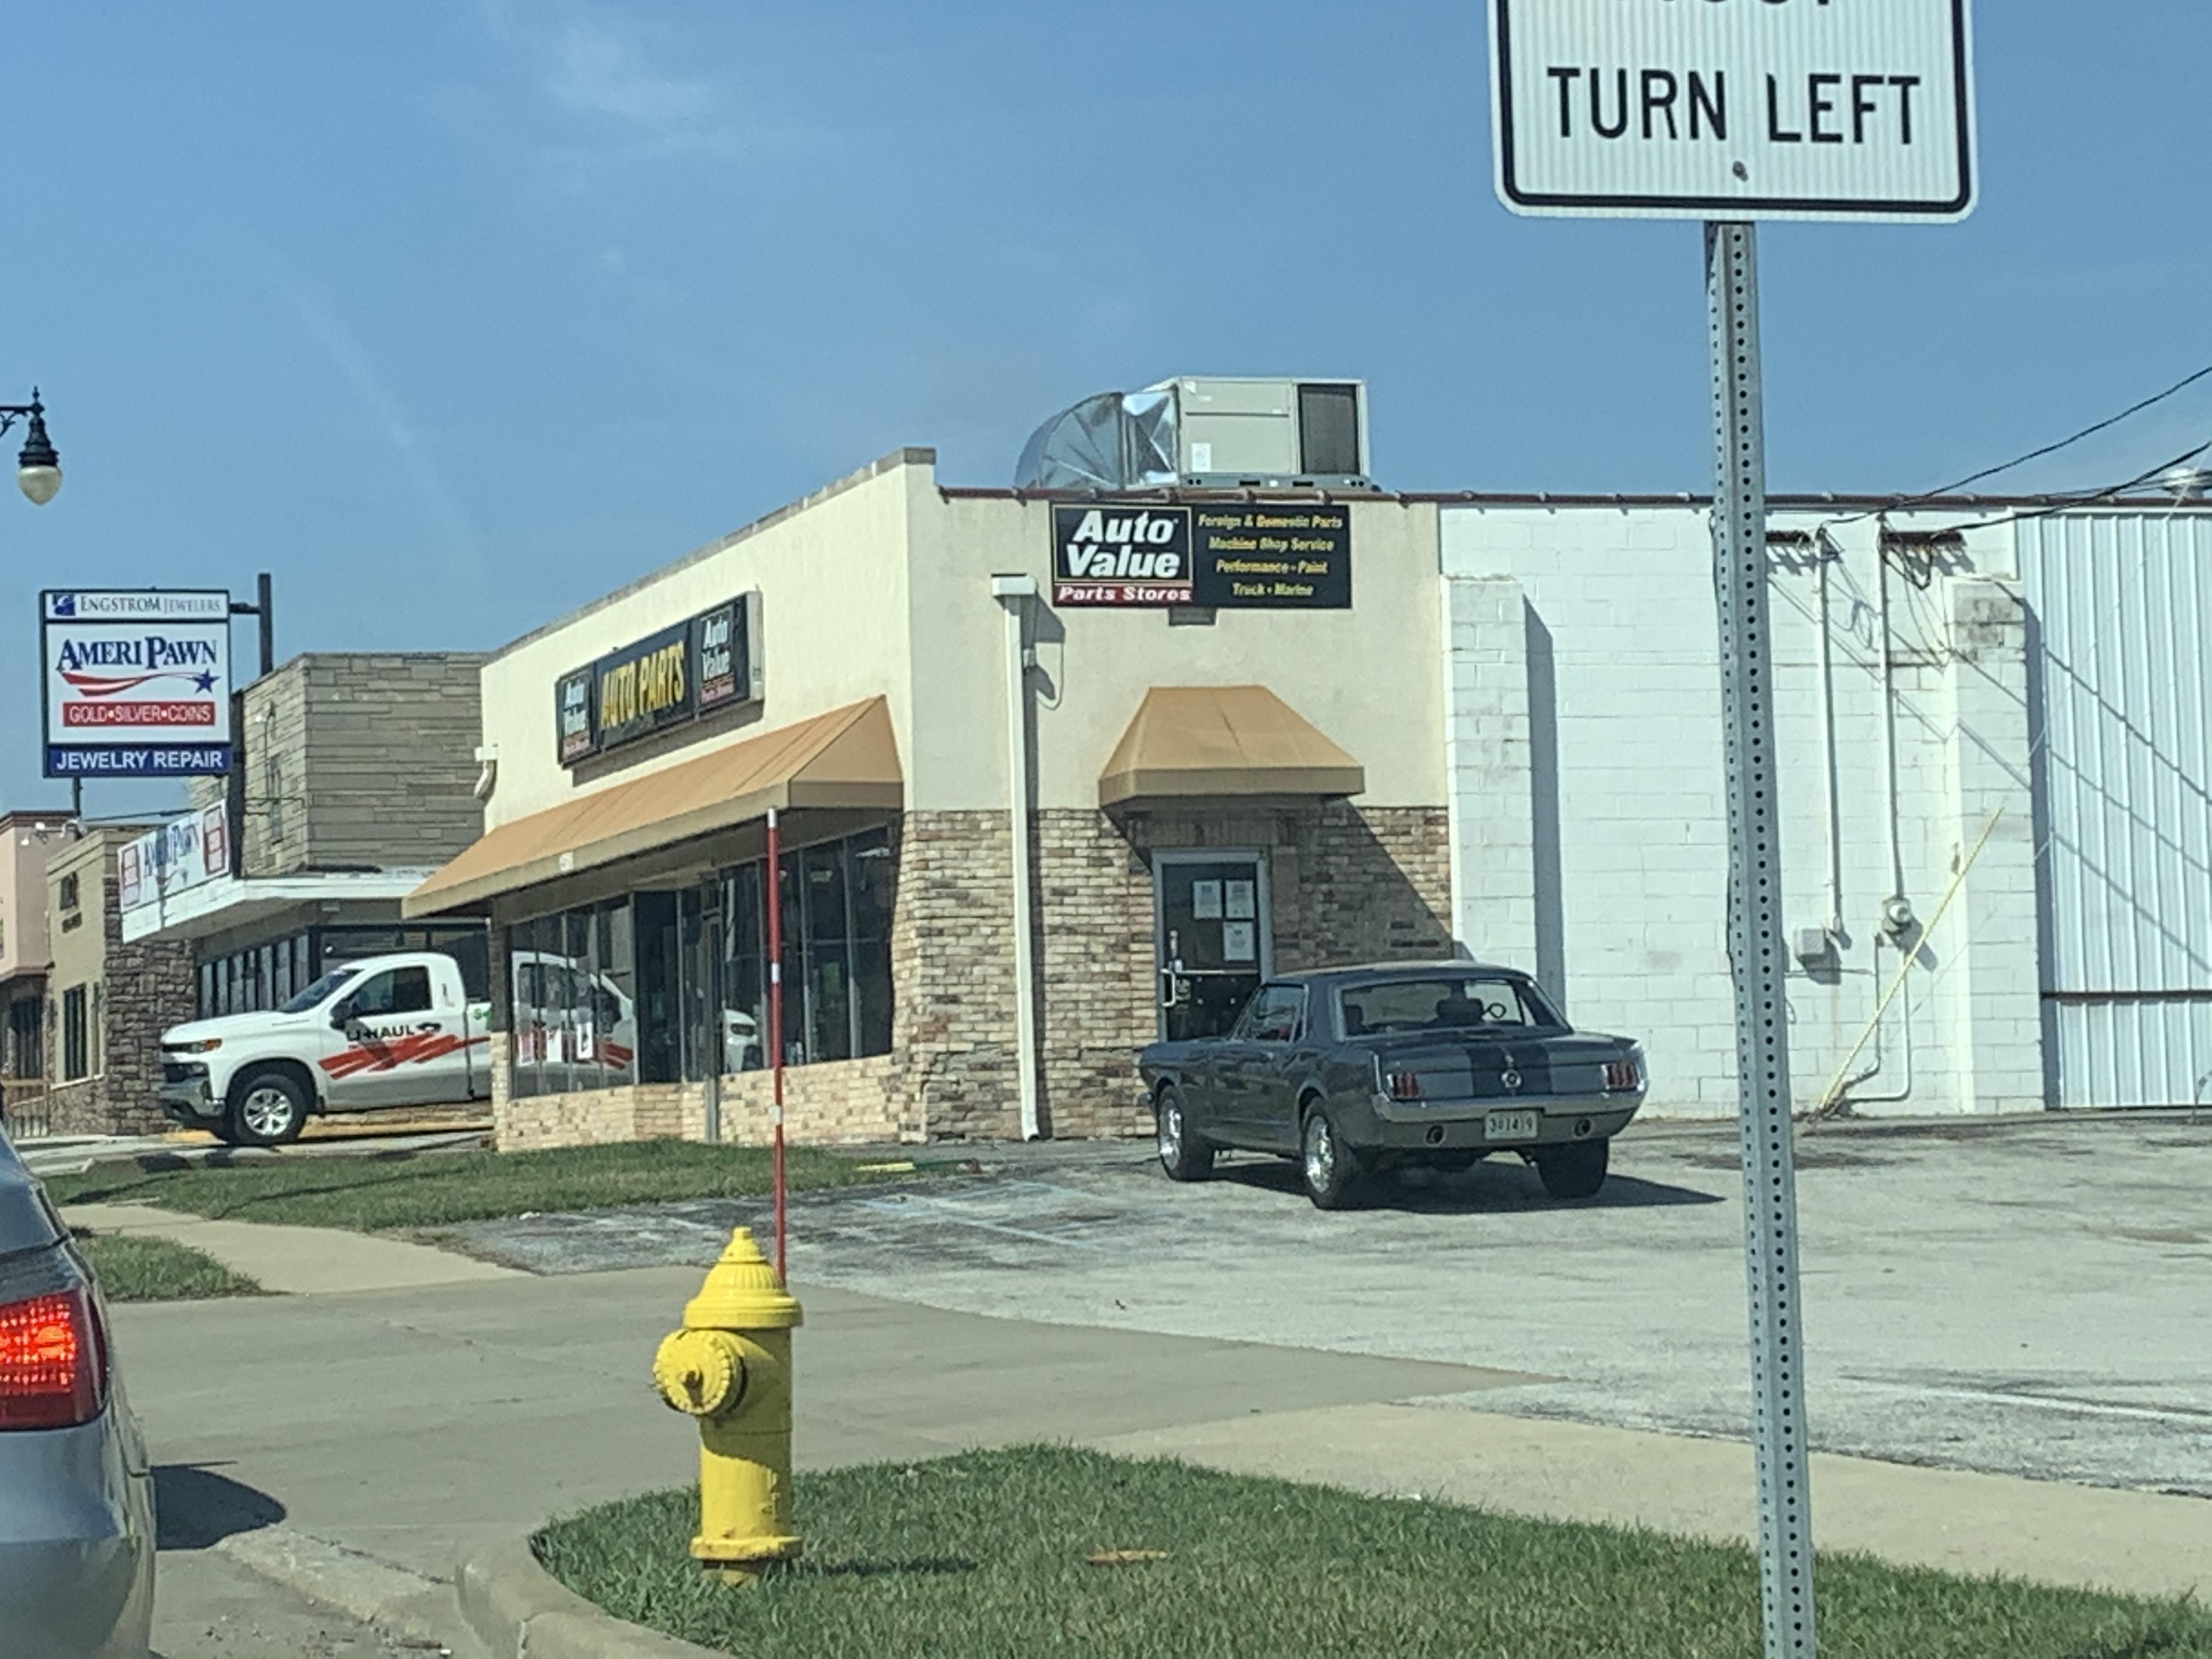
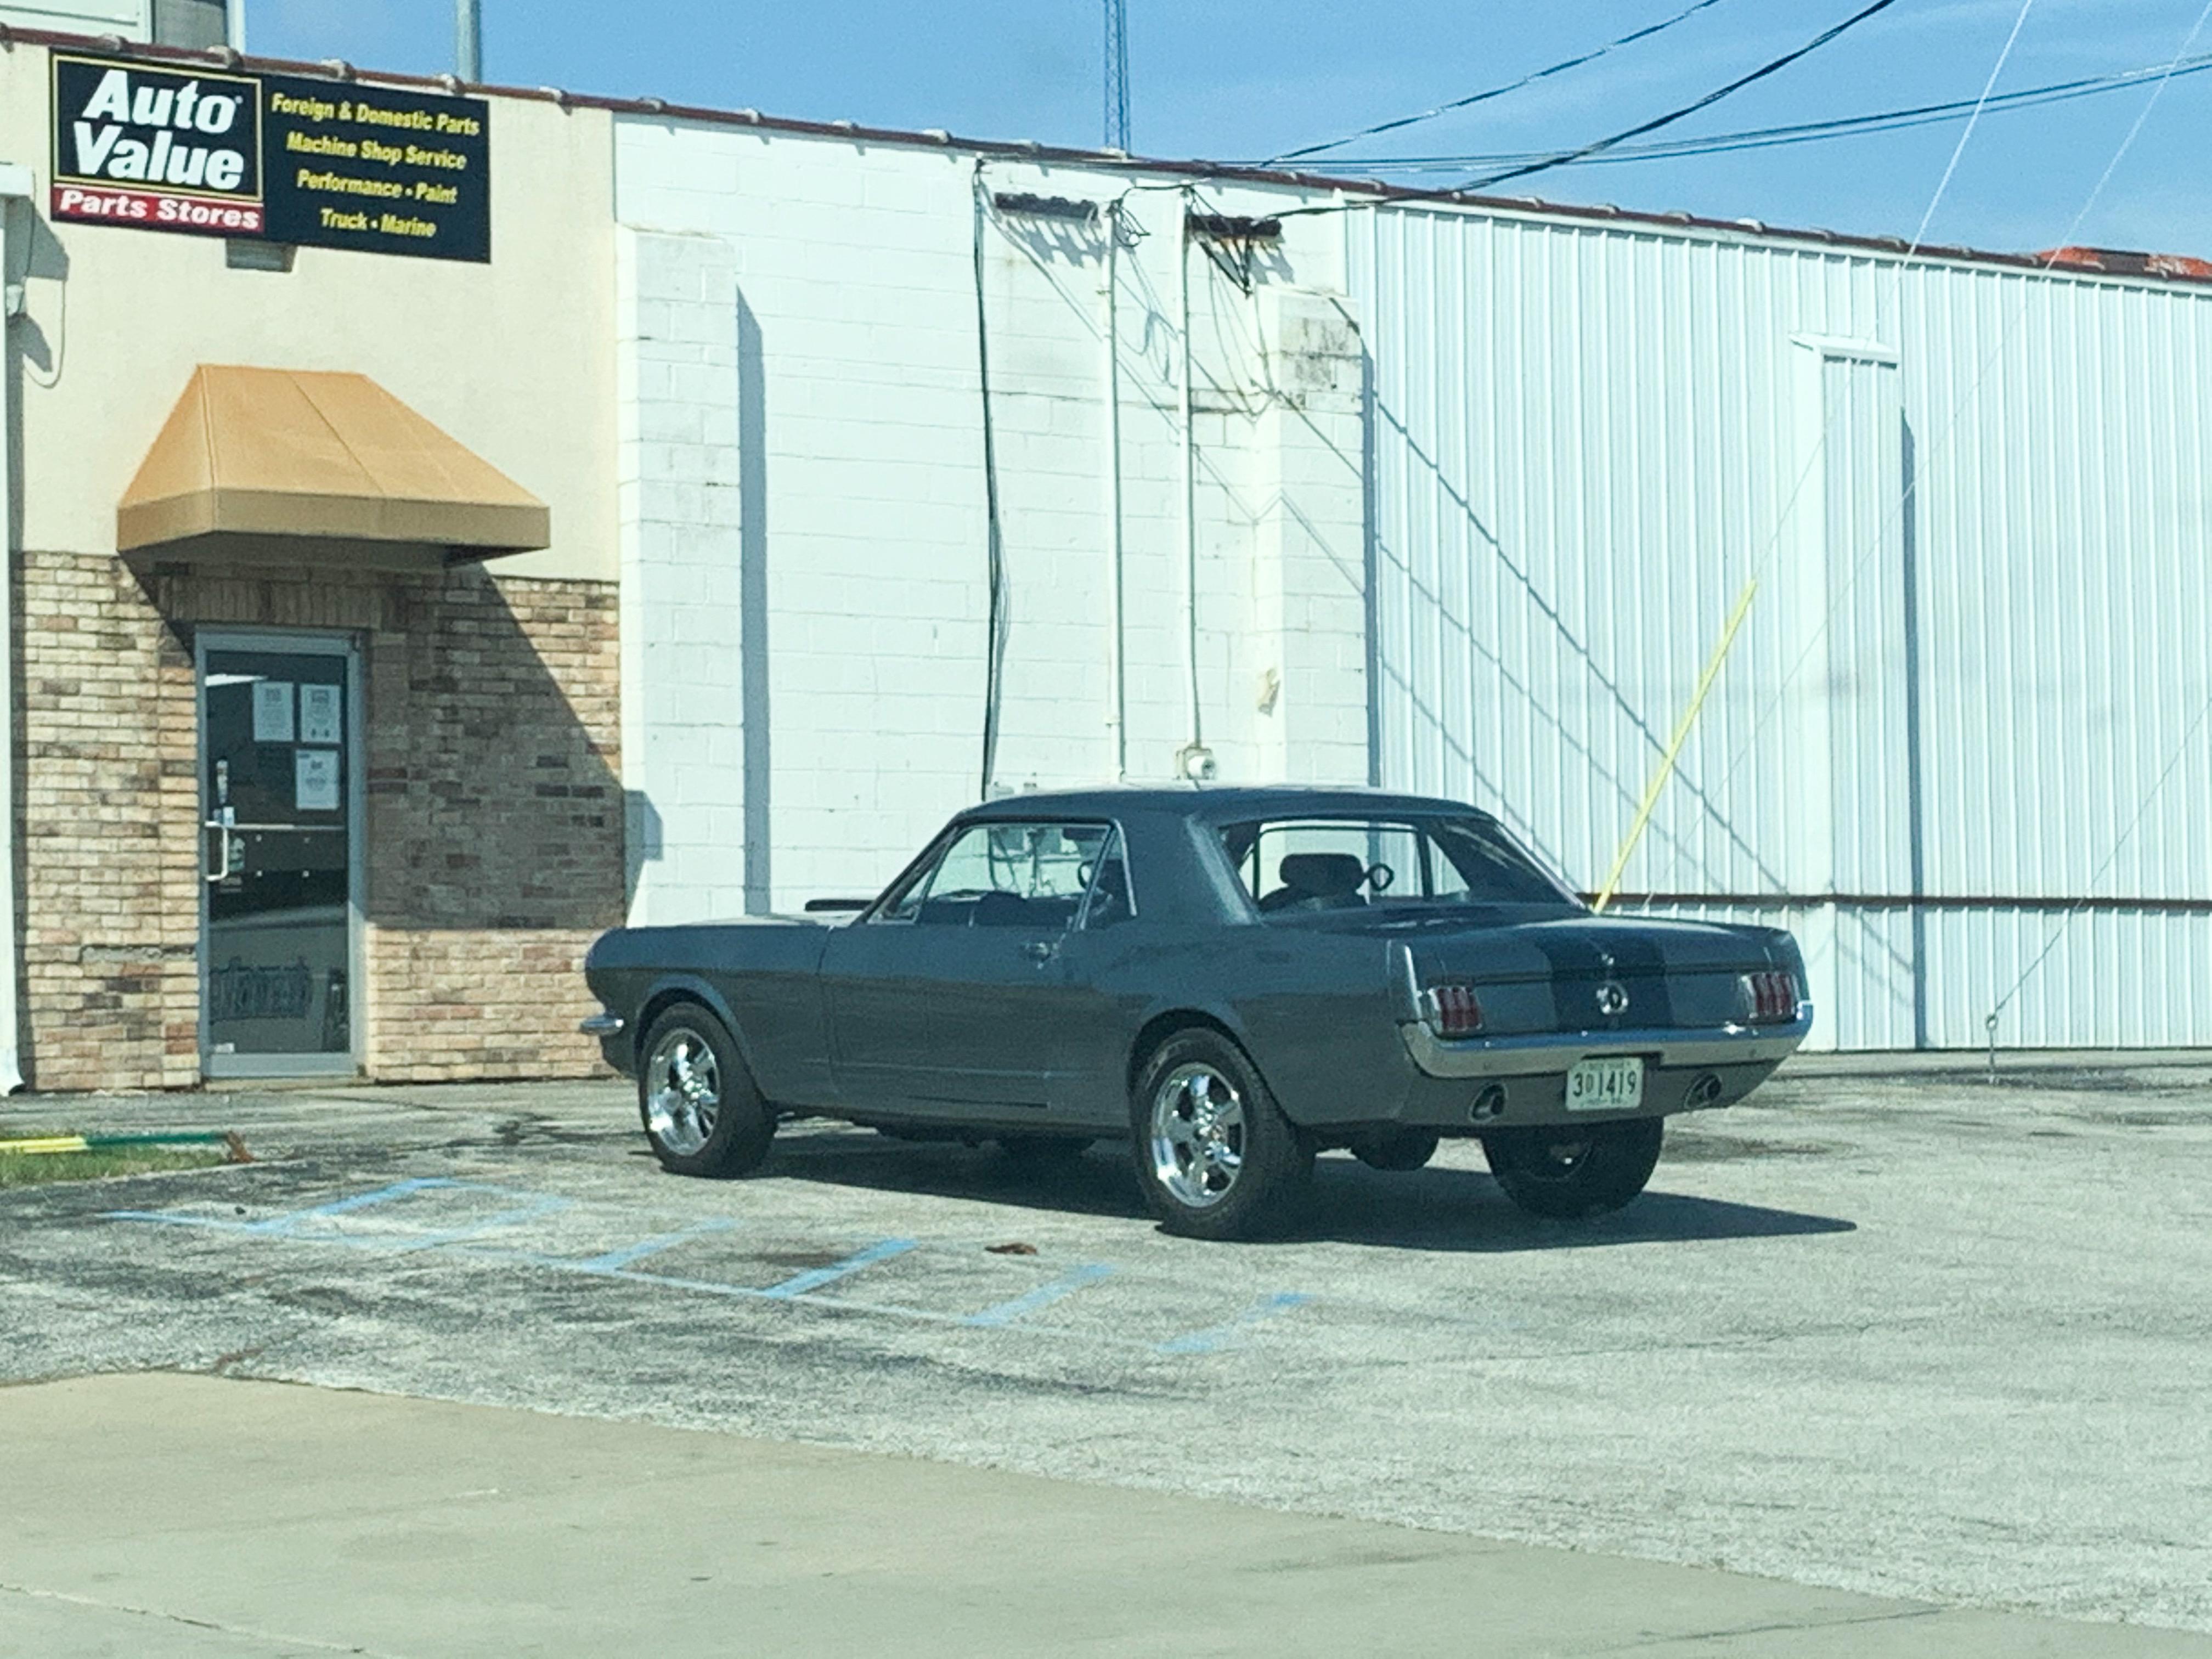
What did you see on the road today?
CabDriver replied to Harry P.'s topic in General Automotive Talk (Trucks and Cars)
This Mustang caught my eye whilst stopped at the lights today - not crazy about the wheels but it’s cooler than my wife’s Civic that I was driving anyway 🤷♂️
-
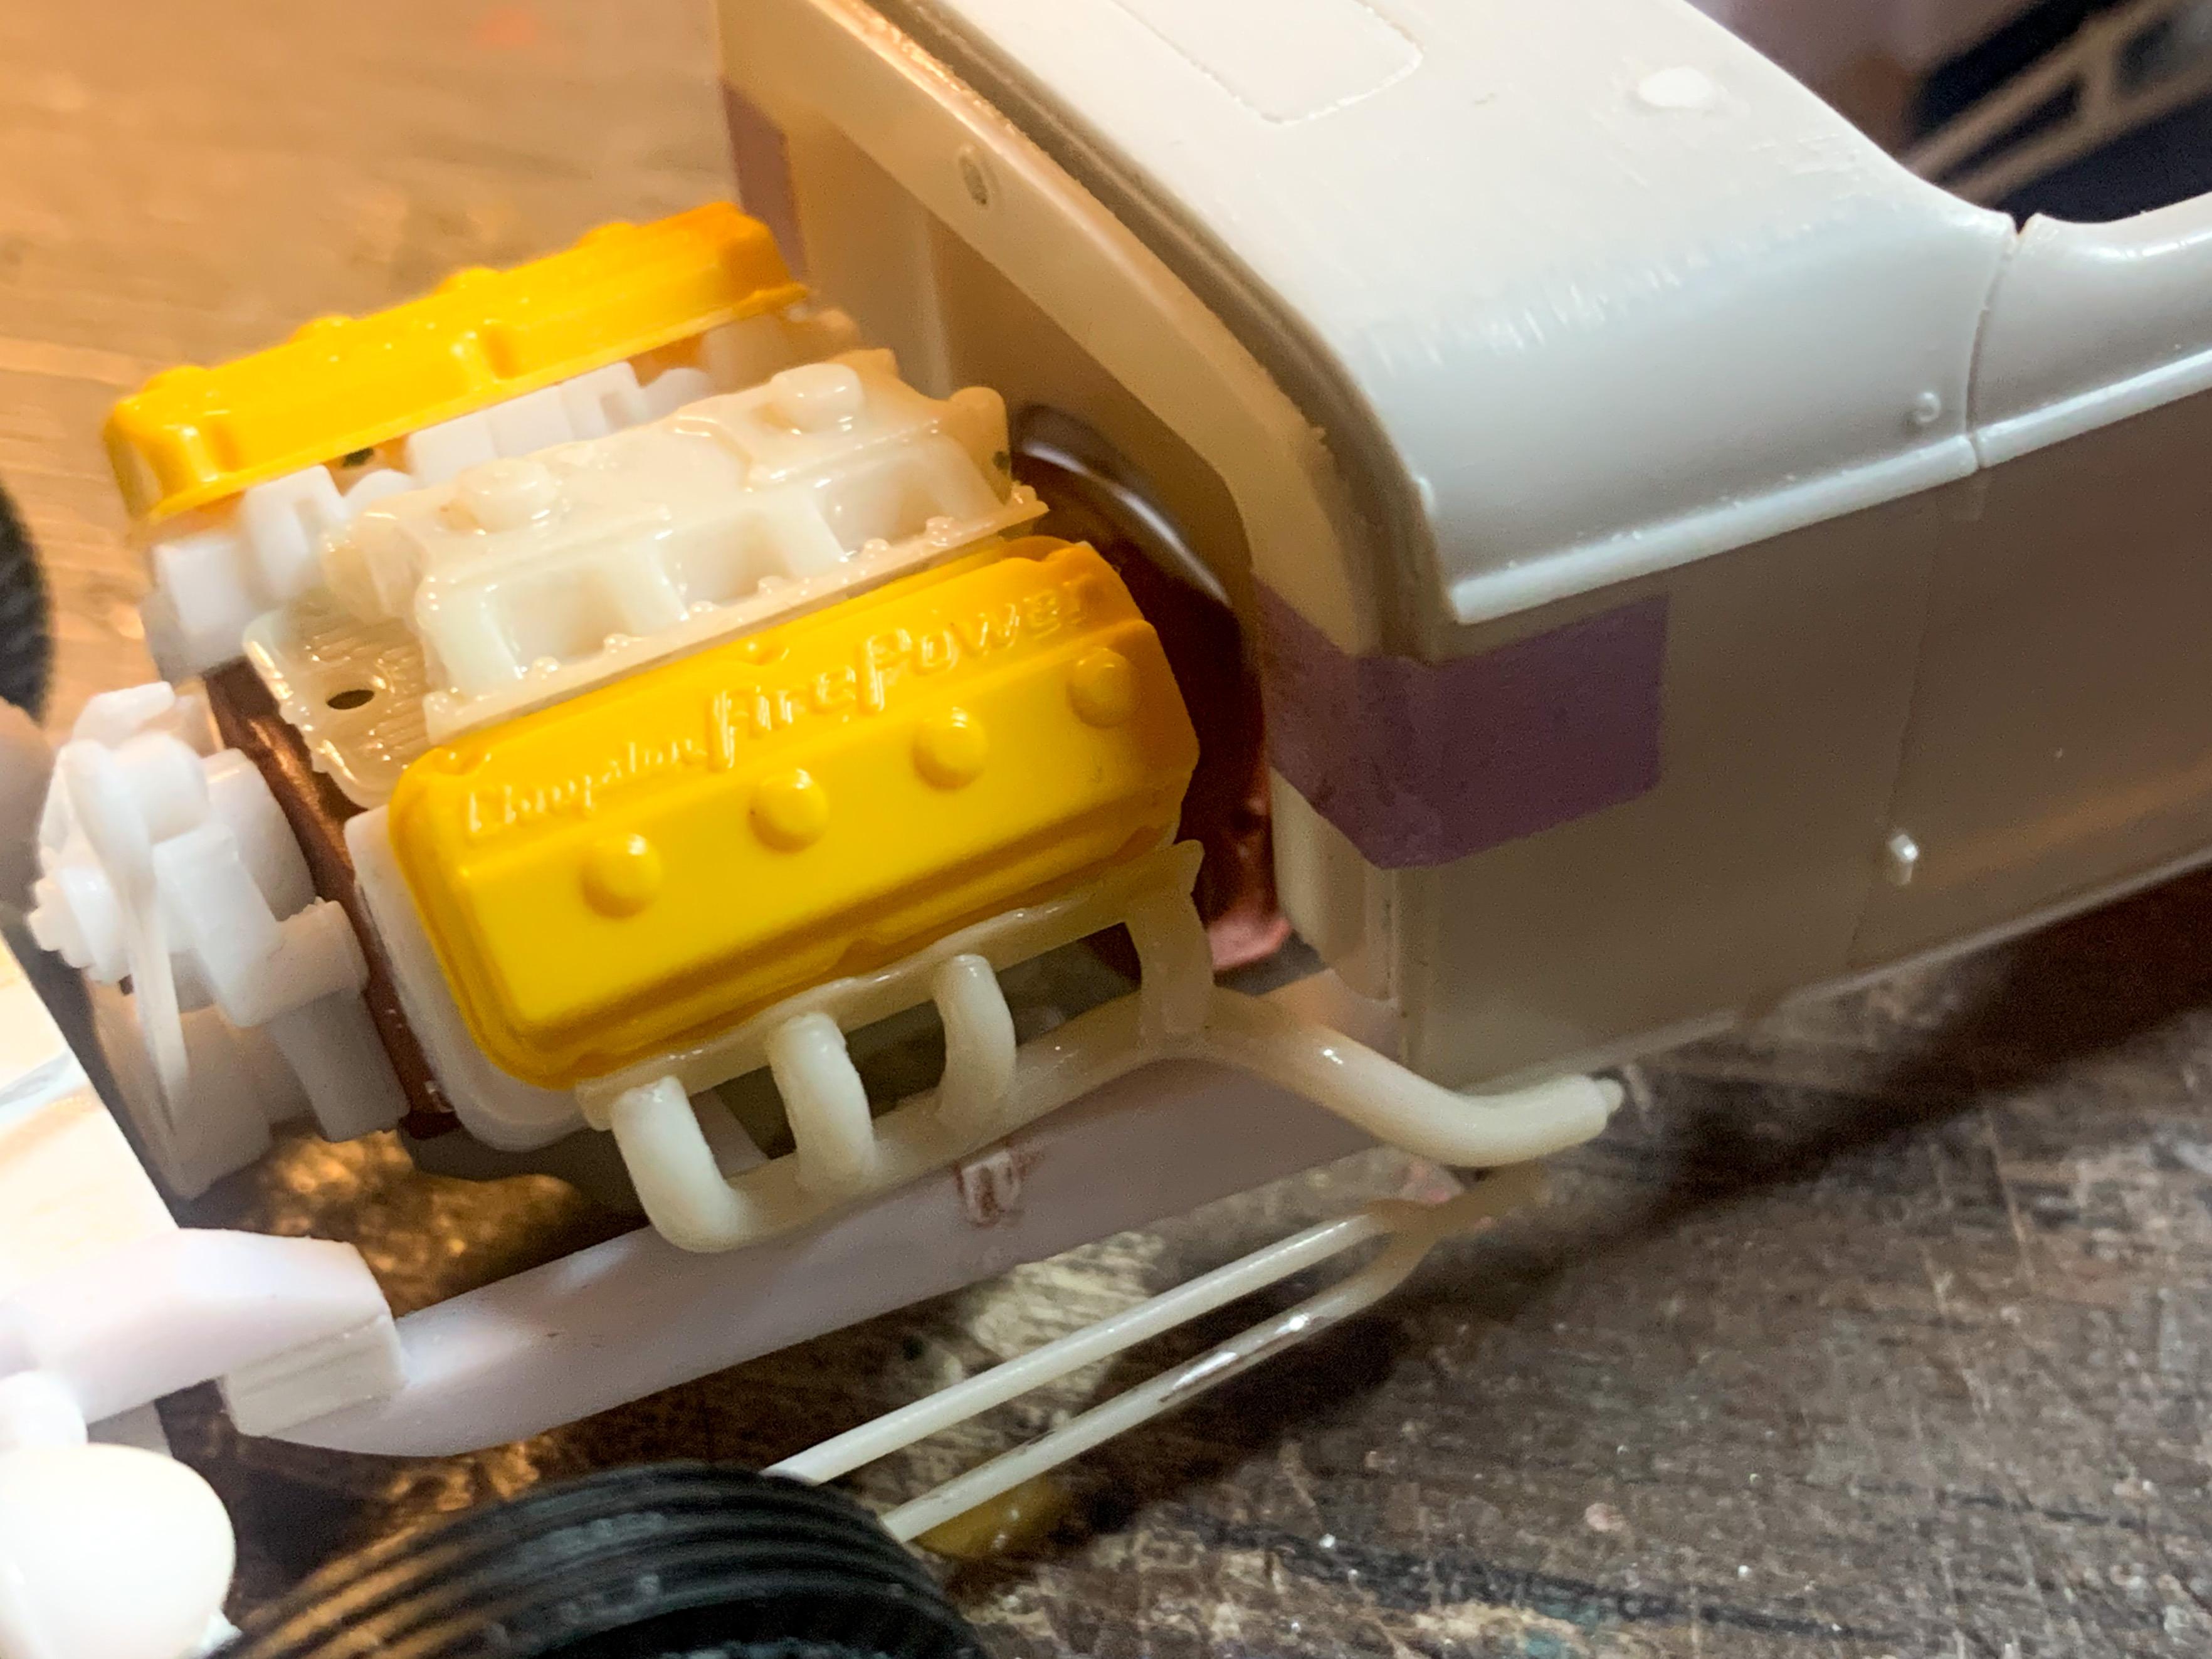
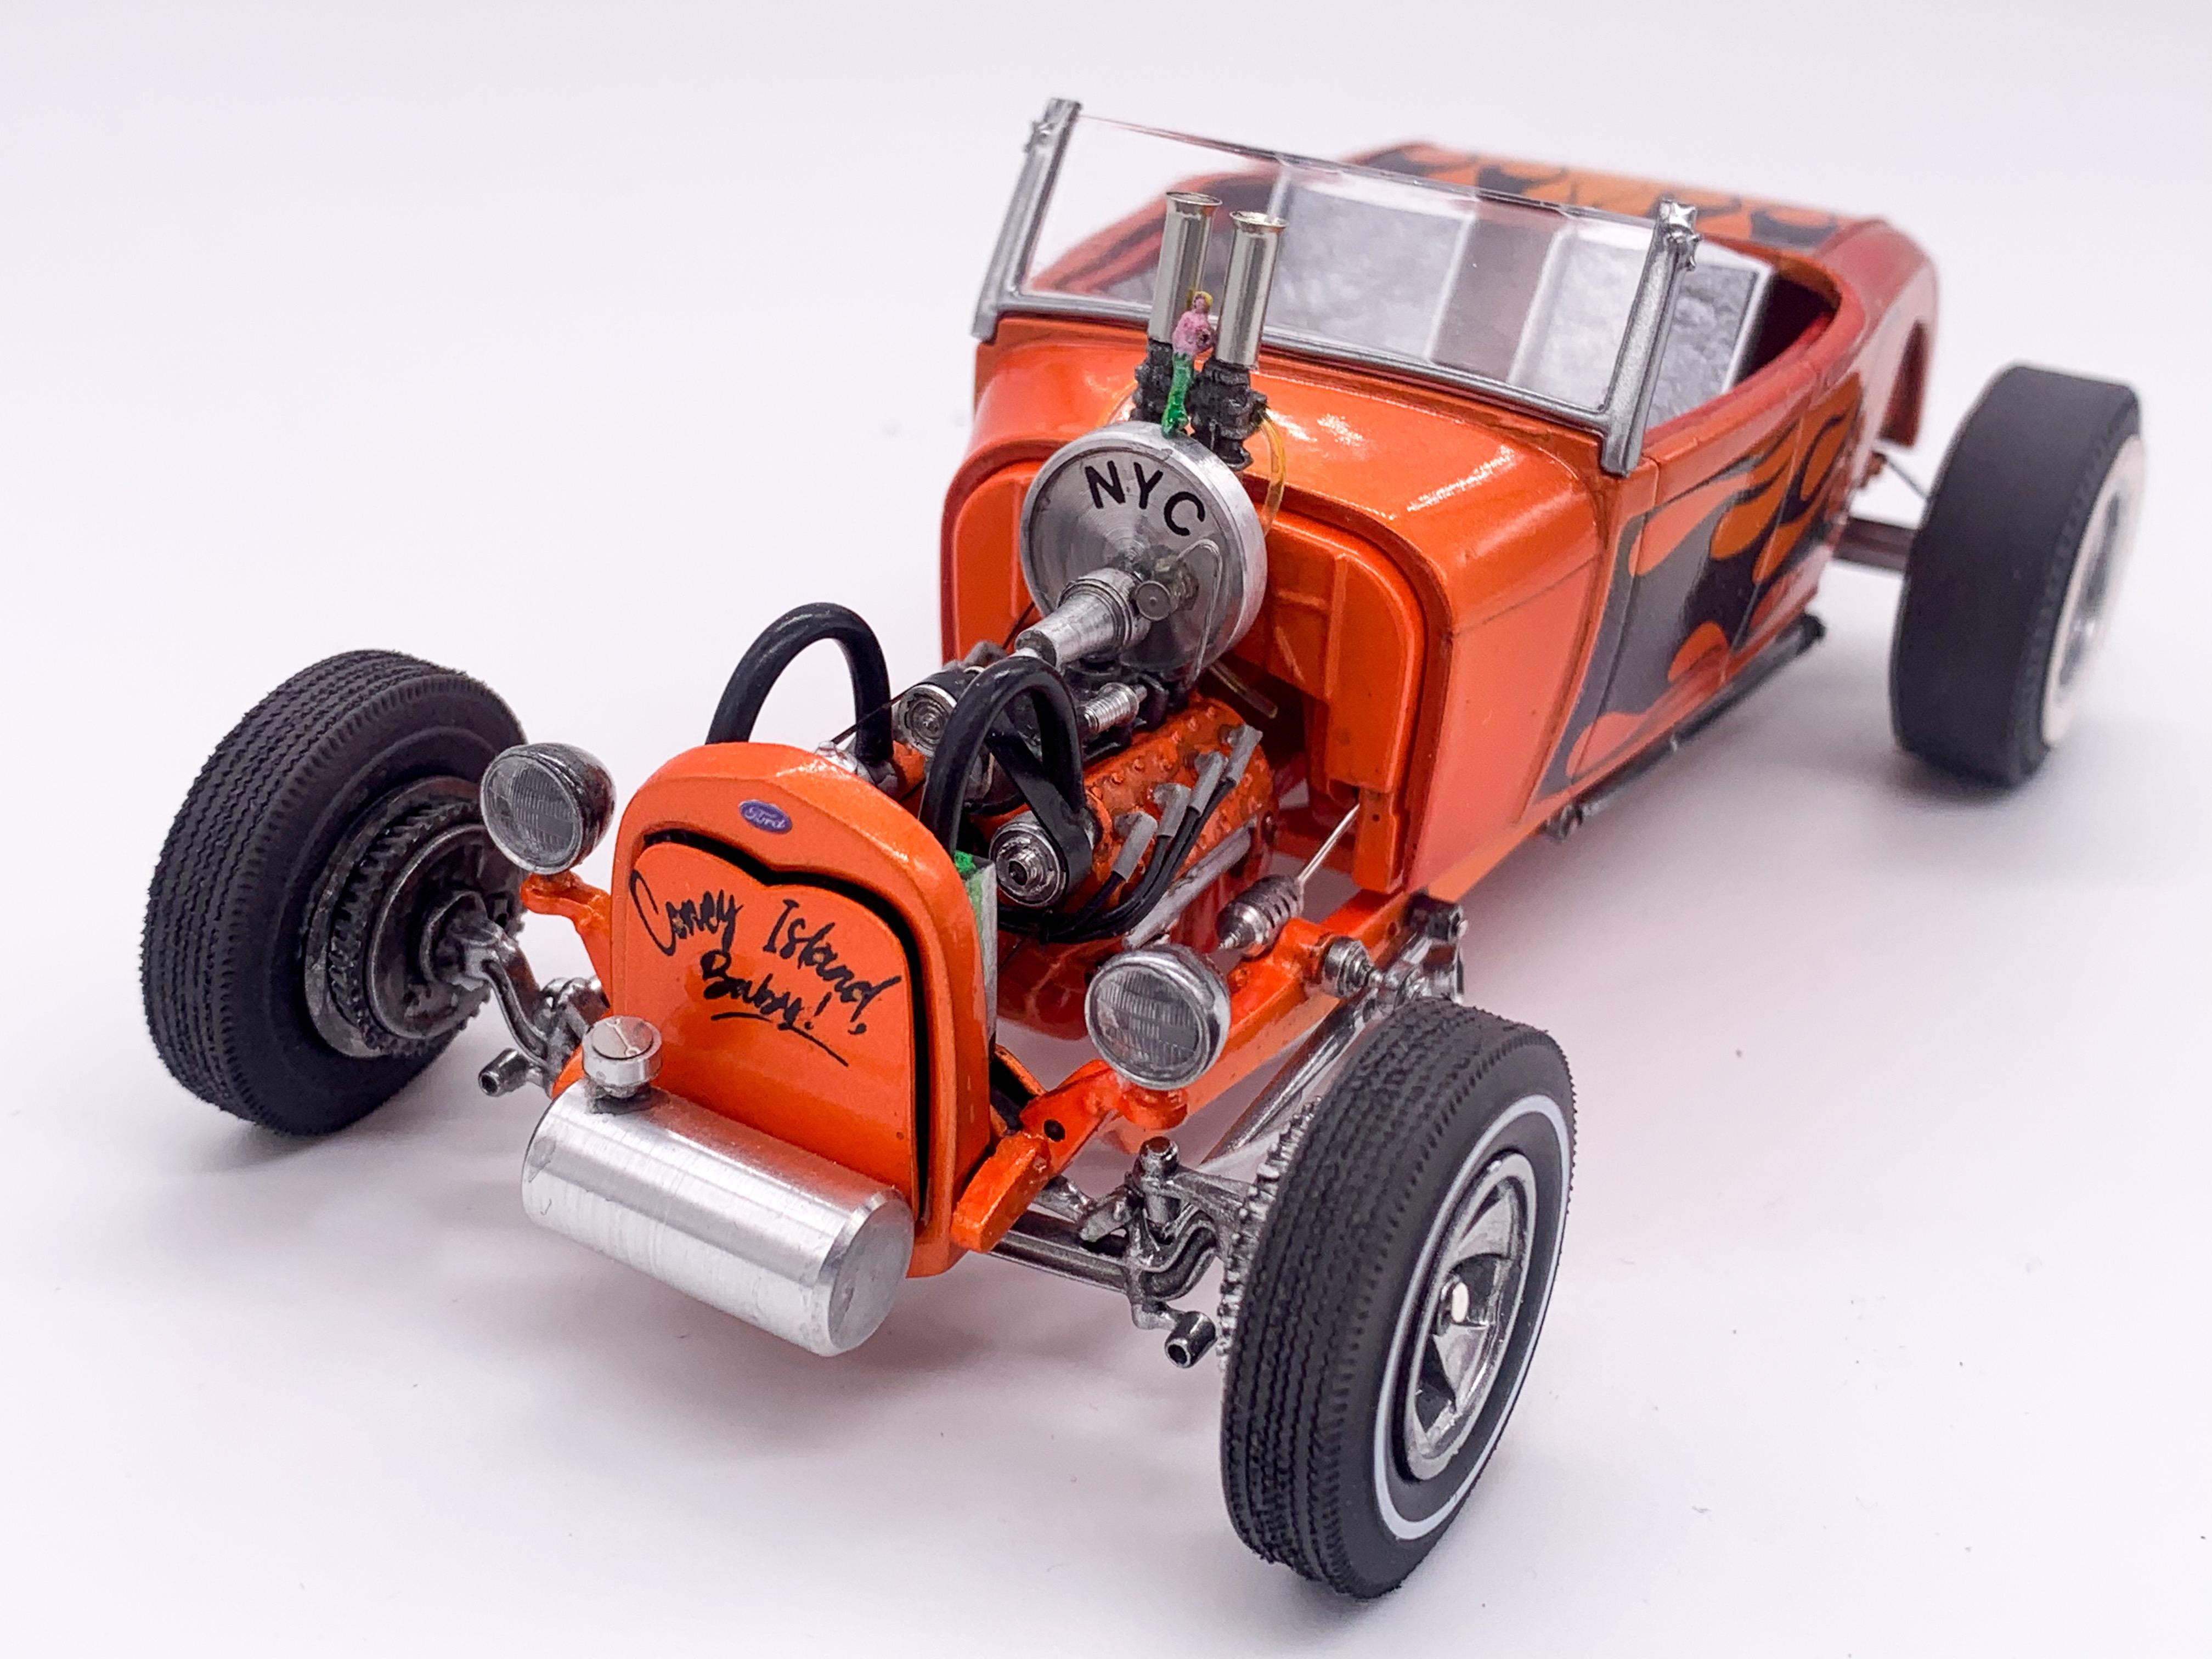
“Joker Is Wild” - AMT / Revell 32 Roadster Kitbash for DSC
CabDriver replied to CabDriver's topic in WIP: Model Cars
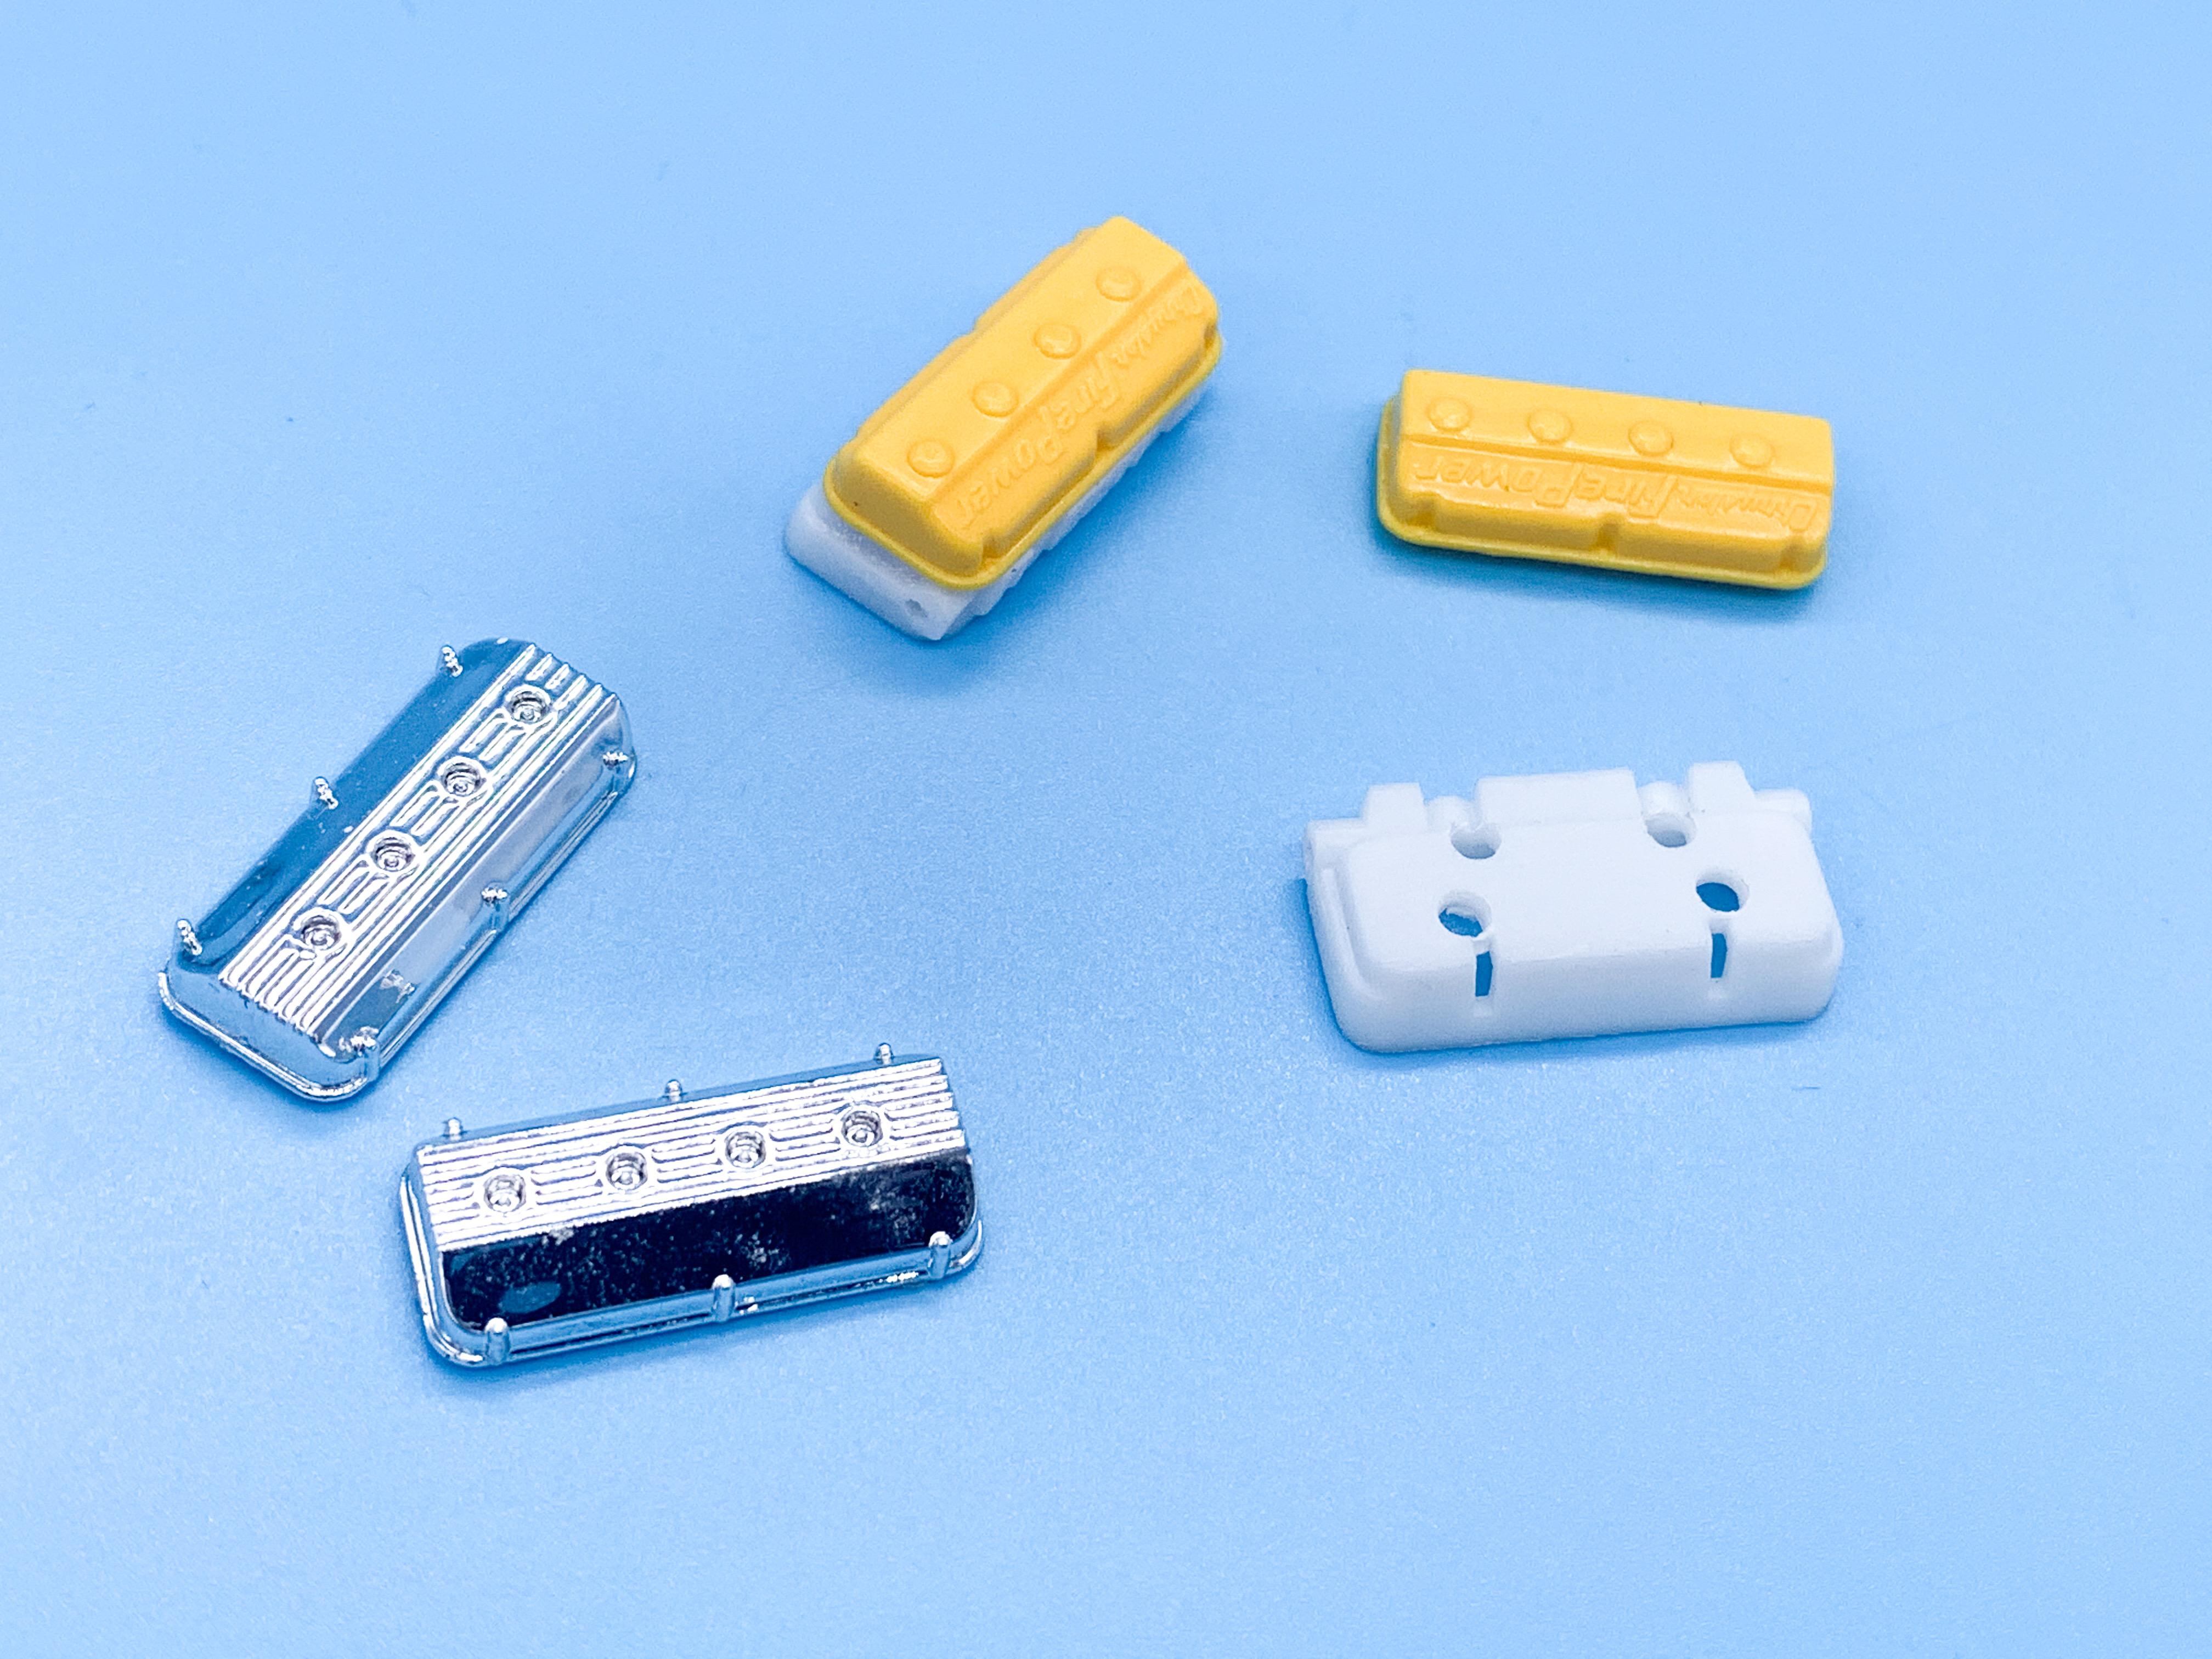
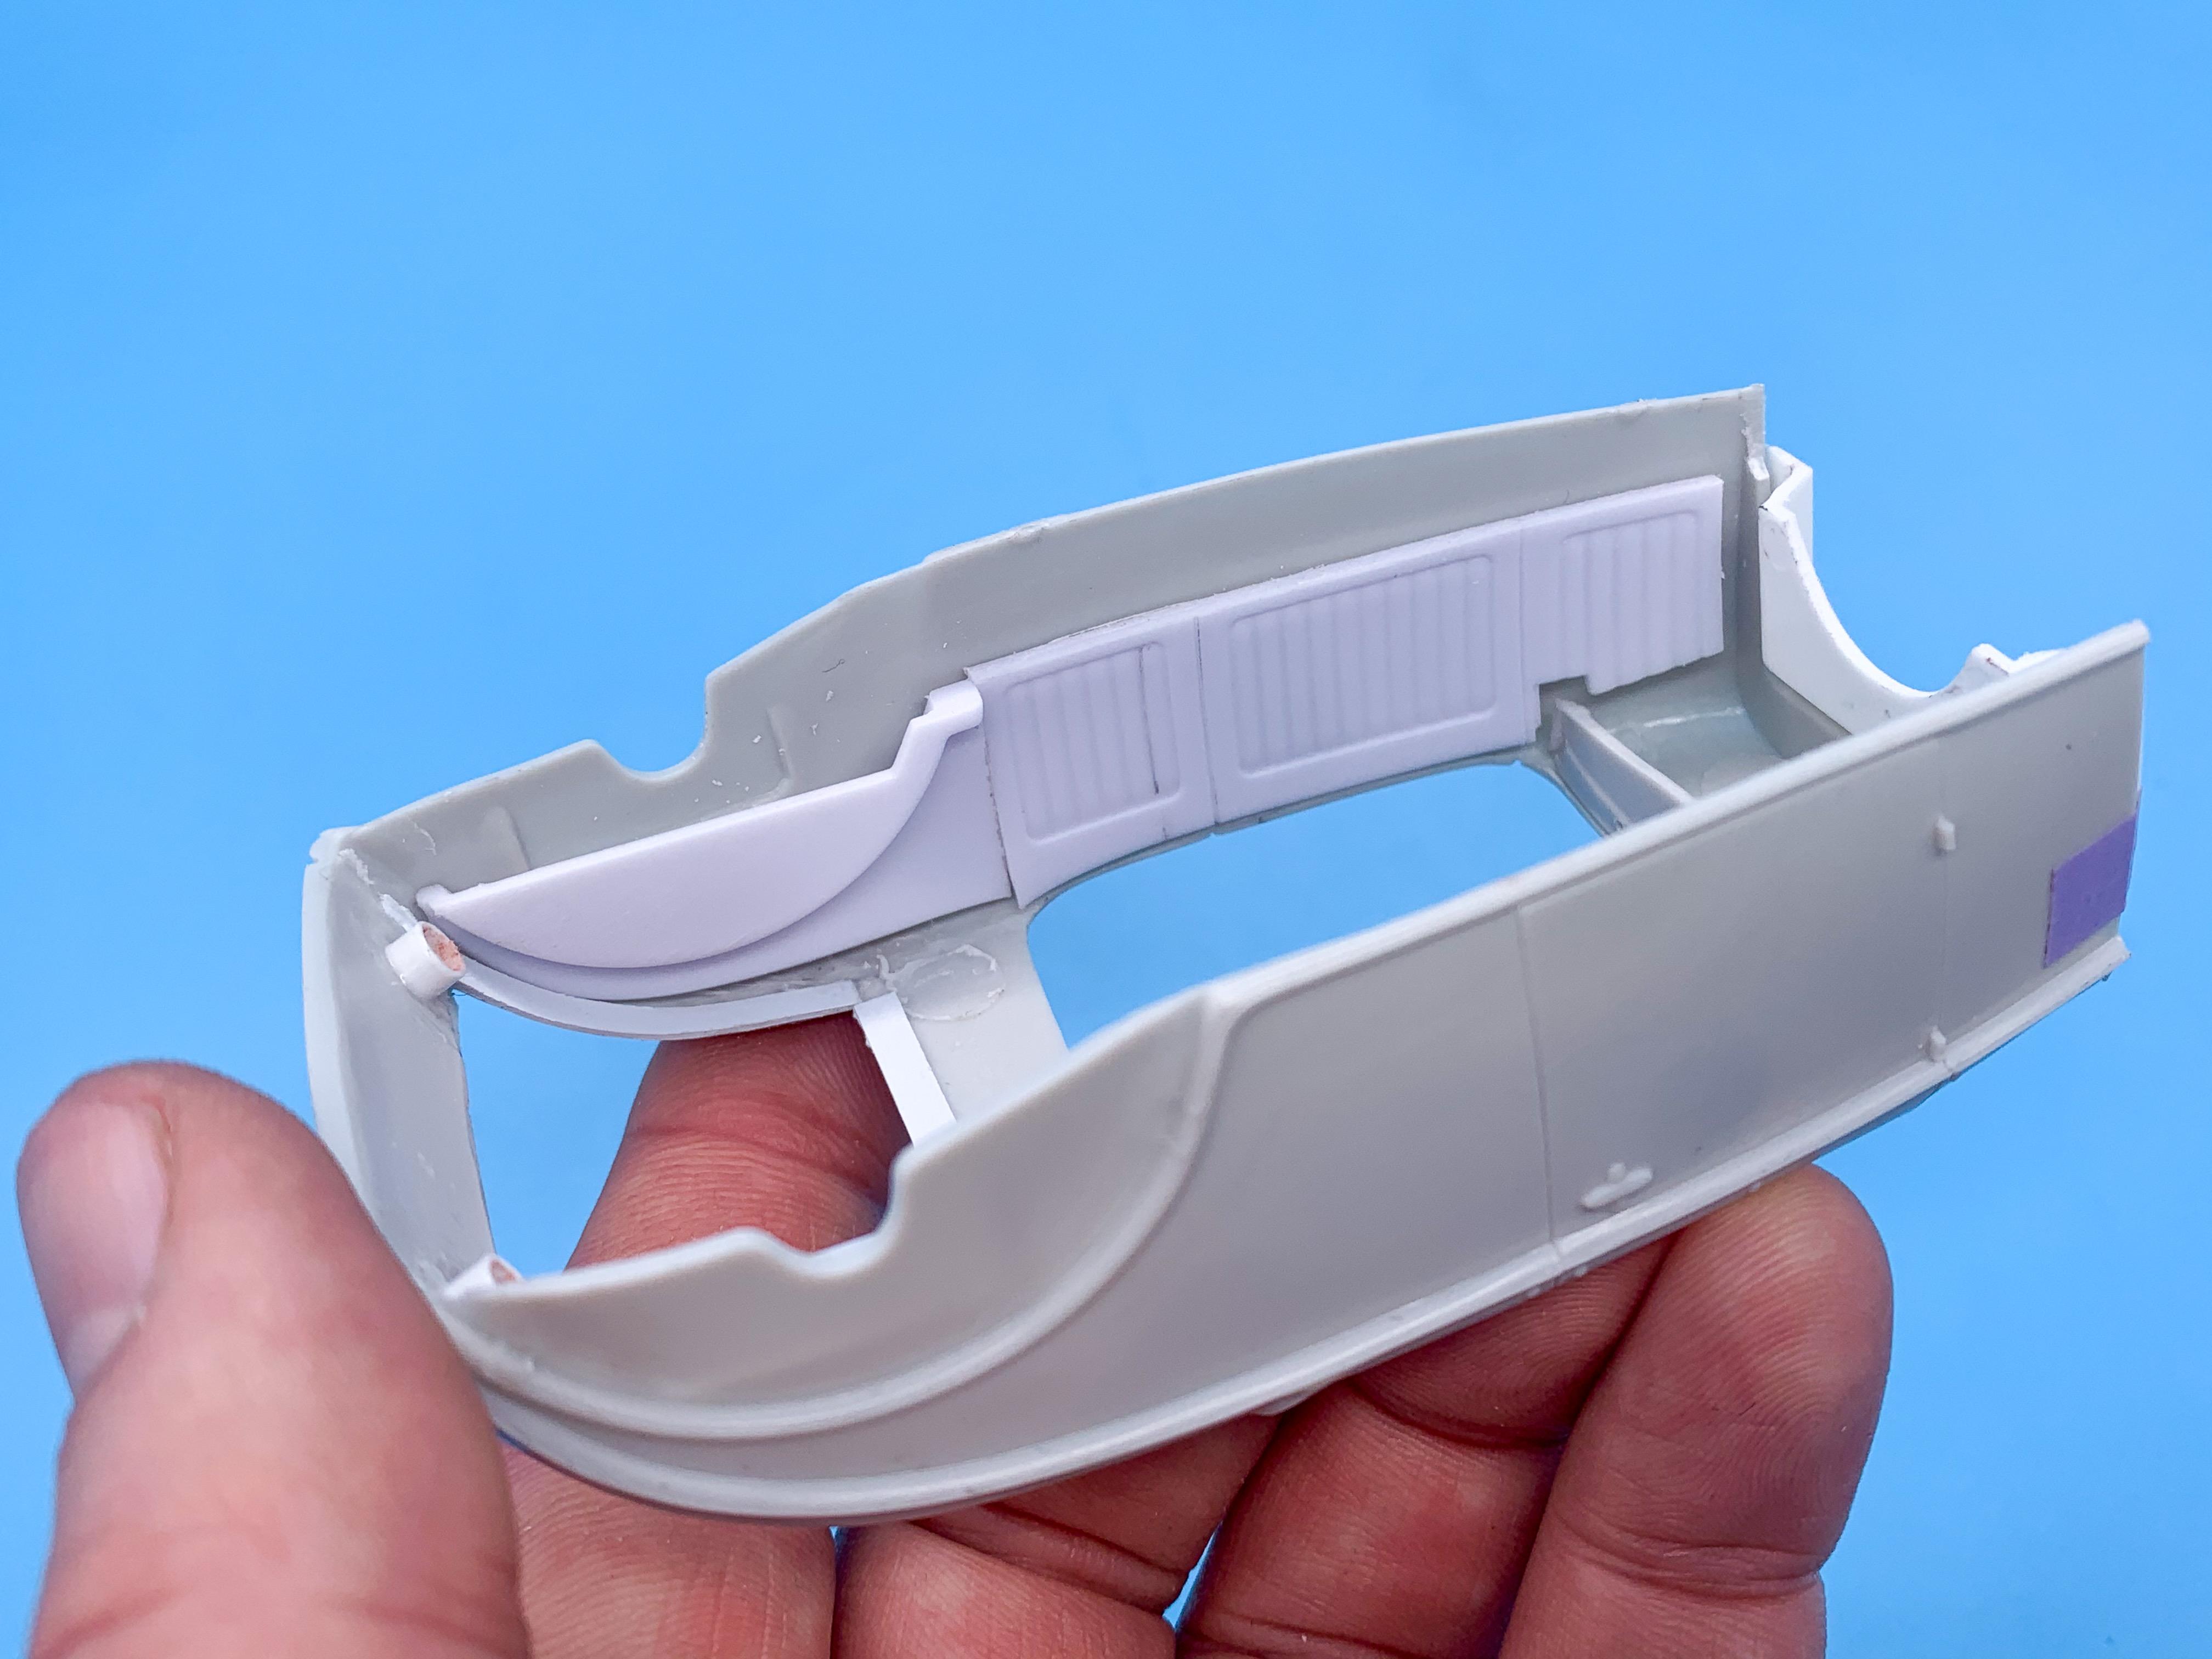
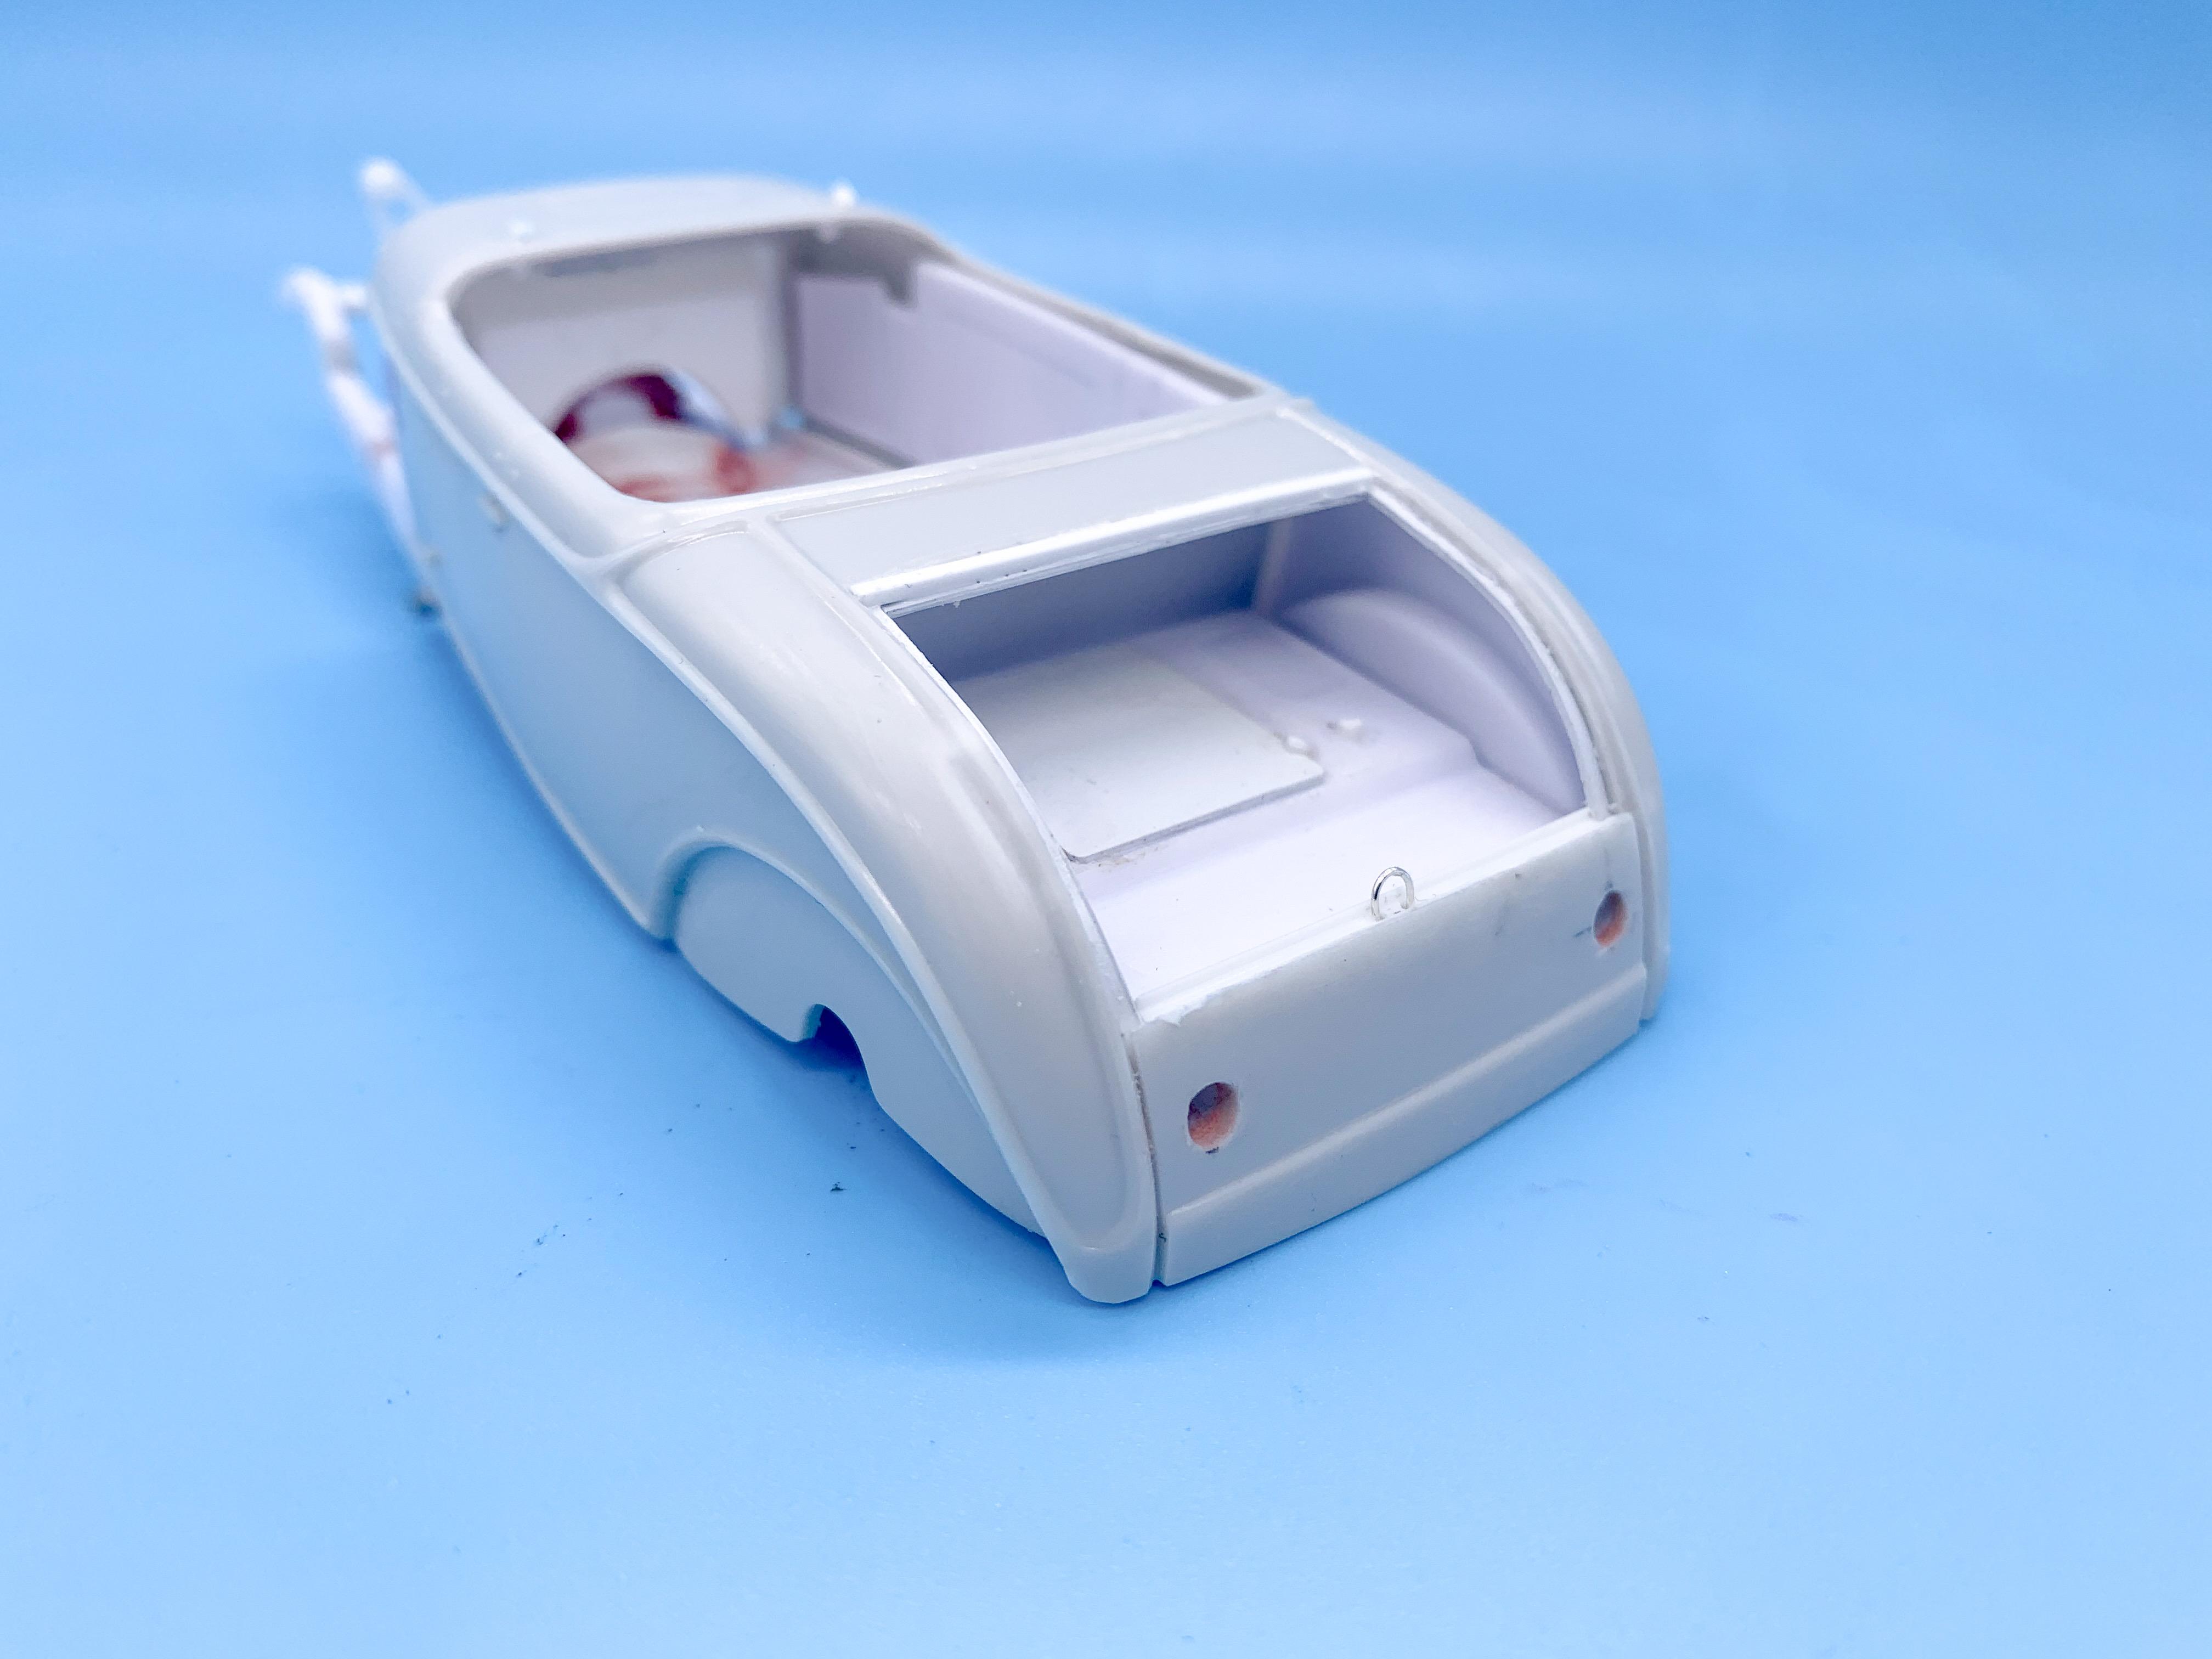
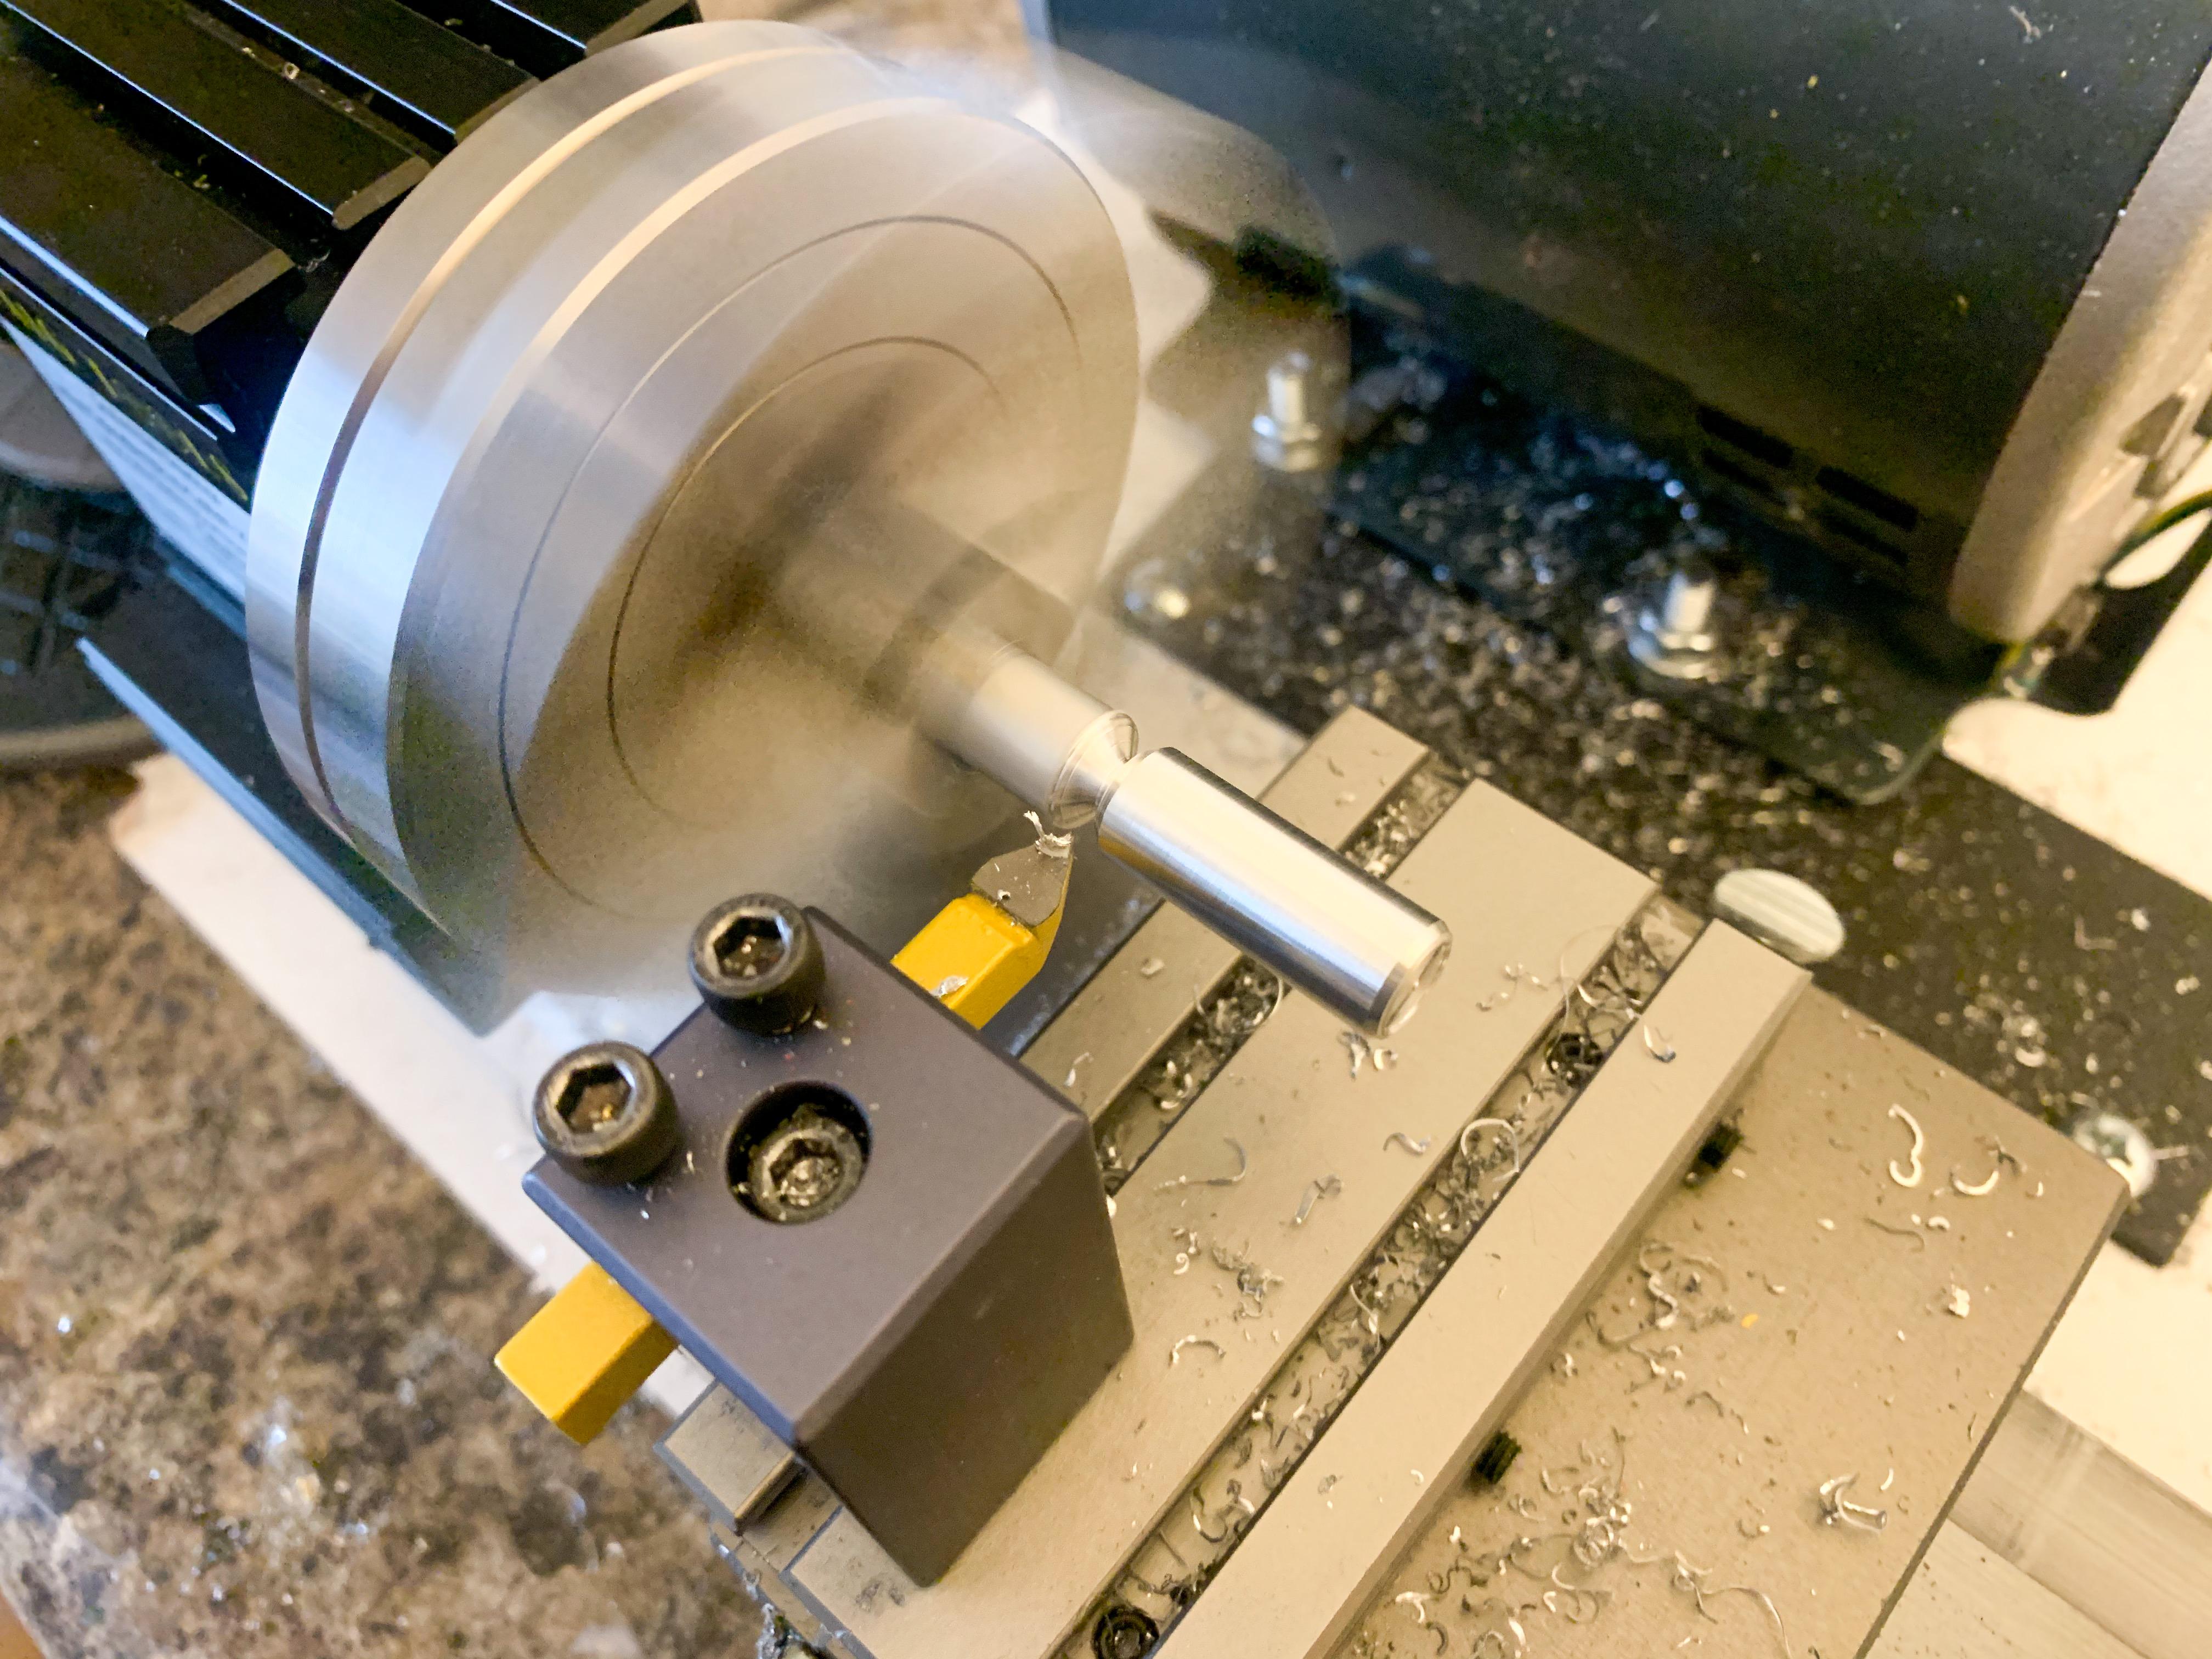
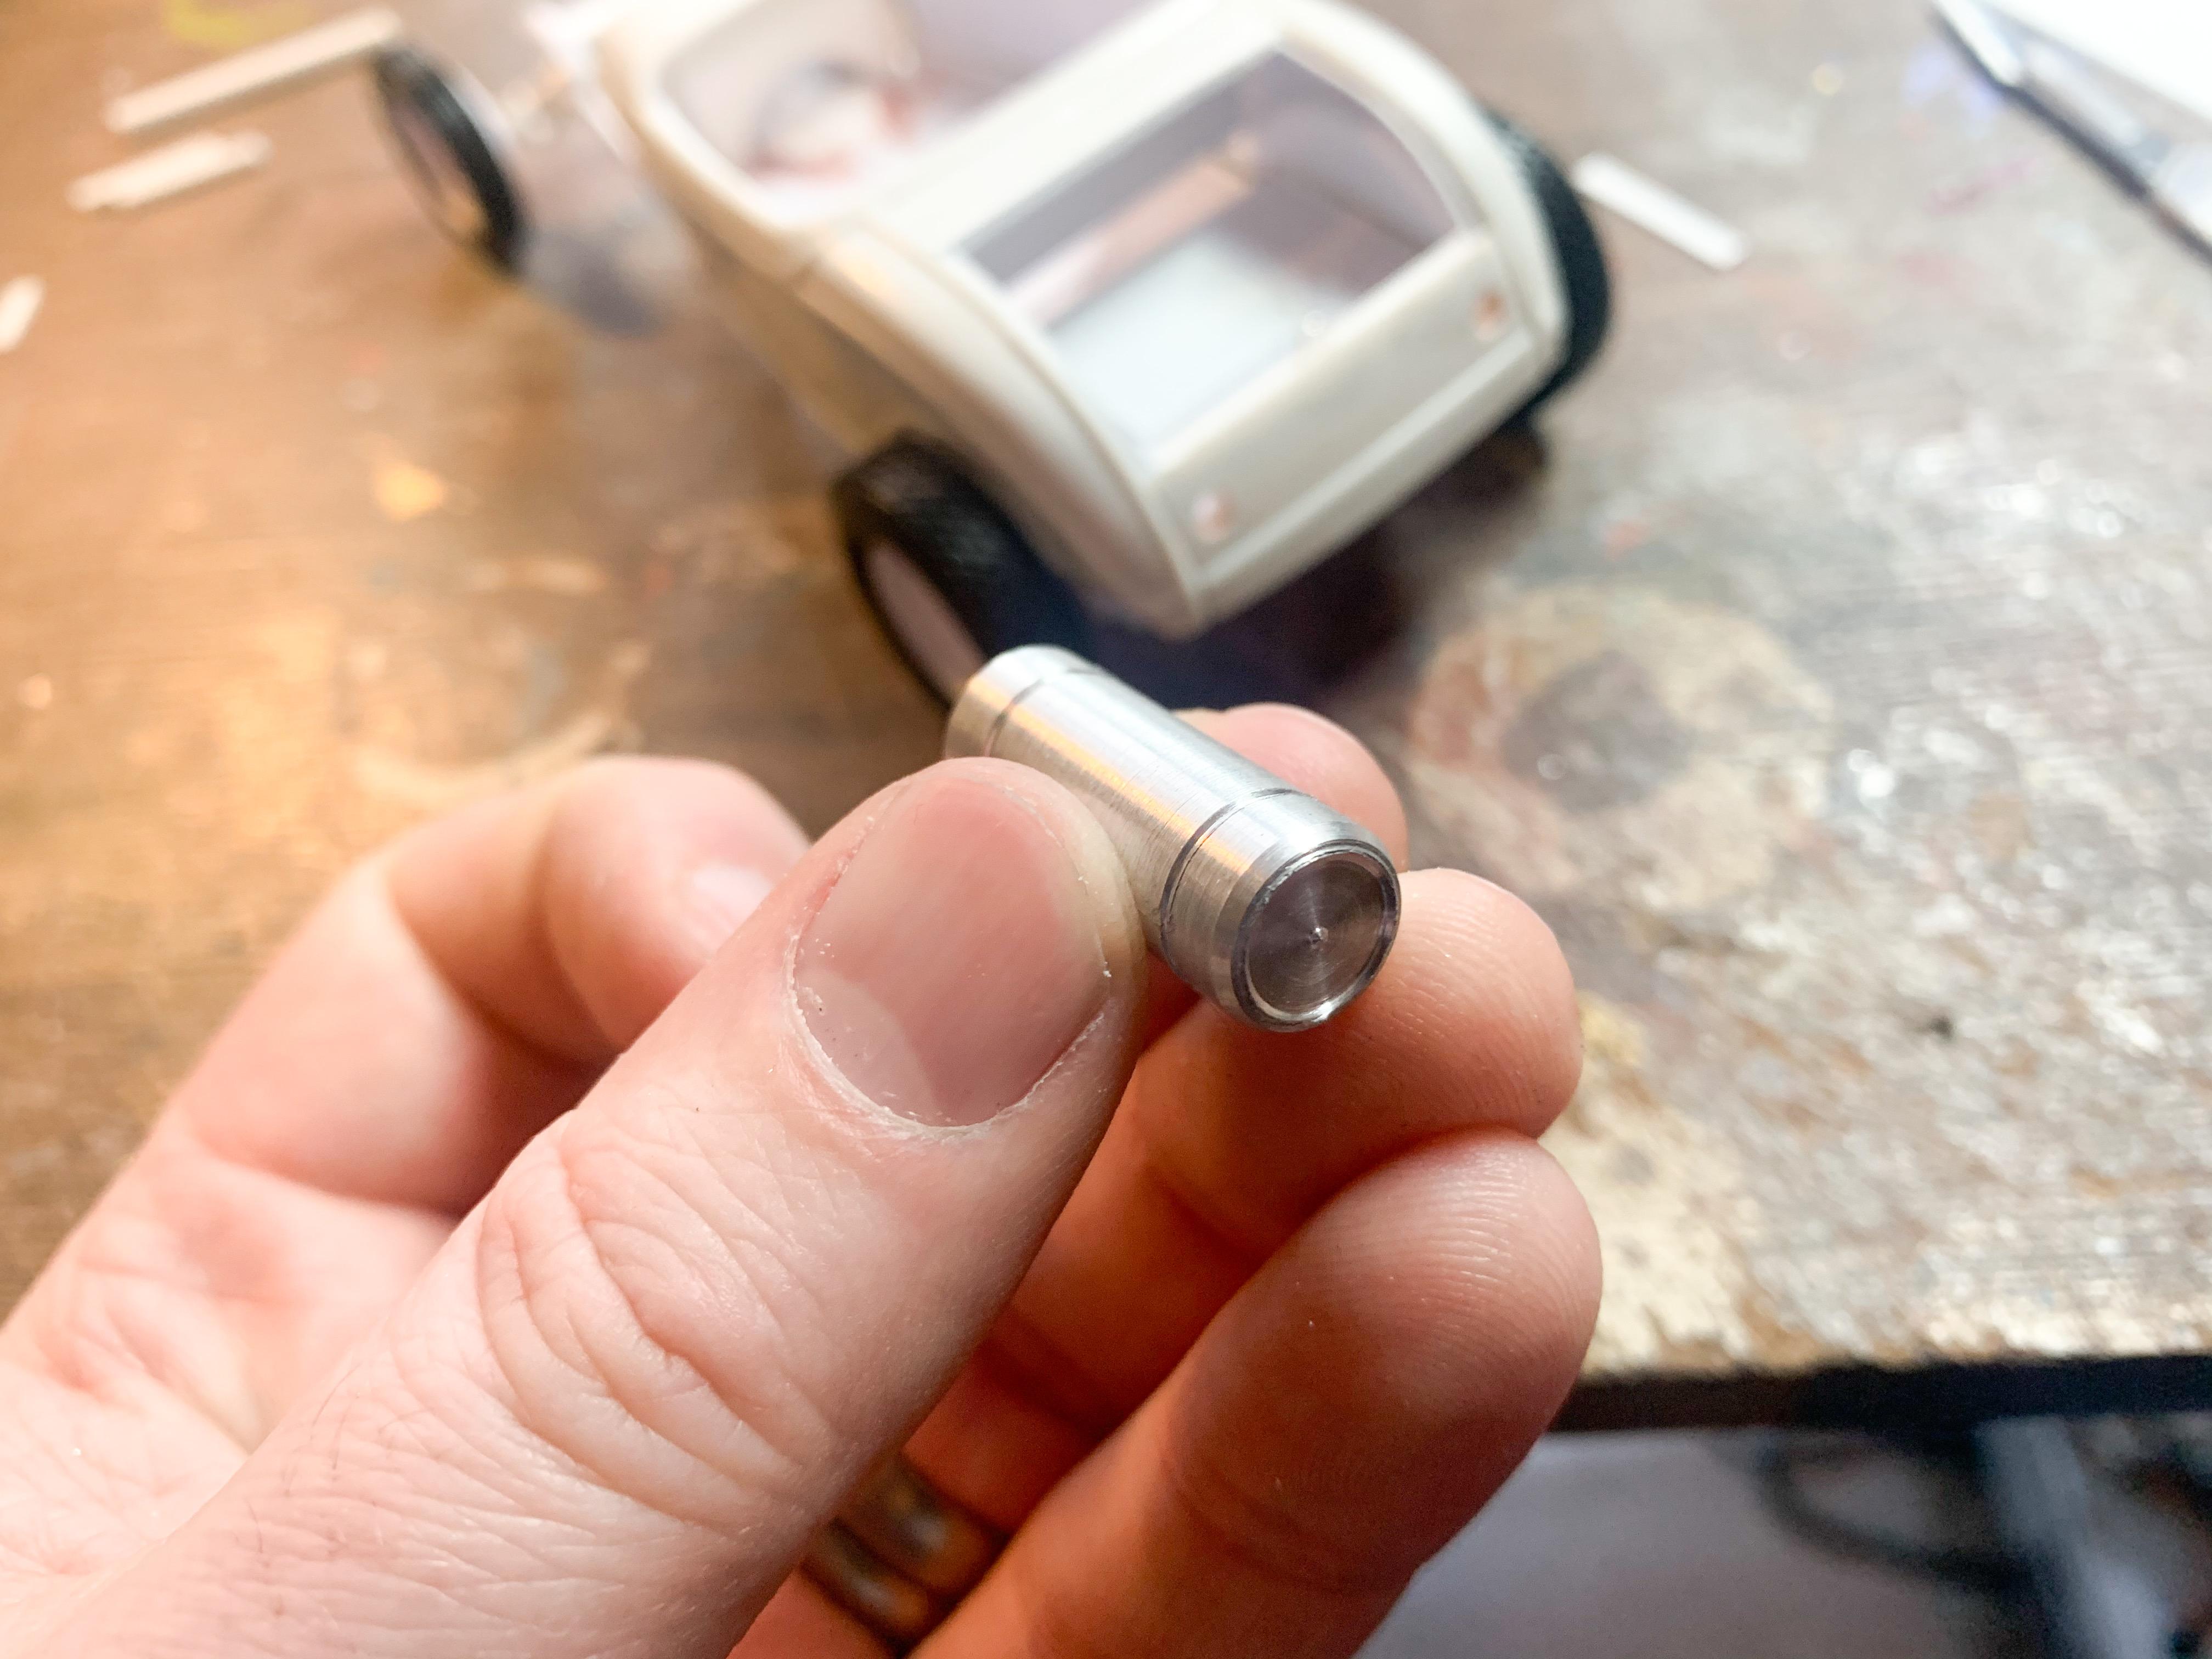
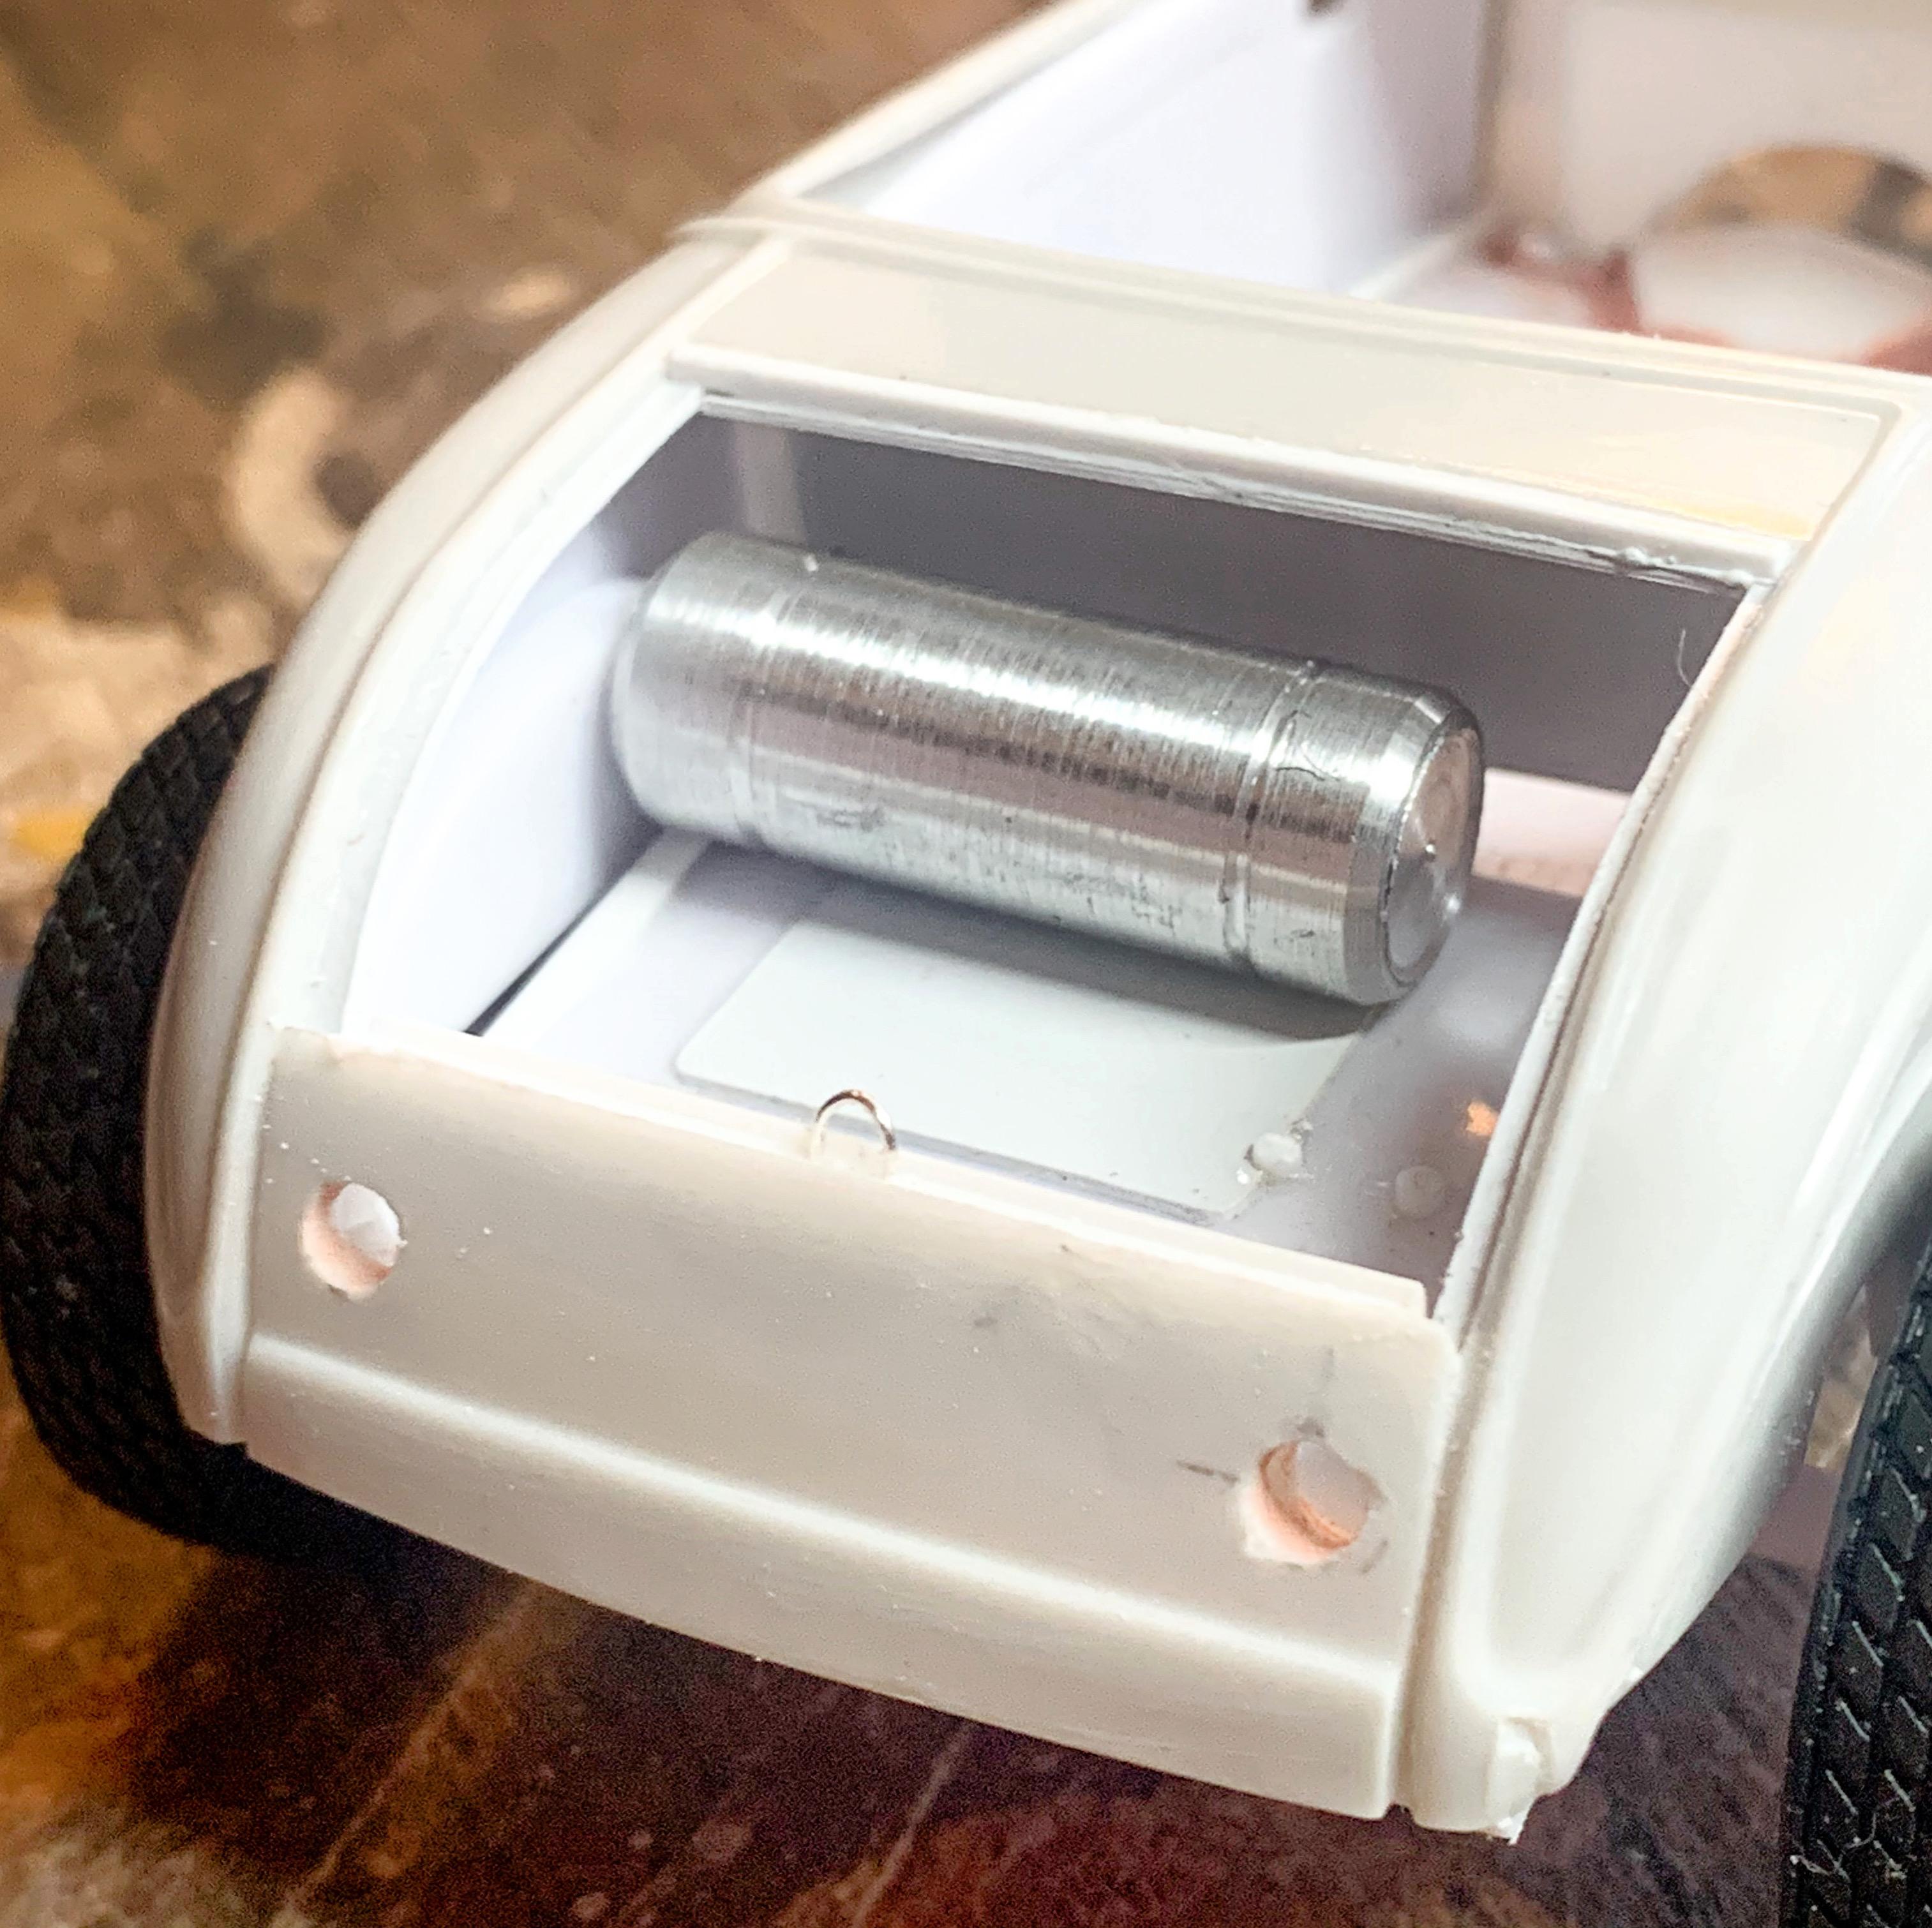
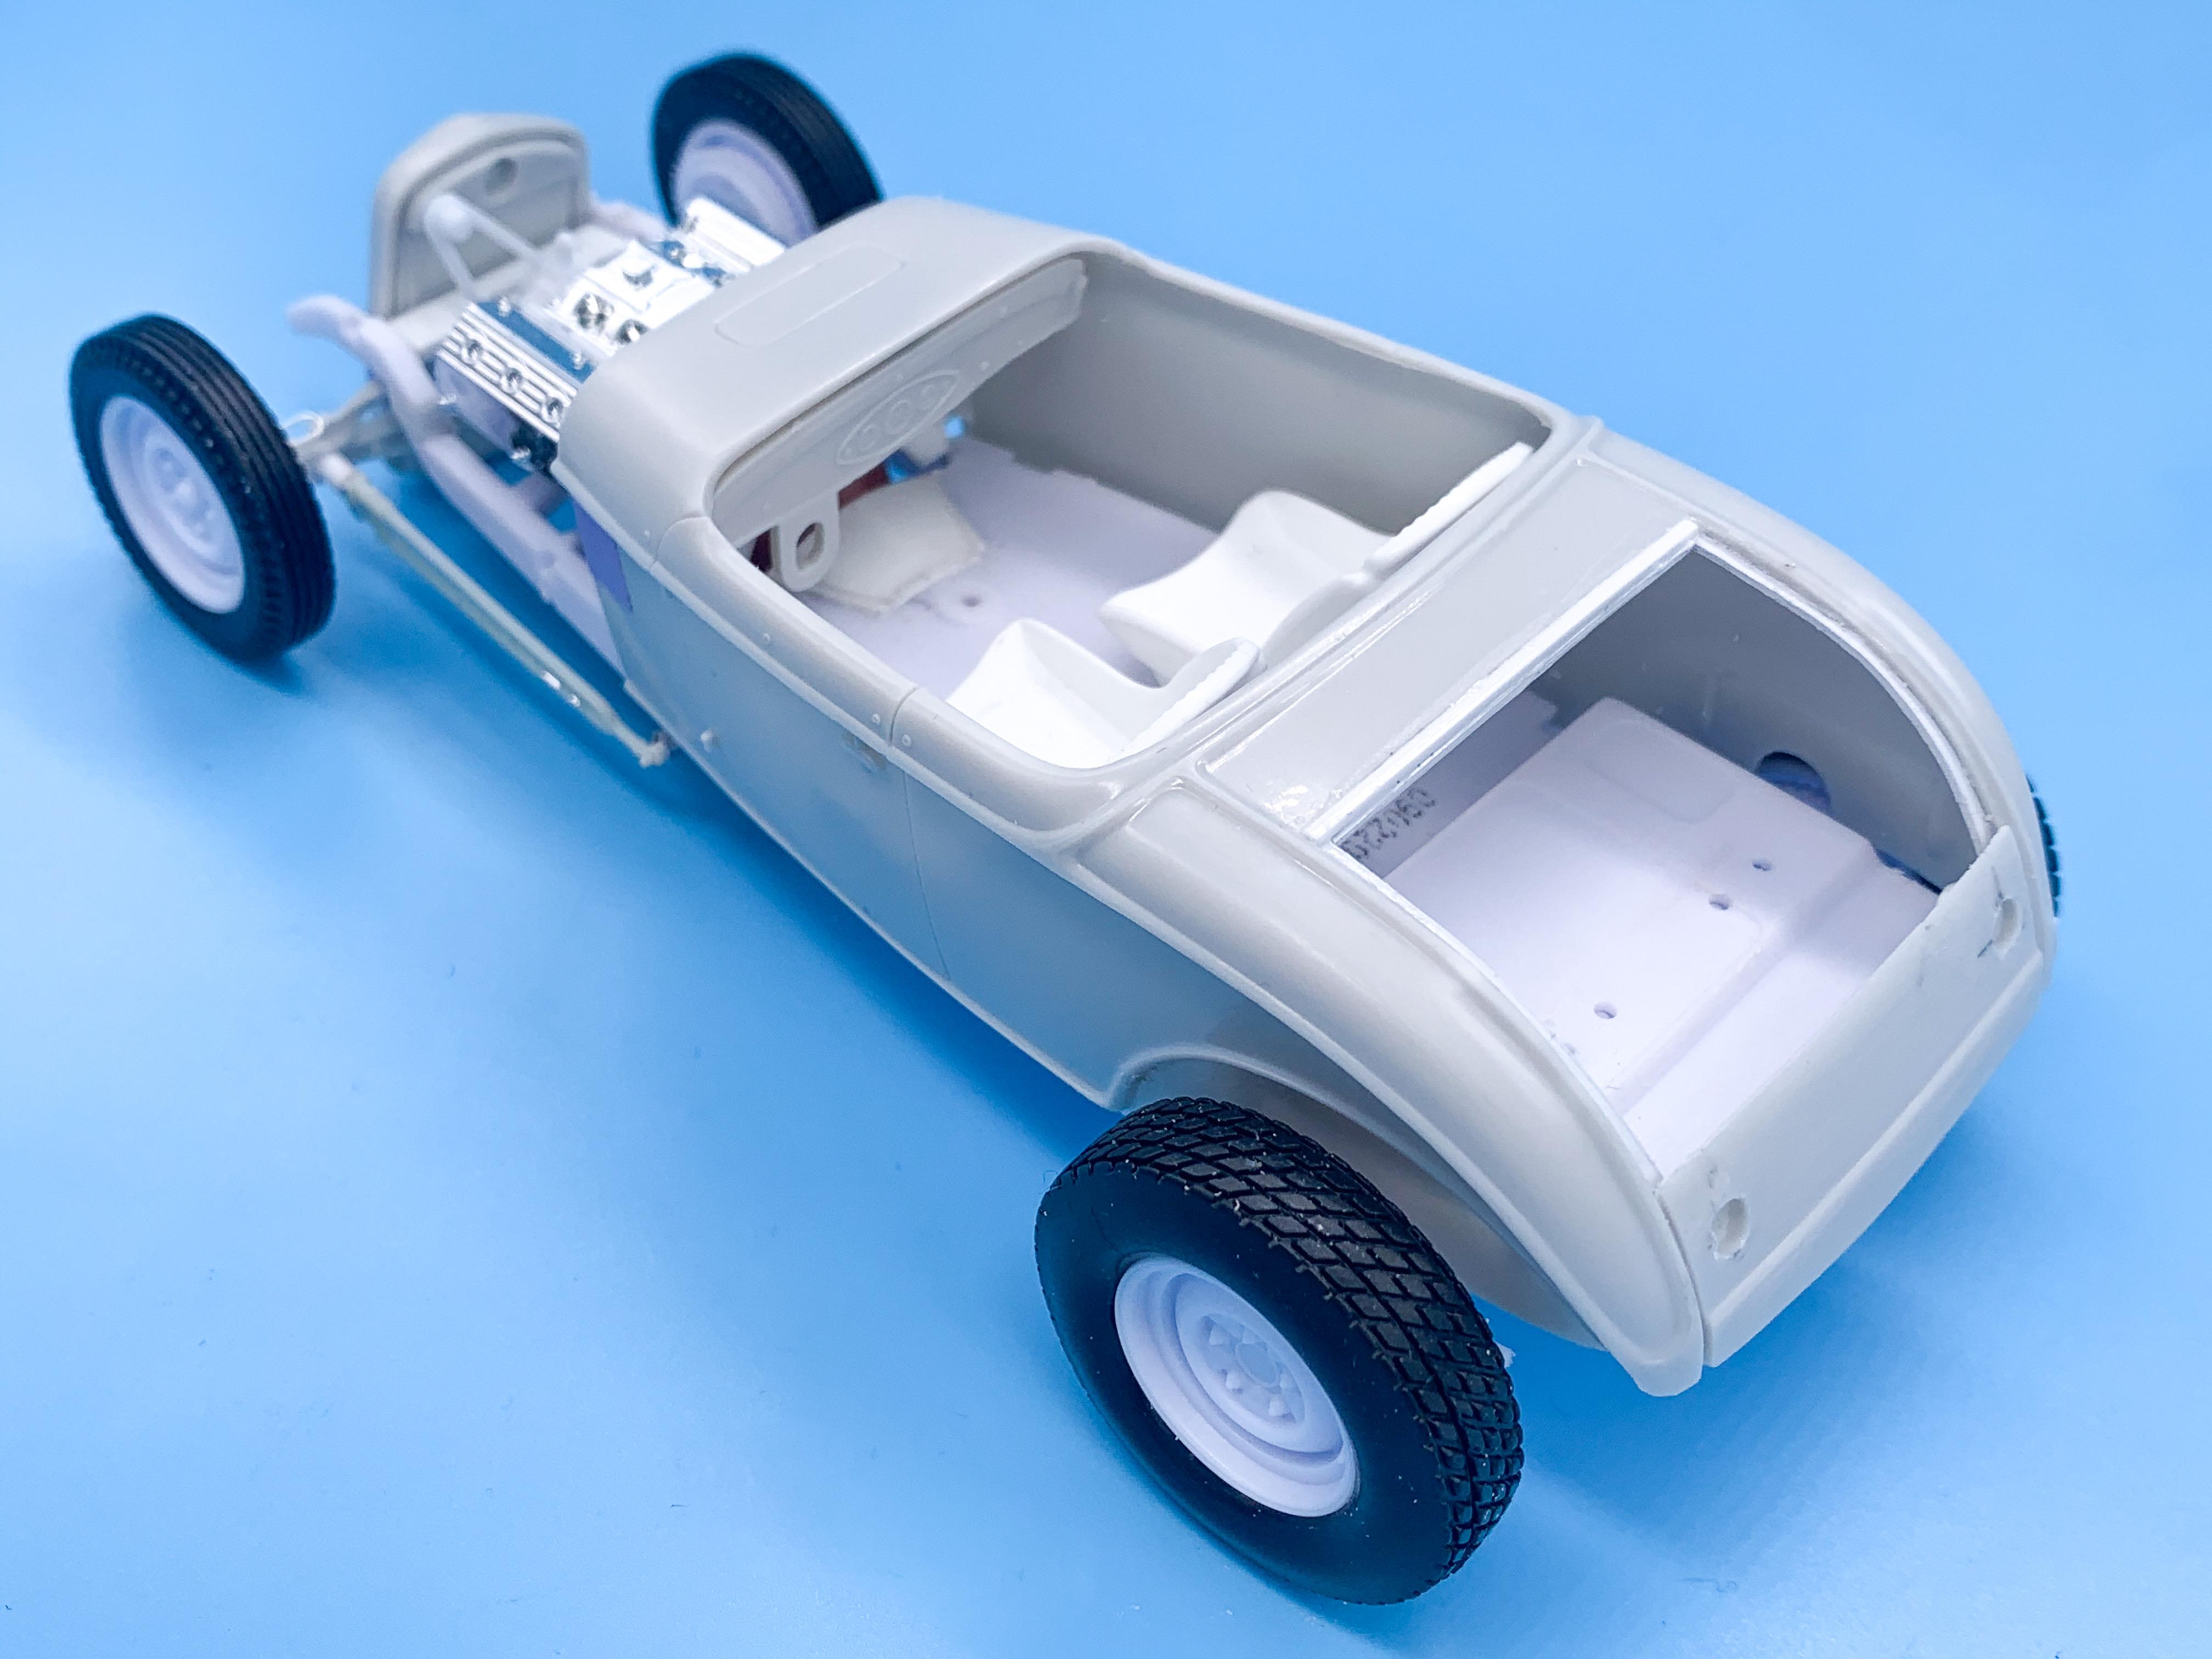
Good tip, thanks fellas! I’d like to try making some, but those are great leads for if I don’t manage to (which is entirely possible 😂) I think aside from the height of the sides the cowl is the most clunky looking part - but it’s less noticeable when the windshield is on there at least. Fun to mess with one that ISN’T a Revell though (even if about everything underneath it is, now 😂) Good idea! Those AMT valve covers are a little small compared to the Revell ones, but I did find these which I like some more...smoothed out the top of the heads and drilled them to accept the new (old) ones: Needed to figure out the interior next - I’ve got a BUNCH of these Revell 29 pieces and they actually fit right inside the AMT body perfectly! I sliced a little slice out so the doors line up, but it was a pretty easy job to get them to work perfectly. Exactly the length and height I needed! With that done, I added some H channel strip to the rear part of those interior bits so I can slide a back trunk wall in there so you can’t see right into the back of the car from the interior: And I decided to put an aluminum fuel tank back there, so I spun up some round stock on the lathe: And came up with this: Which will sit like this, with a battery box next to it to somewhat balance the weight out, if it was real: Those little indents will be for some kind of hold-downs when I figure out what I want to do there...more soon!
-
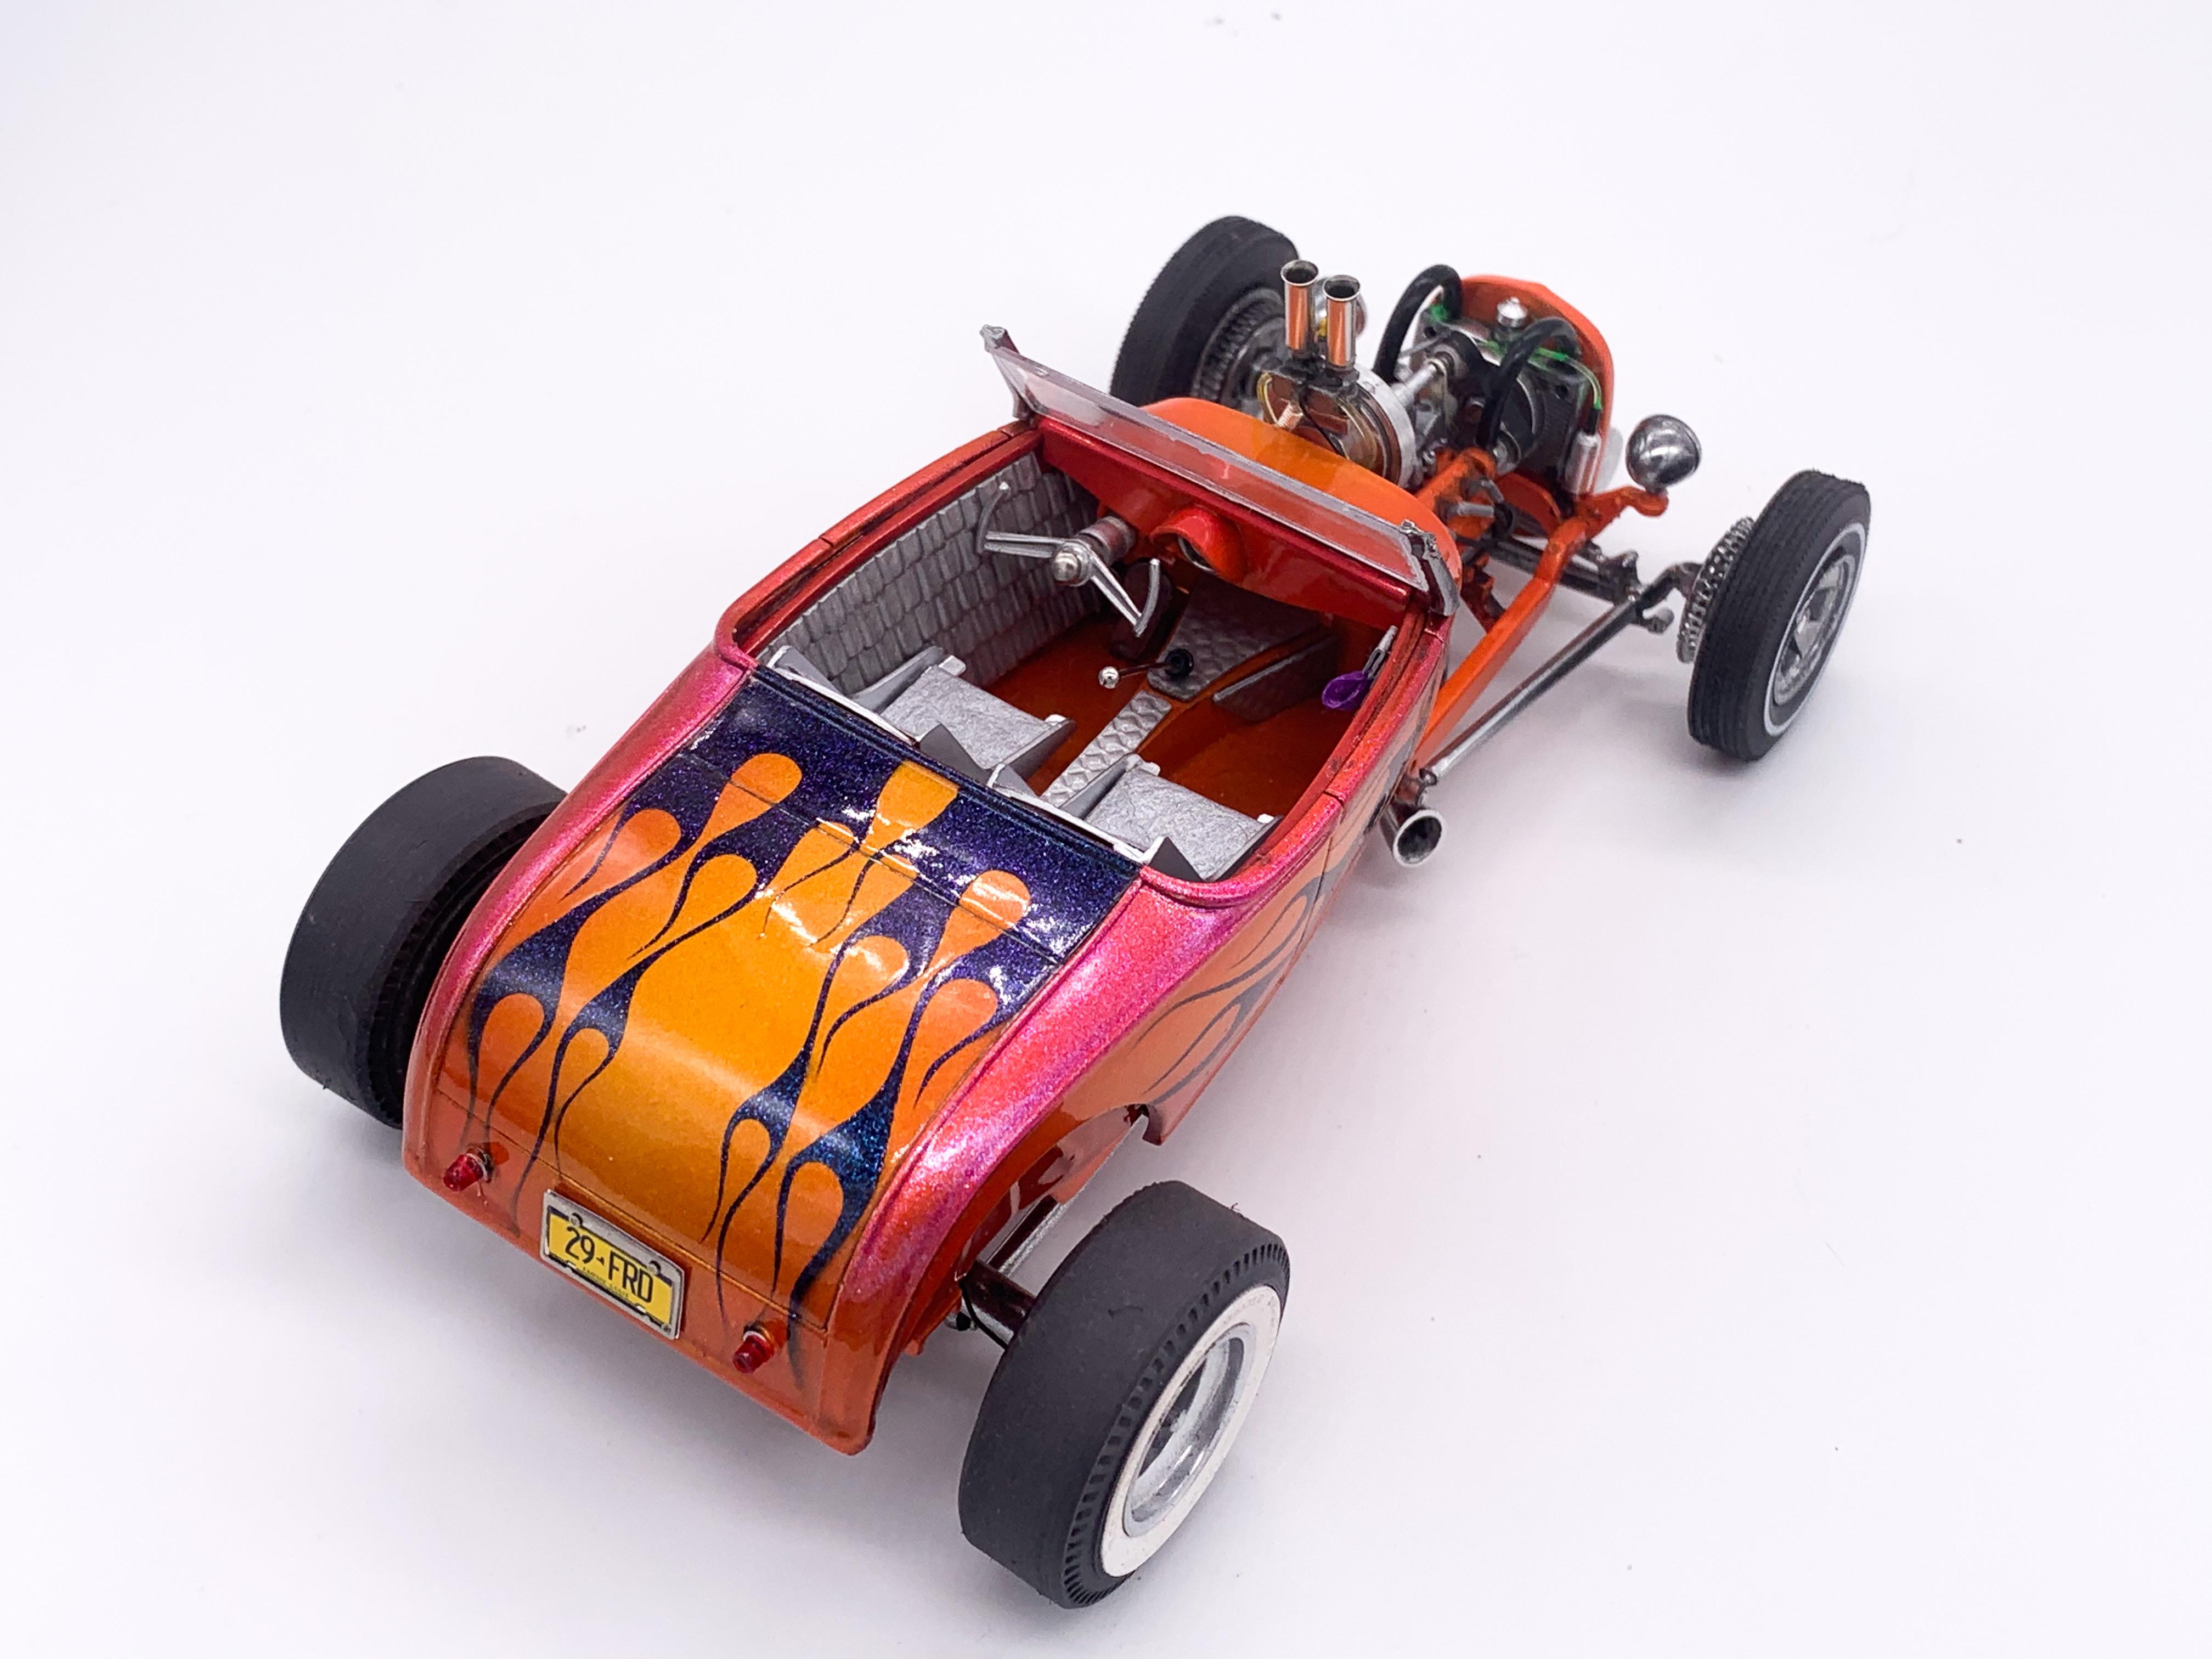
Thanks for all the kind words, everyone! No sir, they did not...I kept the nicest two aside in case I ever want to cast them though - seeing as I was weathering this thing a little I used the dinged-up ones on the build and saved the best two. They are cool though, I agree! I should cast them, and machine some rims so I can make a rear set with a nice deep offset maybe
-
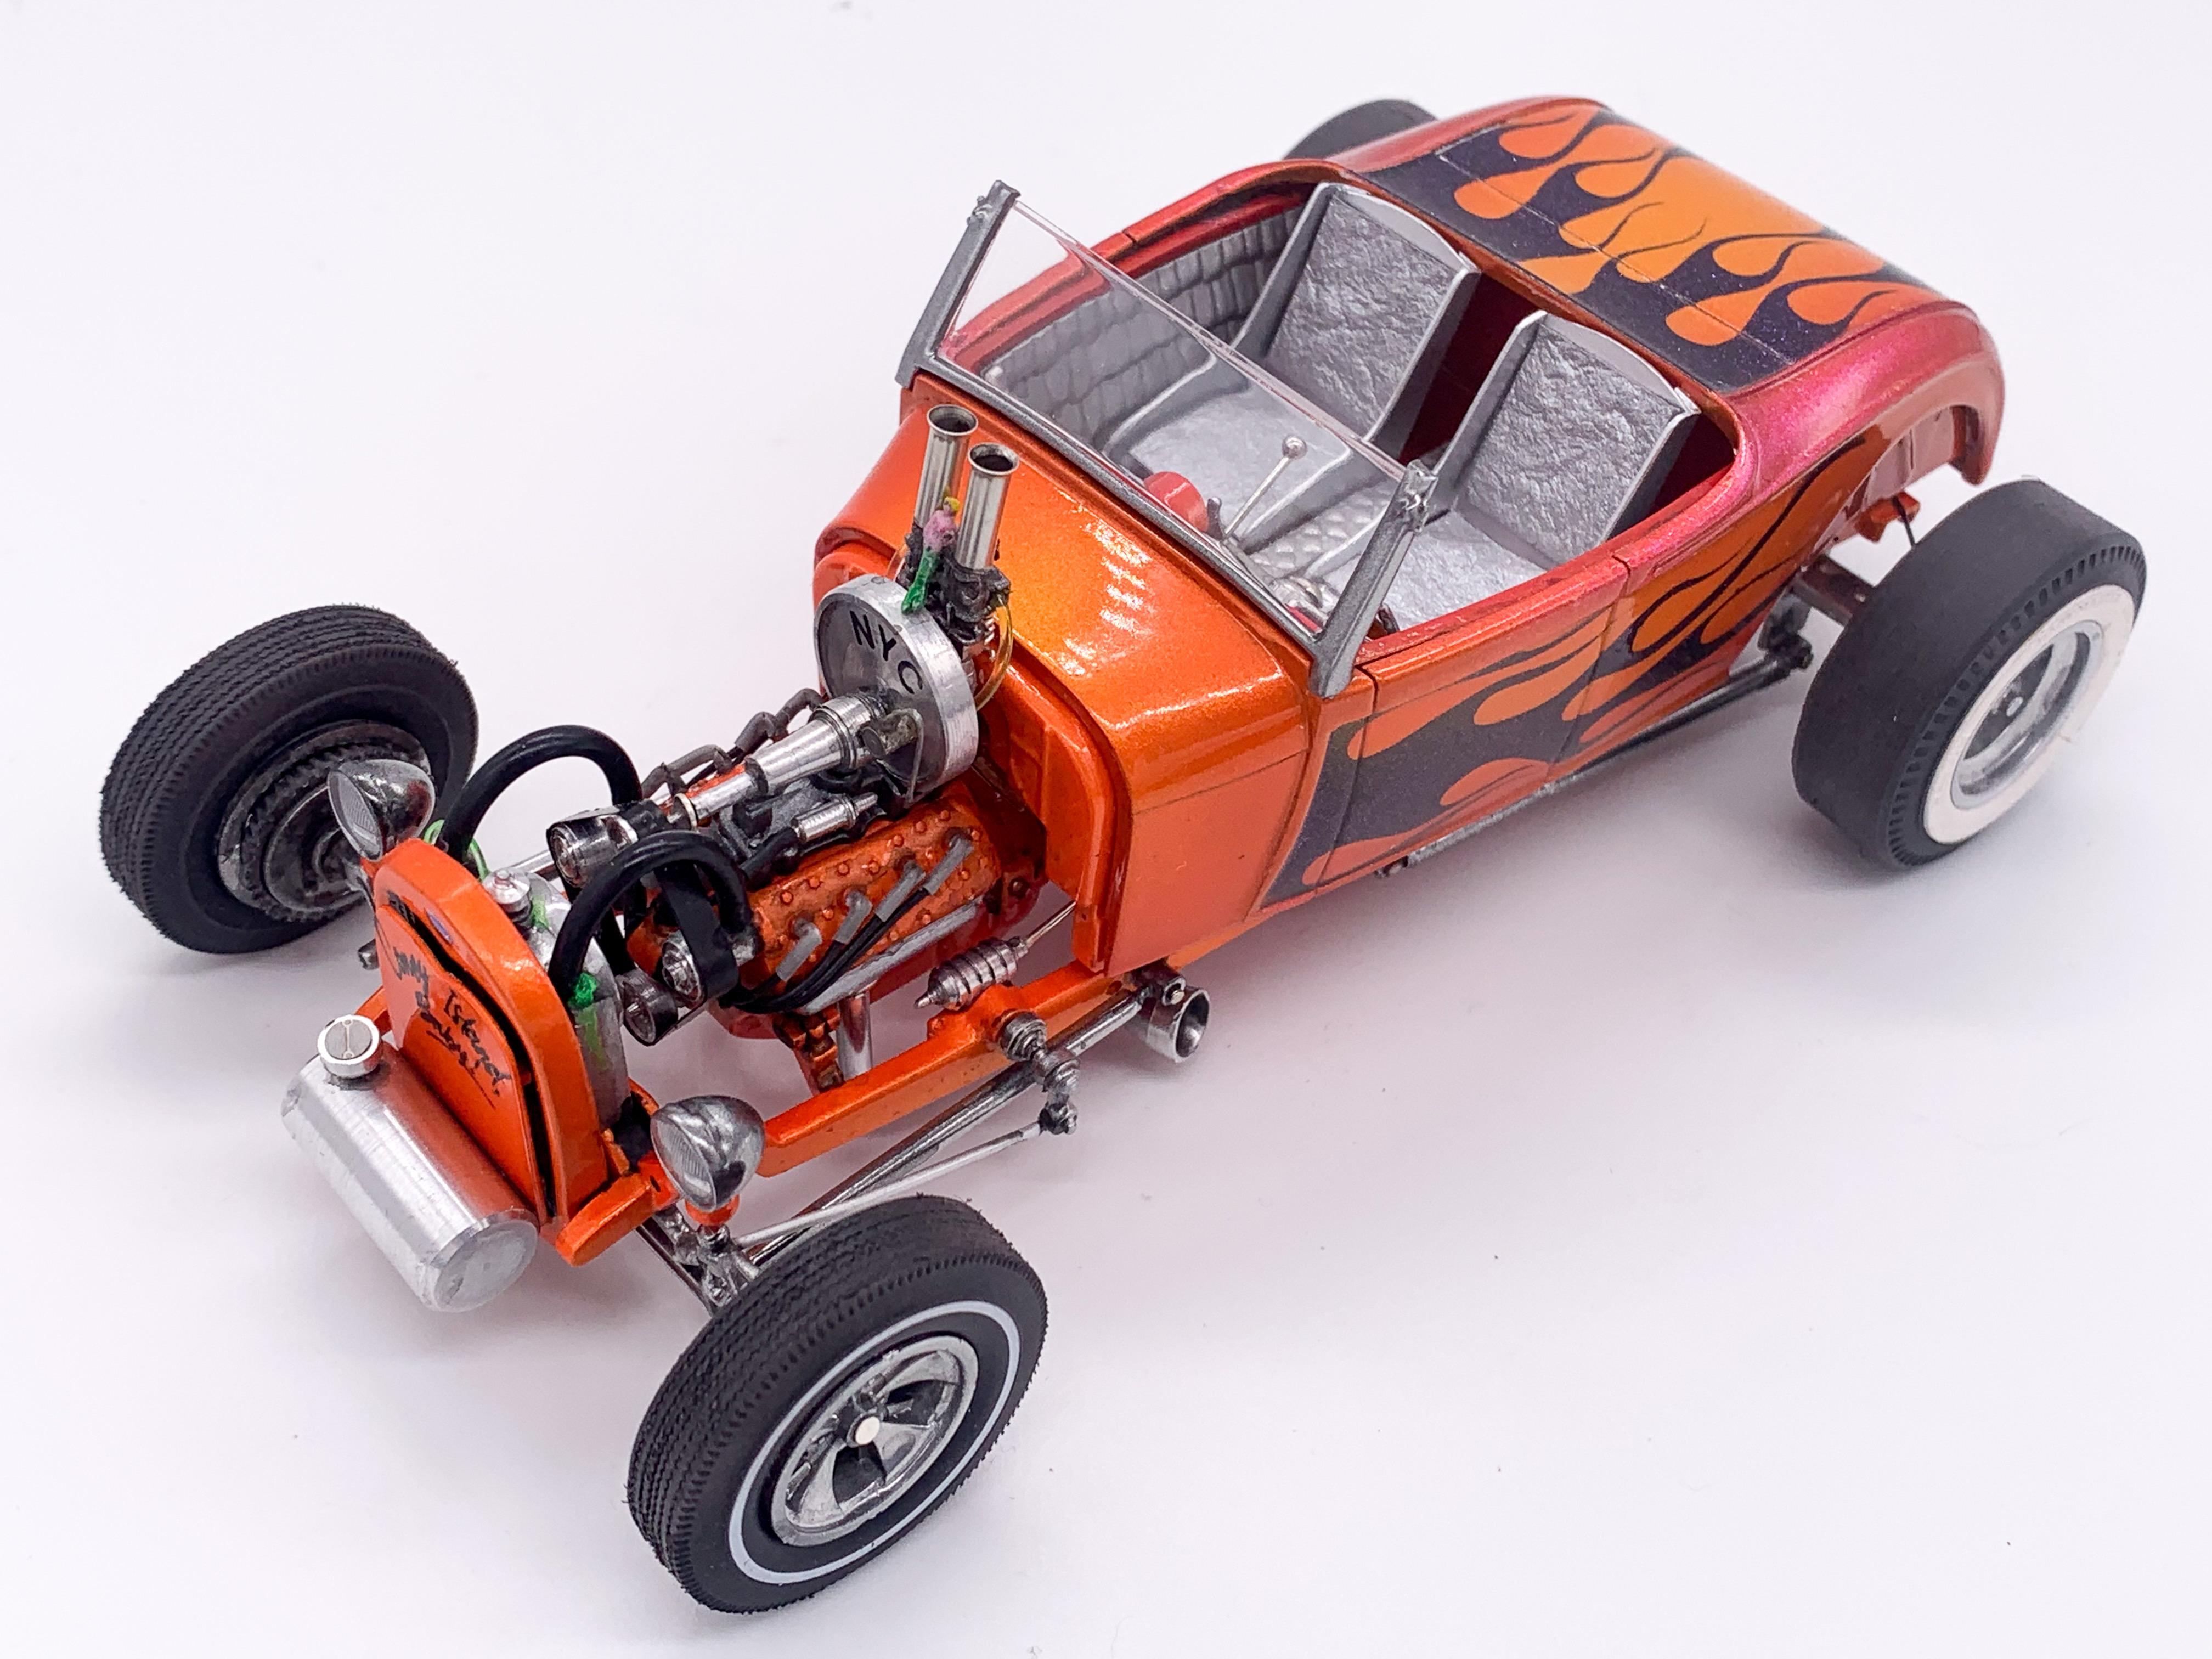
“Joker Is Wild” - AMT / Revell 32 Roadster Kitbash for DSC
CabDriver replied to CabDriver's topic in WIP: Model Cars
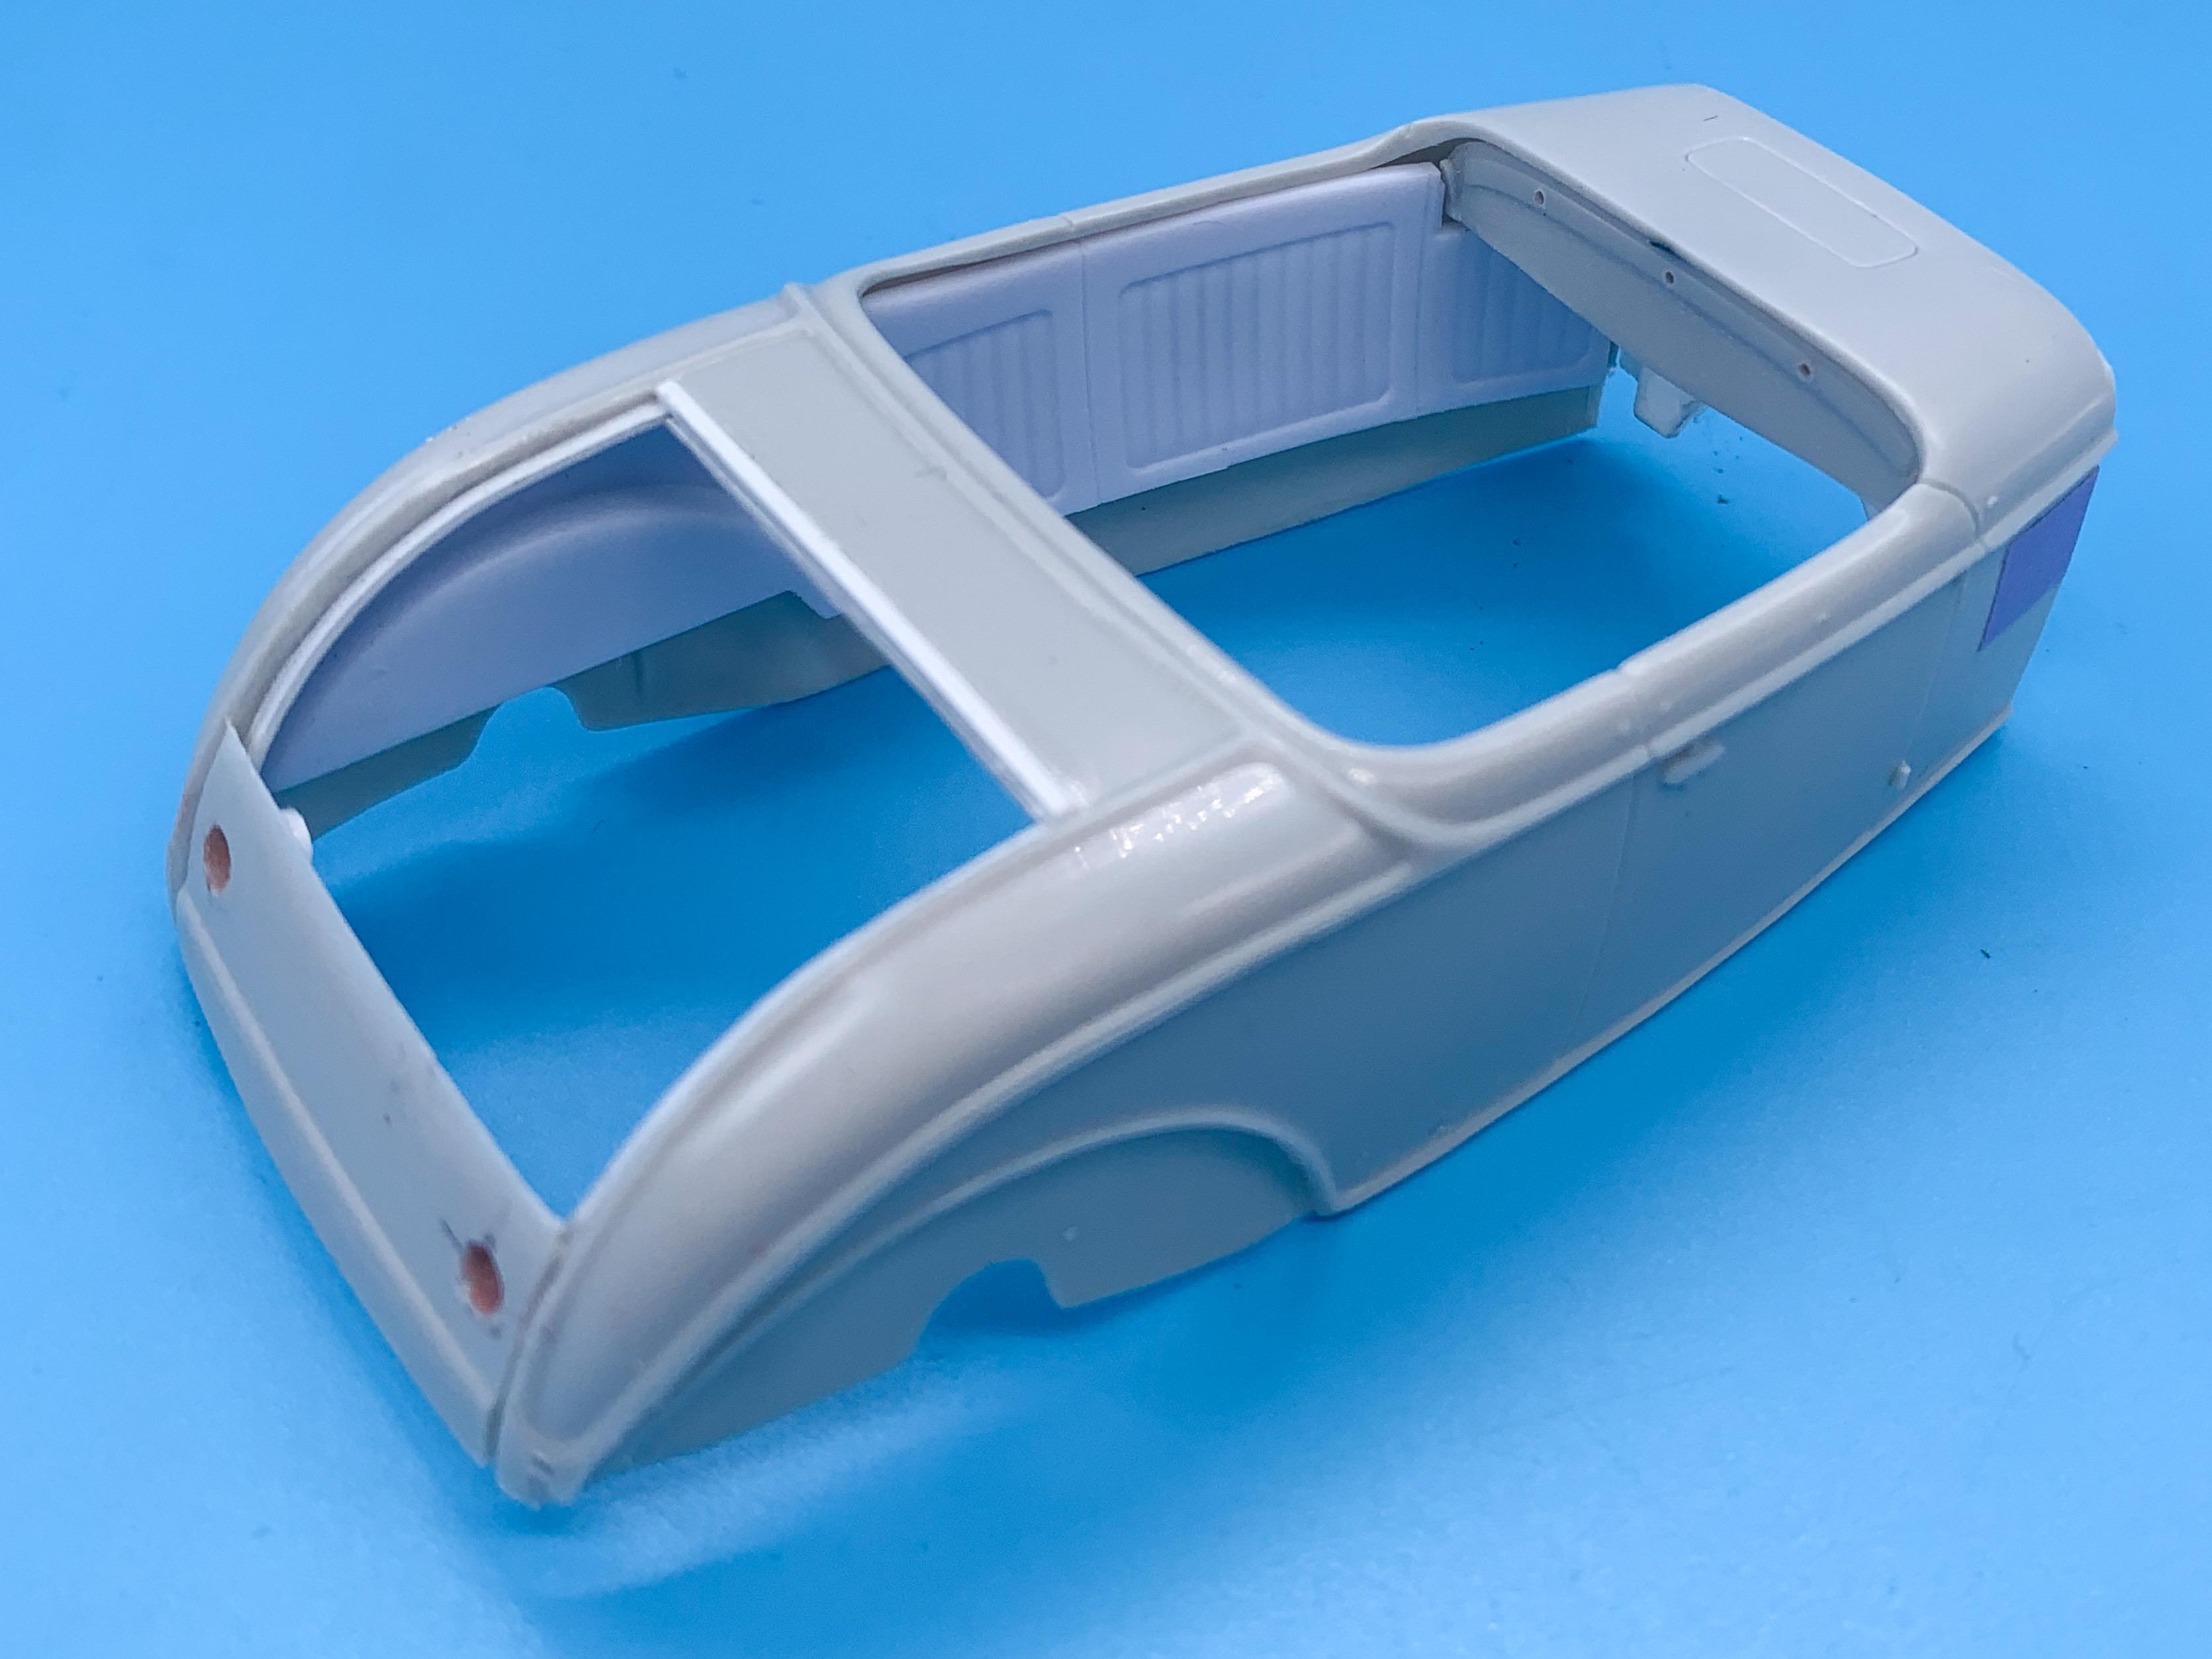
Wow, I’m making REALLY slow progress on this one 🤪. Had a busy few weeks (and a couple more coming up). Did a tiny bit tho... I was putting off making the floor, and then realized I have an extra Revell 29 floor that will fit right on the frame. Duh. Had to make a little tiny hump so it would clear the trans, but it’ll work like it was made for the task (because it was): Ordered some resin copies of the Revell 30 Coupe bomber seats and some I beam styrene so I can make some runners to mount them on: And I figured I haven’t done frenched taillights on a rod build before, so I drilled appropriately sized holes - wonder if I can find some cool clear plastic rod that I can machine to make some cool pointy lights to go in there? Definitely going to need to do some surgery on that steering column hanger - it’s about touching the floor with this combination of parts (although I’ve got some room to drop the floor closer to the frame too... Just a mini update - more soon!
-
'40 Ford Early '60s Style/Remembering a Friend
CabDriver replied to Kromolly's topic in WIP: Model Cars
Yes sir! Just regular Sunnyside brand from any old store...I'm sure the other brands work the same, but I tried Sunnyside and it worked so I stuck with it! -
MCM Relaunch Update 11/6/2020
CabDriver replied to larrygre's topic in Model Cars Magazine News and Discussions
Seems like you guys are doing great with the relaunch! Keep up the good work! -
Ohh, those Herb Deeks wheels will make a WORLD of difference to how this ends up looking. Good call!
-
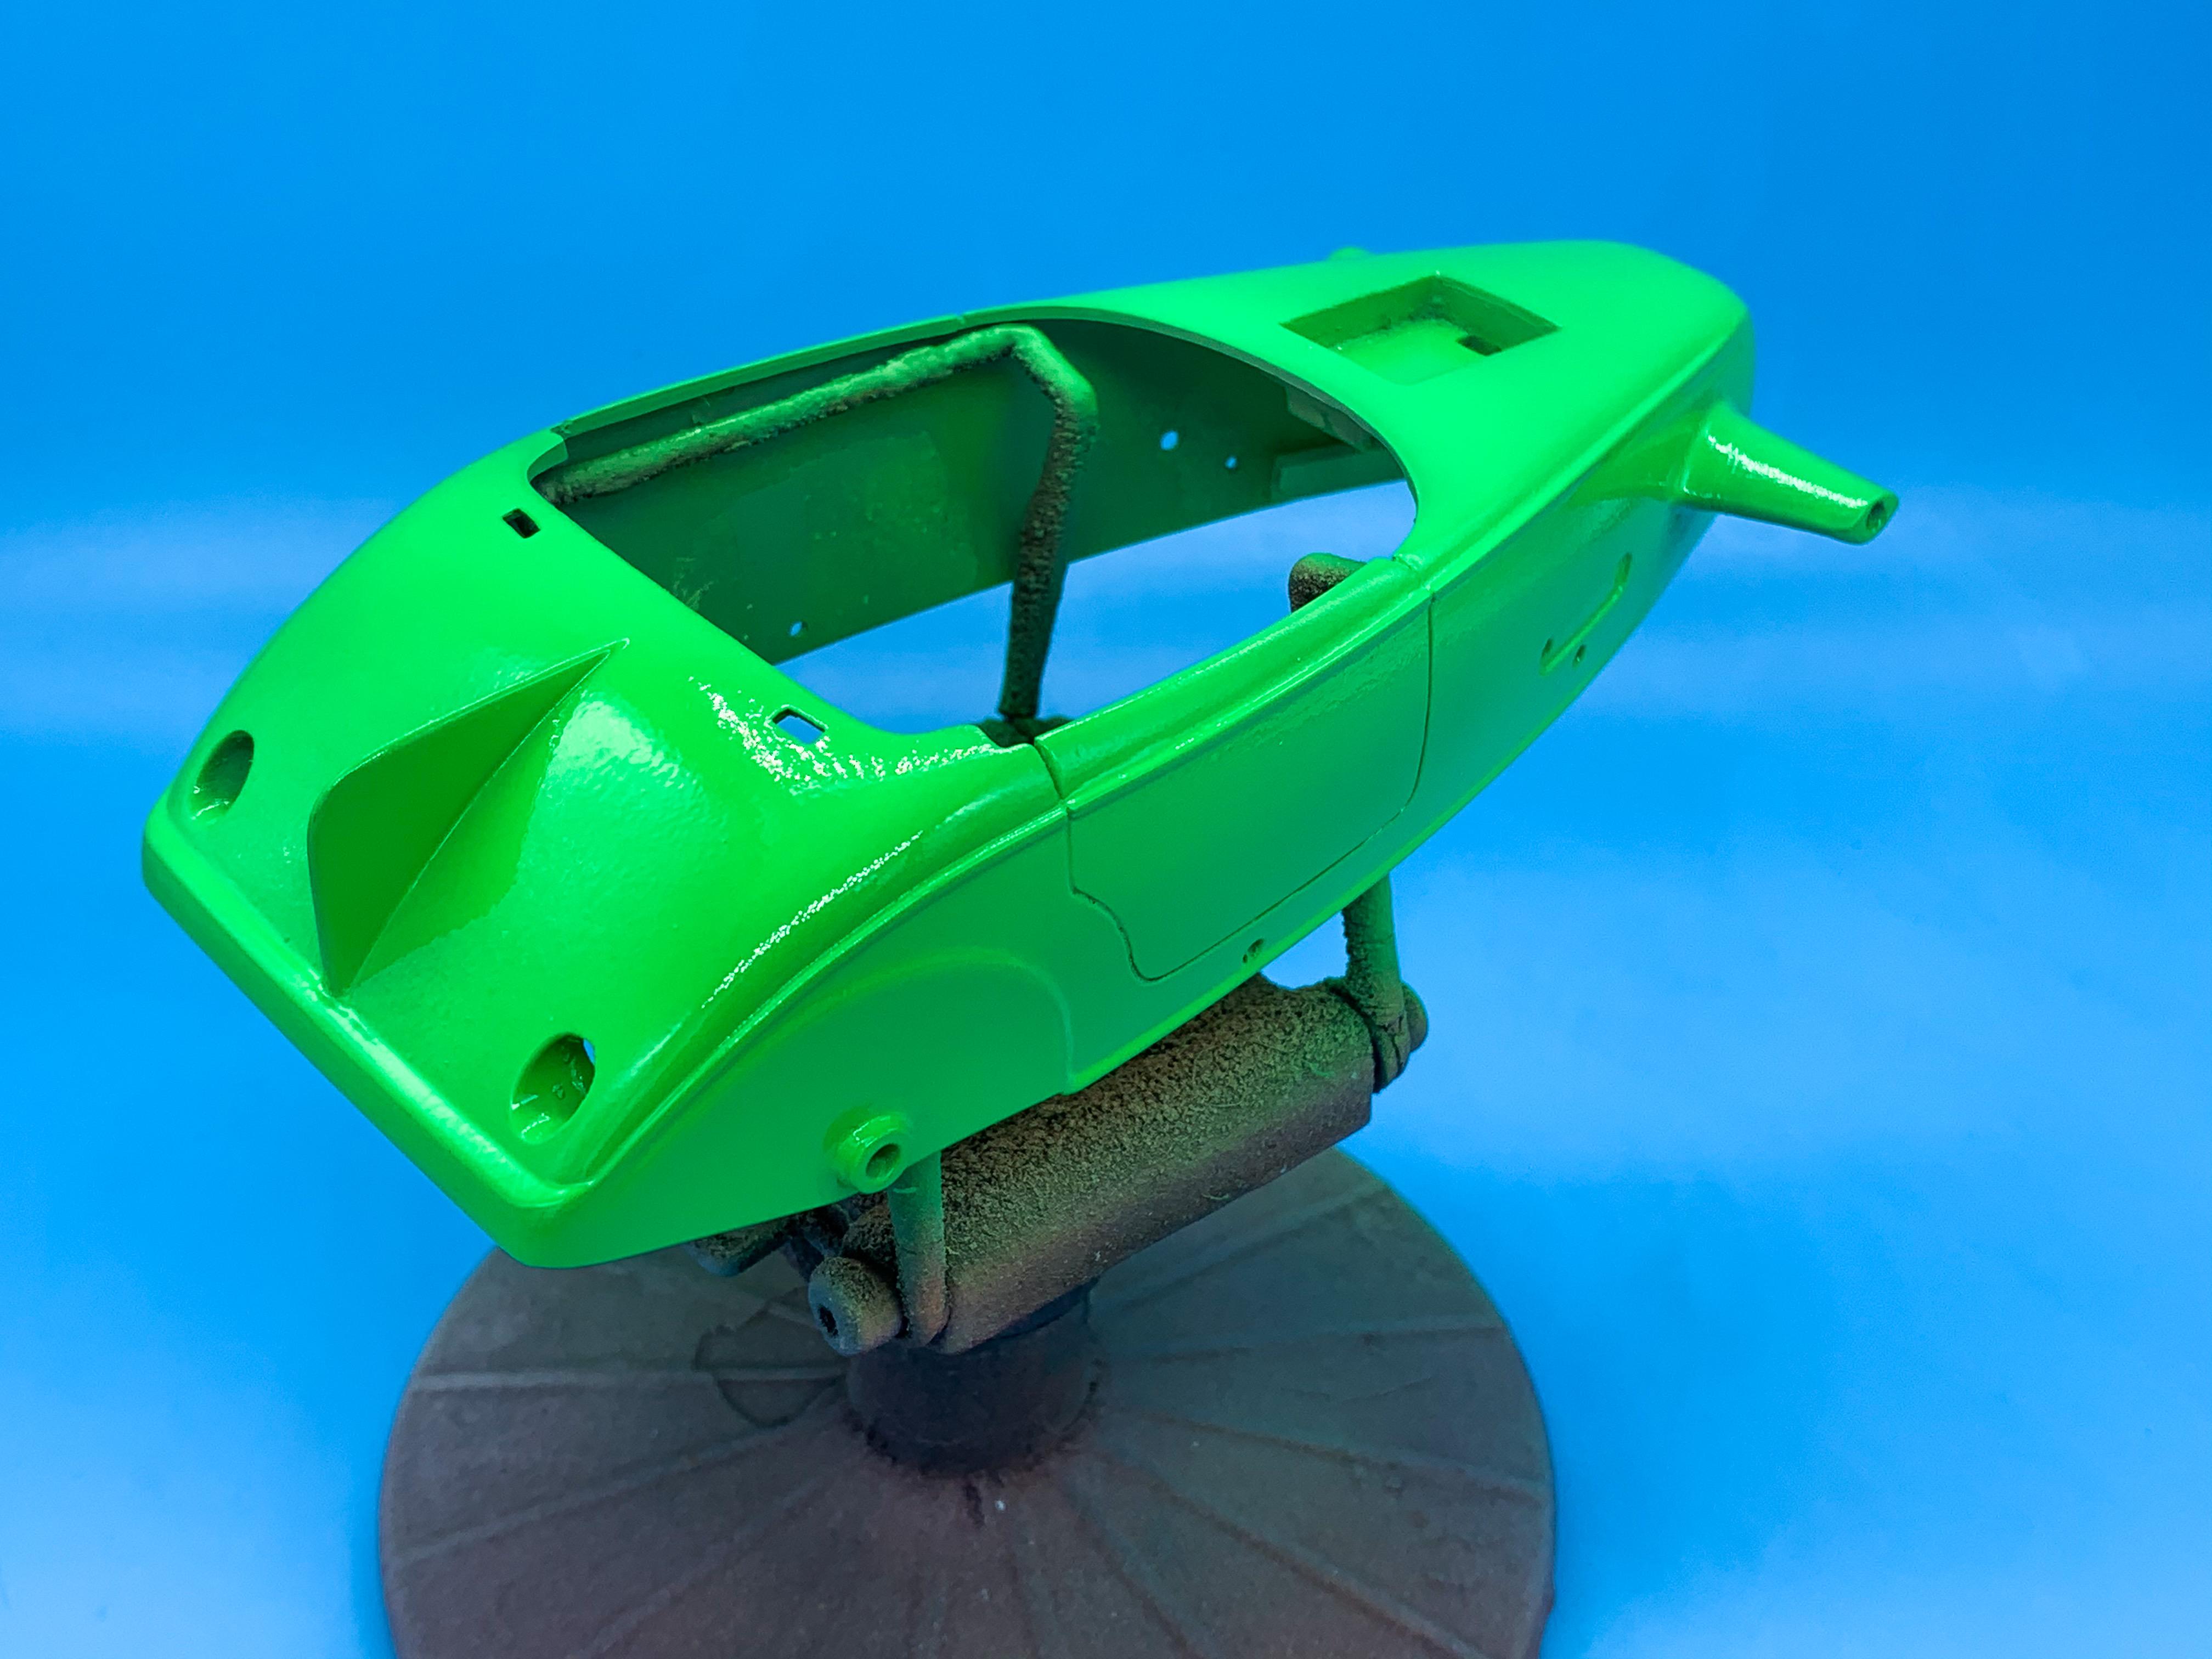
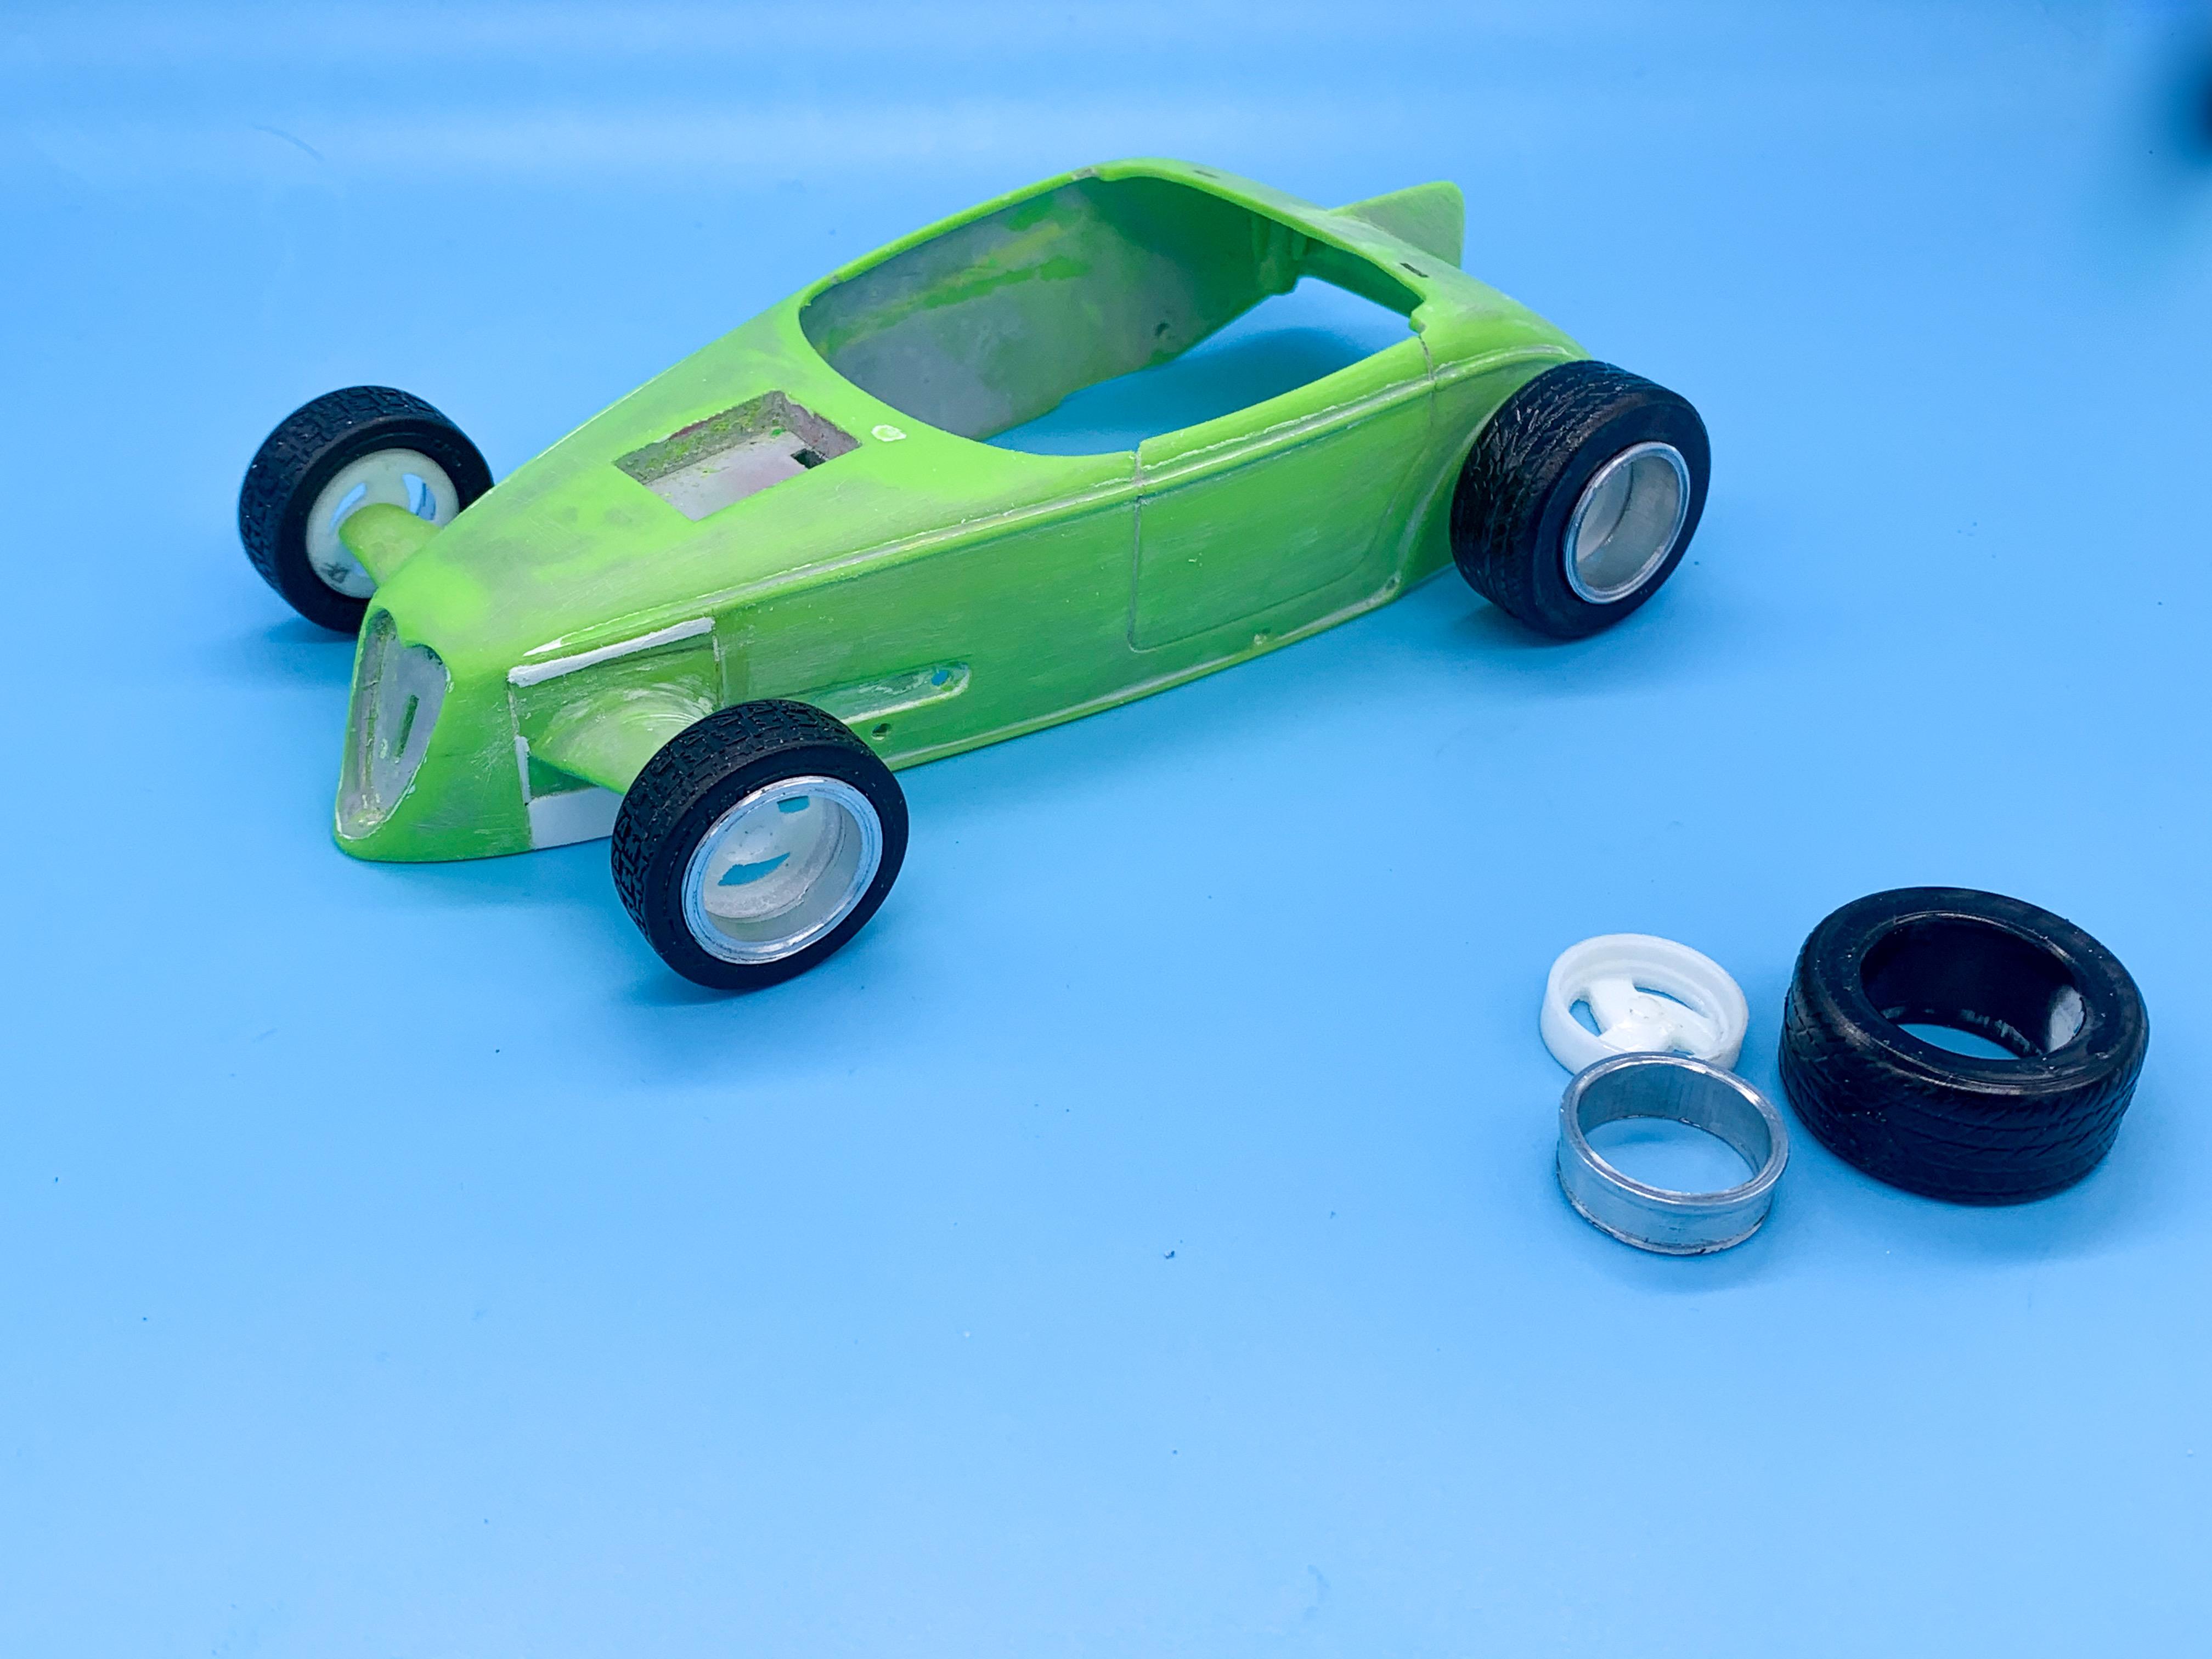
Trying to make something cool out of the AMT Rod-Rageous slammer
CabDriver replied to CabDriver's topic in WIP: Model Cars
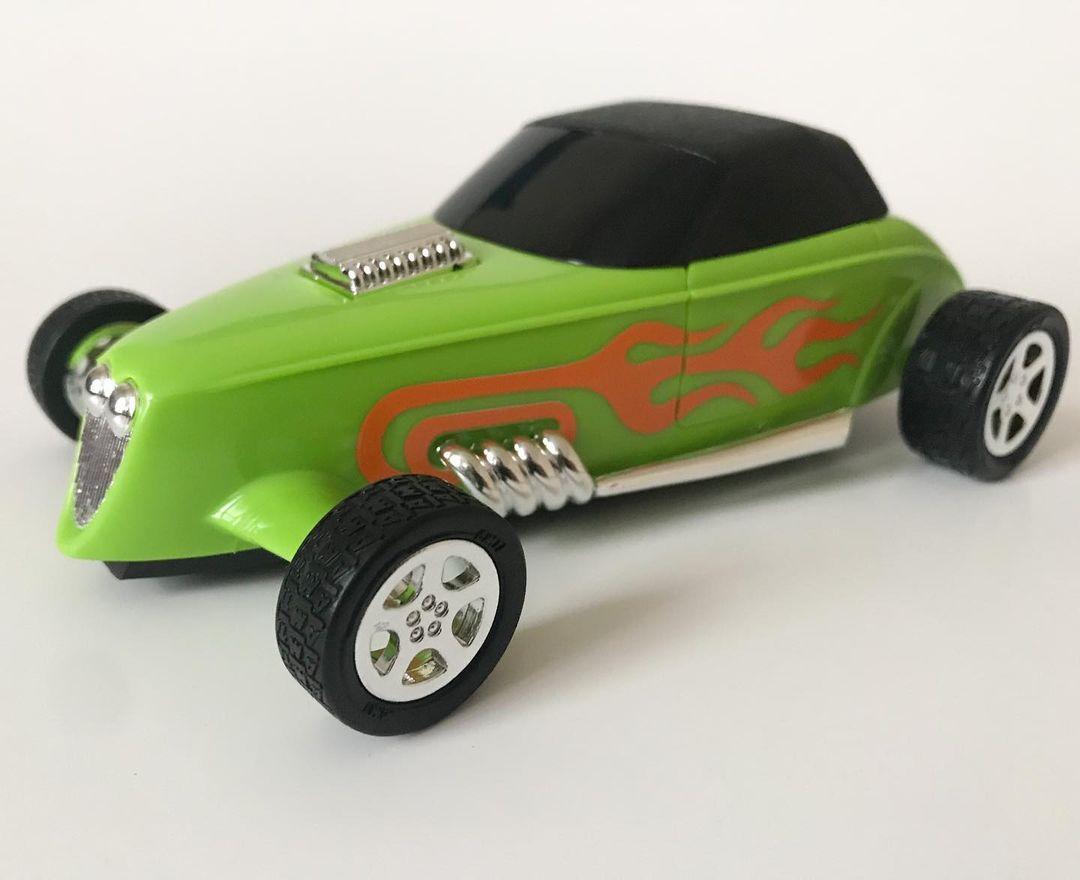
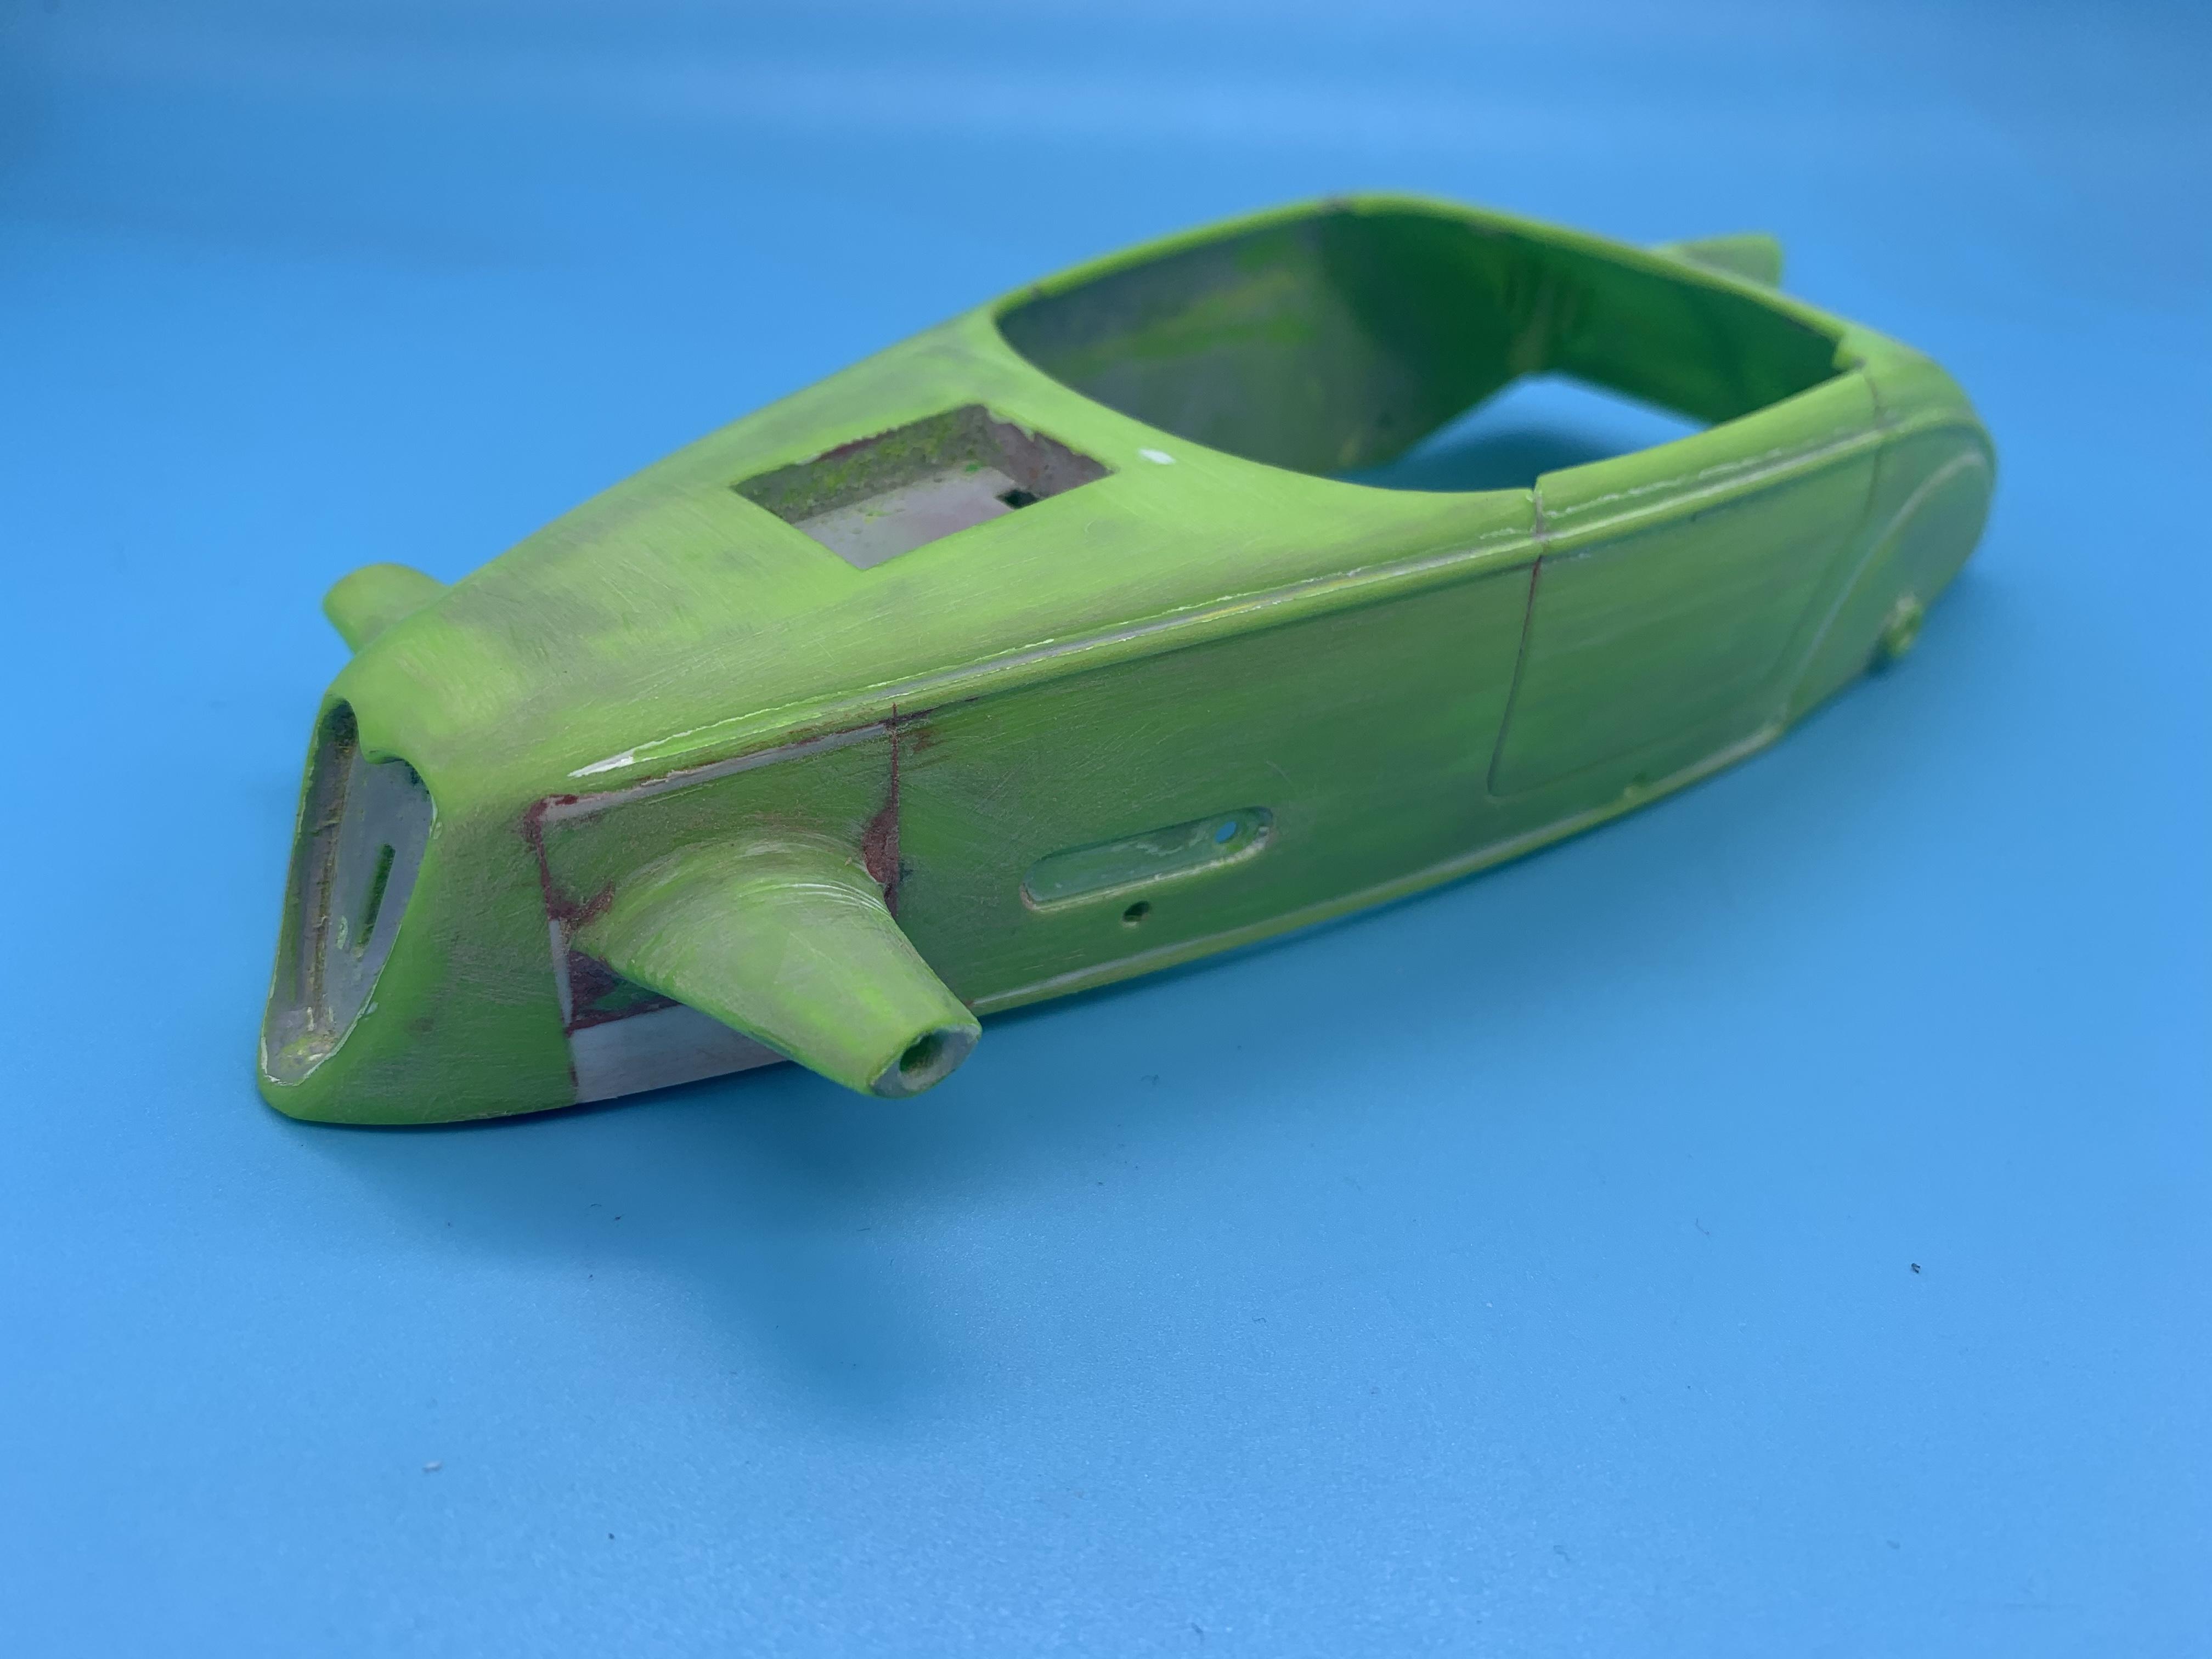
Thanks everyone! I’d hate to have to steer the thing - no idea how they intend for the steering to work? I’m pretending this thing has in-board disk brakes and some kind of arrangement like a Bobcat to make it turn, but who knows. I’m also pretending there’s an air ride system hidden under the body there 🤪😂 Got some base color laid down right before bed last night - sure went to a lot of effort to make this neon green slammer into a slightly different neon green slammer 🤪😂 Been trying to figure out a cool idea I had for the paintjob - excited to get home and start masking and airbrushing...more soon!
-
'40 Ford Early '60s Style/Remembering a Friend
CabDriver replied to Kromolly's topic in WIP: Model Cars
Ohh, from looking at the finish I would've assumed you'd cleared it - looks great! I like the Testors enamel clear cut with lacquer thinner - I haven't experienced any troubles with yellowing, although I understand that they'll do that over very light shades. Great project, keep going! -
Looking good so far! Am I right in thinking this kit has these little clear disks that are meant to represent the spokes on the wheels?
-
Shot some neon green Createx: Sure is bright! 😂
-
'40 Ford Early '60s Style/Remembering a Friend
CabDriver replied to Kromolly's topic in WIP: Model Cars
That looks stunning so far! Nice work! Which brand of enamel clear do you like? -
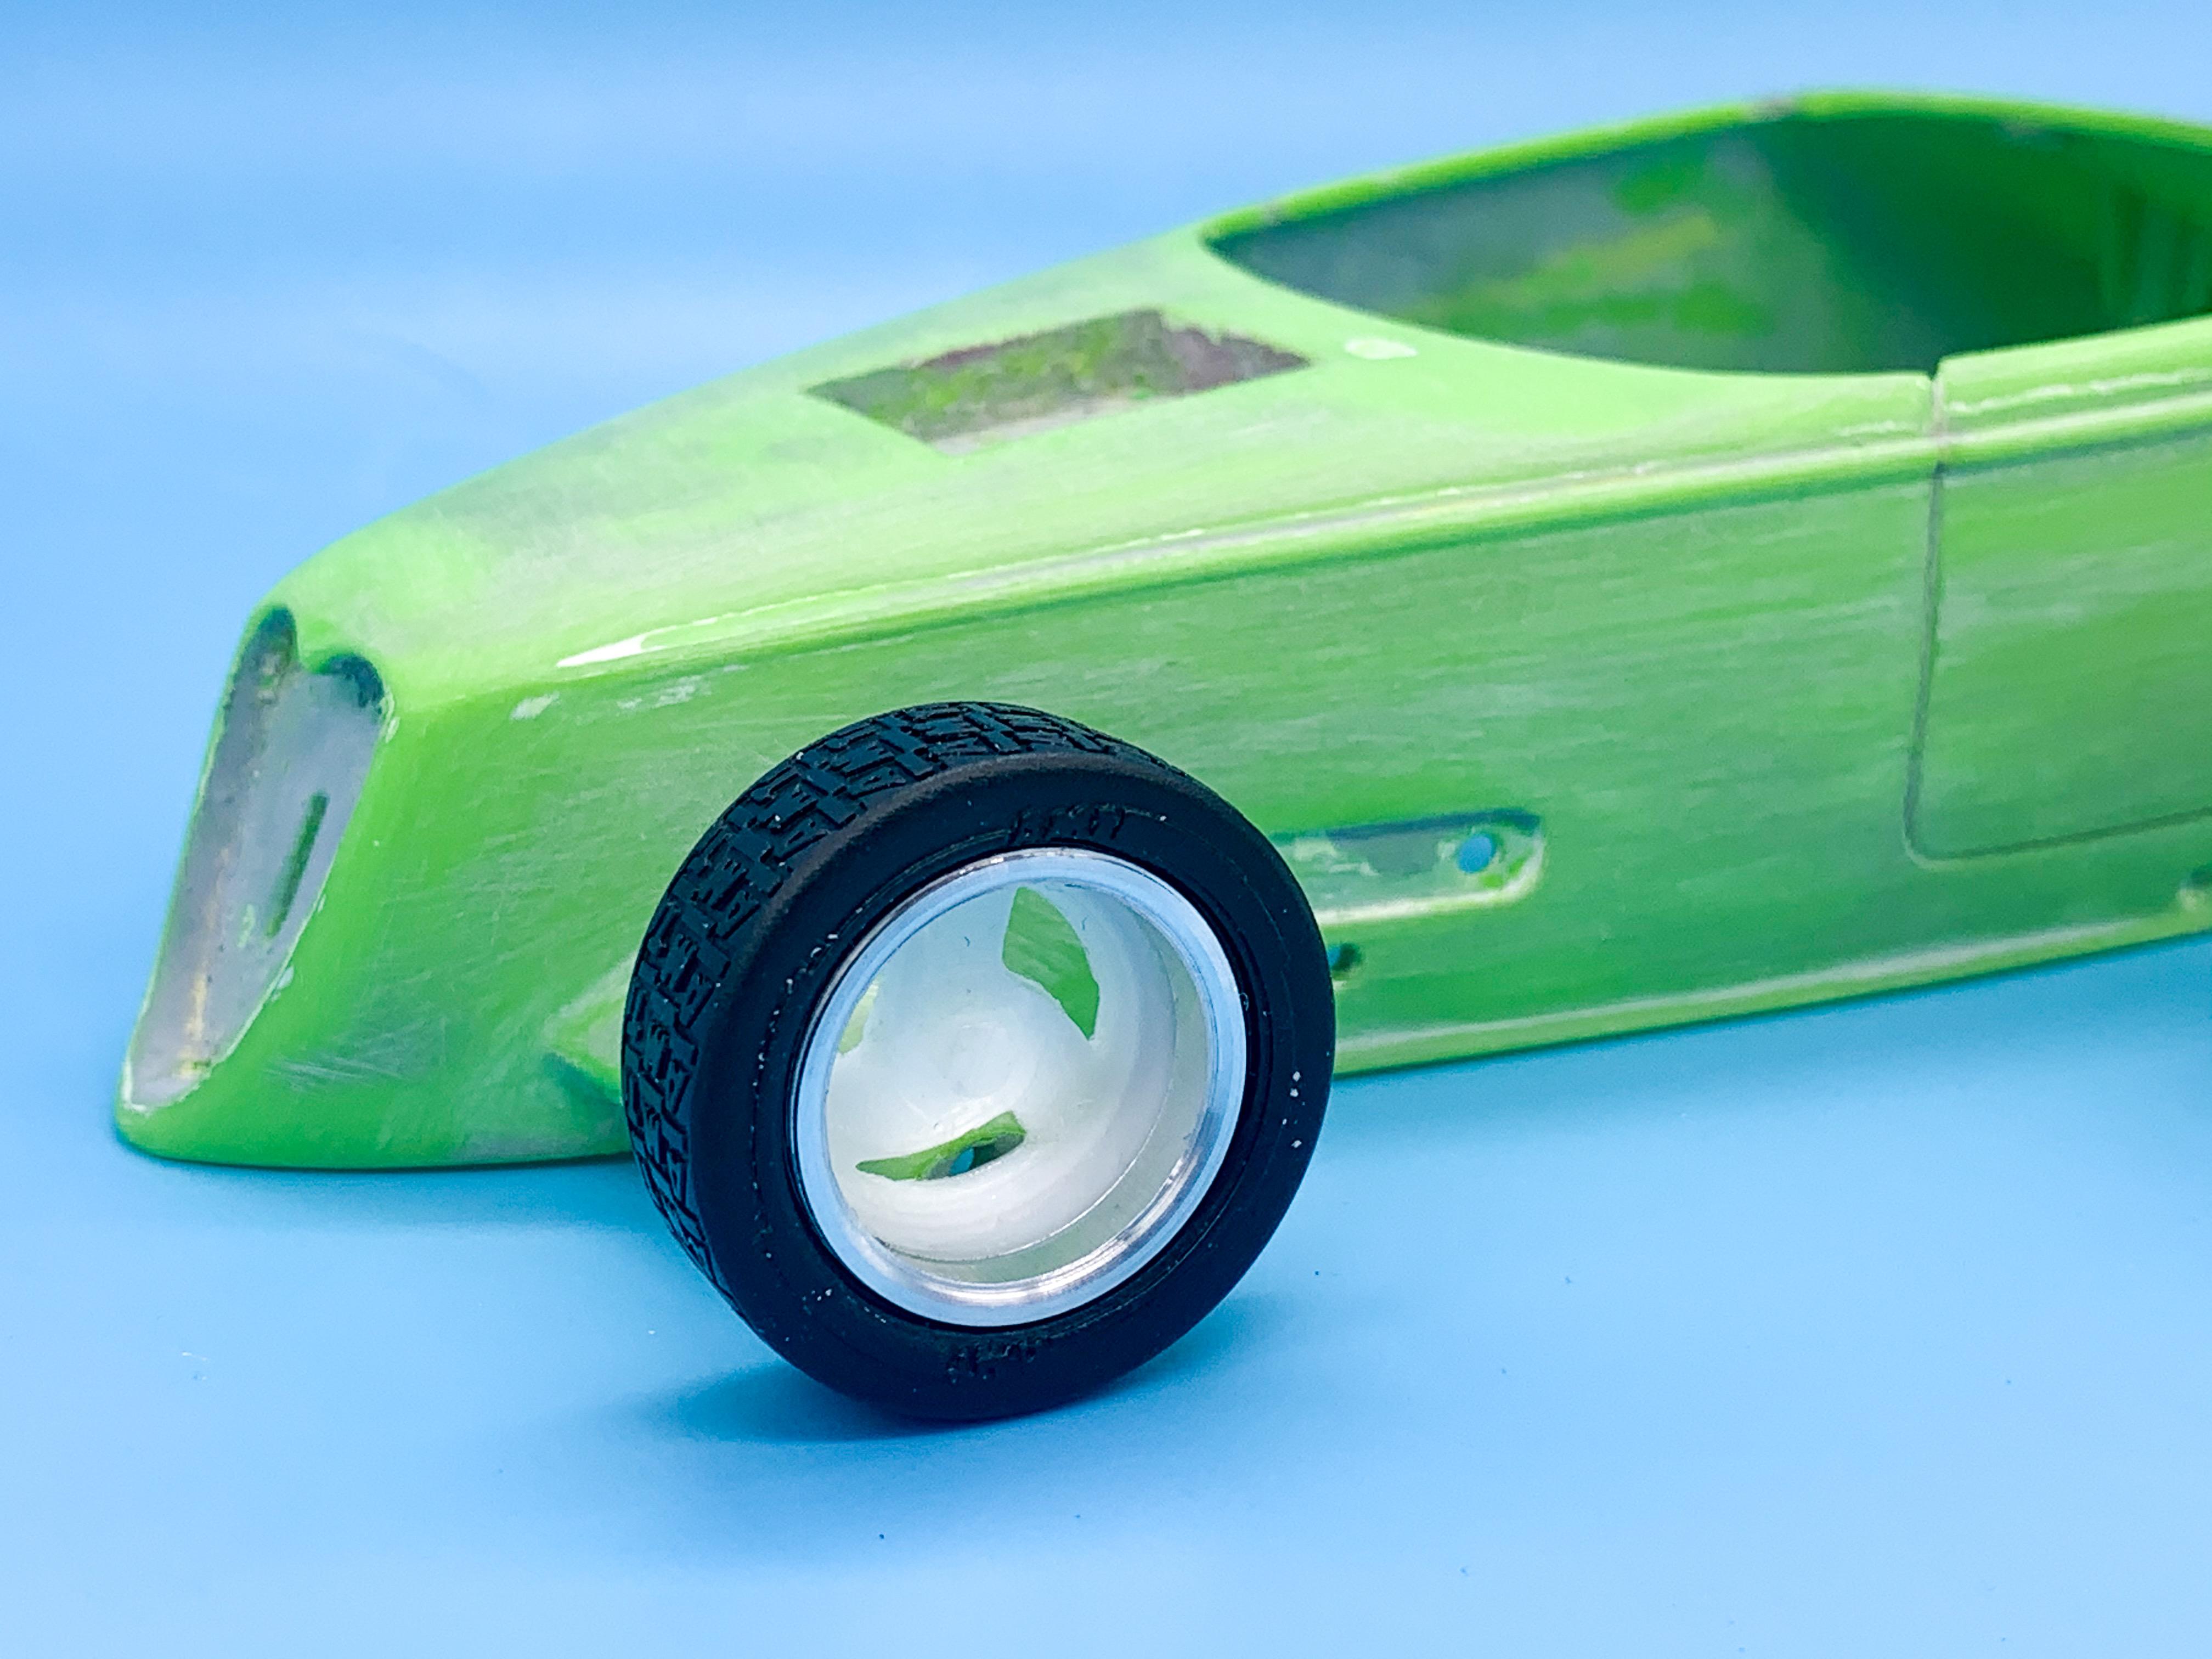
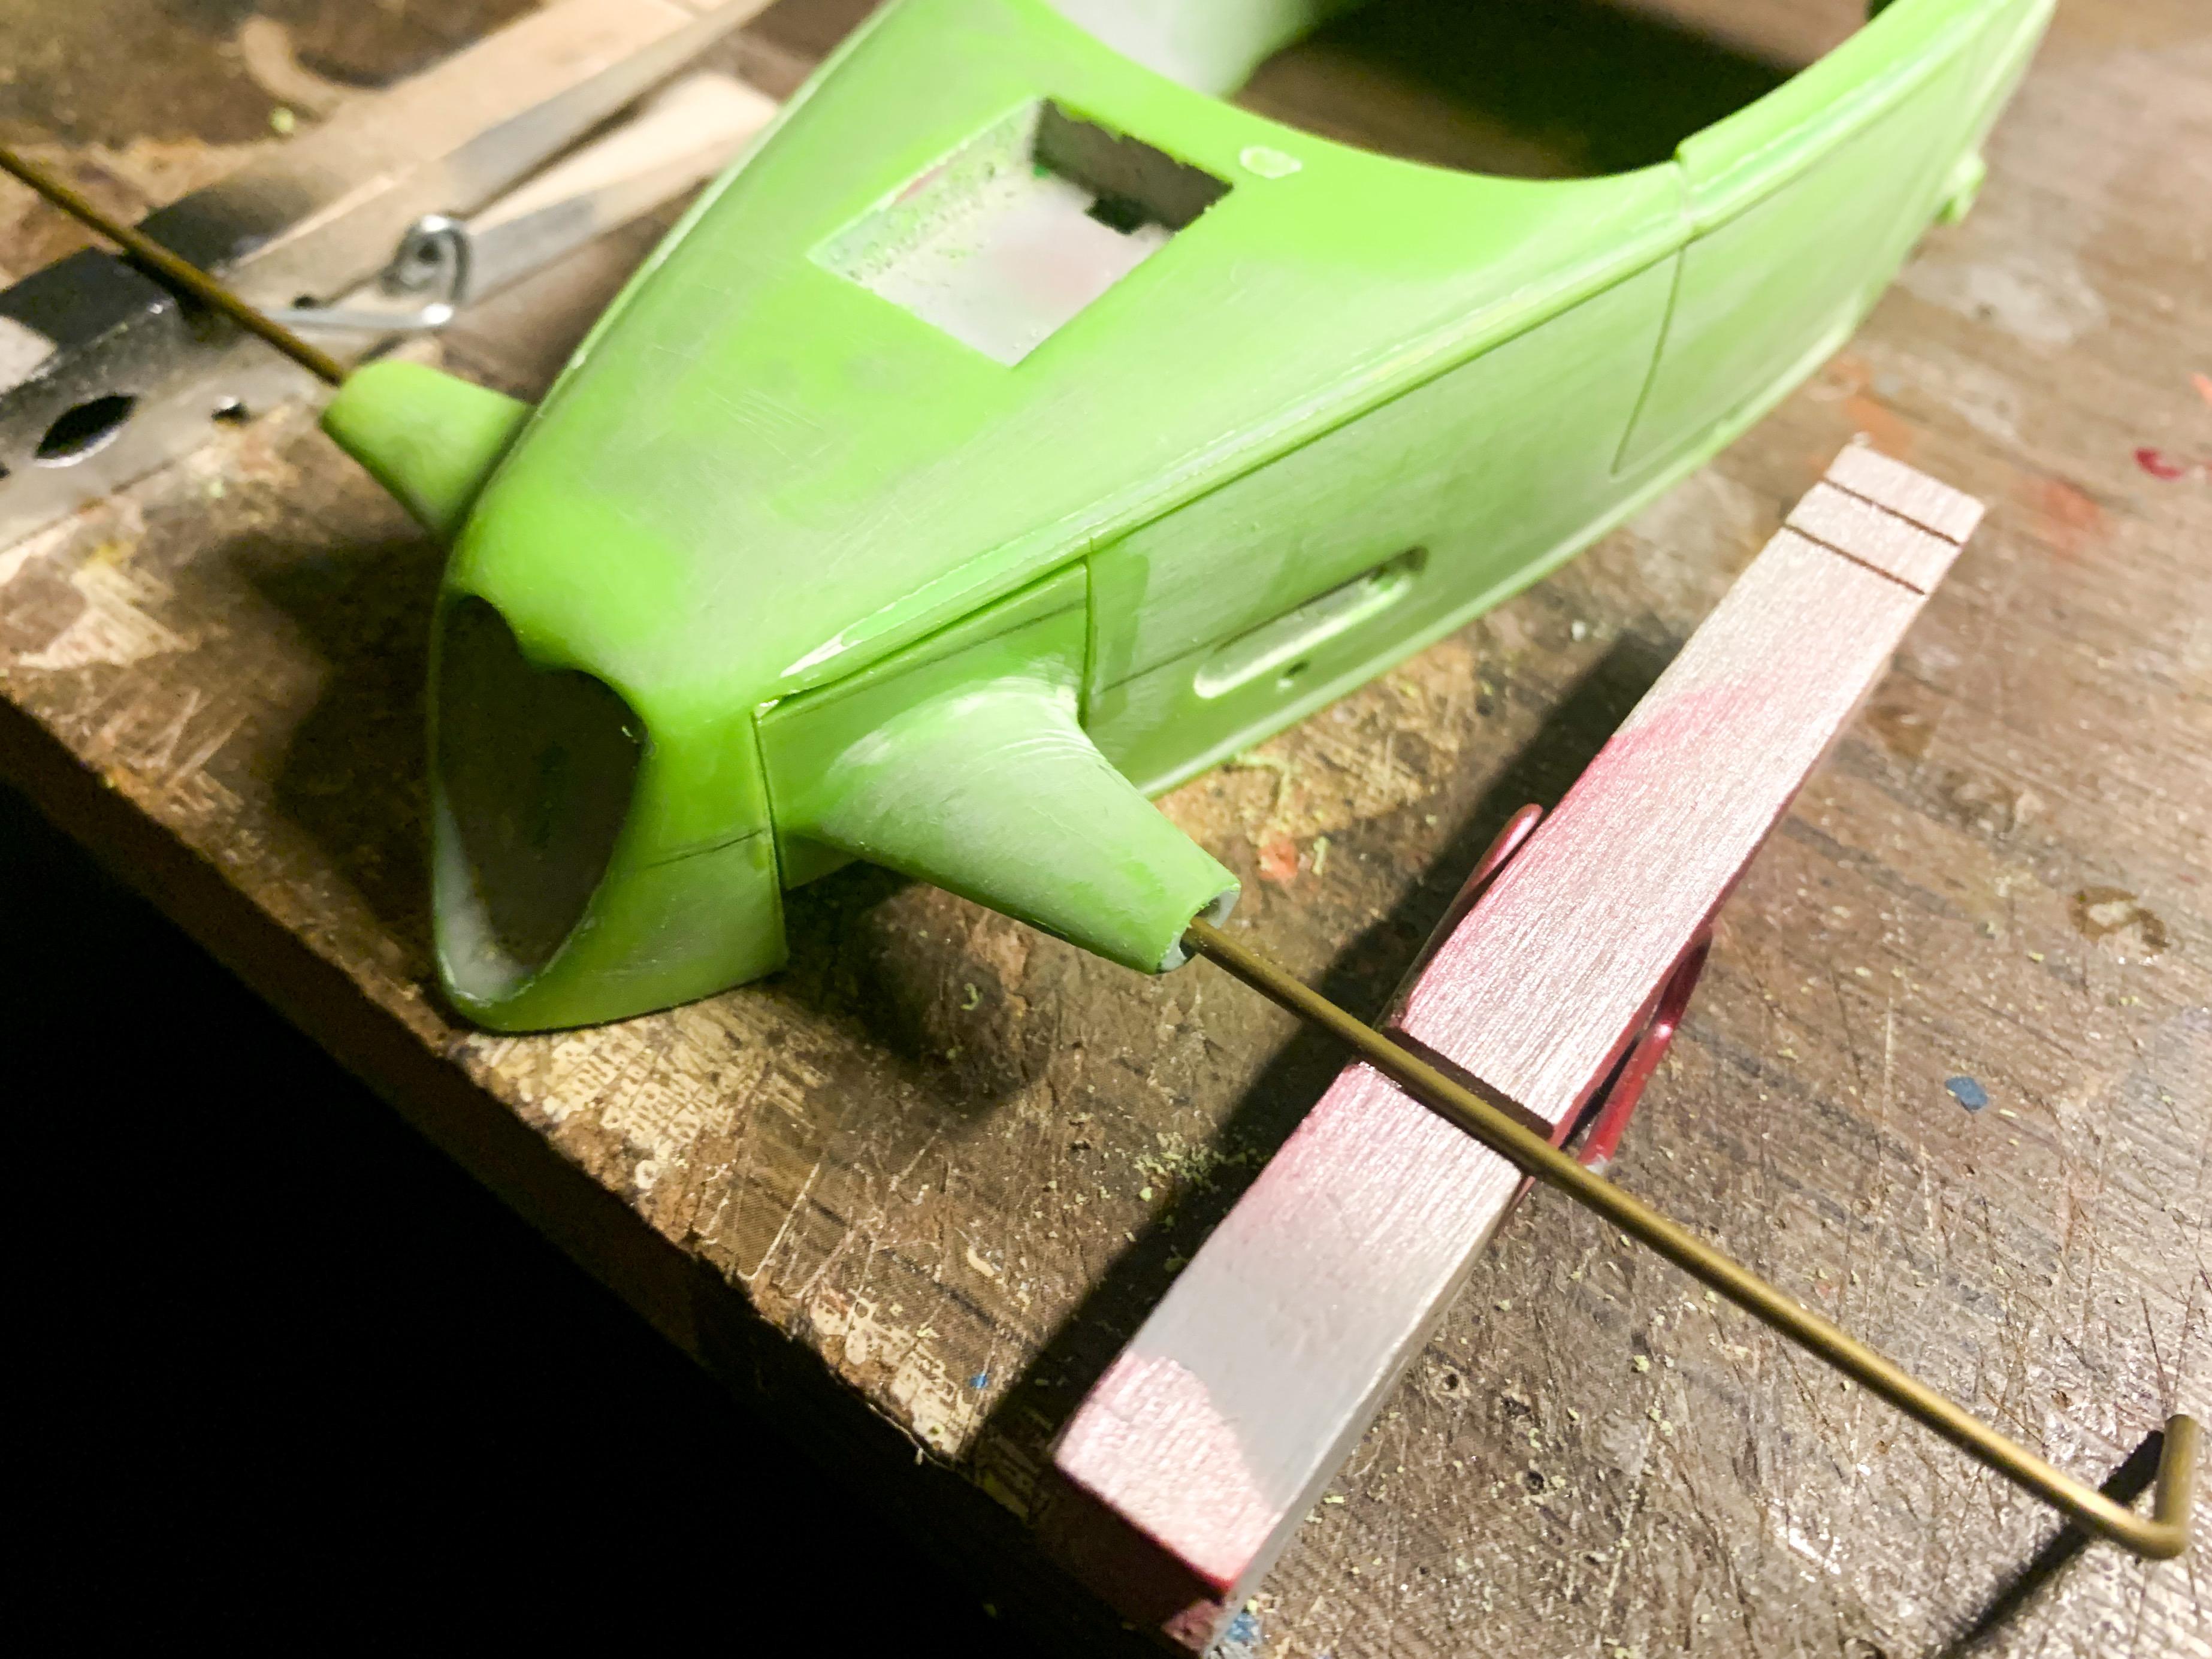
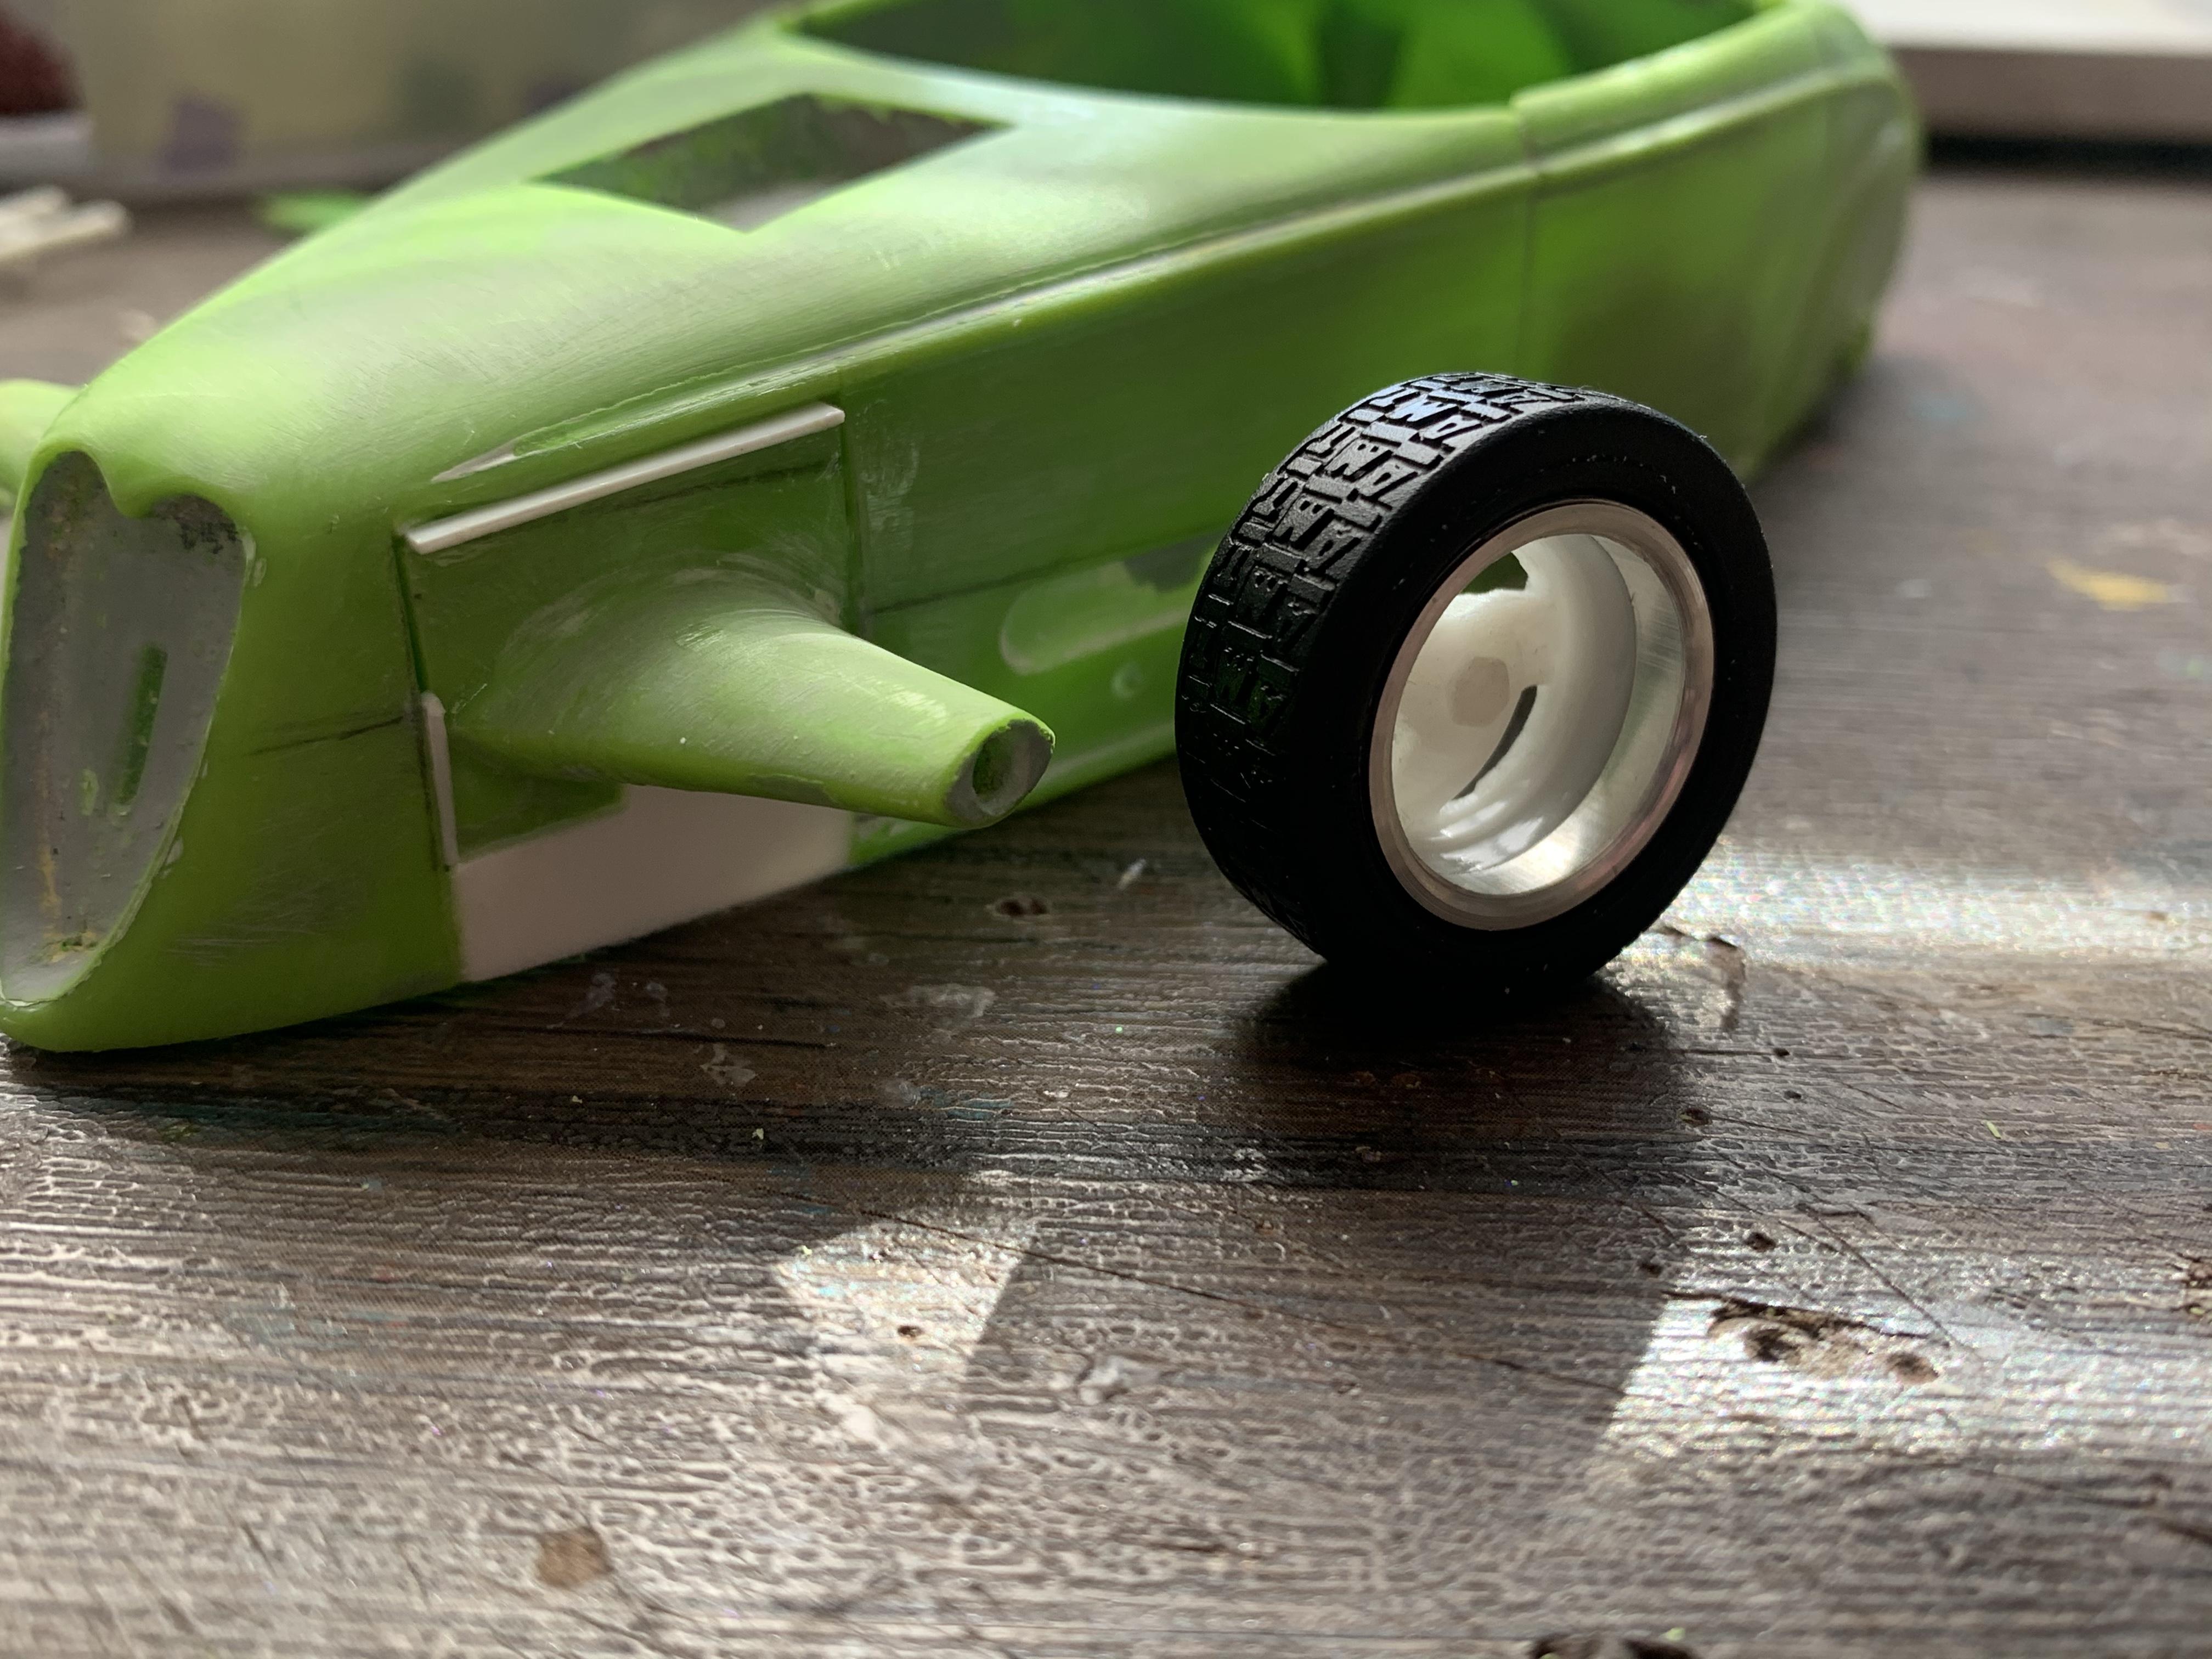
I’ve had this AMT Rod-Rageous slammer for a couple of years now, and kept pulling it out and trying a paint job on it, then kinda changing my mind, then getting it nearly done but the kit stance and wheels were horrible and so on and so forth. So, trying this thing at least a third time (with some better tools and a better plan...) This is the kit as it comes (probably my fastest ever build! 🤪) Kinda dorky and weird - and I got stuck for a year or so trying to think what I could do for wheels to improve it, and settled on a nice set of directional Boyd tri-spokes from the Aluma-Coupe kit. I mocked up one with rim that I machined...now we’re talking! I get get on board with that! Made another three - I’ll keep the AMT treaded tires for the front but switch in some more conventional ones for the rear. I really wanted to get the nose way down in the ground, and couldn’t figure out a better way than hacking it all apart and moving those wishbones up a bunch...so here goes: Sliced and diced and tacked back into place with a rudimentary jig to keep everything aligned: Adding some material to replace the kerf losses from the saw, and to fill the gaps: And now it should sit something like this: Way better! I’ll actually have the tail end about where nature (AMT) intended, but getting the nose down will help a bunch I think! A little filler to level out all the seams: And a blast of primer to see what all needs fixing before paint! Got a really fun paint idea for this one, once I get my head around how to achieve it...more soon!
-
Wrapped up a few little bits on this one, this weekend - made a couple of bomber seats (changed my mind on what I had made before), fitted the windshield and a couple of little bits and it’s about done! Thanks for following along everybody!
-
Nice Miata!!! Love it!