CabDriver
-
Posts
5,094 -
Joined
-
Last visited
Content Type
Profiles
Forums
Events
Gallery
Everything posted by CabDriver
-

34 Church Truck
CabDriver replied to CabDriver's topic in WIP: Model Trucks: Pickups, Vans, SUVs, Light Commercial
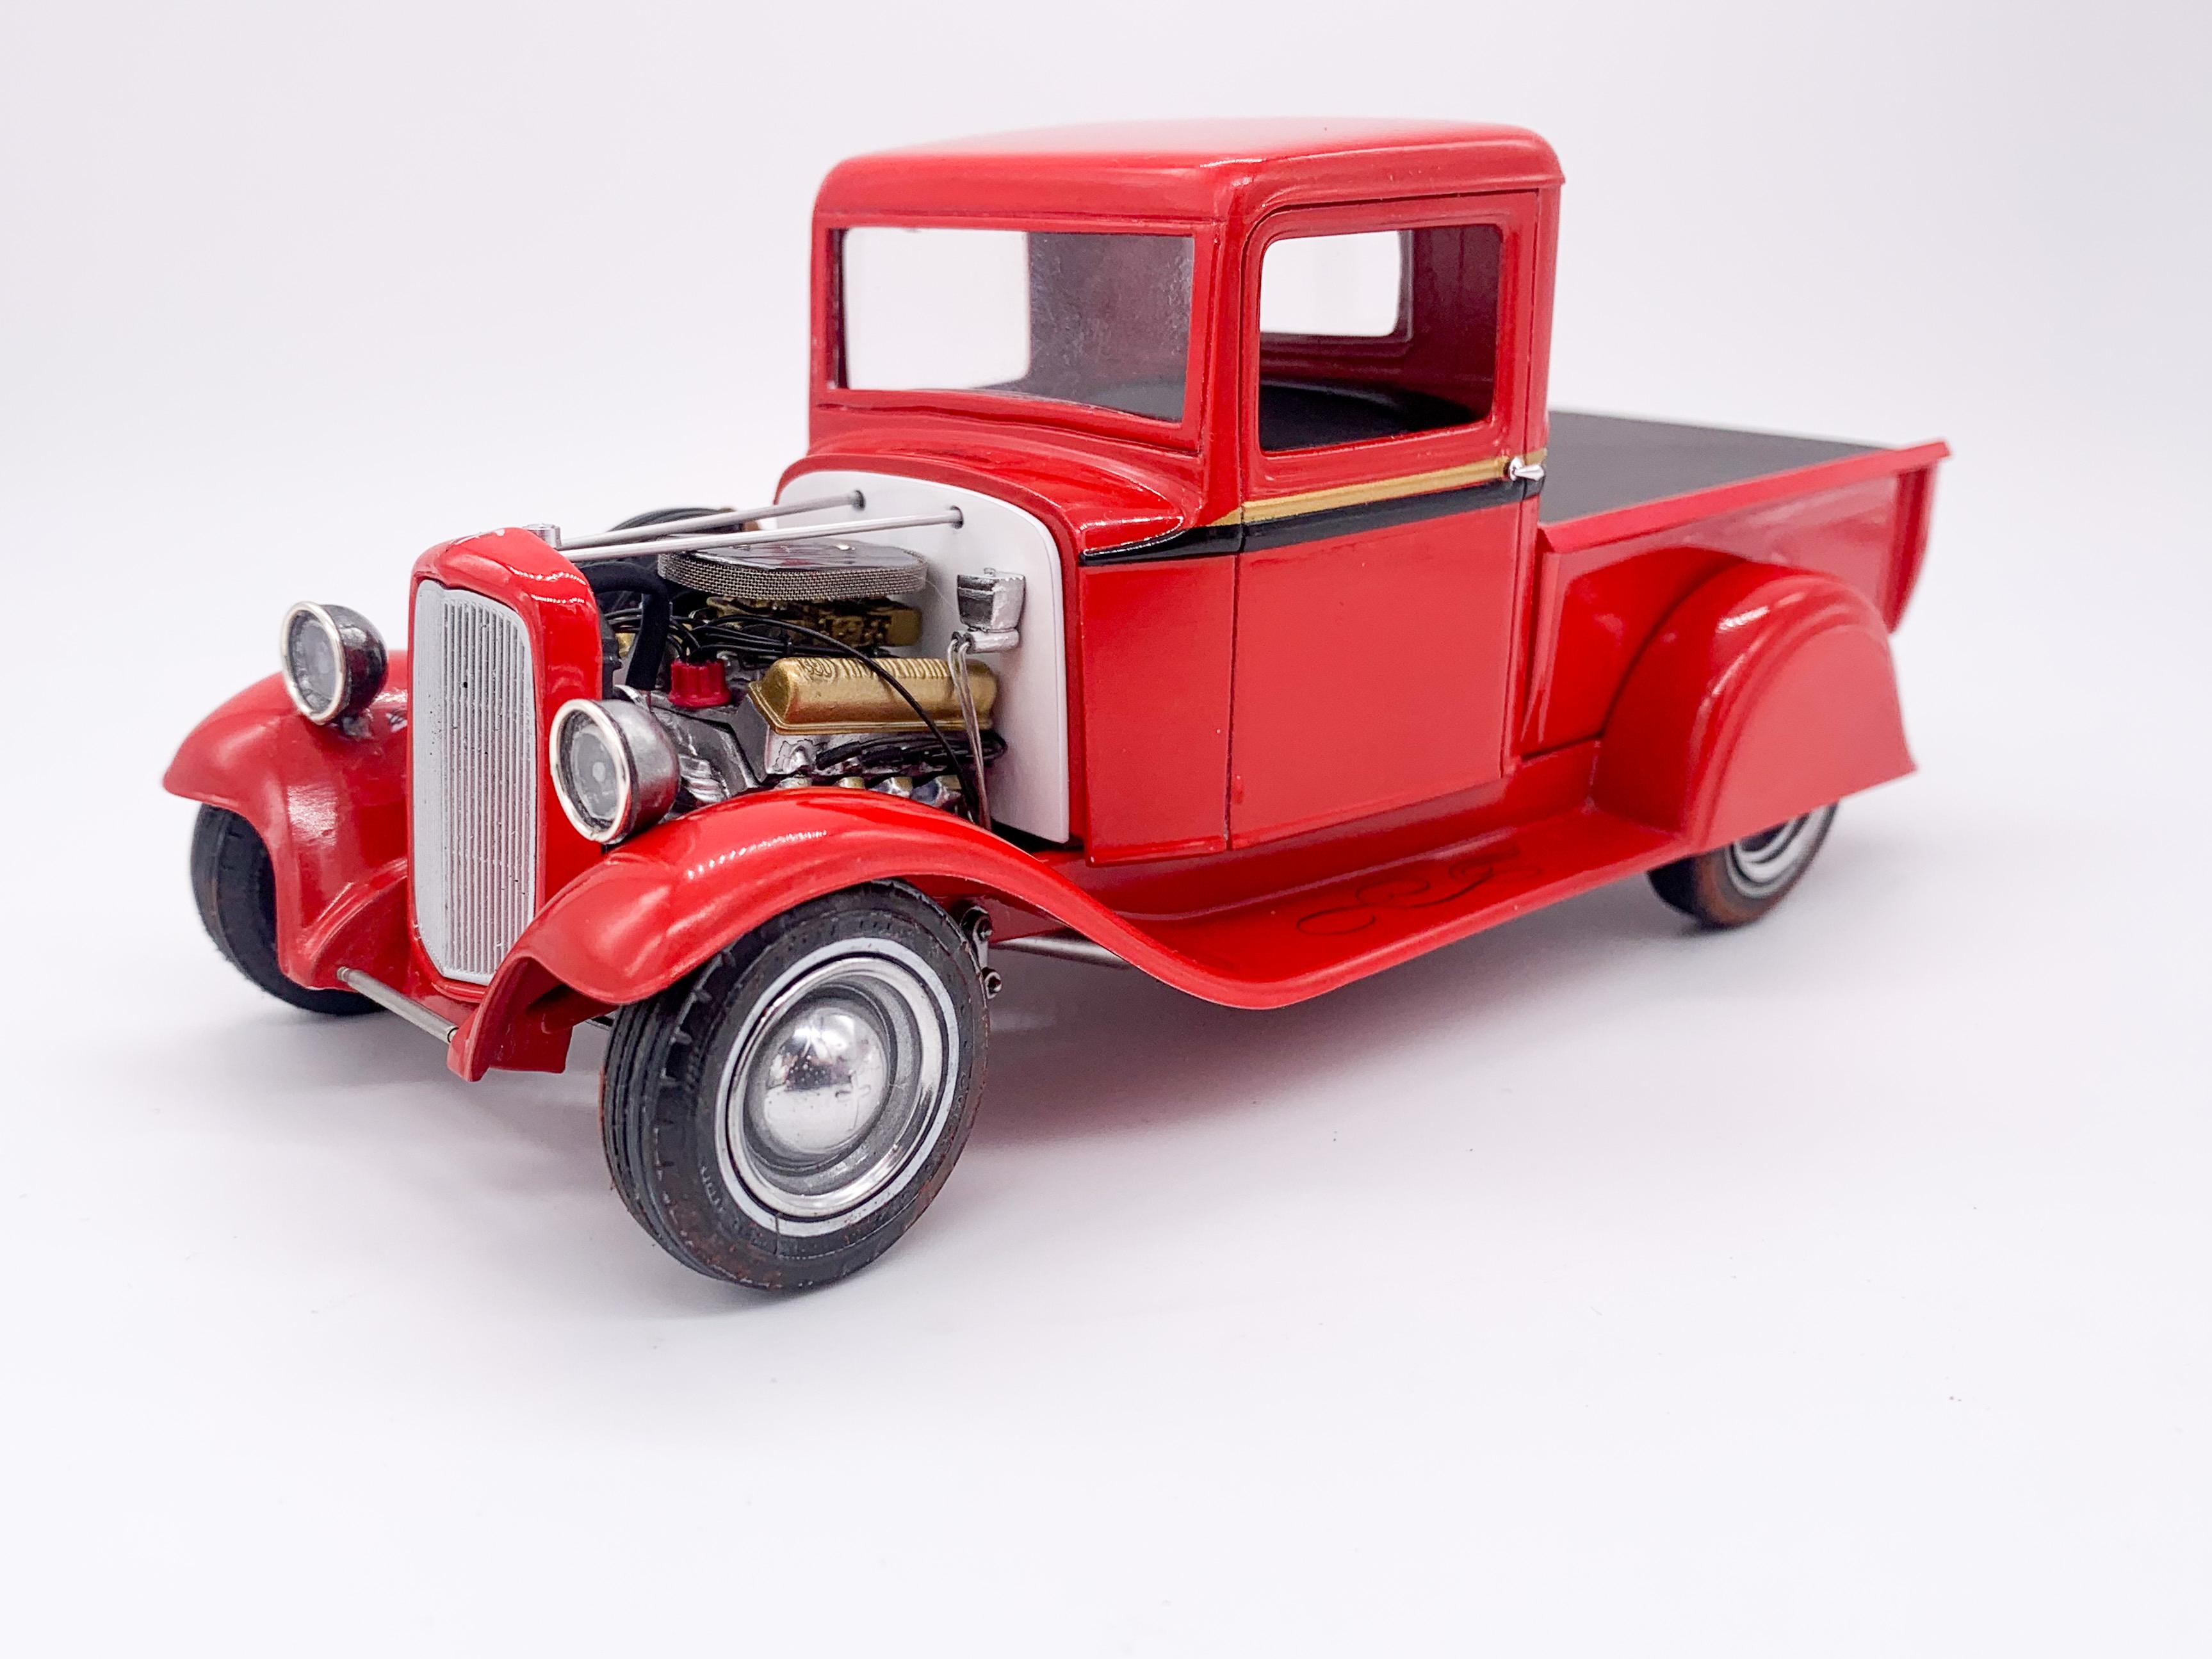
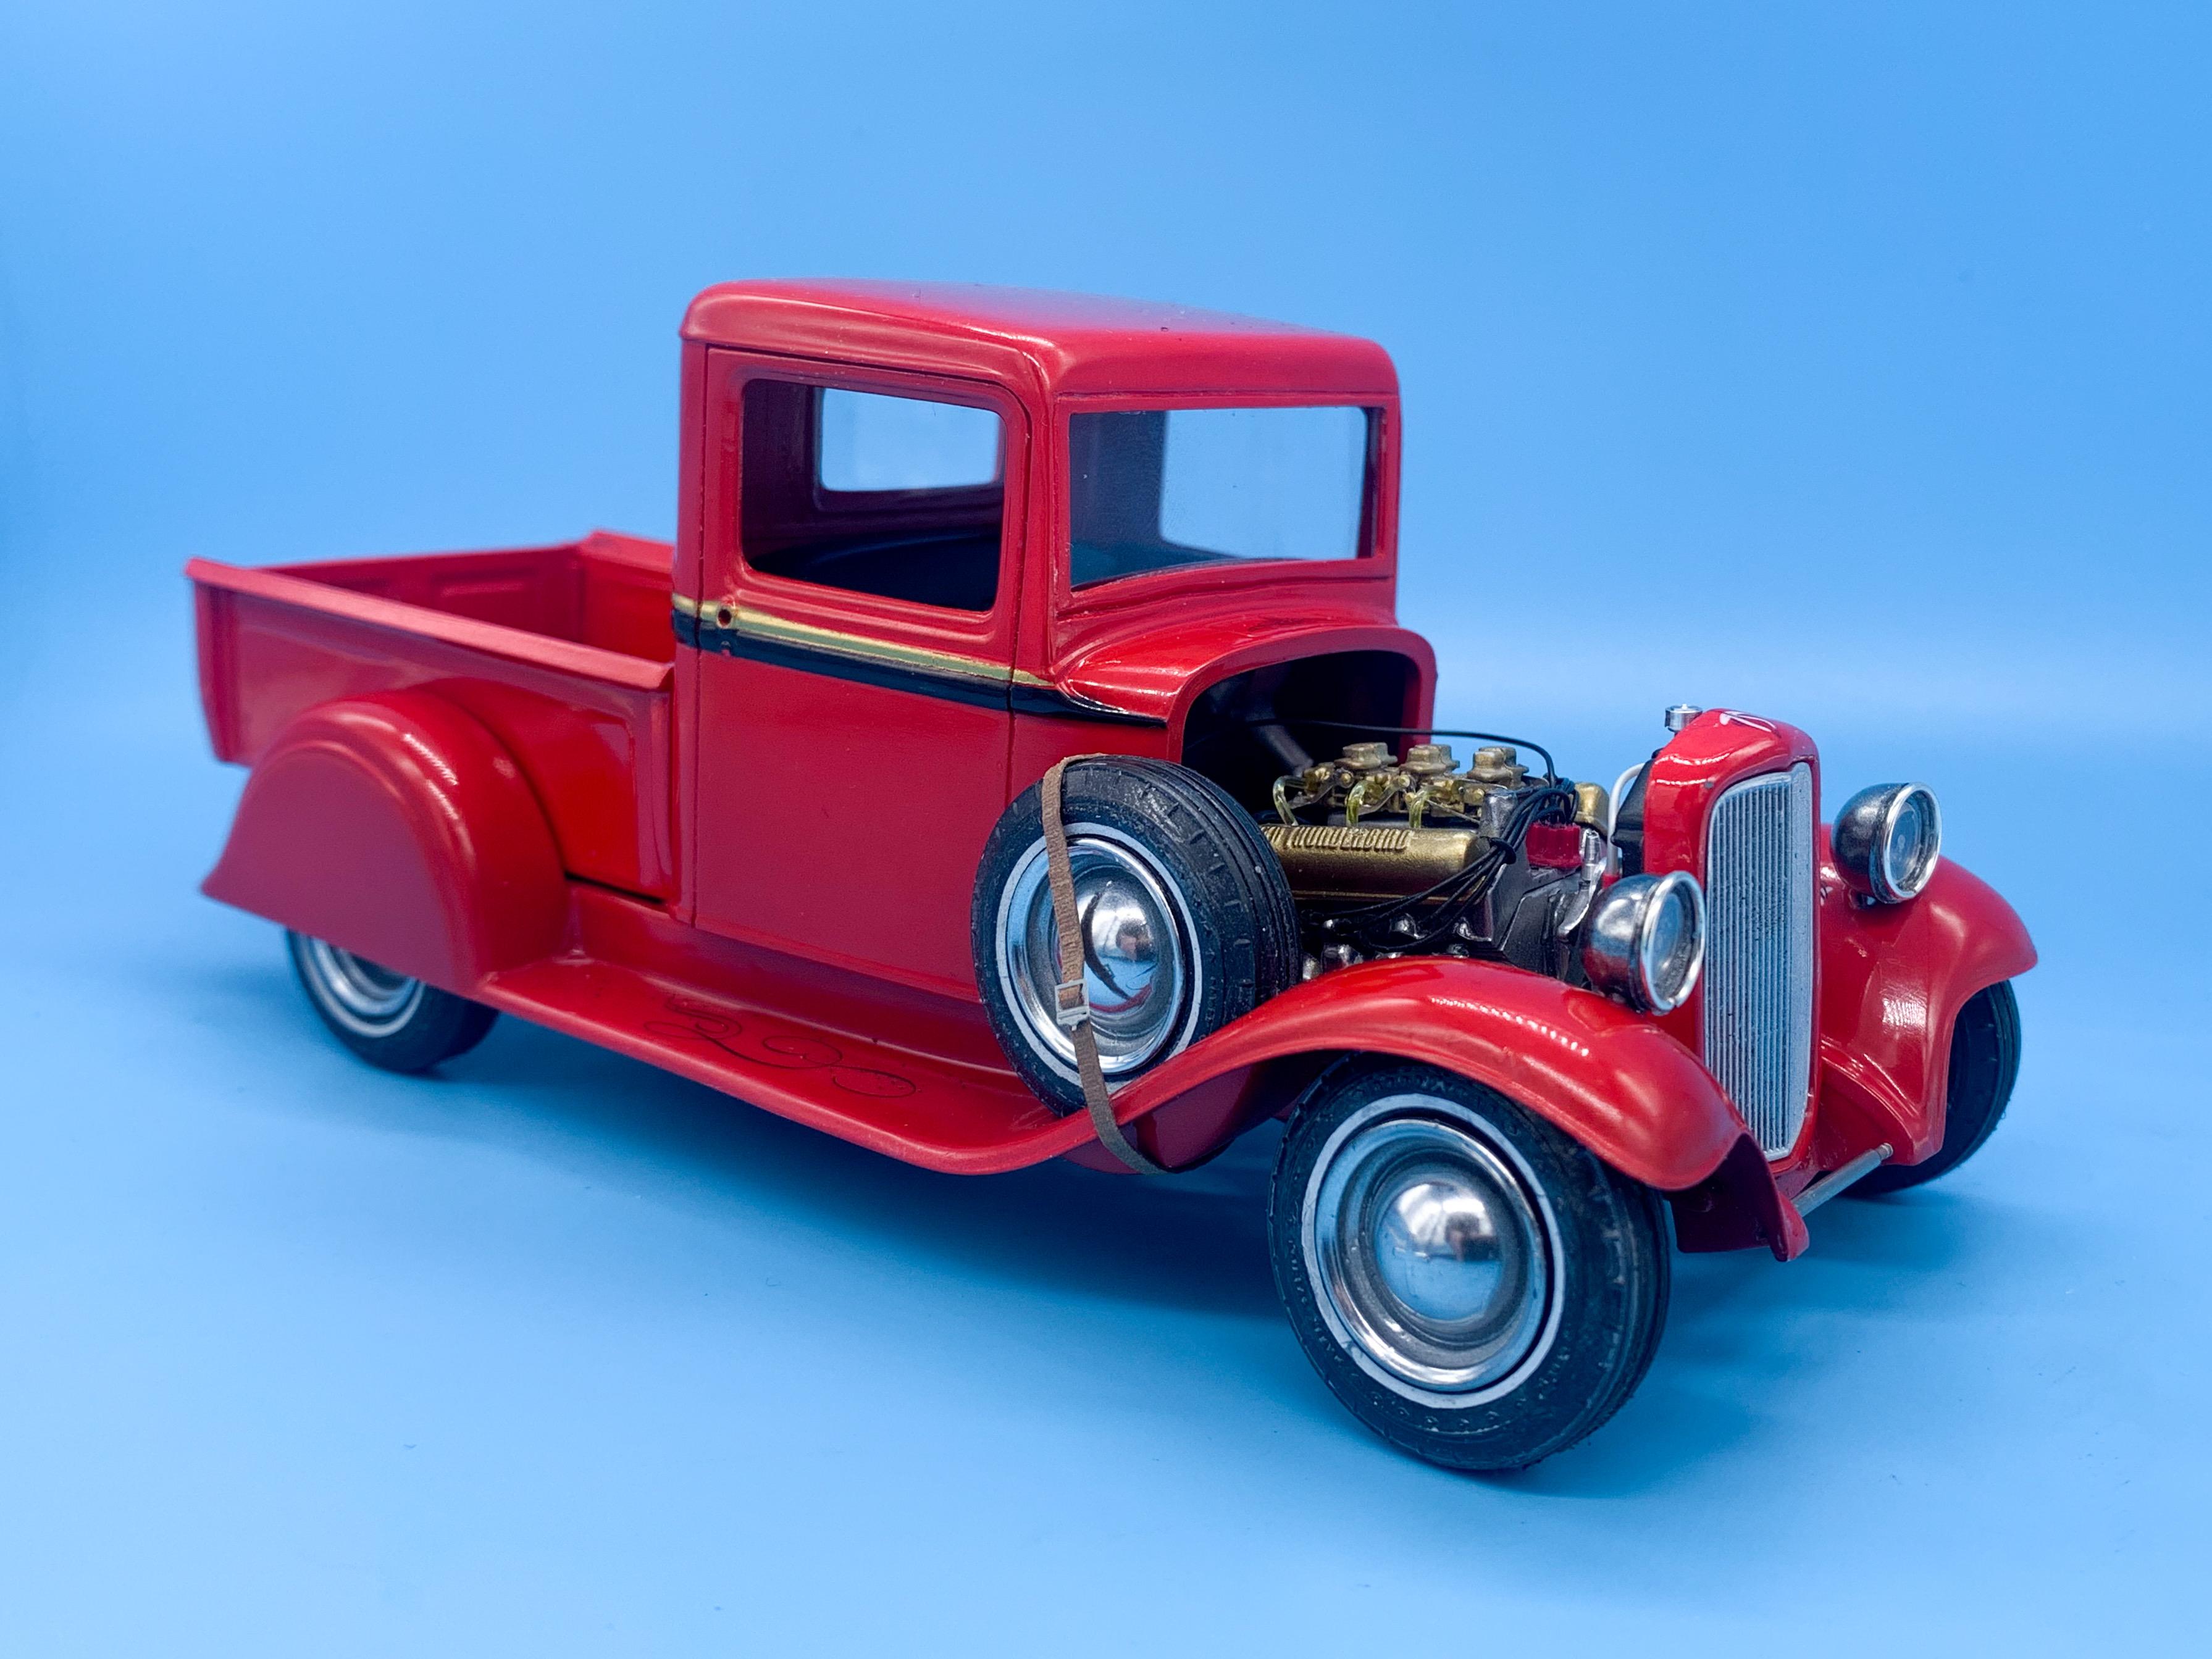
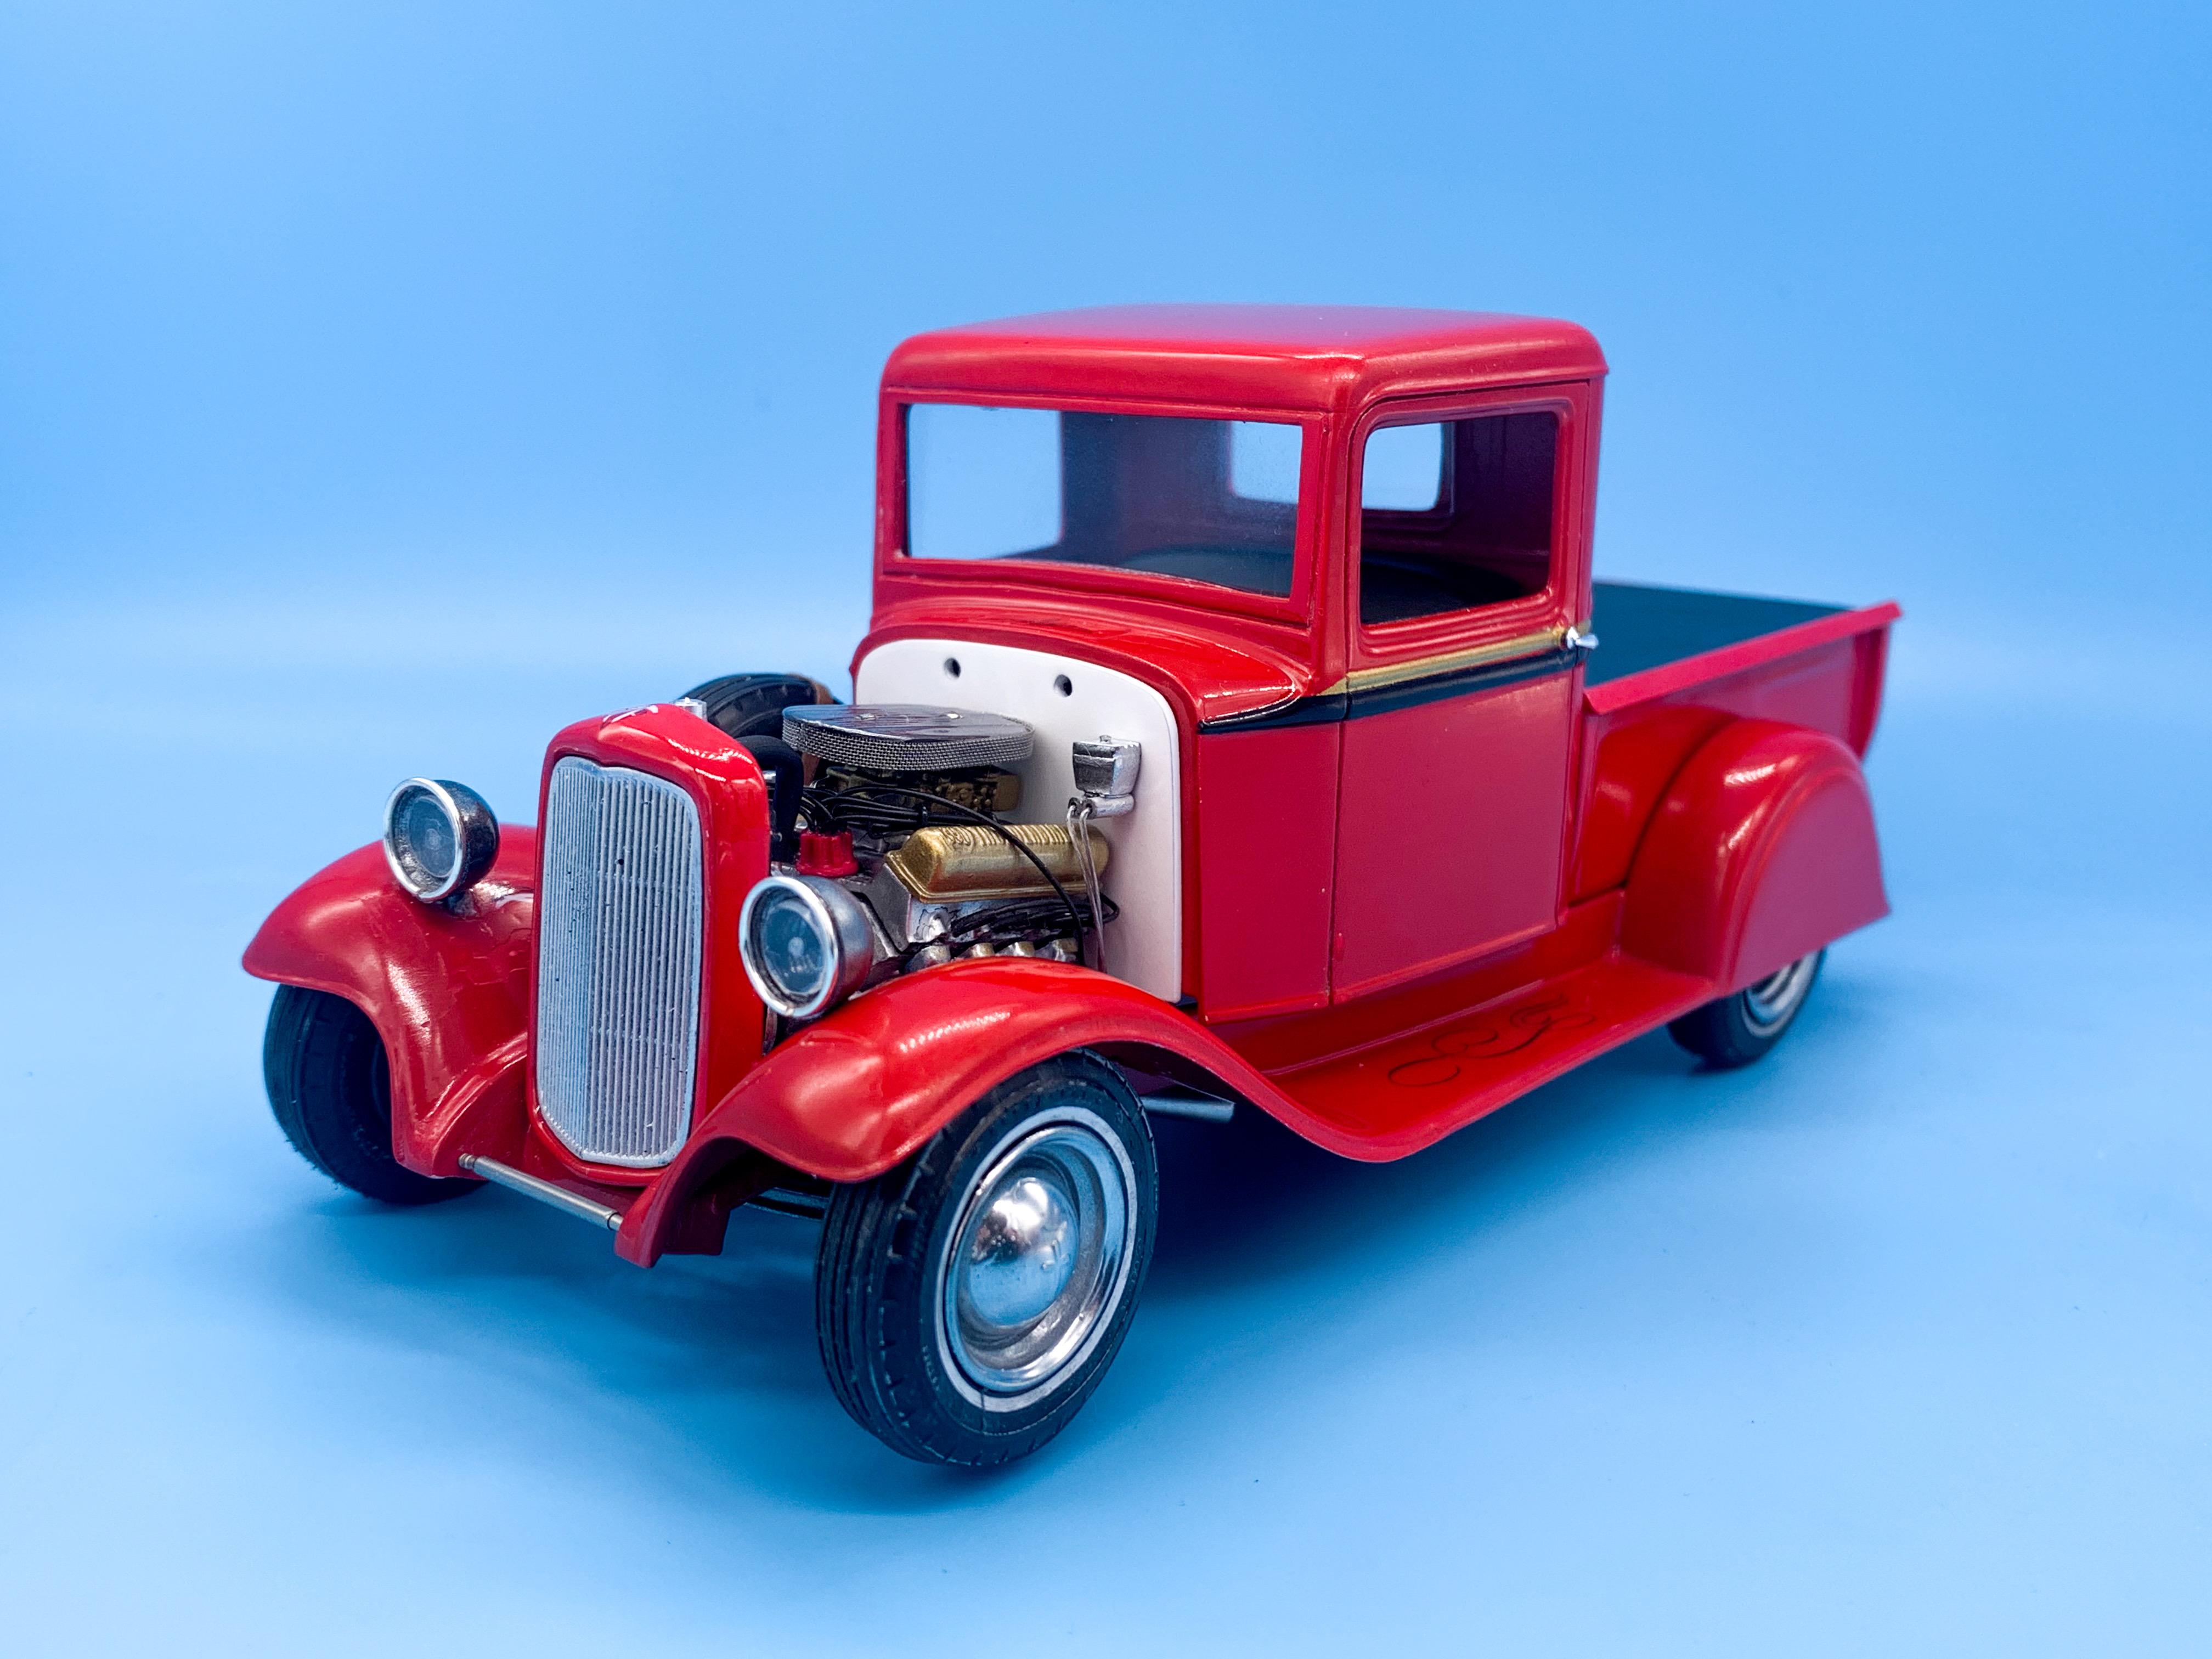
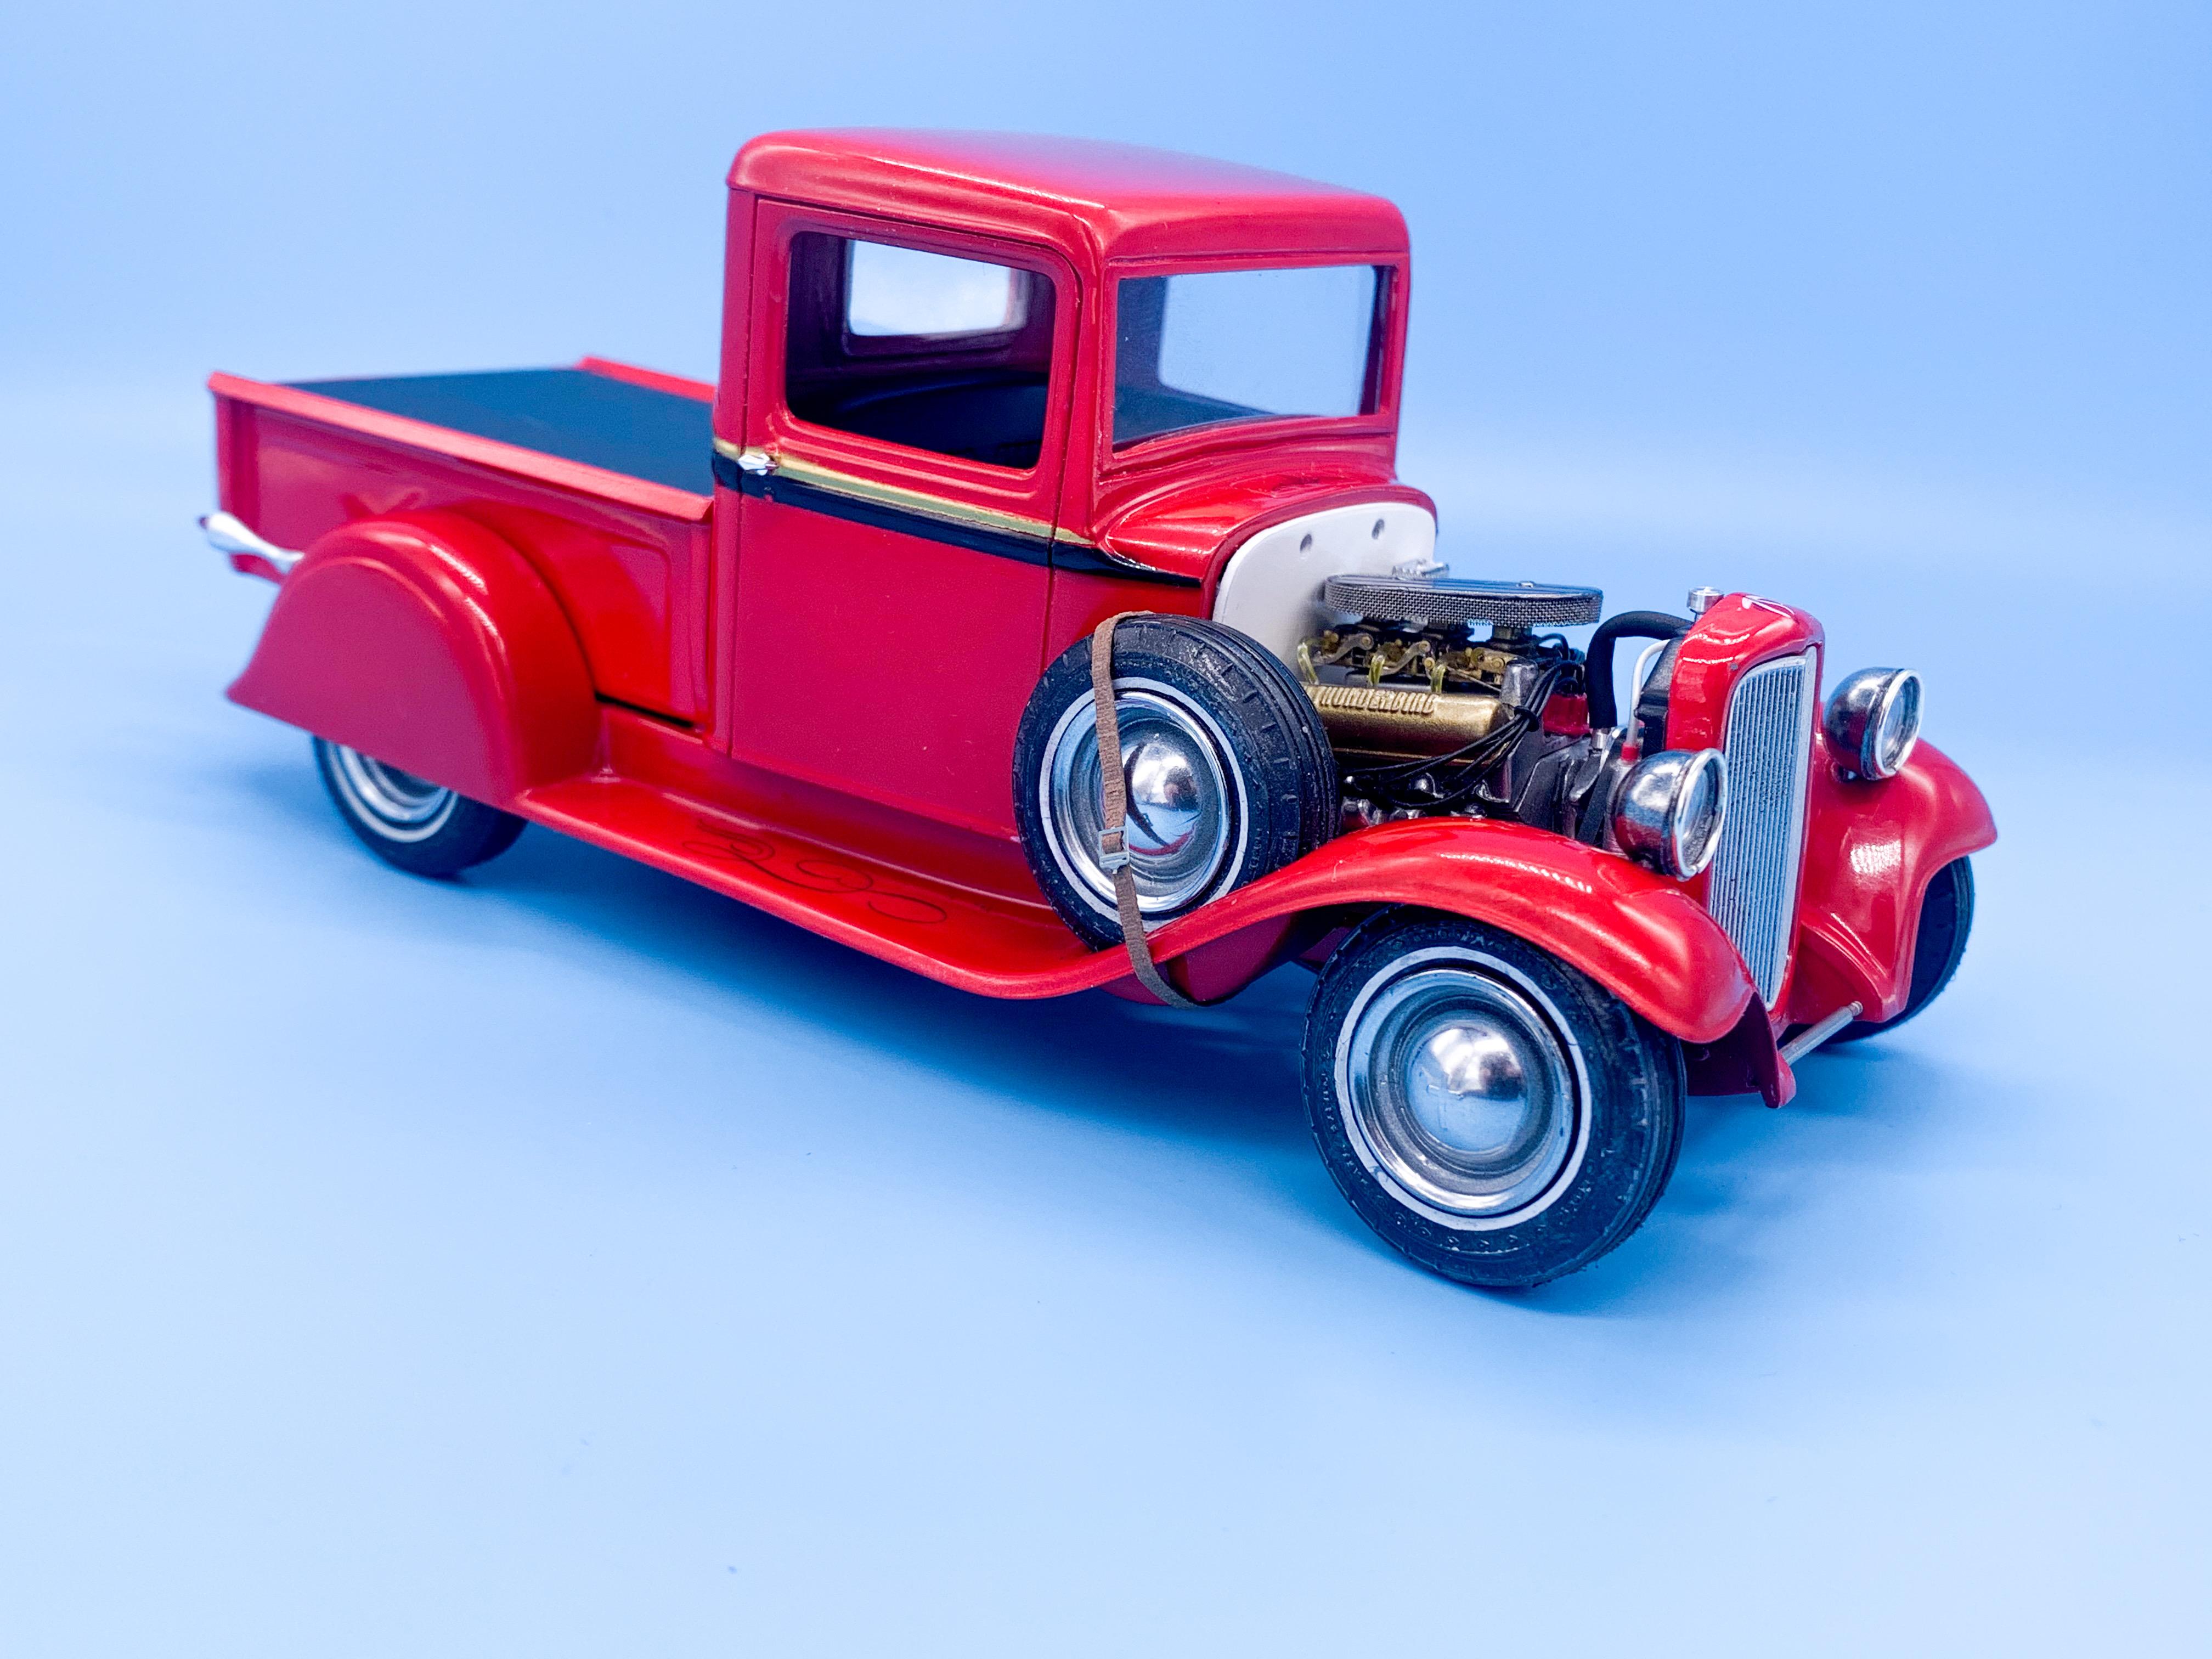
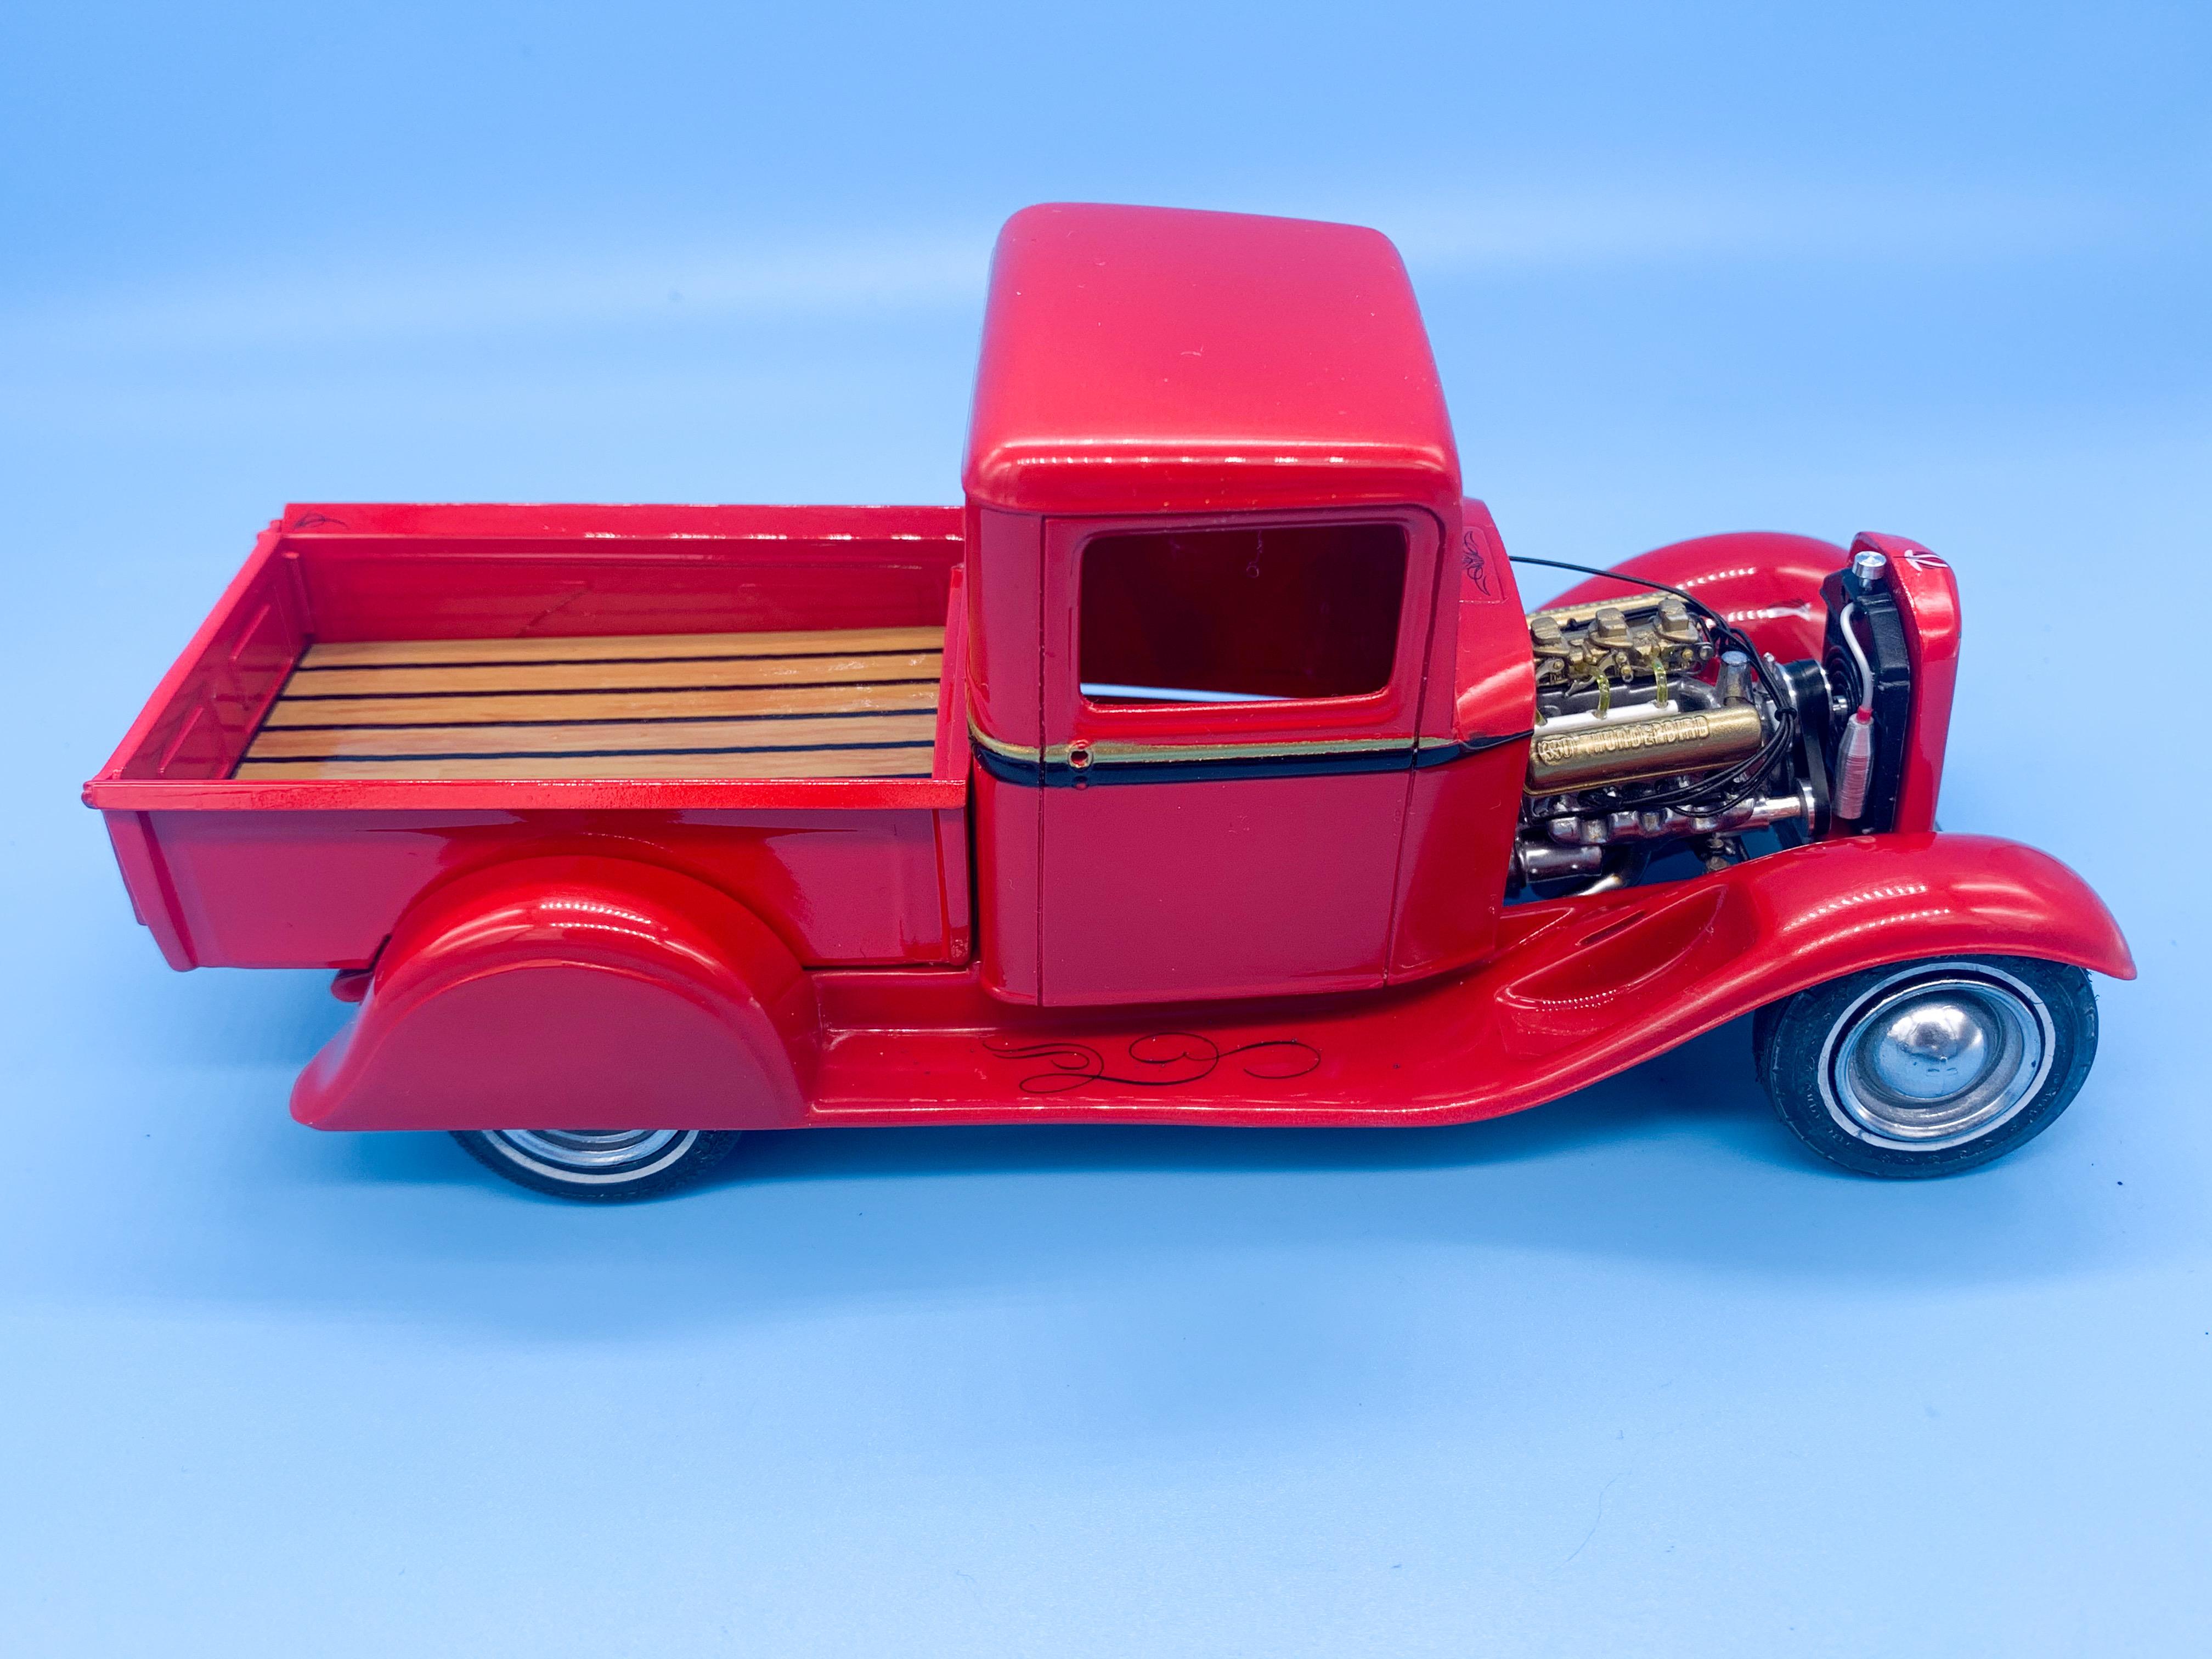
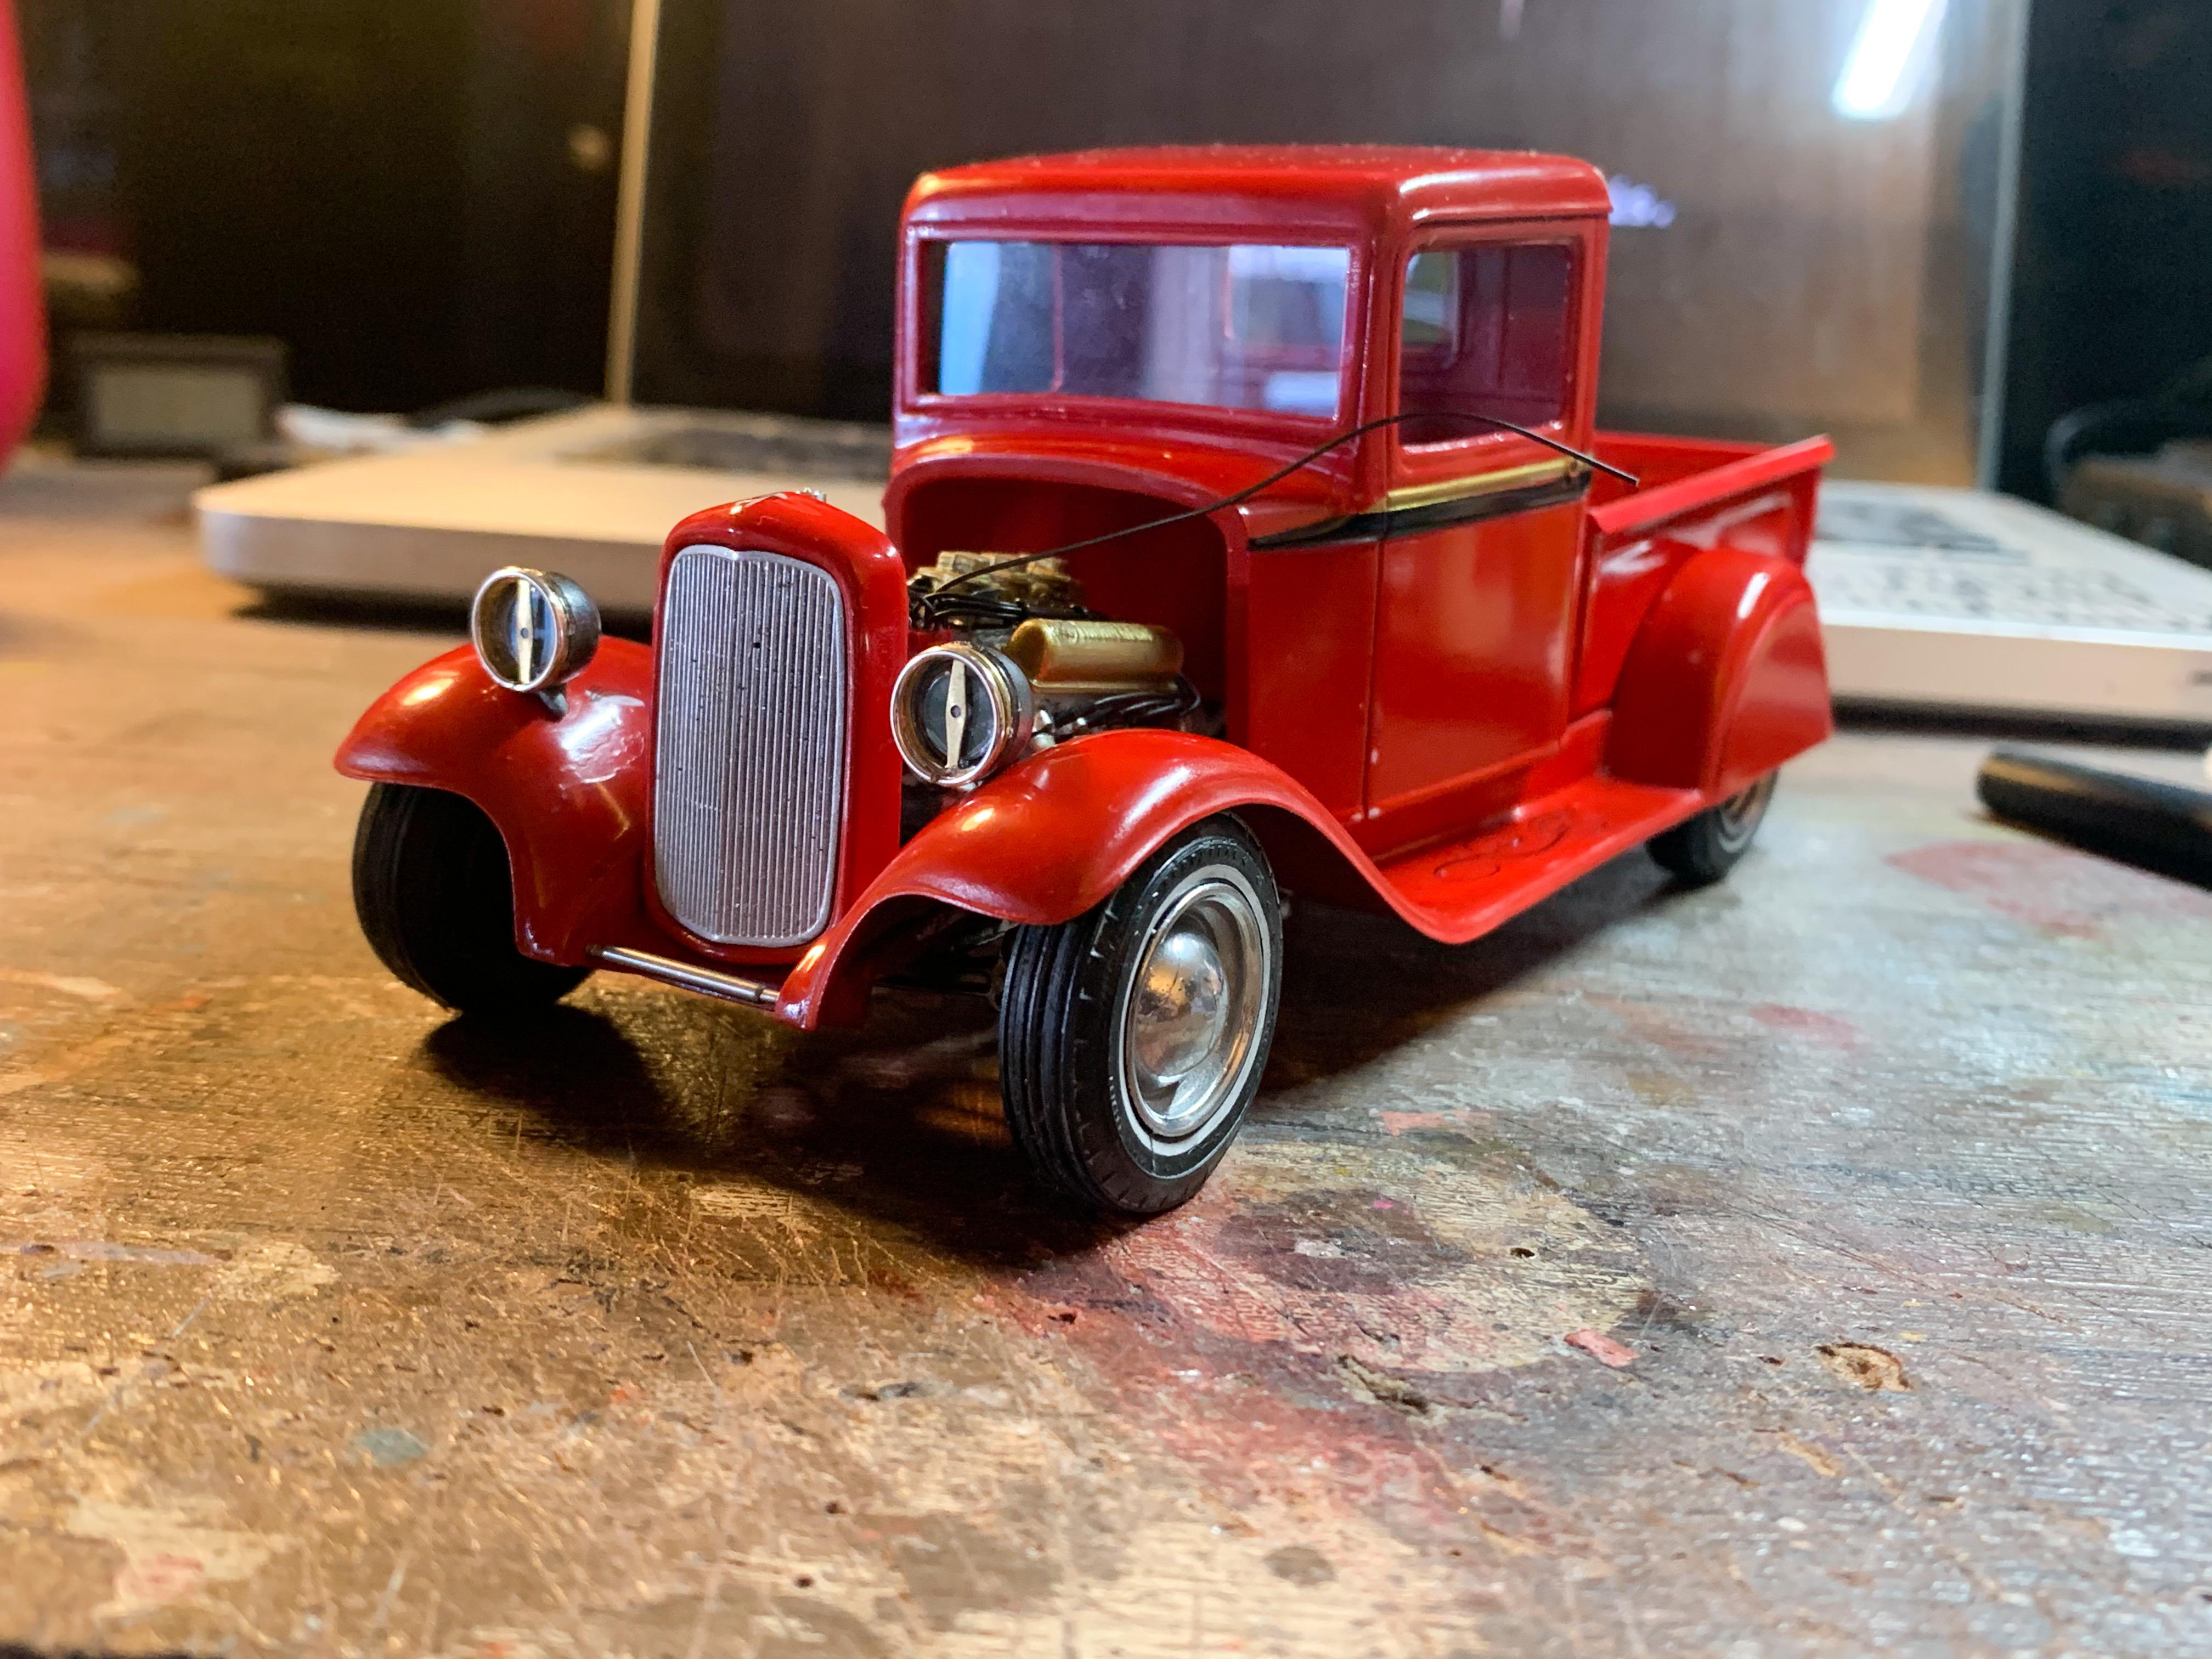
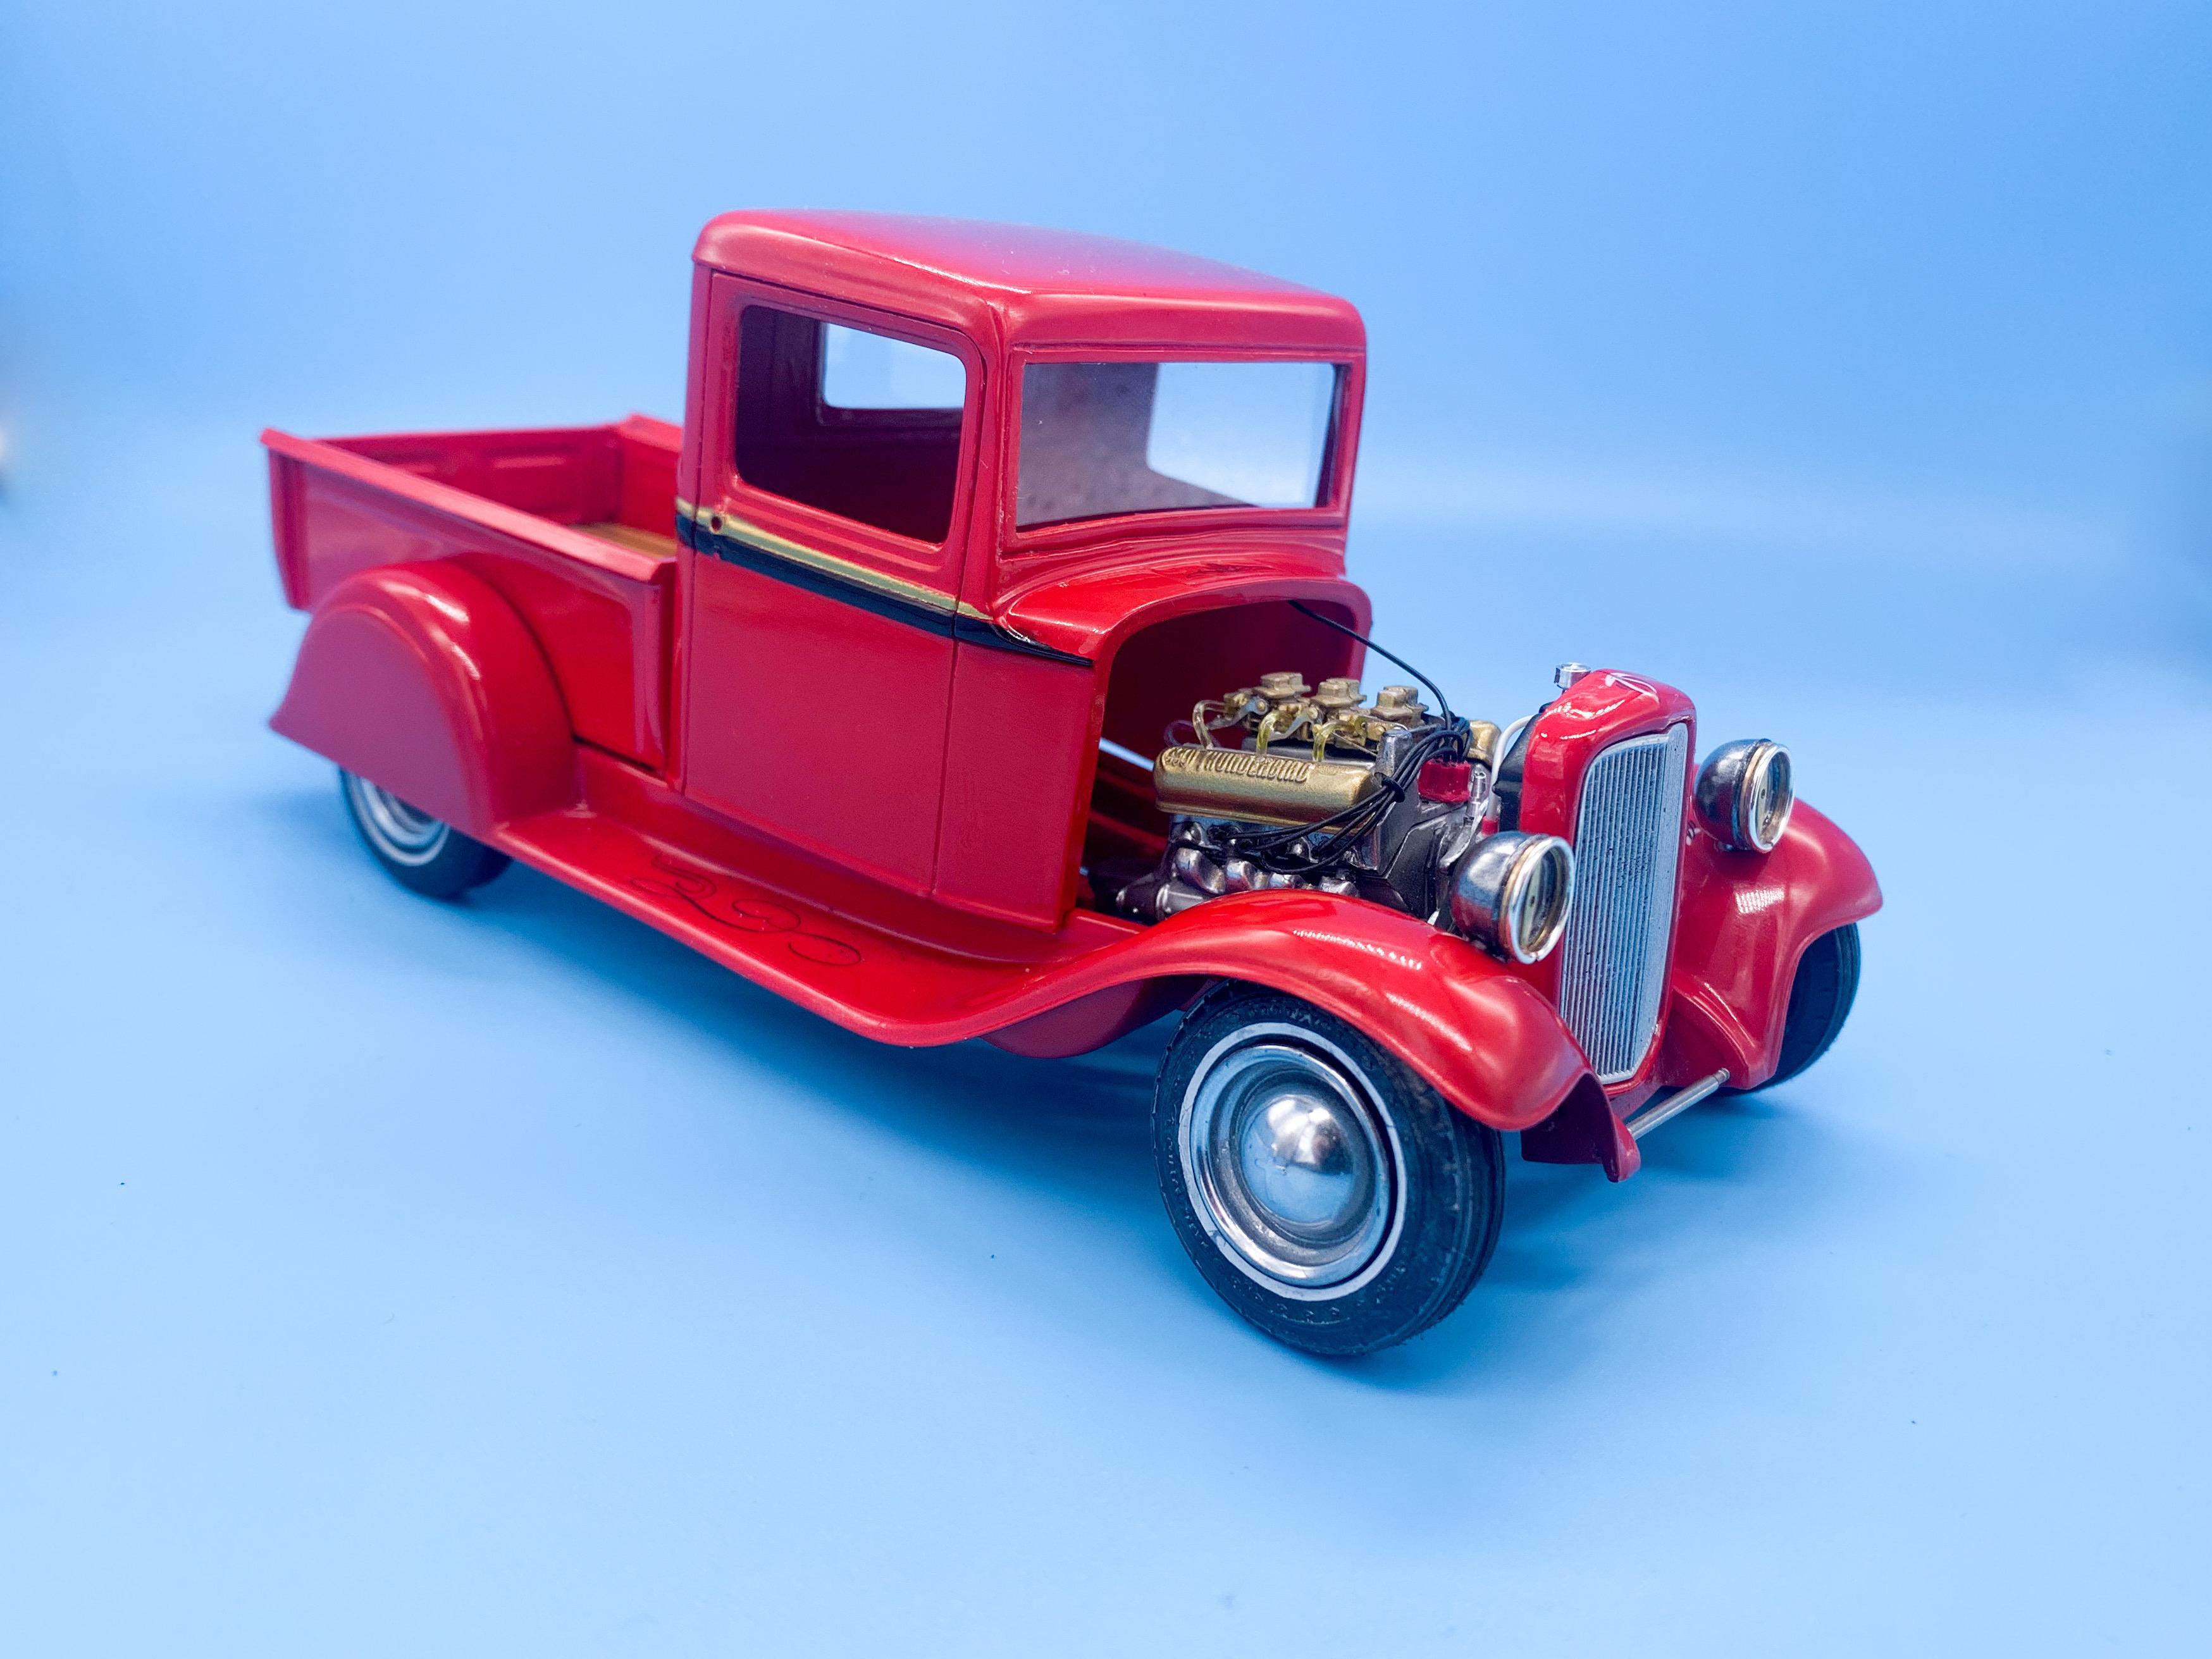
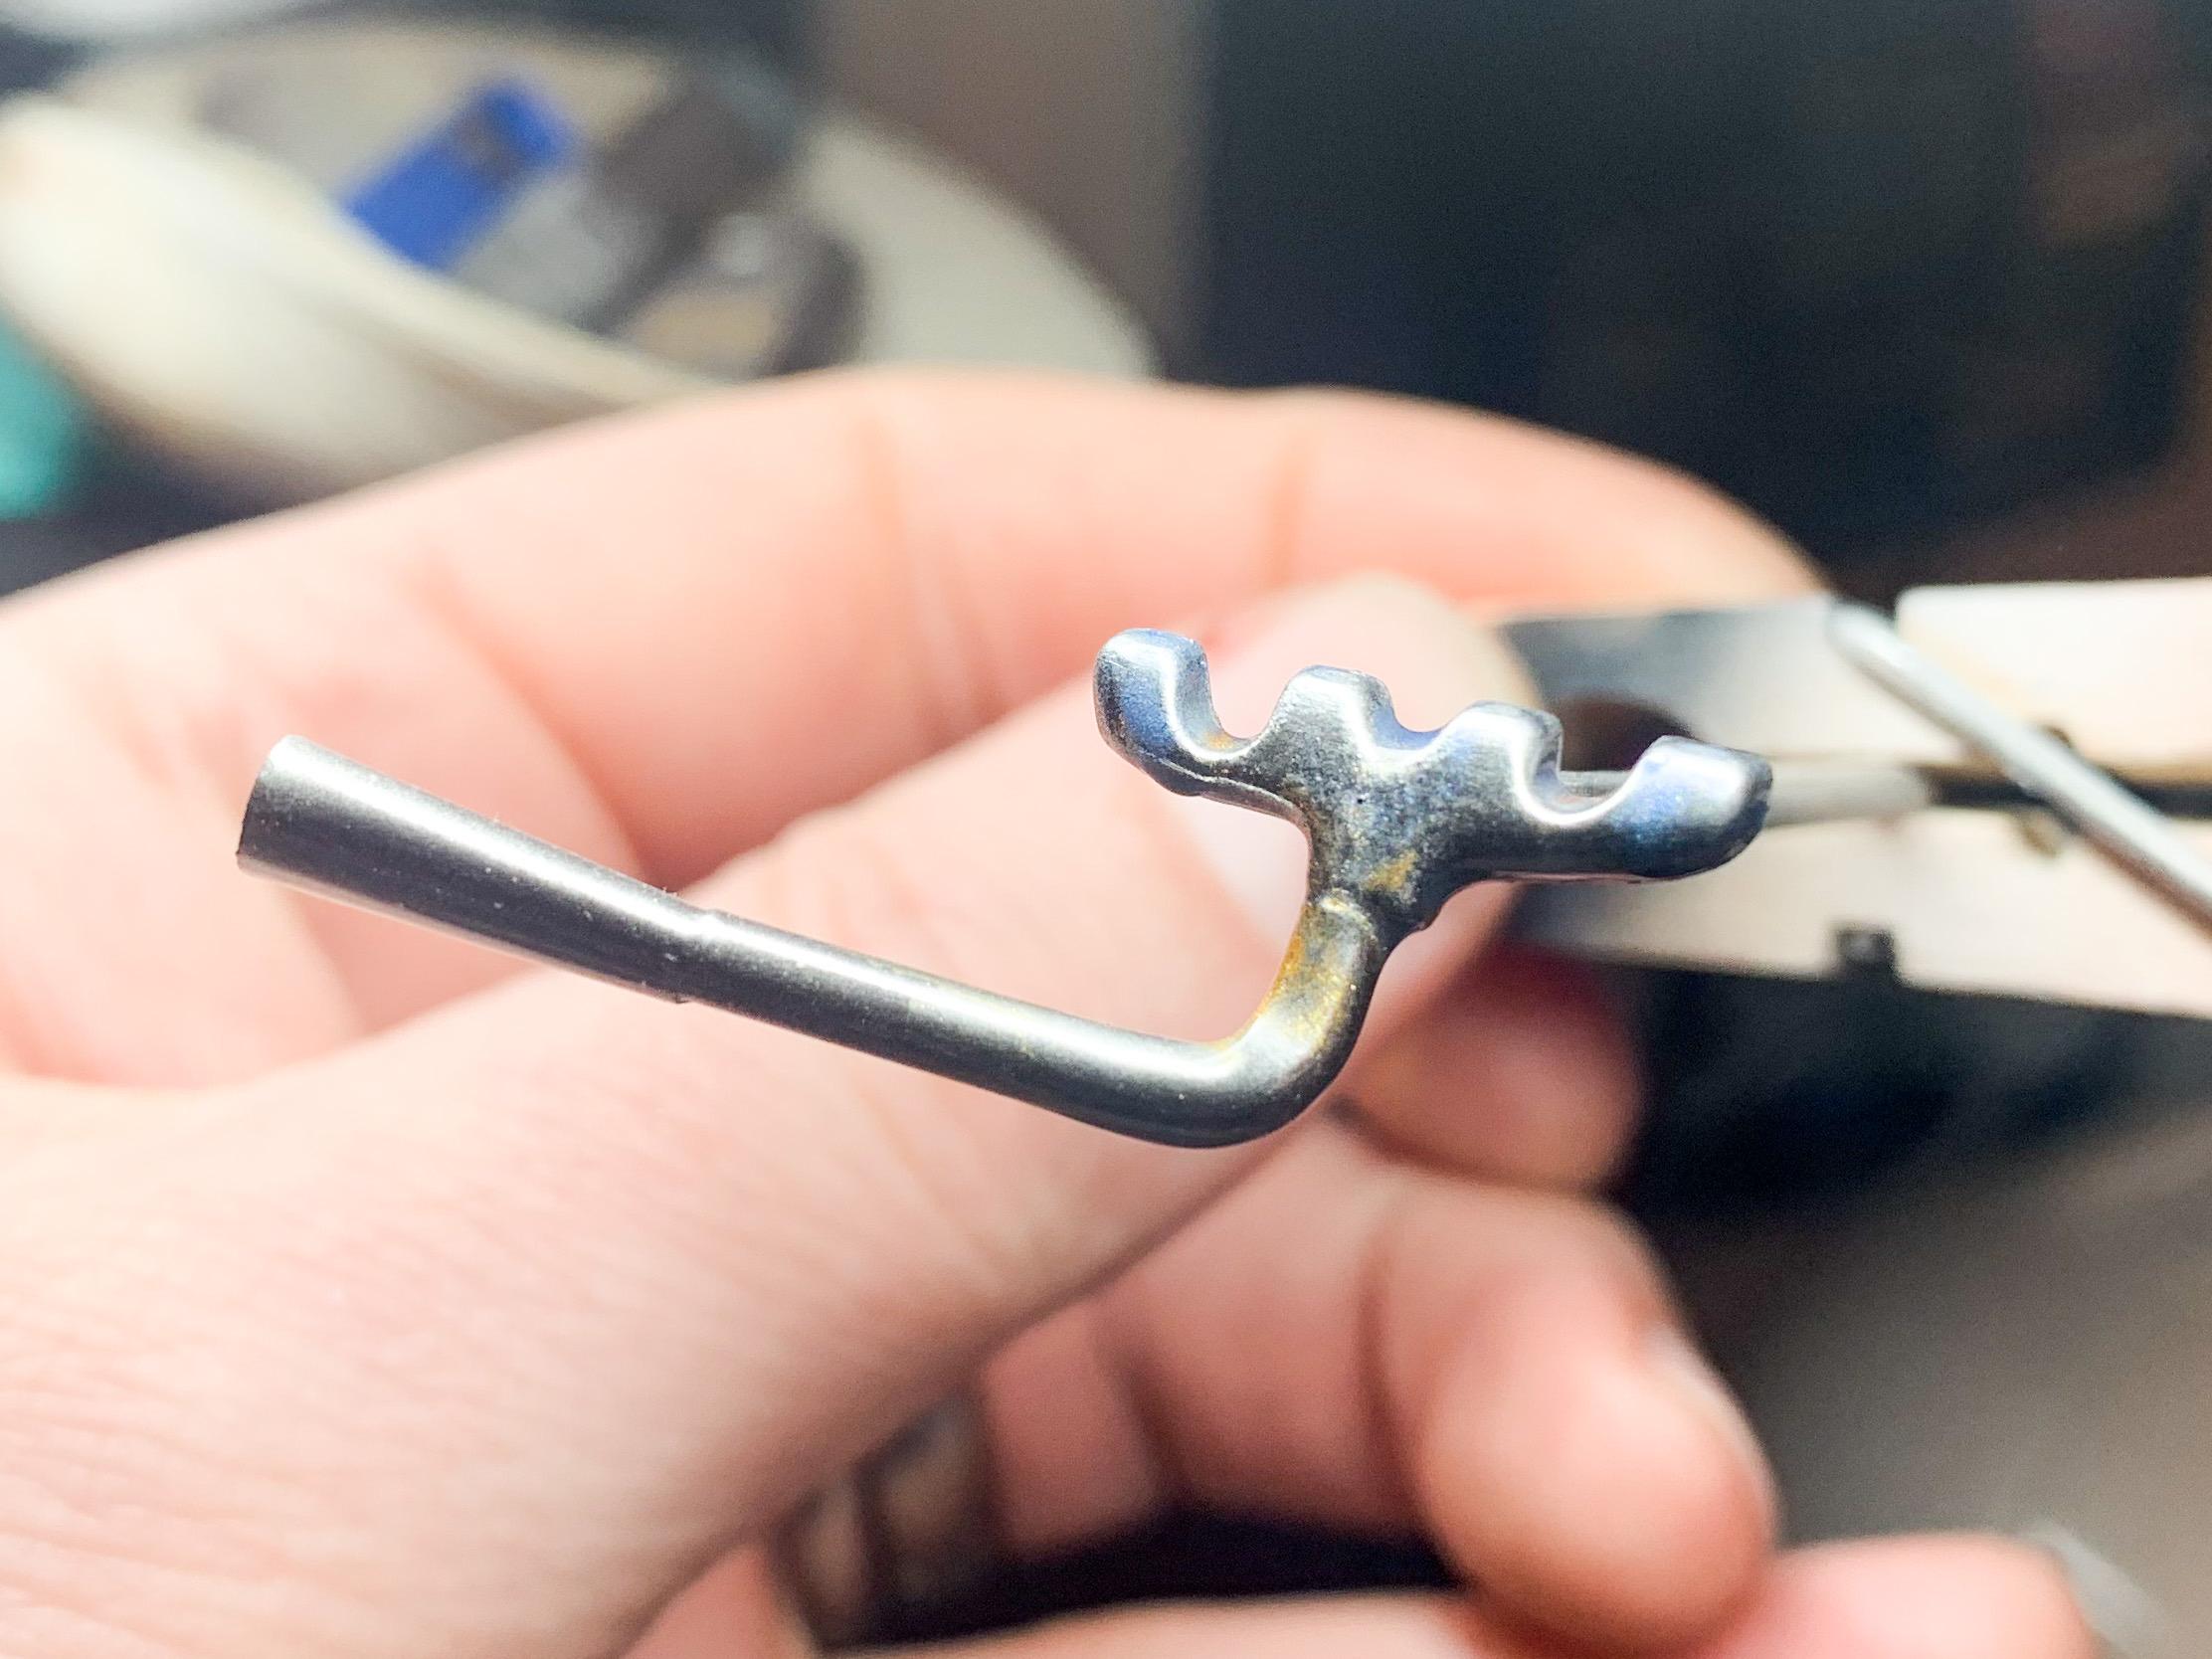
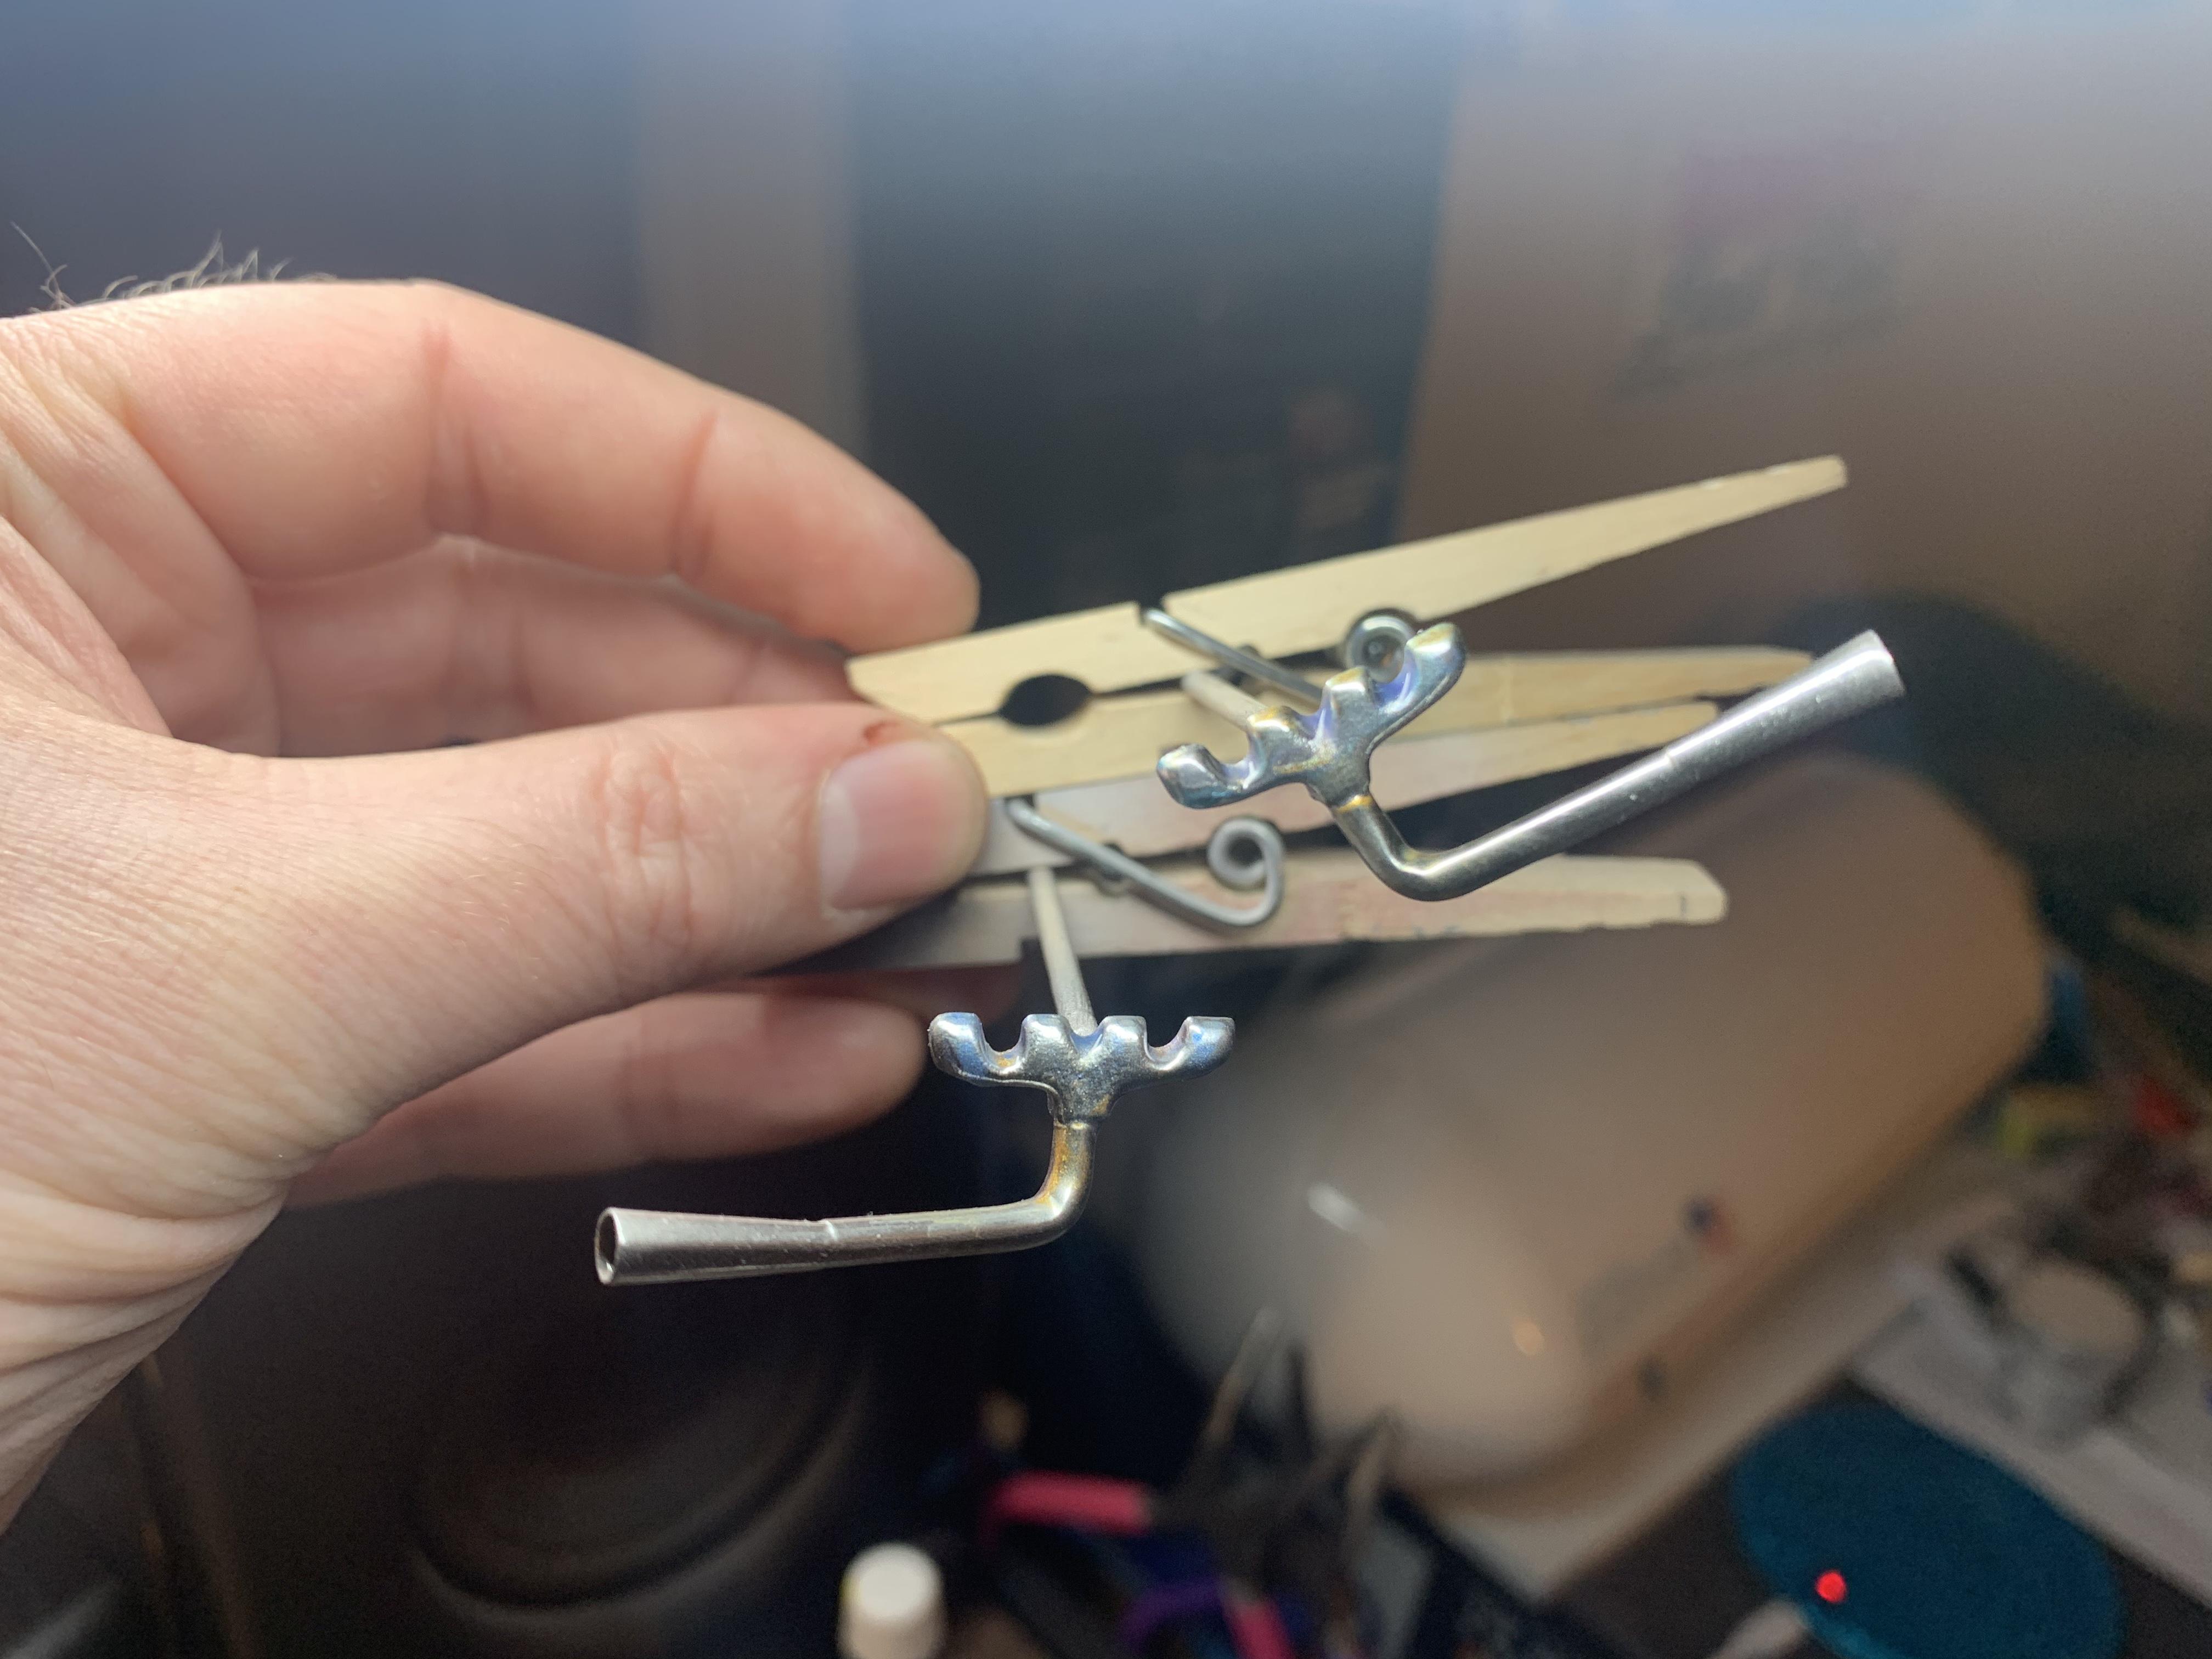
Thanks buddy! About done on this one now...dusted a little mud on the tires, added the grill support rods and put it on the shelf! Thanks for following along everyone!
-
34 Church Truck
CabDriver replied to CabDriver's topic in WIP: Model Trucks: Pickups, Vans, SUVs, Light Commercial
Great tip, thank you Francis! I’ll give that a try - I think once I get better with working out how to use the cutting tools and experiment with the speed I’m running at that’ll give me some better results too. Hopefully! ?? A little more on the truck - almost done with this one, in fact...I simplified the headlamps - I didn’t like them in the end, and then mounted the spare tire and made a strap with adjustment buckle: Painted the firewall and mounted the brake master cylinder: And then added door handles from the Revell 29 kit and painted and mounted the single rear taillight: And I’m ALMOST done with this one - I want to add some subtle weathering to make it look like the thing actually gets driven, but nothing crazy - and once that’s done this one will about be wrapped up! A little more soon, soon as I’ve done a little more!
-
Carpet in Sheet Form - Beige - 1/24-1/25th scale
CabDriver replied to Impalow's topic in Model Building Questions and Answers
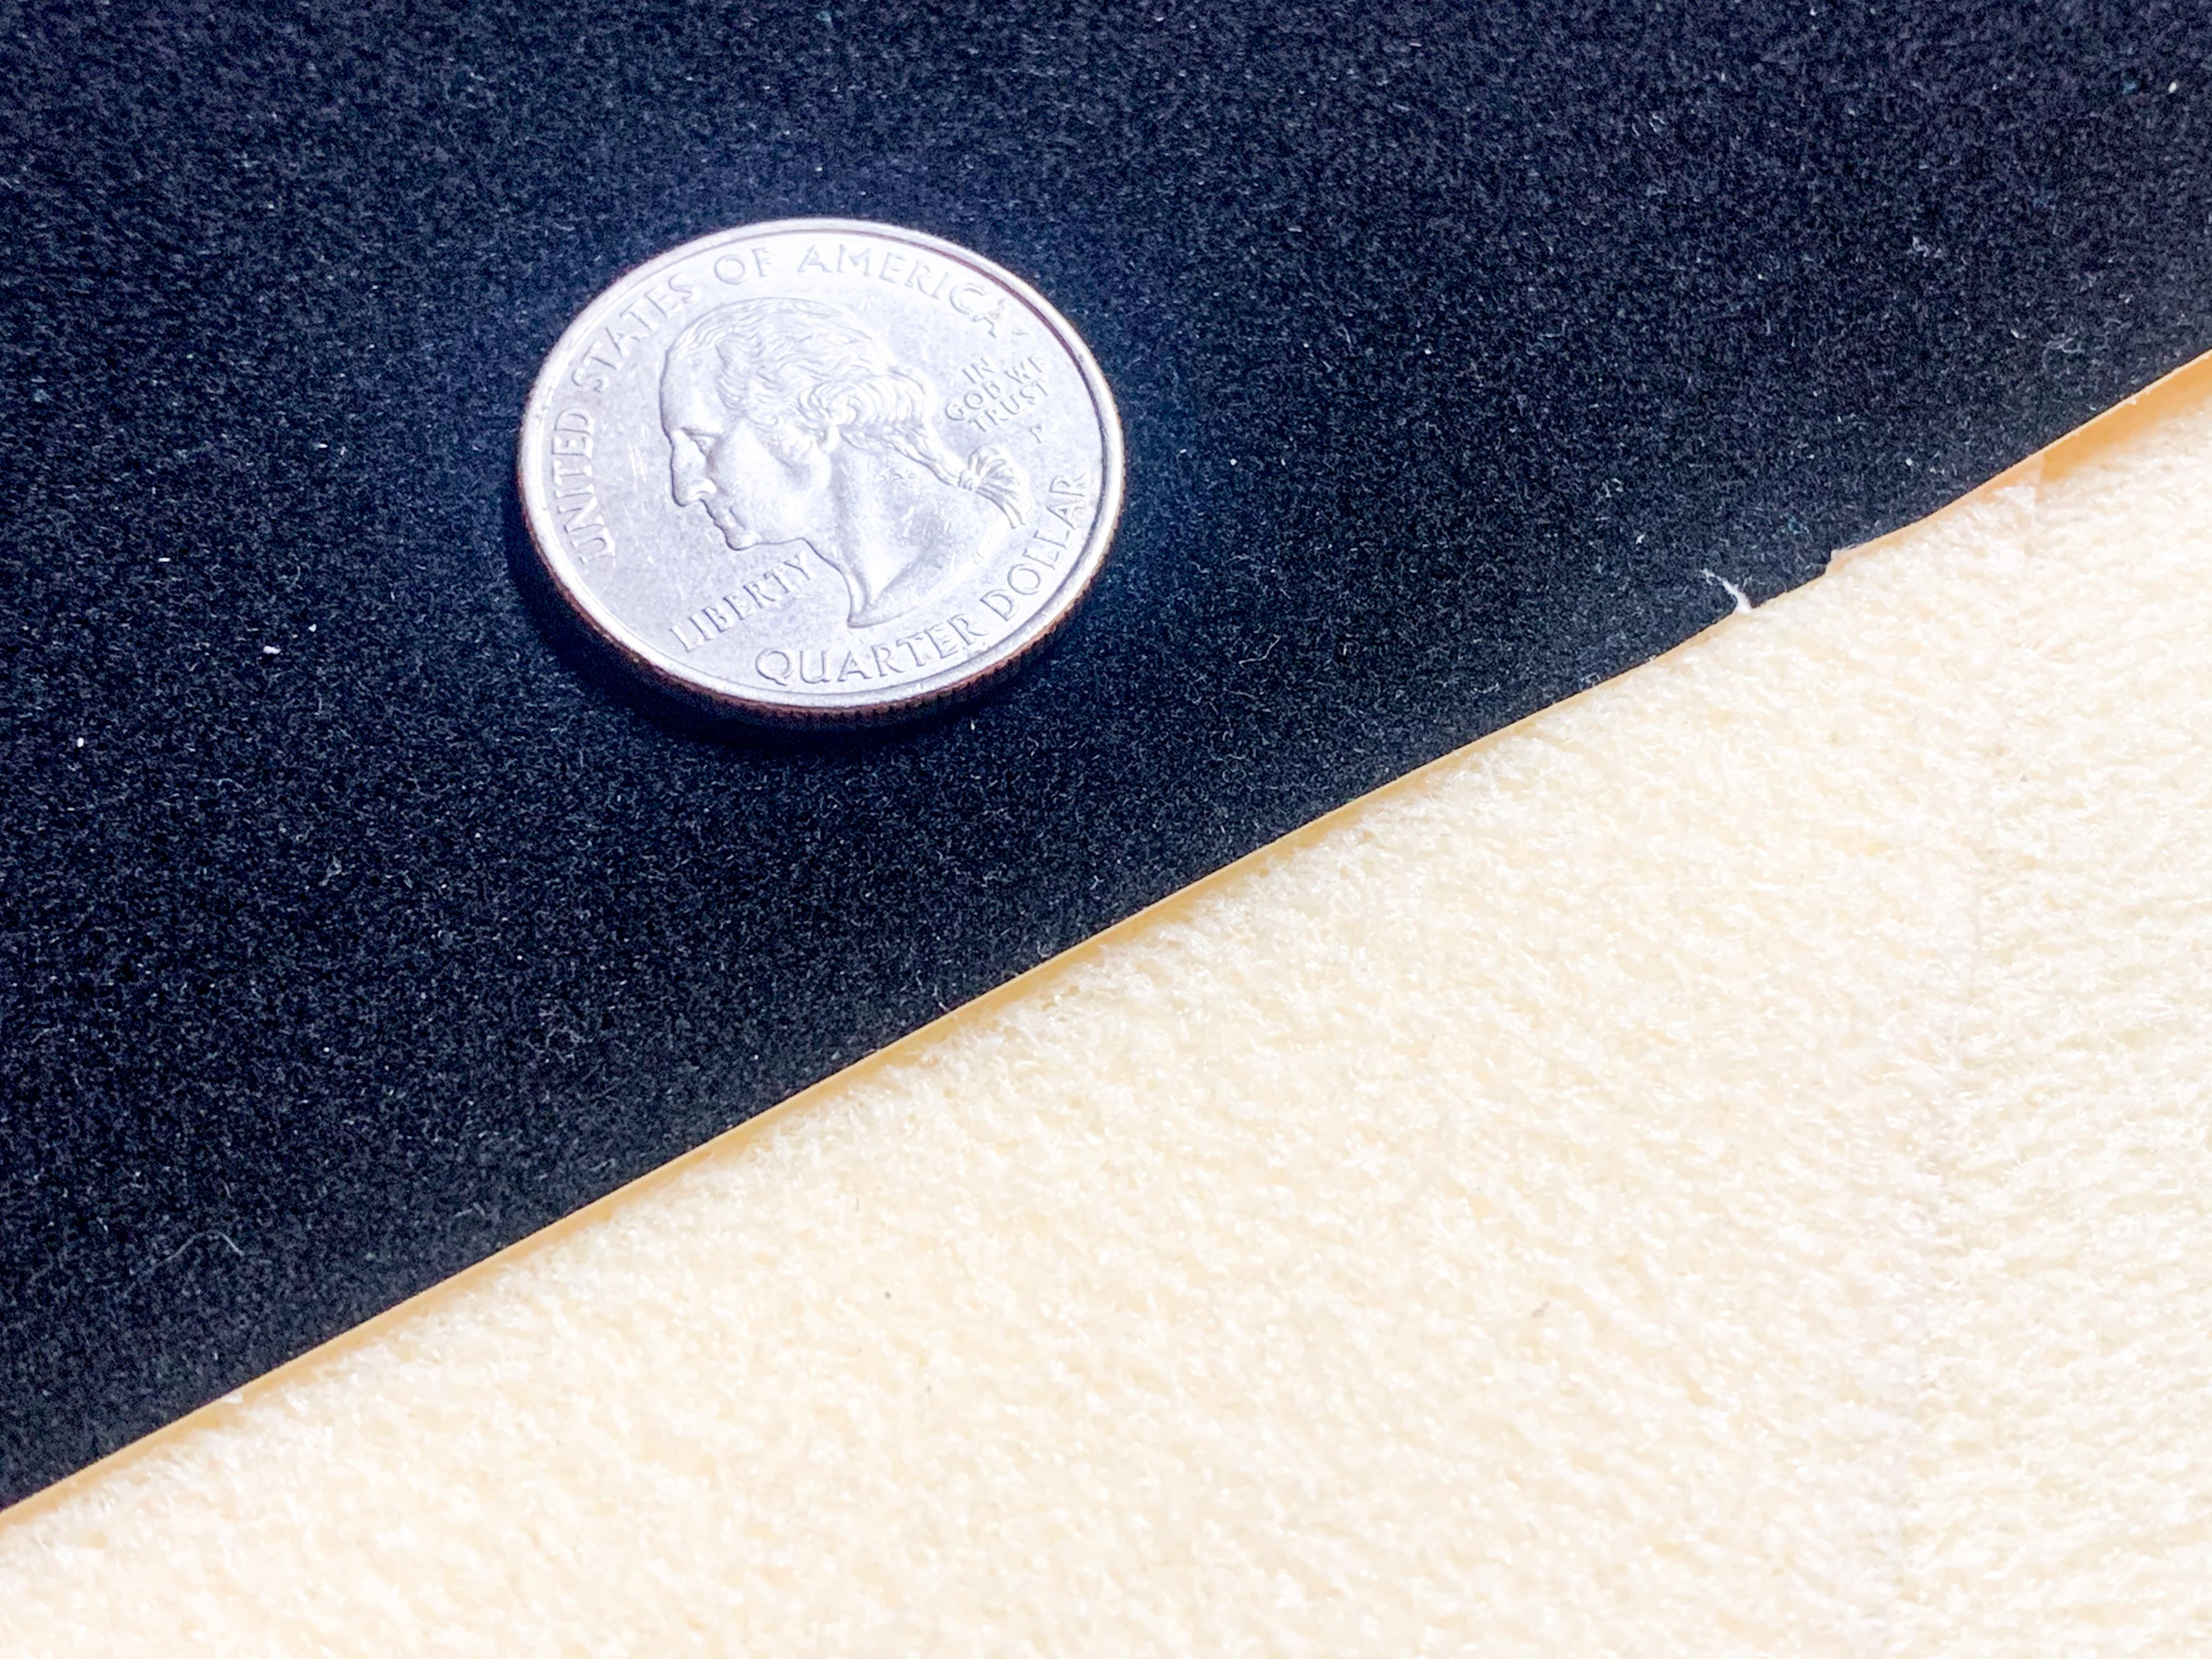
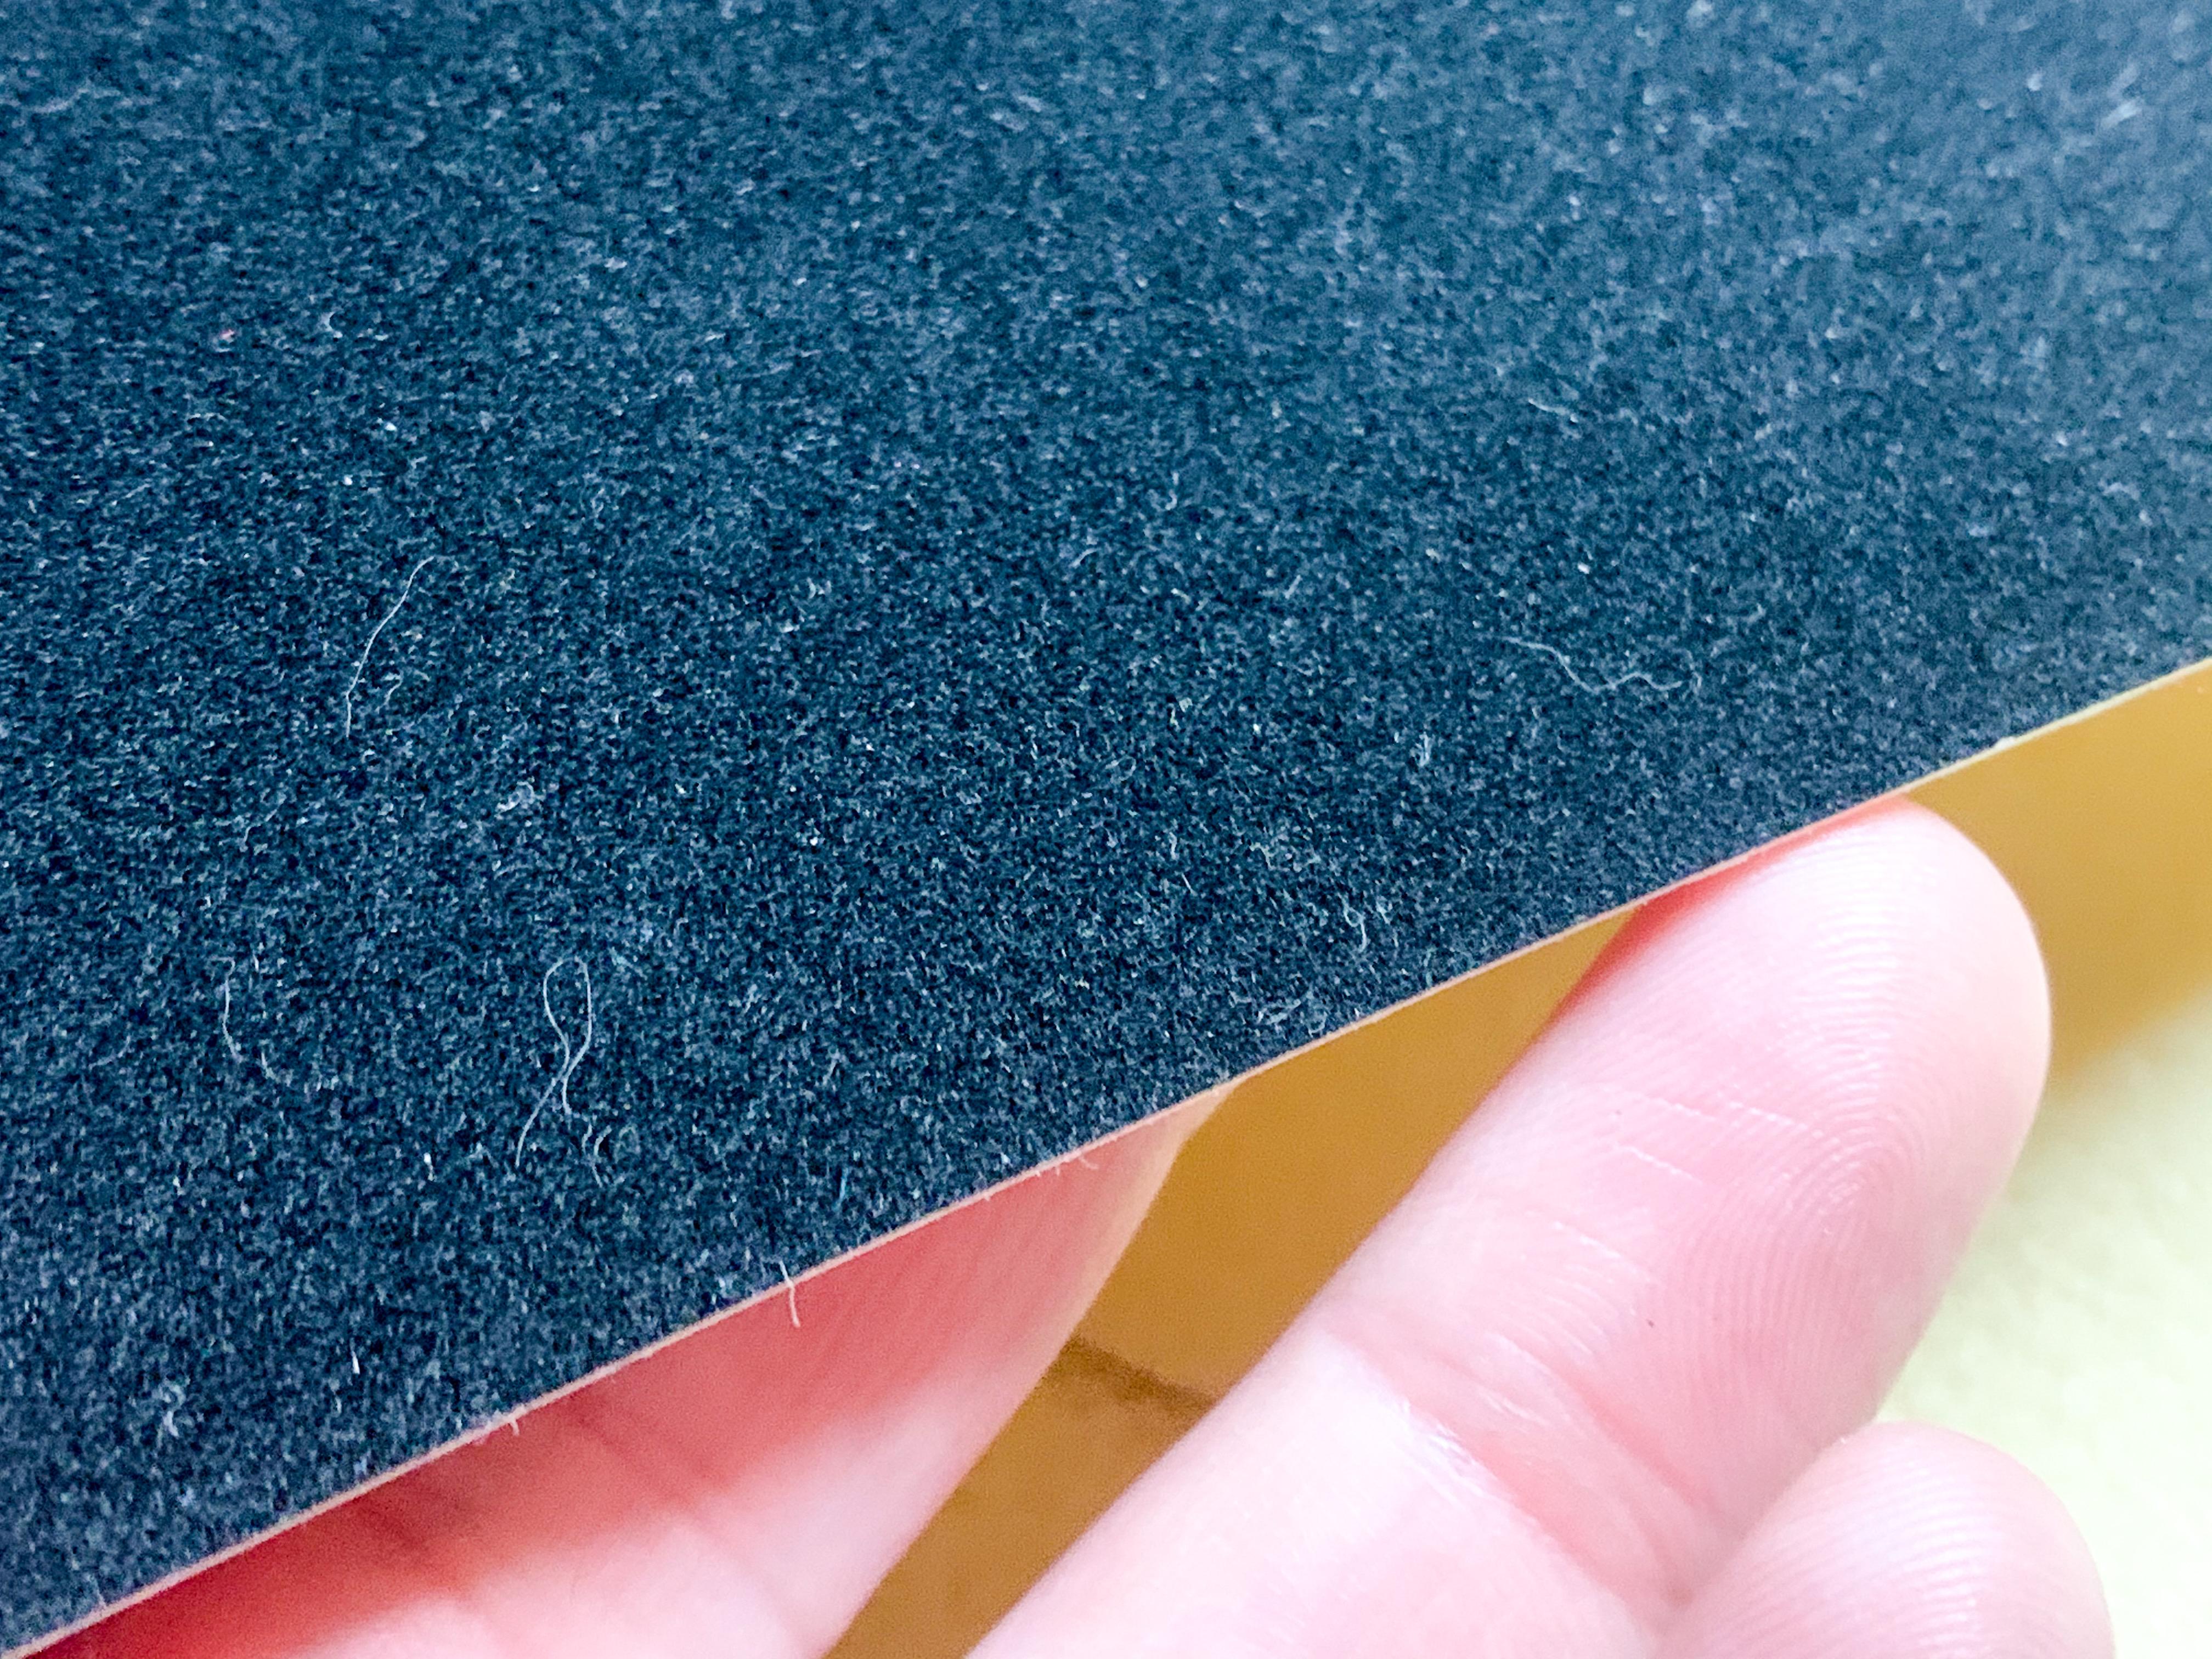
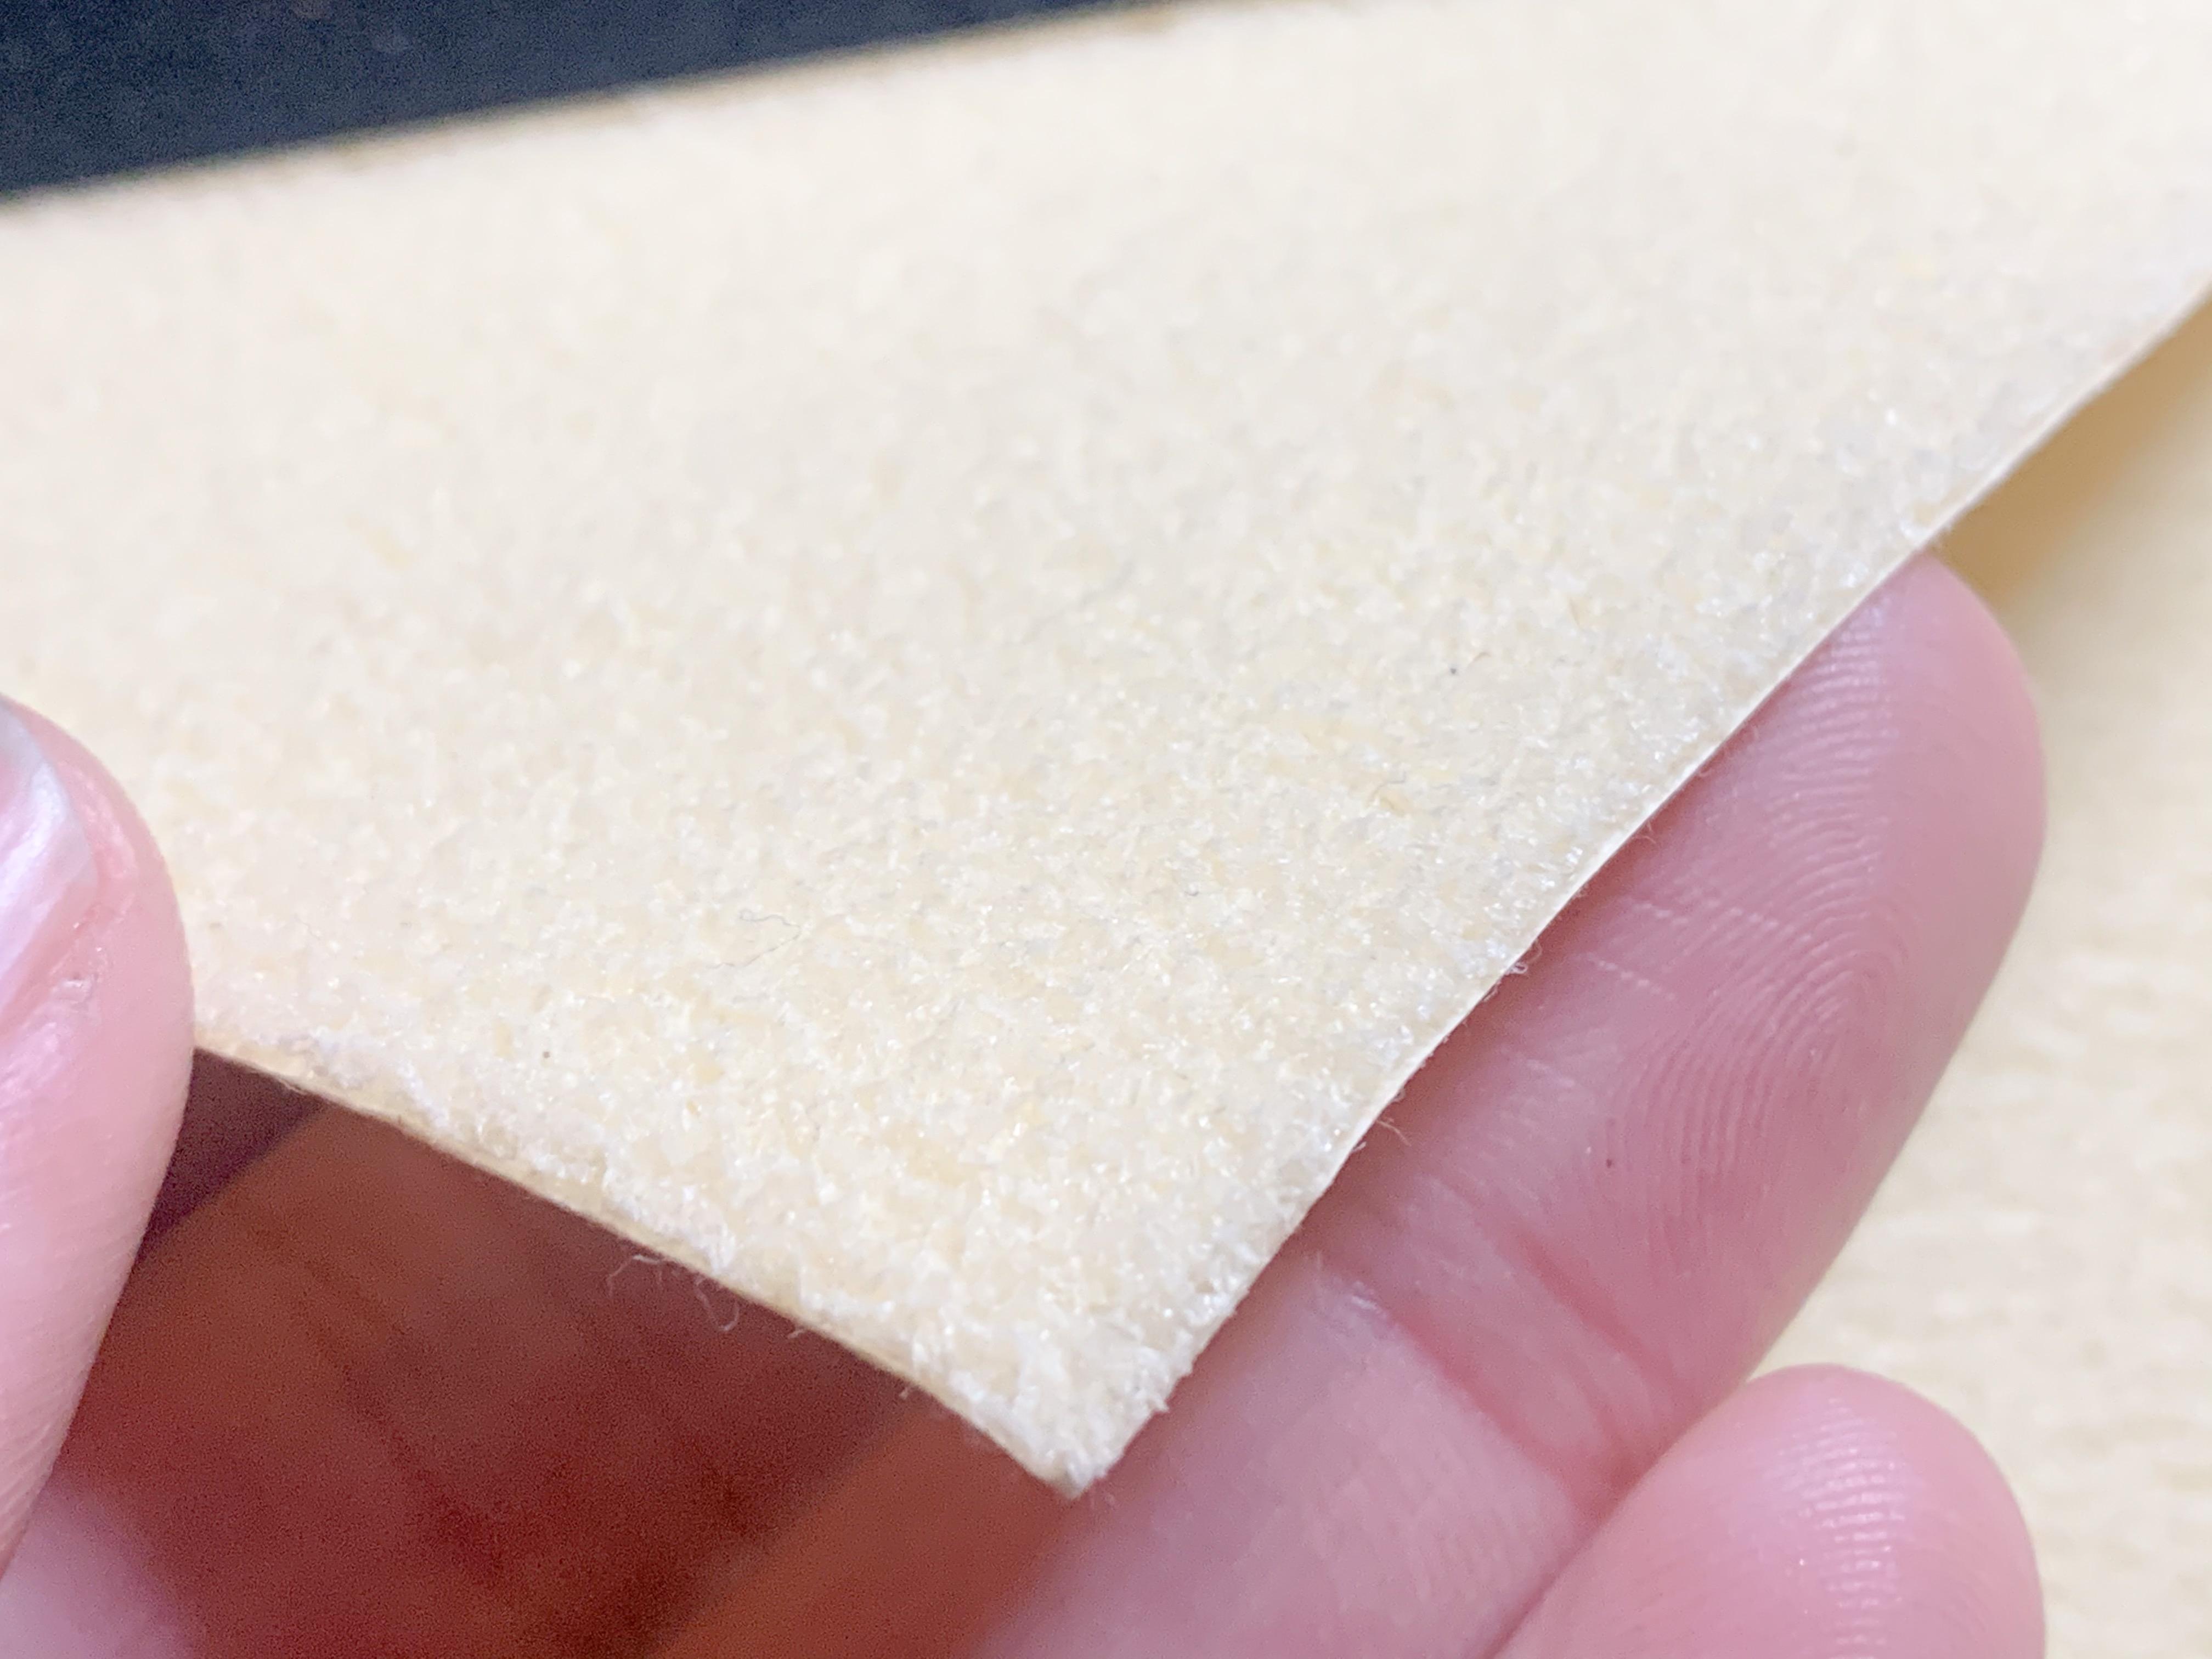
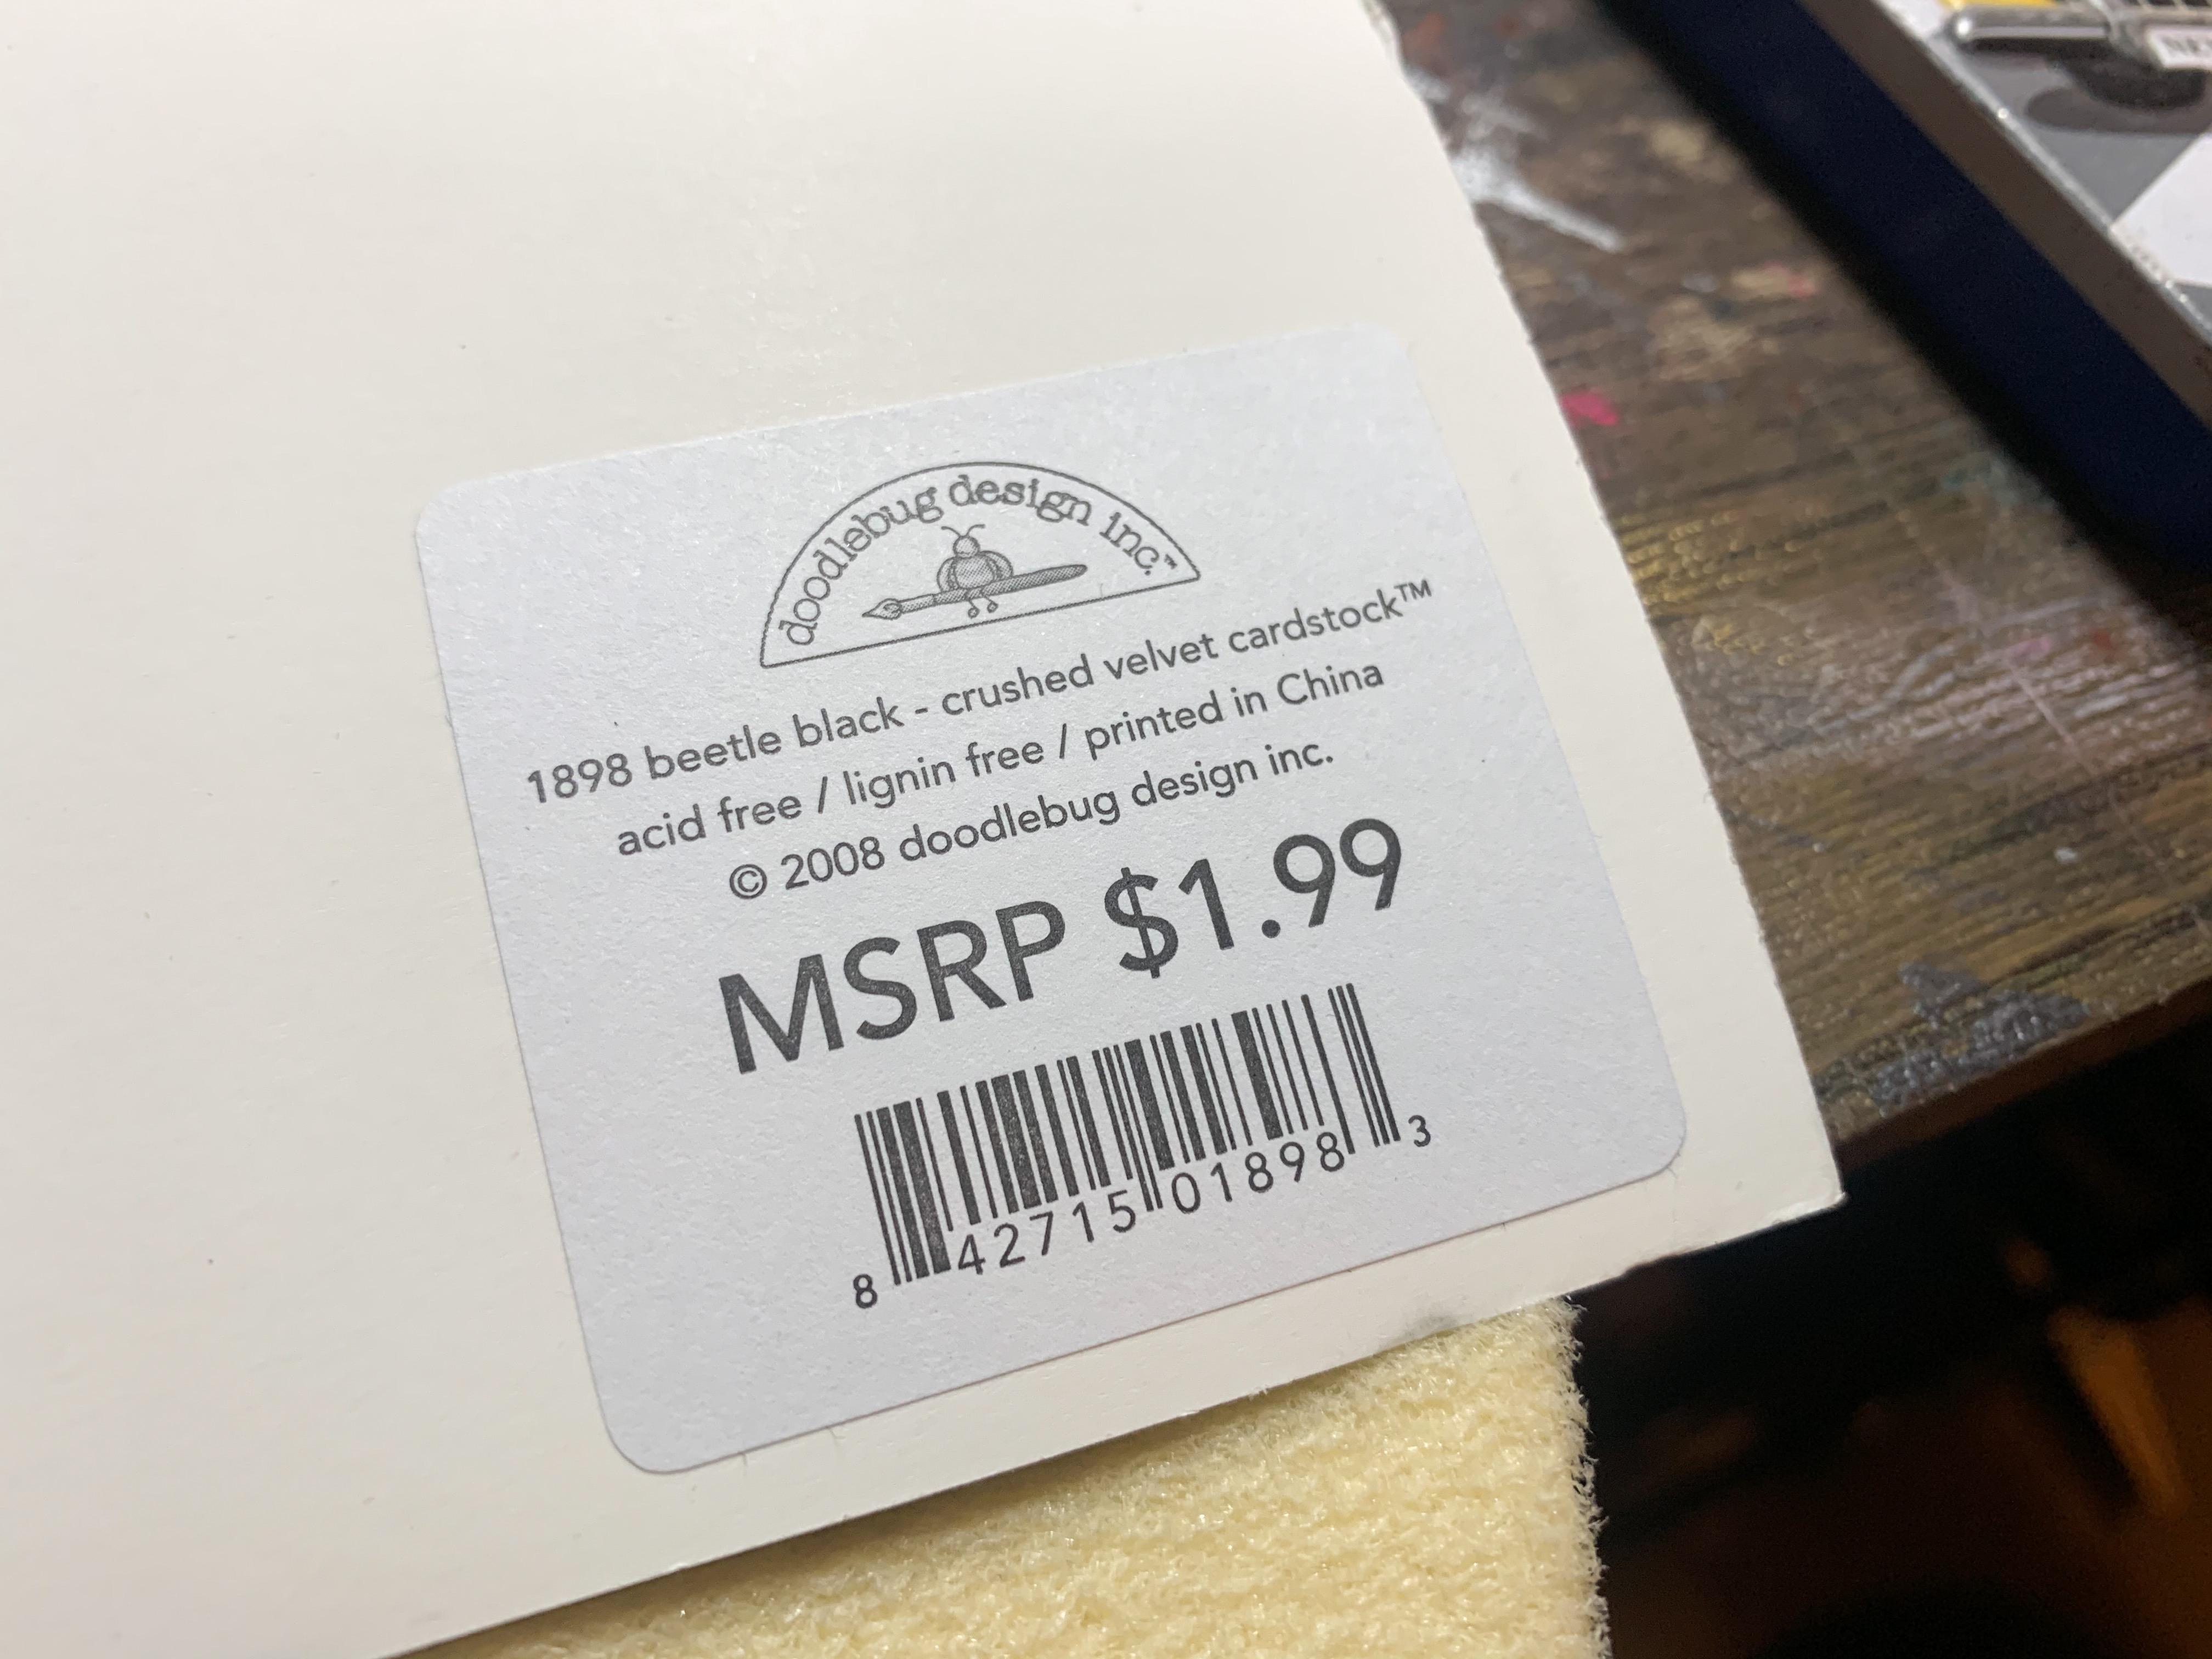
Ok, so here’s the Hobby Lobby stuff versus dolls house carpet; Had to mess with the contrast some to try and show the texture, but it’ll give you an idea... This is the brand name on the Hobby Lobby stuff: If you need some of the yellow (not as tan as I remembered) stuff let me know dude! ??
-
Carpet in Sheet Form - Beige - 1/24-1/25th scale
CabDriver replied to Impalow's topic in Model Building Questions and Answers
I just bought some stuff EXACTLY like this in Hobby Lobby at the weekend - probably 12" square sheets for a buck a pop. It has a real fine 'fuzzy' grain to and looked like a perfect scale carpet to me. I found it in the paper aisle - I THINK they had different colors but I only grabbed the black stuff. I also have a roll of tan carpet I got years ago from a dolls-house store in NY...much deeper looking. I'll post a picture up when I get home so you can see the difference, and if the tan colored stuff looks like it might work I'll mail a sheet to you ? -
I love it! I wanna build one (or five). So, the original kit was 1/22 scale or so - is the newly tooled version actually 1/25 (or thereabouts) and smaller than the original or is it just labeled as such in the box and still in that larger scale?
-
34 Church Truck
CabDriver replied to CabDriver's topic in WIP: Model Trucks: Pickups, Vans, SUVs, Light Commercial
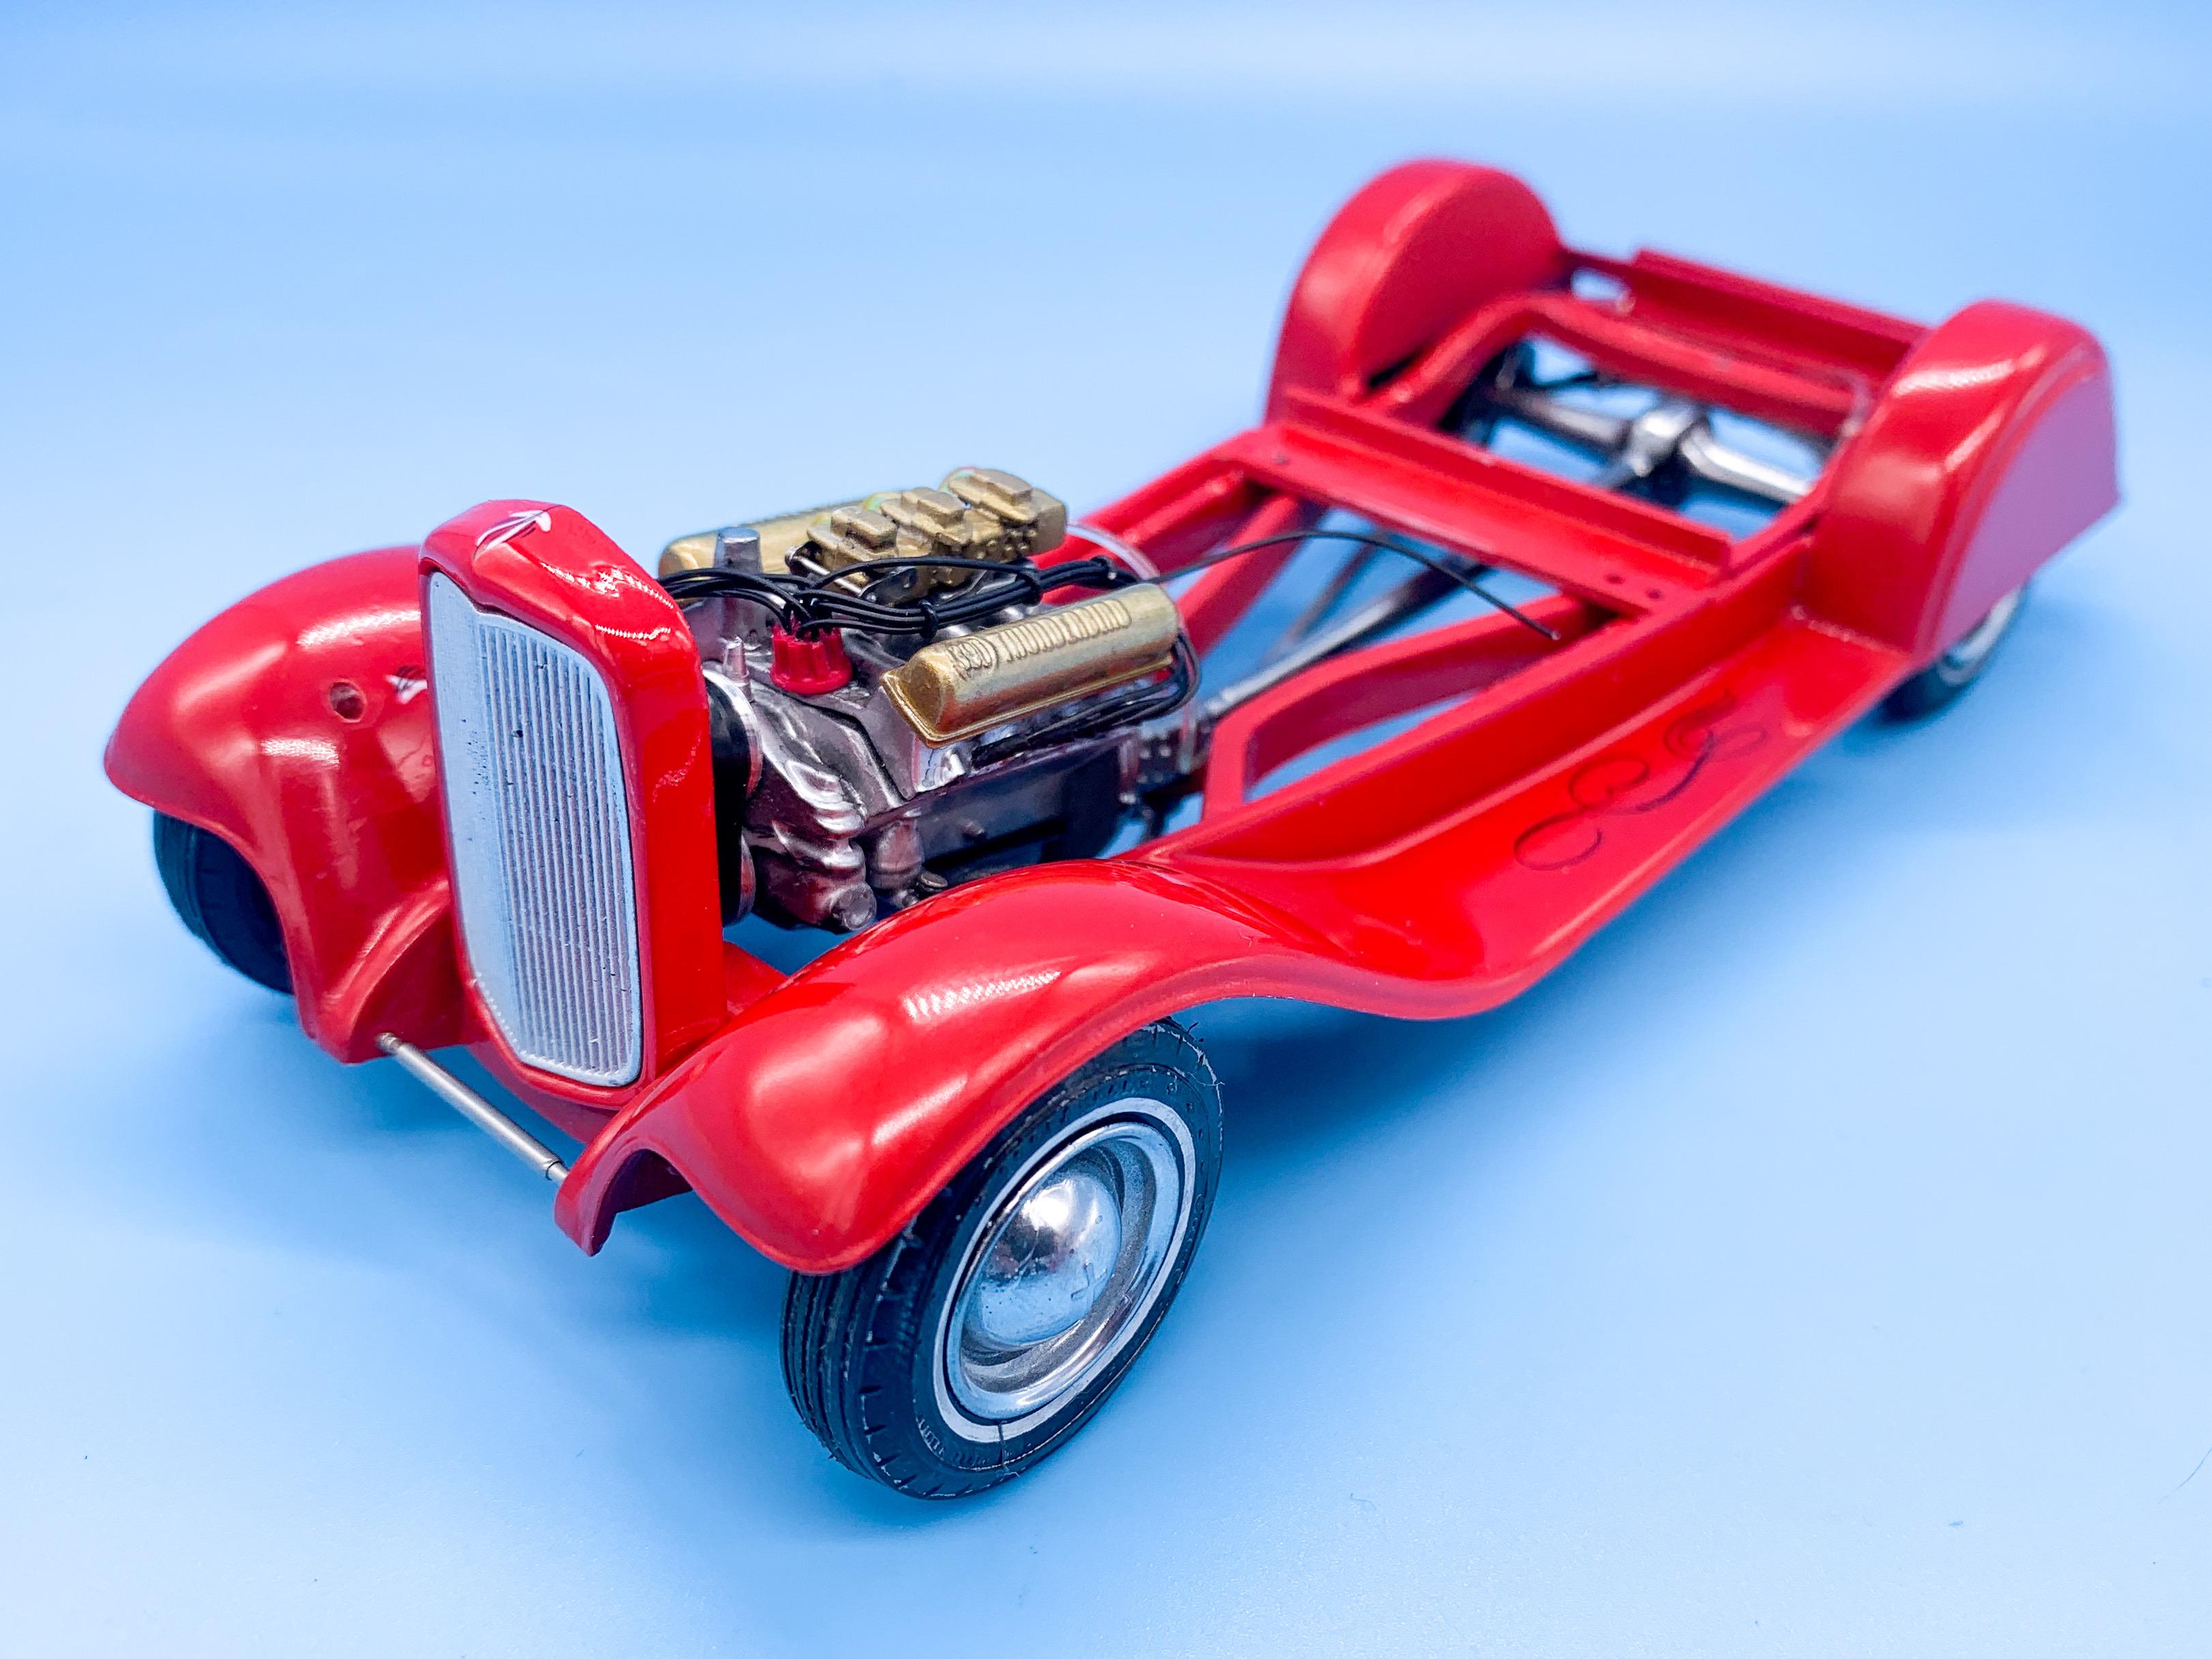
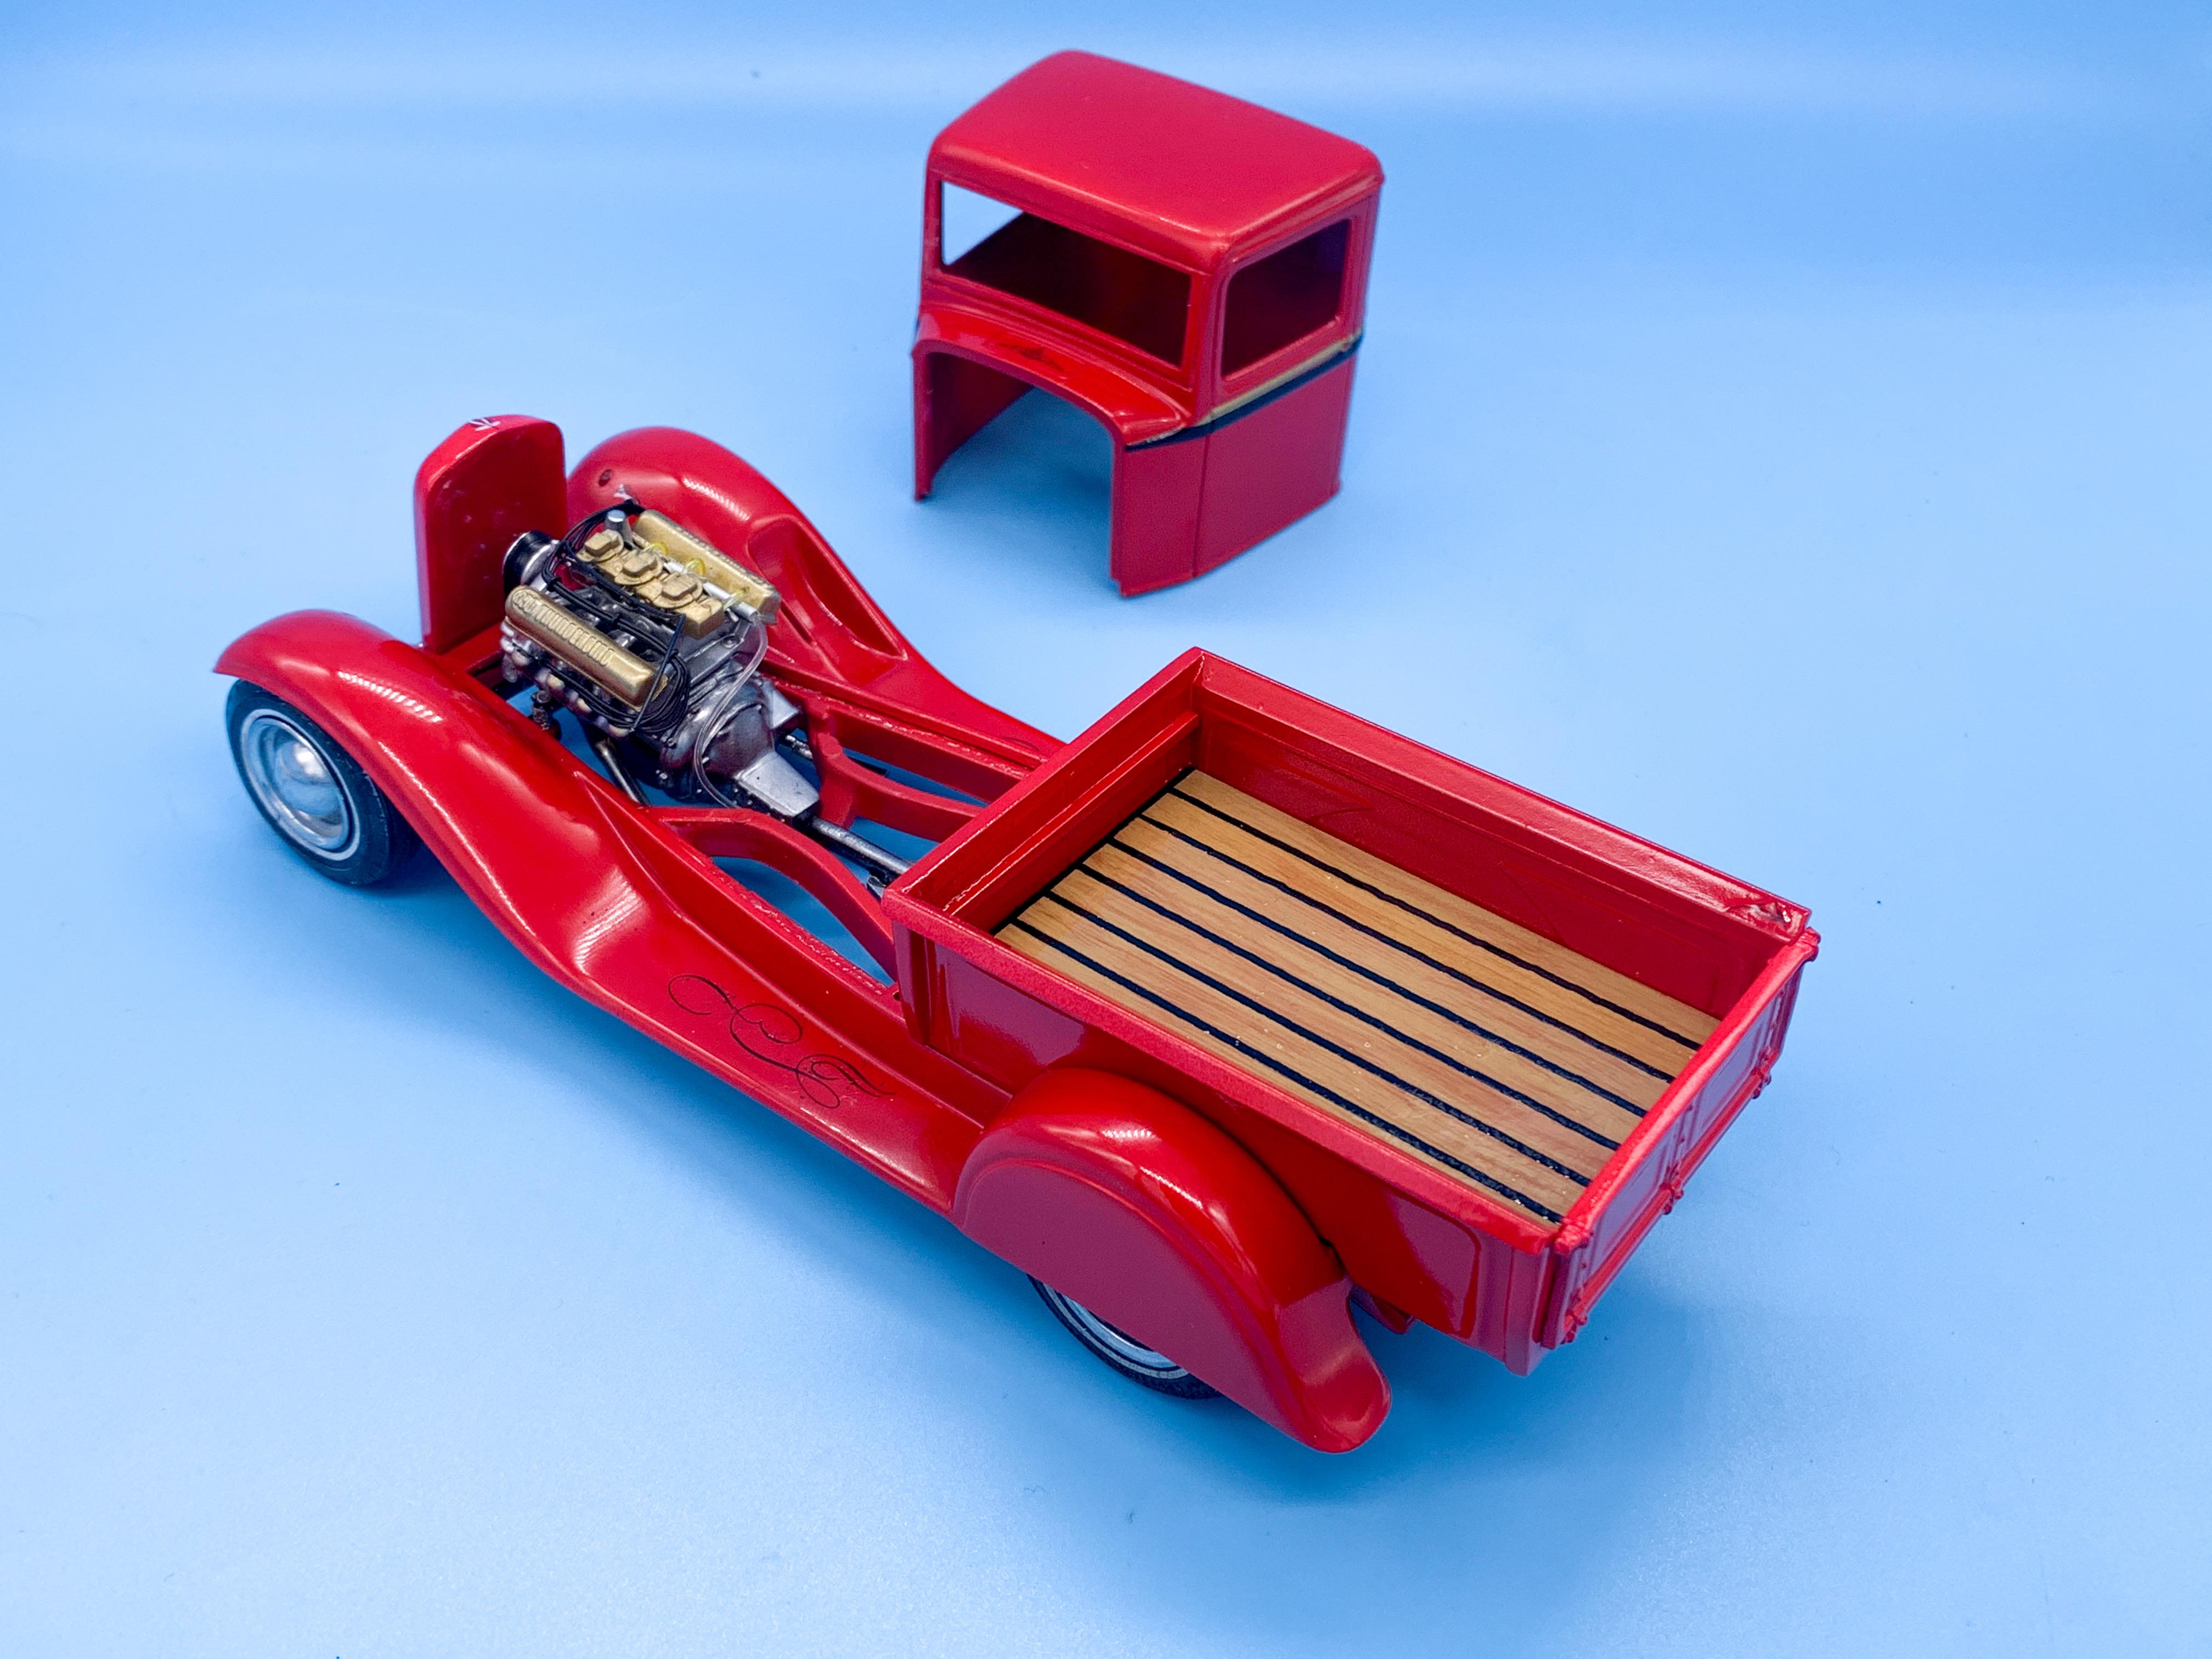
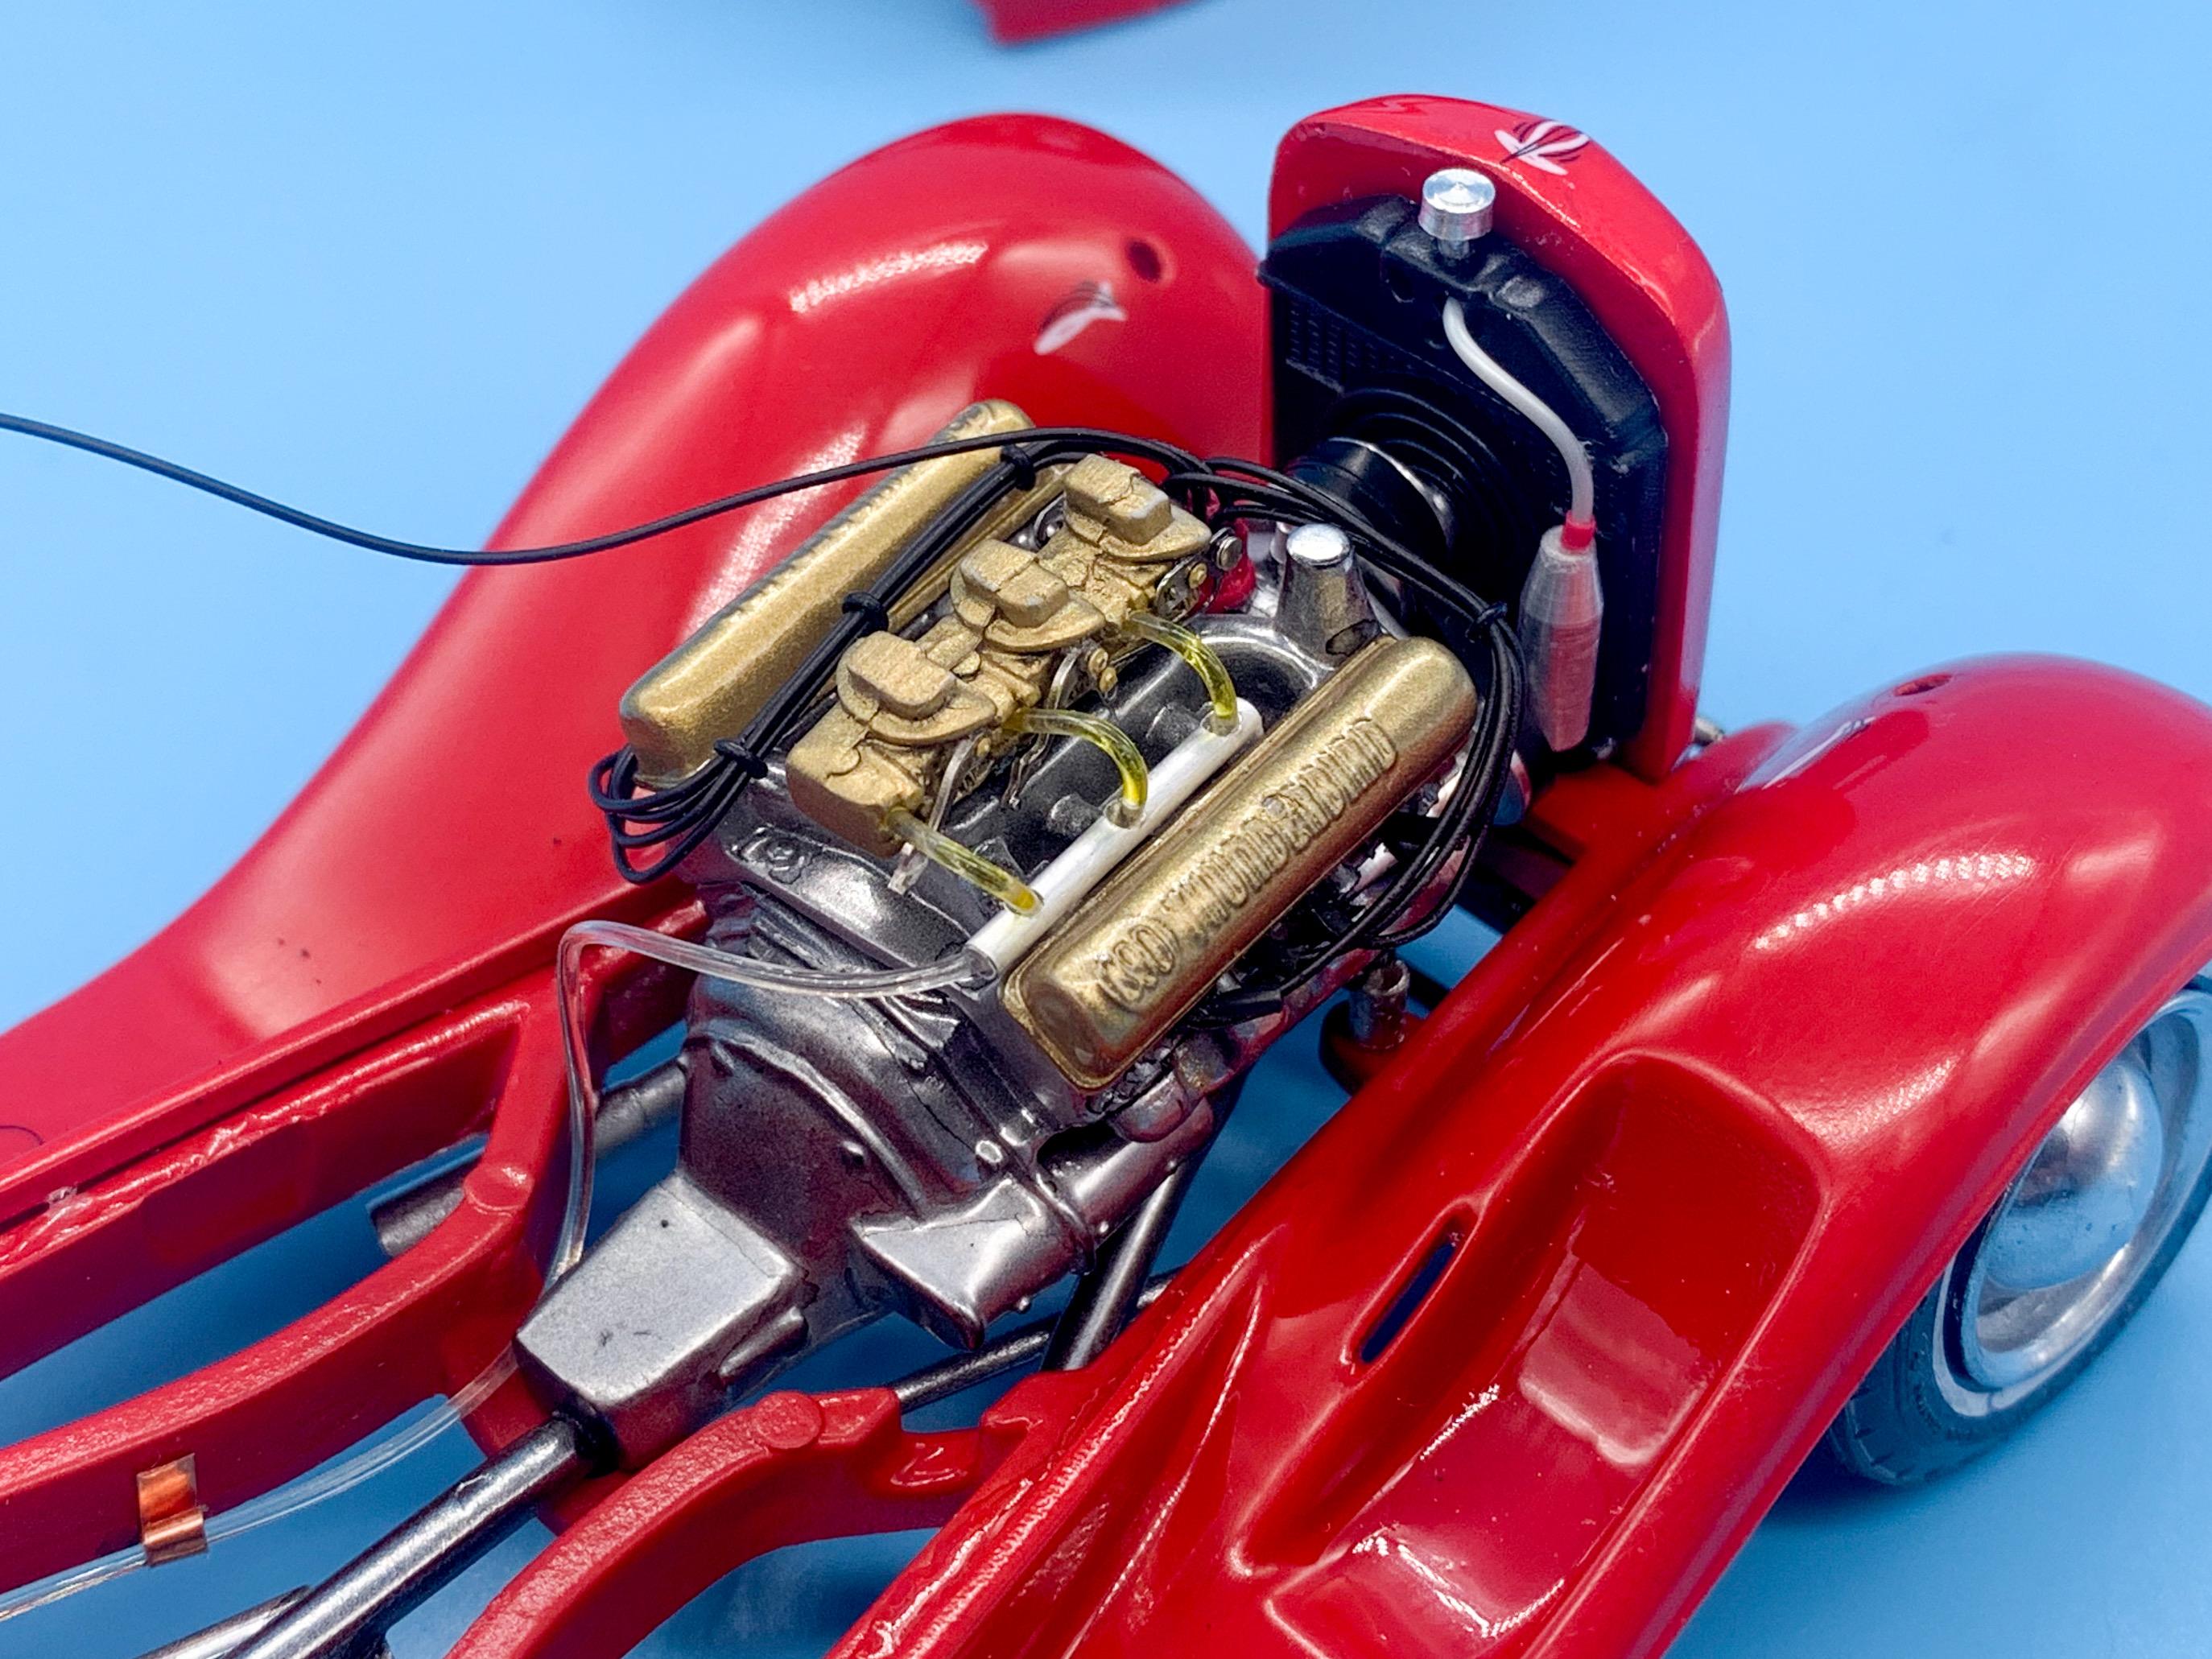
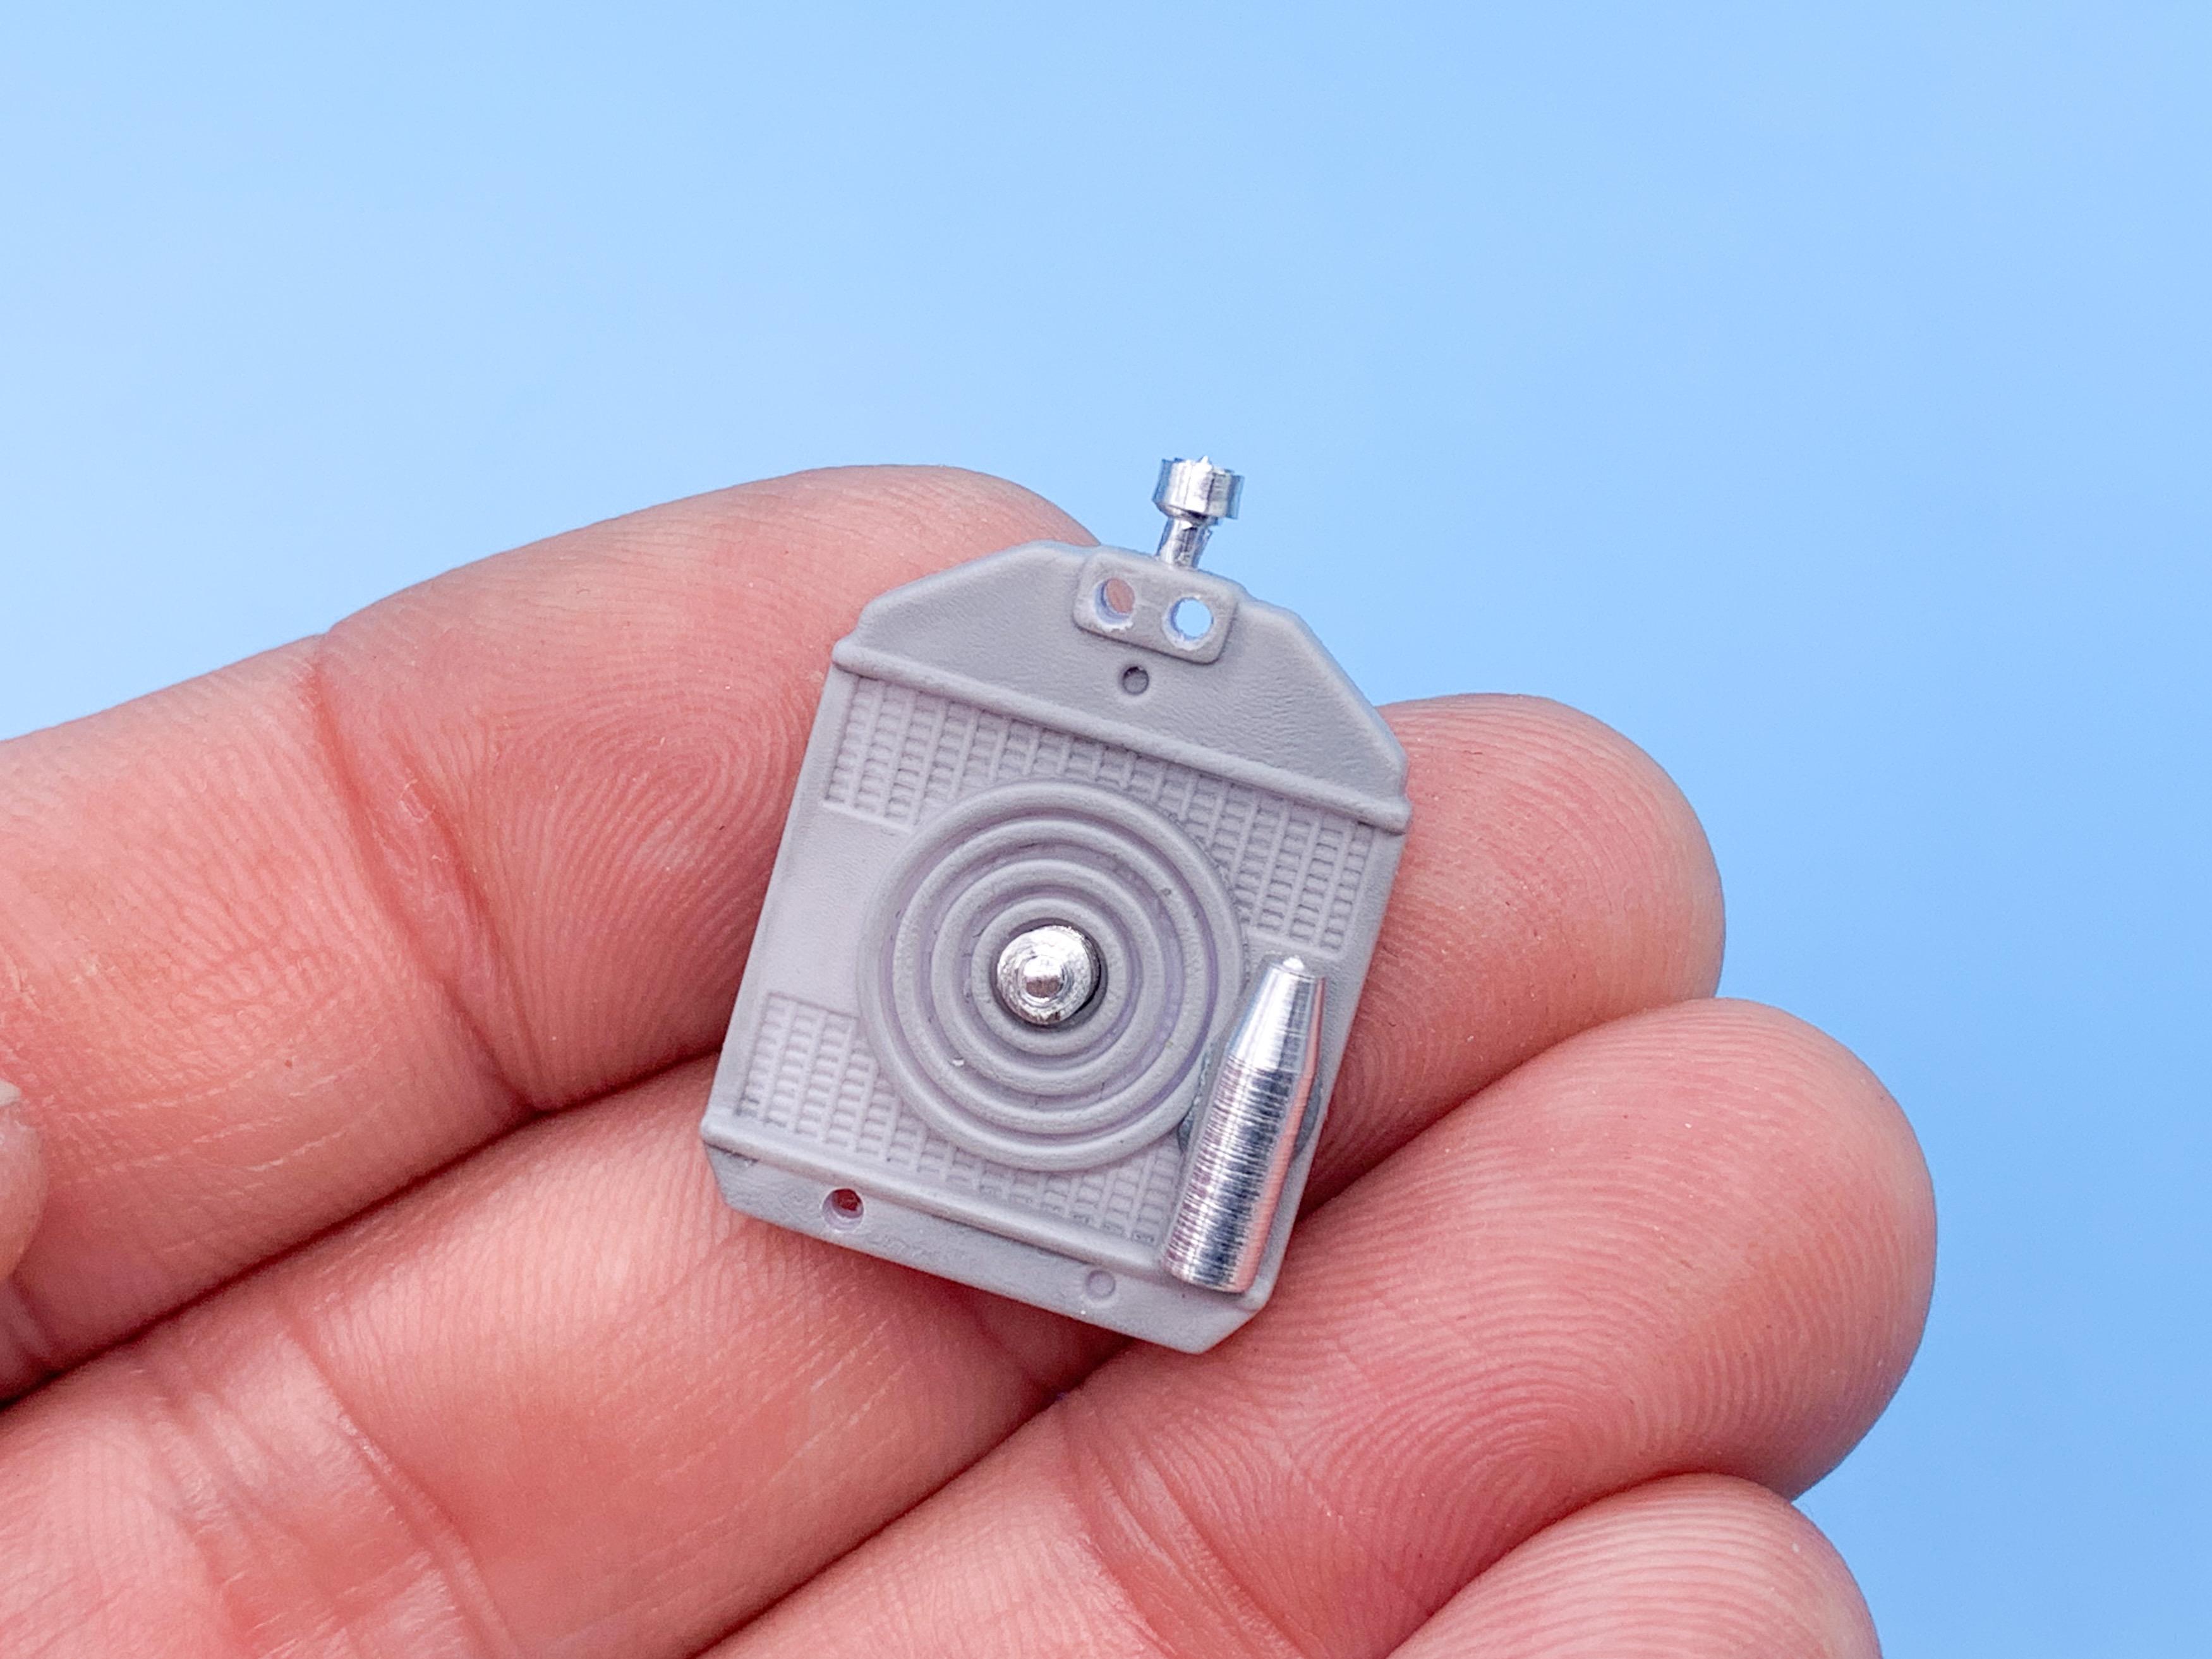
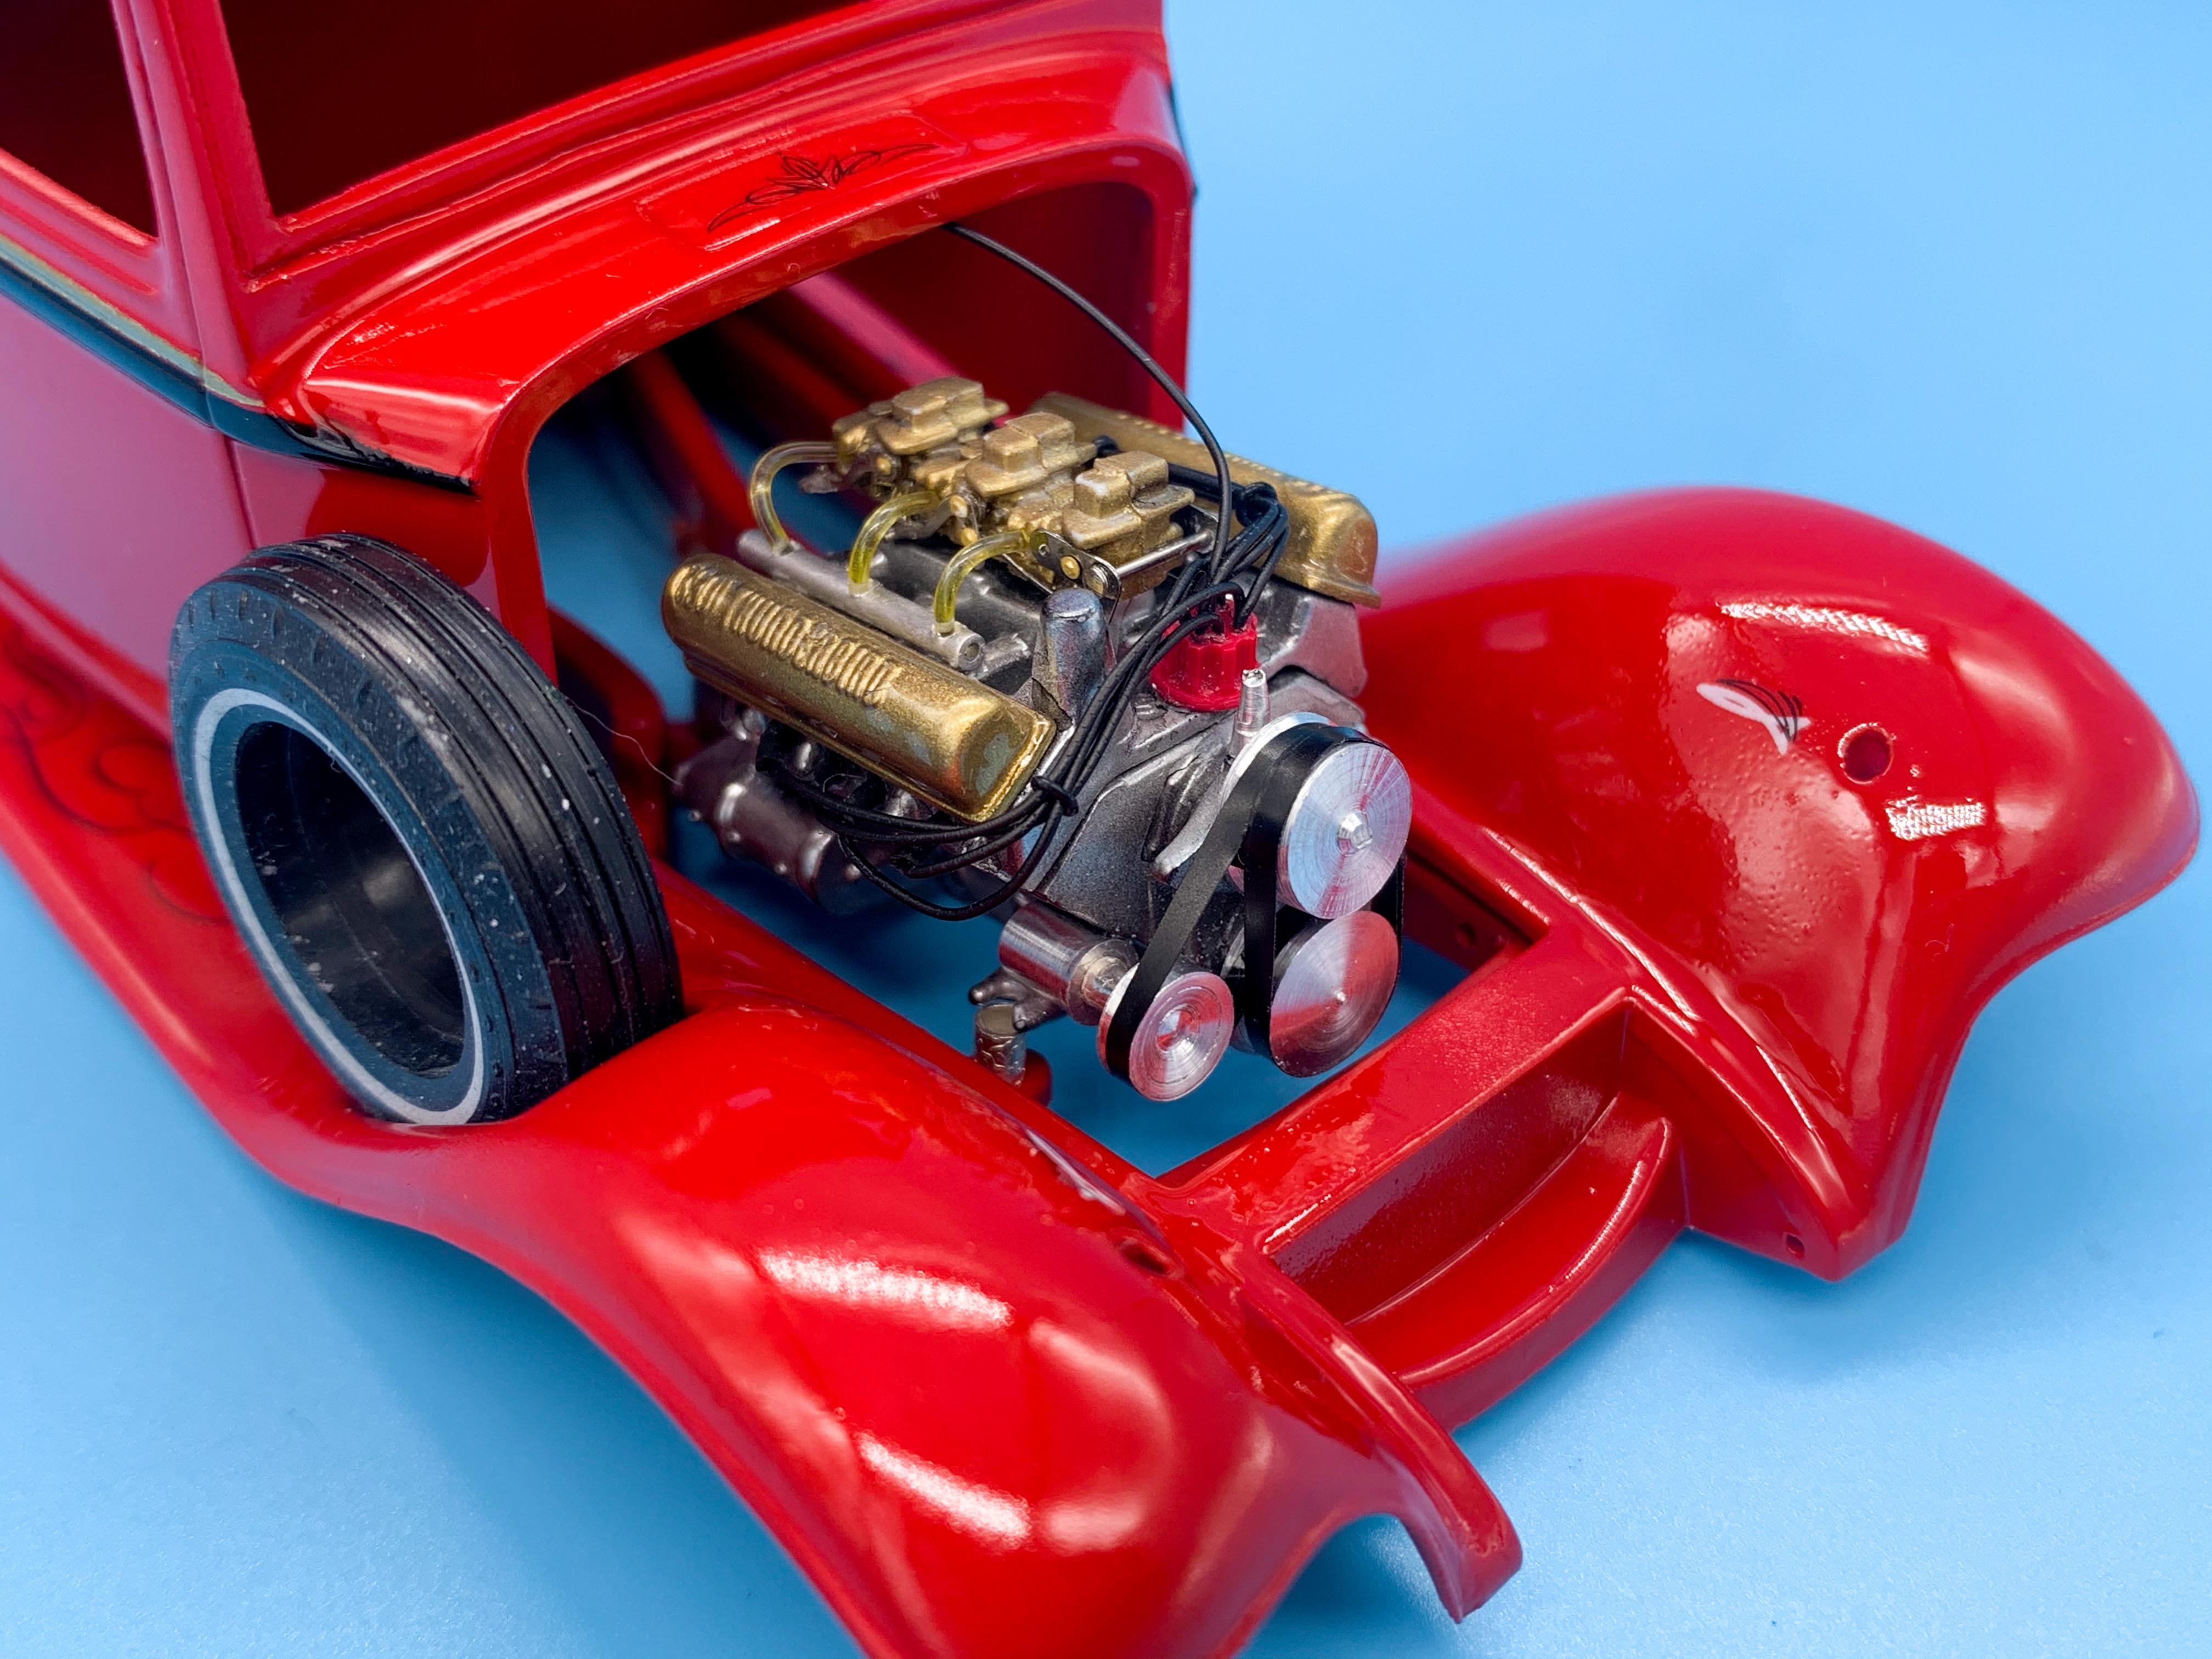
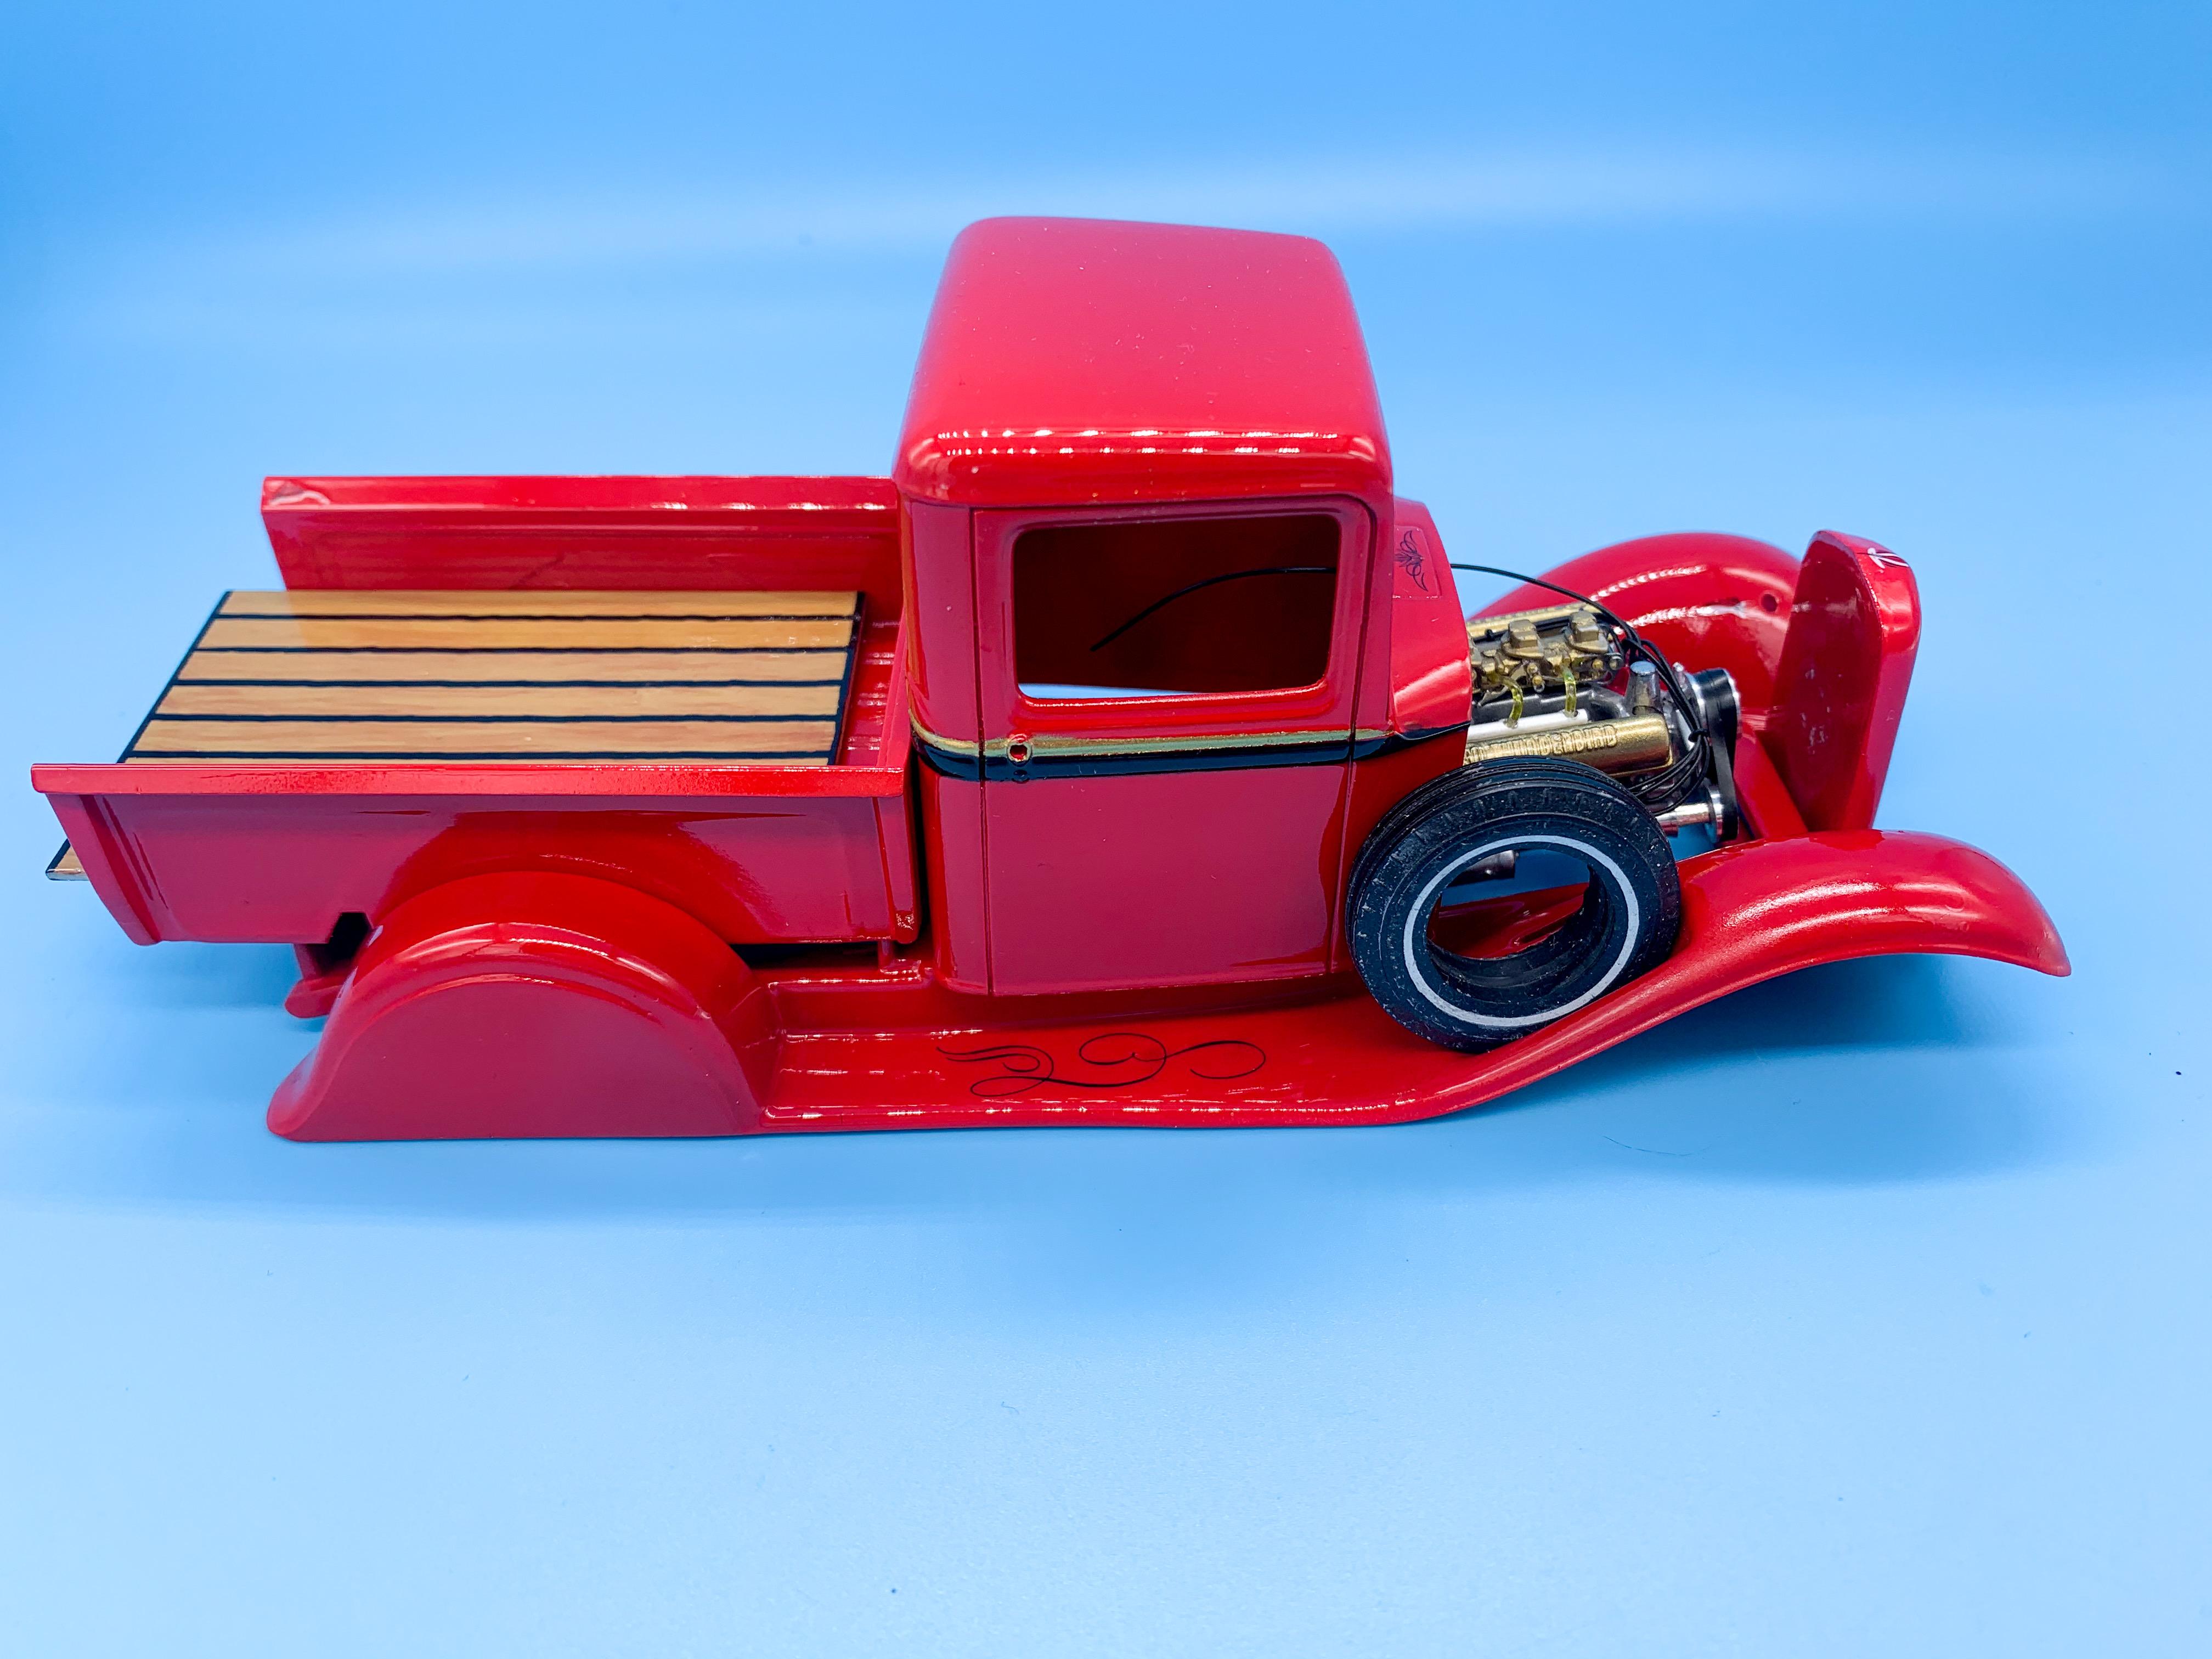
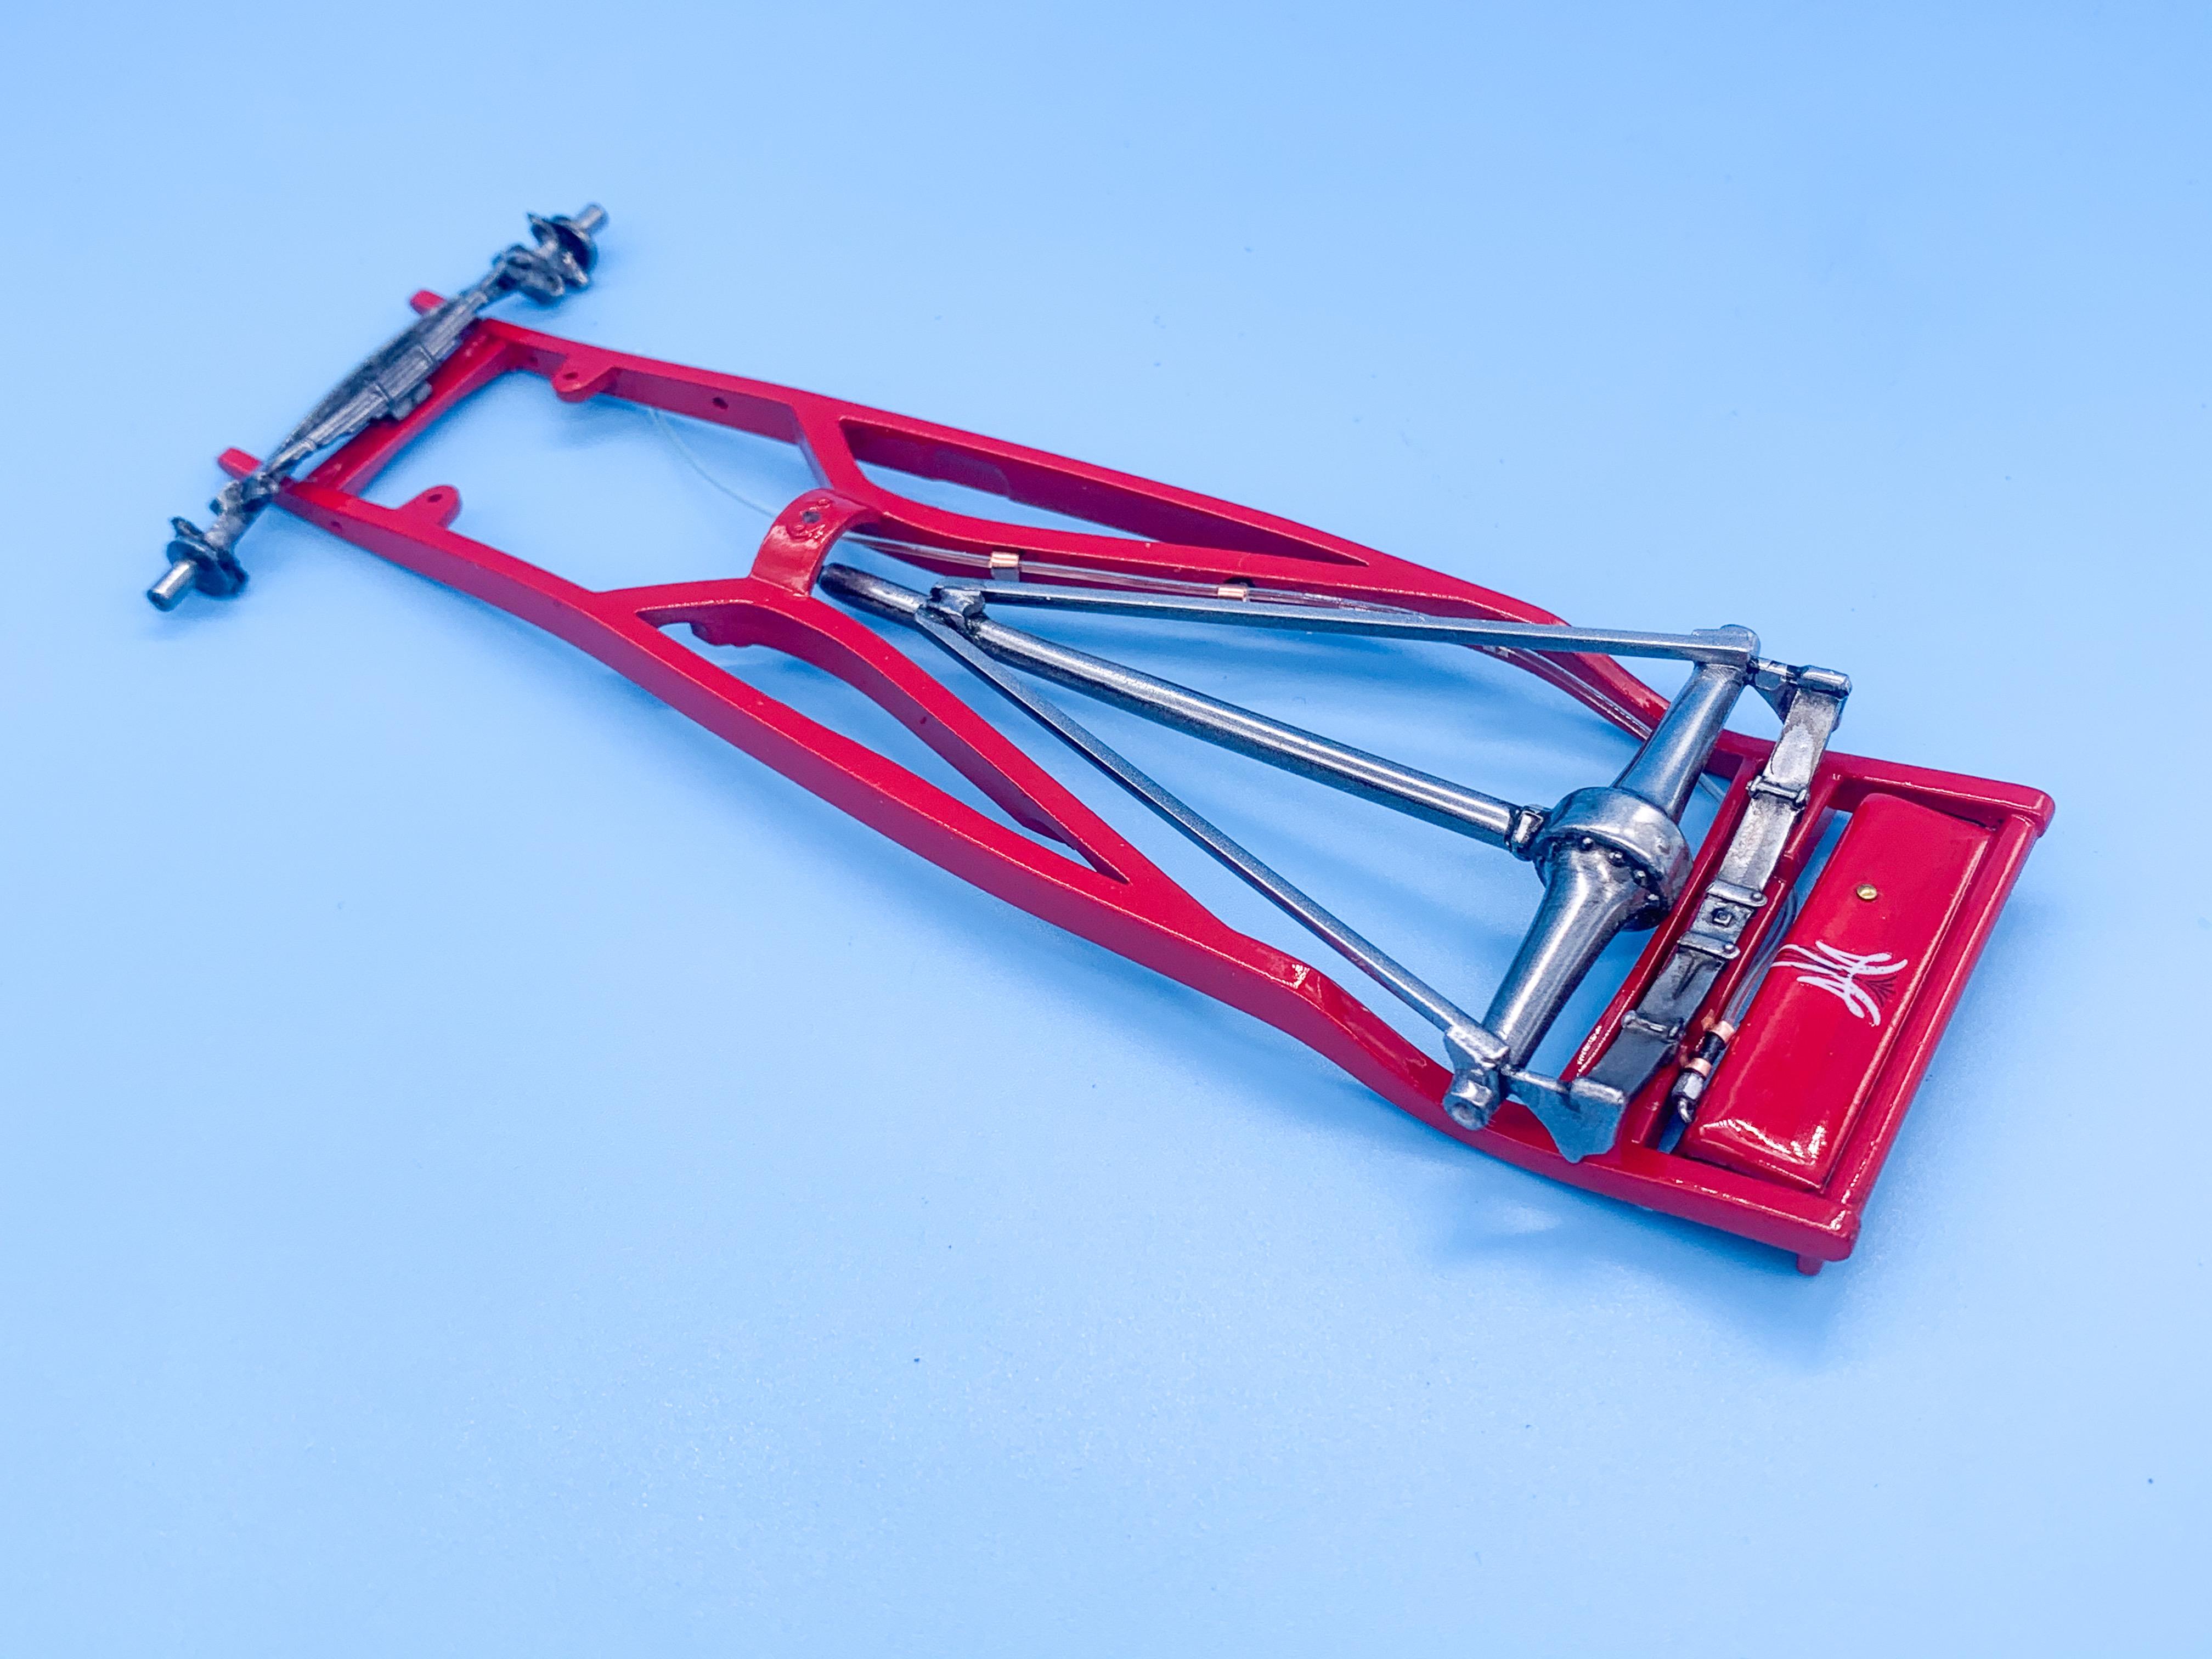
Thanks fellas! Made some decent progress this weekend! Got the front and rear ends on: Got the engine in: And once the bed was on suddenly it’s starting to look like a thing! Painted the radiator and added my aluminum bits that I made during the week: Looks cool in there! Still need to get the hoses on there but that won’t take too much finagling hopefully... Polished out the cab - needs another round tomorrow and some little touch ups but it’s fairly smooth: And made some kinda art-deco weird-vintage looking headlamps - they’re just sitting in the mounting holes here but that’s roughly what I’m thinking for them: They’ll look better when they’re not so boss-eyed, hopefully ? Not a bad day’s progress! More soon!
-
34 Church Truck
CabDriver replied to CabDriver's topic in WIP: Model Trucks: Pickups, Vans, SUVs, Light Commercial
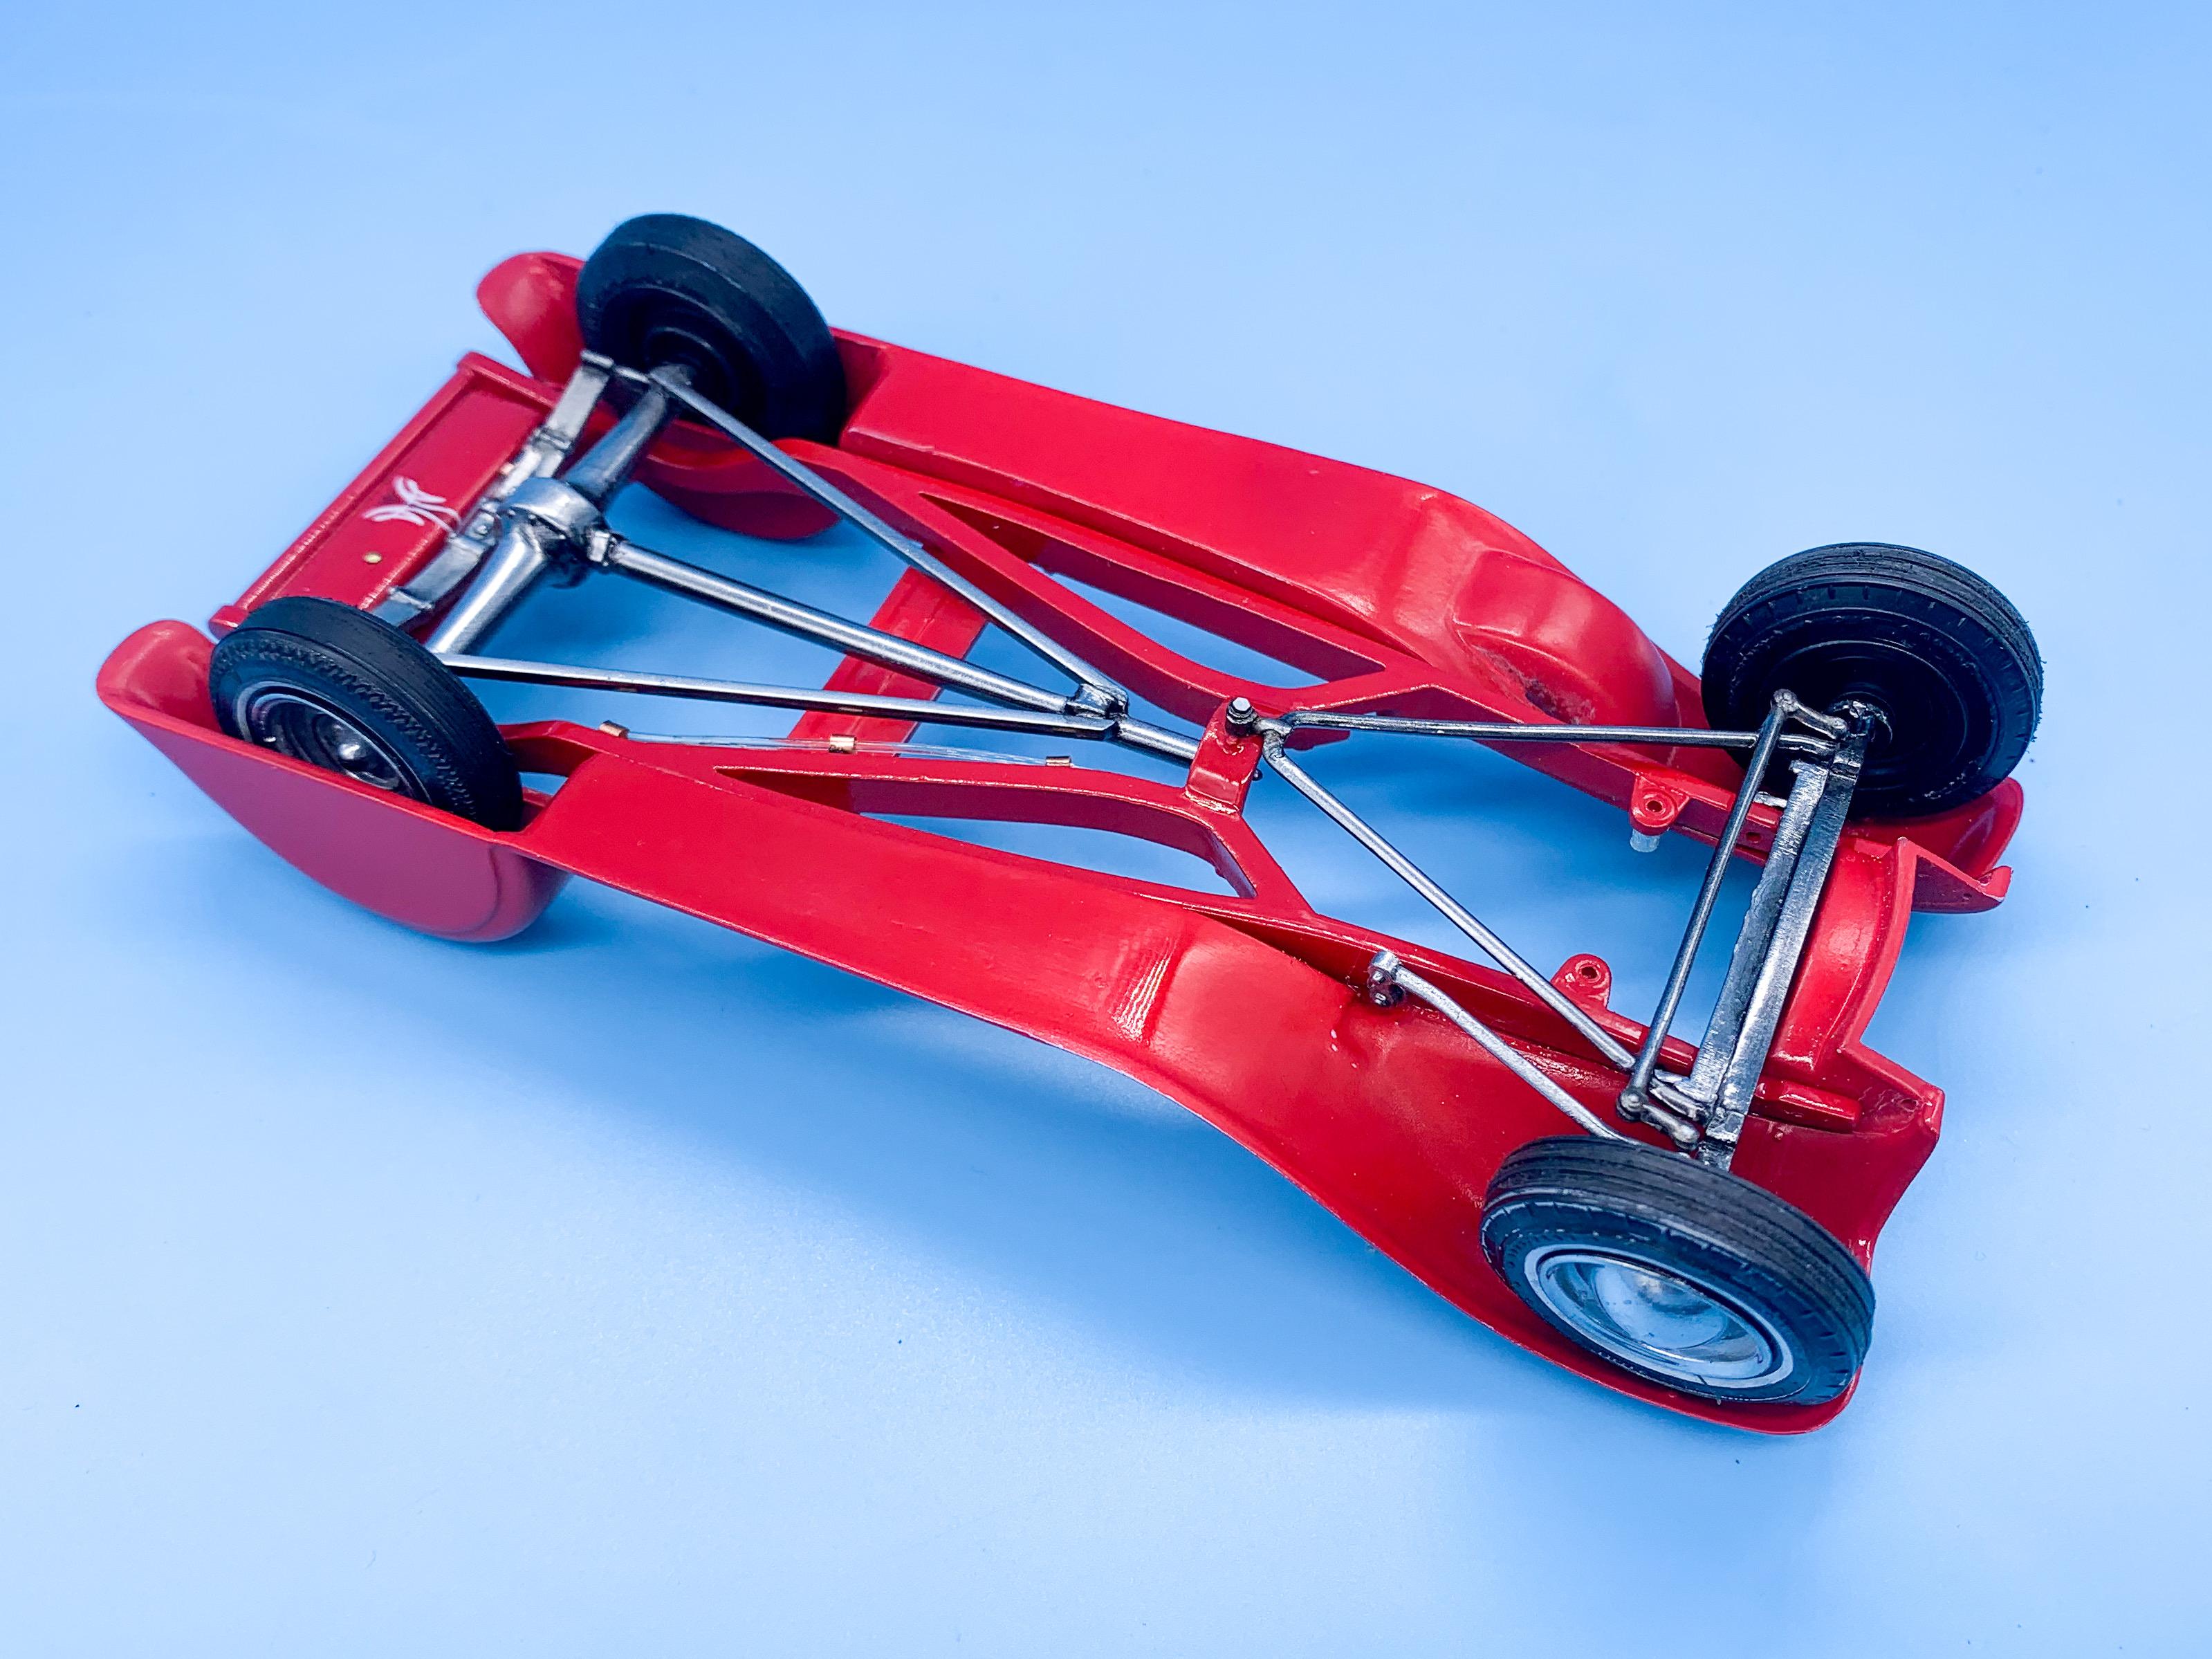
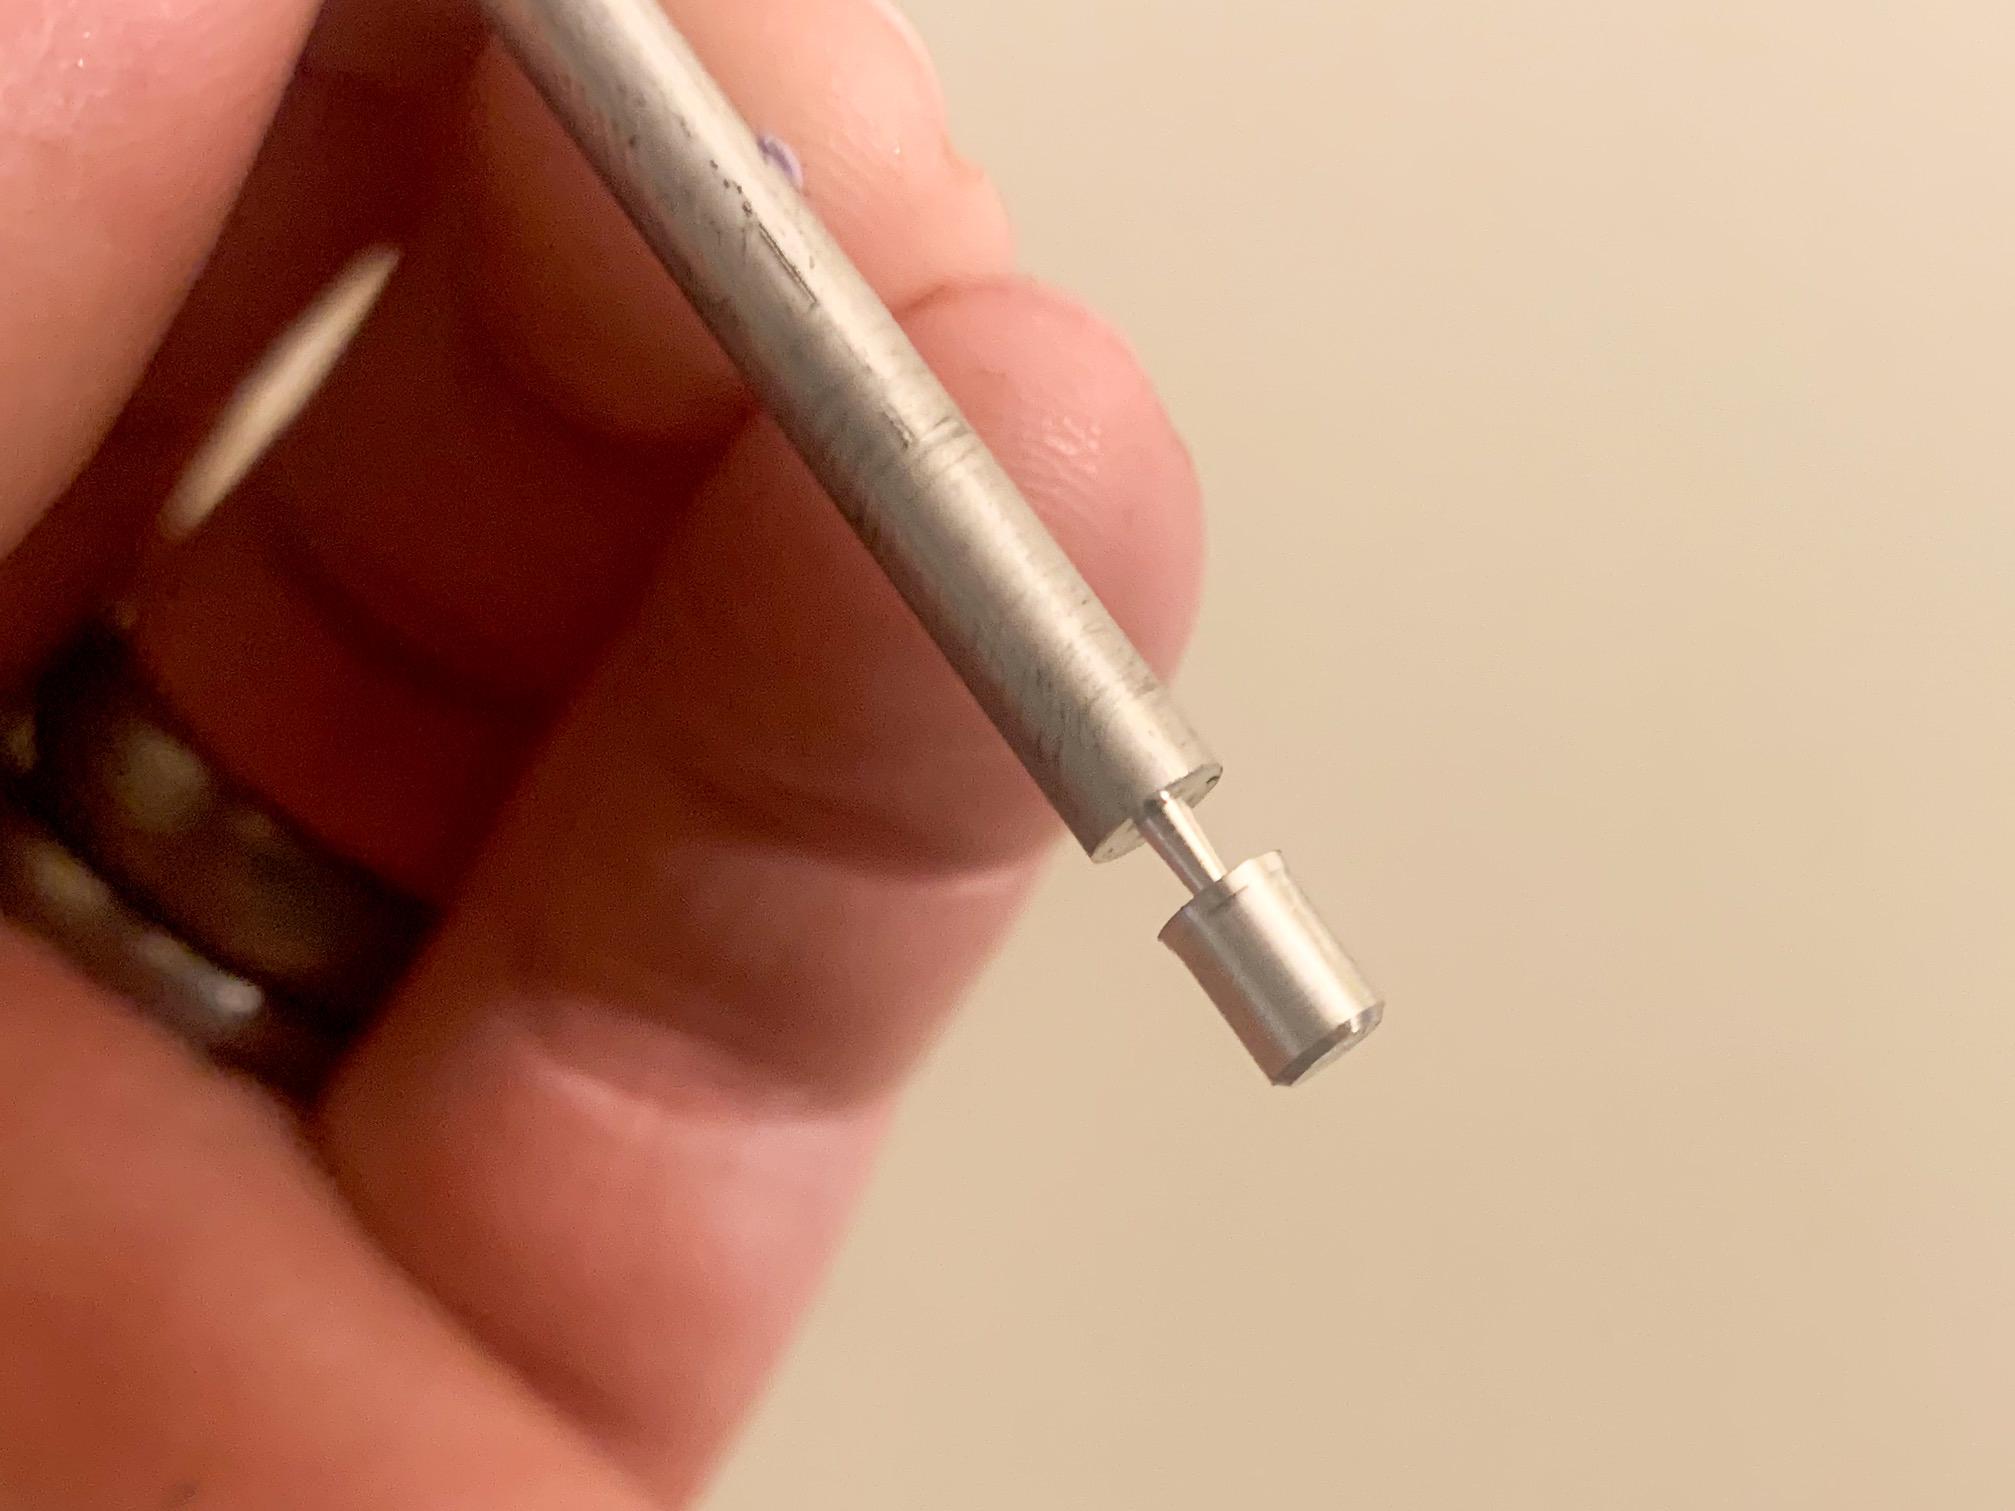
Thanks fellas! Absolutely! I’m kinda embarrassed to show my early efforts at machining, but excited enough that I am anyway... Getting set to do something real assembly on this thing shortly - got the fenders polished out today (I remember now why I like fenderless cars ??) and used some 2-part epoxy to get the frame attached to the fenders ready for front and rear suspension and so on: I’m using those toothpicks to keep the frame in place, in case you’re curious... Meanwhile, spent some time on the lathe again making a few little doodads and gewgaws...in this case a radiator cap, electric fan motor and overflow bottle to add a little interest to the Revell 29 radiator I’m going to use on this build: Need to polish them up and get them nice and smooth still - I can’t figure out if my lathe is running too fast, too slow or I’m not quite using it right to get nice smooth finished parts, but a little clean-up and they’ll be ok And finally, wanted to add some subtle discoloration to the headers so I borrowed my wife’s watercolors (she’s a professional artist so she has a bunch of useful supplies for me to borrow) and added a little blue and yellow to add some visual interest to them. Nothing too major though: More soon! Thanks for looking and for all the nice comments!
-
You really nailed that paintjob - nice work!
-
34 Church Truck
CabDriver replied to CabDriver's topic in WIP: Model Trucks: Pickups, Vans, SUVs, Light Commercial
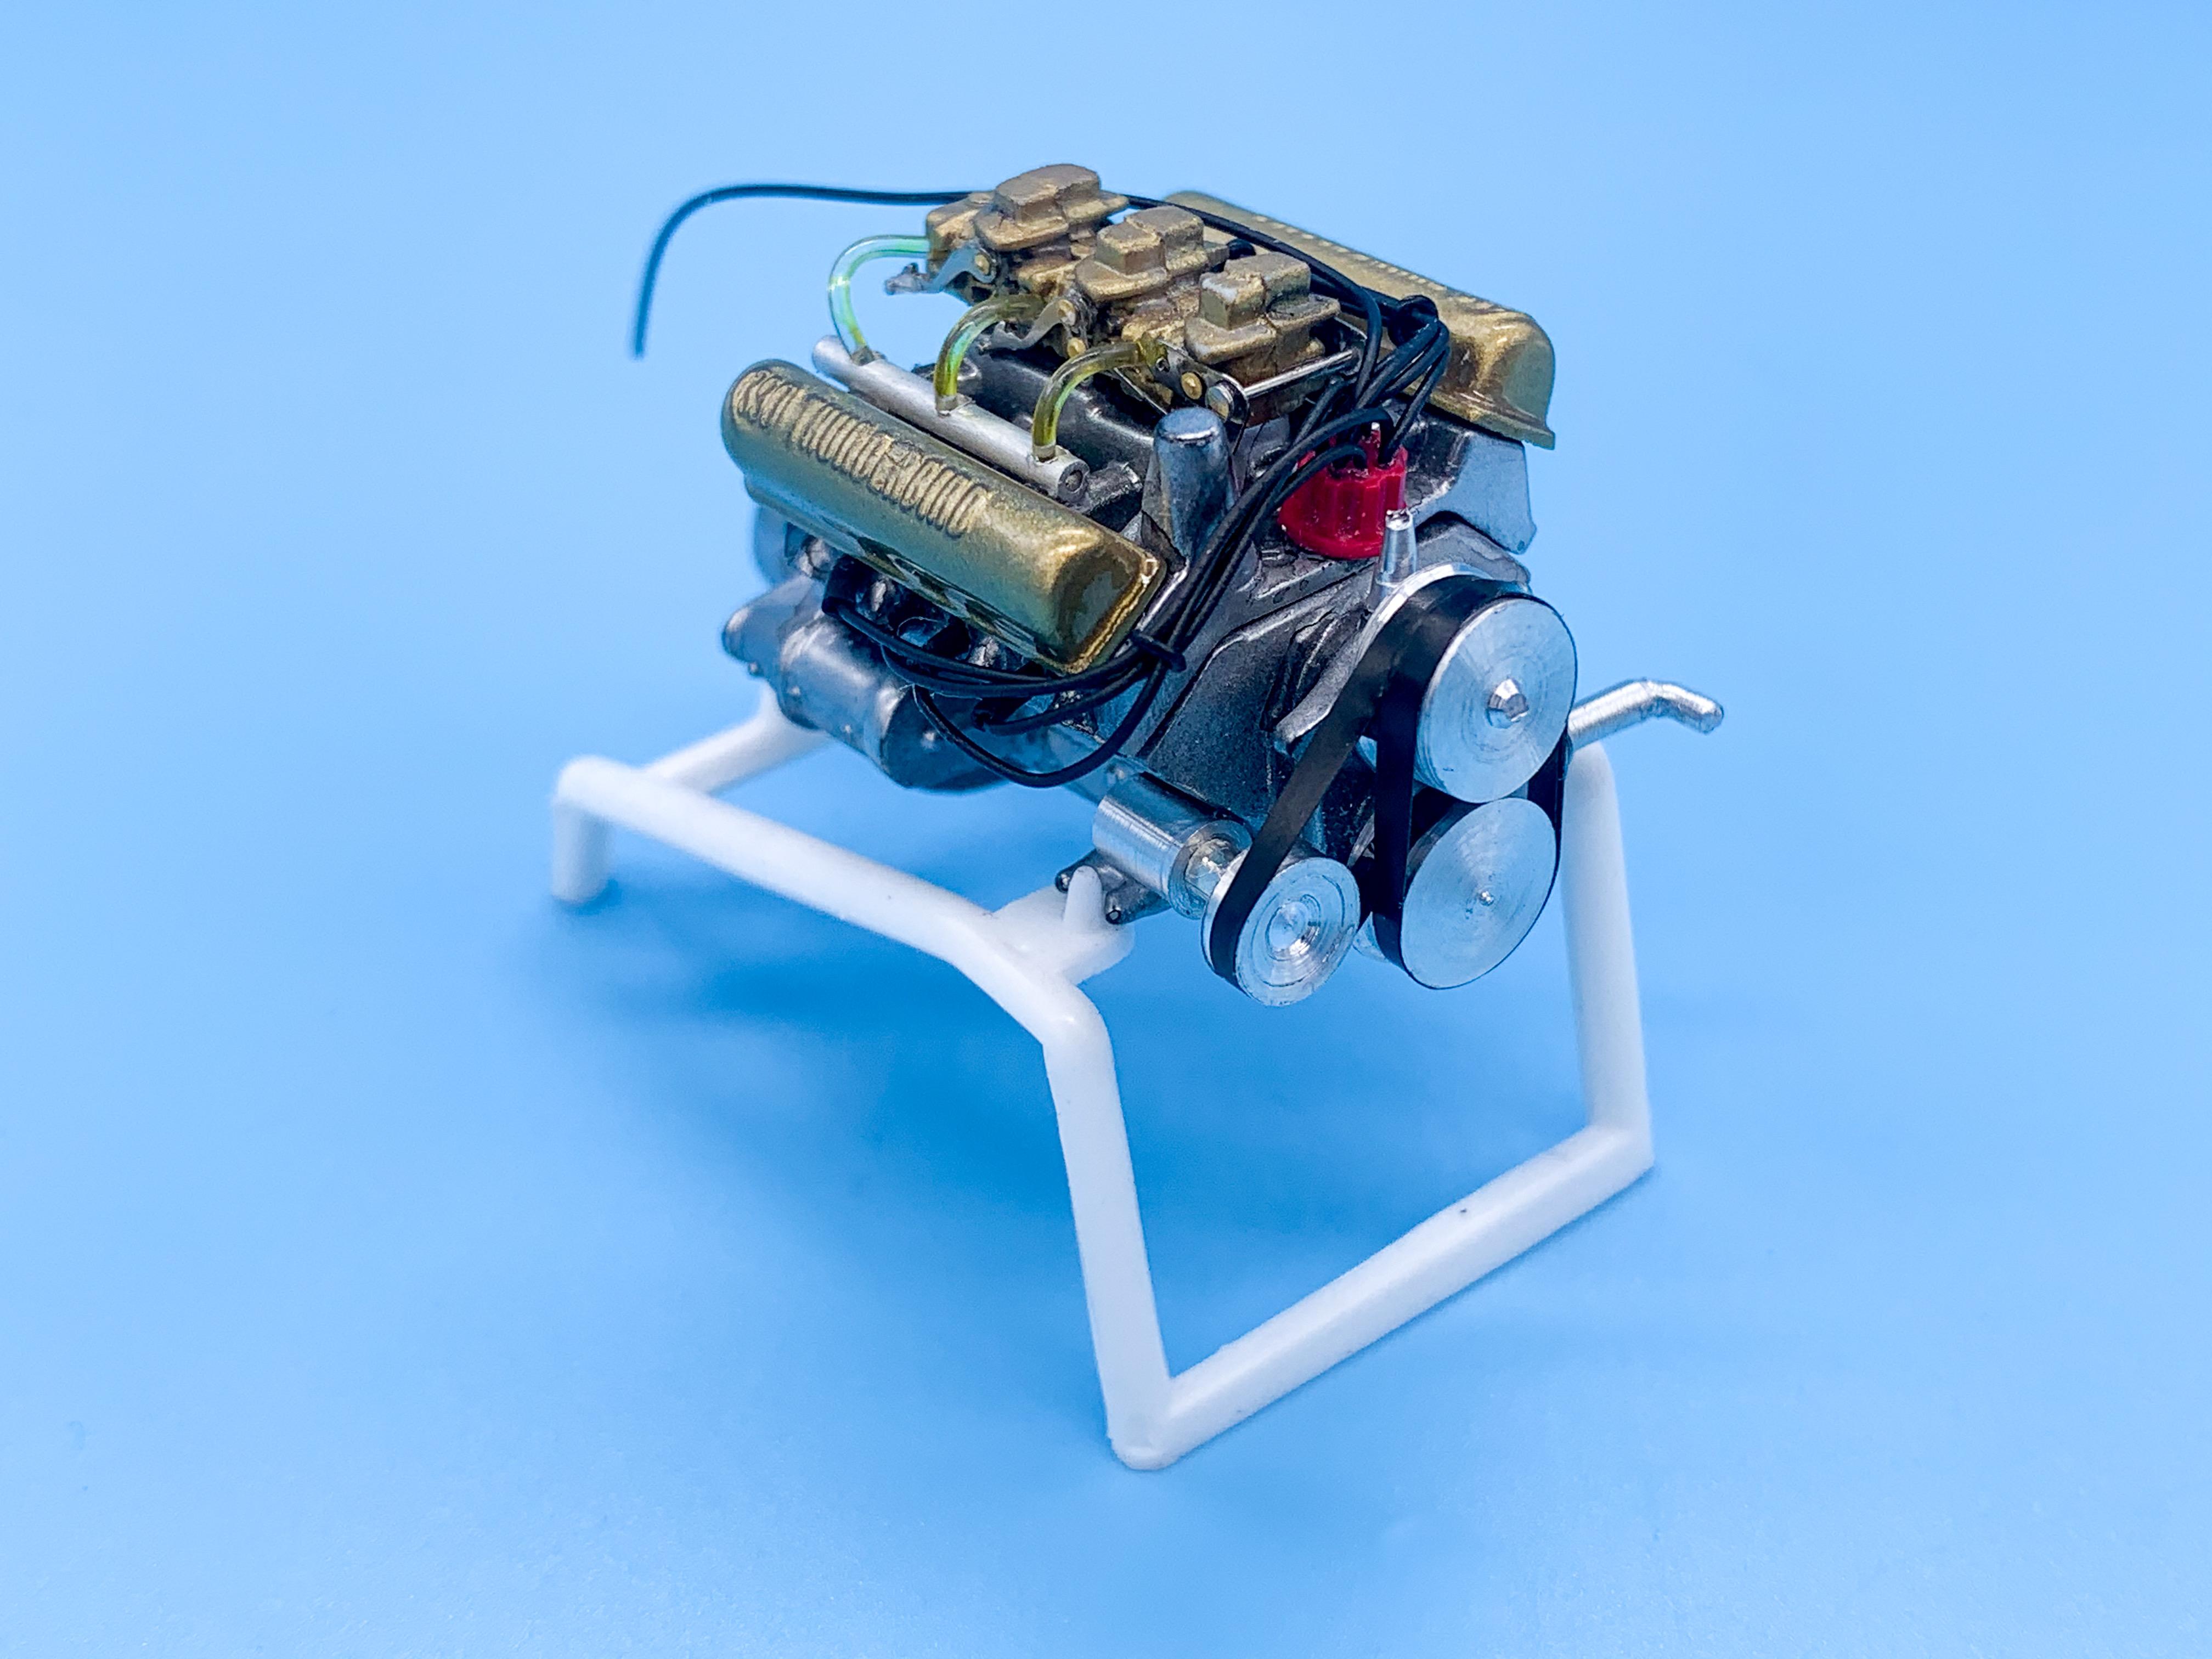
Thank you everyone, I appreciate all the nice comments! I need to experiment with that technique @Claude Thibodeau - thanks for sharing! Got somewhat distracted this week when this arrived: Made a few useful parts for this build whilst I’m learning some lathe-ing basics - seeing as the pulley faces are mostly hidden on this engine I figured I’d get my feet wet with a simple set of those: I used some satin sign vinyl for the belts, and machined that little alternator (generator?) hiding on the side of the block there: Quick mock-up of engine in frame to make sure it fits how I wanted: Got to figure out some fasteners for the engine mounts - I’ve got some little silver spacers on the stock frame mounts to raise the engine a touch to make sure there’s still plenty of clearance underneath when the lowered front axle’s in place. And, whilst I wait patiently for the weekend so I can do a bunch of polishing and start assembling major components to each other so I can do some fun detailing work, a quick mock-up to see how this thing is coming together: I think I like it! More soon, soon as I’ve done more!
-
I wish Dollar Tree would get some kits!
-
What do these look like, out of curiosity?
-
That'd look cool with some LEDs behind it too! ?
-
Vallejo Metal Colors for Car Bodies?
CabDriver replied to DiscoRover007's topic in Model Building Questions and Answers
I haven't done a body specifically, but plenty of other parts - I've used rattle can lacquer, Testor's enamel, Future, Createx clear - I don't think they're too fussy, generally. I've tried with their steel colors, their bronze and copper and the burnt iron and never had any issues with anything I've shot over them to date... -
I appreciate that Tom, thank you! I watched probably 50 Youtube tutorials before the thing even came and still had to do more Googling last night to figure out some basic stuff...definitely a lifetime of new stuff to learn just with this one tool!
-
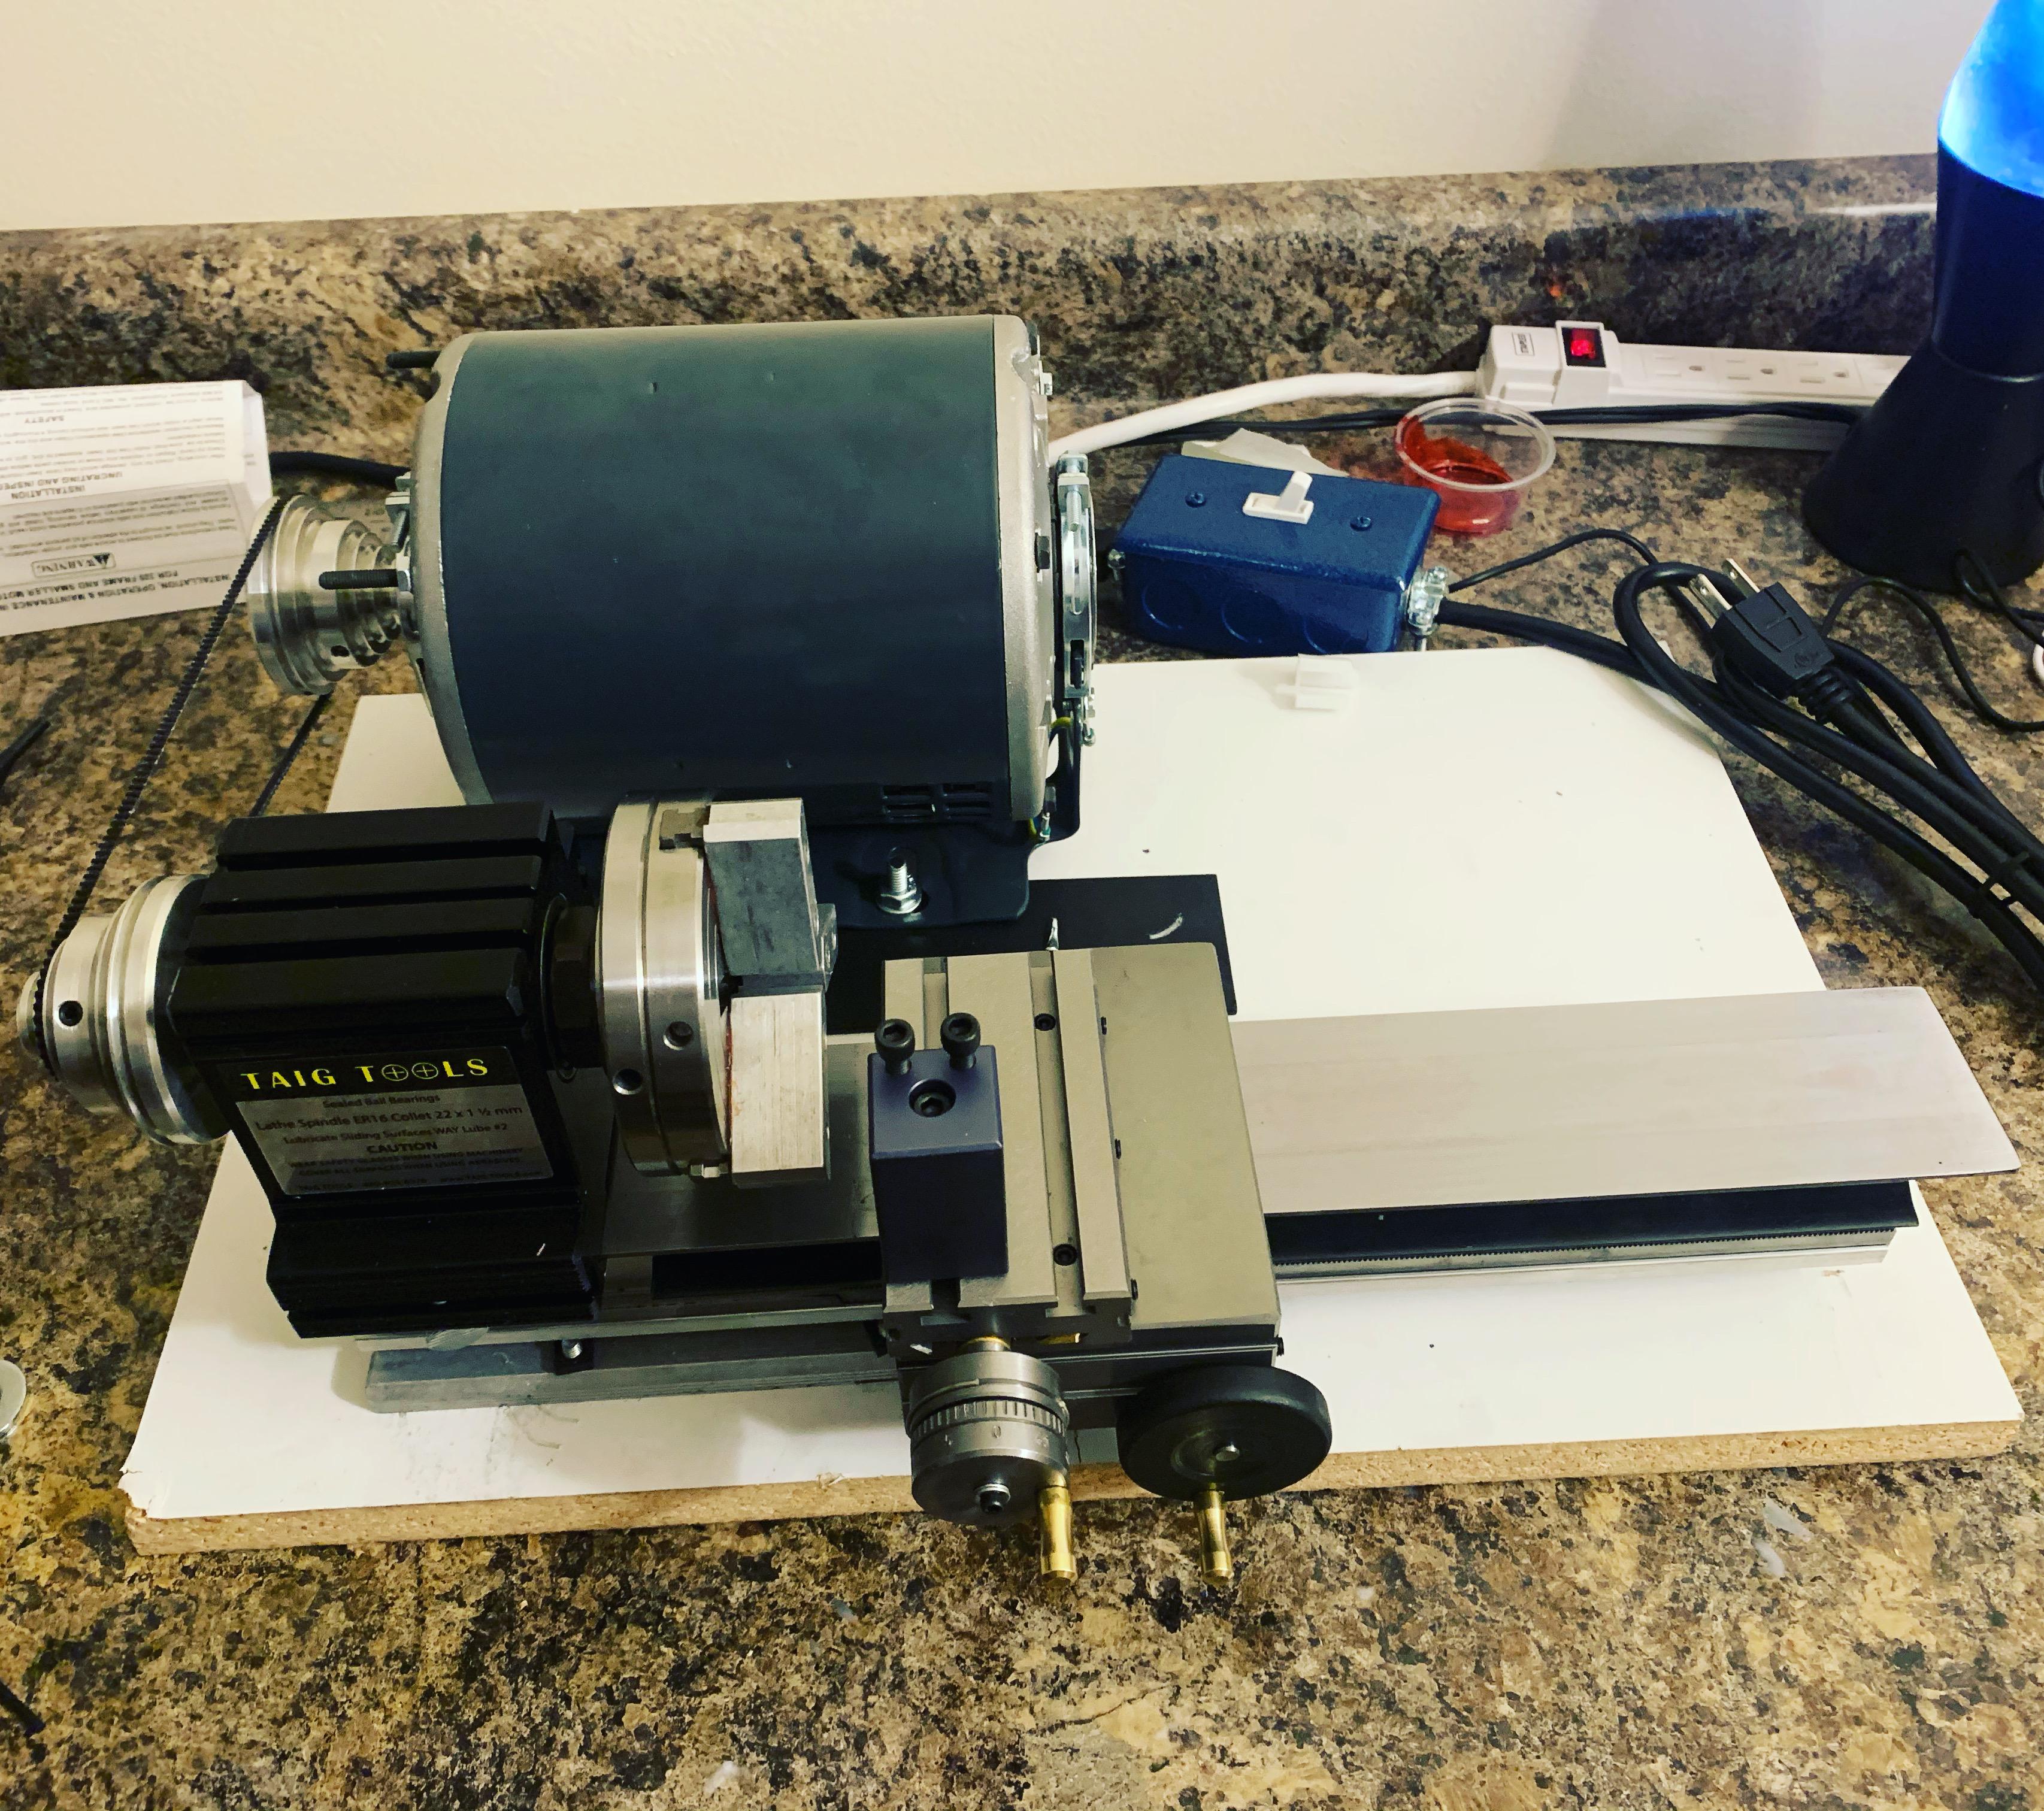
I love it so far - was disappointed when I'd got it all set up and made a piece and realized it was time for bed already Can't wait to get home and mess with it some more - already got a mental list of stuff I want to try making and some more materials I want to play with
-
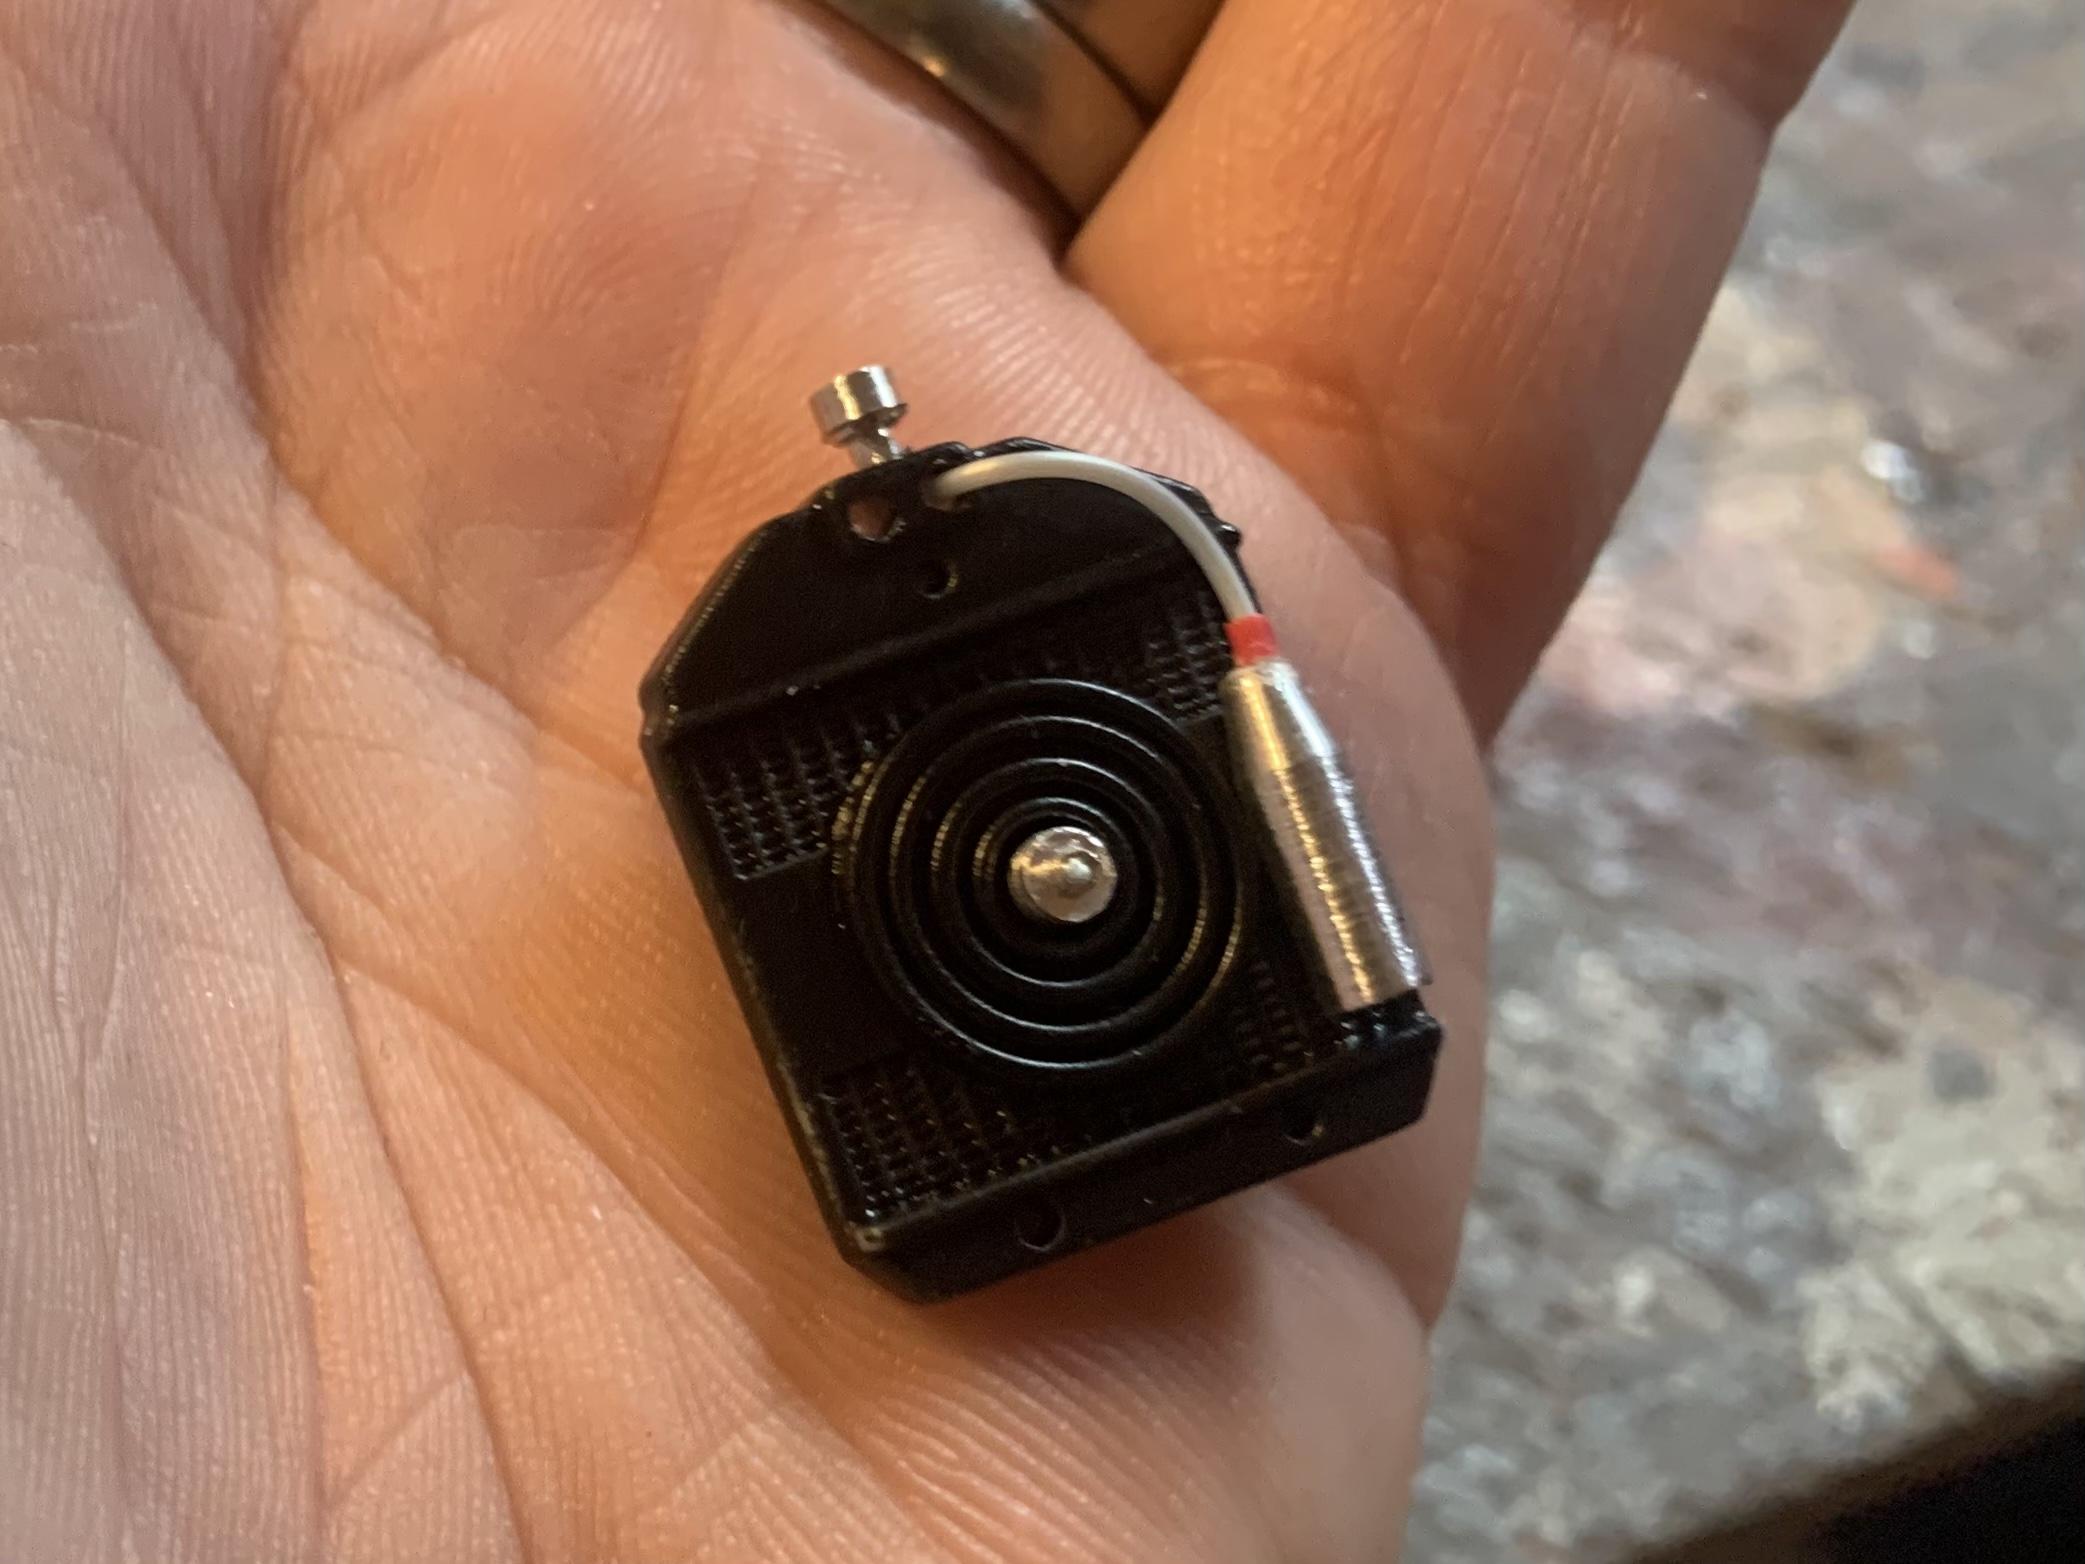
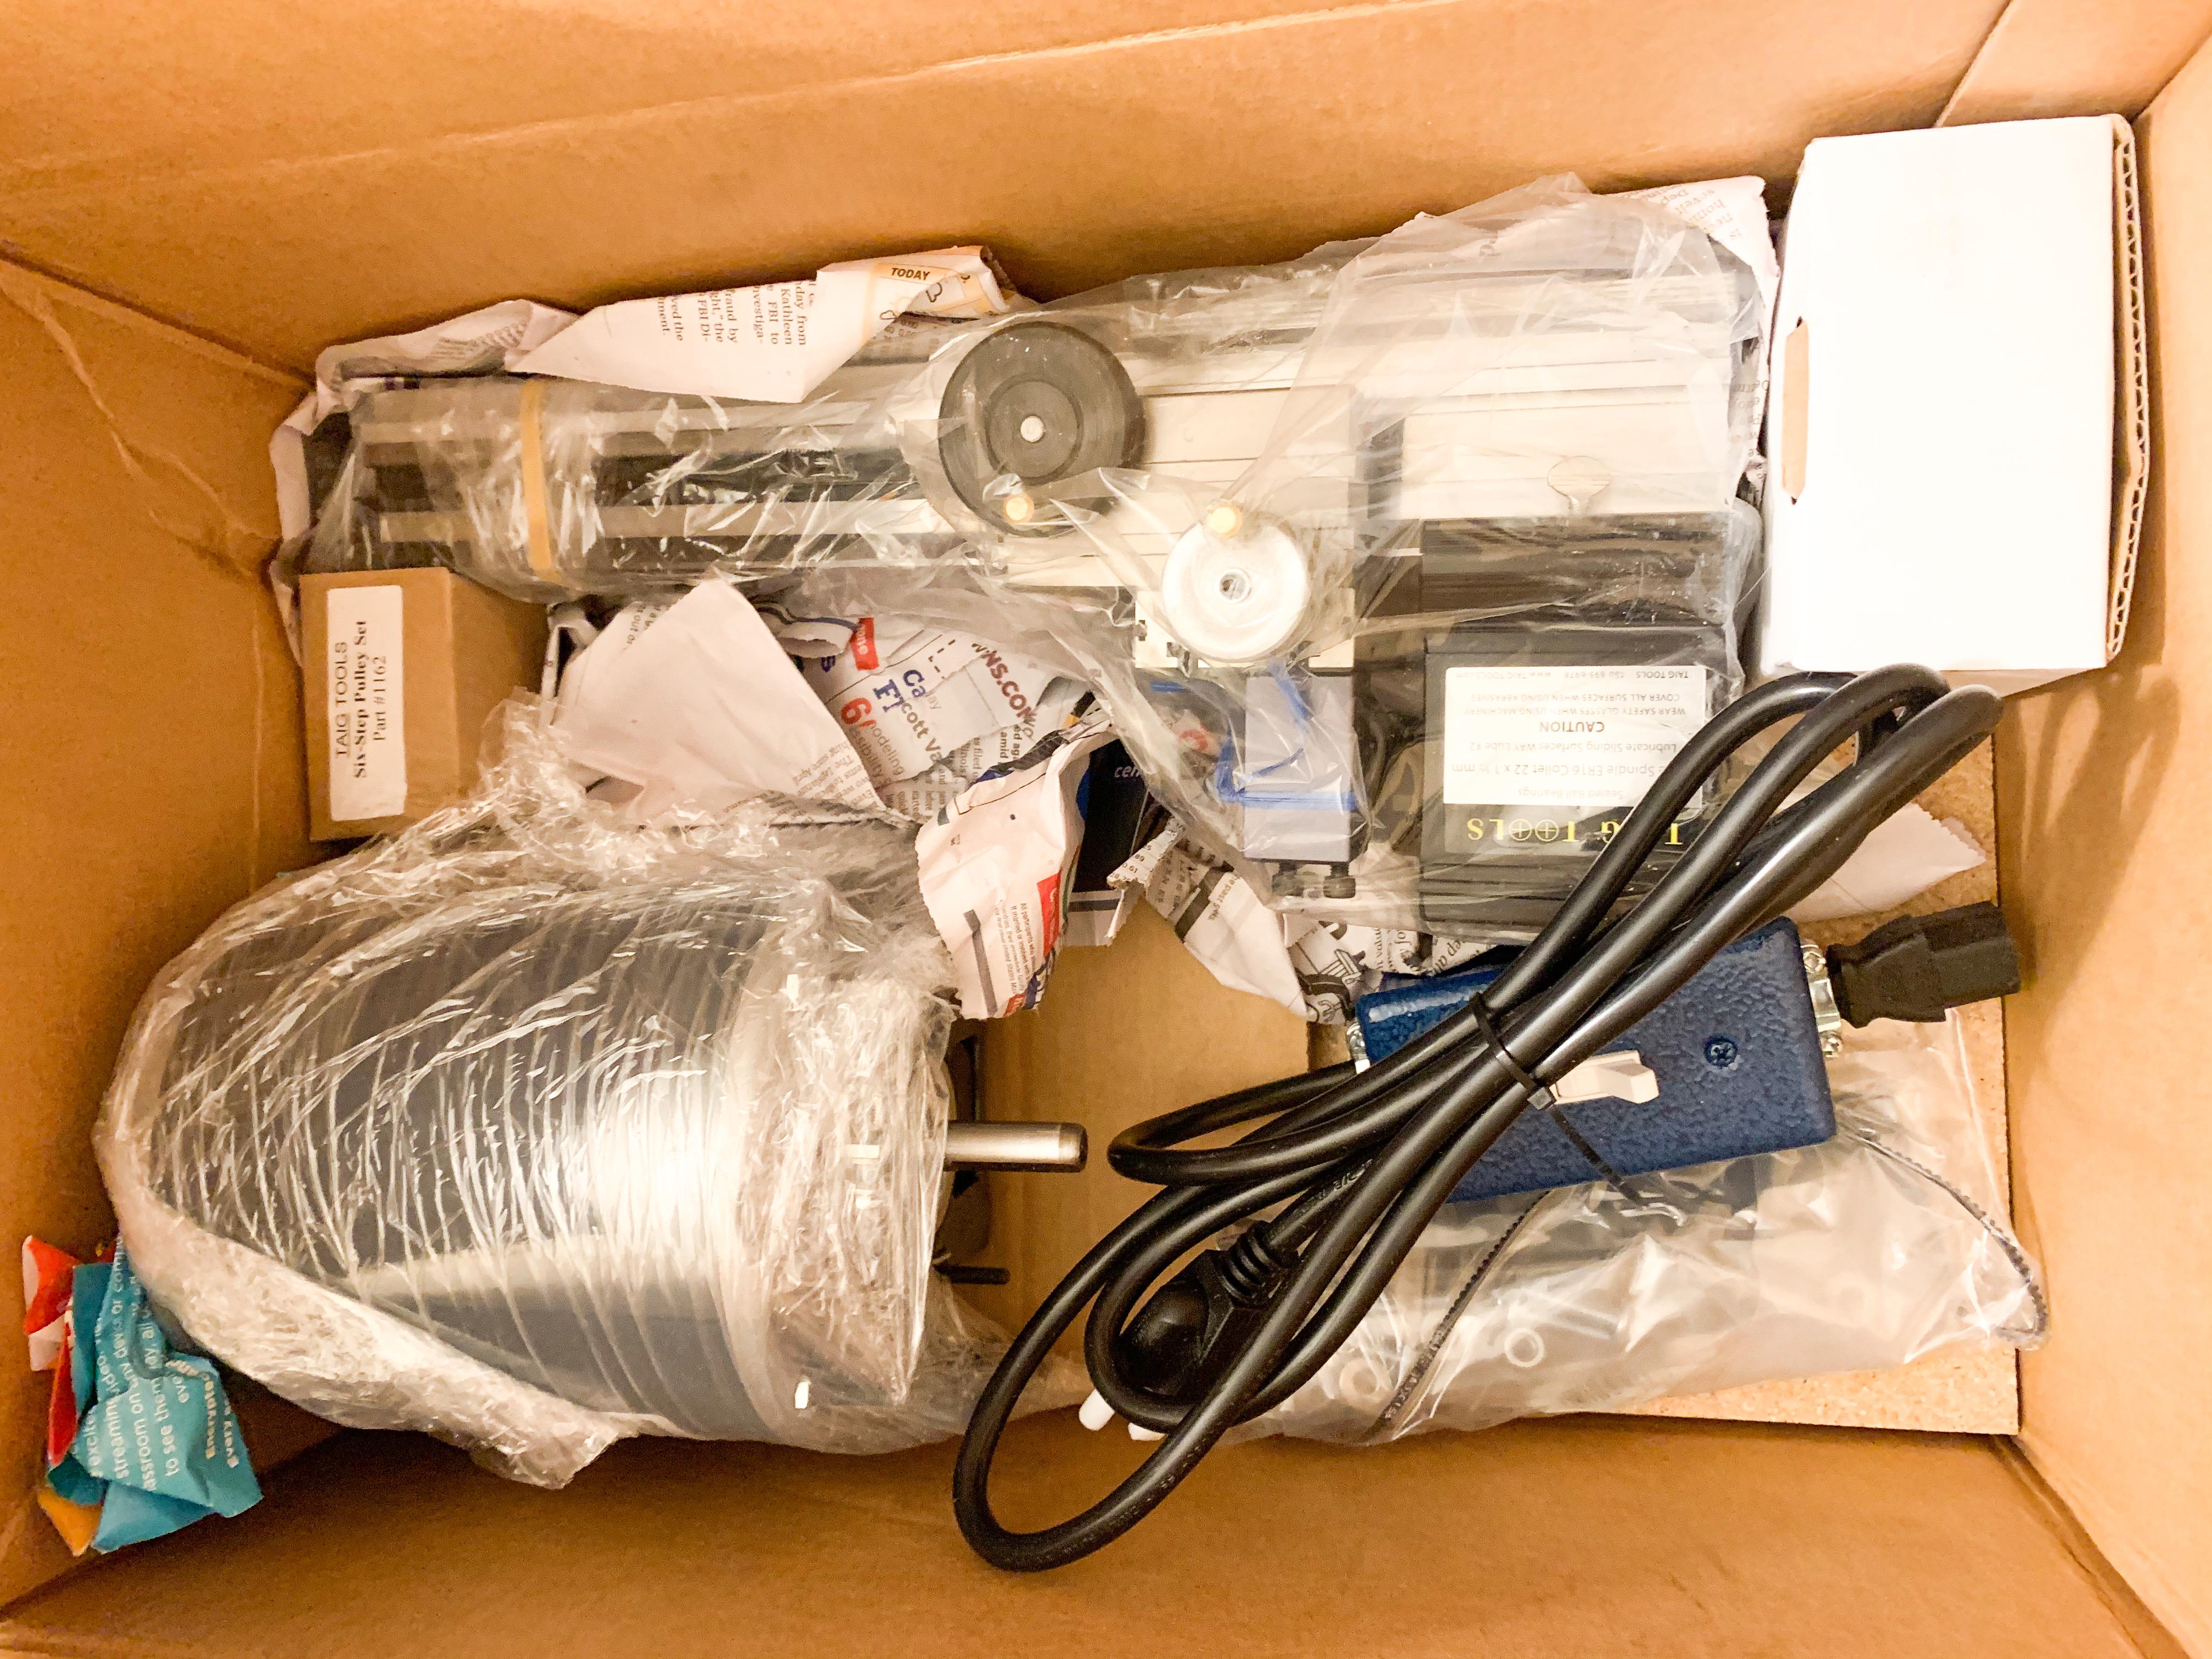
My Taig lathe arrived! I got the basic Micro 2 starter kit, which comes in at a hair over $500 shipped - has enough to get started for a beginner, which is fine by me seeing as I don’t know what I’m doing ? It’s almost infinitely upgradable as my skills progress, but doesn’t cost the earth to get going with so I took a shot and hoped it would work for what I’m hoping to do... Some assembly later... And after doing my level best to get everything aligned nicely and figuring out what all the cutting bits are for and triple checking everything was tight, I fired it up and did some machining! I know this is kindergarten stuff to a lot of you seasoned machinists, but managed to make a little oil filter first time out without breaking anything or losing any fingers...success! Can’t wait to practice some more and start working some nice metal parts into my builds!
-
Oh wow, check out the resolution on those hexagons! Killer!
-
I started to collect them thinking the same thing...but then this post ruined that: ? I’d like to do the whole set as nicely detailed as Eric’s build there...I'm not quite the builder he is but I think a row of six of these nicely finished like his would be cool! Someone on Instagram had one they were using for painting too, so they could reposition whatever They’re painting easily. I can see this thing becoming invaluable to be before too long and I’ll wonder how I worked without one!
-
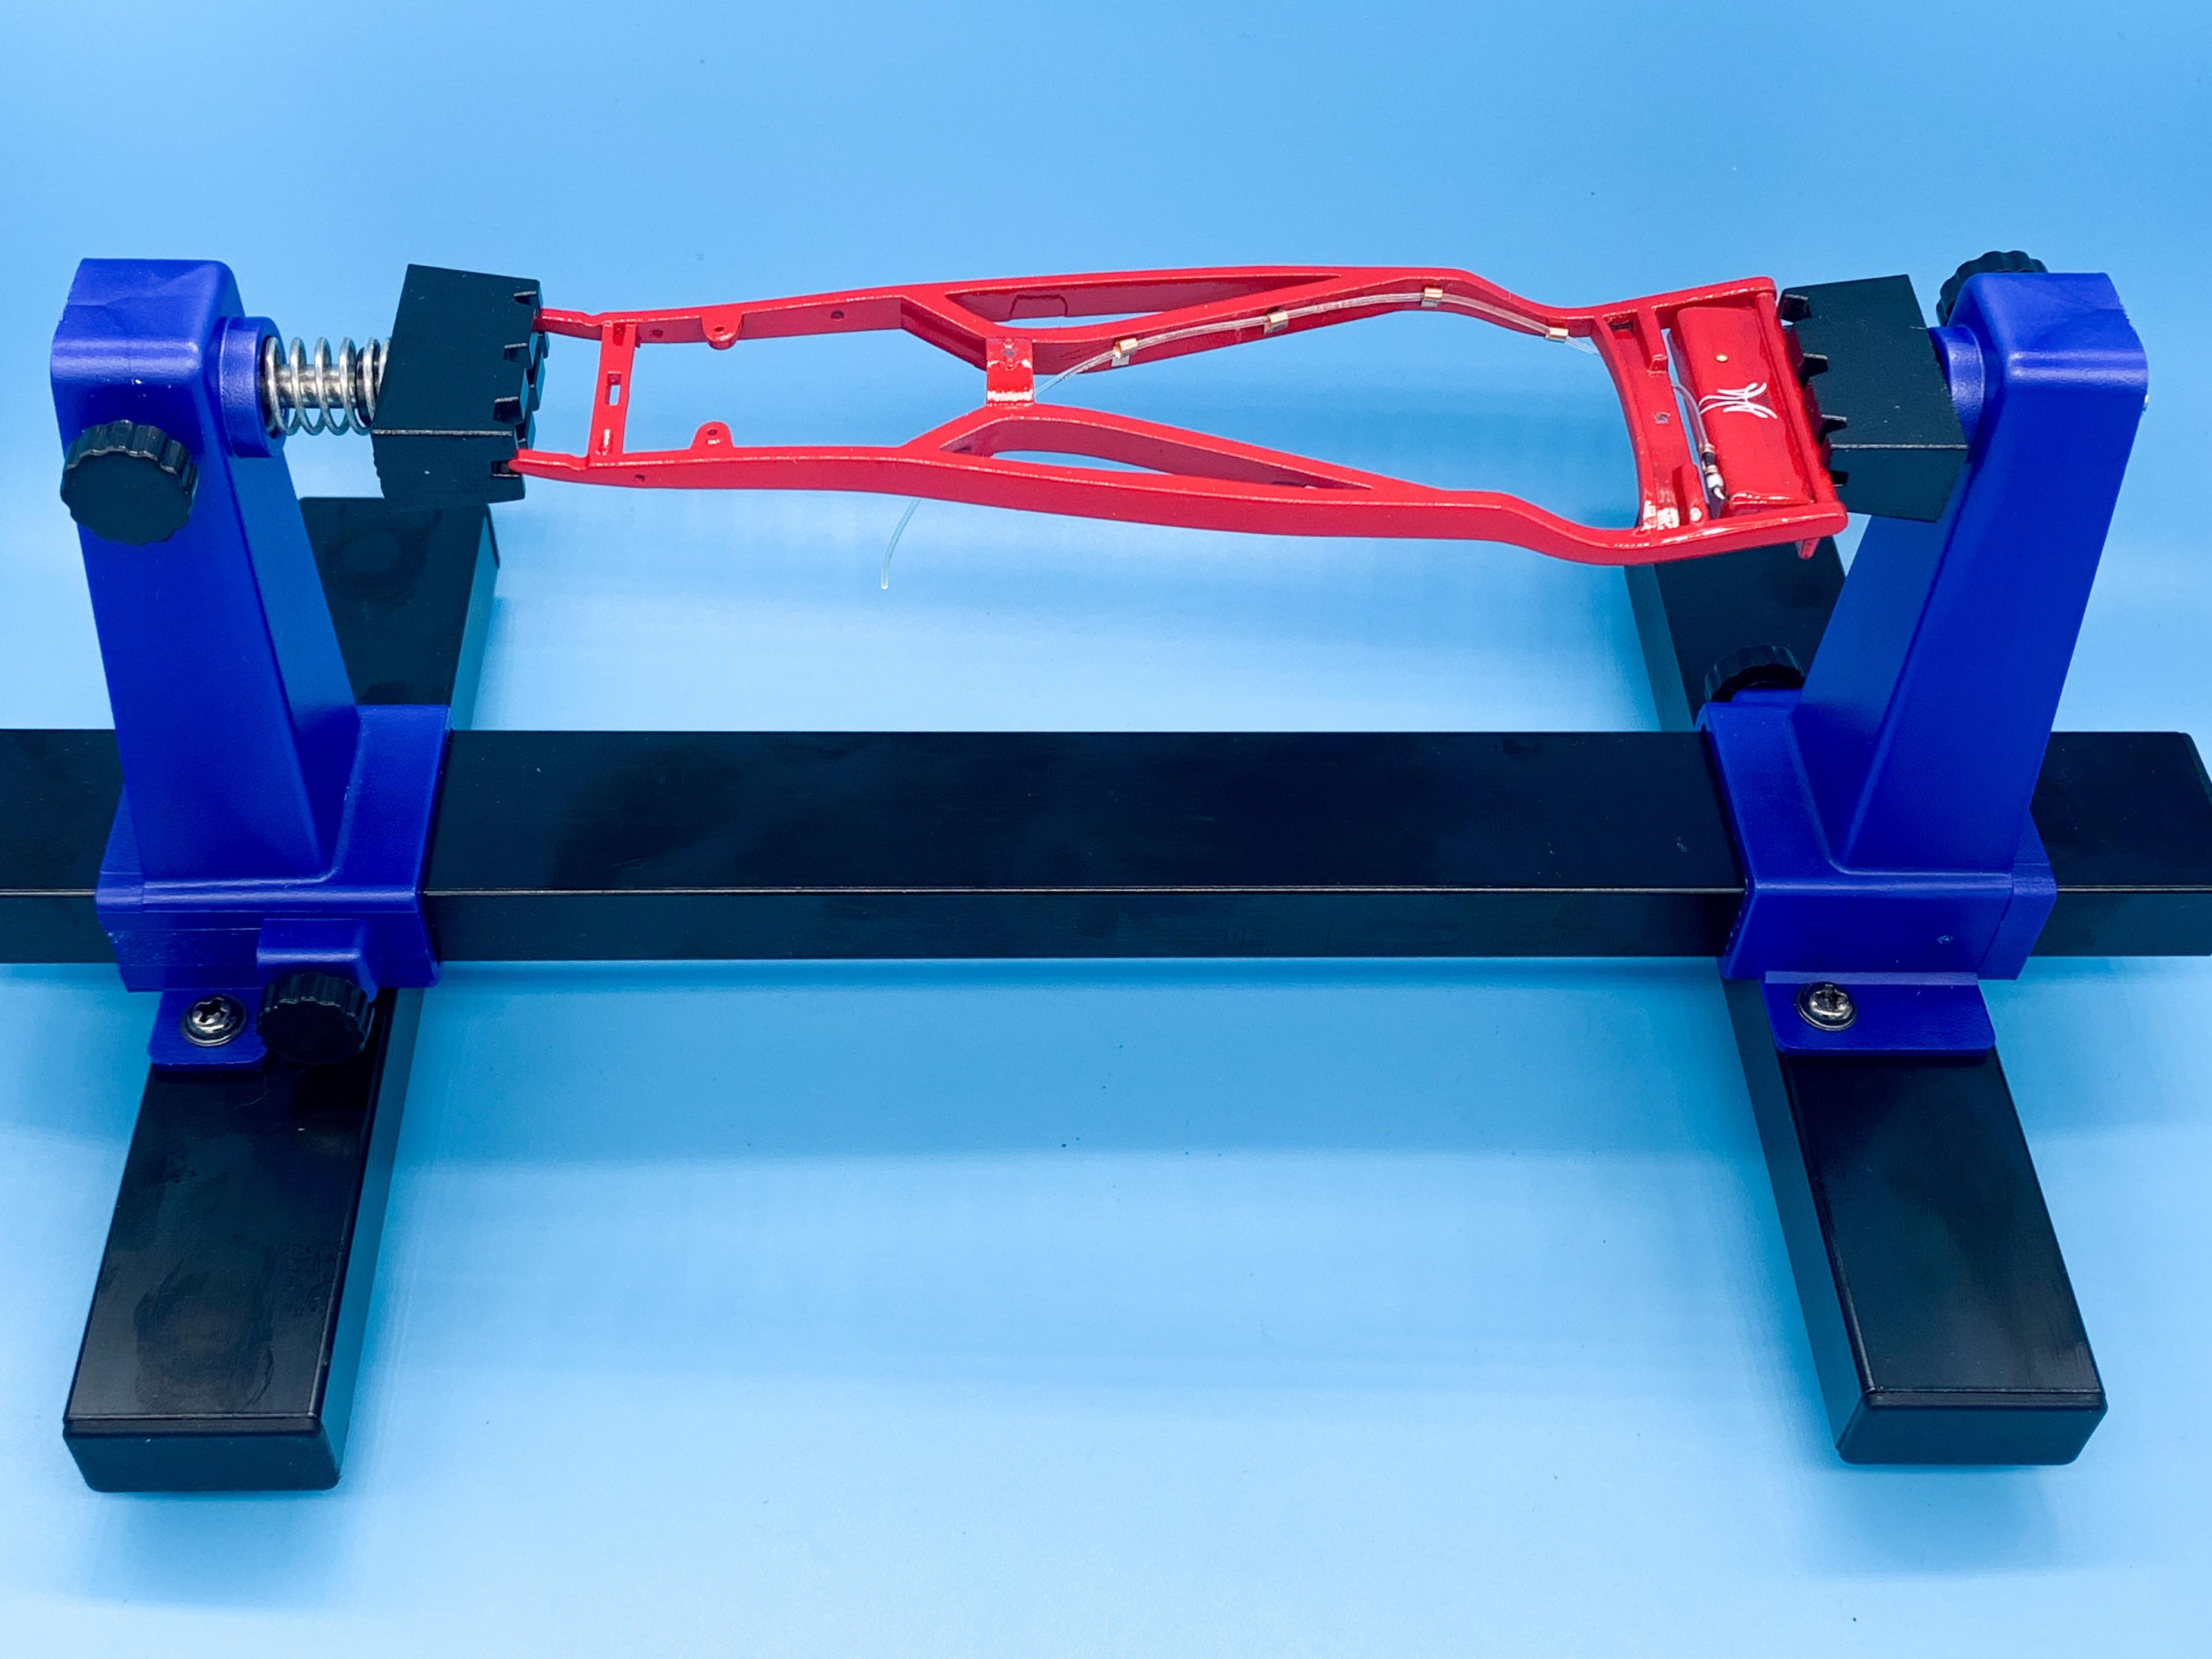
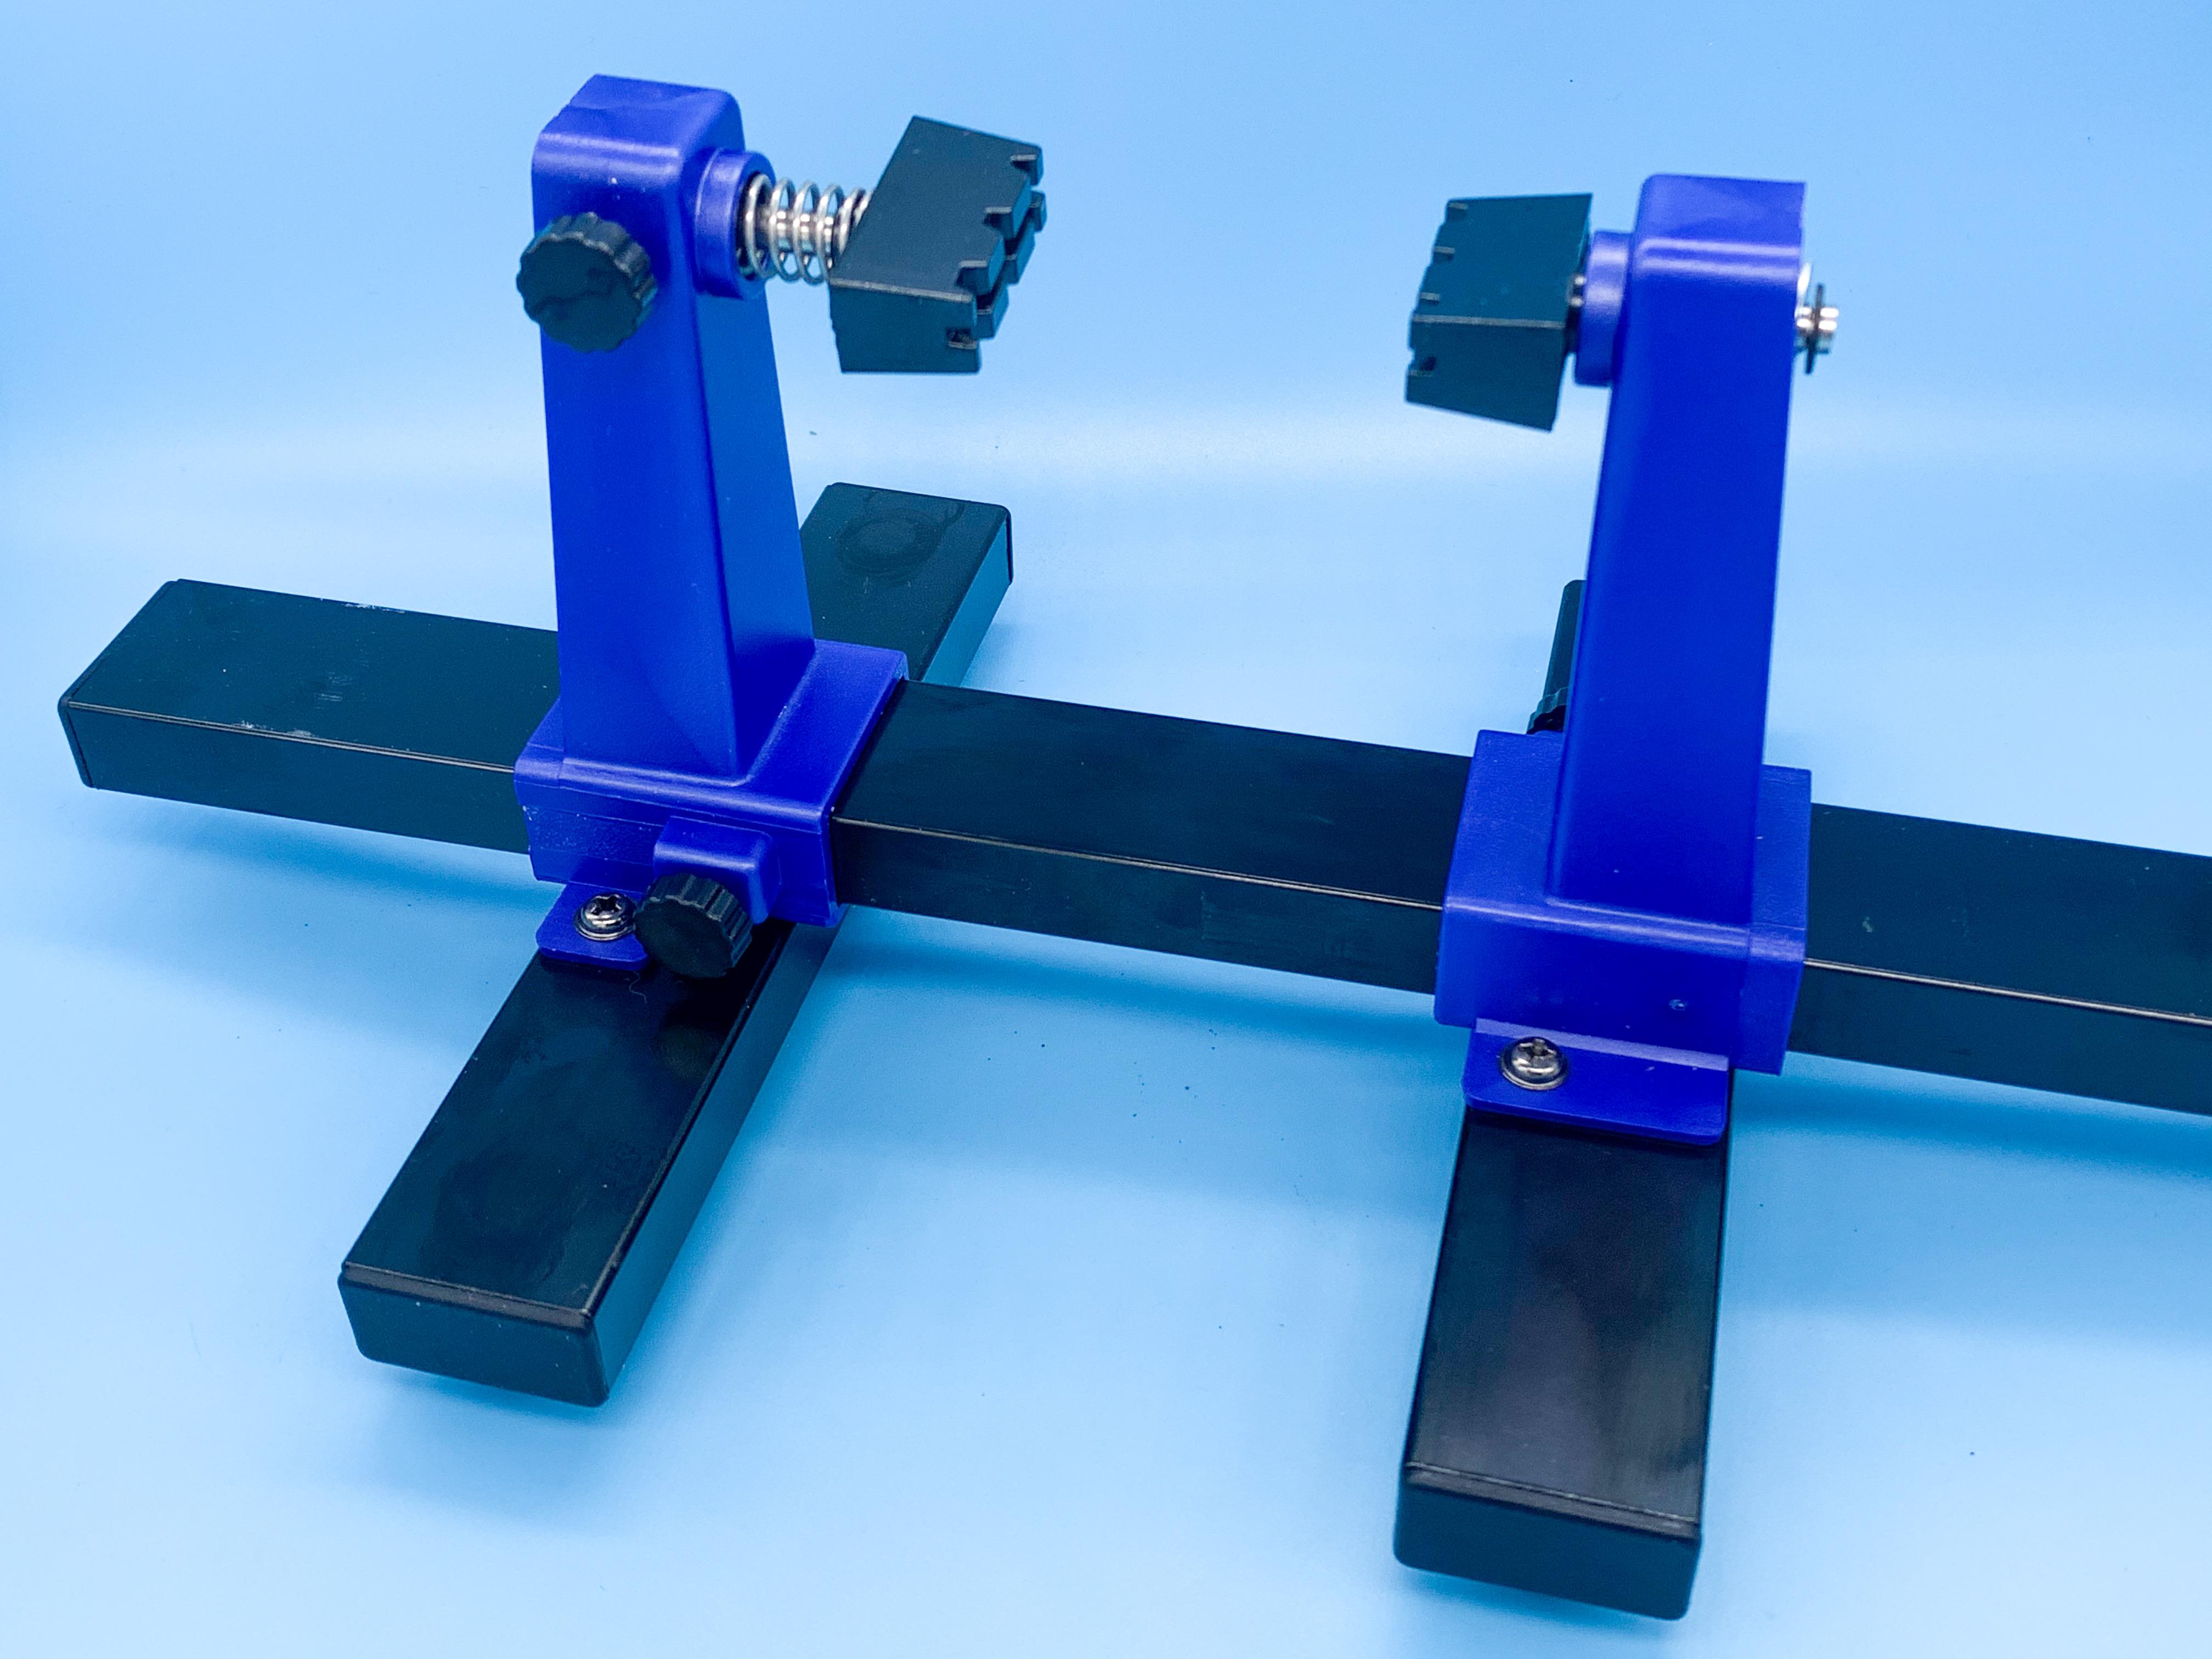
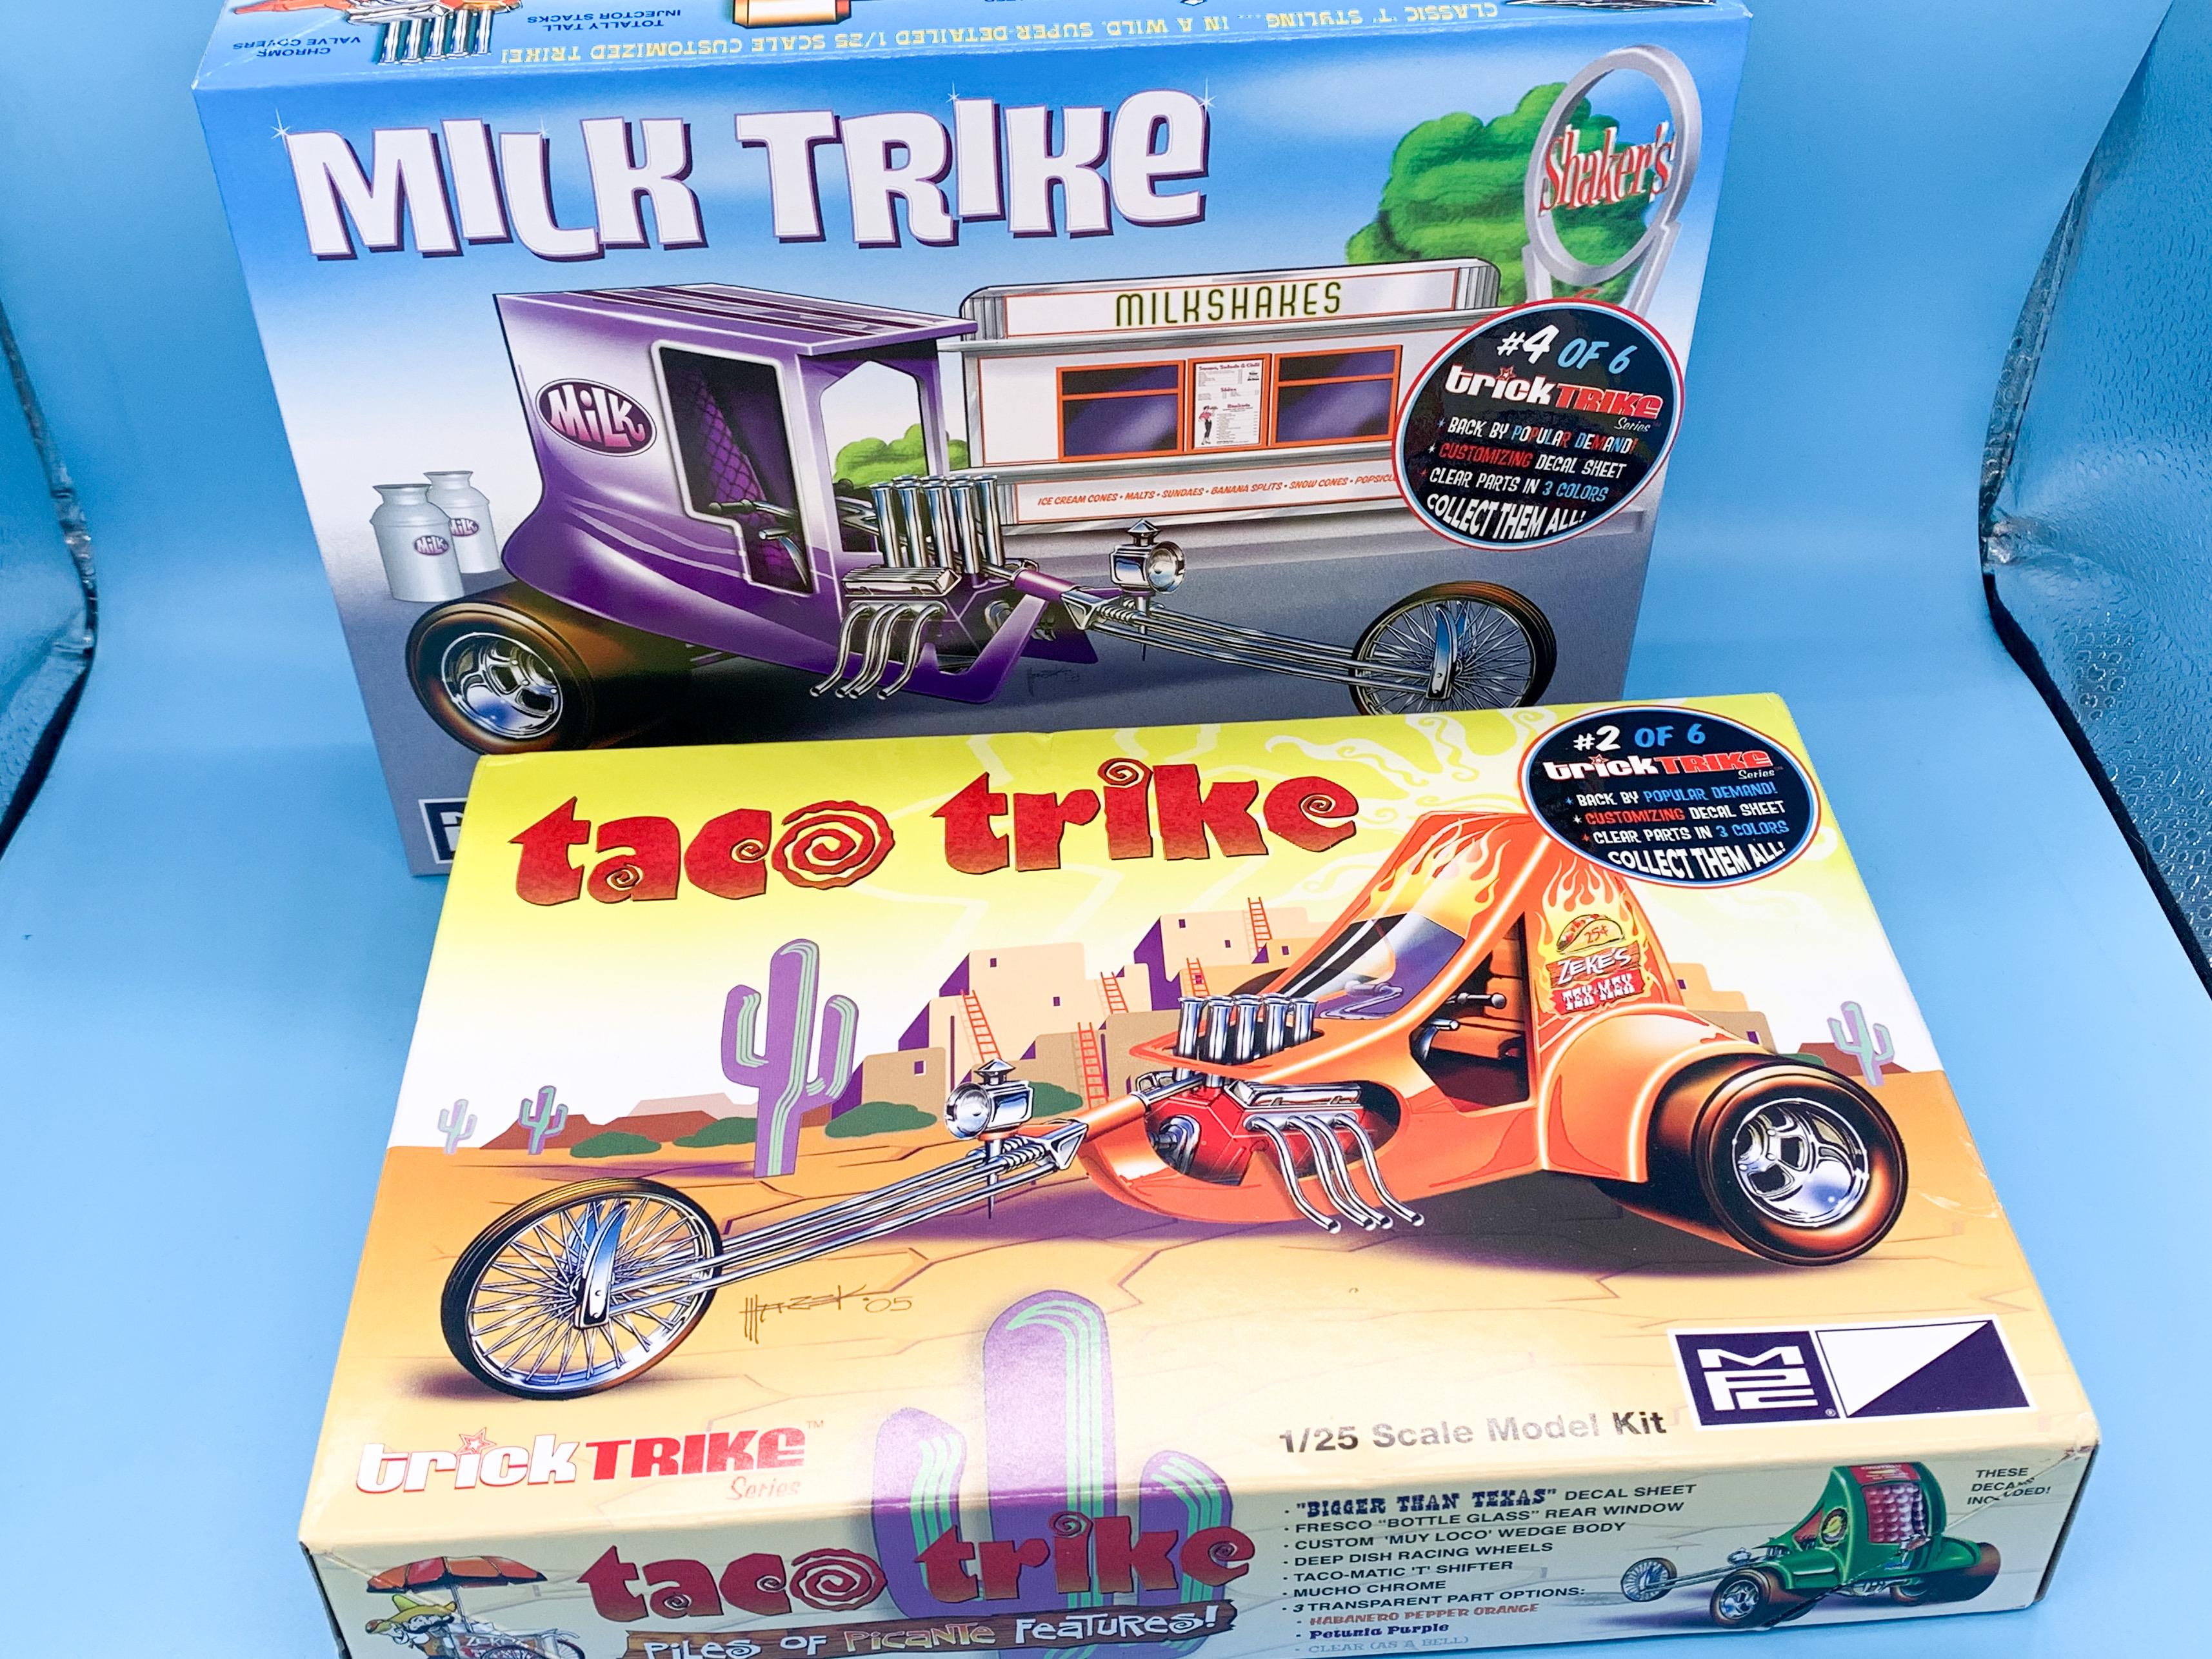
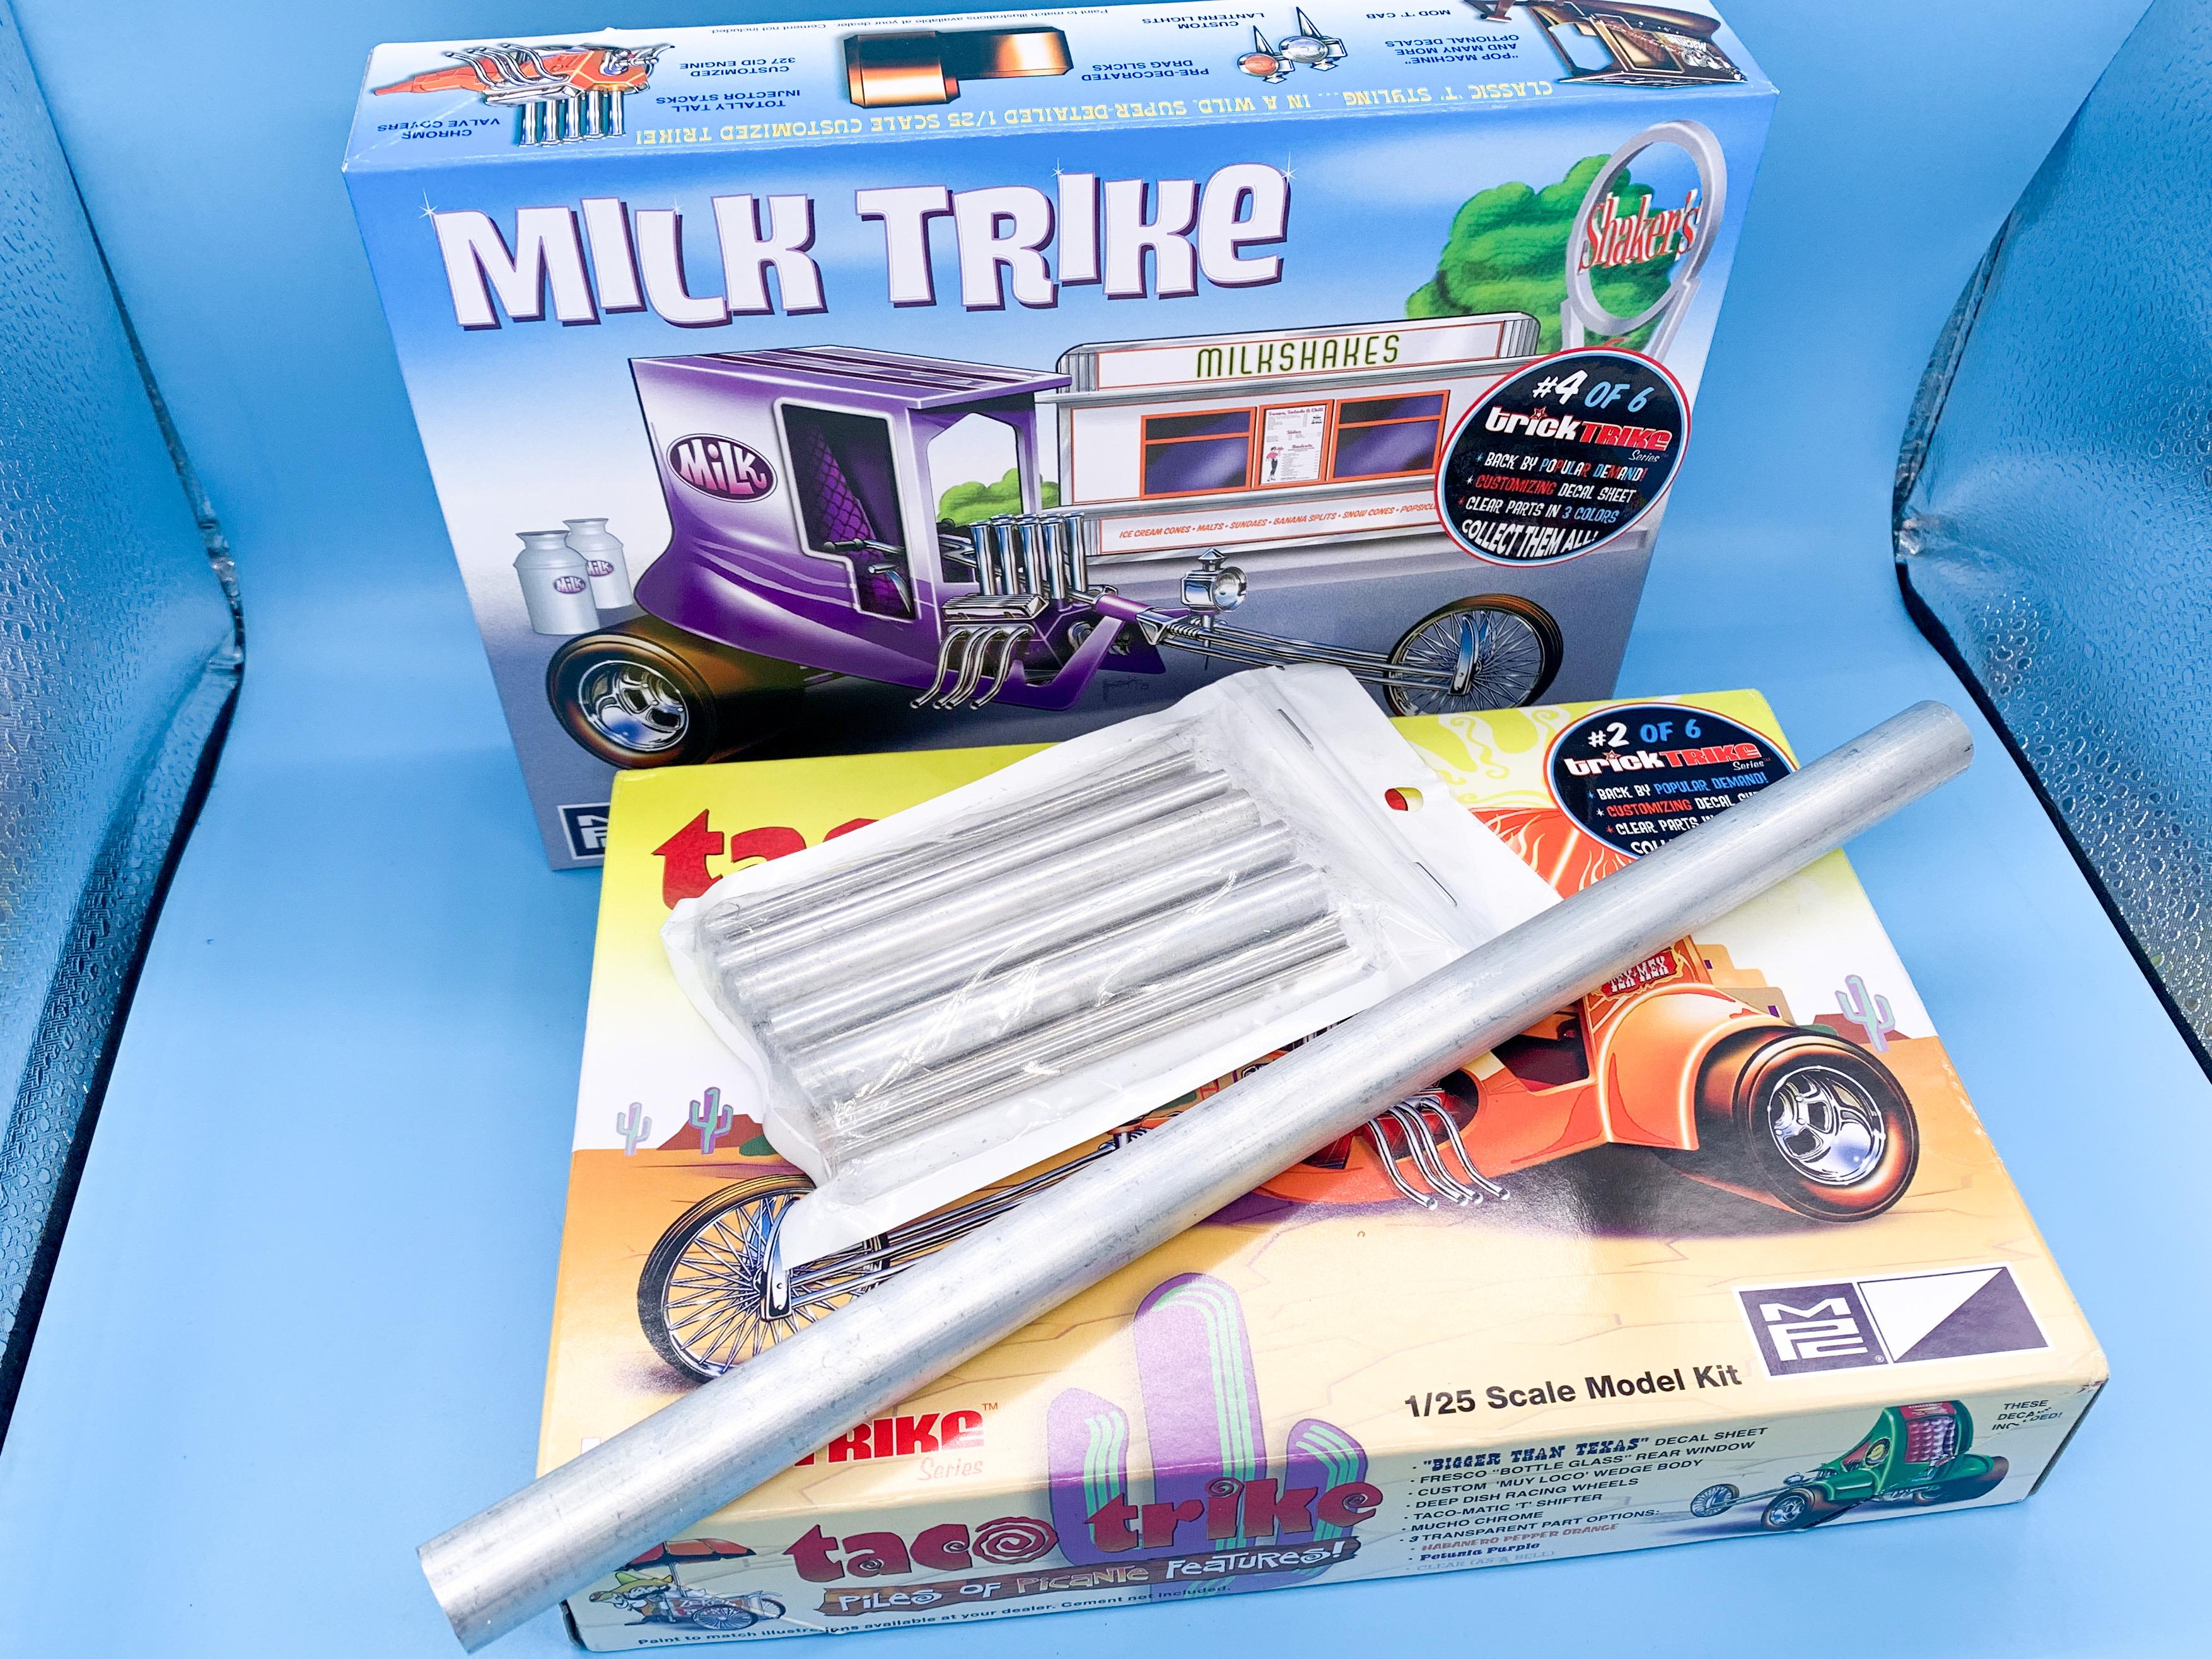
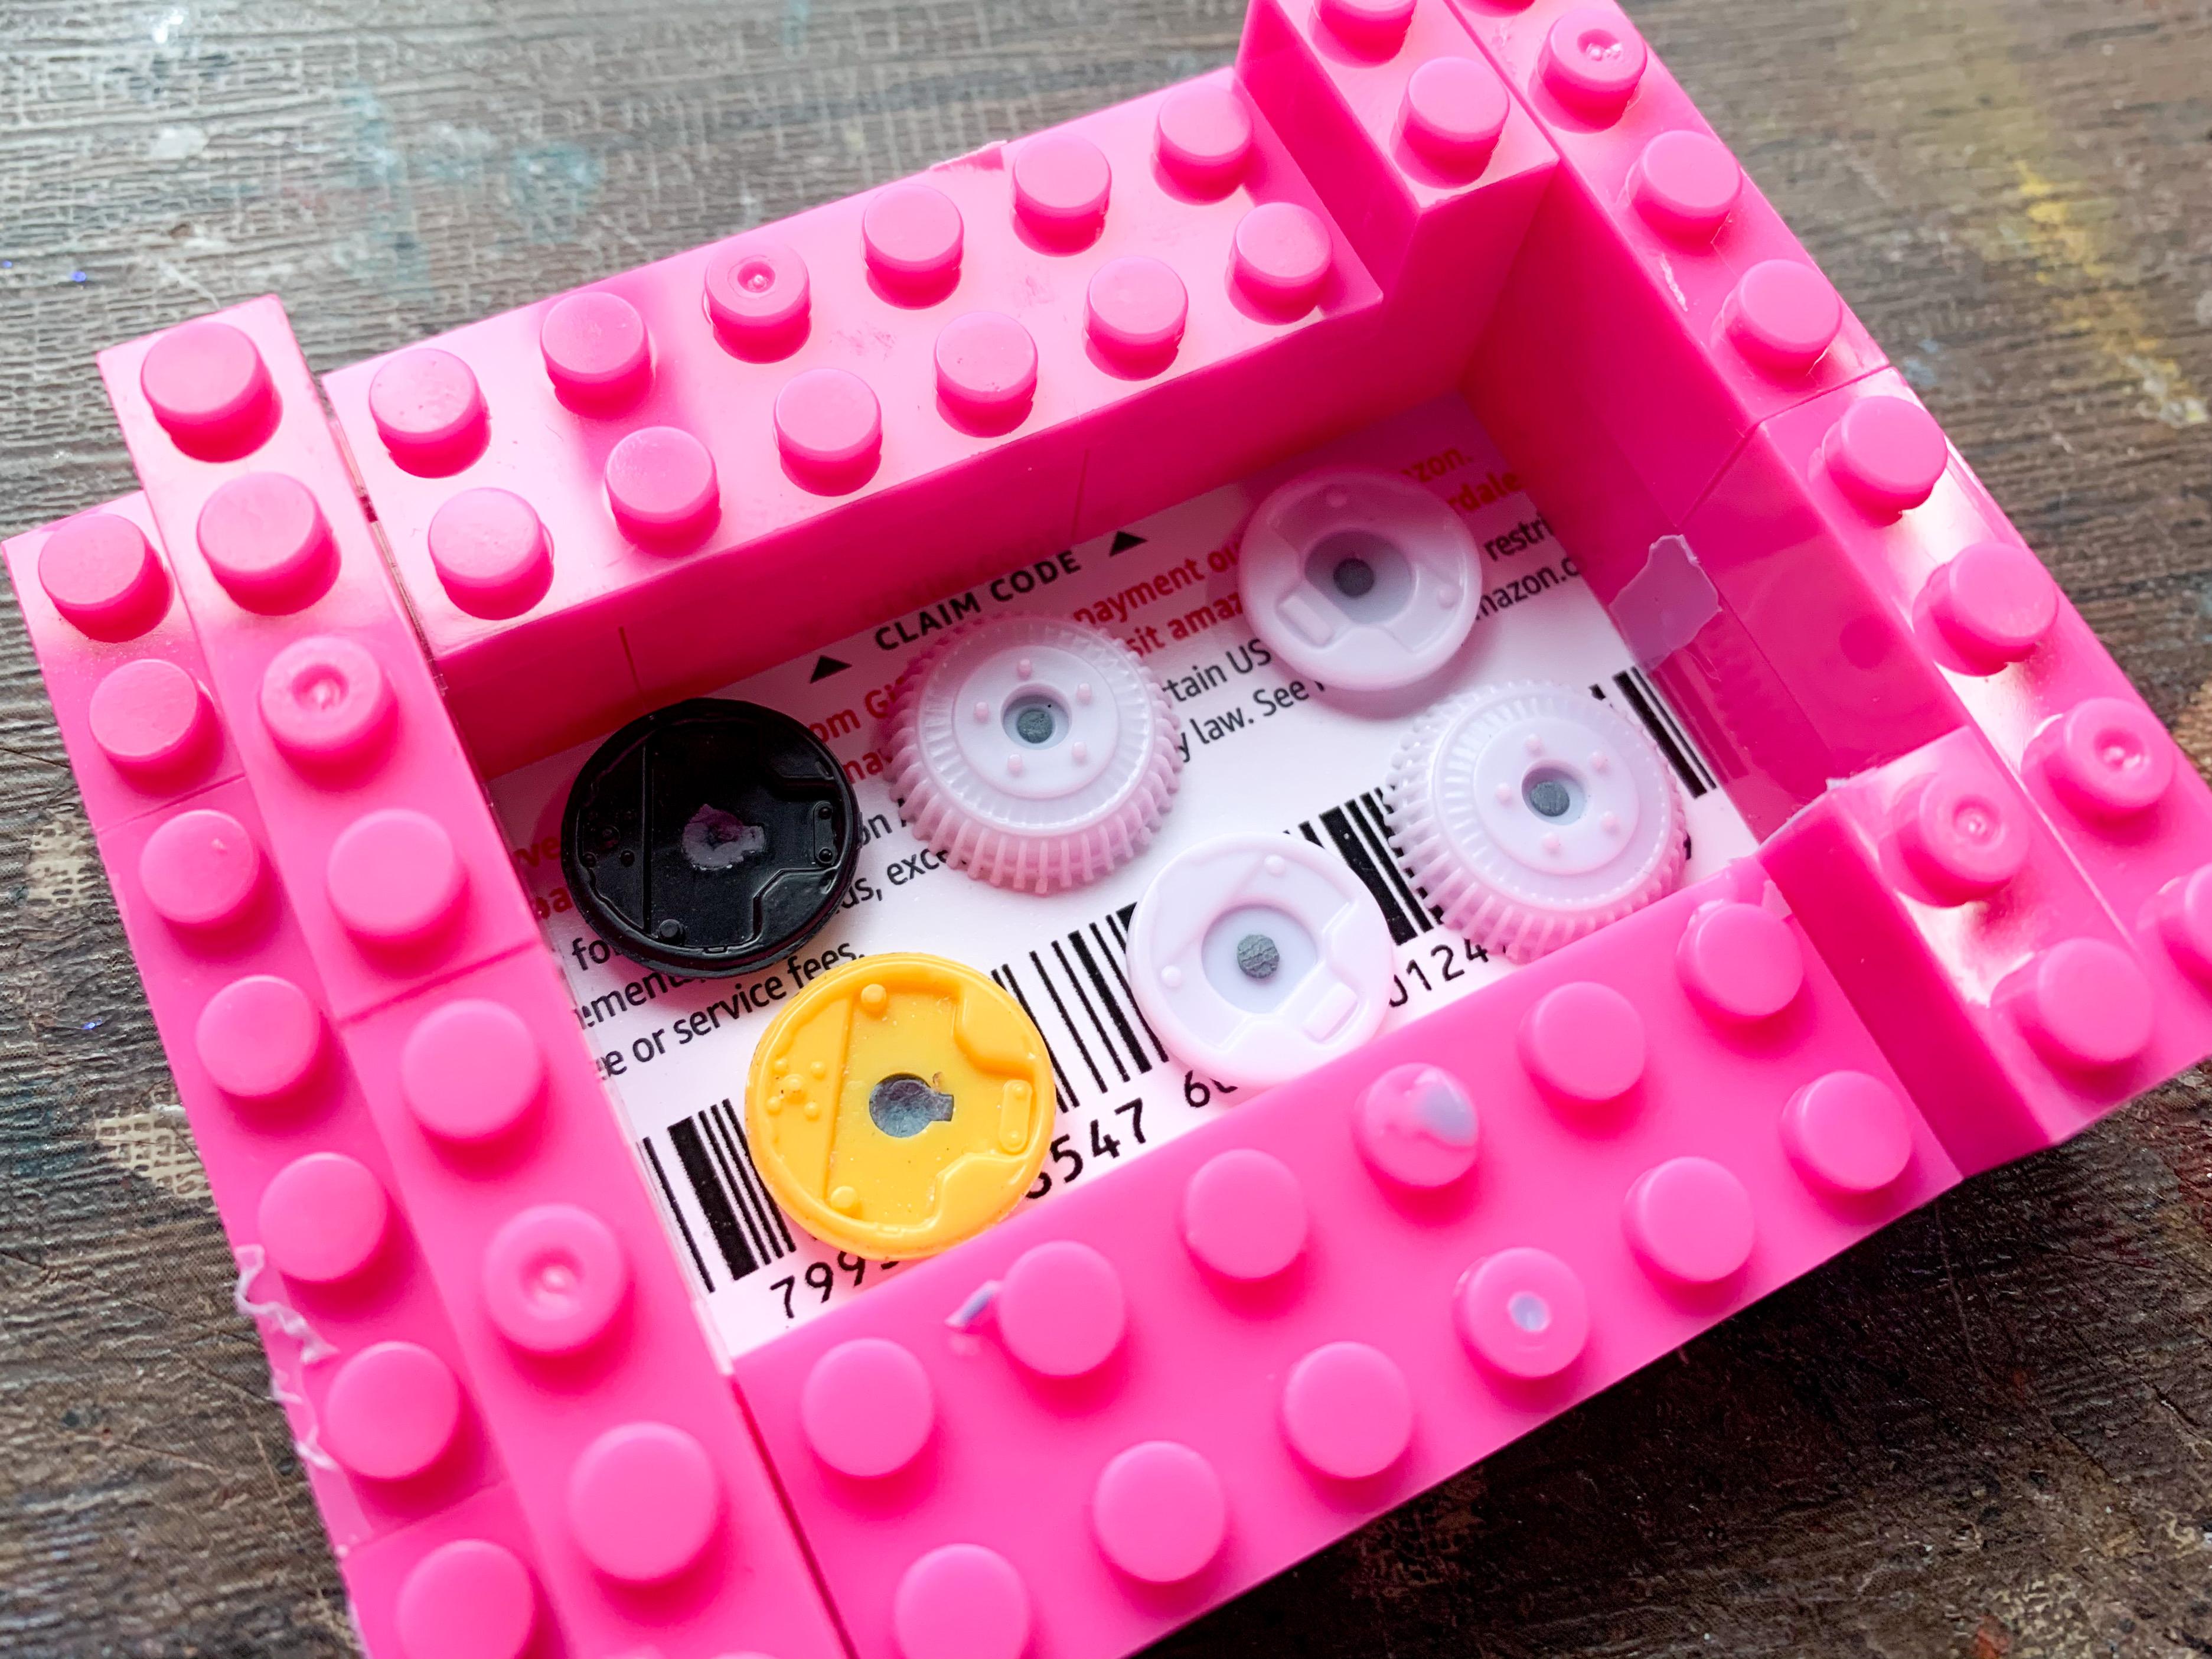
Got one of these circuit board holders from Amazon today - I’d seen other people use them and thought “meh, I’ve done this long without one”, but then the project I’m working on right now involves a bunch of Alclad’d parts that are going to be tough not to damage when I’m assembling them to the frame... Seems super study and well made for $11 - I’m happy! Also picked up a couple more of the MPC trike series - I’m planning on building all six at some point in the next year or two so I’m grabbing them now whilst they’re easy enough to find: And, whilst I was ordering stuff anyway, picked up some aluminum bar...ordered a lathe last week so I figured I should grab some material to make chips out of ?:
-
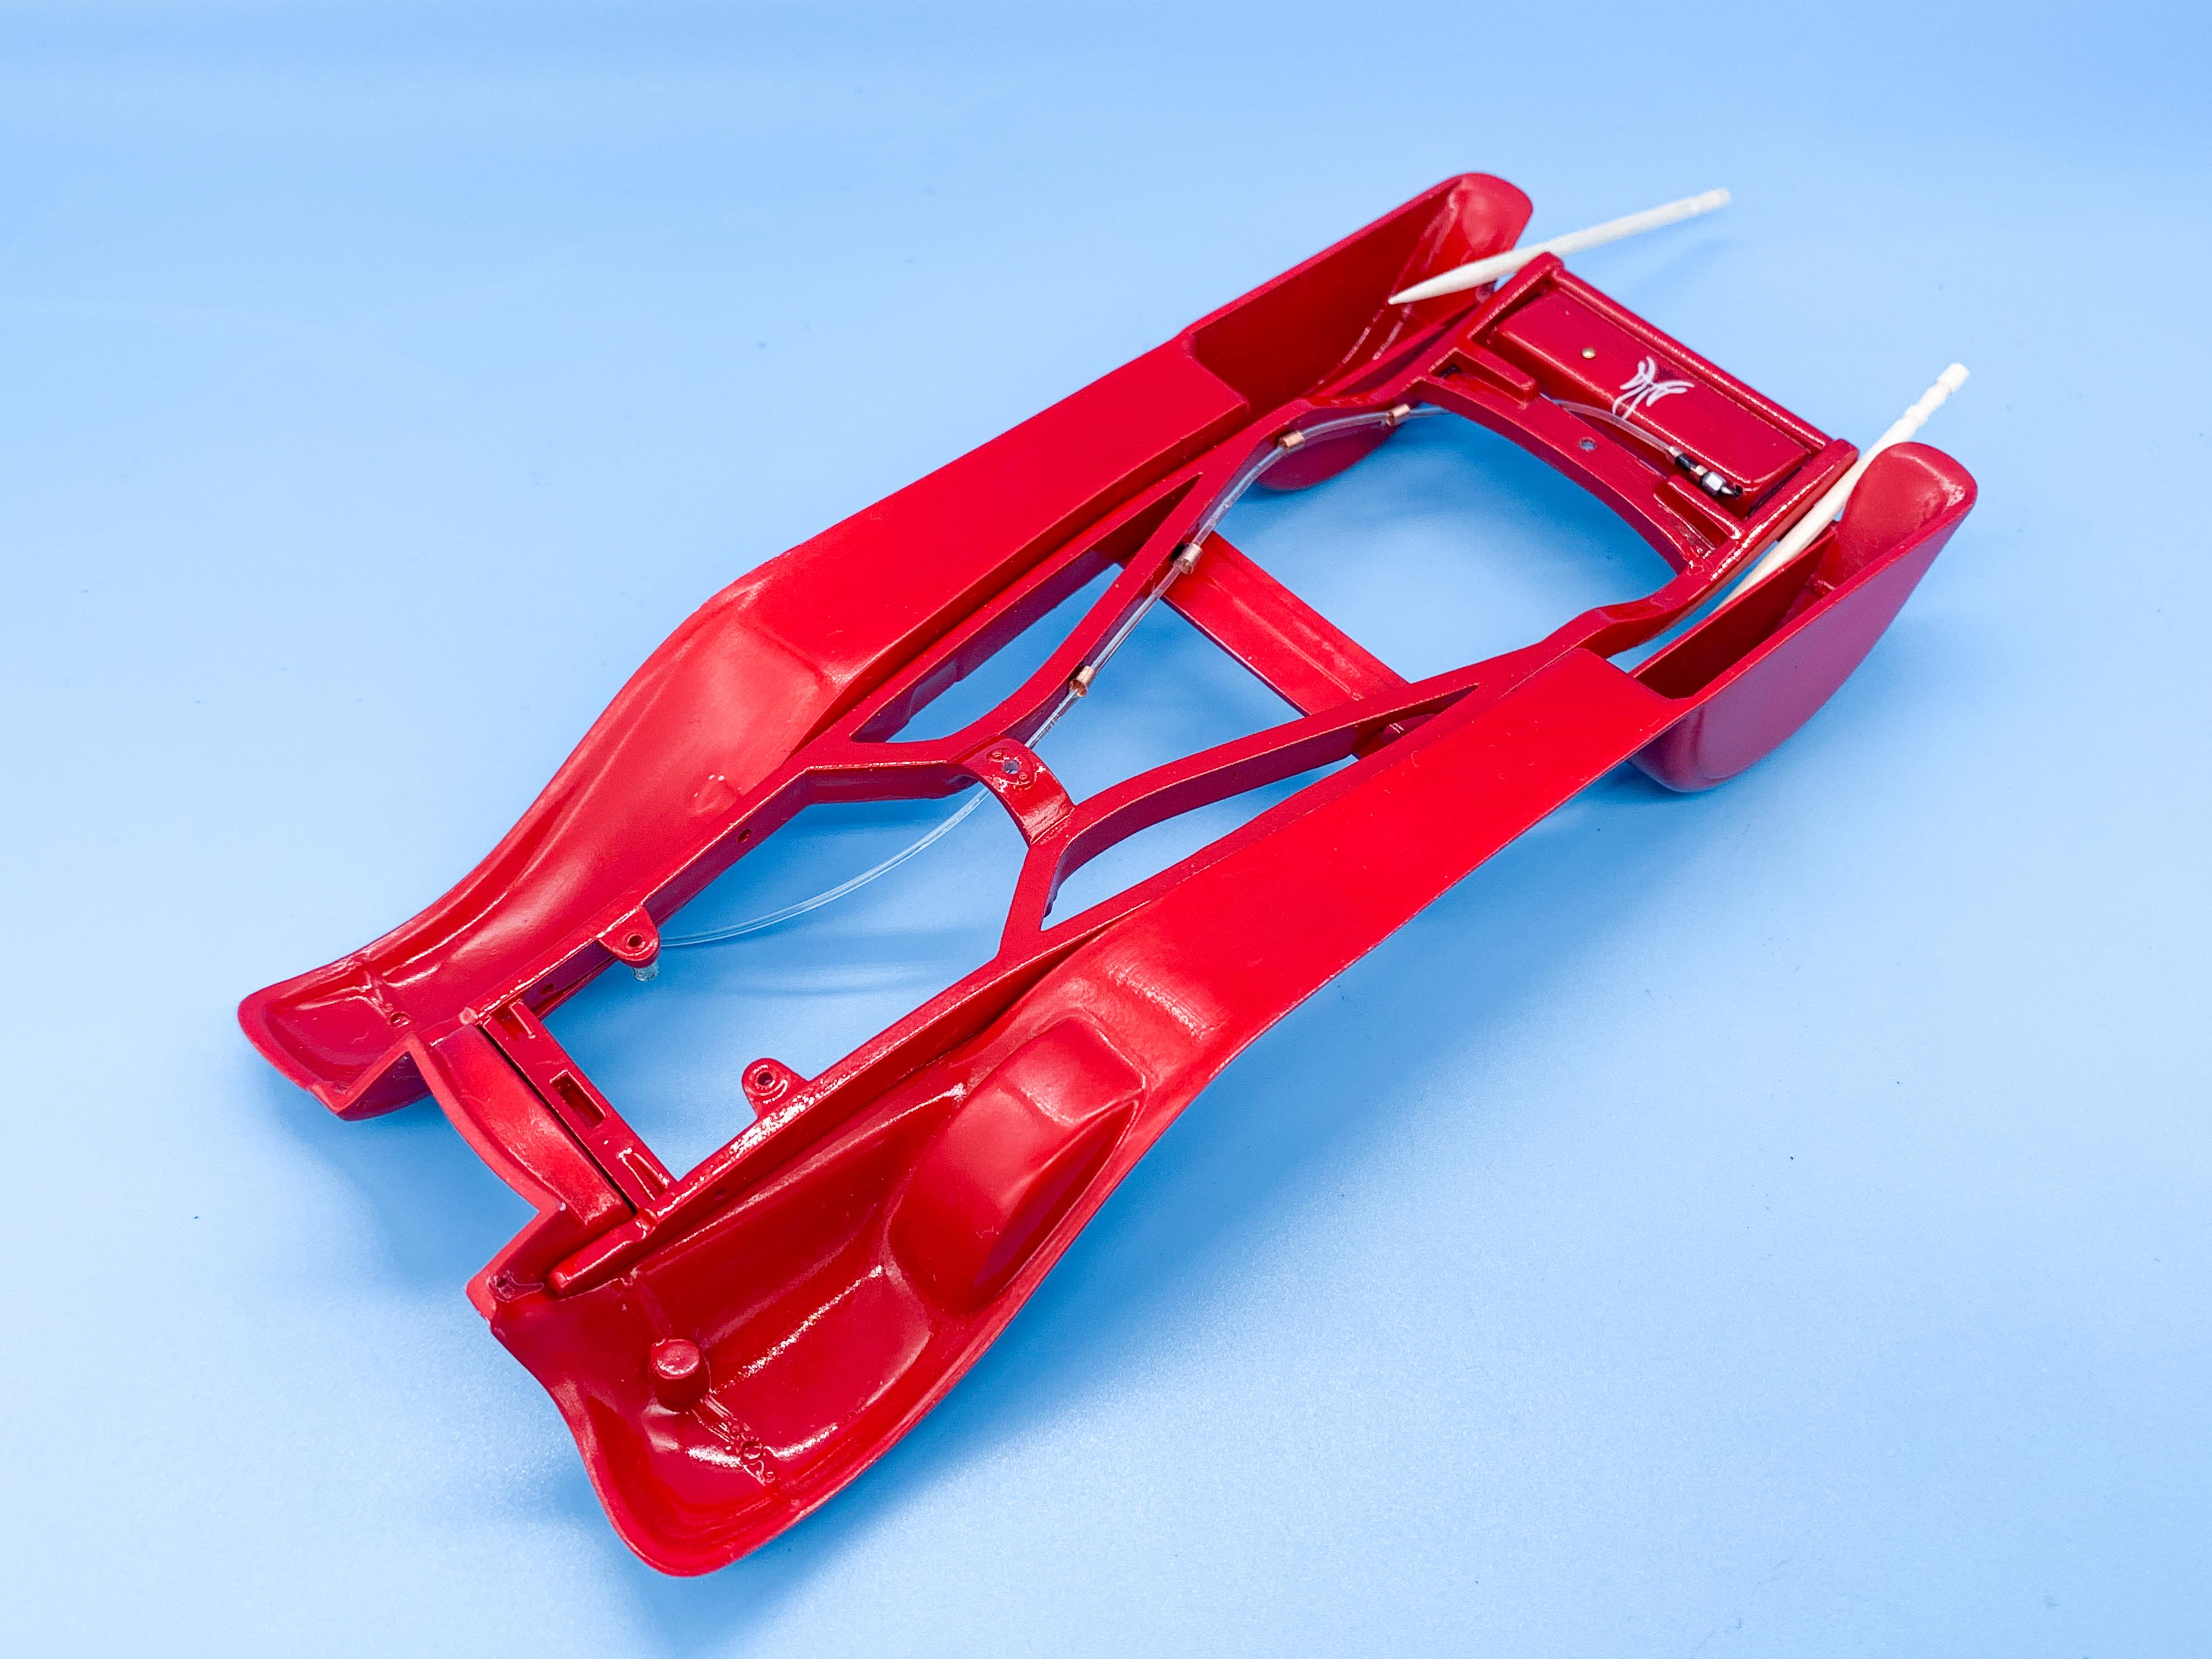
Belly Tank - MADE IN BRAZIL
CabDriver replied to uelder valongo's topic in Other Racing: Road Racing, Salt Flat Racers
This is really cool - I love it! So the body is 3D printed? Is it for sale anywhere? -
Bring on the pastel tones! ?
-
Nice work Dennis - I especially like the wiring loom! It’s coming together - can’t be too far off being ready for paint?
-
34 Church Truck
CabDriver replied to CabDriver's topic in WIP: Model Trucks: Pickups, Vans, SUVs, Light Commercial
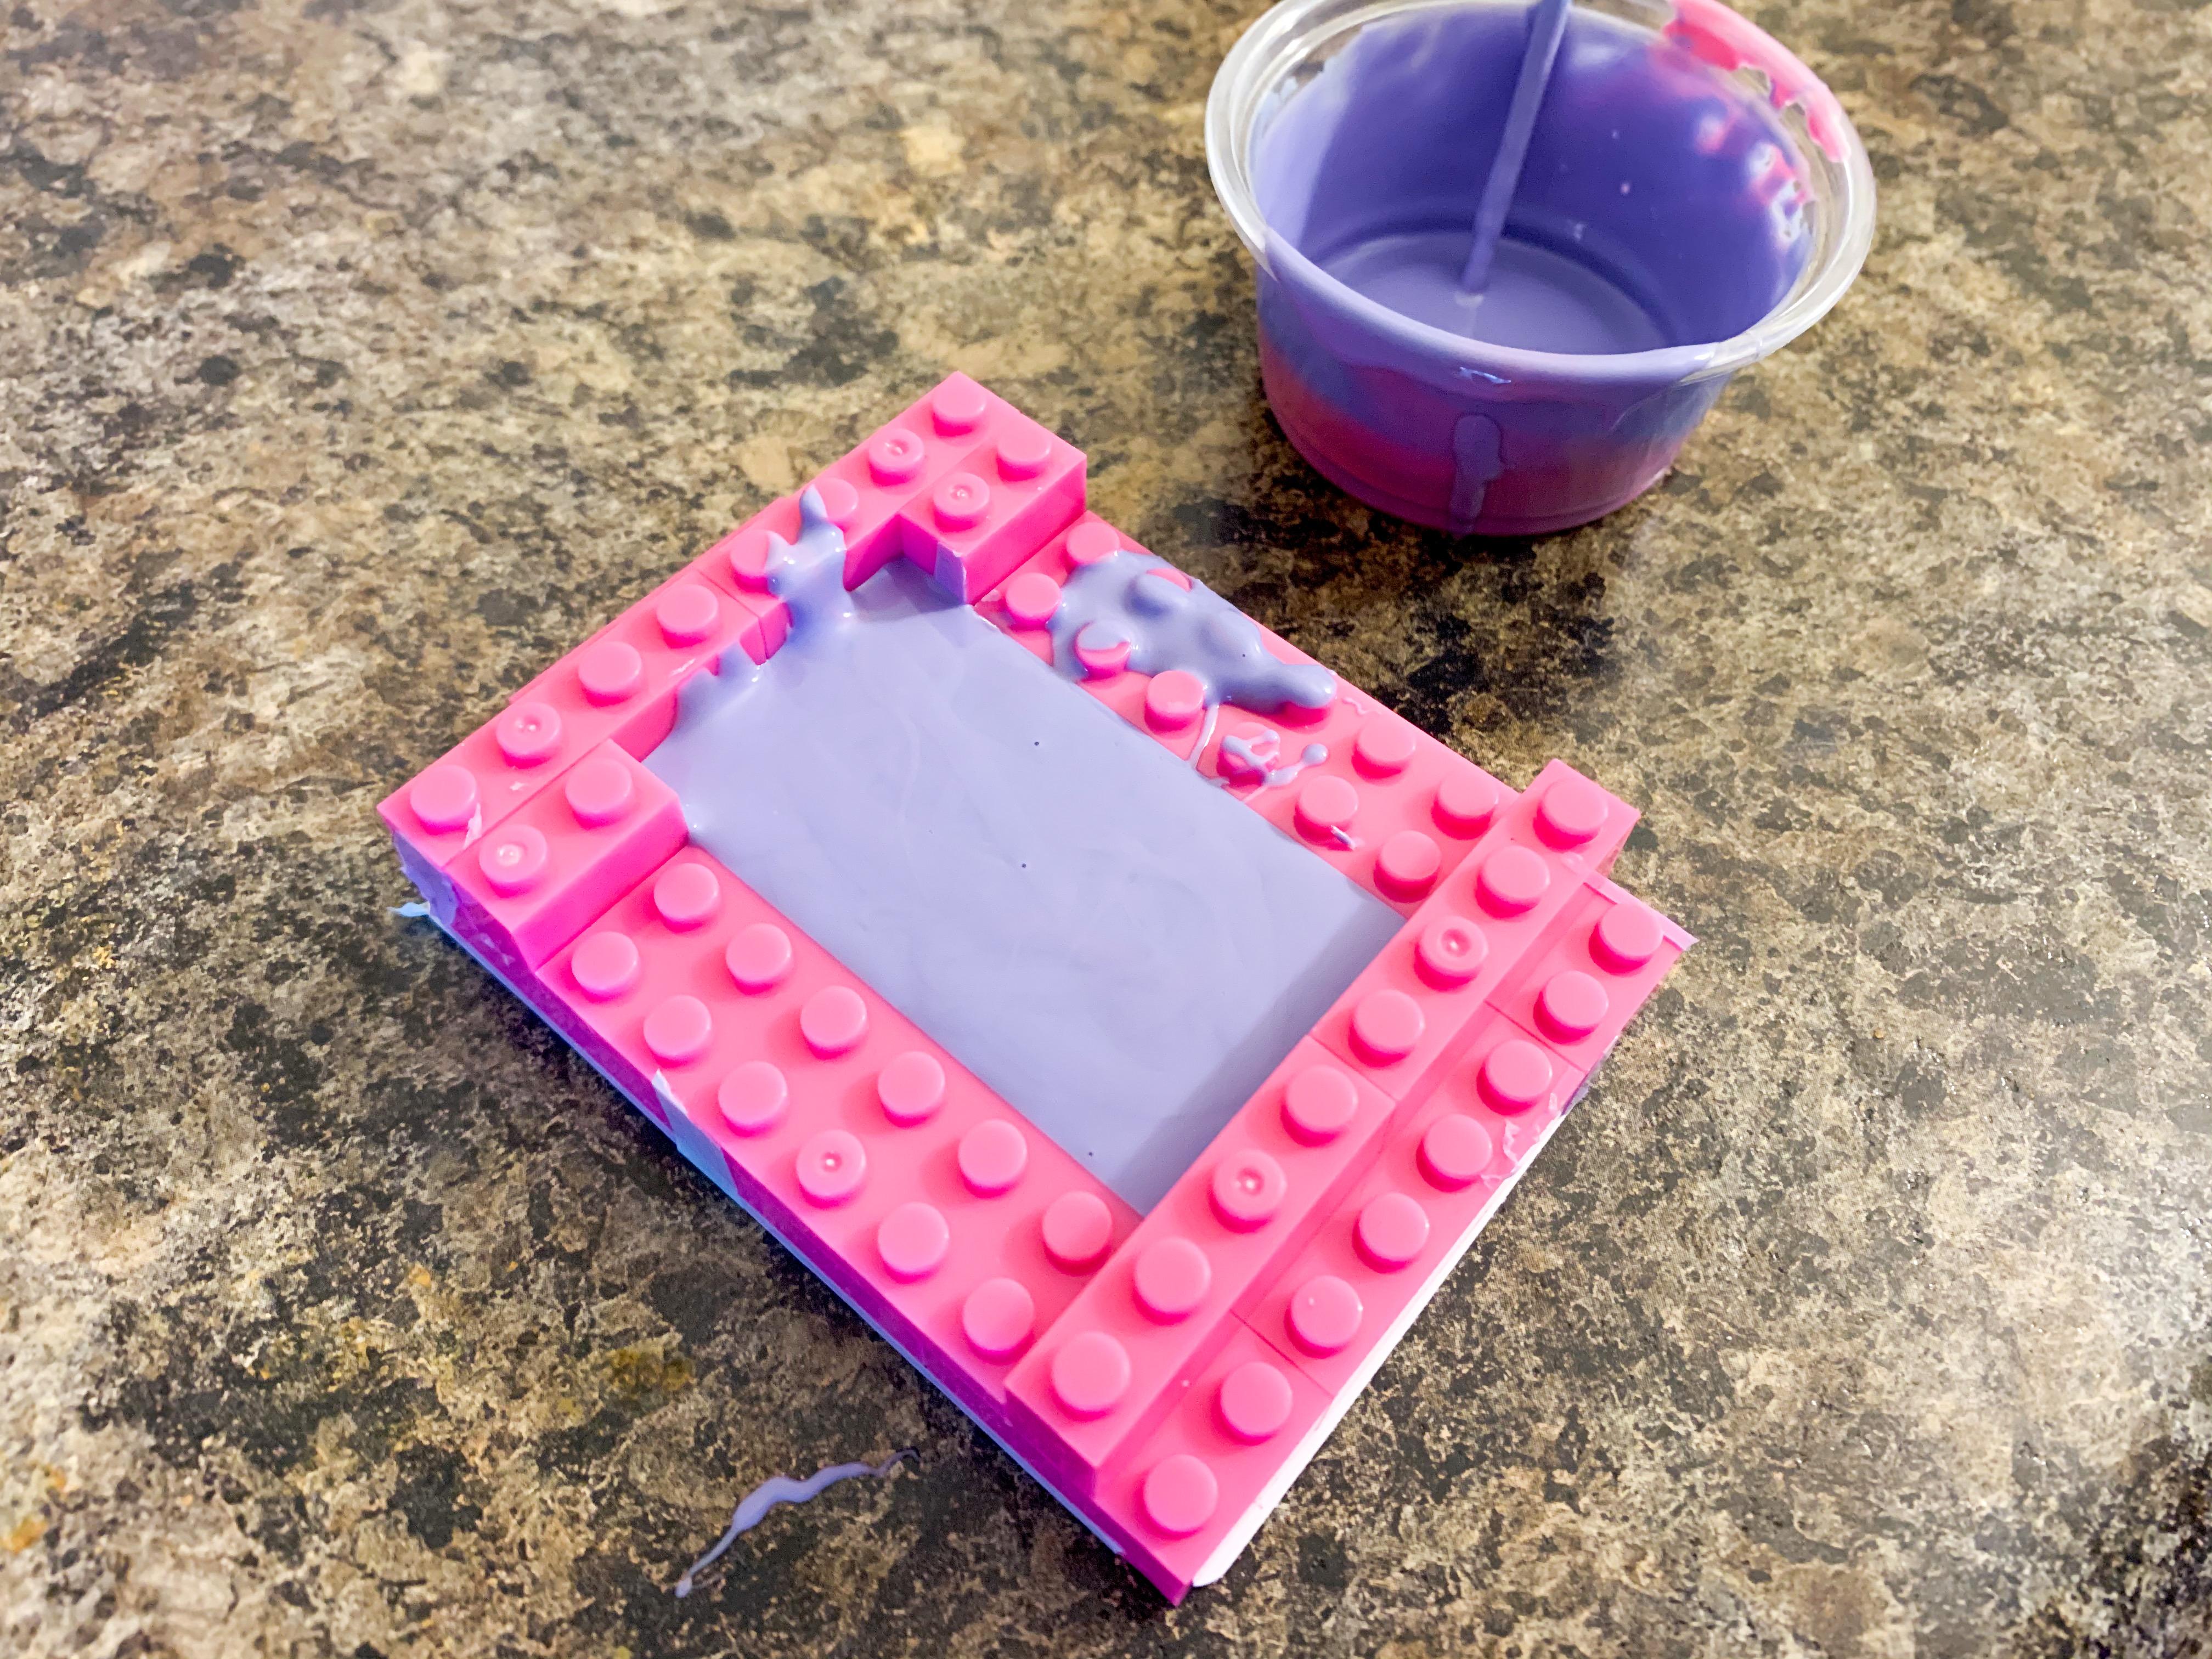
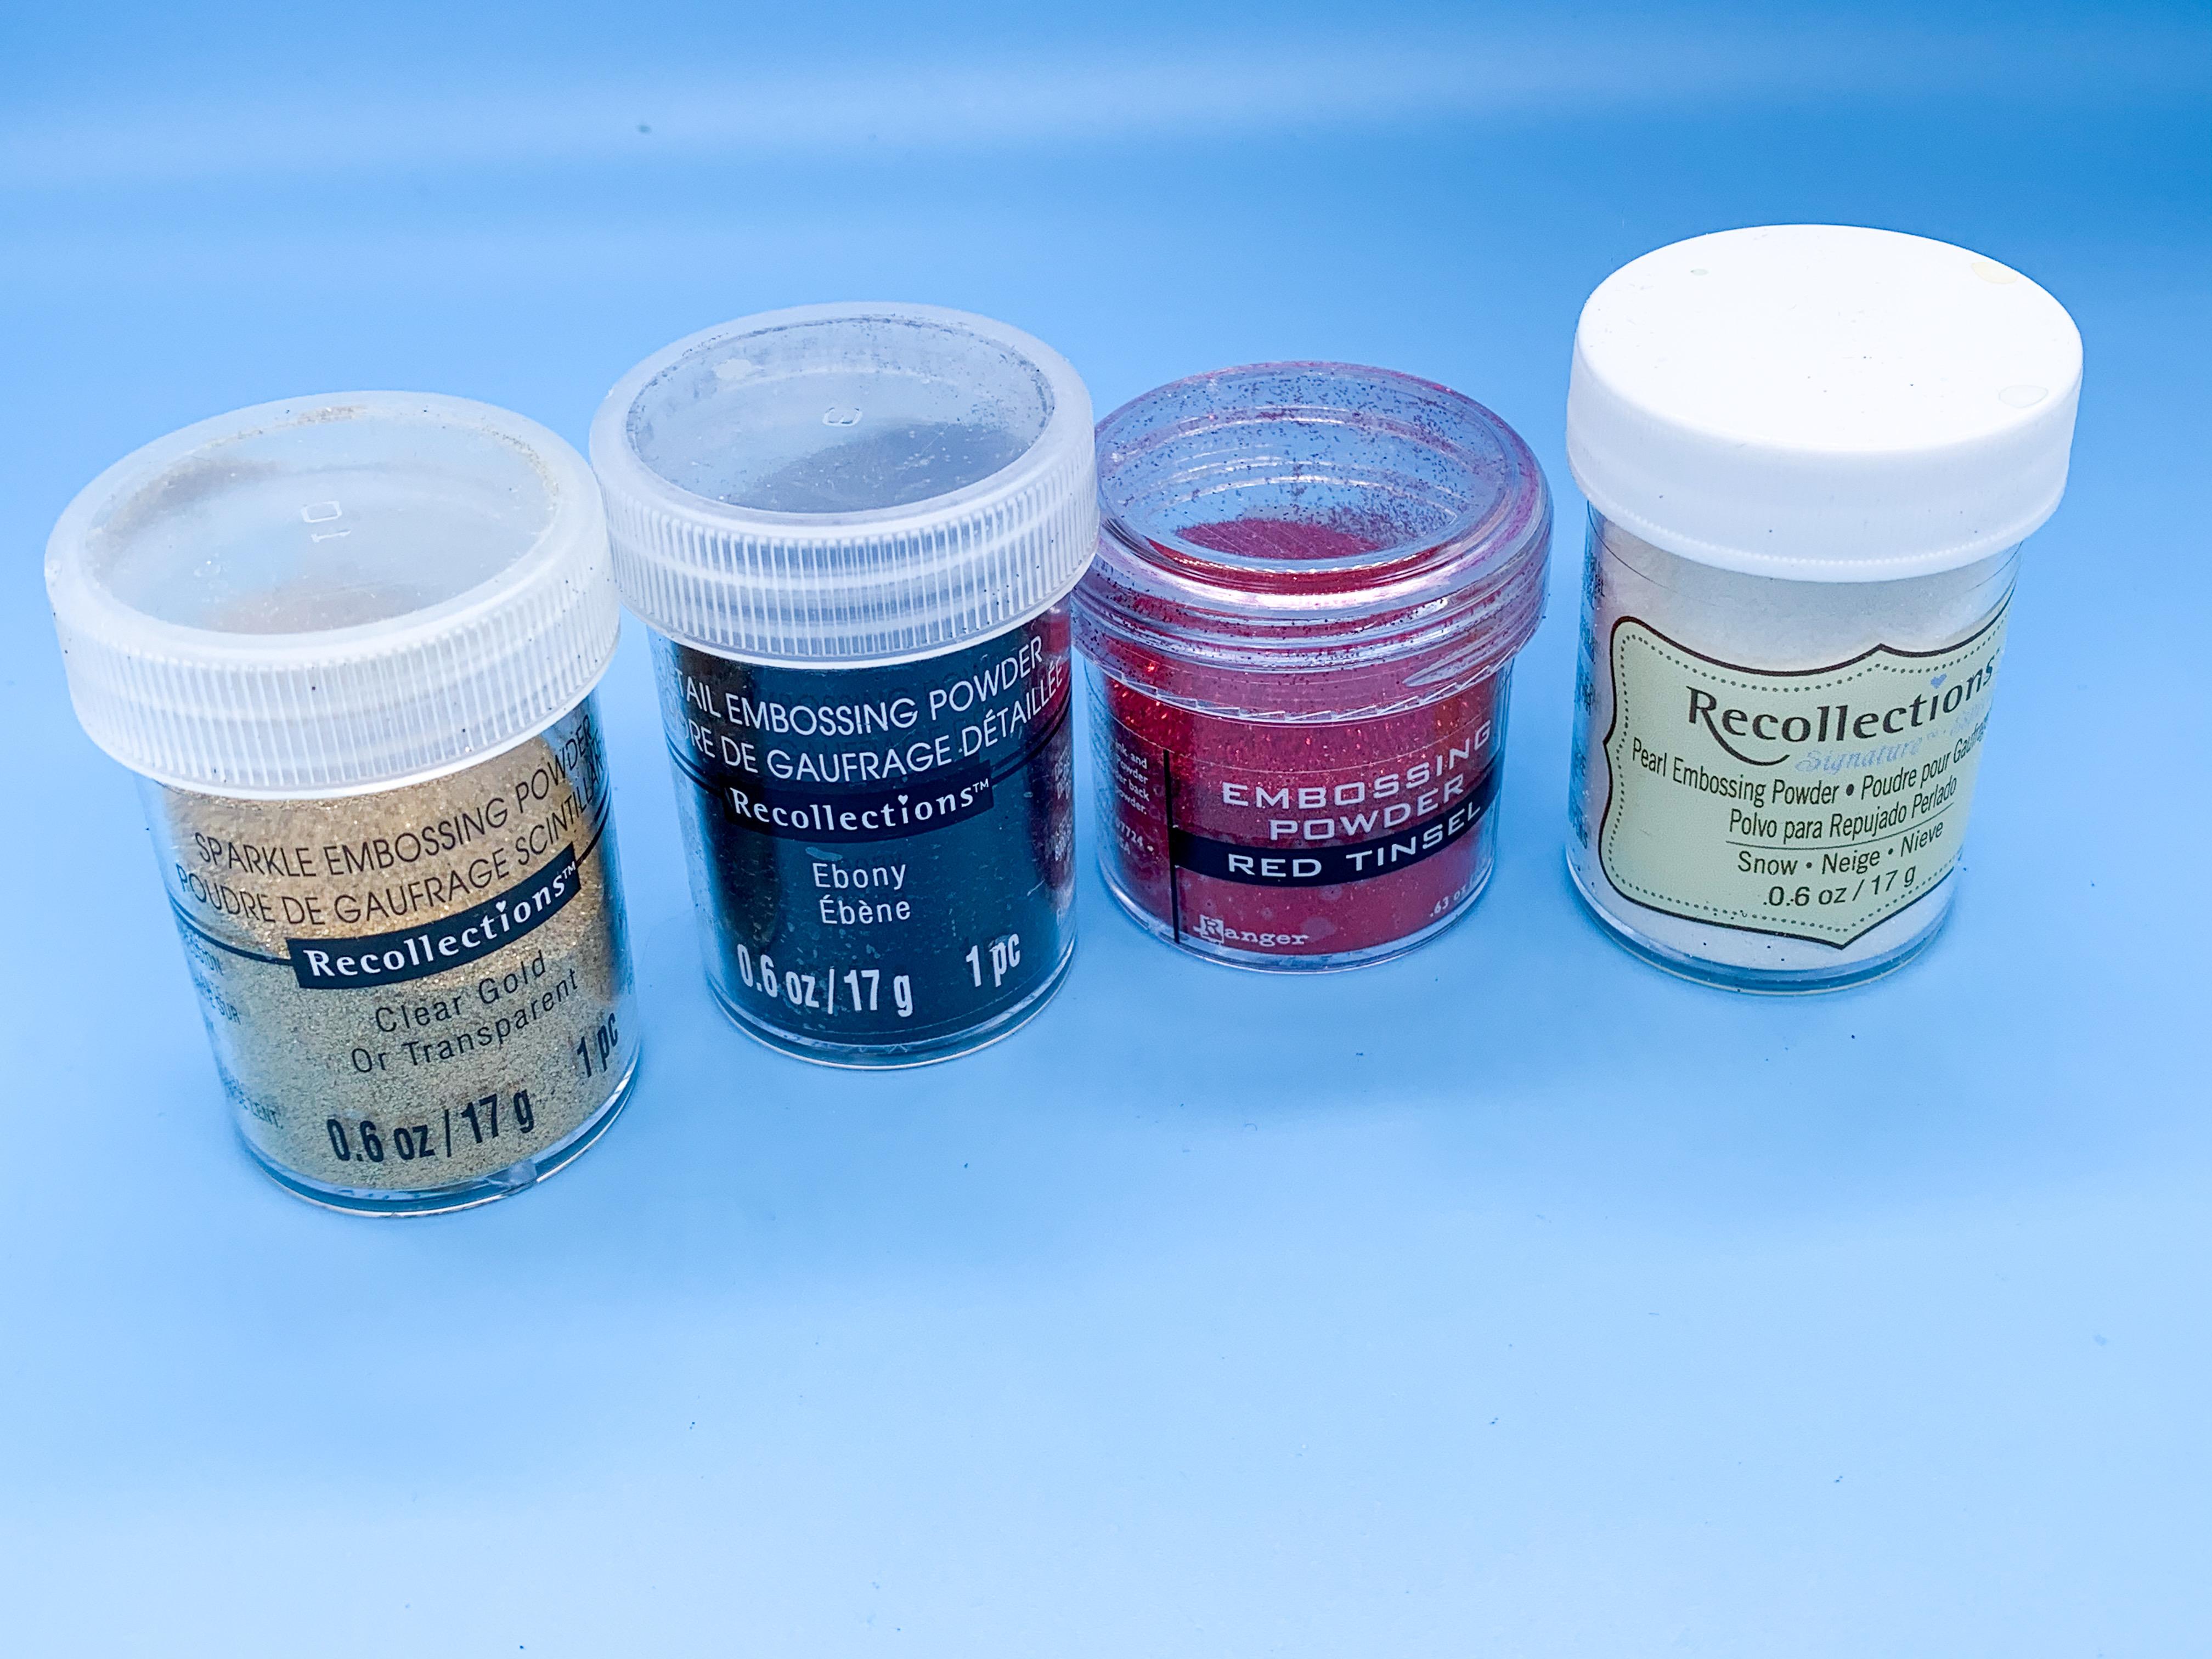
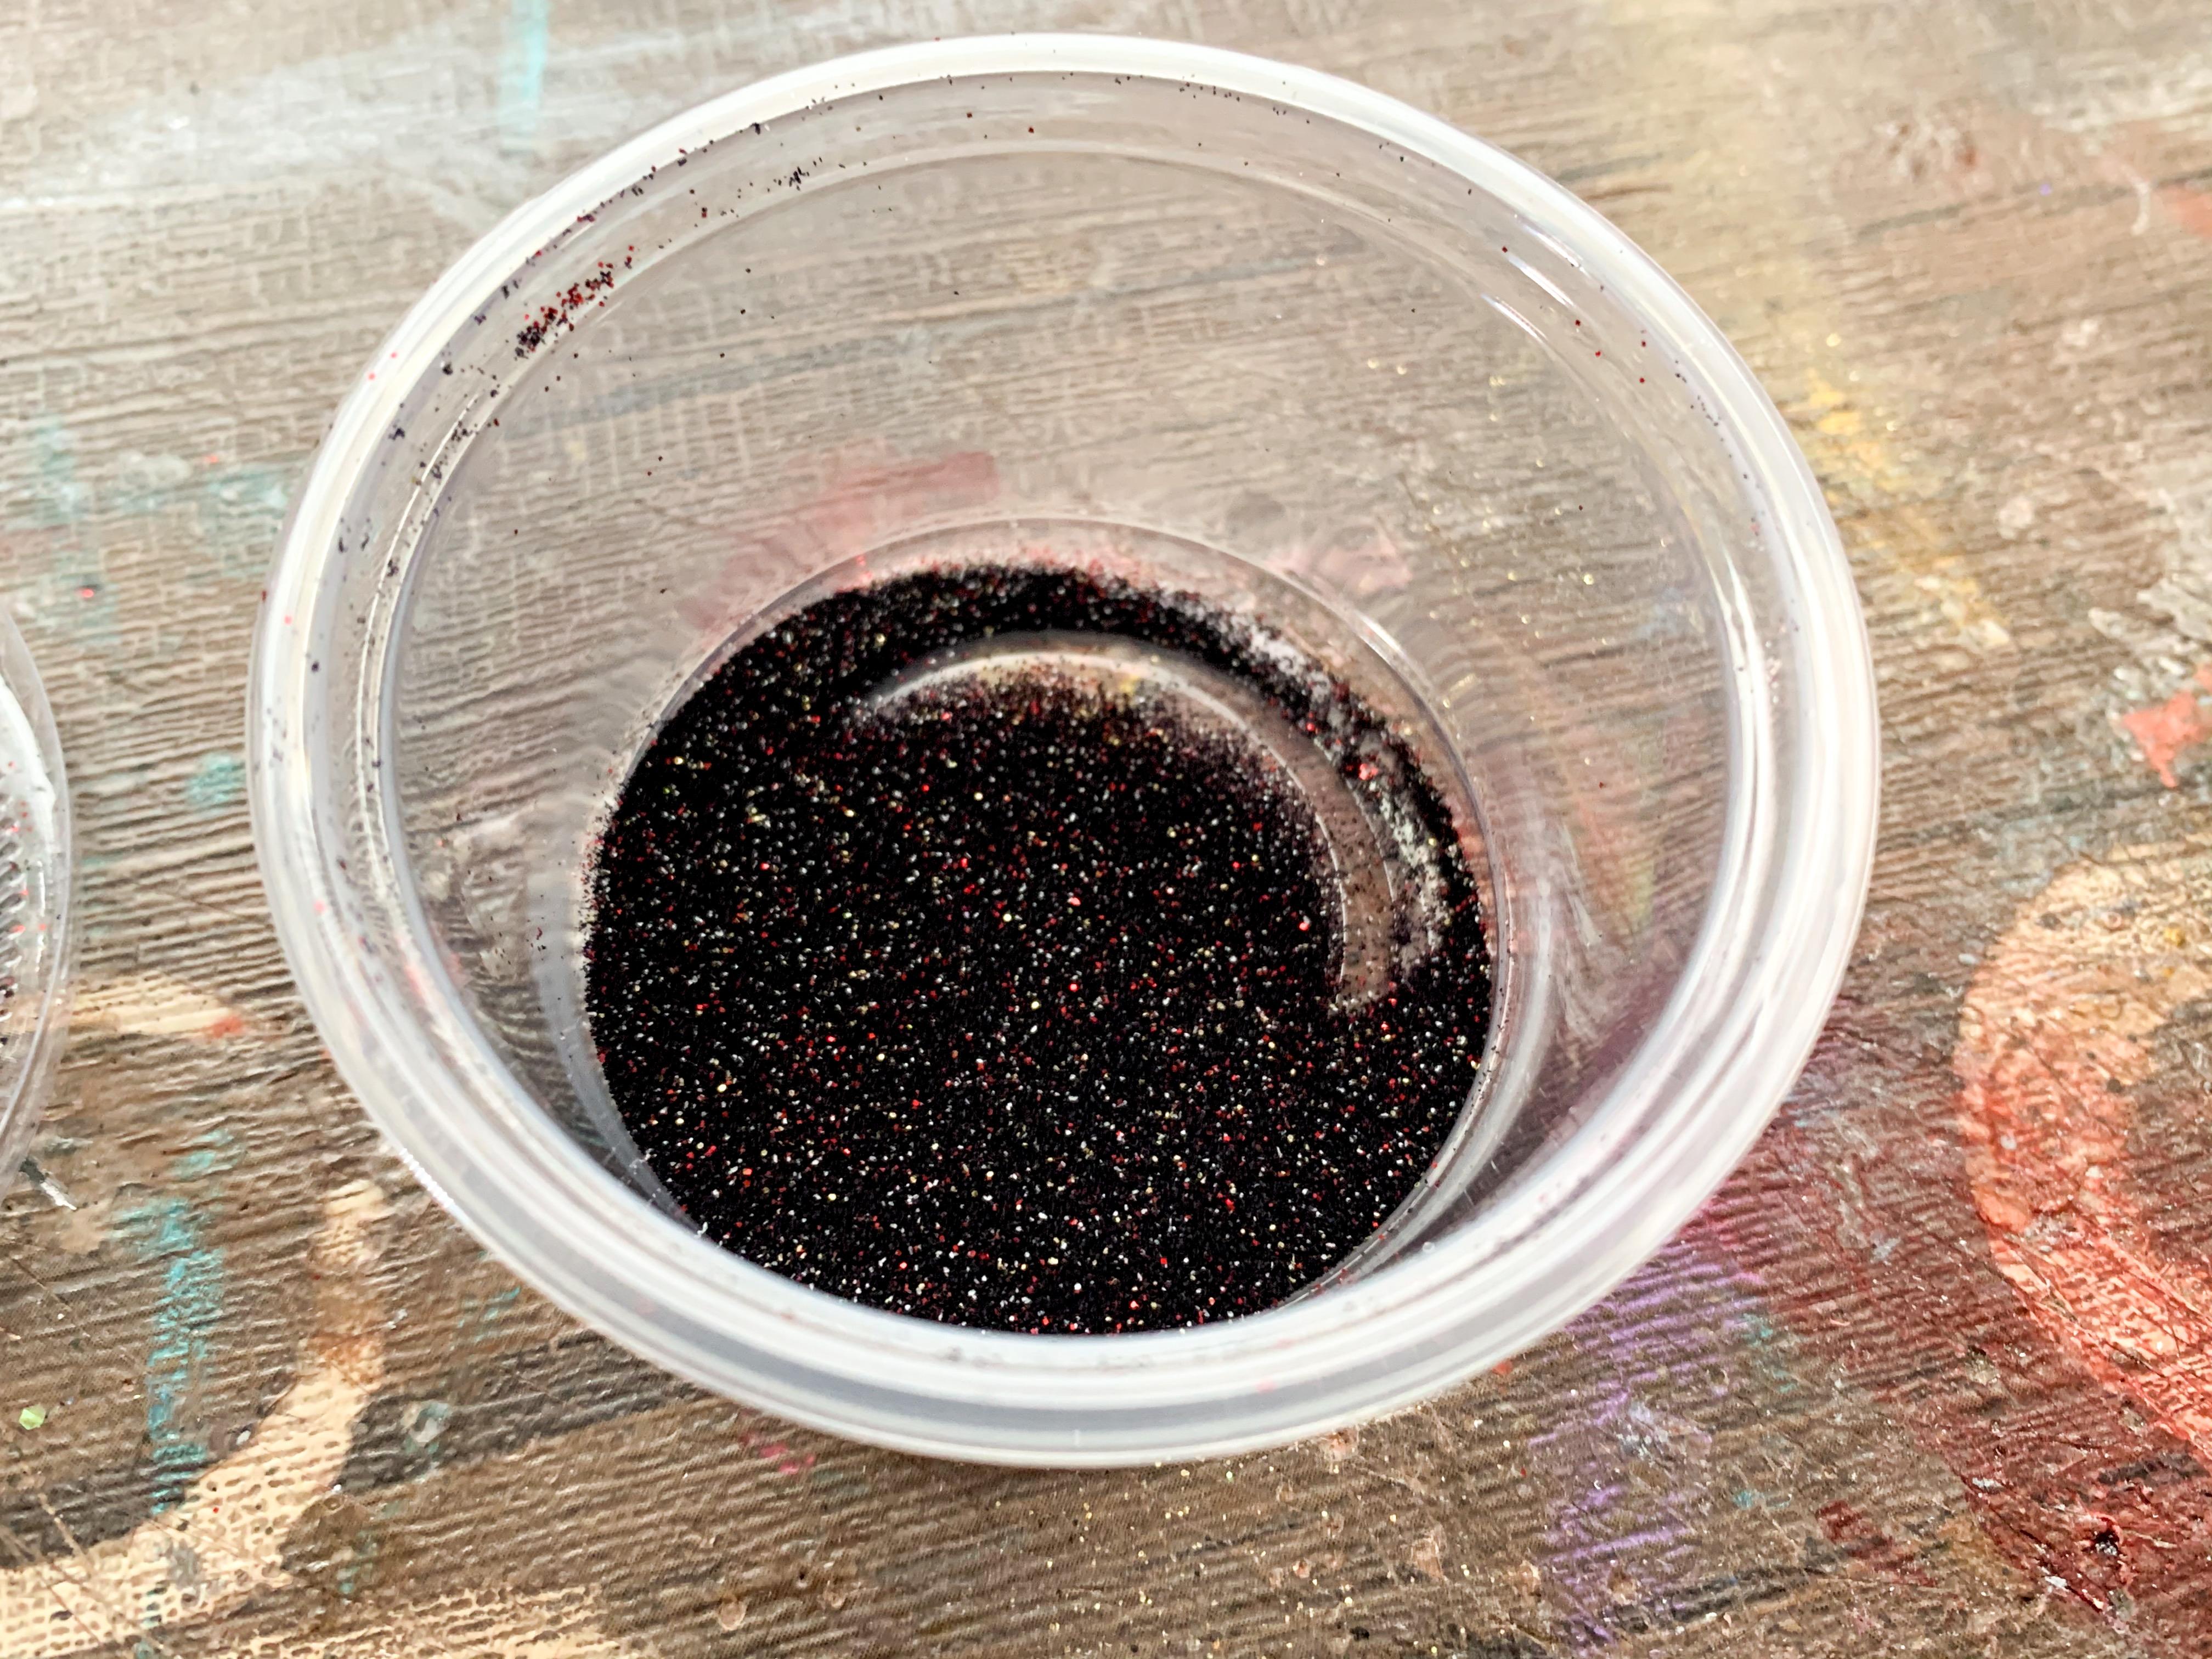
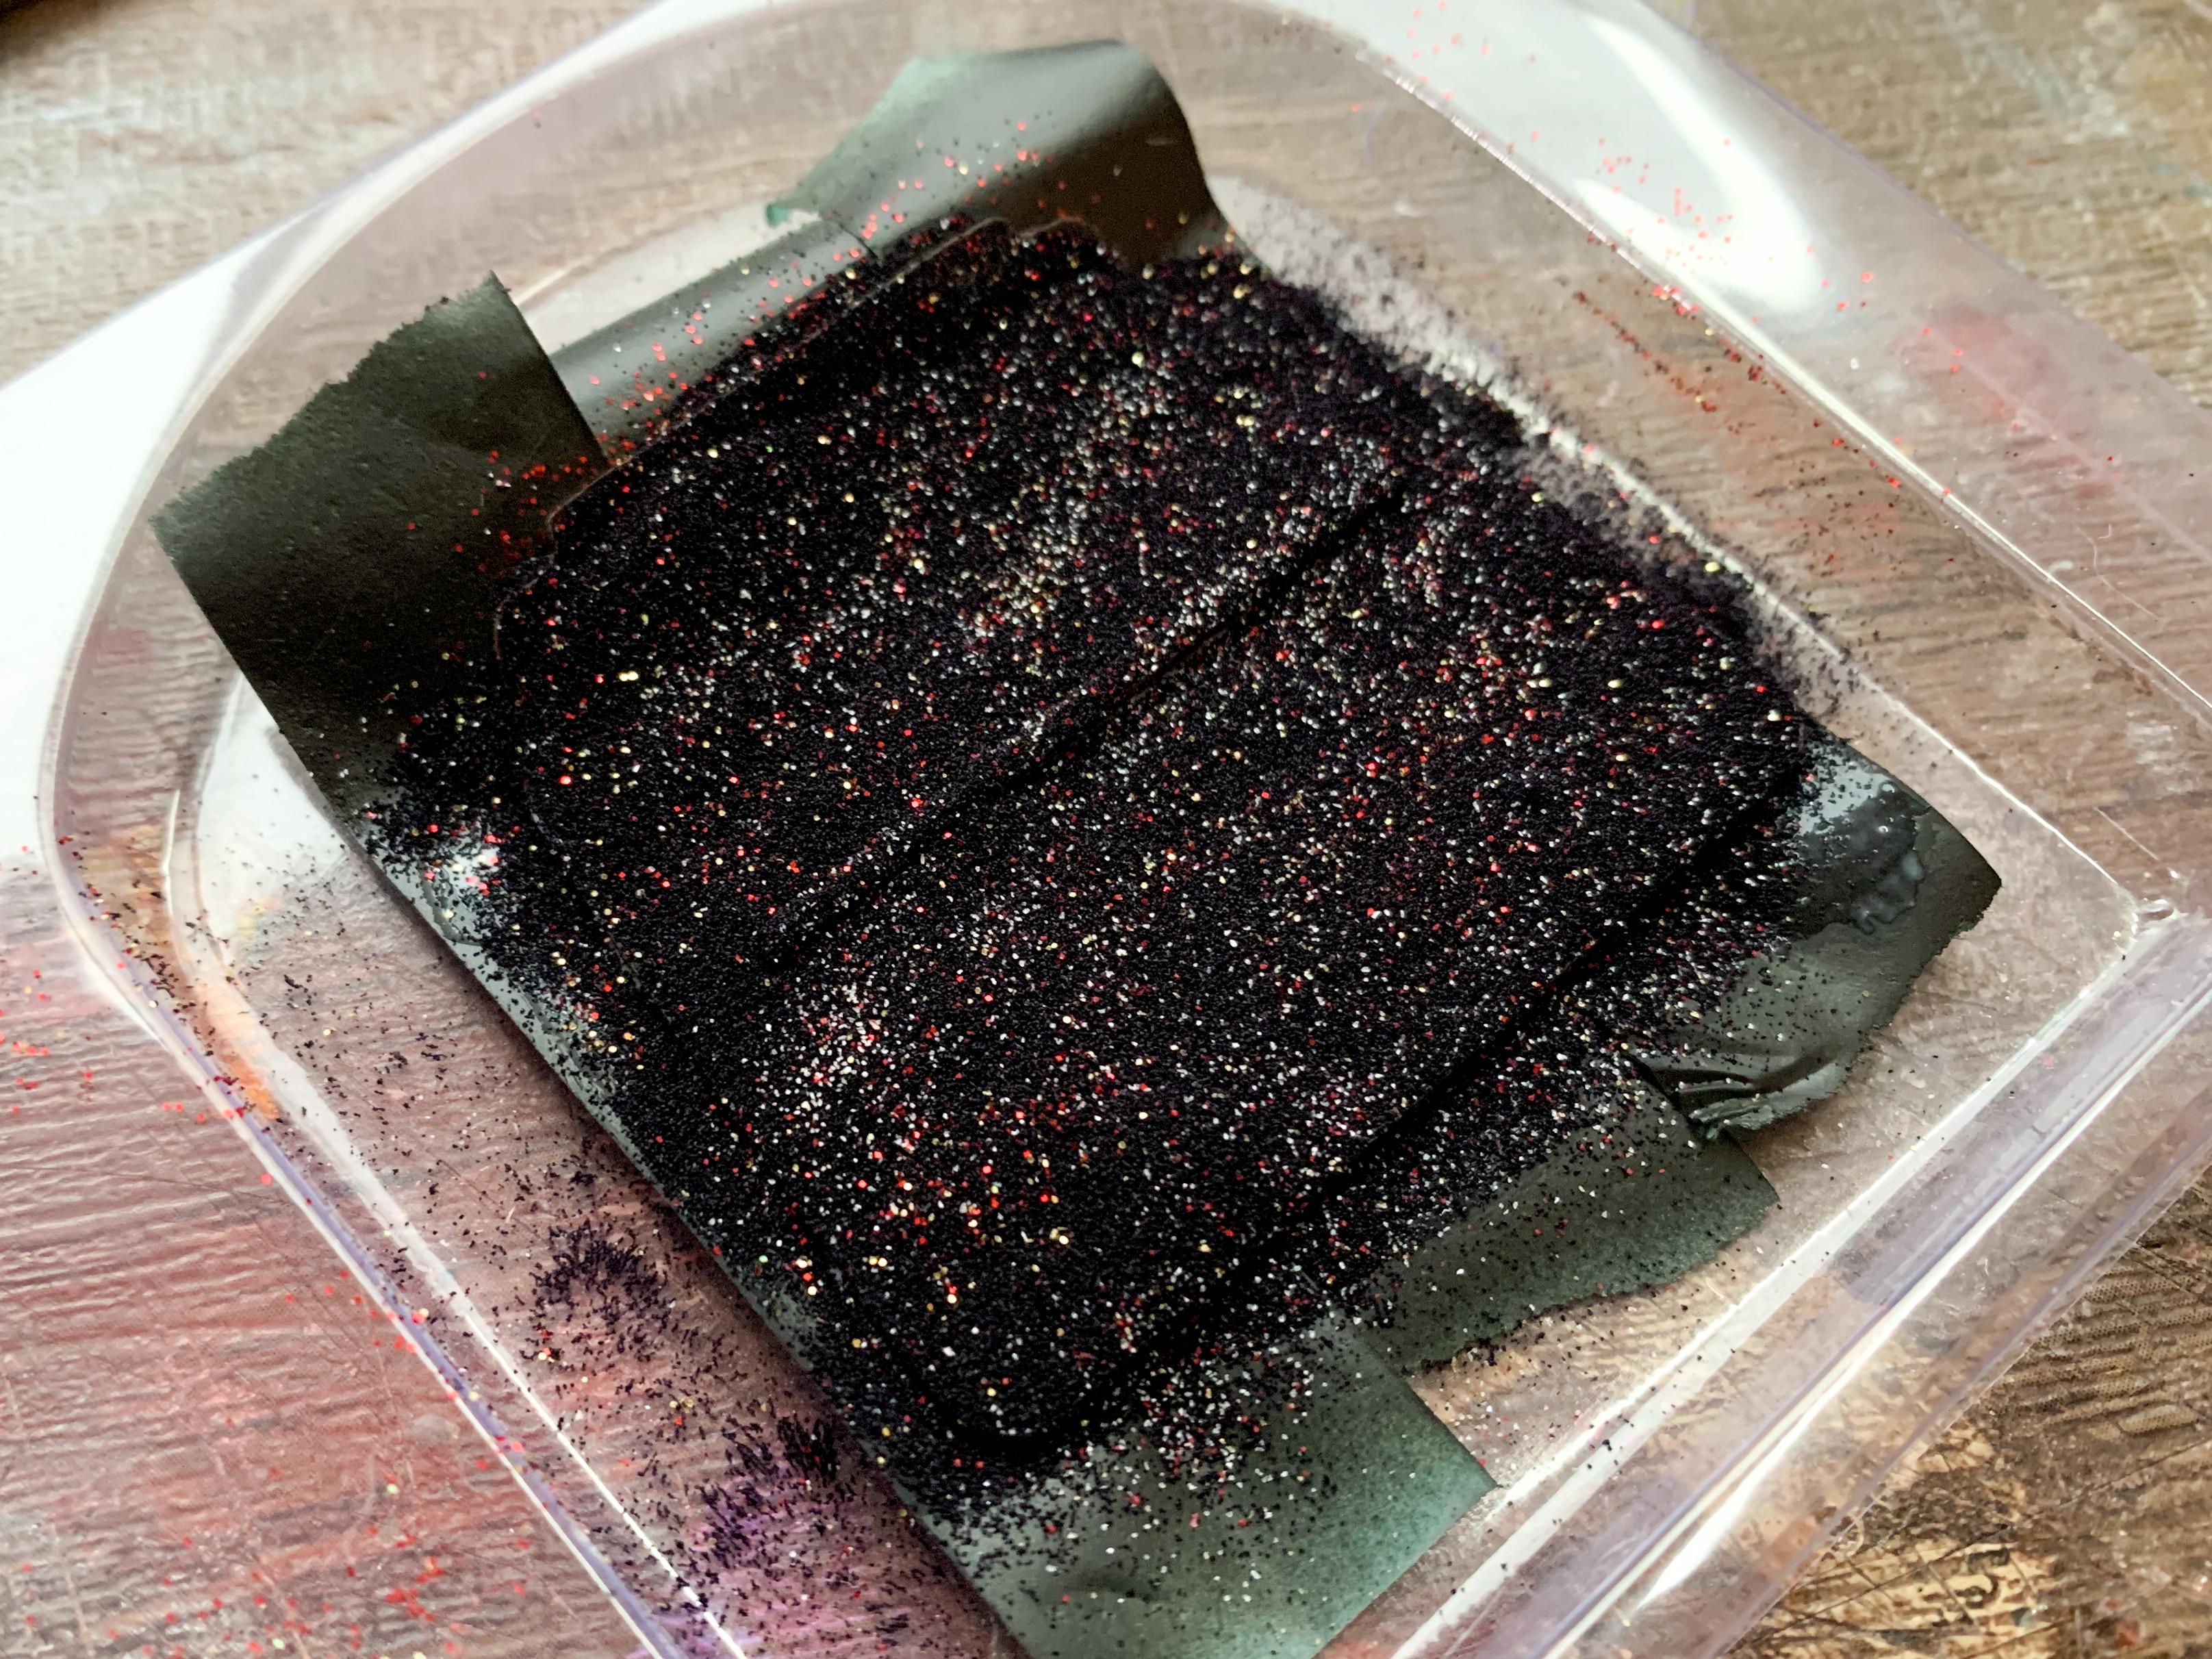
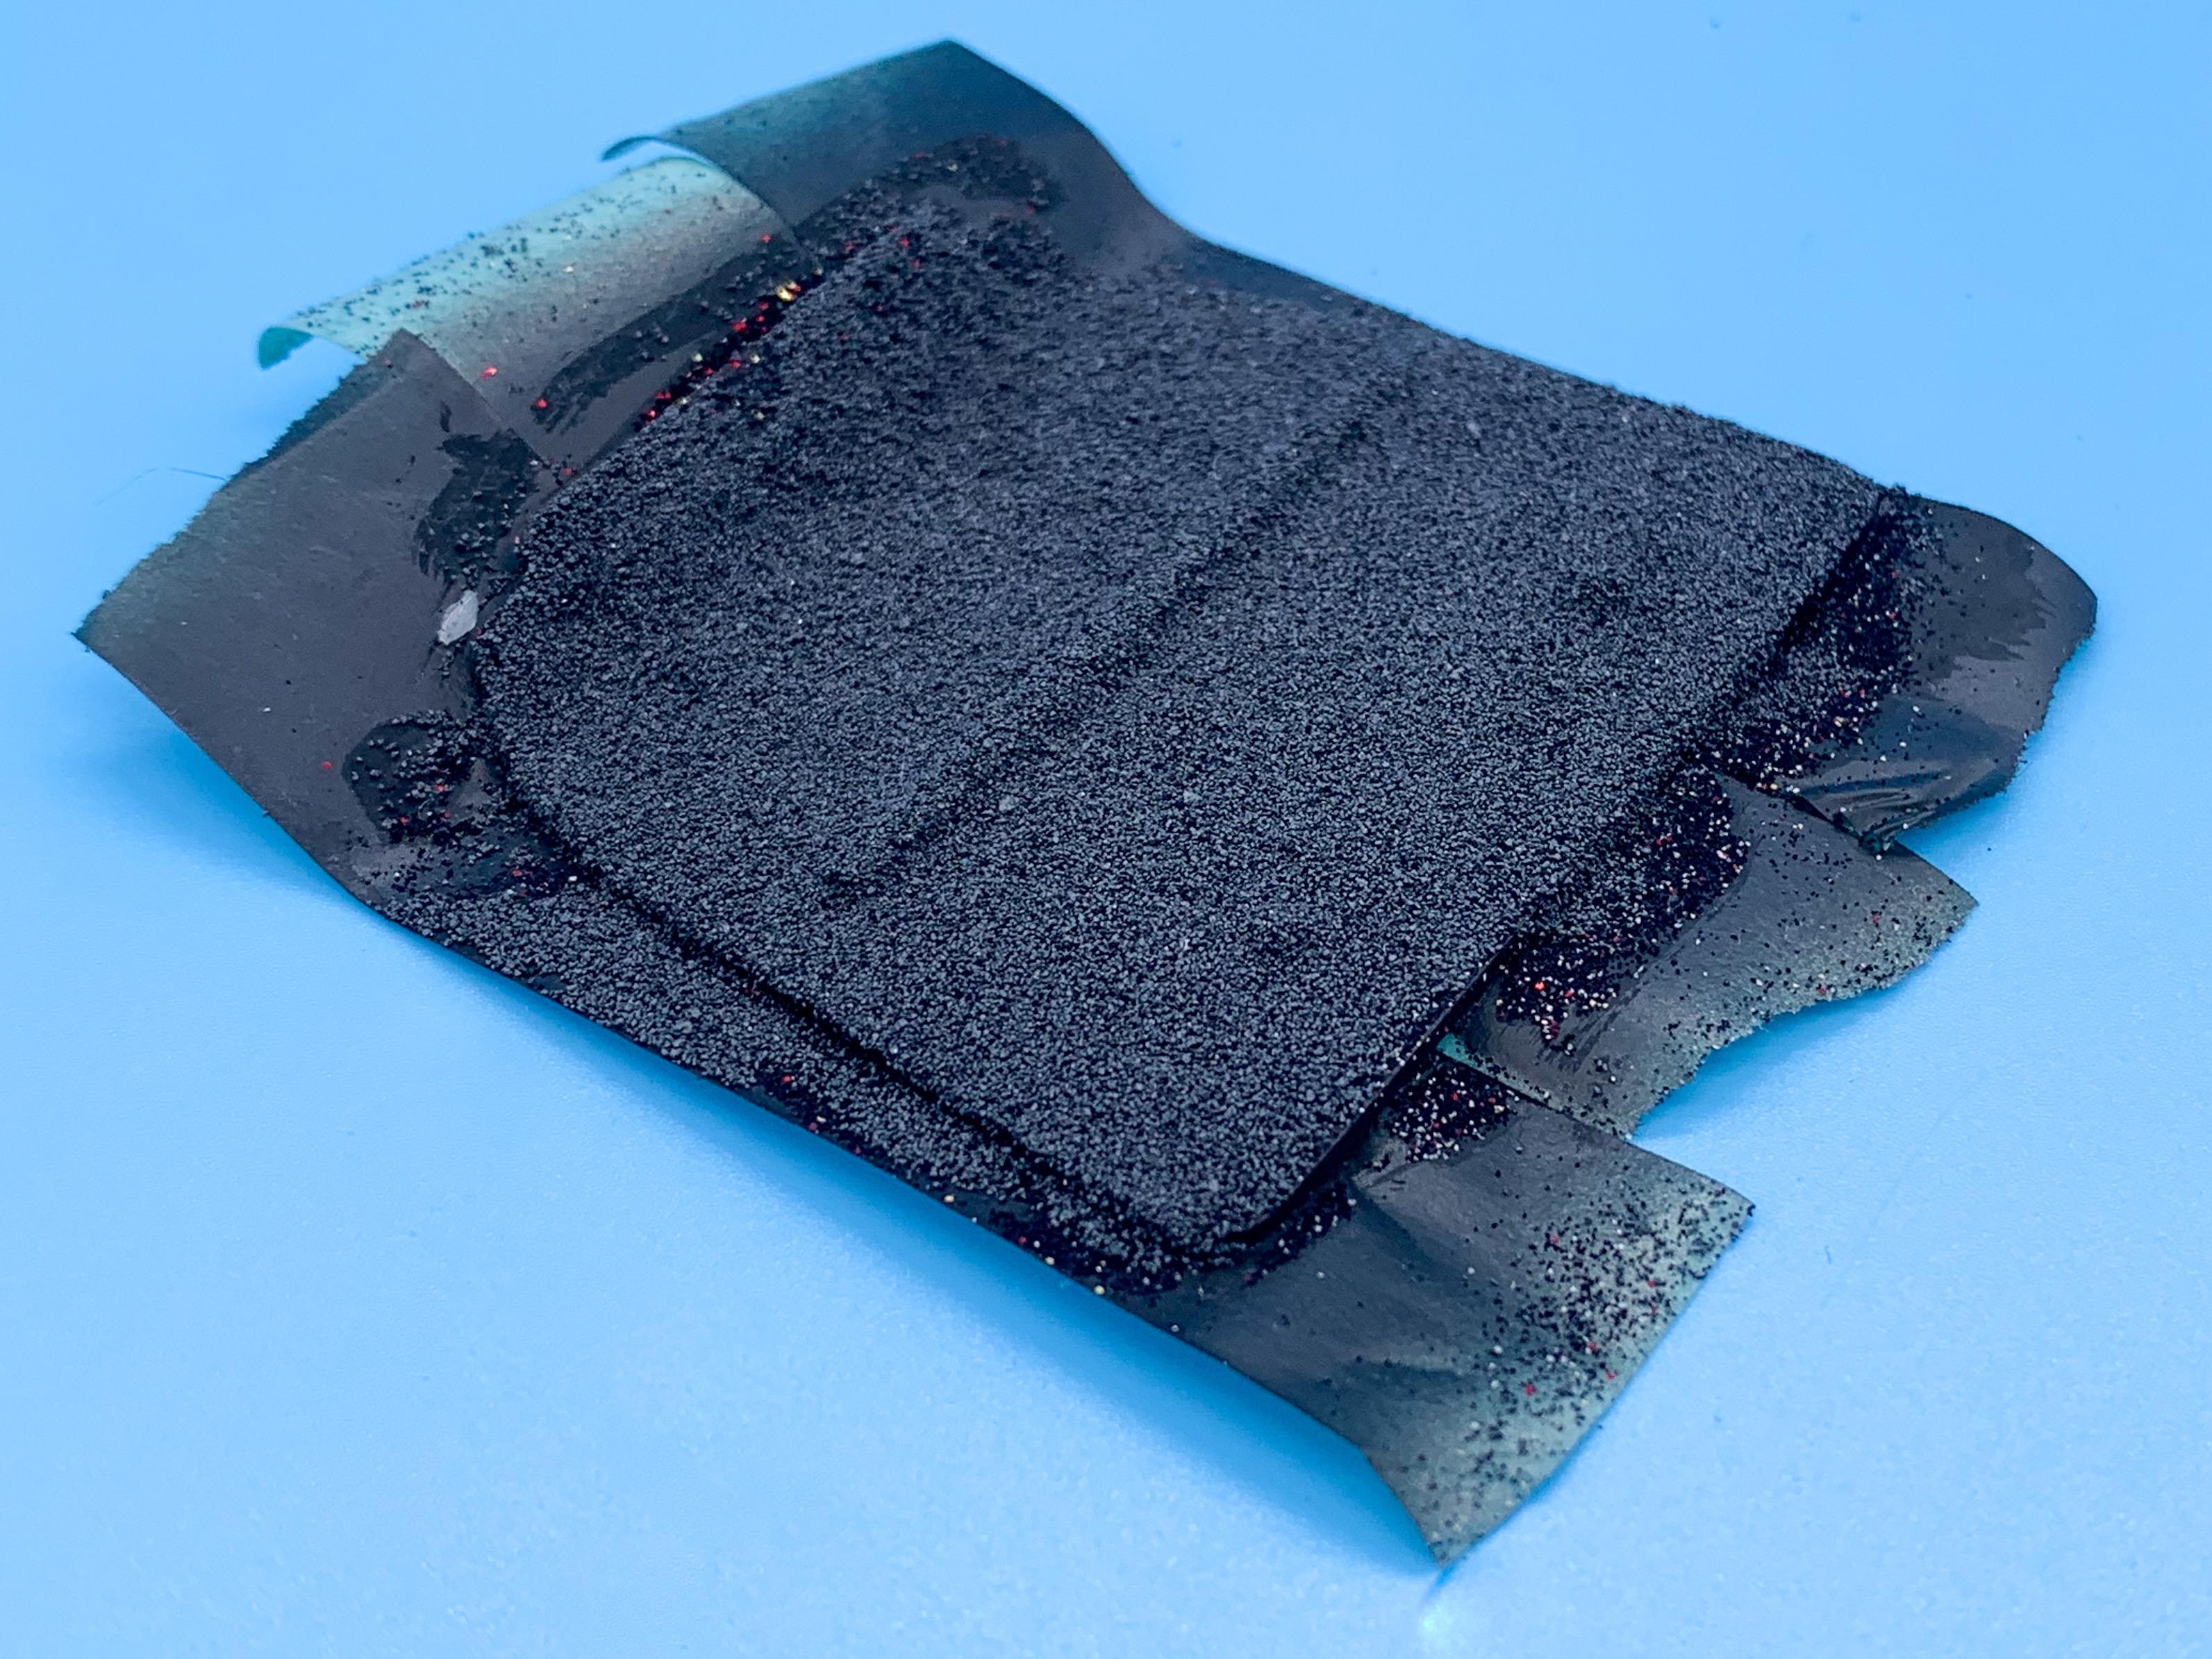
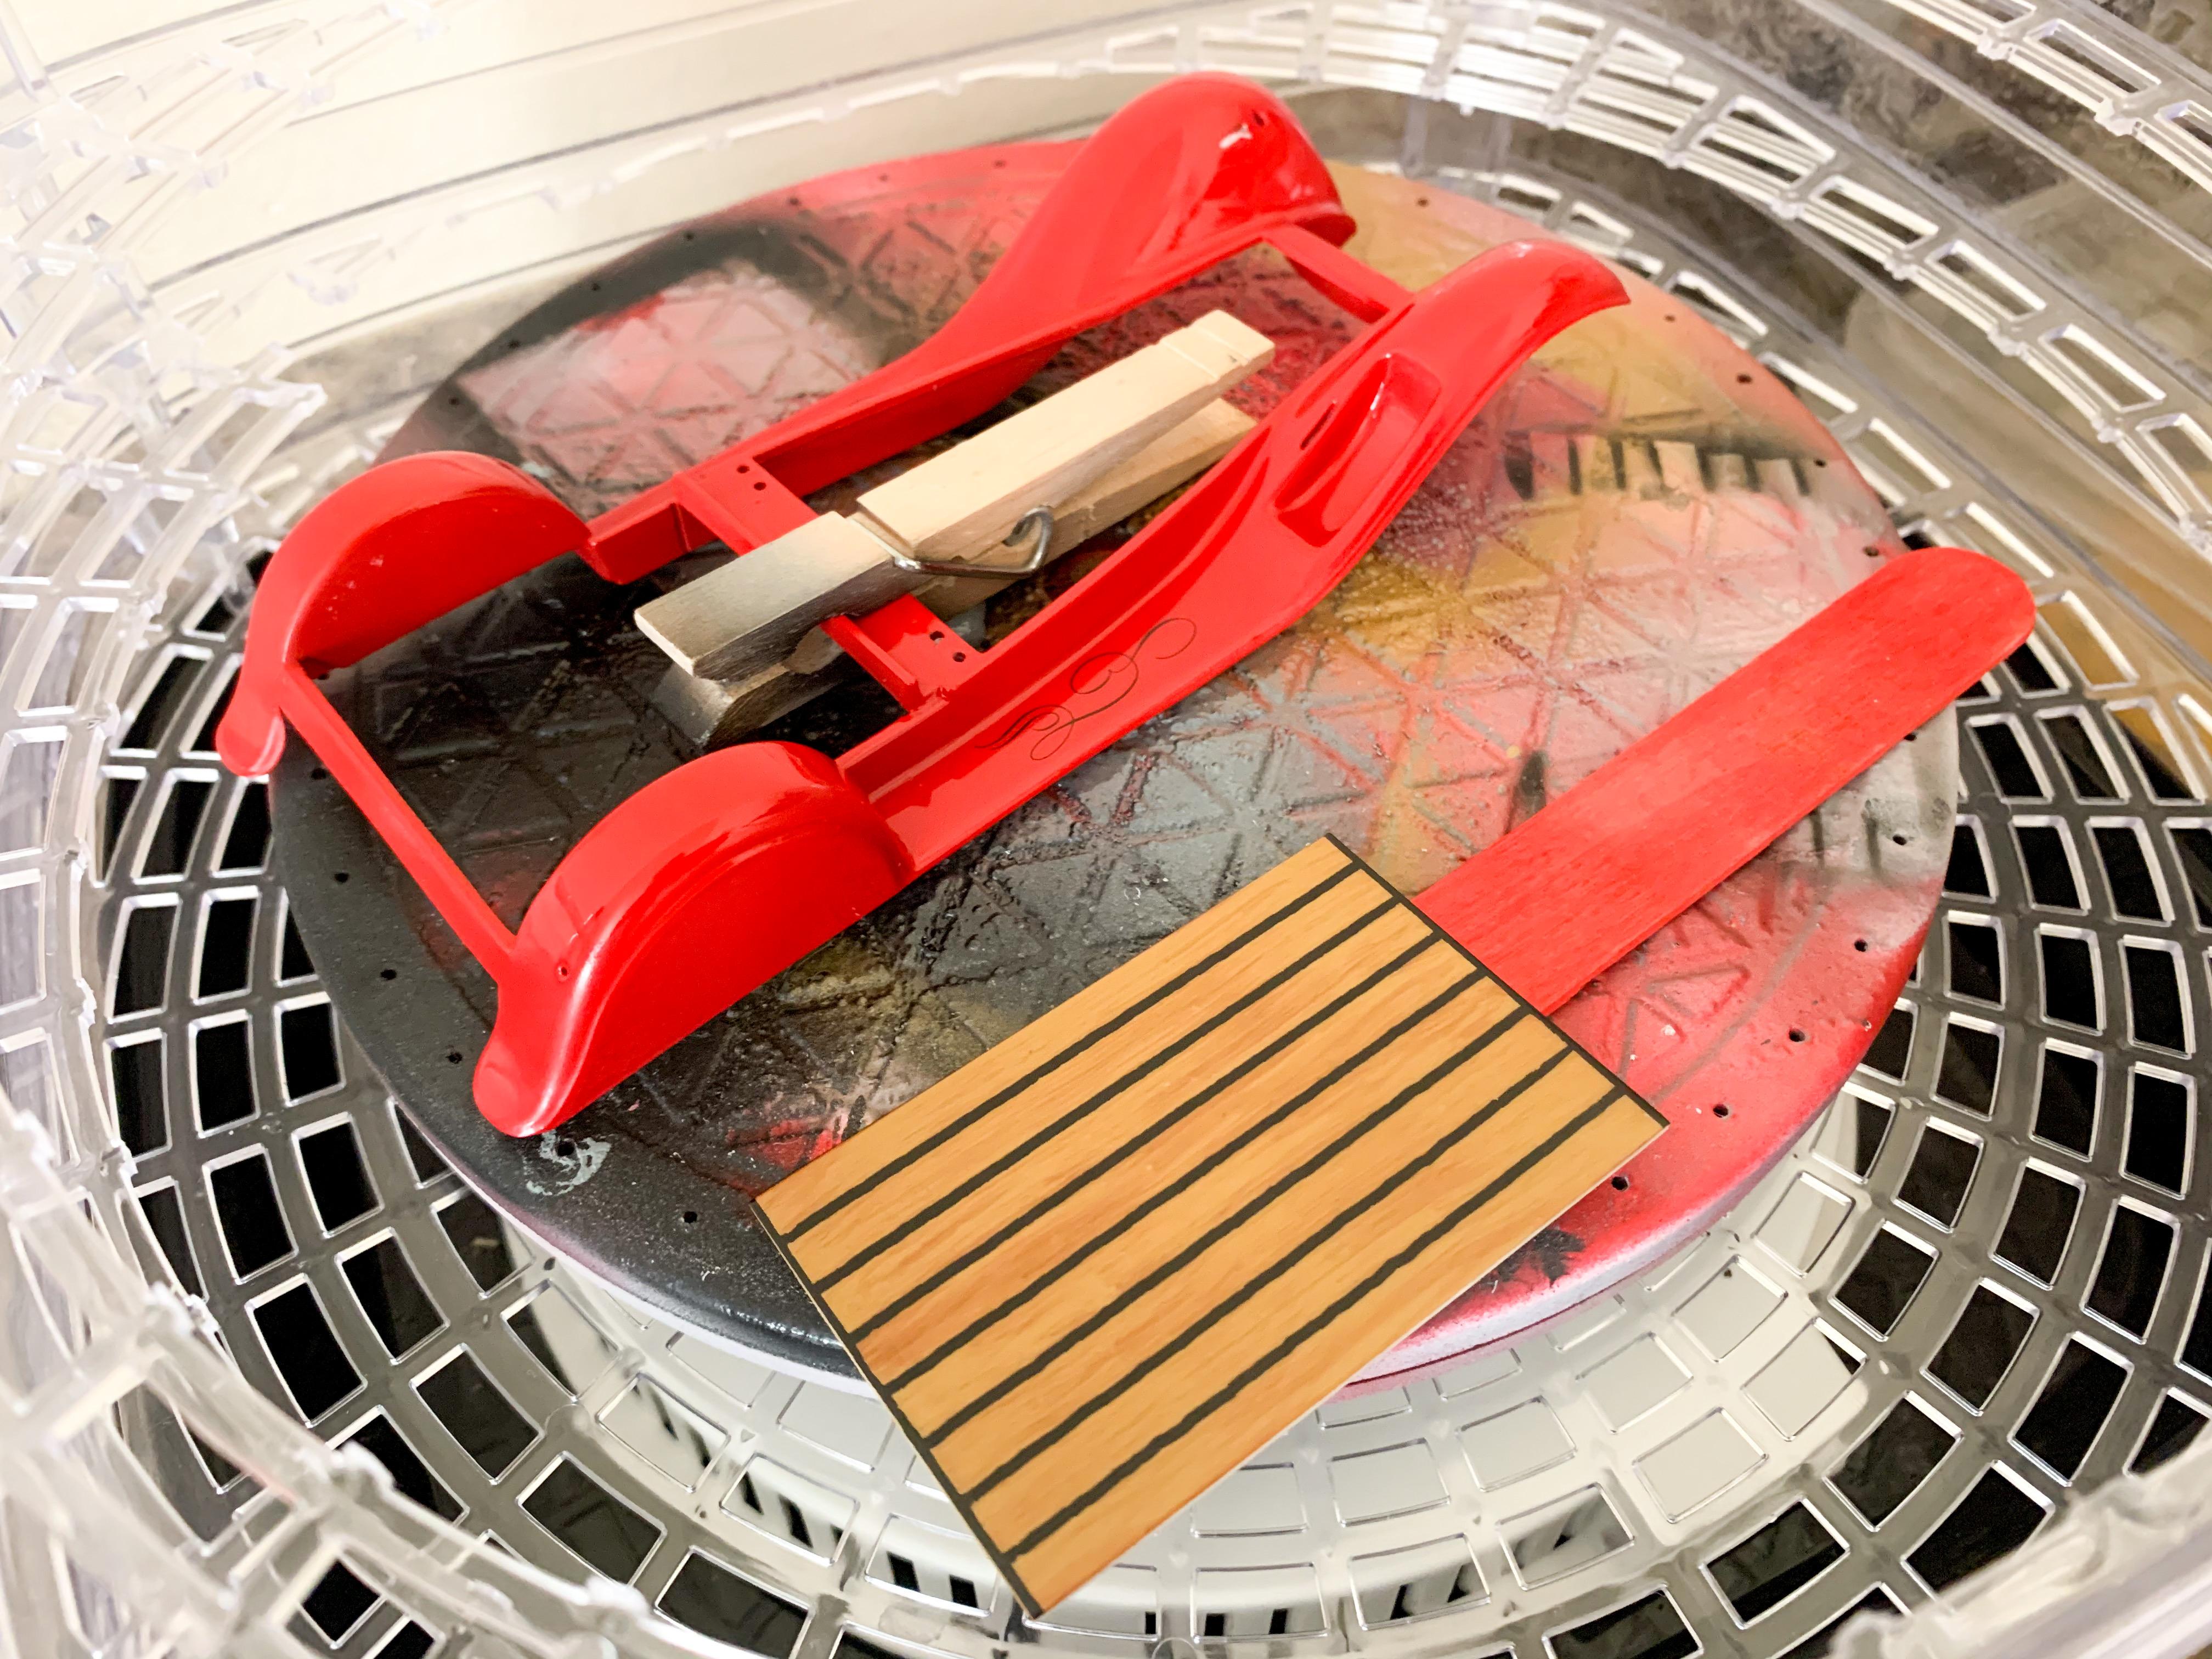
I just ordered a lathe last week if it’s any consolation...the dehydrator was MUCH cheaper ??. Thanks buddy! I feel like I’ve been messing with little bits of this thing all week and didn’t really have anything much to show for it, so here’s an update to prove I wasn’t asleep over here ?... Polished out the frame, added a fuel line and did an India Ink wash on some of the chrome bits to bring some detail out: I just ordered one of those circuit board holders that people are using to help with assembly - whichever way I’m going to assemble this frame there will be SOMETHING top or bottom that has Alclad on it, so being able to suspend it will be helpful whilst I get everything in place for good. Wired up the engine with a MAD distributor - need to get those plug leads sagging a little more but spent some time trying to get the routing neat for once: I hadn’t figured out what to use for brakes on the front OR rear yet - I think I settled on the nice drum backing plates from the old Monogram 32 Ford but I didn’t have any spares that weren’t earmarked for a future project so I’ve got a little RTV rubber mold setting up as we speak: Had the idea of mixing up some black embossing powder with gold, white and red flecks in it to add a little visual interest to the carpet in the interior: Pro tip: it doesn’t look good, don’t try it ? Stripped it off and laid down a nice neutral gray instead: It’s still drying in this pic, hence the dark spots, but it set up ok after a few hours... And finally, inspected the clear on everything I painted last weekend and wasn’t 100% happy with a couple of little bits on the fenders, so buffed them down, reshot them with another coat of enamel and they’re just on a timeout in the dehydrator until they learn not to have imperfections next time: More soon - hopefully something more interesting ?
-
What can you tell us about the quality of the detail on this one Pat? Seems like it’s a high parts count for 1/32 scale!
-
Heeeere's Chad: Round2 January 2021 New Product Spotlight
CabDriver replied to Dave Darby's topic in Car Kit News & Reviews
Not the same as what? I was just pointing out that they’re not NOT putting Maltese crosses on the decal sheets for these trikes - so the Black Max / Torque Trike might have them too