

CabDriver
-
Posts
5,100 -
Joined
-
Last visited
Content Type
Profiles
Forums
Events
Gallery
Posts posted by CabDriver
-
-
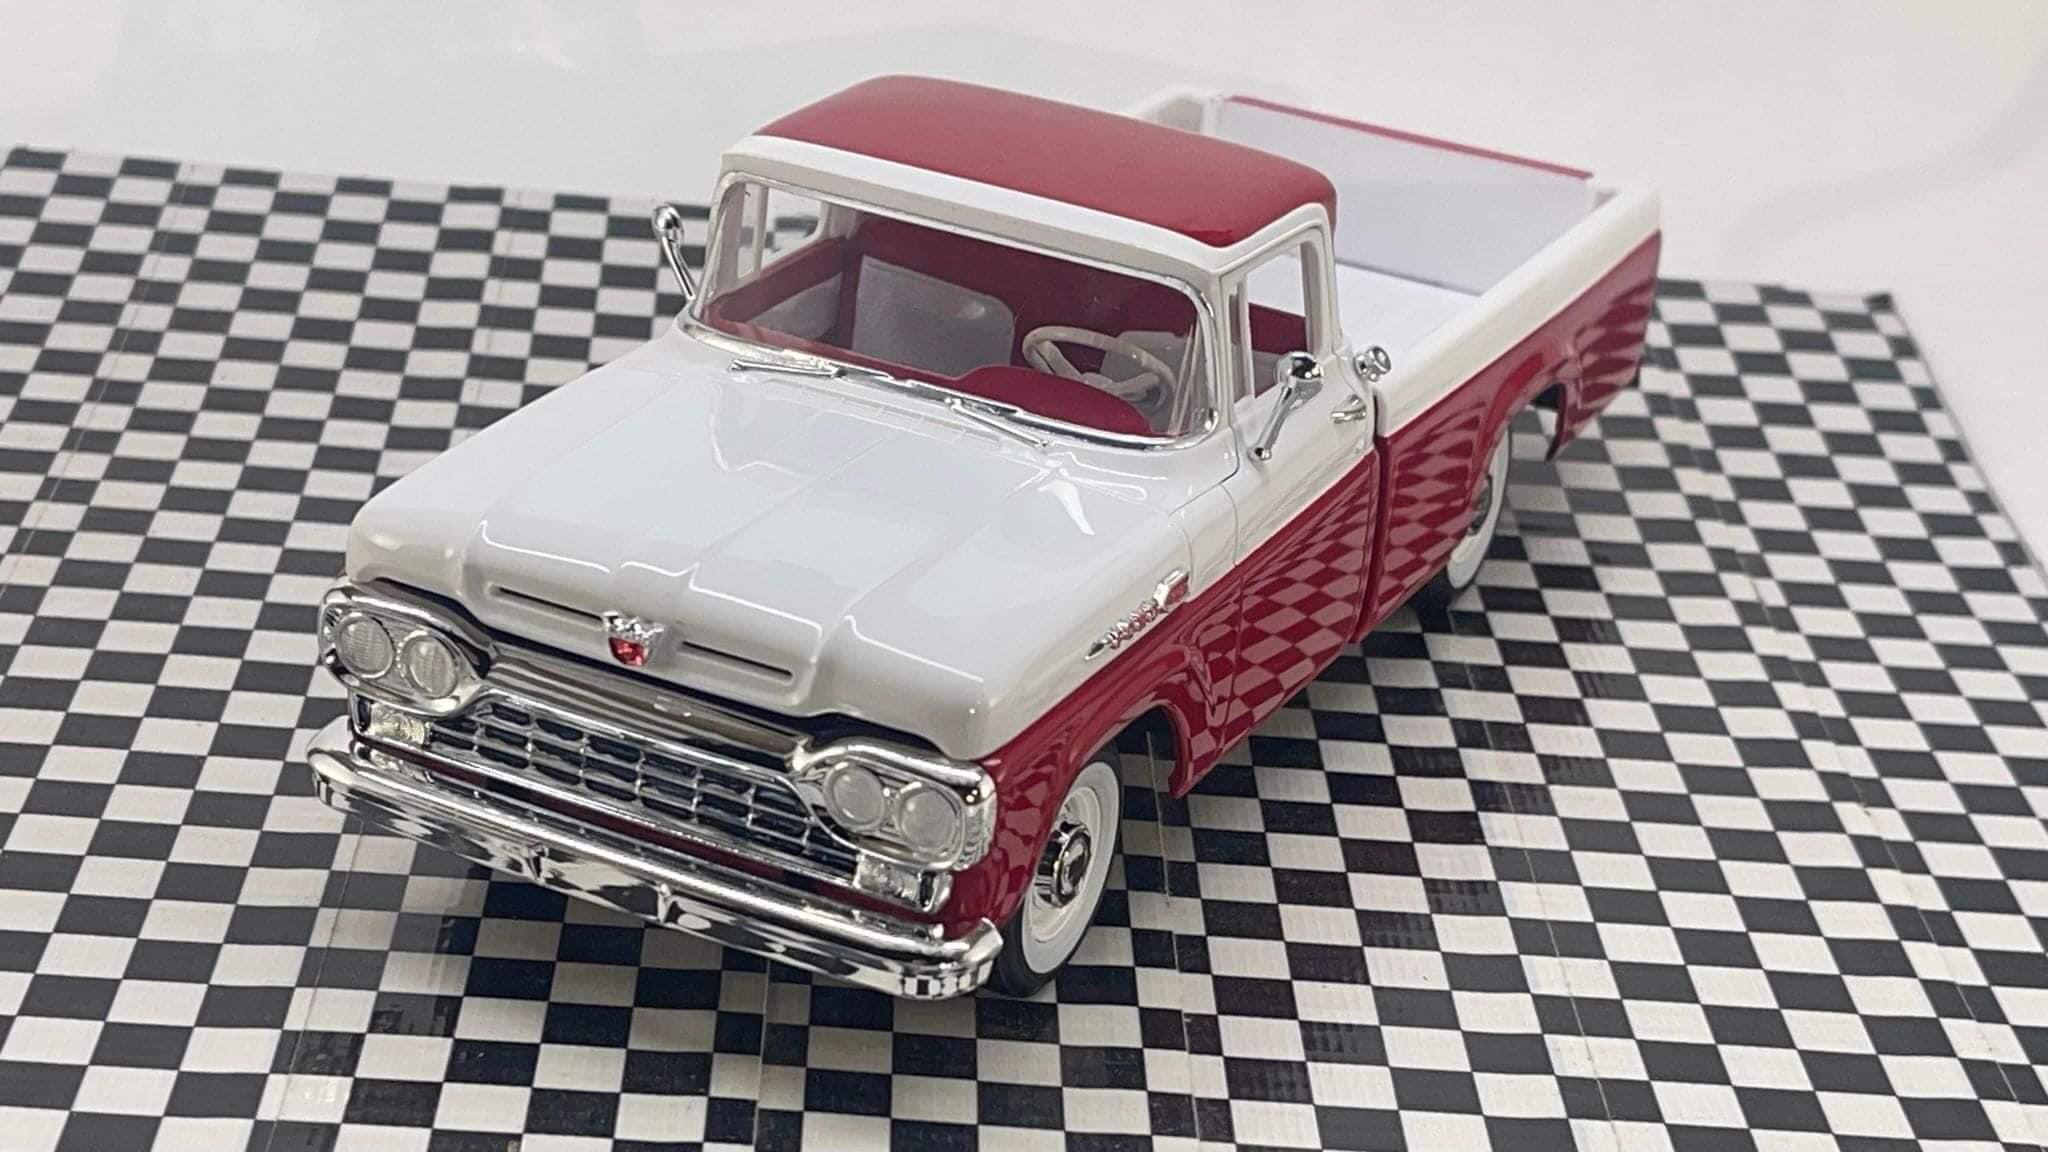
Happy Sunday everybody! Wrapped this thing up today…just had a bunch of loose ends and some assembly to handle, but it came together pretty quickly…
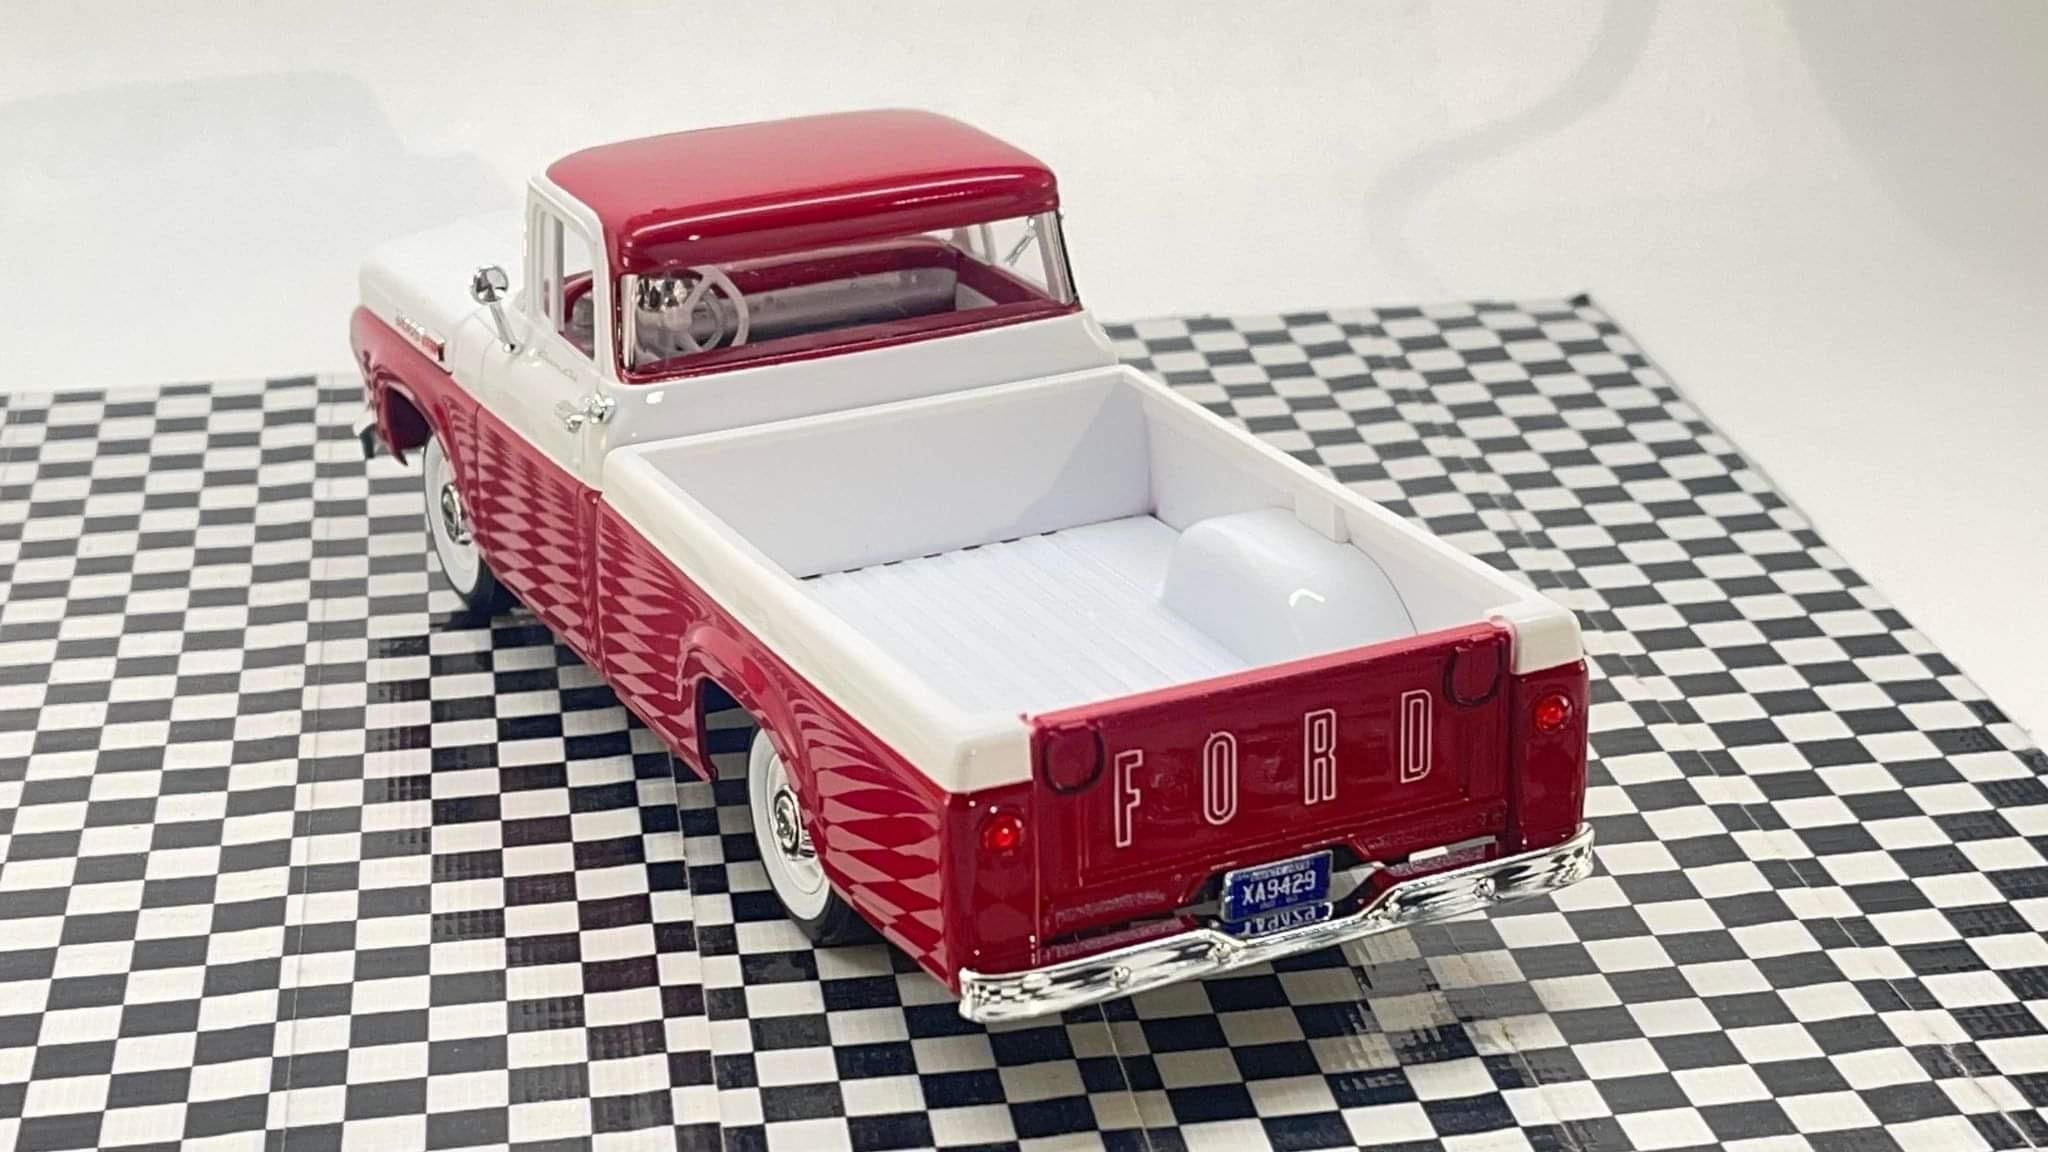
Painted the license plates…decided to go with bare metal for those too, to fit the theme…

Only ended up using one…I tried a front one but didn’t like it so we’ll have to take the tickets for not running it…
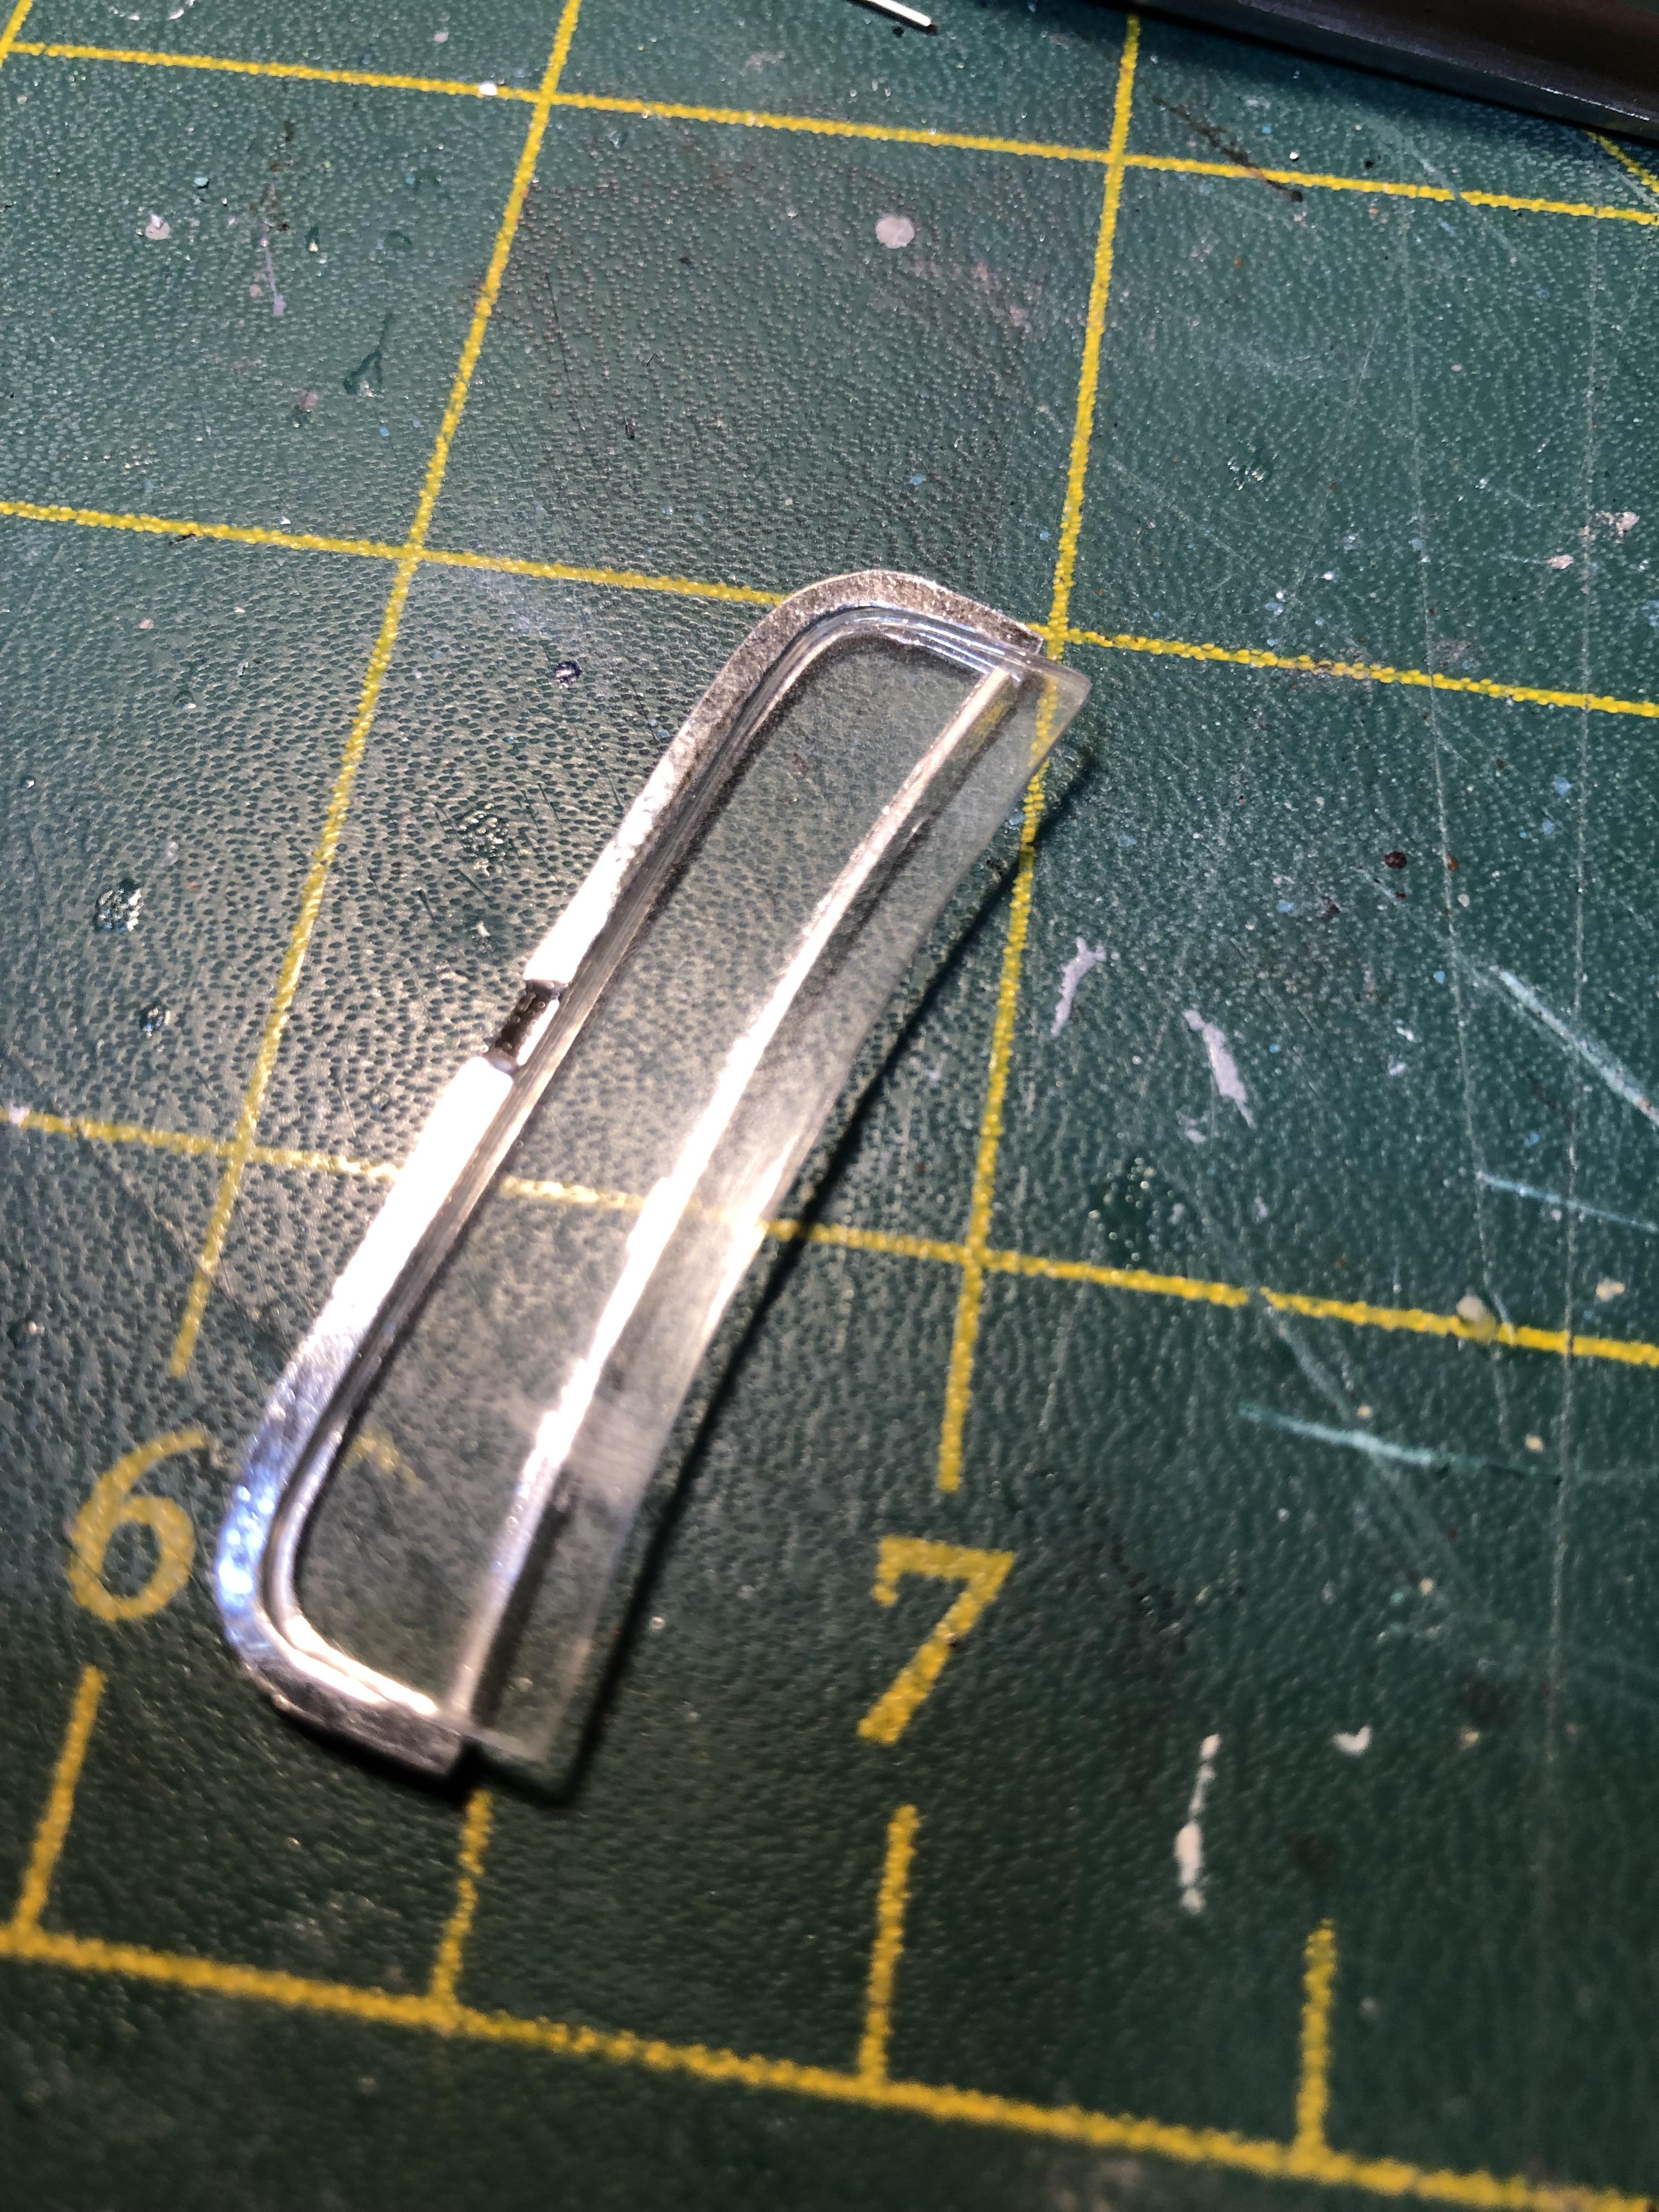
Got the front glass installed, along with the felt bead that would protect the paint if there was any…
Then came a bunch of activity all at once - attaching interior to body, body to frame, installing lights and the steering and a bunch of little bits…
I really like how this looks with the different contrasting metal tones…everything from bright chrome on the exhaust tips and steering linkage to the clean aluminum on the valve covers to the slight crustiness of the headers…
One of the last jobs was getting the taillights installed straight and even…a little low-tack tape is helpful for laying out some guides for jobs like this…
And with that it was just time for some final touch ups before wrapping this thing up and making a chopped-cheese sandwich .
I’ll do a thread with some finished pics, but here’s one in the meantime…
Thanks for all the nice comments and encouragement everyone - it means a lot! Time to clear the shop and get rolling on the next one…
-
 6
6
-
-
I think this is as good a place as any for it…
Nice start! That frame looks great!
-
21 hours ago, Straightliner59 said:
I really enjoy following your projects, because you're not afraid to just try stuff! I love doing that. Get an idea, try it; if it seems feasible, refine it. I appreciate you putting new ideas into my head!🙂 It's kinda' like science!
I'm running low on wine bottle foil, because I haven't been inclined to drink any, in several years, now. I found several sources on Ebay, in fly-tying supplies. Semperfli is the brand name. It's .2 mm thick. I bought a small sheet, but haven't tried it, yet. Glen Moray Scotch might have it, but, I haven't had any of that in a long time, either! I think I saw some other small sheets that said they were .010" thick. Lead foil is more expensive than I expected.
Thank you!! That’s a good lead on the Semperfli - I’m going to order some…thank you!
15 hours ago, Zippi said:Coming along nicely on this build. Can't wait to see the finished product.
13 hours ago, MeatMan said:Awesome detailing!
And thank YOU both too!
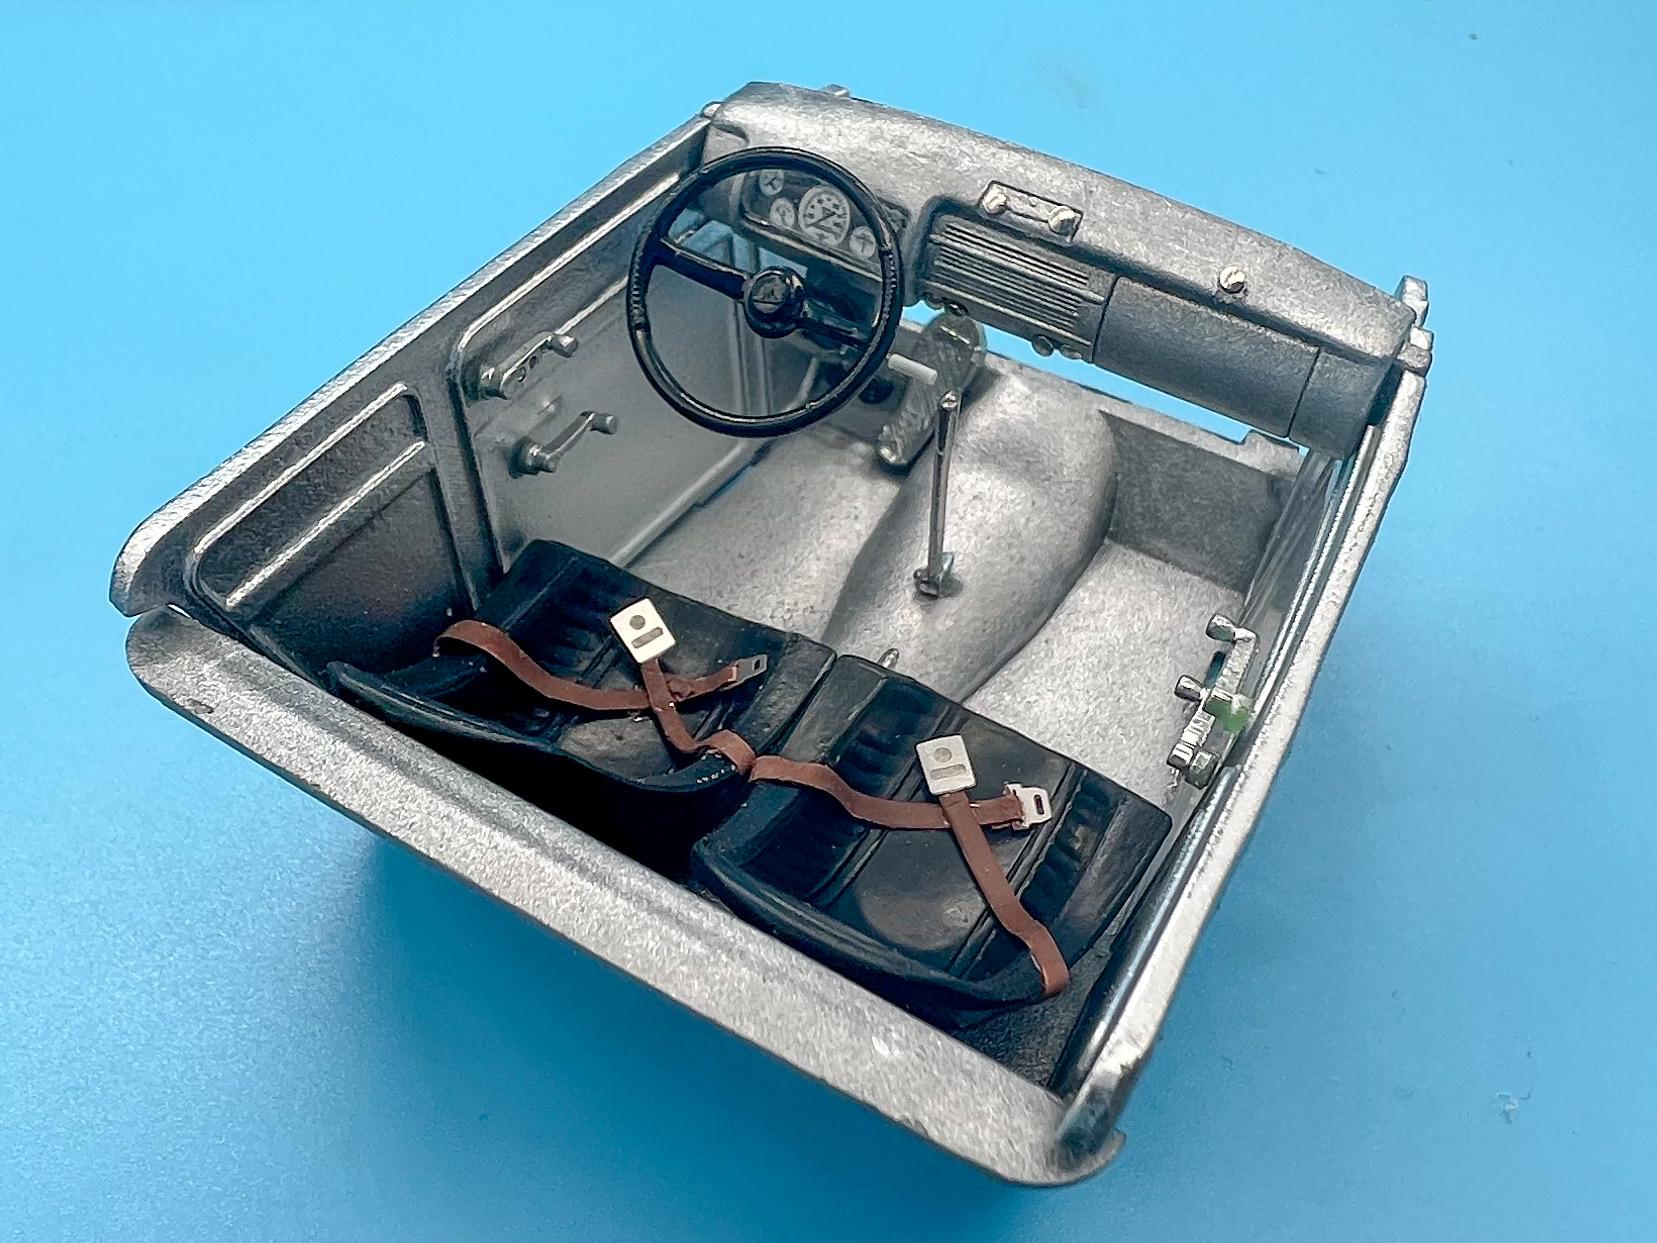
A little more progress today…Assembled the interior…a couple of little touch-ups and it’ll be ready to install:
I had some more ideas for it but it’s almost impossible to see what’s already there, so I’ll save THOSE for a roadster build…
Started gluing glass in place, got the headlights and taillights done and then got the rear window attached…also painted the windshield frame so that I can add glass to that tomorrow…
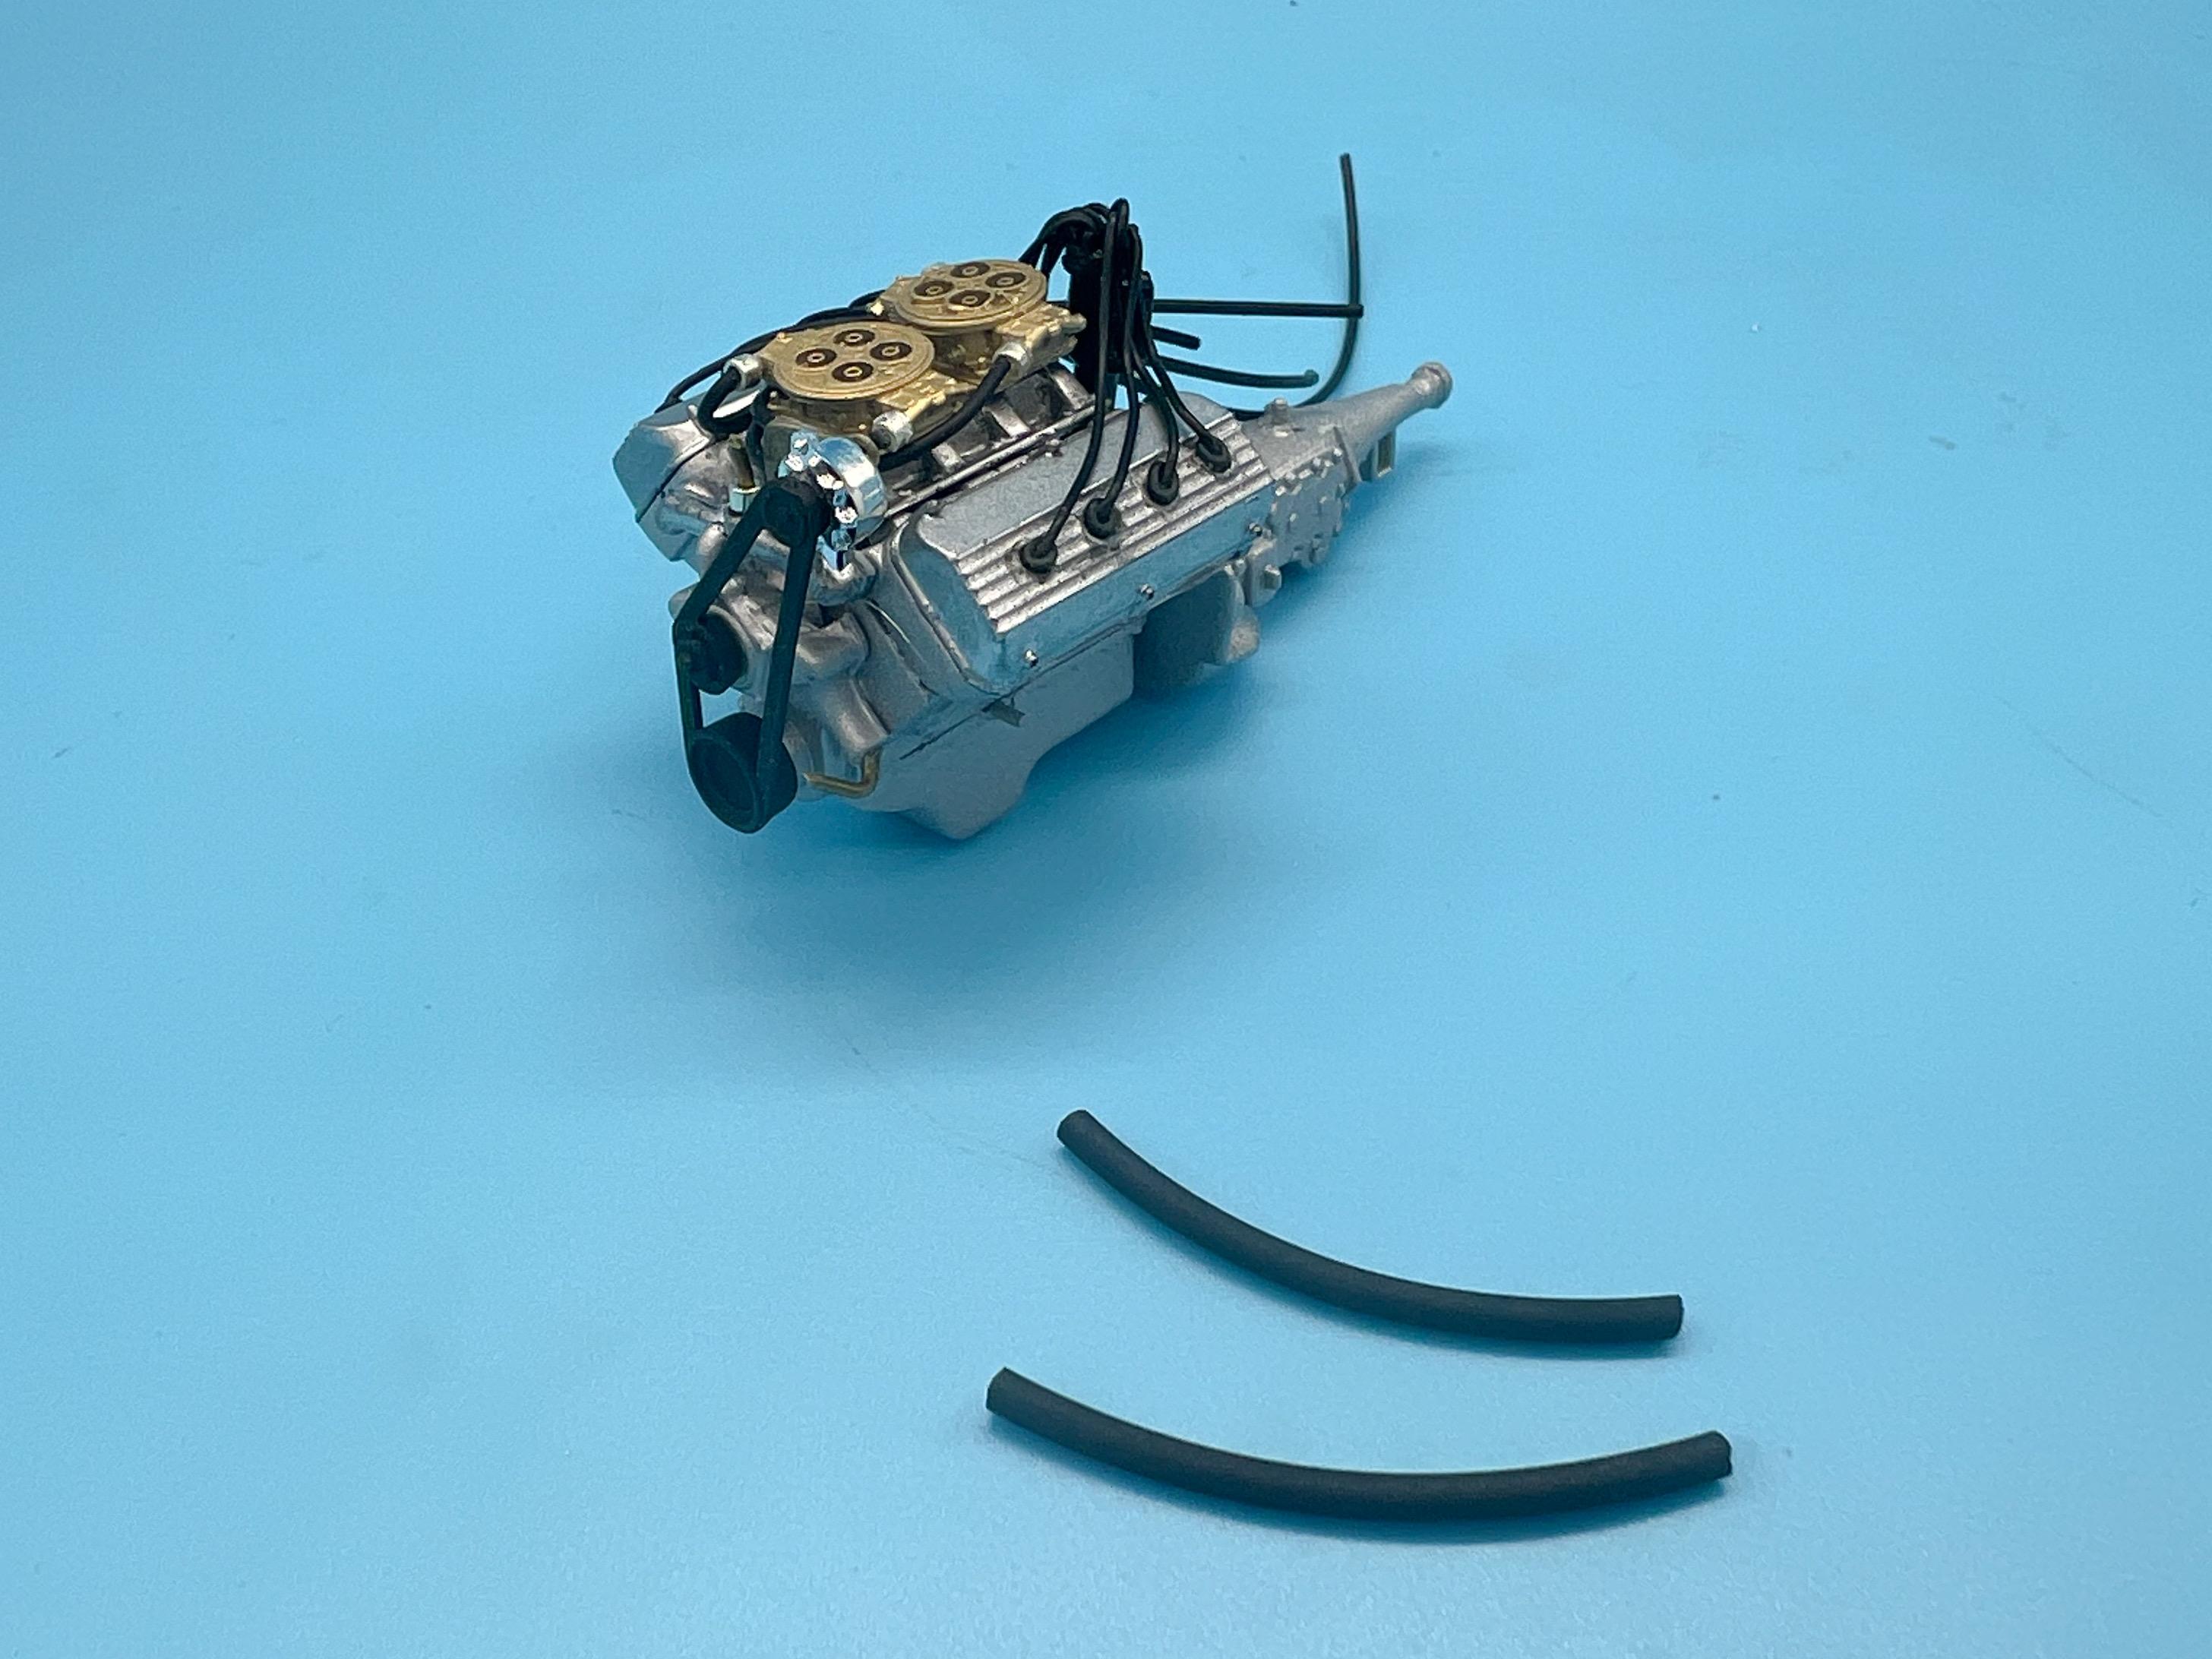
And the rest of the day was spent messing with the engine - adding the alternator and bracket, fuel lines and stuff like that:
That black rubber hose is from Hobby Lobby - makes great scale radiator hose.
And finally for today, got the engine glued in it’s forever place…
It’s starting to look like a thing! Probably should be able to wrap this one up tomorrow, all being well…thanks for looking, more soon!
-
6
-
-
21 hours ago, Straightliner59 said:
I absolutely love metal for belts! I have been using wine bottle "lead" foil, for many years, now. I really like that it can be "posed". I agree with your assessment of the other materials, as well. Good thinking!
We don’t drink wine very often, but I have heard that is meant to work well…I should look for a bottle that has the metal foil! To the wine aisle! 🍷 😂
Four little pieces of progress tonight - none of them earth-shattering…
Shot some primer on my license plates having cleaned them up. My brain sometimes has evil ideas that I can’t forget until I try them, and tonight’s evil idea was to try foiling just the letters after painting the rest of the plate. I wish my brain wouldn’t think of these things because now I have to try it, but it might look cool…
Easier would be chroming them, like these bits I brush-painted tonight. Molotow self-levels nicely and it’s way easier than Alclad, even if it has it’s detractors…
Added some detail to the brake master cylinder, which you won’t really be able to see, and also made a driveshaft seeing as that’s the final thing I needed to make…
And we’re almost down to just assembly jobs now. Should get this one mostly wrapped up this weekend, unless I decide to do the 24-hour build thing a lot of people seem to be doing…can’t quite decide…
Thanks for looking - more soon!
-
2
-
-
B.T. Sherwood is back, maybe?
-
Howdy y’all! It’s Friday eve!
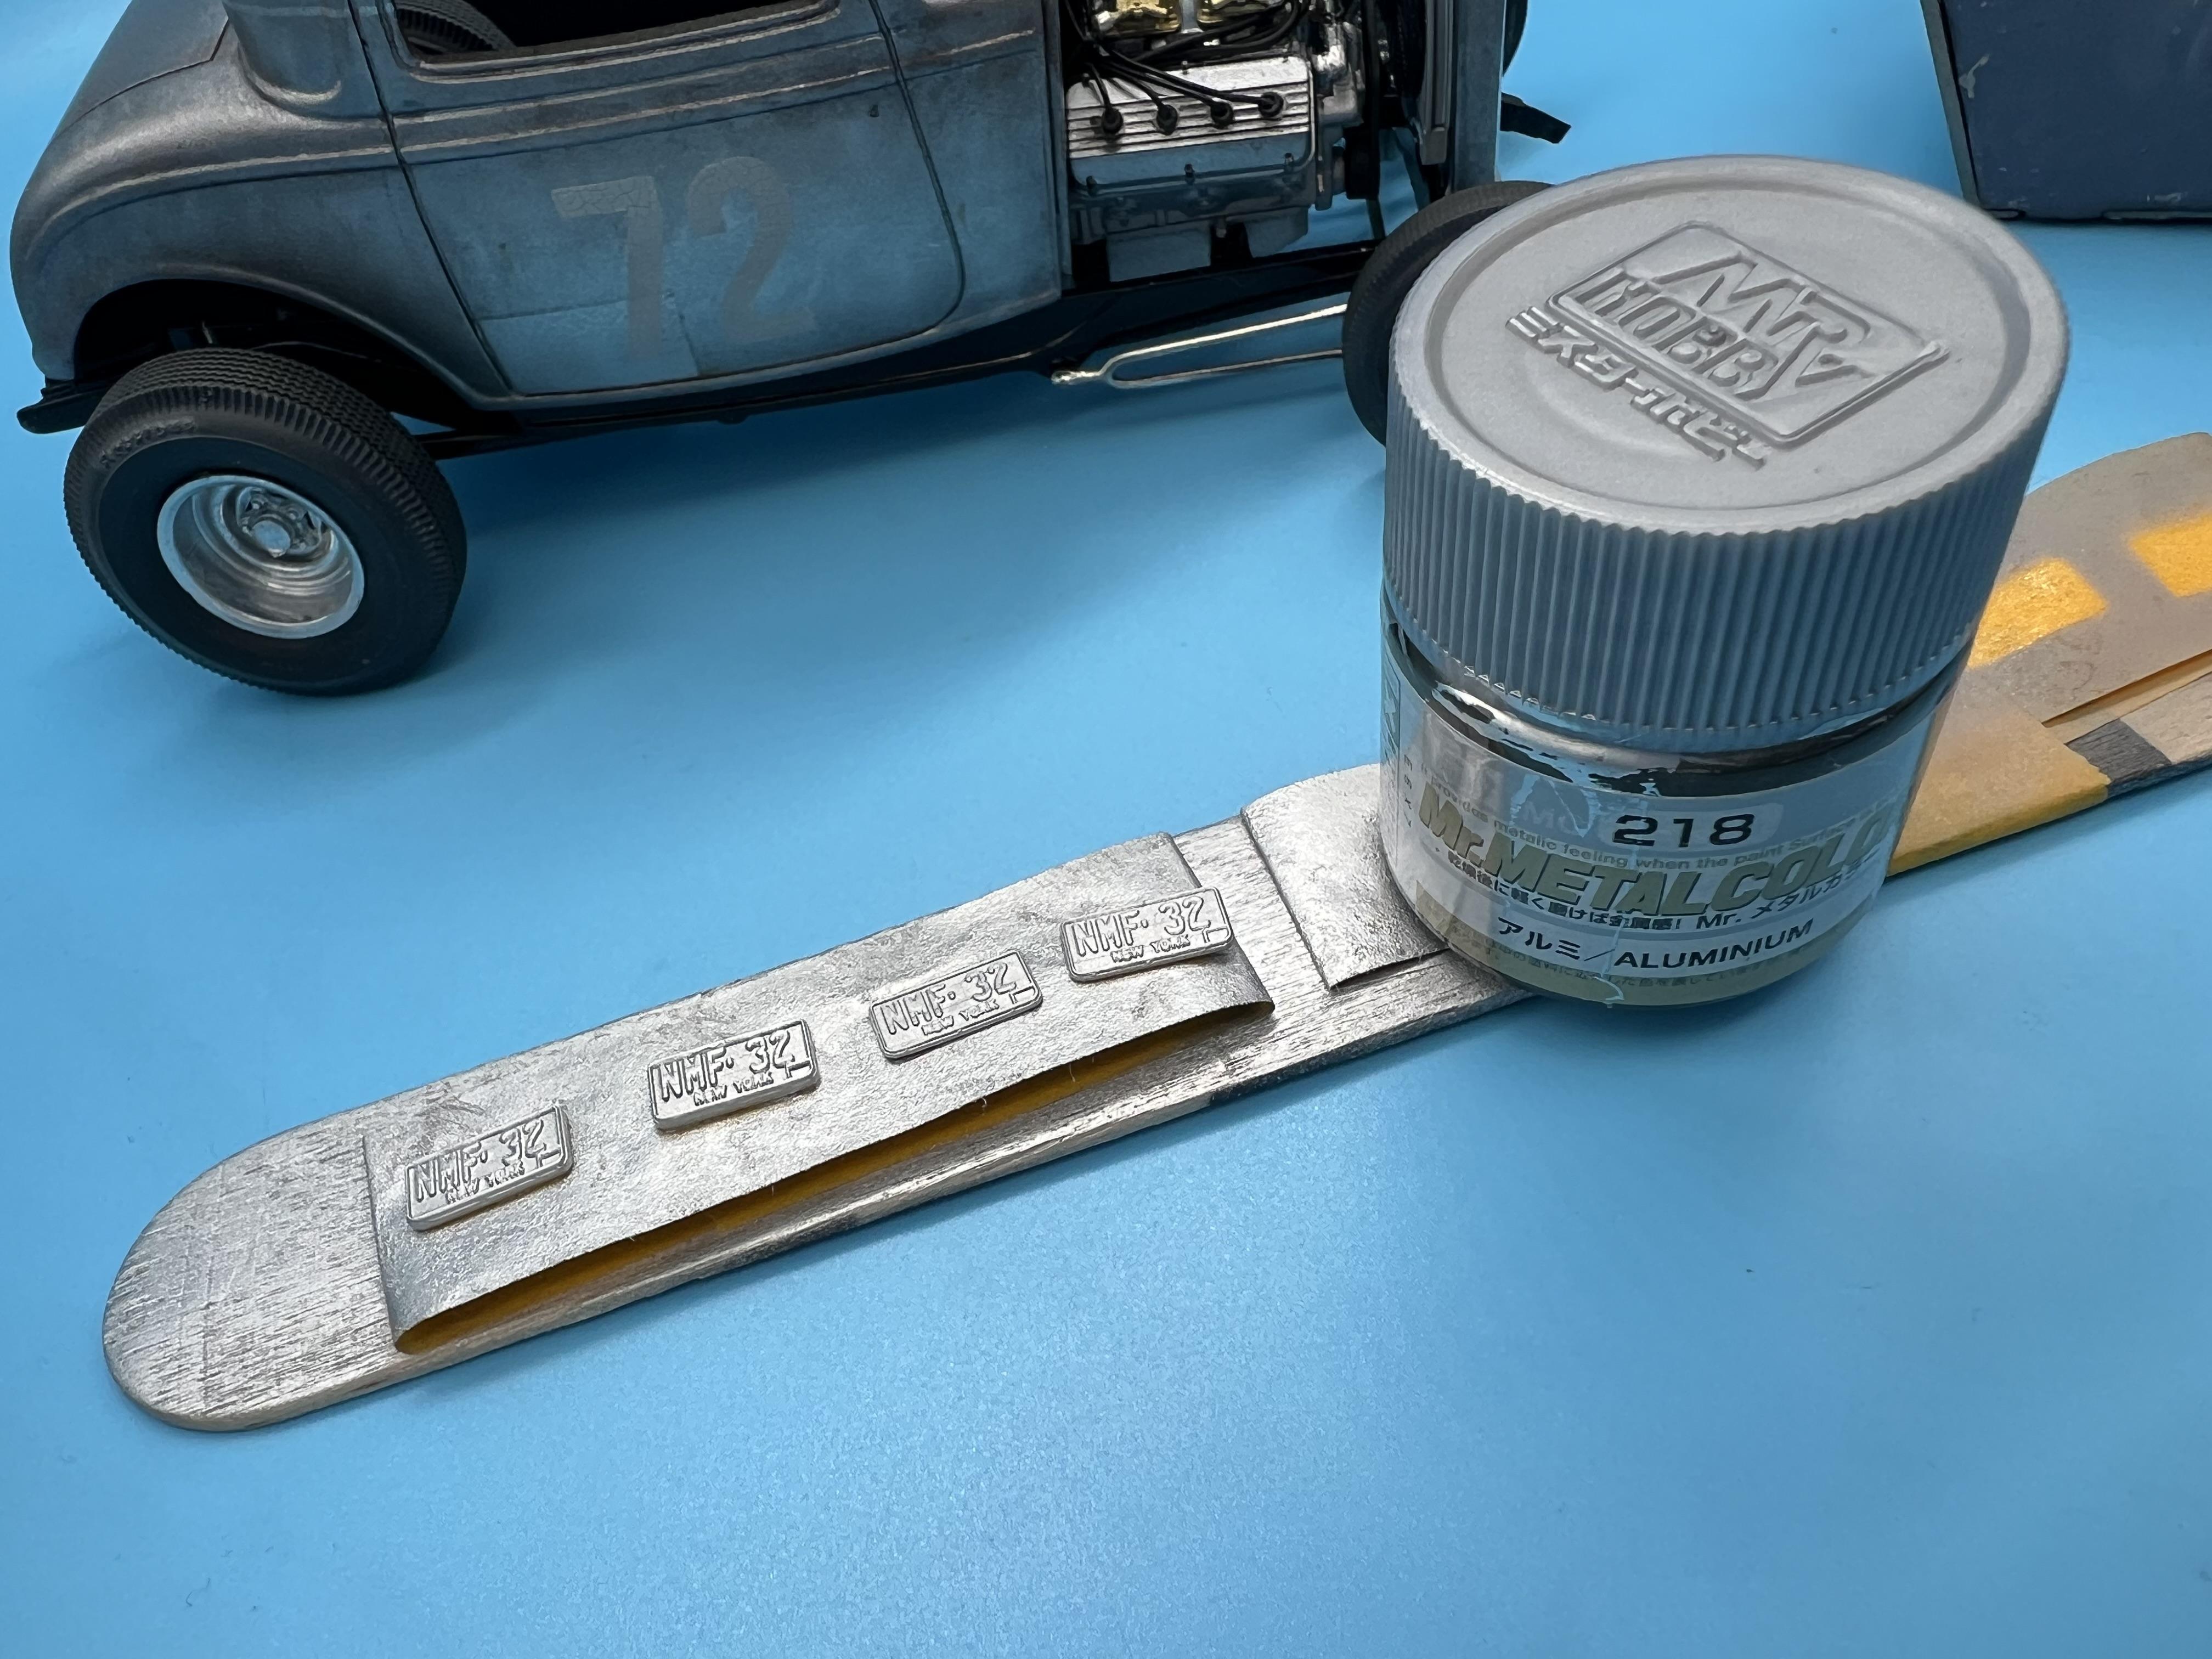
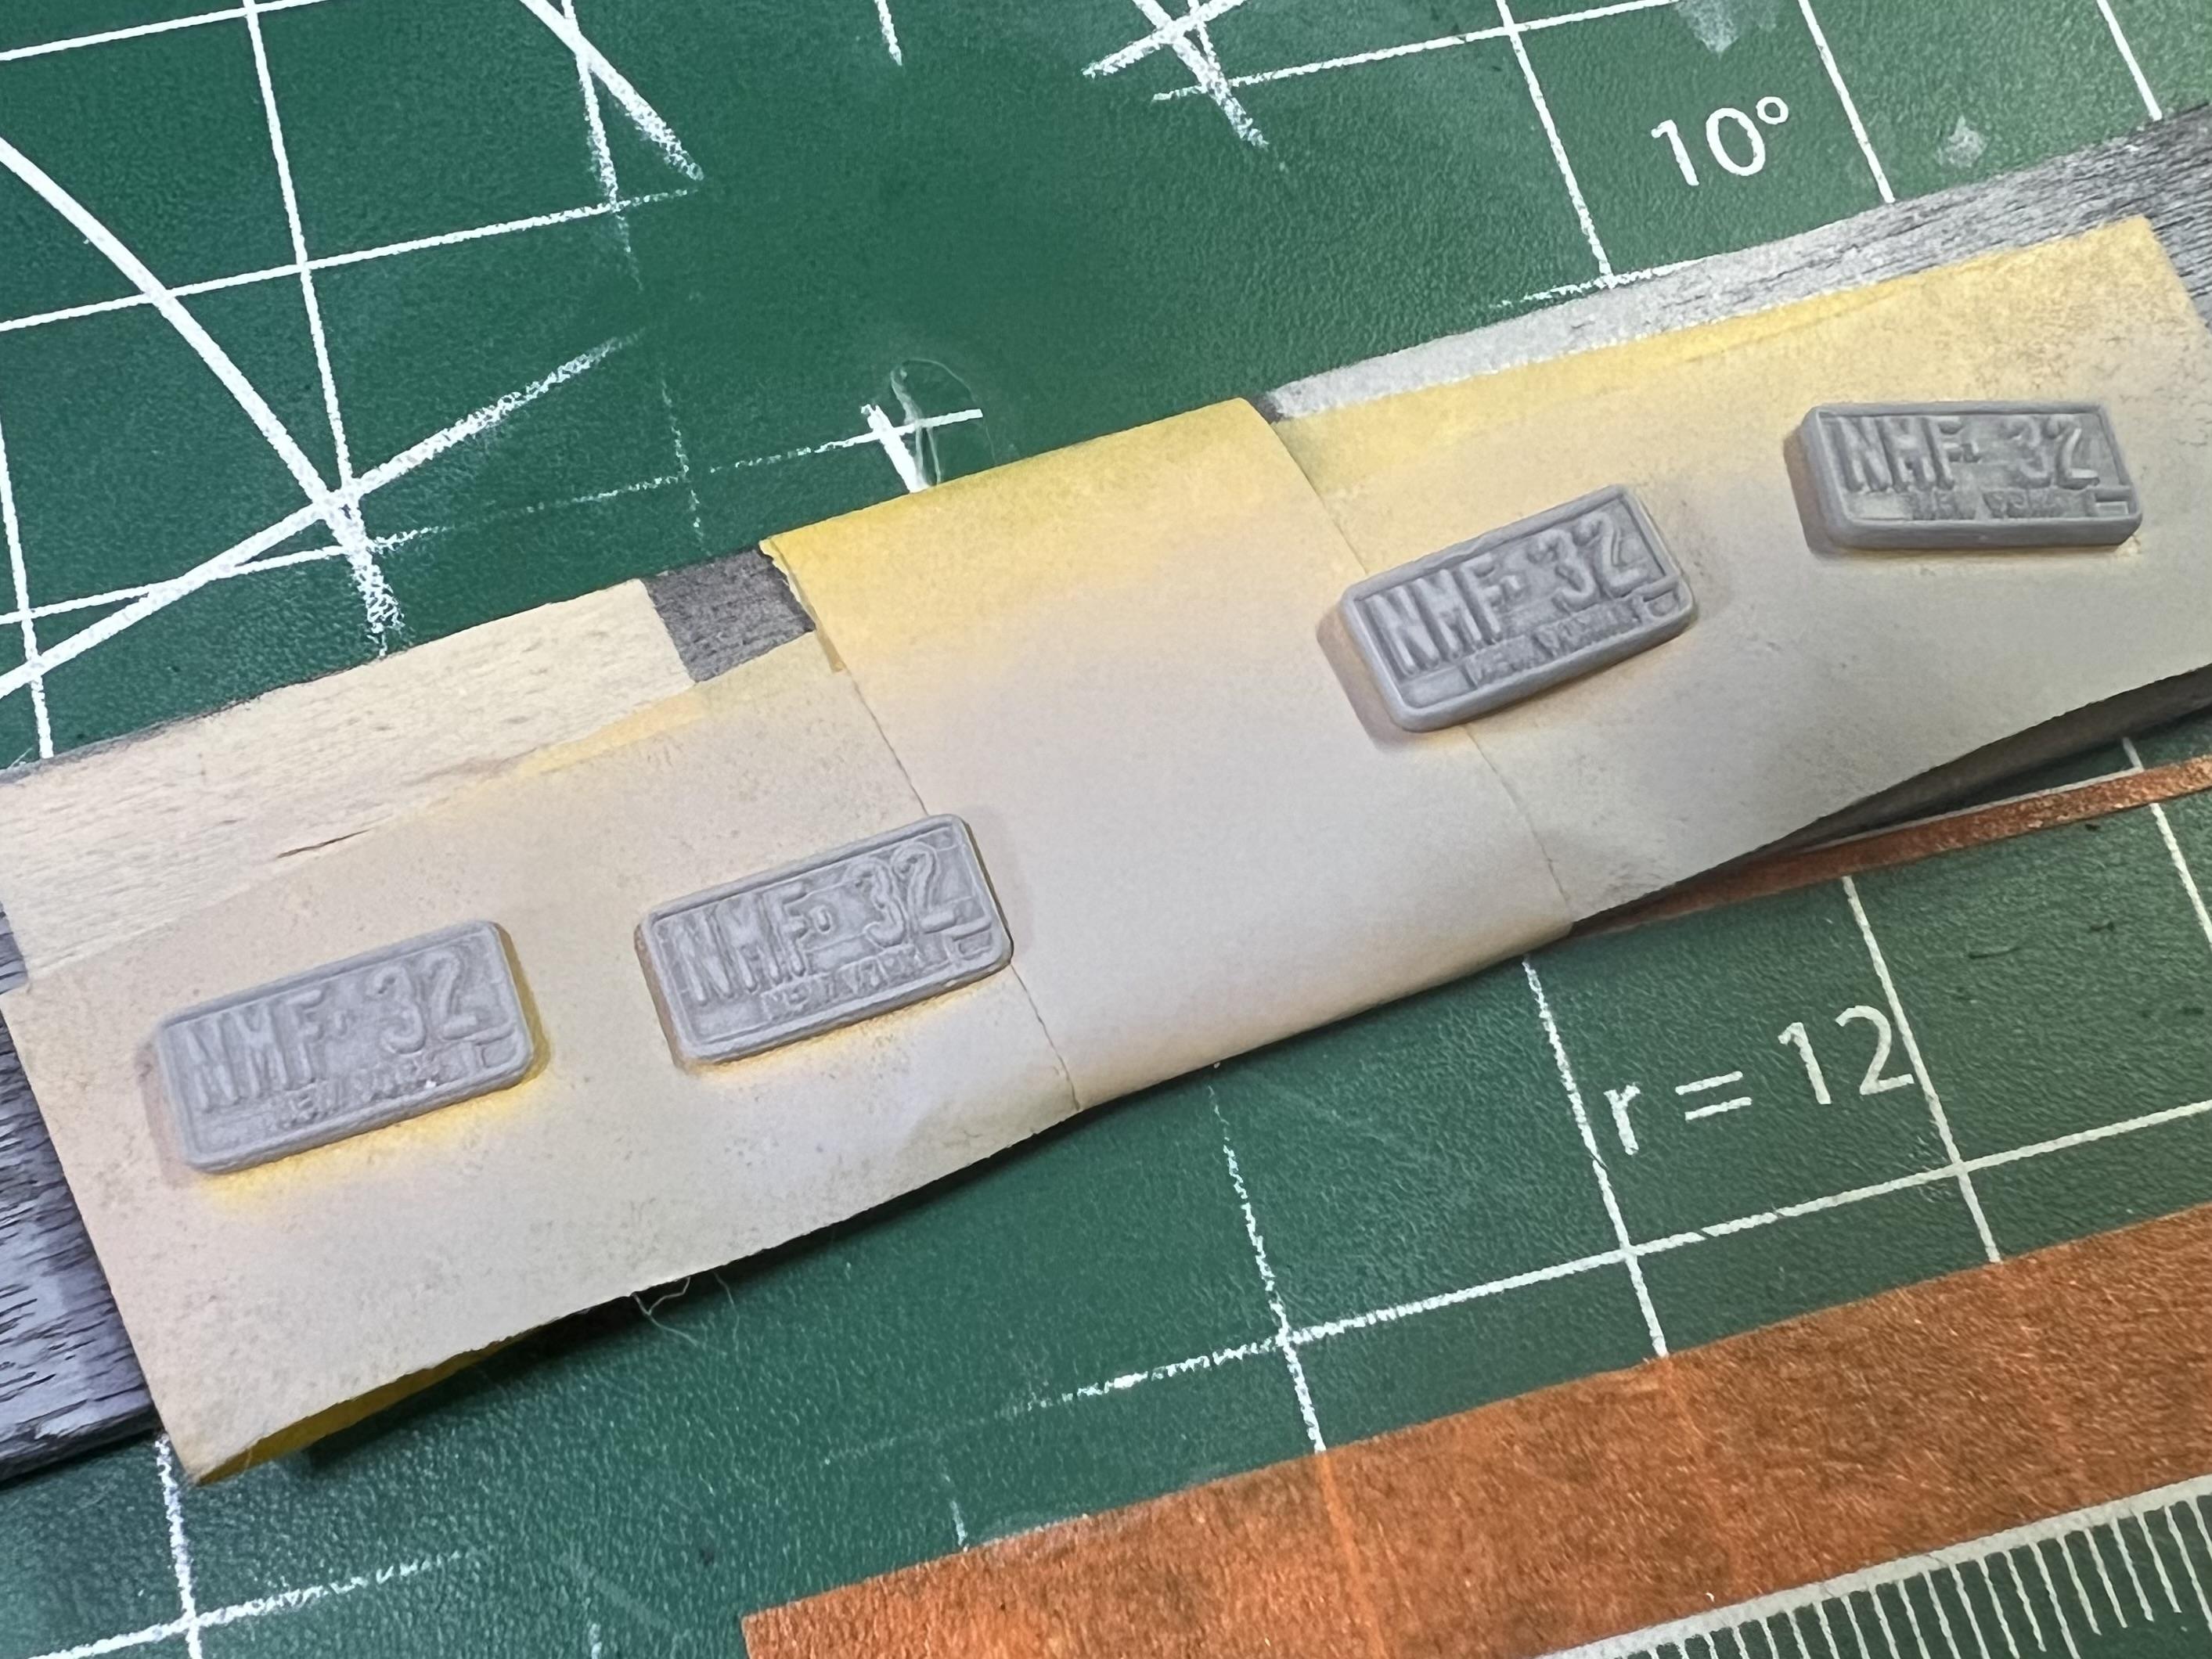
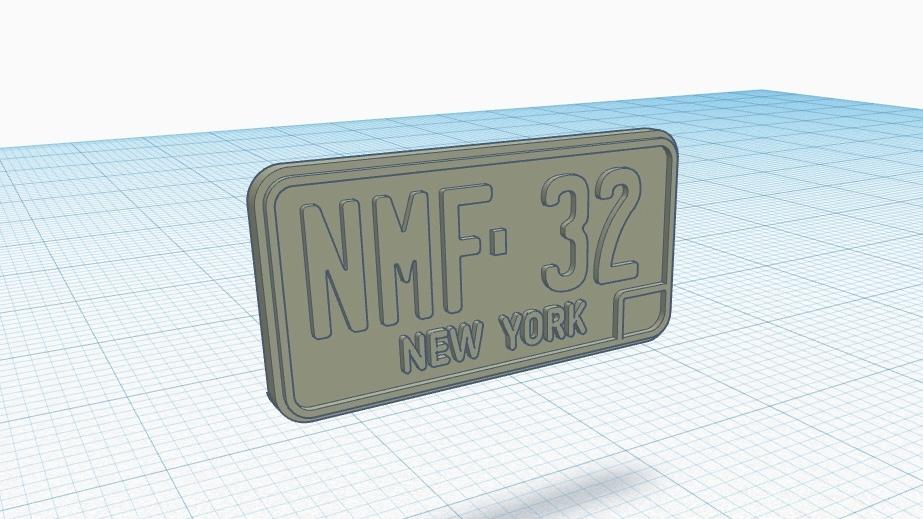
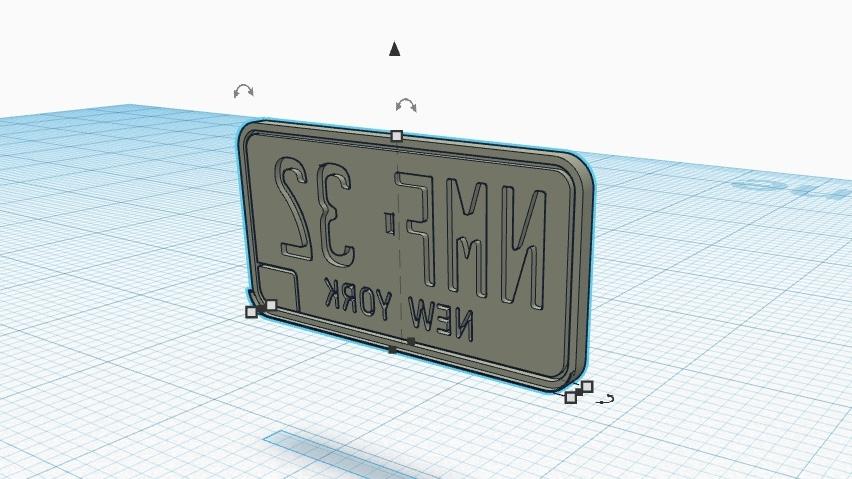
A little more progress tonight…designed some license plates…I’ve been enjoying making these stamped-looking plates lately, even though they’re a pain to paint…
I never tried one with the reverse-detail though, because normally you can’t see it. You might be able to on this build though, depending on where I decide to put them, so I added it to these:
I printed a couple of thicknesses…they’re not even CLOSE to scale stamped-metal finish, but the effect worked ok…
The less in-scale the thickness of the plates, the better the effect works, ironically, but I’ll paint both kinds and see what looks good…
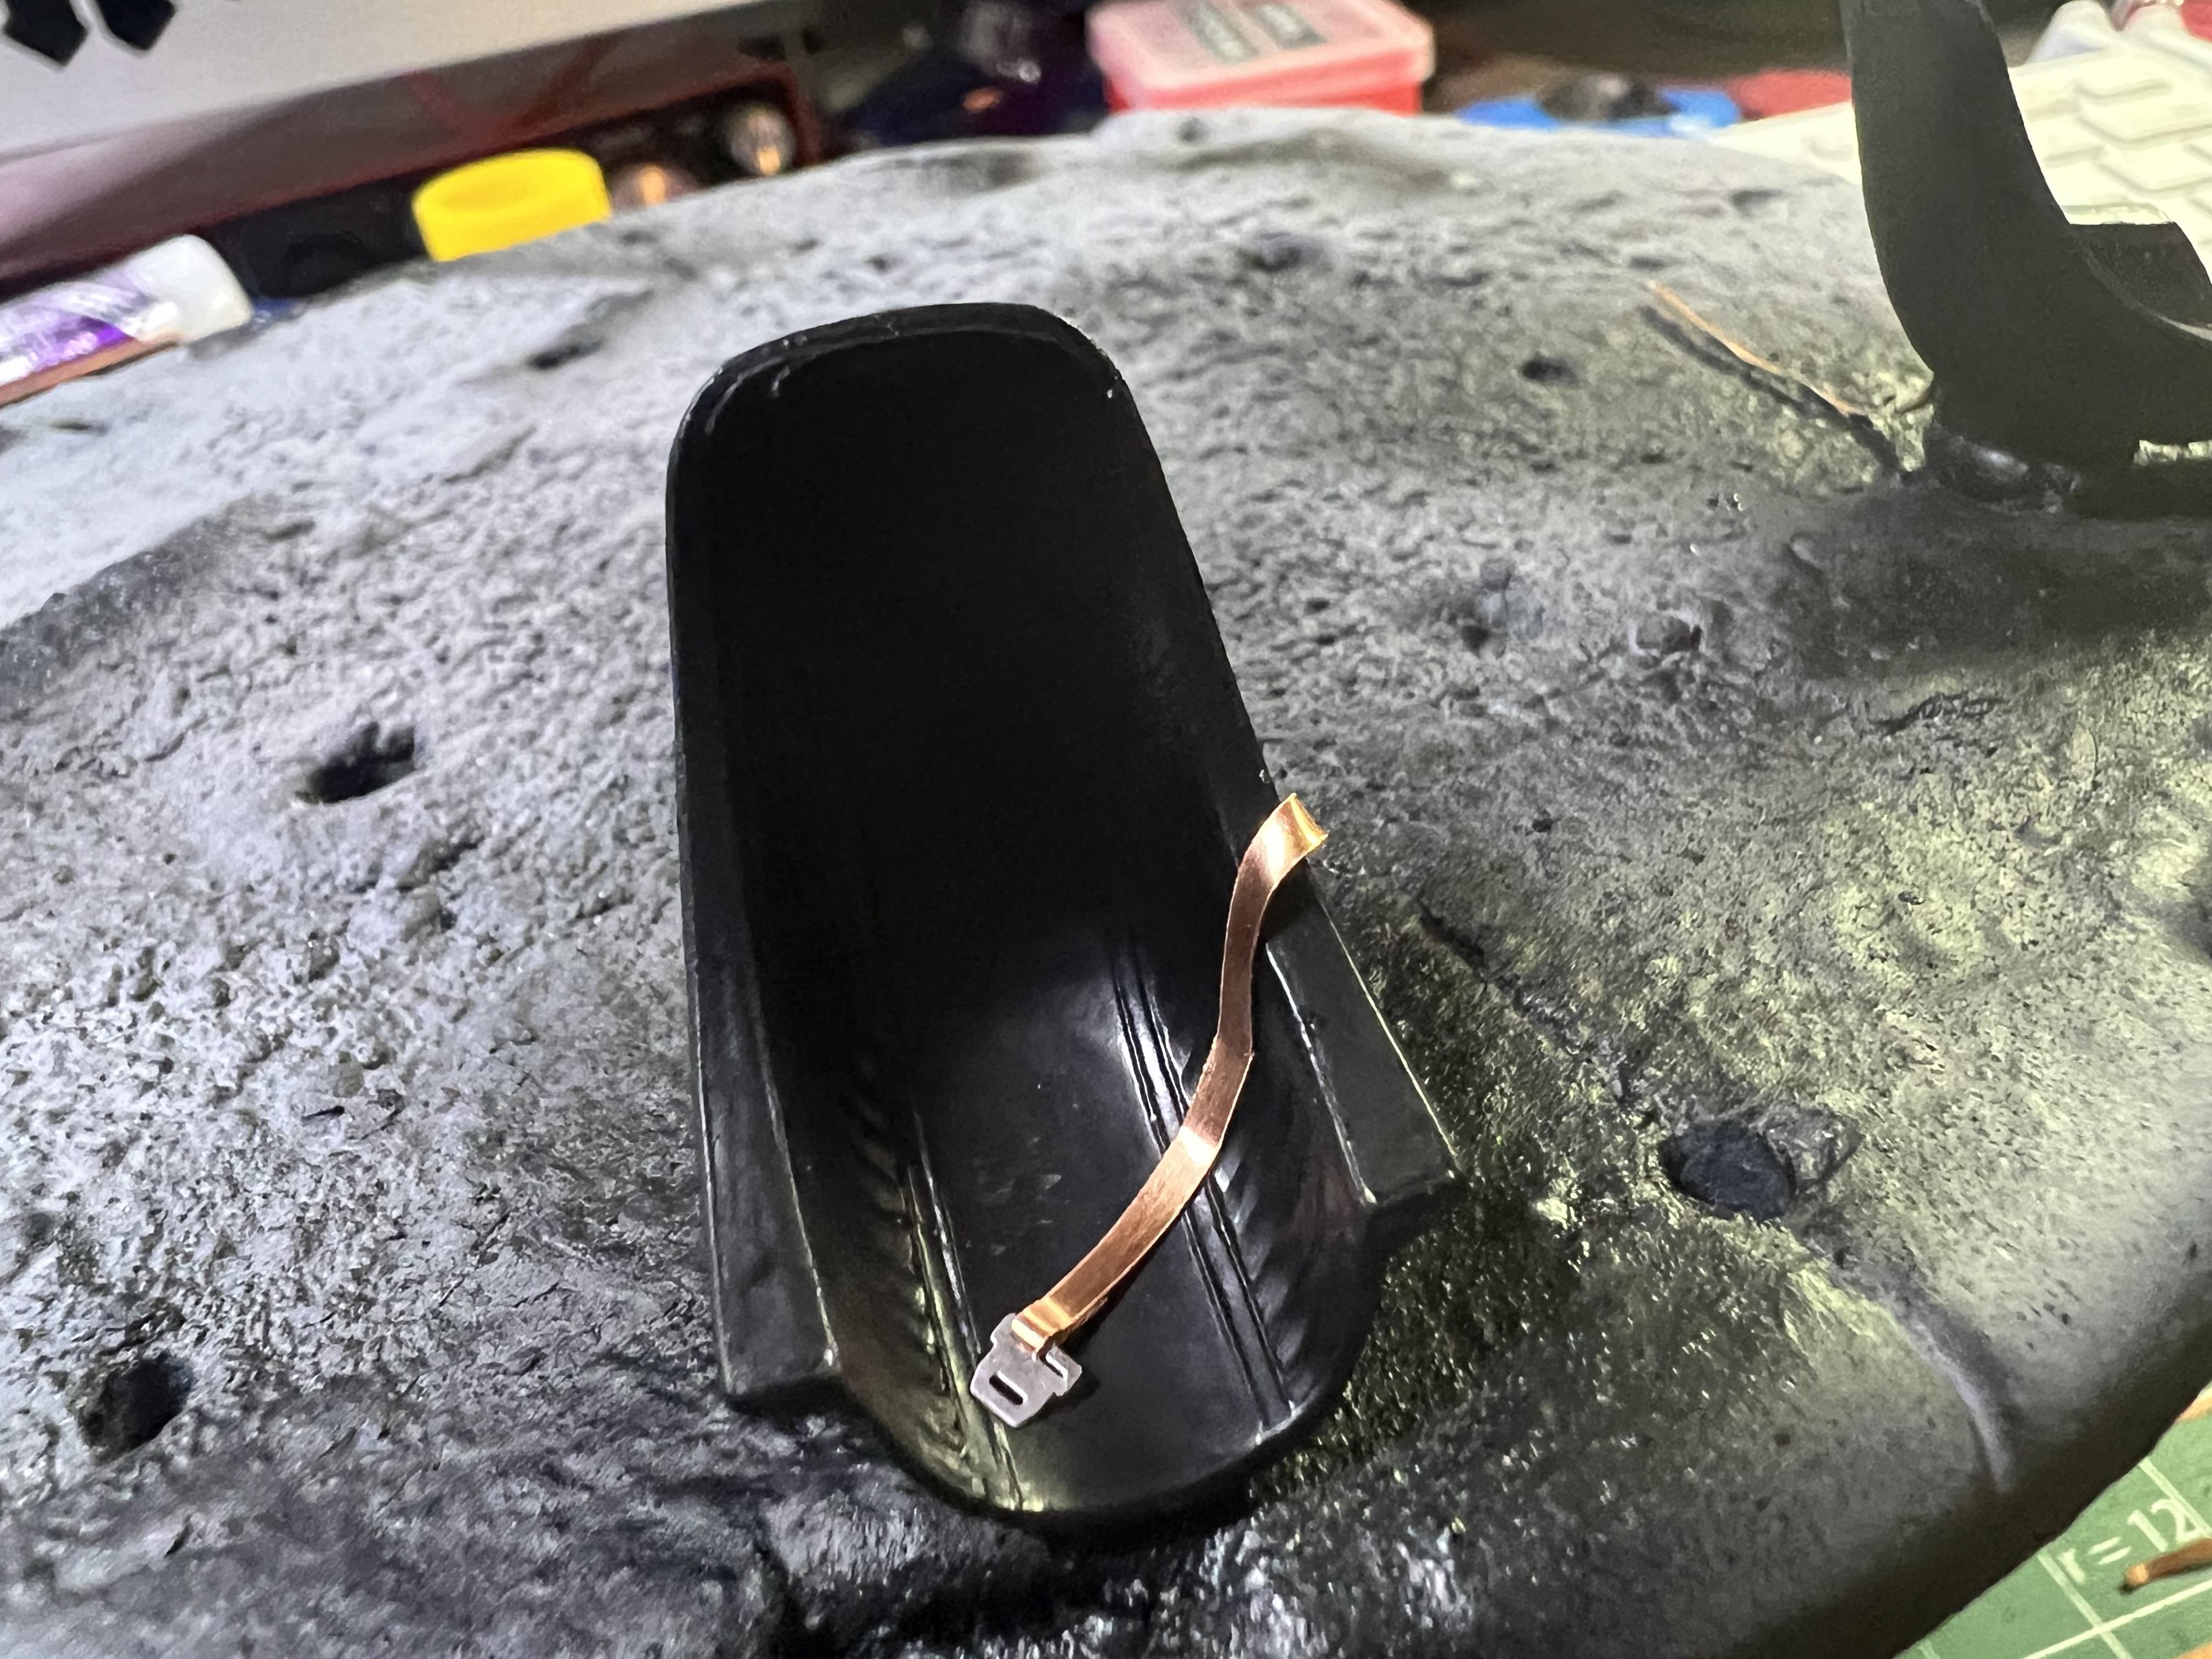
Also this evening, I’d been wanting to try using some thin metal sheet to make seatbelts. I’ve never been super satisfied with just using ribbon, the pattern is too large, paper kinda looks, well, paper-y and thin styrene sheet doesn’t conform well. Seeing as the interior is barely visible on this build anyway, it seemed like a good candidate for some experimentation.
Test piece - one belt with PE buckle:
I didn’t want to risk ruining the paint by installing the photo etch AFTER, so I brush painted these with the buckle in place…effect works ok I think:
Nice thing is, you can add some more depth and texture to these pieces same as I’ve been doing with weathering the metal - add some pastels for shade where the belts sag, or add some light spots to highlight the tops…I think I’ll use this technique again and keep messing with it
Just a small update today, but it’s nearly the weekend! I can assemble the interior now, paint the final few pieces that need color and then we’re in the home stretch. More soon!
-
2
-
-
Thanks fellas - appreciate all the nice comments!
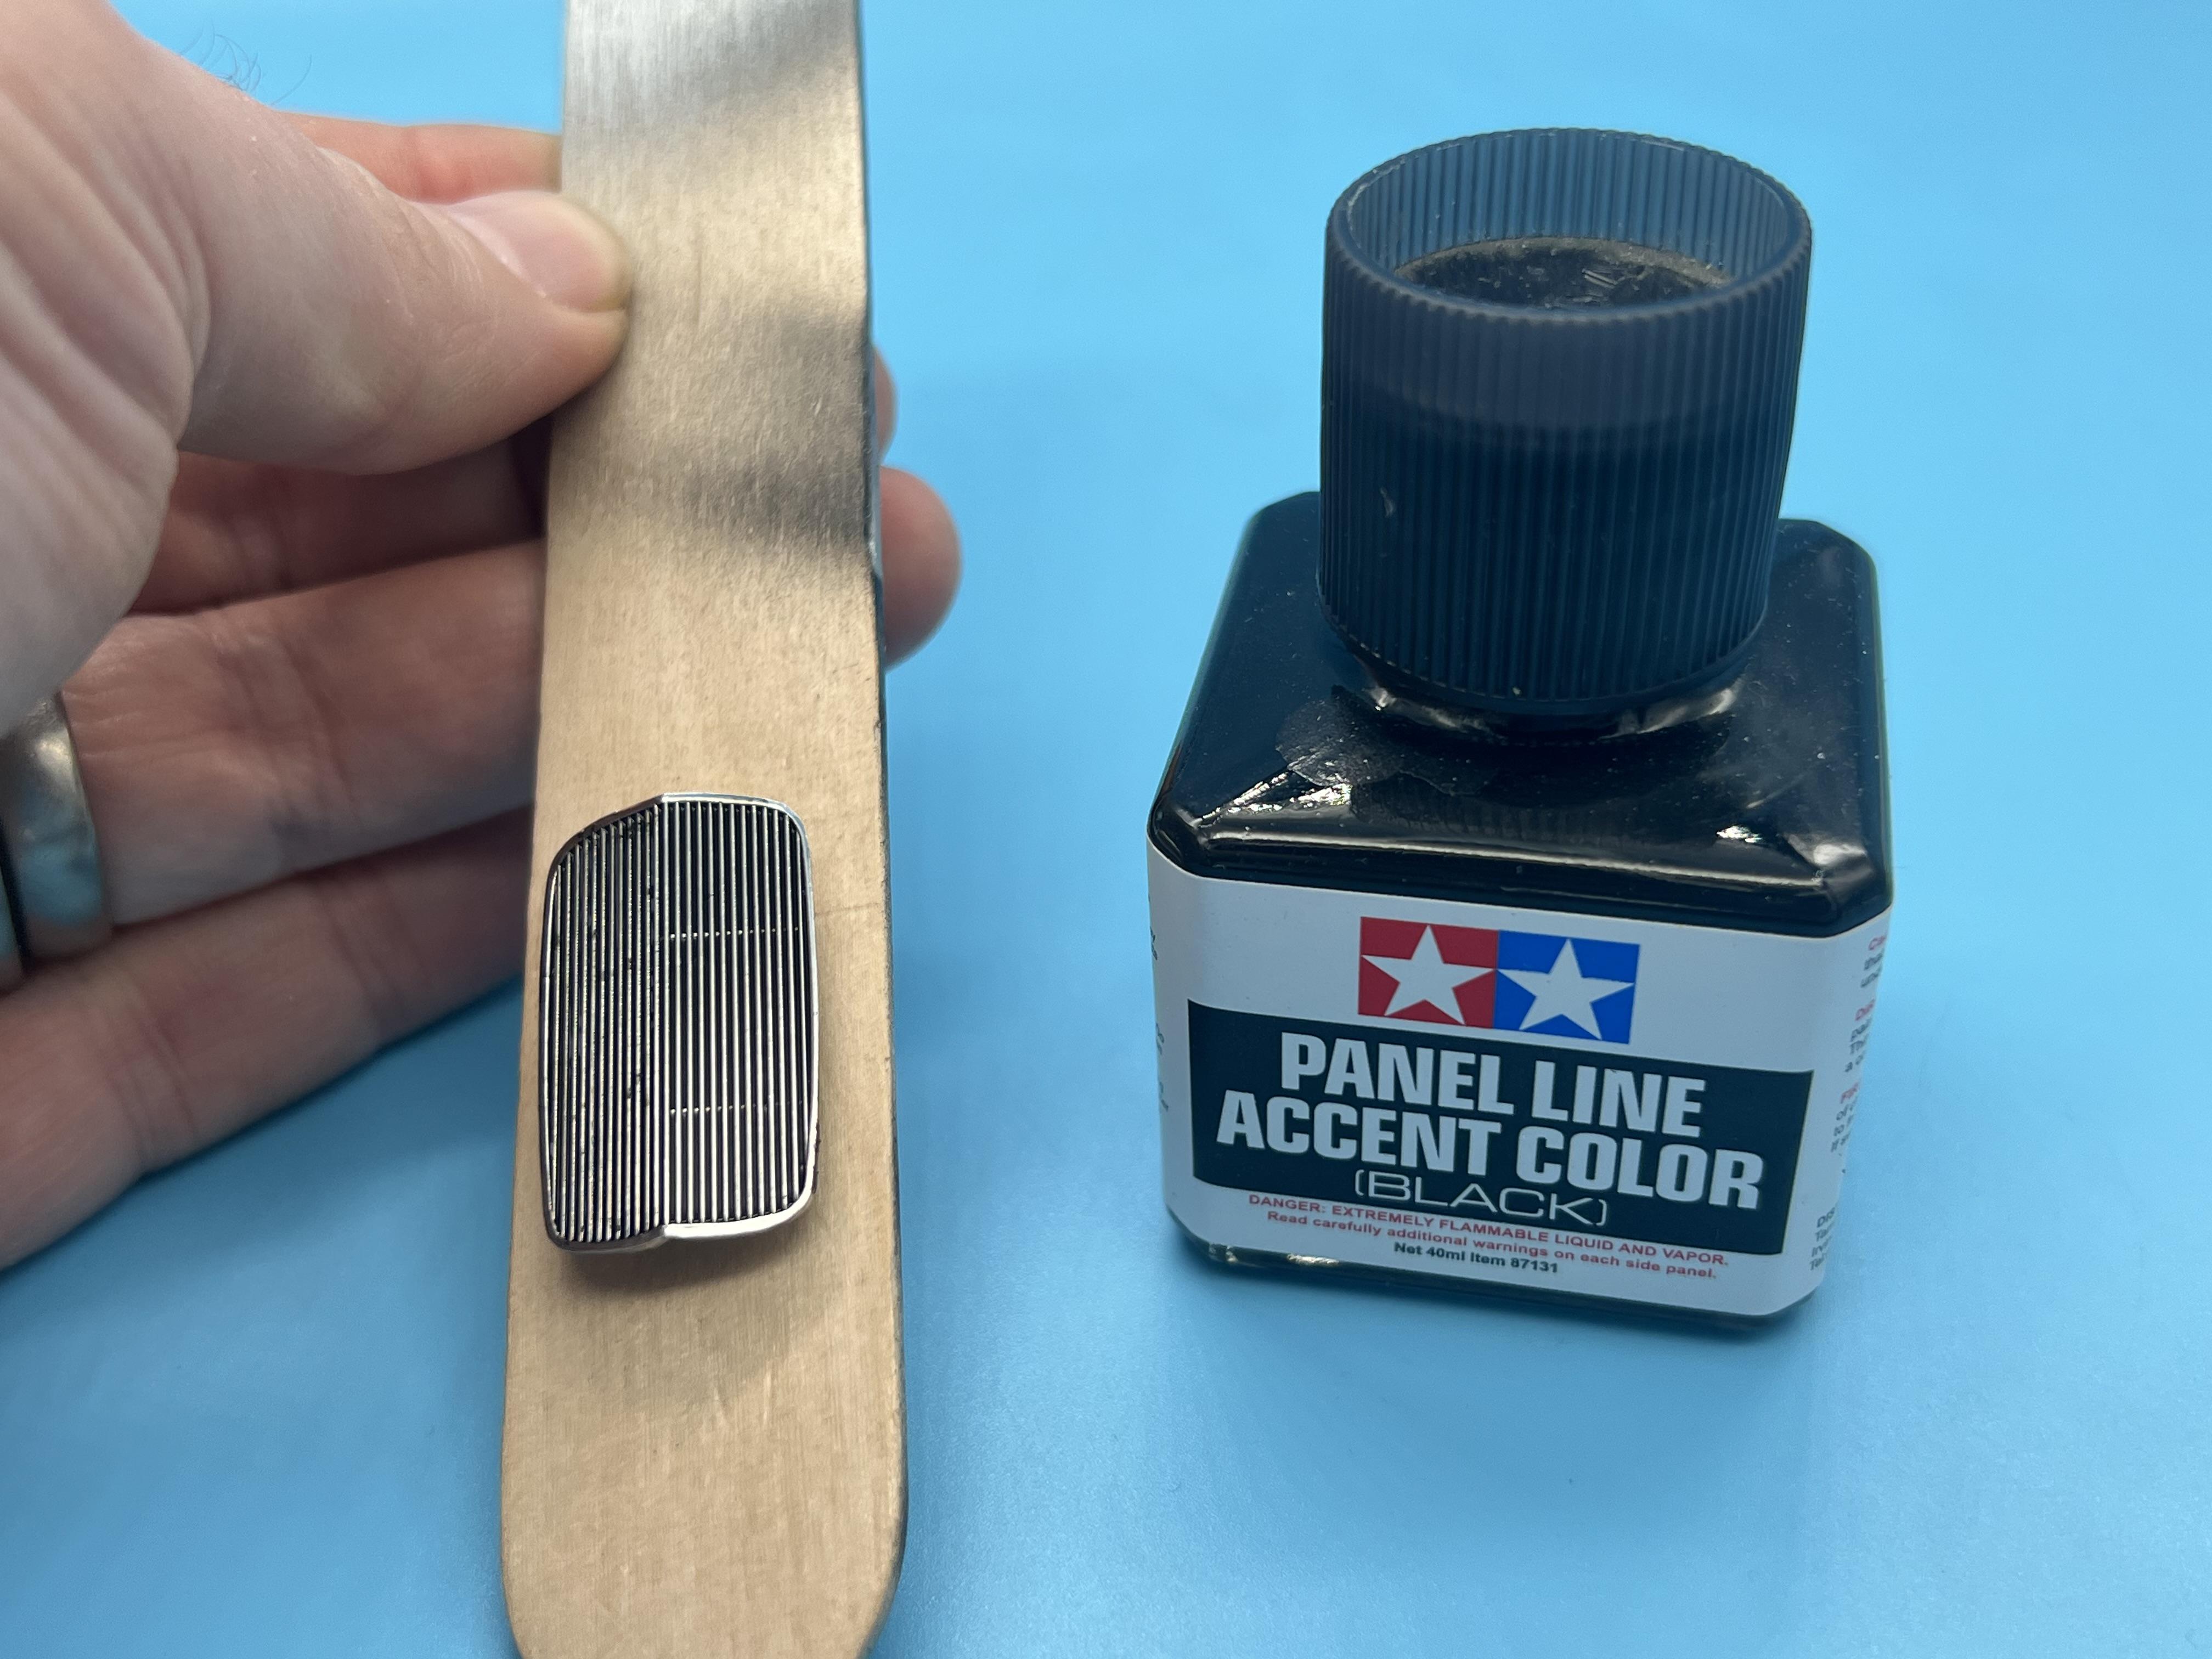
A little more progress tonight…Simple job that I hadn’t done yet was adding a blackwash of Tamiya Panel Liner to the grill insert - quick and simple and adds a lot…
I’d really like to try making a 3d printed version of one of these with gaps between the bars, but I think that would be a trick project both to design AND to print, so I’m working with the kit piece on this one…
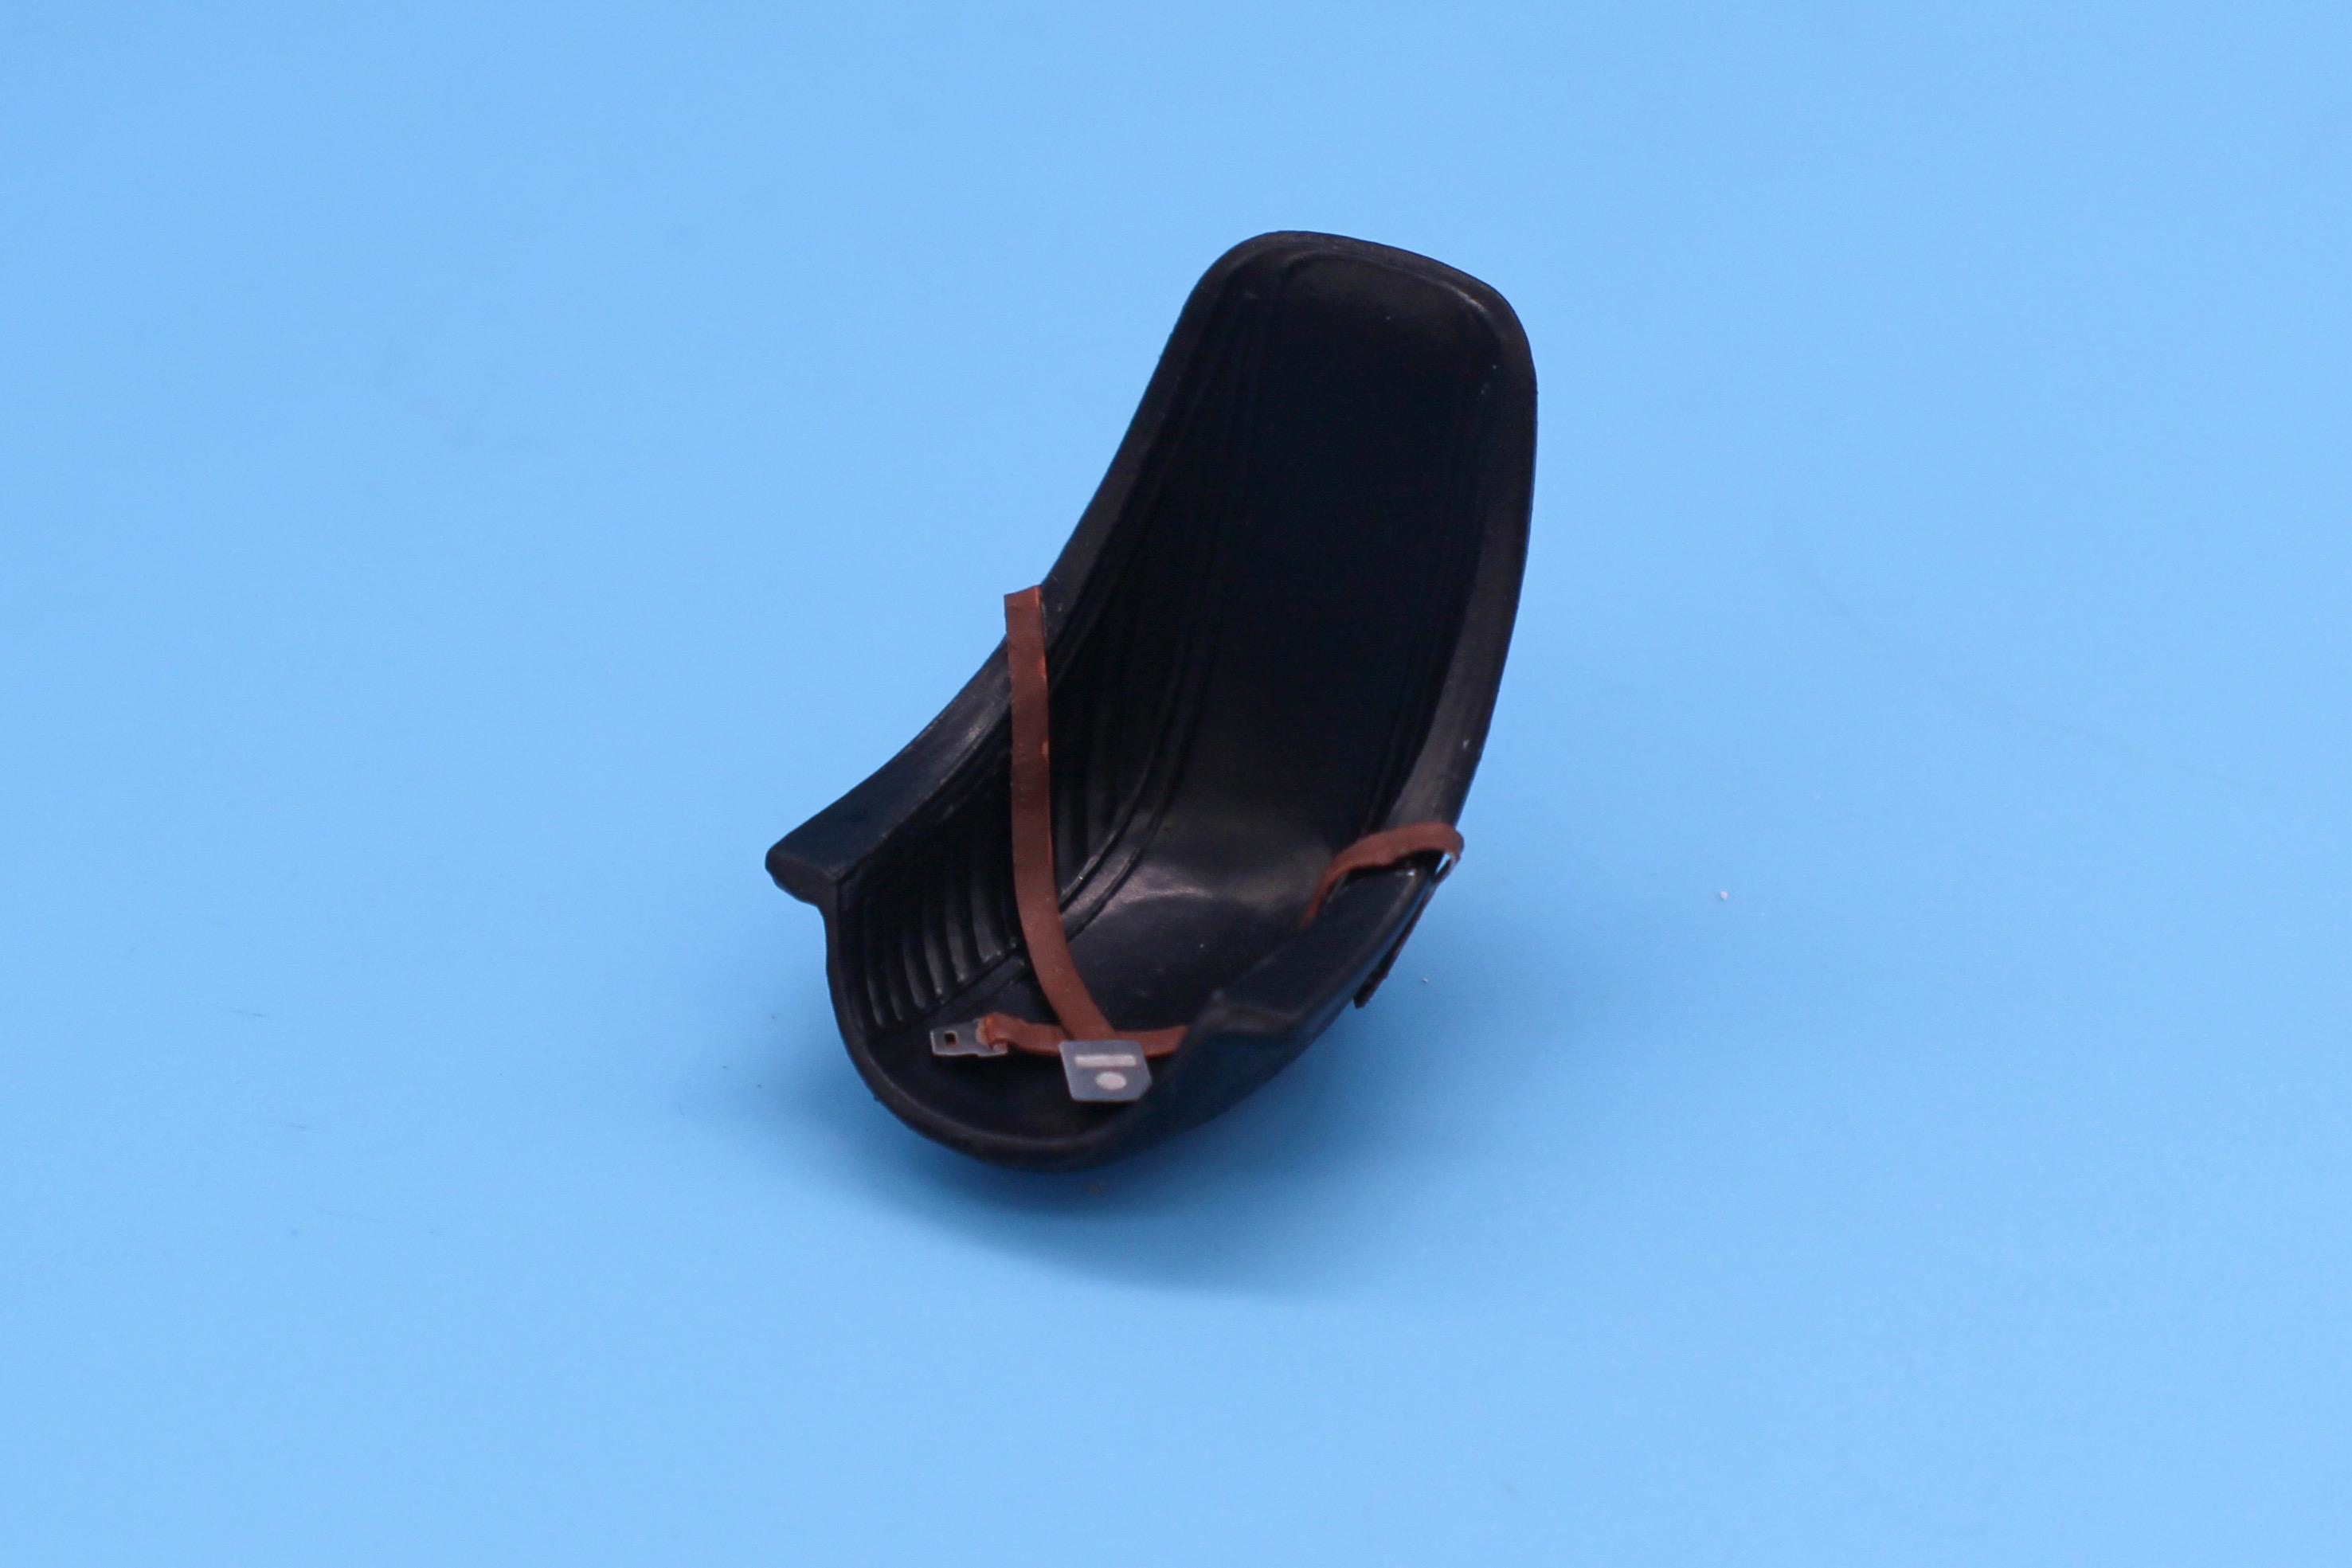
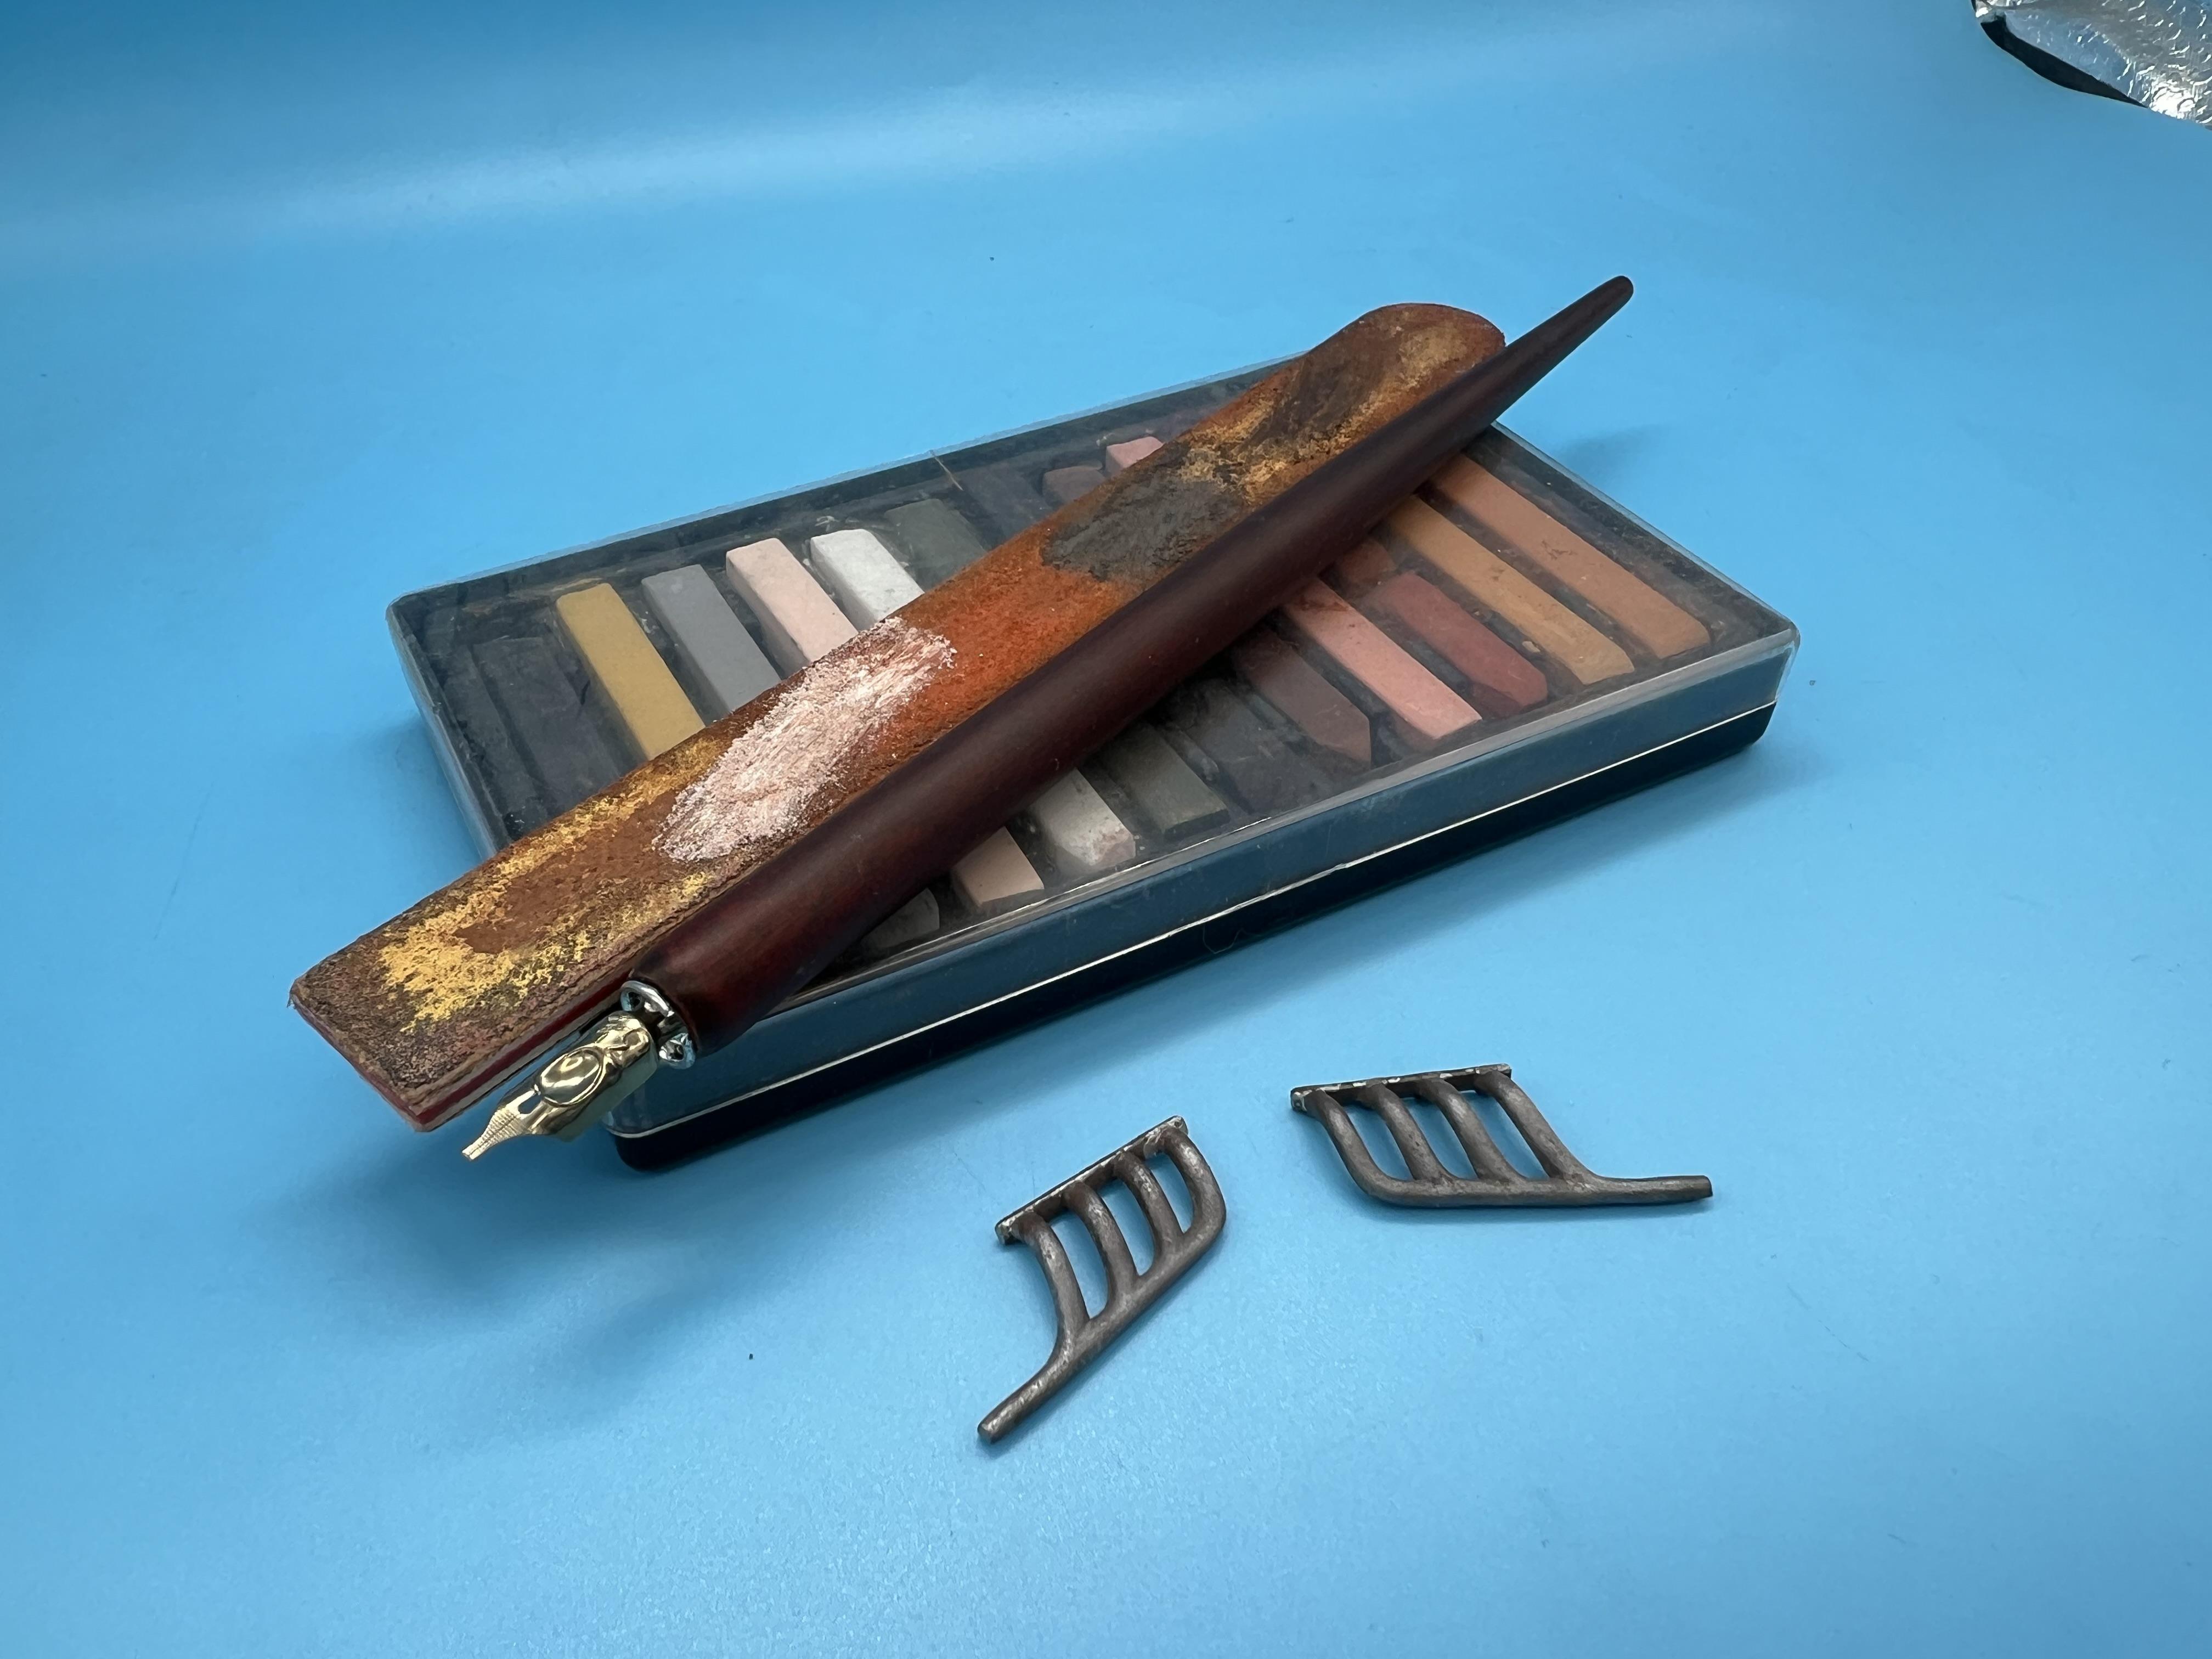
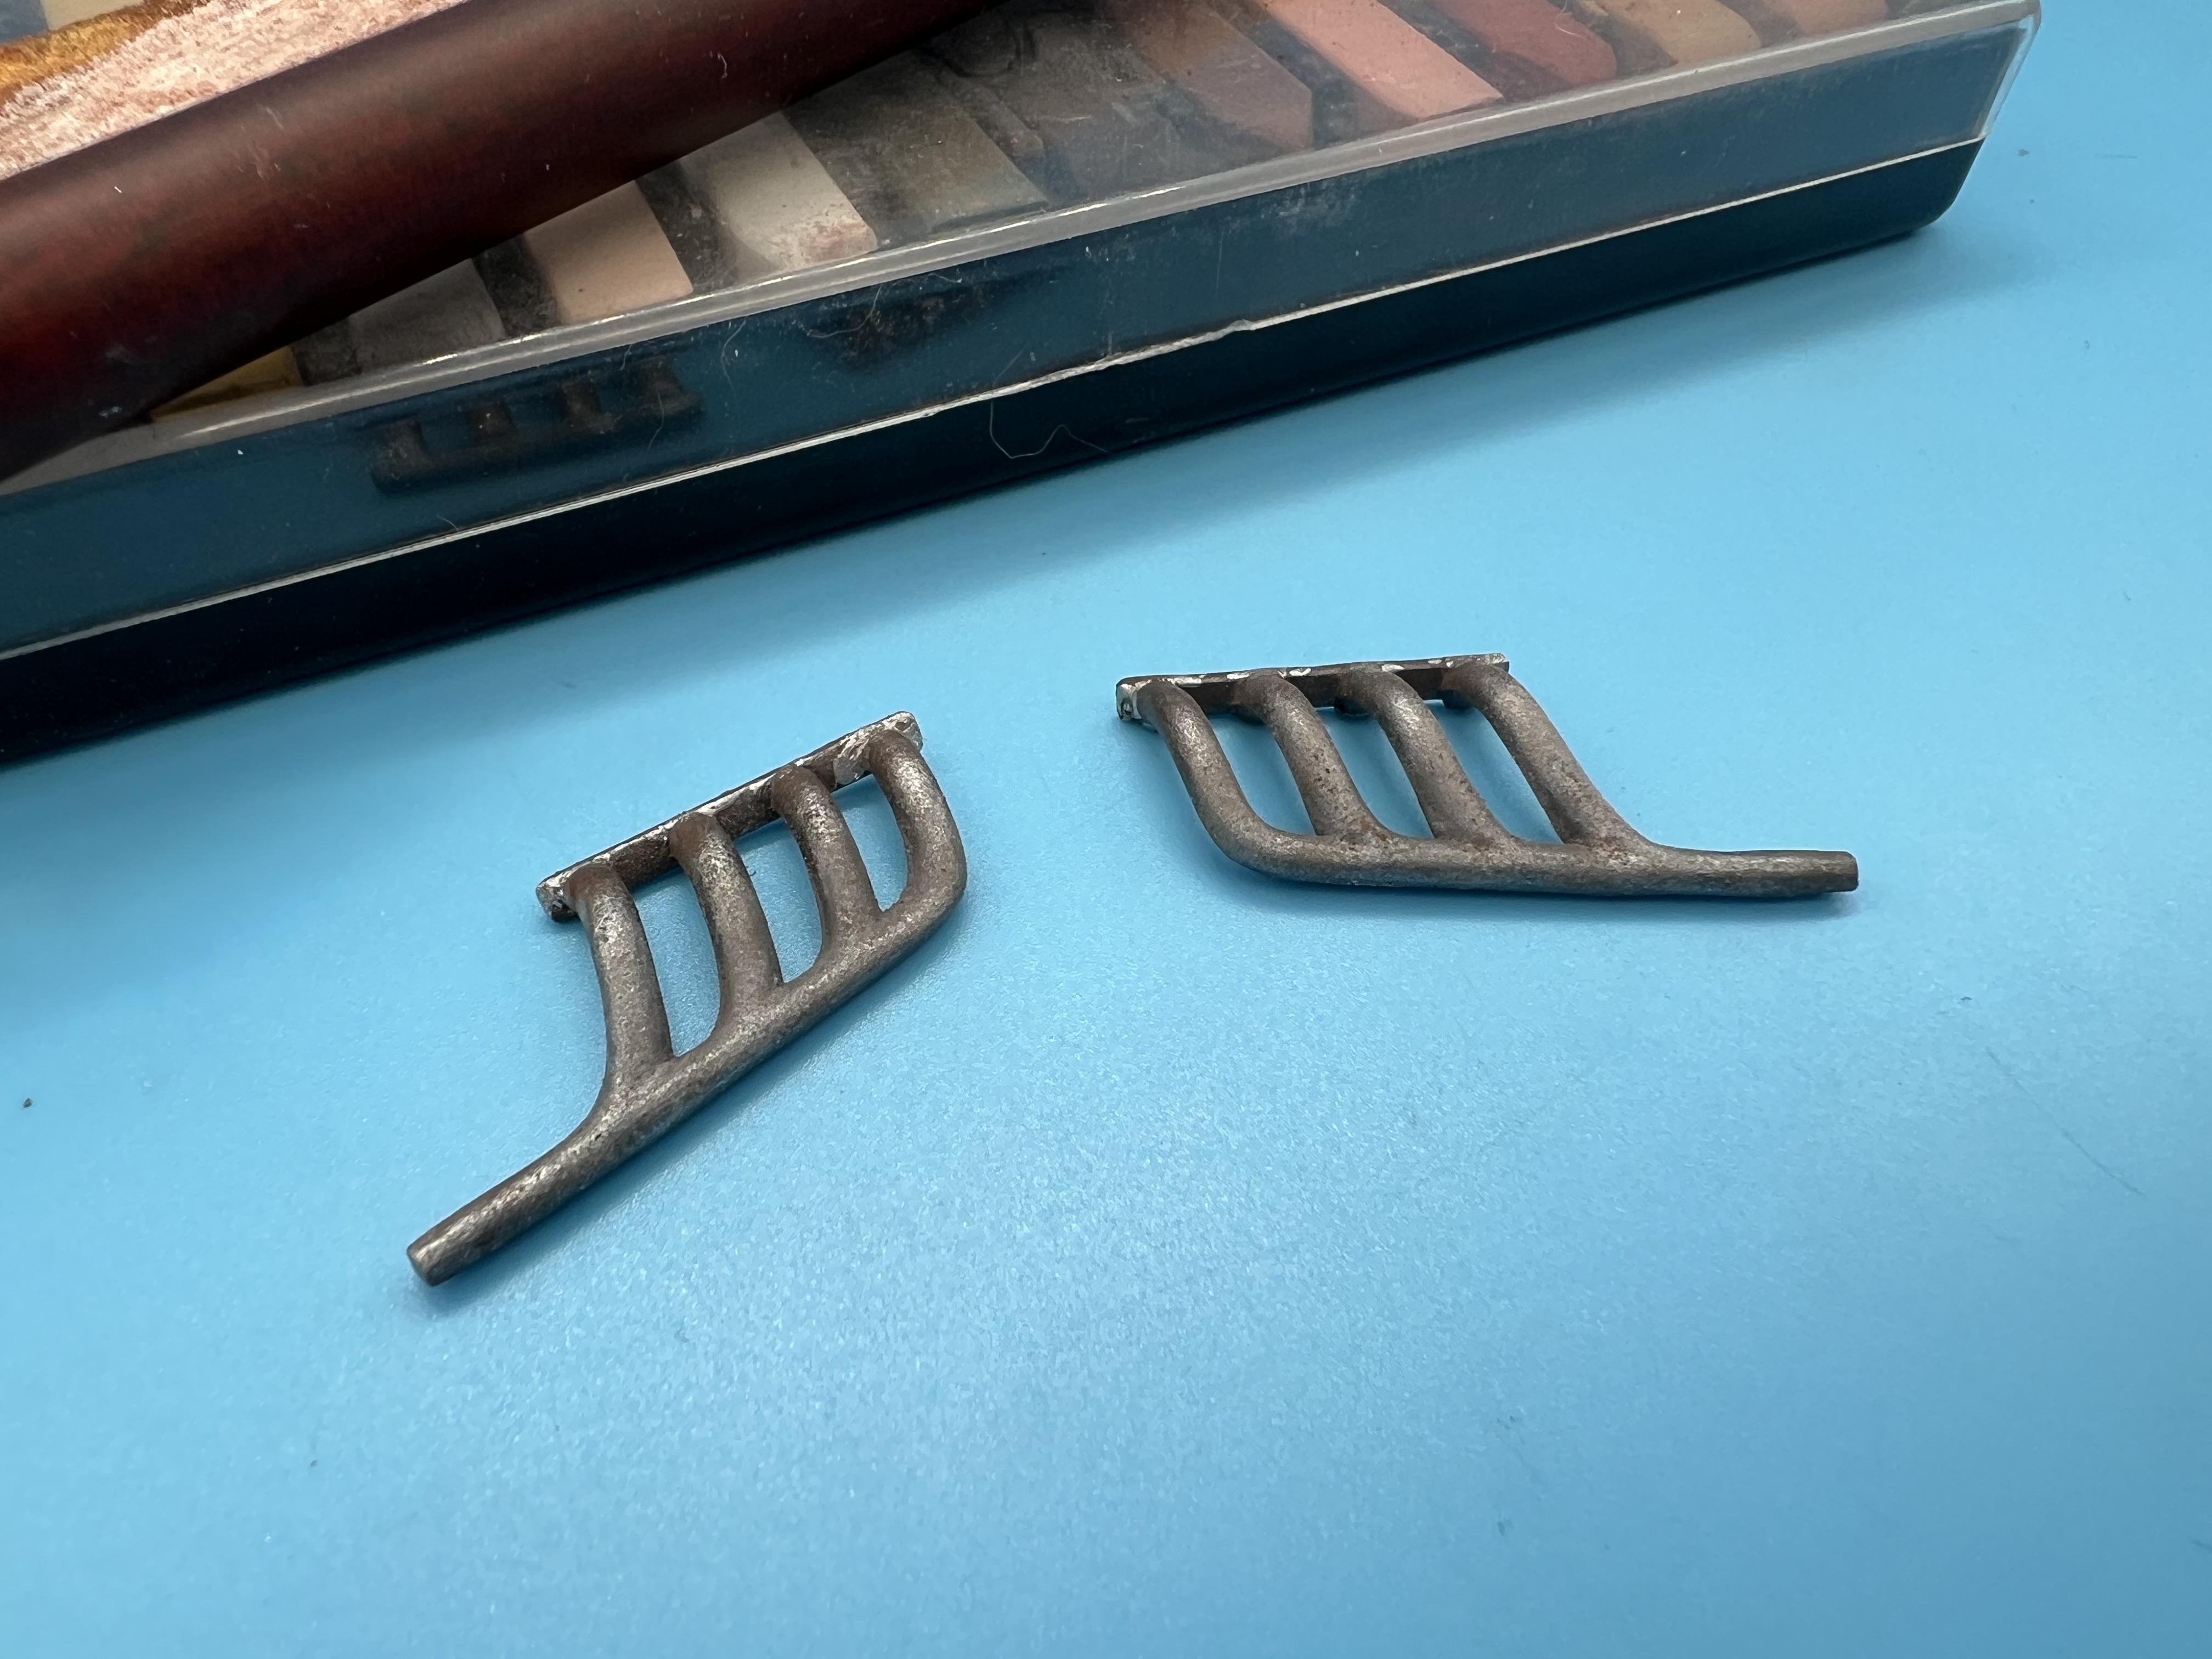
Next up, working through the final few pieces that I need to paint…painted the seats (more on those tomorrow) and also the headers. Shot them with four tone of Vallejo (black, gunmetal, dirty steel and natural steel), picked out some welds to demonstrate a repair at some point with a dipping pen and some Molotow chrome, then added some pastels to add a little wear and age to them:
I’m not going to rusted out and ruined on anything on this build, but the headers needed the heaviest weathering and it was fun to not be AS restrained with the black and brown tones on them…
And finally, back on the frame, playing with some spacer bars for the frame…I wasn’t going to use any, but now I’m thinking maybe?
Adds another bright and clean tone to the frame, which was always intended to contrast with the relative roughness of the unpainted body…I’ll sleep on that and see how I feel when I look again tomorrow….
Thanks for looking - tomorrow’s project will probably be license plates and seatbelts! More soon, soon as I’ve done more!!
-
3
-
-
I’ve had this on the shelf for a few years - maybe this should be the year I actually restore it:
Will need to repair some parts and I want to resin case some of the more interesting unique-to-this-kit parts for use on future builds first…I kinda wish I’d kept the brand-new-in-box mint kit I had a few years ago but someone offered me a crazy amount of money for it so I let it go…
-
3
-
-
3 hours ago, cruz said:
Truck is completed, will share the complete story after it shows up in Finescale. At the moment, I am building the trailer. Please, no questions, can’t give details yet……
Appreciate you sharing it with us over here! Great looking build!
-
Really nice work on this build! I’m enjoying watching it come together
-
Happy Tuesday one and all! A little more progress at the bench this evening…
First project was one I had in mind since I started this project, but hadn’t got around to yet…
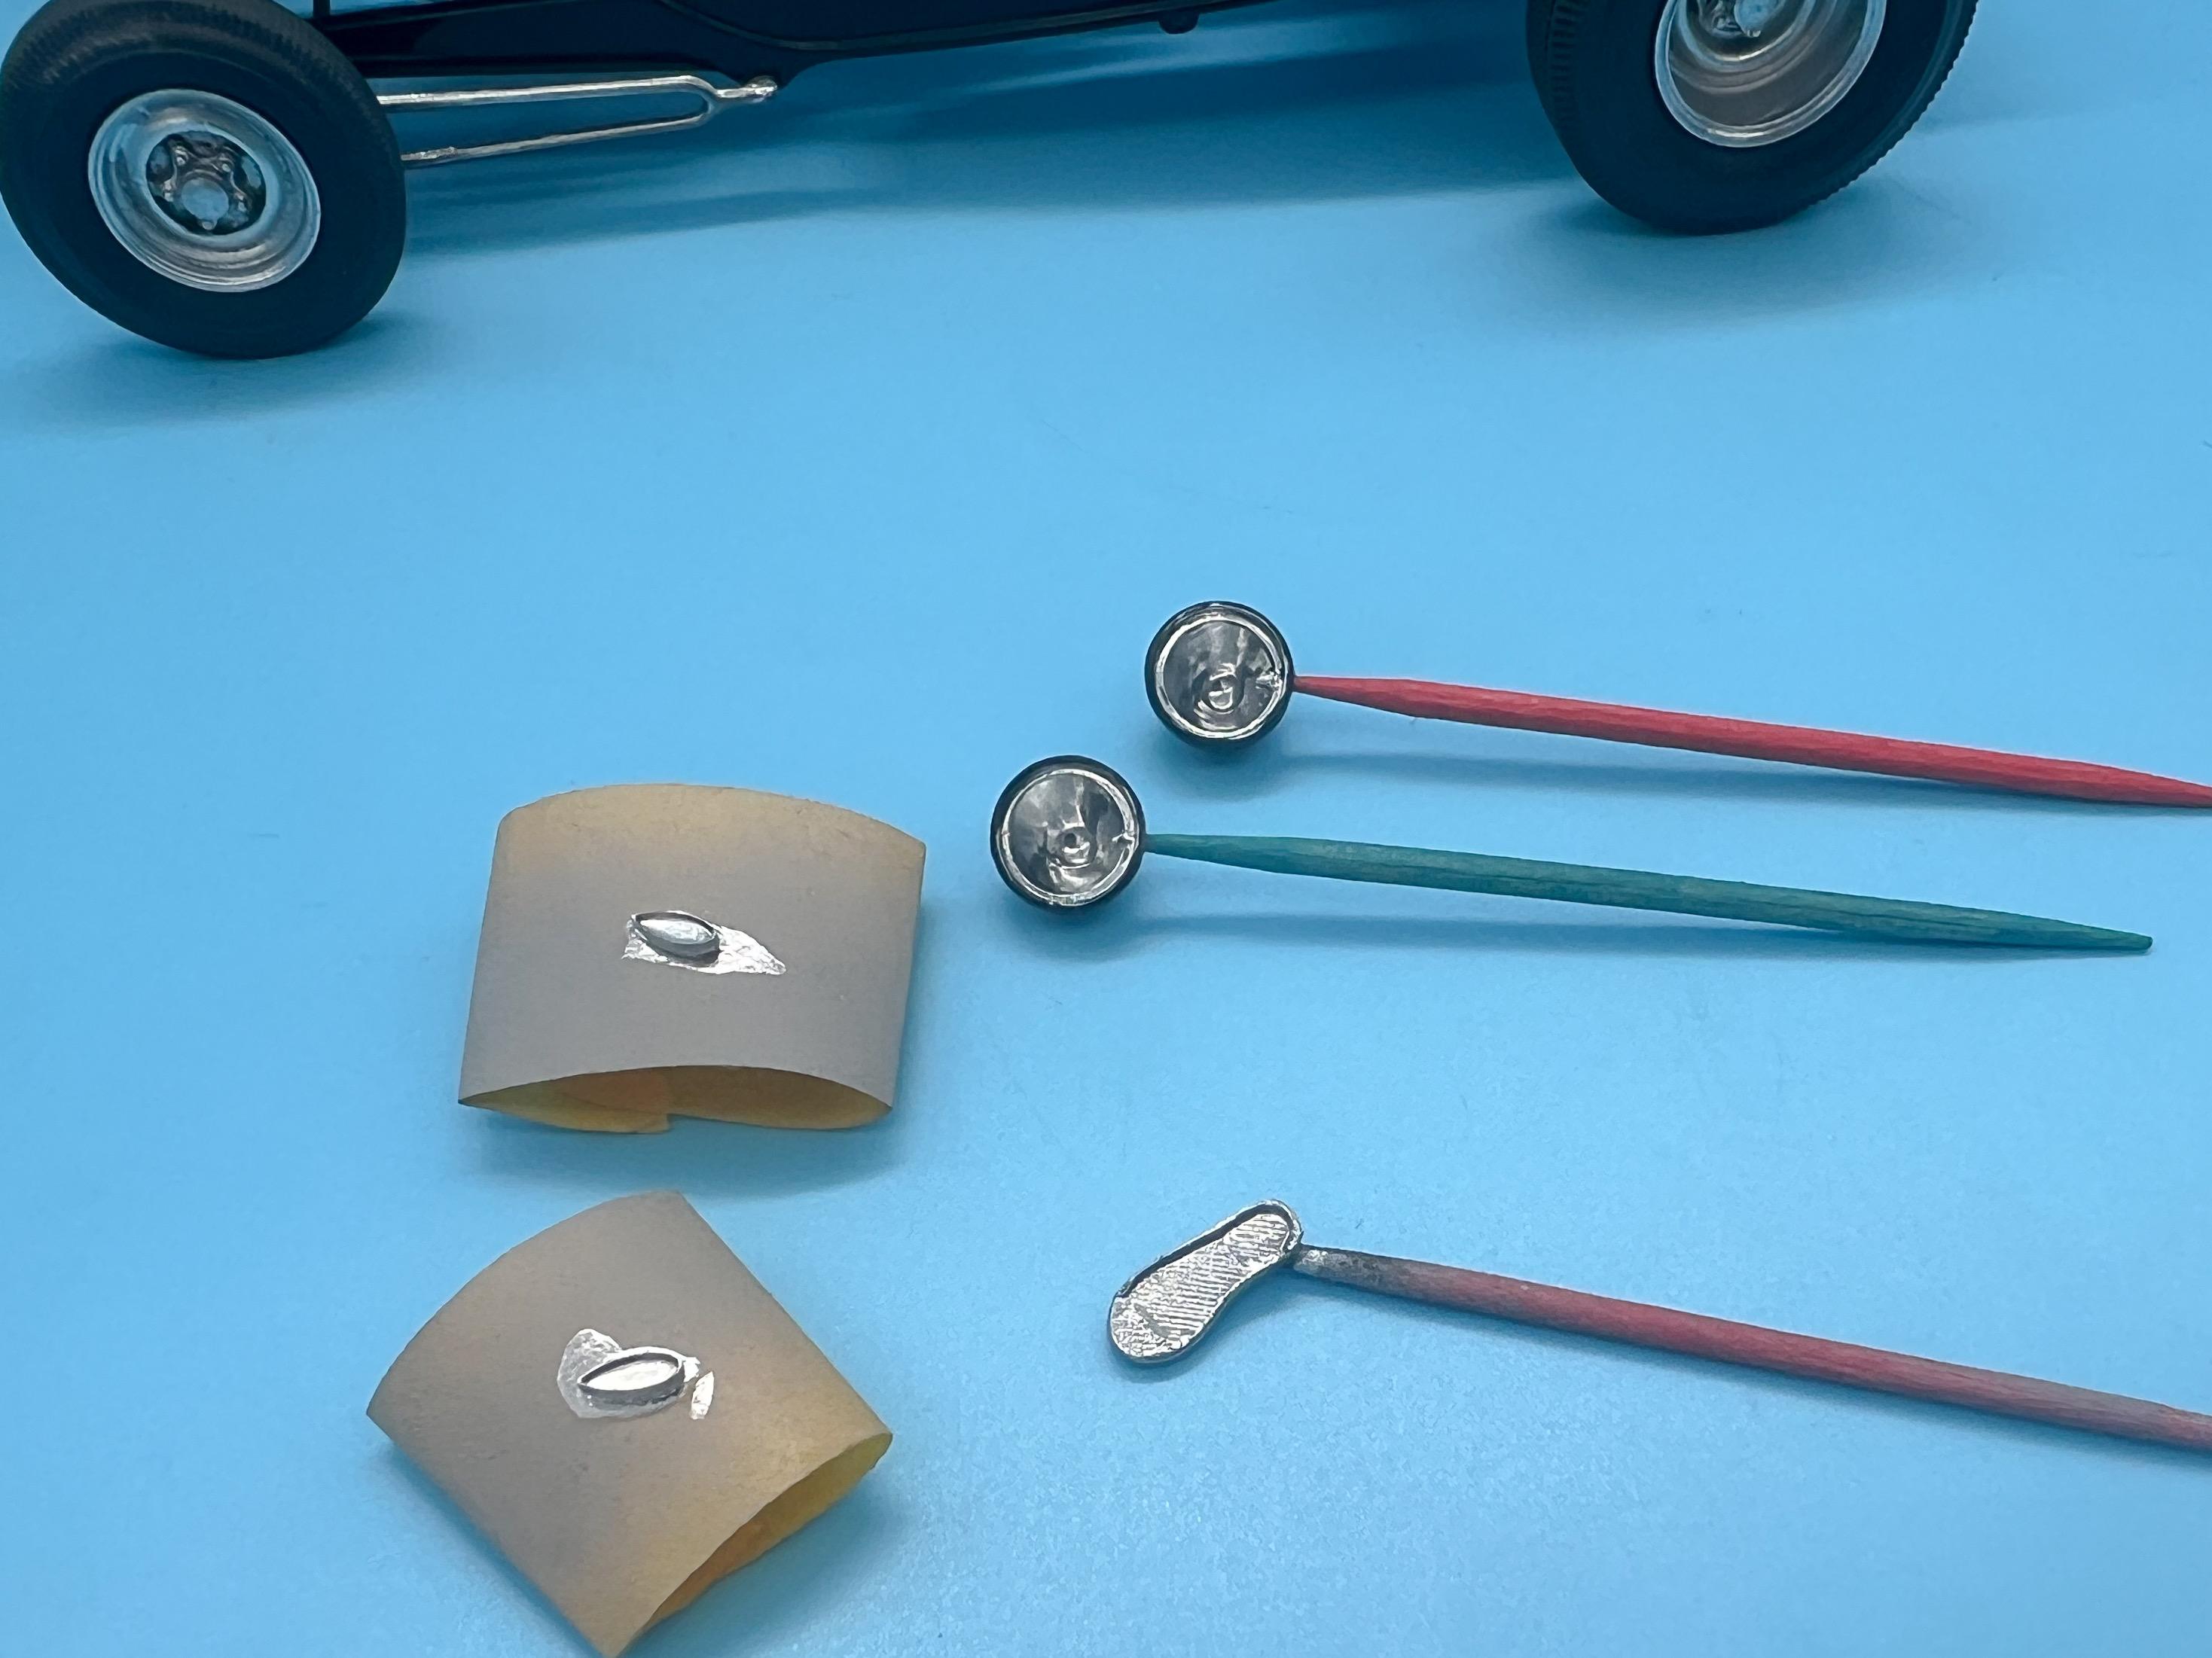
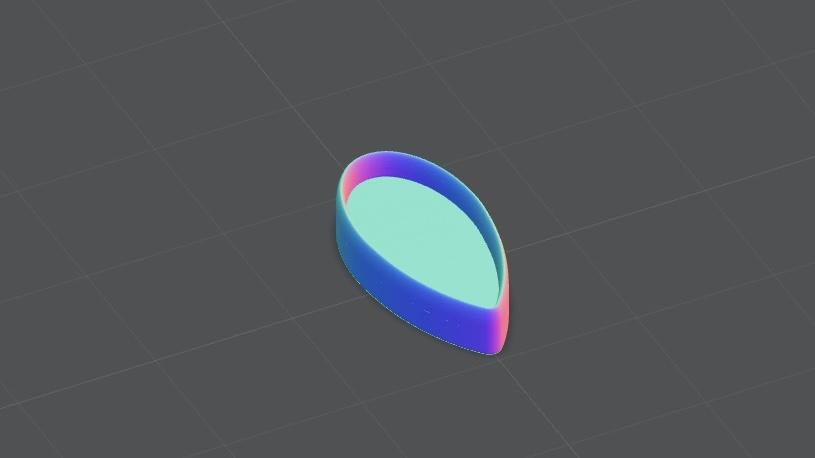
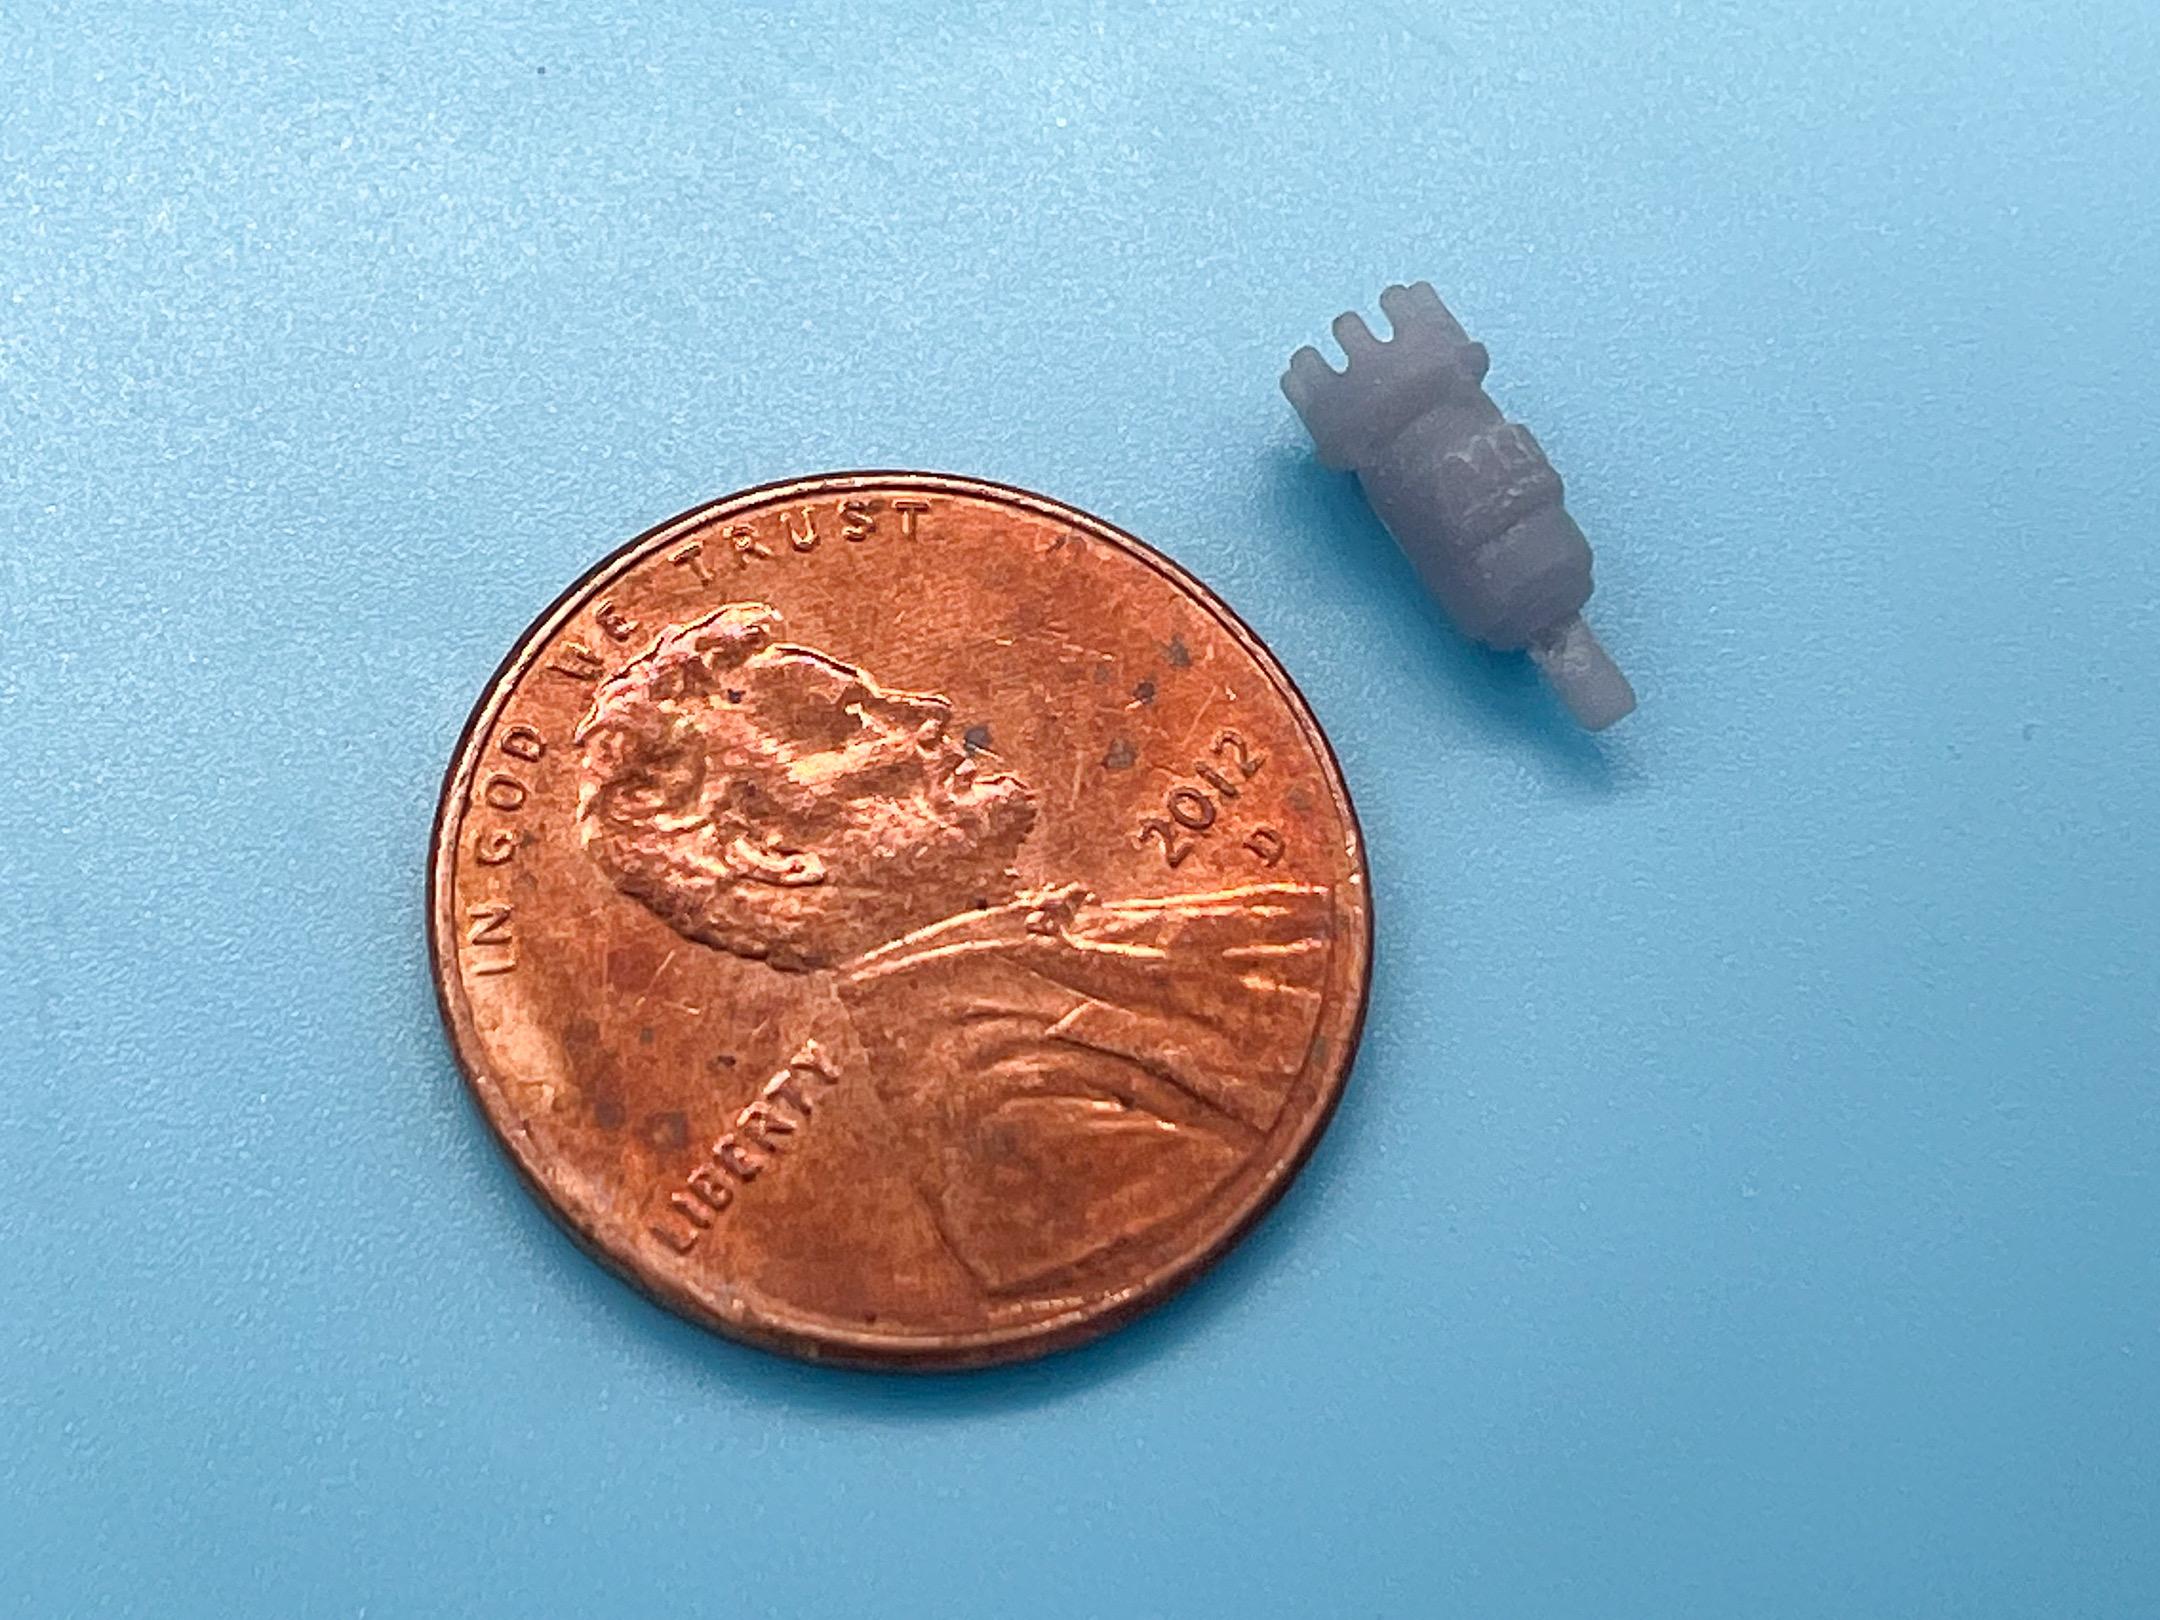
The kit taillights that Revell provides are some pretty little teardrops, but I wanted a nice in-scale chrome surround for them that I could paint separately. I drew one up for 3D printing…
…and printed a few slightly different sizes on my printer (they look like grains of rice, before clean-up):
And after cleaning and curing I think I’ve got something usable:
Just need to chrome a couple and get those lenses glued in and they’re ready to attach to the body…
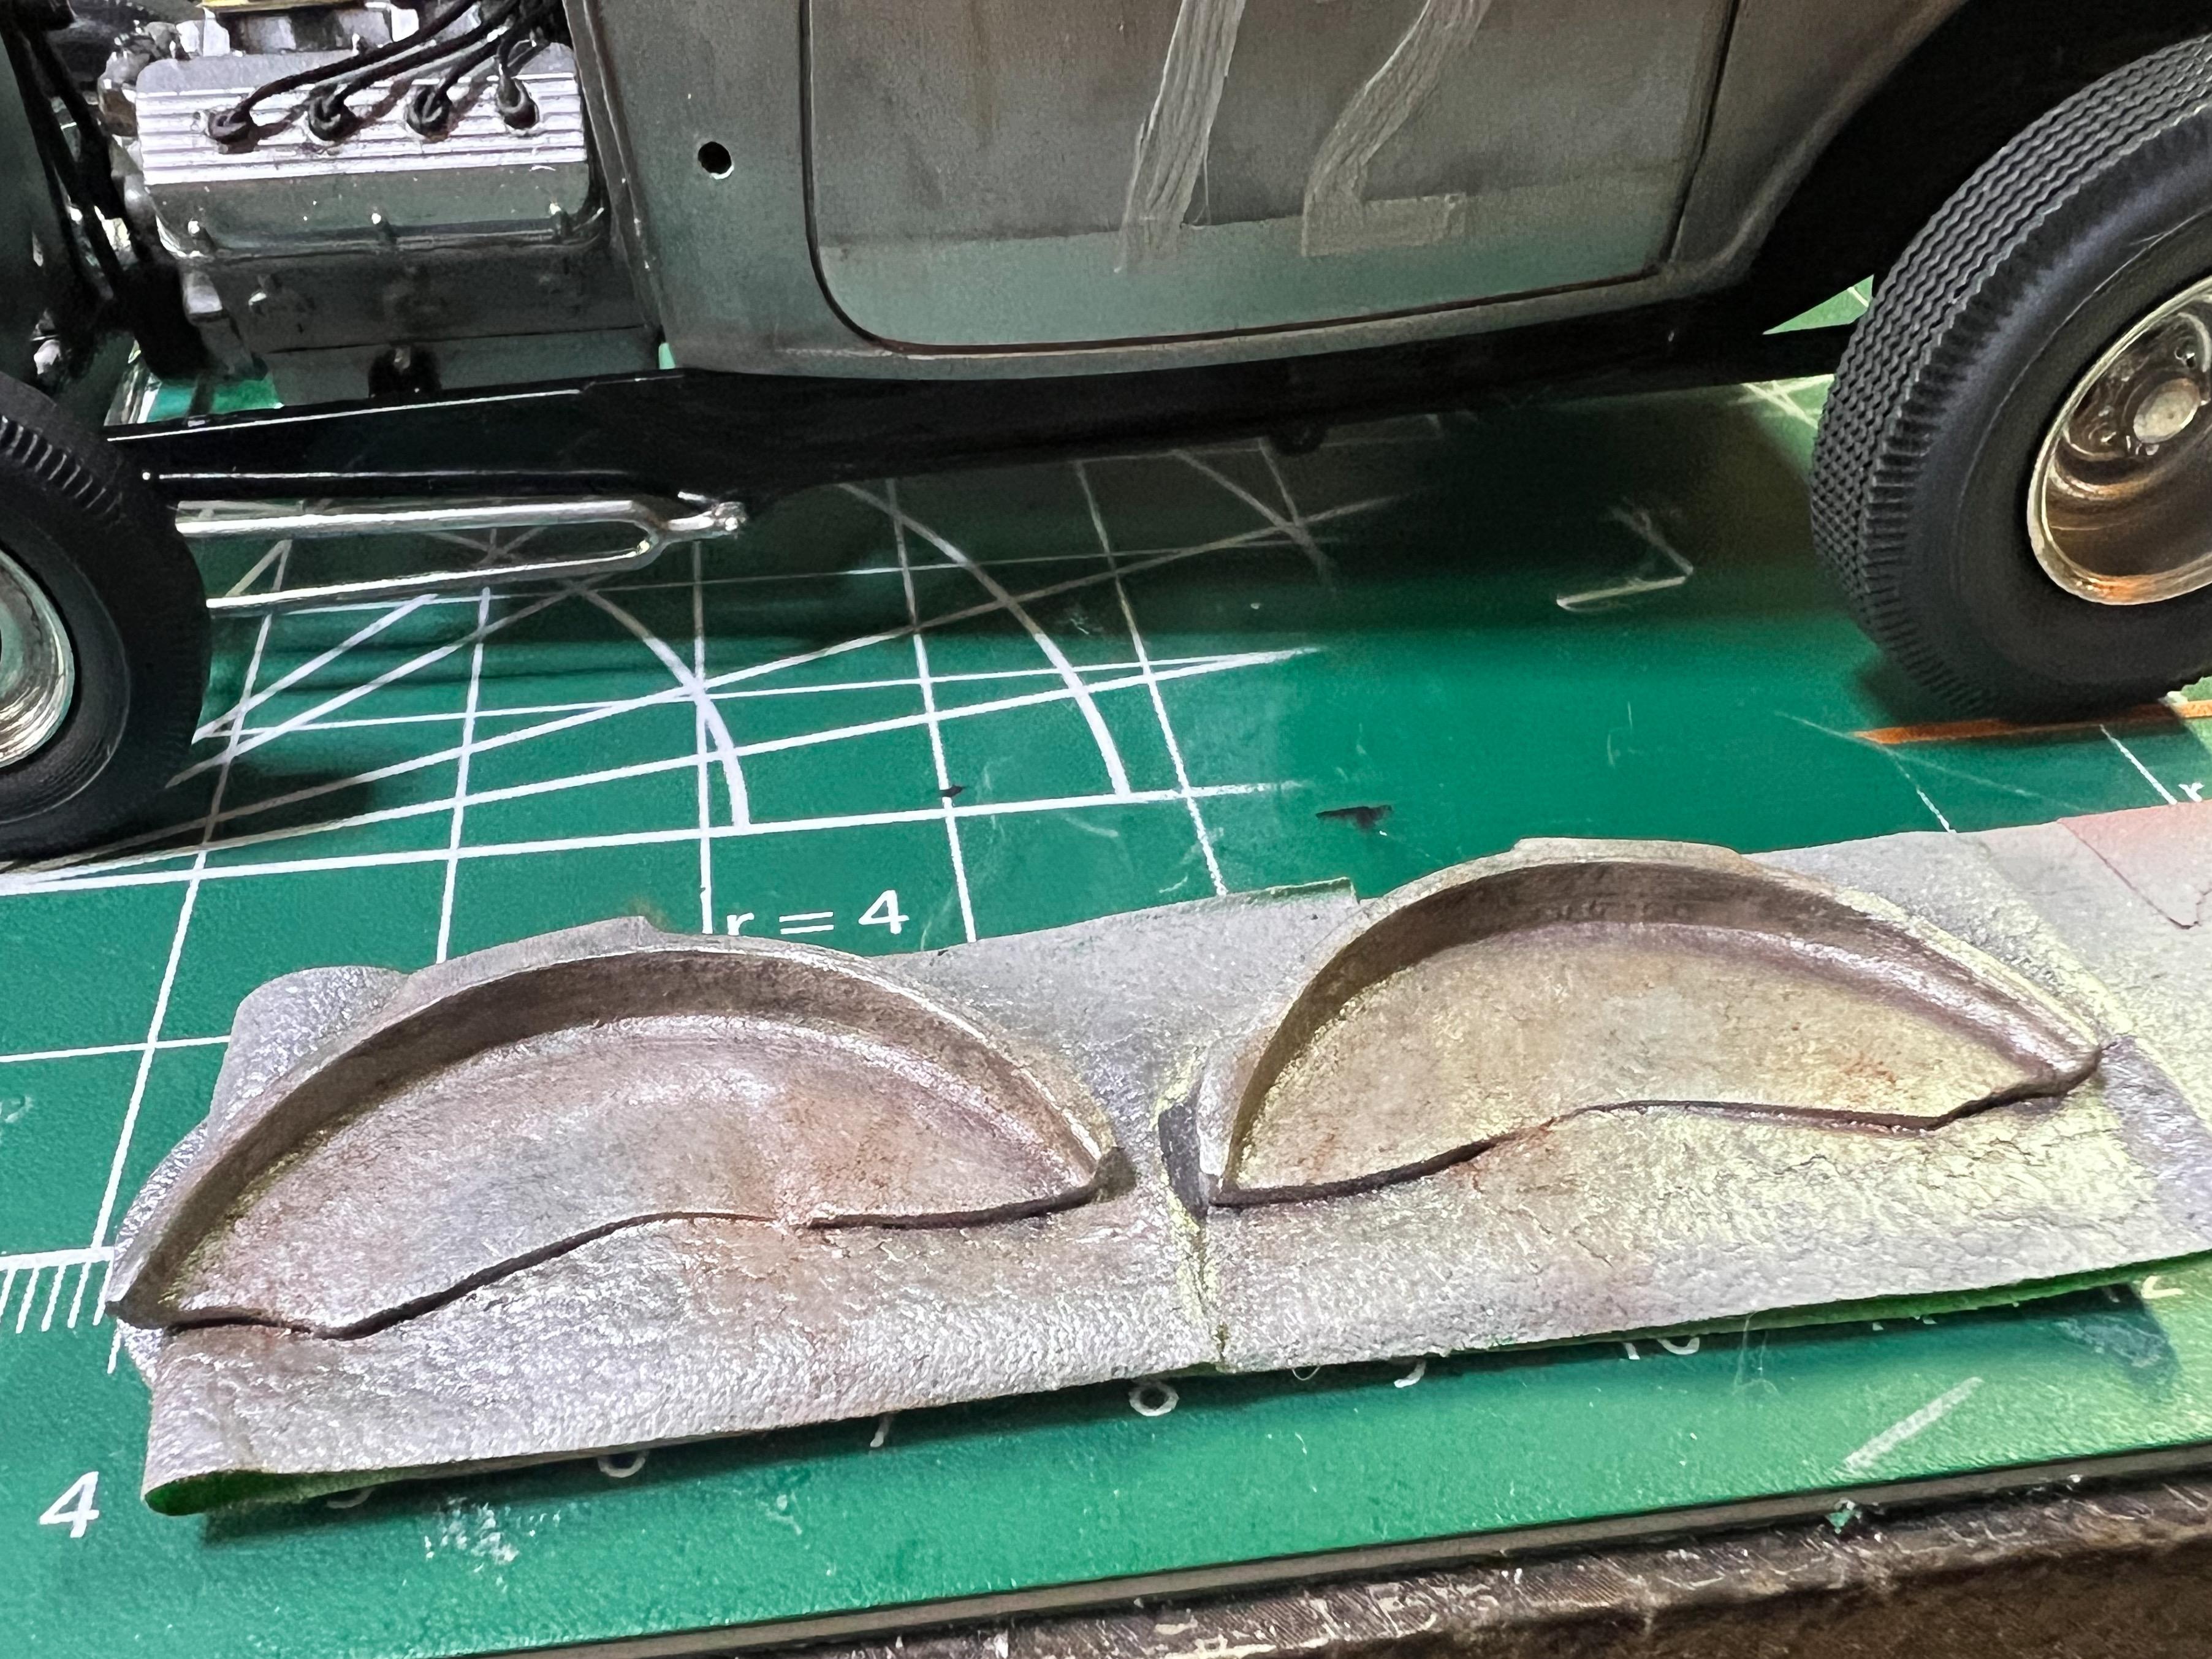
Next job was painting the inner fenders I’d been messing with last week. I figure as we can’t be sure that they’re correct for a 3-window body that they might’ve come from a different car, so I aged them a little more than the body - same technique, just a little more used looking:
Oh, and in a minor detail I buffed the headlamps (which have received some clearcoat since you last saw them, and couldn’t resist another mock-up to see how it’s coming together…
Next major jobs are assembling the interior for good, once I’ve painted the seats anyway, figuring out the glass and those taillights and then we’ll start getting down to actually gluing some big pieces together and adding finishing touches - thanks for looking, more soon!
-
4
-
-
2 hours ago, iBorg said:
Who's waiting to hear from Steve Scott? I wonder if he'll claim to start legal action if its exhibited as the Uncertain T for violating his rights?
Wonder if he’s going to refund all the people that donated money for him to move back to the mainland and buy the car back? Not much change of that happening now (as if there ever was…)
-
1
-
-
This is a great looking project - I like the work you’re doing on this one!
-
 1
1
-
-
Thanks fellas!! Appreciate you taking a look!
So, I’m trying hard to make some progress on something every day…made it every day so far this year! Even if it’s just a half-hour, which is about all I had spare this evening.
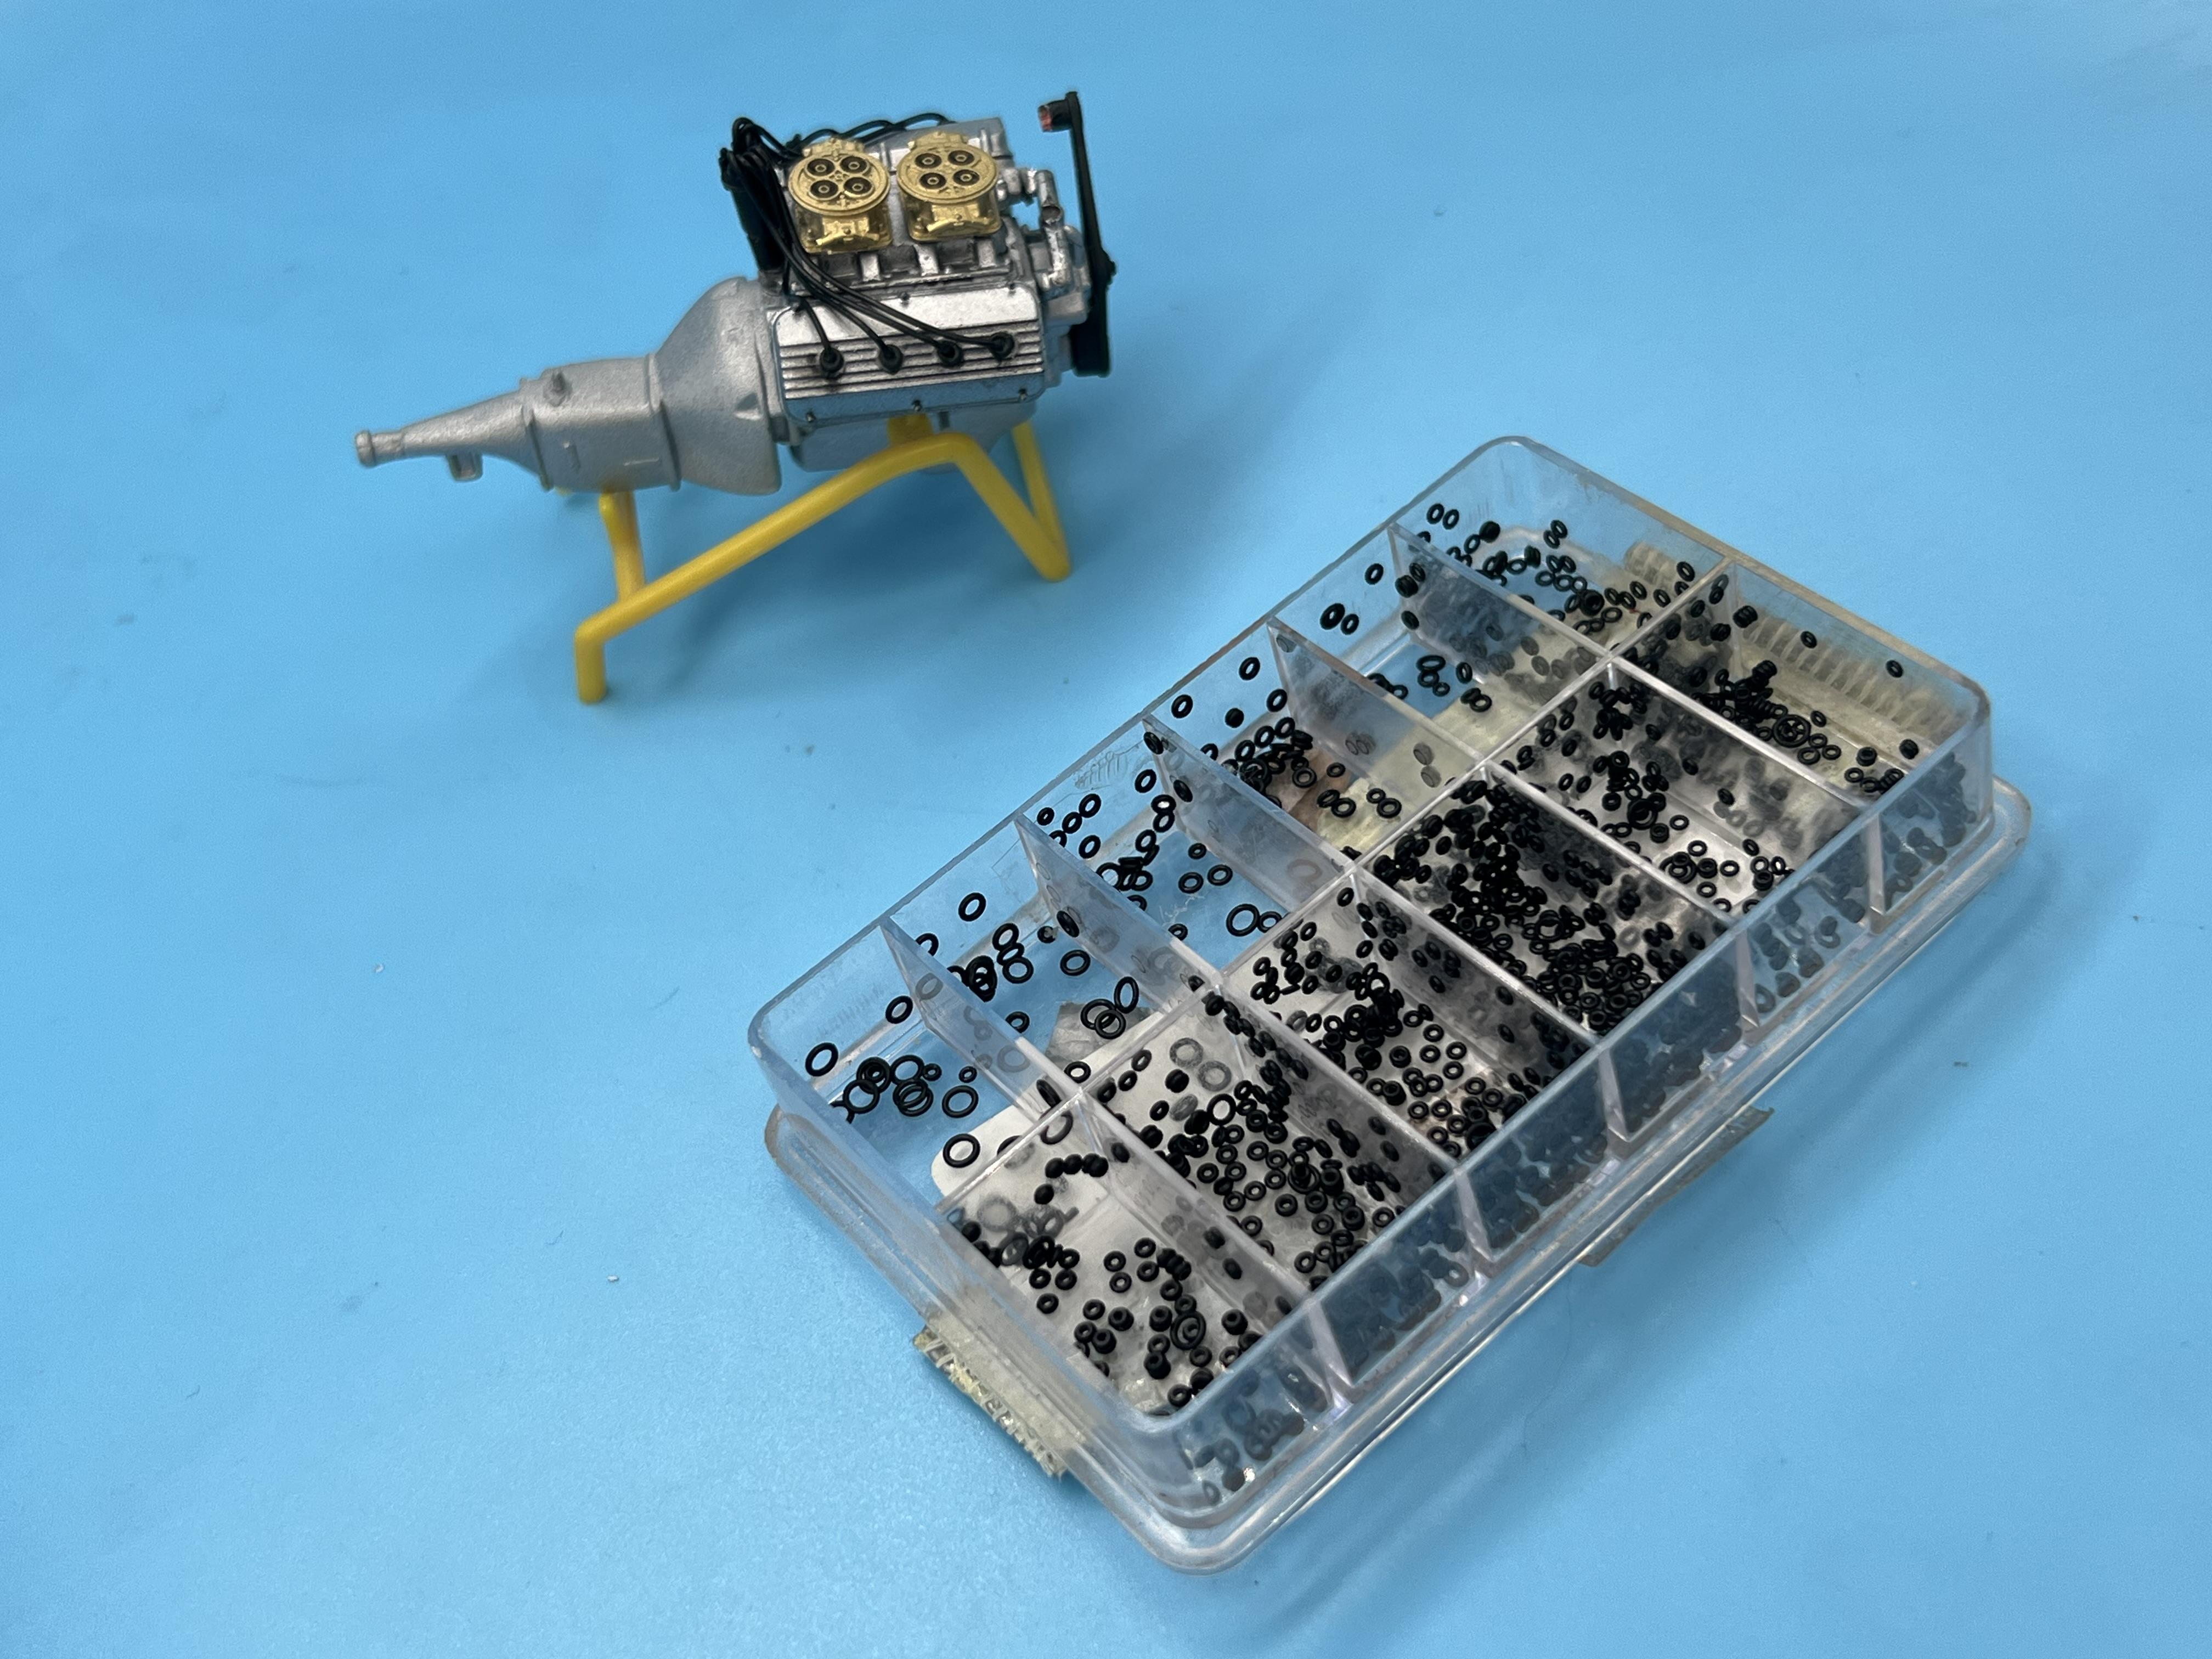
That said, this evening’s effort was putting the main components of the engine together to fill that nasty gap between the grill and the firewall…
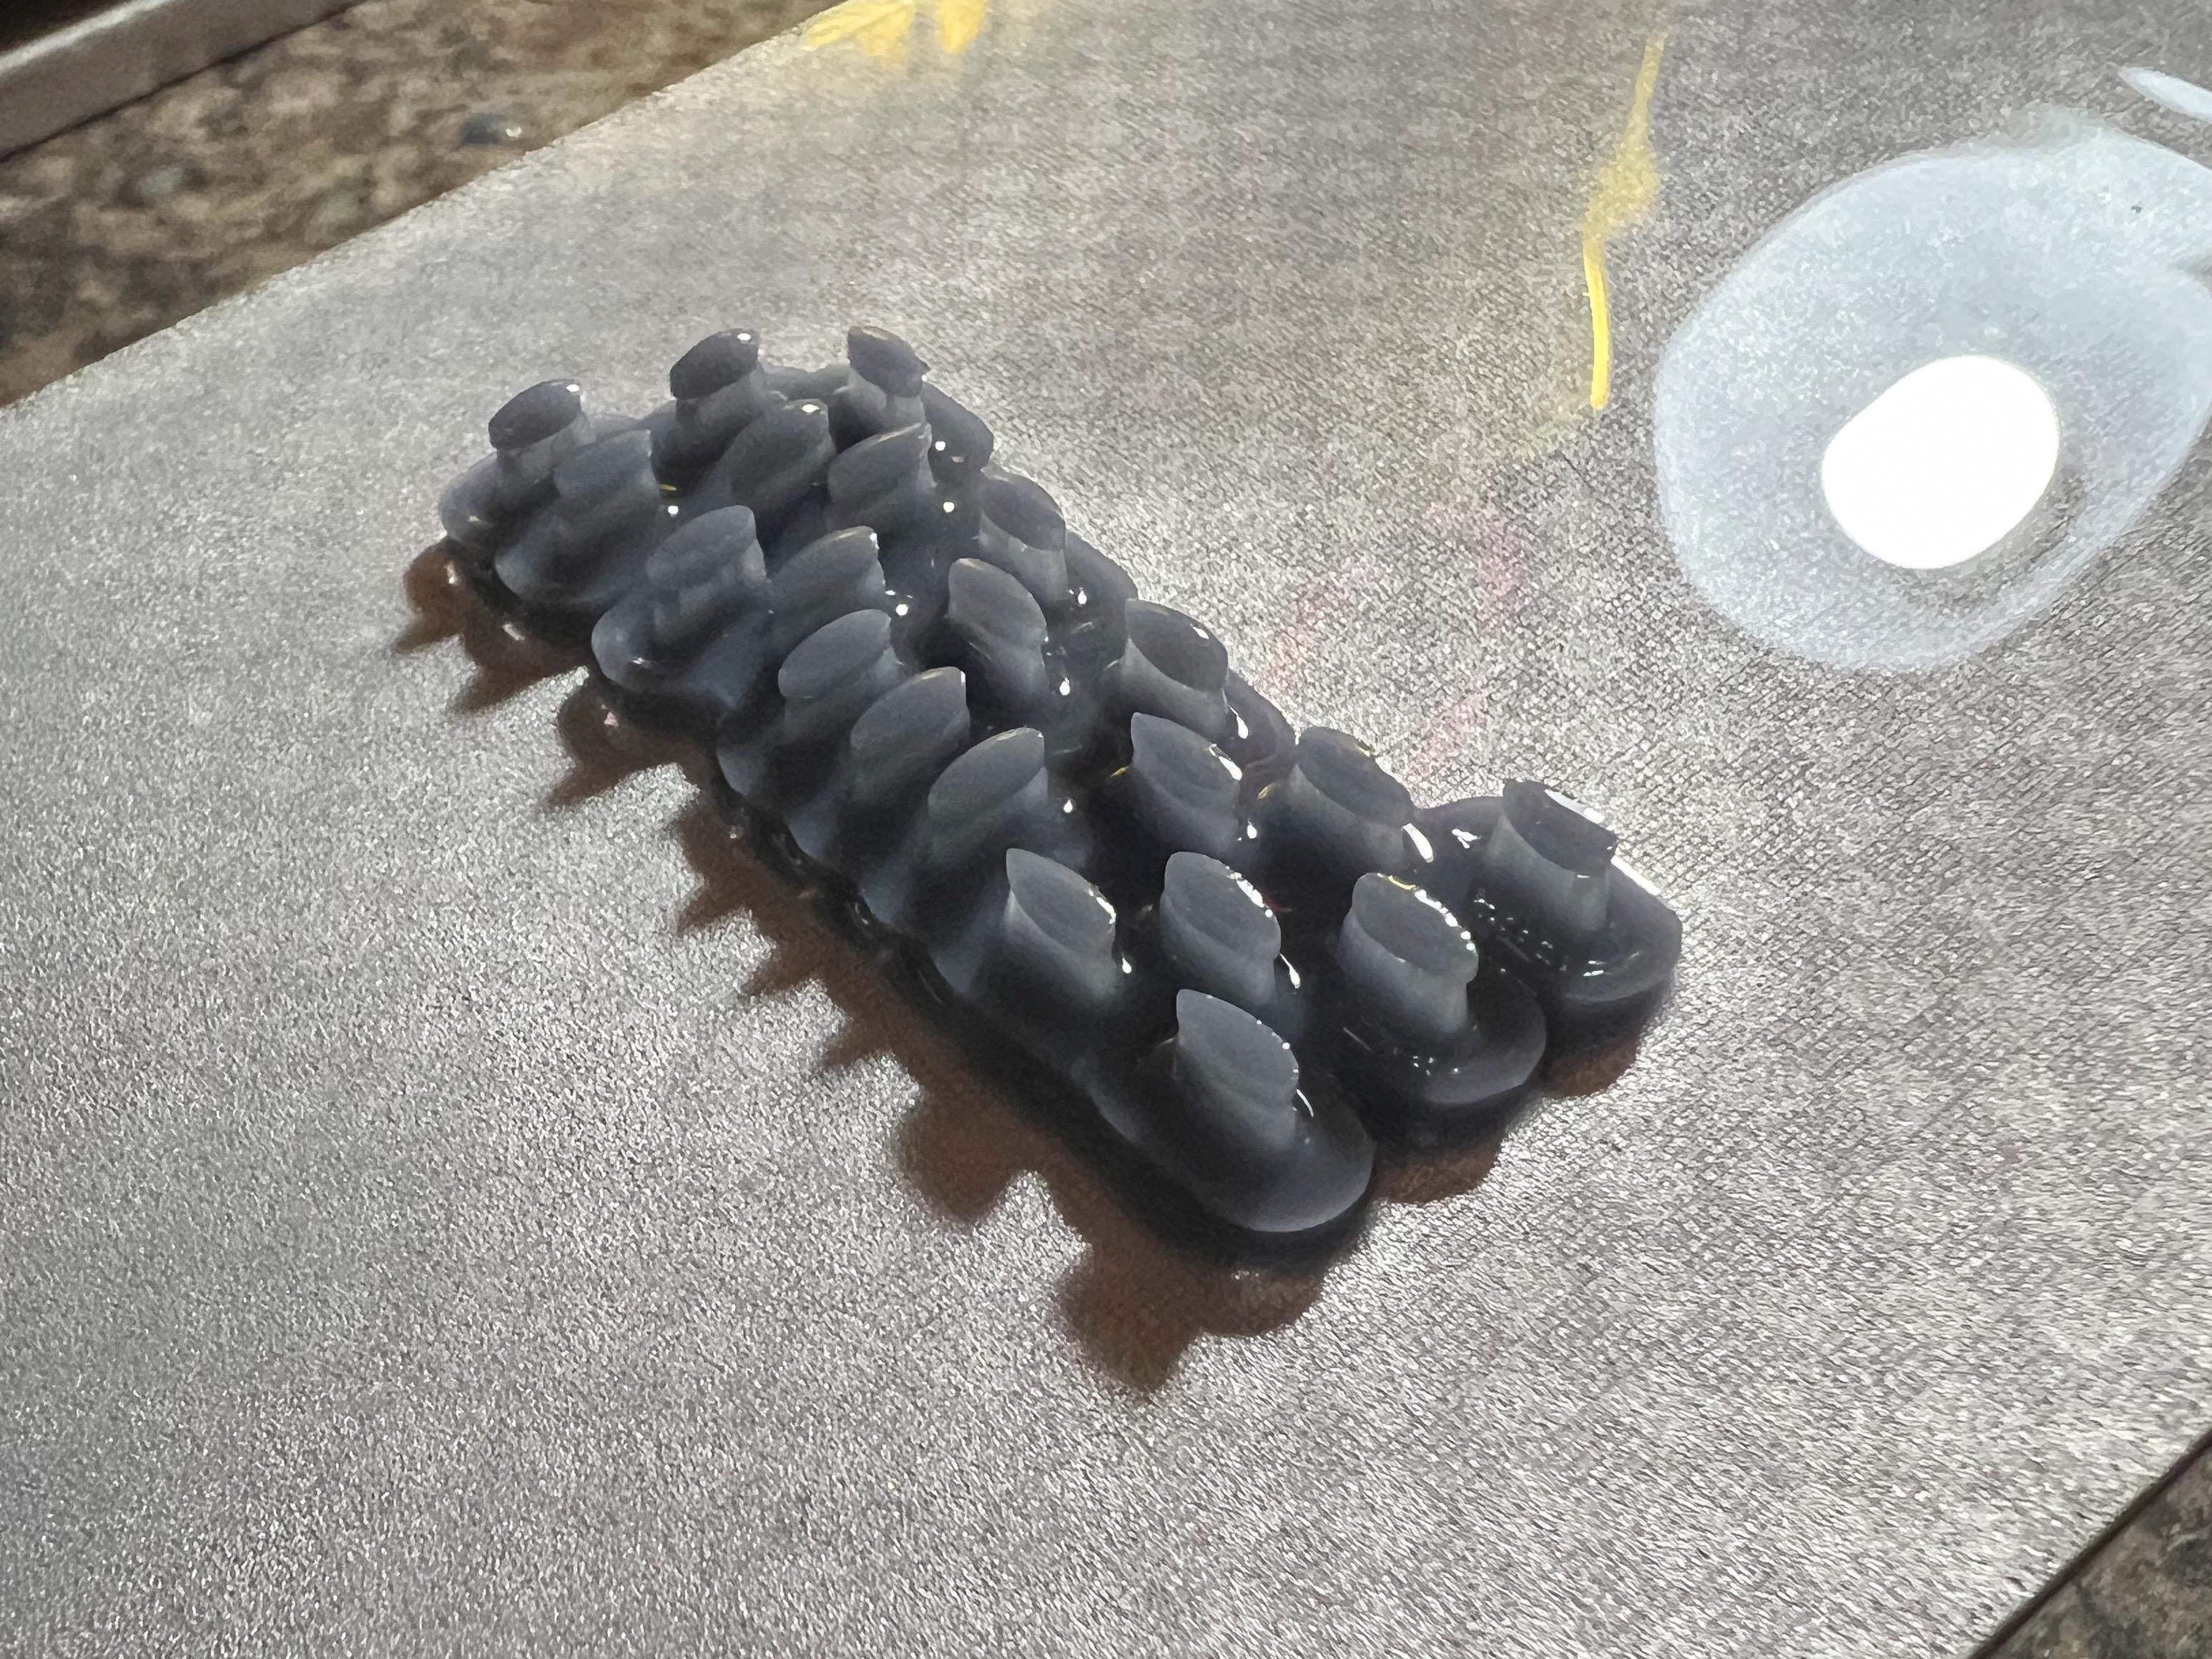
Got the block assembled, glued plug wires onto my magneto and started some basic wiring…used some of these micro o-rings on the valve covers:
Gluing them was a little tough - they’re super small and the tension of the plug wires made it tough to get them held in place with white glue, which is what I tried initially:
Once the glue I already tried has dried overnight, I’m going to snuggle them down with a little CA I think, but it’s a start…
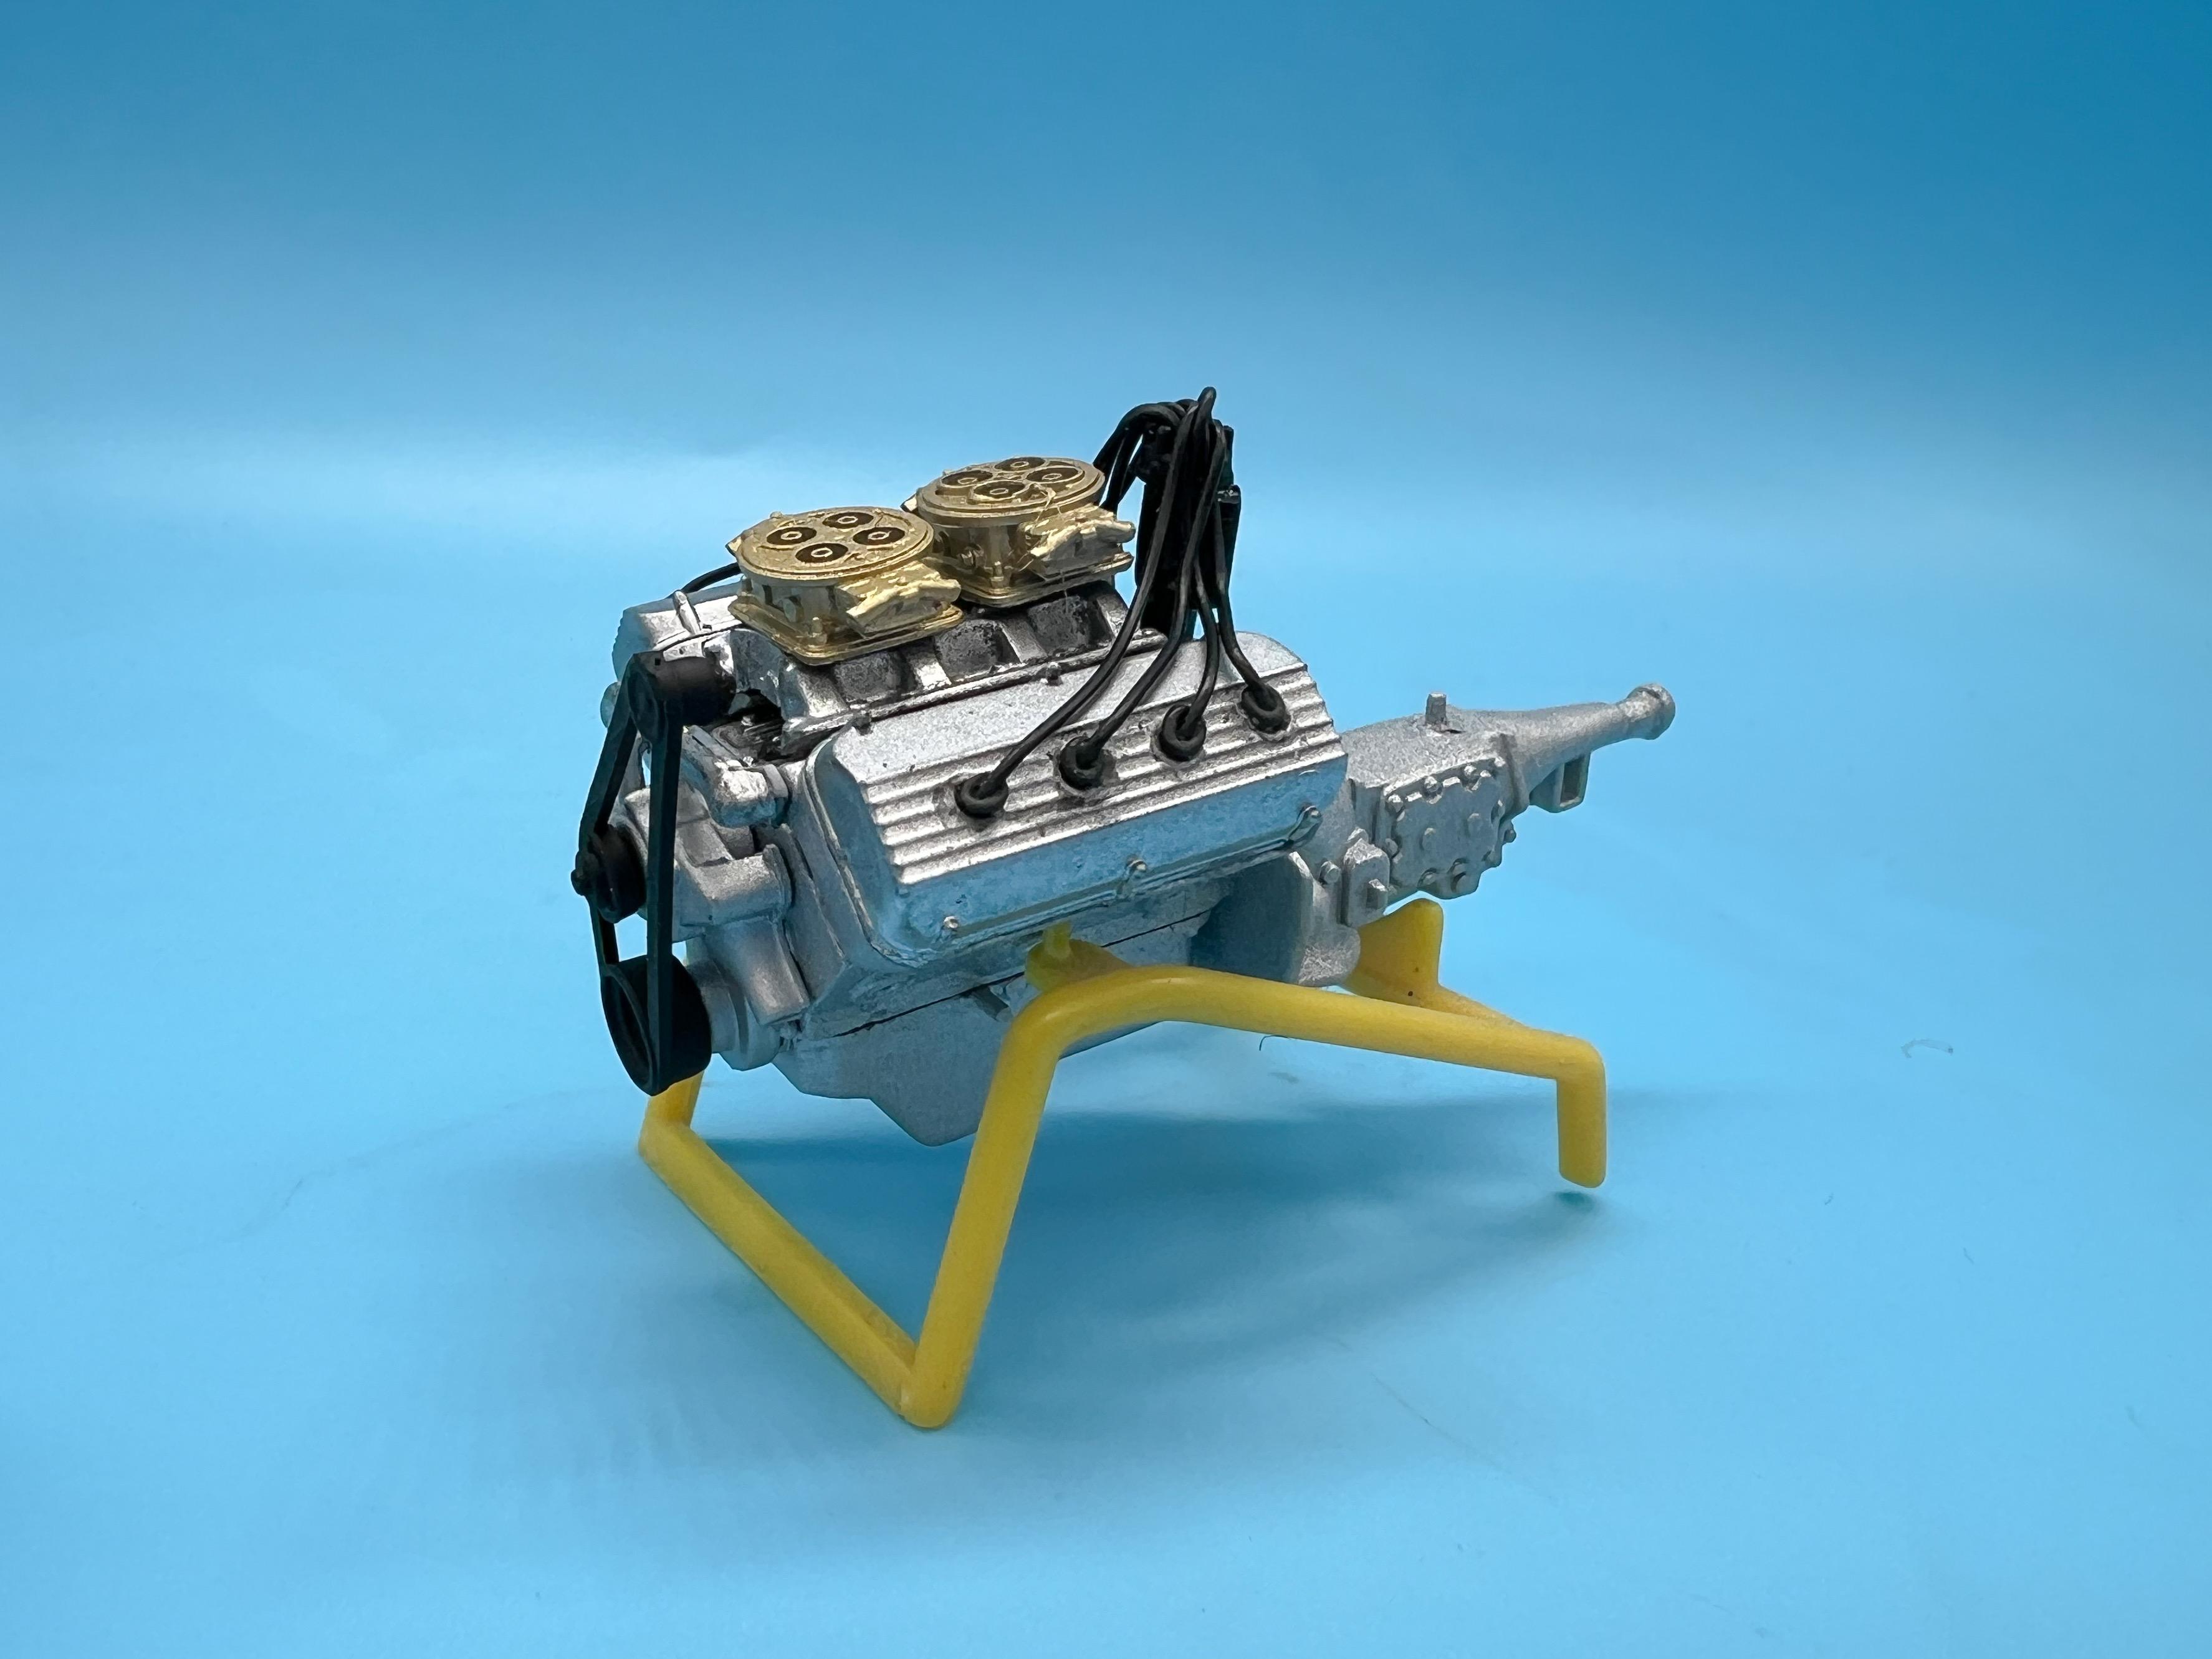
And the glamor shot…
Good think I went with that recessed firewall, but it all still fits!
Thanks for looking - more soon, soon as I’ve done more!
-
10
-
-
I bet tho, with it on a stand with a mirror underneath you’ll be able to see them…worth making the effort even if you cant immediately see them from the standard ‘curbside’ view!
Plus, we have a photo so we know they exist…🤪 -
18 hours ago, IanH said:
That mock up looks fantastic!
Thanks Ian!
8 hours ago, bill-e-boy said:The frame is easiest to chop by cutting out the bottom rail with a knife and cutting the side rails to fit the opening. This is easier than taking a section out like you do to the top. Then glue it back together. You can save the chrome part by doing this way and just cover the corner with foil if needed. Not sure if you see it in the attached pix as it mostly shows the windsceen ready to be installed. It does show the original chrome
And thank you too Bill! That’s ROUGHLY what I did with mine, except I made it three pieces so I could keep the top and bottom fitting nicely, then just filled in the sides. Looks like your way worked great though!
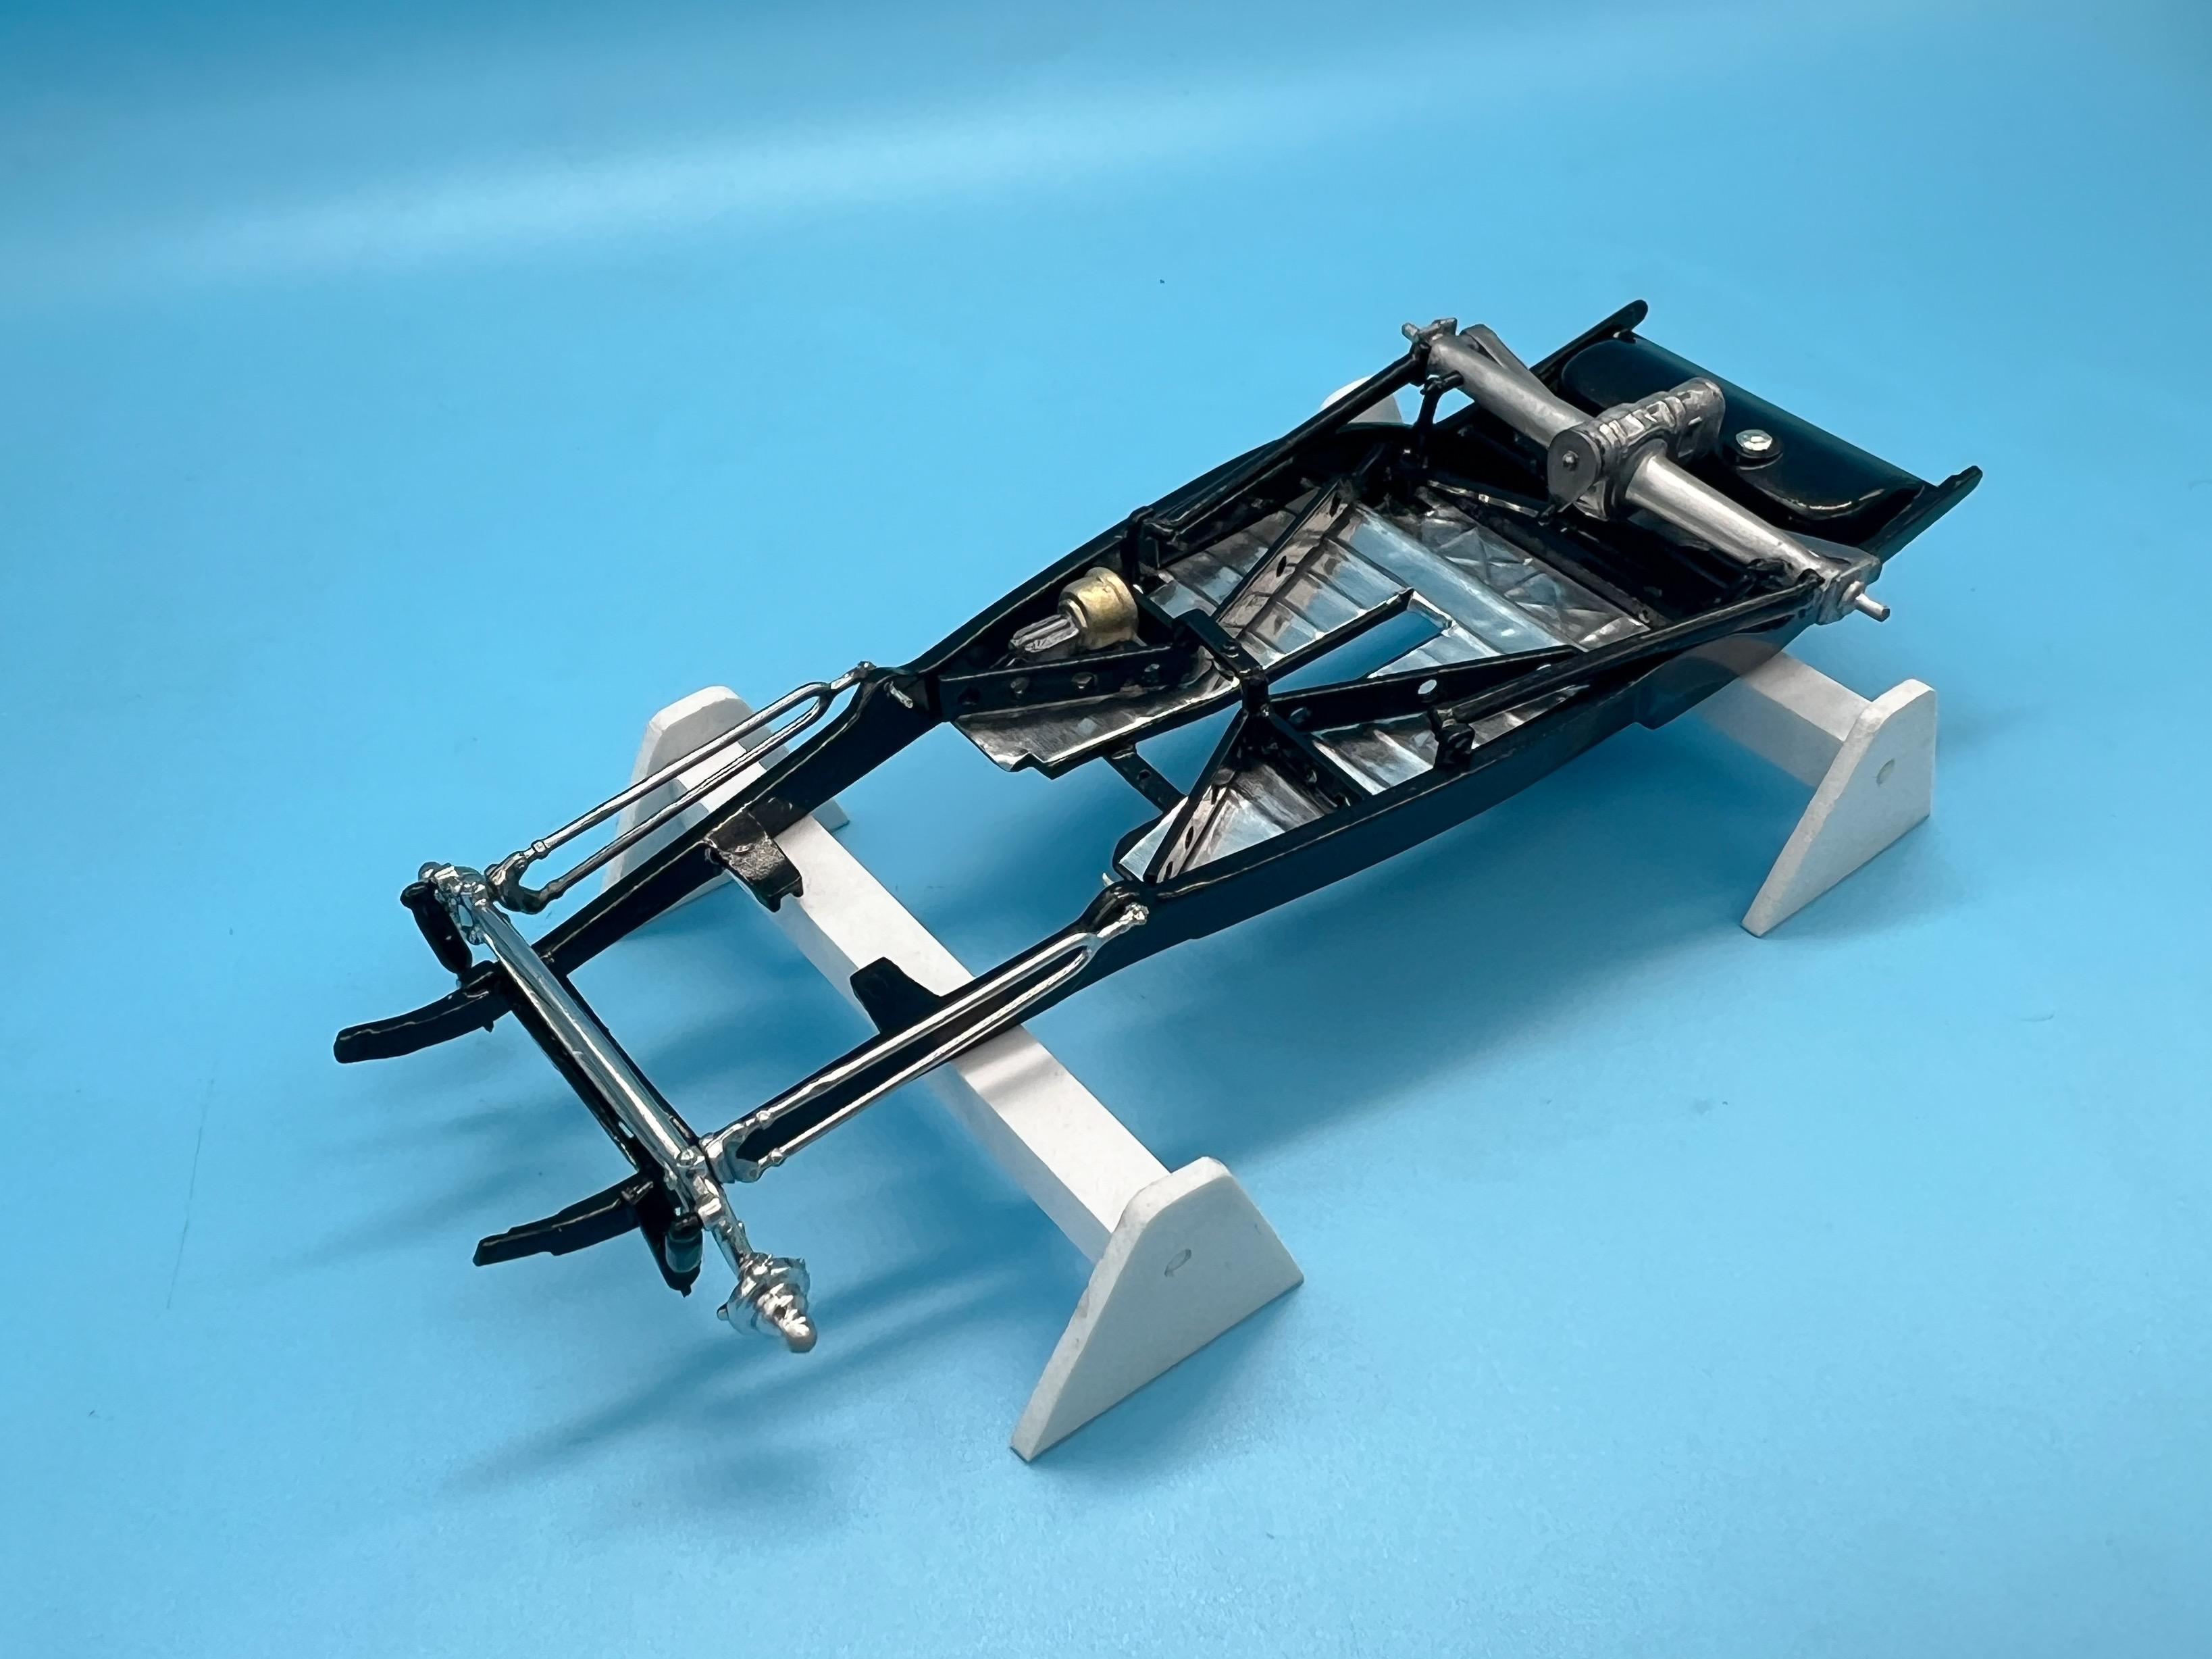
Had a busy Sunday today, but got a coupla three of hours in at the bench…Started fitting the axles and underneath-stuff to the frame:
The rear end too some finessing to get everything aligned perfectly - lots of little pieces that have to coexist and align right, but got there in the end. By contrast, the front end practically fell in…still needs the steering linkages and brakes but it’s close…
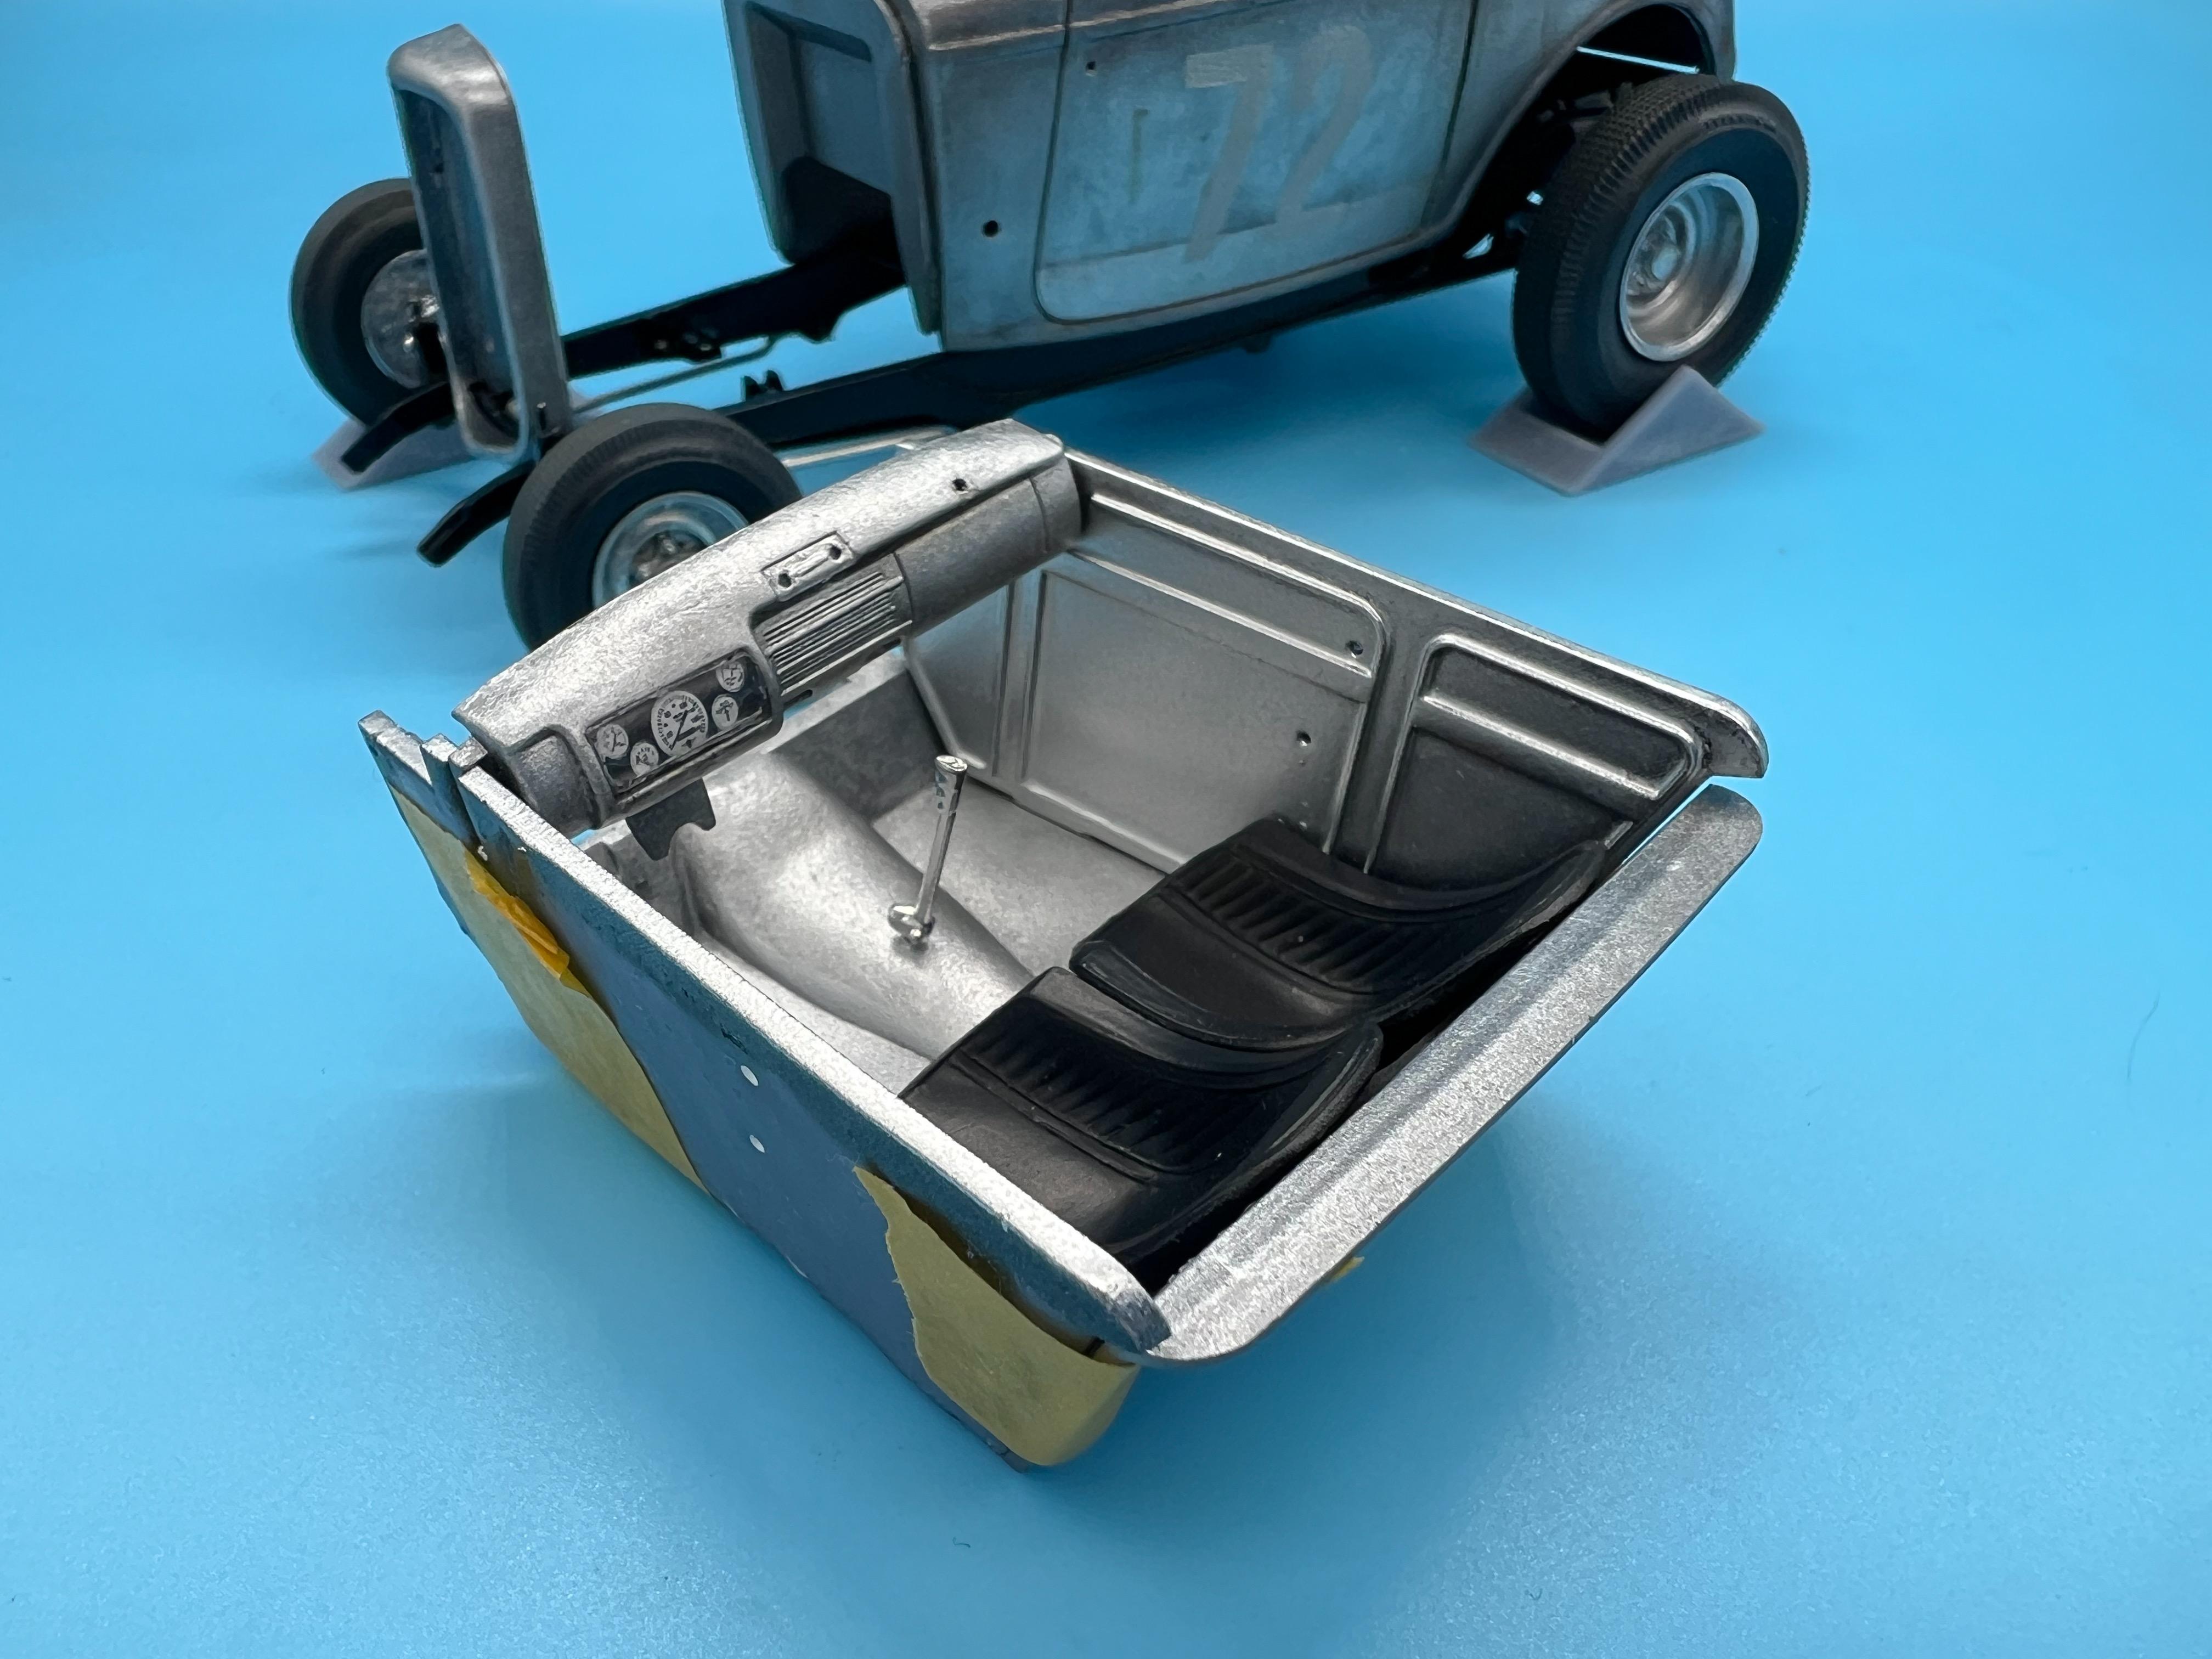
Painted the interior tub and sides and did a quick mock-up:
Not that you’ll be able to see too much in there when it’s done anyway…
And finally, a quick motivational mock-up or two…
Still plenty to do, but it’s starting to look like a thing!
Thanks for looking, and all the nice comments so far!-
5
-
-
Some useful info here, from FSM:
“I chose to glue the tailgate in place in the up position, but it can be made posable. You can also pose the tilt nose, but the instructions don’t point to a precise location for the hinges, and the parts do not have positive locators. You’ll need to test-fit to ensure you get the right fit for the nose when it’s closed.”
-
2
-
-
I was just thinking about this project this week - really pleased to see an update!!!
That paintjob is gorgeous! Love the color
-
21 hours ago, Straightliner59 said:
Did you happen to see Bernard Kron's thread on a '32 Ford he did, in bare metal? You might find some interesting ideas, there.
I’m not sure that I had seen that build, but I’m a fan of Bernard’s work! He builds some great looking hot rods! Thanks for the link!!
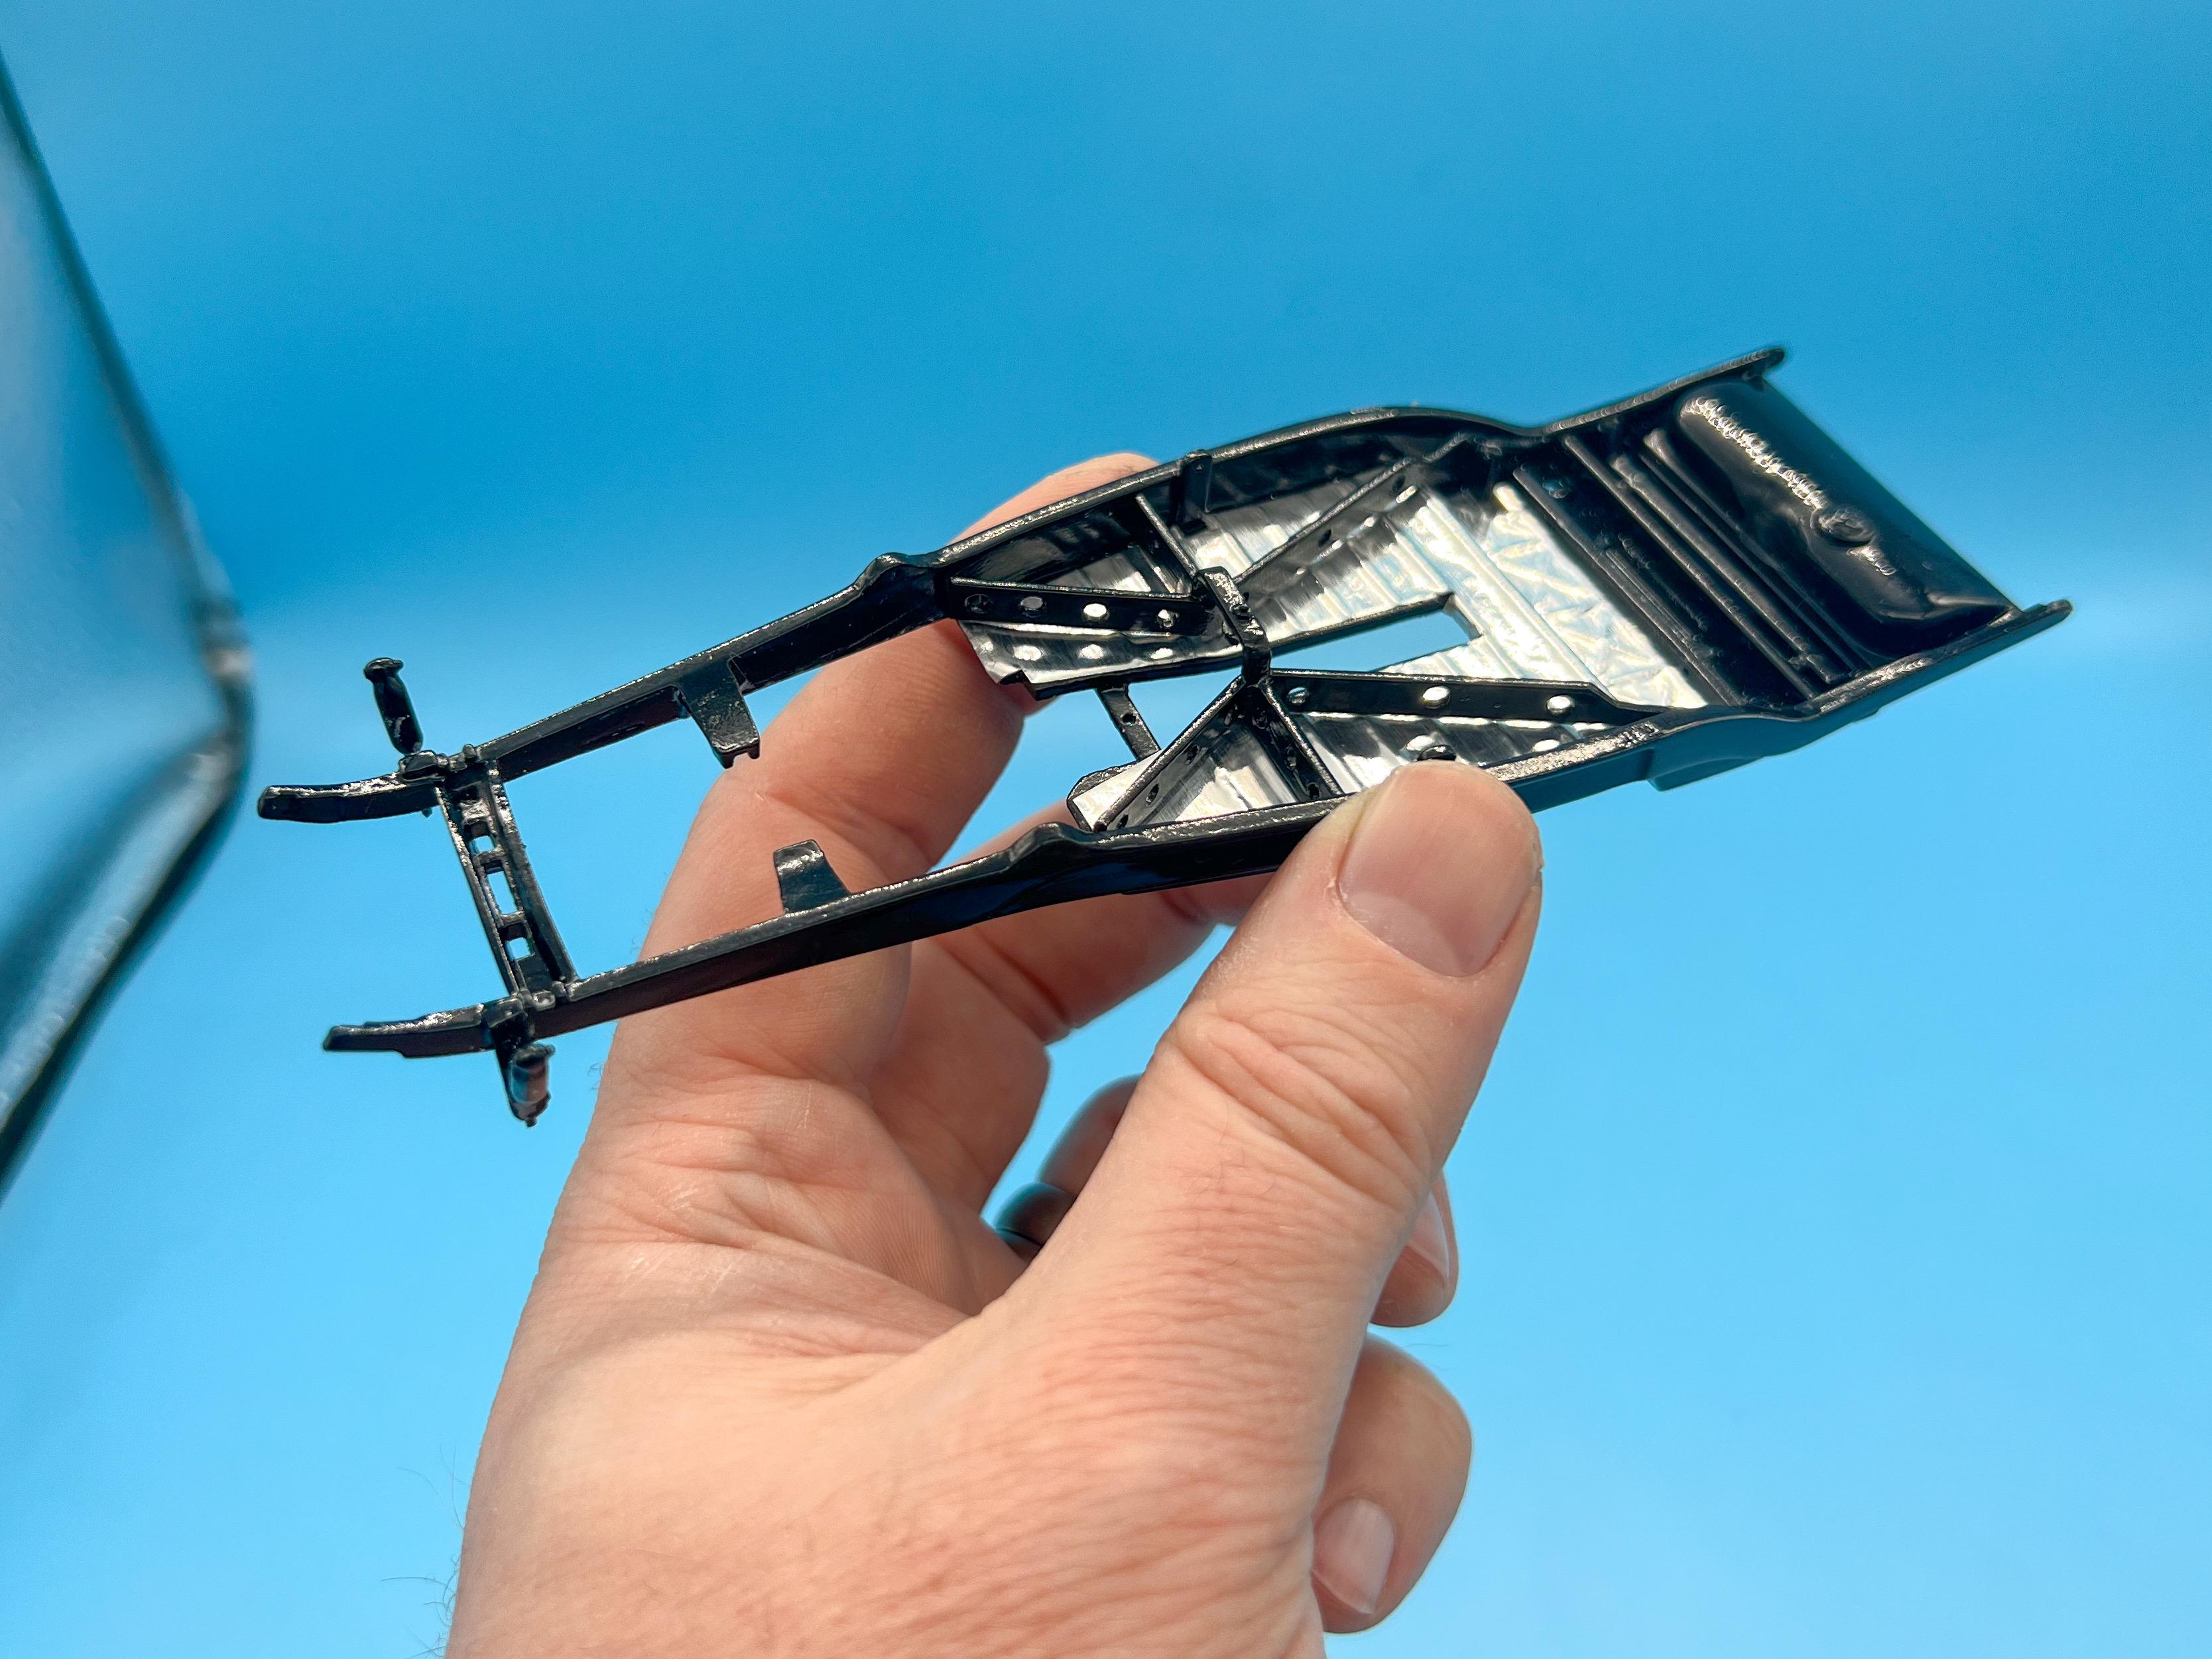
A little more progress today…Polished out the frame, as much as I dare anyway (hate burning through those corners, but I got it close as I could without mishap…) and got the aluminum floor that I made previously in place.
The crossmember is just dropped in there right now, just so I could see how it looked…
Still working through the suspension and everything that bolts to the chassis, but I’m nearly done with painting - today’s project was shooting some chrome…
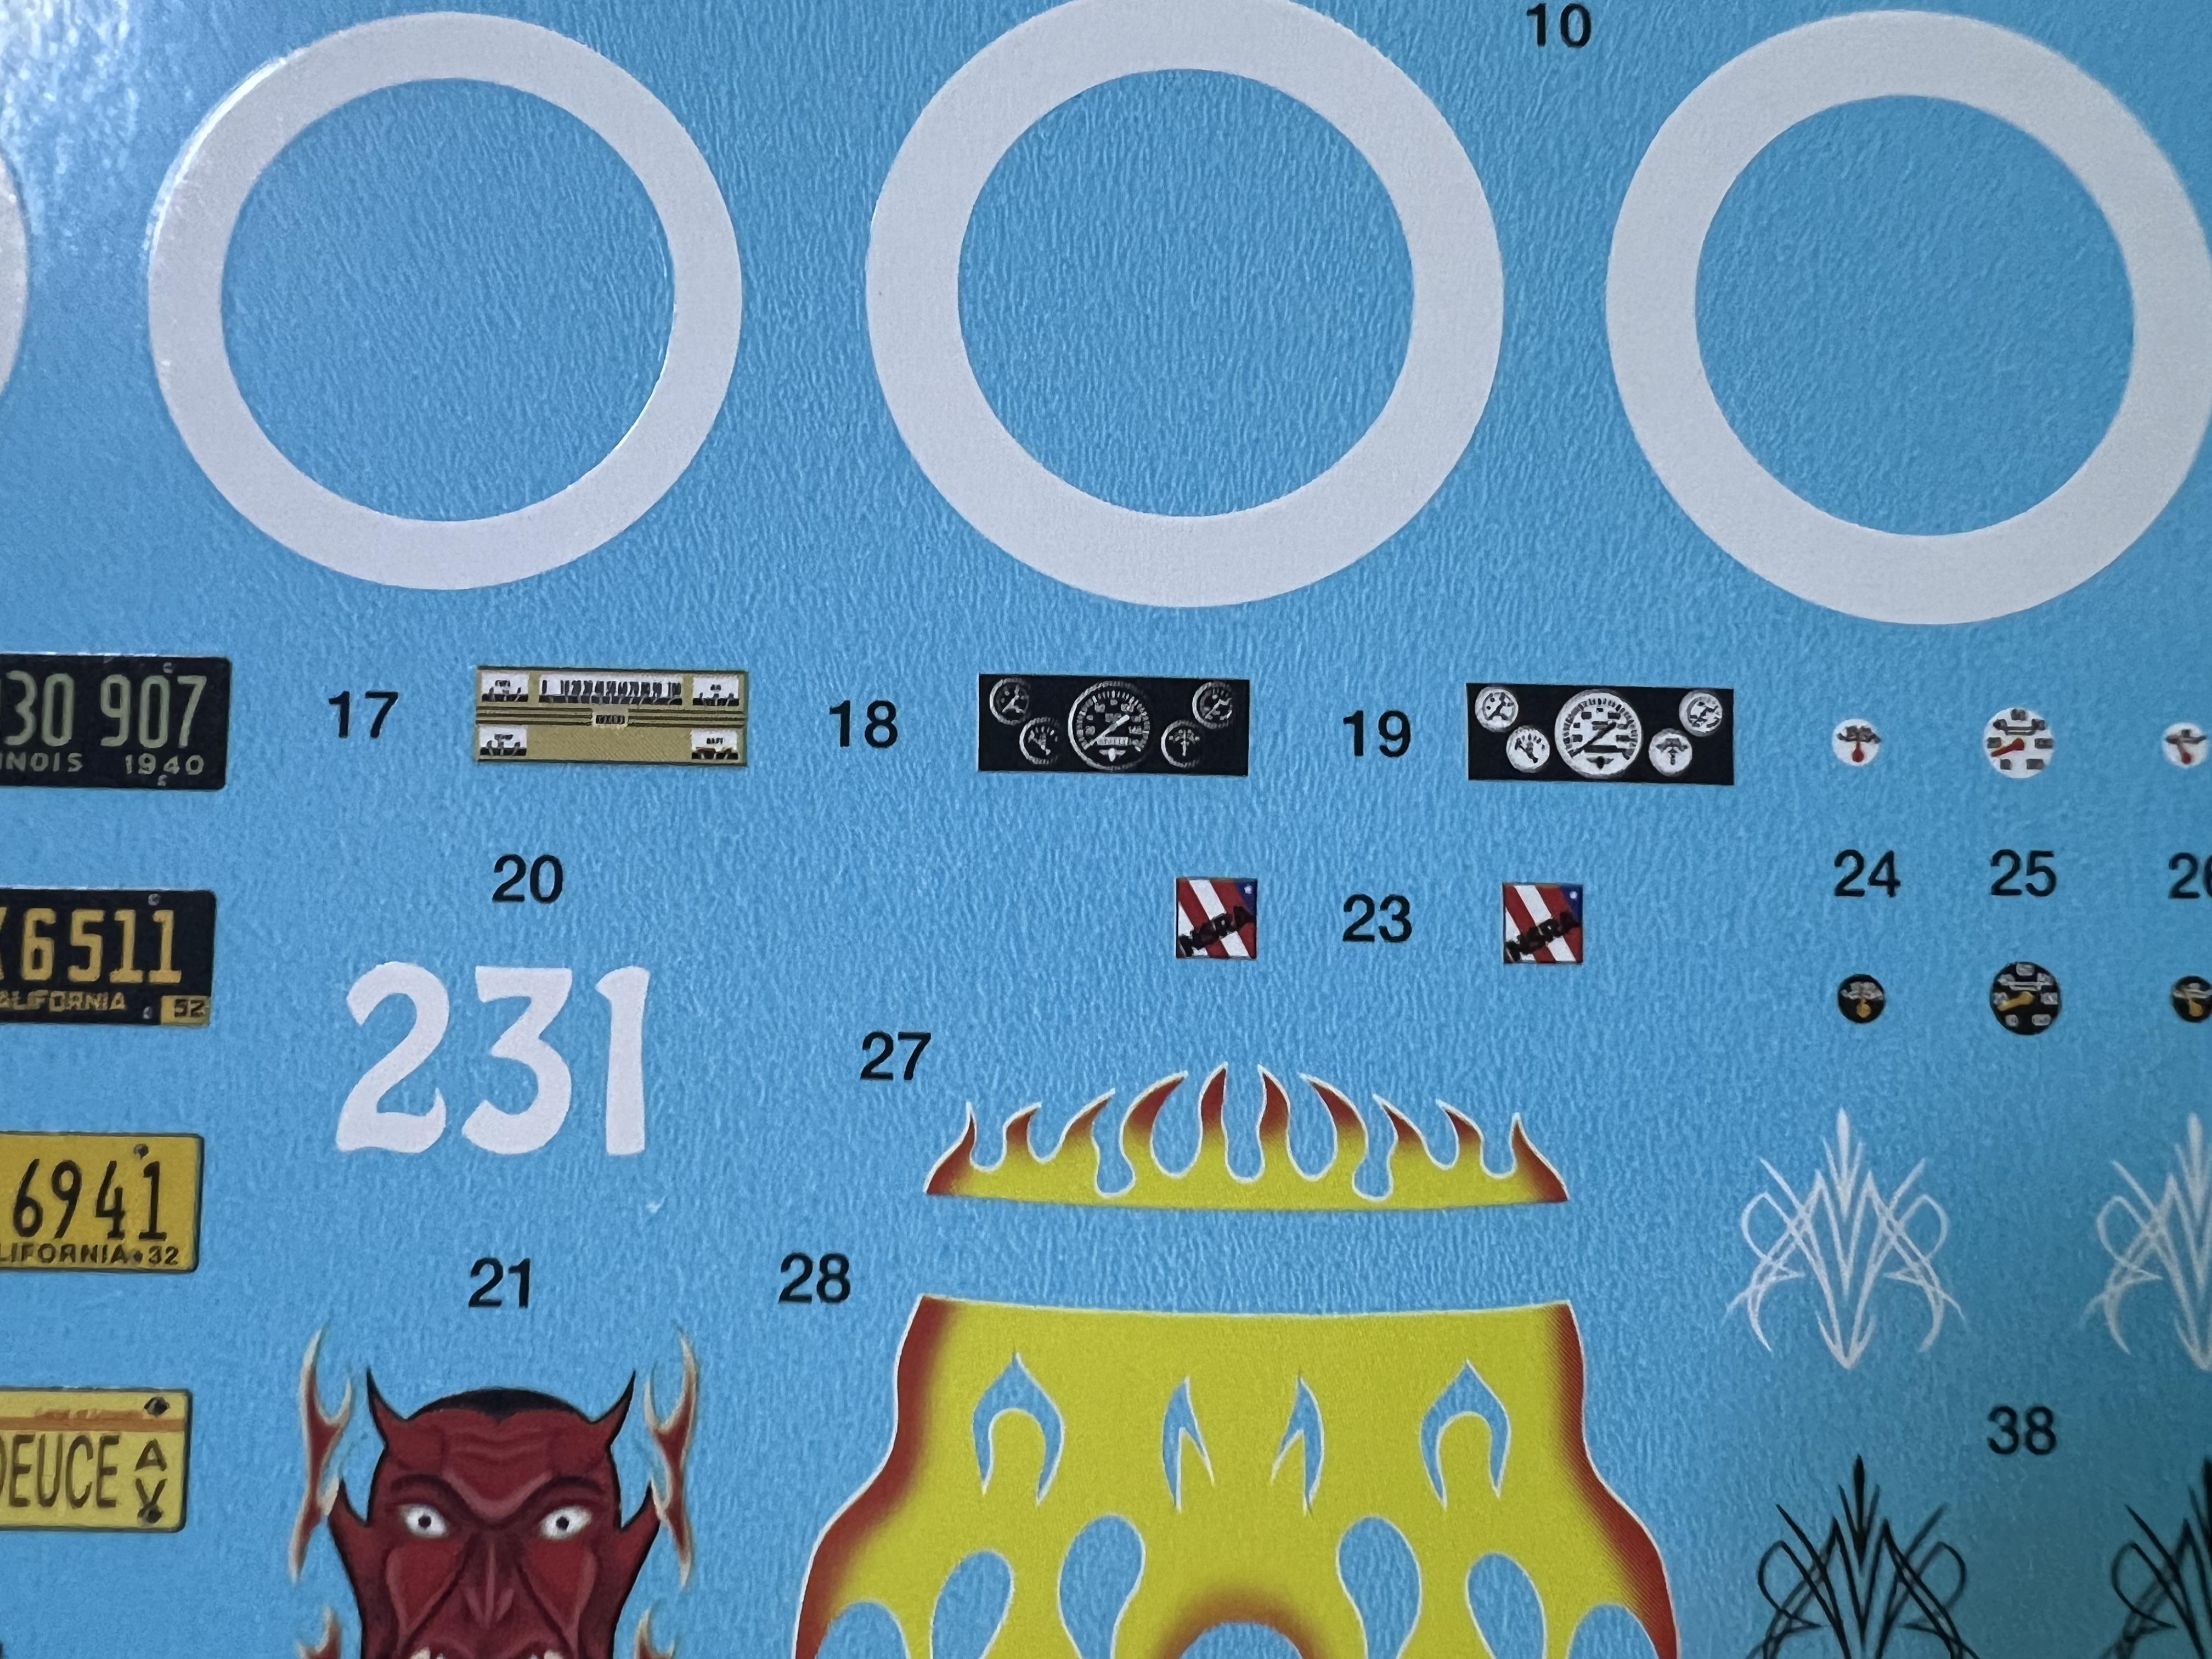
Revell gives you three decals for the ‘40 Ford dash in their 5 window kit, and my preference was the standard gauges on the left, number 17:
Eighteen was my backup, but both of them fractured into nothingness once they released from the sheet as I tried applying them, so I had to go with the white gauges:
They’re still snuggling down with some decal set in this pic - we’ll see if I wake up to a disaster tomorrow or not…. Nice thing with this particular kit part - there’s a ‘glass’ for them on the clear parts tree - looking forward to installing that…
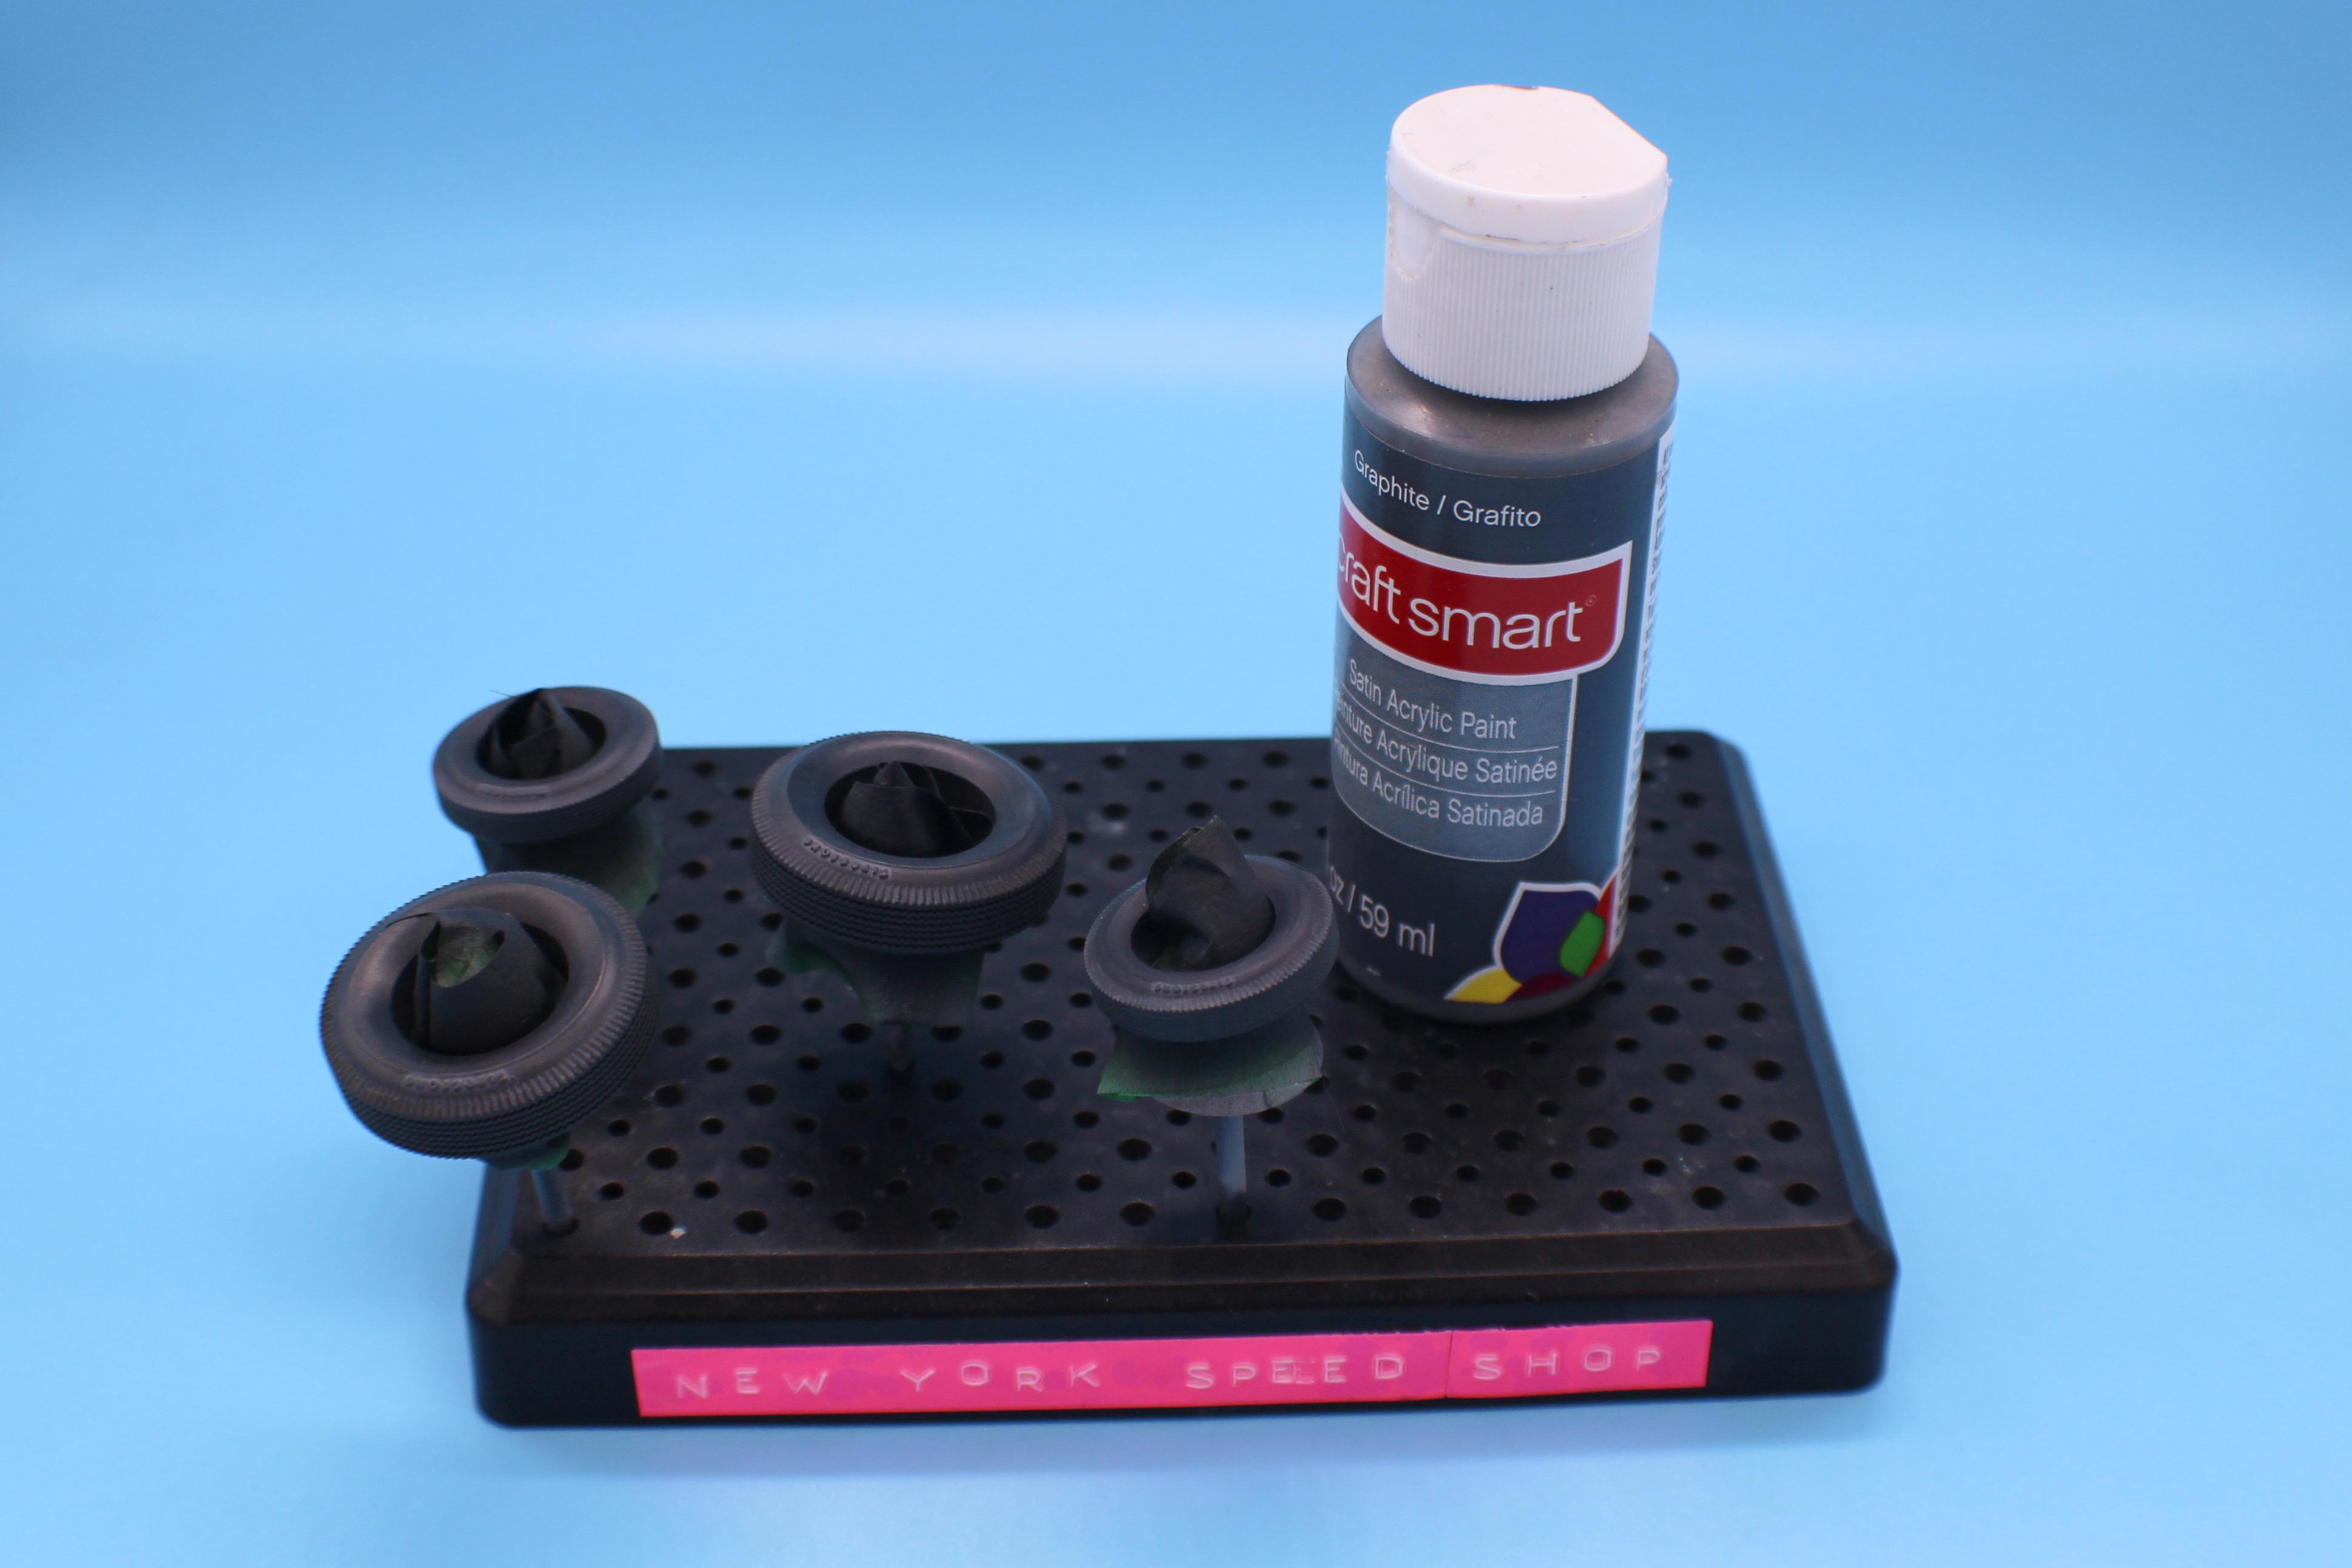
Next up, finishing up the tires with a gray wash of cheap acrylic…just wanted the Firestone lettering to stand out a little and make them look a LITTLE used:
Worked ok I think:
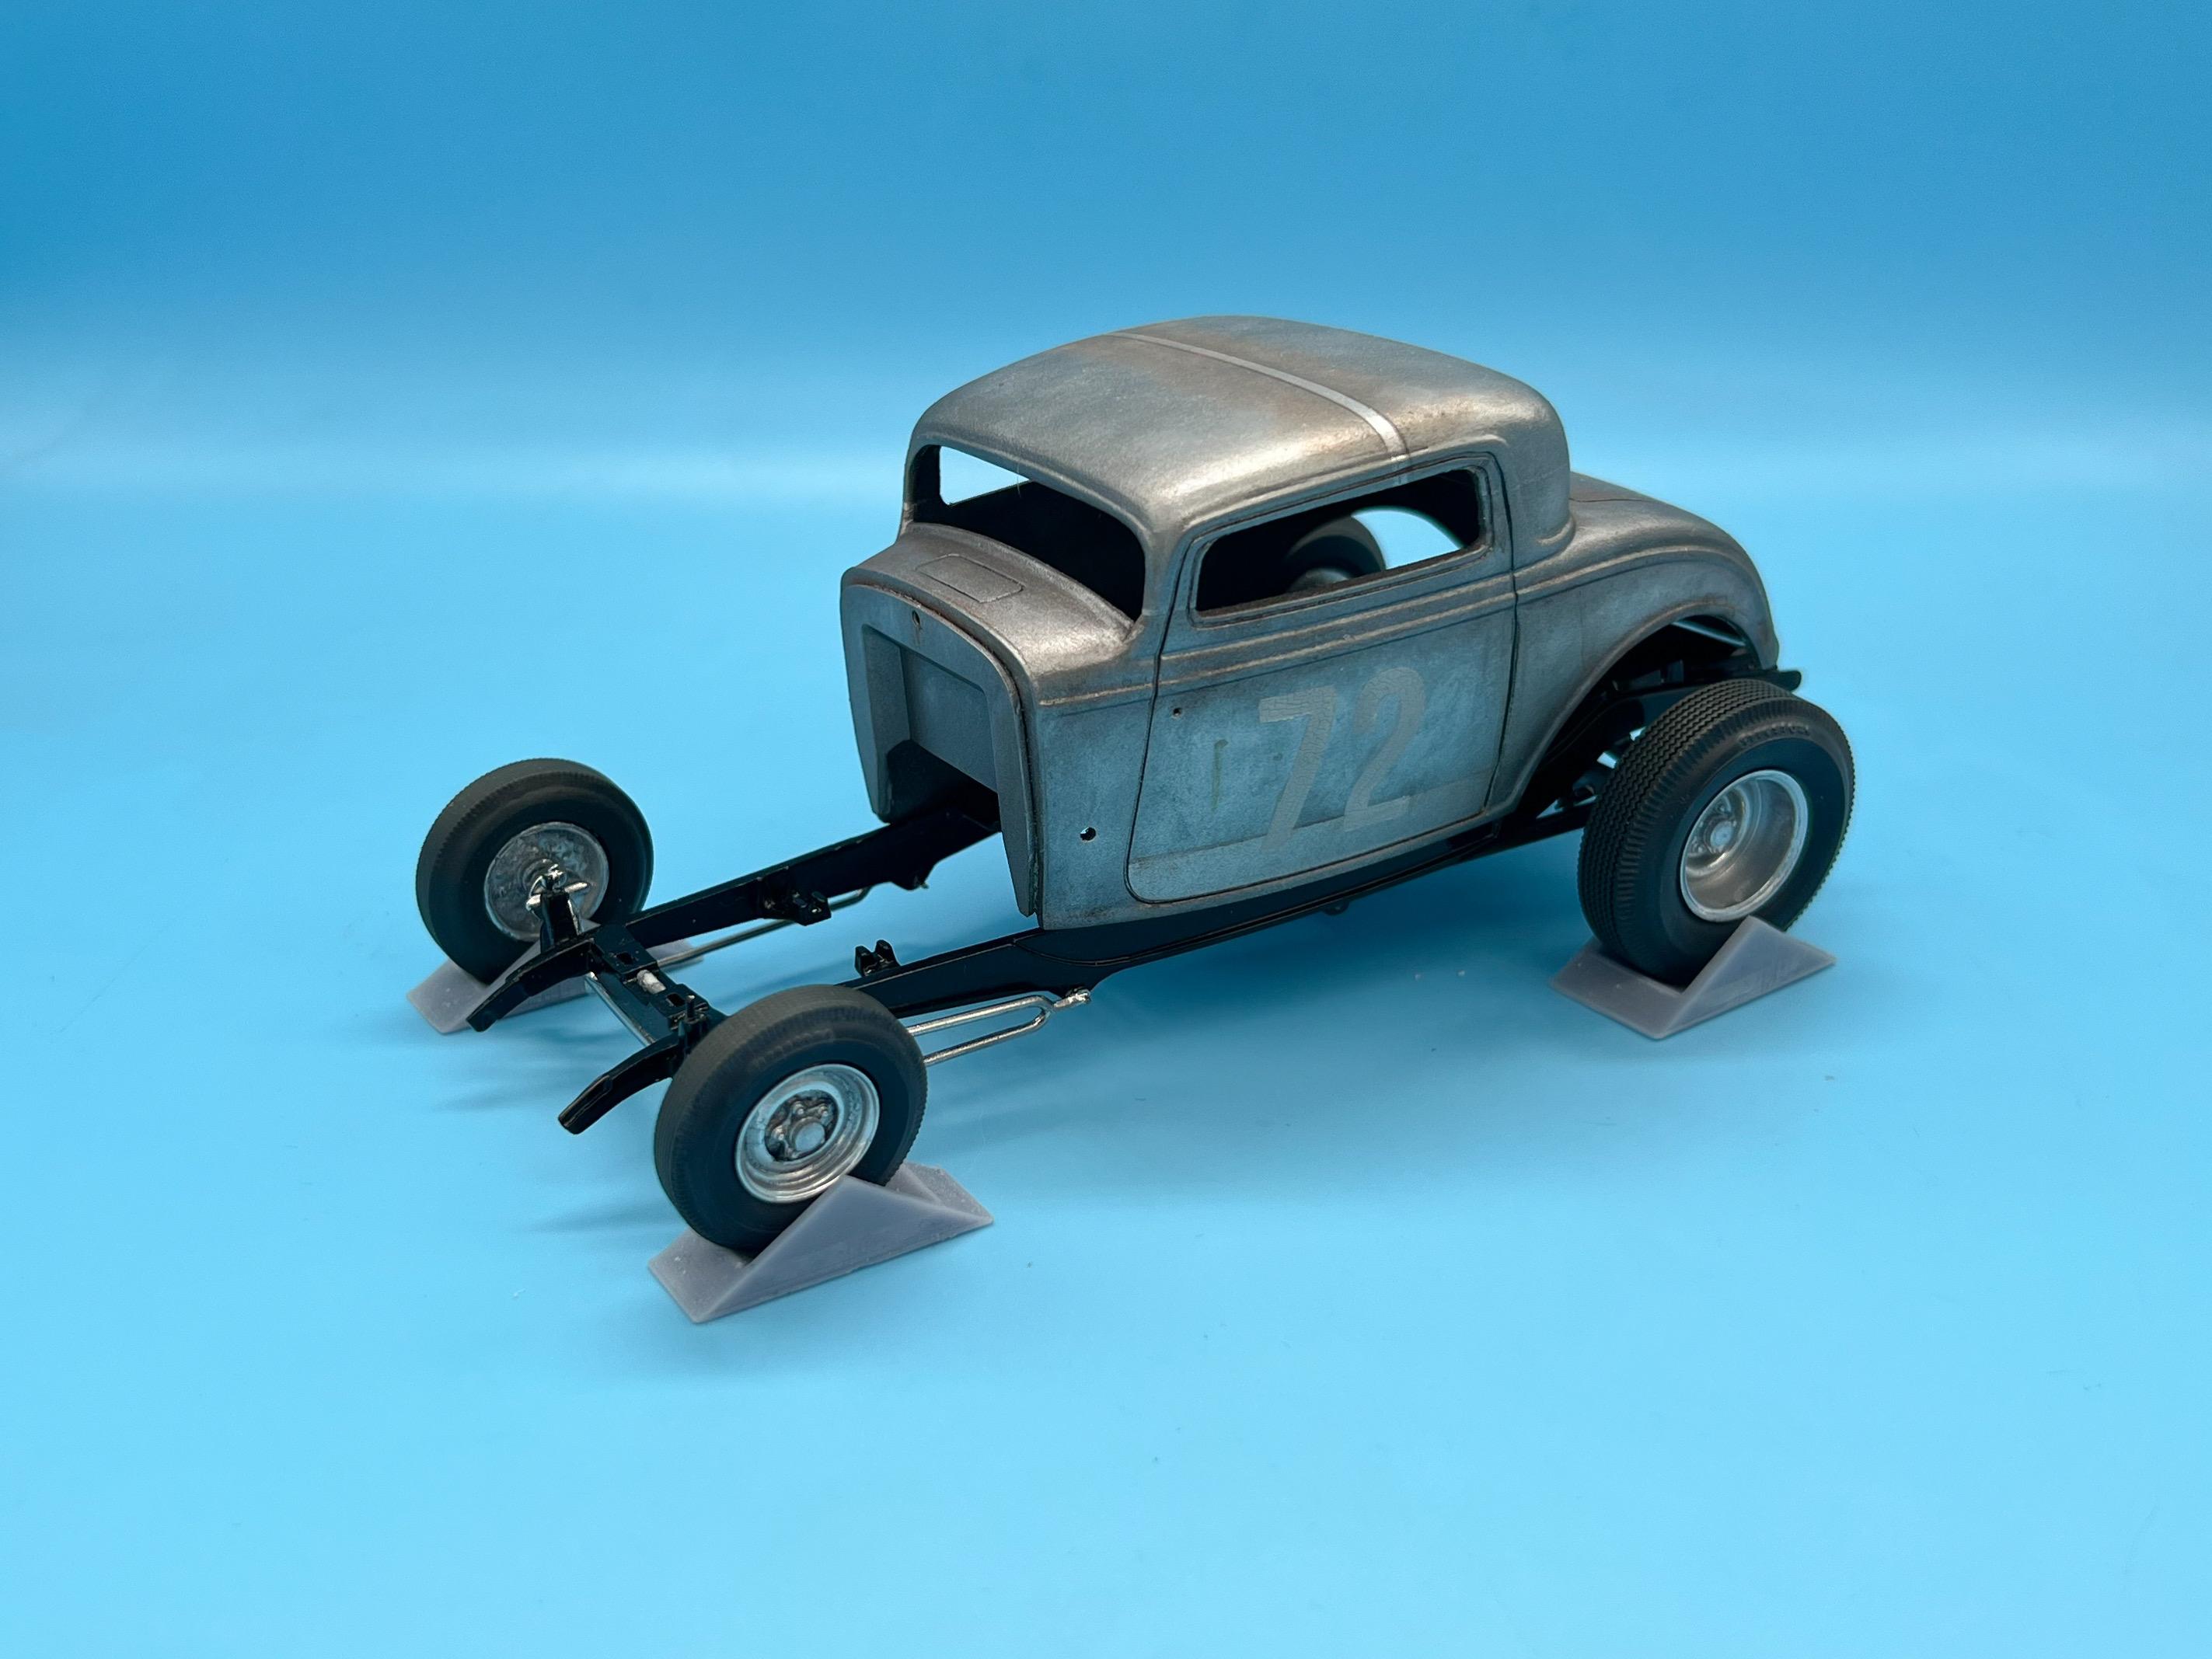
And I couldn’t resist a mockup of the frame, body and wheels & tires just to get a sneak peek at how some of these parts look, all together:
Still plenty to do, but I’m pretty happy with how it looks so far…more soon, soon as I’ve done more!!
-
3
-
-
13 hours ago, TopherMcGinnis said:
The industrial engines were used for pumps and warning sirens.
Interesting! That’s a fun rabbithole to go exploring down, thank you!!
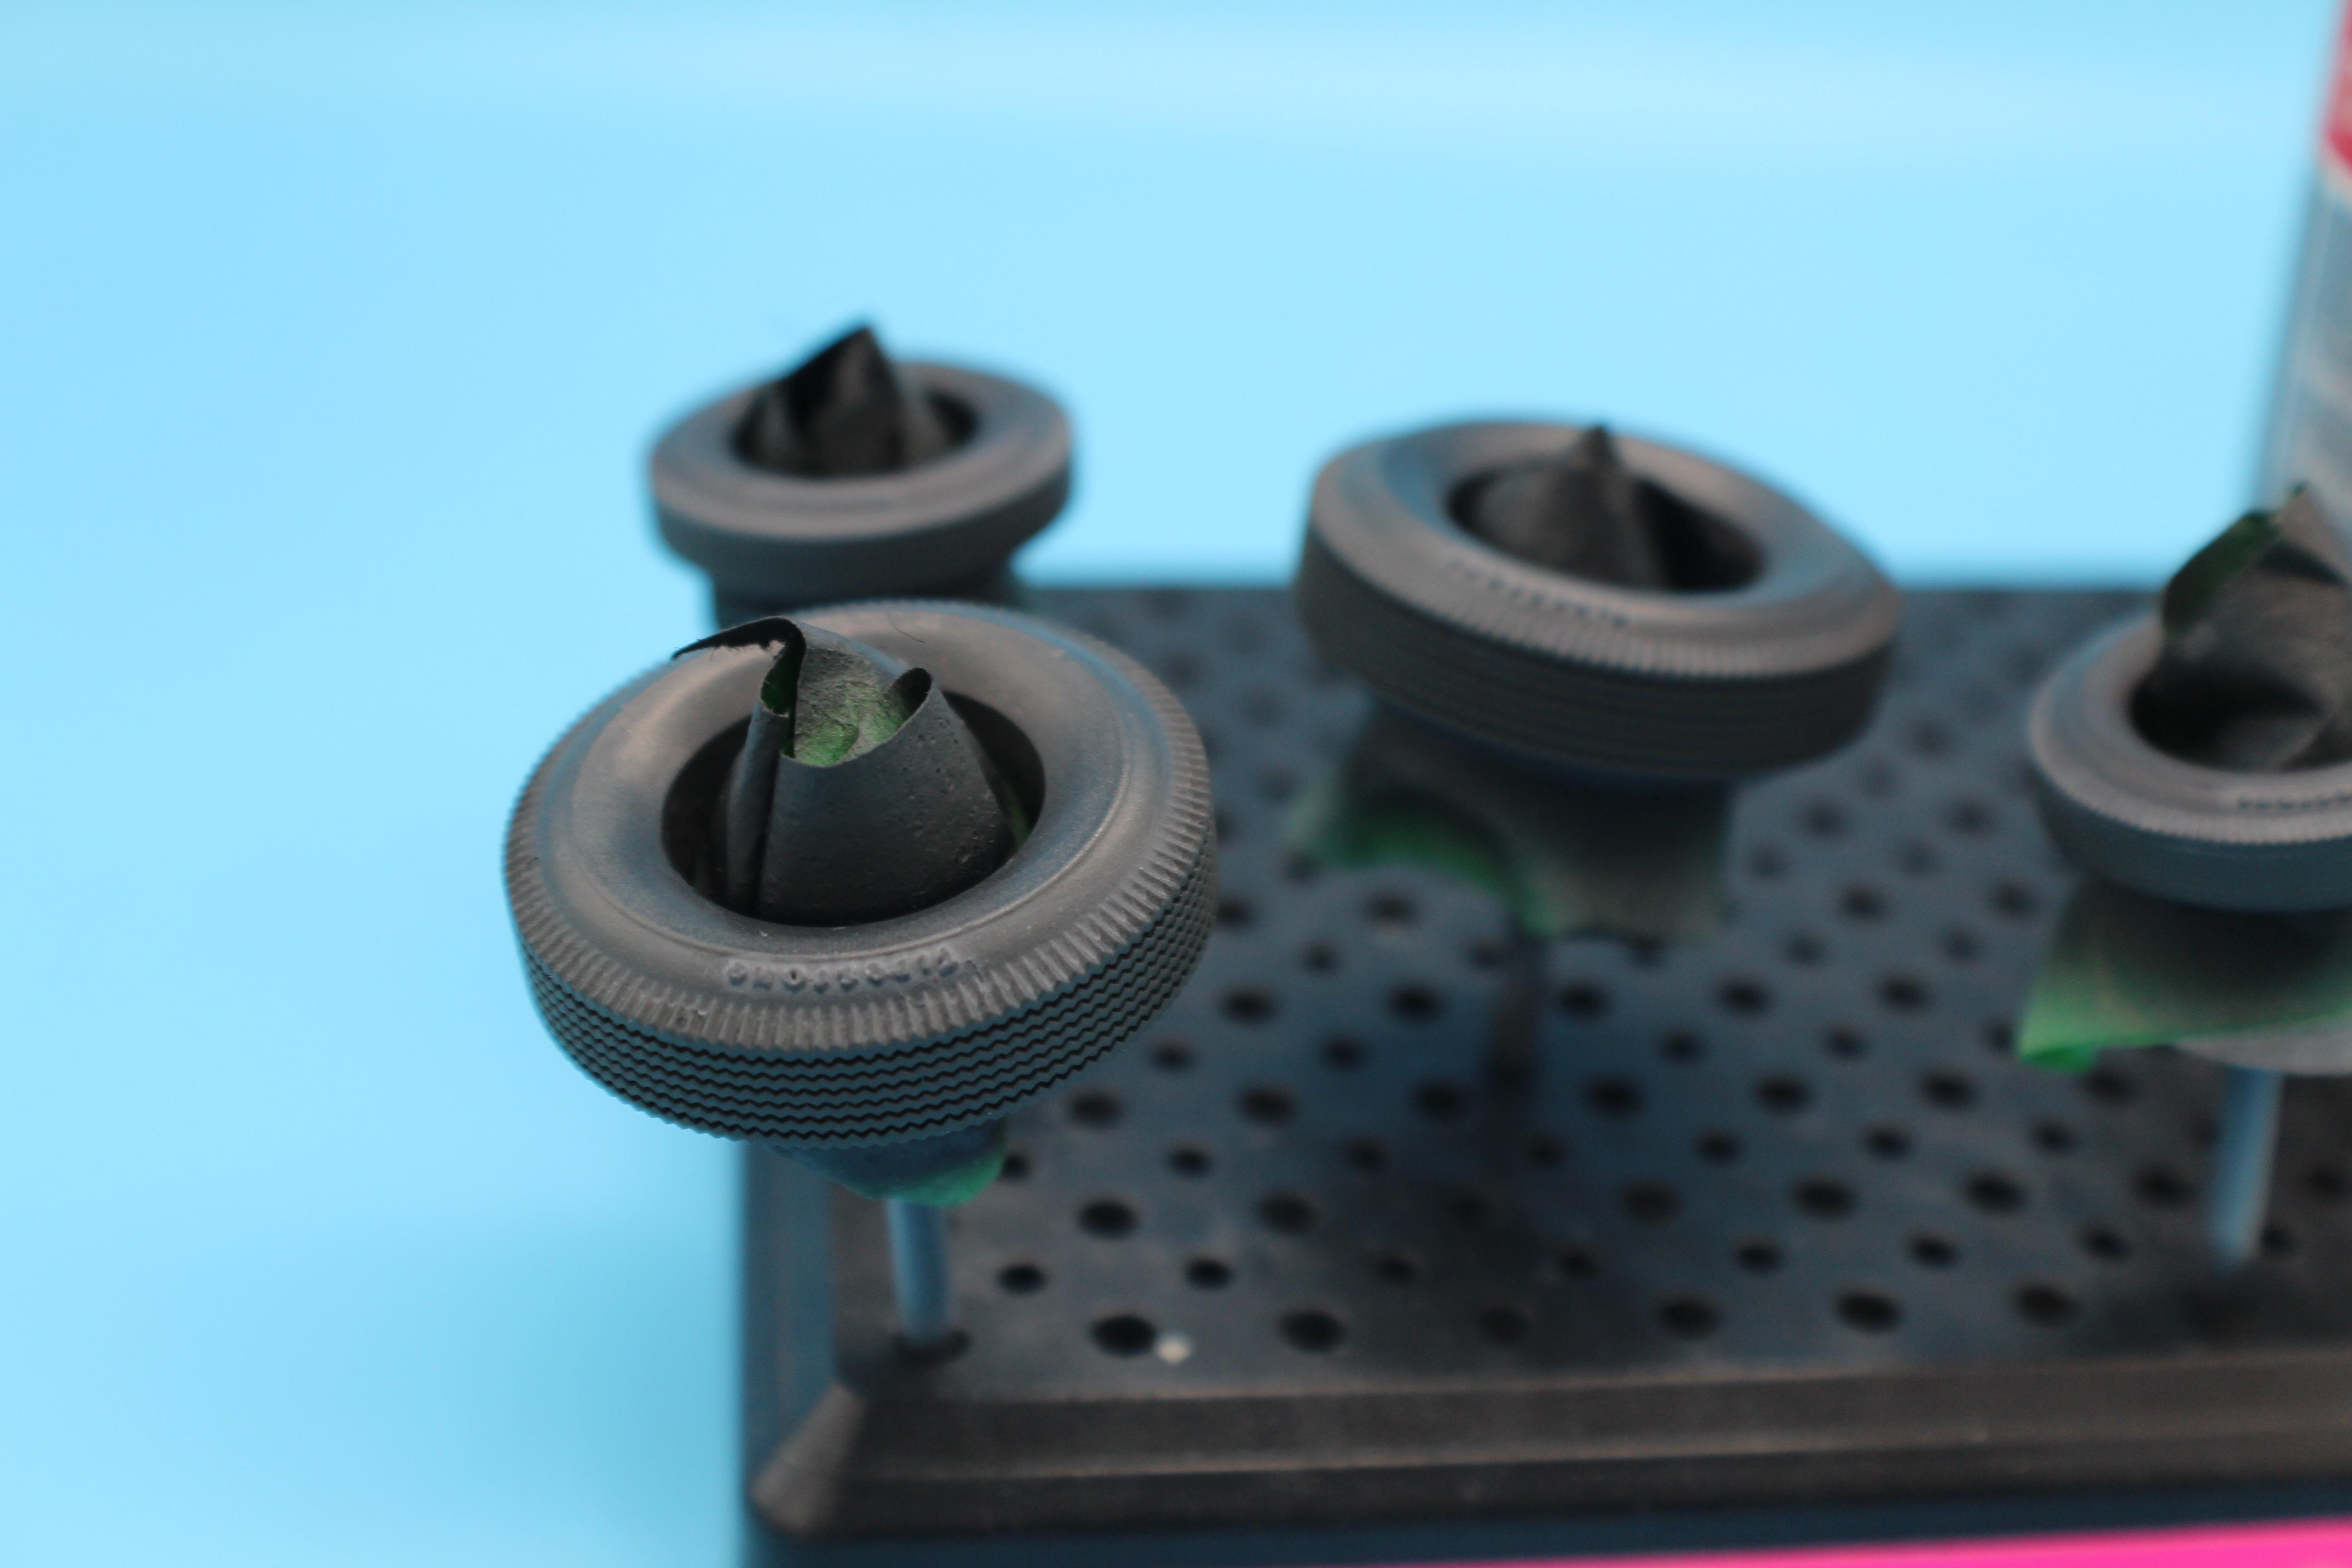
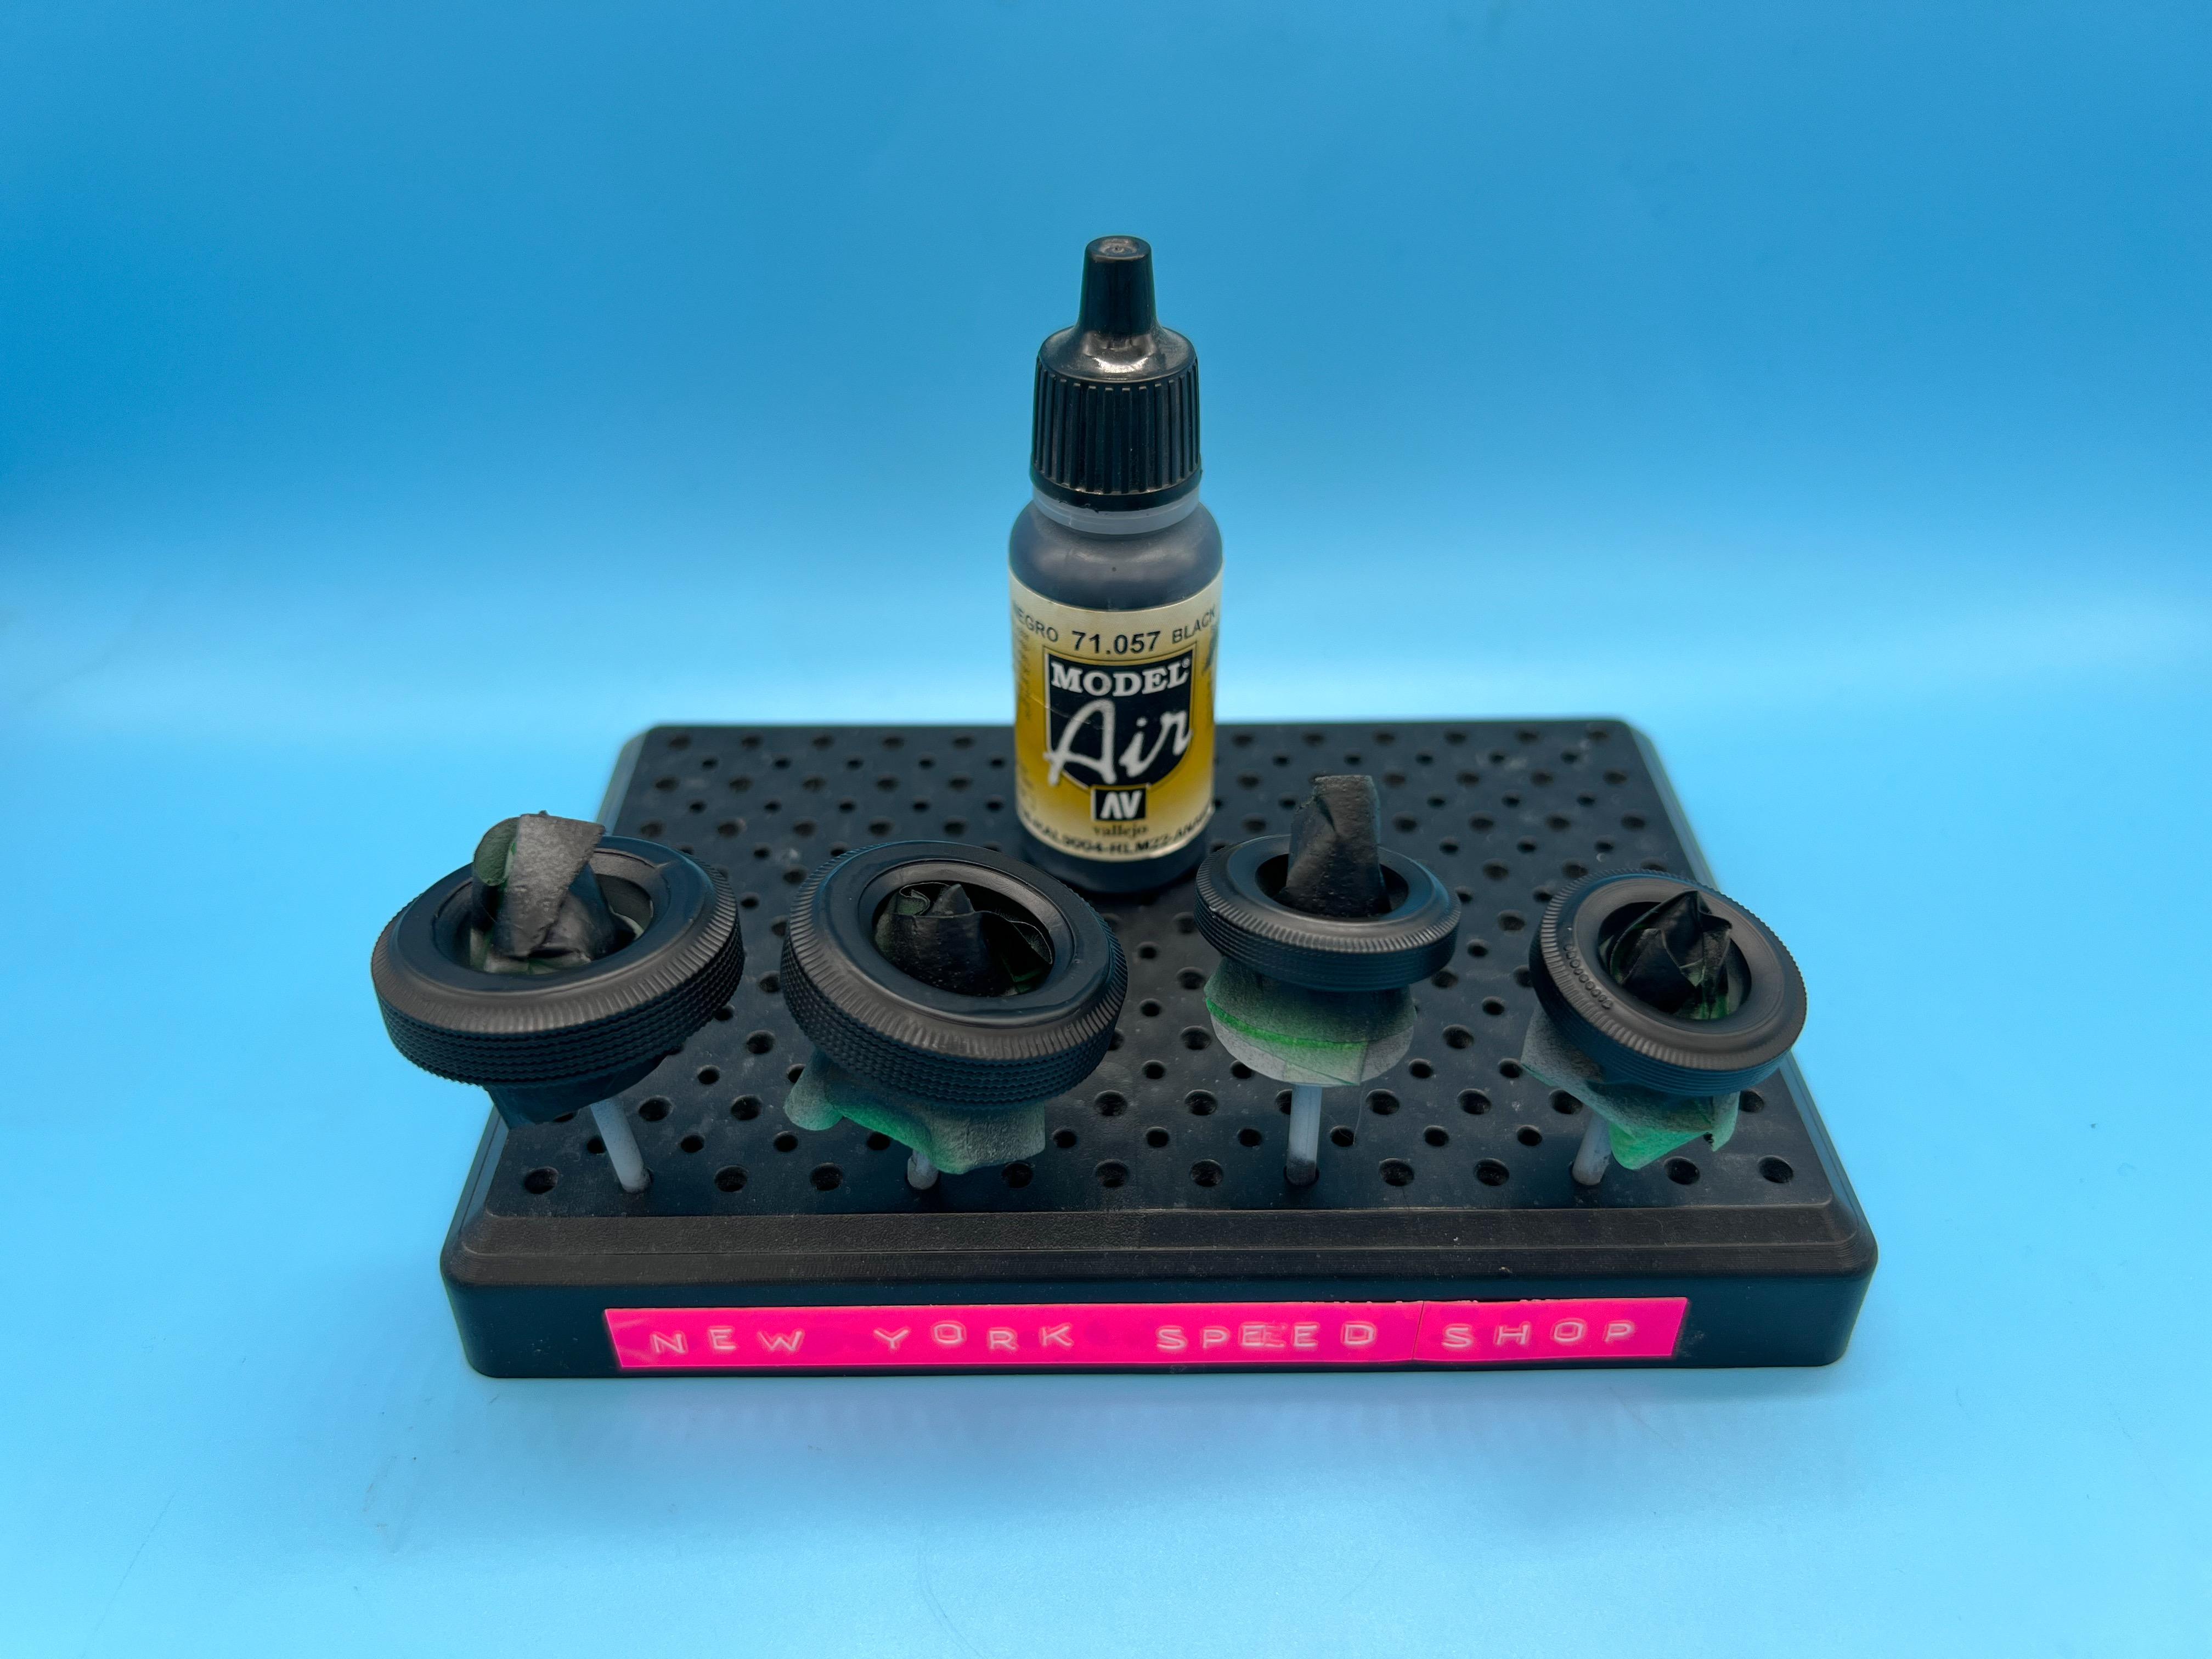
A little more progress this evening…started out with painting the tires, or making a start anyway. First step is Vallejo black, over-reduced slightly so it flows out and has a little satin sheen to it:
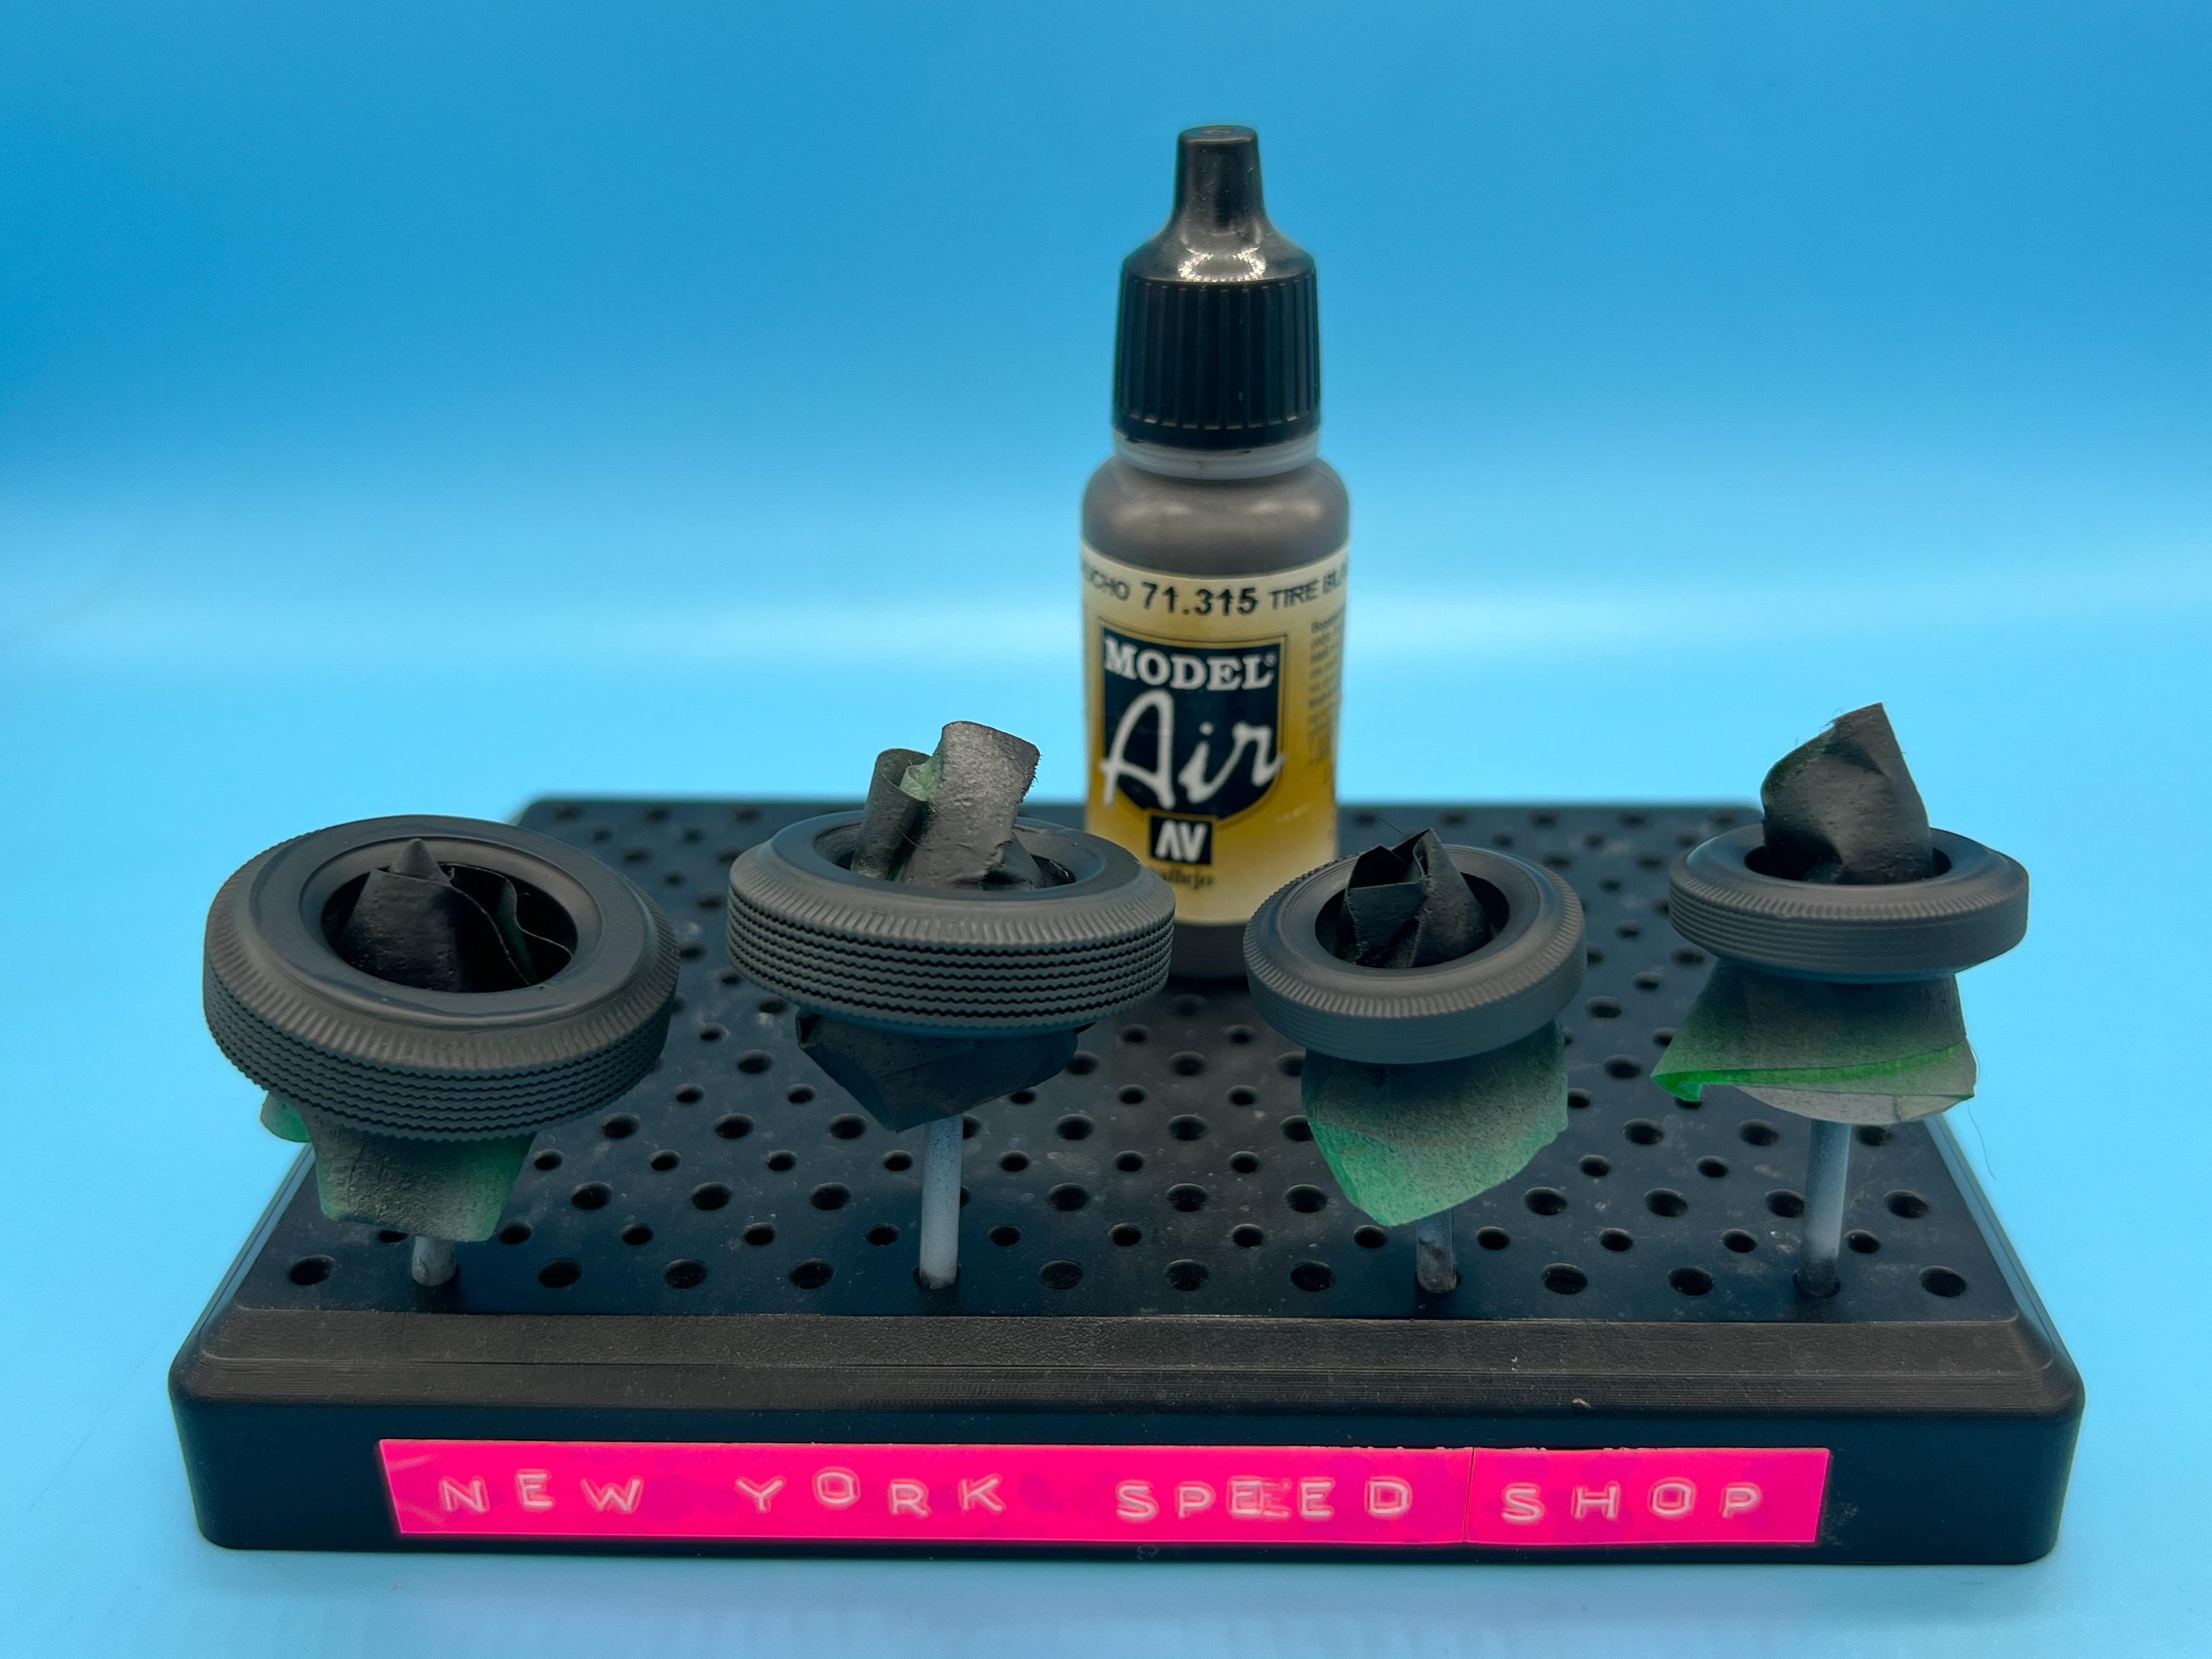
Followed by Vallejo Tire Black (actually a dark gray) misted around the edges and mostly on the treads:
I have a couple more steps to complete on these tomorrow, but I like this two-step Vallejo system (which actually has a third step if you want to dirty them up some) for easy realistic rubber parts:
More on those tomorrow…
Seeing as I was painting the tires, first stage of paint on the wheels too…didn’t want a bright chrome, didn’t want a dull steel so I went in-between:
More detailing on those tomorrow once the paint has sat in the dehydrator overnight…
And next project this evening was getting the dash in color. Well, bare metal…used Vallejo steel and then Mr Color drybrushed and stippled over top in a similar fashion to how I did the body:
Was going for a ‘was painted but we DA’d it, kinda look - a little rough but fairly clean and a little character…excited to work on this some more over the weekend too!
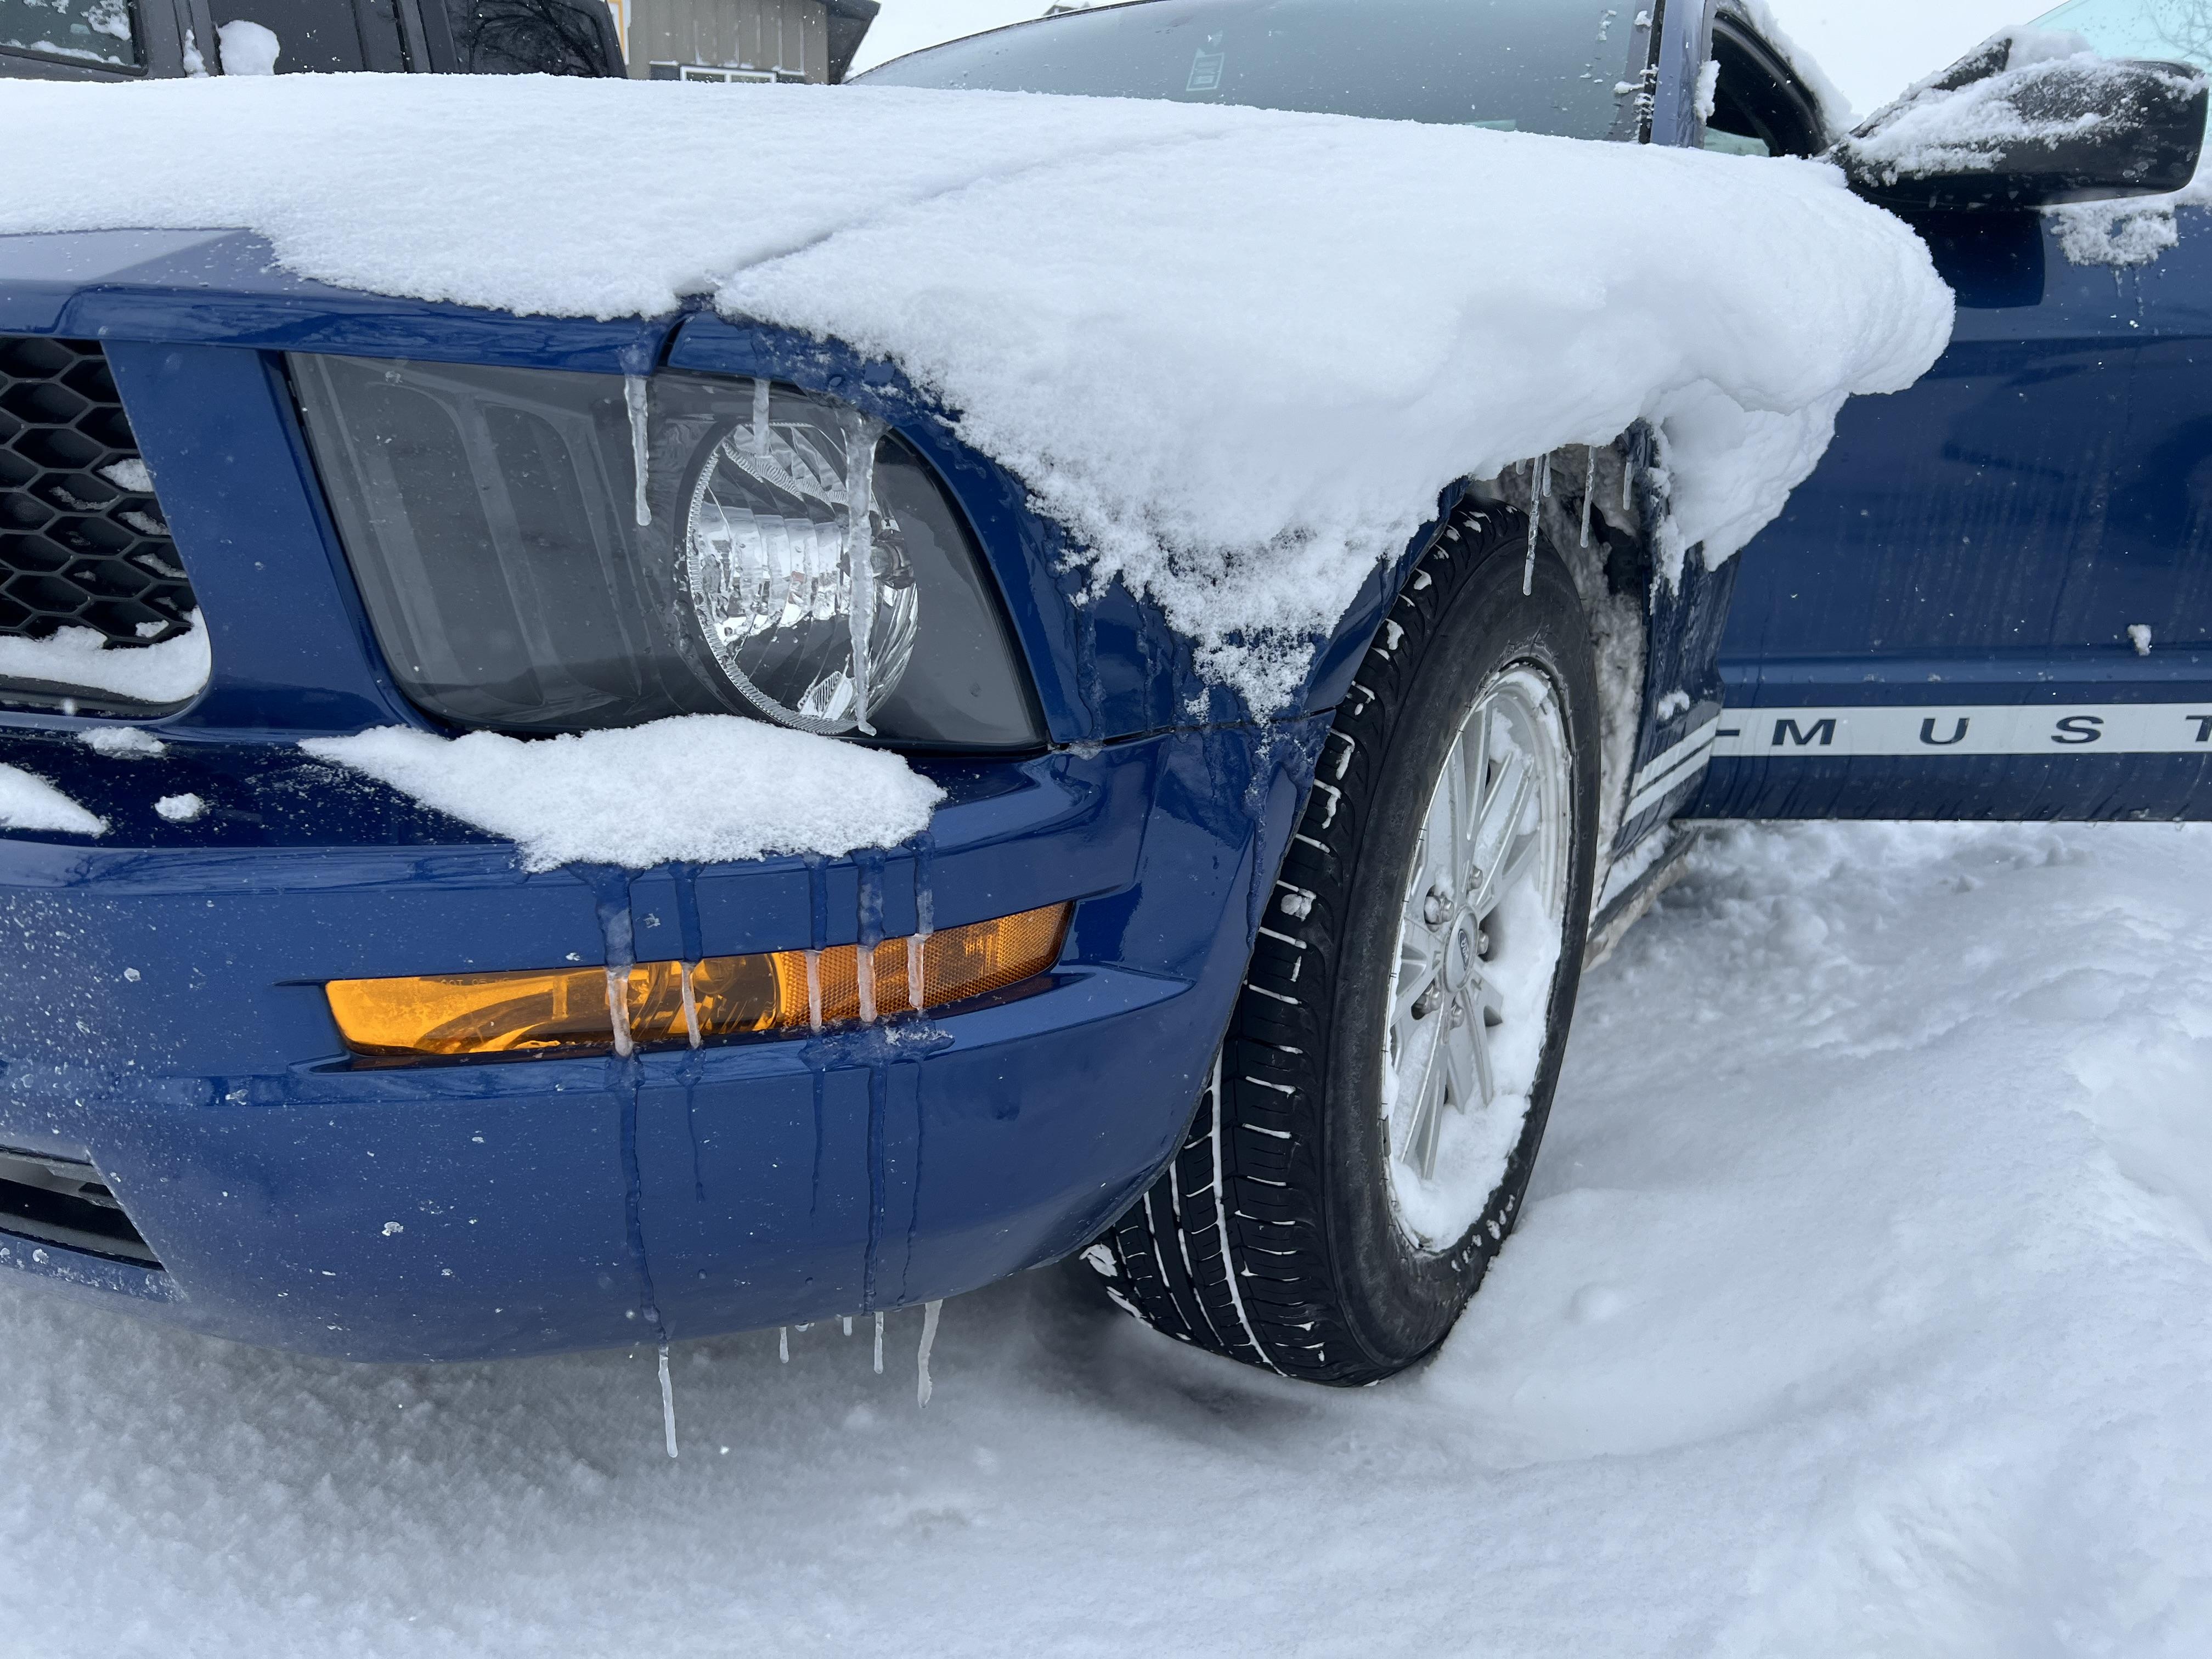
Happy Friday everyone, thanks for looking - hope you’re all warm (12” of snow here today…)
More soon, soon as I’ve done more!
-
3
-
-
Doing that super complicated chop and reshaping of the good and then shooting it a super dark color and having it look THAT good is a testament to the surgical clean work you did there…just beautiful! Nice job!
-
2
-
-
4 hours ago, TopherMcGinnis said:
What about making it a Chrysler Industrial engine?
That’s really interesting - what were those used for? I settled on a different color, but I wanna store that idea away for another build - cool idea, thank you!!
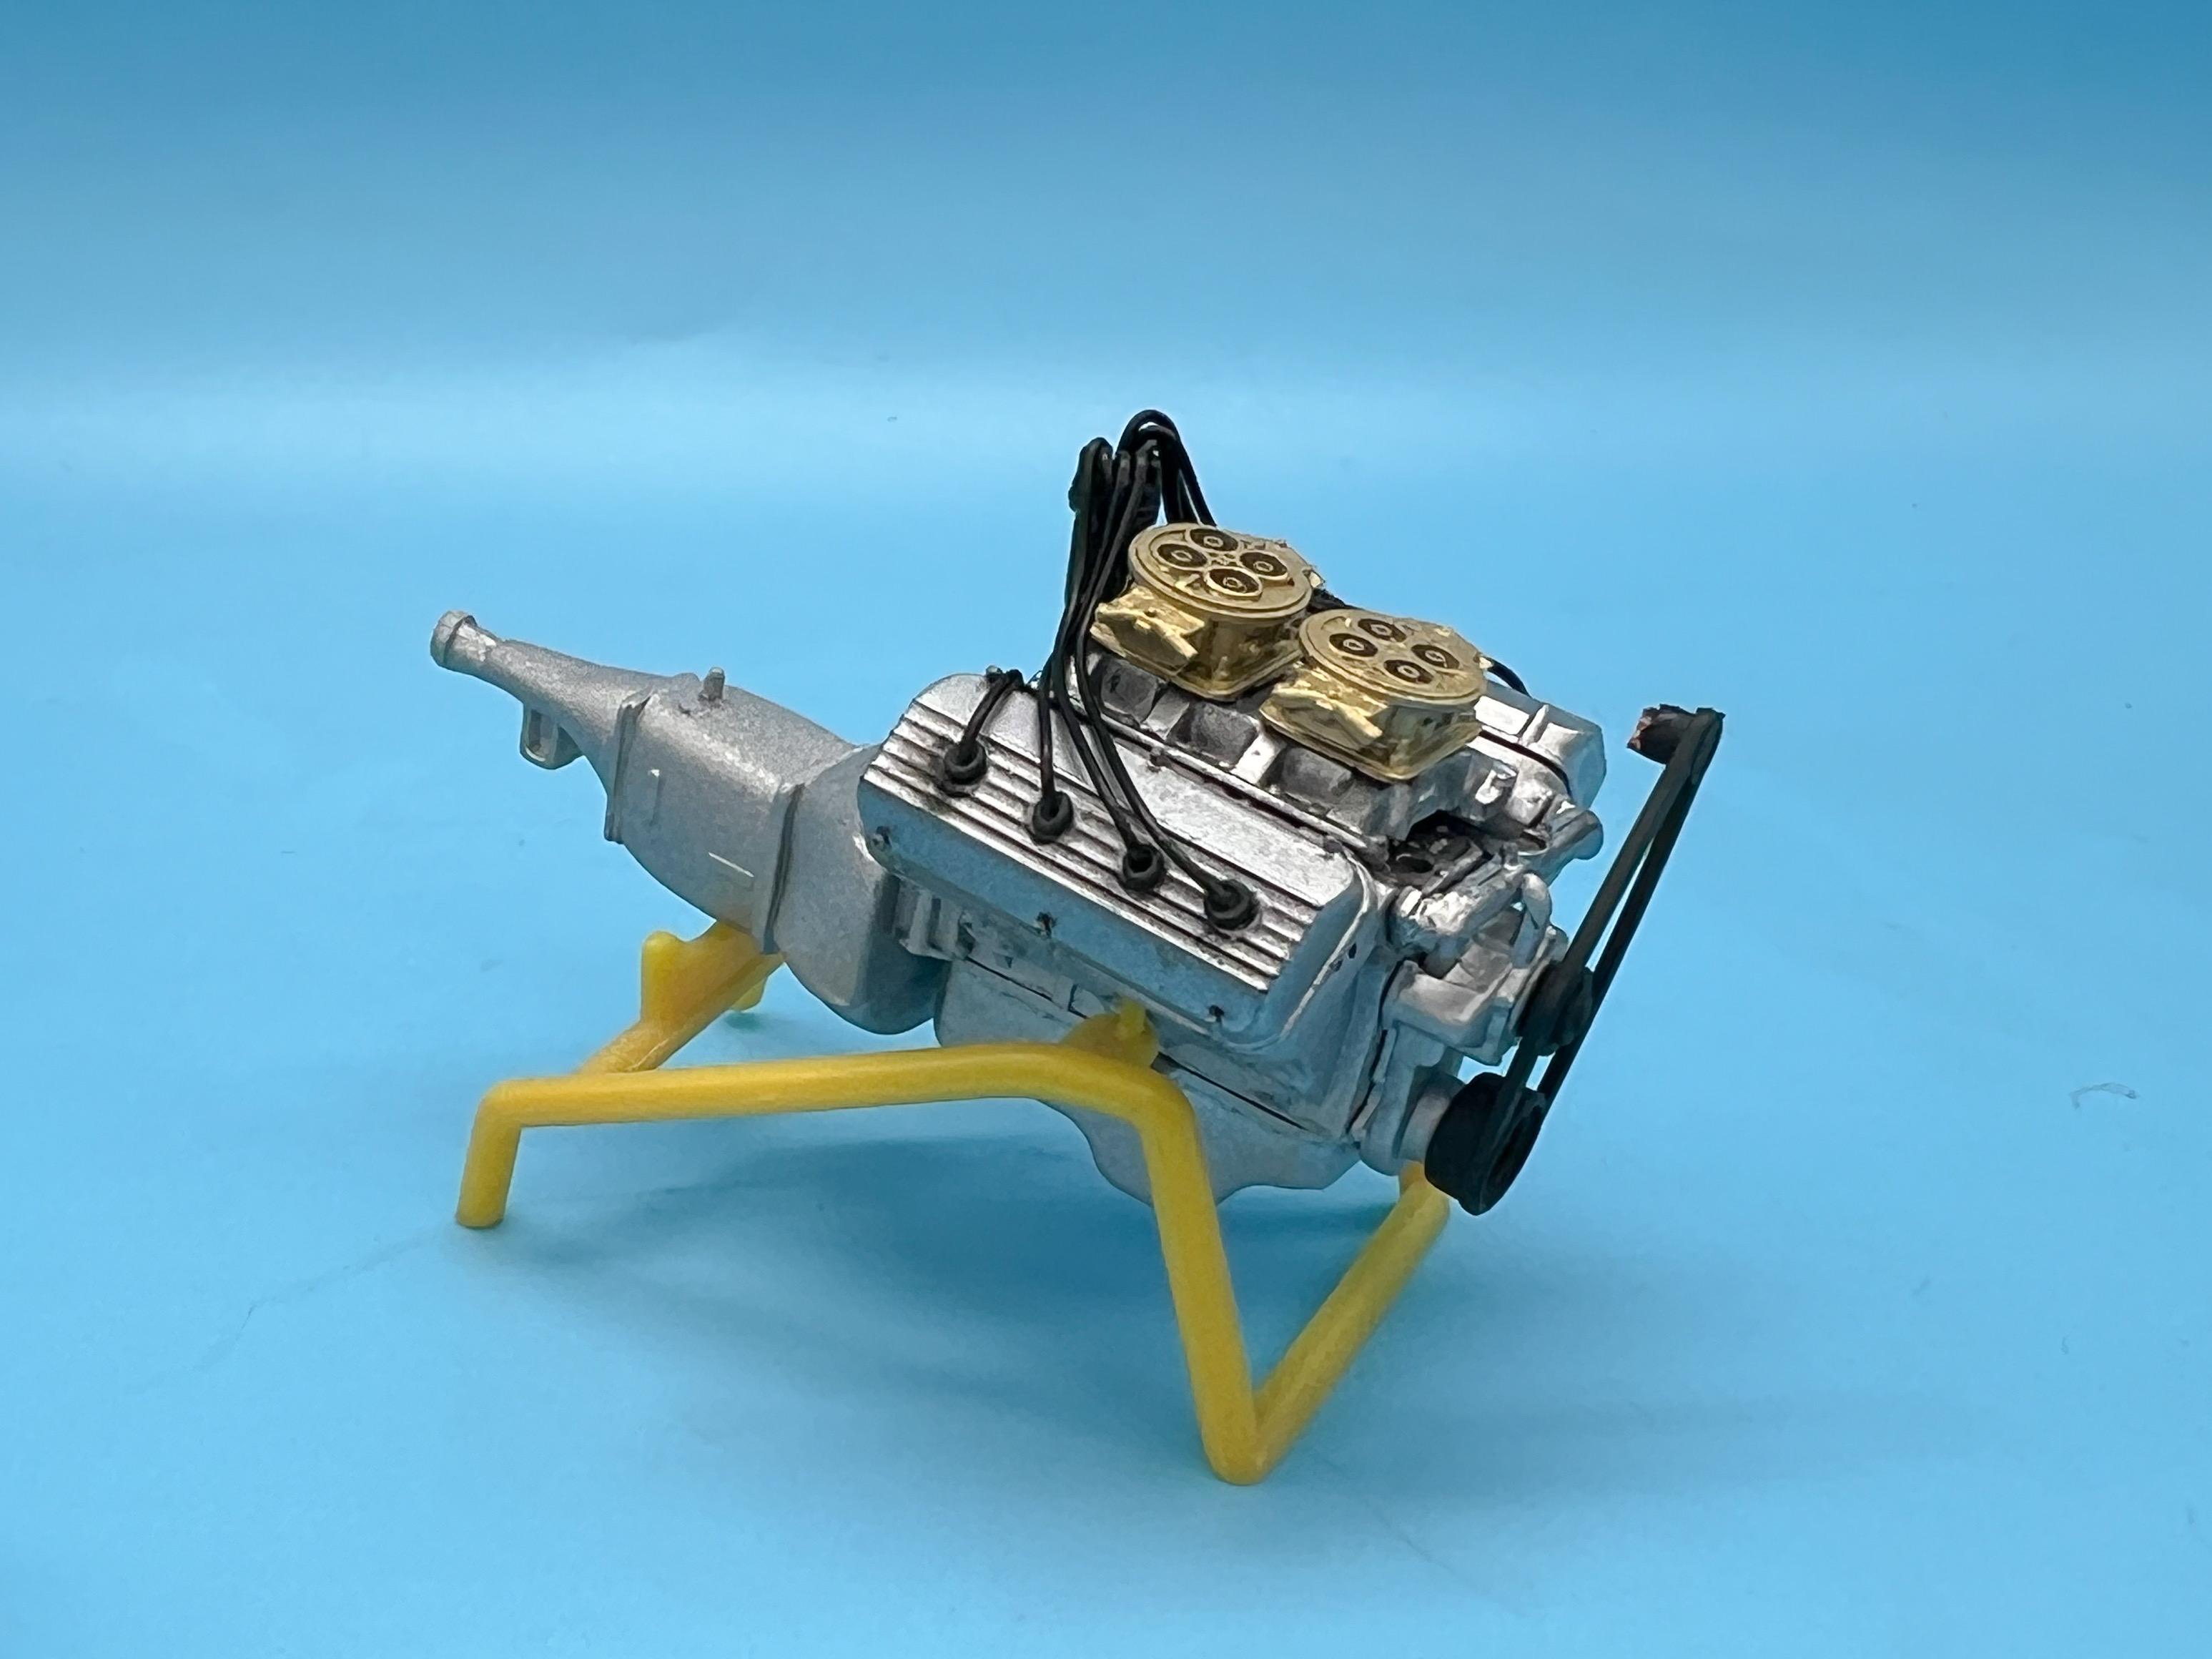
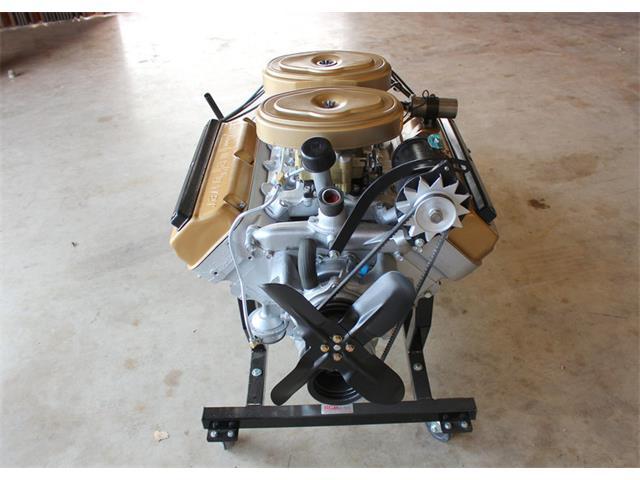
Tonight’s project was shooting some color on the engine - spent some time looking at reference pics today and decided that if I was doing this for real I’d want to use this cherry block that I found online, for sale:
Nice clear original motor, ready to drop in! They painted these early blocks silver from the factory, and so I’m pretending I picked this thing up, added some minor upgrades (really side-grades, the valve covers, the magneto) and dropped it in that frame that I’m still clearcoating.
Challenge on this part is making sure the silver block looks like it’s silver PAINT, as opposed to metal-looking paint that isn’t the right shade for the metal that the block is made of.
Went for a Tamiya shade that looked about correct to me:
And I’ll gloss coat it lightly to give it more of a ‘paint’ look than a bare metal look.
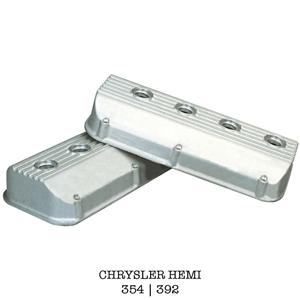
The (aftermarket? covers should look like this, roughly:
So they got shot, along with the valley cover and some other little bits, Tamiya flat black and then Vallejo chrome (a bad chrome, good aluminum):
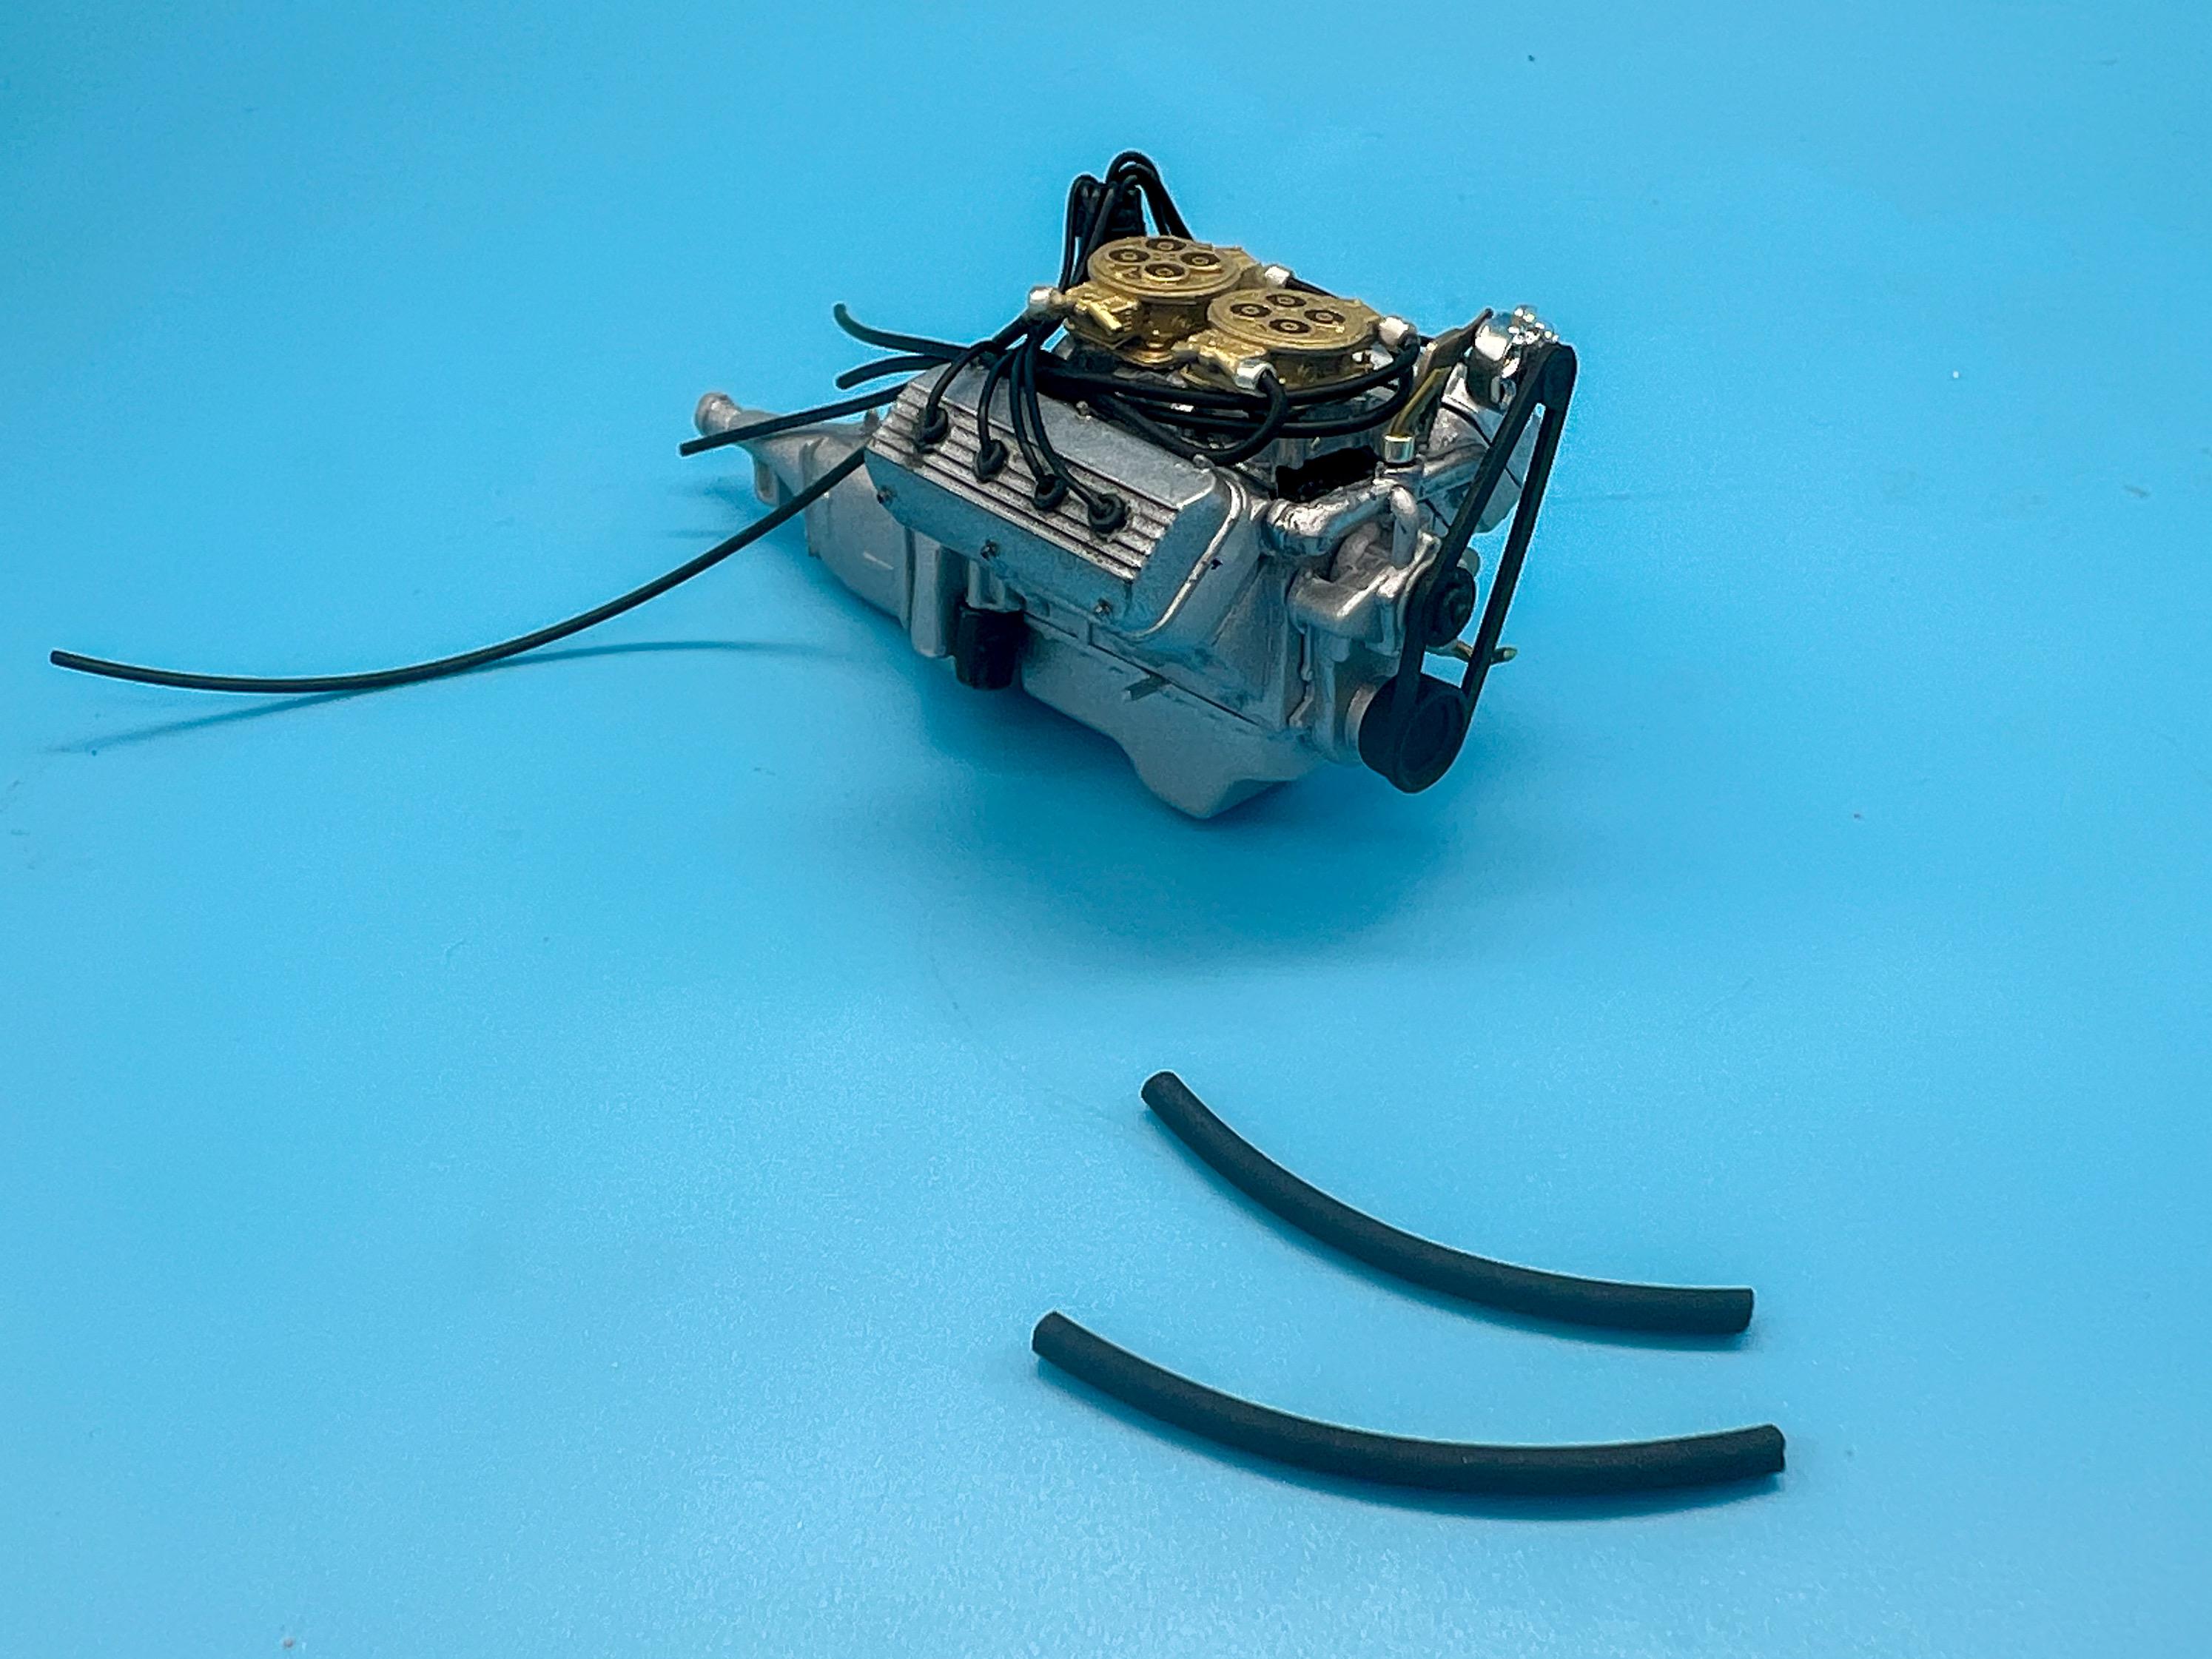
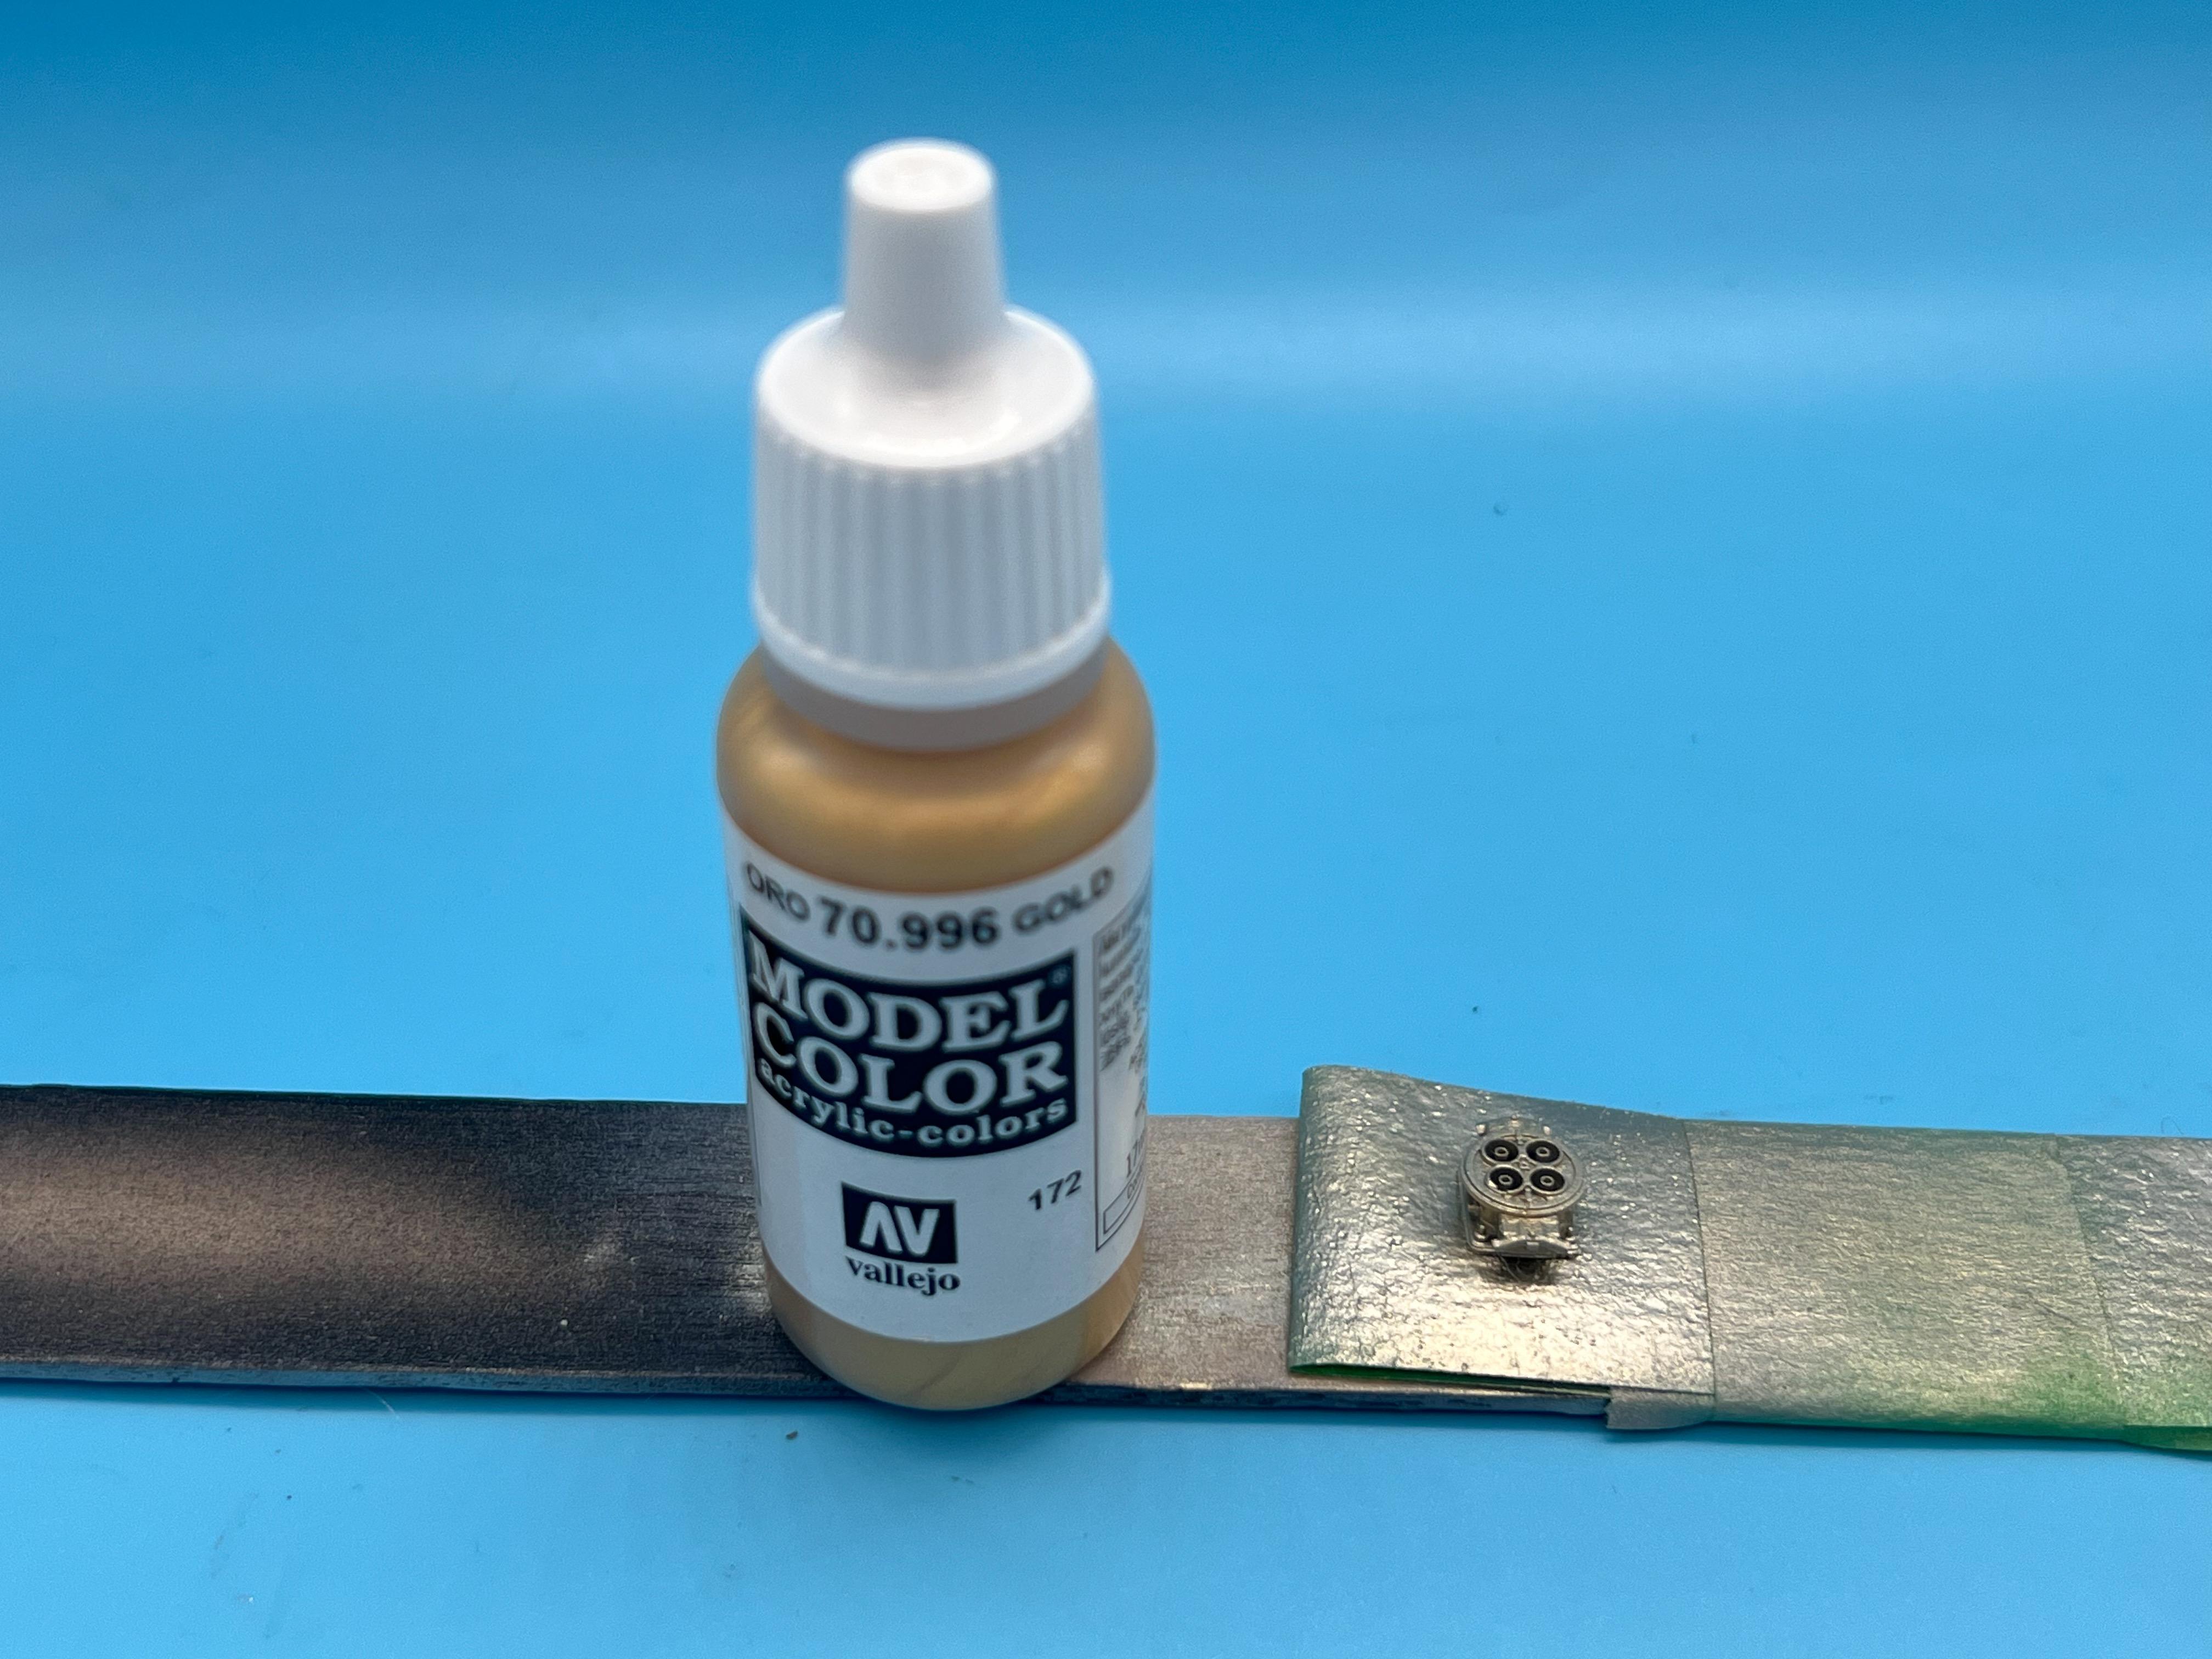
And I like the Holley carbs that have this silvery-gold tone to them, whatever the alloy is that they’re made of:
So I started the painting work on those with a mix of Vallejo Chrome and Vallejo gold:
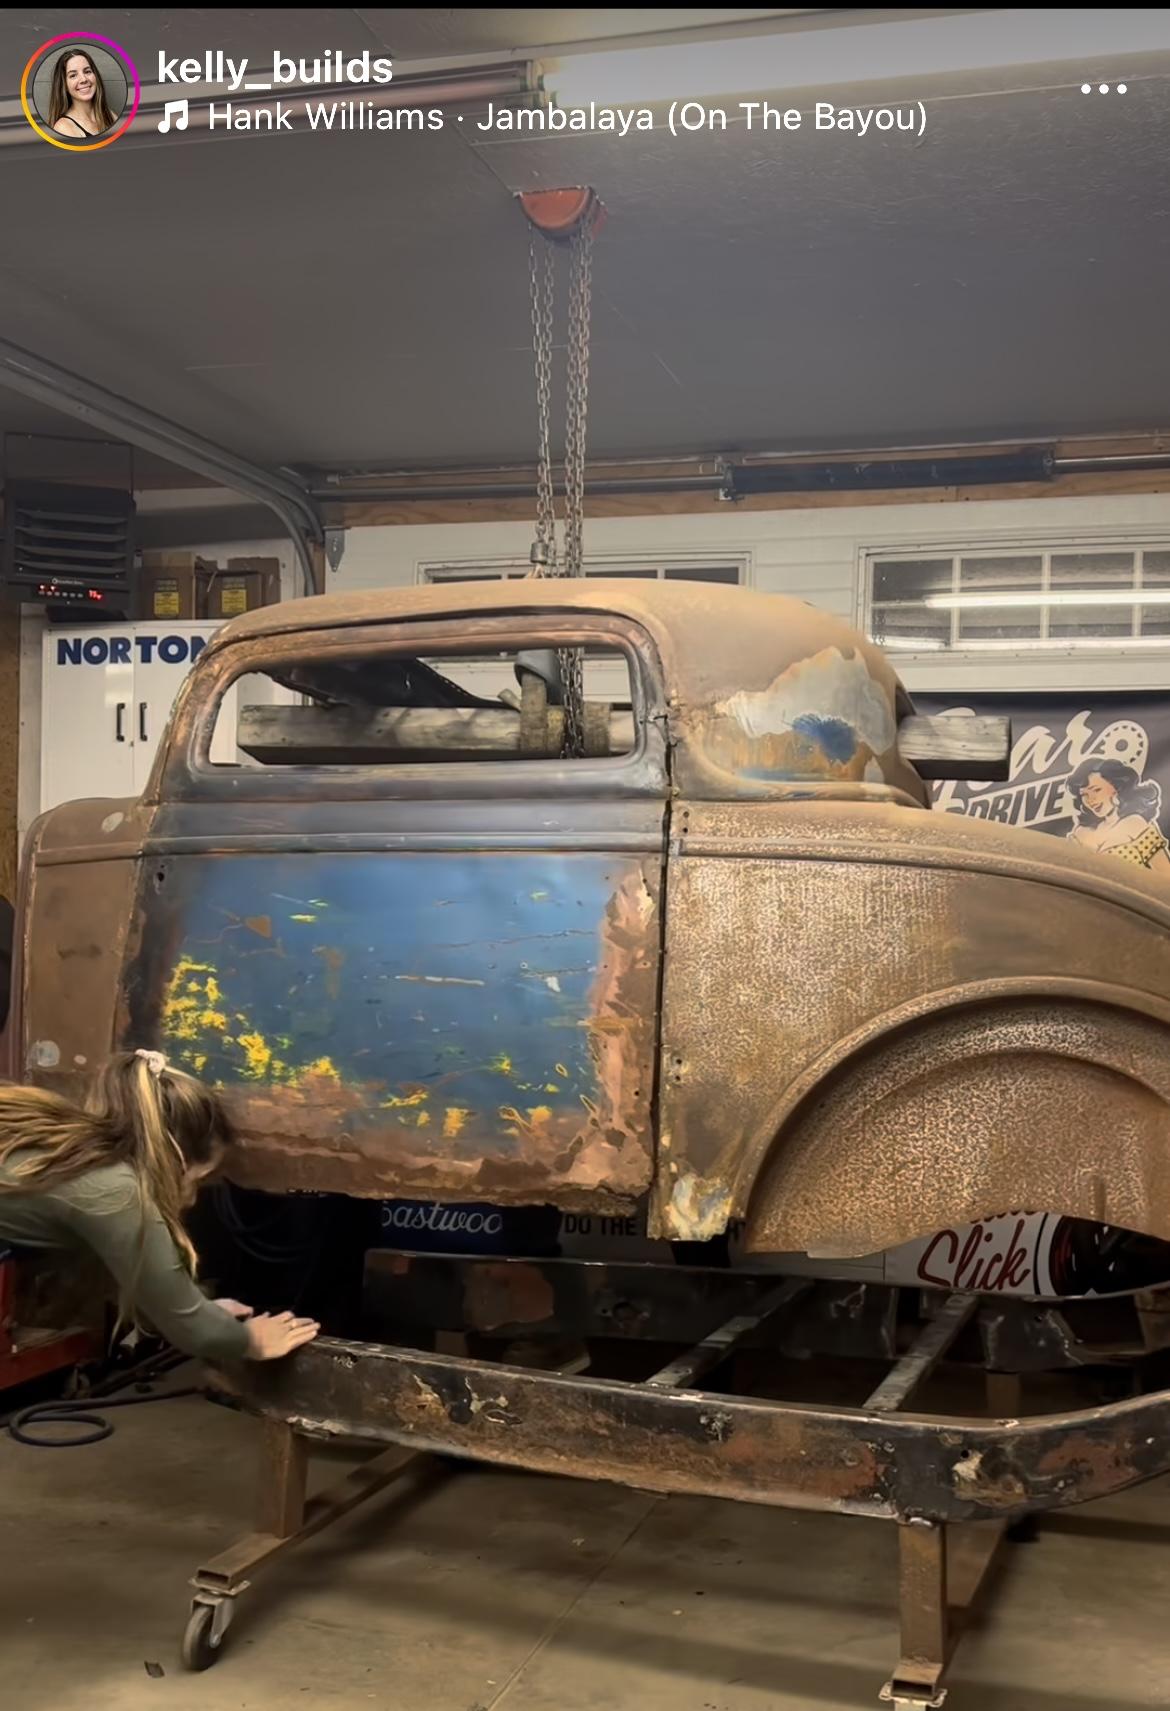
Didnt quite nail that yet, and they’ll need some detail painting, but plenty of time until I need to glue them on…Incidentally, back on those inner wheel wells - spotted this survivor 3-window on Instagram today…the plot thickens…
Thanks for looking - more soon, soon as I’ve done more!!
-
5
-
-
Nice work so far! Some wide-ish styrene strip on the doors would match the seats nicely (not that you asked 🤪)
I’ll be following along!
-
23 hours ago, Bullybeef said:
Love the clear for the signal stalk, yet another little bit I’ve to add to the bench!
Thanks Bil! I tweaked it a little this evening - not quite done with that particular project yet…
22 hours ago, Straightliner59 said:Plus, it just looks better, this way!😁
Absolutely! And it’s fun because we get to mess with a perfectly good part that would’ve been fine just as it is 🤪
20 hours ago, gman said:I do believe you're right...there is a detail in the 3 window wheel well stamping just above the frame rail (usually hidden behind the rear wheel) that I hadn't noticed before.
I think that 3 window version may even be a THIRD variation 😂.
15 hours ago, ColonelKrypton said:Nearly all of the photos I found showing 32 Ford inner wheel wells where of replacement parts, restorations, rebuilds, (etc) and not of an original
Exactly what I found too - a lot can happen to a car in 90 years…tough to guarantee accuracy…luckily I have some wiggle room - thanks for the feedback Graham!
A little more work tonight - I’m in that annoying prime/paint/clear cycle that means you’re doing a lot, but nothing finished…started laying some clear on the frame though…
A frame is about a minus ten out of ten on my scale of fun things to polish, but I want a shiny frame so I’m giving it some careful attention…
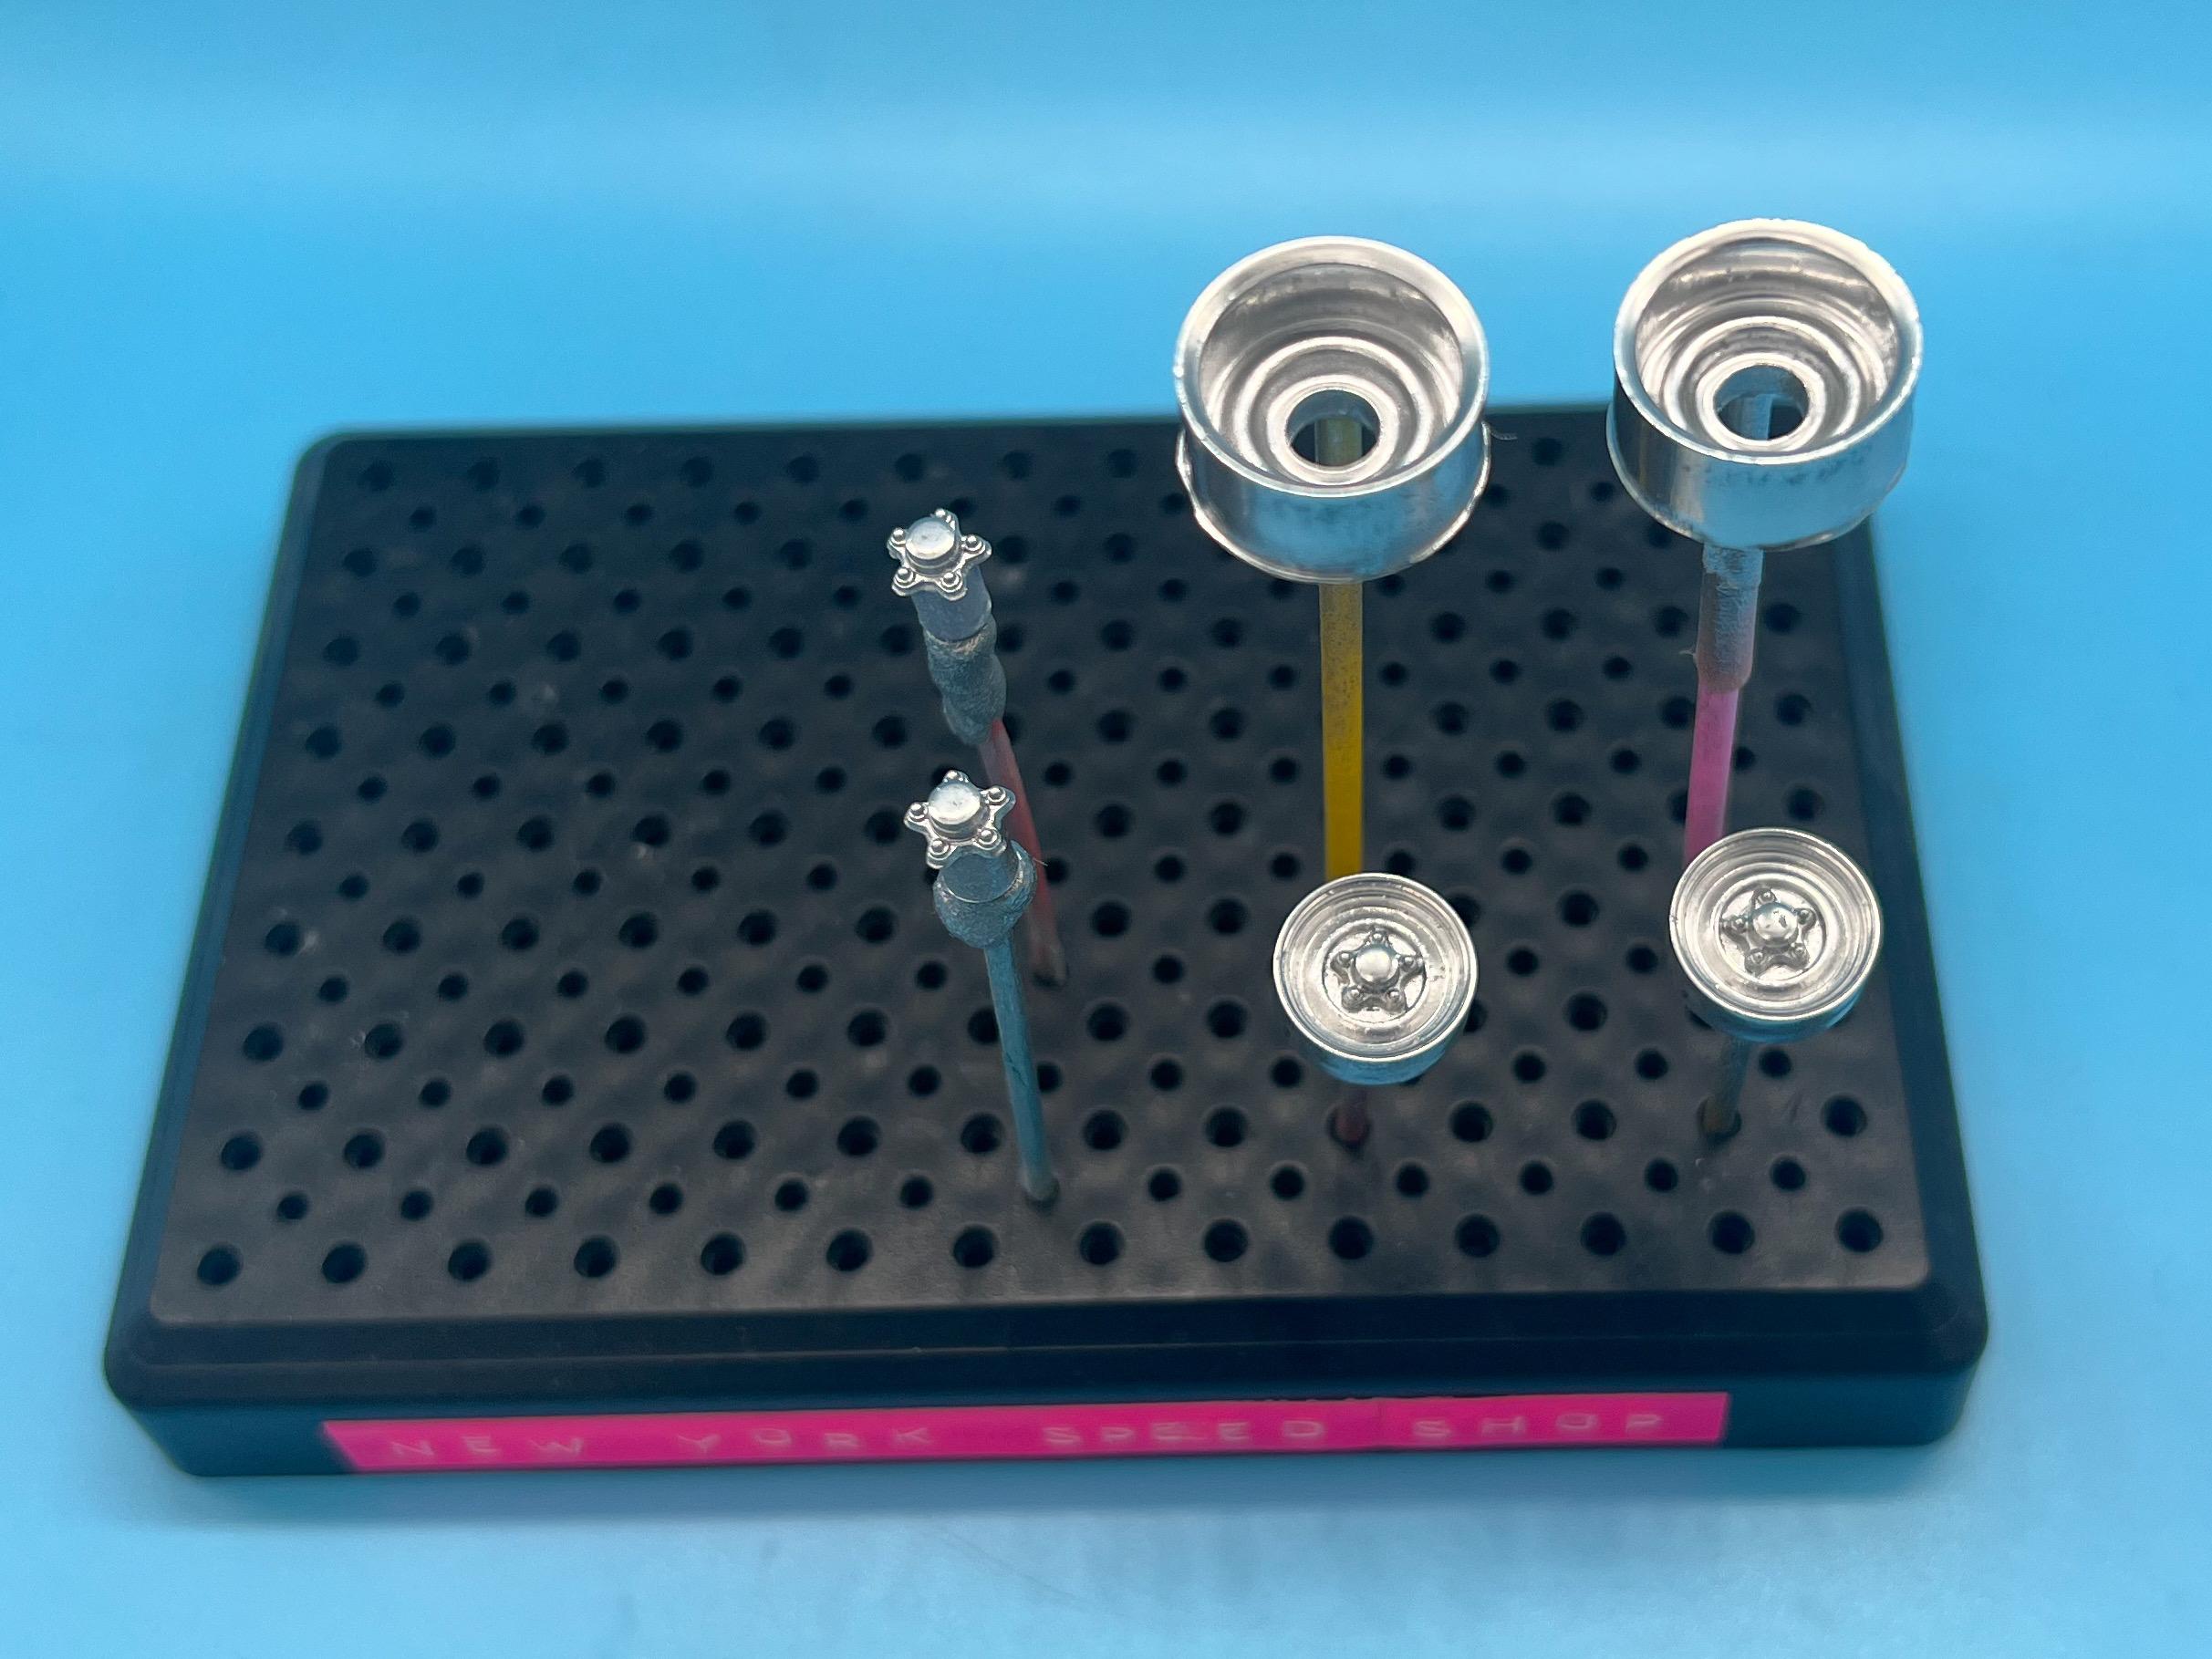
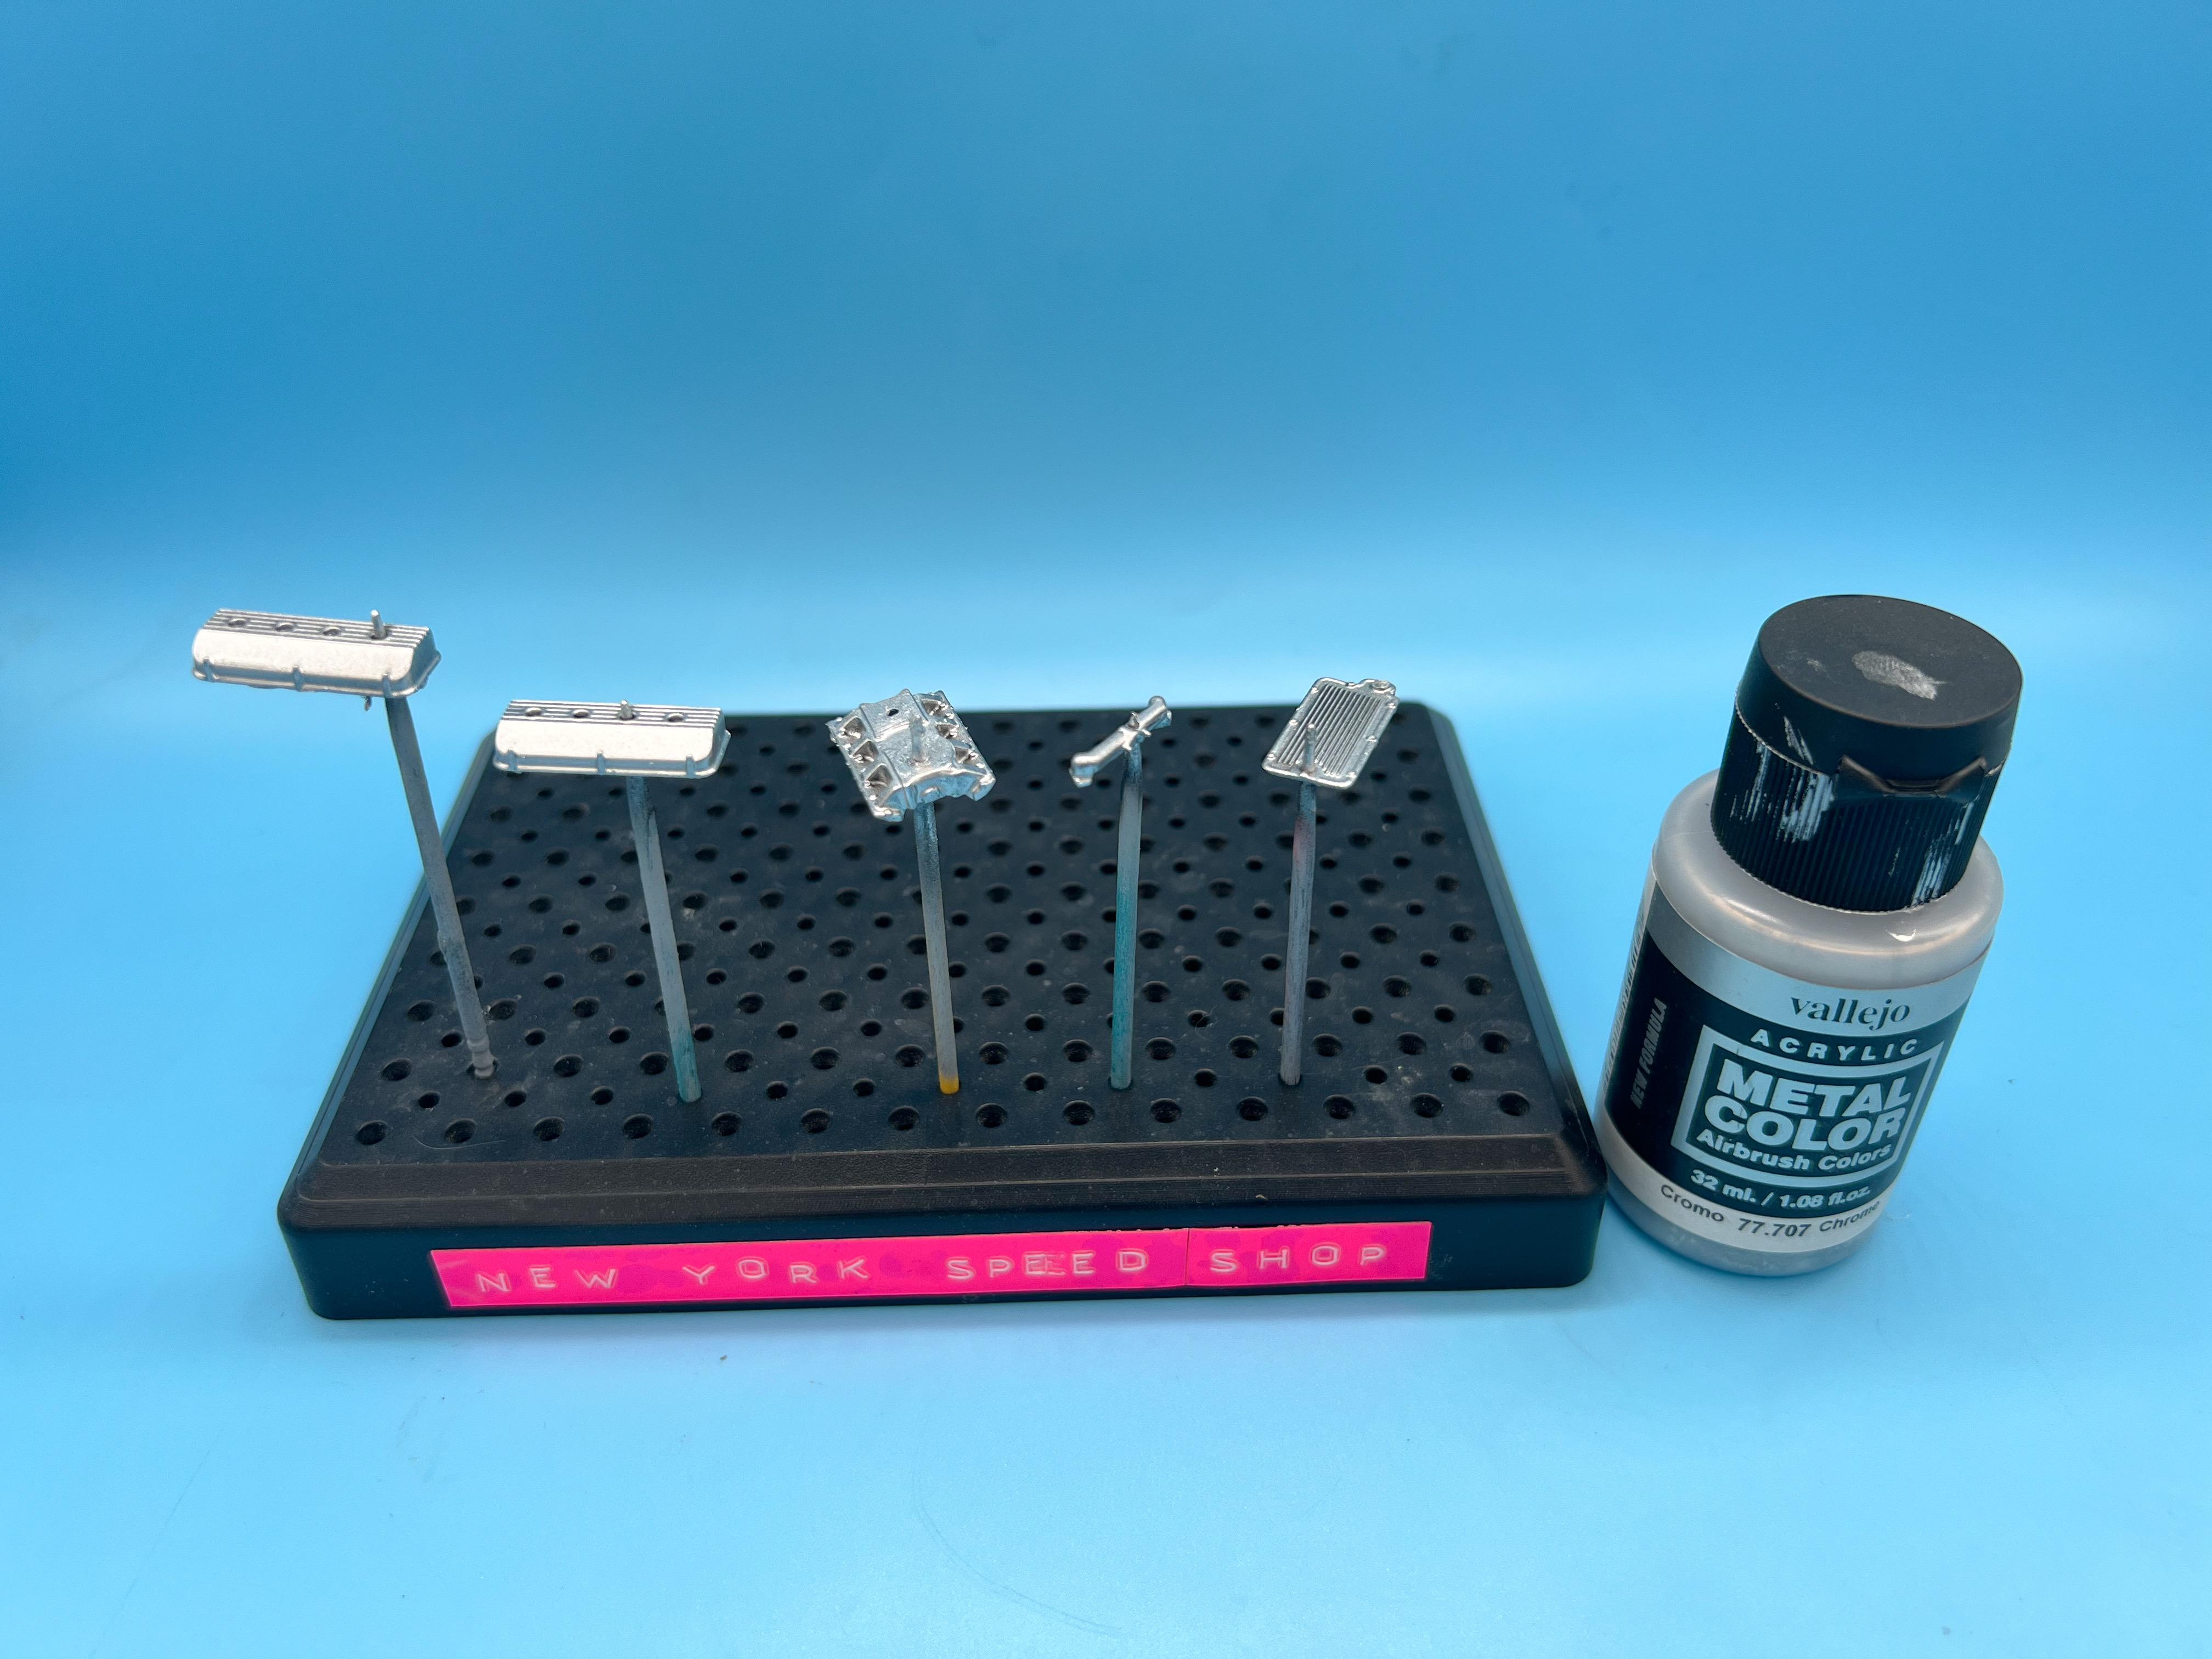
Next major component that needs paint is the engine, so prepped all of those bits this evening and got them in primer ready for inspection and tweaks tomorrow:
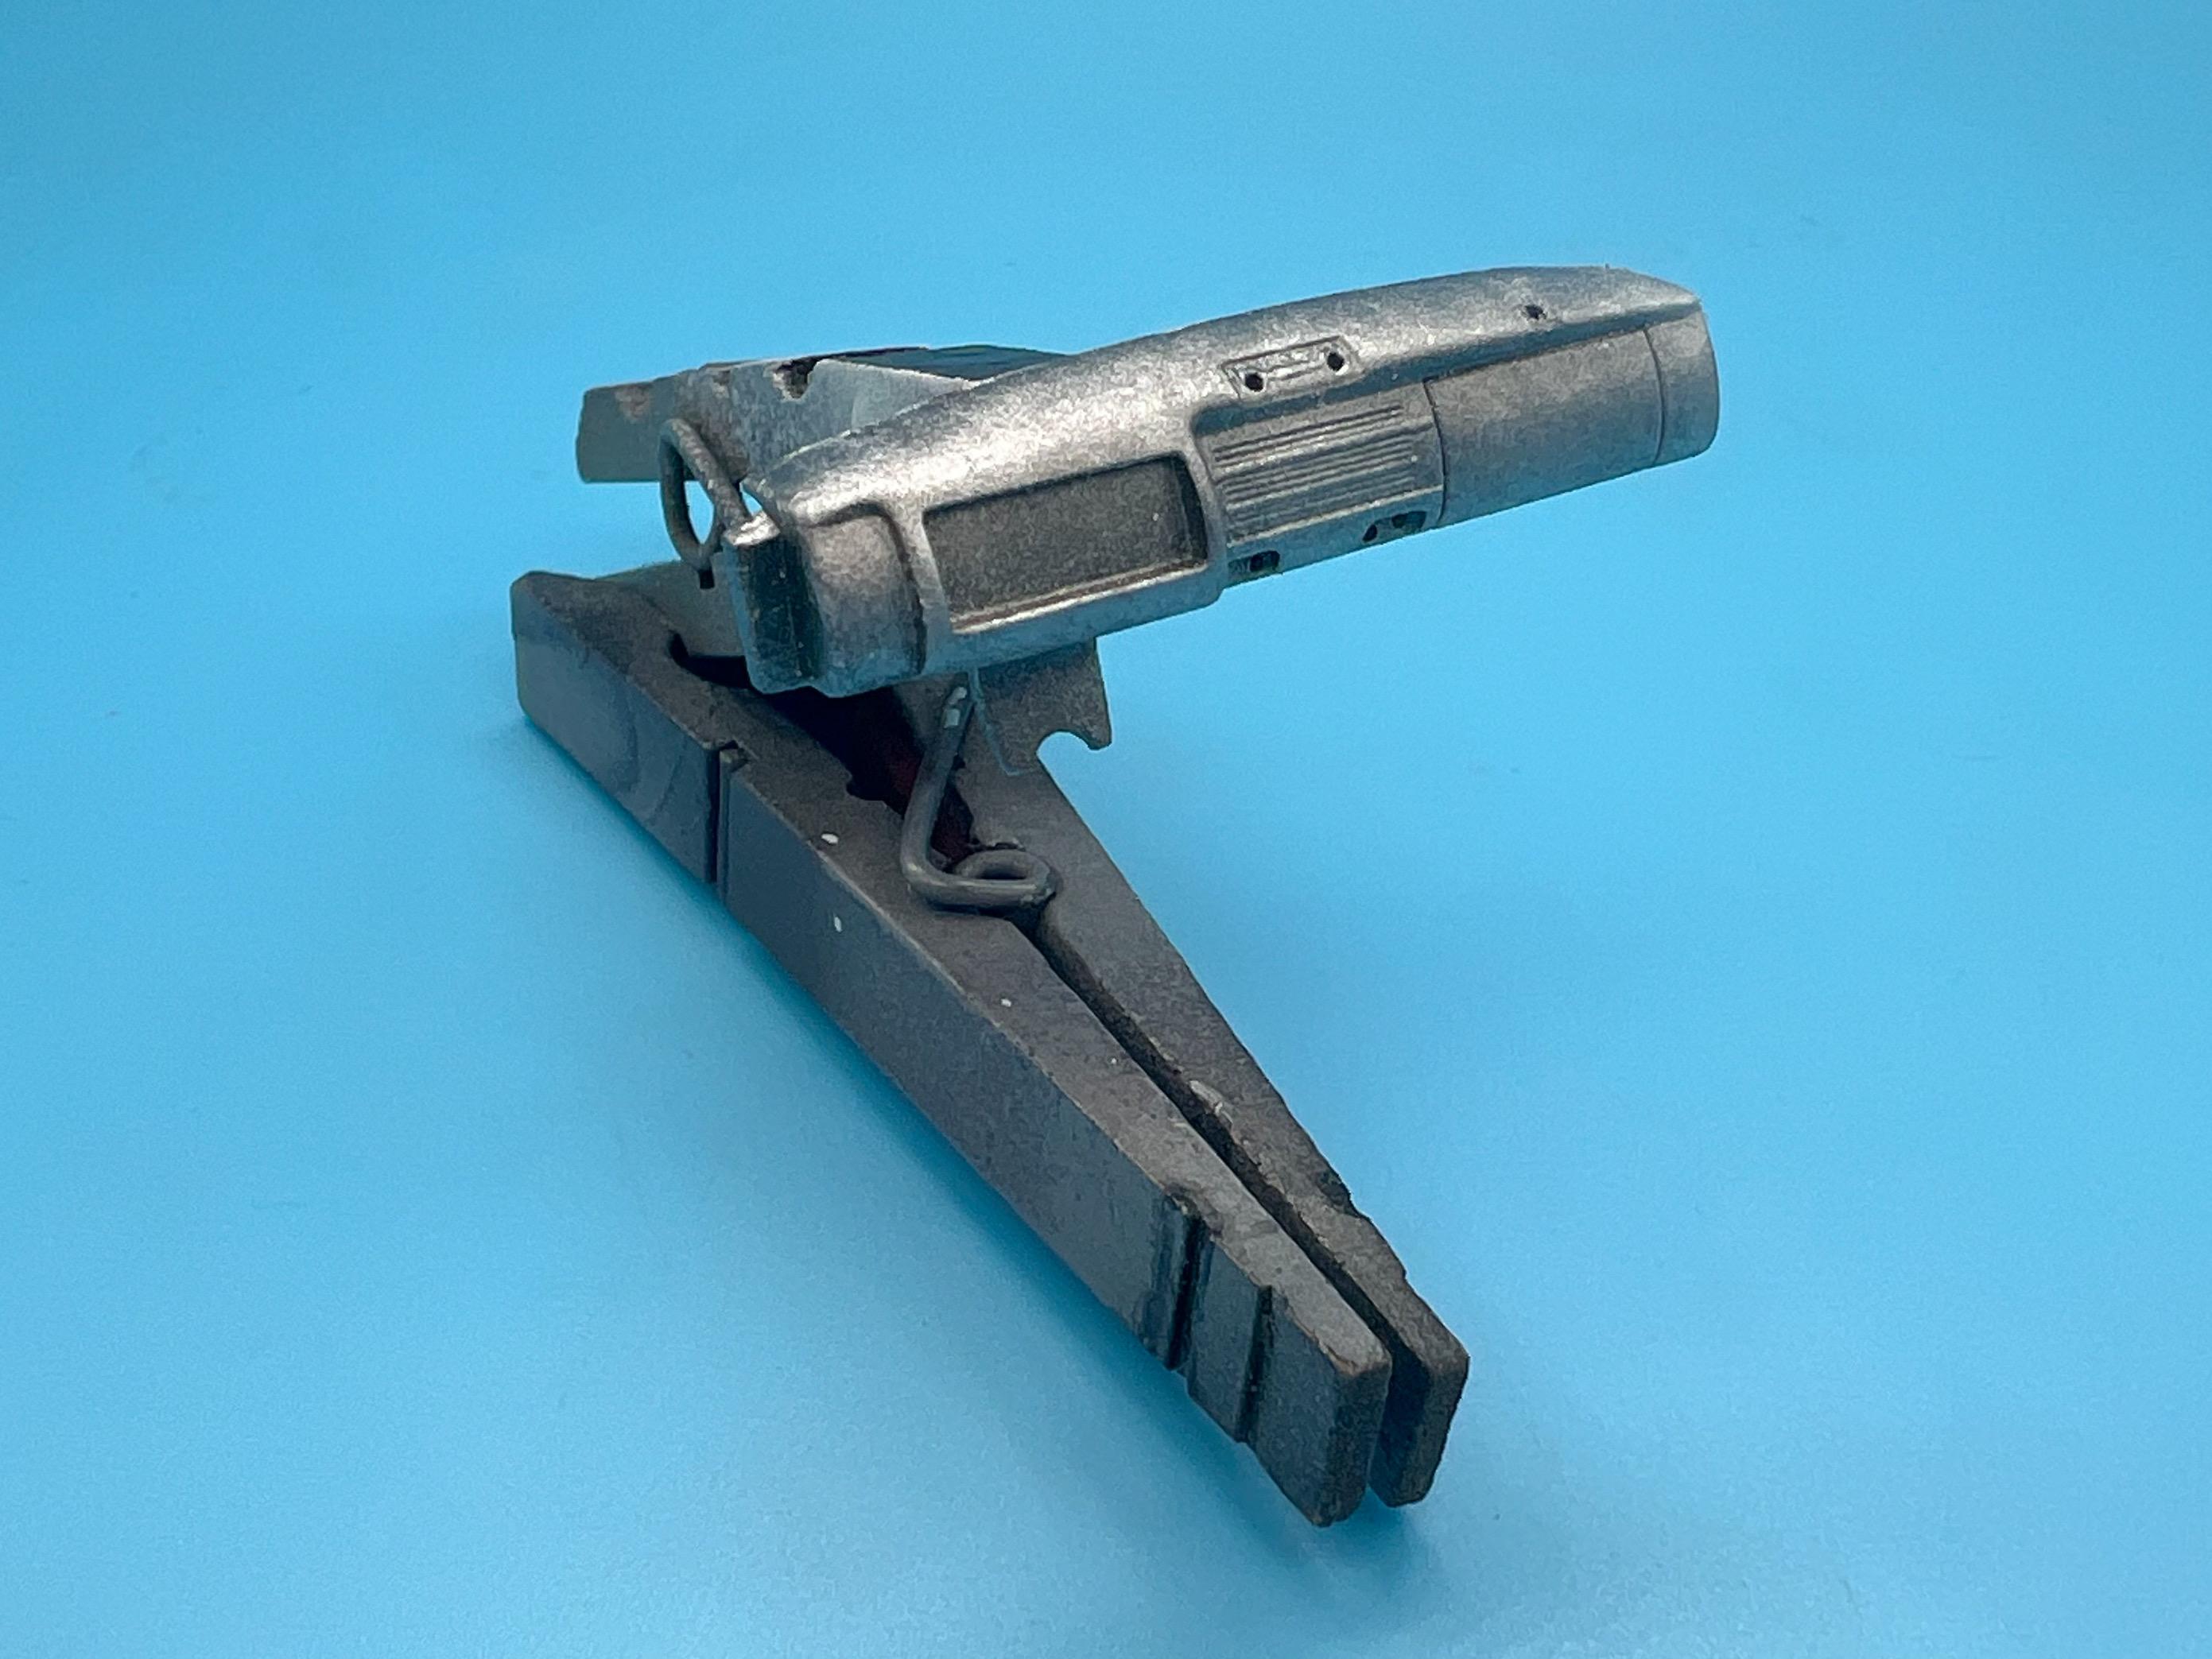
Havent totally decided on engine color…I need to research what colors these early Hemis came in to see if anything jumps out at me, or if not it’ll be black or bare metal…probably black or the two…I’d like to run a magneto on this, just for some vintage cool - printed a too-modern MSD magneto this evening:
Which I’m going to tweak to be one of these, I think:
And…that’s another evening at the bench! Thanks for the nice feedback so far, everyone - appreciate you taking a look! More soon…
-
1
-
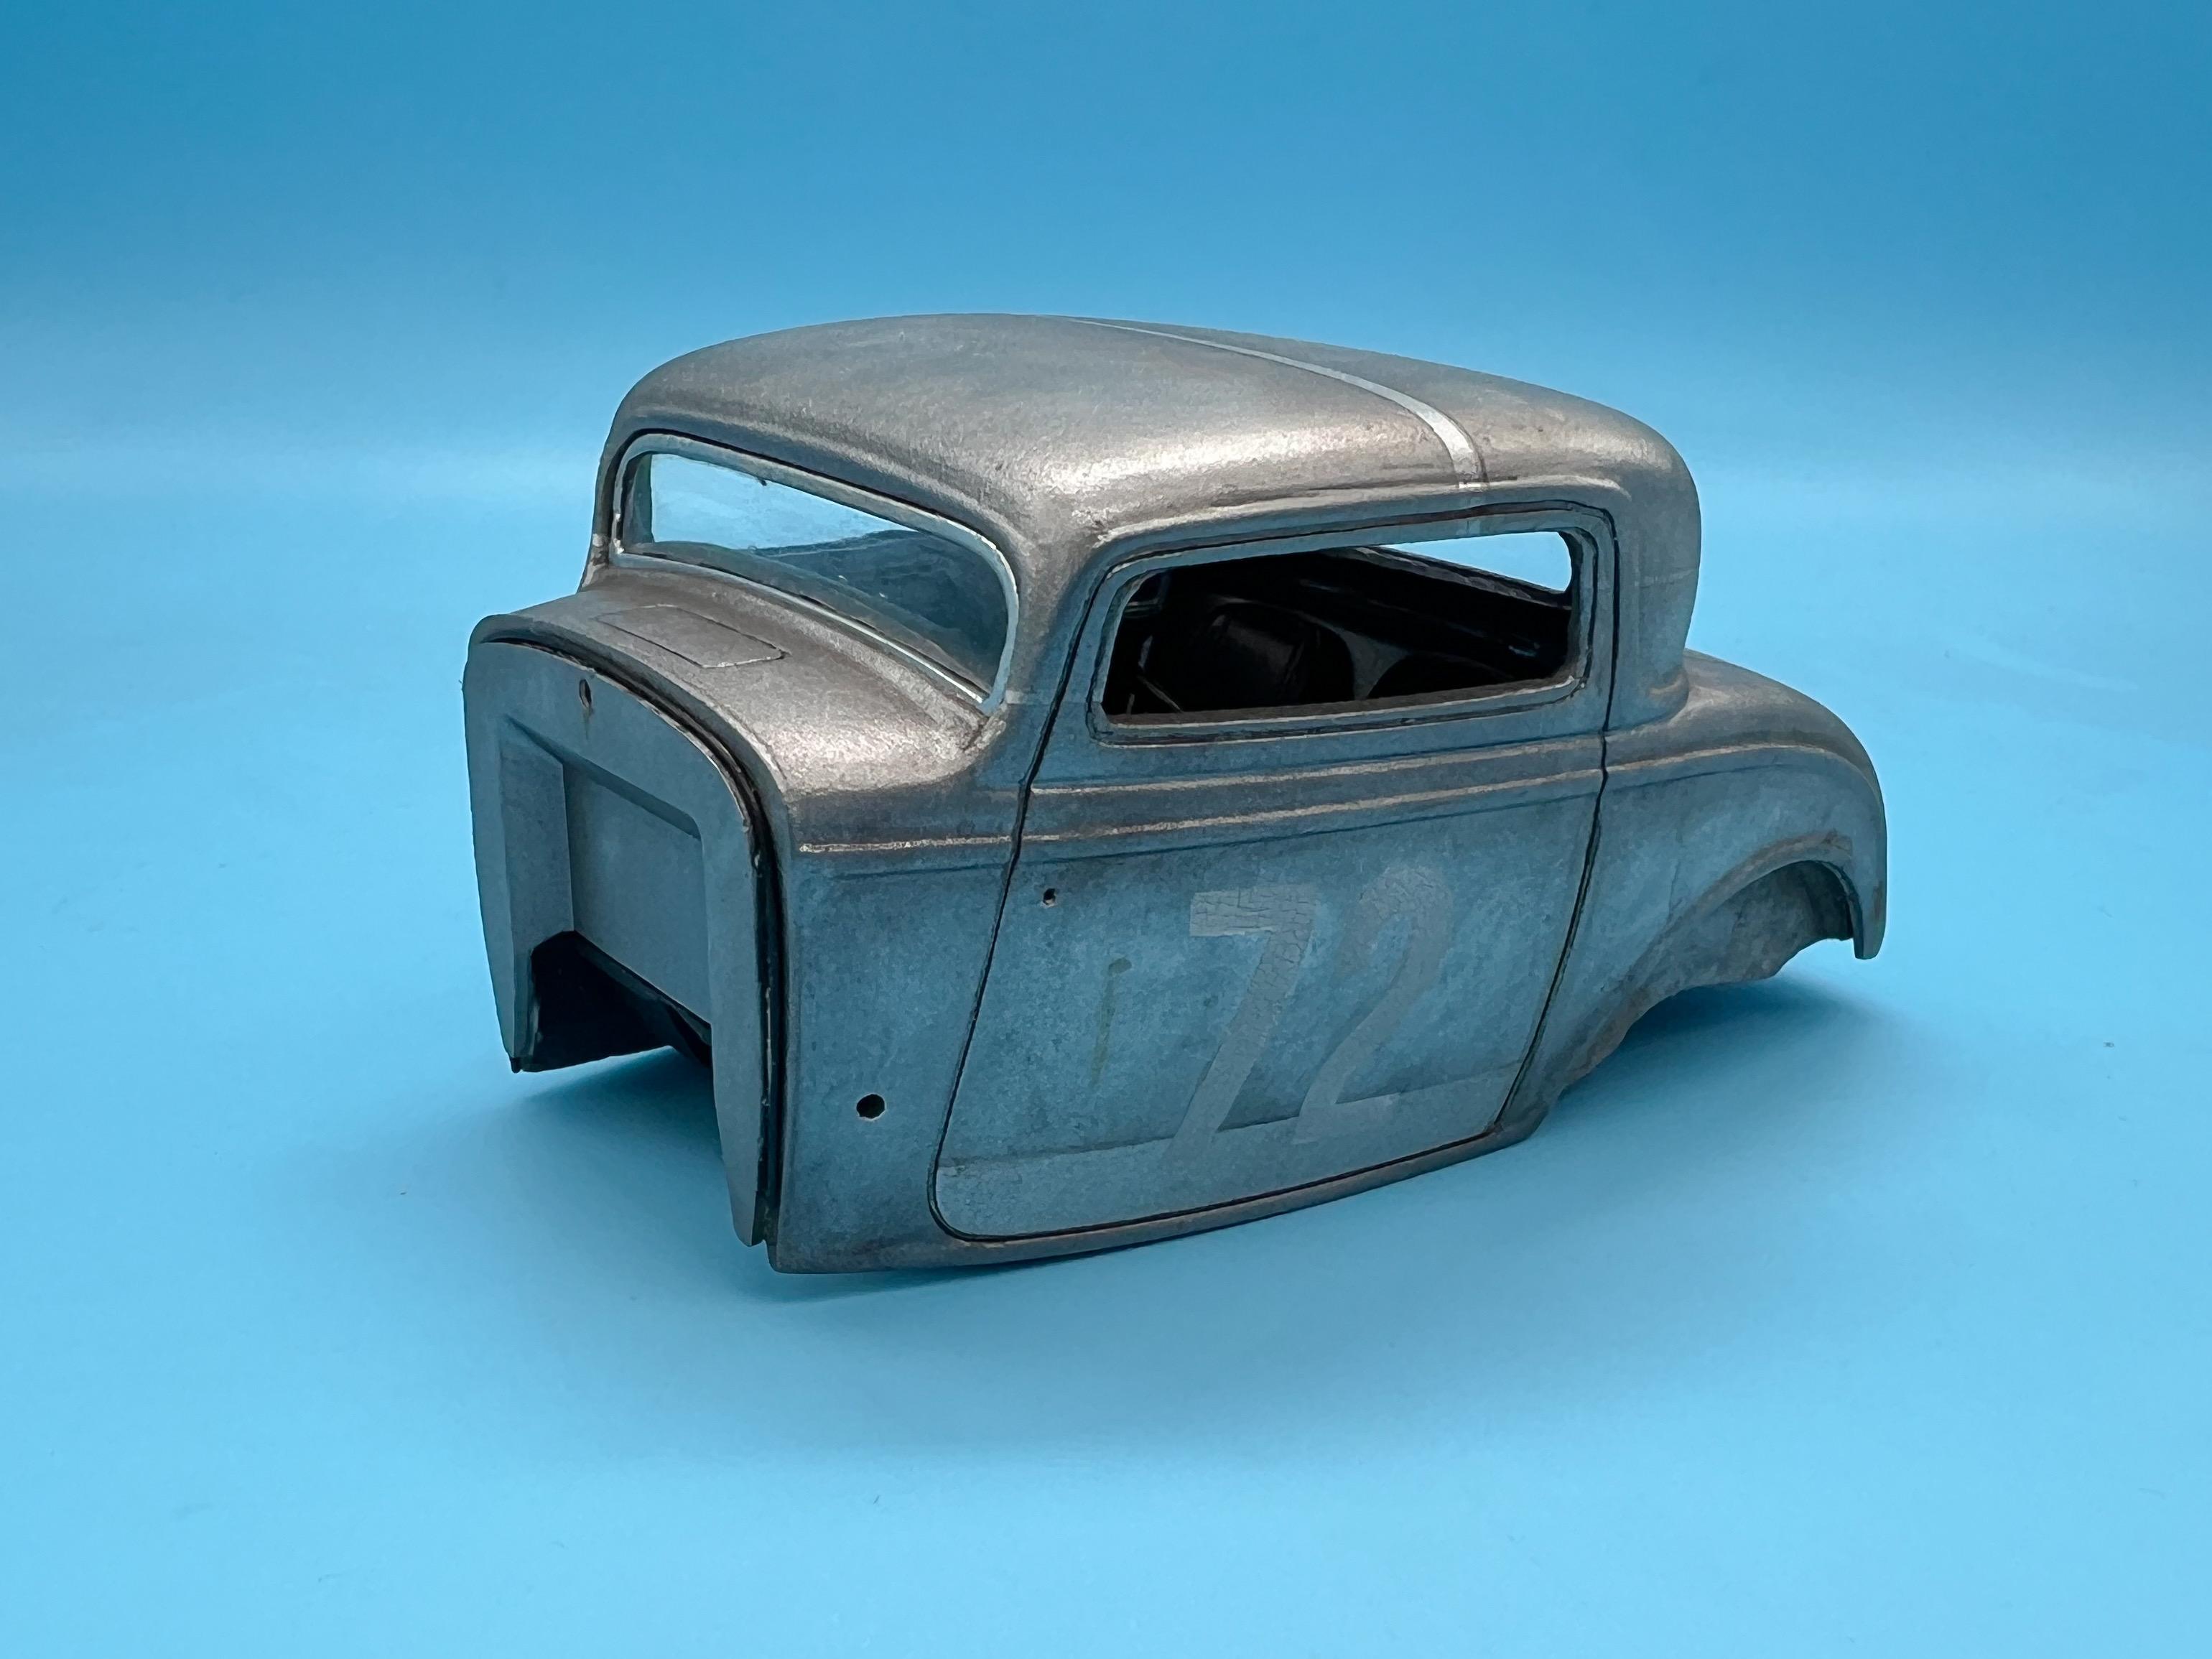
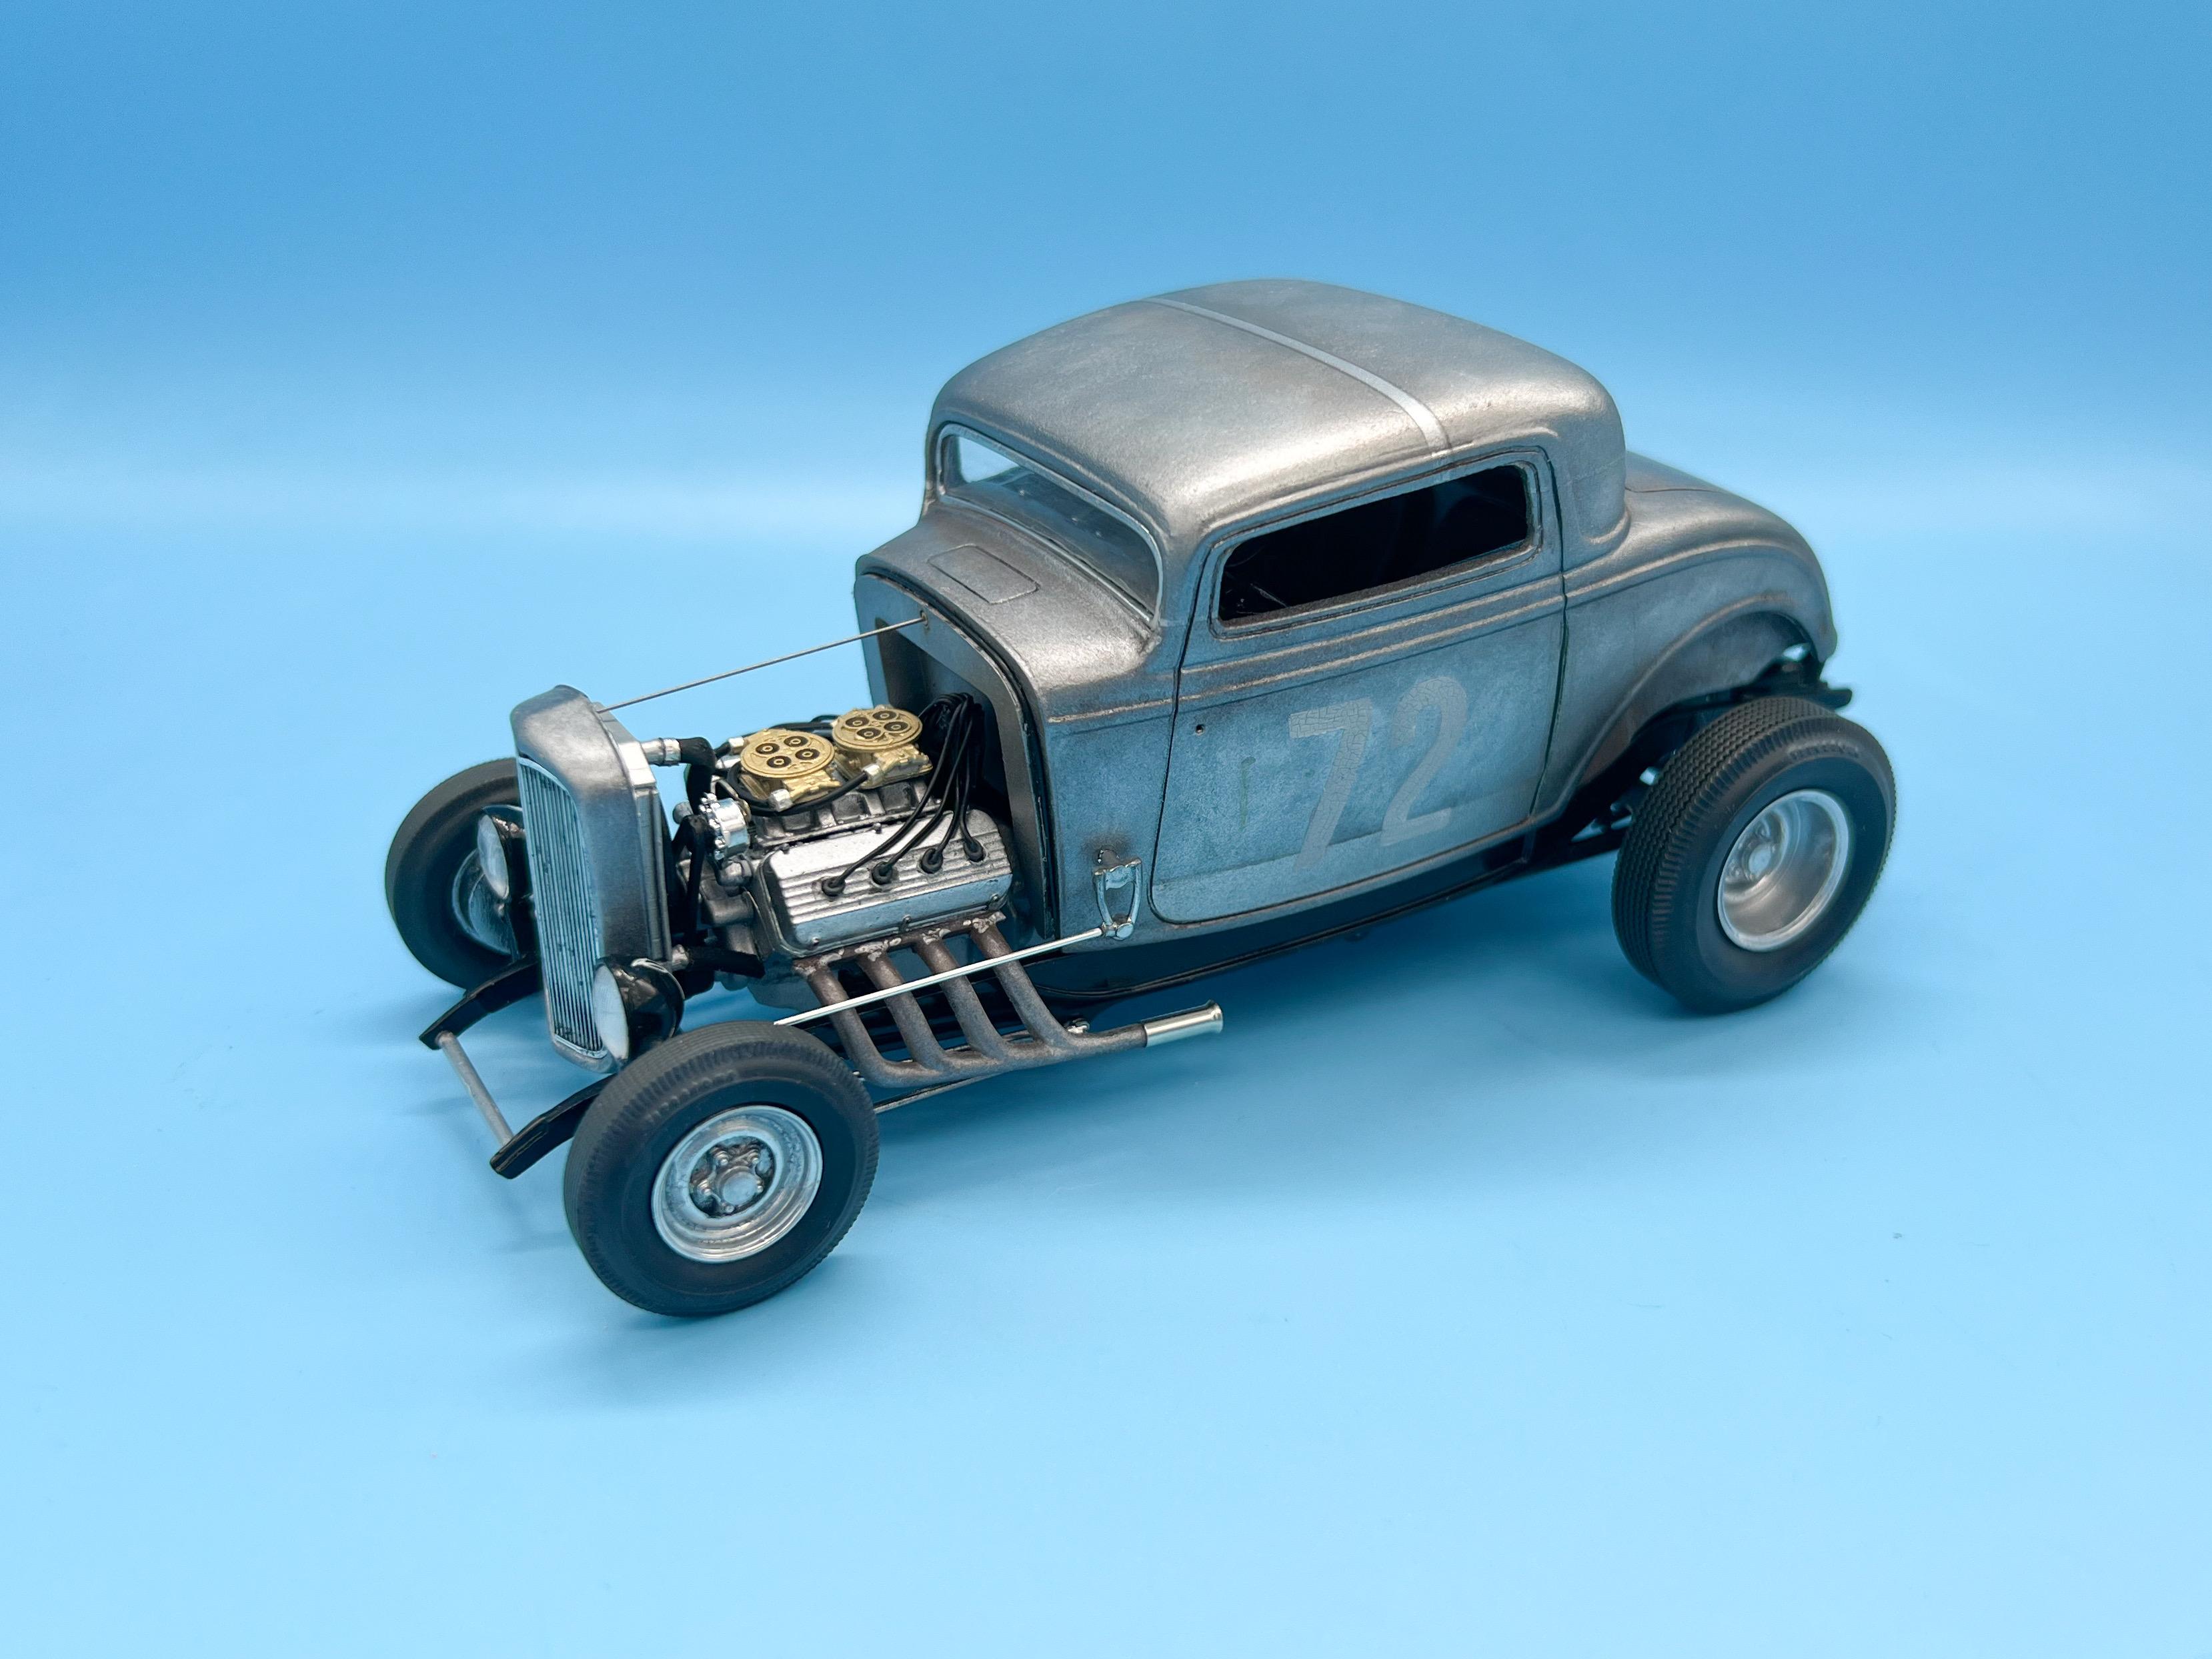

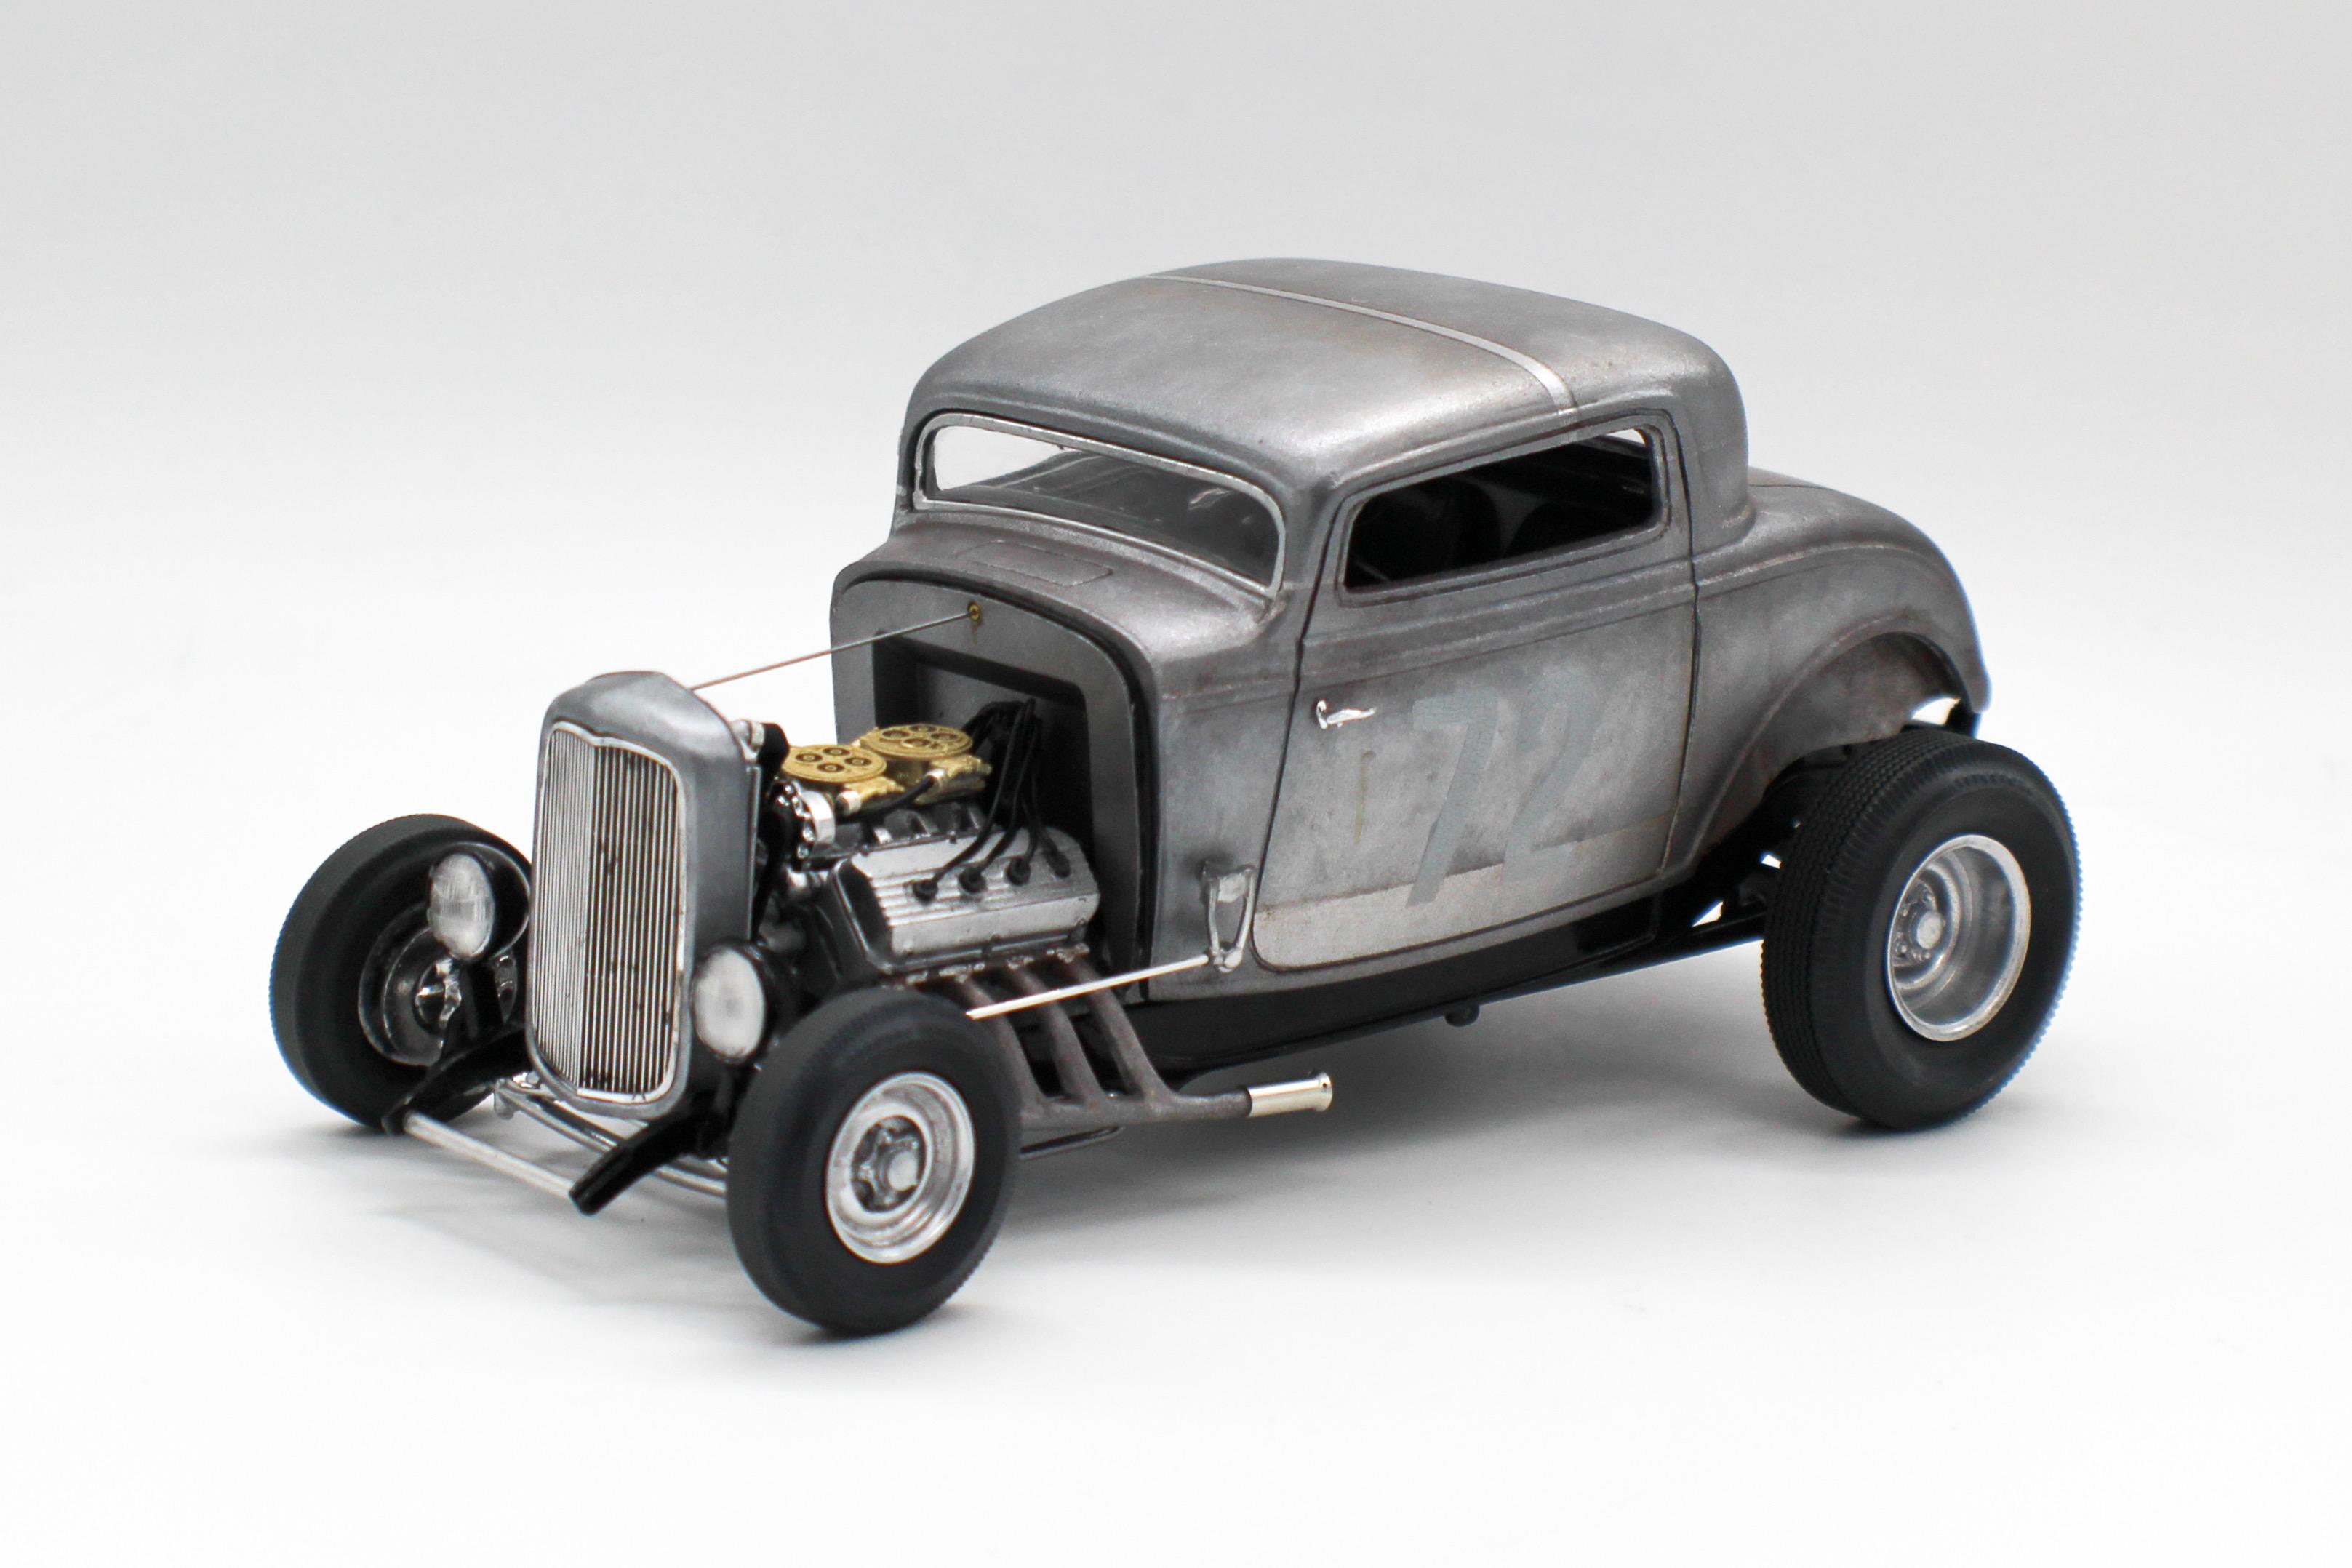


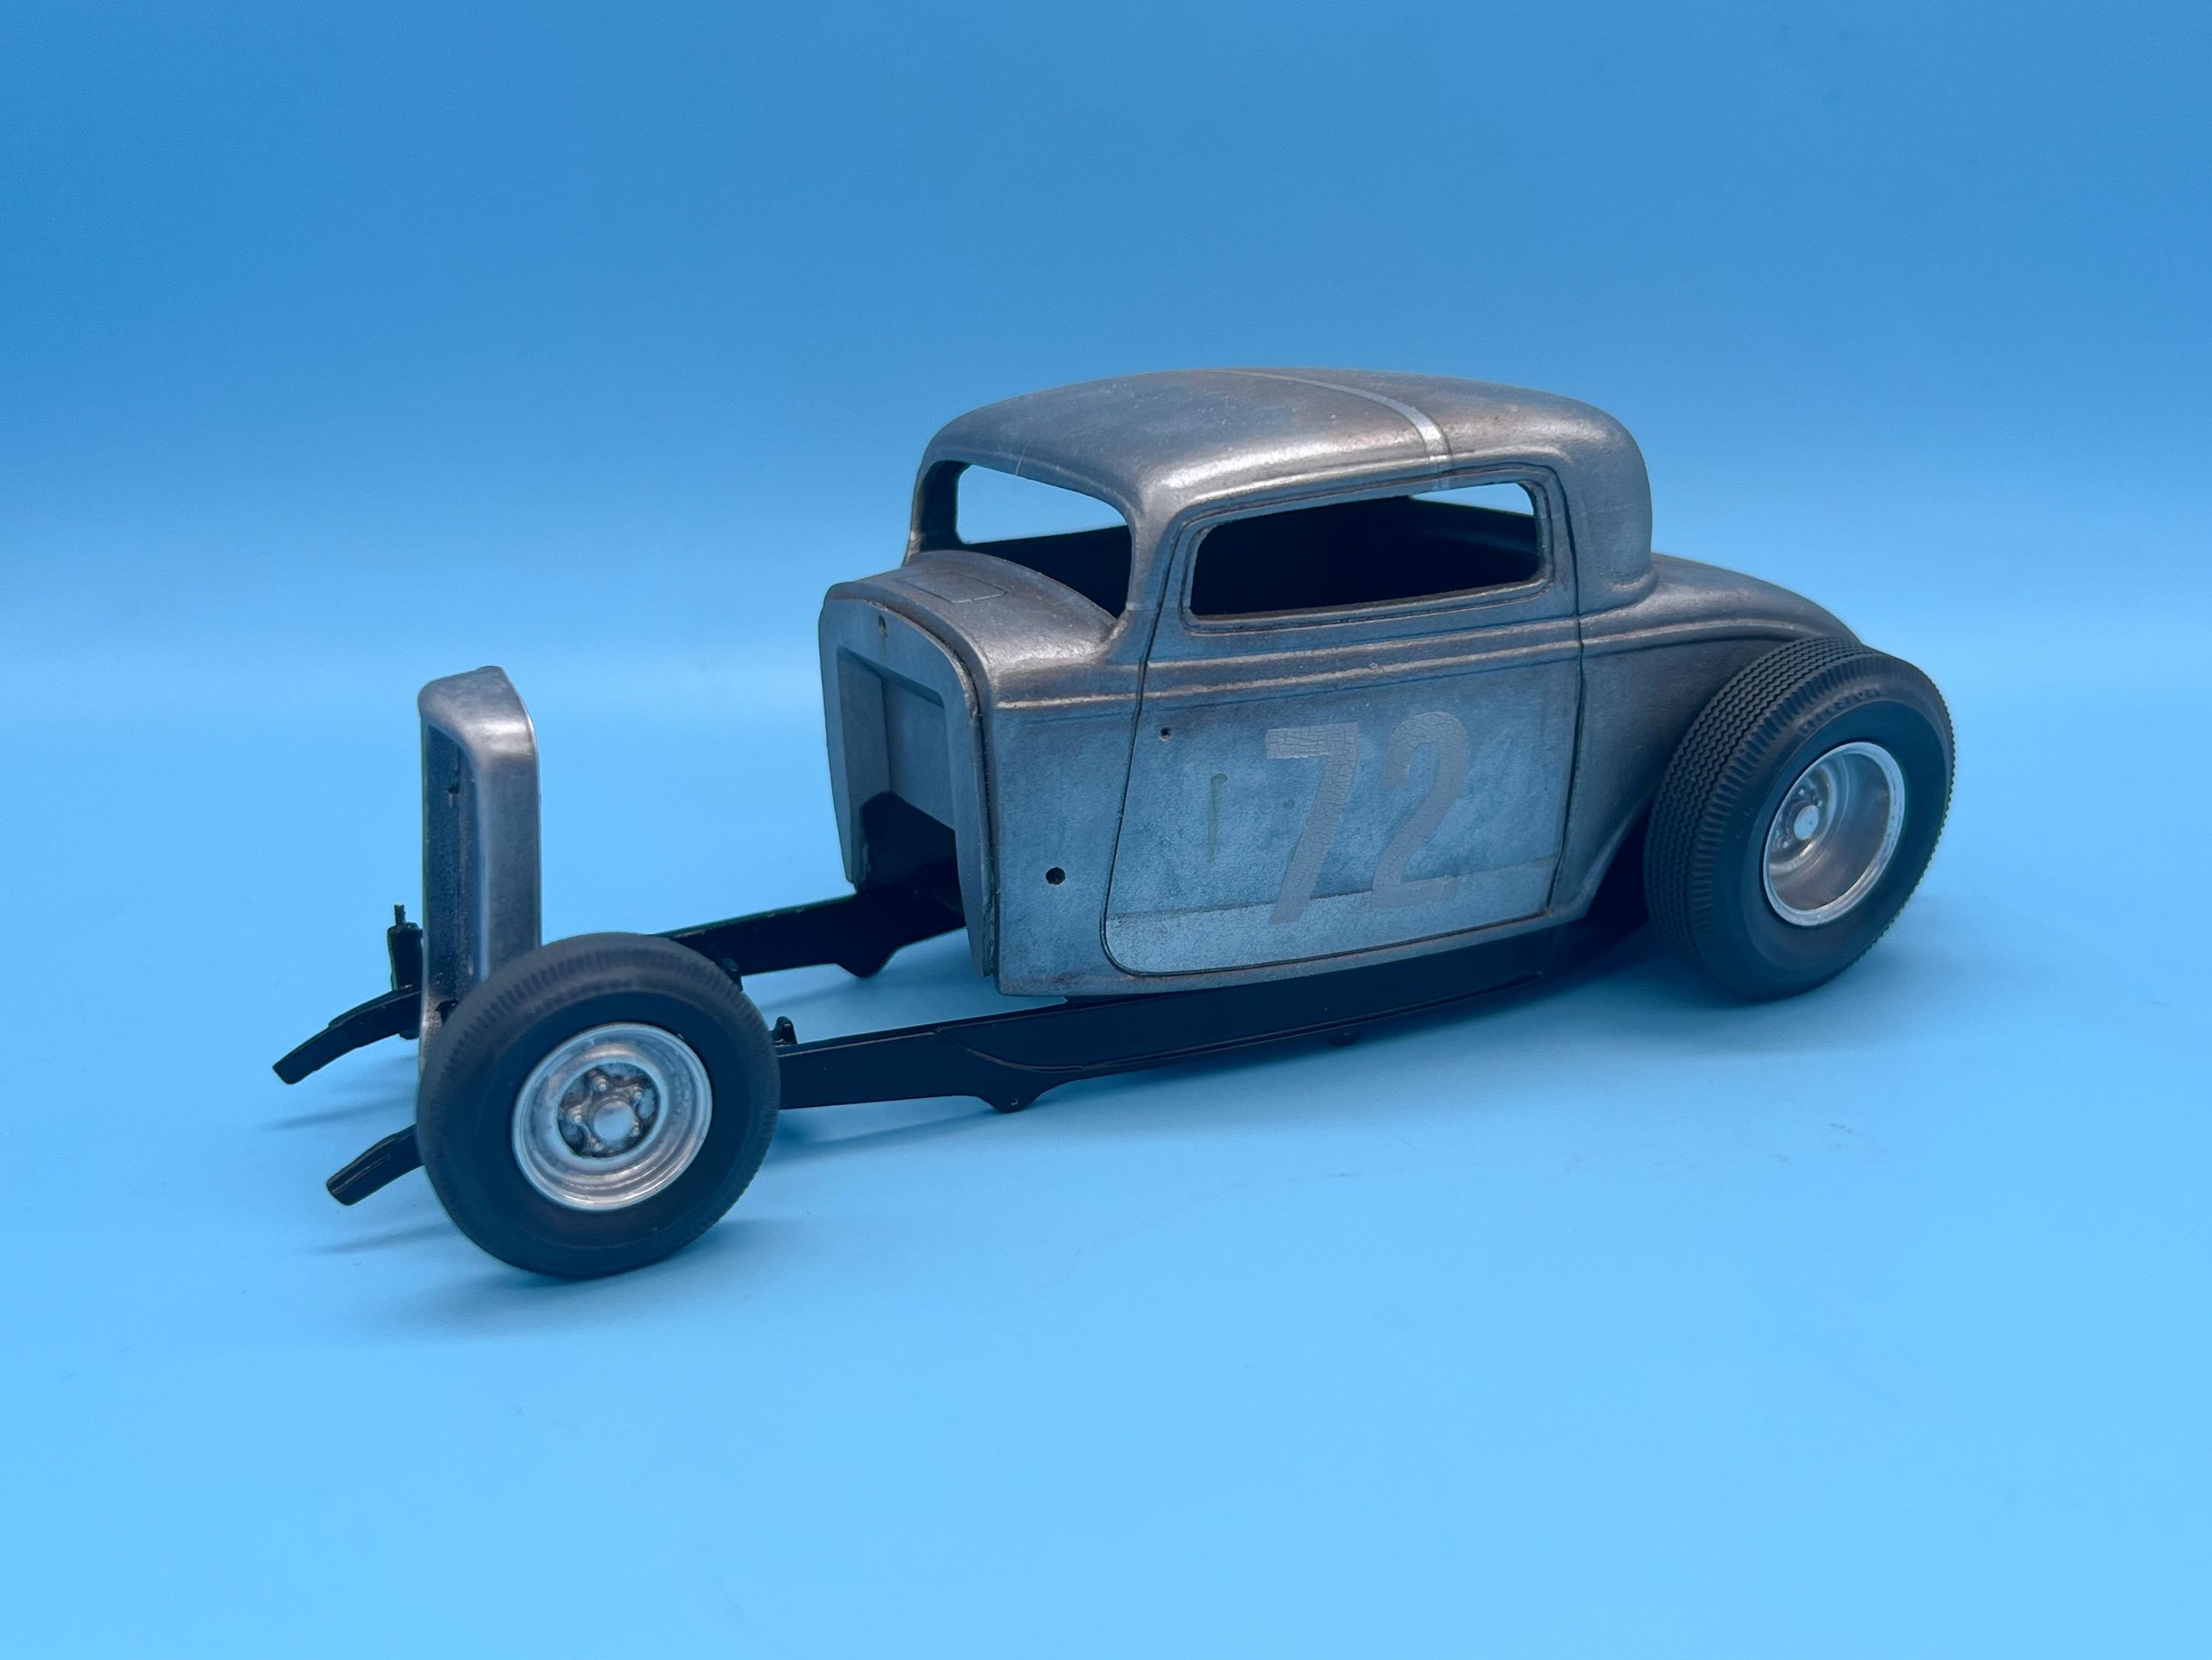


Natural Metal Finish Deuce 3-Window
in Model Cars
Posted
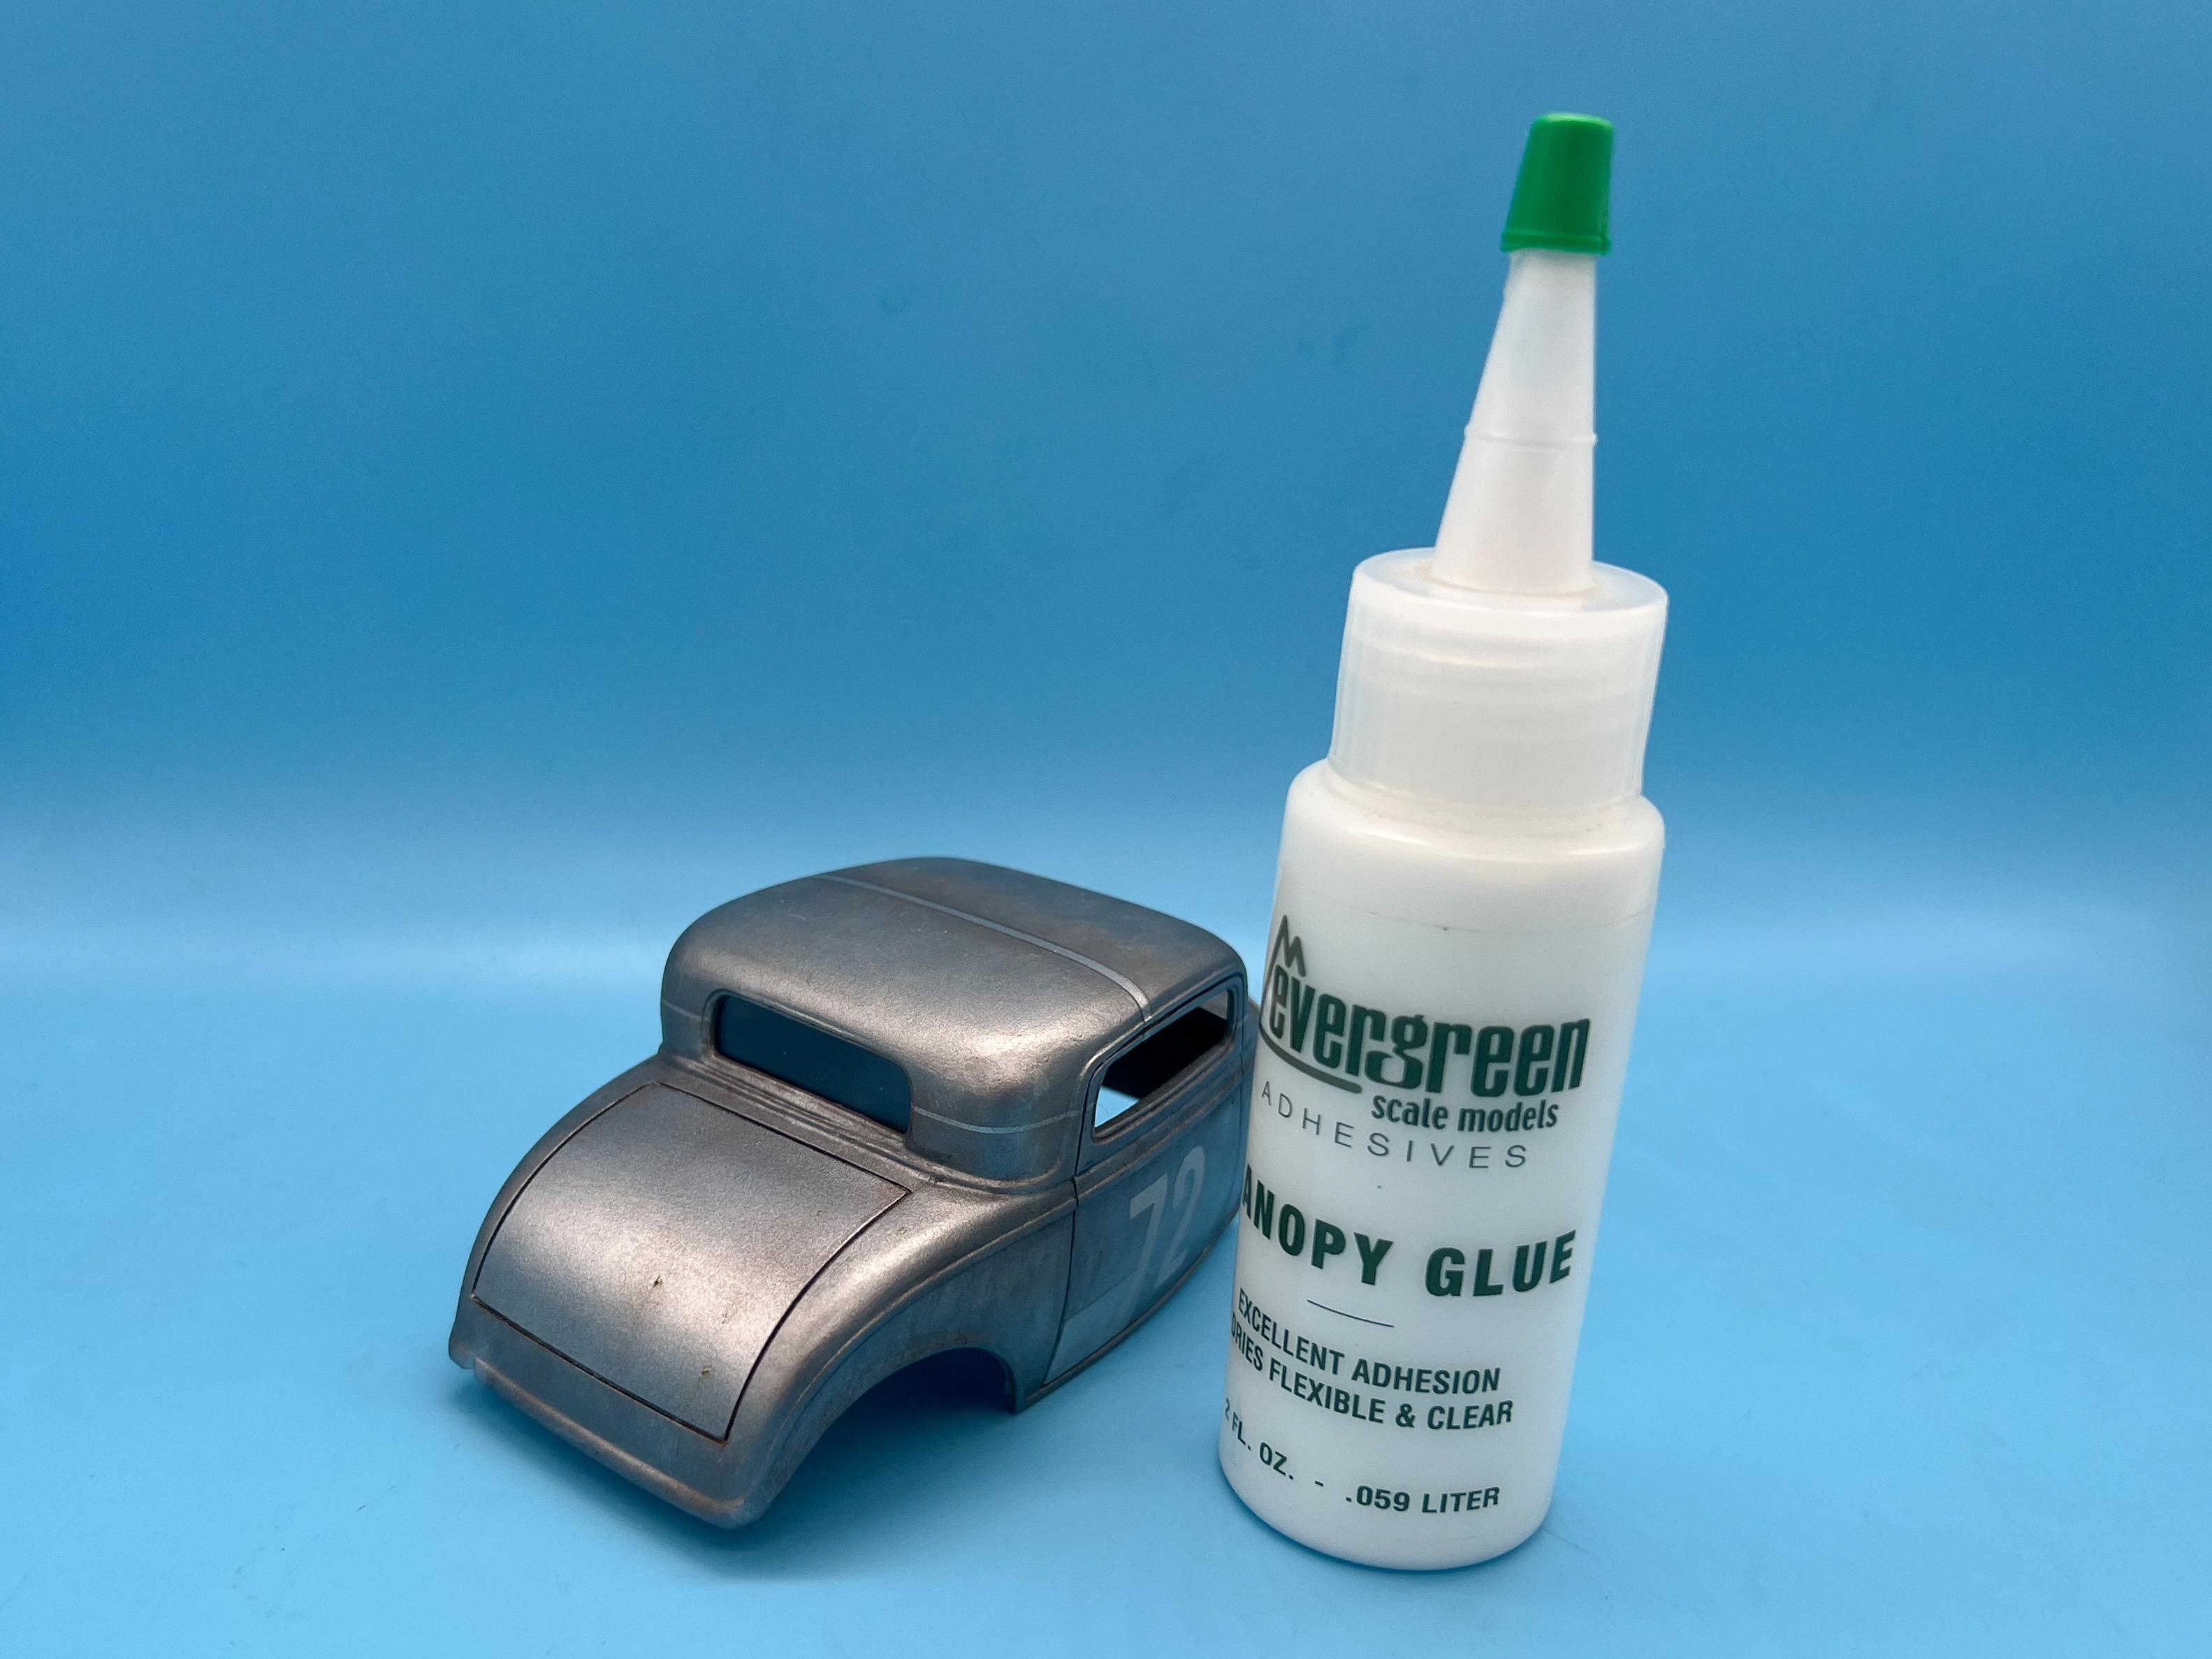
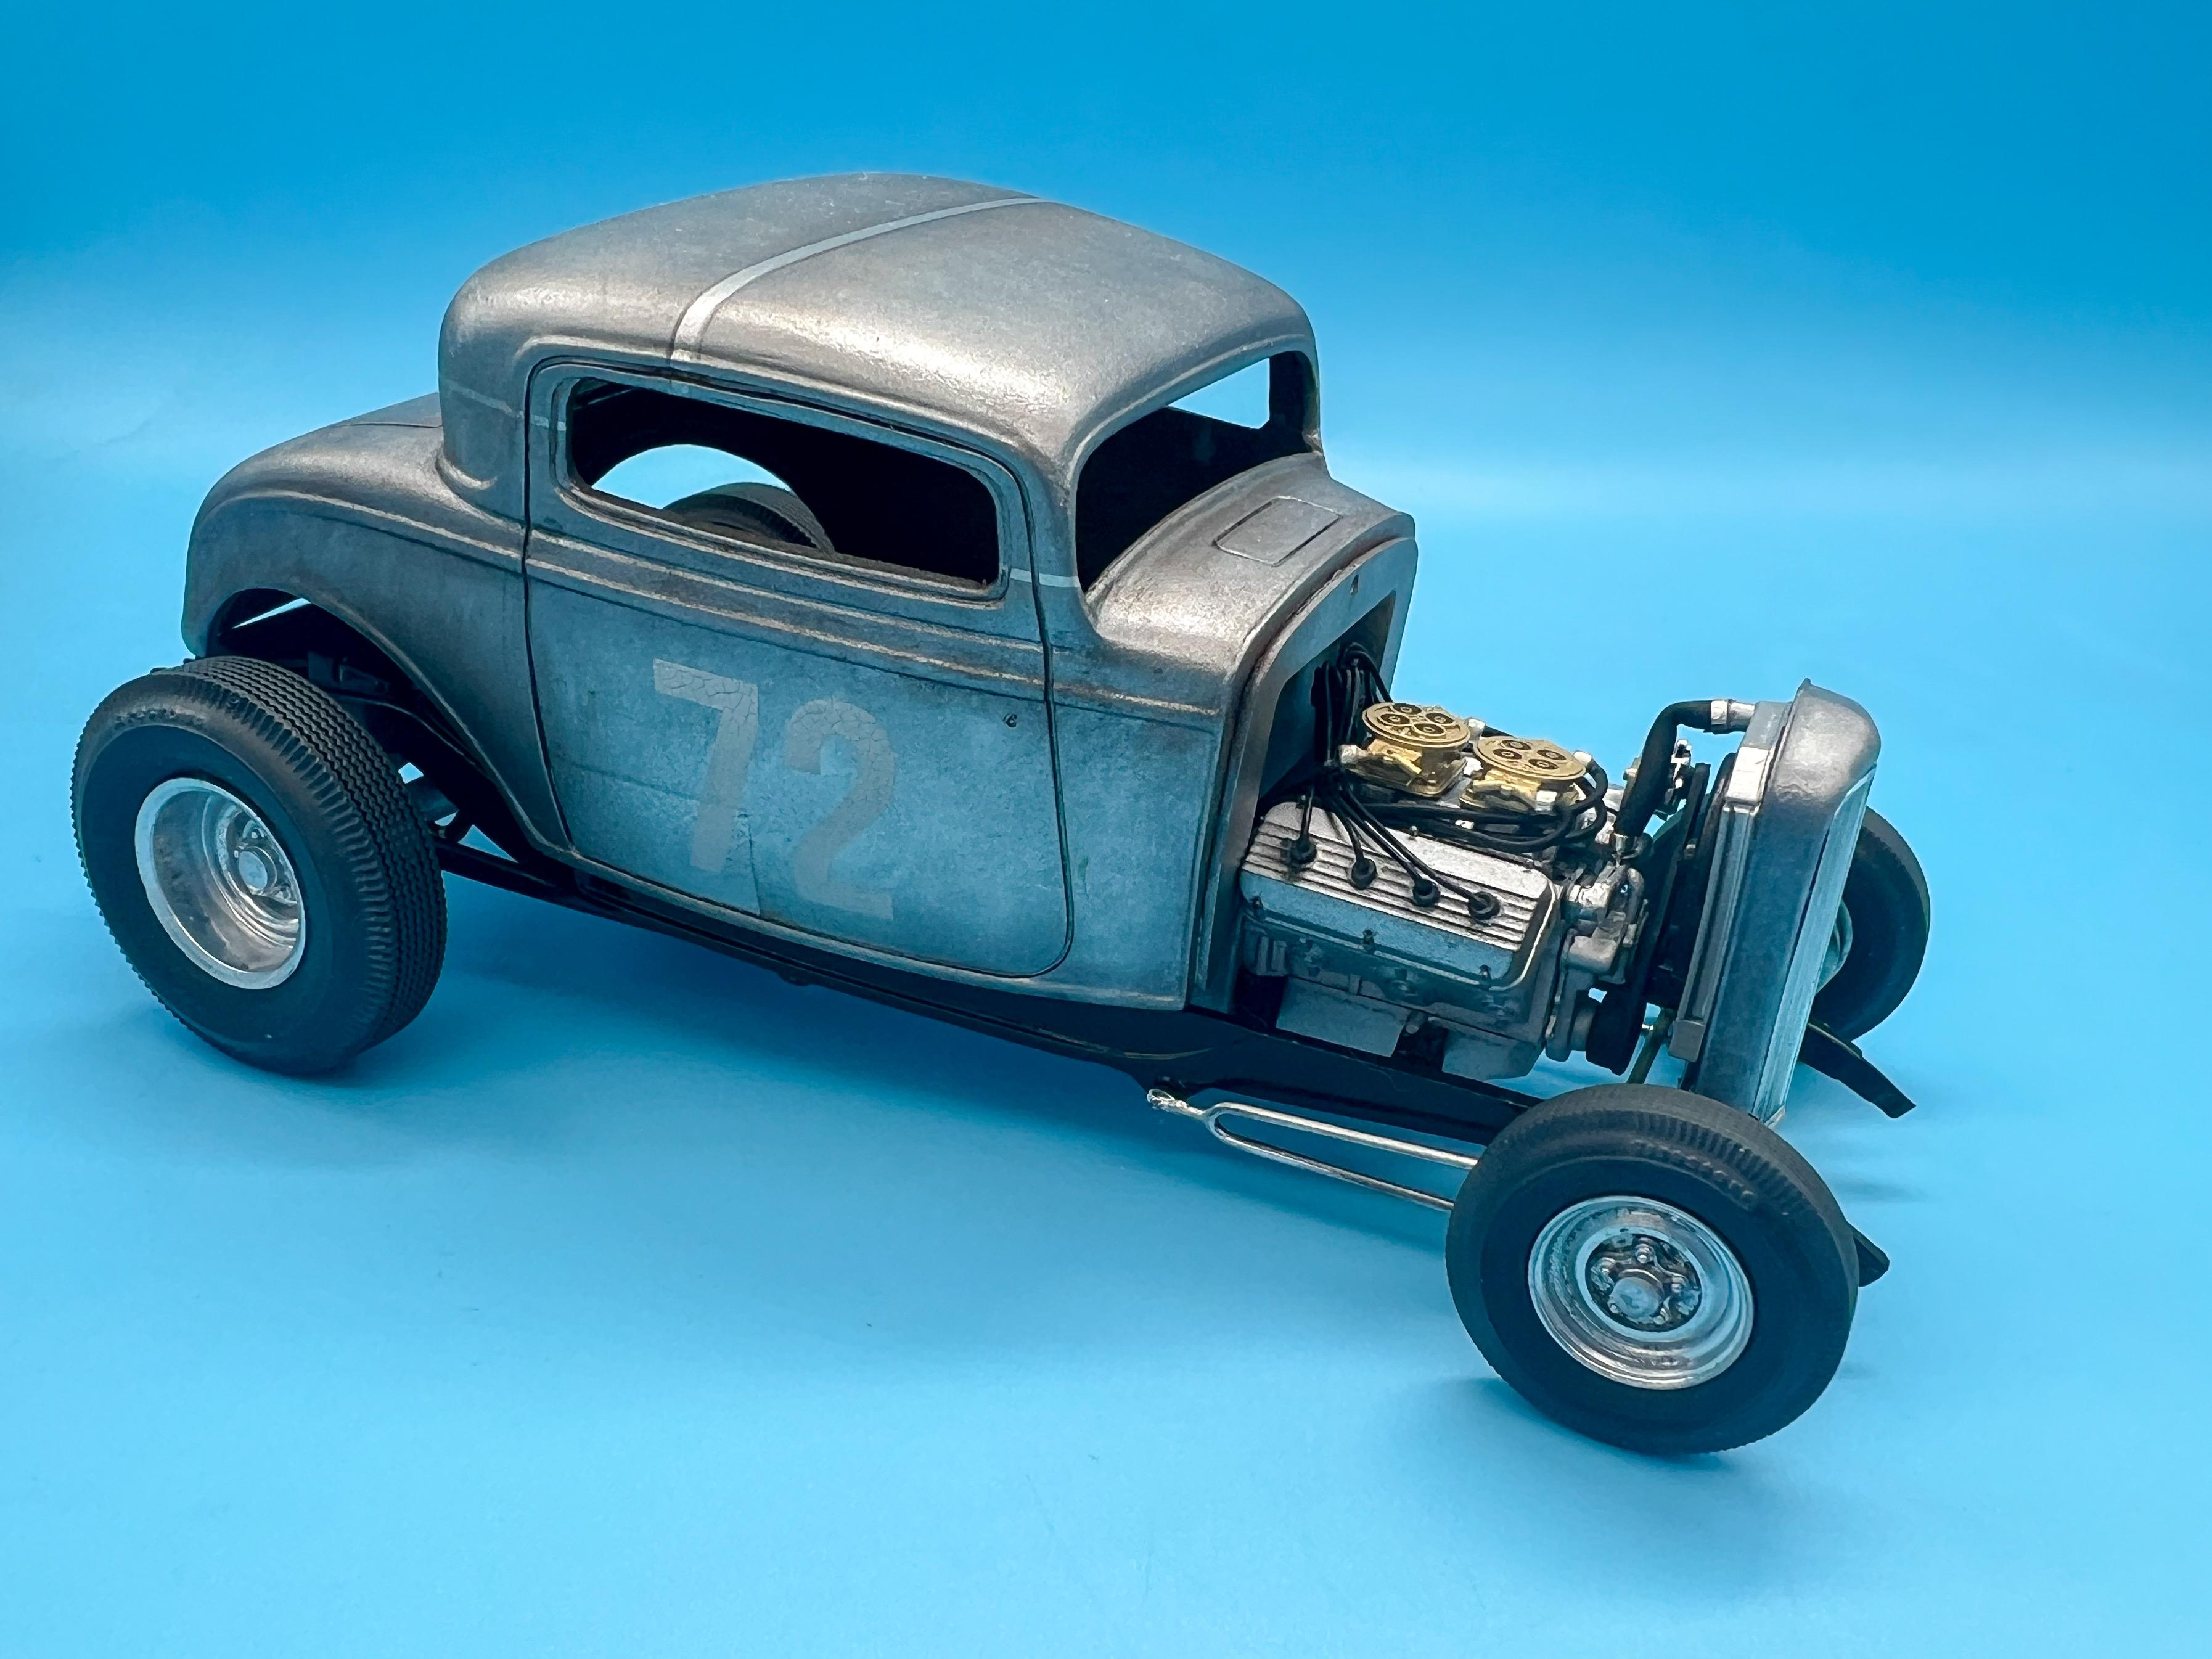
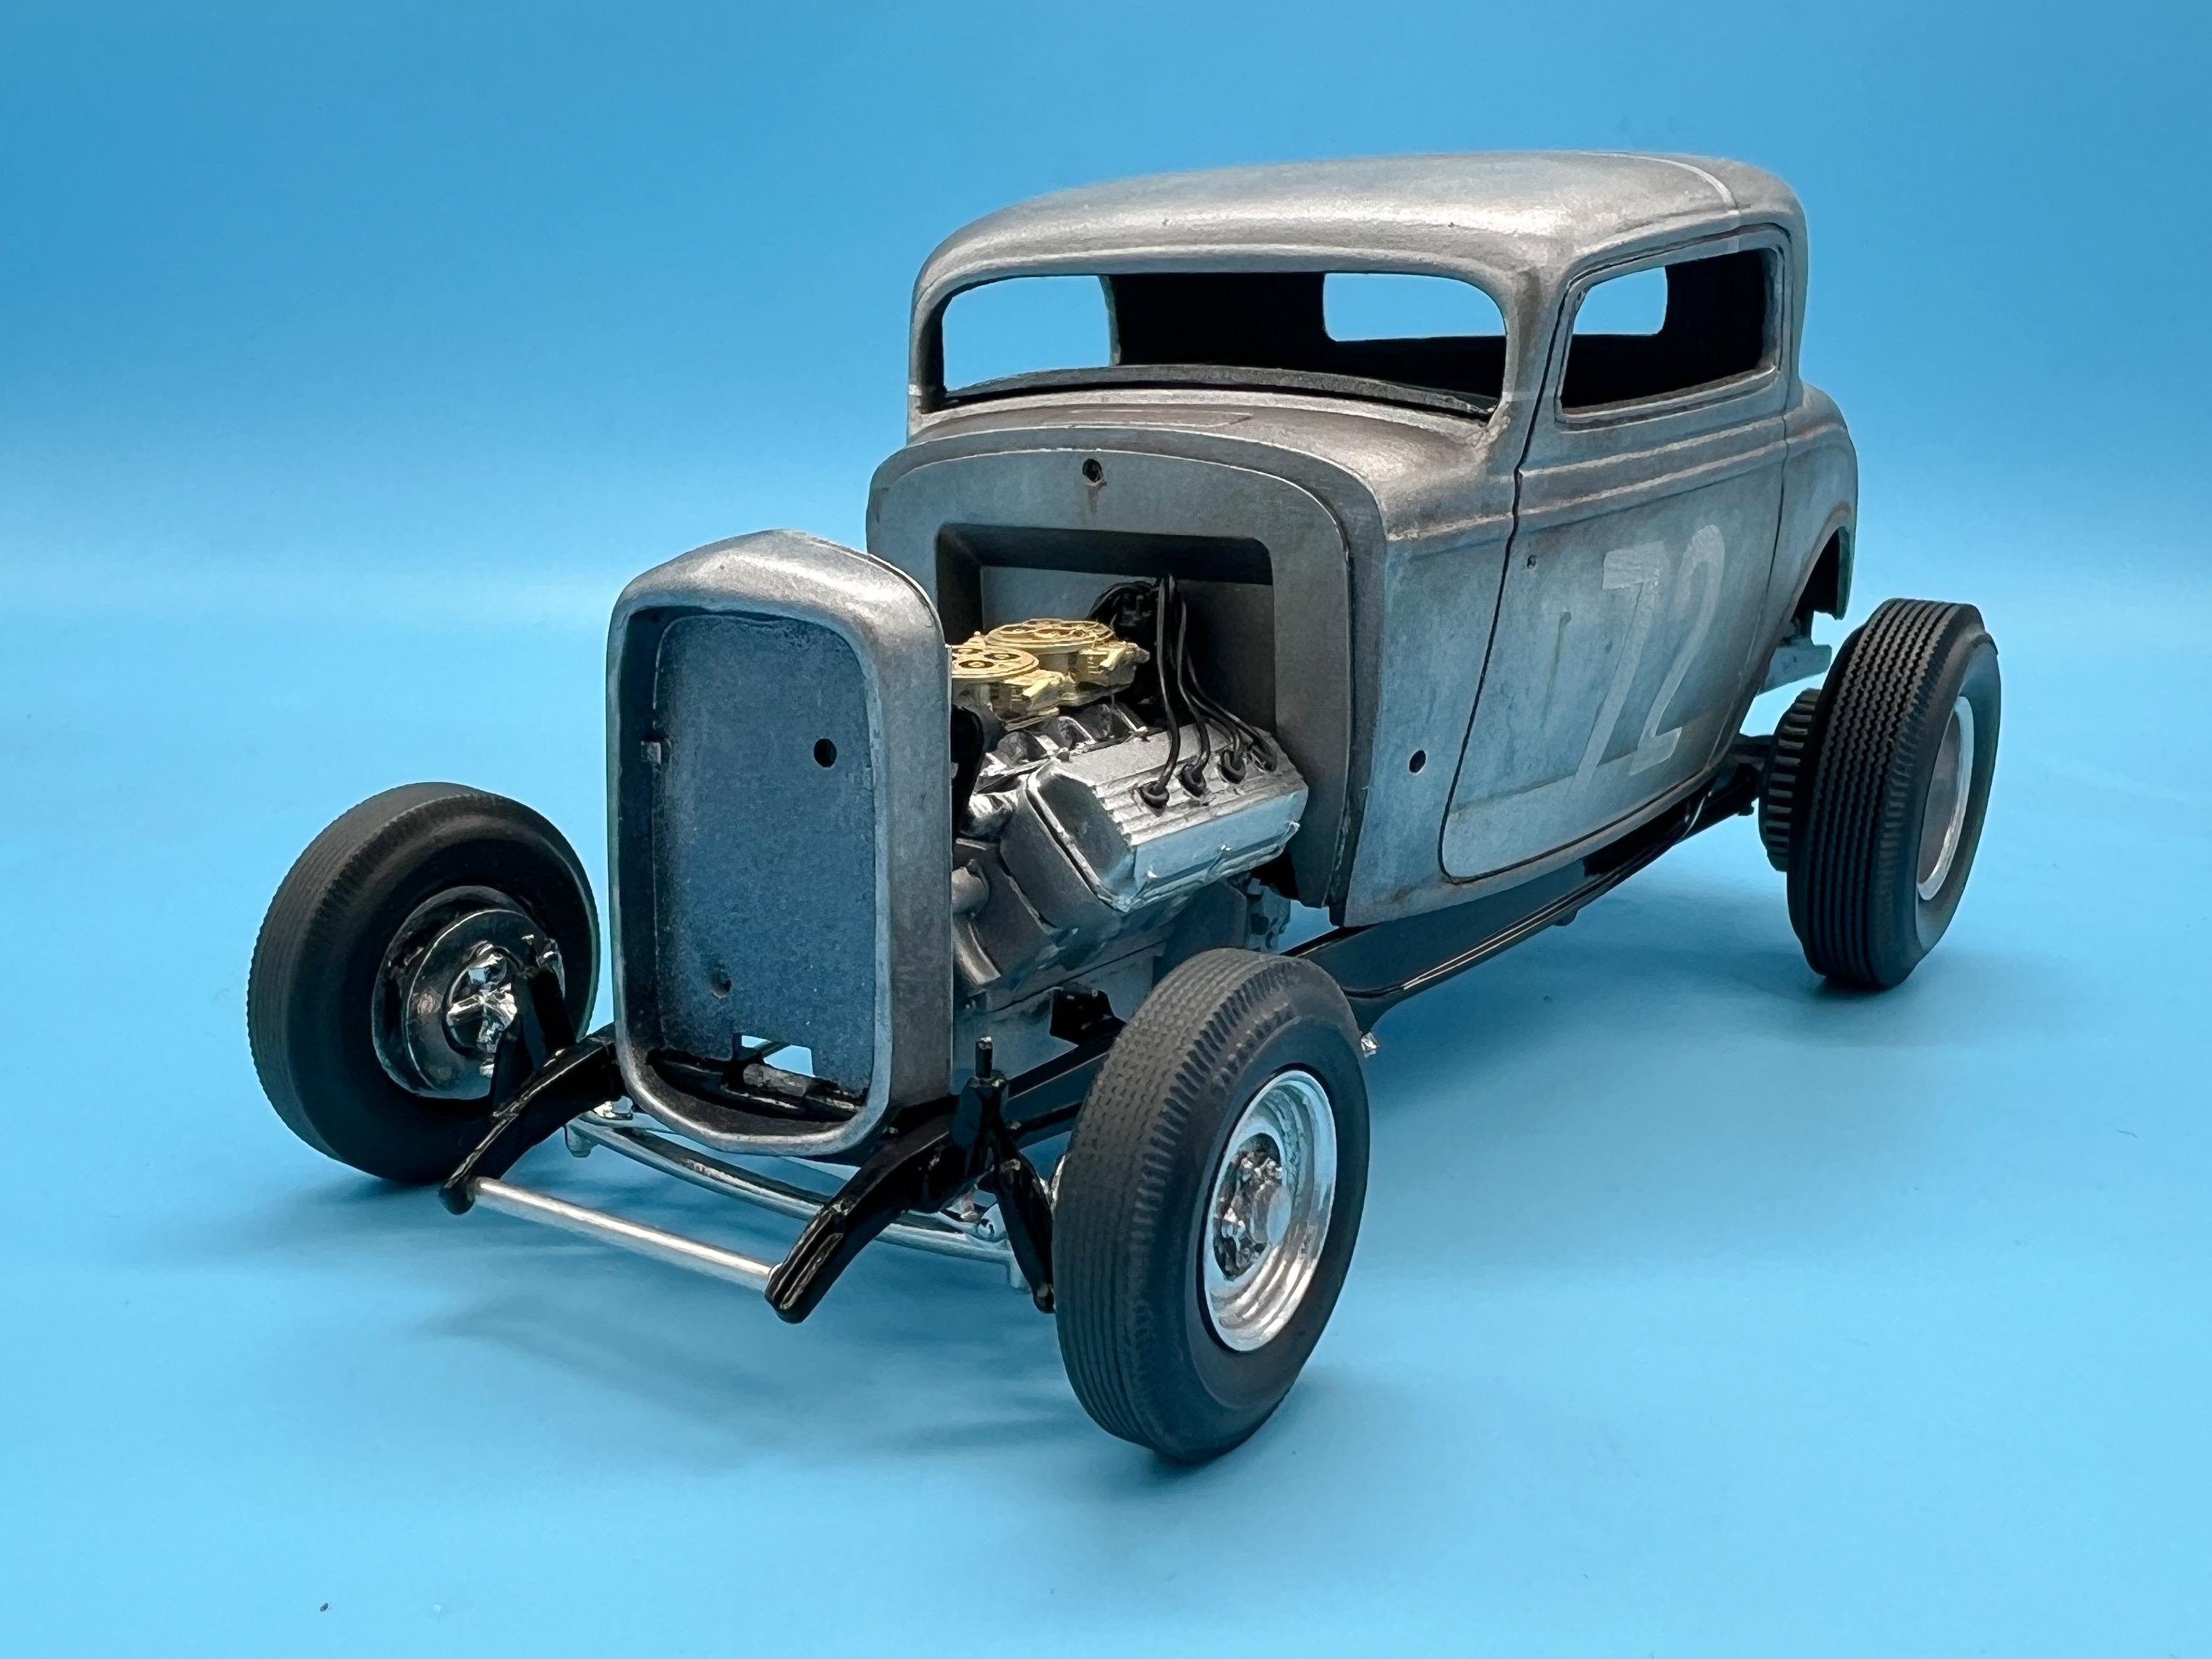
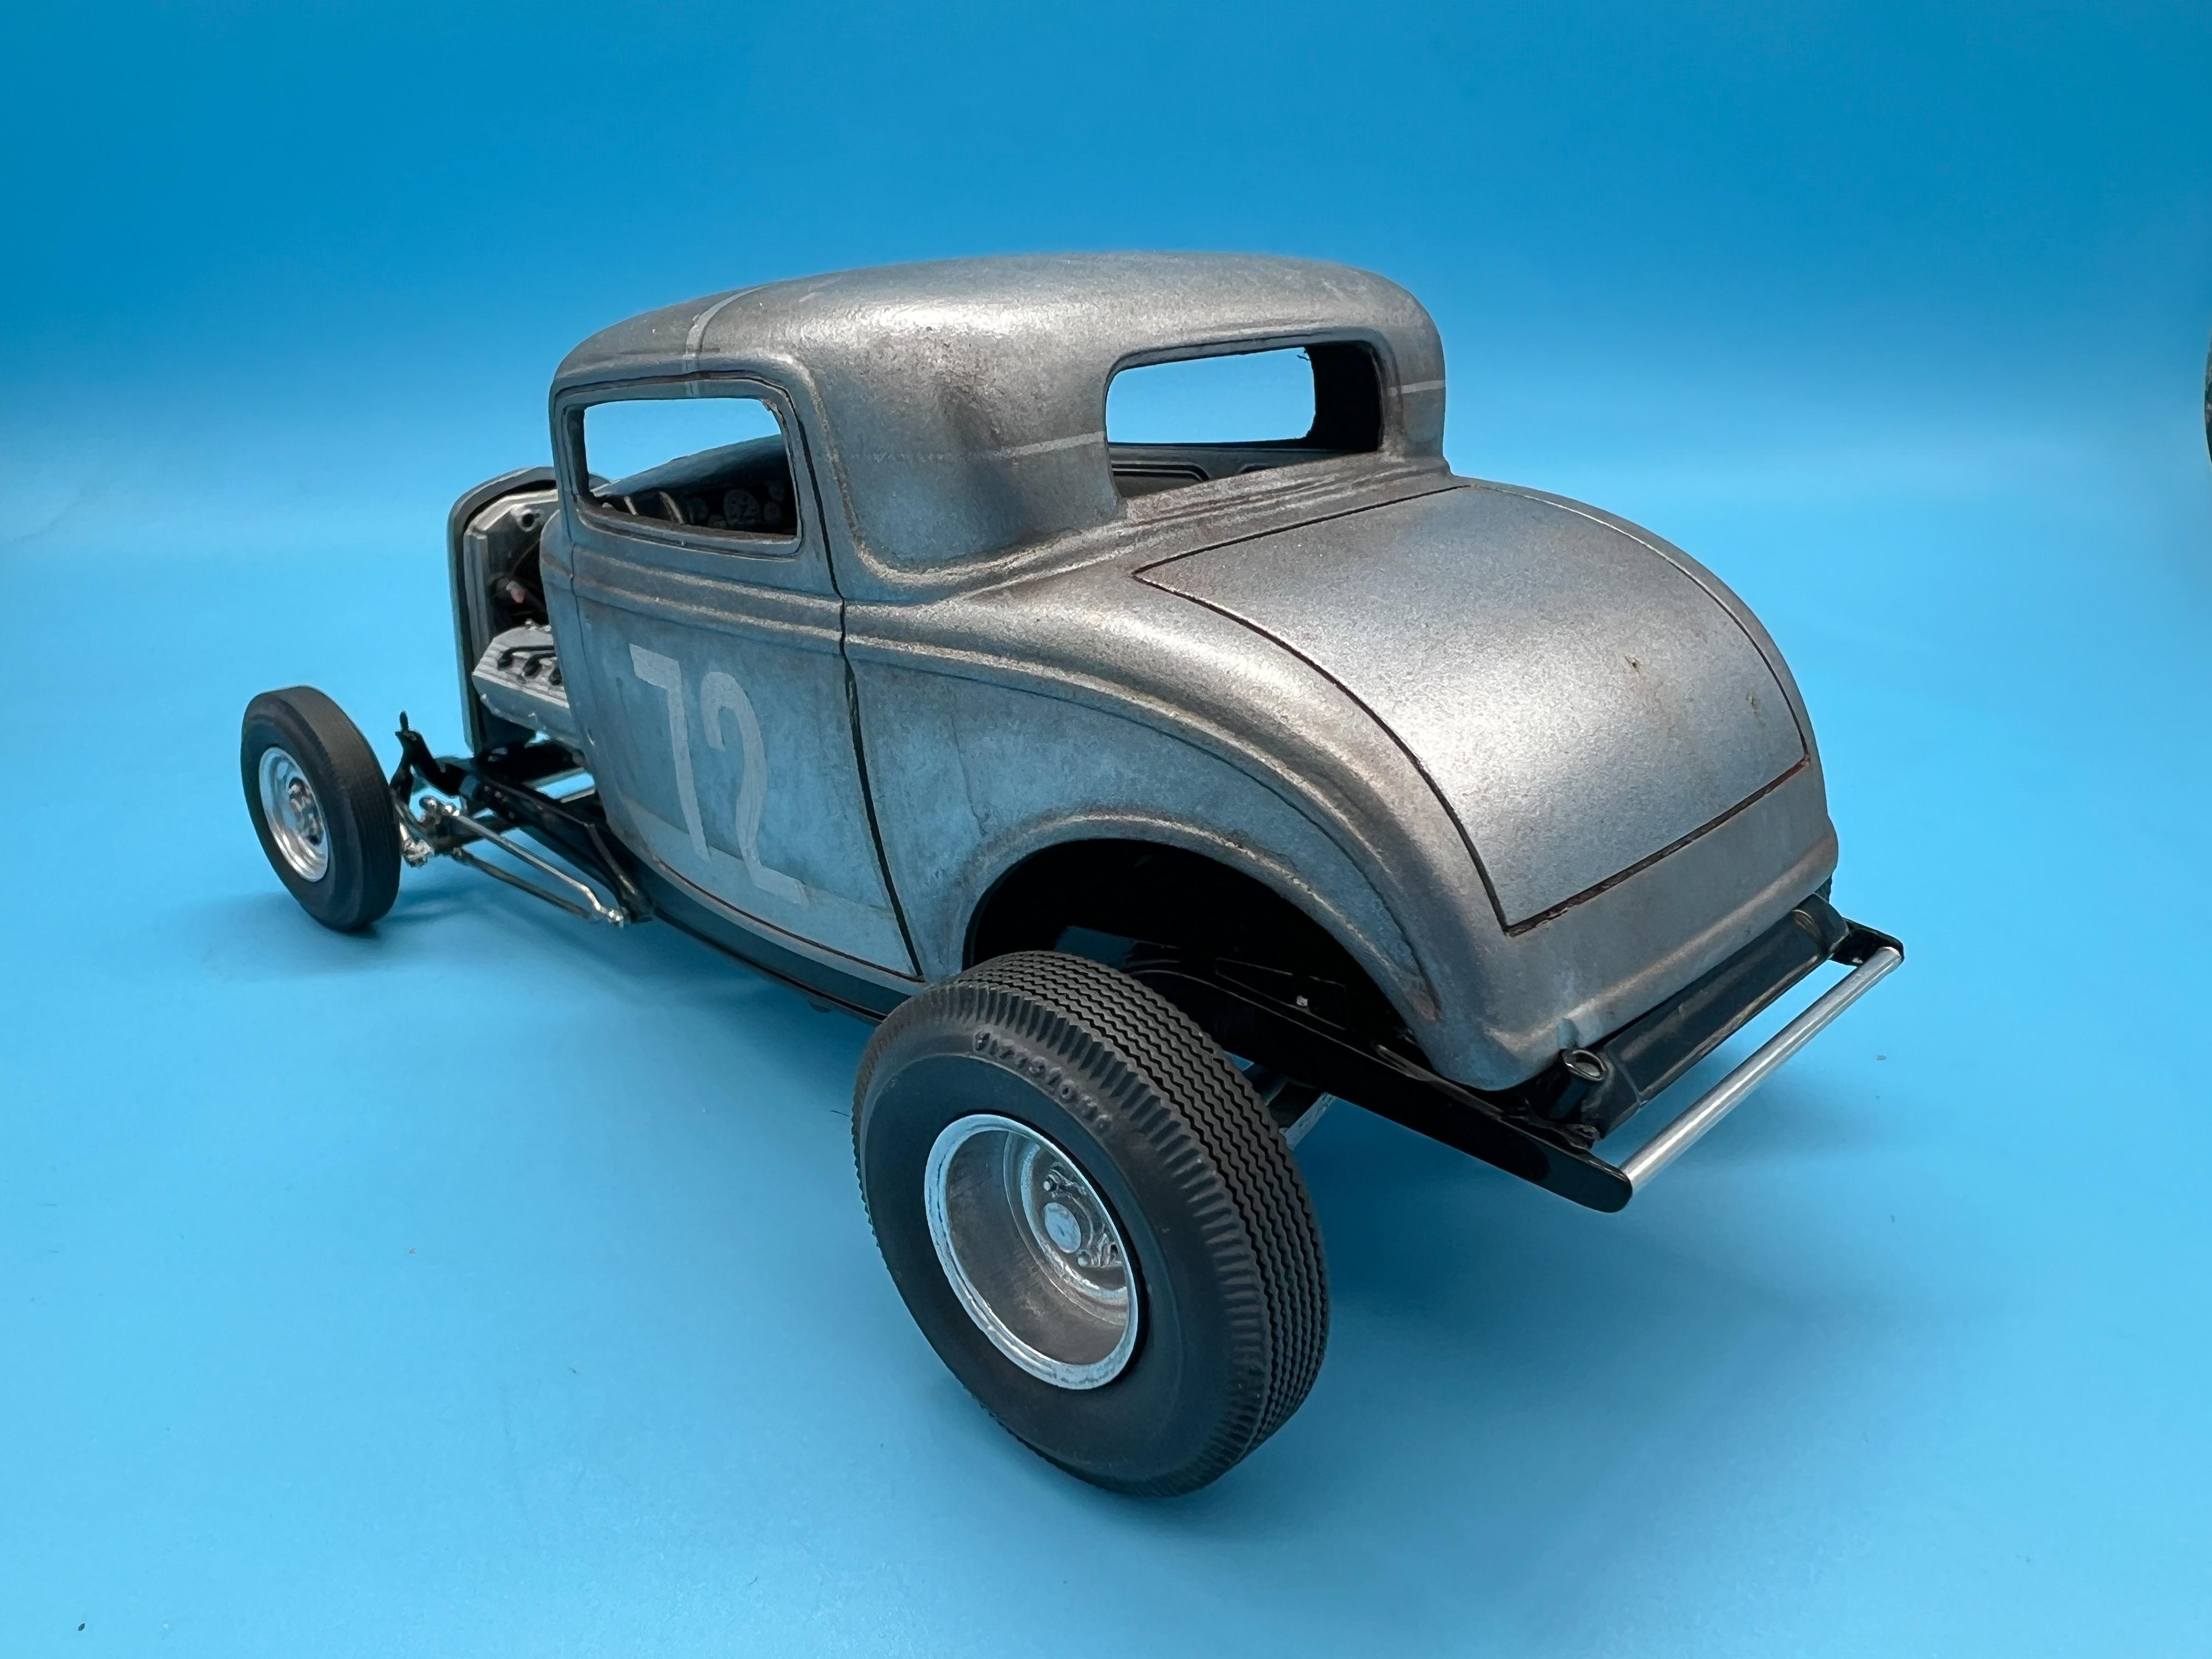
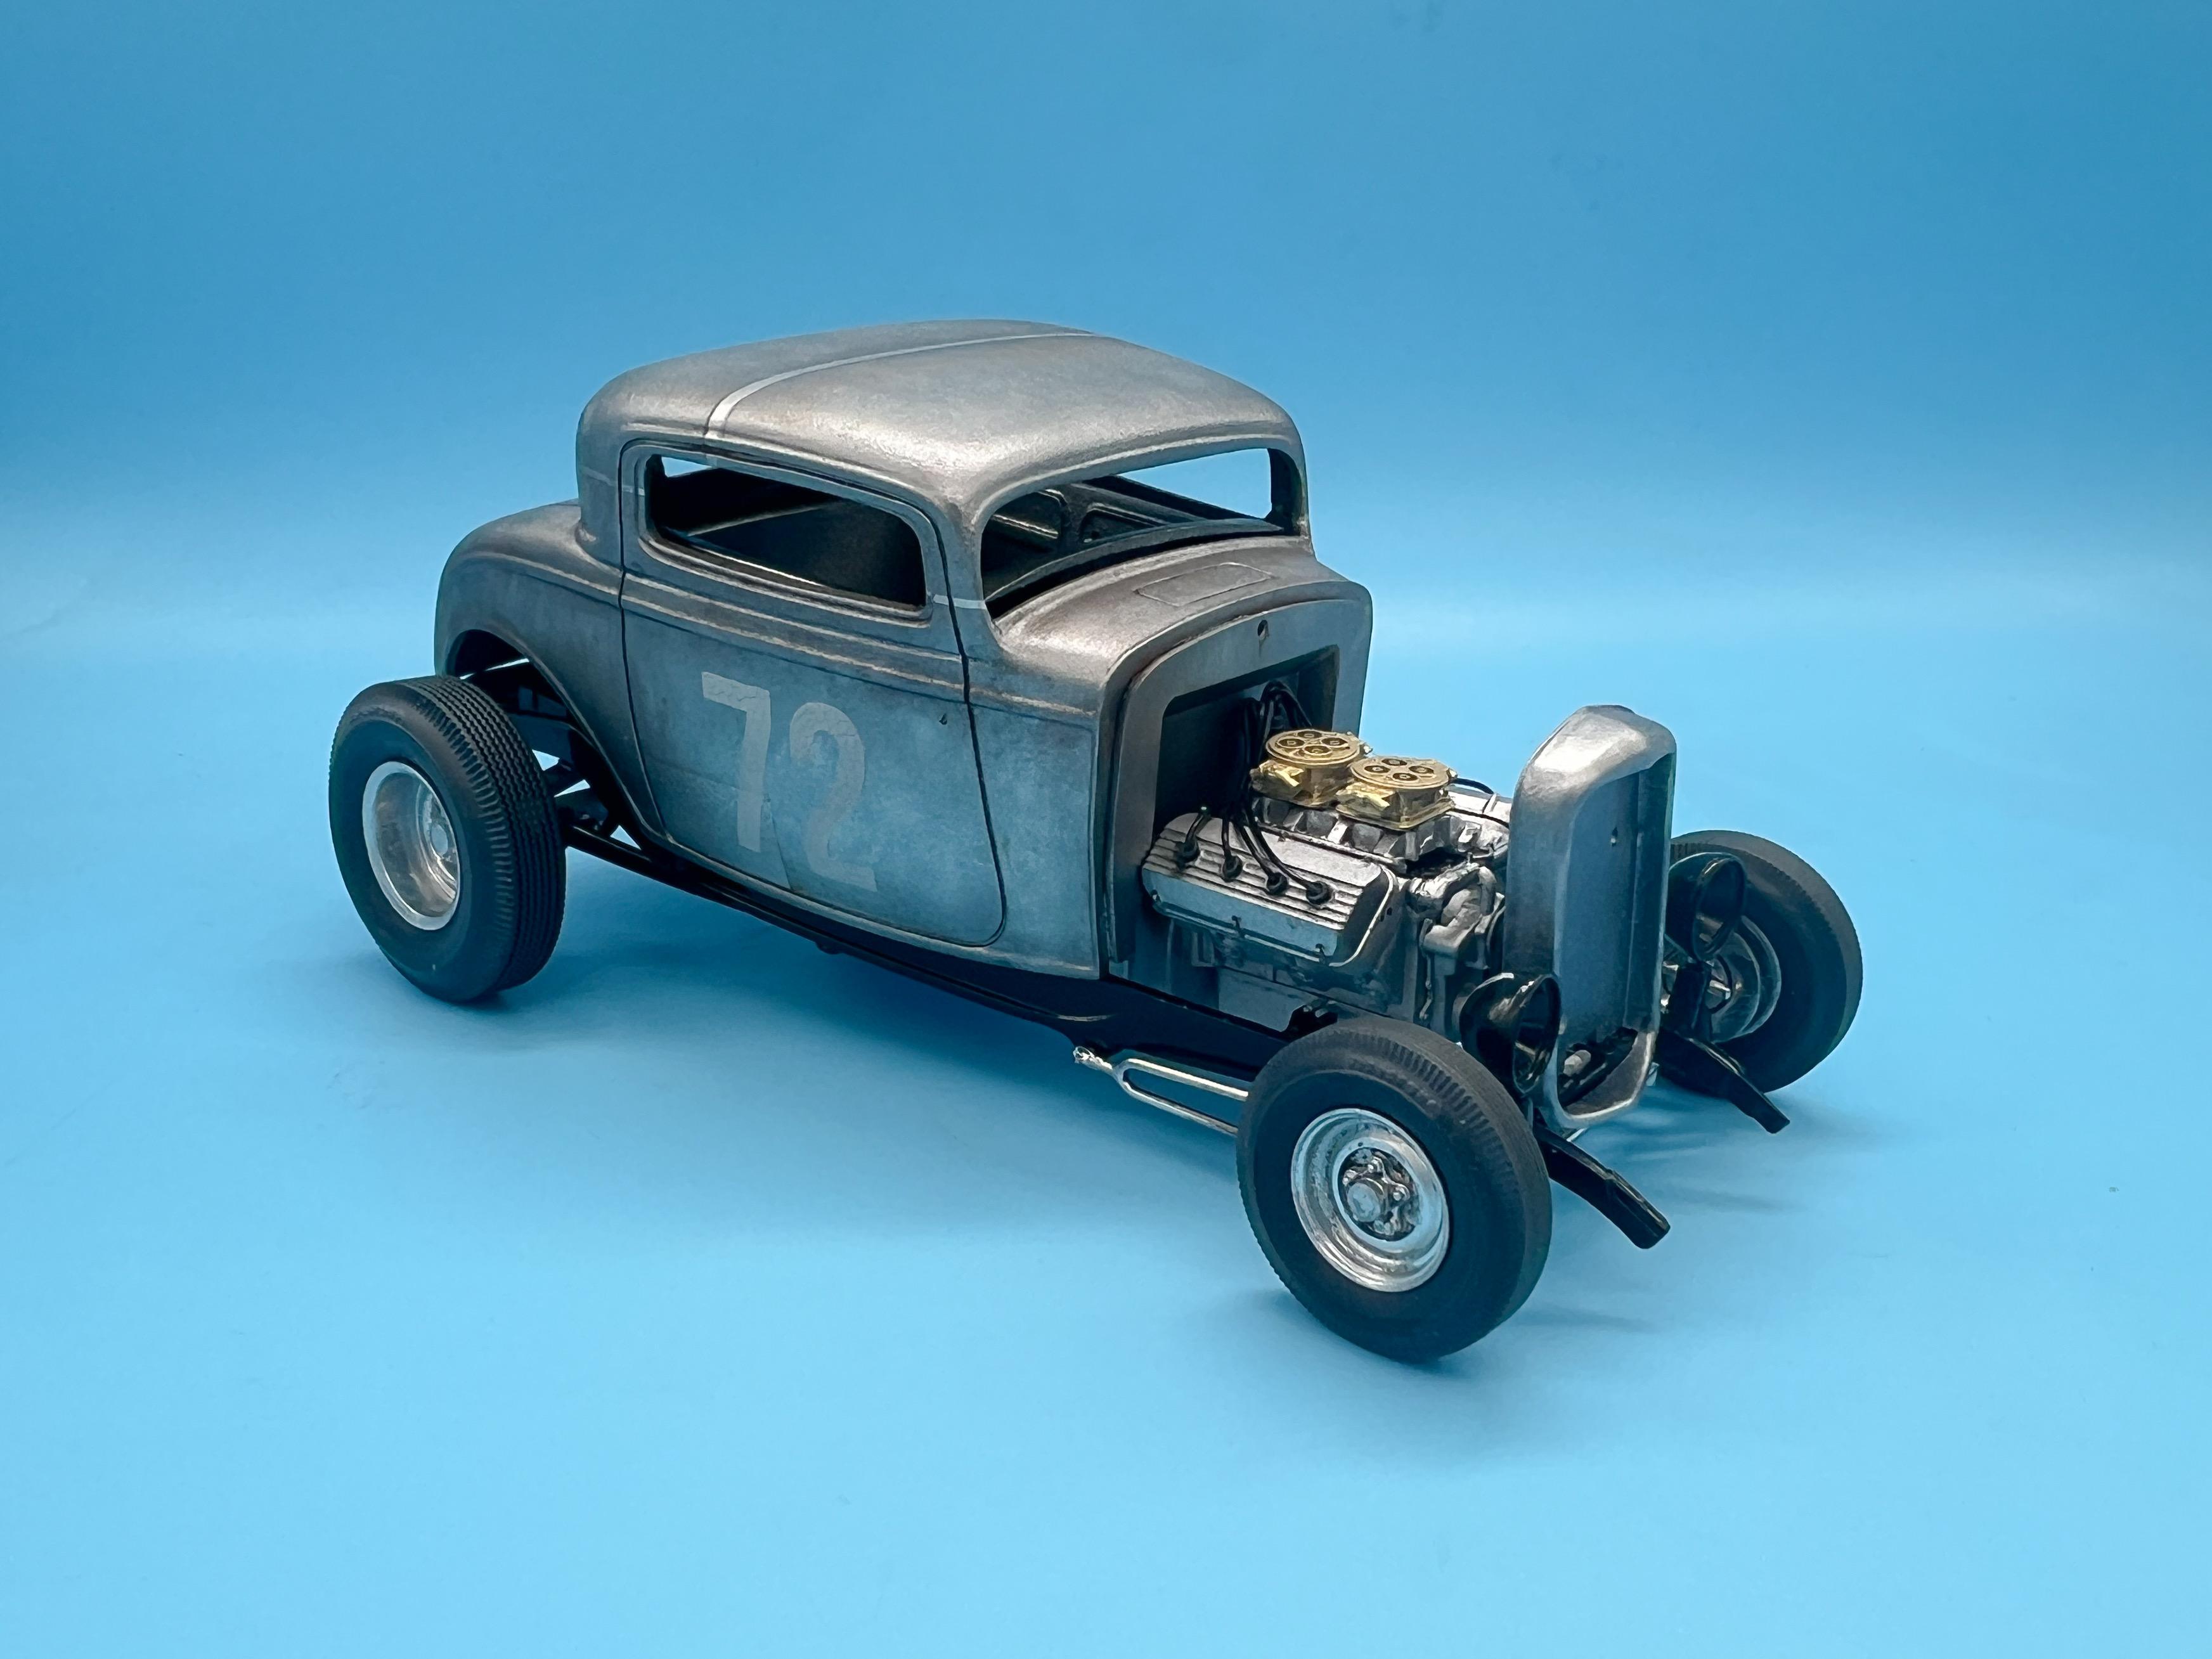
First one of ‘24 in the bag! I’d been wanting to work on my bare-metal (or ‘natural metal’ as the aircraft guys call it) painting skills, and I haven’t built a Deuce in a while, so this seemed a logical project to start the year
Used the Revell 3-window body, chopped, with the 2nd Gen Hemi from the 5-window kits, 3D printed wheels and tires, switched out the airbagged rear end for a Revell Parts Pack Quickchange with a T spring and used about every metalizer paint I own for the various finishes.
Build thread here:
And some pics…thanks for looking!