Dann Tier
-
Posts
8,037 -
Joined
-
Last visited
Content Type
Profiles
Forums
Events
Gallery
Everything posted by Dann Tier
-

Otaki 1/12 Lamborghini Countach Twin Turbo...Mission Statement
Dann Tier replied to Dann Tier's topic in WIP: Model Cars
You are right, Kurt!- 362 replies
-
- 1
-

-
- otaki
- lamborghini
- (and 2 more)
-
Otaki 1/12 Lamborghini Countach Twin Turbo...Mission Statement
Dann Tier replied to Dann Tier's topic in WIP: Model Cars
Thanks again, Dennis!, i'm pretty sure i need to do the hinges next. -
That sounds like a great way to fix the issue!...stick to it, bud! -its getting close, and looking great doing it!!
-
Otaki 1/12 Lamborghini Countach Twin Turbo...Mission Statement
Dann Tier replied to Dann Tier's topic in WIP: Model Cars
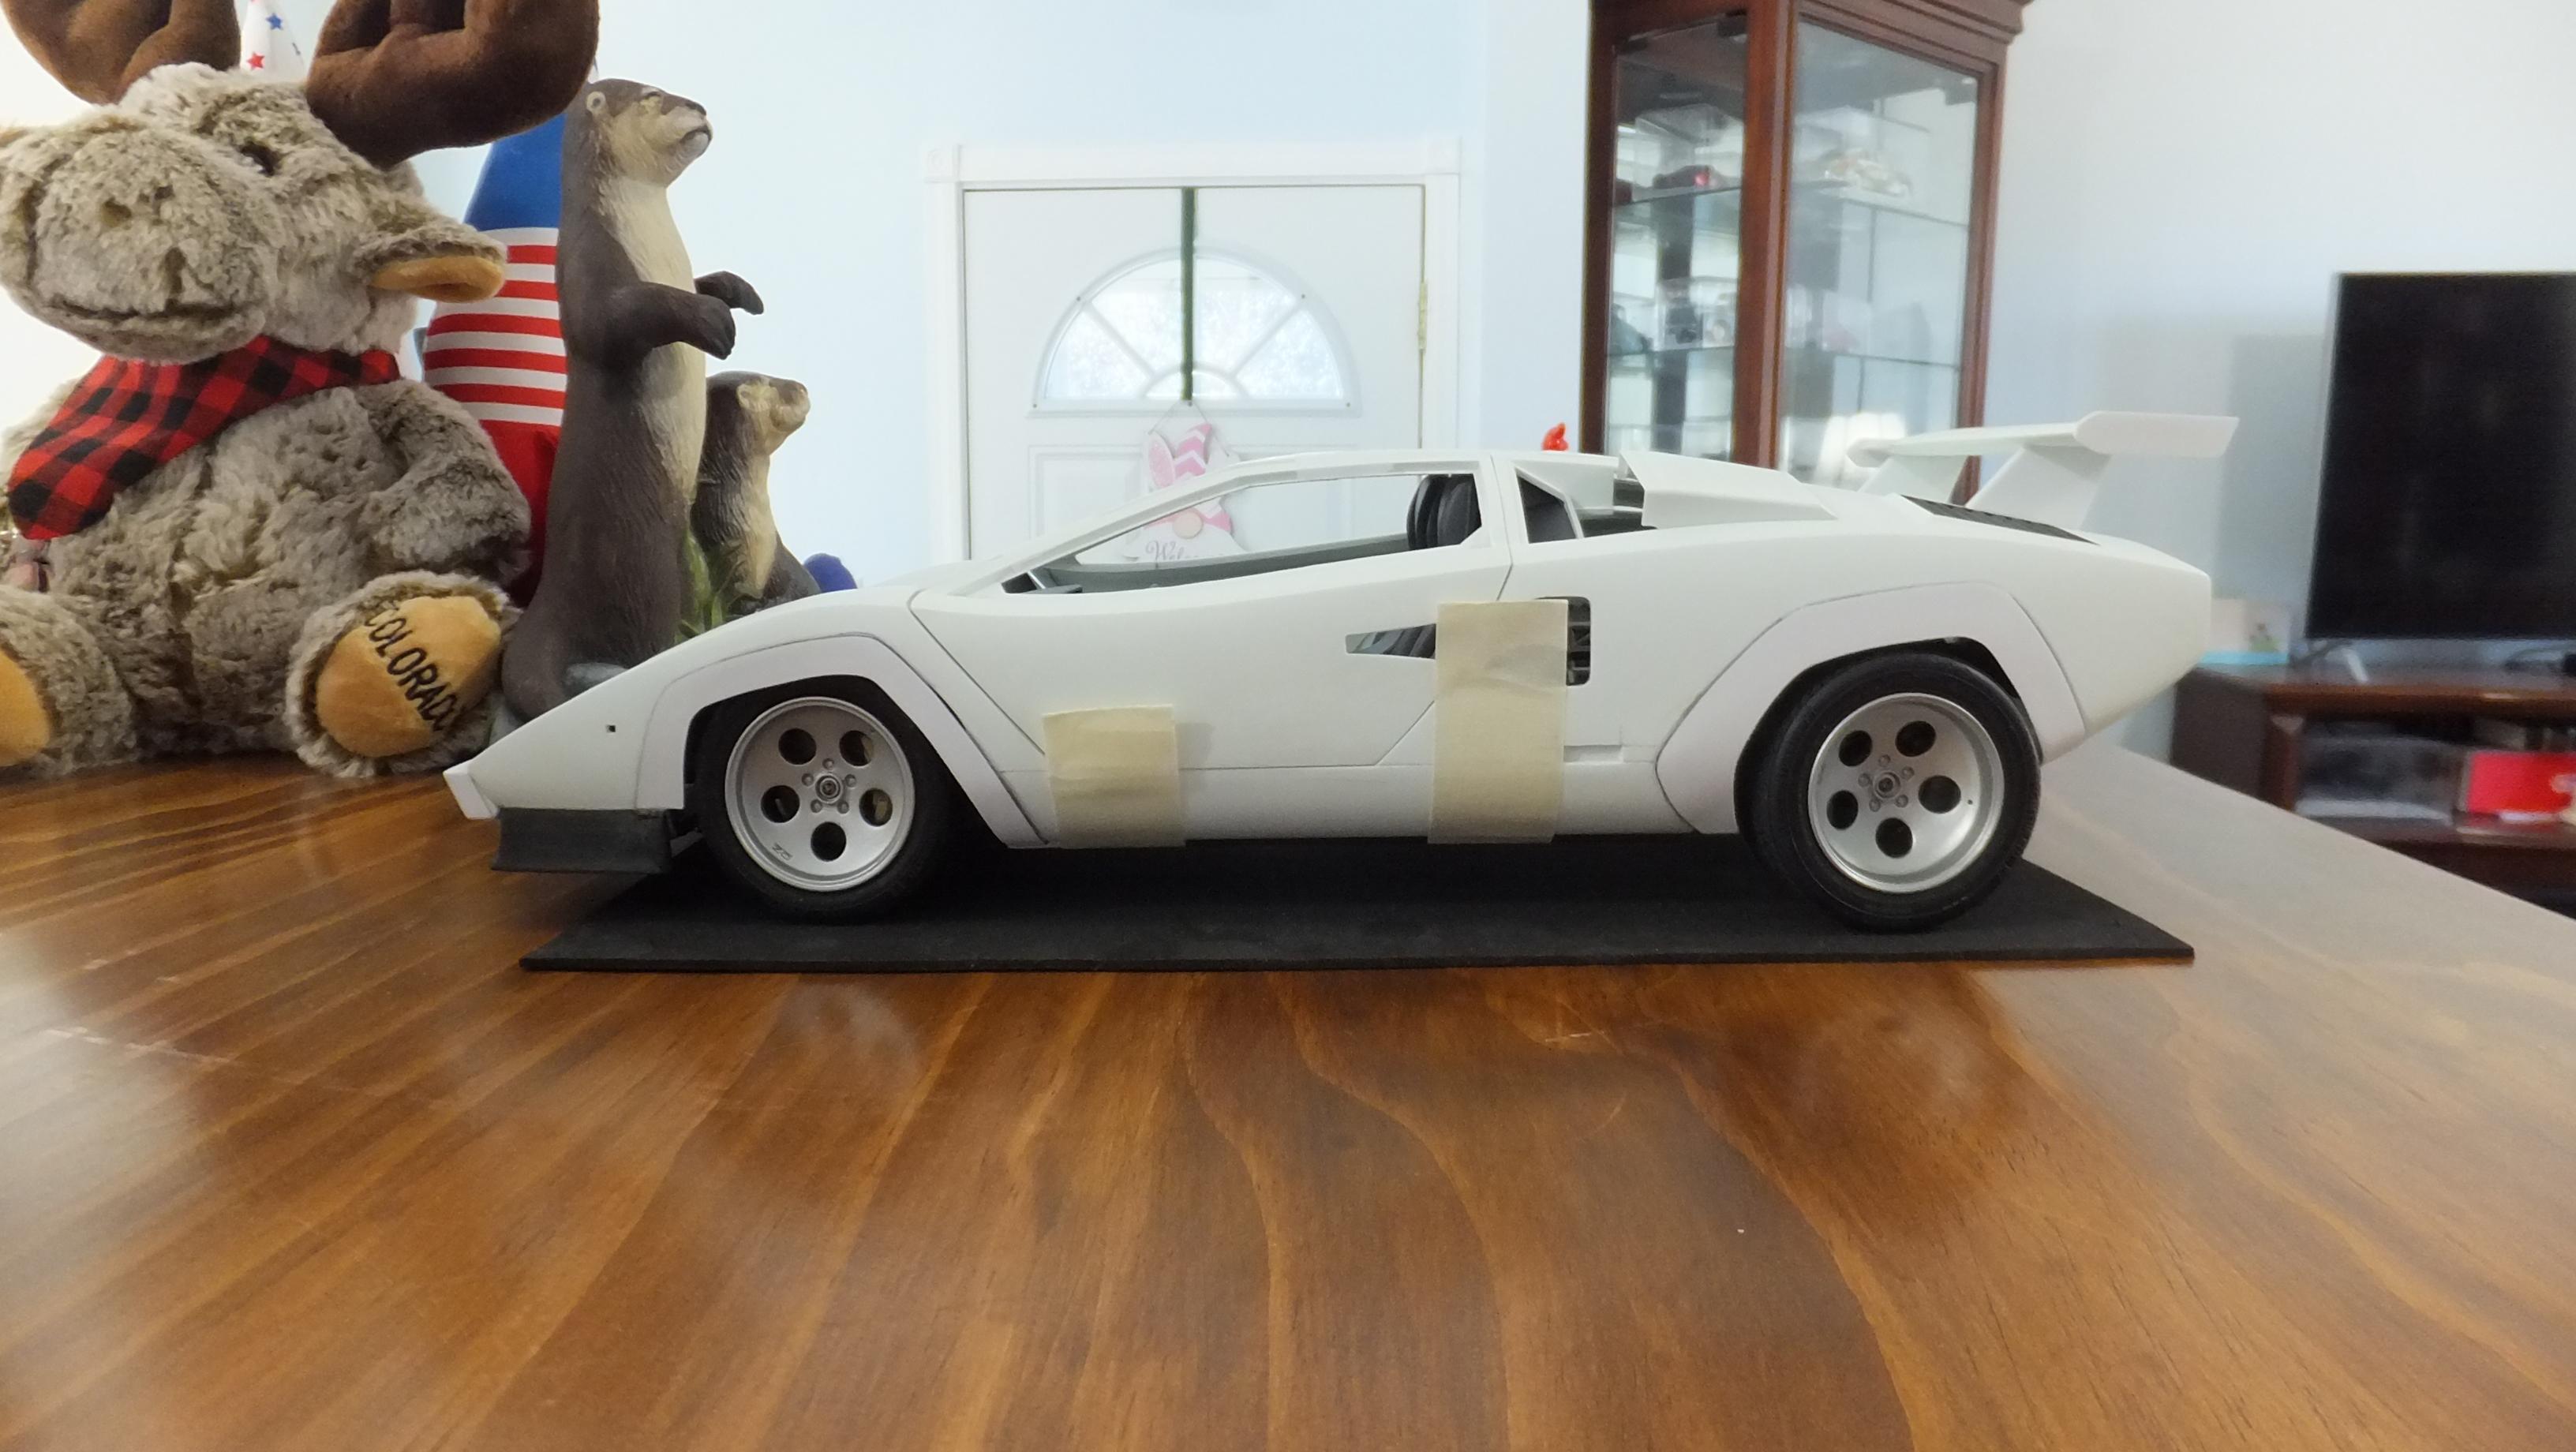
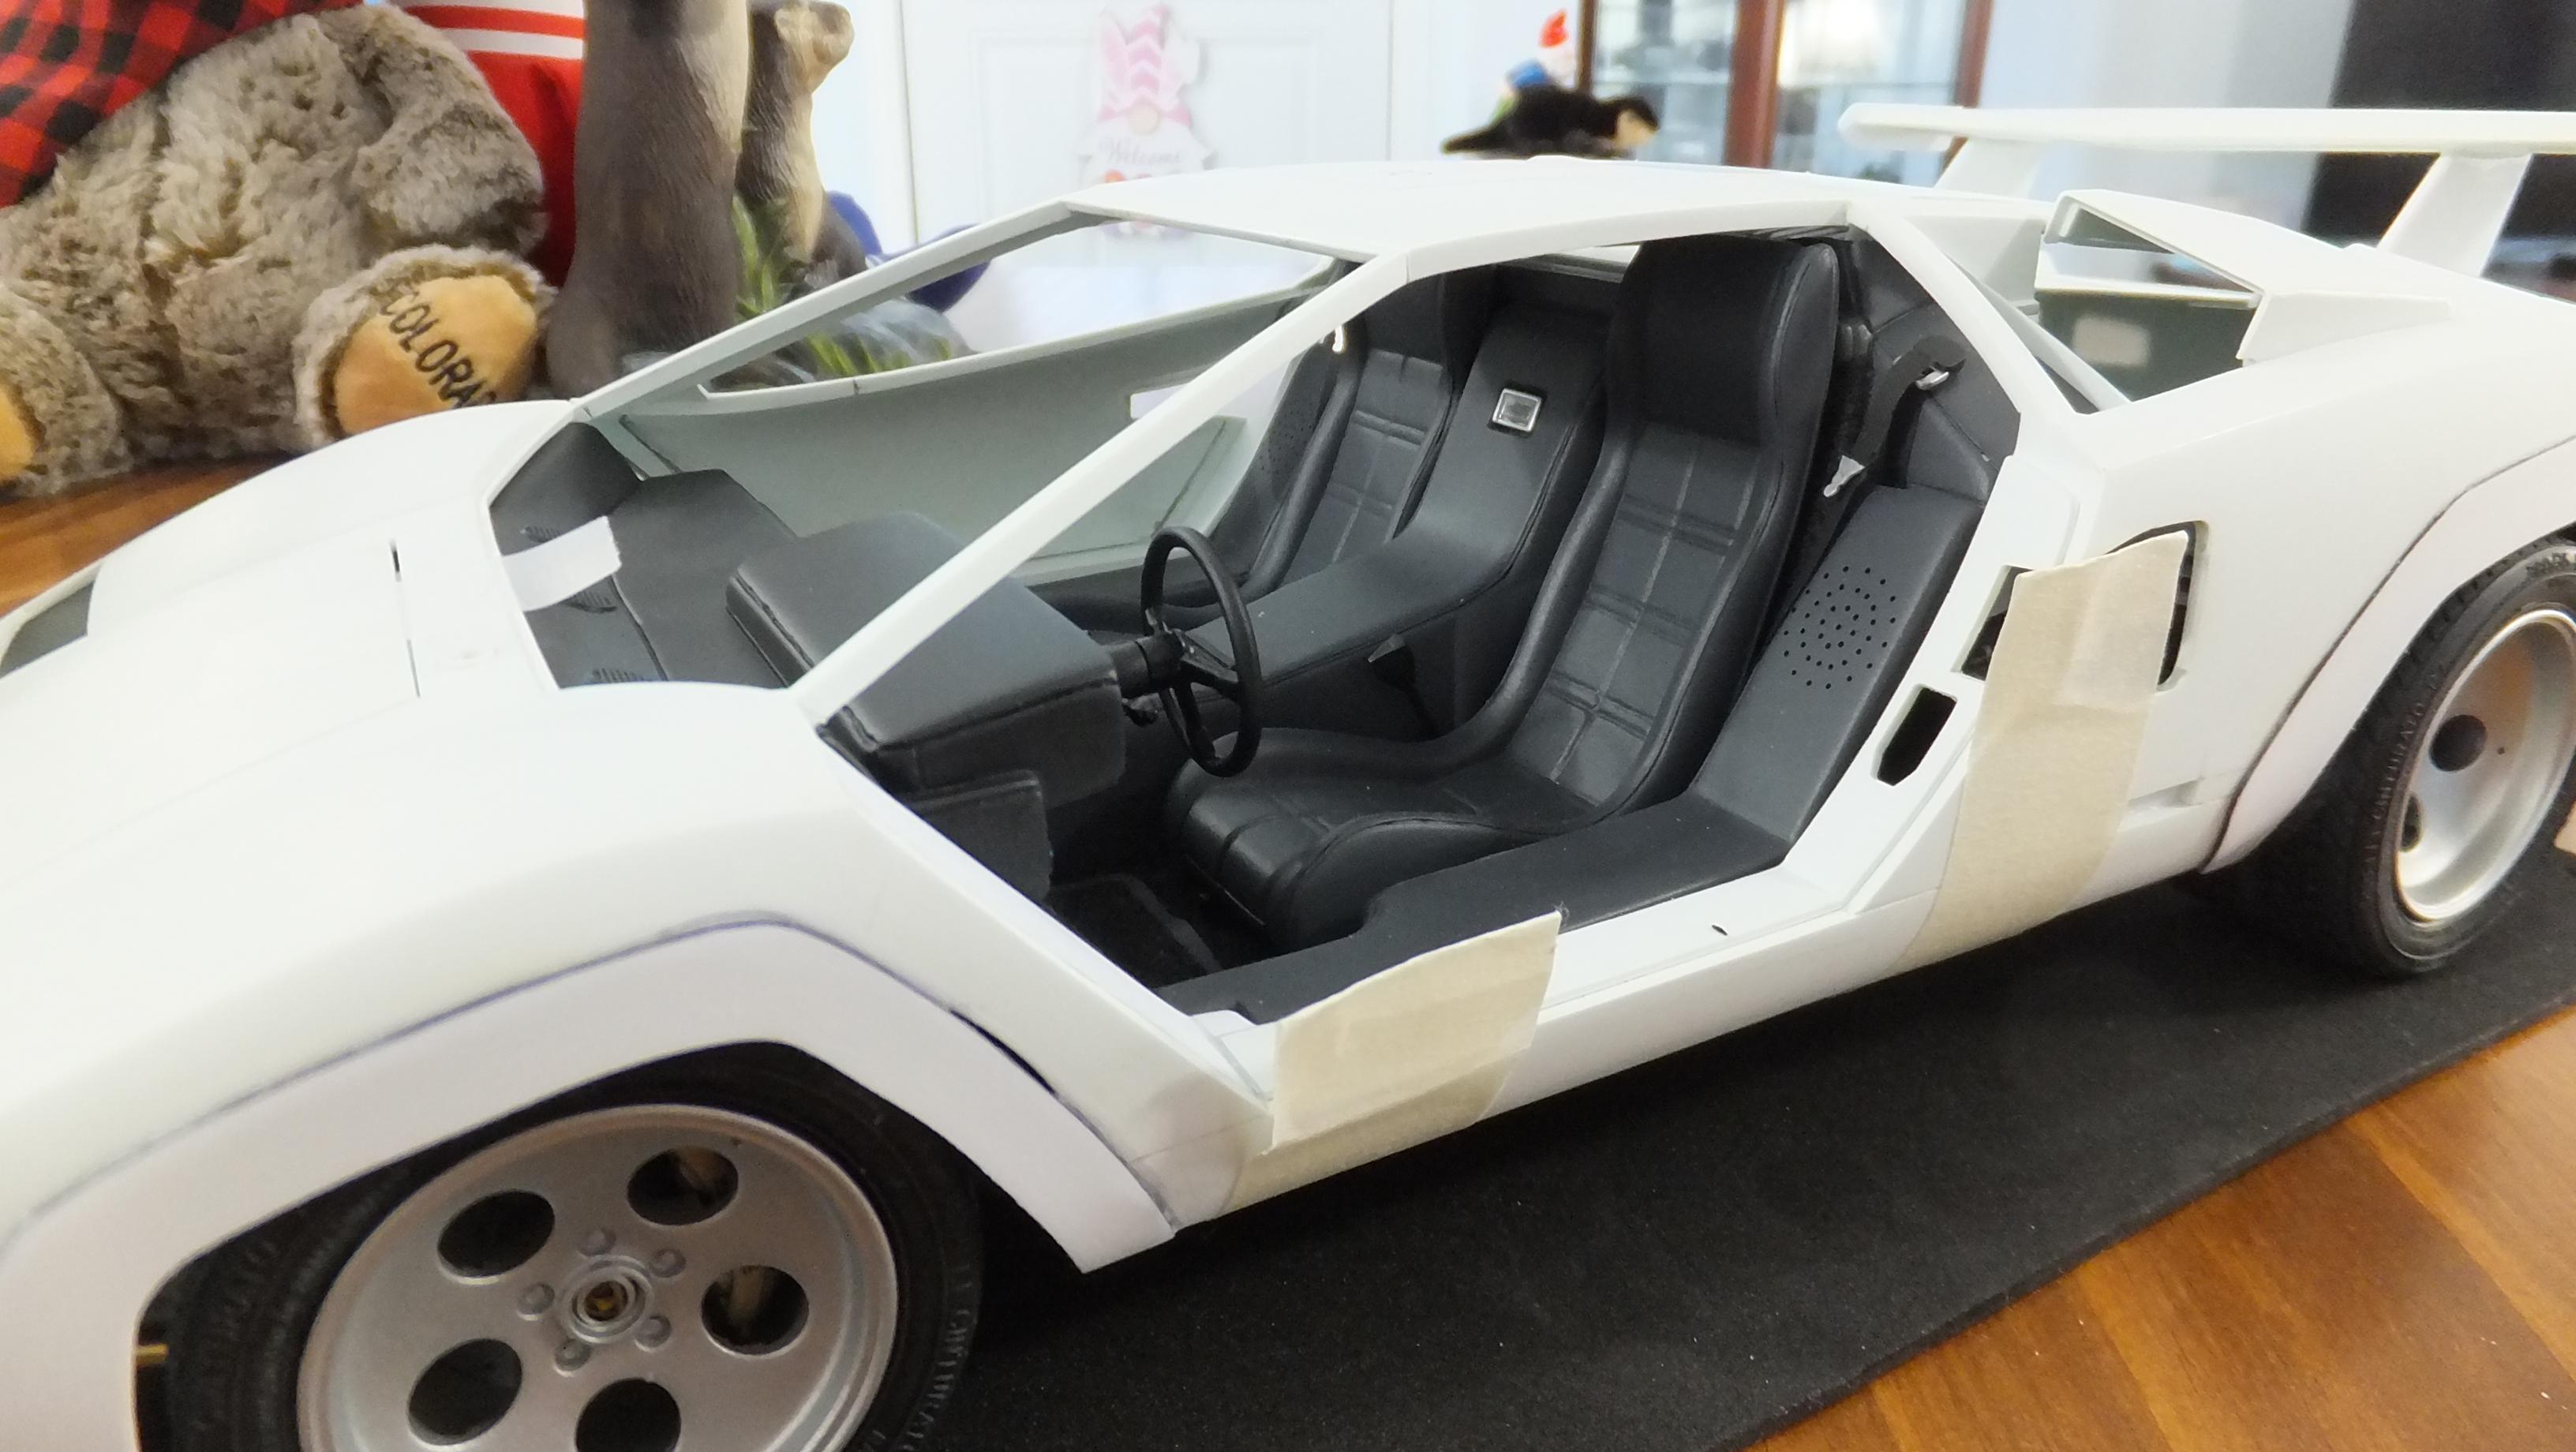
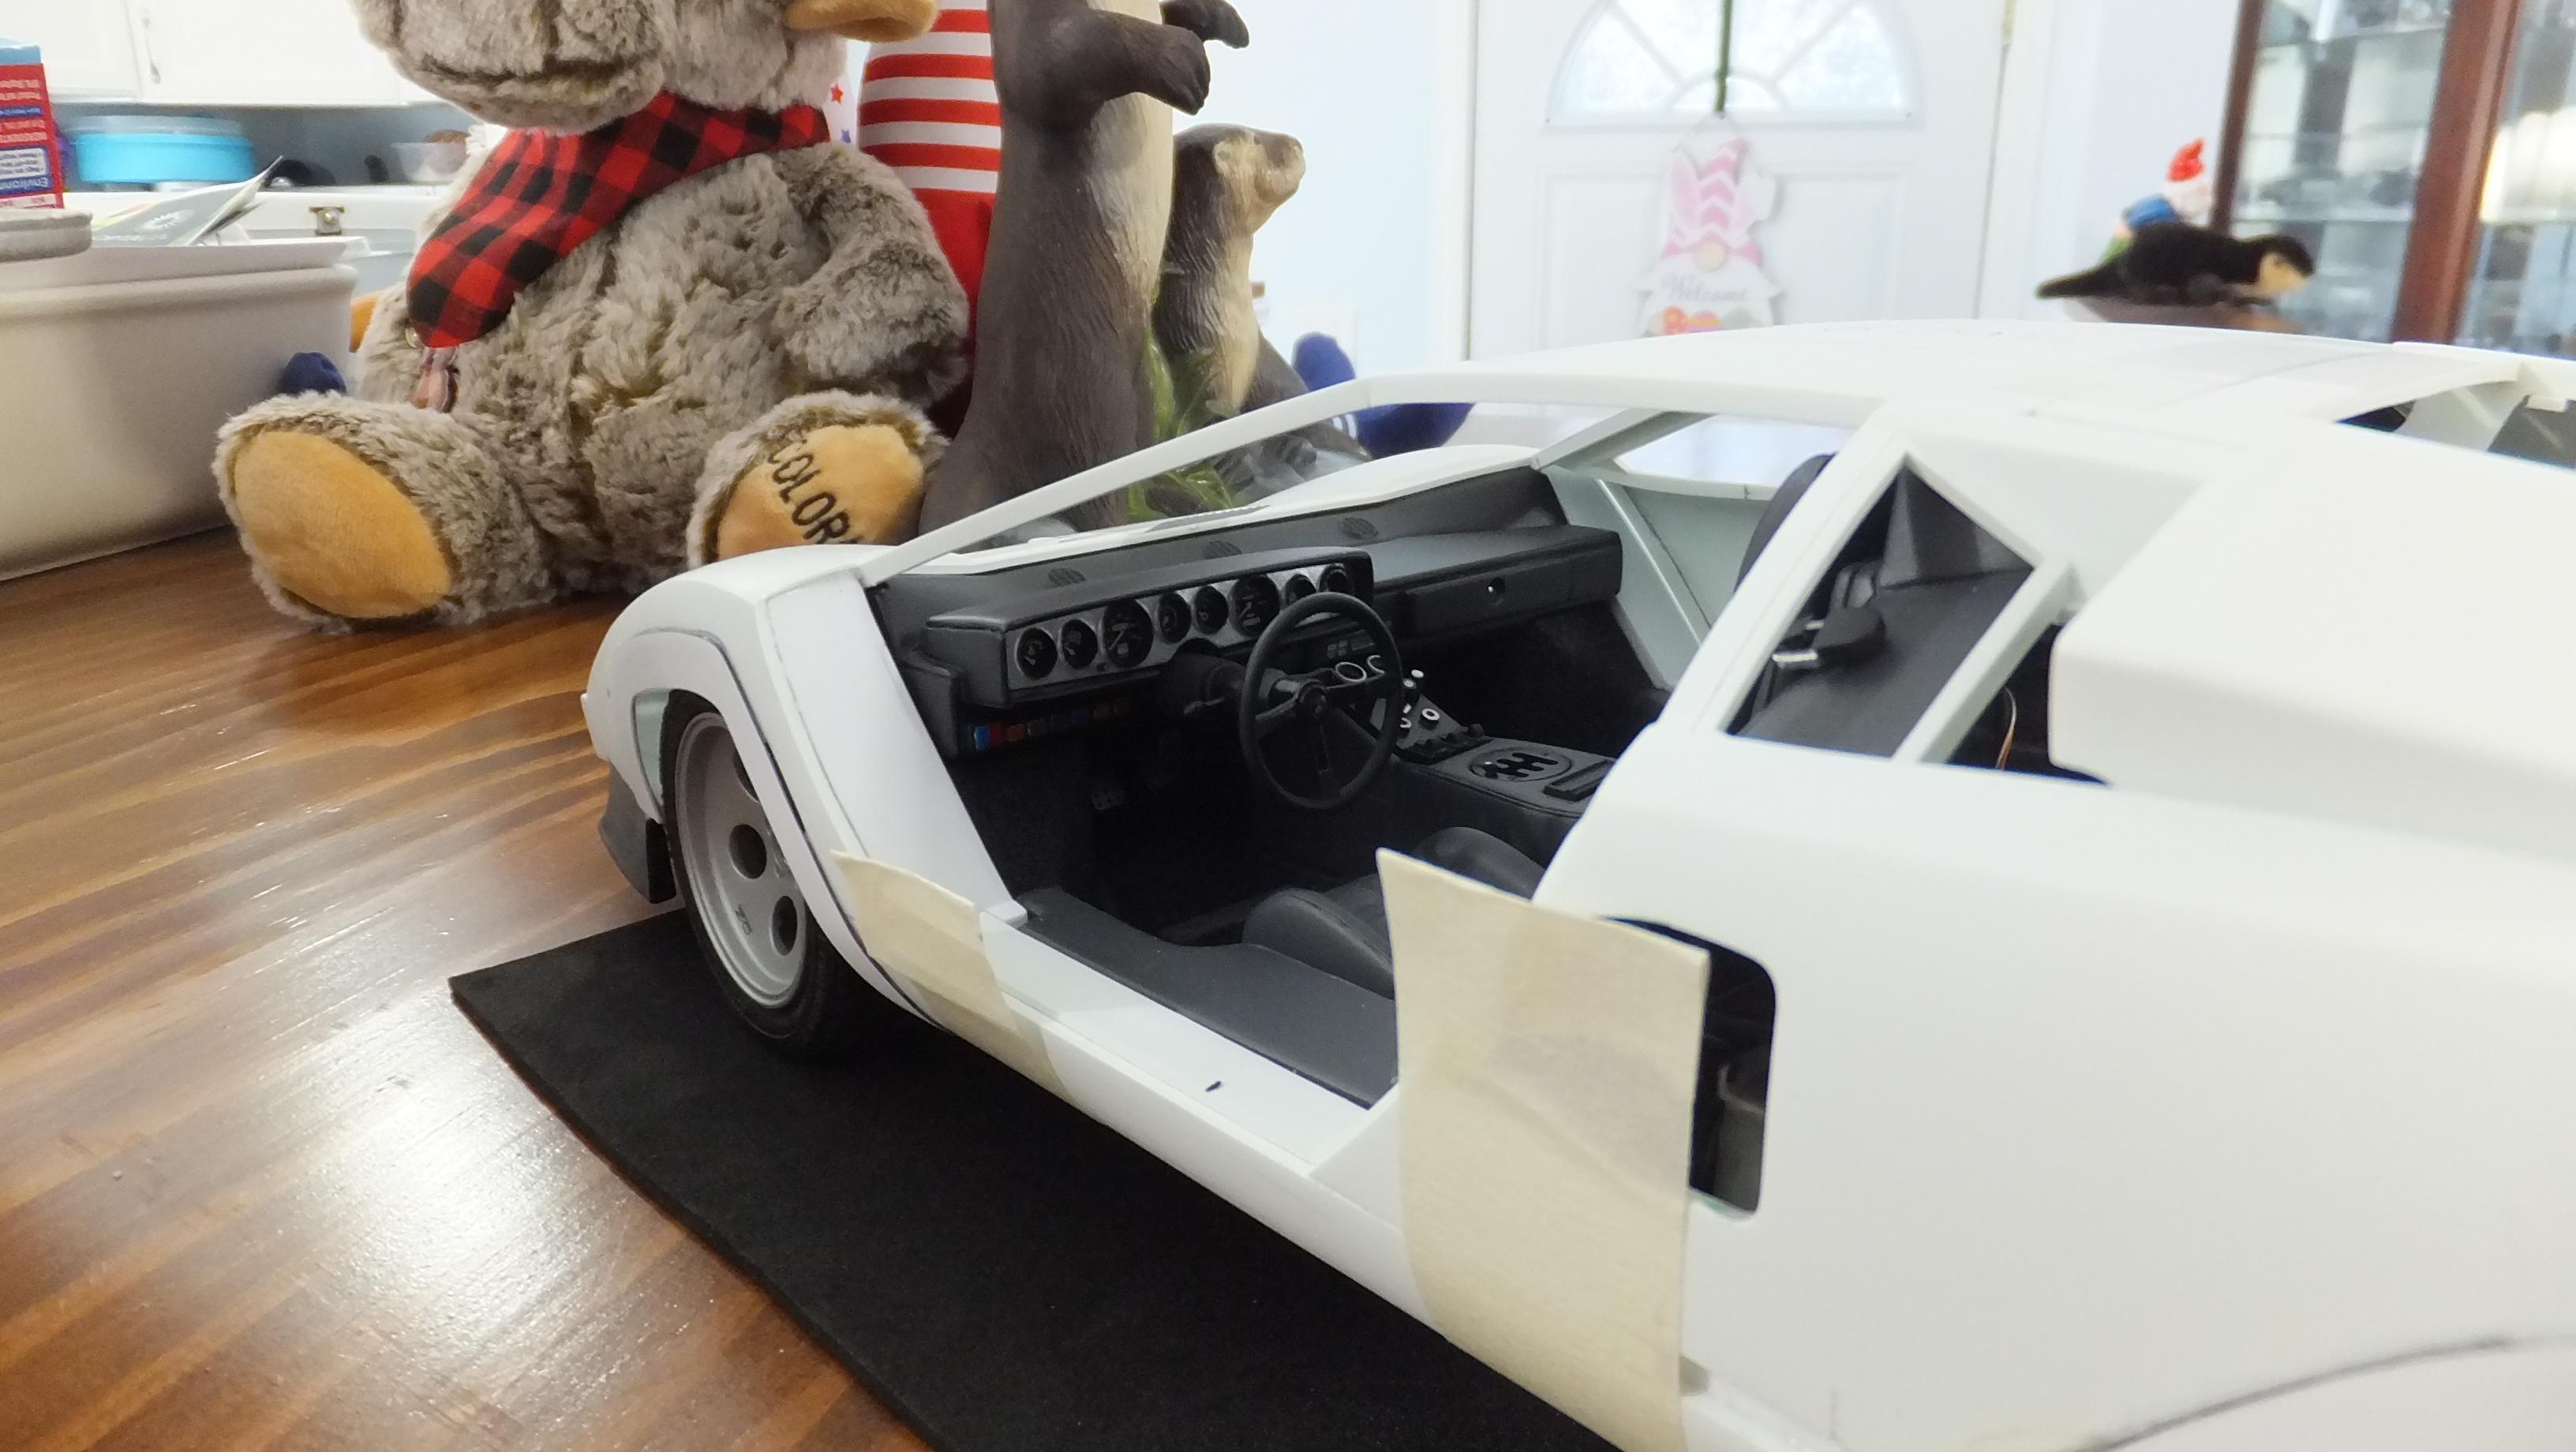
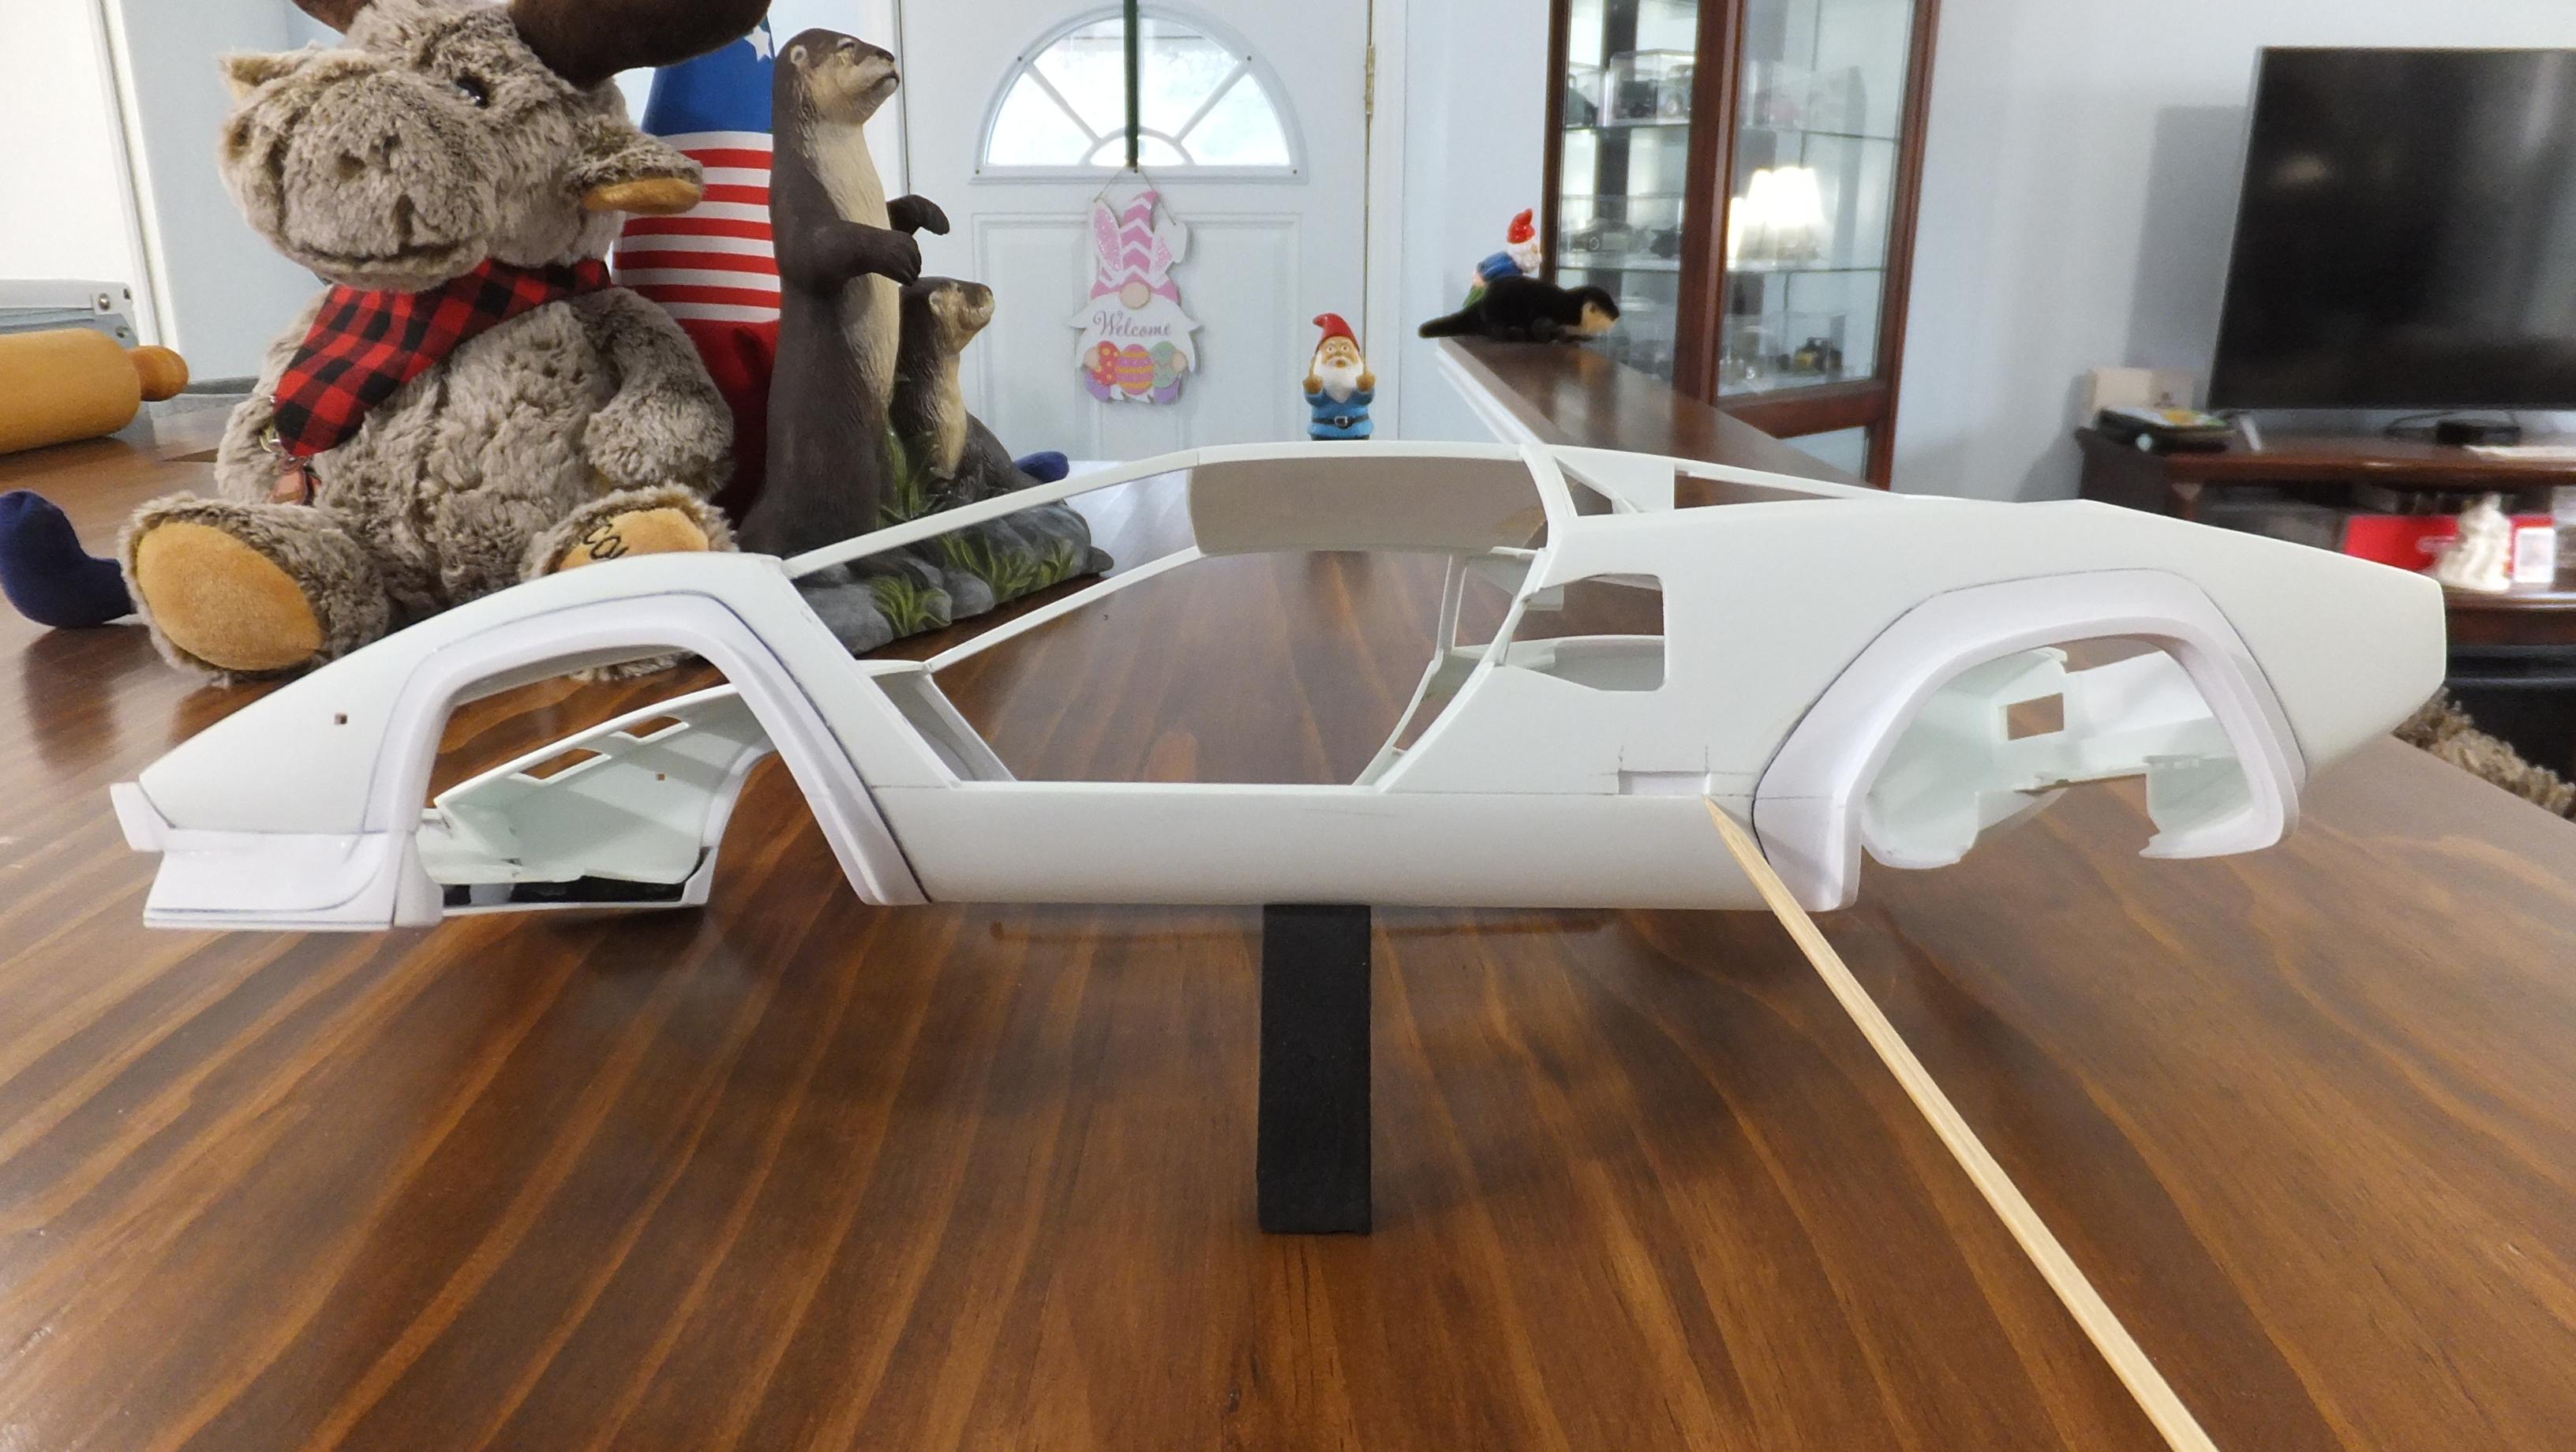
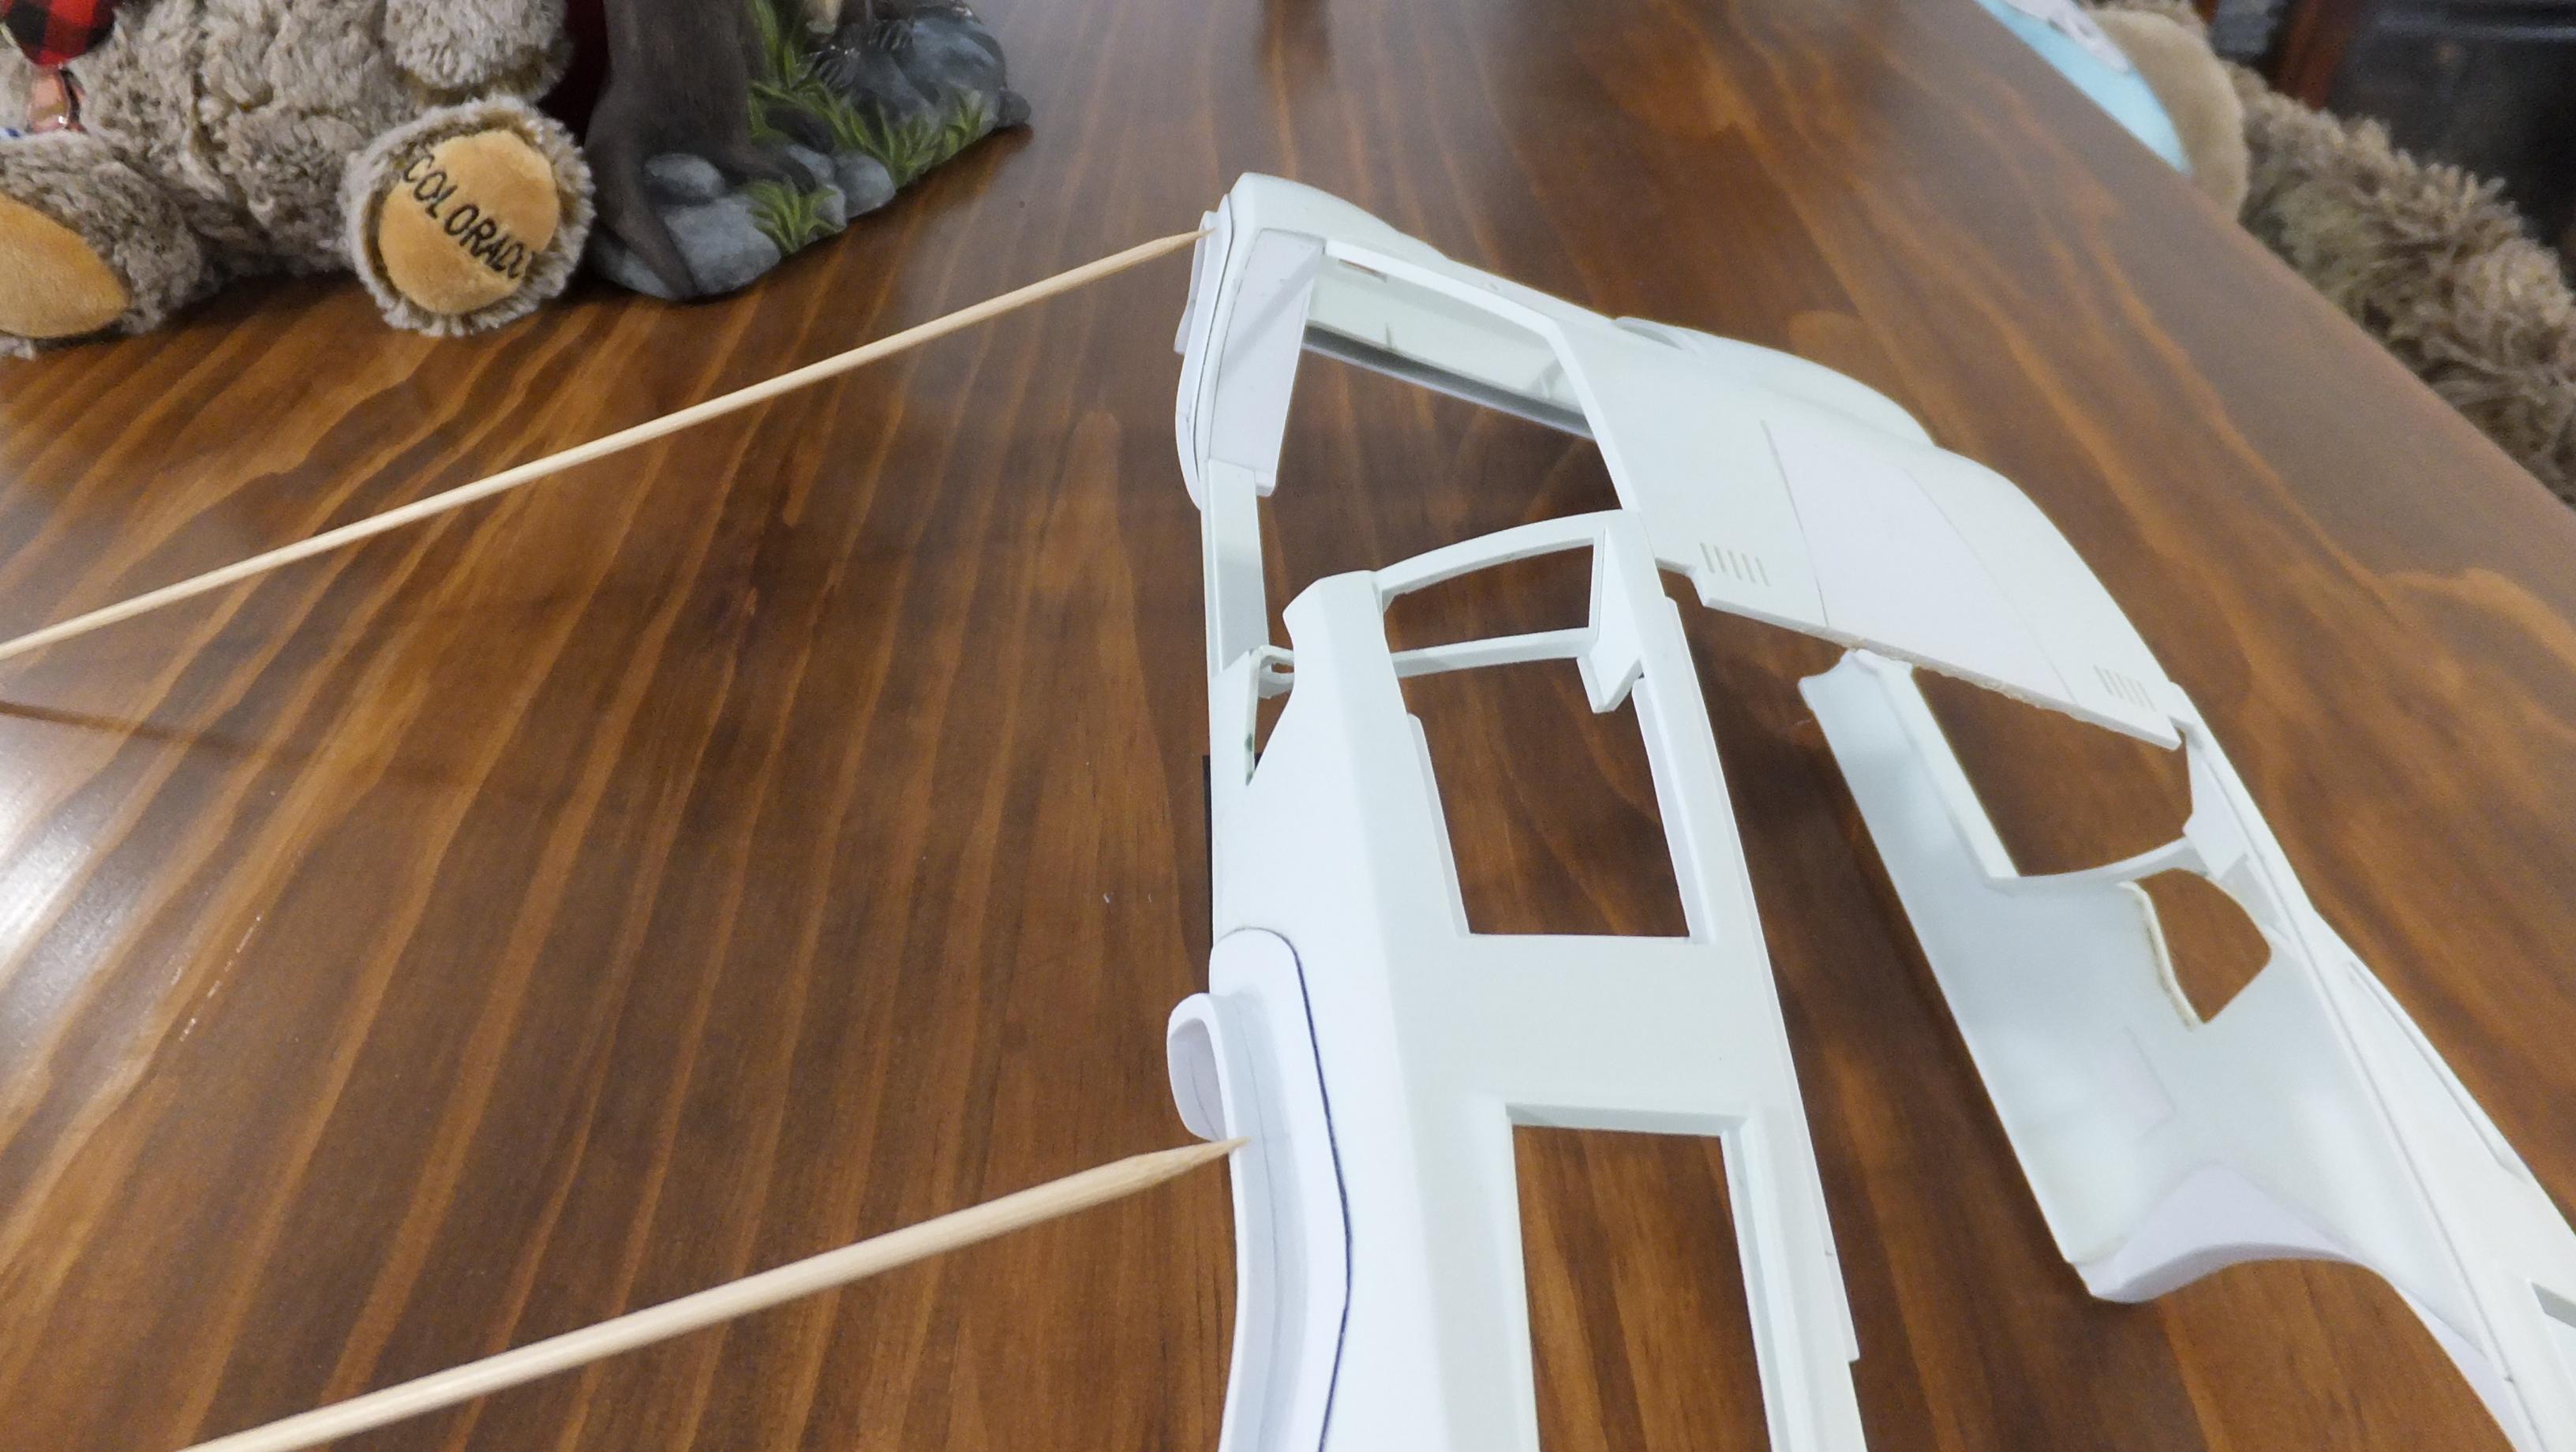
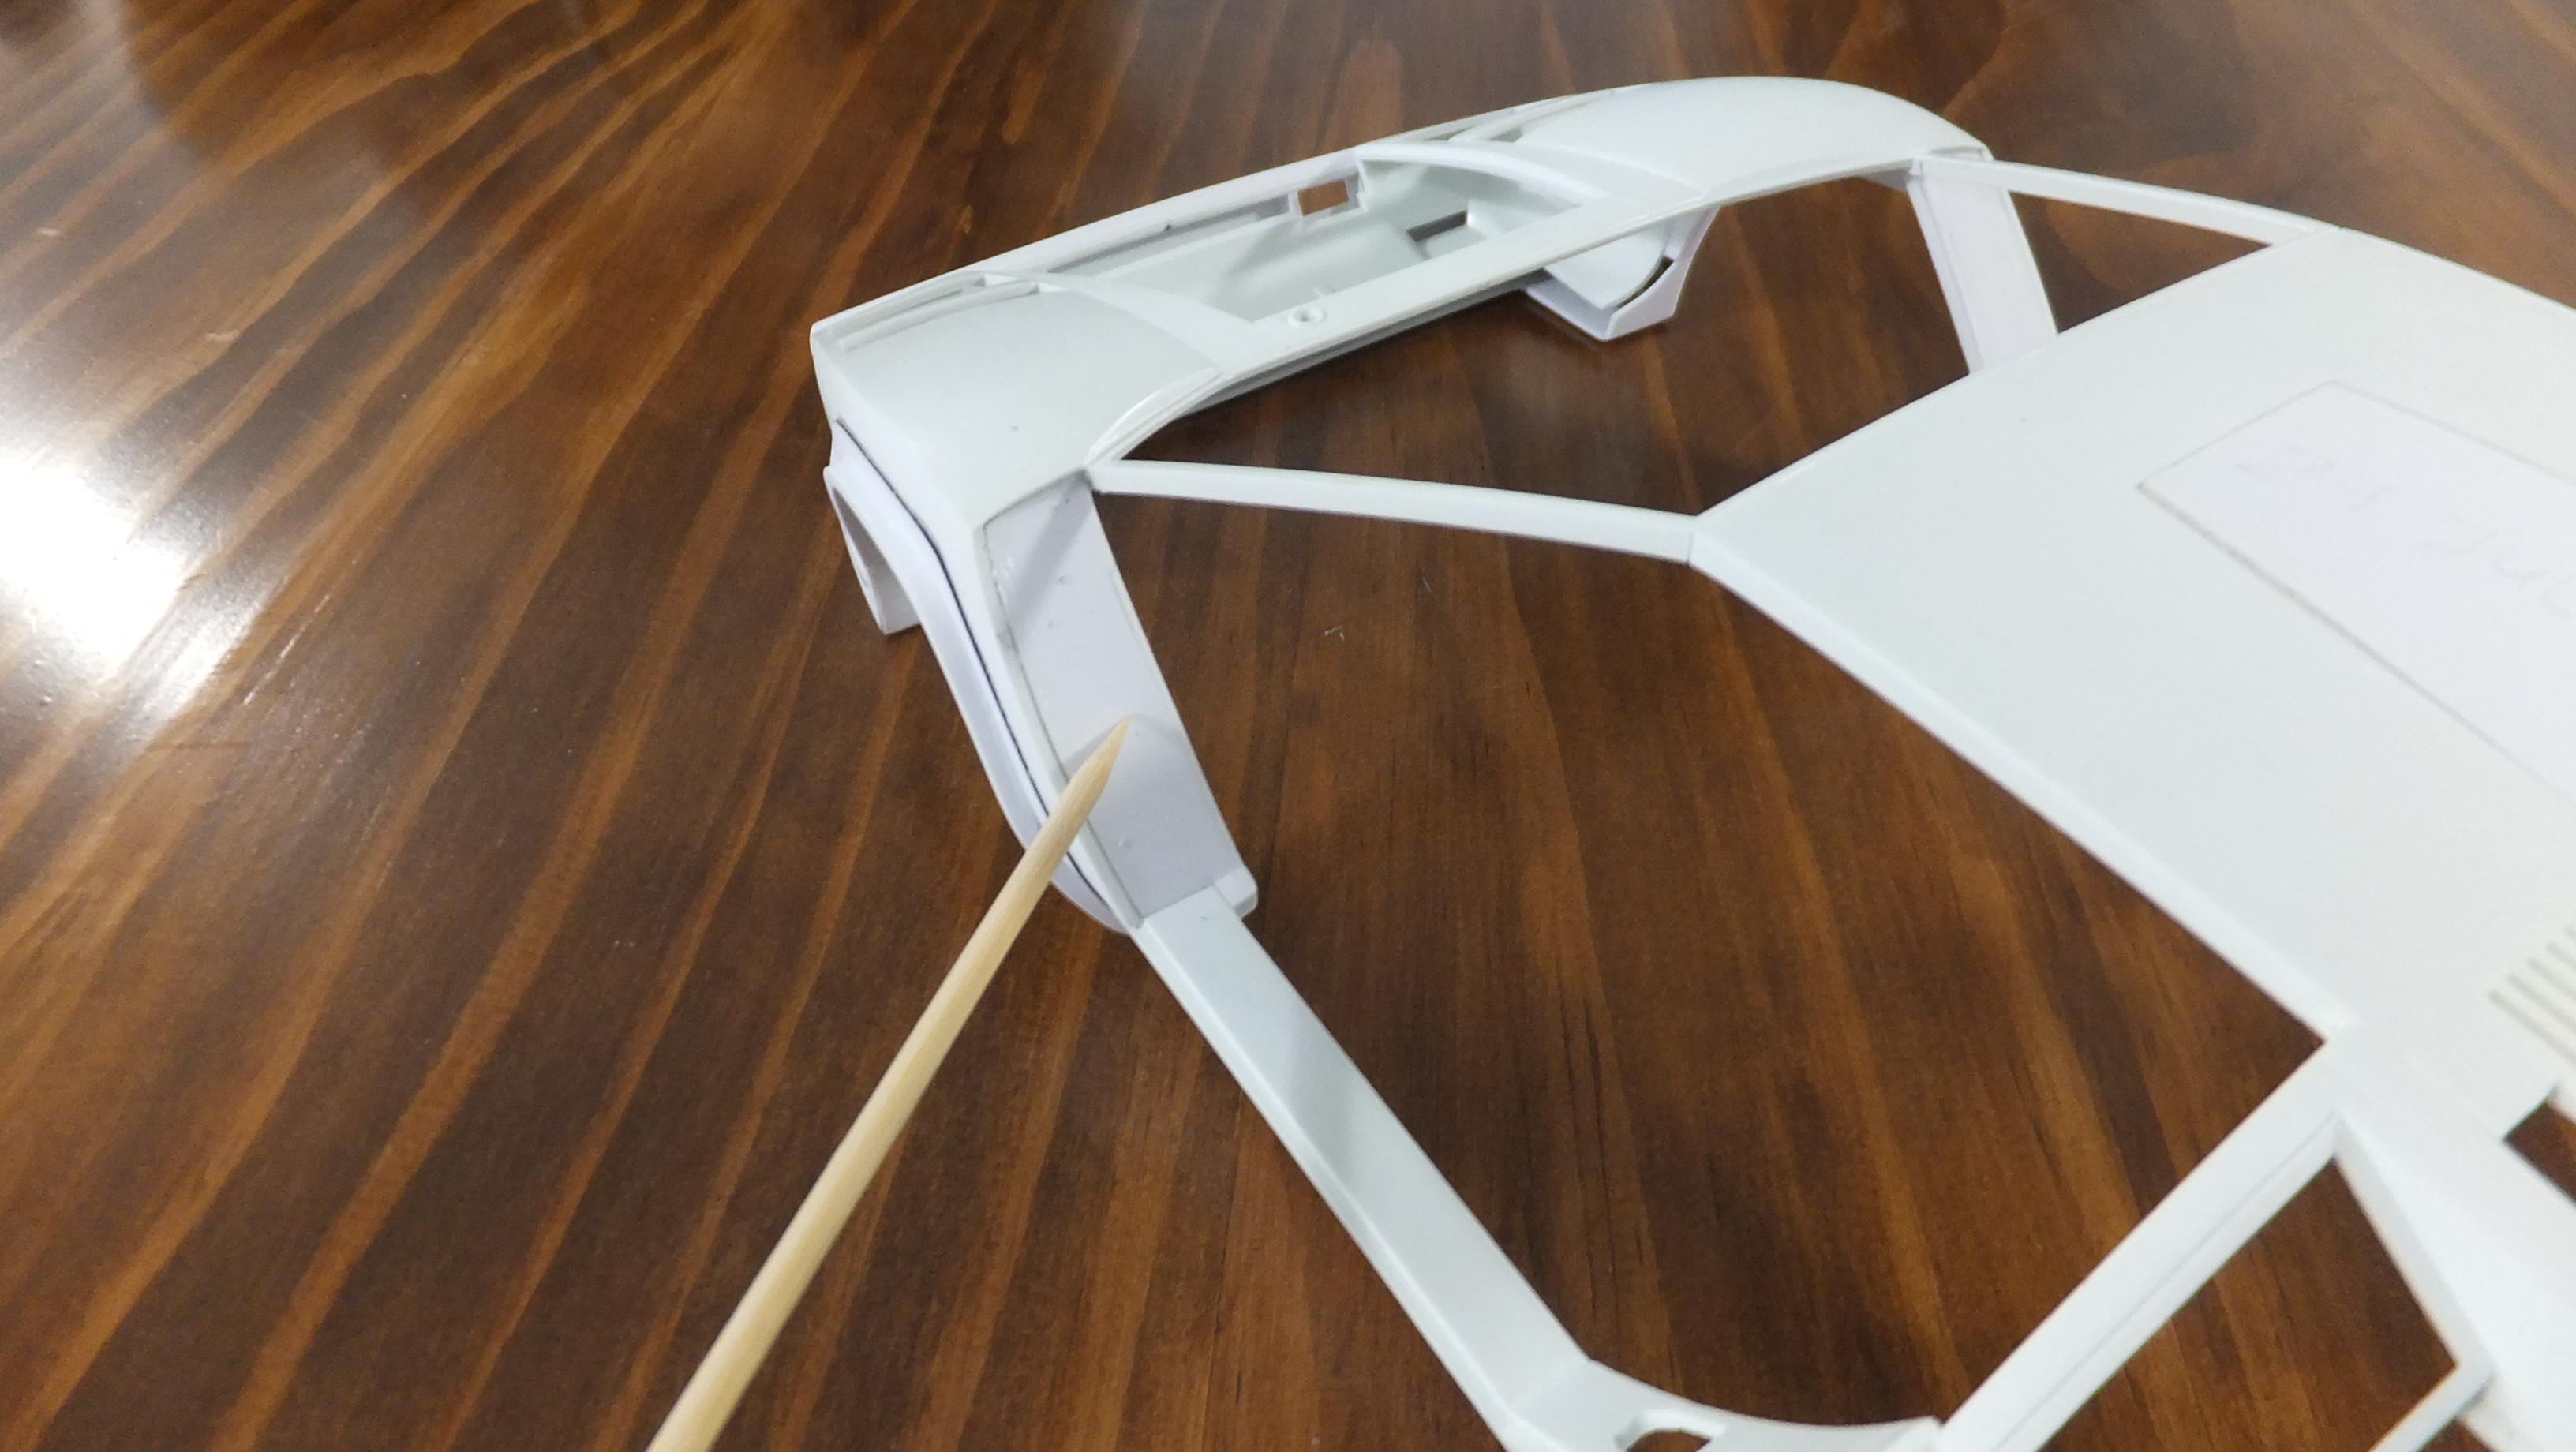
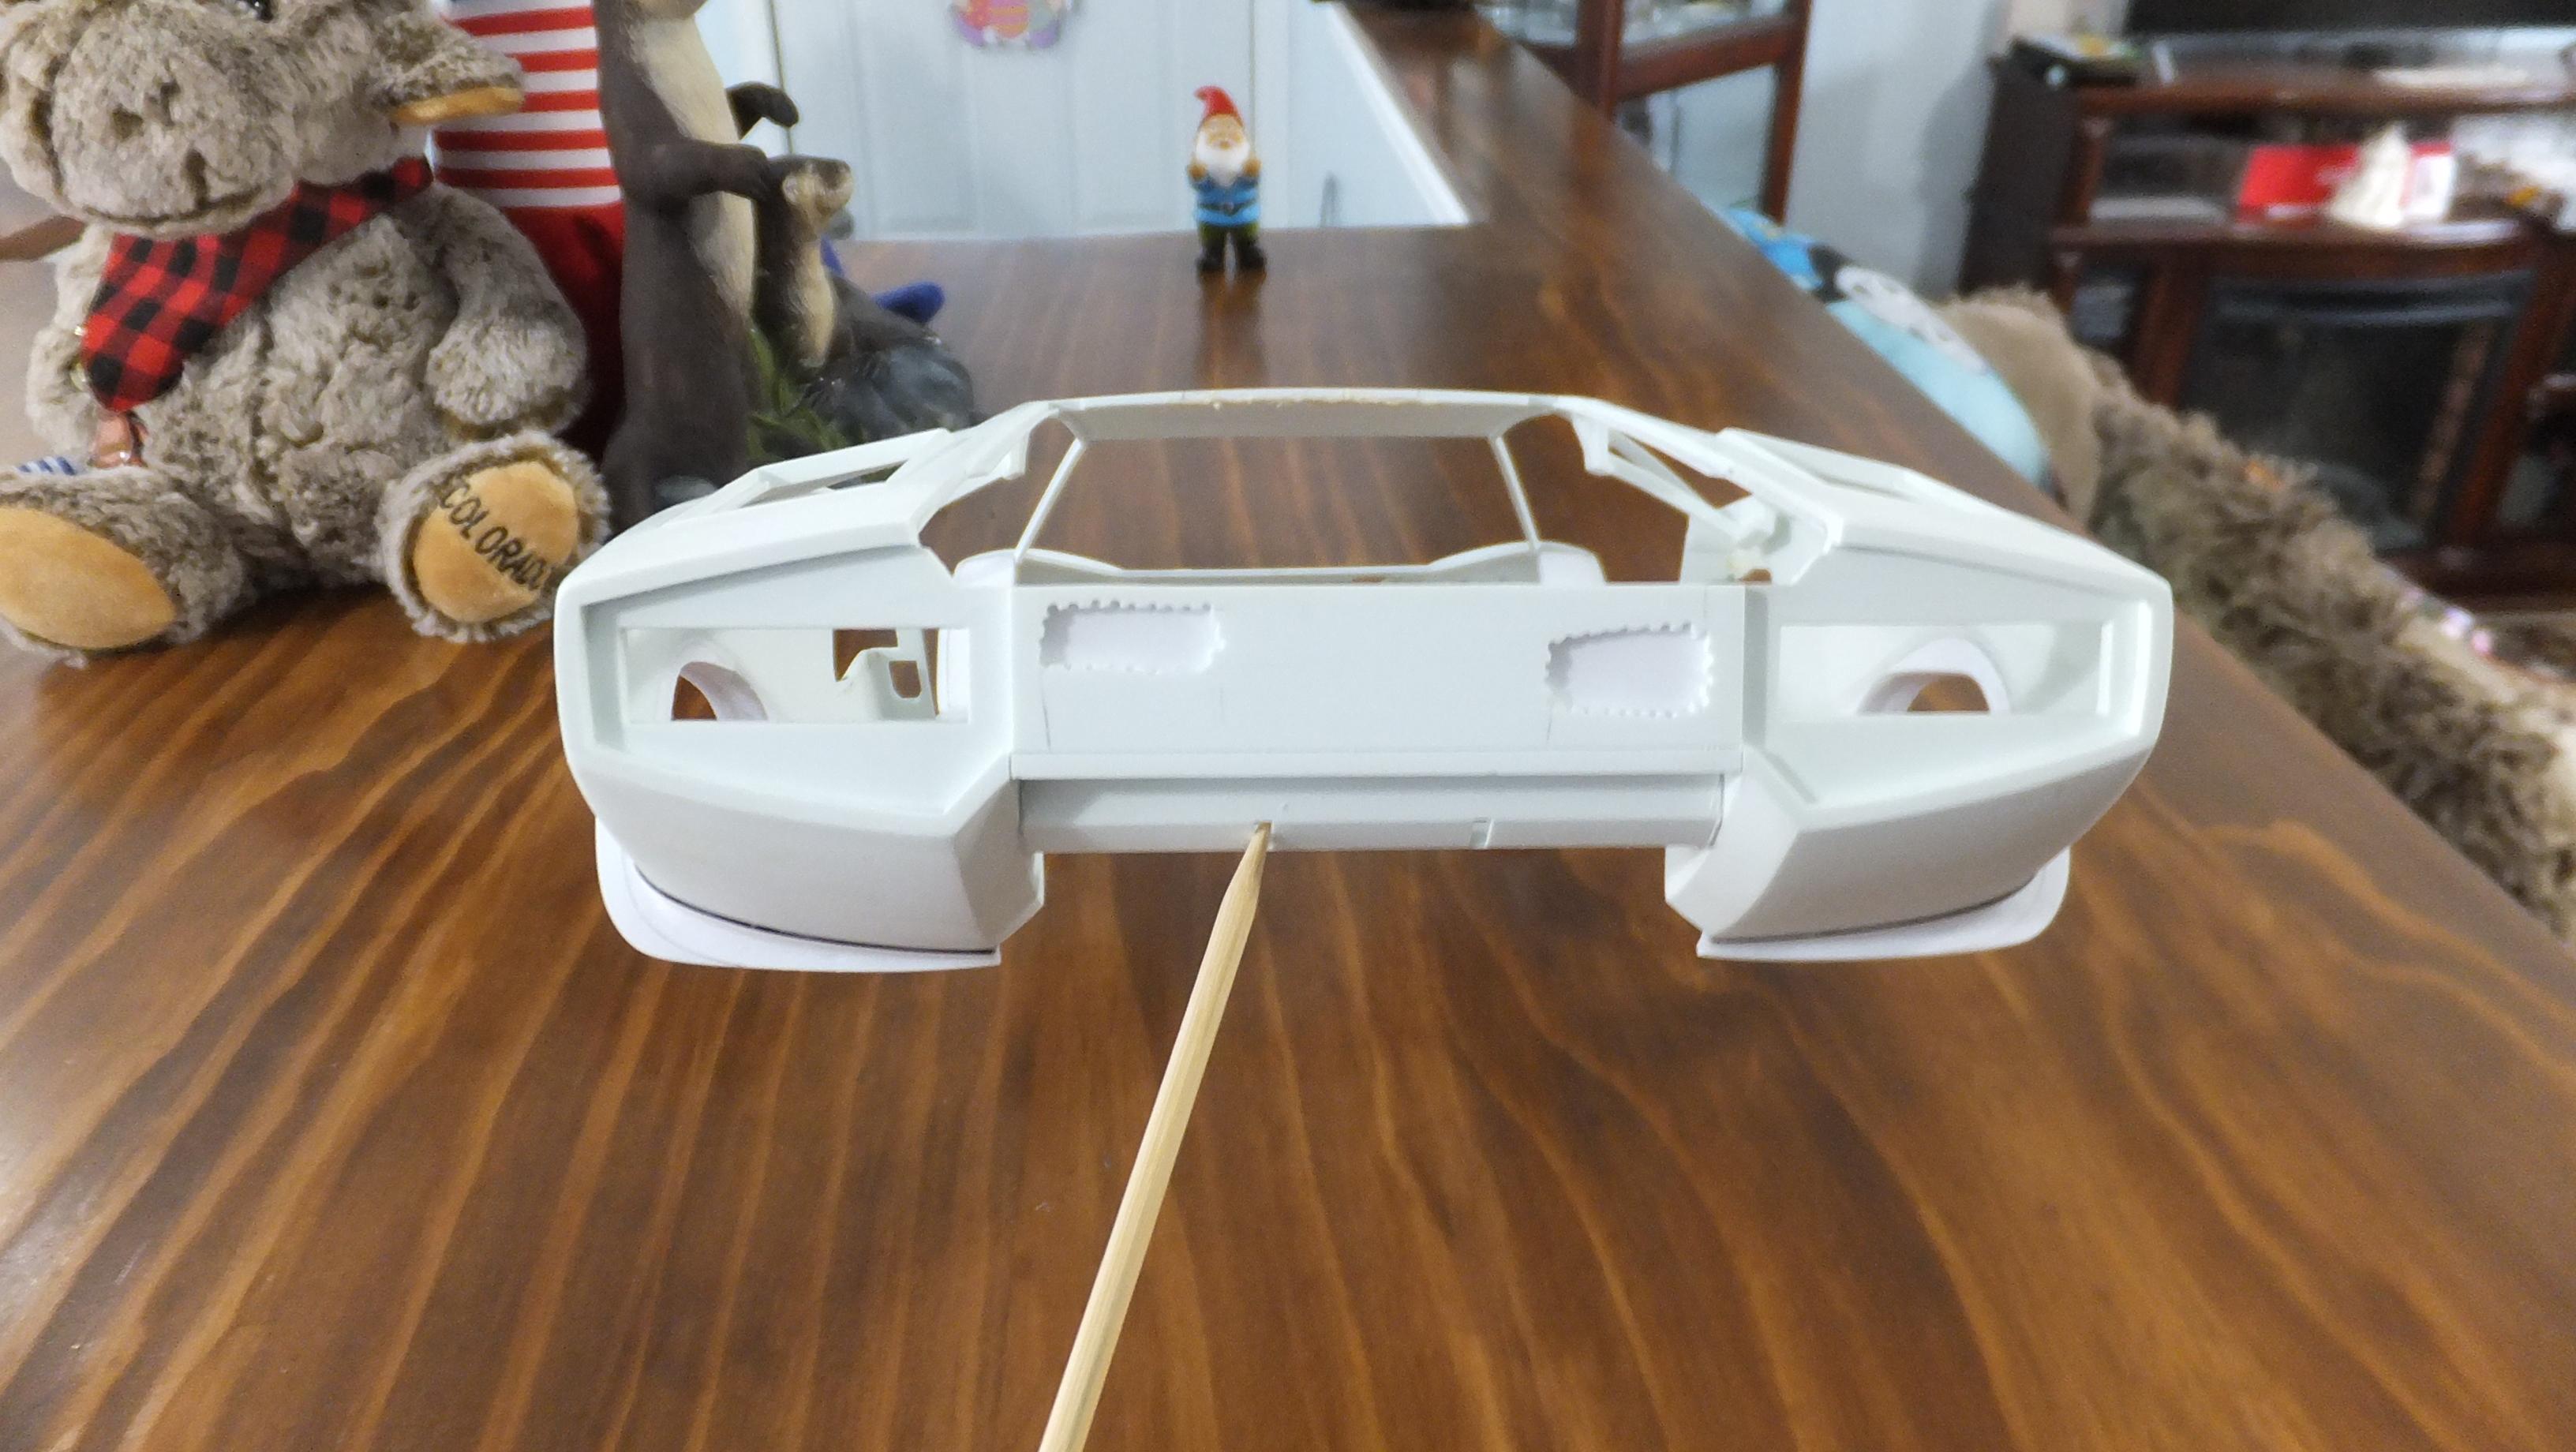
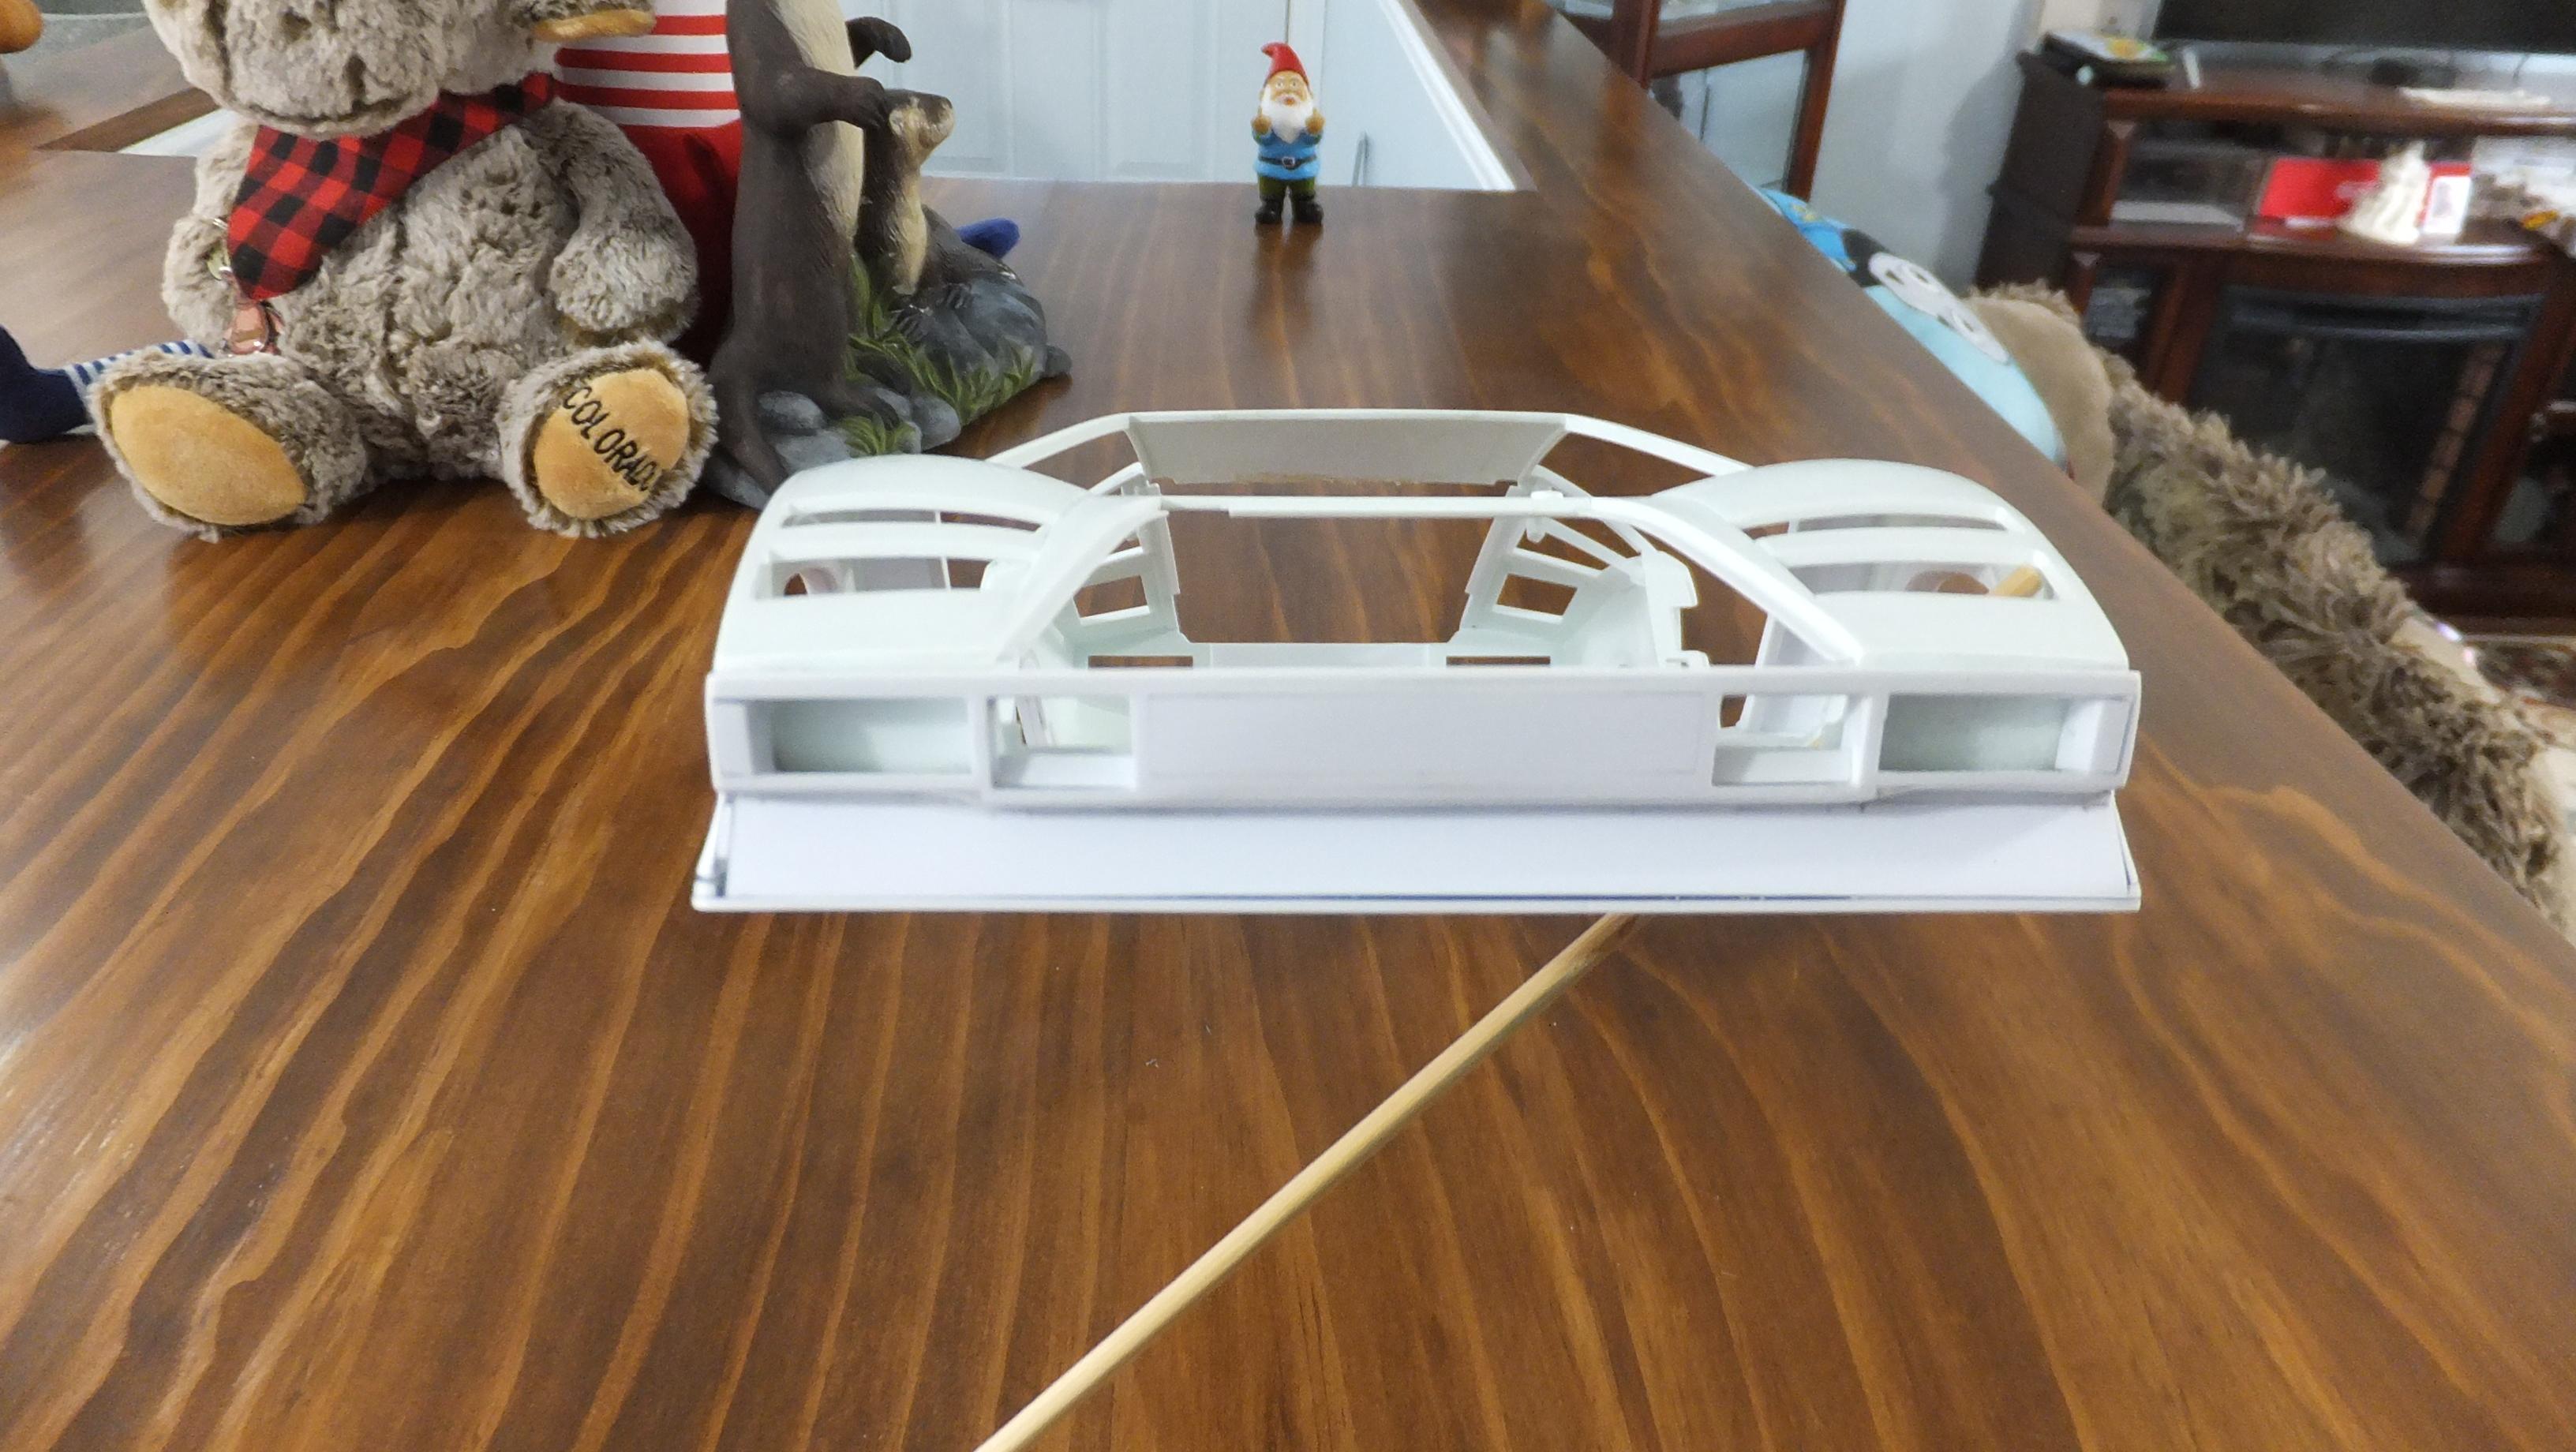
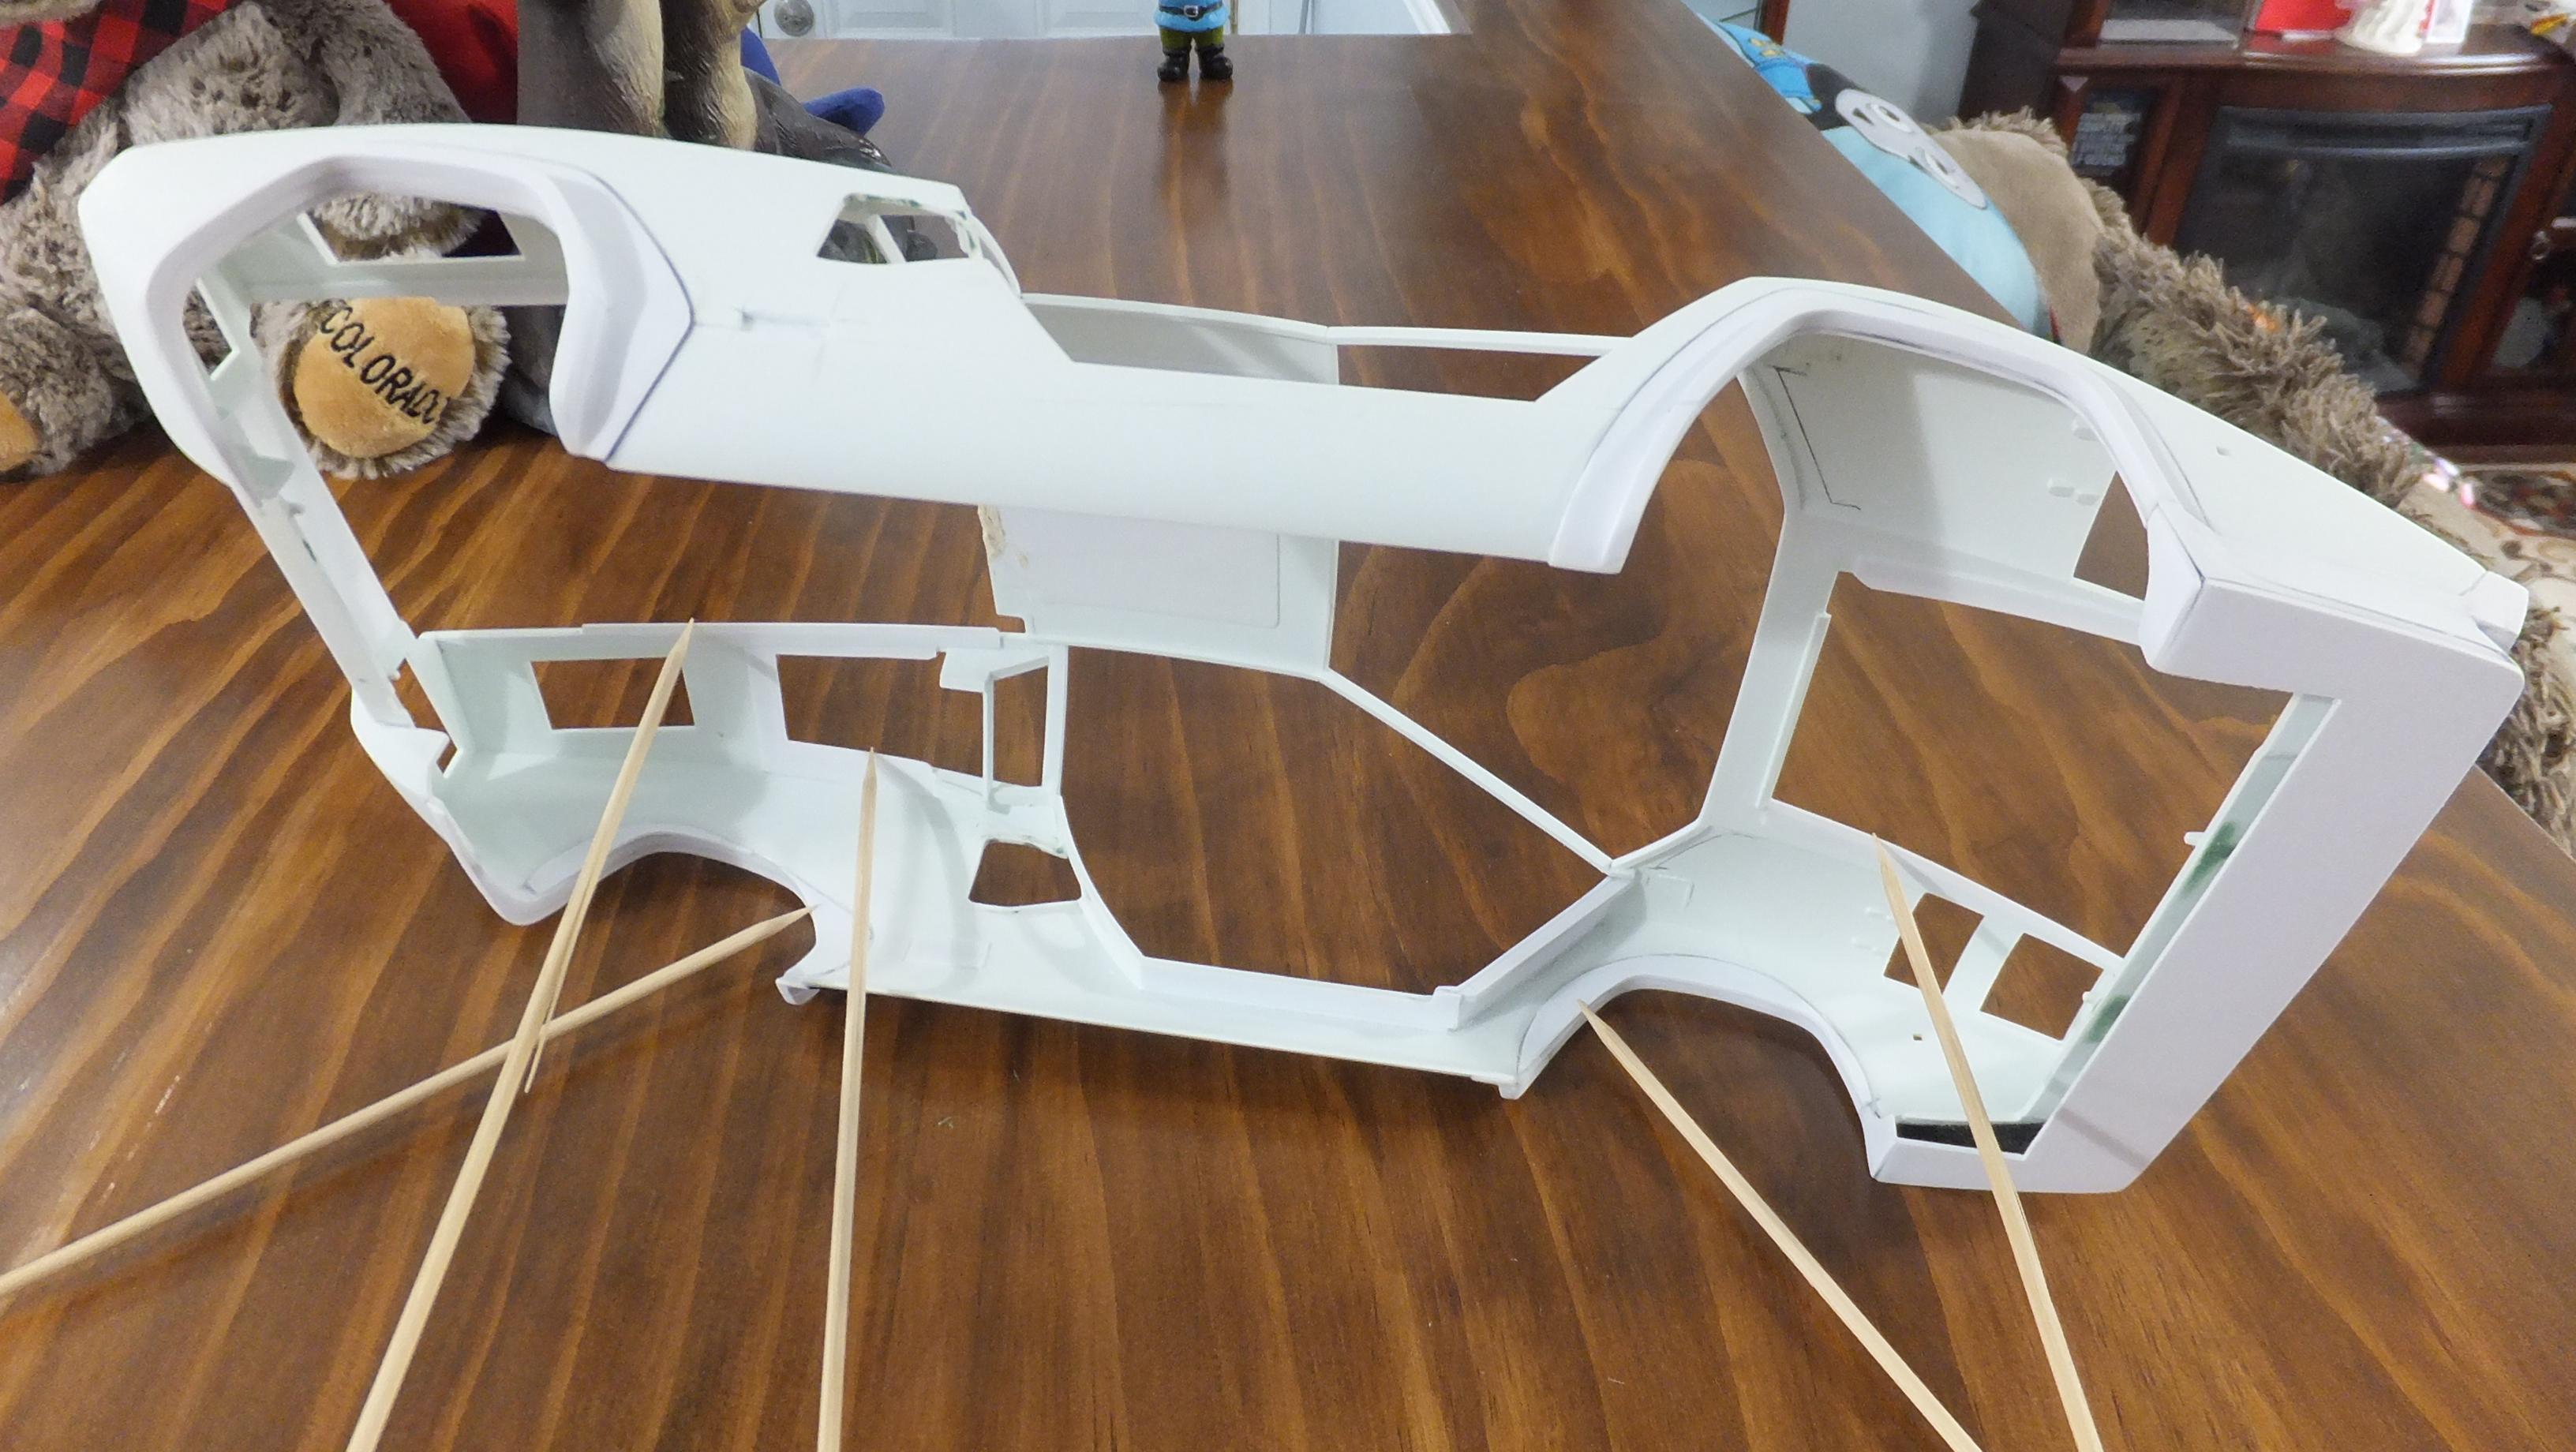
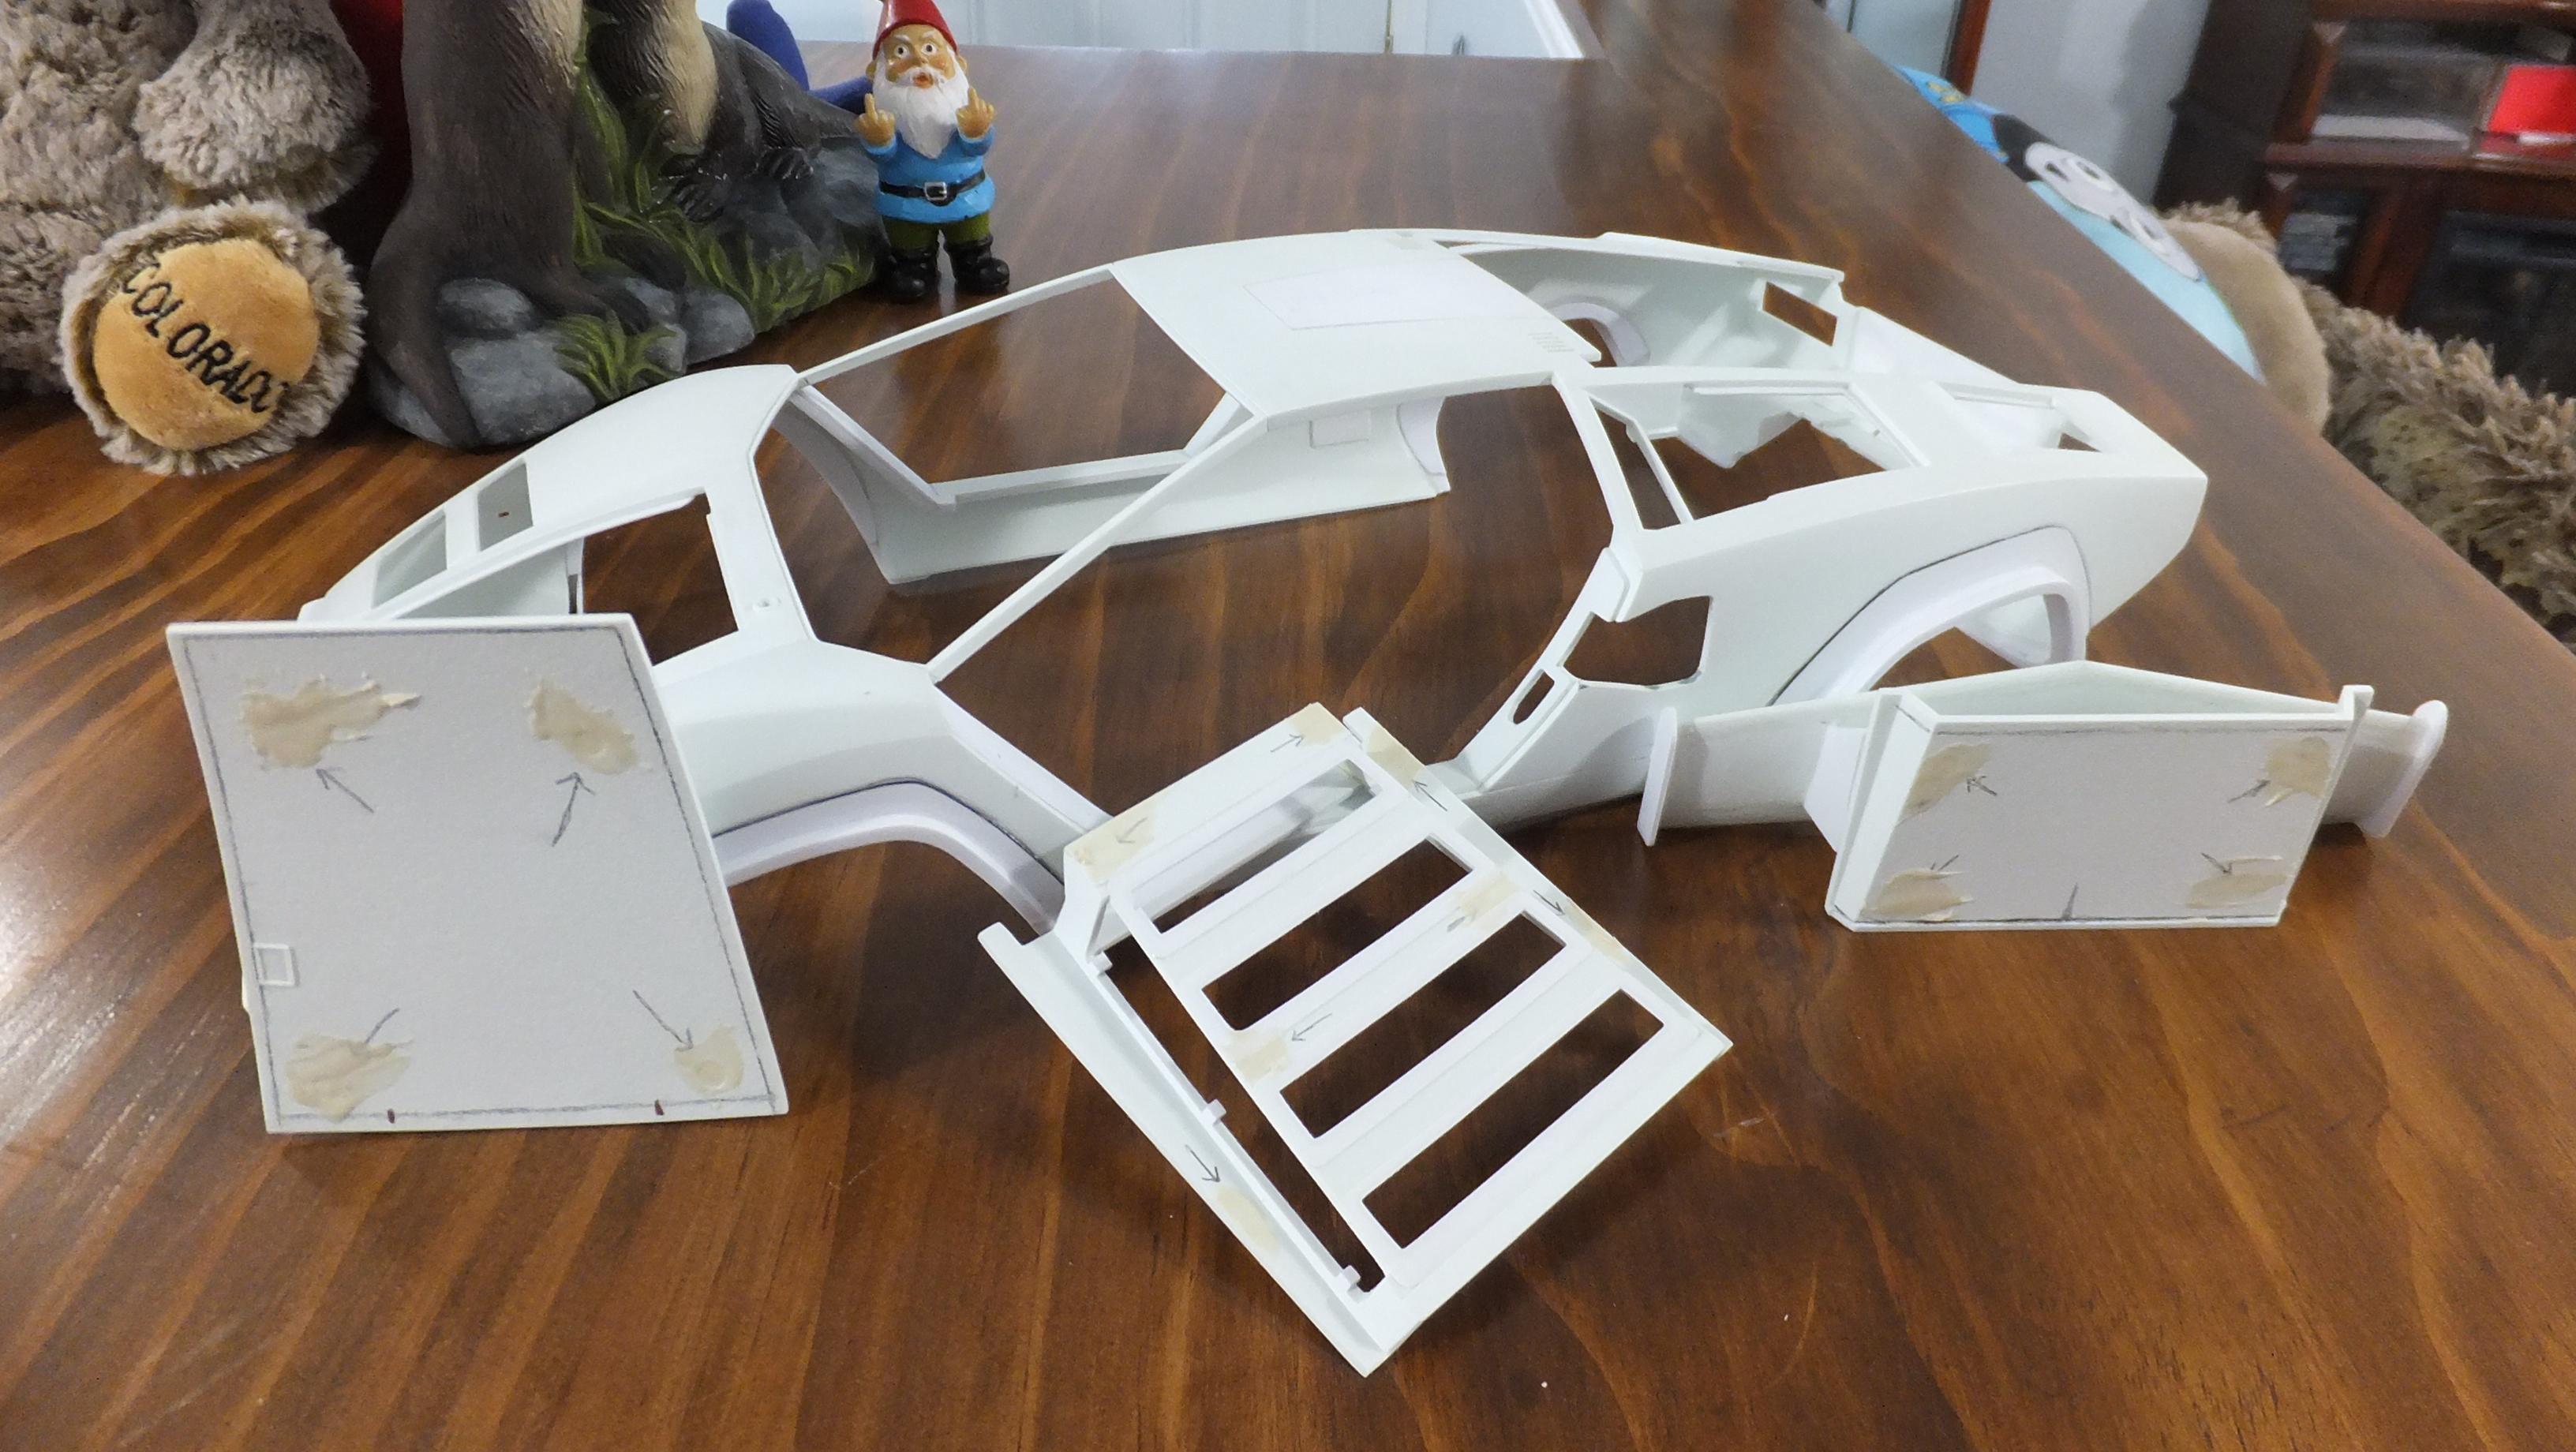
Just heard that the friend that gave me this kit had his cancer go to stage four, so i'm gonna also be kicking this one into full gear so that i can show it to him in person. -Photo 1; The first step to new fender flares was to attach sheet styrene to the openings with the new shape. -Photo 2; I cut an opening in the door sill below the NACA duct that will house the two release levers for the rear hood, and boot. -Photo 3; I tried to use the front door sill that came with the kit, but its gonna be a whole lot easier to make my own...especially since i will be making actual factory door hinges. -Photo 4; I cut out the Bertone badges from both sides, and i will reattach them with better detail. -Photo 5; Stage two for the fenders was to bend square styrene stock around the wheel openings to create the edges. The narrower front got one level, but the wider rear fenders got two levers. -Photo 6; The new front door sills. -Photo 7; I also cut out the scripts from the rear to reattach later as well...notice the shape of the fender flares from the rear. -Photo 8; It was also easier to cover over the kit chin spoiler...i will rework easier now. -Photo 9; All sorts of sheet styrene was used to fill in the old wheel openings, and lips for the bonnet, hood, and boot to rest on. -Photo 10; Ejection marks all filled in.
- 362 replies
-
- 3
-
-
- otaki
- lamborghini
- (and 2 more)
-
Re-engineering Monograms Lotus Esprit...new update!
Dann Tier replied to Dann Tier's topic in WIP: Model Cars
Thanks, David!, it needed it with all the power boost. -
Re-engineering Monograms Lotus Esprit...new update!
Dann Tier replied to Dann Tier's topic in WIP: Model Cars
Thanks, Dennis!, glad you are enjoying it! -
Re-engineering Monograms Lotus Esprit...new update!
Dann Tier replied to Dann Tier's topic in WIP: Model Cars
Thanks, Mathias!, i will be back to it soon again. -
Re-engineering Monograms Lotus Esprit...new update!
Dann Tier replied to Dann Tier's topic in WIP: Model Cars
Thanks, Atin!...yes it is! -
Re-engineering Monograms Lotus Esprit...new update!
Dann Tier replied to Dann Tier's topic in WIP: Model Cars
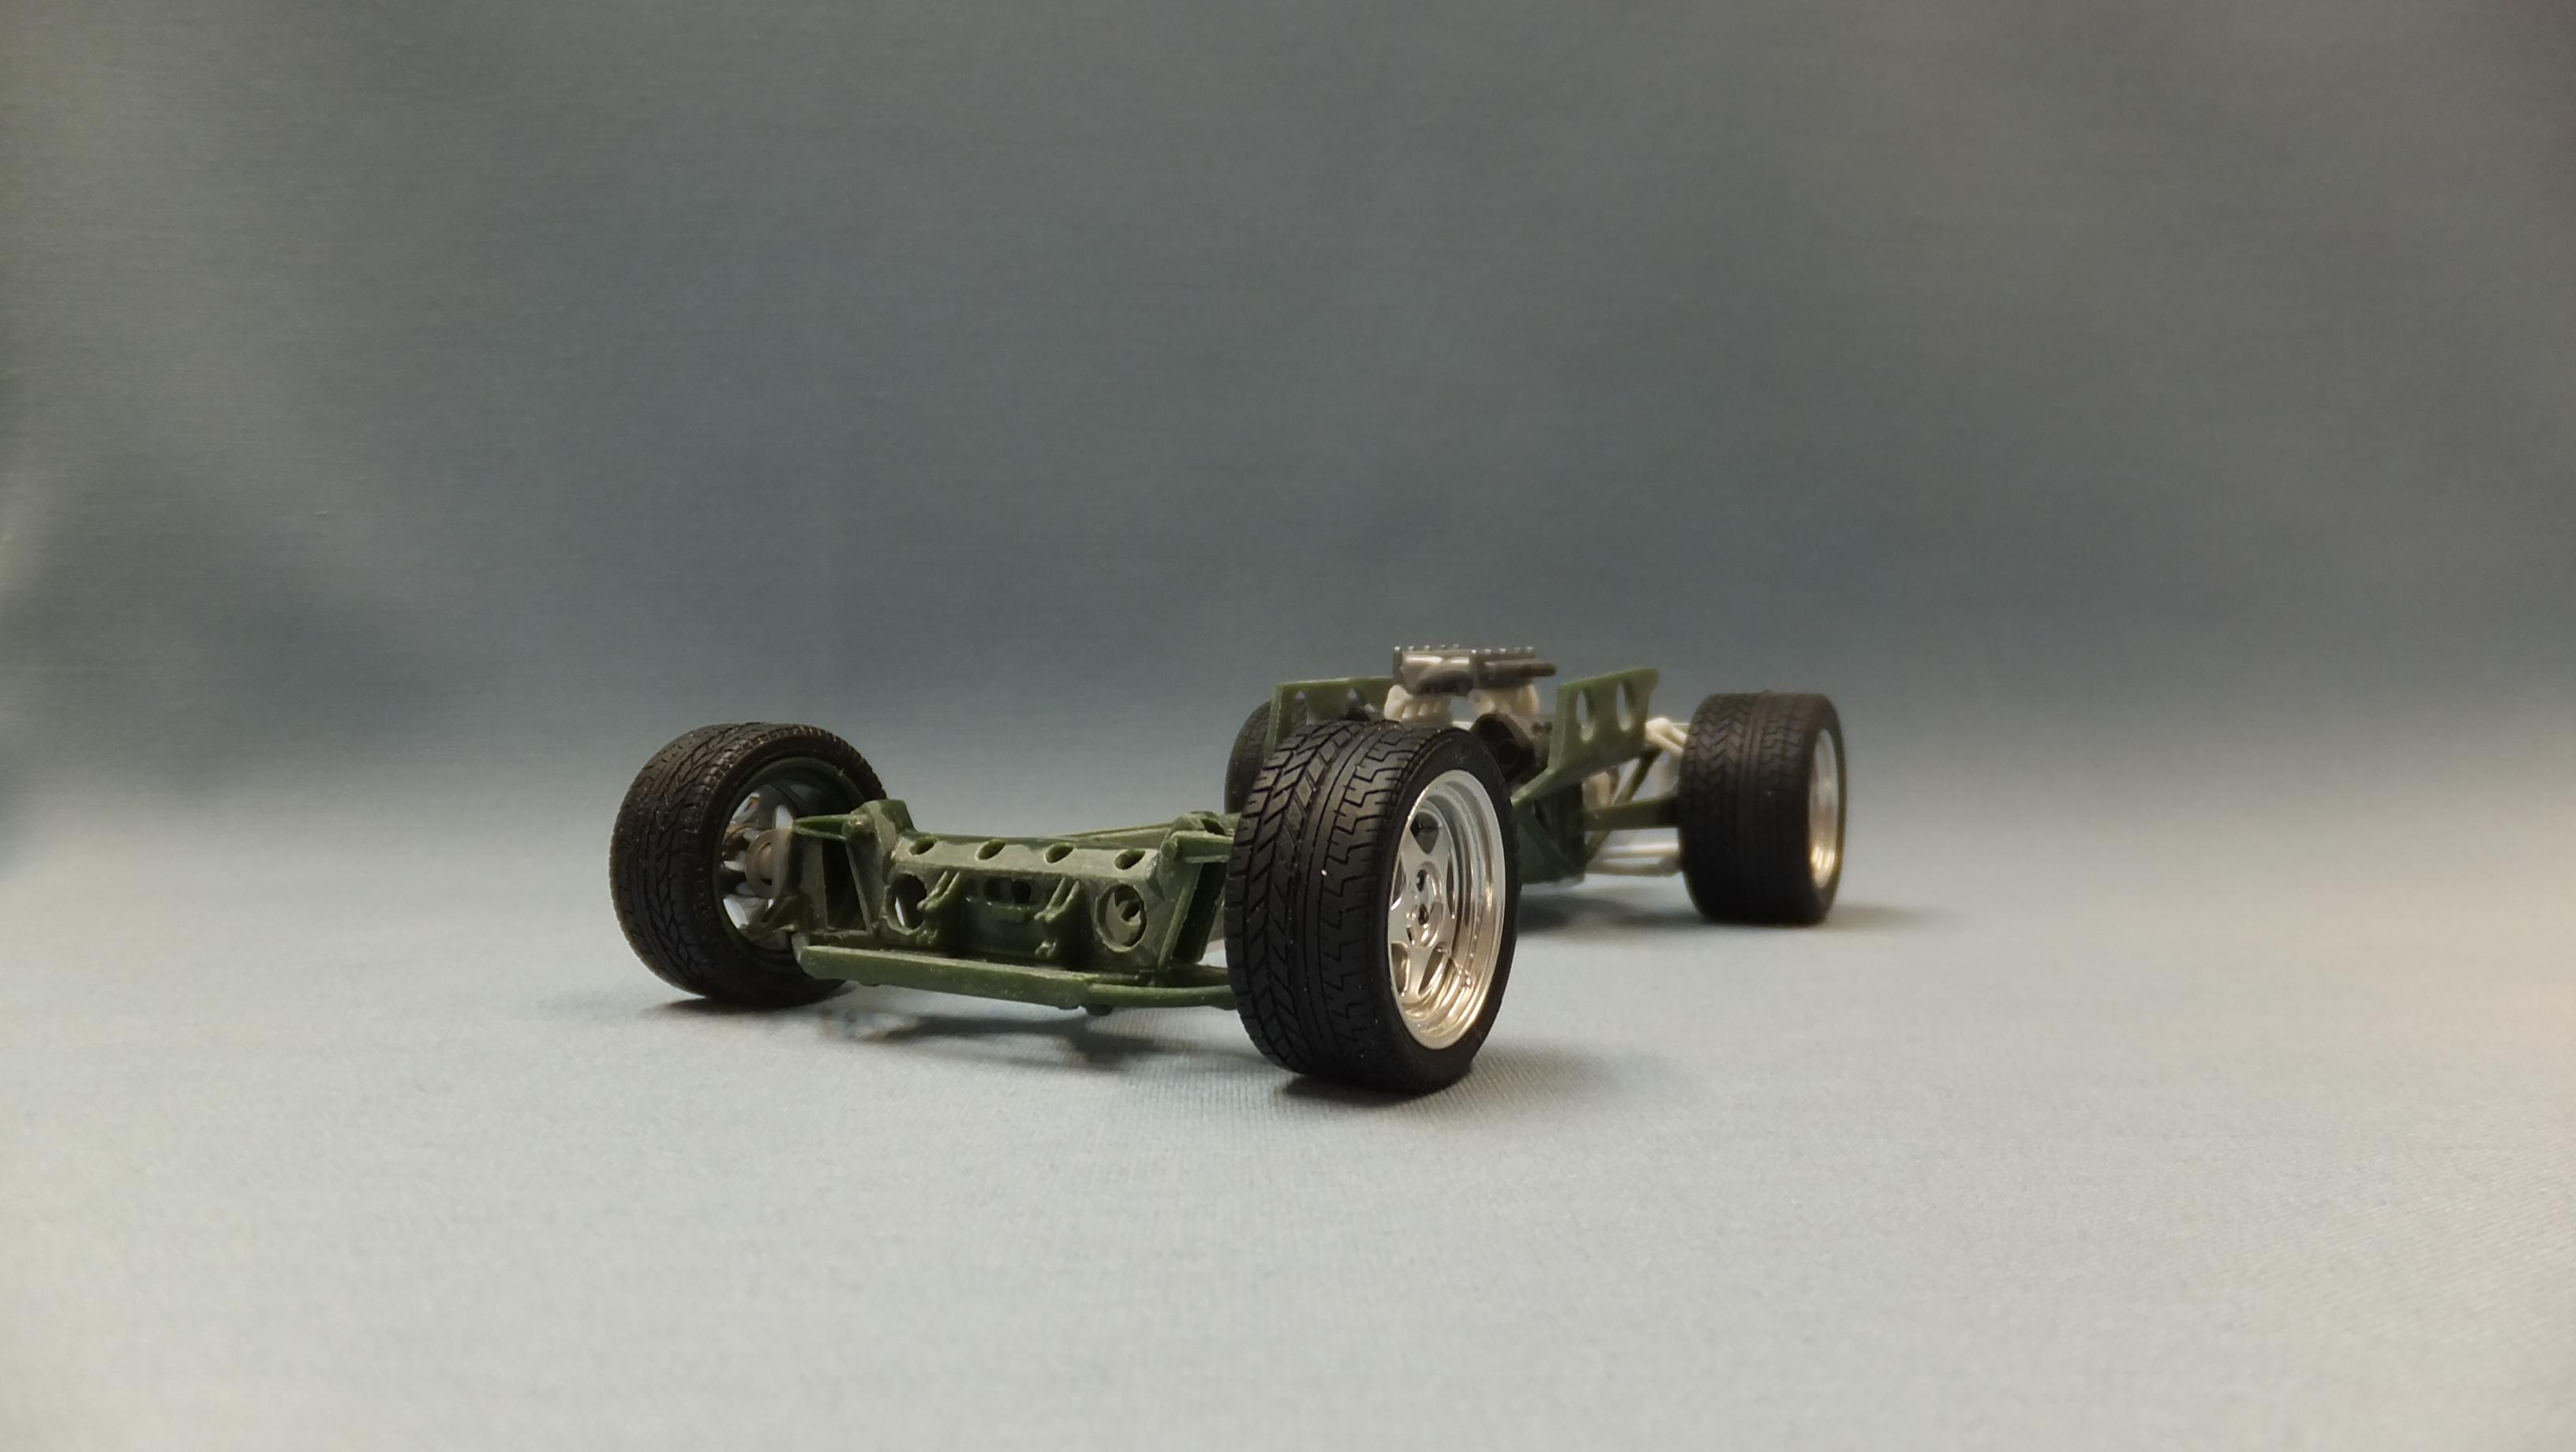
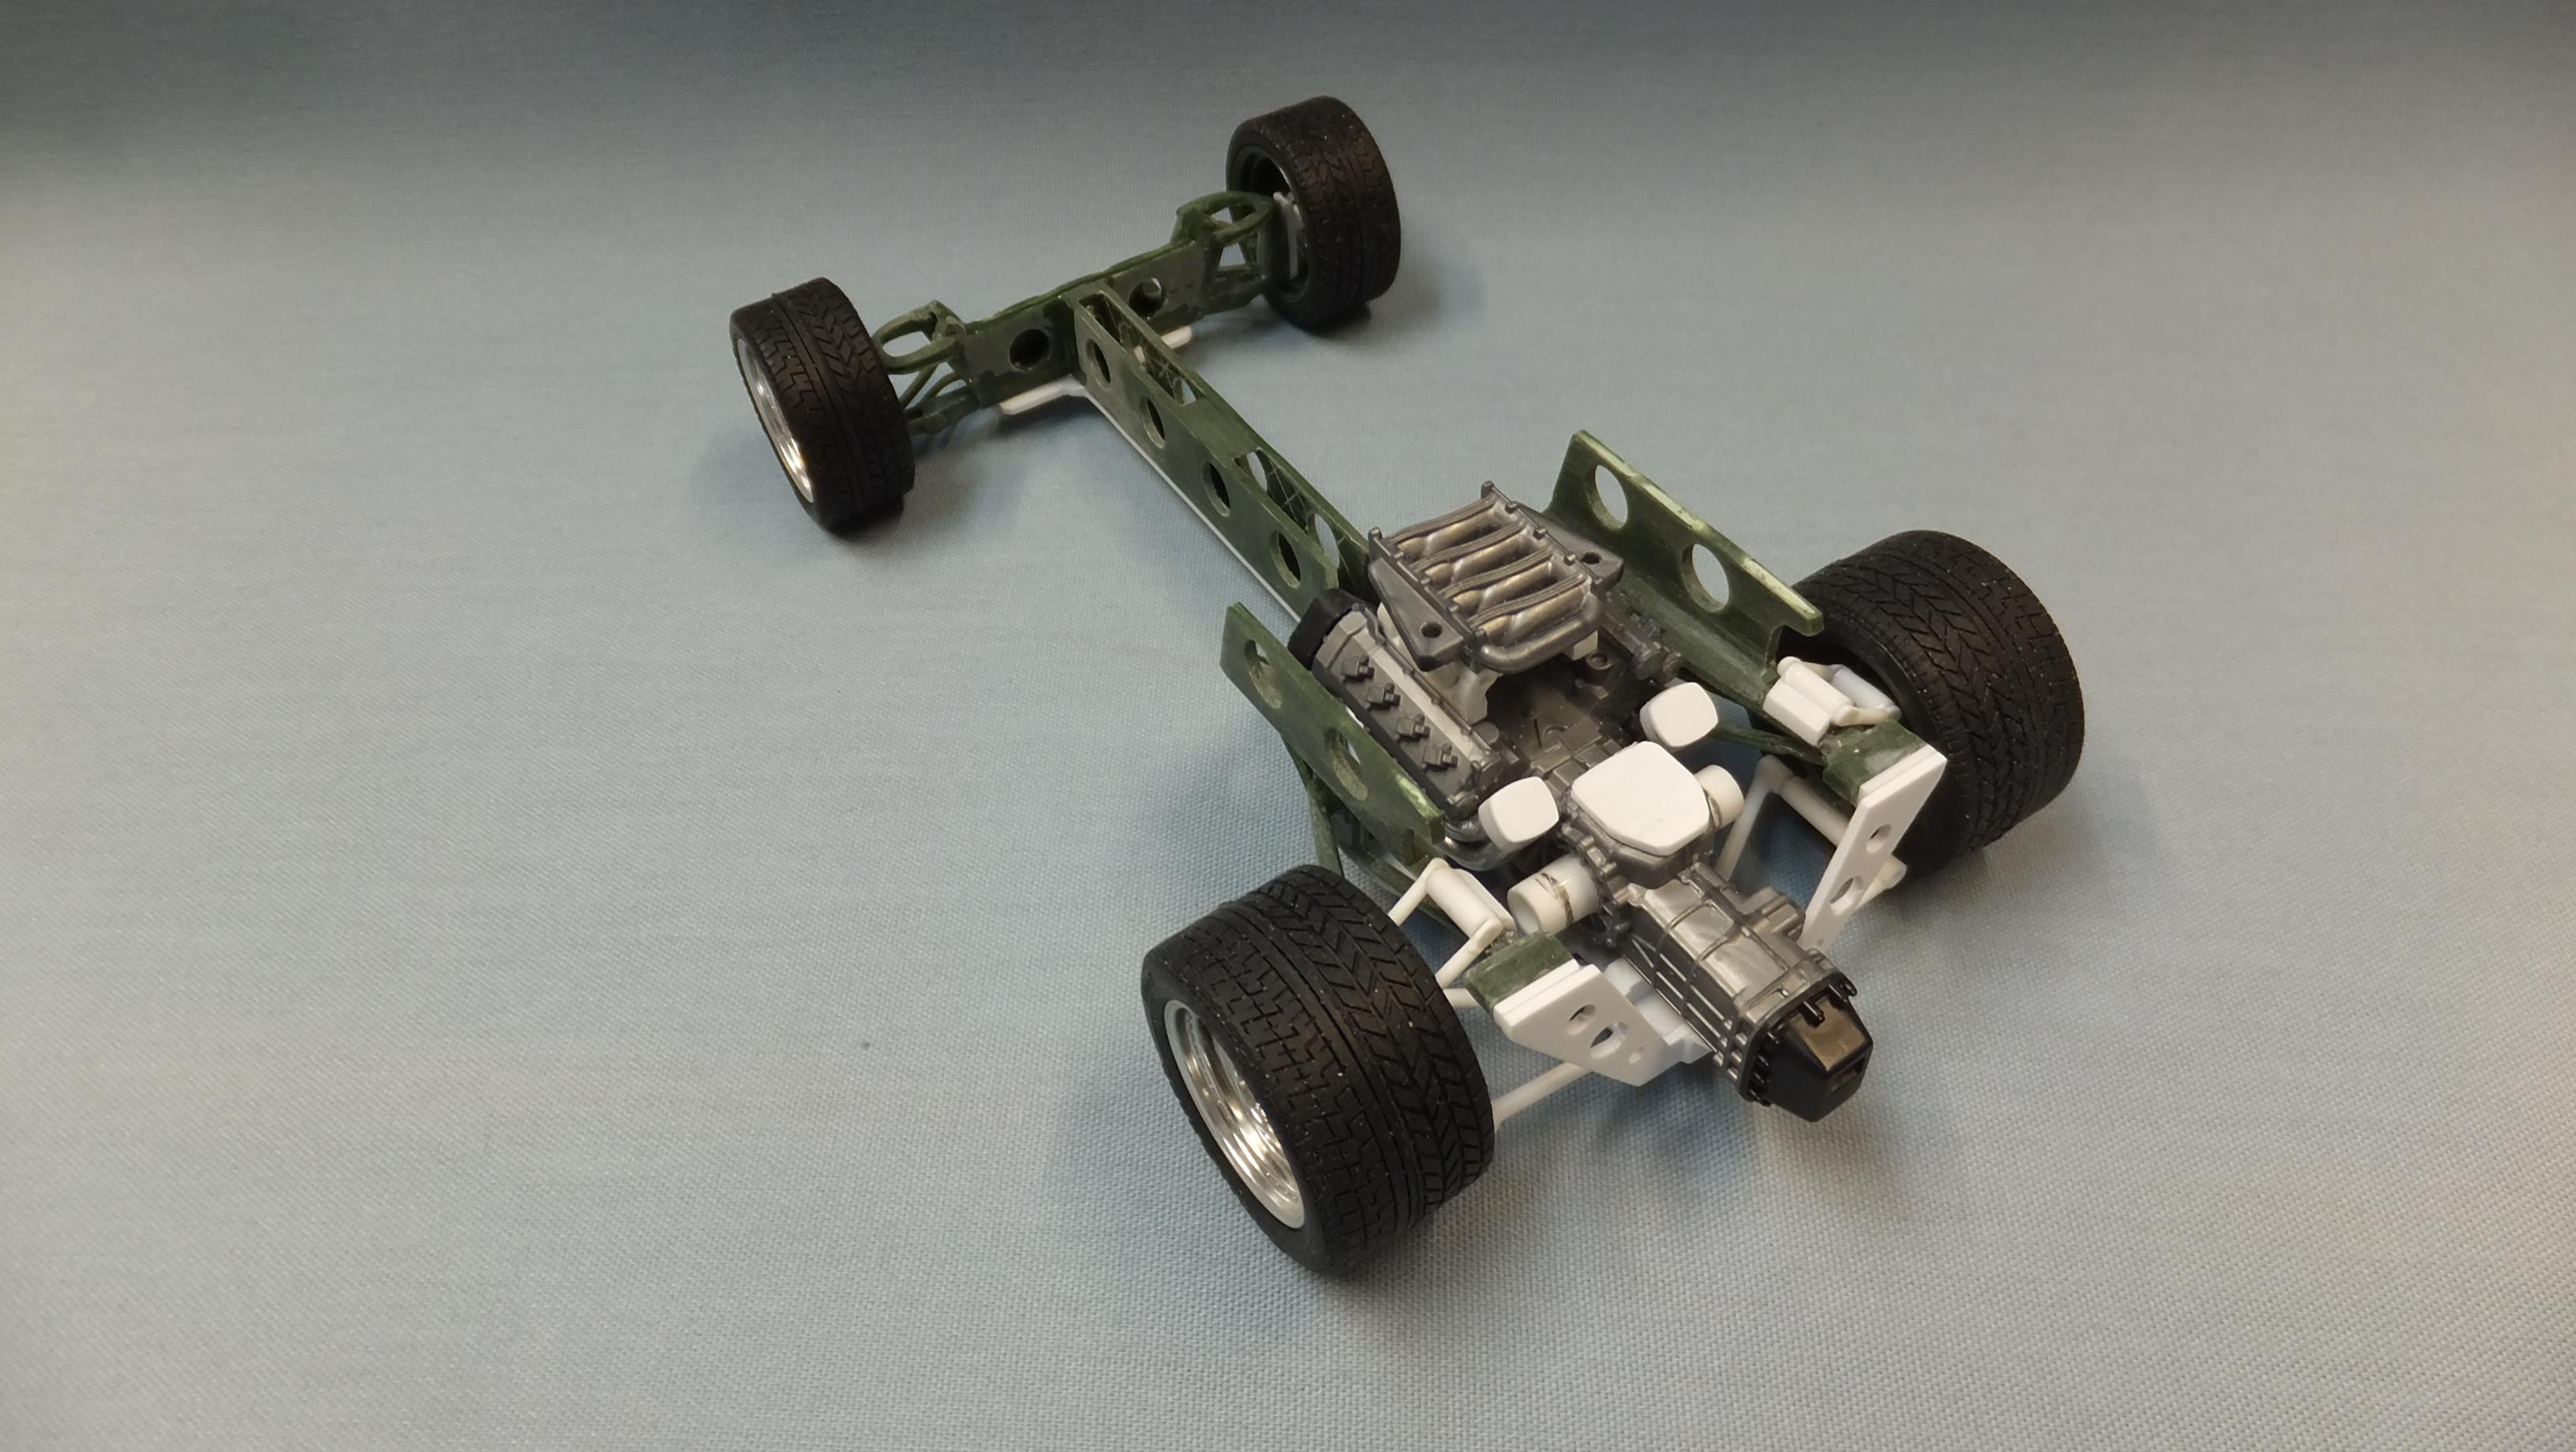
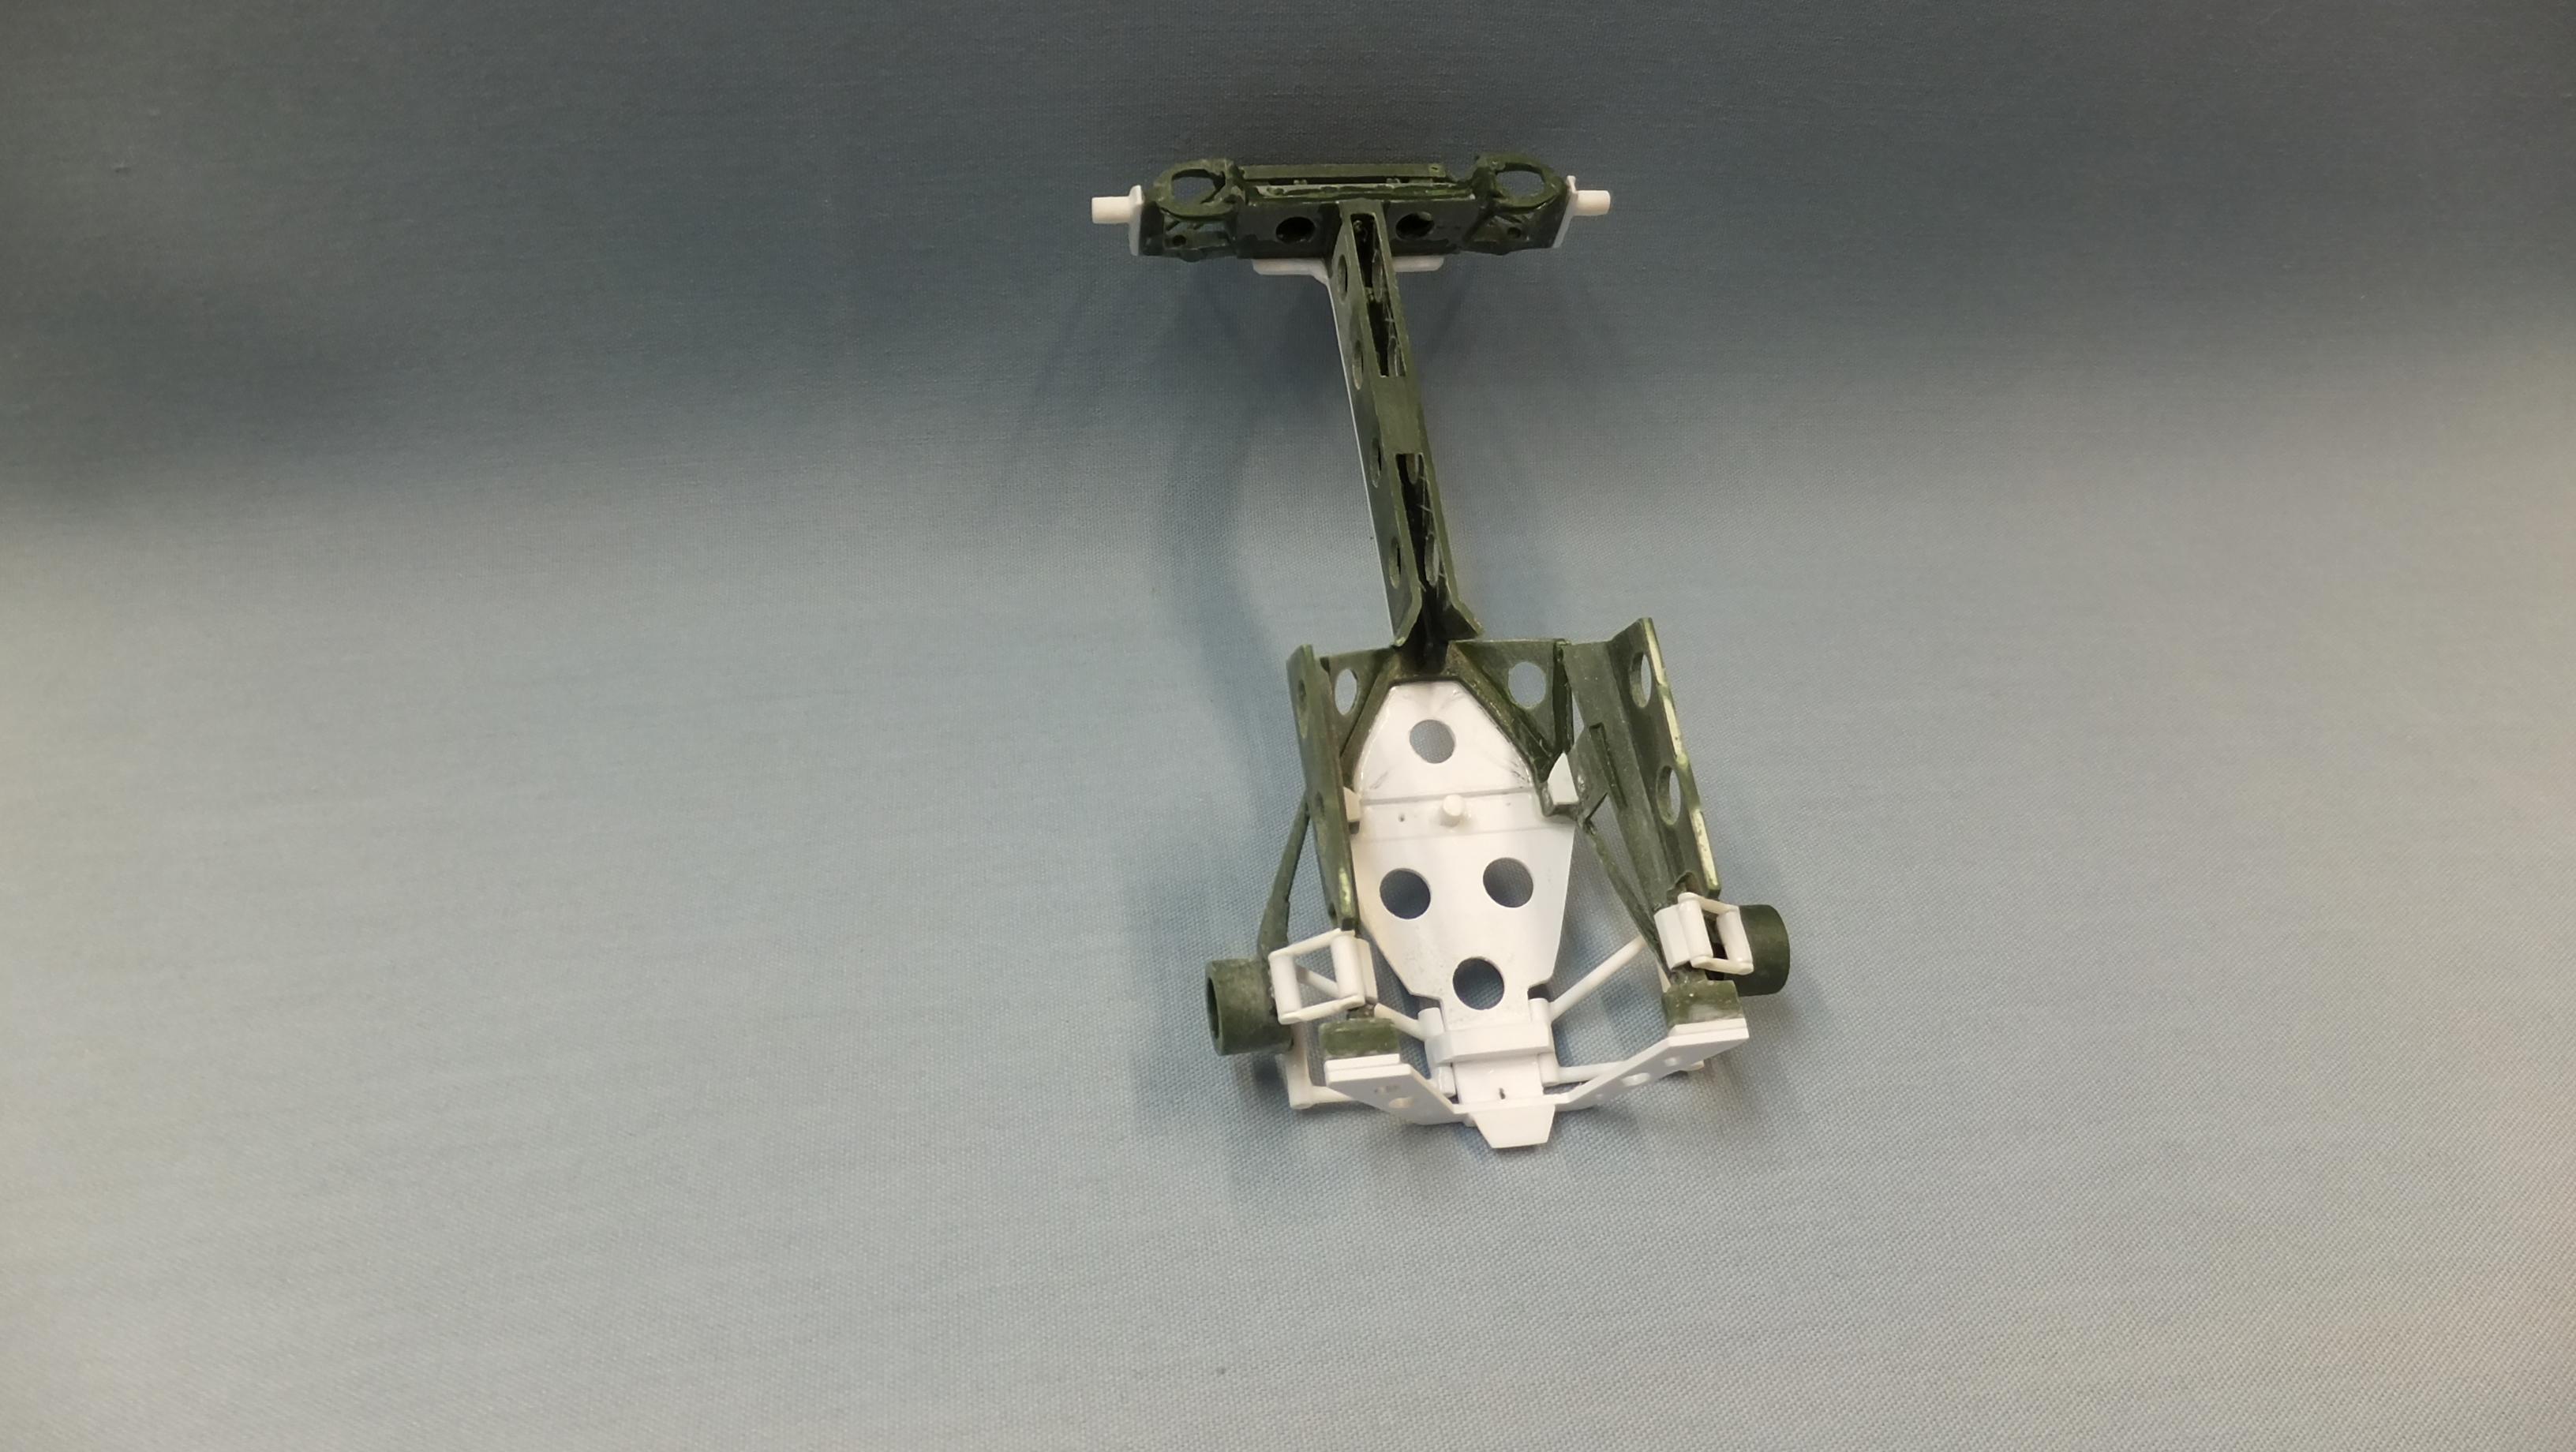
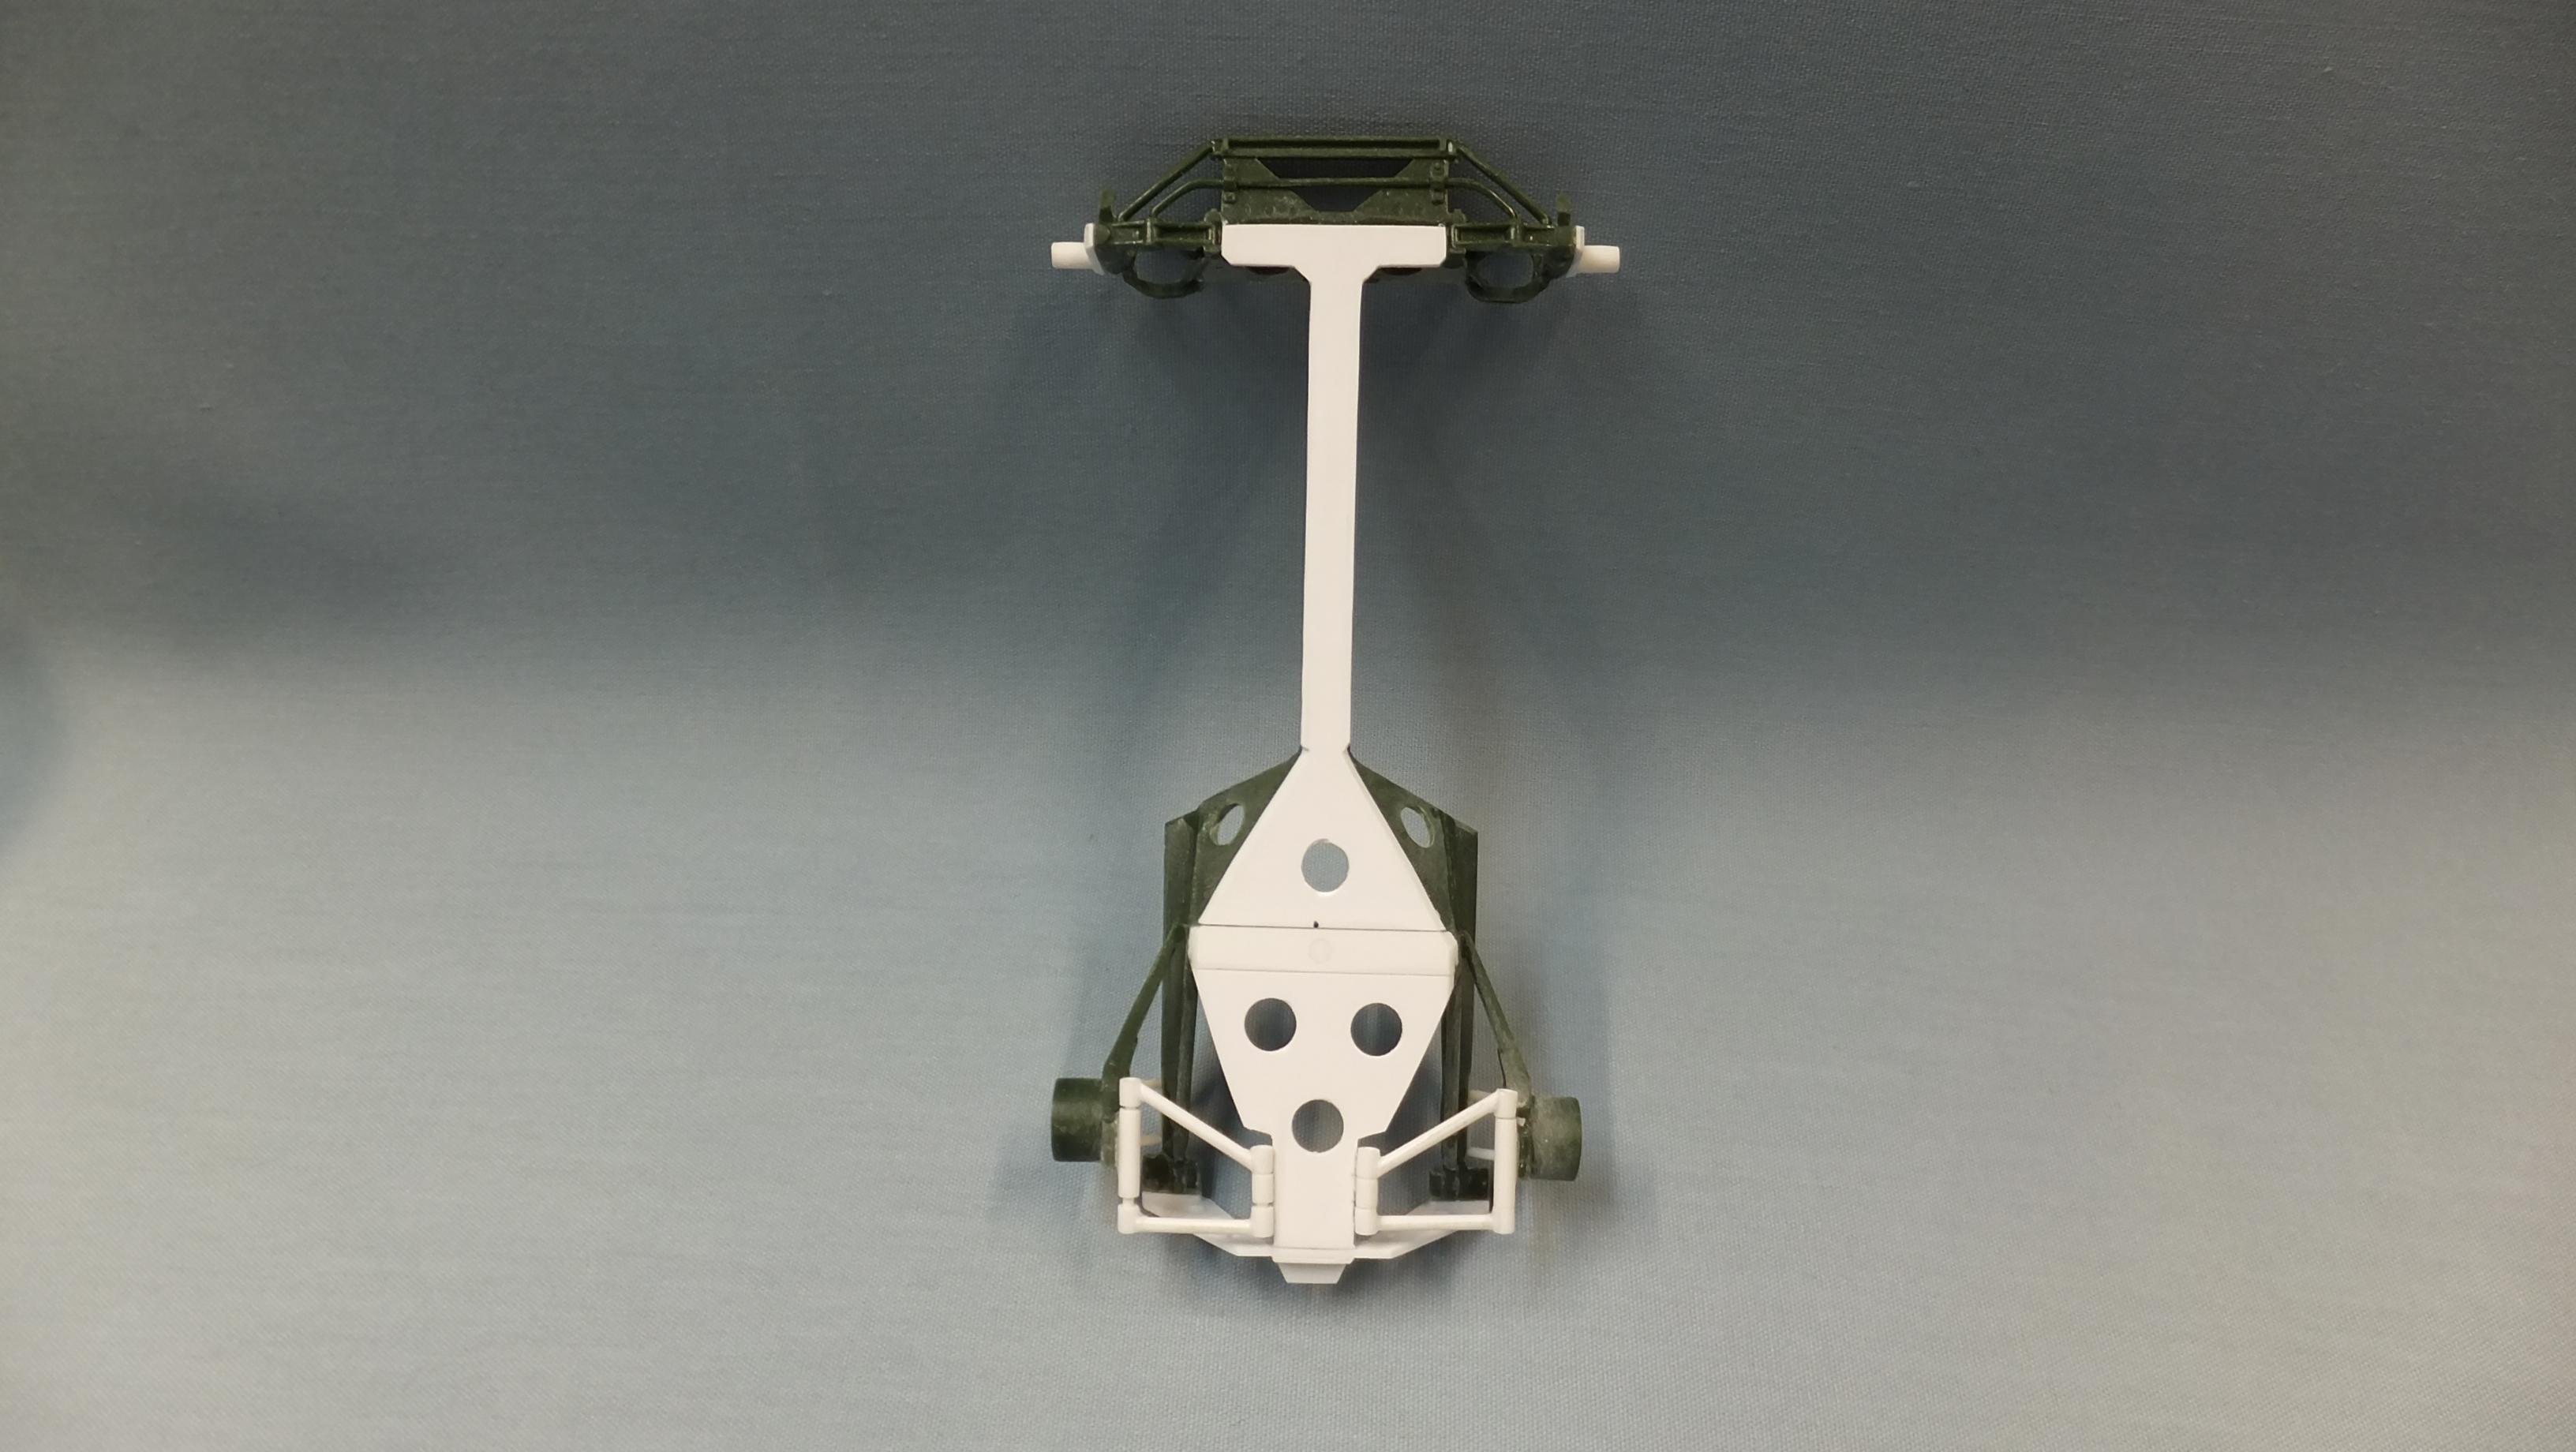
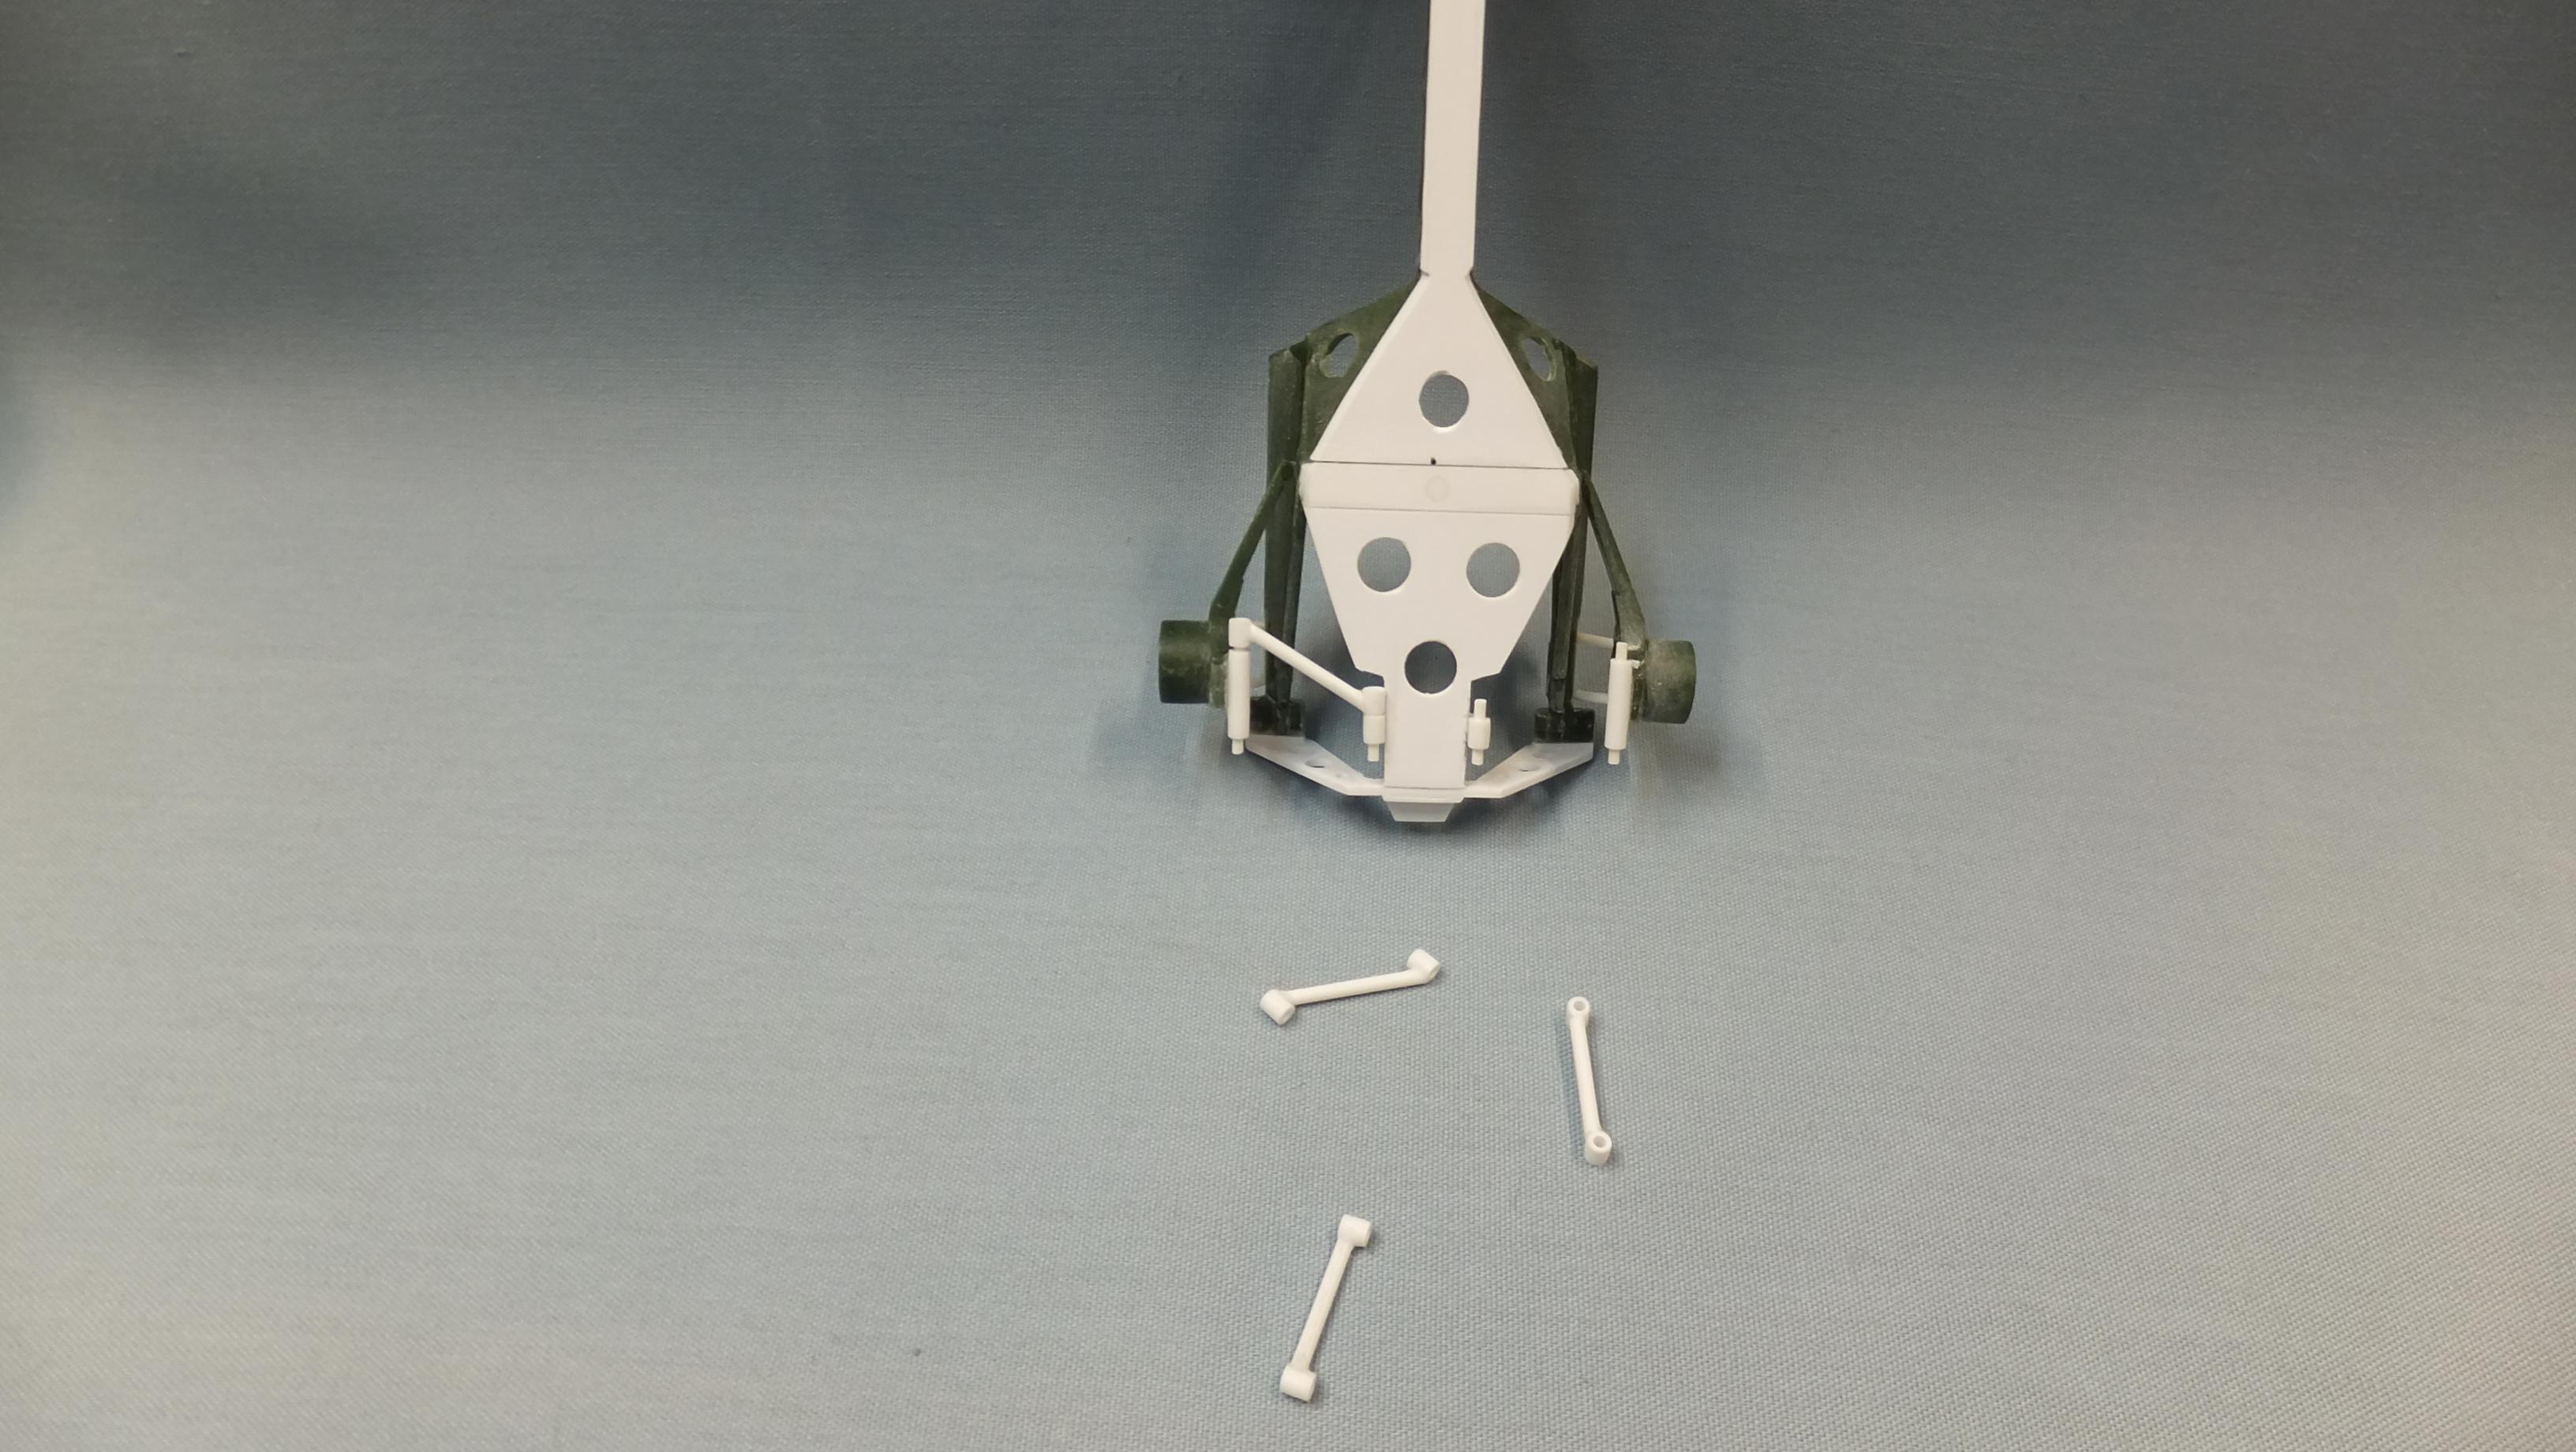
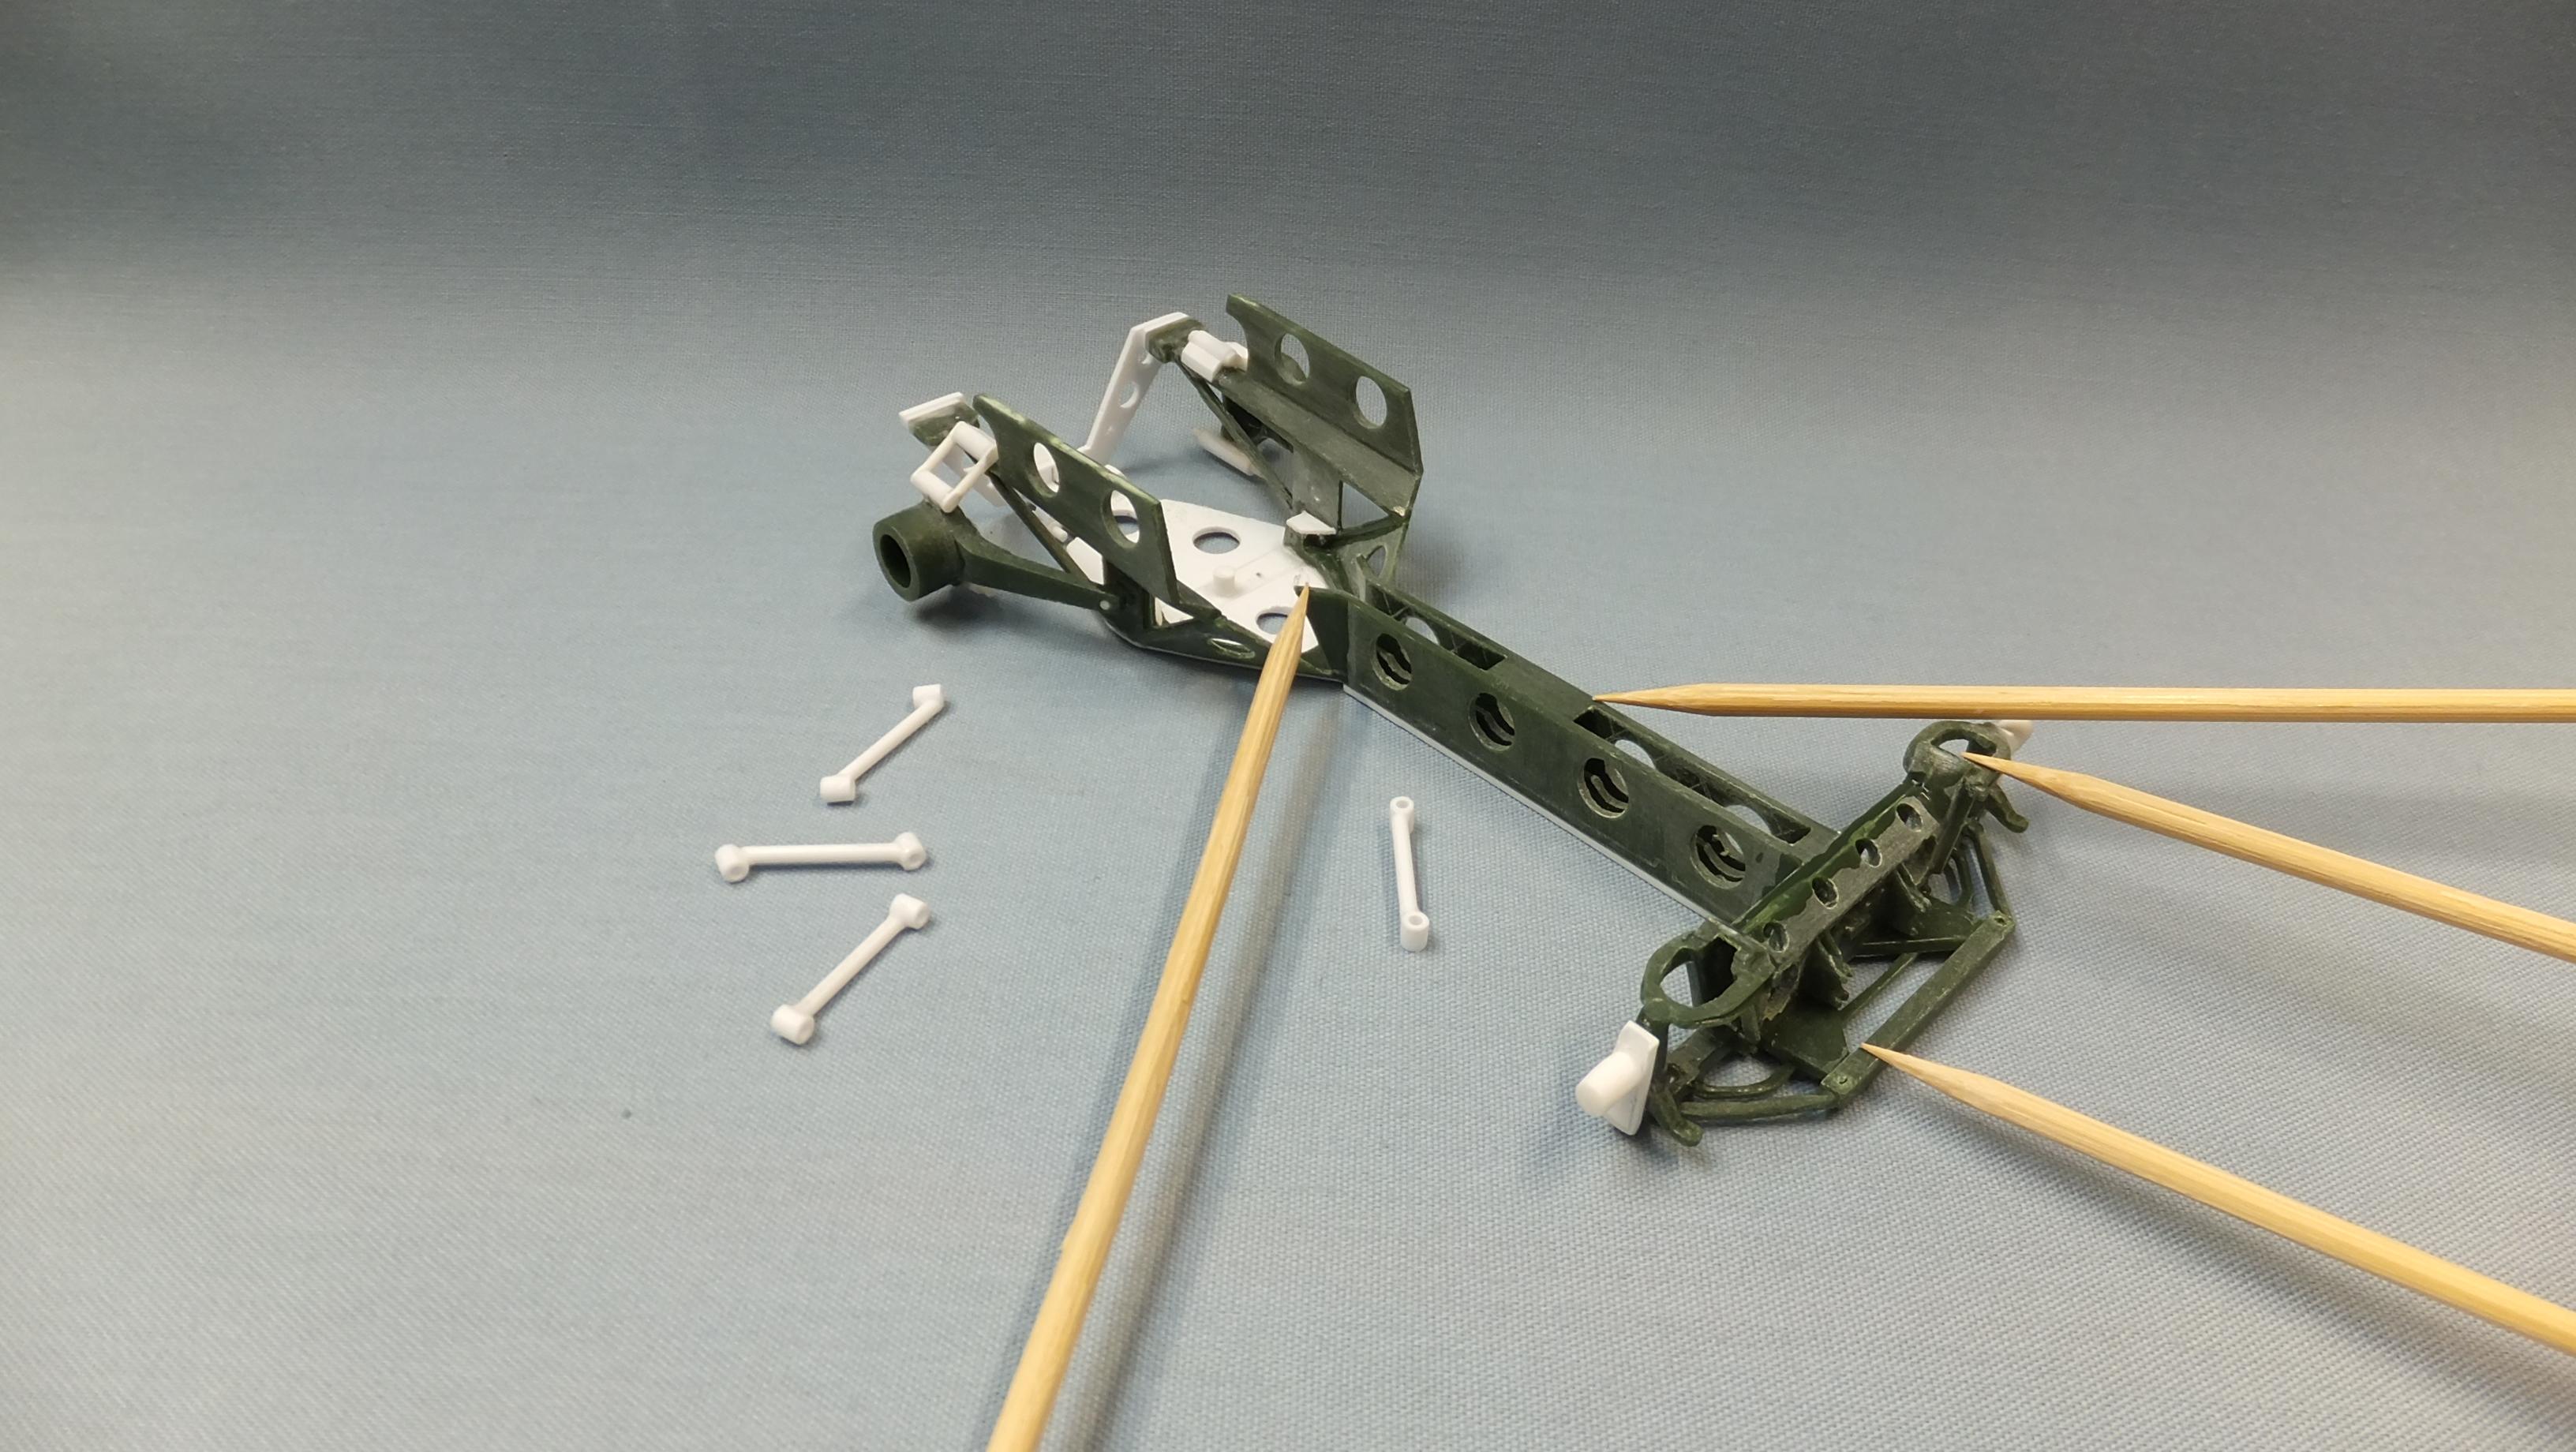
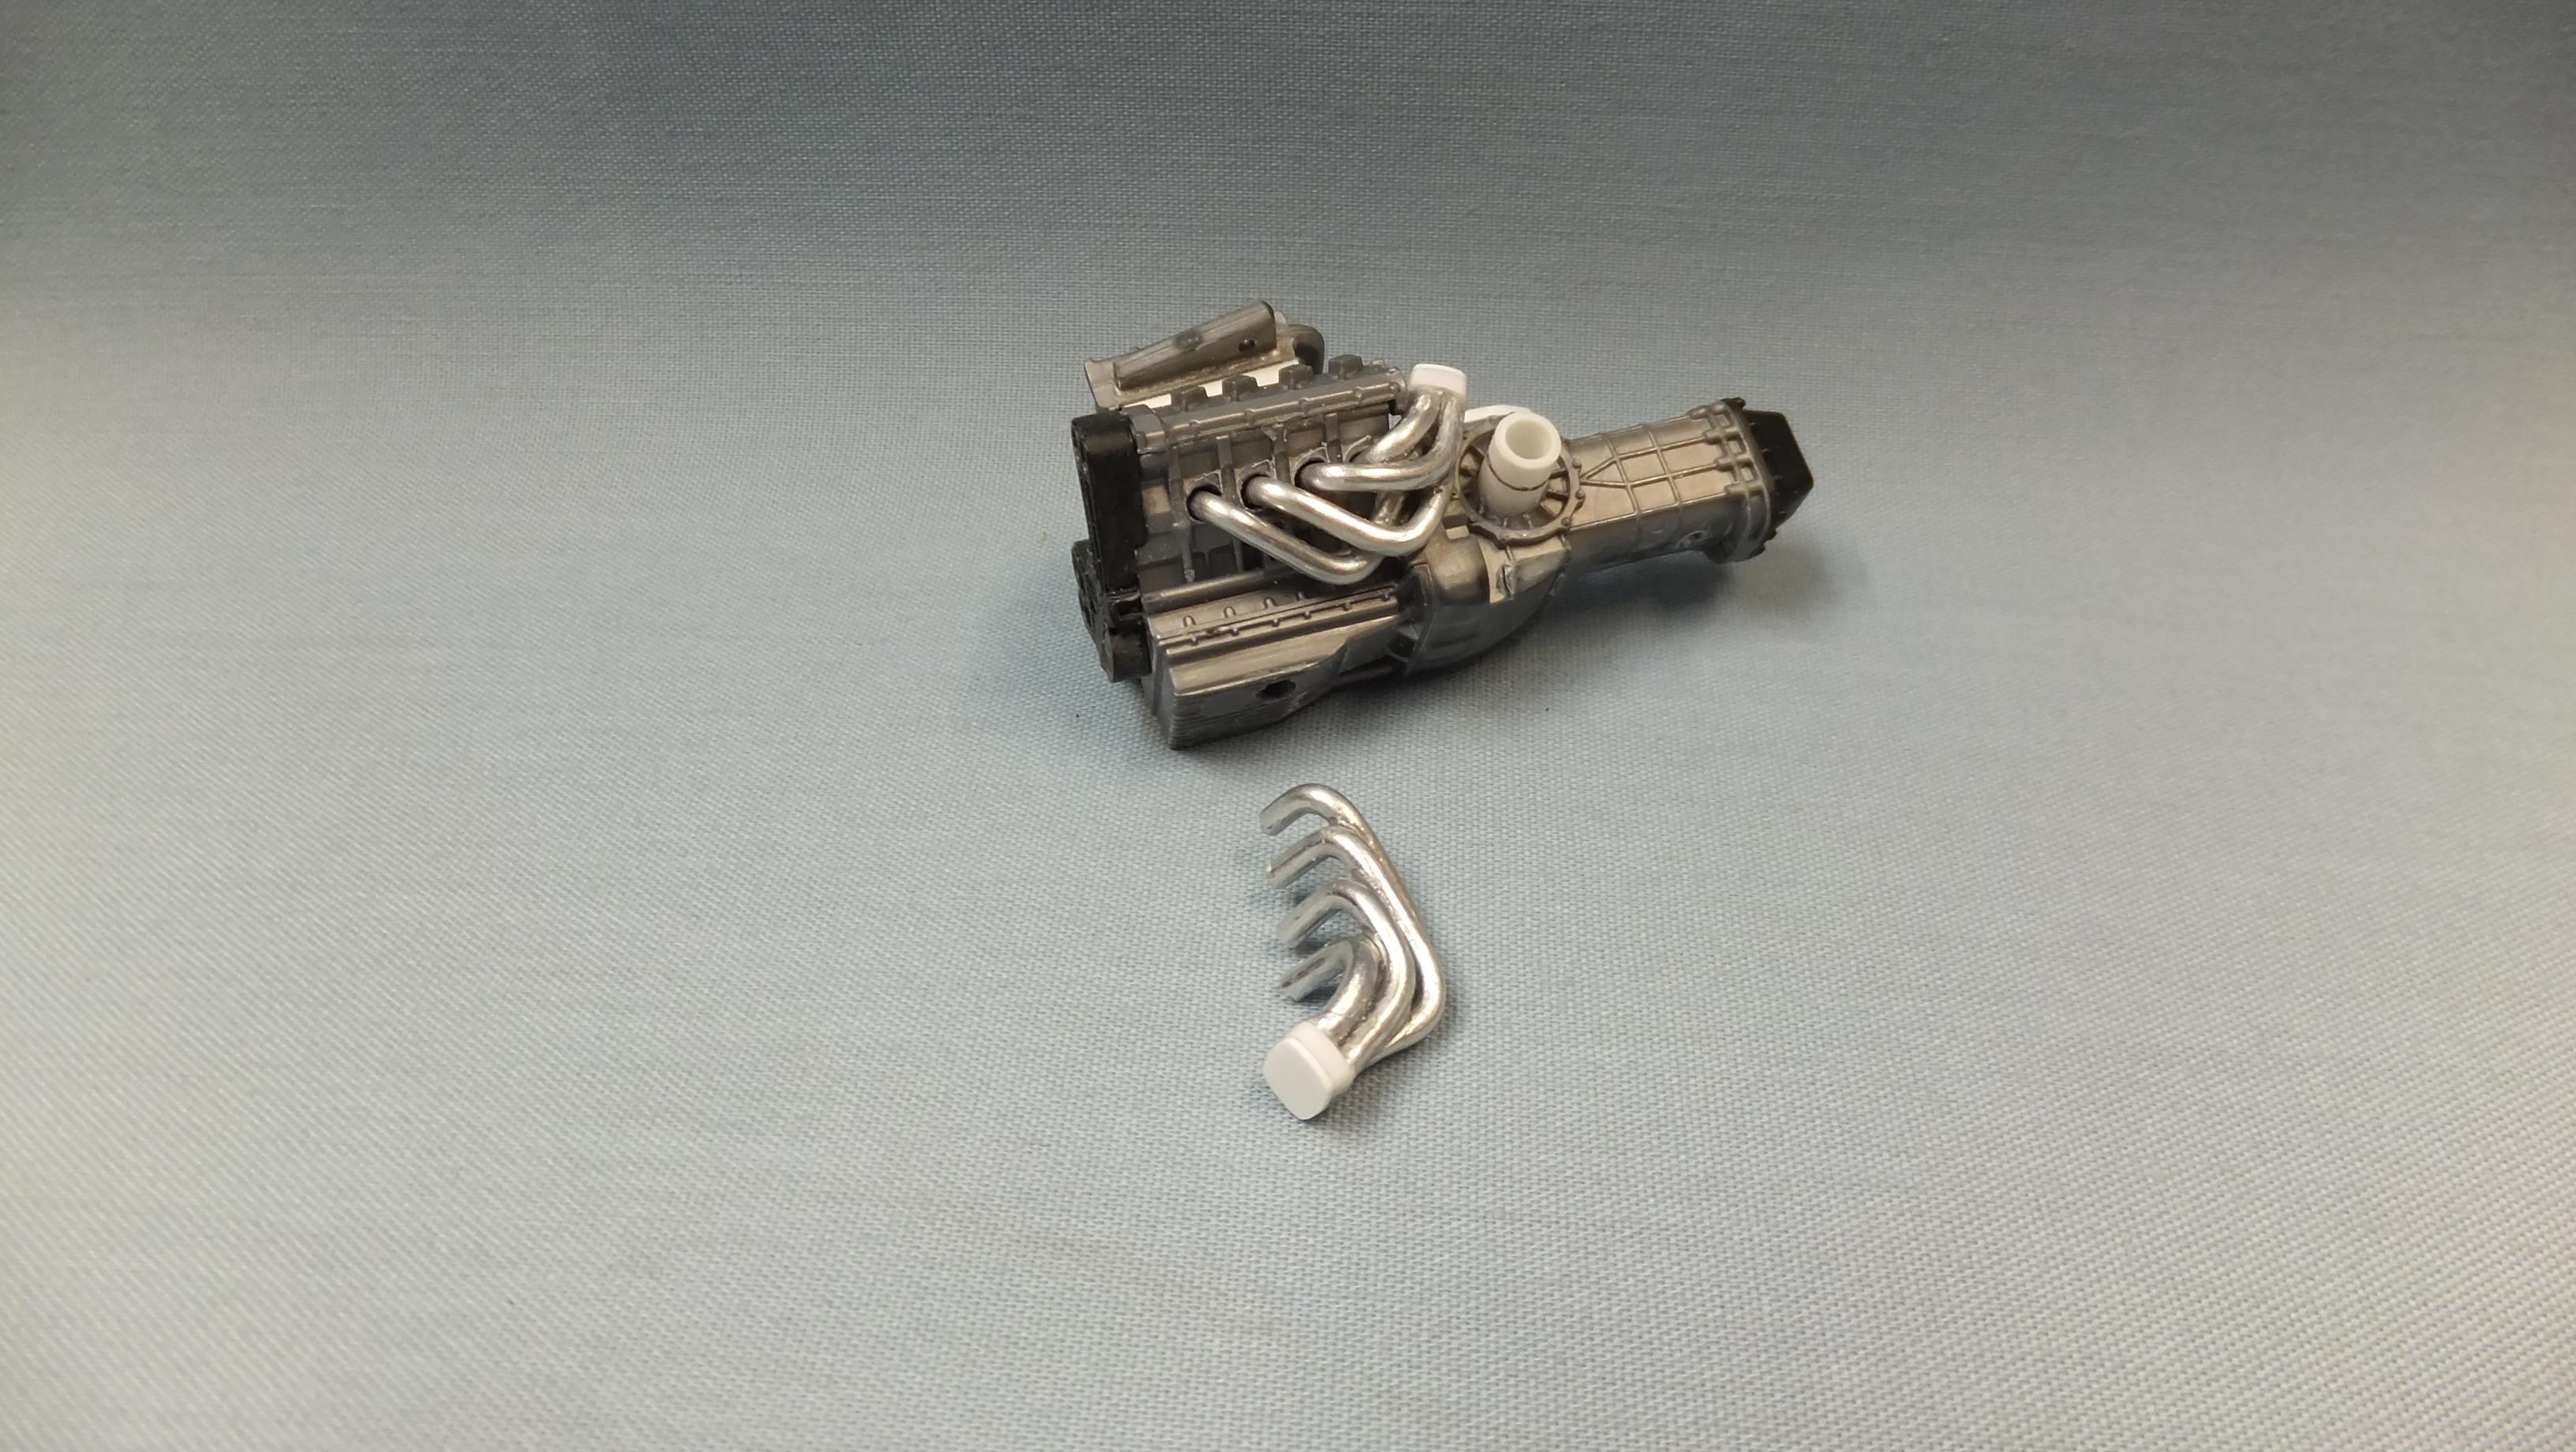
Its not Sunday, but better late than never, right? Theres been alot of hacking, fitting, and redoing. Over all, i decided to lighten up the car a bit more, hence all the holes. I normally dont bother with details that wont be seen, but i thought it would be cool to be able to still lift the body off the frame -only because its a very unique assembly. -Photos 1-3; Heres how it sits lowered, and leveled. Most bits arent glued yet...there are a few more tweaks to do. Photo 4; everything has been beefed up to handle the power increase. -Photo 5&6; Just more views. -Photo 7; Lowering the suspension wasnt all that was needed to get a proper ride height. I had to shave the top off the long frame section, and remove the firewall to get the rear end to match the front. I didnt have to, but i removed the front upper shock mounts to be able to add upgraded coil overs. The front cooler framework kept braking off during sanding, so i left it off til the end. The walls up the sides of the engine were shaved a bit as well. -Photo 8; Made some headers, but no matter how much i snugged them up out of the way, i couldnt find a way to keep the brakes up against the tranny...its a bummer, so they have to be relocated to the wheels -sorry Lotus fans.
-
Re-engineering Monograms Lotus Esprit...new update!
Dann Tier replied to Dann Tier's topic in WIP: Model Cars
Thanks, Ken!, cant say they've ever reminded me of Pantera's though, lol. -
Re-engineering Monograms Lotus Esprit...new update!
Dann Tier replied to Dann Tier's topic in WIP: Model Cars
Thanks, Ray...i'm glad you do! -
Re-engineering Monograms Lotus Esprit...new update!
Dann Tier replied to Dann Tier's topic in WIP: Model Cars
Thanks, David, its great to get back to it! -
Very cool!
-
Well done!
-
BEAUTIFUL!!
-
Sweet! Nice wheel choice too!
-
So cool!! I wish it came in 1/24.
-
Re-engineering Monograms Lotus Esprit...new update!
Dann Tier replied to Dann Tier's topic in WIP: Model Cars
Hey, everyone!, I have now been back to working on this one again, and will have a really productive update on Sunday! -
Its well deserved! This is a VERY fussy kit (ive more or less built 16 of them), so i can honostly tell you ; well done!
-
Thanks alot, Ray!, its fun again...i only decided to start it up again because of you.
-
'70 Plymouth Duster street/strip replica from the '80ies
Dann Tier replied to Reuhkapelti2's topic in WIP: Model Cars
Alot of work, but its off to a great start! -
I've always been curious about this kit...following for sure.
-
My favorite car in the whole world, and you're doing this kit great!
-
This is gonna be cool! I've always loved these cars.