FrozenPlastik49
-
Posts
73 -
Joined
-
Last visited
Content Type
Profiles
Forums
Events
Gallery
Everything posted by FrozenPlastik49
-

Jo-Han Javelin inspired by Ringbrothers' Defiant
FrozenPlastik49 replied to FrozenPlastik49's topic in WIP: Model Cars
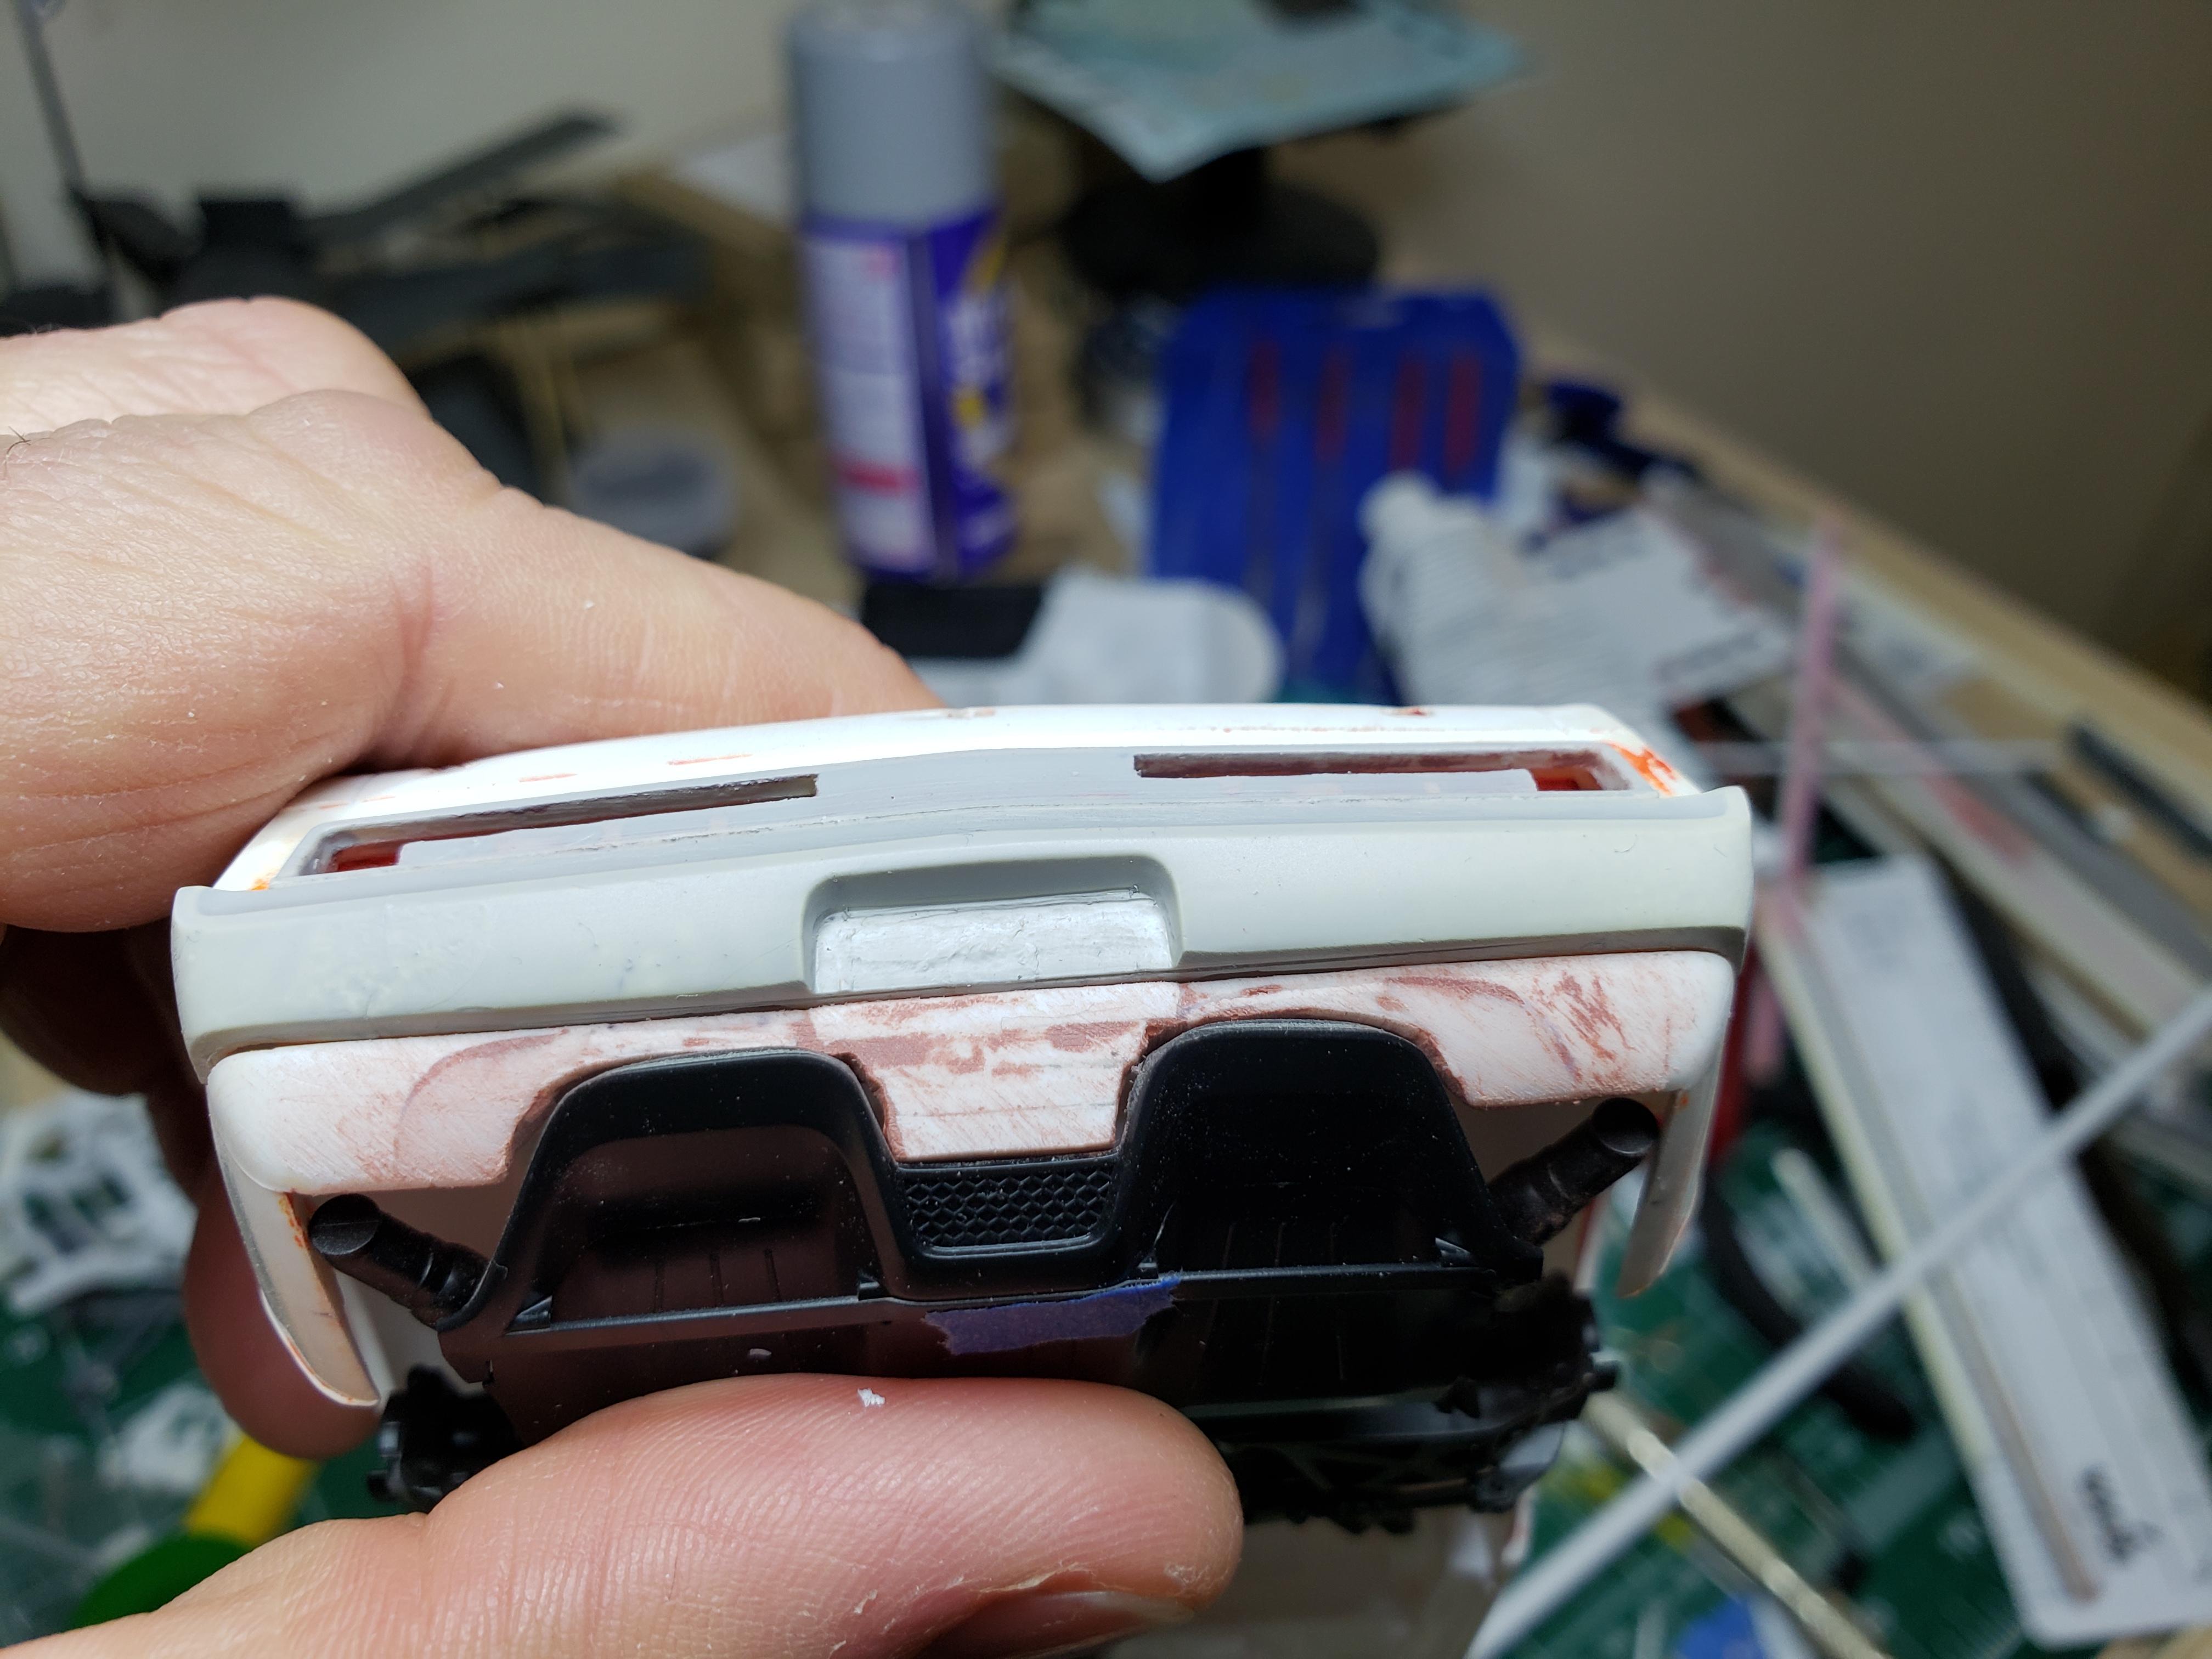
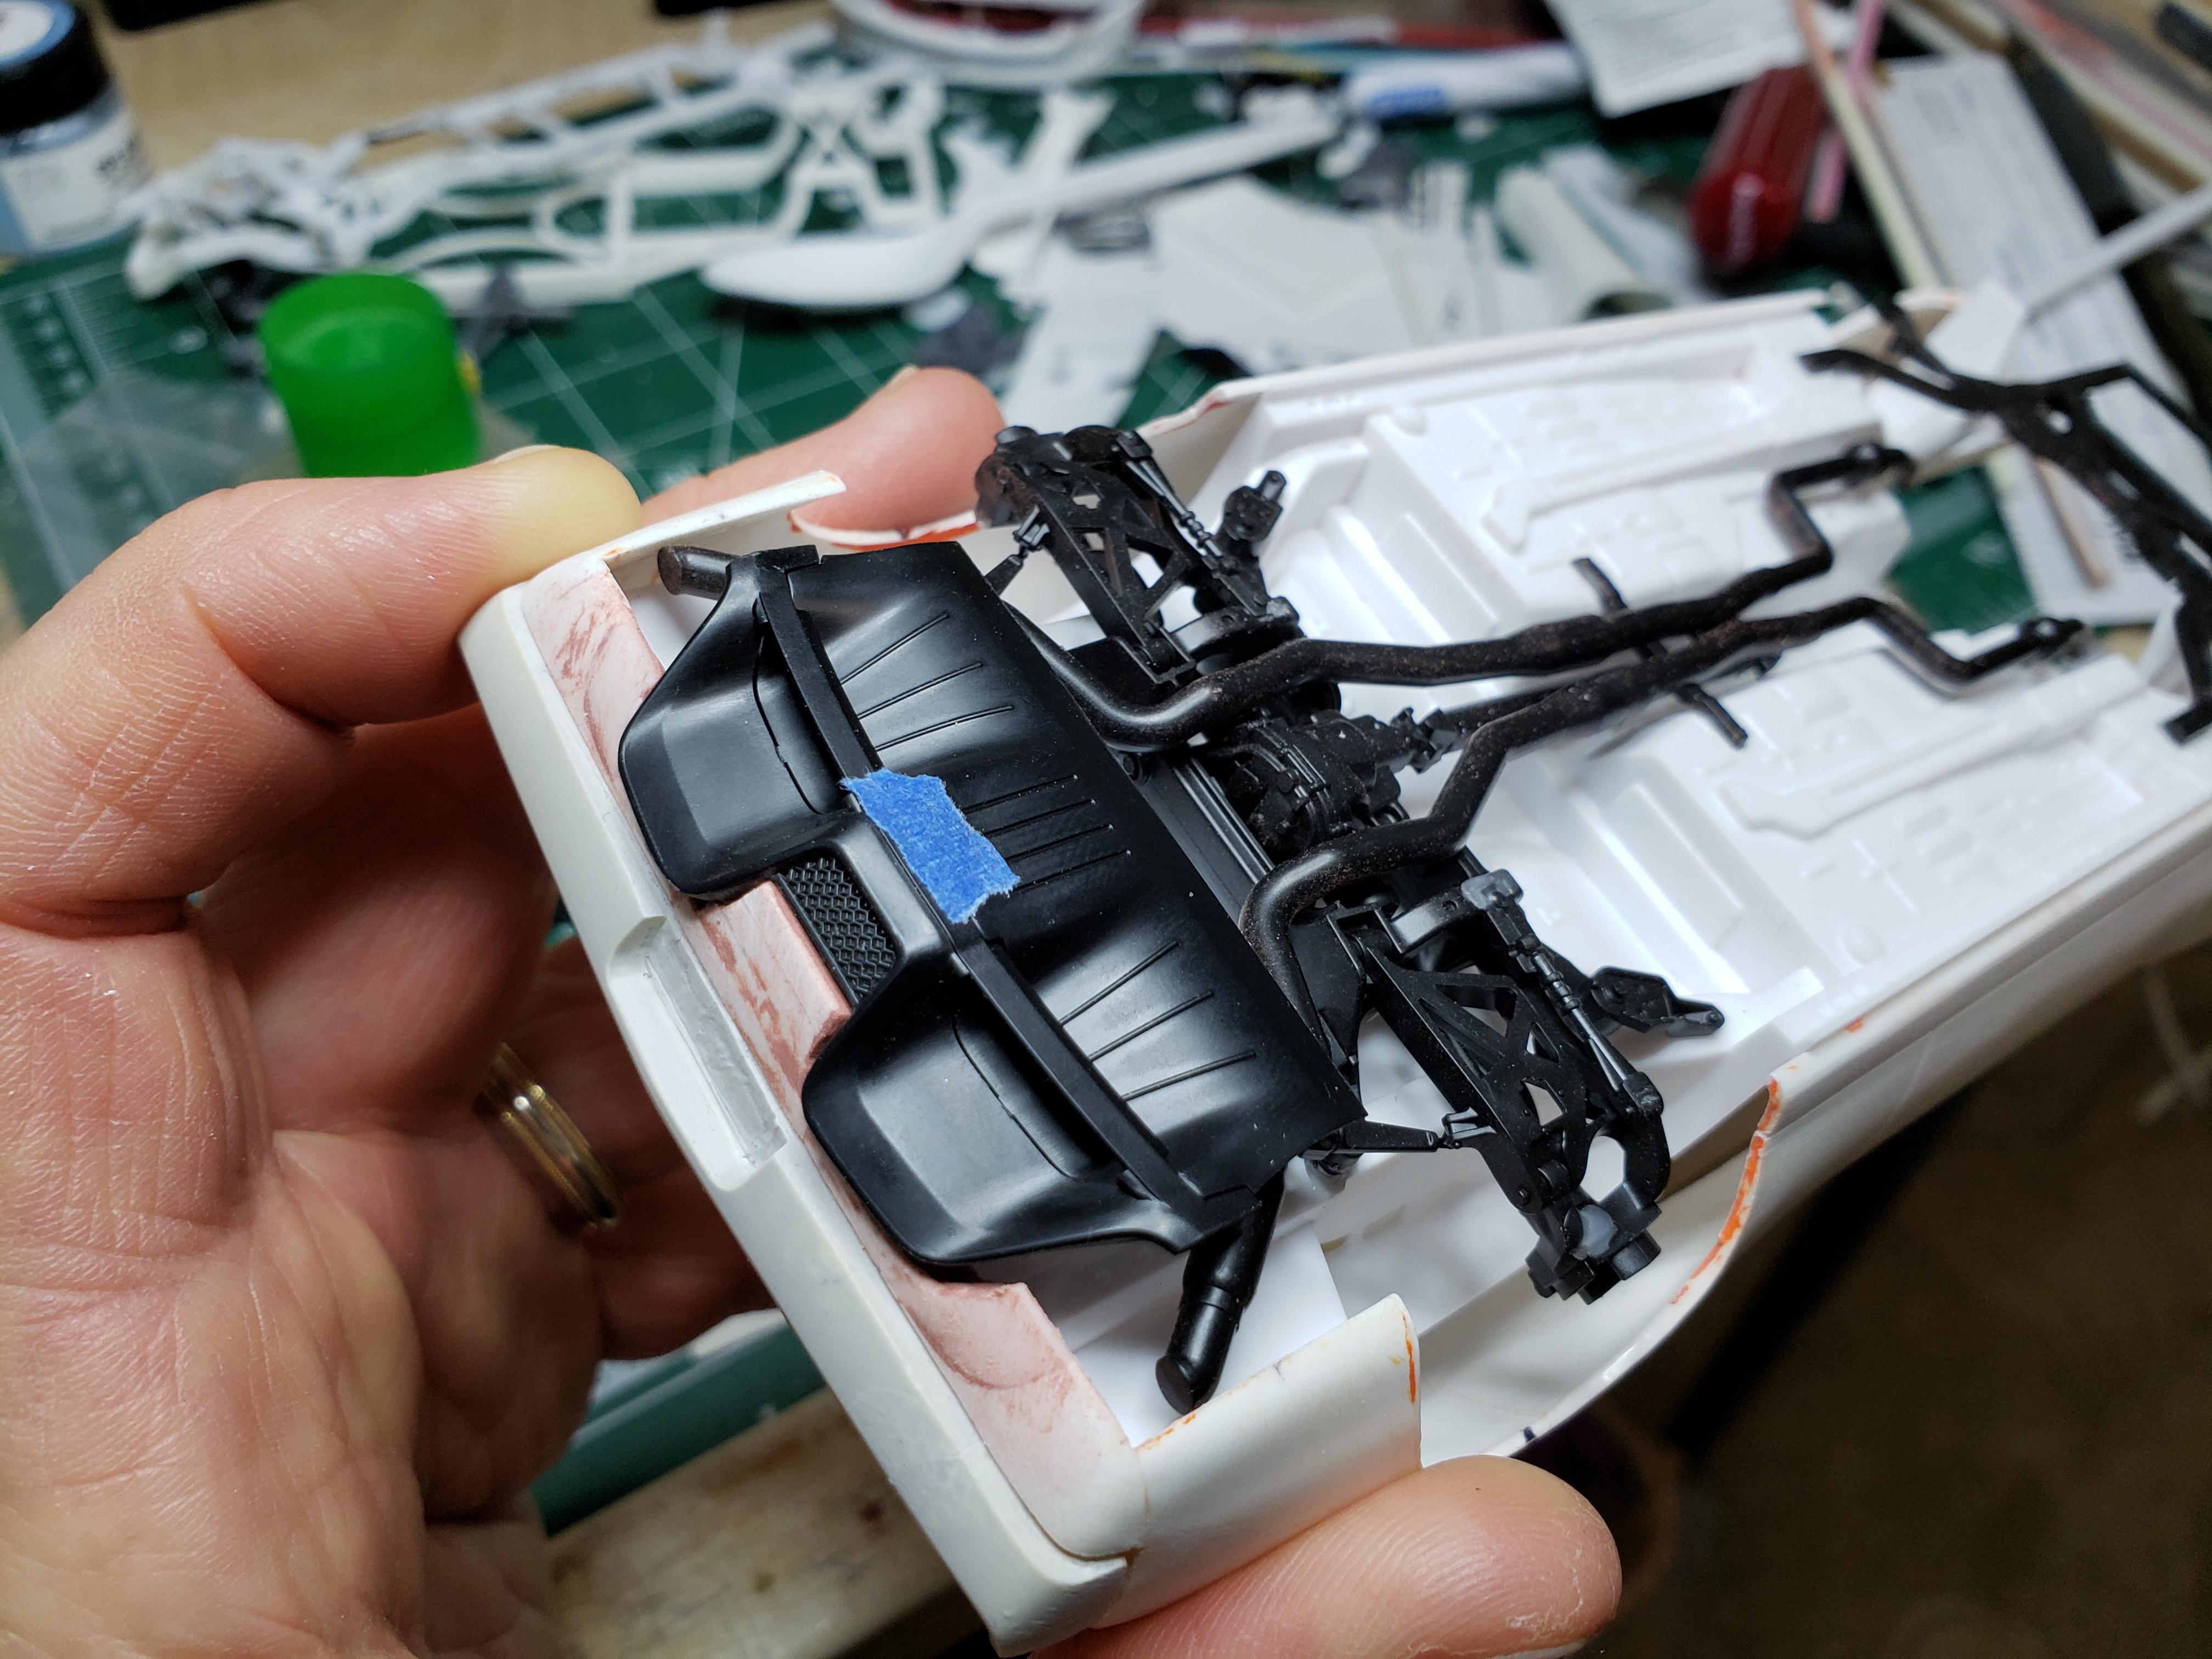
Thanks everyone for the comments...much appreciated! Been working through body modifications. Reshaped the rear tail lights by filling in some of the tail lights squares and eliminating others for a cleaner look. Added the rear diffuser from the Mustang GT and trimmed the headlight bezels for a more aggressive look. Reworked the dashboard with scratch-built gauge cluster and modern steering wheel with paddle shifts (wavering between the Revell Mercedes AMG GT column and wheel and the Revell LaFerrari)...decisions, decisions! Onward and upward!
-
Jo-Han Javelin inspired by Ringbrothers' Defiant
FrozenPlastik49 replied to FrozenPlastik49's topic in WIP: Model Cars
Thanks Francis! -
Jo-Han Javelin inspired by Ringbrothers' Defiant
FrozenPlastik49 replied to FrozenPlastik49's topic in WIP: Model Cars
Thanks TransAmMike! -
Jo-Han Javelin inspired by Ringbrothers' Defiant
FrozenPlastik49 replied to FrozenPlastik49's topic in WIP: Model Cars
Thanks Tim! -
Jo-Han Javelin inspired by Ringbrothers' Defiant
FrozenPlastik49 replied to FrozenPlastik49's topic in WIP: Model Cars
I agree Carmak...just a few notches above my skill level! -
Jo-Han Javelin inspired by Ringbrothers' Defiant
FrozenPlastik49 replied to FrozenPlastik49's topic in WIP: Model Cars
Thanks Steve H! -
Jo-Han Javelin inspired by Ringbrothers' Defiant
FrozenPlastik49 replied to FrozenPlastik49's topic in WIP: Model Cars
Thanks doorsovdoon...me as well! -
Jo-Han Javelin inspired by Ringbrothers' Defiant
FrozenPlastik49 replied to FrozenPlastik49's topic in WIP: Model Cars
Thanks wrenchr! -
Jo-Han Javelin inspired by Ringbrothers' Defiant
FrozenPlastik49 replied to FrozenPlastik49's topic in WIP: Model Cars
Thanks gotnitro! -
Jo-Han Javelin inspired by Ringbrothers' Defiant
FrozenPlastik49 replied to FrozenPlastik49's topic in WIP: Model Cars
Thanks Plowboy! -
Jo-Han Javelin inspired by Ringbrothers' Defiant
FrozenPlastik49 replied to FrozenPlastik49's topic in WIP: Model Cars
Thanks Dave72...happened quite accidently actually! -
Jo-Han Javelin inspired by Ringbrothers' Defiant
FrozenPlastik49 replied to FrozenPlastik49's topic in WIP: Model Cars
Thanks Phildaupho...hope so! -
Jo-Han Javelin inspired by Ringbrothers' Defiant
FrozenPlastik49 replied to FrozenPlastik49's topic in WIP: Model Cars
Thanks PappyD340! -
Jo-Han Javelin inspired by Ringbrothers' Defiant
FrozenPlastik49 replied to FrozenPlastik49's topic in WIP: Model Cars
Thanks Railroad! -
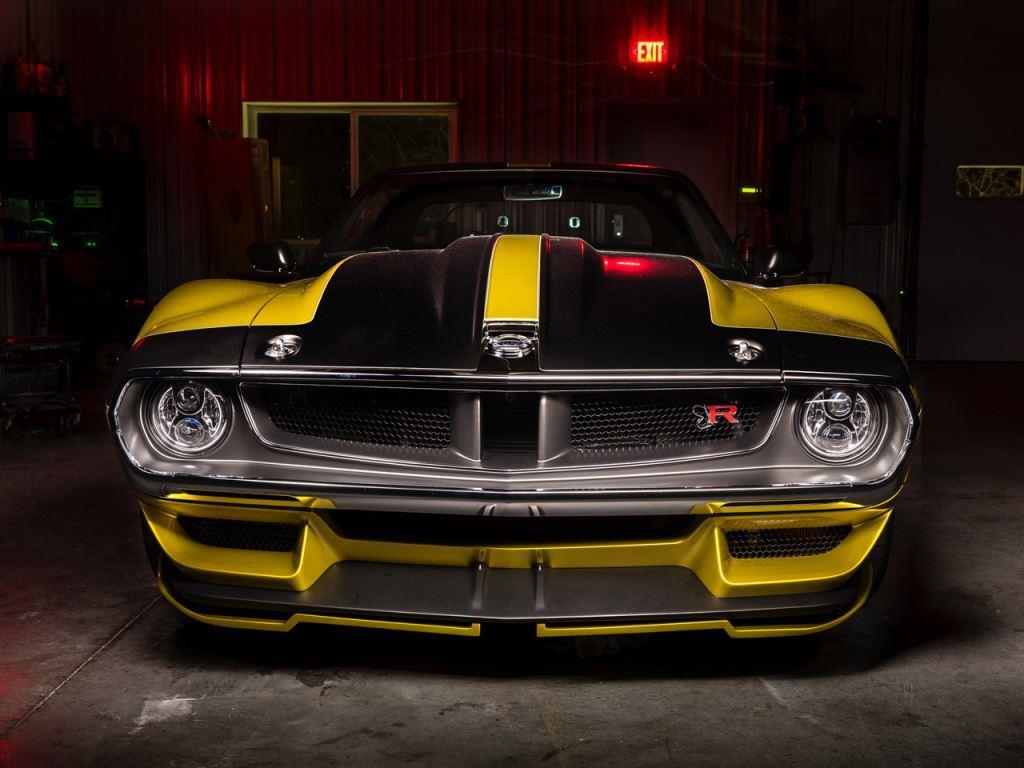
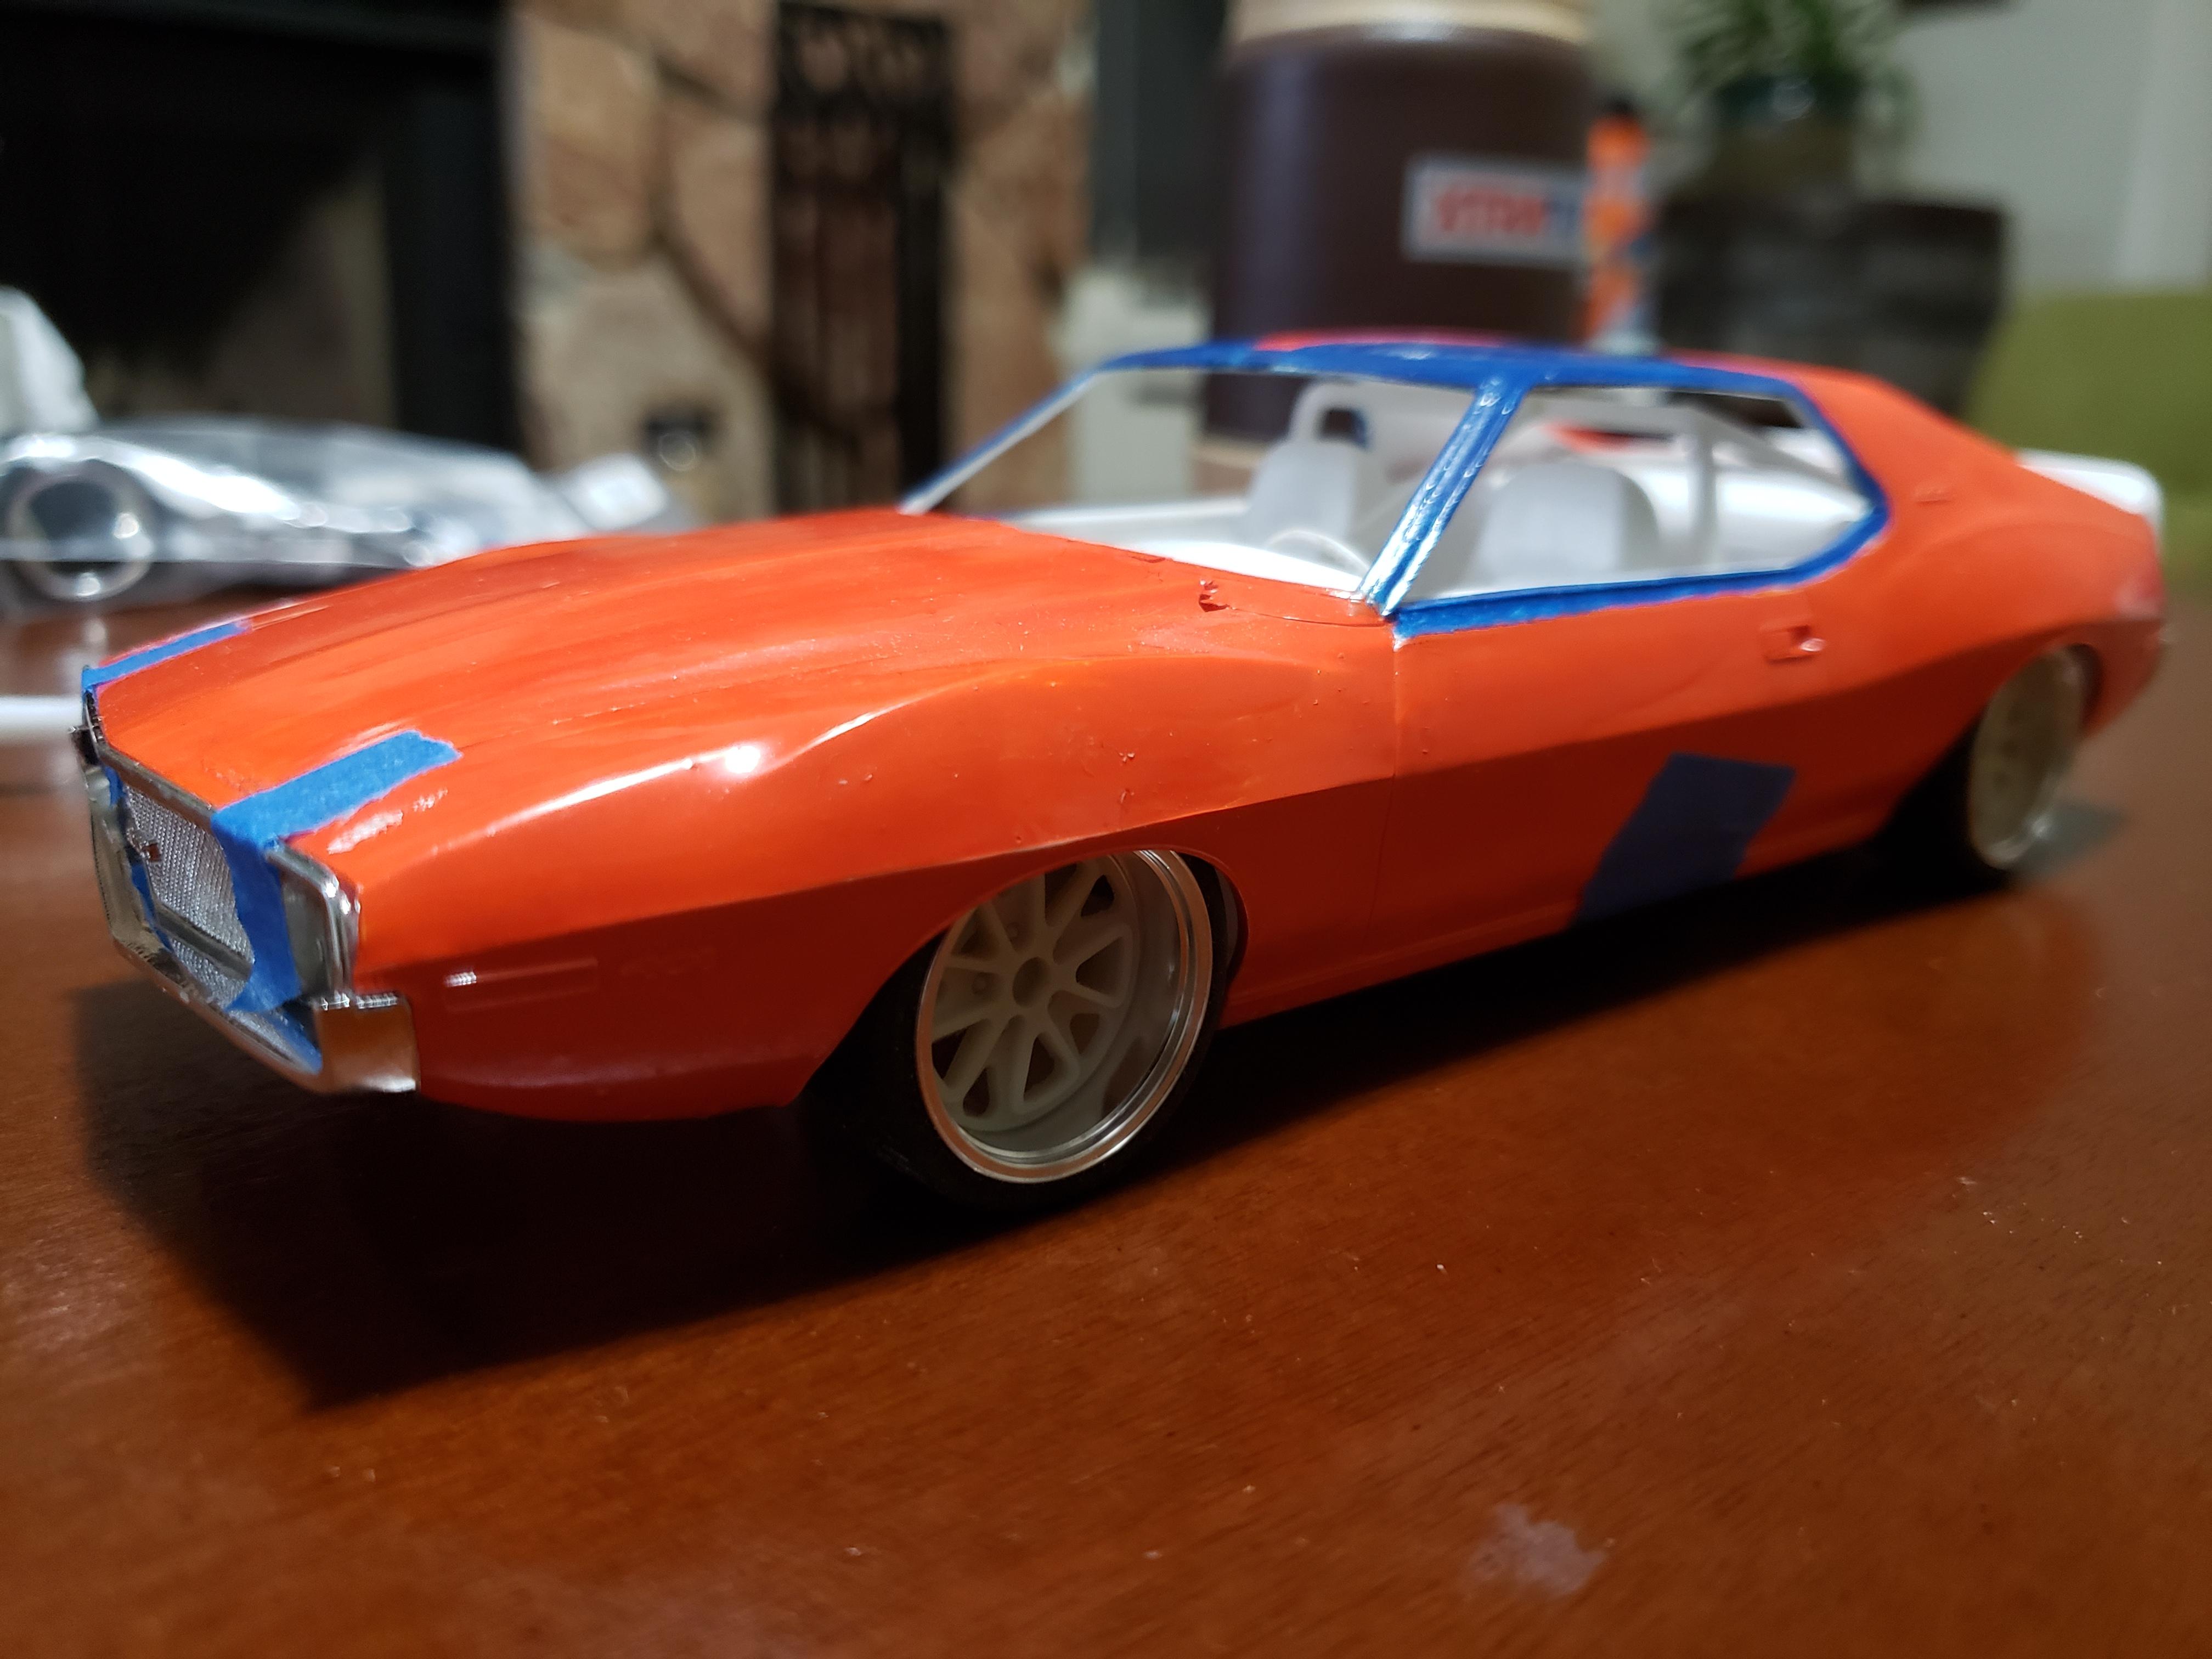
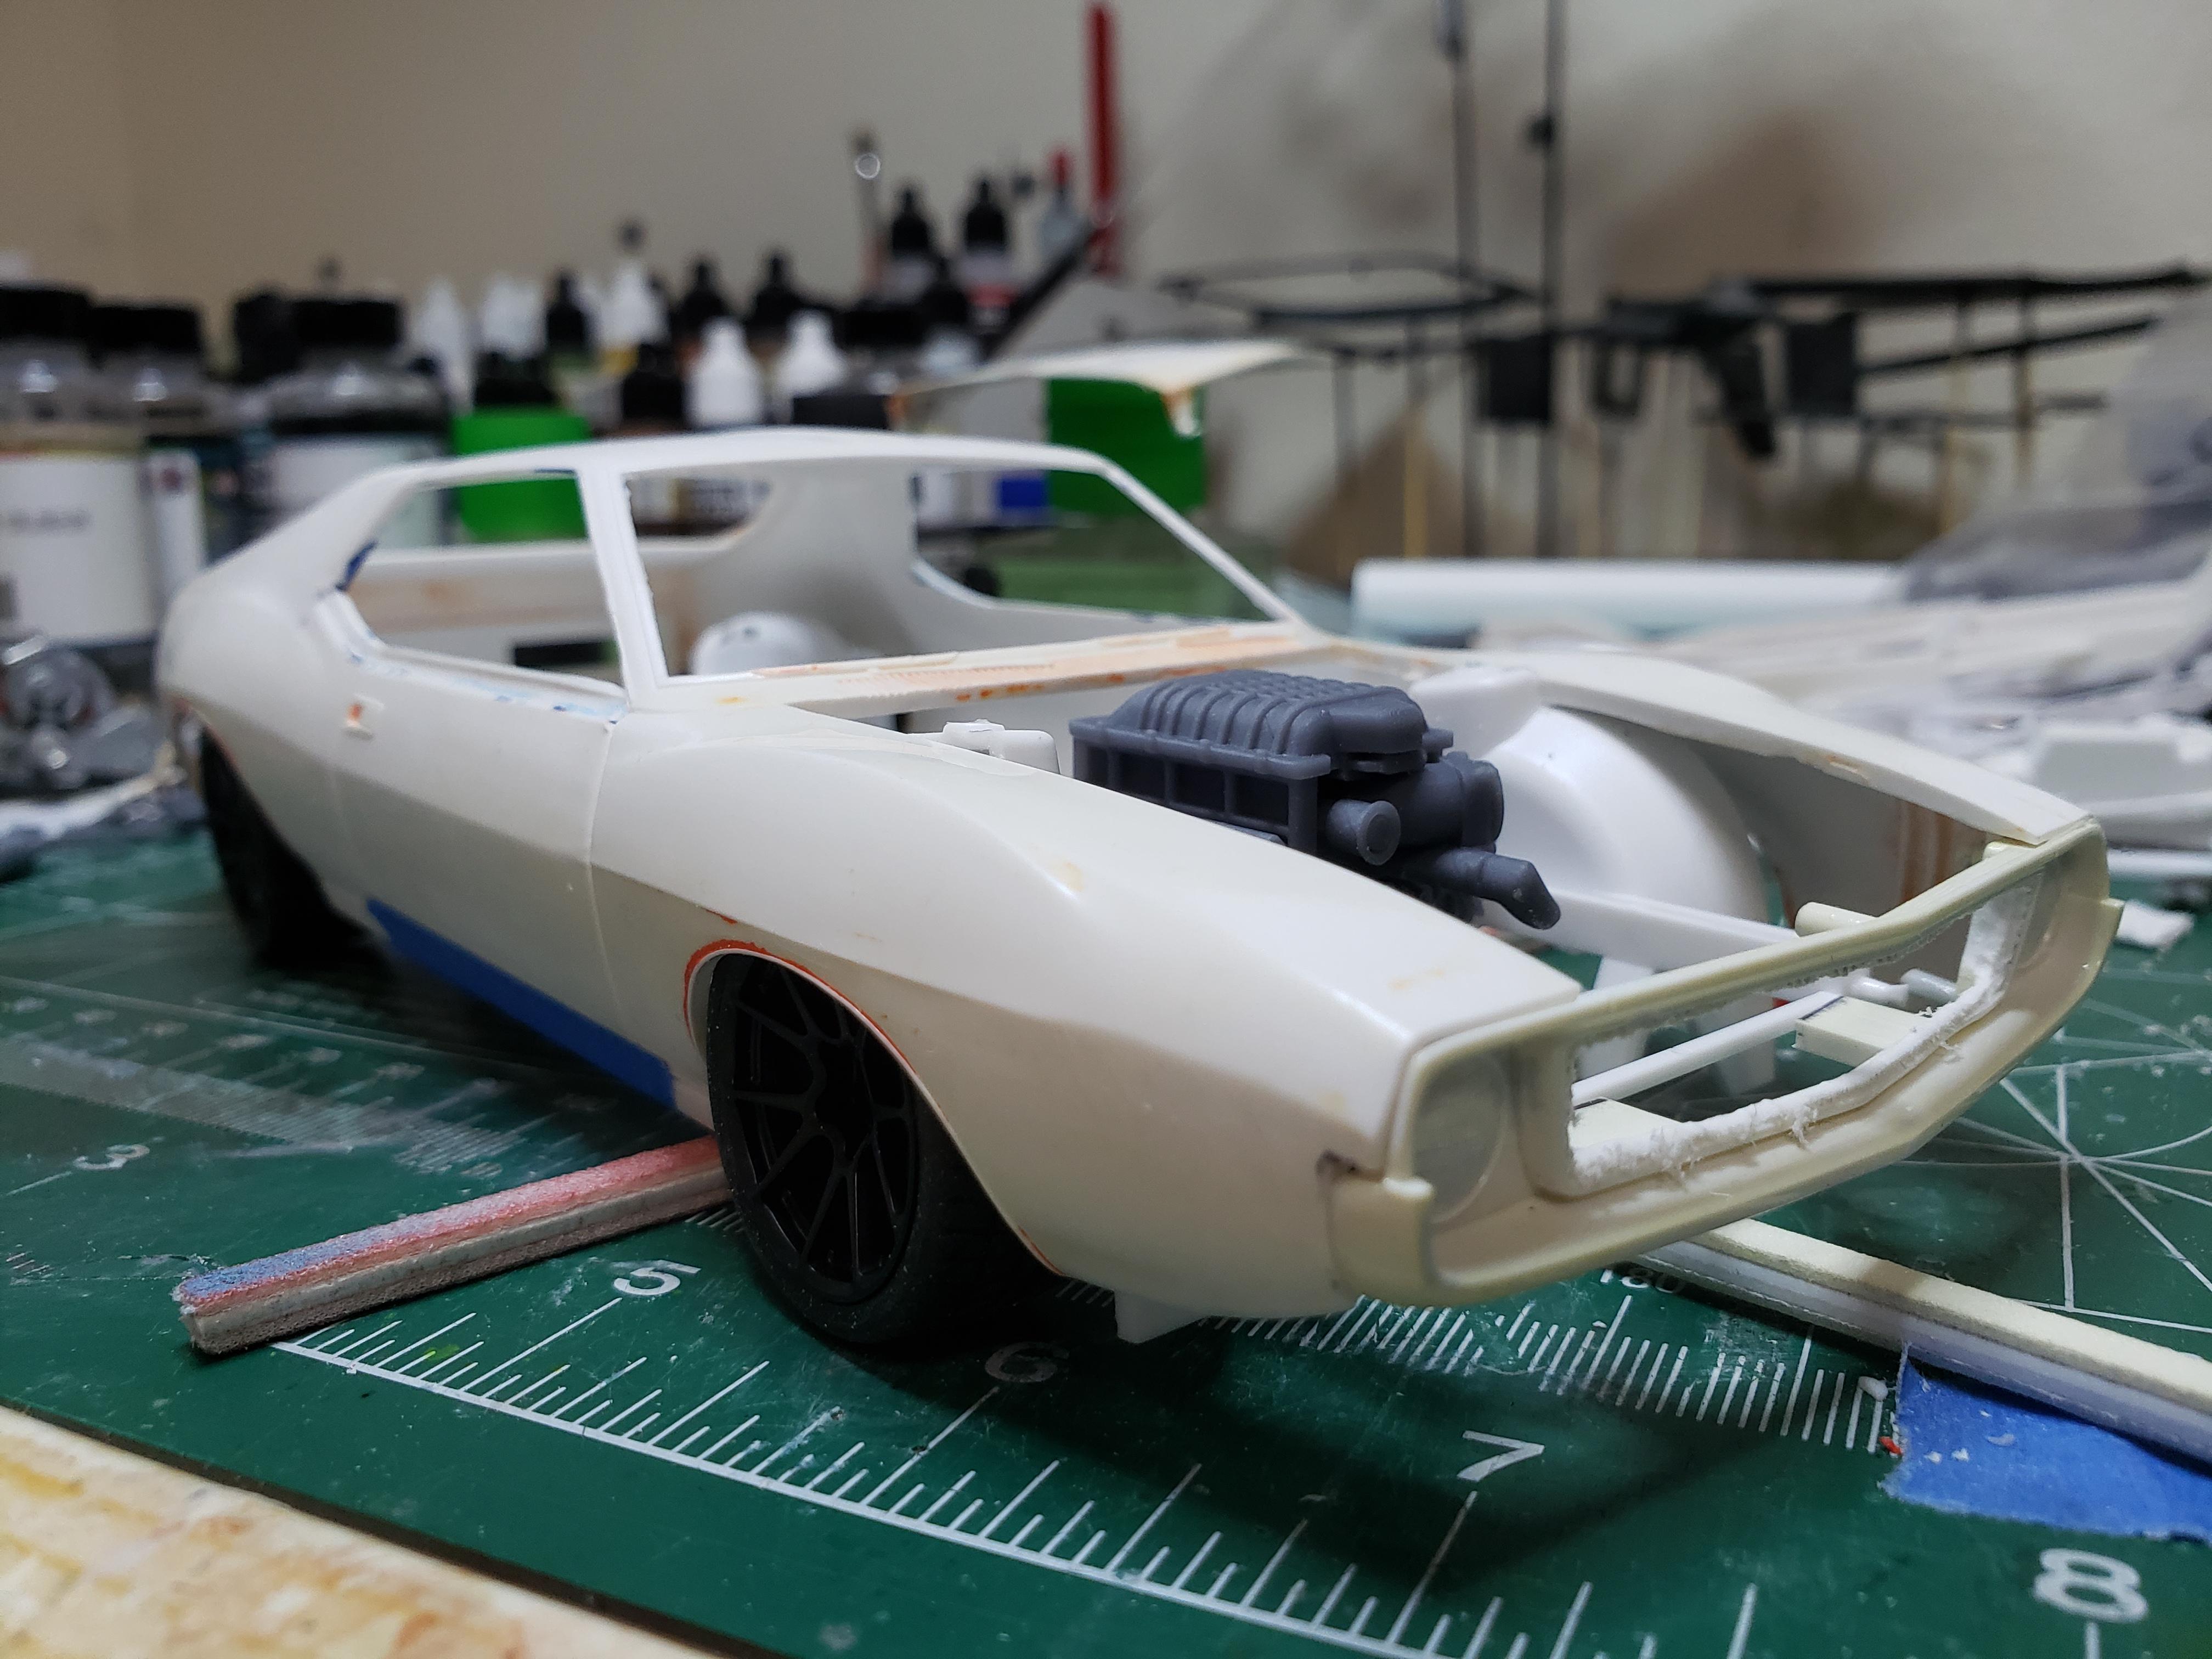
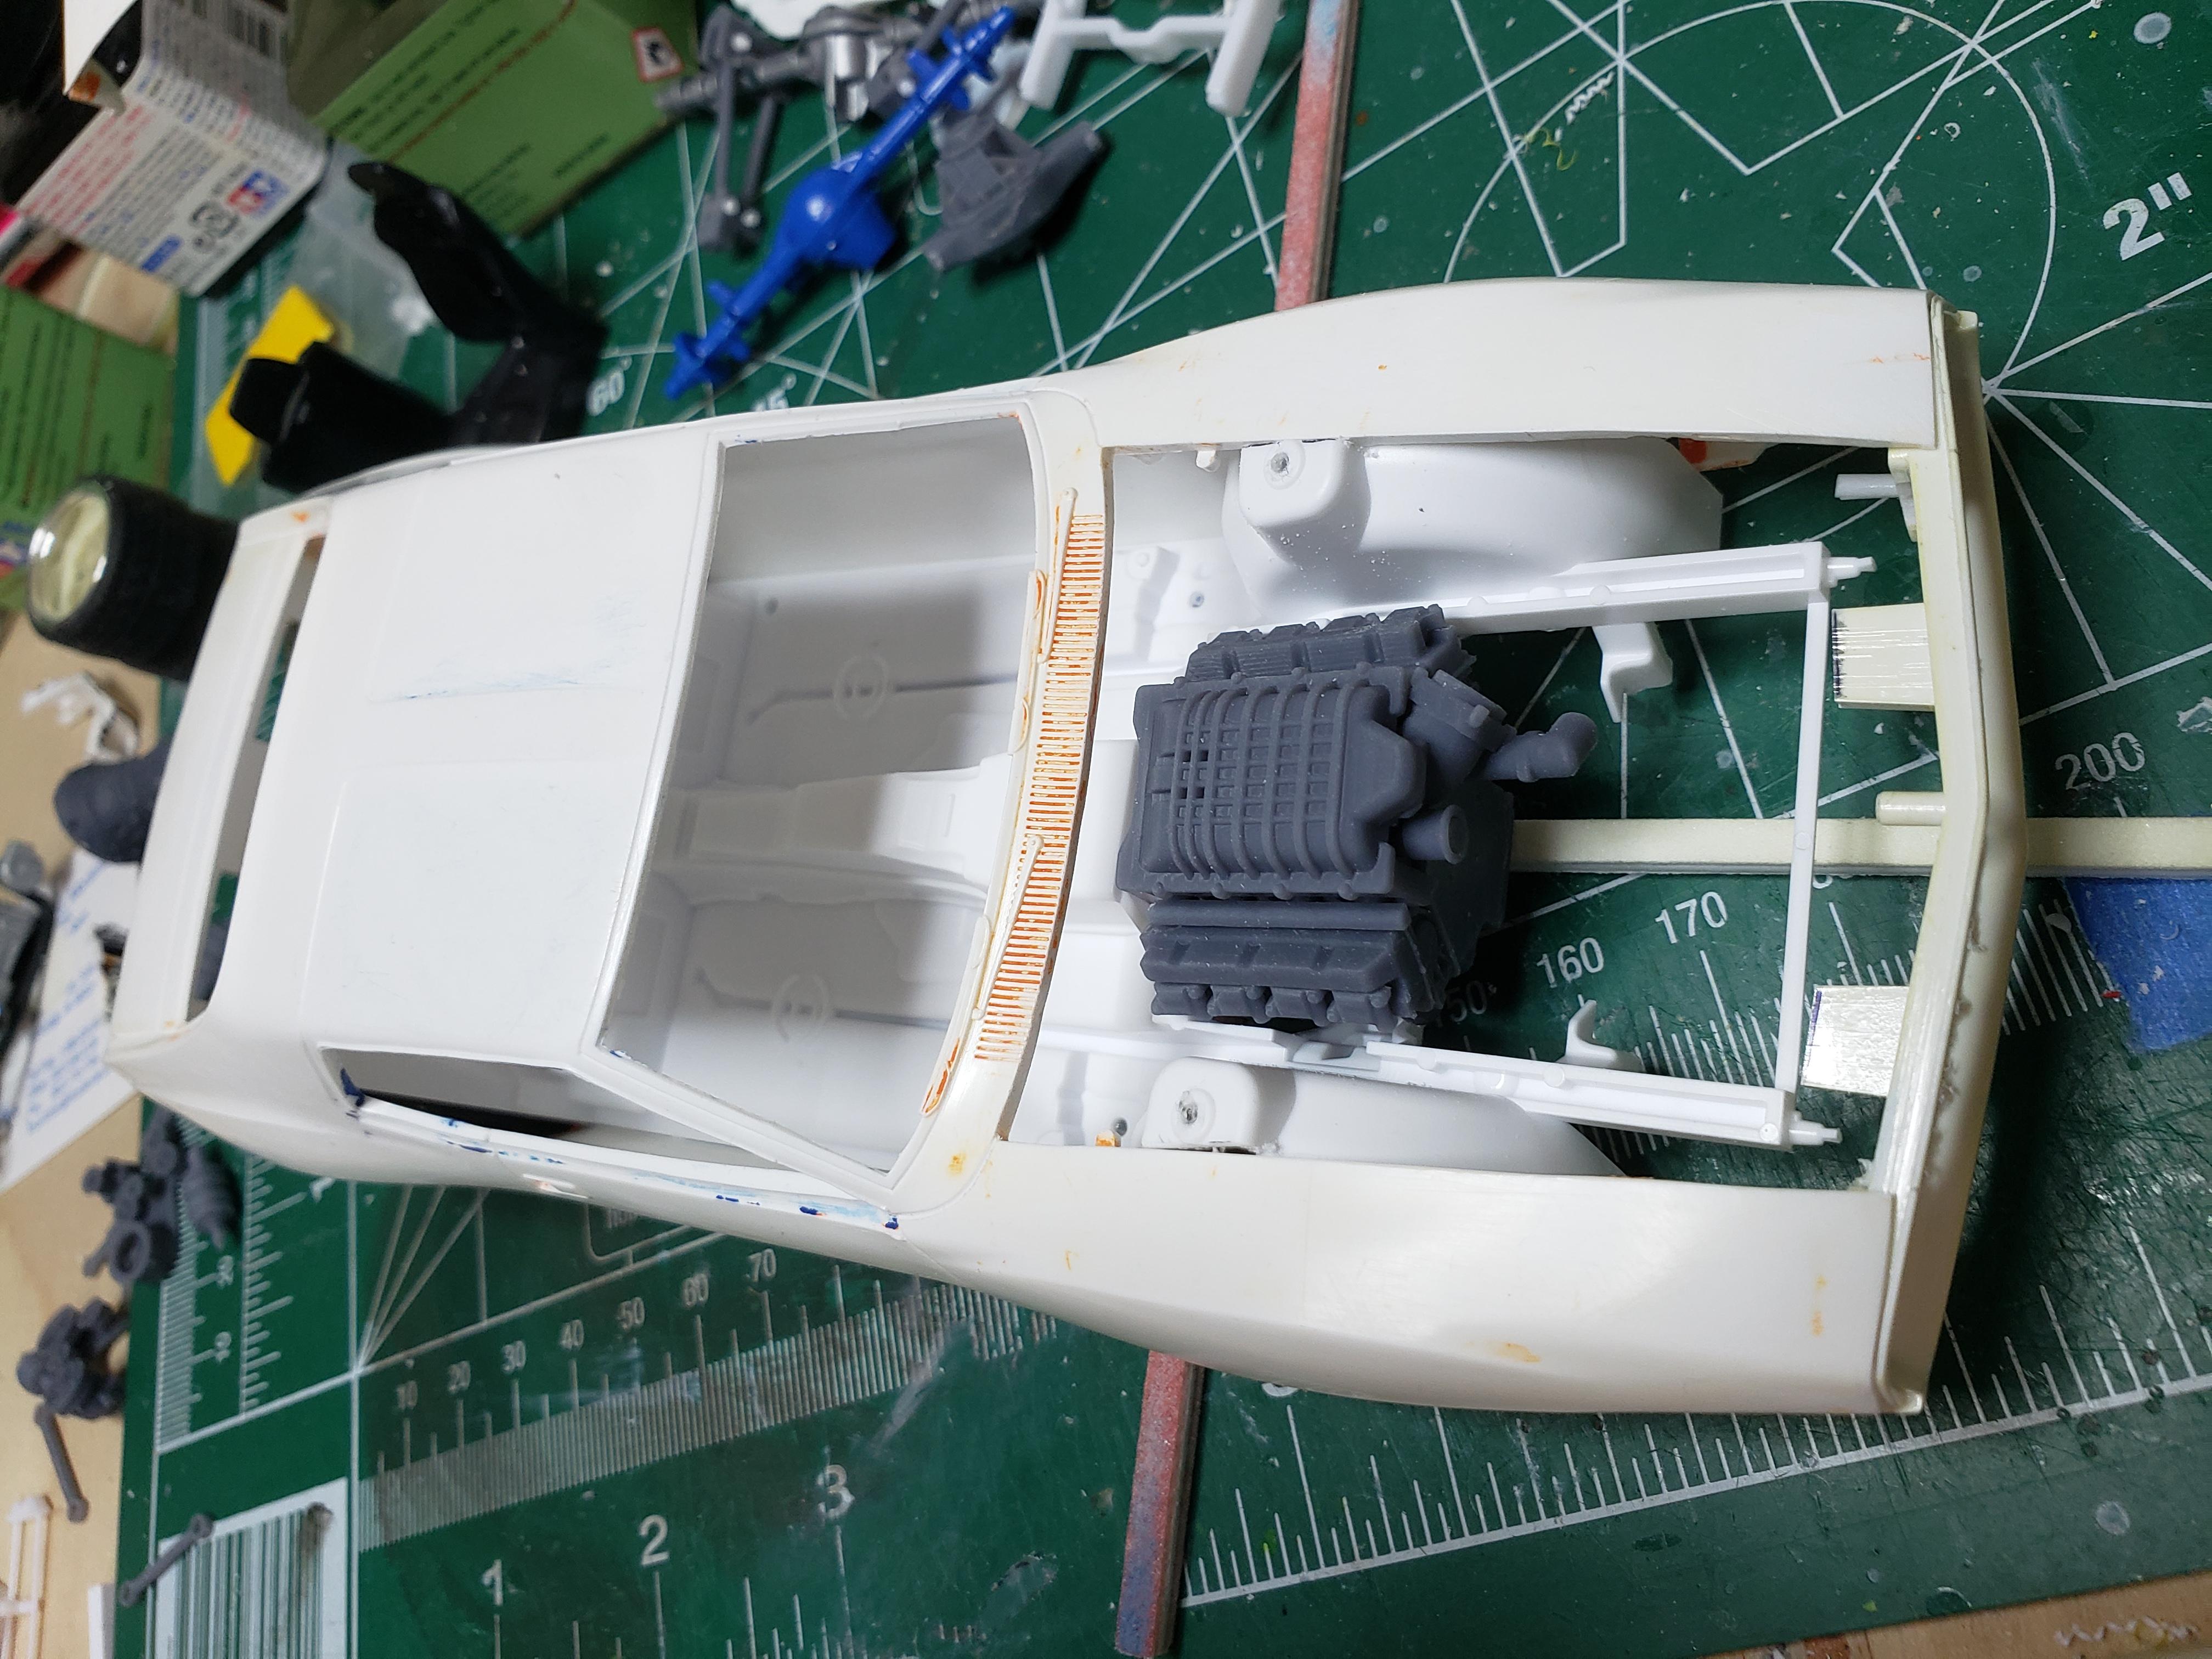
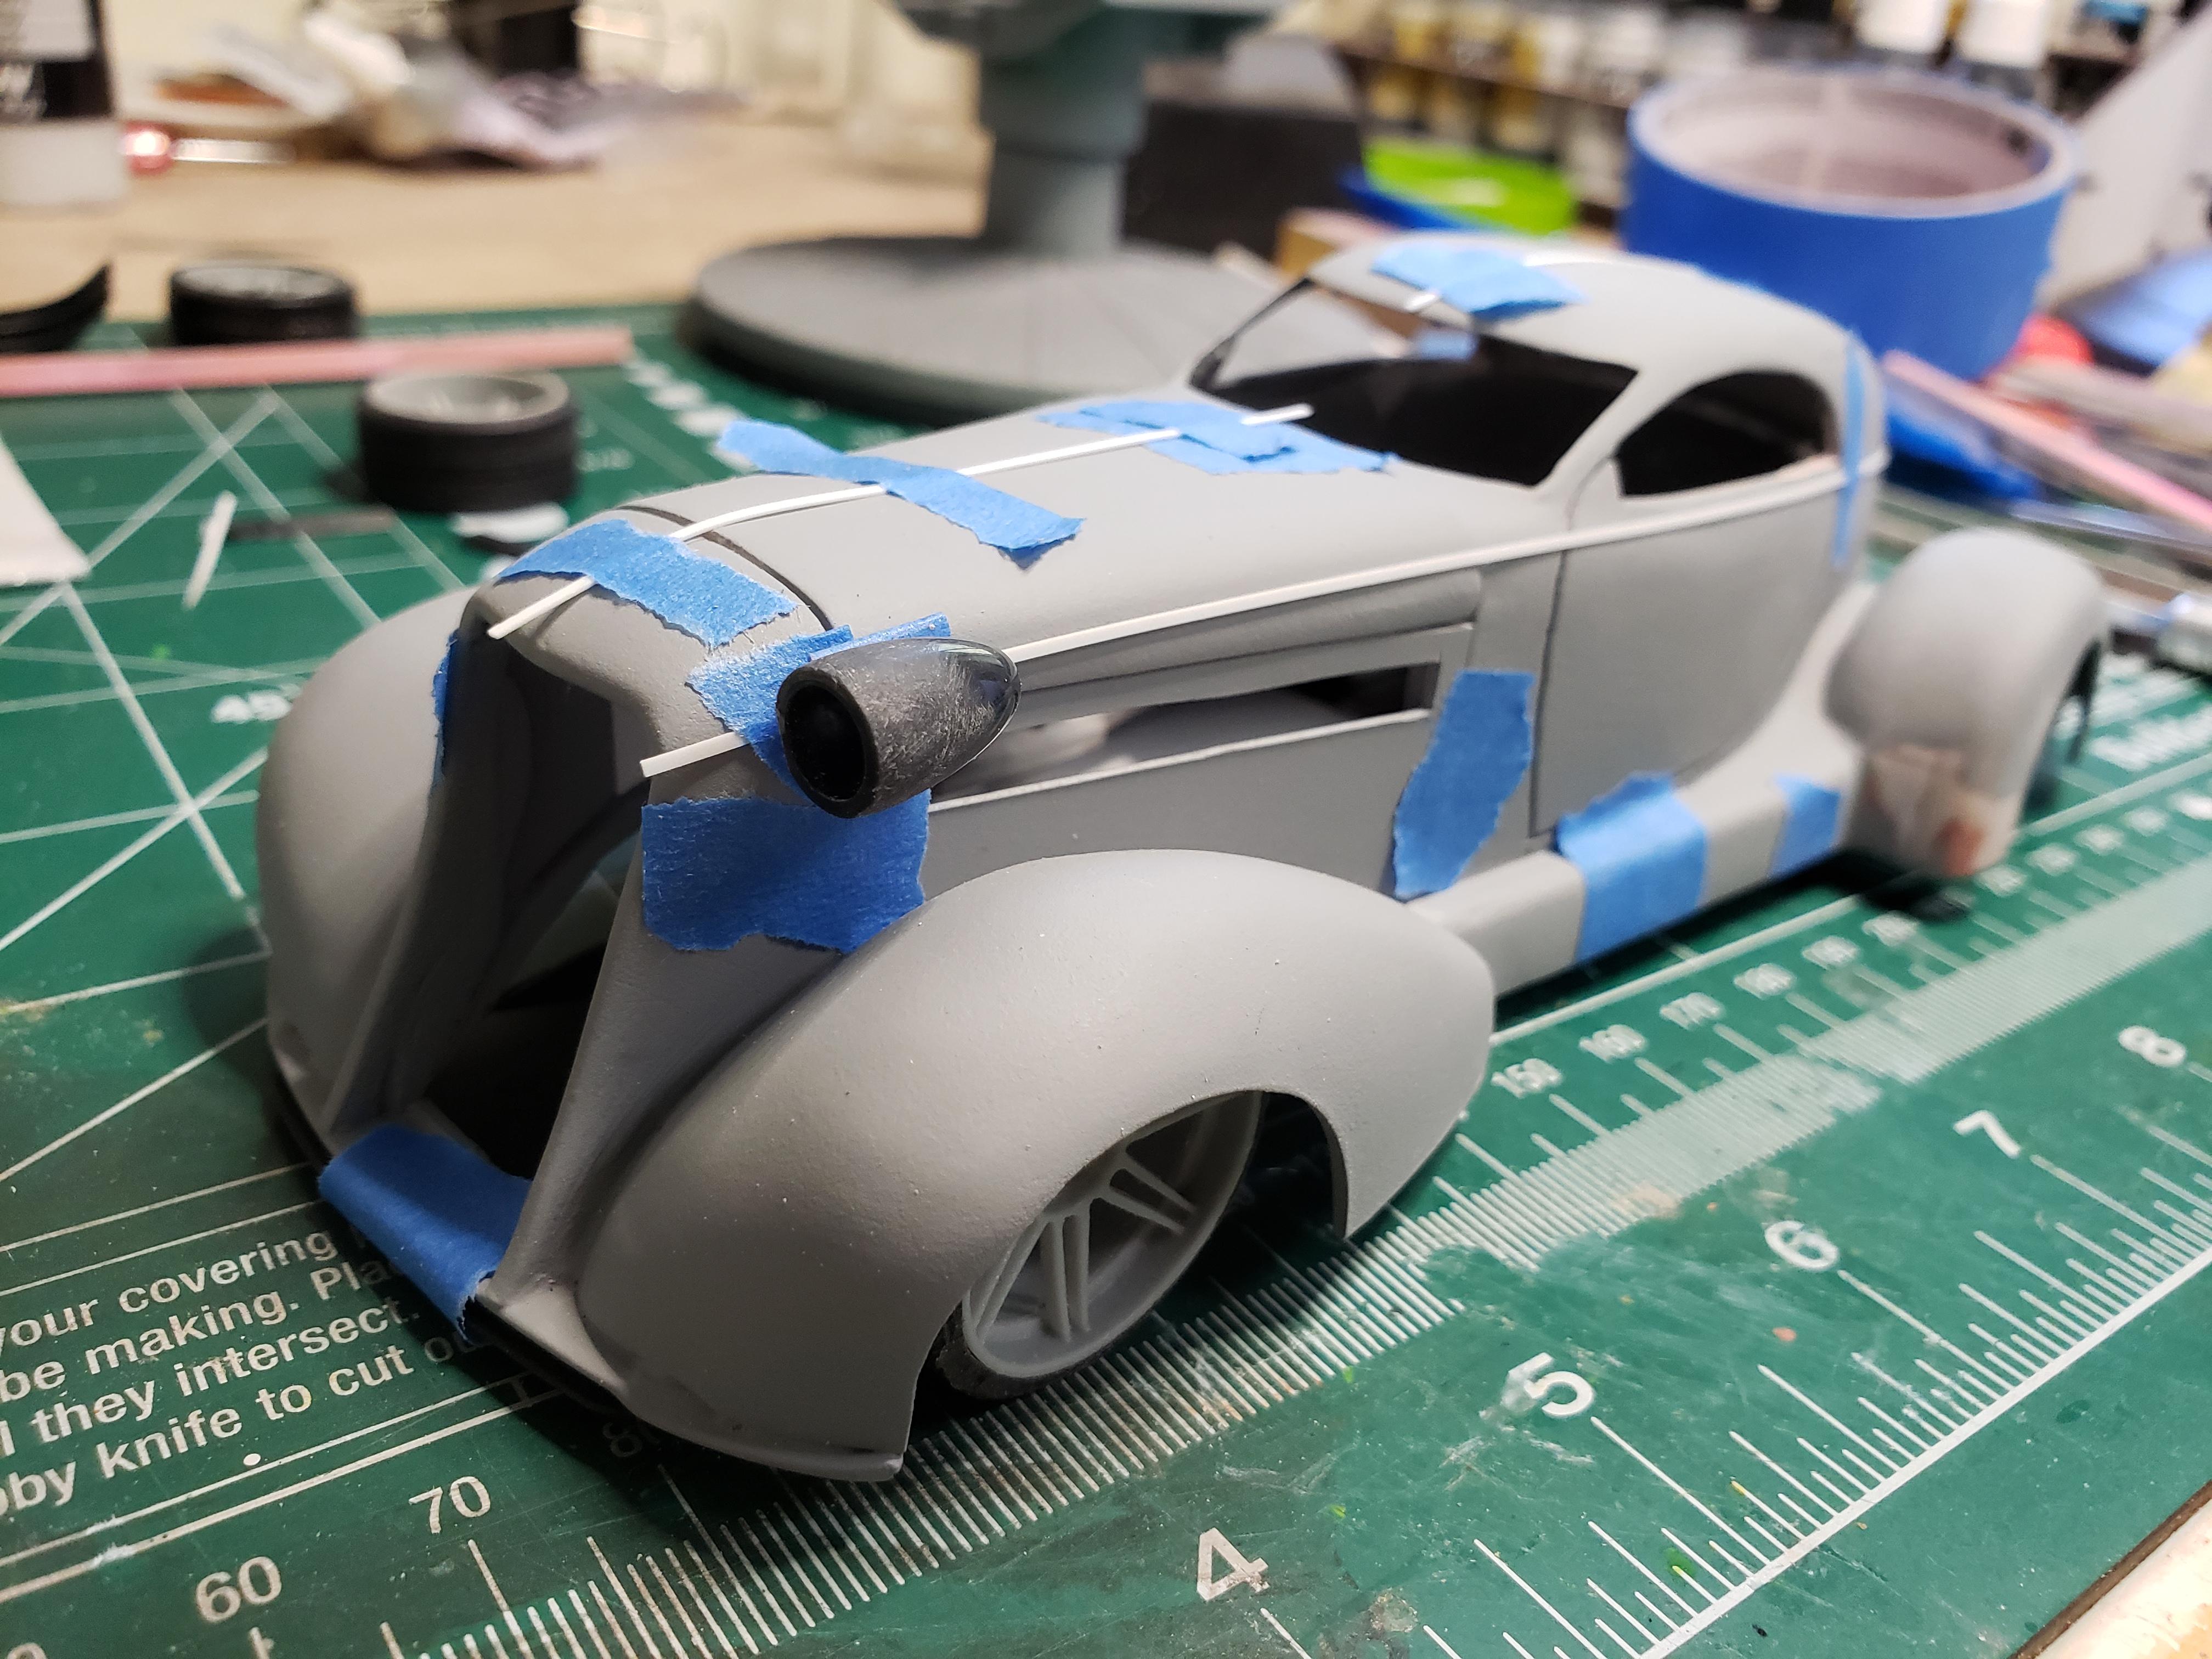
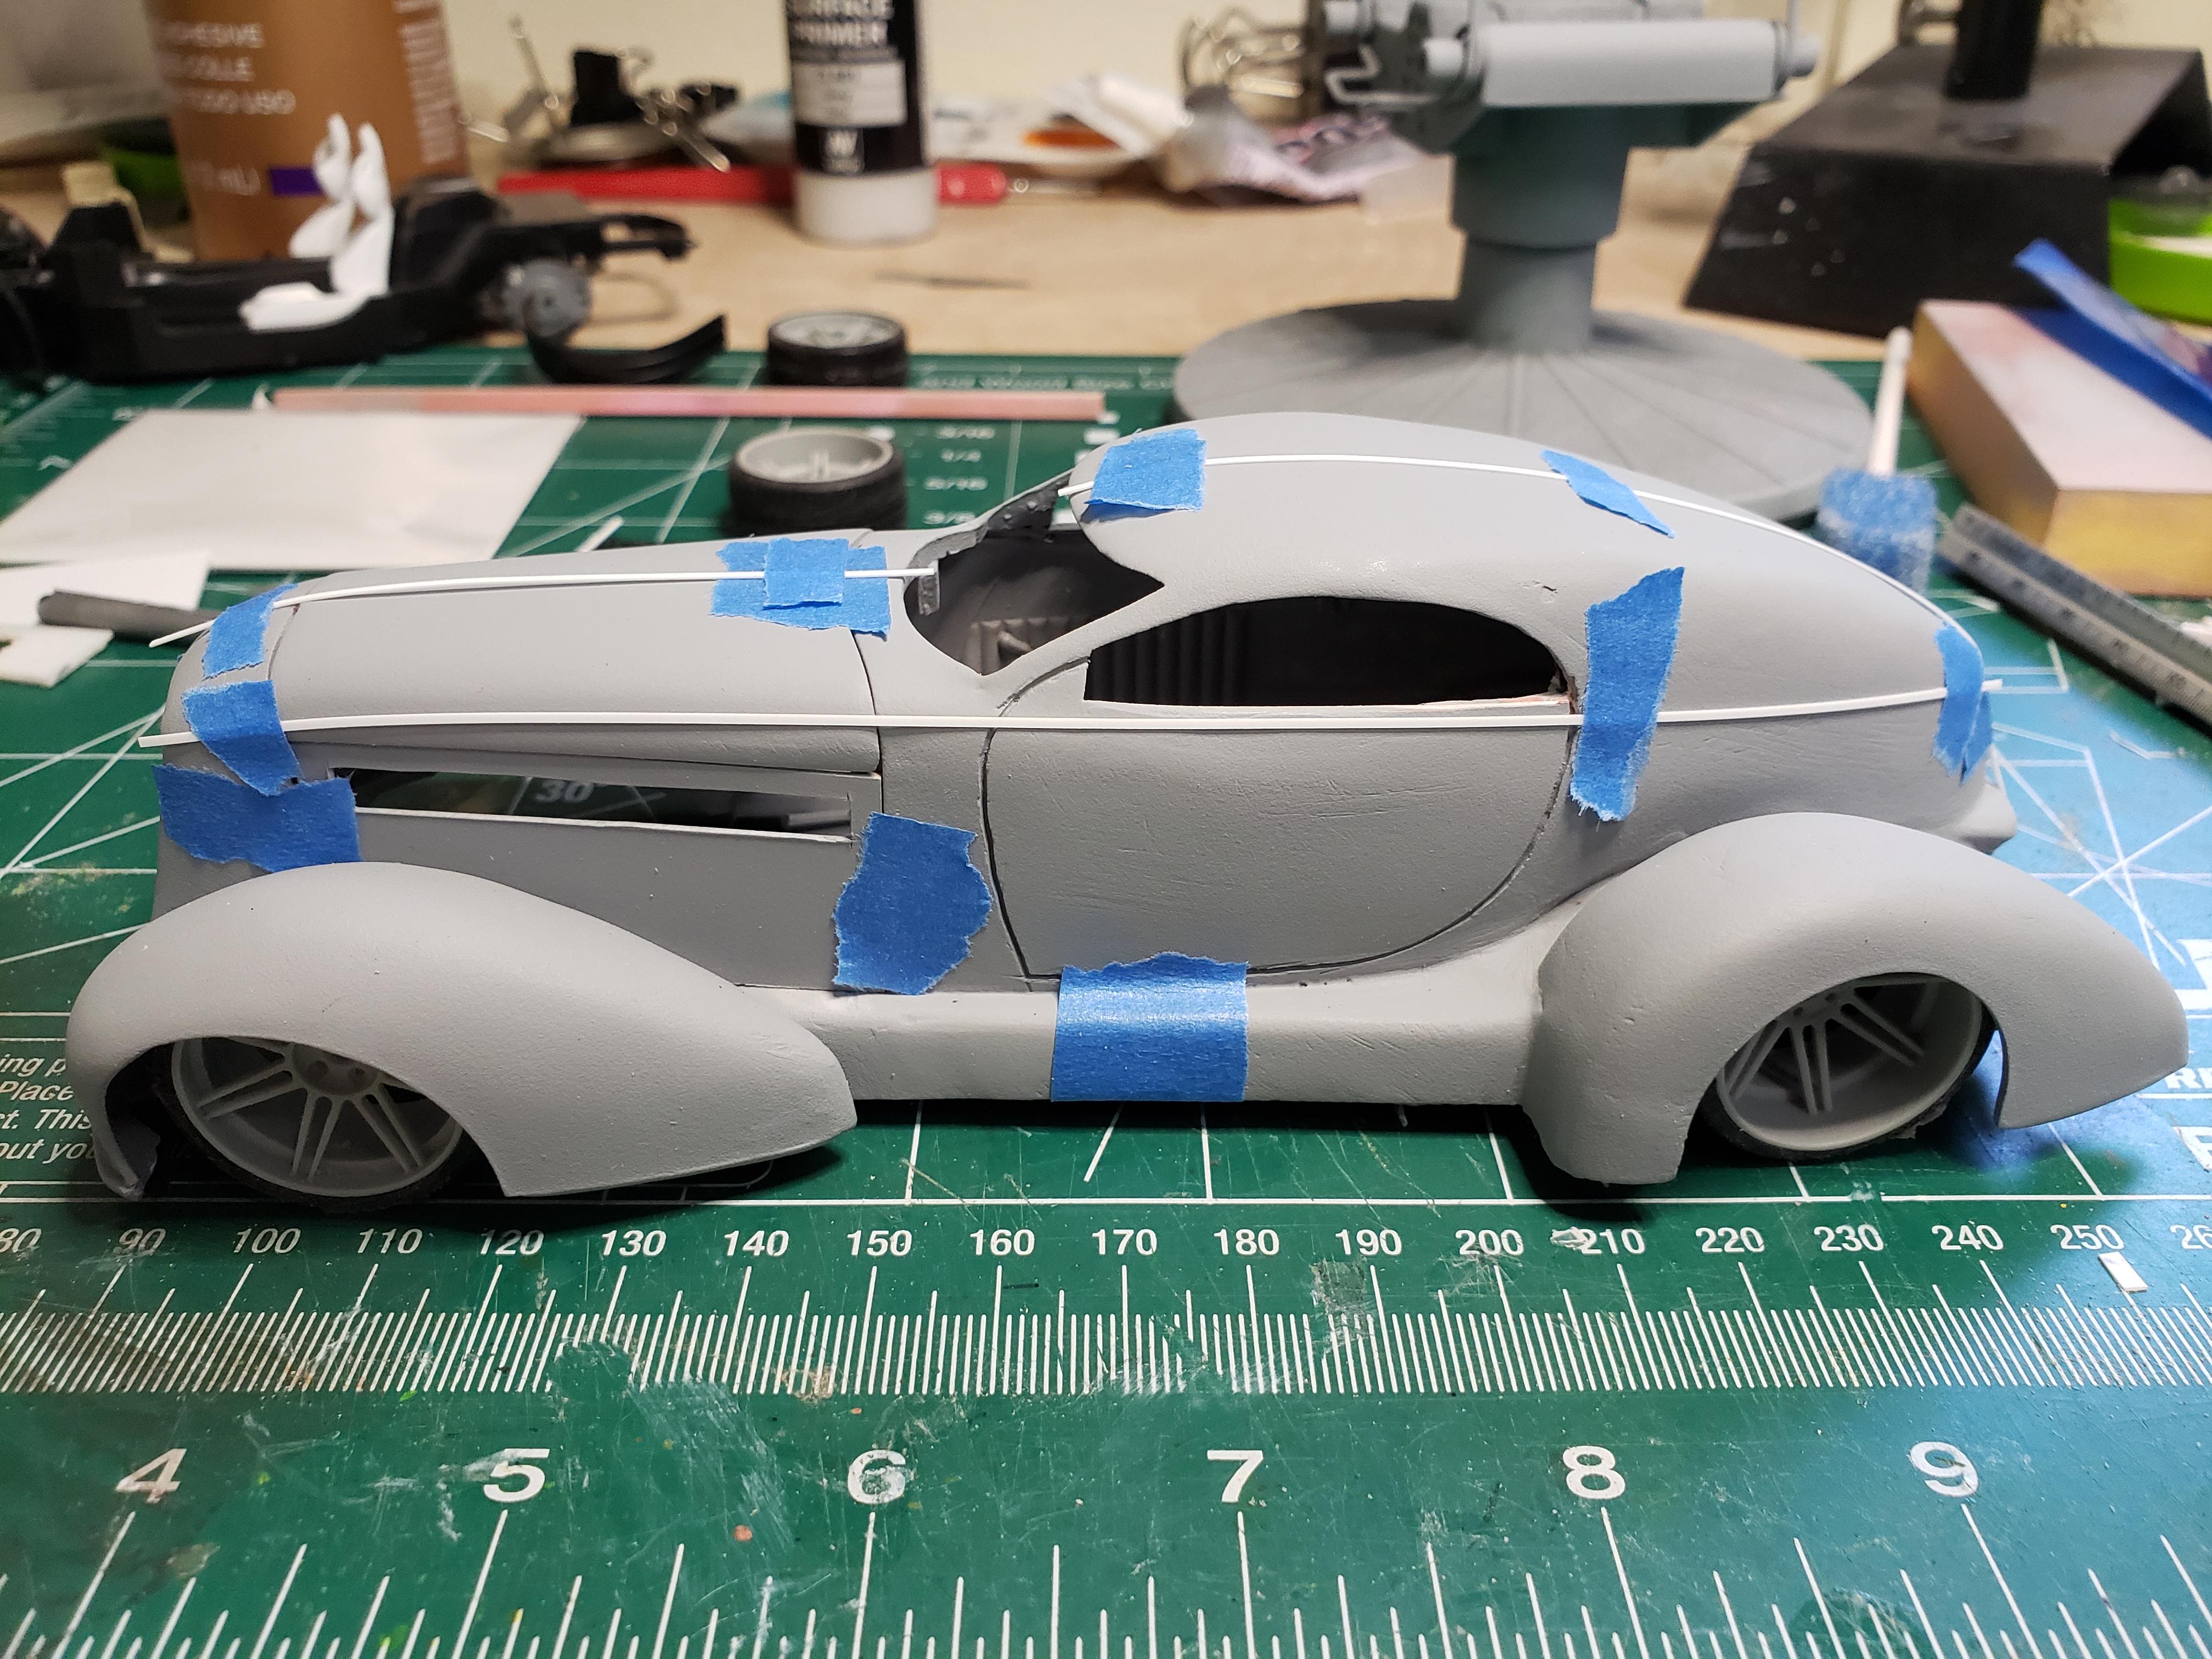
New year...new build! Finally scored one of my unicorn kits off e(vil)Bay...a Jo-Han Javelin AMX. Ringbrothers' 'Defiant' will be used as inspiration. After a dip in the purple pool, emblems and side markers were shaved off. Through trial and error, the chassis and suspension from Tamiya's Ford Mustang GT4 fits with minor razor sawing. Street tires were fitted to the GT4's rims (the pre-soak pic shows Scale Production 19-inch fifteen52 Outlaws). The powerplant is a Dodge Hellephant from IceMan Collections. Hoping to use some of the GT4 ground effects front, side, and rear, too, if possible. Leaning towards a bright blue (possibly Splash Paints' Ferrari Azzurro Dino, Porsche Voodoo Blue, or Aston Martin Flugplatz Blue). Would love to increase the wheelbase to shorten the nose as Ring Brothers did, but will be too much in 1/24 scale for my limited skills. The nose has been sanded back a tiny bit and I may press my luck a little further.
-
DECO-DENT, LFA-Powered Auburn Speedster Hardtop
FrozenPlastik49 replied to FrozenPlastik49's topic in WIP: Model Cars
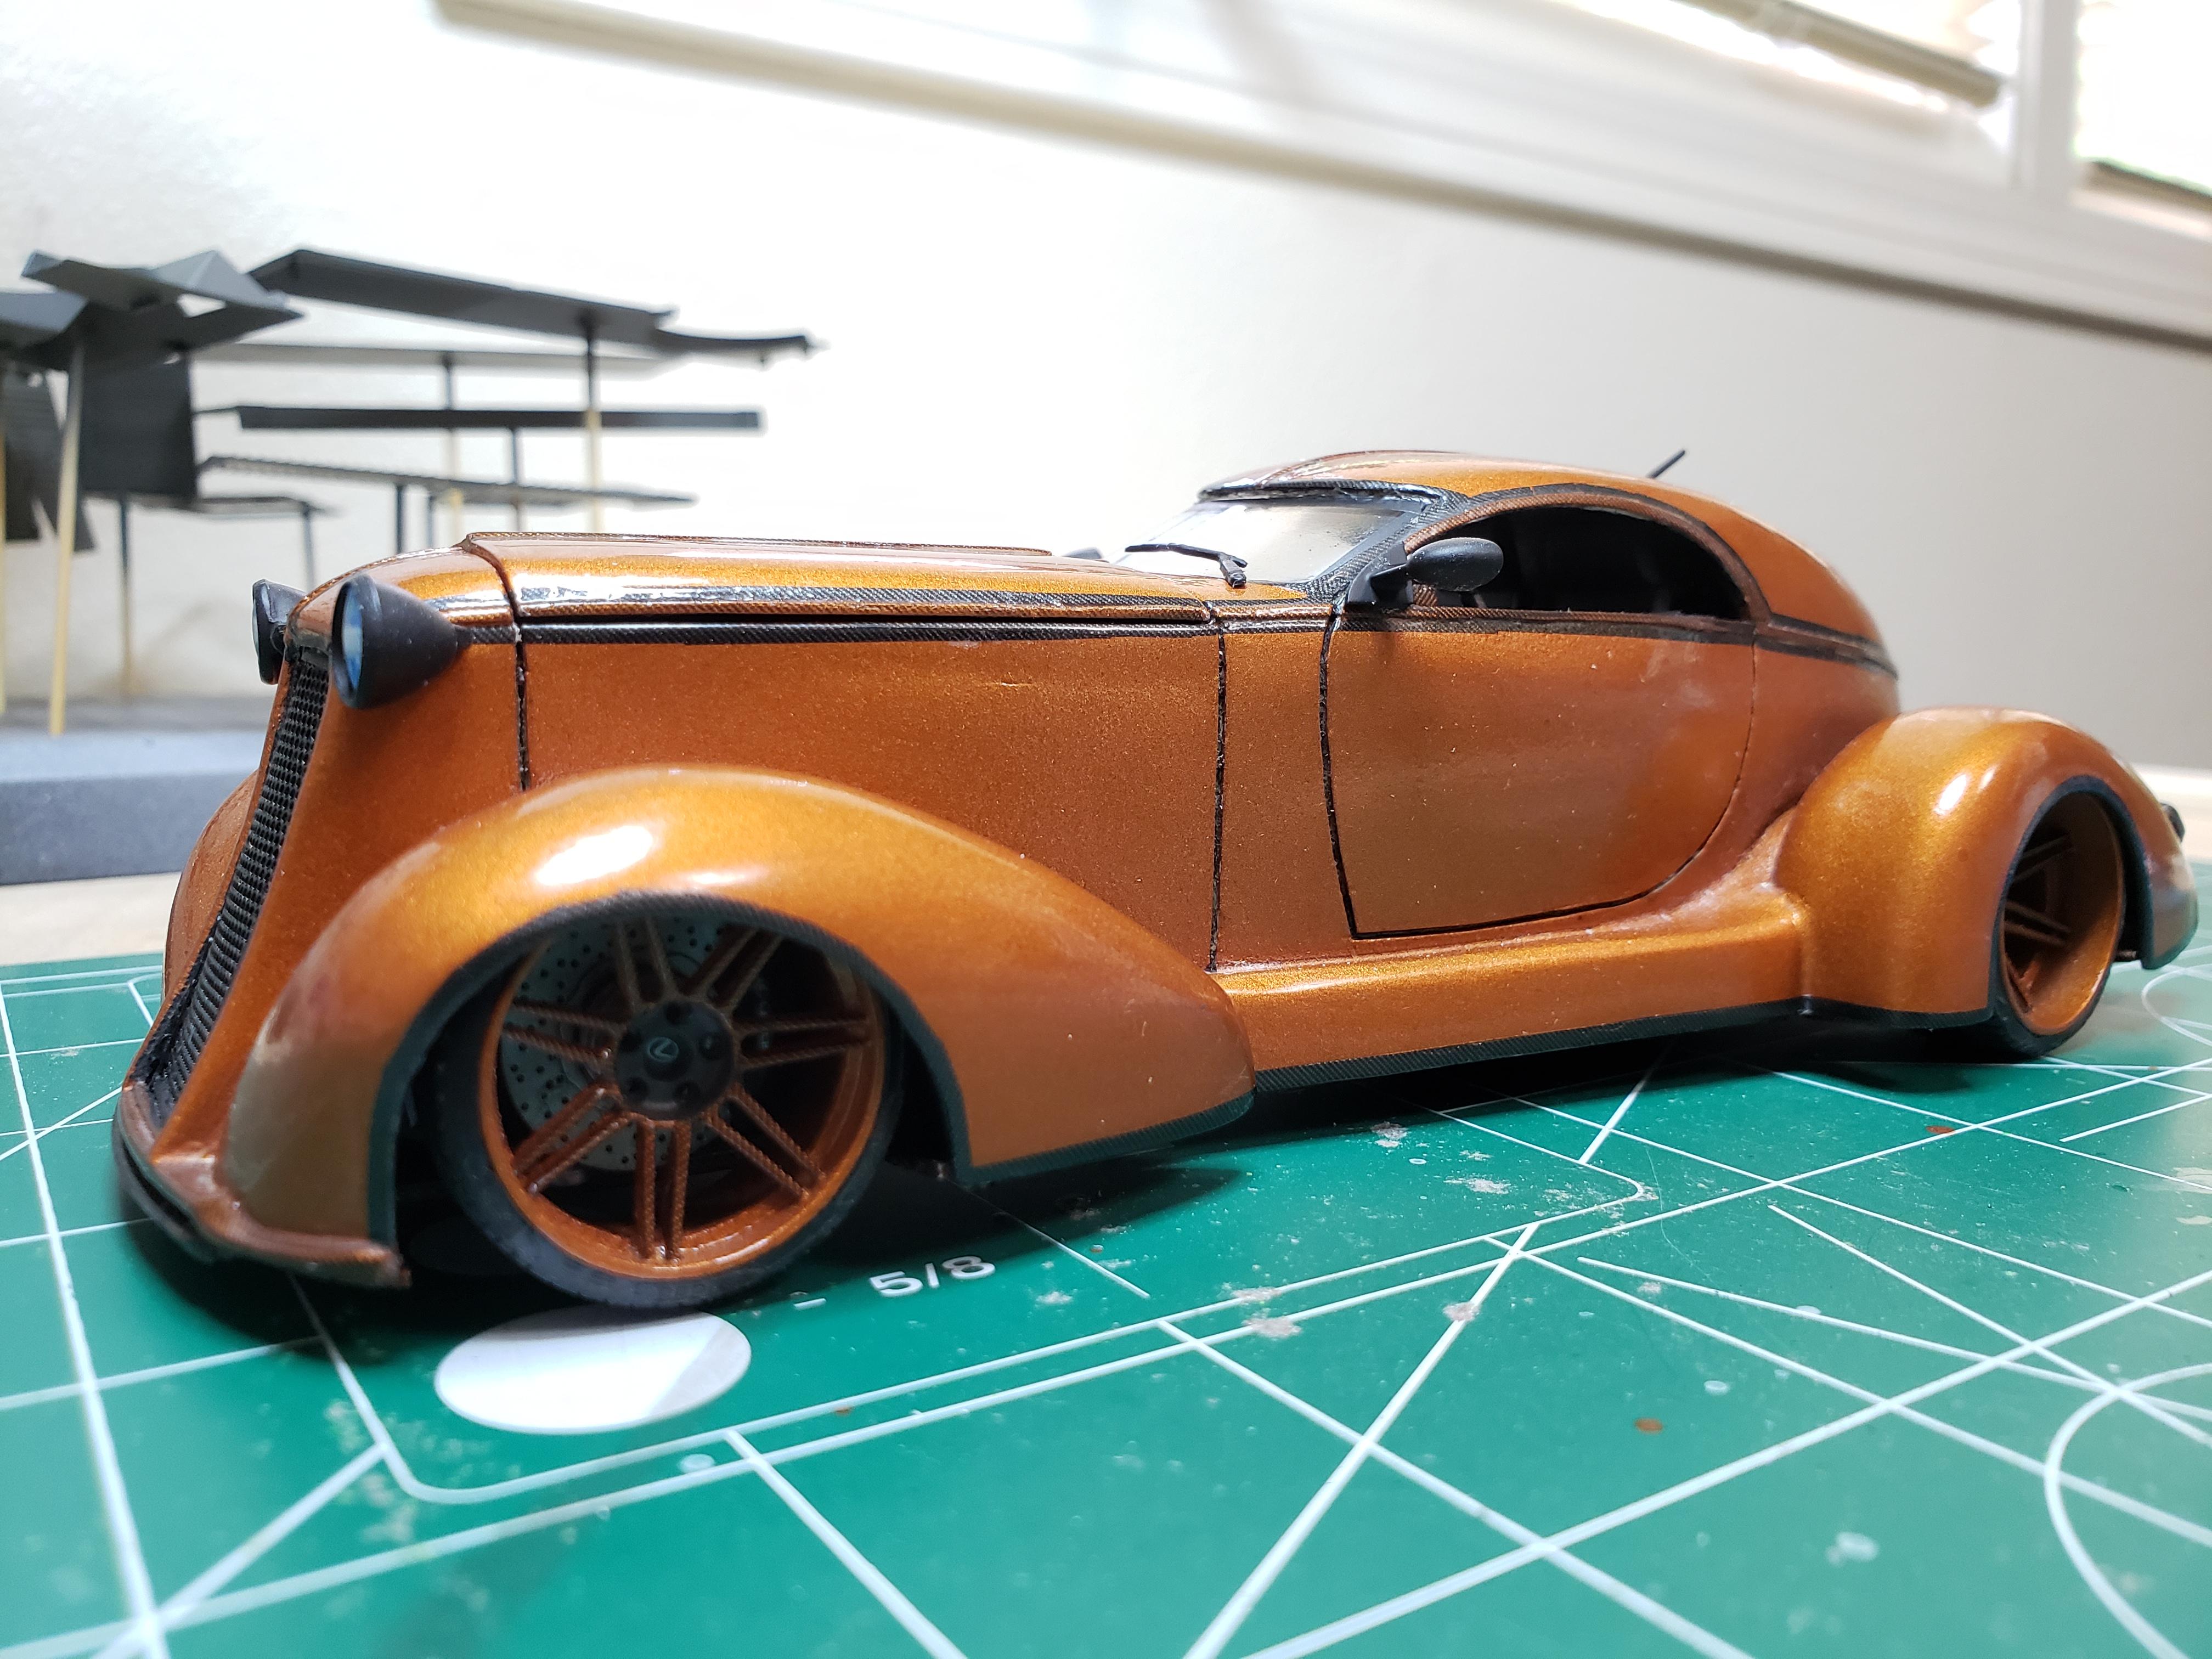
Finally got the finishing touches on this year-long project! Had the hardest time figuring out the hood hinge. Originally tried to hinge from the front but could only get it to work as a side mount. Not sure if I like my feeble attempt at LED headlights or not. Overall, happy to see it done nearly a year after it was started and looking mostly like I envisioned it. Will definitely be using Splash Paints on most of my builds moving forward, though my airbrush skills are a work in progress (the multitude of nooks and crannies on this thing didn't help, either). Will post better quality pics in the Under Glass section. On to the next build!
-
DECO-DENT, LFA-Powered Auburn Speedster Hardtop
FrozenPlastik49 replied to FrozenPlastik49's topic in WIP: Model Cars
Thanks MrNNL! Finally got all the carbon fiber decals applied and today sprayed 3 coats of Splash 2K clear. Will let it sit for 3-4 days before polishing. Then on to assembly! Enjoy!
-
DECO-DENT, LFA-Powered Auburn Speedster Hardtop
FrozenPlastik49 replied to FrozenPlastik49's topic in WIP: Model Cars
Thanks everyone for the comments...much appreciated! BeeRS, it is a modular system made by Vallejo. Since the last update, I've been applying carbon fiber decals on the body trim and the undercarriage. Though not seen in the photos, I do have a front mounted hinge prepared for the hood. Also painted and assembled the interior and front and rear suspensions. Once the decaling is complete, Splash 2K Gloss Clear will be applied to the body and undercarriage. Everyone stay safe and healthy and model on!
-
DECO-DENT, LFA-Powered Auburn Speedster Hardtop
FrozenPlastik49 replied to FrozenPlastik49's topic in WIP: Model Cars
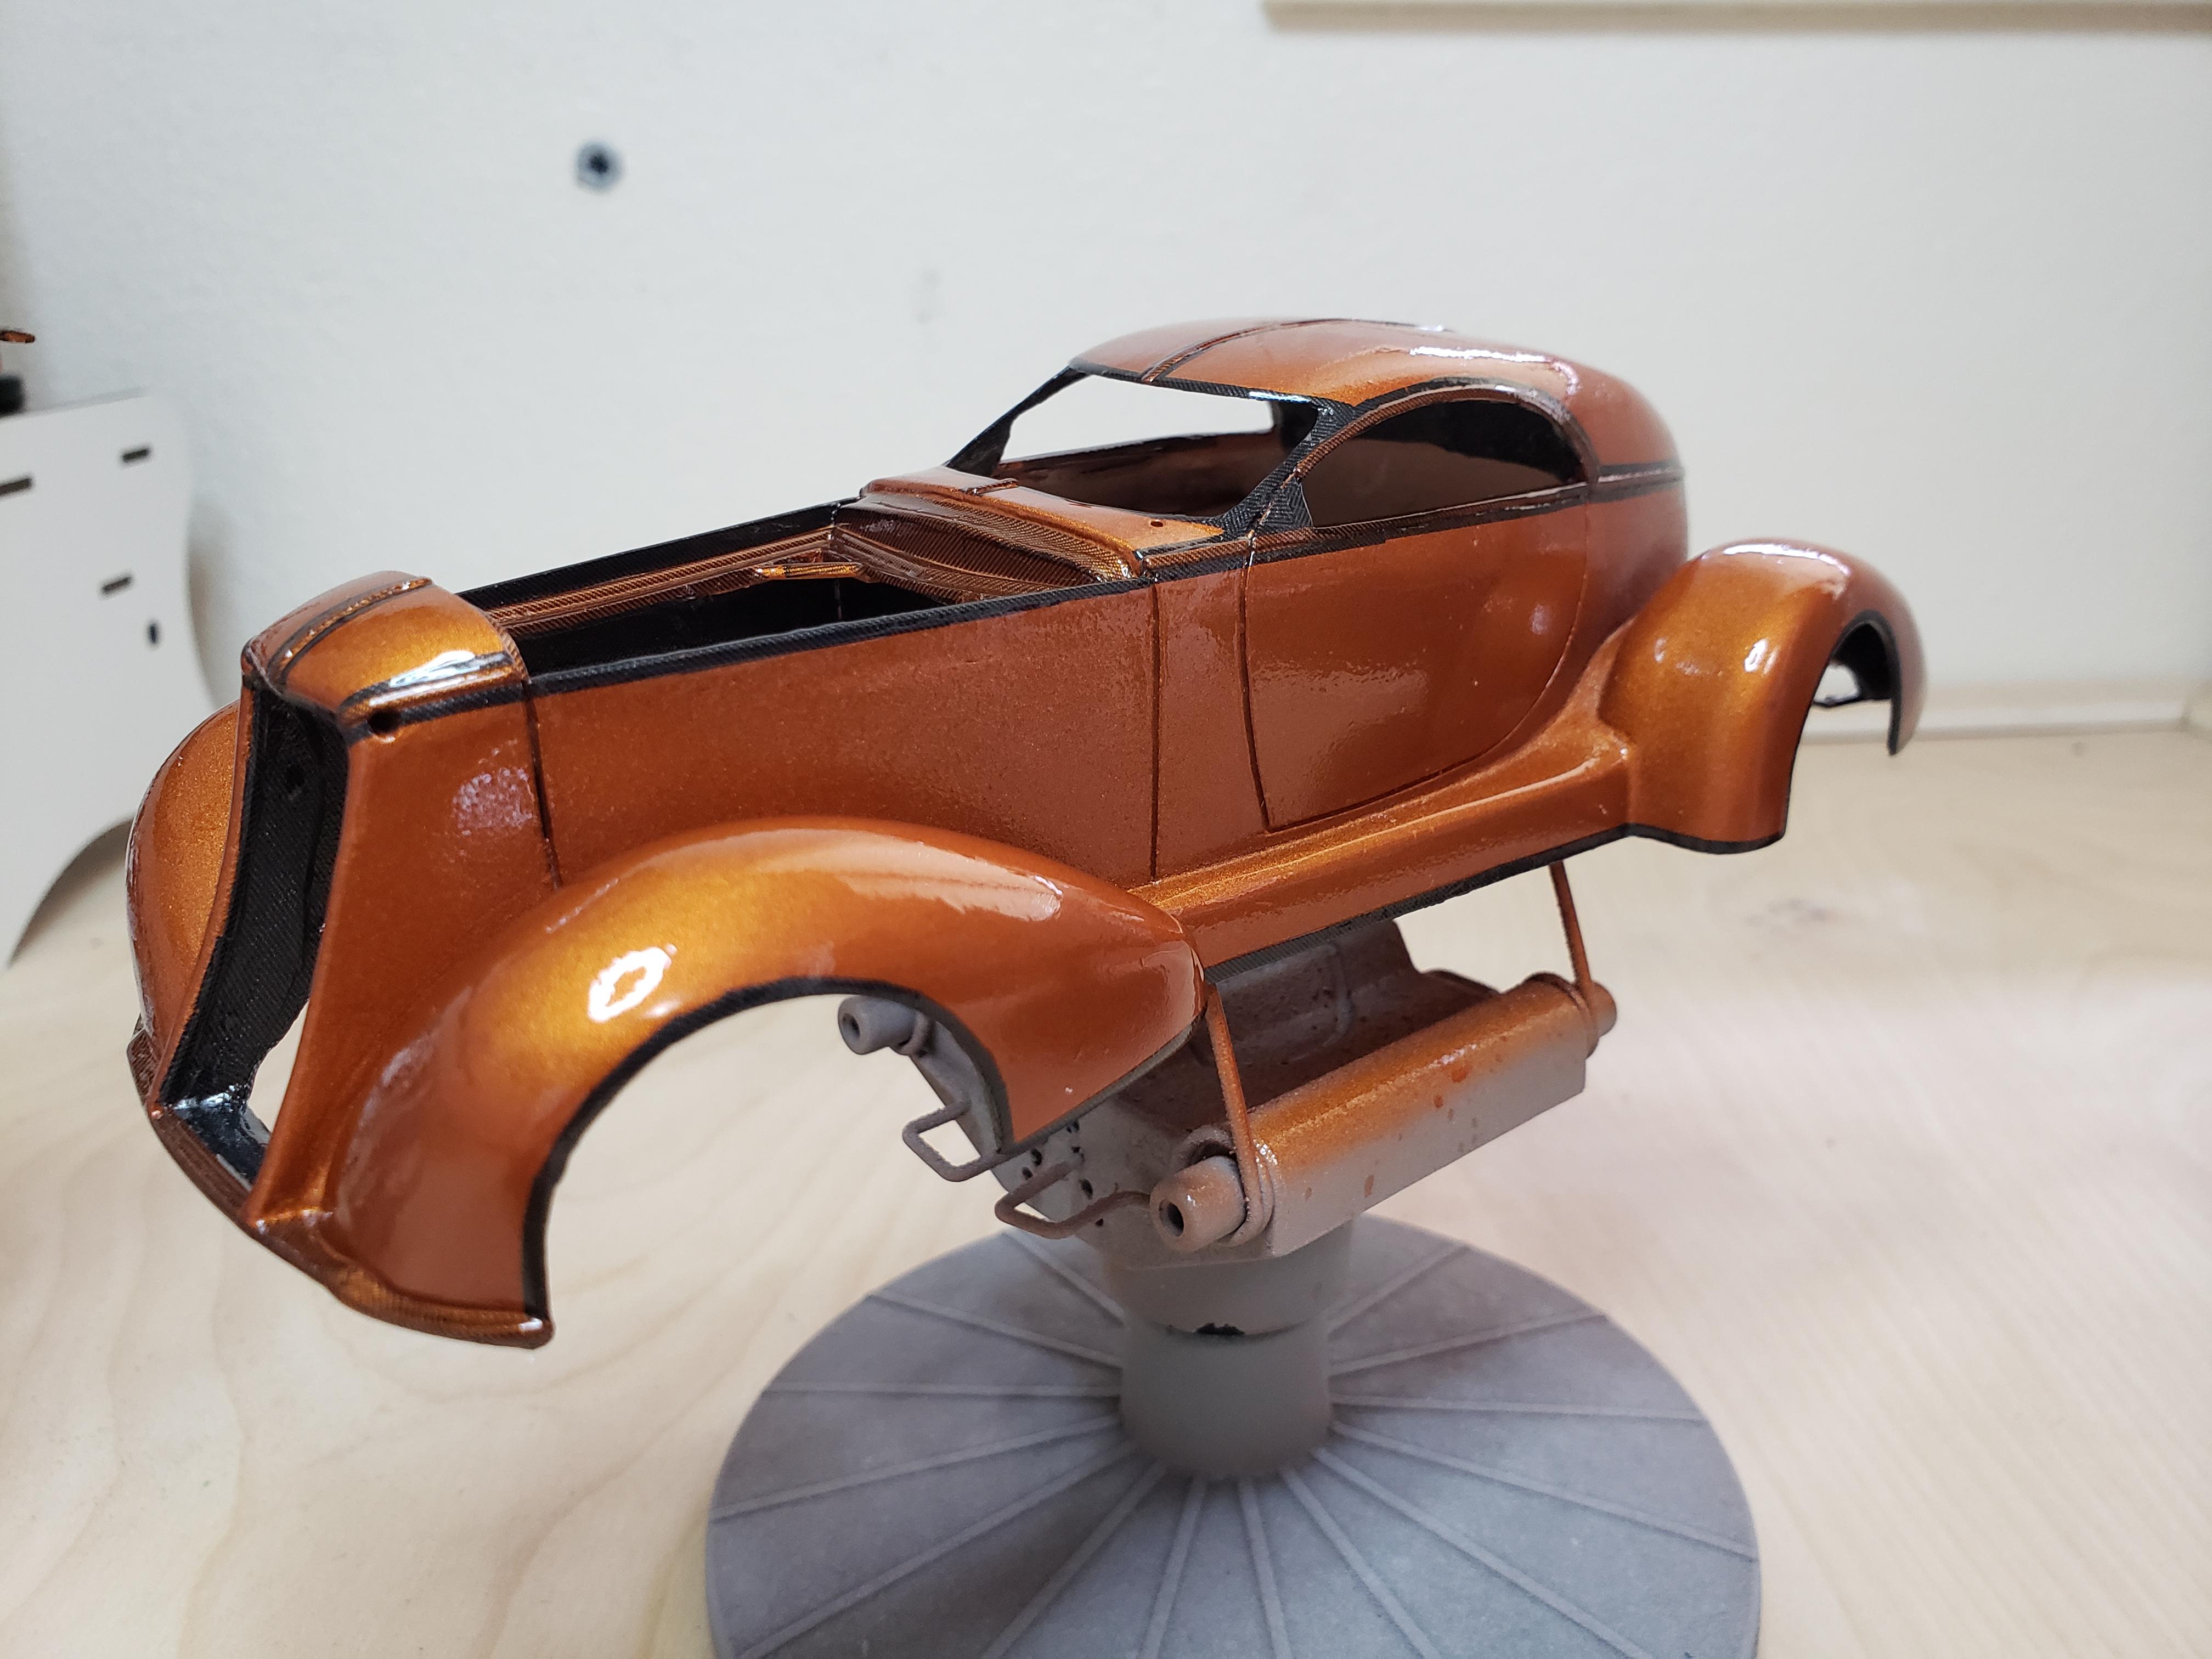
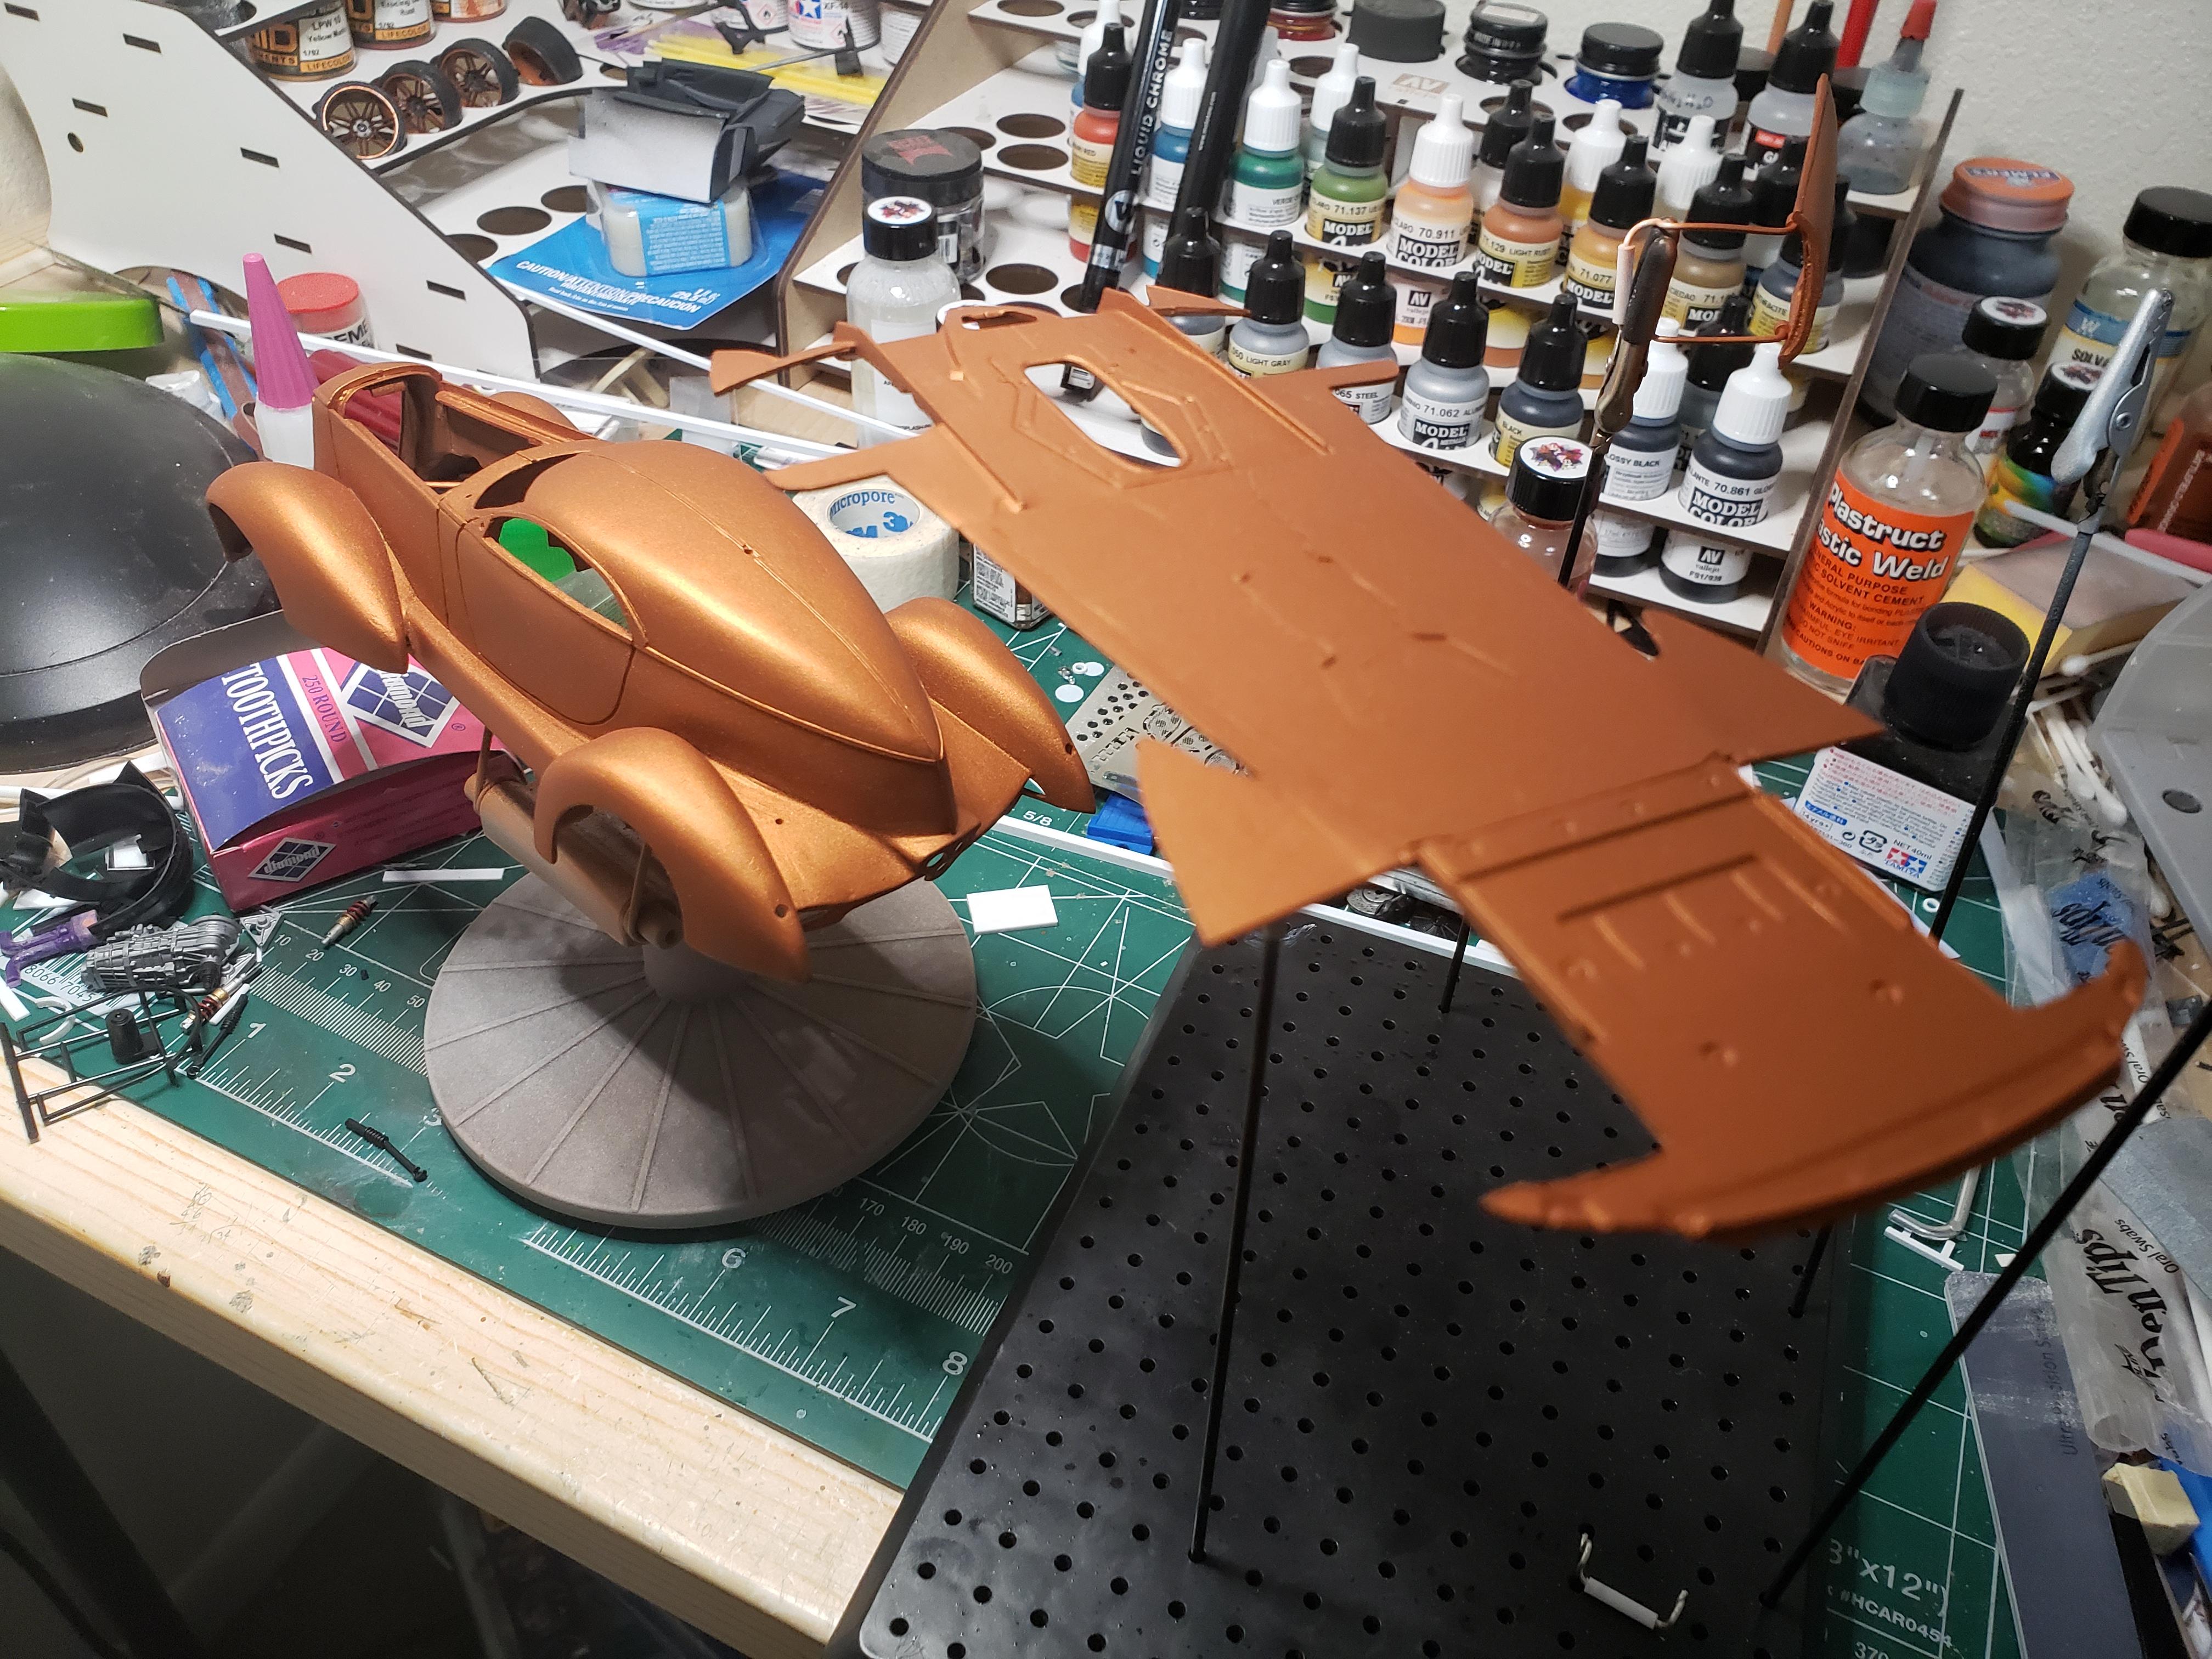
Paint!!! Finally got some paint on the body, hood, and undercarriage. Considering the amount of fill and sanding done, I'm pretty happy with the results and am very happy with Splash Paints (Battlefield Copper). Next steps are carbon fiber decals and clear coat.
-
DECO-DENT, LFA-Powered Auburn Speedster Hardtop
FrozenPlastik49 replied to FrozenPlastik49's topic in WIP: Model Cars
2K clearcoat is now on the painted and CF-decaled parts. As can be seen from the photos, the engine bay panels have been extended to match the 'speed line' for a cleaner look. Just have to figure out some hood hinges and the windshield (having fitment issues with the Aluma Coupe windshield and may opt for clear acetate) before painting the body and undercarriage.
-
DECO-DENT, LFA-Powered Auburn Speedster Hardtop
FrozenPlastik49 replied to FrozenPlastik49's topic in WIP: Model Cars
MRM, great idea on the wheels...perhaps next time! -
DECO-DENT, LFA-Powered Auburn Speedster Hardtop
FrozenPlastik49 replied to FrozenPlastik49's topic in WIP: Model Cars
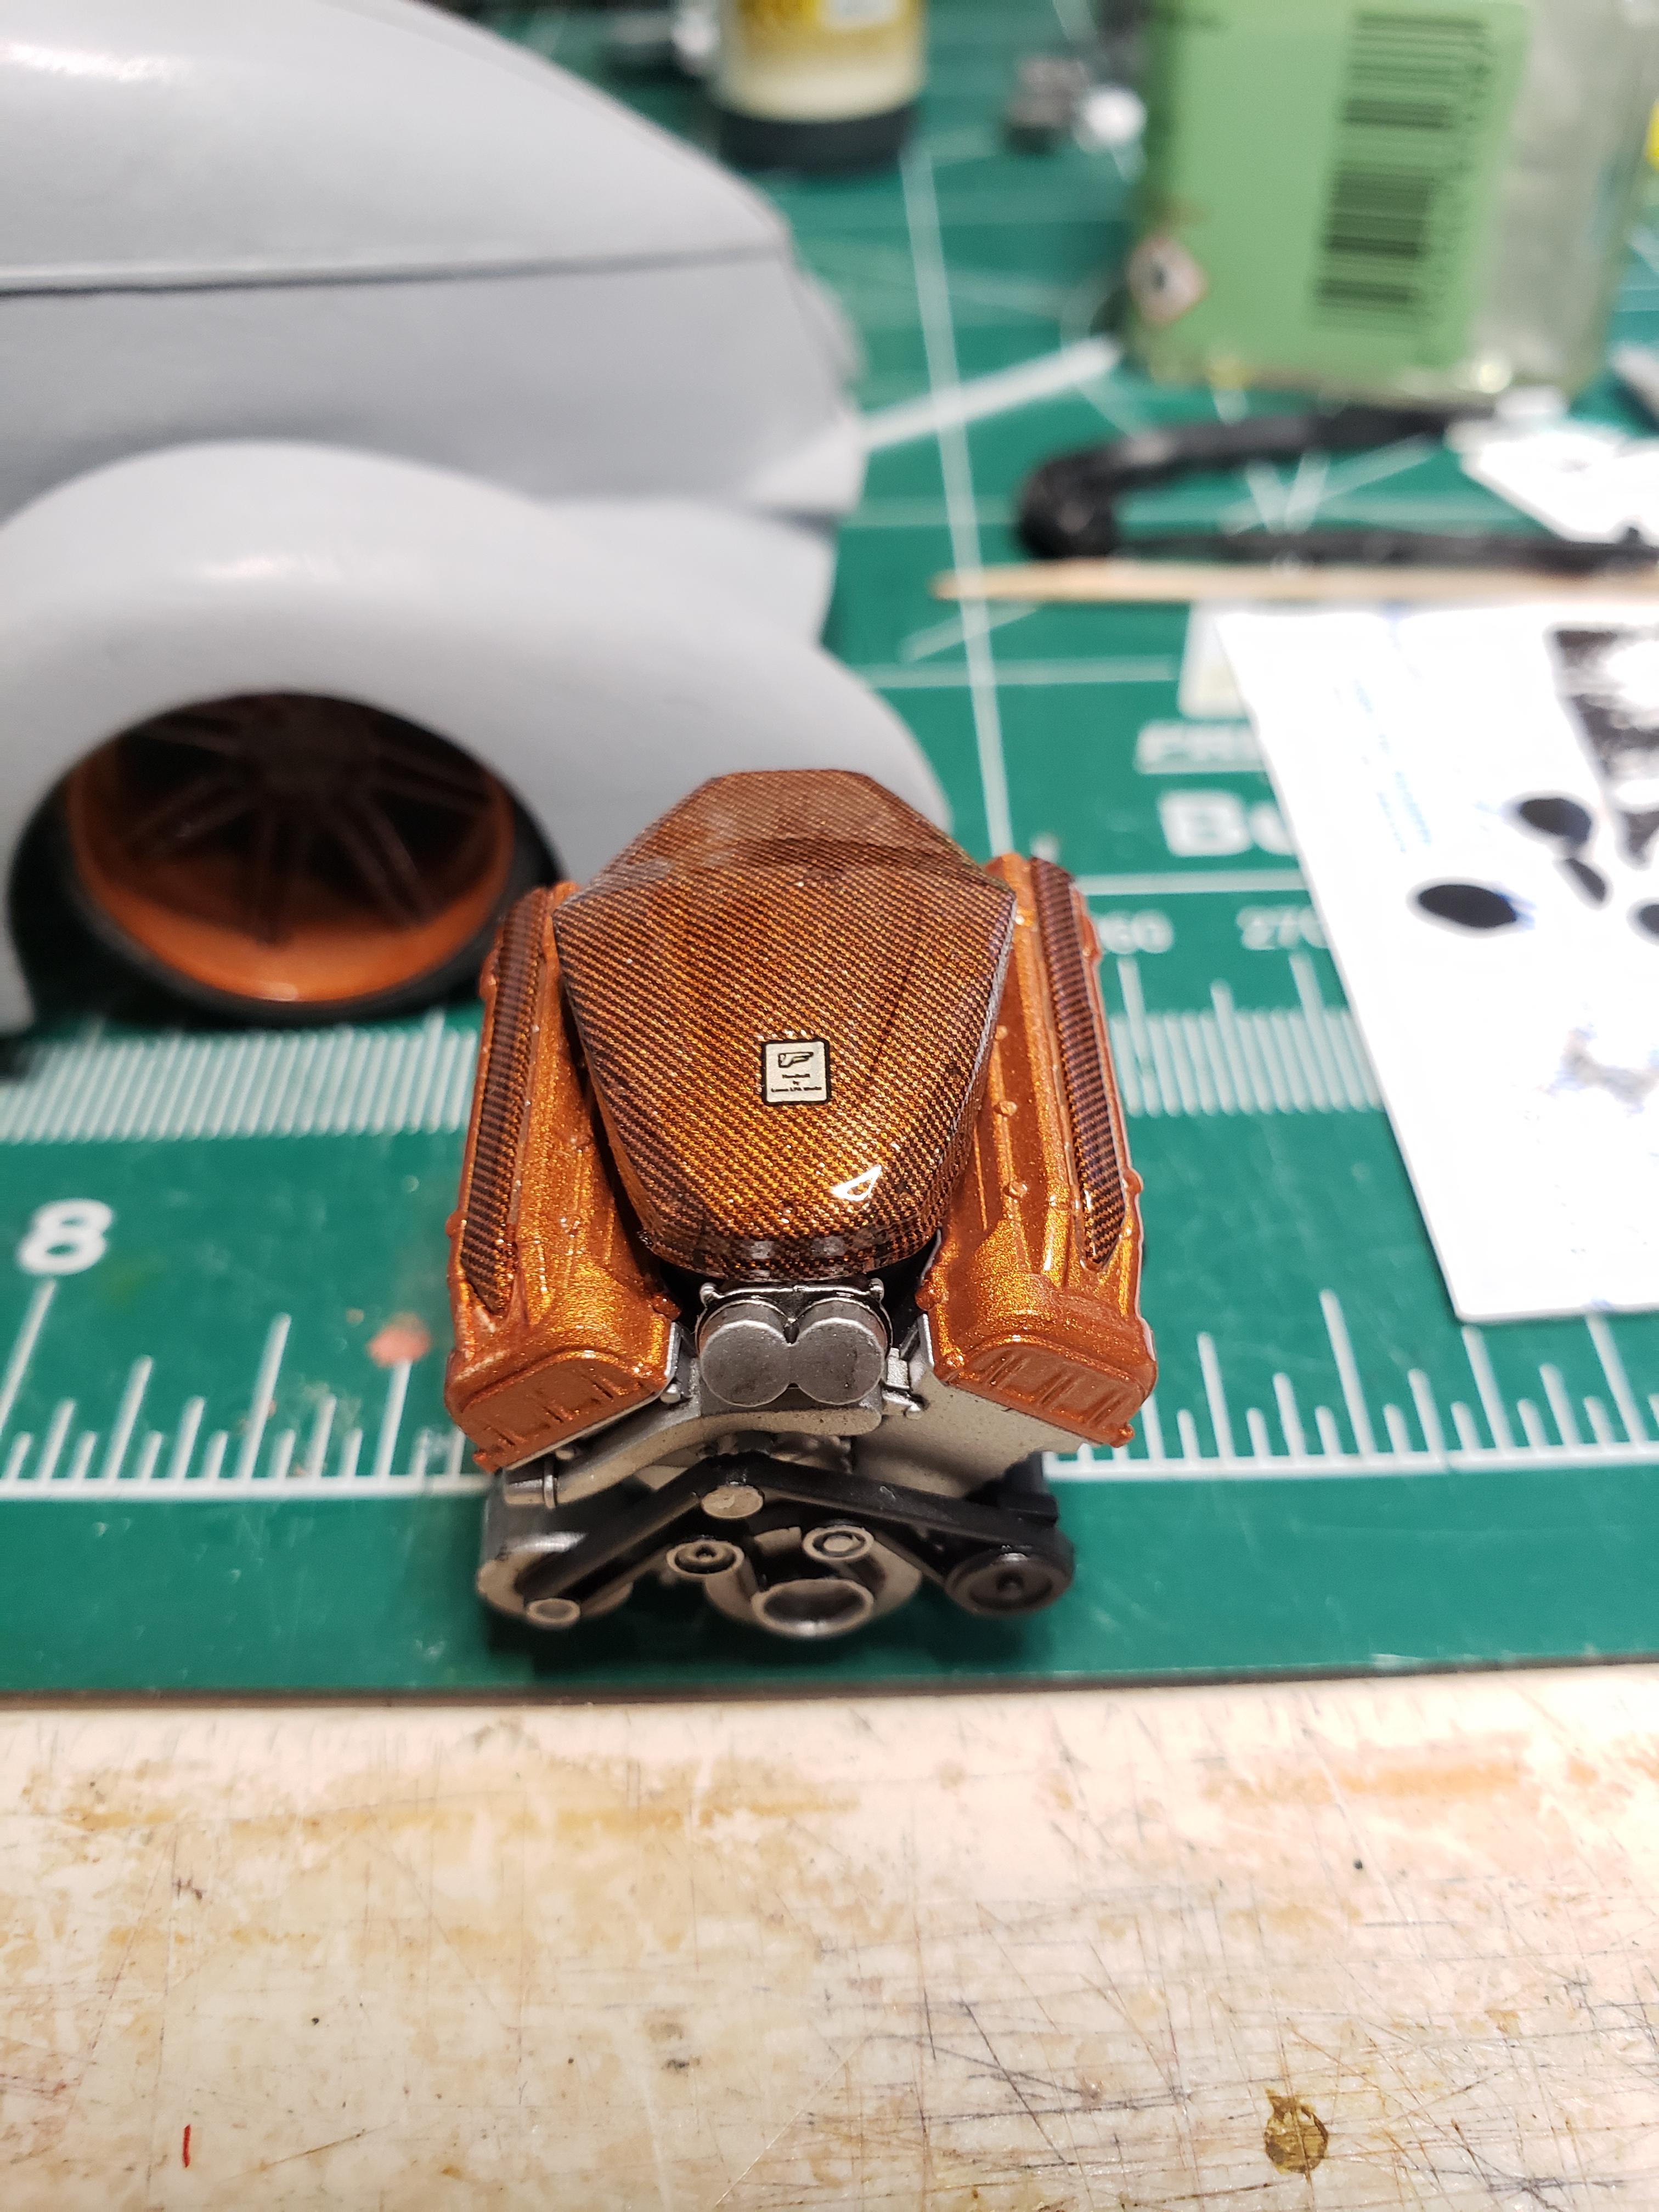
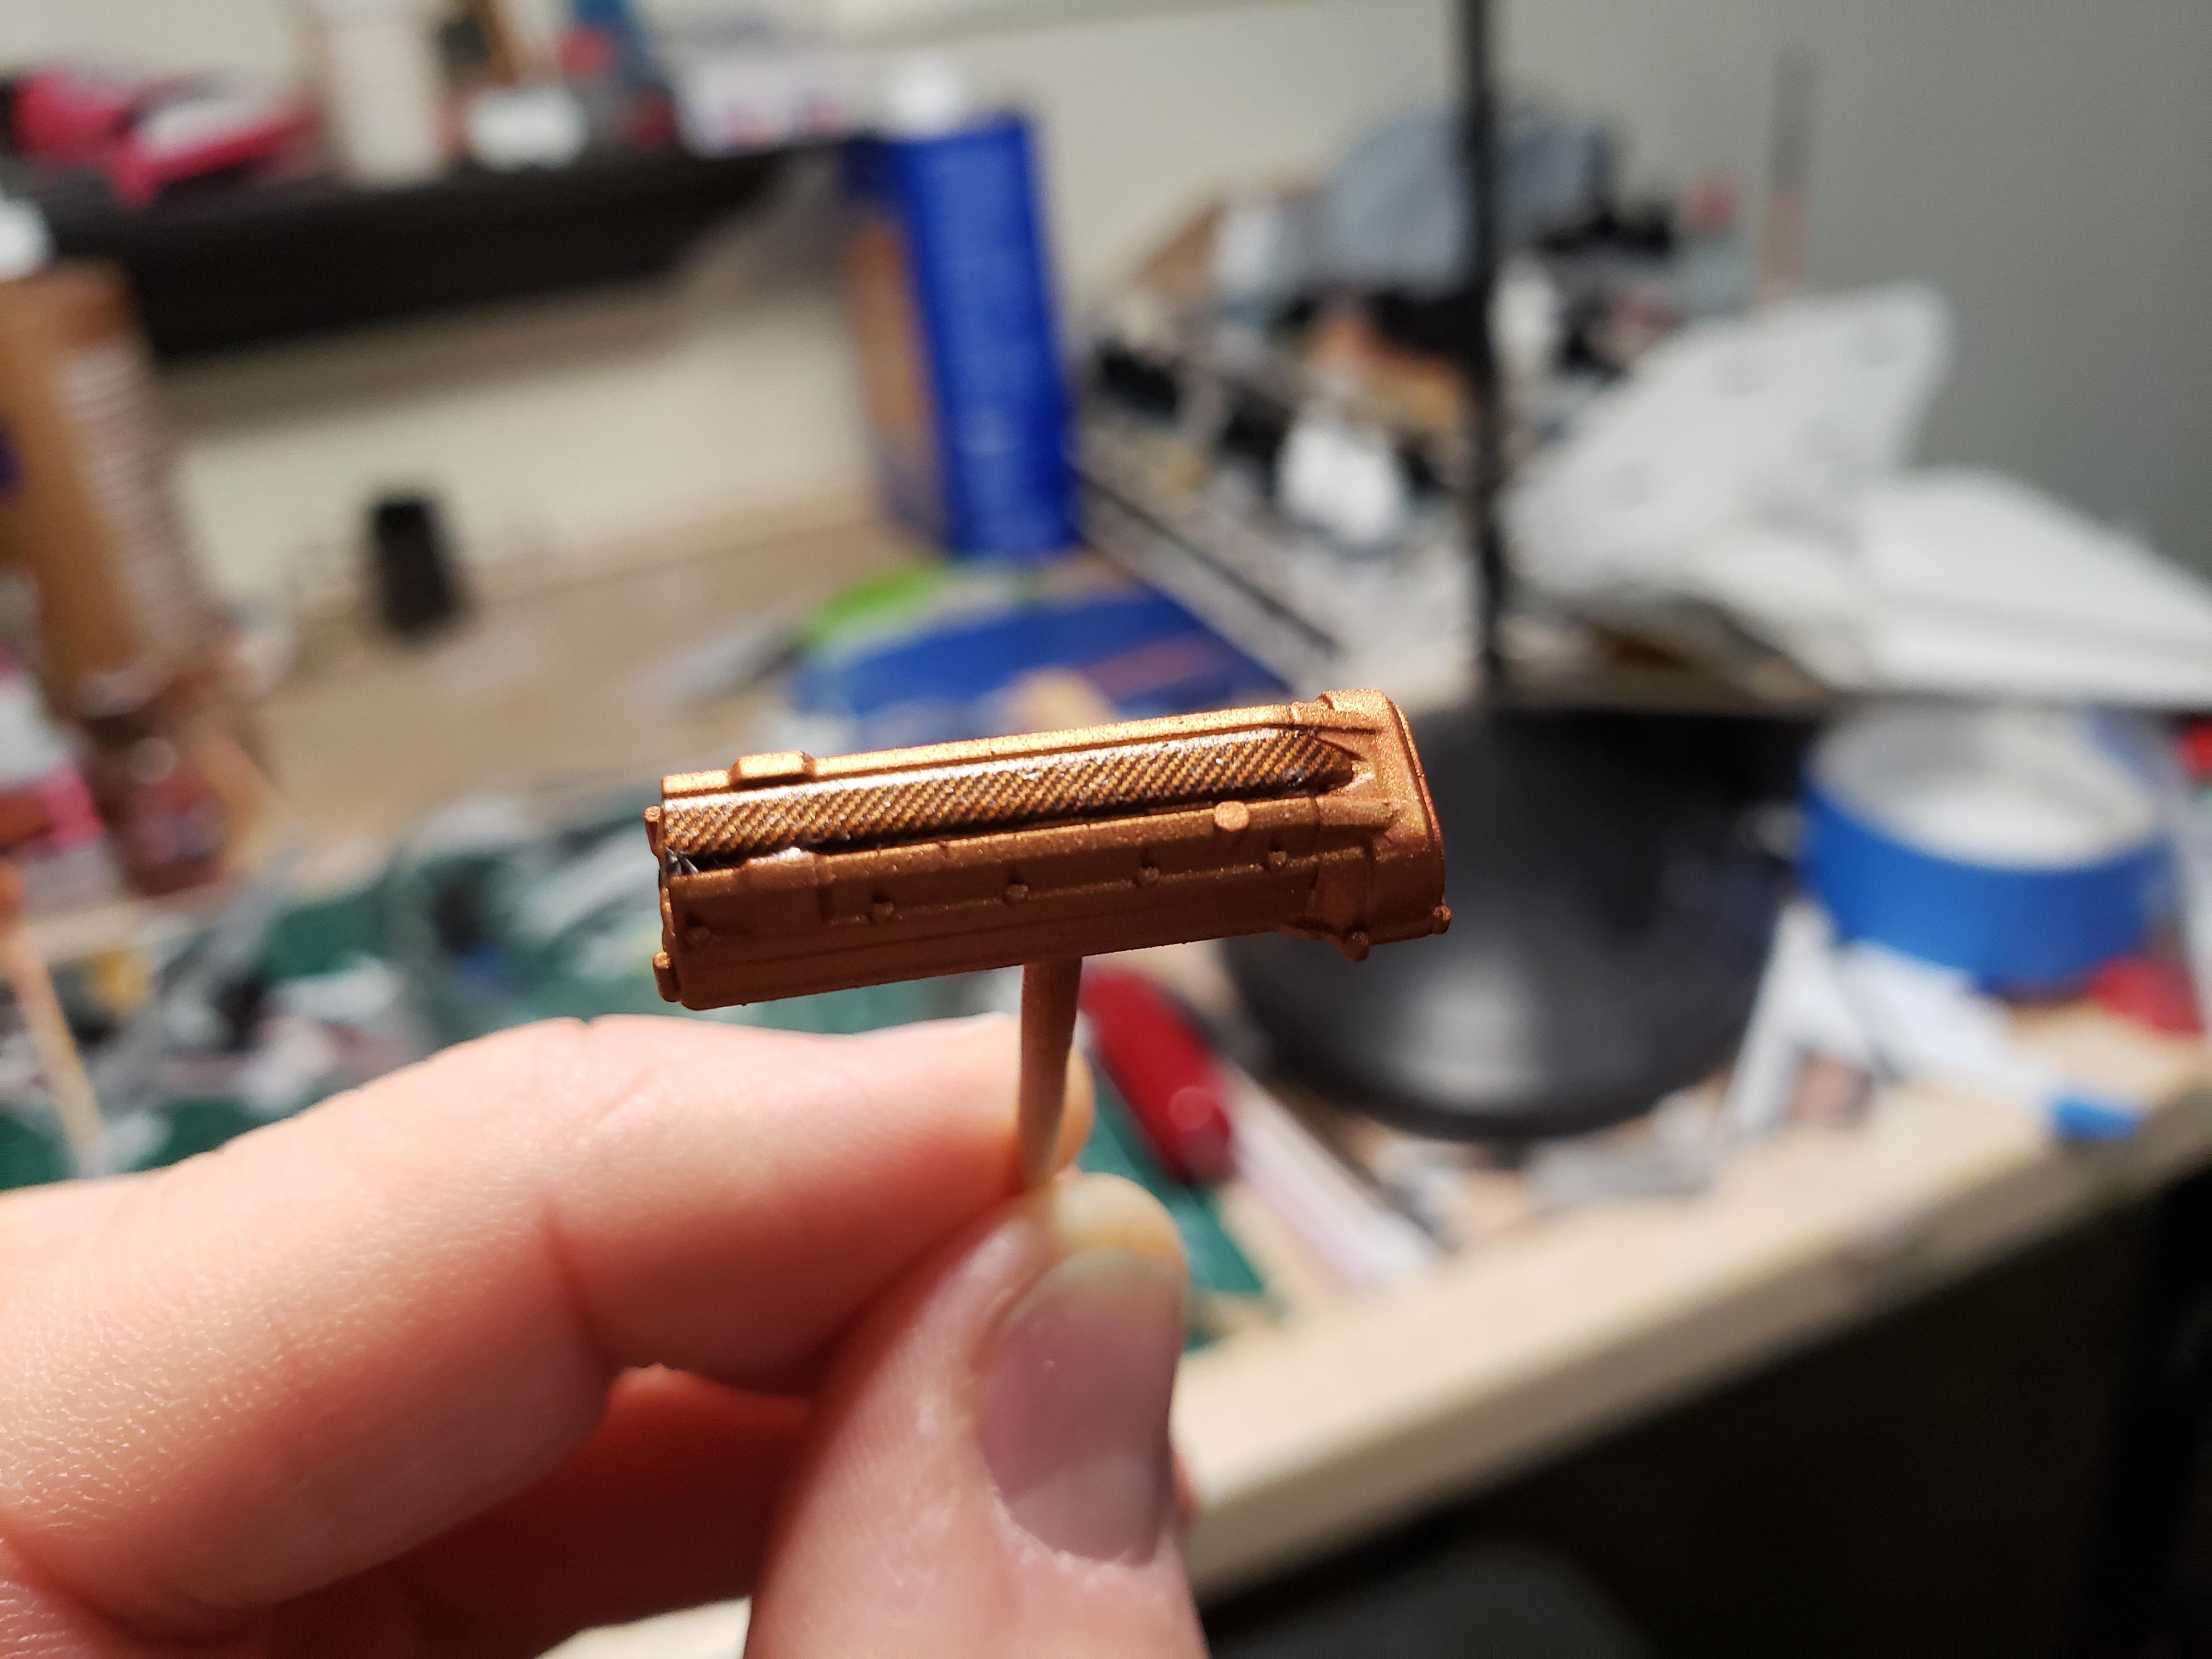
Finally started getting some color (Splash Paints Battlefield Copper) on this thing. First photo is one of the valve covers from the Lexus LFA v10 with some Scale Motorsports clear carbon fiber decal. Second photo is one of the rims...I will be applying the clear CF decals to the spokes as well. Third photo is the painted V10 and the fourth photo is the Lexus instrument pod with CF decal applied.
-
DECO-DENT, LFA-Powered Auburn Speedster Hardtop
FrozenPlastik49 replied to FrozenPlastik49's topic in WIP: Model Cars
Update...been moving along with the interior and undercarriage. Still have lots of small details and fitment to work out before paint, but am happy with the results thus far.
-
DECO-DENT, LFA-Powered Auburn Speedster Hardtop
FrozenPlastik49 replied to FrozenPlastik49's topic in WIP: Model Cars
Thank you everyone for the compliments...much appreciated! Got significant bench time over the long weekend. Managed to get the molding (or 'speed lines' as MisterNNL called them) attached and started on the firewall. Plan to use the side mirrors and headlights from the Alumacoupe kit. Have ordered AMG GT Battlefield Copper from Splash Paints and am considering changing the name of the project to 'Coppertail.' Charlie8575...I haven't completely committed to the wheels depicted...I do keep eyeing the wheels from the Foose Eldorod as an alternative...we shall see! Geemoney...too cool! Paul Payne...I will be using the V10 from the Tamiya Lexus LFA kit (which is also donating its suspension, undercarriage, interior, and exhaust).
-
DECO-DENT, LFA-Powered Auburn Speedster Hardtop
FrozenPlastik49 replied to FrozenPlastik49's topic in WIP: Model Cars
Bench time equals progress. Made new side panels for the engine bay...the openings will likely have some photo-etched mesh in them. Planning on incorporating the headlights into the radiator shroud and hood. Scribed in a door shape, too. Not seen in the photos is the roughed-in undercarriage. MisterNNL, yes I did remove some of the interior supports to lengthen the windows. And, as the photos indicate, I do plan some sort of feature line or molding to mimic the original Speedster and to give some relief to the expansive boattail area. I did not, however, split the body and widen it. Enjoy!