Oldmopars
-
Posts
2,057 -
Joined
-
Last visited
Content Type
Profiles
Forums
Events
Gallery
Everything posted by Oldmopars
-
What engines are in the new 007 Mustang?
Oldmopars replied to Oldmopars's topic in Model Building Questions and Answers
Thanks, I did read through that and it was confusing. As I read it, it’s a 351 and a 429 CJ. Any idea where to fine a 460 that would be correct in a Van/motor home? -
So I just got the new 007 1971 Mustang kit. I watched HPIGuys video and he said there are 2 engines in the kit. One is a 351 but I don’t know what the other one is. Any chance it’s an FE big block? It might be a 429? Just not sure what it is. I have not opened it yet, as I don’t think it would help me ID it. Can anyone enlighten me?
-
Thank you.
-
Thanks, I have another set of the slicks, 8 extra Corvette tires, and 2 full sets that came with the 32. I also have a set of Big T rear cheater slicks. So I have lots of tires. But thanks.
-
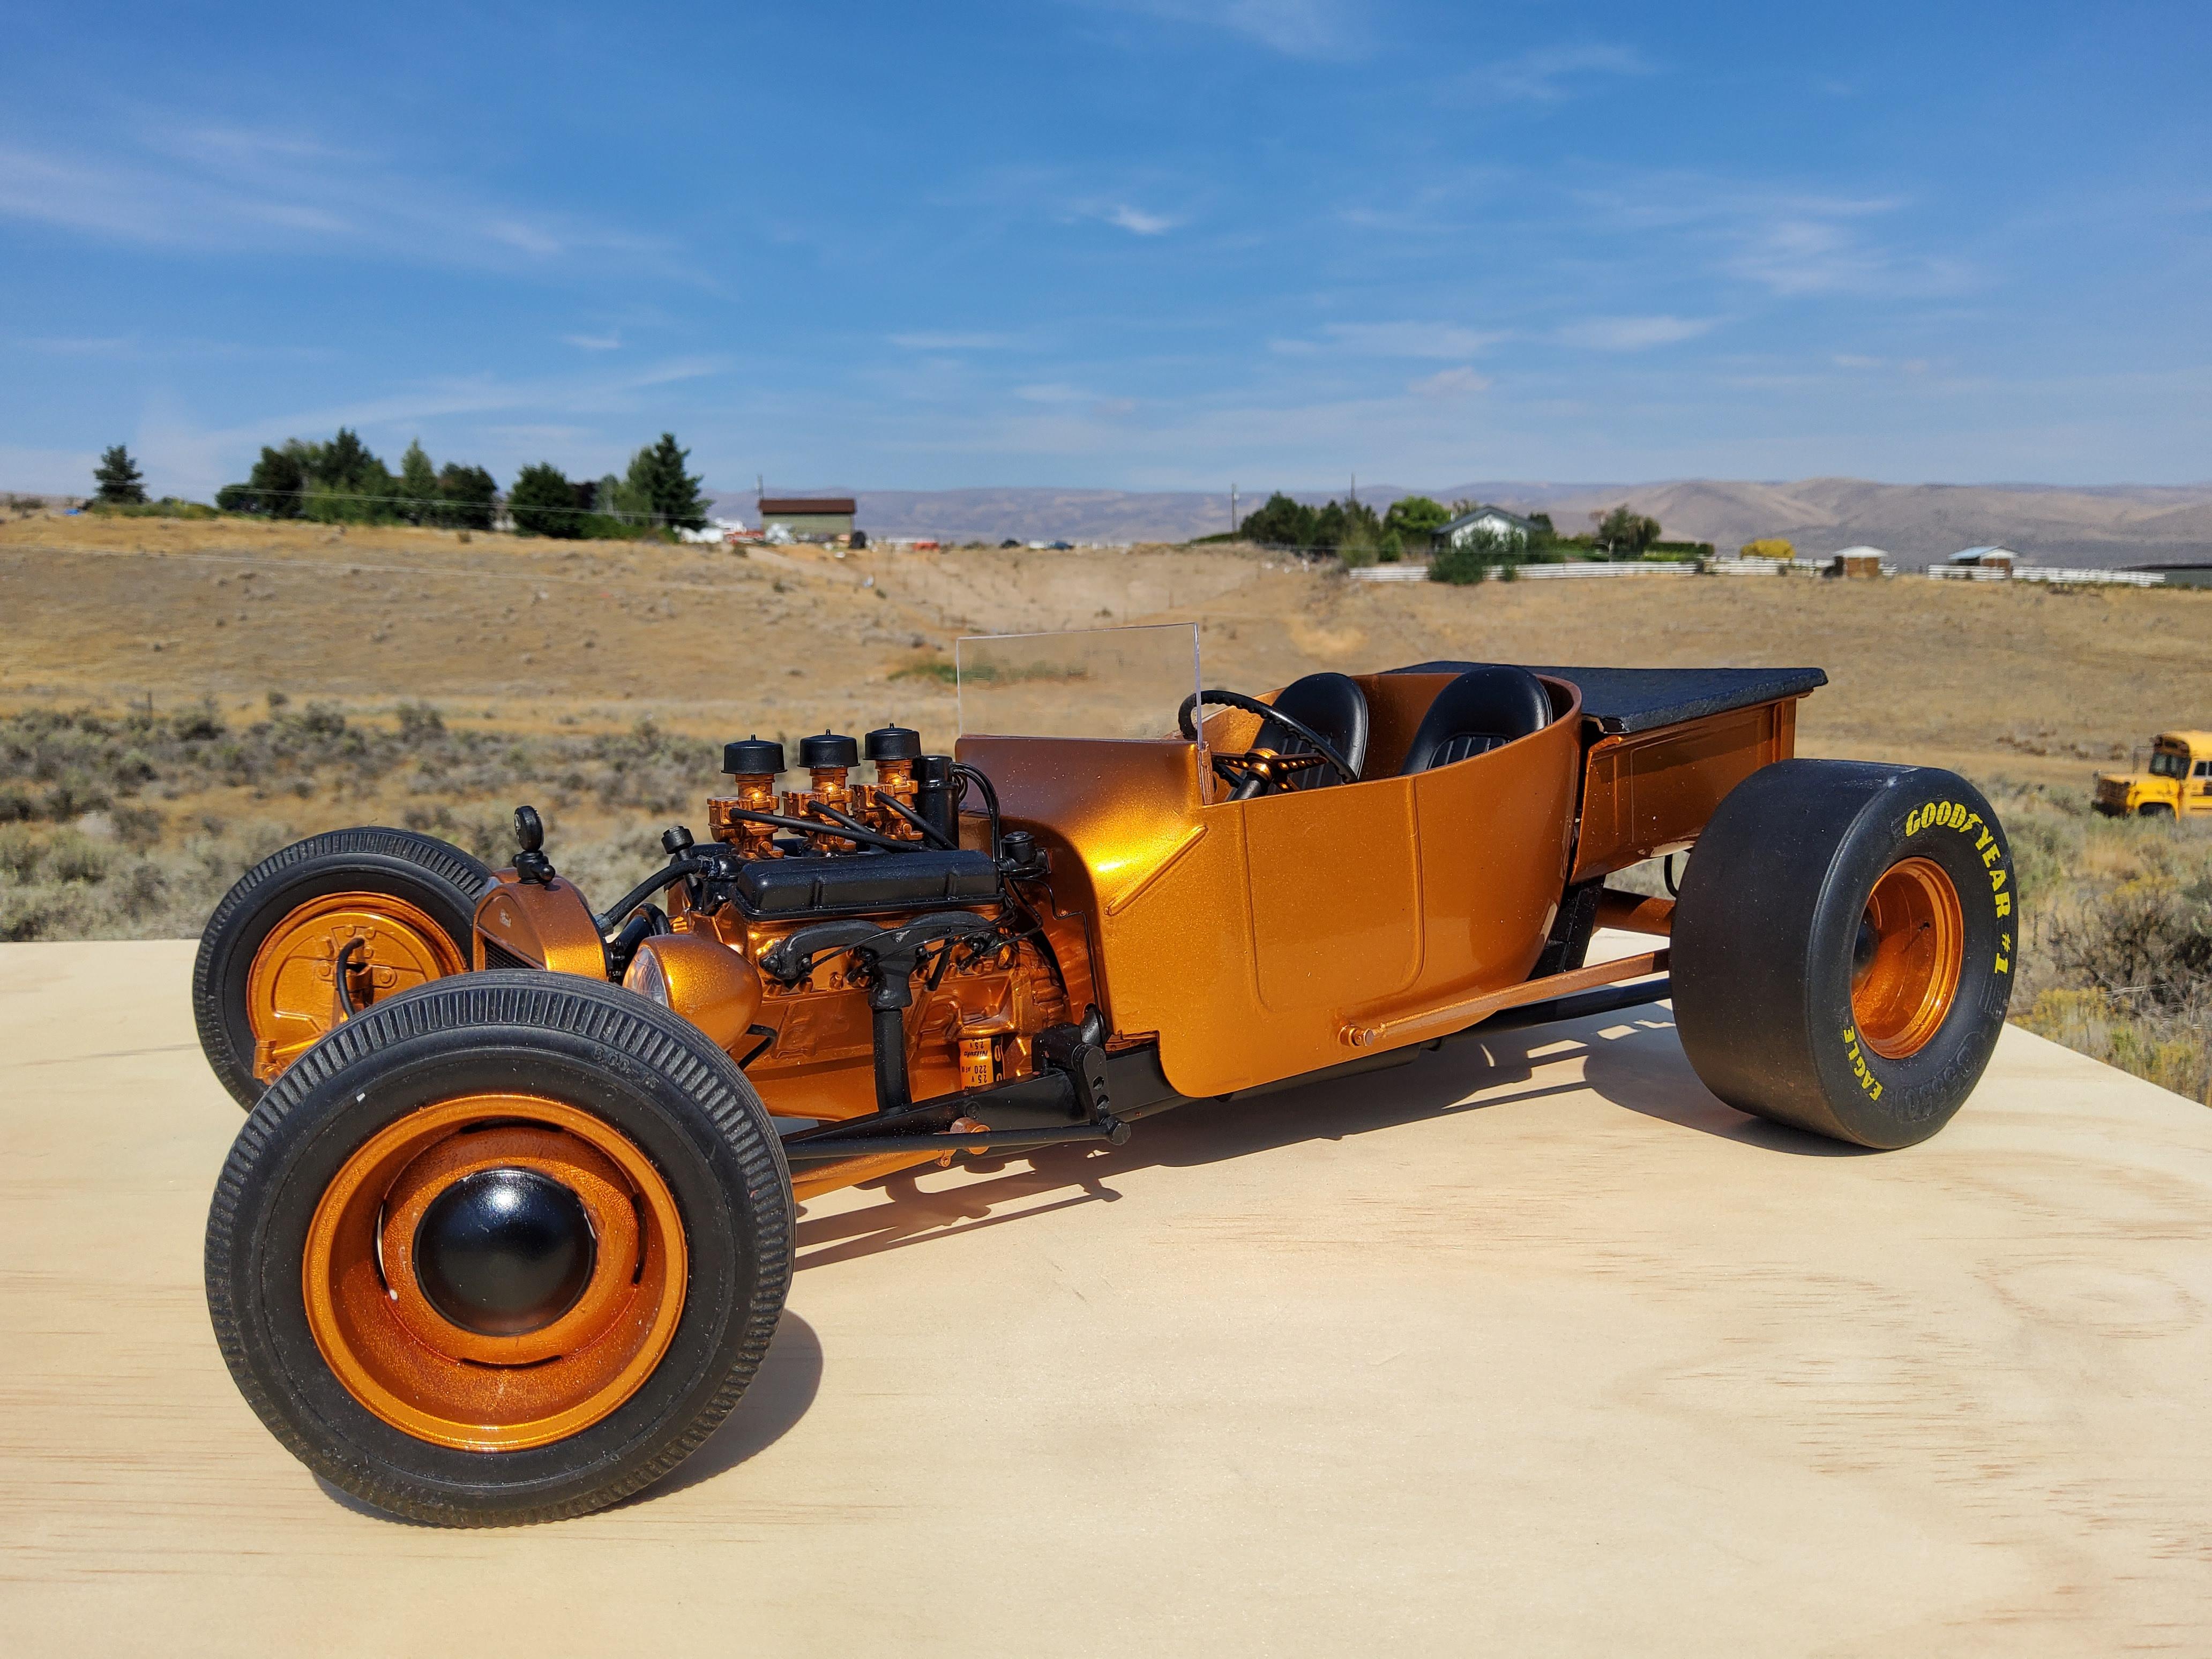
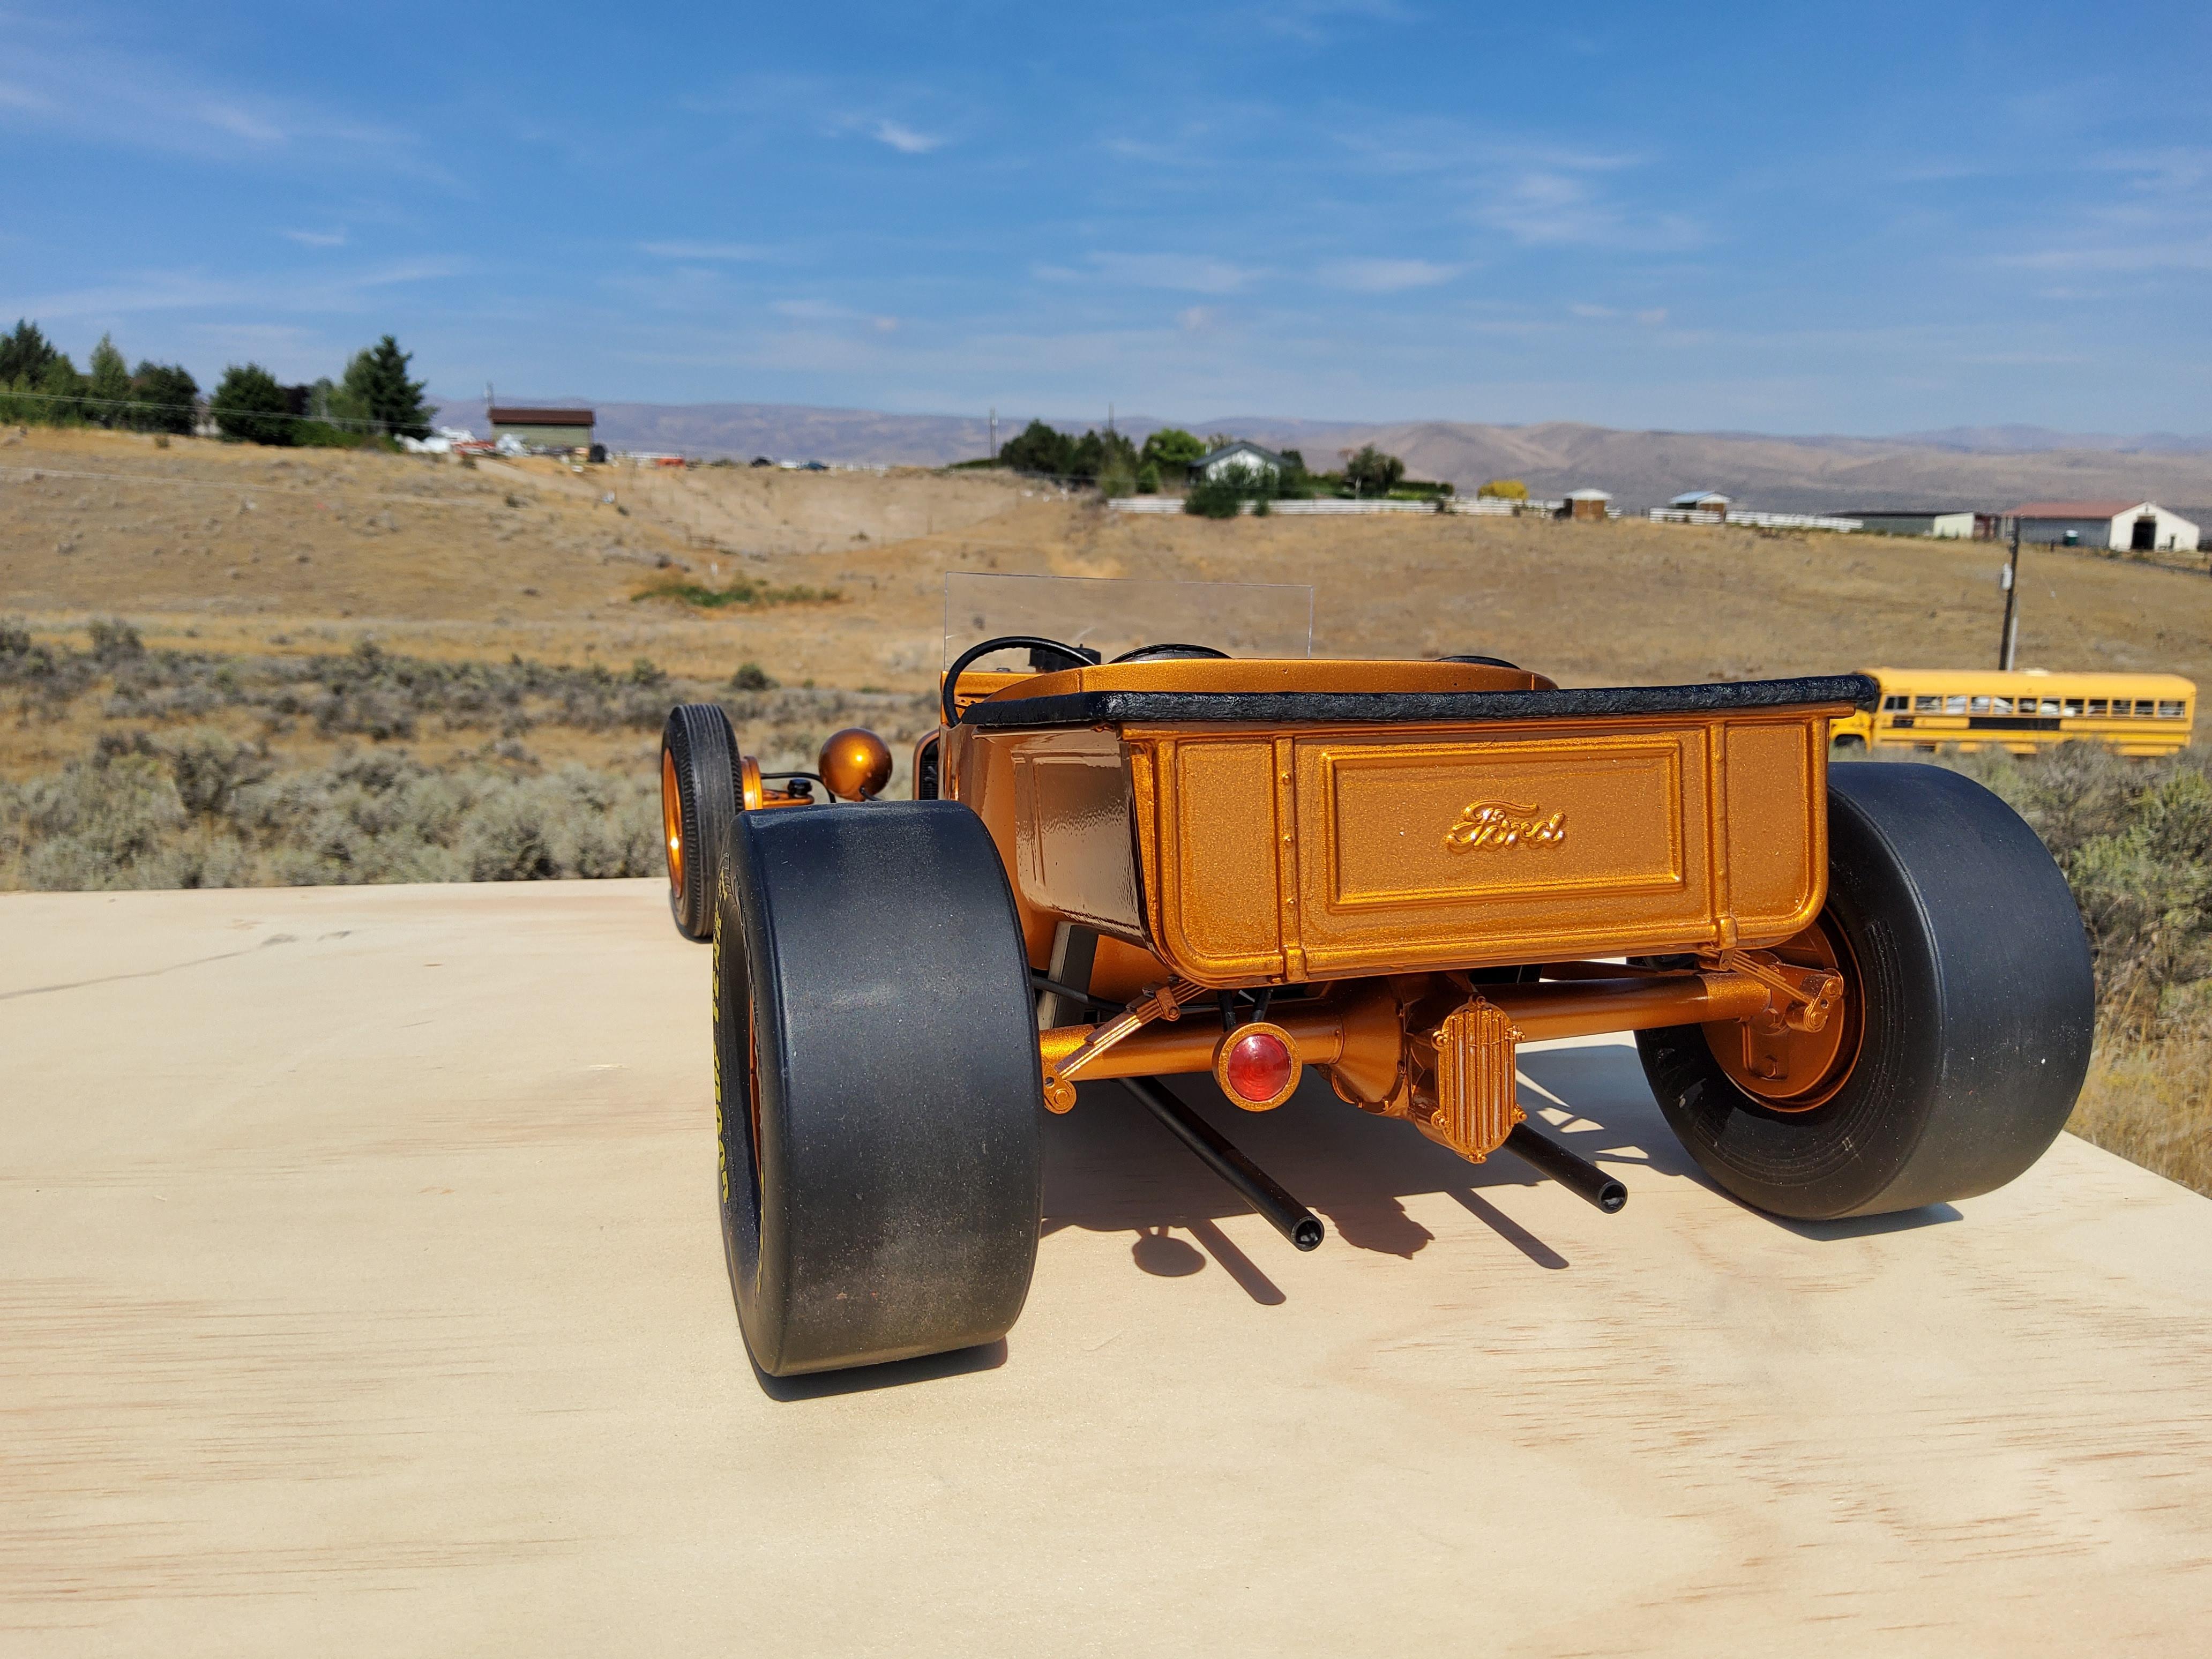
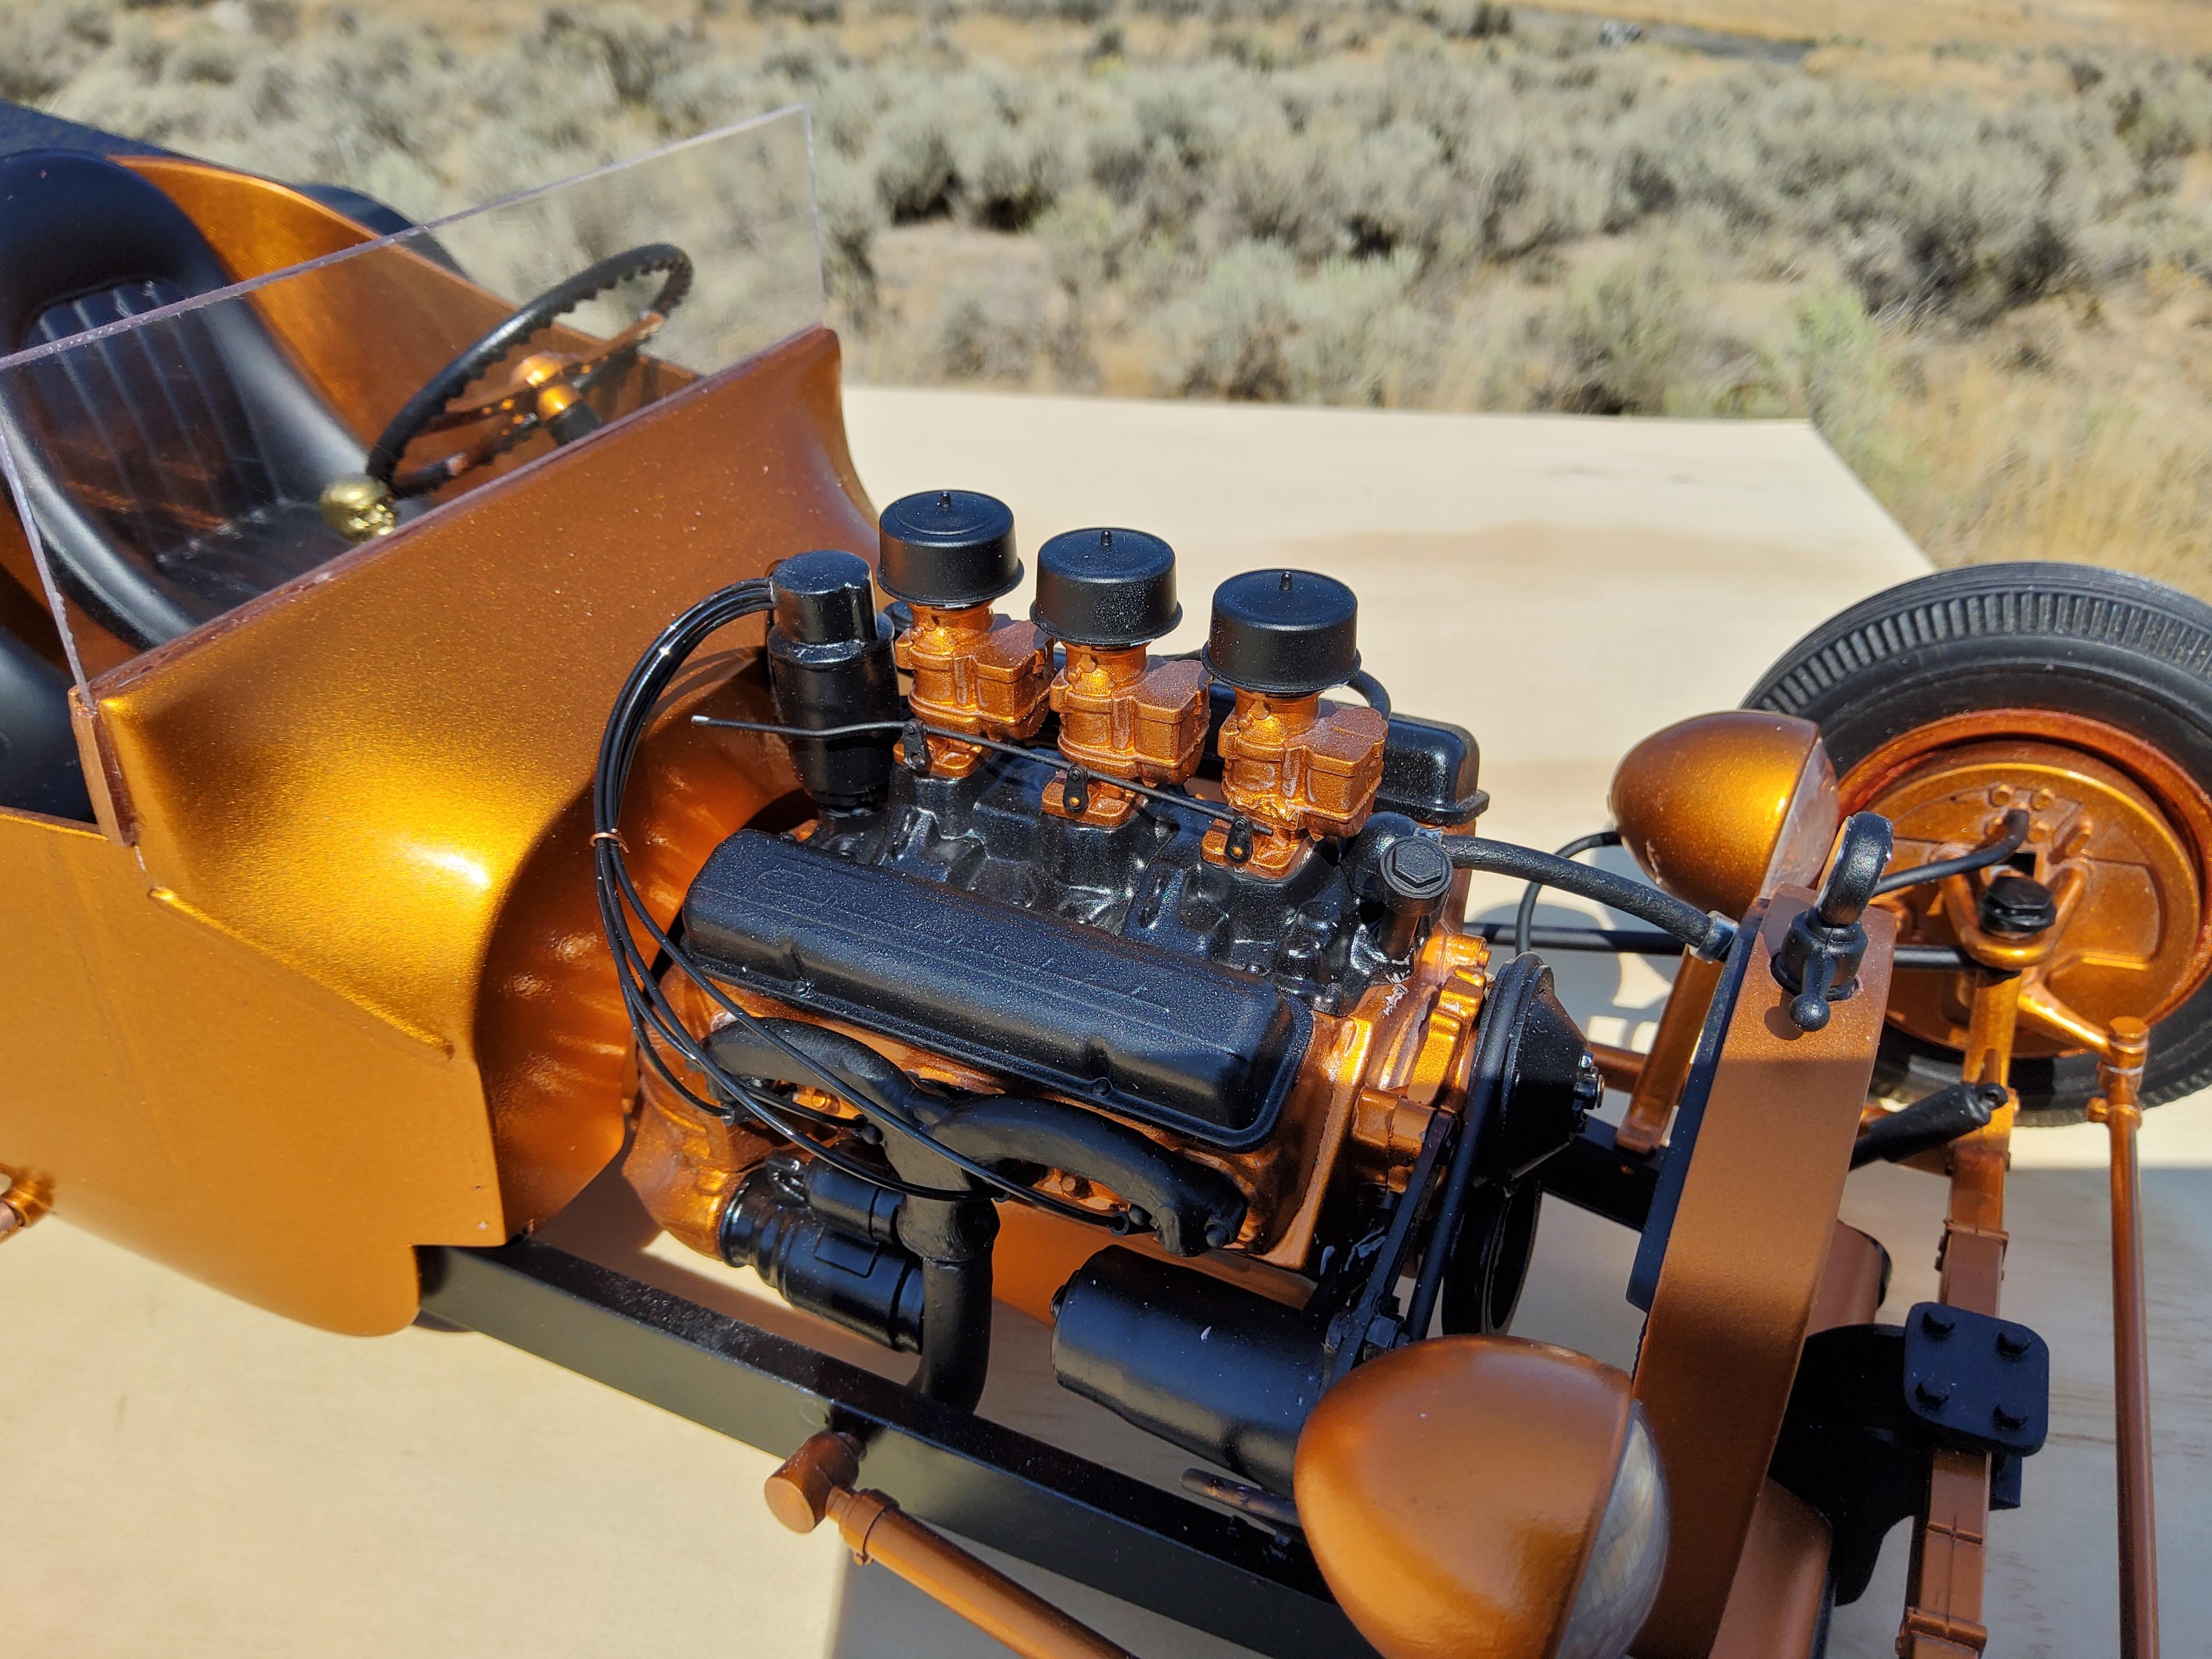
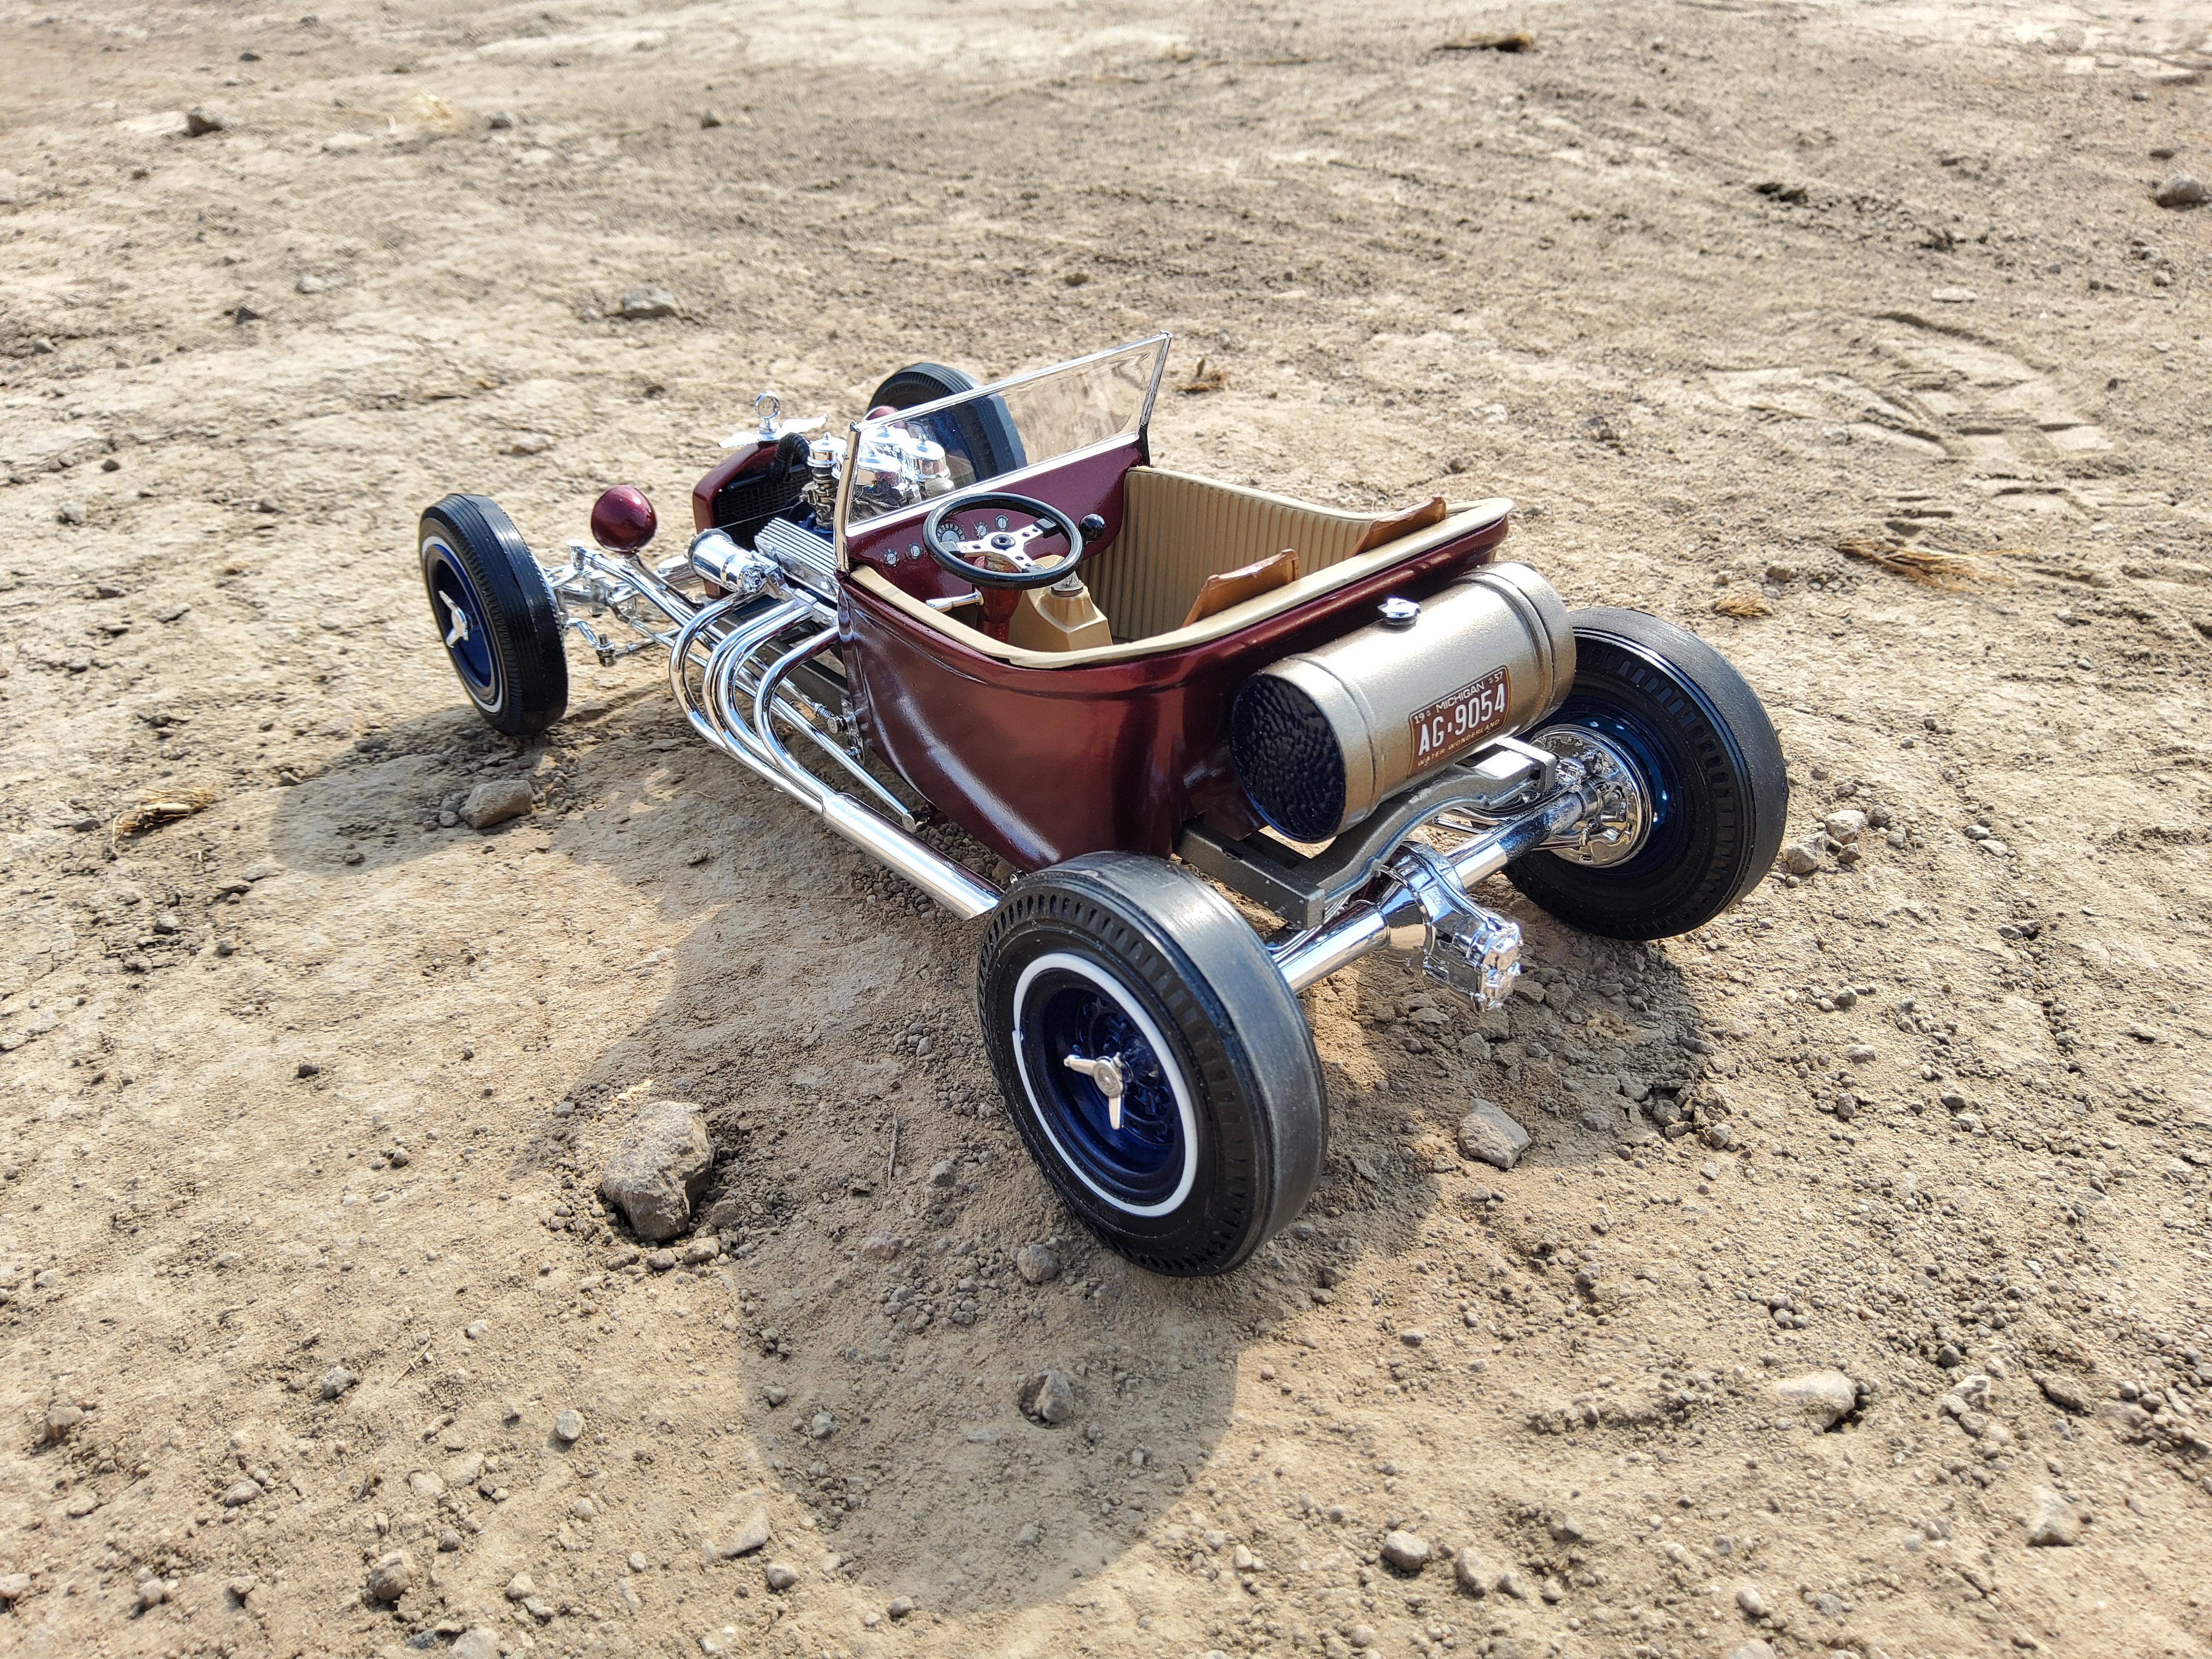
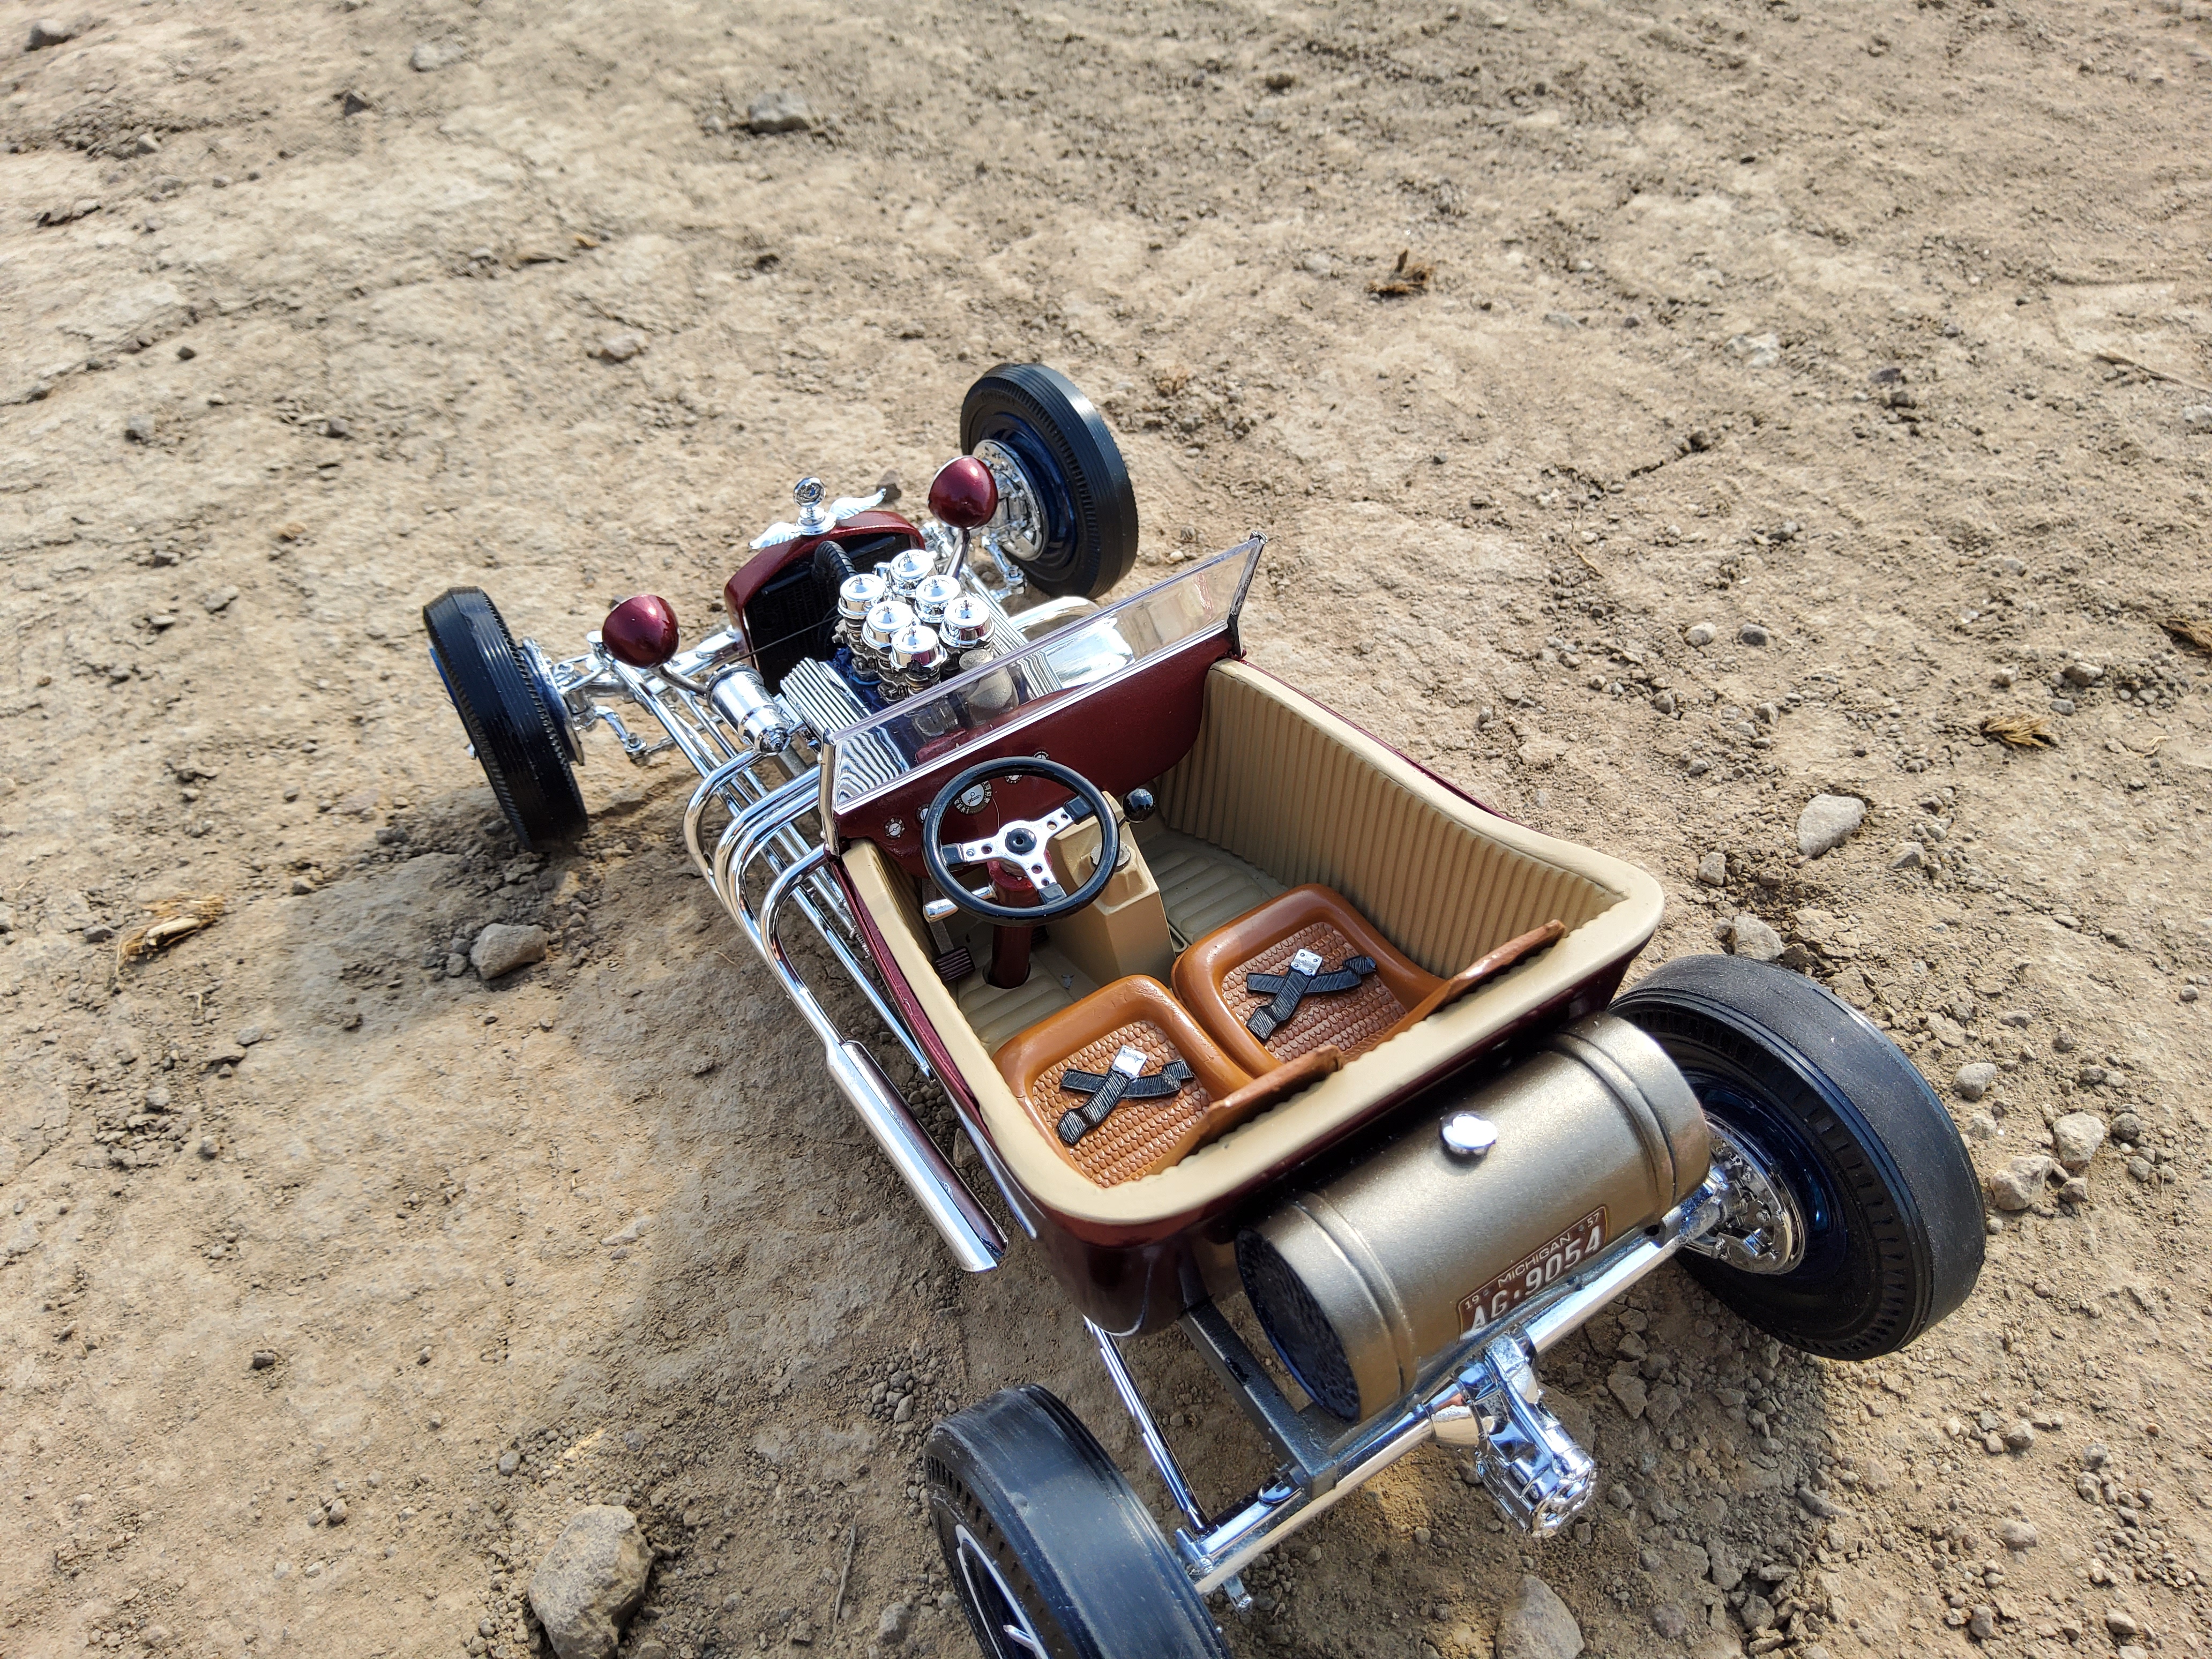
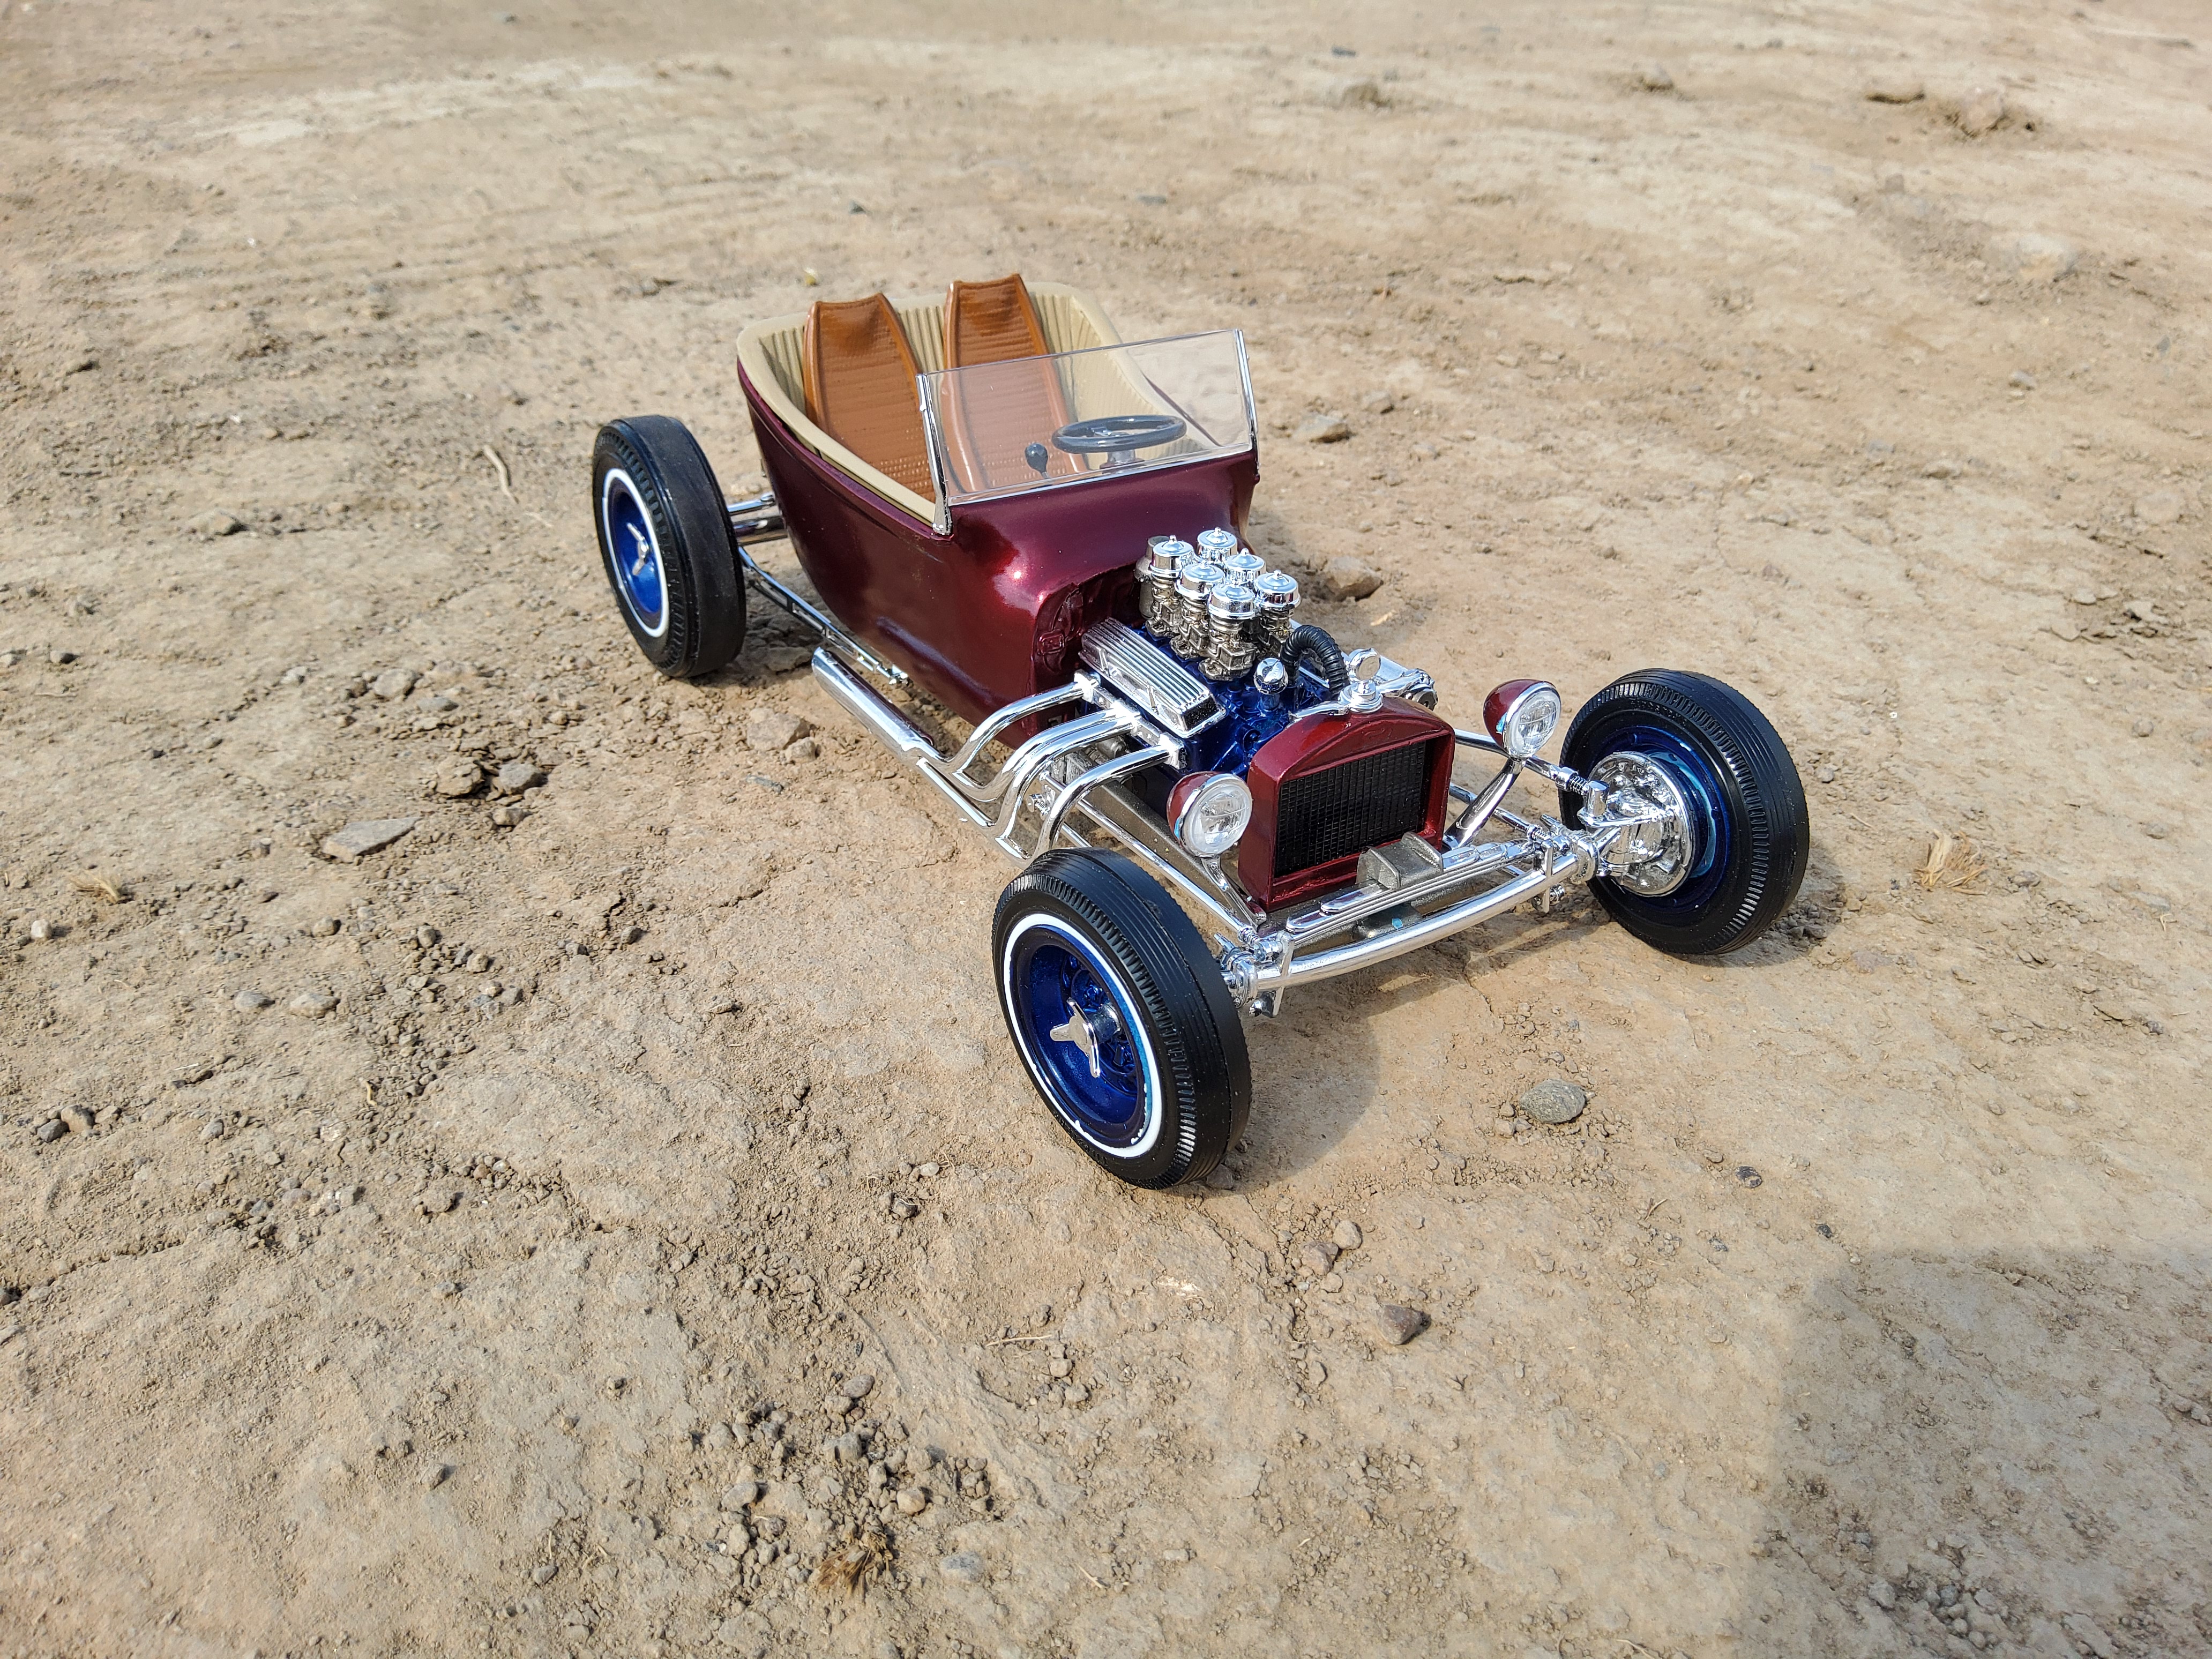
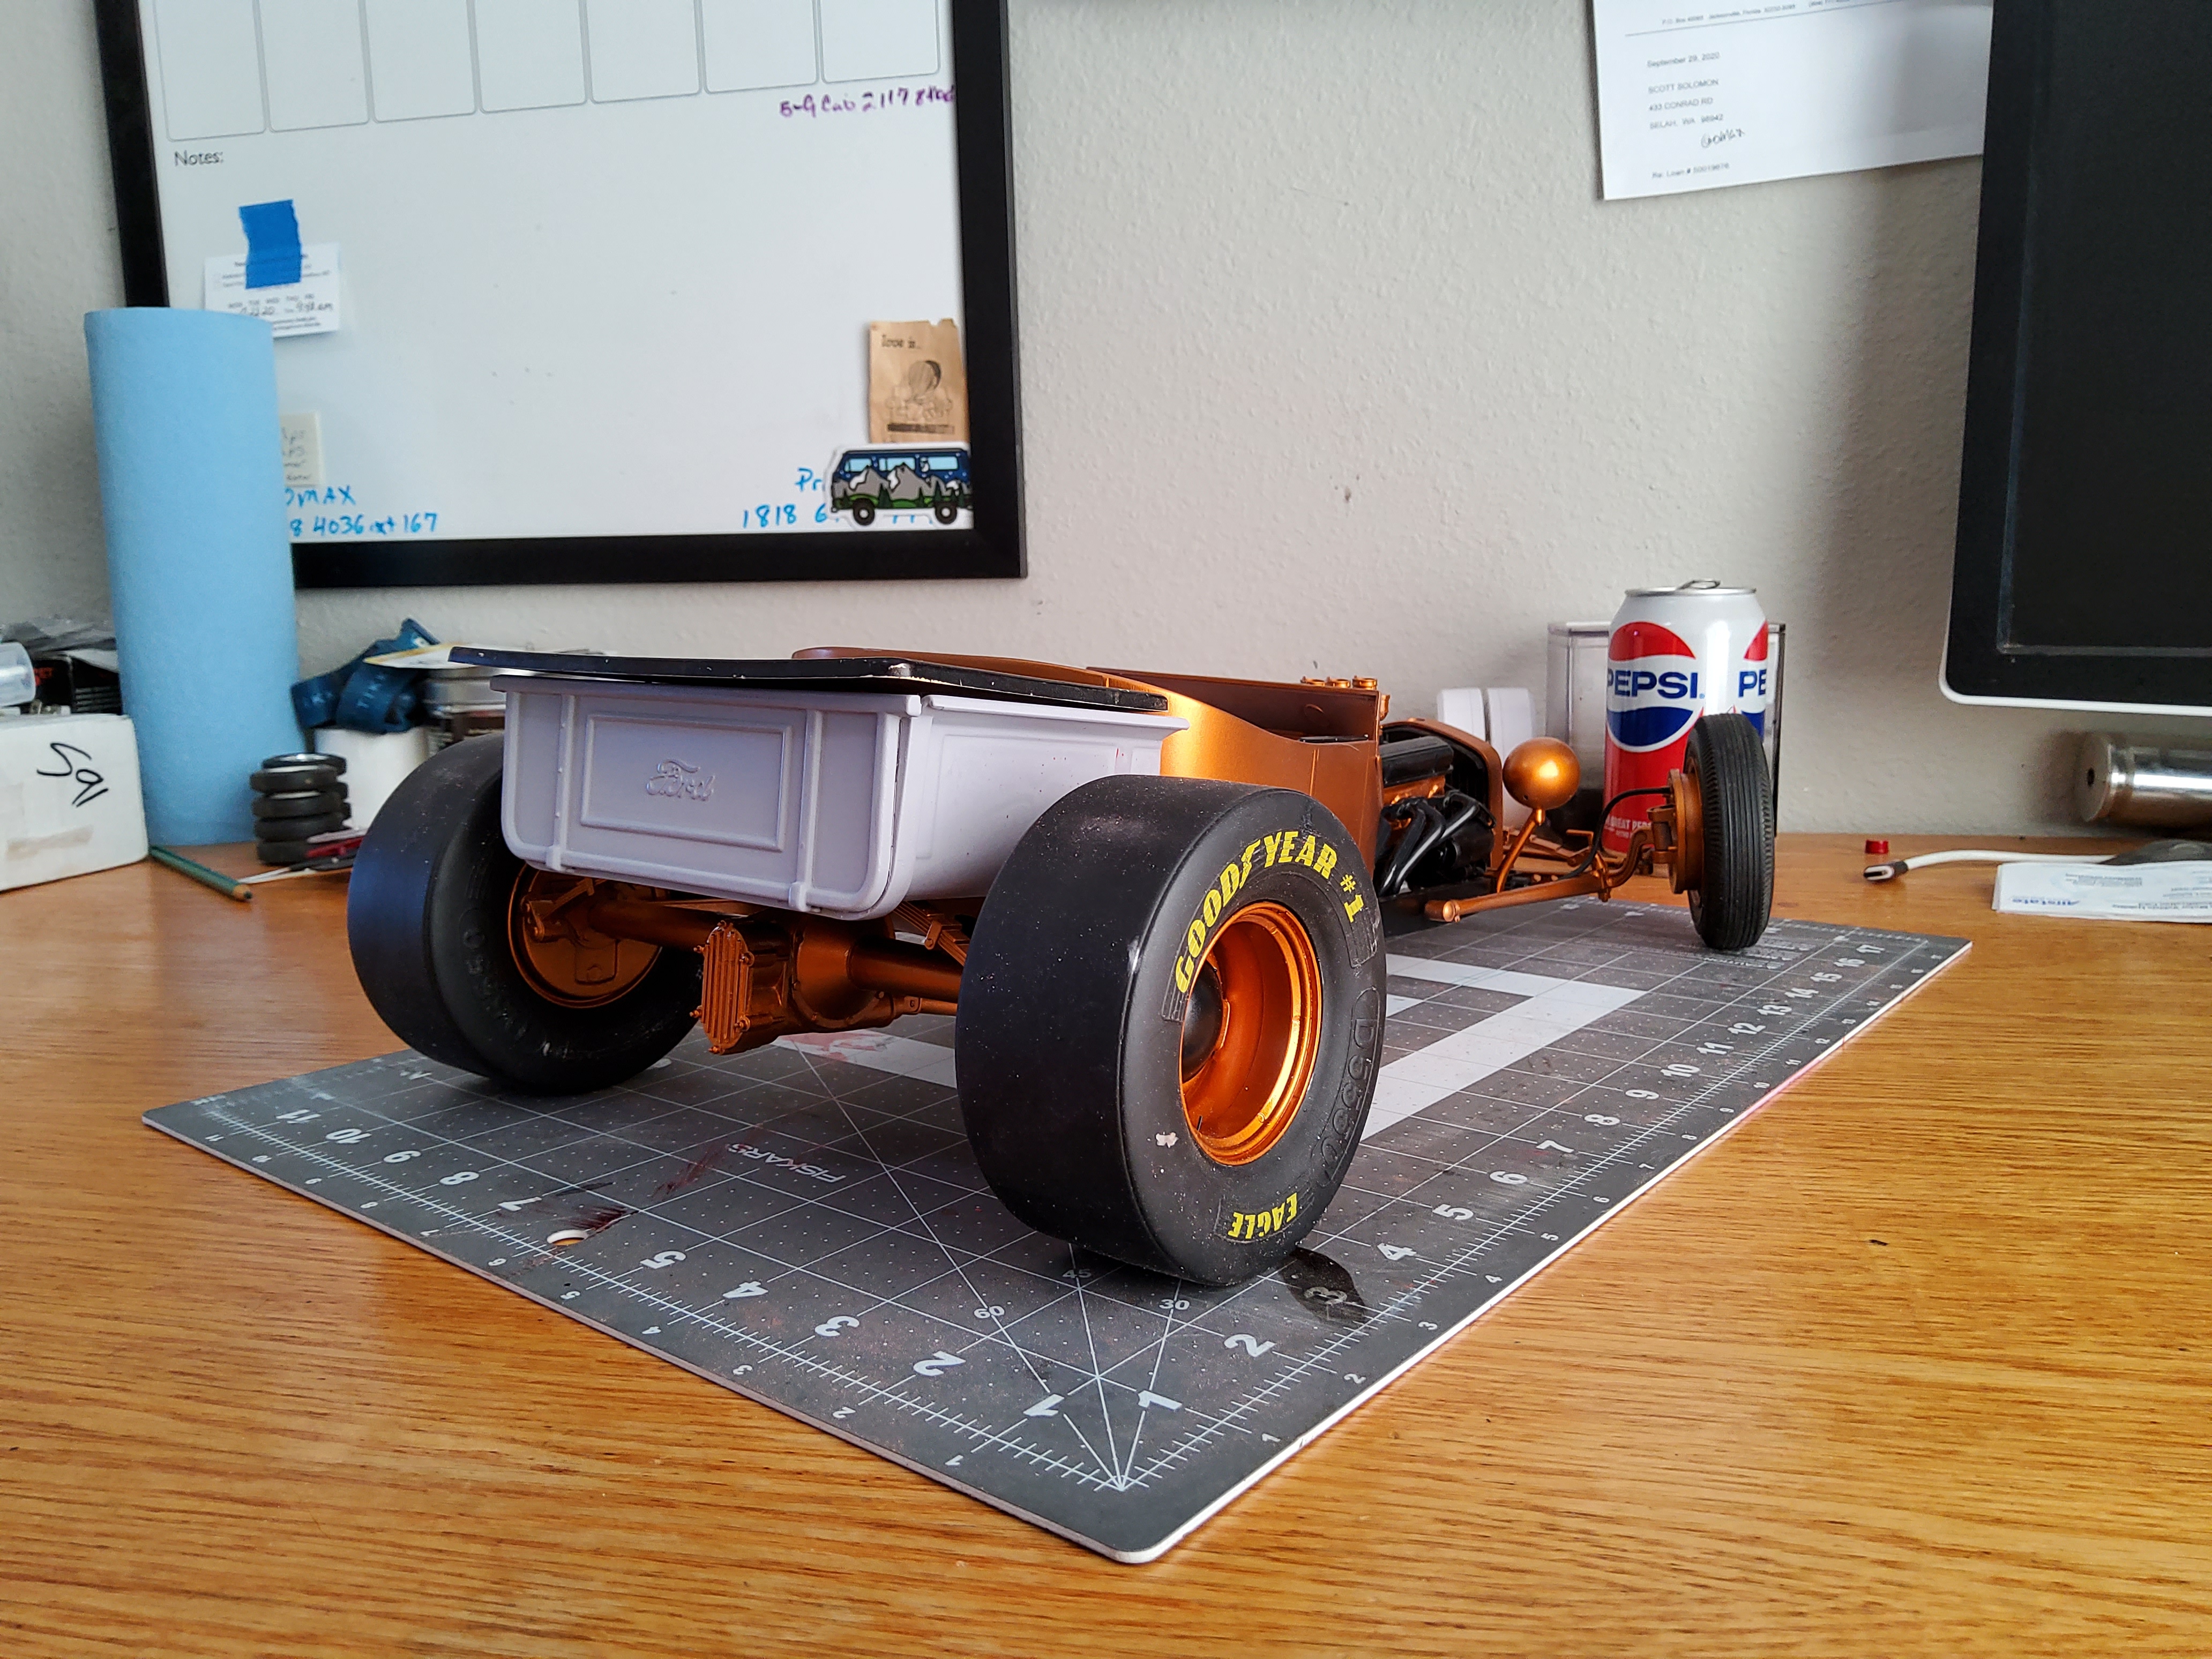
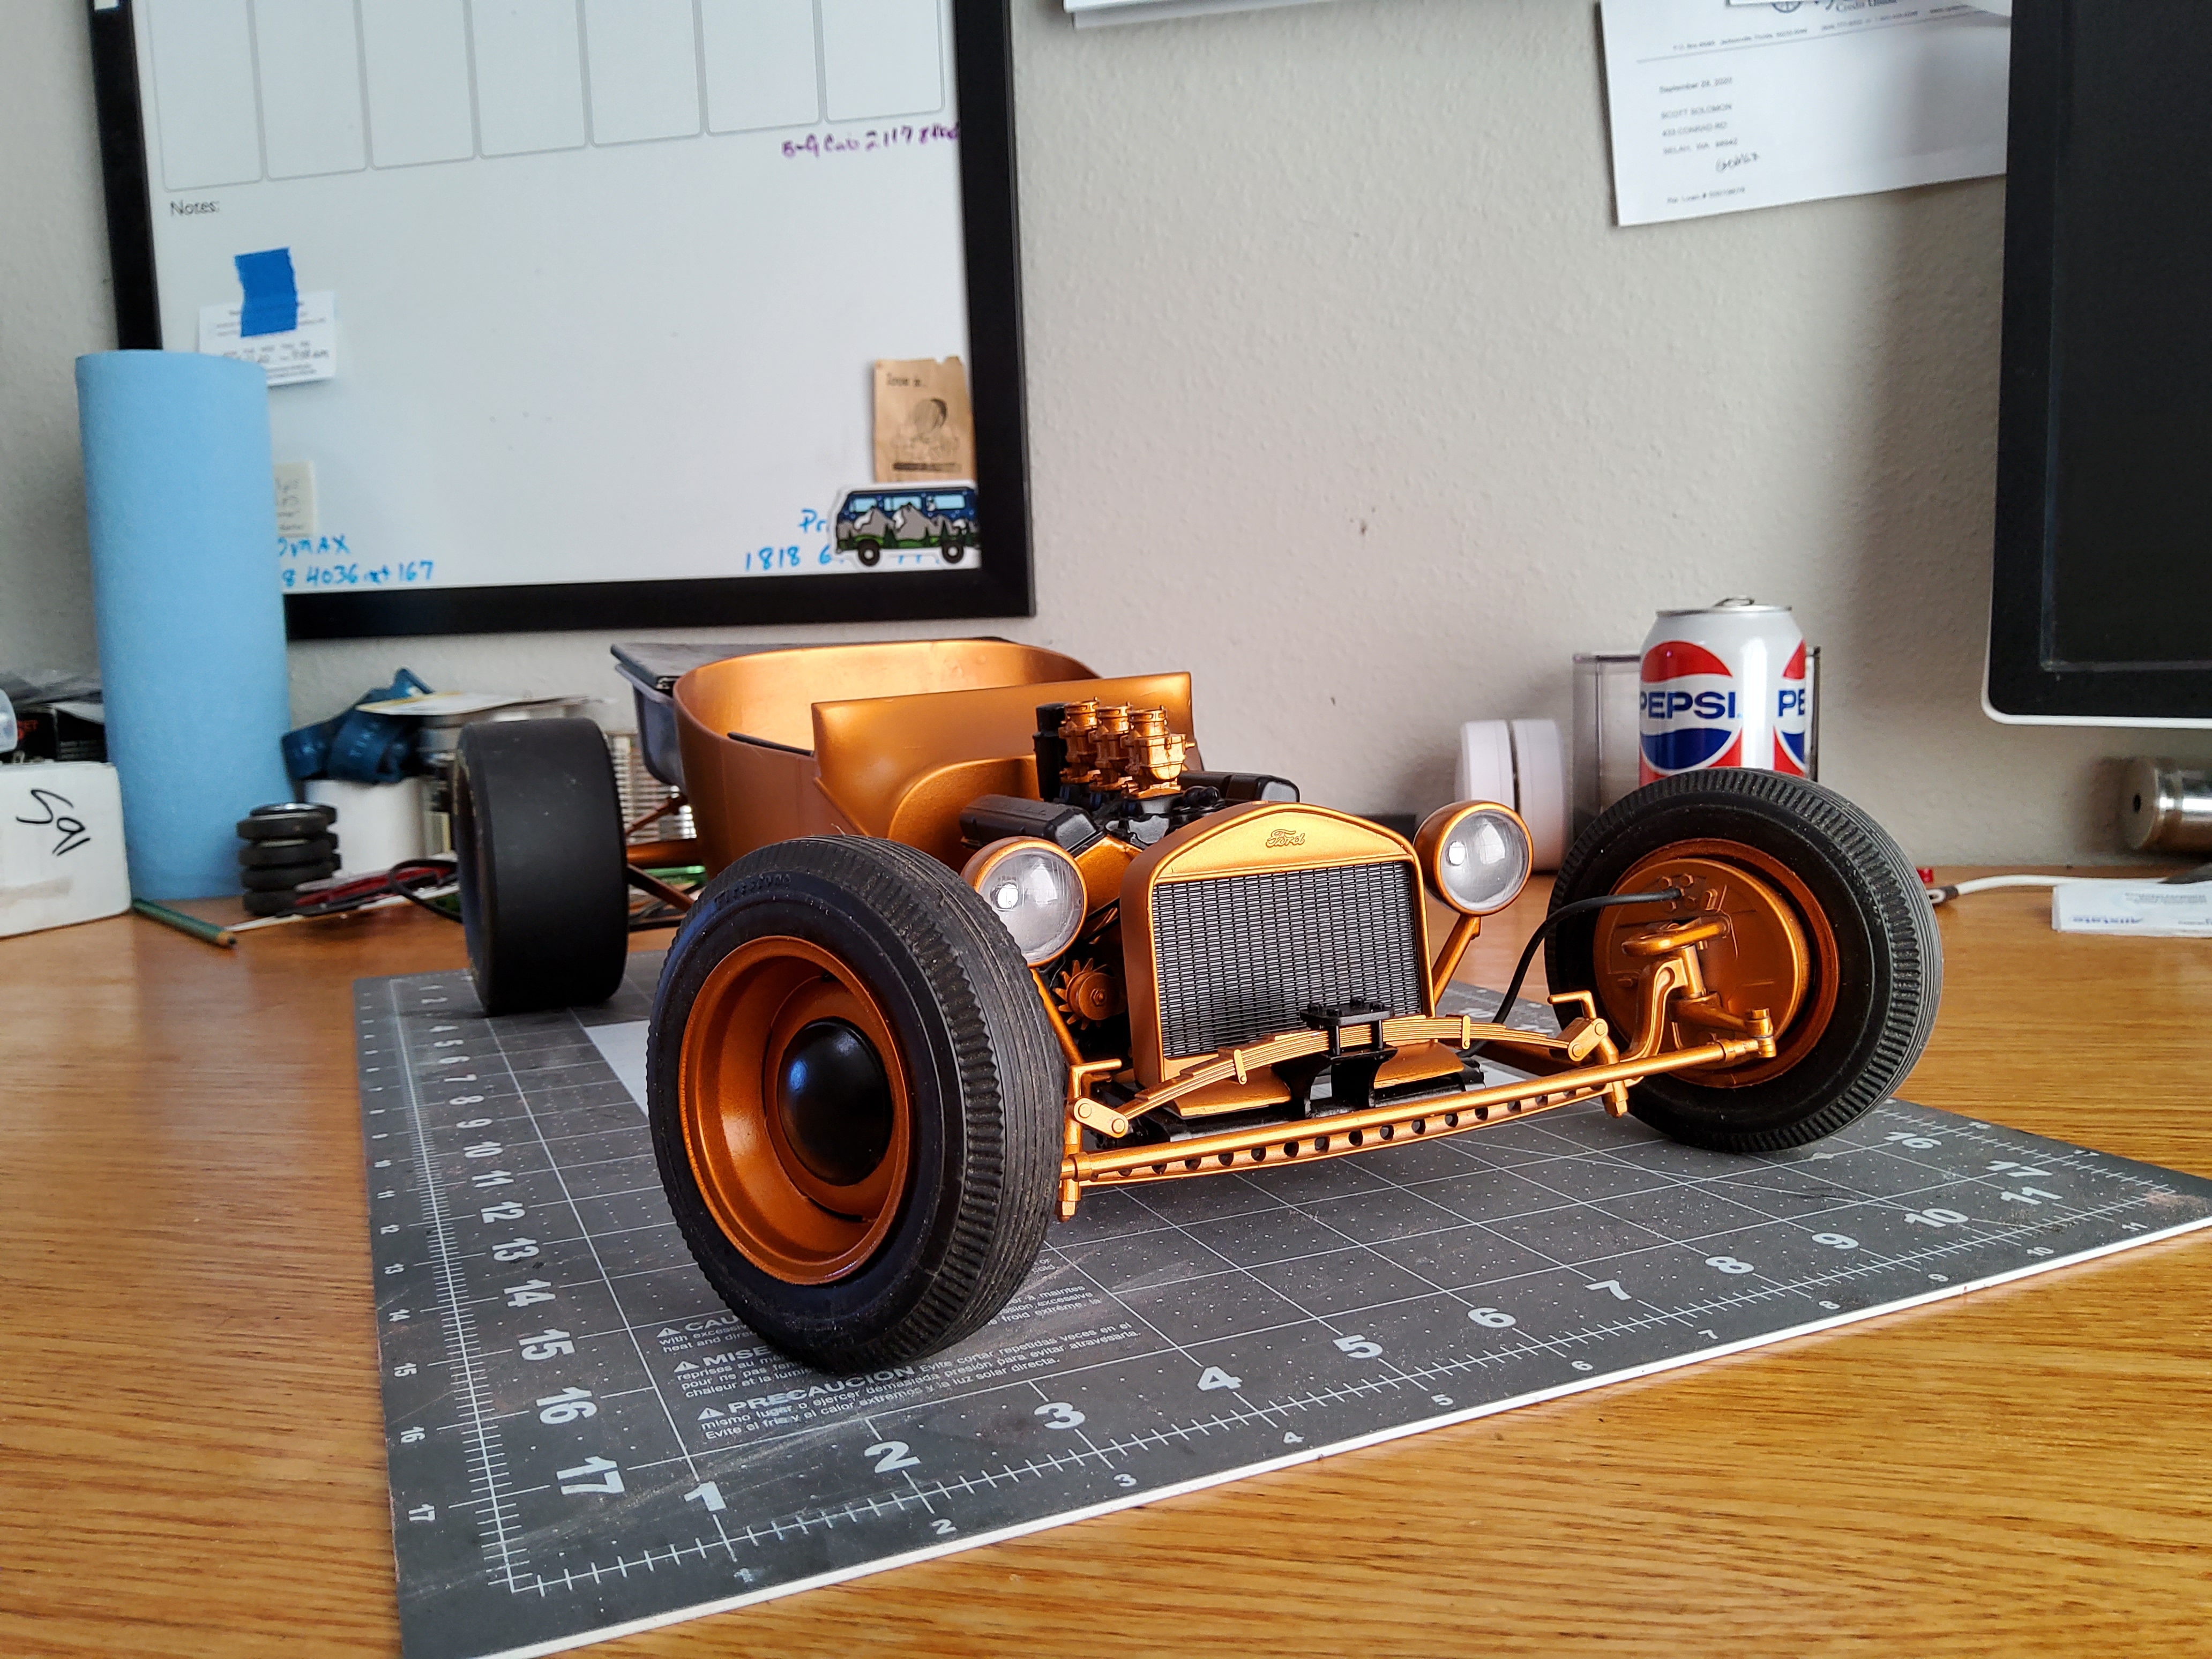
So I have been working on this project for about a year now. It started life as a Lindberg Big Red Rod, but only about 1/3 of it still remains, and most of that has been re-worked. The Big Red frame was Z'd about 12 scale inches, the front suspension mounts were relocated to flip the springs above the mount and lower the front. The front axle was reversed to put the tie rod in front of the axle due to the location it would have had to go through the frame. The front axle was drilled for looks. Reverse acting shocks were added to the front to replace the friction shocks. The rear axle was modified into a quick-change rear end, new drive shaft was built. I altered the rear spring location to allow proper ride height and travel. The Body has been channeled, new dash from a Monogram Big T was used. The Big T also donated the seats and center console. The big T dash allowed me to create a frameless windsheild for clean lines. The steering wheel is from a Jaguar. The big T also donated the pickup box, but it had to be modified to fit. The grill is from the Big T with the Motometer from the Big Red kit. The headlghts are stock Big Red. The firewall was smoothed to remove the 1915 look, and make it resemble the 1923. Lots of other minor mods were done to the body including a ful raised floor for the channelling. As I was after a "show car" look, I painted it in a Bronze/Black combination. This was not my original plan, but when I painted the body, the plan fell into place. The front tires and wheels are from the Big T, the rear wheels are Big Red with Ebay tires. The stock kit wheels had to be modified to fit the larger tires. The hub caps are from the Big Red kit, but were meant to be stands for the show ropes. I filled the holes and made them hub caps. The engine from the kit was tossed in favor of the Monogram 82 Corvette engine with the Big T manifold and Big Red carbs. The exhaust is a combination of Corvette parts and scratch built. All wires, hoses and brake lines have been run to include the headlights and single taillight. This was a really fun kit to do. I know there is more done than I listed. If you like the laarge scale T bucket, this is worth the money as it has so many possibilities. Hope you enjoy.

-
Very true on the chrome, however it does work really well if you want a more subdued chrome for a weathered vehicle or just to tone down the kit chrome. The toy like kit chrome is just not right on an old dirty work truck or rusty car.
-
I love how this turned out, very nice. I see you used the stand bases as hub caps, I did the same on mine, it looks like they were made for the job. I hope you decide to build more of these, they really are a fun kit and you did a great job.
-
I have purchased 3, 2 from the same Amazon listing and one from EBay. All 3 came with no chrome. As long as you know before you buy, $60 is a great price. I am tempted to buy one more, but still have one unbuilt. Lots of things you can do with these.
-
That is part of the kit. Despite the lack of chrome and 2 part plastic tires, it is a really nice kit. It does have a lot of good details and is every bit as good as the Revell kits of the time, other than the tires.
-
I agree with Chassicgas. Duplicolor is great for painting bodies, I use Rustoleum for frames, engines, etc. Duplicolor dries fast, lays down well, gives great results. It is my go to for a great finish.
-
Looking good. I am also working on mine at the moment. I like where yours is going.
-
Un-Snaking the Lindberg Serpent T. 1/16 scale T bucket
Oldmopars replied to Oldmopars's topic in Model Cars
Thank you all for the comments, I am committed to getting all of my WIPs finished, even if they have been a problem. -
Foose 56 International?
Oldmopars replied to mchook's topic in WIP: Model Trucks: Pickups, Vans, SUVs, Light Commercial
Looks like a great idea to me, why not? -
I just recently did the 55 Cameo Coke edition, the glass fit perfectly. The fit was so good, I barely used any white glue to hold it in. I think Round2 must have fixed the molds, or I got really lucky. The bed is still a pain in the rear, but the glass fits great.
-
I suggest that until you really know what will work with other paints, think of it as a system. If you want to use Duplicolor paint, use Duplicolor primer, Tamyia Paint, Tamyia Primer, etc. I really love the Duplicolor paints and use them all the time, as a system. I get great results and never fight with it. I do like the Rustoleum 2X paint/primer, however it takes forever to dry. Wait at least 2 weeks before sand and buff. Duplicolor I can sand/buff later the same day.
-
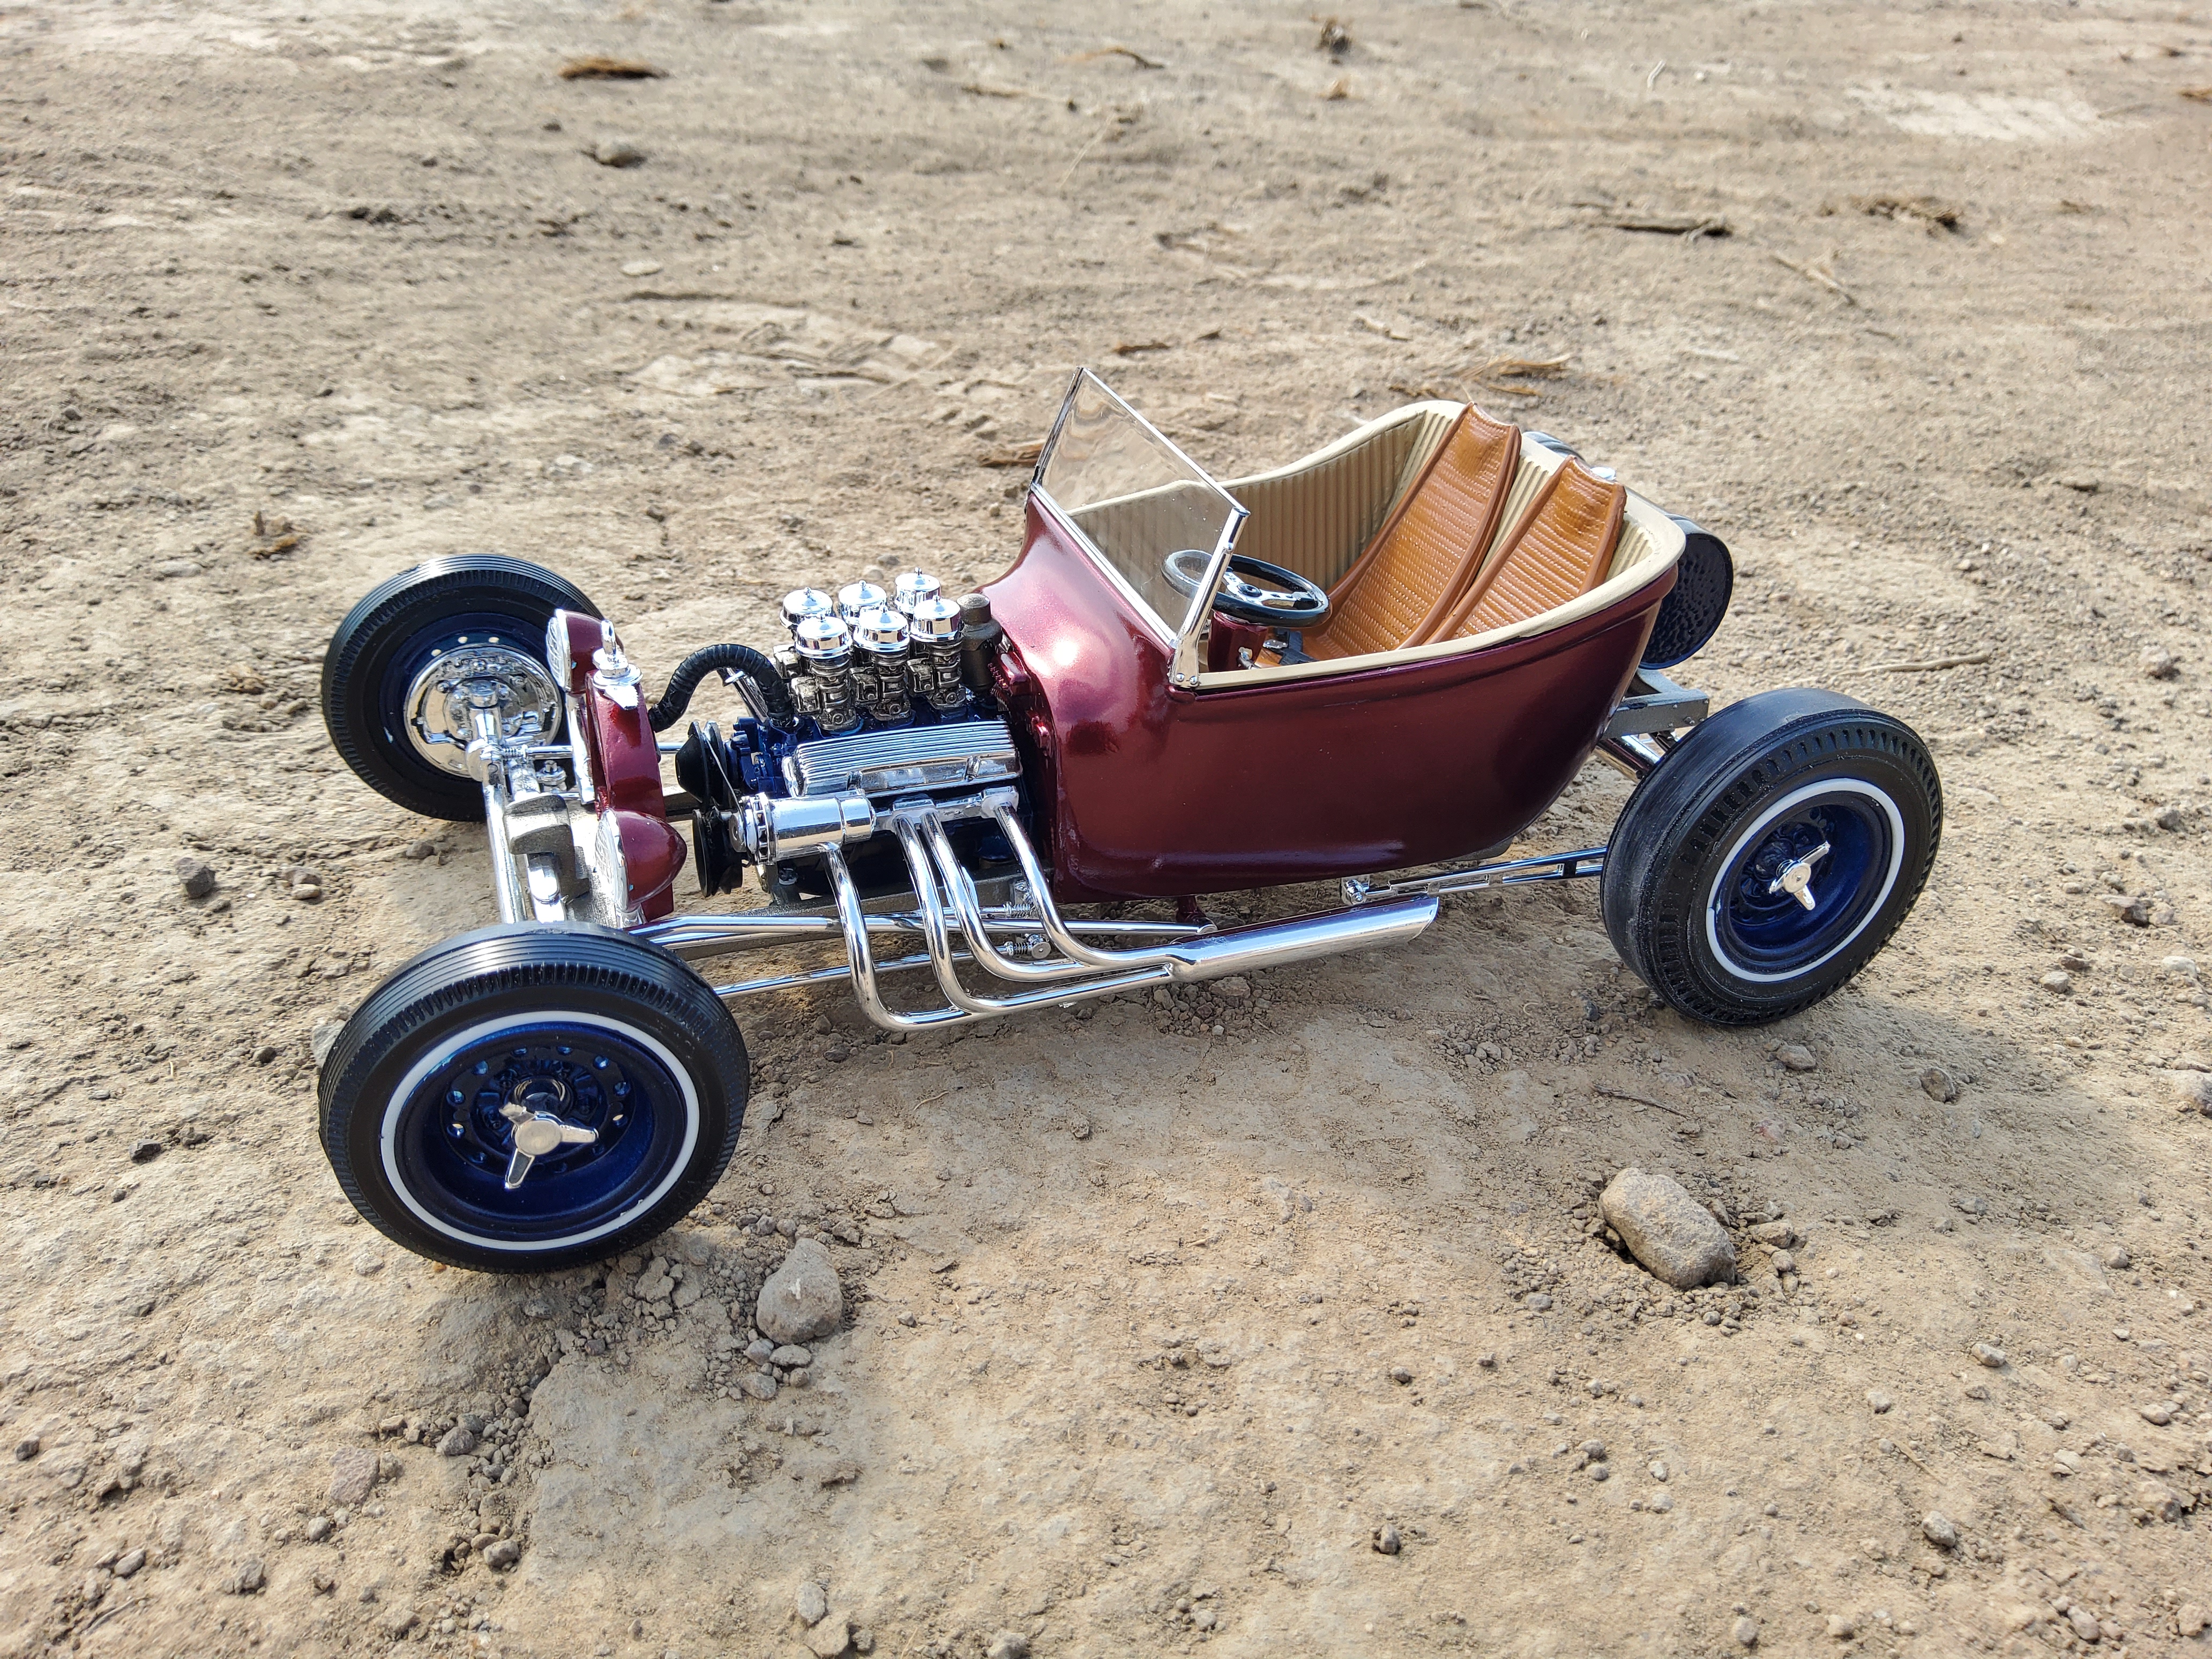
Where to start, what a pile of complete poo. This thing is ugly beyond ugly. Molded in light blue with scales molded into the 4 part body tub and everything else. Bad chrome, 2 peice tires, poor fit, ugly snakes on the seats, and on and on. I had a plan when I got it to un-ugly the kit and make something cool out of it. I should have just started with the out of production Bull Horn kit and saved myself a lot of trouble. I had to sand down the tub, several times to remove the scales, but they kept returning every time I primed it. I think I painted this tub 4 times. It was blue, but I ran out of blue paint and was not going to spend $11 more on this thing. The tub had cut outs for the doors so you would just climb in. I removed that and filled it in, but then had to redo the whole interior to make it match. I ended up buying a Bull Horn kit so I could make a copy of the grill. I should have built it and thrown this one. I have been working on this one for over a year and every time I pull it out, I work on it for a little while and get frustrated and put it back. I decided that I just needed to finish it. I am not thrilled with it, but here it is.
-
Moebius International ProStar
Oldmopars replied to Oldmopars's topic in Model Trucks: Big Rigs and Heavy Equipment
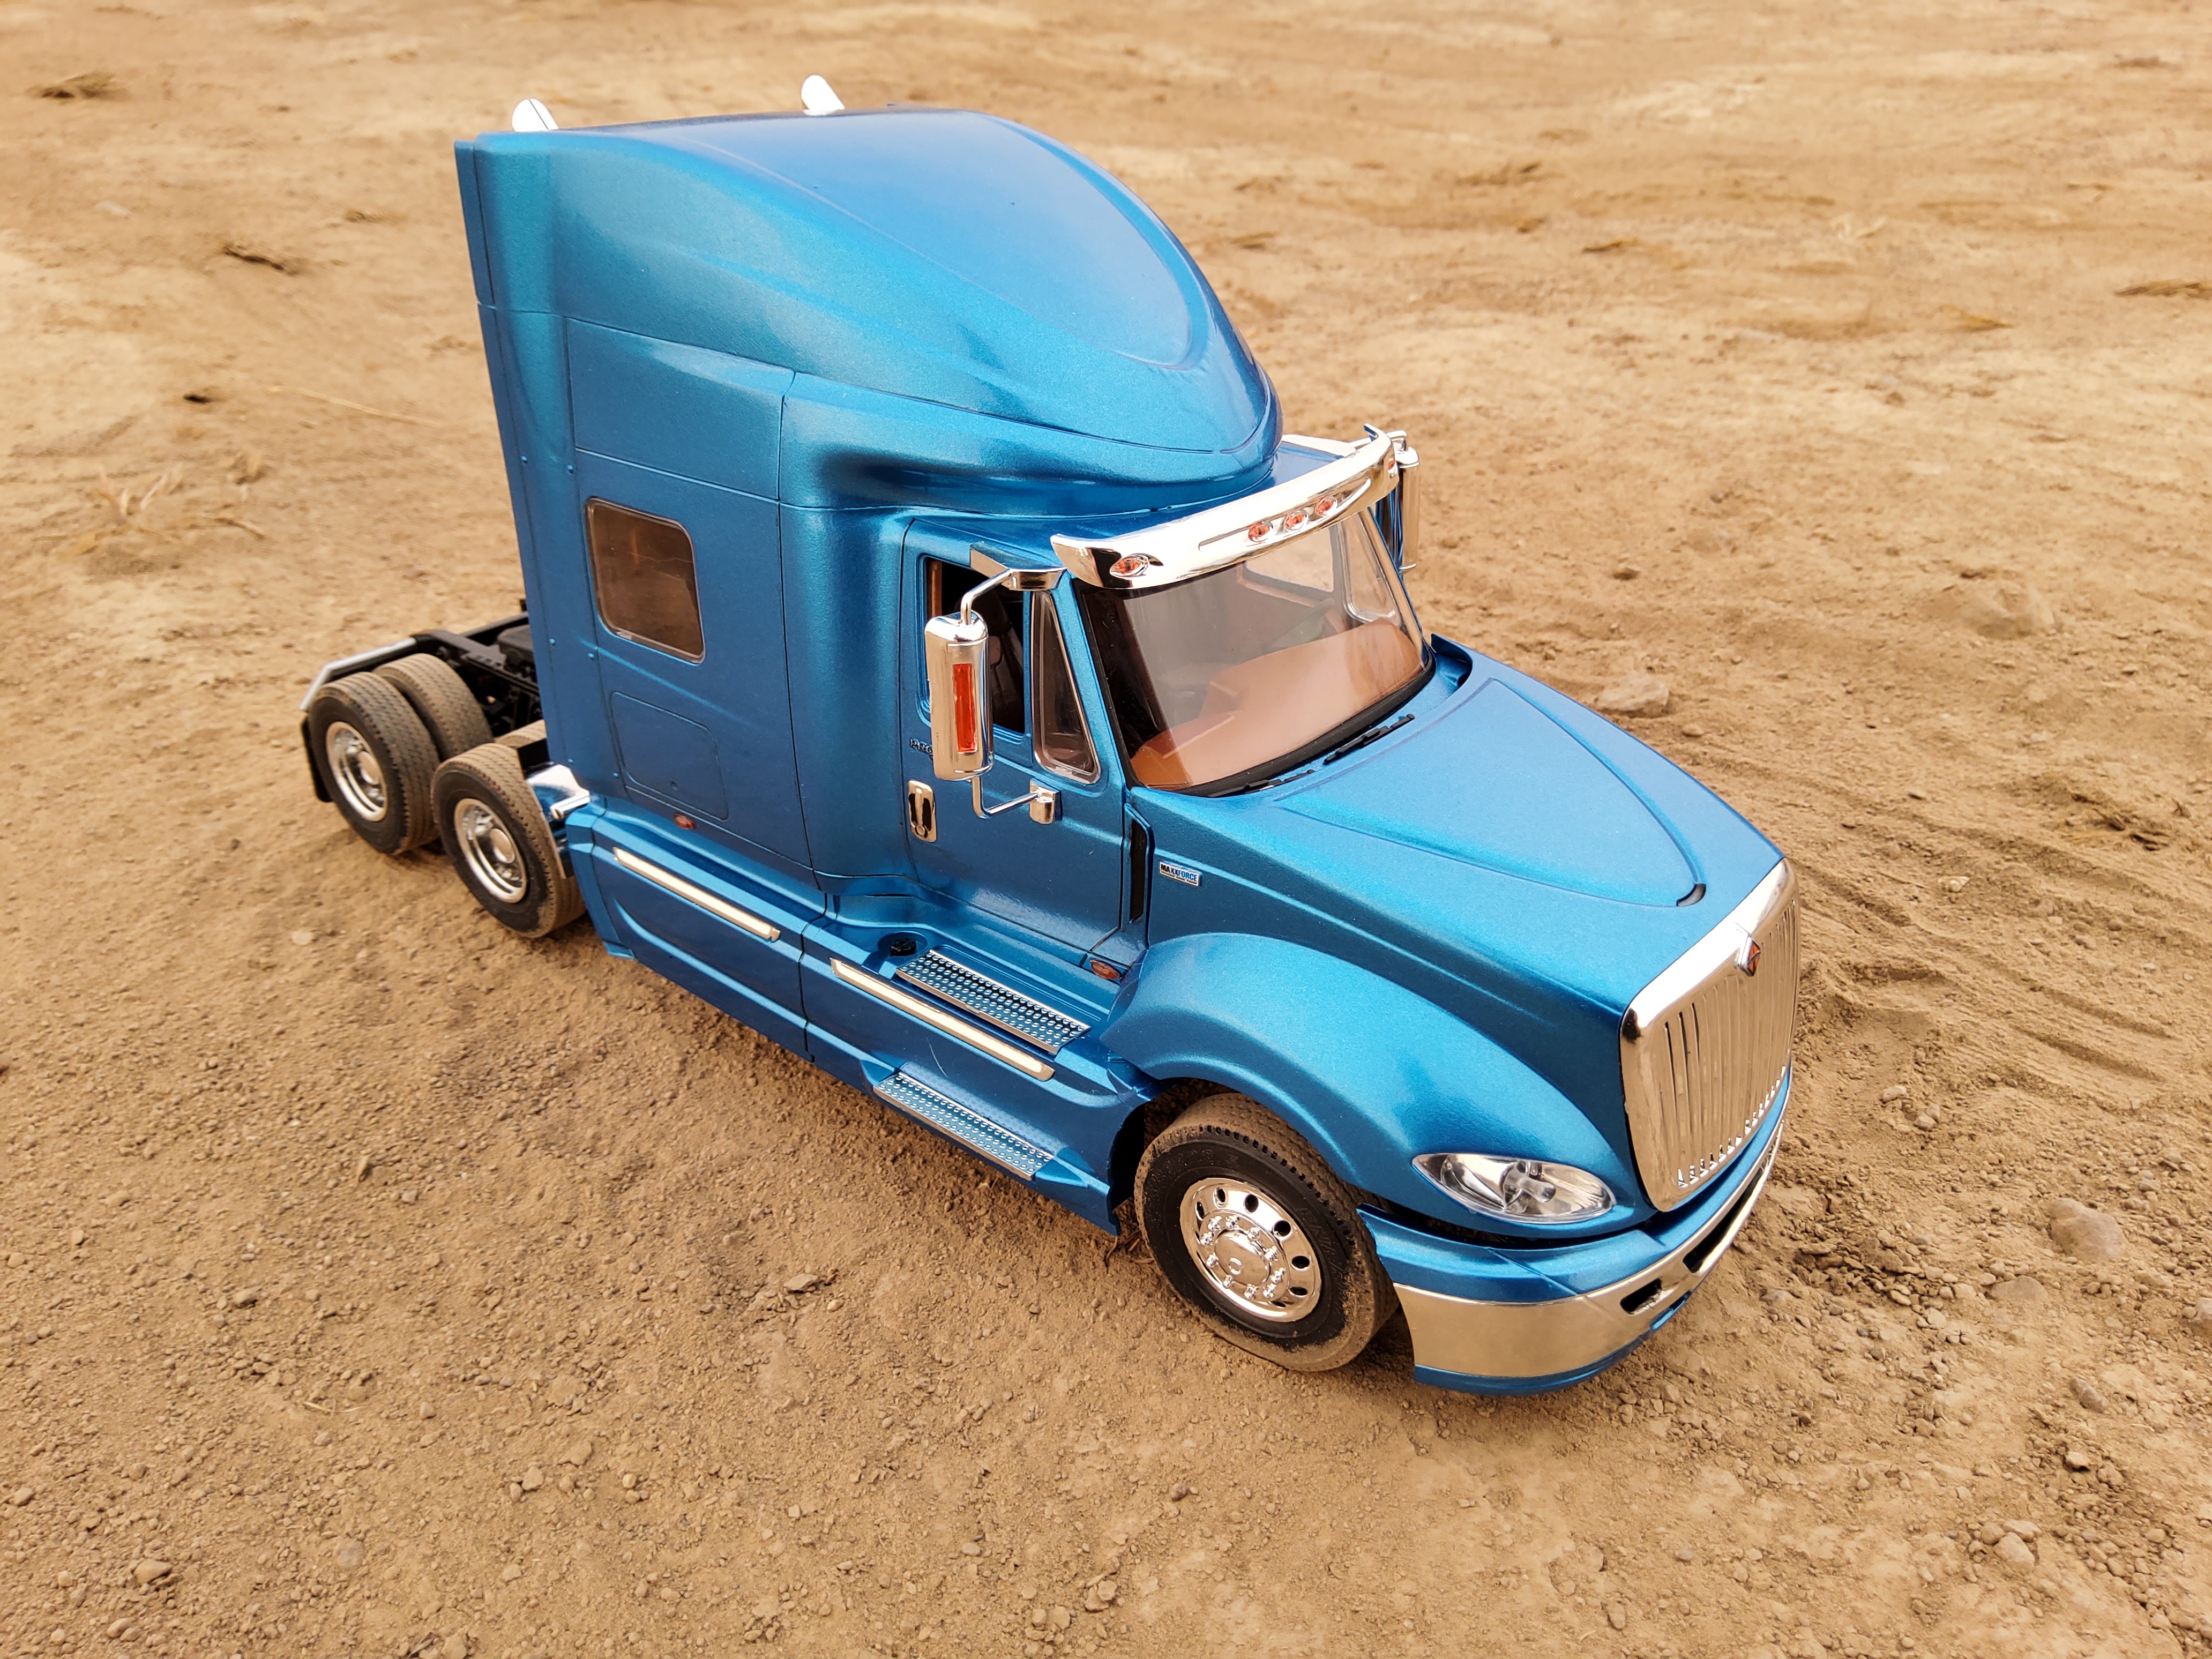
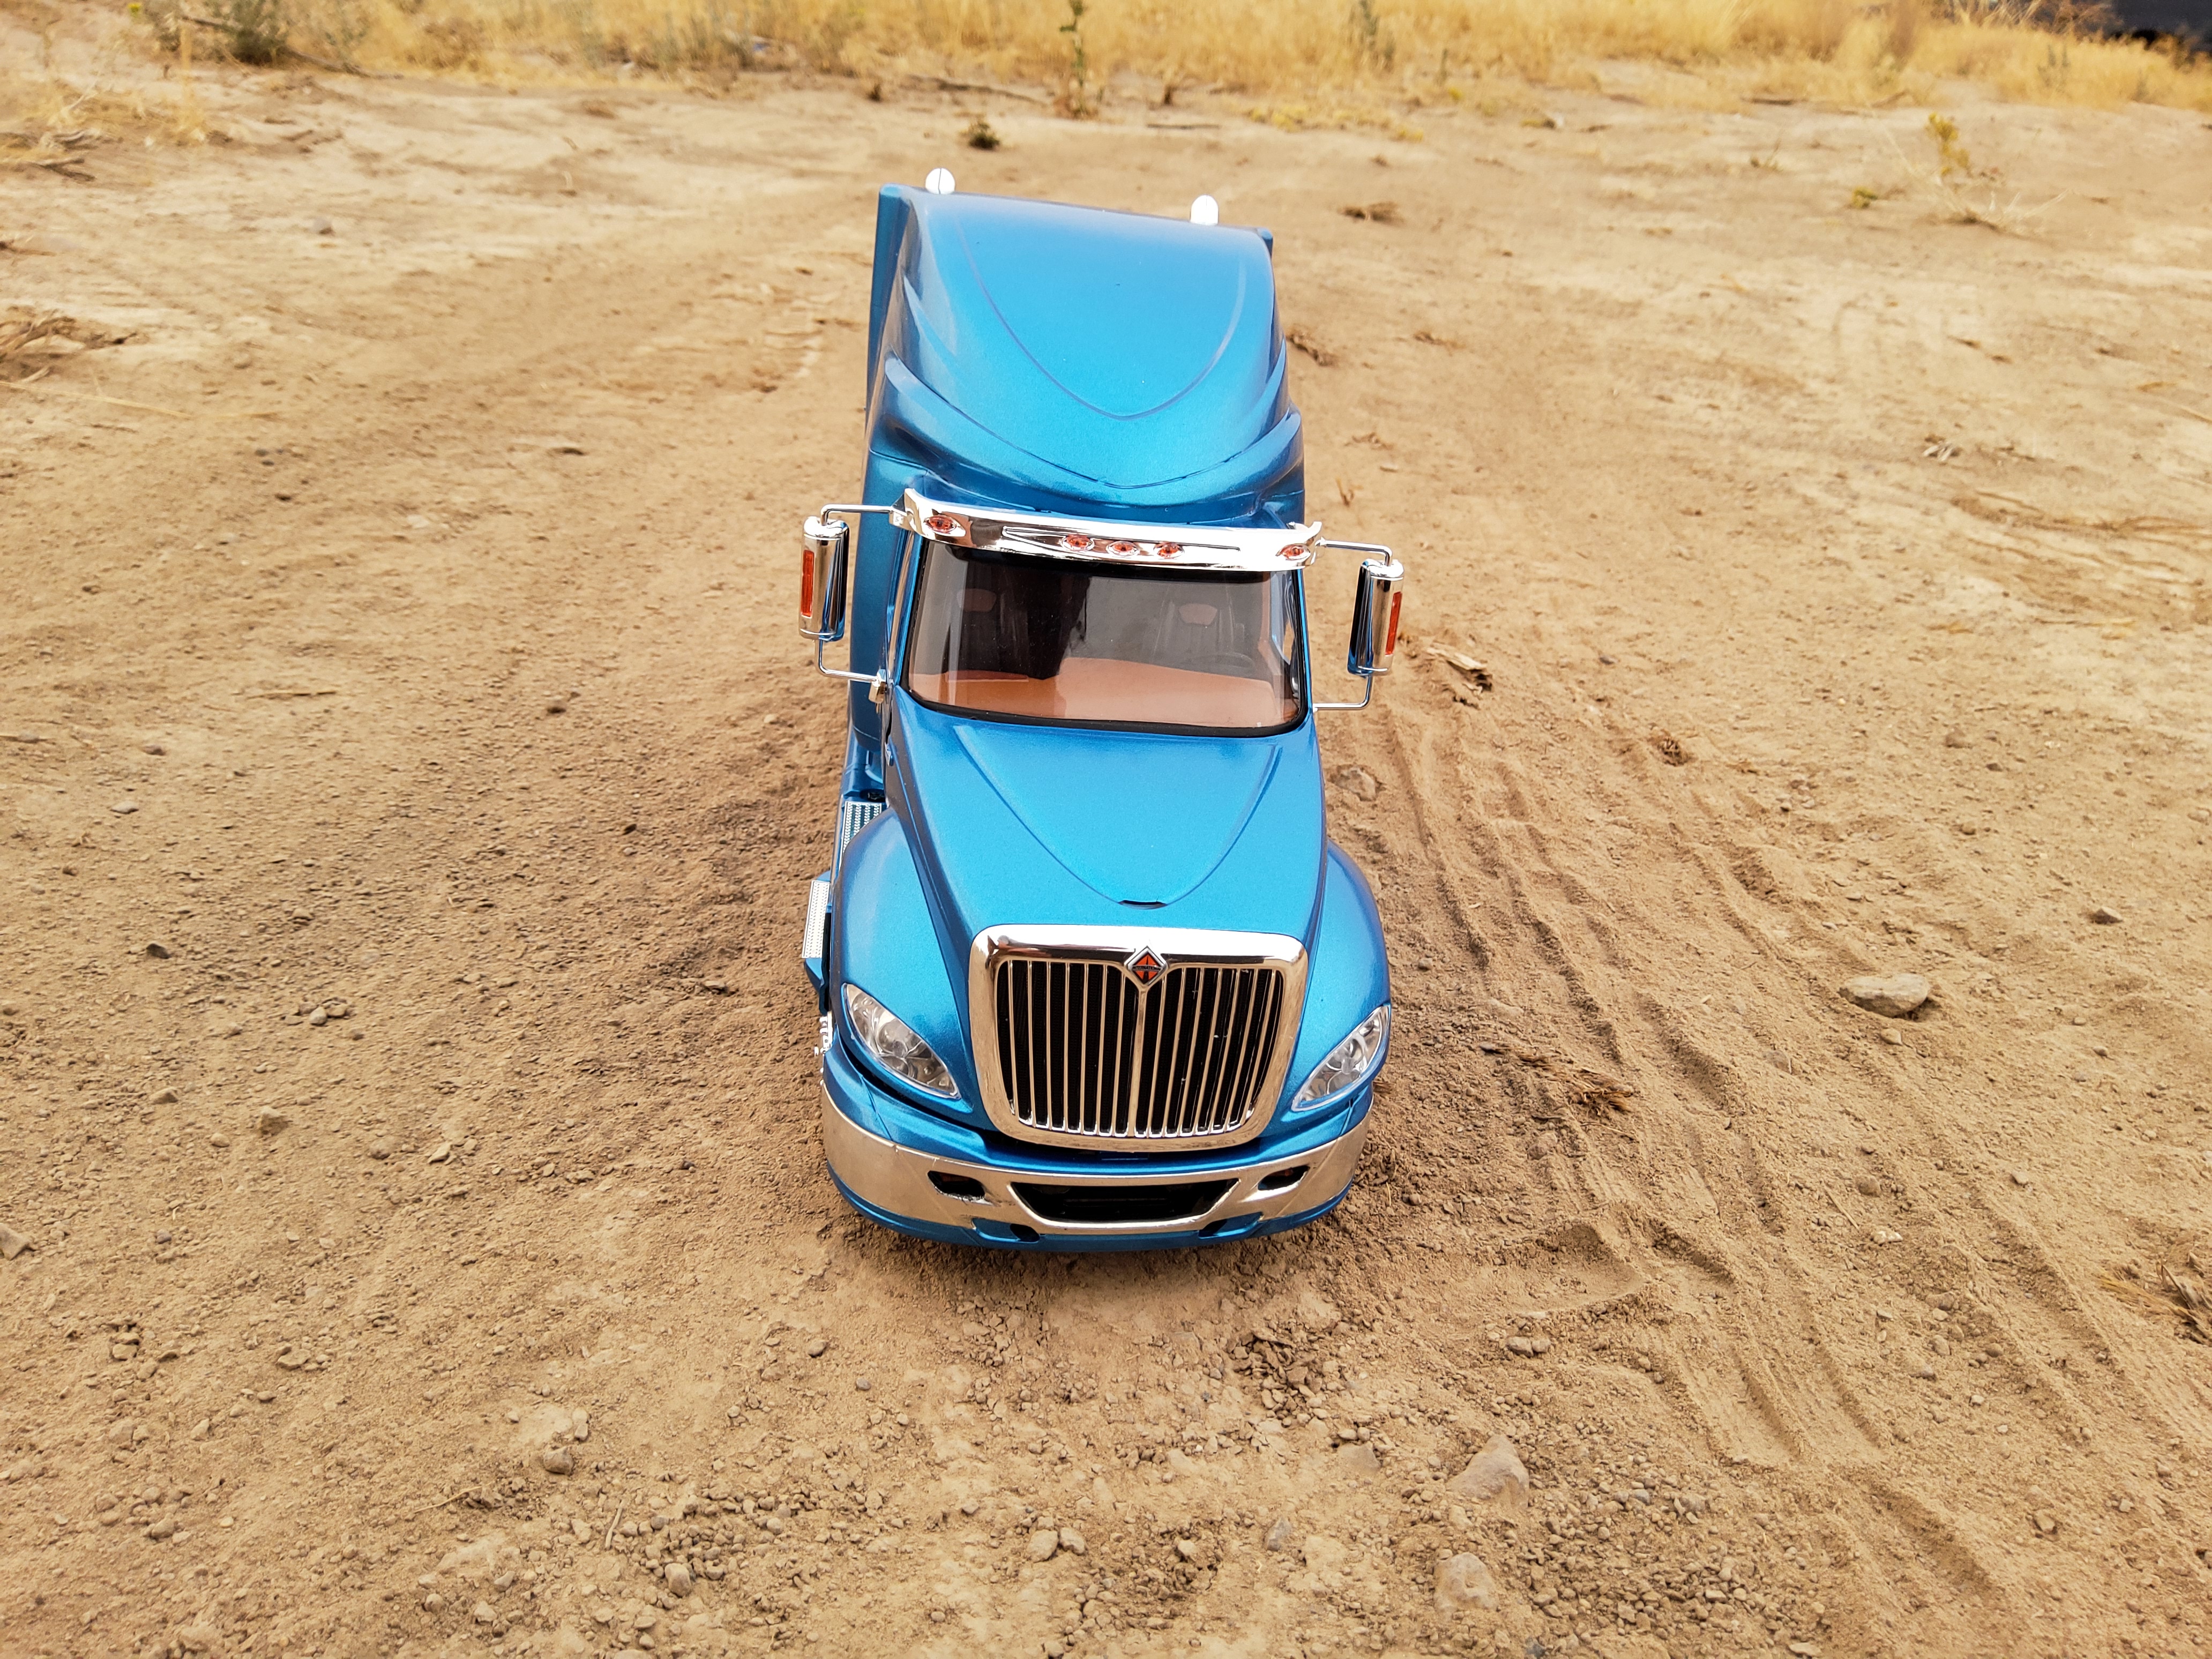
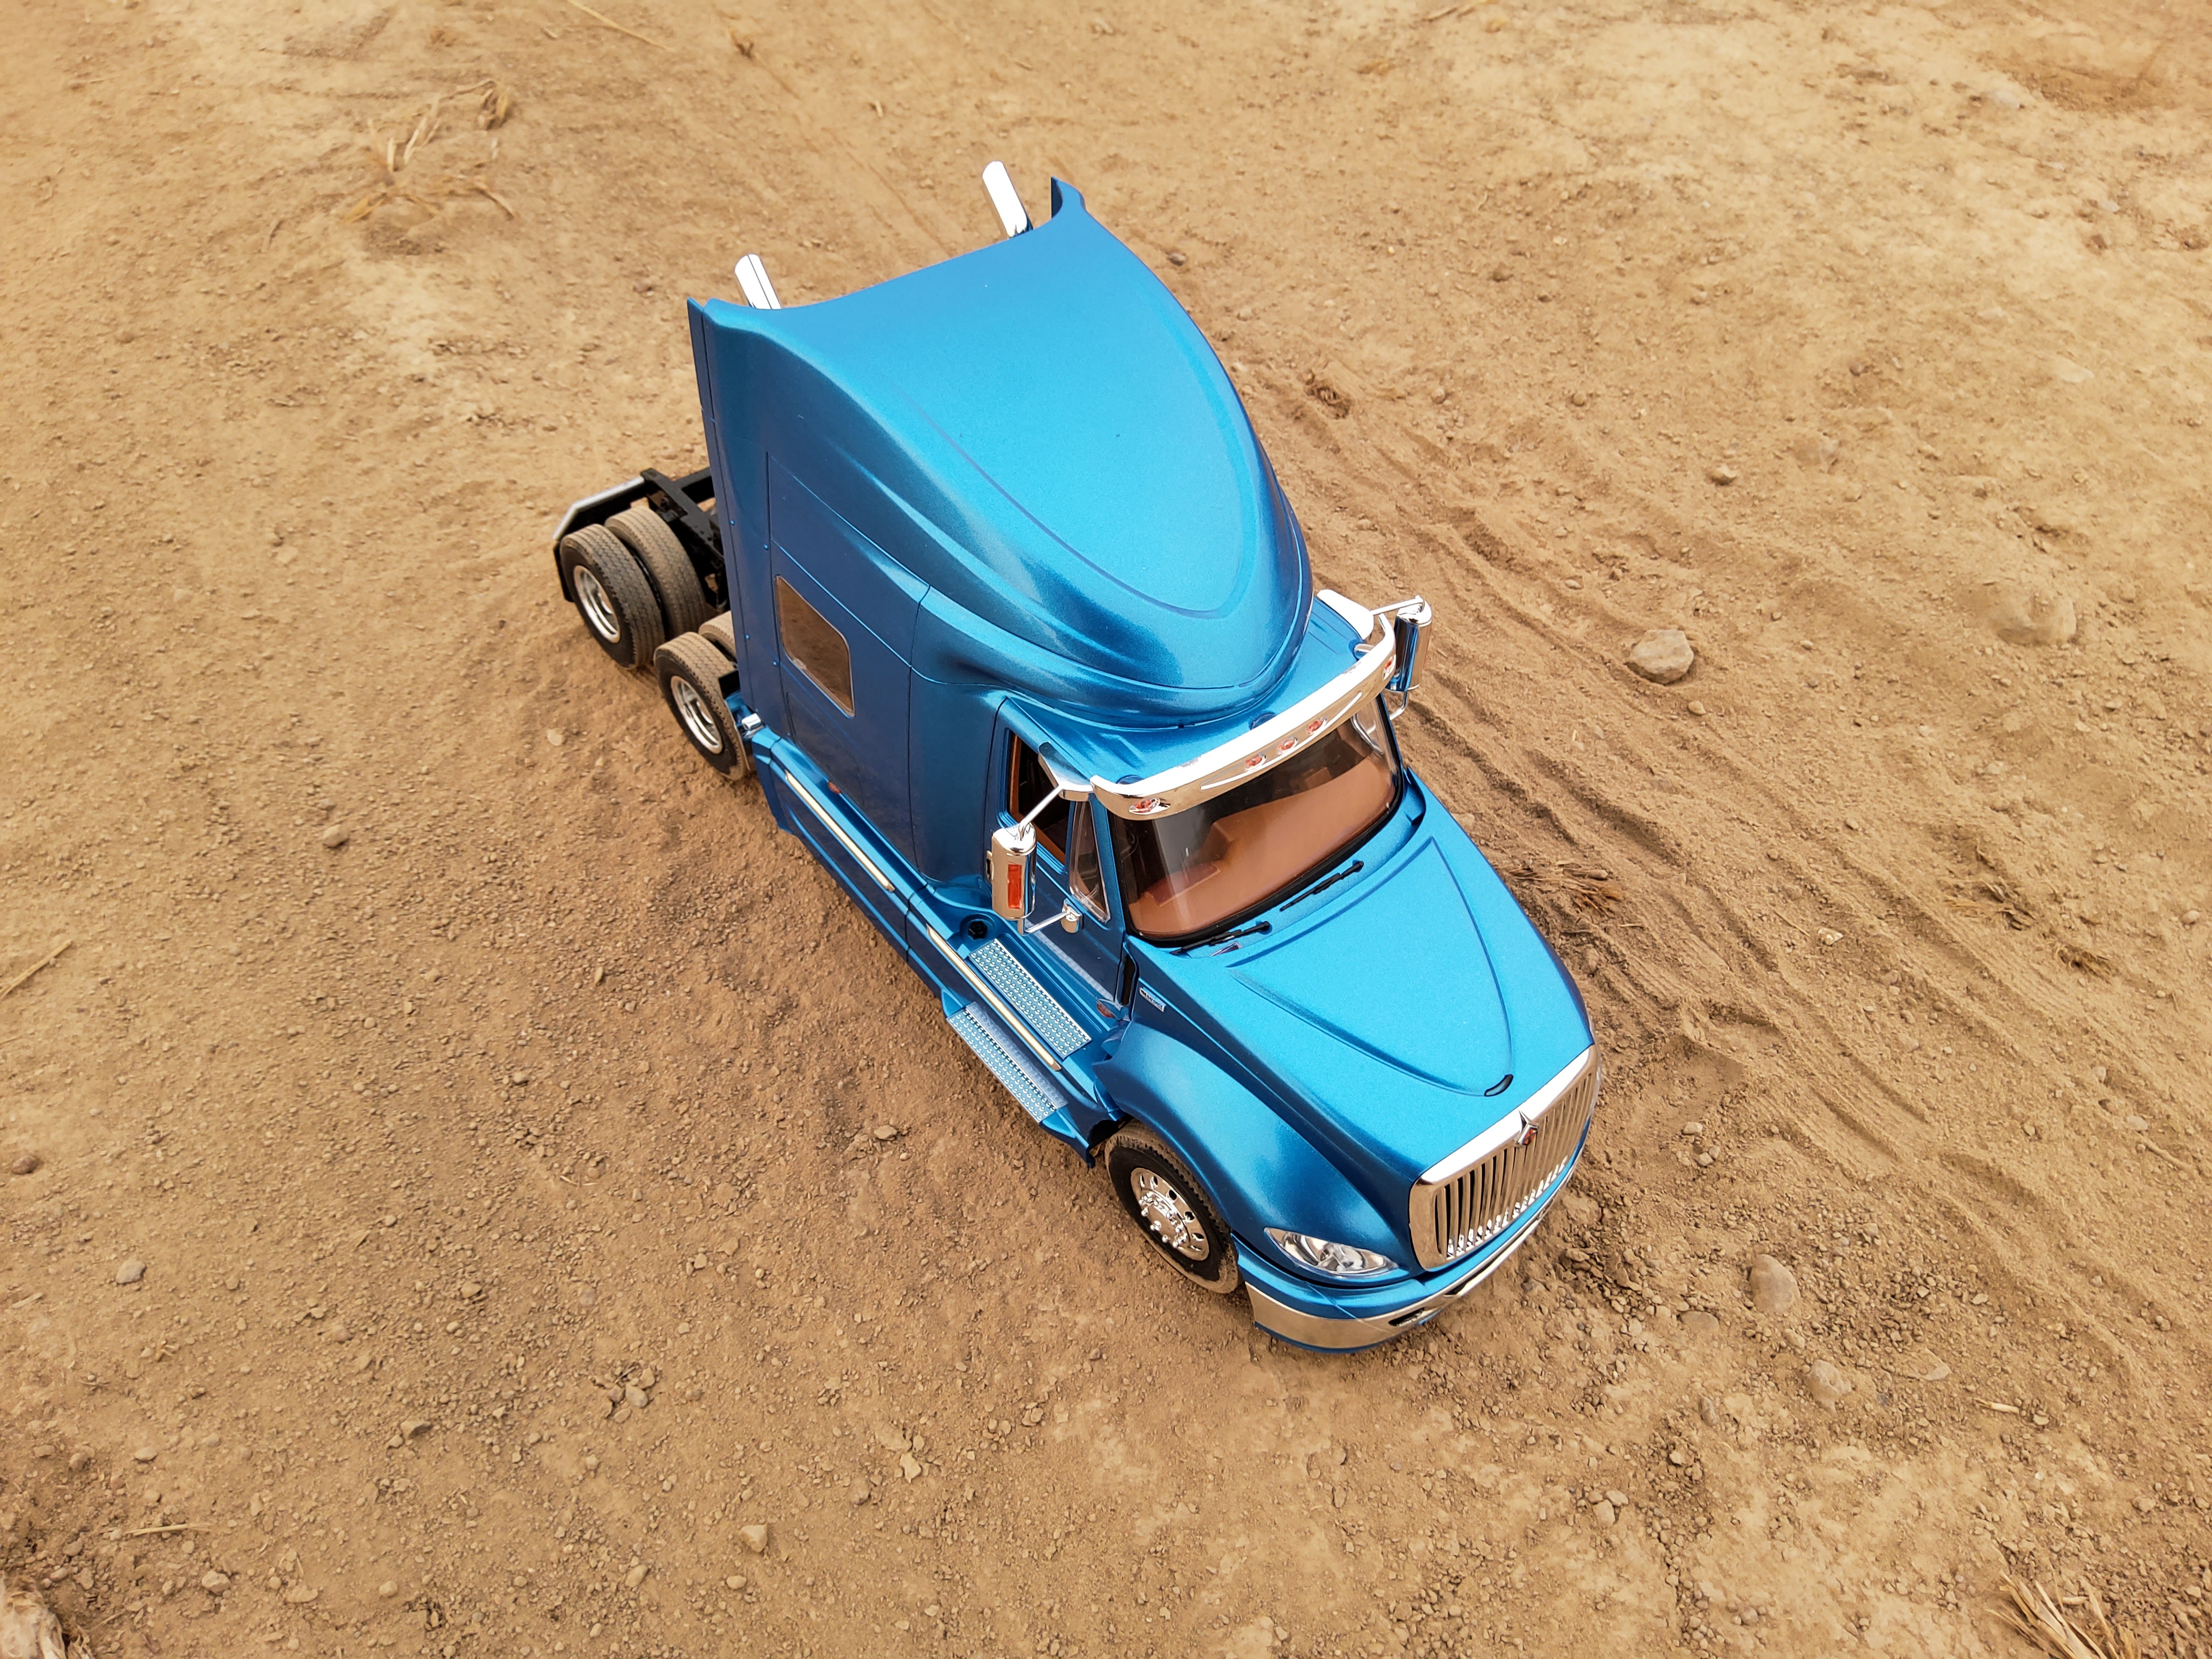
I figured I had to dirty the tires, how could it have driven to that spot with perfectly clean tires? -
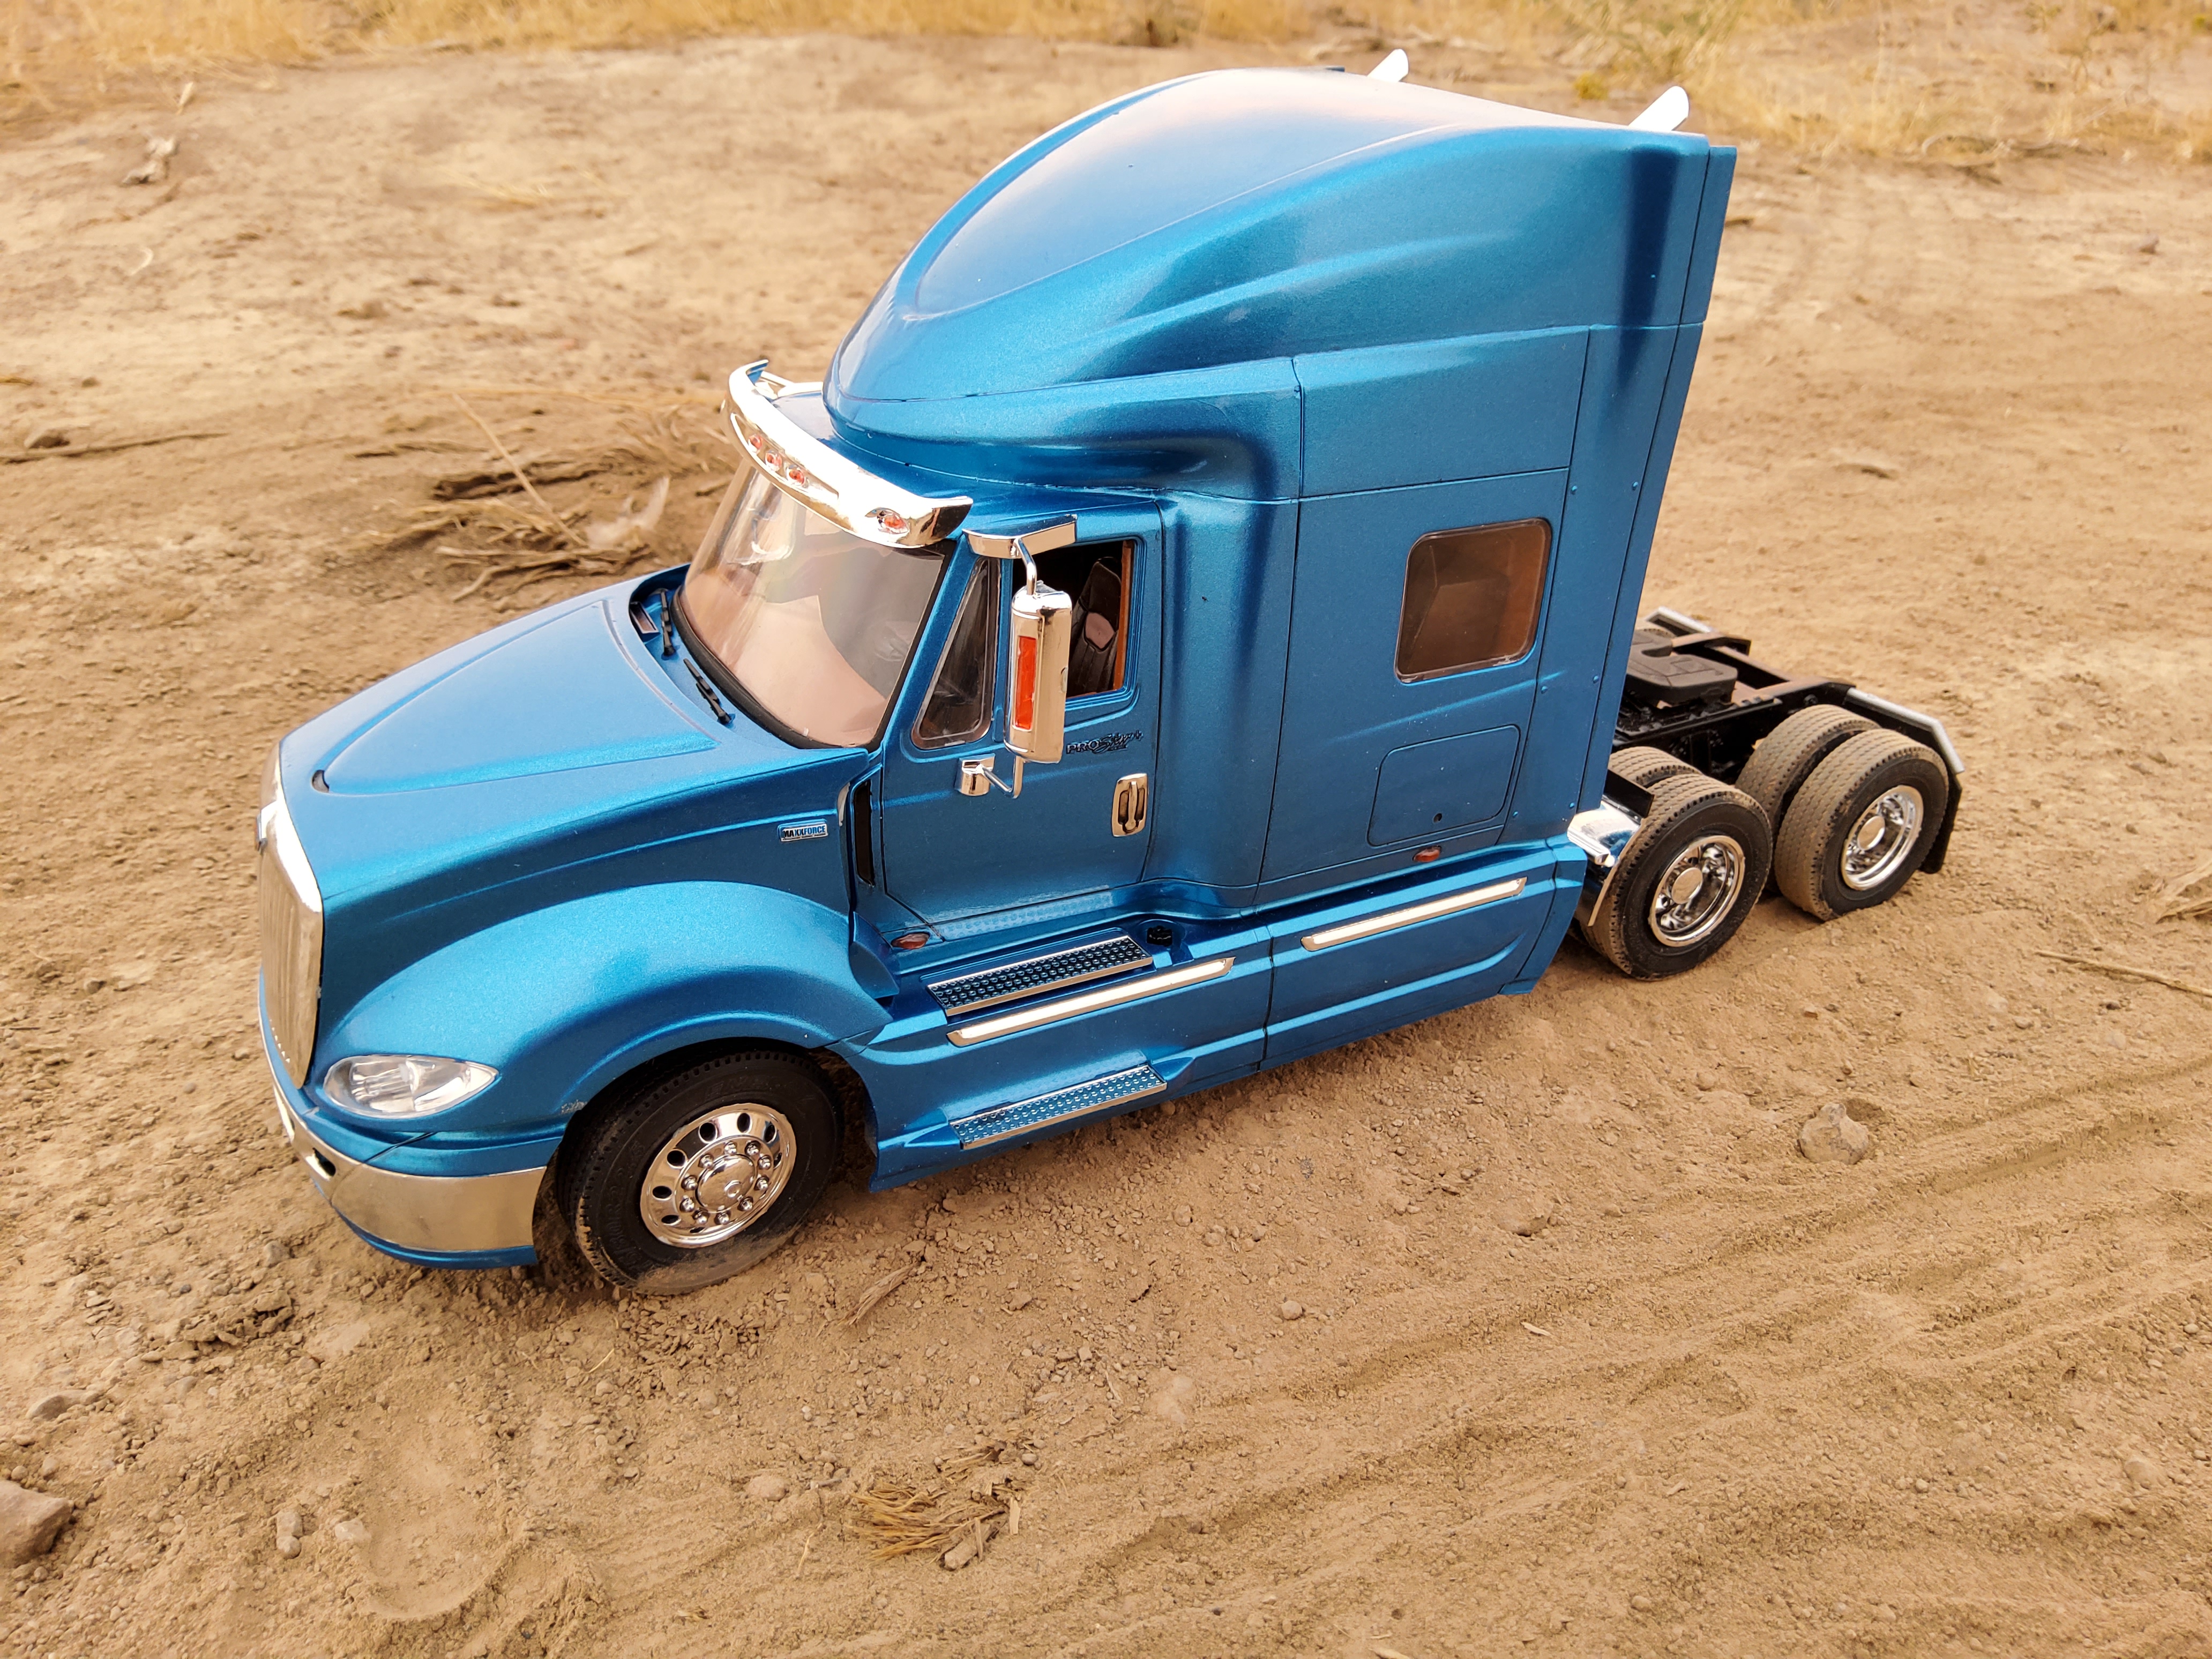
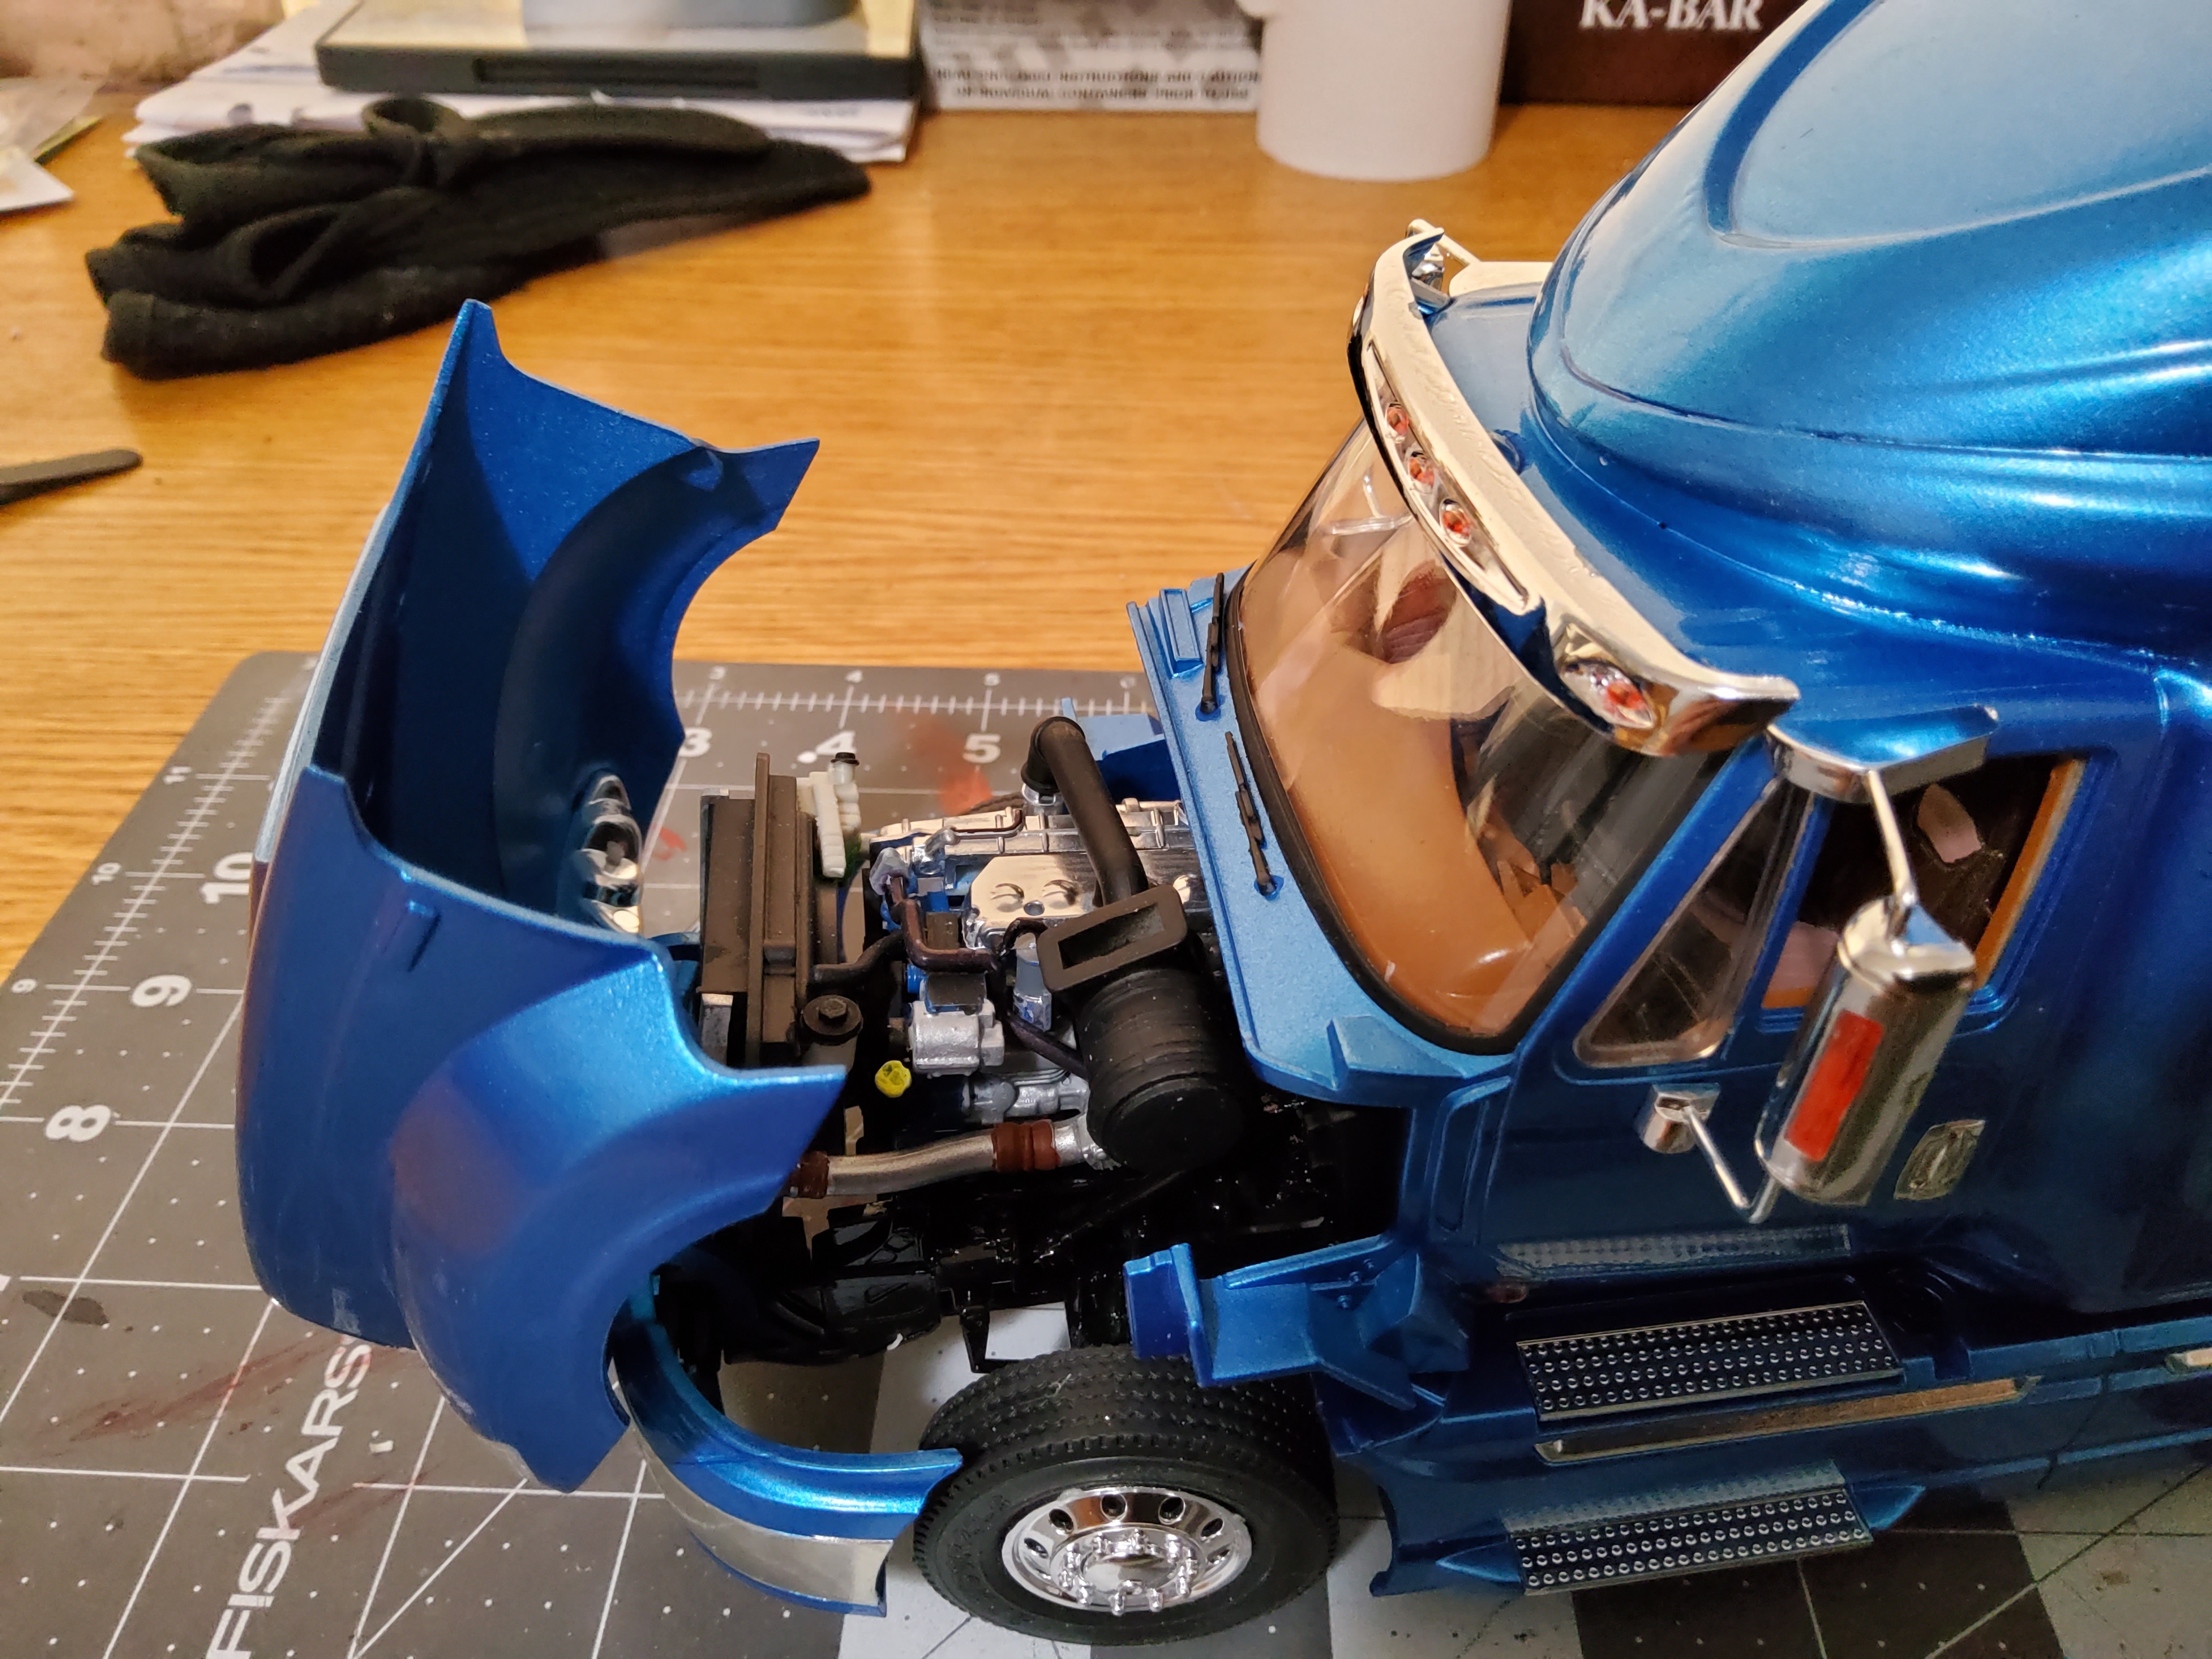
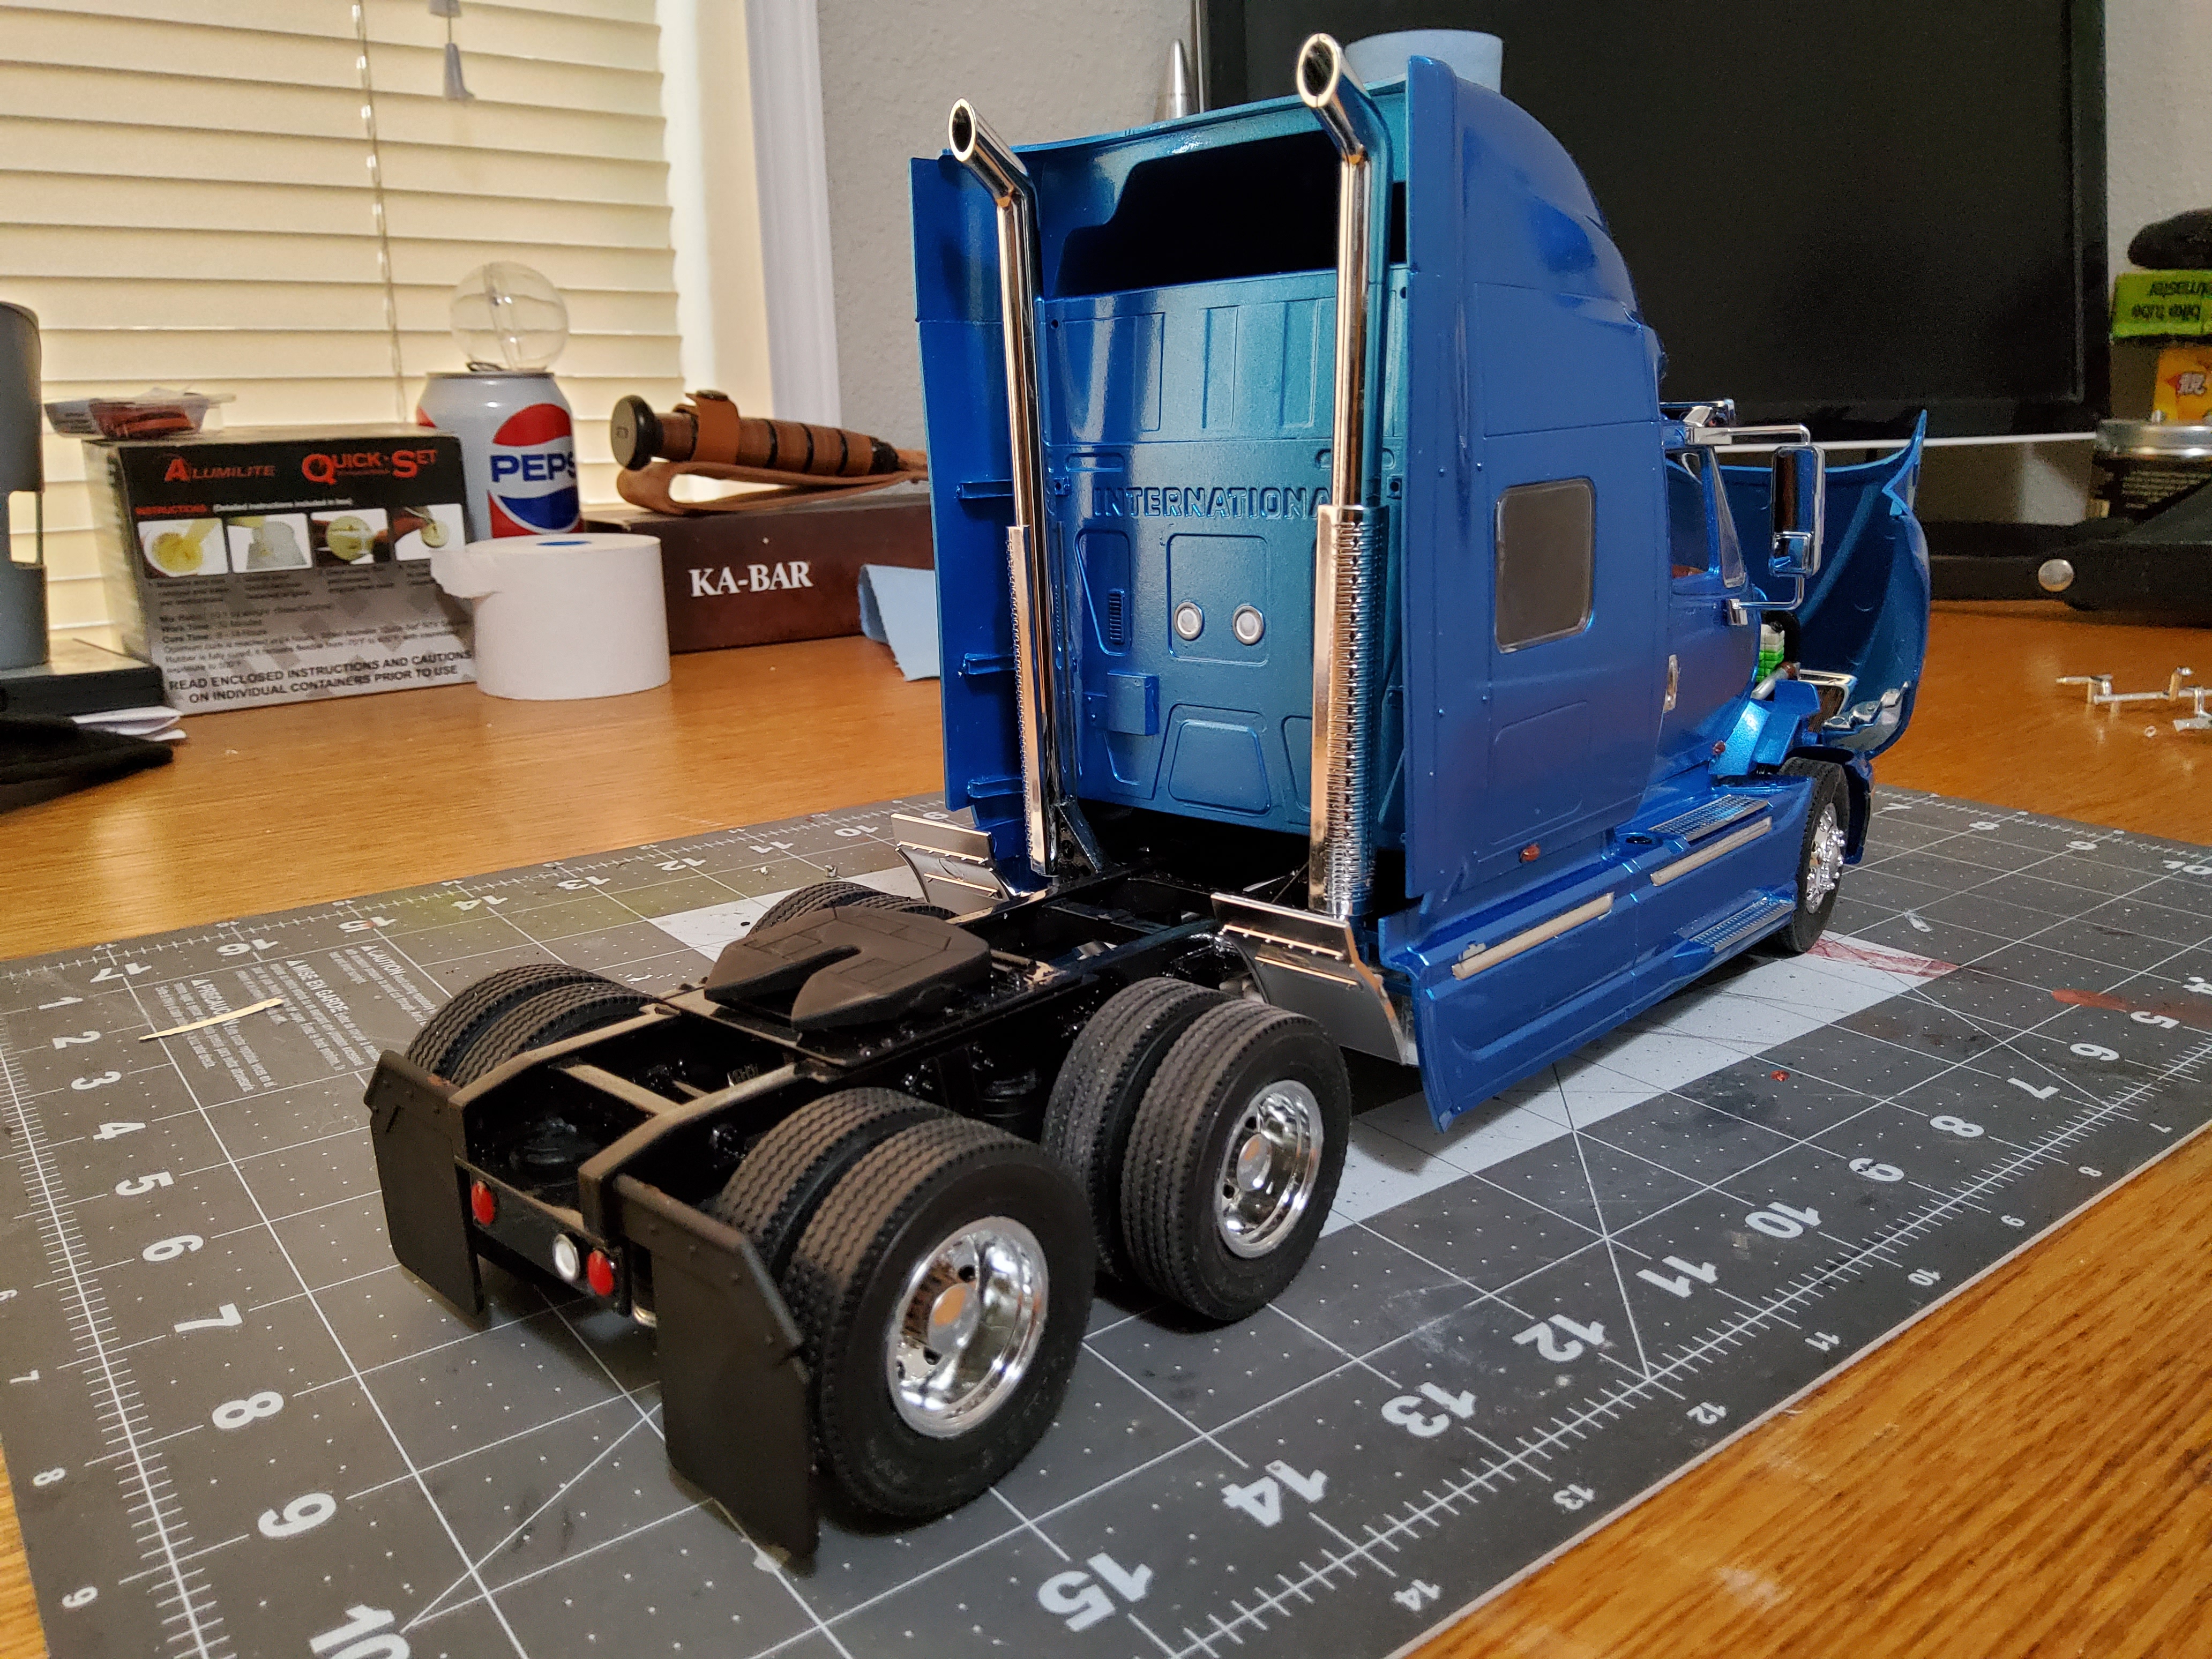
Moebius International ProStar
Oldmopars posted a topic in Model Trucks: Big Rigs and Heavy Equipment
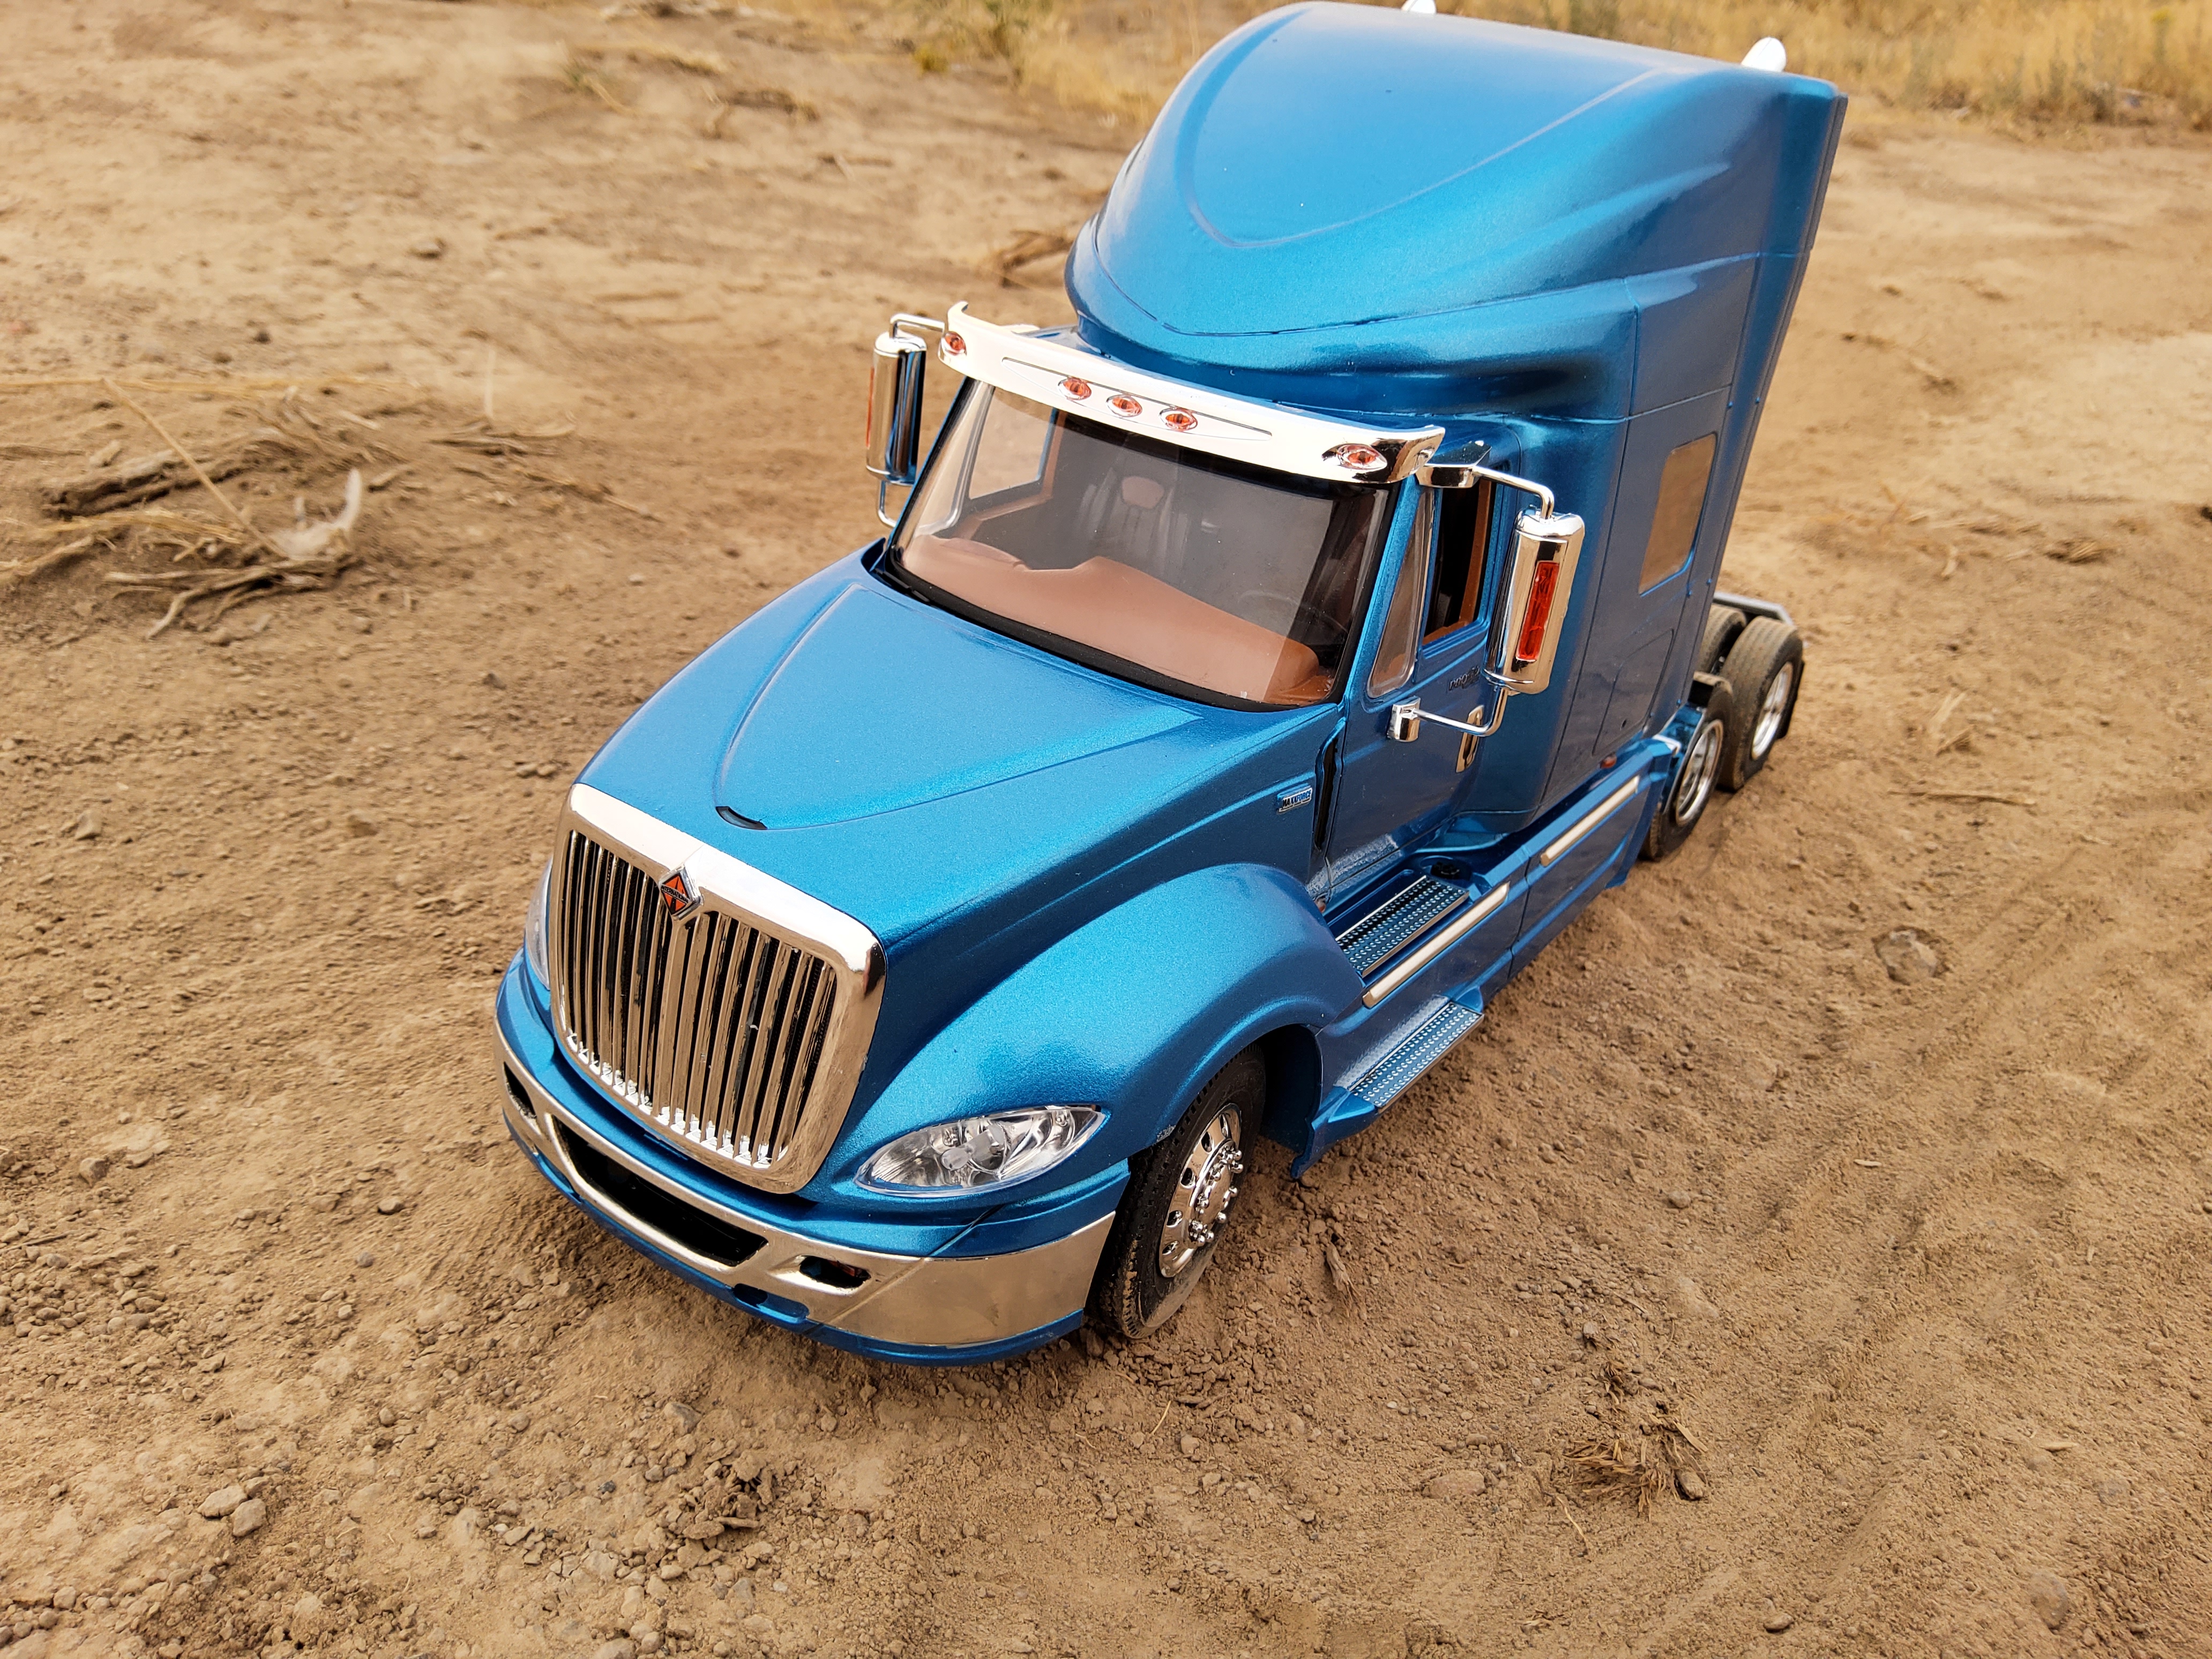
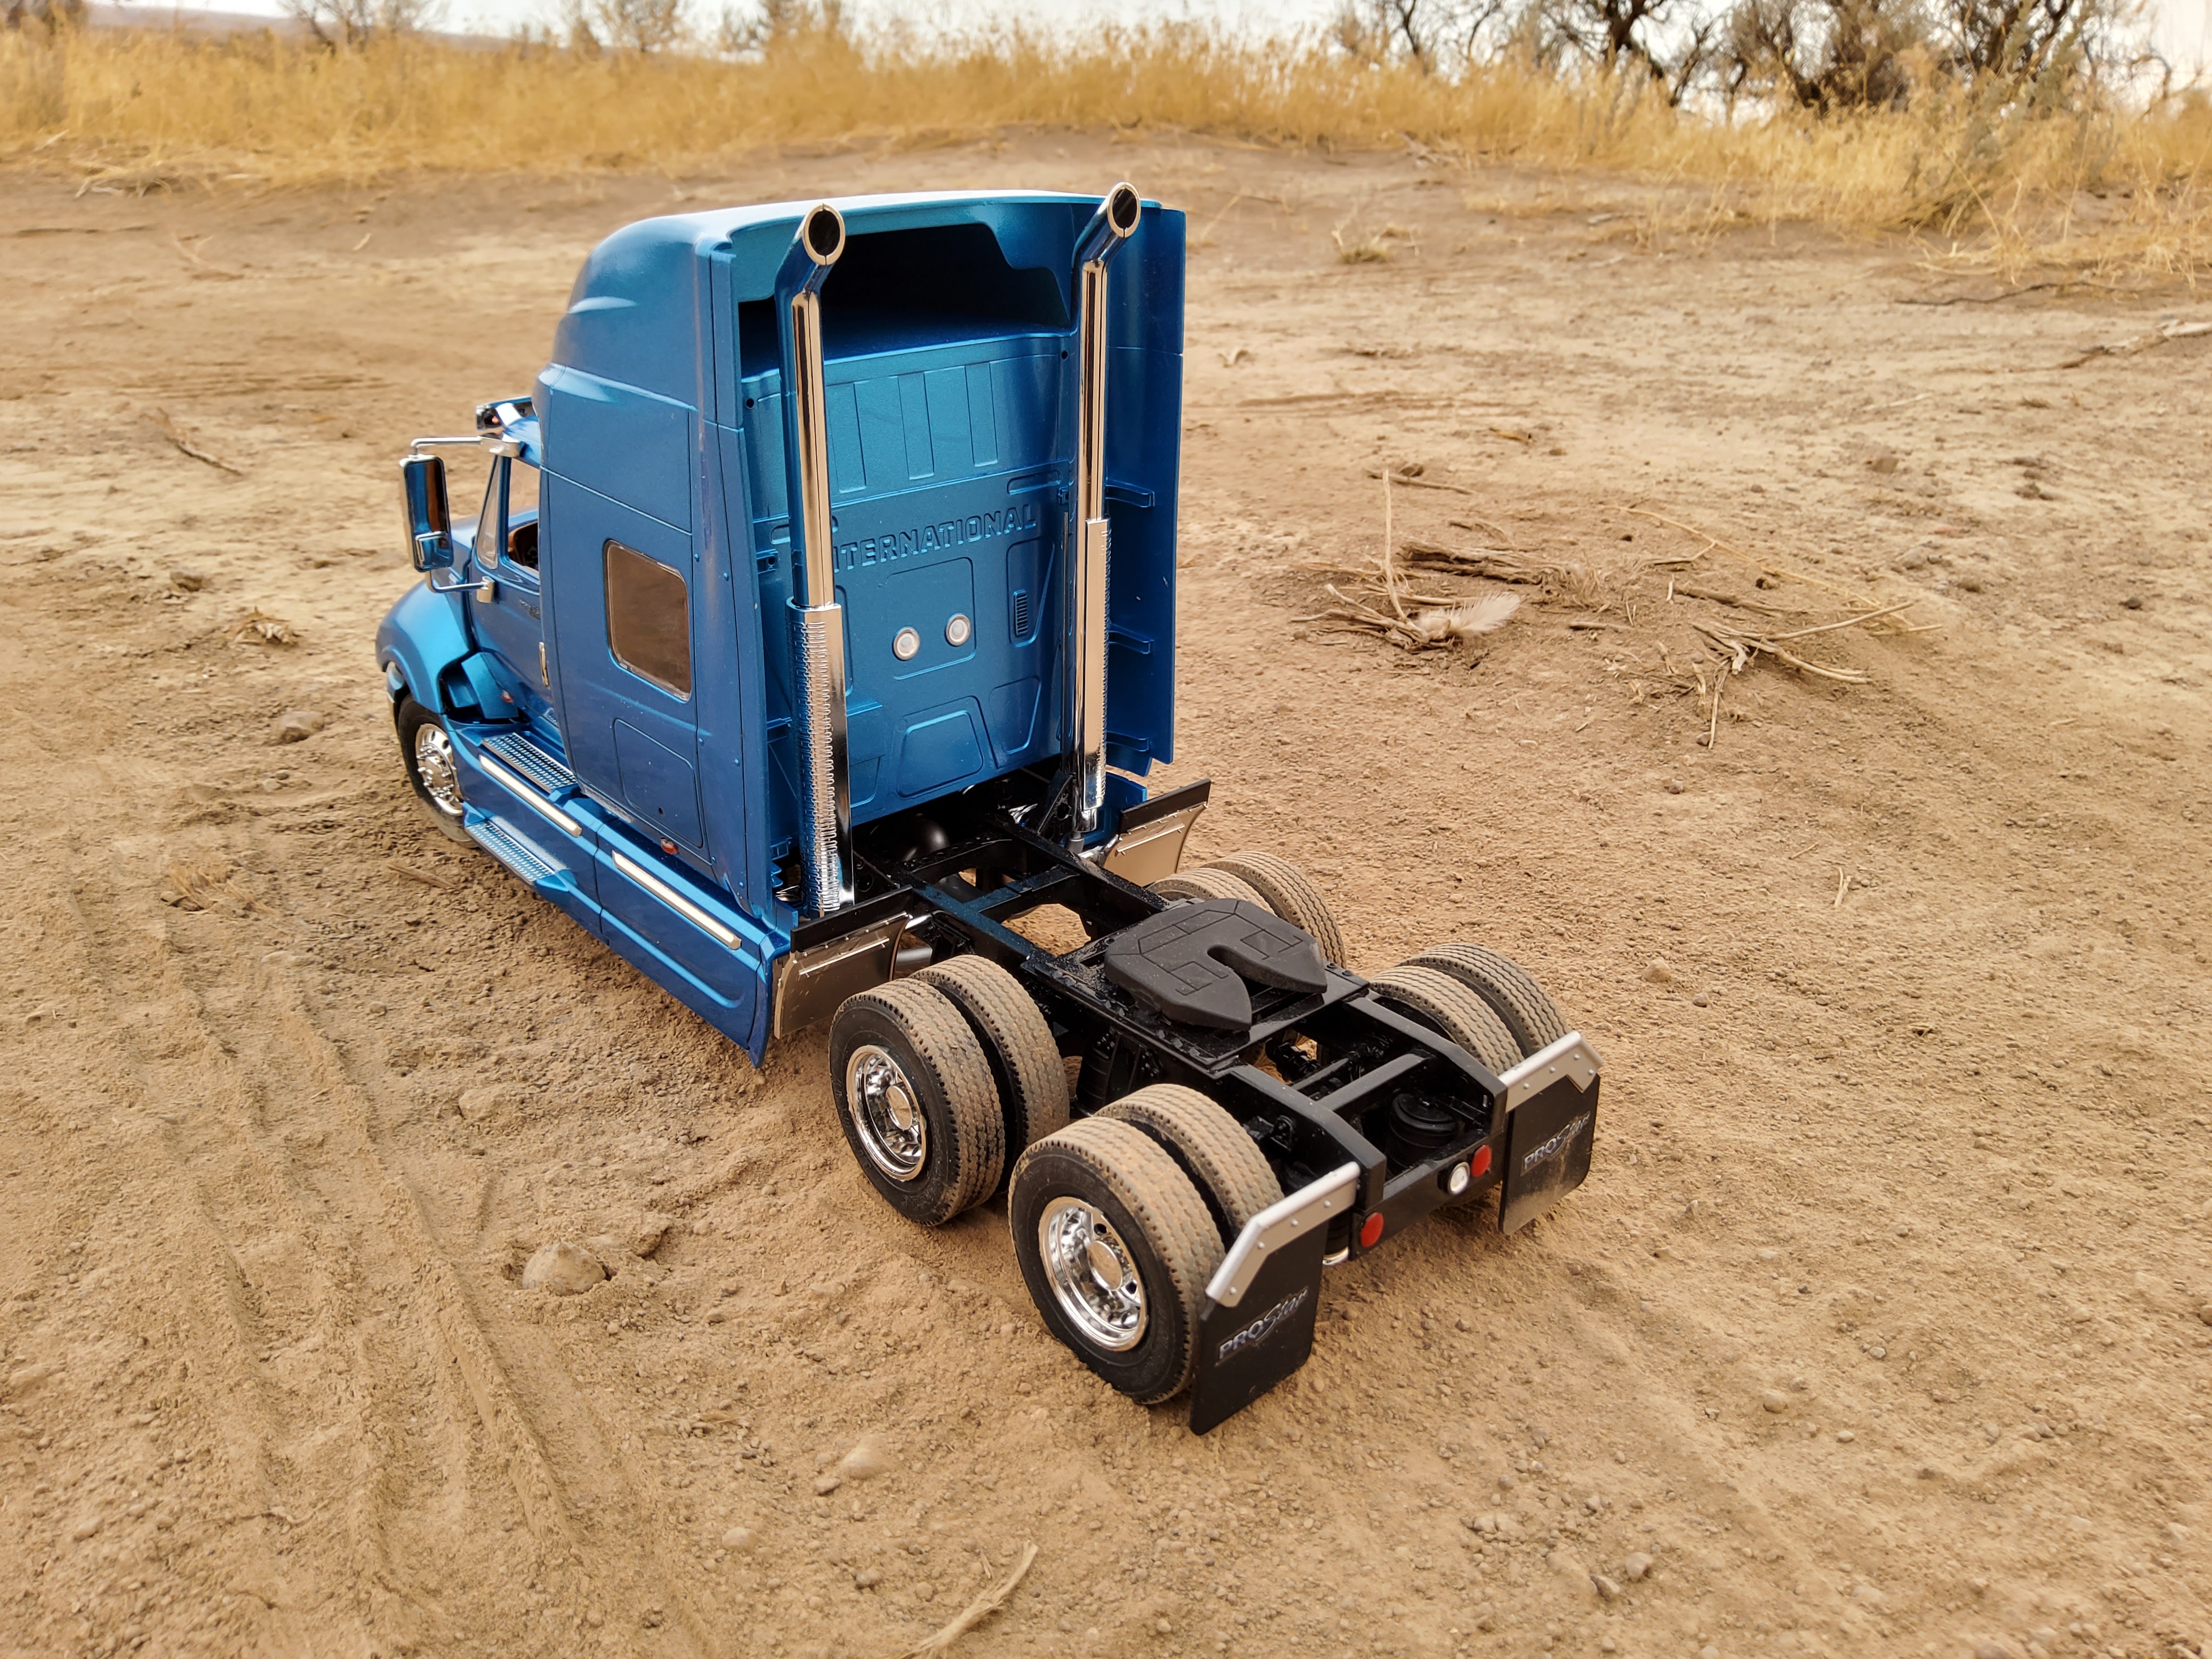
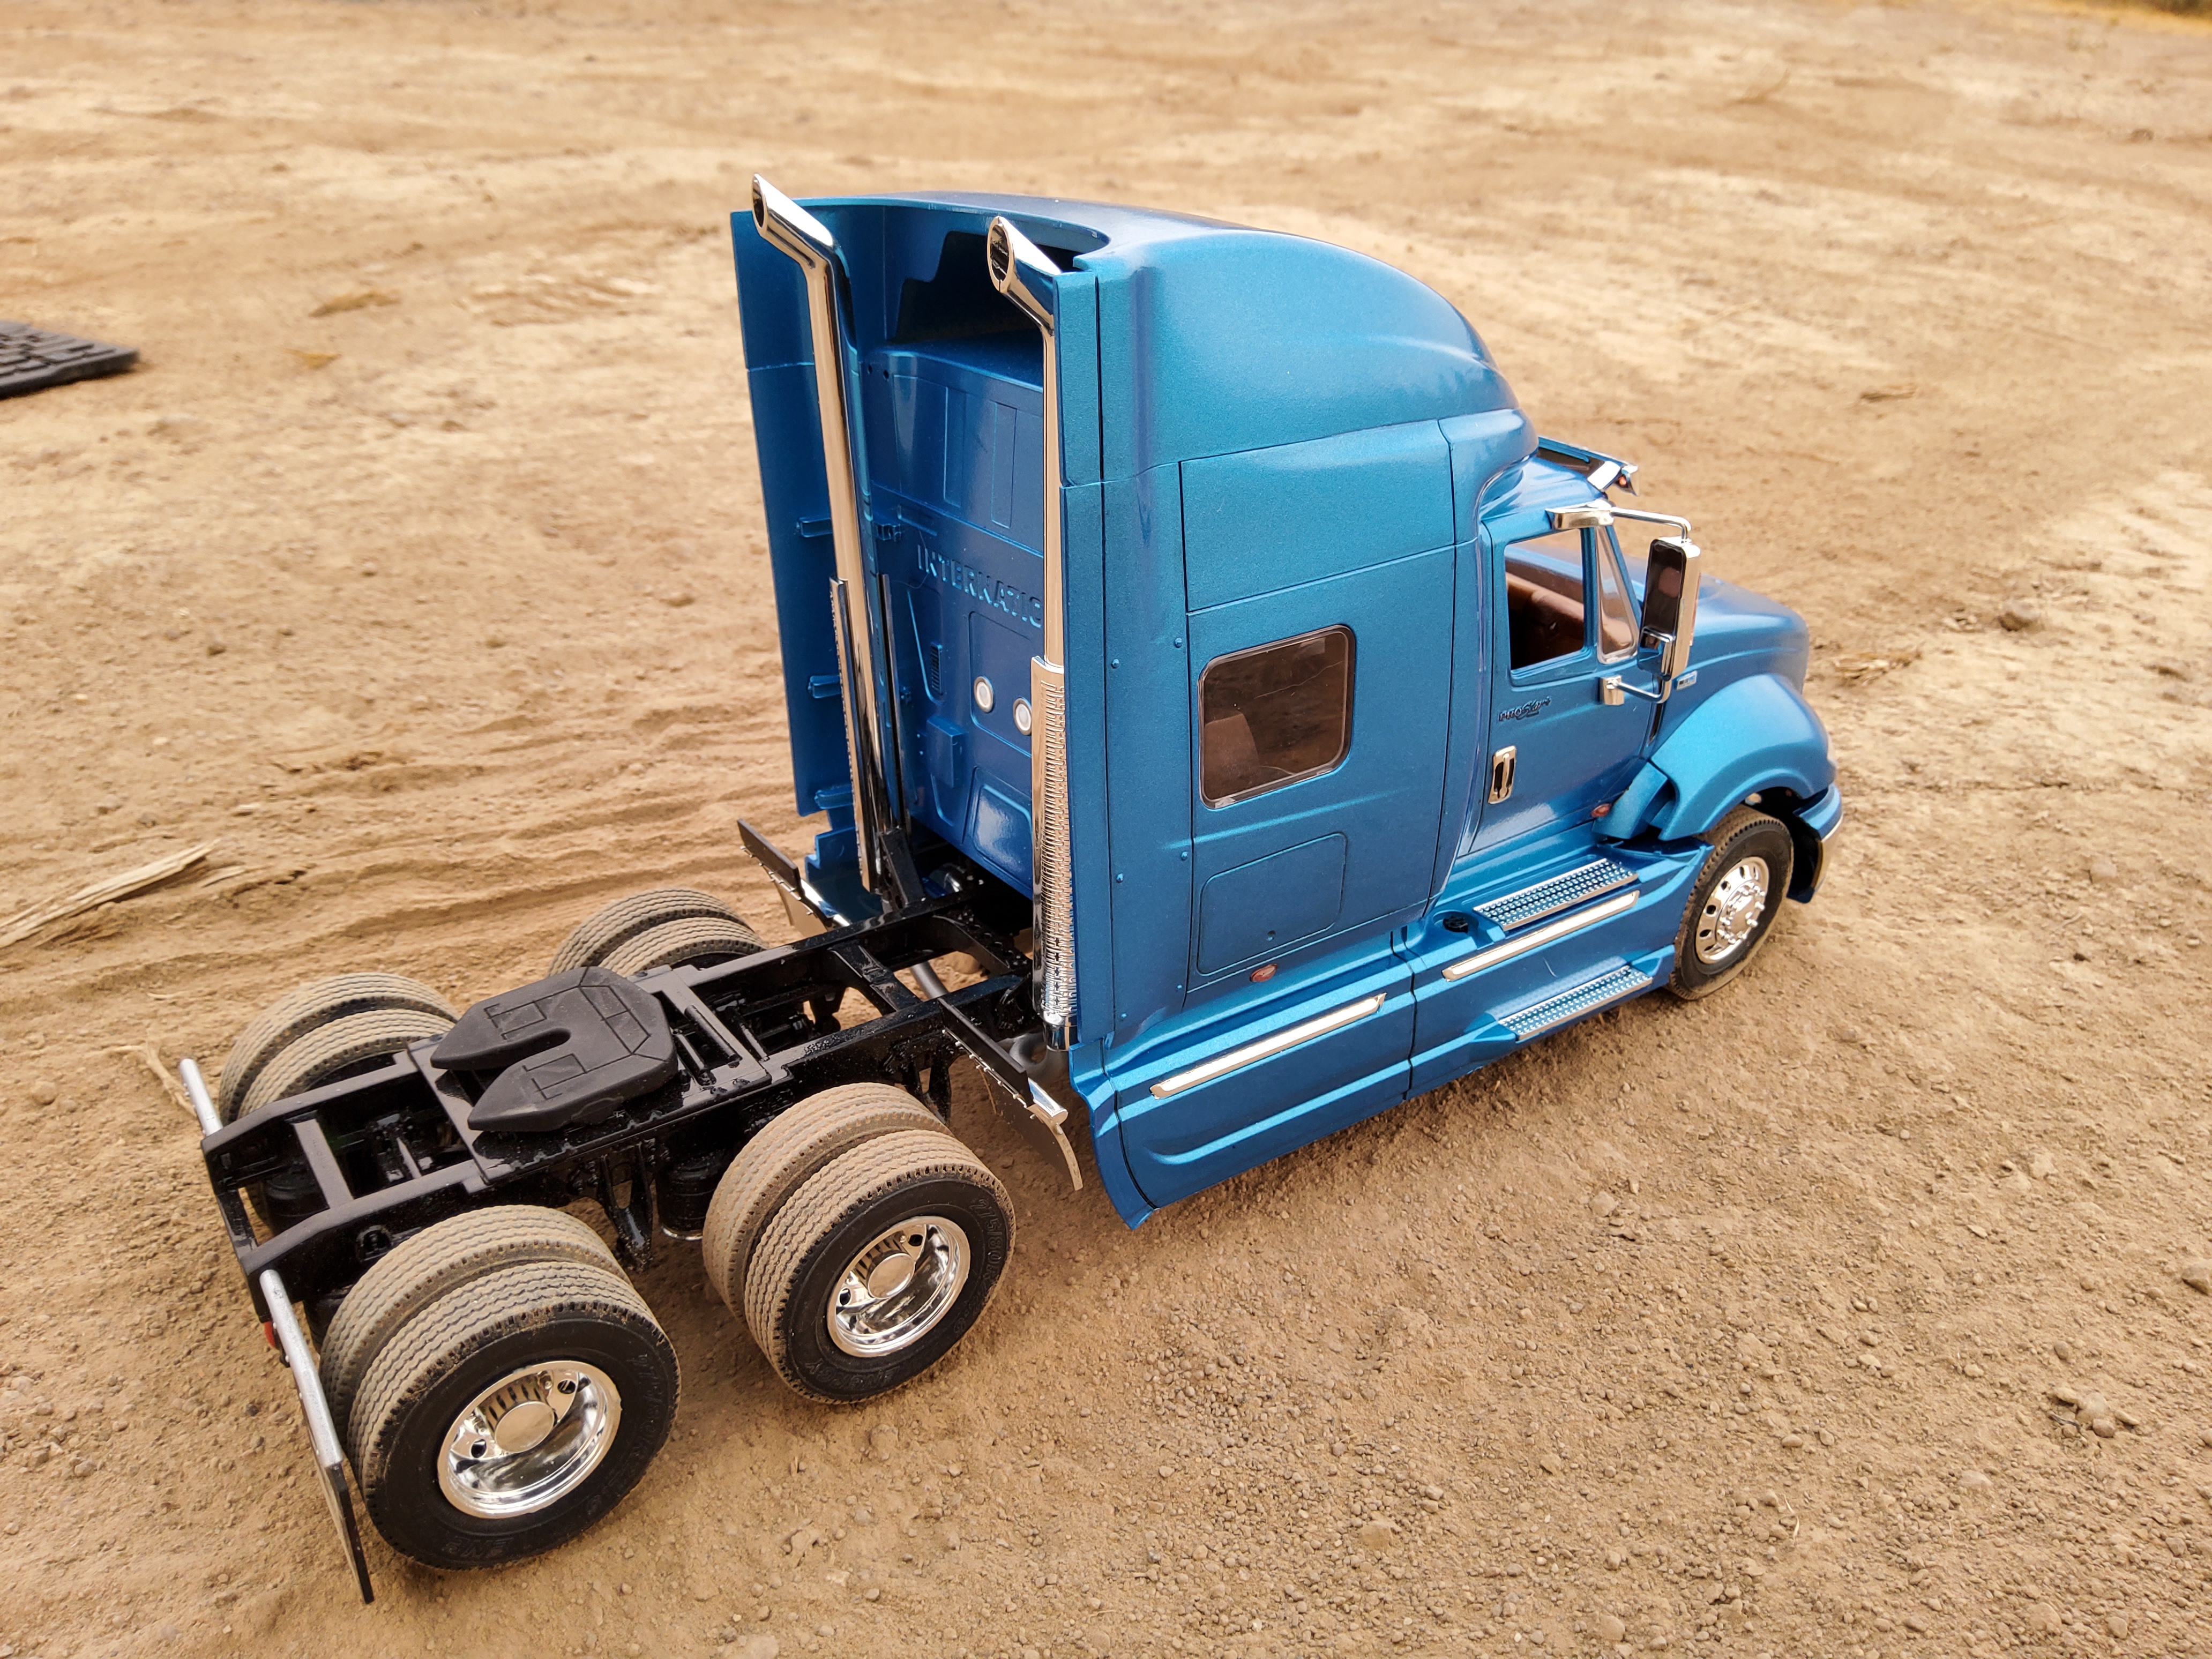
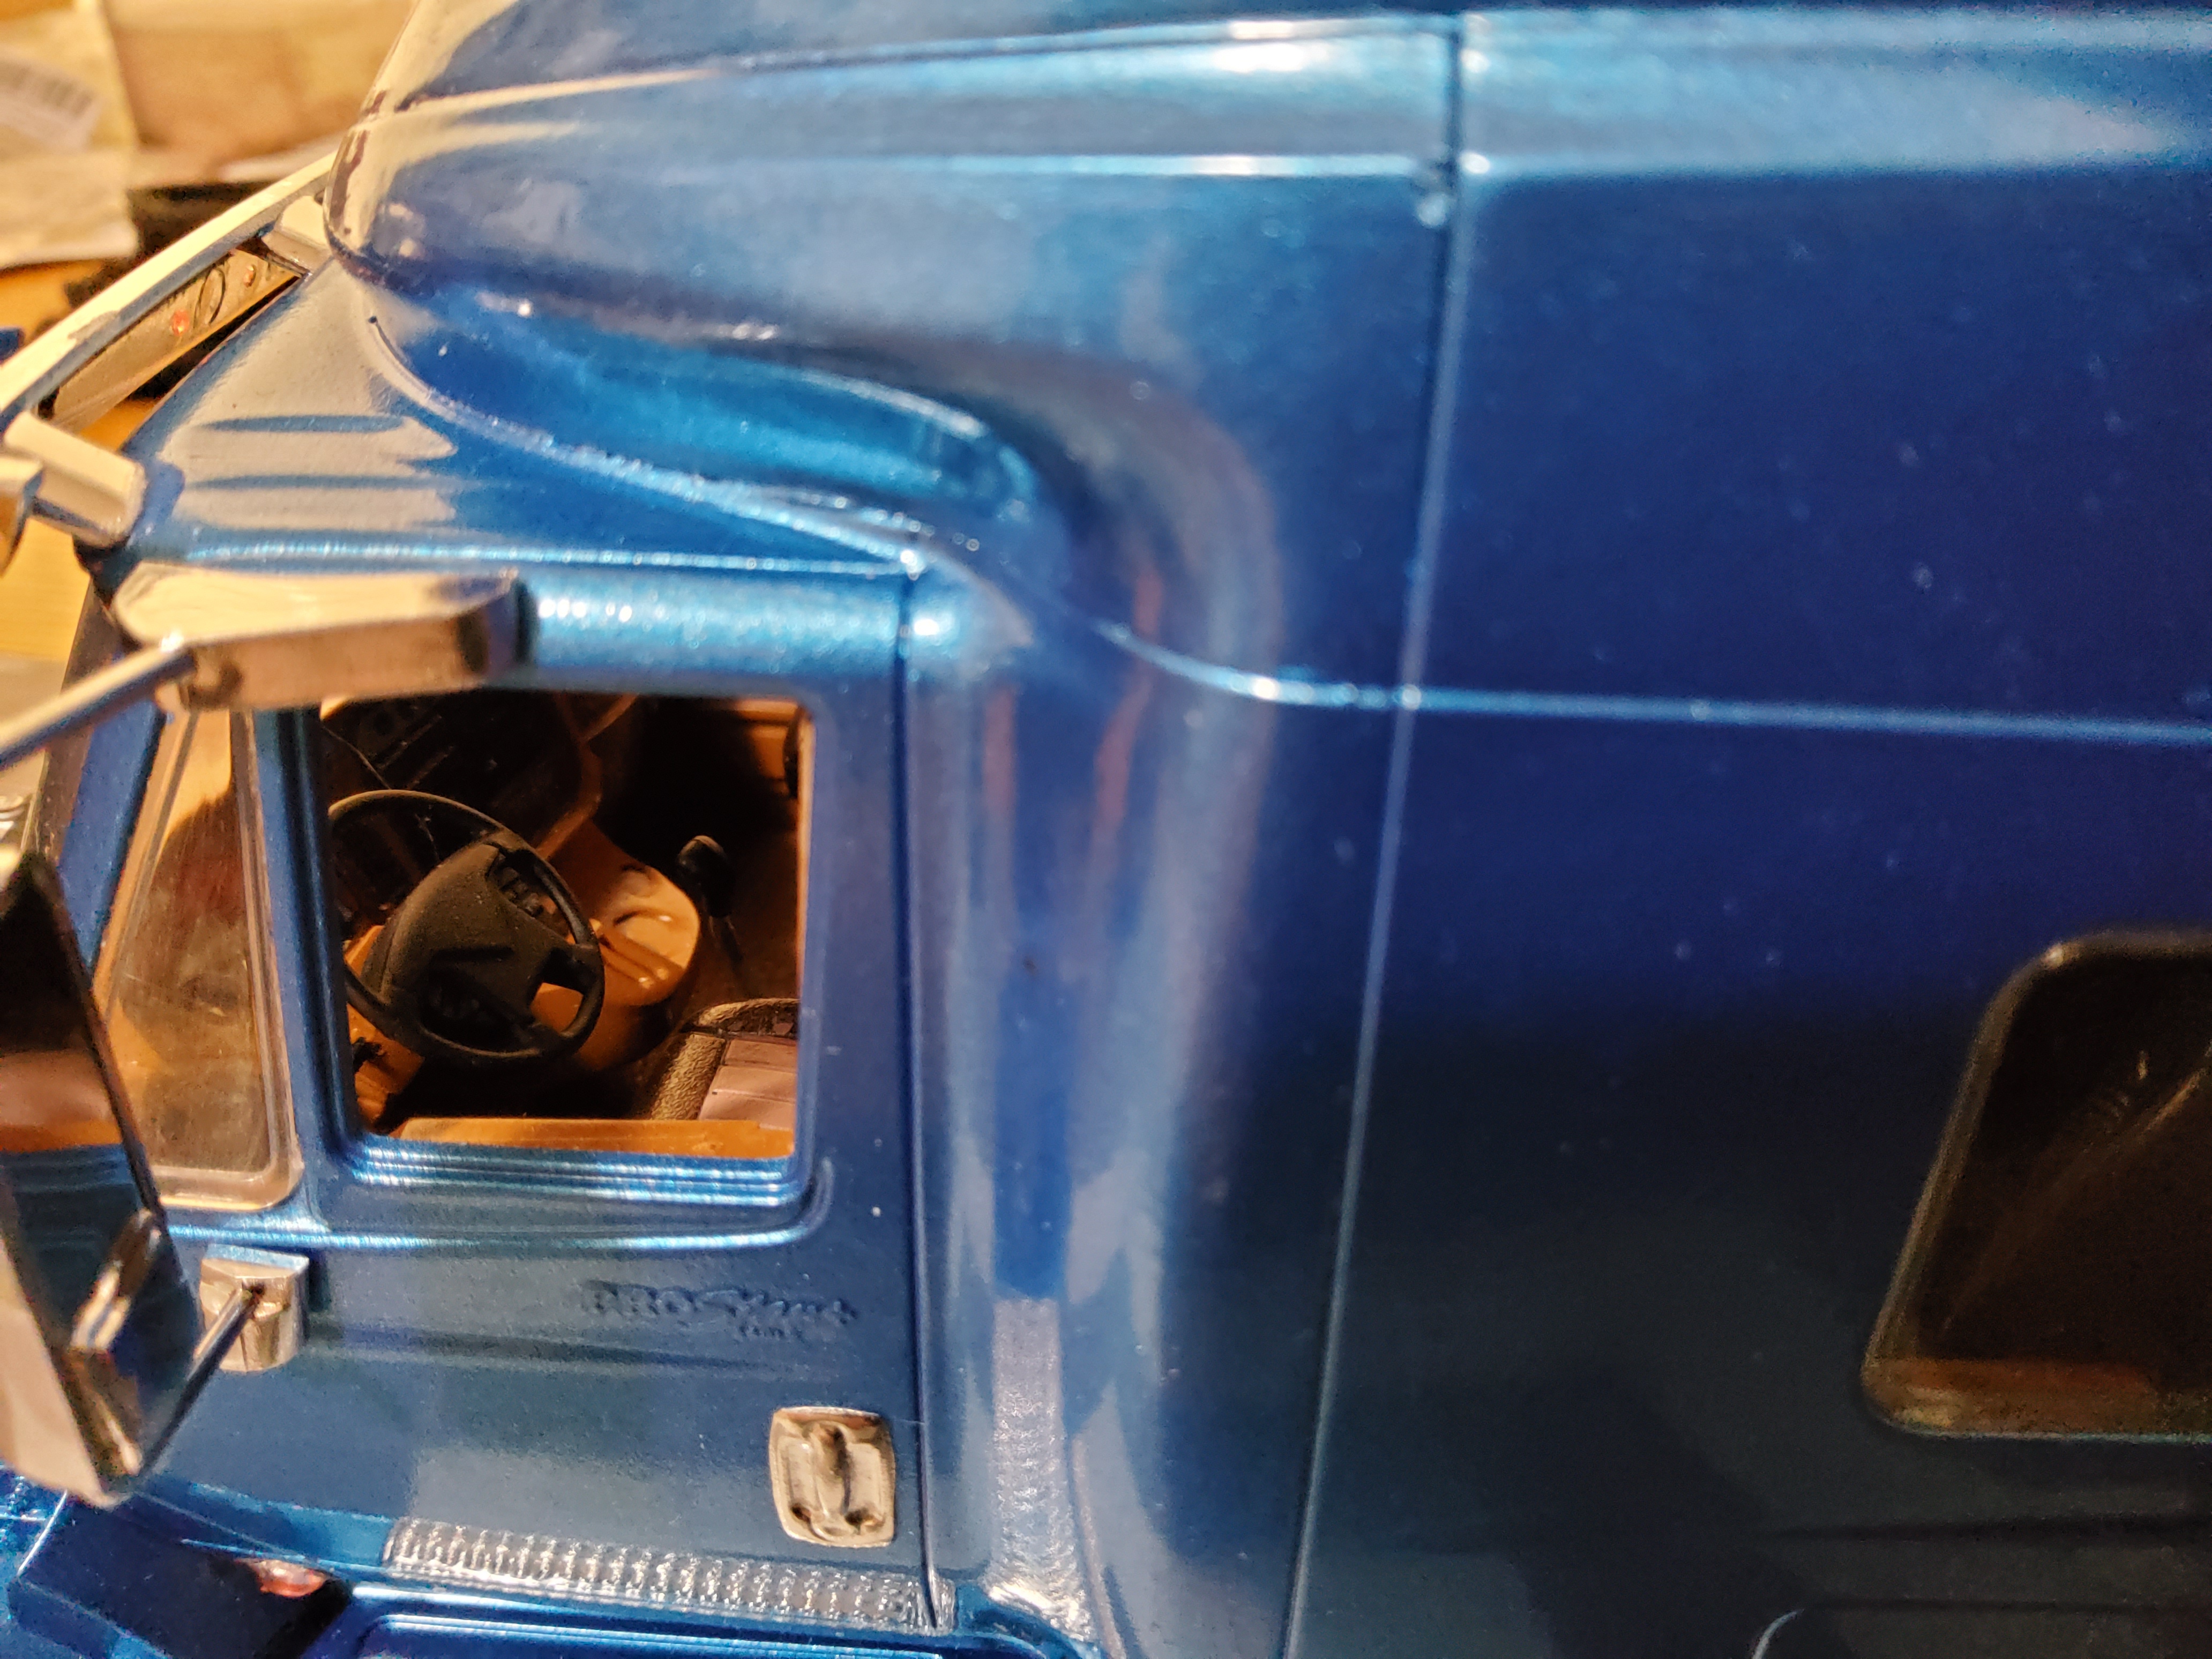
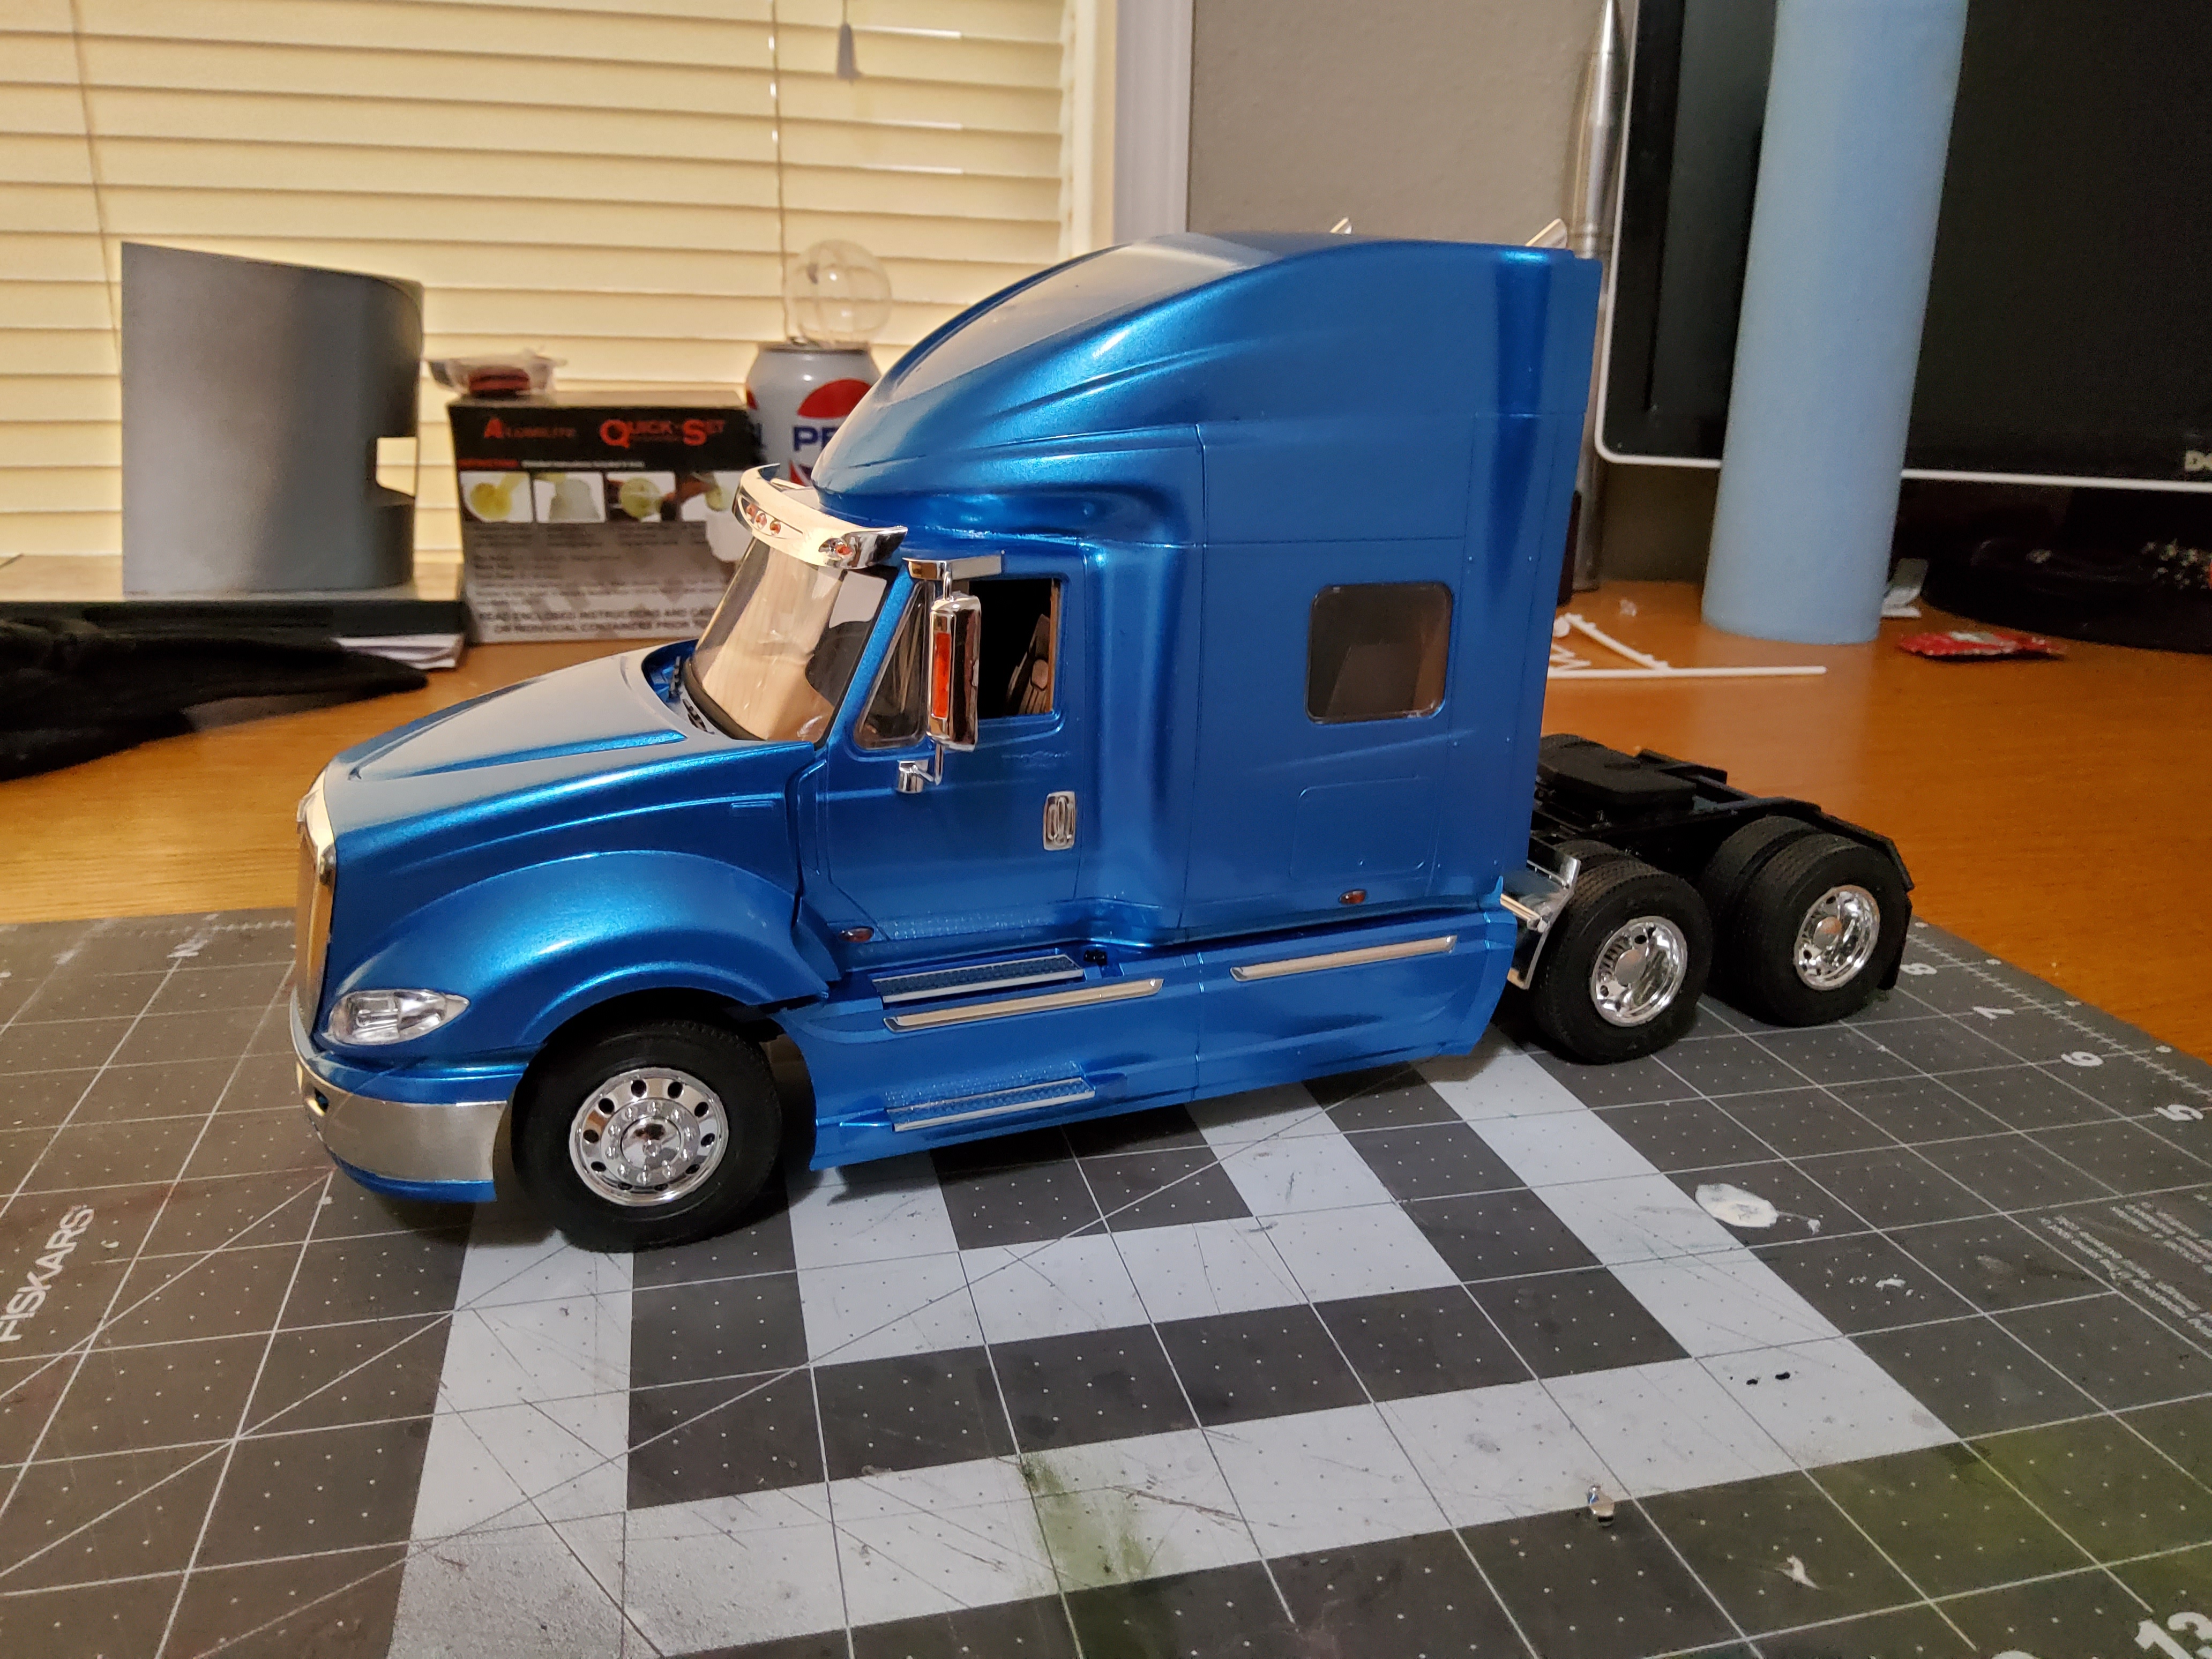
I really like this kit. I builds really well, lots of details. Not an easy kit, but a good one. My only issue is the way the hood fits. For the pictures I had to use some poster tack to hold it in place because it wants to fall and not set right. The color is by Duplicolor, Box Stock build.
-
All done. I got it all finished up. Decals added. Will post under glass
-
Crappy Italeri kit tires...!
Oldmopars replied to oldracer's topic in WIP: Model Trucks: Big Rigs and Heavy Equipment
They look just like the tires that come with Moebius trucks, and way better than what most of the AMT kits have. -
Thank you all. I hope to finish it up this weekend. I am trying to finish up my WIPs.
-
Cool, I had no idea.
-
I have been working on this Prostar for a while of and on. These are great kits and well worth the time and money. Every time I work on this I am impressed by it, but also a bit overwhelmed. It has taken me a while to get it this far. So, I don't have a build thread. I am almost done, still have a few more details and the decals to add.
-
I had to modify the rear wheels and use Monogram fronts. The bed is also Monogram as well as a bunch of other parts.
-
Very cool, I'm also working on the same kit. It has a ton of potential. I have 3 of these. 1 finished, the one pictured, and a new one