StockBoresMe
-
Posts
178 -
Joined
-
Last visited
Content Type
Profiles
Forums
Events
Gallery
Everything posted by StockBoresMe
-
need to understand (( Update 11/15 ))
StockBoresMe replied to rel14's topic in General Automotive Talk (Trucks and Cars)
Have you checked your refrigerator? Not too many know this but theirs a spot directly connecting most areas of your floor to the wnd shelf of your refrigerator. Most household electronic remotes are reserved for the 1st shelf, and the 3rd is reserved for socks. Don't even get me started on the link between the crack in your car where the seat meets the center console and the silverware tub in your dishwasher -
he already did. Check the pics closer
-
Let's see your geegaws!
StockBoresMe replied to Lunajammer's topic in General Automotive Talk (Trucks and Cars)
the white version of this kit had a go kart instead if the atc -
All this from a local I found on the facebook marketplace for 10 bucks. The 442 is only missing decals. Its started but wont take much at all to strip down to bare plastic. The cobra "was" sealed with a price tag from riders which was a treat in itself. To my knowledge all the riders in michigan are r.i.p.

-
Is hitchhiking allowed? I'll help pay for gas.....
-
This car is so cool. But the only thing I can think when I see it is that poor drivers neck
-
Thank you for the support guys! I really didn't see it coming but this truck hit me in the feels more than I expected and now I want another one... Or 2.....or 16. I don't recall ever having this much fun with a build. Maybe its the sentimental meaning. But something inside me fell in love with this kit and there will be more of them built in the future
-
Dan..... Where are they now bud?
-
Is it just me or does the black sharpie look a little on the blue side?
-
Is there 3 holes on the cowl? I have both the revell of germamy and the regular revell kits and they've only got 2 on the cowl Allow me to introduce you to a fun way to drain your bank account http://www.clearlyscale.com/category
-
This is seriously your 1st model kit? It looks incredible man. Can't wait to see more!
-
"Holy Grail" Models?
StockBoresMe replied to Billy Kingsley's topic in General Automotive Talk (Trucks and Cars)
Wow! These are some seriously cool kits! I just learned so much about what was one time easily available -
nice rack! Hehehe pun intended
-
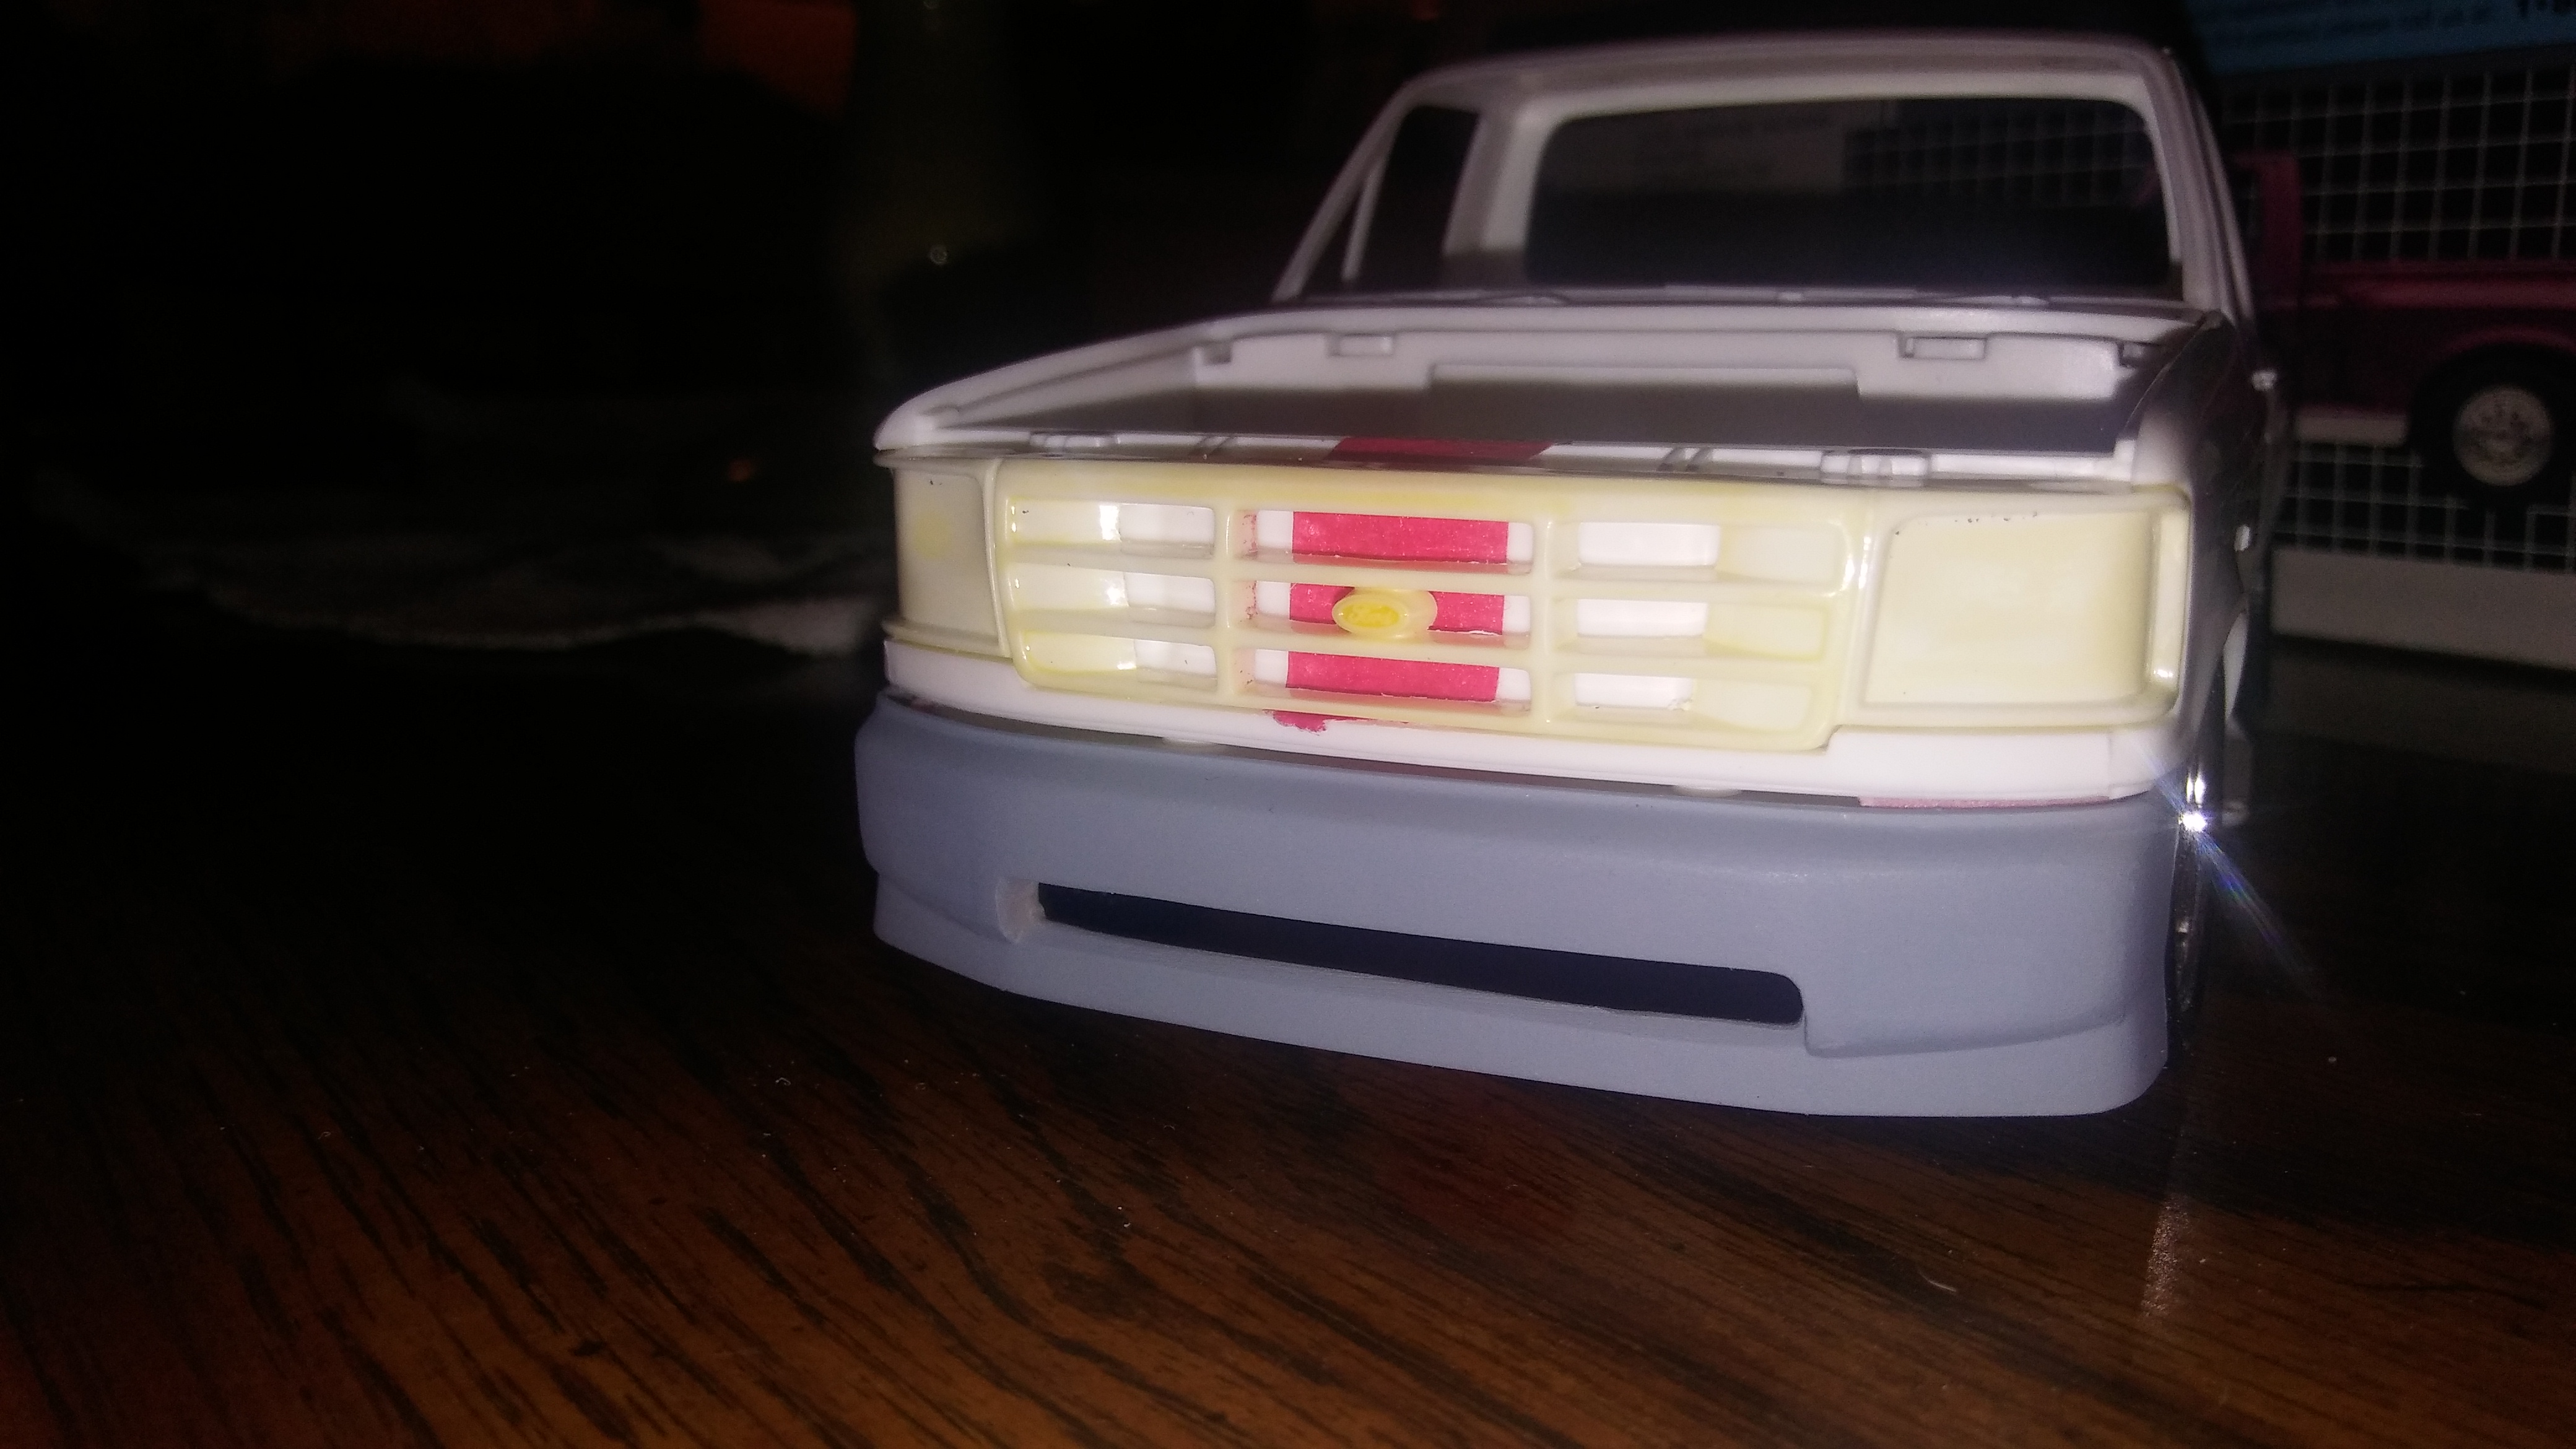
Now onto the inner wheel wells. I cut off and sanded all the clutter smooth then filled in the backside of the frames molding then shot a light coat of primer to see where I'm at. Not too bad so far but I still have some body work to doI also got impatient and started painting somsome things. Less than a handful of parts will be this orange. The truck itself will be light blue to go with the gulf paint scheme. The color seems off because im shooting from a phone.
-
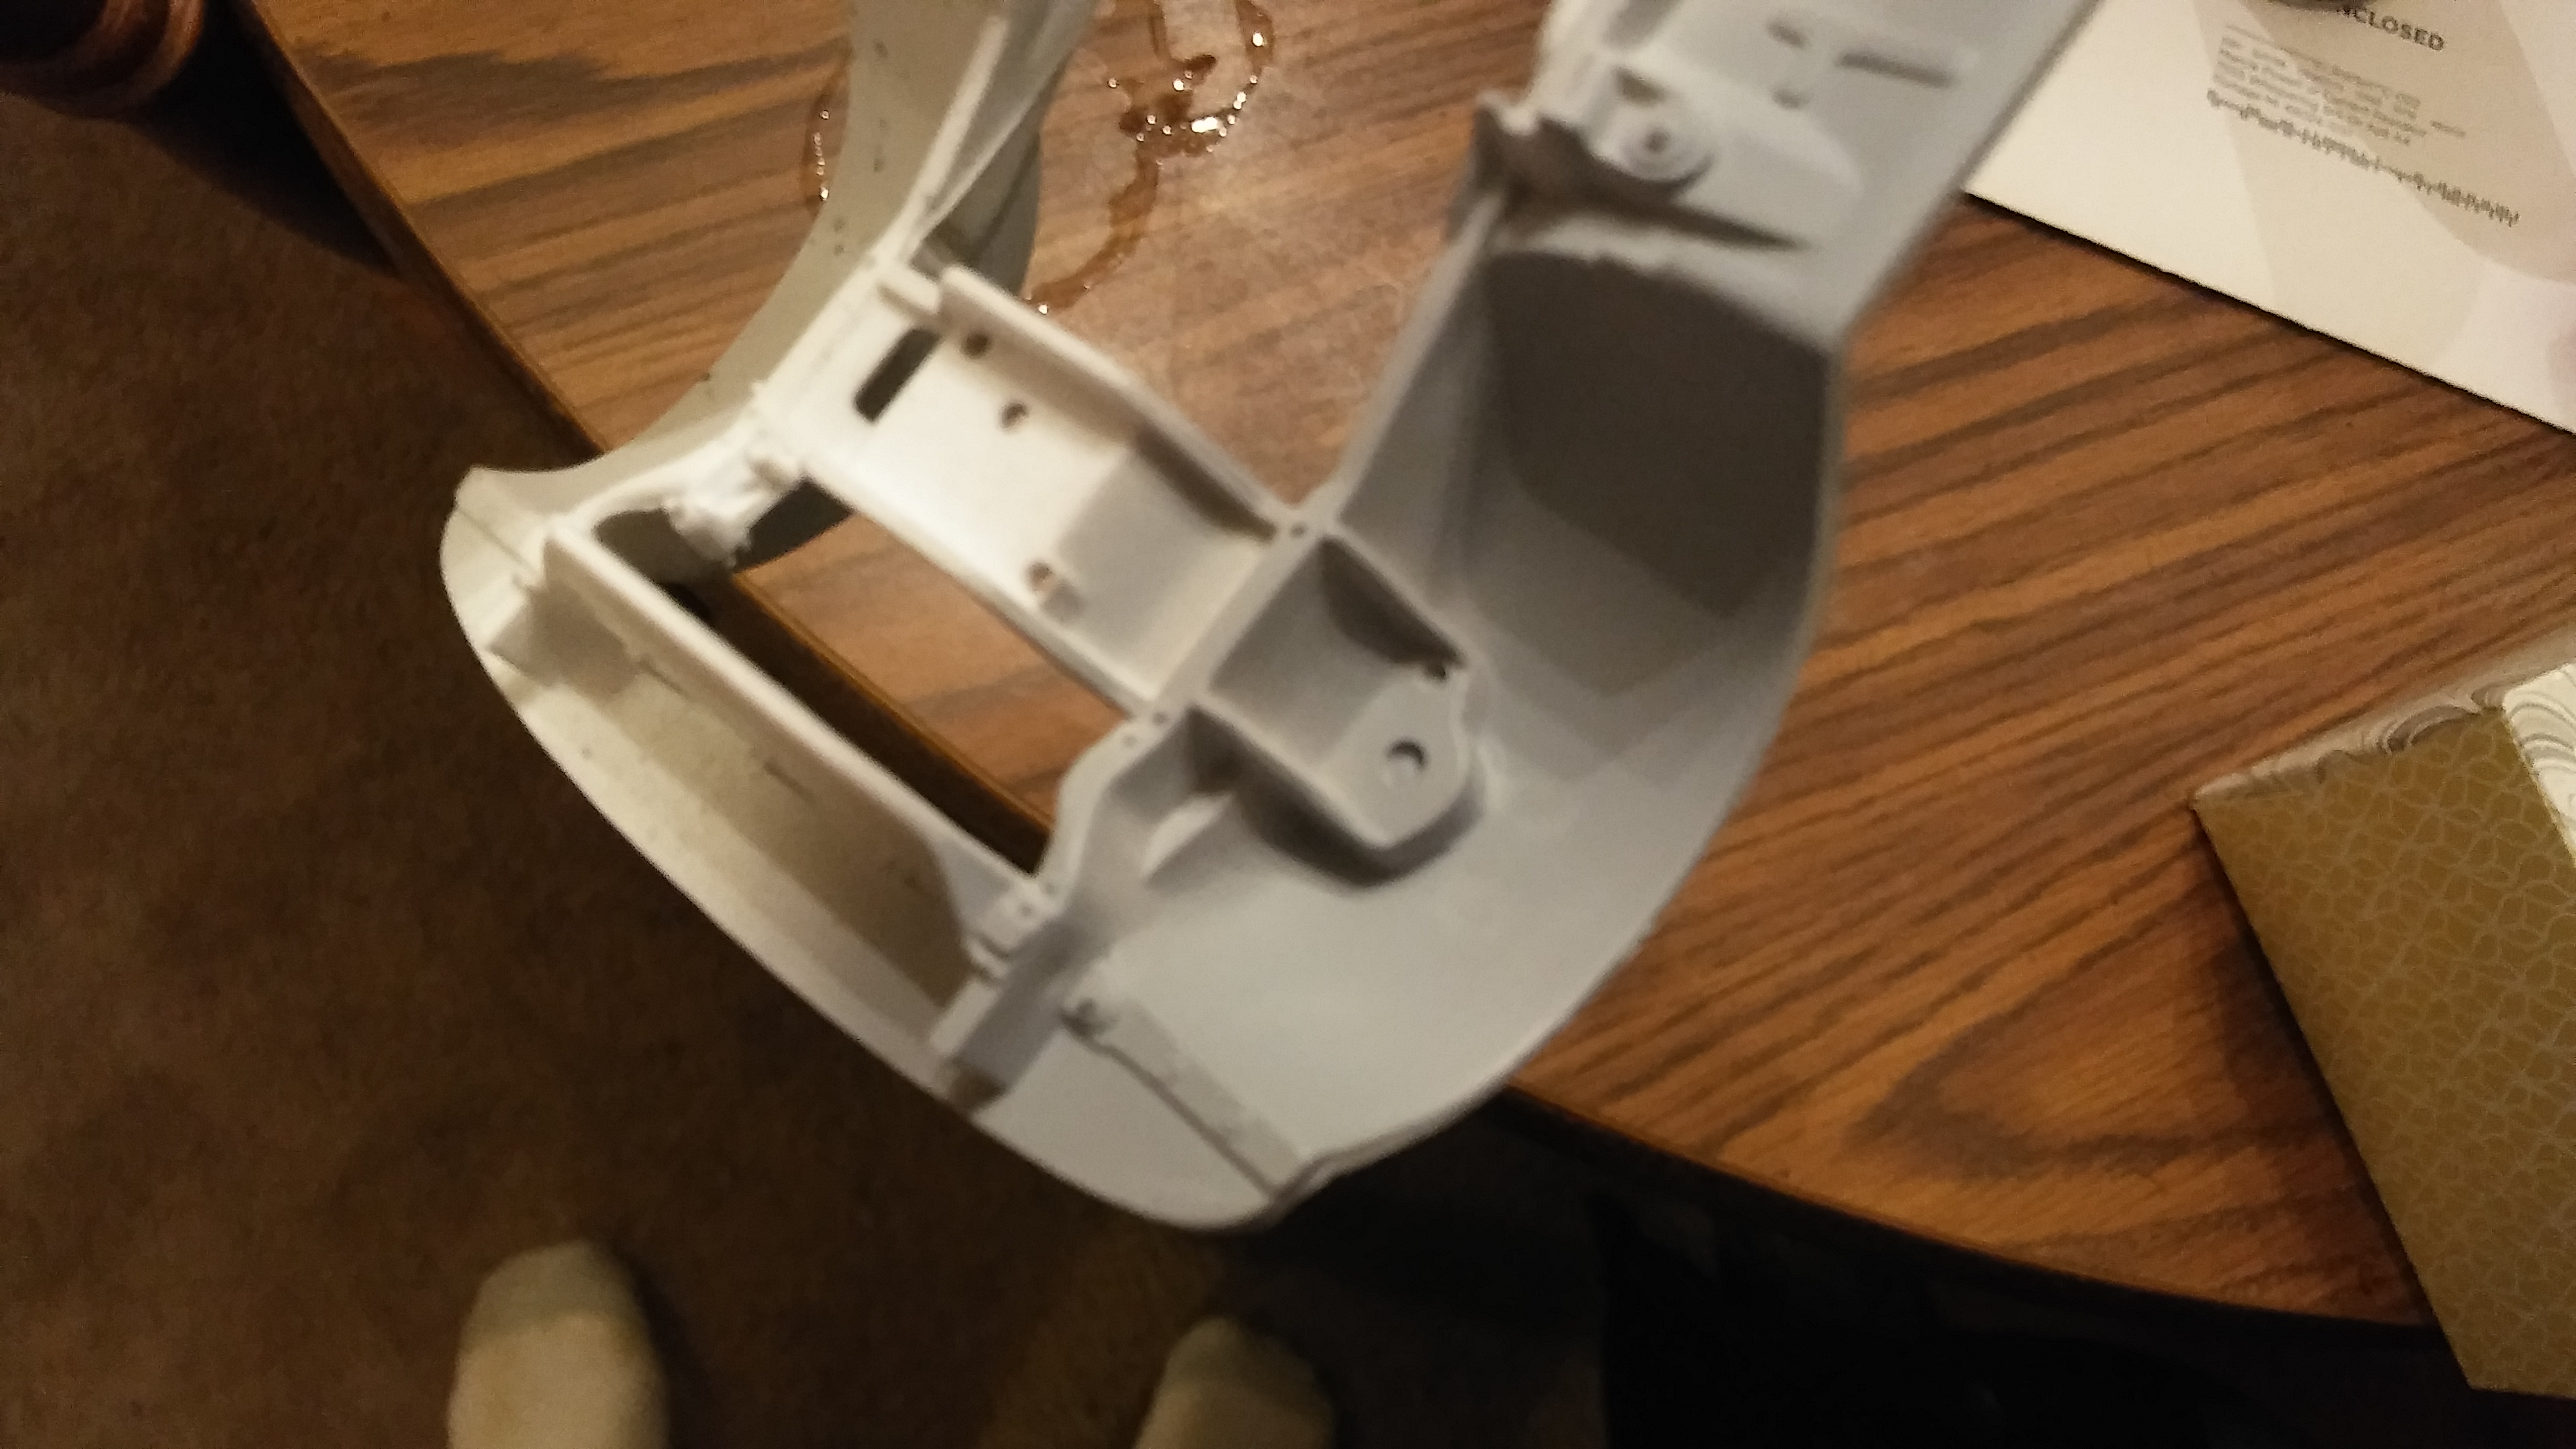
Although I doubt it will ever be seen I cleaned up the inside of the wheel well on the drivers front. I started by gluing in some scrap styrene so when I cut the stuff off the inner well it would have some material inside the holes it would leave behind. Some before and after shots
-
Wow jon. You have some talent! I'm struggling with simulating wood grain myself. Starting to get discouraged. But it's ok. I figure I'll brainstorm for a bit and dive back in.
-
A mock up showing the stancei modified a custom bumper from the shortbox f150 kit supplied by one of our awesome members ( you know who you are)
-
37' Ford
StockBoresMe replied to frozono's topic in Model Trucks: Pickups, Vans, SUVs, Light Commercial
Thats pretty! -
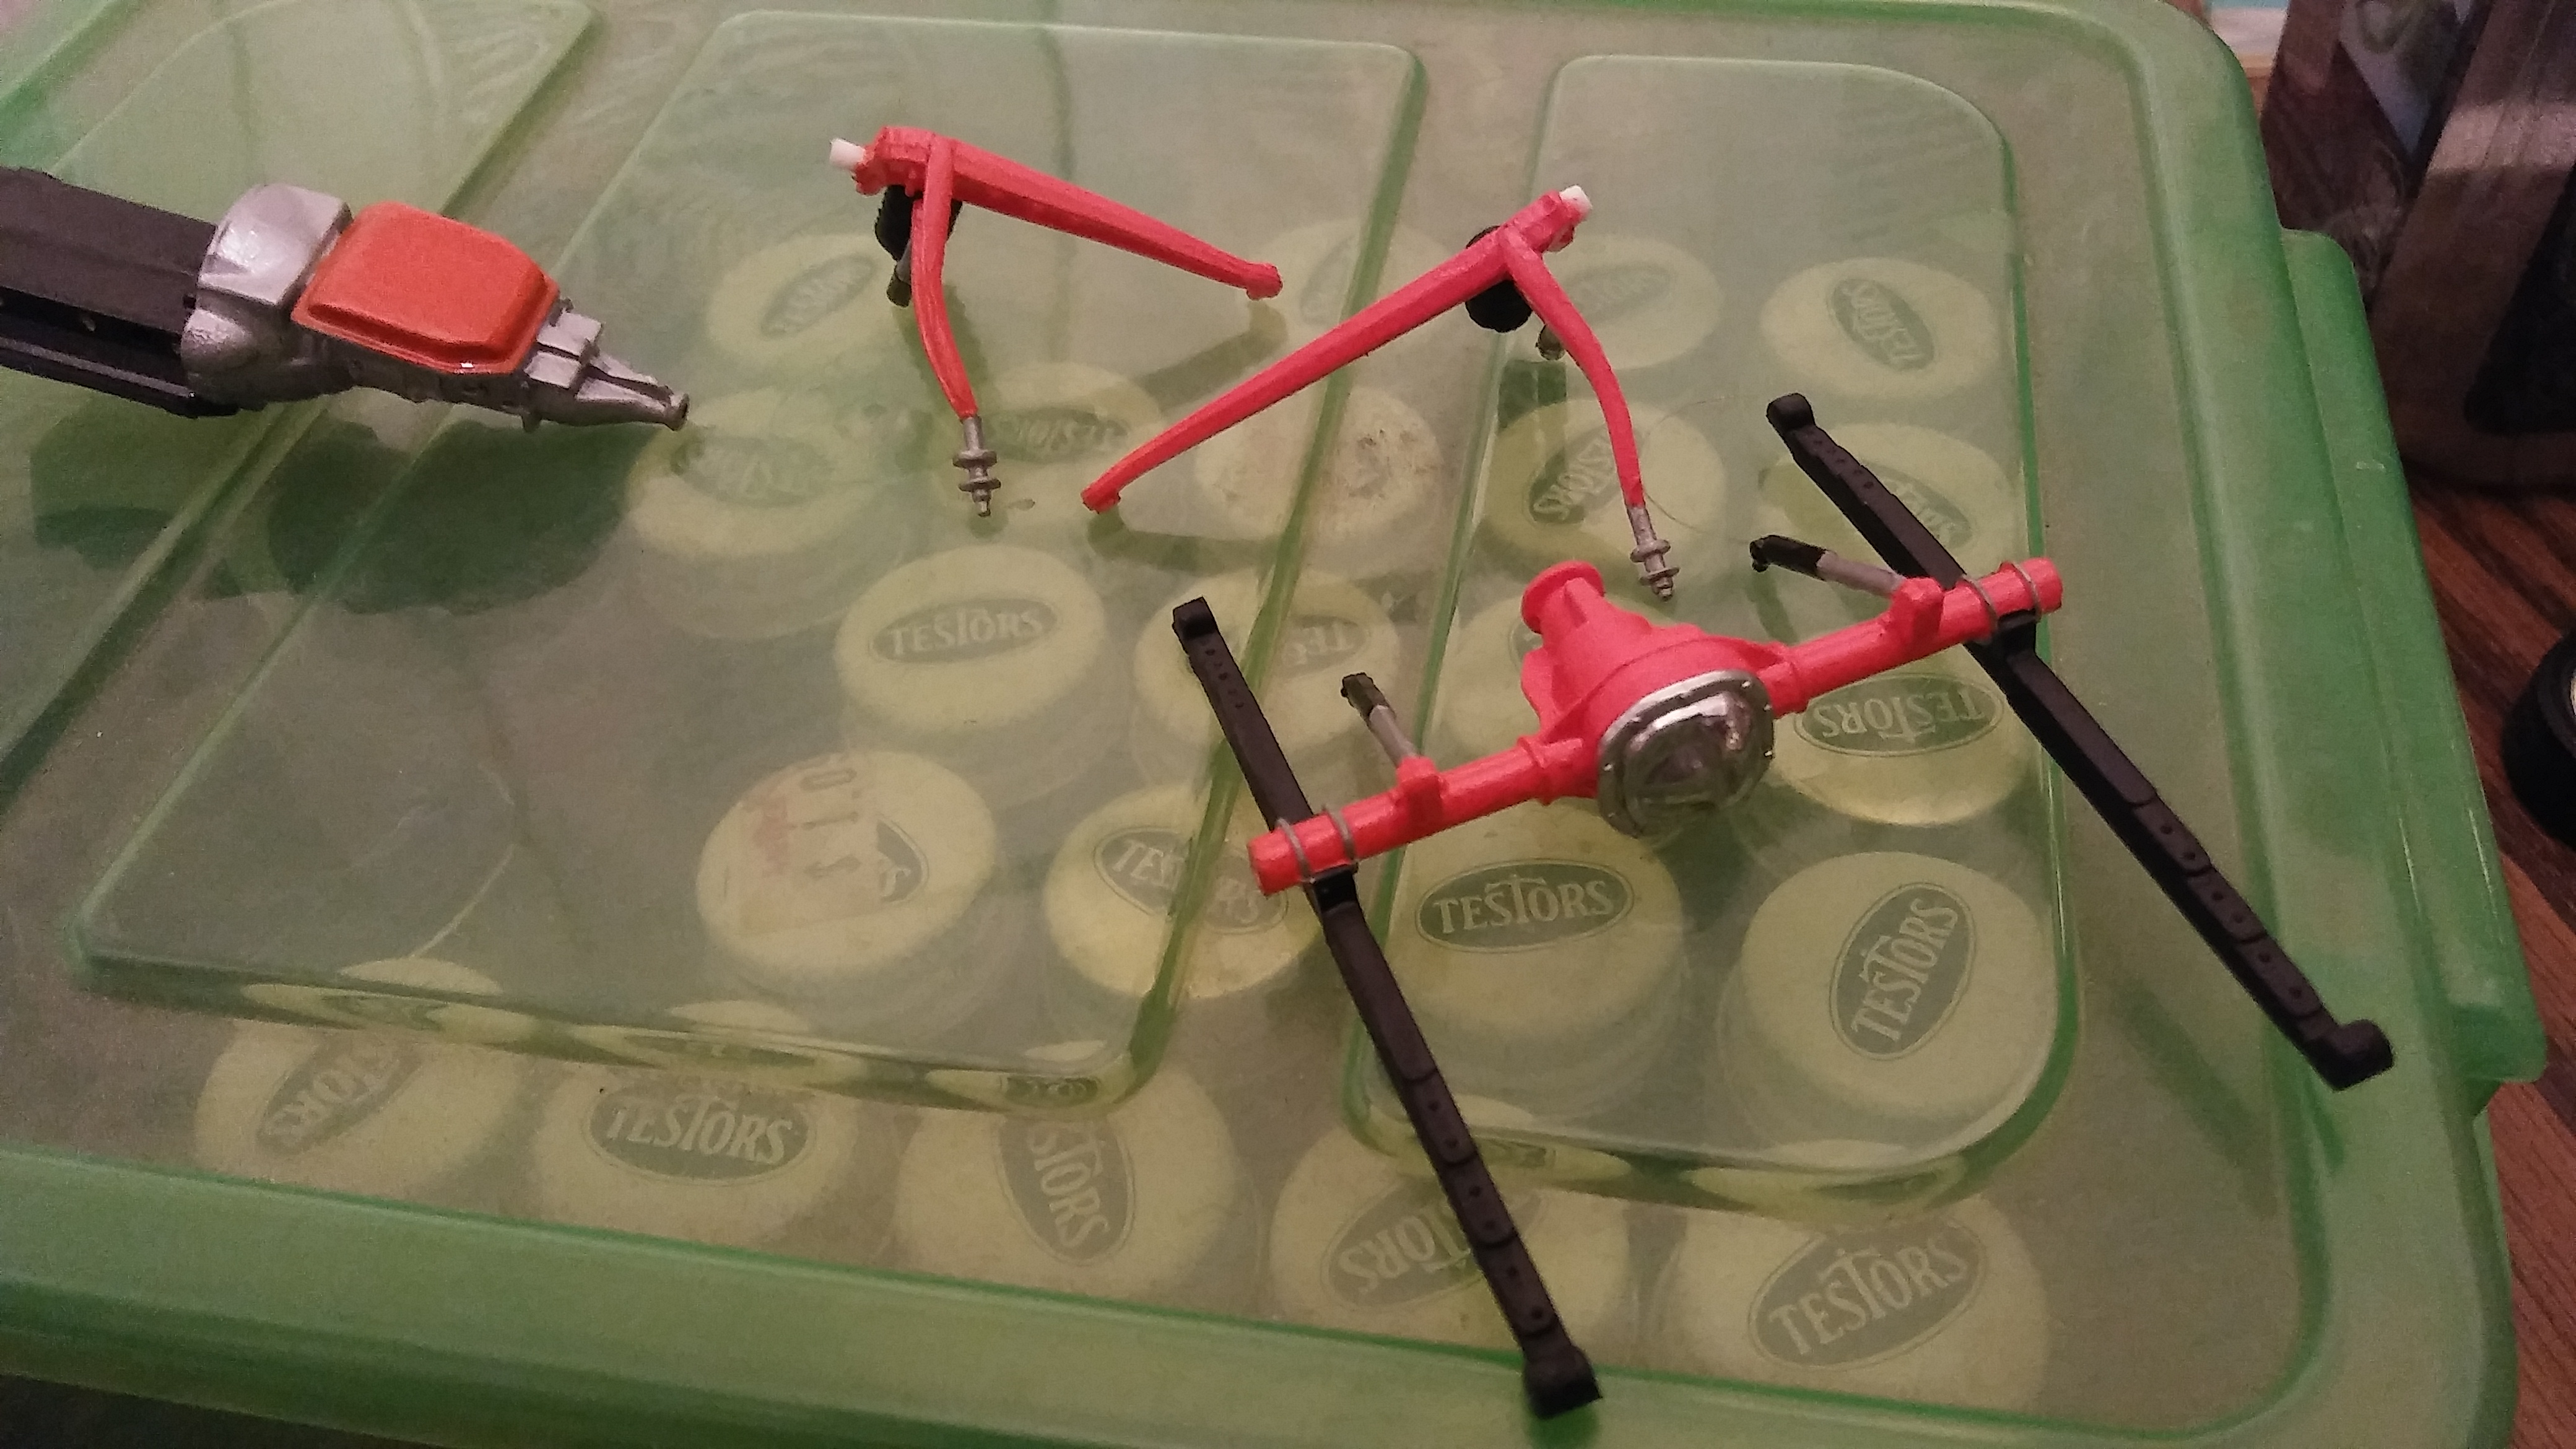
I cut the axle at both ends to be just a bit narrower than the chassis. Because the axle is hollow I don't have to modify the rear rims which is awesome because thats less work! The kit wheels attach directly over the entire axle and the wheels I will be putting on it are metal rod style. The alignment pins on leafs got ground off so I could slide it back to counter the trucks nature to have them sit too far forward. Once I got the axle right where I wanted I glued the shocks onto the axle so I had some small form of alignment when I got to assemble it all. As you can see the shock brackets aren't perfectly aligned with the slots on the axle but it worked out fine otherwise
-
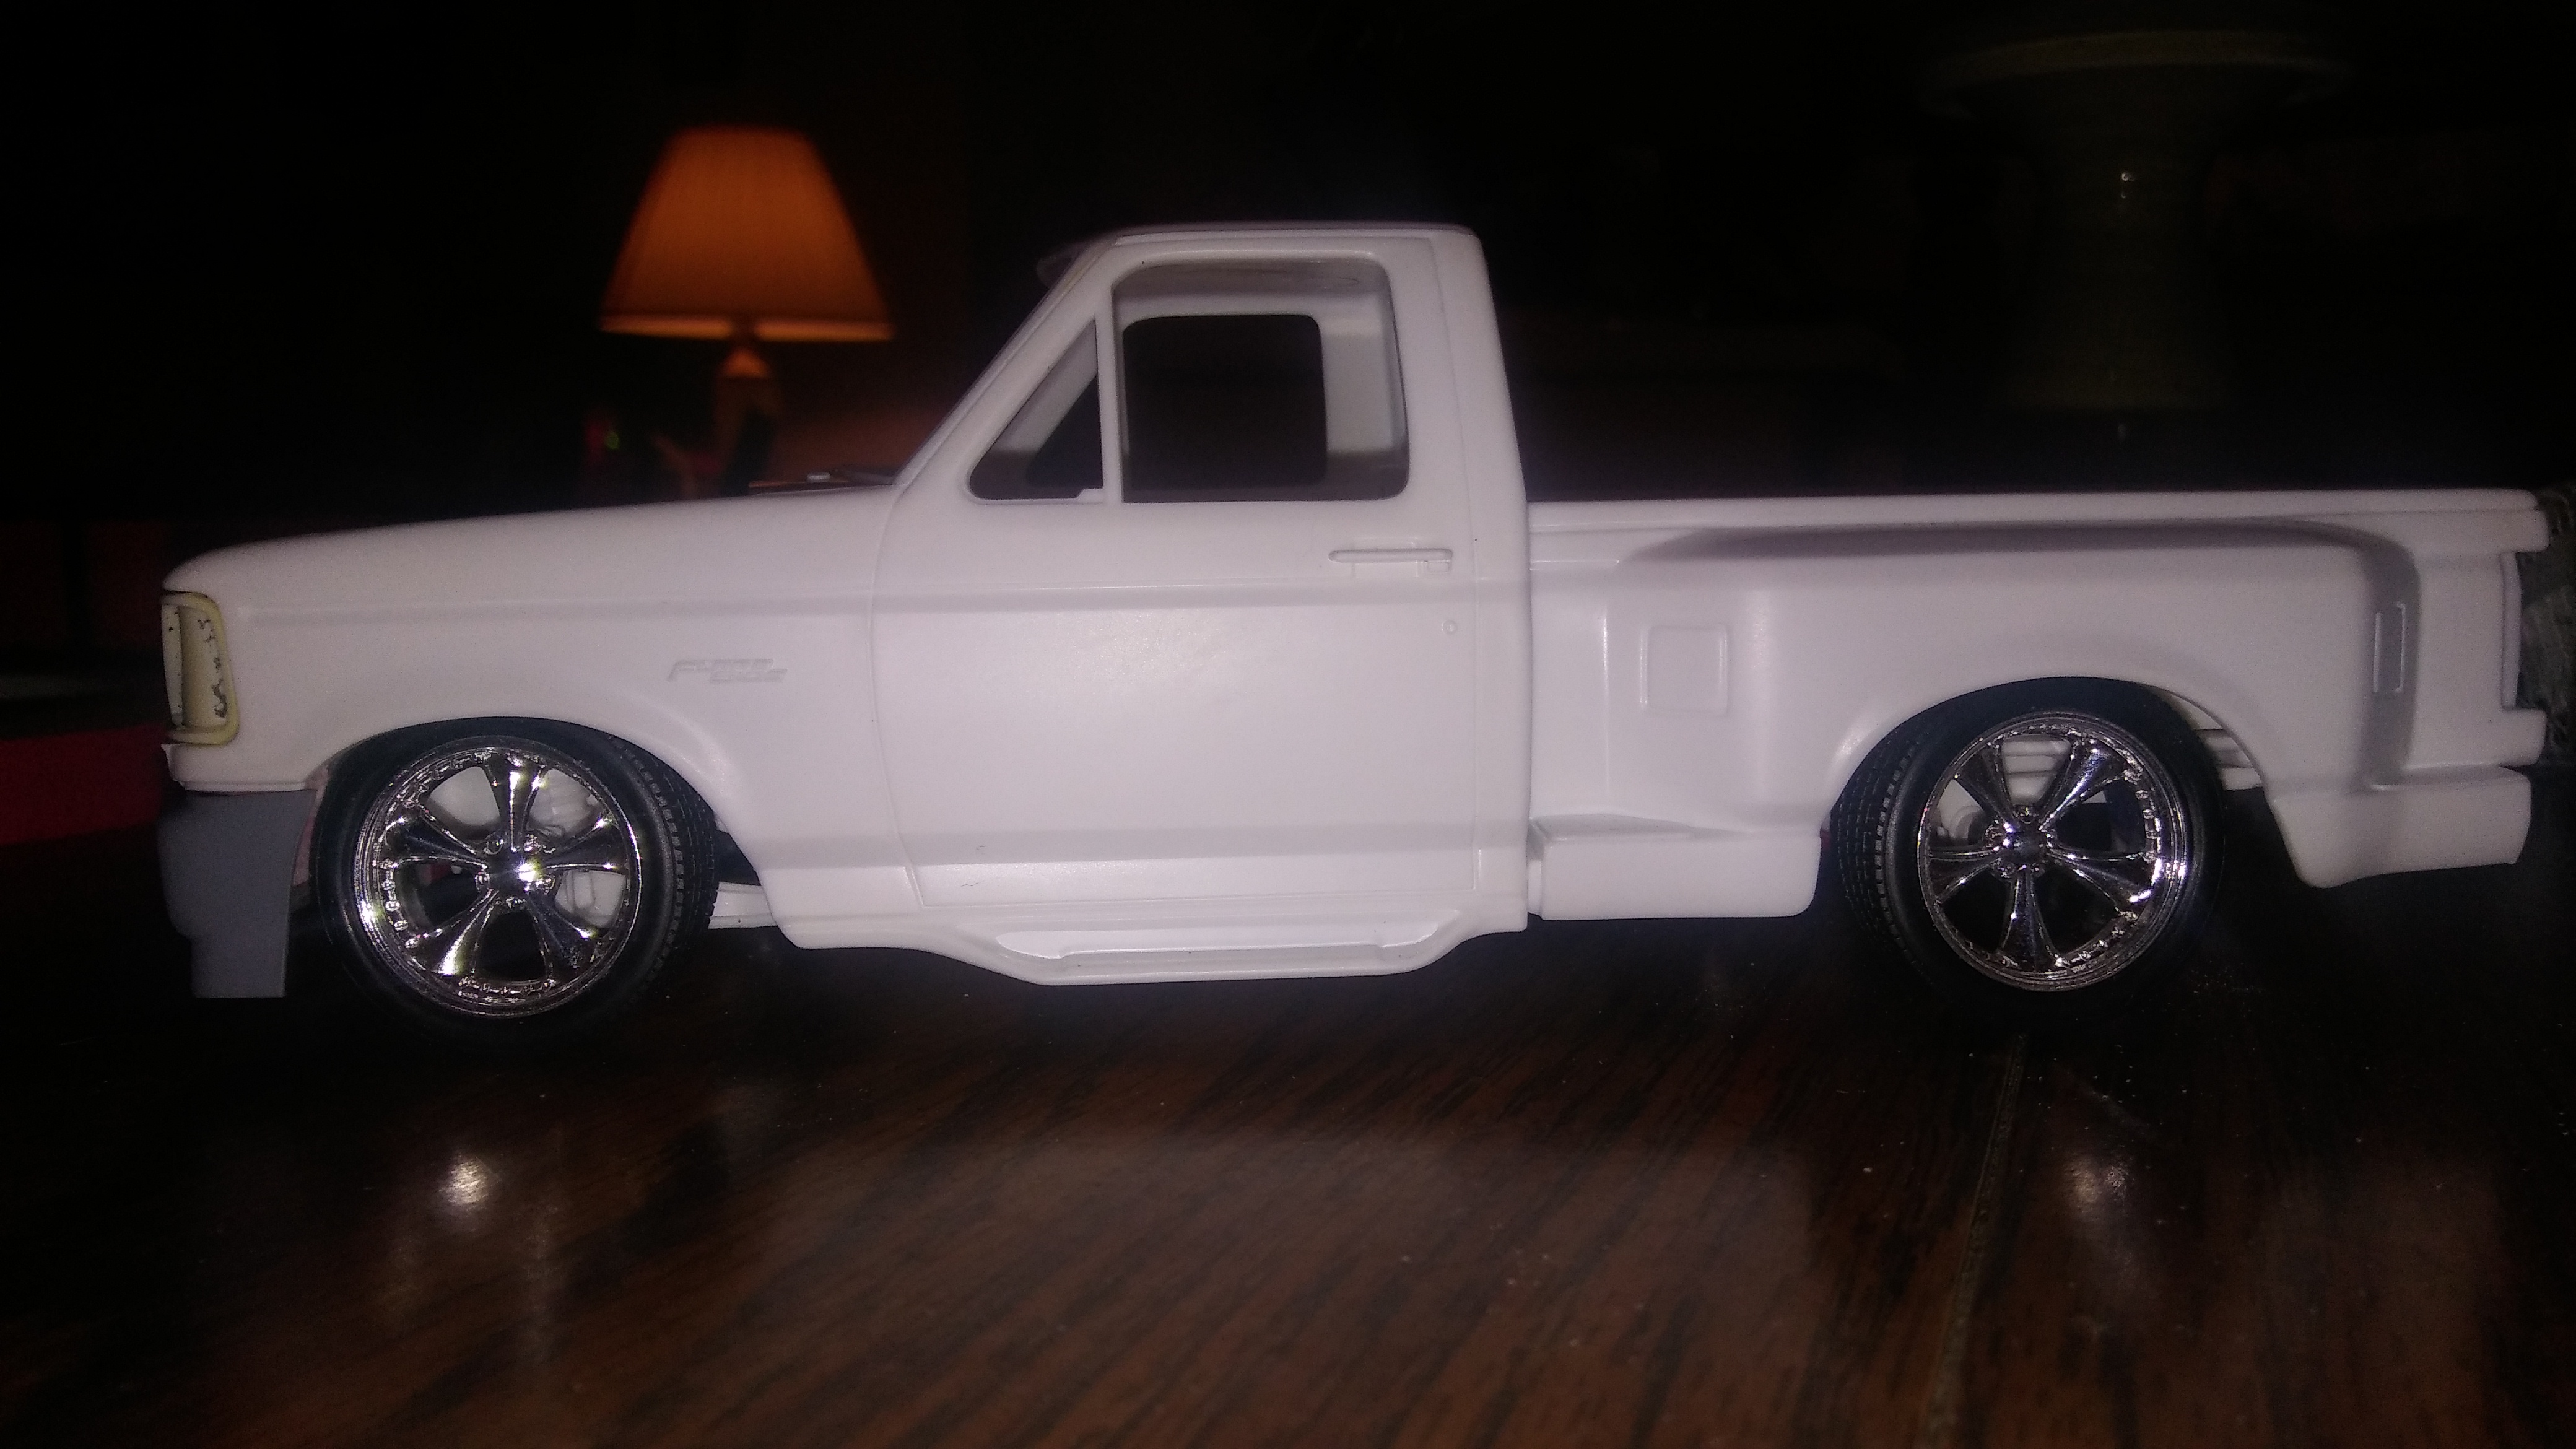
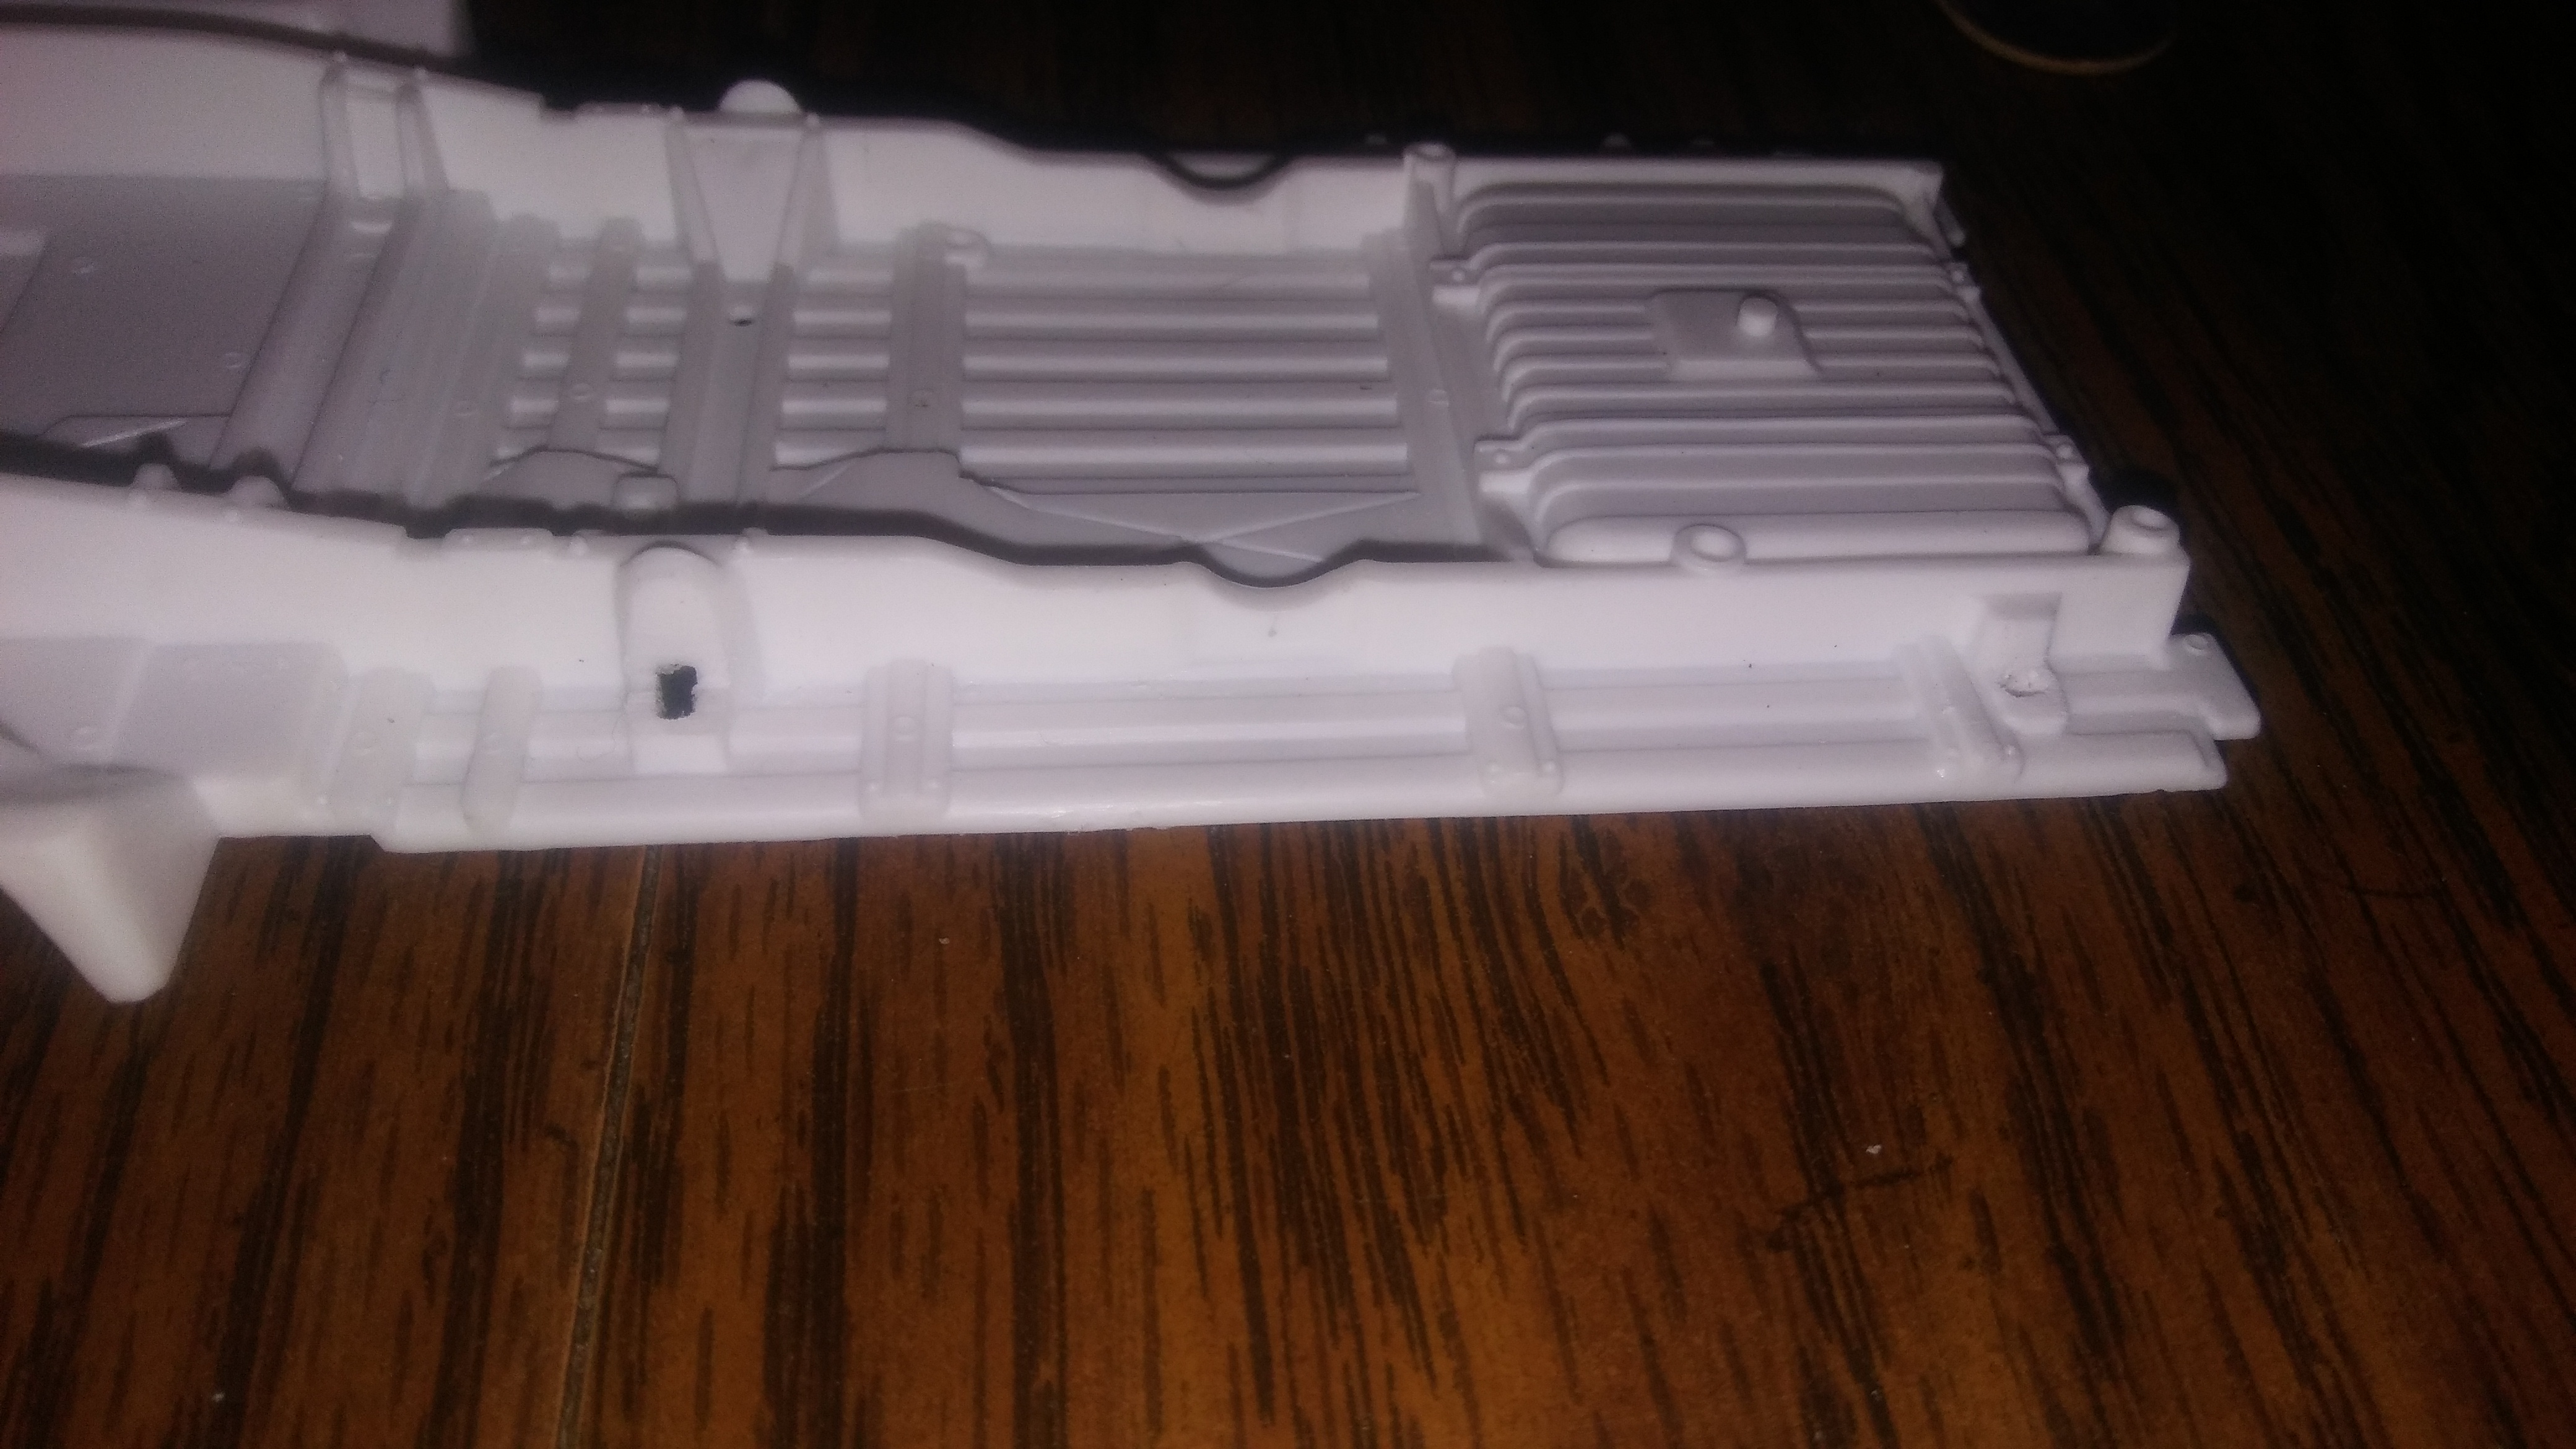
Heres a couple shots of the suspension in place. I couldn't be happier with the turnout. The holes I drilled make it look just how I wanted and everything fits right where it shouldthe rear end was a bit simpler to drop. The only downside was the wheels sat too far forward. Seems to be this truck wanting them that way. But we can't allow that. I trimmed the blocks where the leafs bolt in a considerable decent amount and notched the frame. I didnt want the rear dropped as much as the front to continue the race look. After I got it where i wanted I put some putty in the holes filing it down had made. As well as a couple holes for things I wouldn't use from the kit. Like the big forward gas tank and exhaust alignment holes. I haven't filled the holes for the spare tire rack. I might just end up putting a spare under it for a little extra detail. After all its not an actual race truck. It's just a racing tribute.... More importantly its just plastic!
-
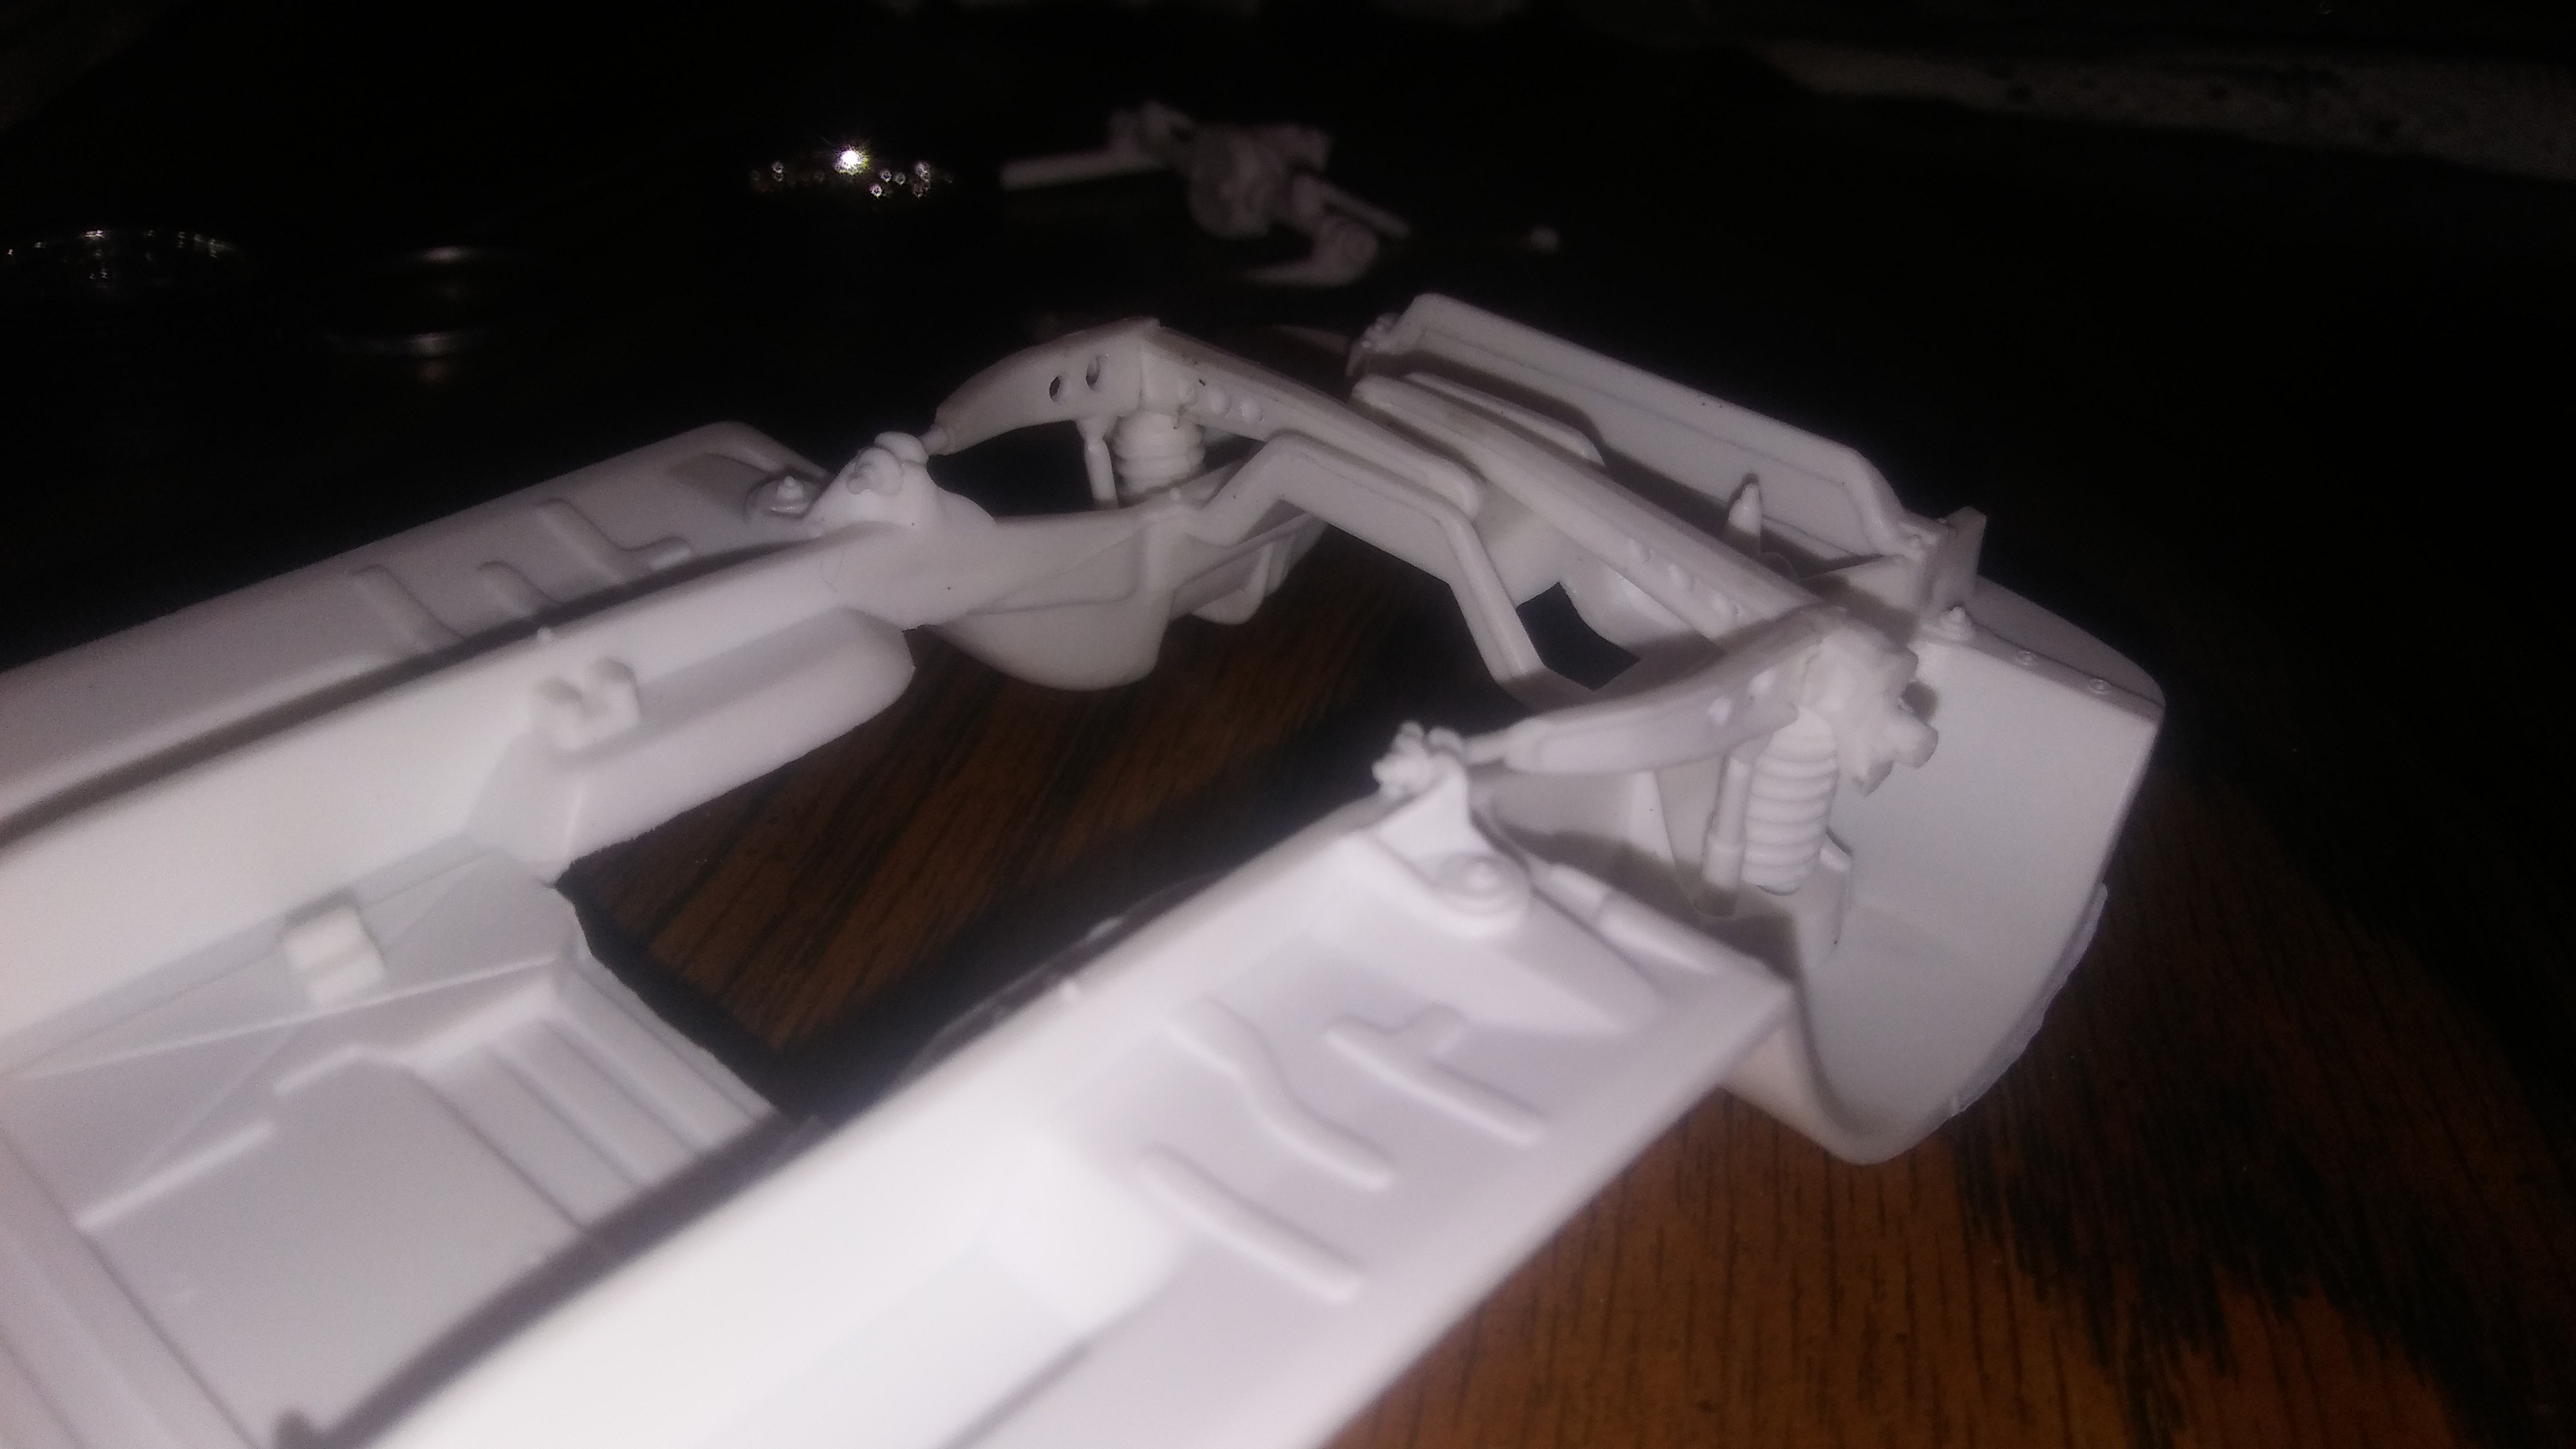
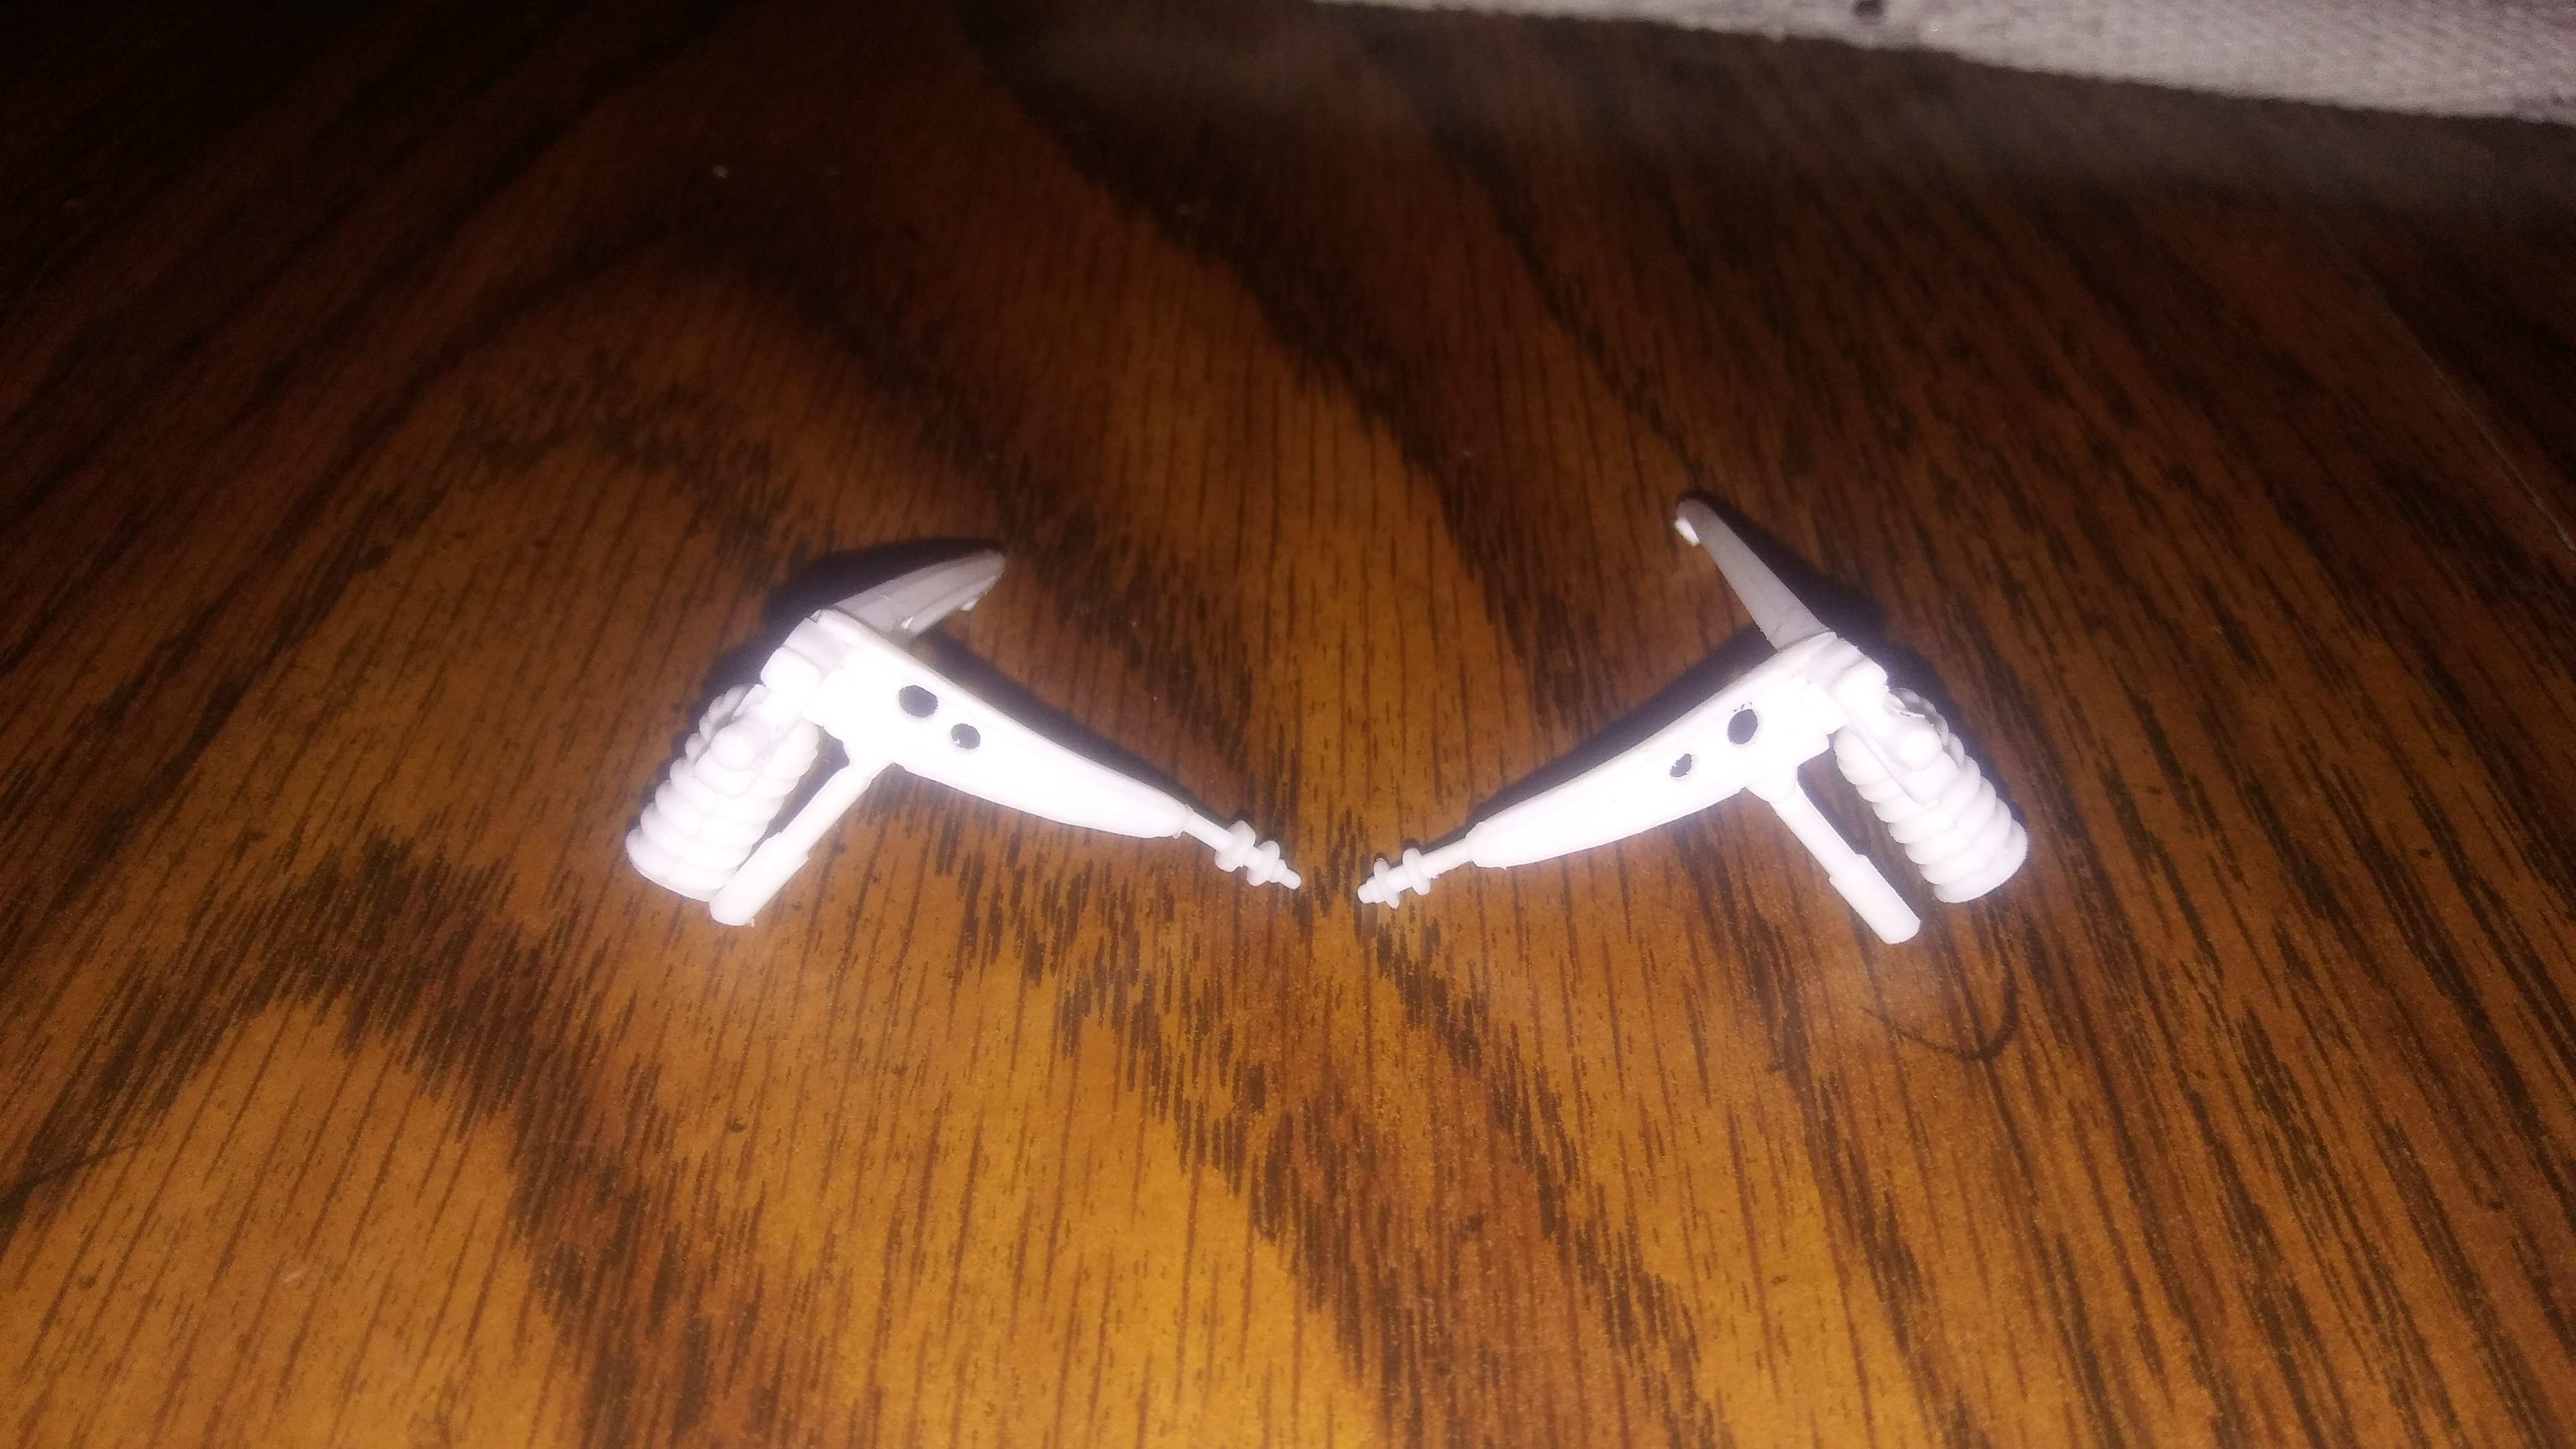
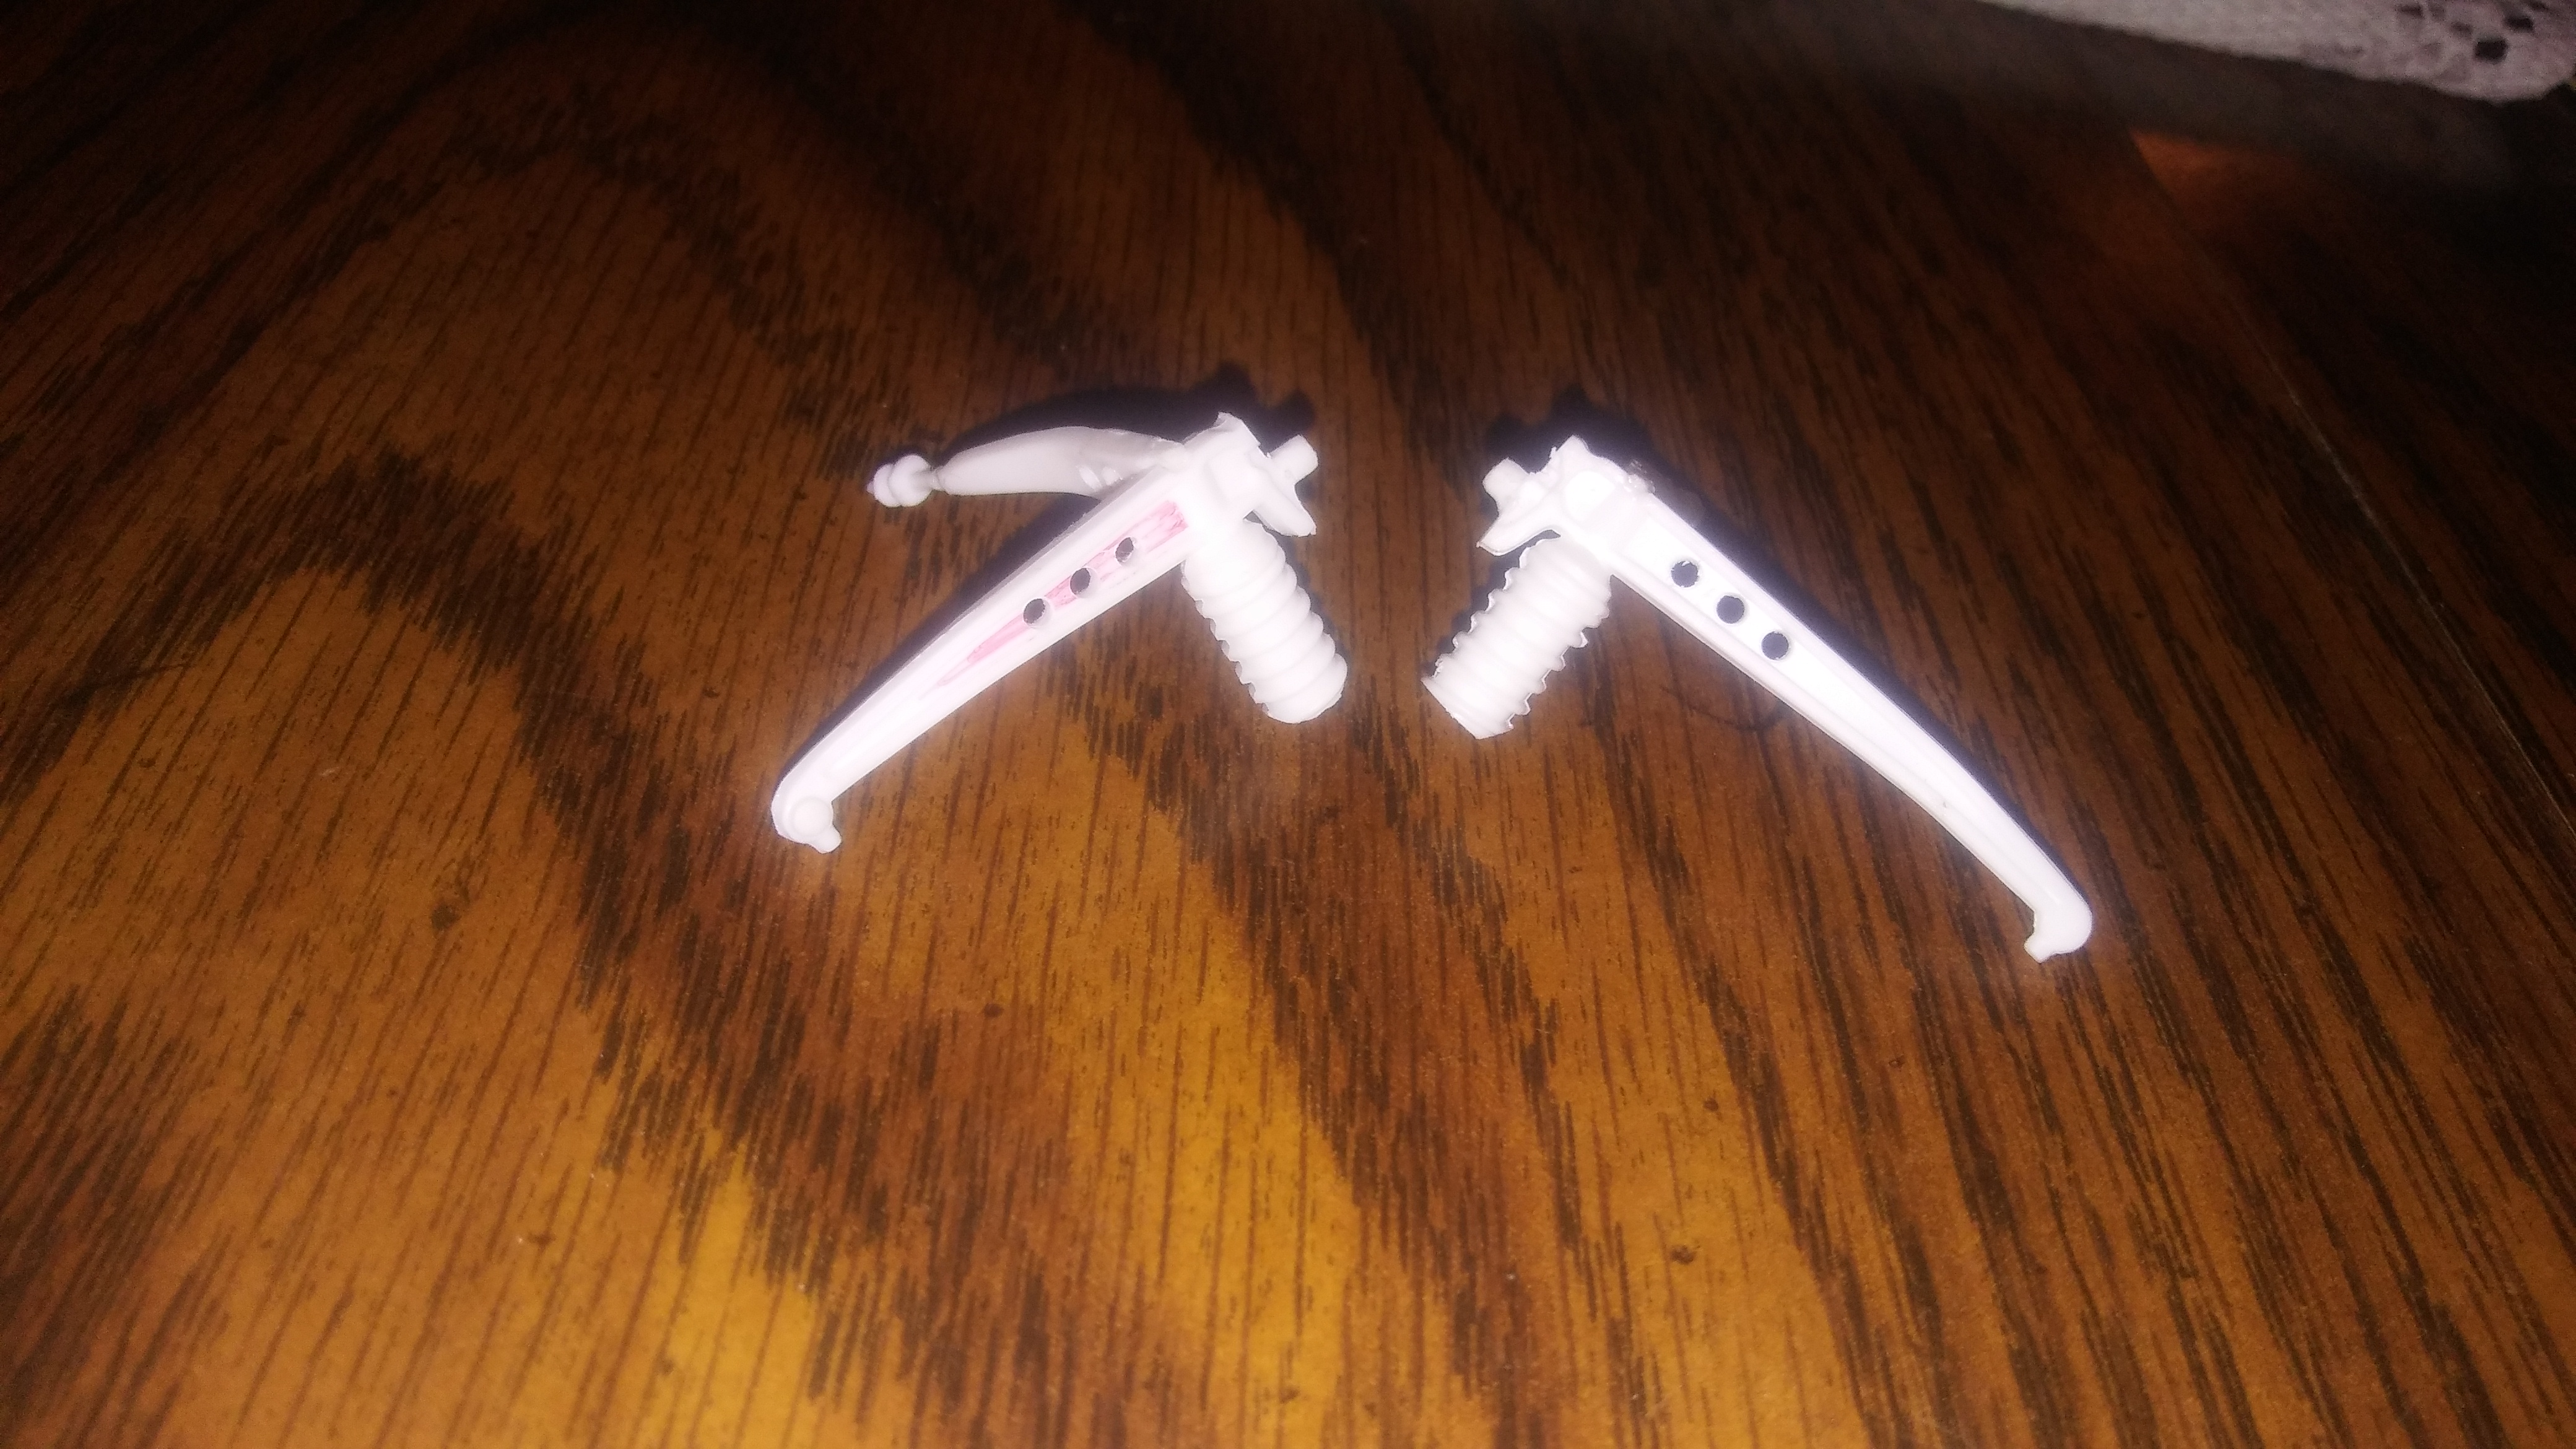
I started with the I beams by trimming a couple coil lengths off the springs.then a slight bend in the beam about 3/4 of the way away from the springs so the chassis didn't hit them. Then filed the wheel pin down a little smaller and taking a little material away from the I beam where the wheel meets up so the wheels I have planned would tuck inside the wheel well just right. Then drilled a few holes to give it the race look I'm going for. The red ink was just for referencing which one was for the right sidethe sides were the hardest part to get right. I had to be very careful so the front tires sat centered in the wheel wells. I filed off the tabs that joined them into the I beams and narrowed the top of the same area as well as cut small notches on both beams so it sat together correctly. I also cut off the torsion bar at the rear end of it. Shortened it a bit and glued it back on. Before that last step the wheels sat too far forward. The shocks were cut to match the springs then bent inward slightly. Then I continued to drill a couple spots out to get that race lookthe only thing I did suspension related to the front of the chassis was file the spots where the bushings from the torsion bars sat in the frame a little bit deeper
-
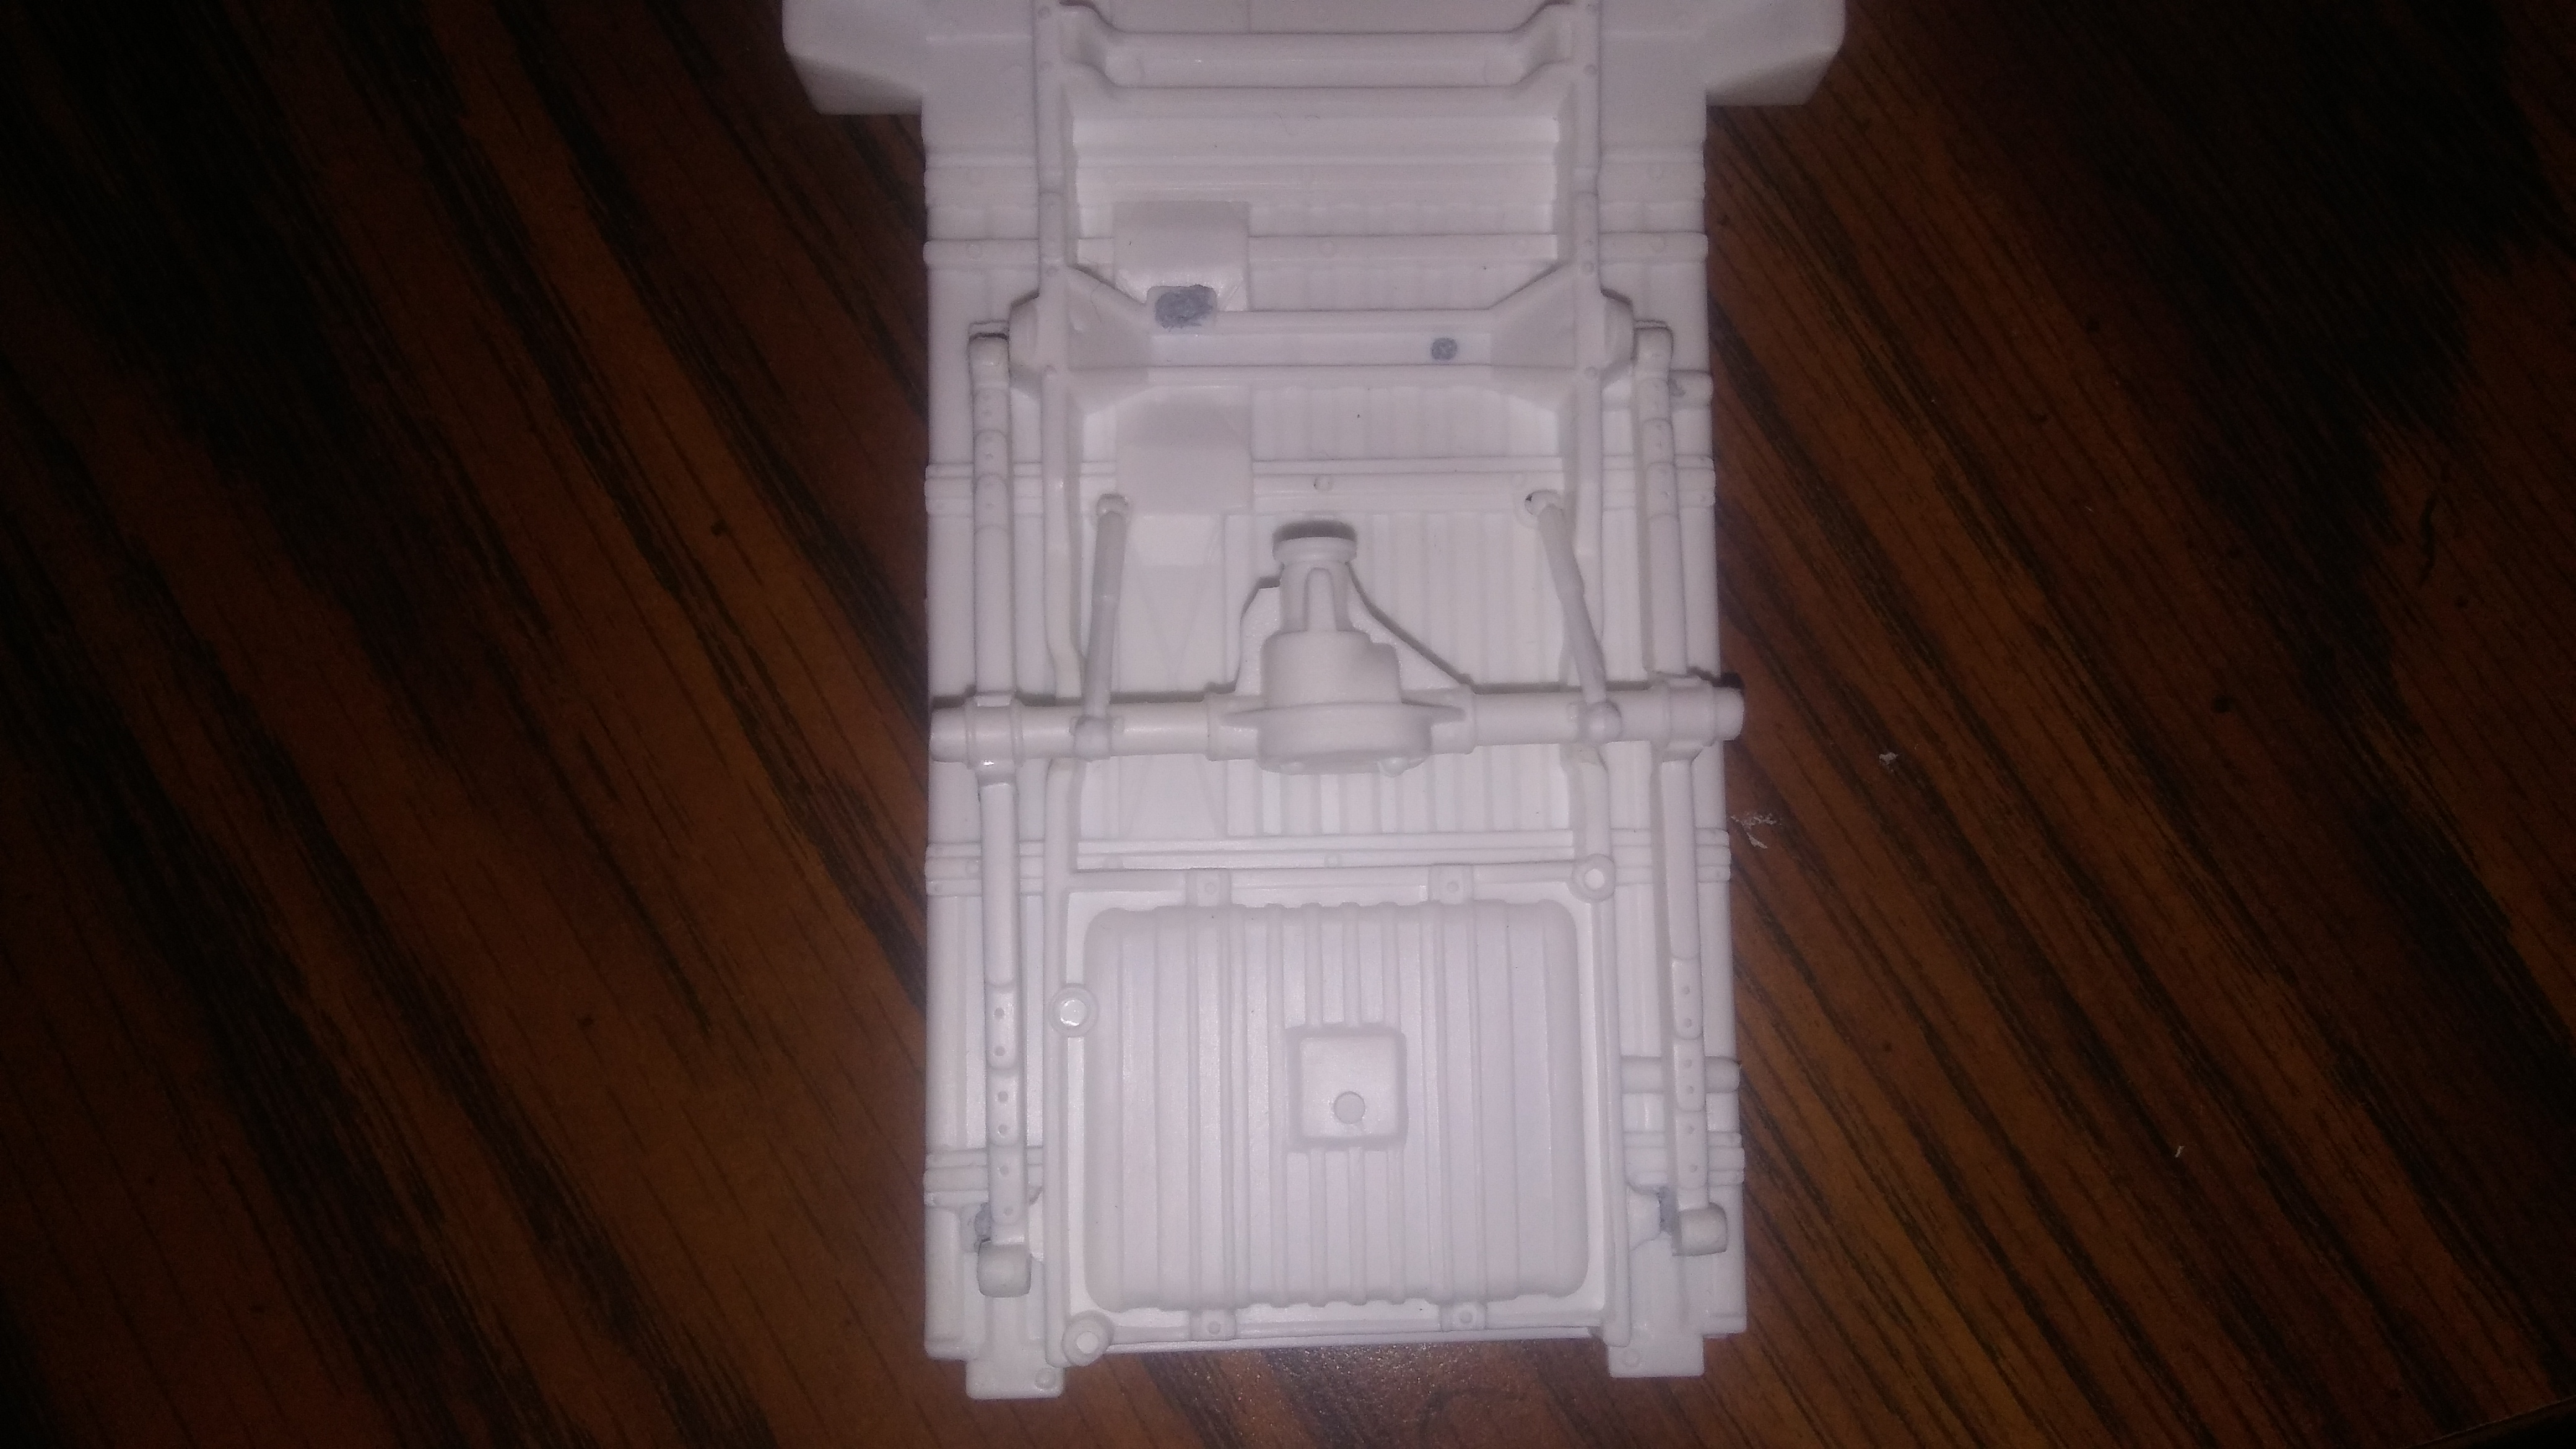
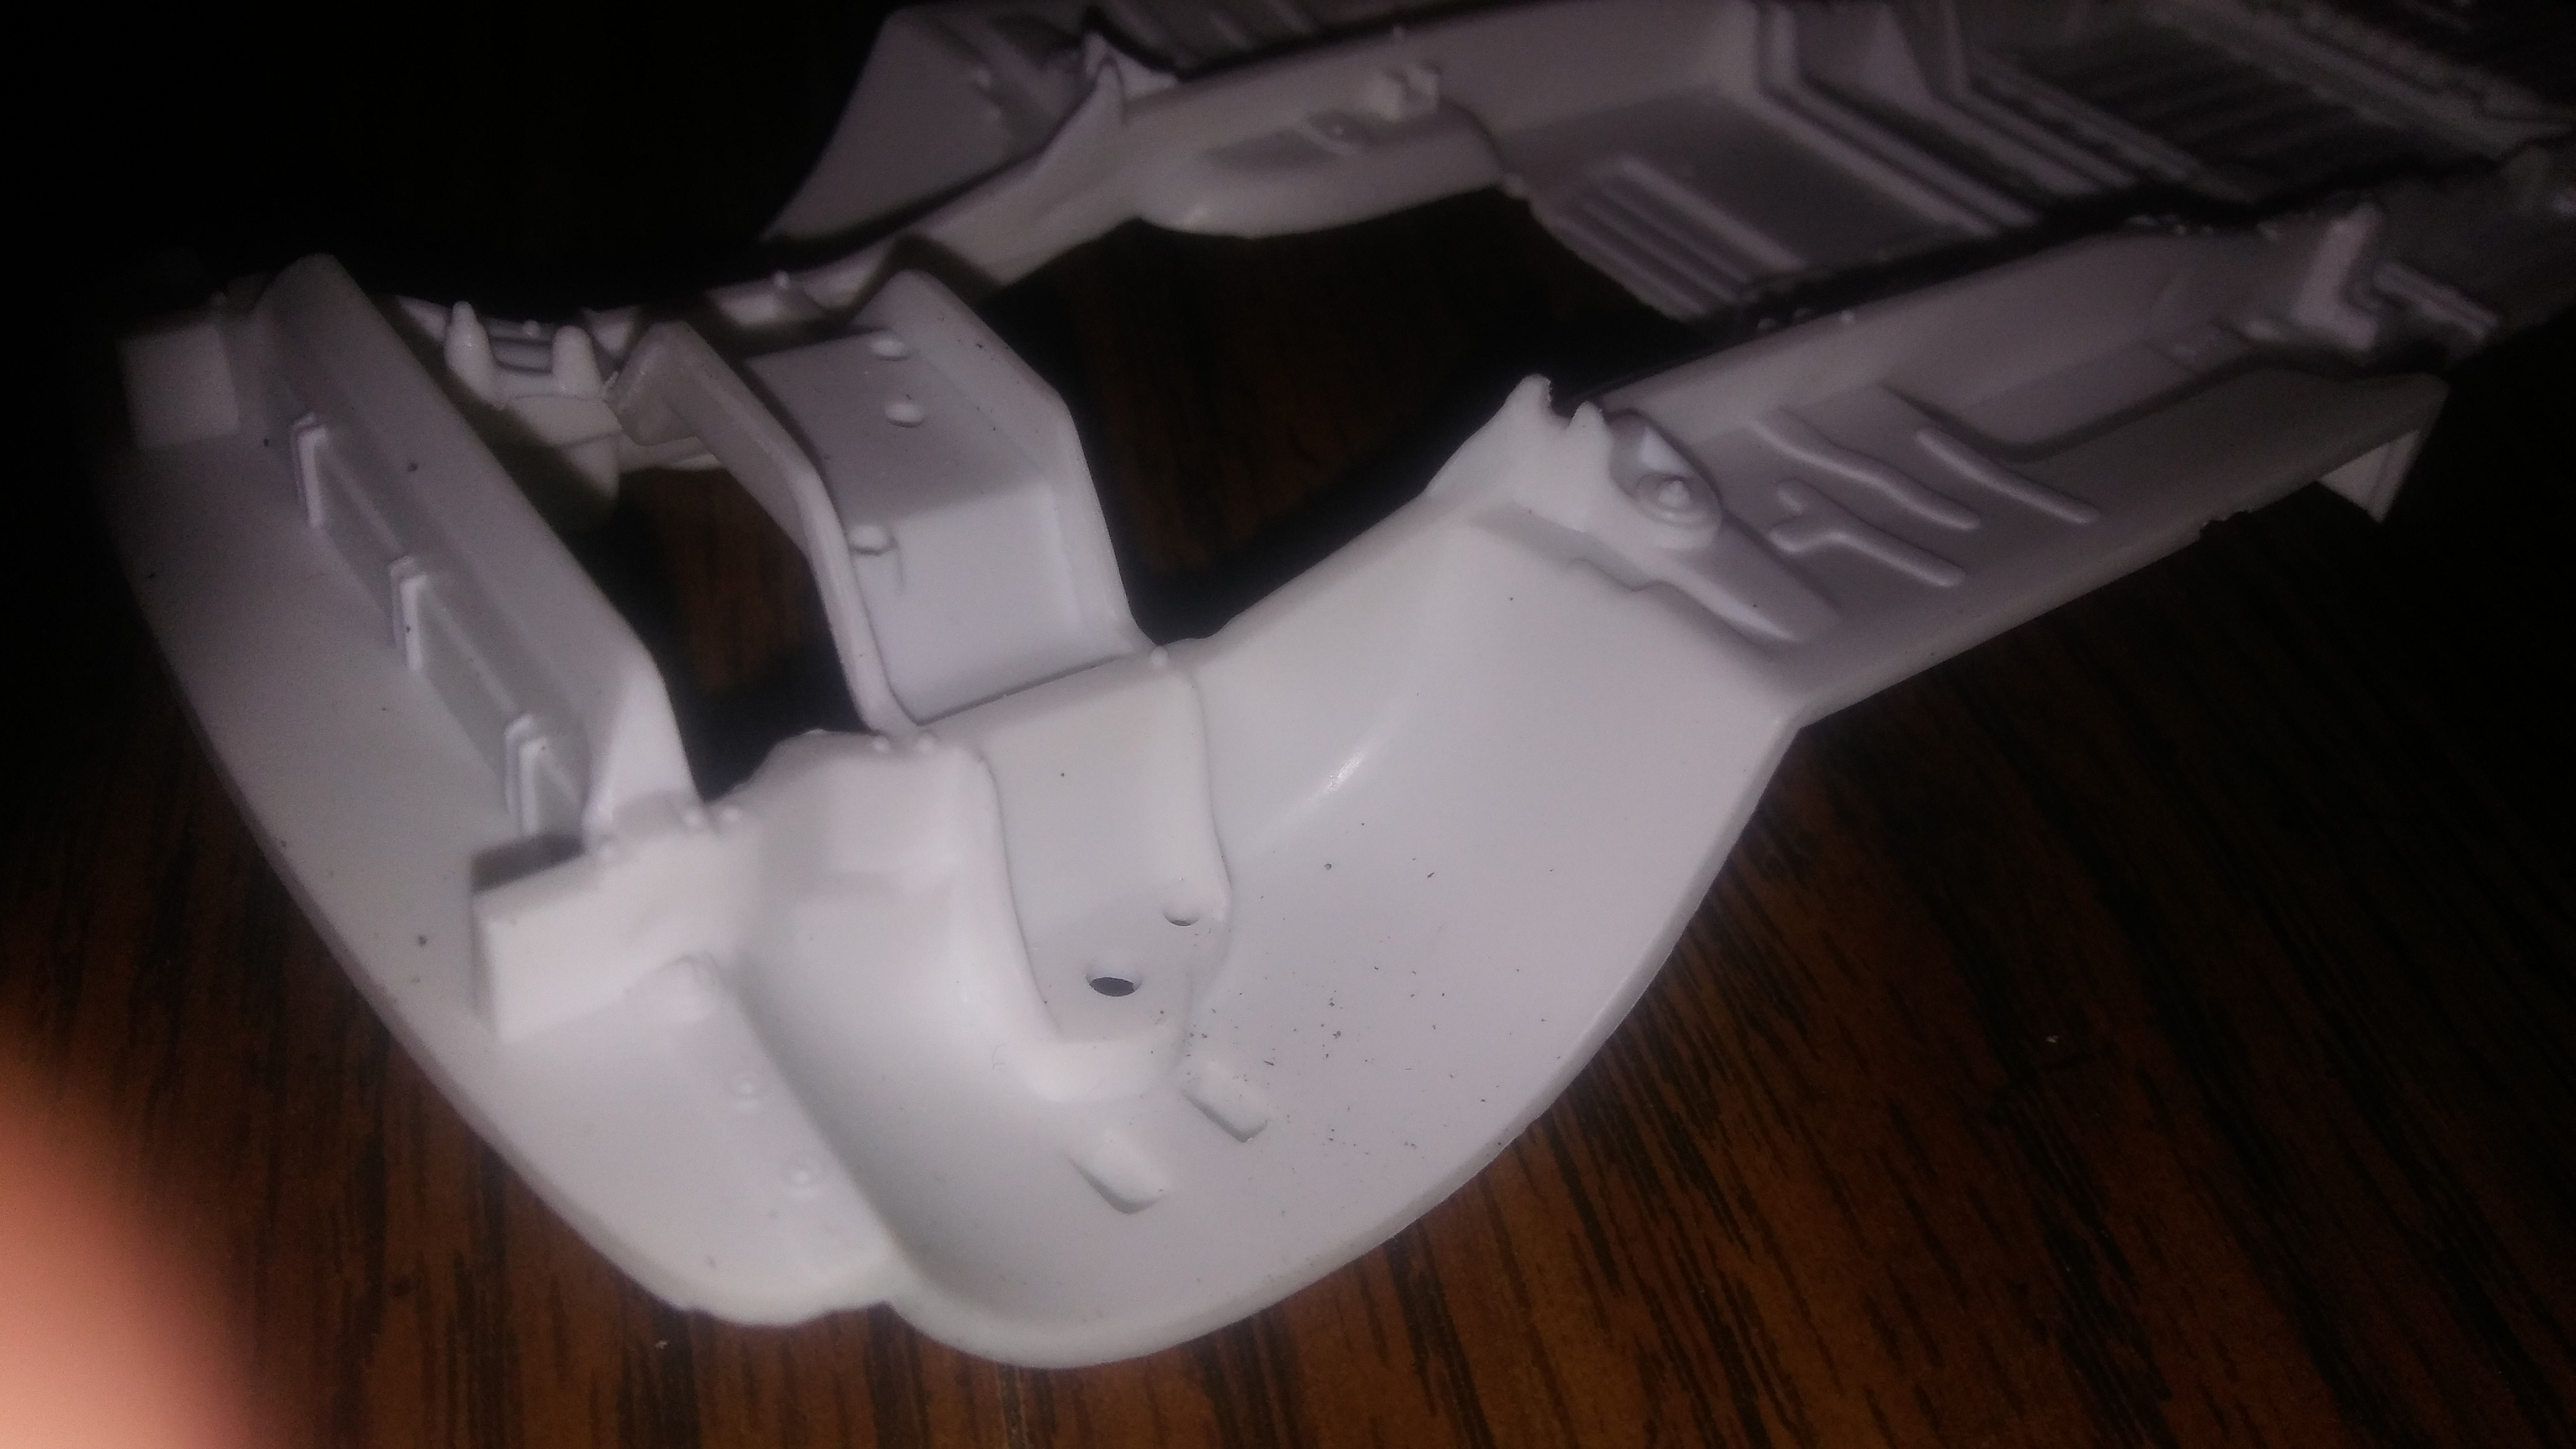
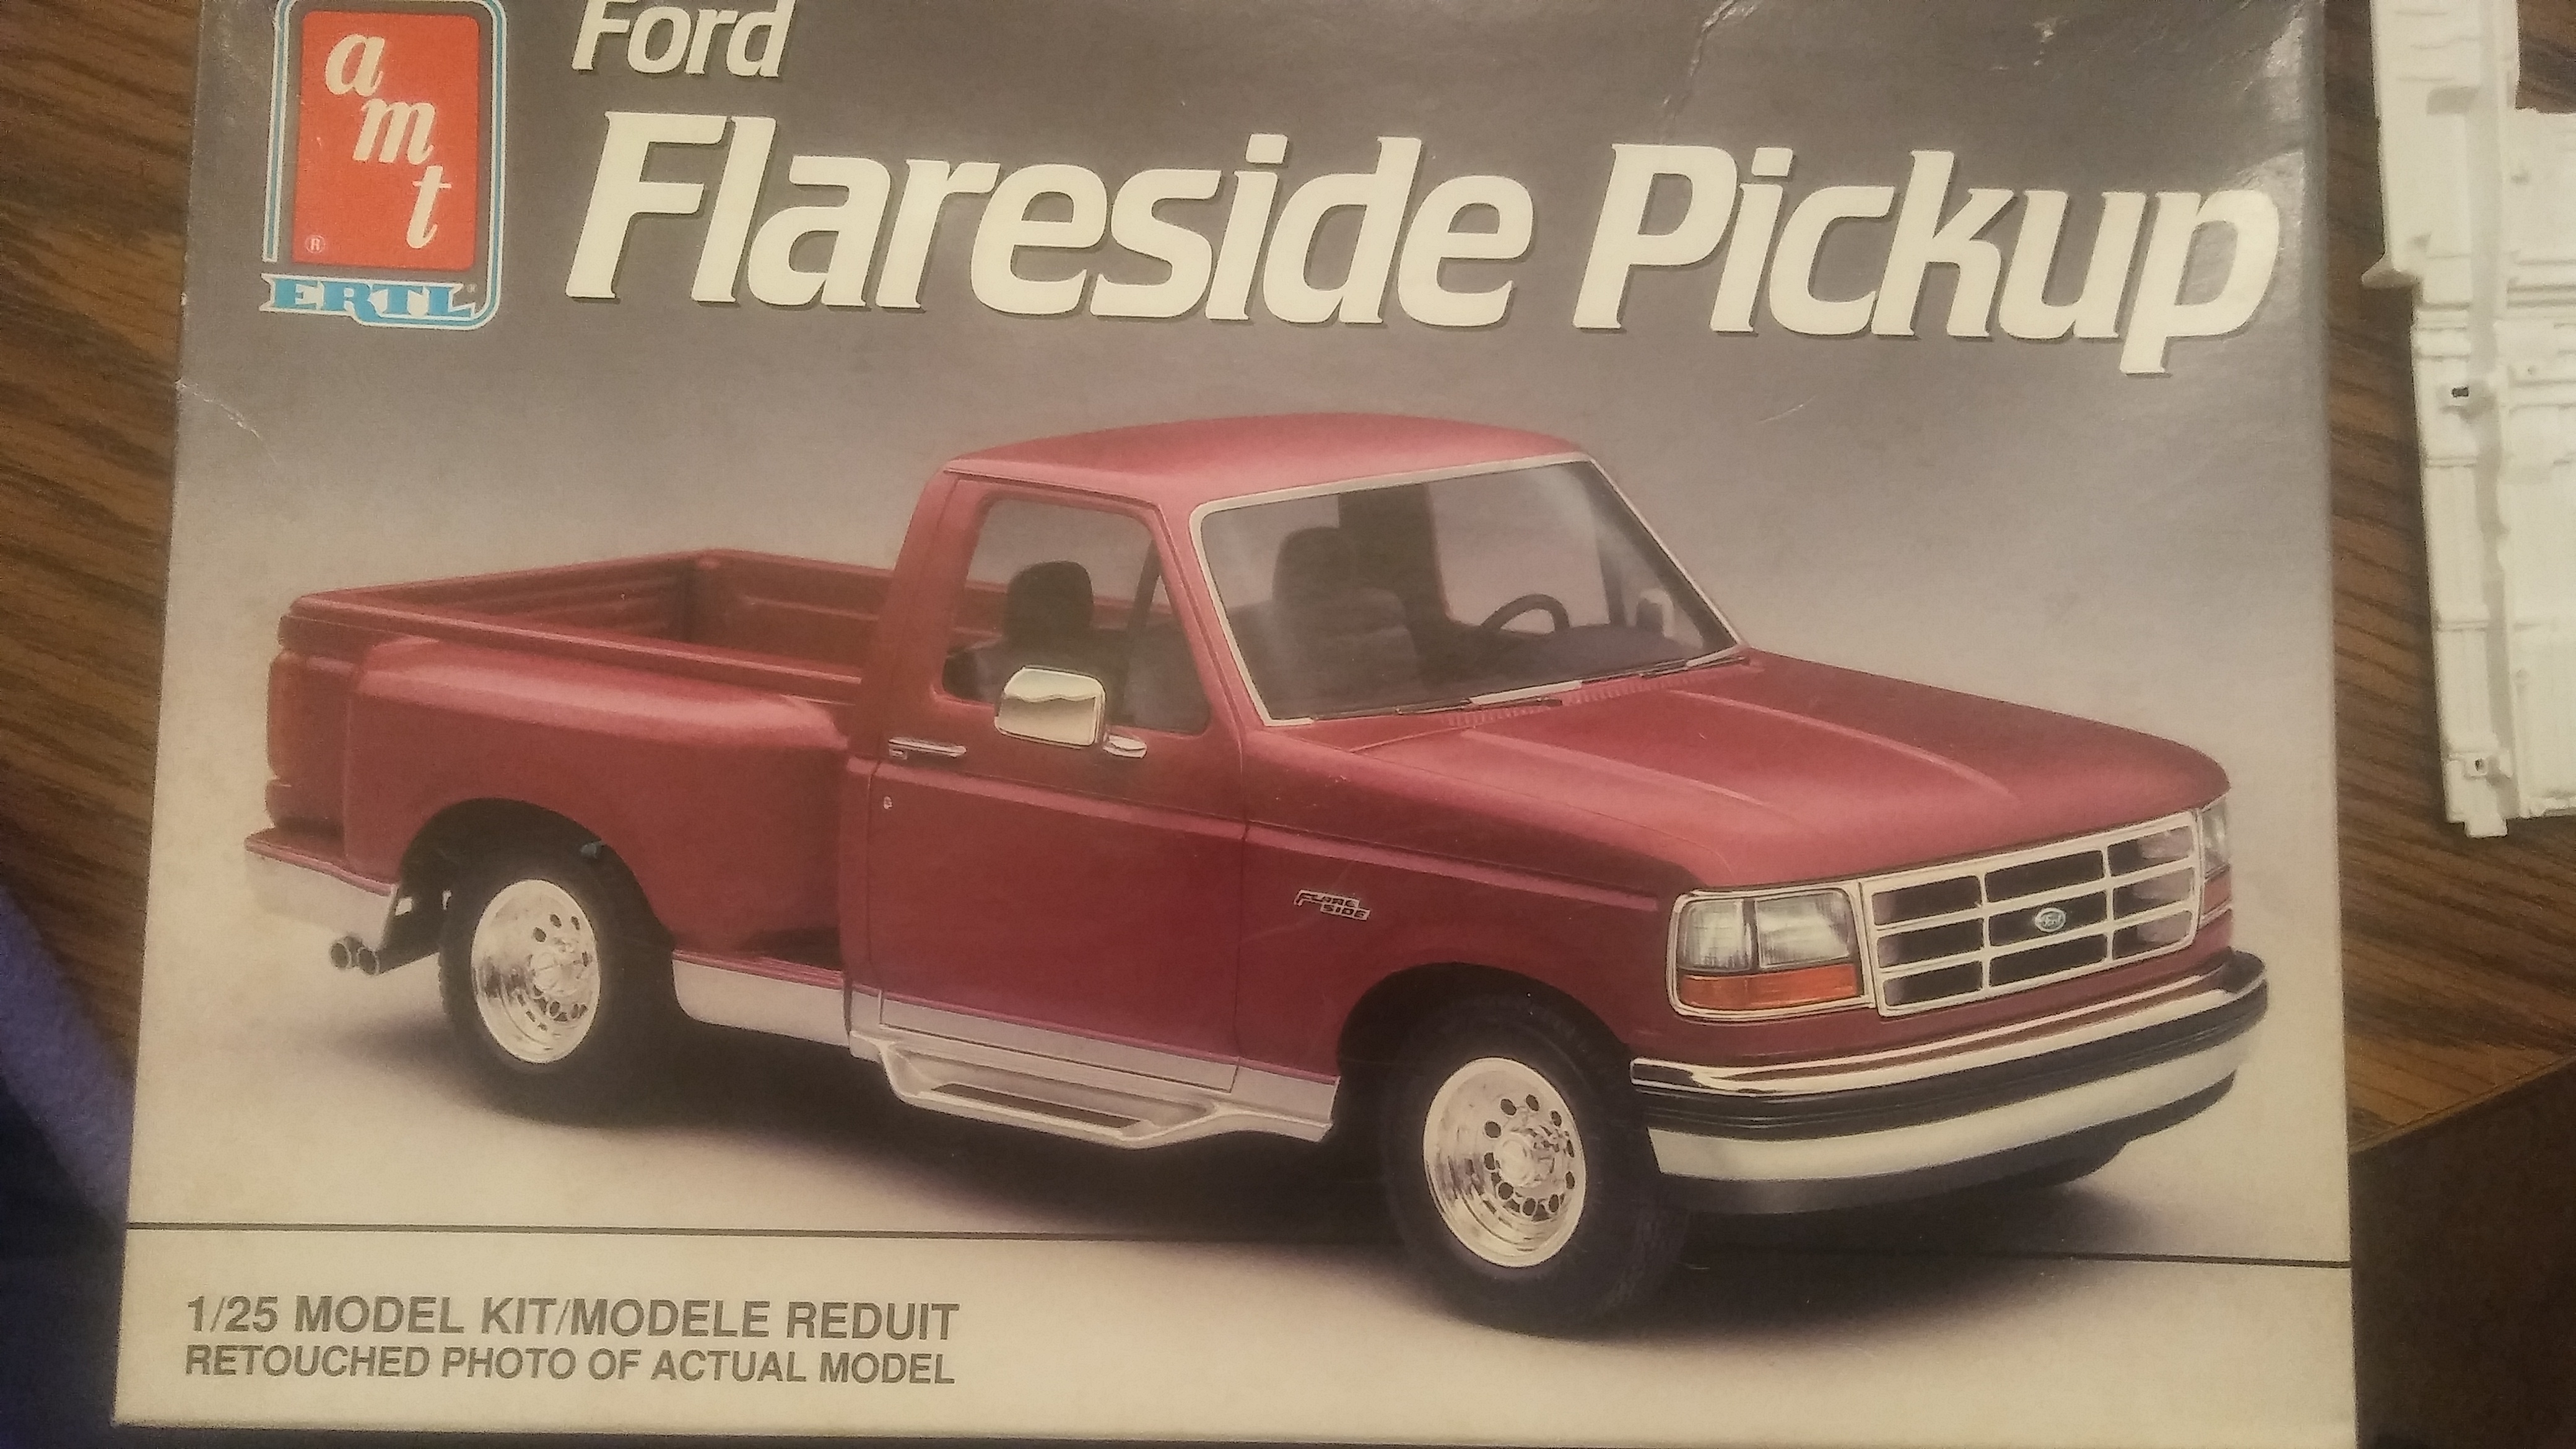
In short form my grandmother tricked me into picking one of these exact kits for myself for Christmas when I was just 7 years old. It was only my 3rd model kit, and the 2 ahead of it were 1/32 scale snaps. It never got close to complete and was lost somewhere in time. The only thing I truly remember was wanting it to be light blue. Ao thanks to mk11 I got a 2nd chance with it and since I started I can't even think about another project. This one has me hooked hard. The plan is a clean lowered street truck in light blue like originally intended, but this time I want to add a little orange here and there for a Gulf racing feel. I should have started the picture taking earlier to show the insane amount of work to get this thing lowered without it looking like a hacked together piece of plastic. I already got the thing lowered where I want and will try my best to explain what I did with the pictures I have
-
Road Race/Pro Touring Cuda - Project "HELL BOY”
StockBoresMe replied to Mopar426's topic in WIP: Model Cars
If I may step in here and make a suggestion.... The front end looks rather flat from the side. Maybe the stock bumper from the kit would look good molded in between the valance and grille -
but we can't forget 4 cylinder only opens up the boxer engines you would find in air cooled VWs, subarus, and porsches, as well as a handful of cars from manufacturers like saab and toyota
-
the real sad part is it was probably just some kid looking for something free. Now that they have it and probably no idea what to do with it to them its probably junk. I suggest scanning craigslist and facebook frequently and see if maybe they're going to try to make some money selling it. Talk to the sender and see if you can get him to let you know exactly what it was so you know what your looking for. I have dicey neighbors myself. Even spent a weekend in jail a couple years ago because a week after my kids bike was stolen I caught some kid trying to steal my neighbors bike. After all that settled down my neighbor felt so bad he wouldnt take no for an answer and gave me his bike I protected. So in a nutshell I traded a 10 dollar garage sale huffy for a 380 dollar trek and a couple nights in a cage