Mile High Scale Modeler
-
Posts
99 -
Joined
-
Last visited
Content Type
Profiles
Forums
Events
Gallery
Everything posted by Mile High Scale Modeler
-
 It was due to painting the engine bay when it was a little too humid out side. I would have waited a few more days if I wasnt so impatient during that part of the build.
 -
Revell Foose 1948 Cadillac
Mile High Scale Modeler replied to Mile High Scale Modeler's topic in Model Cars
I use Duplicolor sandable primer (decanted and mixed with cheap lacquer thinner) or I use Badger Stynlrez that is airbrush ready primer. This build it was duplicolor black sandable primter. -
Simuna Speed Shop Anglia Super Gas
Mile High Scale Modeler replied to Reuhkapelti2's topic in Drag Racing
Very cool! -
Cool!
-
Very nice build!
-
Very cool build!
-
Very cool Build!
-
Love this build!
-
Very cool!
-
70.5 Camaro Promod
Mile High Scale Modeler replied to Tortuga Kustomz's topic in WIP: Drag Racing Models
Love the build so far. Where you are gluing the PE parts to the chassis and also when you had to make adjustments to the chassis where the engine mounts, are you using epoxy? -
Thanks everyone for the kind words. It means a lot!
-
Thanks for the kind words
-
Revell Foose 1948 Cadillac
Mile High Scale Modeler replied to Mile High Scale Modeler's topic in Model Cars
Thanks everyone, for the comments! Really appreciate it. -
Revell Foose 1948 Cadillac
Mile High Scale Modeler replied to Mile High Scale Modeler's topic in Model Cars
Its black primer with testors enamel custom metal red flake -
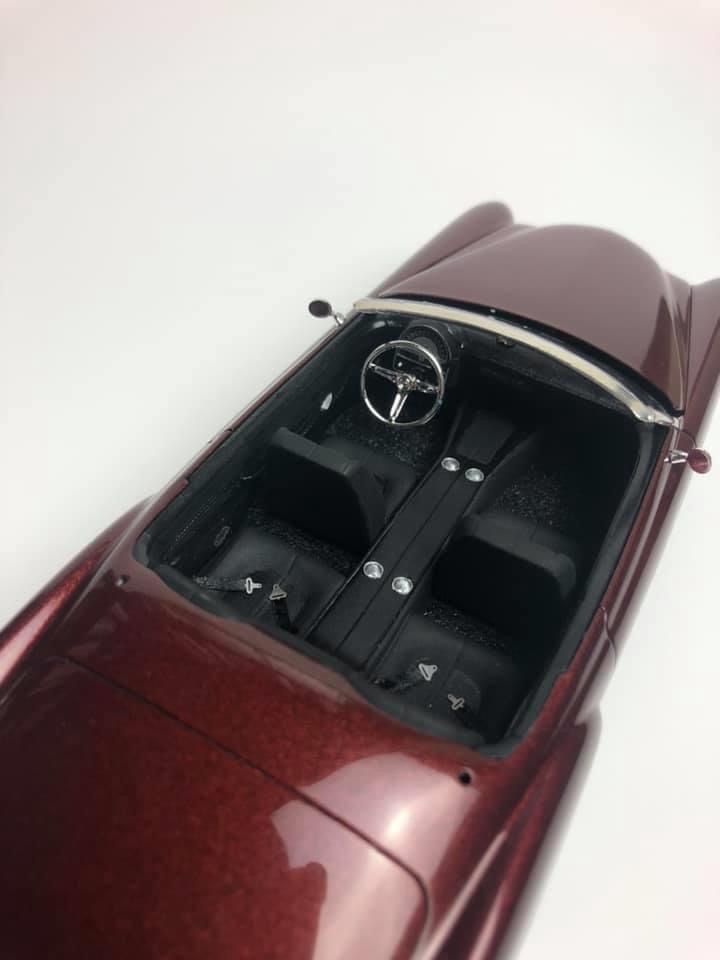
Hello everyone! This was a build I had done at the end of 2019 and it was a fun build. I really enjoyed the overall kit fitment. Most of it is box stock besides adding a wired distributor. Chrome on undercarriage and within engine bay was Alclad Chrome or spazstix (dechromed what was kit chrome). Everything else is kit chrome. Interior is two tone black interior with some details. Lowered front a-arms to allow for a more pleasing stance. Convertible top was sprayed with textured paint.

-
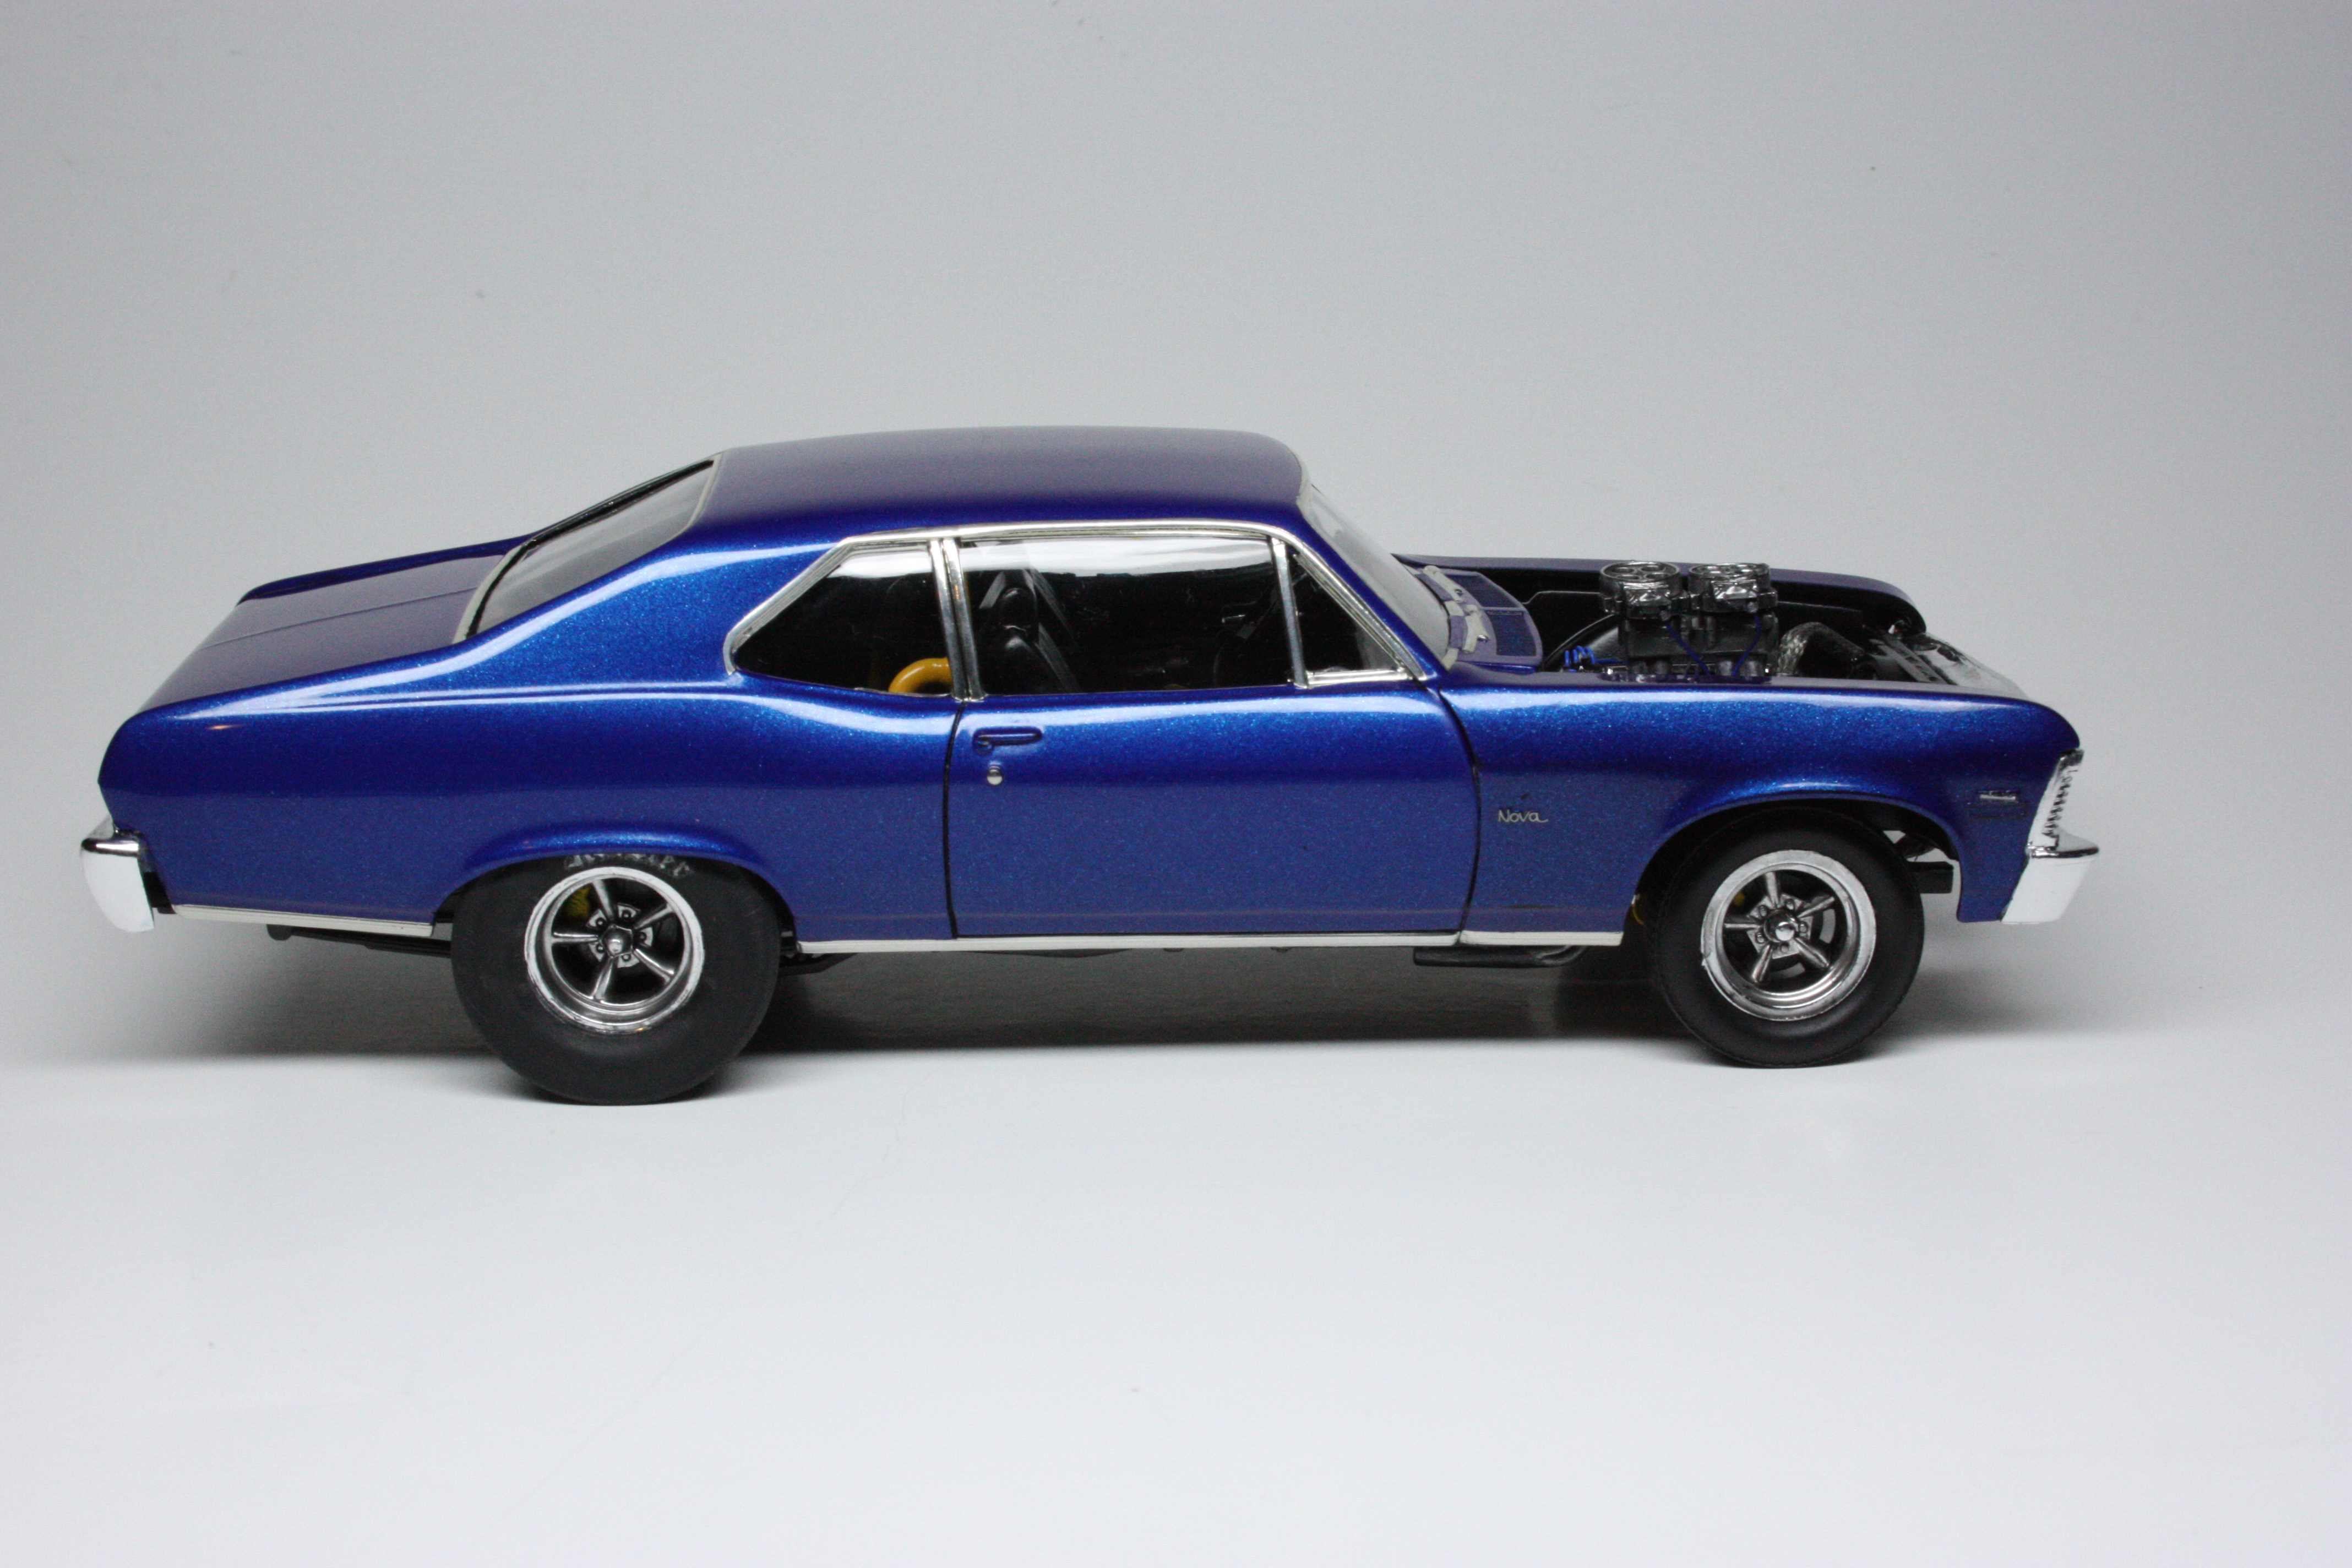
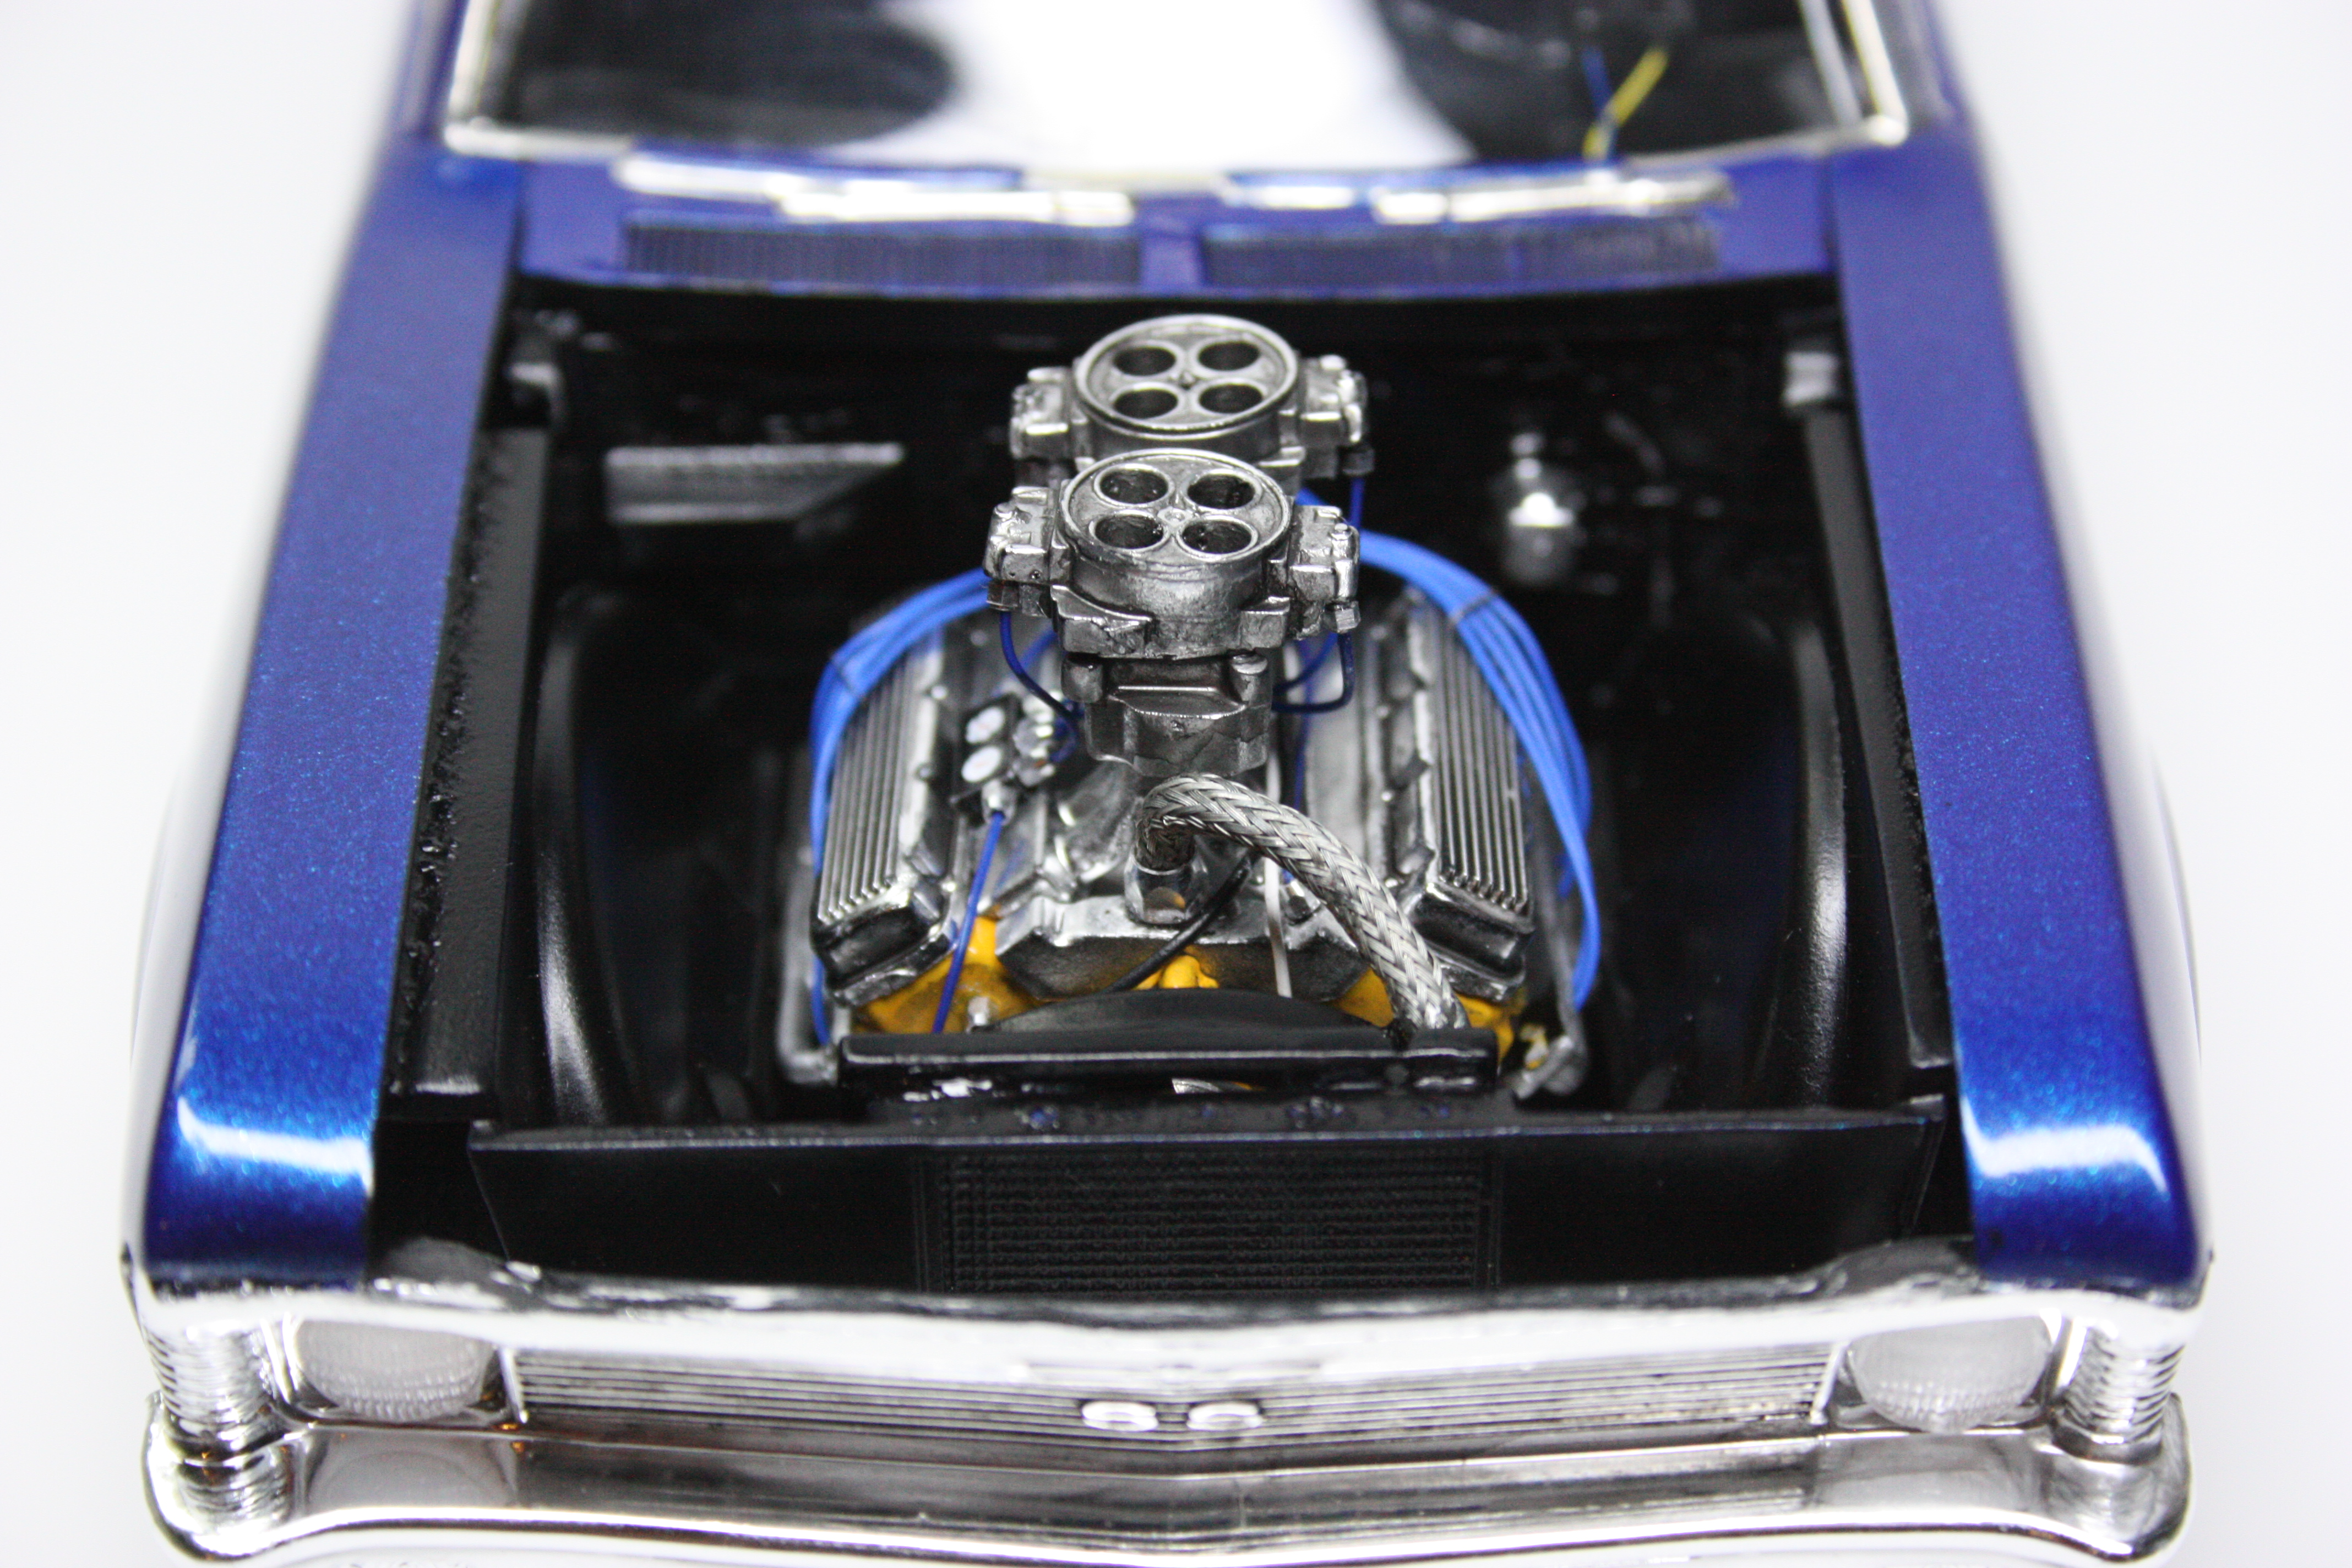
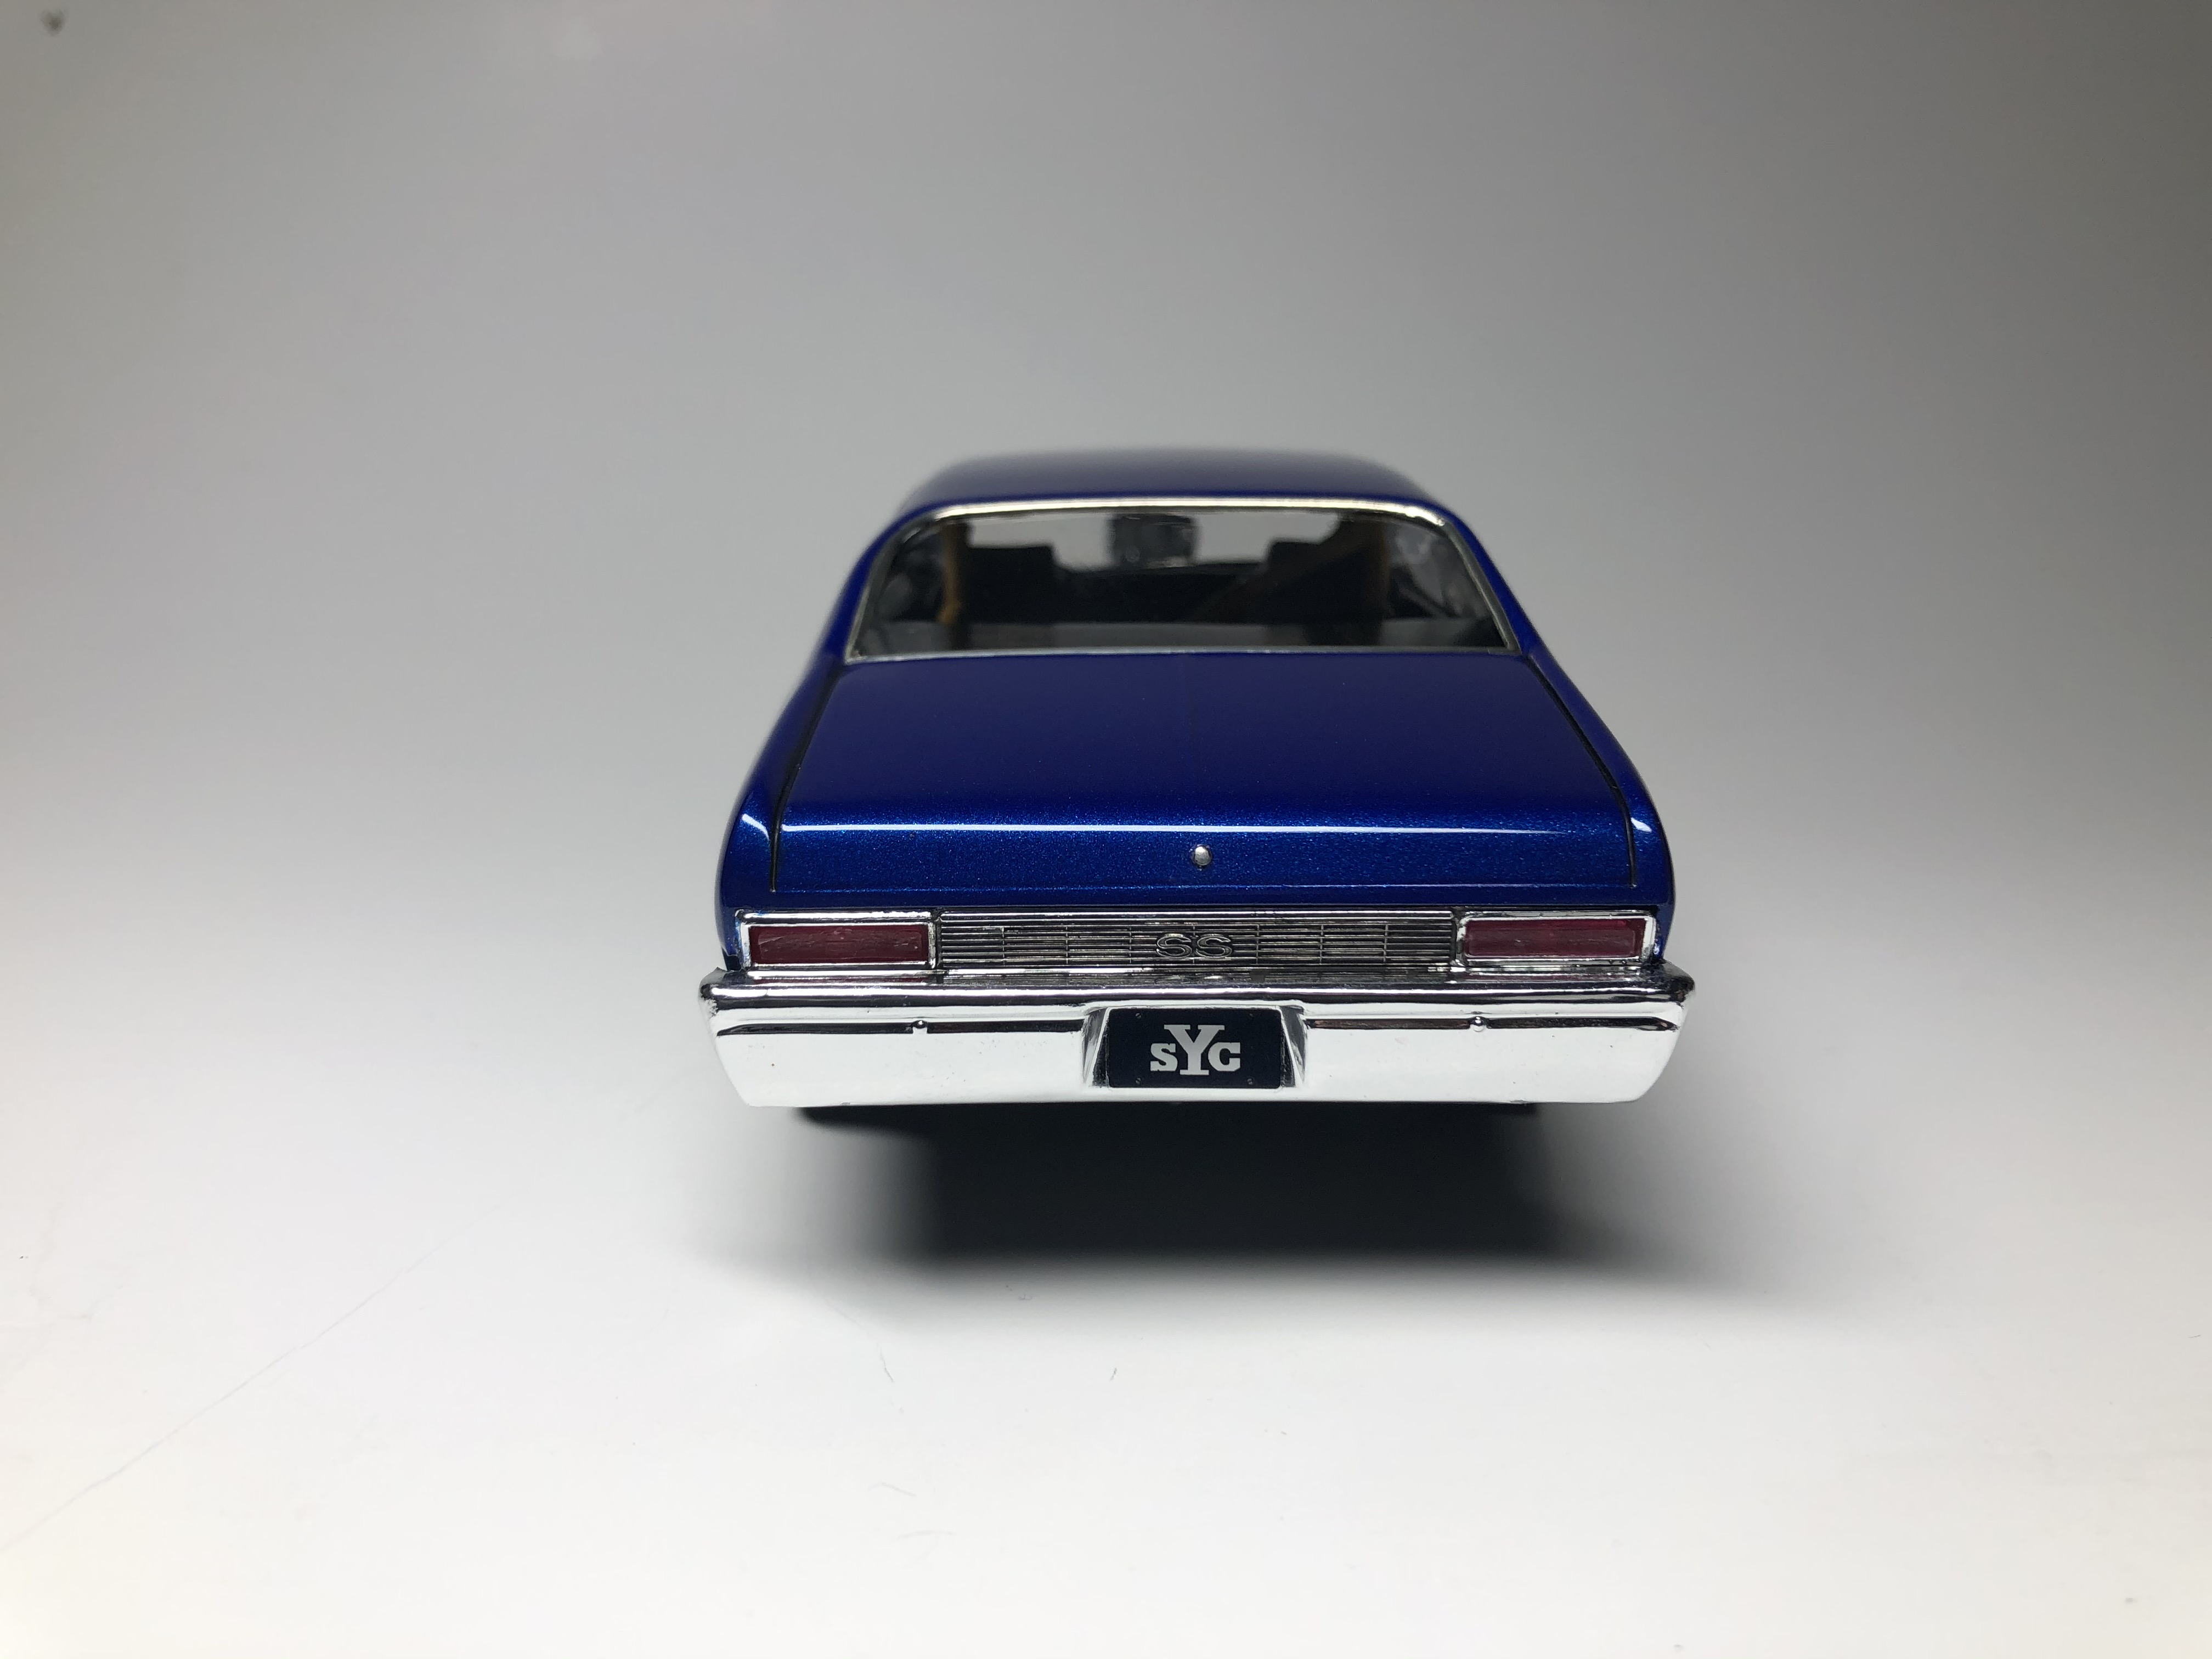
Hello everyone. This is my first post of a build in this forum. Here goes nothing... This was a love-hate build due to the front end with having to deal with gluing the fenders onto the body (making them rock solid to hold the grille and weight of hood without any issues) - Testors Star Spangle Blue Decanted and airbrushed - Mr Hobby Gloss Clear Coat decanted and airbrushed - Pictures dont do justice on shine and no orange peel what-so-ever. - All chrome stripped and used a Spazstix chrome and Alclad II Chrome. - All trim was BMF. - Black wash on wheels and under carriage. - Under carriage weathered a bit with dry brushing and pigments. - Engine bay detailed with many aftermarket products (Many detail master fittings) and scratch built items like fuel gauges next to manifold. - Cam shaft scratch built from 41 Willy's drive shaft along with aluminum rod. - Brake lines wired from frame to brakes. - Interior detailed with aftermarket set belts, carpet flocked, Dash Gauge wired with blue and yellow wire to match car color theme, and shift is from sewing pin with yellow top. - All doors locks, trunk lock, and bolts around drive shaft are all pins.
-
70.5 Camaro Promod
Mile High Scale Modeler replied to Tortuga Kustomz's topic in WIP: Drag Racing Models
Marcos, can you send me those images please. I am intrigued to see. -
TIP FOR CLEANING PAASCHE AIRBRUSH
Mile High Scale Modeler replied to DavidChampagne's topic in Tips, Tricks, and Tutorials
Do you take the rubber seals out so the lacquer thinner does not eat through them? -
My way with fade paint jobs
Mile High Scale Modeler replied to AL.'s topic in Tips, Tricks, and Tutorials
This is very cool with great photos and explanation! -
Chrome blueing -- how to simulate?
Mile High Scale Modeler replied to chepp's topic in Tips, Tricks, and Tutorials
I have seen modelers who dechrome, paint the part dark blue, then paint over with Alclad Chrome. Using blue as a base instead of black give that blue hue to the chrome which will help and then continue with your method of heat staining. -
Very Cool
-
This is awesome! Definitely better than what I was going to do - resin cast duplicates which would have been harder to do with rubber as you stated in a previous comment. Well done!
-
I like seeing builds like this where thought is put into upgrading the chassis on a stock model kit and of course that look the 55 will have in the end due to the chassis. Keep up the great work!