DannyDodge
-
Posts
14 -
Joined
-
Last visited
DannyDodge's Achievements
MCM Member (2/6)
-
i could def see these rides rocketing down a freeway in sweden racing in the birka cup, very cool
-
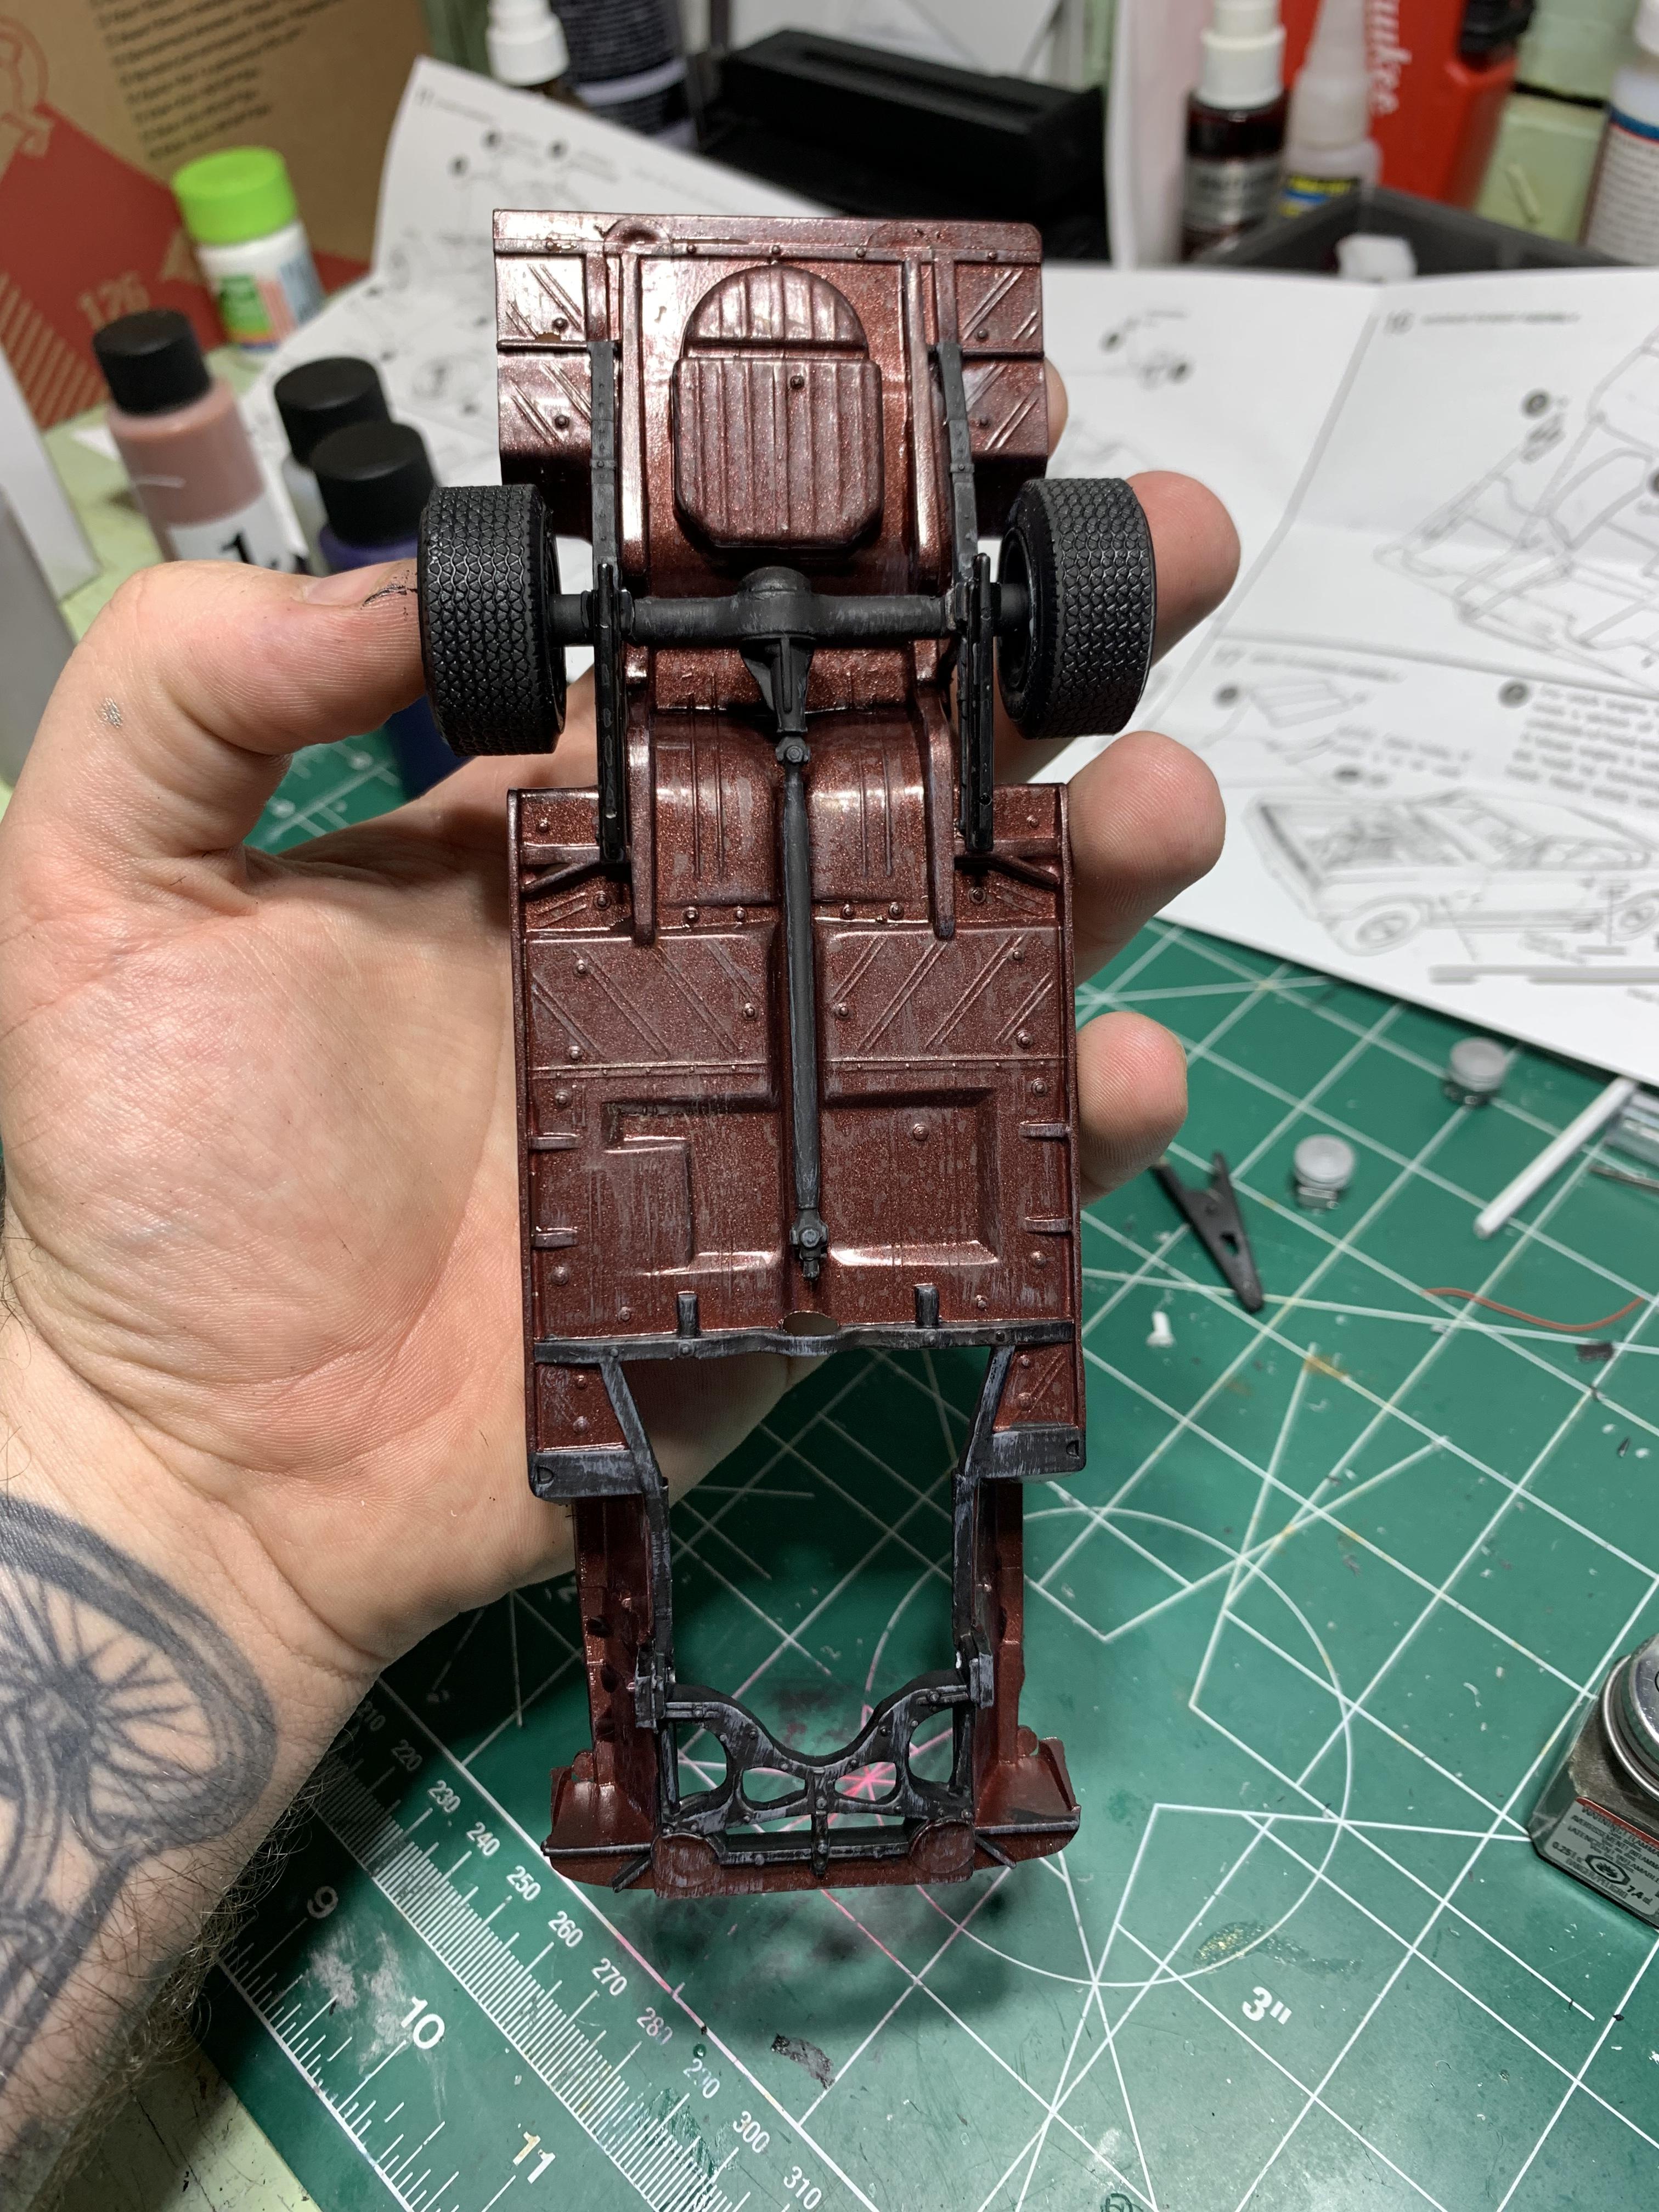
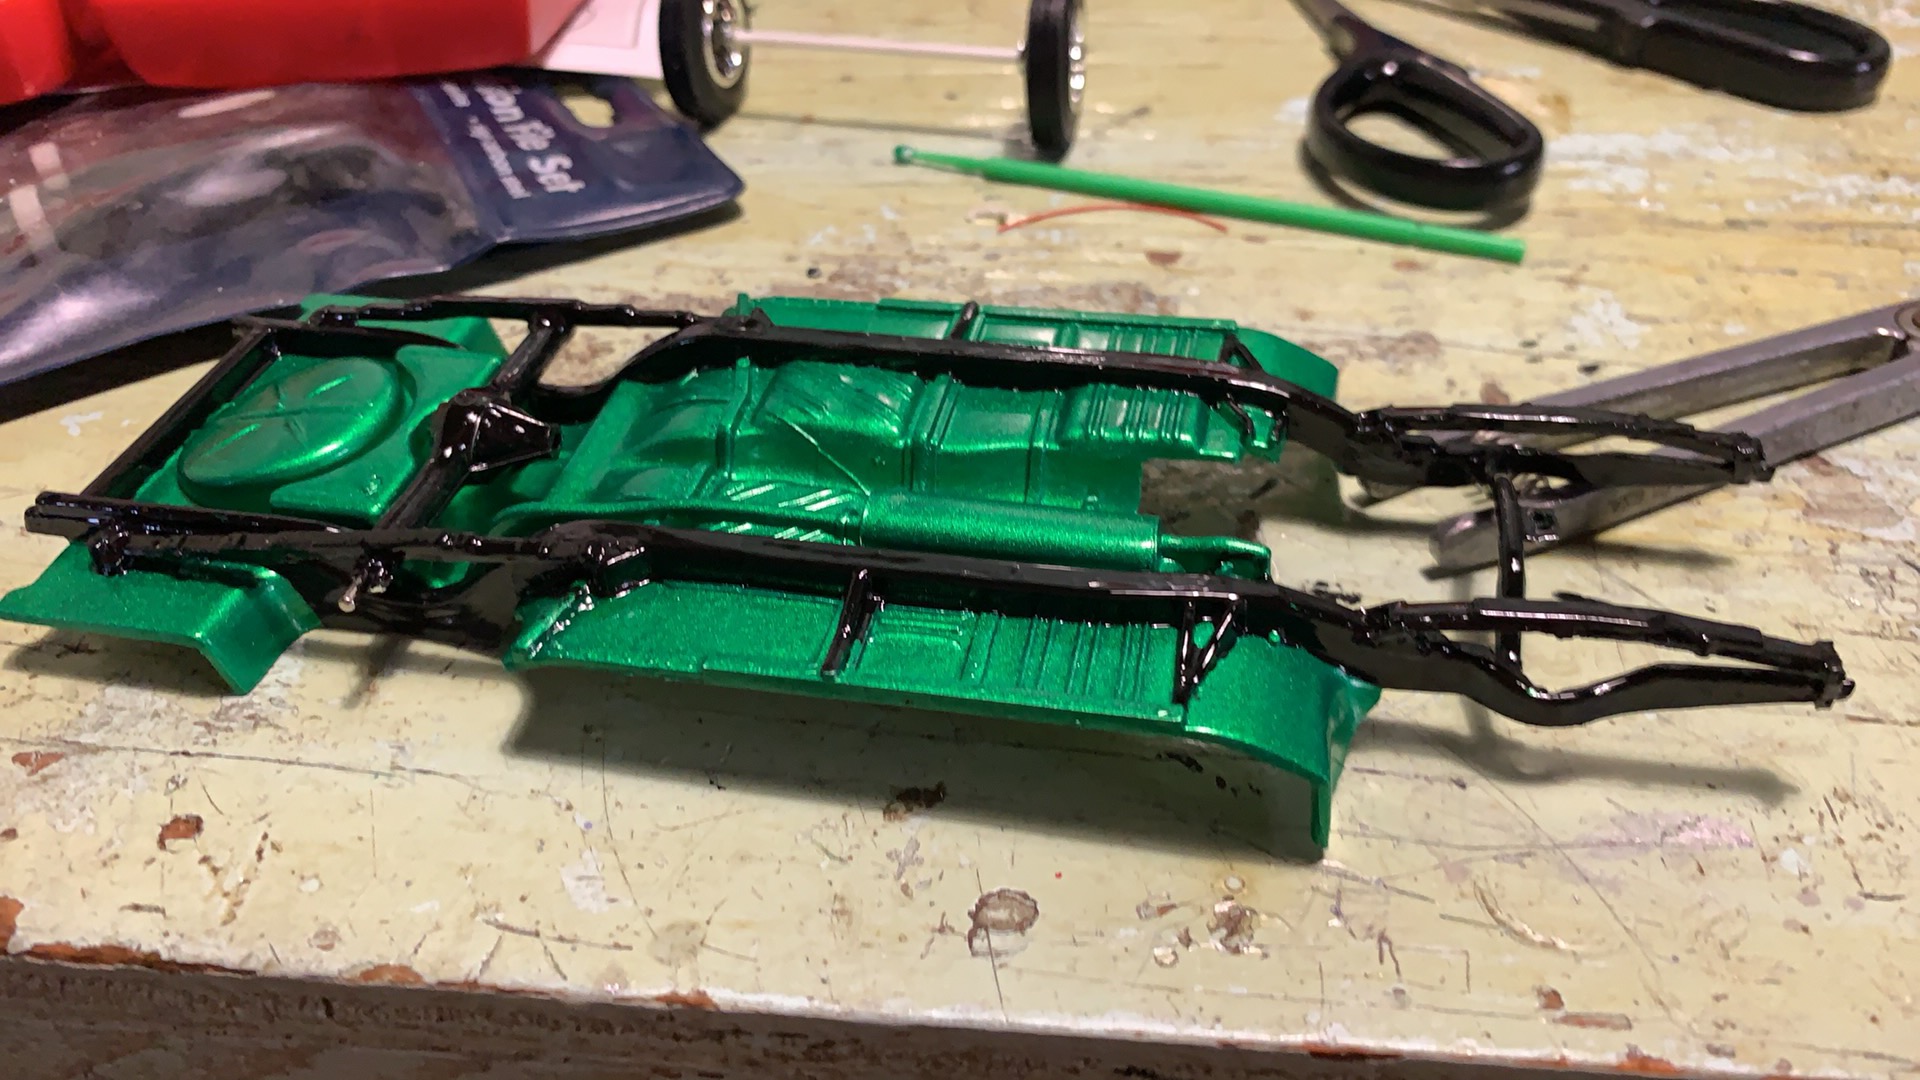
To follow along with the 70’s theme i wanted to do a era correct paint job and i just couldn’t come up with anything i liked, but thinking 70’s, browns were popular so i shot the underside of the car and the engine a testors root beer, i still haven’t painted the body, so if anyone has any ideas that would be good with the root beer I’m open to it. this kit doesn’t have a lot of parts, gonna make a quick build, which I’m digging. the spring/axle assembly has tabs that pops into some holes in the floor, so to get that shackled up look instead of pushing the tabs all the way into , i put them just inside the holes and super glued them, the long tabs sorta look like shackles so it worked out, i then took a drill bit the same size as the metal axle rod and drilled a new hole in the chassis, the stance i think is spot on. And the tires stick out just enough to have the look k was going for. The kit came with slipper bars which i painted up gloss black, i wanted them to look like the guy just threw them on recently so i didn’t want them as dirty as the rest of the drivetrain, The front axle just went into the lowest setting this is when i started the weathering, I’ve never really dry brushed before, after watching hpiguys workshop on YouTube i gave it a go using some cheap craft paint, the color they call it zinc, Any pointers or advice I’m all ears, i think it turned out ok, maybe i was alittle heavy handed in spots after that i did a real thinned out black wash and the i took some dirt colored tile grout and brushed it onto the whole chassis, I’m happy with it, but i think instead of zinc, next time I’m gonna use more of a browner/grayish color. But i def ended up with the dirty driven look

-
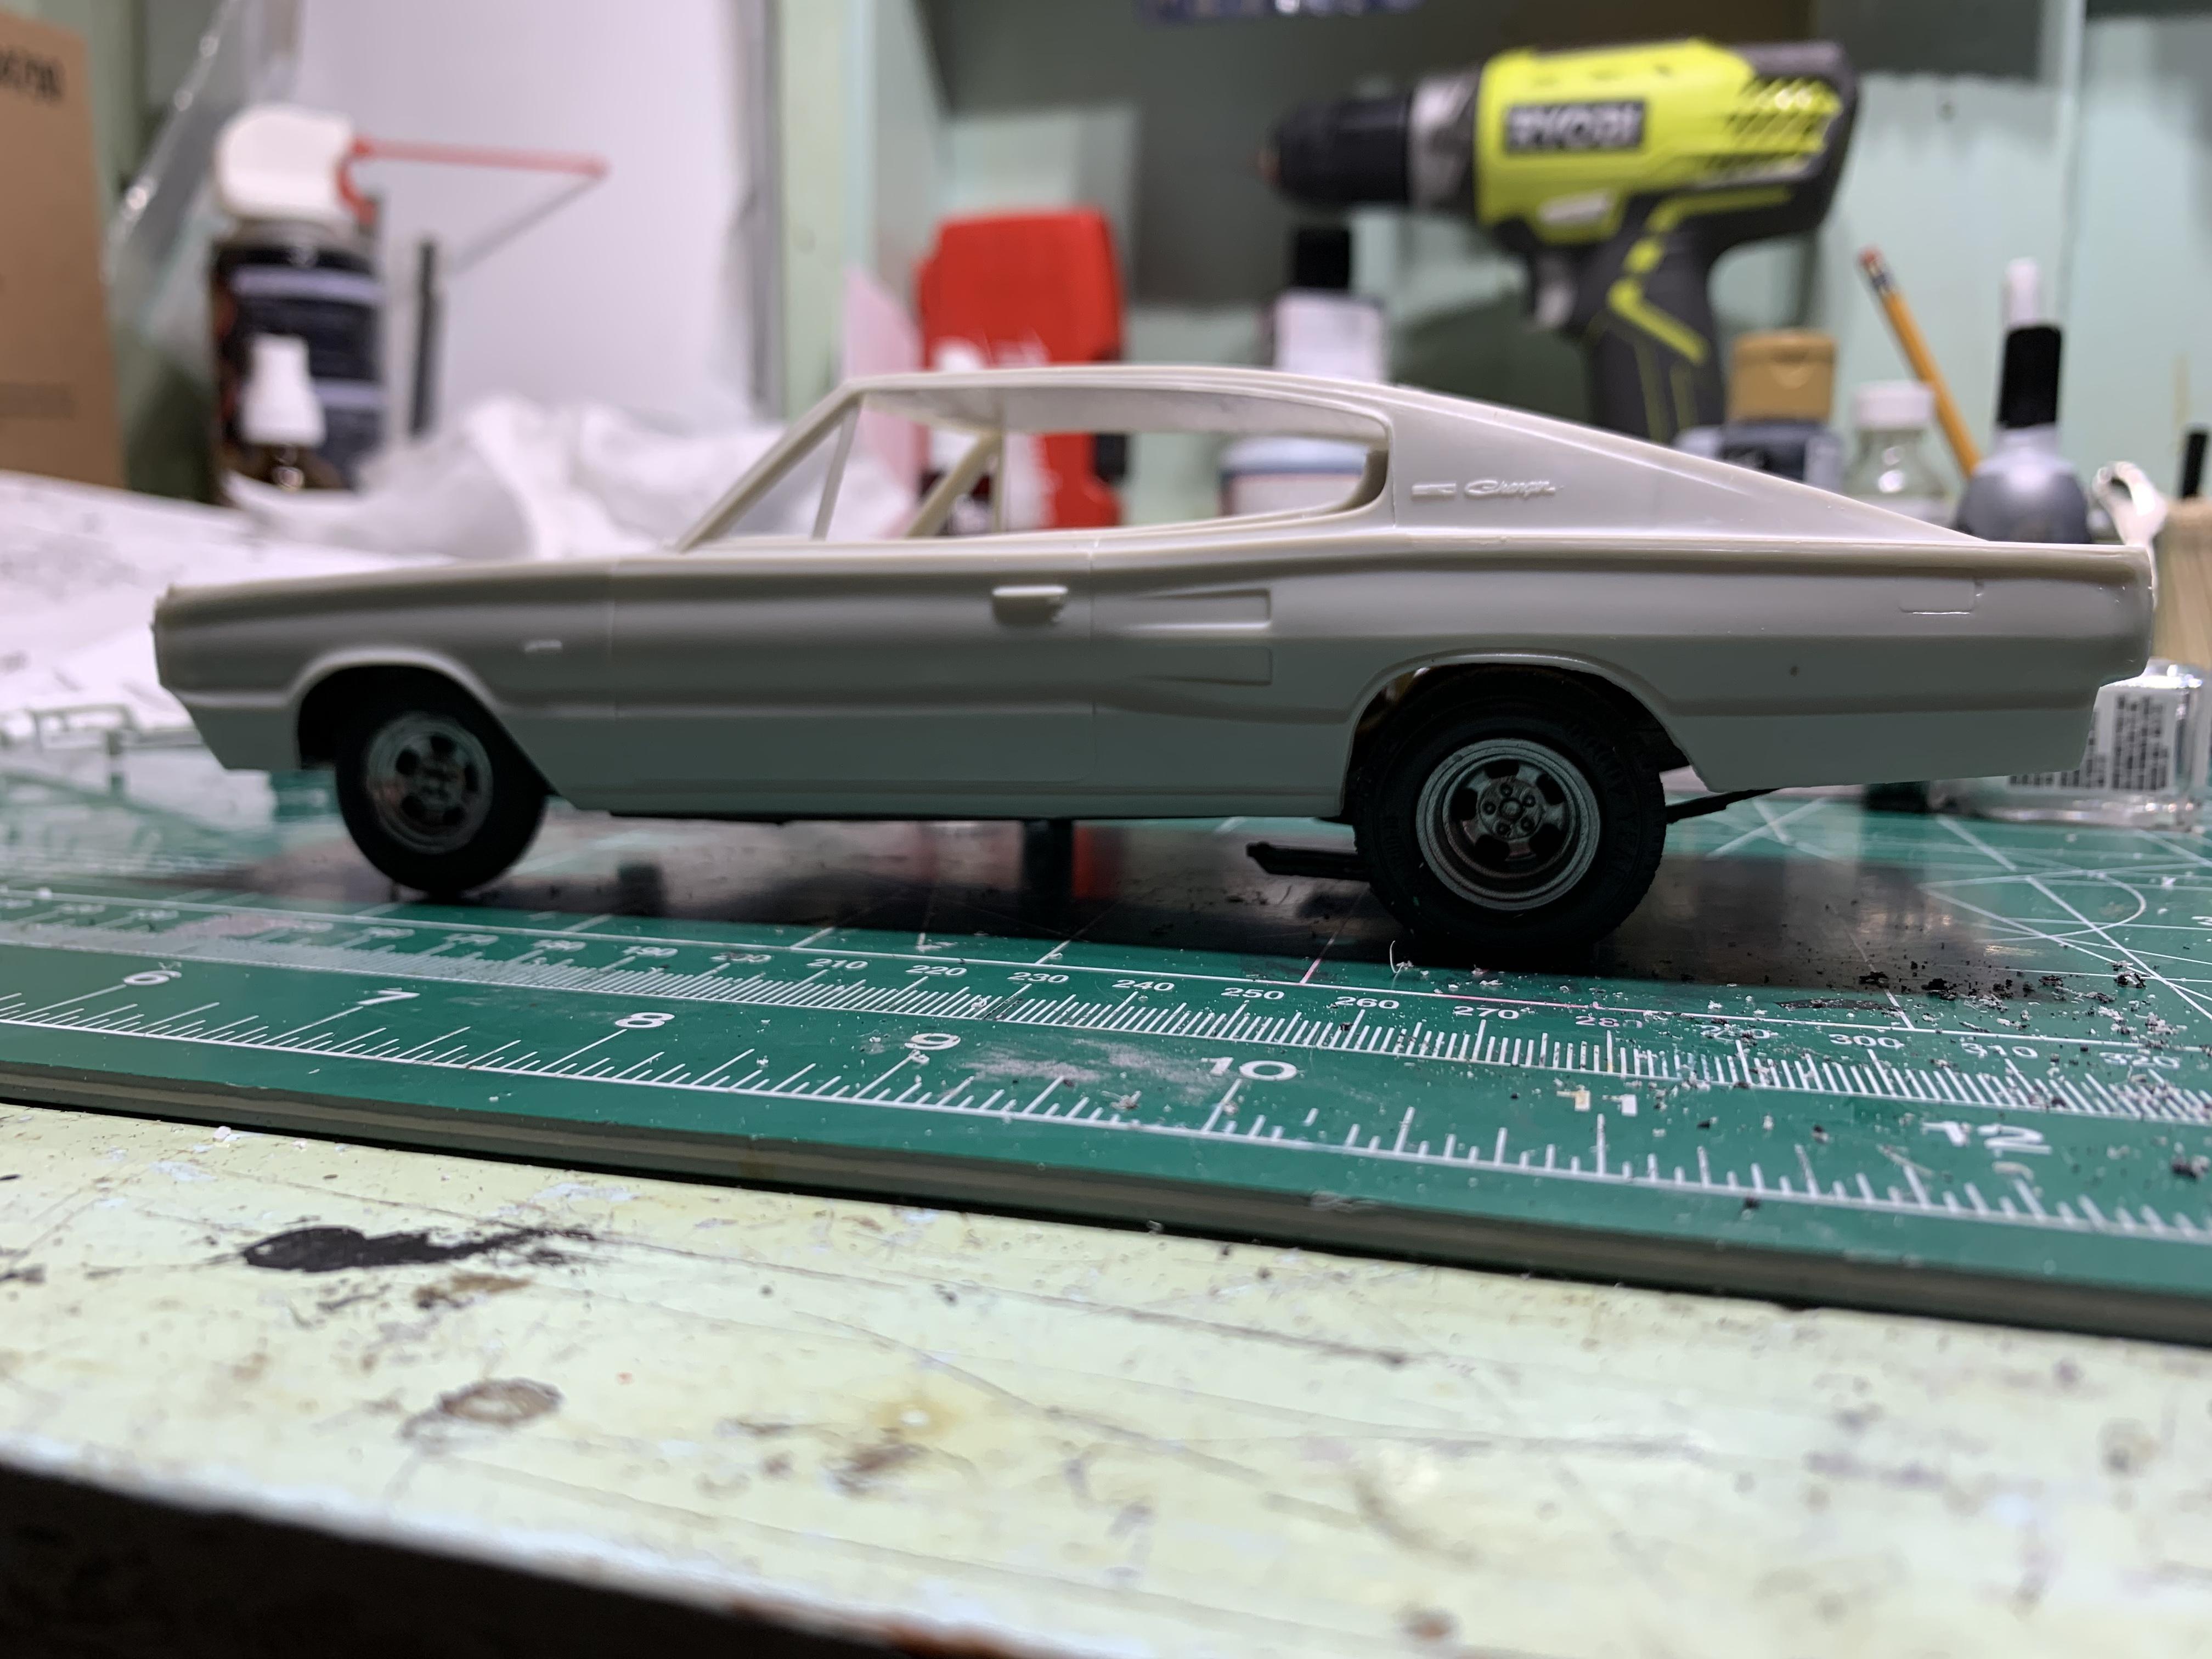
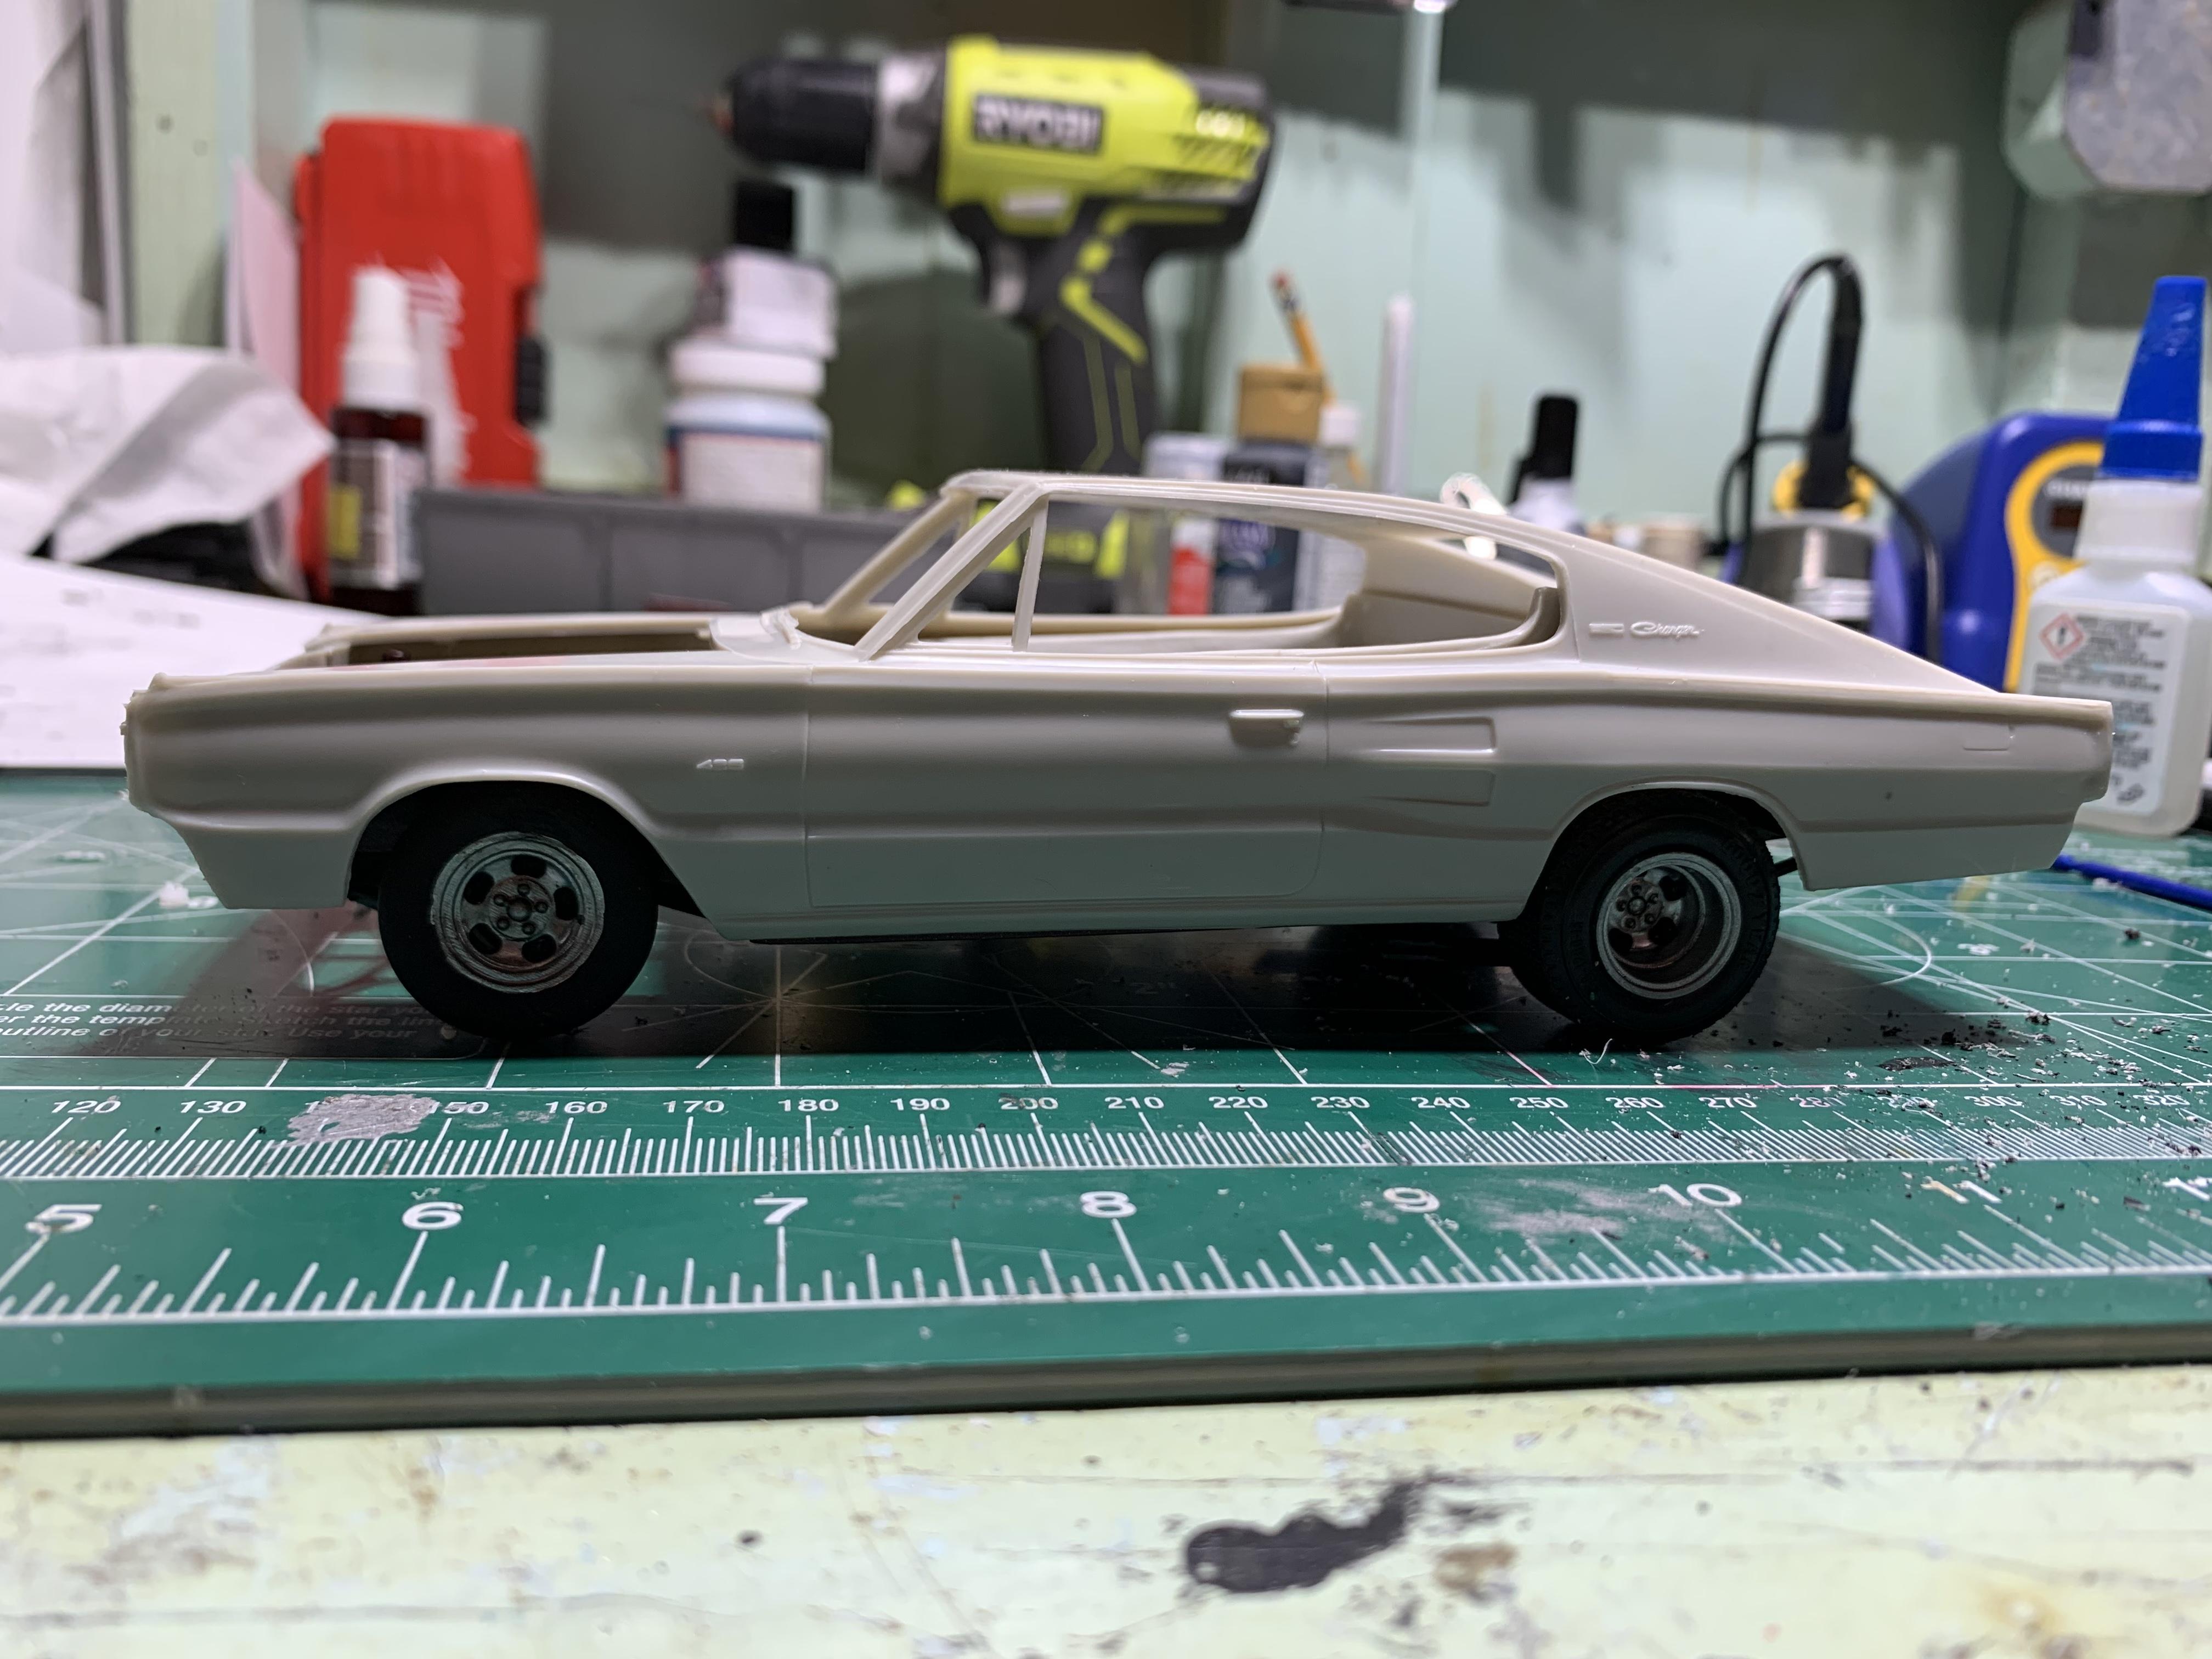
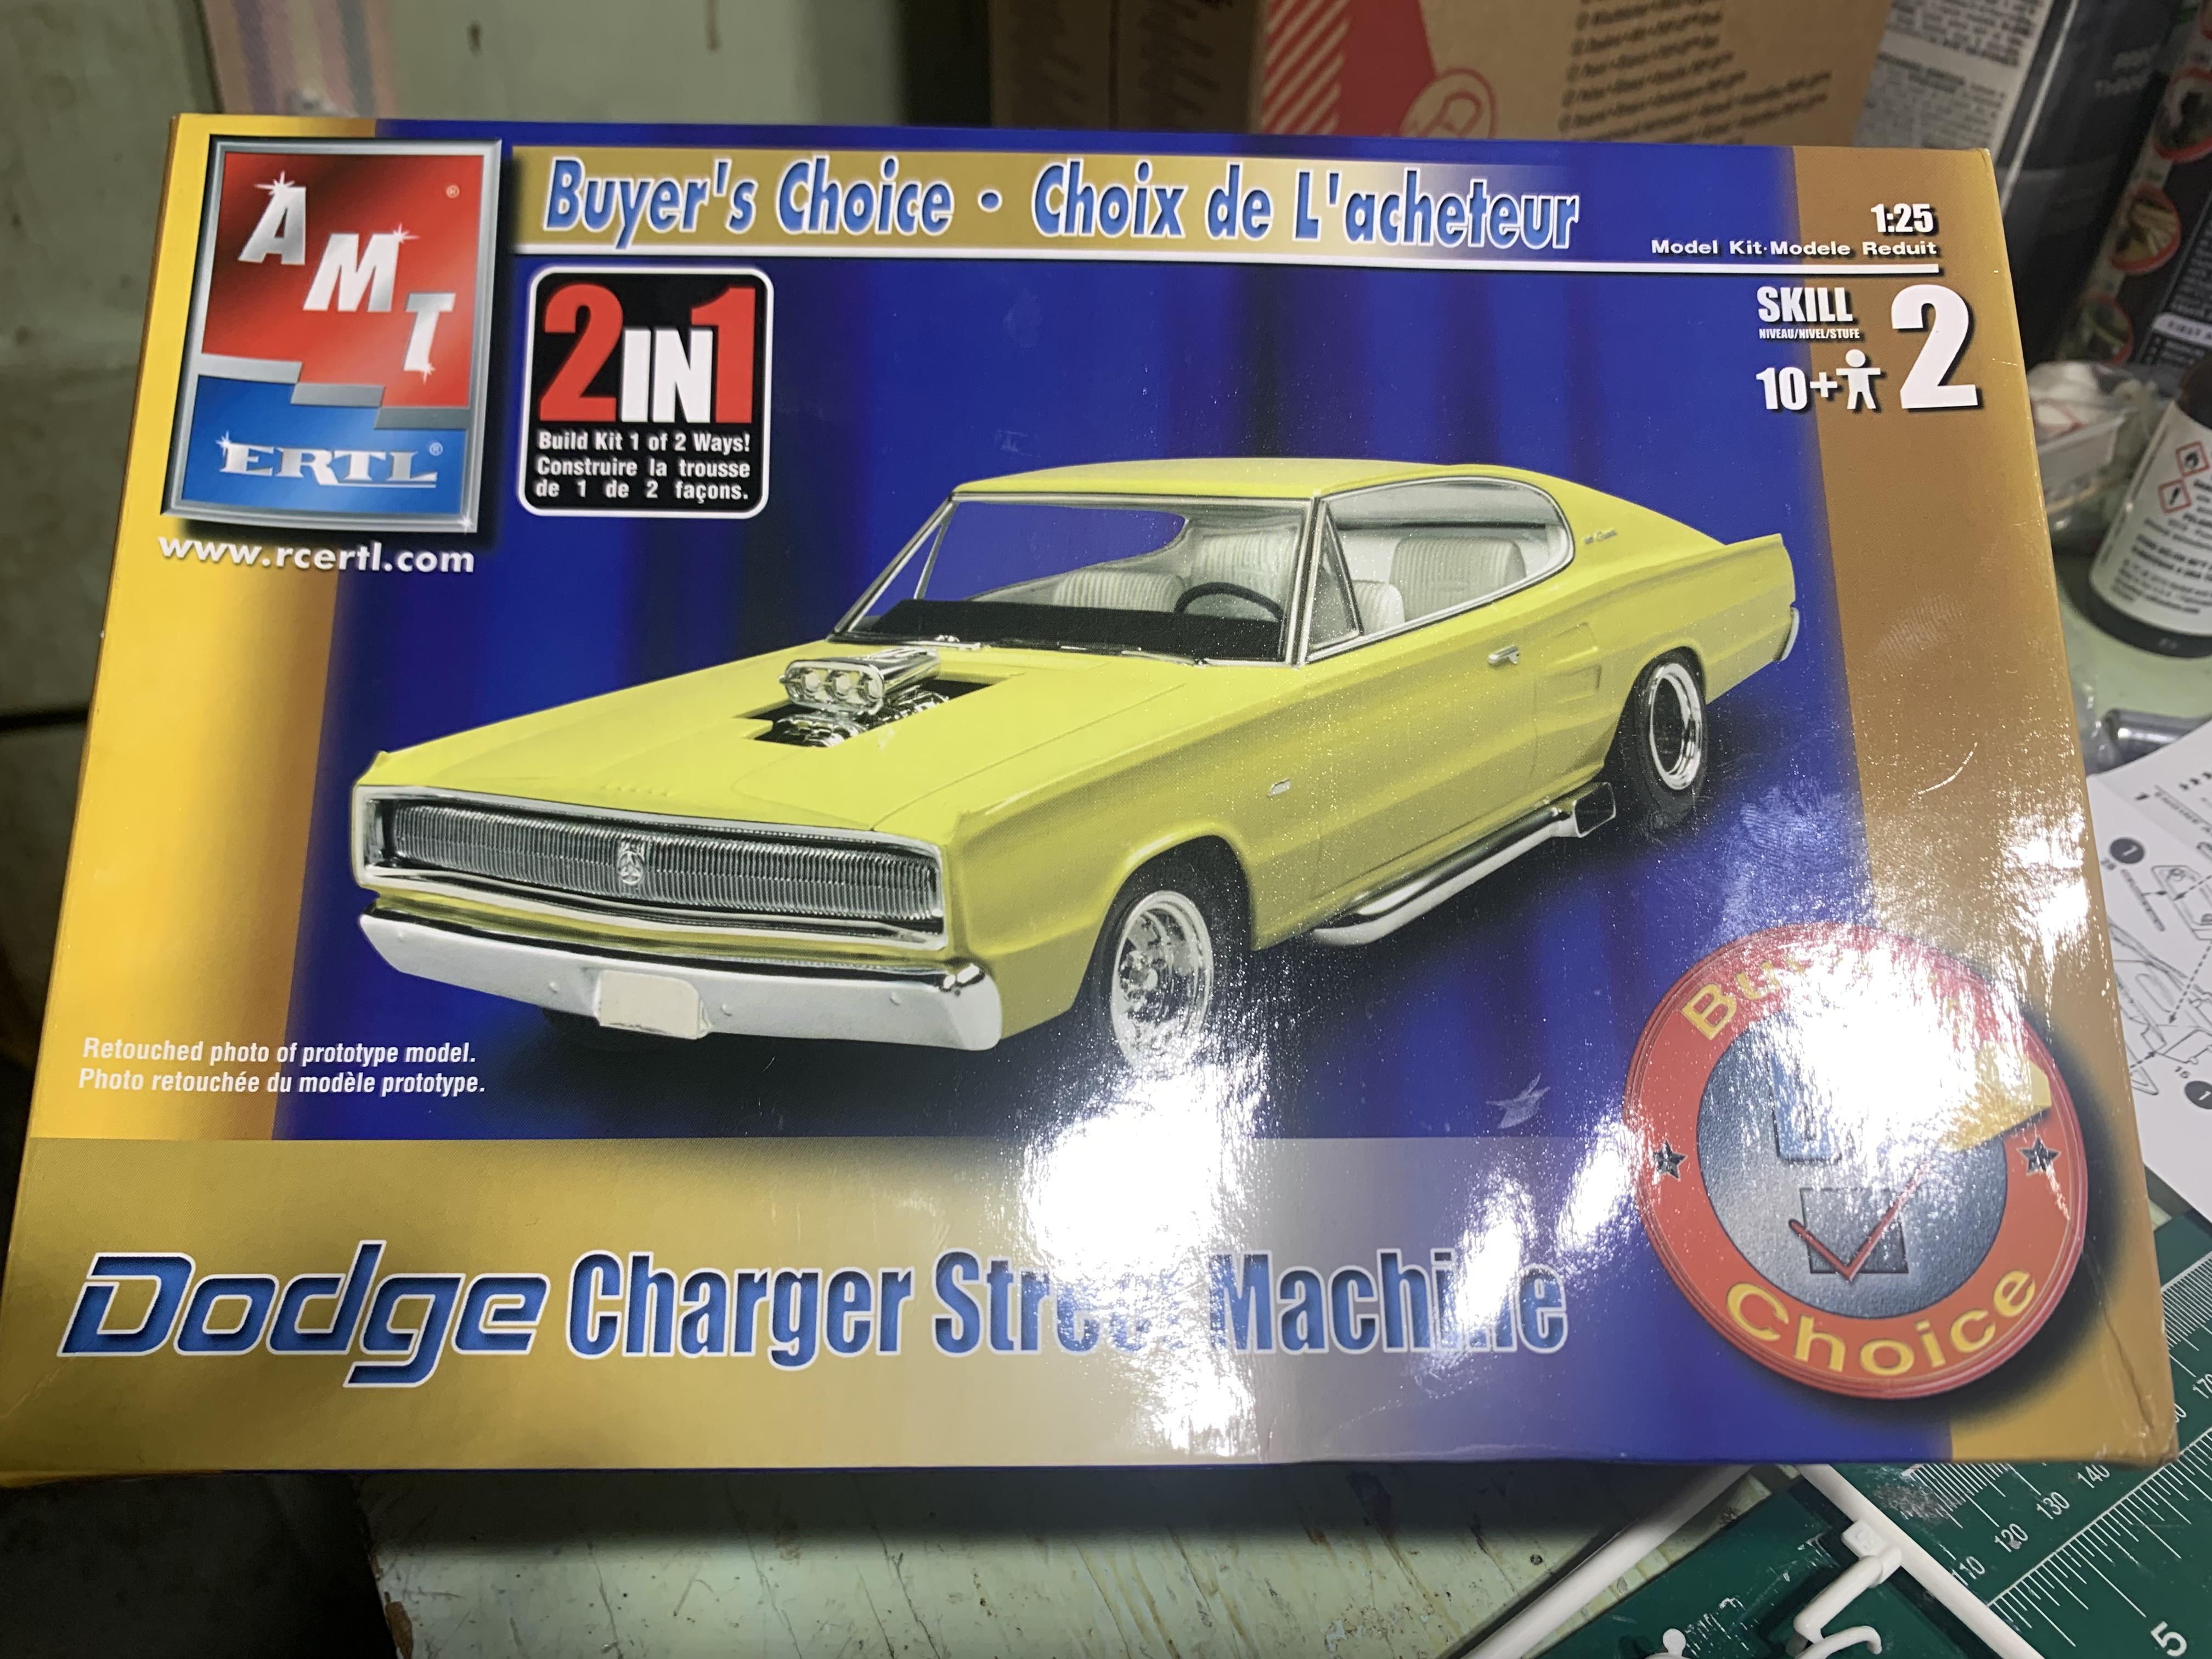
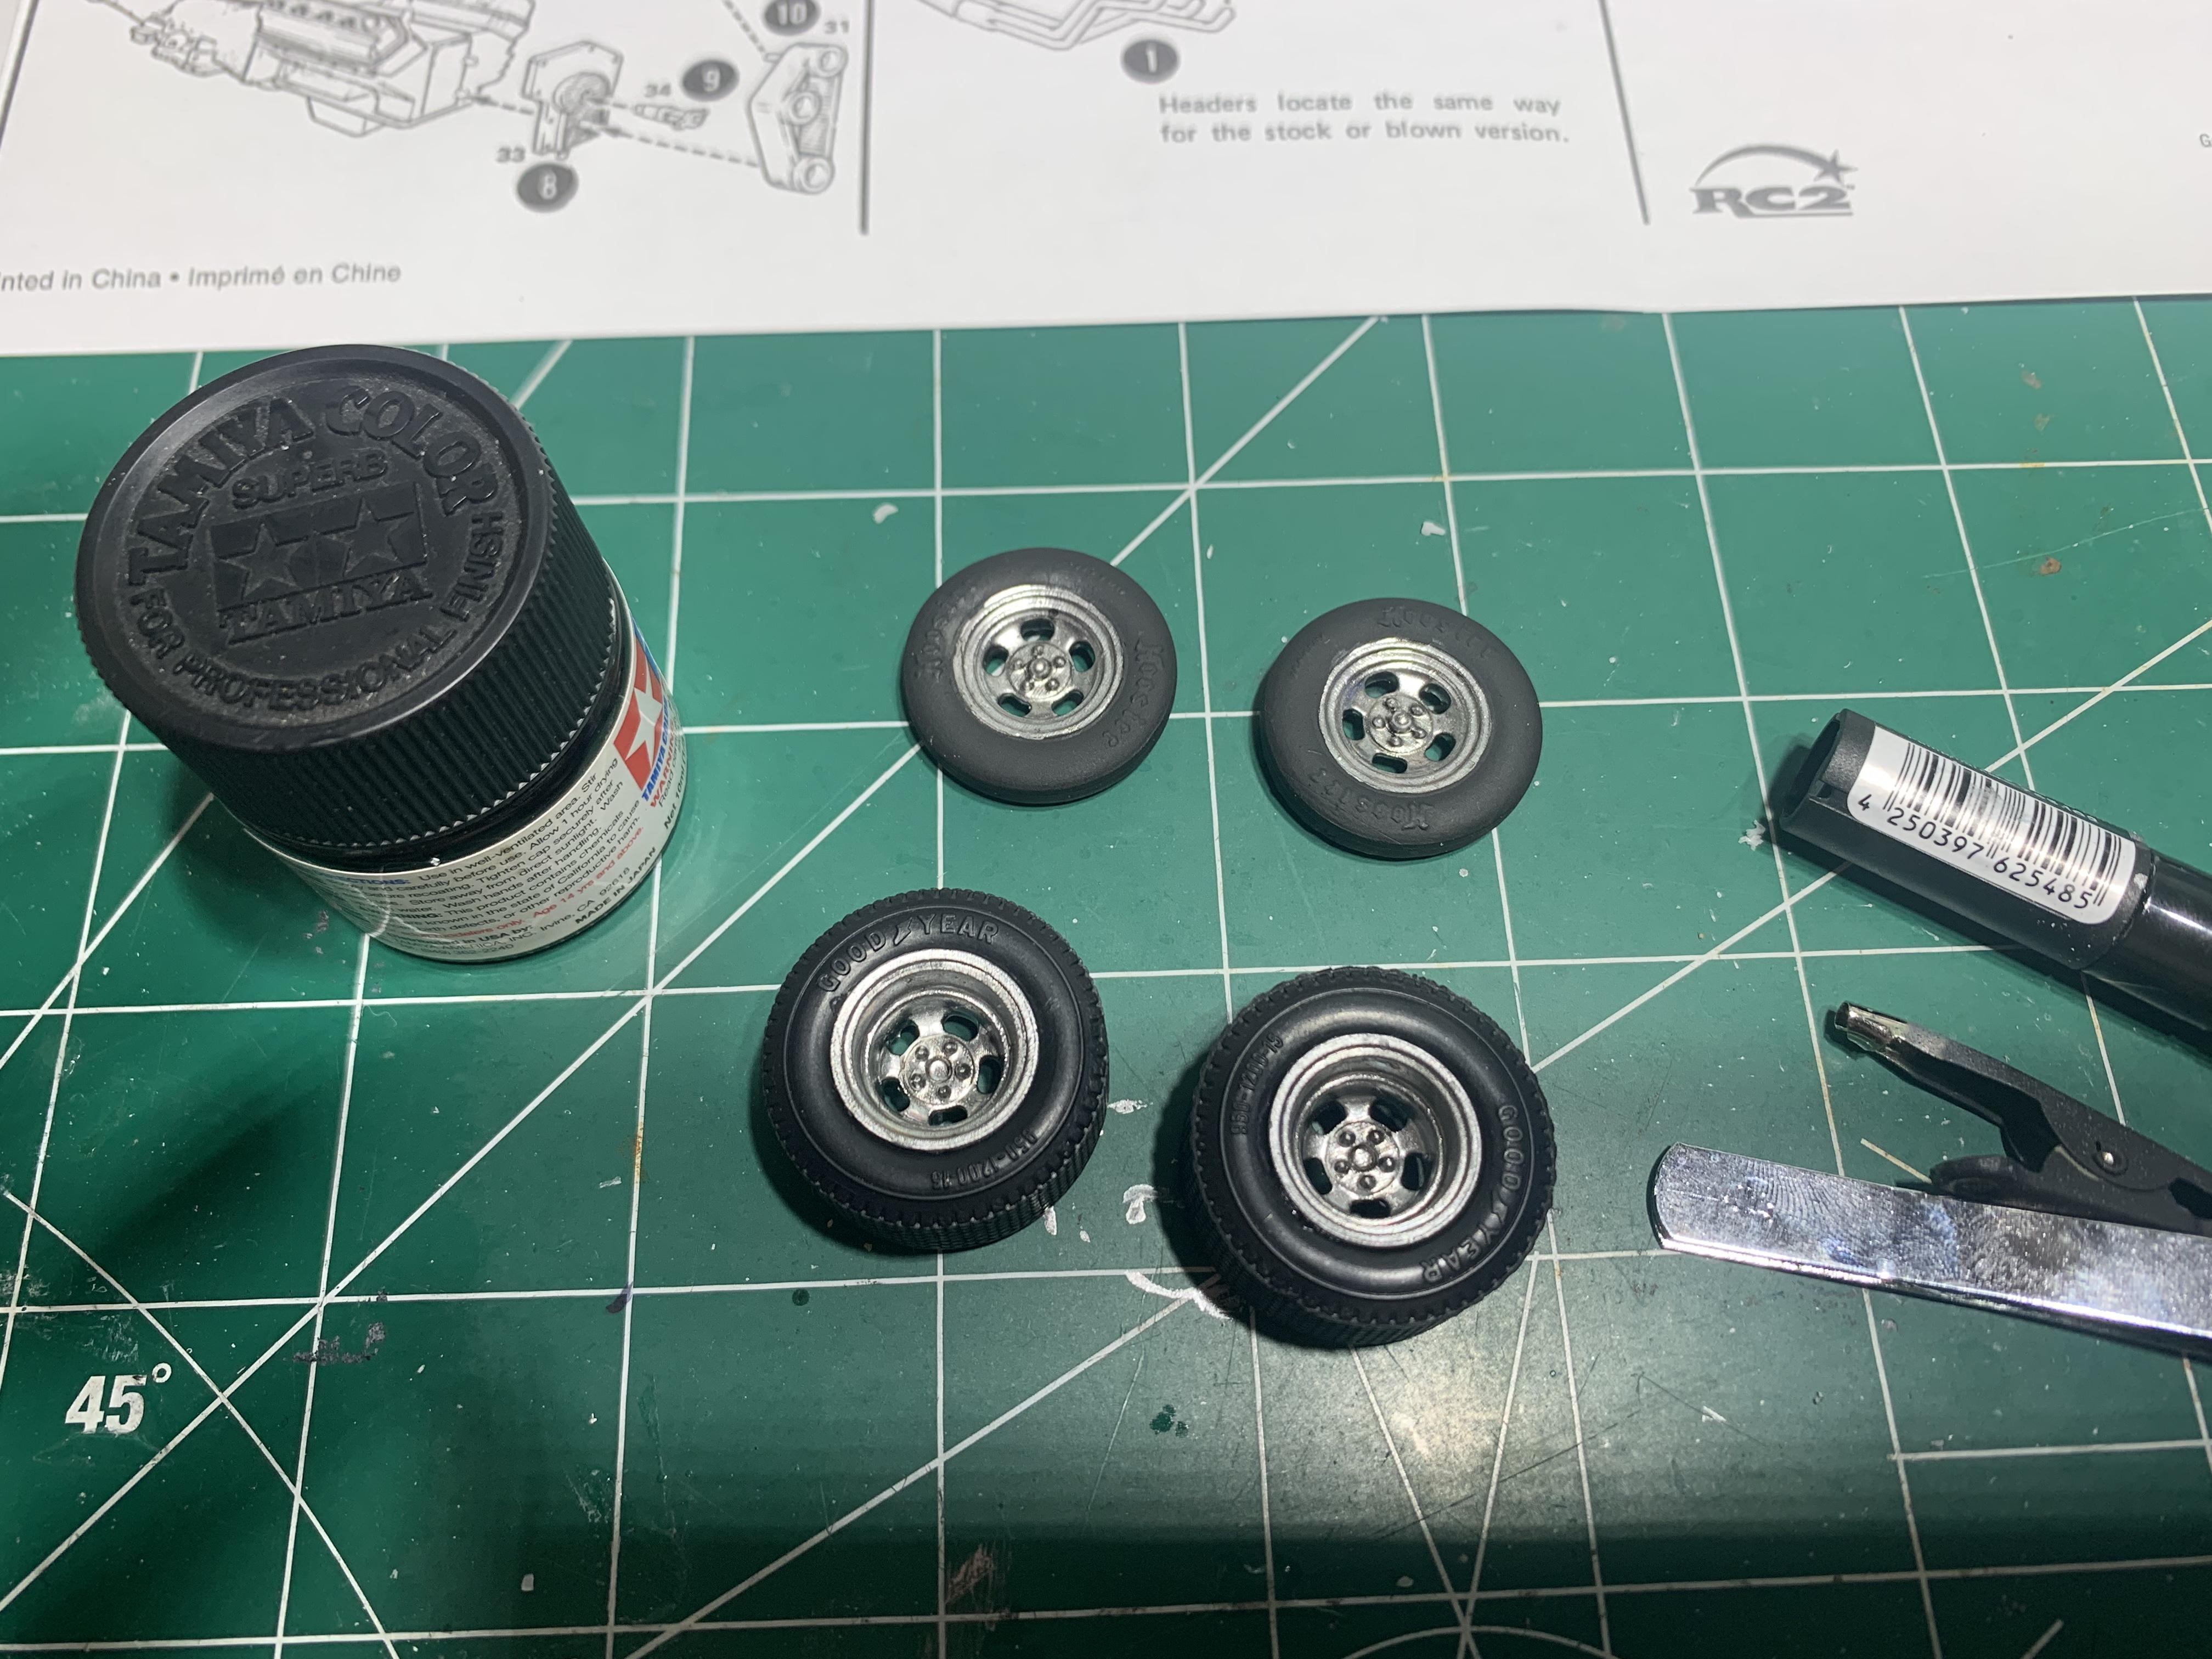
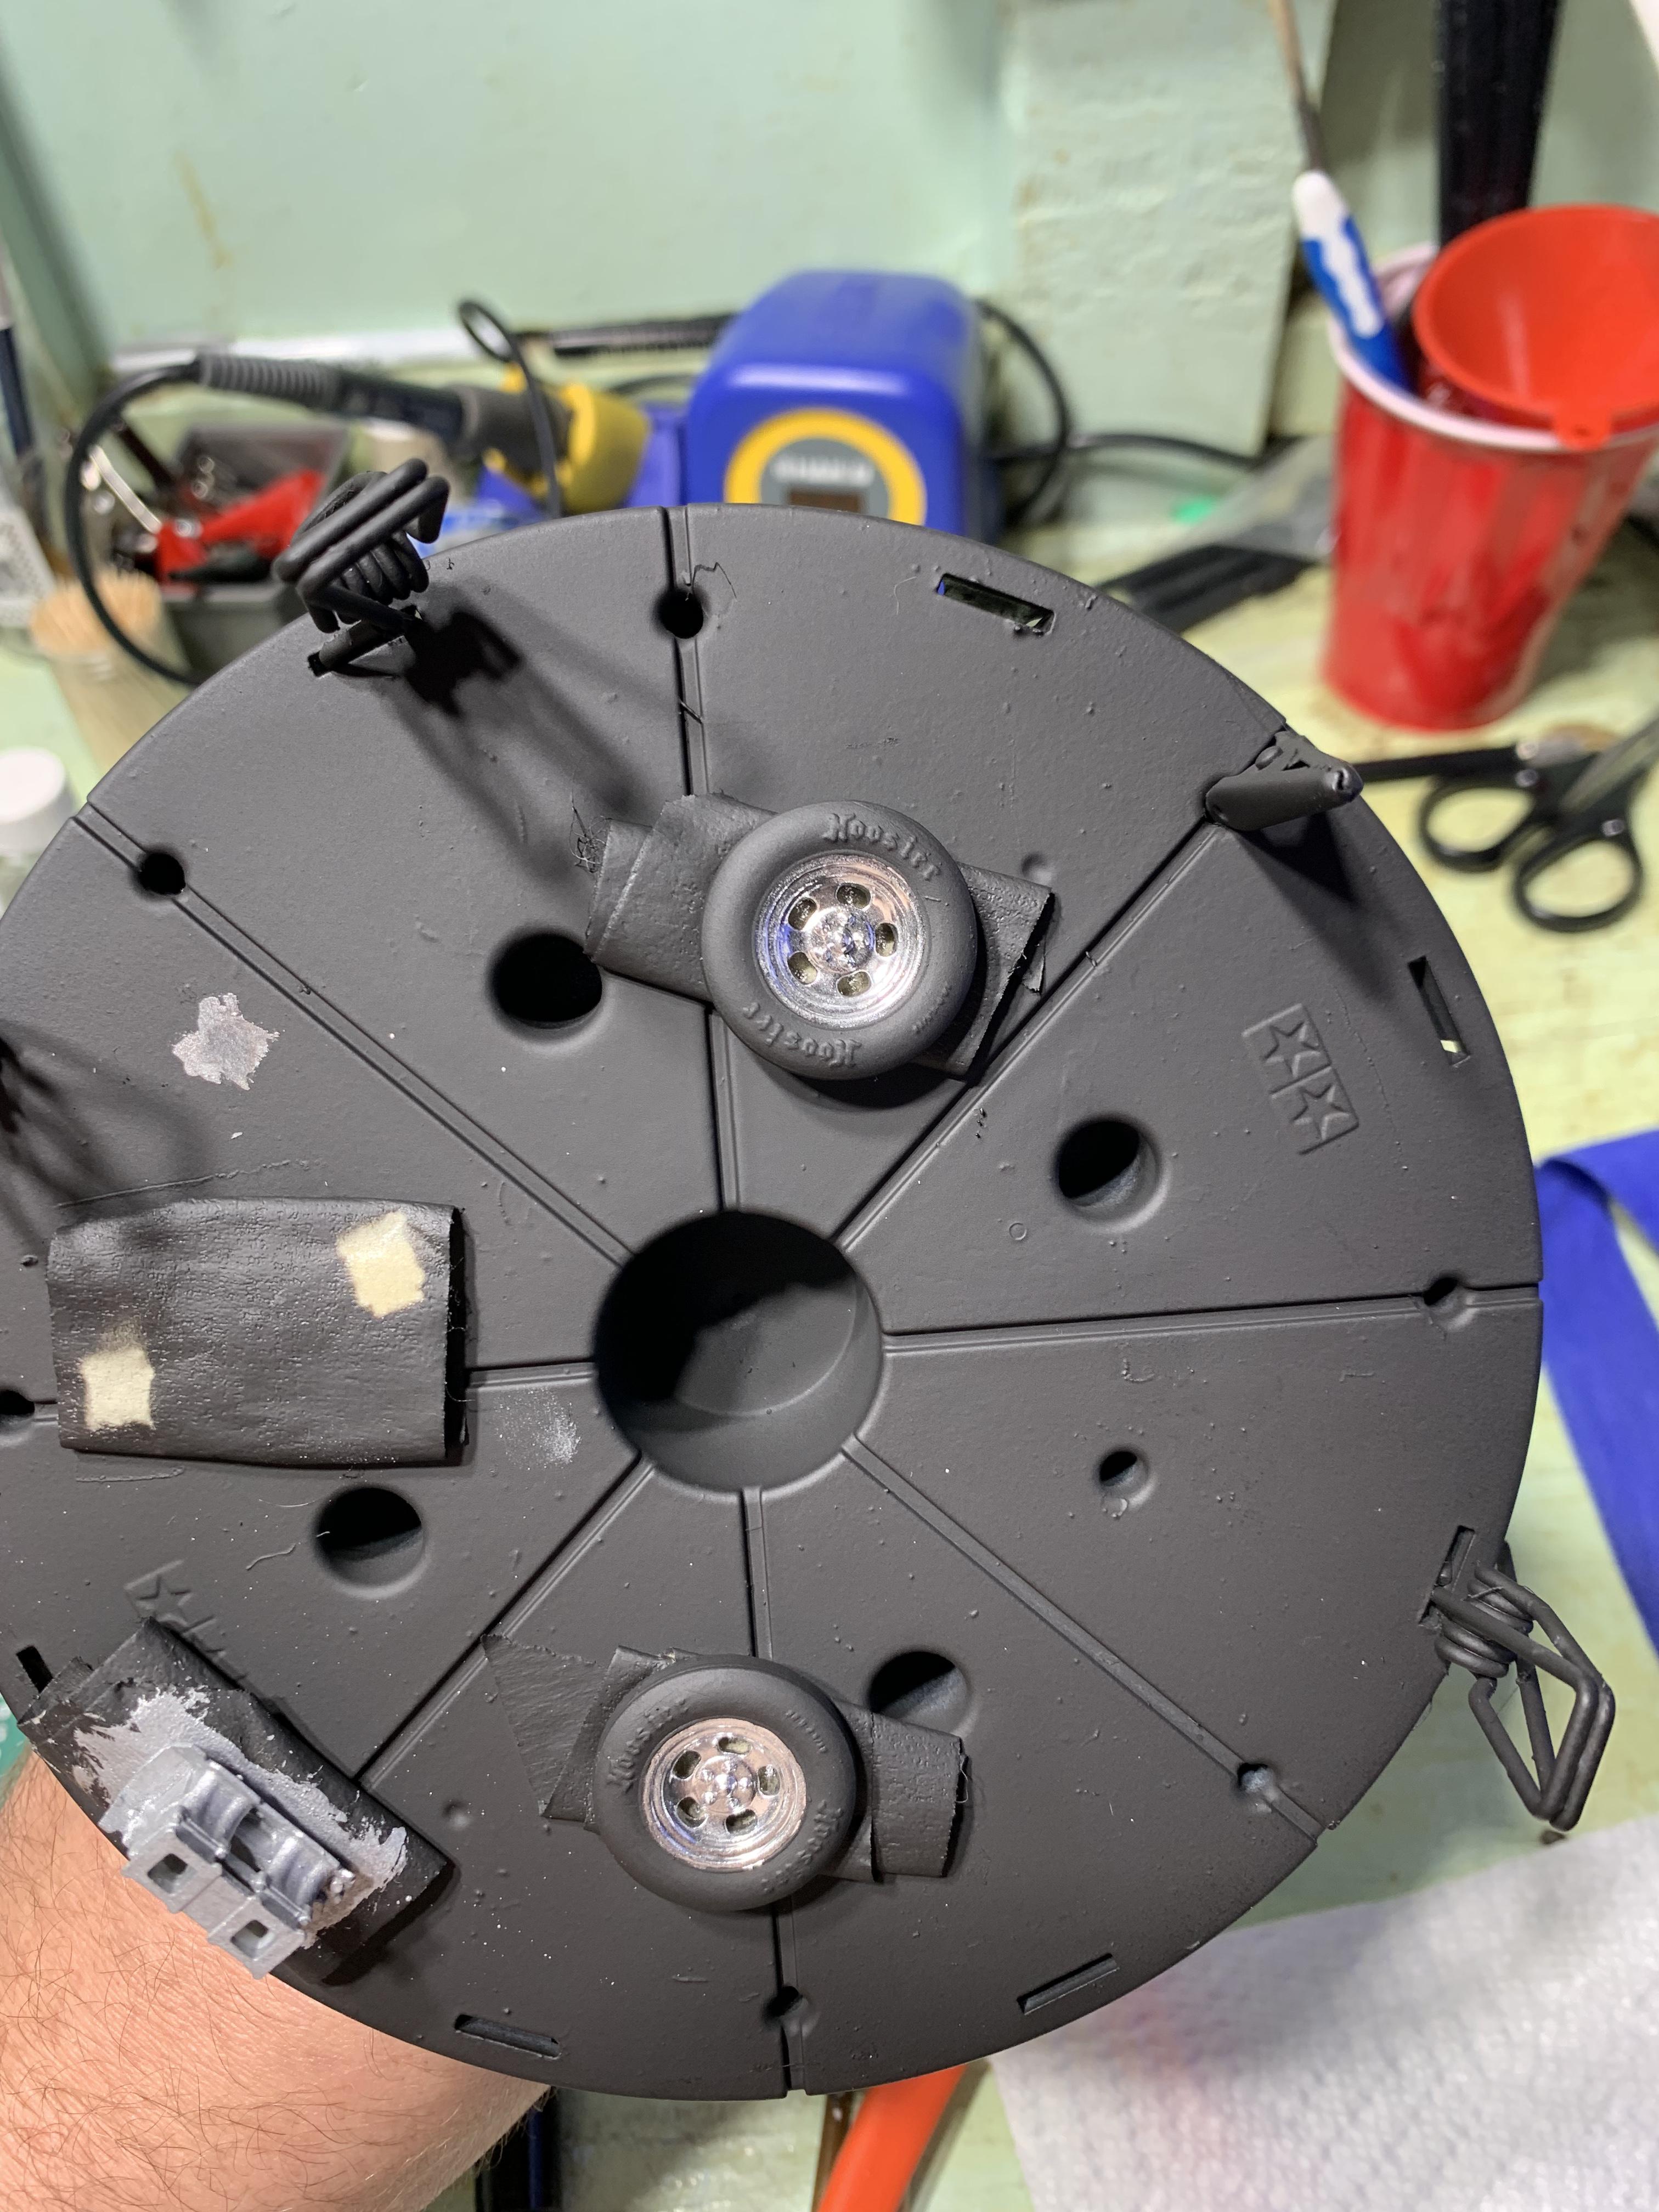
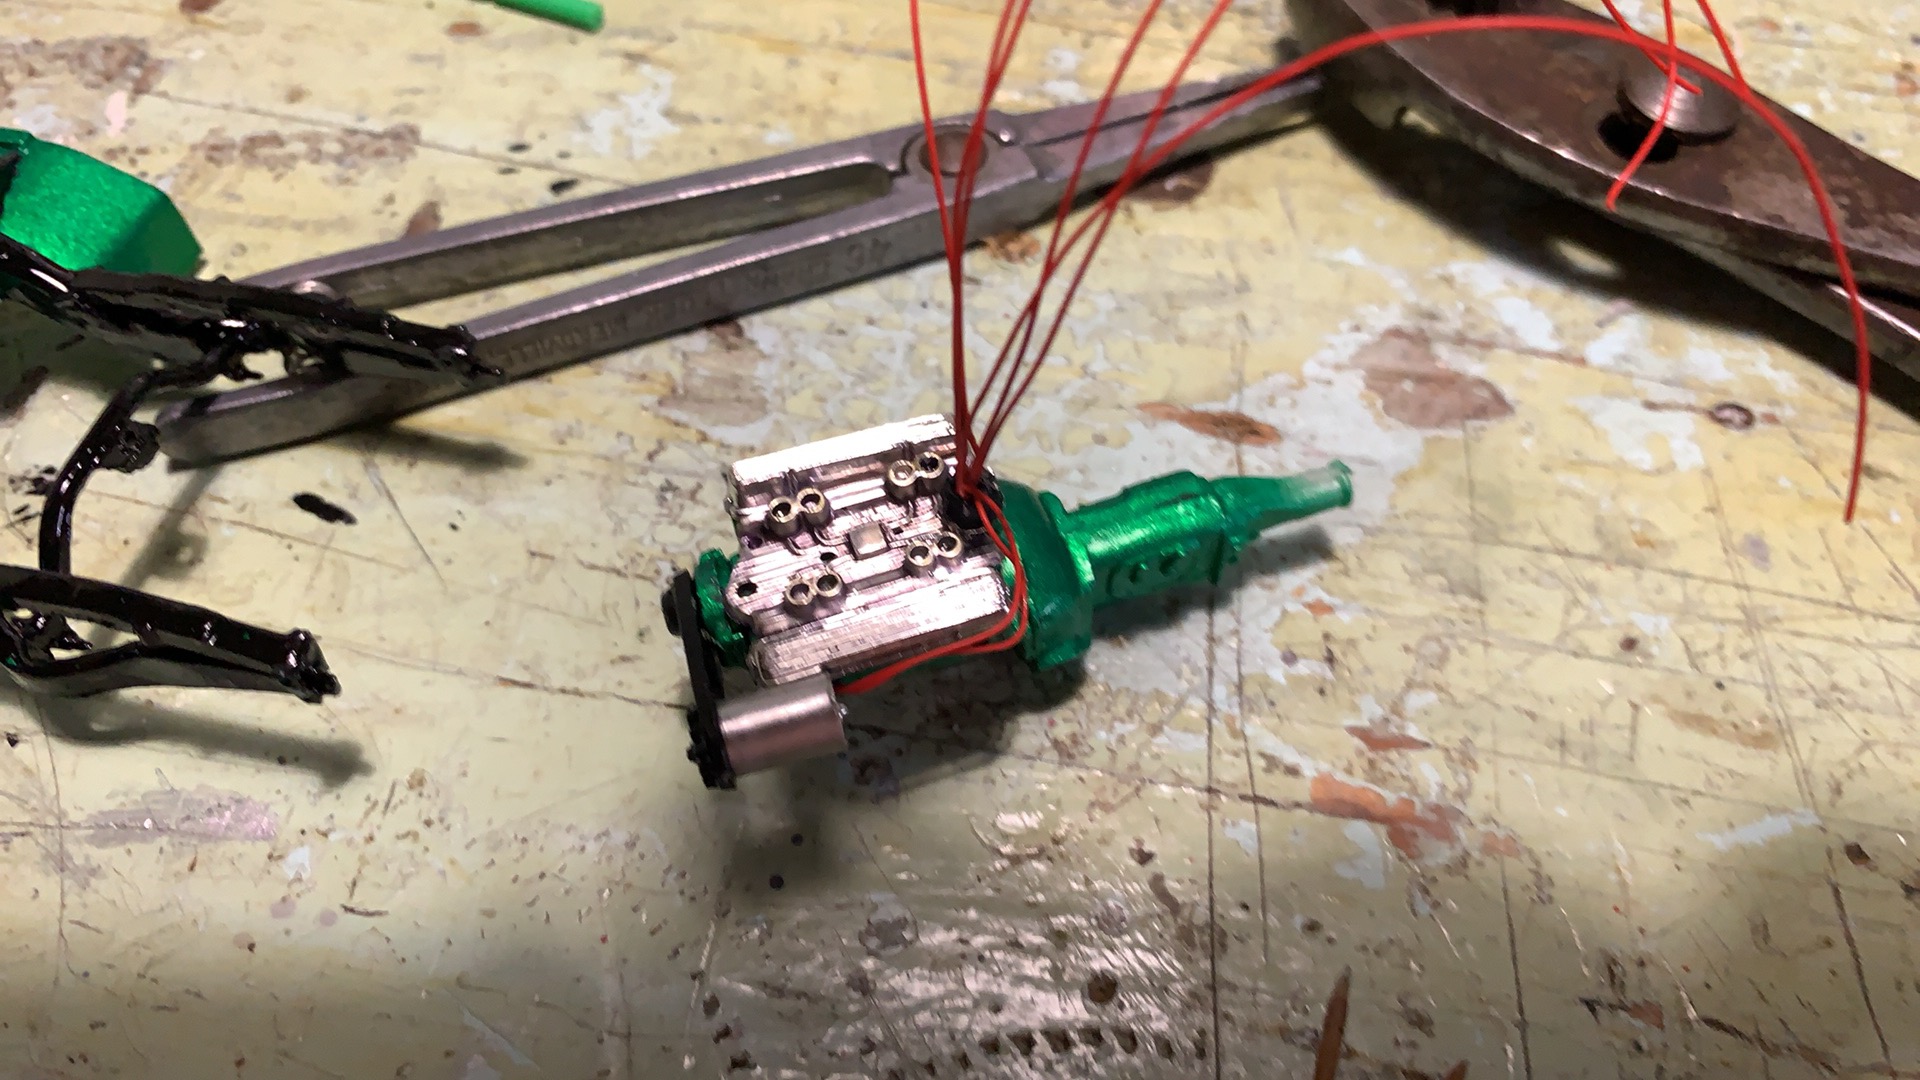
So recently i just jumped back into modeling, i was on reddit reading and what not trying to get idea on what to start working in, and came across a post from a guy wanting to downsize his collection, and wanting to help people get into the hobby, after talking with him he sent me this charger kit for free *awesome dude and much appreciated* so when i was building in the past i always built my cars the same way, perfect paint jobs and fancy builds. Which is why i think i got burnt out, i was putting to much into trying to make it perfect and just wasn’t having fun anymore so with this car i wanted to try some different things that i have never tried before, i wanted to build it as a nice car maybe some guy in the mid/late 70’s got just out of high school and dumped his money into, nice but driven look, so i wanted to do some lite weathering i also have been messing with 3D printing and just picked up a resin printer so i wanted to try to print some things up for. A lot of talking i know, but I’m getting to the pictures and building i promise lol so like i said i wanted a 70’s style street machine. the stink bug, shackled up stance, tunnel ram sticking through the hood, etc.. so i went to Ron olsens website for some stl files and pick up a tunnel ram, some Hoosier front runners, ansen wheels and then saw the predator carb files he had and said “oh yea this car needs those” So i printed those out and they came out pretty good still learning the printing process Paint turned out ok on the parts, not perfect but it will work, i have painted the filter elements since i took these pictures, Molotov chrome on the wheels and carb body Aluminum on the air cleaners and just primer for the front runner tires
-
 ive had great results with testors extreme lacquer wet look clear
 -
BB Mopar single carb intake.
DannyDodge replied to Brutalform's topic in Car Aftermarket / Resin / 3D Printed
ron olsen has what you need, but his website is down untill November apparently, you might be able to get it on his shapeways store, ive never looked on there tho. -
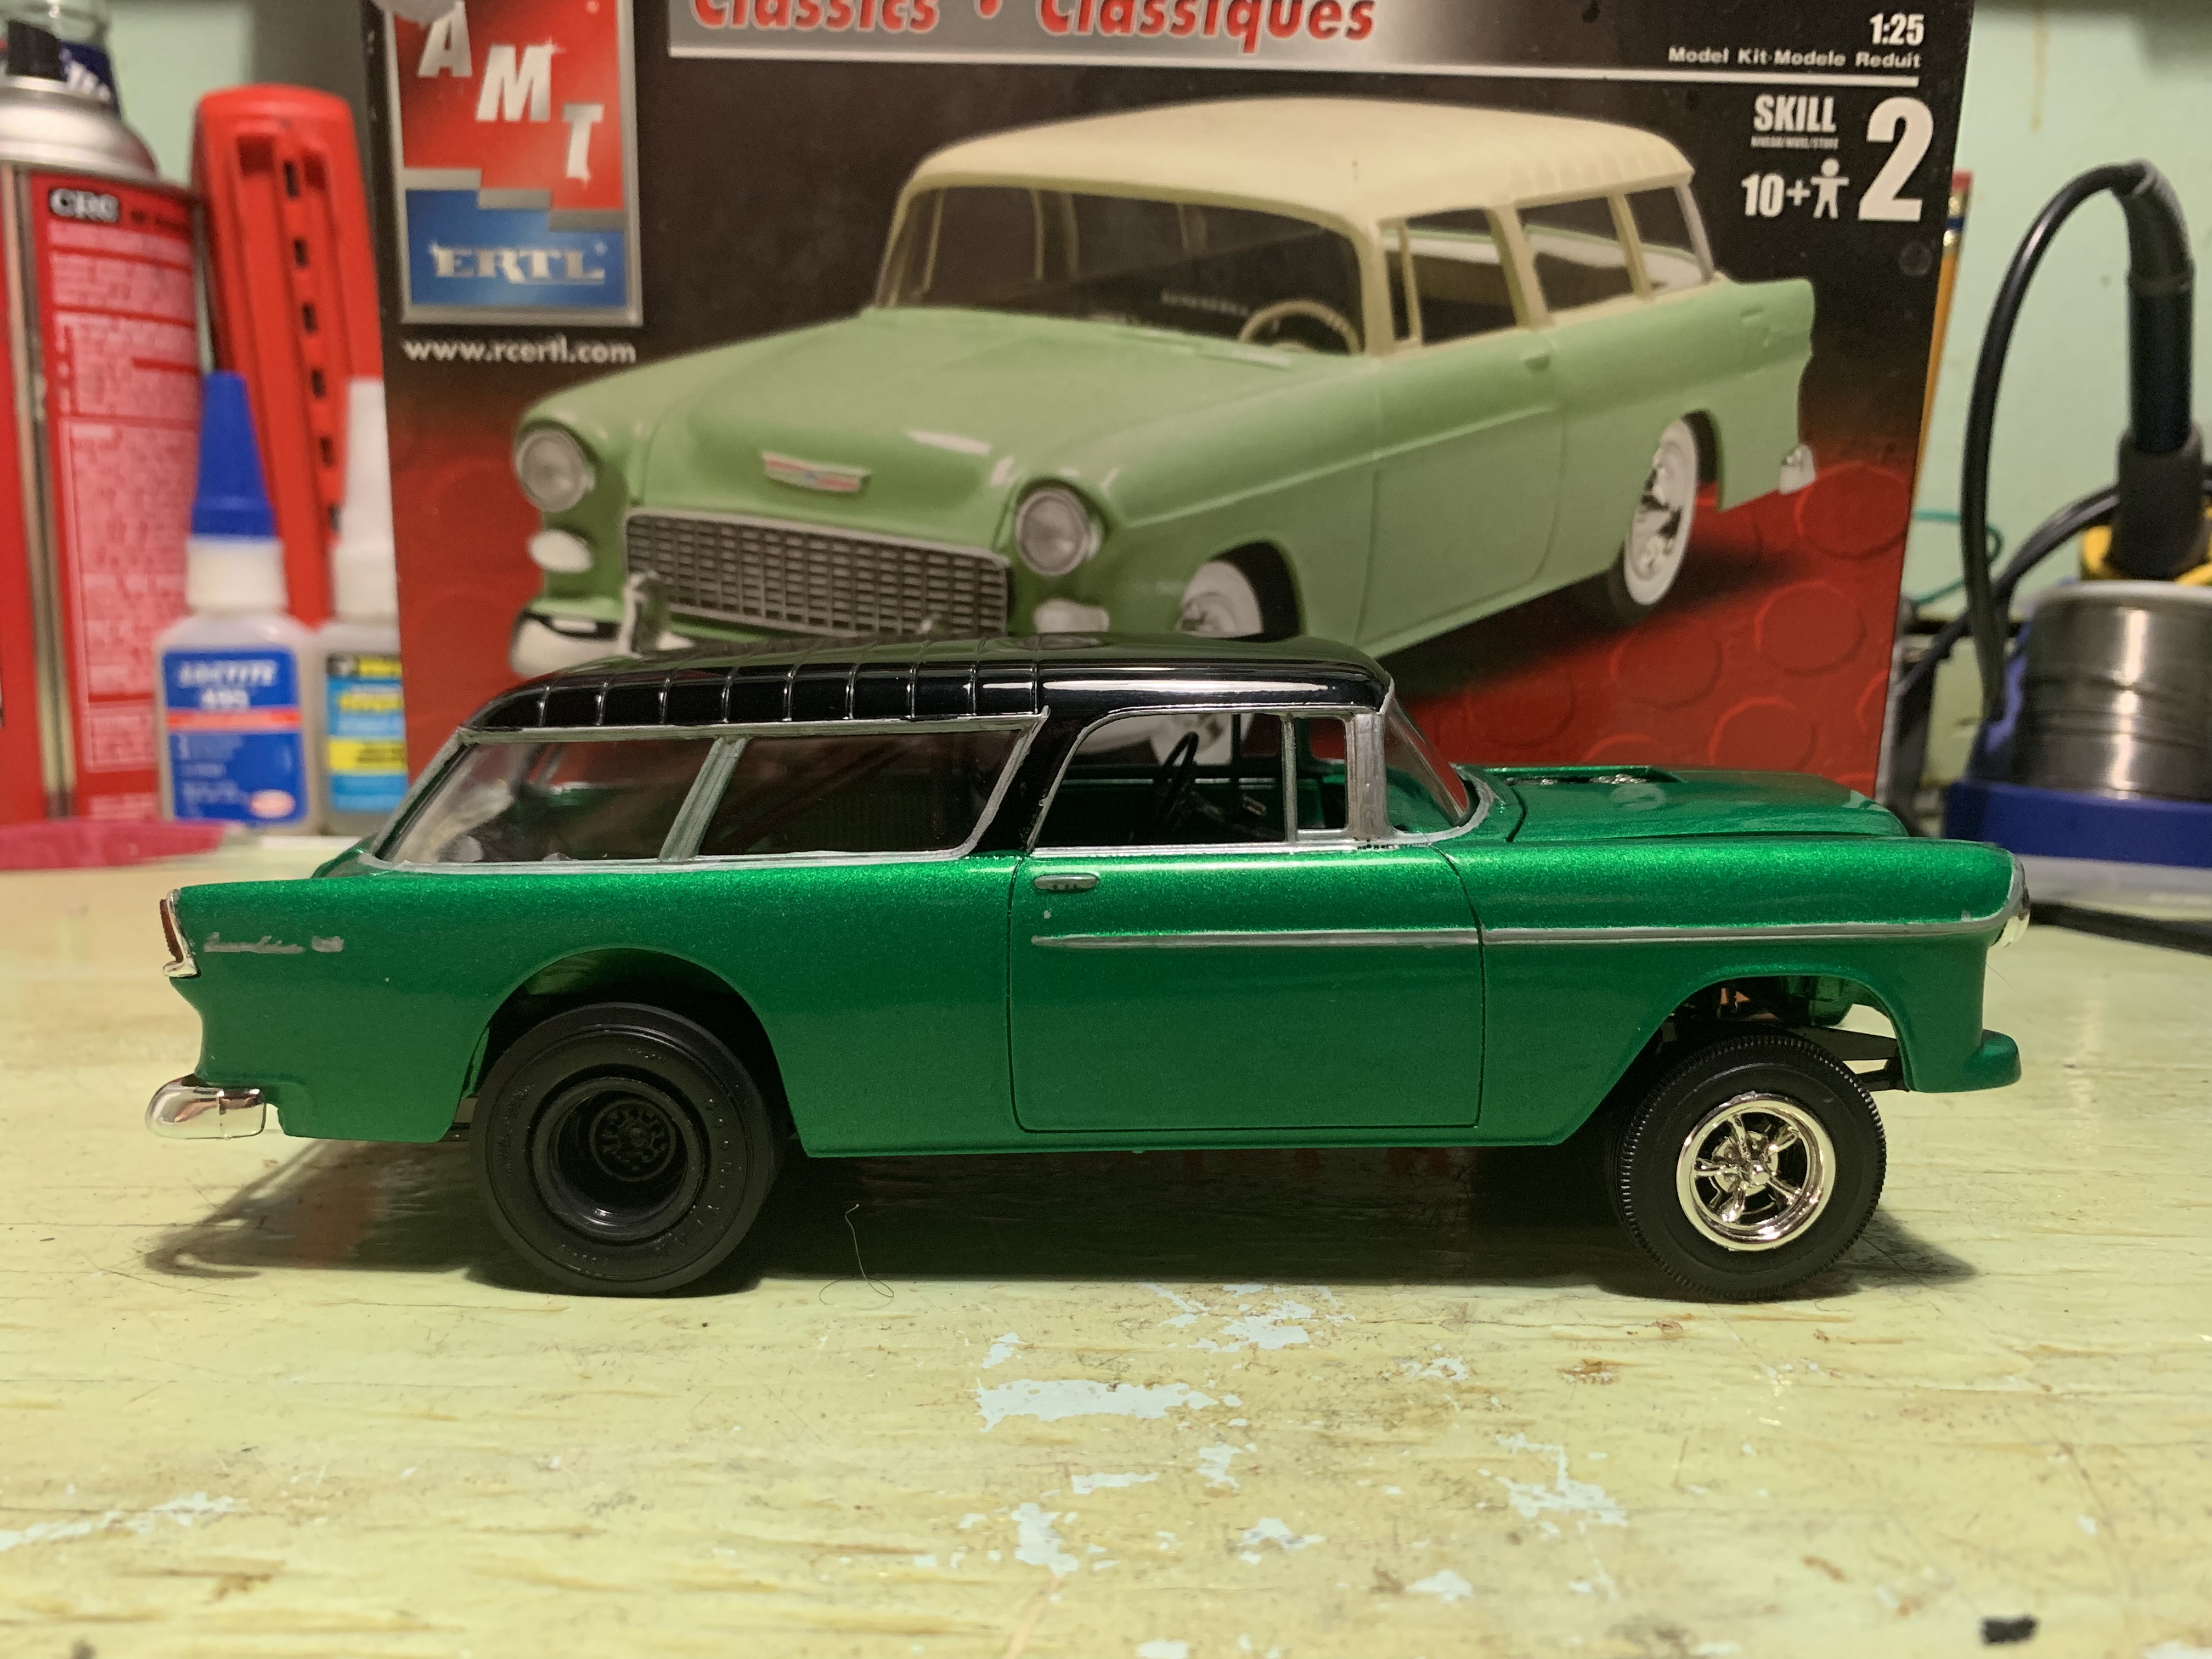
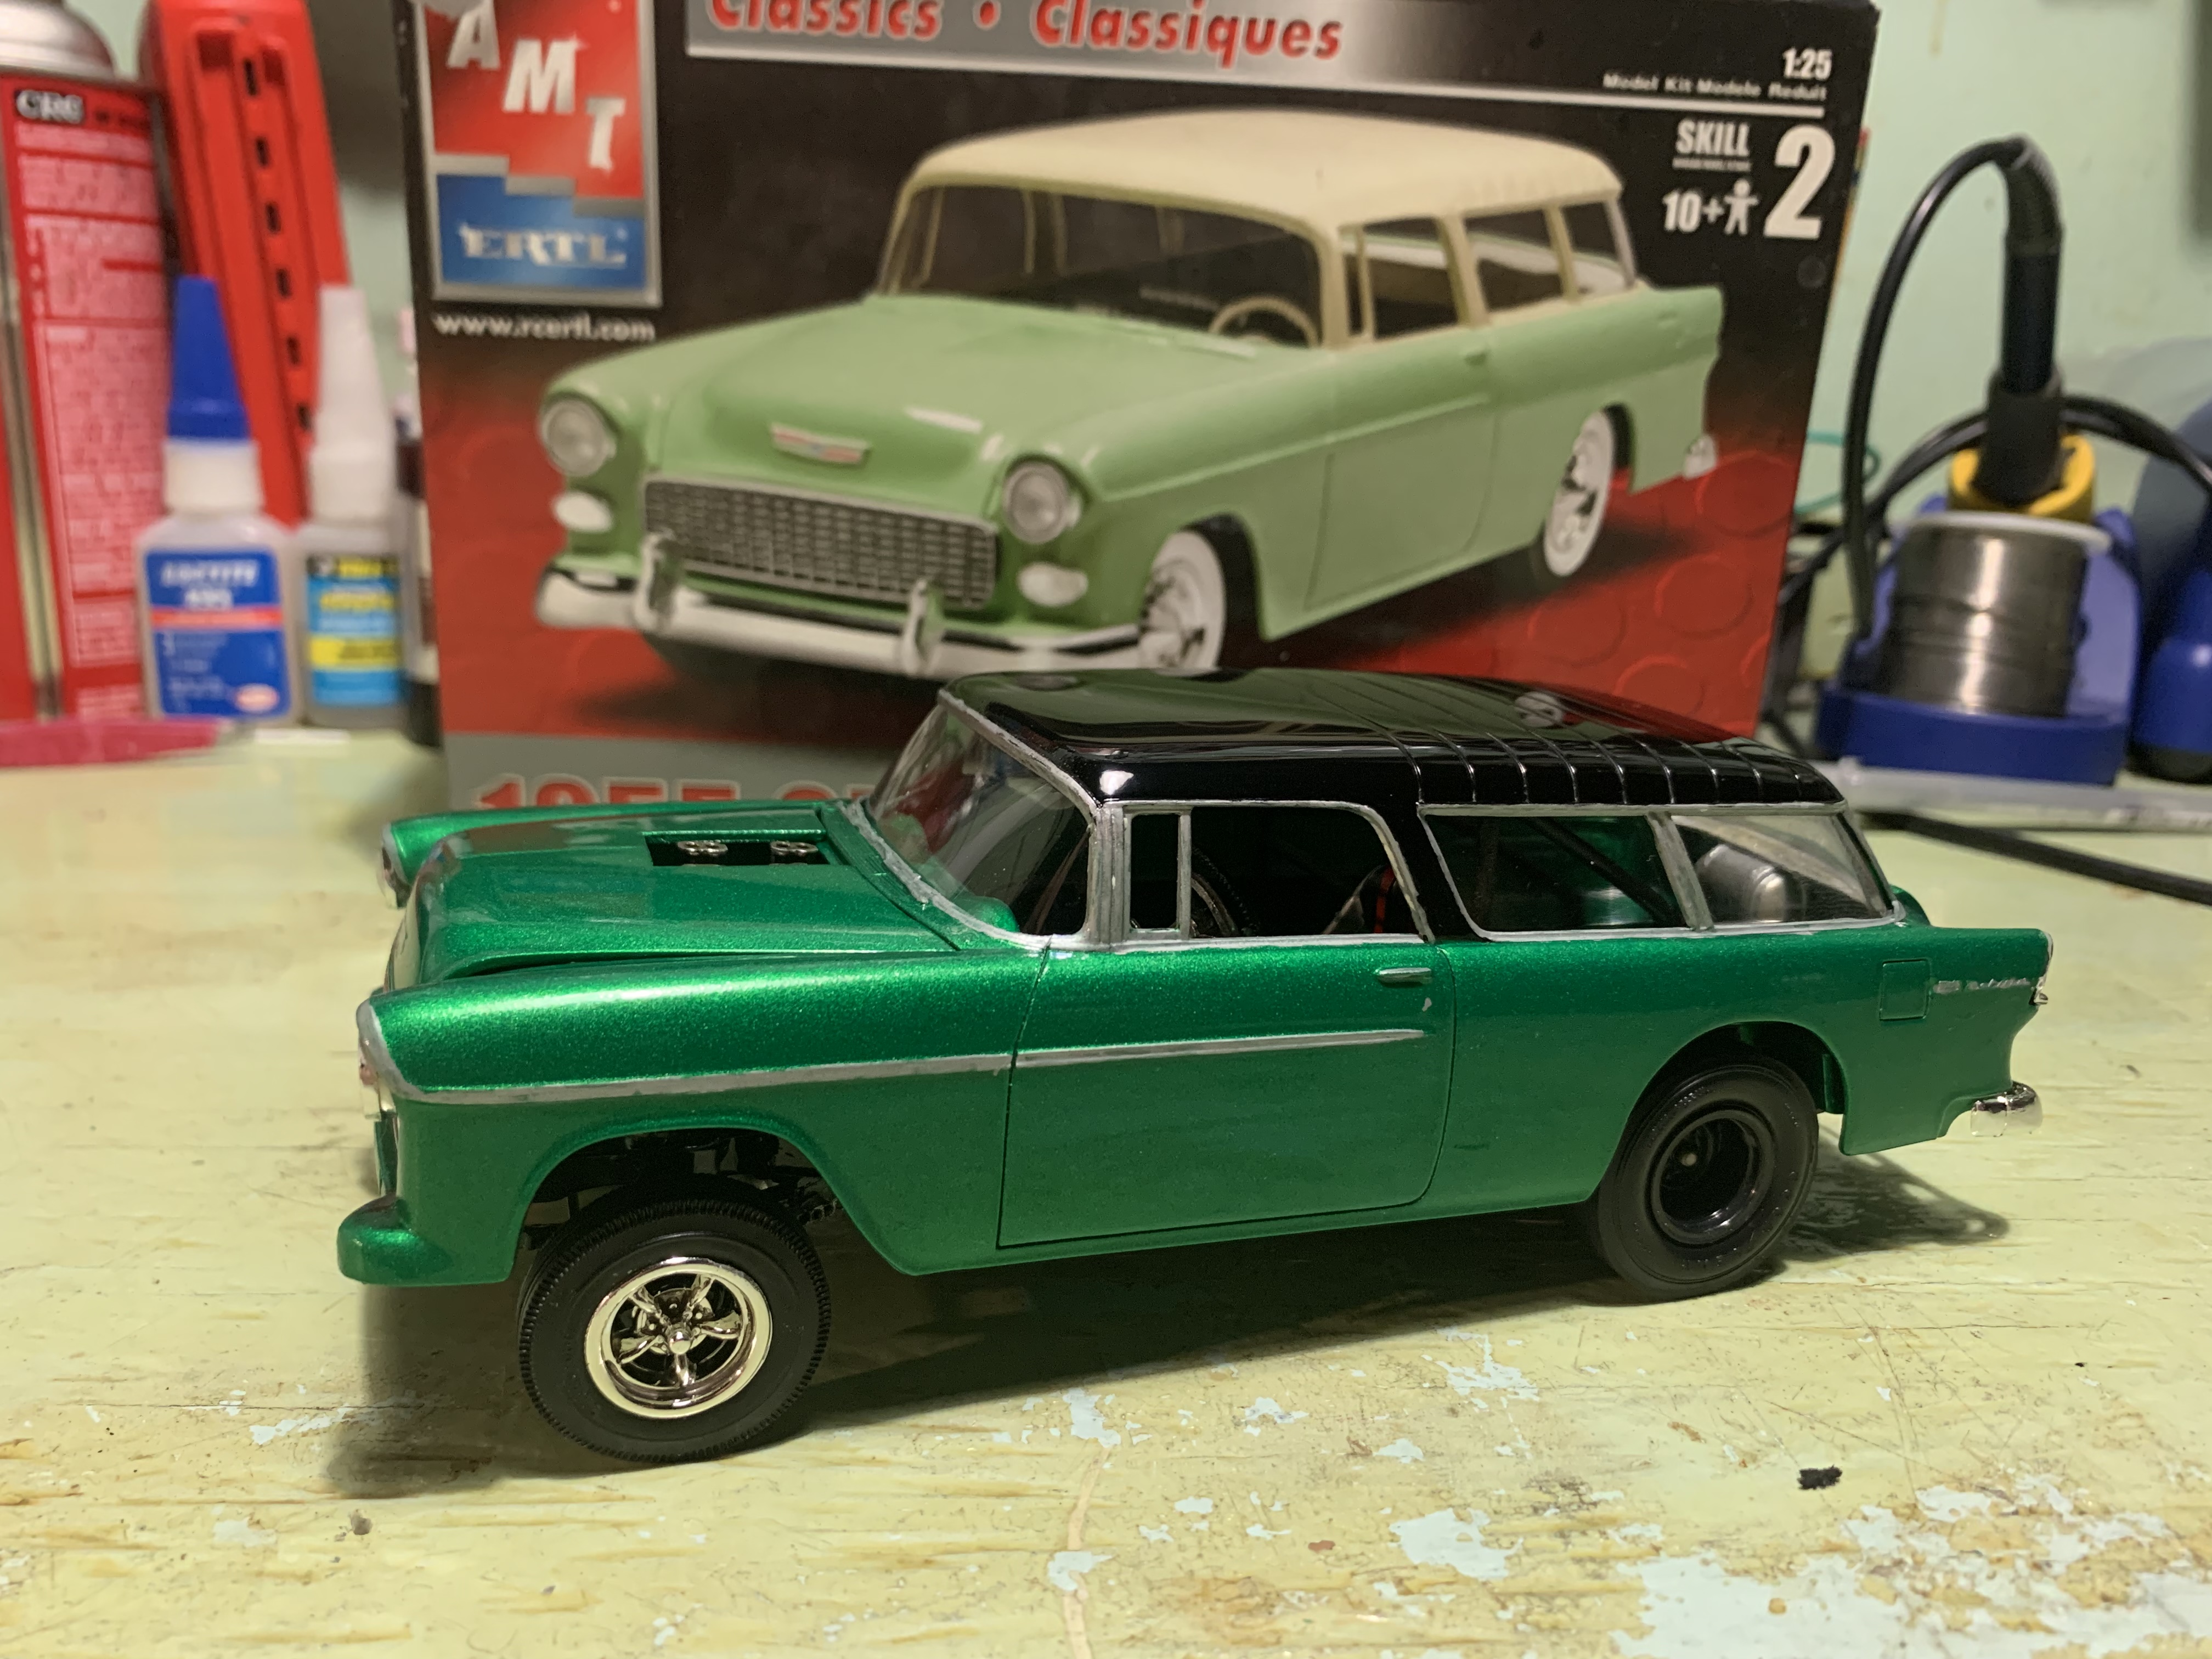
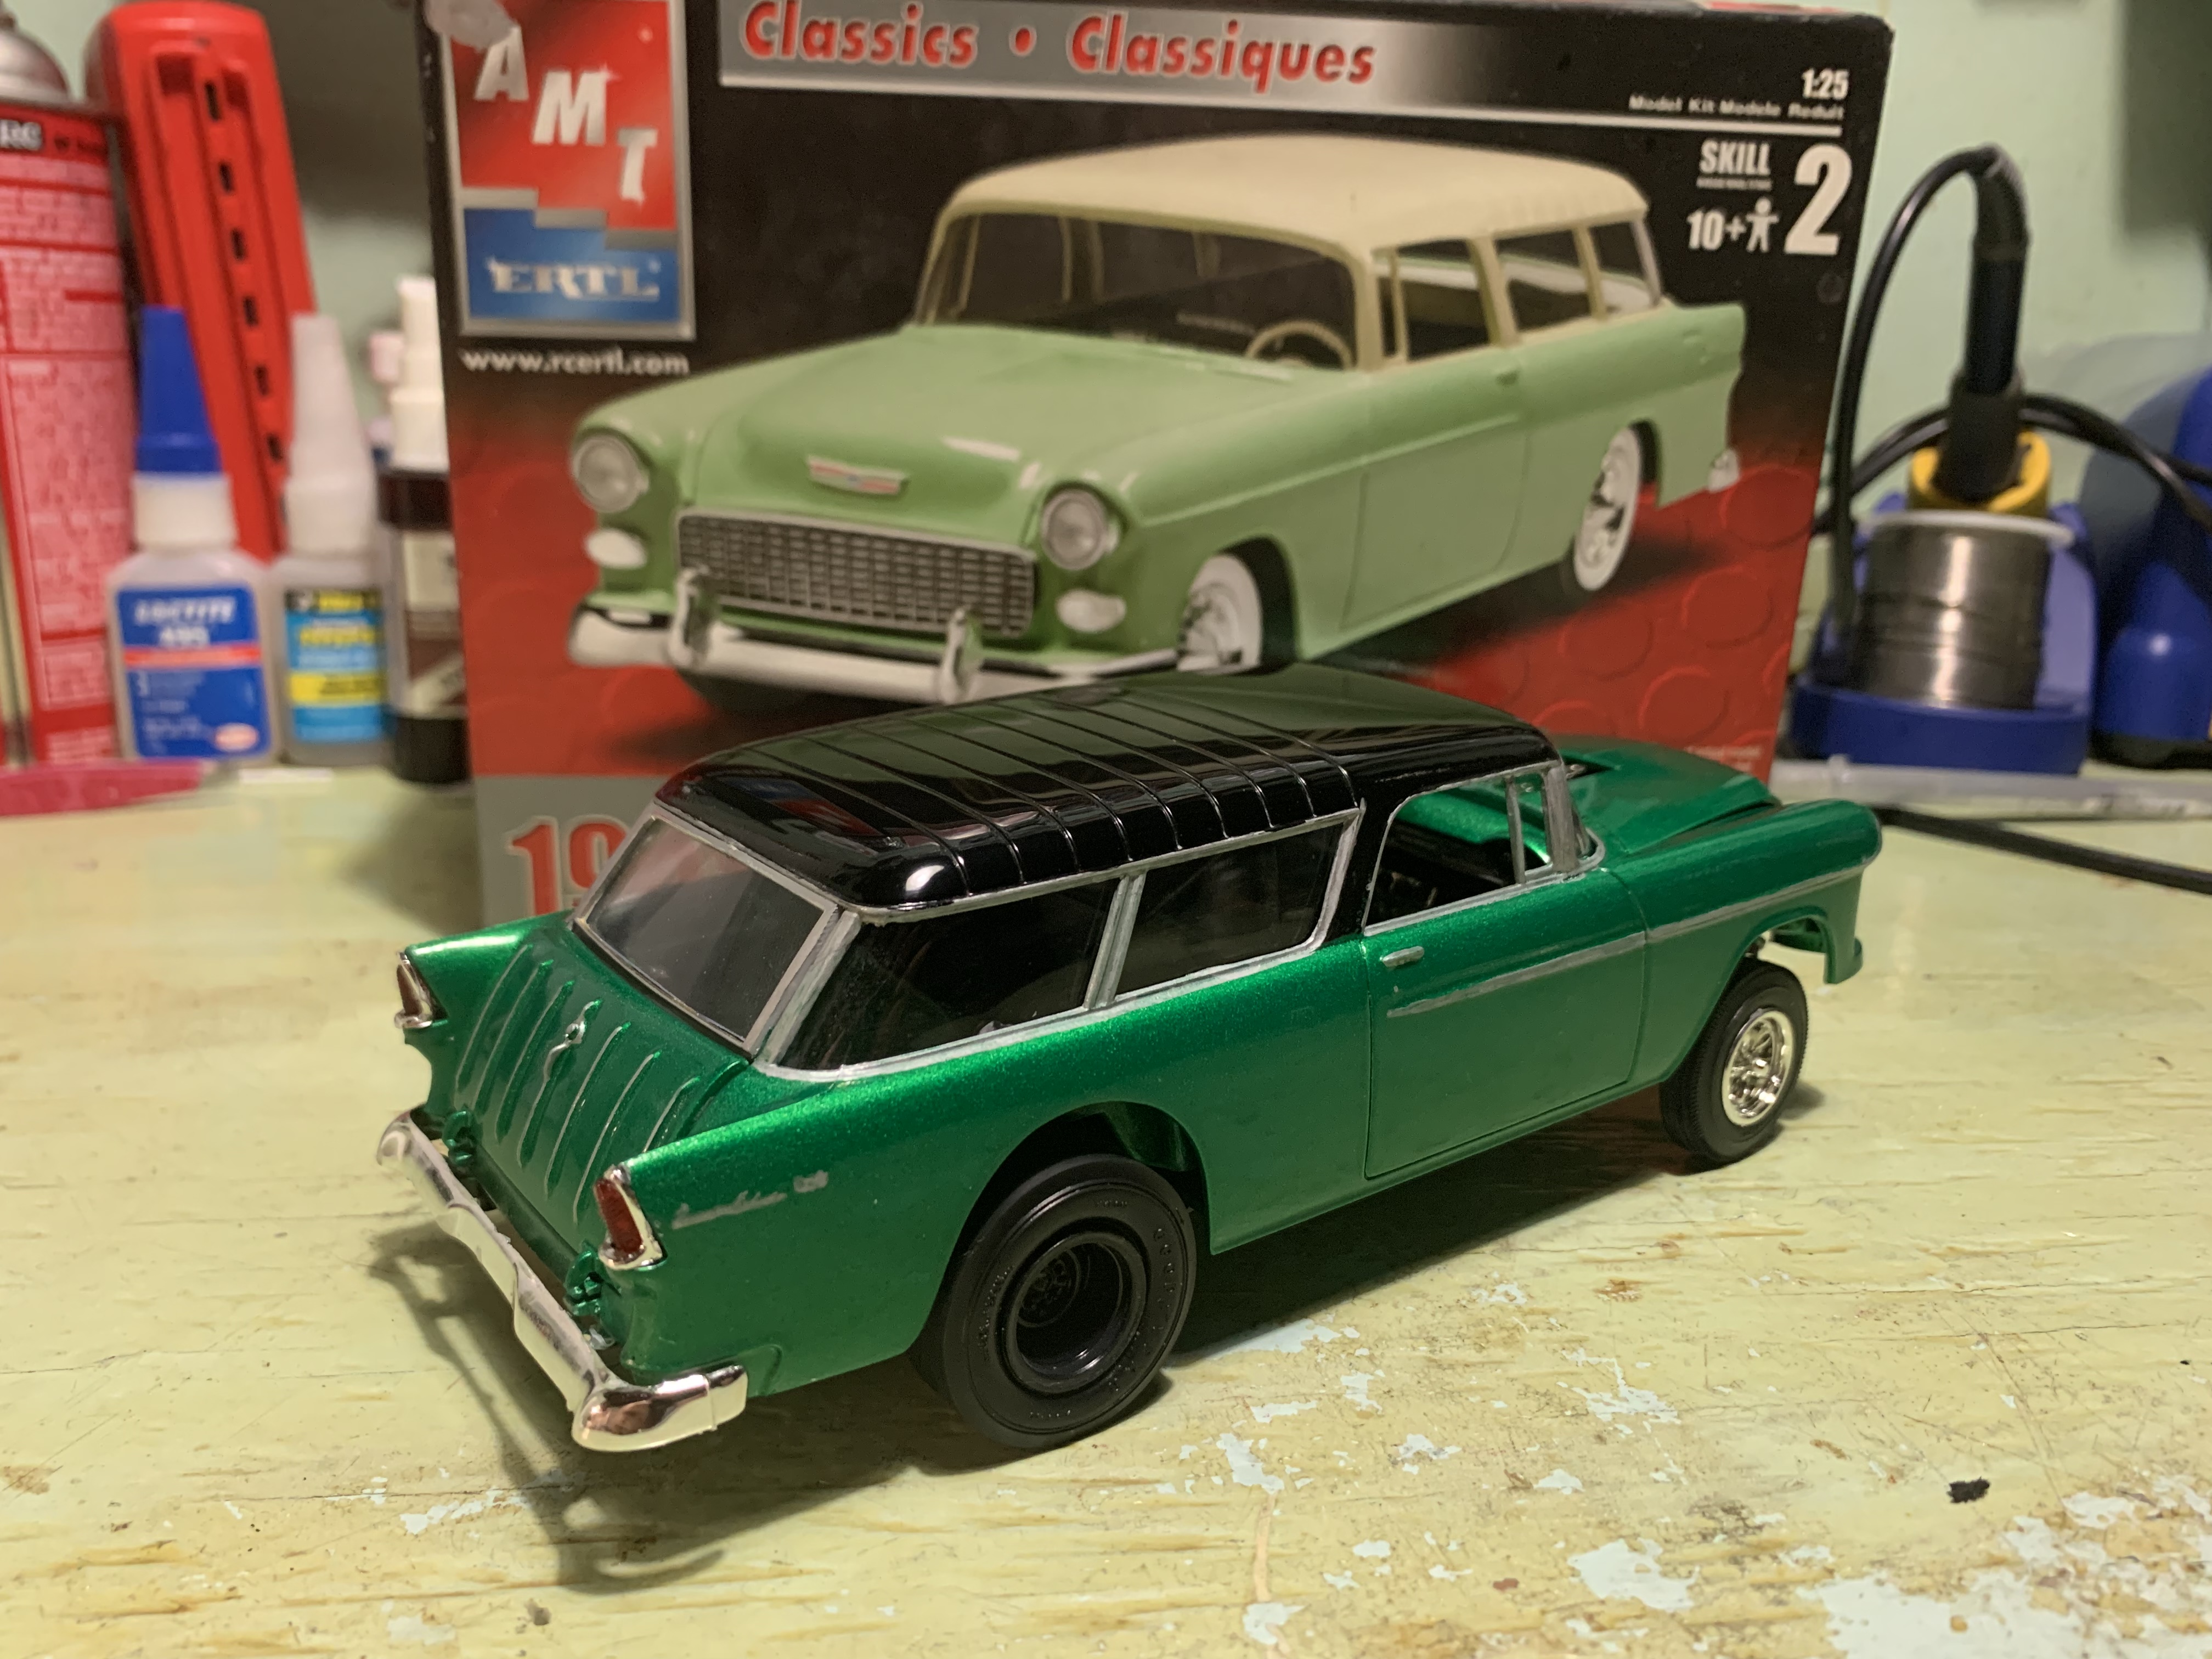
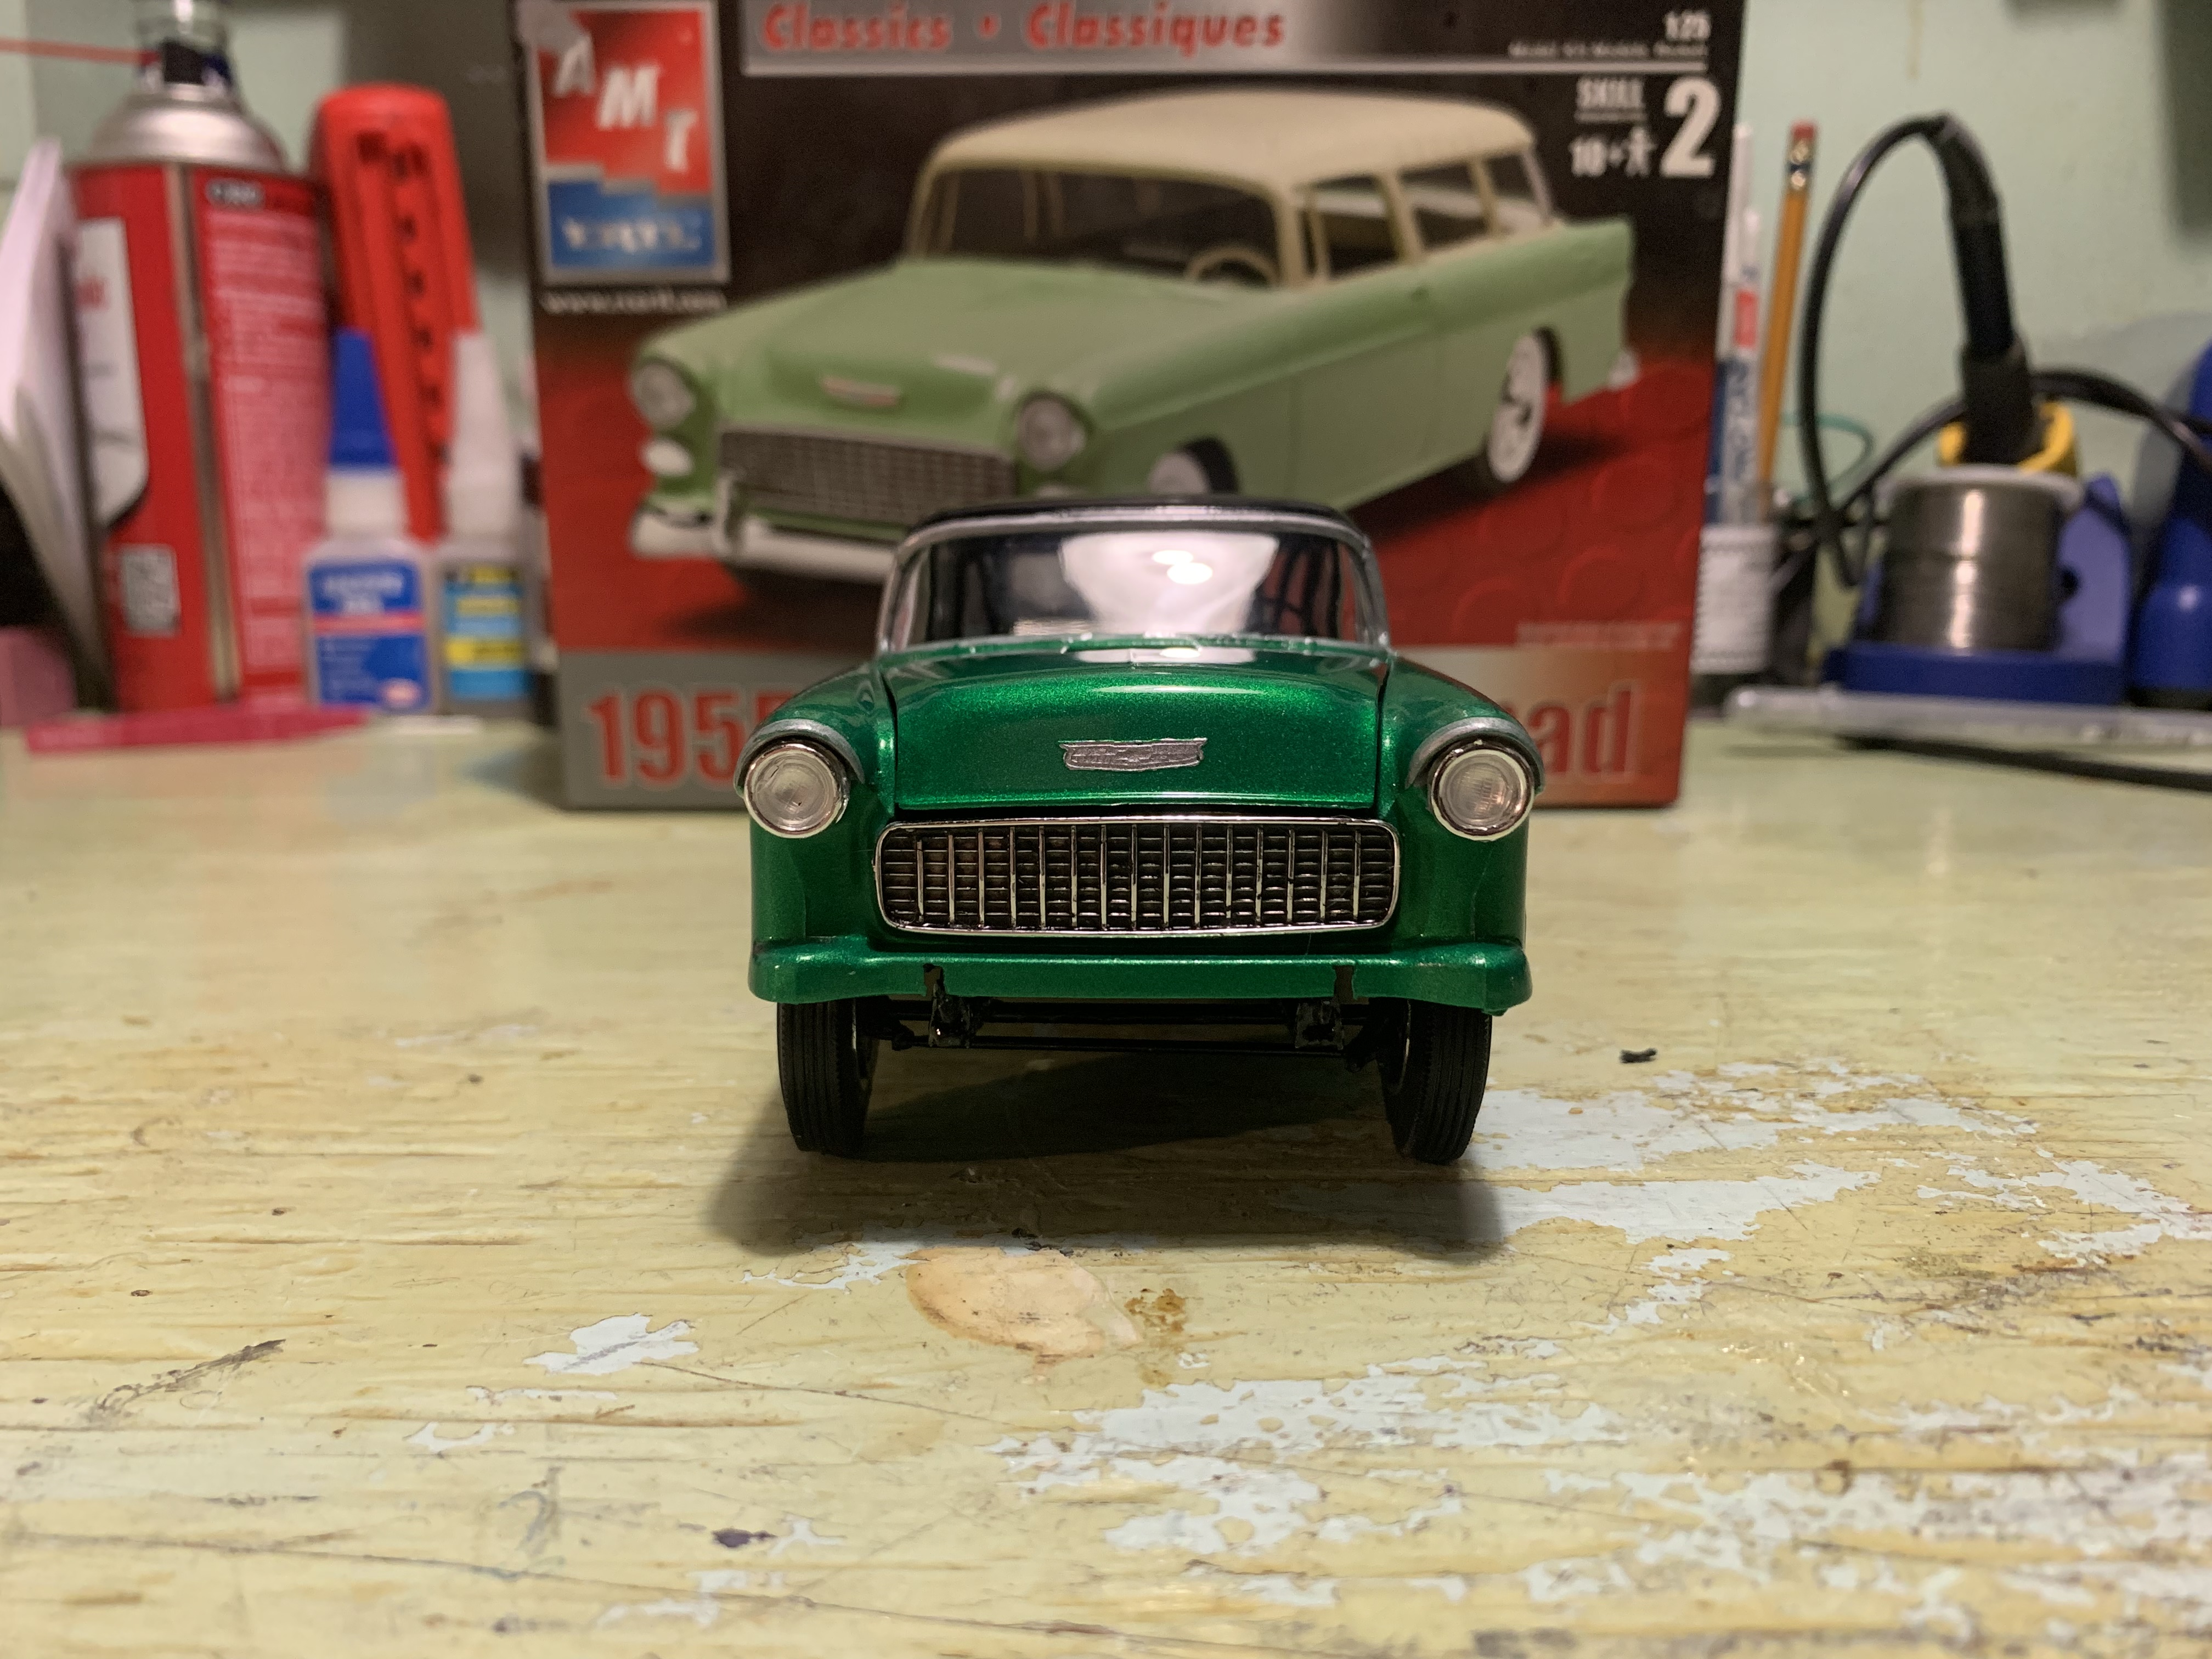
Well i finished it up over the weekend, i finished the body in test or emerald green lacquer/duplicolor black. i wanted to try something new with the chrome trim, i used to use bare metal foil, but the local hobby shop was out and I’ve read the quality has declined dramatically, didn’t like how the Molotov pens flowed so i didn’t use that, ended up using metallic silver sharpie and a sharpie metallic silver gel on which turned out better than i thought it would. once that was all done i buried it under testors lacquer clear, it looked really good but the roof was peely, so i took the time and wet sanded and hand polished it out. did a quick wash on the grill and glued that in with the tail lights and rear bumper, the rear window had some weird flaw in it from when it was made, in the corner it looked like there was a air bubble in the plastic, so i threw it out and made a new one from some clear plastic stock, doing so lost the ability to open the rear glass but i was fine with that. slapped it altogether and the pictures below so the finished product, Not the best in the world but I’m pretty happy with the result, not bad for my first mode back after a 10 year hiatus, I’m gonna grab some nicer pictures and post it up in the finished build section of the forum. Thanks for looking guys and all the nice words of encouragement!
-
oh no not at all, as far as the roll bar a early style gasser would have less "points" like a 3 point, loop around the drive with only one downward support, if any.
-
that style of roll bar wouldn't of been used in a old style gasser either, i did have a matching passenger seat painted up, but decided not to use it. i guess this can be considered more of a modern style gasser recreation.
-
ya forgot to add, i set back the driver location, tho I did not make new pedals, we will pretend he's just really tall
-
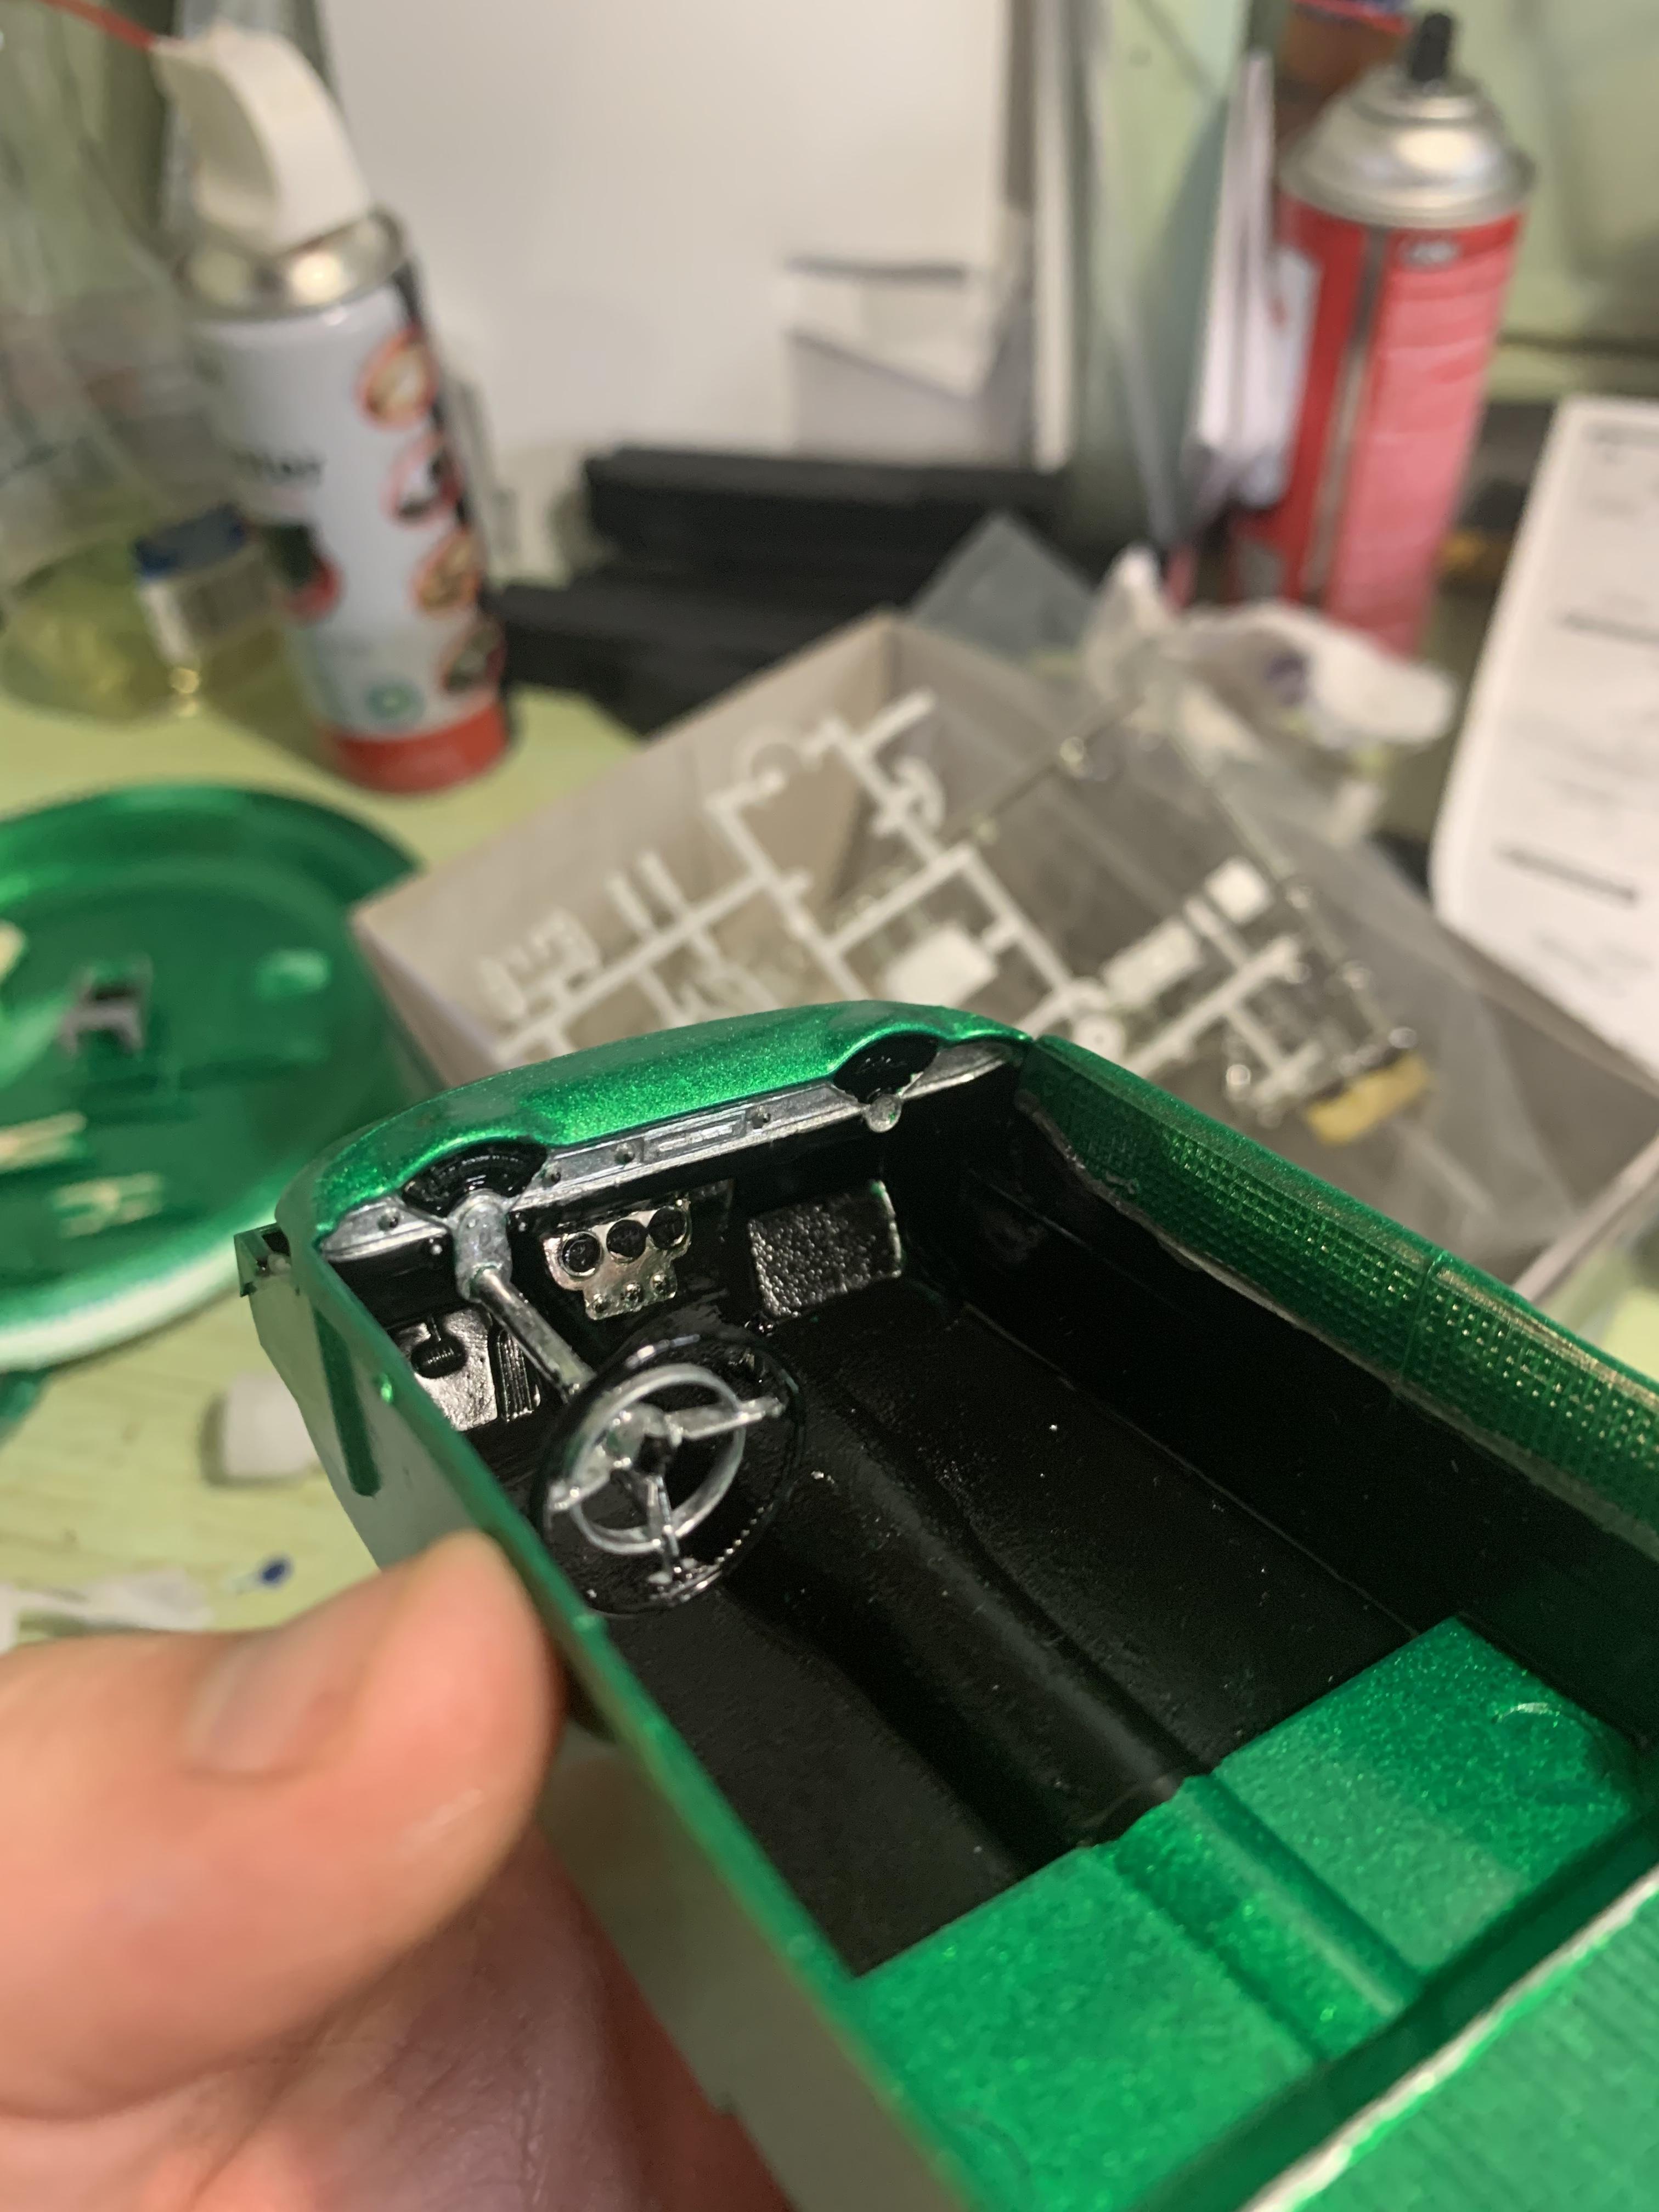
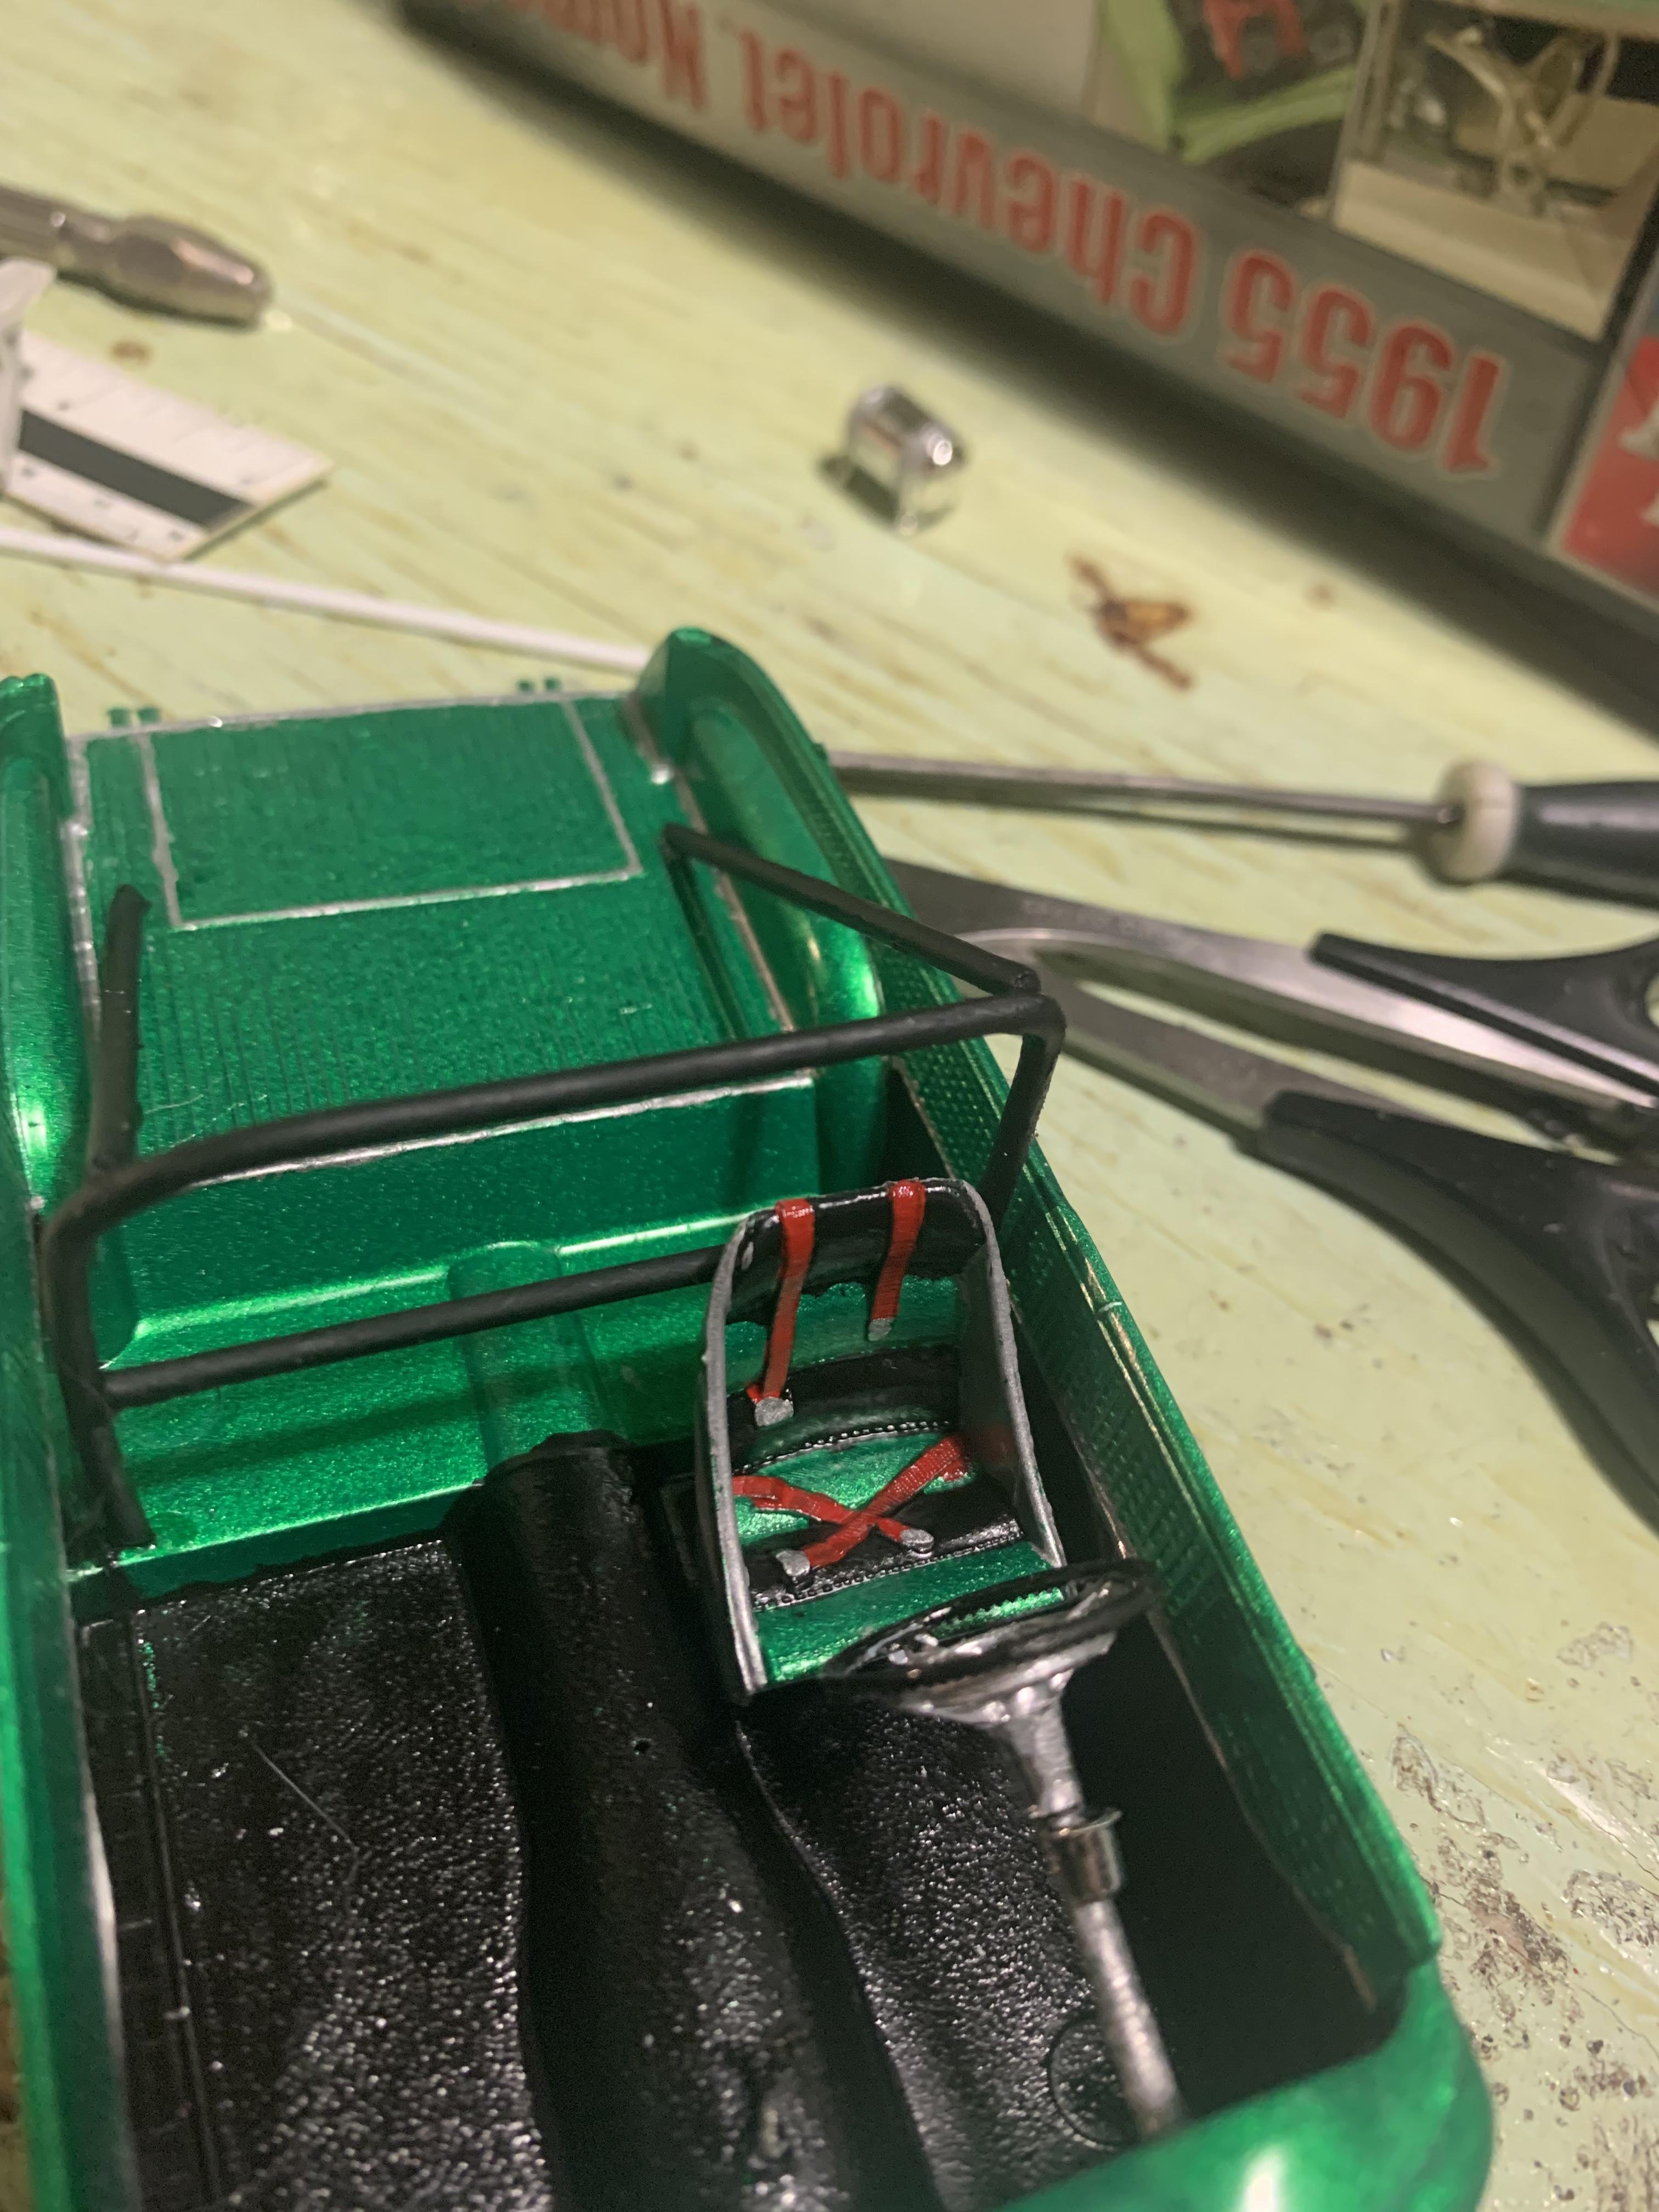
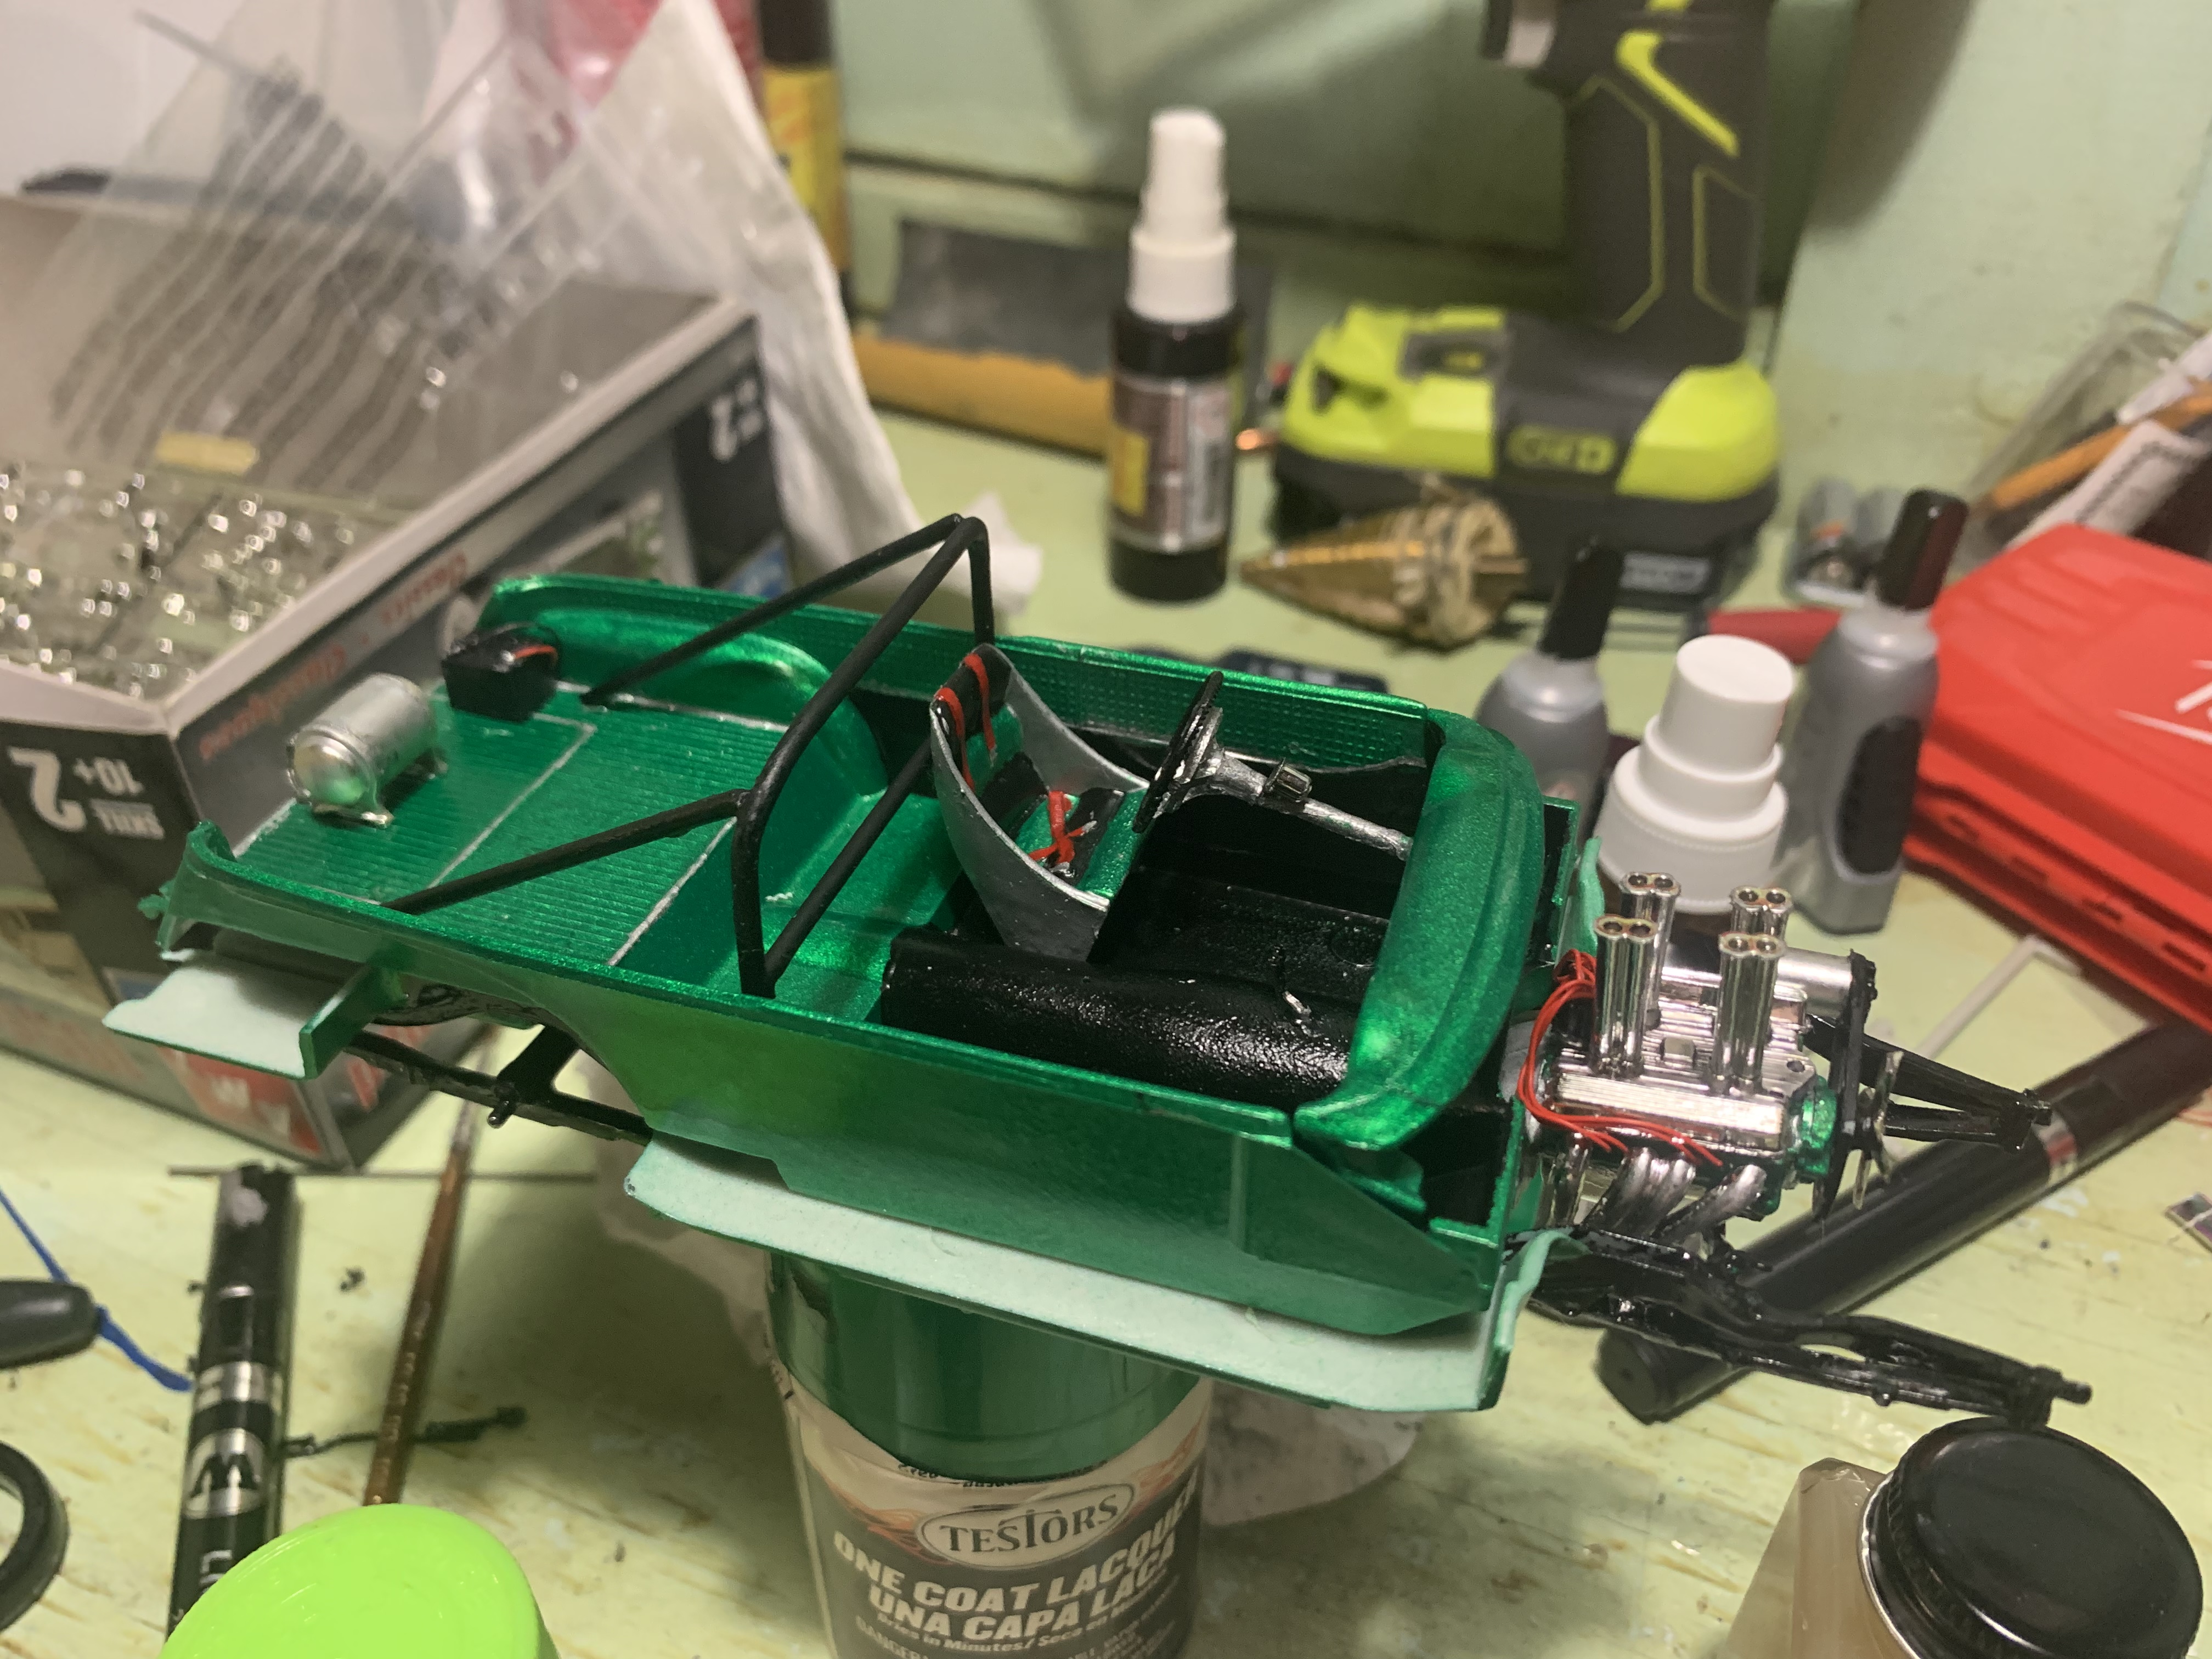
So moltov pens are new since i built my last model and i decided to give them a try, i was never that great at doing fine details so I’m looking for things to help. i bought 3, 2, and 1 mm pens, the 2mm worked best for me, but i had nothing but trouble with the 1mm. The paint wouldn’t flow right or it would run out real quick then I’d have to pump it then there would be to much, i don’t know. Maybe i got a bum pen but i had no luck with it anywho, I did the interior in the green to match the body, and the black, shot a semi gloss coat over it to give it a vinyl appearance, detailed the dash out, added the aftermarket gauges under the dash and painted the trim on the floor and door panels, the race bucket was painted up to resemble a aluminum bomber/race style seat, with a alternating color scheme padding, made up a simple 4 point roll cage, put the battery in the back with some wires running to it. The moon tank i was going to put up front but i just couldn’t find a spot where i liked it, so i put it in the back. Overall I’m pretty happy with the interior, i need to do alittle better job on the fine painting details, but once the interior is in the car it looked perfect Sorry for the long post guys but here’s the pics!
-
DannyDodge changed their profile photo
-
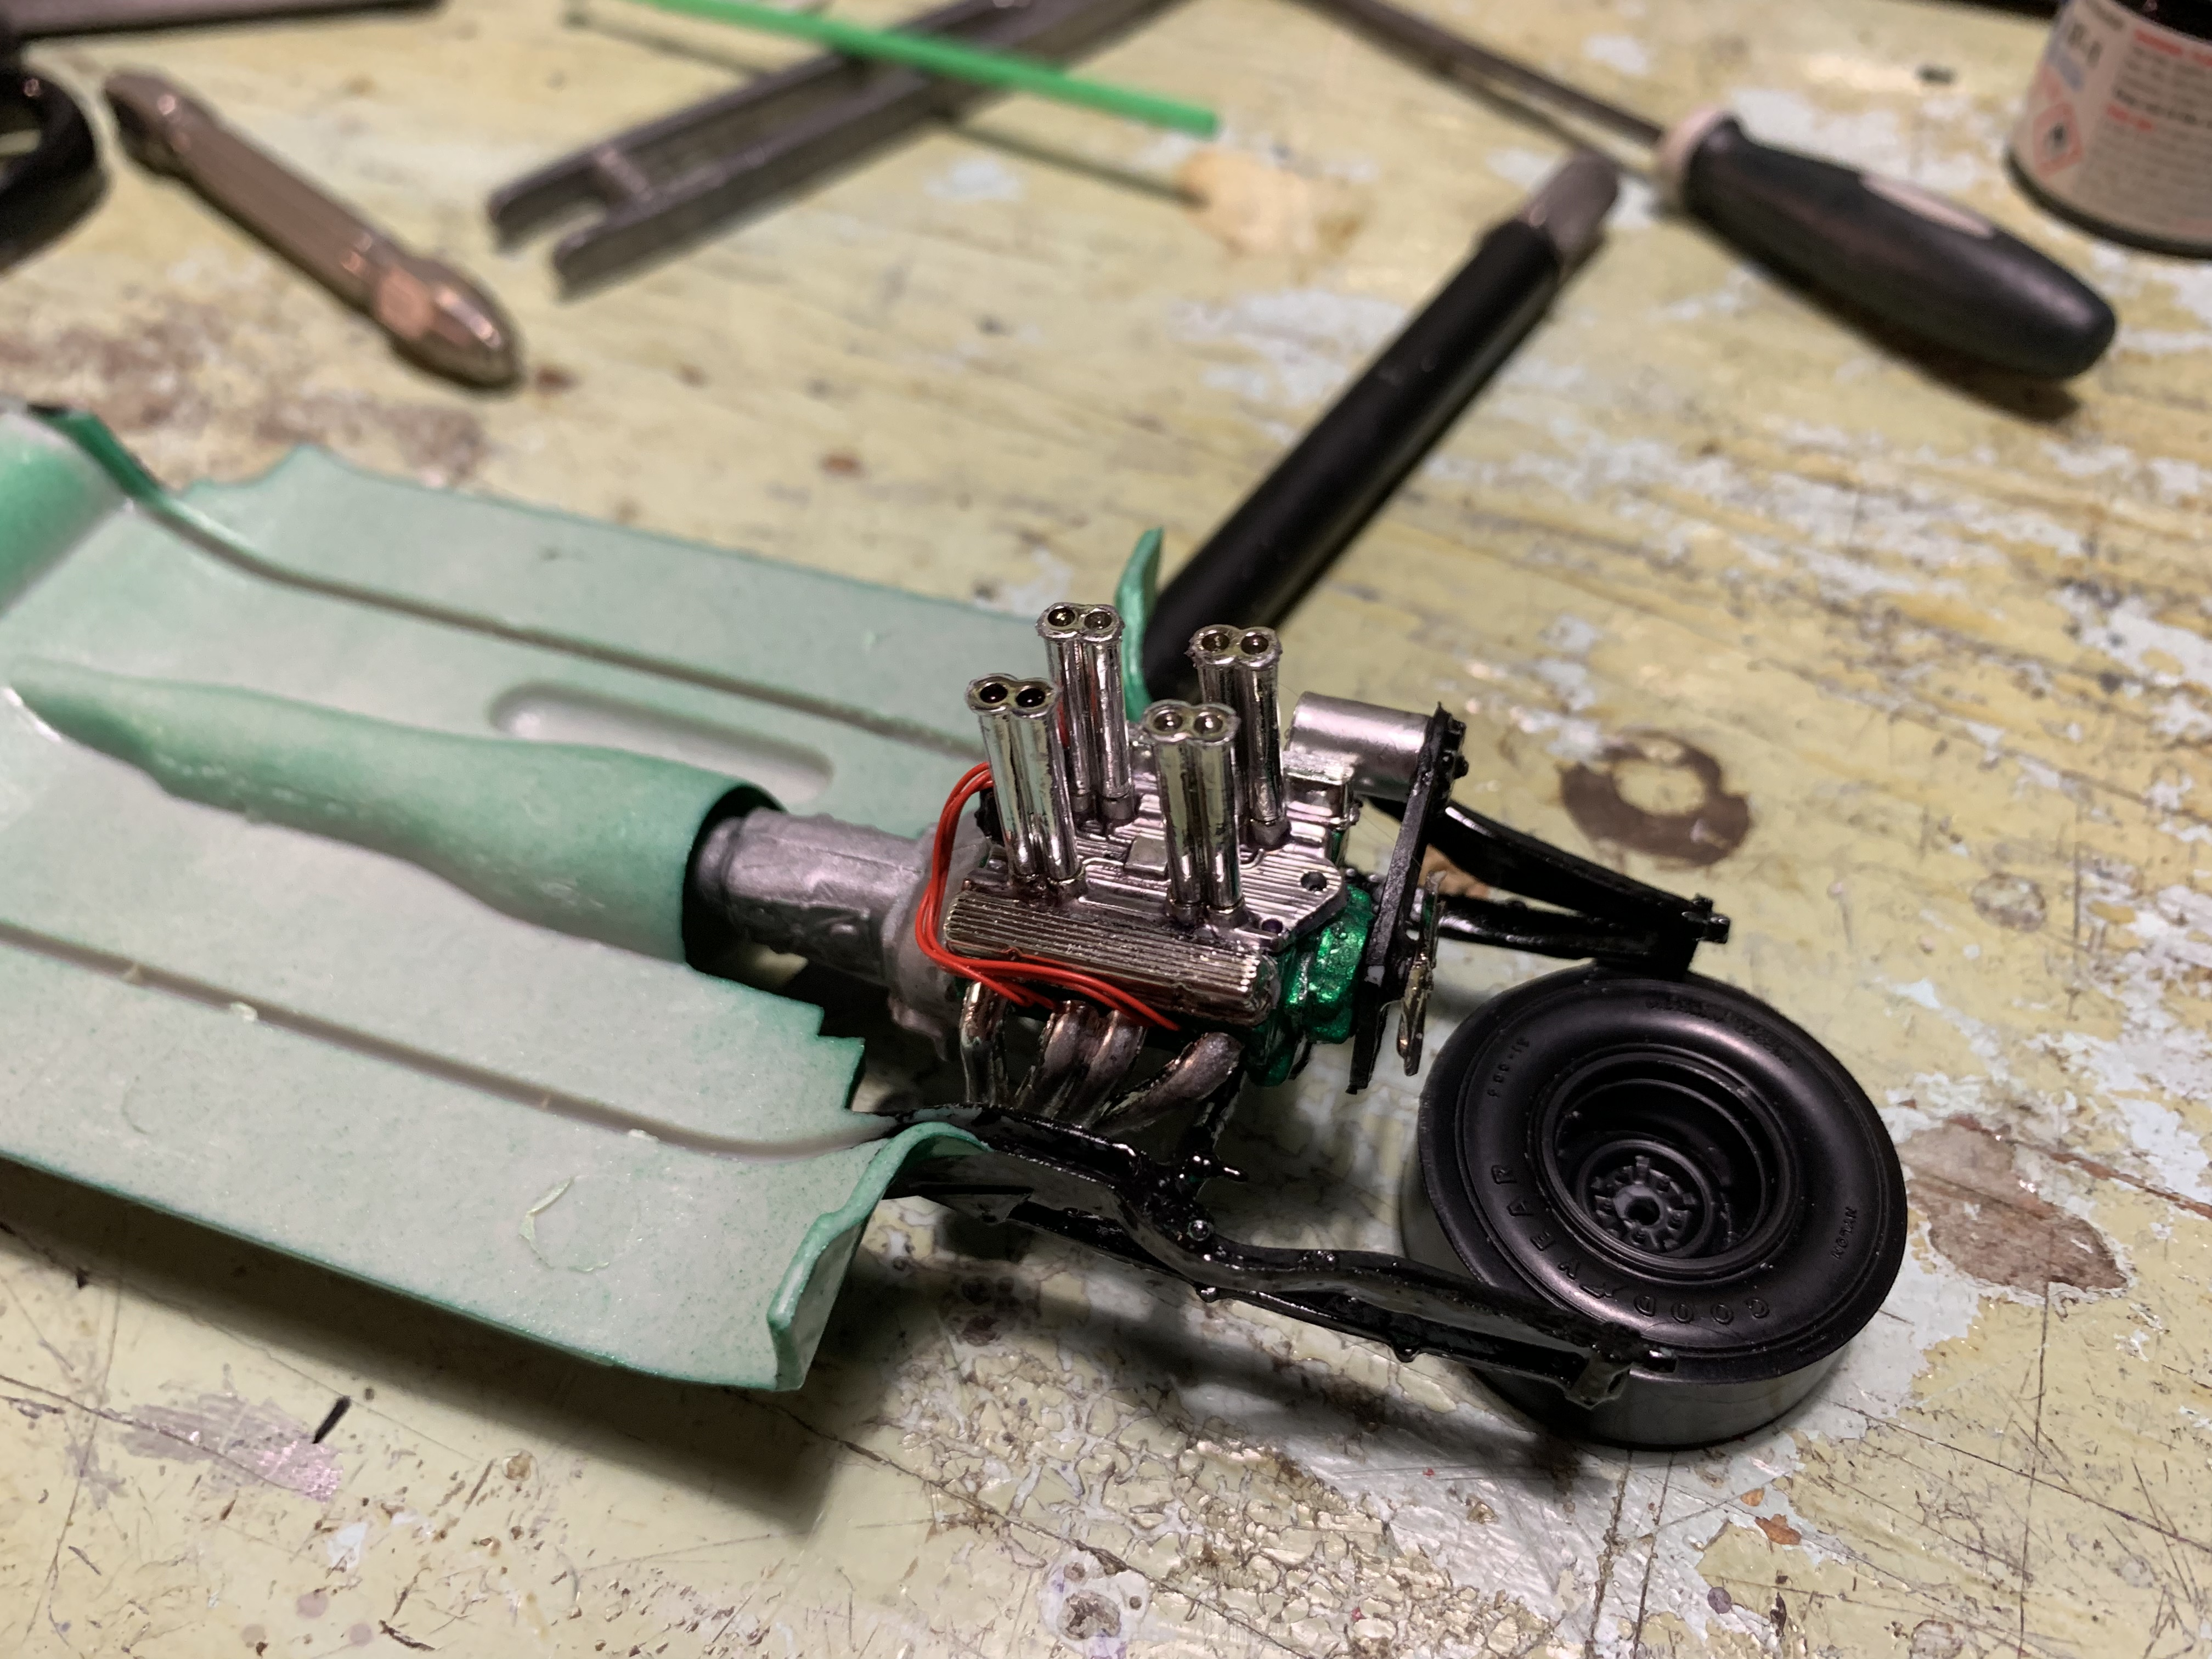
Hey guys, it’s been along time since i just built a model, i was into it heavy when i was younger, but haven’t built anything in years so I’m jumping back in, trying to keep the build simple but I’ve changed up a few things the kit came with a straight axle setup it was a weird traverse spring setup and i wanted to run a parallel spring set up, so i made some mount/shackles/springs and a tube axle Slapped it all in the chassis and painted it i started to assemble the motor and wiring it up, only real mods i made on the motor are the headers, they are the kit headers but with the square collectors cut off and the end filed into single pipes to look like short zoom or style headers I also included a picture on how the cars gonna sit, I radiused the wheel wells, the kit had marks on the inside that they suggest to cut to, which i did but in my opinion opens the wheel well up to much , but i think it will turn out ok