Jrod
-
Posts
17 -
Joined
-
Last visited
Content Type
Profiles
Forums
Events
Gallery
Everything posted by Jrod
-
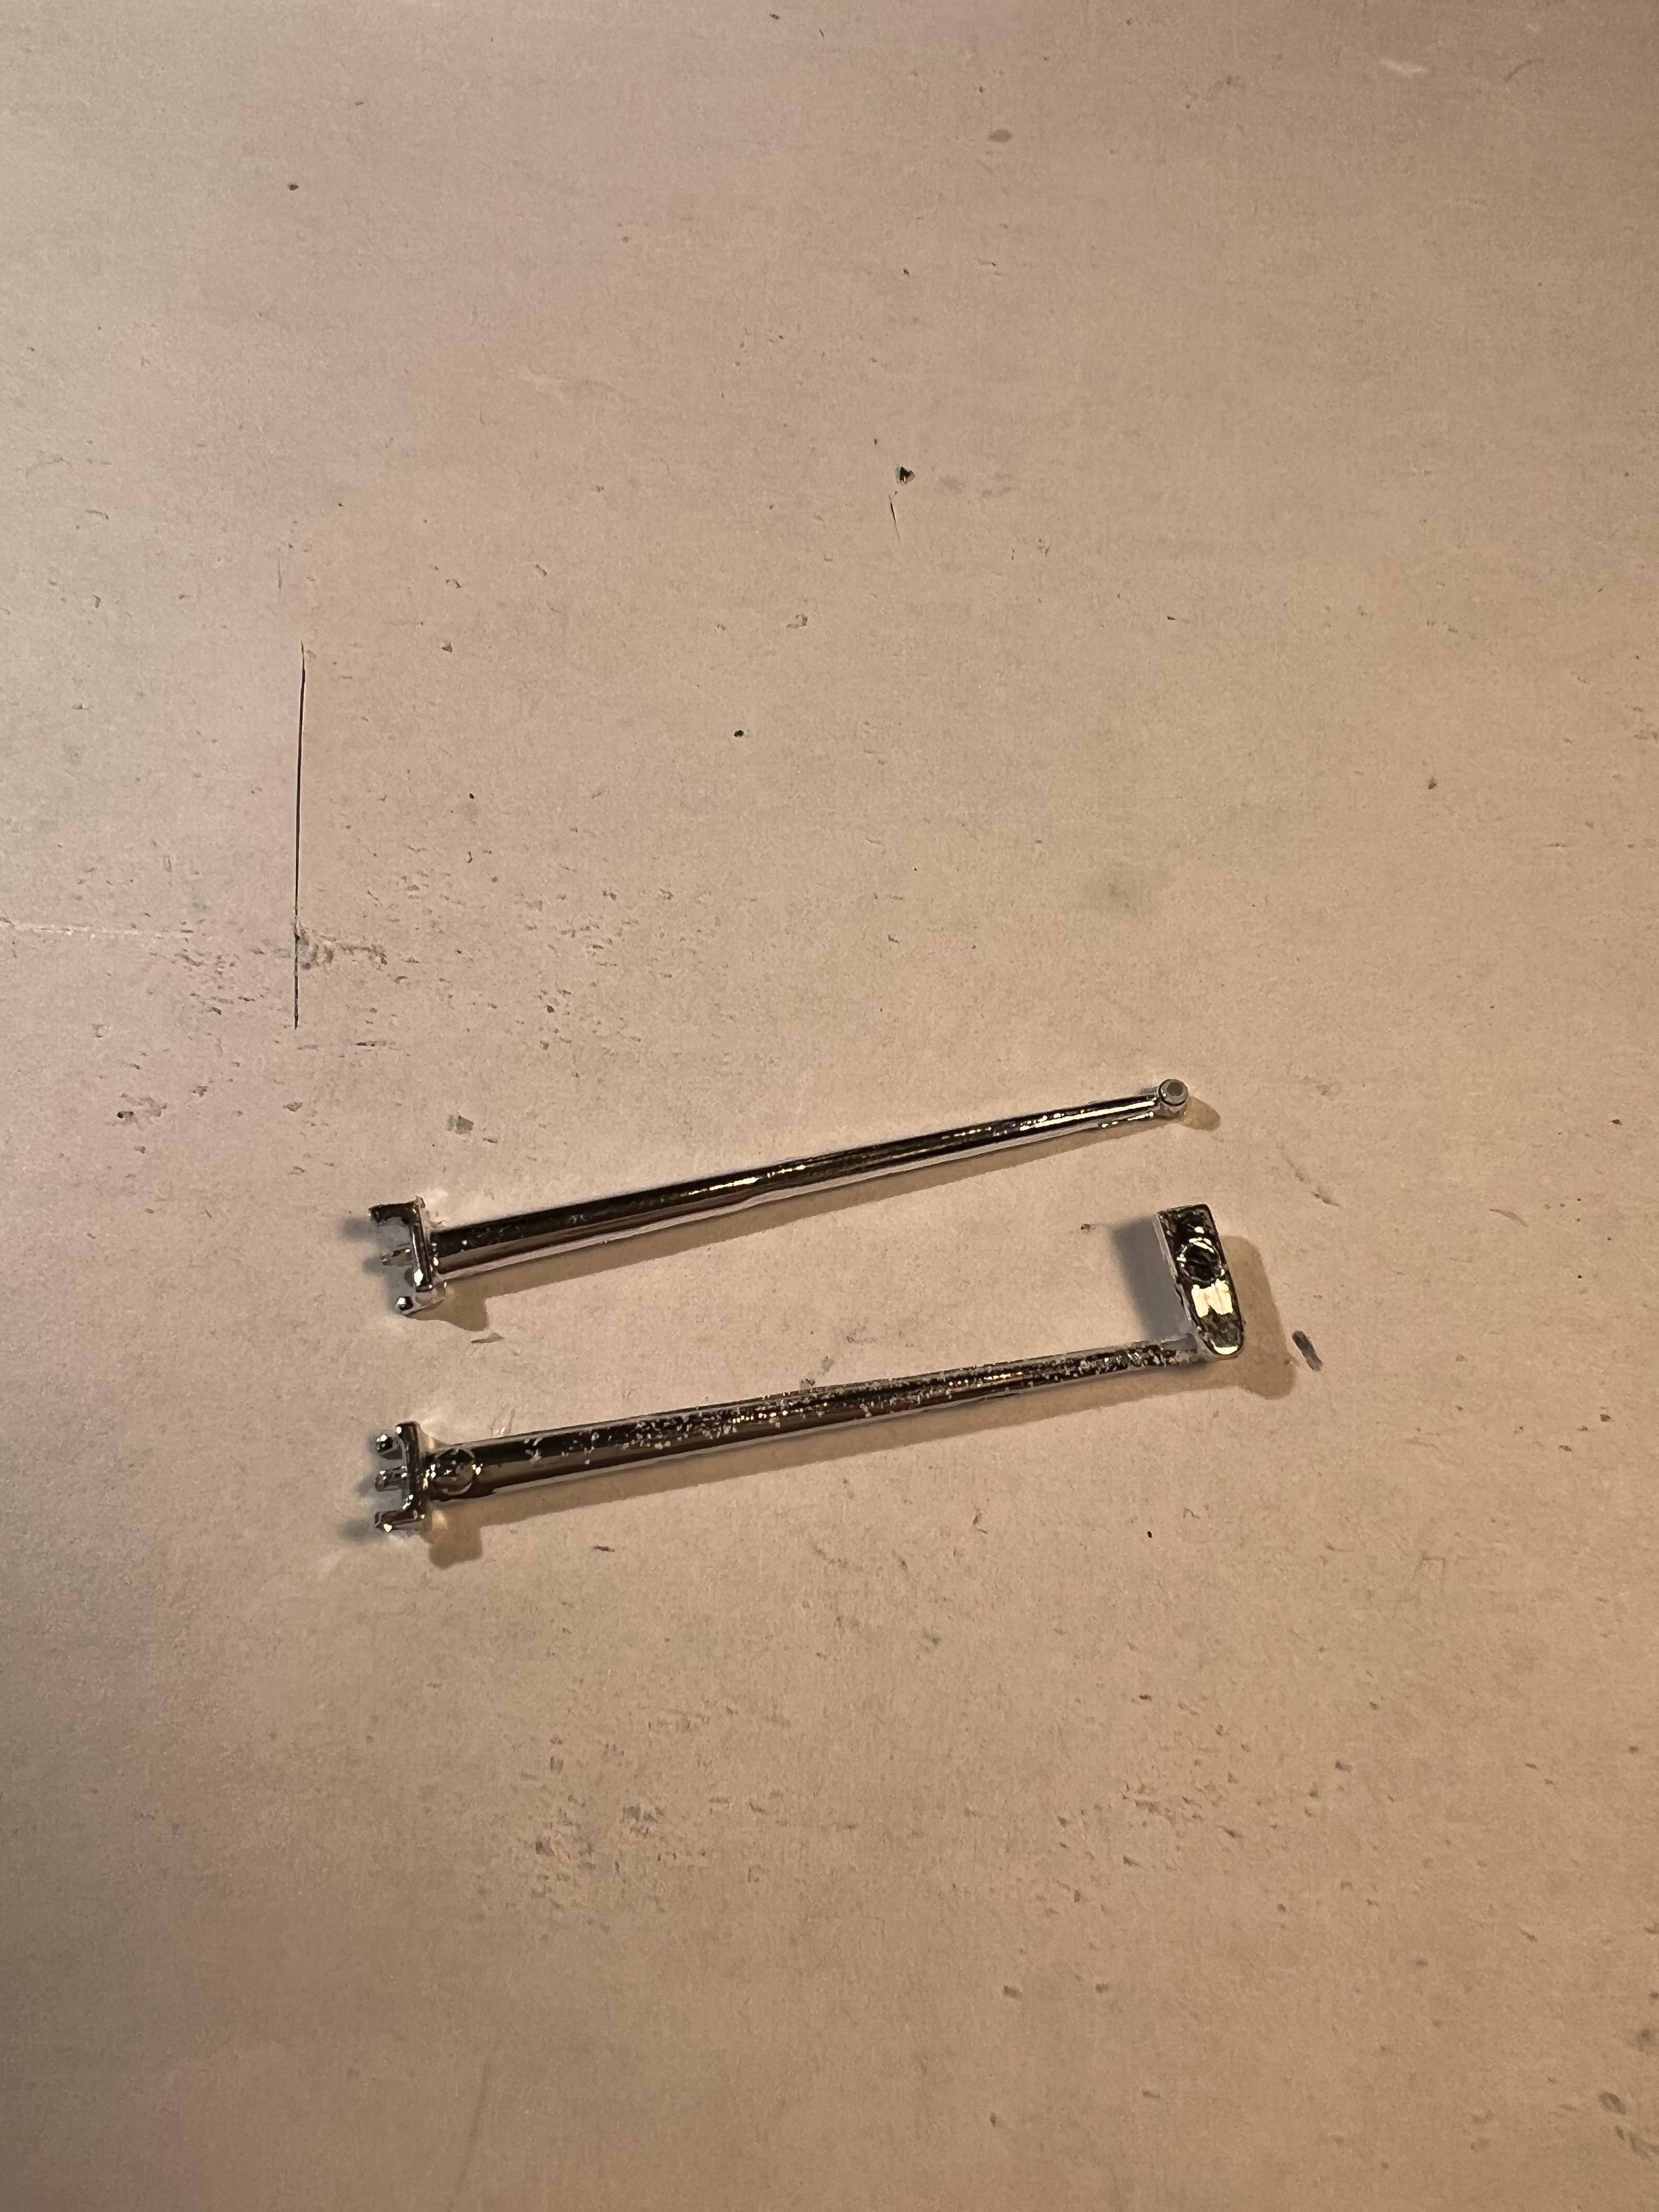
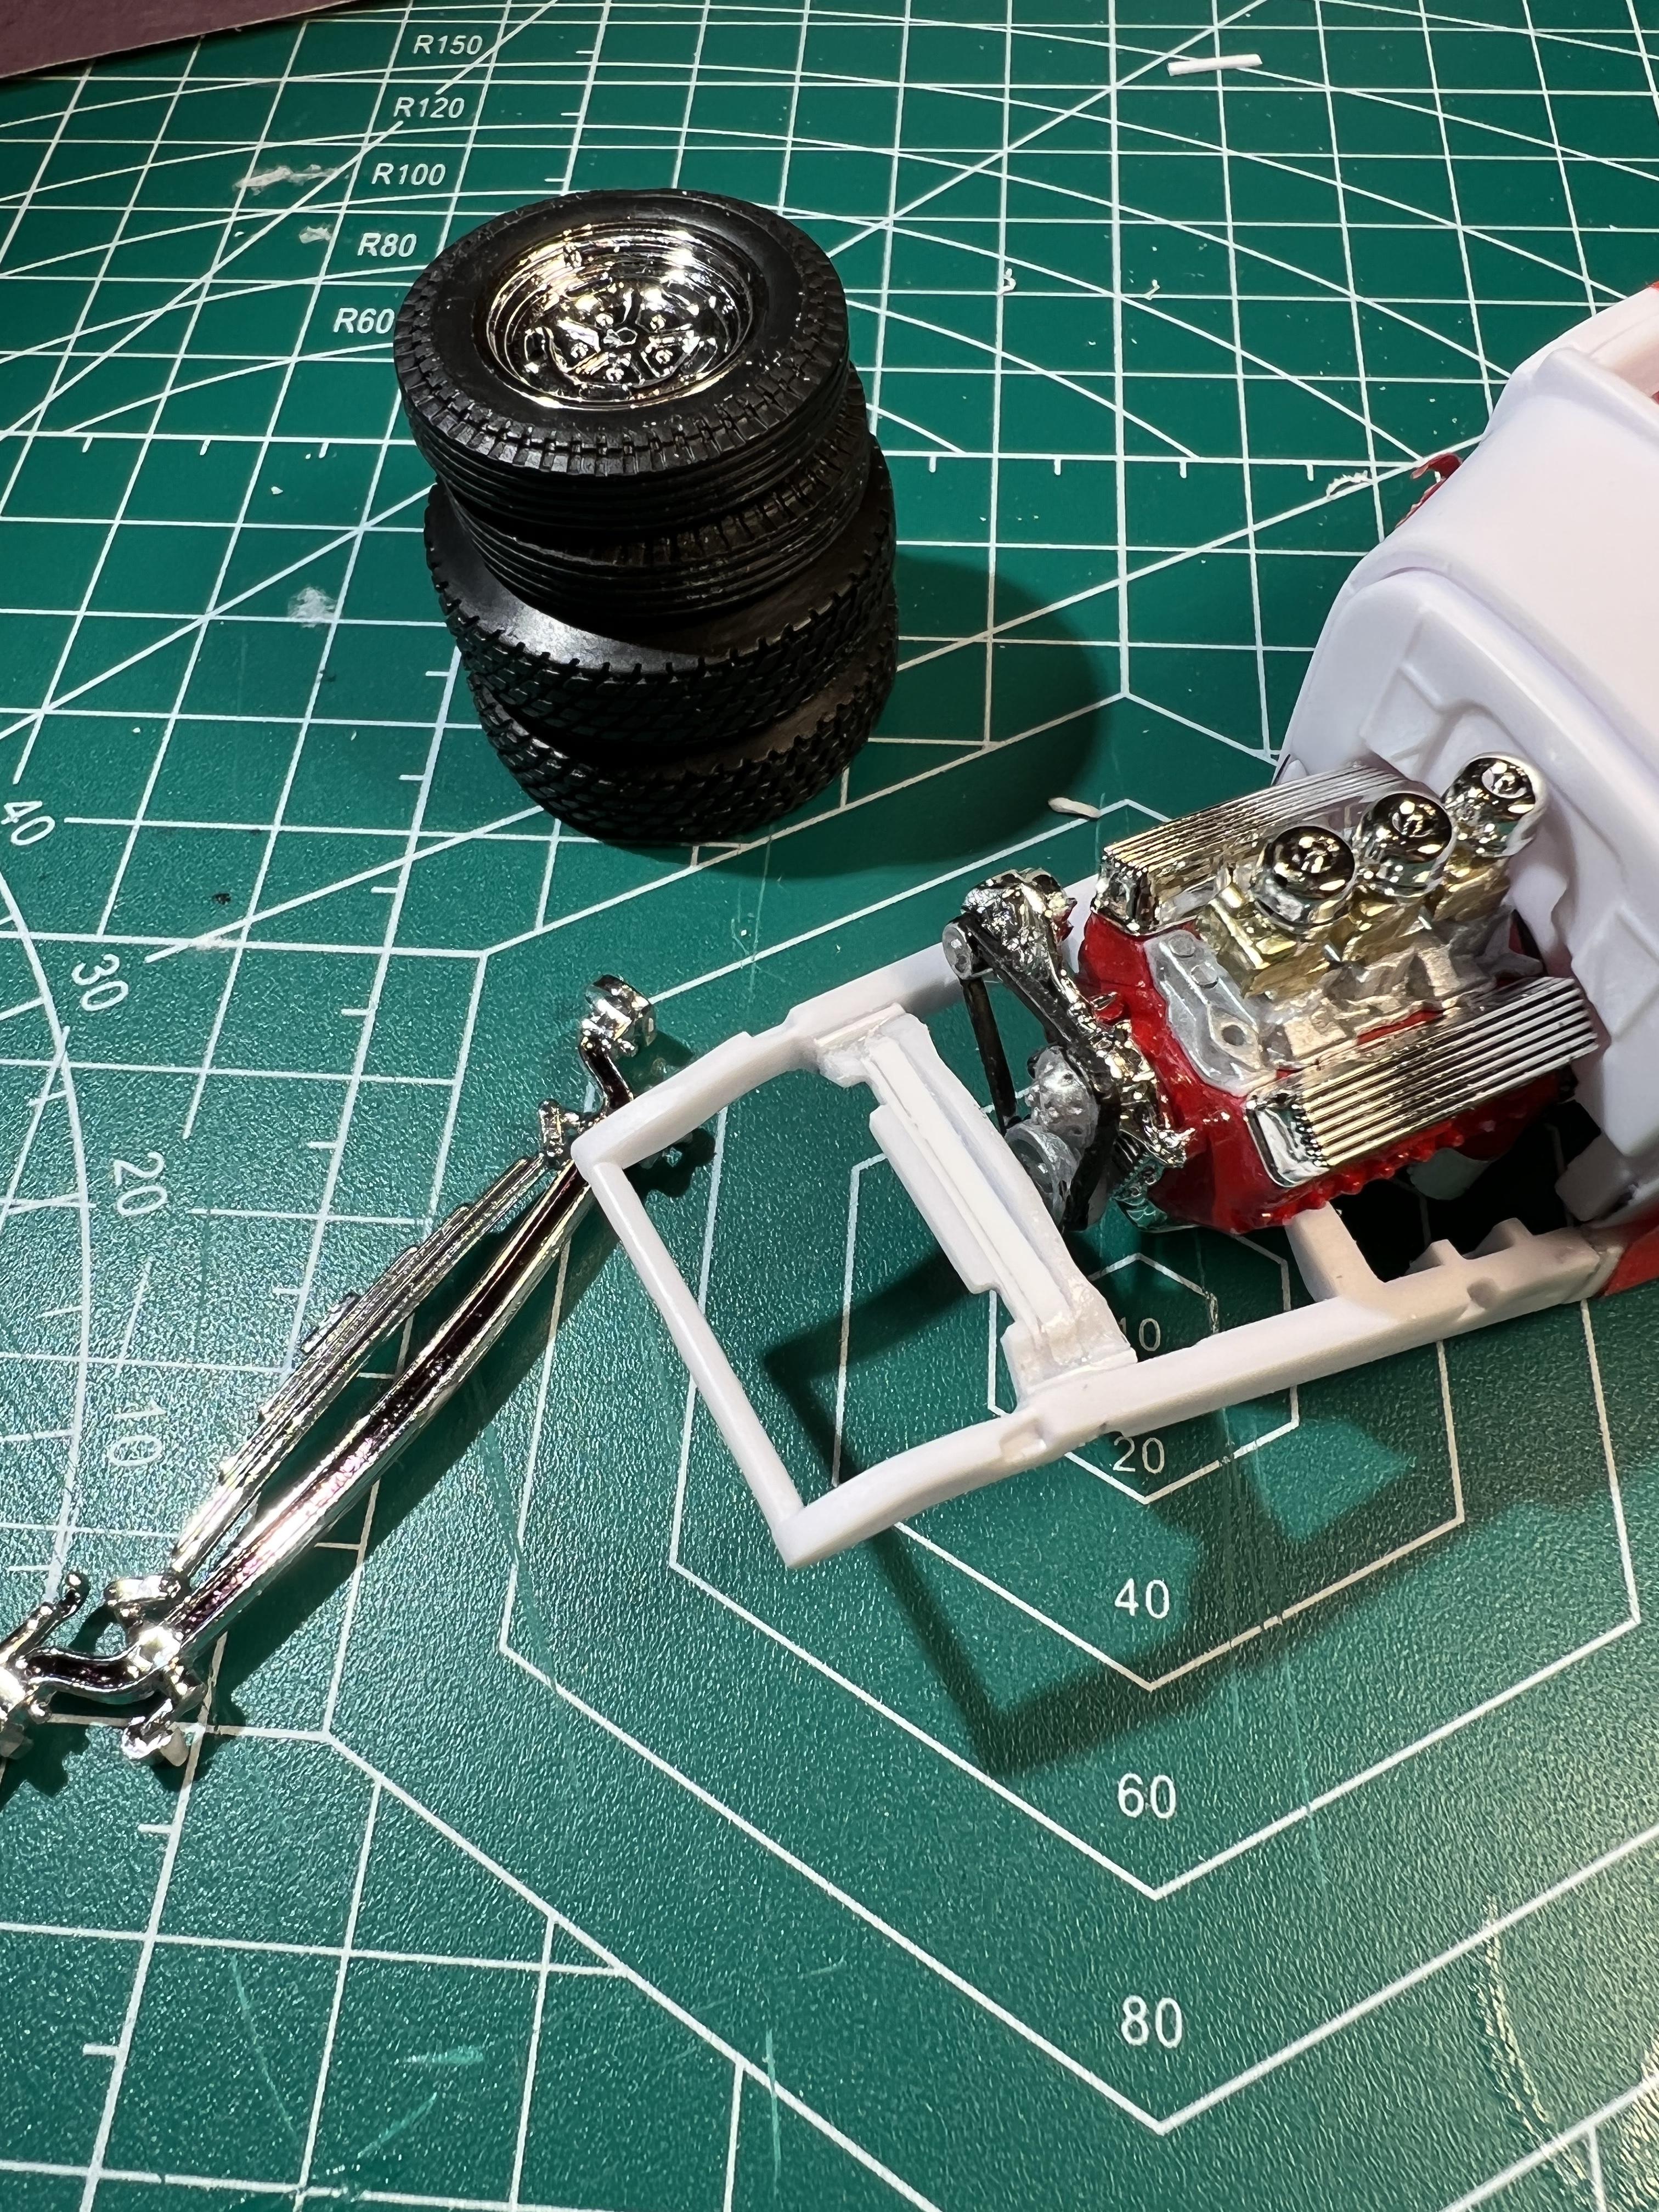
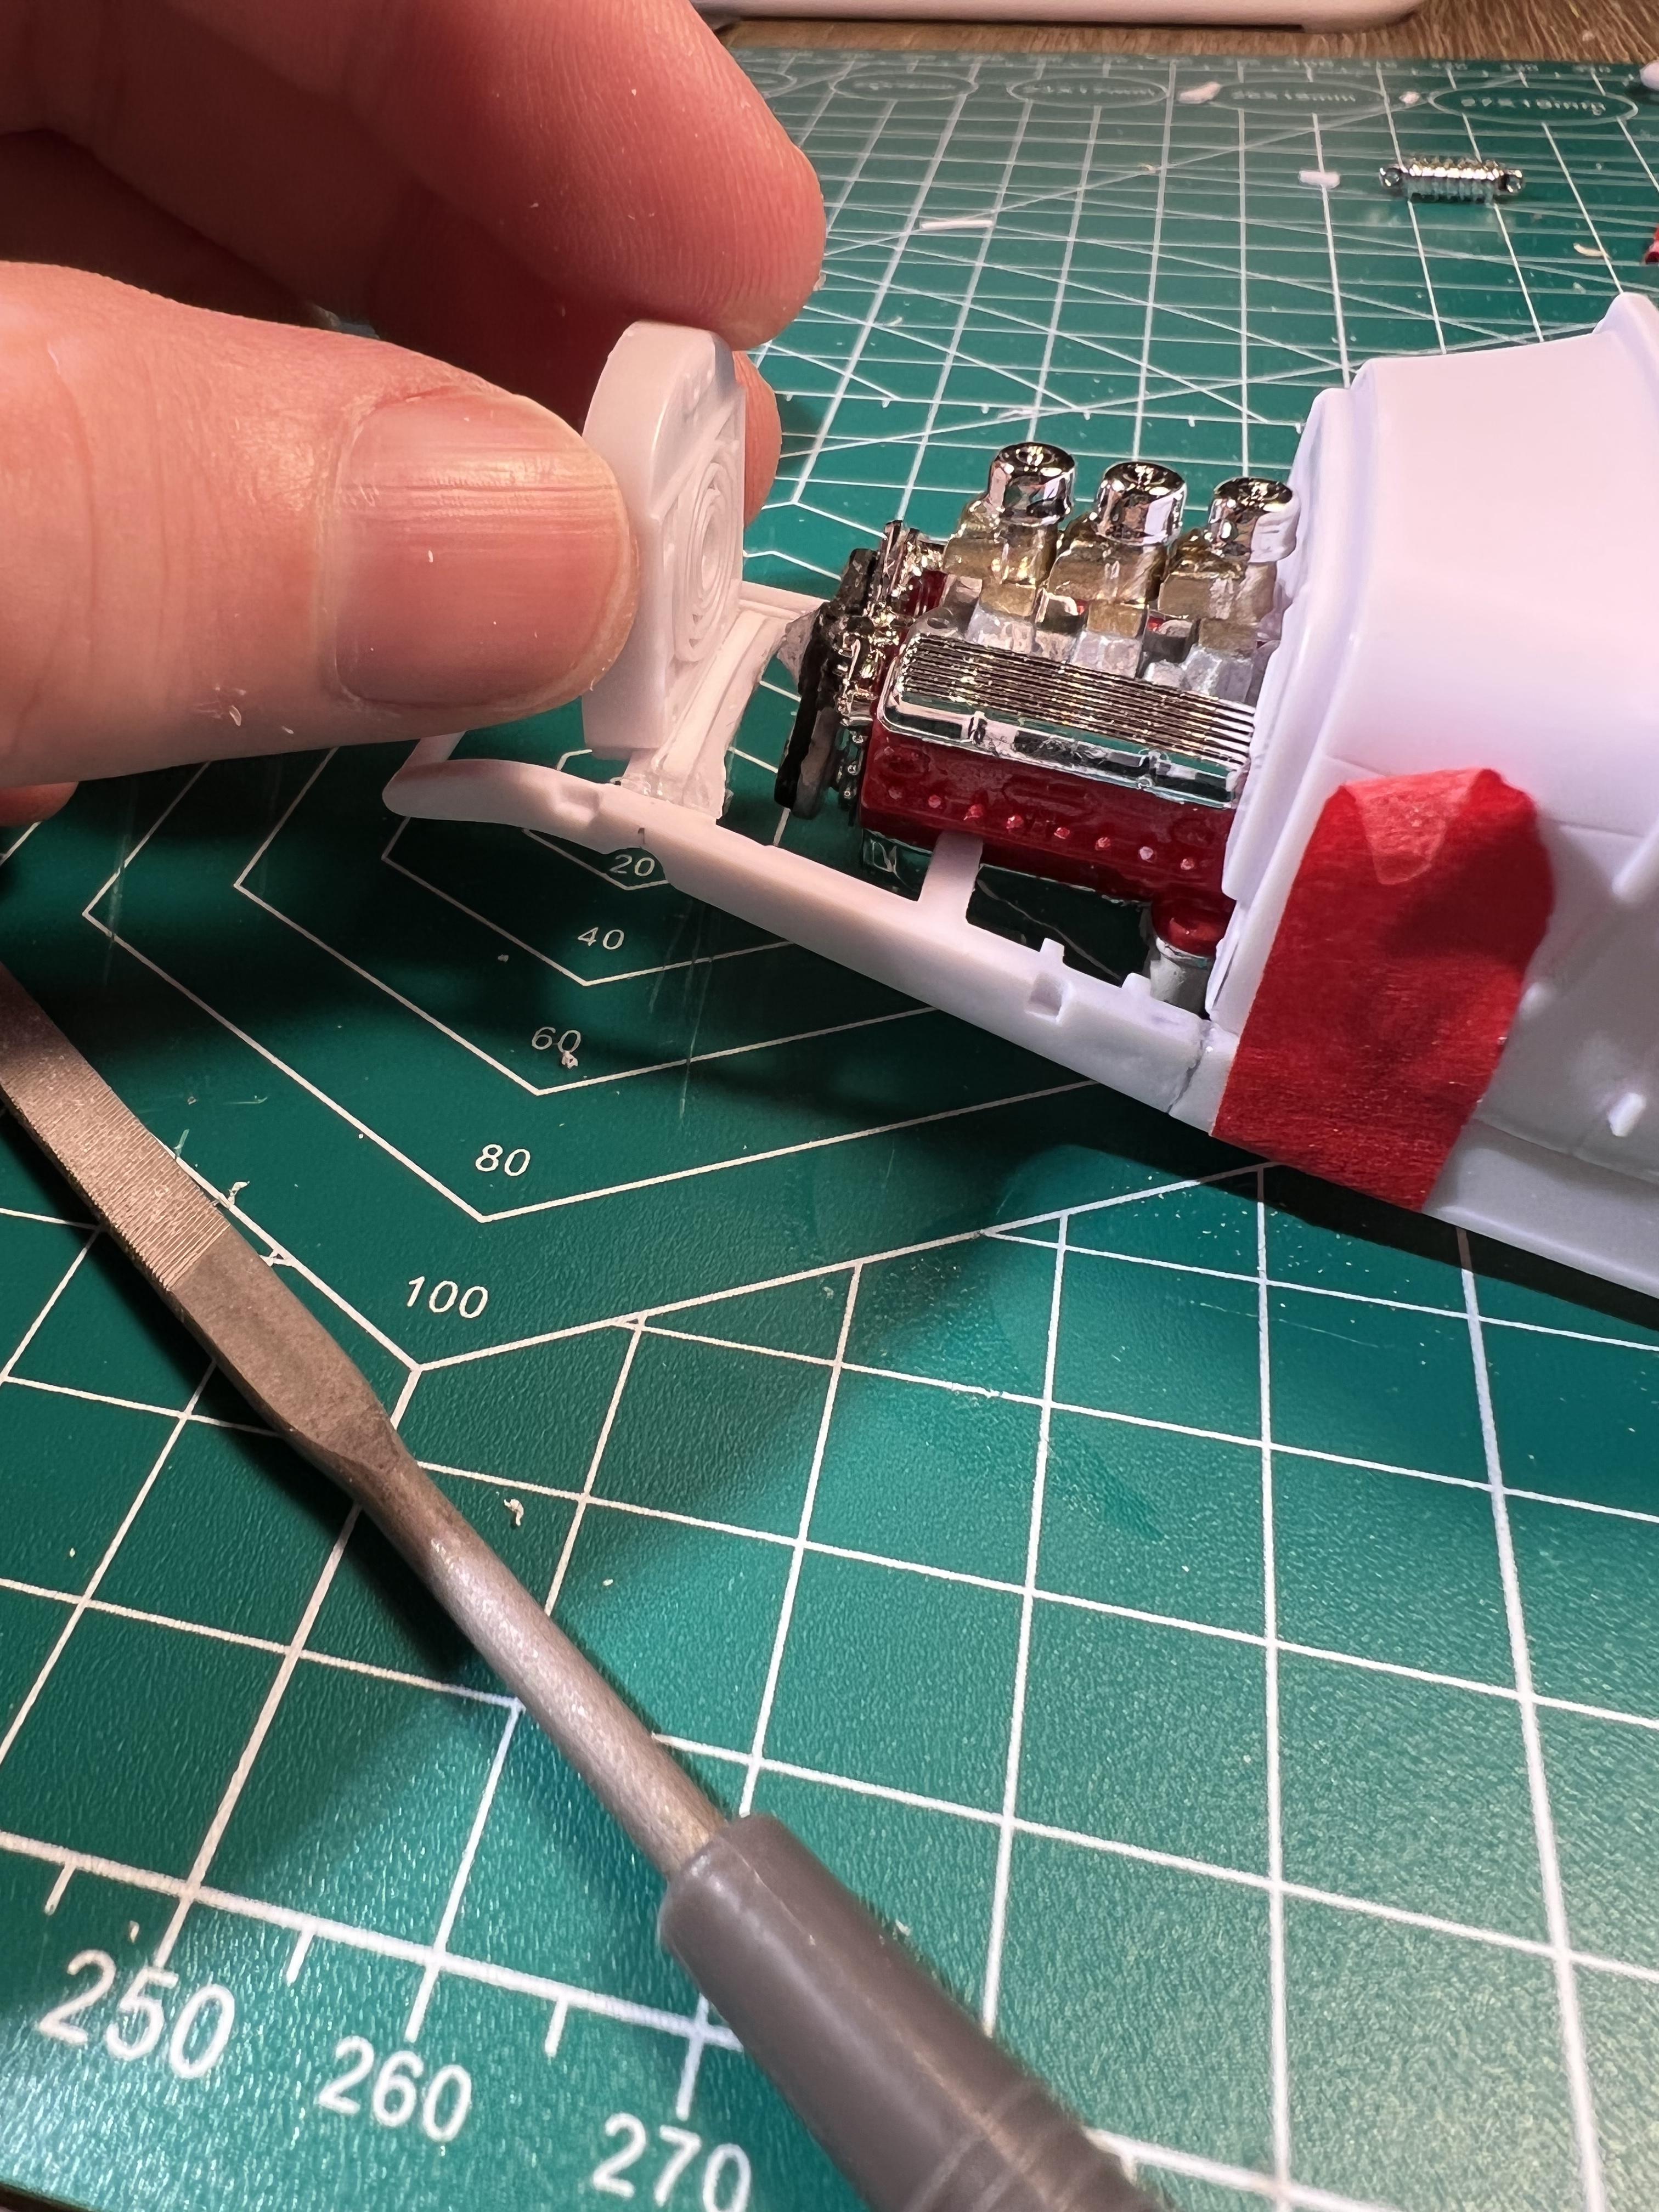
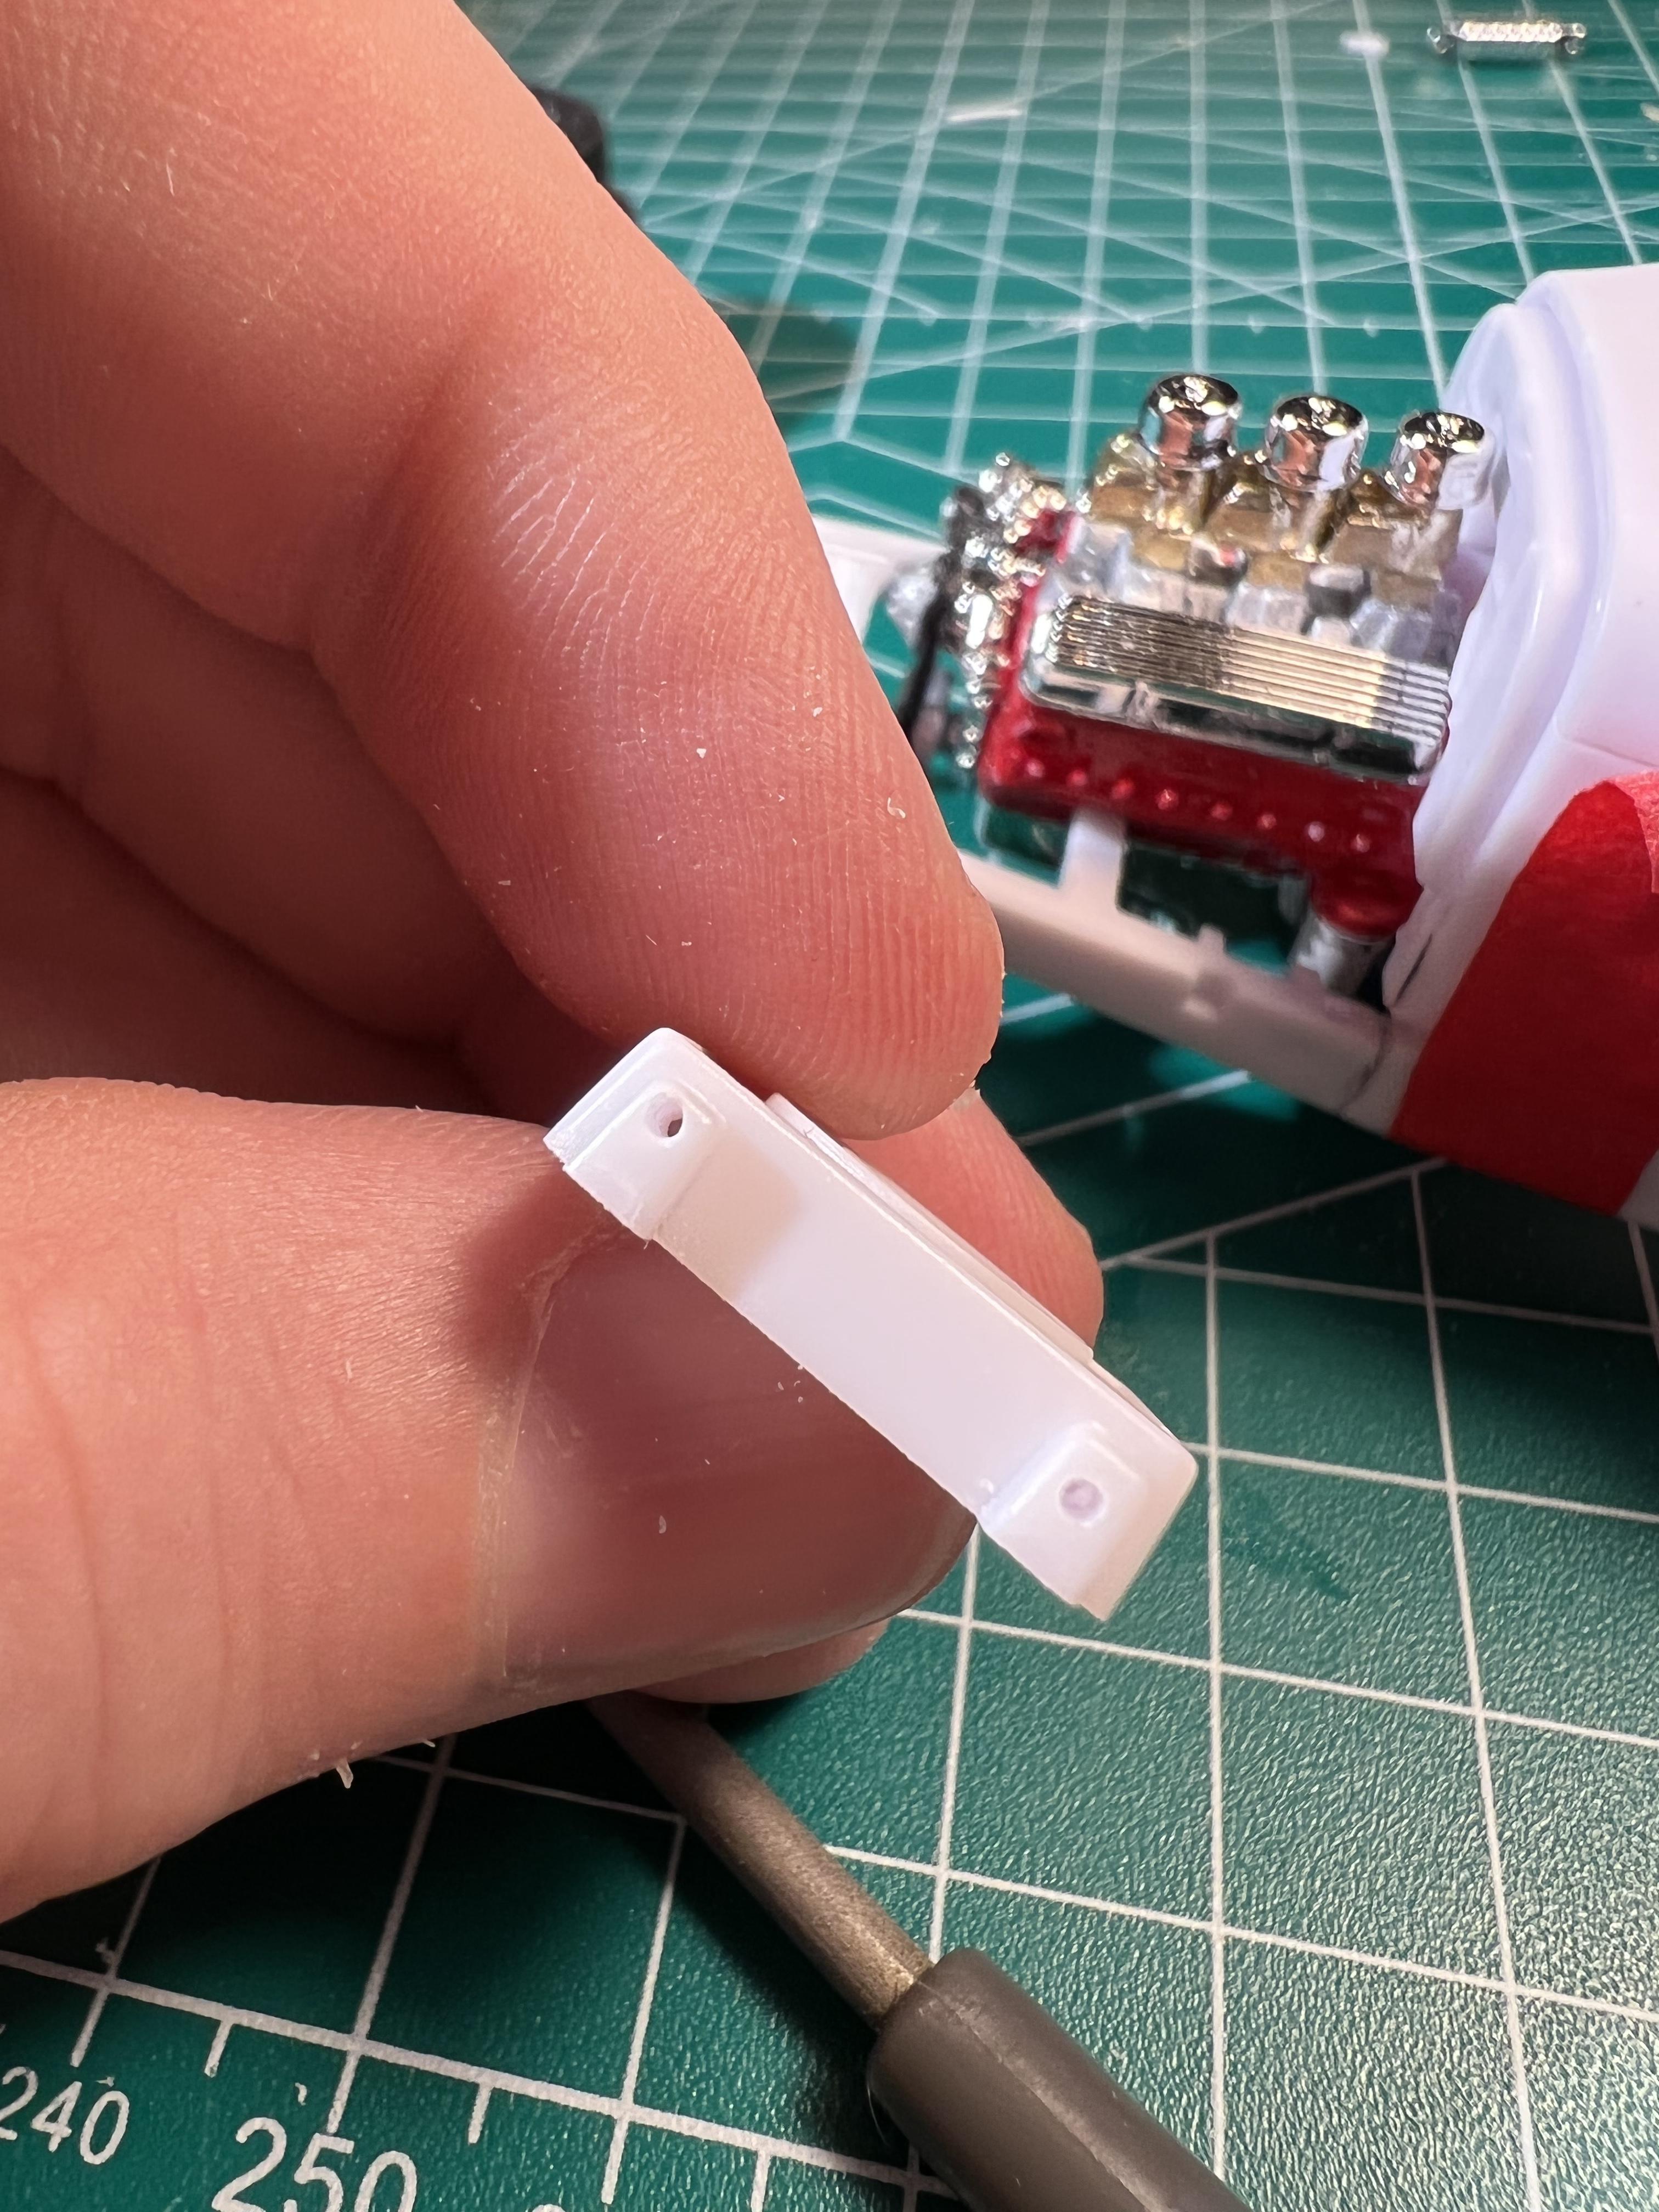
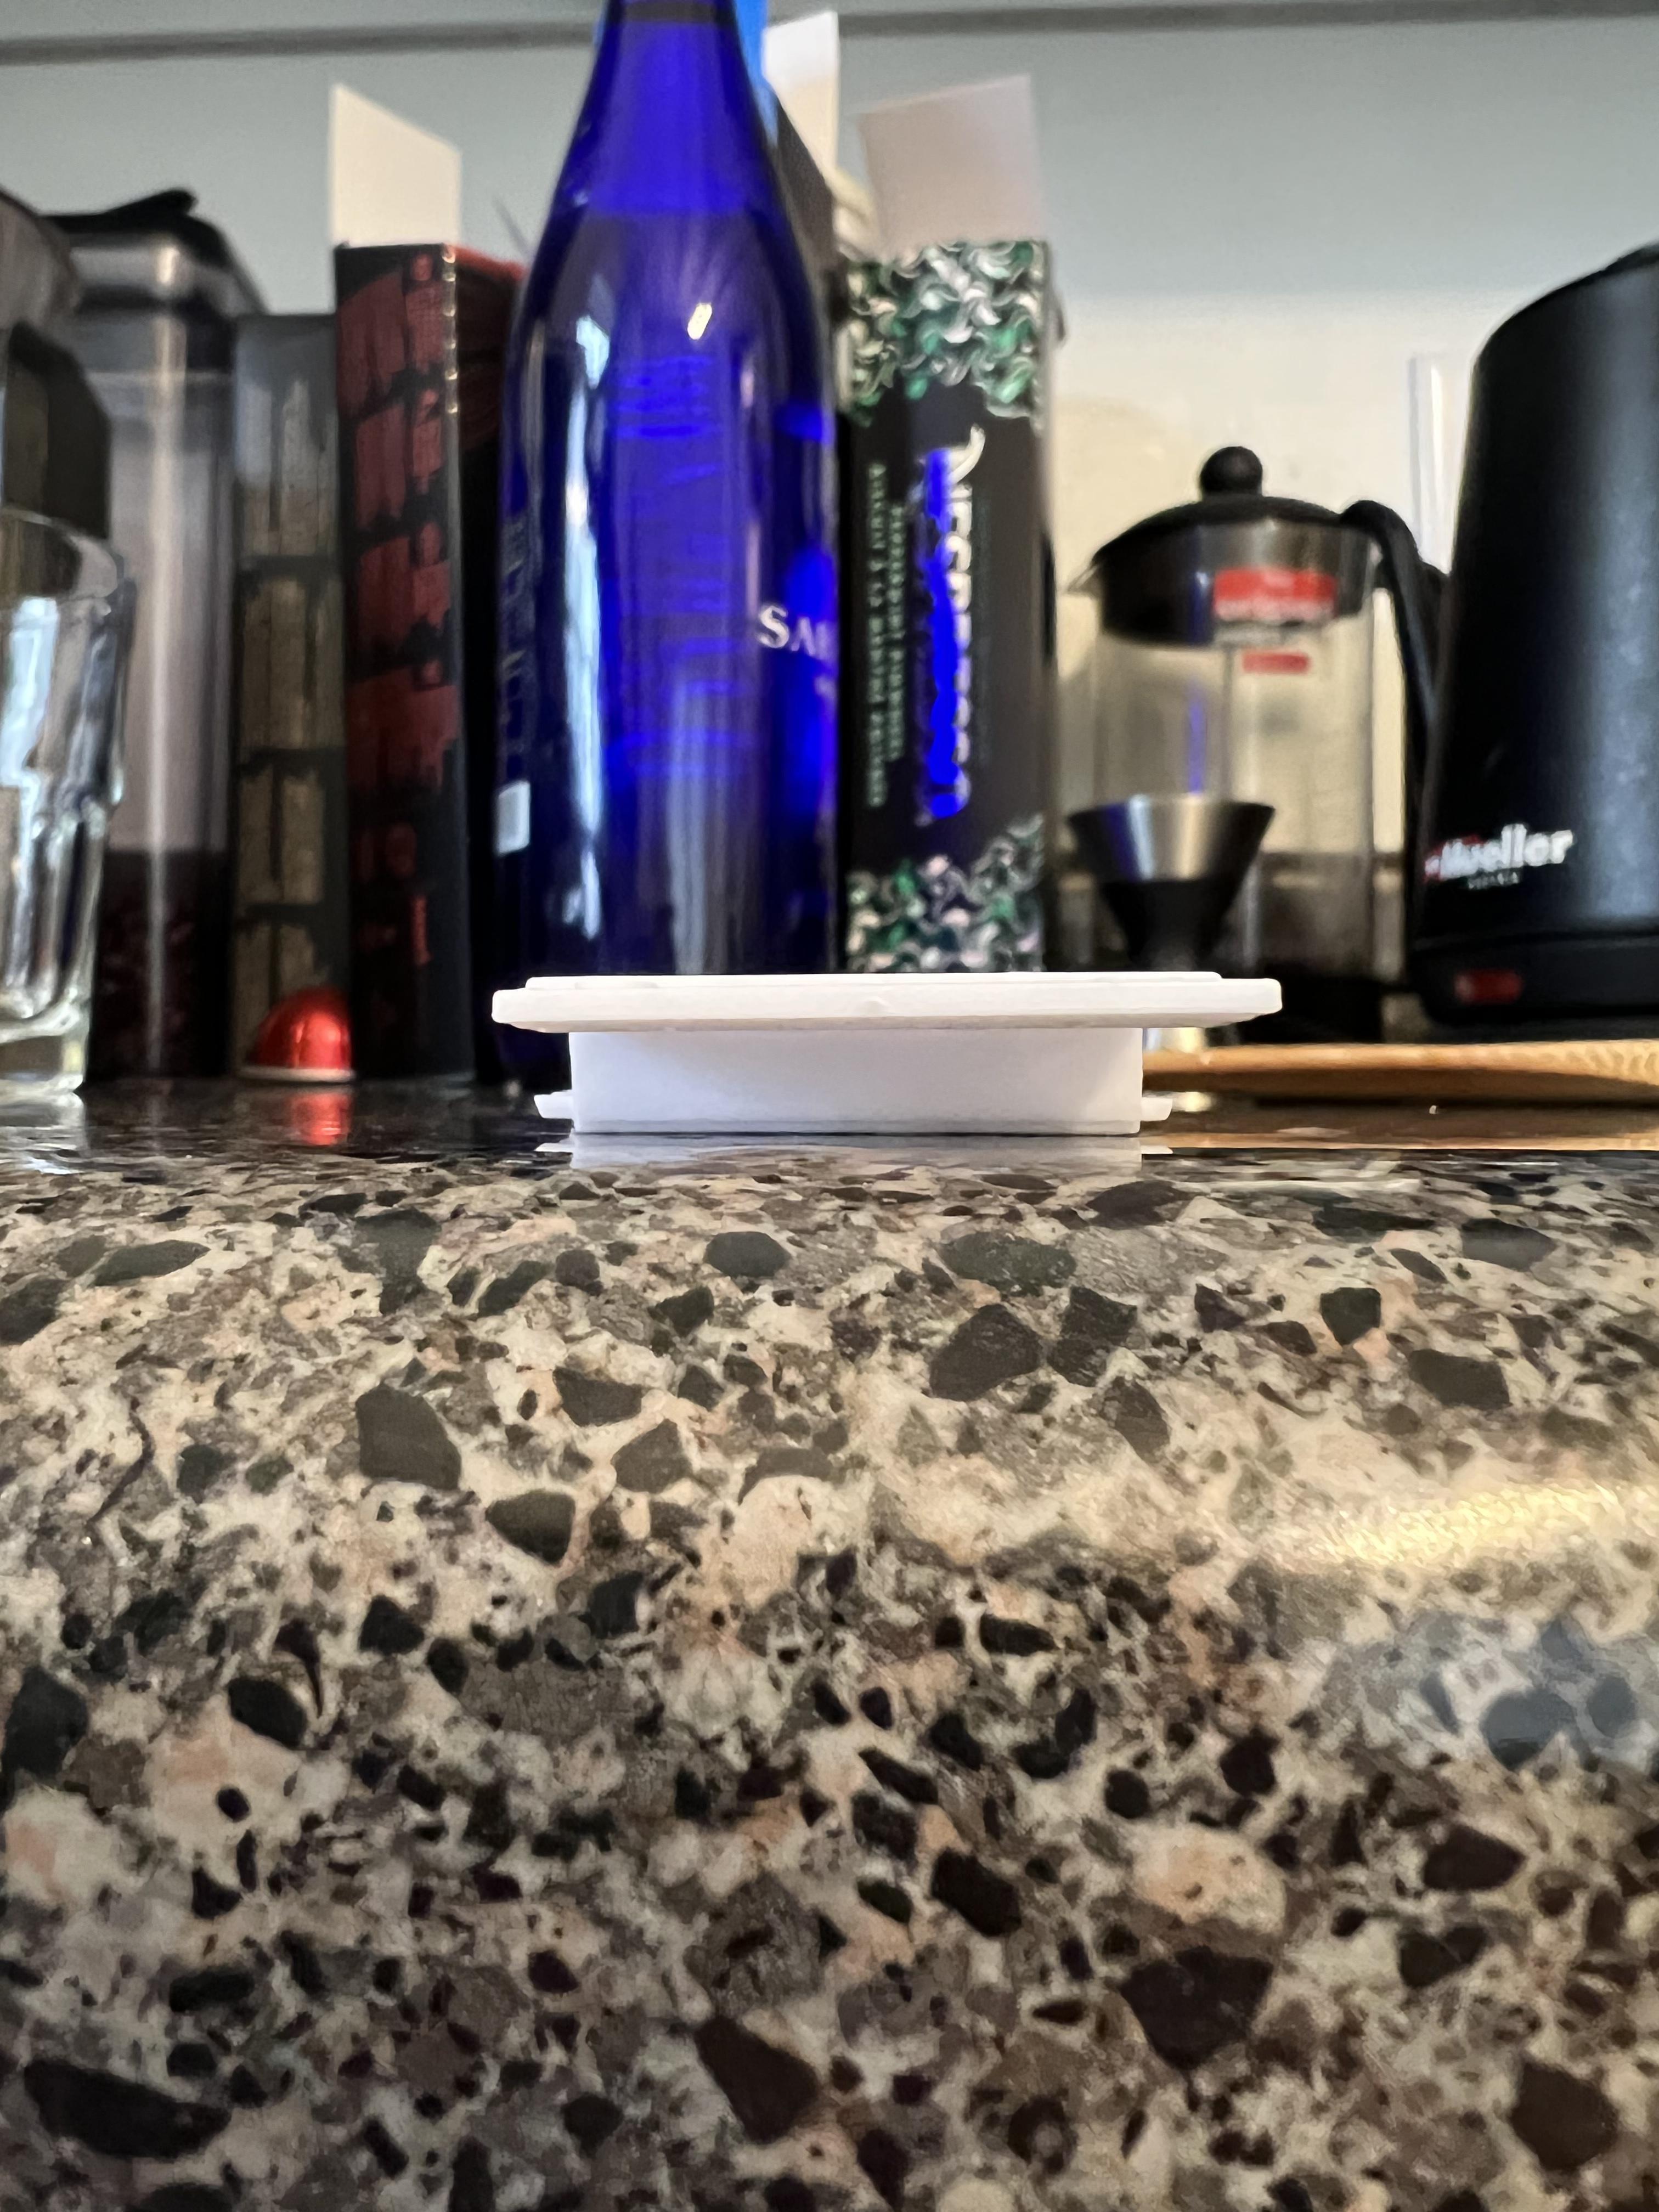
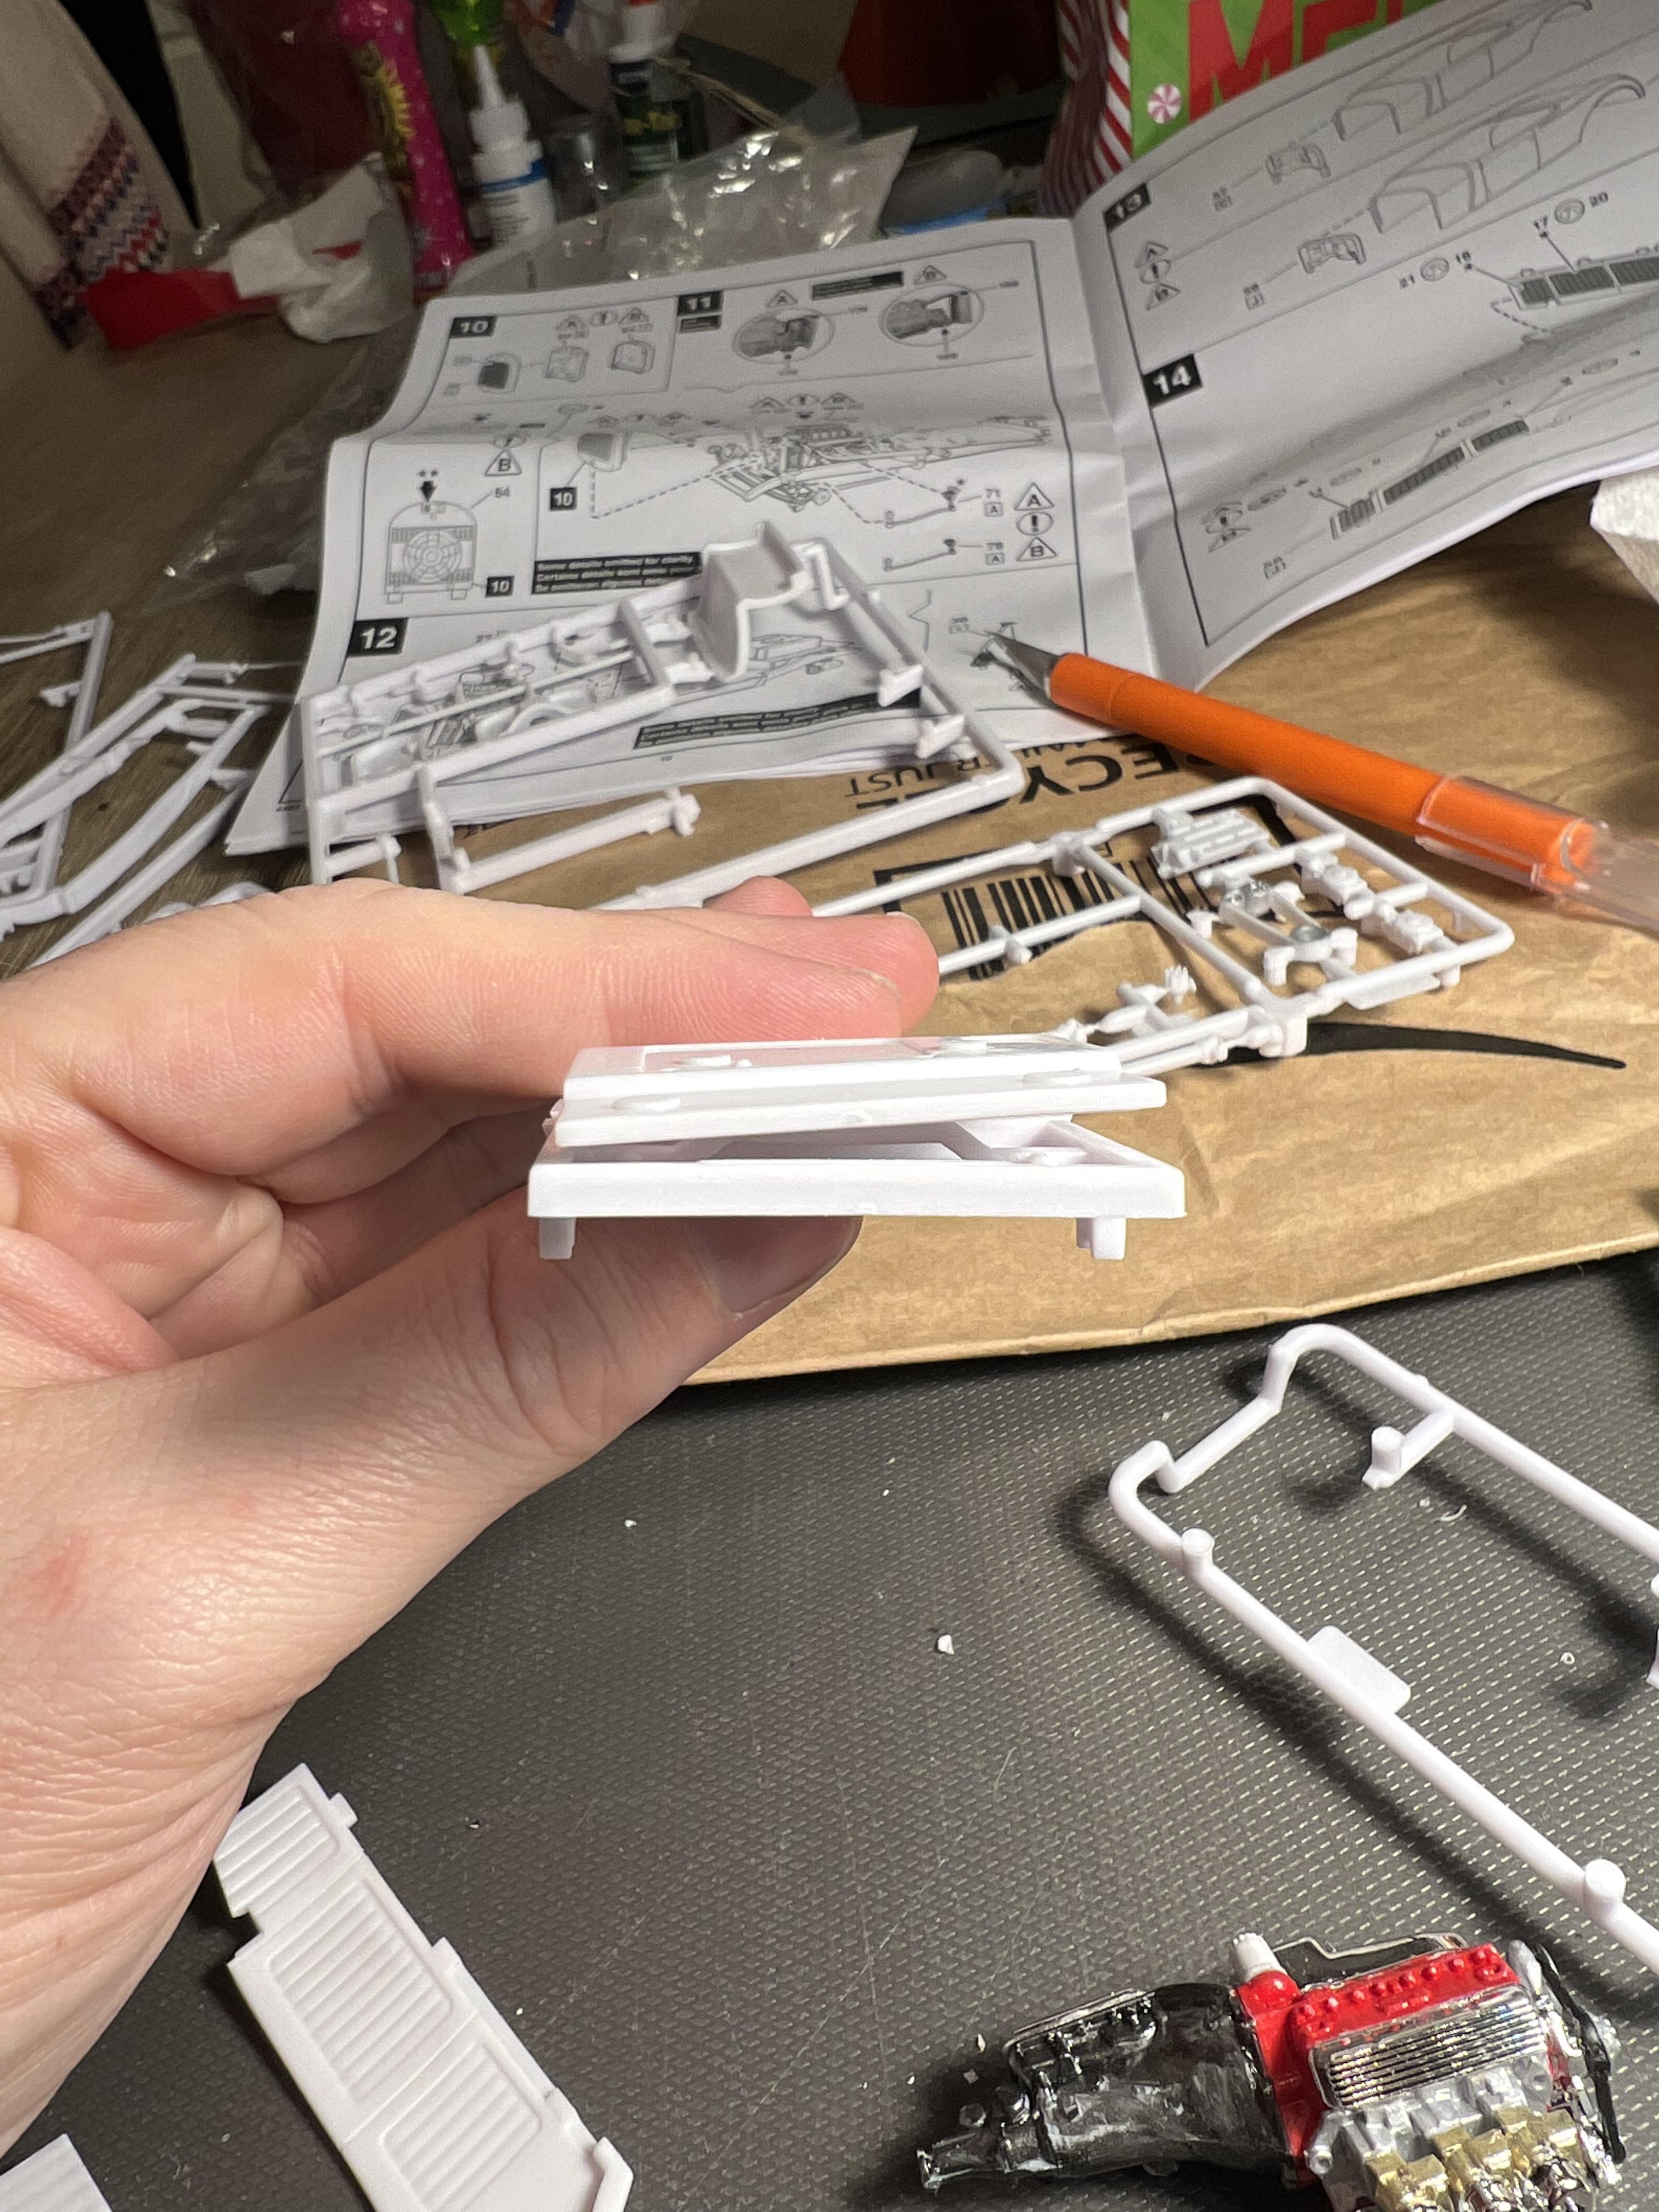
Progress has been halted by a parts mishap. Somewhere on my way to painting my frame my shock tower/headlight mount disappeared. I searched for about 3 hours, no luck. It would be the smallest yet most important part….

-
Hello, I am in need of a single shock mount/headlight mount for the Revell 29 model a. Somewhere between the workbench and the garage, mine dislocated itself. 3 hours of searching yielded no results. Thanks for looking.
-
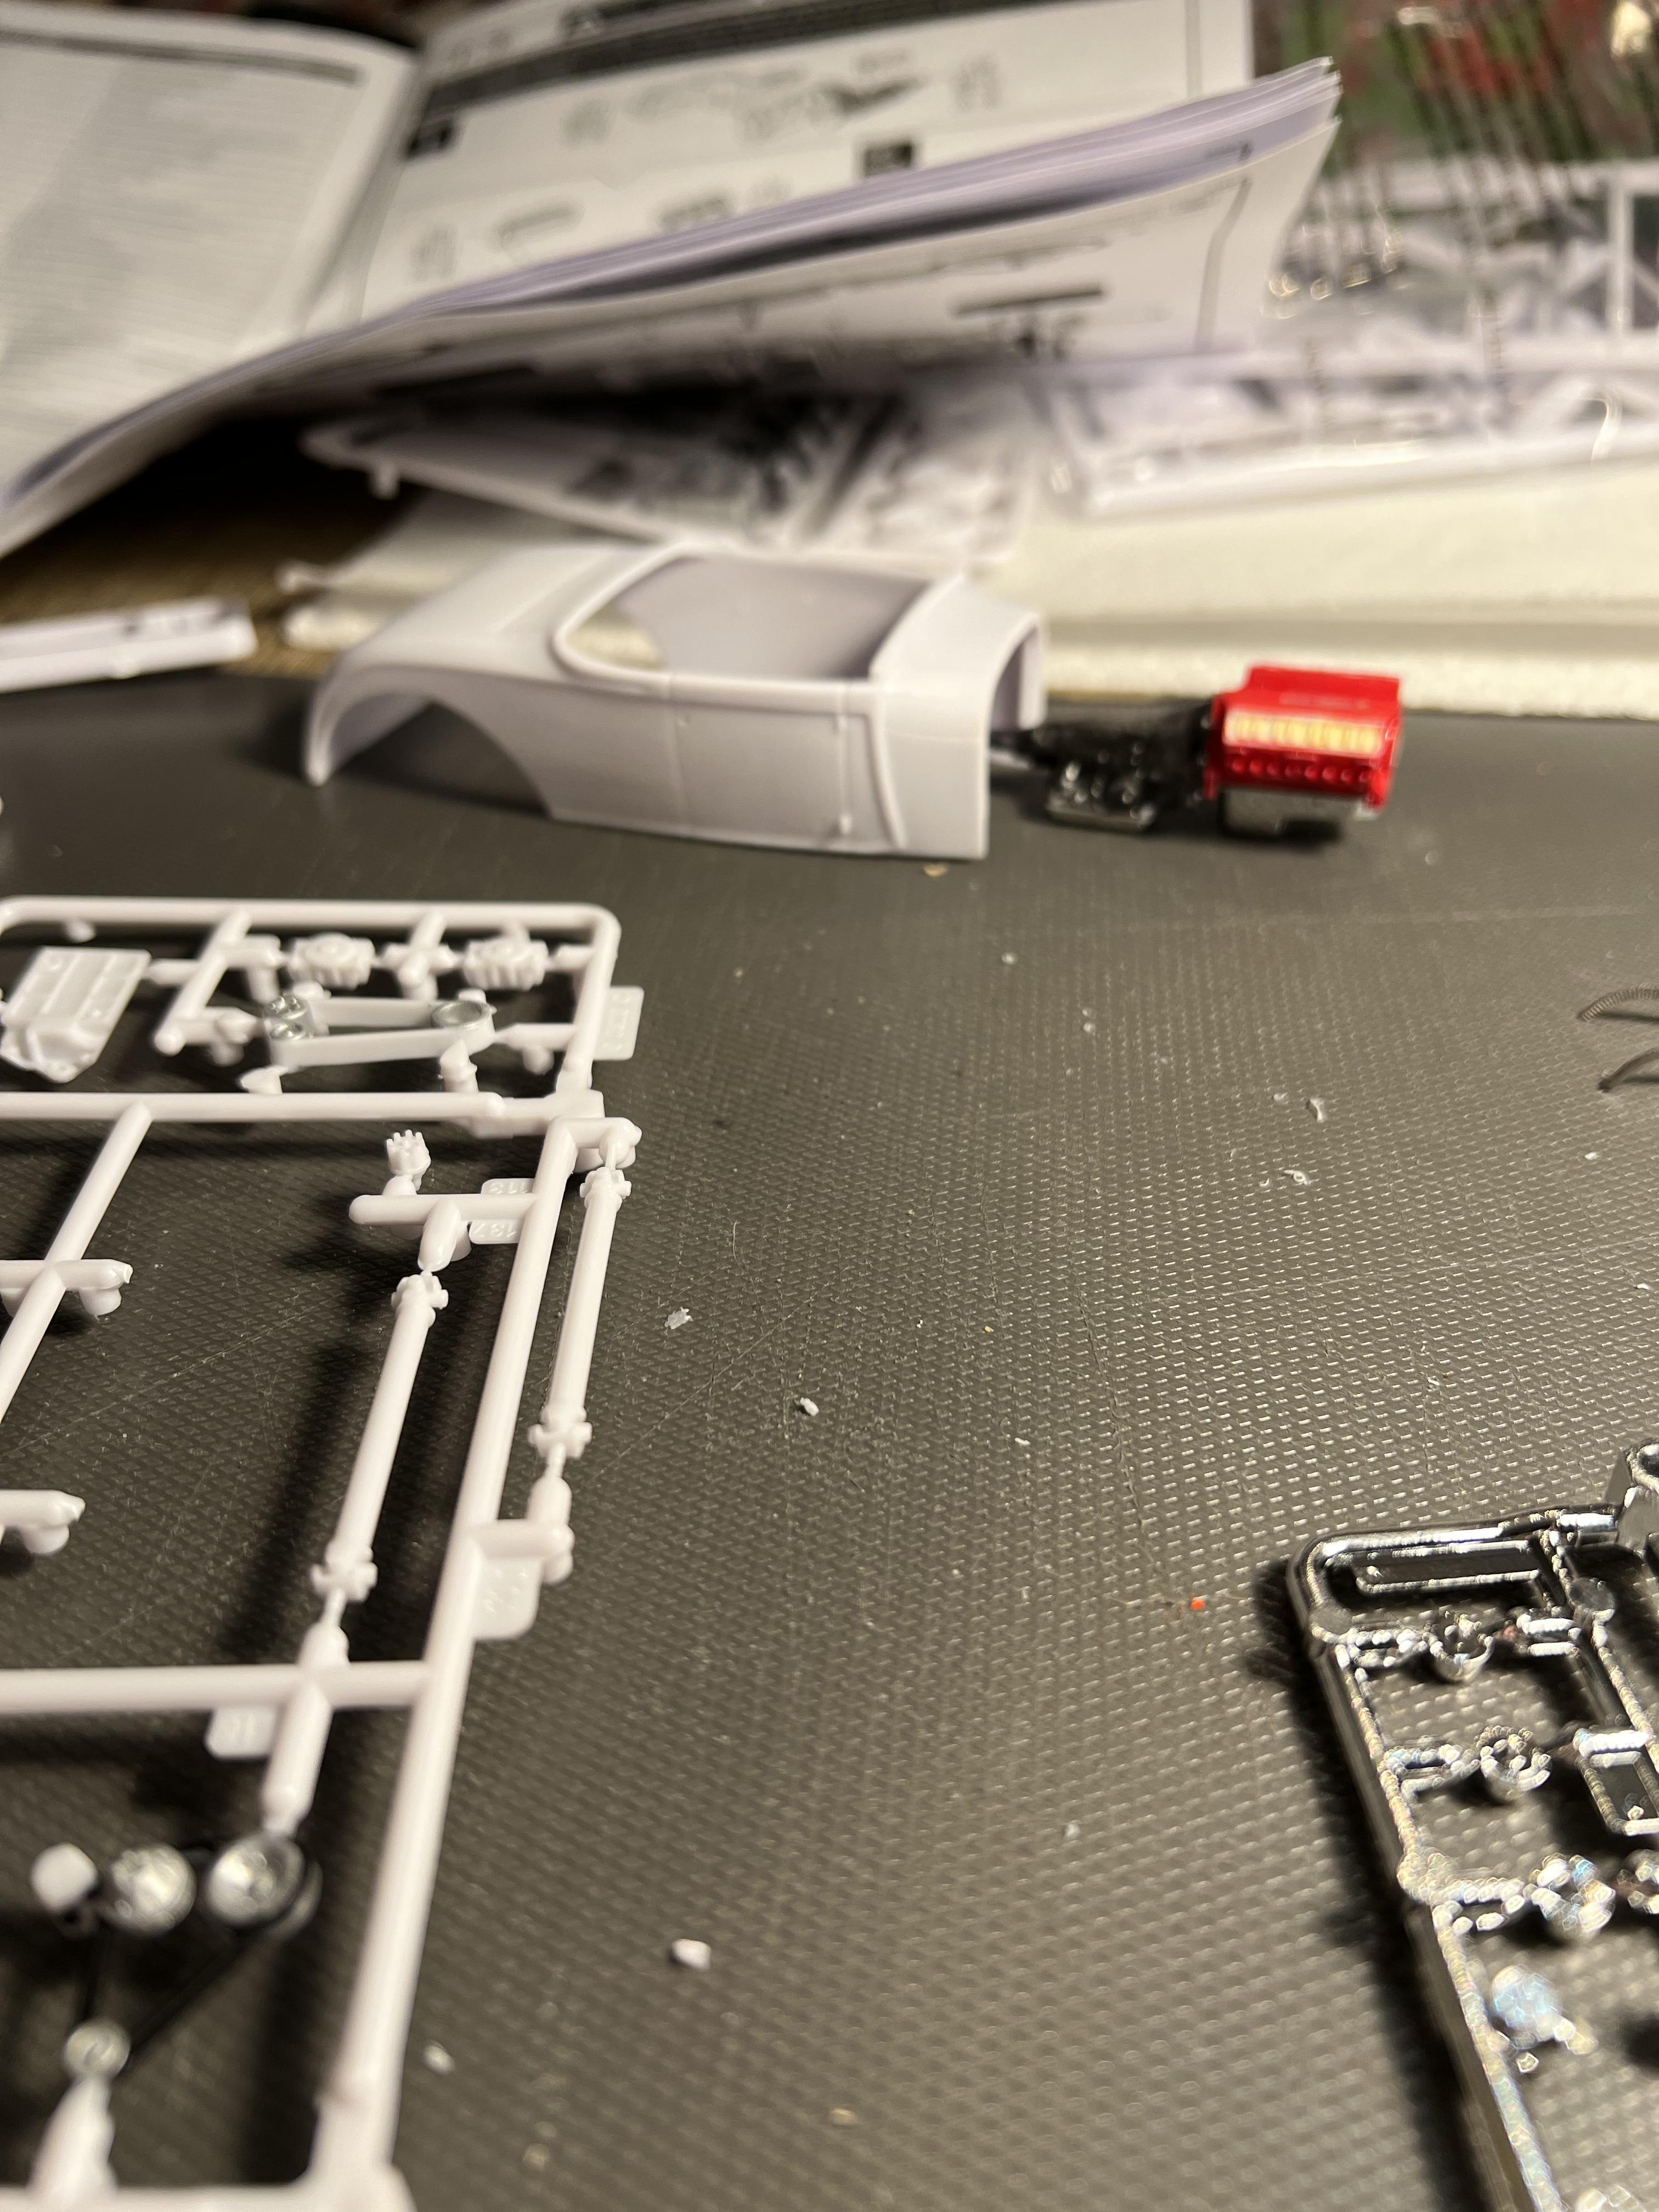
Body is in clear and looks nice. It could use some polishing to smooth out some slight orange peel, but I’m probably just going to leave it as is for now. I just went with flat black spray for the interior after experimenting with some acrylics, I just couldn’t get a smooth enough finish with a brush. This one will be low on chrome in general, so I think the black will work. I’ve got my frame all puttied up and it just needs to be smoothed out and painted. Maybe I’ll get this one done soon.
-
Thank you
-
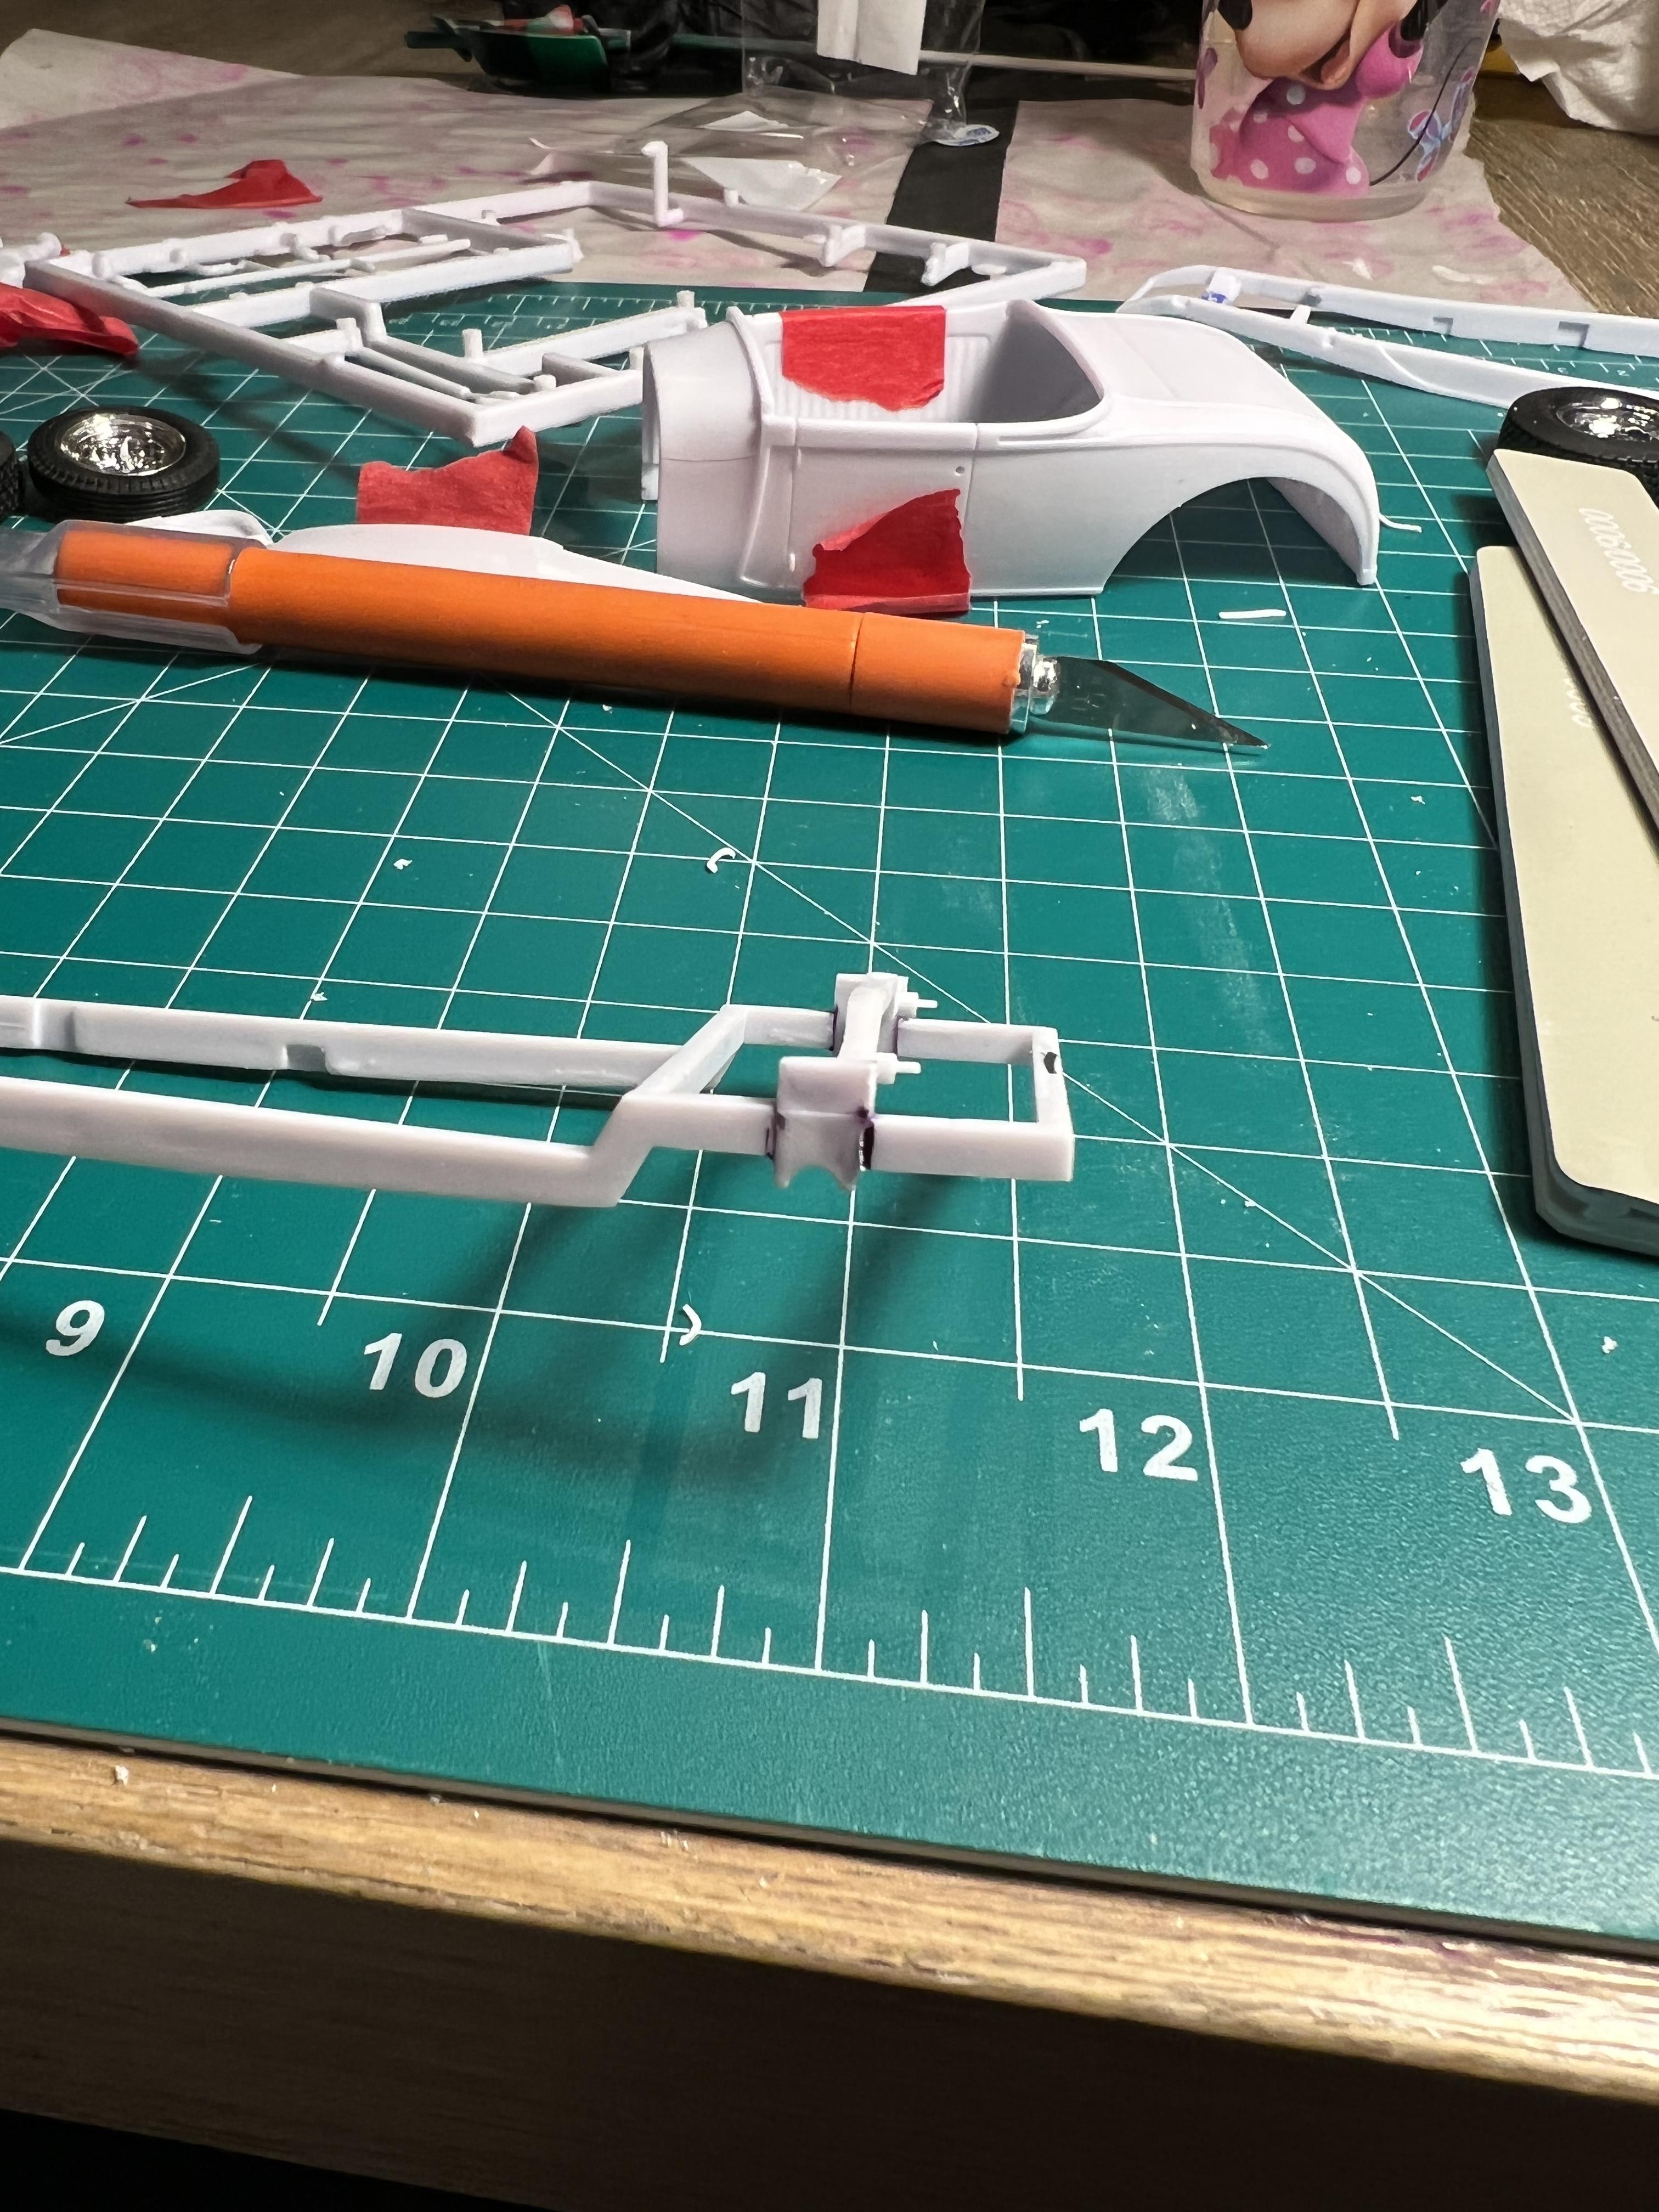
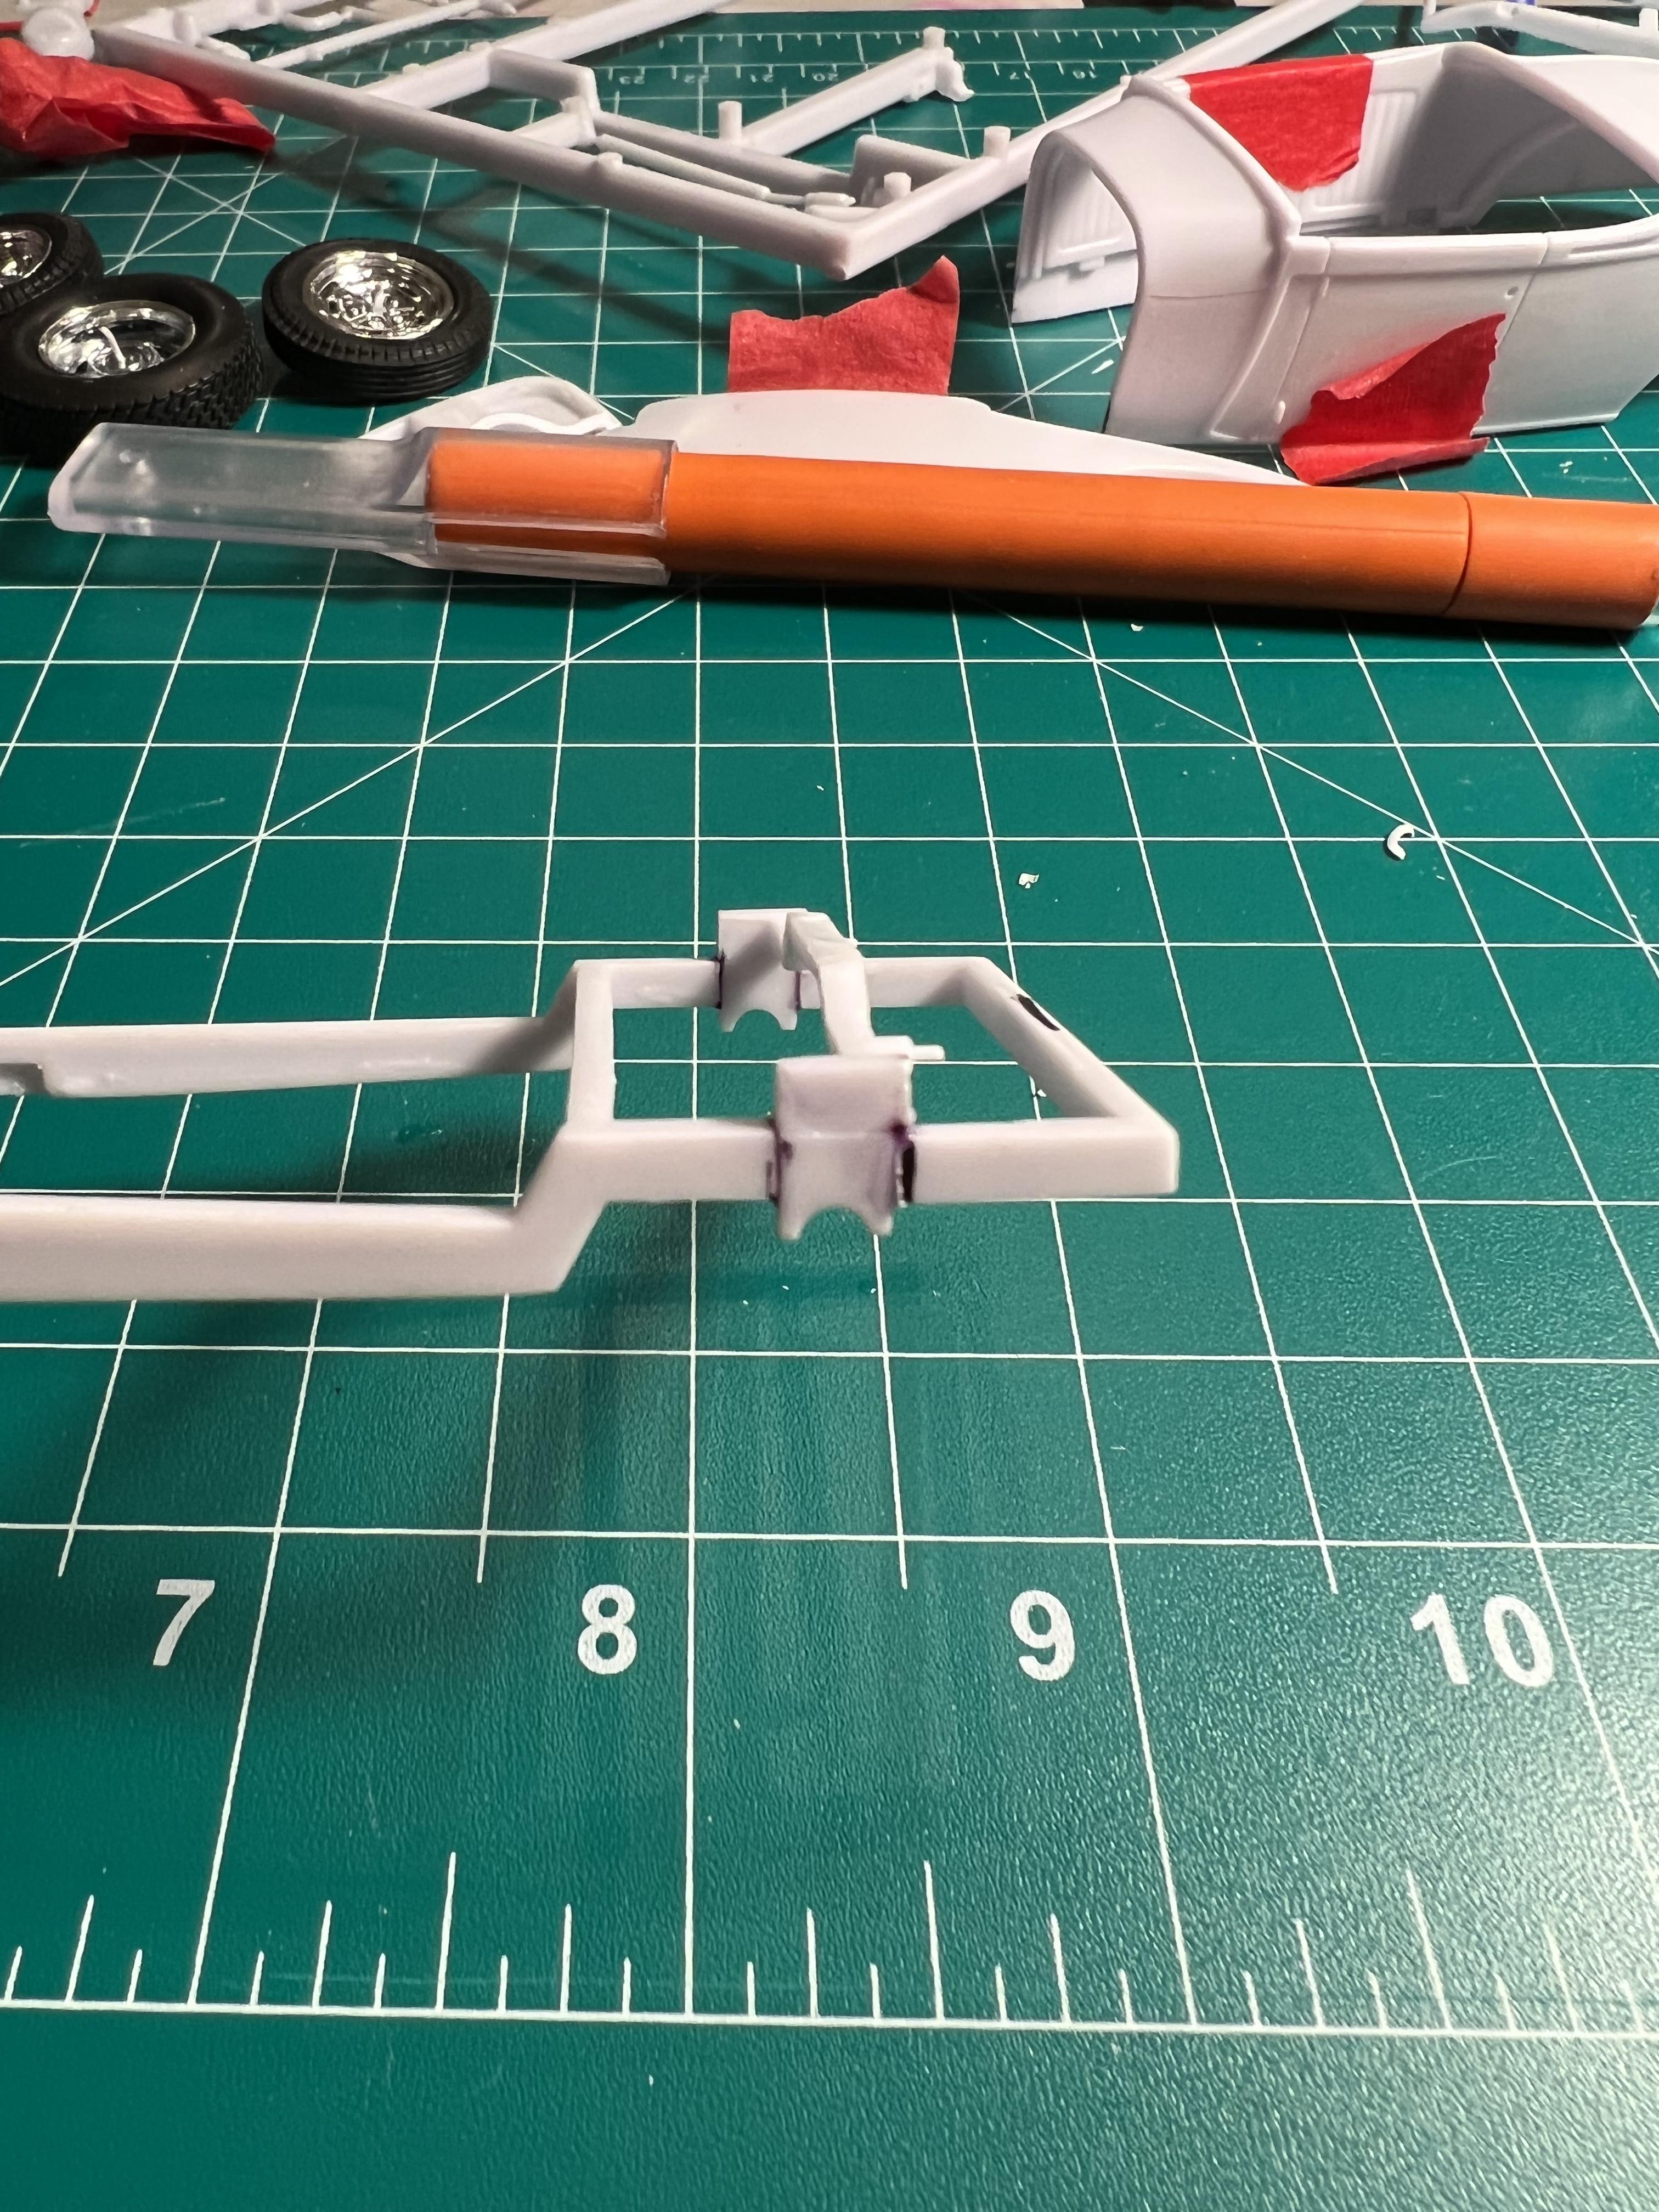
Slow going this week haven’t had a lot of free time and weather was too cold for painting in the garage. I did get a little work done on the front wishbones that need to be relocated. I sawed off the stock mounting tabs, drilled for pins and fanned up some new tabs. I also filed new notches in my frame for those tabs to sit flush in. I will mold it all in and get some pictures of the completed work after.
-
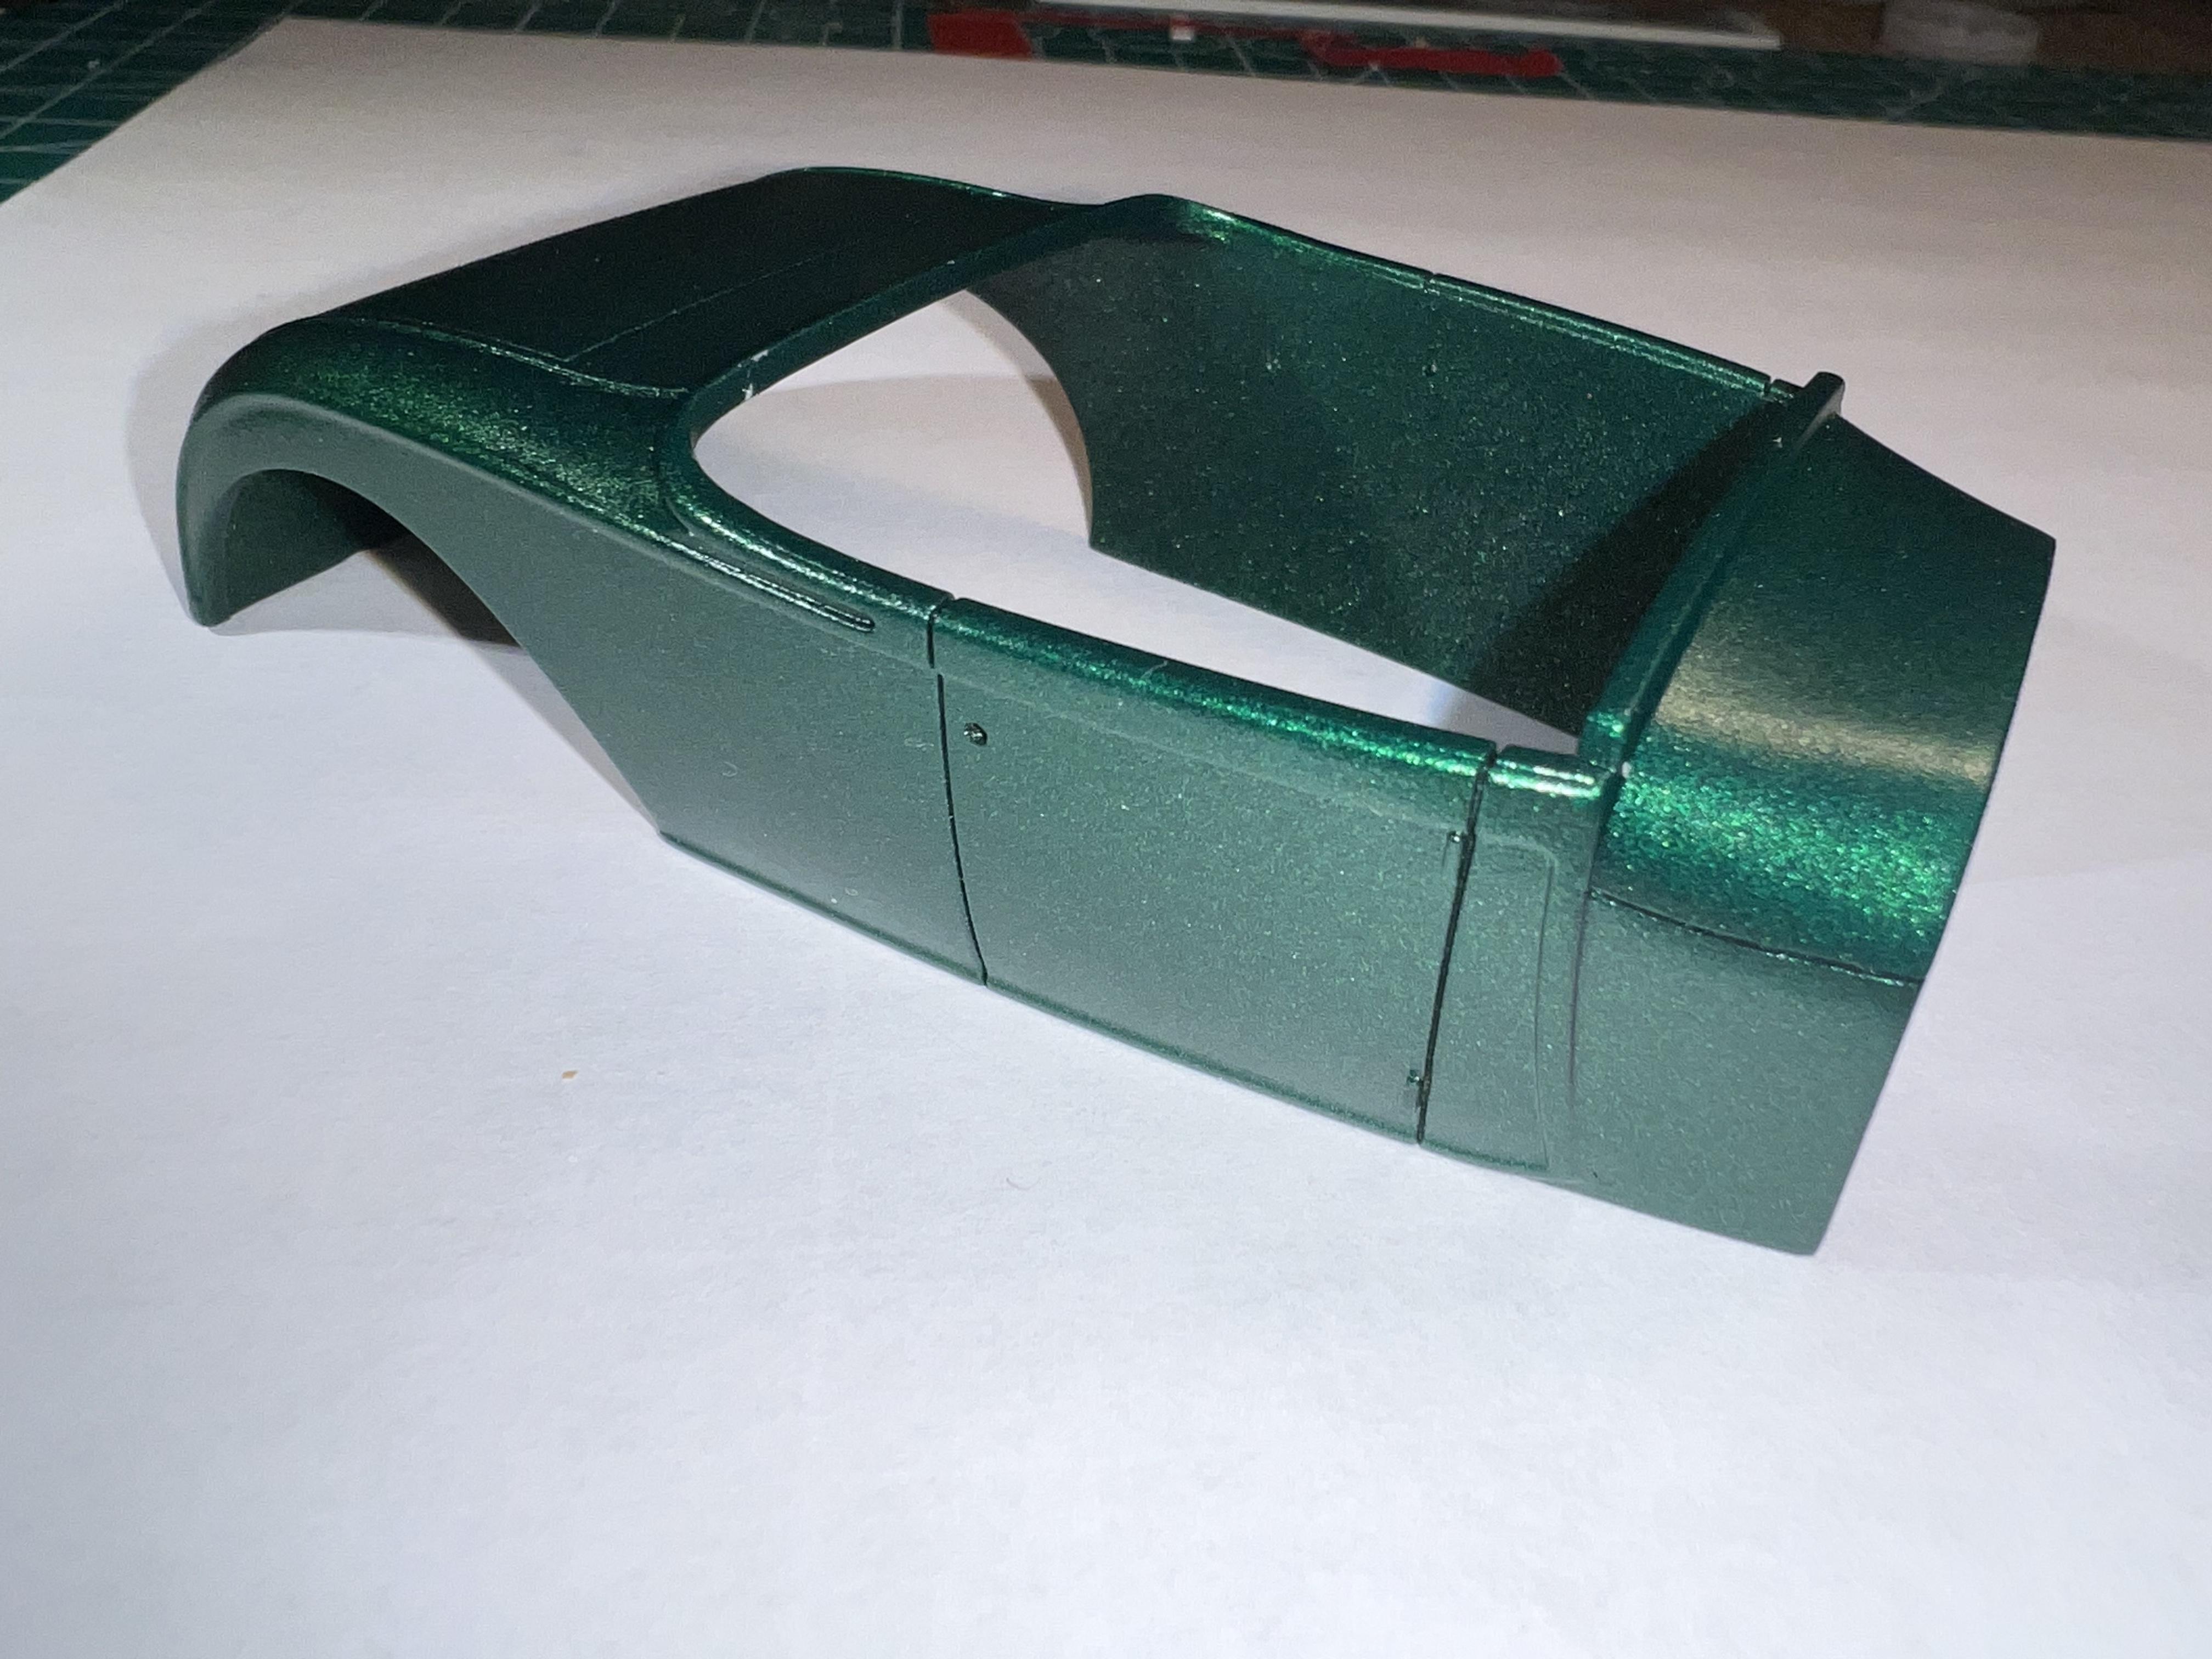
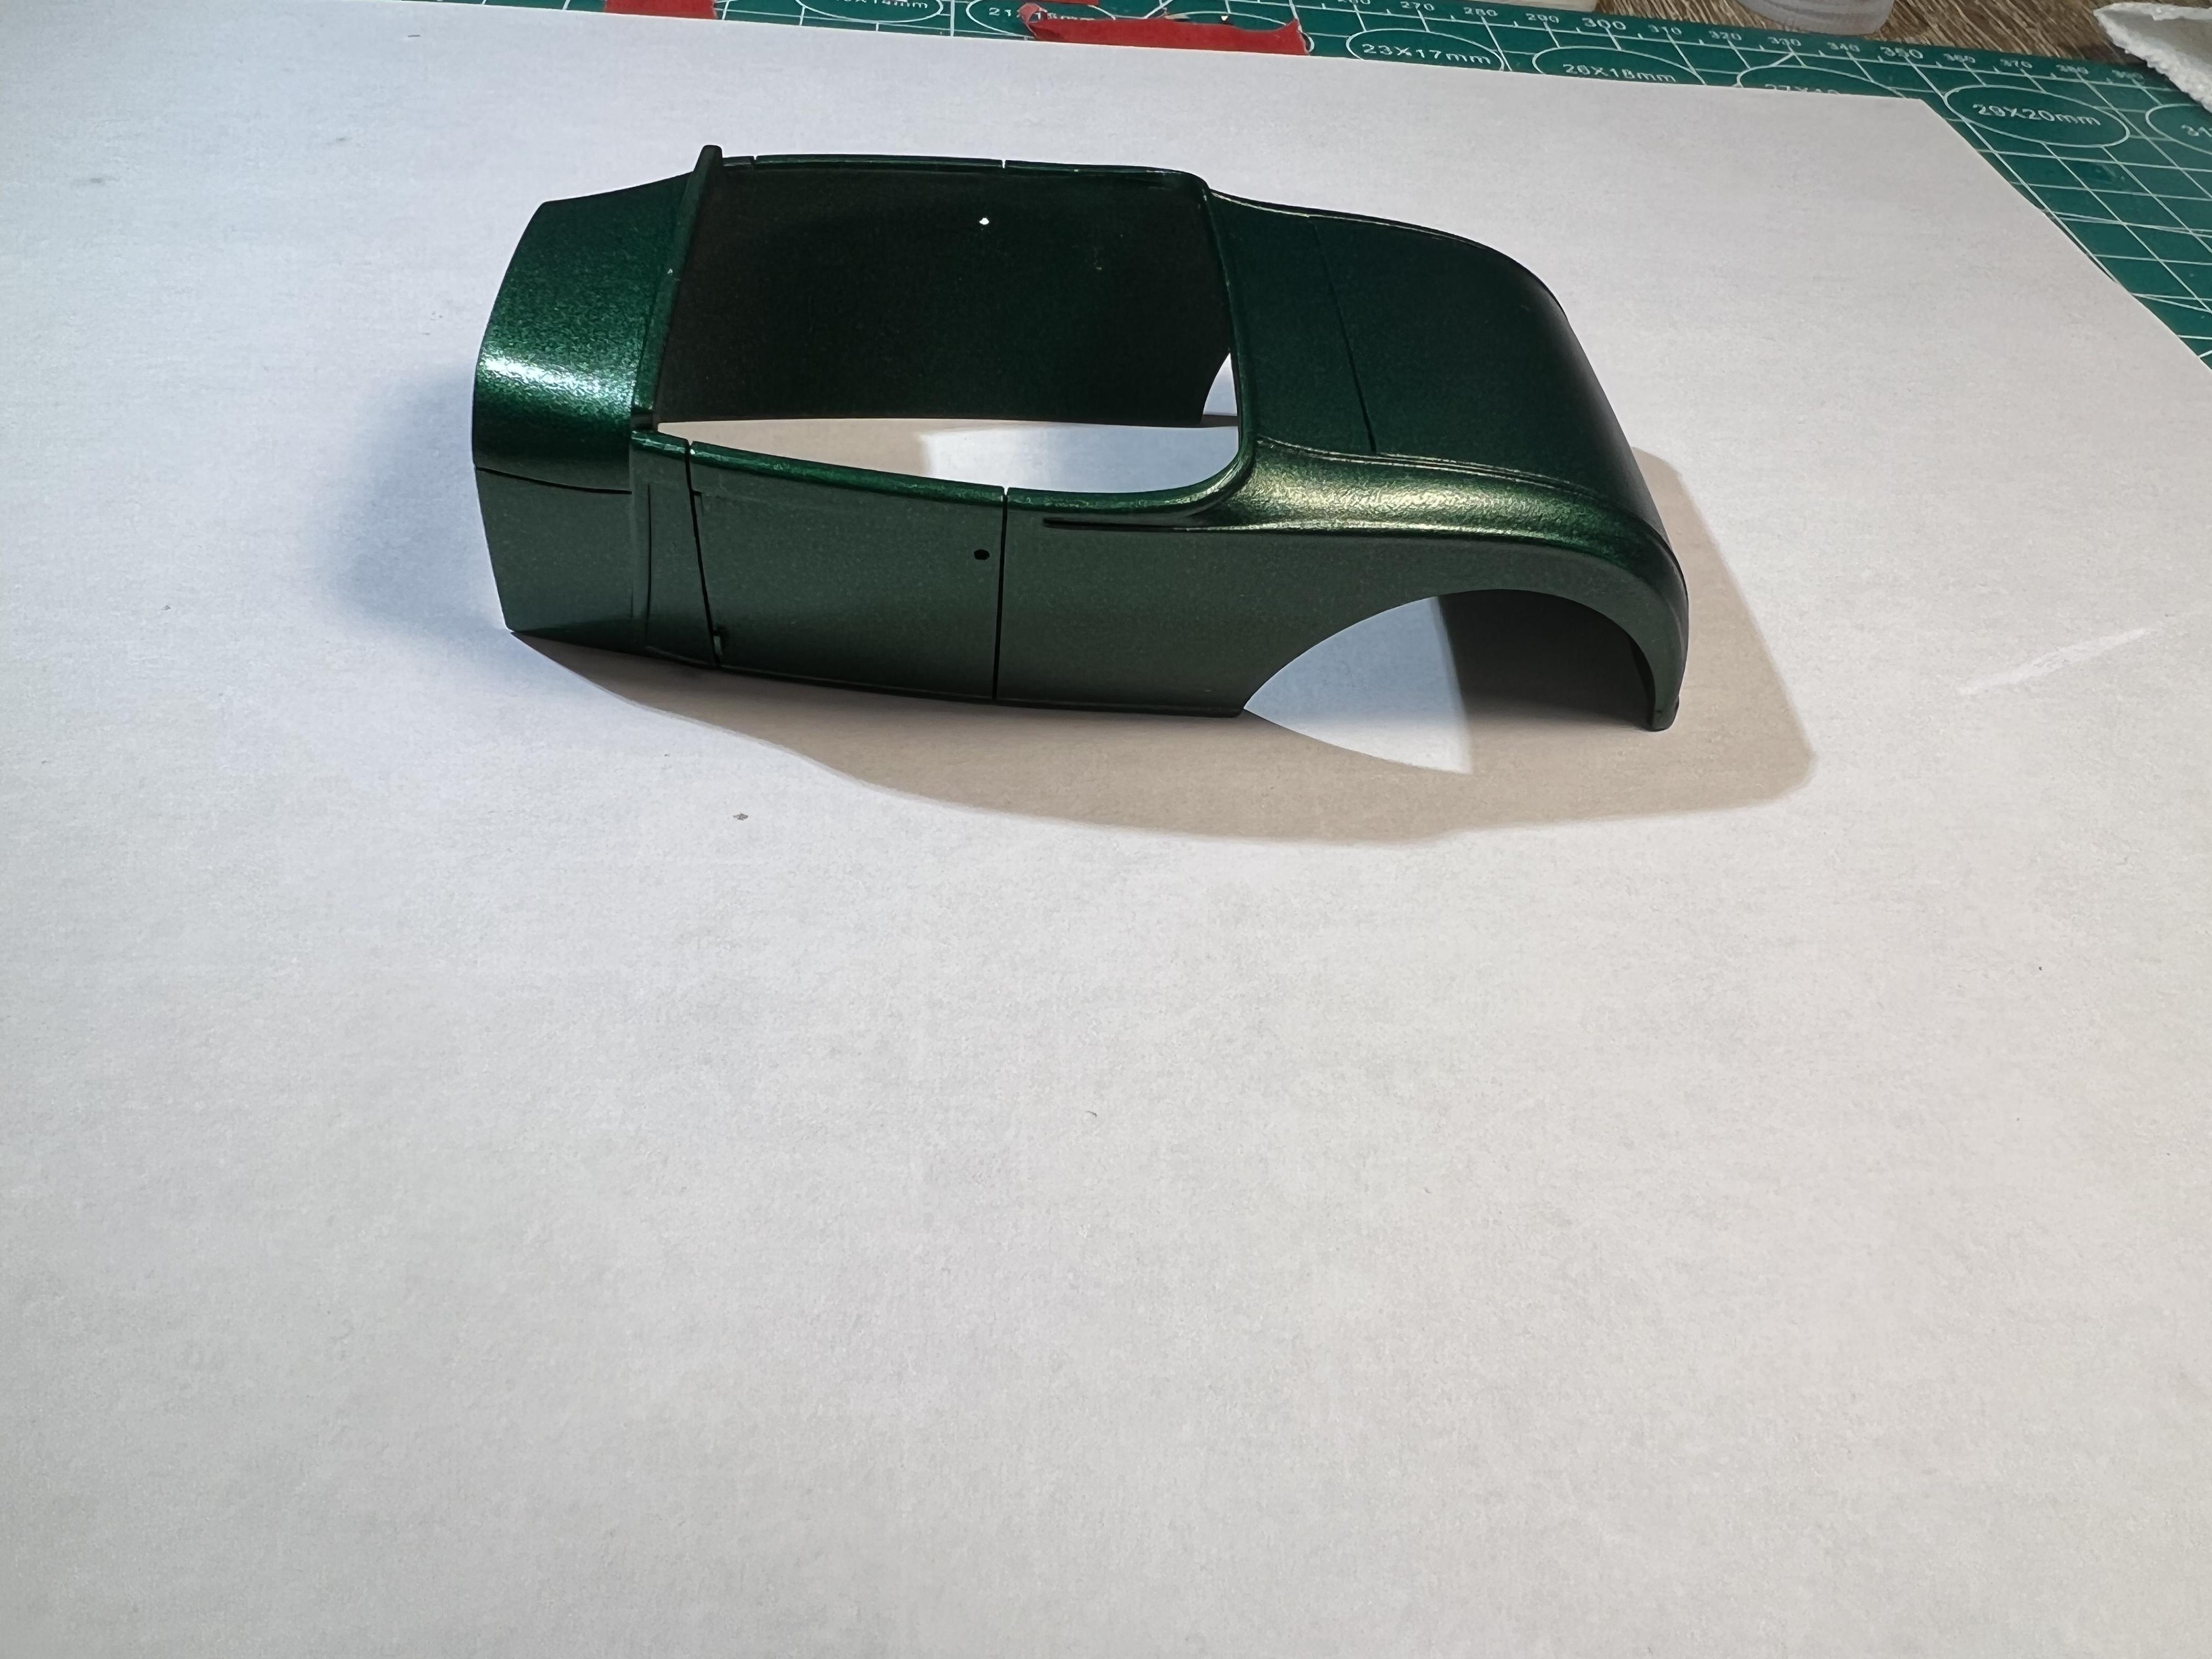
Thanks for the suggestion. That is exactly what I did except for that final wet coat, maybe that would help in the future. It was a little colder here in NC yesterday, right around the 50 degree mark so that may have contributed. I don’t think it’s a poor result, I didn’t have any drips, runs or blemishes in the surface so I’m pretty happy about that, it’s just not as glossy as I was hoping. I’m going to get some clear on it in a couple of days and see what happens.
-
Thanks for the tip, for best results, should the color coat be wet sanded prior to clear?
-
I got some paint on the body today. This is the testors extreme lacquer “mystic emerald” rattle can, sprayed over a black base. I like the color, but I’m a little disappointed in the level of gloss in this, and it’s got a lot of orange peel. Hopefully will look better after clear.
-
That looks great
-
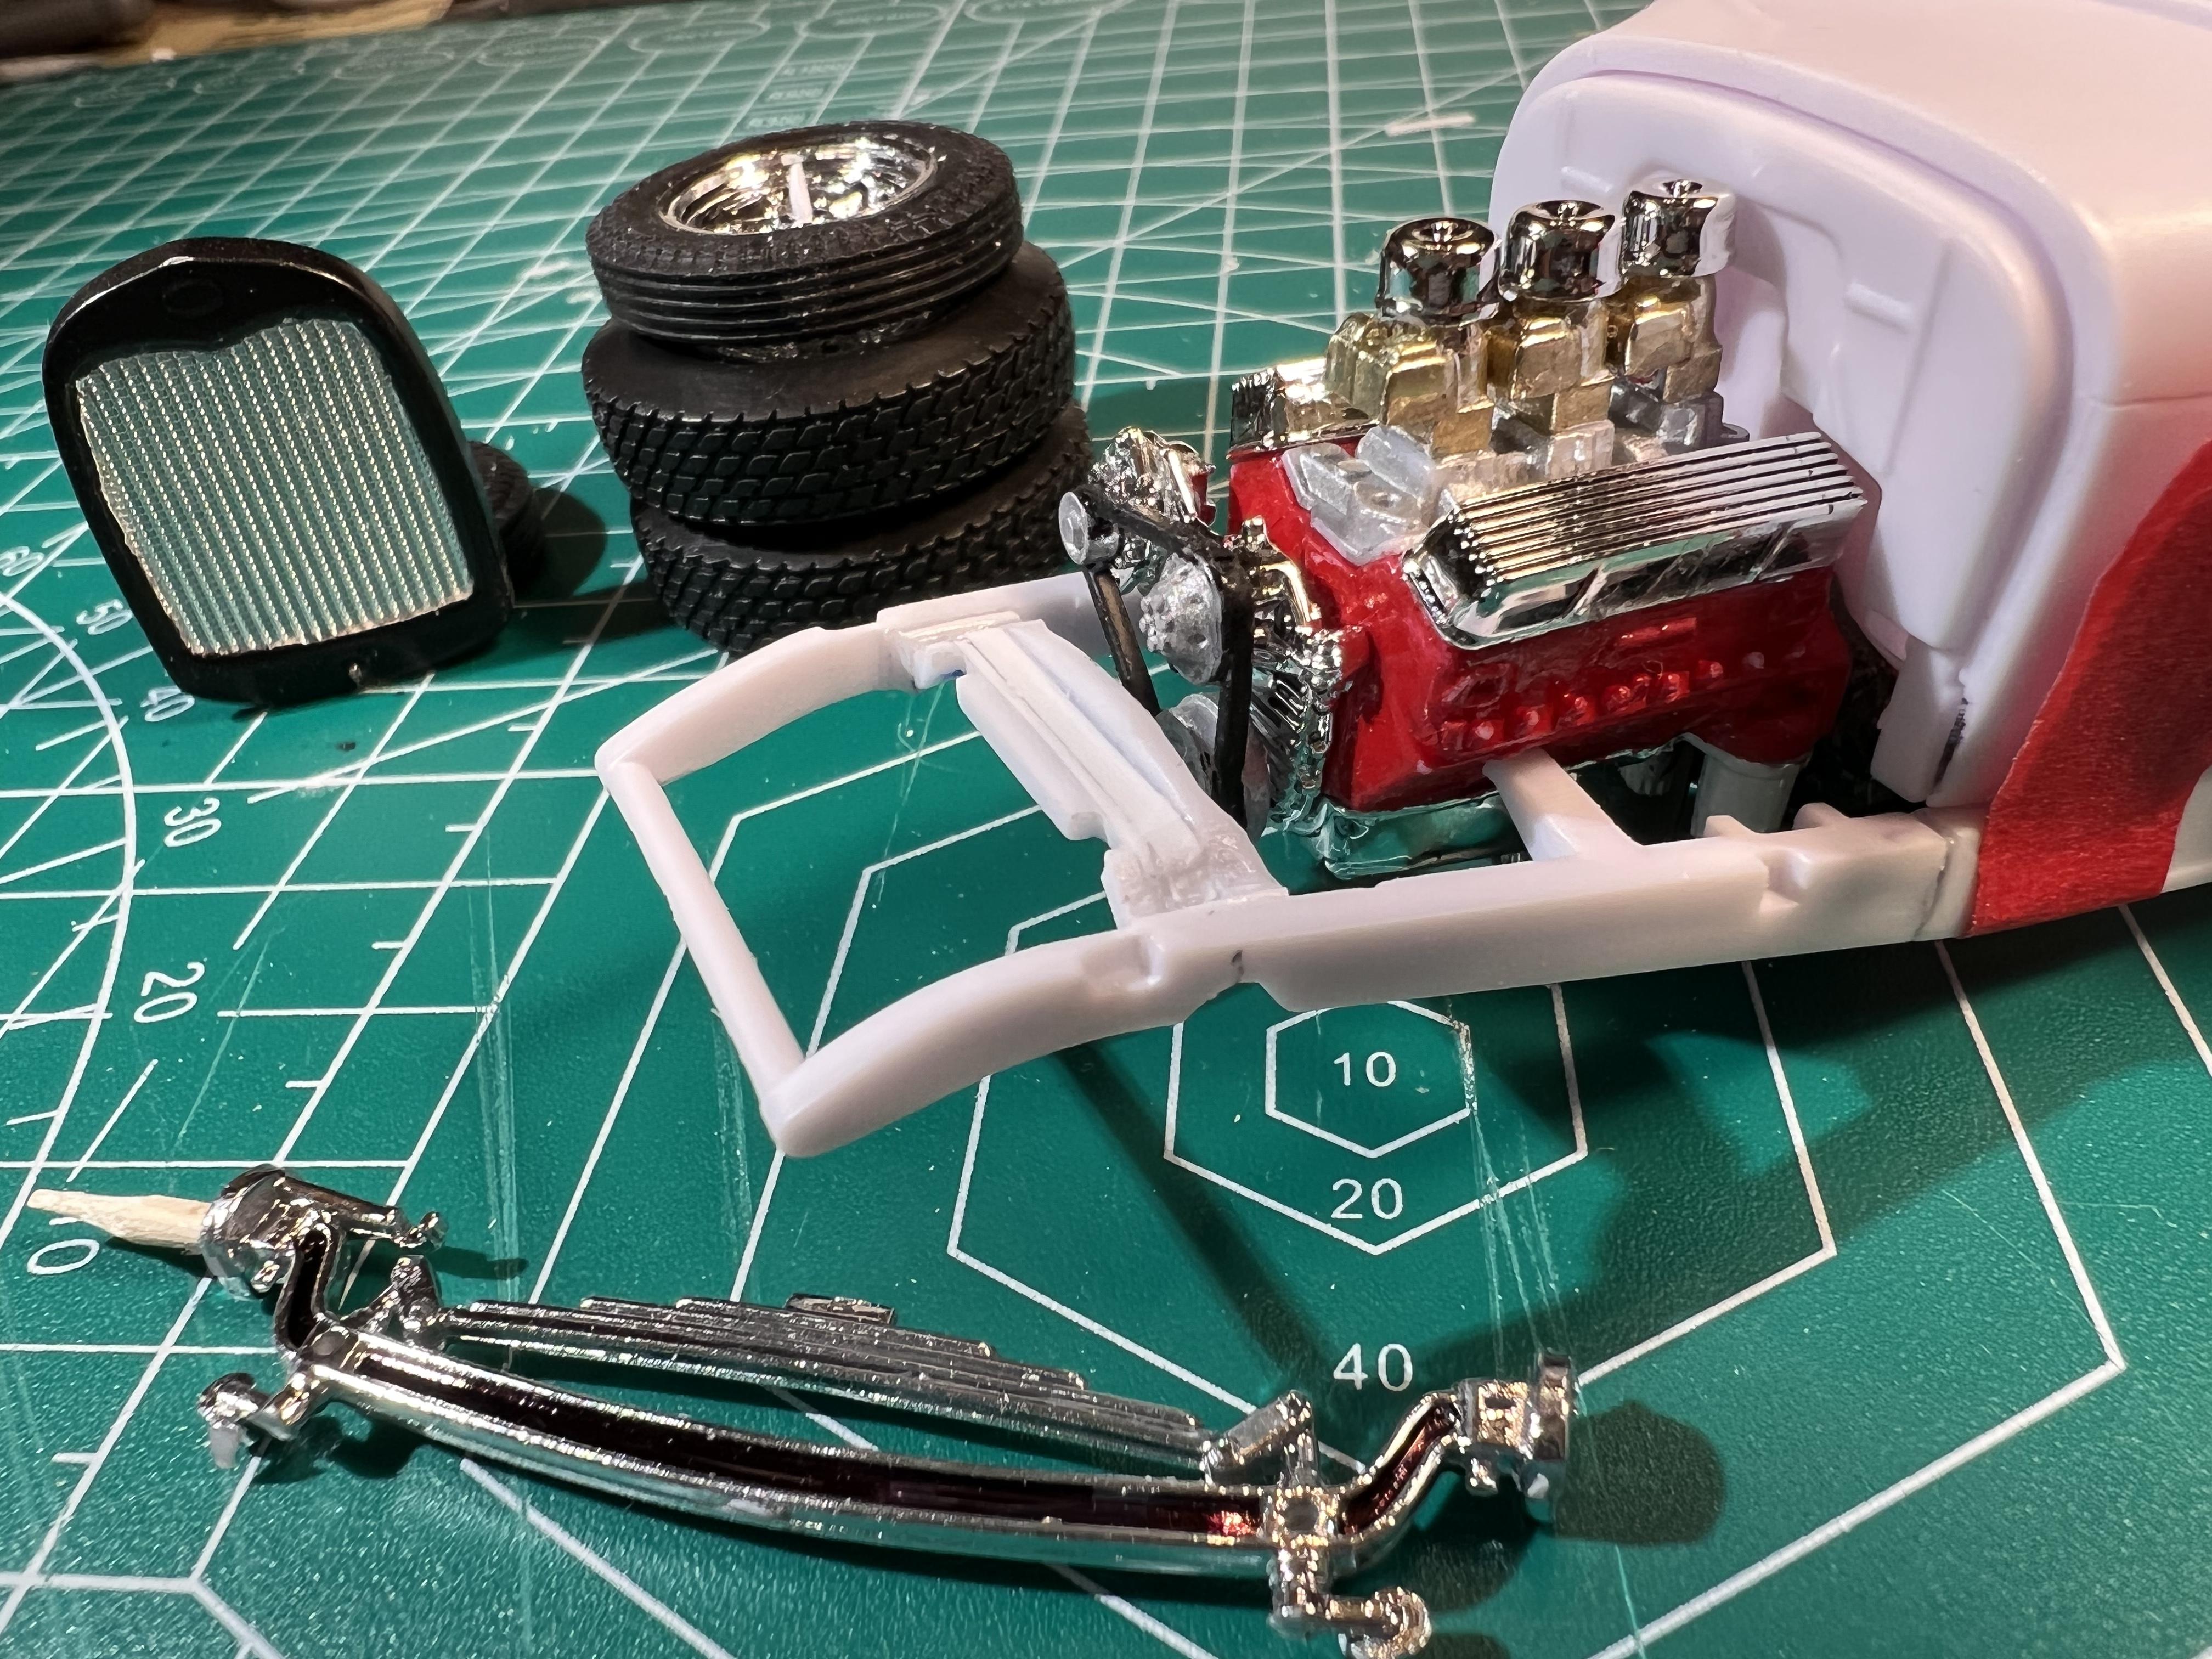
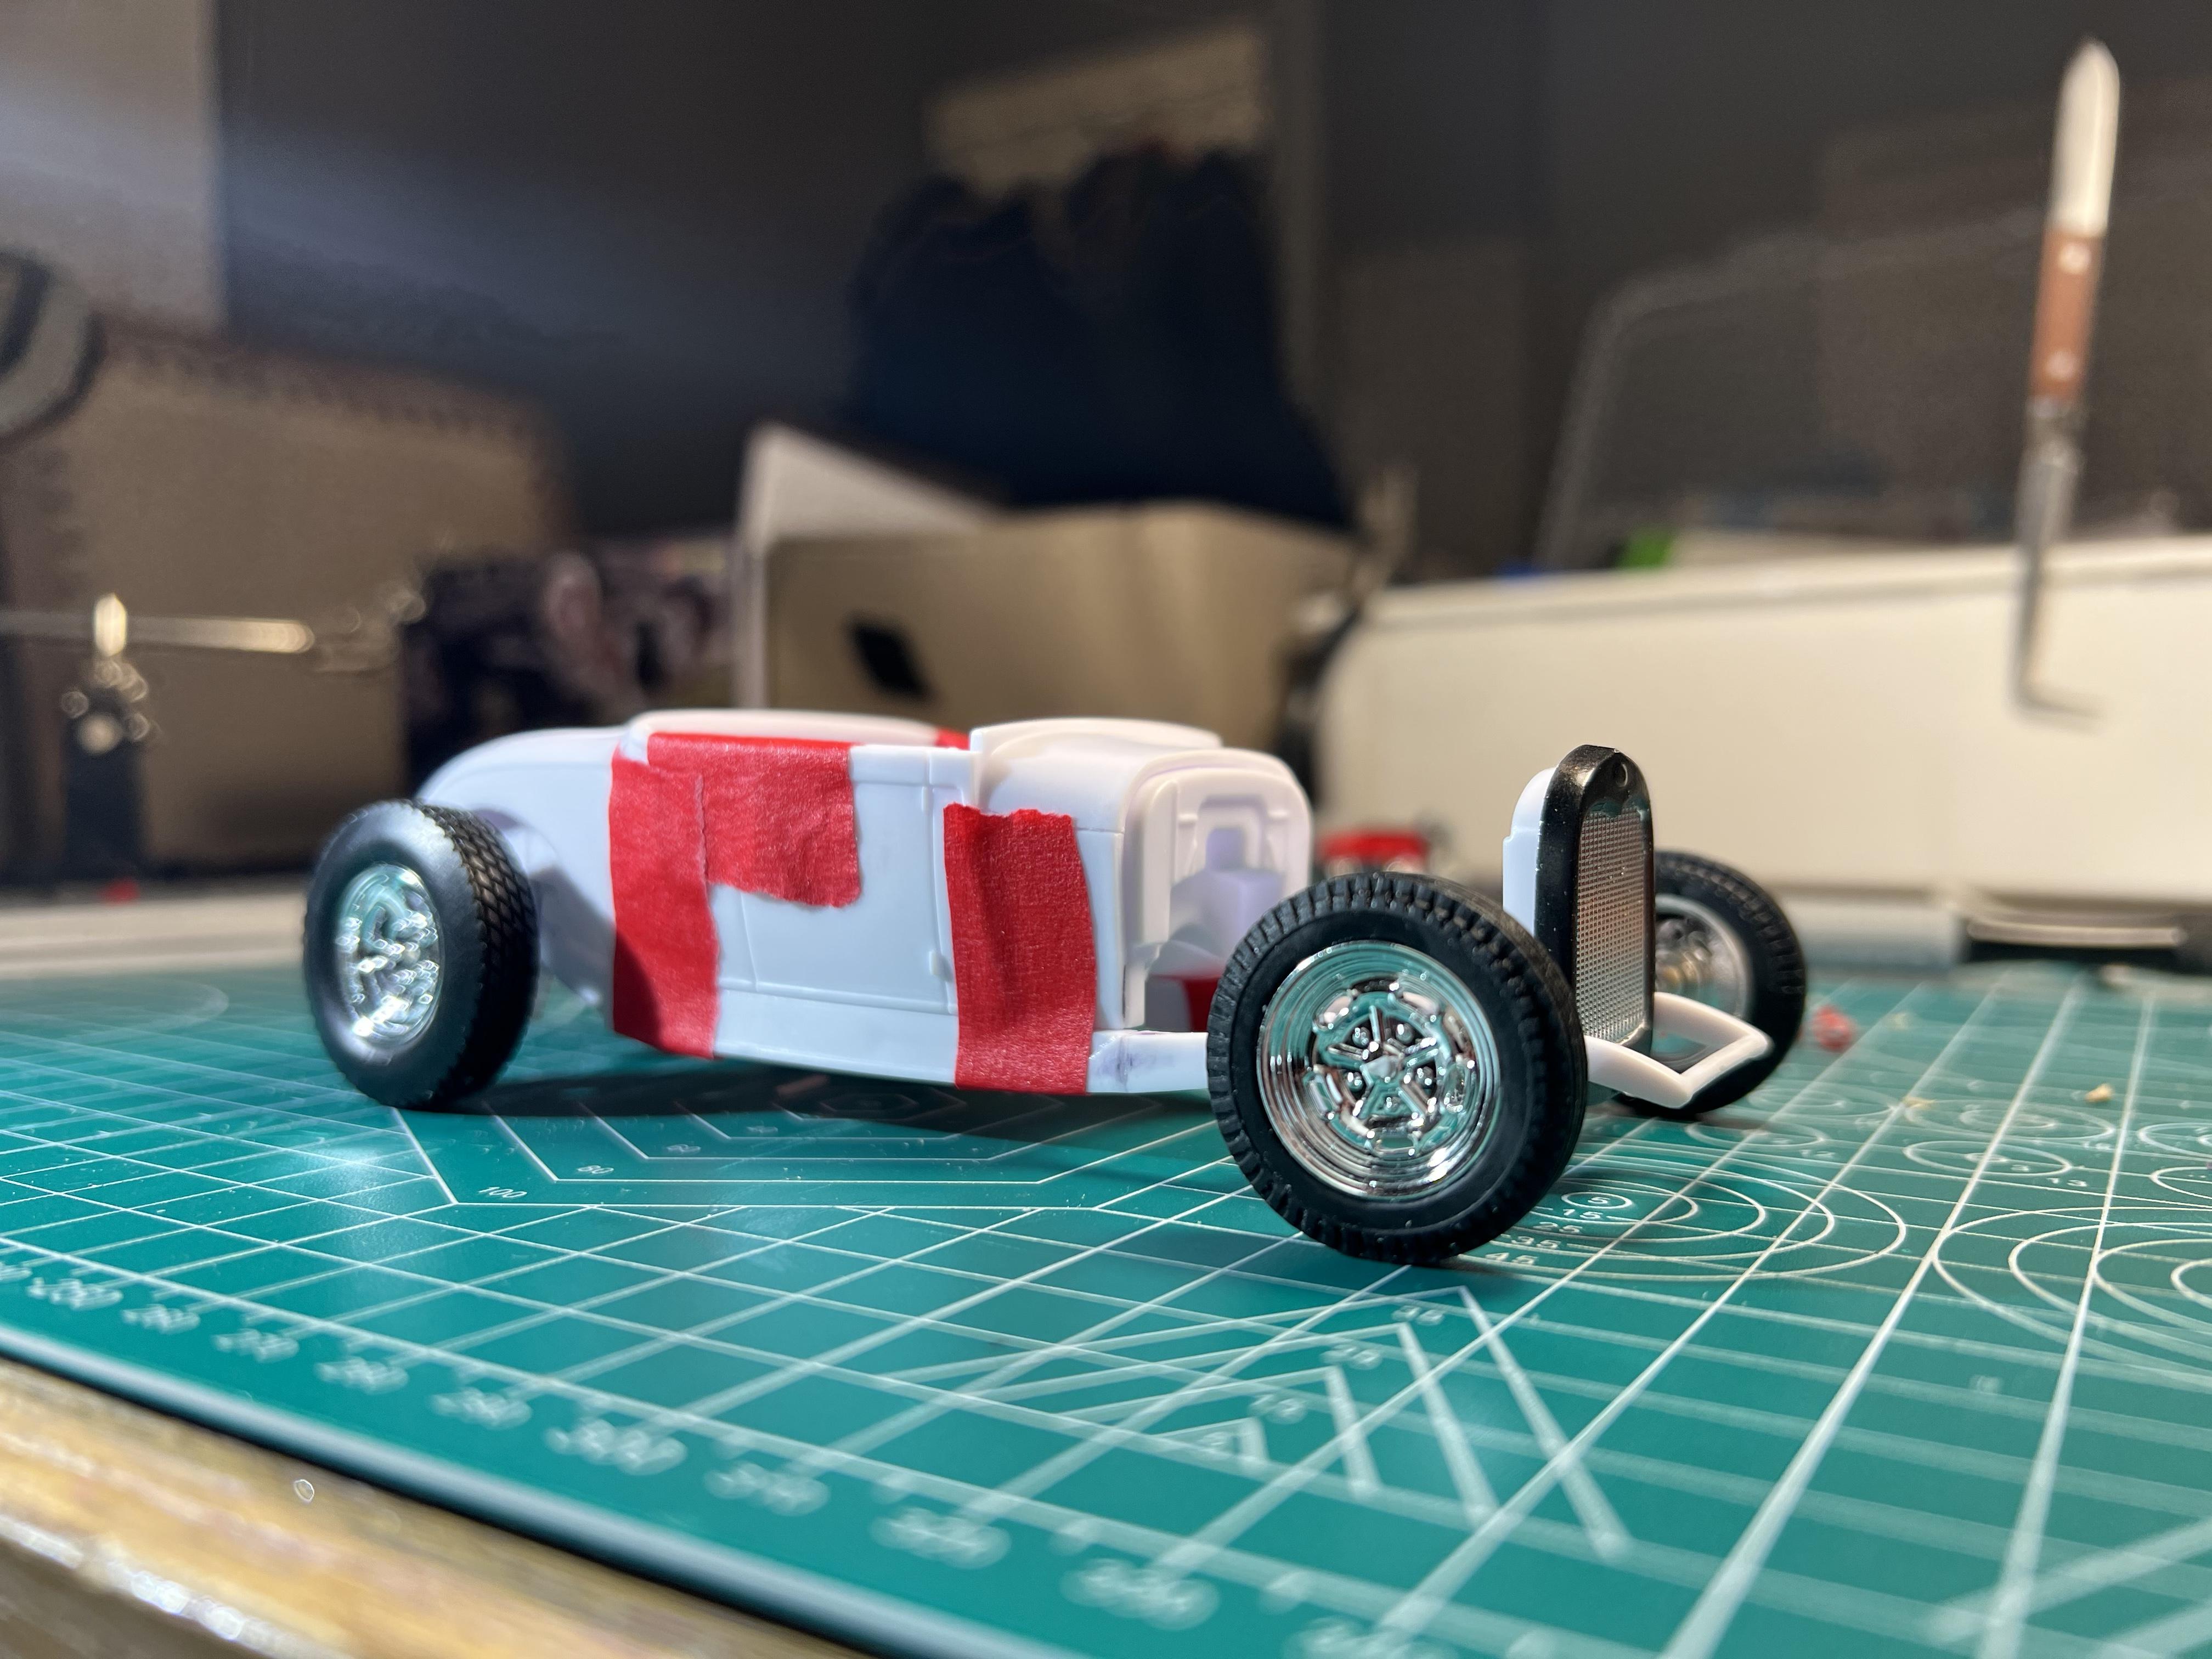
So it’s been a little slow going at this point, but have managed to make some progress. Here is a more detailed shot of the finished rear frame area: I focused my efforts this week to working in the front crossmember. I cut out and flipped it, taking the opportunity to also correct the angle, so that it remains roughly 90 degrees to the ground- with the sweep in the frame the whole member was leaning back, the suspension piece looked weird and the radiator shroud was tilted. I added a little reinforcement styrene strip in the channel that was now facing upwards, I then filed flat the front part of the crossbeam until I sanded through to the bottom of the notches that locate the radiator. I am using the short radiator for the channeled version to get my shroud back down to level with the cowl.This way I could still use the posts in the bottom of the radiator piece, after some modification, and some pinning. I’m going to end up running pins into the radiator, through the crossmember and down into the top of the spring.I also managed to get the body in primer today, and relocated the mounting tab for 1 of the radius arms, just need to get the second one done and some putty on all the frame hacks. Maybe I can wrap it up by next week. Thanks for looking
-
Thanks everyone for the encouragement and critique. Mr. Metallic, I’ve been following that build of yours, definitely an inspiration, I graduated in 1999 so all of us 90’s kids are now 40+. I’ll be getting back to work on this soon and keeps the updates rolling
-
I took a really similar approach in my rear end. Since the insomnia is kicking in I’ll detail it now. The rear of the deuce frame is harder to put a “z” in because the rails are curved I couldn’t figure out how to make the 45 degree cut and stack them. So I made a similar straight cut at the axle mounting “u” and added some styrene bars perpendicular, so that I could slide the rear of my frame directly upwards, kind of a modified “c” notch moving the whole rear of the frame upward would again allow me to use the stock shocks without modification. I left the added upright particularly long so that I could mock up the ride height I wanted and tack everything together. the rear frame is unattached at this point. I leveled the car out, applied glue to the ends of my rear frame section and butted into the uprights. I reworked the fender wells to accept the shape of the new frame Now, I was pretty happy with the way everything fit up. I ended up cutting the rear of the floor pan off to clear the elevated suspension. After all that warpage from earlier the floor board never did sit right in the stock mounting holes so I’m going to end up bypassing that and some strategically located styrene blocks will mount the frame and floorboard together here is my final mock-up: im really pleased with the overall look. That catches me up to where I am tonight on this thing. Going to start gluing things up and painting next. There will be some more “fabrication” to get the rest of the suspension pieces sorted, but the stance is dialed in
-
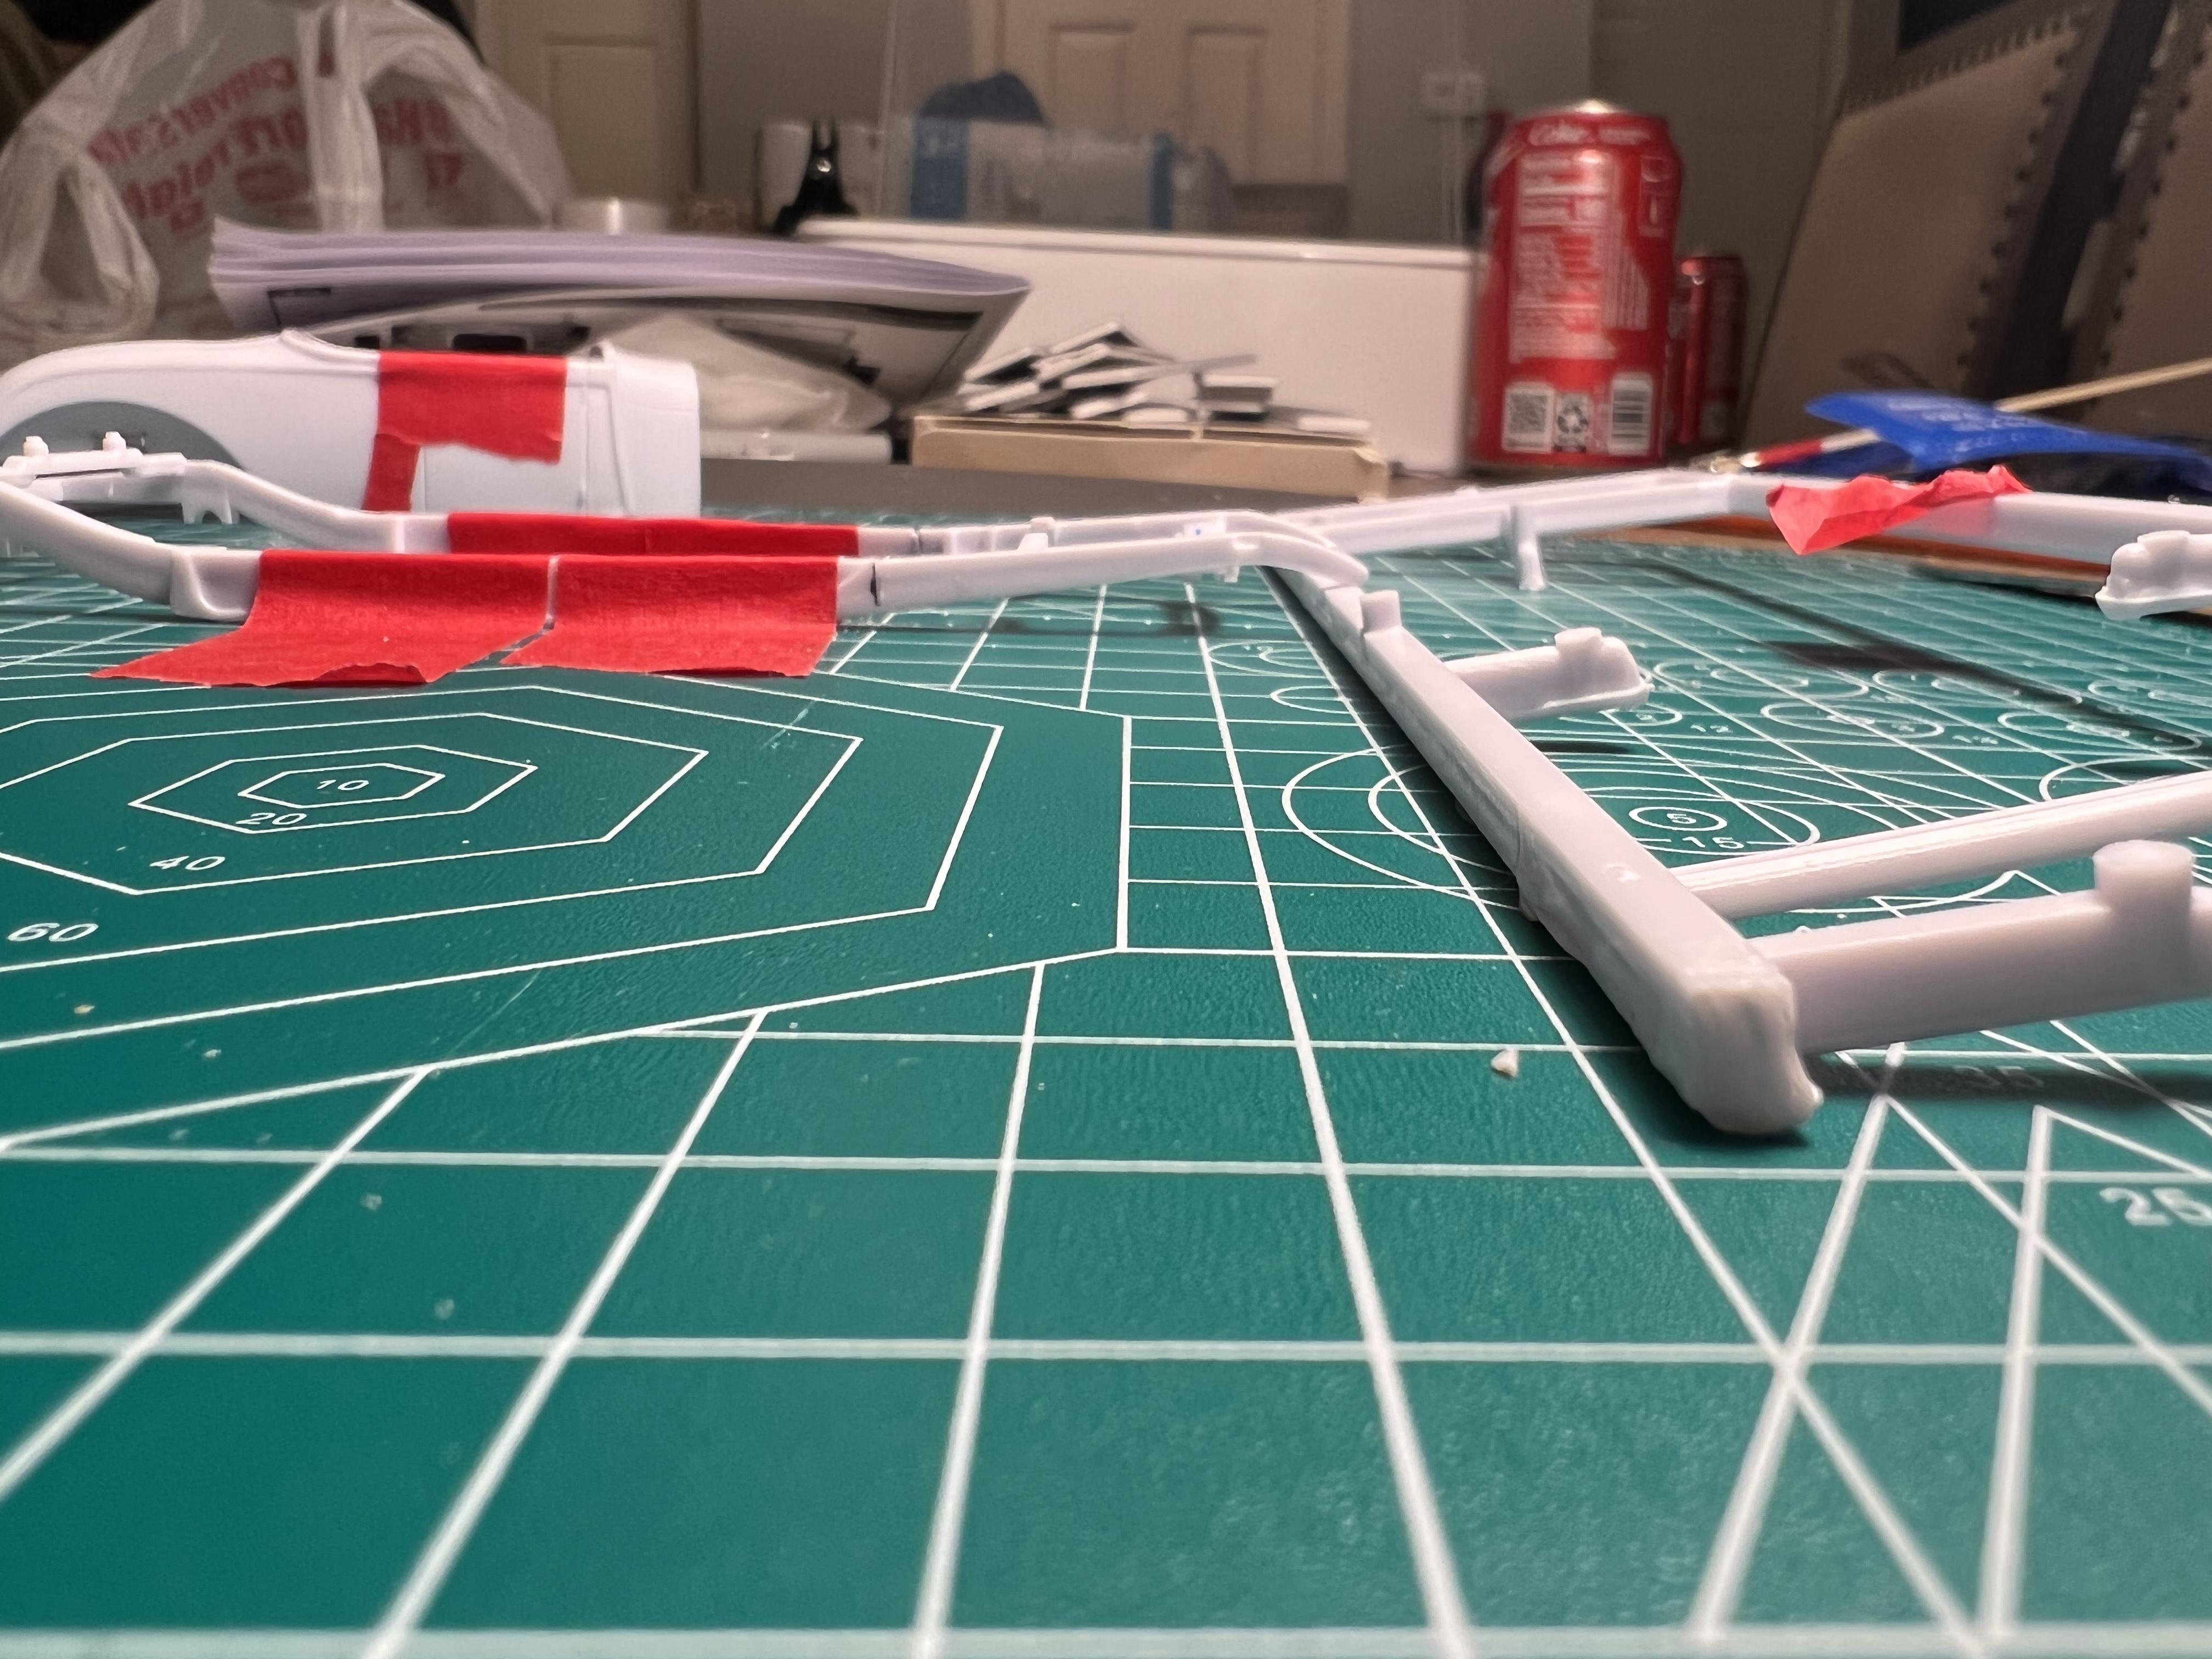
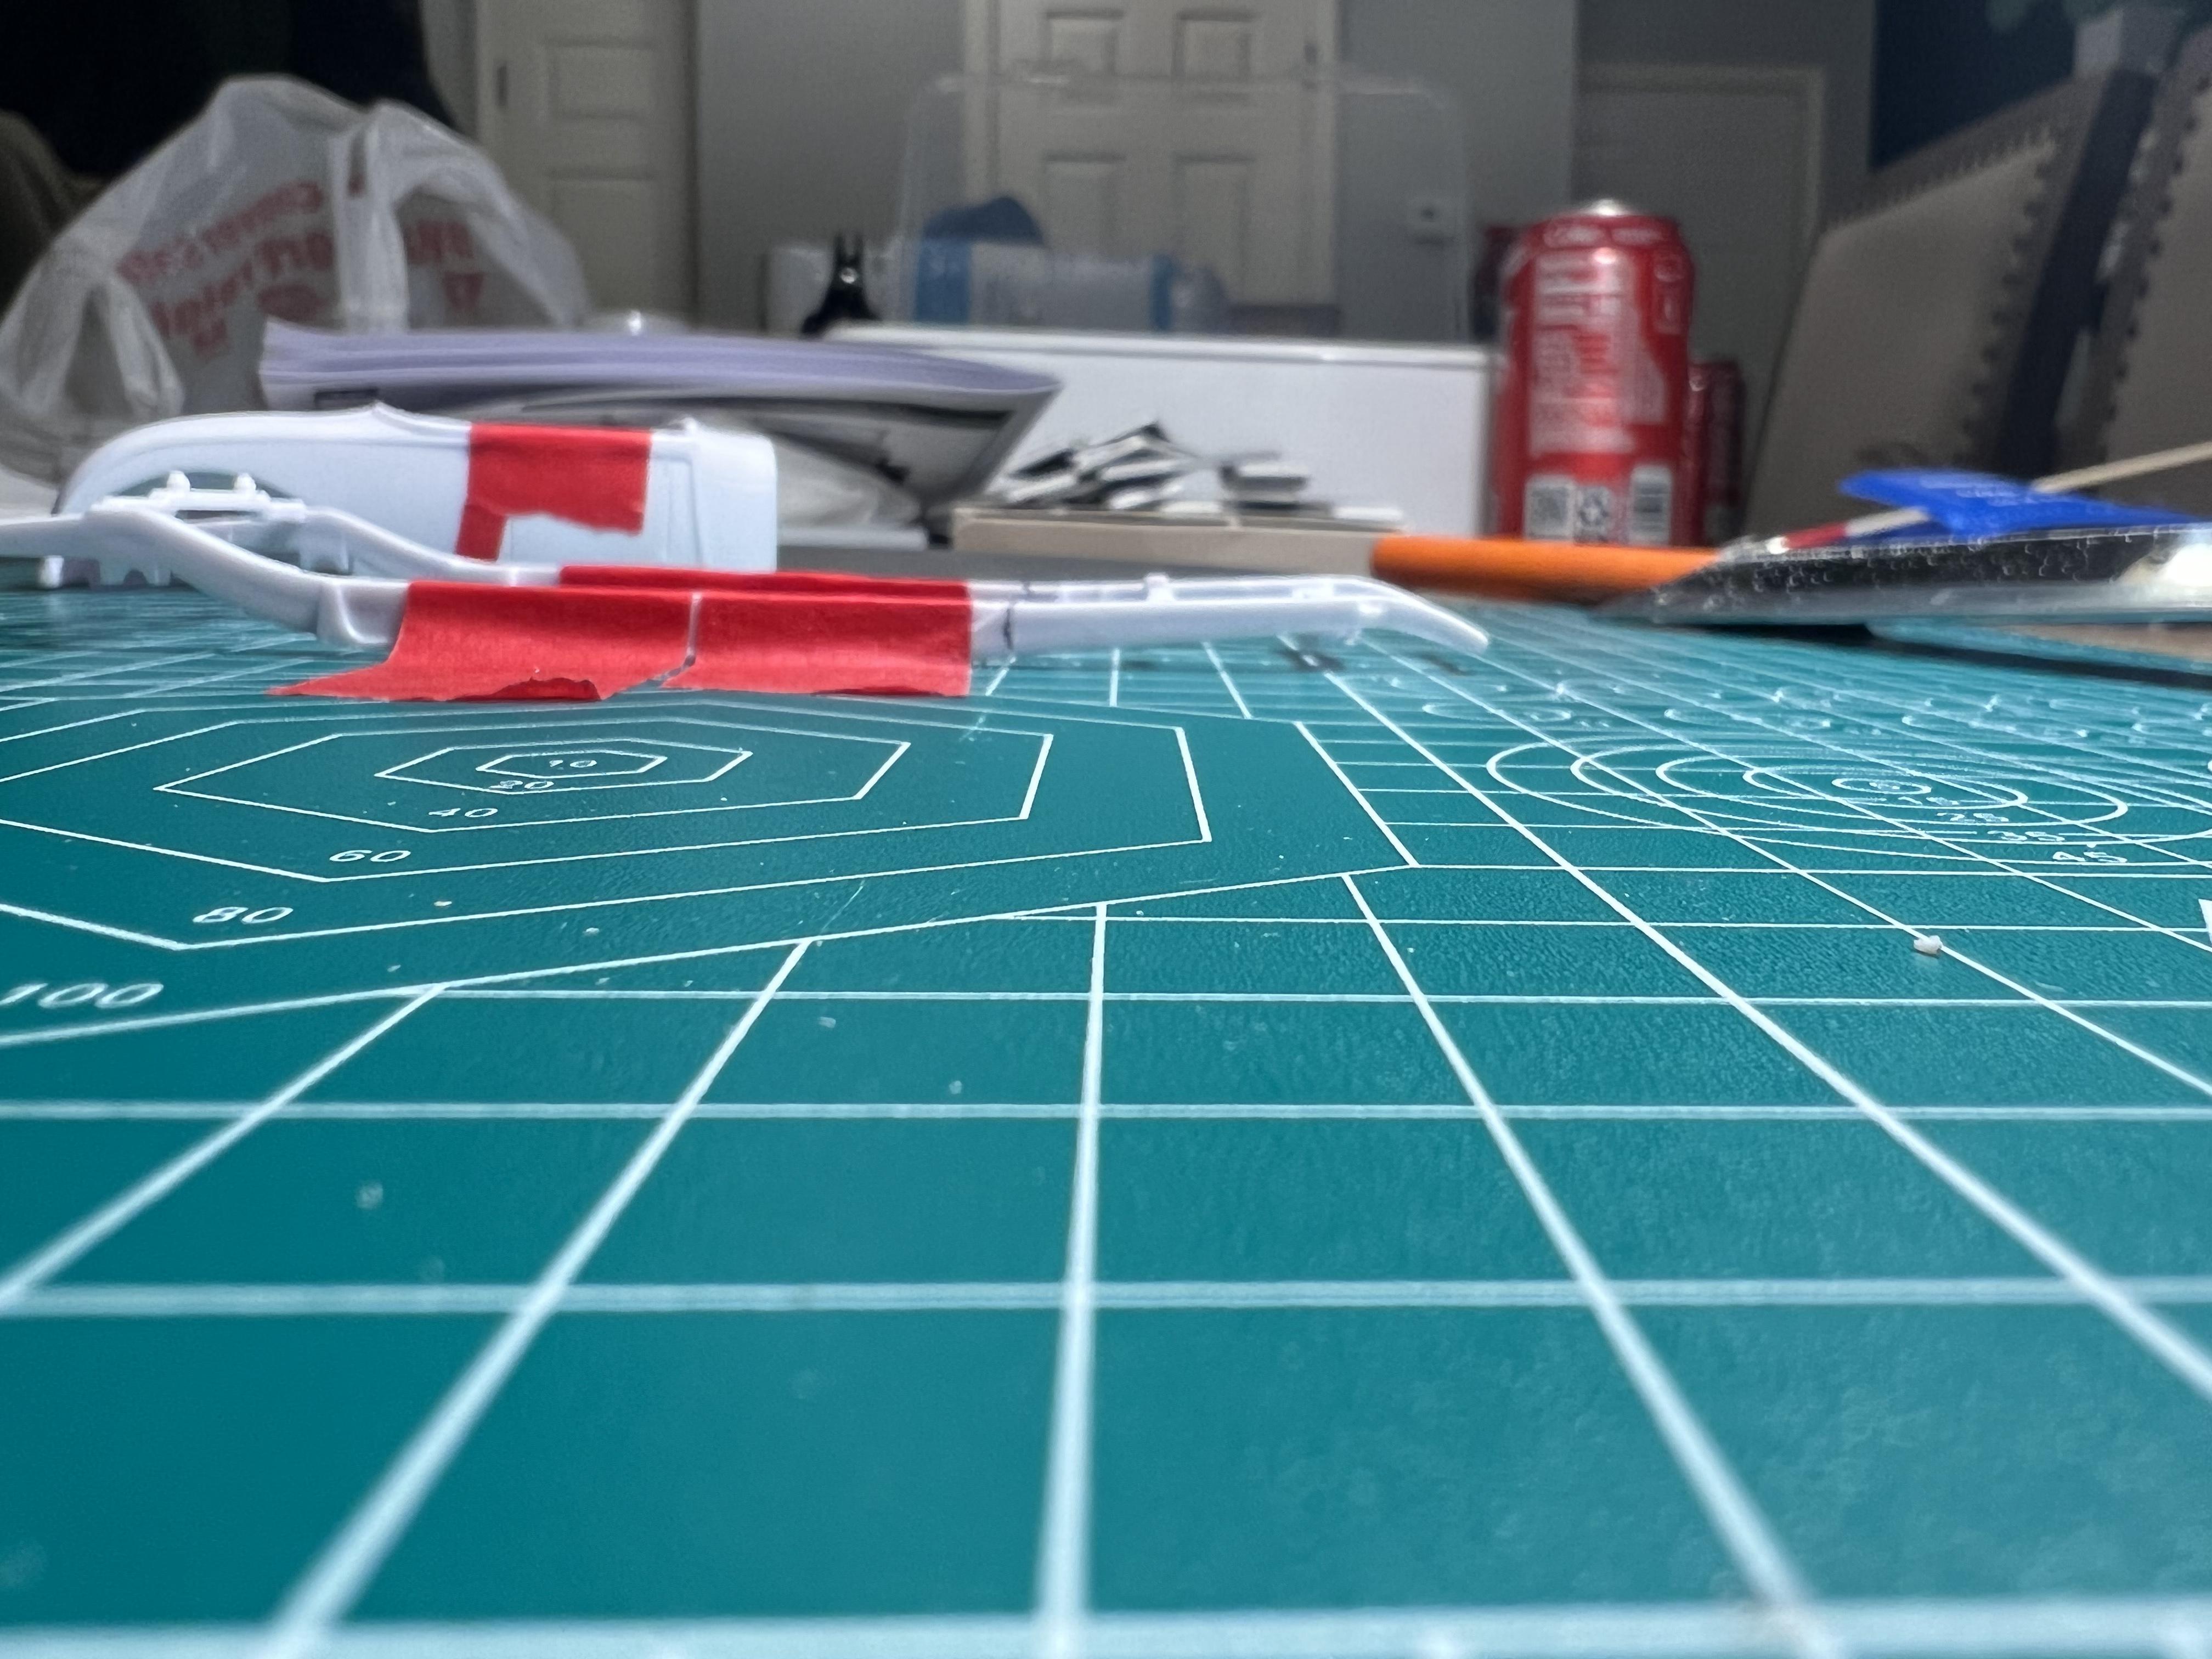
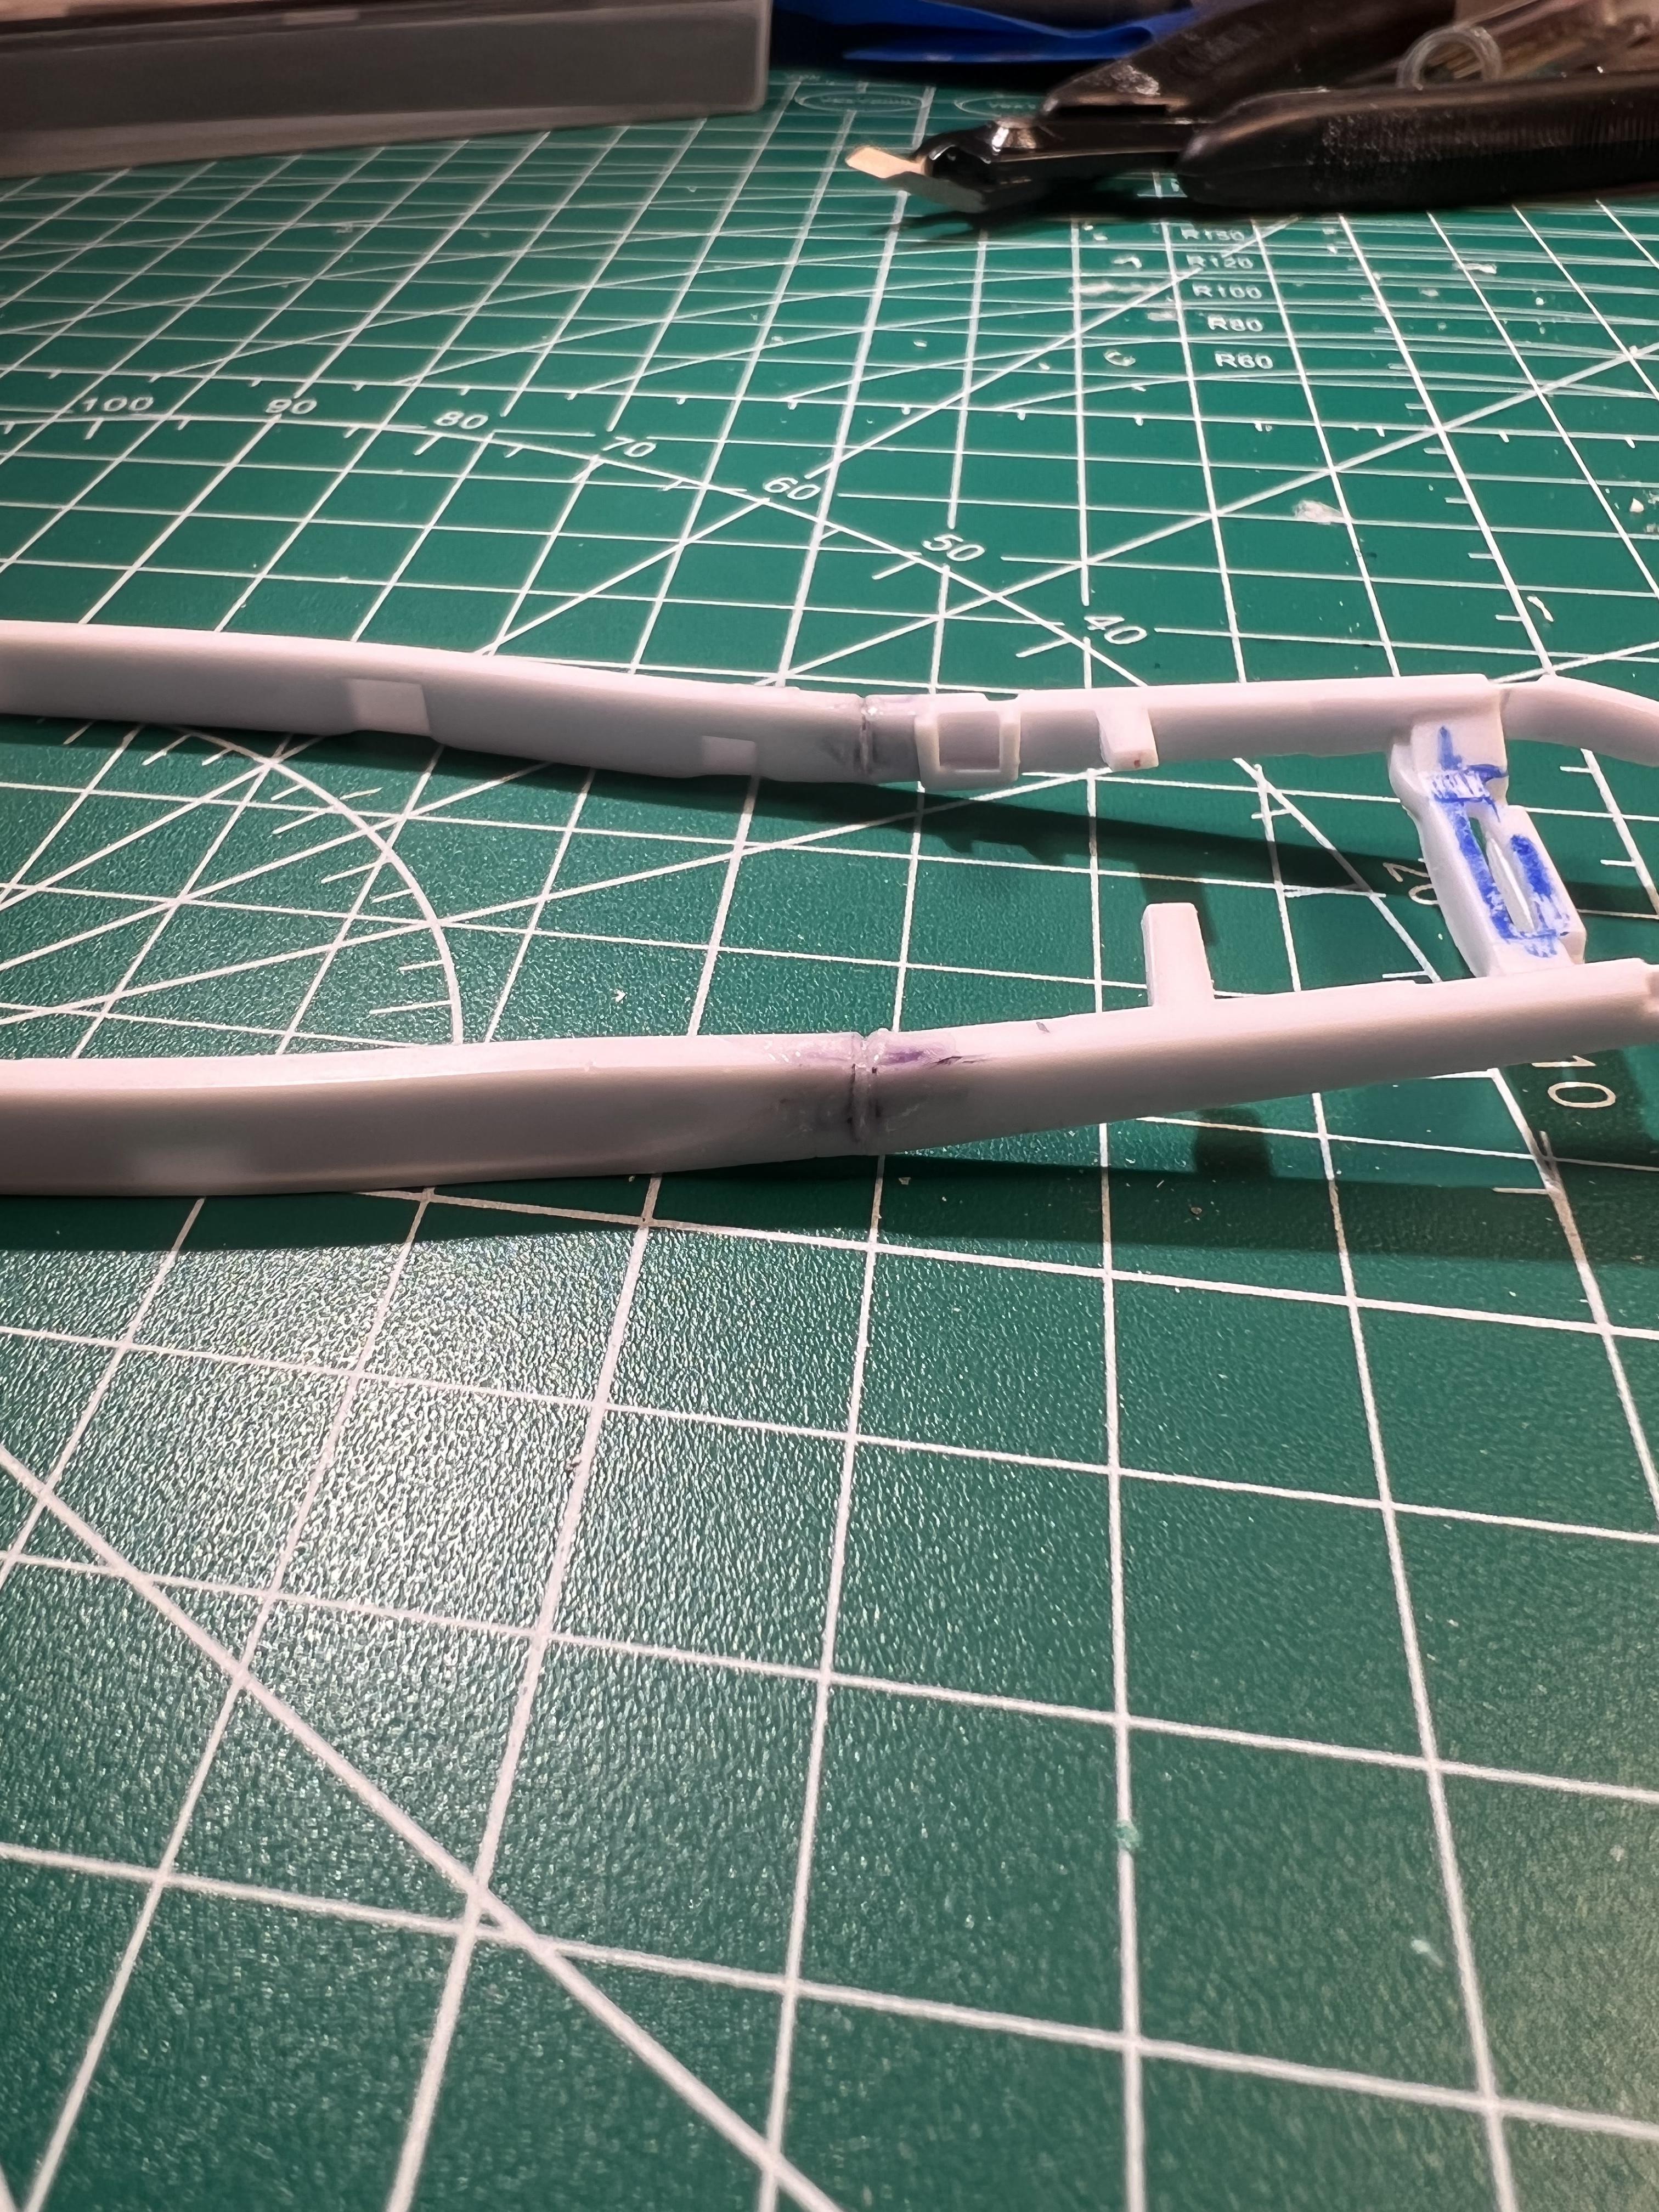
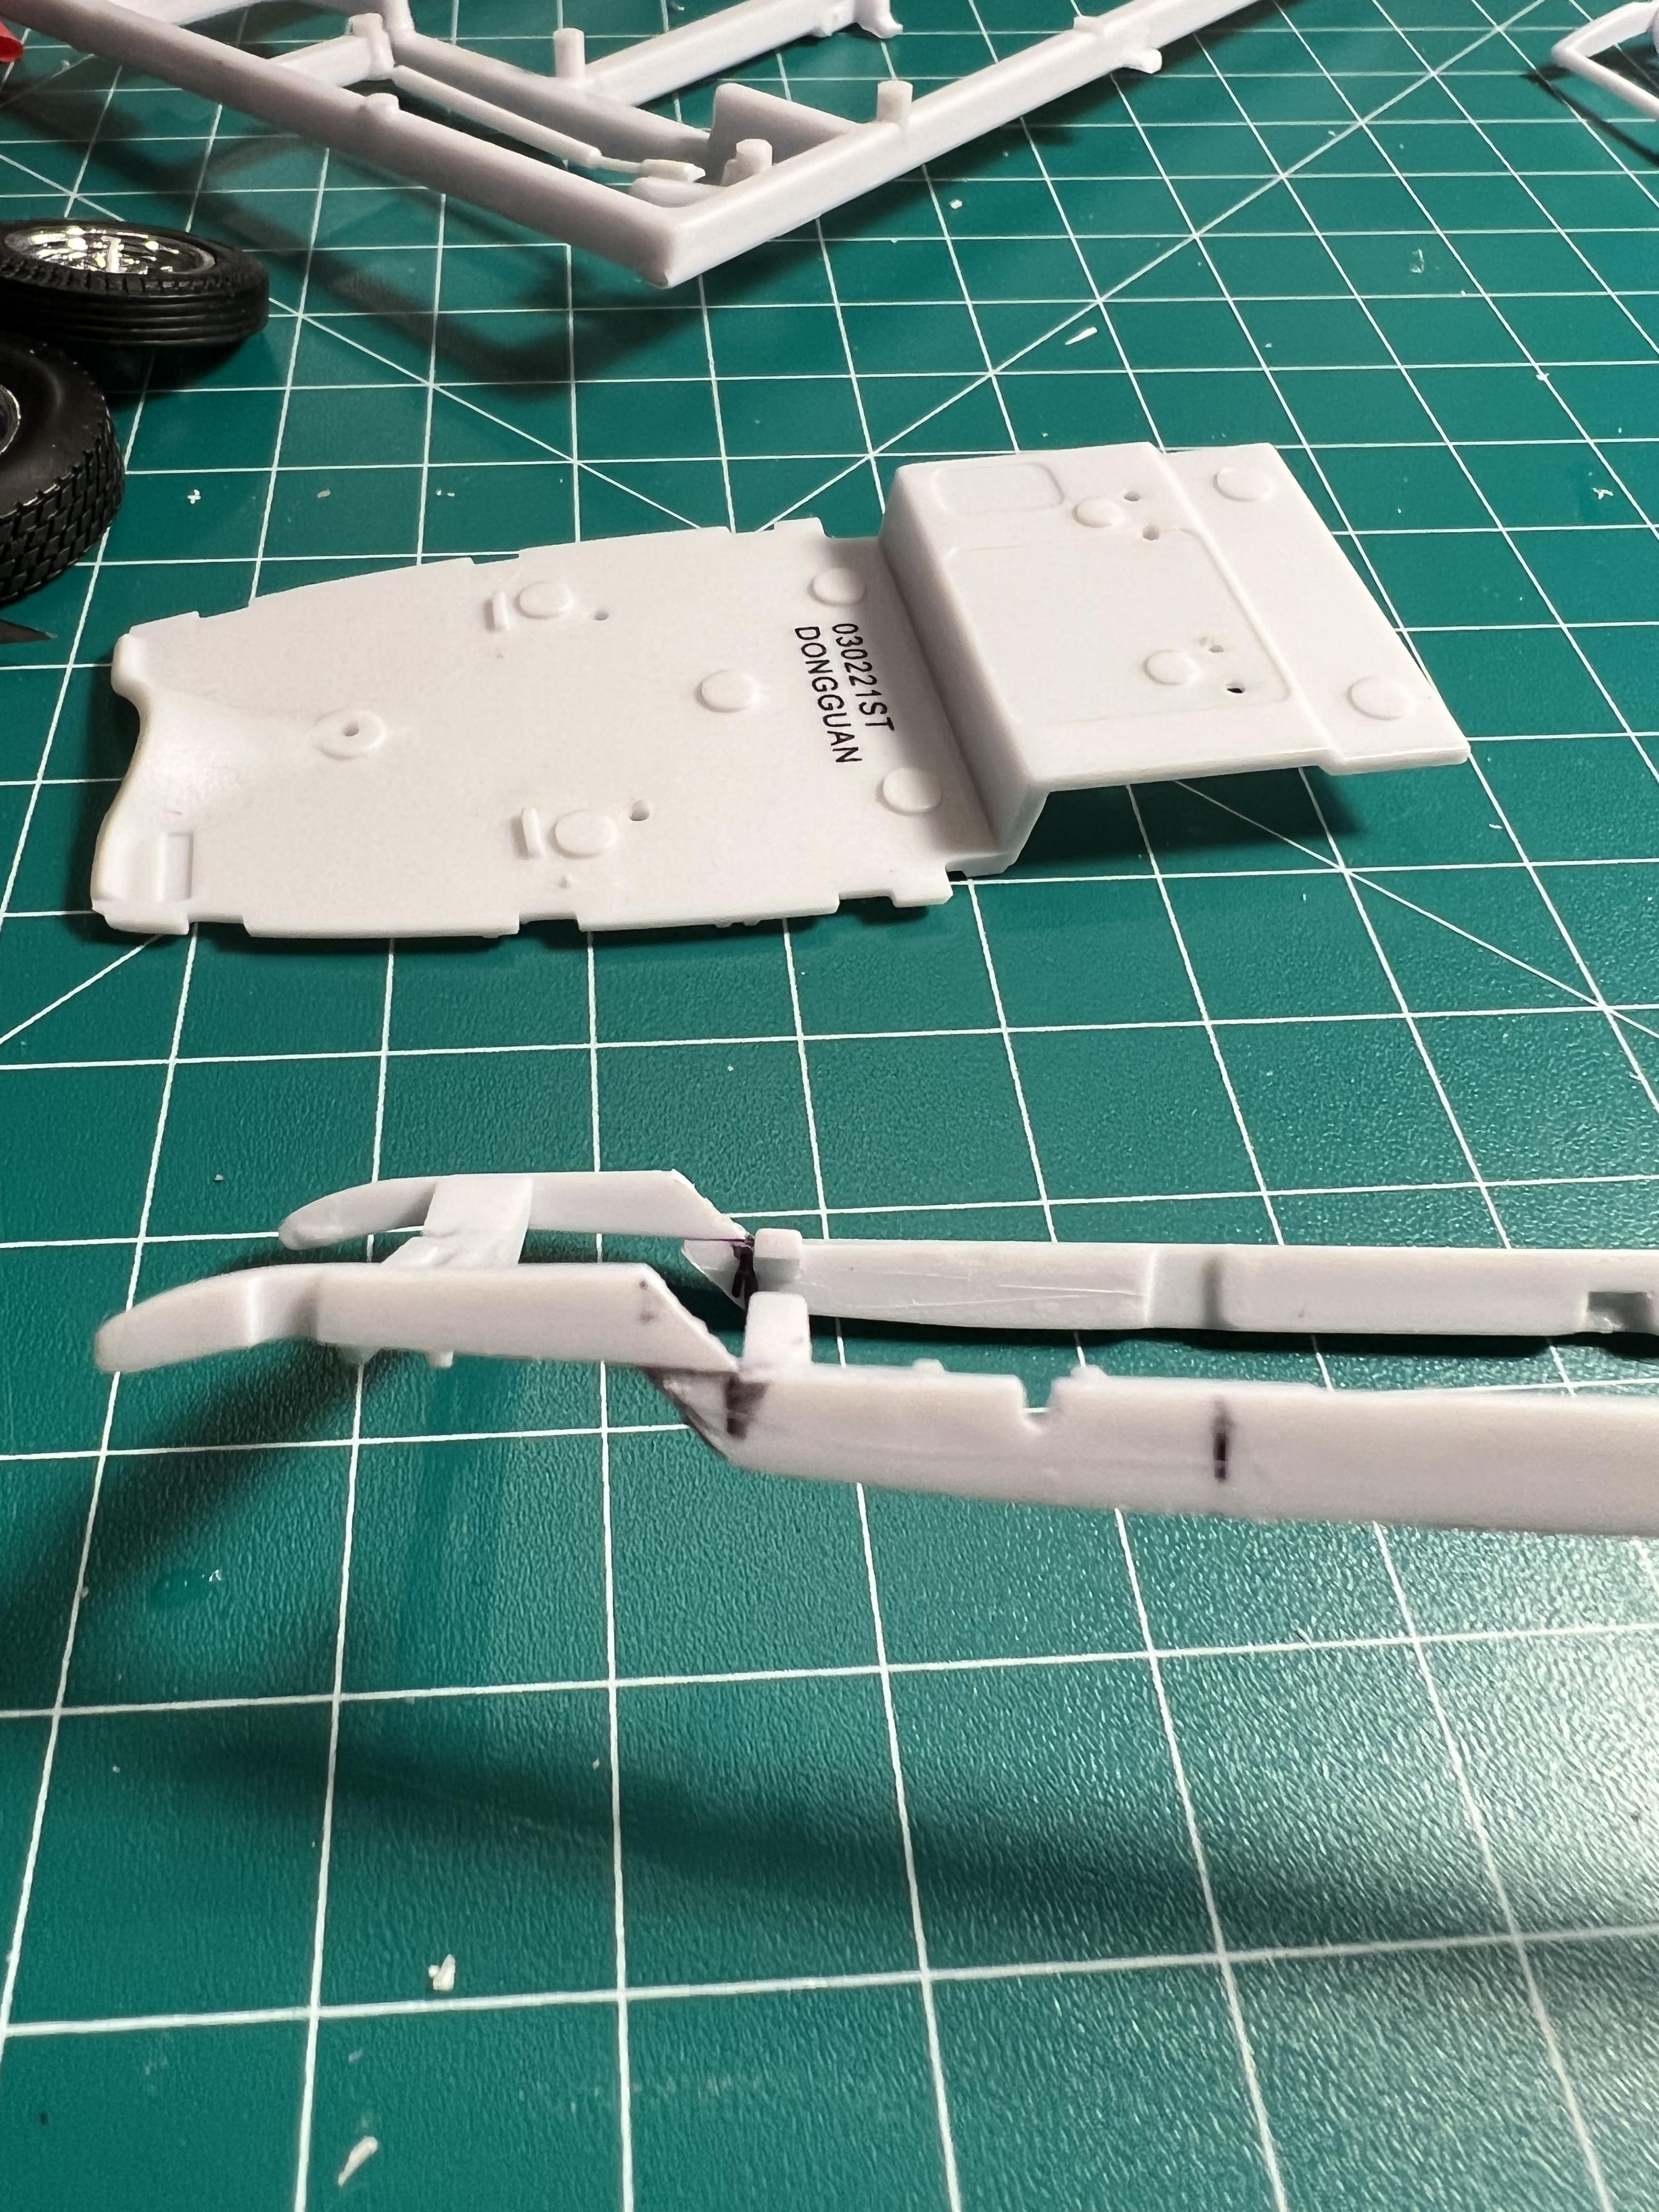
I wanted to avoid putting a “z” in the front frame rails. I remember seeing online some time ago a technique where where a relief cut is made in the frame and the whole front end is gently swept upward, so that is what I decided to go with. Using my brand new razor saw I made the cuts: then I swept the front end upward: I was pretty happy with the look, but disaster struck. I had gone to far with my relief cuts, when gluing it back up the bottom of the frame blew out and now I had 2 pieces. I wasn’t easily discouraged this time, I quickly decided to fix it. You can see where I drilled the frame rail end and inserted pins so I could make a nice strong repair and keep it more aligned. here is the finished result, cement is all set and now it’s pretty solid. I still wanted it lower in the front, so I cut out and flipped the front crossmember. That was a bit of a pain but worked out, I’ll have some details on that mod in the future, I’m still working out the radiator shroud arrangement. Next installment will cover my rear suspension setup. Thanks for looking
-
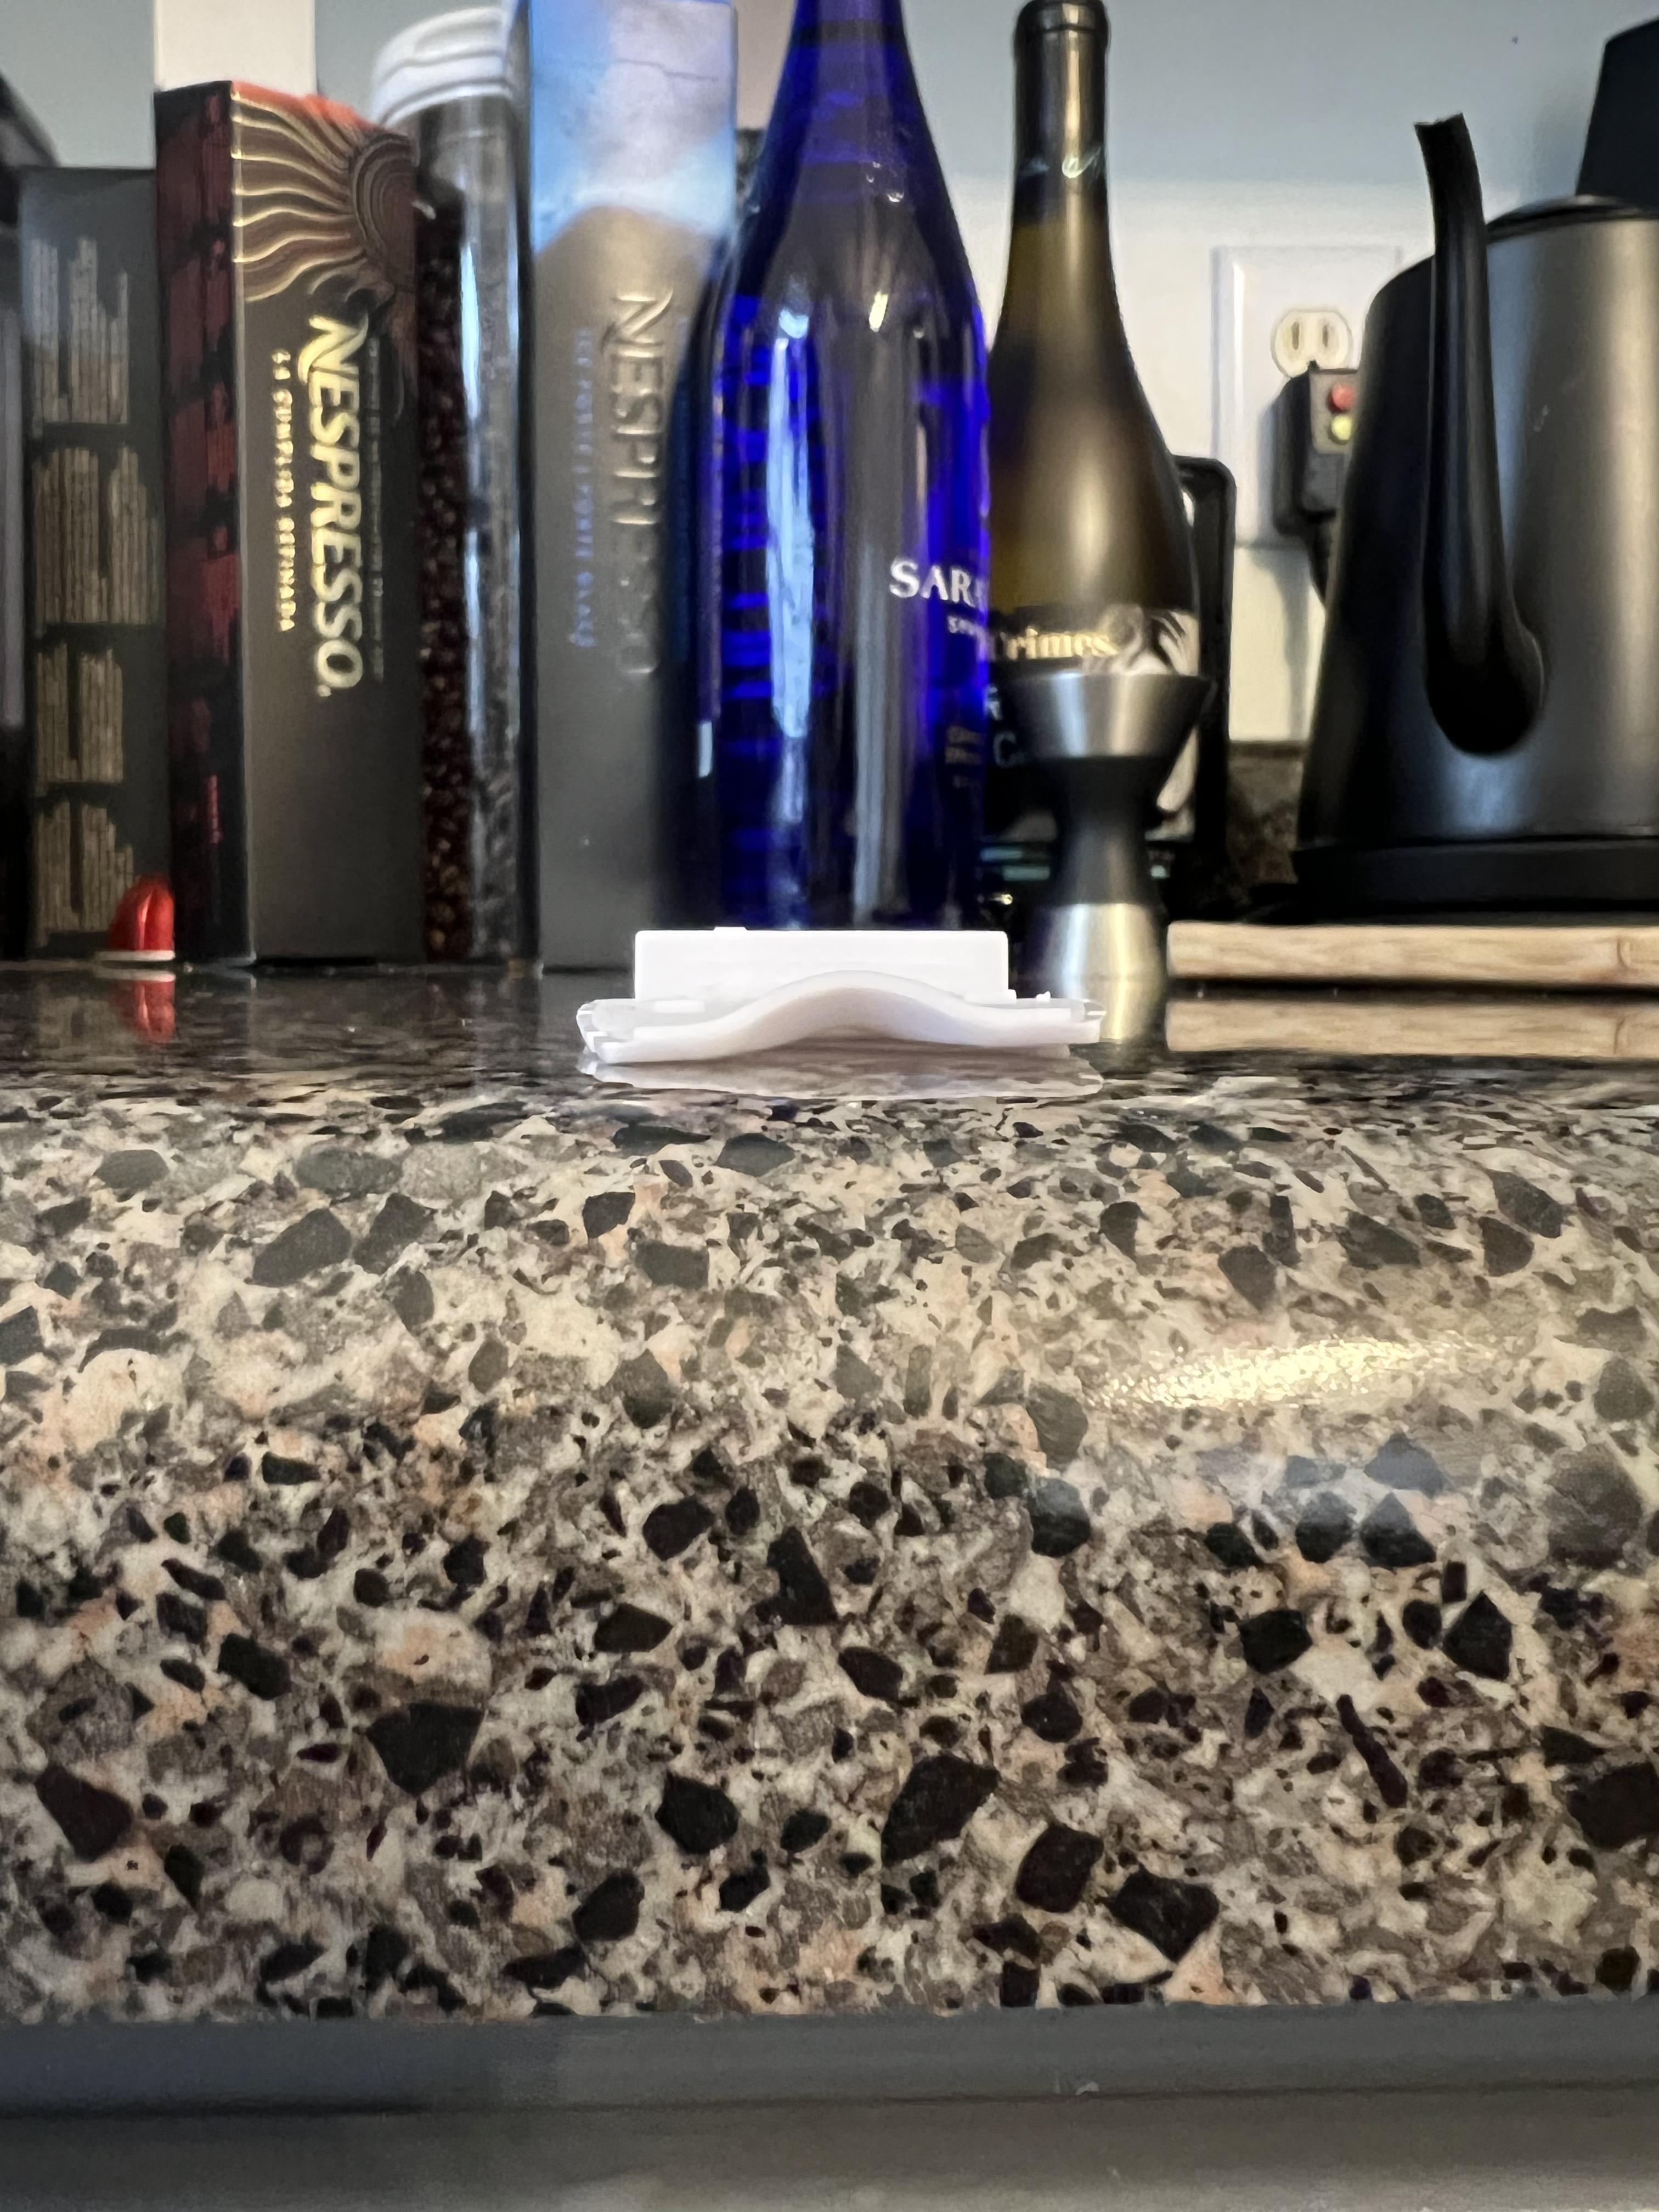
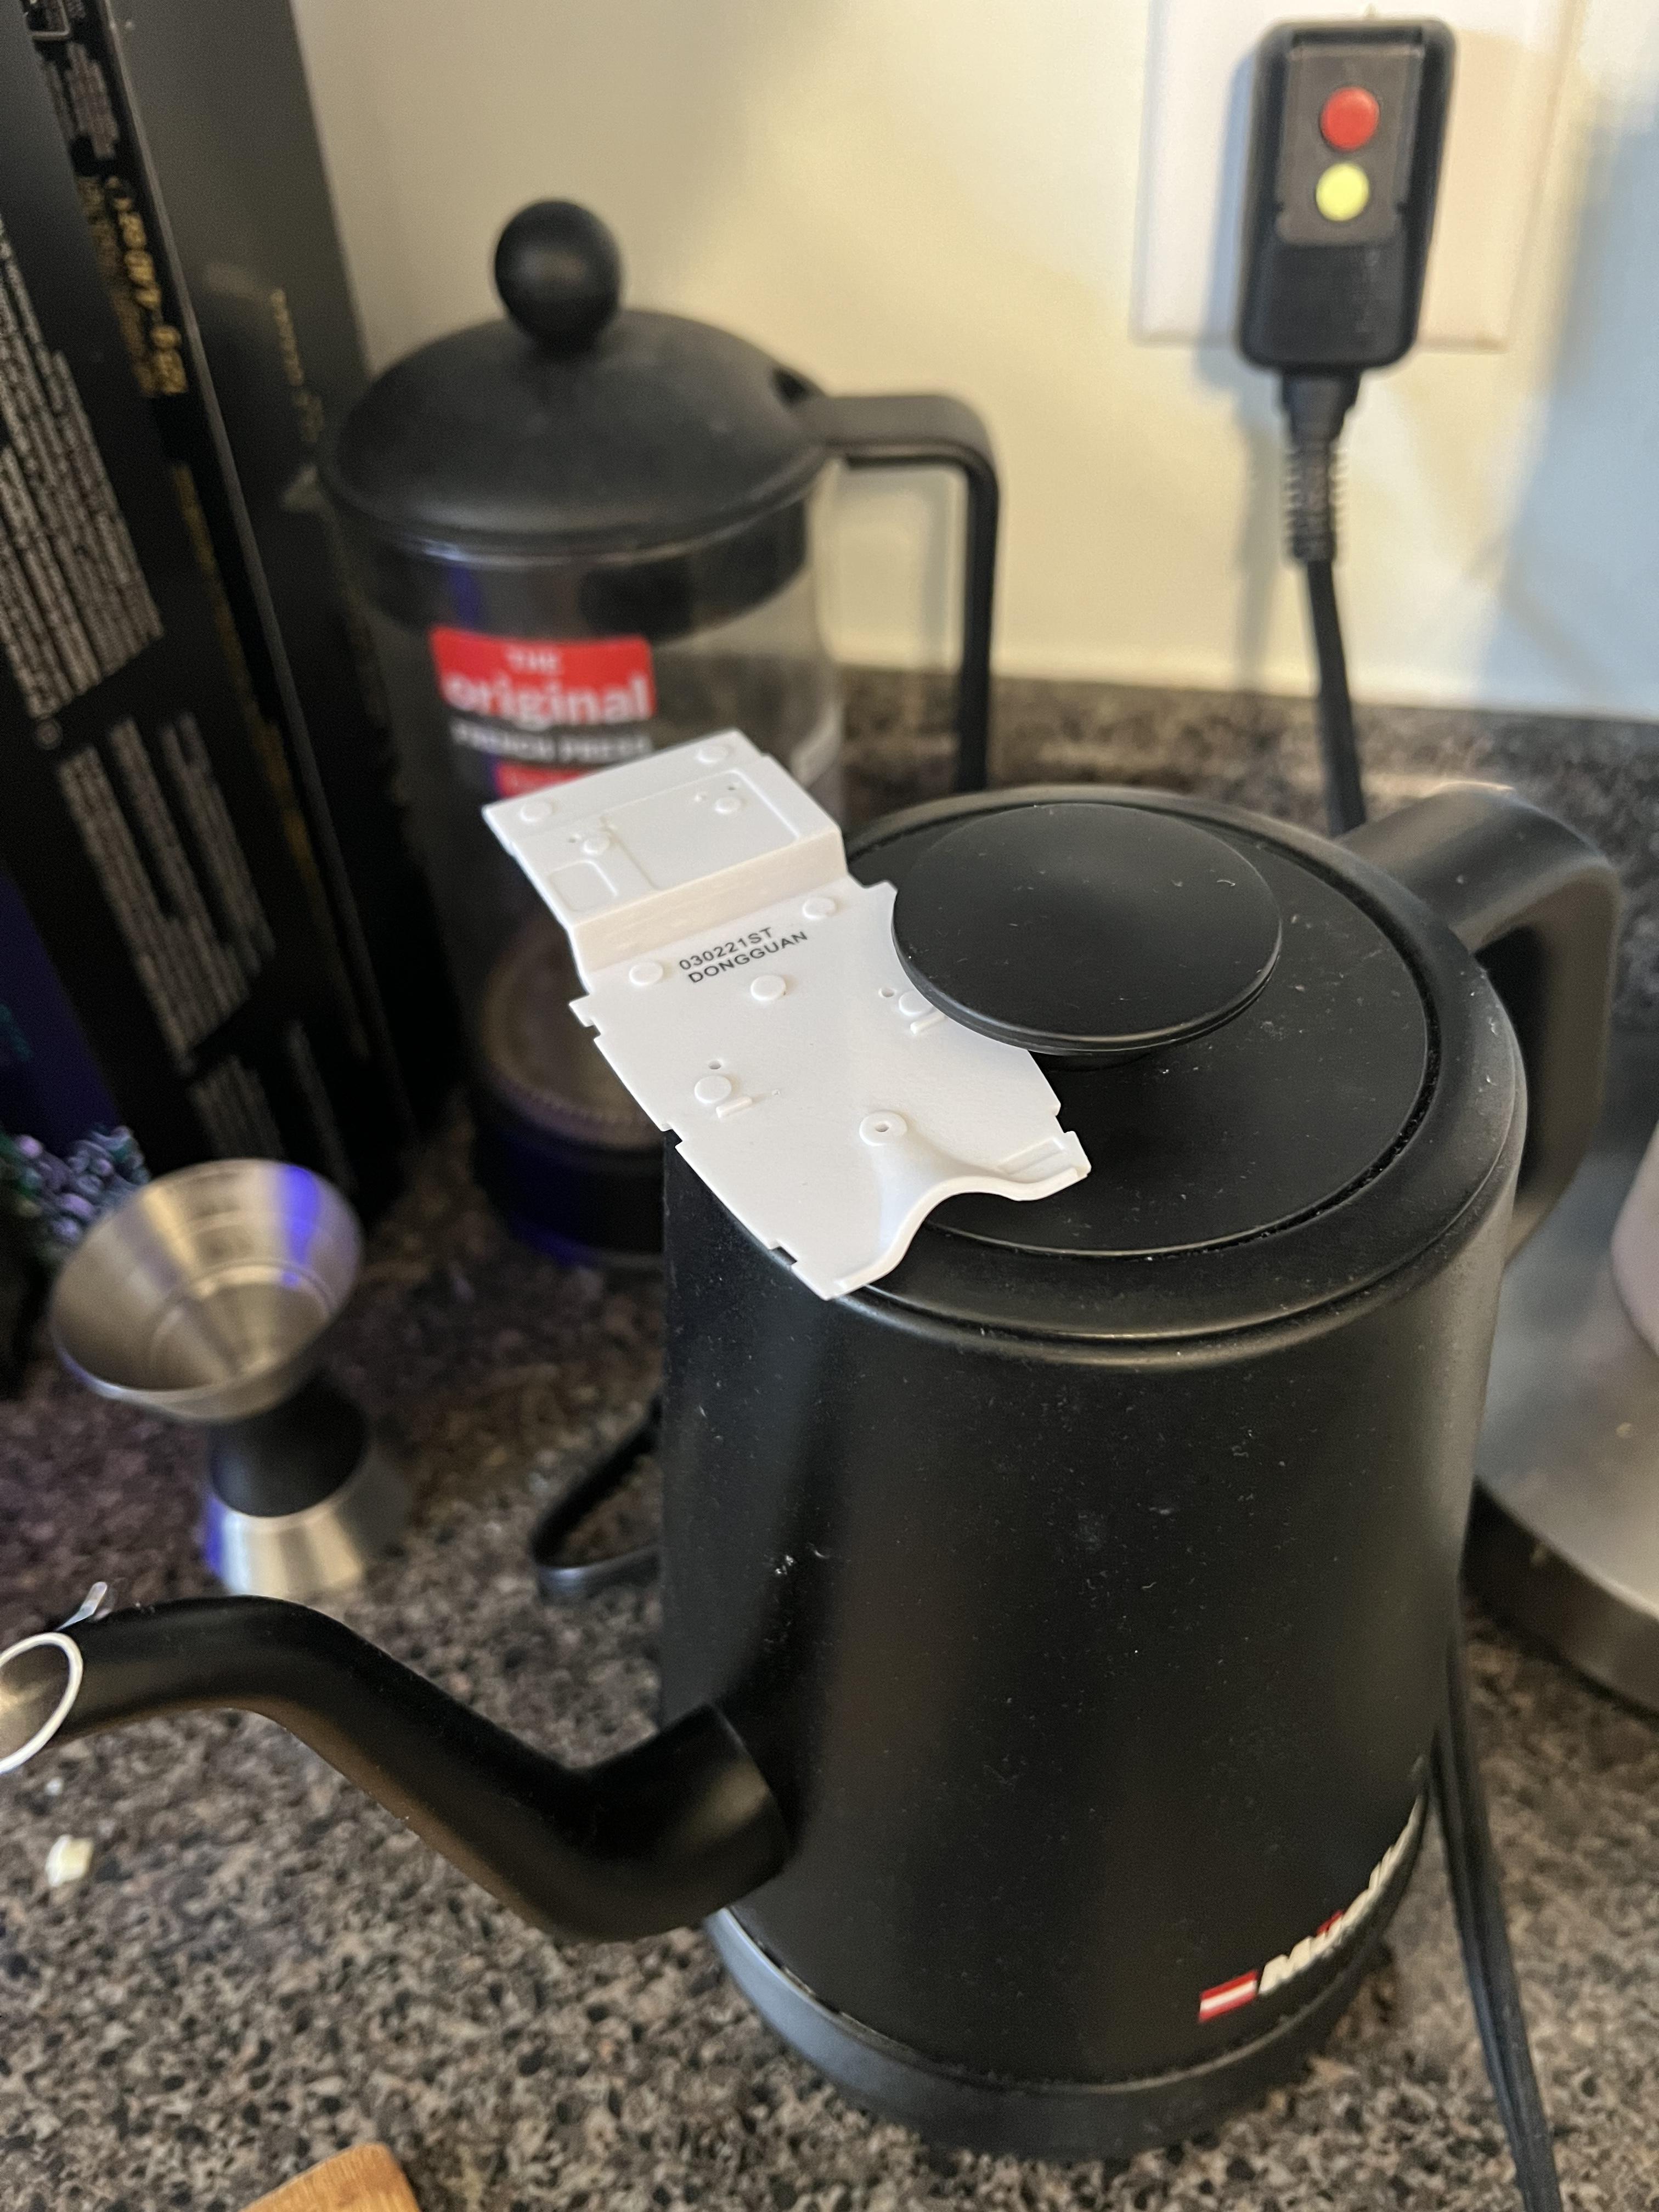
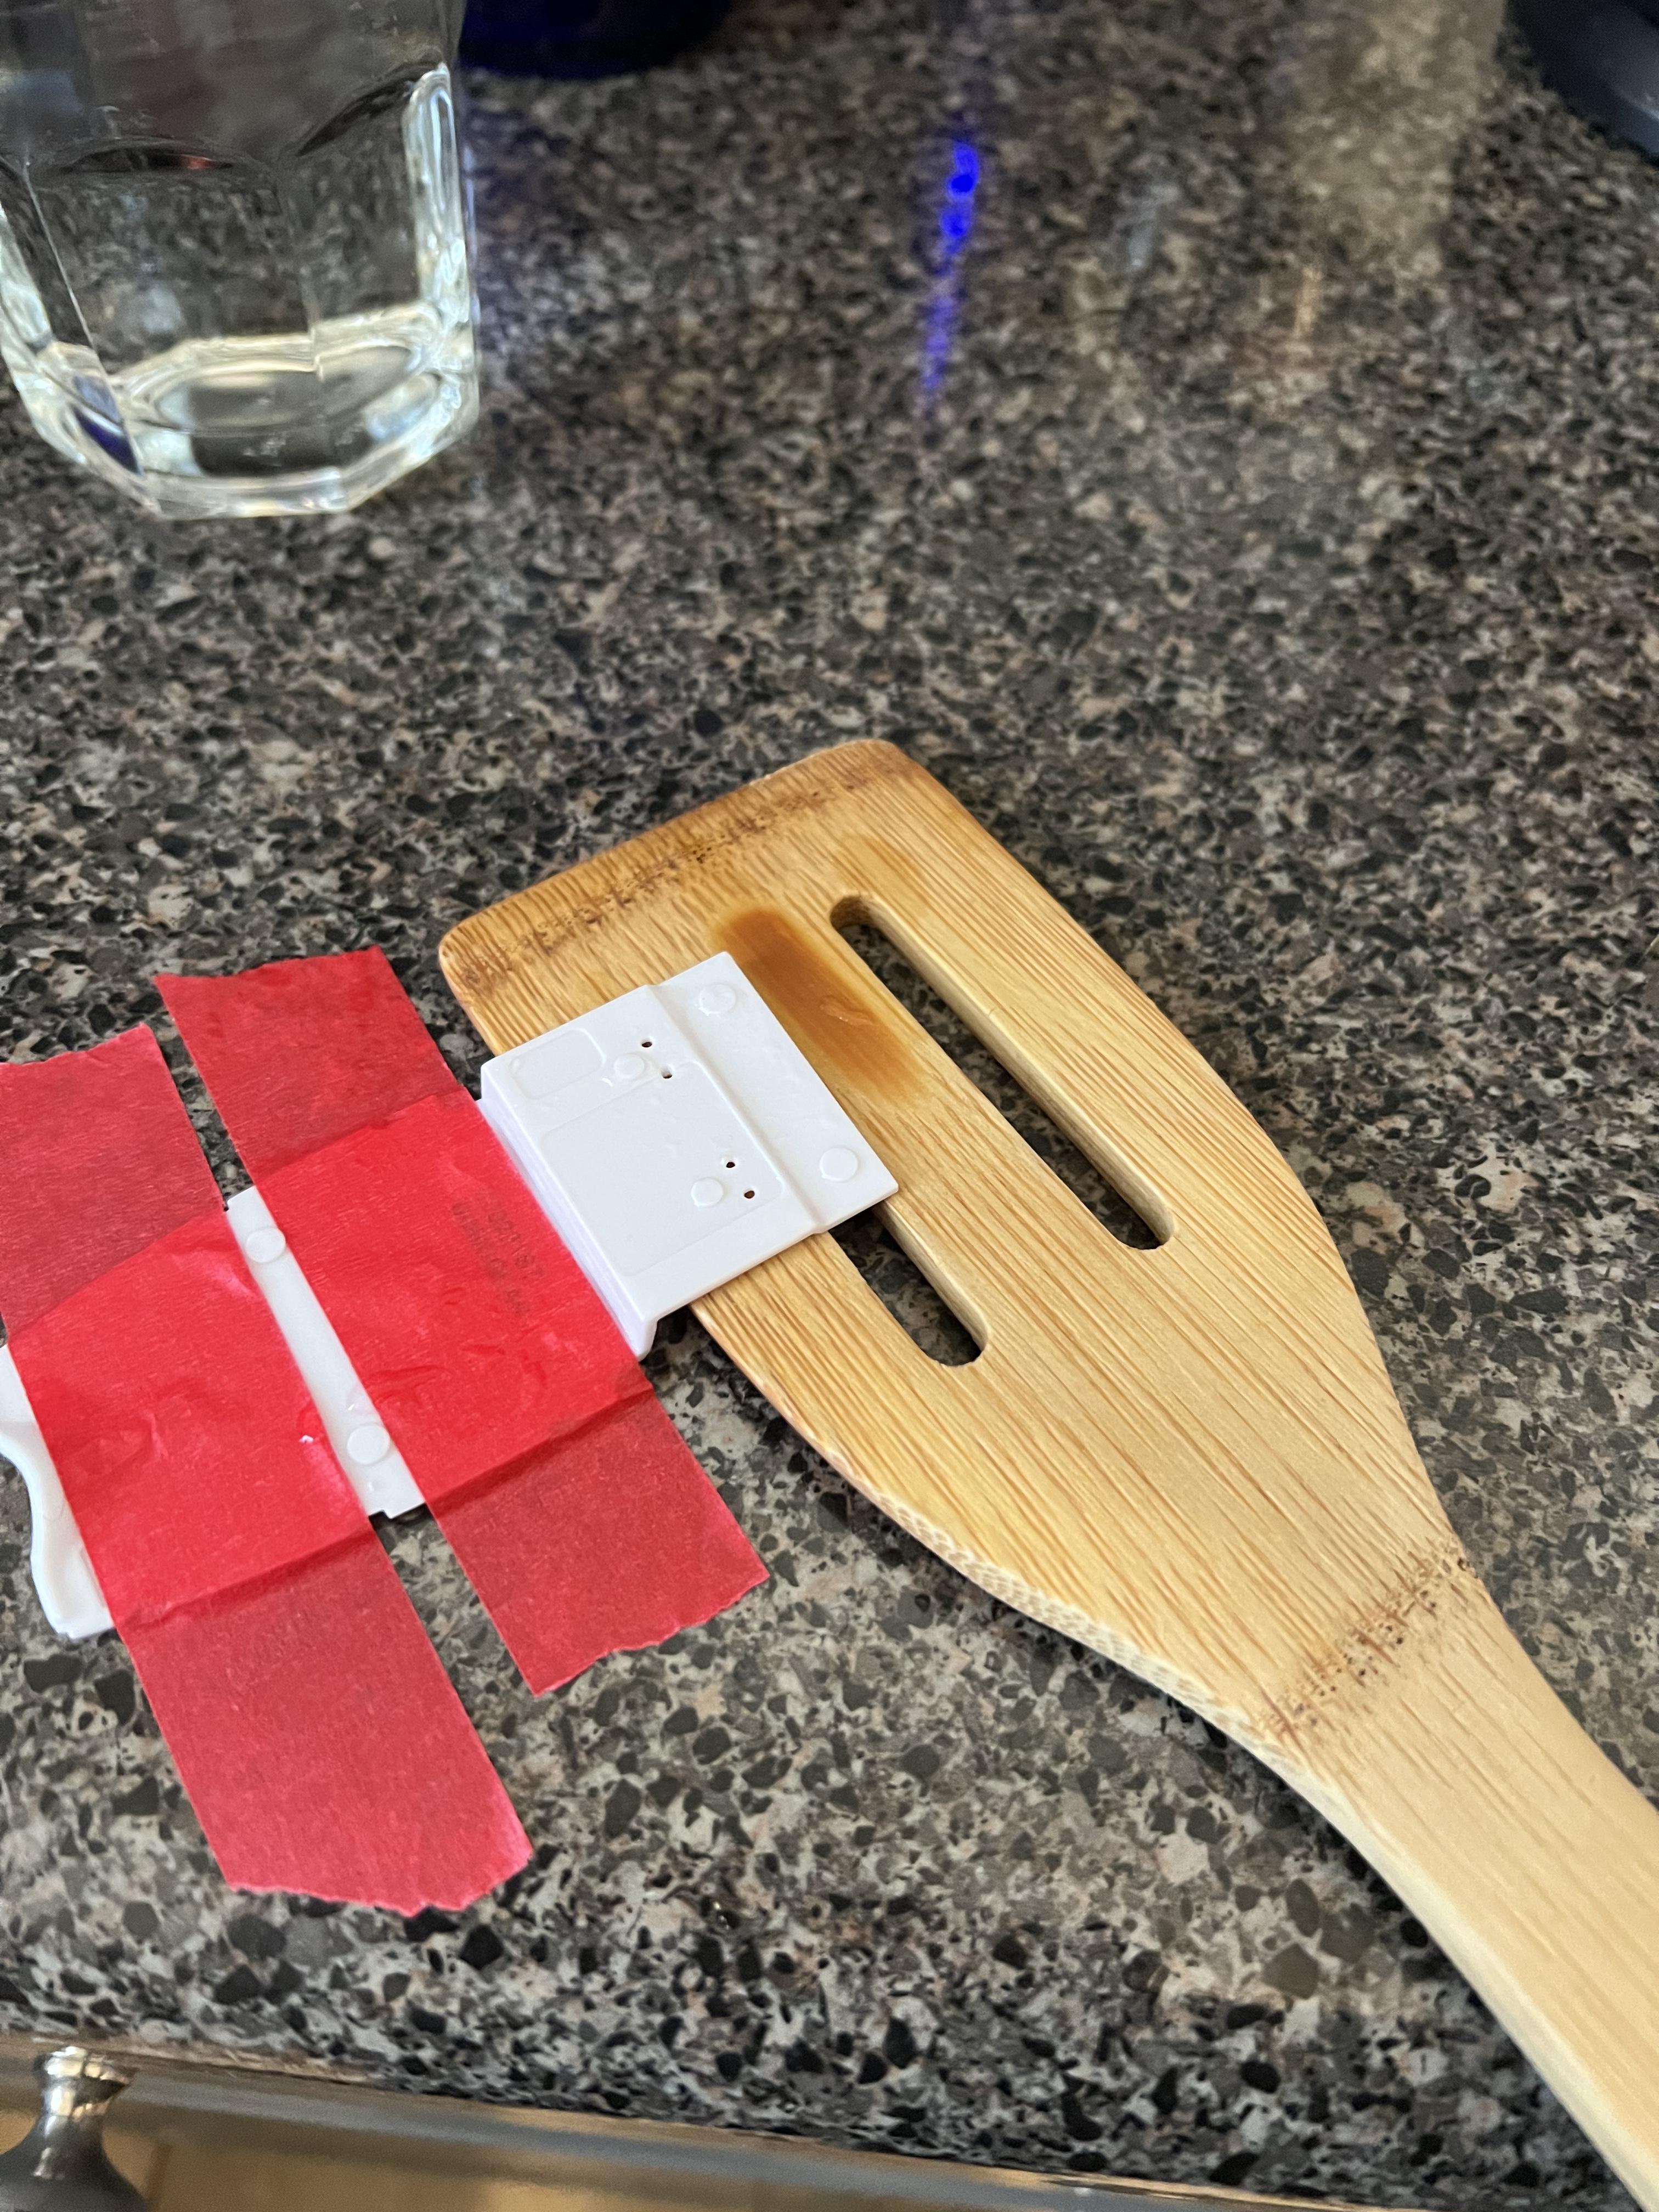
After doing some perusing of these boards, I decided to take action and “unwarp” my floor pan. Here’s how it started- from this angle you could see how twisted it was in the back. and the front was warped also I hit it with steam from my electric kettle, hot water and finally my wife’s special high temp infrared hair dryer- which worked the best. I have a heat gun but didn’t want to over do it. creative use of the utensils at hand and some tape, after a few cycles I got the whole thing pretty straightAfter this I started mocking up my modified frame and I just did not like the result, with the channeled version of this kit it just seemed like there was so much air under the car. No photos of the mock ups unfortunately, but the great thing with this kit is it comes with a whole extra frame, so I switched gears and decided I would go with the deuce frame. I like the extra “bulk” it gave to the side of the car and feel like the proportions were more appealing. I began plotting how I could get my stance down.
-
Thanks for the encouragement. I grabbed Mr. hobby mr. Cement deluxe for plastic welding and some CA “extreme power” thin, from hobby lobby. I should pick up some excellerator. I’ve been using small amounts of CA to tack parts together, and when happy with fitting, go over it with the thin cement. In reality I’ve made a lot more progress (and mistakes) at this point, but just decided to start posting now
-
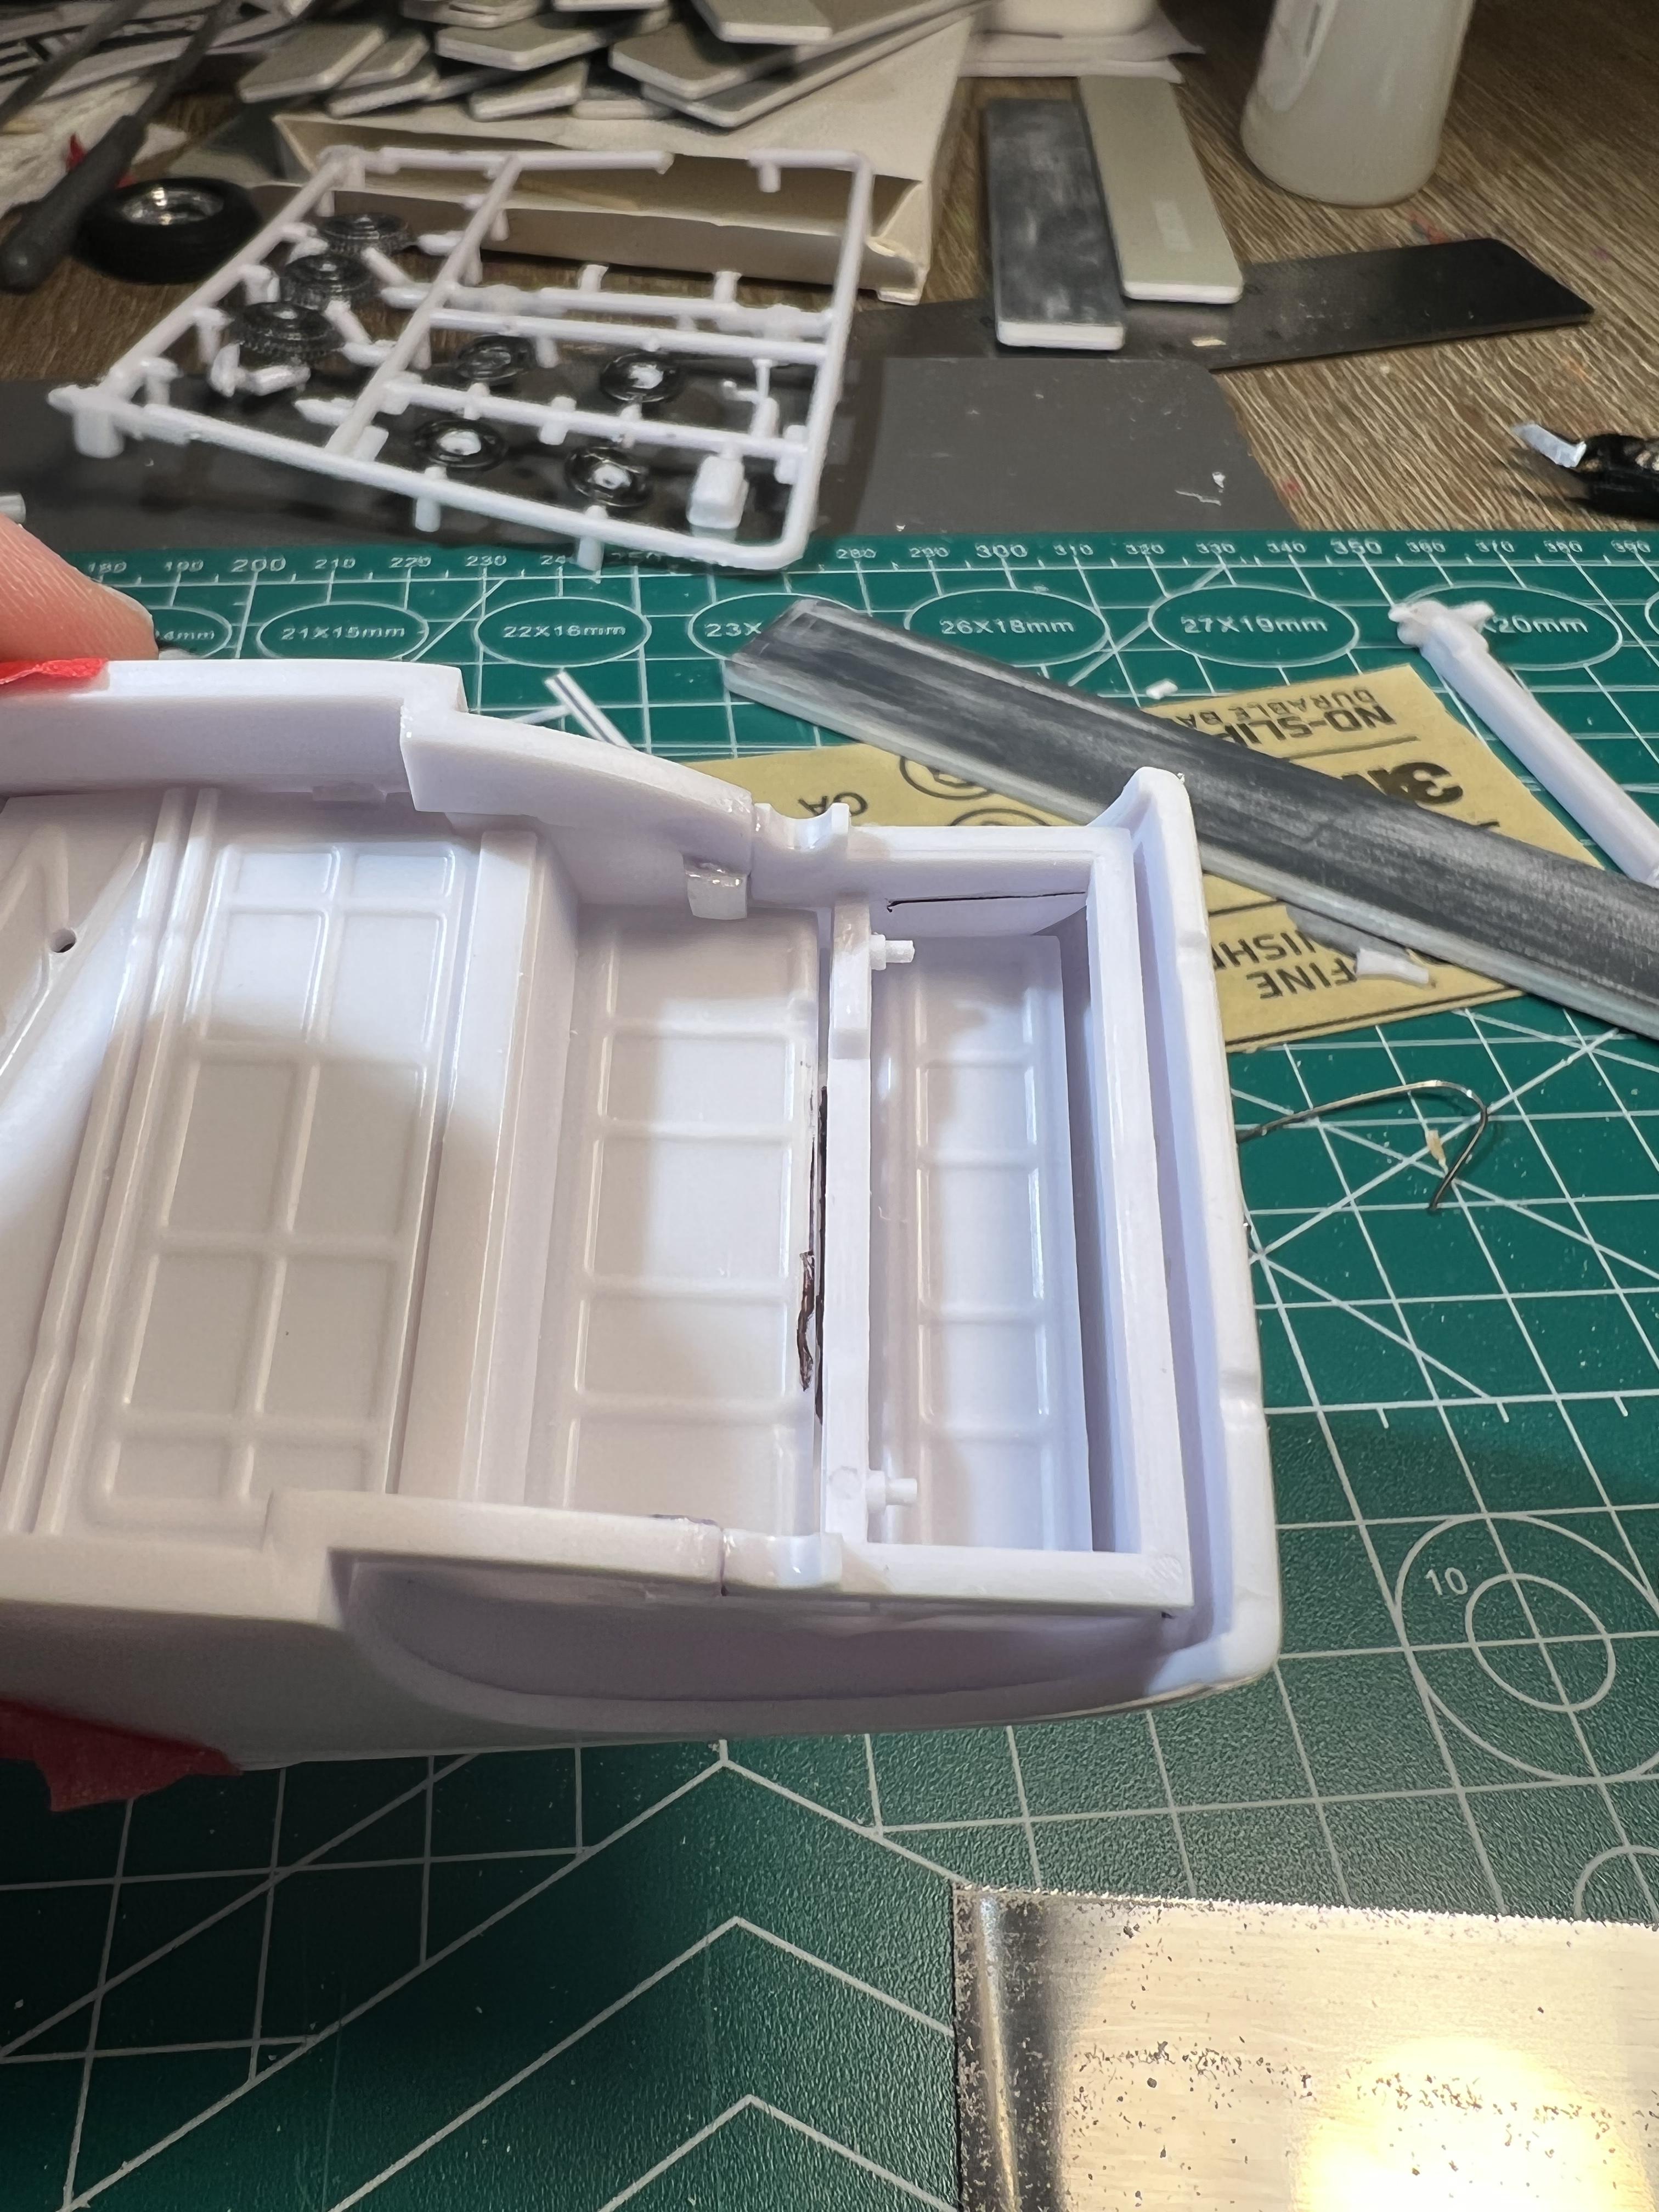
Some time passed and I came back to it. First I had to unglue the channeled A frame from the warped floor board. At this point I figured I had nothing to lose and started figuring out how I was gonna chop the frame and customize the little roadster. I z’ed the front rail to get the front end down, did the cut closer to the front axle. It turned out ok for a first attempt. Next it was time to get the rear end down. I figured I was going to need the chop up the warped floor board to make anything work, but I wanted to keep it as simple as possible. Rather then also “z” the rear, I came up with the simple idea to just cut straight through the frame at the axle locating “half moon” and slide the whole thing upwards. This allowed the stock shock mounting location to slide upwards as a unit, thereby eliminating any need to modify the shocks themselves. I have limited skills and tools even at this point so simple was better in my mind. Much rather put in a traditional buggy spring arrangement, but I have no parts supply to pull from so just trying to work with what I have amd have fun, not worry about being 100% accurate Next, I straightened my warped floor board, I will detail it in my next post
-
Hello, I’ve been browsing the forum for awhile and couldn’t help but notice what a chill and supportive environment there is here. After not having built anything since I was a teenager in the 90’s I decided it would be a good time to pick the hobby up again, so grabbed the Revell 29 model a roadster, I would like to share my build progress, even if it’s not up to the level of so many of the builders here, I’m not afraid to get in over my head. So it begins. I started painting and mocking things up. Disaster and discouragement struck quickly. My floor plan was terribly warped. This is what it looked like when compared against the channeled “A” frame: I tried to straighten it by gluing everything together. Haha, that was a terrible idea! I got so frustrated I put the whole thing aside, figuring this kit would become my first “spare parts source” and moved on to a AMT 65 GTO. That kit was also pretty flawed so I came back to the roadster. More to follow.