retroguy
-
Posts
294 -
Joined
-
Last visited
Content Type
Profiles
Forums
Events
Gallery
Posts posted by retroguy
-
-
On 2/24/2021 at 4:20 AM, kurth said:
MCW, and Scale Finishes have engine colors. You can also find spray cans of actual engine paint.
https://mcwfinishes.com/shop/ols/search?keywords=engine&sortOption=descend_by_match
http://www.scalefinishes.com/Engine.html
https://www.amazon.com/VHT-SP119-Engine-Enamel-Orange/dp/B0028V6SI2
Hope it helps. I know it is not as easy as buying a bottle of model master at the hobby store, but there are plenty of alternatives.
thanks for the info
-
nice setup...
-
daaaannnggg!
-
soooo,who else offers factory engine colours...
-
so far I found a company called u-star that has photo-etch circ saw blades and another company that has photo-etch hand/finger saws...
-
cm circ saws are hard to find,does anyone have any ideas about similar circ saws...thanks
-
13,about 10 yrs ago,right
-
Mark,is this car based on an actual race car...
-
9 hours ago, MarkJ said:
Thanks , Michael. I was surprised you were able to find me way down here in this thread.
I usually go page by page to see who/what's there of interest...
-
just found this,great work as usual...will follow
-
thanks guys for all the advice I will definitly use the ideas...thanks again
-
are there any tutorials out there on building radiators from scratch...thanks
-
On 8/9/2017 at 6:39 PM, absmiami said:
Wow - my first build blog - finally got an "eye phone" - and learned how to take pictures - and even download them.
So into the modern world we go ......
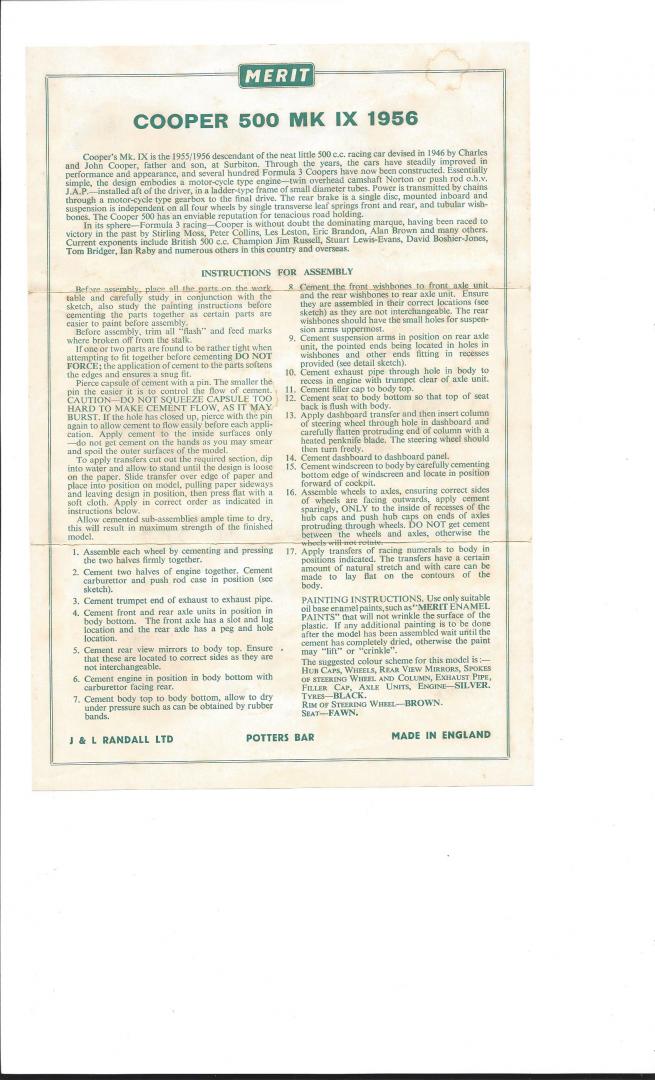
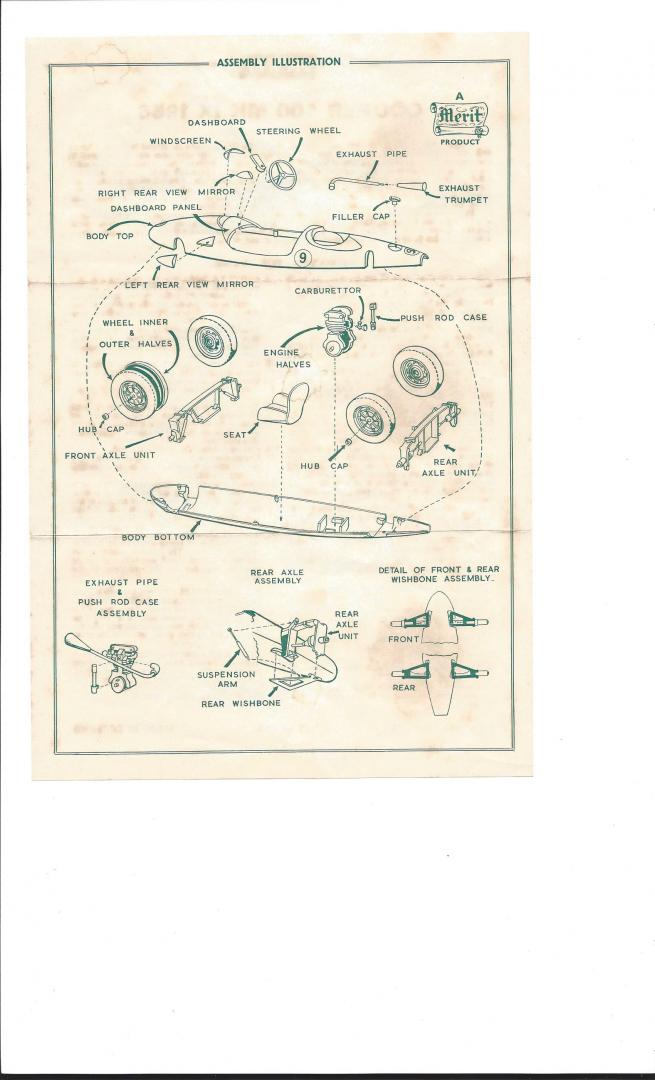
Buried somewhere on the workbench is a 1/24th Merit Cooper FIII. Kinda rare. Bought mine years ago as semi-built-up. Started but not painted or finished. Gonna actually build this with a thin-cast resin body from Guido or ScaleKraft fame. It's a knock-off of the Merit body with a nice thin casting. Also kinda rare - I've never seen another one. To the best of my knowledge, Guido stopped casting before he actually produced a resin kit of the Cooper - which is a shame. Anyway, I'm a complete sucker for Merit kits - got a bunch.
Delayed this build until I found some photo-etch that could be used for the chain drive - which I finally stumbled upon recently
- more on this later.
This is not a "real time" build. The work on the body and chassis was begun earlier this year. I'll post as I have time and sort of catch up on the build as I near completion.
Here goes .
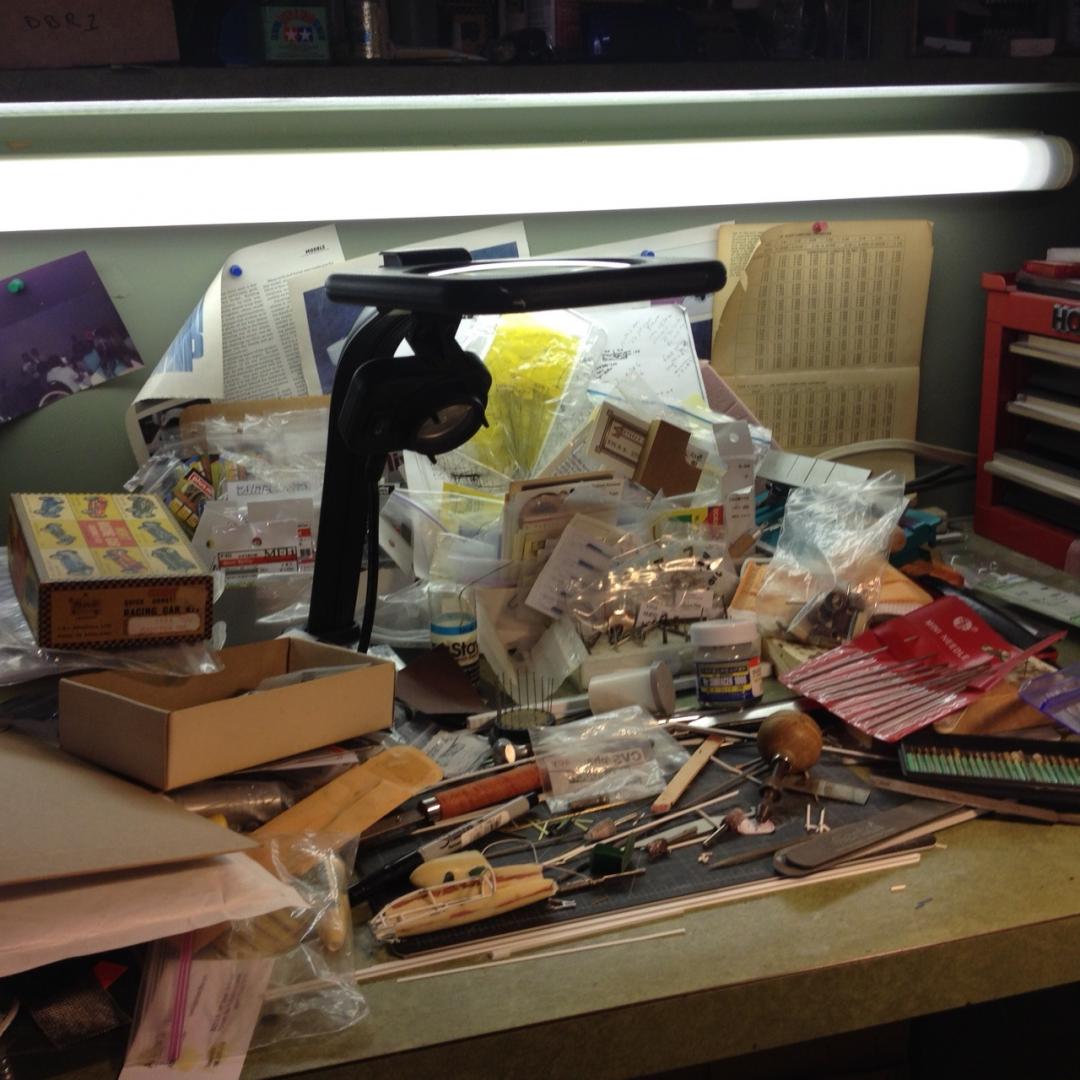
now this is workbench I can relate to...
-
has anyone scratch build turbos for diesel engine...thanks
-
I'm using a big rig frame from a italeri daf xf super space cab and using a 55 chrysler 300 body/interior to make a apocalyptic vehicle,I picked up a cummins 6cyl diesel for the frame...
I'll try and some pics...
-
I'm moving an engine on a big rig and need help with making some new motor mounts...thanks
-
very ingenious scratch work...keep it up
-
really nice detail work,do you have little fairies with really small paint brushes...
-
good job on the build,wondering where you got the bathtub manifold...
-
that is some mighty fine work...
-
great scratch work,how did you do the splatter paint on the chassis...
-
very cool design,will follow
-
im trying to find more detailed pics of the car or who built it
i;ve found some pics but none that are detailed,any ideas...thanks
-
uh yeah,have no idea where the bot came from...
thanks for the info


Boyd Coddington’s Chezoom
in WIP: Model Cars
Posted
I've been looking for a product that can be used for making molds year round,how big of a piece have you made...