Murphy's Law
-
Posts
195 -
Joined
-
Last visited
Content Type
Profiles
Forums
Events
Gallery
Everything posted by Murphy's Law
-
Snowman truck and trailer
Murphy's Law replied to keone2013's topic in WIP: Model Trucks: Big Rigs and Heavy Equipment
It is absolutely him! And beautiful job on the build! I've got one waiting on the shelf when I finish the other 2 to 300 projects I've already started. -
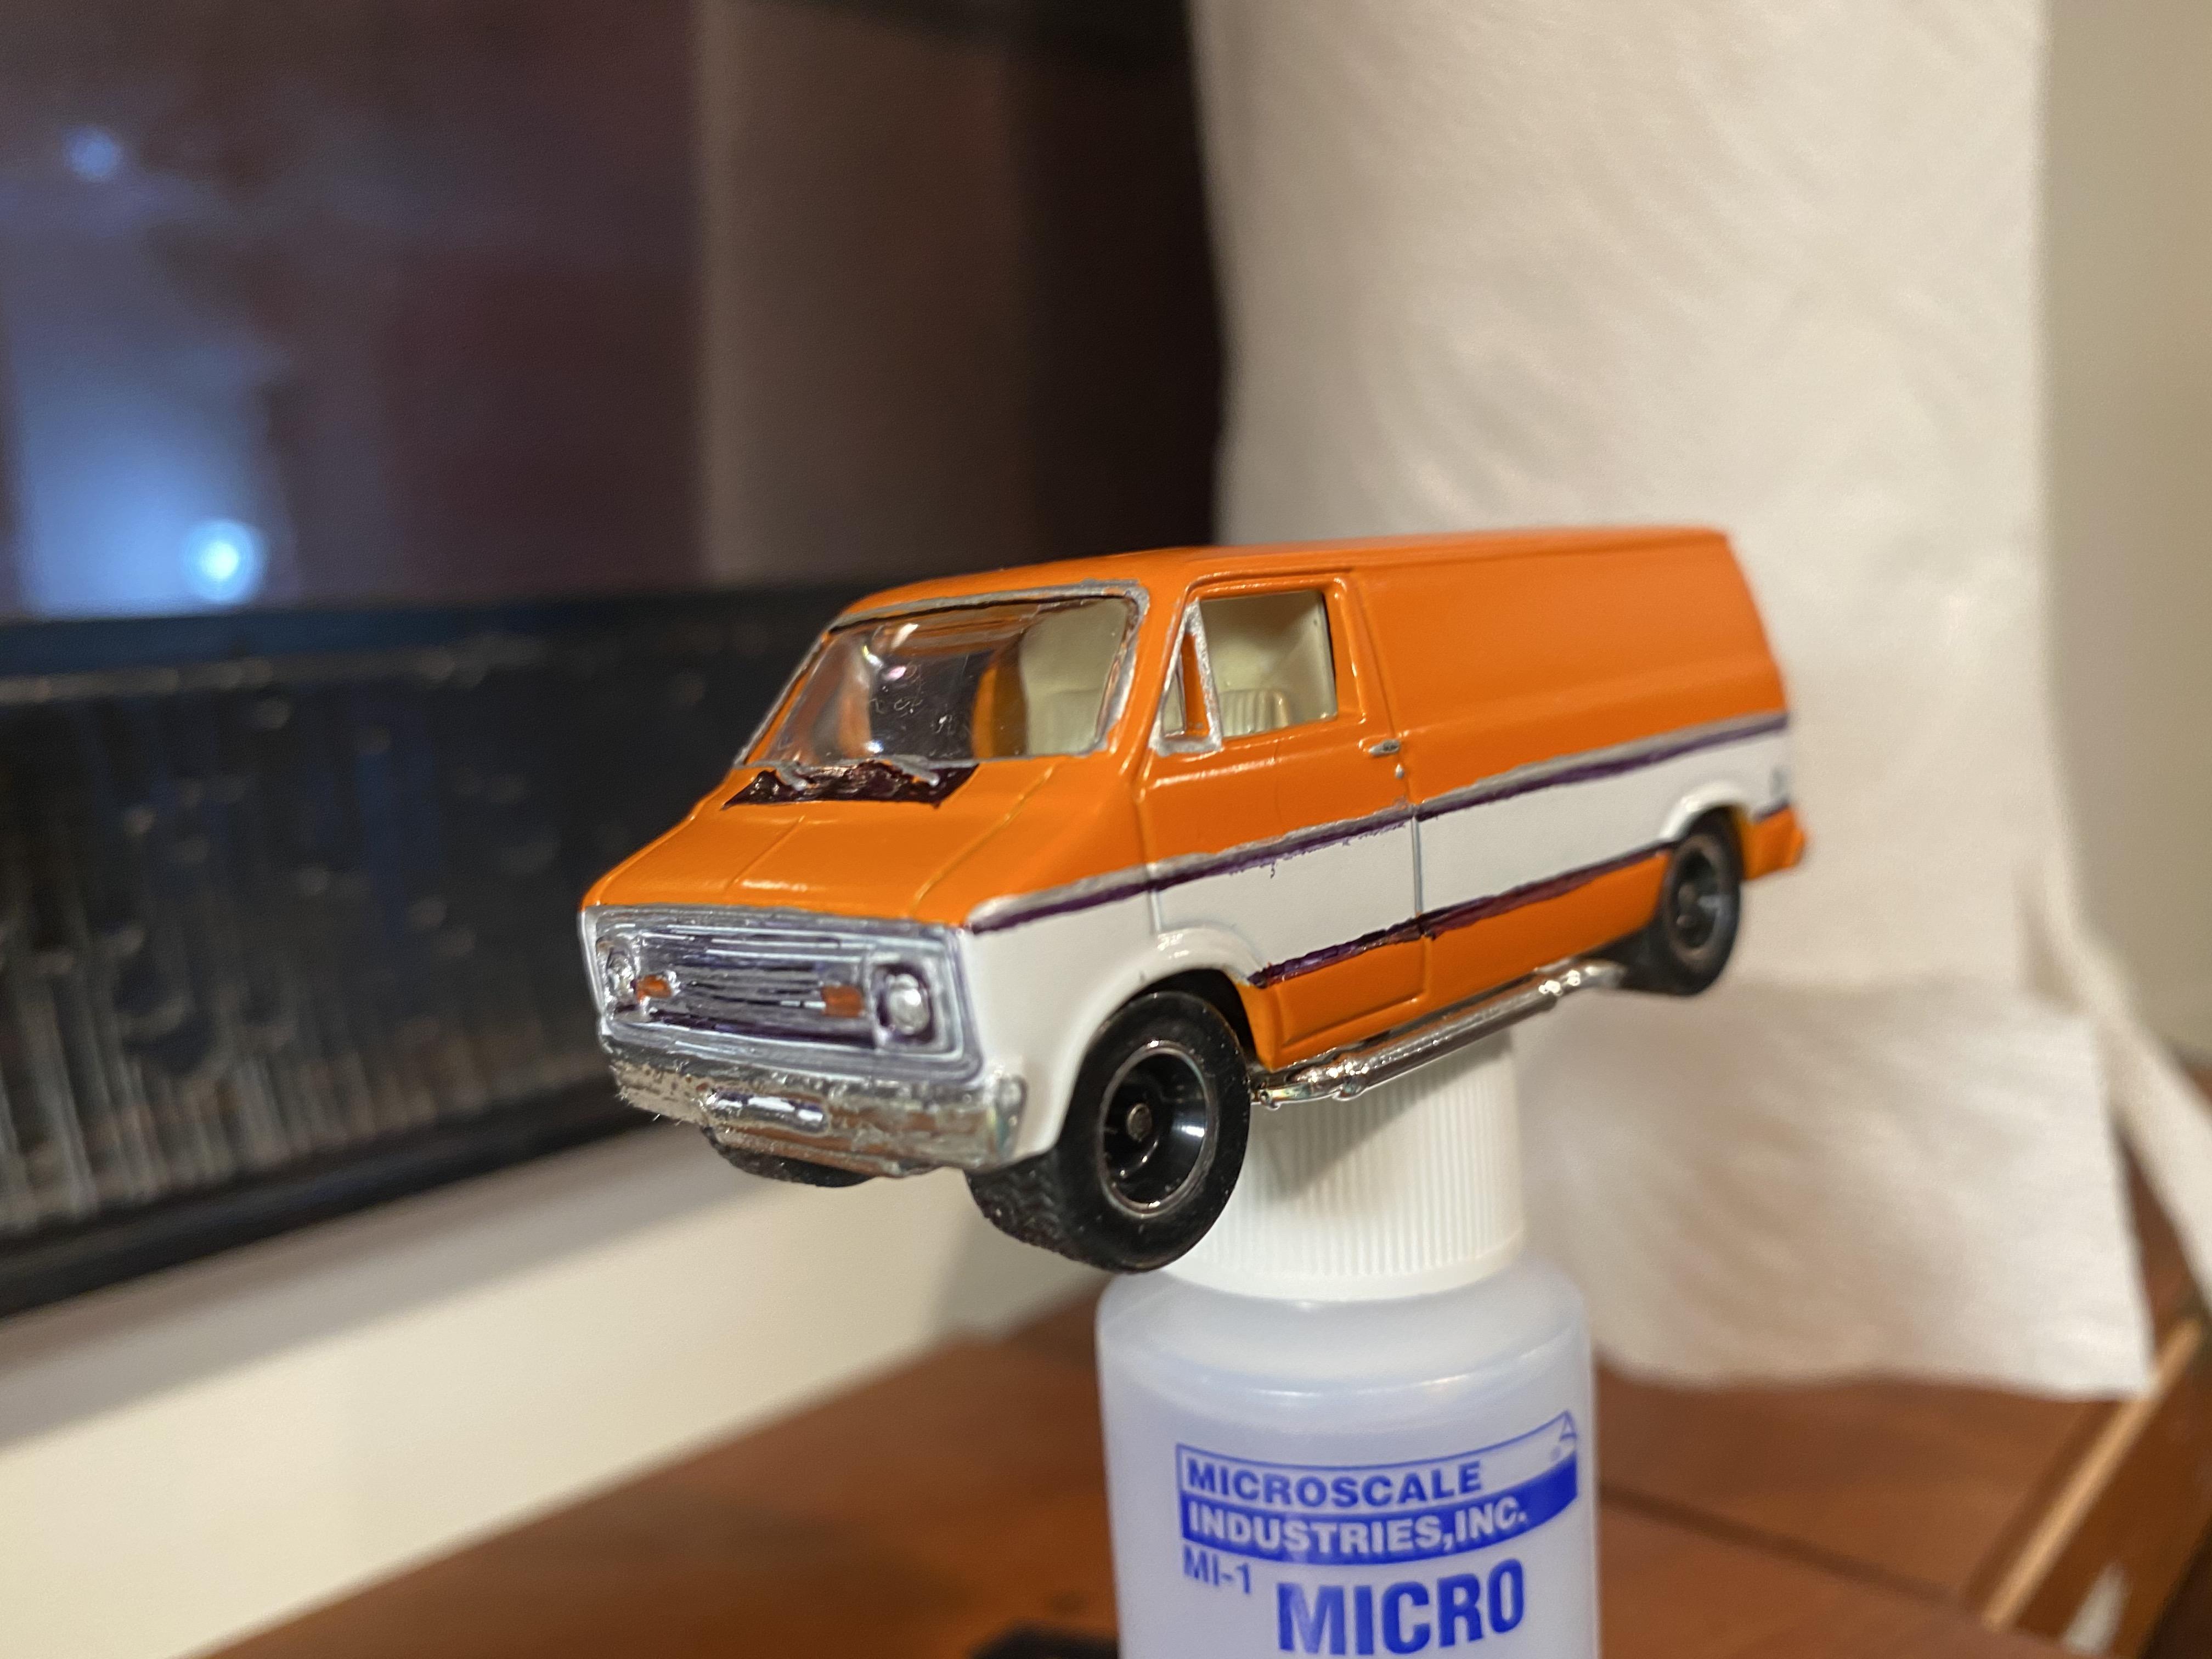
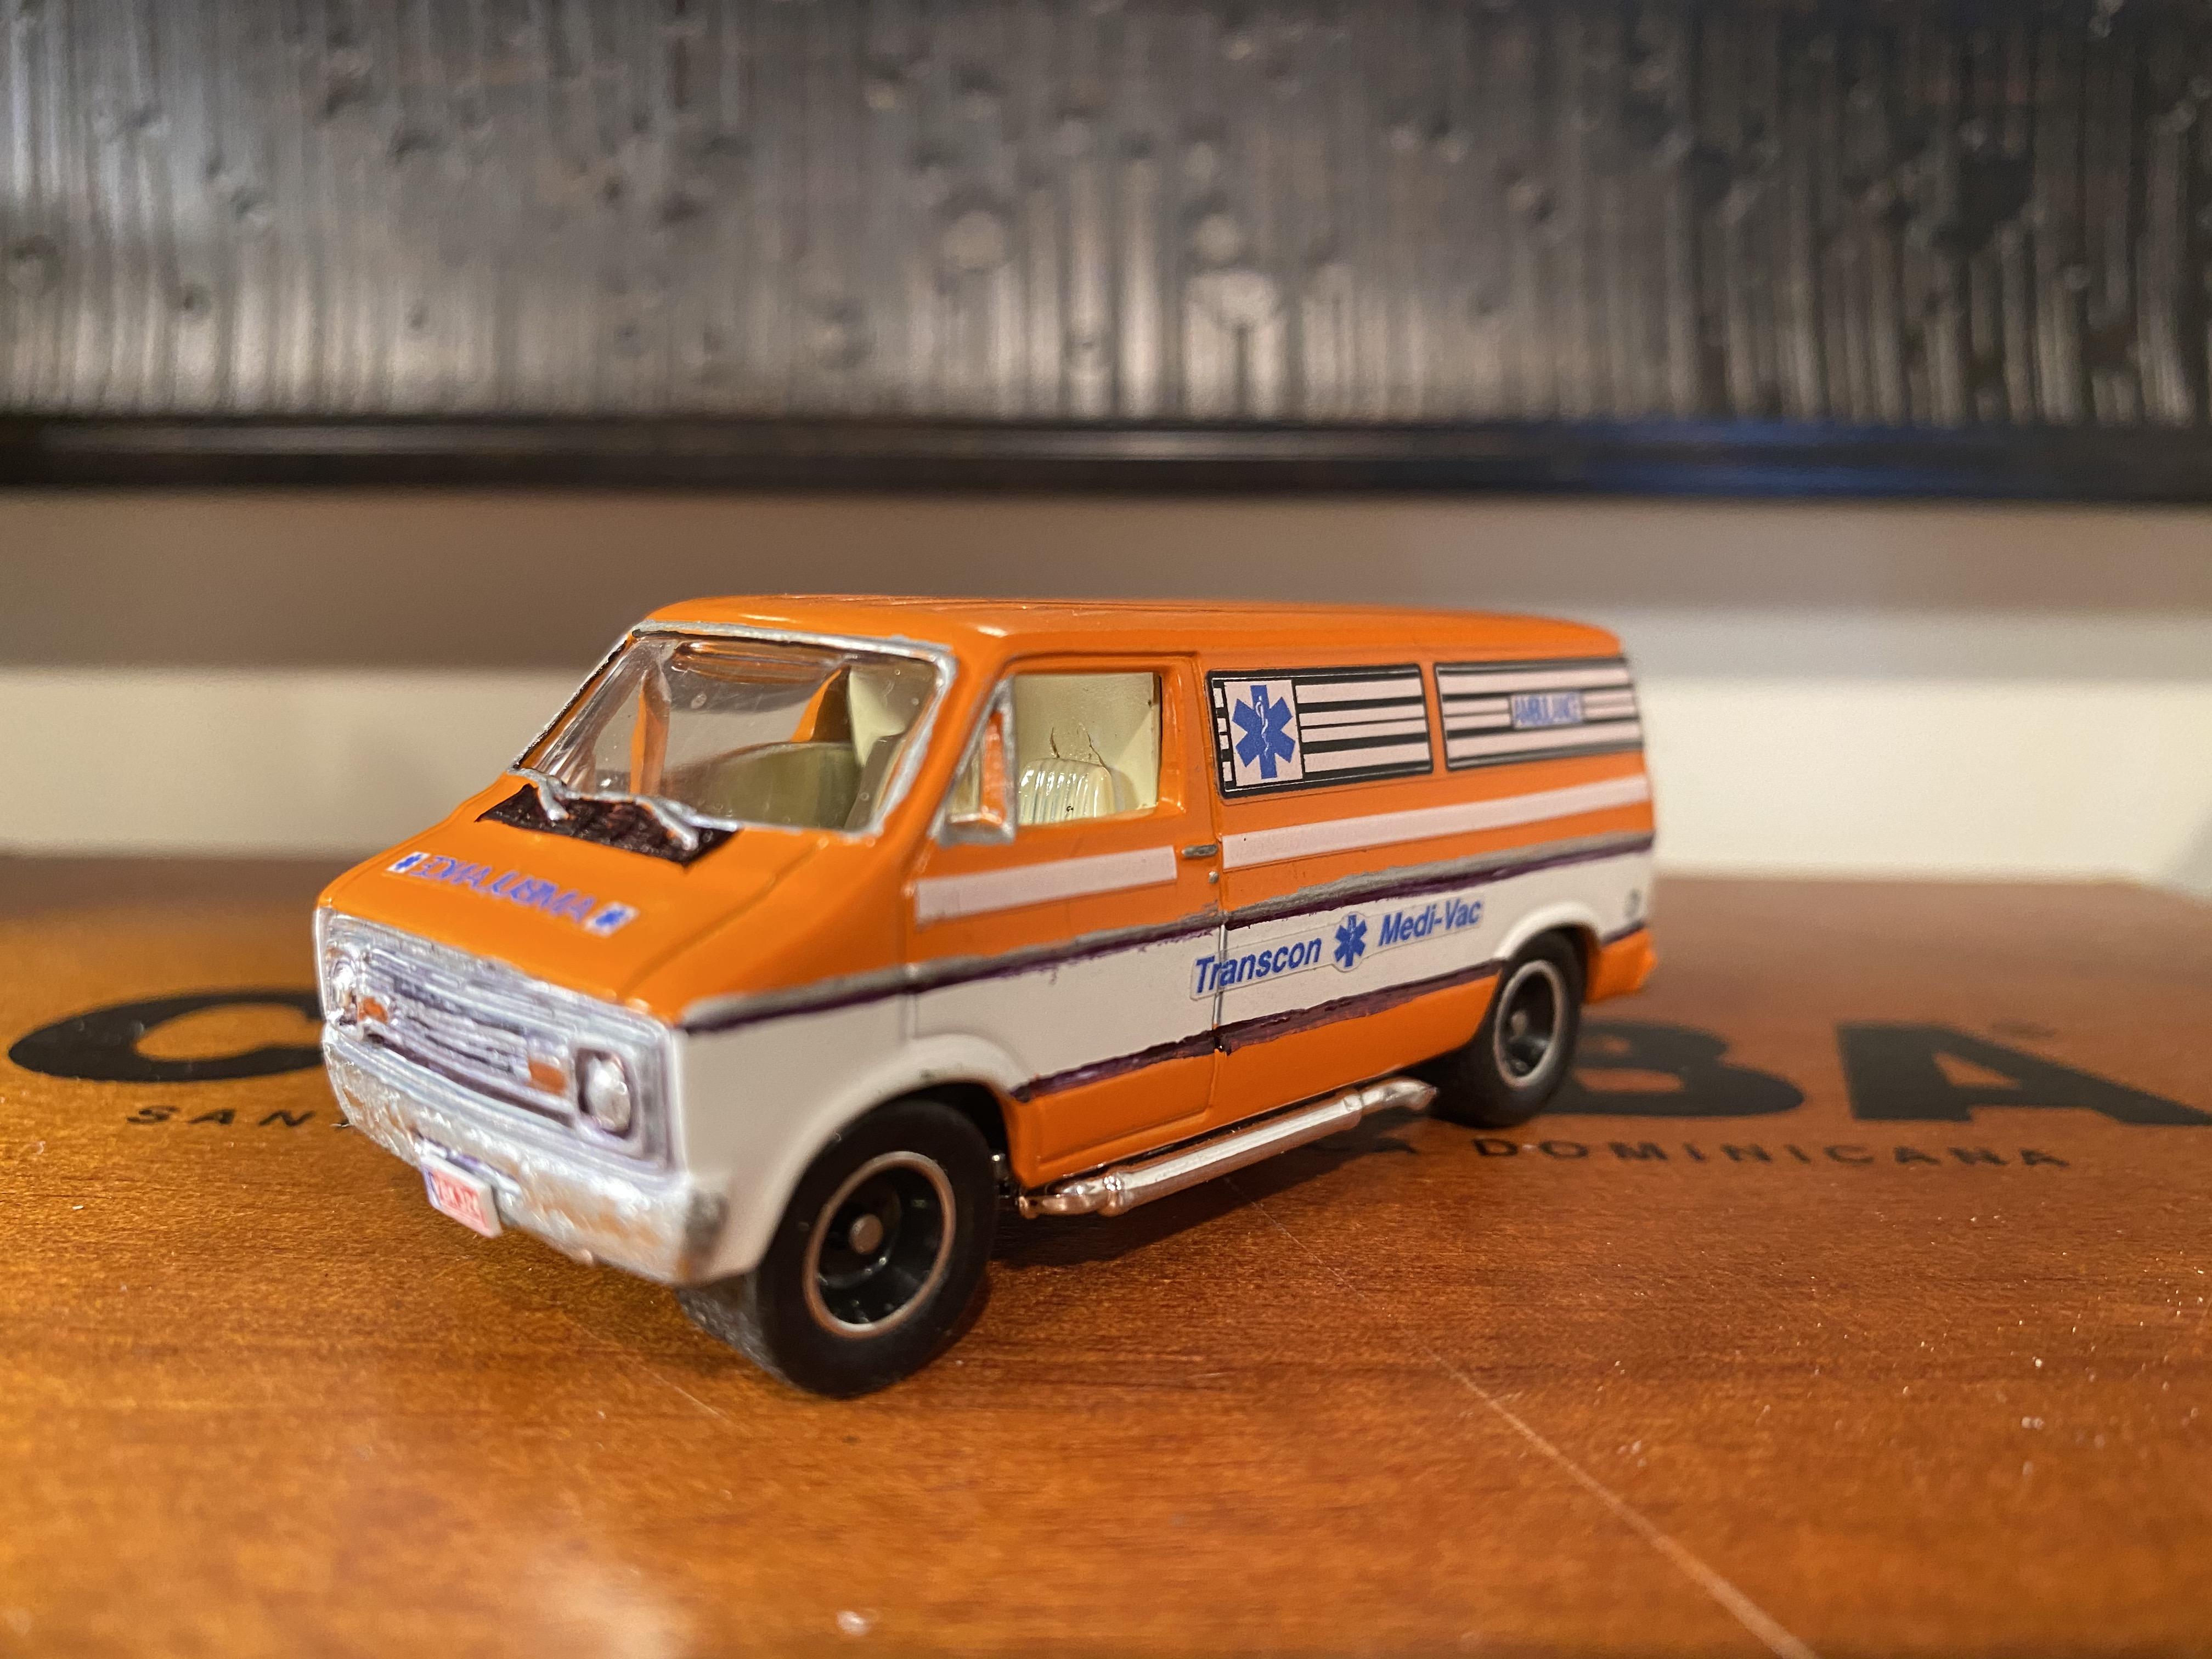
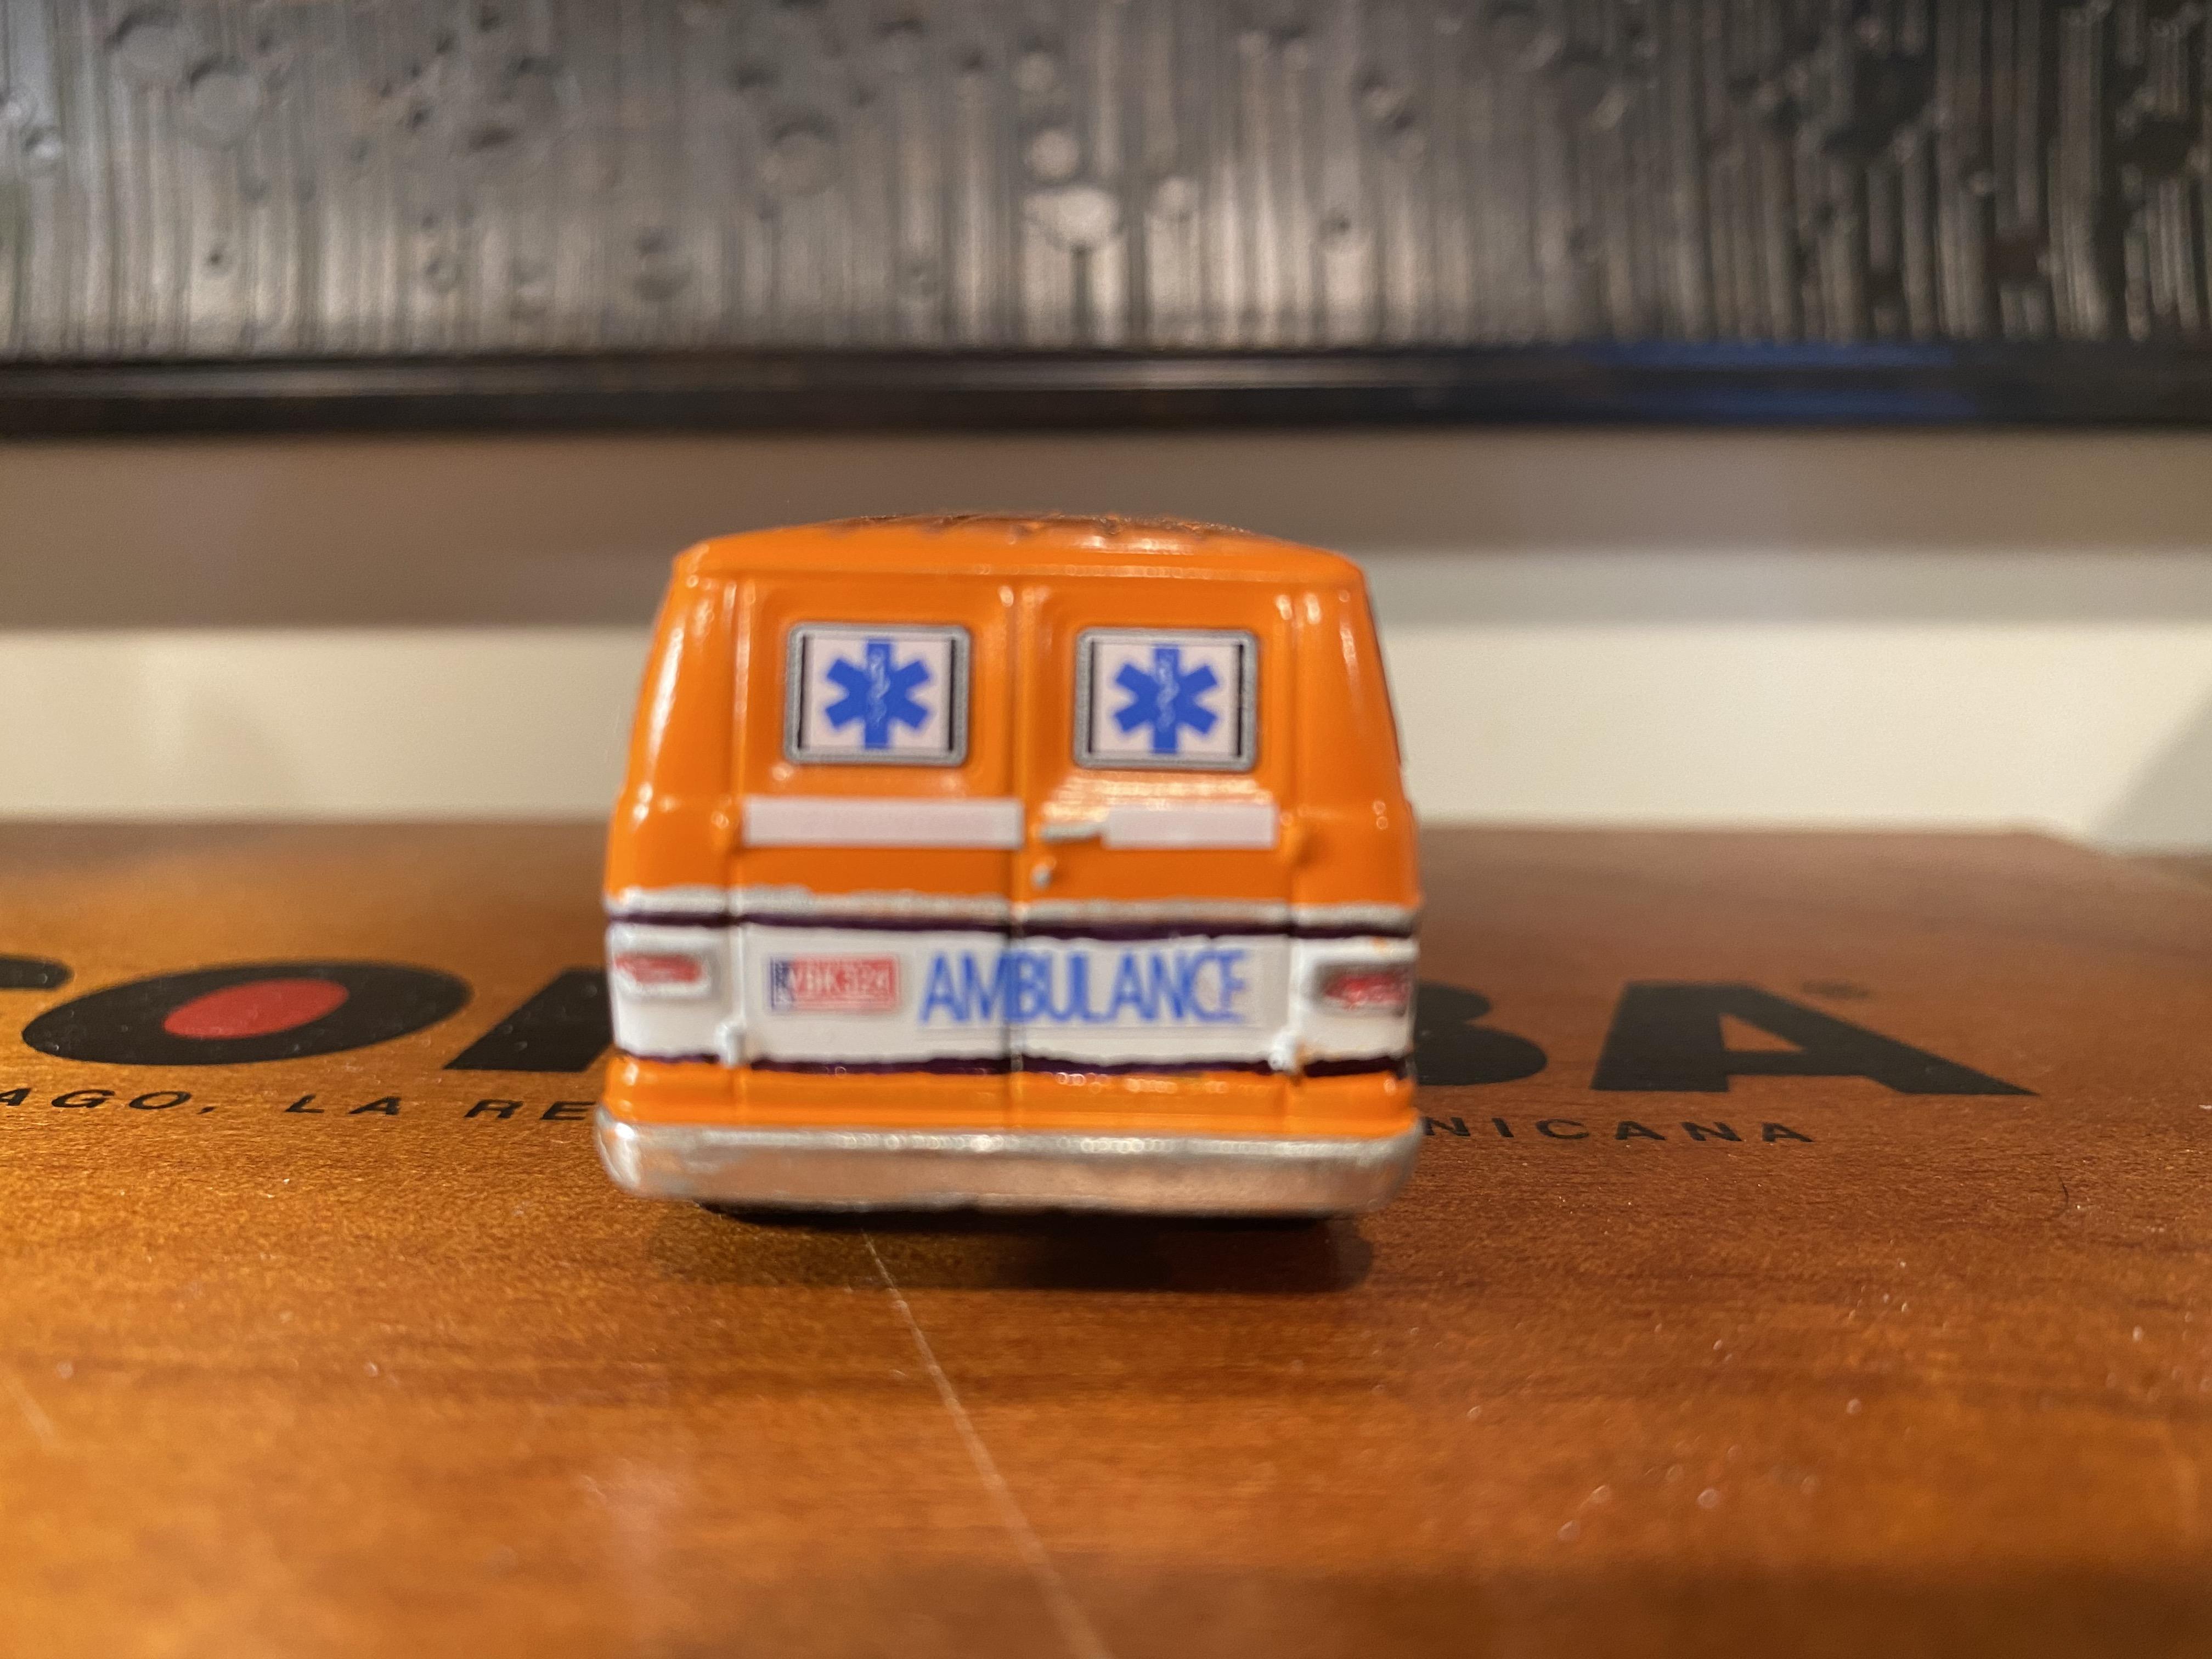
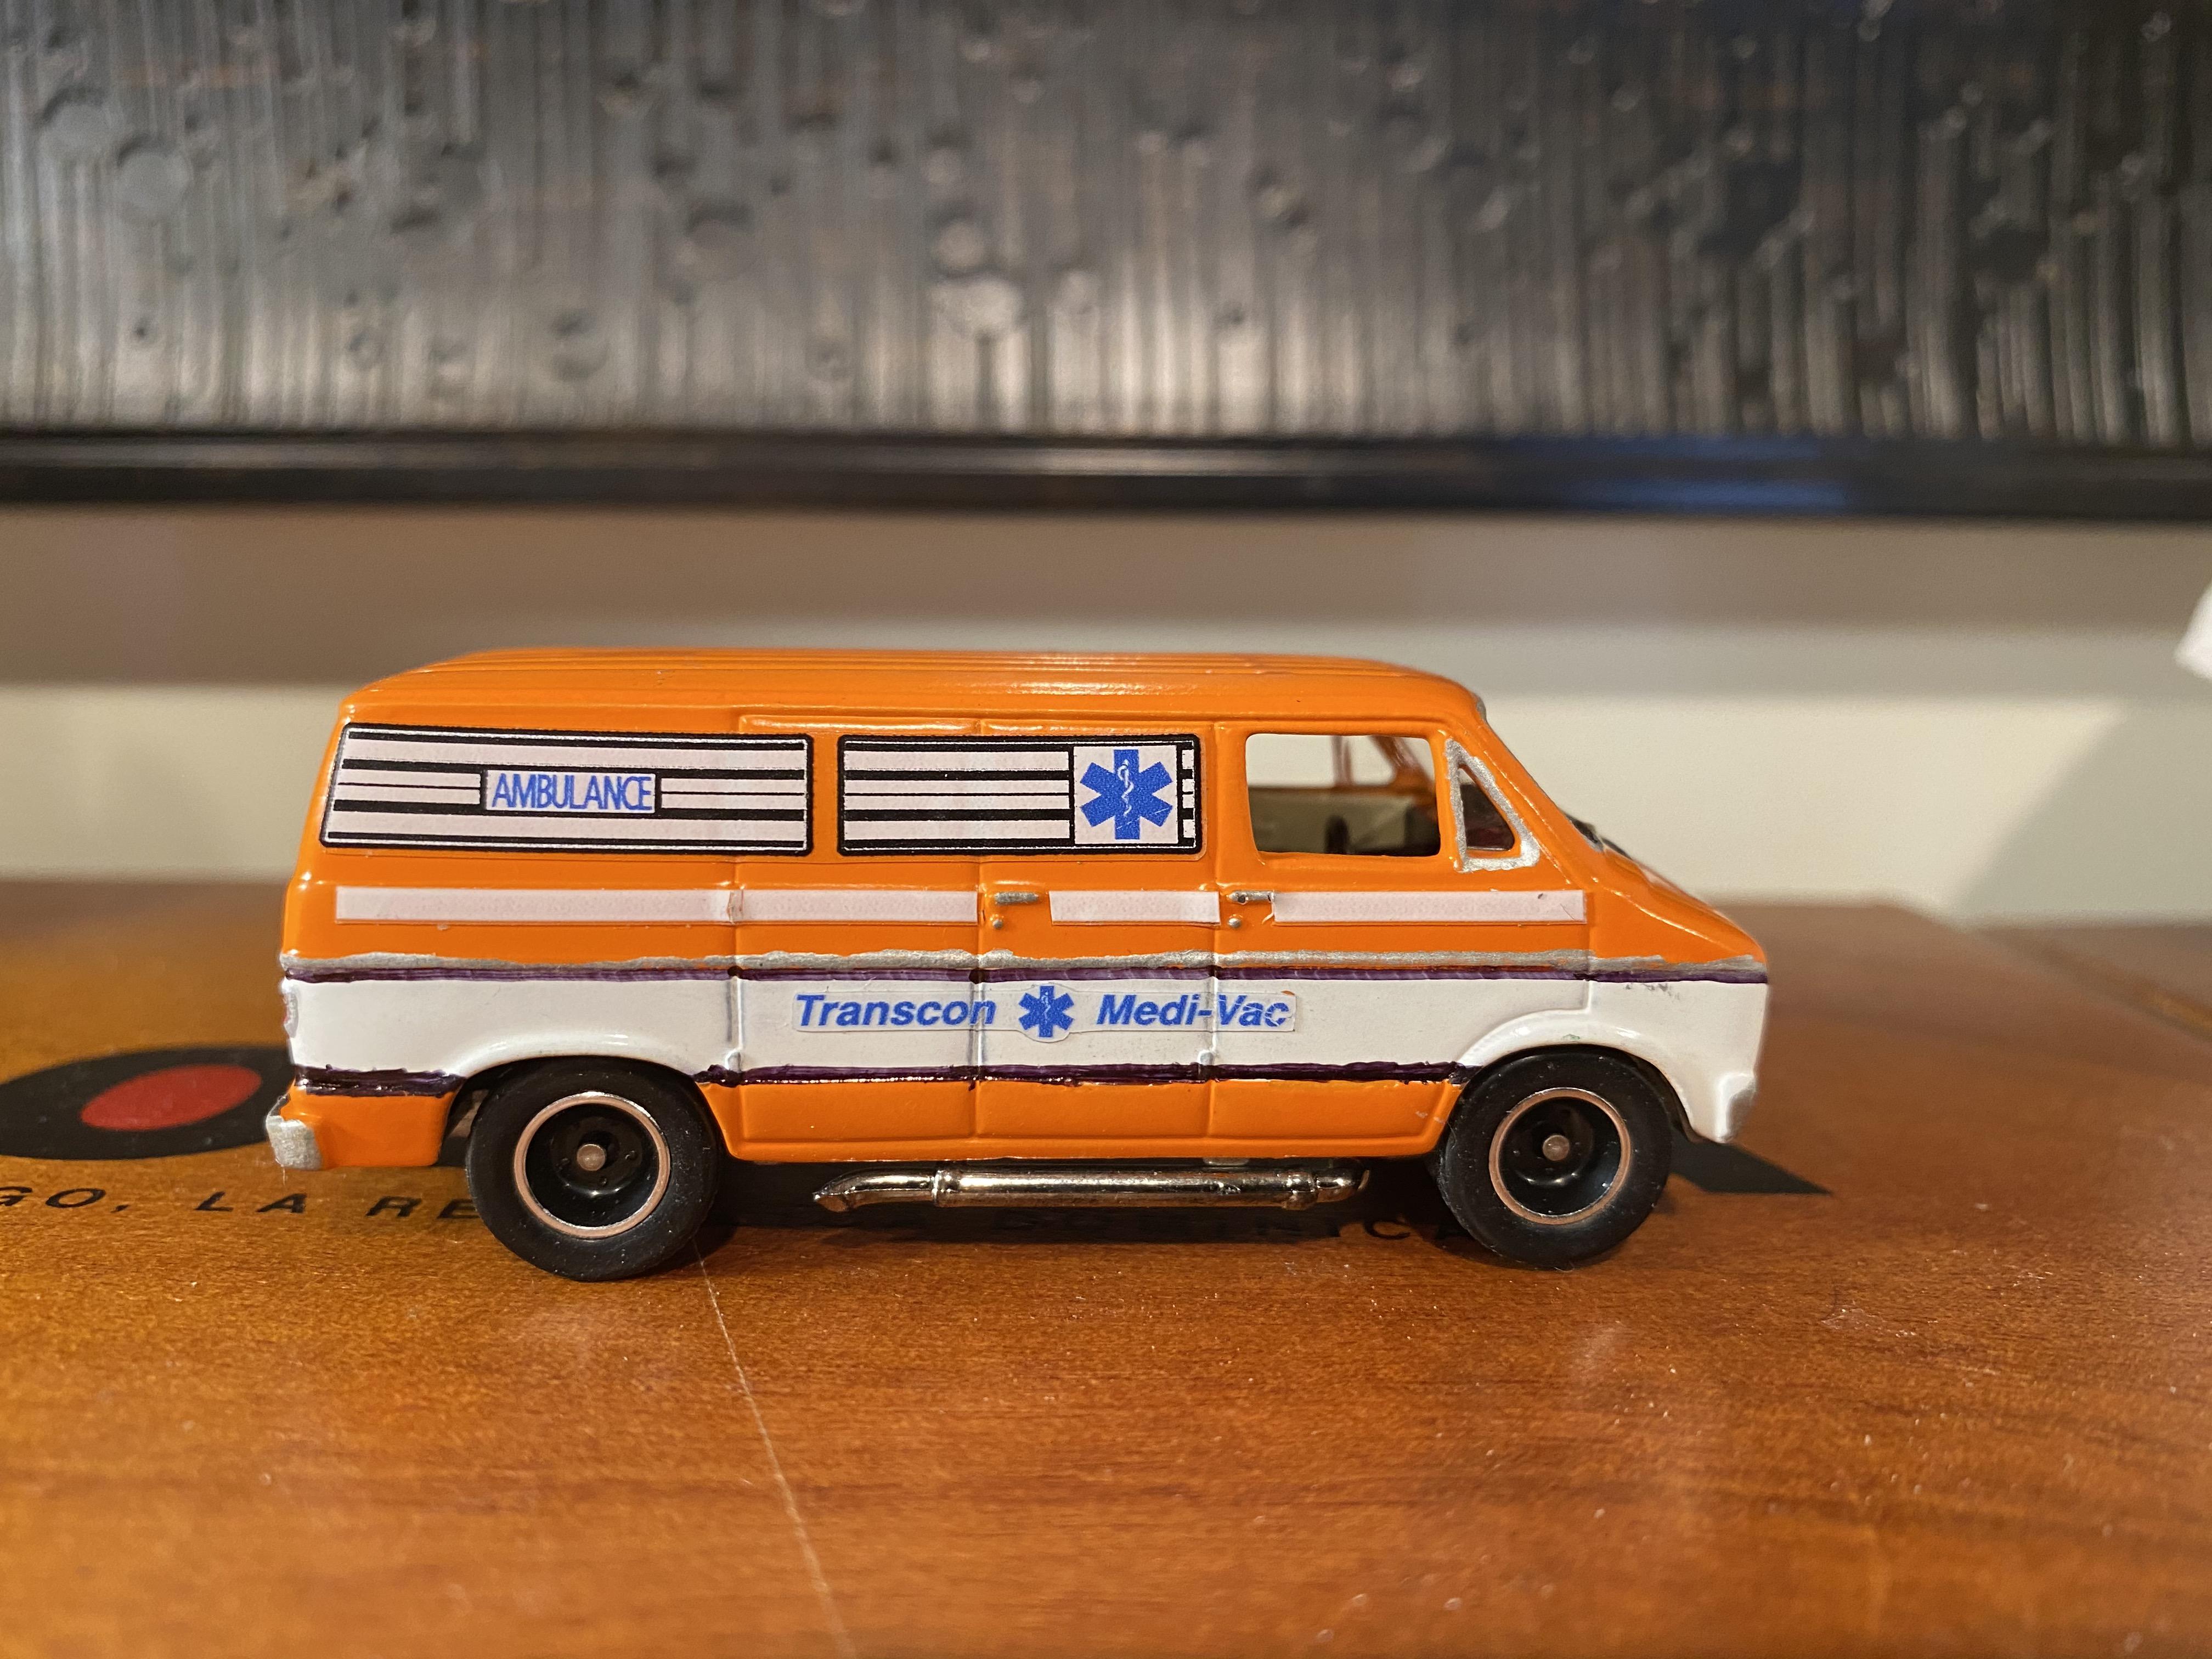
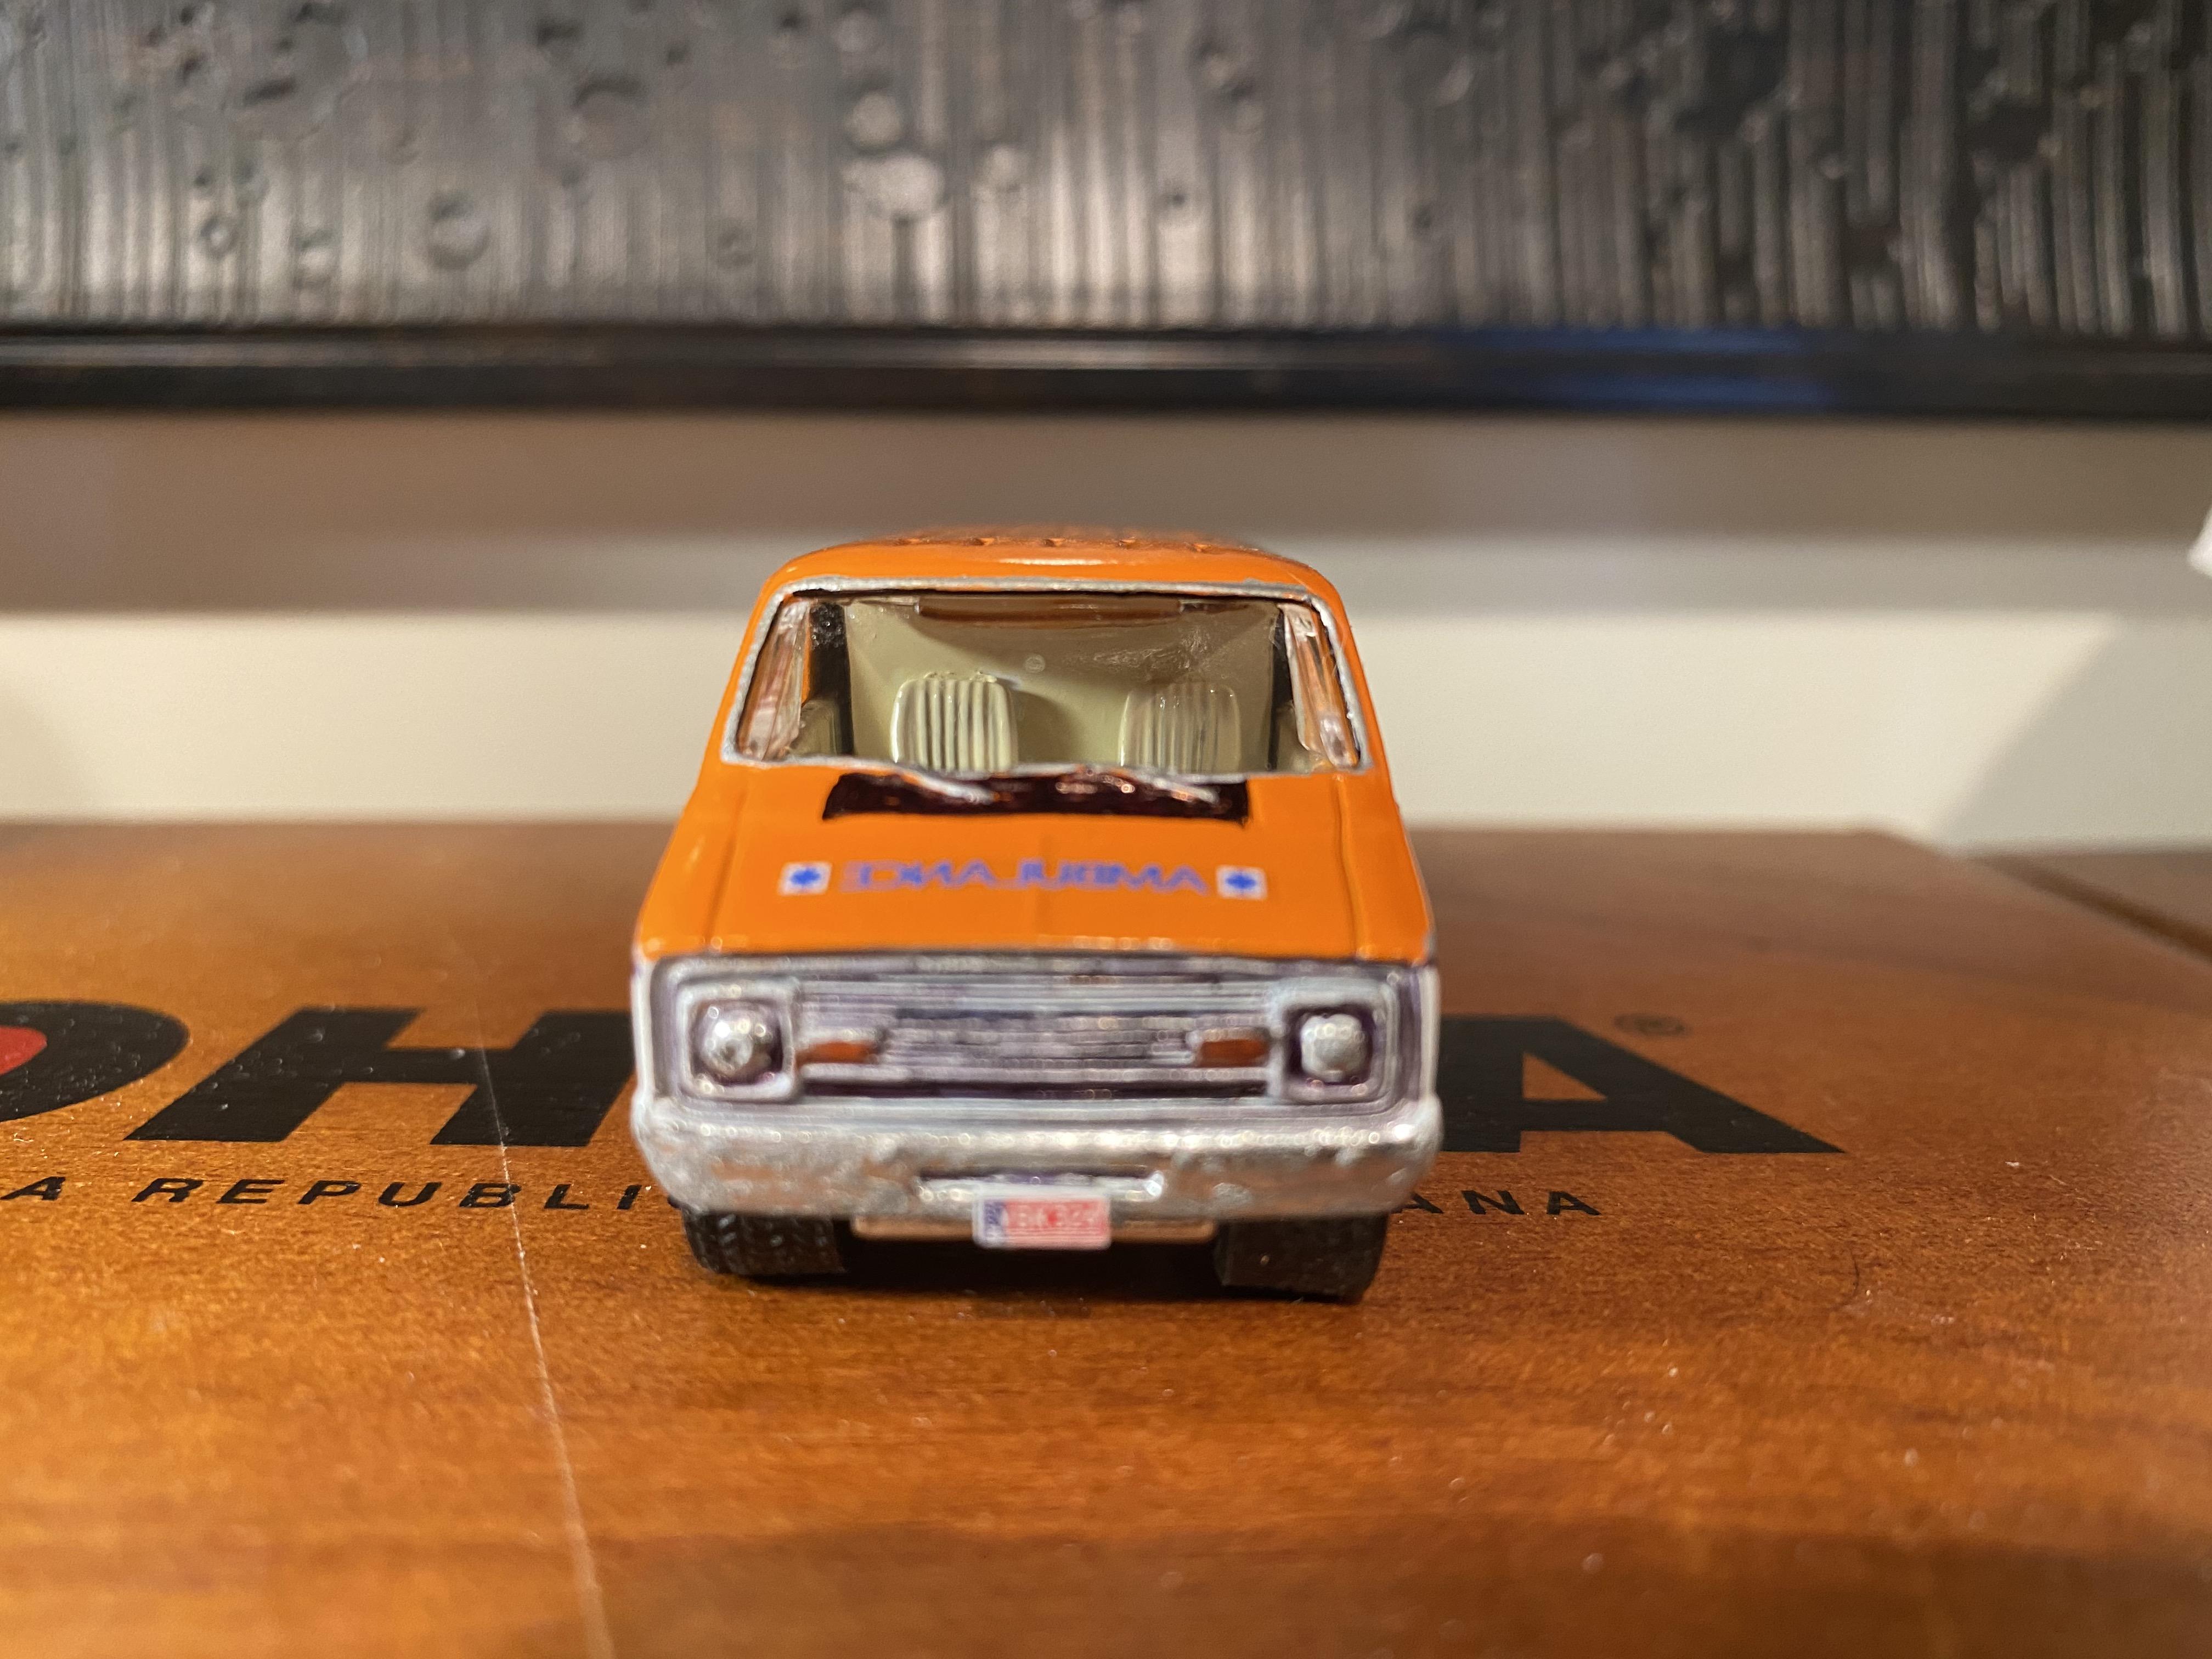
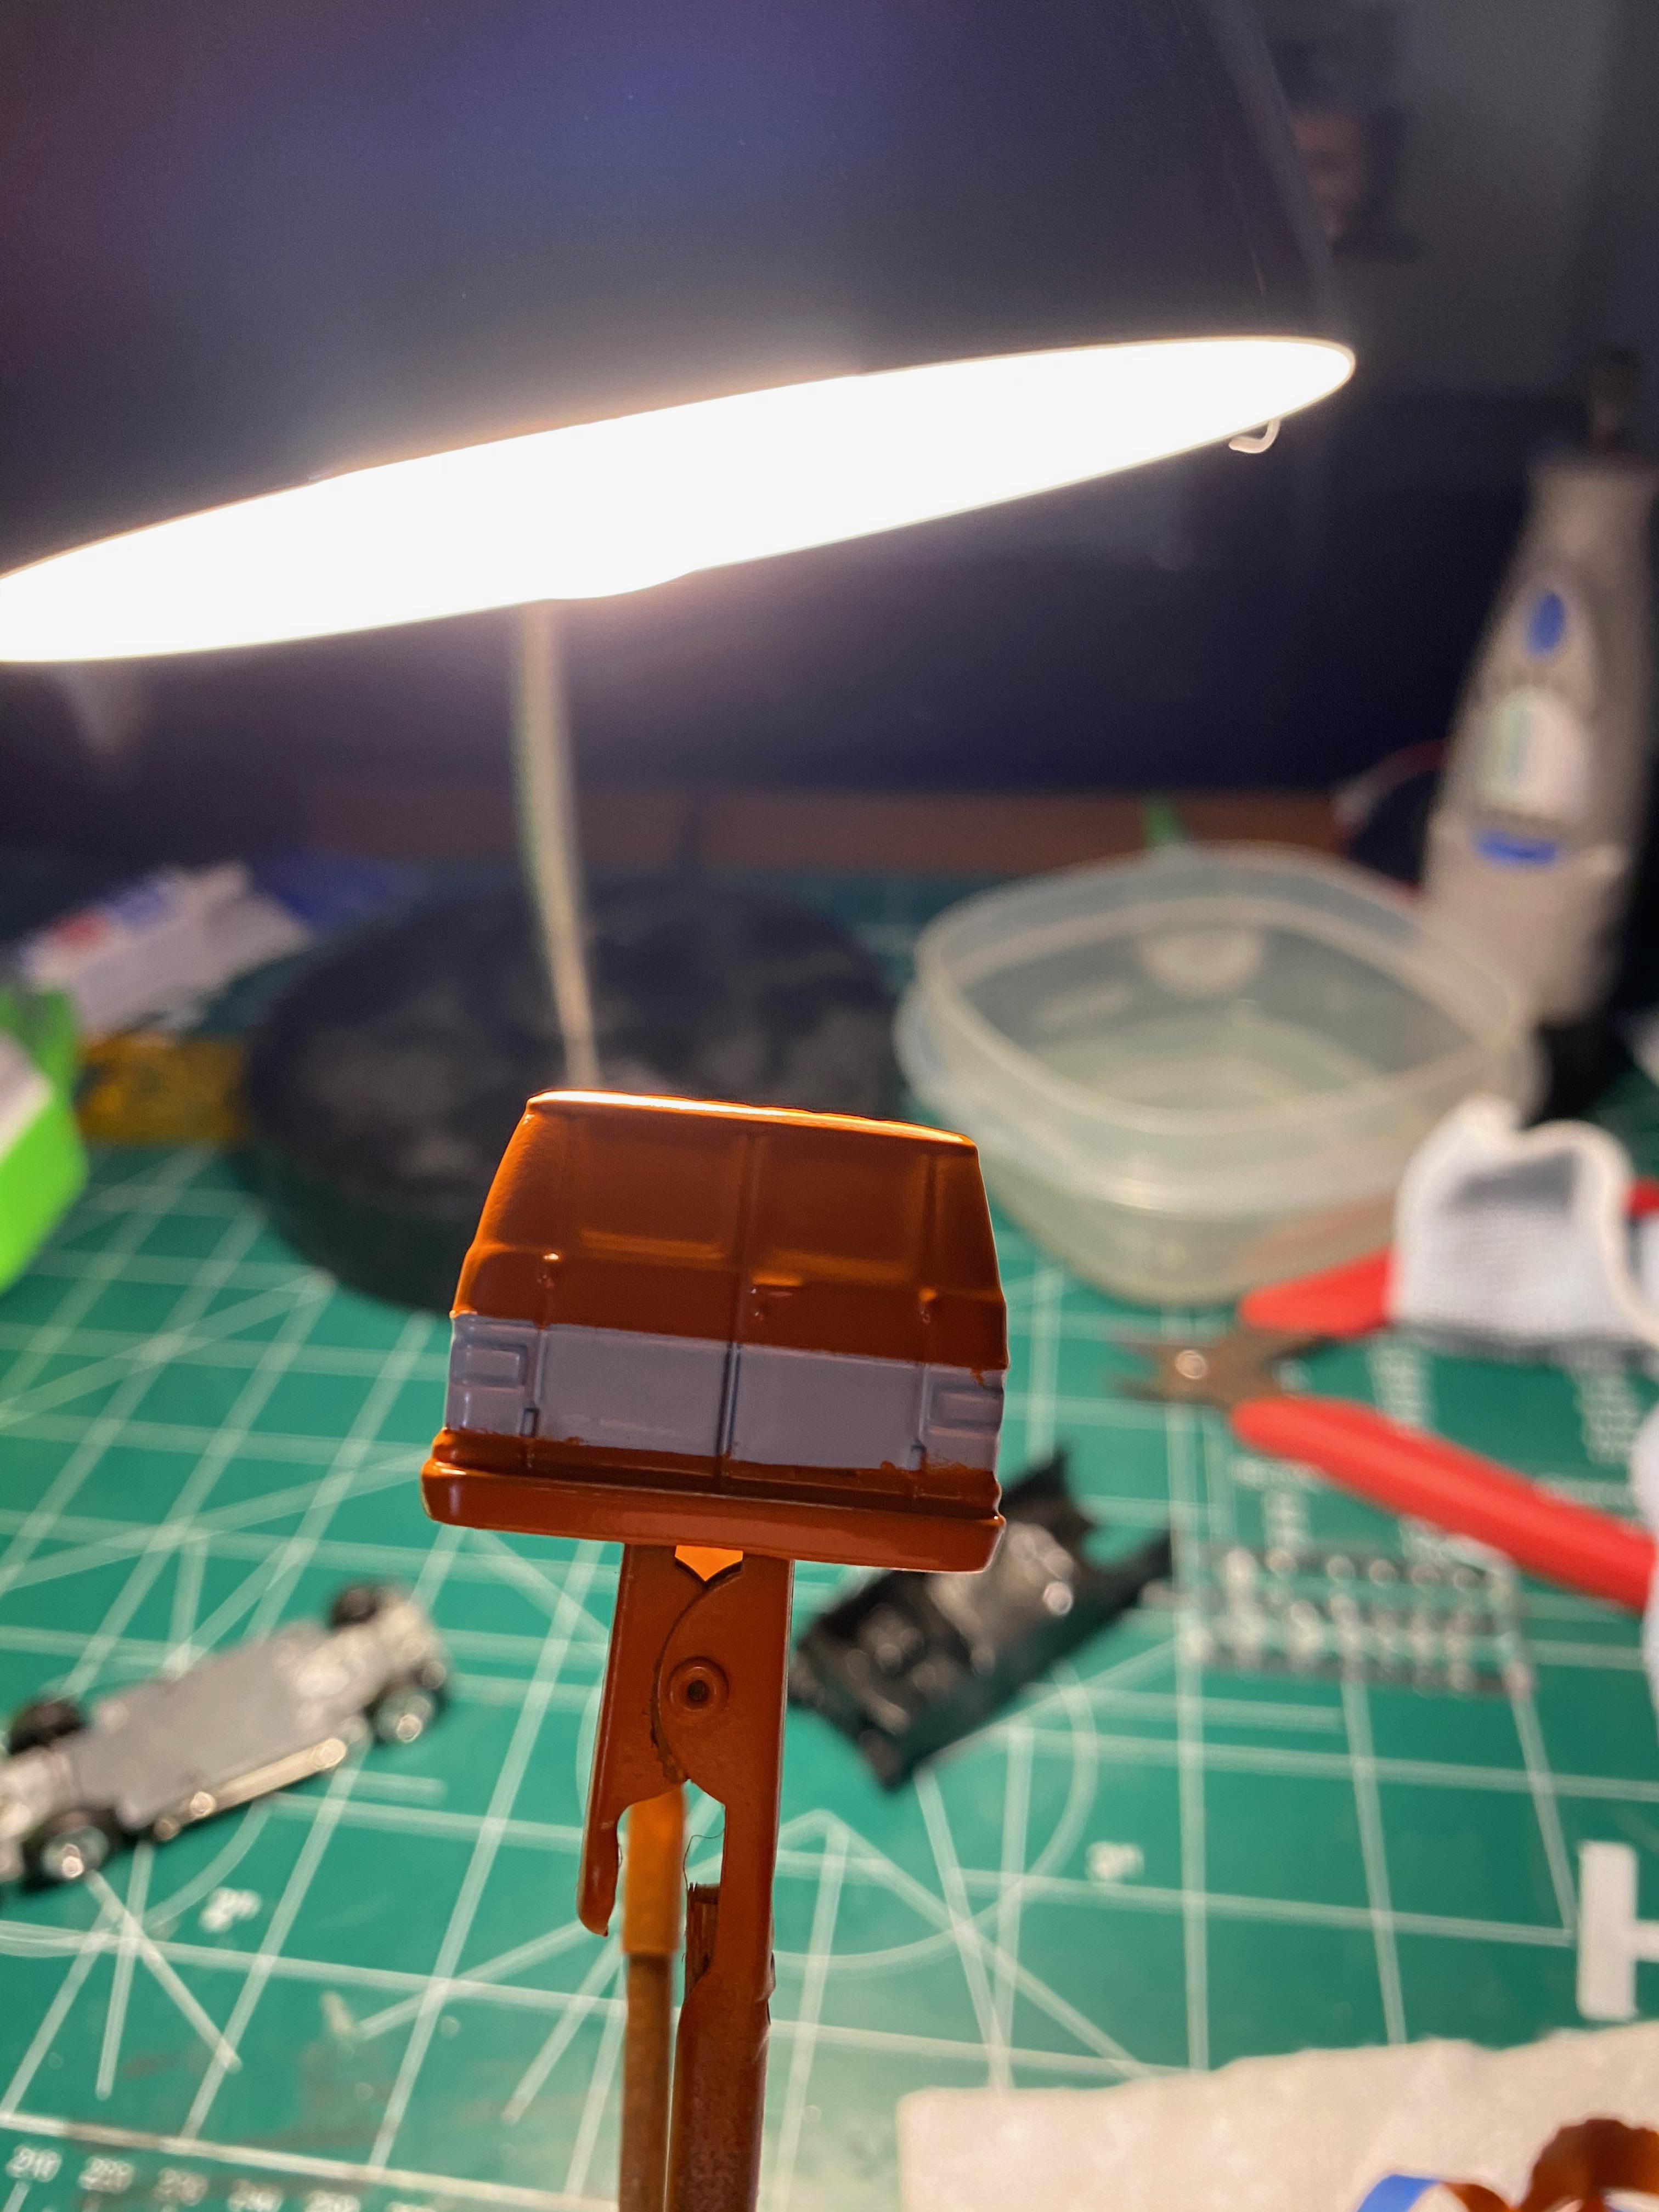
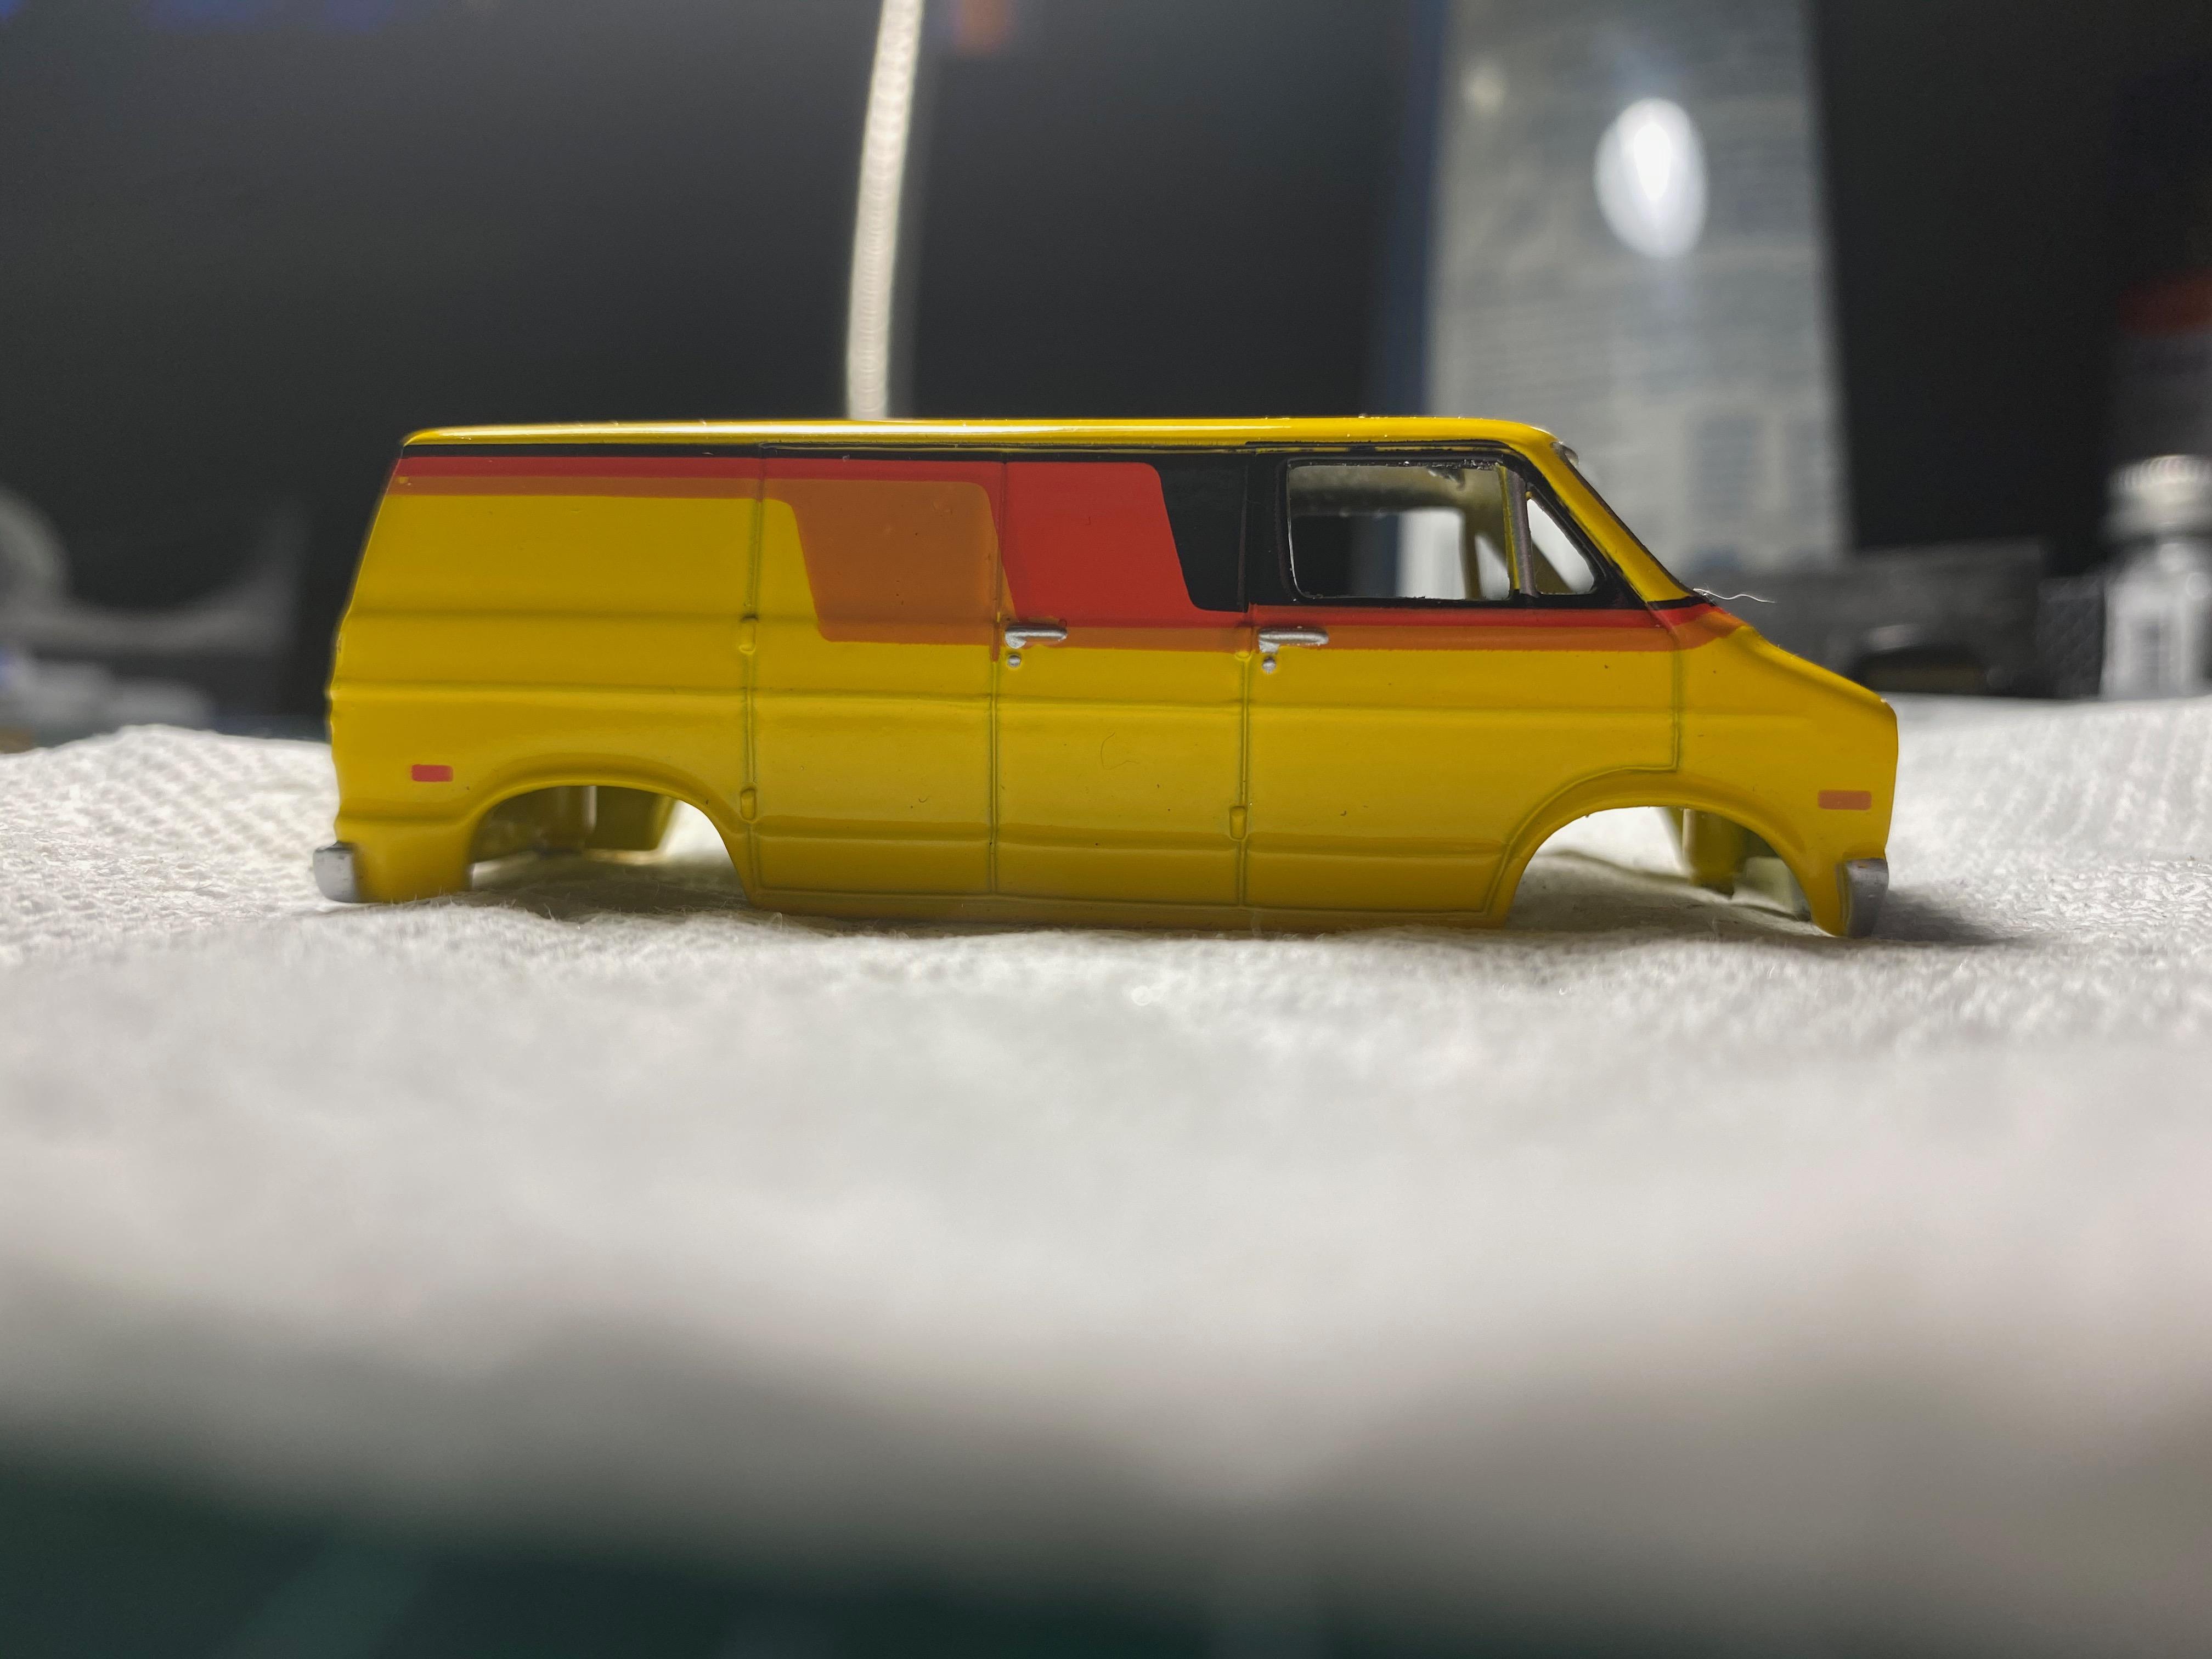
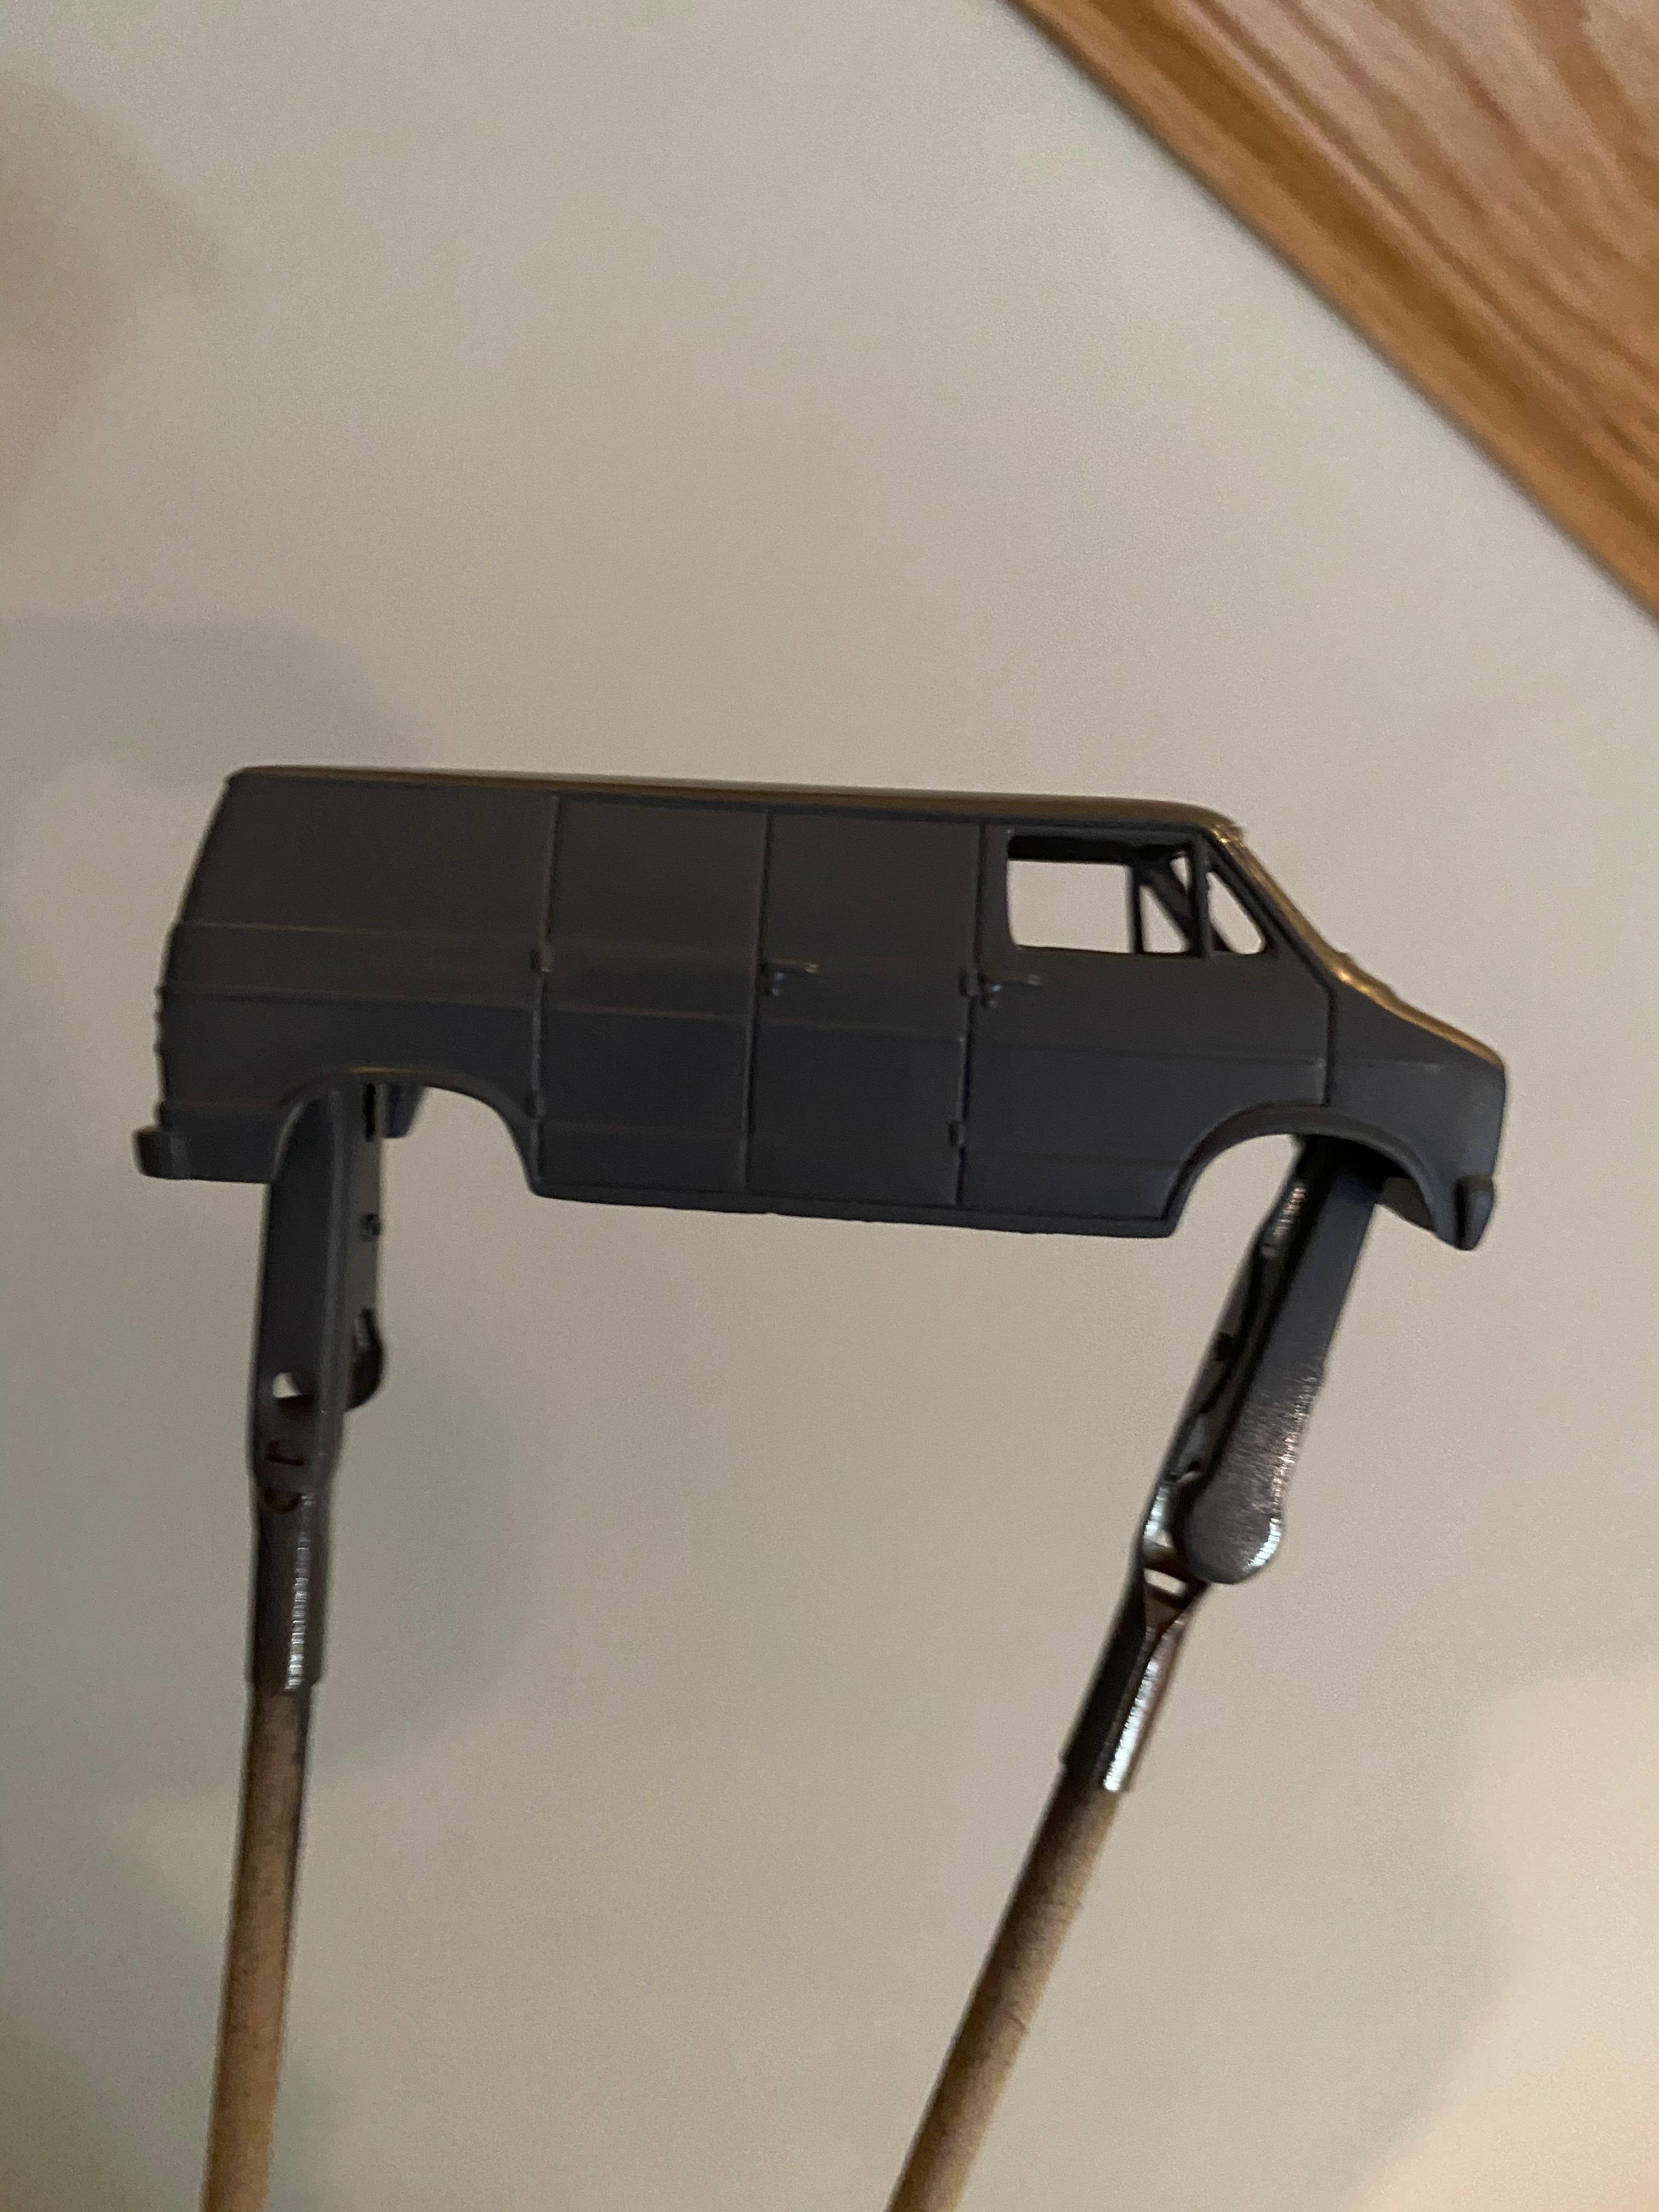
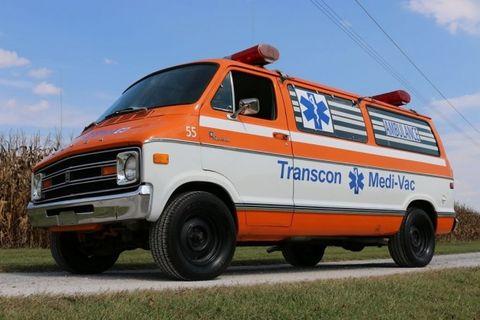
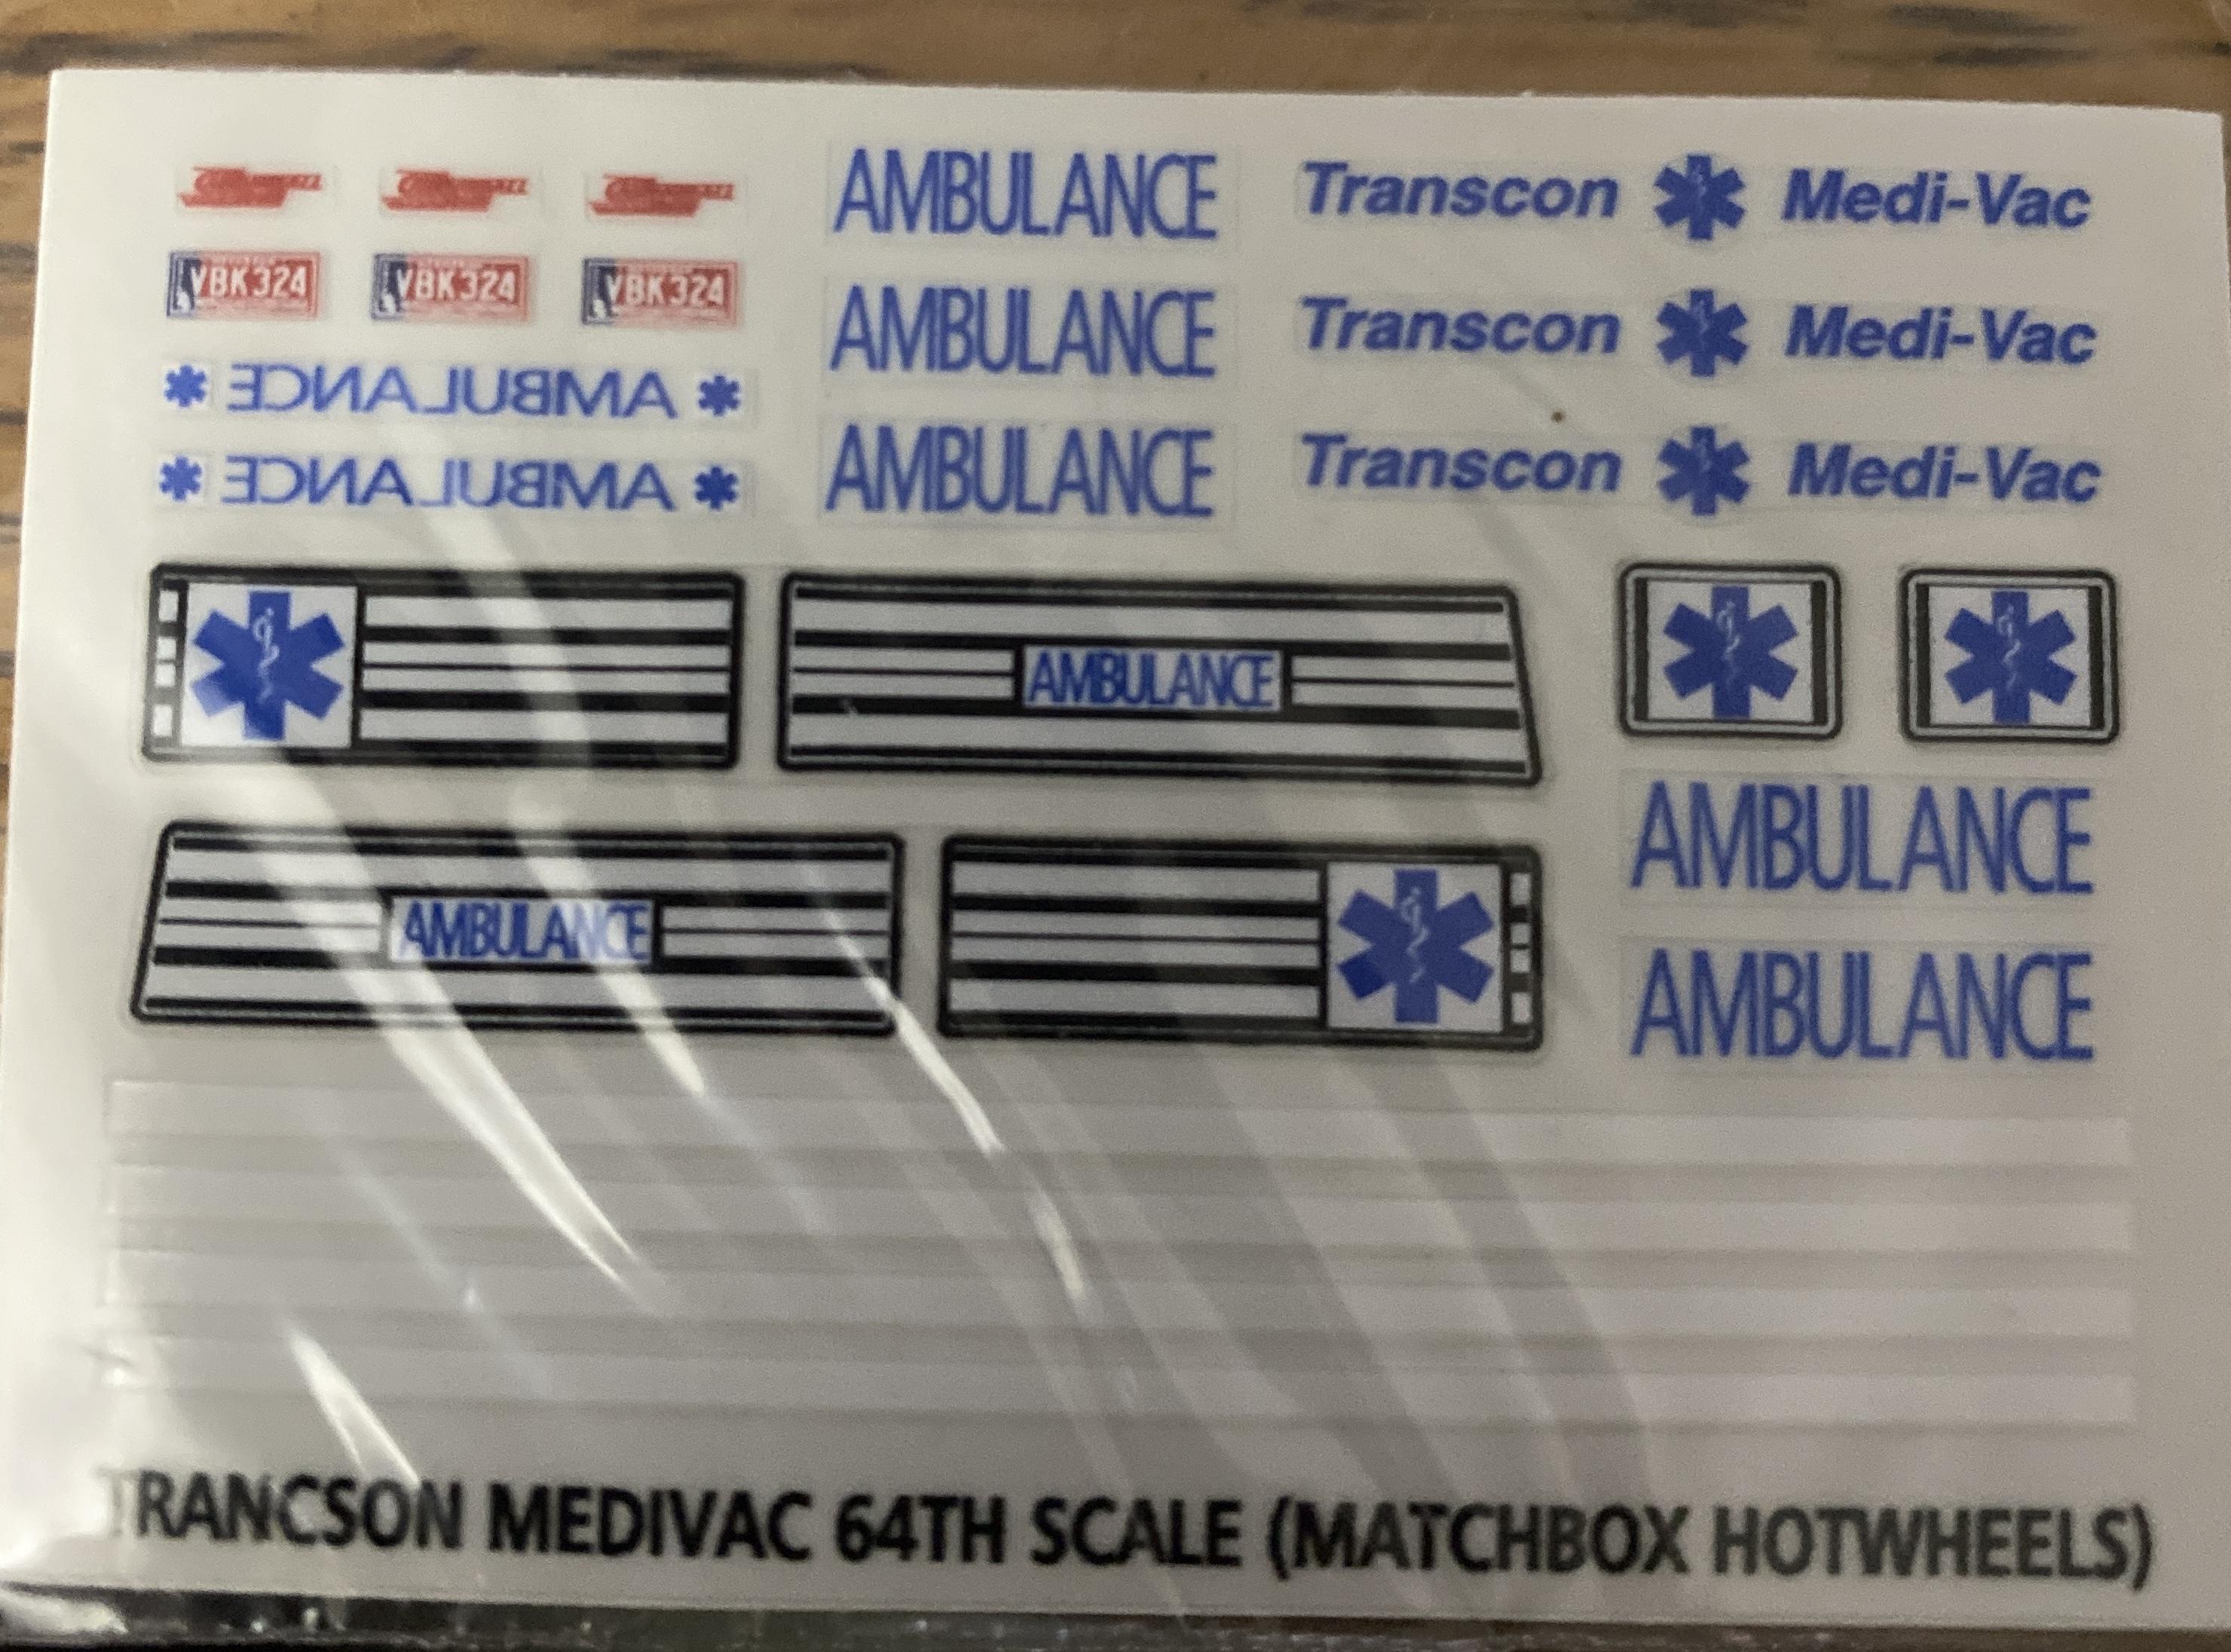
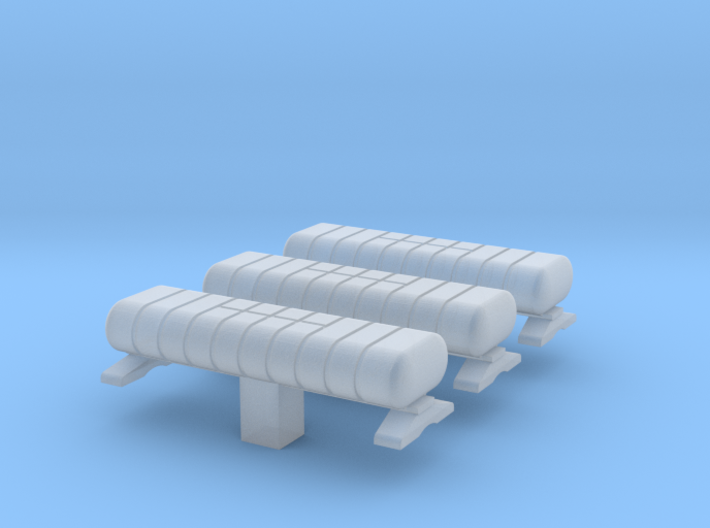
Now I know why I don't work on 1/64th. ?. Fiddly little things. However, I'll call it a win getting the rub strips on and decals (stickers) as well without killing anyone or throwing anything. Borrowed a set of Real Riders off of a "Rescue Ranger" that fir perfect. Left the chrome trim ring on there just for some contrast. Light bars should be here Friday and installed. As much as I wanted to trim the small stripe over the door handles, there just wasn't enough material. After going through tons of reference material on the real ambulance, I was surprised that there is a small piece of the thin stripe missing between the passenger door and slider. I did take just a little extra off behind the handle for the heck of it. I also spotted that the license plate are different from the movie. The van that was raced in real life had the Michigan Bicentennial flags plates, where the Burt Reynolds had just a dark blue tag. I've seen that movie so many times that the Mandela Effect apparently took hold. Looks great in my case and will look better when the lights get here!

-
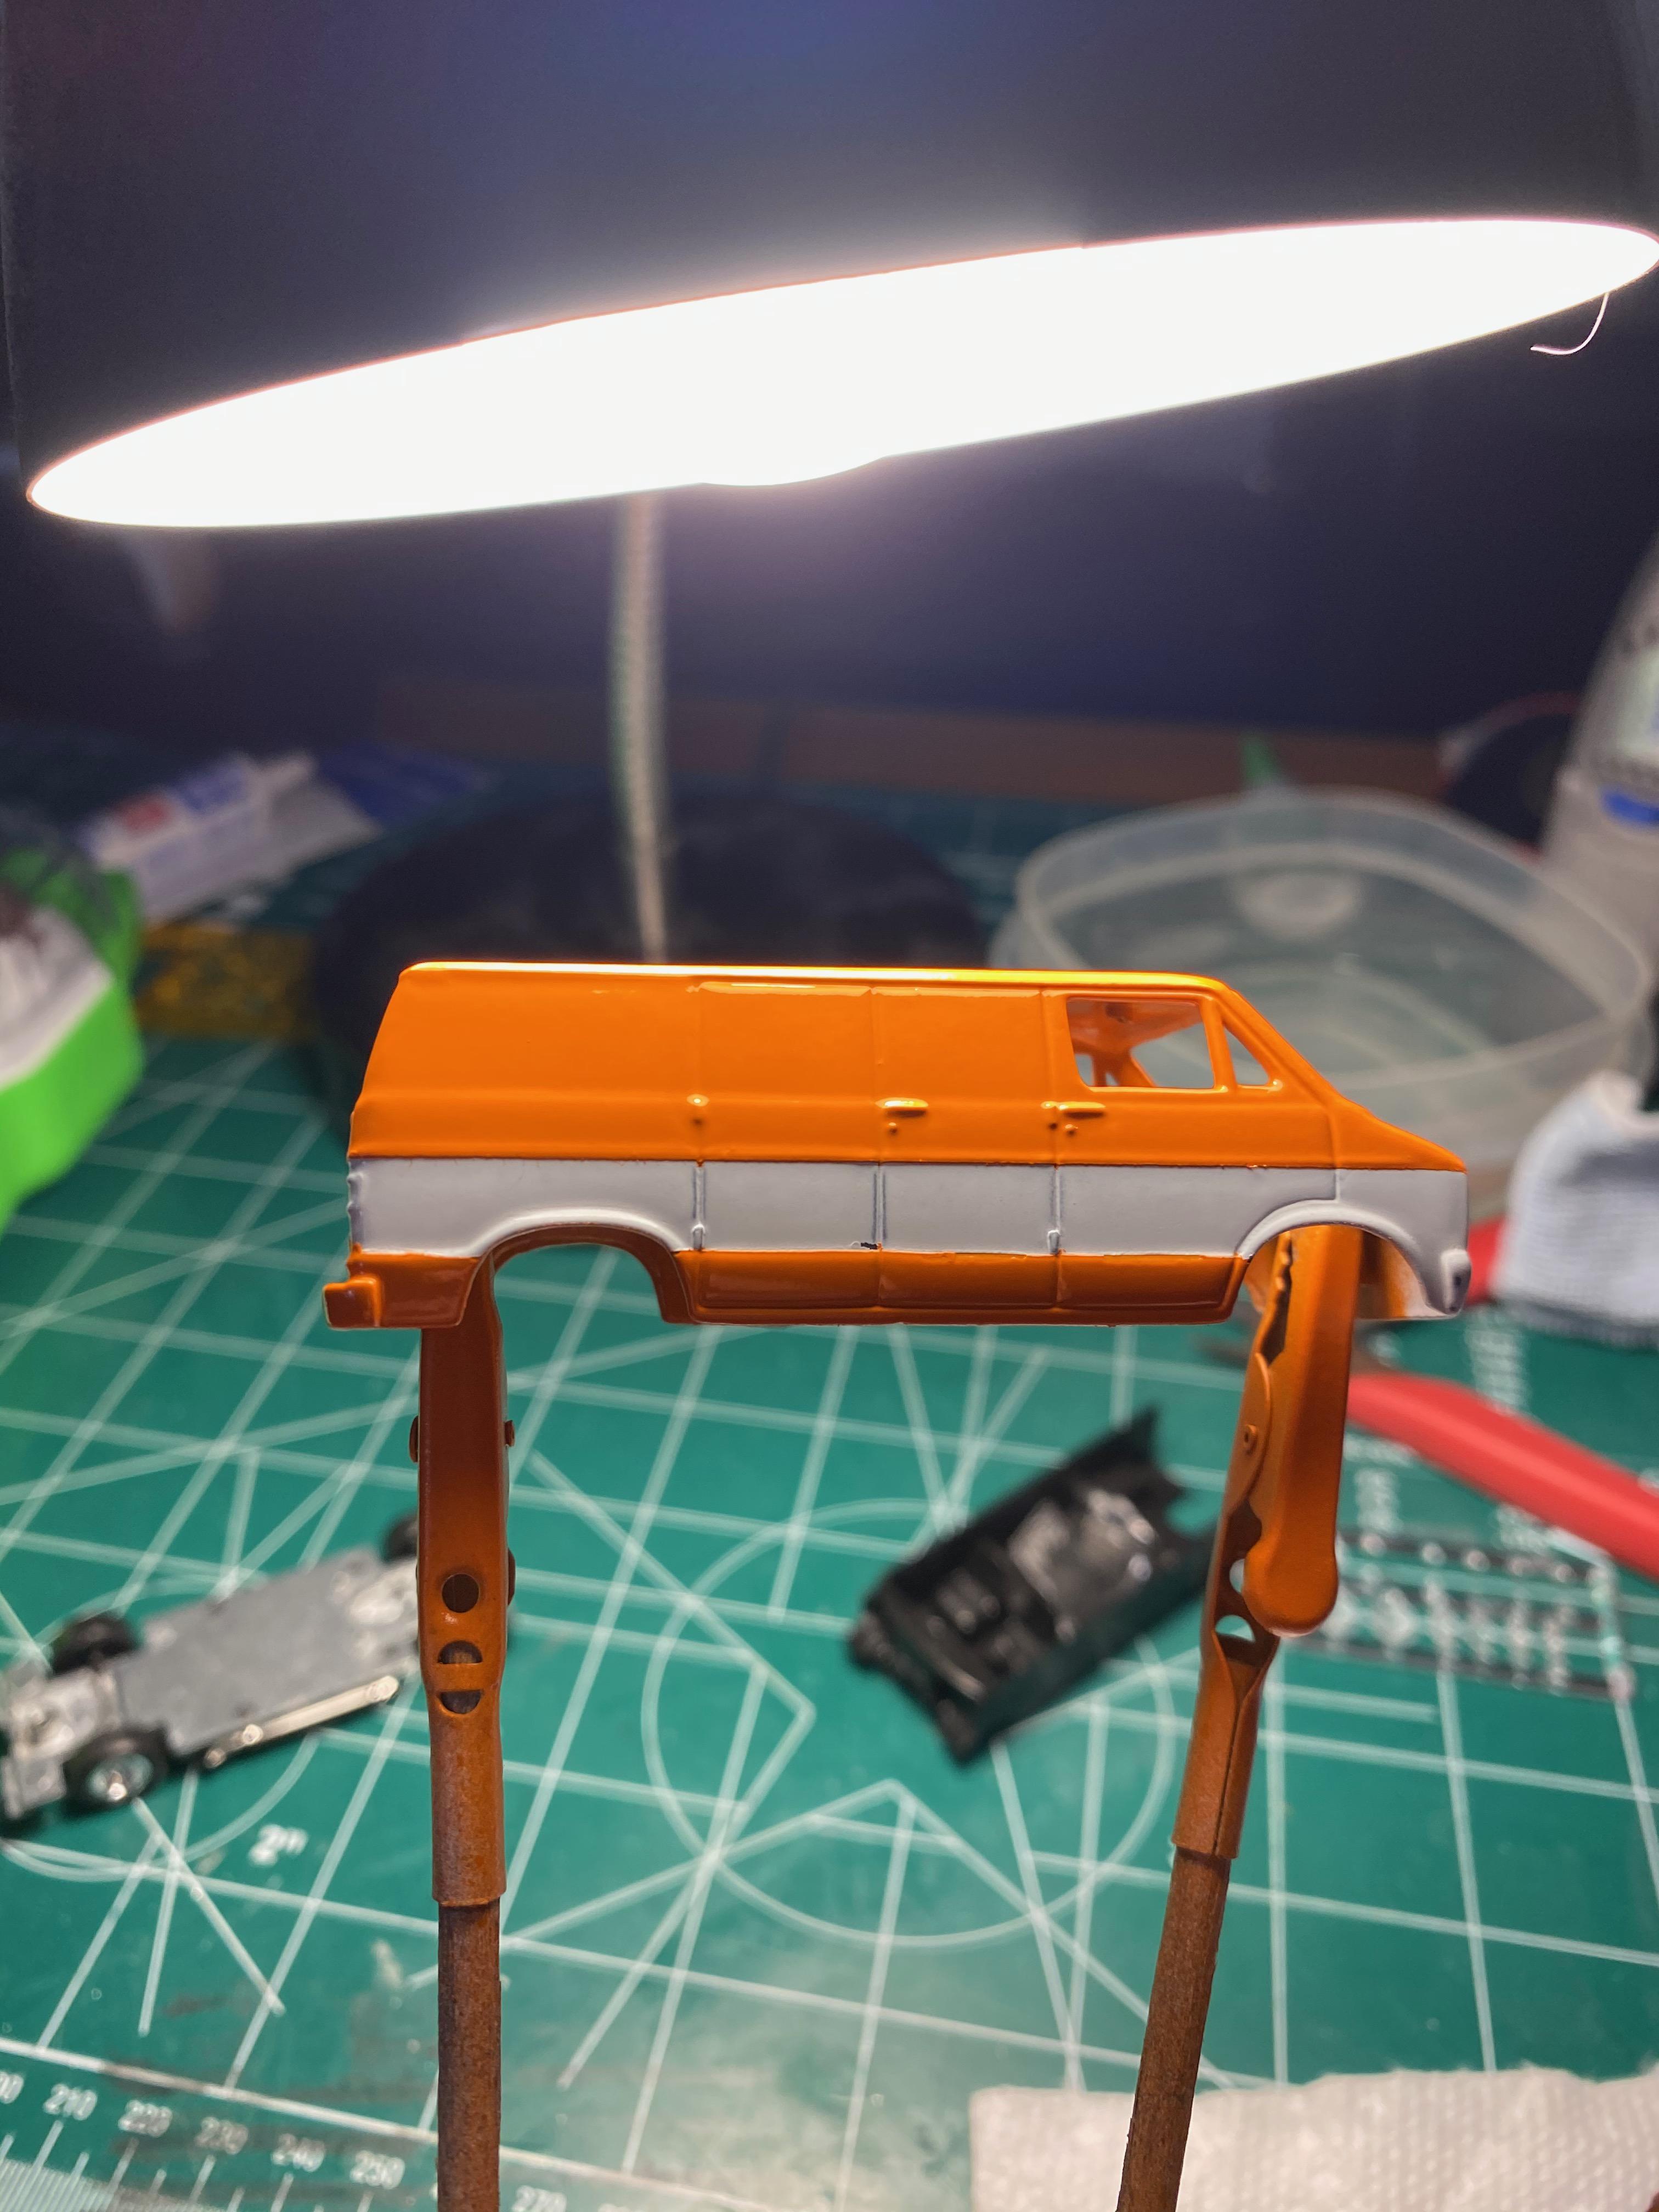
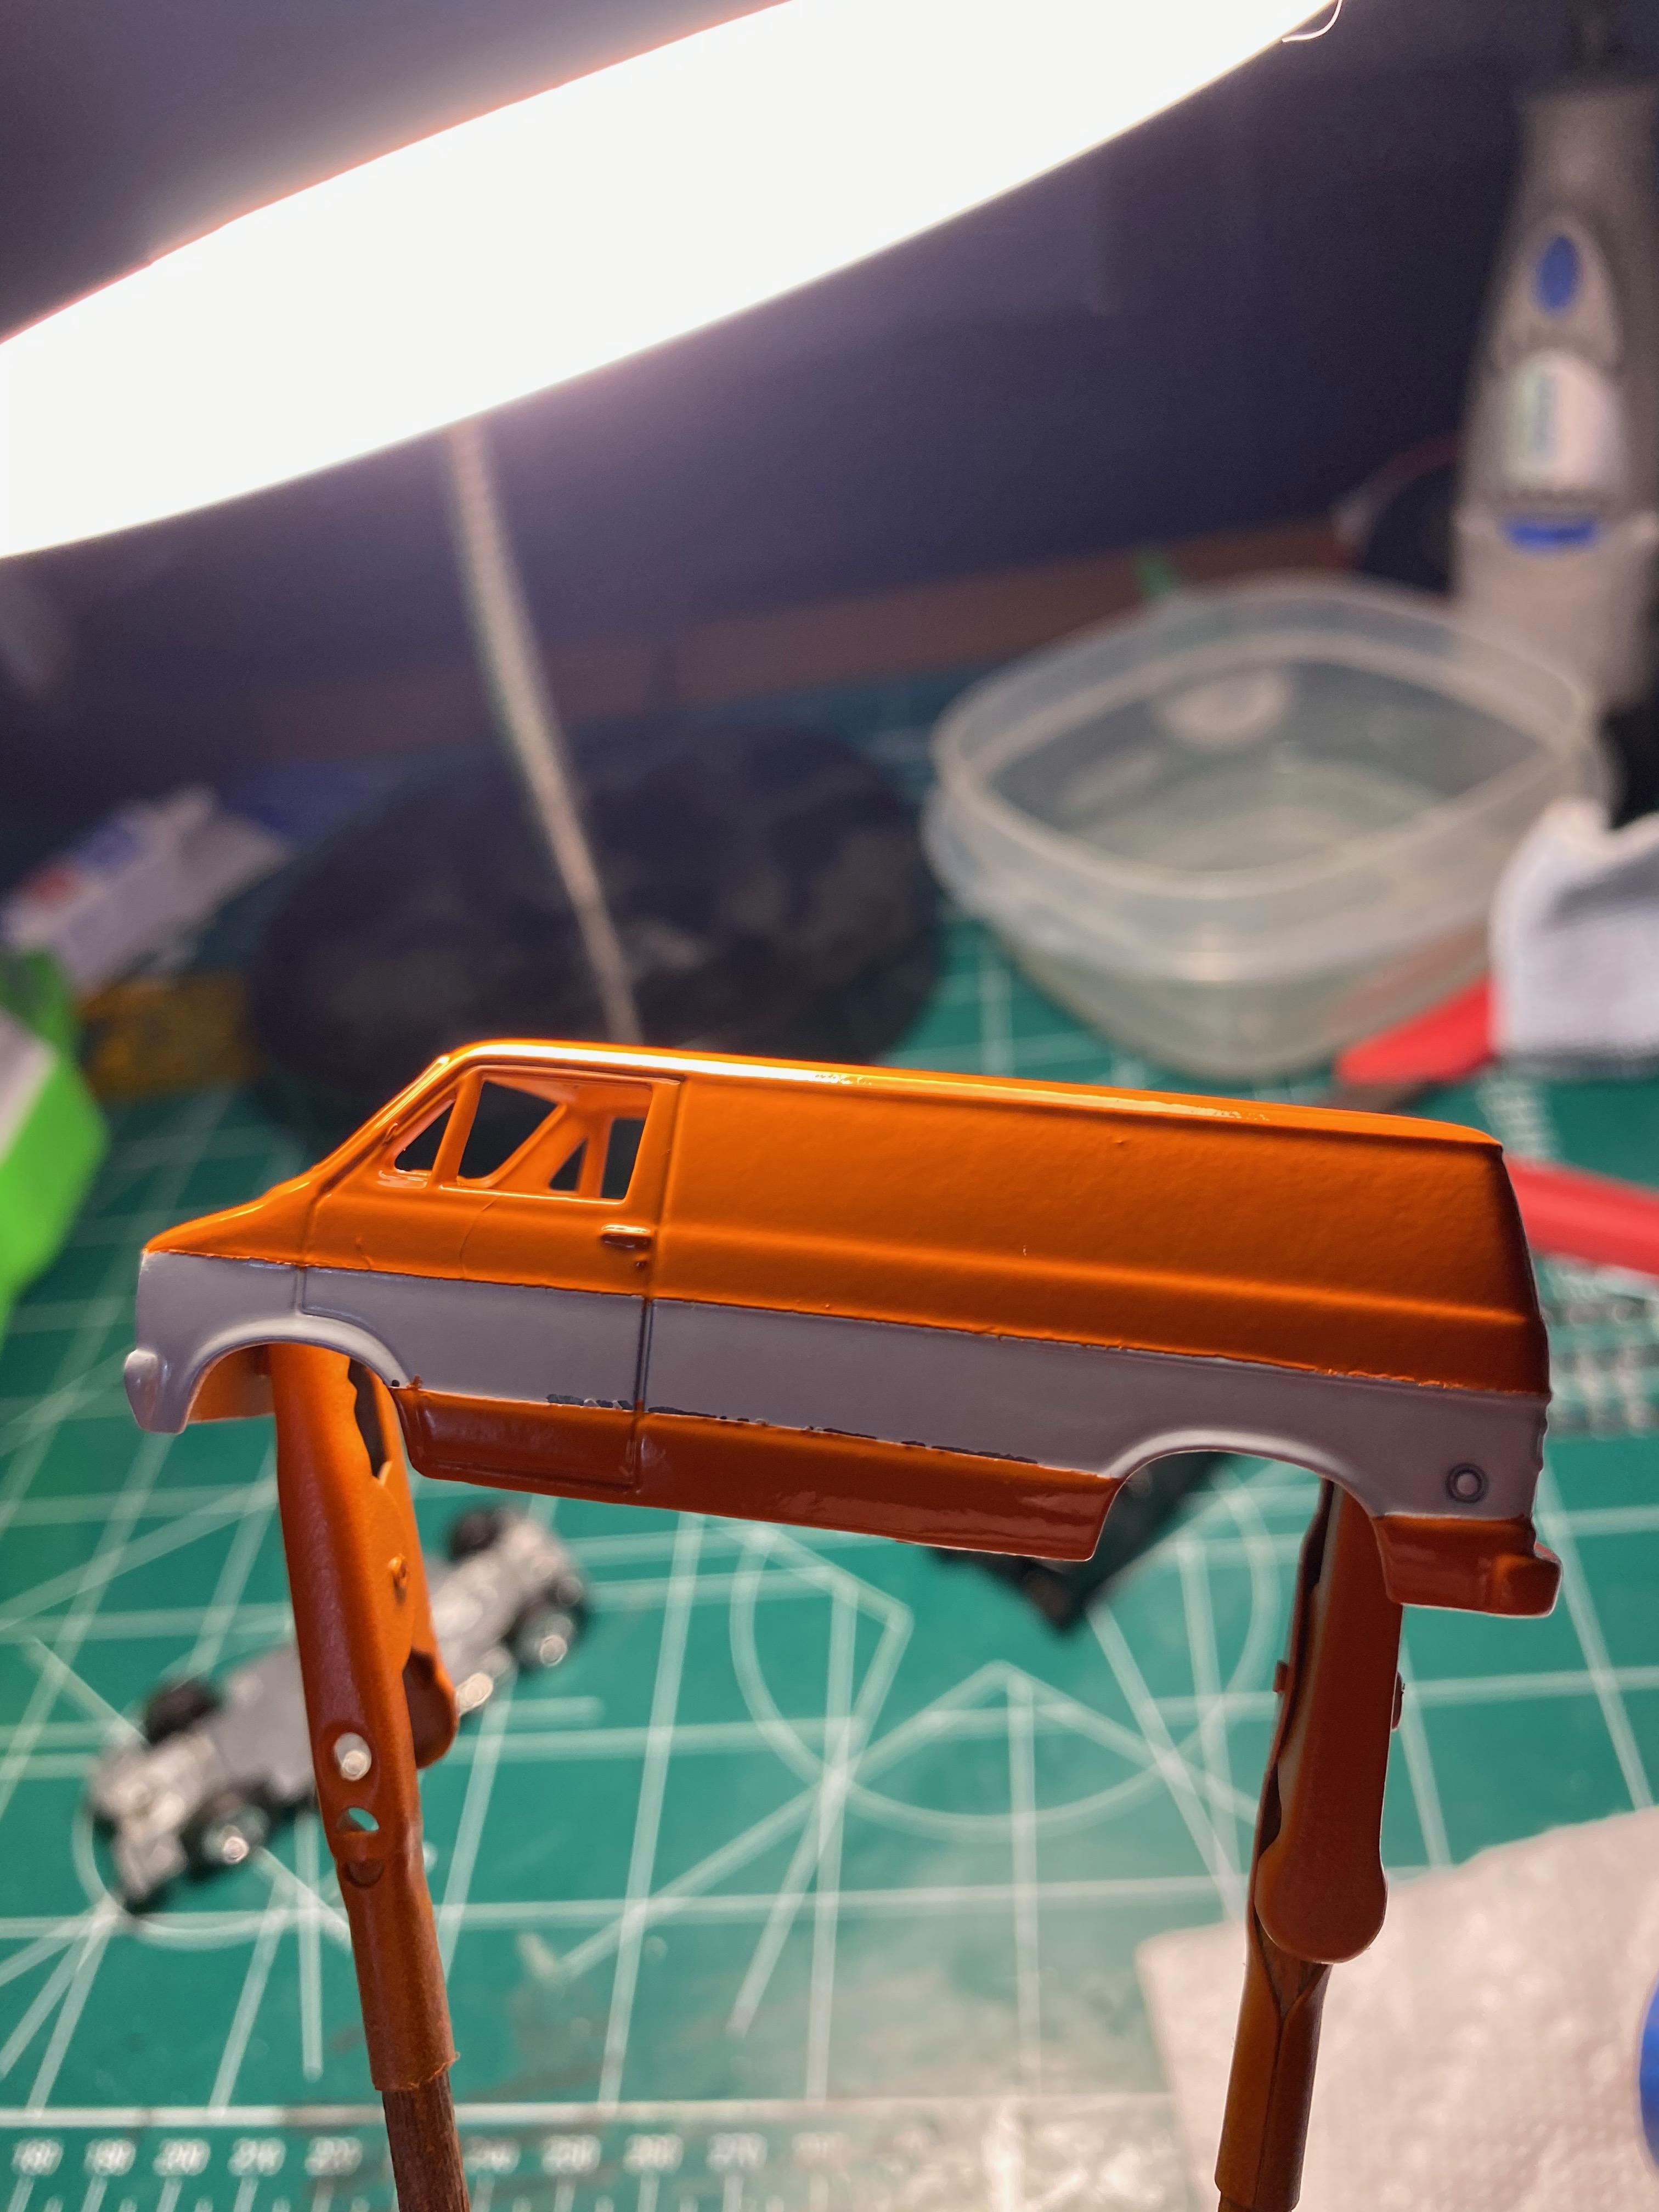
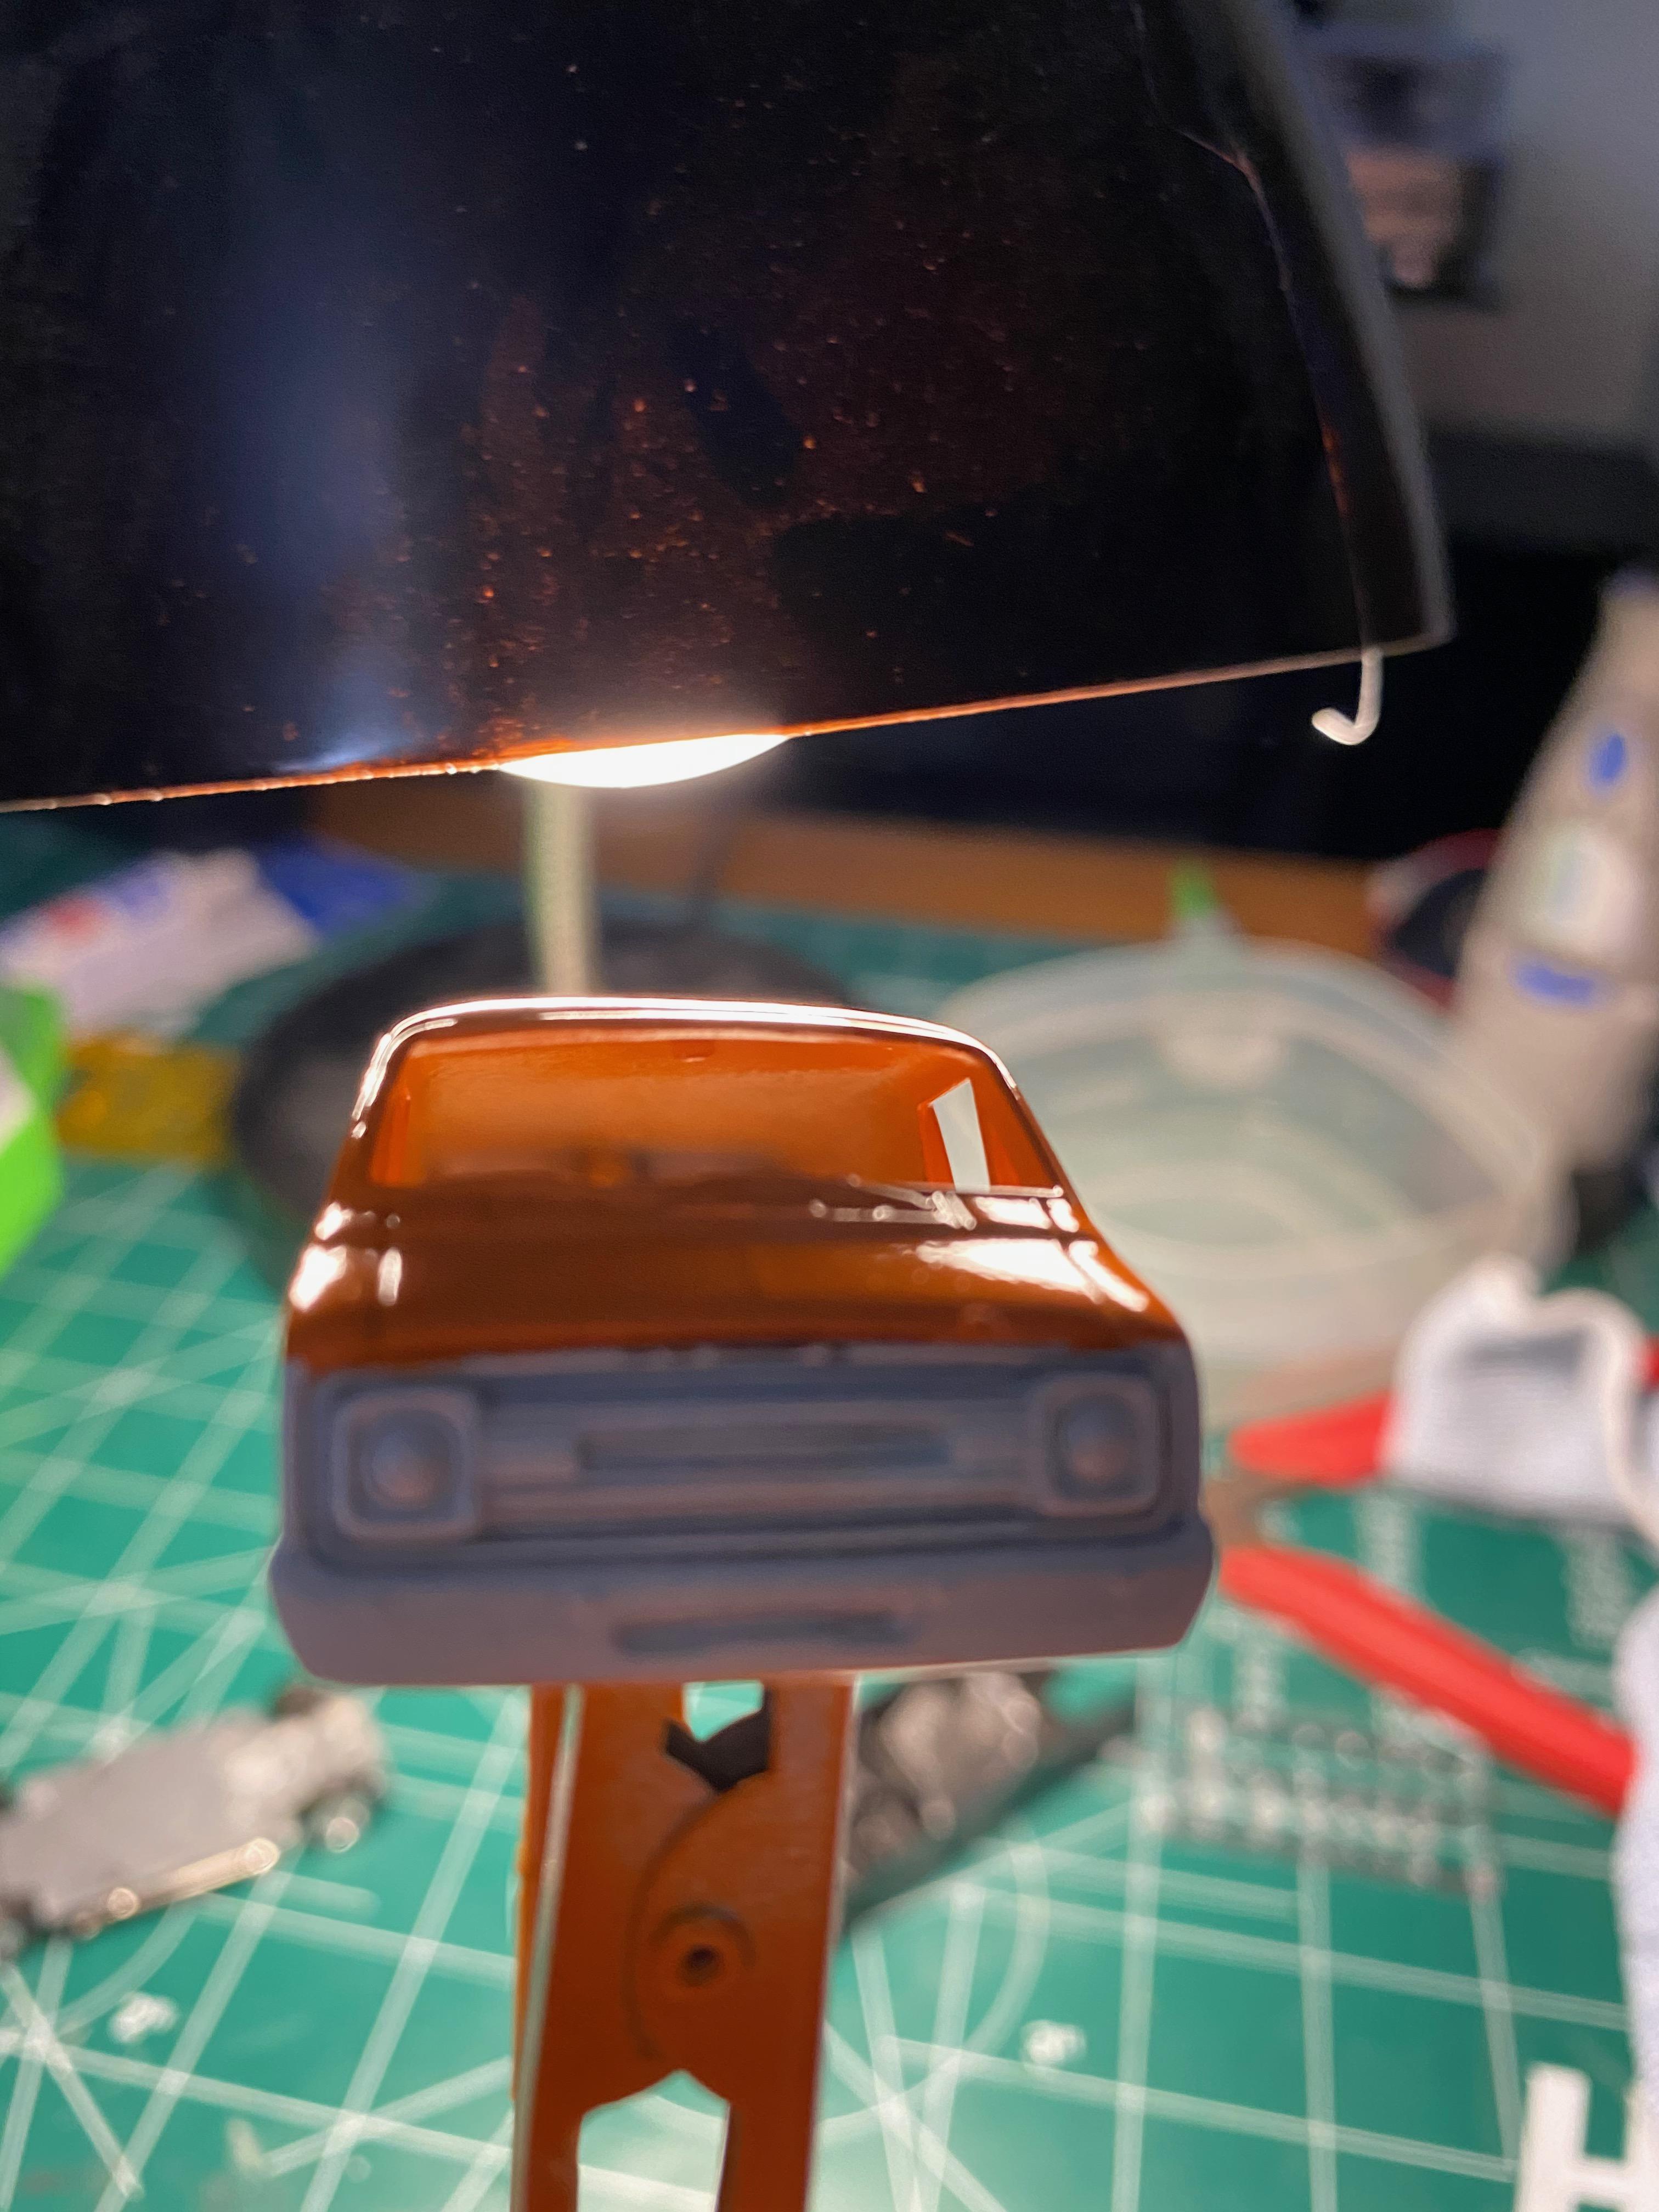
Shot the white yesterday and forgot to take any pics. Taped off the main white stripe (small one is a decal) and shot the orange this morning. Came out amazingly well. No bleed-through at the doors and only minor edge issues. Those will be covered by black "trim" after everything has a chance to dry for a couple days.
-
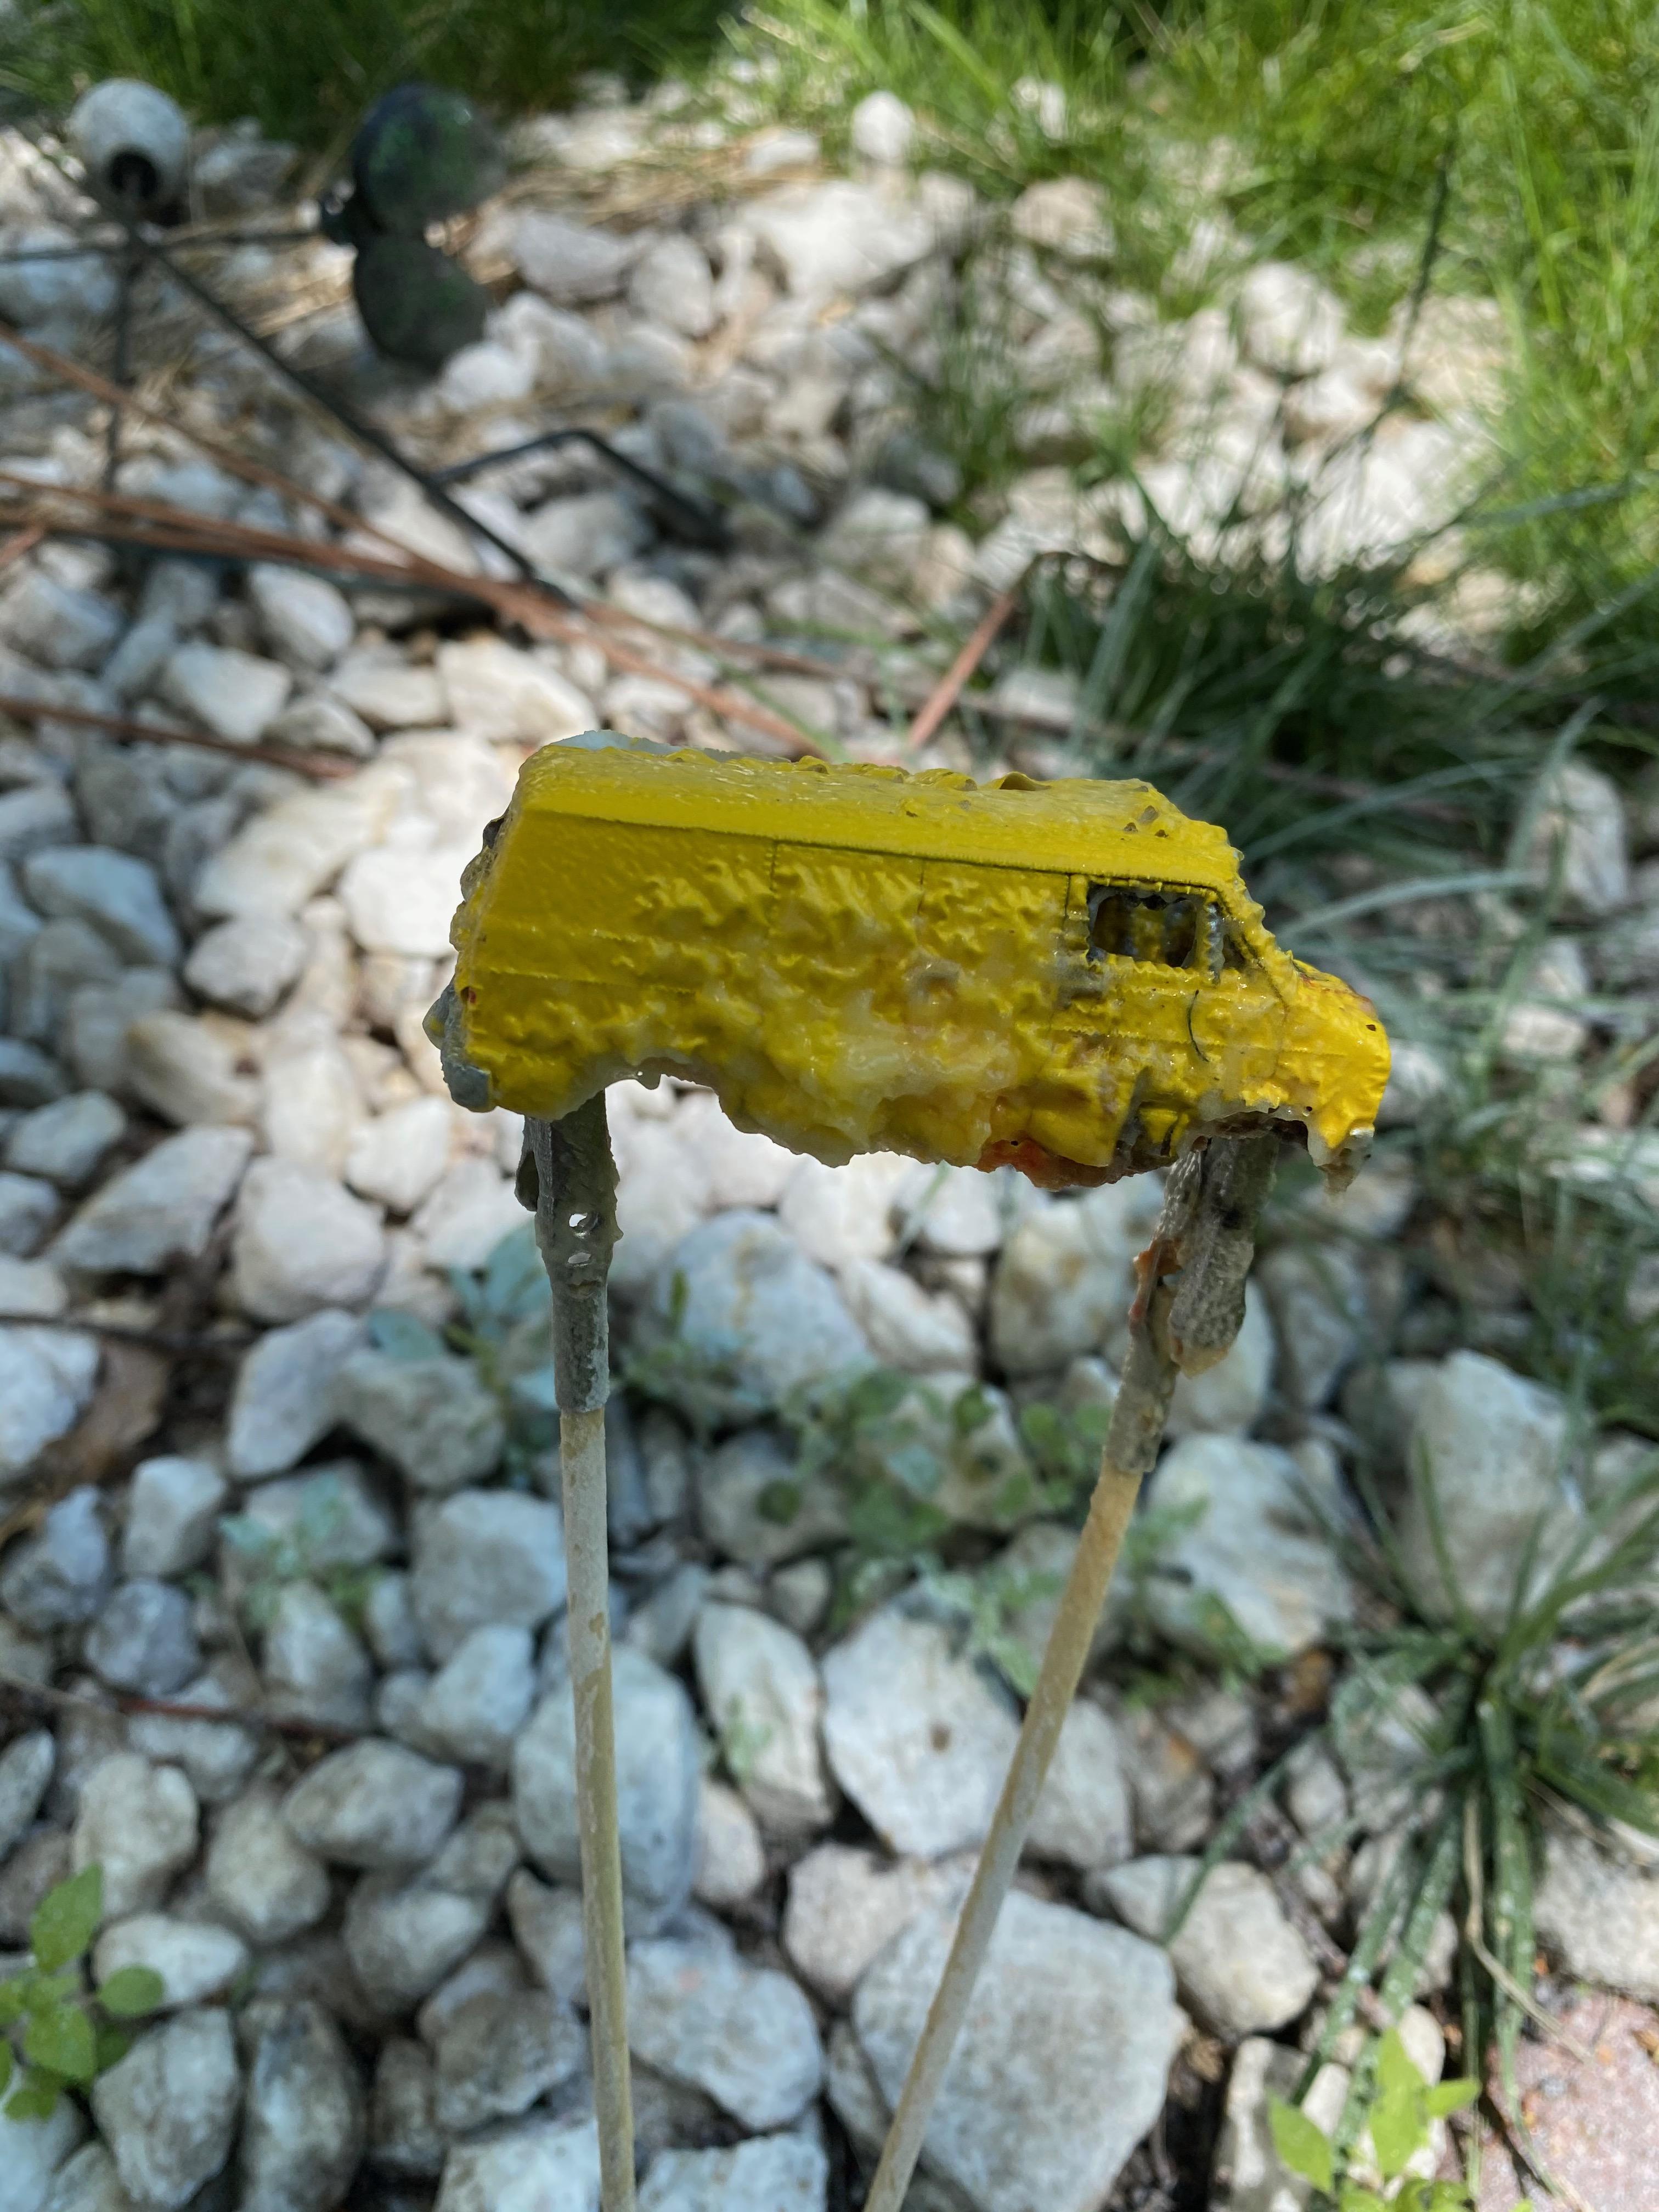
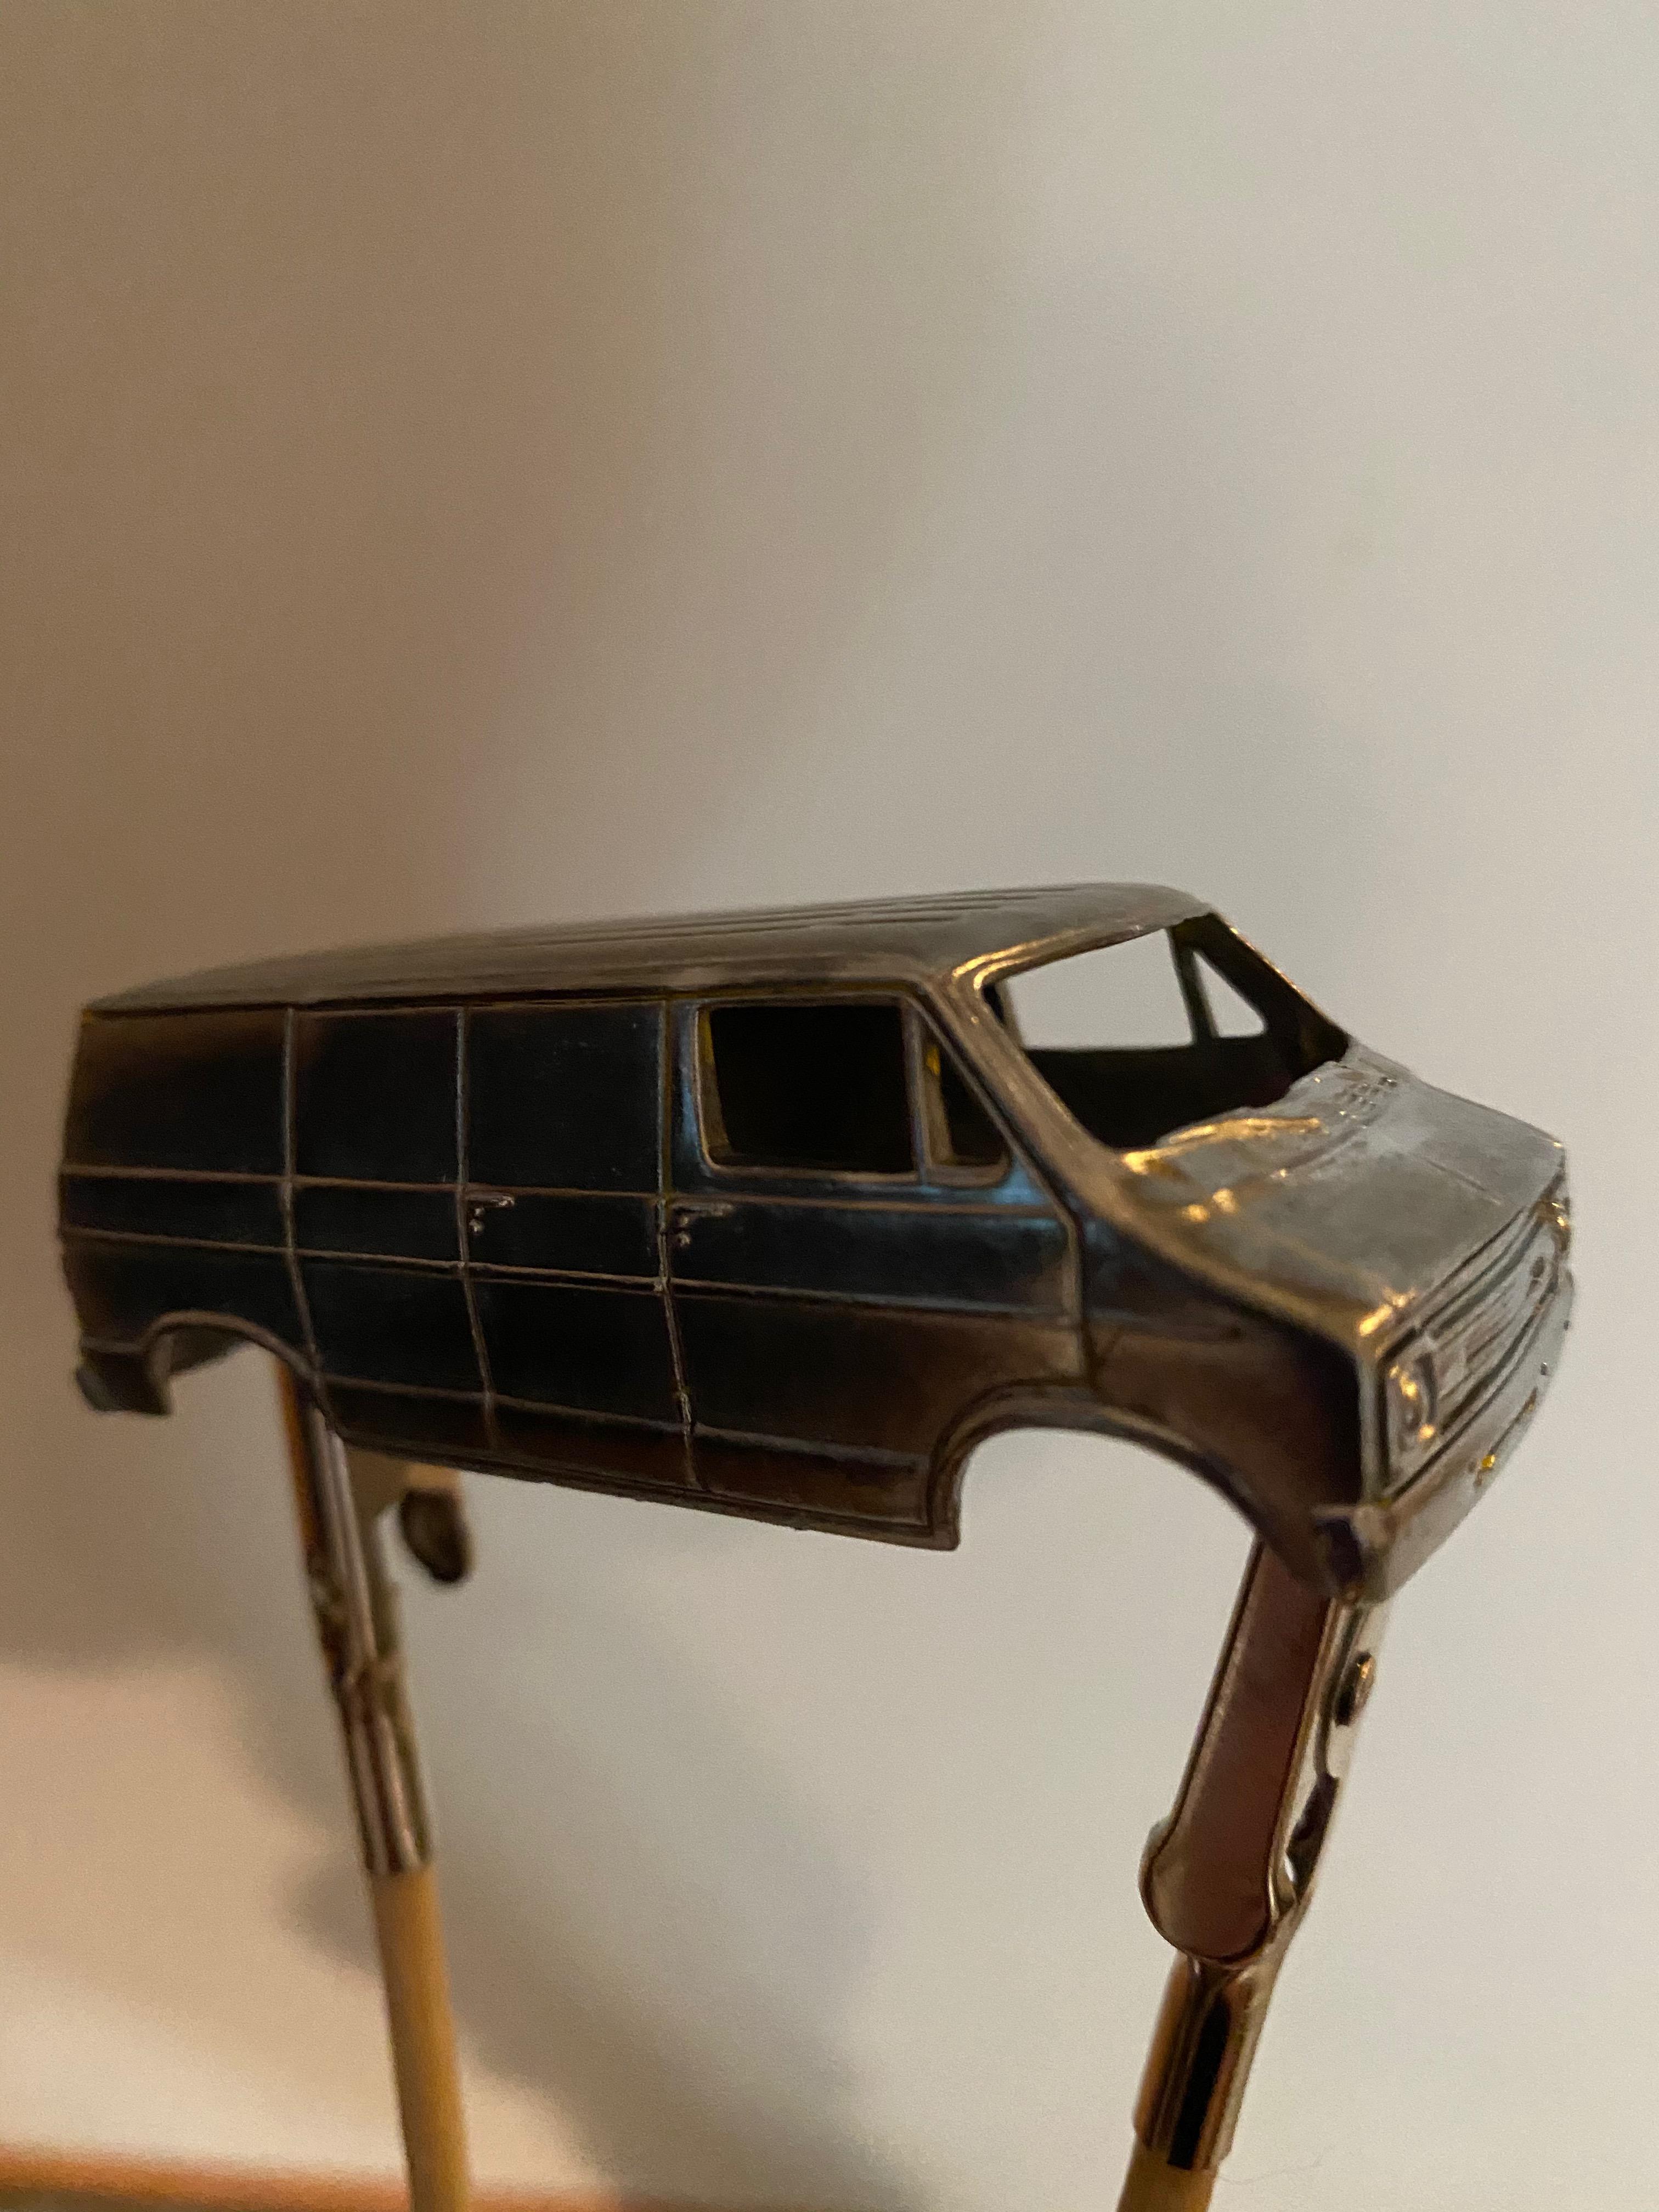
Disassembled and stripped. My daughter thought I was melting it! Buffed out and primed.
-
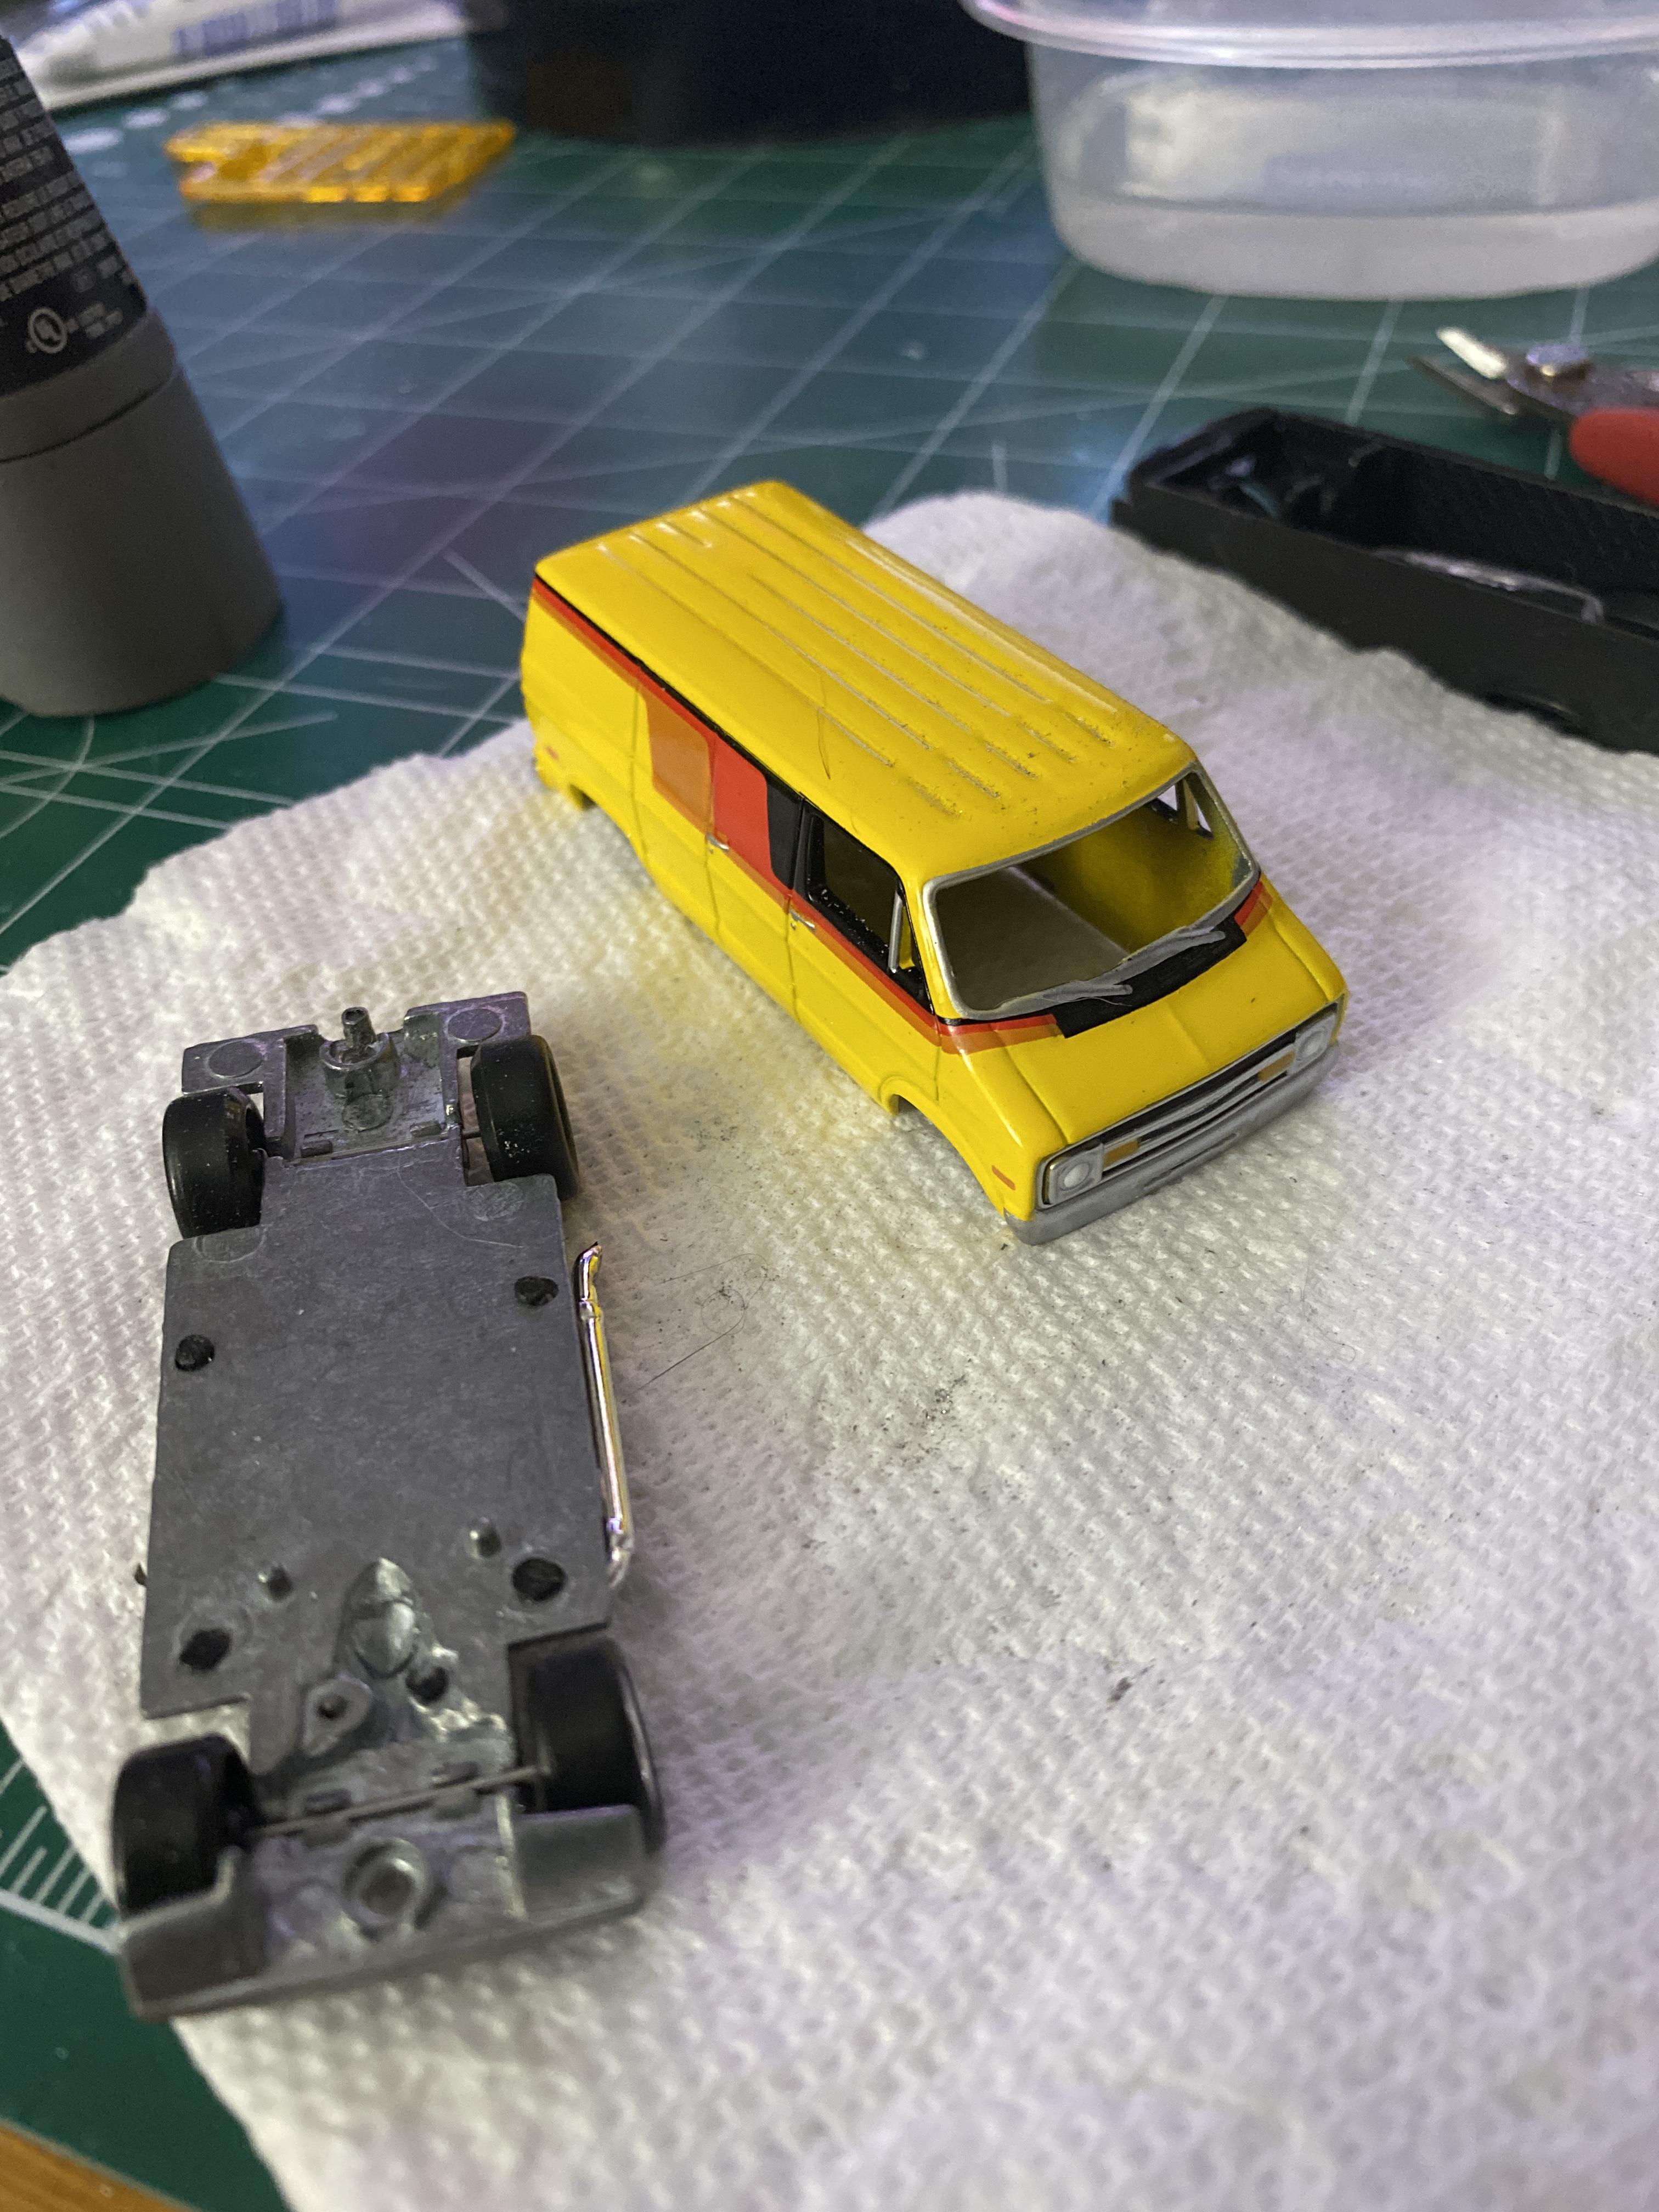
This is one of those die cast that has never been done correctly. I've also never really done a custom 1/64th... but I found the decals (peel and stick, but very thin) on eBay. Shapeways.com supplied the correct light bars. I kinda wanted to use the Hot Wheels Dodge van that's been around for a minute or two, but I've never liked the swept doors. Opted for a Johnny Lightning Dodge "Boogie Van". Has barn doors on the side instead of the slider, but its a collection piece.
-
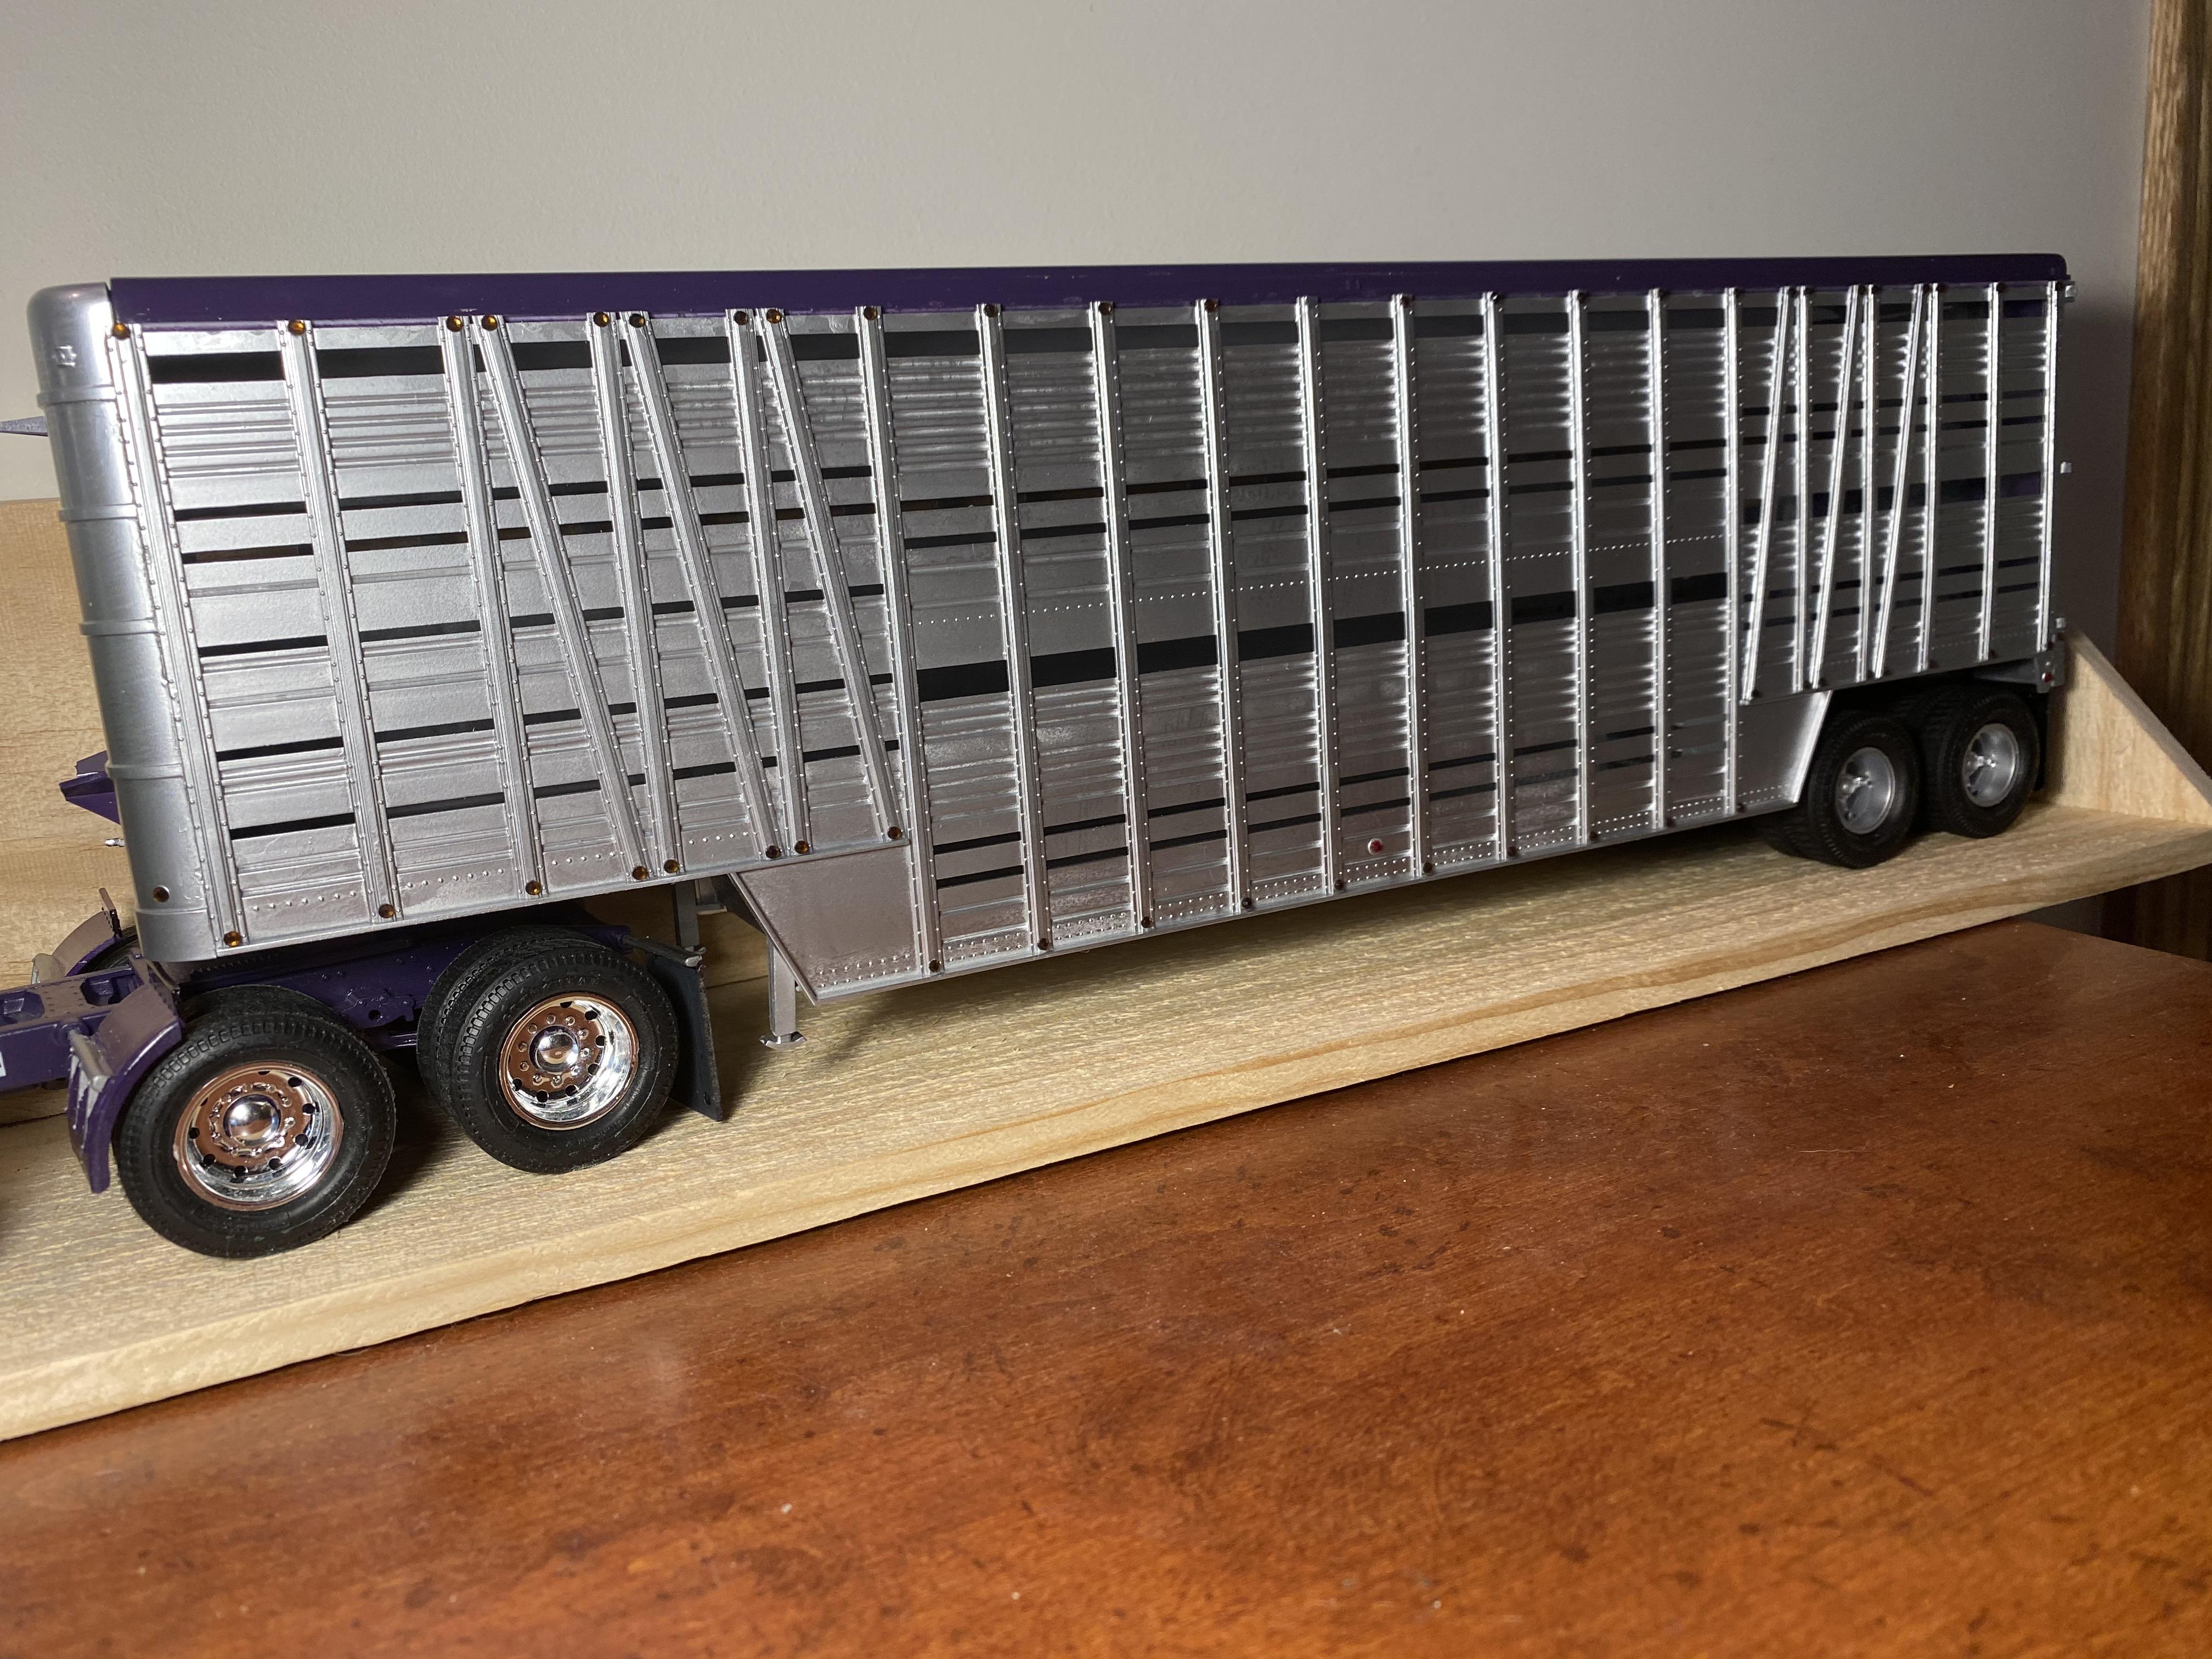
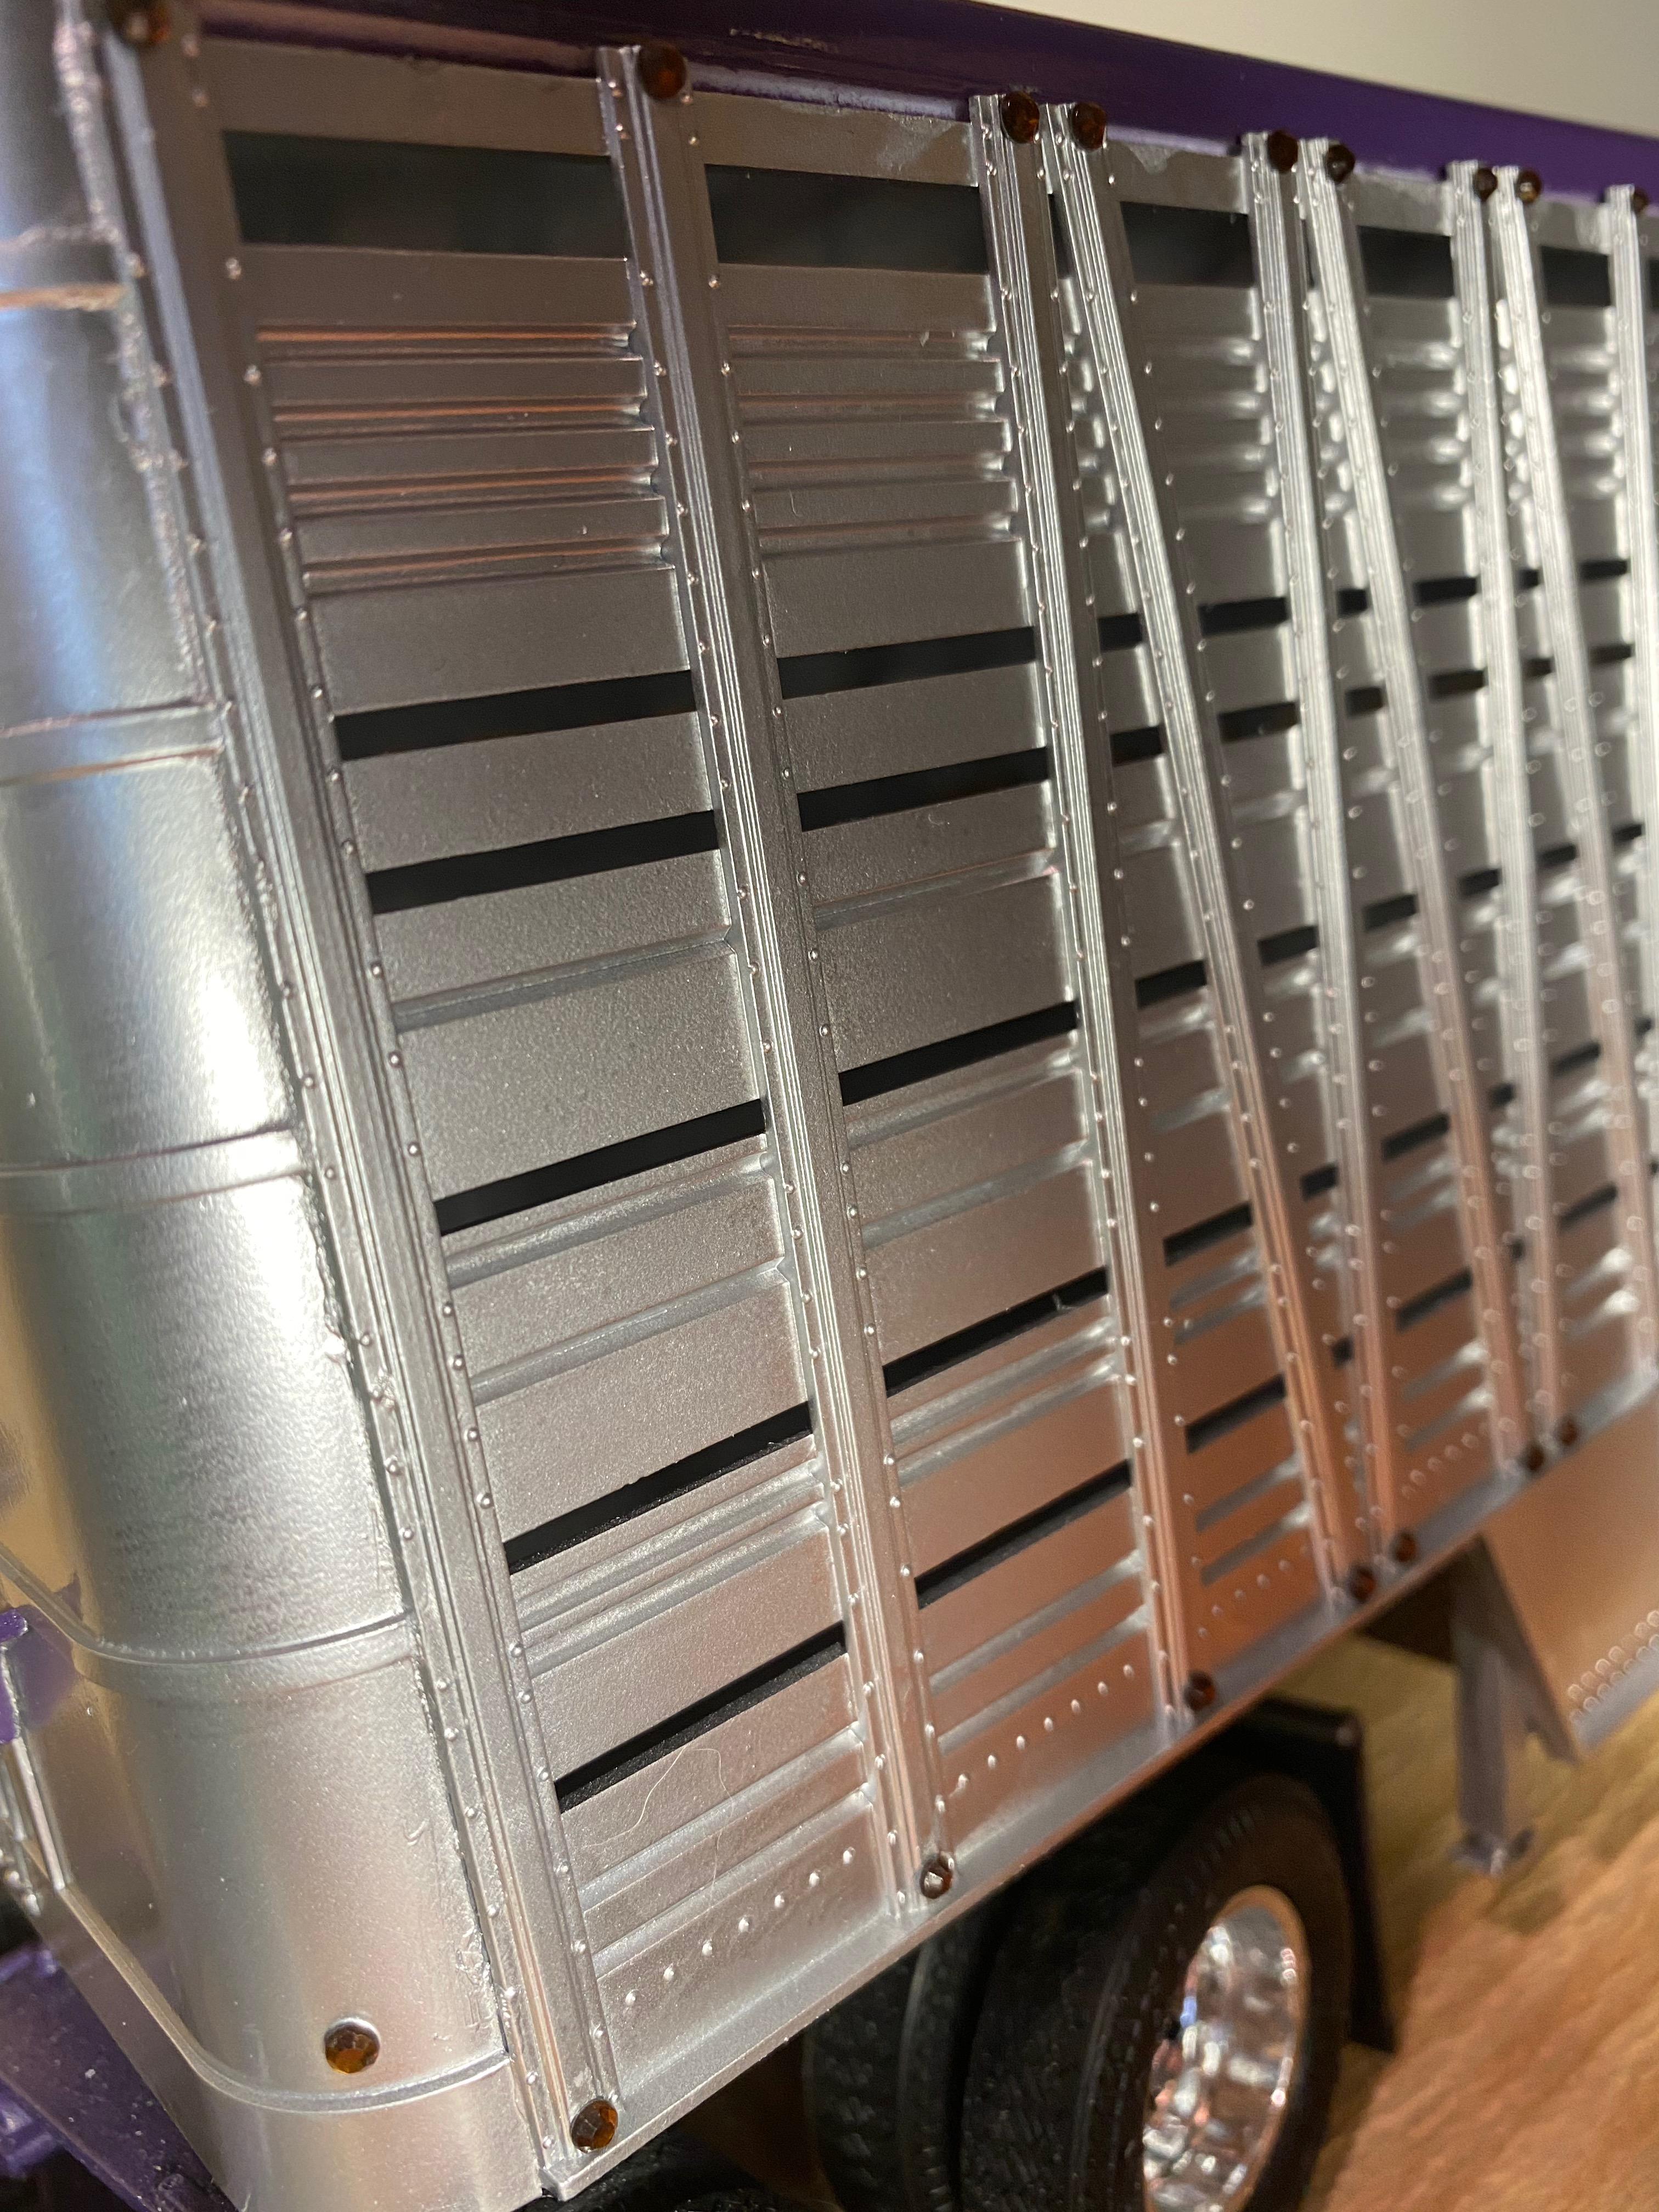
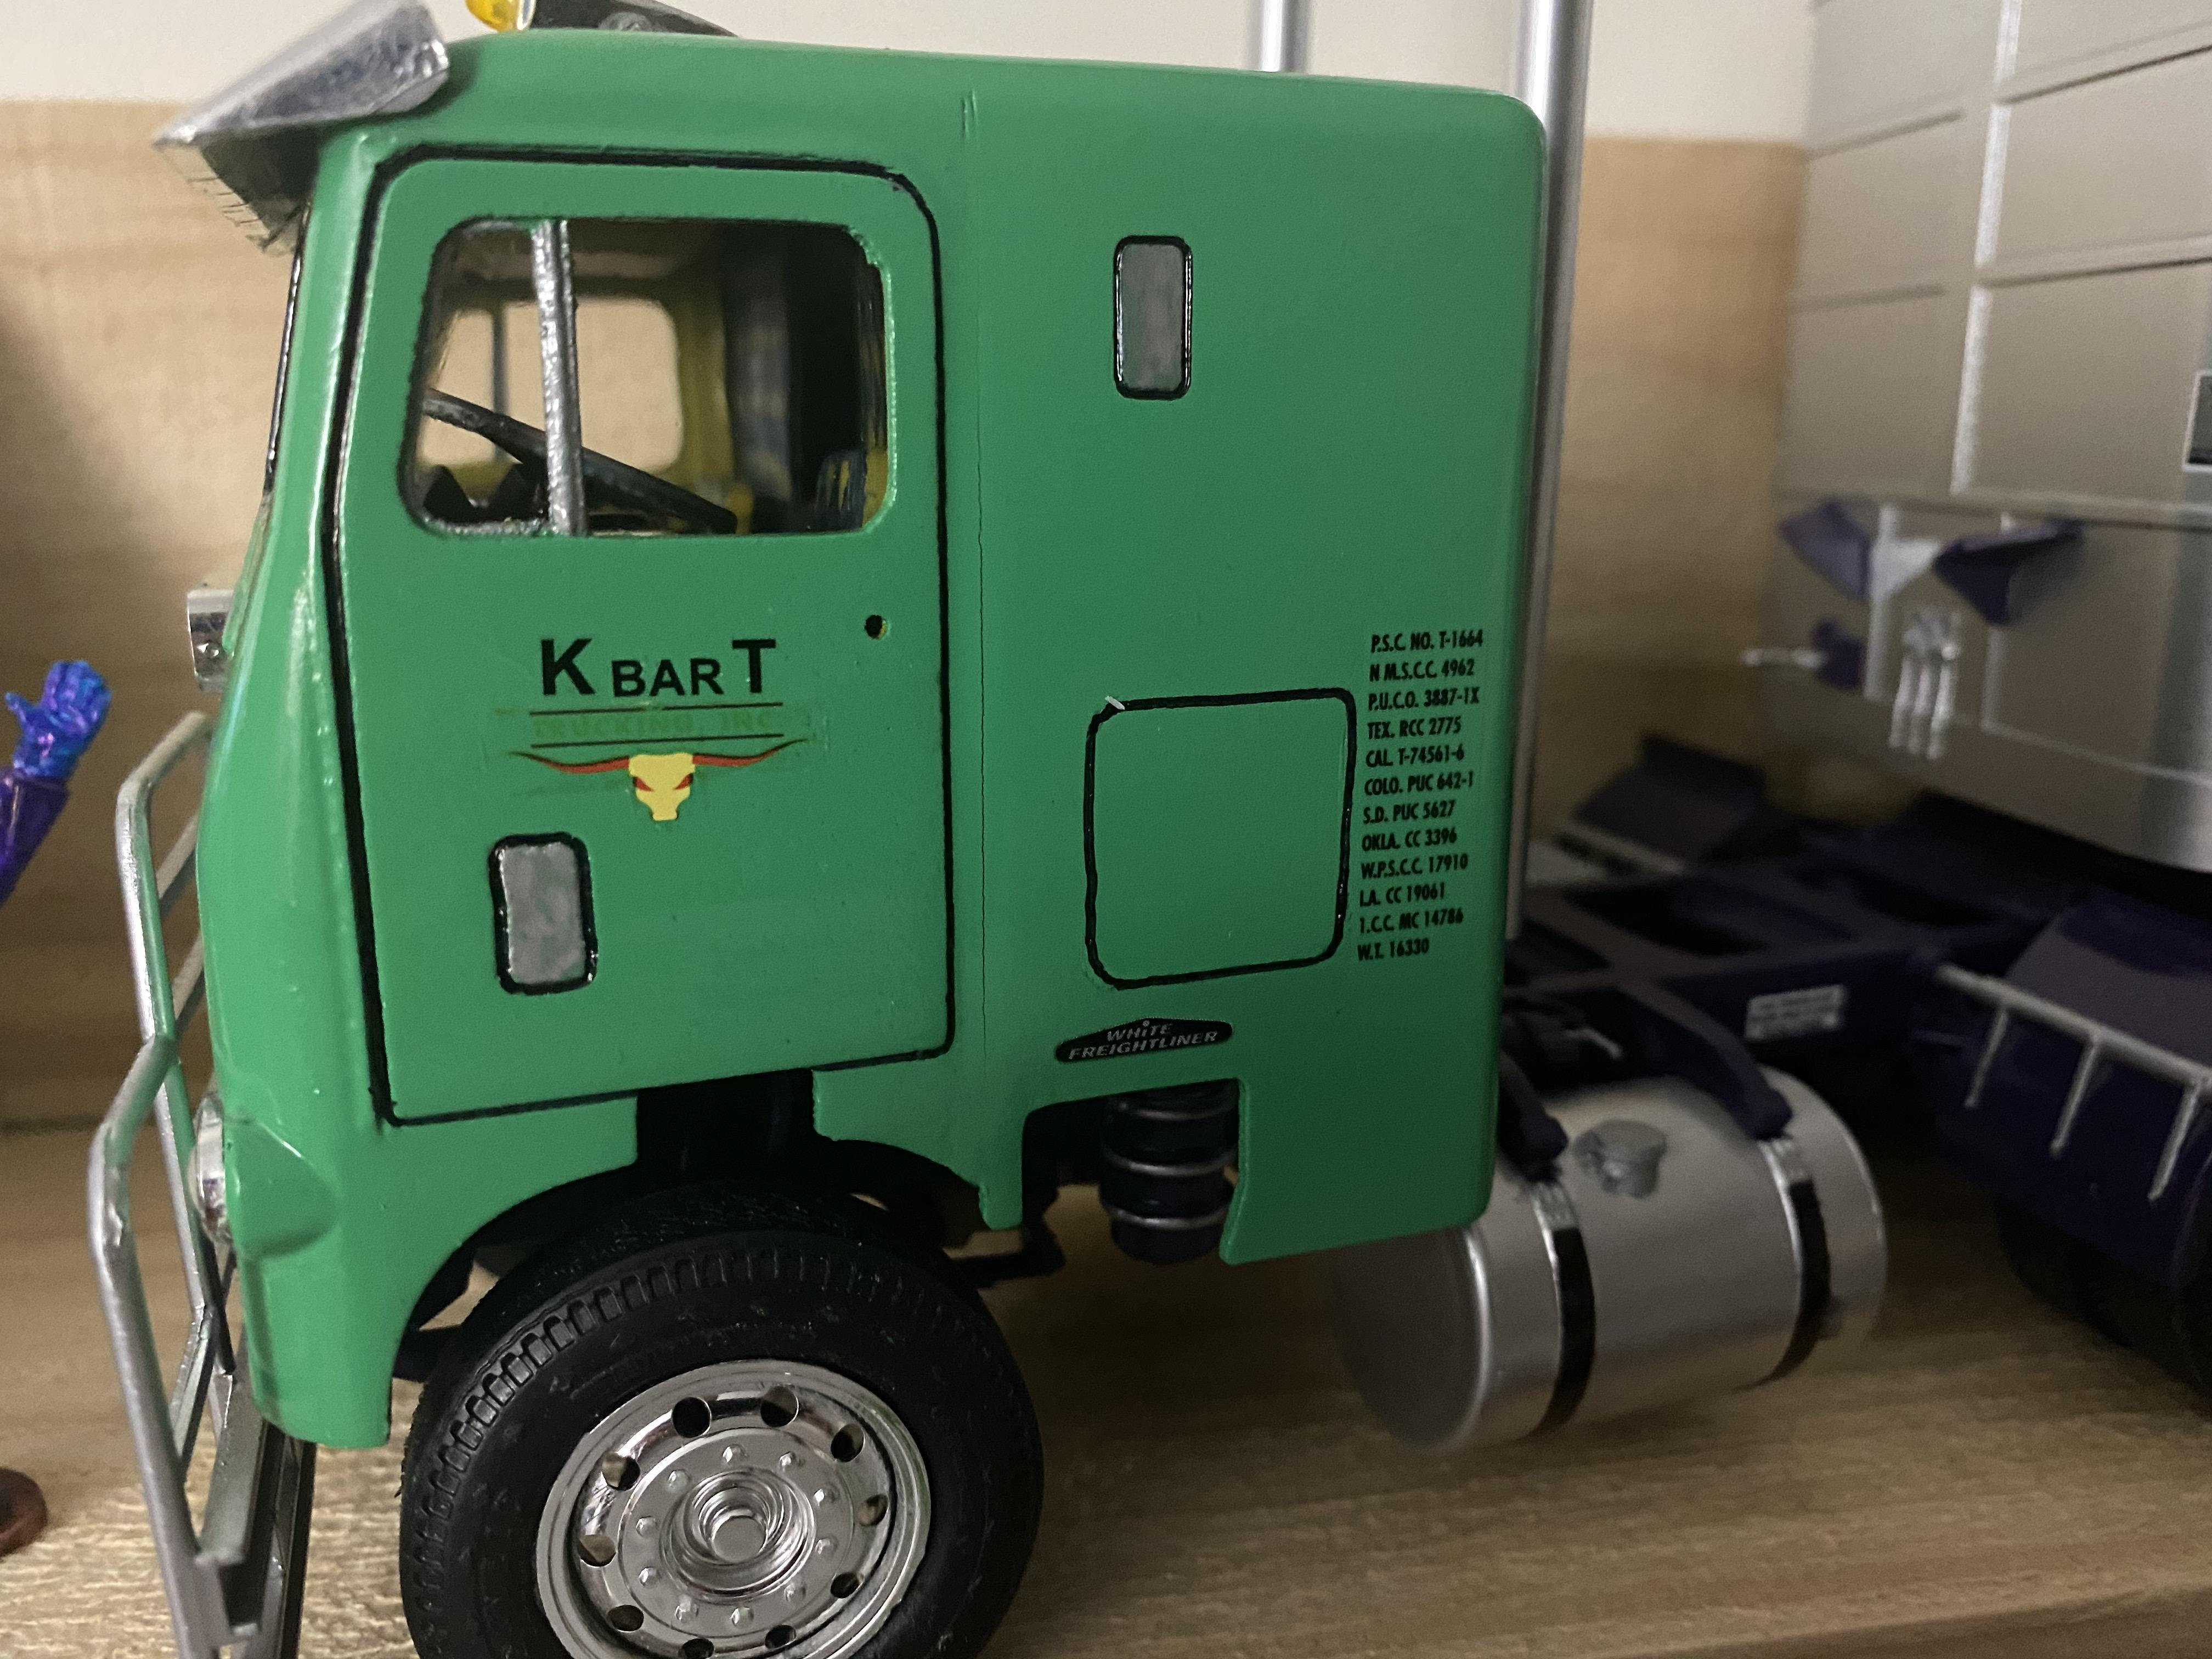
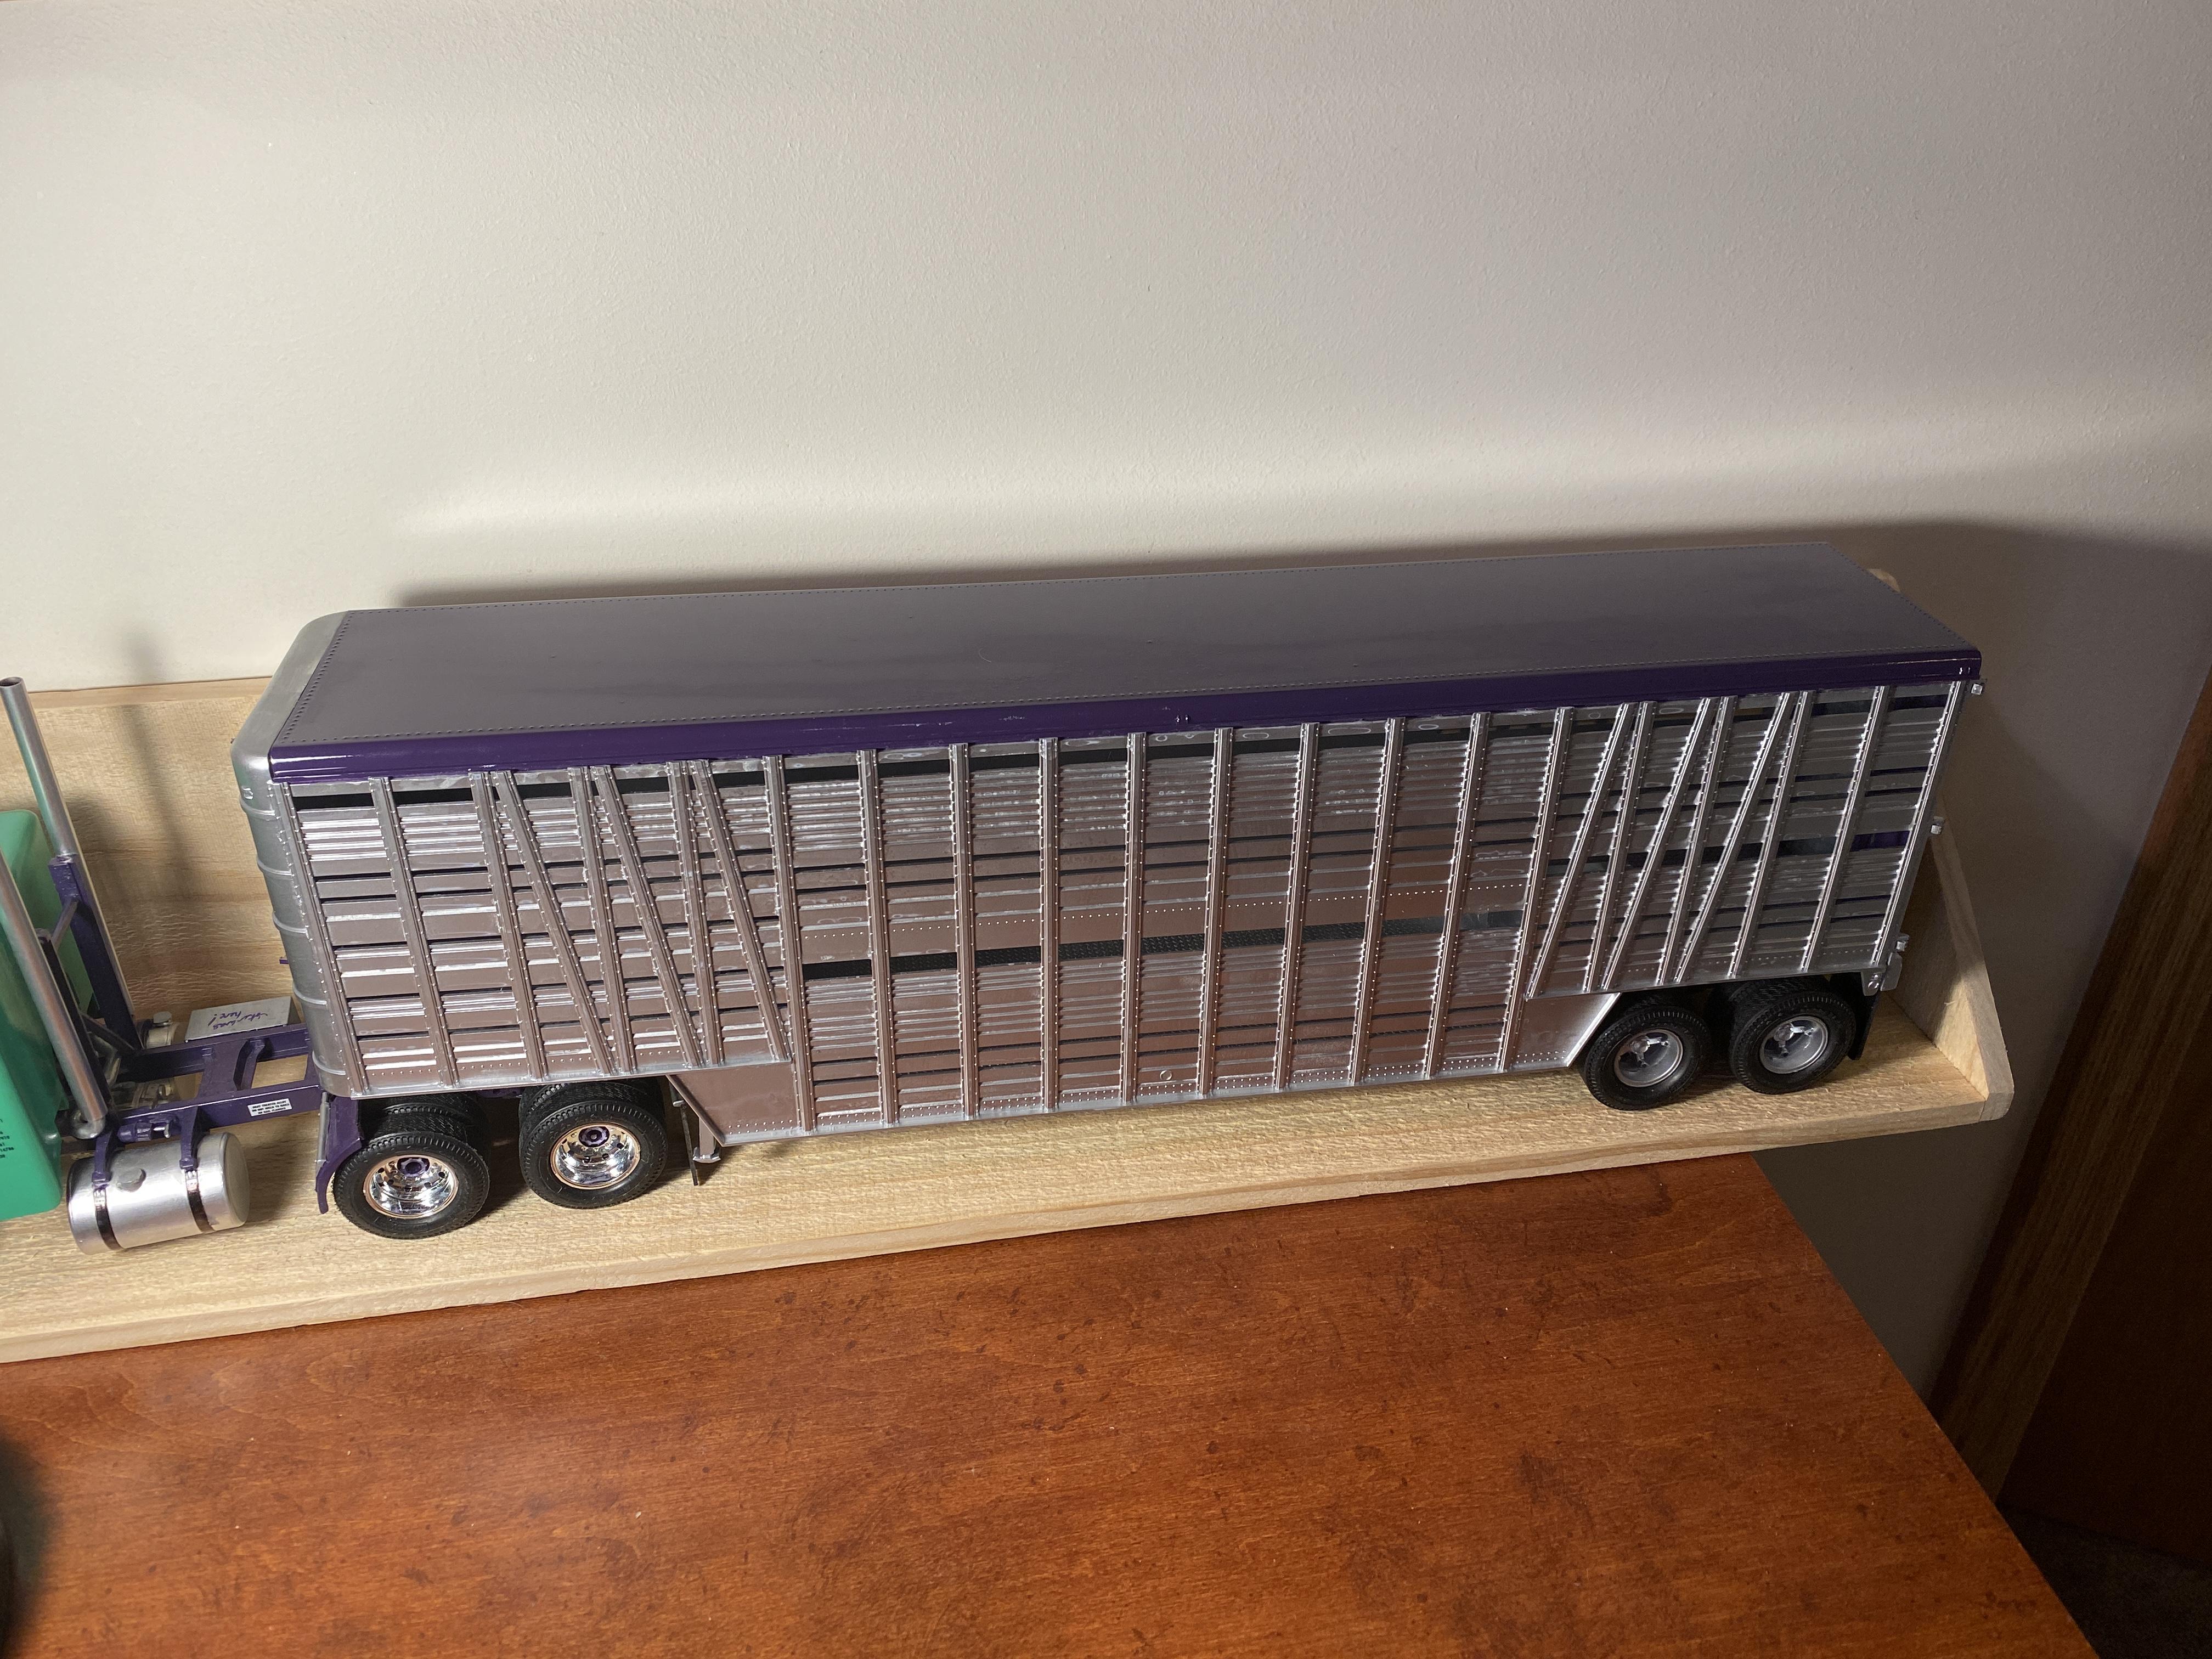
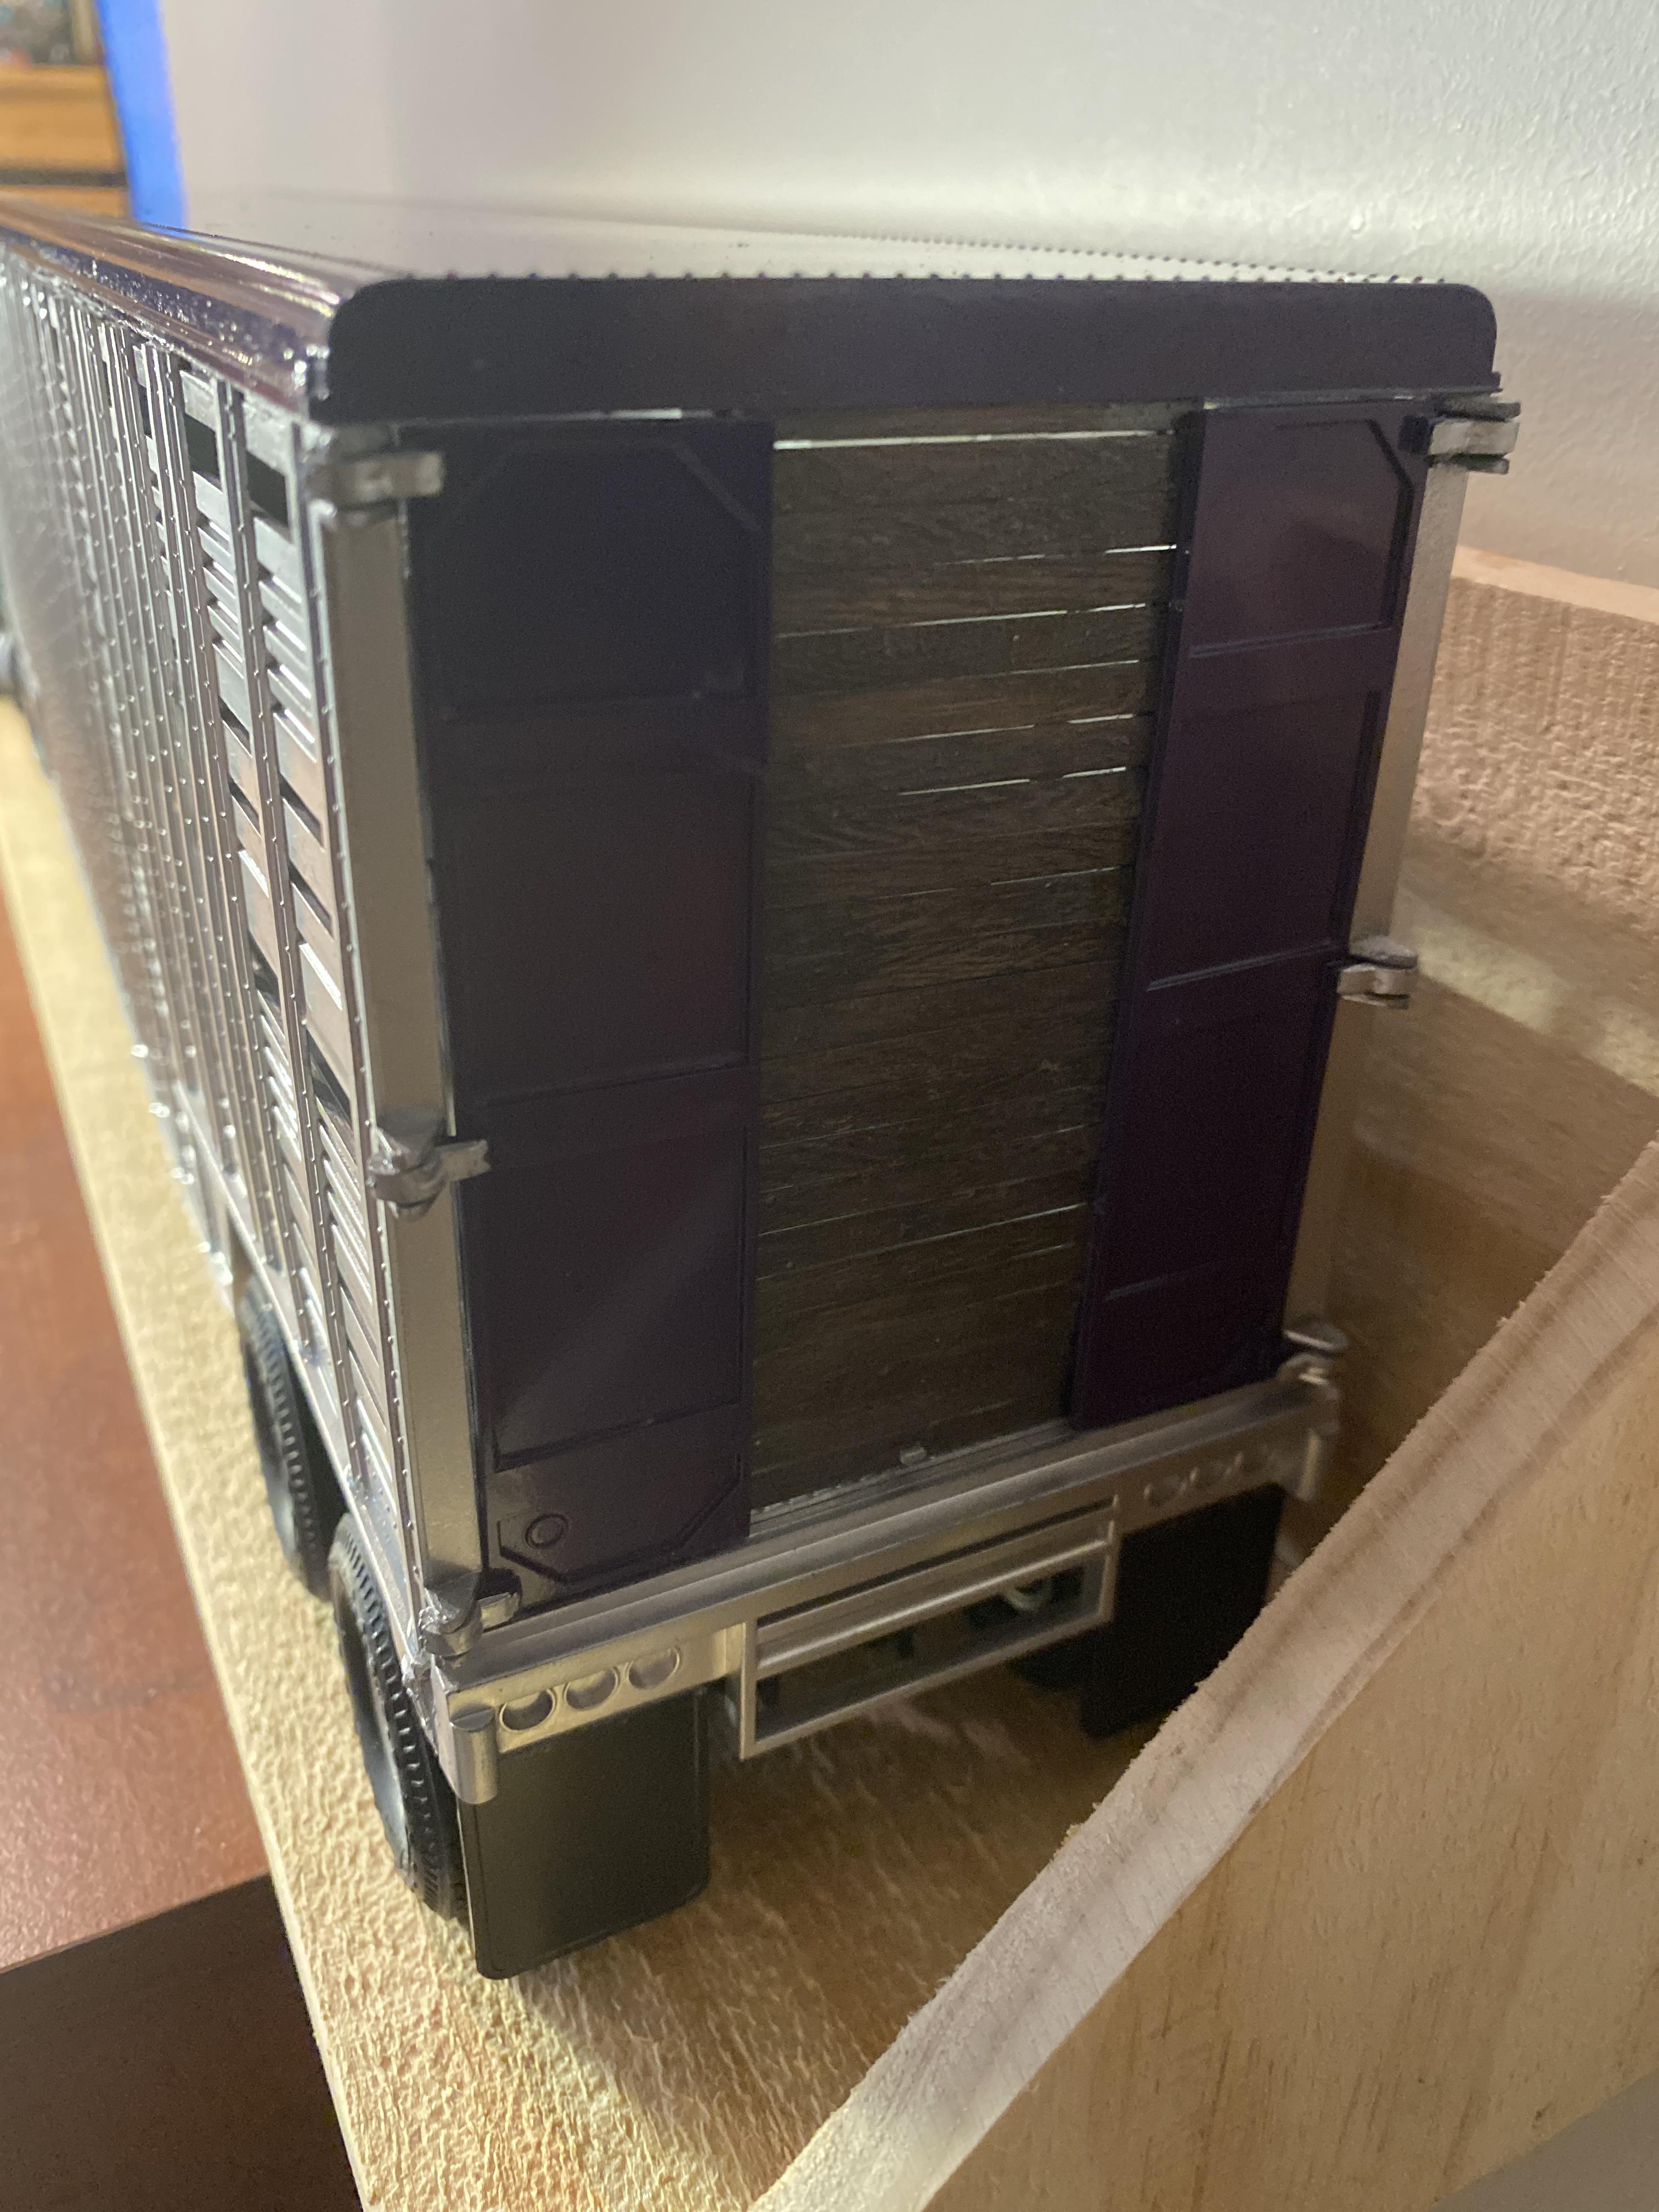
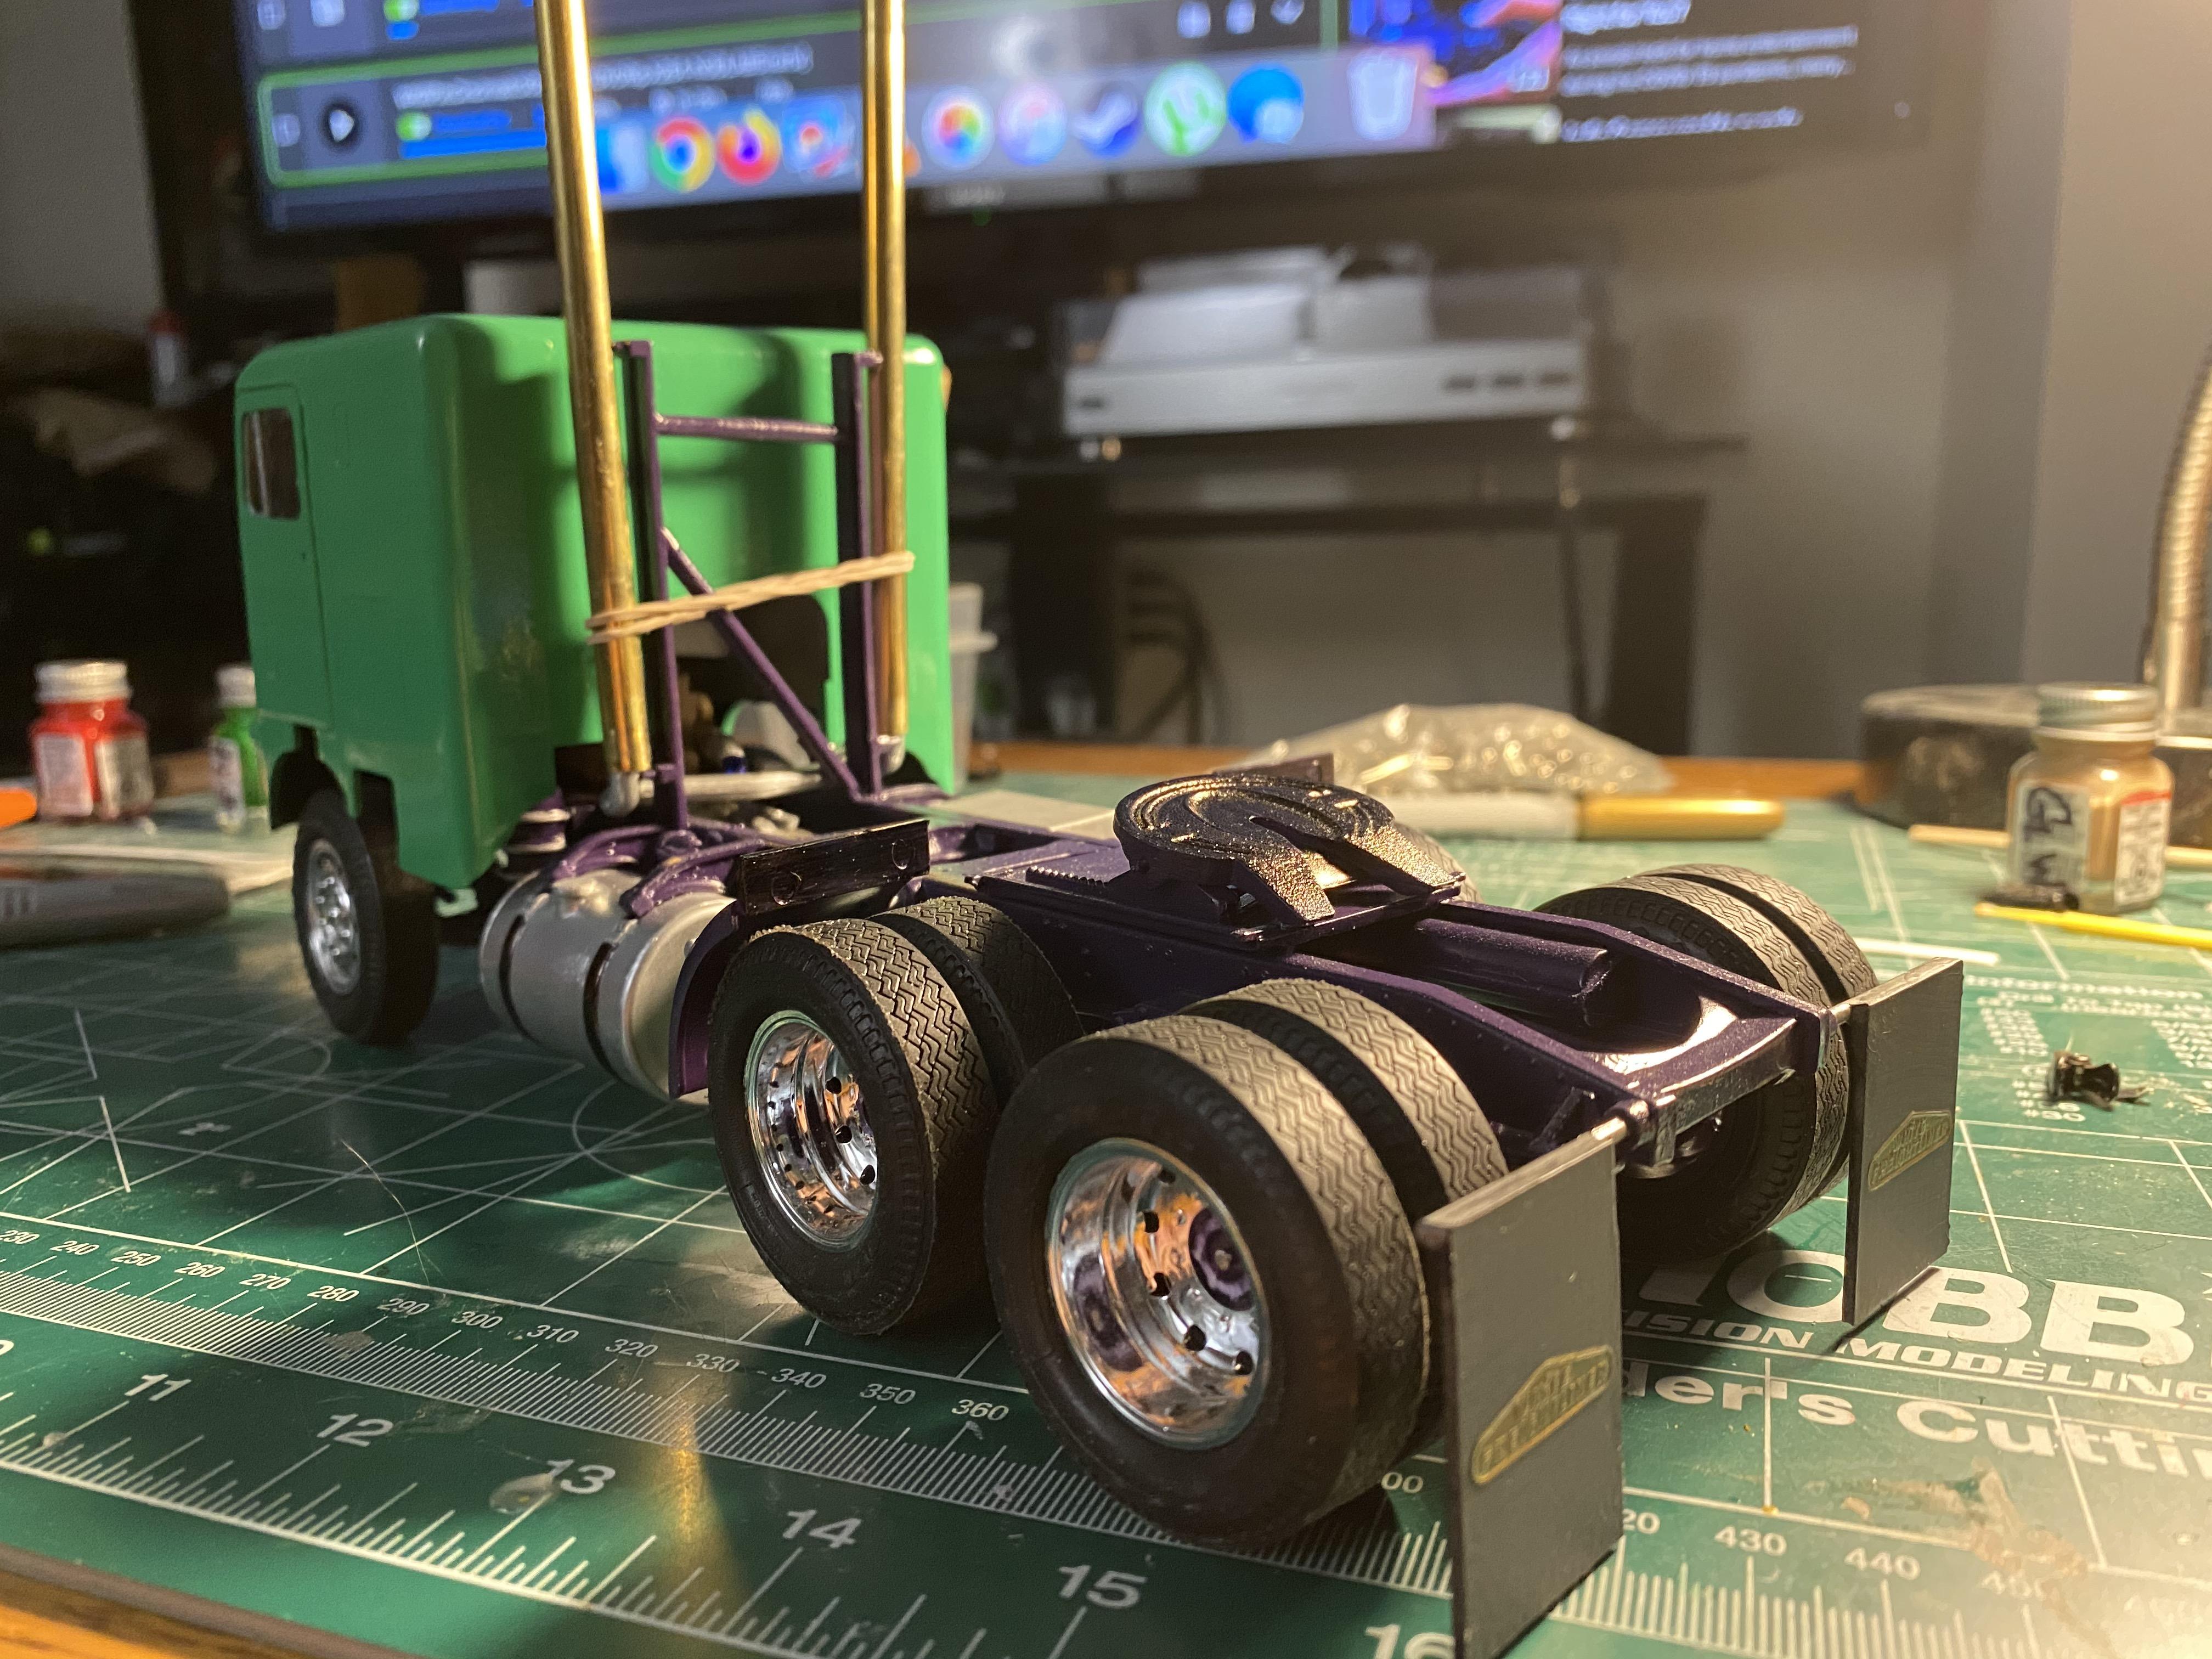
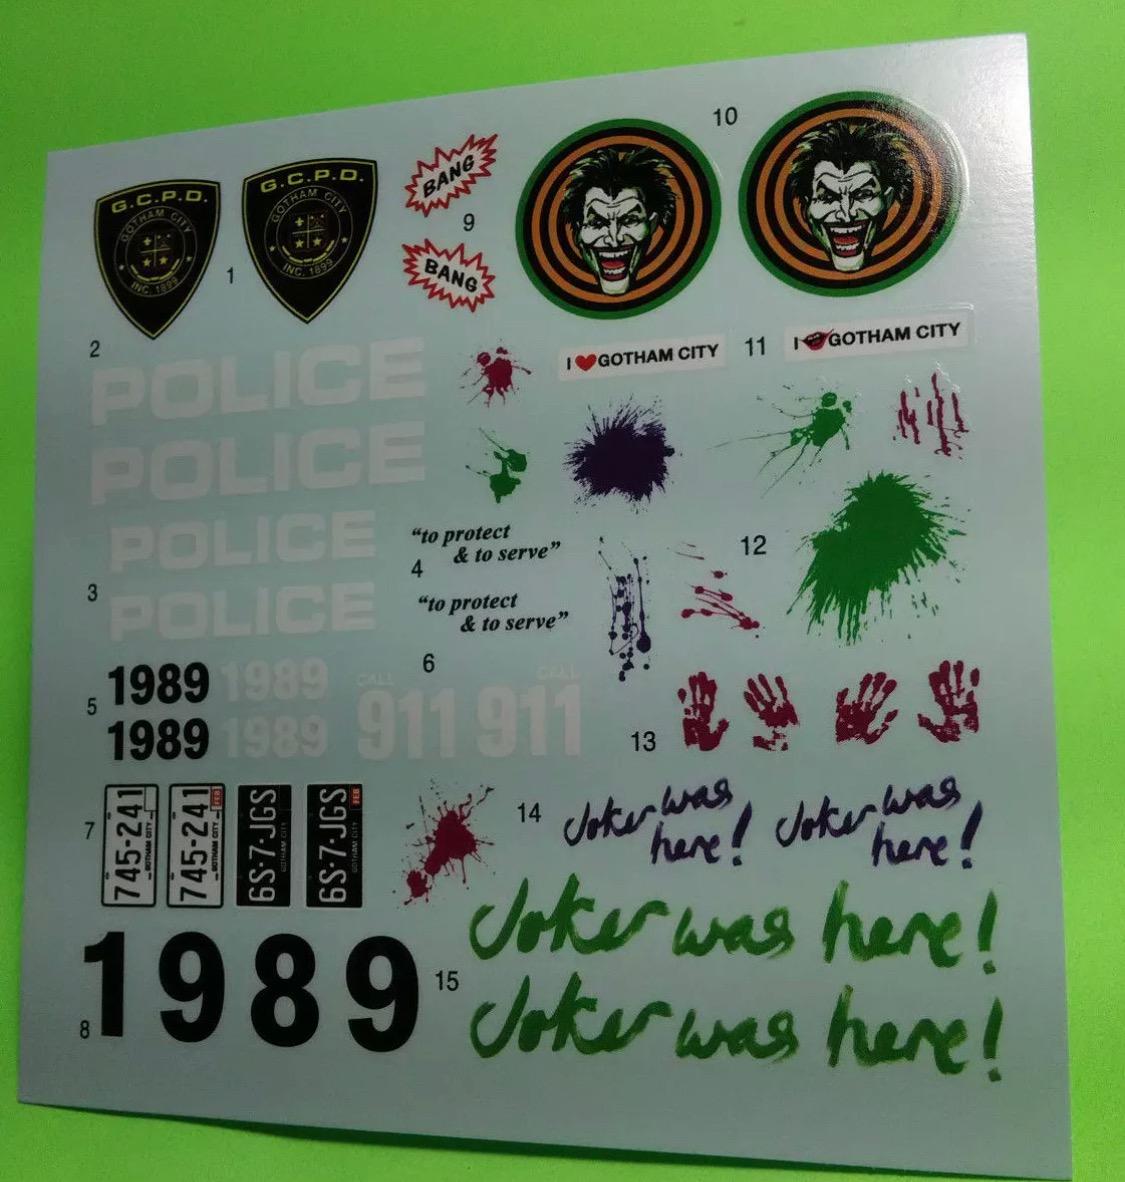
If you ever want a lesson in patience, make the decision to use Hobby Lobby jewels to make chicken lights... wow. K bar T was their company name. Used the trailer logo and individual letters to do the doors. Will do the same for the front of the trailer. Other than grab rails,. steps, horns, air lines, and a spare tire winch cable, it's near there.
-
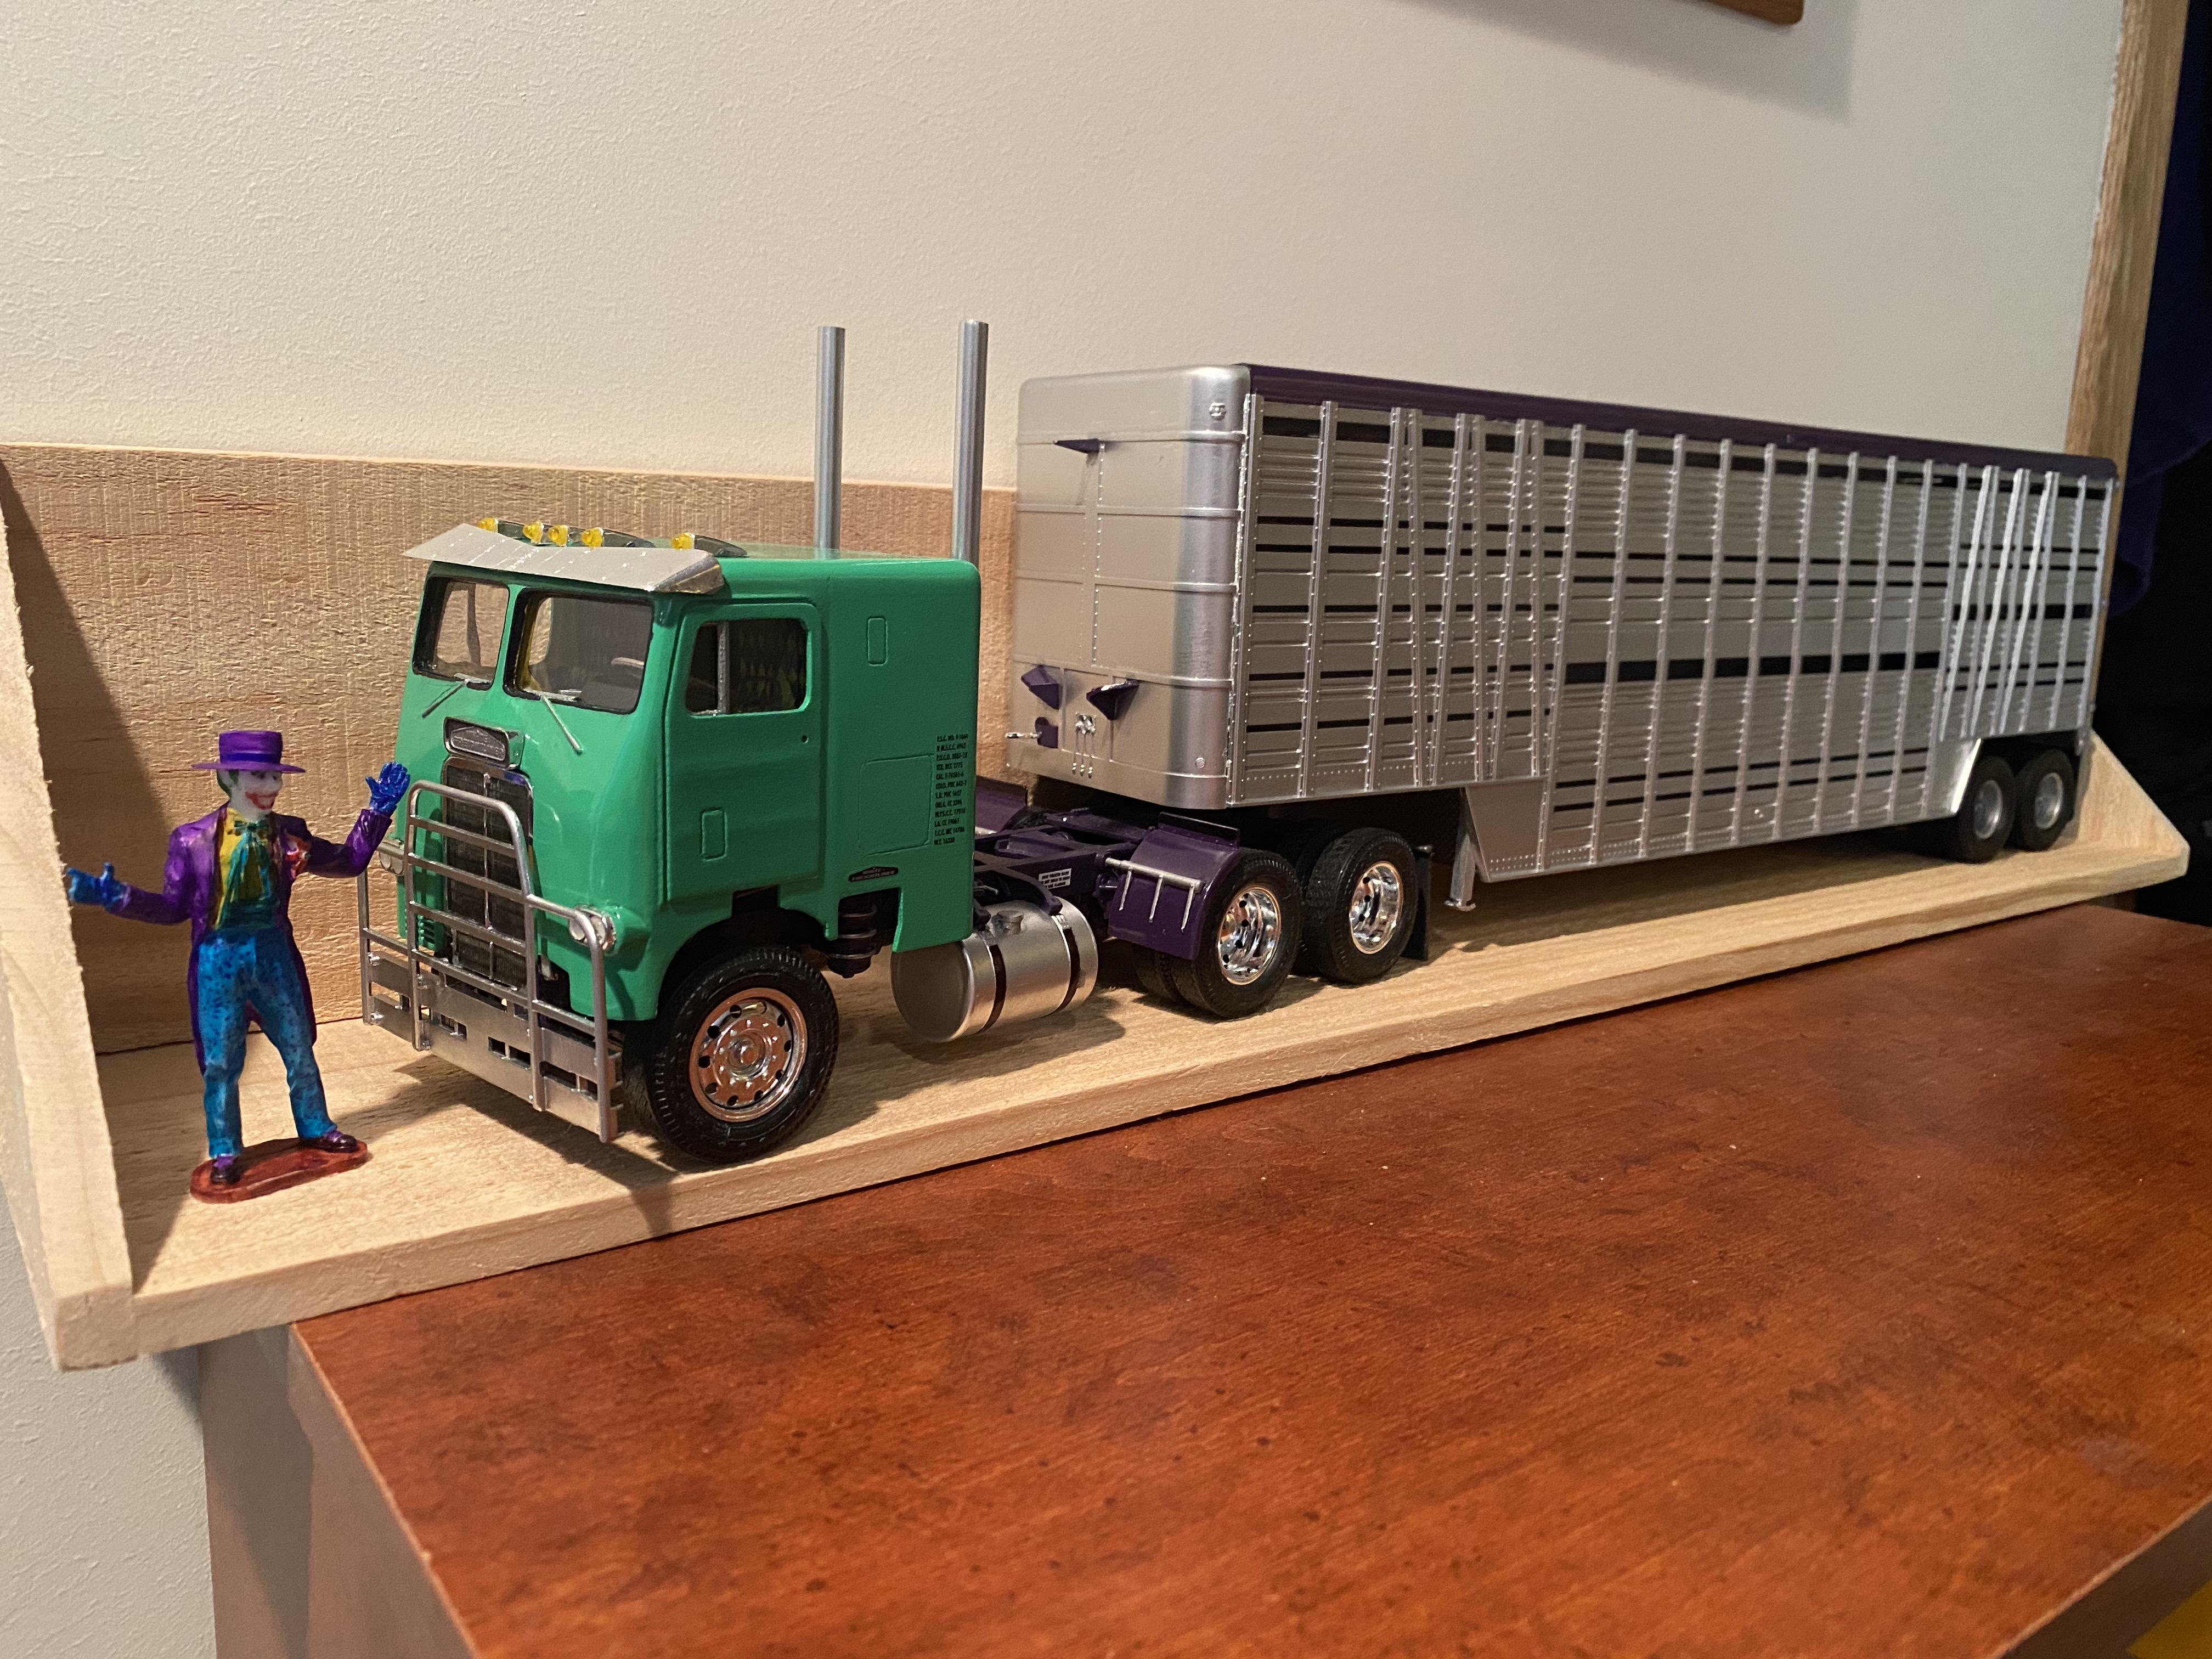
Shelf from Hobby Lobby that you'd think was purpose build for this kit. Not happy with the visor, and after talking it over, I have a drop visor coming from Shapeways.com. Mockup with the cattle trailer. After much debate, I got overruled on the color for the roof and rear of the trailer. But, after it was all said and done, I like the purple.
-
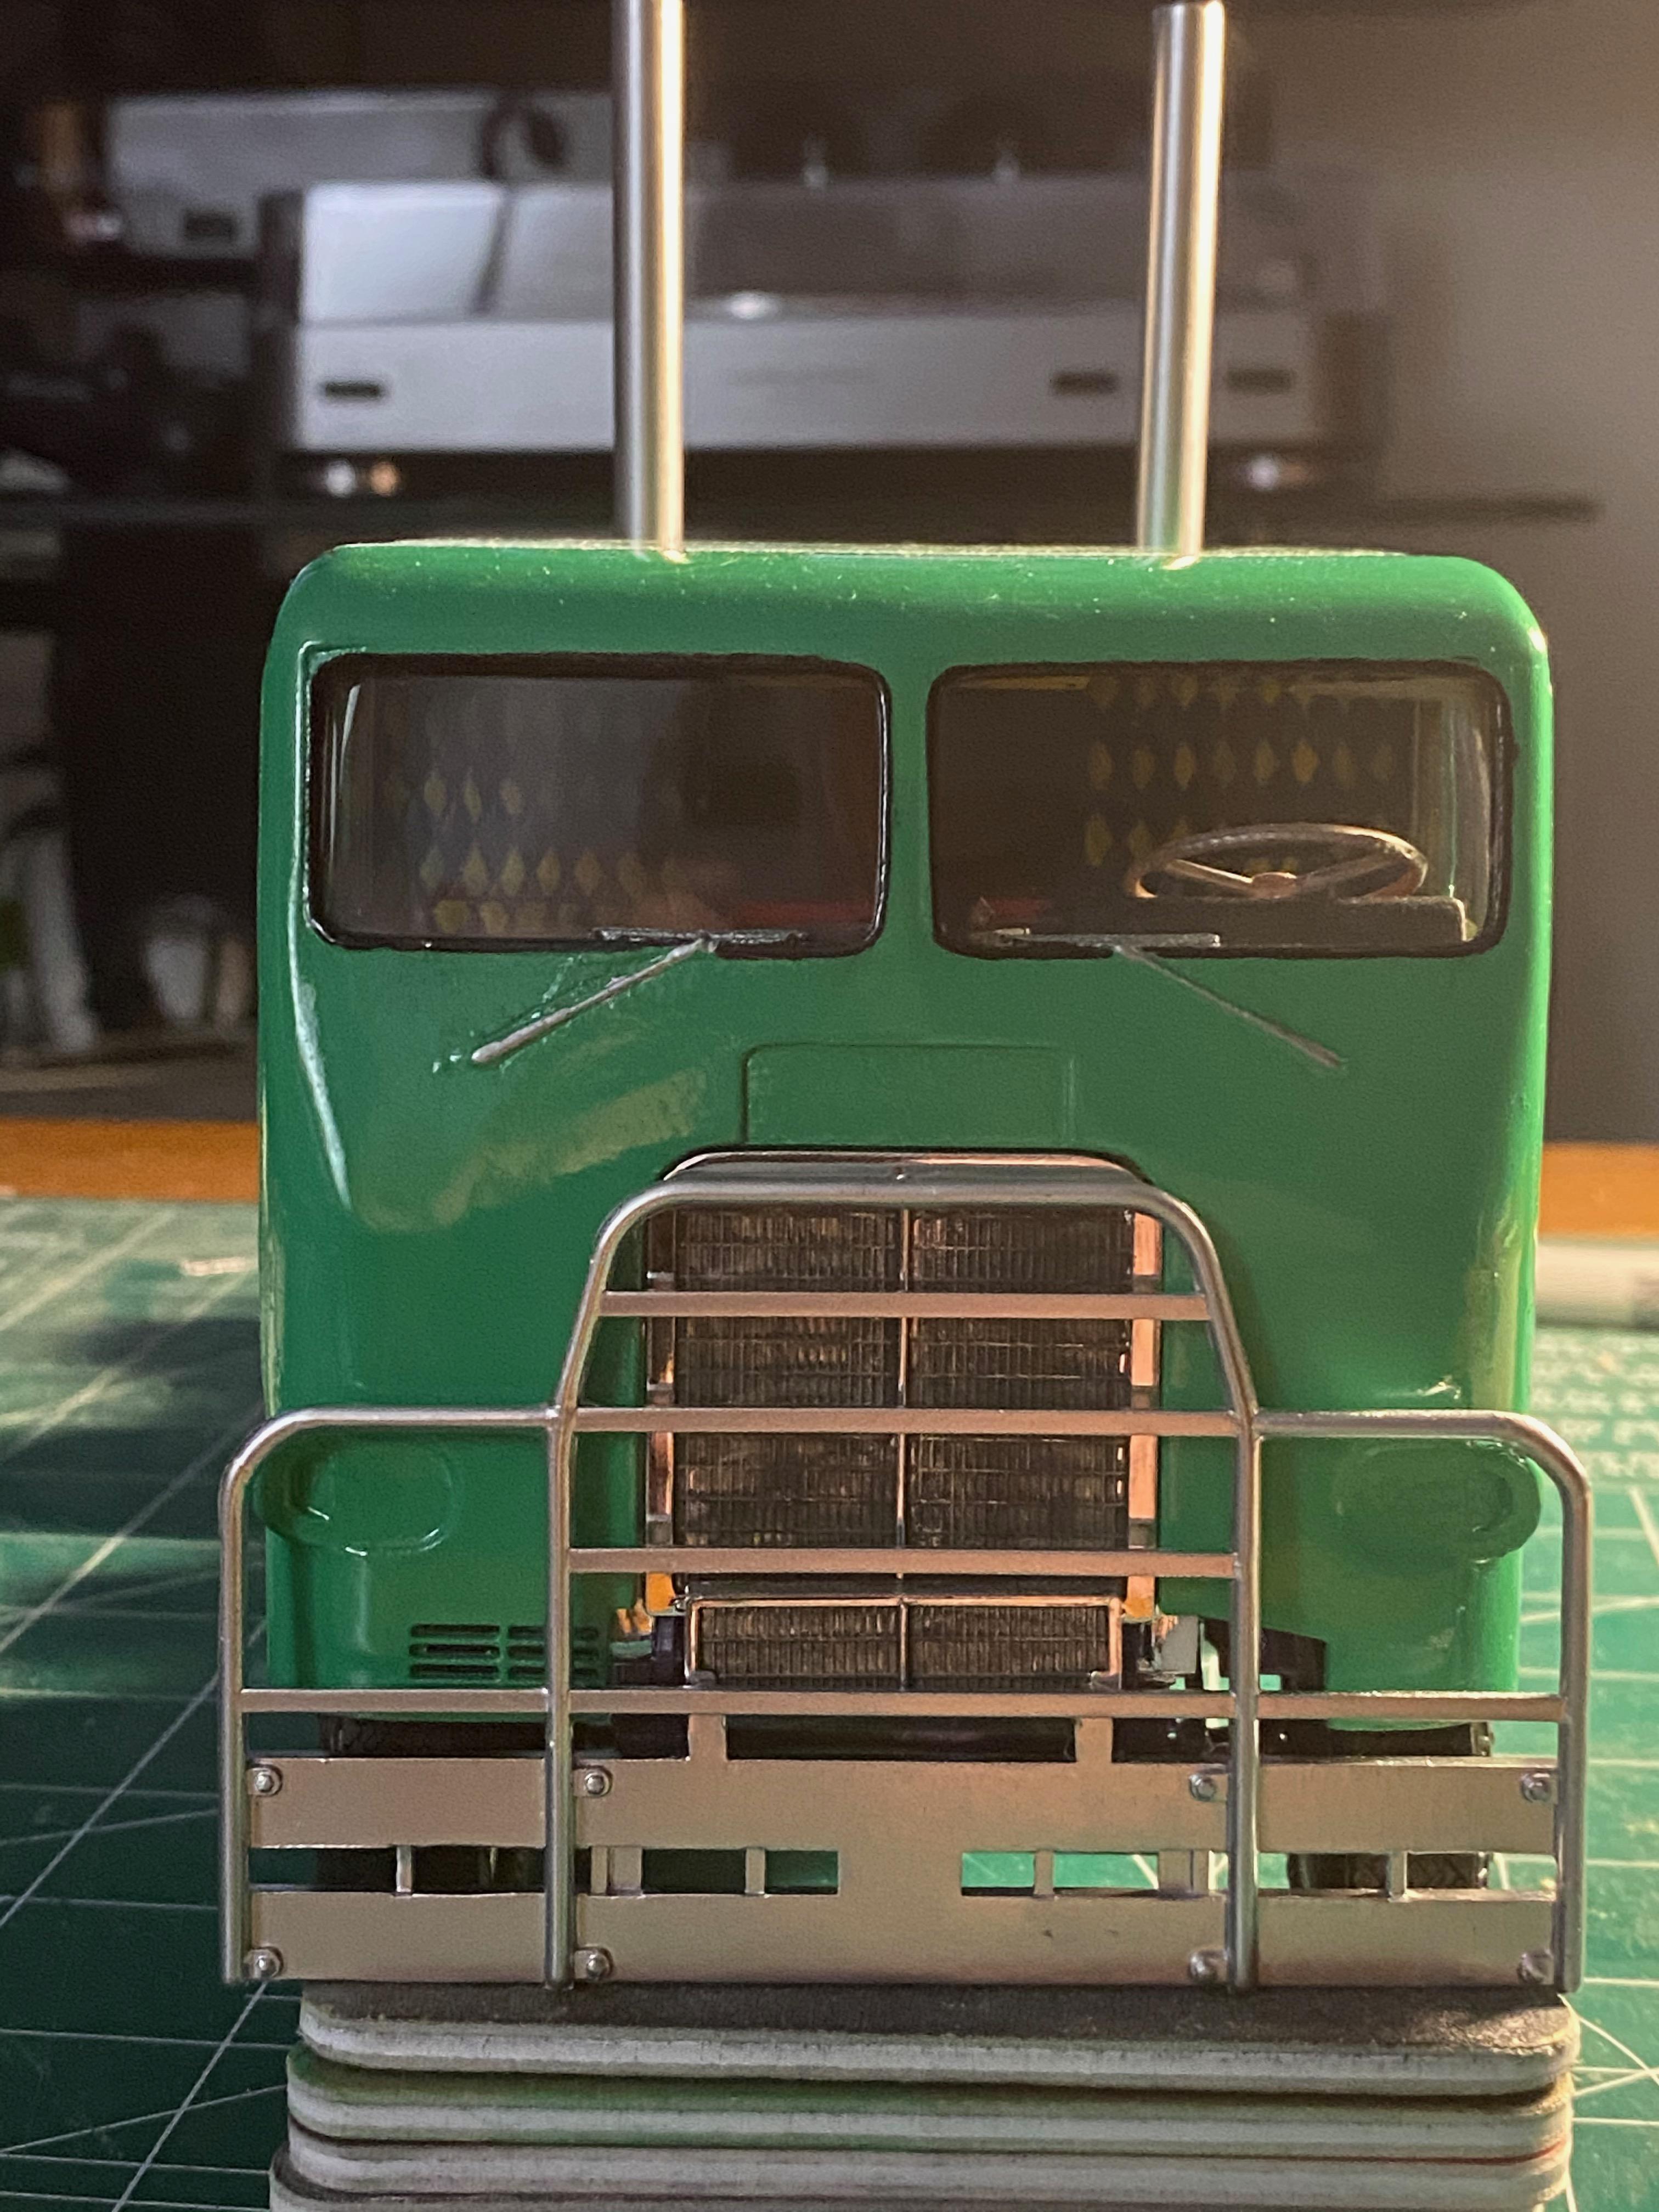
Bit o' detailing (yes I see the ugly spot under the passenger window). Using a bull bar from the old Convoy Mack kit. I've got a spare and it seems to fit the theme. Trimmed the lower section of the grill off the kit bumper and it sits almost perfectly on the guards mounting points. Hogged a bit of the frame out and it will sit on the front end perfectly. Only issue is that the cab won't tilt forward, but this is not a show piece.
-
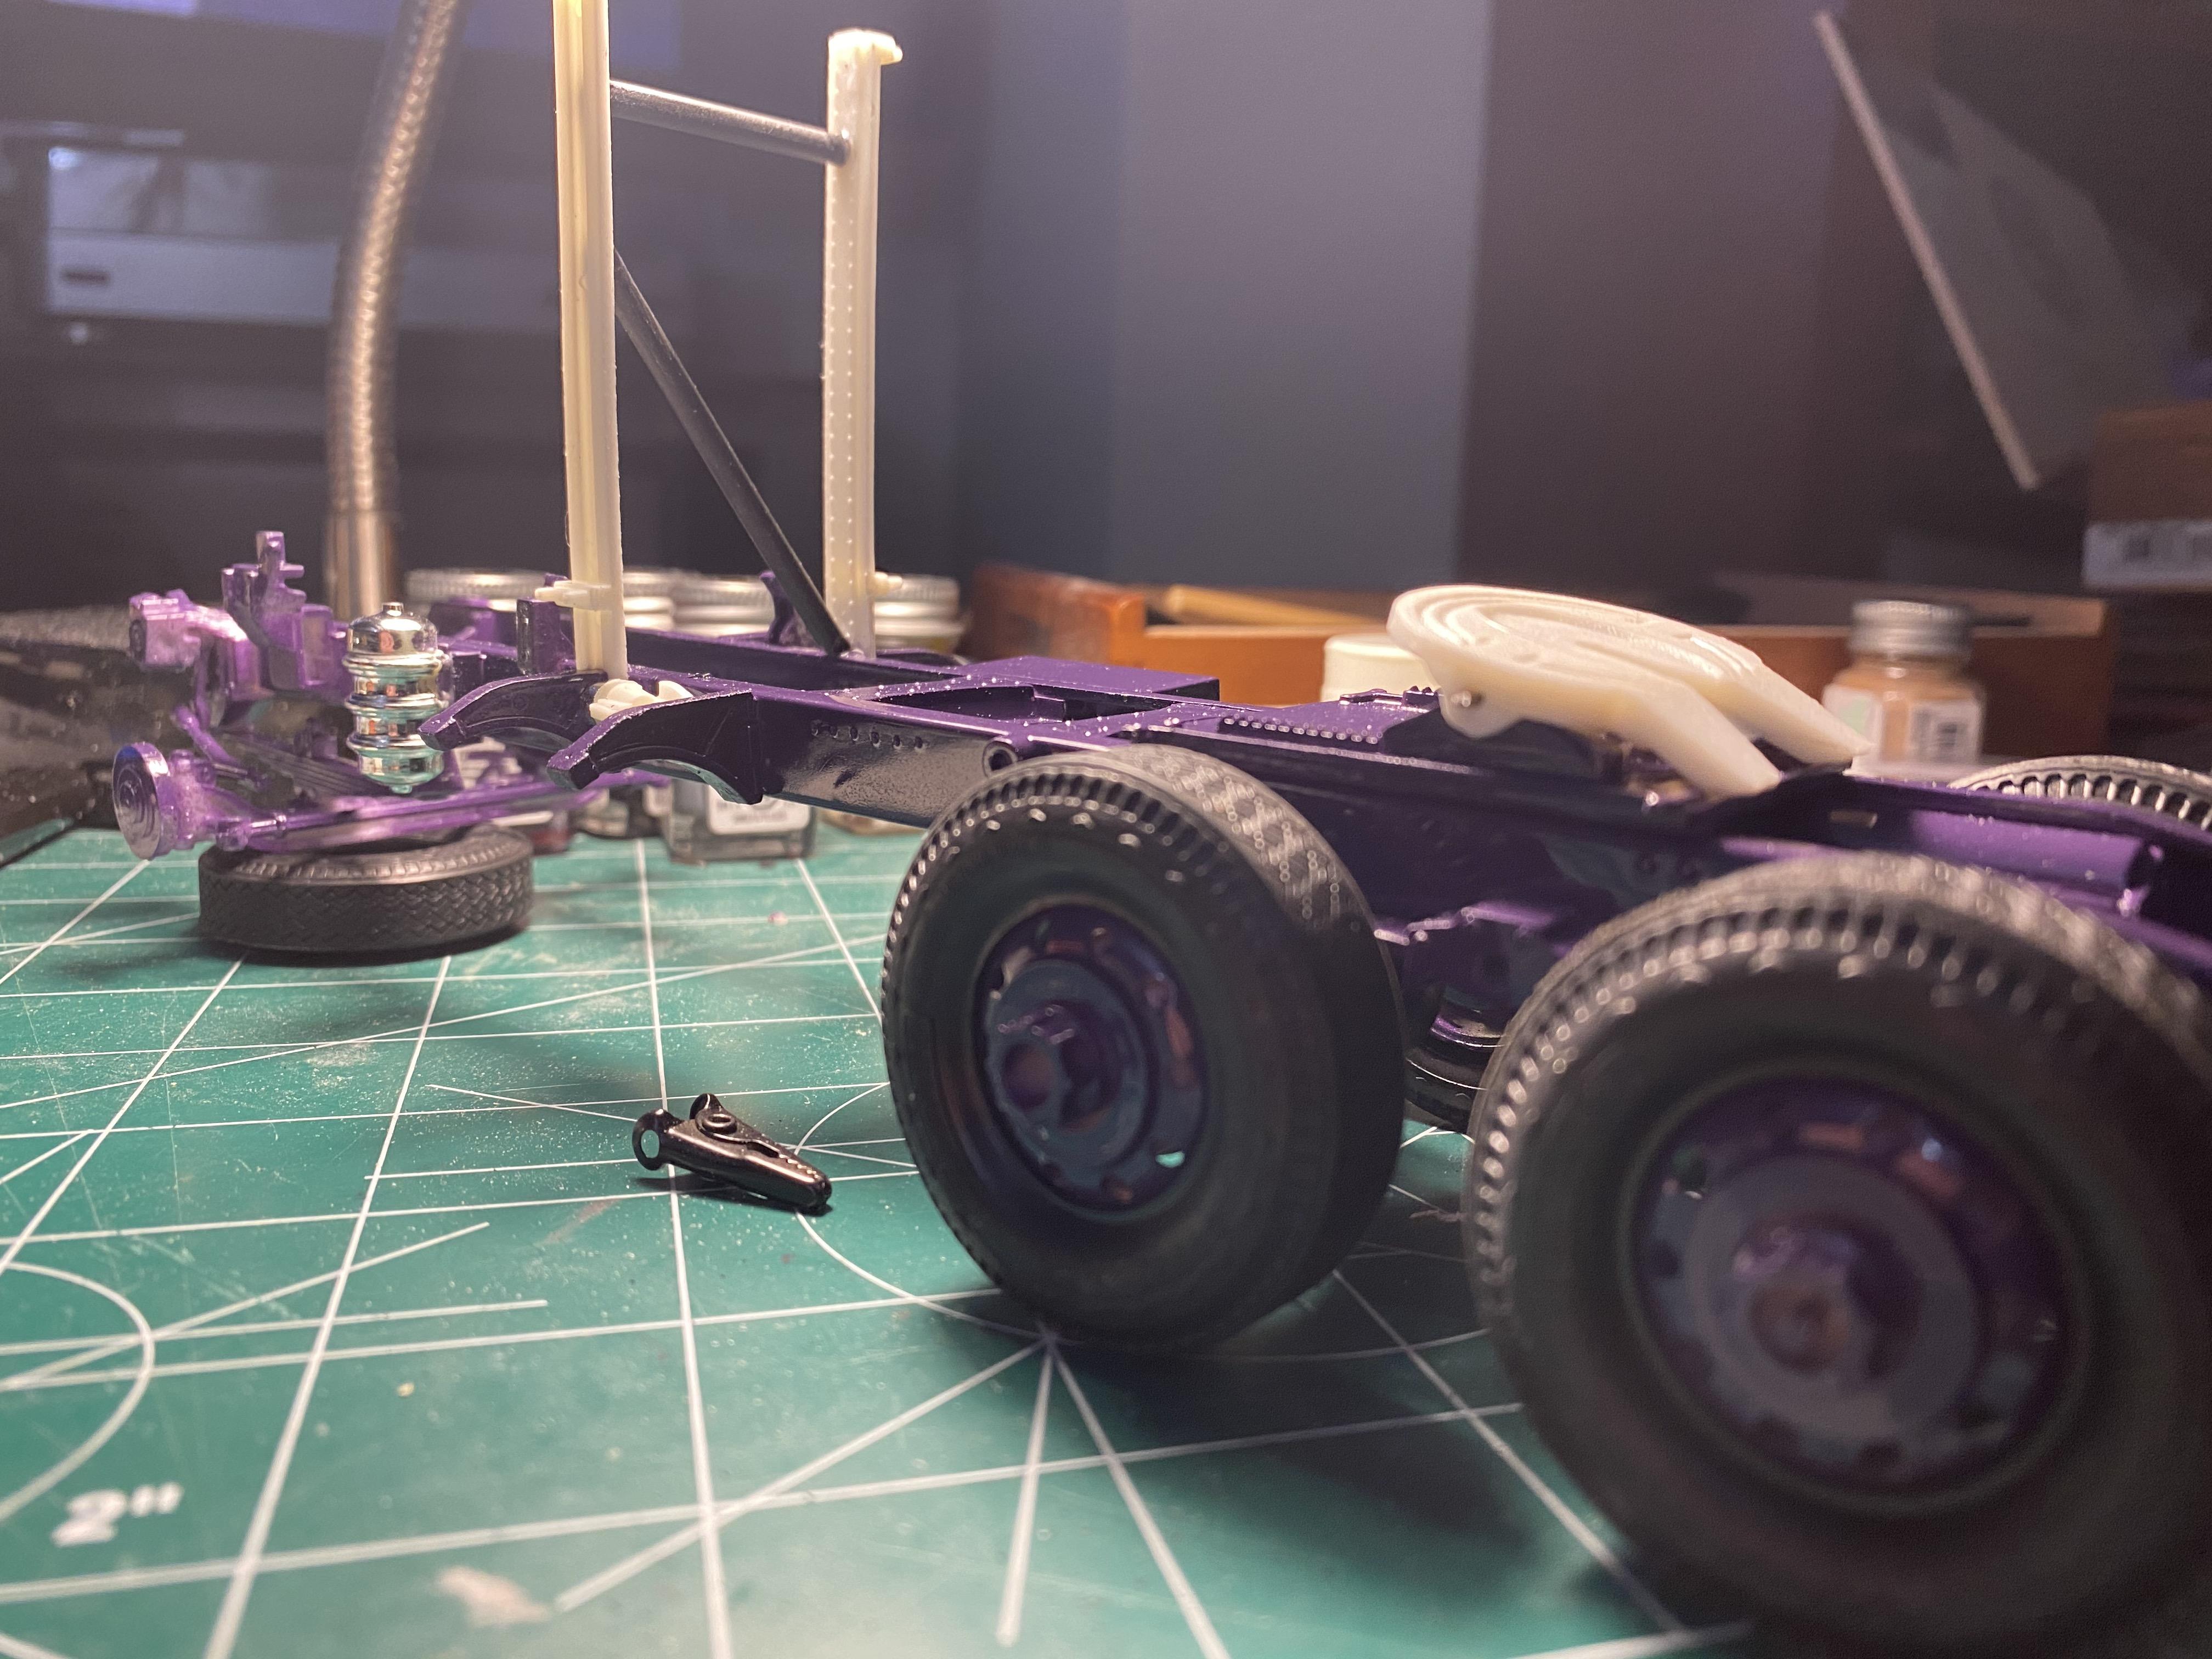
The things we do for no reason other than to see if we can... Built a tilting fifth wheel for a truck that is going to be secured to a shelf. Read that the exhaust supports can sometimes cause issues with being even, so I scratched up some bracing. Using brass tube as straight pipes.
-
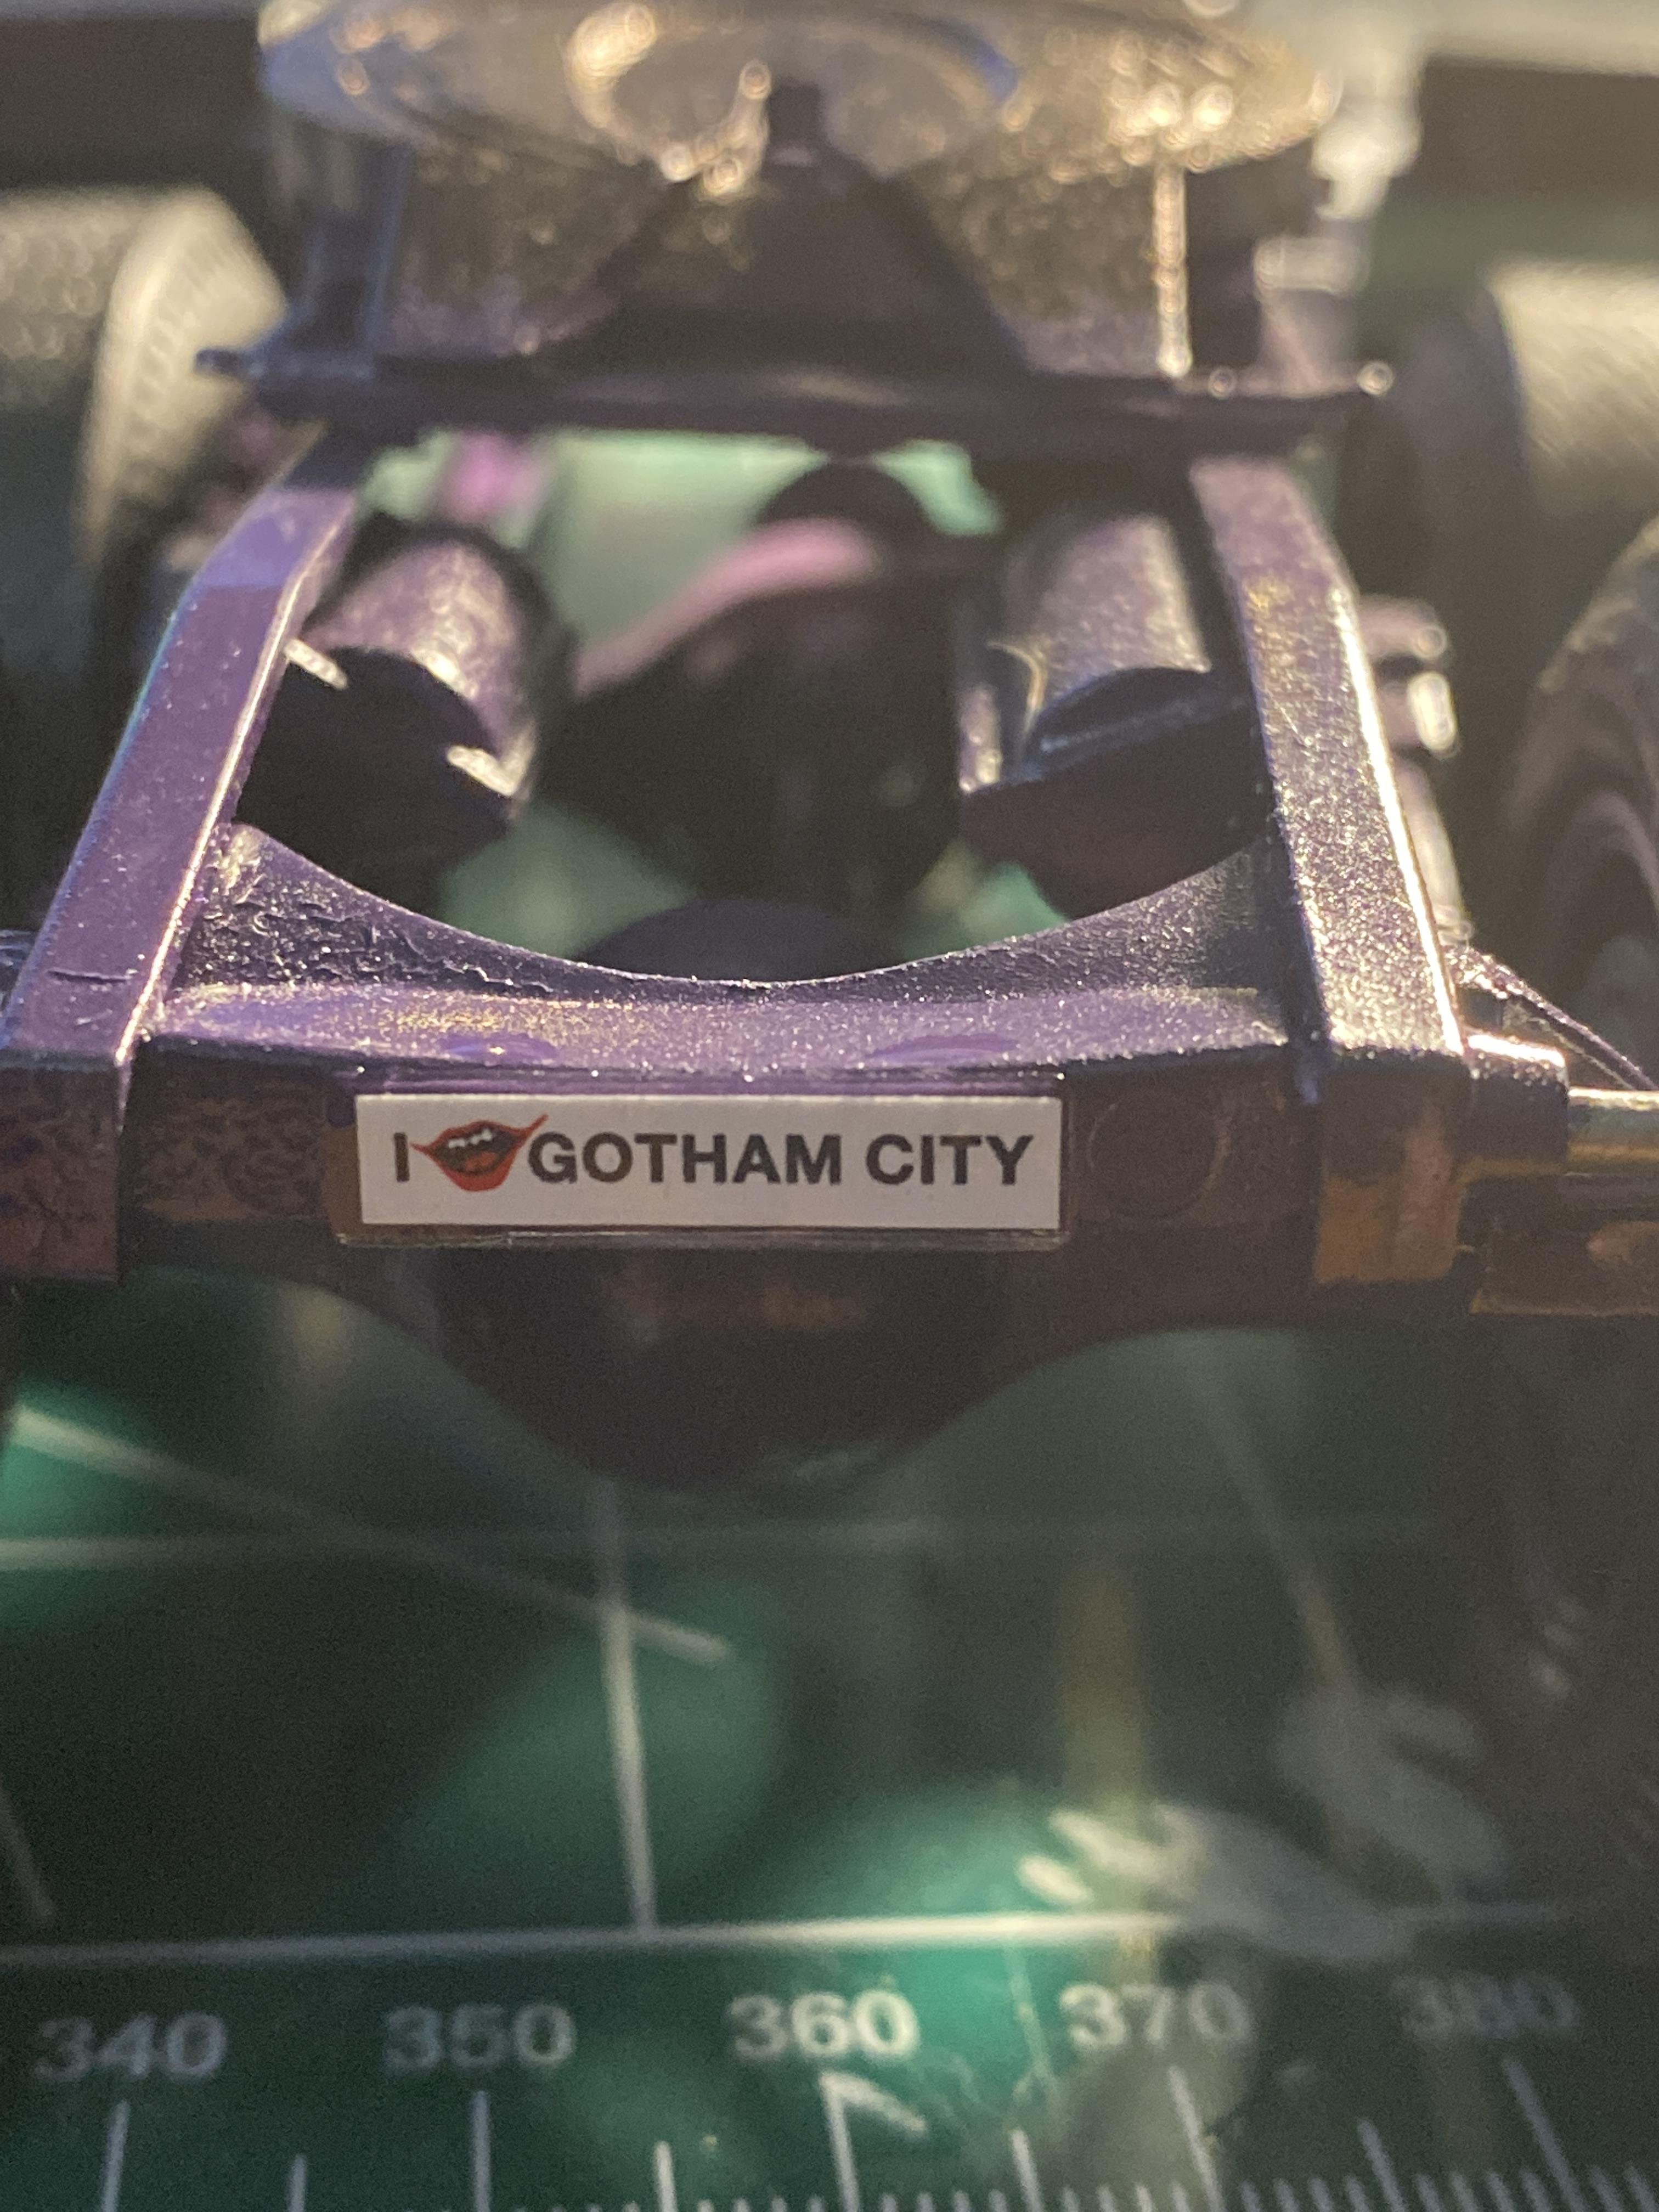
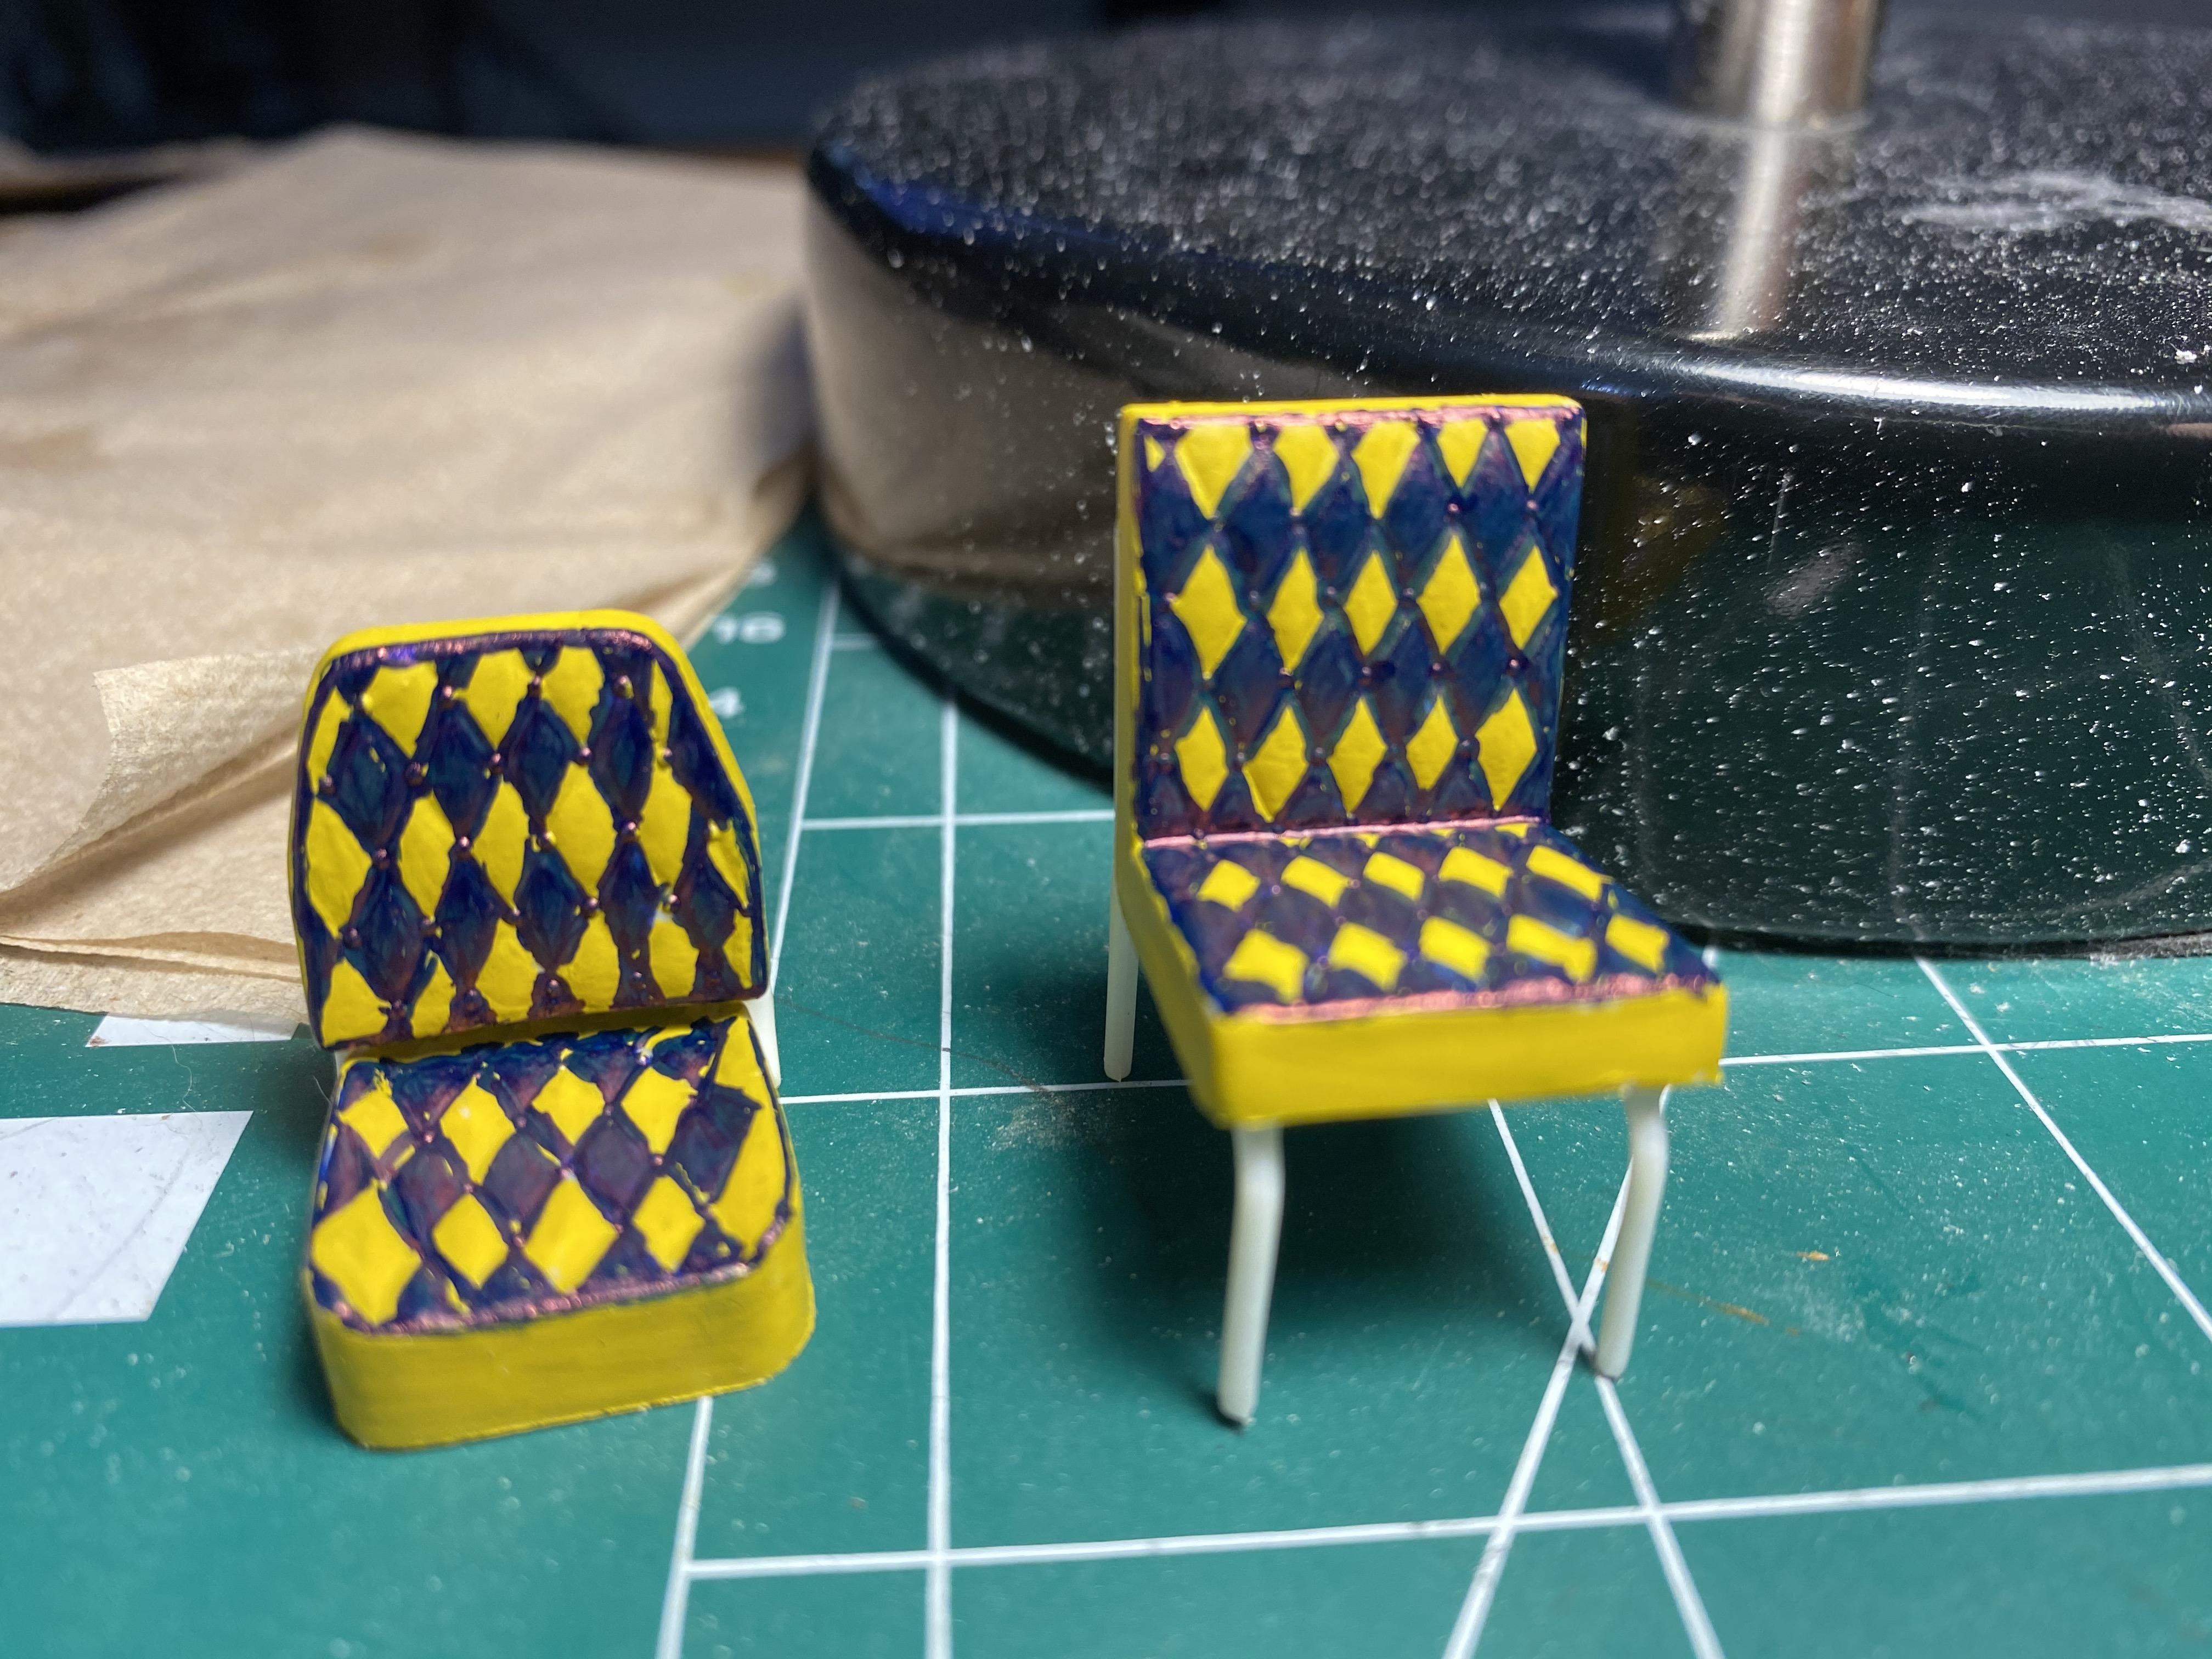
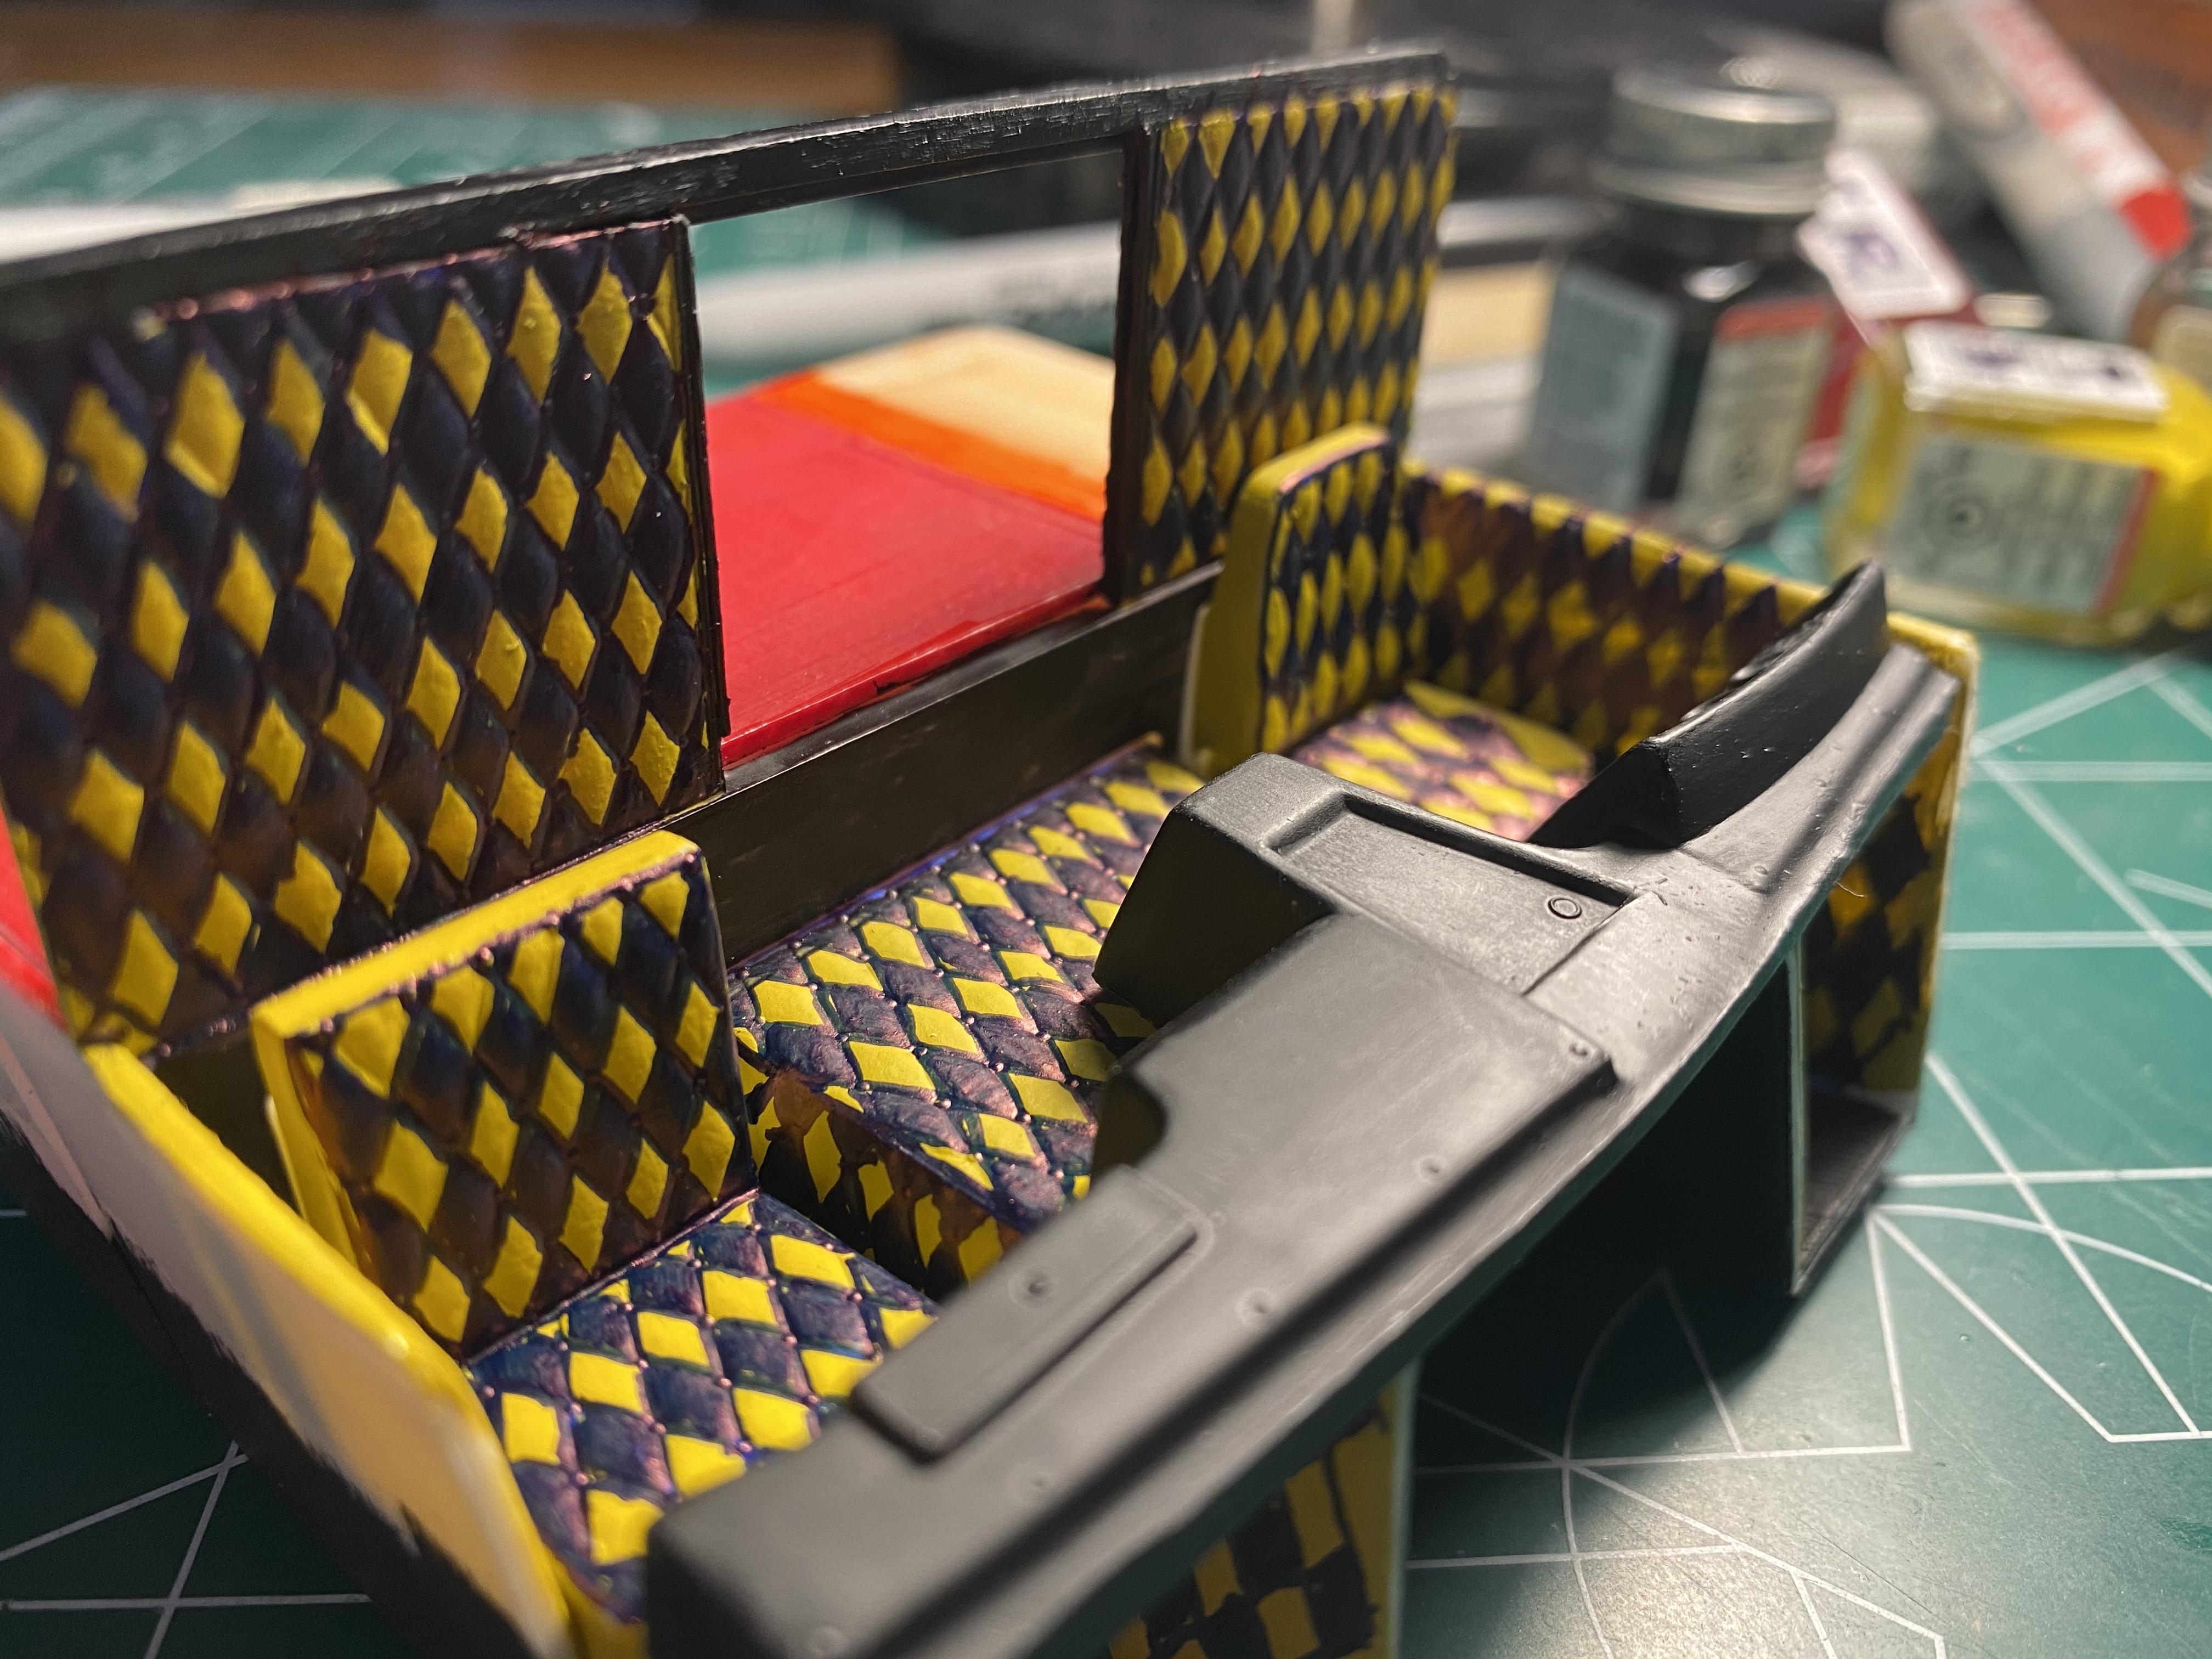
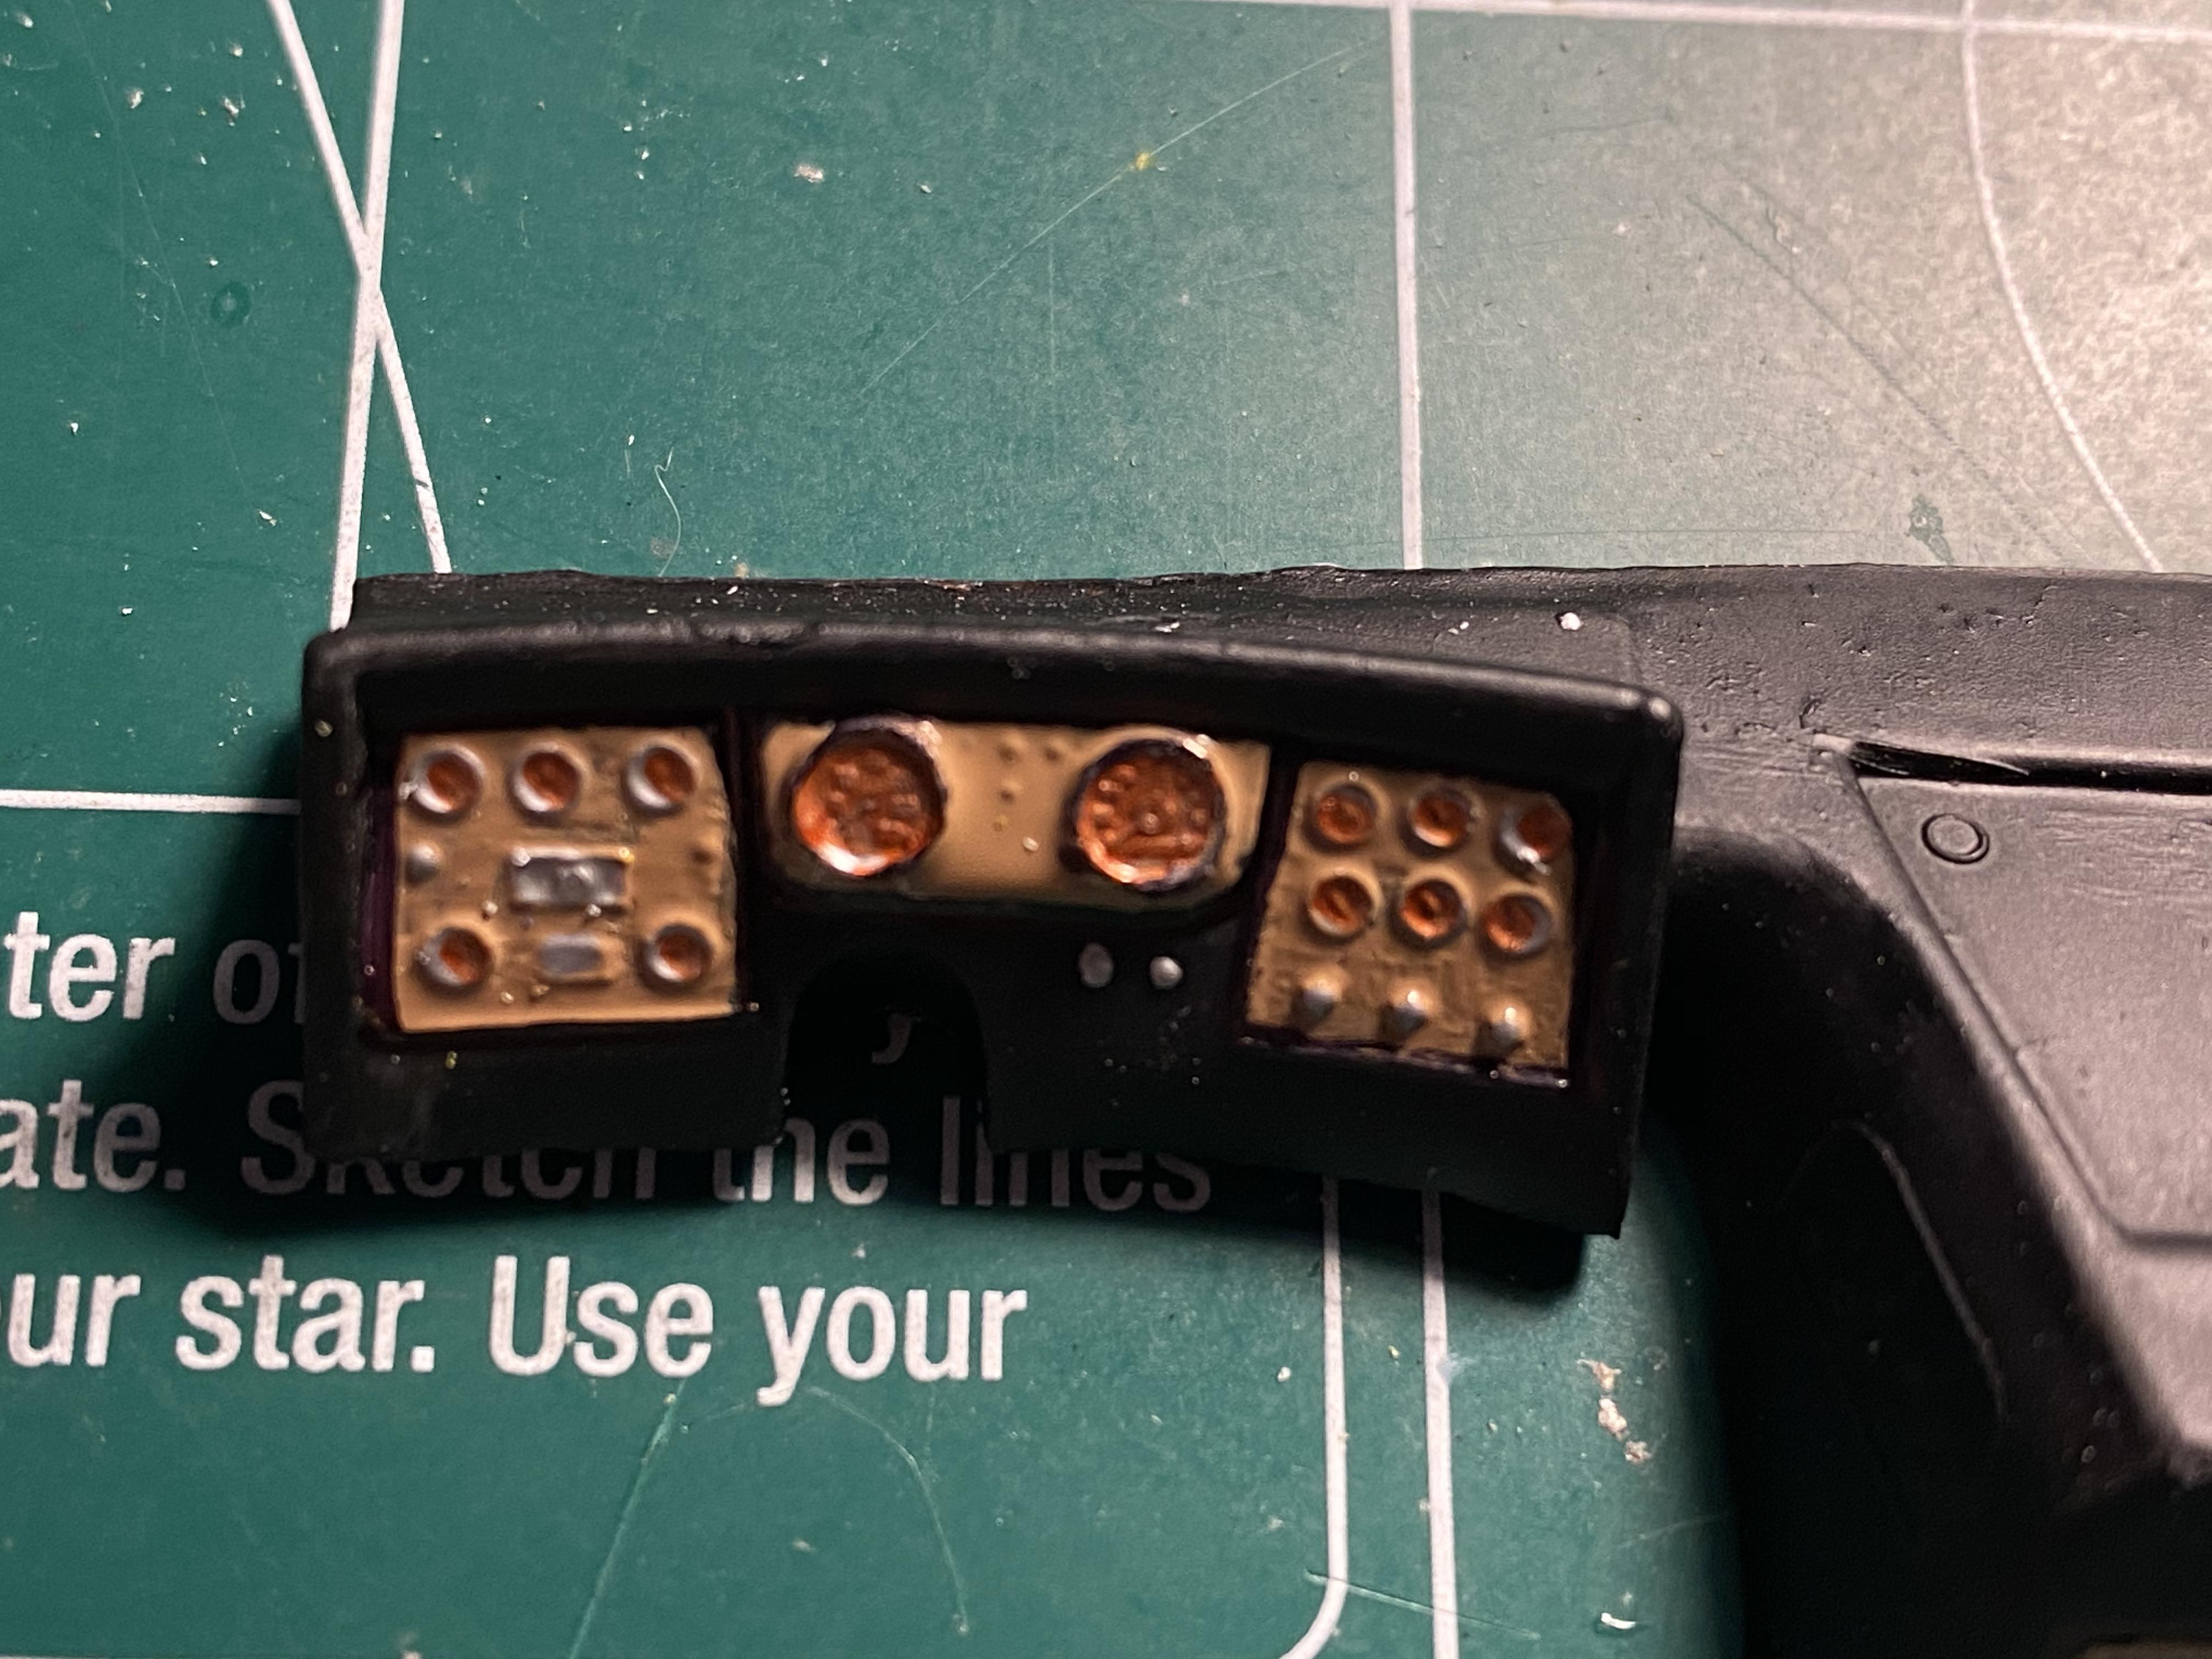
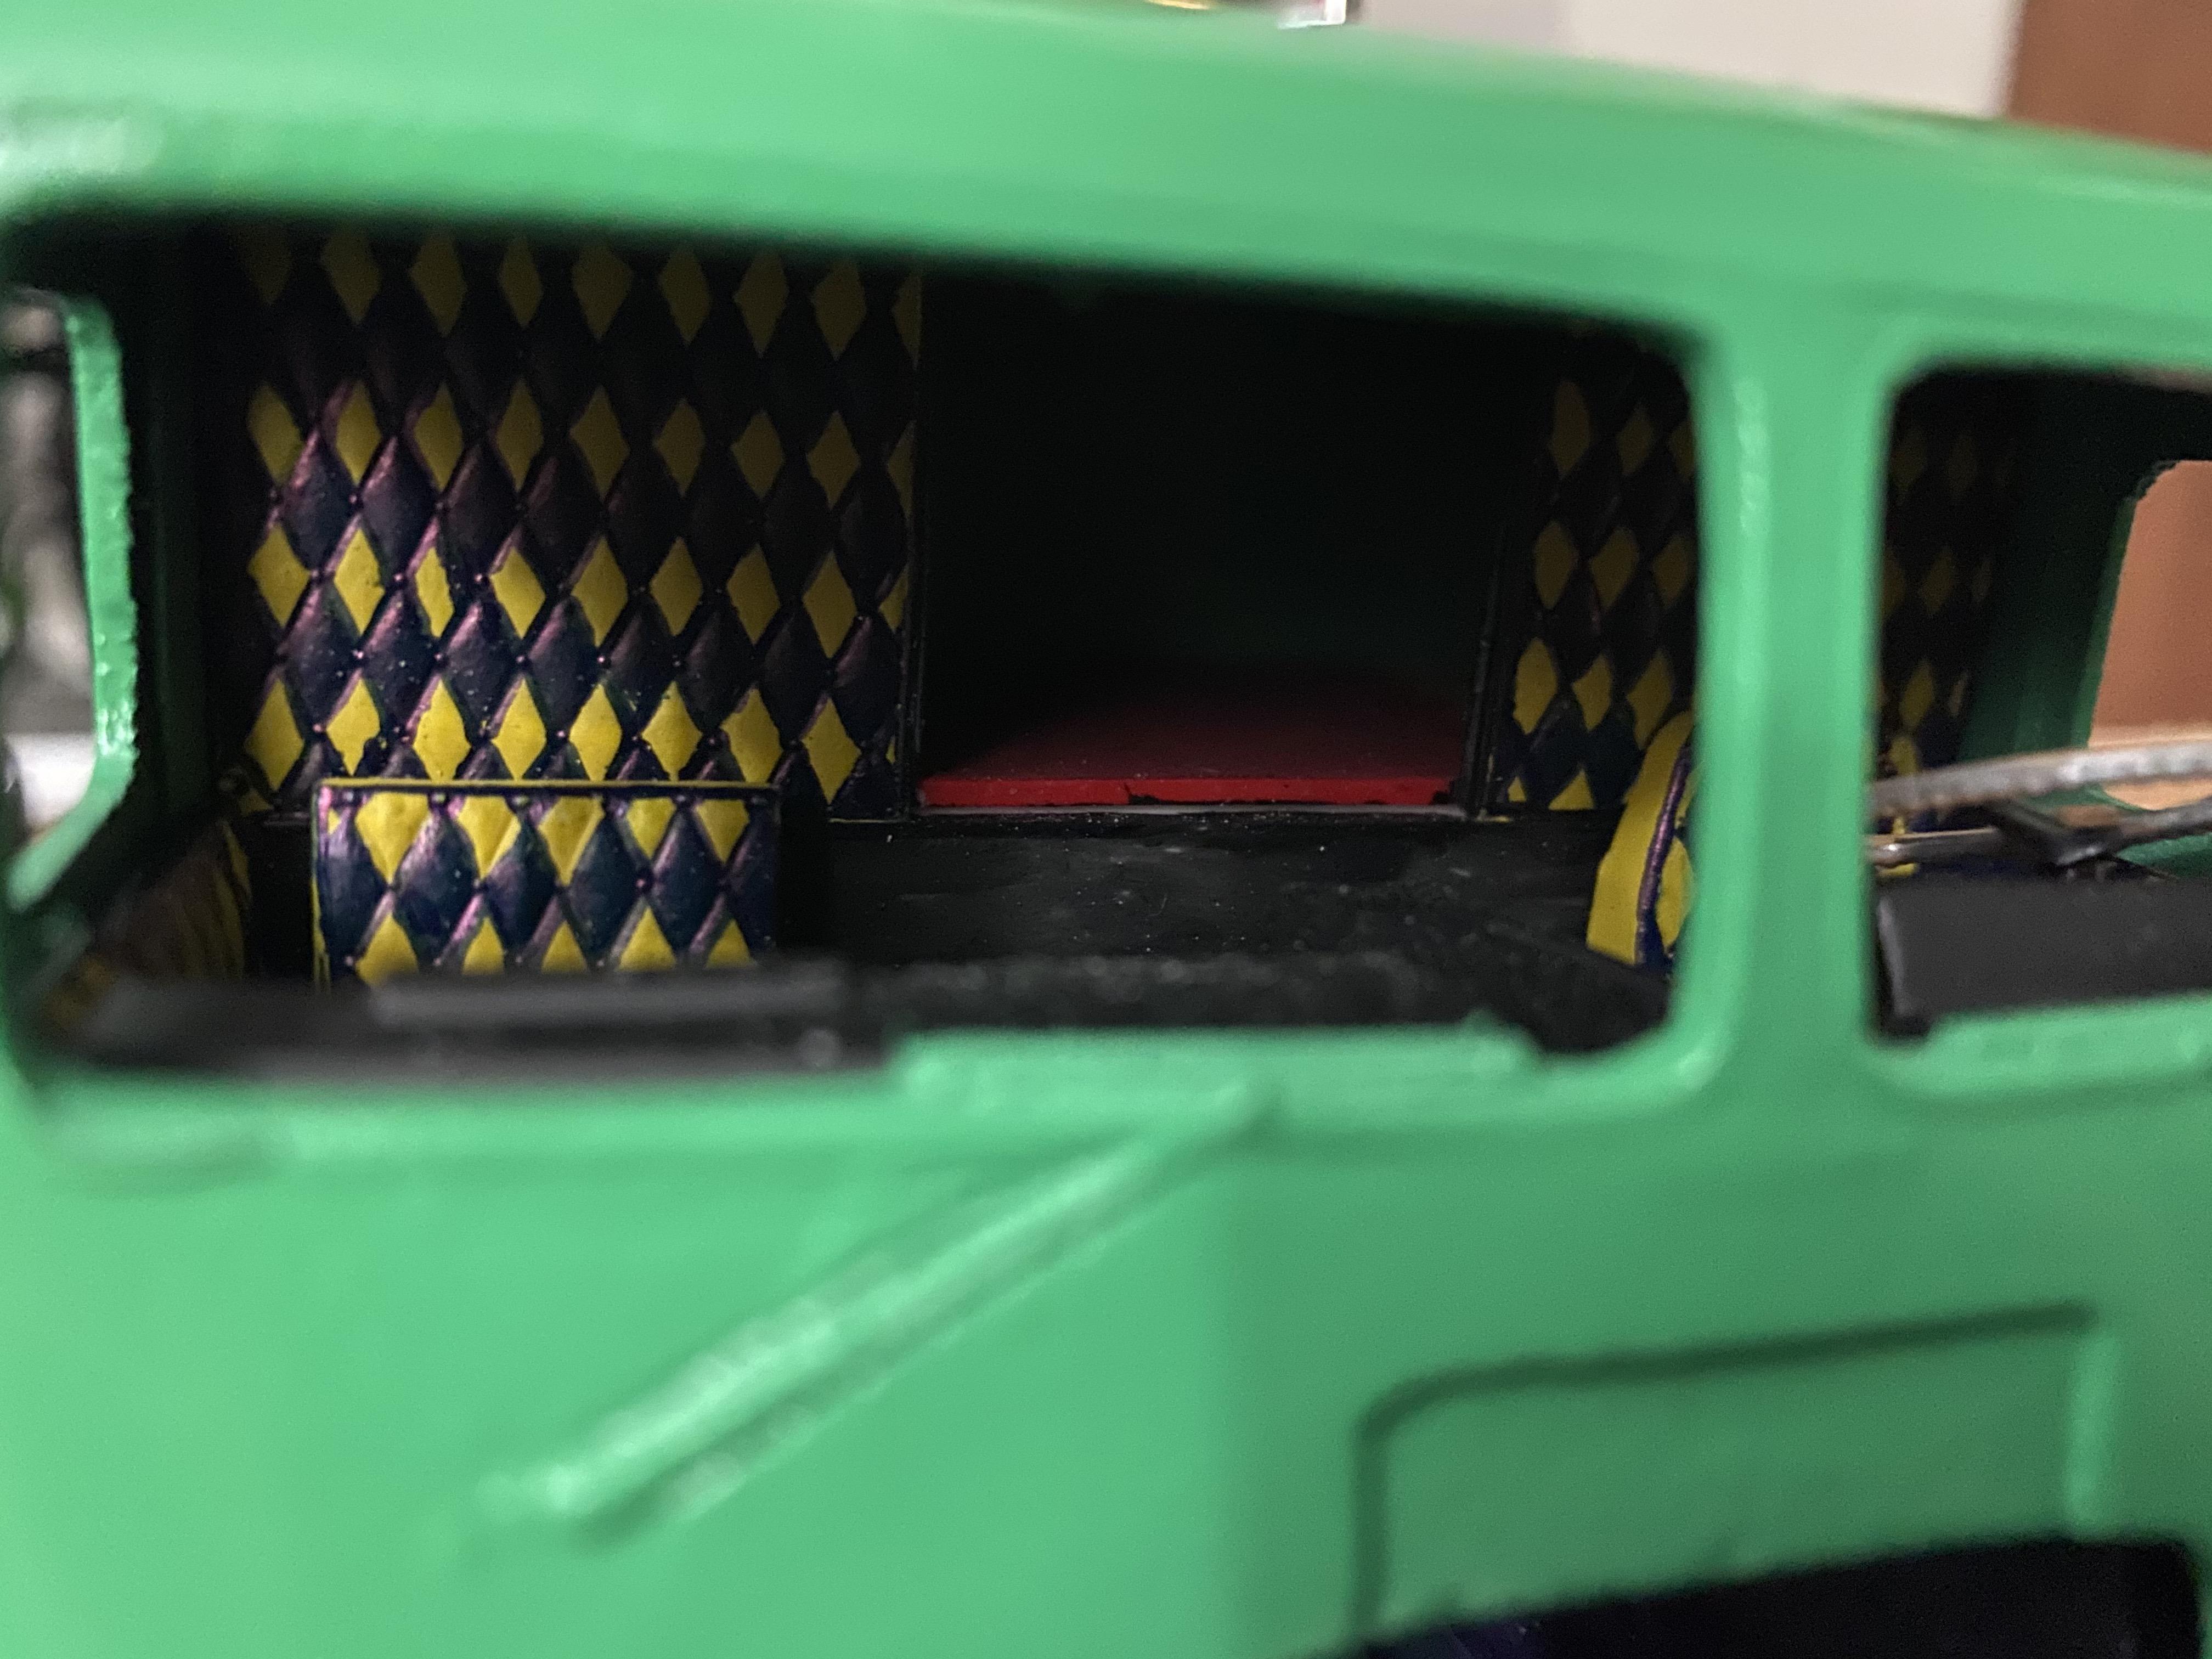
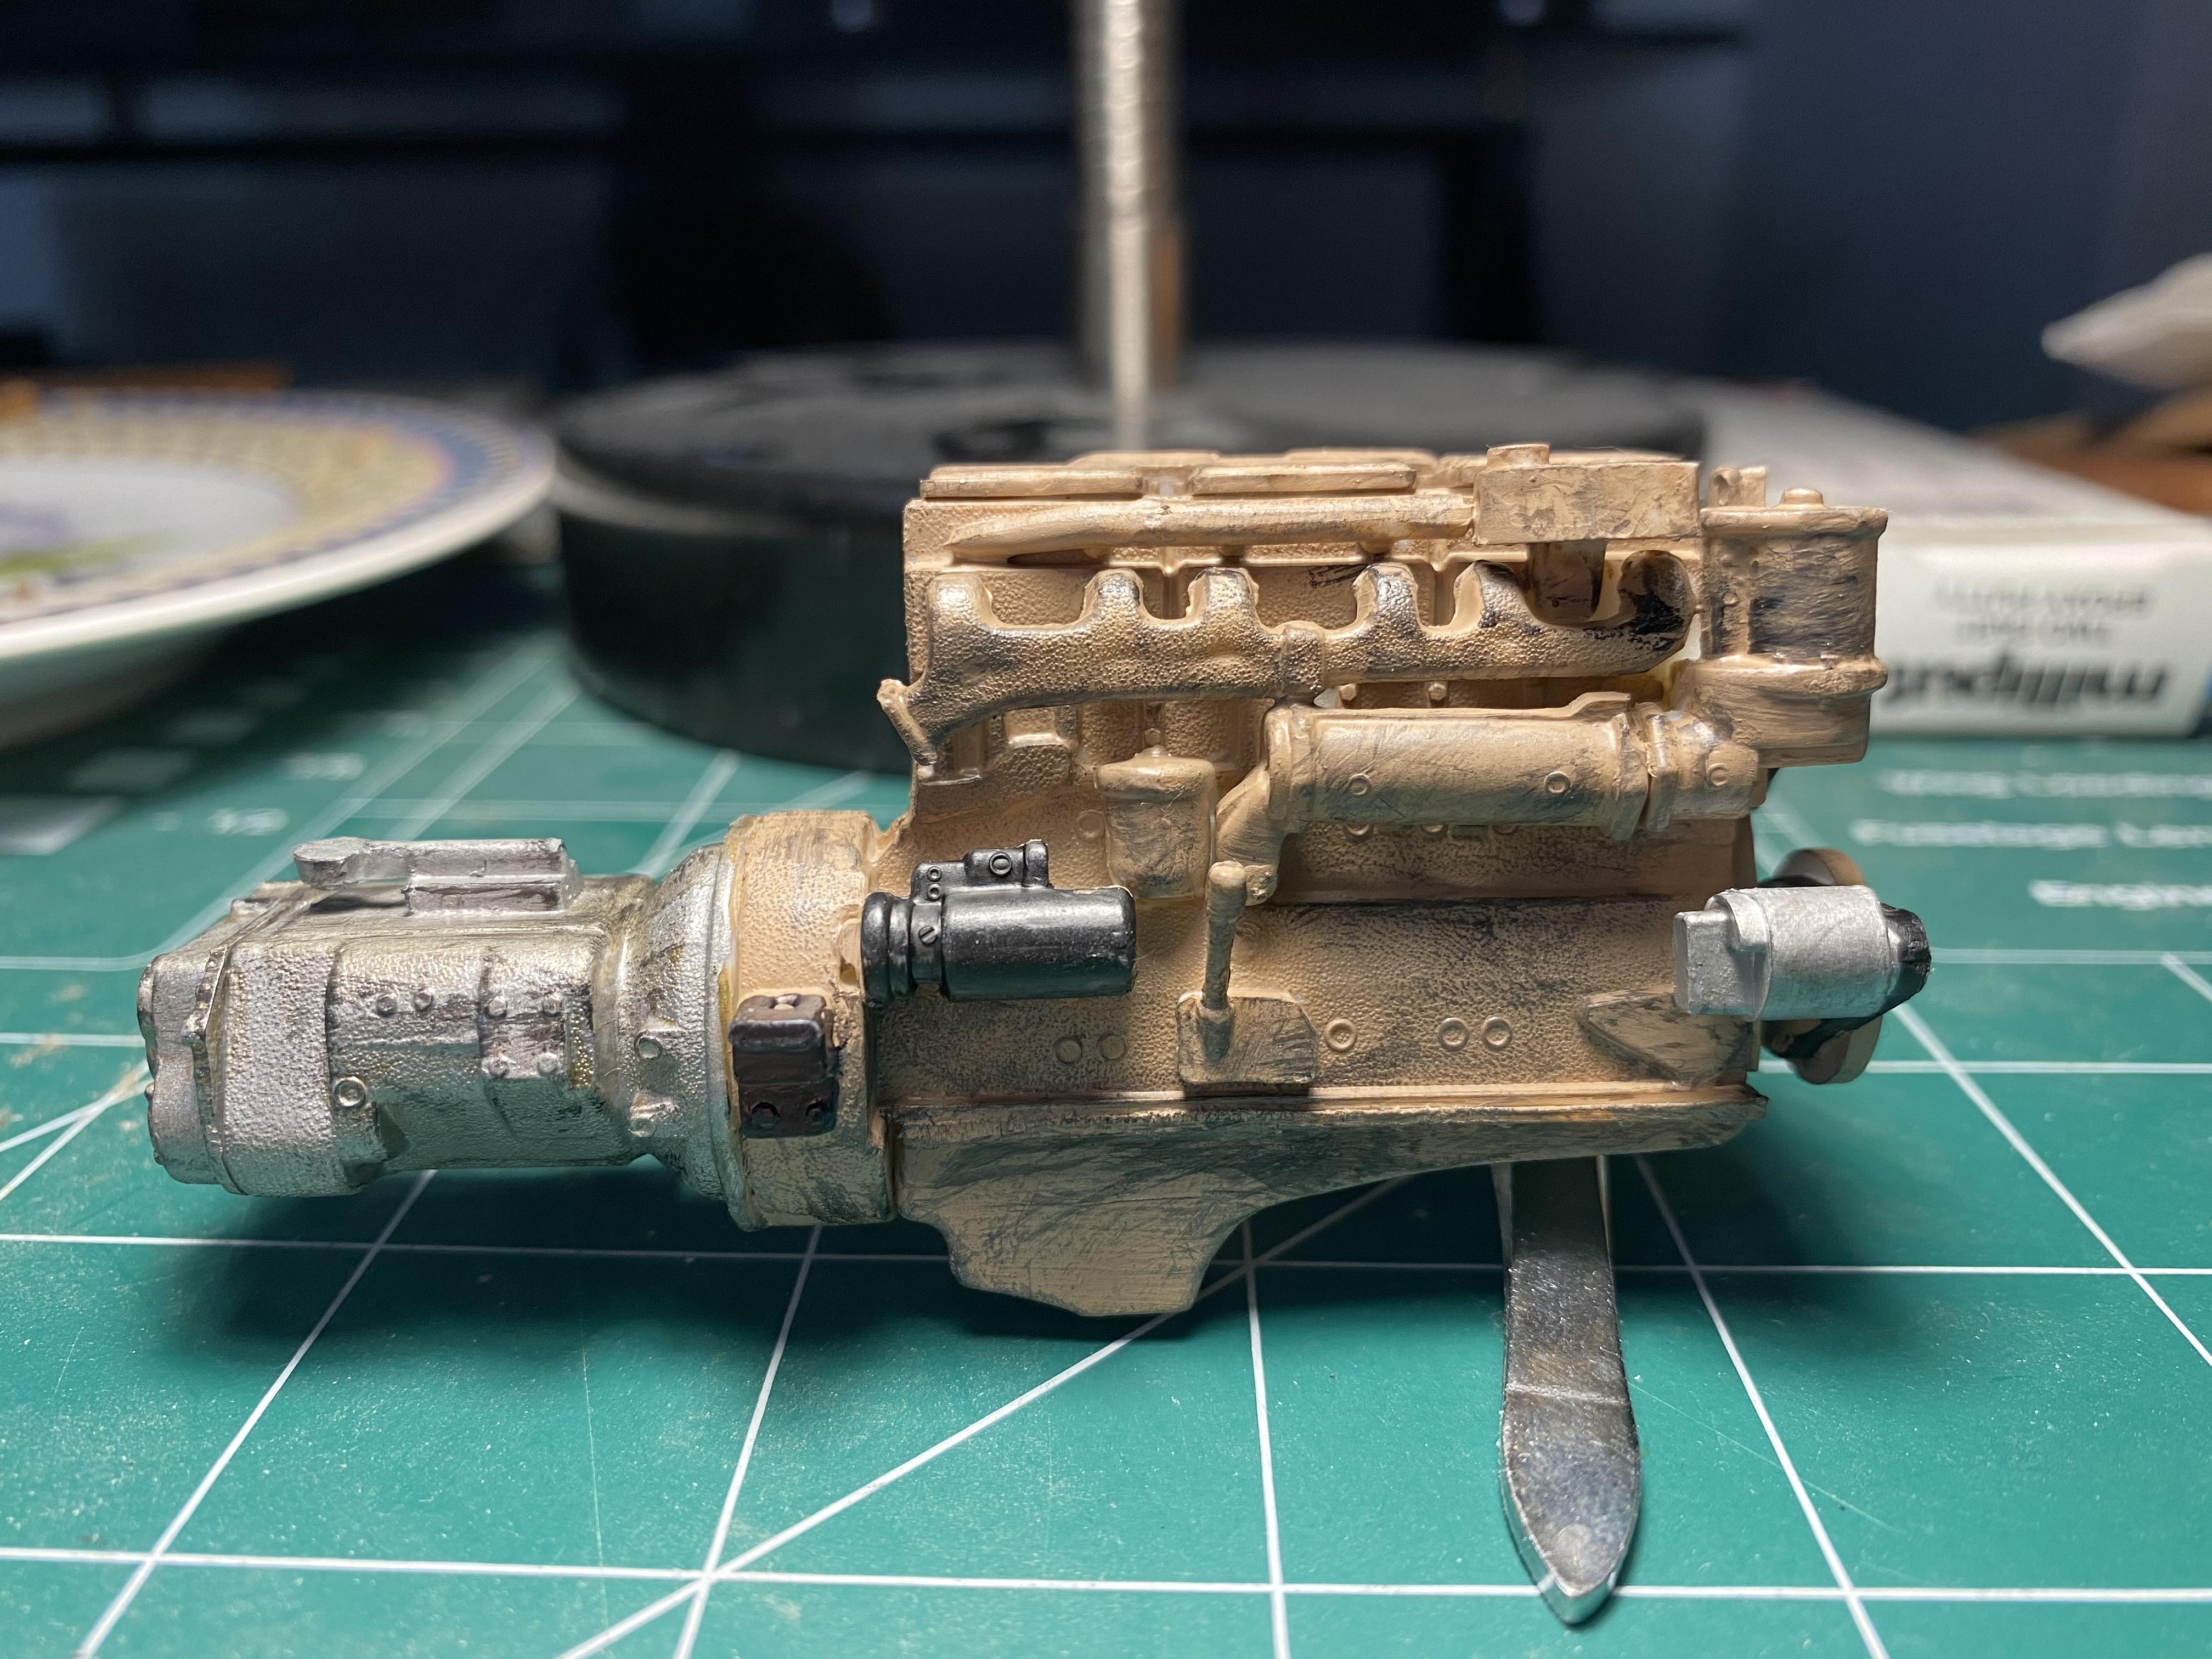
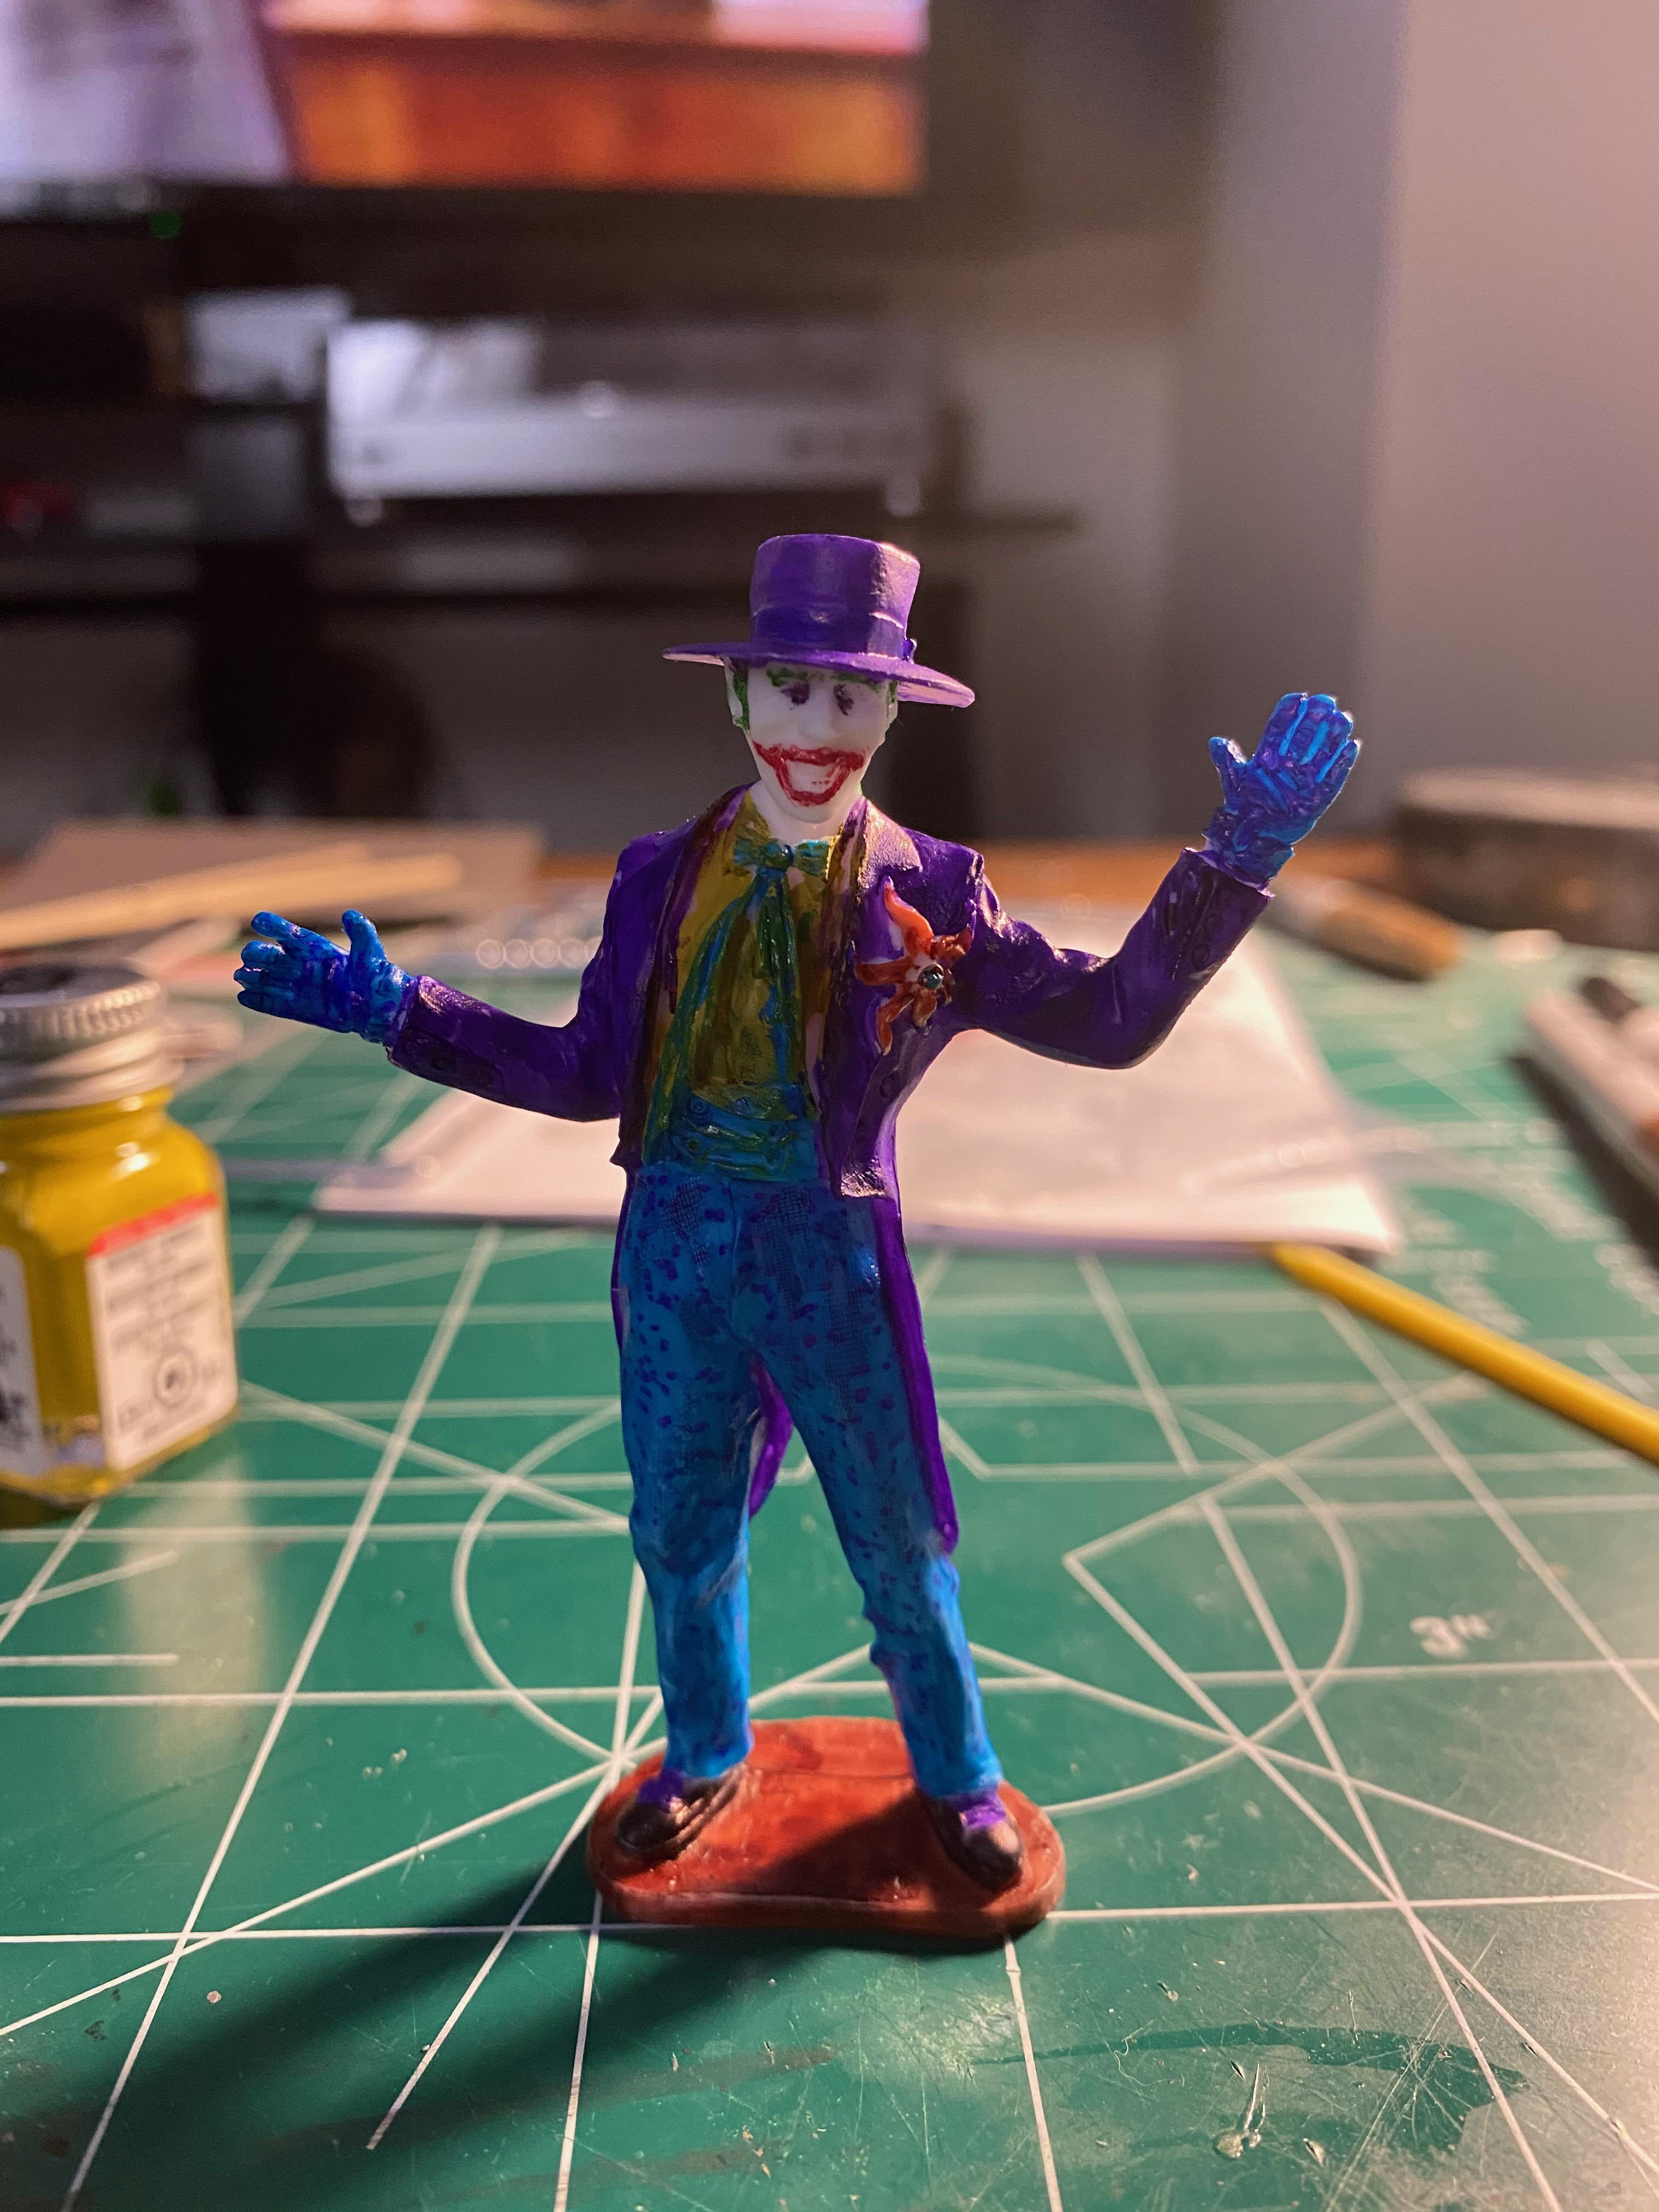
Interior was done in Flat Zinc Chromate (yeah, me either, but it's an awful mustard yellow, so perfect for The Joker). Some experimenting with fine tip Sharpies revealed that the blue turns a nice purple. Orange gauges were requested.
-
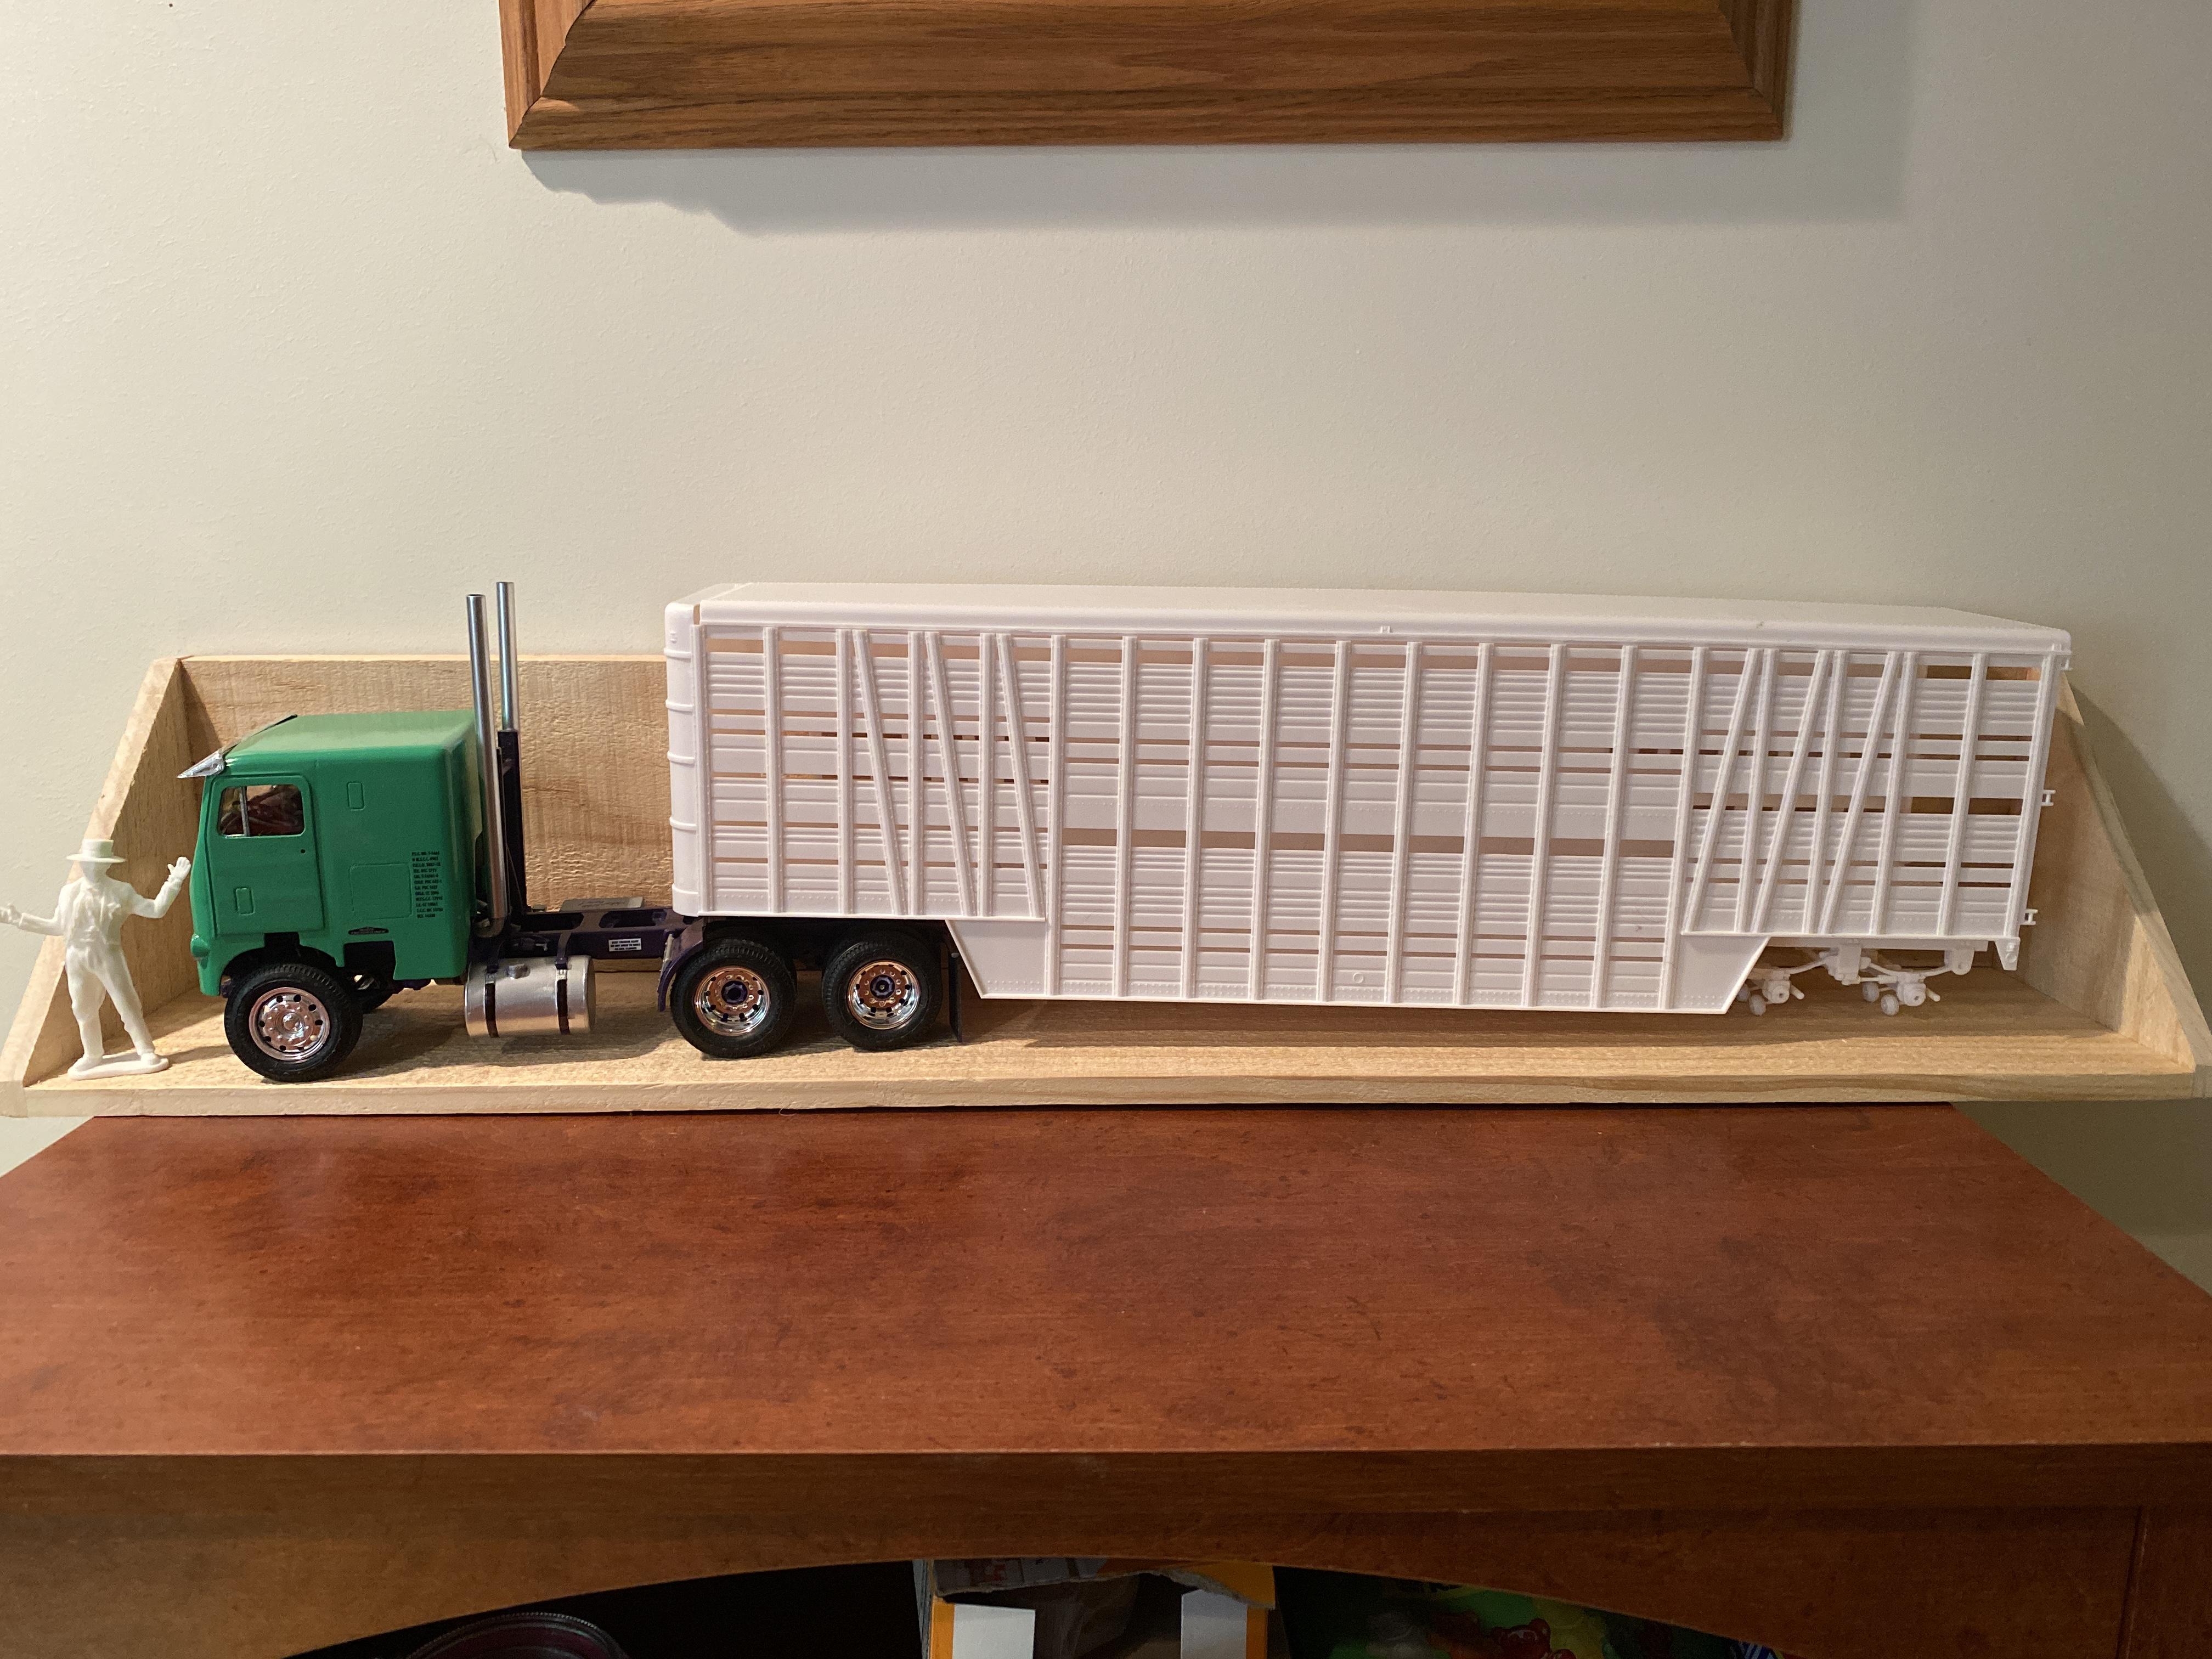
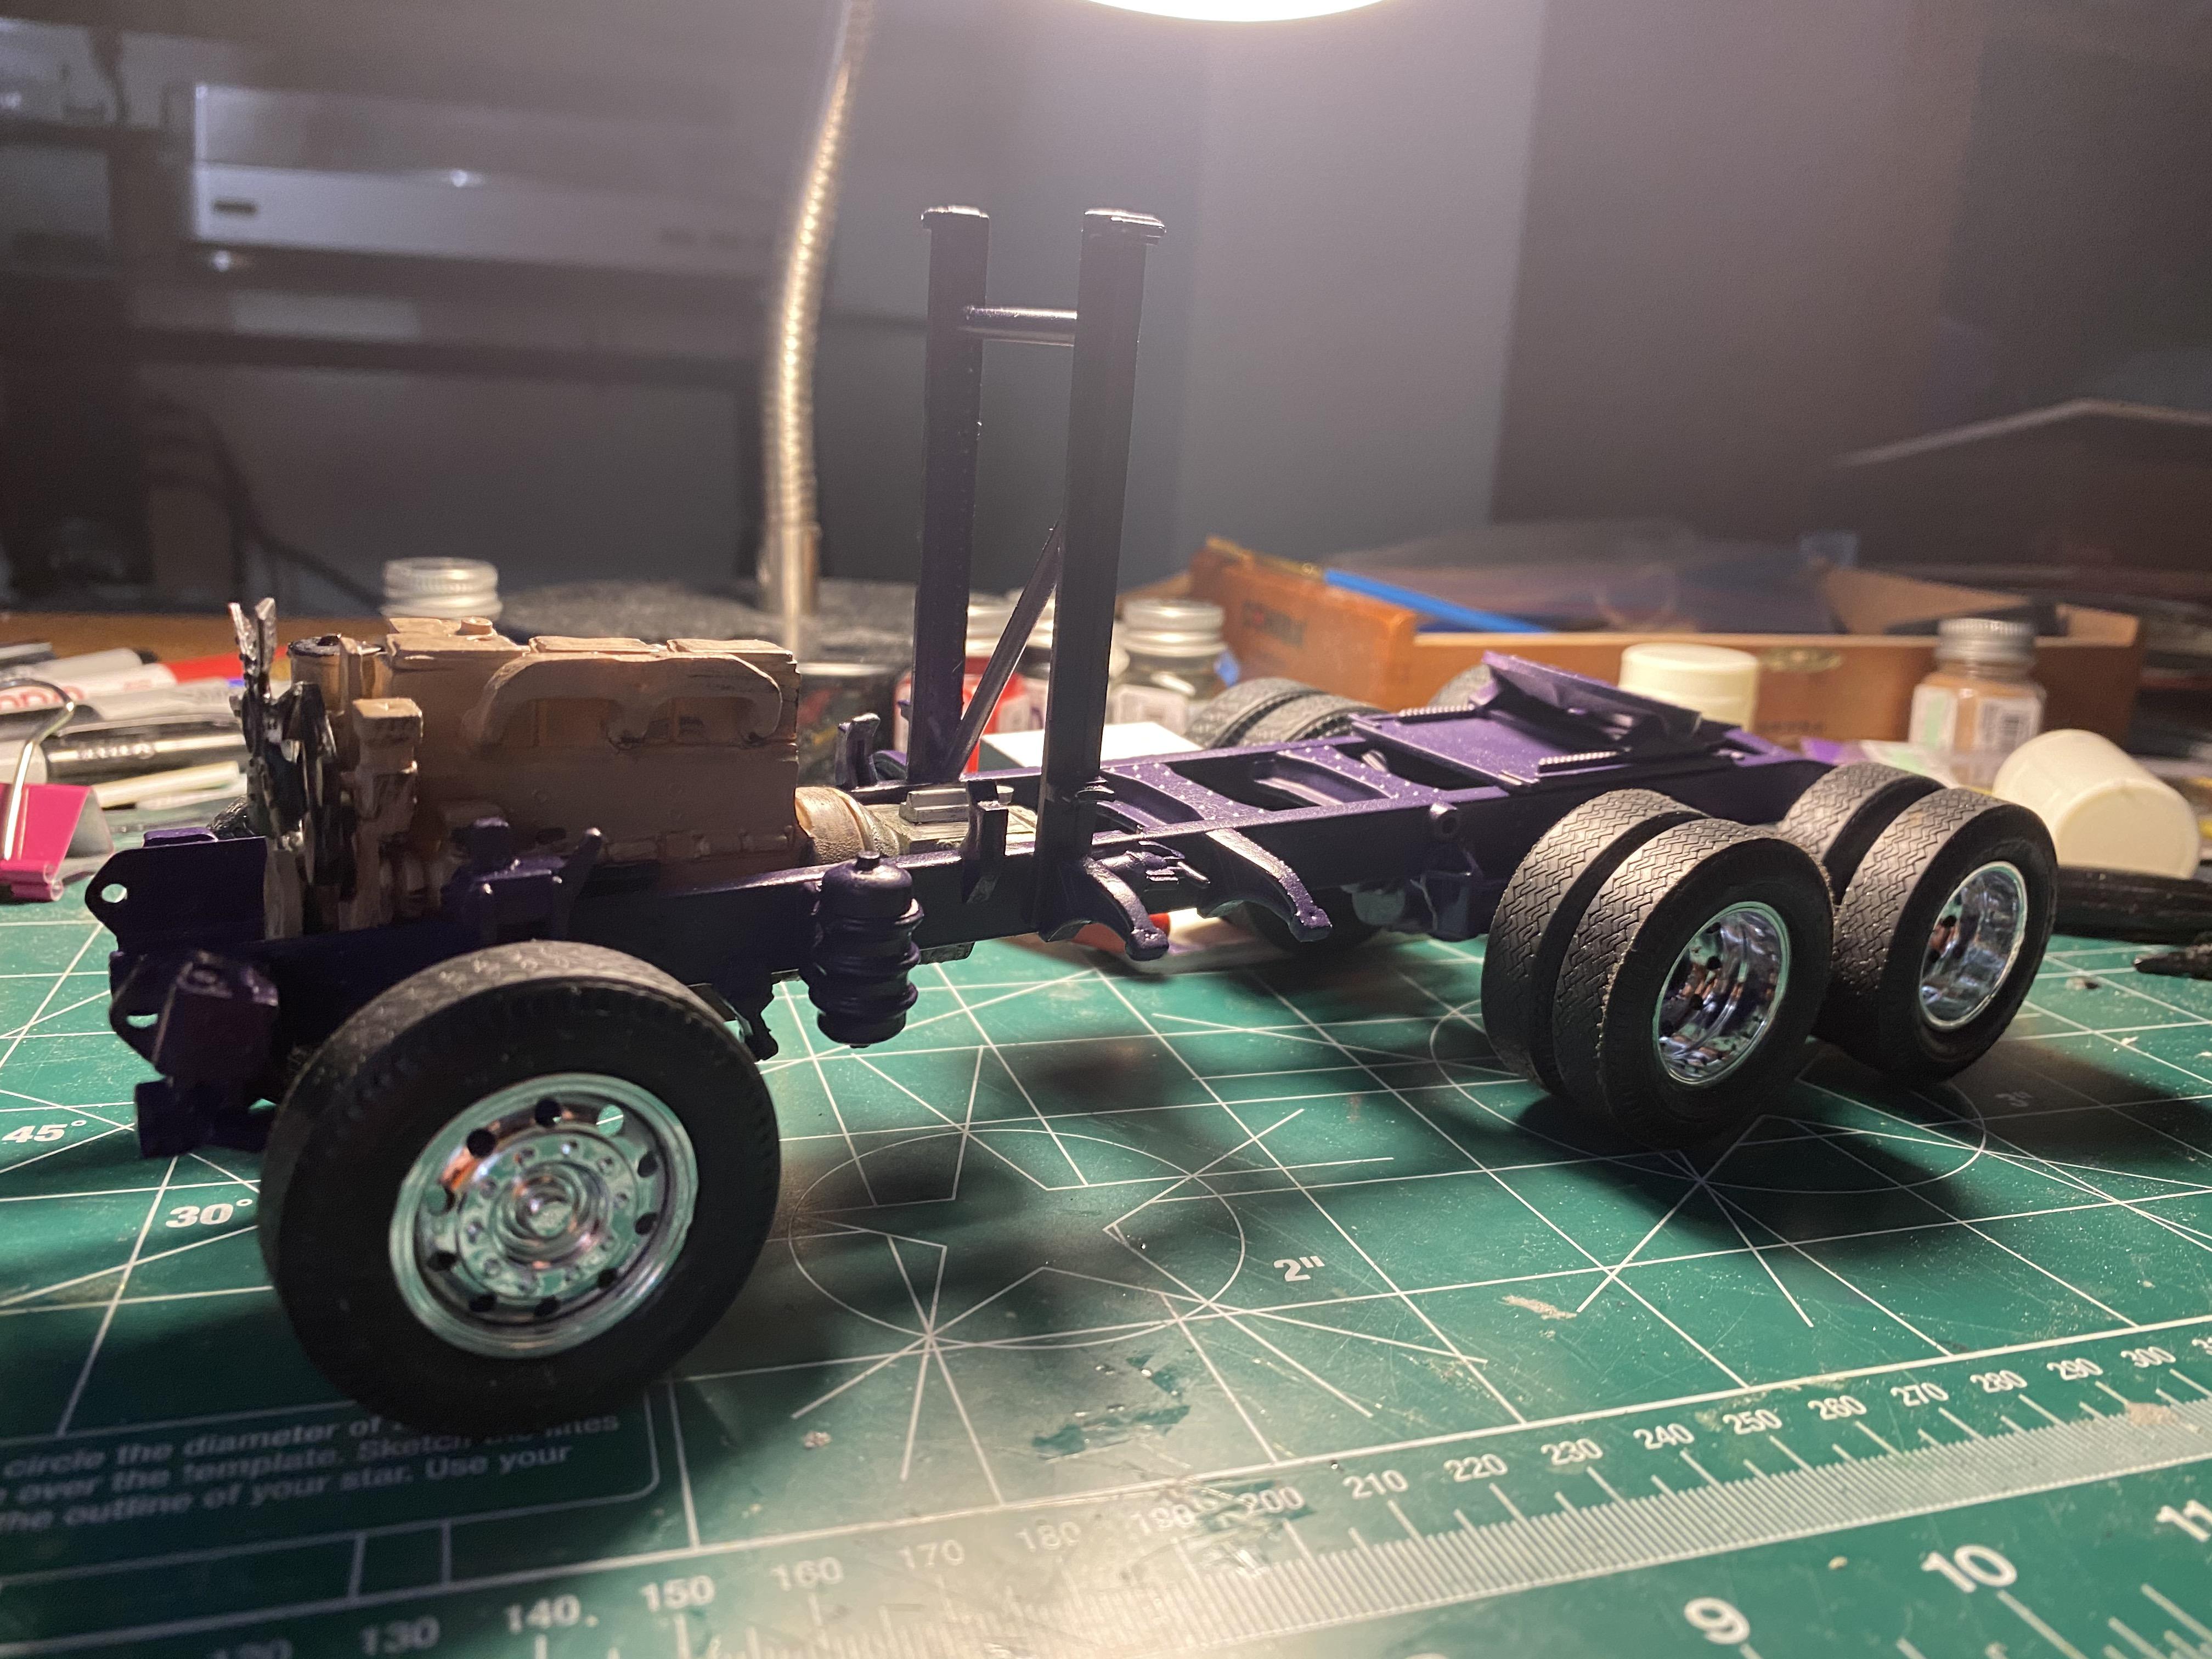
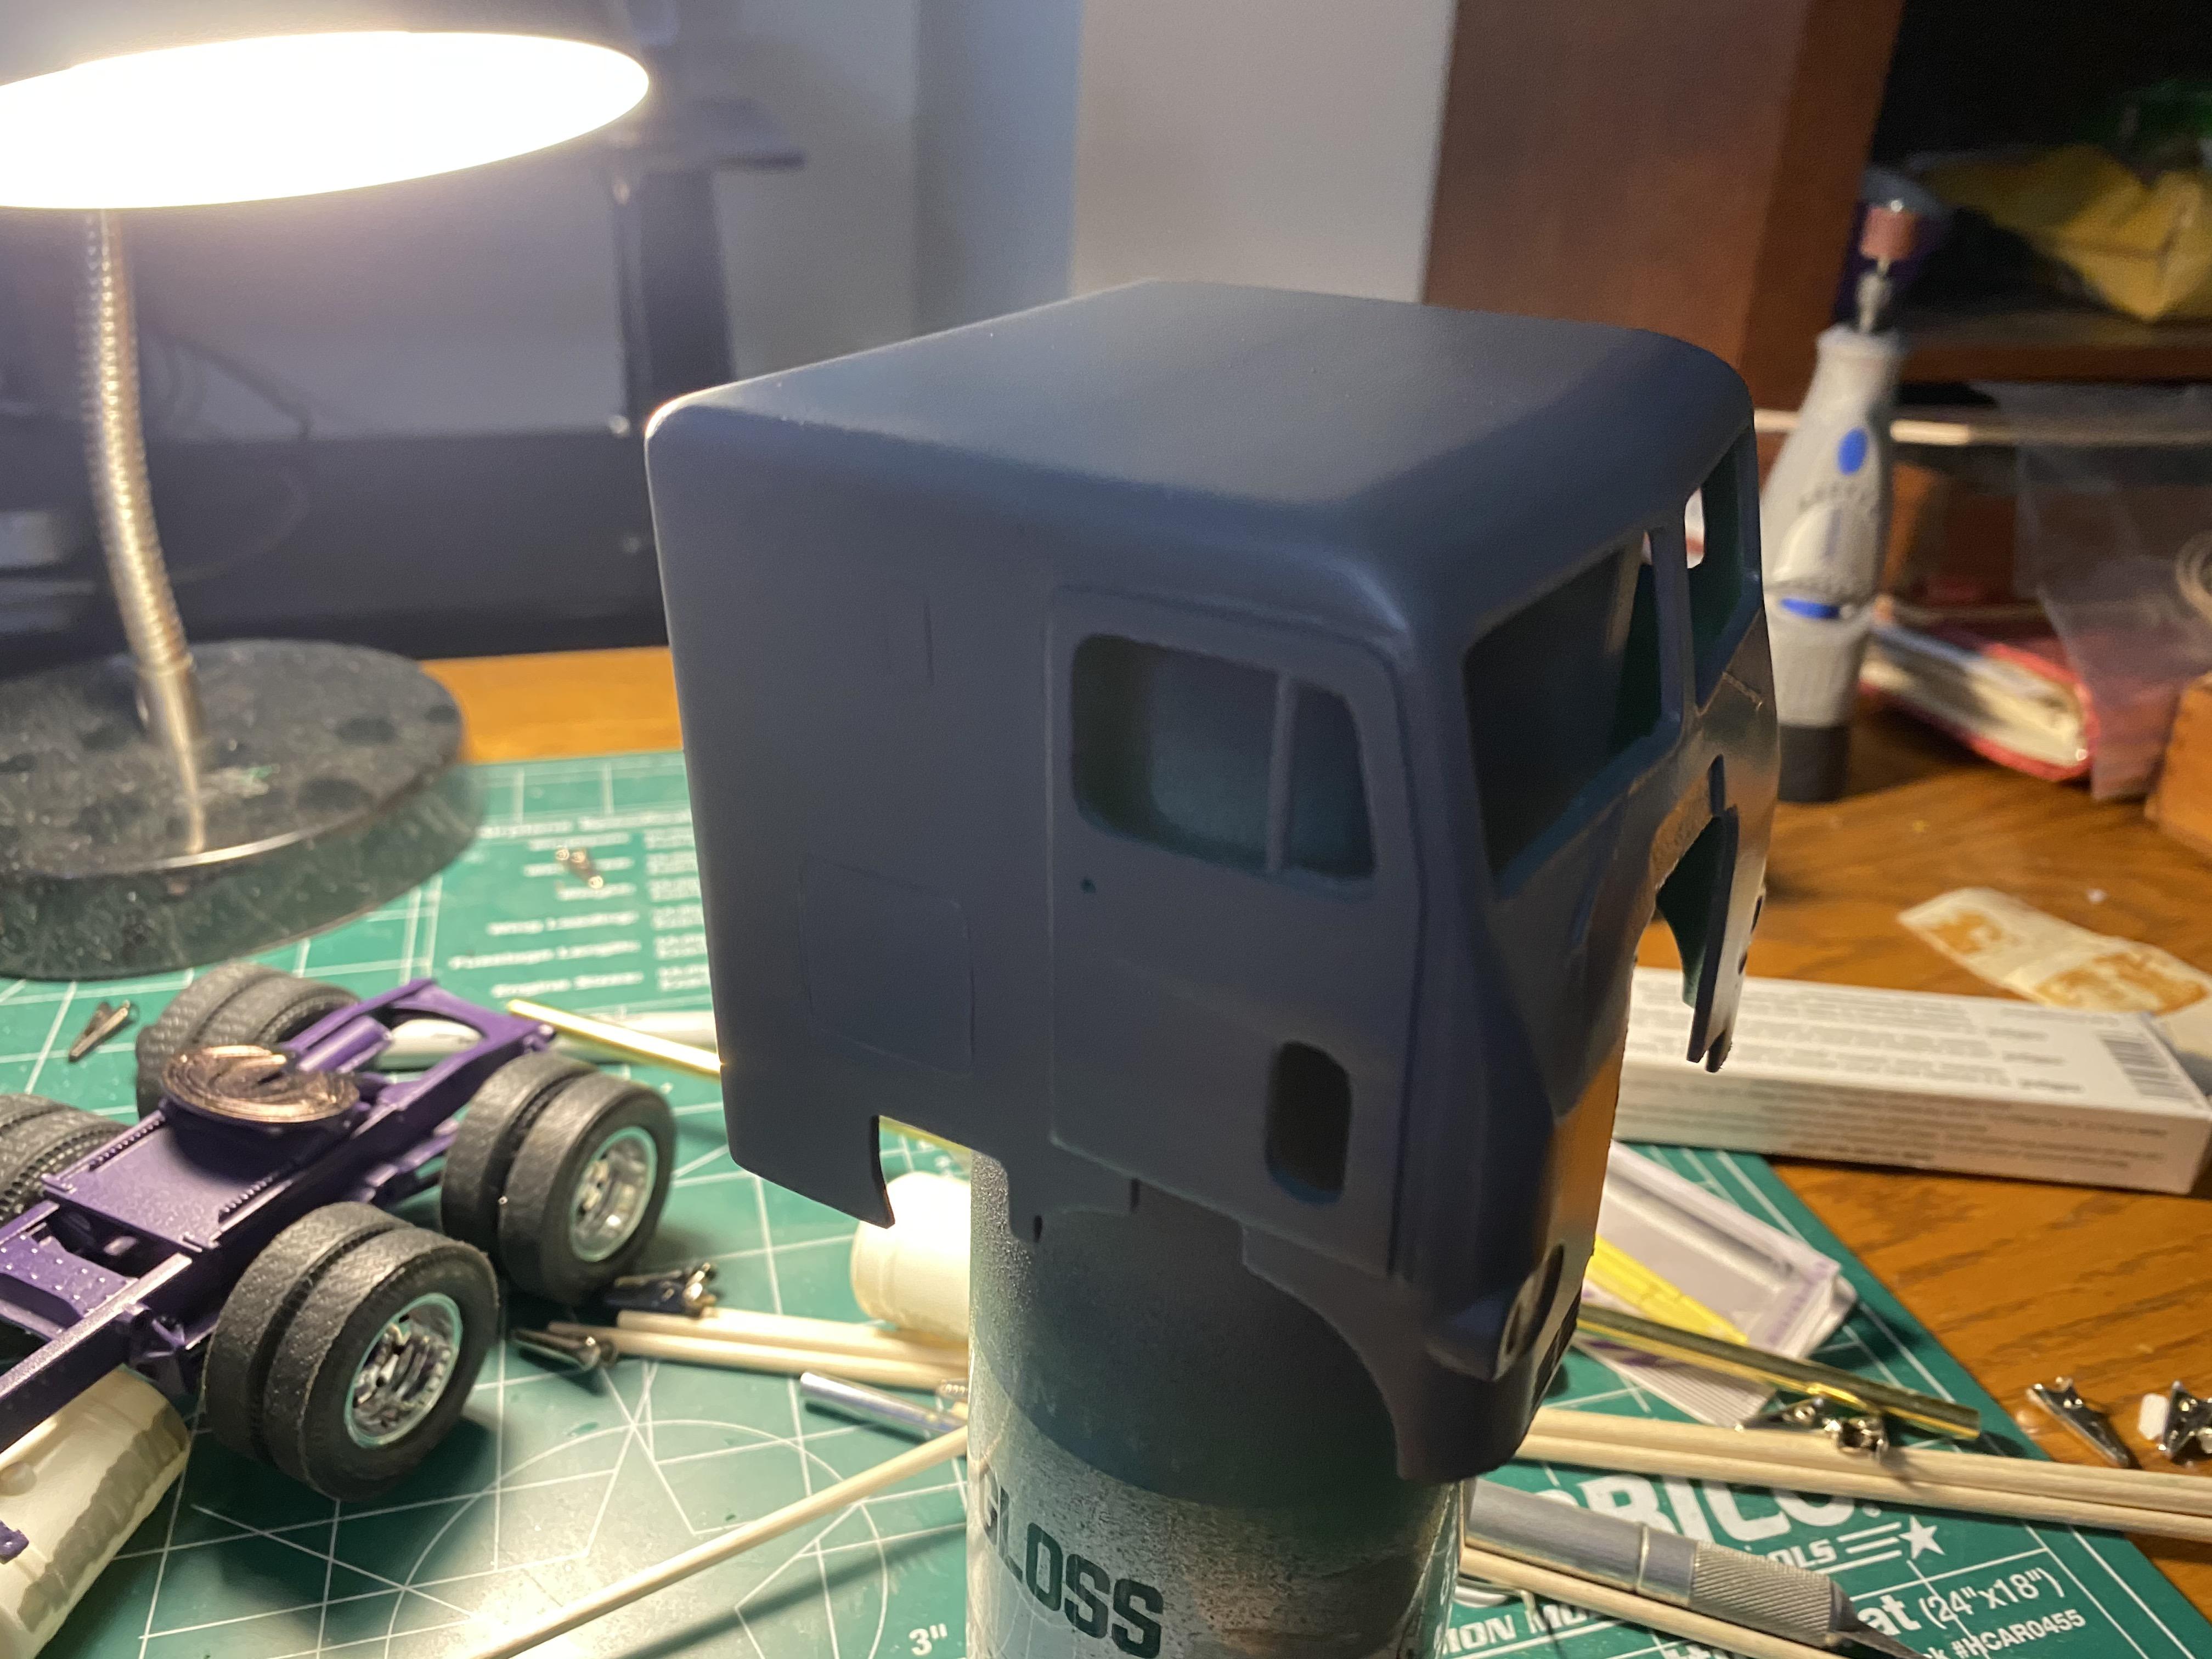
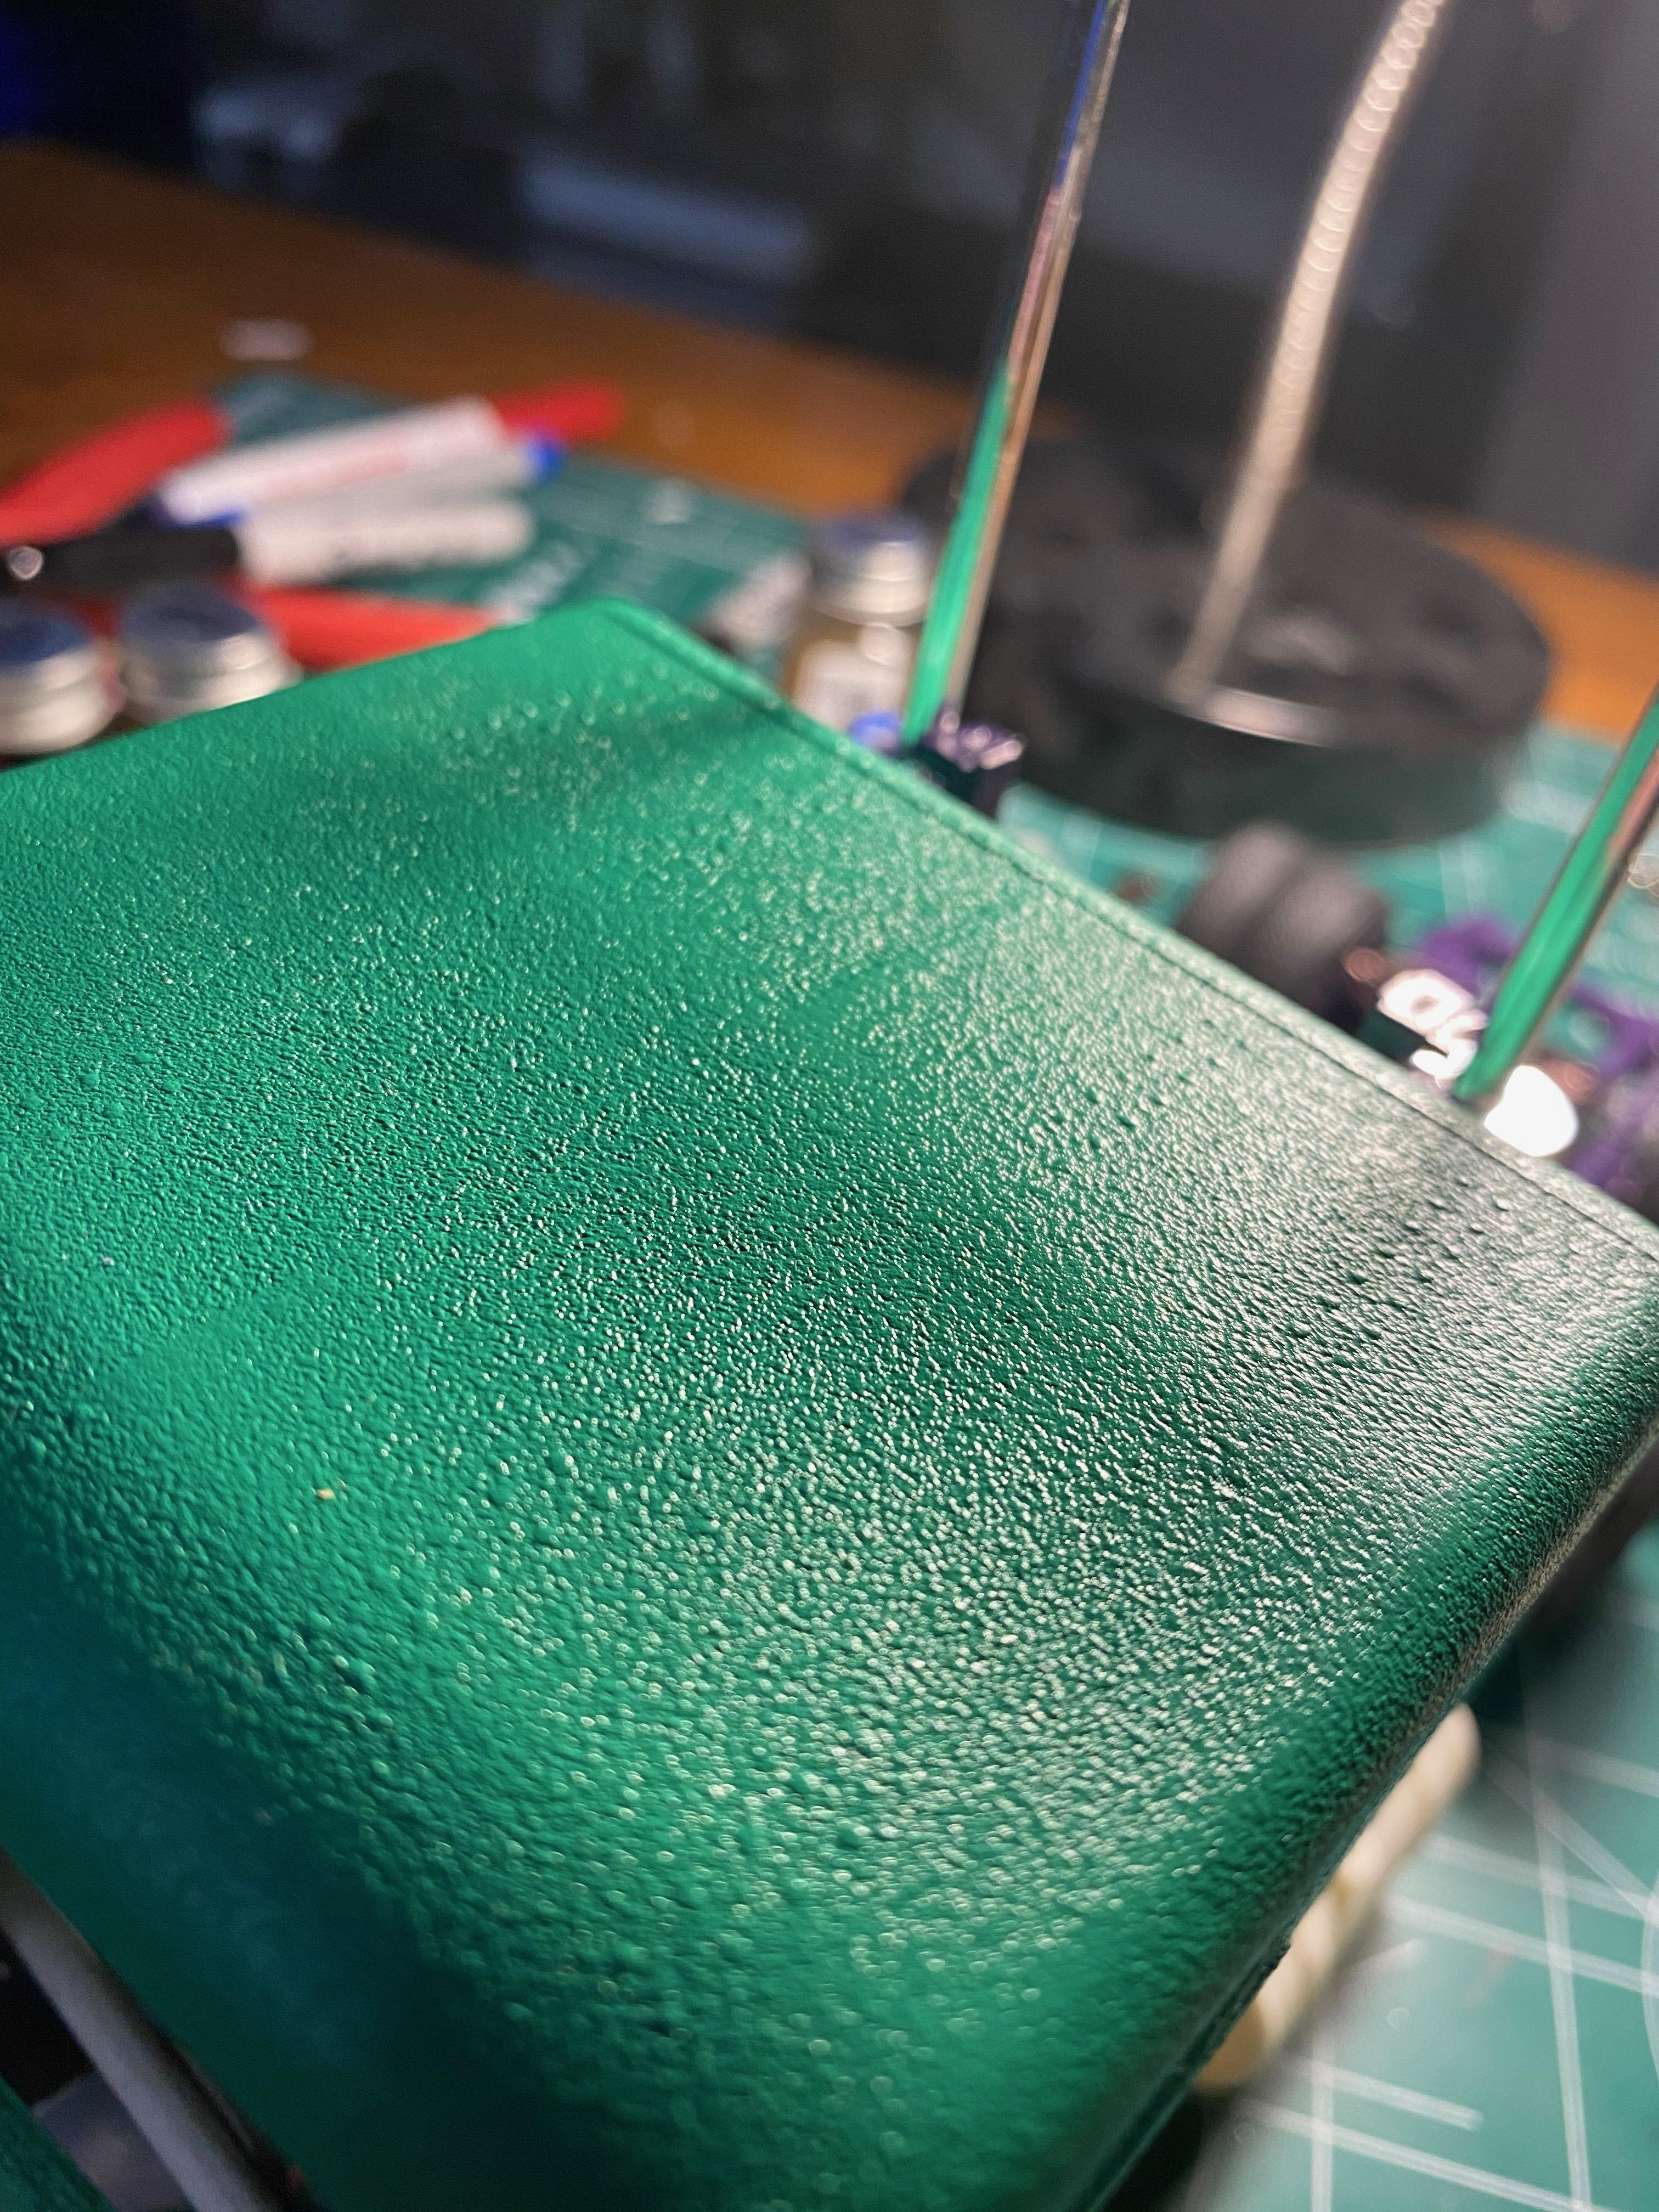
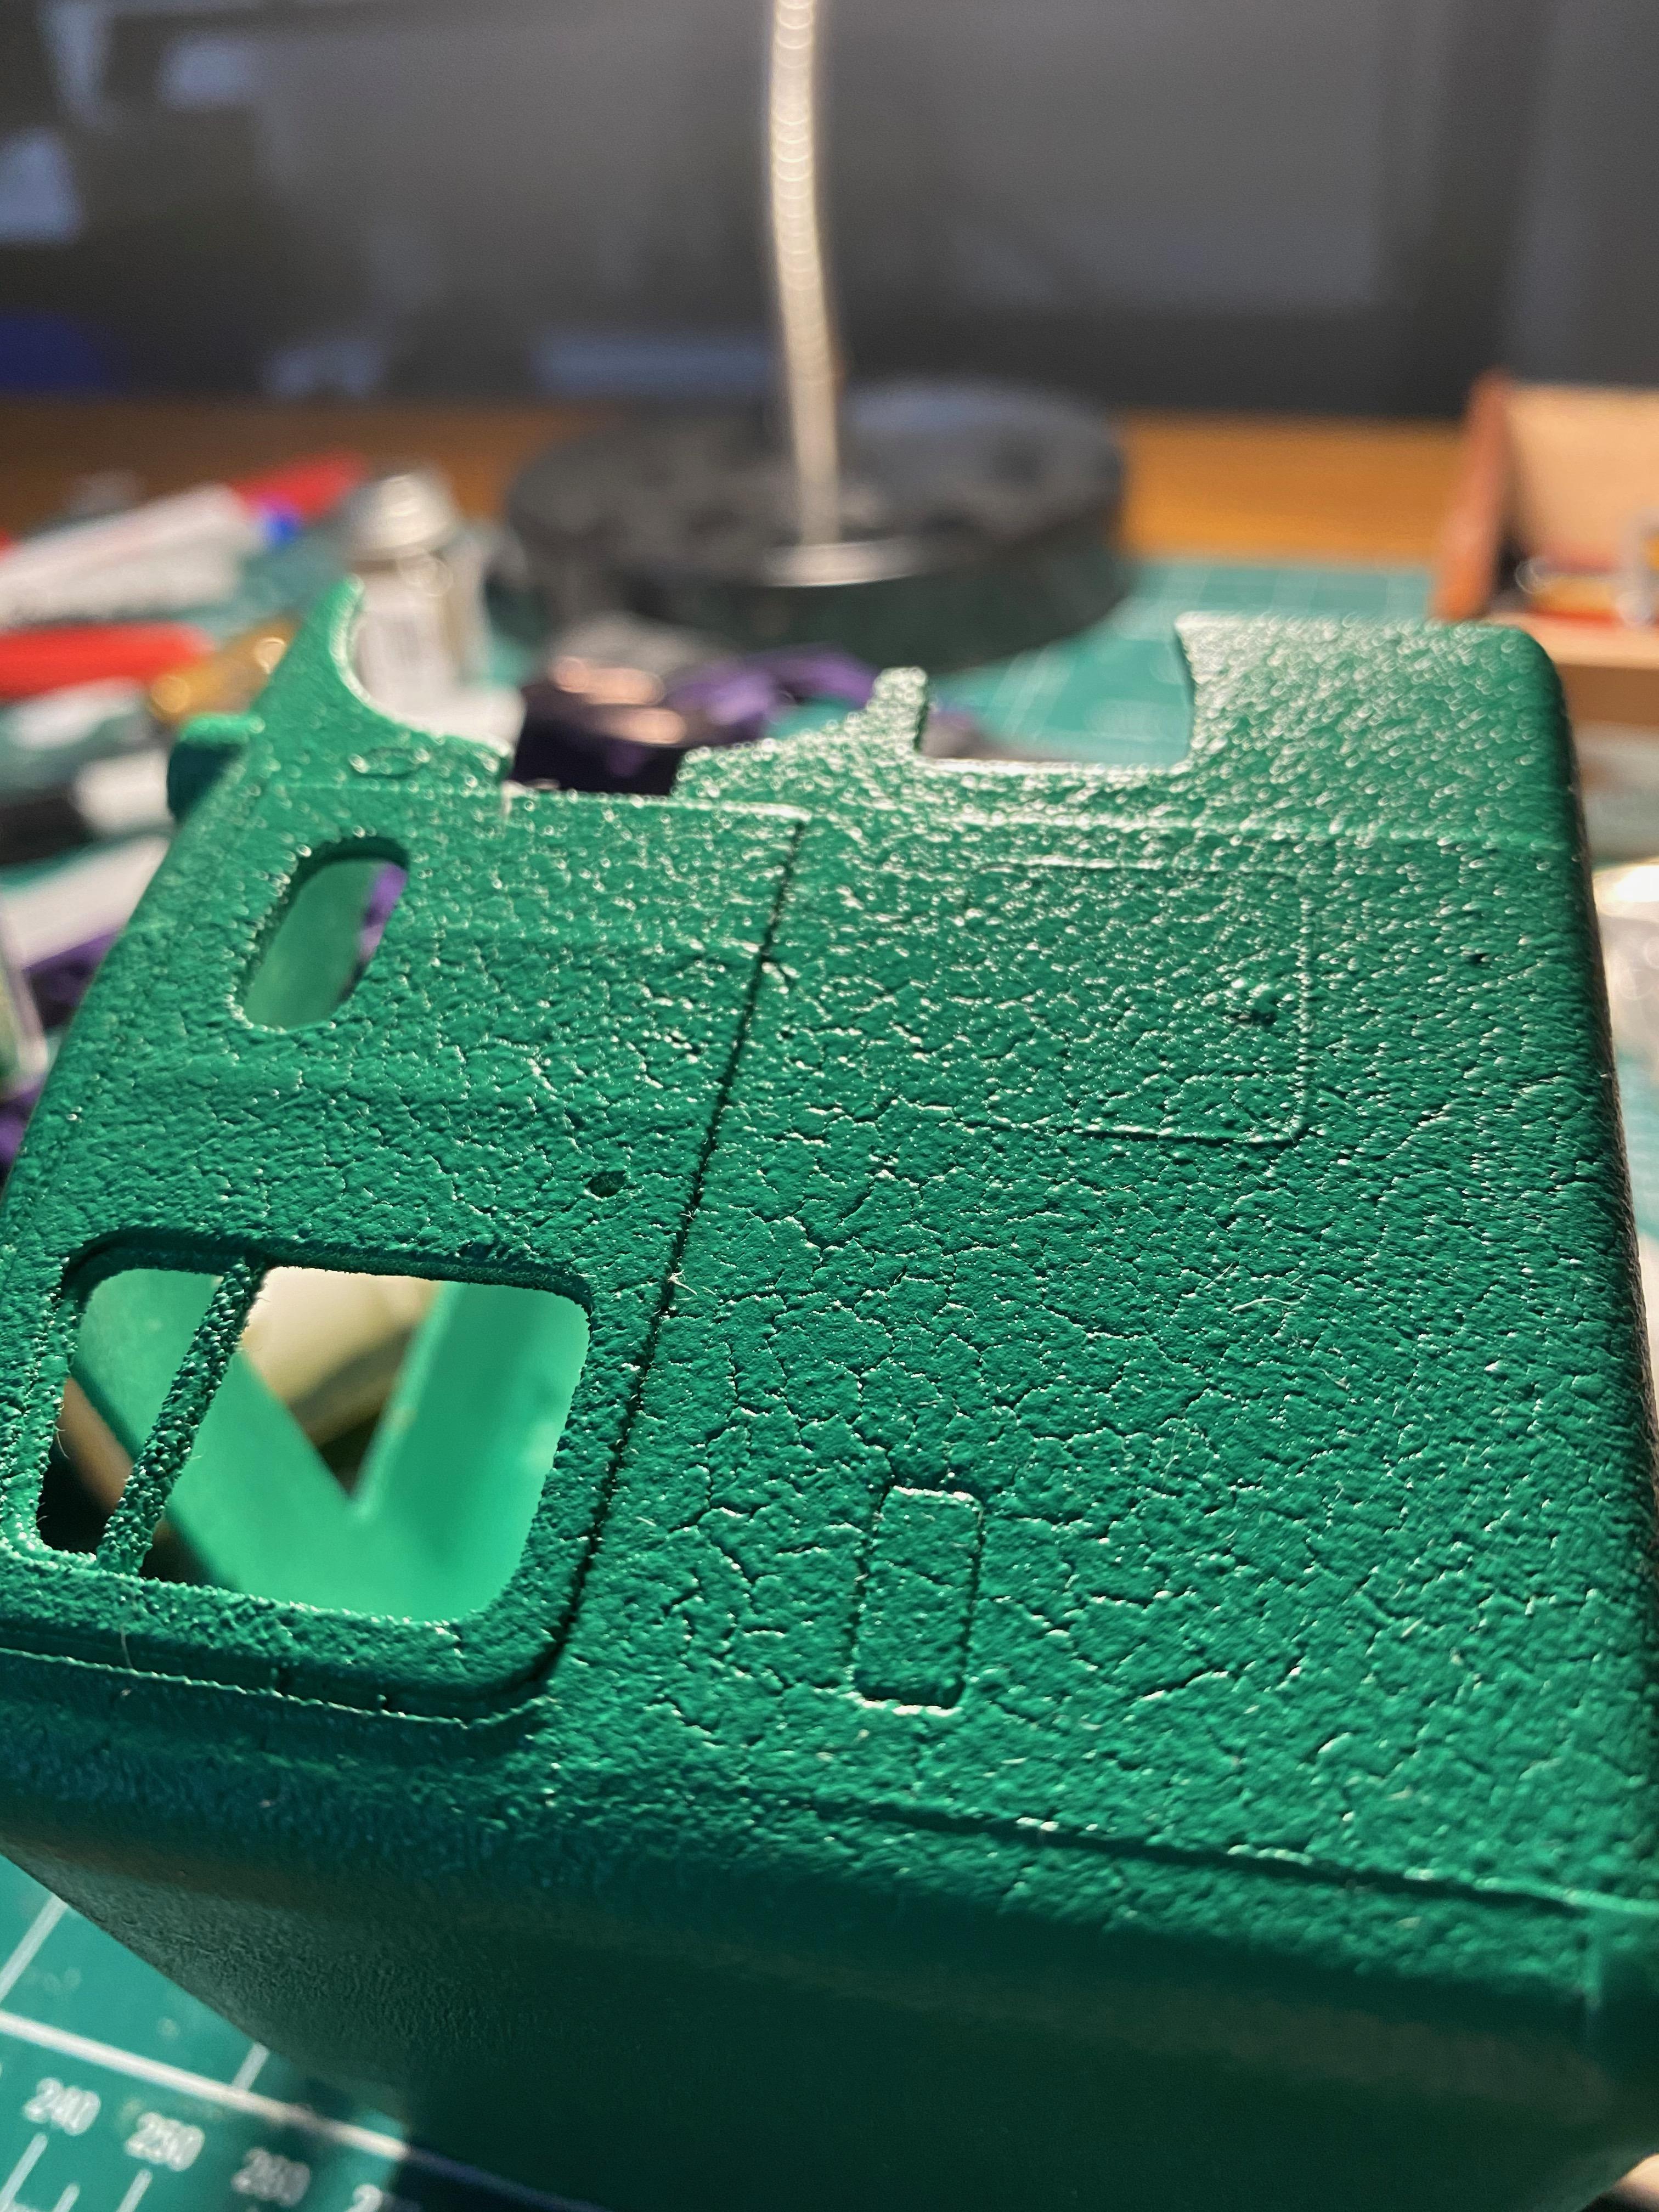
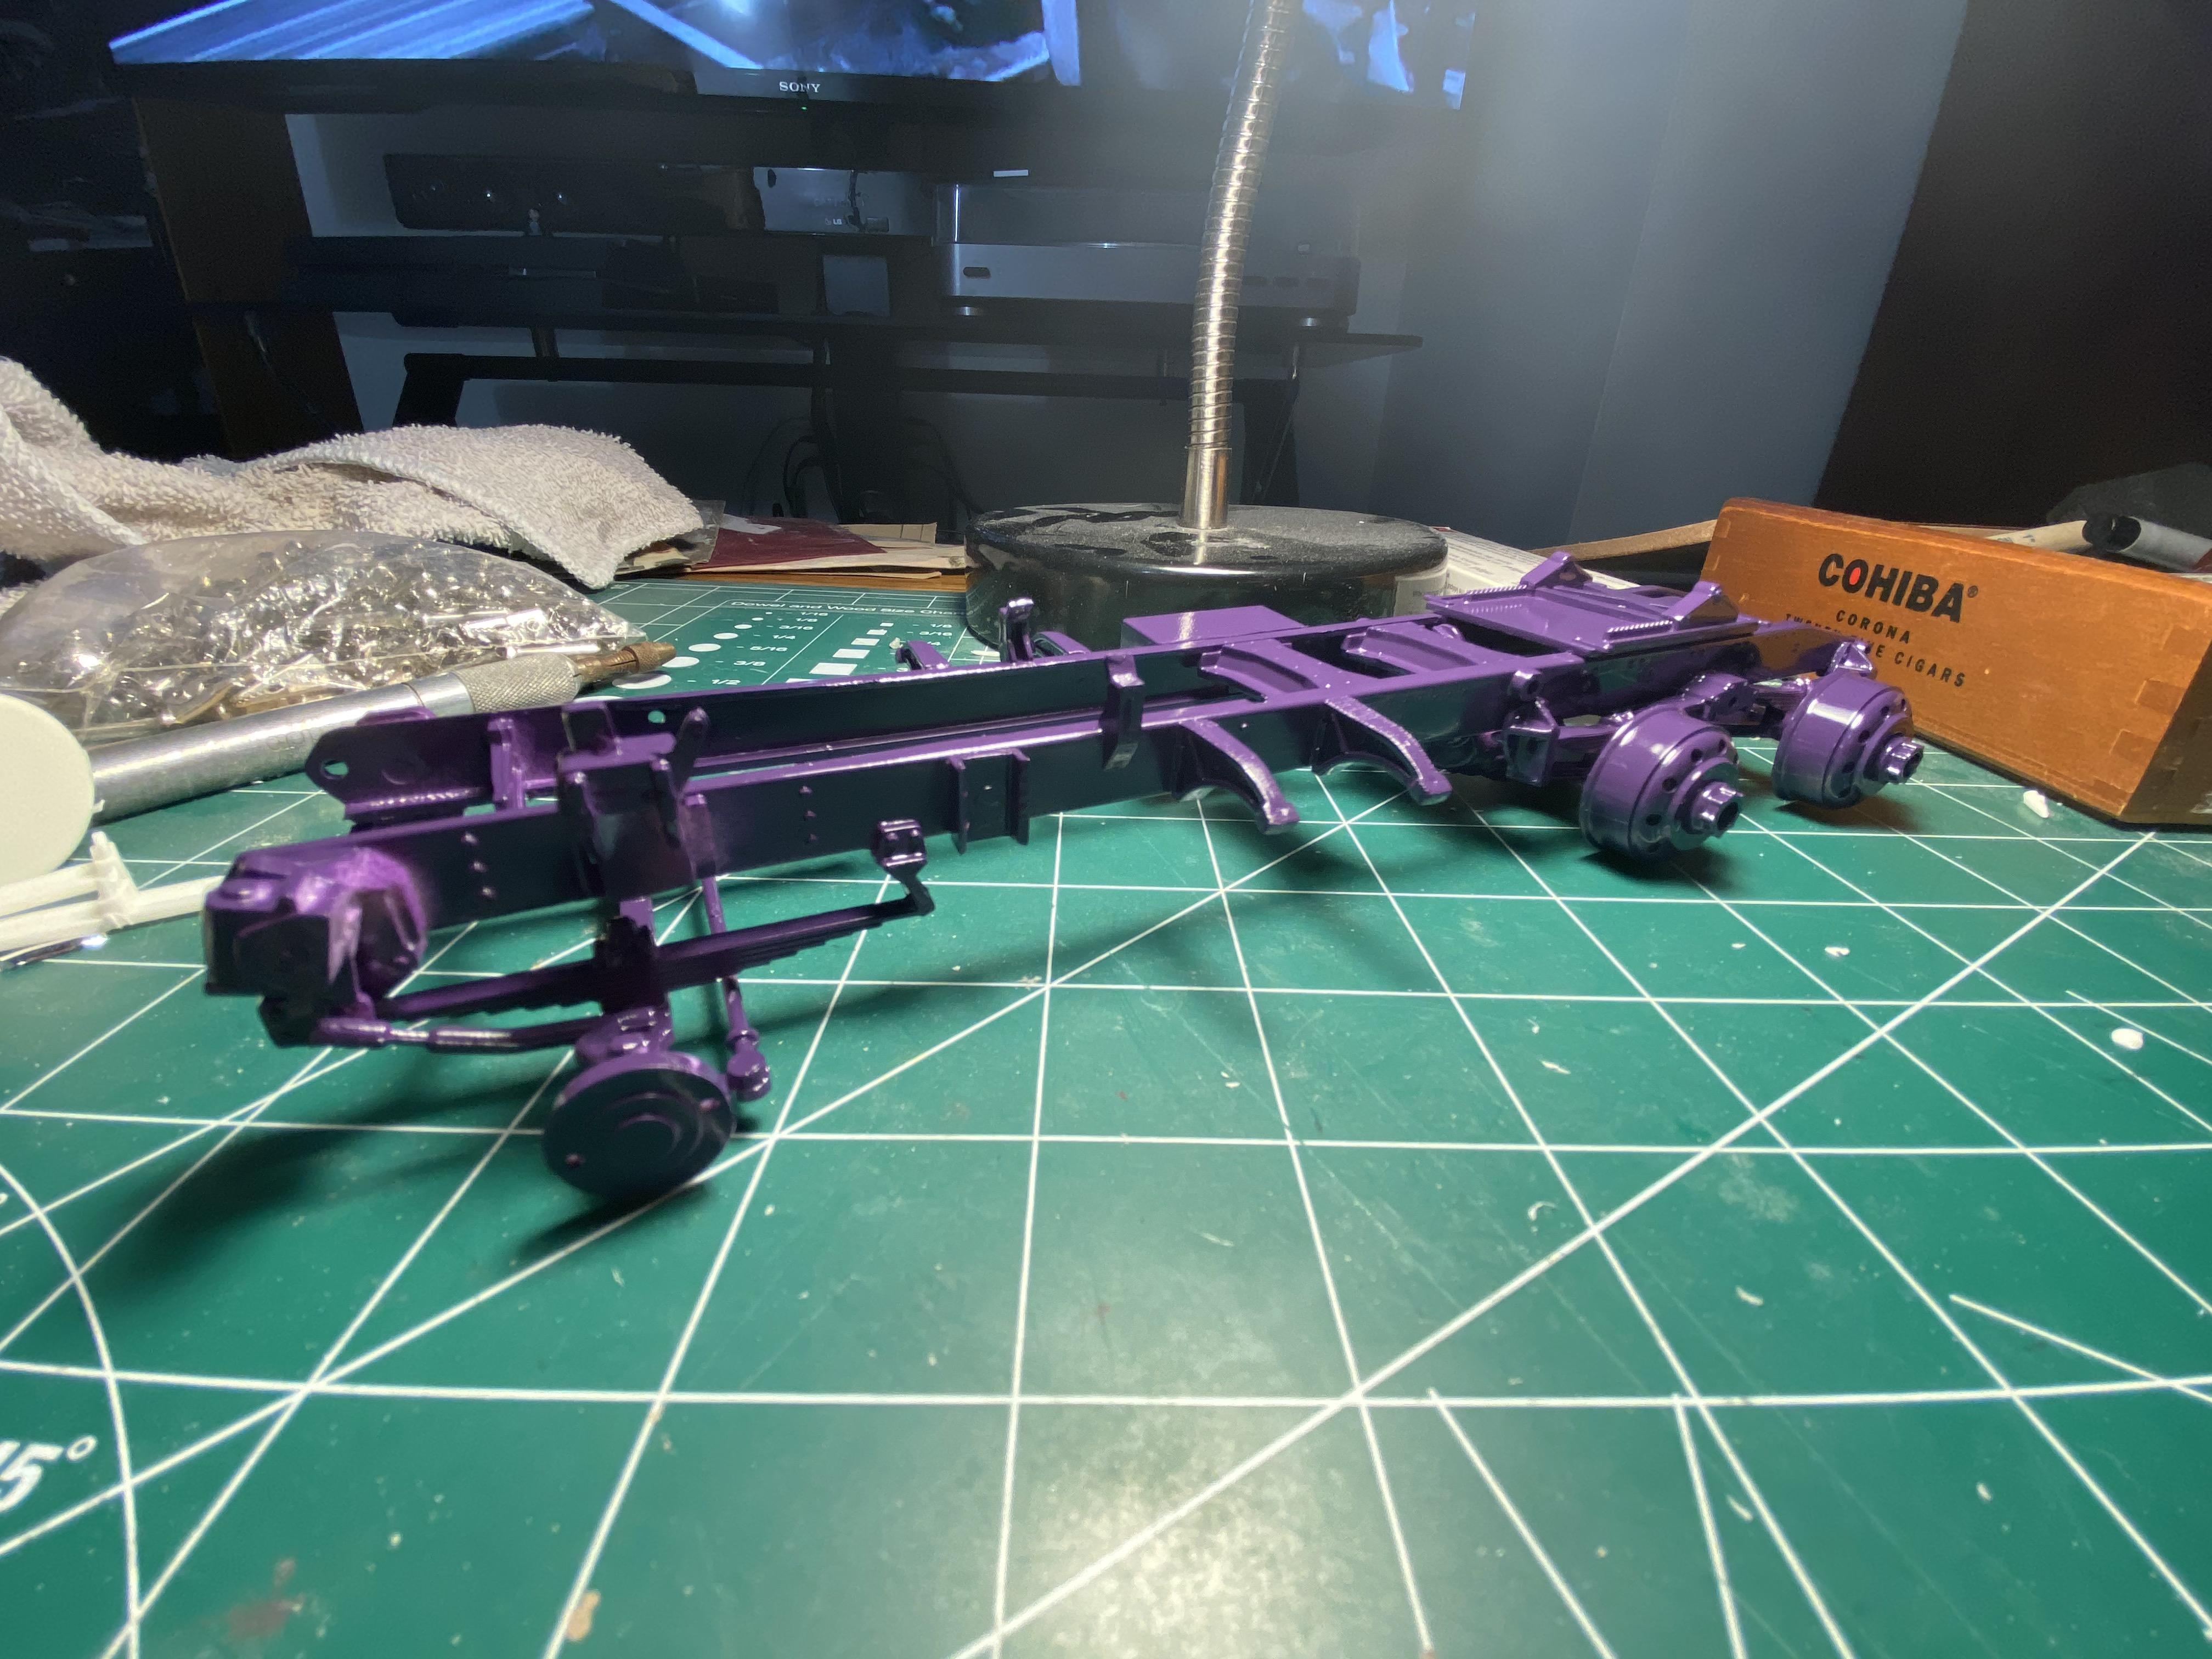
Into the purple bath we went. 3 days and the paint didn't budge. so, wet sanding commenced. Lost every bit of rivet detail, but it is what it is. Second go around was much more successful. Still some spots I'm not happy with, but I can work around them.
-
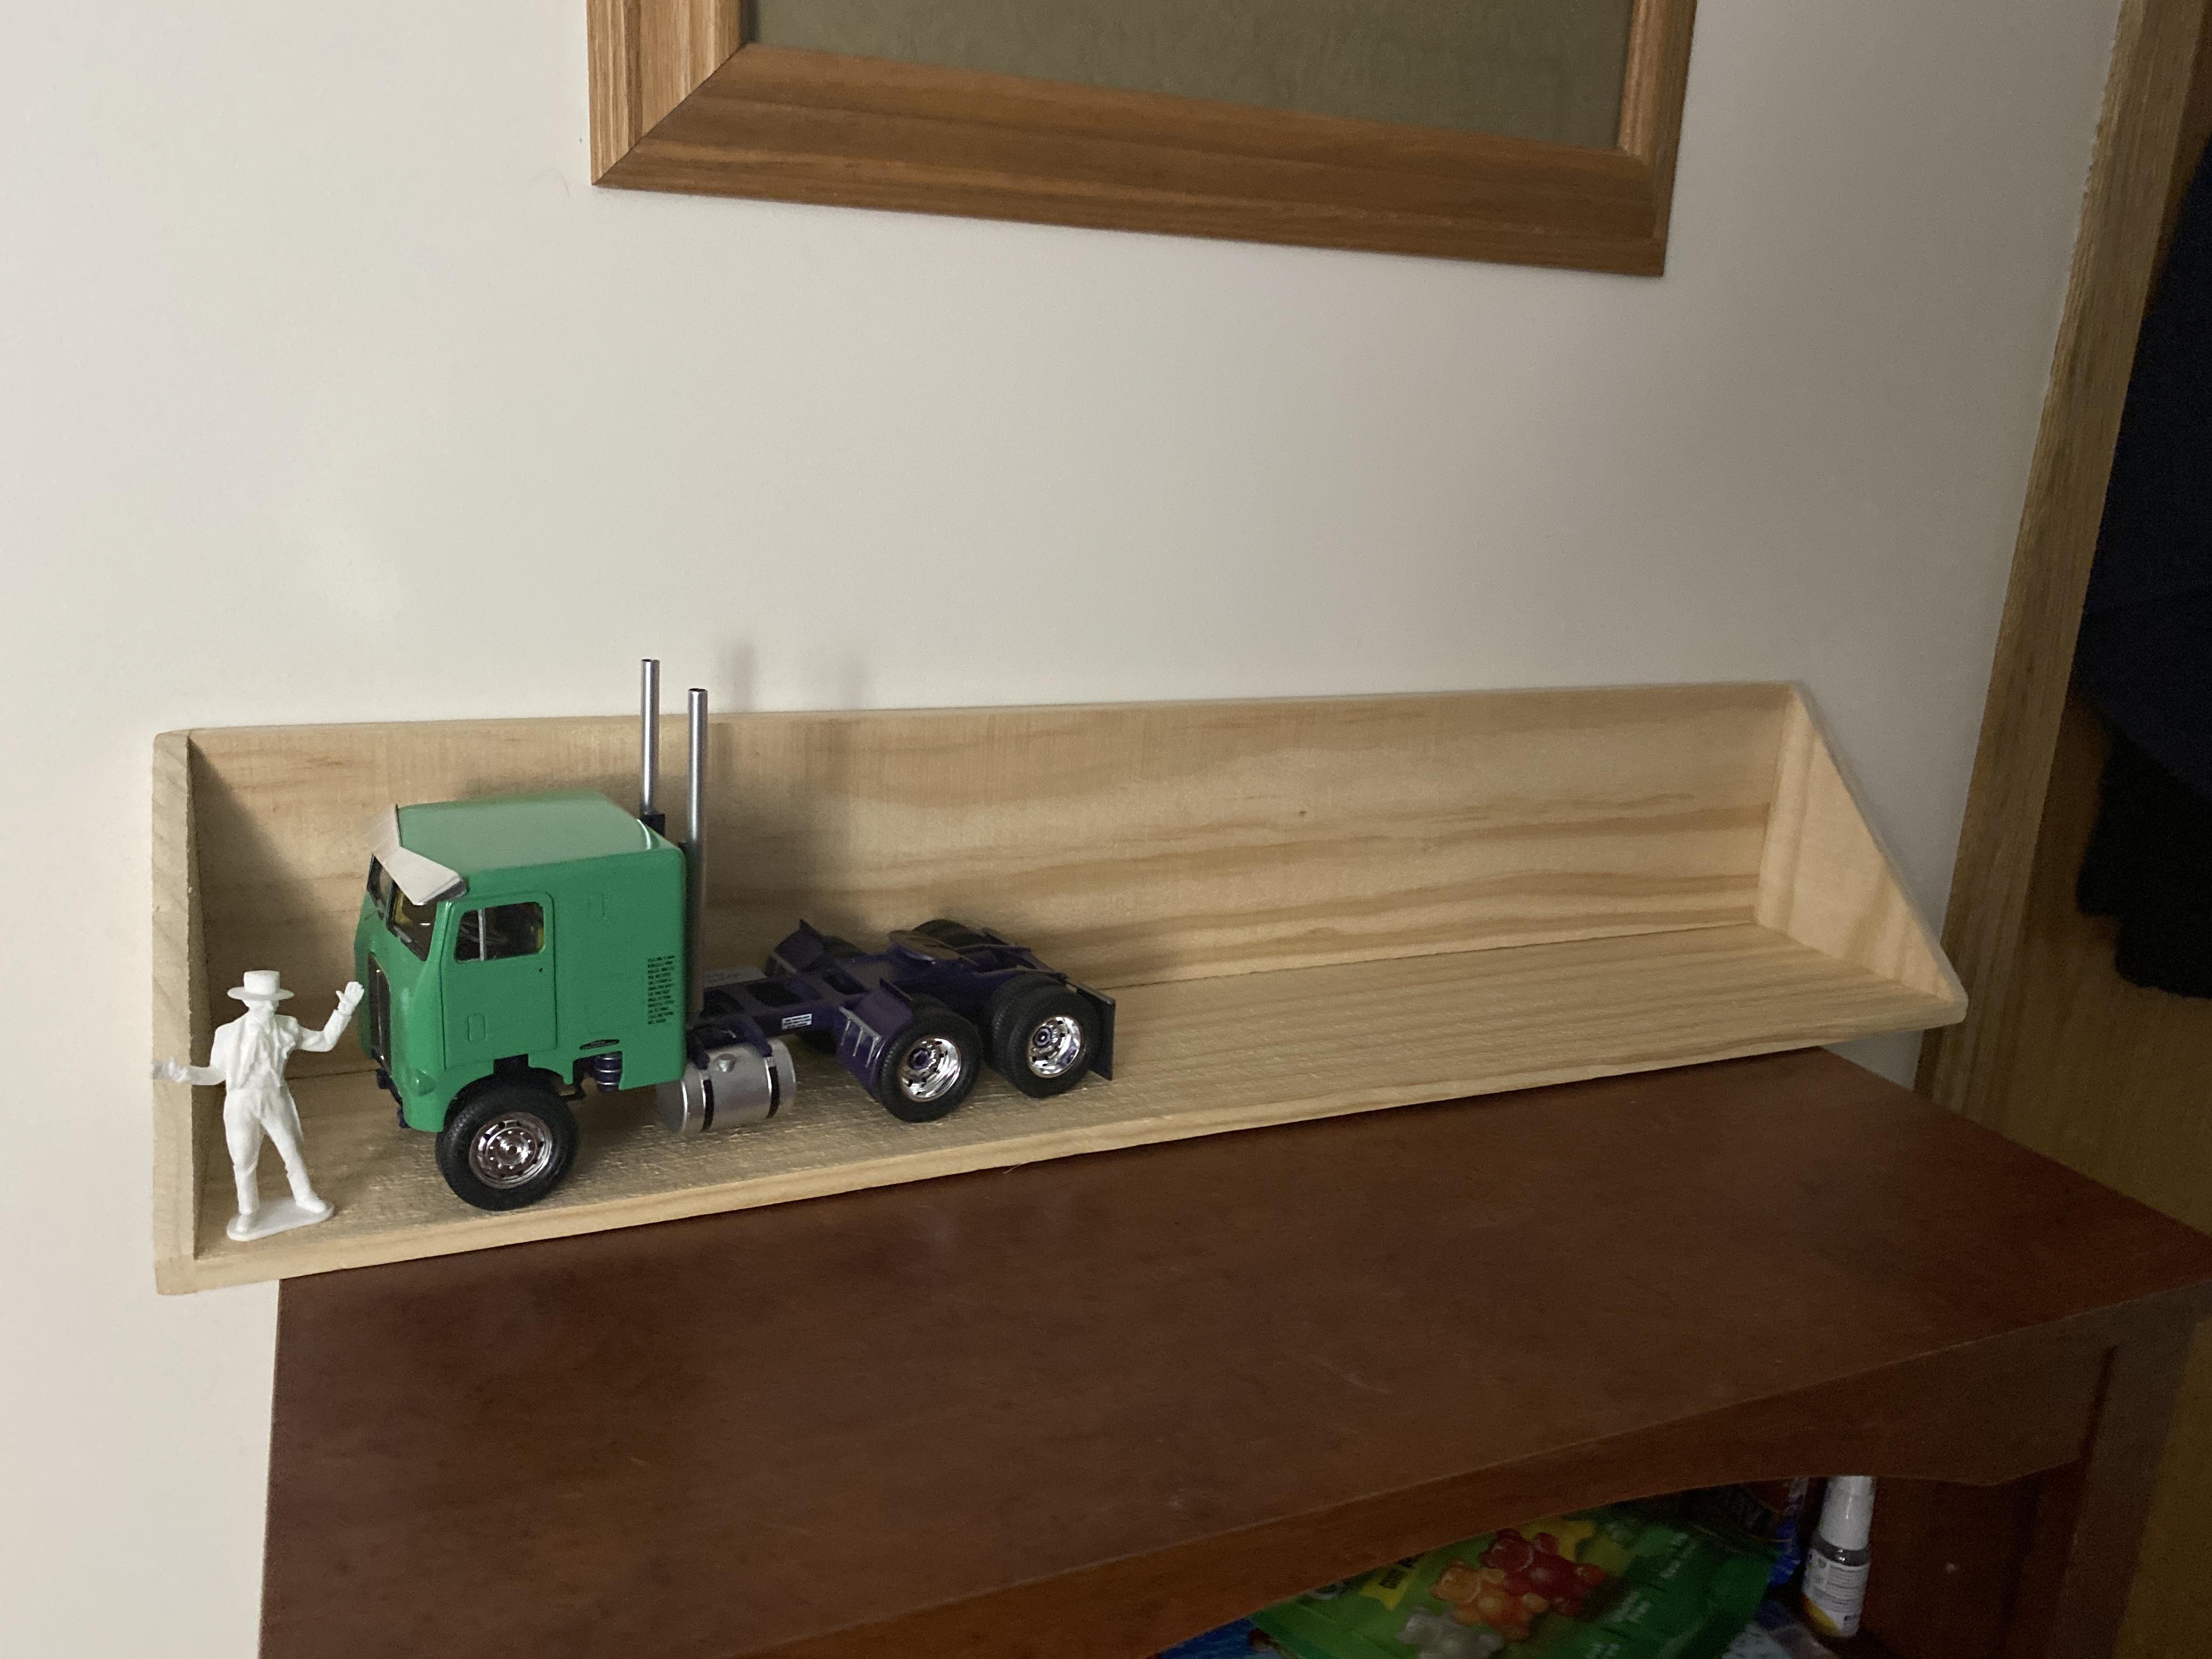
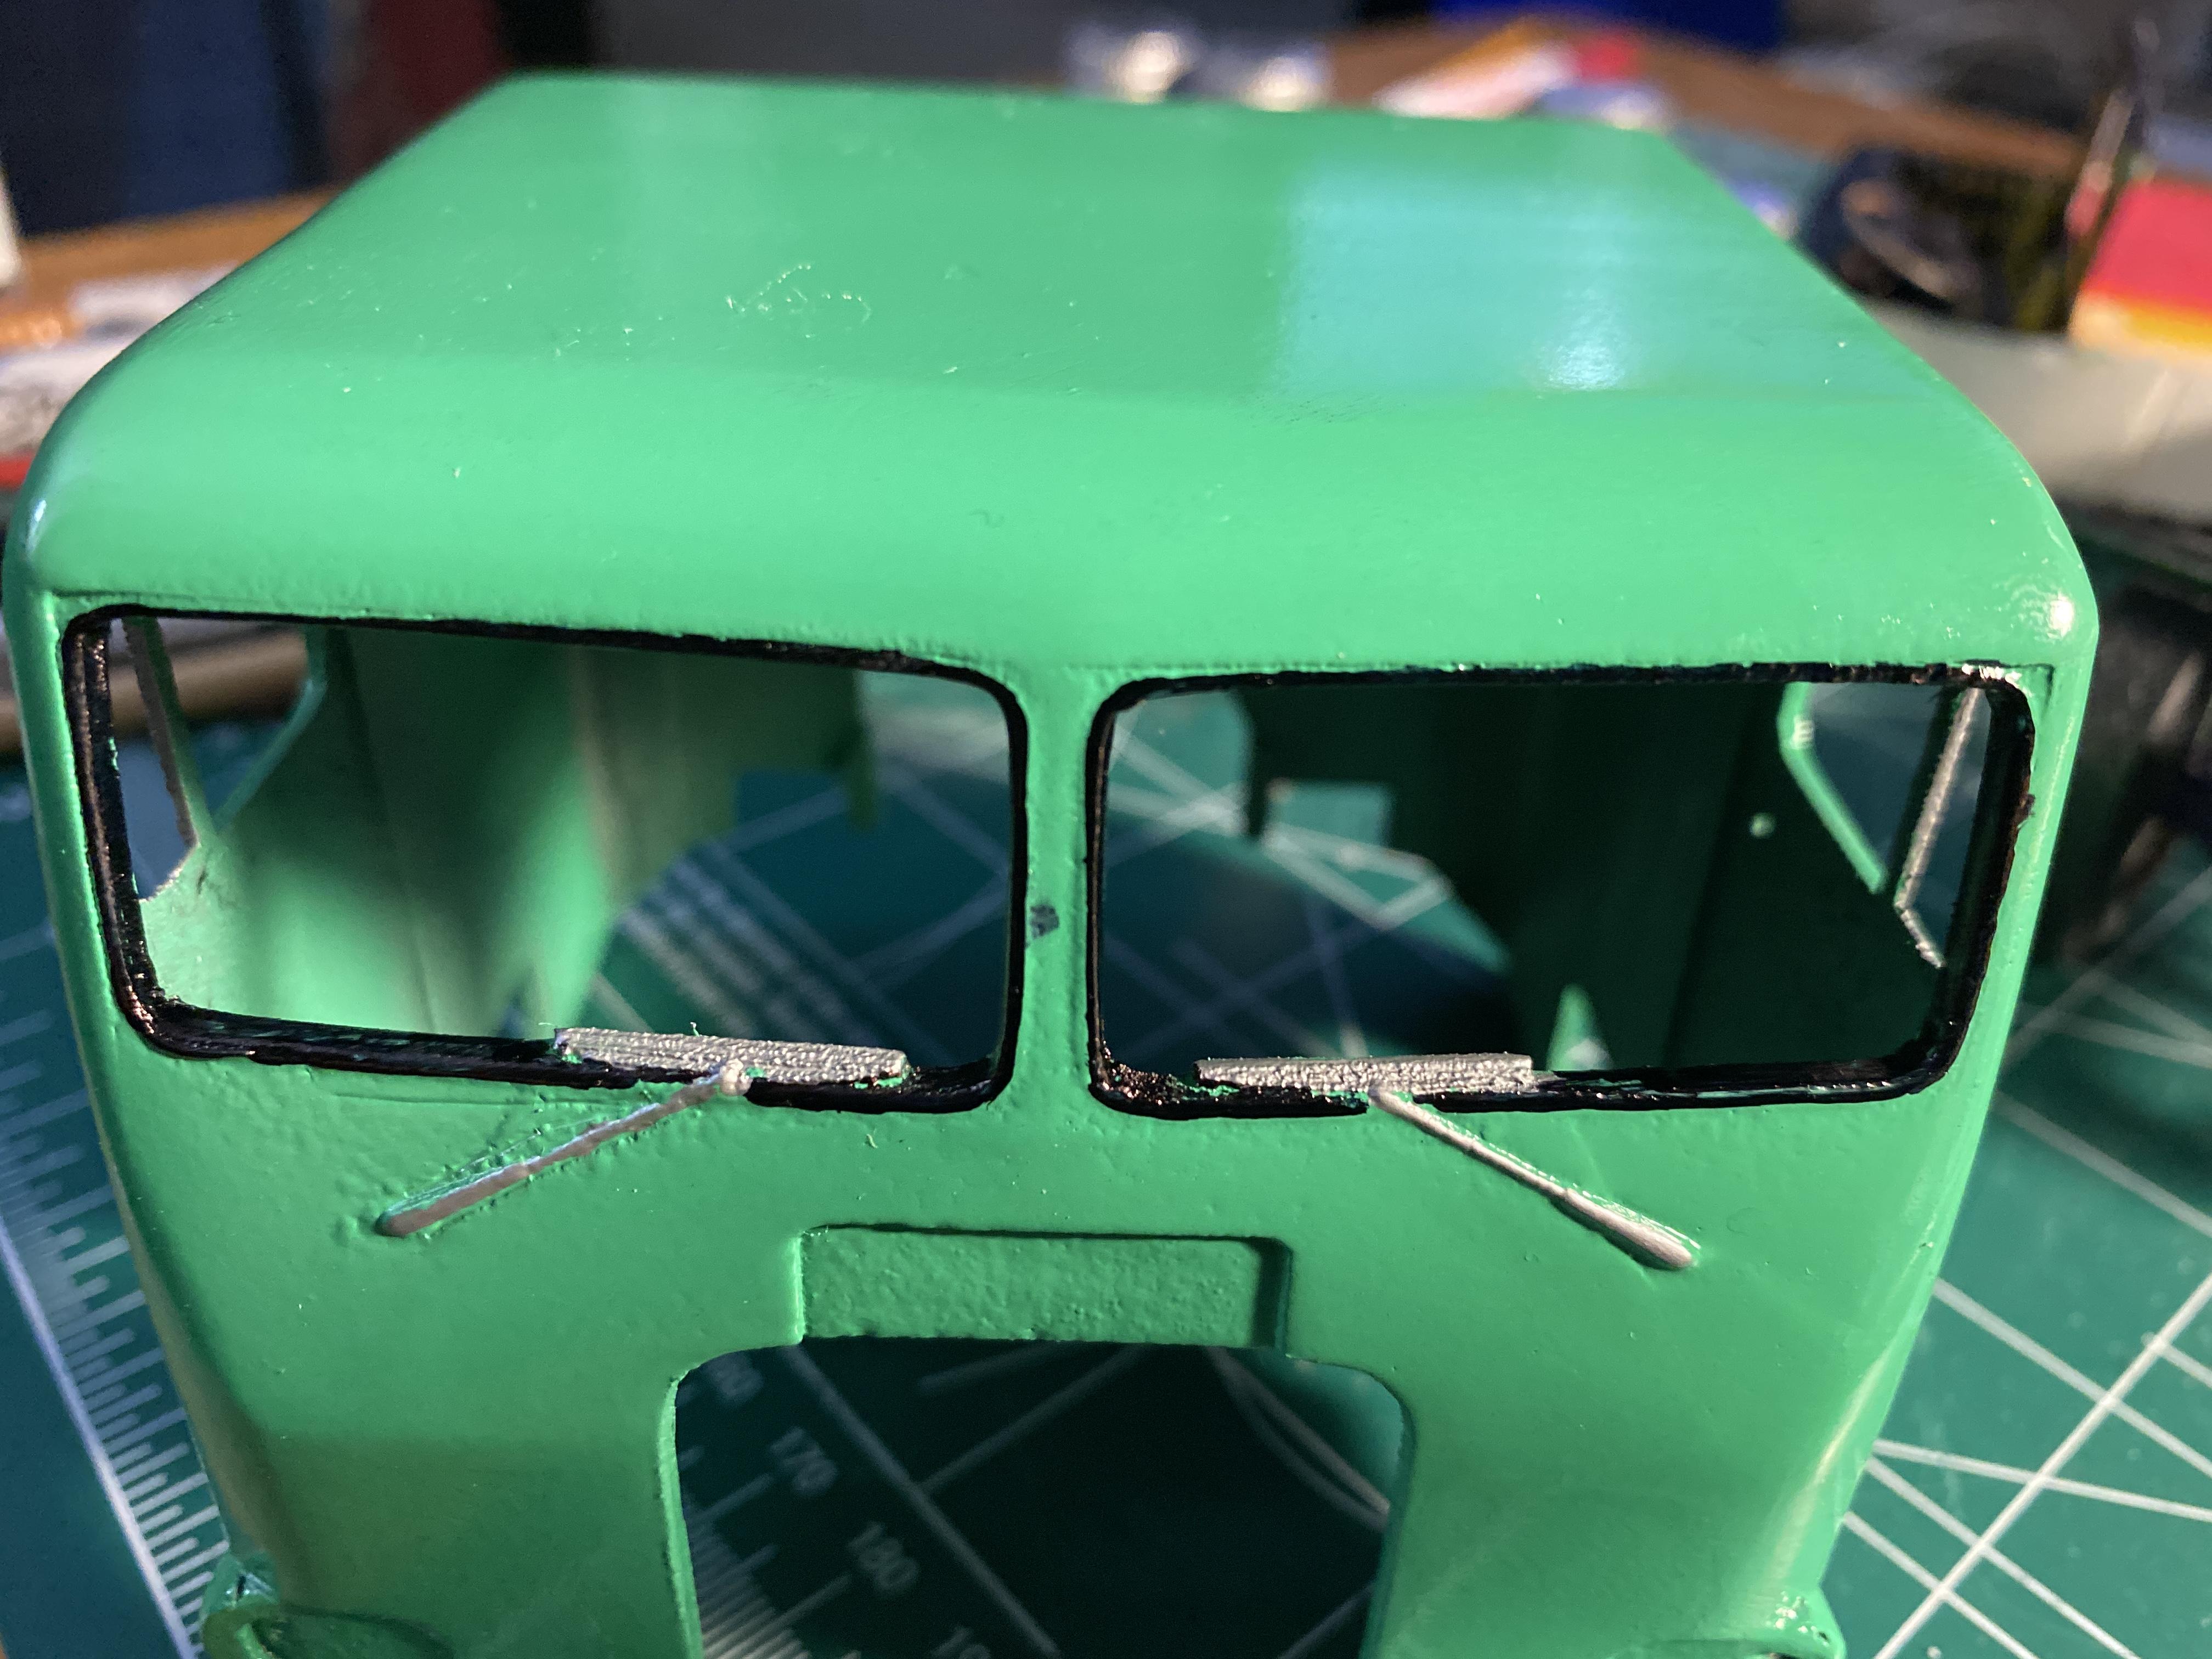
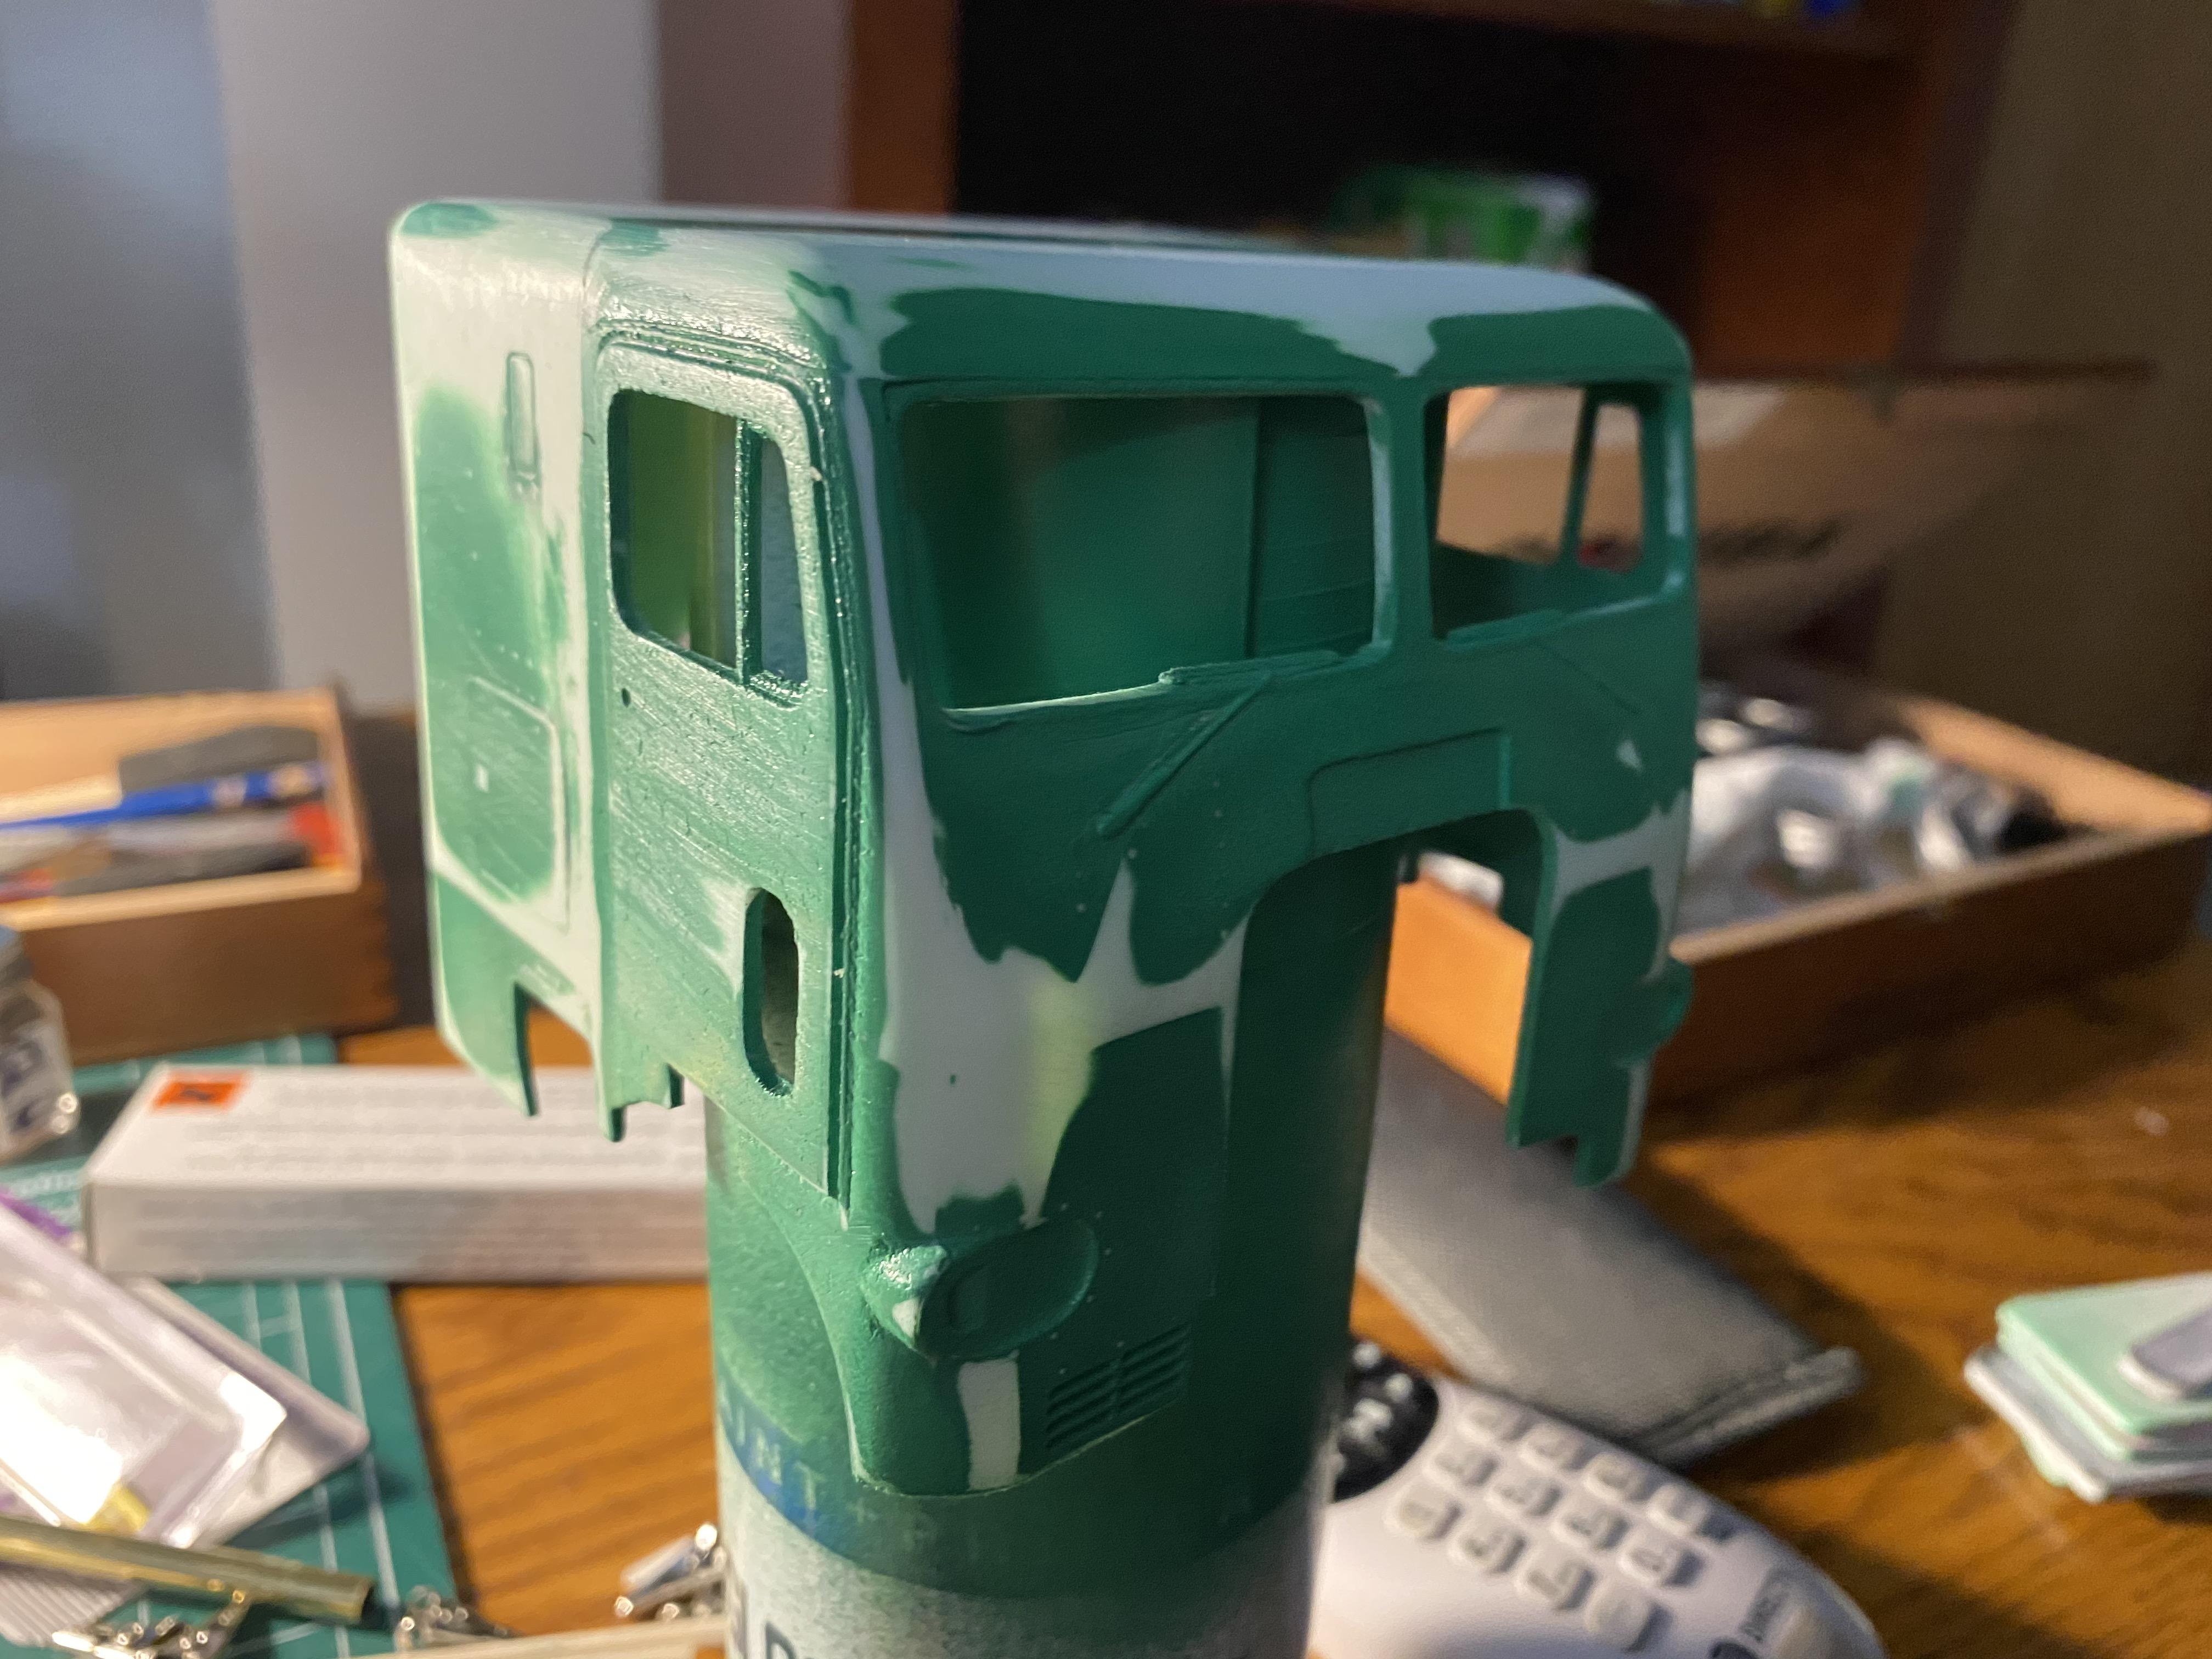
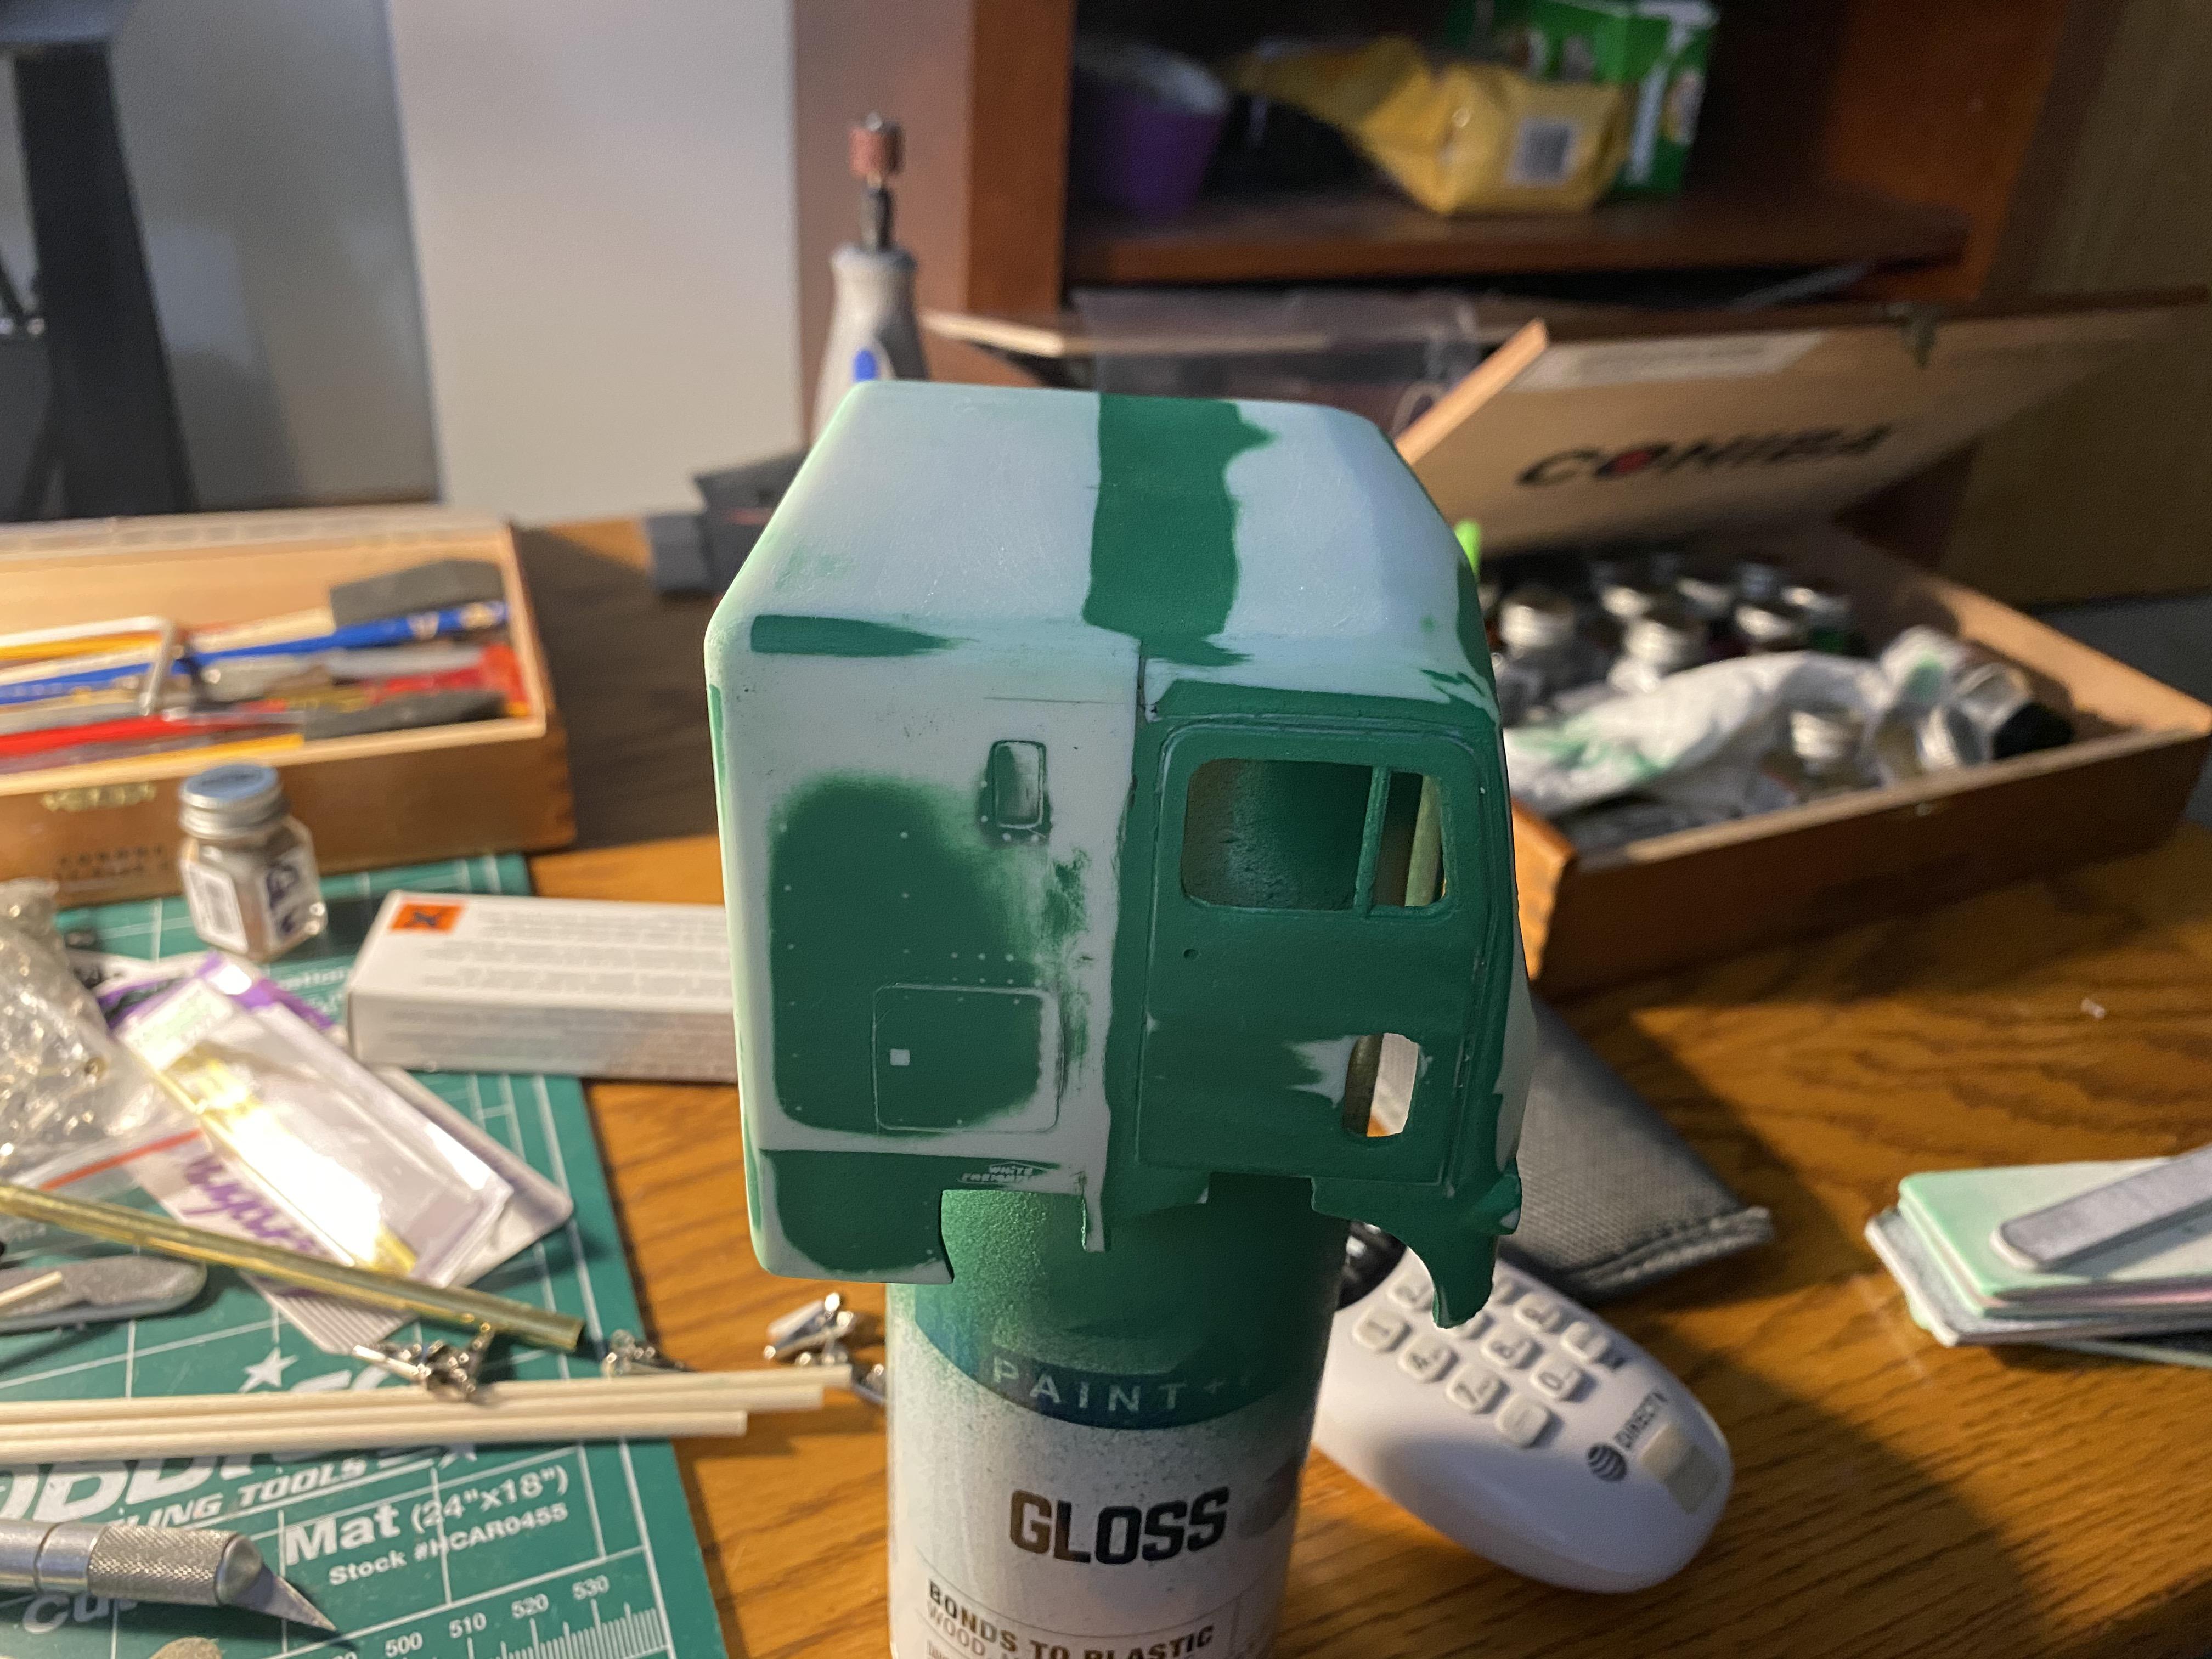
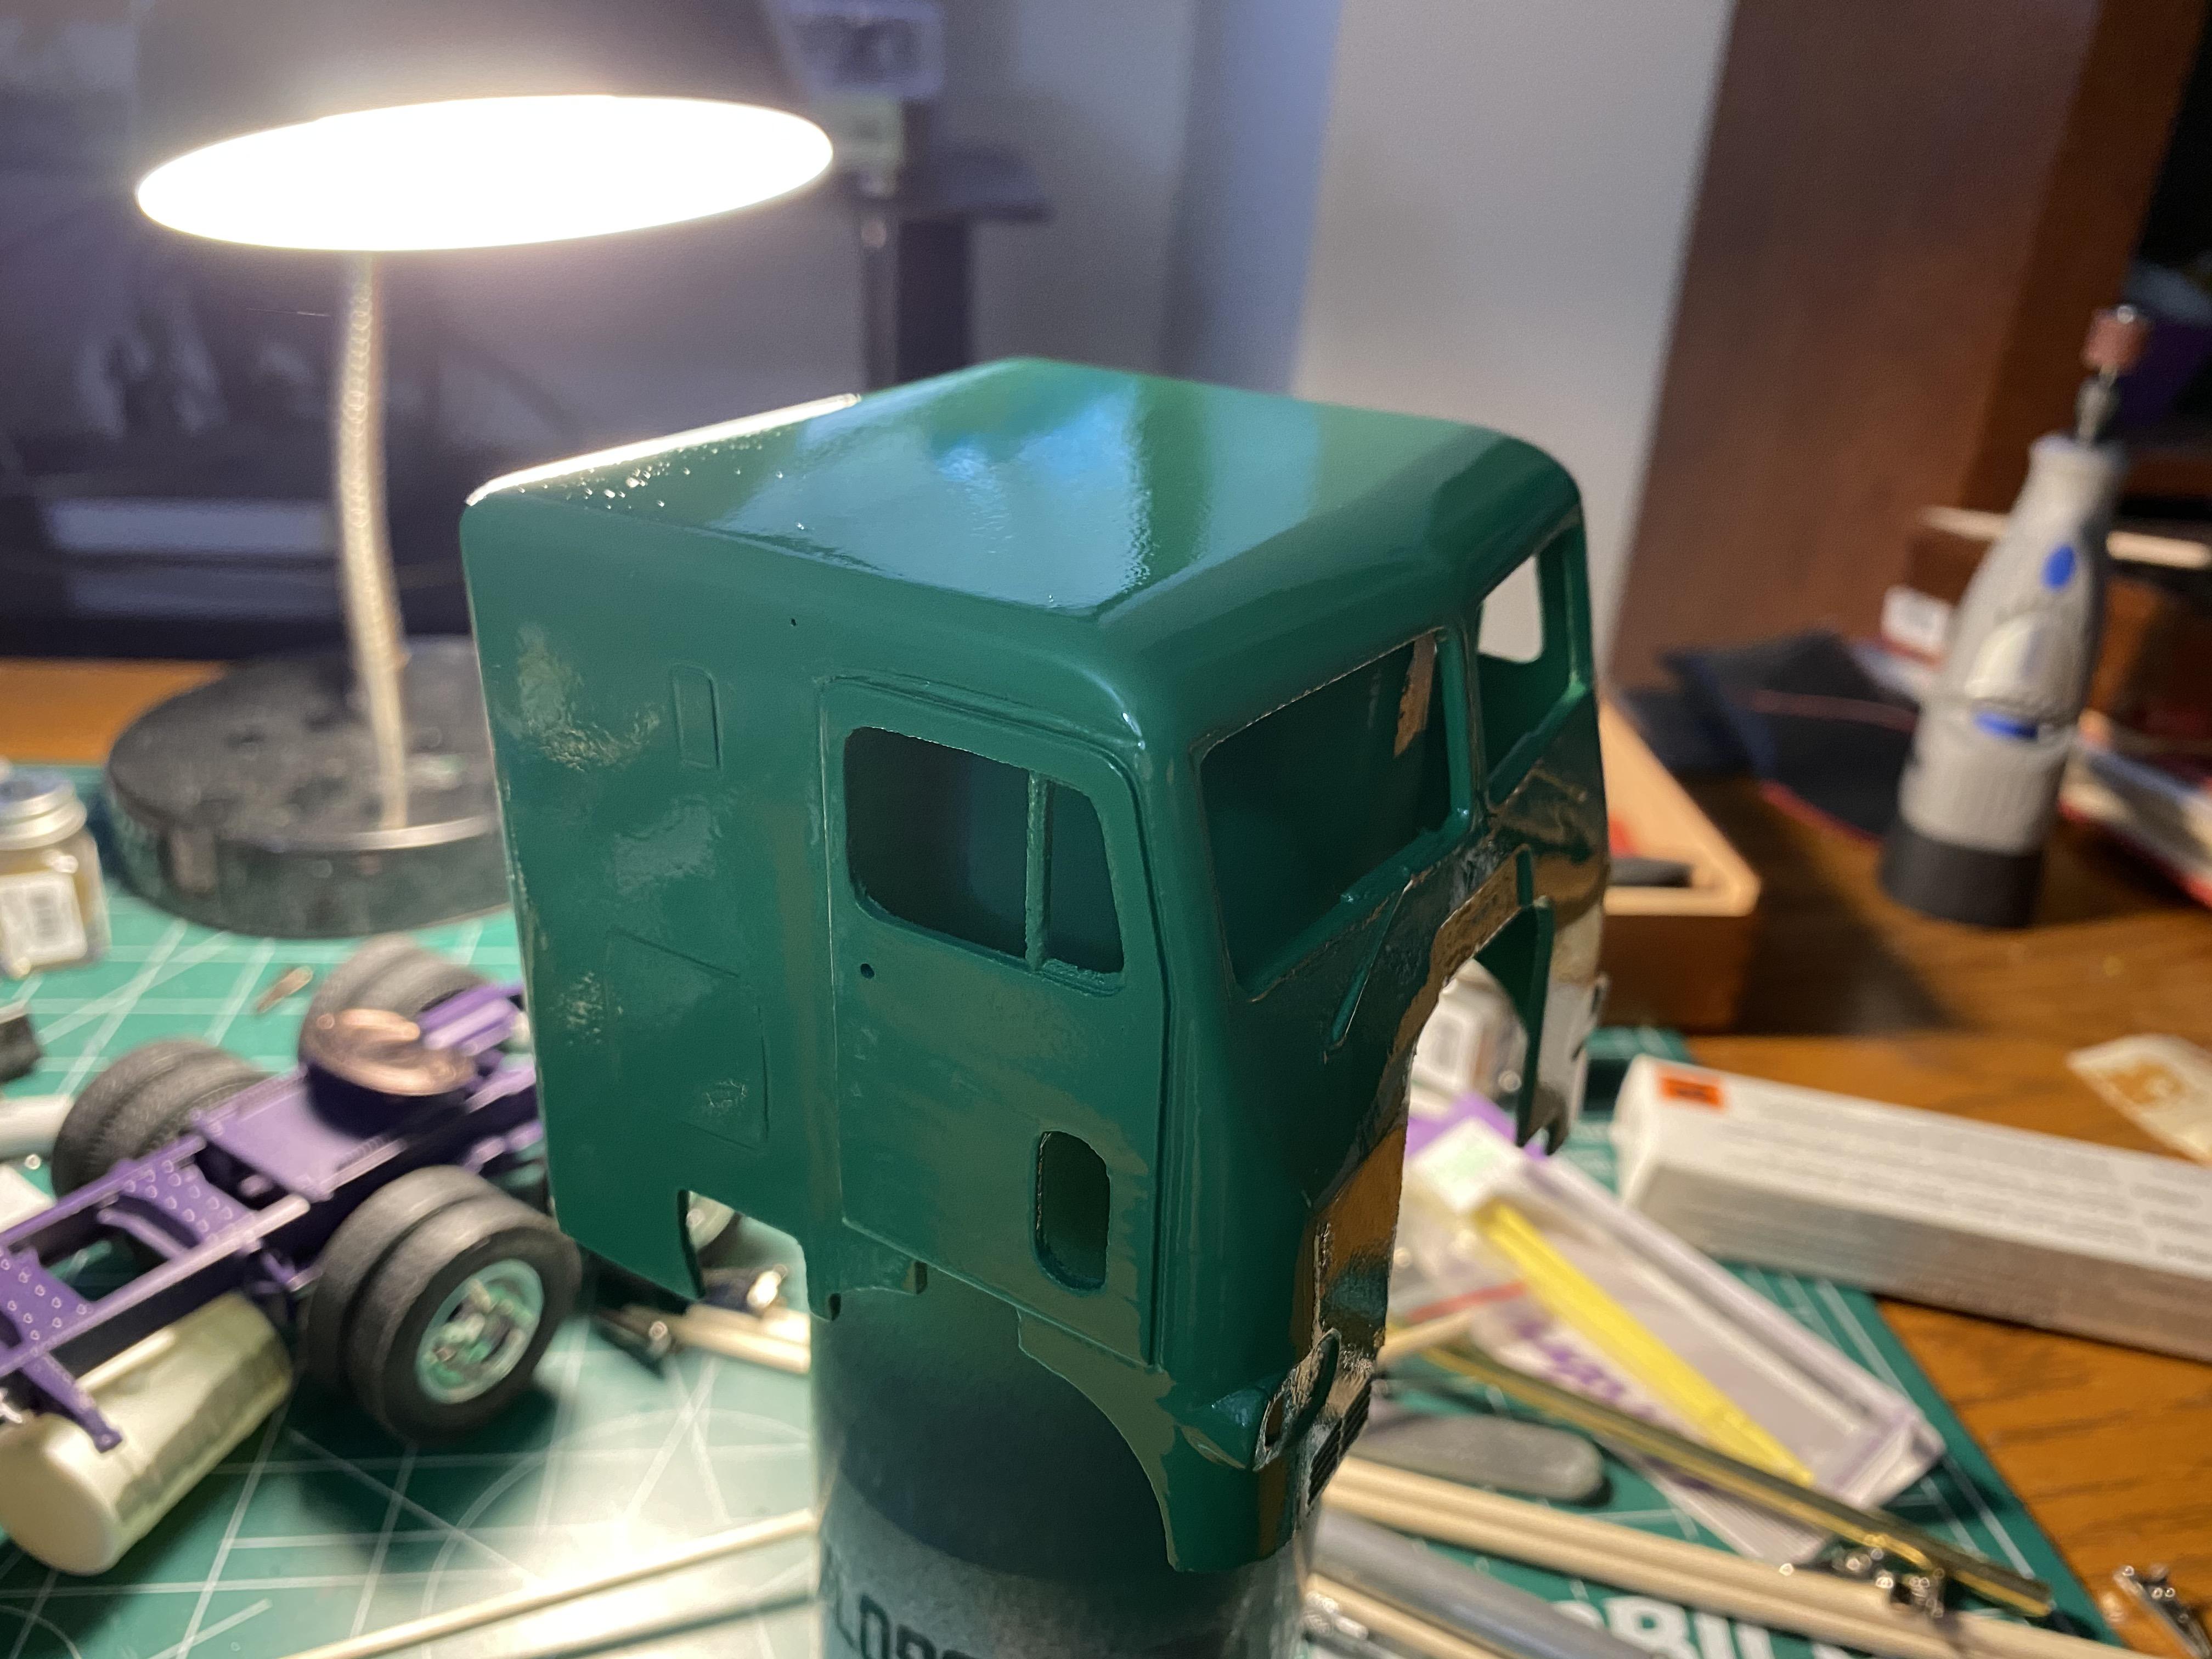
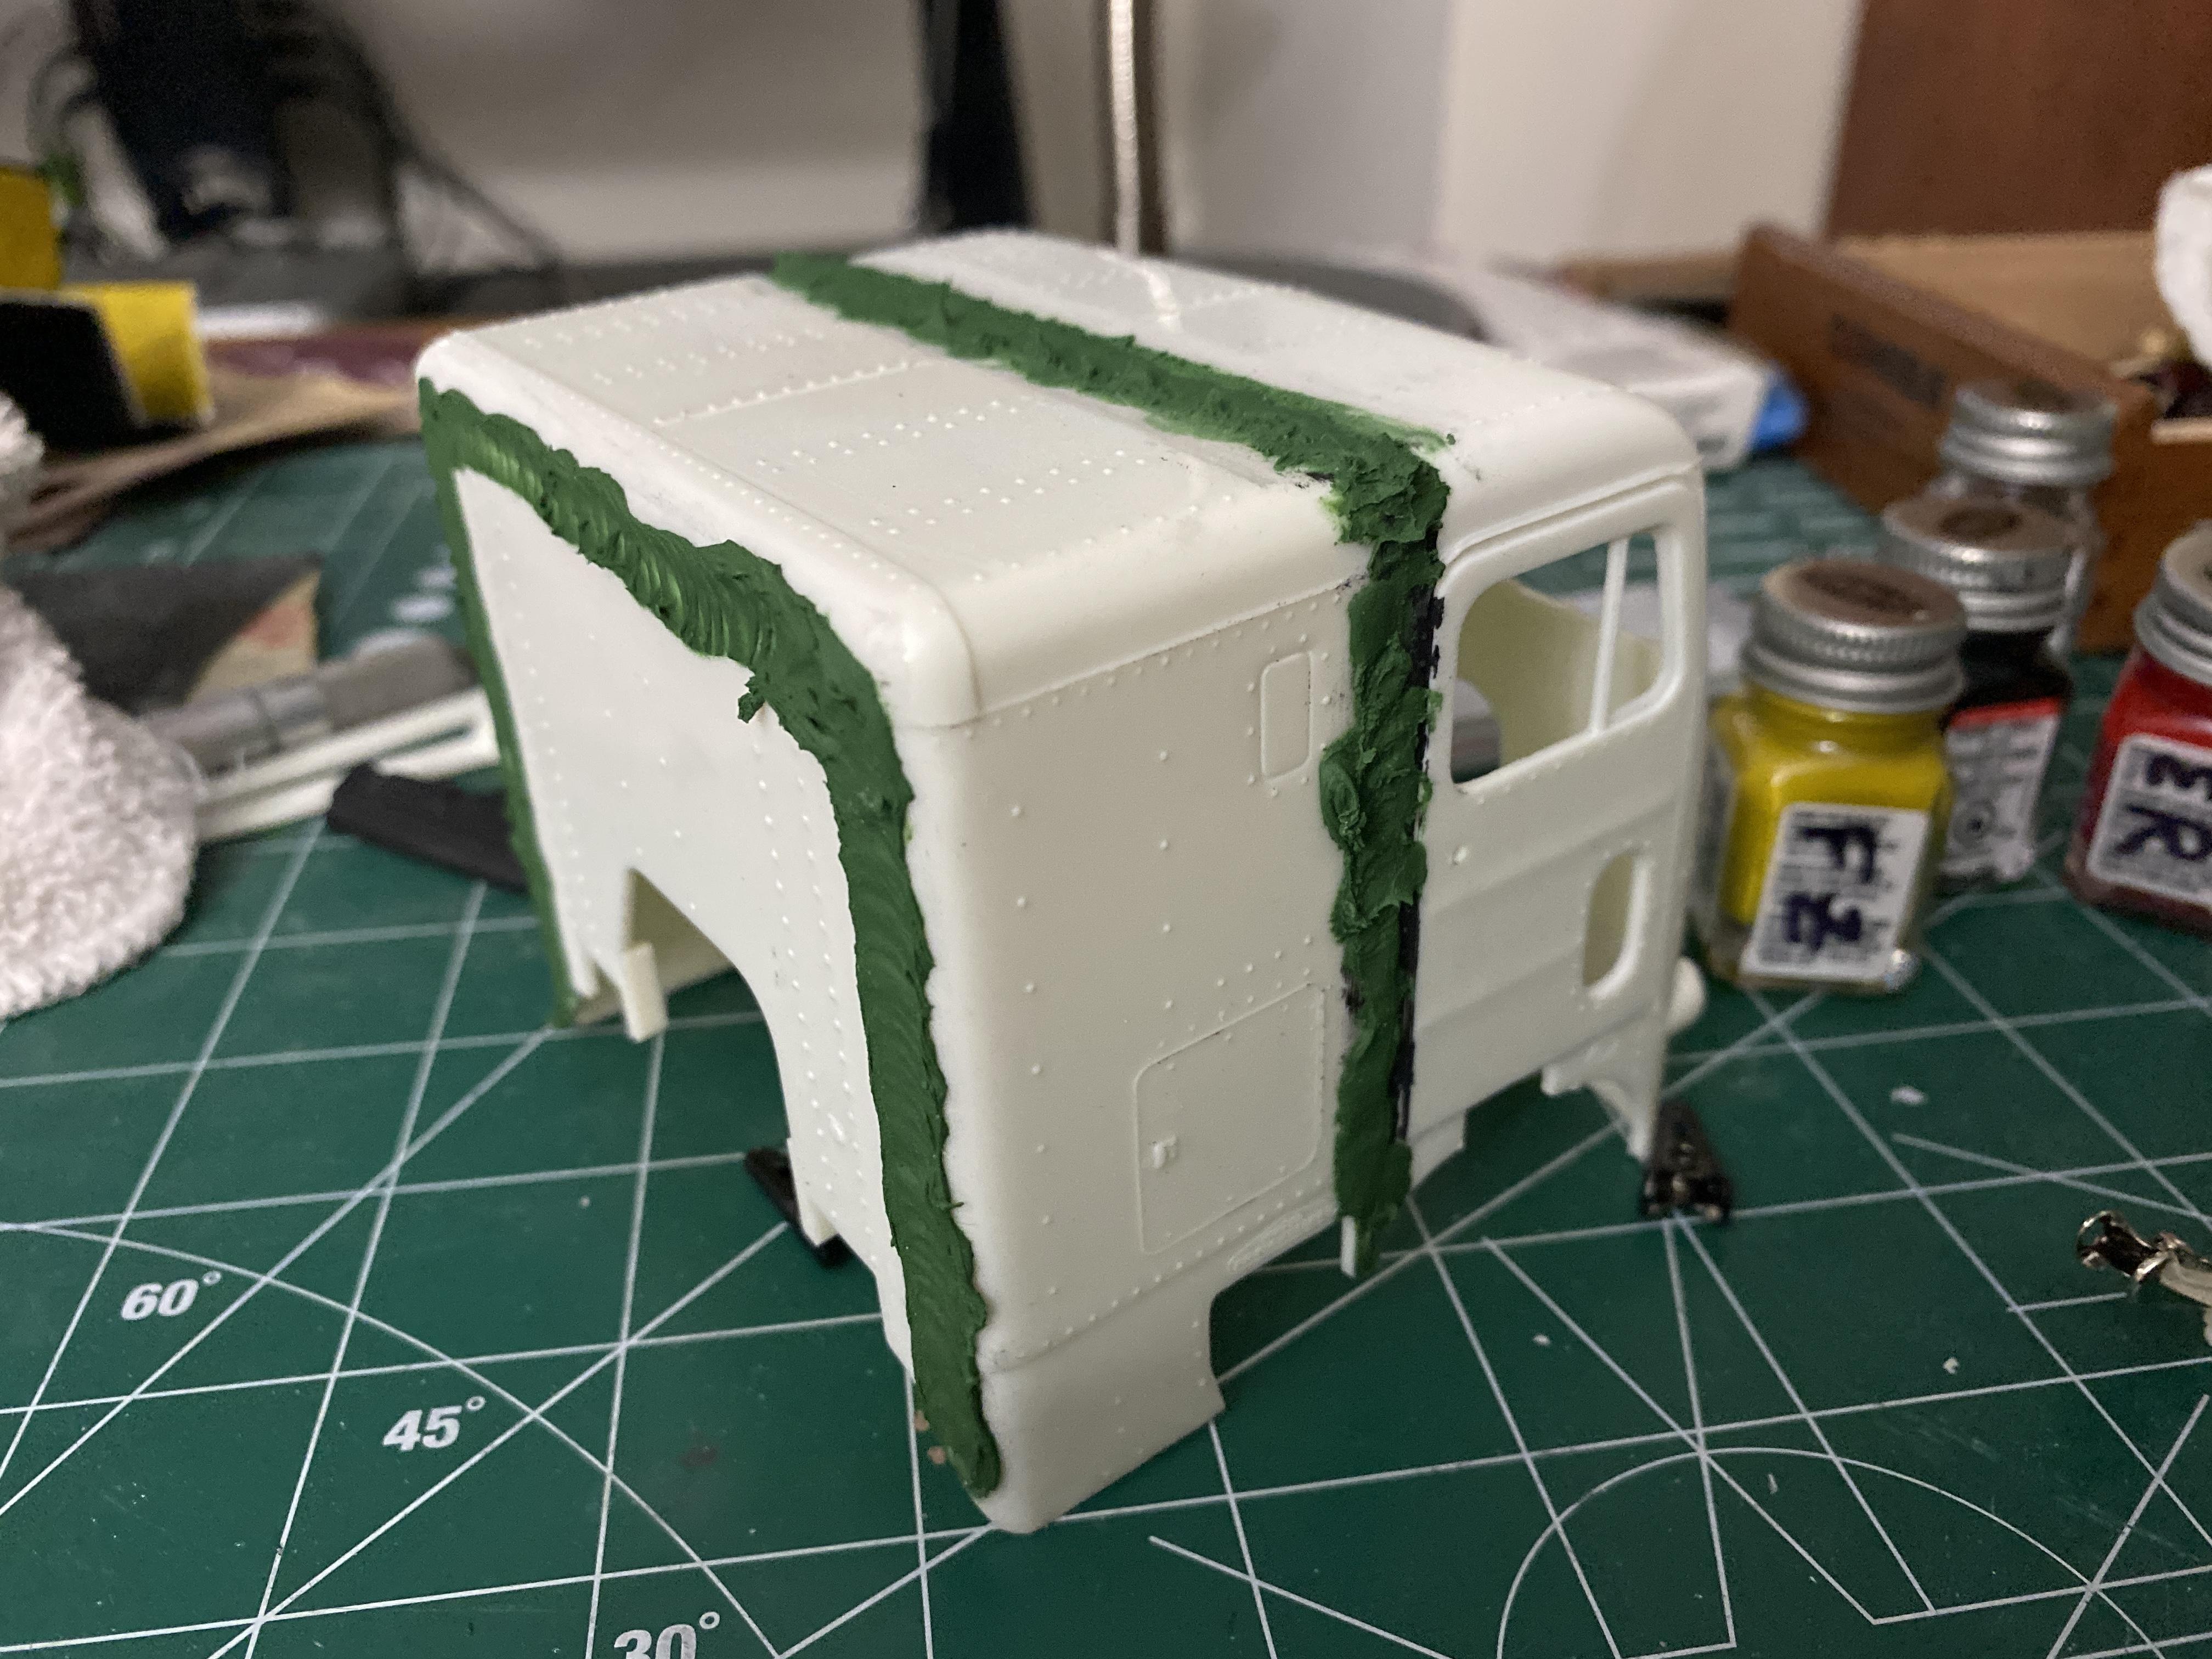
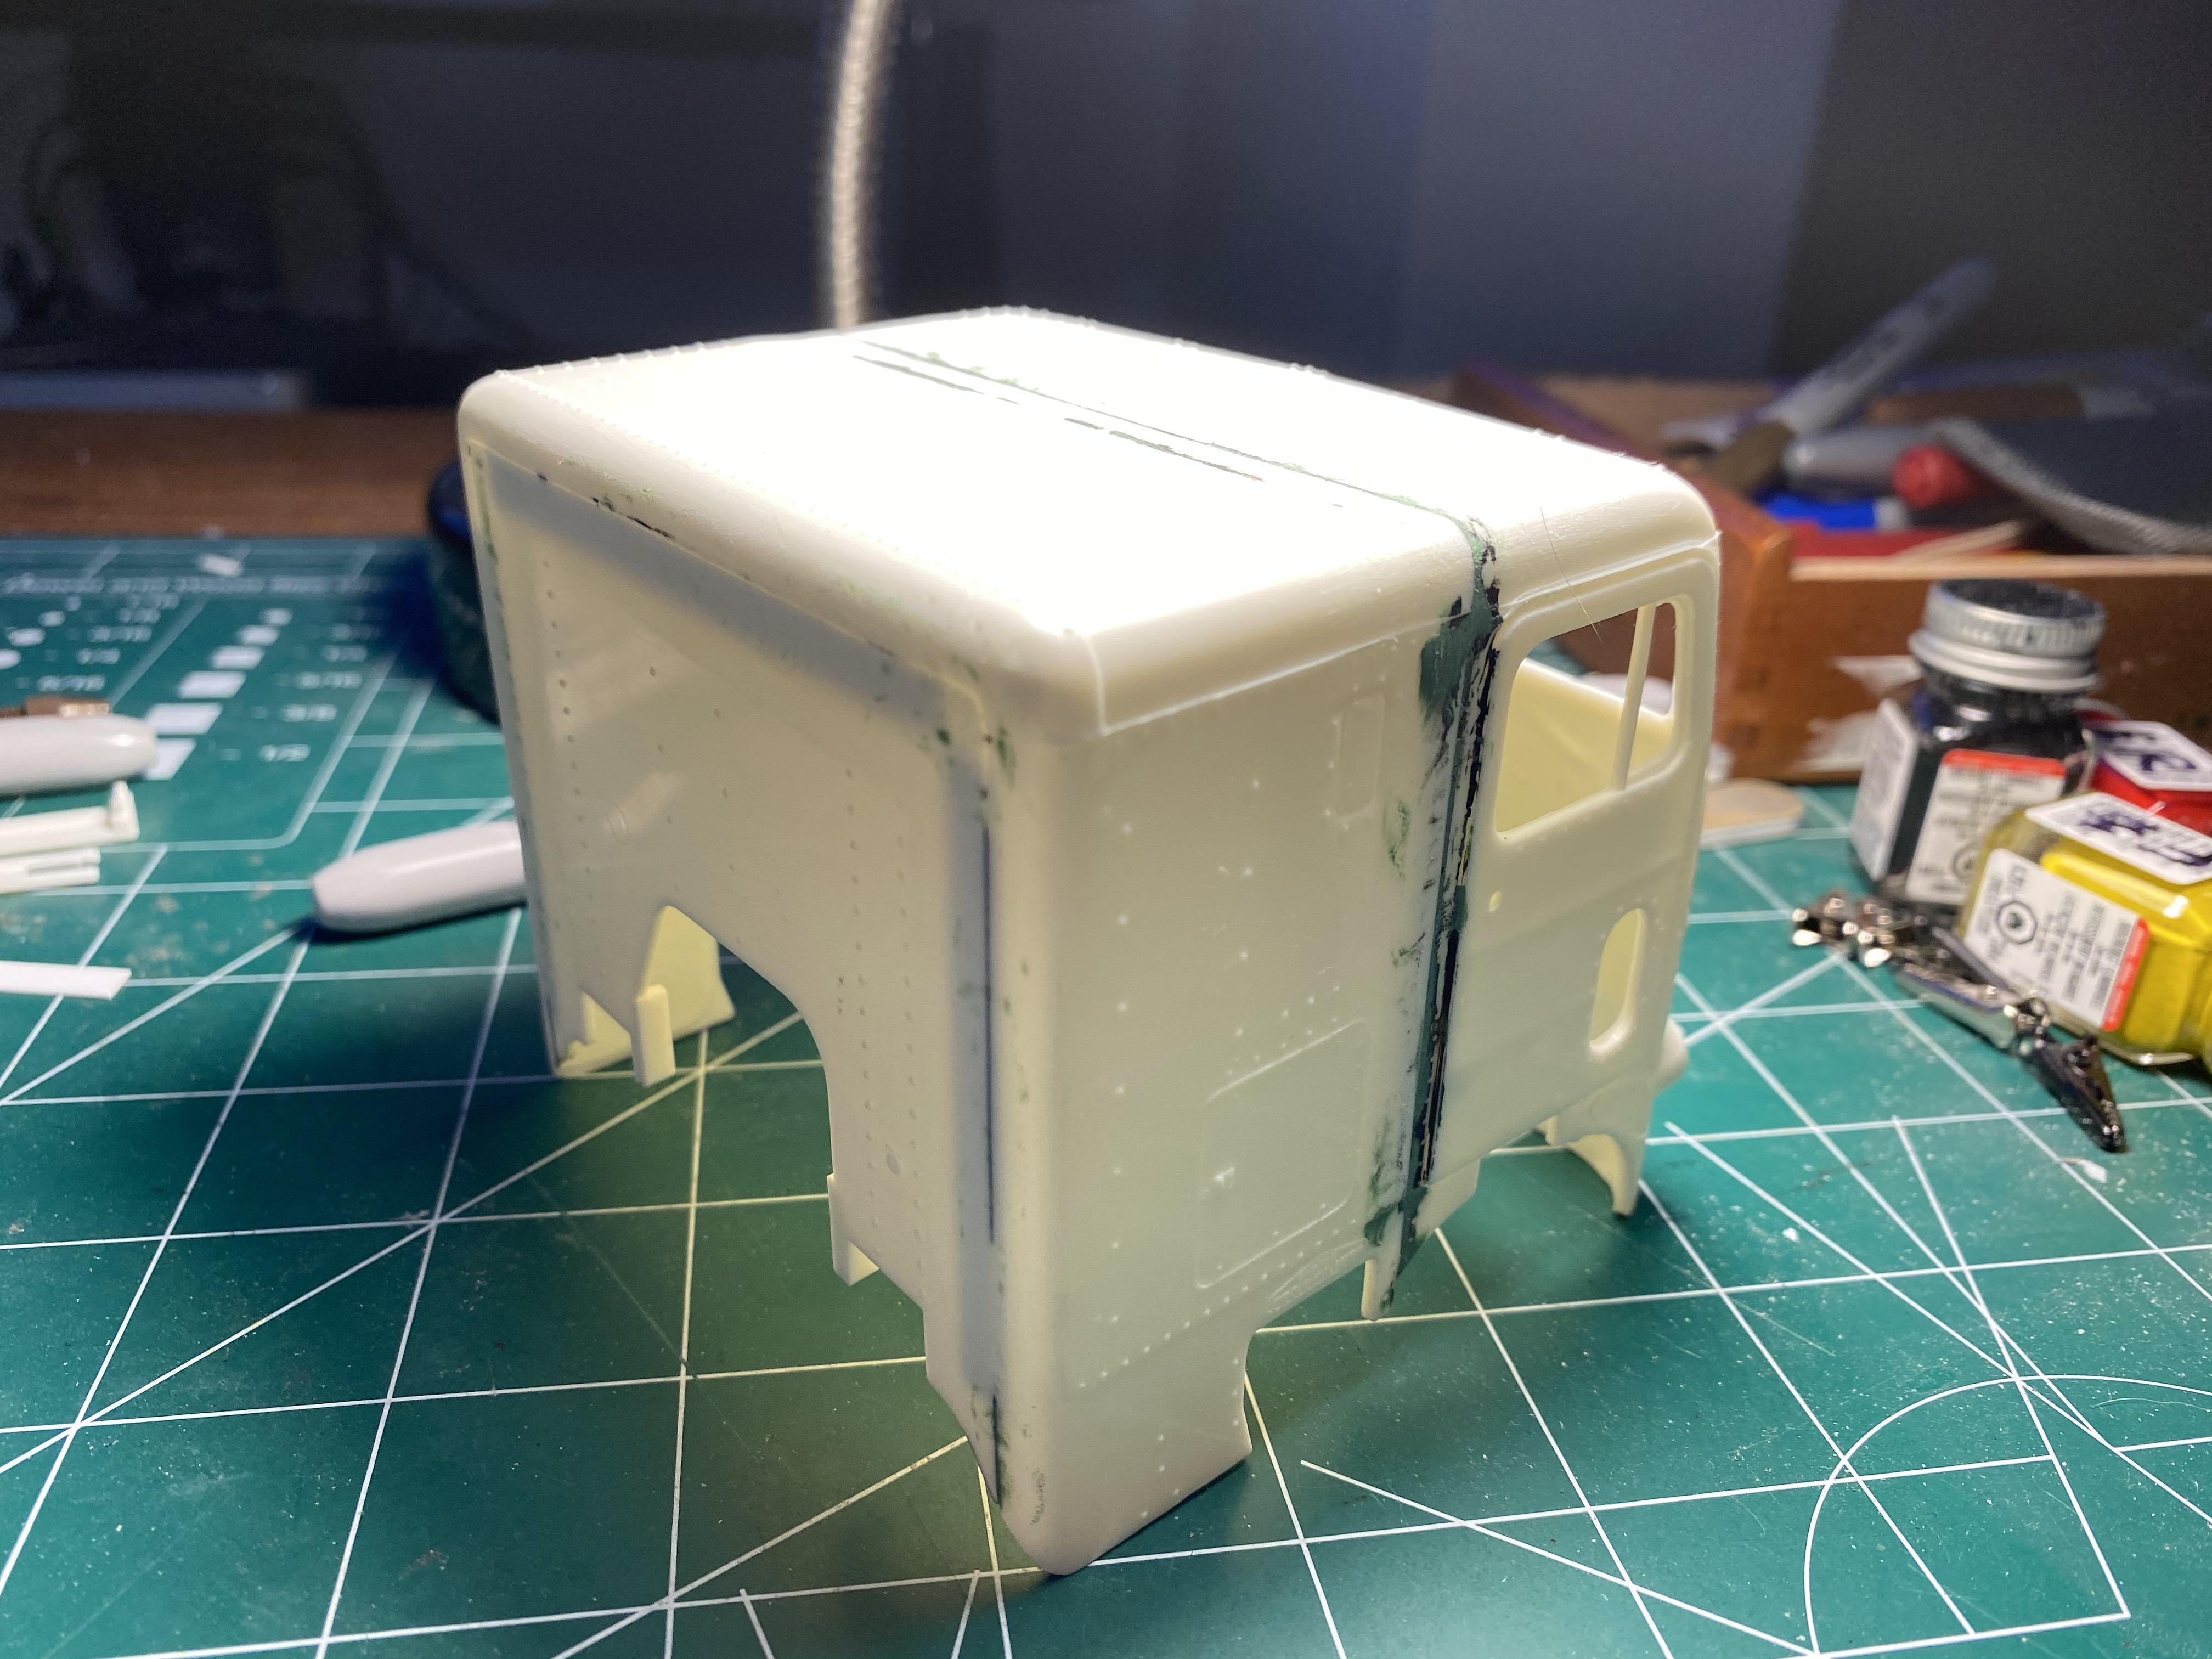
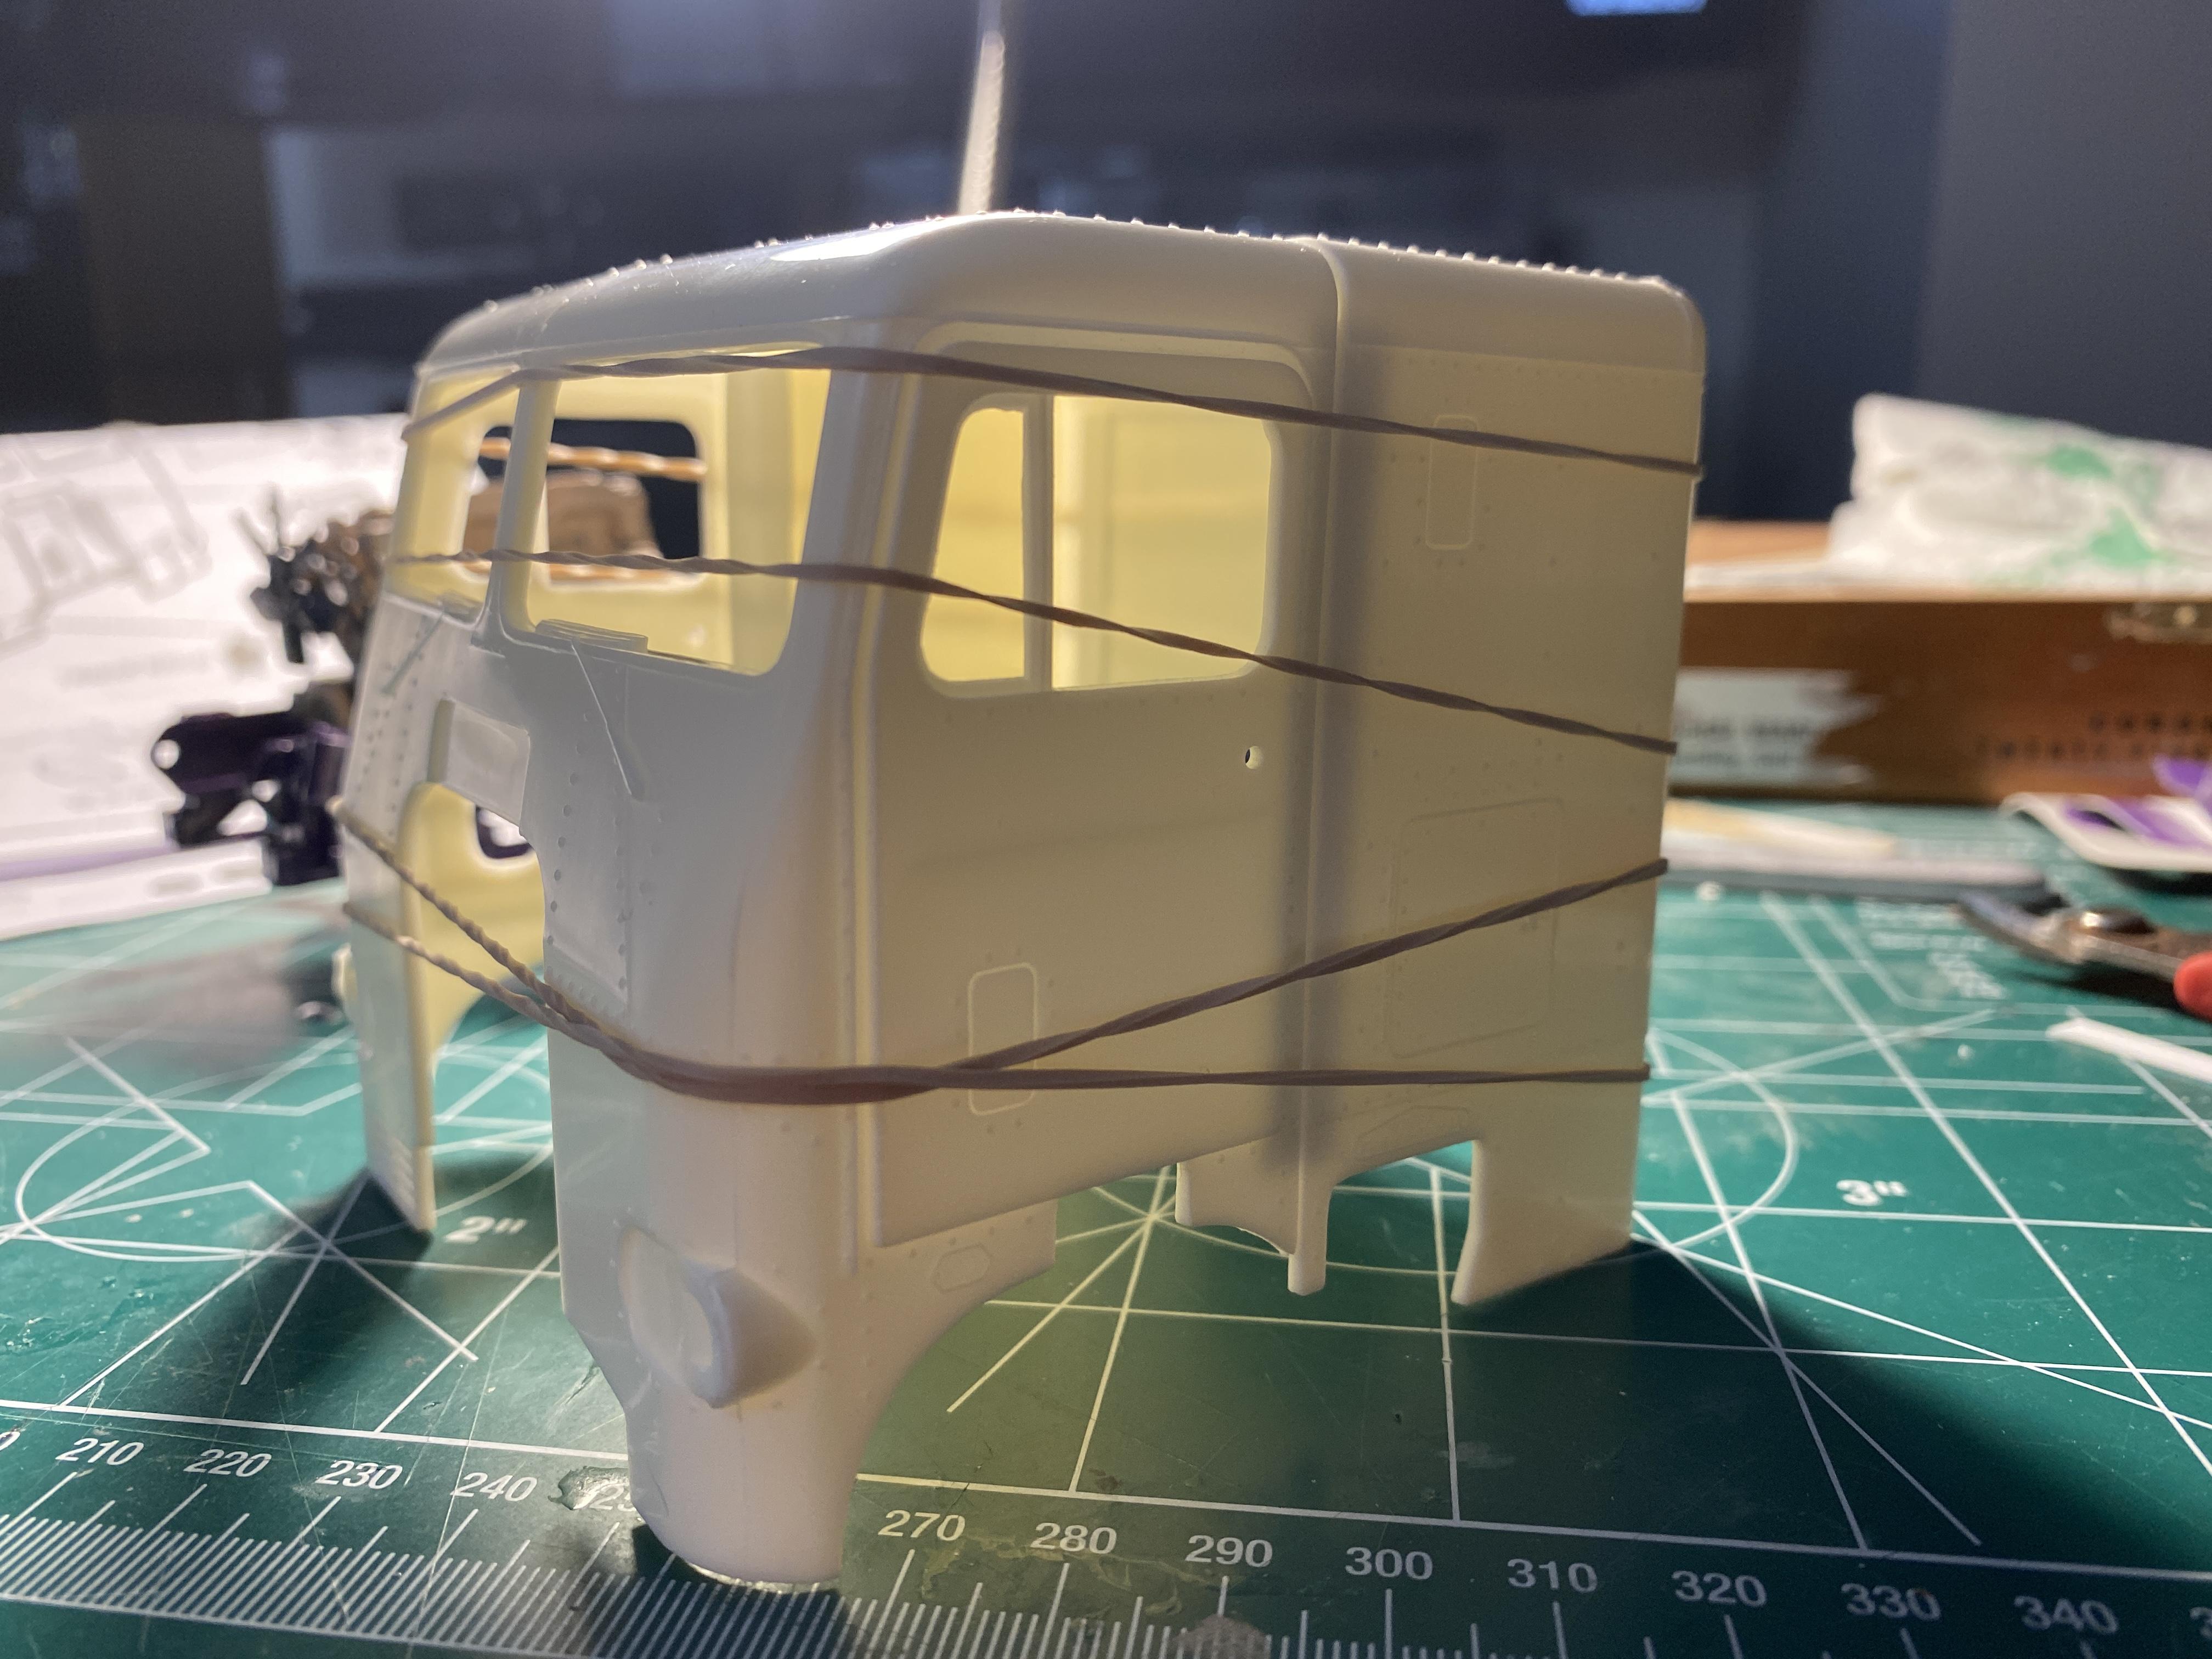
Frame was a breeze after reading up on this kit. Specifically left the front brake drums off to "narrow the axle". And the seam in the cab just killed me. Did my best to stay away from the rivets and got the first coat of green on. I failed to use a primer and paid dearly for it.
-
Dang cameras are so good nowadays, they show every flaw, and I'm my own worst critic!
-
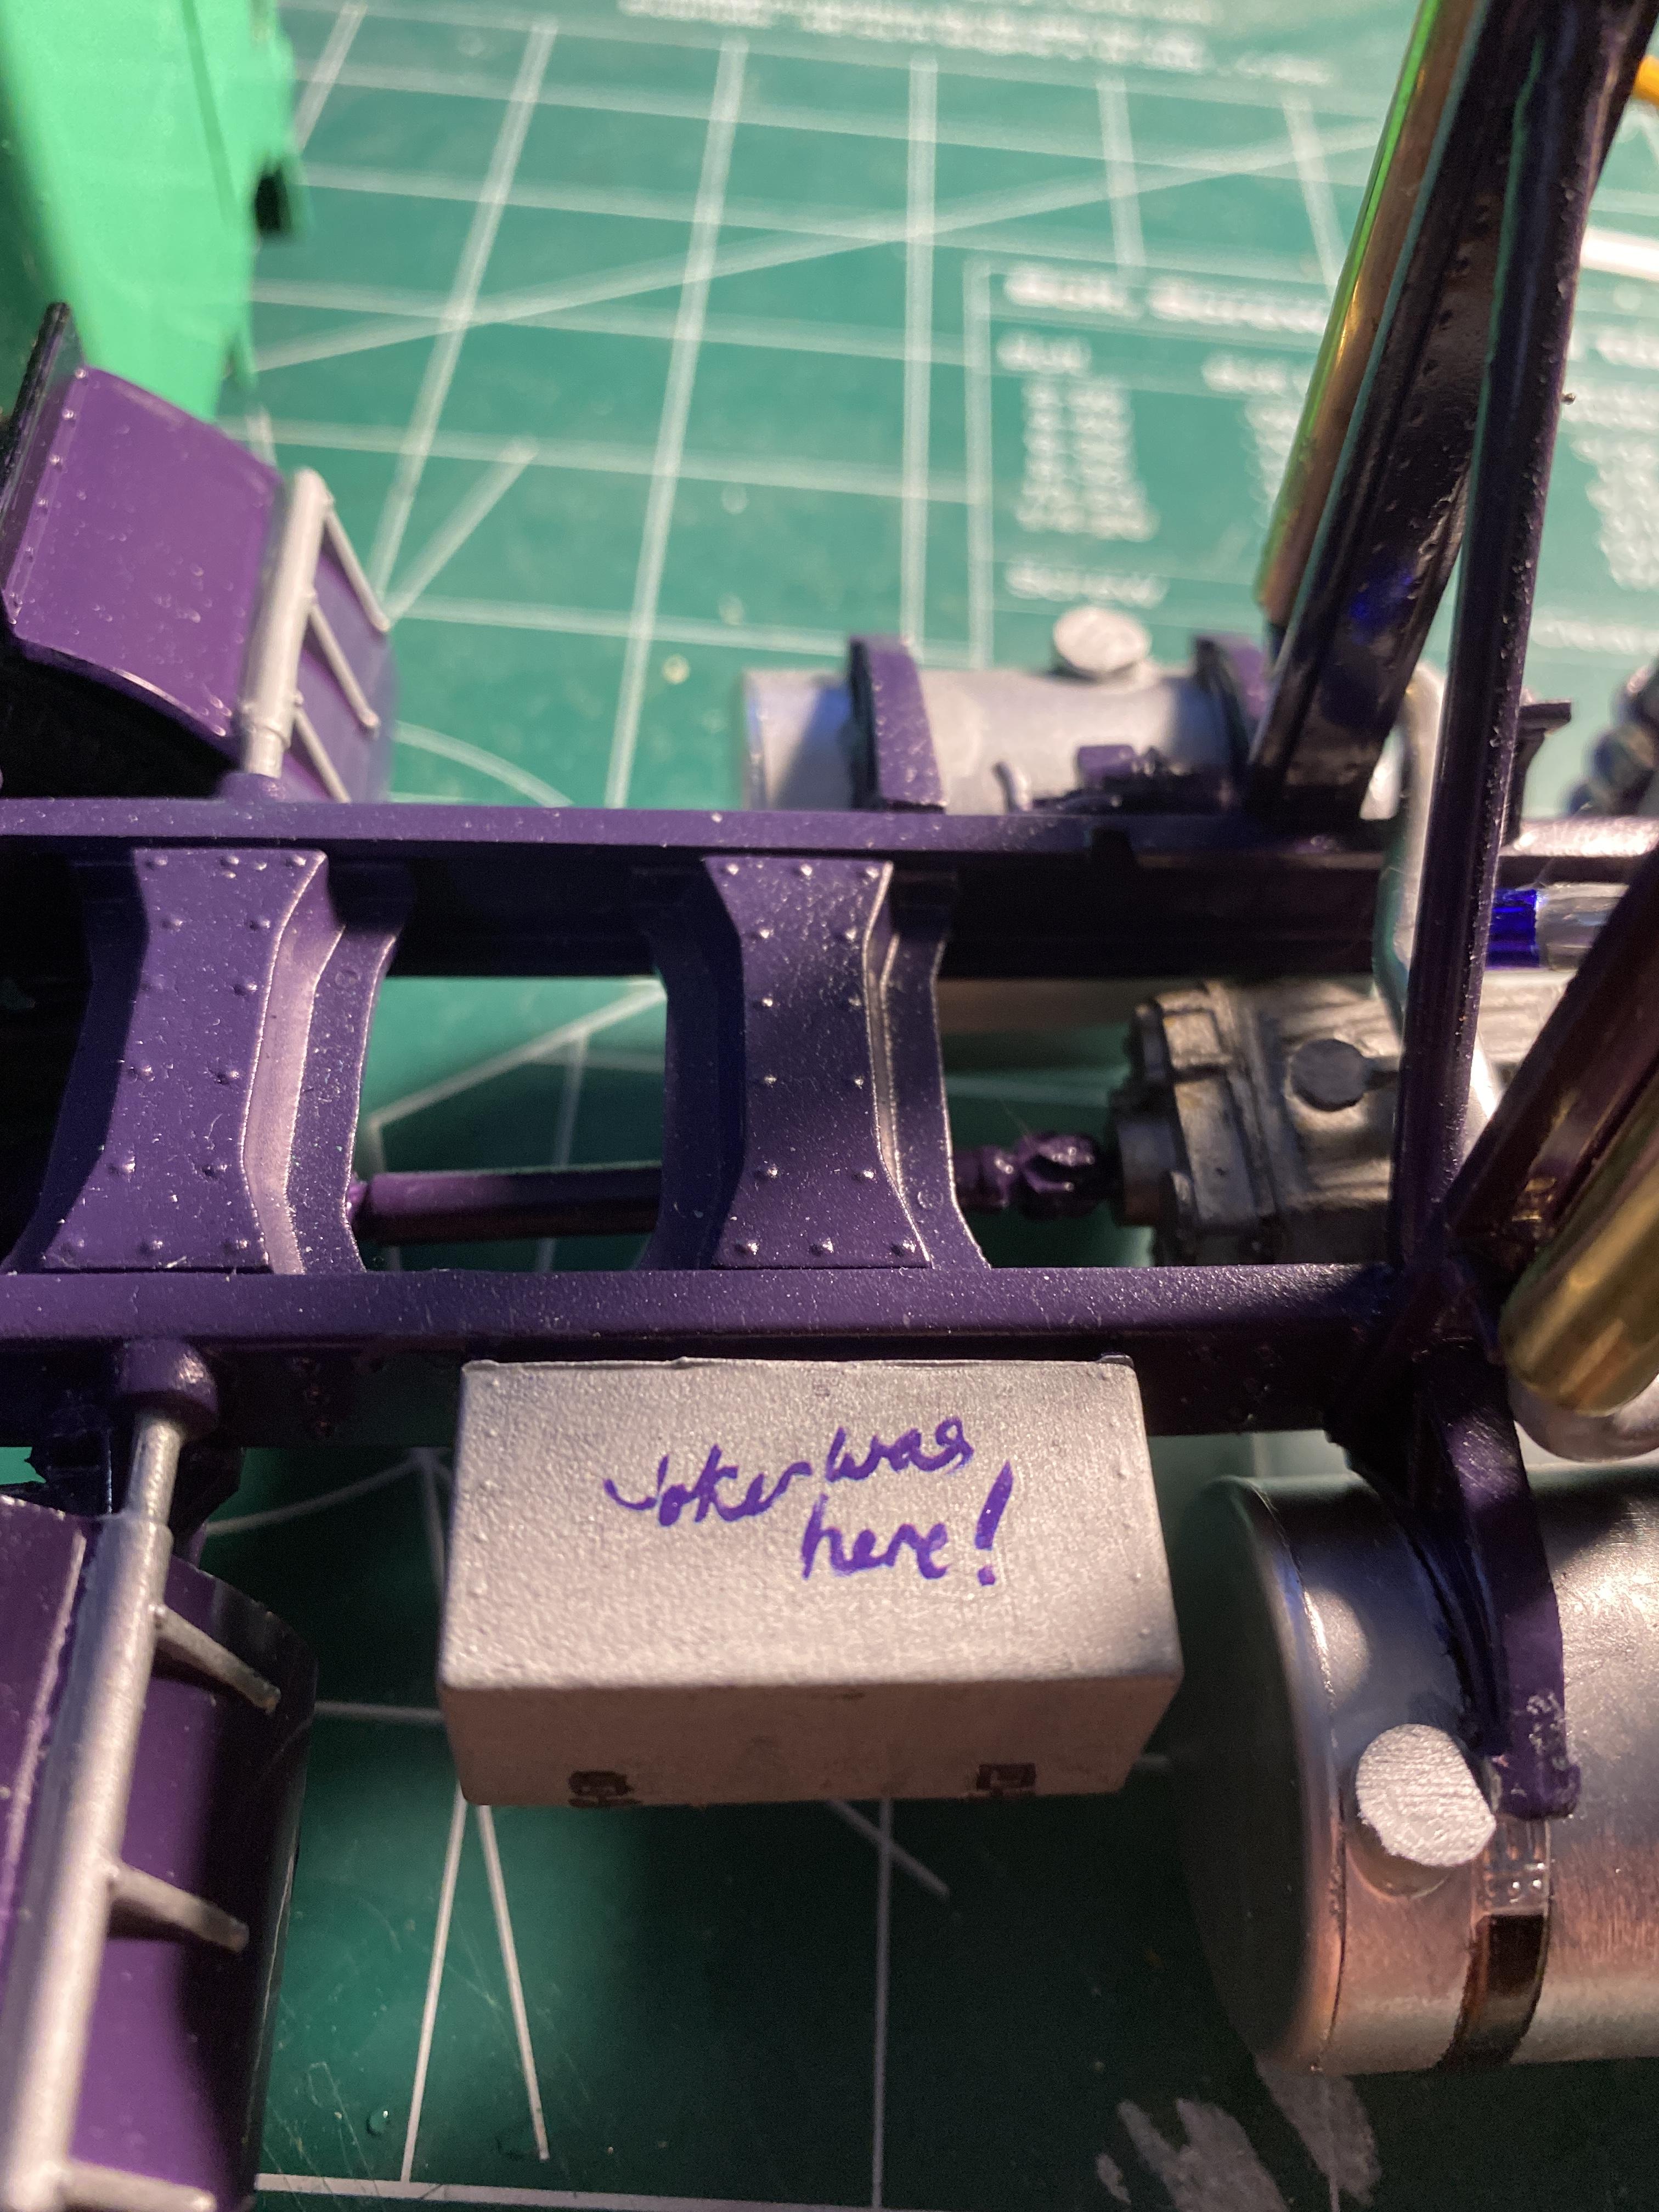
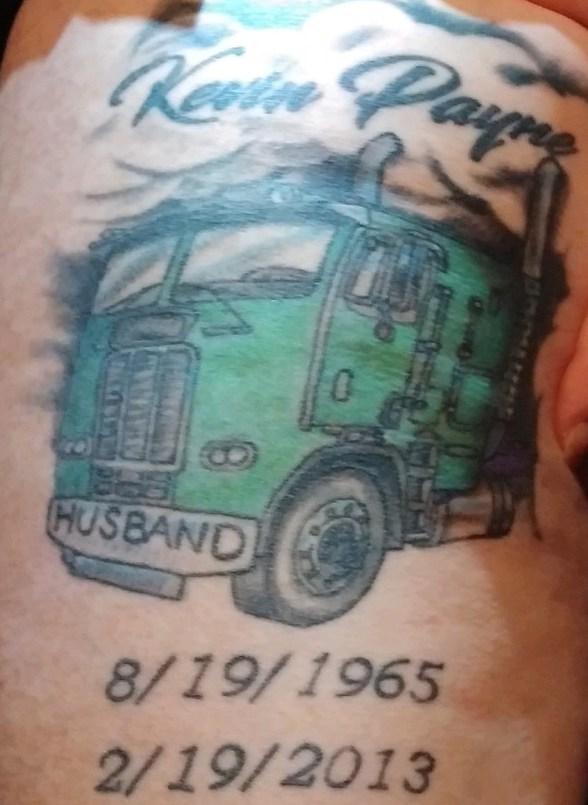
I've been working on this since I've been home (3-21) for a lady friend's now 13 year old son. His dad died about six years ago while loading cattle. He owned and operated a 1993 (?) COE and had always talked about building it into a Joker style rig. Well, heck, I can at least build a tribute. Lots of input from them on details,. I'm almost "done" with it, so lots of pics. Got nothing but time, so here... we... go!
-
1/32 Rubber Duck Mack
Murphy's Law replied to Murphy's Law's topic in WIP: Model Trucks: Big Rigs and Heavy Equipment
Wow! Thanks for that! Great pictures of some pretty serious scratch building. -
1/32 Rubber Duck Mack
Murphy's Law replied to Murphy's Law's topic in WIP: Model Trucks: Big Rigs and Heavy Equipment
I have. Kinda takes some of the fun out of it though! -
1/32 Rubber Duck Mack
Murphy's Law posted a topic in WIP: Model Trucks: Big Rigs and Heavy Equipment
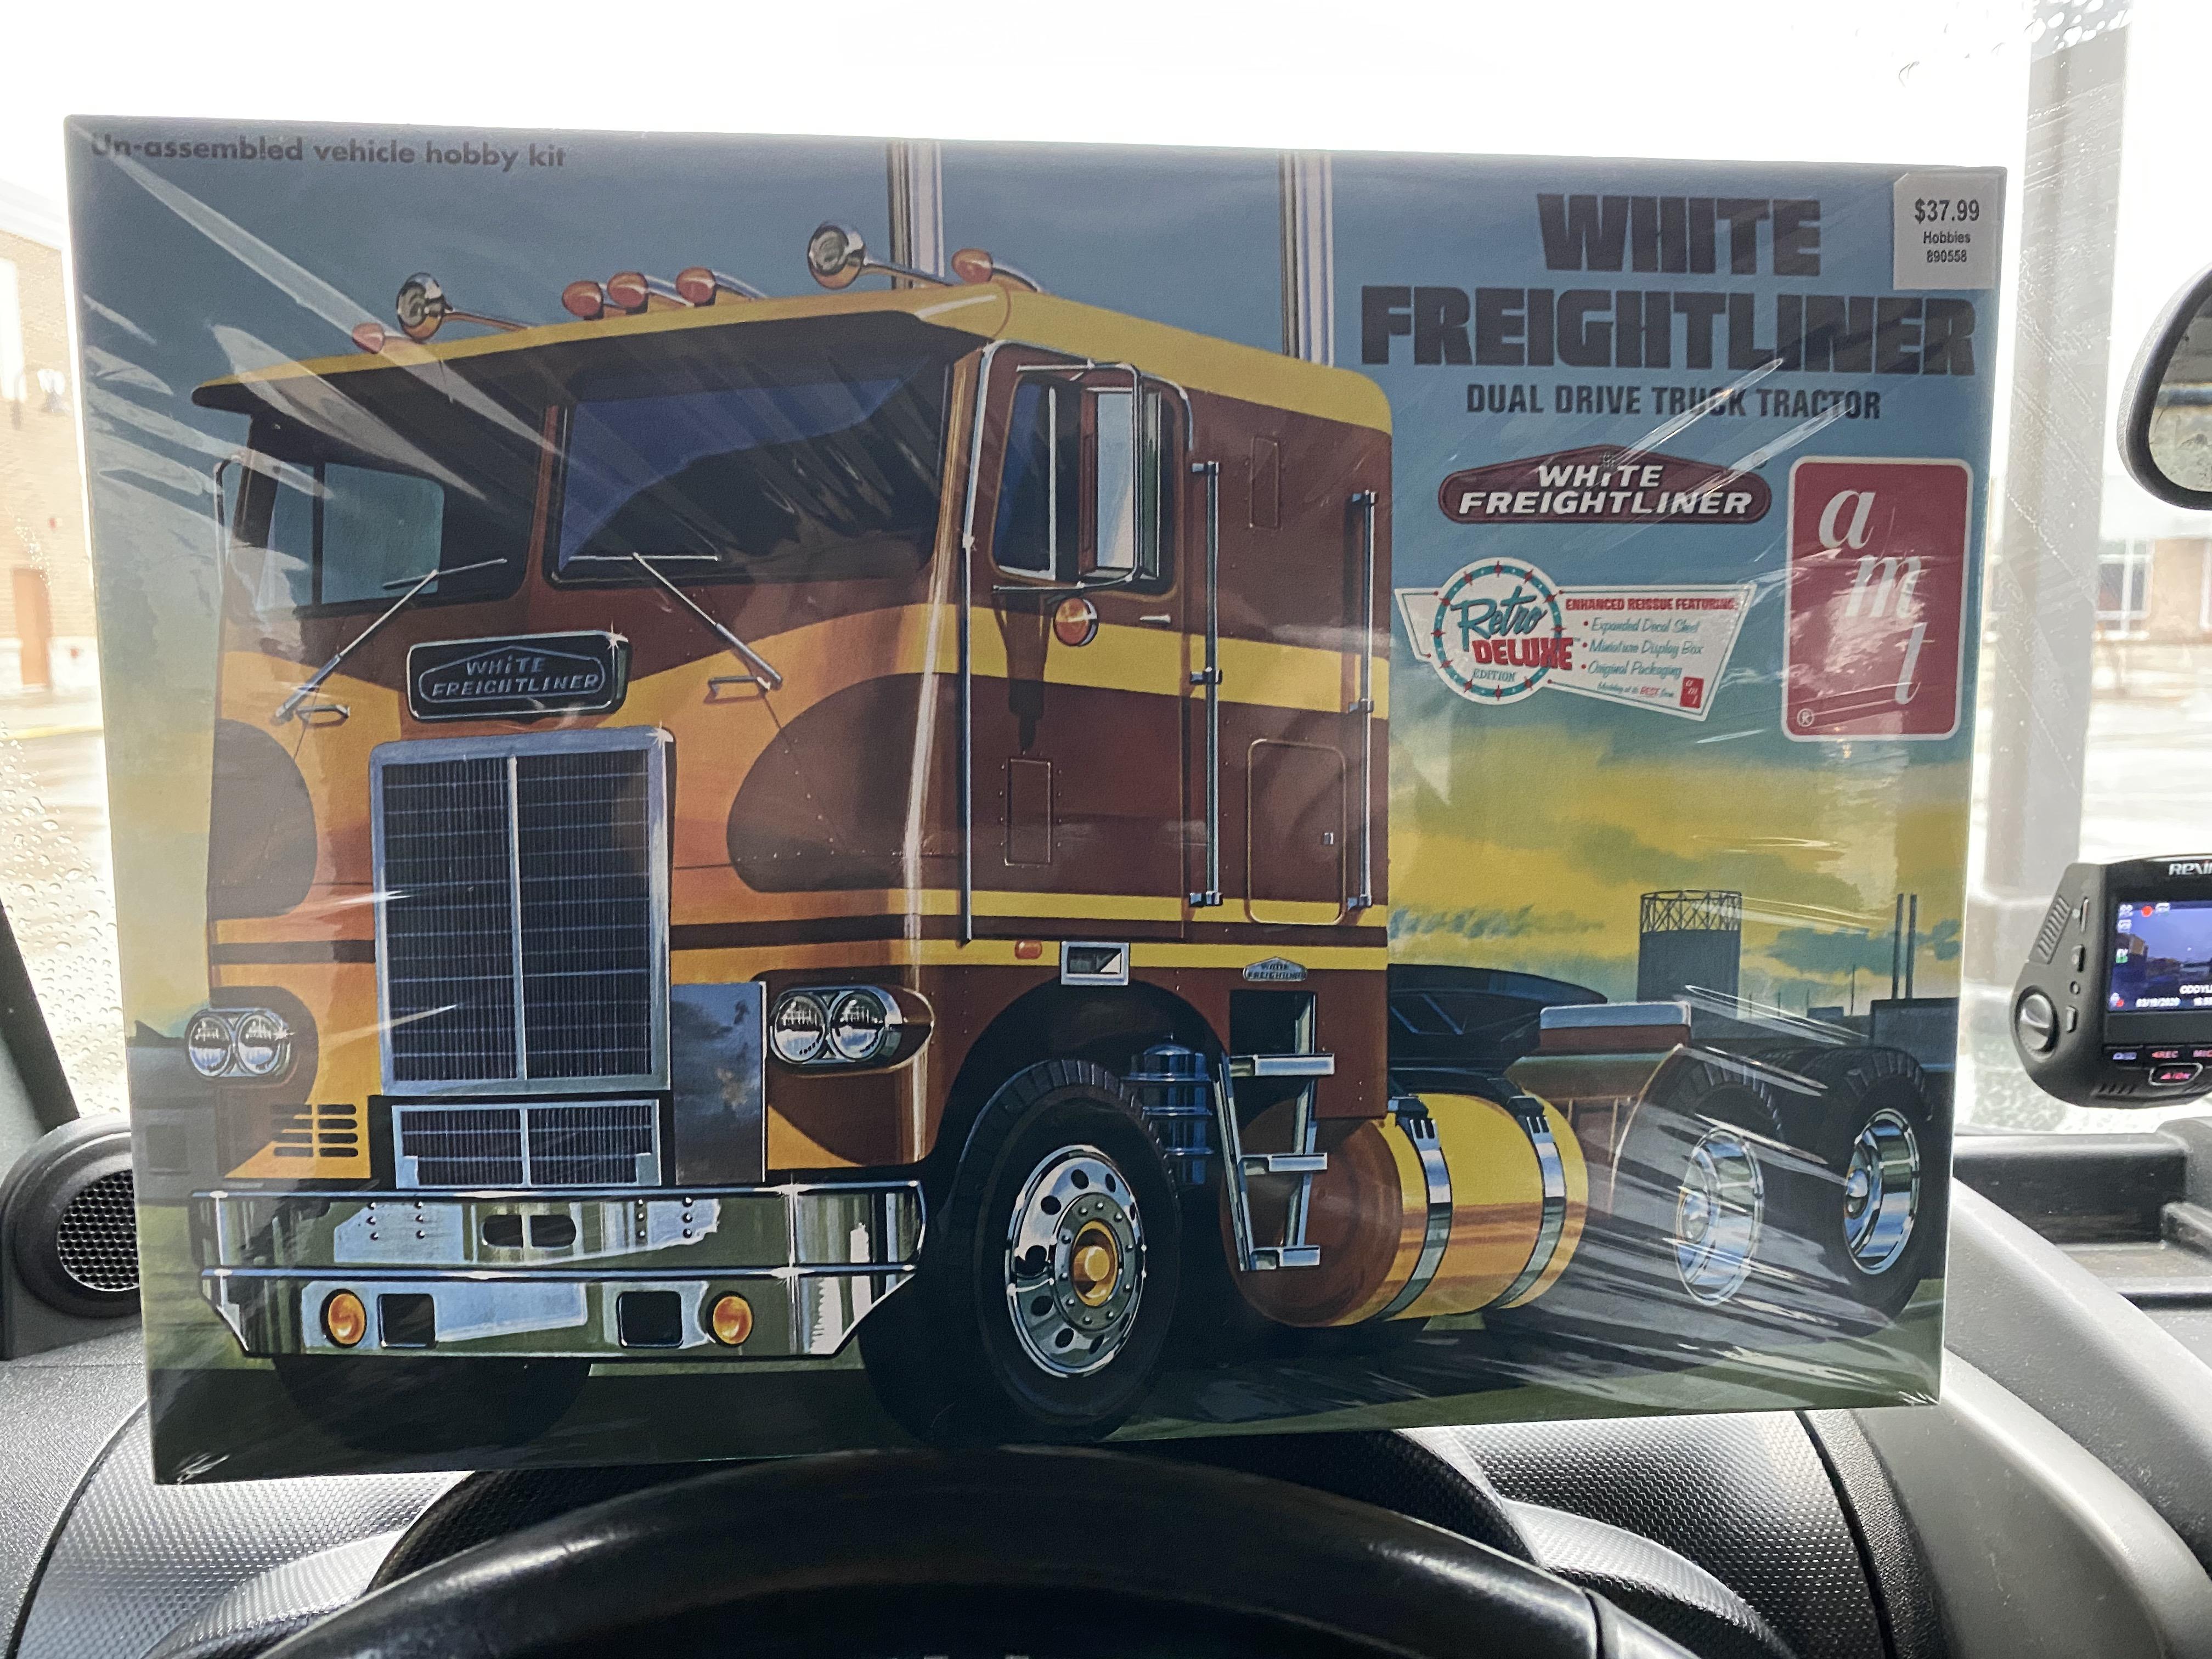
Haven't been busy with plastic in quite some time even with a ton of half started projects... Bought the 1/32 Mack "R" and tanker trailer several months ago and finally got the itch to build up one of my three favorite semi's (the other two are coming soon as well). I am not going to go too detail crazy, but would like it to be a pretty healthy representation of (one of) the movie rigs. Leaving the hood short, at least for now, but started on the lengthening of the sleeper using the specs from Dan Bruno's old site (thanks Dan!). I made the decision to leave the sleeper doors towards the back of the simply to make less cuts and it appears that one of the movie rigs had this configuration. I've seen Dan's truck in person and know that the doors are both in the middle, but... The exhaust cutout kind of threw me for a loop to keep the doors where they were. I glued some Evergreen strips to the inside of each wall as some bracing and after some math, was able to get it to roughly 60" scale inches. Used some lengths of sprue glued from the inside to brace the rounded corners. and got busy with the milliput. I'd never used it, but heard good things. Dang that stuff makes a mess, though. Ended up standing at the kitchen sink and using lots of water. Let it dry overnight and got to sanding this morning. First go around with some coarse paper. I think it came out pretty well for a first timer. I still have some seams that have low spots, but that's an easy fix. No rivets were molded into the middle of the roof, so that made the top easy as well. The bottom edge is going to be sanded smooth and new diamond plate will be installed. Still a few high spots, but pleased nonetheless with my start! I have a Duck hood ornament, air dam, and bull bar from the 70's Ertl Duck kit in my parts box. The air dam actually fits the 1/32 kit perfectly. I used the bull bar a a pattern for scaling out the one I'm planning on scratching out of brass. Onward! -
Rubber Duck Mack {AITM}
Murphy's Law replied to Old Buckaroo's topic in WIP: Model Trucks: Big Rigs and Heavy Equipment
Look what I found!!!
-
Rubber Duck Mack {AITM}
Murphy's Law replied to Old Buckaroo's topic in WIP: Model Trucks: Big Rigs and Heavy Equipment
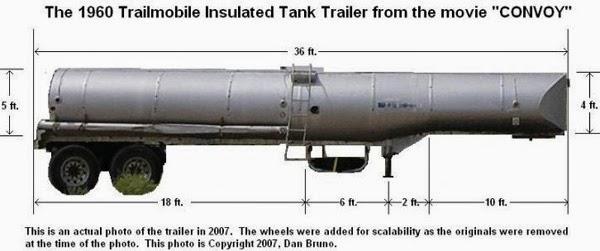
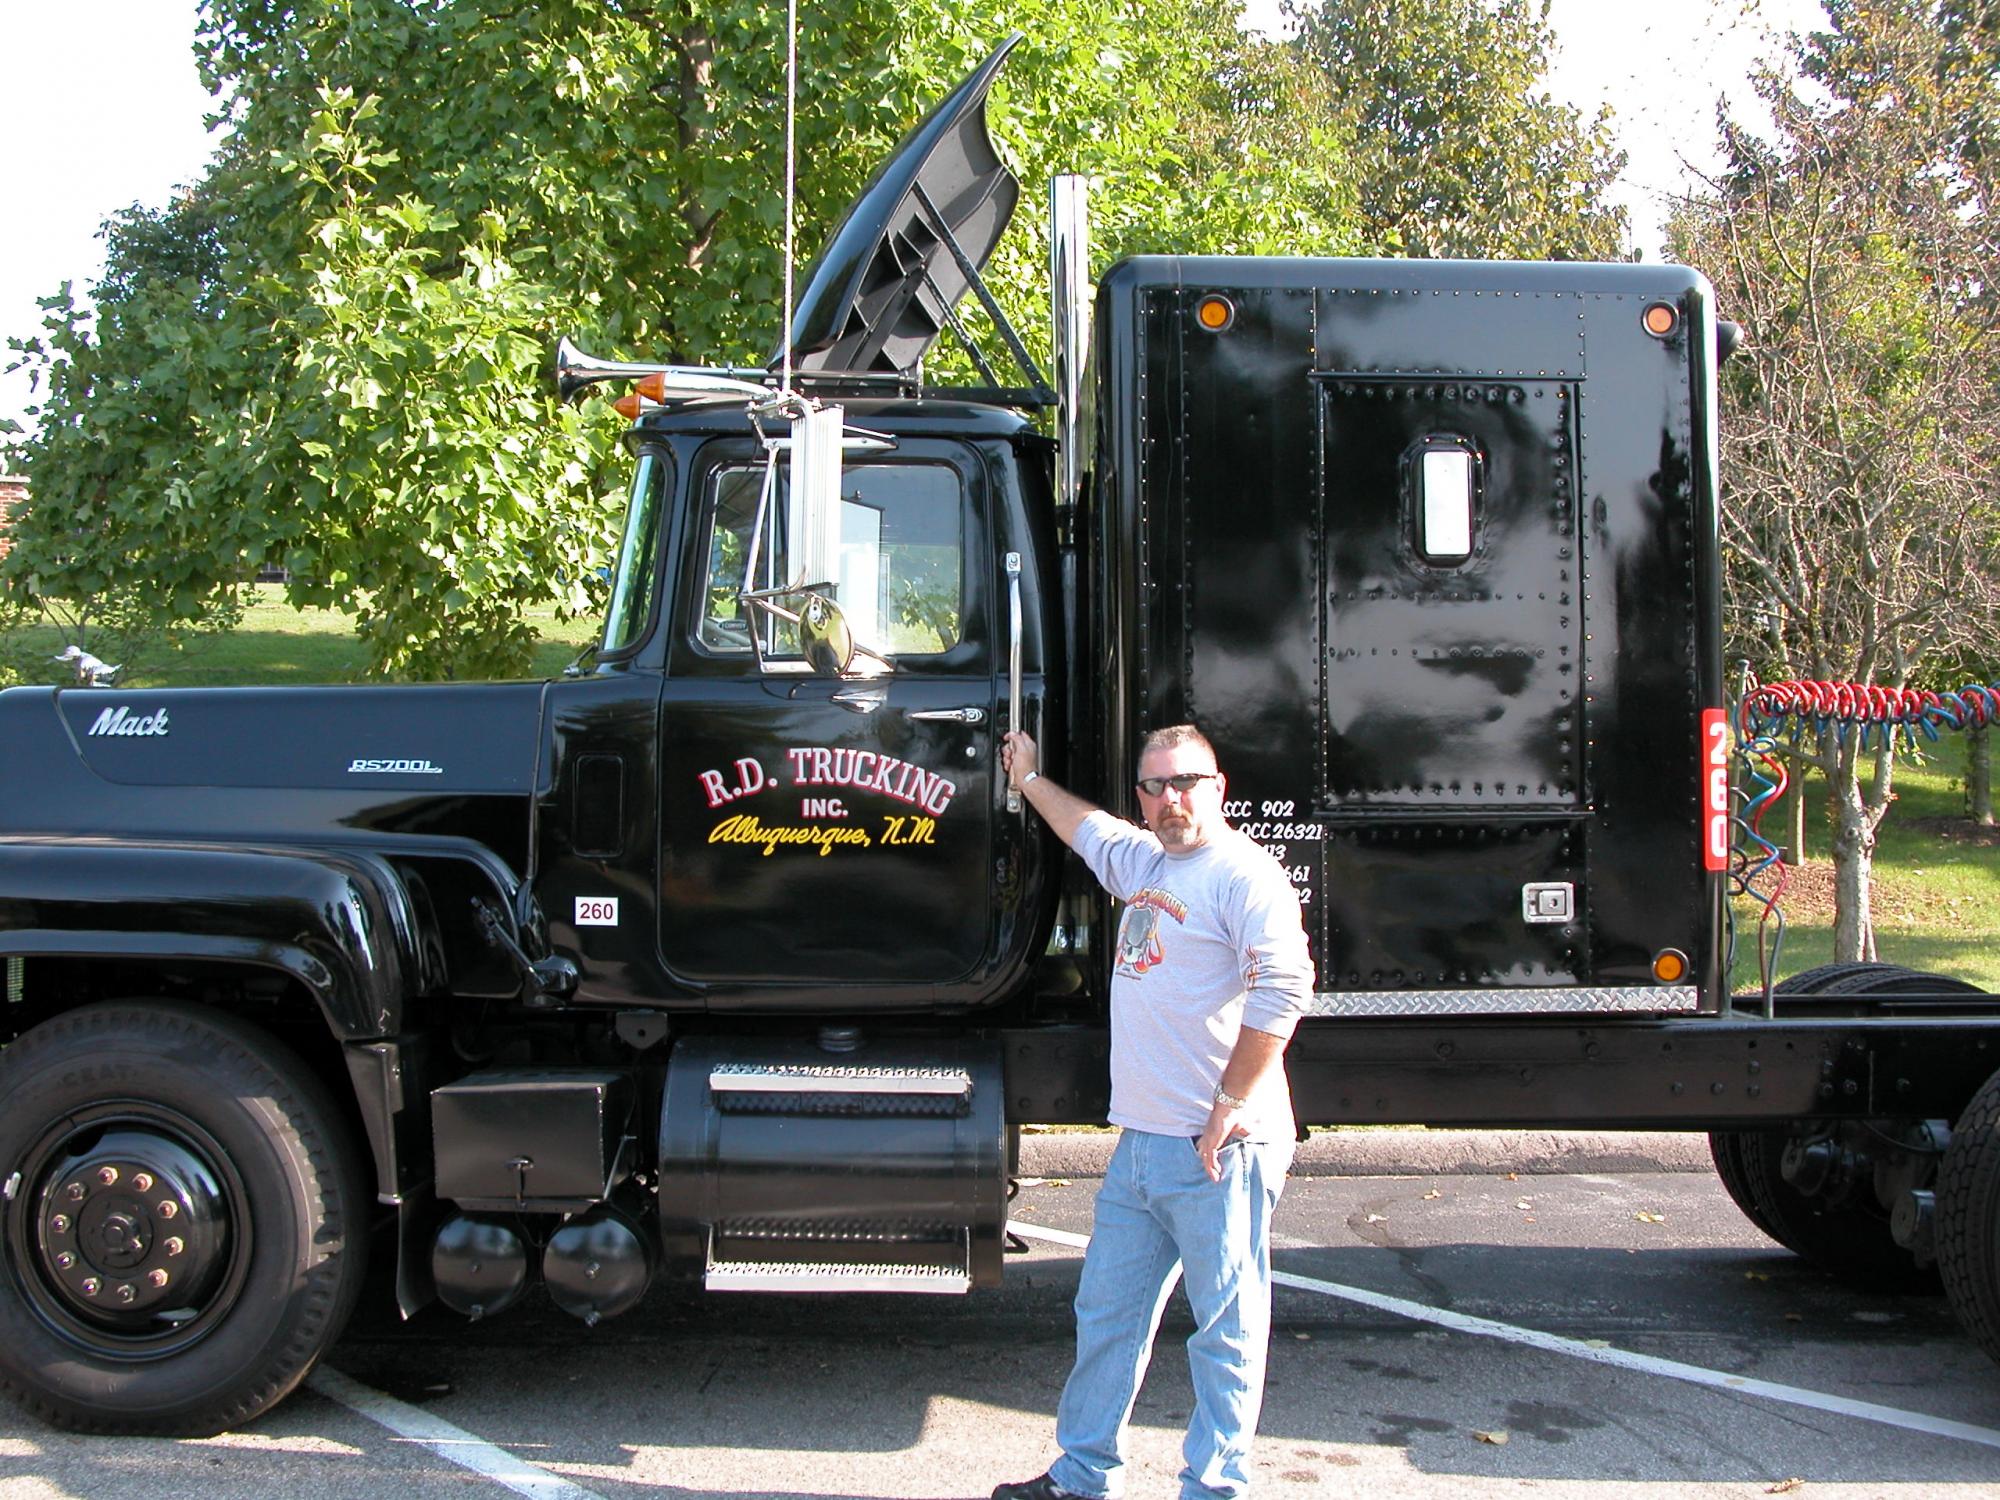
I was able to crawl around the Duck mack in about 2008 or so in St. Louis. The trailer that is attached is one of two trailers used in filming and still shows the damage from the jail scene. I thought I had the dimensions for it, but can't seem to find it in my files. Here's a linky to all the pics I have from the movie, models and such. None of the kits are mine, just downloaded for reference. And sorry about the ordering. Really want one of these AITM kits now...
-
240-Robert Bronco Hi-Roller RamCharger
-
Looks awesome! Radio and shotgun are spot on. As a retired Florida deputy and now Iowa firefighter, I too could tell story upon story. Surprisingly, up here, we do get most folks to move over with out much trouble. In Florida, short of using the PIT maneuver, they'd stay put. Very aggravating. Oh, and we were 10-18 for a full code.
-
The bad guys definitely knew we were coming...
-
1/16 Scale Peterbilt 359 Large Car
Murphy's Law replied to Kenny B's topic in WIP: Model Trucks: Big Rigs and Heavy Equipment
Oh, how I'd hate to pay the bill to fill those tanks. Looks really good. -
I built the "High Roller" version a few years ago. Actually turned out to be a decent kit for the age.
-