
Tumbler75
-
Posts
410 -
Joined
-
Last visited
Content Type
Profiles
Forums
Events
Gallery
Posts posted by Tumbler75
-
-
This build is amazing S.M. The level of detail is amazing and spot on. Keep up the great work!
Harry P. I have to agree with S.M. on the E-Brake clearance as my Fiero's E-Brake when door is closed has .75" clearance between handle and door and .50" between handle and seat. Granted, I have relatively small hands (especially for a man of 5'6"), but a friend of mine who's hands are like a Giant's has no issue with the E-Brake's clearance (just the leg room but that's an entirely different matter).
-
Ok, I thank everyone who has been following along this wild ride. This build was suppose to be simple, but quickly turned into a monster.
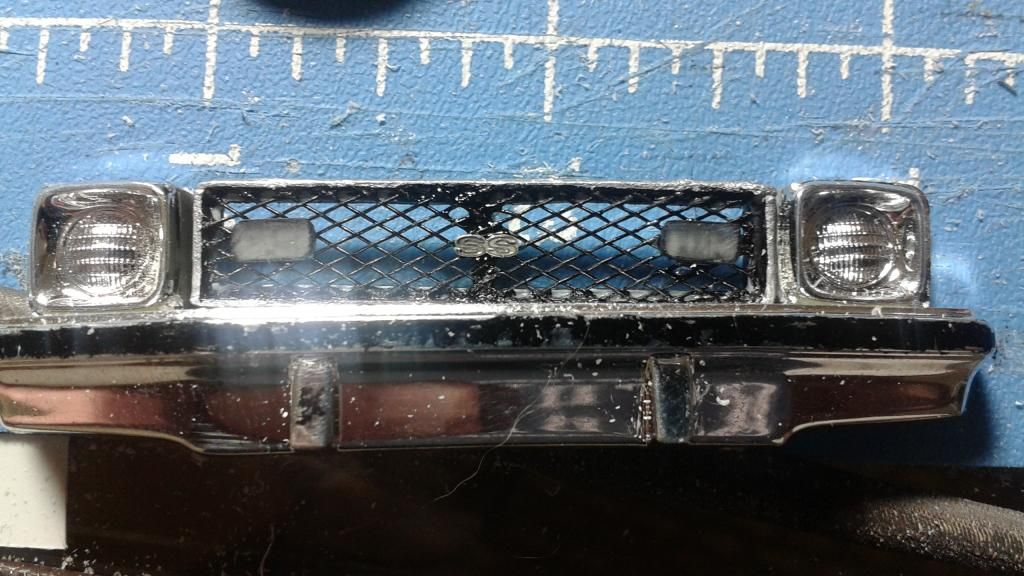
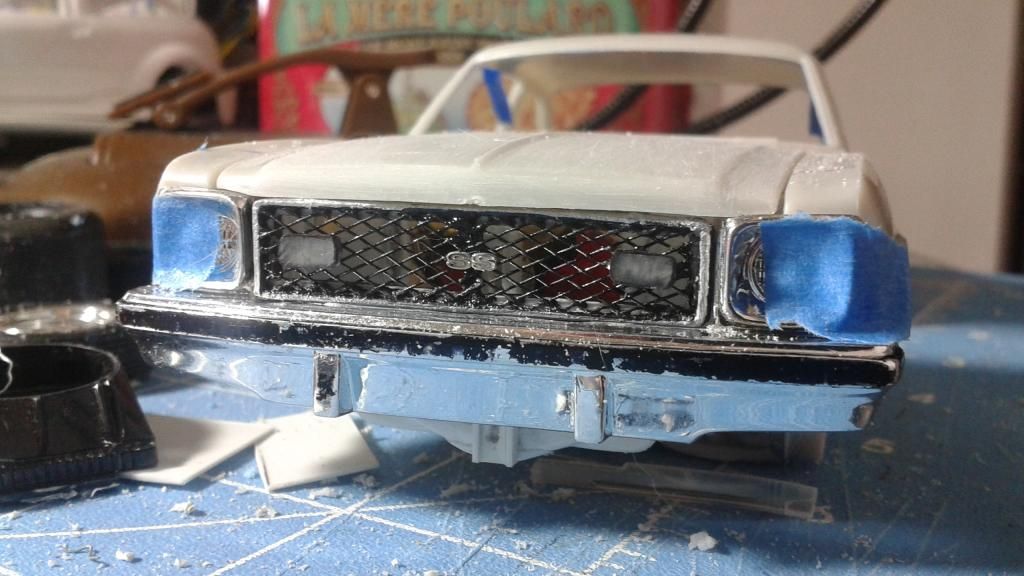
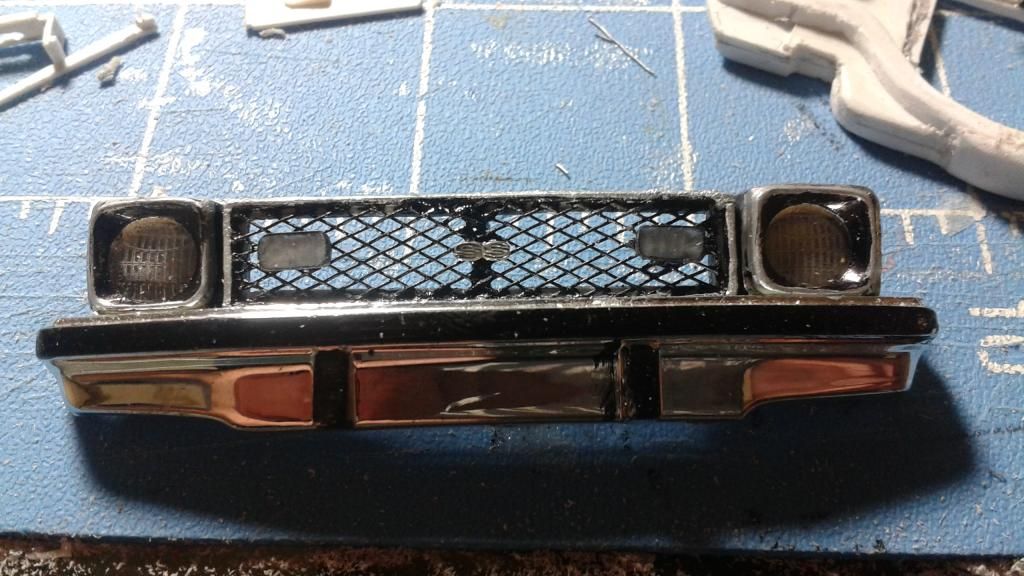
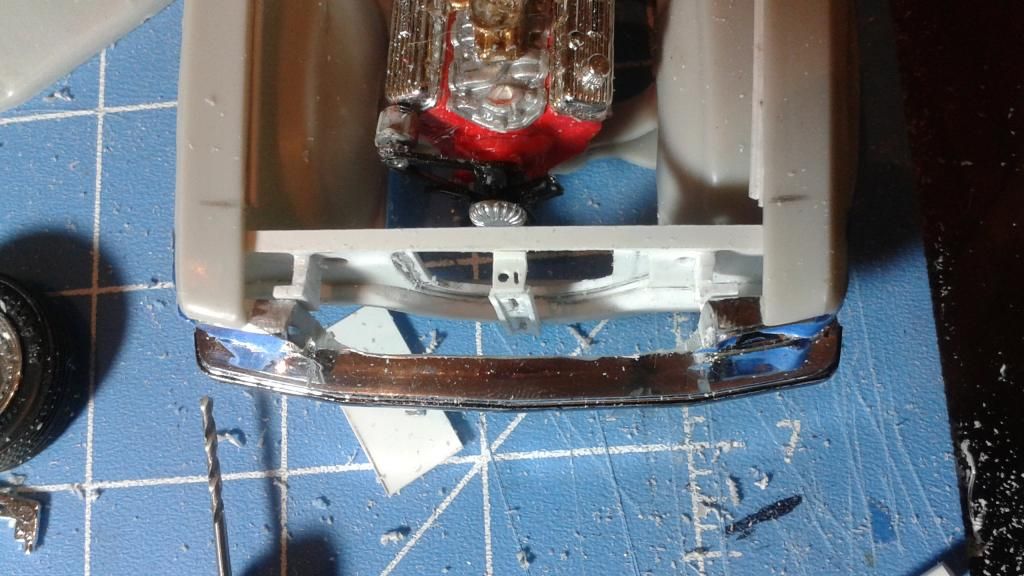
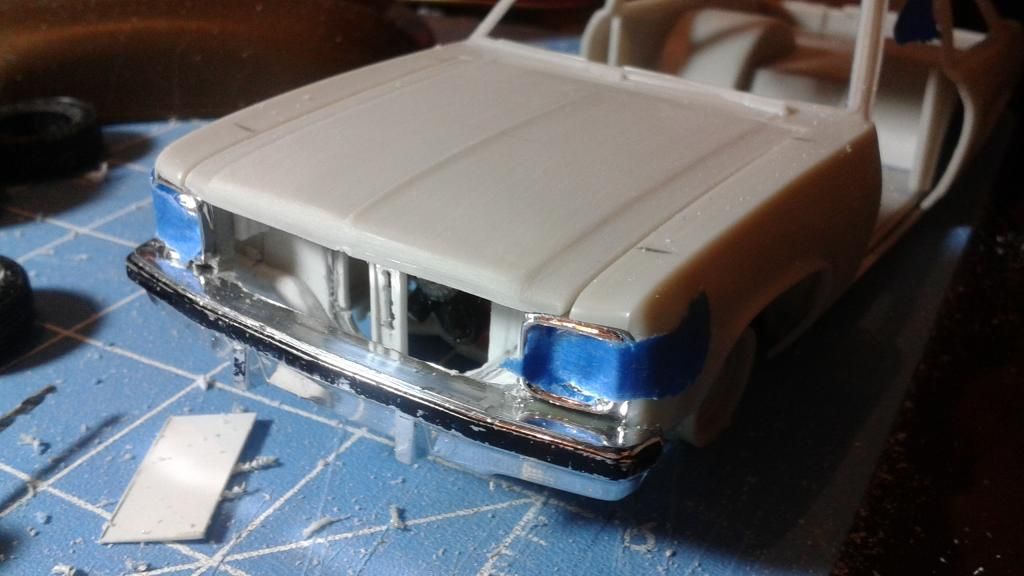
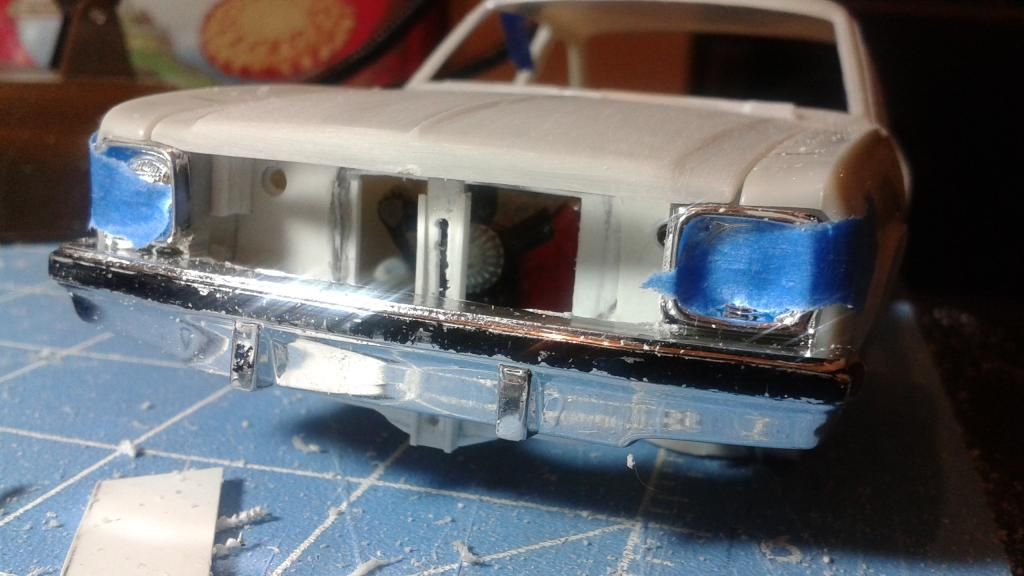
My 1:1 76 Nova wasn't a standard, so the grill had to go. I took some flat stock, round stock, window screen, and some clear sprue to come up with a presentable representation of a Nova SS grill.

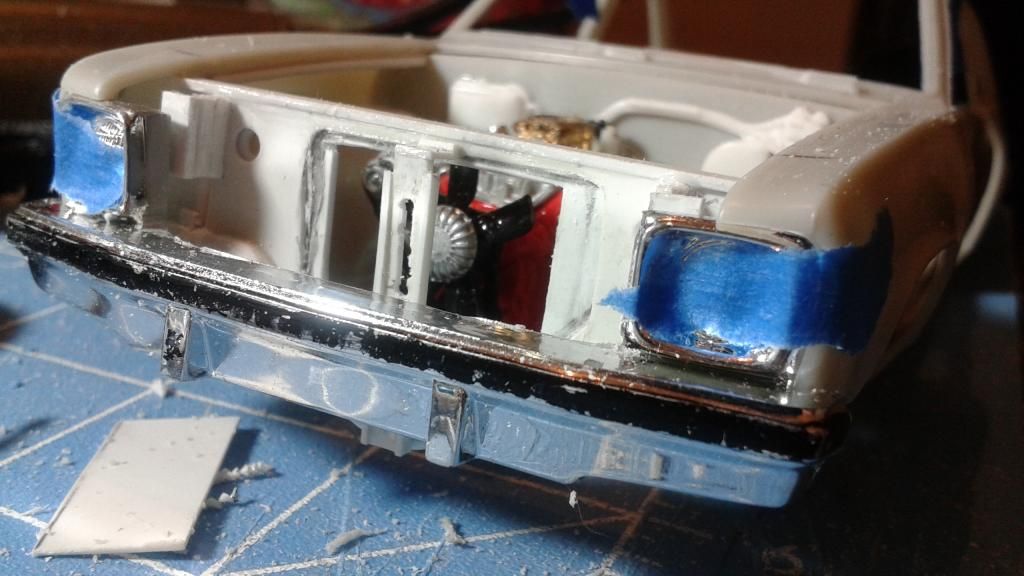
But then it hit me! Those hideous headlights! They had to go! Too small, and looked like doll eyes. So I routed around and found a pair of lights and second hand buckets to go in their place. Much better in my book!
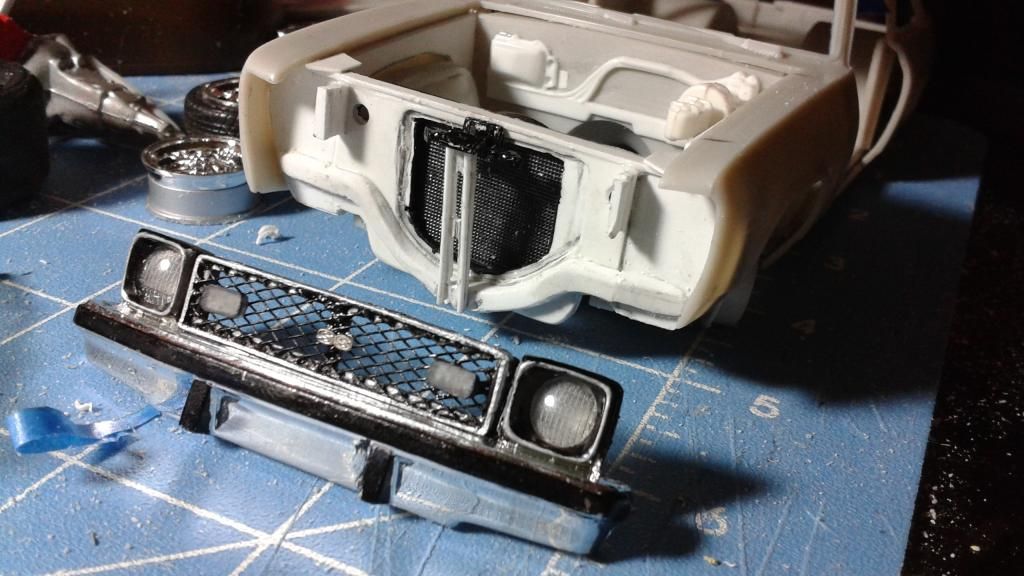
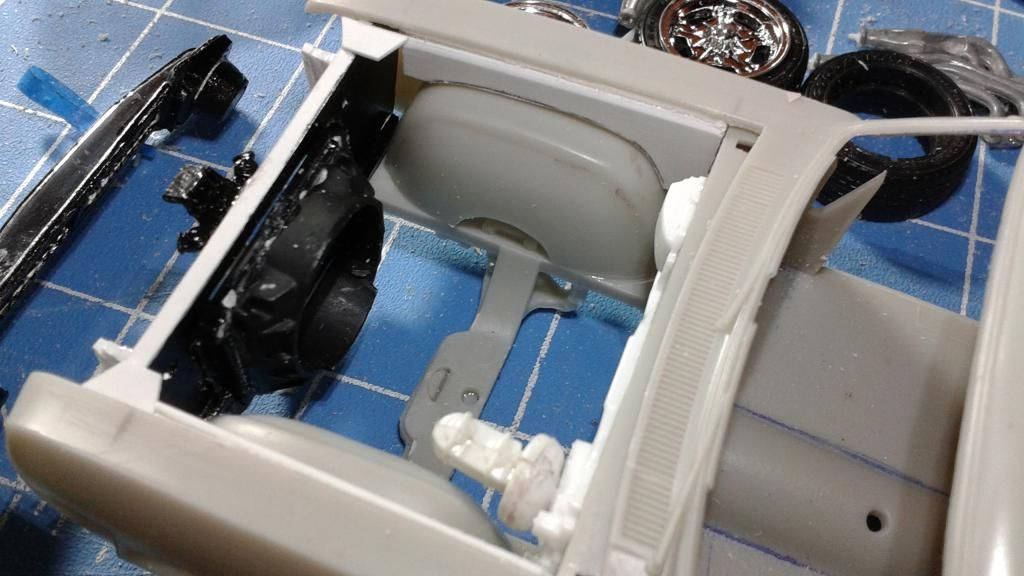
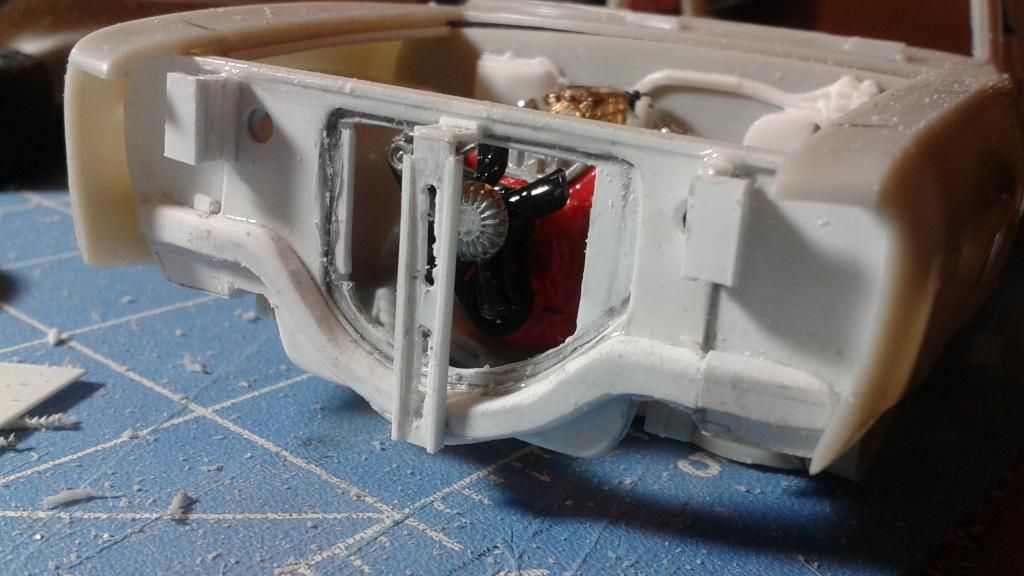
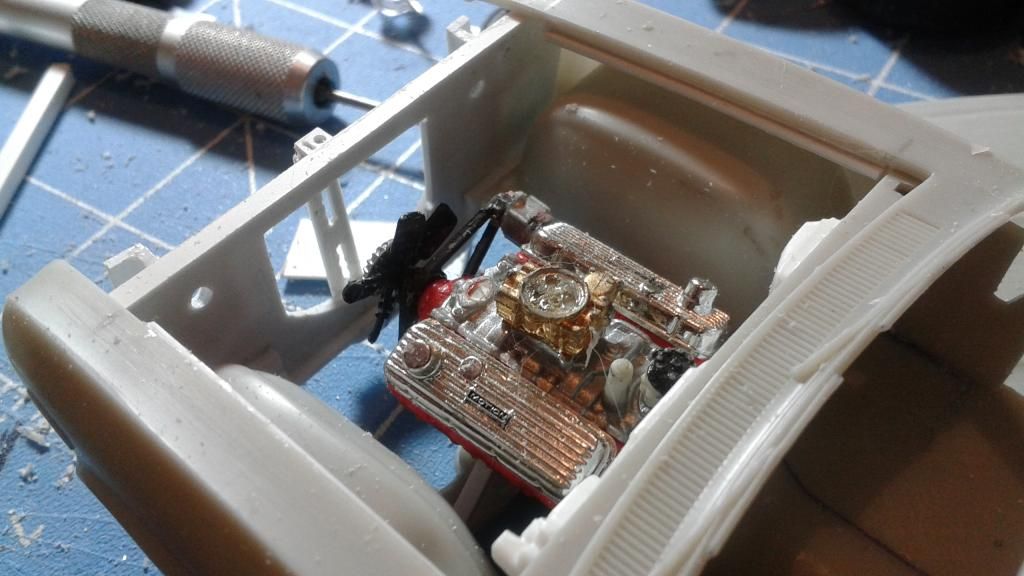
With that sorted, I found a radiator in the spares box, but the shroud was all wrong. So I found a second radiator, but it was too short, but right shroud. I carefully dissected the shrouds from the radiators, test fitted, and then glued everything to the radiator support. Then added a new brake booster and reservoir, and added the side walls. Next will have to be the heater box as after all this, it needs to be correct as well. Also redid the hood latch and support bar. (You can see the grill better in this pic too.)

Back to the bench. Gotta make the radiator plate and a new heater box. Enjoy! -
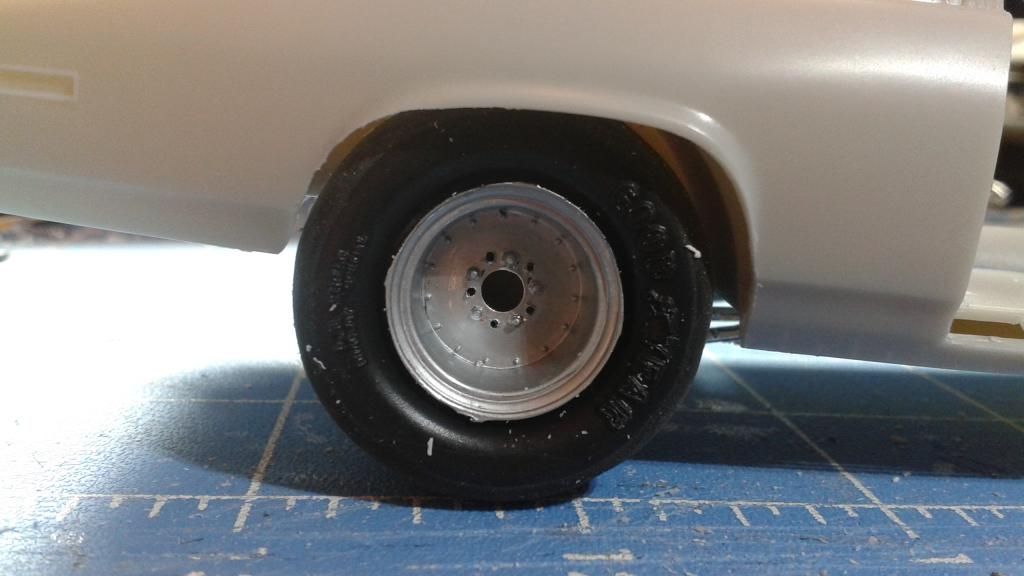
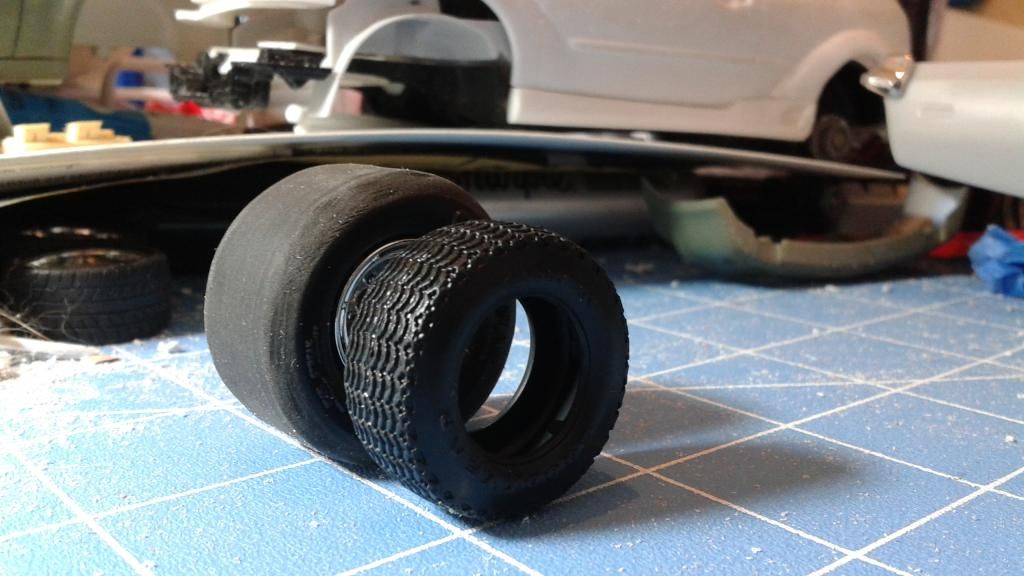
Those rear wheels look like the ones from the Monogram flip-front '66 Malibu (the black one). Best Super Tricks I've seen. I've measured a set of 1:1 rear wheel halves, and the Monogram units are the most correct ones out there. I'm trying to put together a front wheel that's as good. The stance on this build looks just right. How good/bad a job did the original builder do on cutting the body panels?
Amazingly only one goof! Something I can live with and I'm not going to point it out because if I do, then it becomes apparent. LoL I could fix it but I'm afraid of making a mess out of a good job. So I'll leave it as is. Yes, the tires did come from the '66 Velle Flip Front. I'm still digging for a better set of front tires. I'm sure I got a set, just gotta figure out where. LoL
-
Thanx everyone for the compliments and comments. Well, y'all were warned. The radiator support wasn't up to my criticism. And to whom ever told me "If you don't like the current mousetrap, then go build a better one!" didn't know me to well. LoL And that is what I did. I made a more reasonable rendition of the radiator support using a few 35mm photos I do have of my Nova. I even scratched out the hood latch support and bracket. Simple, but effective. LoL The hole in the grill is next to be fixed. Mine wasn't a standard grill.


And yes the hood still fits and shuts like it's suppose to.

Now let the radiator hunt begin!! LoL
Enjoy! -
Thanx everyone first off!
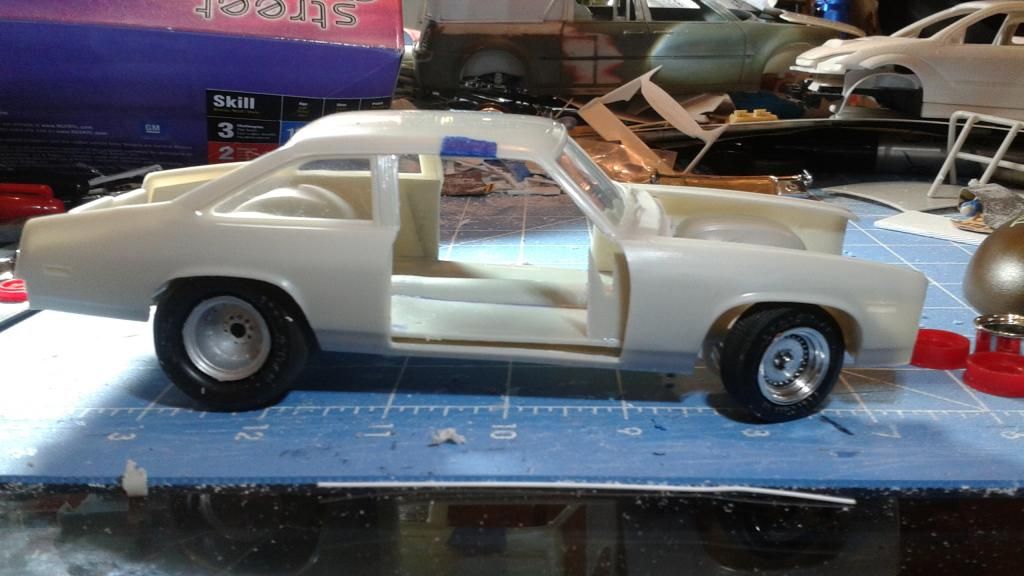
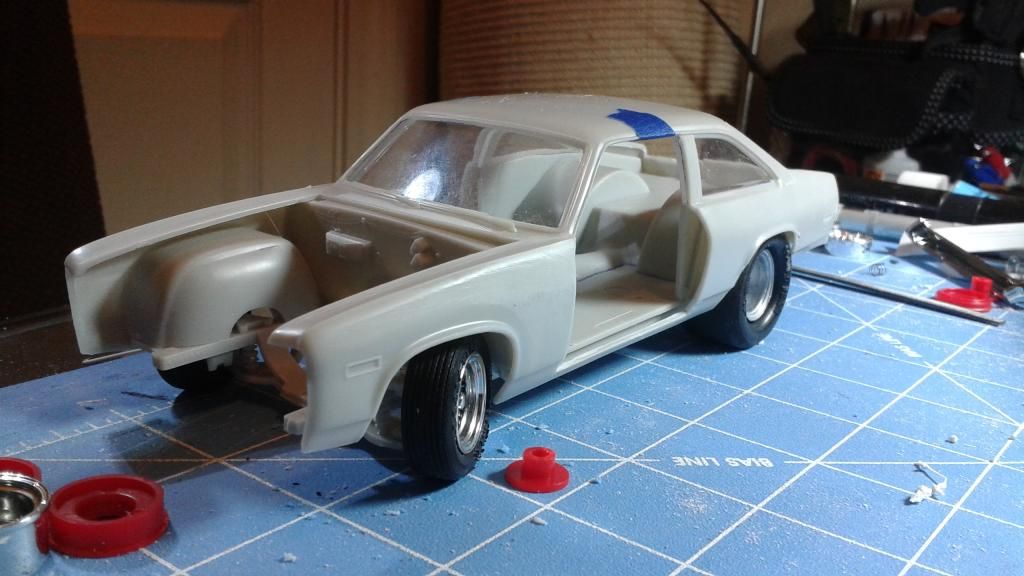
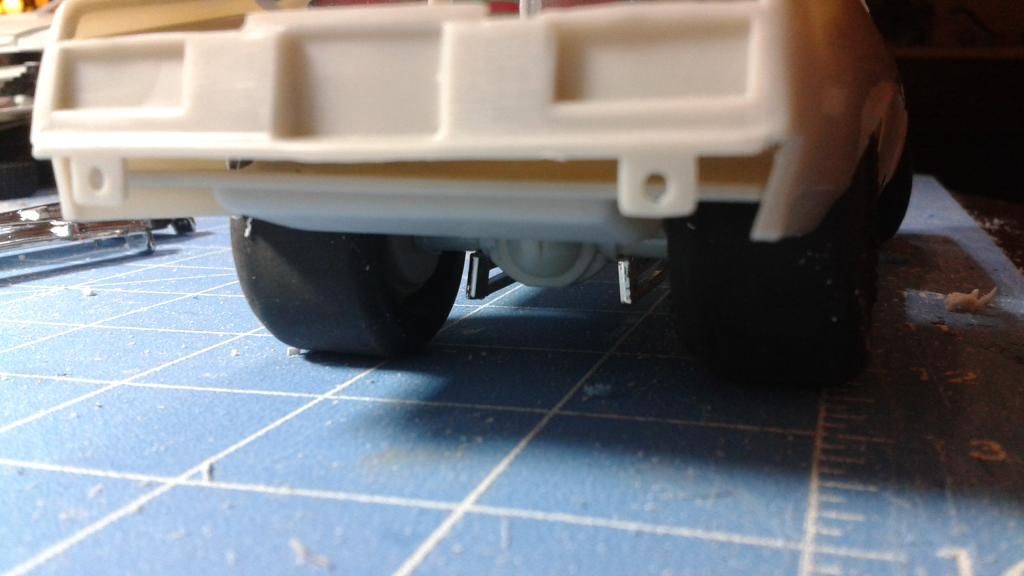
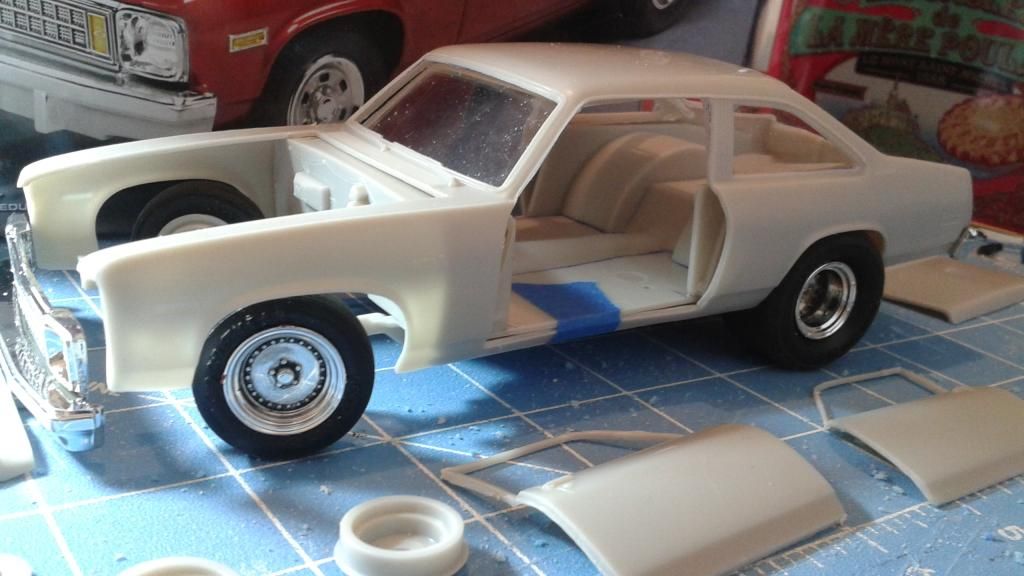
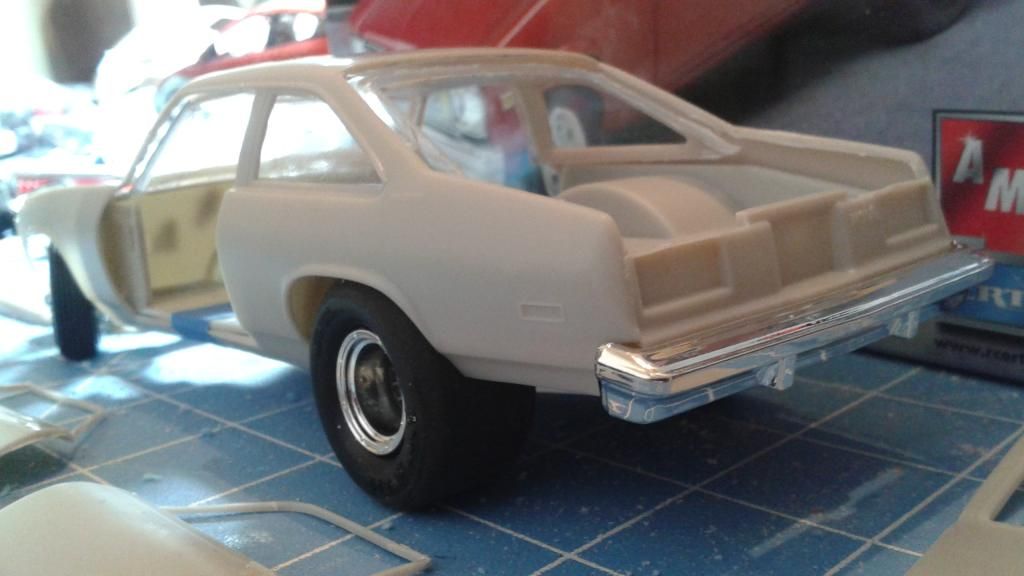
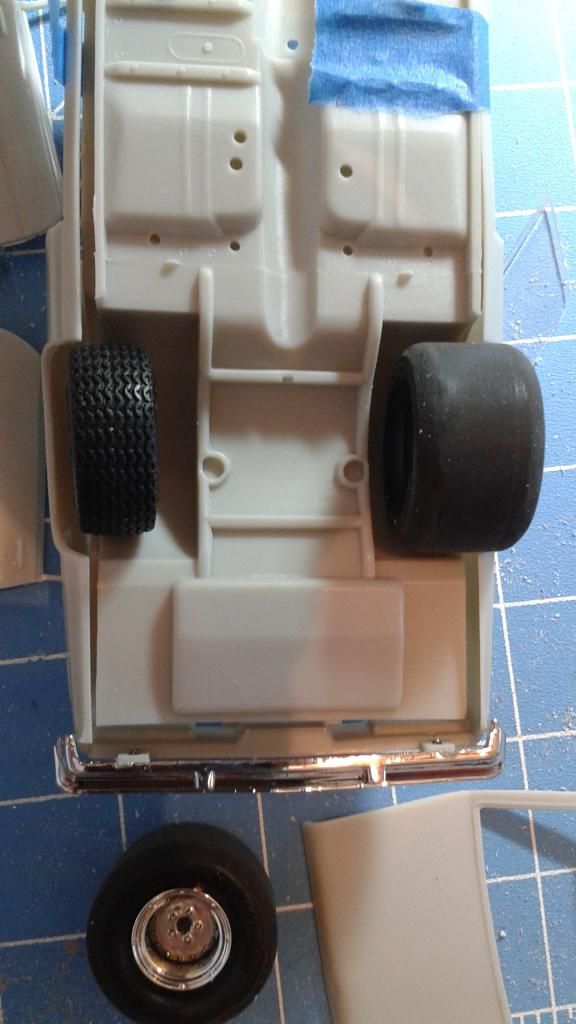
Now down to business. On my 1:1 '76 Nova I had everything tucked in nice and tight. So I took the second axle in the kit and narrowed it down to bring things in closer to the frame. Then I opened the rear wheel arches some so the tires wouldn't be obstructed by them. Did this just like the original car.


I had 10 lug/hole aluminum look wheels on the rear. So I wanted to imitate that here. So found some rims with li'l indentations in them and drilled them out with a small bit. Left the lugs in tacked then painted the rims silver/aluminum in color.
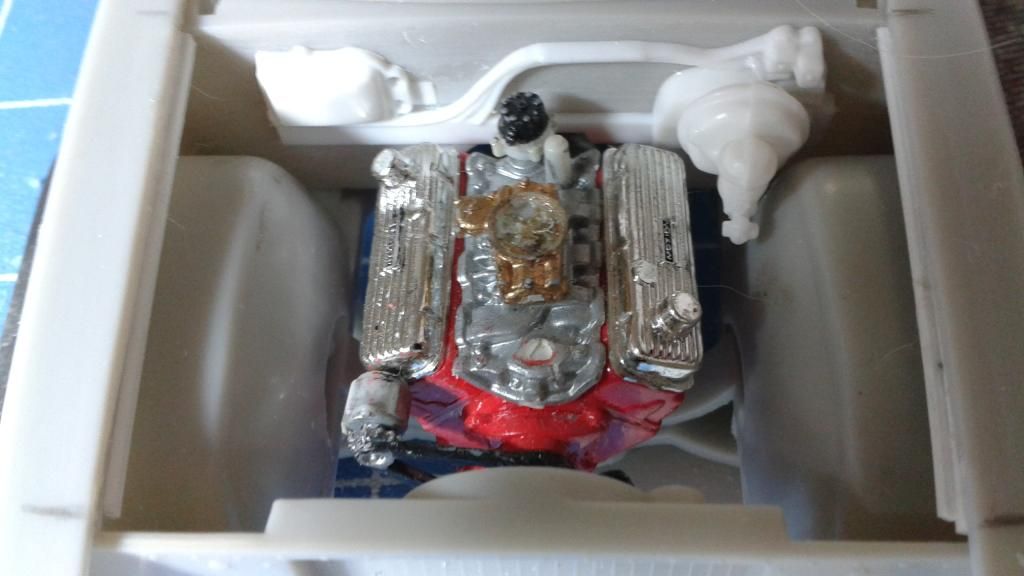
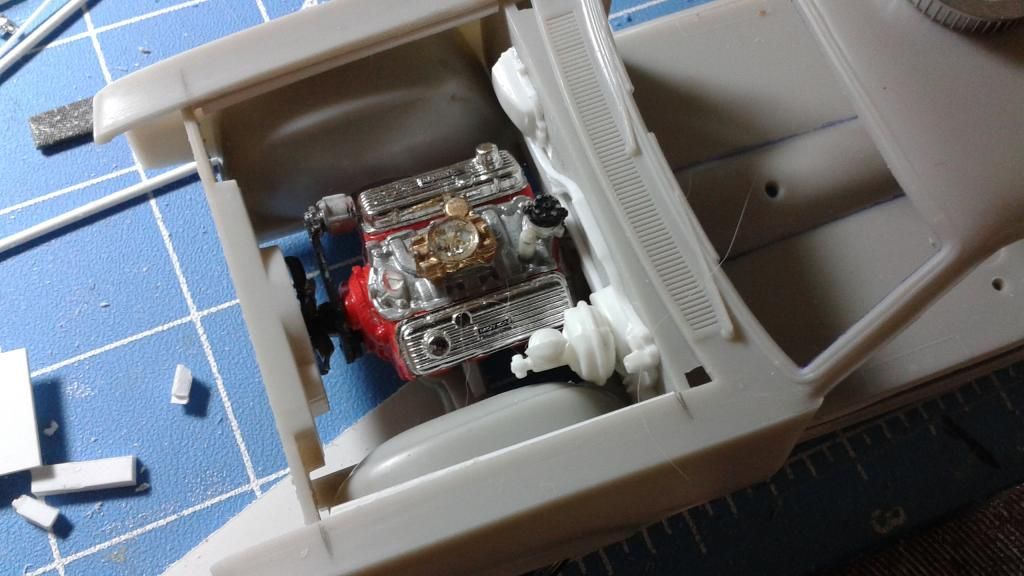
And then I moved on to sorting out an engine and transmission. But first I had to do something about the plain, faintly detailed firewall. So dug around in the spares box and found the engine from the 70 1/2 B/M Camaro and heater box/brake booster system assembly from the 67 Chevelle. Got them all tidied up and mocked everything up. The brake system is close to what my car had so it'll work. Radiator support needs work and might get changed out.
[url=http://s21.photobucket.com/user/Tumbler75/media/In%20Progress%20Builds/76Nova/20140731_163645_zpsnvwtli2l.jpg.html] [/url
[/url
I'm slowly making progress. Enjoy! -
With things coming up close to a couple of projects needing paint. I figured I'm pull this one on out of the dust.
Well, I bought this AMT/ERTL 1976 Nova Hatchback about 6 years ago along with a couple of other kits for $1.50 at a yard sale. The doors and hatch were already opened, a few fiddly bits were off the sprue but nothing really assembled. So, I'm going to try my best from memory to build the one of 2 1976 Novas I had. One being a Hatchback the other a 2 door Sedan. So lets get started shall we?
First Box Shot along with the kit and various parts.
Trying to figure out stance. The front is almost spot on, rear needs a tad bit of work.

Empty Bay! Lots of potential, now if I can find the right engine in my spares.
I dug around in my spares box and found some better tires (front and rear) than the lethargic tires that came in the kit. Something a lot meatier like what I had on my Nova.

Enjoy! -
Good work on the casket and the deck.
One suggestion if I may. There seems to be too much roller sticking out of the tops of the roller guides. There will usually be a little less than half of the roller above the deck. If you like, I can snap some photos of the deck in my new Lincoln Hearse for reference.
David G.
David, I'm aware of the roller situation. When I first did them I was planning on putting something on the floor, but seeing how close the floor is being level with the rear bumper I don't want to cut up and ruin another floor. Plus the "Casket Stop Rails" are too thick, but the rollers are level with them. I can easily fudge and say the crank handle has raised them for easier casket removal. LoL
This build is very impressive! Is it going to be a empty coffin or...?
I'm still not sure. I do plan on putting some material inside the casket to make it appropriate. I'm still working ideas in my head. LoL
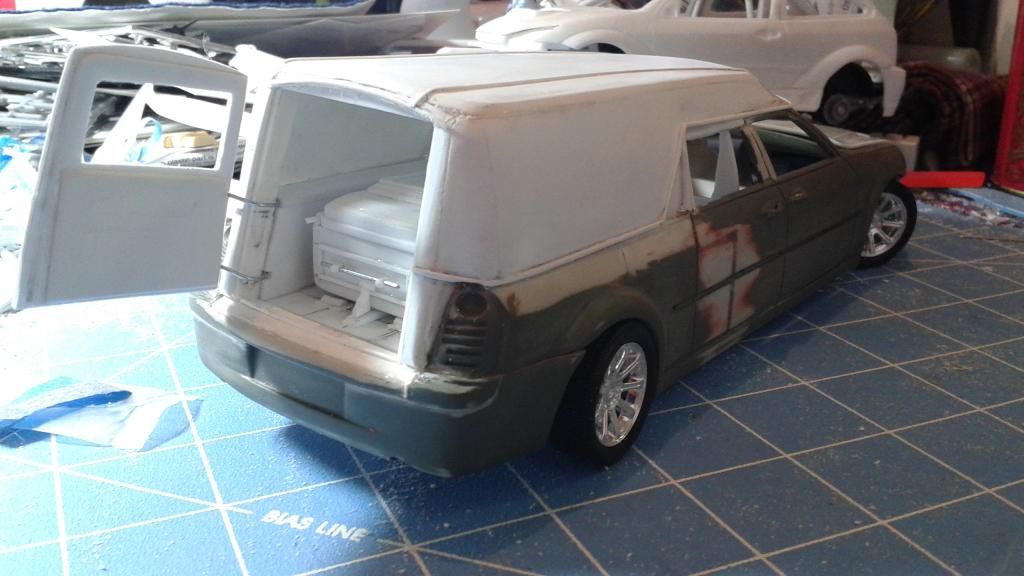
Well, thanx to everyone who has commented on this build. I'm getting ever so close to the painting stage and then it'll be on to assembly. Color choice has been narrowed down to two colors: Steel Blue Metallic or Silver Pearl Clearcoat. Either way it'll have a black vinyl top and possibly a tu-tone custom blue interior. Since having hinge issues with the back door it'll be displayed with the rear door open. So here's some mock up shots of how it'll pretty look once completed. As you can see the casket is pretty much done and ready to be primed and painted. Small details on the body need to be done and it too will be ready.
I was goofing around with some wheels that I've had in my stash from extra sets some kits came with. I think all and all I'm going to stick with the stock 300C rims even tho they look tiny.
Stock:
Memphis Blues Edition:
River City Jazz Edition:
Enjoy!
-
-
Thanx everyone! I'm chugglin' along with this one! LoL
Since I am having issues with the rear door hinges. I'm just going to leave the door open to display all the hard work on the interior. And since I have a lot of empty space what is the best way to fill it up. Make a casket/coffin!
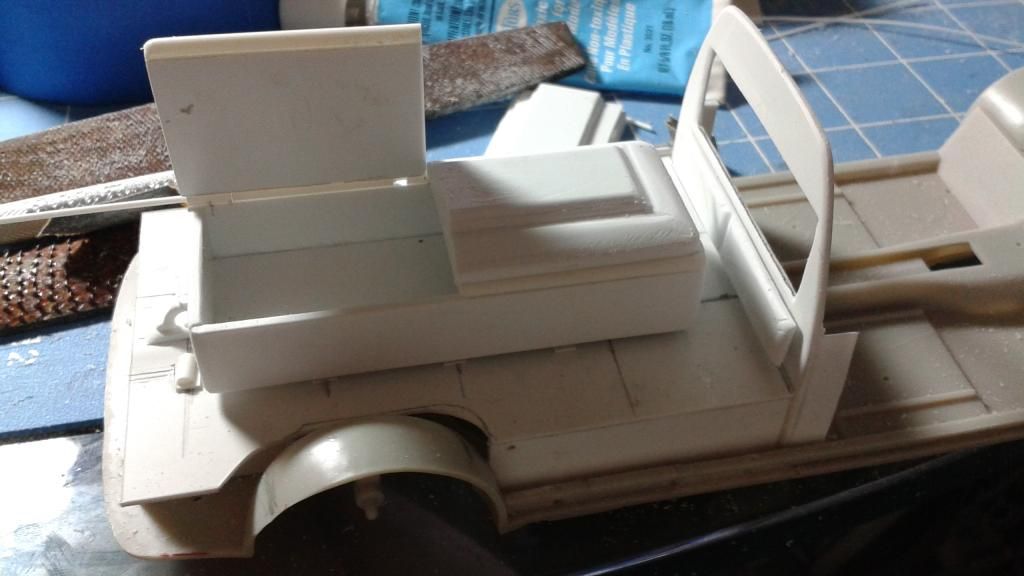
I got the dimensions online off Google and used a scale calculator to shrink things to size. Then I got some .060 sheet and .040 solid rod, cut everything to length, then glued everything up and left it over night to dry nice and tight. Then I started shaping things to form the casket.


Oh, yeah! I made it where the lid is hinged and can open.
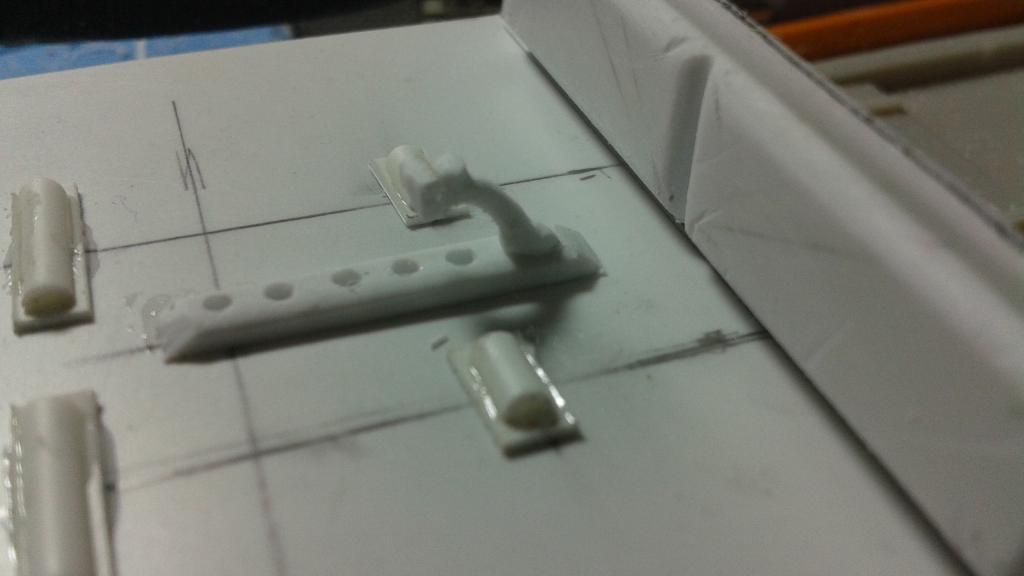
Using the decorative coffin brake near the door and made a new one for the front.

Continued .................. -
Thanx everyone for the comments and compliments!
Well I had a bit of a hiccup with hinging the rear door, it seems its either open or close but no swing. I tried multiple location points and many different hinges and nothing works. Oh well, I'm going to display it open anyways as the interior is coming along smashingly!
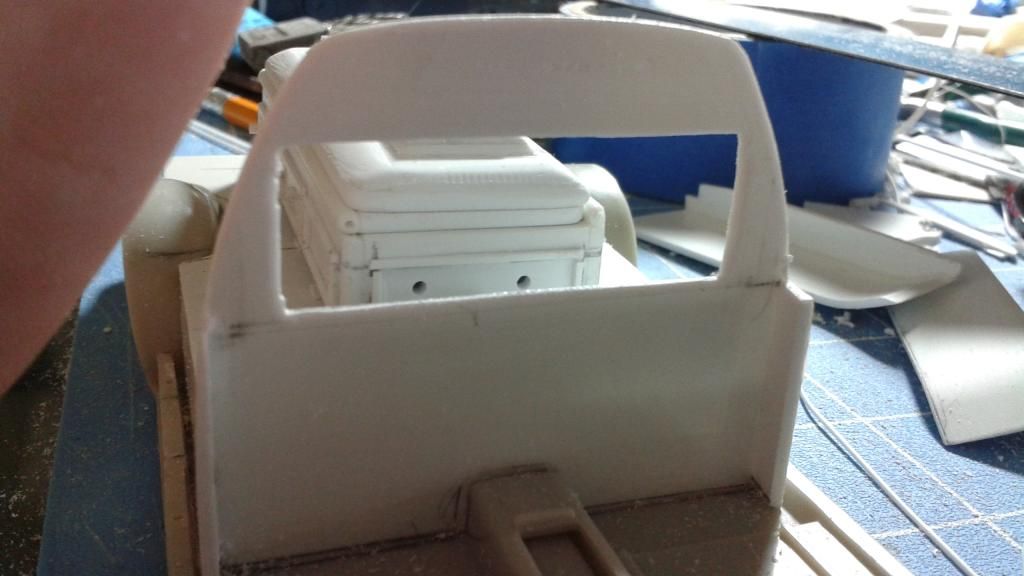
I made the Rollers with Half Round glued to .010 Styrene Sheet and then I used .040 styrene strips to make the coffin stop/slide rails. I'll later foil these for some shiny bits in the rear end. LoL I drilled holes in it for multiple location points. I hand crafted and sculpted the rear coffin stop from scrap styrene. I doubt I'm making a front one as this one took me 2.5 hours of widdling and fiddling. Hands are tired. LoL Enjoy!


What you see on the divider that looks cushiony .... Well, that's the "crash pad" and I just need to put the trim on in between the two sides. I also made the window larger on the divider. Not sure if I'm going to put glass in it yet or not. We'll see!
Enjoy!! -
Amazing work Harry! I watch in silence as words can't describe the "In Aww" that I am over the realism and overall craftsmanship of your skills on these wonderful builds. Thank you for sharing.
-
Stunning work! I've followed a lot of your work and it just amazes me! Even at this scale I'm still stunned by how realistic it looks. Great job!
-
Thanx everyone! The comments and compliments go a long way with me and keep me motivated. I can say I've never had so much fun killing time and boredom with engineering parts and how they fit. Box stock? What's that??? LoL
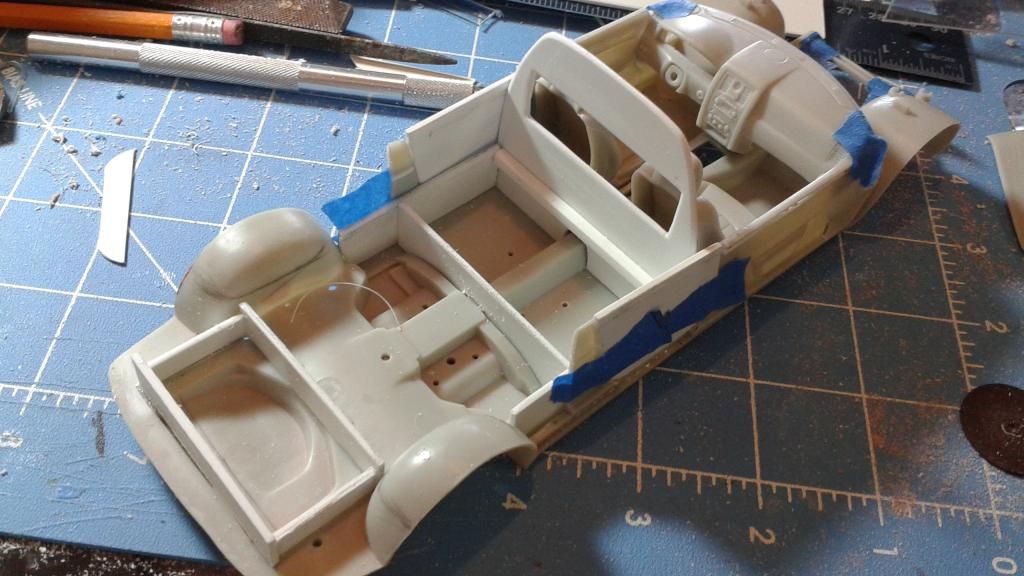
Ok, We start on the inside since most of the outside stuff is done. I've made the divider and rear door panels already. So now its time to build upon that and make the rear load floor and side walls. I'm toying with a couple of ideas in my head about the floor, not sure if I'm going to execute them or not. We shall see. Enough of my blabbing. Here's where I'm at so far with about 2.5 hours worth of work.


I know the divider window is a li'l low, but after doing some research some of the newer cars like this for some reason. Also, pardon the pictures, but I took them with my phone and uploaded via Photobucket Mobile. Enjoy!
 -
That's wild! I love these off the wall Pro Streets! Reminds me of some of my 1:1 cars I built back in the day. Keep up the great work and I'm waiting to see more.
-
Thanx for the compliments everyone!
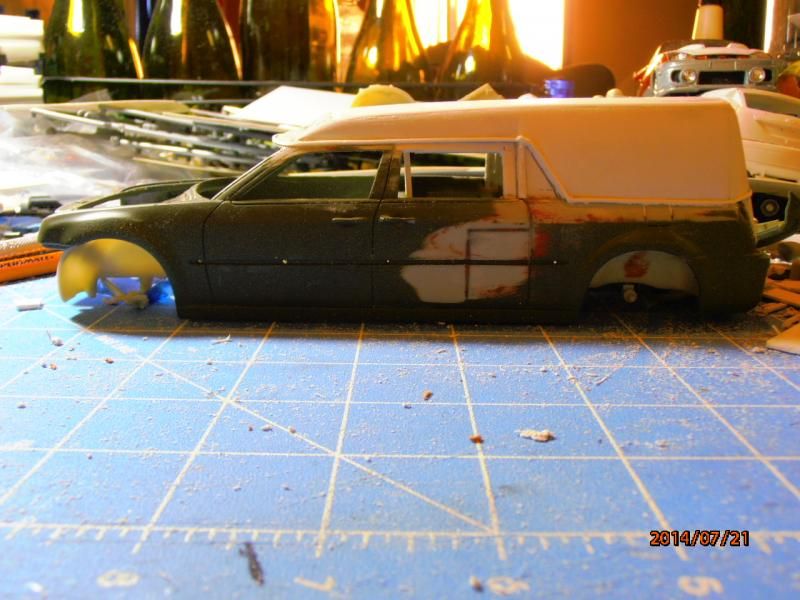
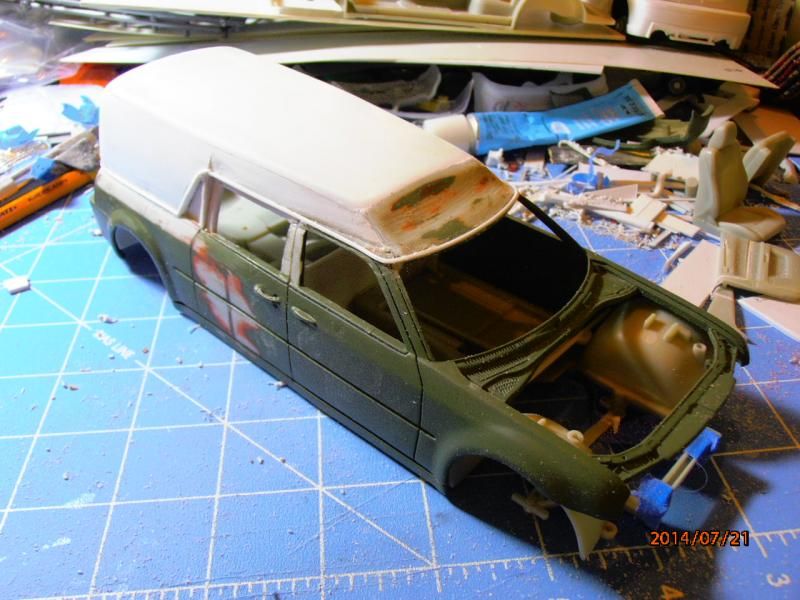
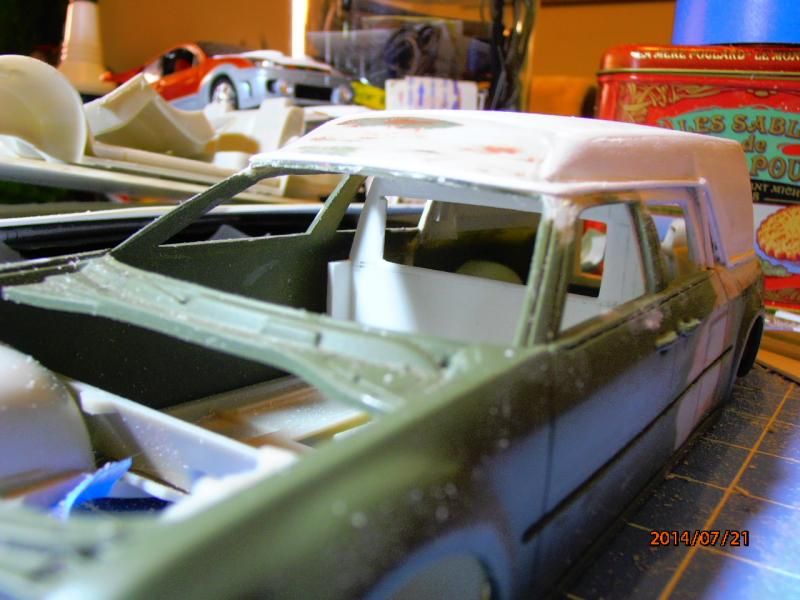
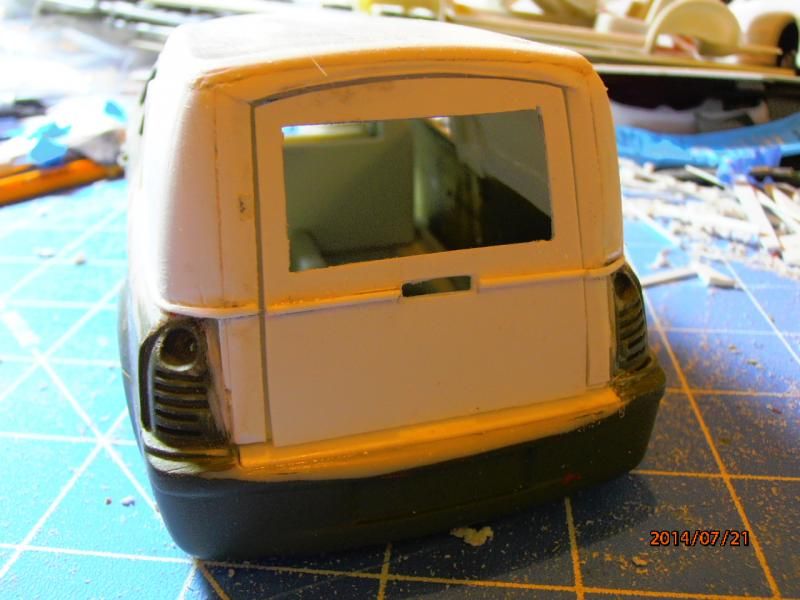
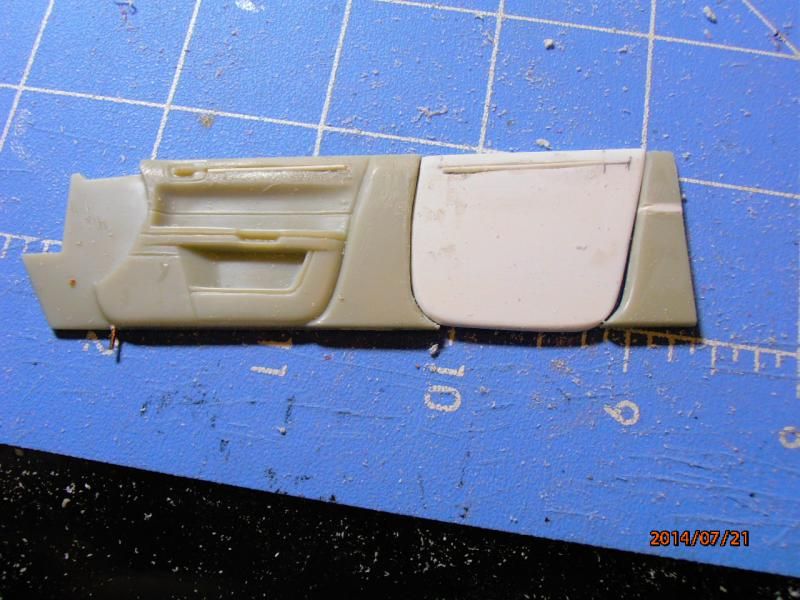
Its starting to look like a hearse now. Some "purist die-hards" wasn't happy with my High Top version. So, I lopped off 8 to 10 scale inches out of the roof. I added the vinyl roof trim, made a divider, and started the rear interior panels as well. Not much else on the body work now. Just tidy up a few things and get them ready for primer and paint. Not gonna do that just yet as I'm fiddlin' with hinges for the rear door, and the rear floor. So enjoy!


The hole in between the two pieces of trim is for the third brake light that I've made from scratch.
Interior panels:

Enjoy! -
Thanx everyone. The comments are most welcomed as they help keep me motivated.
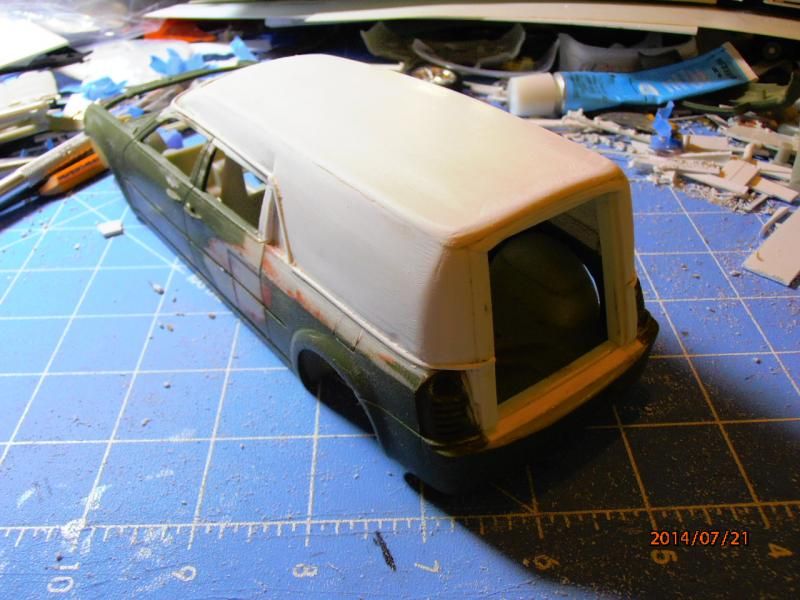
Well, the rear end came together better than I thought. I have the rear braces glued in tight, corners cut, shaved, and contoured. The roof is done the same way, and I cut the door opening a tad bigger than the hole to give me a door jamb for the door to set against.


This is to show how much longer than stock the car is.
And a couple of mock up shots where its on it's wheels. Not bad if I say so myself.

Enjoy! -
Well, I've pulled this wreck out of the box to see what I can save. I had to make new sides out of one solid piece of styrene as in one move the rear body work was crushed, but the body held together like Fort Knox. So here's the improved rear body work. Now the very rear of it is going to prove challenging but I'm sure I can pull it off. LoL Think I'm going to need a new rear door. It'll get sorted.
Roof attachment:
Better sculpted side panels that blend better with the body:
Enjoy!
-
Thanx everyone! The compliments are most welcome and are keeping my building frenzy in full steam ahead! LoL
Well, I've started working on the rear surround for the engine. Had to change up on the exhaust yet again but oh well. Nature of the beast.
First up was I was thinking of accentuating just the engine because I was having such a hard time with the exhaust system, then I think I got a better plan this go around.

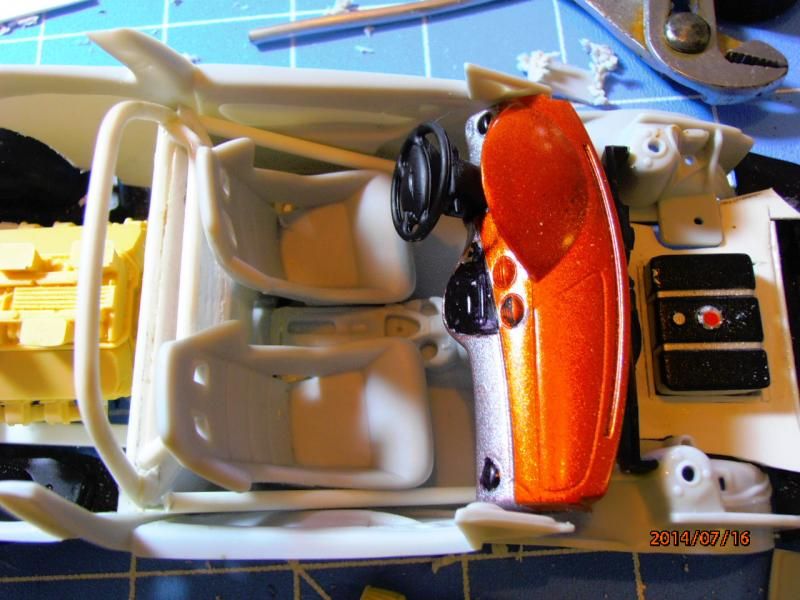
So, I am going for an open shelf style so you can see everything in the rear. Trying to decide on a dual or single battery set up. Made the rear floor plates to cover the transmission (kinda act like a scatter shield if something goes astray). Plus it'll cut down on the air getting into the rear of the car.

Then I shorted the firewall some since the engine had to be moved back sometime before and I needed some room between the front seat and the steering wheel. LoL
Well more coming soon. Hehe I'm seeing a faint glimmer of light for the body work and it'll be soon time to paint this monster. Comments and suggestions welcome. -
Gonna be sweet when done! I love these ole Foxies. Kinda miss my old 1979 Mustang Liftback. Hehe The fun we had with it back in high school. LoL
-
Ok, after getting life in order, a big move out of the way, unpacking, and getting a bench set up now at the kitchen table ....... I'm building once again. Still haven't found all my files, but I'm sure I will once I go through the model stuff once again.
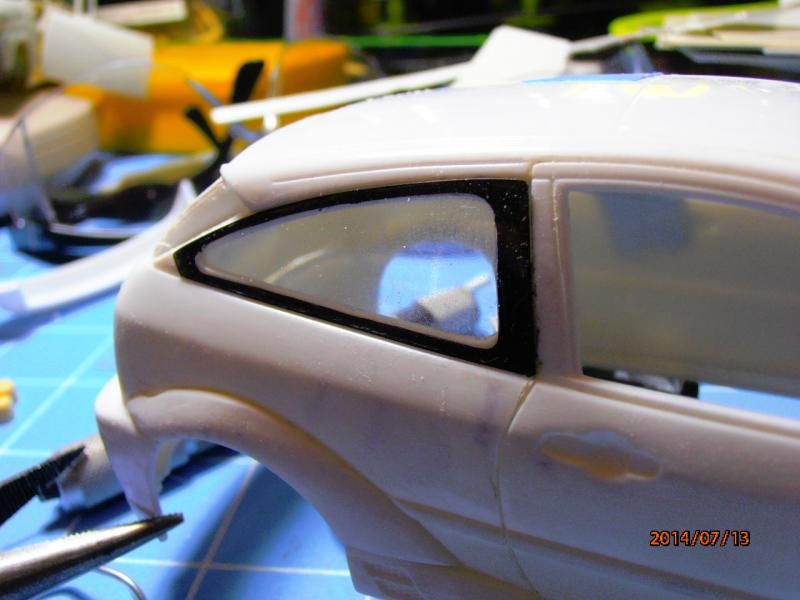
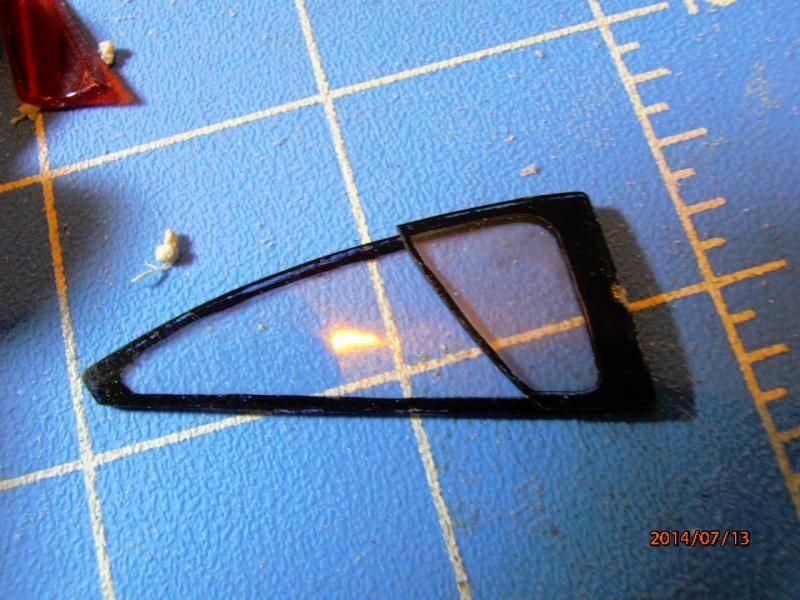
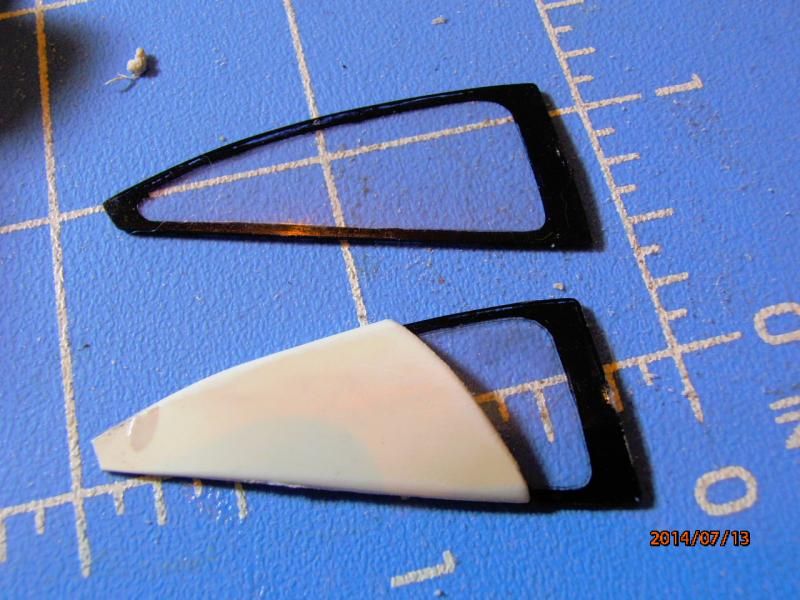
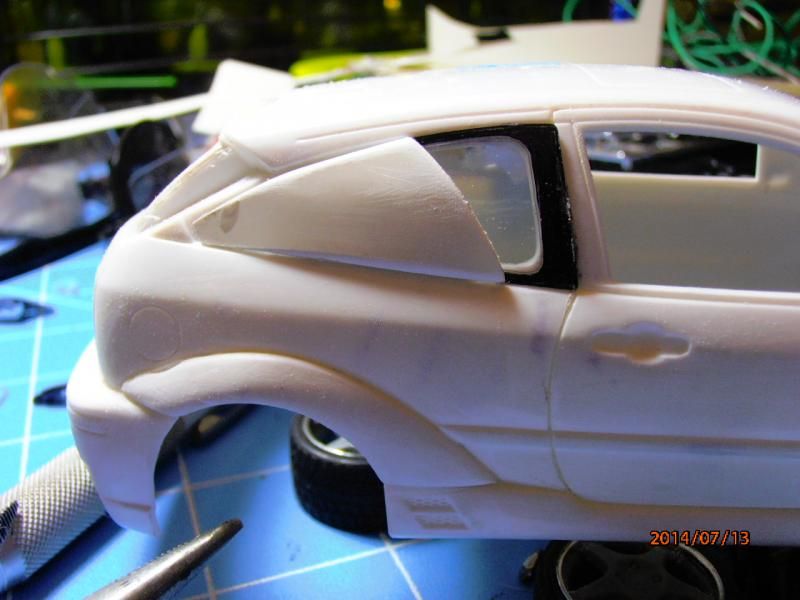
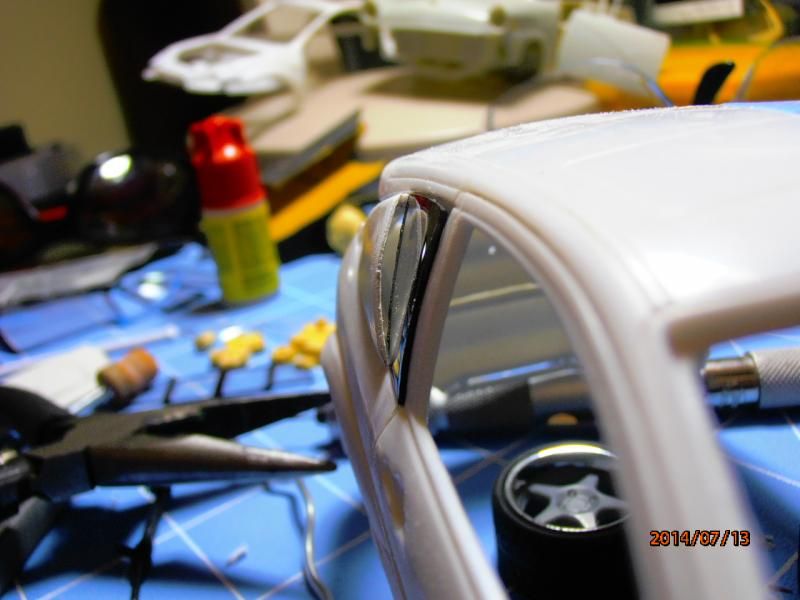
Ok, here's where we are headed on the Focus SVT/Saleen. I was trying to figure out a way of getting more air into the rear of the car especially to the intake (they need air to breathe too. LoL). I looked at the wasted acreage of glass that pretty much is a viewing window for the massive engine in the rear. So I took some extra windows and made some smaller ones out of them. To fill up the rear space I made some vents using .030 Styerene sheet and rod. Sanded it at an angle, tweeked this and that way and here we go.
Stock Windows:
Window Comparison in size:
And the vent with window next to stock glass:
And the vent and glass in the car:
So with that sorted I moved to the interior. I added the front drop bars and the seat belt anchor bar:
To keep from blowing out the windows from the roar of the engine I figured out where to place the muffler. I'm still working on the exhaust pipes:
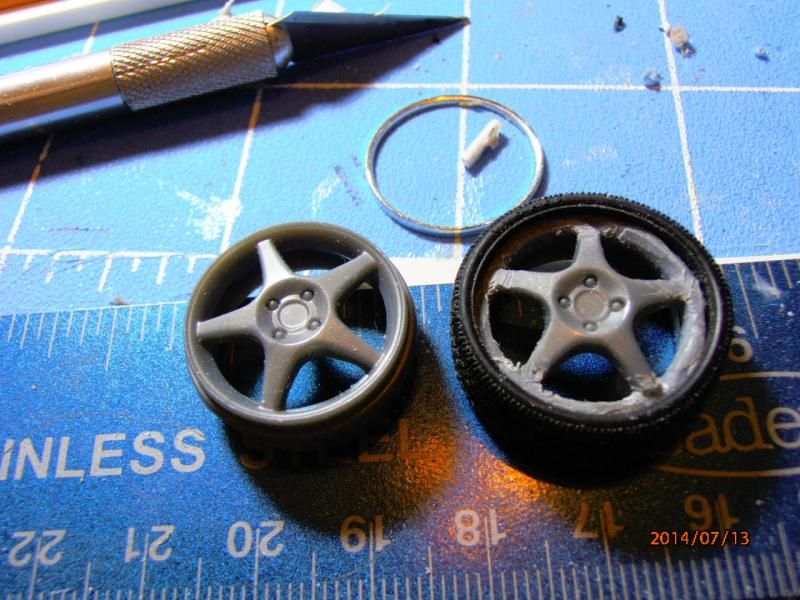
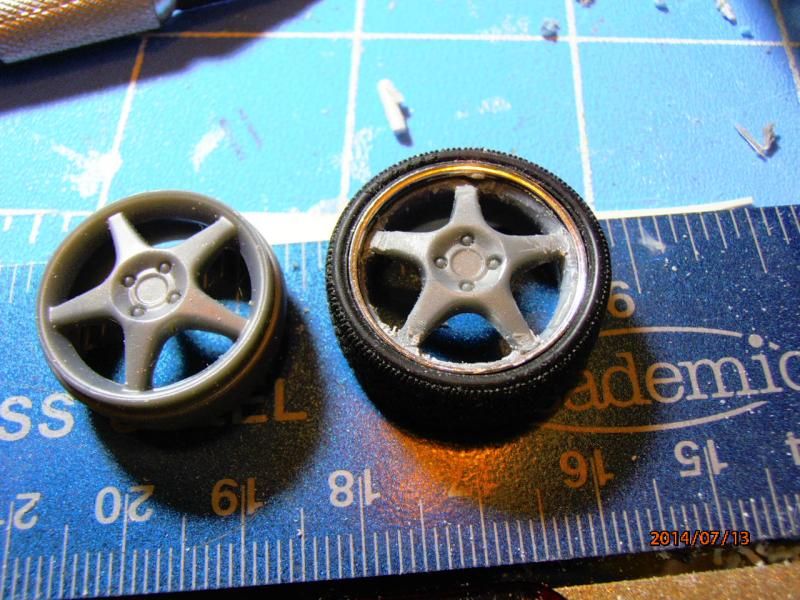
And lastly I fixed the front rims where the polished lips are going to sit on the rims. This way neither the rear of the rim nor the polished lip was sticking out causing interuptions of mounting them in the lowered from suspension:
Till next time chaps! I'll be back soon with more updates.
-
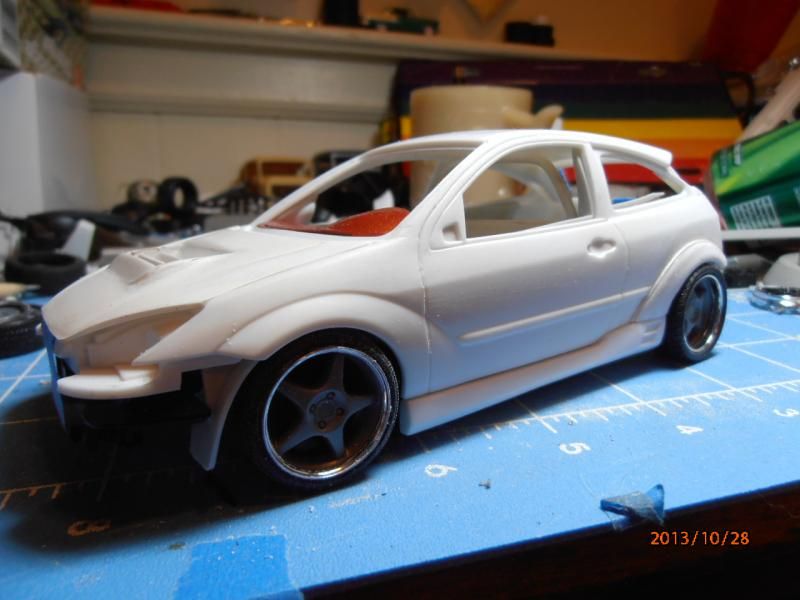
Ok, After doing some searching within myself I'm back on this project! This one is proving challenging, inspiring, and fun! Well I've sorted the wheels, suspension, and some of the body mods needed. The more I build this car, the more it talks of what needs to be done! So on to the pics.
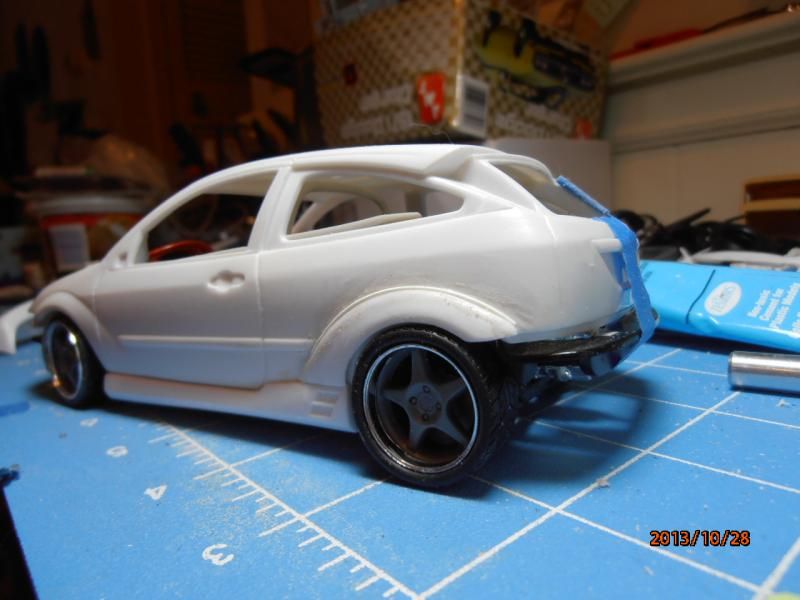
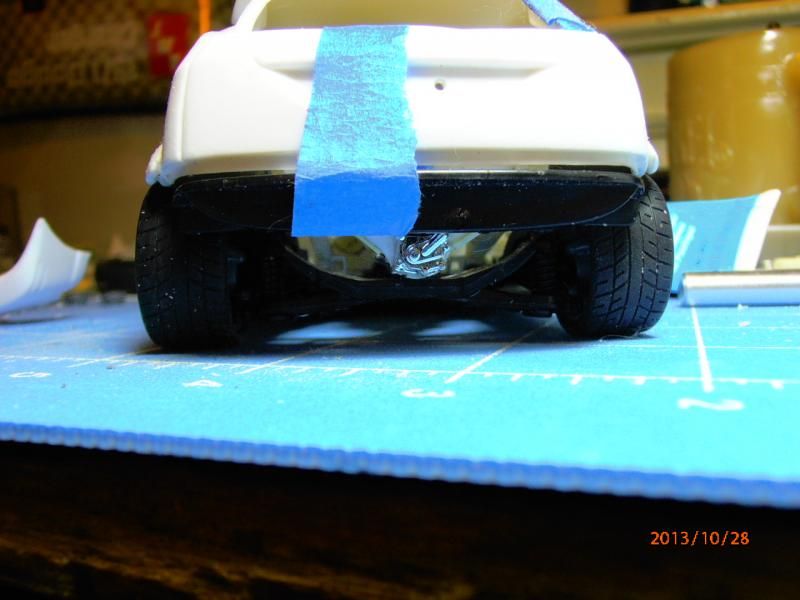
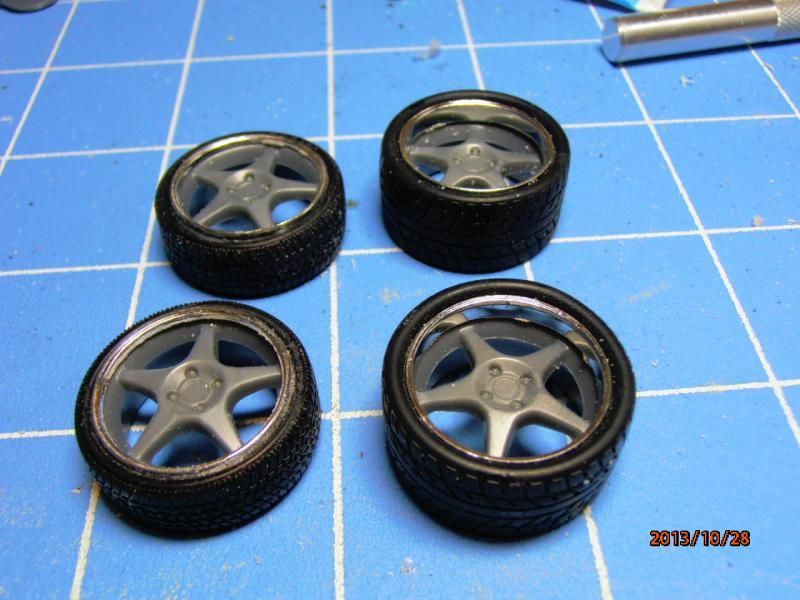
The stance will be close to the way its mocked up. The rear flares I made from the body segments of a scrap body. The tires are stock but I took some scrap rims to make the Polished Lips you see on them.
Rear Body Shot showing how wide the rear rubber is and the reason for the "flares."
And one of the tires off the car.
Enjoy!
-
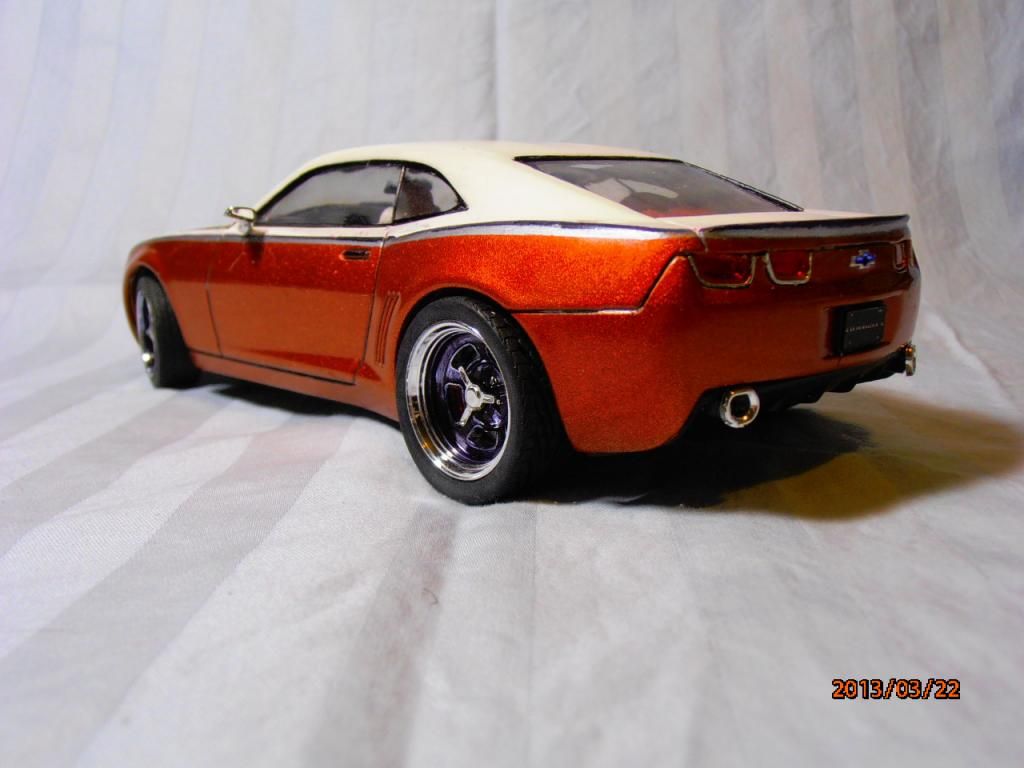
The show/contest I entered was one that was canceled back in Feb and rescheduled for this past weekend. Just a local Memphis Hobby Shop hosting something for their customers. When I asked to speak to the person in charge I was told "They are at lunch and don't know when they will return." I finally figured out who to send an email too, but haven't heard a word back yet and probably won't. I took a third car, but had to put it away as people wanted to keep picking it up and I was afraid it would walk away or worse get damaged. A mirror did get knocked off but luckily I found it. Even with signs that said "Do Not Touch the Models" clearly laid out on the tables. I can honestly say that I'll never be back or shop at that Hobby Shop again.
This is the third car:
2006 Concept Camaro Gone SEMA
-
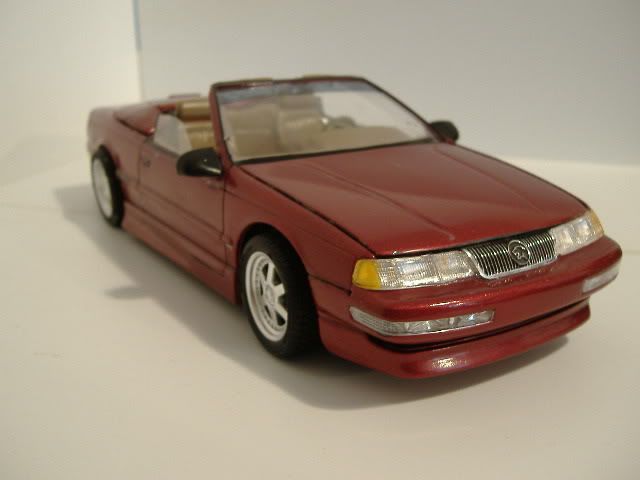
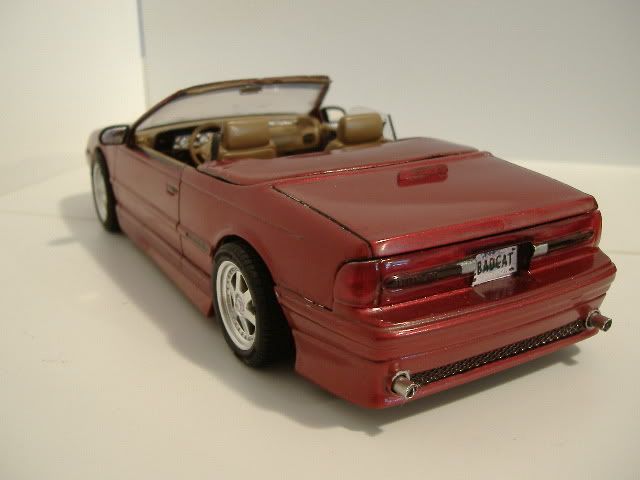
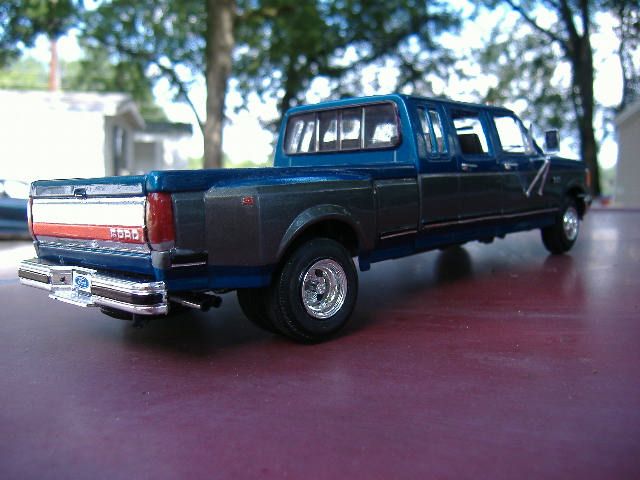
I entered two cars in what I thought was just a show. Later I found out that all entries were being judged. When someone called out my entry numbers to explain my builds. I was told that my 1992 Cougar Cabrio looked like it was built by a 2 yr old child. Talk about heart dropping. My other build was my 1990 Ford F350 Extended Crew Cab. I was asked about it and then shot down again this time with harsher criticism.
Here are my two "Childish and Toy Like" builds.
1992 Mercury Cougar XR-7 Cabrio Concept
1990 Ford F350 Extended Crew Centurion Custom
-
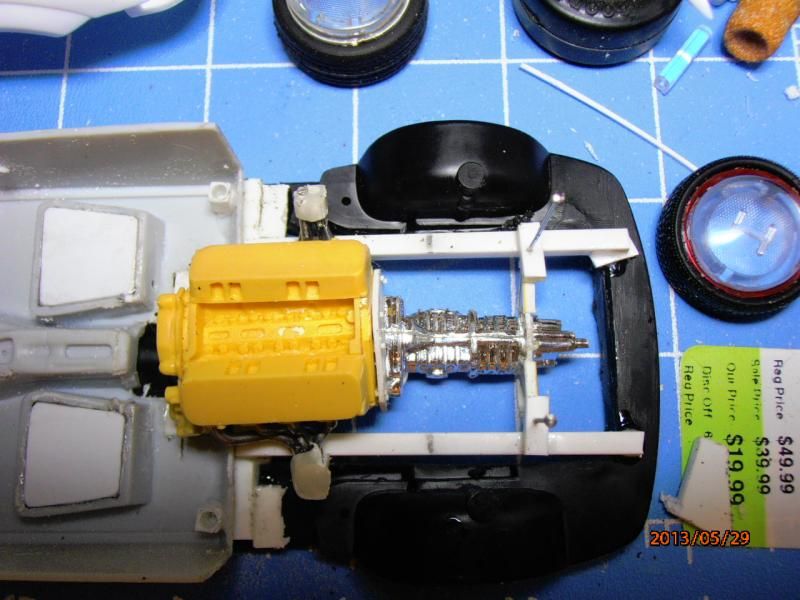
Ok. I have a small update! It's one step forwards and three steps back as it always is with scratchbuilding a car from something that was originally intended one way but being changed to something else.
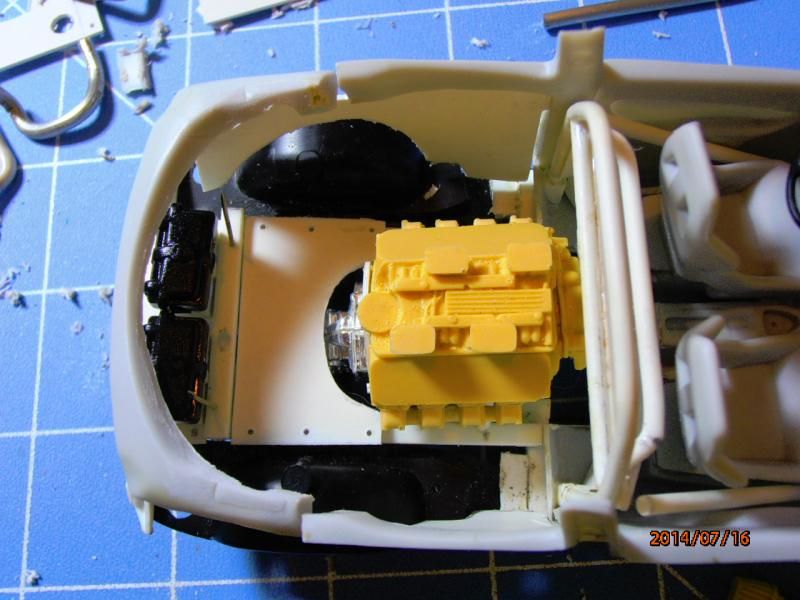
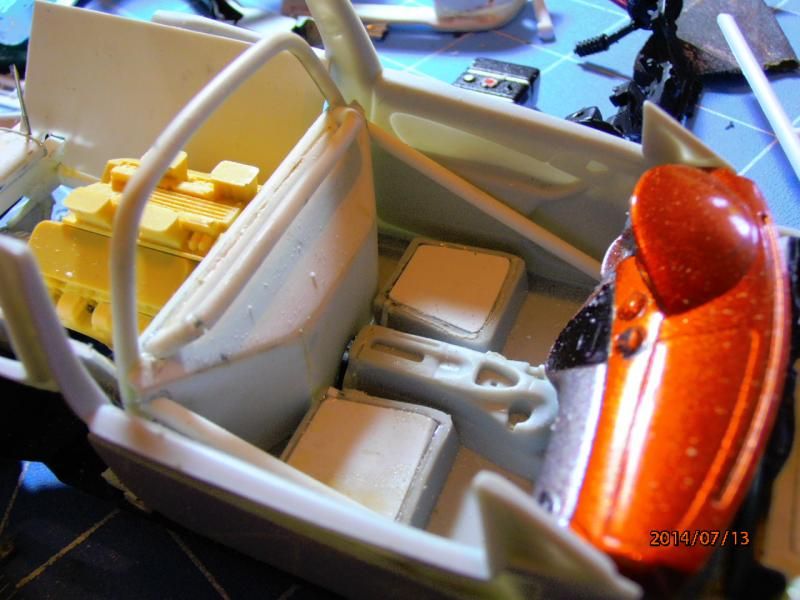
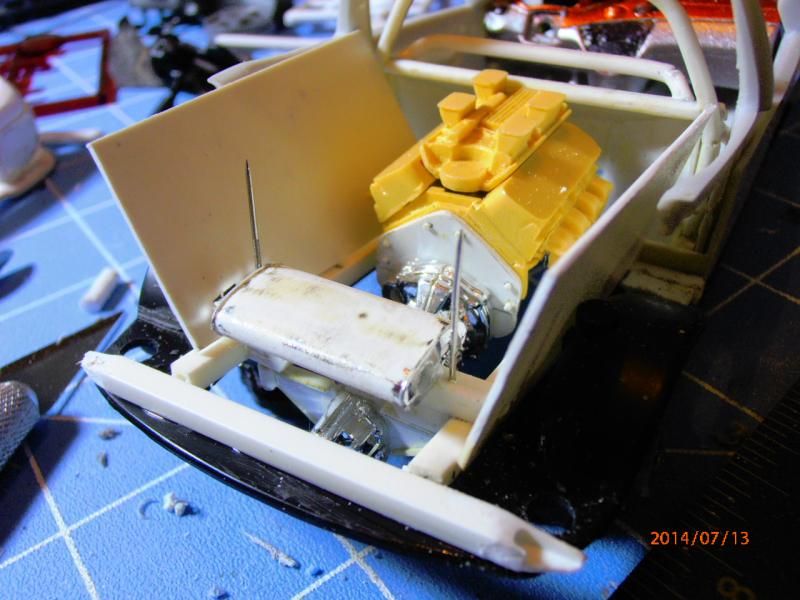
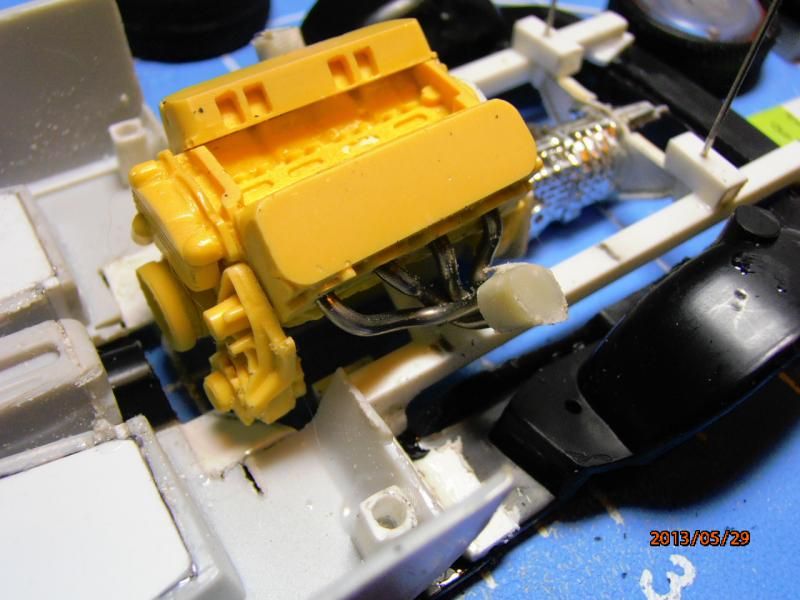
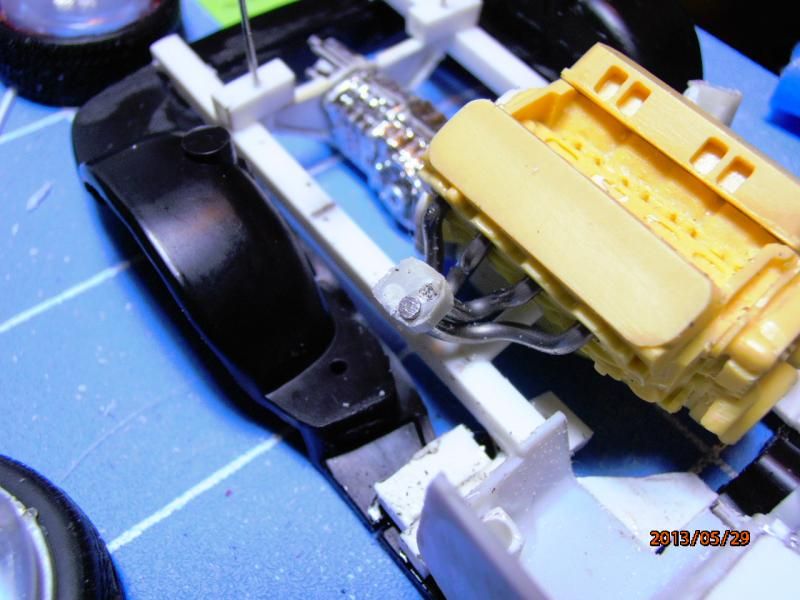
The headers are made and seen here with part of the "Turbo Hook Up" system. Made from solder and sprue, it'll work and won't be seen much once I get the Turbos scratched up. You can also see I took a piece of a partial chassis and remade the rear end and wheel tubs. I might still have to flair out the wheel arches as the tires might stick out some. Also filled in where I cut the "seat attachment" bumps in the interior tub.
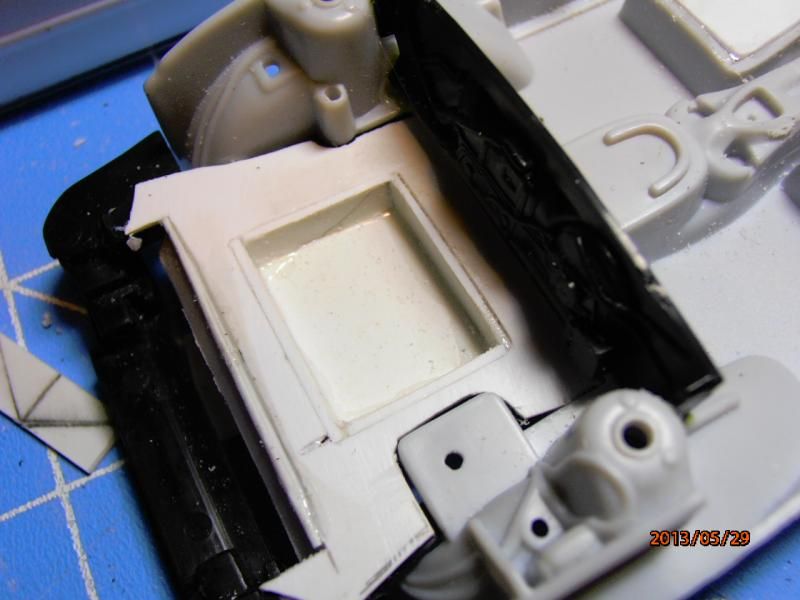
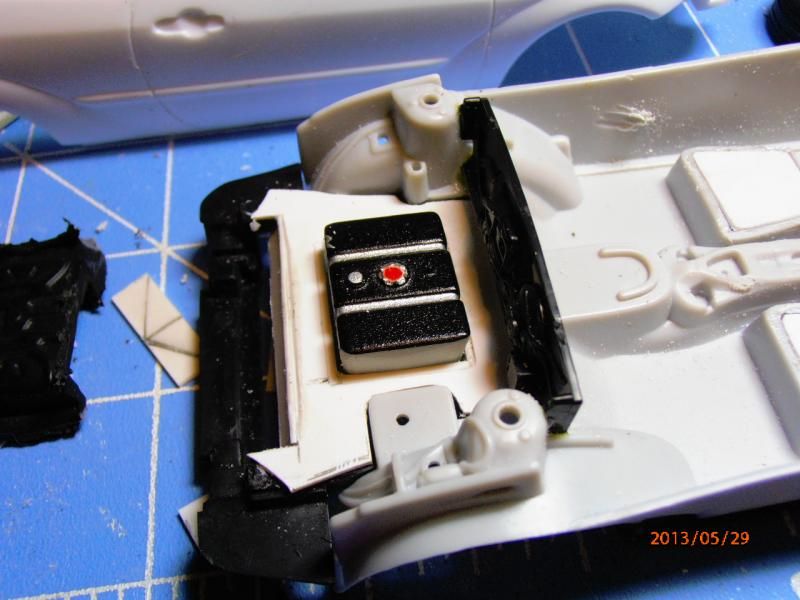
I also got the gas tank sorted and made a "drop in" section where the tank will sit. I did this after I added some styrene to the bottom of the tank to fill it in made it too tall and it hit the louvers in the hood.
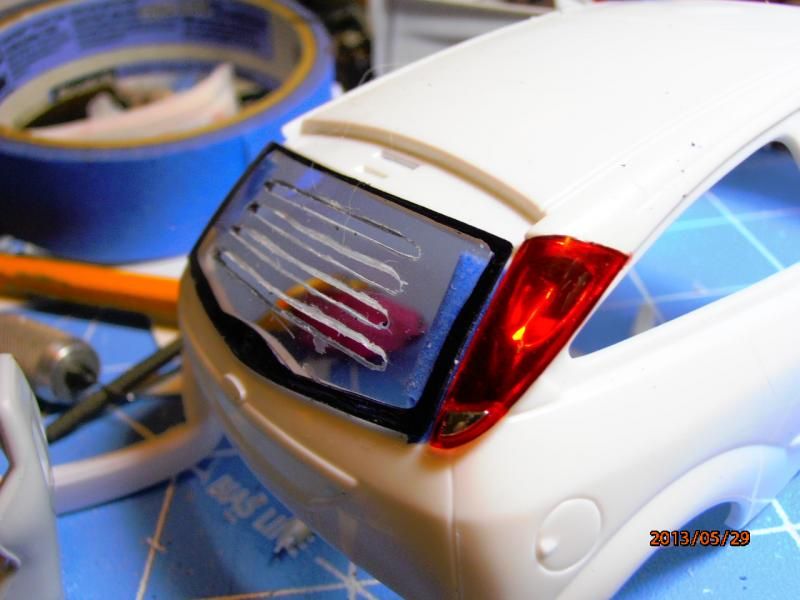
I also did a test and took a spare rear window and cut some louvers or "slots" in the glass to give the rear compartment of the car some cooling capacity for the big block engine.
After doing all this, especially with "re-adding" the rear segment of the frame, I noticed the engine is now too far forward. So once everything is dried good and tight I will have to redo the transmission mounts and move them back to re-centre the axel points in the transmission with the wheel tubs. Like my mother and I's favorite saying. "One more thing... " LoL
 [/url
[/url











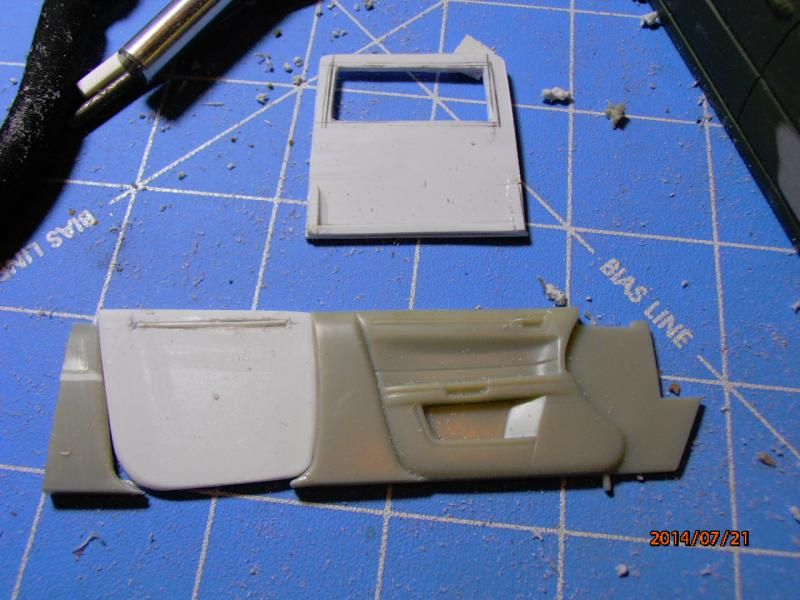


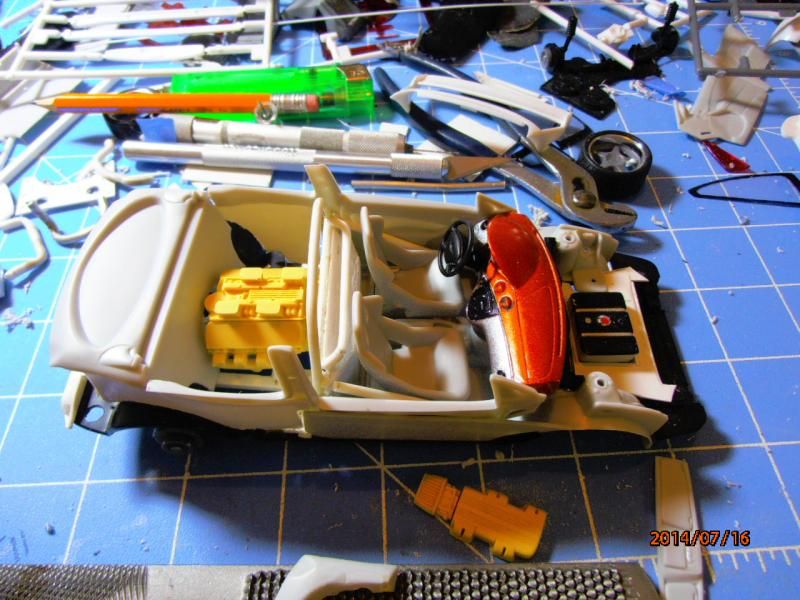
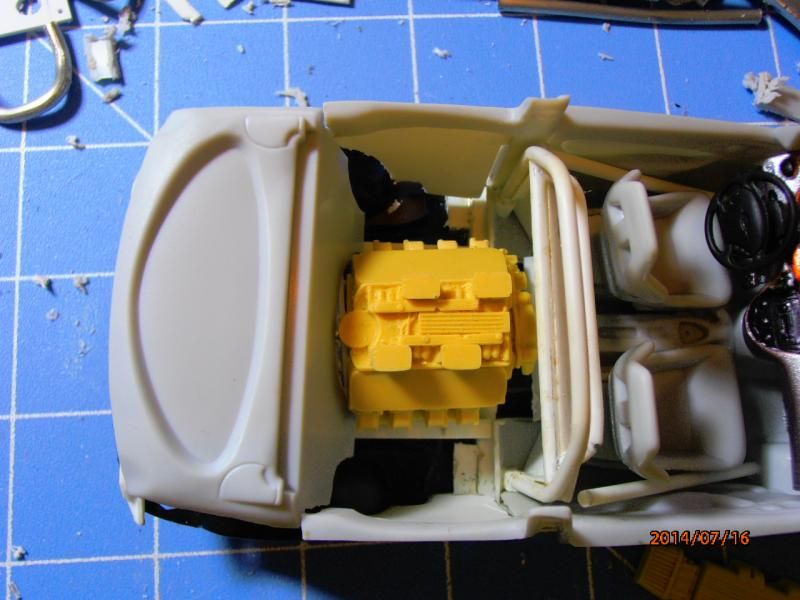
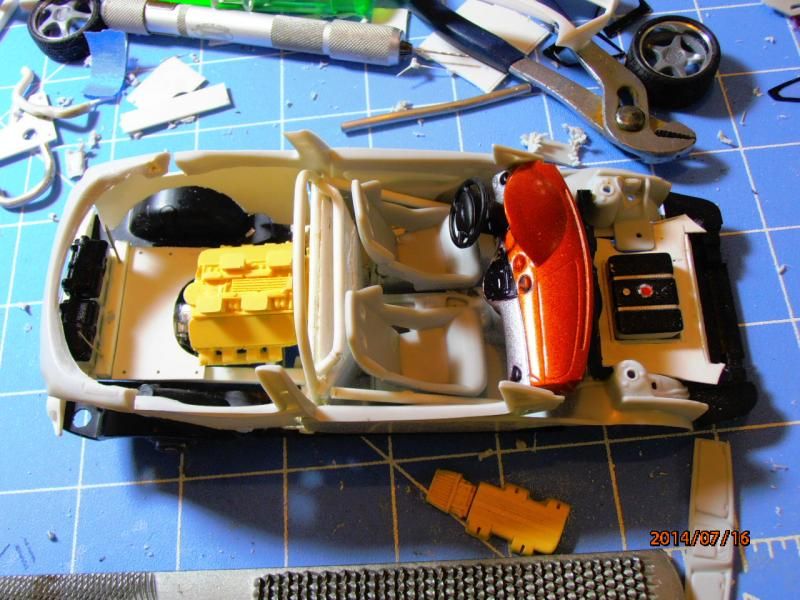


Another Super 7
in WIP: Model Cars
Posted
Amazing work! I've been following along since you started this build. This just amazes me and inspires me to build better models. Thank you for sharing your amazing talents with us.