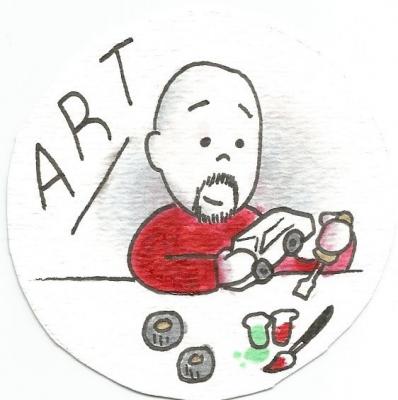
Art Laski
-
Posts
2,413 -
Joined
-
Last visited
Content Type
Profiles
Forums
Events
Gallery
Everything posted by Art Laski
-
Thank you, both!
-
Thanks, Albert!
-
Thanks, Ray! Thanks, Trevor. I used Splash black primer for the Aluminum Metalizer I sprayed the whole car with, then the blue over everything but the side scallops. Thanks, David! Appreciate it, Bob!
-
Thanks, Chris! Come out to Salt Lake to the GSL in May! It will be there. Thanks, Claude. I was going for a classic gasser built today with upgrades type build, hence the Fuel Injection, as well as the CF hood.
-
Thank you, Brian!
-
One of my favorite kits that I have yet to build, and you did a great job on it! Third time's a charm.
-
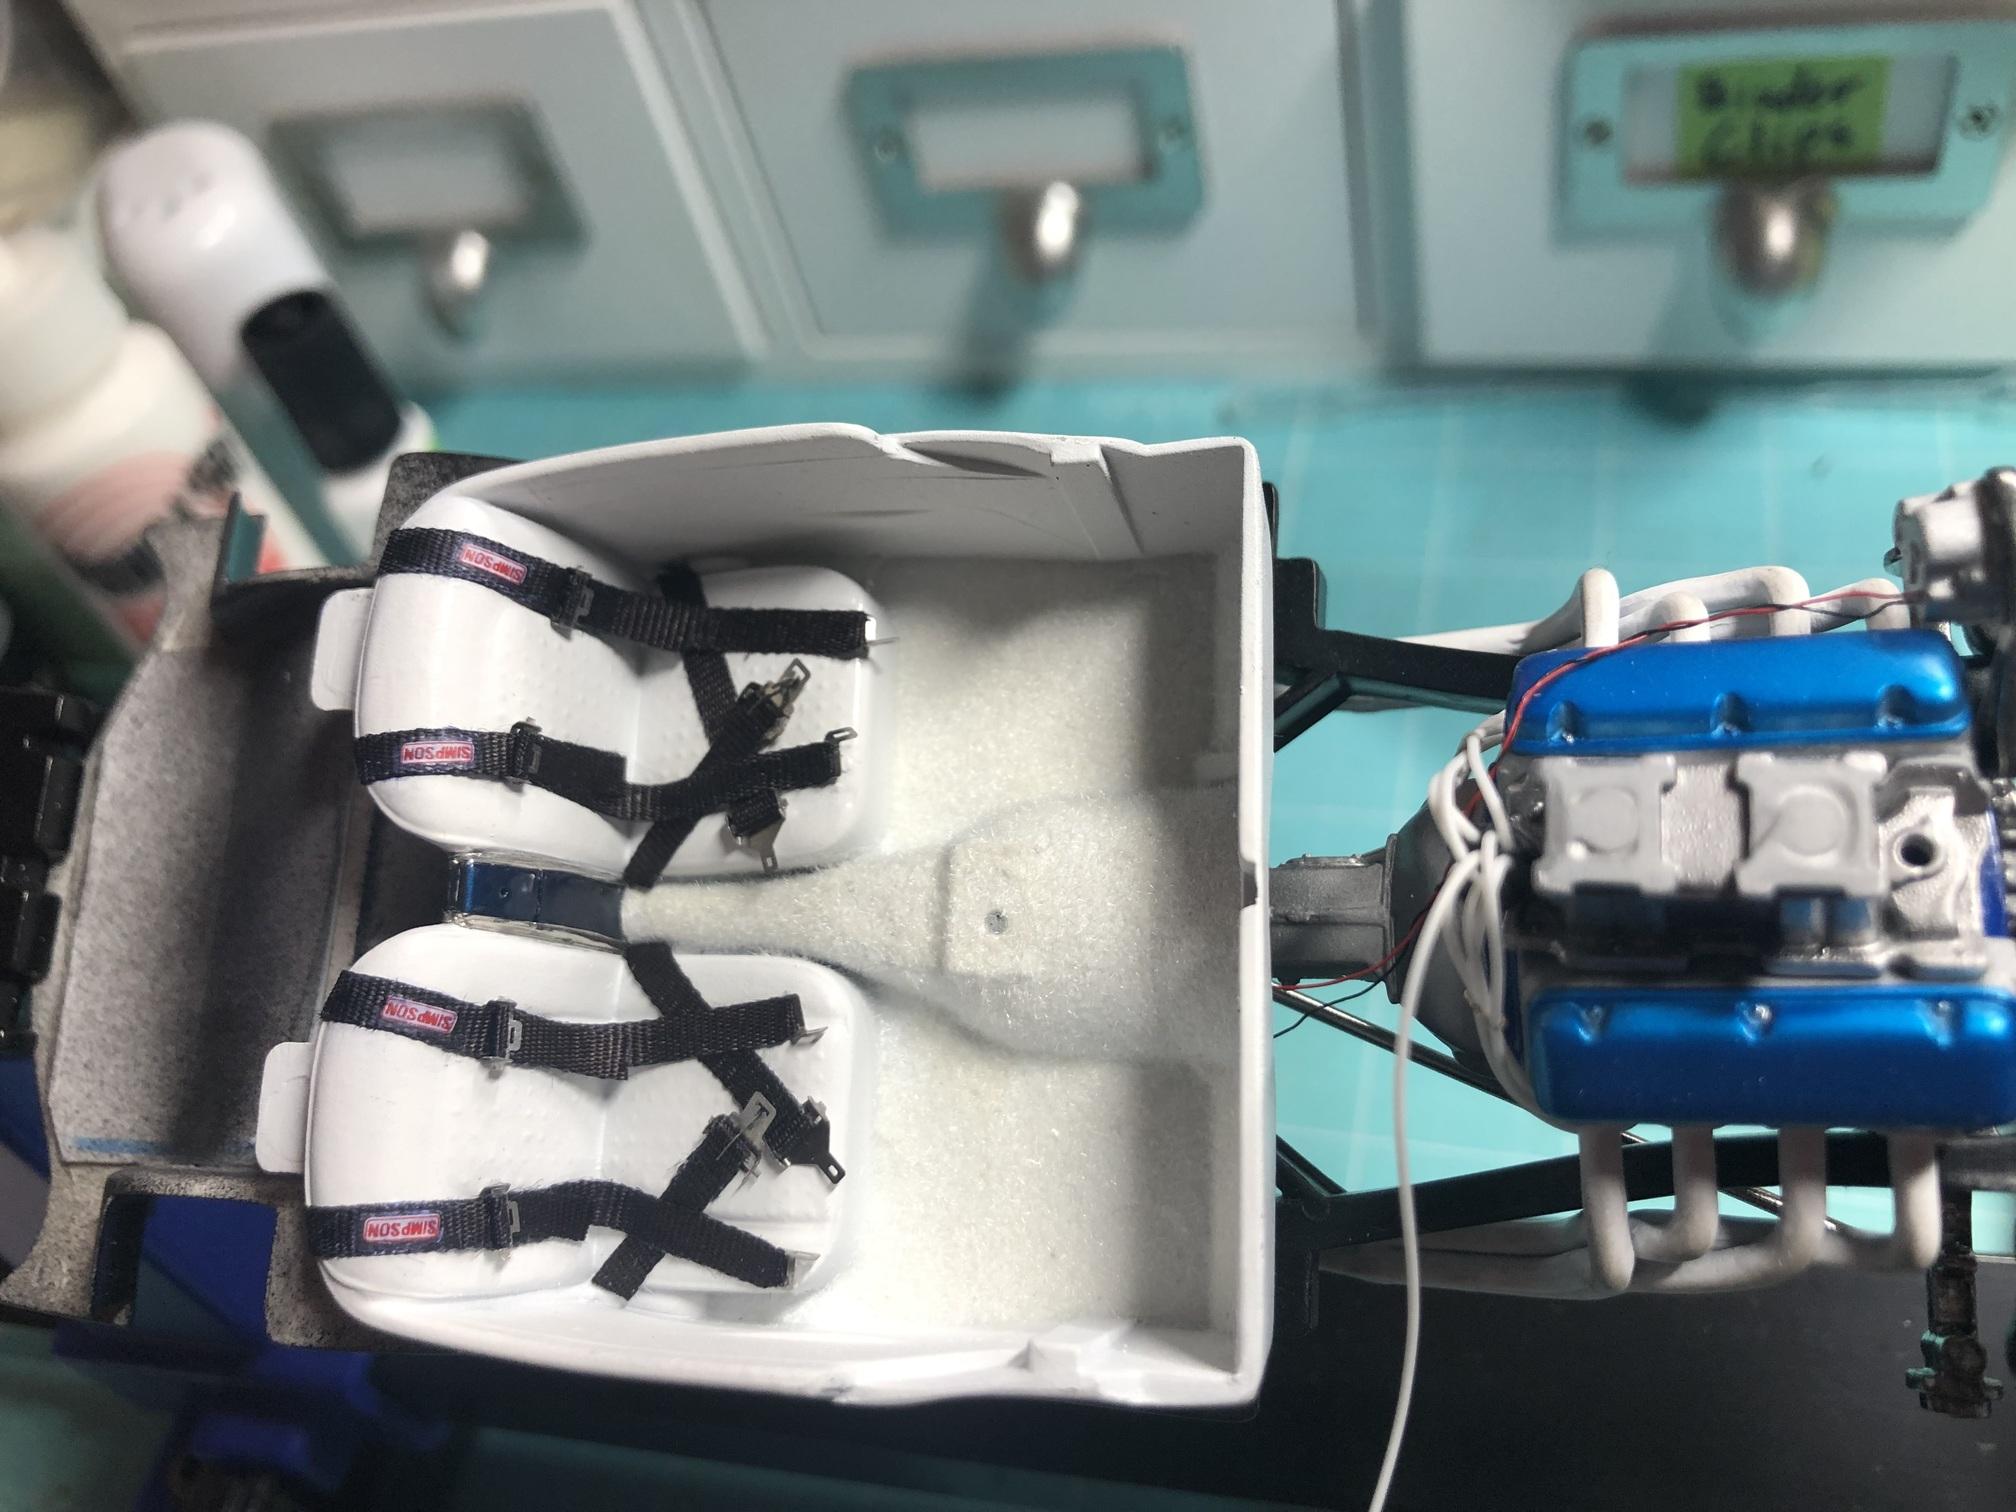
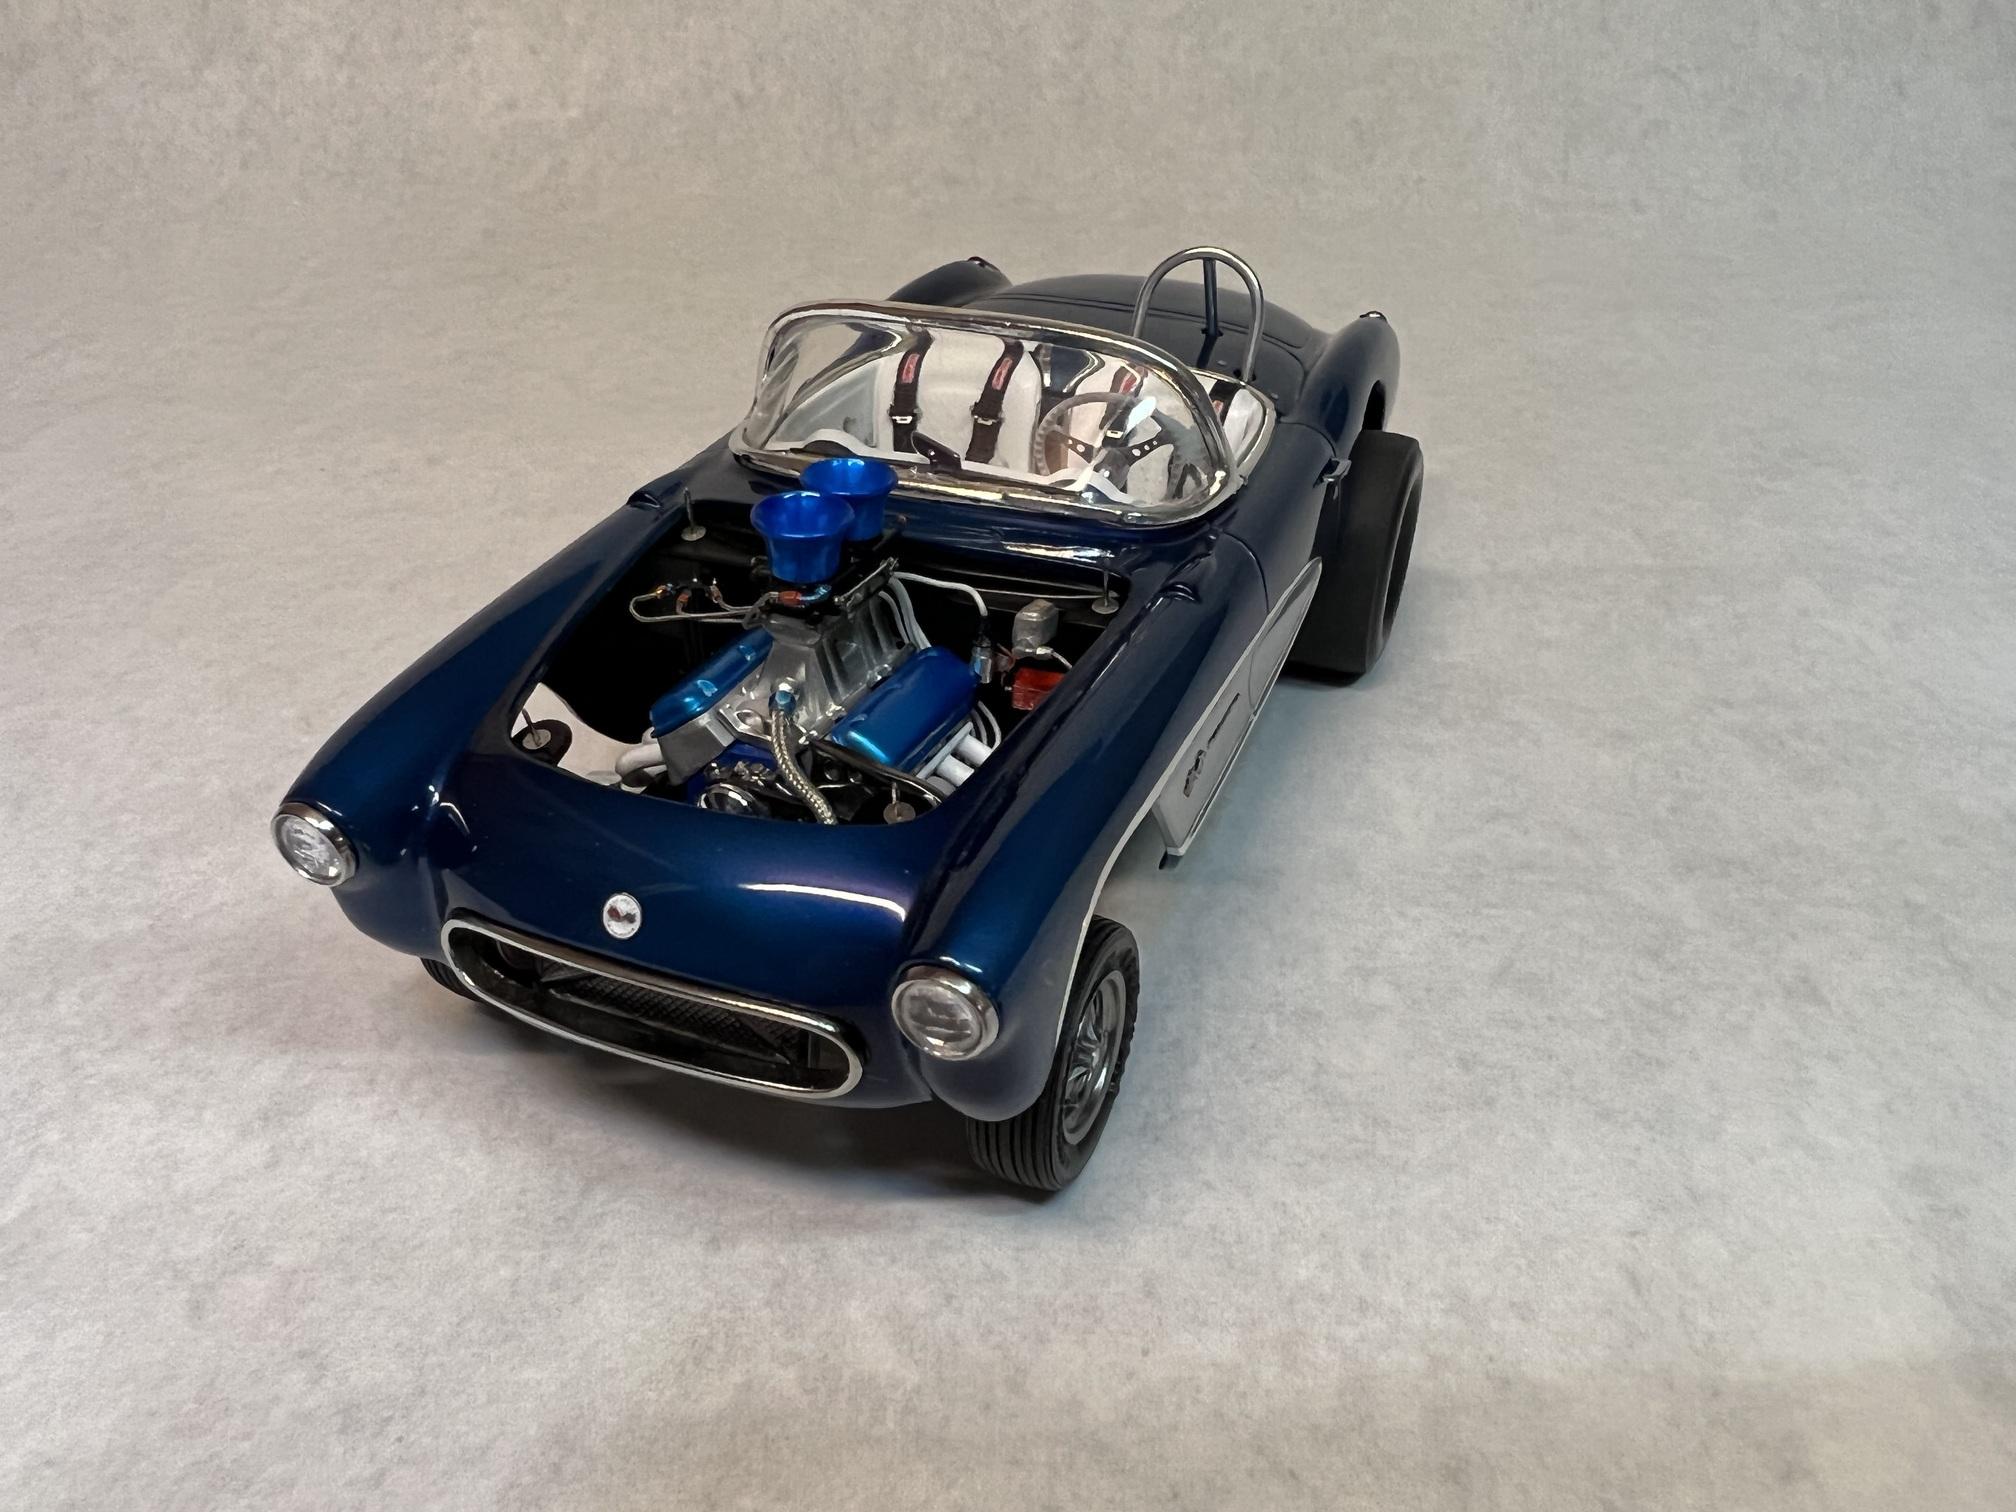
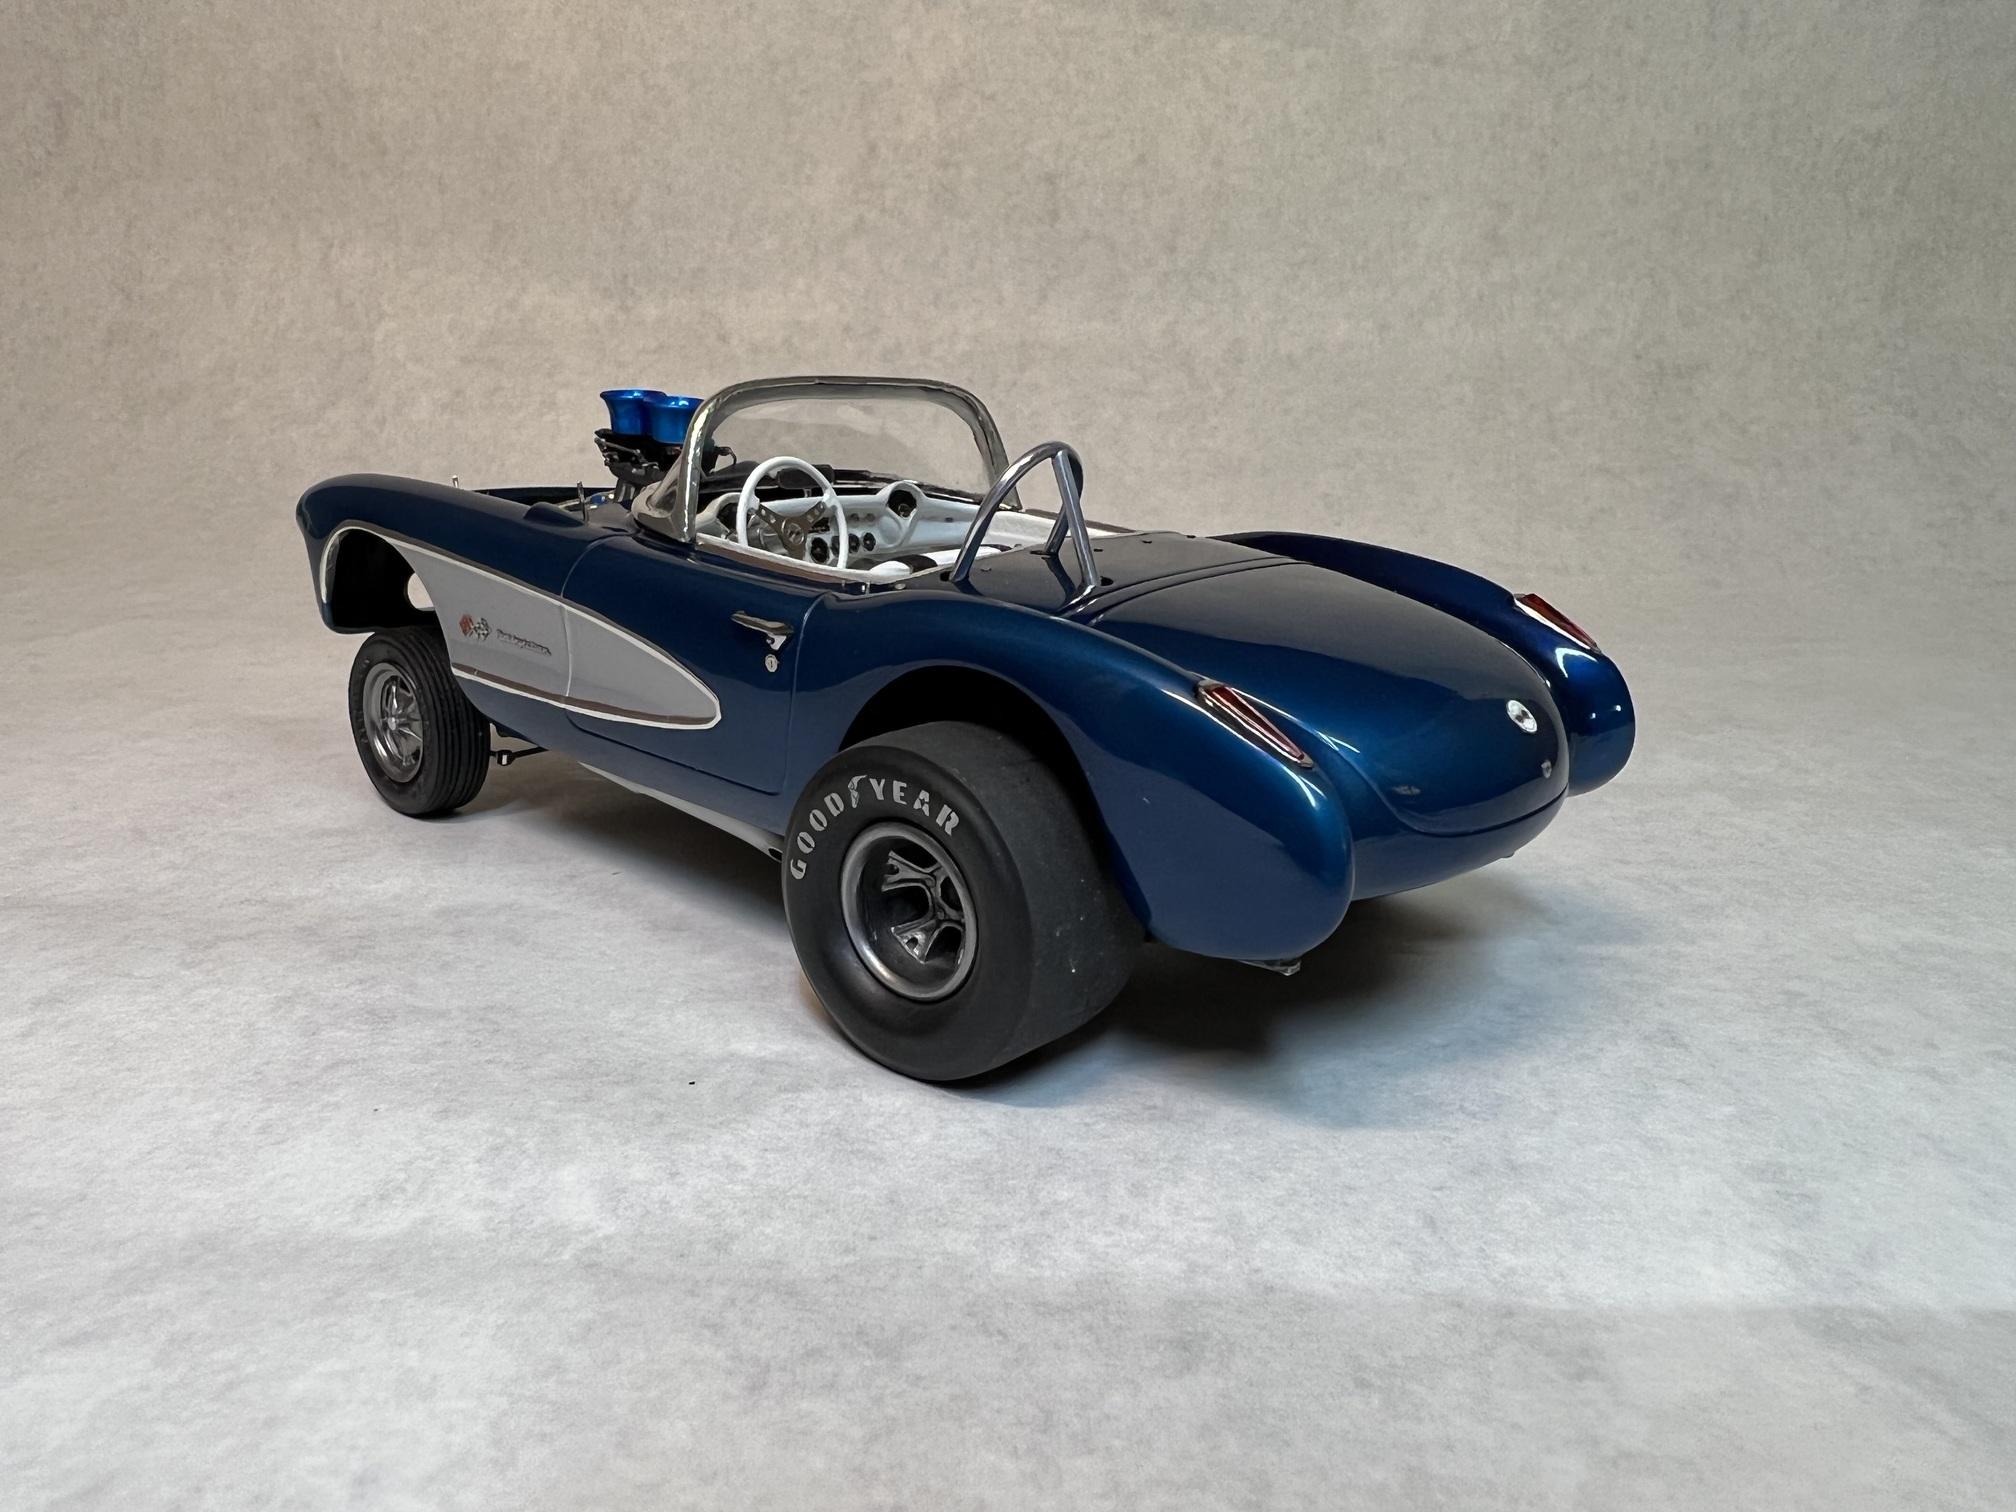
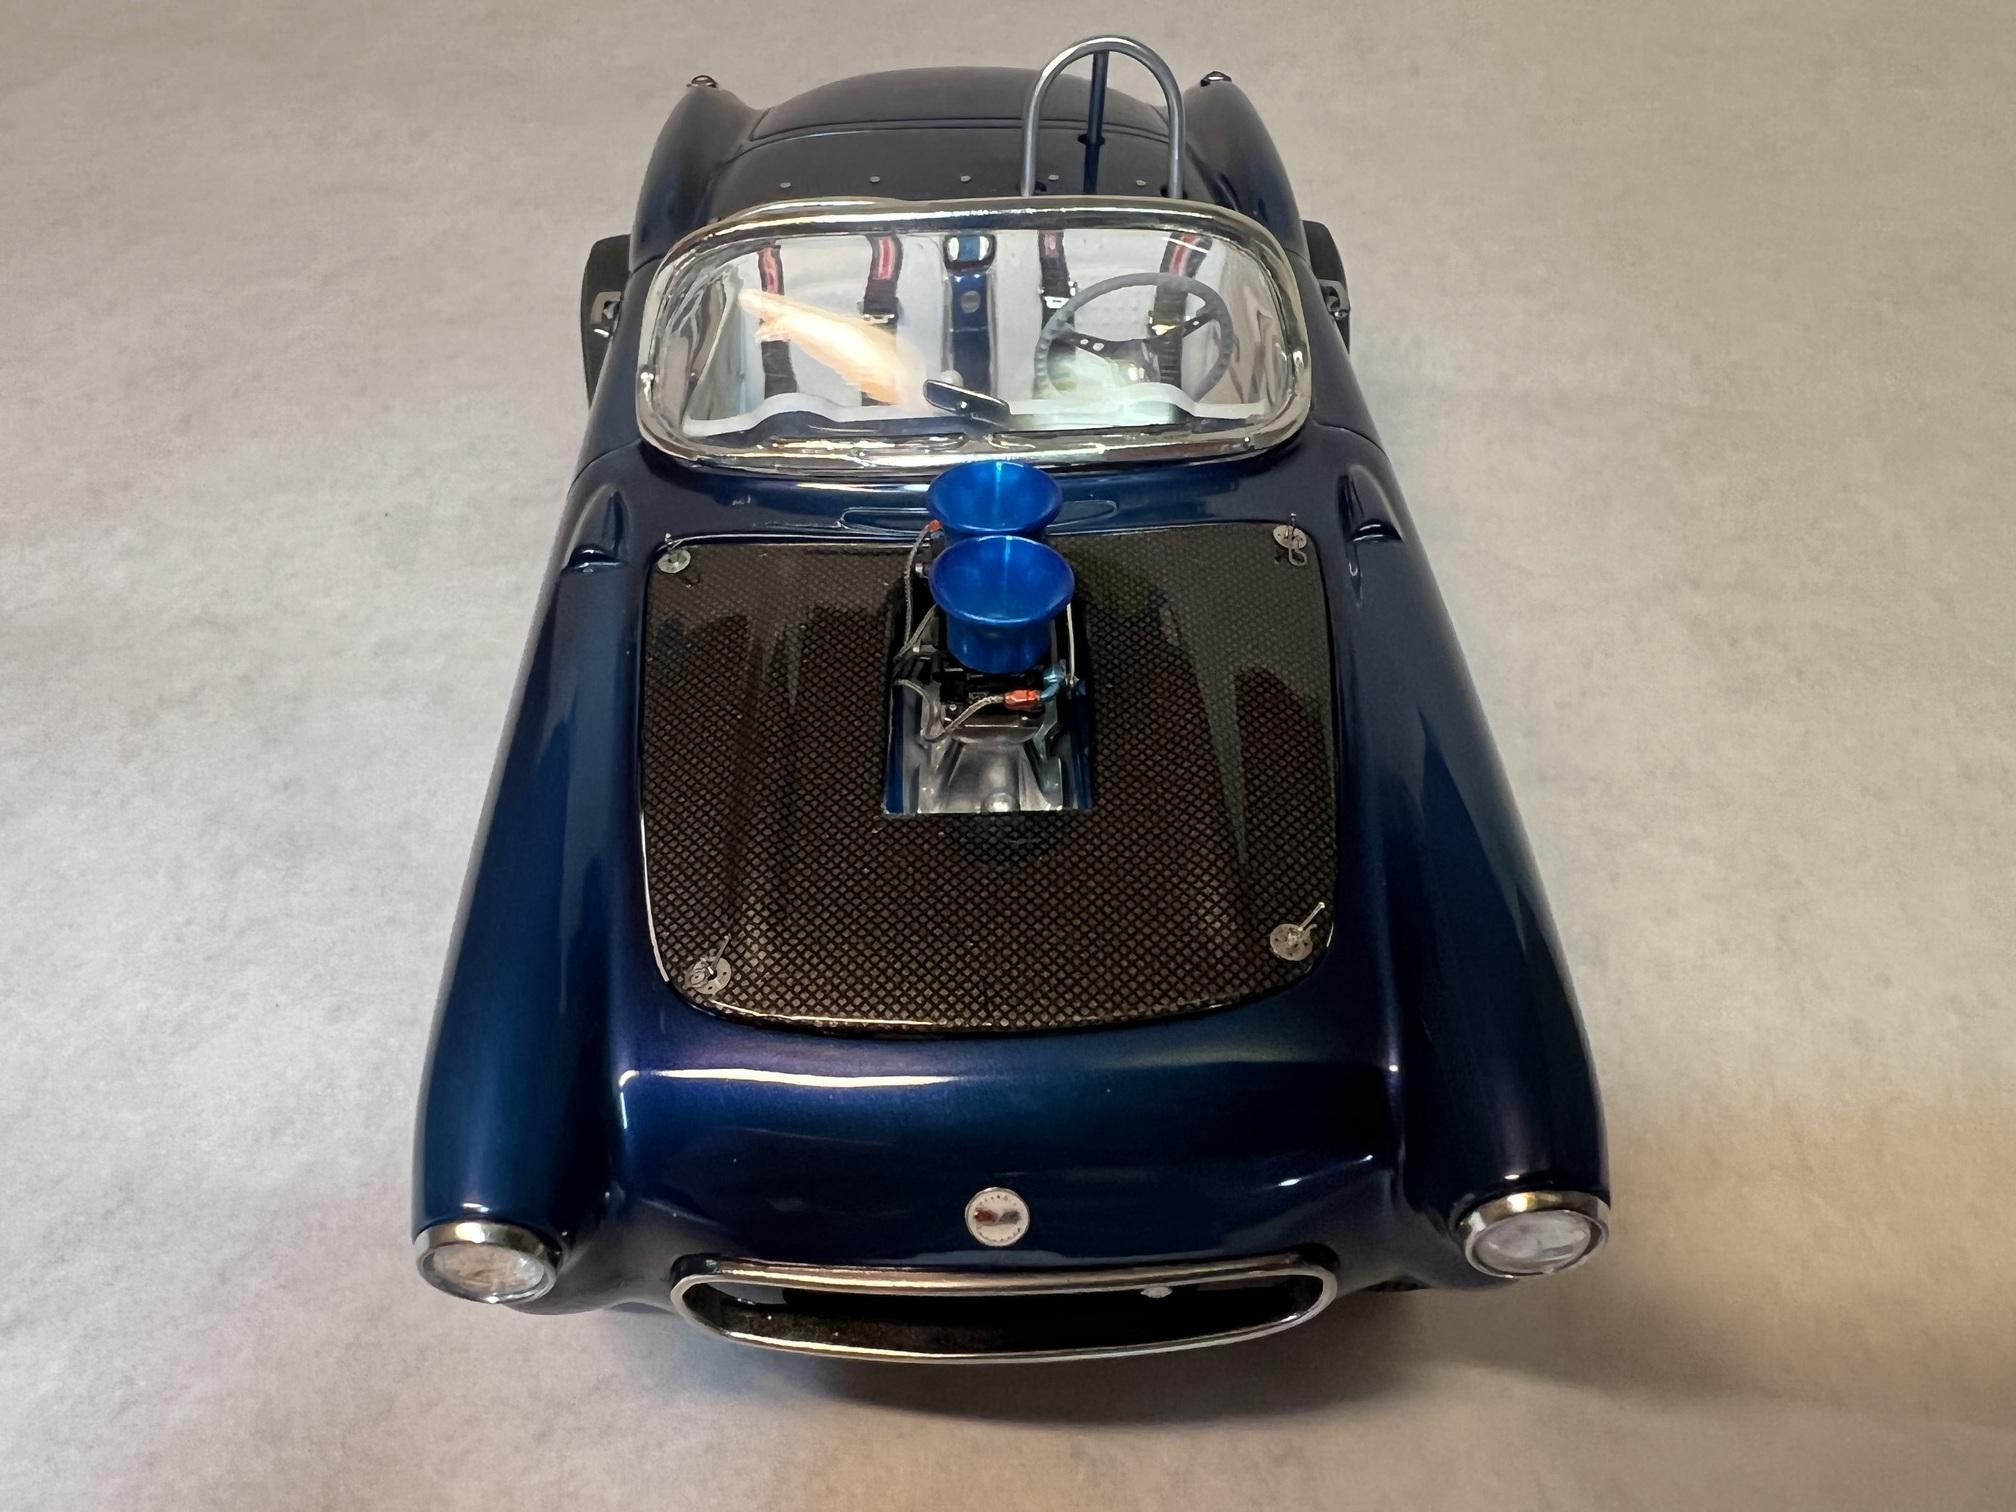
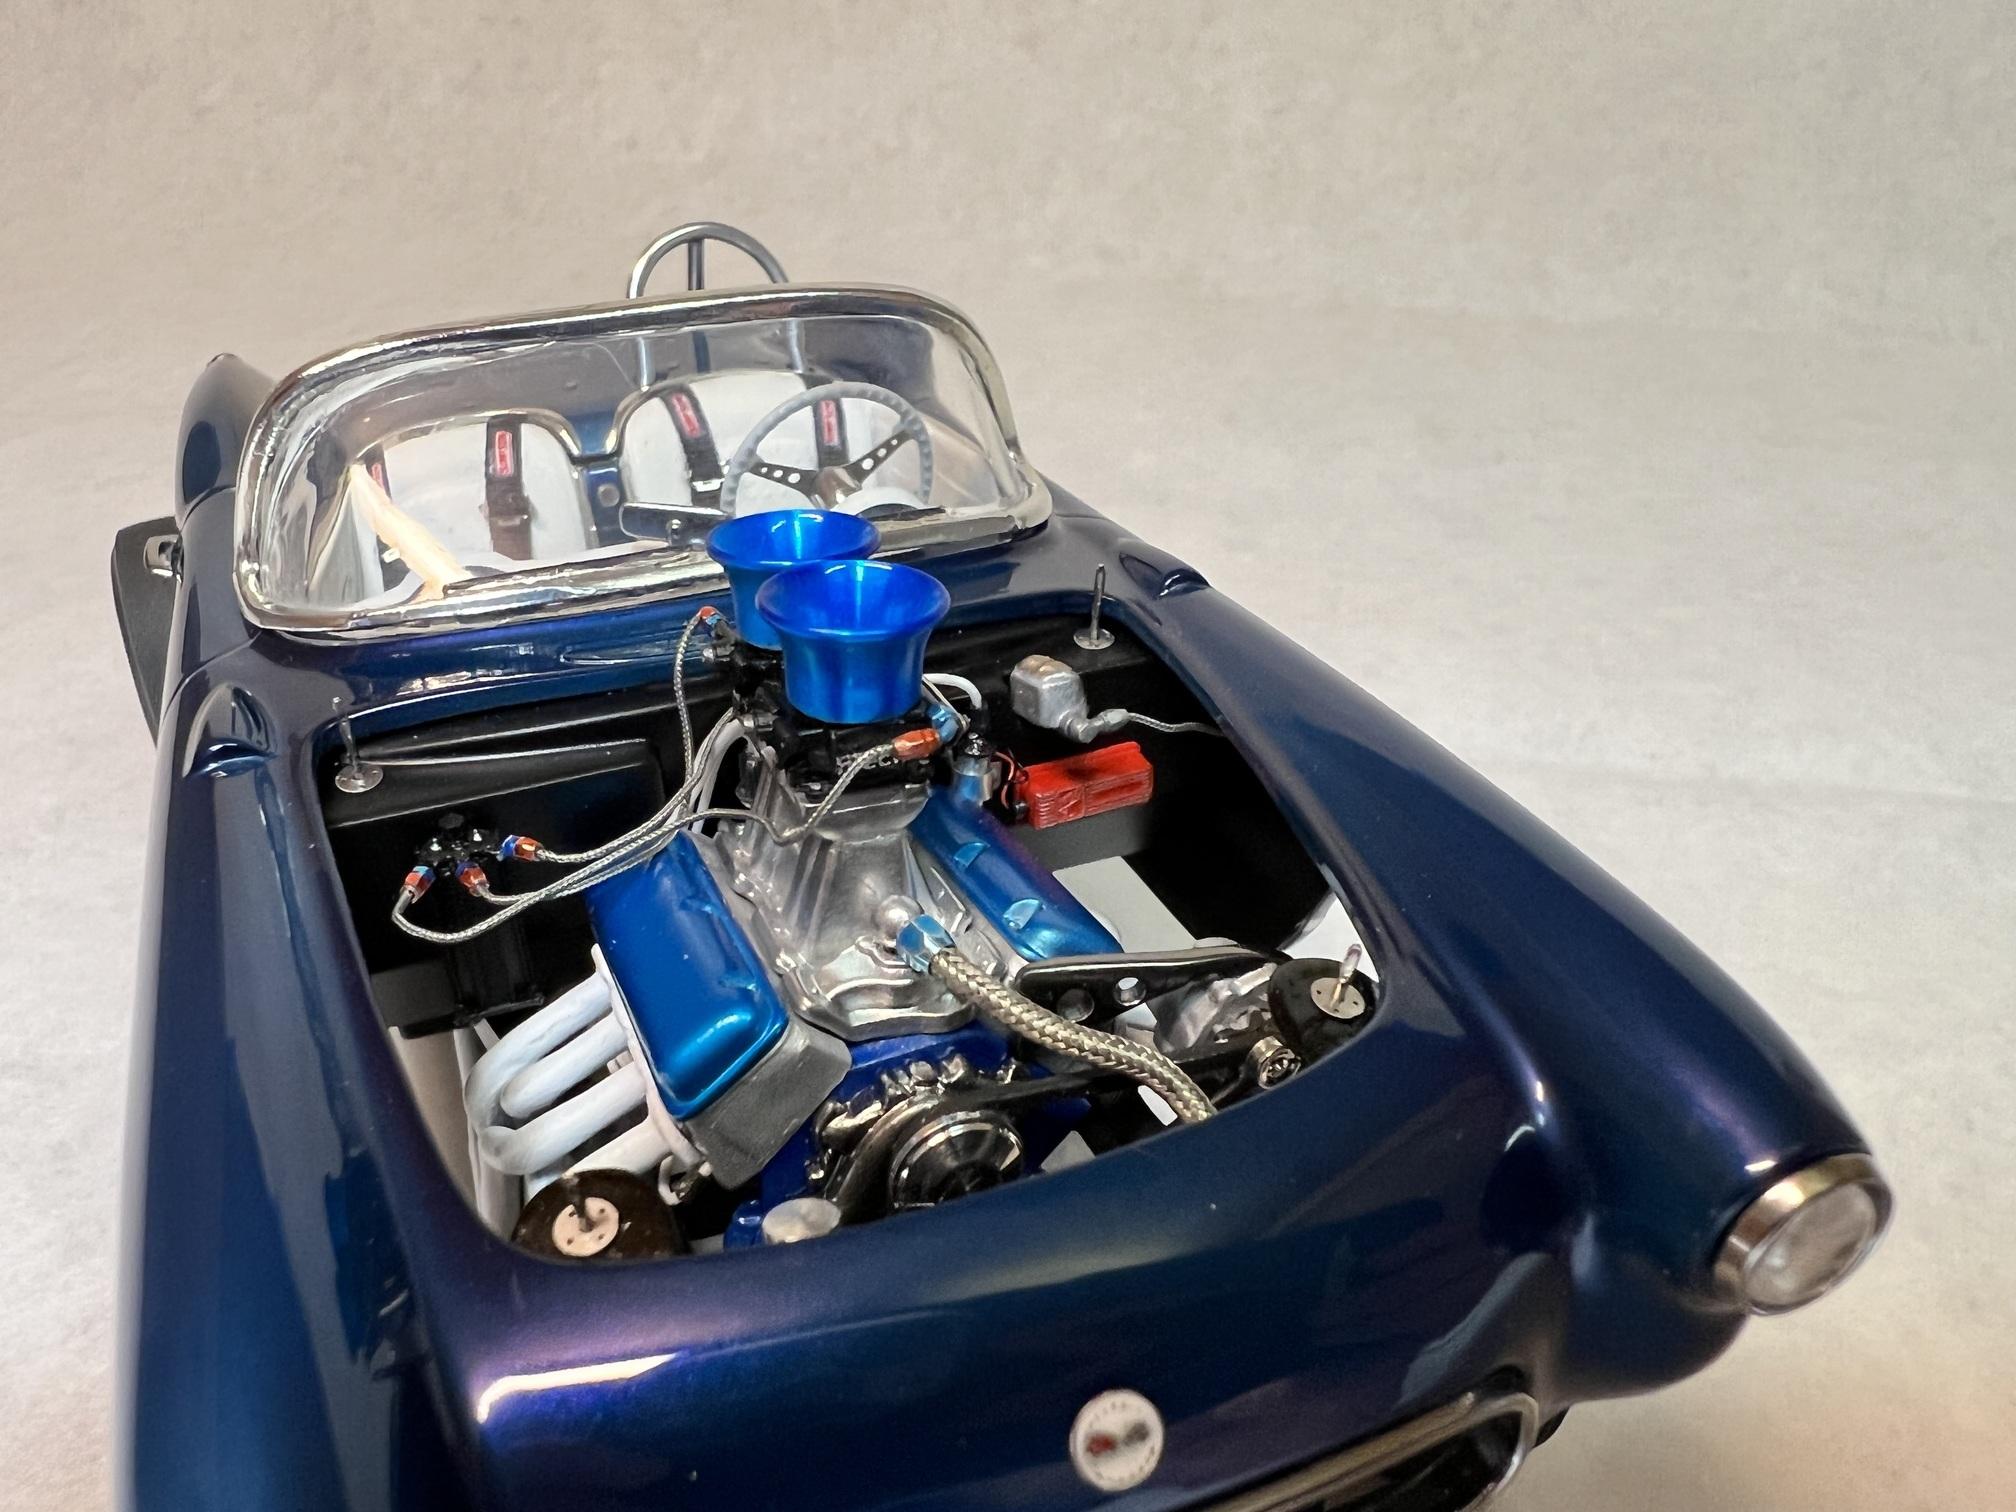
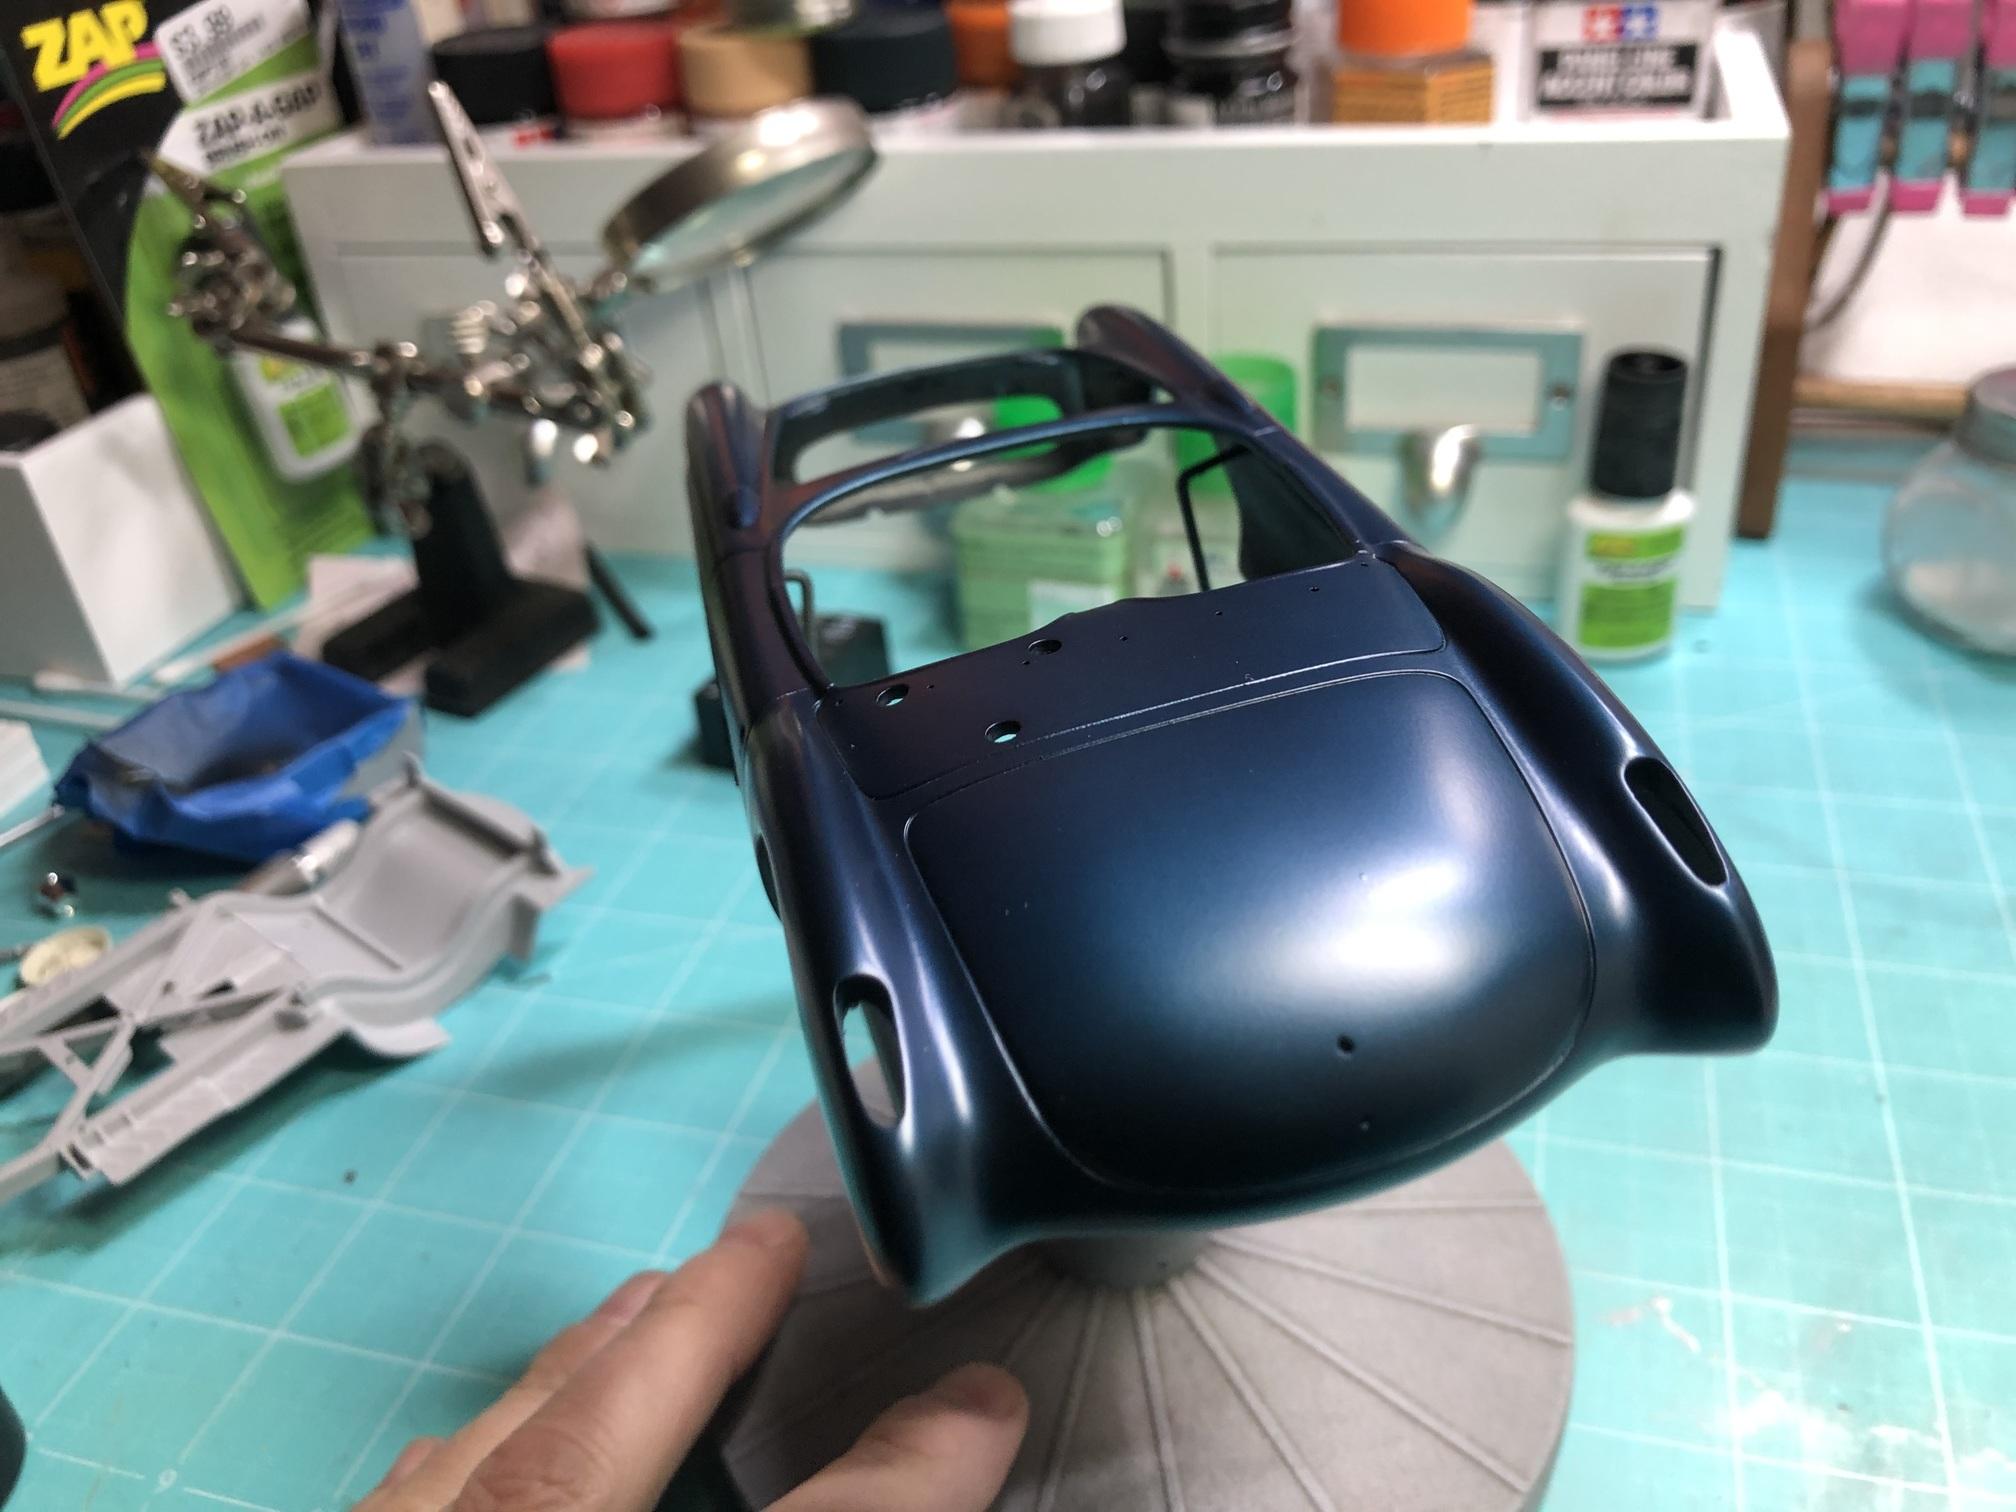
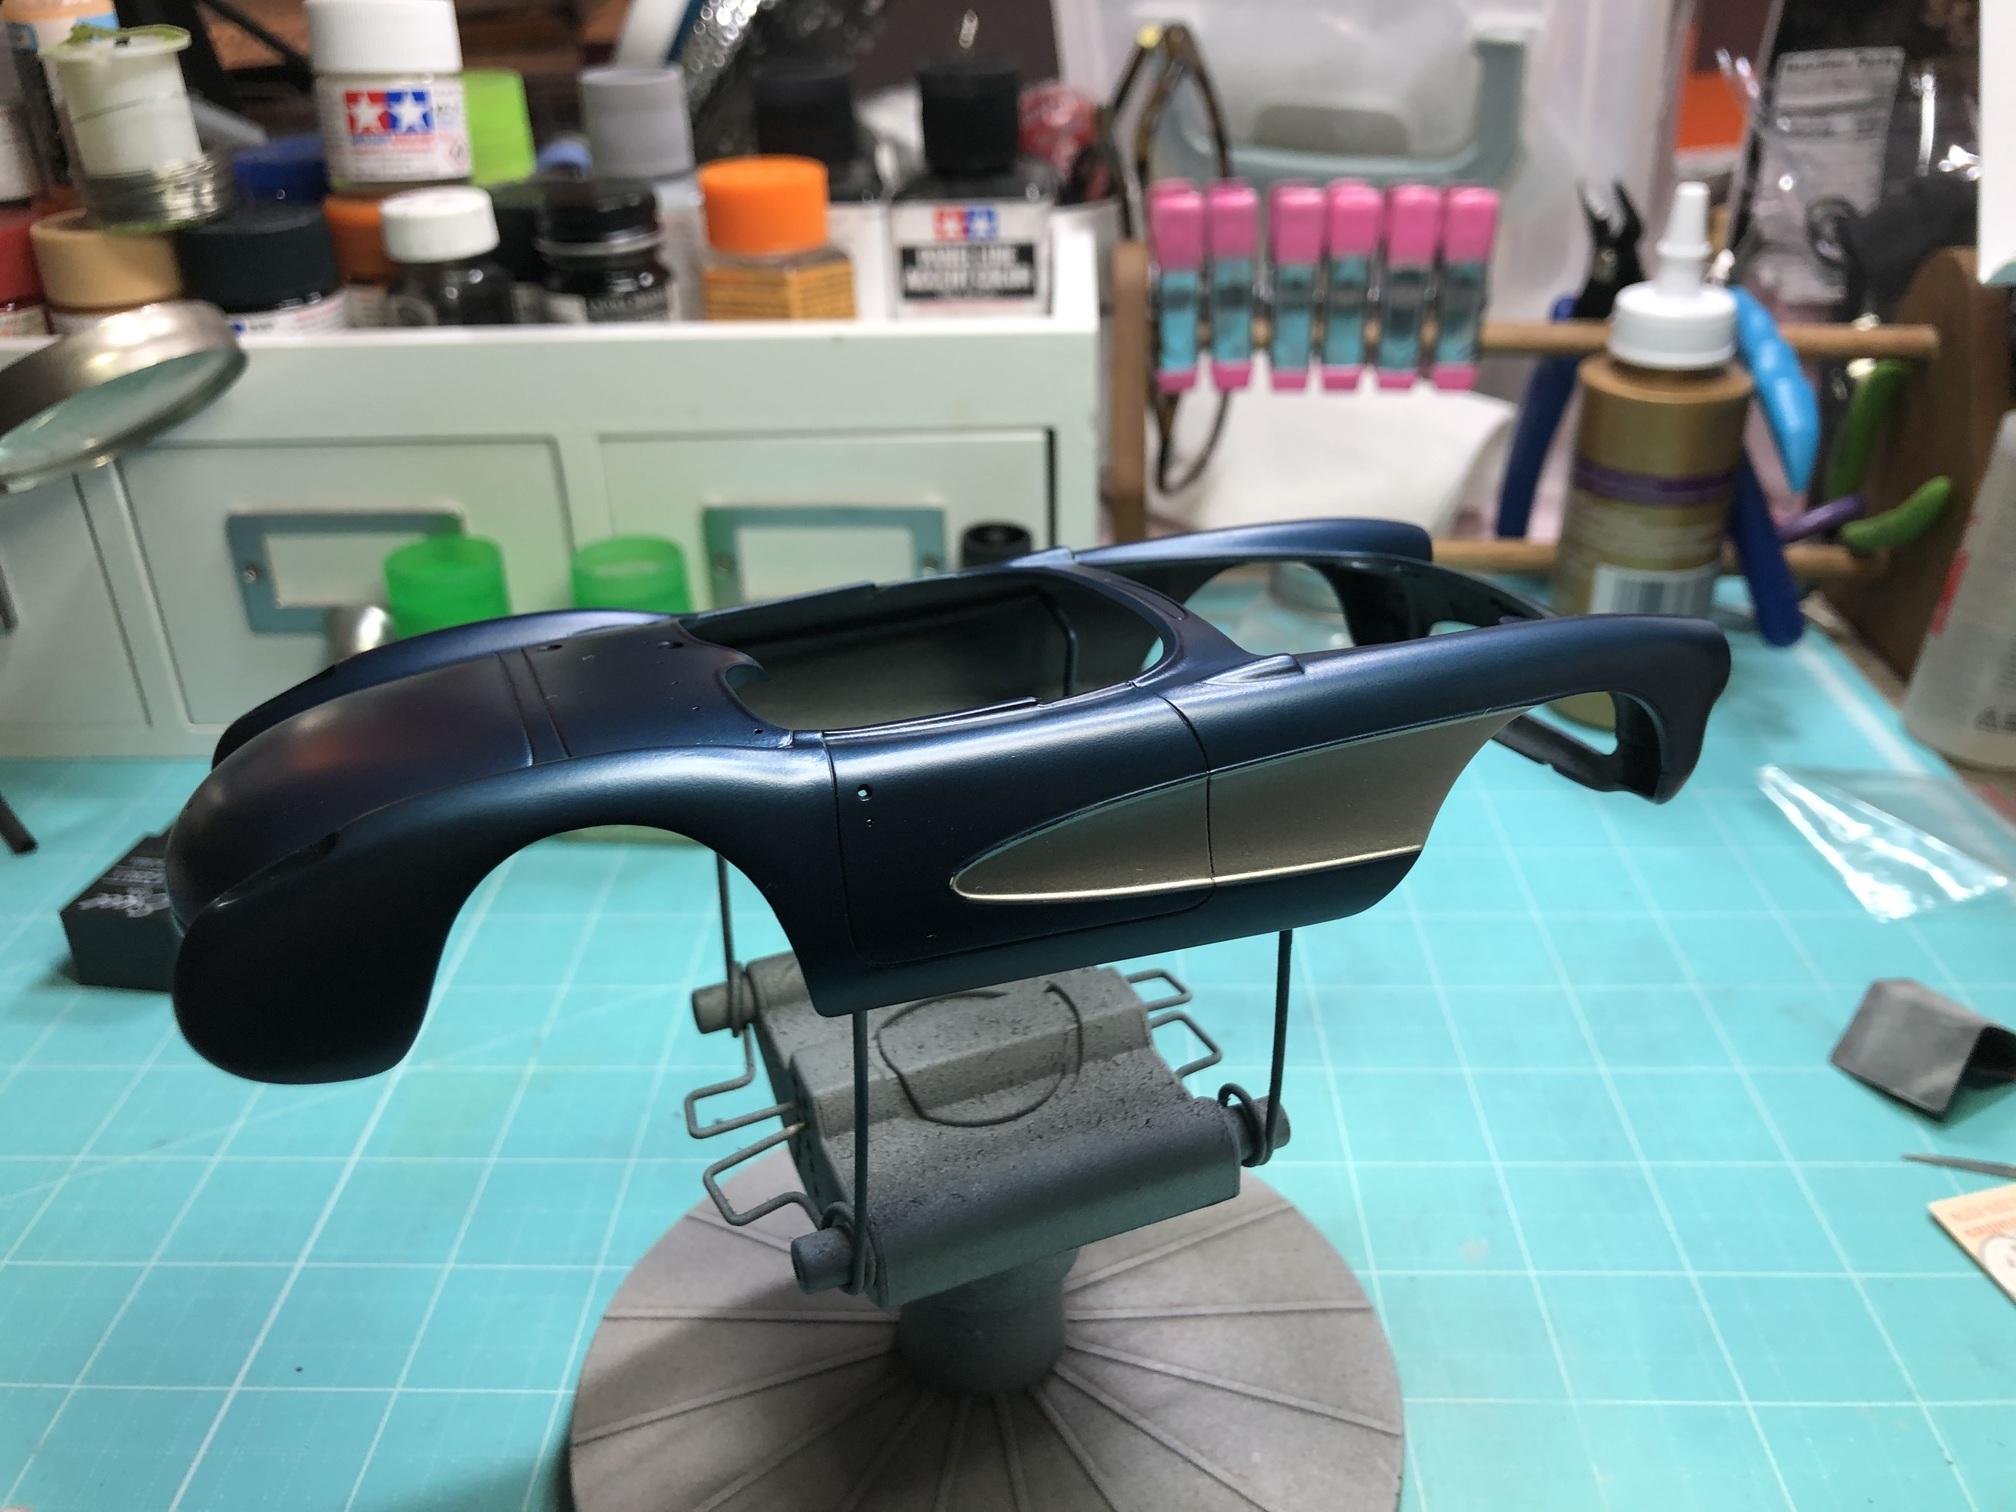
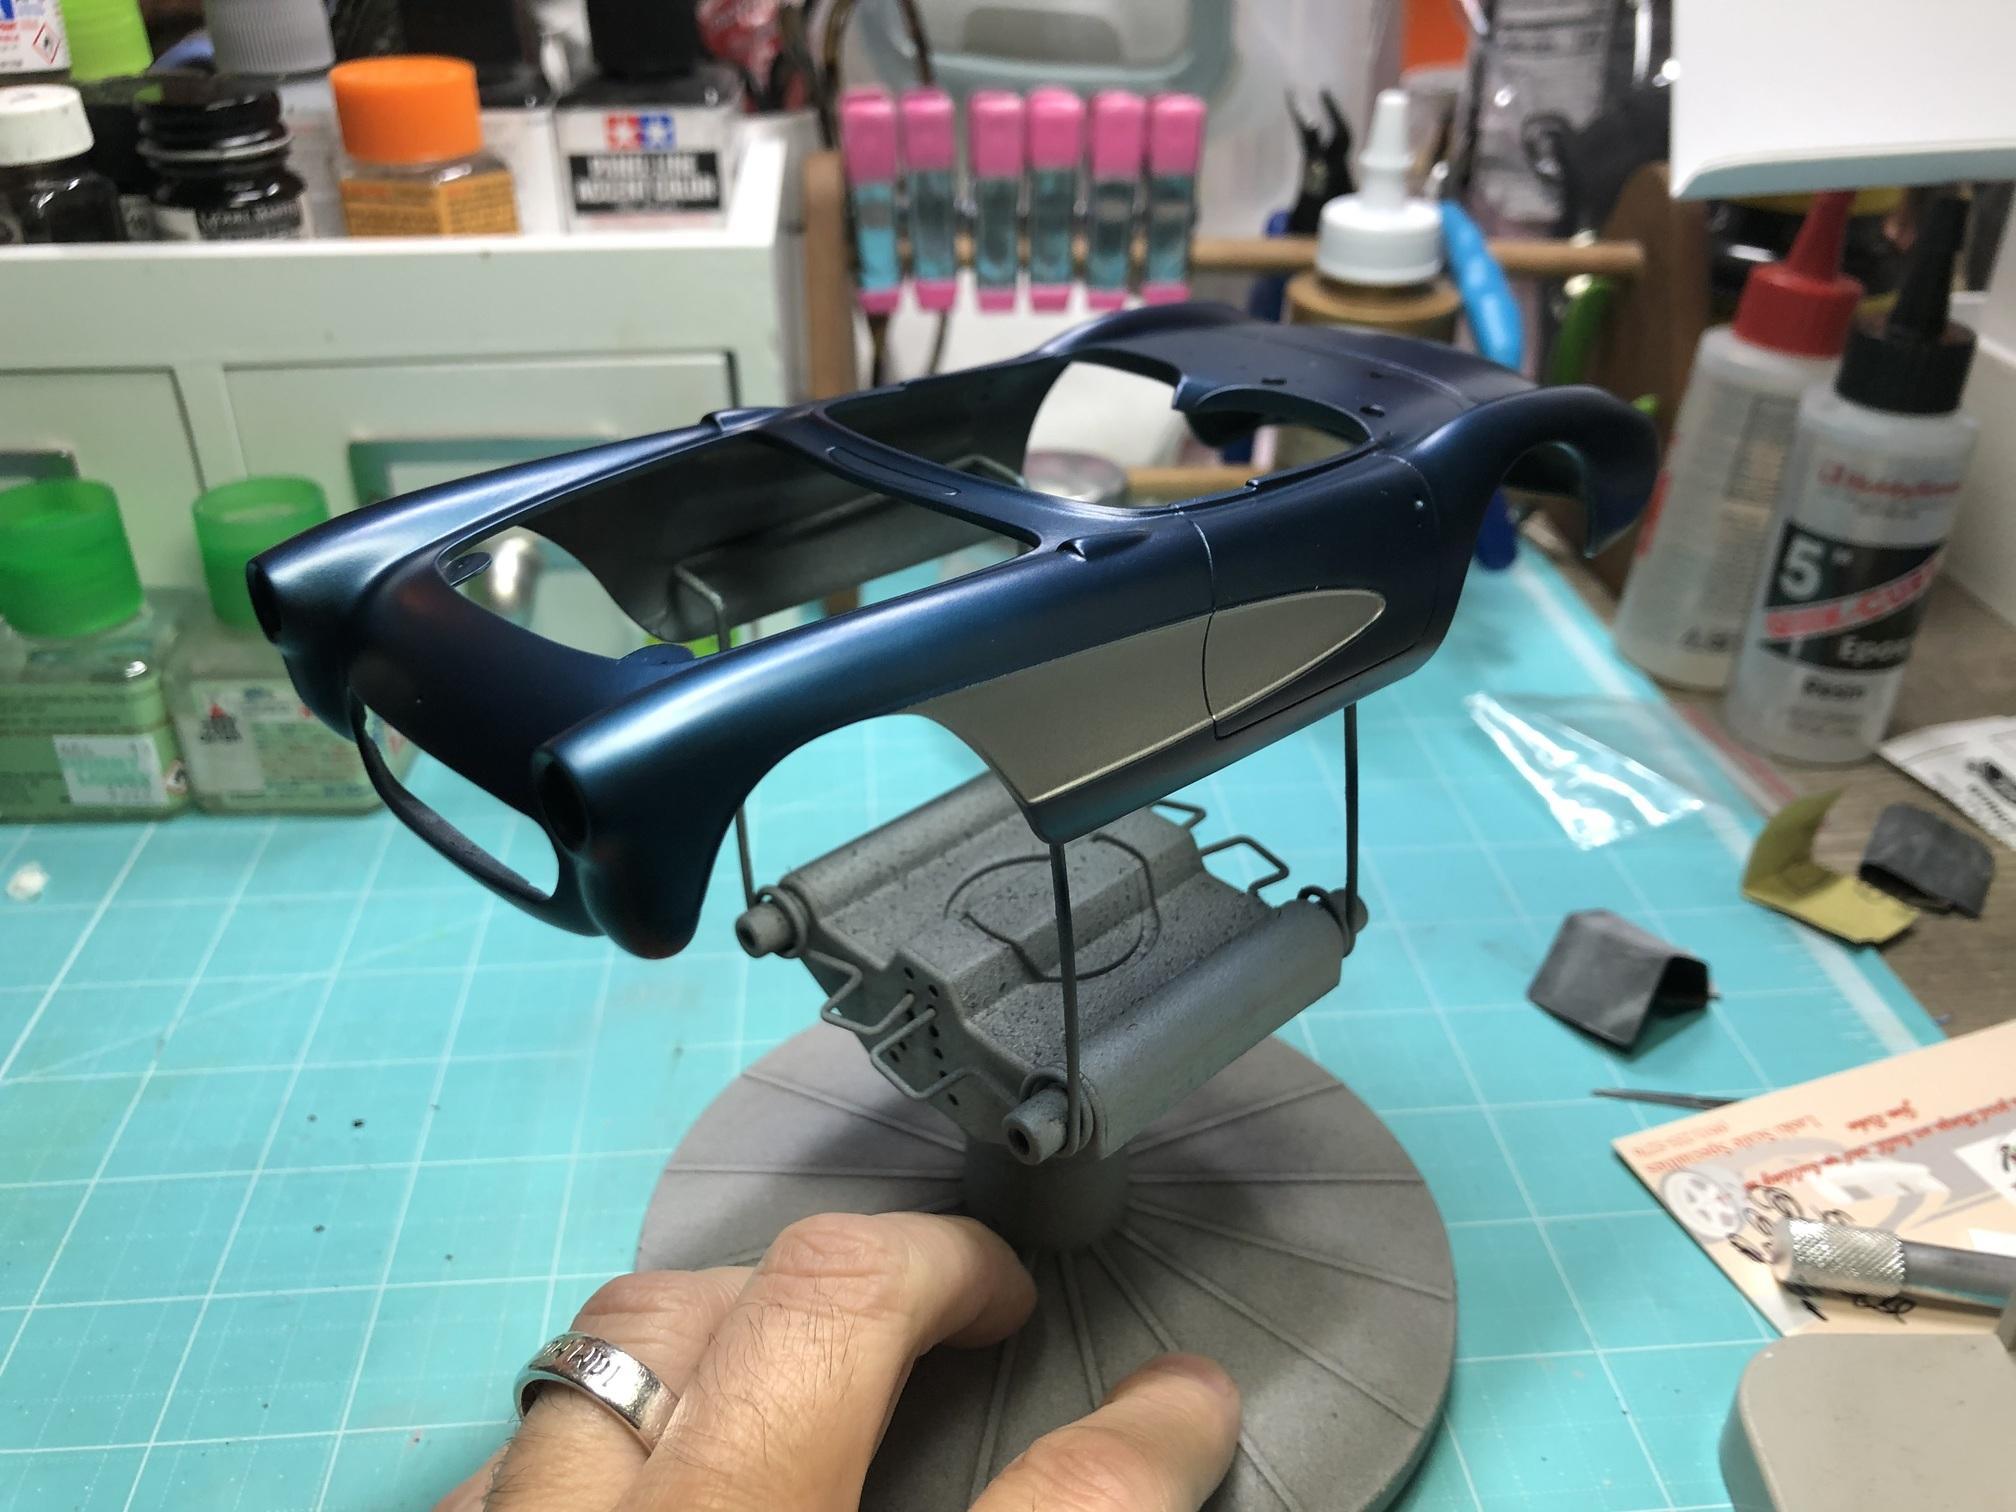
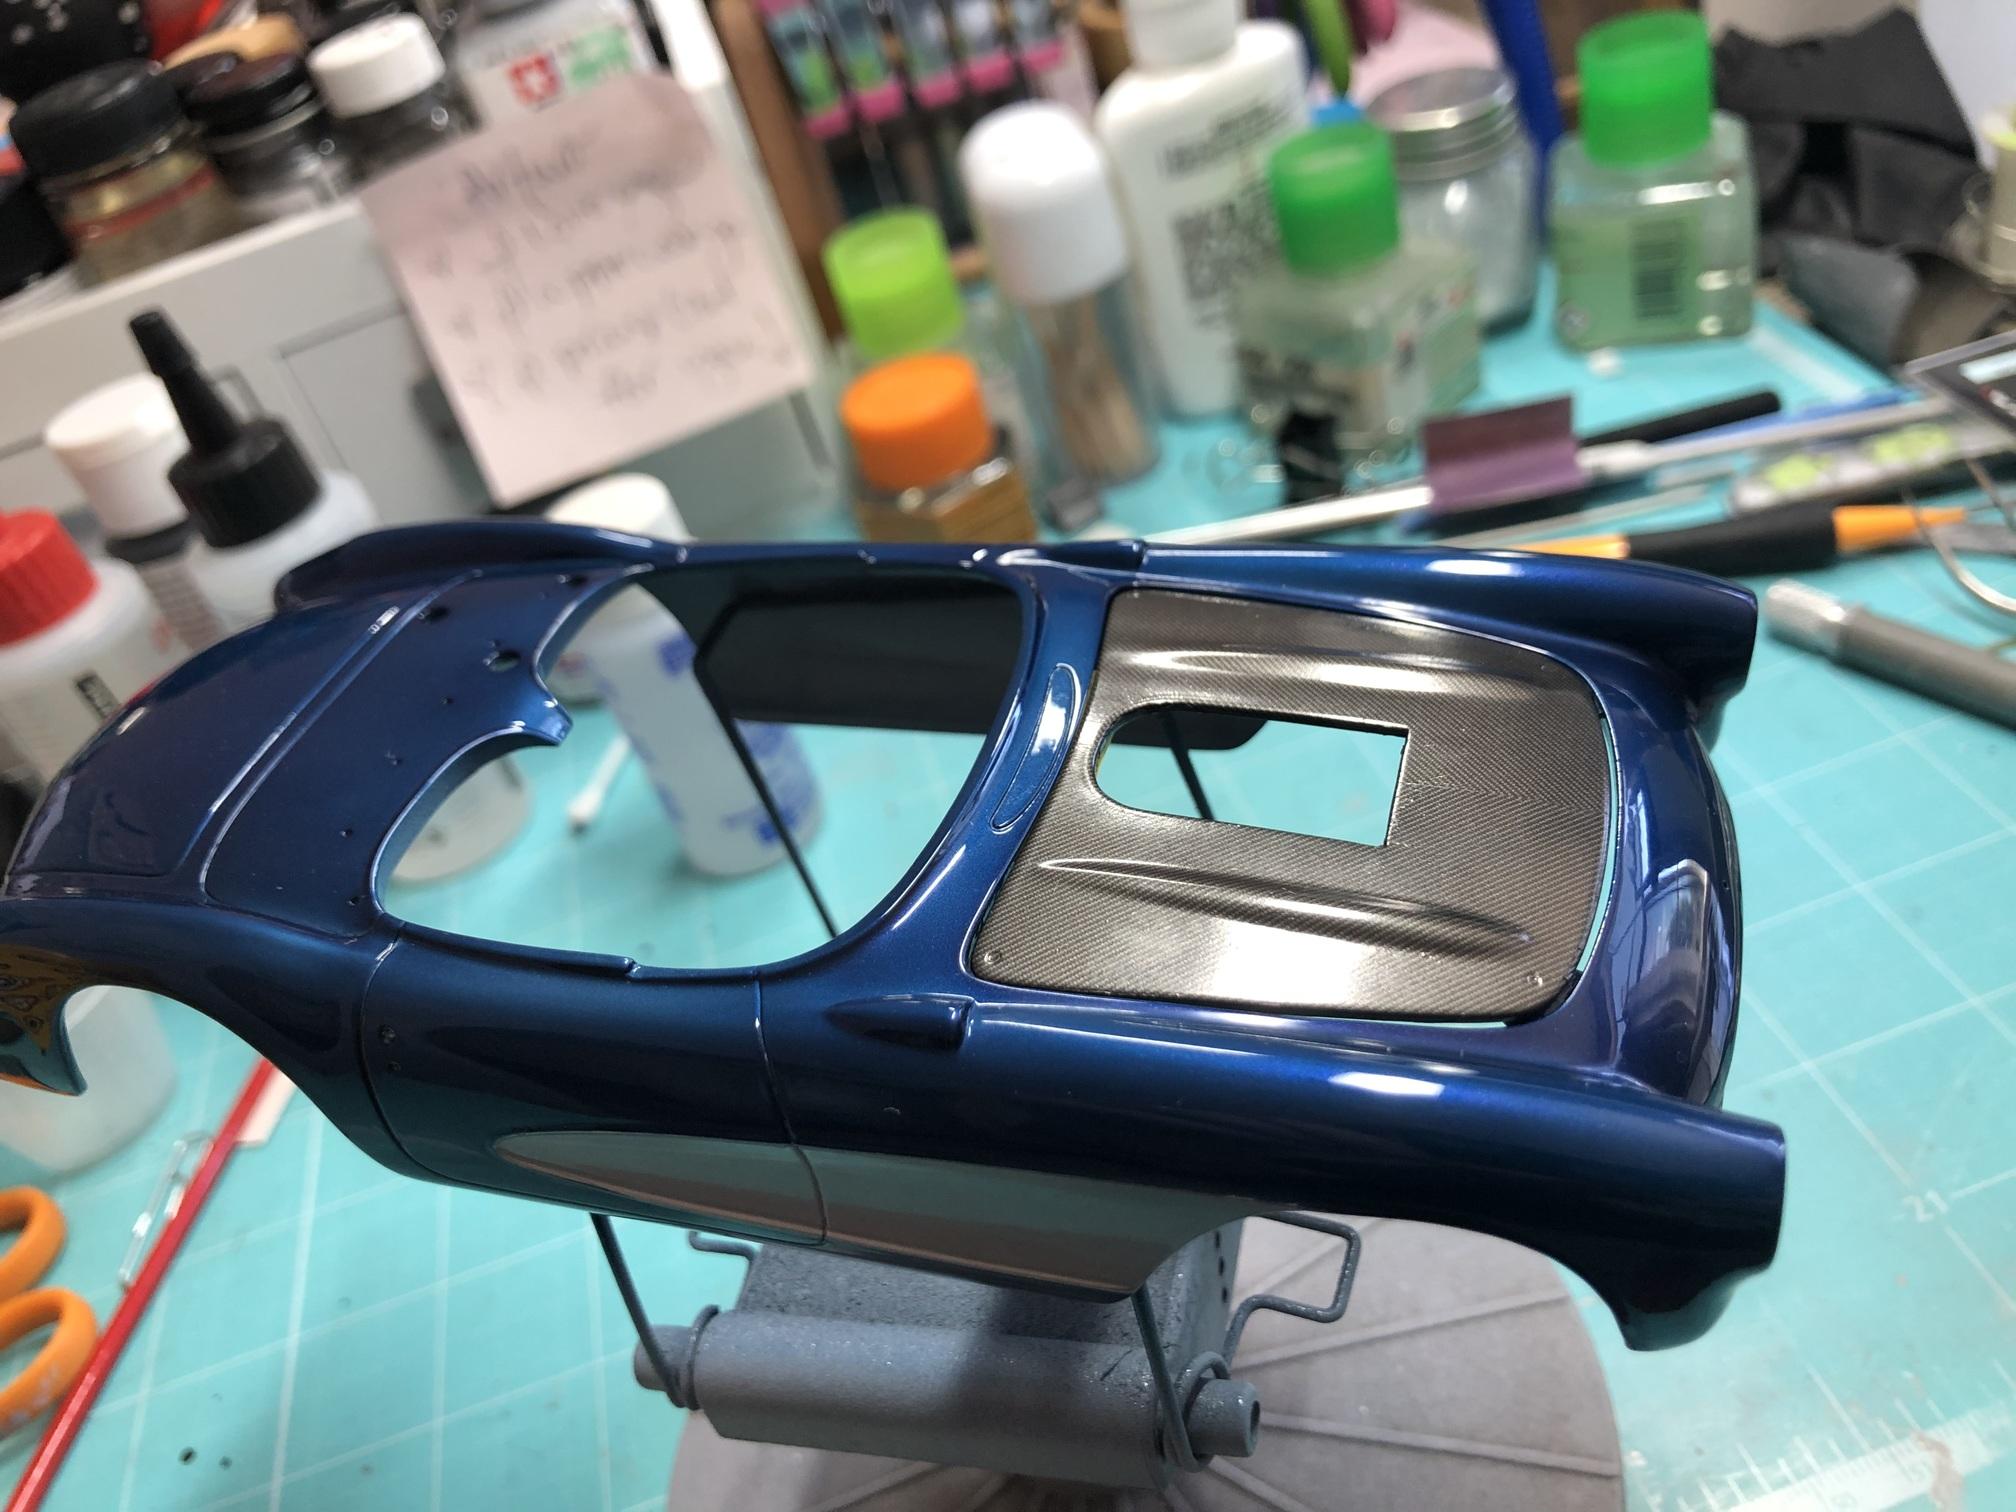
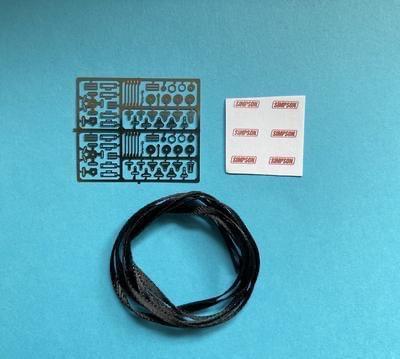
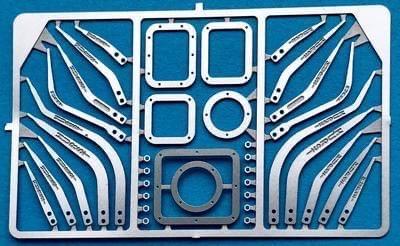
This build wasn’t on my list, but the San Diego Model Car Club and the Las Vegas model car club were doing a joint build off (a coupleof years ago!), with each club judging the others entries. It was originally supposed to be a tri-five subject, but they opened it up to any 55-57 Chevy, including trucks and Corvettes, so I thought I would jump in. Unfortunately, I missed that deadline by a mile! And the next one, and the next one! I happened to have this 57 Corvette Gasser kit in my stash, and I thought this would be a great opportunity to showcase all of the Pro Tech, Detail Master, and Model Car Garage (and other) aftermarket parts available on my store at scaleproshop.com. Chevy Big Block Engine, scratch-bashed headers, and rear tires from AMT ‘67 Chevelle Pro Street kit Parts from ScaleProShop Splash Paints Kona Blue Splash Paints Aluminum Model Car Garage ‘57 Corvette Photo etch detail set Model Car Garage Flocking MAD Pre-wired distributor Pro Tech braided Line Pro Tech Photo etch nuts Pro Tech MSD box Pro Tech detail wire Top Studio resin fittings Detail Master fittings Detail Master fan kit Detail Master radiator cap Detail Master Hurst Shifter Detail Master Velocity Stacks Detail Master seat belt harnesses Detail Master hood pins Scale Motorsport photo etch bolt heads Scale Motorsport carbon fiber decal Other parts @dog3models Halibrand quick change rear end Fireball Model Works Fuel Injection Resin front wheels (unknown) MPC funny car rear wheels Scratch built parts Steering column Coil Shocks Pulleys Roll bar

- 51 replies
-
- 13
-

-
Well, that's all I have as far as WIP pics worth showing. Here's a couple of the finished product. Some other products used- Pro Tech braided line, Pro Tech MSD box, MAD pre-wired distributor, scratch-built roll bar. Body was finished off with BMF, and details from the Model Car Garage set. Catch the rest Under Glass!
-
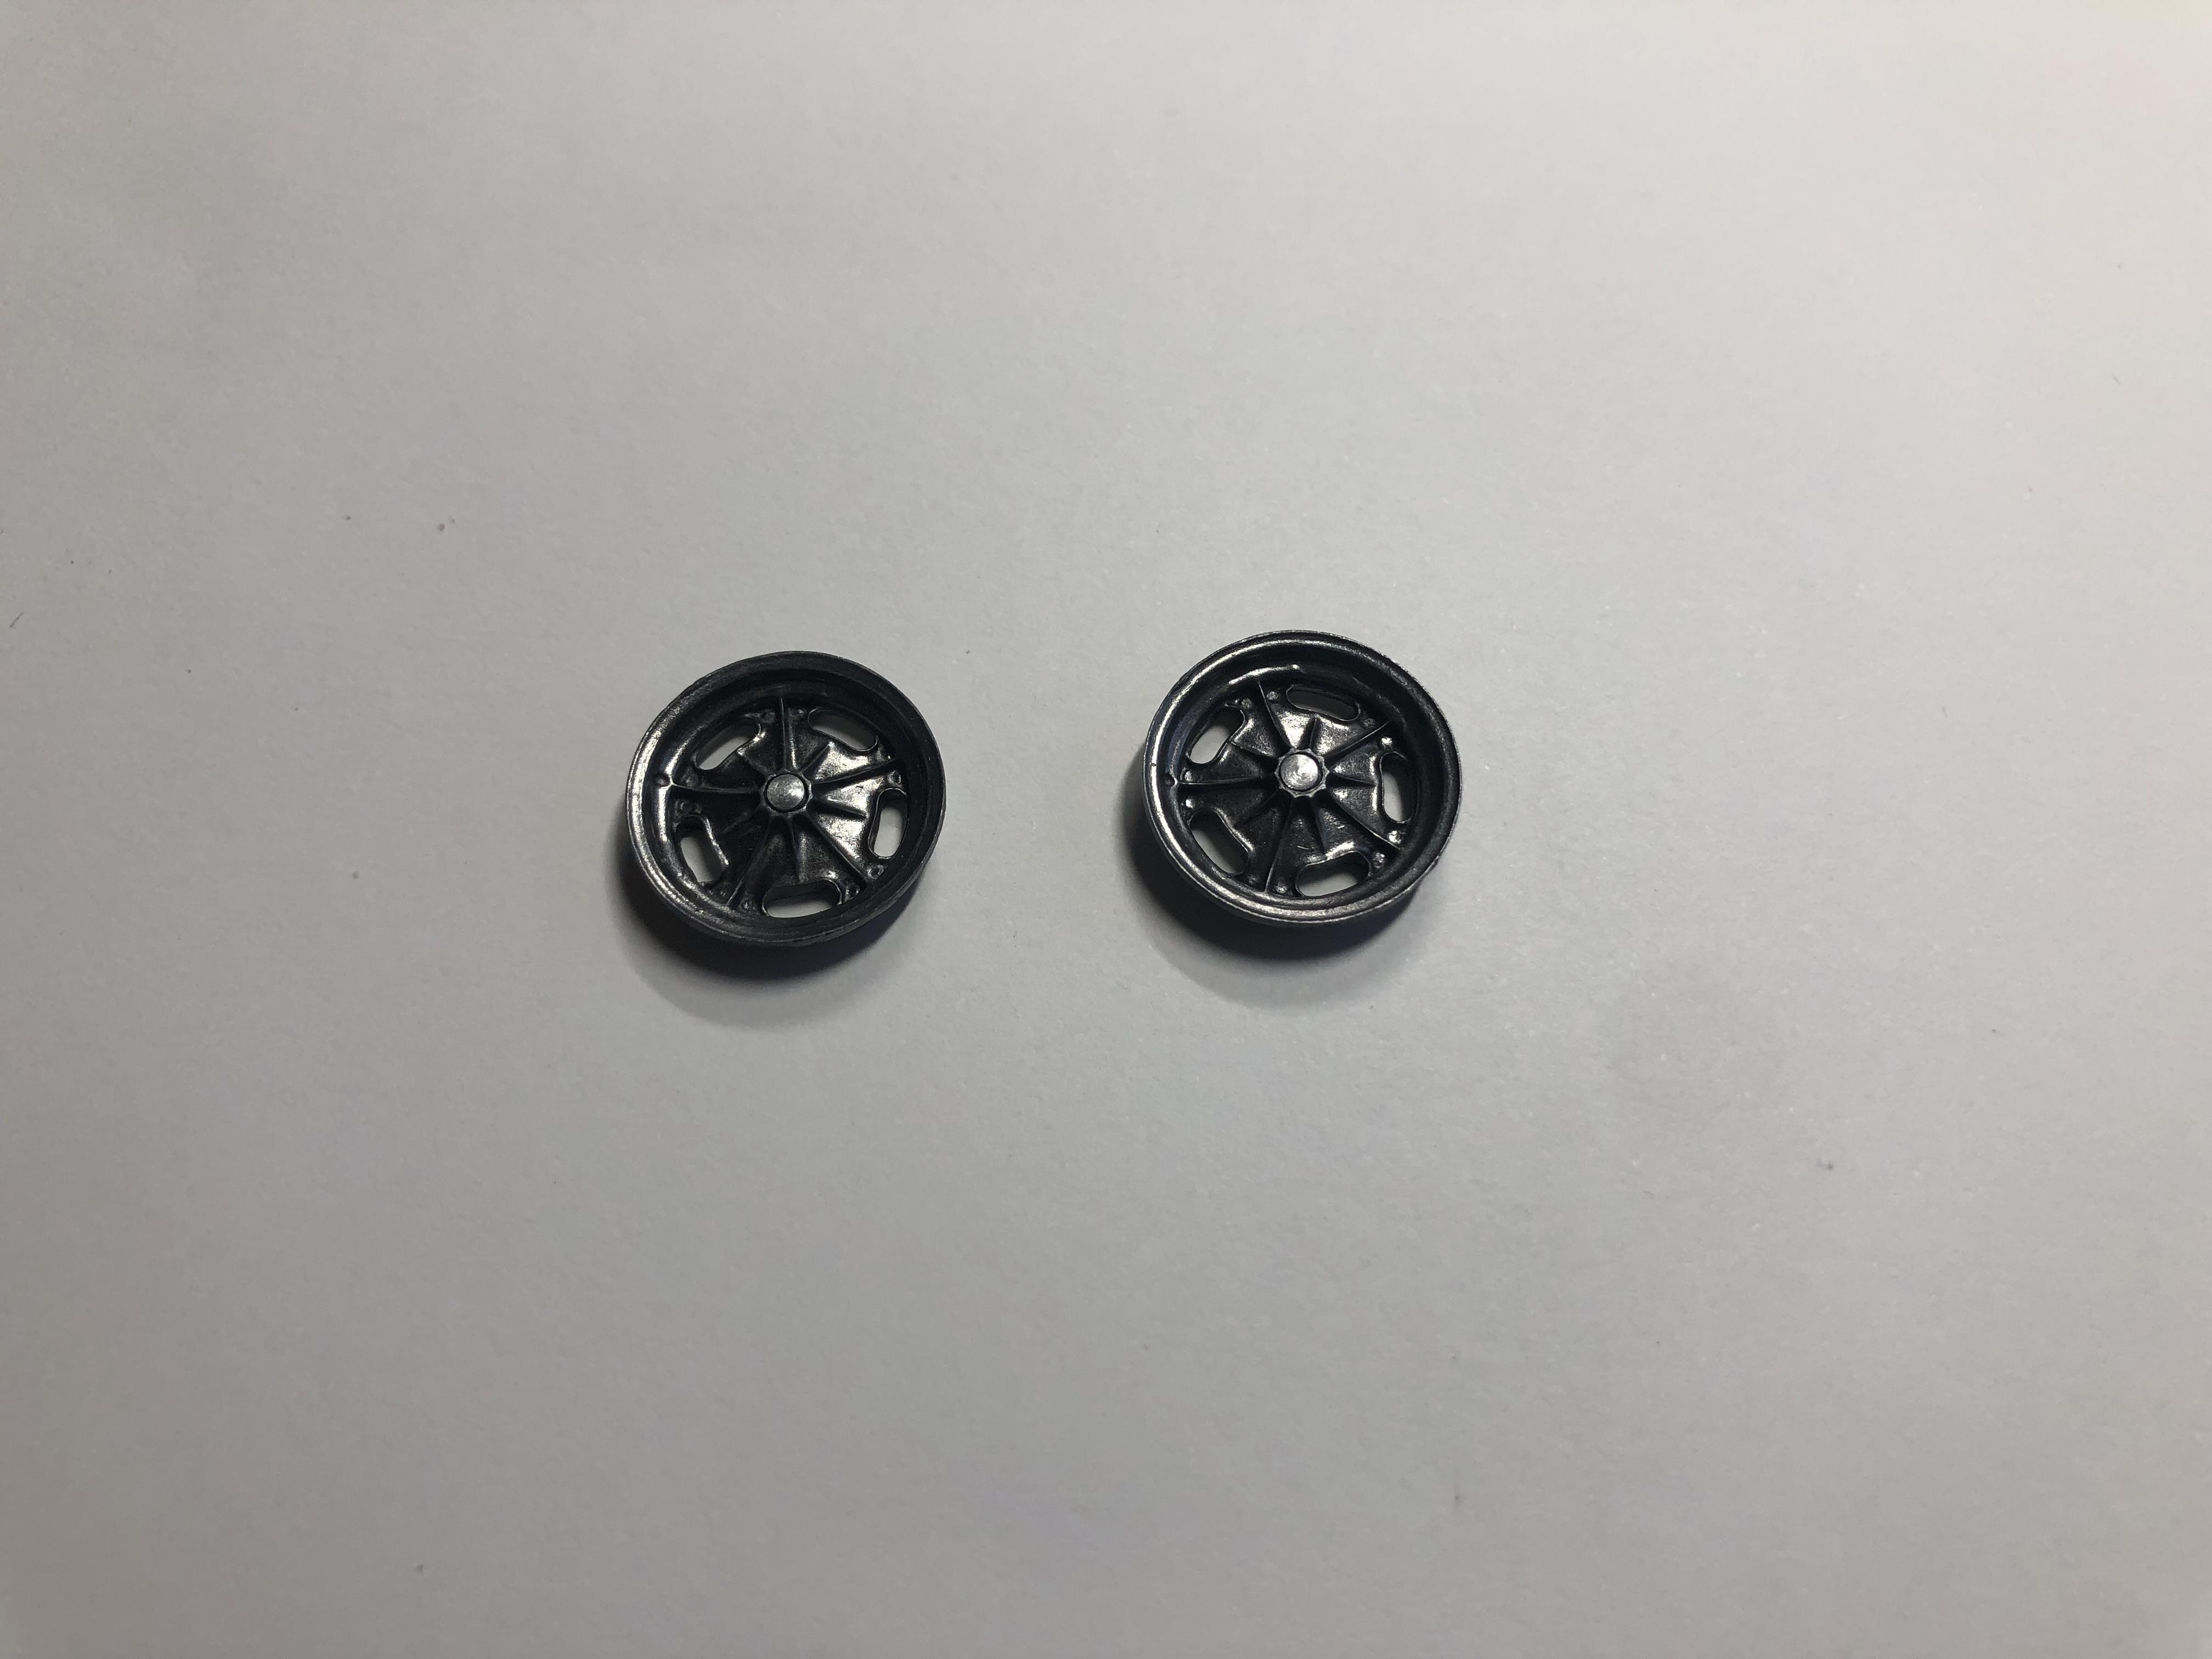
I ended up using the kit front tires with some resin Halibrand wheels, painted with Magnesium Metalizer polished with C1 chrome powder like the rear end. I also machined some hubcaps to fill the hole in the center. Rears are one of the tire sets that come in the Chevelle, with the pad printed lettering toned down a bit with a Tamiya weathering kit, with wheels form an MPS funny car. I checked up the rears in the lathe to sand them down and get the right shape to them.
-
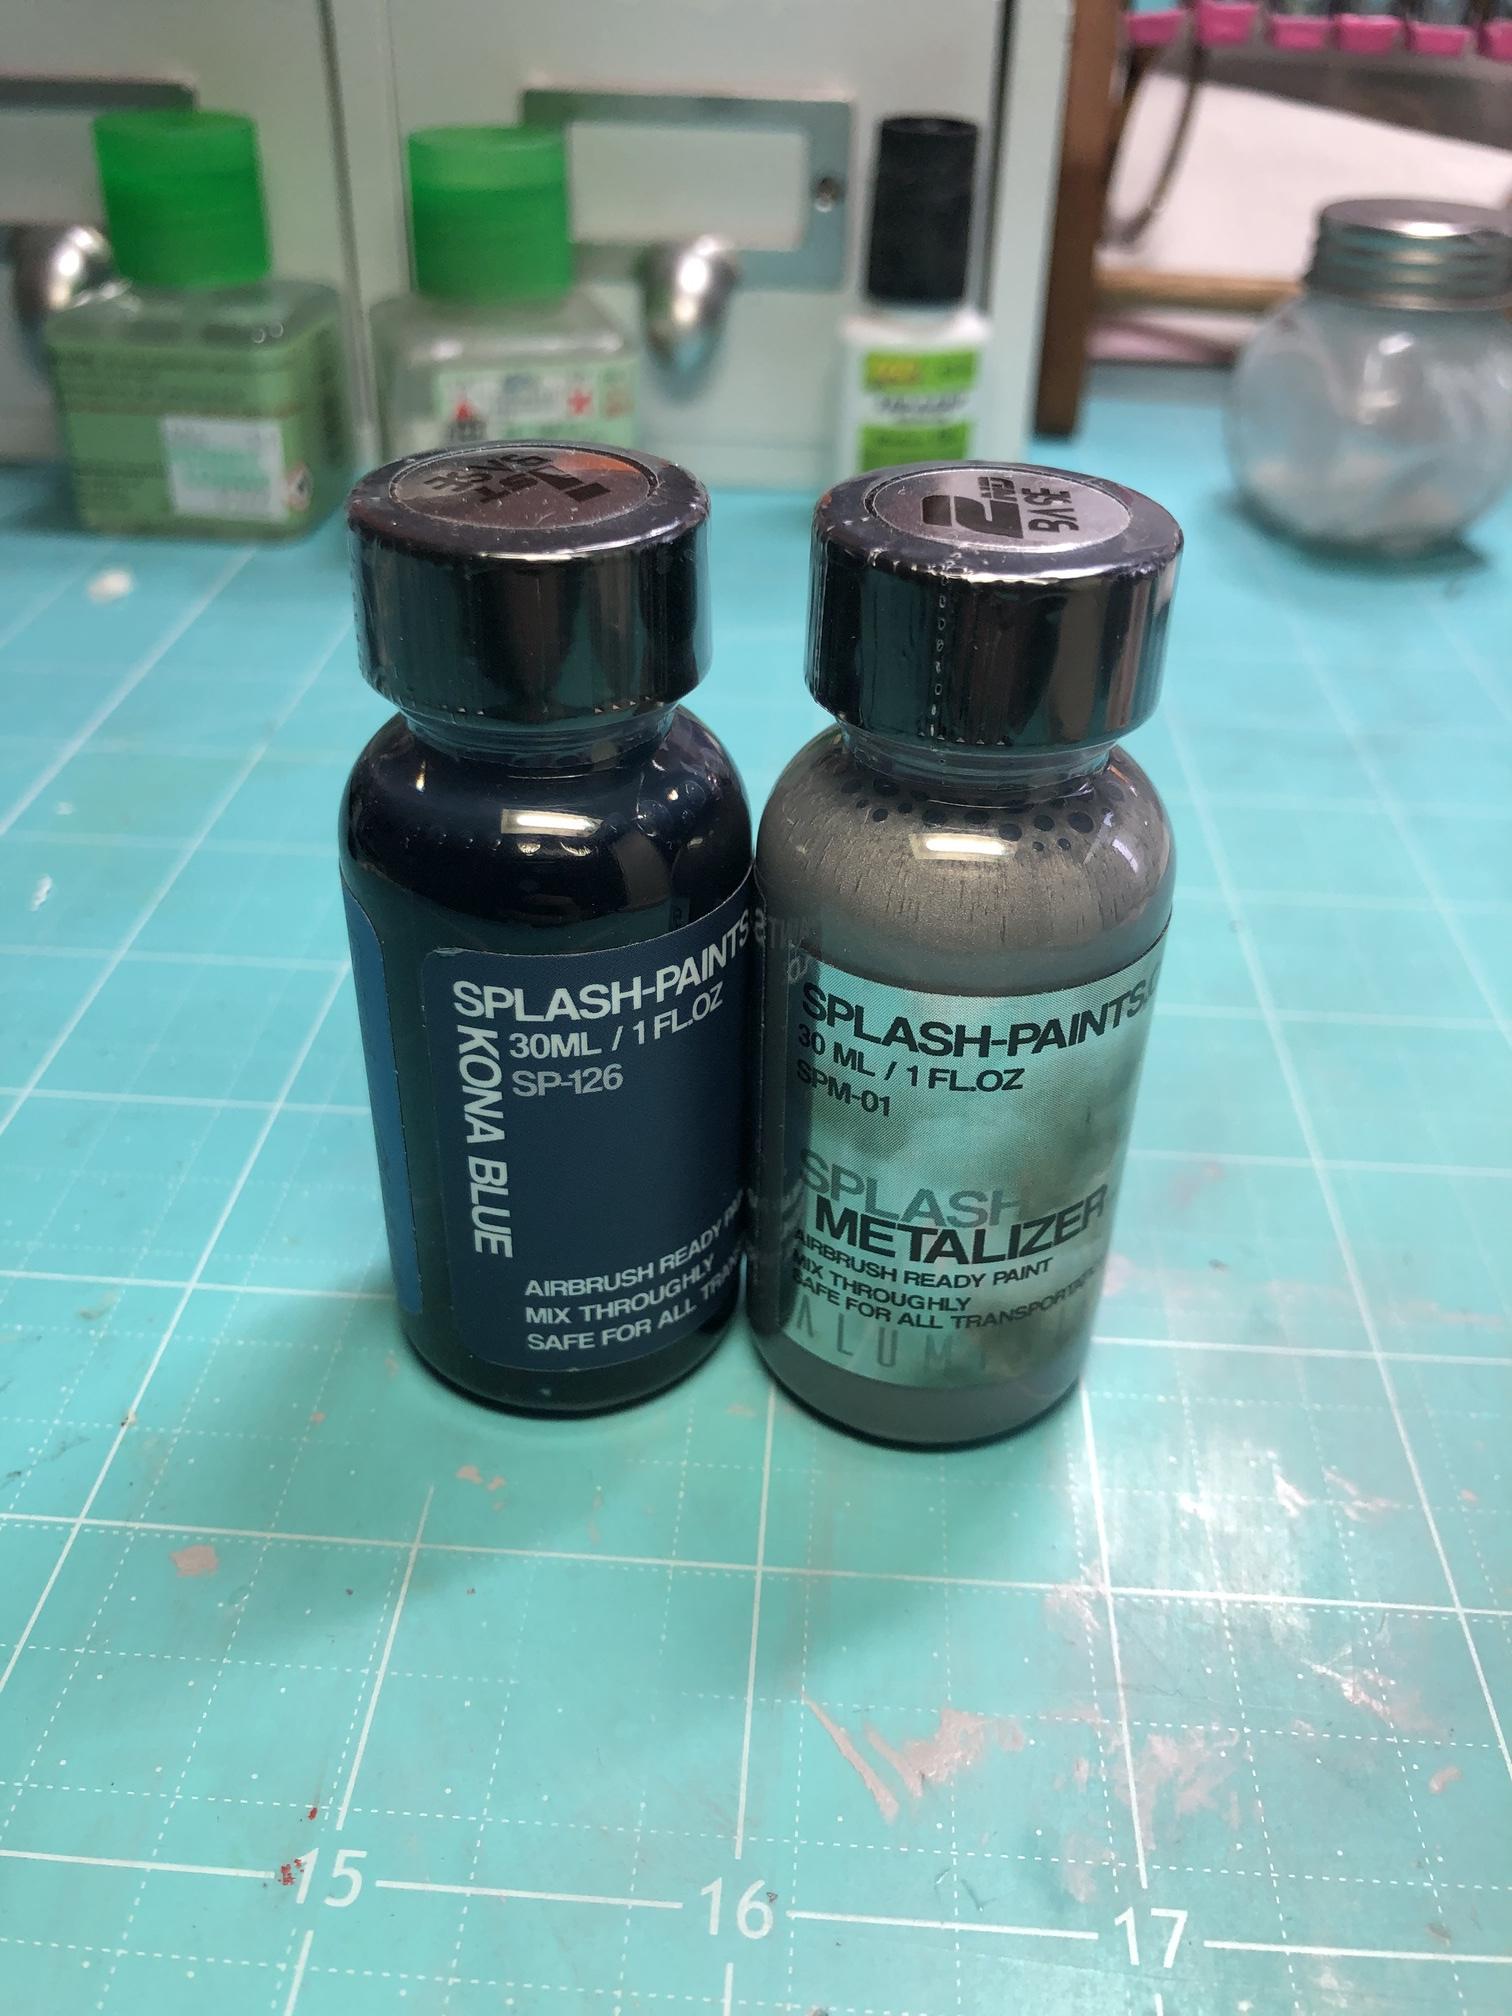
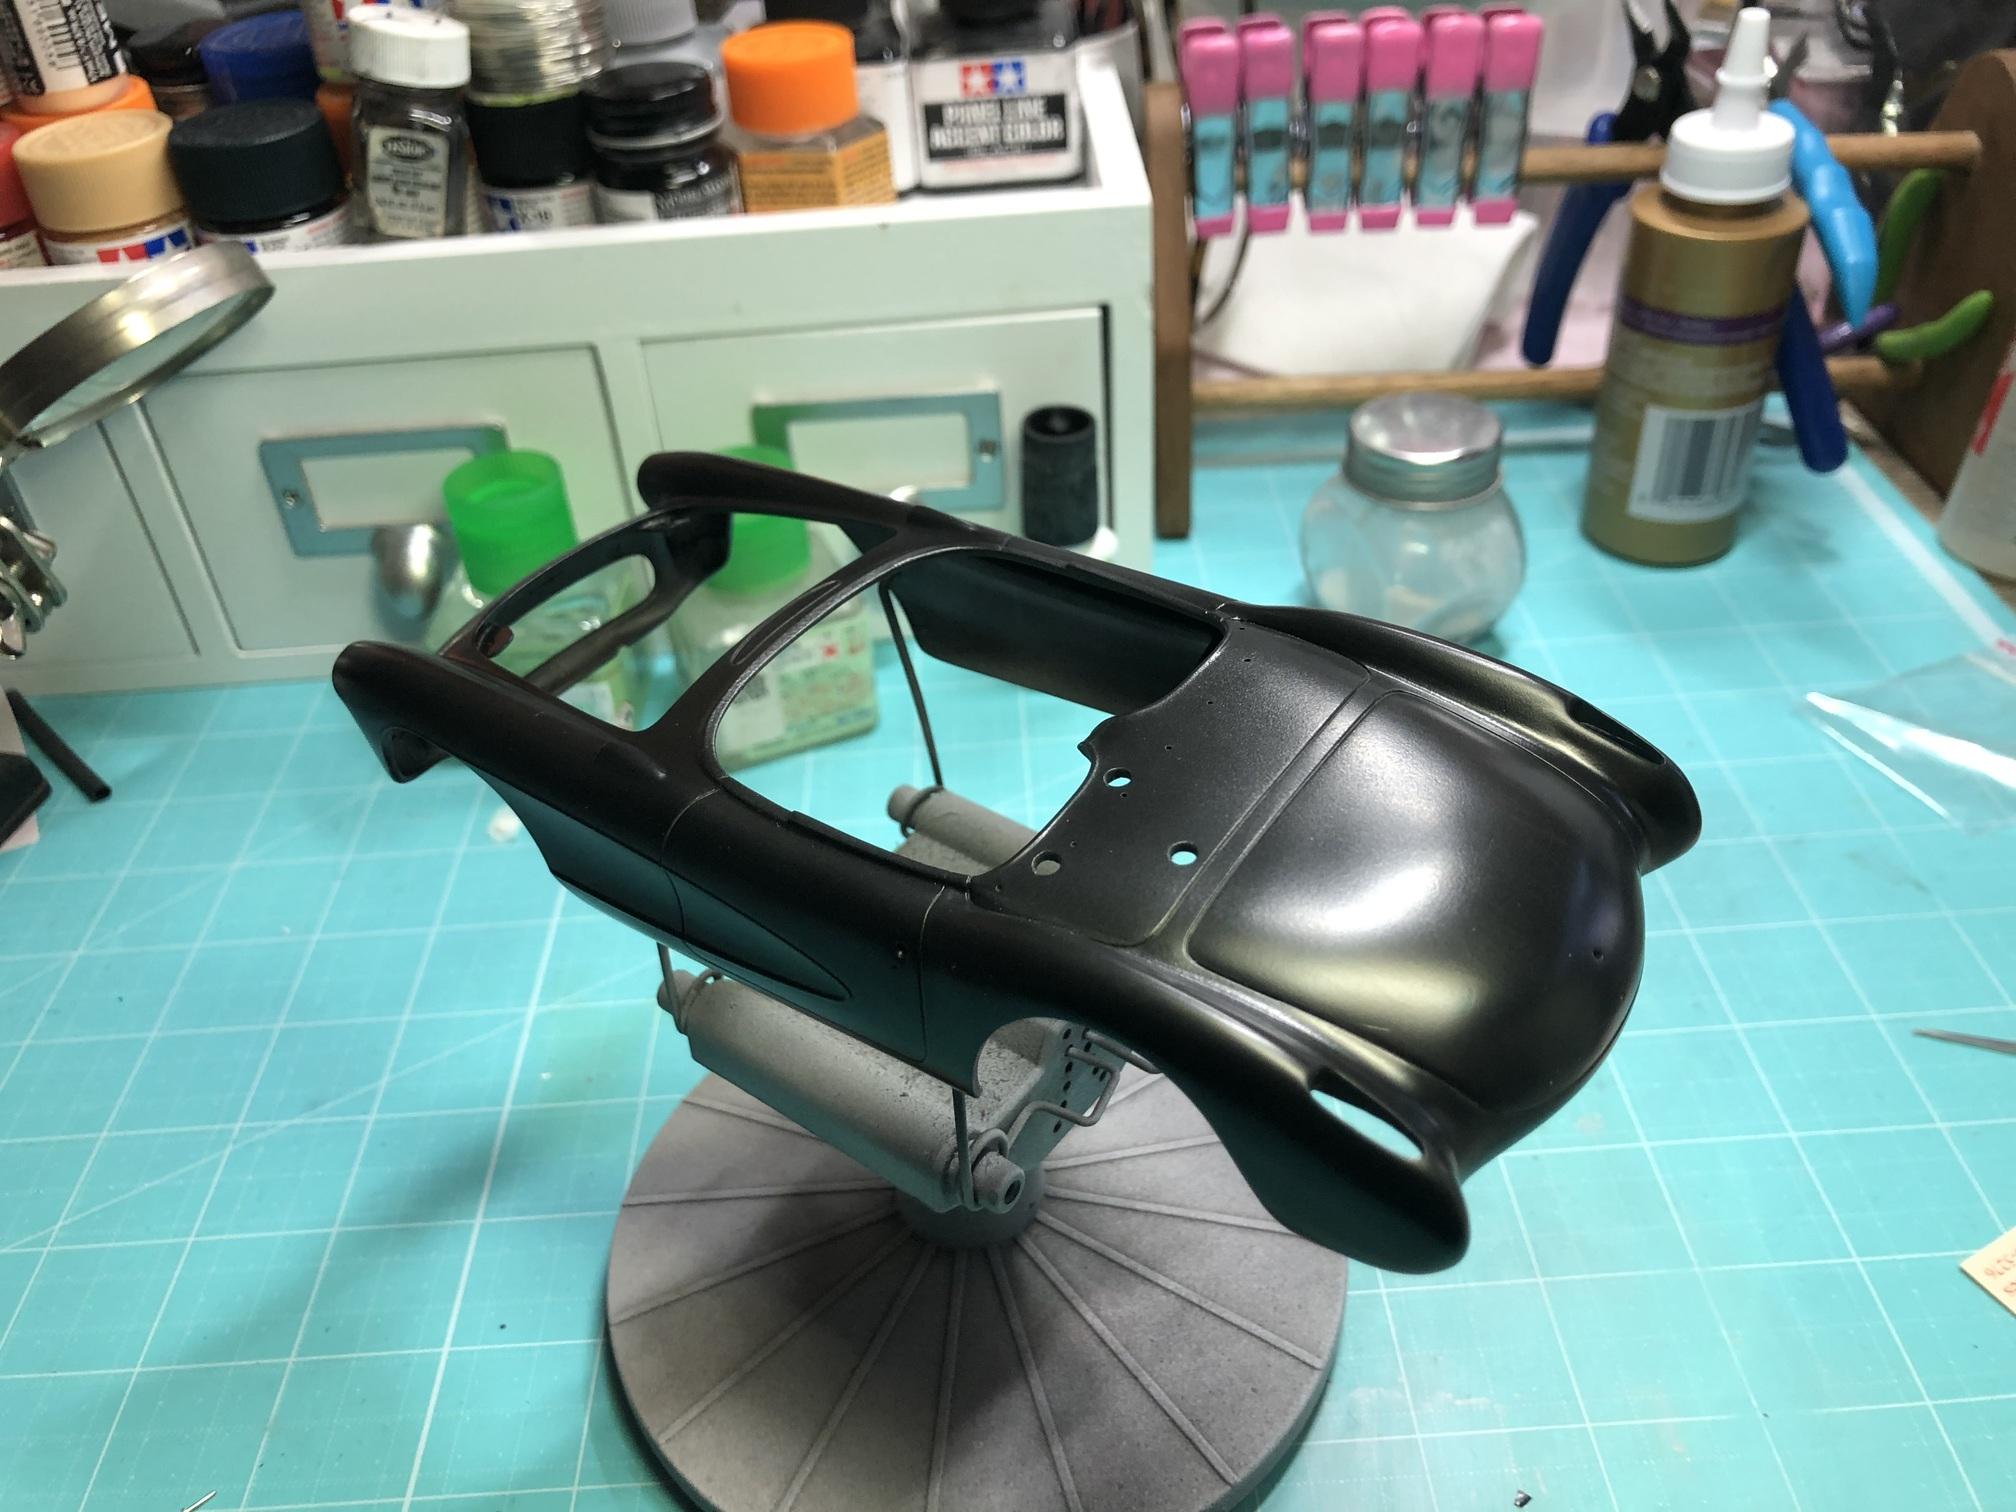
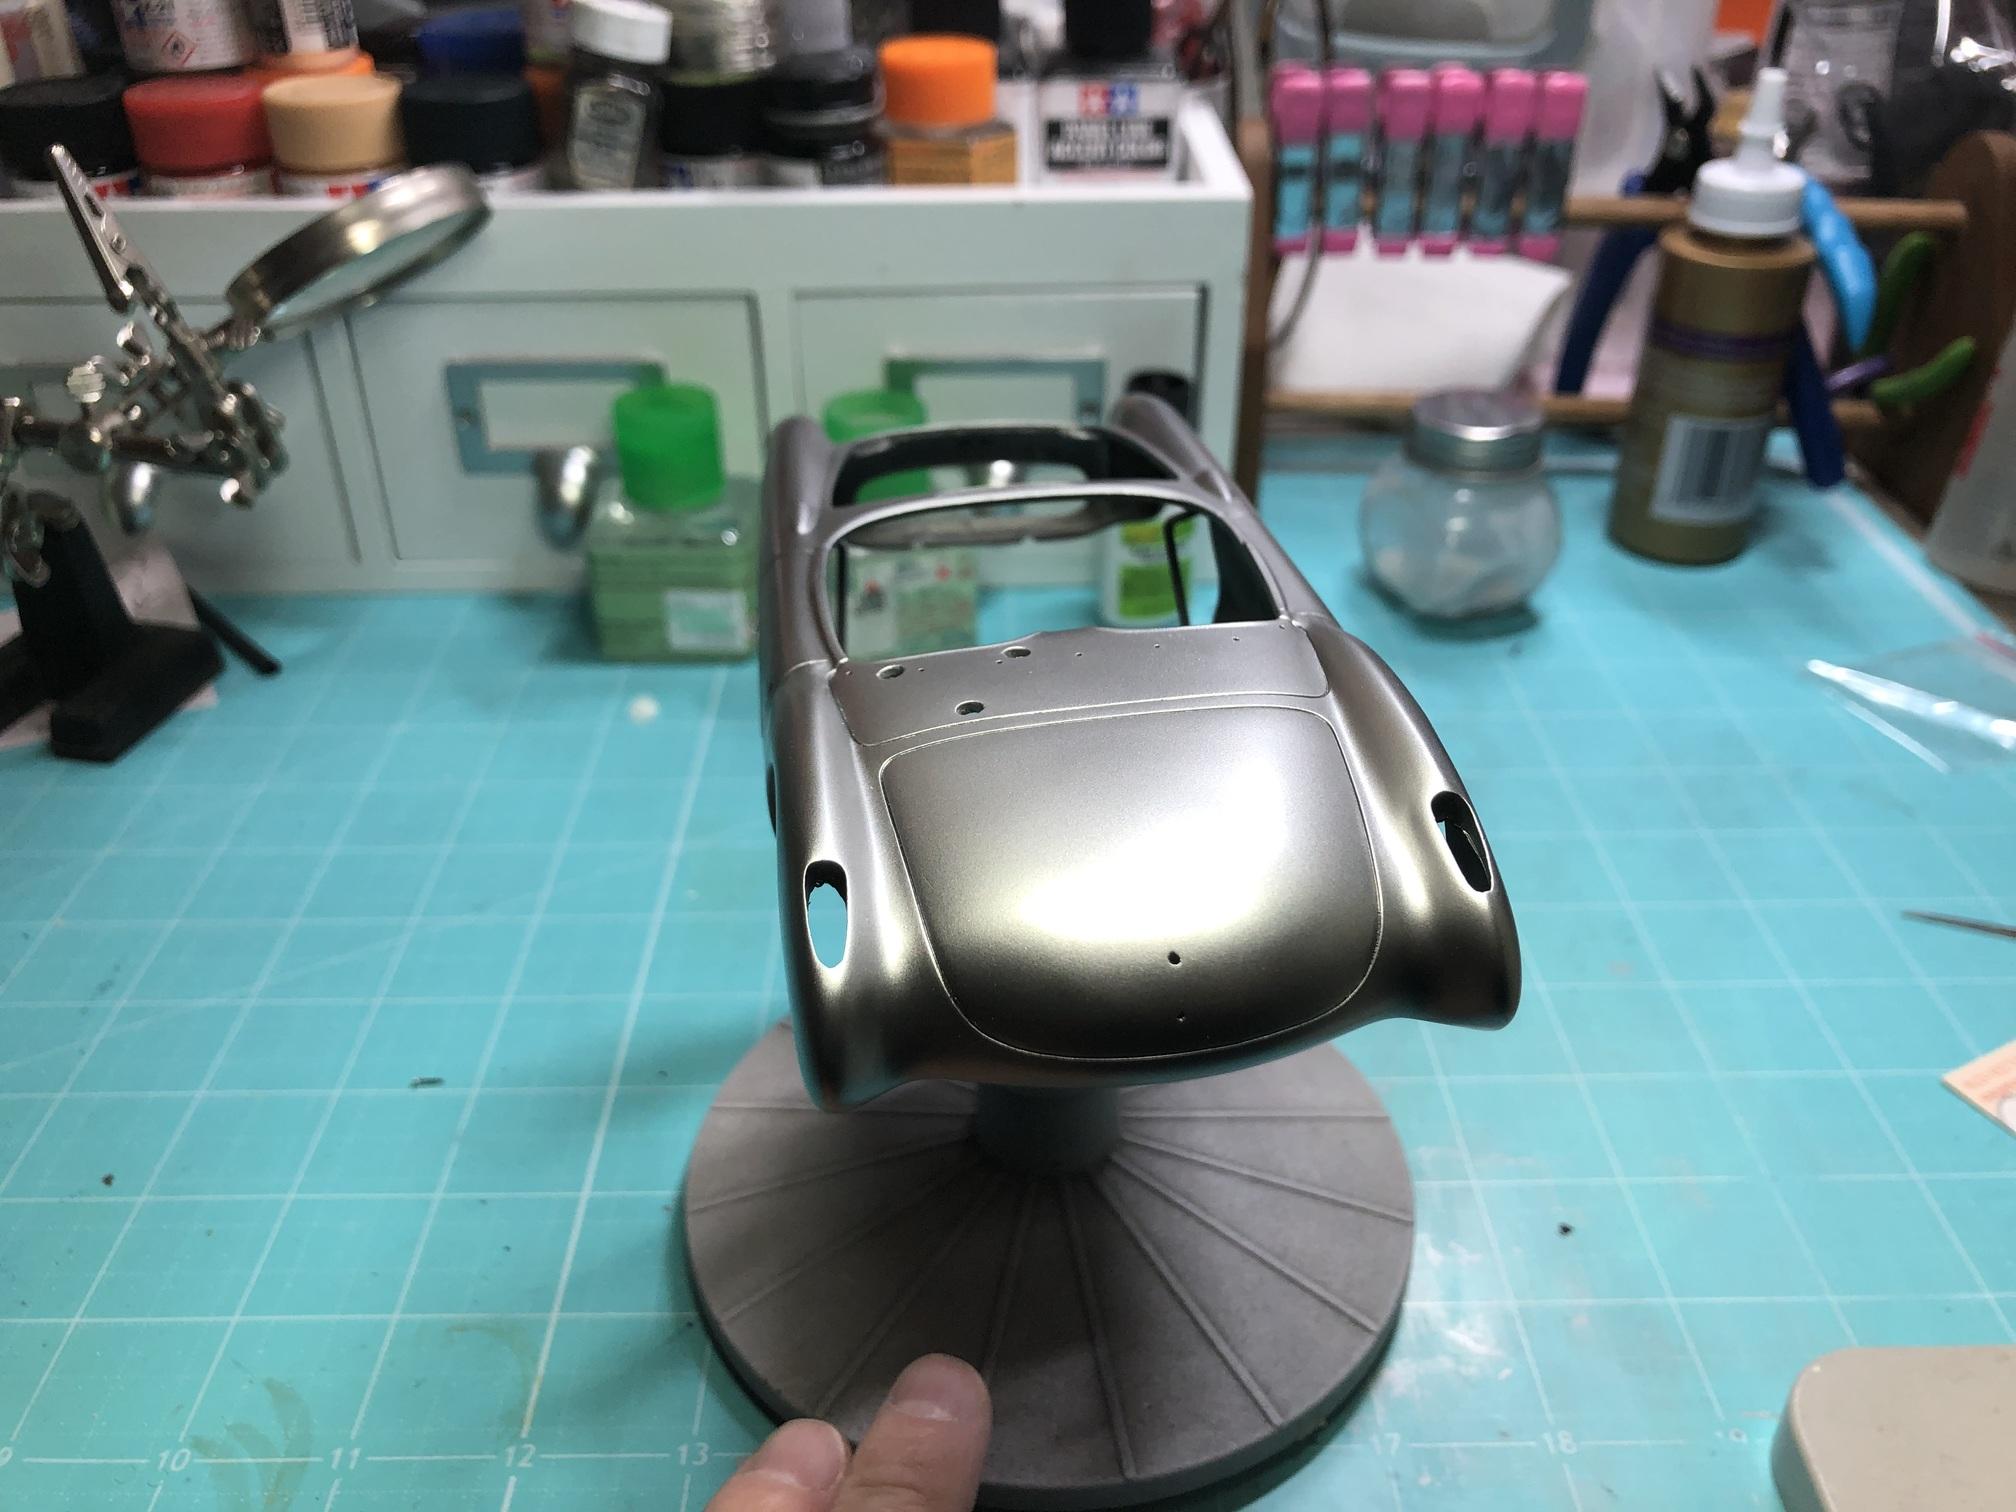
The body is painted with Splash Paints Kona Blue and Aluminum. I laid down the black primer, as recommended by Splash, then the Aluminum, and then the blue over it. I was real pleased with the paint. It lays down so smooth! Covered it with 2K Clear. I had some issues with prep on the hood after paint, so I decided to cover it in Scale Motorsport Carbon Fiber instead of repainting it, and added some Detail Master hood pins.
-
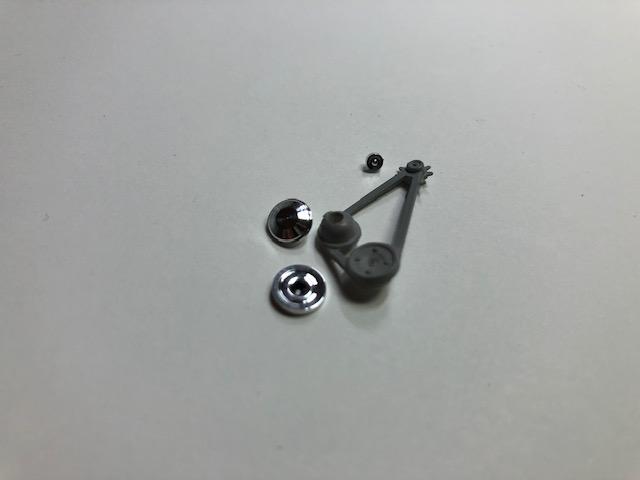
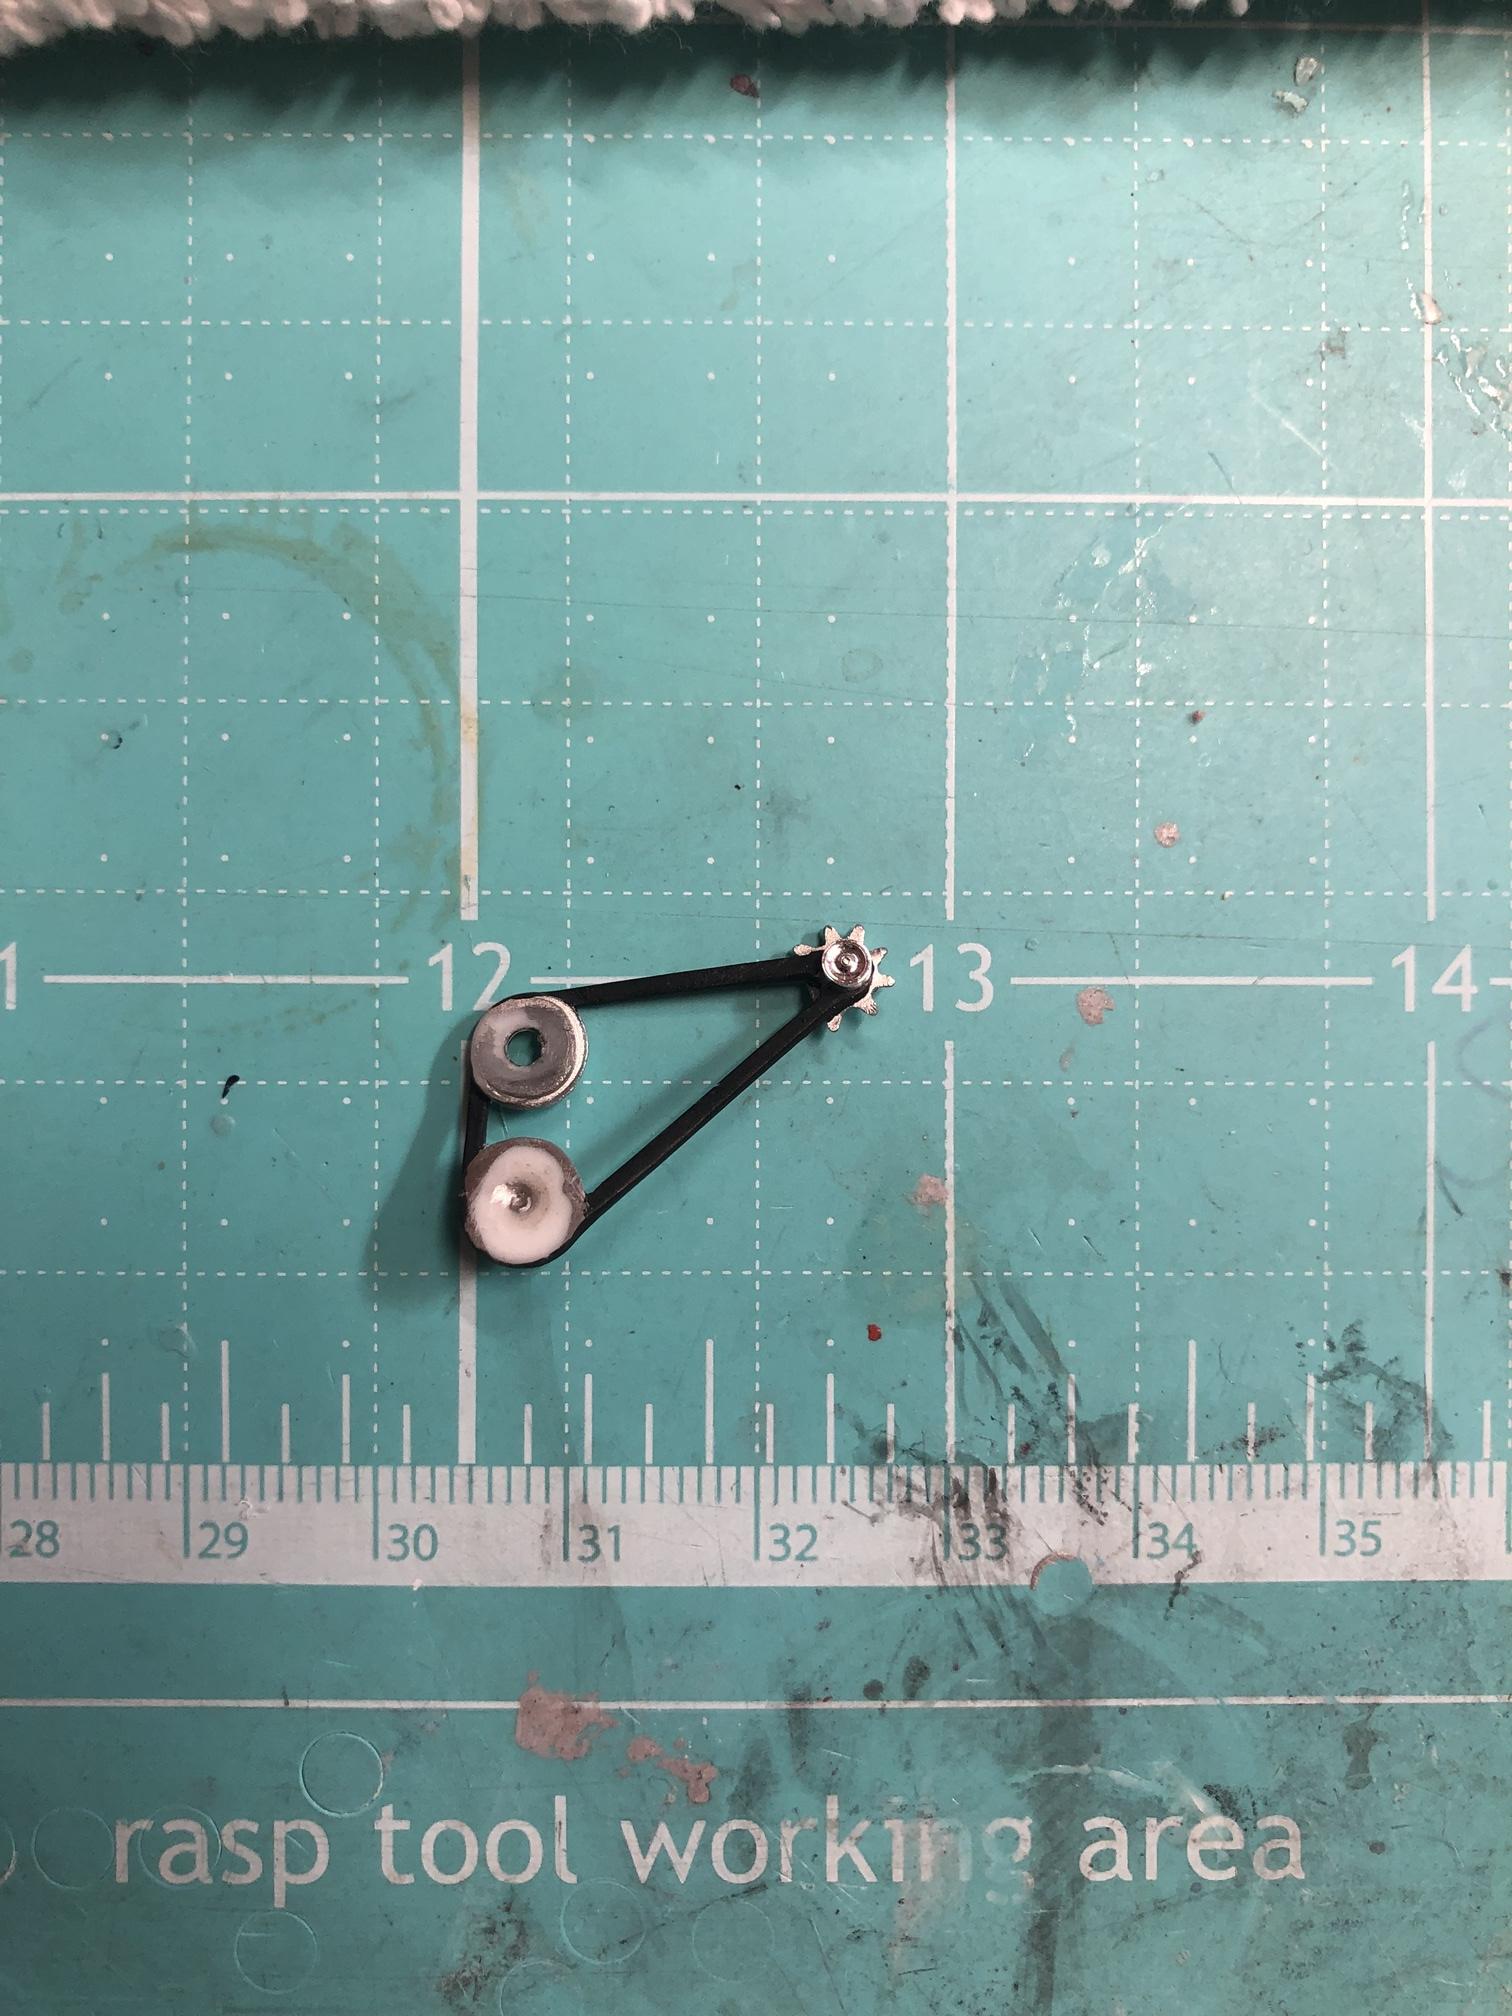
This was a new approach I had never tried before, but instead of making pulleys and adding individual belts, I just machined and polished pulley faces to replace the plastic faces. I'd probably do this again for the right build. I wish I had takena pic of the finished set put together, but it will be seen later.
-
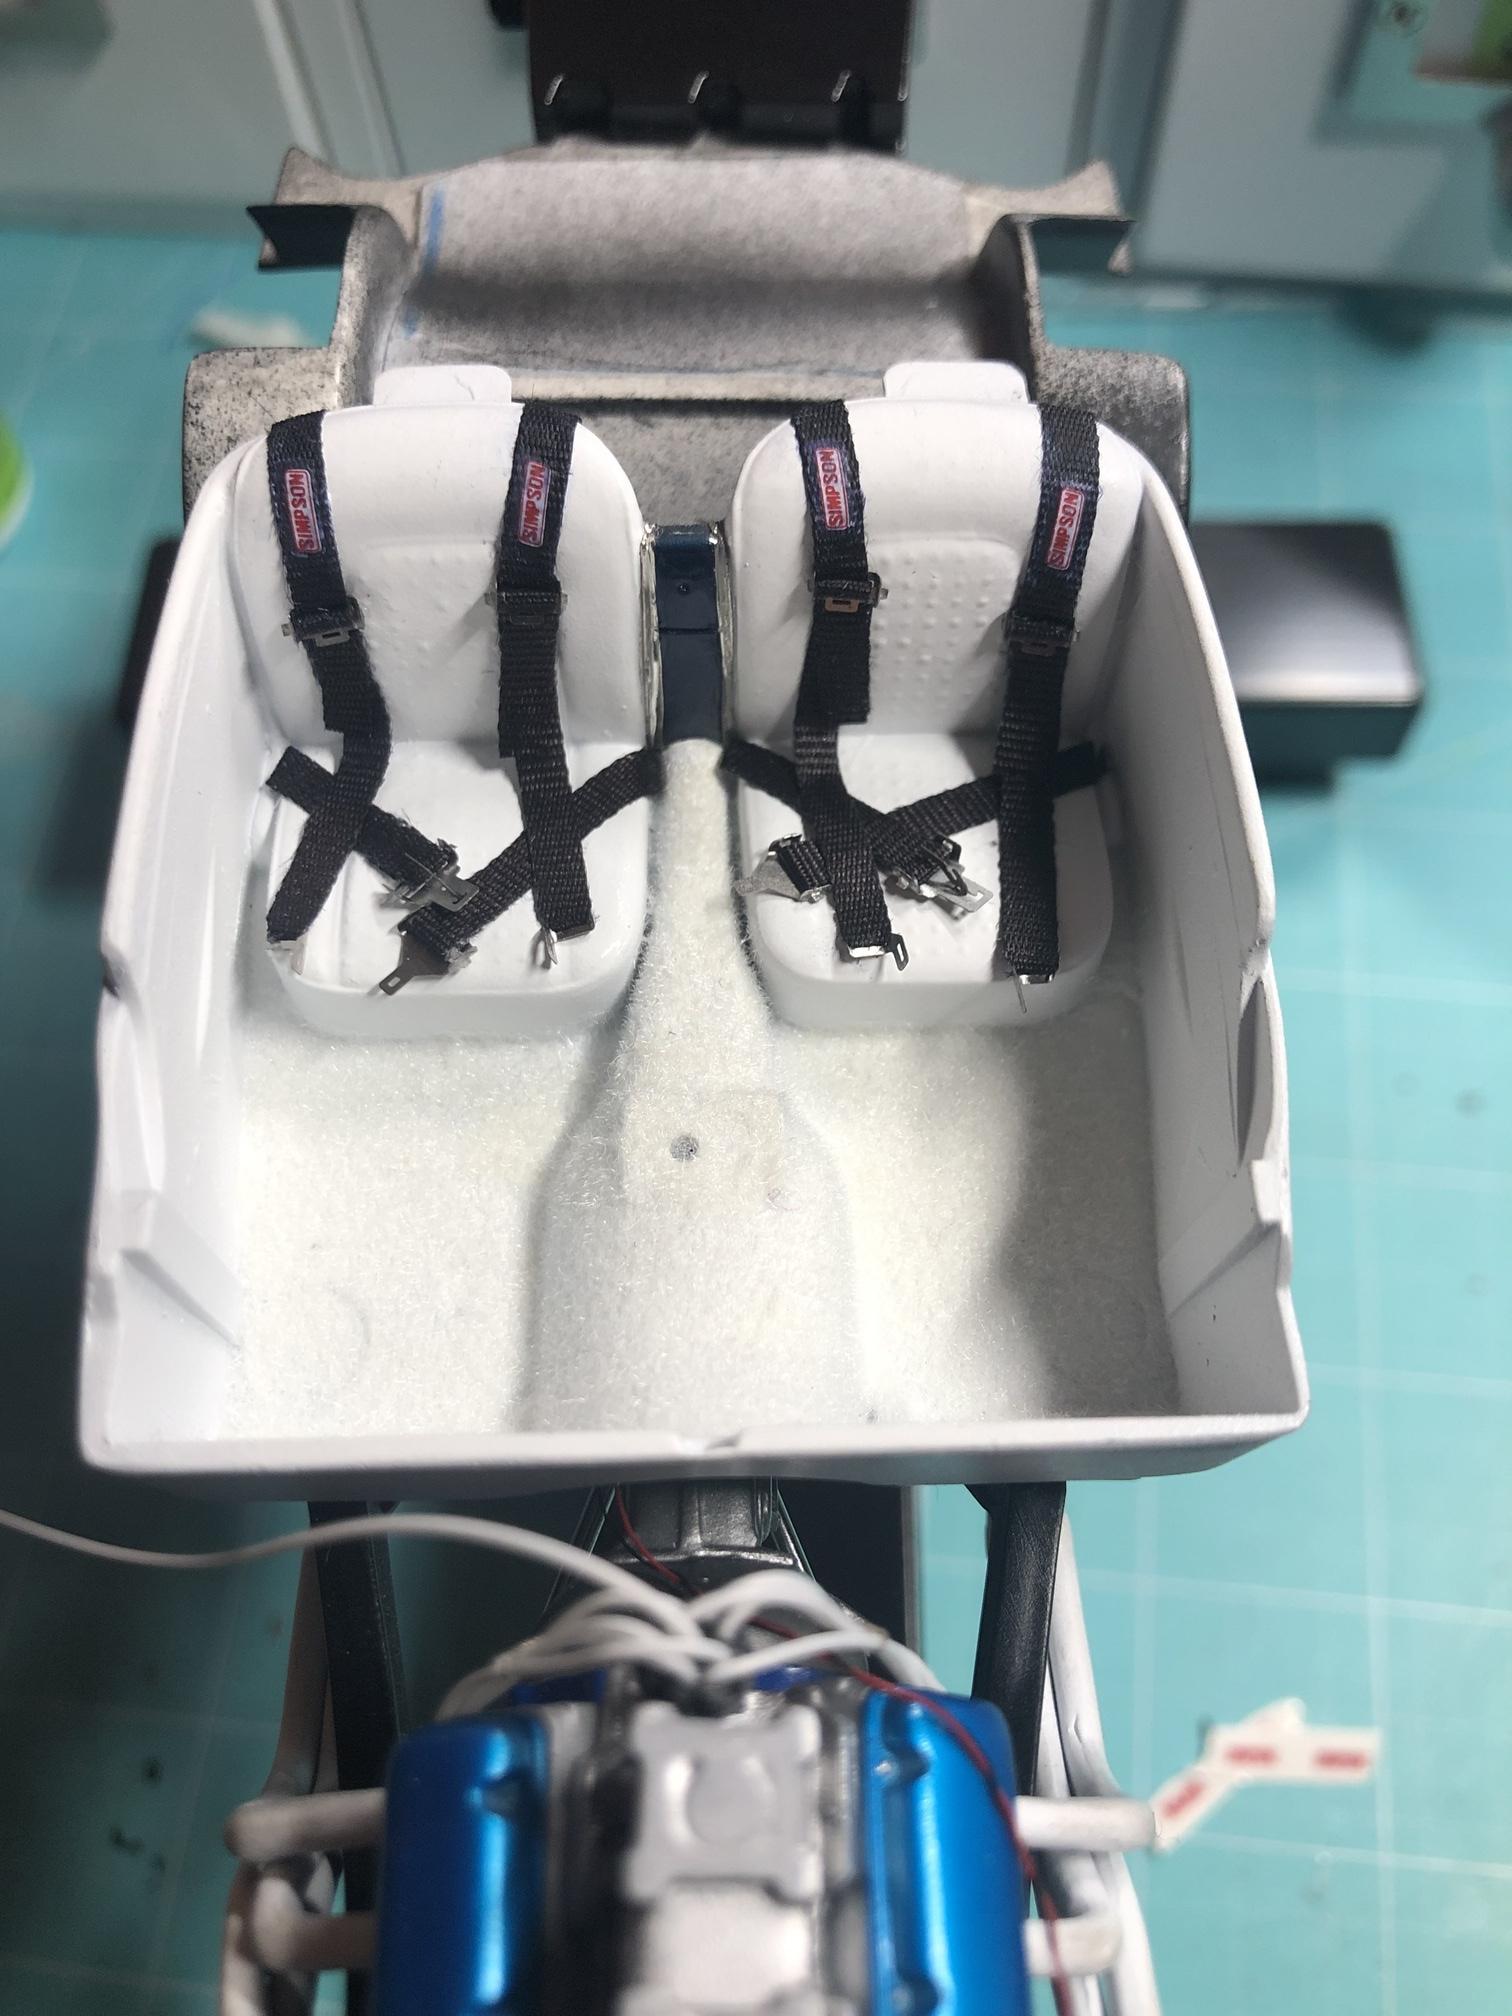
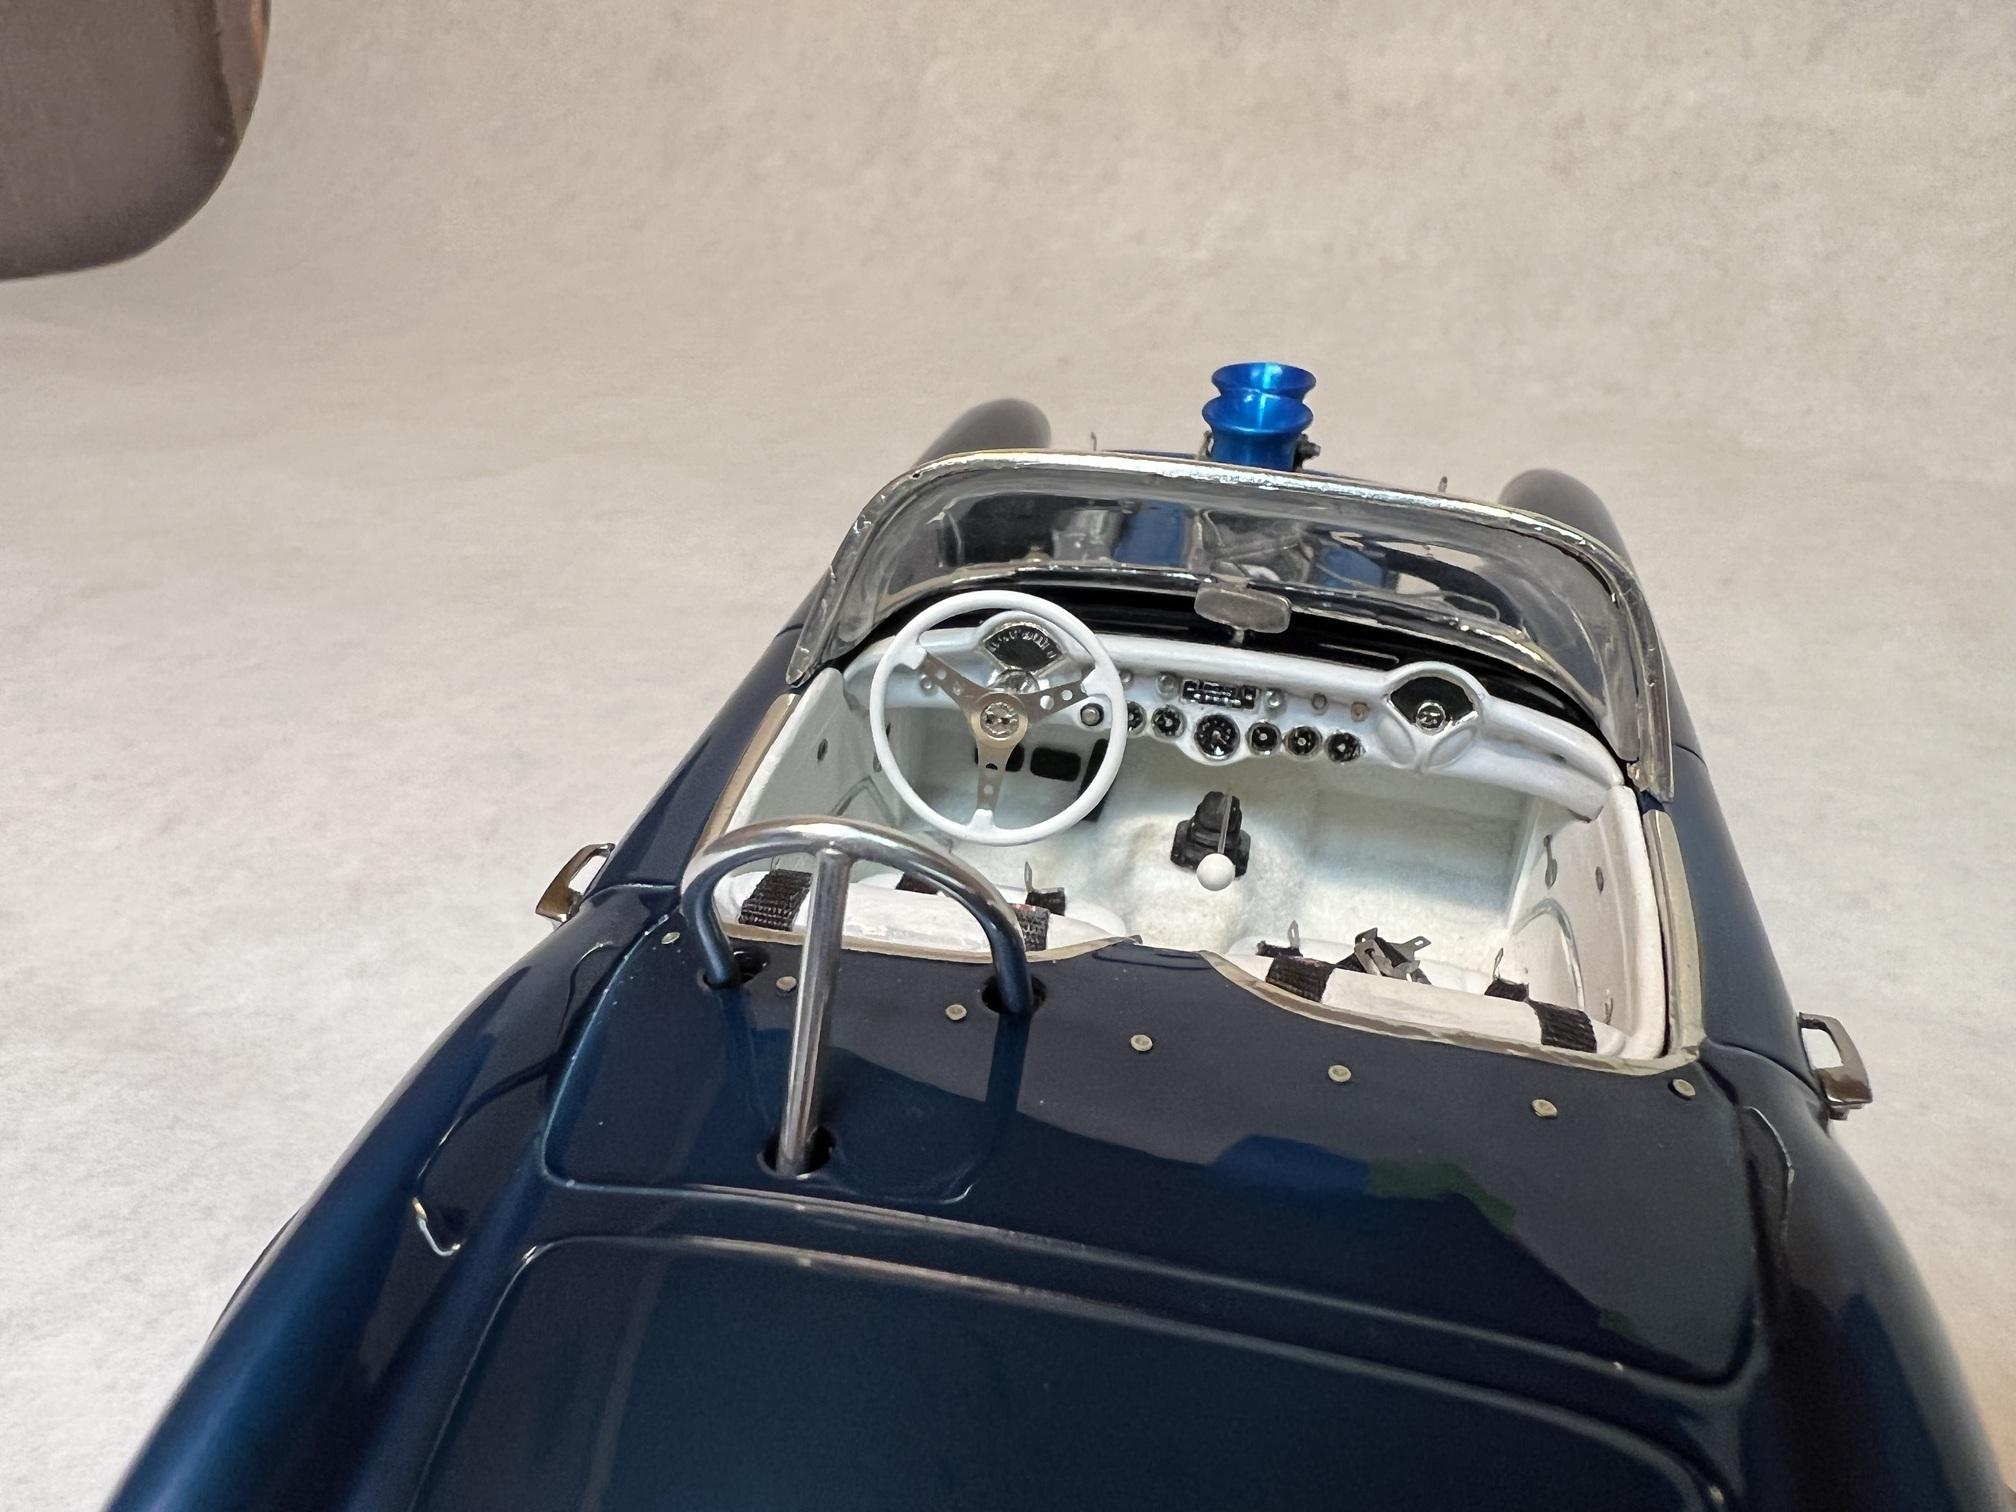
I used a lot of aftermarket in the interior, but I also scratchbuilt the steering column- machined hub and aluminum tube. Detail Master Hurst shifter, DM Seat Belt Hardware with medical tape belts below. I also used Model Car Garage flocking on this one.
-
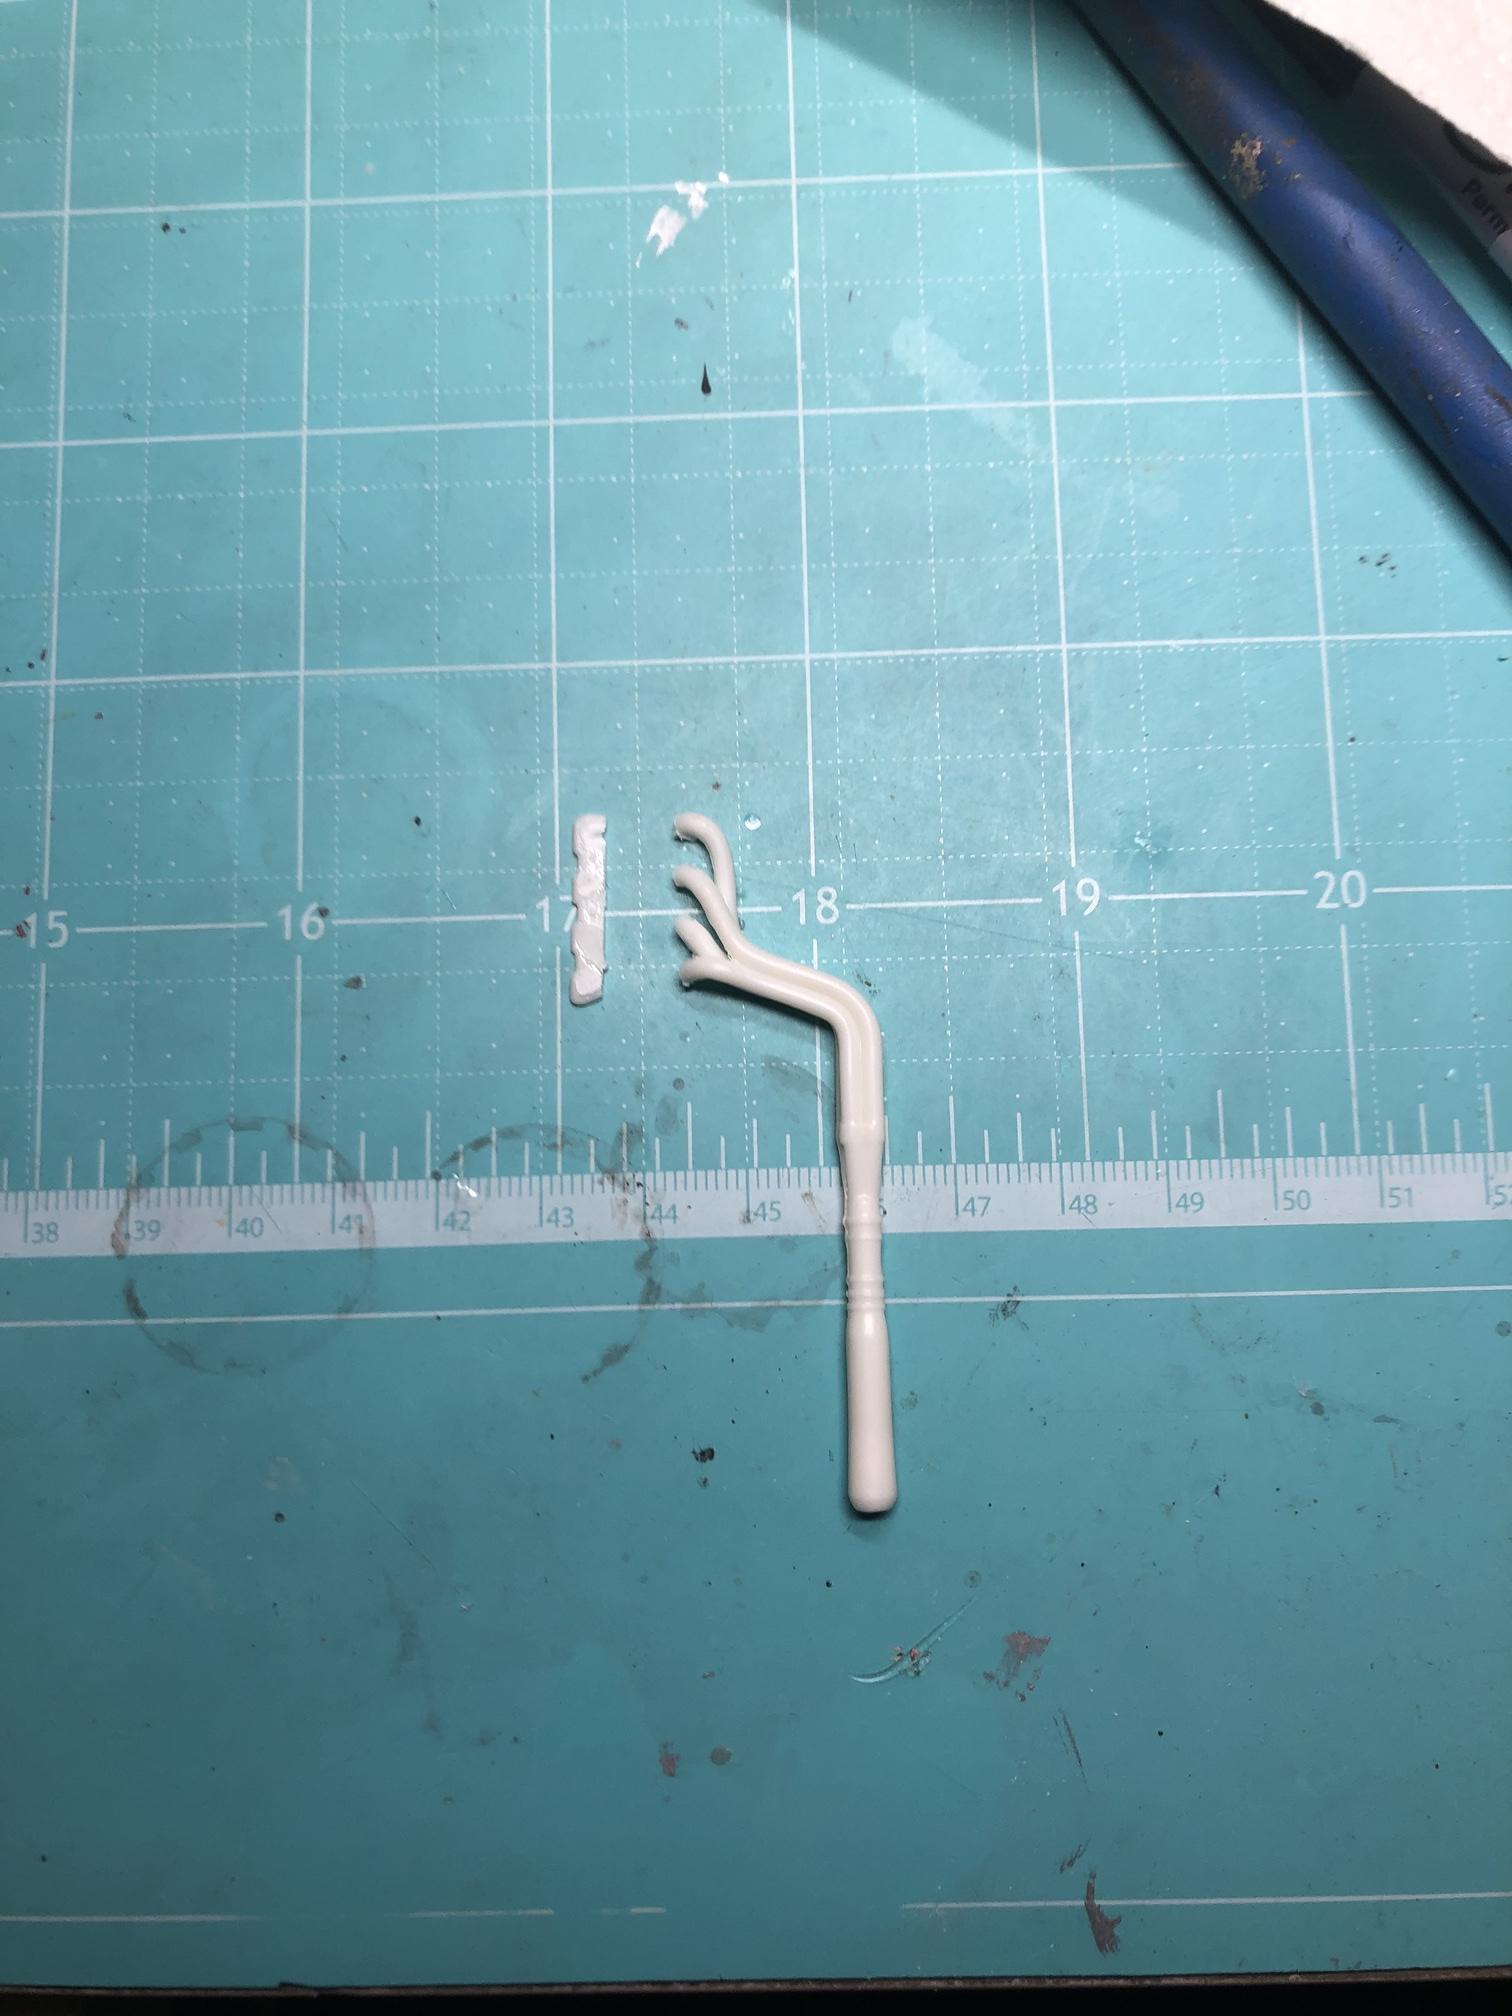
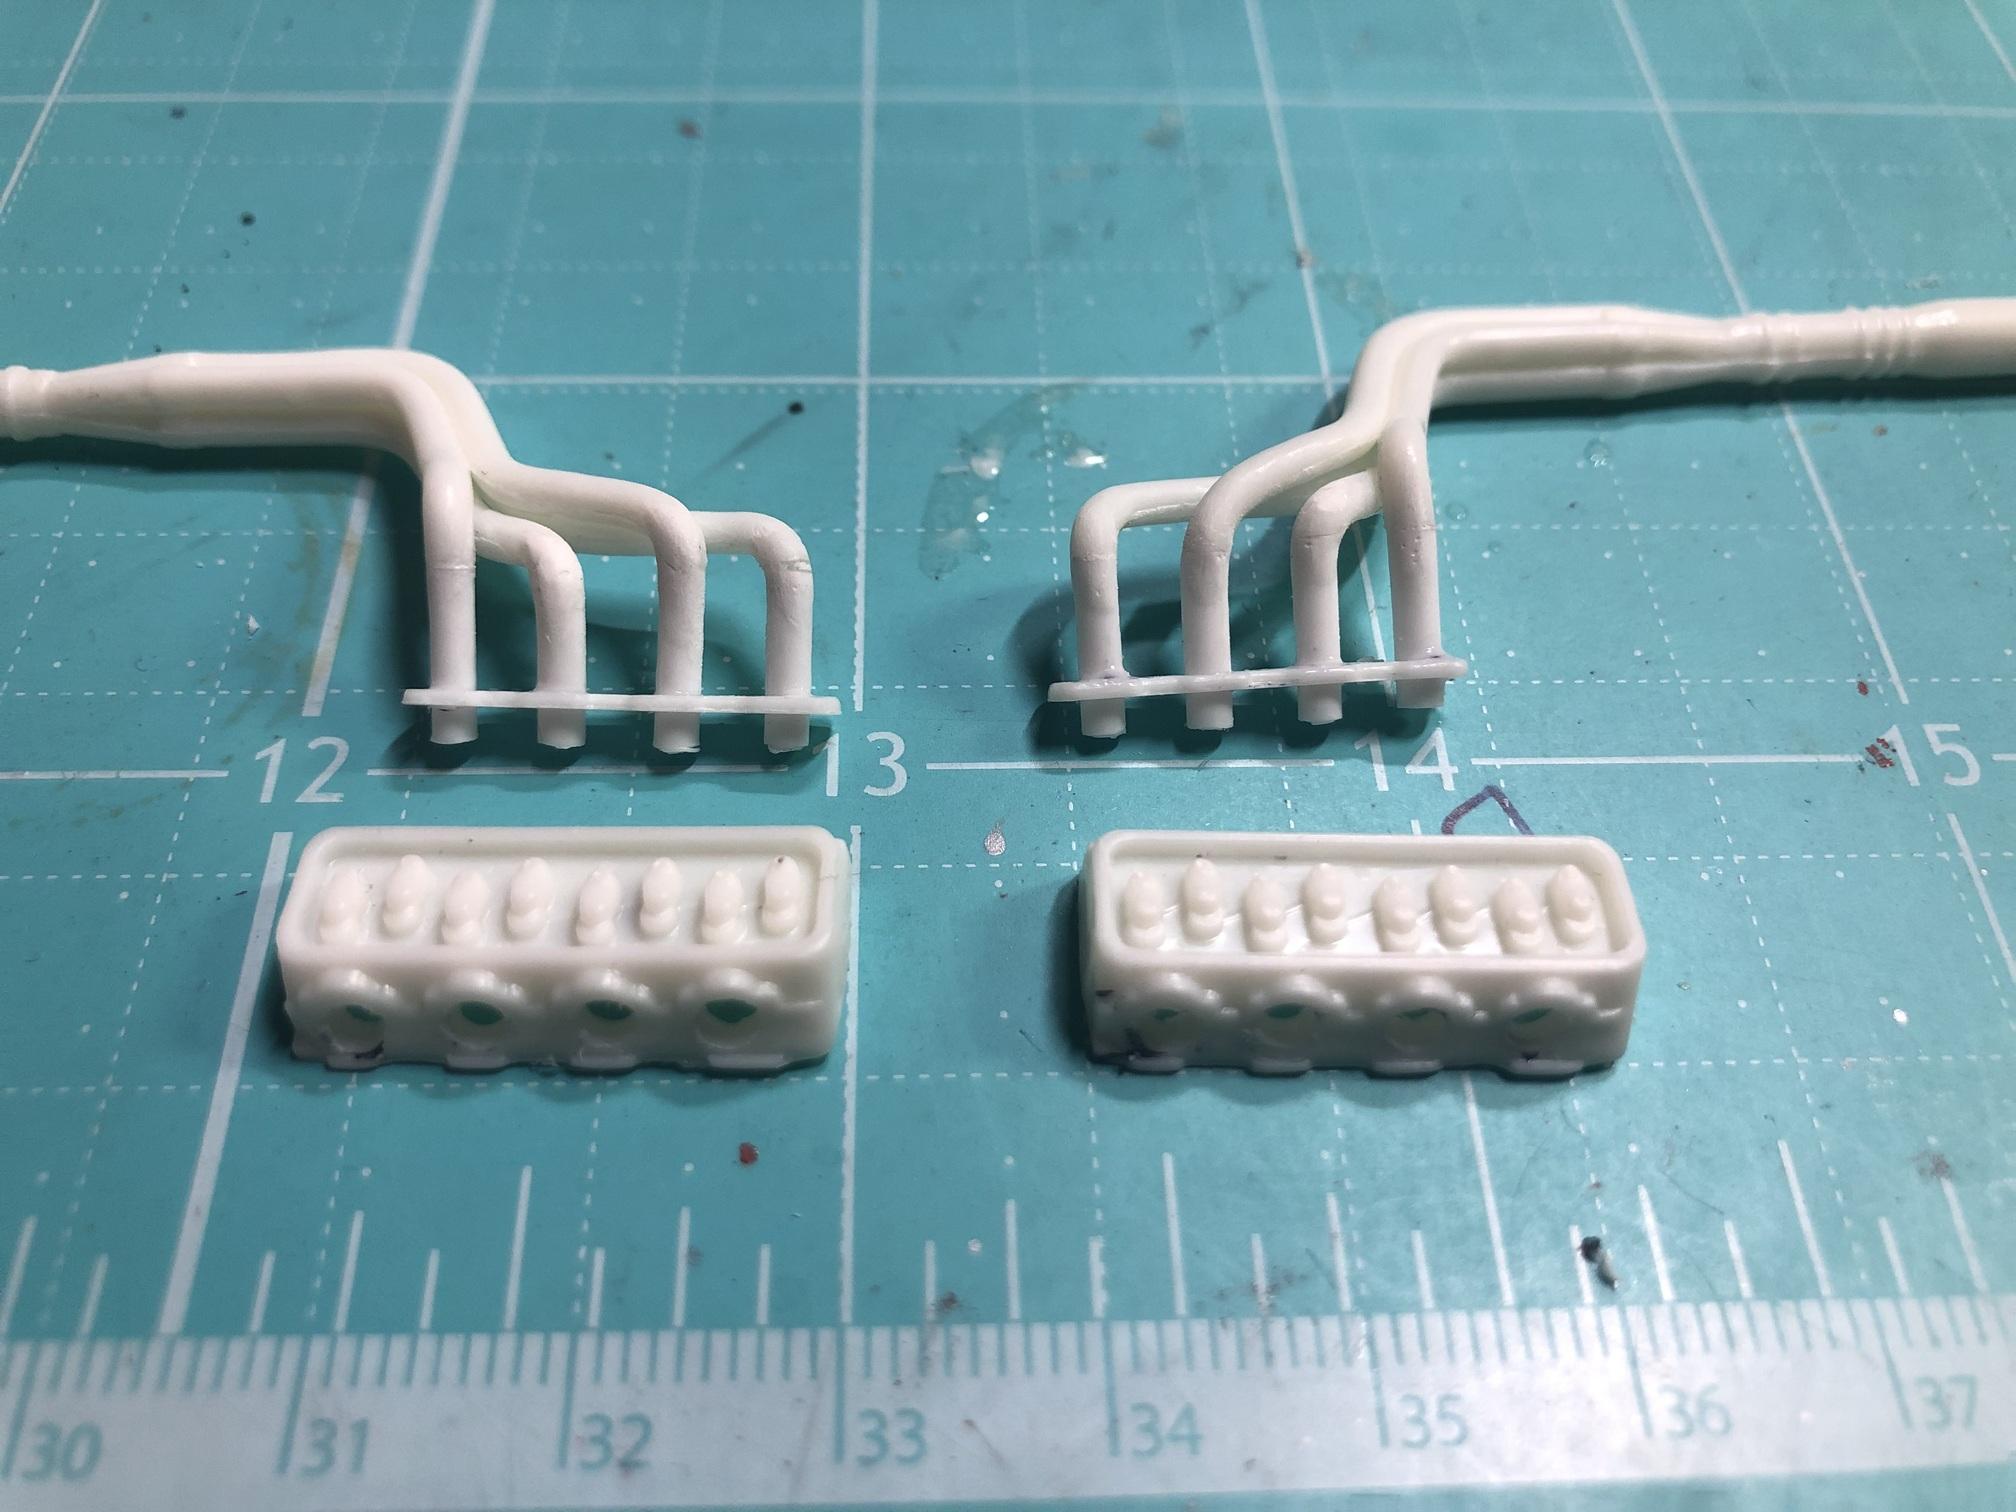
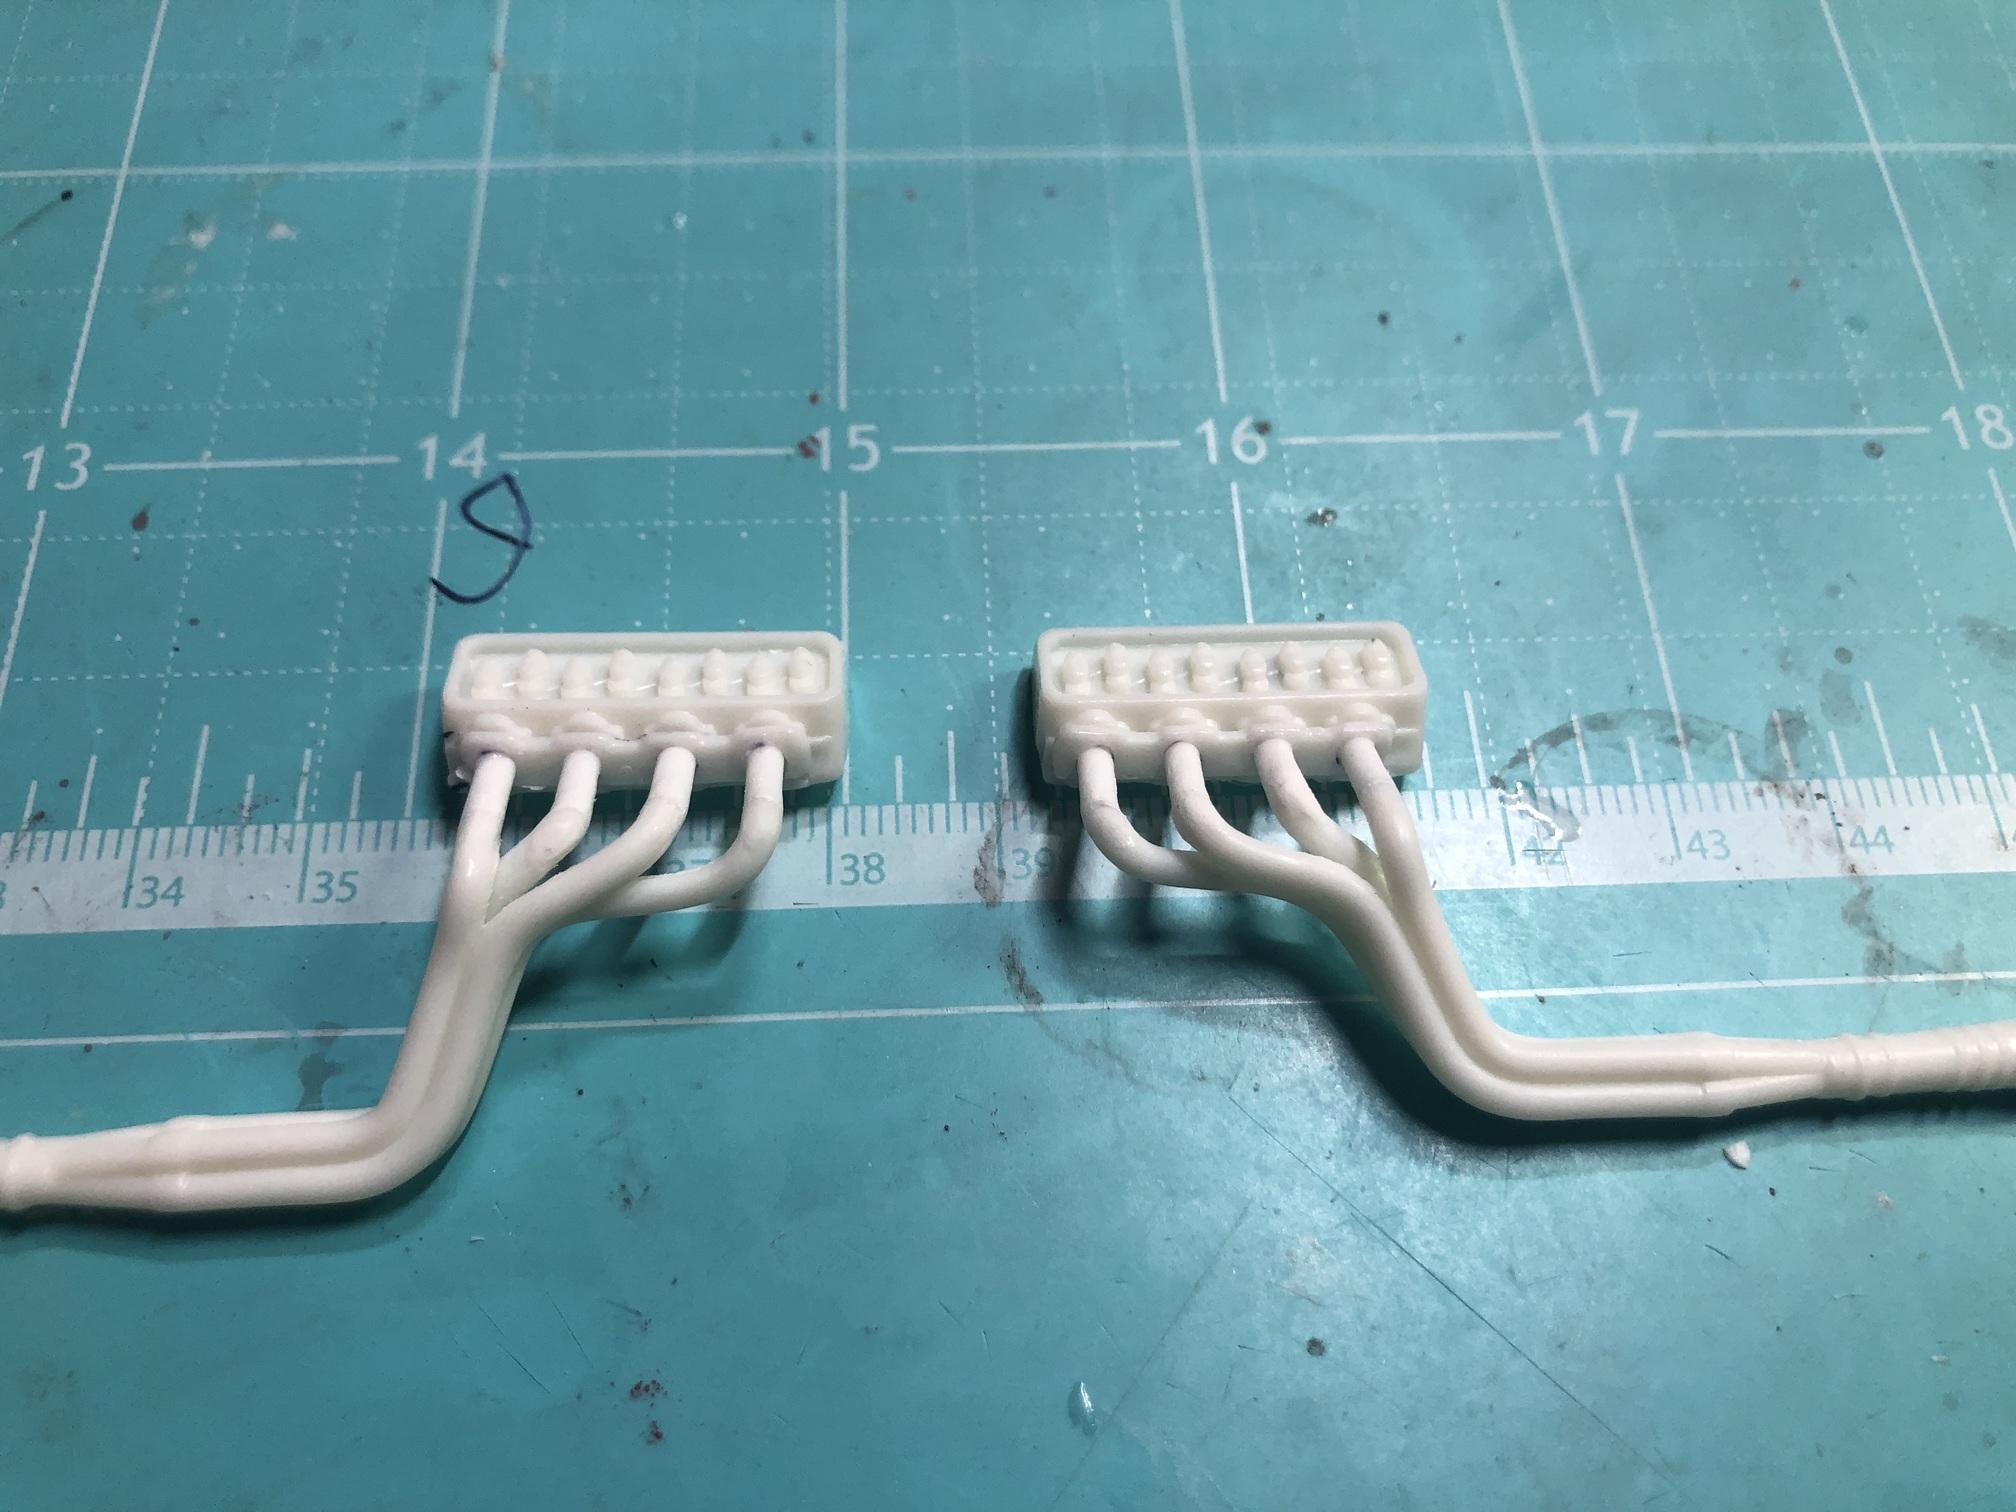
I used the headers from the Chevelle kit, but they needed to be extended to fit. The tips were modified too, but I didn't get any pics in progress.
-
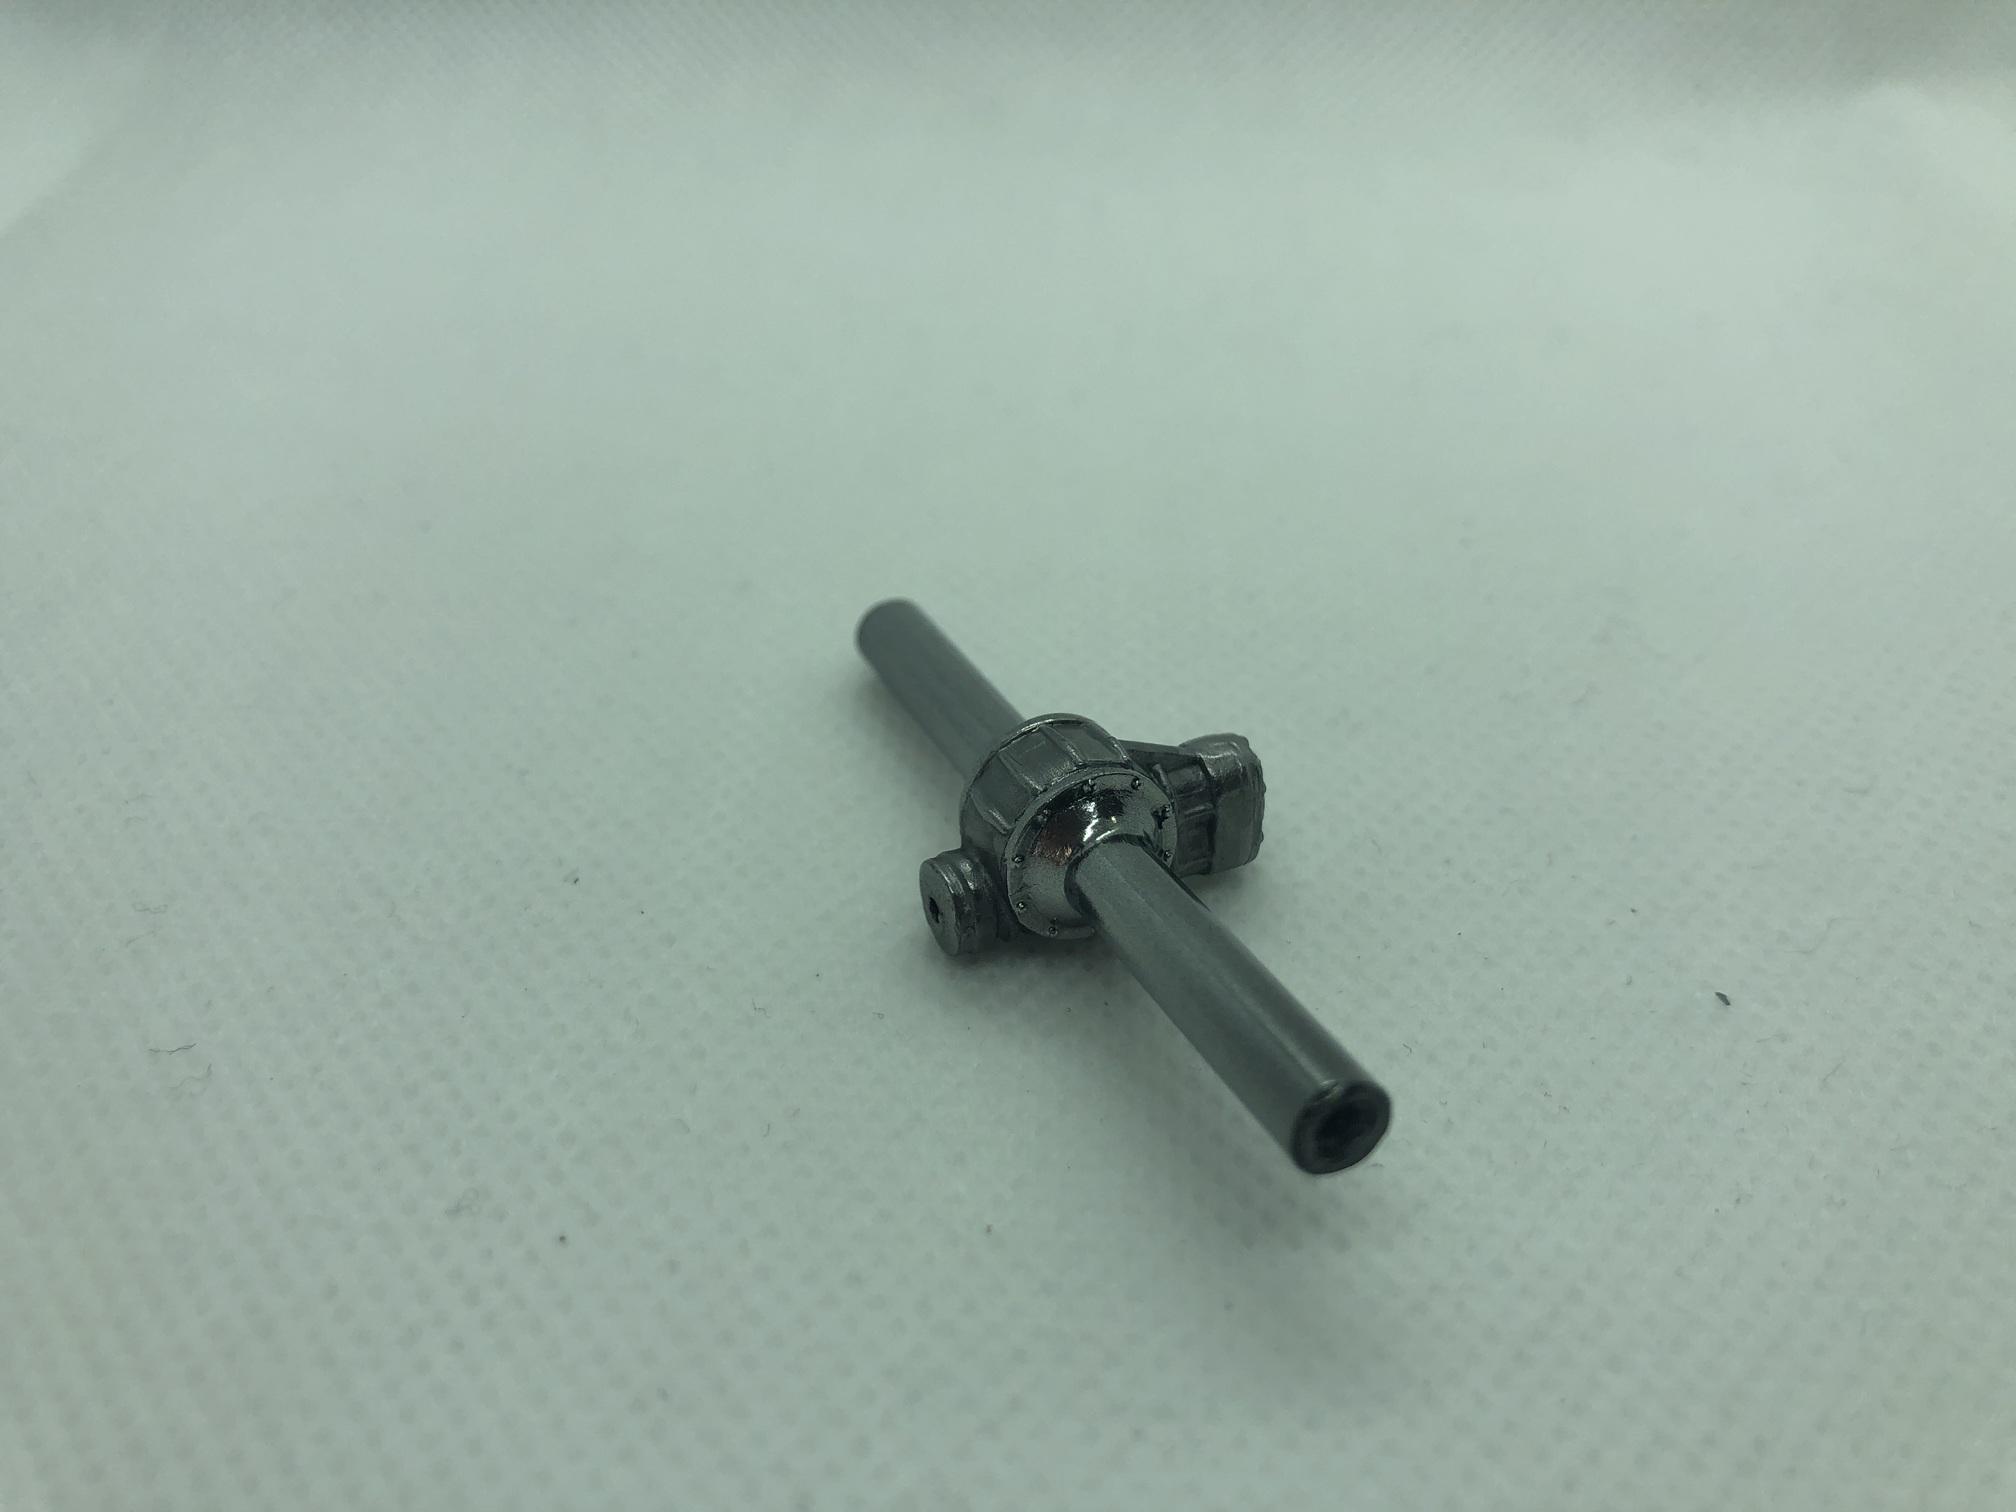
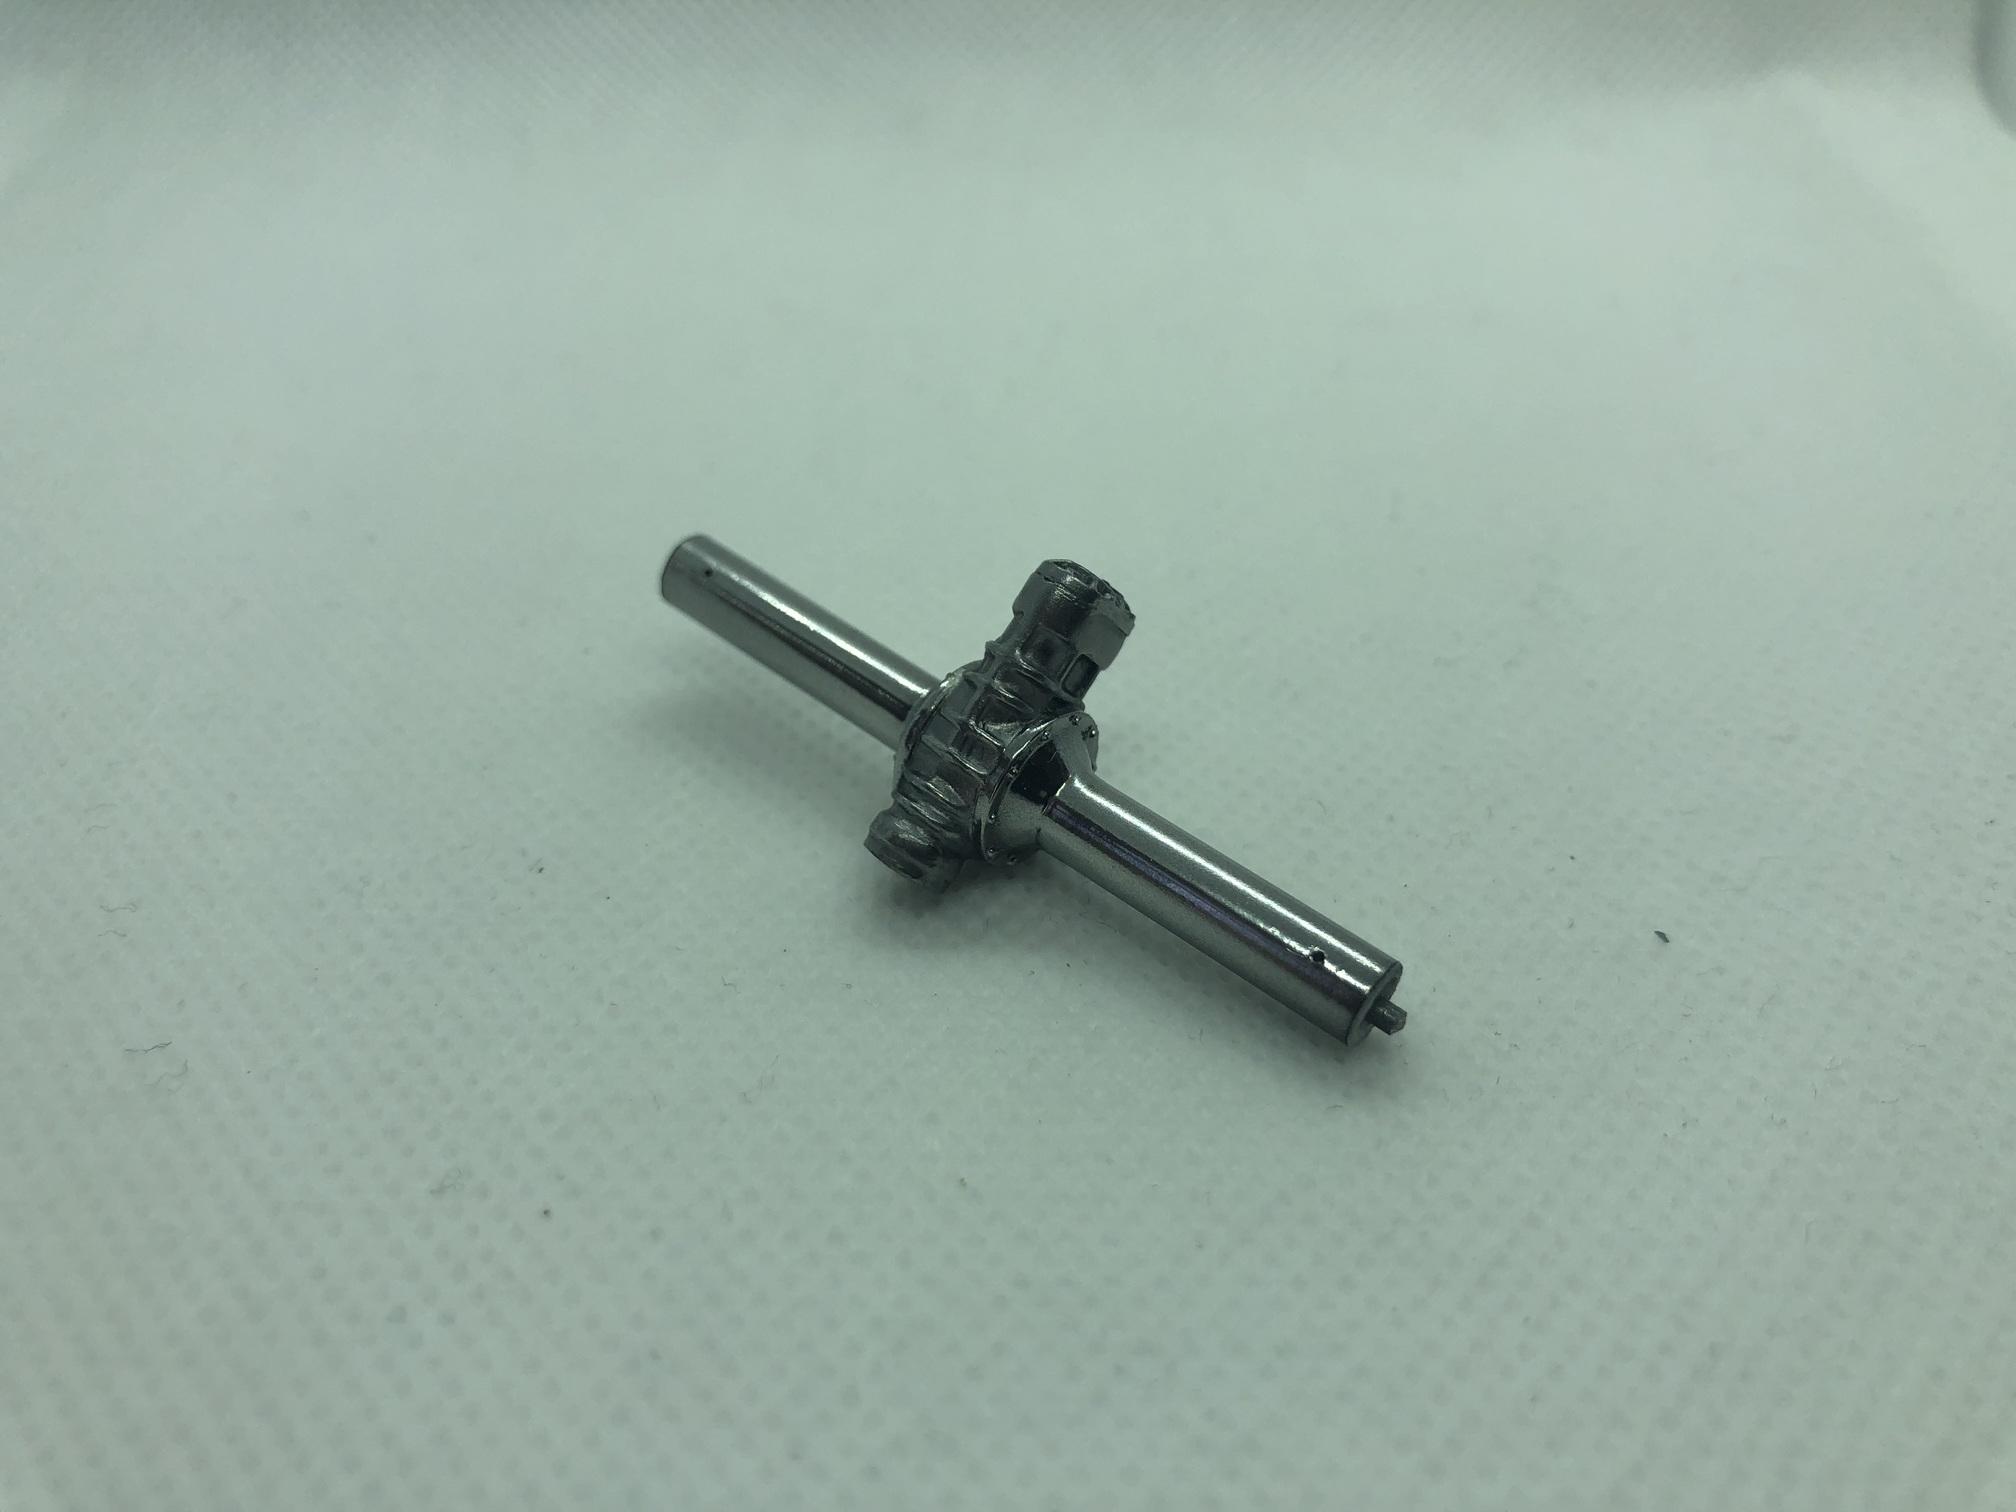
Thanks for all the comments, guys! This model has been completed for a while, so I am going to just speed this up! Here are some shots of the rear end painted up. The side covers and the axle are Alcald chrome, but I tried something different for the center section. I used Testors Magnesium Metalizer, which I buffed, but then I polished it with some C1 chrome powder. I've used it before just as chrome, and thought it was a little dark, but I have found that it can give a real metal look to other colors it is rubbed on as well. I was going for a polished magnesium look, and I think it worked.
-
 Amazing update, Randy! I love your skills. I hope we get to see this in Salt Lake.
 -
Amazing work, Randy!
-
Oh yes, I can see her face through the face shield.
-
Is that Jonnie Lindberg in the seat?
-
I went for an anodized aluminum look for the valve covers, so I shot them with Alclad Airframe Aluminum, then Tamiya clear blue acrylic thinned with lacquer thinner. I also applied the clear blue to the injector stacks, but didn’t need the Alclad because they are already machined aluminum. The stacks are Detail Master DM-3295 HOLLY VELOCITY STACKS, from Scale Pro Shop. Here are the engine parts painted up. The alternator and bracket is one piece, so an Alclad shade of aluminum chrome was applied to the alternator, then masked off, and Alclad chrome shot on the bracket. The "carbs" are actually Fireball Model Works FI Tech fuel injectors.
-
Yep, I broke them. ☹️ Fixed now!
-
Thanks, Danno!
-
Thanks, Bruce!
-
Charles, the tree I had had two front valences and two rear bumpers, so I think you'll get a choice of year. Thanks for the comments, everyone! I think you'll like the kit.
-
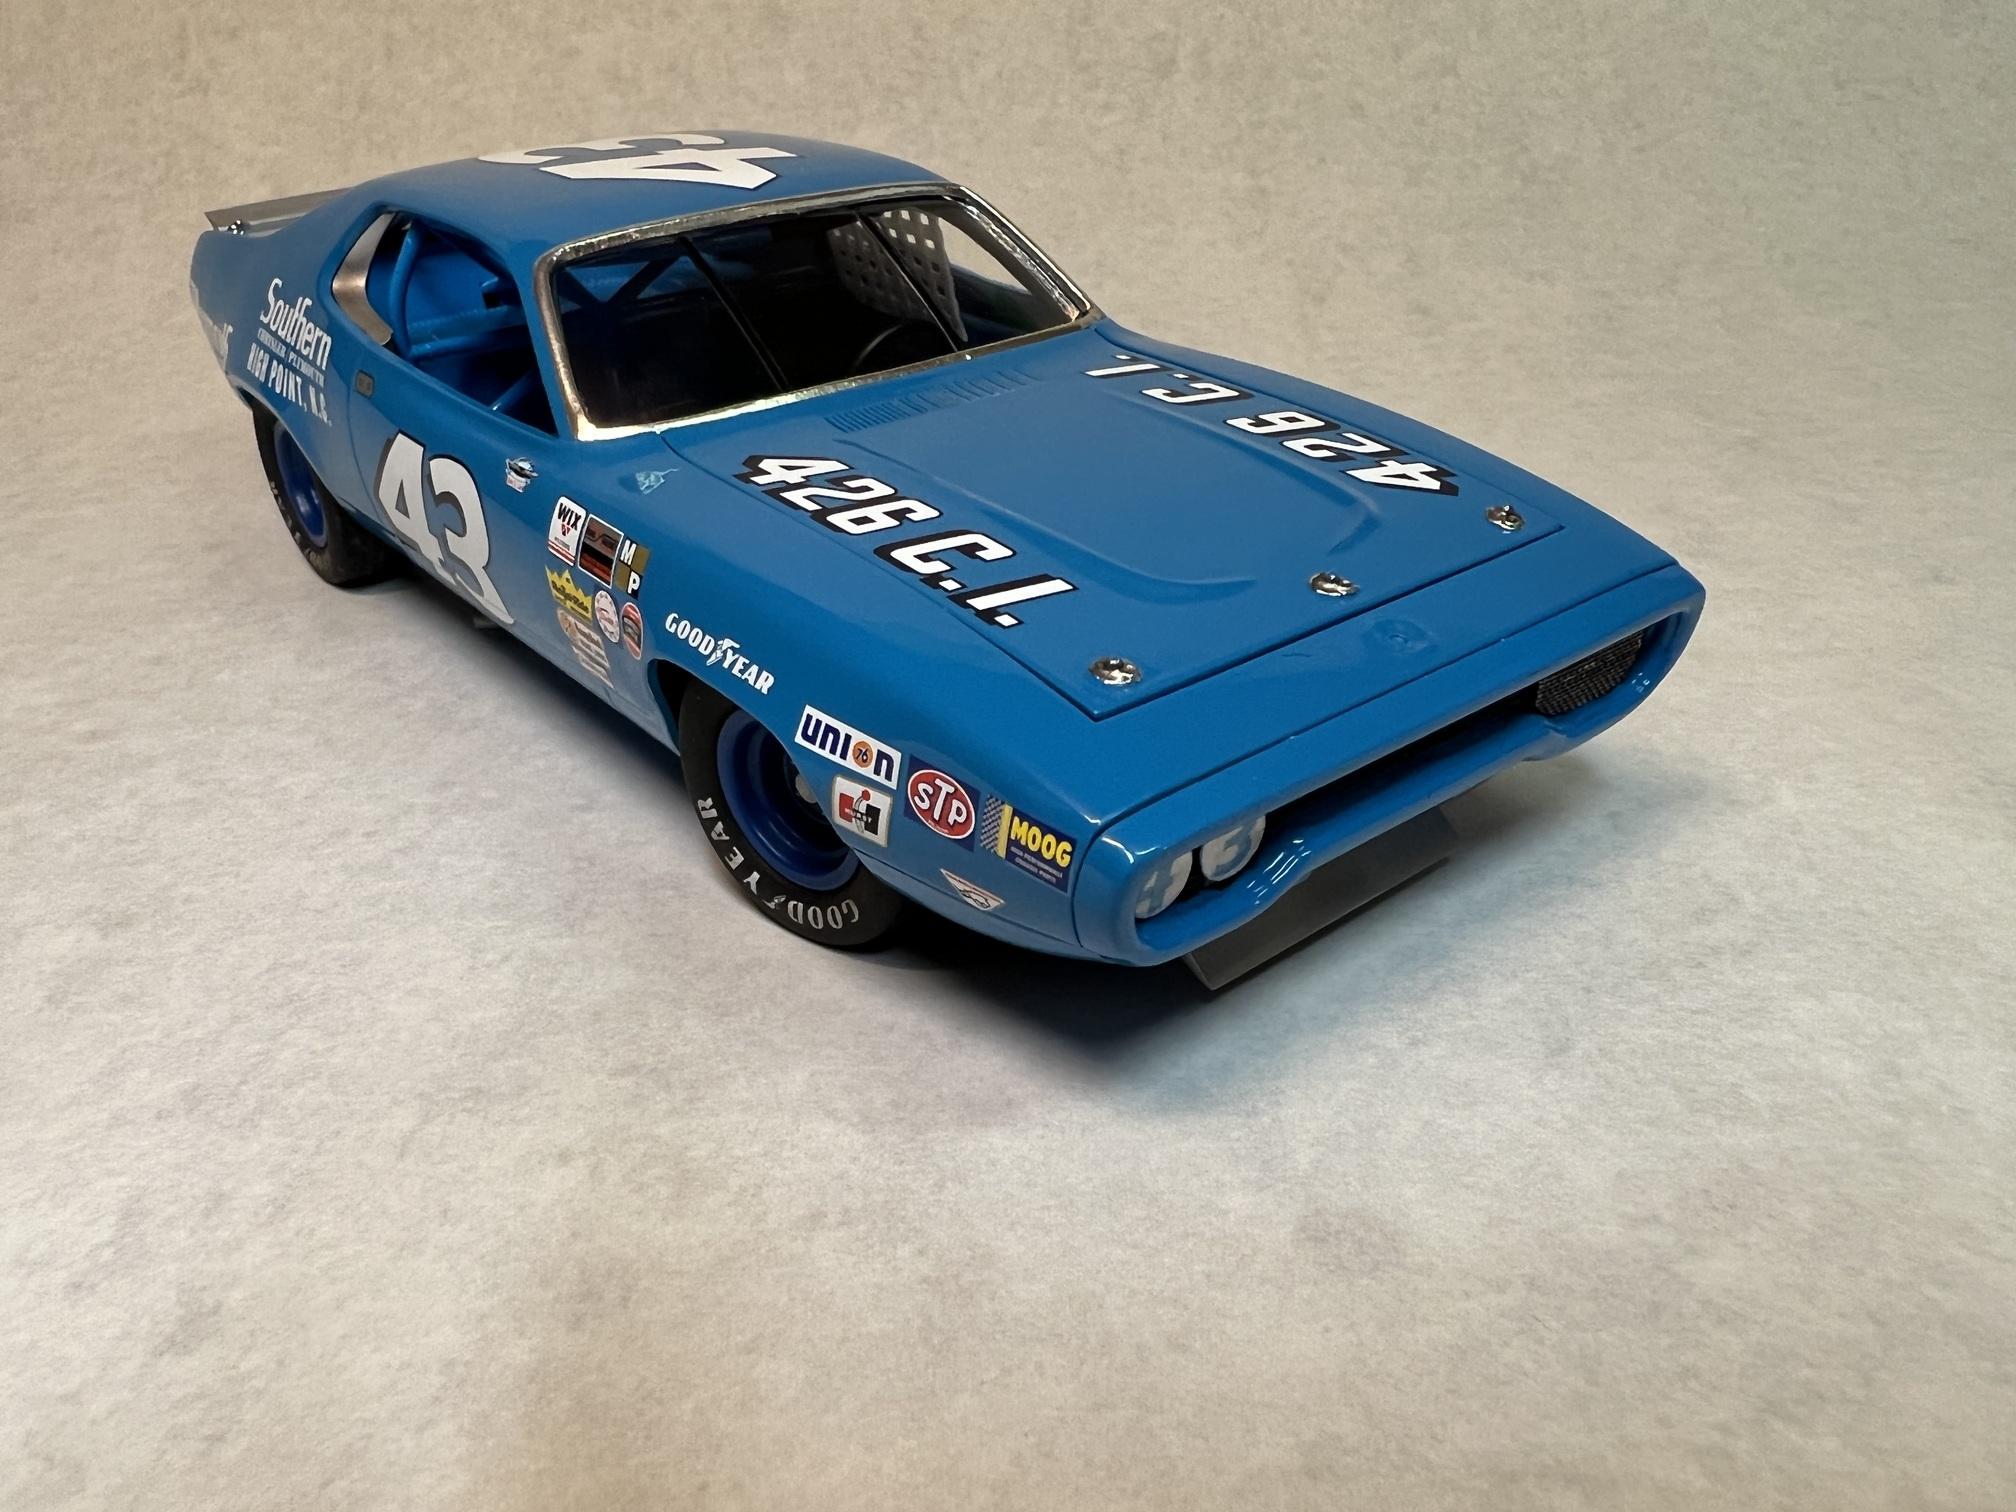
Just completed this Salvino’s Roadrunner sample build for them to display at the NRHSA Convention & Table-Top Expo in Las Vegas this week. Tamiya spray paint on most of the chassis and parts, and Splash paint Petty Blue and 2K clear for the body. Since the kit is not yet released, the decals were a mix of a Power Slide Yesterday’s sheet and miscellaneous Salvino’s decals. You can pre-order from Salvino's now, but will also be available at ScaleProShop.com around November.
-
Super Gas '77 Vega--Completed! (11/12)
Art Laski replied to Straightliner59's topic in WIP: Drag Racing Models
Nice project, Dan! I really like the interior tin. Great stuff.


.jpg.edecb86e21bb61de4e011d7dd6fa422c.jpg)

.jpg.1ad06efb29e30fd09ca4a5e270cd60b5.jpg)