-
Posts
810 -
Joined
-
Last visited
Content Type
Profiles
Forums
Events
Gallery
Everything posted by KJ790
-
Oh no! That yellow log truck and blue Pete are two of my all-time favorite build! I hope you are able to repair them back to their former glory!
-
Very cool! We didn't buy anything from them until the early 80's, and even then we only bought 10 or so trucks. After a 2 week vacation, I managed to get most of the small details finished. Still a few details under the hood that need finishing up. I couldn't resist taking some outdoor photos though.
-
Thanks Tom! Yes it did come from there, how did you know?
-
Made some more headway on this one. I have have the hood pretty much finished. I had a company make me some dry transfer emblems for the sides of the hood. I am glad that they sent me a lot of the, as I went through about 20 of them to get them on the hood. The interior is in the cab and the exhaust is mounted. I made a 3D printed exhaust heat shield to match the one from a real General. I think I need to make another upper standpipe for the exhaust, as I guessed on the length and this one seems a bit short. The air filter straps were detailed using aluminum heating duct tape. I still need to finish up the "fiddly bits", the mirrors, wipers, steps, intake plumbing, etc. A few lessons I have learned so far for the next time I build one of these kits: 1. I will assemble my own chassis 2. I will not assemble the chrome pieces onto the hood before paint. It was a major paint to try to paint them with Molotow on the assembled and painted hood and I am not super happy with how they came out. 3. test fit the hood and radiator before final assembly, I had interference issues and had to shorten the radiator slightly.
-

preparing resin parts: soak in Simple Green?
KJ790 replied to fiatboy's topic in Model Building Questions and Answers
I have always just soaked the parts in some water with a little dish soap for 3-4 hours, never have had any issues. -
That is odd, I wonder what the difference is. I have that issue when I use Molotow in the pen form, but never when airbrushed. I do not use any primer or base coat with the Molotow. The wheel with the black hub is a Moebius kit part with kit chrome, the wheel with the blue hub is an aftermarket resin piece sprayed with Molotow (no primer or basecoat). That resin wheel has been handled by tons of people, I leave it on my vendor table at shows as a sample for people to pick up and look at (I sell cast parts). It is a little worse for wear, but it still looks pretty good in person.
-
I have airbrushed it onto quite a few pieces and have never had any issues handling it. Let it dry for a couple days and I just handle the parts with bare fingers, no fingerprints or anything. Alclad rubs off very easily, so when I am going for a more muted shine, I prefer Spaz Styx due to the durability. Personally I have not been overly impressed with what I have seen of Alsa chrome.
-
As the available companies become limited, it may be worth looking at other options as well. I don't typically like using super bright "kit chrome" parts on my builds, so for most parts I prefer Spaz Styx or Alclad. However, I know that a lot of people like a very bright chrome look. I have found that spraying Molotow chrome through an airbrush gives very good results. It is as bright, or sometimes even brighter than kit parts.
-

Eliminating 3d print lines on small parts
KJ790 replied to Codi's topic in Tips, Tricks, and Tutorials
Interesting. Which material from Shapeways was this printed with? -
I was able to put some paint and decals on the cab. It is good to take pictures along the way, so the lighting in the picture shows me that I need another coat of paint on the sleeper. I am glad it is not on a part that already has decals! The engine and radiator are in the frame. I still have to finish up the details like radiator hoses, etc. For the interior I went with 50 shades of gray (actually just 4 shades). It is pretty plain Jane, but these Generals were not very flashy on the inside. Once the paint dries some more, I can tape it up and spray the grille surround and other accents with Molotow chrome.
-
8V92T from the parts box with updated valve covers. Even these 1/25 scale Detroits seem to leak oil...
-
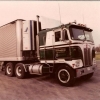
Thanks guys! Like most of my builds, this one is based on a truck that my family had when I was a kid. I only have 2 pictures of it (1-1/2 really). We bought this truck new in 1984. It was red with a Detroit 8V92T engine, aluminum steer wheels and spoke drive wheels. We sold it to a guy named Bob Owens in the early 90's, he was an owner operator that pulled for us. Shortly thereafter he unfortunately passed away and it was purchased by Jeff Schaller. Schaller repainted it black and used it to haul pool water for quite a few years. This is the only (half) picture I have of the truck as it was originally. This is actually in the background of one of my childhood photos, I zoomed and cropped the picture. I can see that the foglights were below the bumper originally. This picture is from Eric Sweet of dailydieseldose.com. He took this in 2011 in front of Schaller's shop. From this I was able to gather some extra details like the location of the battery boxes.
-
Thanks guys! Let's just say that if this were a real truck, the tires would wear out pretty quickly! I have had to custom shim everything to get it to somewhat line up. It won't be a show winner, but I hope it will look nice on a shelf. This morning I cut 12 (scale) inches out of the frame and it looks a lot better to me now. Now I just need to repaint the frame to hide the splice marks.
-
This started as a partially built glue-bomb that I bought off of ebay. It seems like I will never learn my lesson with these partial builds, they are never assembled correctly. This one had the frame, suspension, axles, and engine assembled. The engine was so bad that I just threw it out. The frame is very warped and crooked, but there is no fixing it, so everything has to be build around it to make it seem straight. I am using a set of 5-spoke drive wheels that I used to cast with a set of Doug Wagner's aluminum front rims. The battery boxes, quarter fenders, and fuel tanks are scratch built. I filled in the foglights that were built into the bumper and added a set below the bumper. Here is where the mock-up stands right now. I think that the frame is a tad too long without the long fuel tanks beneath the sleeper. I may shorten the frame up a little bit.
-
Thanks everyone! M&R wheels is a new company, I don't think that they have a website yet. I really like Doug Wagner's machined aluminum wheels, but I needed 22.5" rims for this build to replicate the real one, so when I saw these ones from M&R at a show went with them. Yes, the handles are 3D printed. I originally made them for a different application, but they wound up being used on these battery box covers.
-
Here is my completed rebuild of an old snap kit Kenworth.
-

Kenworth snap kit rebuild
KJ790 replied to KJ790's topic in WIP: Model Trucks: Big Rigs and Heavy Equipment
Almost finished. The front rims are from M&R wheels. The exhaust is scratch built. -

Kenworth snap kit rebuild
KJ790 replied to KJ790's topic in WIP: Model Trucks: Big Rigs and Heavy Equipment
Thanks! I made the decals myself for this one. It is just printed on my ink jet printer onto clear waterslide decal paper. It only works on light color backgrounds. When I need custom decals for a dark colored background I have been using Firebird Designs lately. -

Kenworth snap kit rebuild
KJ790 replied to KJ790's topic in WIP: Model Trucks: Big Rigs and Heavy Equipment
Thanks Jim! I did some assembling today. I made the grille screen out of some old stainless steel mesh that I found laying around. I still need to finish up the wheels and then it is just the finishing details until I am calling it done. -
This was a 1982 Kenworth W900 that my family used to own. The only picture I have of it is from the early 90's, so I decided to build it with some weathering to give it that "12 year old" look. Here is the inspiration: I had attempted to build this truck a few years ago from a Revell snap kit W900. This was the second model that I had ever built, and like most of my early models, it did not come out great. For some reason I got glue everywhere (including on the windshield). It has sat around for a while, and got a bit damaged during one of my moves, so I decided to rebuild it. I stripped all of the paint, threw away the old wheels and tires, and got to work. Here are the newly painted cab, hood, and air shield. For the wheels I used an old set of my 2-hole resin drive wheels with a set of my drive tires:
-

KENWORTH K100 AERODYNE
KJ790 replied to CRUSADER2's topic in General Automotive Talk (Trucks and Cars)
If the headlights are too small, it can't be by much. They don't seem to throw off the overall look at least. I built this model using an AMT Tyrone Malone Aerodyne kit. I cut the frame shorter, cut the aerodyne roof off, and cut the cab down to 86 scale inches in length. The AMT bumper is way too skinny, and the Revell one is too fat. I think that correcting the bumper goes a long way with either kit. -

KENWORTH K100 AERODYNE
KJ790 replied to CRUSADER2's topic in General Automotive Talk (Trucks and Cars)
The AMT kit can be built into a standard tractor, as the general chassis detail is there (as much as it is on any AMT kit). With a little work, it can turn out to be a great build. The Revell kit is more detailed for sure, but the hinges on the cab doors and the separate roof take away from it a bit. -

1978 Mack U-Model "Overnight"
KJ790 replied to DRIPTROIT 71's topic in Model Trucks: Big Rigs and Heavy Equipment
Awesome job! -

Different styles of "Budd" disc wheels
KJ790 replied to leafsprings's topic in General Automotive Talk (Trucks and Cars)
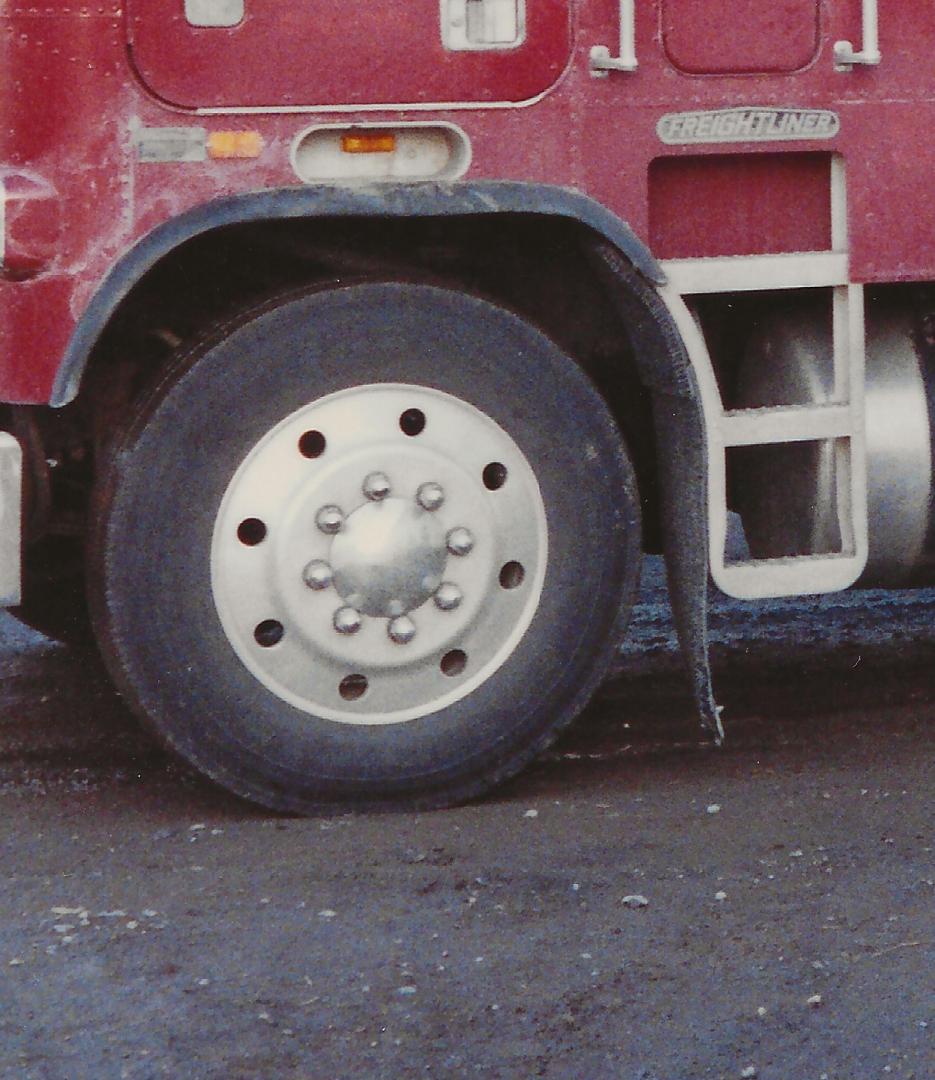
In the 80's there was a brief period where 8-lug wheels gained popularity on trucks. They were available in 22.5" and 24.5" diameters.


.thumb.jpg.2687b3cc1c4effe3801e228a73b1d3b3.jpg)