exesivefire
-
Posts
1,288 -
Joined
-
Last visited
Content Type
Profiles
Forums
Events
Gallery
Everything posted by exesivefire
-
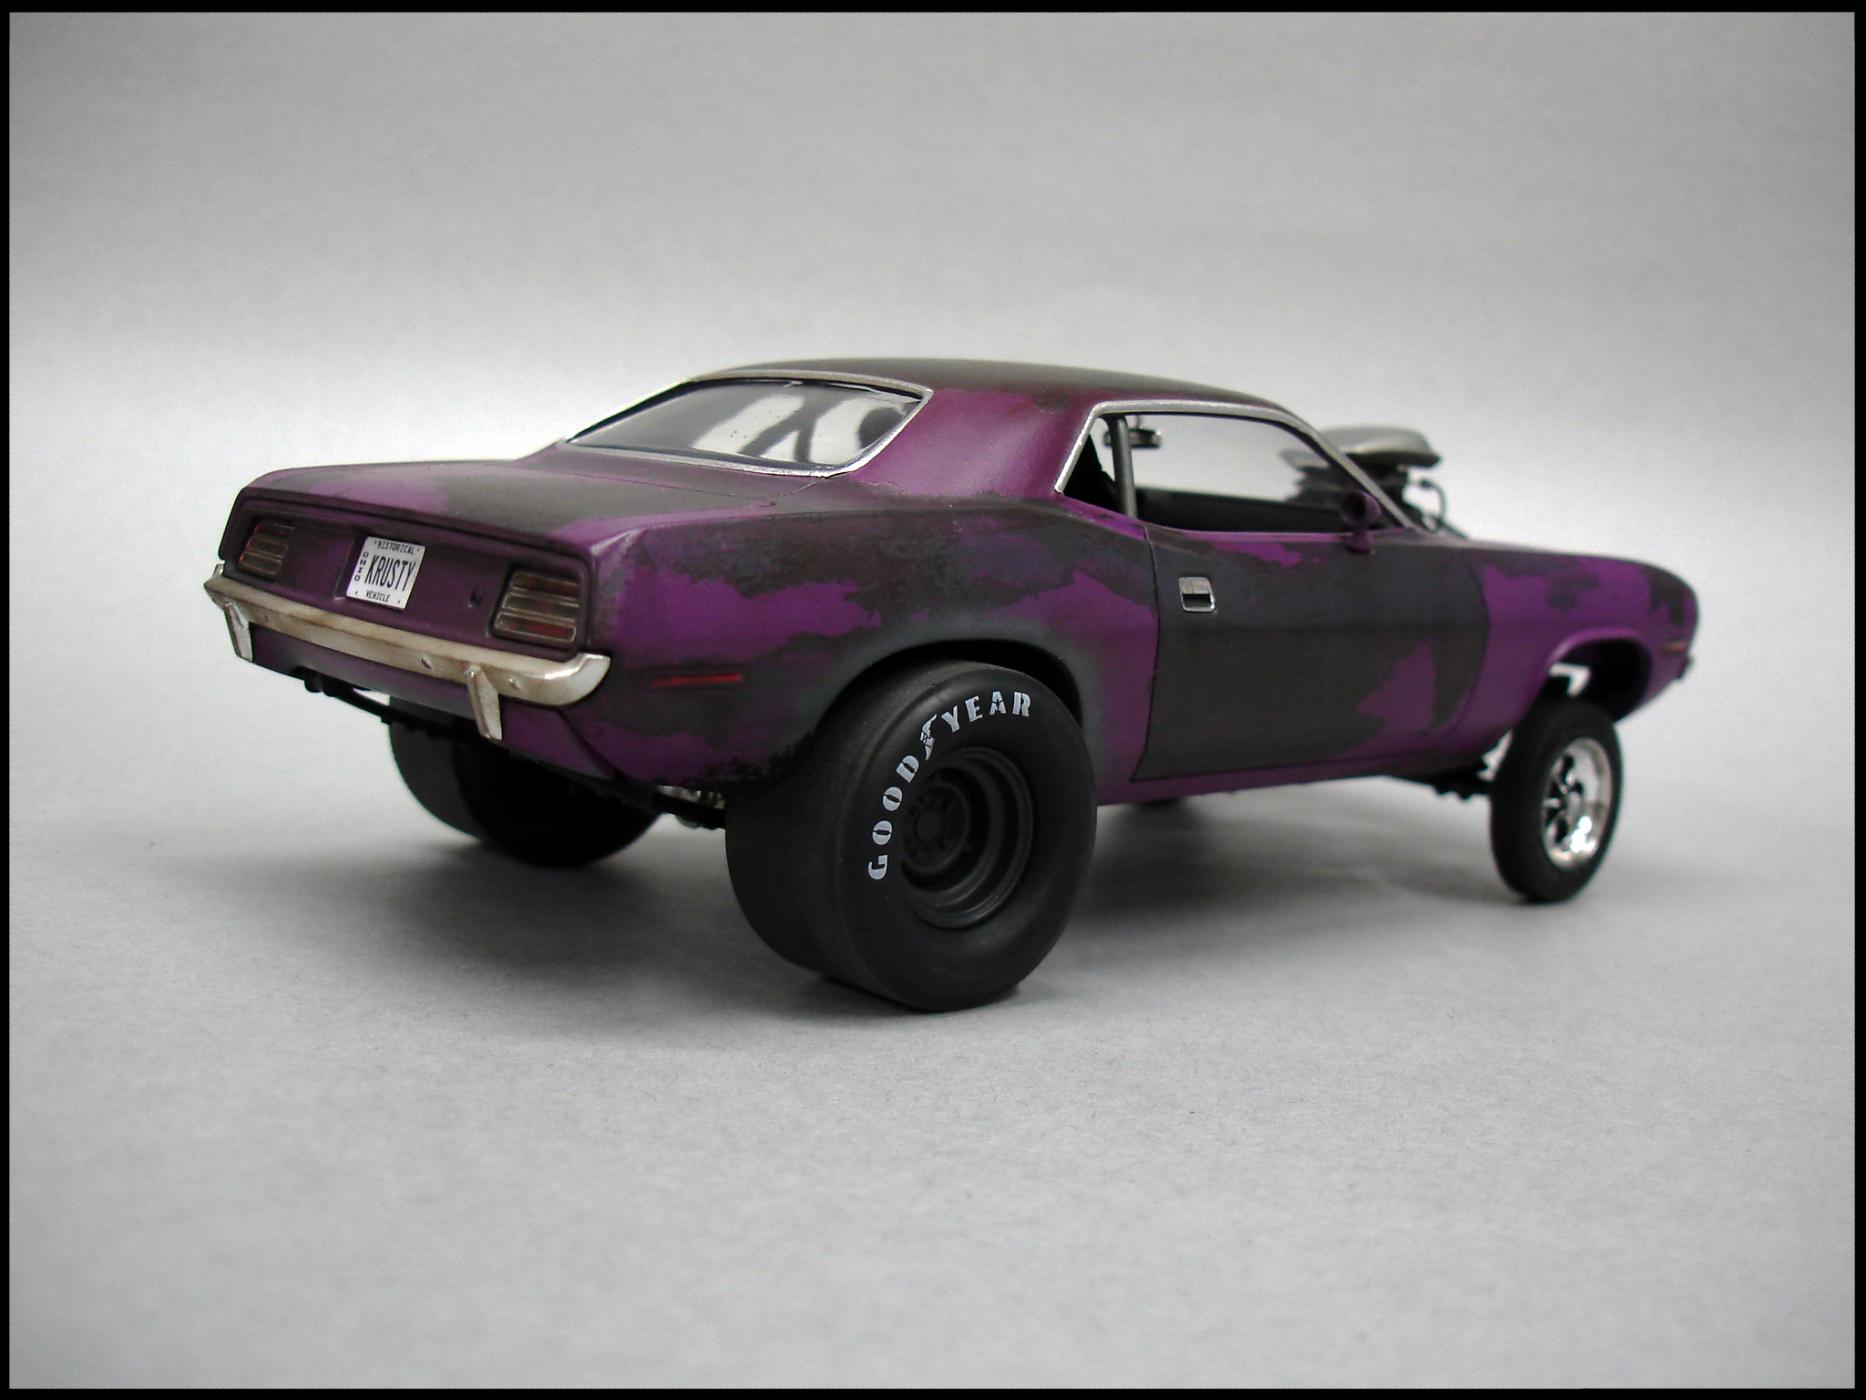
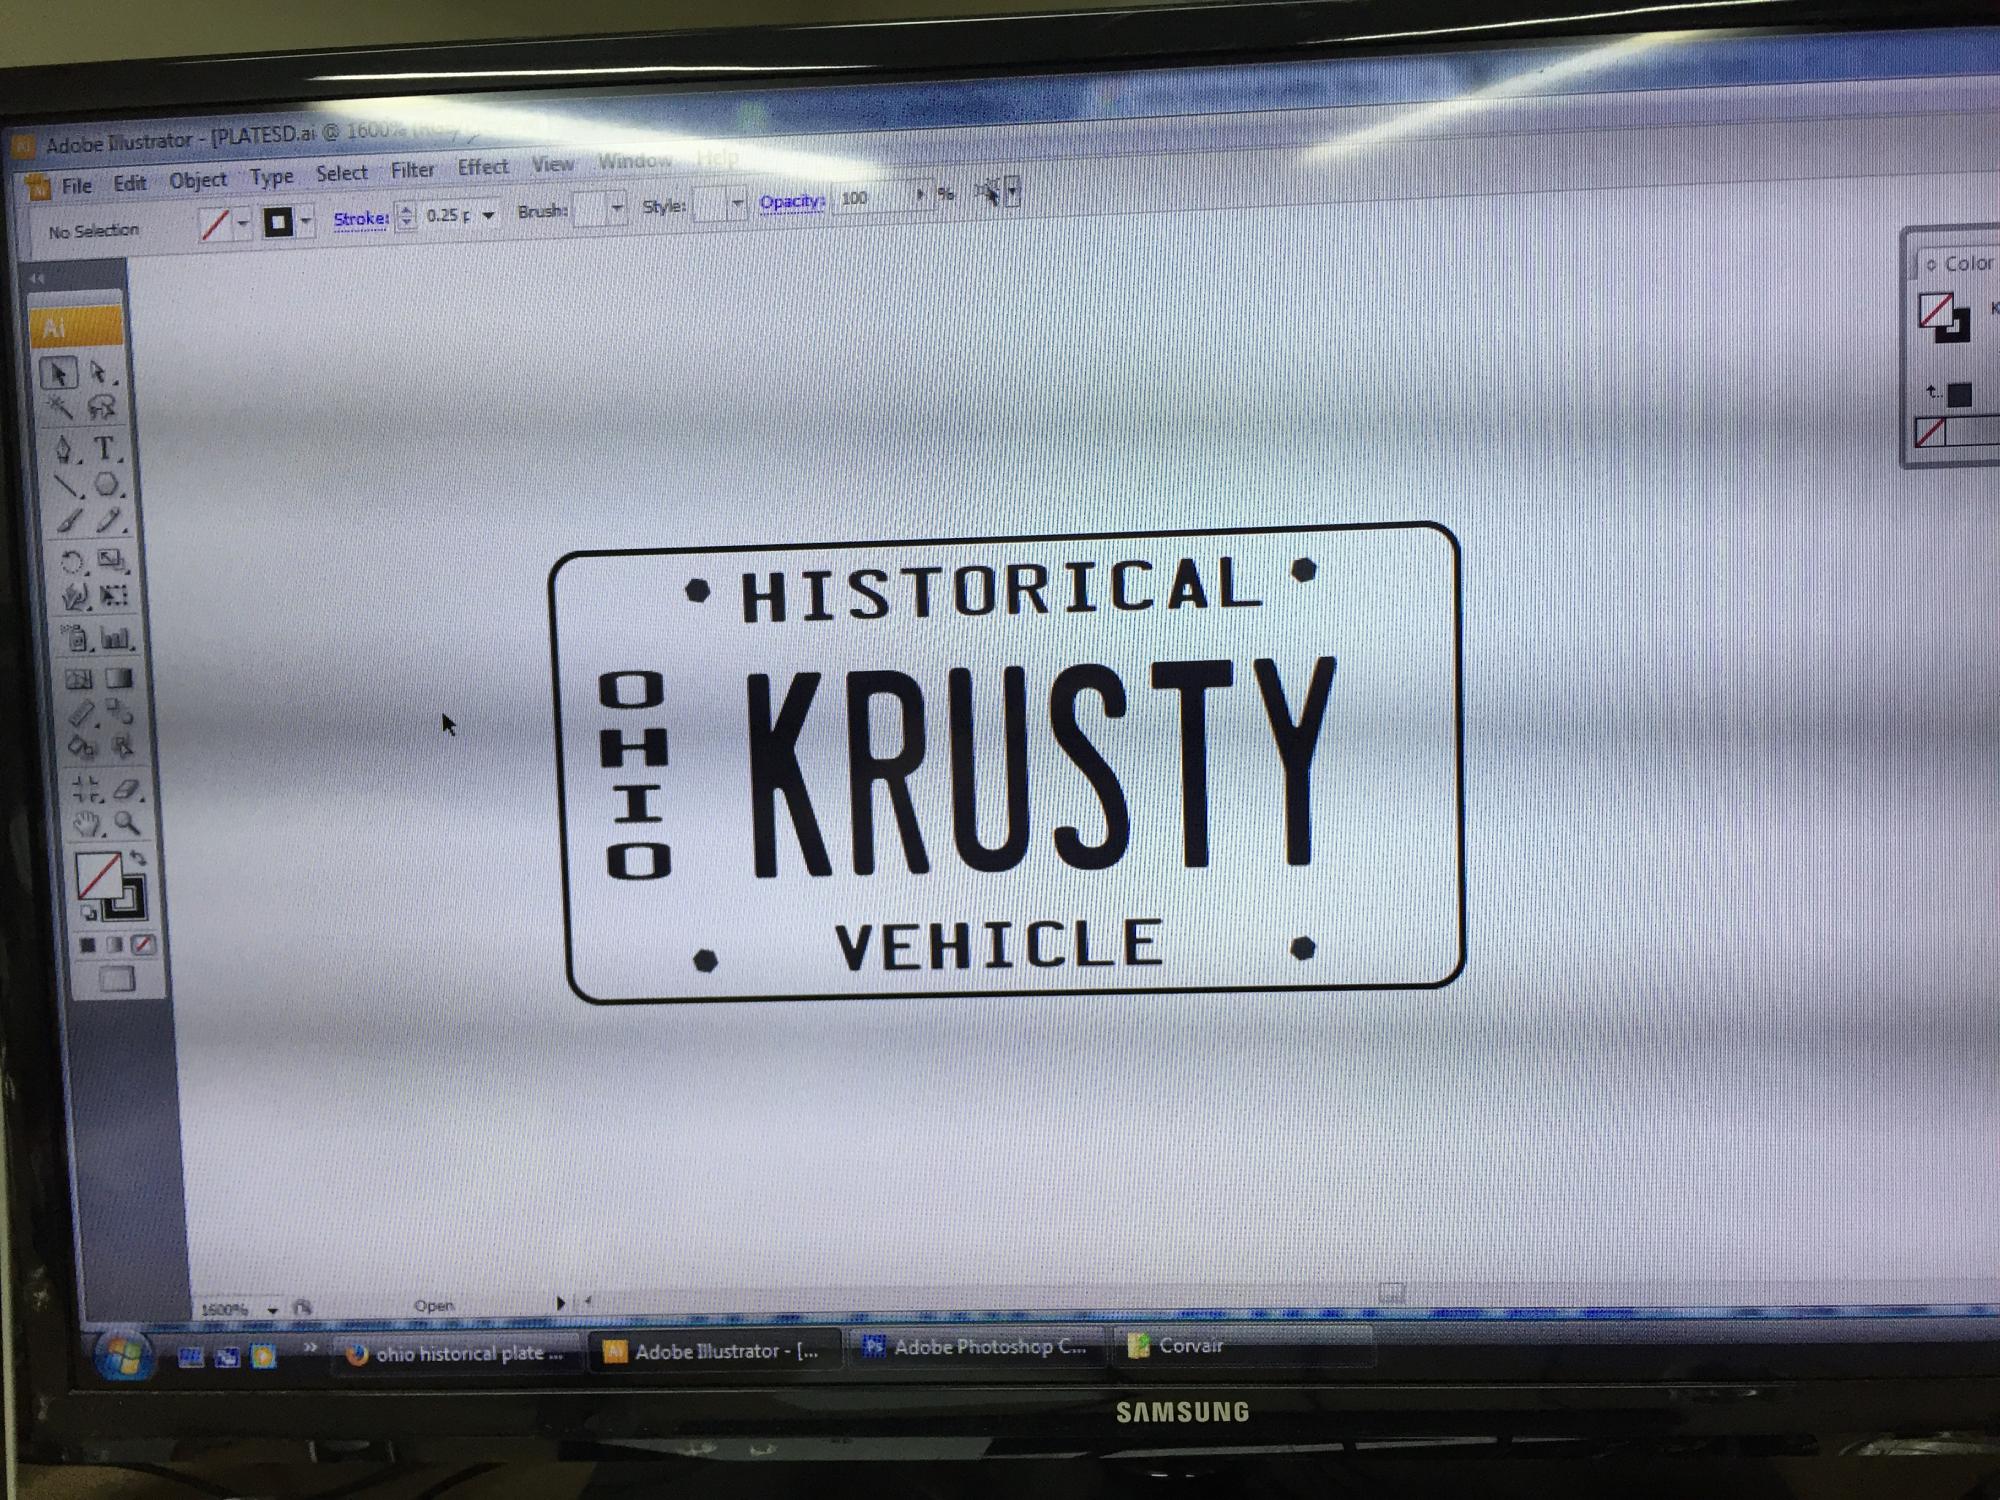
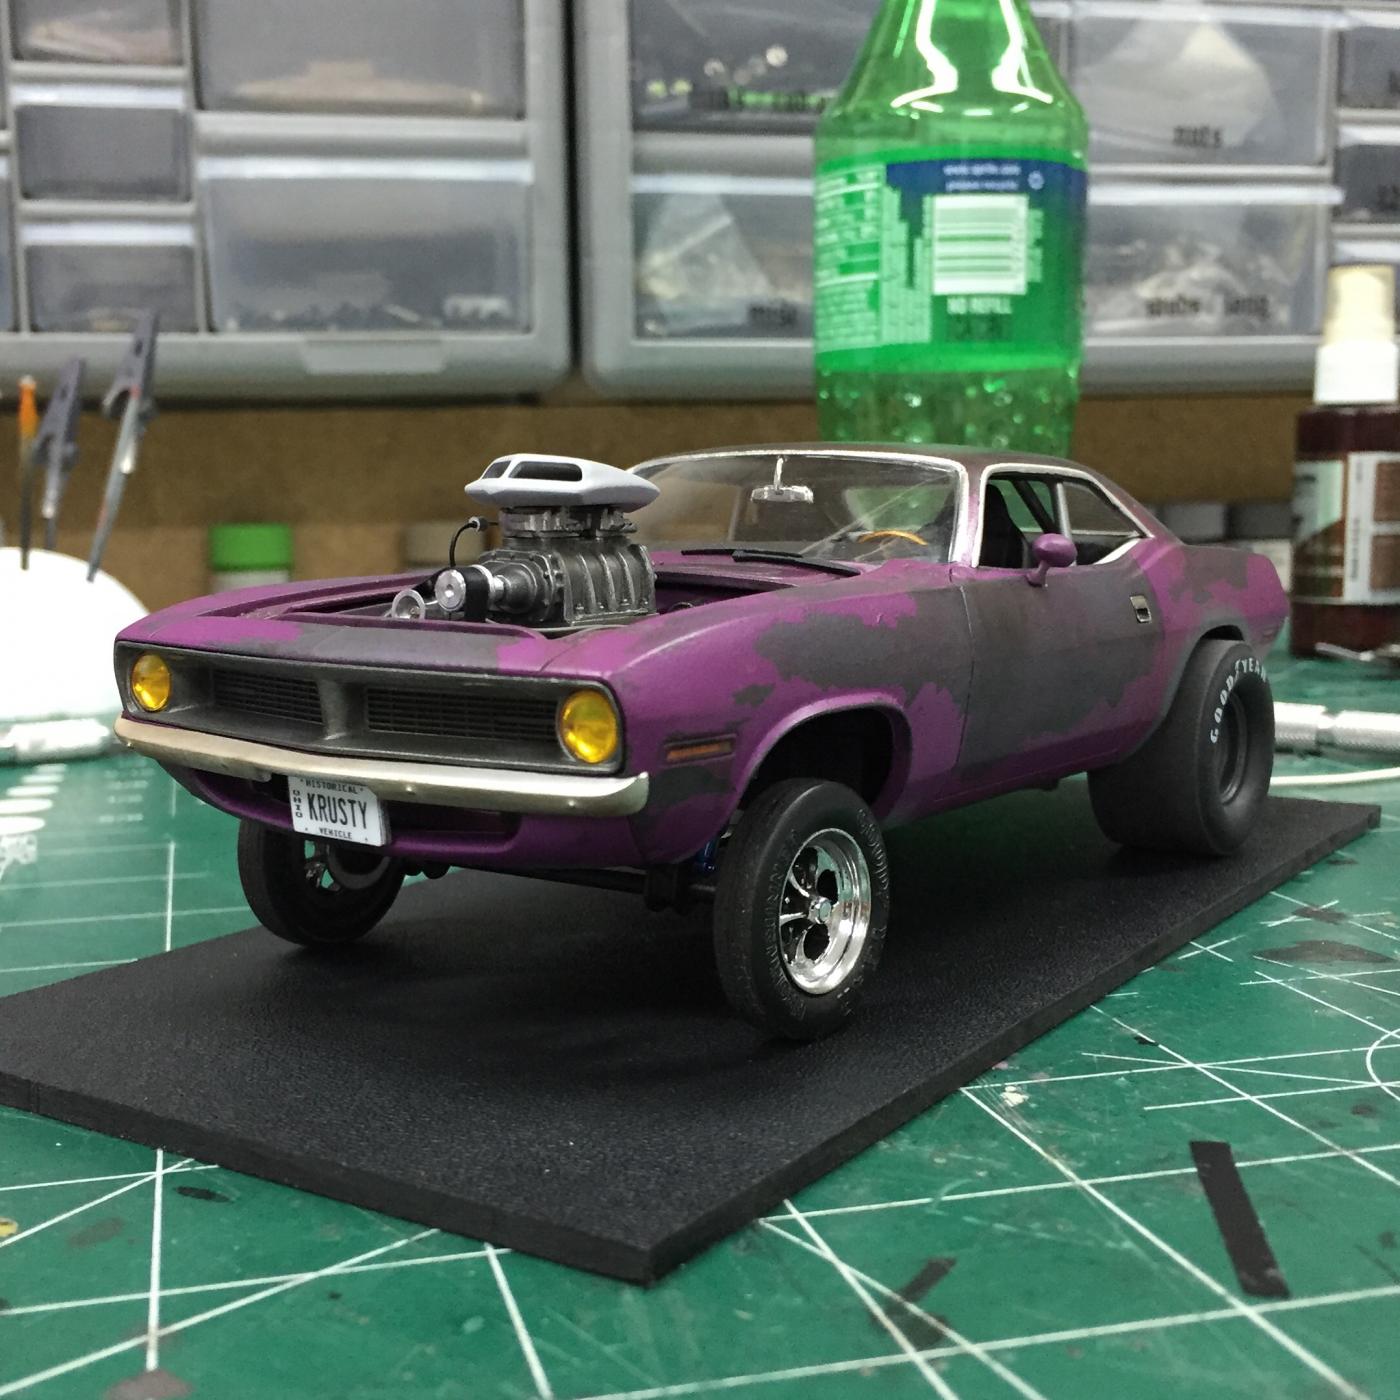
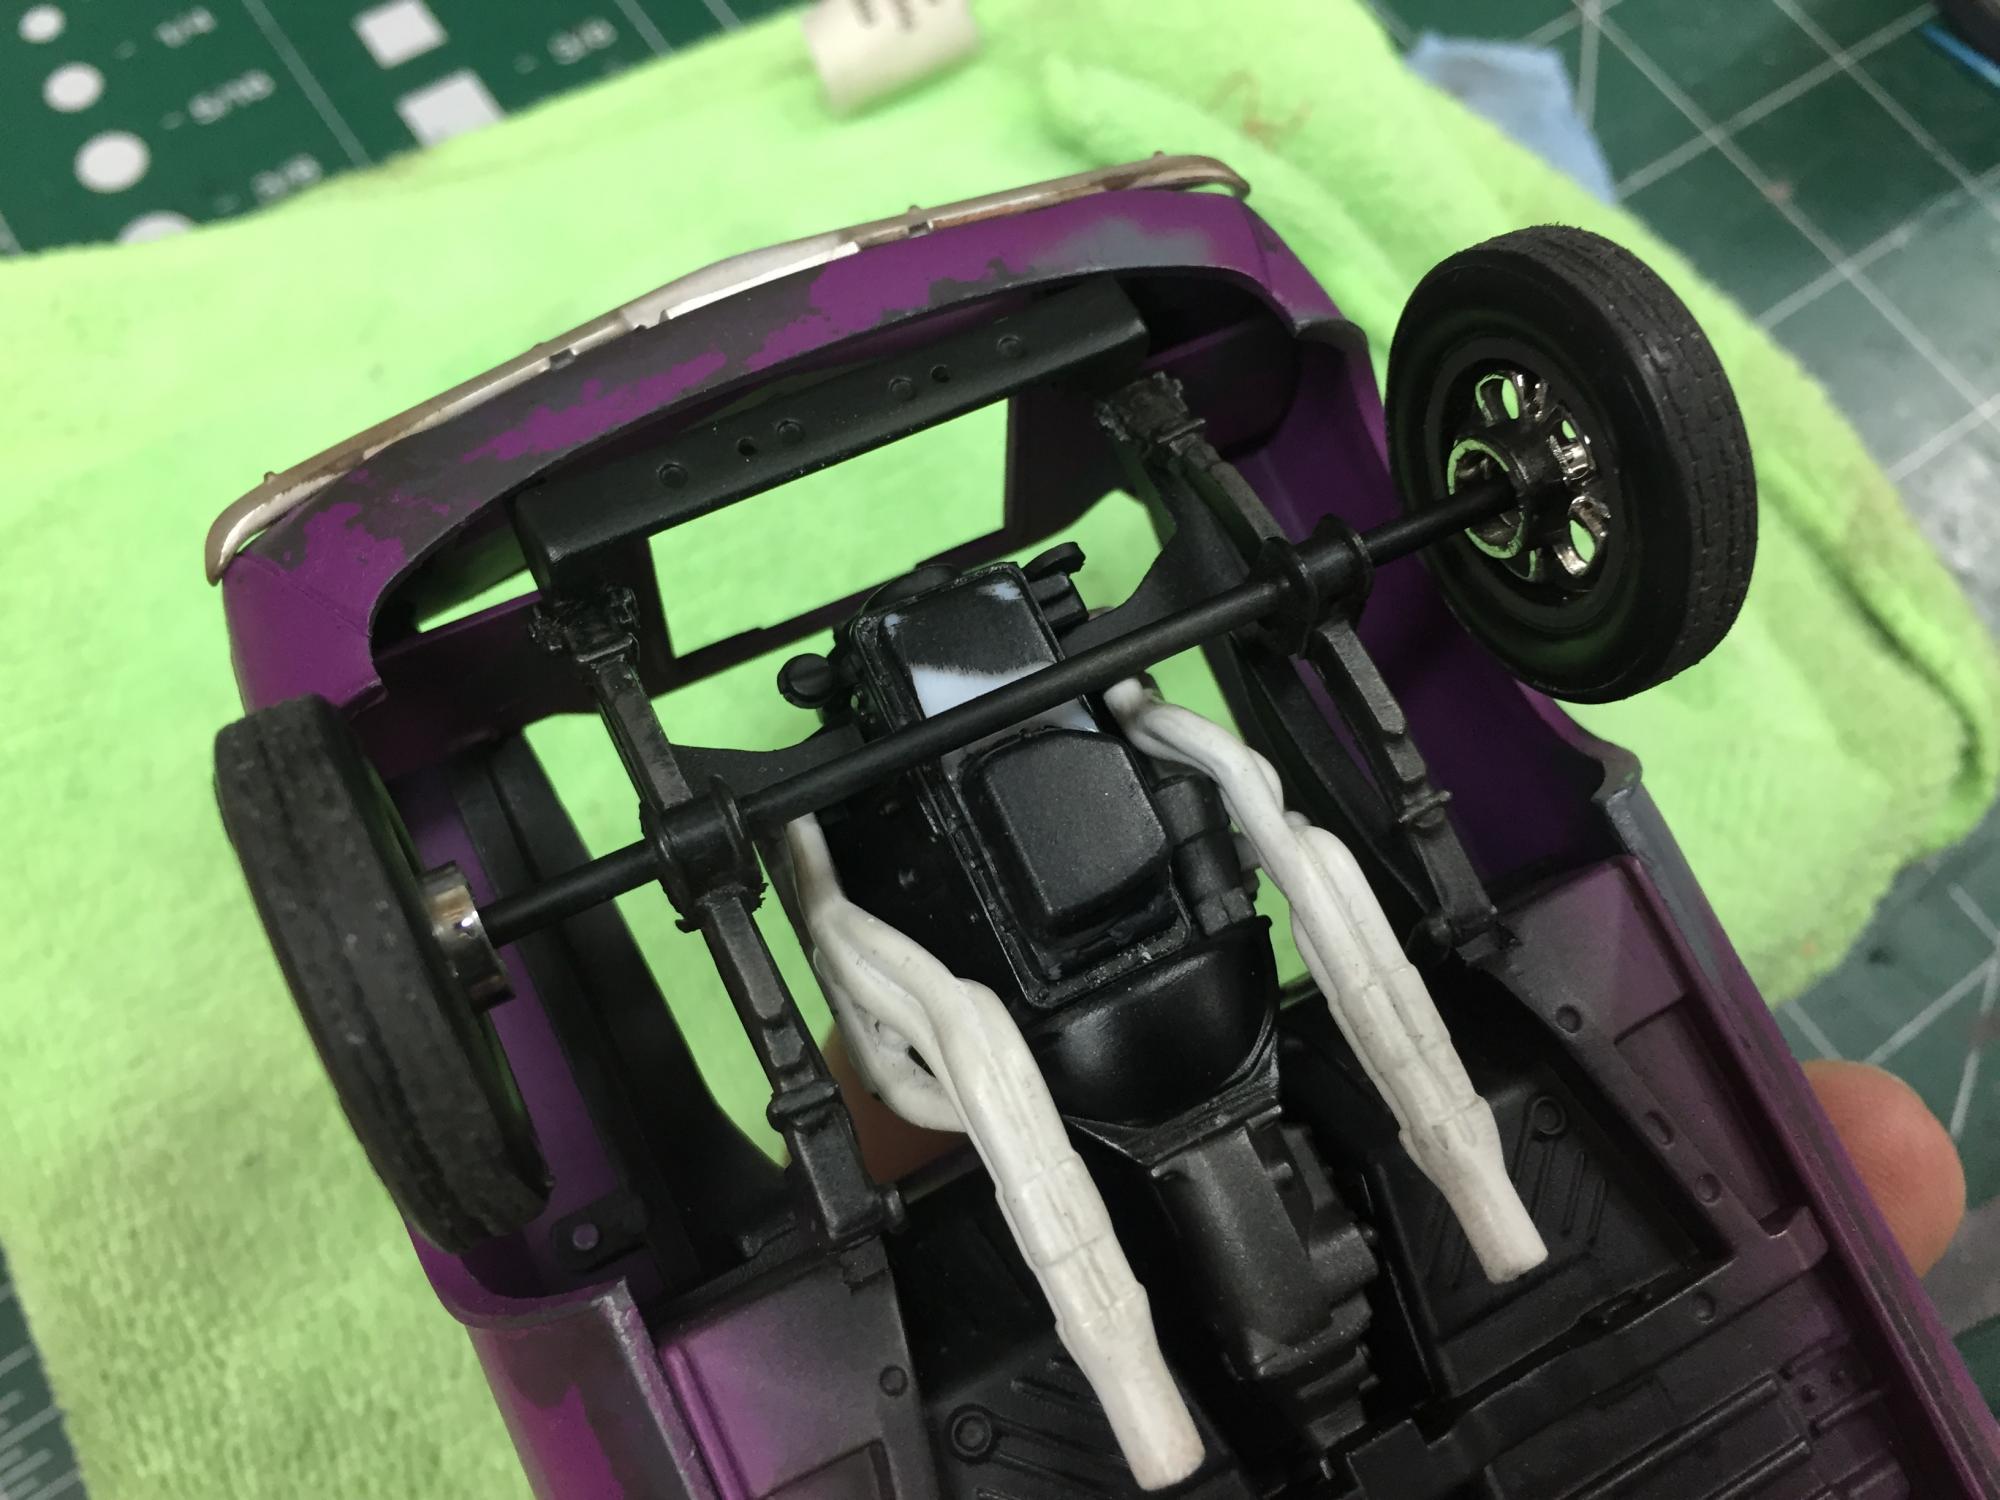
Finally got this one done, just in time for the Ohio Challenge at the Buckeye Classic this upcoming weekend. If you are interested in a build thread you can view that here; Went with a "second chance" theme here that seems to be popular in the 1:1 world. I envision an abandoned Cuda found, engine and drive train gone through, add a straight axle, blower and some slicks, leave the body as-is and have fun tearing up the town and strip.

-
Under glass post soon
-
Wow! This is fantastic
-
This is really really really cool
-
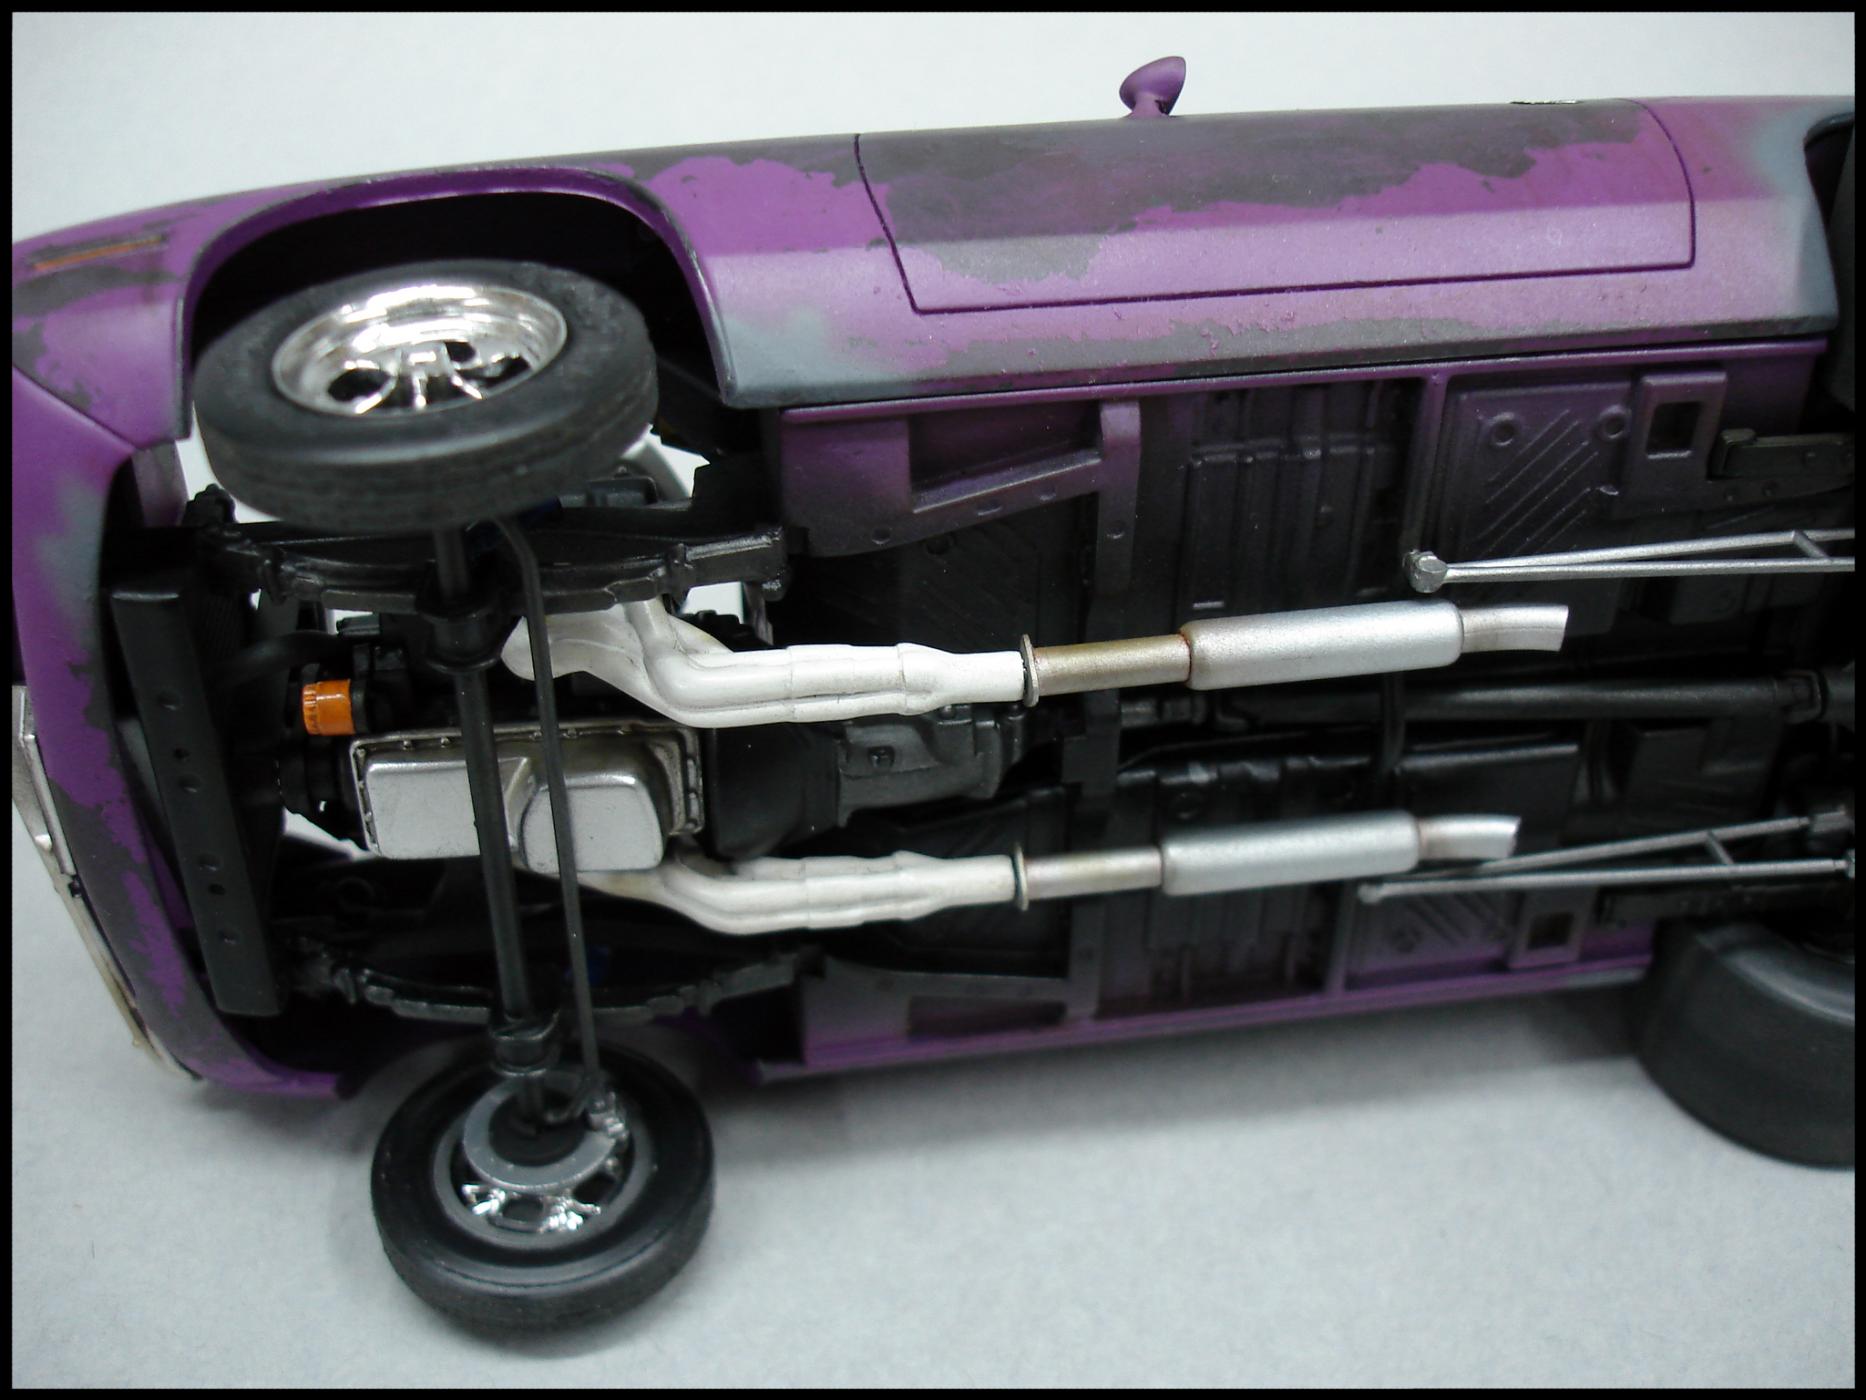
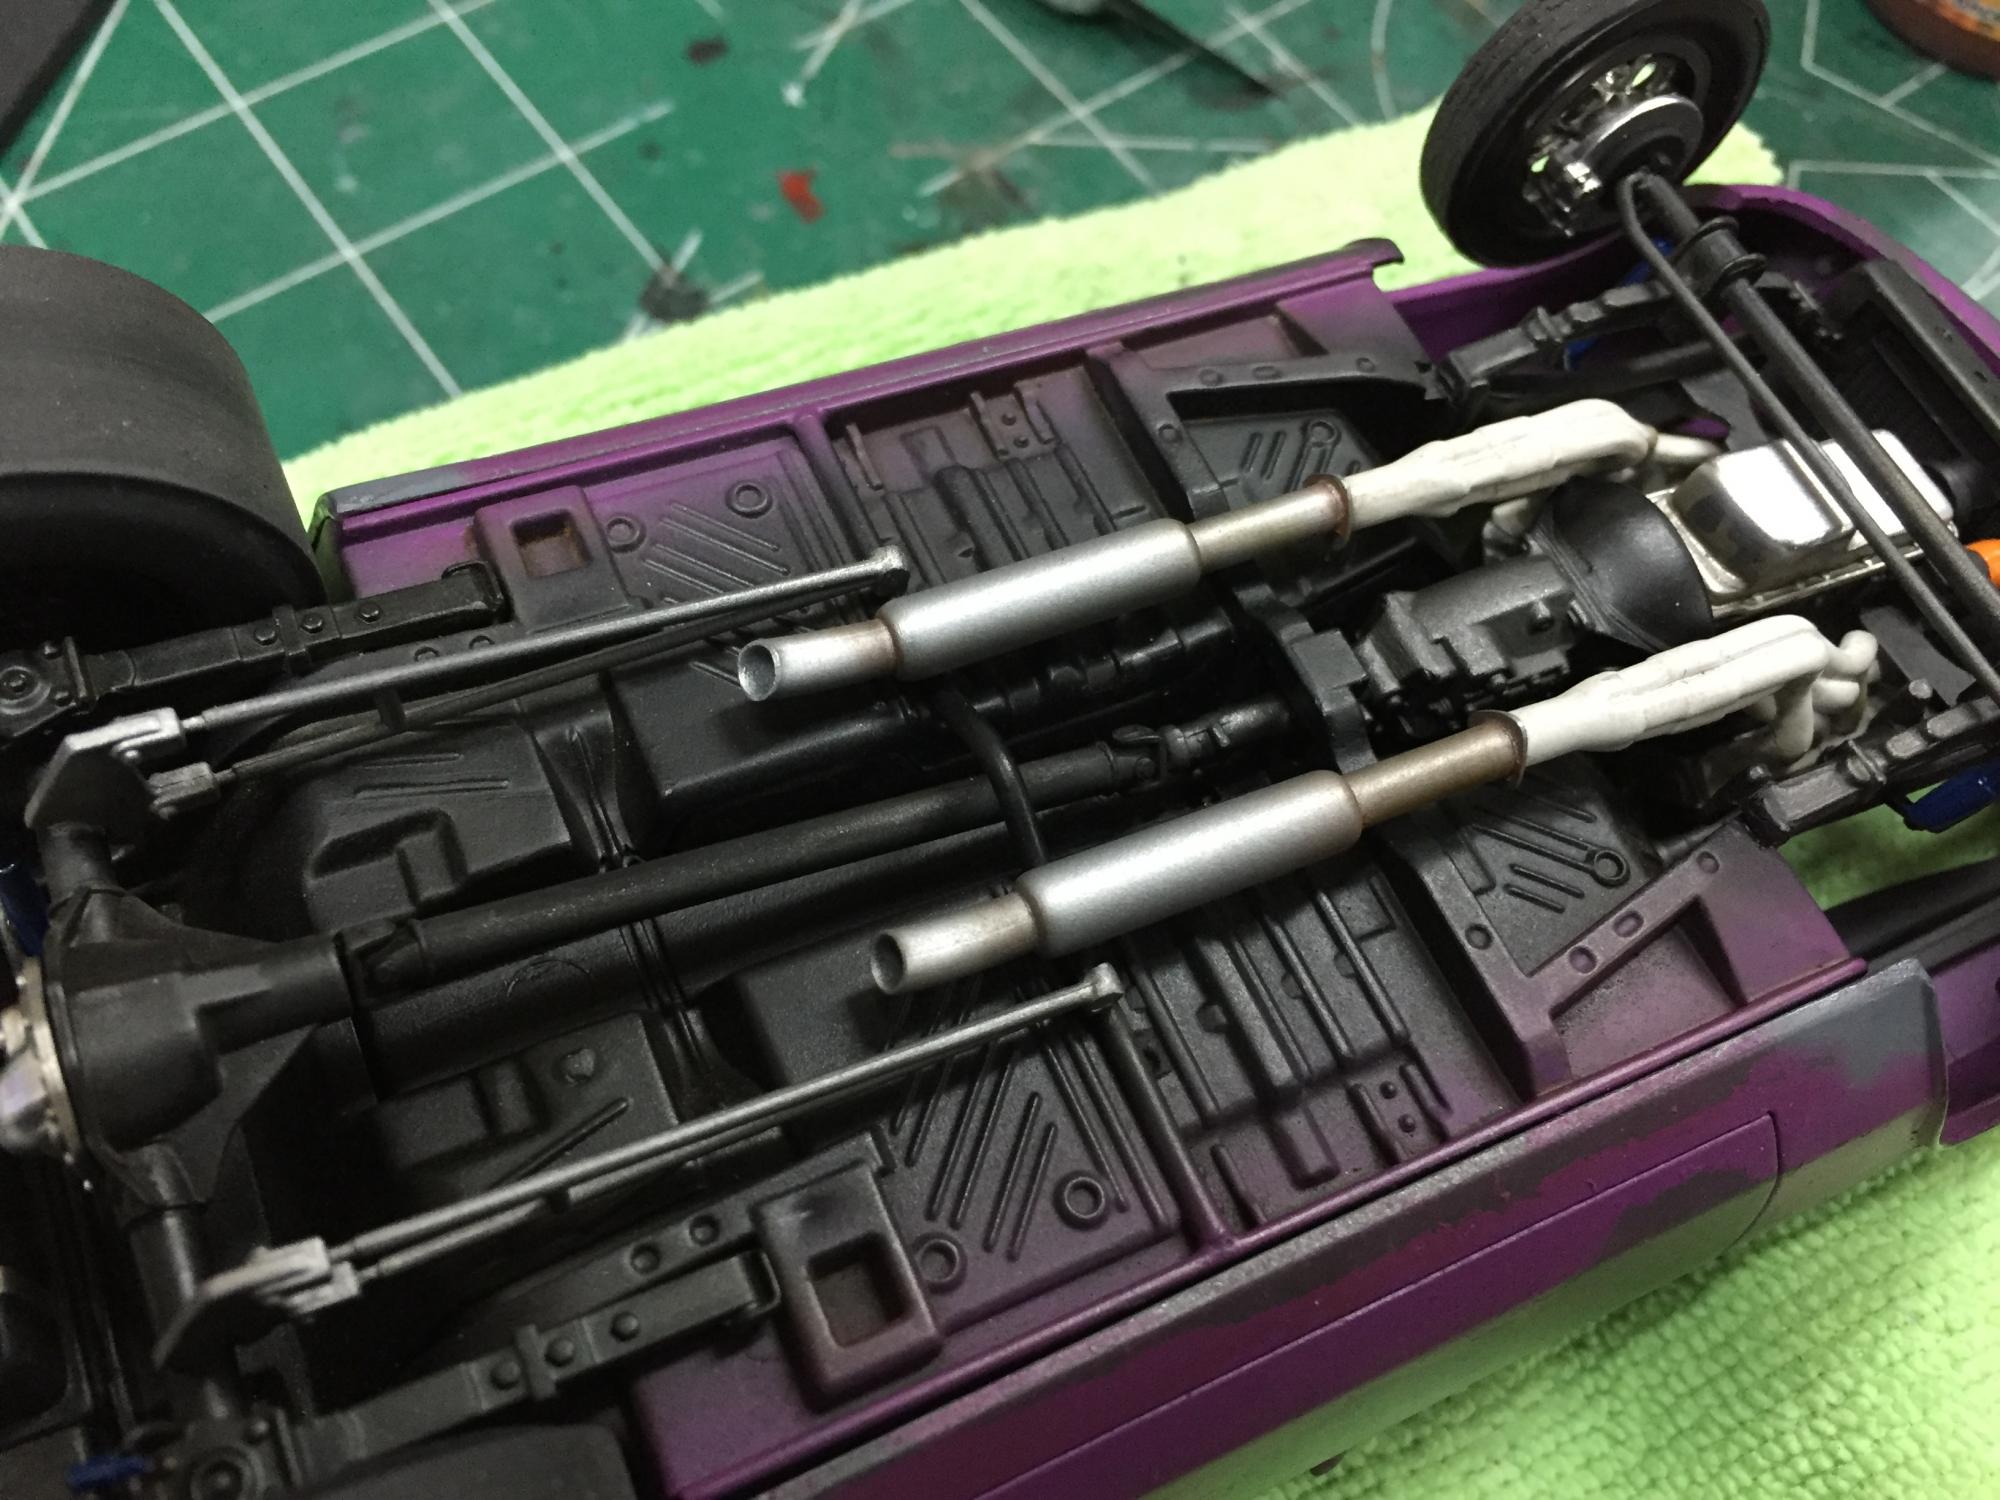
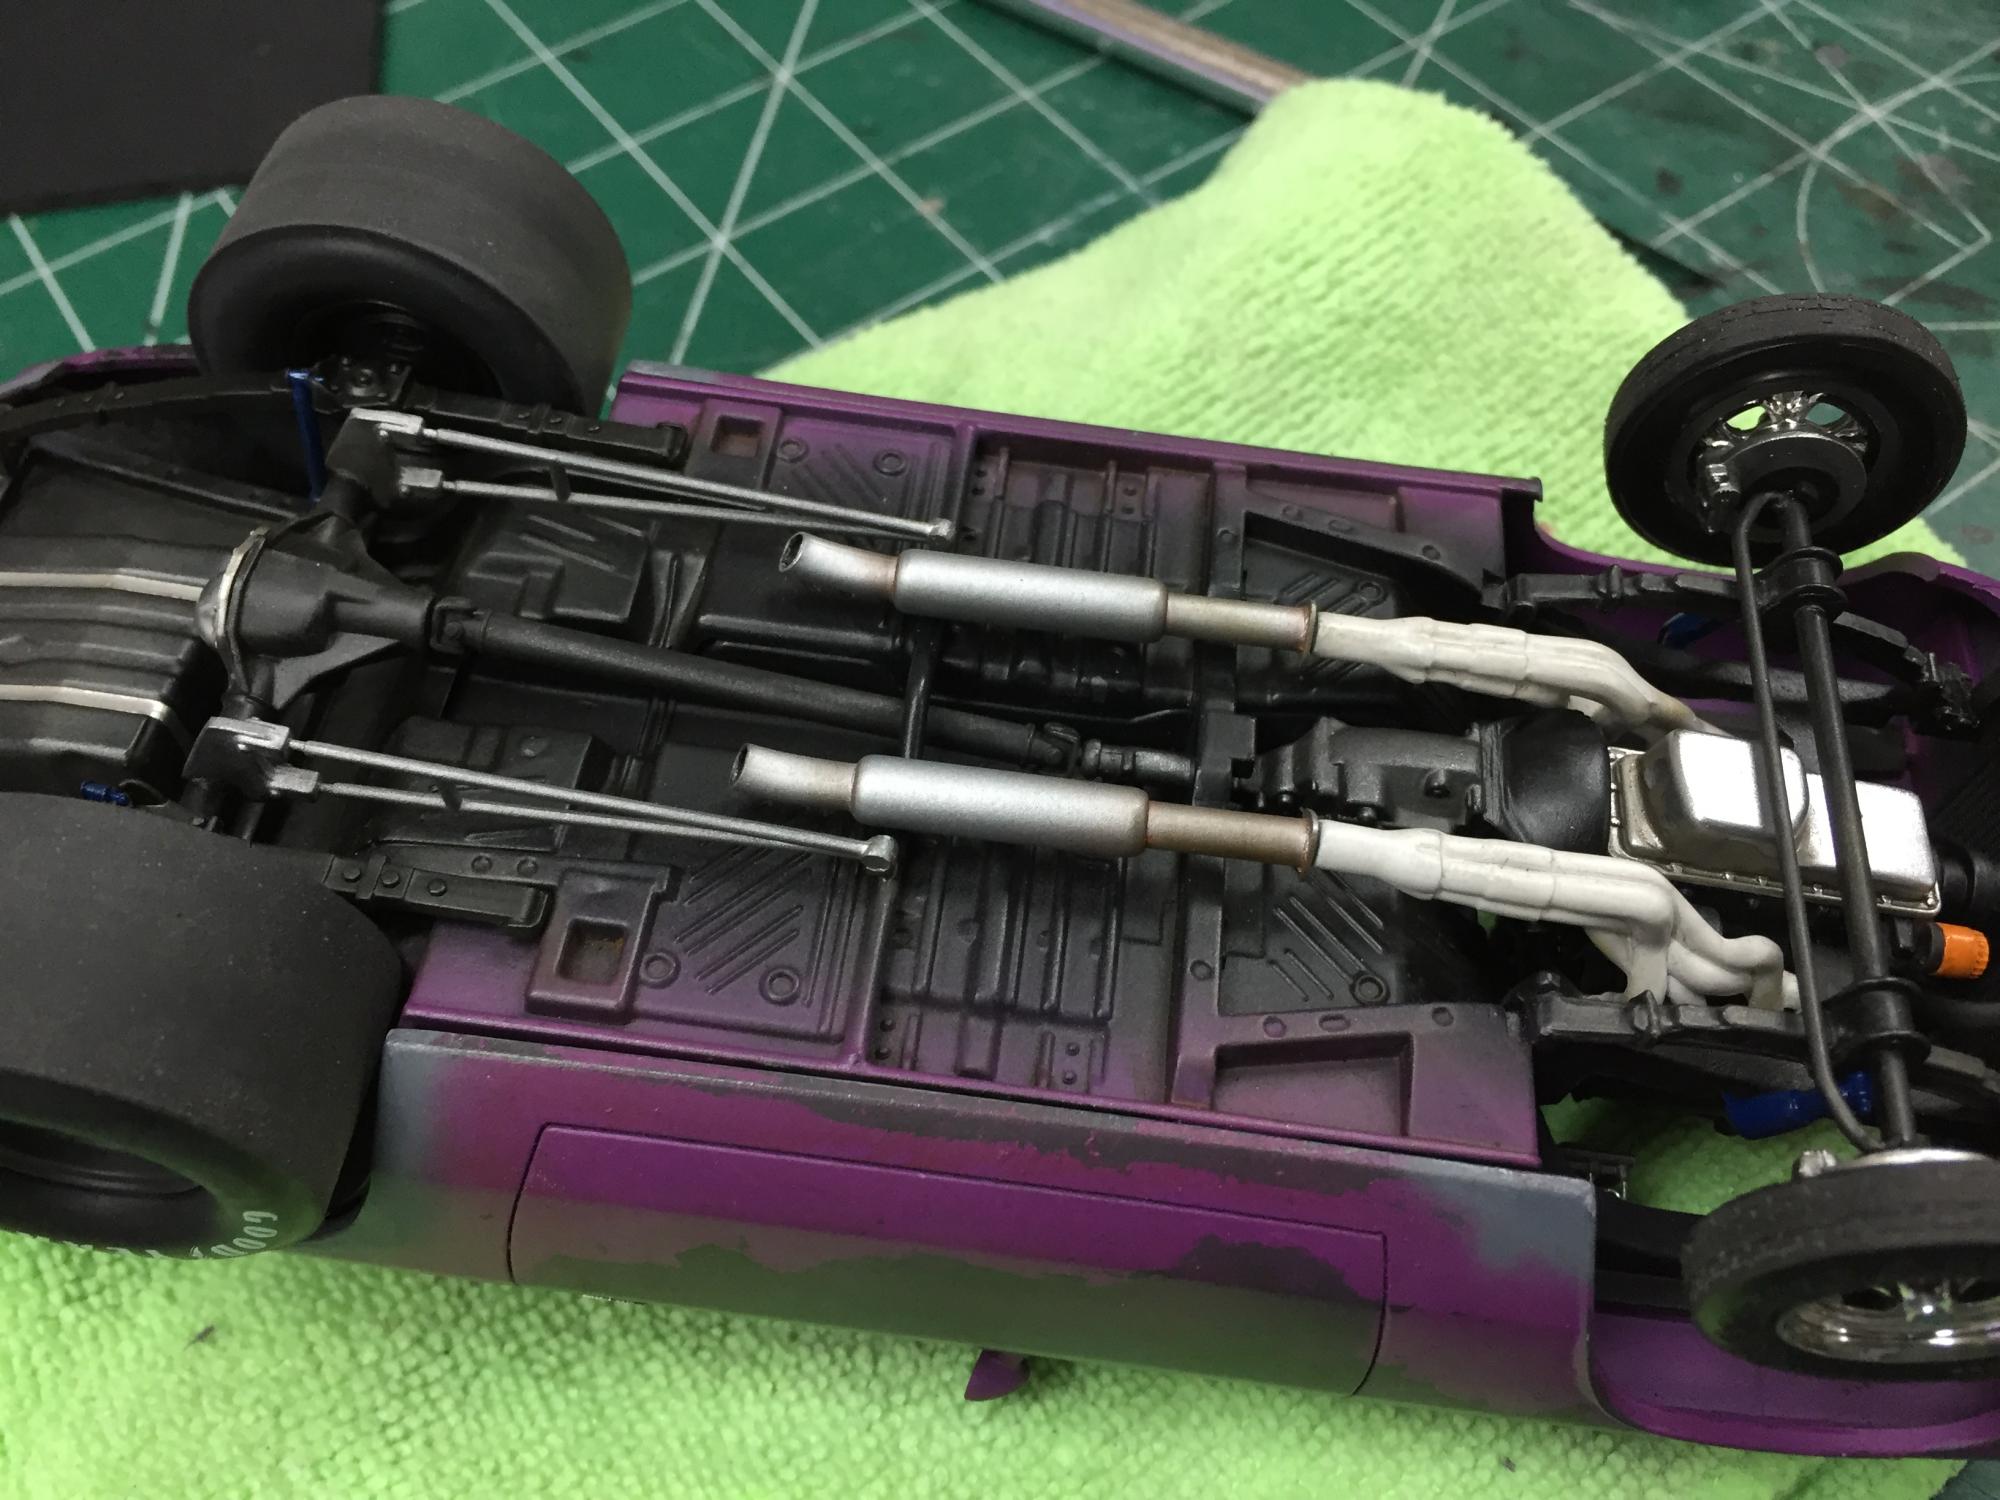
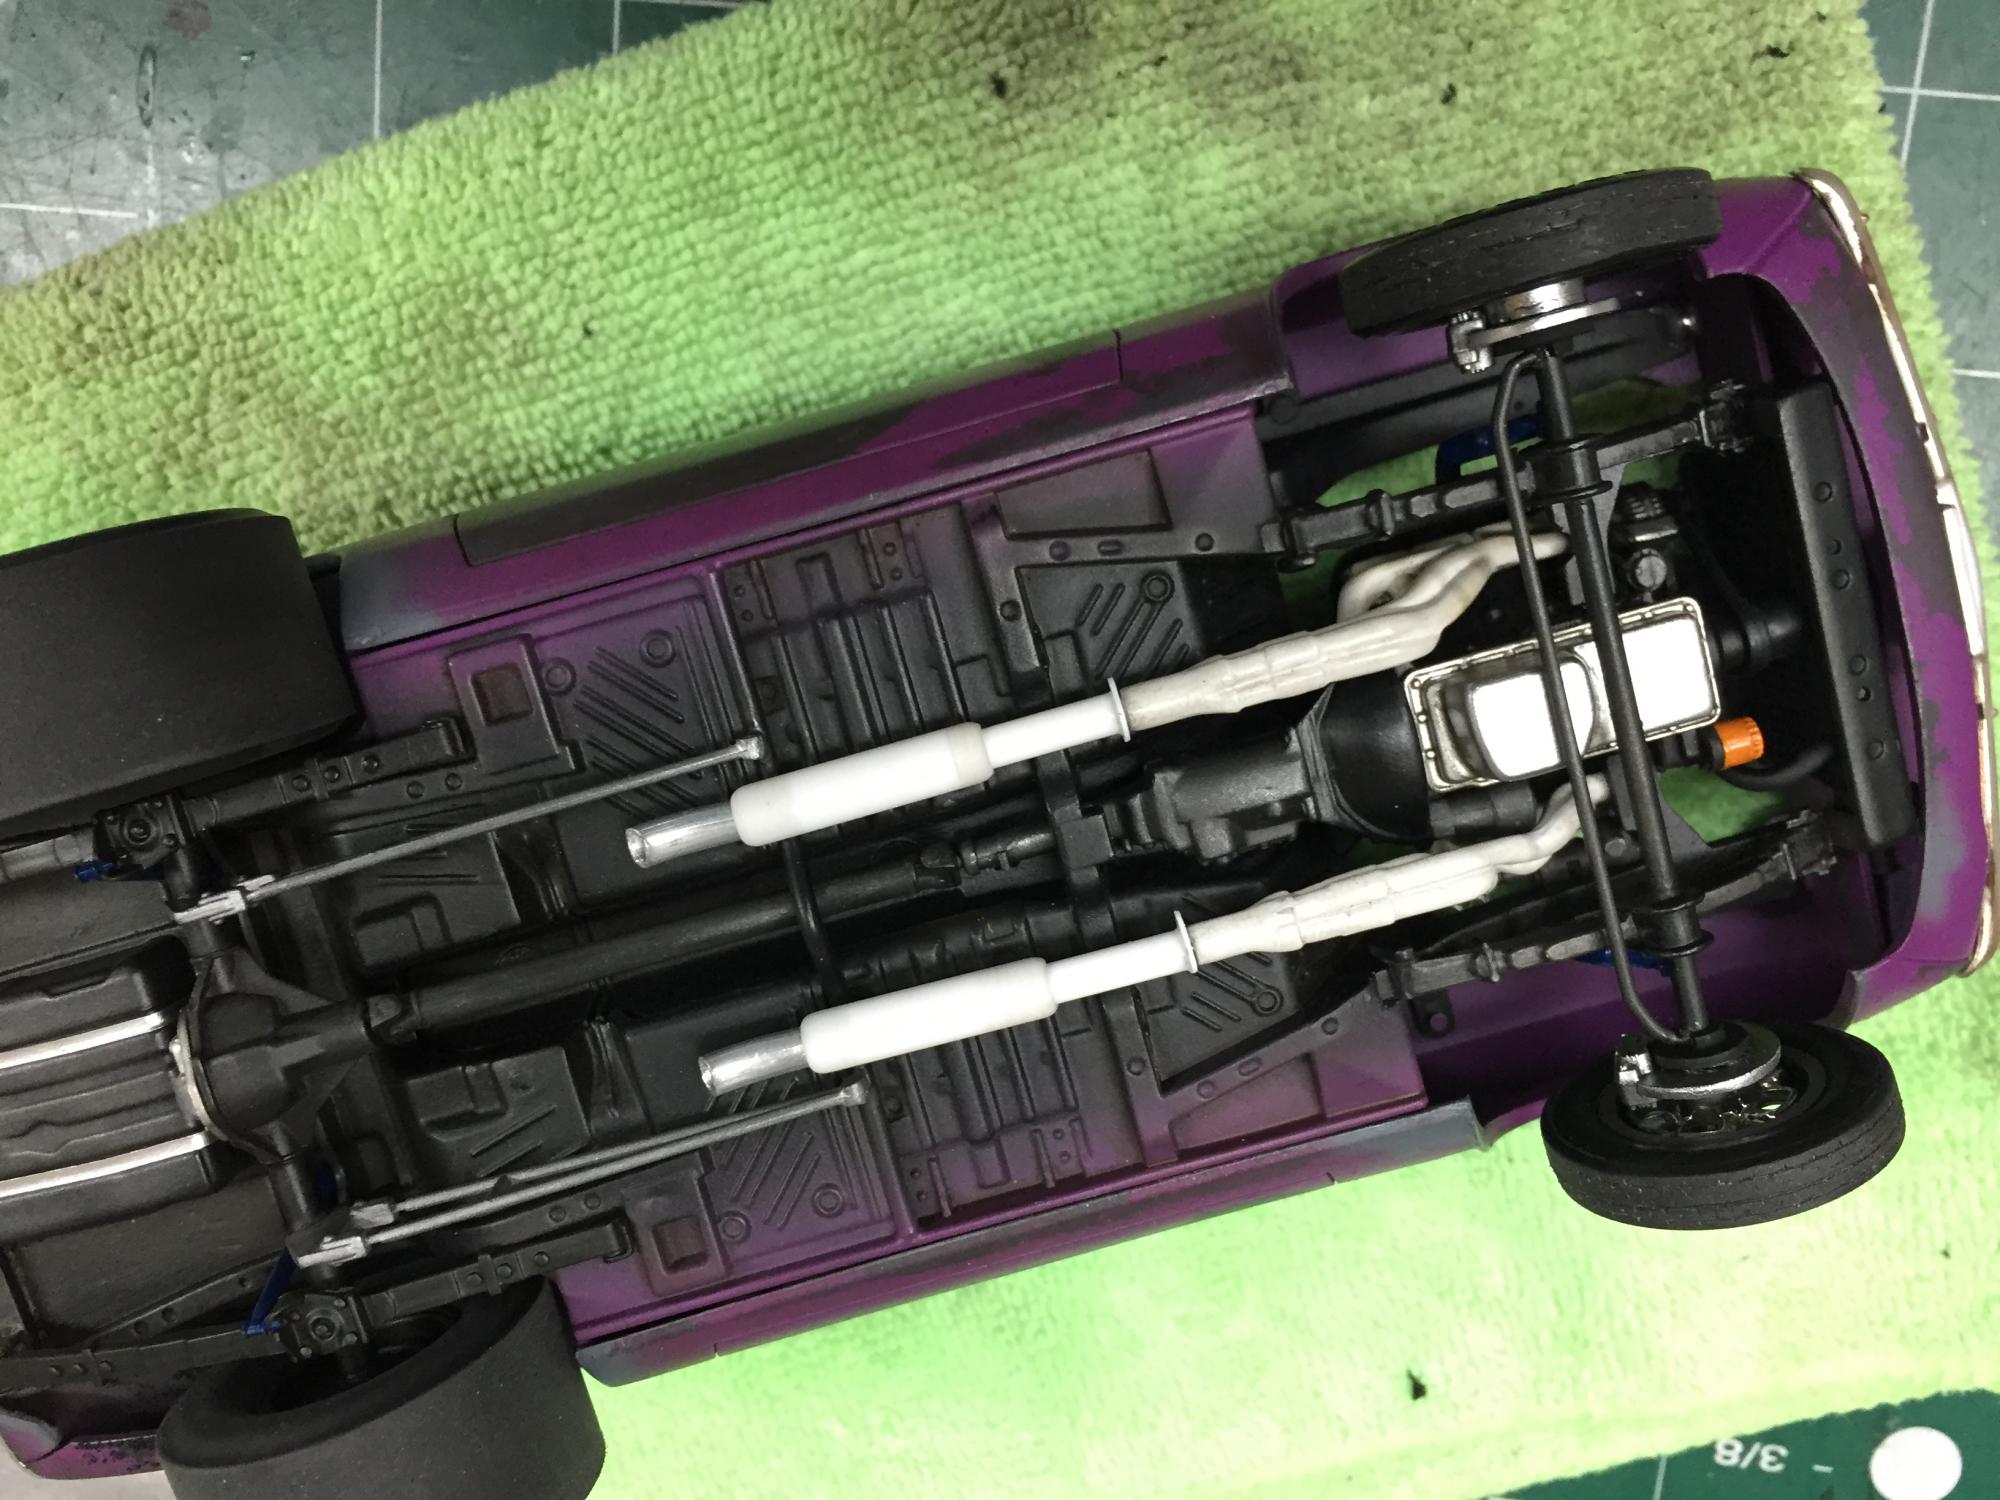
Exhaust is done.. Scoop is drying! End is near!
-
Getting the exhaust sorted.
-
Really nice and clean work
-
yes, tamiya clear yellow. Airbrushed and thinned with laquer thinner.
-
close enough.... Ha
-
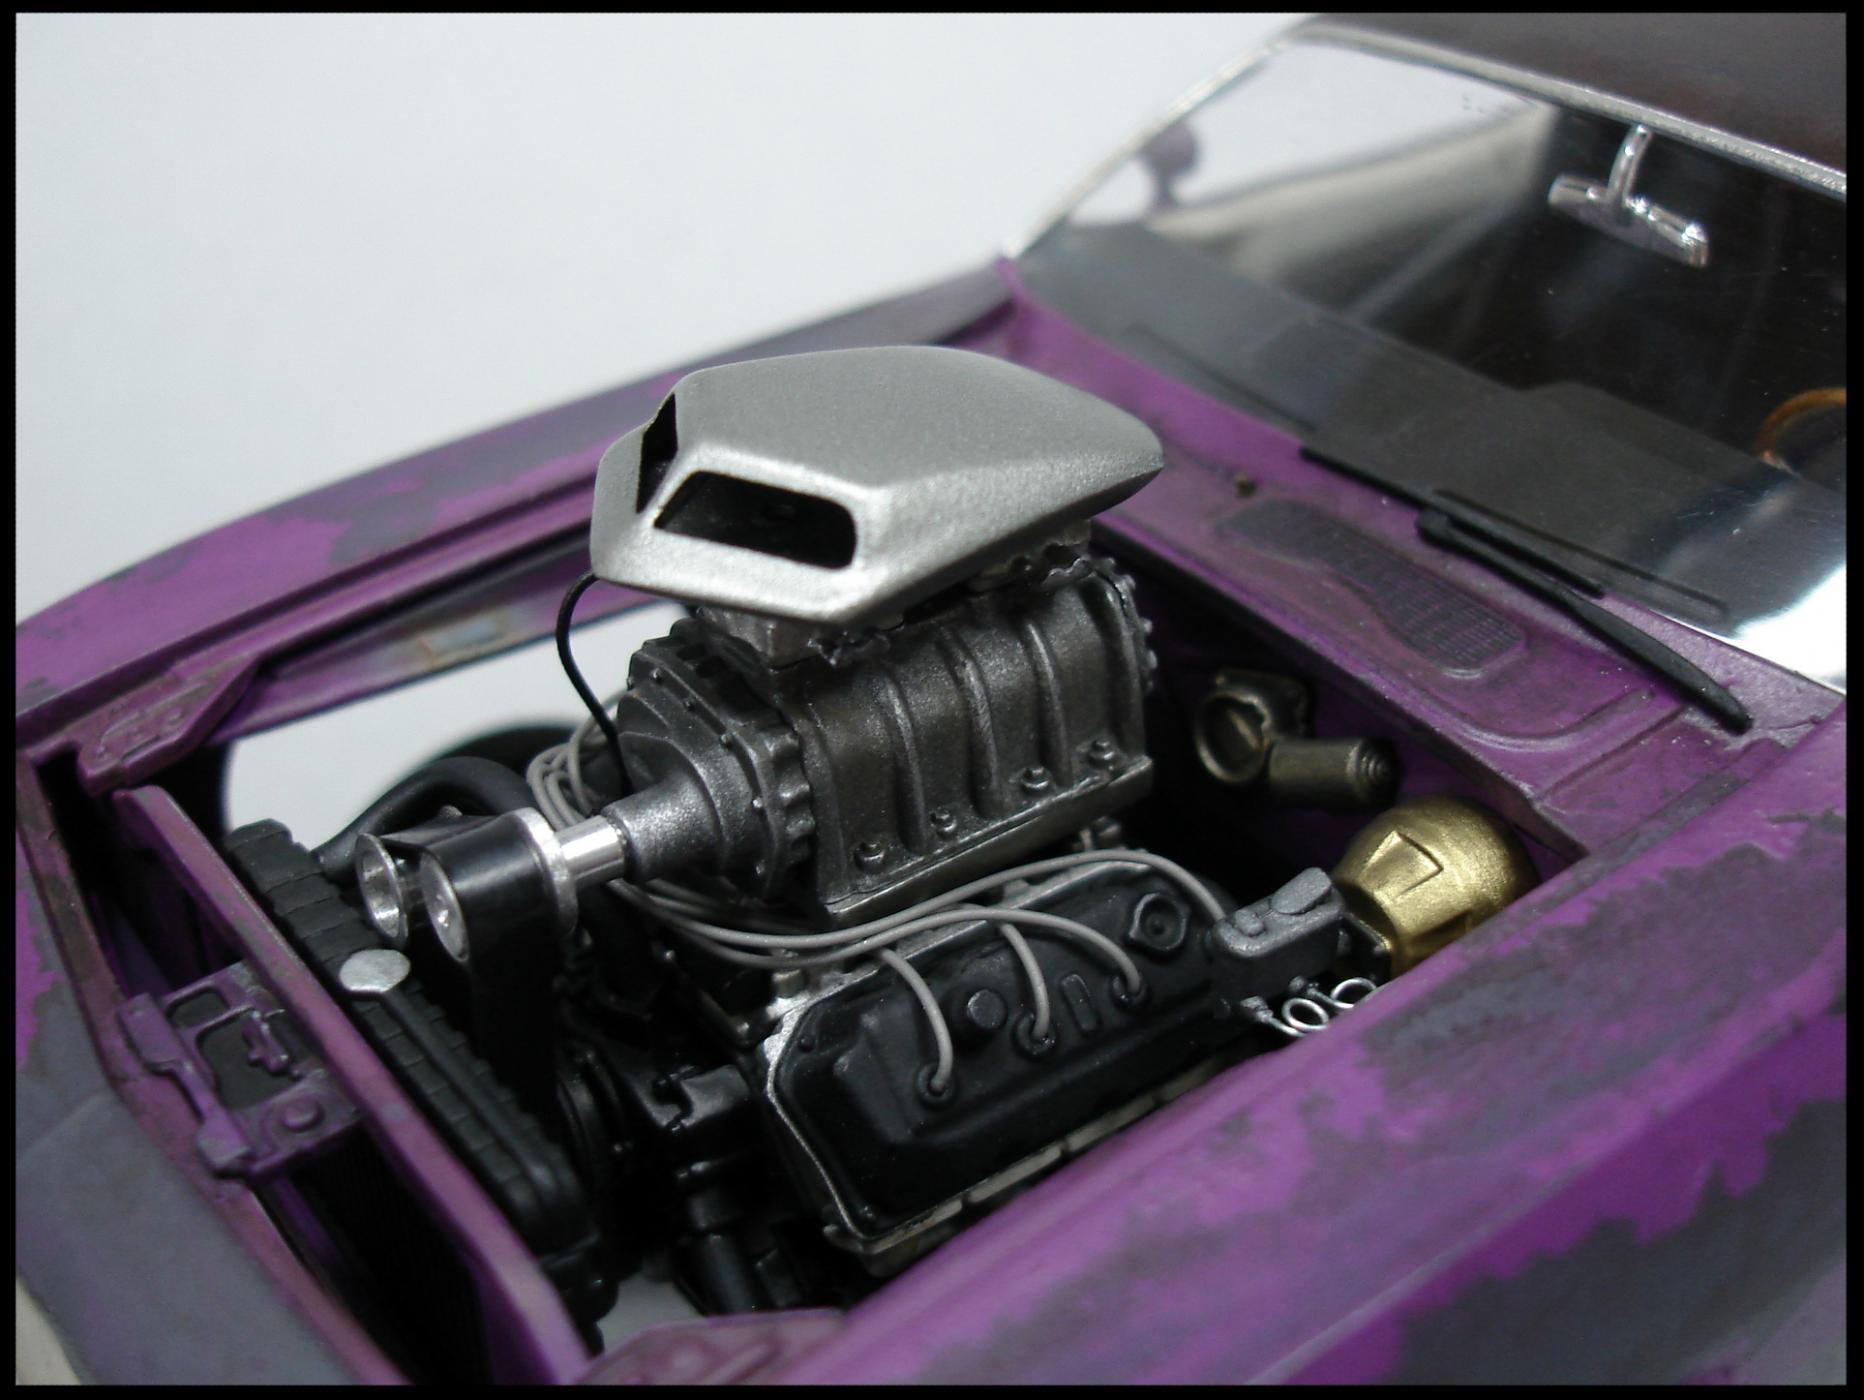
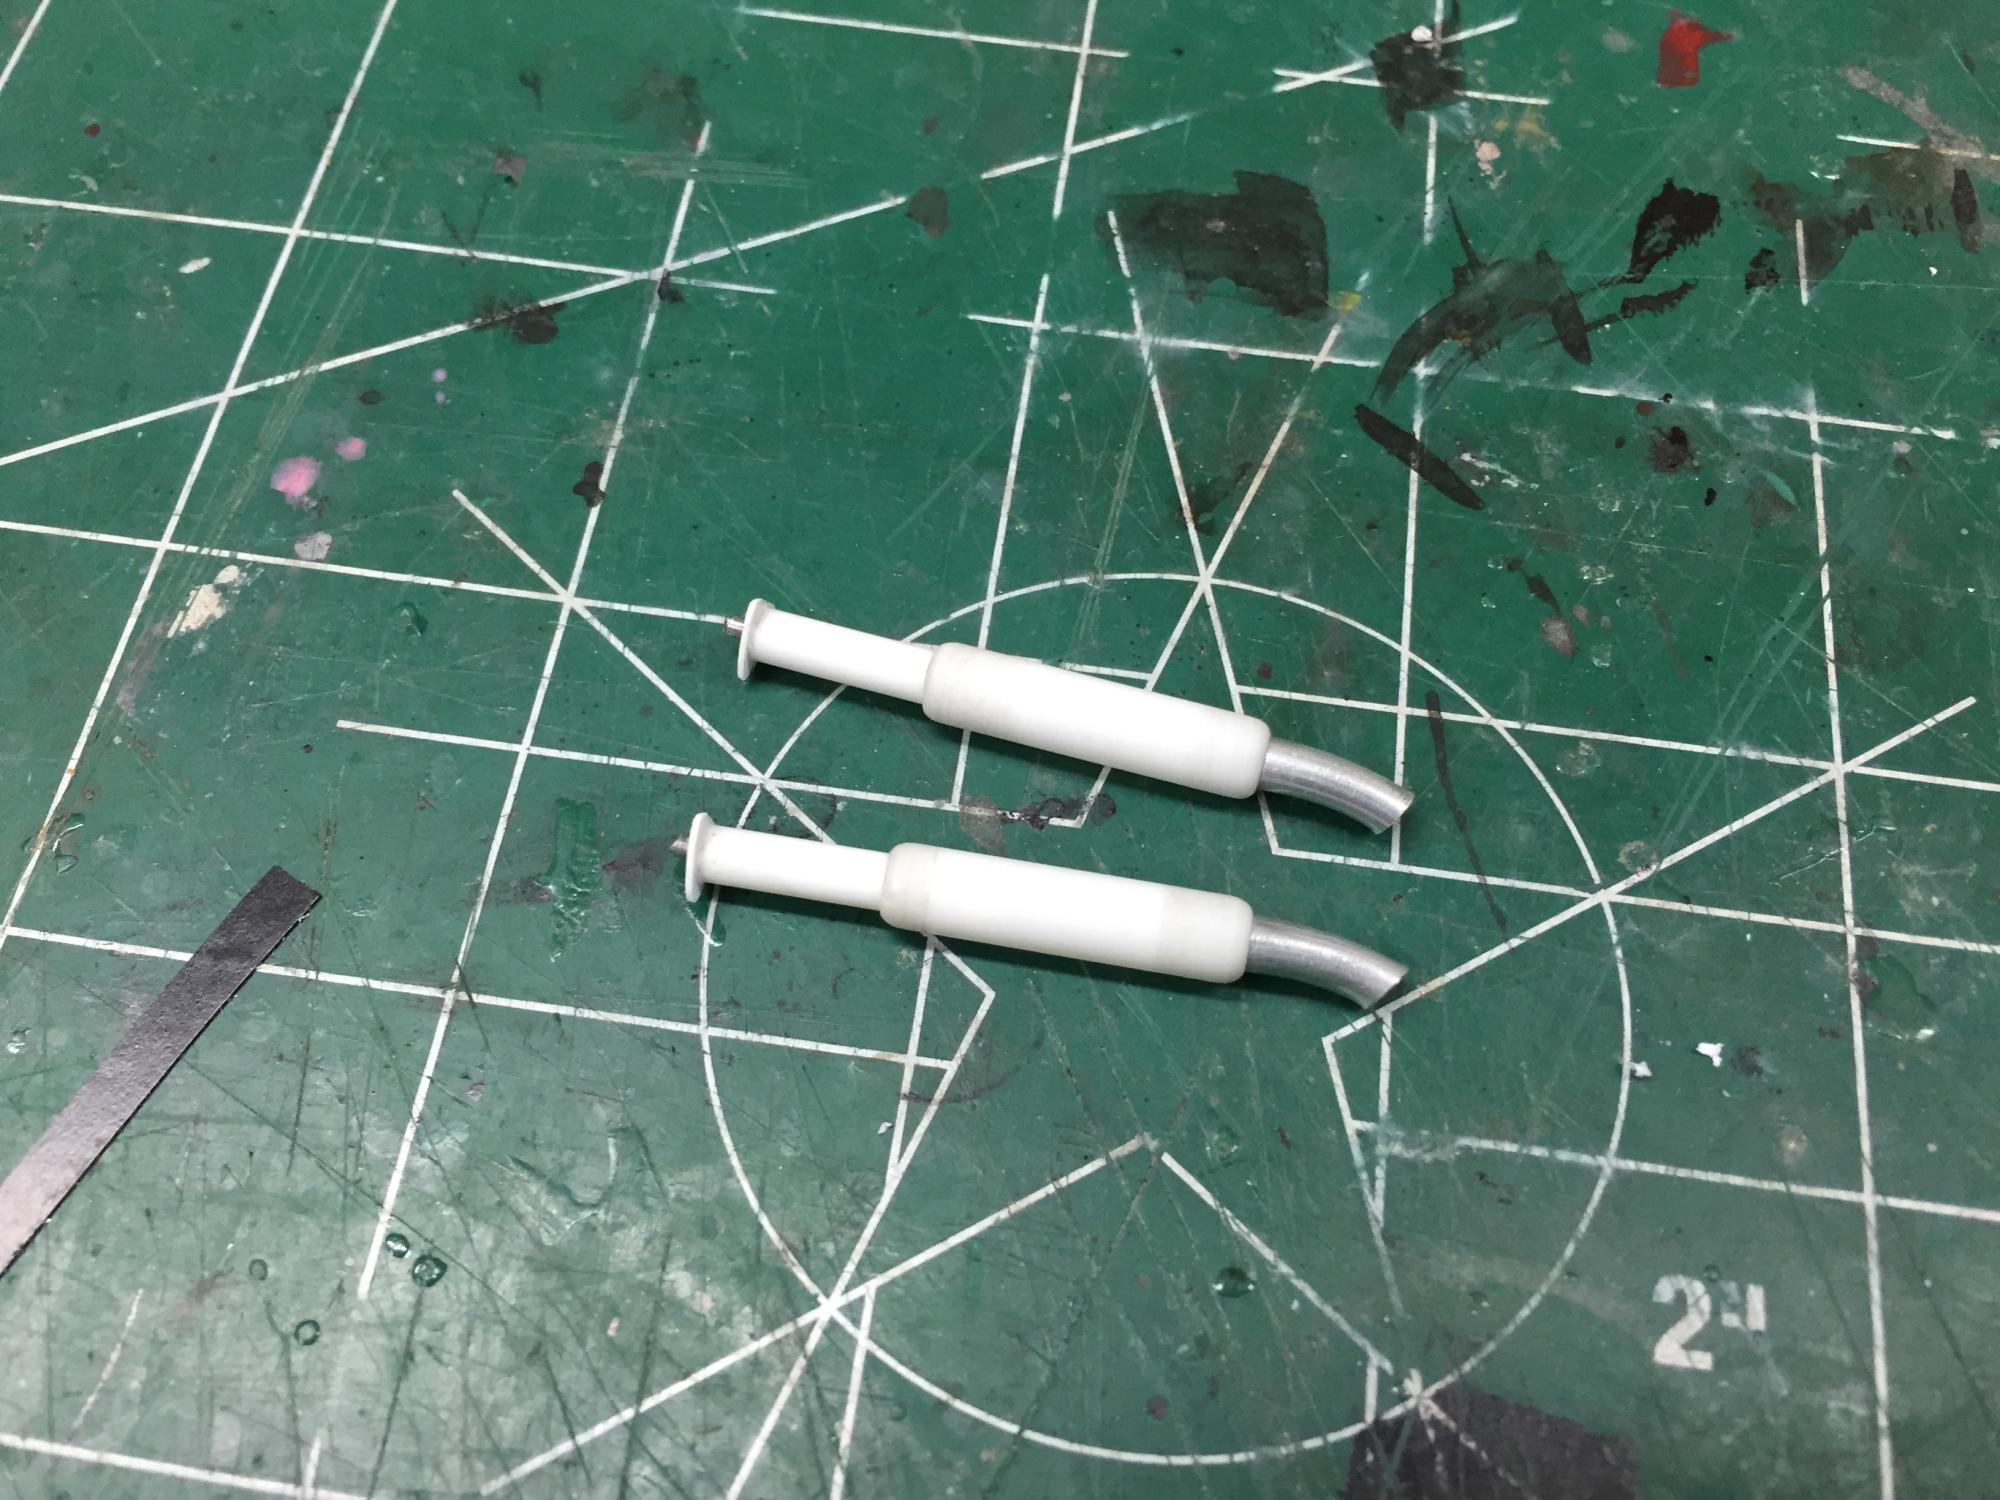
Should be finished up tomorrow if all goes well, need to paint the scoop (again) and make some sort of exhaust. Once I got everything all settled that blower belt is a little close to the radiator. But a piece of .020 fits between and that is like a half inch in 1:1... Close but...
-
Thank you guys! I'm on the home stretch now. Glad the scary bits are over.
-
probably the scoop, I just couldn't get the stacks clean enough to be happy with it. Made the blower drove this morning while I was waiting on some odds and ends to dry.
-
Engine progress continues
-
Eric Goodrich`s:: "IRON LUNG" - On the Workbench 2/8/16
exesivefire replied to John Teresi's topic in WIP: Model Cars
Inspiring stuff -
Perfect
-
I remember this one, glad to see it back
-
I am genuinely excited
-
That all looks fantastic
-
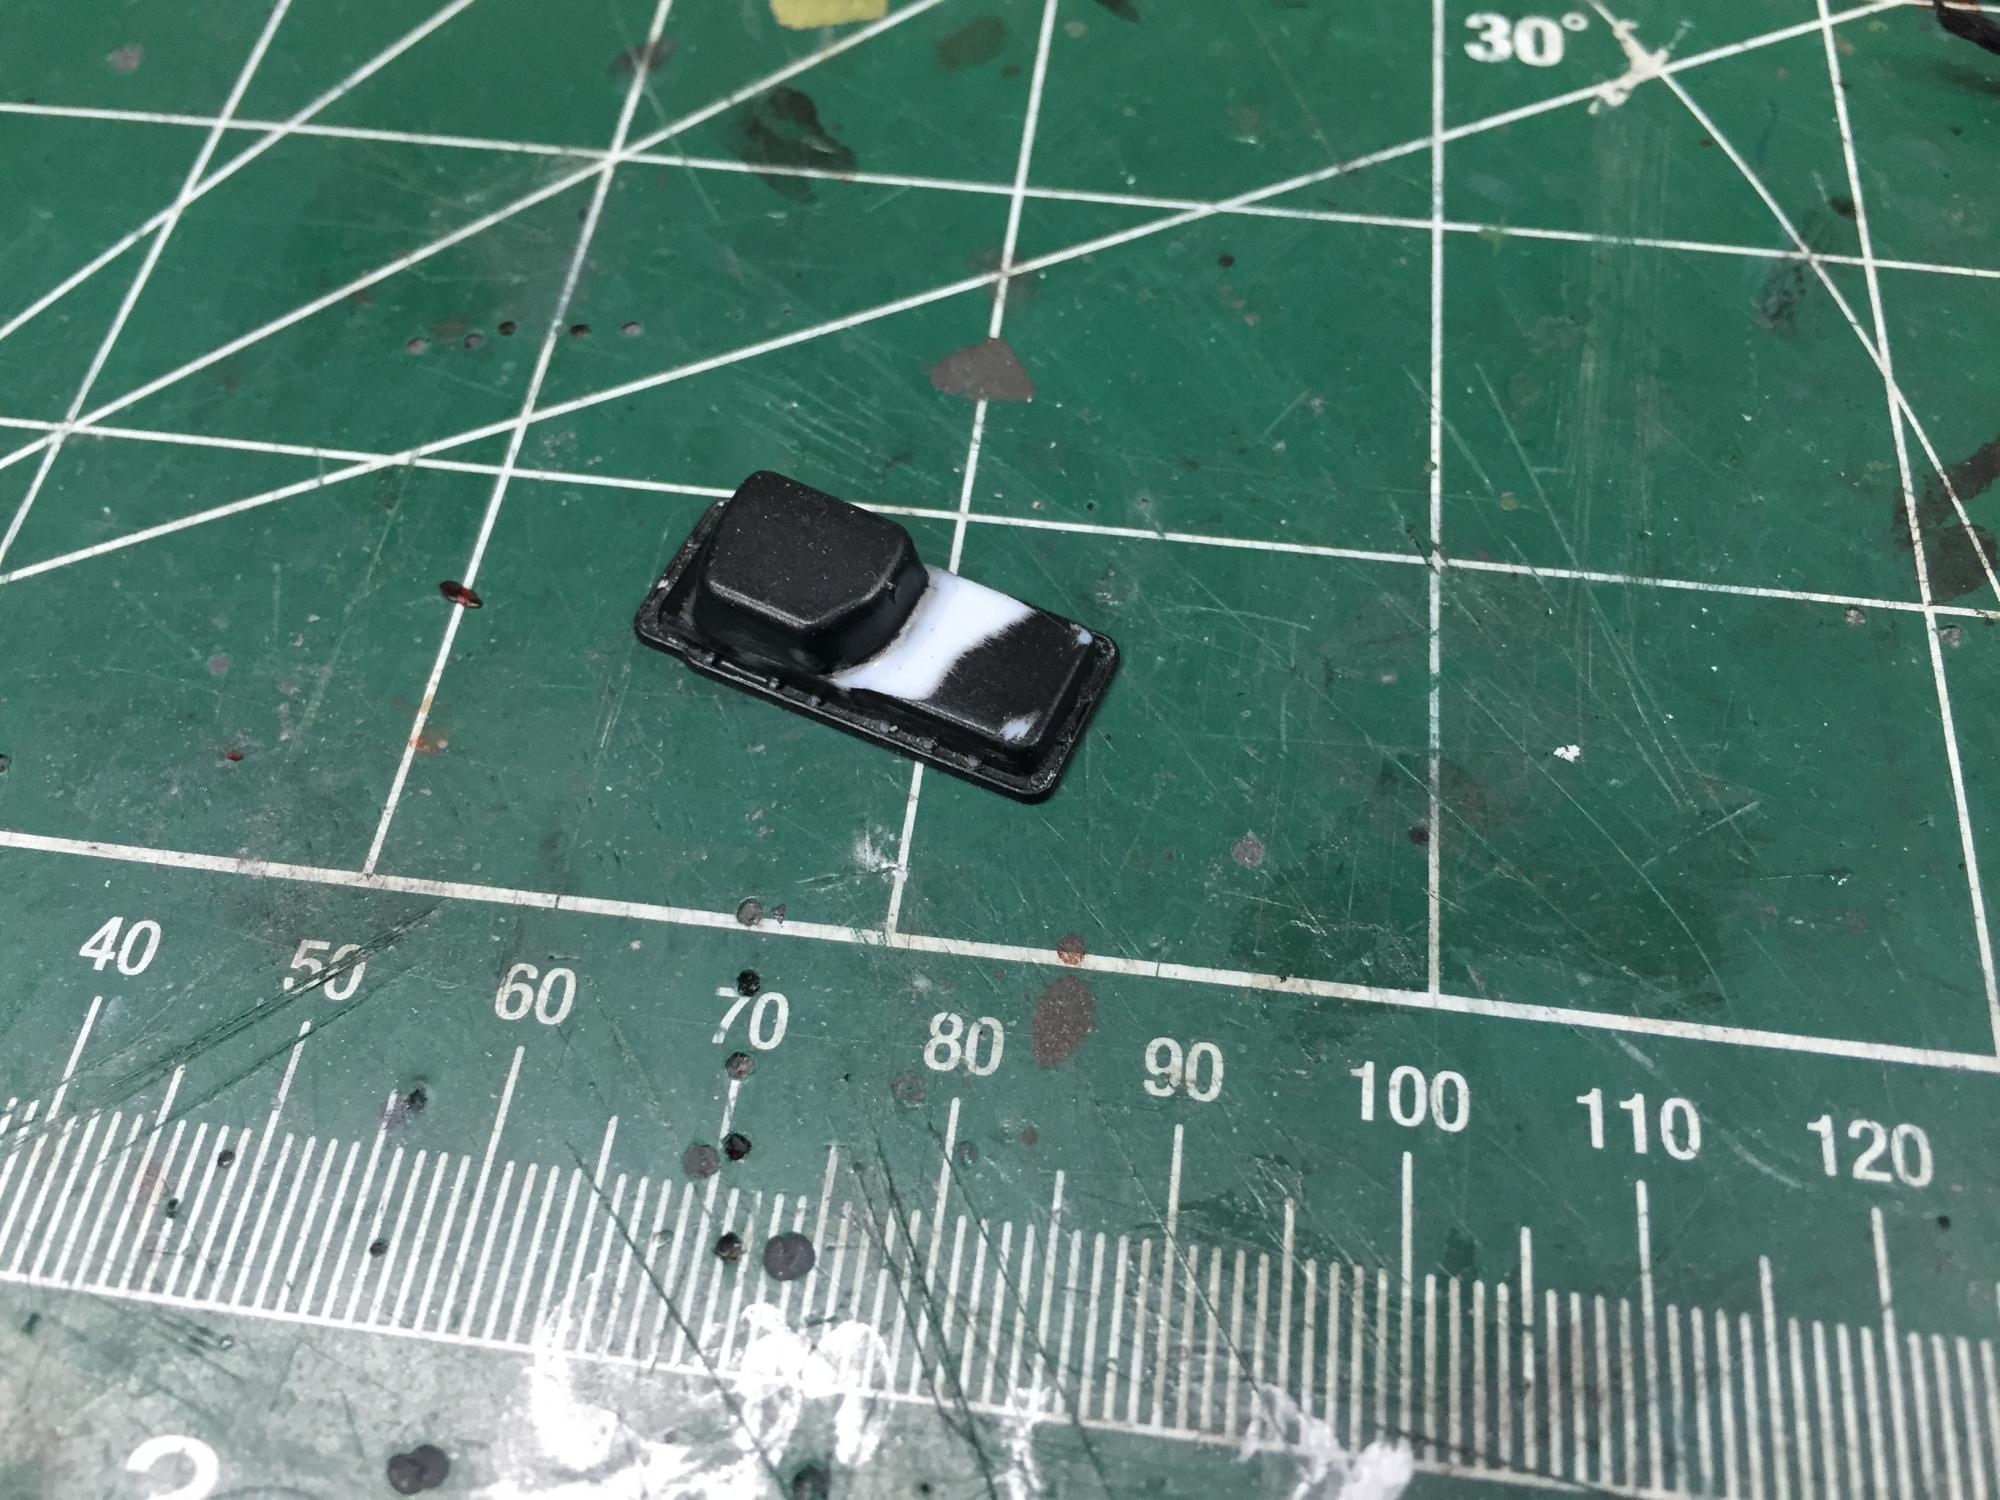
Started on the engine, and hit a snag.. Had to modify the oil pan to clear the front axle.
-
thanks pat
-
Thank you!
-
Beauty!
-
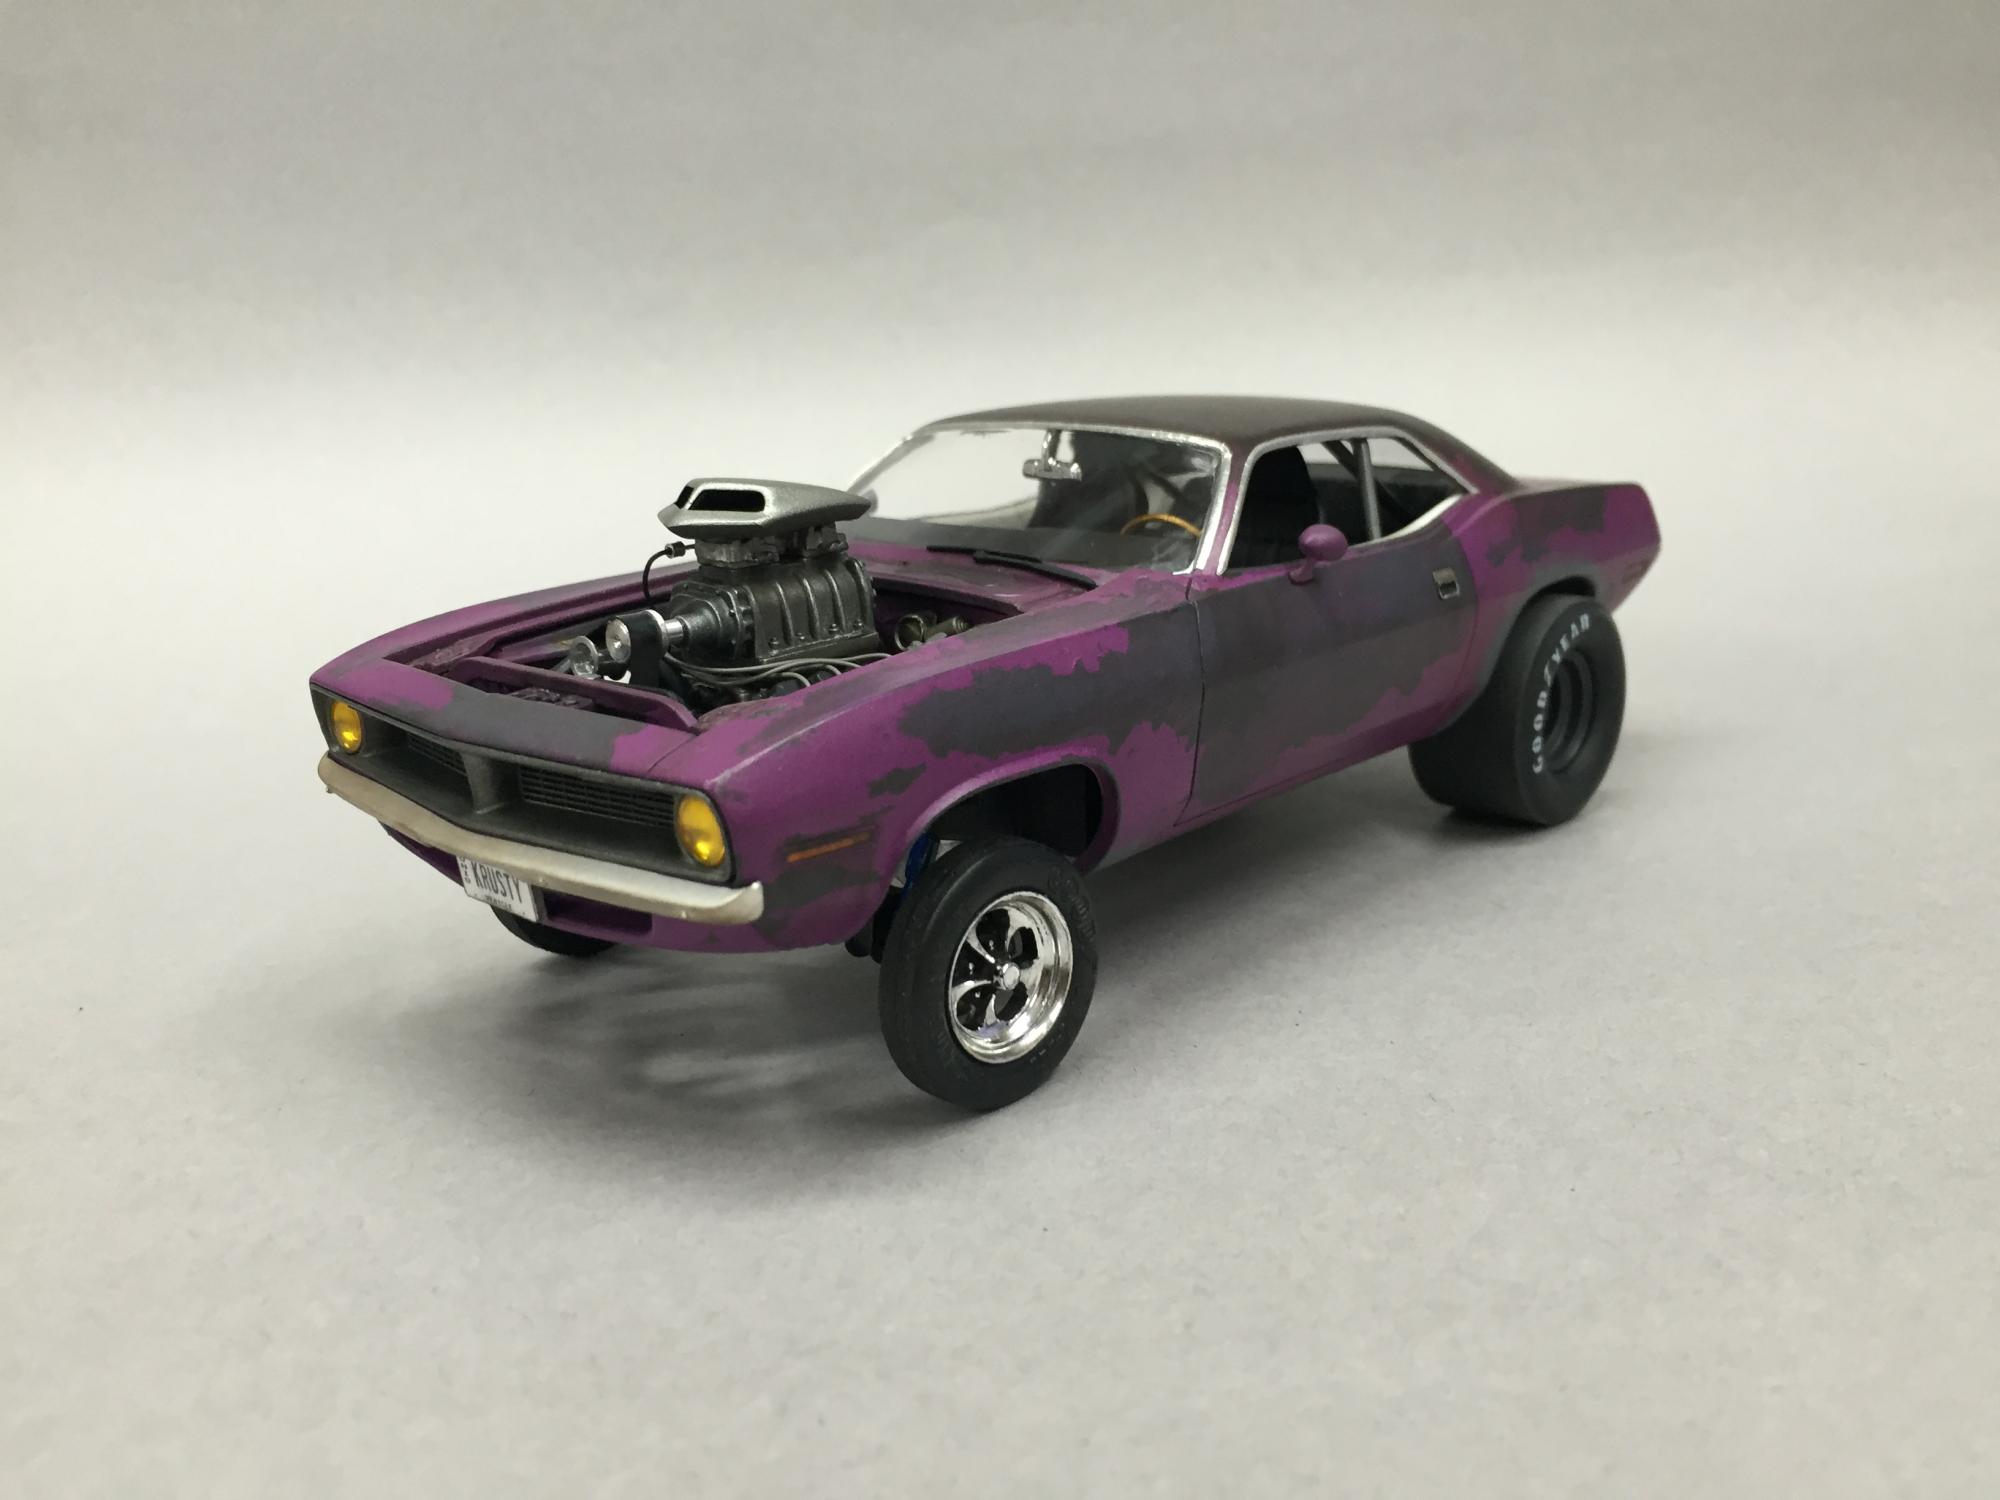
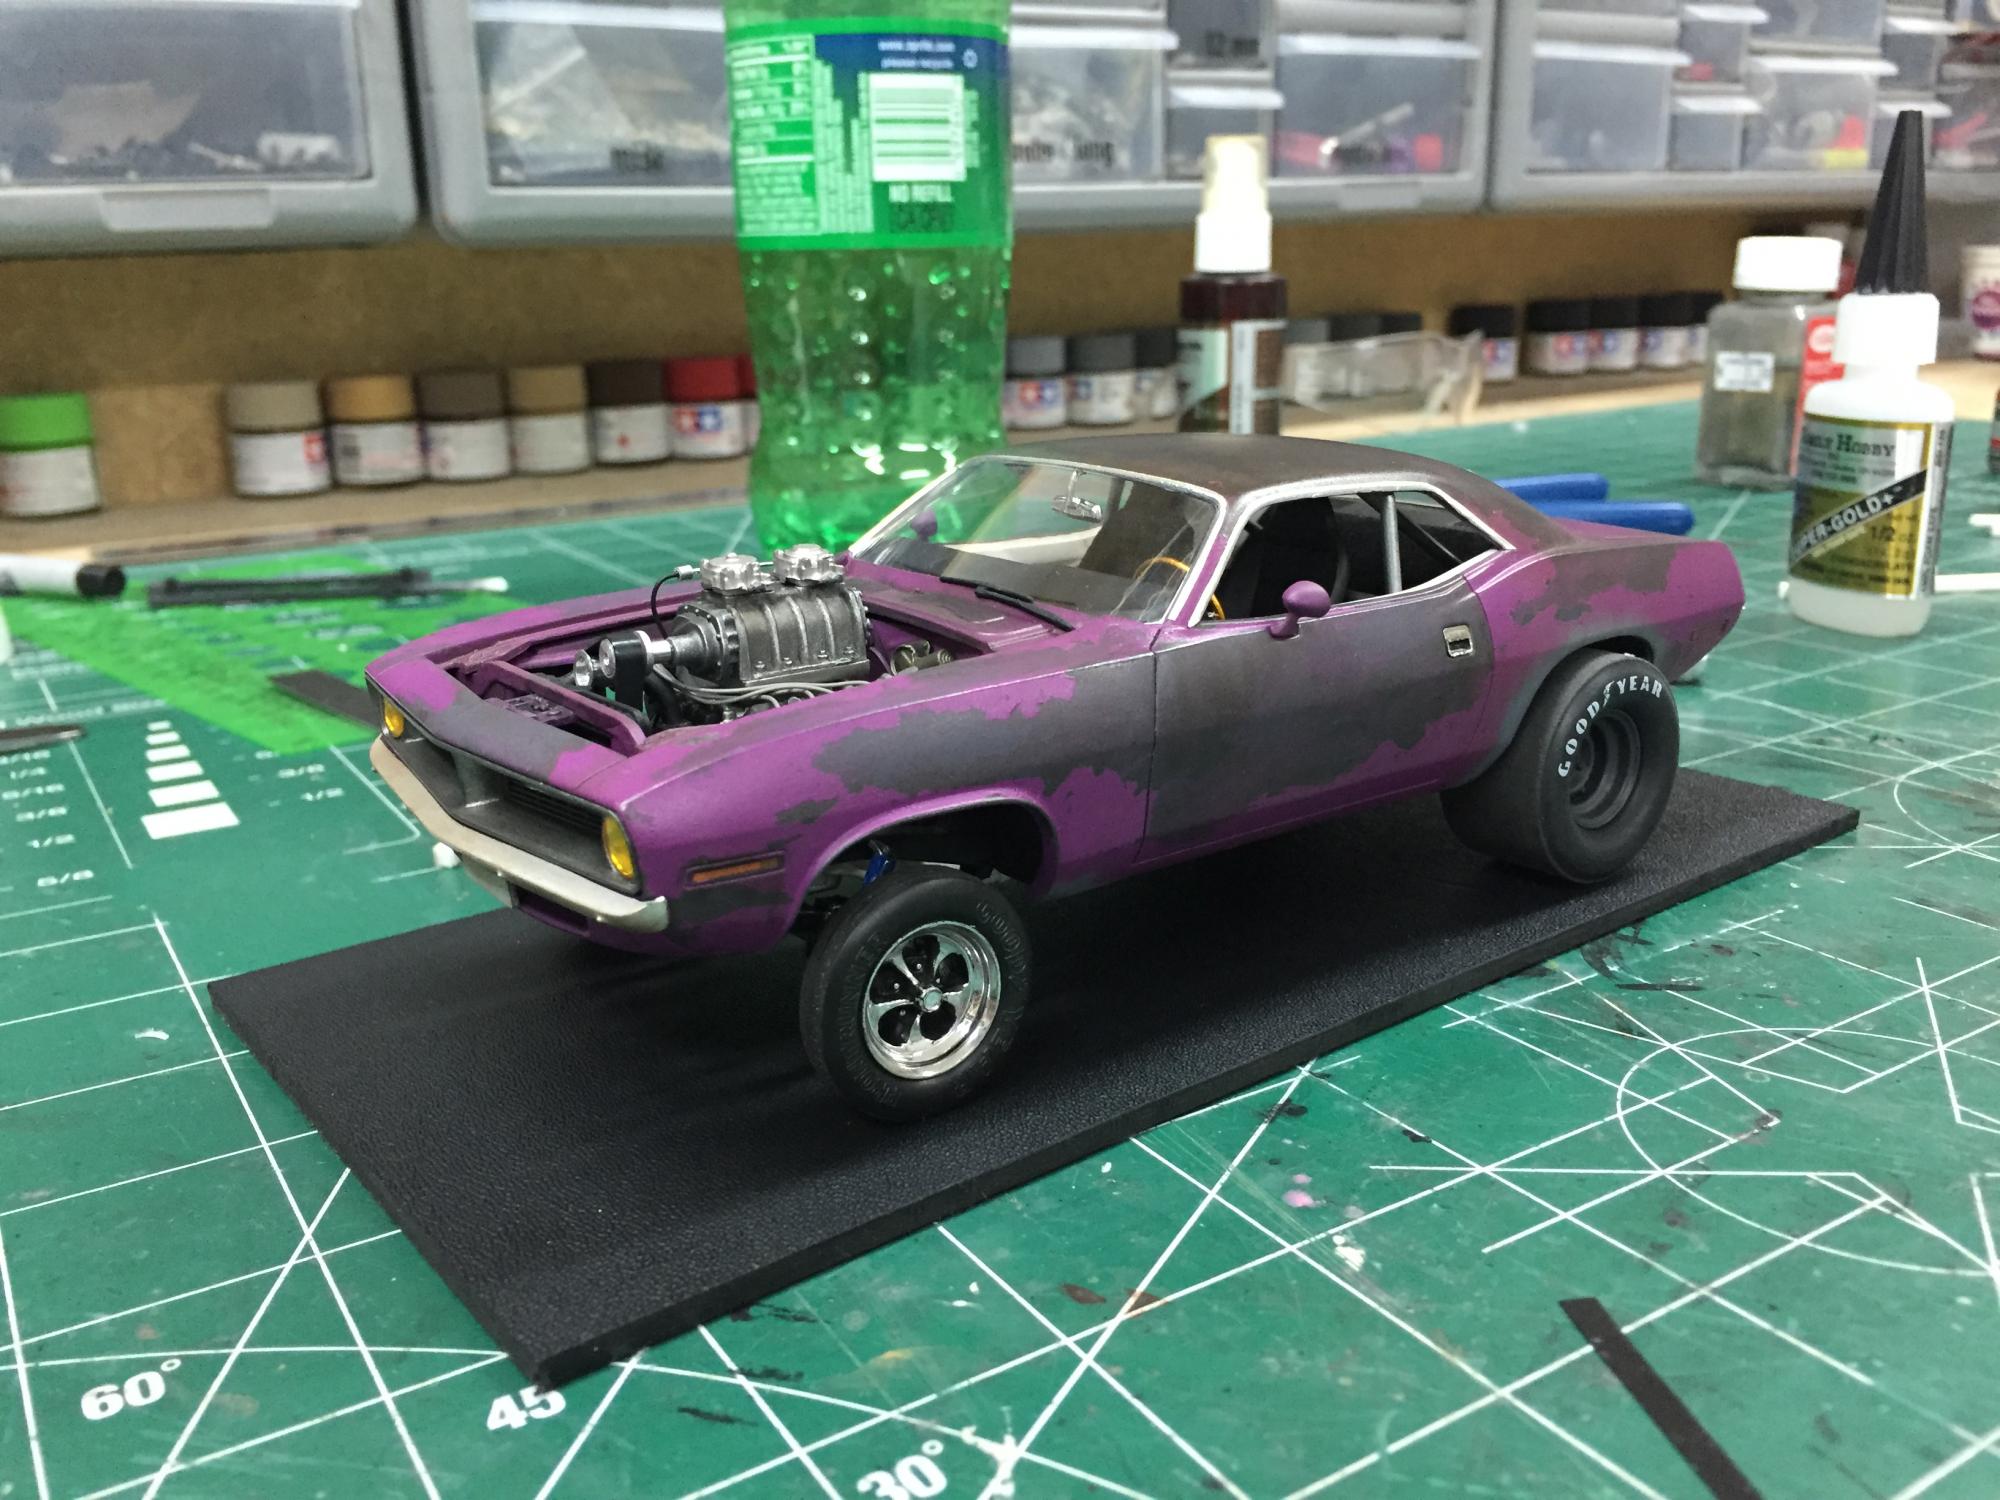
thank you for the kind words! I did take some pictures along the way, not sure why I didn't post them here. I first started with a primed body and my arsinal of washes. I use various techniques using rust, black and earth tones , usually puddle it on the top parts and brush them down the sides. These washes dry pretty thin, so you can afford to be kind of heavy. I followed that with a coat of dullcote to seal it before the next step. I use water base paint for the next step so your techniques can vary, I did spray some hair spray in a cup and brushed it onto spots I knew I didn't want paint to stick (I don't think I needed to with this particular paint though) I then sprayed my color. then using a stiff artist shading brush, some water and my secret weapon (windex) I started the scary part. Start small and try to think of how the paint would really peel, I was careful to try and have the effect stop at panel lines to try and hide what it was I was actually doing. after that I did a bit more washing and shading, and sealed it all with a dullcote/clear mix
-
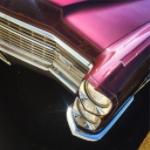
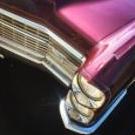
Worked on the front and rear details, after taking a break from trying to clean up those stacks. I'm having trouble cleaning the joint where the stacks were glued to their bases. And then I dropped one and bent the tip. Might be a sign... taillights painted, rear bumper sprayed with dullcote and added a bunch of grime same treatment on the front bumper and we can say I'm on a yellow headlamp kick.
-
Really nice build