-
Posts
2,484 -
Joined
-
Last visited
Content Type
Profiles
Forums
Events
Gallery
Posts posted by Codi
-
-
Congrats Eric on the build & the award! Truly deserved......however.......I can't wait to see what you do with the dragster. With your talents and imagination, it'll be an awesome addition to this one. Cheers, tim
-
 1
1
-
-
Hi Ian, Francis, Daniel & Chris.......Just saying that I thank you for your posts on the car.....sometimes we all need that little bit of support for whatever the reason may be.
Dave, that's a great way of describing the process. I can only hope that the rest of the bits and pieces come along as well. cheers
GoatGuy (Dave) - we've got together again sometime soon and get caught up. thanks for checking it out once more!
Status on the build, I've got 1/2 of the steering rack made and I'm just waiting on some raw material to finish it. In the meantime I've got the main chassis rails drawn and ready to go (they'll be brass btw) so as soon as rack is done I'm going to machine them. Soon!
Cheers one and all, Tim
-
Ian, super nice job on the new cowling......subtle BUT it does make a difference and the wheels look fantastic. Oh so close! tim
-
Congratulations Francis, she's a beauty. All of your hard work has certainly paid off and you've every right to be proud of what you created. This is a truly exceptional model and showcases your talents as few others might or could. The documentation you did along the way has been a help to all of us modelers and I know I learned some things too. Cheers, Tim
-
Love the solution you came up with on the door handles Mark. In aluminum, it really pulls it together. Cheers, tim
-
 1
1
-
-
Joe, thanks for the compliment. It's fun getting back into the swing of things. cheers
Jason, machining them was a challenge I set for myself instead of making fabricated tubular ones. During the early 70's pro-stock rules stipulated you had to use "stock" (most were modified extensively) upper & lower control arms. Not sure how Grumpy and others got around that at that time. I wanted to mimic modified but STOCK control arms, the lowers will be the same when it's time for them. Thanks for checking it out.
Daniel & Ian & Ray - it DOES feel good and I'm pleased that I've not forgotten anything. After that long layoff its fun to get back to it and I'm eager to get onto the next parts..... cheers, tim
Francis, thanks sir. To be honest, I only took my dremel with the "soft wire wheel" on them with a few passes and they came out as you see them. I did shape them with a sanding stick in a few places to get the final shape.......cheers, tim
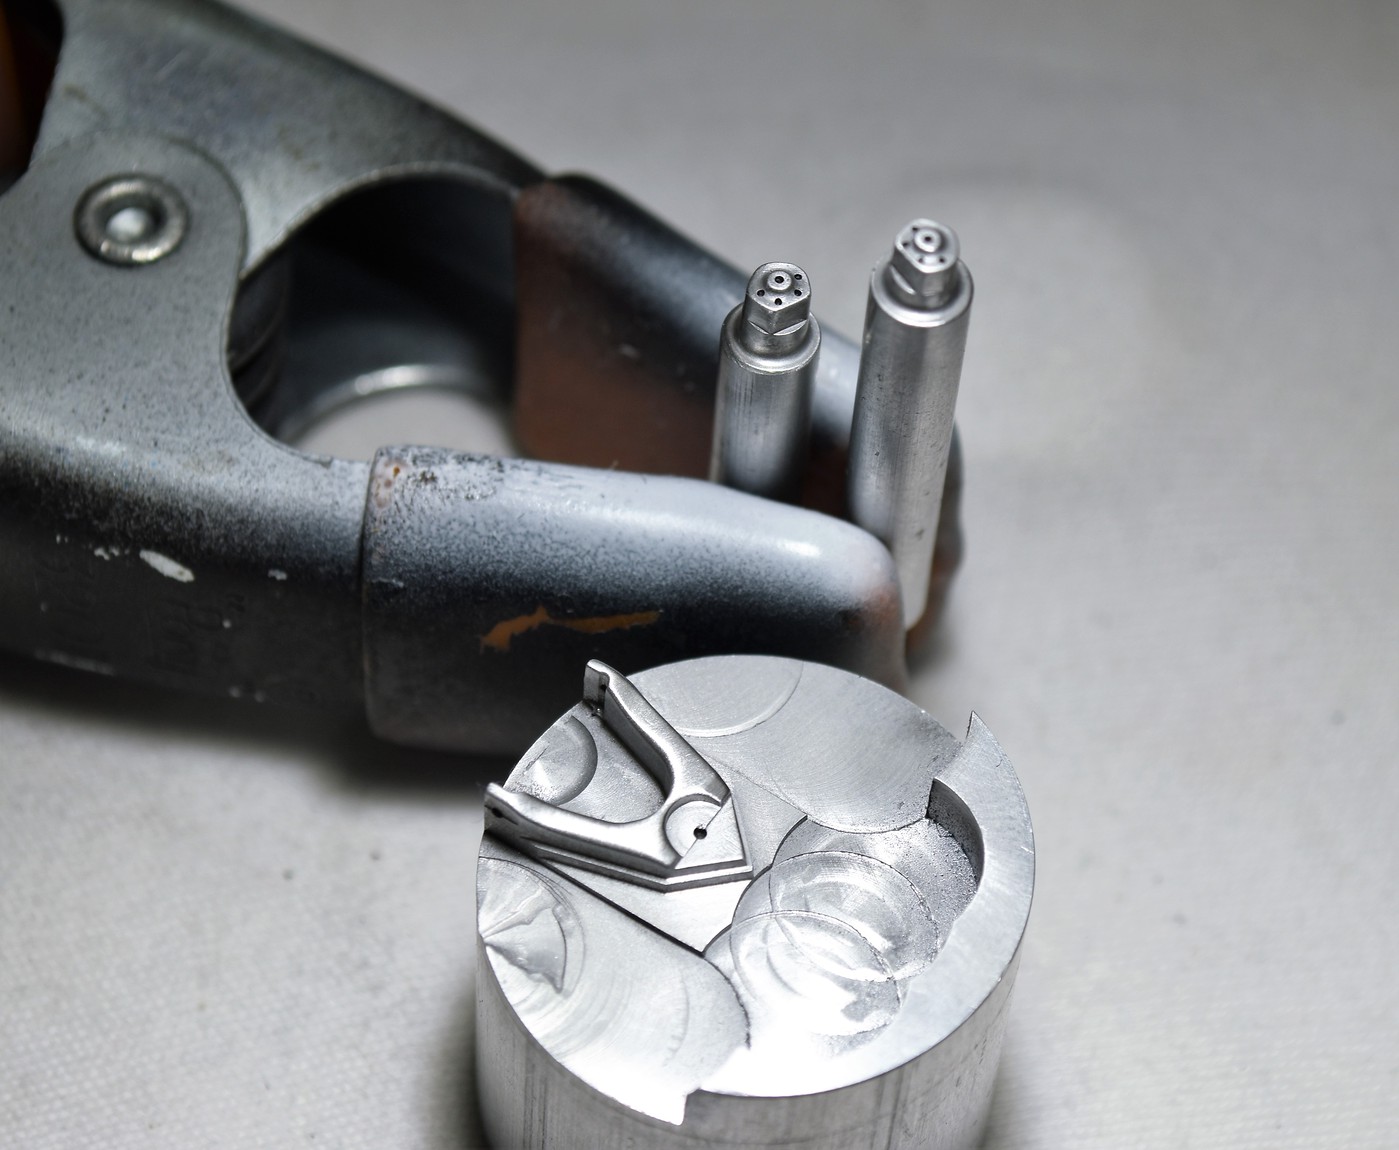
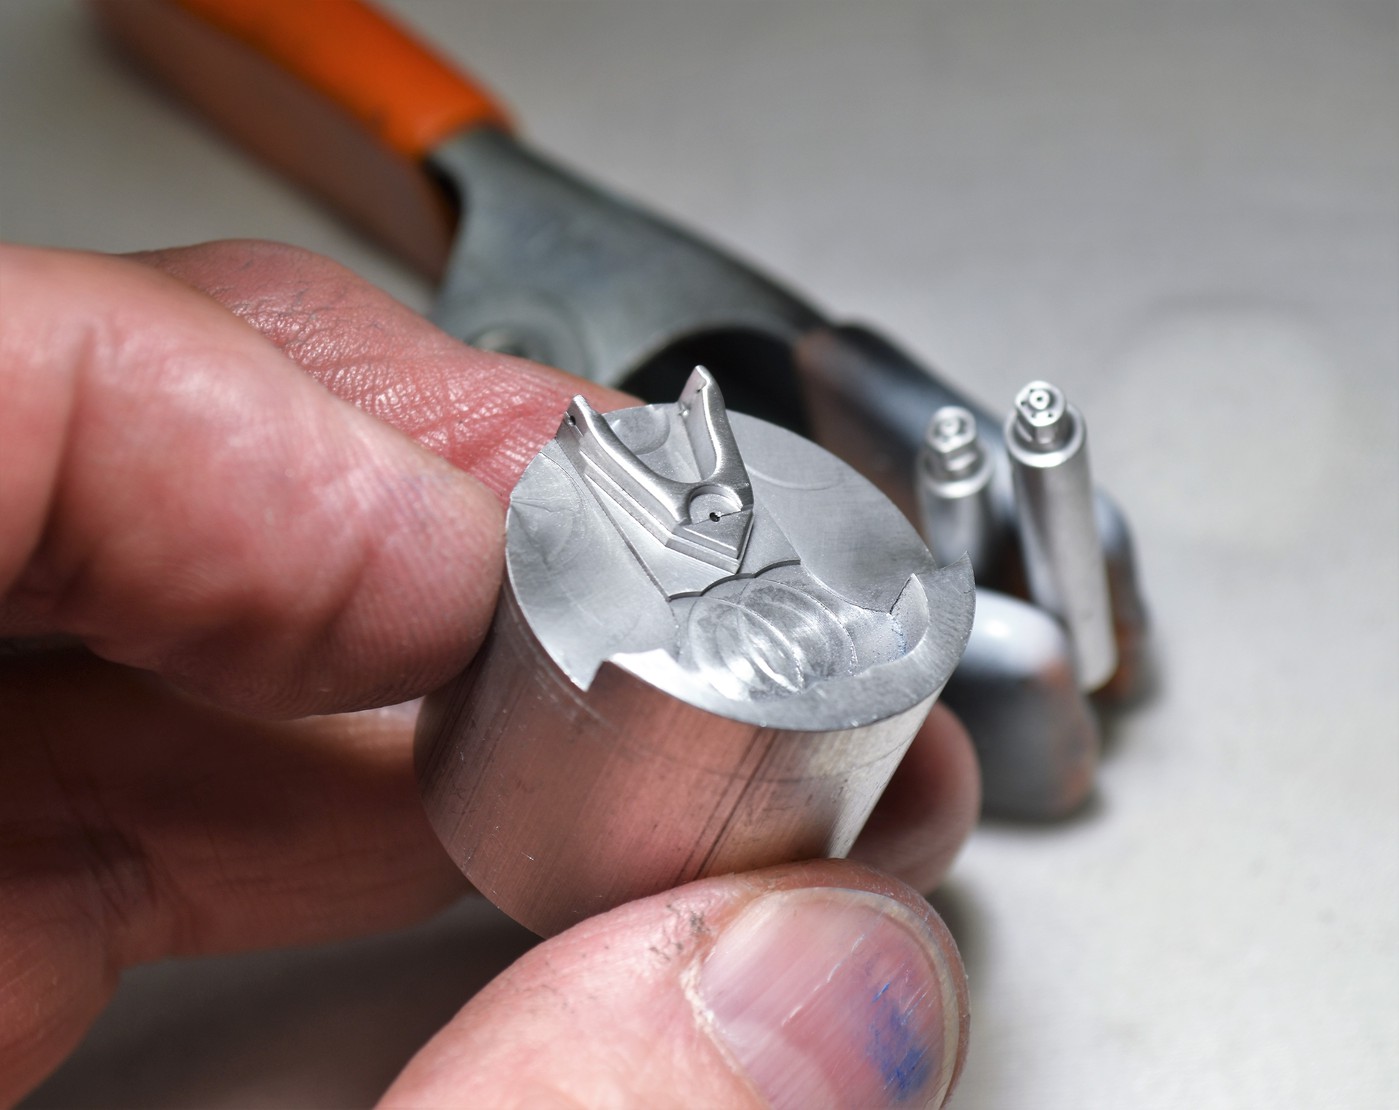
Today I parted them off and took a moment to take pics to share. All that's left of them is the ball joints and the 4 (per) bolts on the top ball joint plate. Cheers everyone! Tim


-
Thanks for the info MIke. I'm not in need of one but it looked so nice I just had to ask where it came from or how you made it. tim
-
That just looks oh so right JC. Like that last pic especially. cheers, tim
-
That's a serious looking kit and build Bruce. If the entire kit is like the wheels and tires, you've made a fantastic choice. I agree wholeheartedly with you the Miura was / is on of the finest cars ever made. Enjoy. Cheers, tim
-
 1
1
-
-
First time checking out this thread Mike, great looking vehicle and details you're capturing. What did you make the luggage rack out of? Well done! cheers, tim
-
Hi Joe, I just wanted to say that I too am sorry to hear of the loss of your mother. Your mustang in blue caught my eye, but when getting caught up on your earlier posts, I came across the news. Best regards to you and your entire family, Tim
-
 1
1
-
-
Thanks Jason, now that I'm finally back on the build you should see more frequent posts from me. cheers
Today I got one upper control arm done. I've yet to part it off of course and I have the front of it to round off once it's separated. Next to it are the pair of "ball joint caps" as I'll call them for now. They'll be affixed to the control arm at the front of course. I never made these before so this was time consuming for me. I'll share a pic too of the real one upper control arm I was trying to replicate. Cheers, Tim


-
 1
1
-
-
Great pic Ian.......like how you showed it next to your build. Kudos! tim
-
Boy do I like that pic of the cab on it.......this thing is STELLAR! Oh, and all the little bits and pieces ain't bad either...... 😏 cheers,tim
-
Hi Mark, well, it was fun catching up on your progress and I can get "lost" enjoying all the little details you've fabricated BUT, seeing the body in primer, even a partial shot, after fixing the door.........I gotta say that is just crisp looking. Fantastic as always. Tim
-
 1
1
-
-
Thanks to JC & Dave and of course Francis for your comments........I was having some trouble posting so this pic is kind of a test to ensure that I can upload pics okay.........so far it seems okay. Cheers to all...........

-
Good morning Dave, I can't tell you how good it sat down to do these. I got to the point where I was wondering if I even remembered how to do things. But, just like riding a bike it came together pretty well. Thanks for posting and following along. Tim
Bruce, yes sir, got my back, neck and other nonsense sorted finally. I won't be able to do as much per week as in years past I'm afraid but I can still keep moving things along thankfully and it's still FUN! cheers, tim
Hey Brad, nice to hear from you as always and that you still follow the build. I'll be posting more regularly again should have some good things to share going forward. I'm going to go back to posting more "how I did that" kinds of posts too so as to share how I tackled some of these things in the future. Hopefully it will be of help & interest to others.
Chris, ah, perseverance! Great word and really applicable for me. I was getting down a bit thinking I might never get back to finishing this build. I DO feel better now and had fun making those 2 simple parts. The upper & lower A-arms are going to be a bit more of a challenge I think. Stay tuned! cheers, tim
-
Surprise surprise....5 months later....I FINALLY sat down and made something. It's a modest post but I got the spindles done. The first pic is of a Strange Engineering spindle that was popular in the day that I did my best to replicate. Going to tackle the upper and lower A-arms next in brass. Once I have these bits together I'm moving onto the chassis finally. Thanks once more to all of you that have followed along and with your patience. Most appreciated, Tim


-
Mitchy, we really must see more pics of the car. That is breathtakingly gorgeous. Any other builds you've done or are working on to share? Again, more pics please...... cheers, tim
-
Challenging kits no matter how you slice it Chris. You're getting VERY good at tackling these projects. cheers, tim
-
 1
1
-
-
WHAT a project. The attention to detail is beyond just fantastic. Some talented people here. Keep us posted on the progress. cheers, tim
-
Hi Ian, just checked on your progress, and like Francis its very cool to see it come together now. Appreciate your insights & tips you've shared along the way. cheers, tim
-
Hello Francis, you're making great progress sir. It's nice to see the engine in the car and shows how striking it is from any angle. You've got to be so excited at this point. Cheers to you! Tim
-
This really brings back memories Justin. The colors you picked really pop & I too can't wait to see it all come together. cheers, tim


Monogram Don Edmunds Supermodified
in WIP: Other Racing: Road Racing, Land Speed Racers
Posted
Panel beaters...........yeah! Much respect Daniel and can't wait to see more. cheers, tim