
truckabilly
-
Posts
785 -
Joined
-
Last visited
Content Type
Profiles
Forums
Events
Gallery
Posts posted by truckabilly
-
-
Thank you all for your kind words.
17 hours ago, Ben said:Looks great! One thing I see that is very obvious but easily remedied is the real truck has center point steering which makes the oiler hub stick out. Jamie Rahmoller at Moluminum.com has those Stemco hubs that I mastered. Be easy to paint them and stick them on if you want.
I never thought of center point steereing. In fact, the first time i heard of a center point steering was right here on this forum. I think the only visible difference is the out sticking hub and wheels a bit deeper in the fenders, right? Probably a different steering linkage too. But can anybody tell one from the other? Anyway, I may try to make a center point steering on some of my future models. Thanks for the tip on where to get the correct hubs.
-
Nice side loader. That is a great idea and fantastic execution. Again, the details are awesome. Really, nice work.
-
I want to thank all of guys for your positive feedback. I am glad you like it.
-
20 hours ago, towman1271 said:
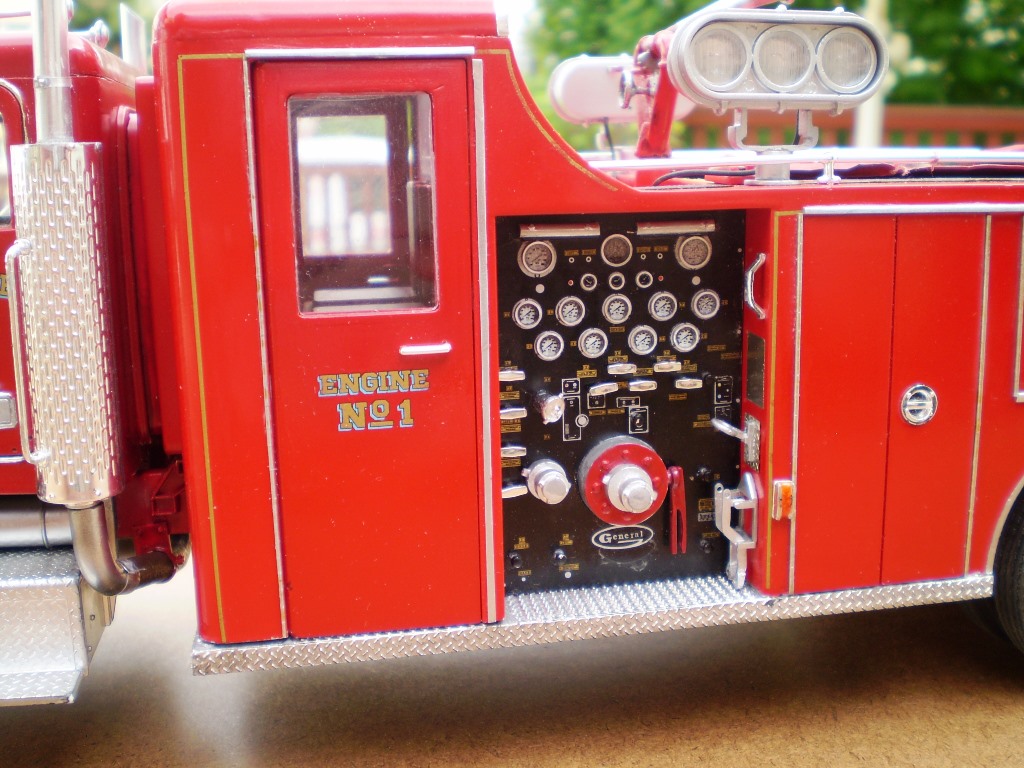
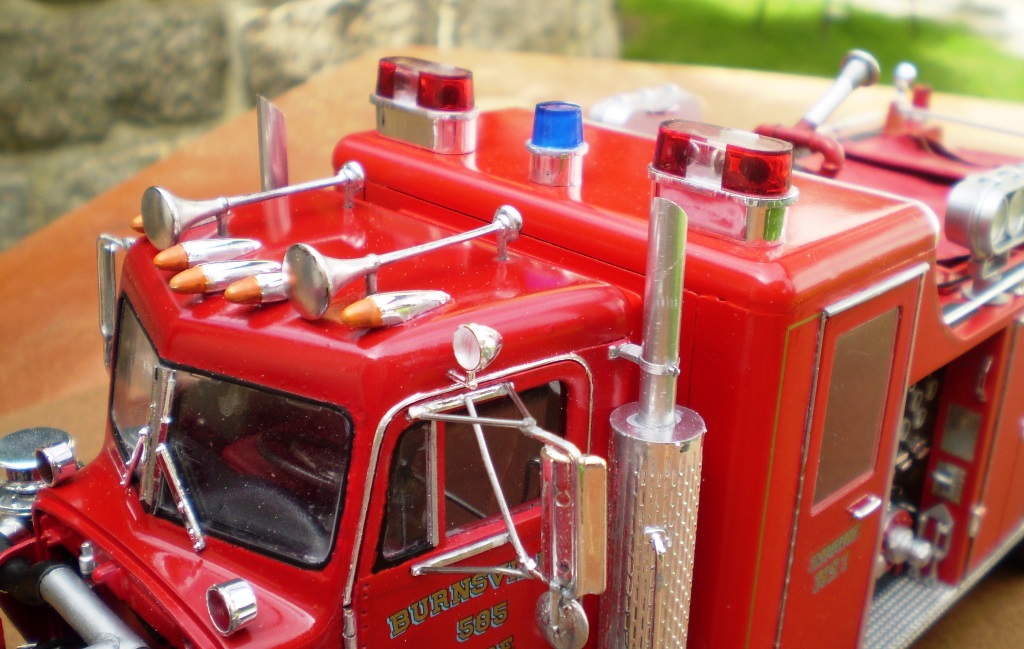
great details.. looks amazing. how did you get the face of the federal q siren to look so good.. does the kit come with that.. My tanker build has one!
It´s just a black wash on the siren face, Dave. Right now I can´t remember what color brand it was. Either GSI or Vallejo.
-
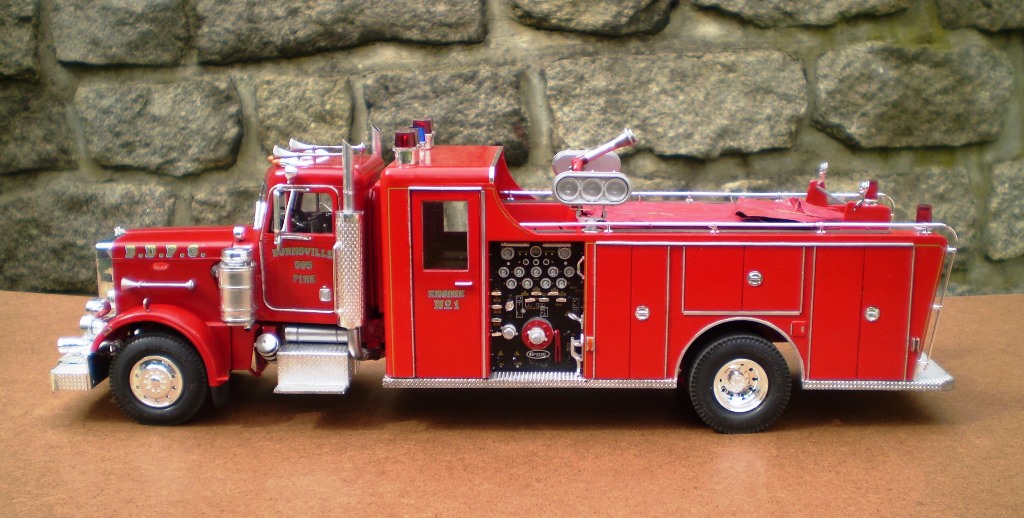
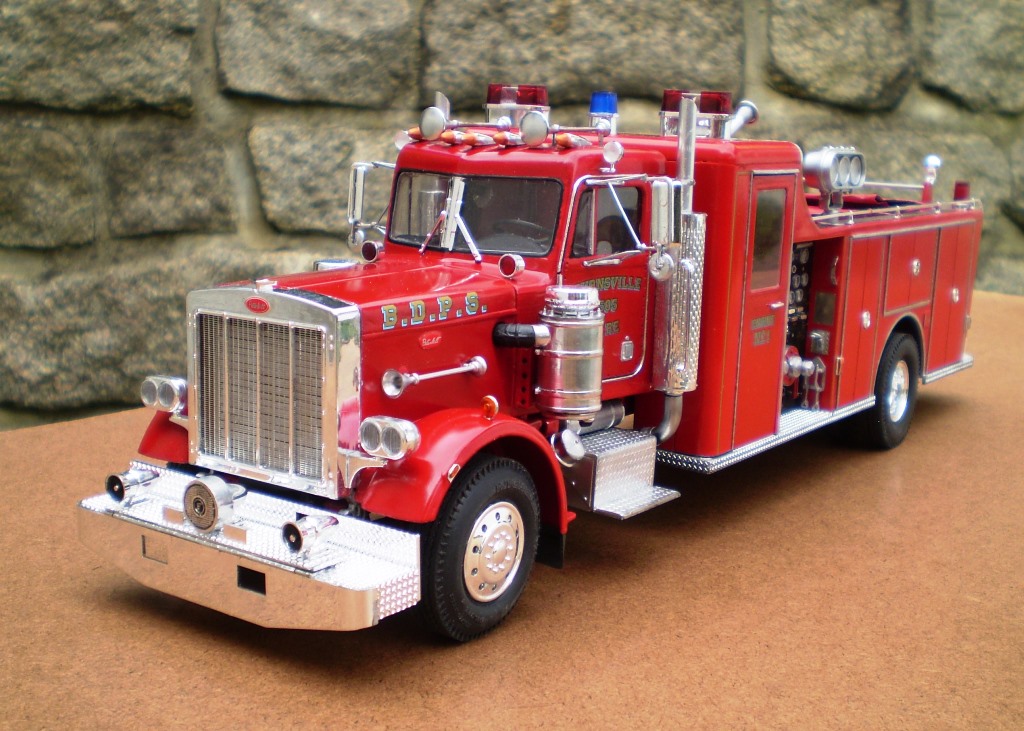
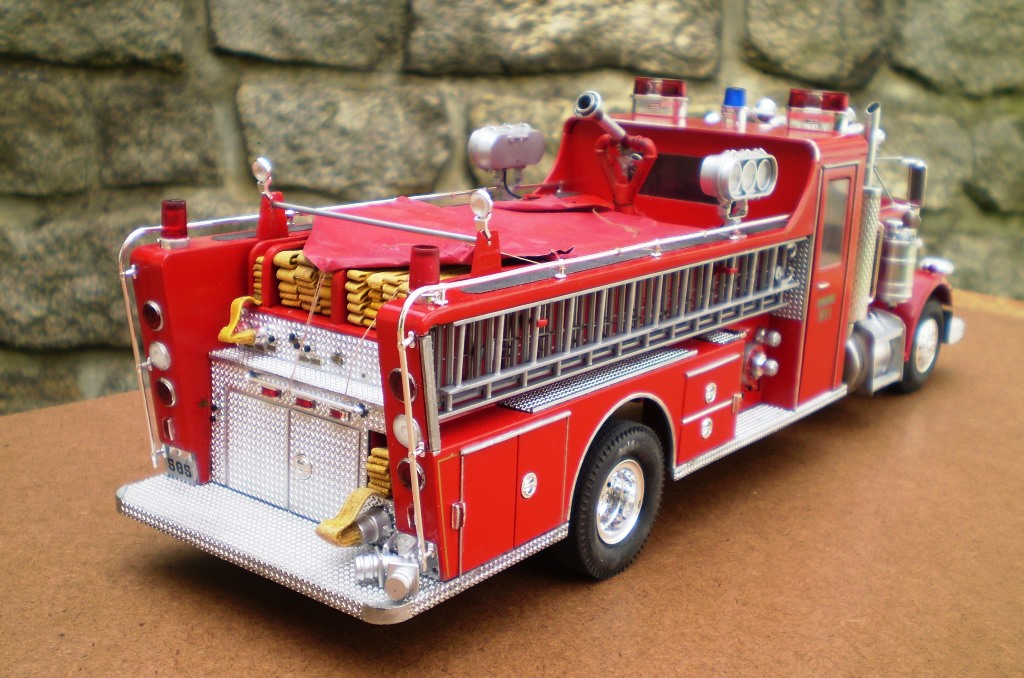
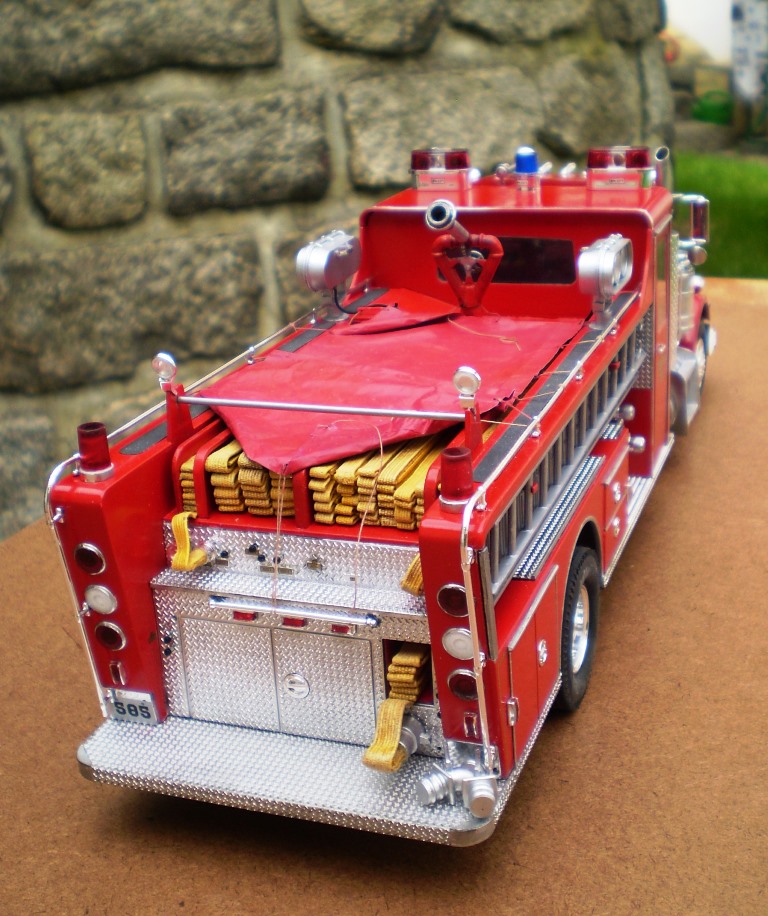
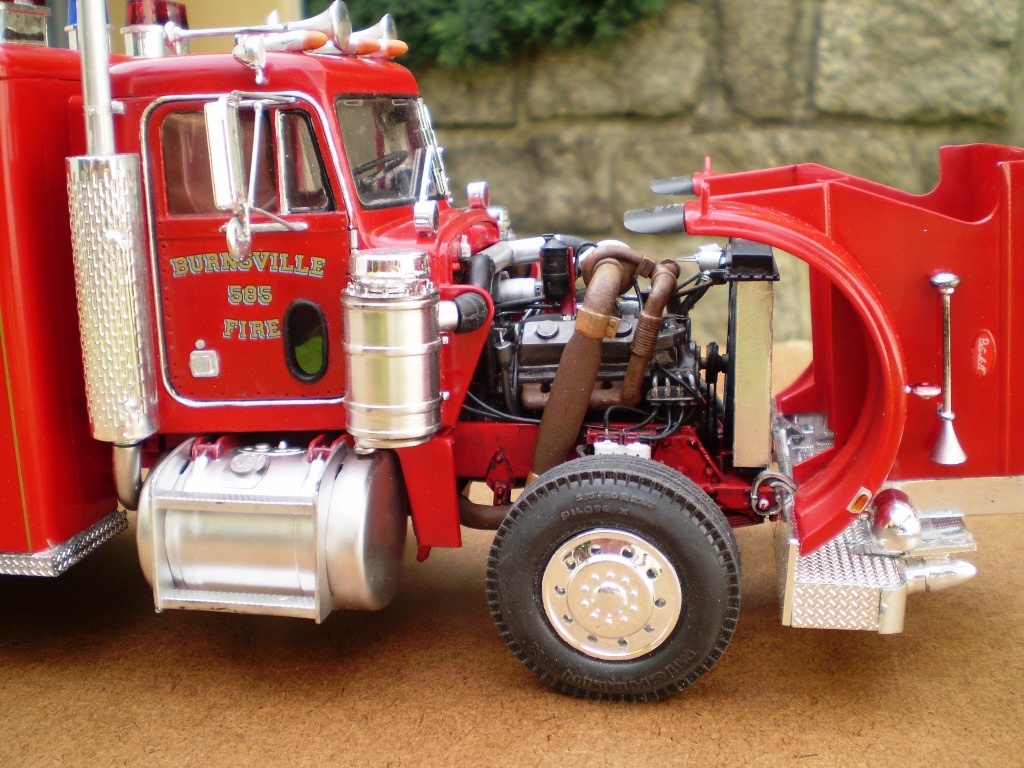
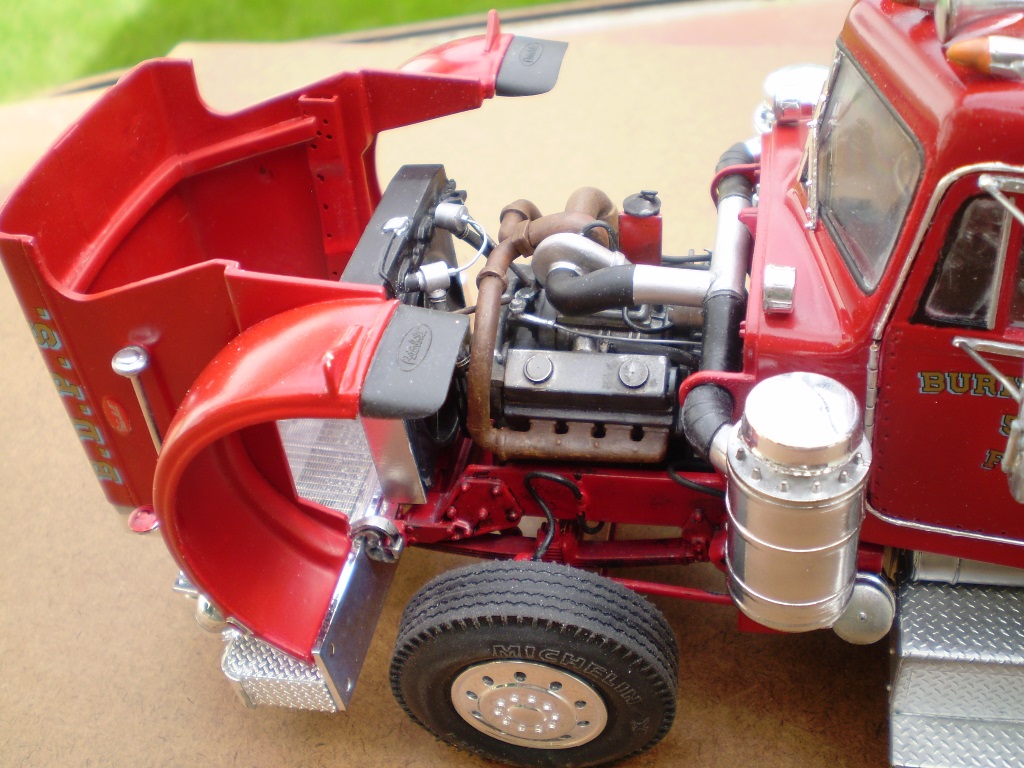
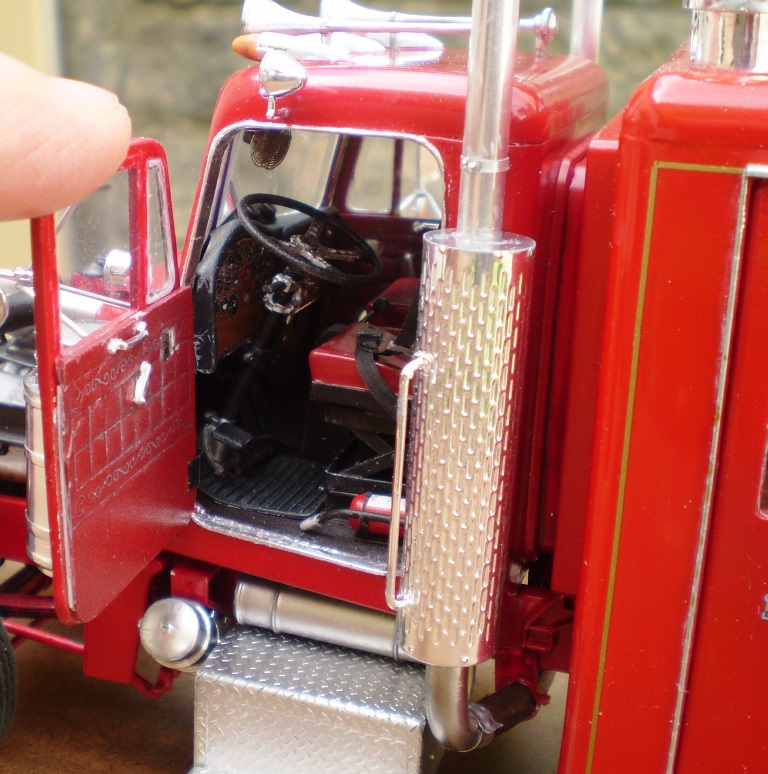
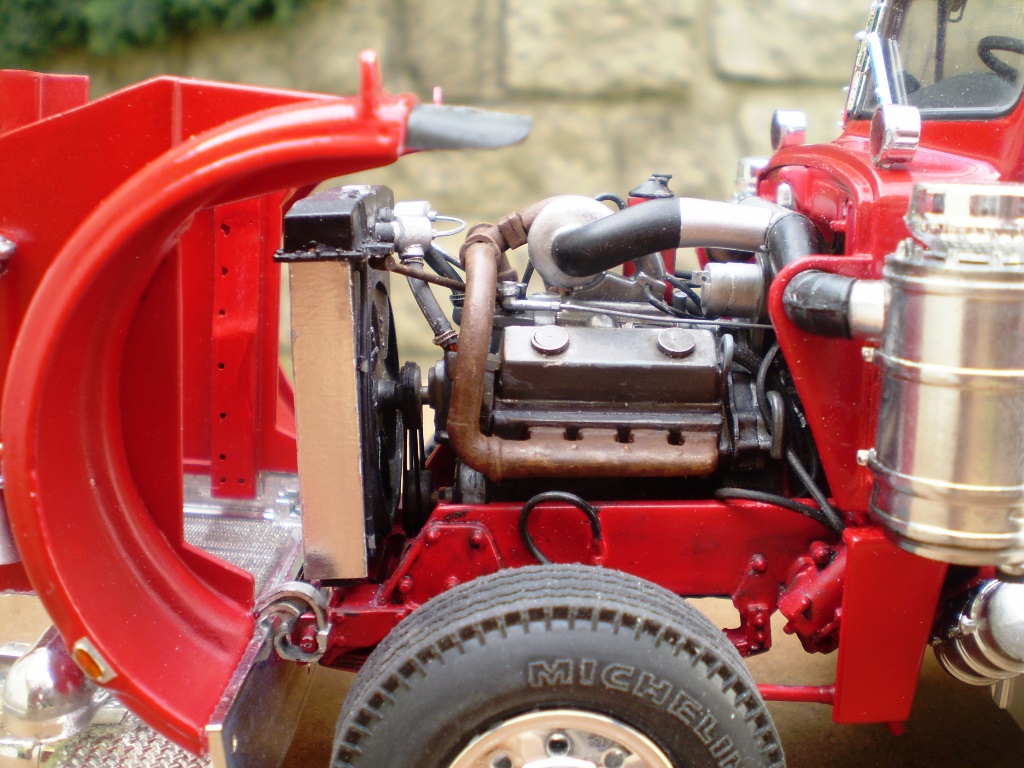
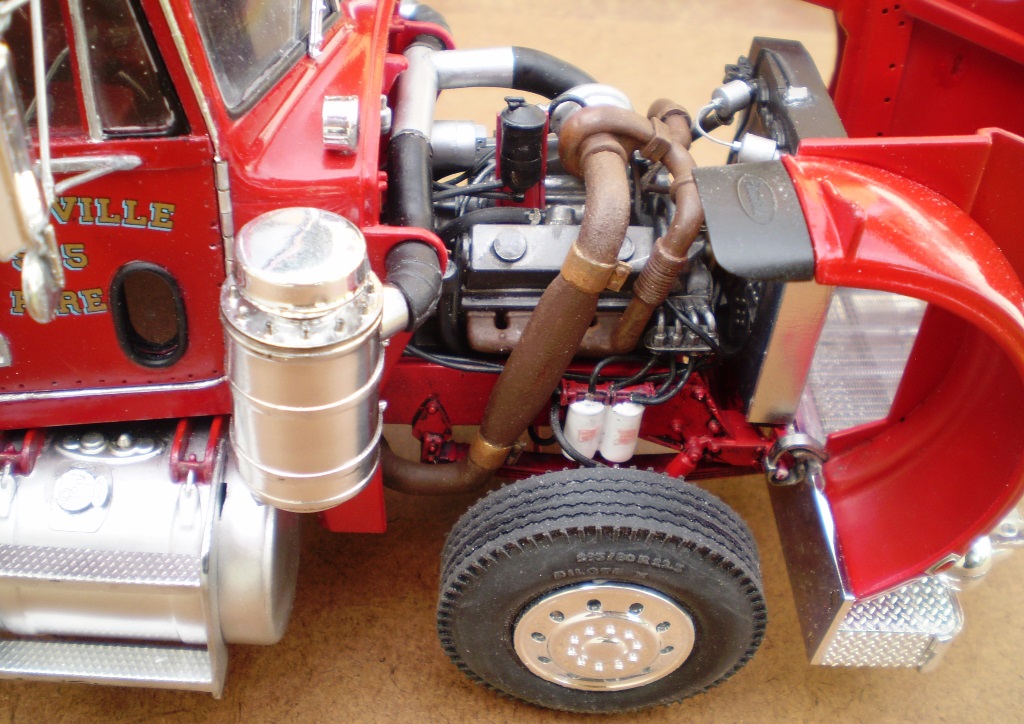
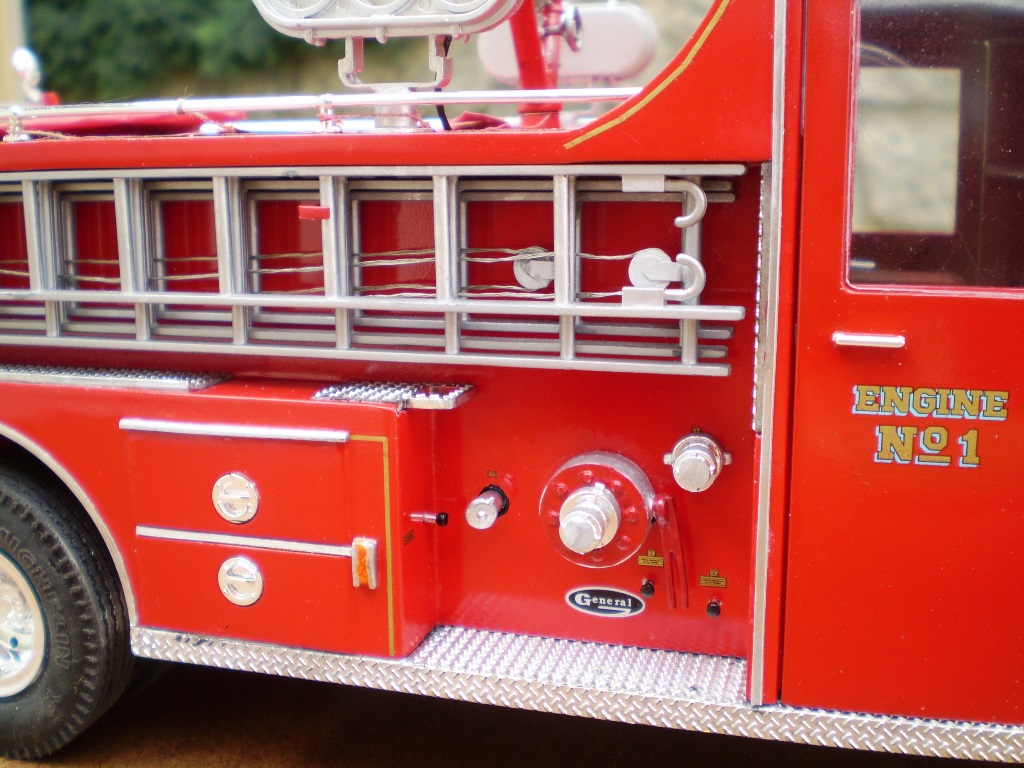
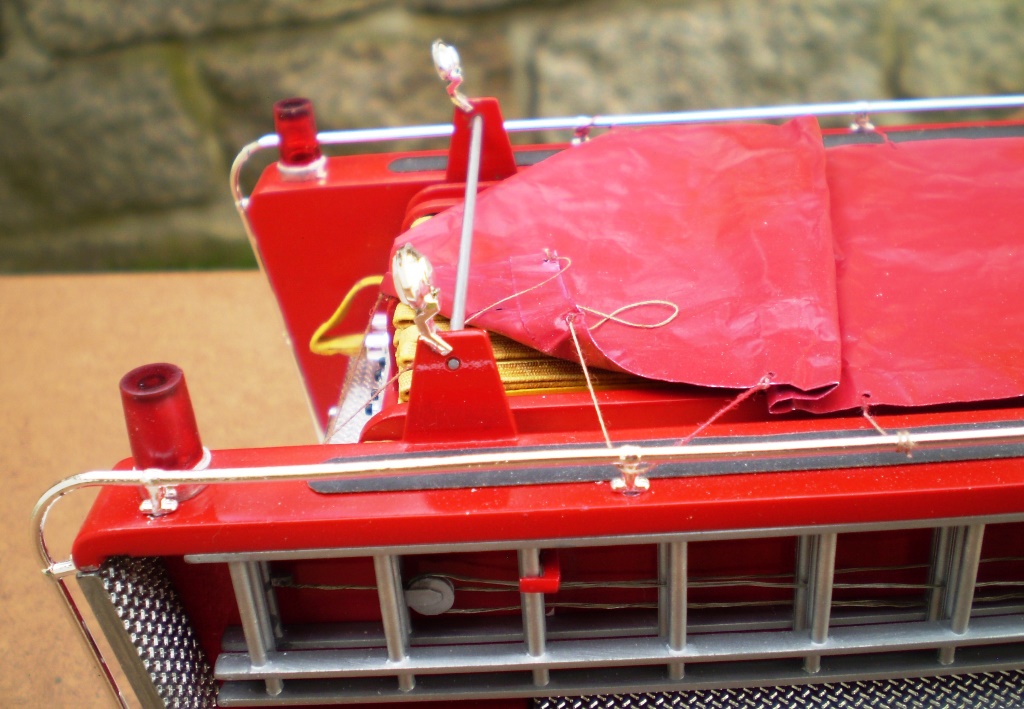
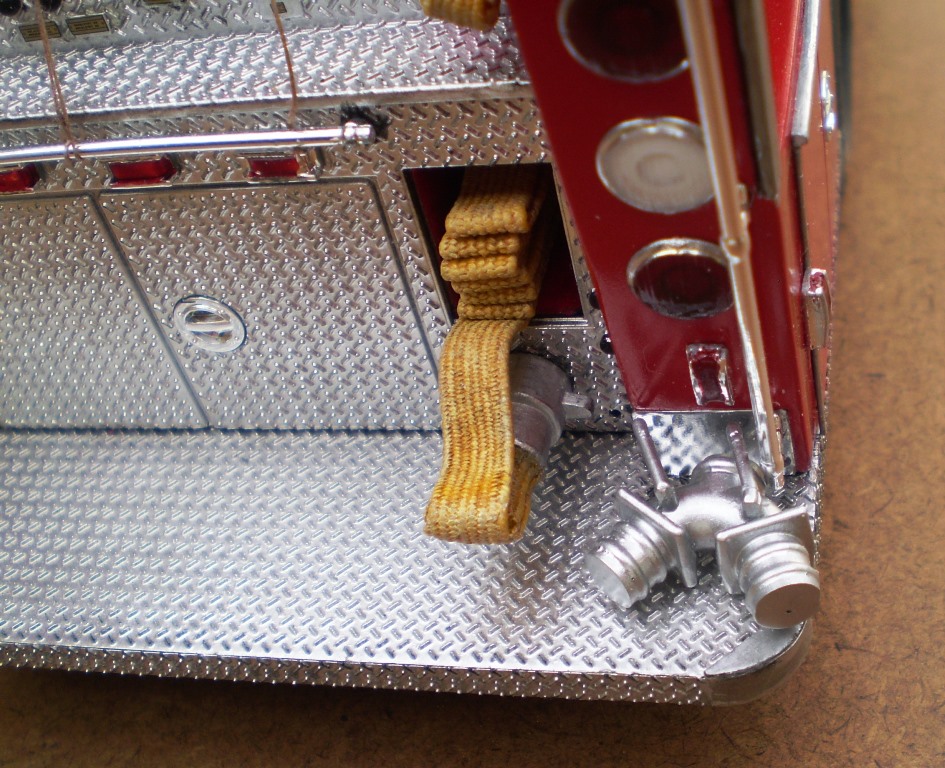
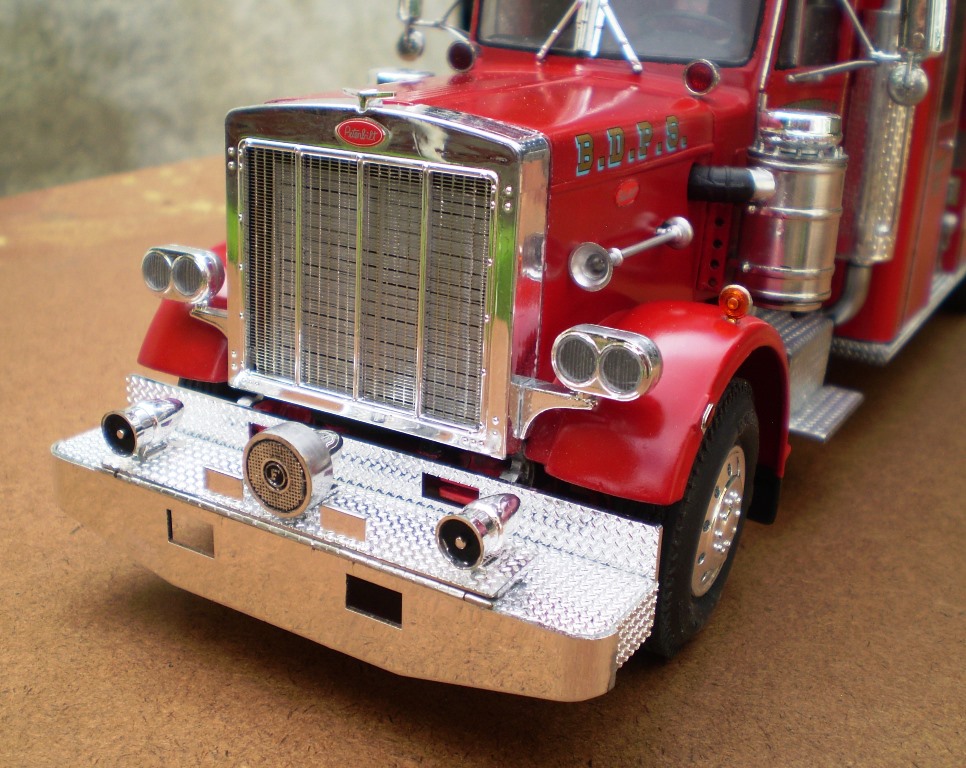
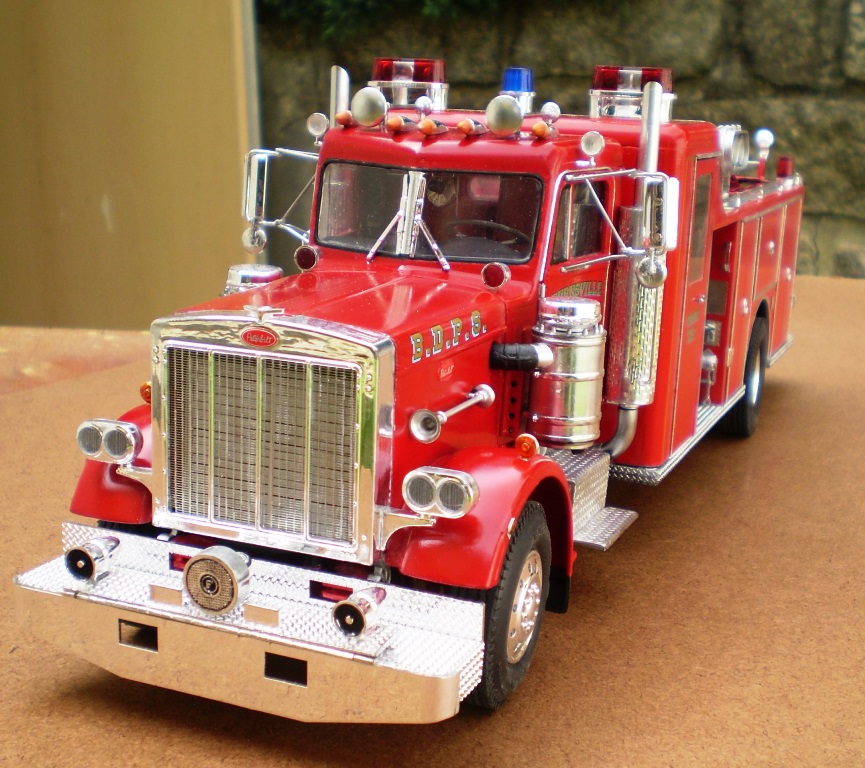
This is my rendition of the Peterbilt Fire Truck in 1/25 scale by Revell of Germany. The kit represents a real pumper and my version is a bit closer to the real deal than the OOB would be. If bulit per instructions, the hood would open just a little because of the sirenes on the bumper. I placed them on a tilt panel with a piano hinge just like the real one. I also changed the engine and transmission as the real pumper is powered by a turbocharged Detroit Diesel and Allison automatic. This was followed by a change in the cab where I replaced the gear stick with a shifting column. I added some more details in the cab like the sun shades, the safety belts, a fire extinguisher and so on. The doors open on the scratch built, functional piano hinges. The crew cab is just a plain Jane as I have no idea what equipment might have been there. Also, there is no wiring around the chassis as it is hidden under the fire truck body. I added a few outter details like the instrument rims, the spanner wrenches, the fold up step, the chrome strips, the cat walks on top of the body and so on. I covered the hoses by a canvas made of aluminium foil. The chrome parts are combination of the kit´s chrome, the alclad metalizer, the Molotow chrome marker and a dull aluminium colour. The hood screen is a PE part by CTM. I also changed the tires as I don´t like the Revell´s retreaded tires.

Thanks for looking.
-
The guys said it right. This rig is awesome and the level of details is fantastic.
-
Nice European touch on this old KW. I´d have shivers driving this big rig with the steering wheel on the wrong side.
-
Can this be any better? I have my doubts. The models are terrific and photos are awesome. Really good job.
-
Very interesting rig.
-
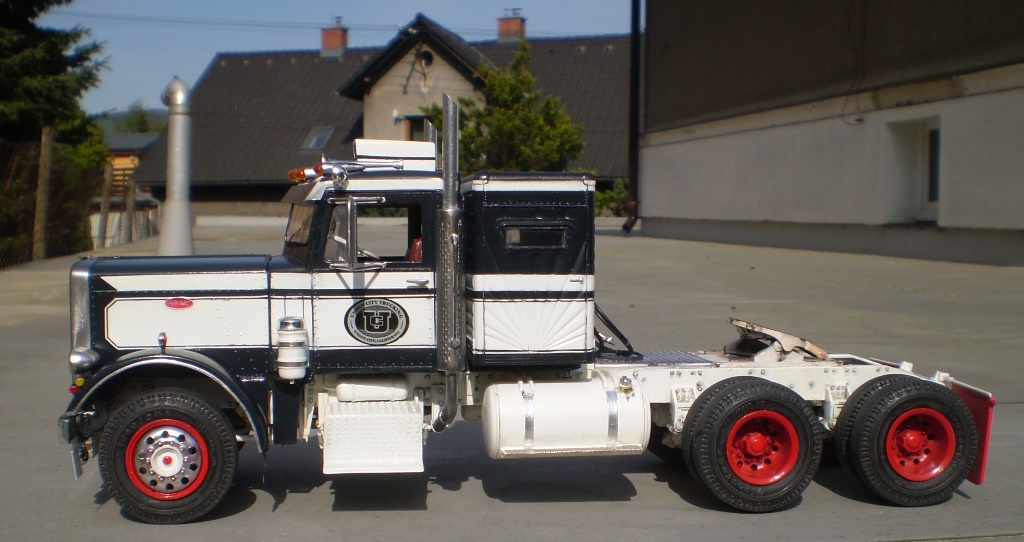
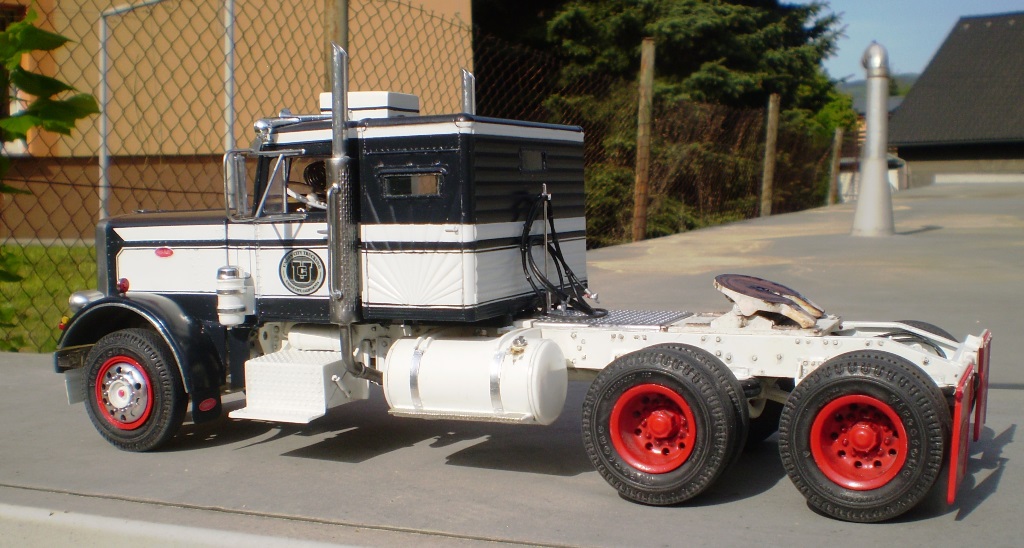
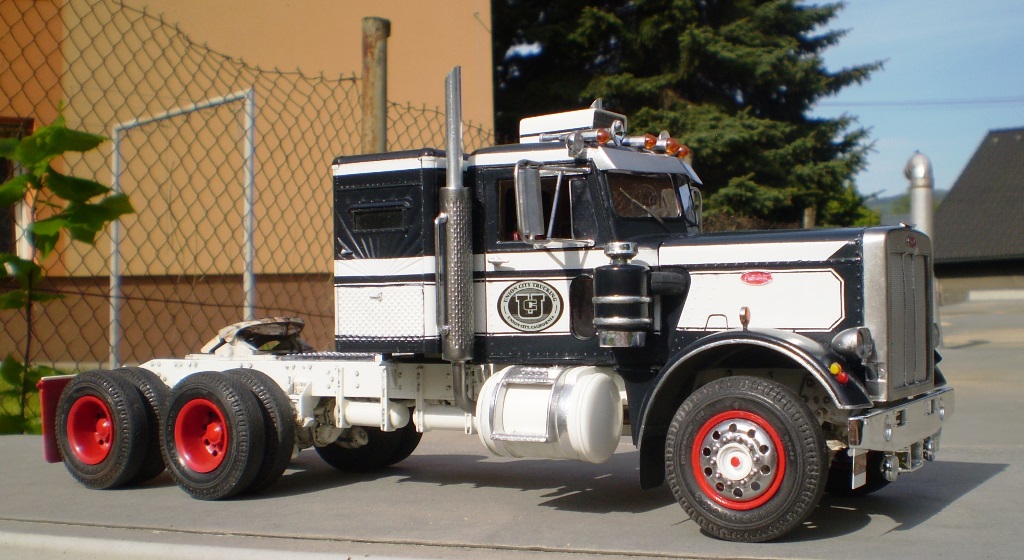
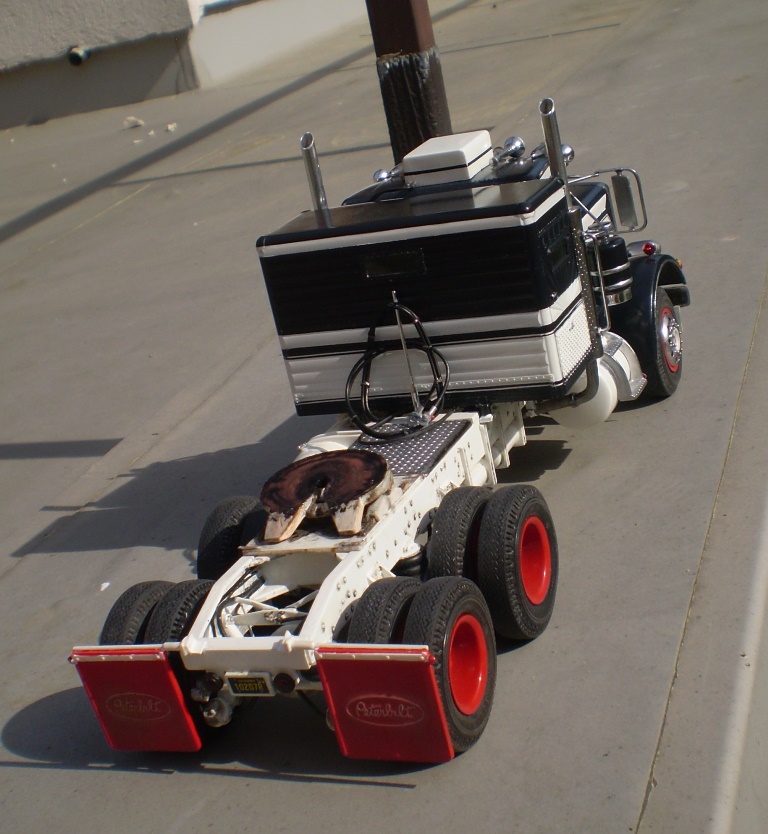
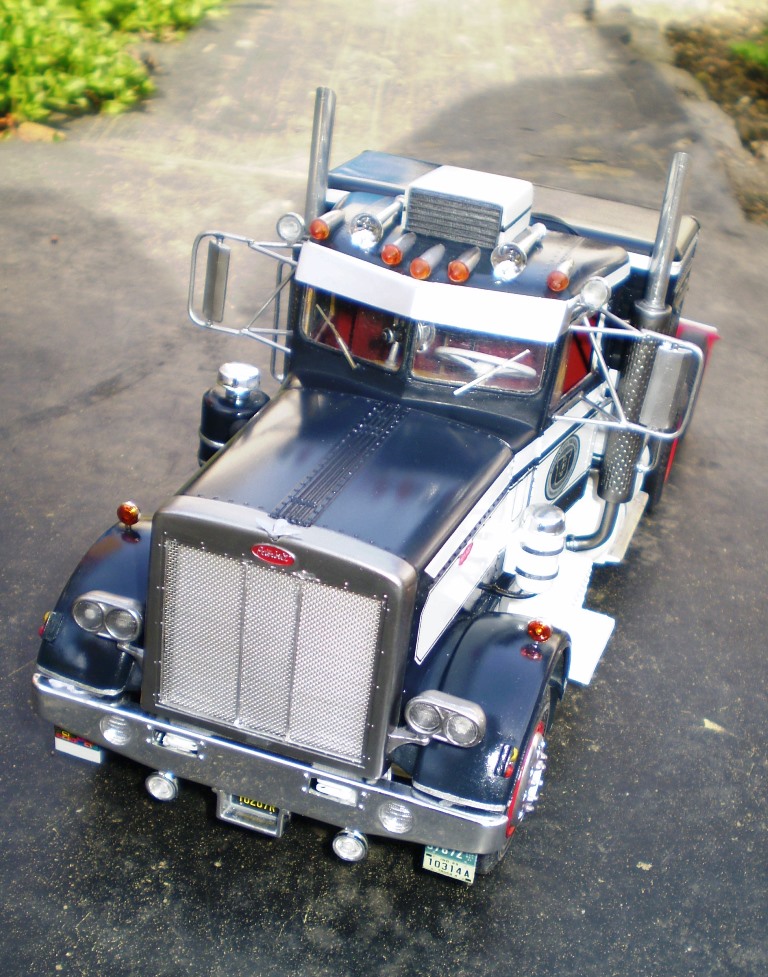
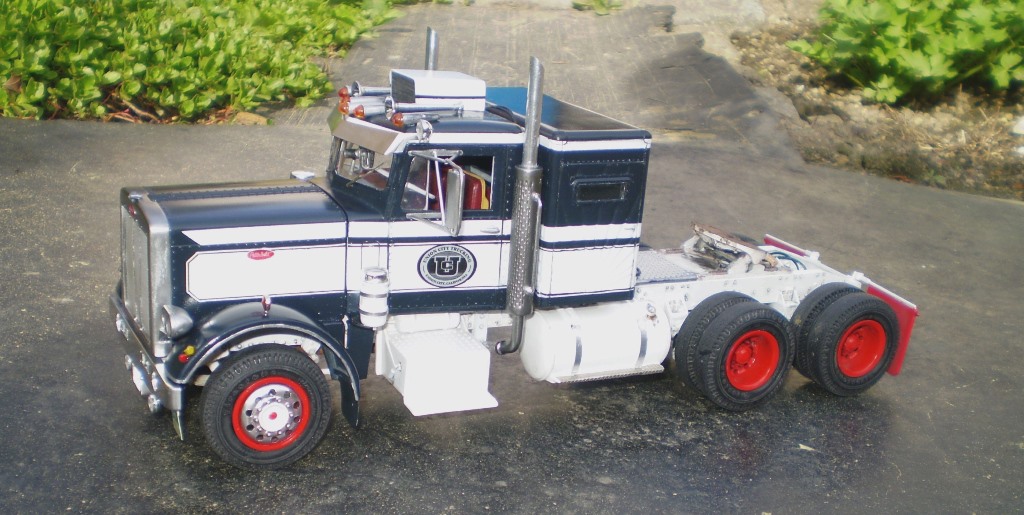
I started this build in 2015 and now it is finally finished. I found this photo the other day and wanted to build something like that. It is just an inspiration. I didn´t try to build a true replica.
The AMT California Hauler was the ideal starting point. I got me the Mercury sleeper, scratch bulit a pair of hood hinges, the sun visor, the exhaust pipes holders and the battery box latches. Plus some items that I had lost in time. Like the pogo stick, the door handles and such. I struggled with the paint job, there was always something that had to be repaired. The dark paint should have been a very very dark blue, almost black. I never kept the original mix, I had to mix it all over again and, of course, it never matched. So, there are three shades of dark blue on the model. The front mud flaps are the CMT PE parts while the rear ones are the kit originals. They are much too thick but I like the molded on Peterbilt oval.
There is a lot of things on the model that I shoud have done better but I was tired of respraying the thing over and over again. In fact, I am happy that it turned out like this.
-
According to my information the original kit was introduced in 1968. The hood could not tilt, there were no hinges included. All you could do was to take the hood off, if you didn´t glue it. The original issue had a non-turbo Detroit Diesel 8v71 under the hood.
-
Very nice work indeed! Awesome craftsmanship.
-
That engine is fantastic! I love it.
-
This is a very nice project and the work so far is great.
-
Somehow I´ve missed this. All I can say is AWESOME!
-
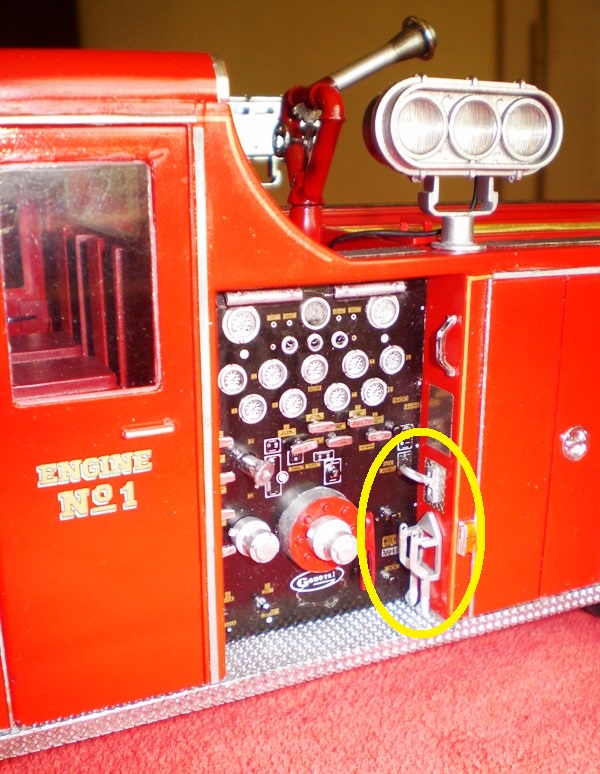
Thank you Charles. I meant these details in the yellow circle. They are not included in the kit but they are present on the box art. And, of course, on the real truck too. I´d appreciate if you could sayl what it is.
-
Nice paint job.
-
-
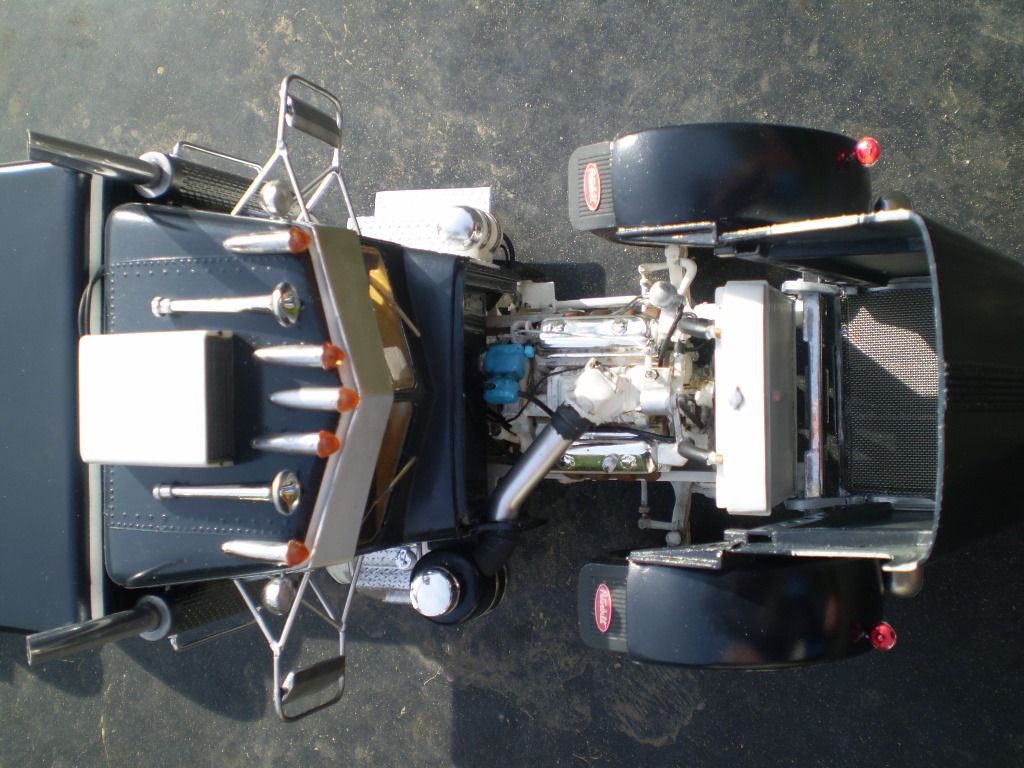
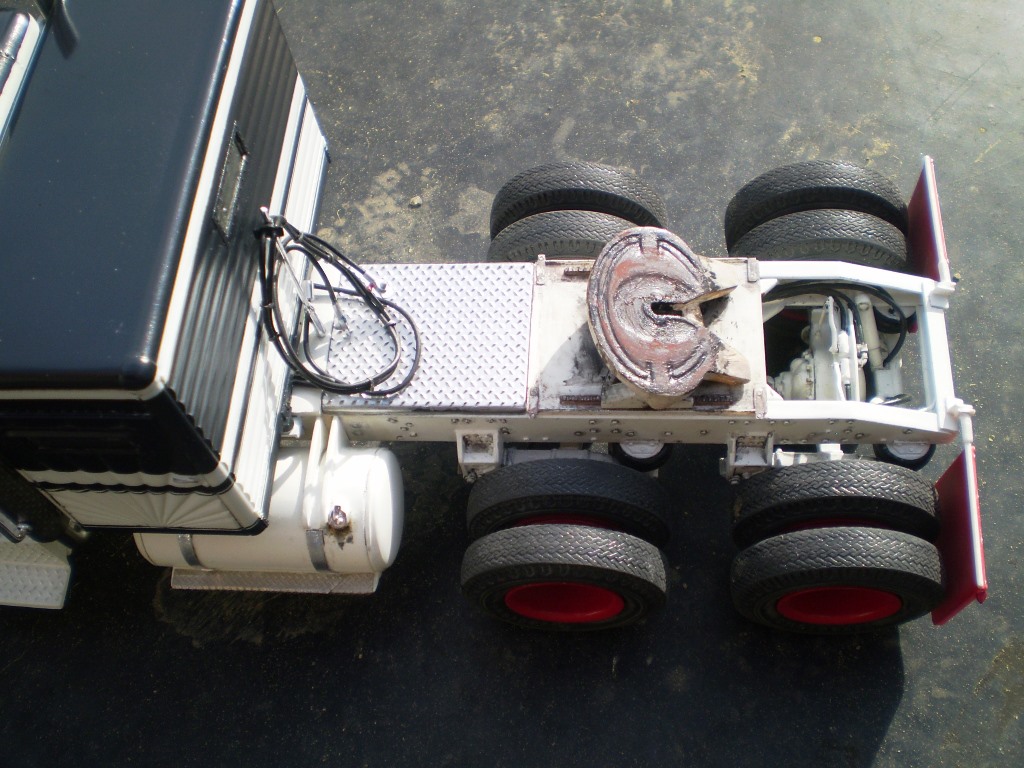
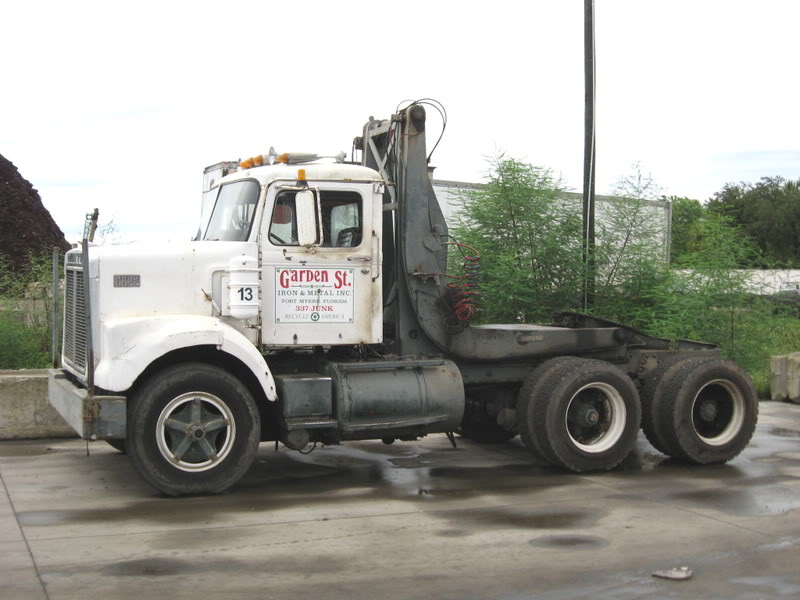
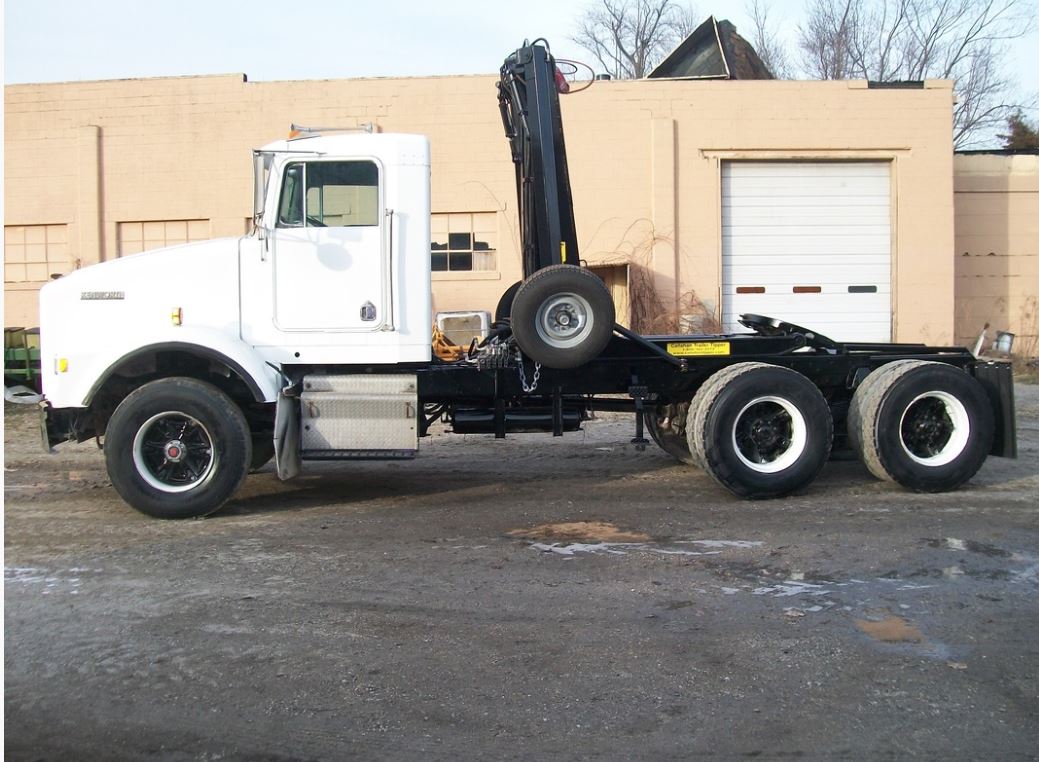
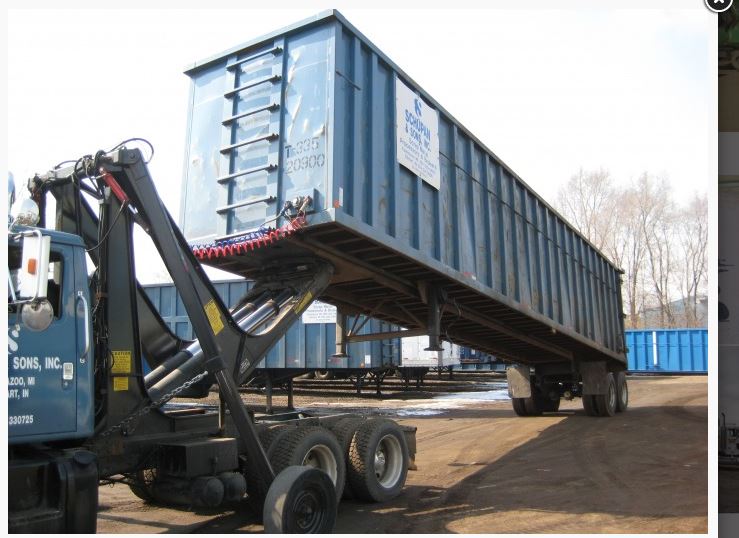
Hi guys, I´m looking for details of the 5-th wheel dumping system. I´ve found some pics and vids but they don´t show too many details. I wonder how the whole thing is attached to the vehicle, how the hydraulic rams are anchored to the structure and where the hydraulic pump should be located.
Basicly, I´ve found two designs. This one:
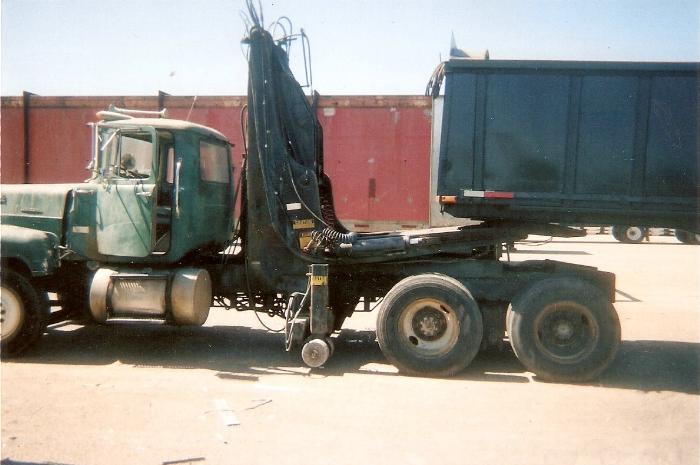
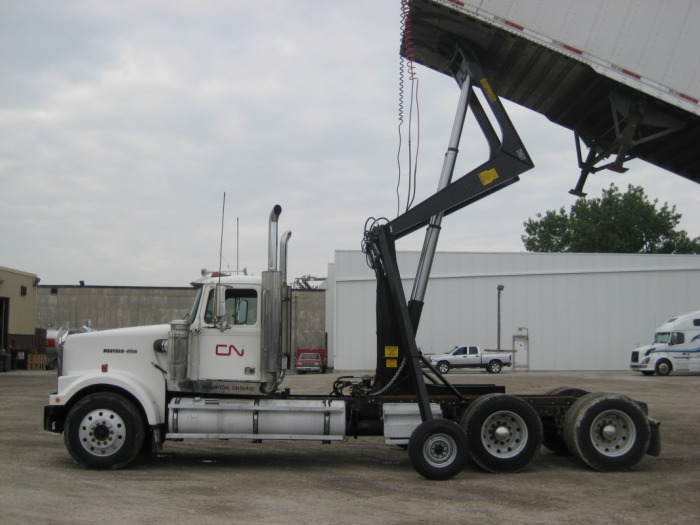
... and this one:
I like the first one better even though it´s more complicated detail wise. I would appreciate more detailed pics. Any tips where to look for them?
Thanks.
-
Classy build, nice and clean. Flawless paint job.
-
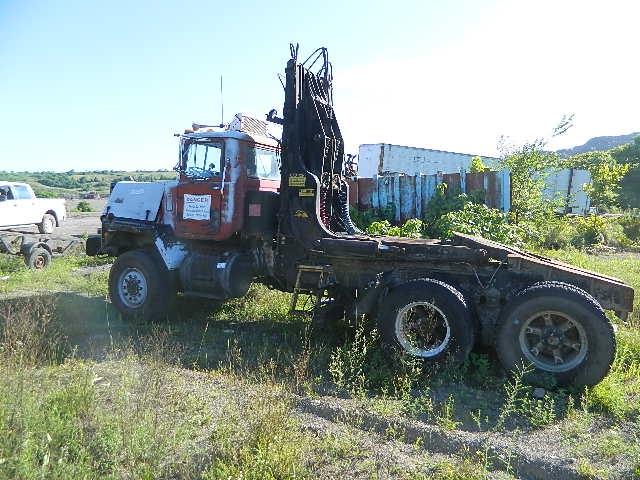
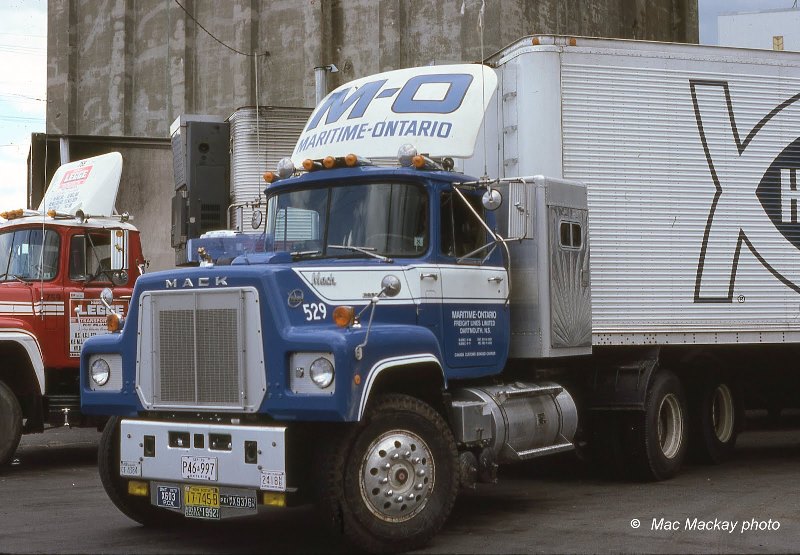
Hi fellows. I wonder what is the reason for using the cut-off style bumpers like those in the photos. Is there any practical reason for that or is it just a fashion? I plan to use this feature on a beat up Mack DM 600 truck. But if I do I´d like to know why do some trucks look like that.
-
Thanks Mike. The rope is just an ordinary cotton thread. My wife has a few in her sewing kit, I just picked one of the rope - like color.
-
Top class work, as always. Among other details I like the ash in the excavator cab and the greasy deck. Marvelous!
-
Shaping up nicely. Keep on working like that.


TAT 2018 Cali Pete 359 with Peerless Log trailer
in WIP: Model Trucks: Big Rigs and Heavy Equipment
Posted
Great job so far. Keep it going.