Dusted1972
-
Posts
50 -
Joined
-
Last visited
Content Type
Profiles
Forums
Events
Gallery
Everything posted by Dusted1972
-

Squadron Putty ?
Dusted1972 replied to D. Battista's topic in General Automotive Talk (Trucks and Cars)
I agree Squadron in both colors are great for scratches,and minor filling of tiny holes but I found Tamiya GRAY to be the best for this and the best non catalyzed putty I've used. I know Tamiya makes another putty in white but never tried it. I agree also that the Testors isn't too great but I've gotten it to work on a few occasions when I ran out of the Tamiya.I would squeeze it out of the tube and give is a quick stirring with a razor blade,or exacto blade before applying it since it tends to seperate in the tube (and it dries VERY fast too). I've found also that using thick CA glue ,or even melting sprue works better in many cases over using putty. I guess what I should say is use whatever works best for YOU.If you like Squadron and it works for you,hey stick with it. =) -
correct. the 2LB Chevy is a 55 150 I believe.But don't let that discourage from building as close to the 2LB Chevy as you can.I'm building the American Graffiti Bob Falfa's 55 Chevy (which is actually the same car as the 2LB ) out of the AMT 55 Street Machine which is not the same 55 but close enough for me. Build on and can't wait to see how it turns out.
-
'74 Vega Bruce Larson USA-1_FYI Reissue Update
Dusted1972 replied to 69NovaYenko's topic in Car Kit News & Reviews
I was thinking of somehow combining the parts from the MPC Firefighter Pro Stock Mustang I have and the Twister Vega chassis to somehow make it better.The Firefighter chassis has no tubs either so i'll have to figure something out. -
My Chrysler A 318 poly head engine 3d printed at home
Dusted1972 replied to my66s55's topic in WIP: Model Cars
wow!Impressive.If you ever decide to also do some slant sixes,sign me up. -
Aww That's heart breaking and it was looking great too .This happened to me also when I was doing my Acura.If you do it right away,a dip in purple power degreaser for a day or so should take that paint right off and back down to plastic. Don't worry It happens to many of us.Even those of us that have been doing it for years.That's why I keep a tub of purple power degreser on stand by "just in case"
-
73-75 Duster resin parts
Dusted1972 replied to Dusted1972's topic in Car Aftermarket / Resin / 3D Printed
yes,it was Modelhaus I believe closed down -
Needing a hood for a MPC 74 Duster and could have sworn there was someone that casted these parts like the grilles,hoods,and tail lights.
-
thanks everyone . I almost gave up on this one and put it away because it was frustrating me .Glad I didn't
-
Done.Or as done as it's going to be for now! After a couple of years of not building,I feel very rusty and had a hard time keeping my hands steady when doing detail work.Hopefully the next one comes out better because things went wrong with this but I was able to fix them the best I could.It's not perfect but I'm satisfied with it.I'm not sure about the wheels and how far they stick out so I may shorten them later and they a bit straightening out.The decals being no good was a bummer but it looks ok without them.And I don't feel like bugging Revell for a new set right now.I used a different air intake pipe since I wasn't too crazy about the stock one.I may build a stock looking airbox later and use a different muffler.I didn't like the clear tail lights so I masked them,and the spot where the reverse lights are and sprayed the inside with Testors Transparent Candy Red.The headlights were a bit of a nightmare but got them the best I could. I didn't have the stock front valance so I used the custom one.One thing I hate about white paint is how easy dust and stuff shows as you can probably see in the pics. (even though I wiped the model off I still ended up with dust,lol)

-
Well,the decals were junk.They completely disintegrated .
-
Dual 68 Chargers - a new build and a restoration
Dusted1972 replied to Kmb0319's topic in WIP: Model Cars
very nice.I actually have one of those Revell 68 Chargers uncompleted in a box because I ran into the same issues.But this one is the Landy Charger .I hope to give it another shot soon.I can't wait to see these dual Chargers completed. -
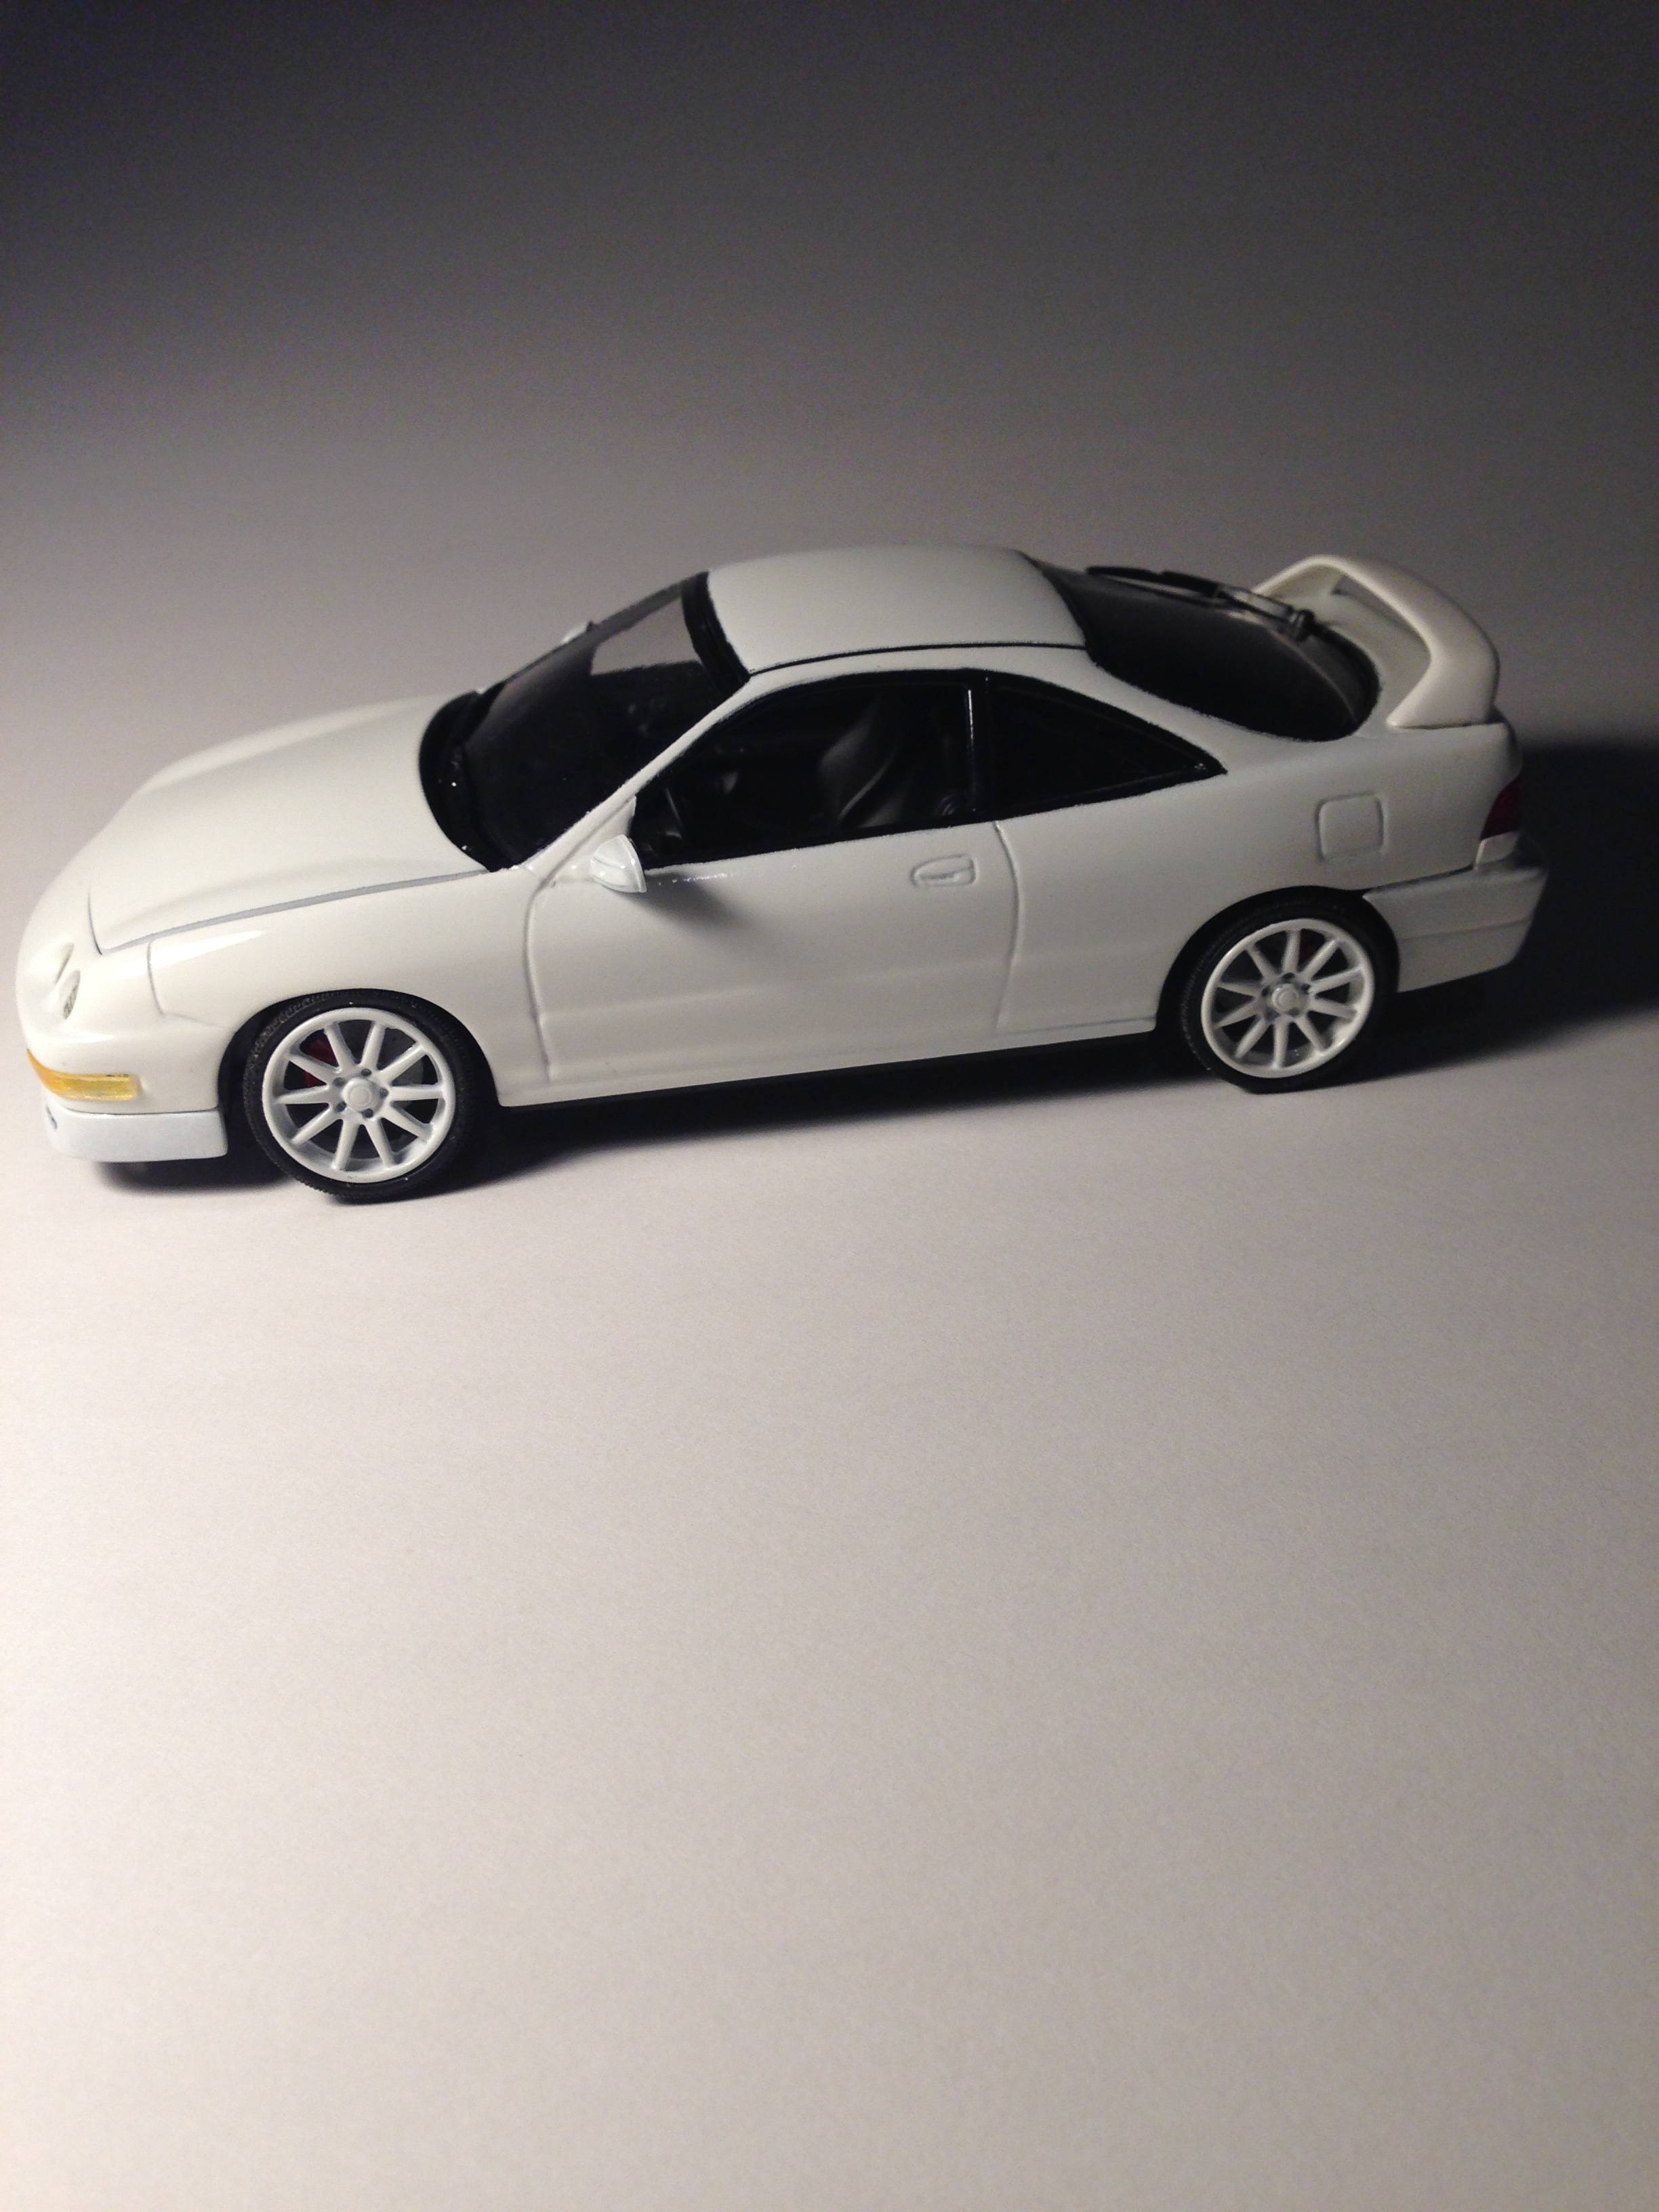
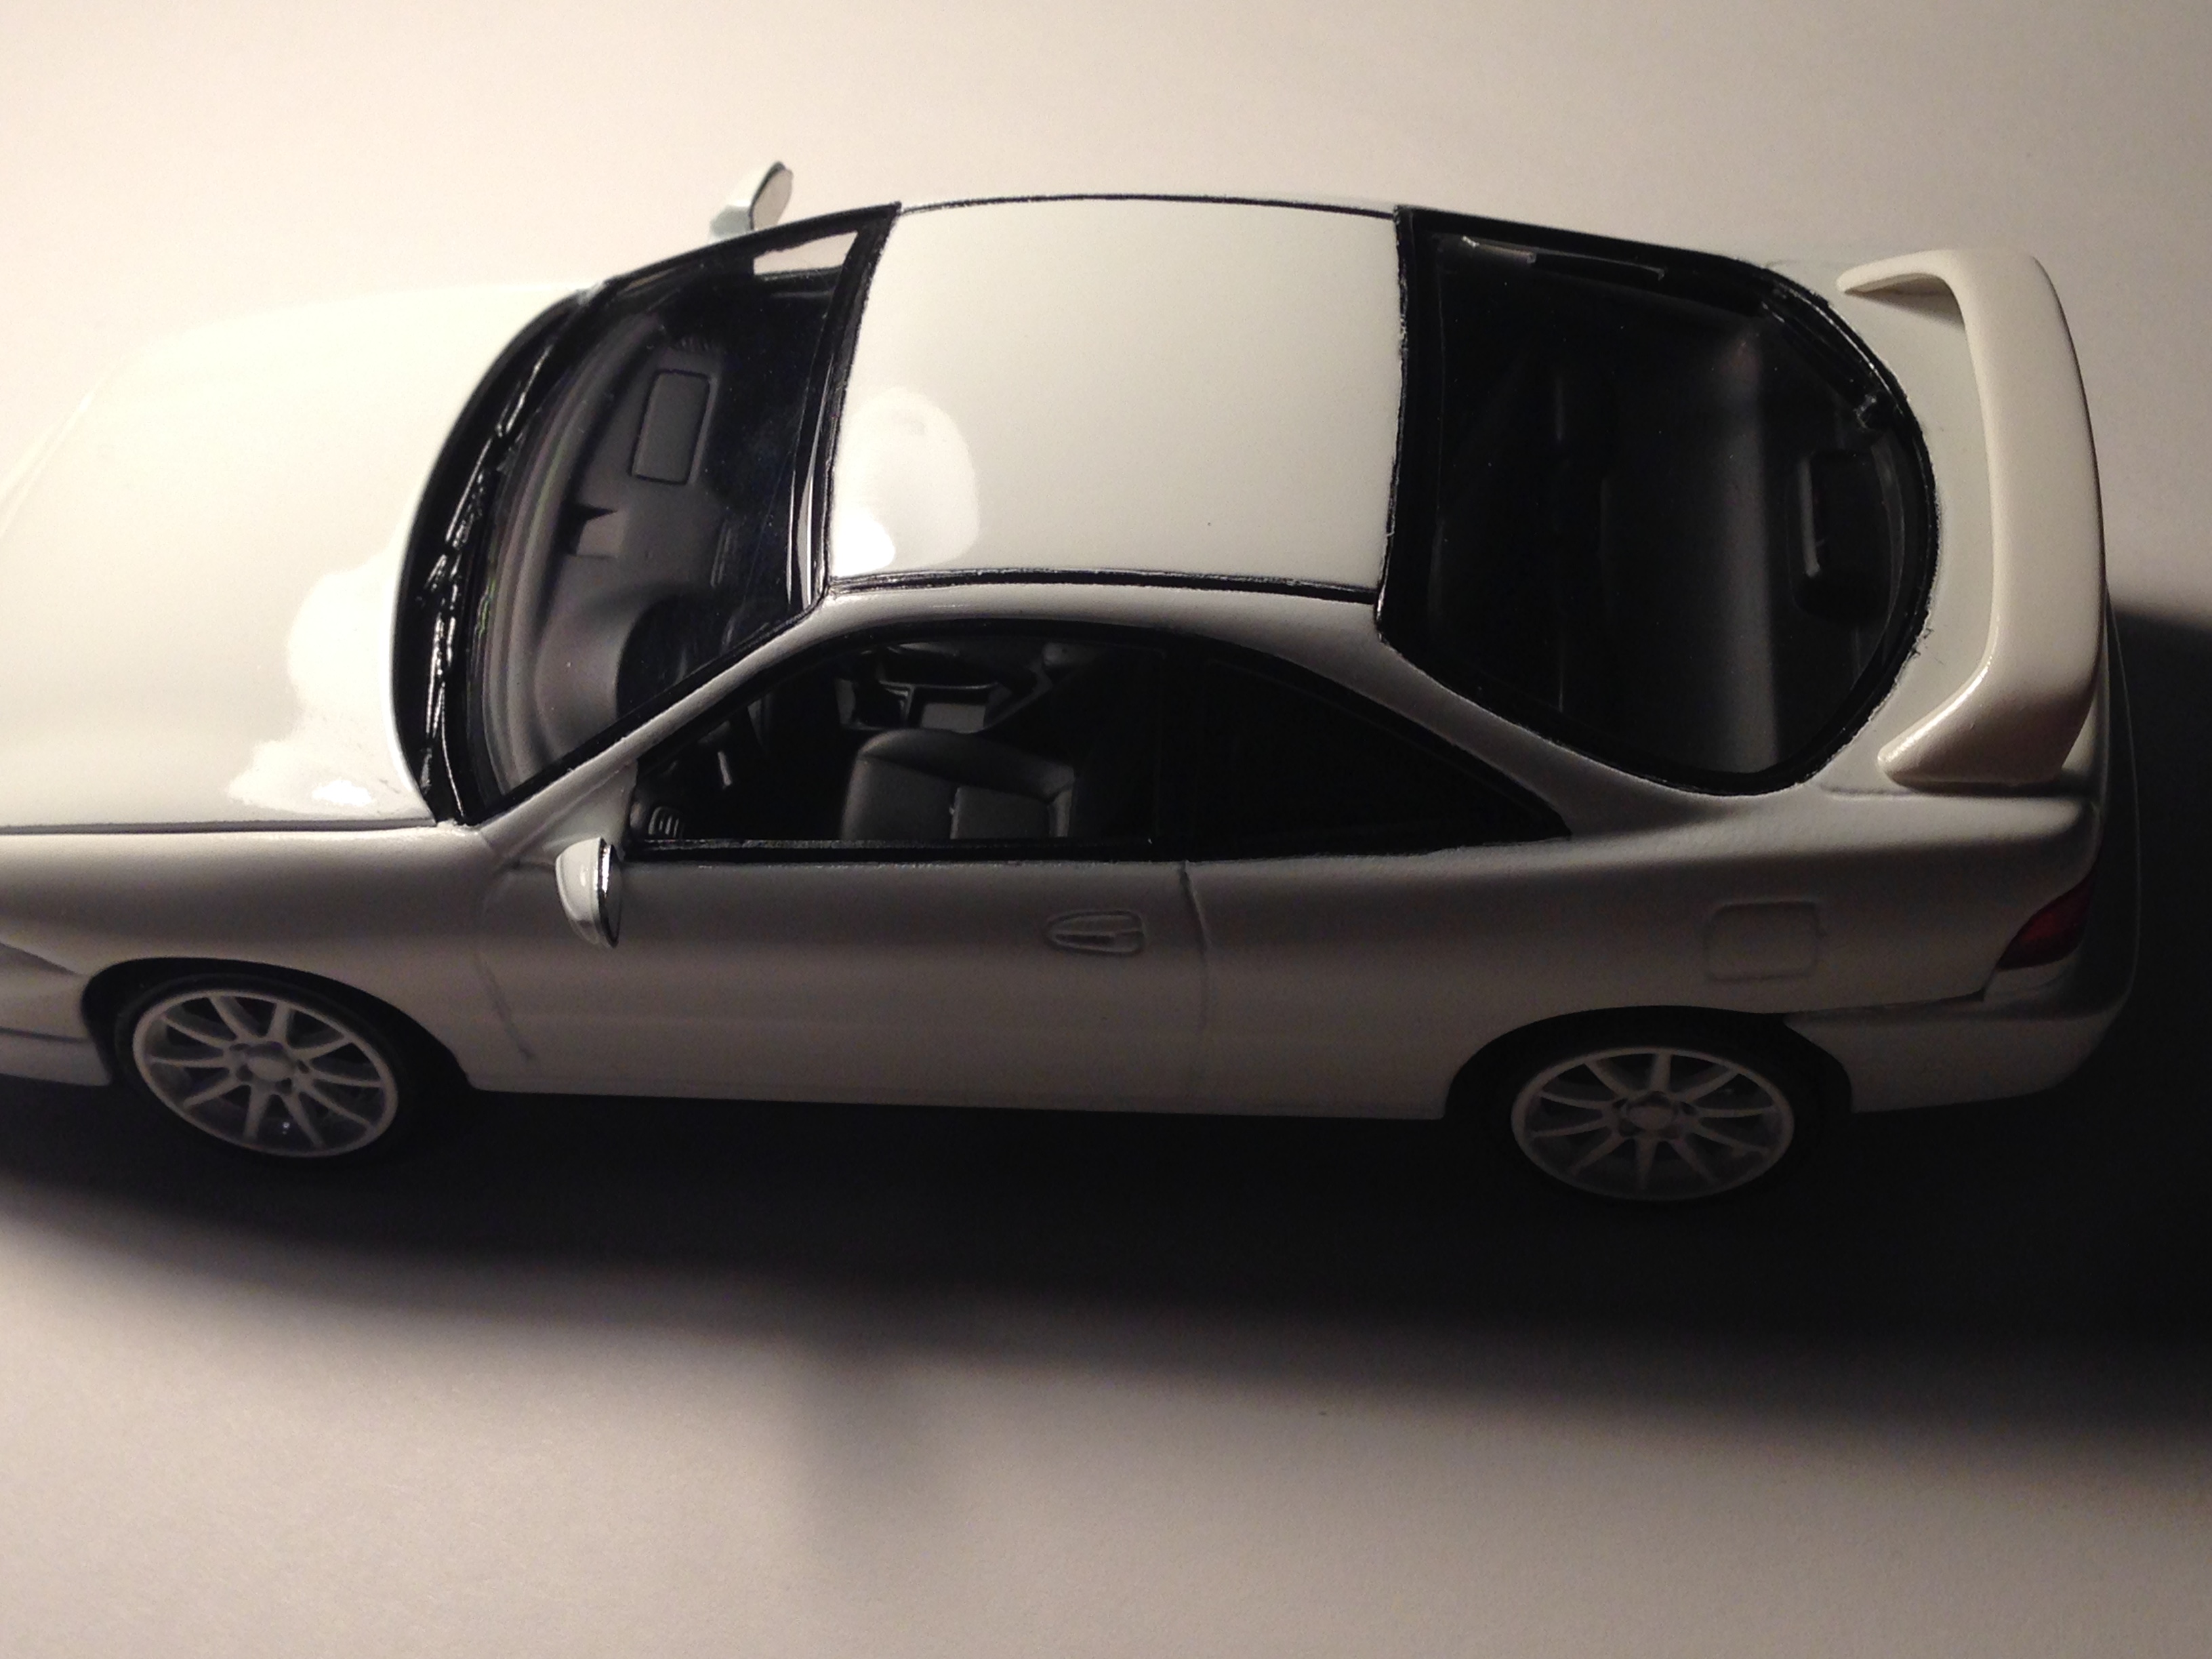
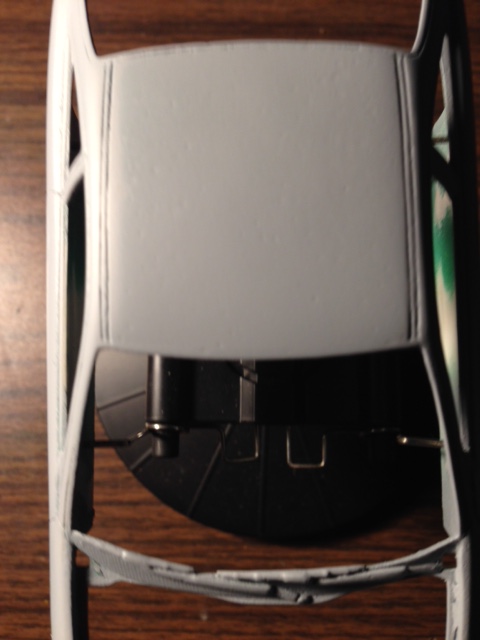
I really need to build a photo booth.But here is a bit of a mock up for a sneak peek of what I'm working with.I masked off the windows and sprayed around them black although you really can't tell in these pics but I'll try and shoot better pics once completed.Since I don't have the Type R wheels I originally wanted to go with,I picked these out of the Revell Mitsubishi Eclipse ,dechromed them and painted them the same color as the car. (which I plan on doing soon.)They don't look too bad.
-
Update (Finally,I know,right?) let there be paint. Gone is the ugly ricer paint replaced by gloss white.After a mishap with cracking primer and having to sand it down again,I'm glad to have some progress going.The paint came out a bit orange peely so I sanded it and polished it out.Still not perfect though.I was a bit disappointed with how the black trim came out since I ran out of fine line tape at the time I did this.Plus,I had to rescribe much of the molding lines .The paint is just regular Rustoleum Gloss white with Rustoleum Clear.I didn't want to use Testors enamel since that tends to lay on too thick.I was surprised at how fast this dried and was ready to polish.
-
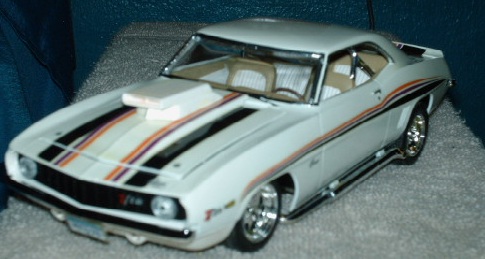
35 Yr. Old Monogram 69 Camaro SS-Now "Under Glass"-07/20
Dusted1972 replied to mustang1989's topic in WIP: Model Cars
I have one of these built box stock and an old Rampage Camaro I plan on rebuilding except I can't find the front and rear bumpers for it and Revell discontinued the parts for it.This was one of my favorites as a kit.
-
'70 Chevelle "Heavy Chevy" Street Machine
Dusted1972 replied to Terminator-Fox's topic in Model Cars
Got to love these old Monogram /Revell kits.I don't know how many of these Chevelles I've built in my lifetime.I did a quick build of one just like yours box stock but without the Heavy Chevy decals and with the side pipes and of all of them,I've never built a stock SS version of it.May have to get another one so I have a stock one.Great work.I hear you on the Testors paint.I used Testors Transparent Blue over a silver flake base and it didn't come out too bad.You just have to let each coat dry a bit before the next coat to get good coverage. -
I got a letter from Revell.They need the original UPC in order for them to send the Type R wheels.
-
thats what I was thinking.But I've always used Purple Power and this is a first time it's cracked like this.But could have been the green paint still reacting to the stripper.Or to the primer I don't know,lol .It was weird.You know how the ground looks during a drought all cracked?Thats what it looked like. Not yet.I put in a request to Revell on 12/31/16 but nothing yet.I know it takes awhile for the parts to arrive.I'll let you know if I don't get them.Thank you good luck on your Subaru
-
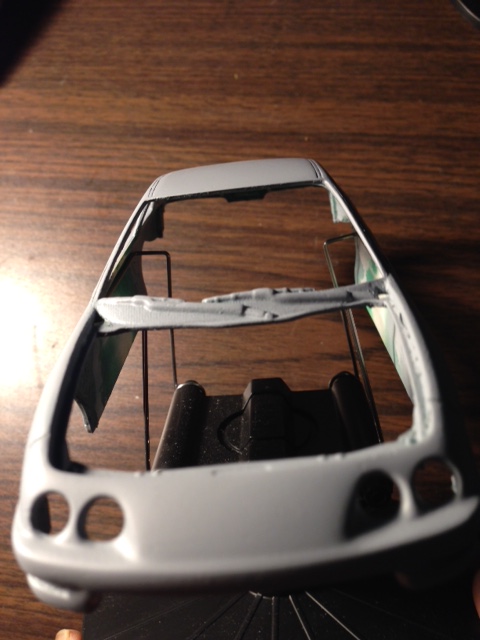
I don't know what this model was painted with but it's been a nightmare.This has never happened to me before but the primer "cracked" everywhere on the body and the hood after a couple of days but the paint underneath didn't crack.Very strange. I have since then completely resanded and removed all the paint right down to the plastic ,re primed and so far it has worked out.I know it's not the primer because I've been using it for a long time and never has gave me problems.And I know it's not the can or a bad can because I just used it on a couple of other projects and it worked fine.My "workhorse" primer is the Dupli-Color Sandable primer and it's always been very reliable.I like the High Build primer for heavy body work.You have to be a bit careful with it because it does thiken up and can hide details.
-
Whatever paint it is it's causing problems.
-
INSPIRED THINKING- Cheap Tips for Frugal Modelers
Dusted1972 replied to 62rebel's topic in Tips, Tricks, and Tutorials
flocking material for upholstery. Instead of spending $5 or more for ONE color of Fuzzy Fur,look for flocking material for nails online and you can get a set with 12 or more colors for about $3-$7.00 Paint:I did read not to skimp on paint but in fact I've had very good results using the 98 cent paint from Home Depot and Wally World.But I mostly use the gloss or flat black for chassis and other parts that need to be those colors.The flat white works great for me as white vinyl tops.They used to carry other colors but haven't seen them in a long time.The Colorplace Aluminum was my go to for painting stuff like intakes and exhaust manifolds and exhaust pipes but they are no longer sold anymore. Dollar Tree and other dollar stores.For $10,you can walk out of there with TONS of stuff for model building. packs of Super Glue,popsicle sticks for mixing epoxies or stirring paint.Containers for storing parts ,building supplies,and even paint.cotton swabs,Play Doh,glitter,nail polish,nail emery boards.After some experimenting,I've used the 4 sided nail polishing boards for removing light dirt from paint,and even polishing .I could go on and on about the stuff you can find at the dollar store. I've even used the dollar store aluminum foil for BMF on some things since it's so thin .Just use some white glue. Engine paint if you build a lot of Chevys,Ford,and Mopar engines instead of spending $6 for a small can at the LHS,for almost that amount,I just buy the big cans at the auto parts stores and you will have enough to paint many engines. -
The airbrush I use is a Blue Point that looks like a Badger and I've had it since 96 so I should probably upgrade,huh?Lol I have used those Harbor Freight cheap airbrushes.They work "OK".The one plastic one with the fast color switching cups works ok for some stuff,but do not,I repeat DO NOT try cleaning the cups with lacquer thinner as they will melt. As far as practicing goes,Ive found the best way to practice is on a junk model car body.Or a spare body That way,you get more experience on model cars than you would on like paper.Practice with a paint you can easily strip off.I've used spare Testors enamels for practice on a junk body and just toss the body in purple power degreaser let if soak until the paint comes off and use it again for practice.Practicing on spare junk engines and wheels you don't plan on using for other projects works good too for practicing on small parts.
-
Amazing what primer reveals.The purple power did take off the stripes and clear.But it didn't touch the green.Which is ok because it's not that thick.I'll have to rescribe the moldings and fix some other flaws,Those aren't pinholes on the roof.This was a very light dusting of primer just so I can see the flaws and they will sand out.
-
im convinced the body was sprayed in lacquer or acrylic.The purple stuff usually right away eats enamel and wrinkles in within minutes. I can sand it but the stripes near the door handles is what concerns me.I don't want to lose the door handle details.
-
it was rather tedious trying to remove it without breaking it.lol I think the only things I did break were the tabs in the back where the body mounts to the chassis. Oh,and the exhaust pipe broke at the muffler but thats ok it can be glued back together.No problemo.That's the challenge with these rebuilds is taking them apart without making them worse.lol
-
I agree ,they are good cars.I've driven a few from my work and pretty snappy.Being a mostly American muscle car guy,I do love imports if they are built "right" and look good not something built out of Autozone bolt on parts.lol But I've done some research and this muscle car guy is going to build this Acura "the way I" would build it if it were a 1:1 car of my own .I don't buy into the whole "Muscle vs Imports" because I'm a car guy first.I like them all .If it looks good,built right,and goes fast it doesn't matter to me really where it came from Detroit,Japan,etc .I've seen some pretty mean turbo DSM's absolutely whip on muscle cars and vice versa lol .Back in my high school days in the early 90's I had a turbo Supra that was mean and did some work to and a Nissan 240Z so I guess you could call me an old school tuner.I had to sell them because of insurance .lol But anyway Yes,the paint on this thing hurt my eyes.It also had a big tall ugly wing on it that is broken but that's ok I didn't plan on using it anyway.