cchapman195
-
Posts
275 -
Joined
-
Last visited
Content Type
Profiles
Forums
Events
Gallery
Everything posted by cchapman195
-
 I love it! Thanks for sharing. Ordering me two sets next week.
 -
I use a number three medium on an Iwata HP-C
-
Here is the Clear coat with future video. I also have many more how I do it vids up on my channel. If you get a chance take a look at my Tutorials section.
-
You got it Rick. Glad it's working for you.
-
Thanks again everyone. Tulio, I am glad you are saving money my friend.
-
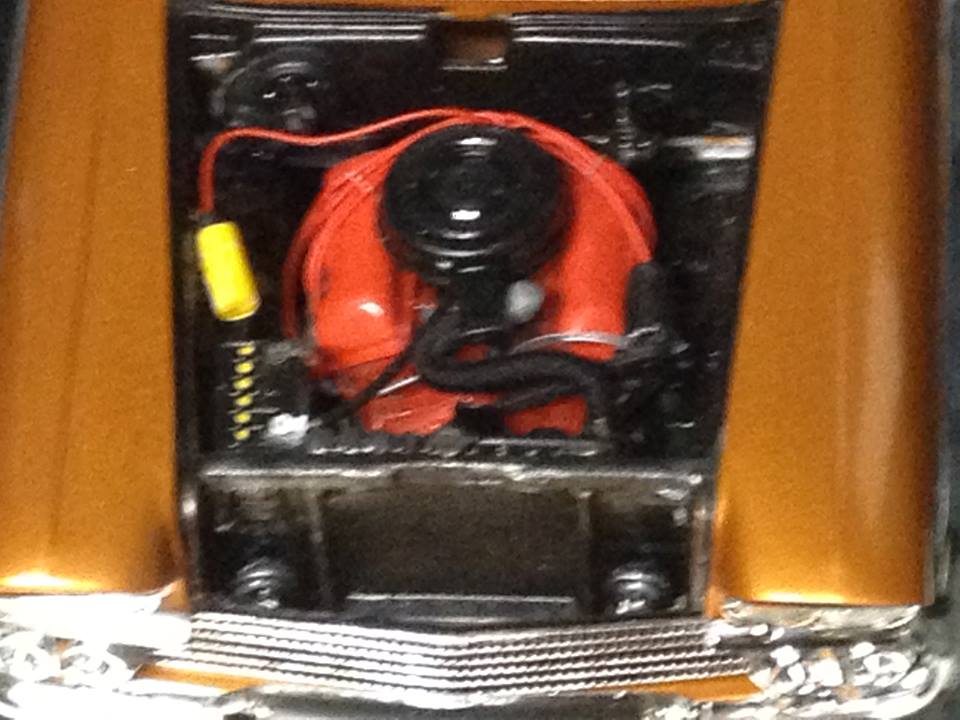
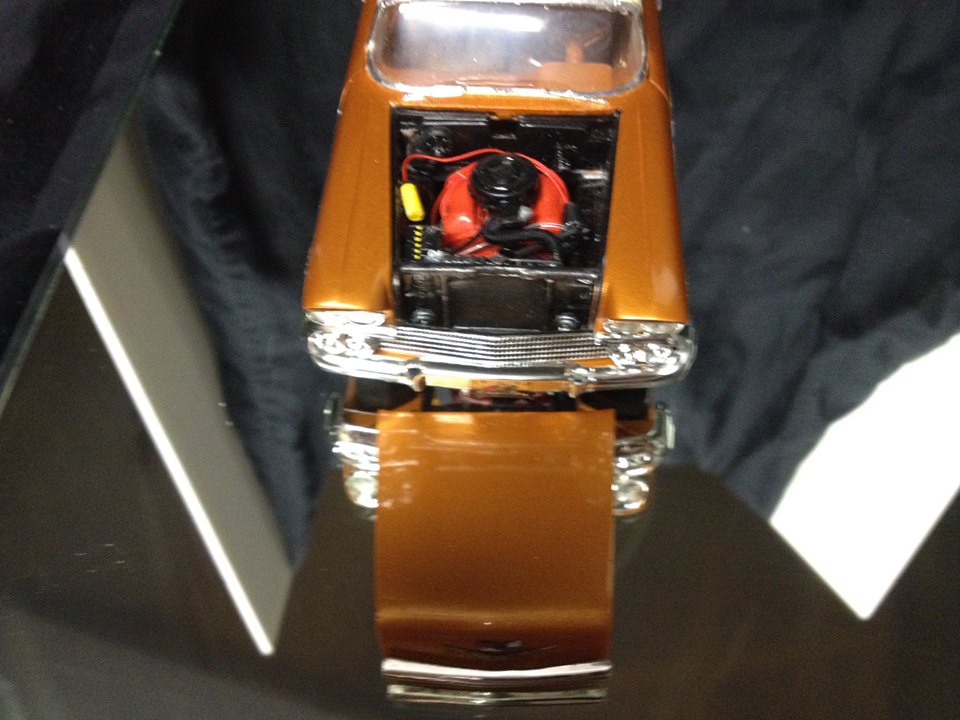
Thanks everybody for the kind words. Here are a few pics of the engine.

-
It's actually a chrome trim piece that you have to put on and yes it is a problem with the kit.
-
They are the moon disks from the 55 Chevy convertible kit.
-
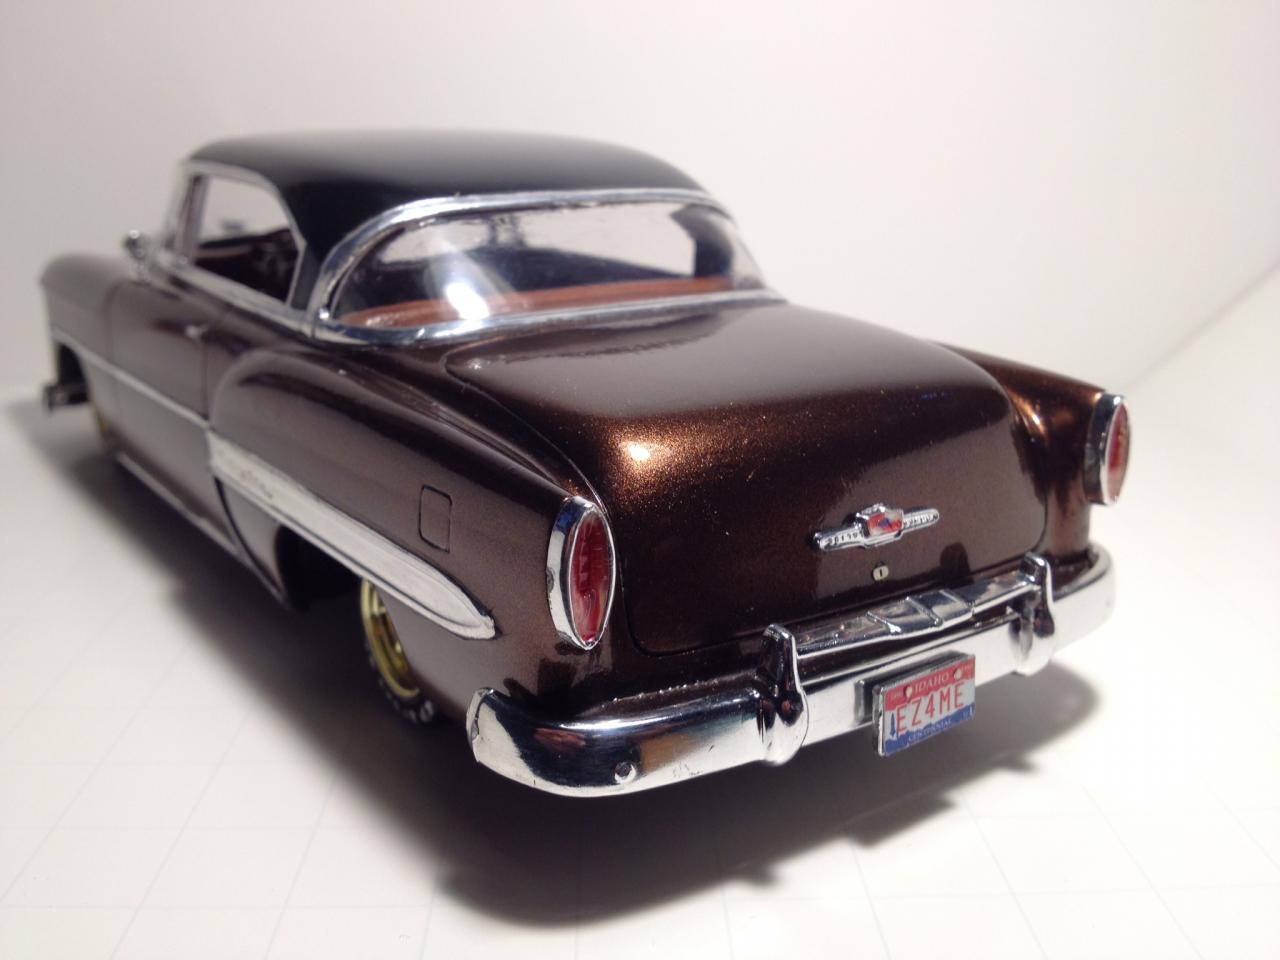
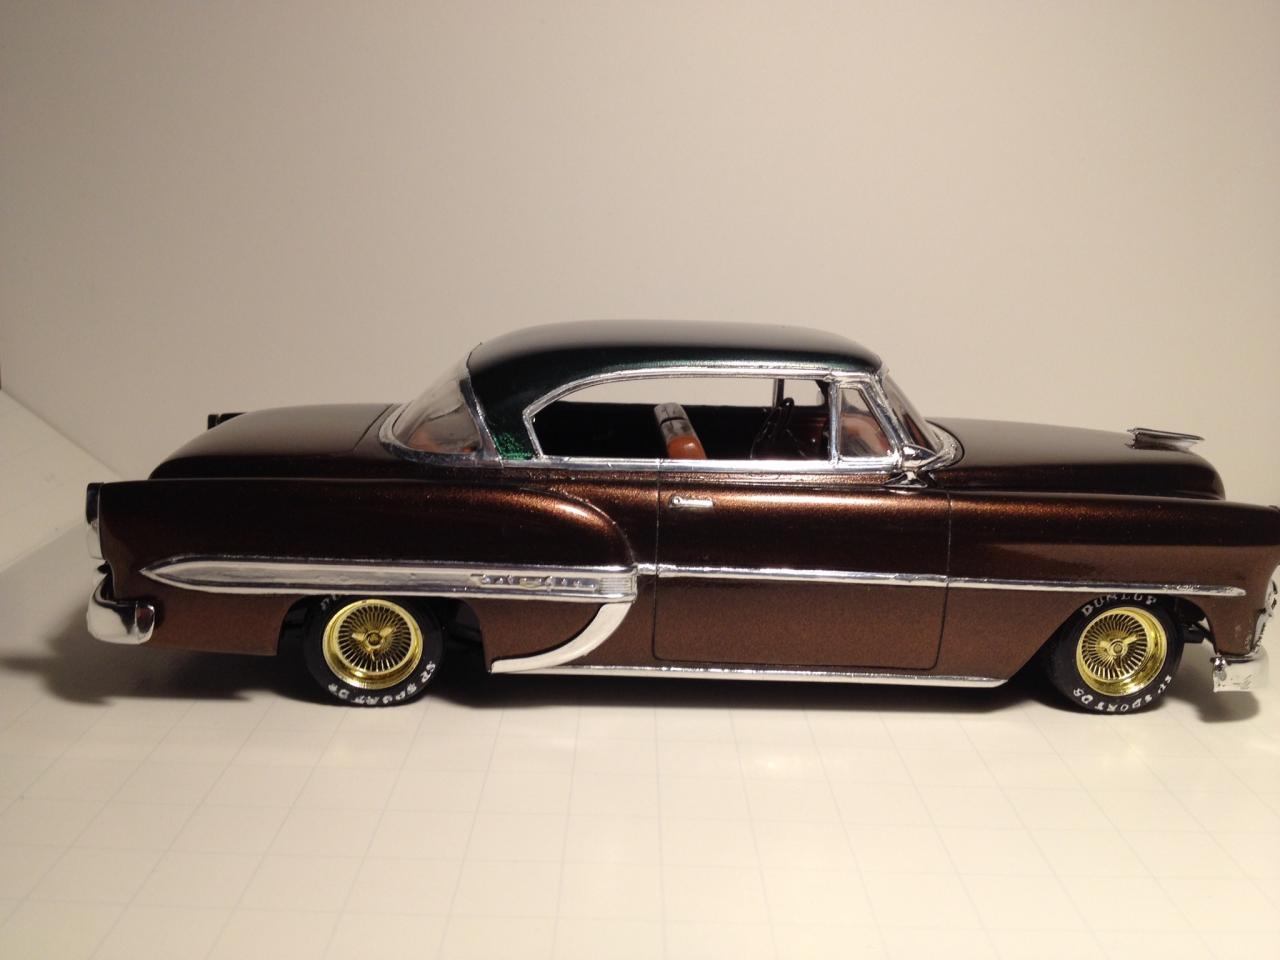
This was built as a beginning to end how to here in the forums. For complete build look for it in on the bench. The build was done using only craft acrylic hobby paints. Bronze on body vanilla ice cream on roof.
-
I don't brush it on personally but I would continue to put thin mist coats on it. Here is my tutorial in case you have not seen it. You will see how I start and it is flat and gets shinier and shinier with each coat. I do realize my video is done using an airbrush but applying it is the same layer by layer. I generally ise 1 1/2 to two ounces of floor polish before getting a shine on it. Maybe this vid will help.
-
You can use laquer thinner if the paint is still wet. Testors brush cleaner is the best that I know of for enamel. Also Odorless mineral spirits works well also as it is a lacquer thinner.
-
Keep in mind I have heard that Pledge floor shine does not stick on bare plastic. I suggest you get some cheap acrylic craft paint. 59 cents for two ounces at Walmart and brush that on let dry 15 minutes or use a hairdryer then apply the pledge. Let dry. A fluffy wide brush is best. Apply in thin coat then add more thin coats each until desired shine. Then go rinse it off in the sink and repeat. Do this as many times as you want until you feel comfortable with the results.
-
Thank you Dominik!
-
Thanks again everybody. Lee Burrows, thanks for watching. Russ Rydberg, I use 1/2 ounce of future and put the pearl powder in equivalent to a kits single carb. LOL, that's about the only way to give a visual amount. Hope that helps.
-
Thanks Niko. I use an airbrush so it goes on much thinner as to not lose the separate part look to it.
-
Revell Lowrider series.
-
I spray mine at 10 PSI and hold airbrush back 8-10 inches. I then spray light mist coats until desired shine. Here is a how to I did on spraying future. Thanks all for the kind comments.
-
I had a major problem and lost my computer. I was able to use my iPhone to retrieve footage of the completion of this build. However it is in video form. I lost some photo's but hope that posting the video's here it will bring this project to a close. I plan to retake some photo's to post in the under glass section of the forums as well. To all of you who have followed along I thank you and apologize for the delay on this build.
-
Body was painted with Apple Barrel acrylic flat black. Then Future with Antique Copper pearl ex powder. Roof was painted with Apple barrel acrylic flat black. Then Future with Spring Green Pearl Ex powder. I then cleared with LA's totally awesome mop and shine acrylic floor polish. Chrome trim is aluminum foil held on with micro metal foil adhesive.
-
Ismael, It is safe over any type or brand of paint. I also have friends that get great results putting it on with a brush as well. Put it on let dry and put on more until you get the shine you want.
-
Ismael, I am wondering if you watched the video I did that happens to be at the top of the page? It will answer all the questions you have concerning Pledge floor care. It was formally future floor care. I Use LA's Totally awesome mop and shine in the video as it is the same stuff only cheaper. So to begin with question #1: It will give a quality show car shine. #2 It dries quick so put a few light mist coats on and wait ten minutes and repeat. It will start out flat/dull but the more you put on the shinier it will get. #3 You can mask over it without any problems. #4 You can BMF over the top as a gloss is required for BMF to properly adhere. Another helpful hint is this is an acrylic based clear. I use Aqua Net hair spray and put a heavy coat on some models with a lot of pin striping. This puts a water proof barrier between your paint and clear that is clear. Then spray your Pledge over that until you get the shine you want. I do this in case I have a problem like dust I can easily wipe of the clear in the sink under hot water with out touching the paint underneath it. Here are models I have done with all acrylic paints with Future type floor polish for clear coats. Here is a link to my YouTube Channel tutorial playlist that may have some helpful tips that you can use. www.youtube.com/playlist?list=PLWmDDhf1nNnxvW9Jh_uNc9PkIUZm167M6
-
Your welcome Roy Snyder (Ford Guy)
-
Way cool of you to share this tip. Another tip I have for you is you can thin and store these paints for years as well. Dr. Cranky did a vid showing some that were thinned 4 years ago and it sprayed great. I myself got some 8 oz squeeze bottle's and fill half full with flat black and the other half with washer fluid. I now have 8oz of pre thinned paint ready to go of my most used color and I still have half a bottle unmixed for brush painting. That way I do not have to mix a batch every time I paint a frame and chassis. Thanks for posting this and go paint a body. It will be fine.
-
Holmes55, I do not use primer wit my acrylic or enamel paint. I just prep the body as smooth as possibal. I then spray right on the plastic.
-
Thx all.