-
Posts
275 -
Joined
-
Last visited
Content Type
Profiles
Forums
Events
Gallery
Posts posted by cchapman195
-
-
Hey, thanks for watching Steve. First off I use Windshield washer fluid. NOT ANTIFREEZE. That will eat the styrene quick. So PLEASE do NOT use ANTIFREEZE lol. That said. I start with a 50/50 mix which is usually good. Sometimes if thick I add a little fluid, to thin I add paint. I stir then hold my stirrer up and it should drip at every second. If it runs off it is to thin, Don't drip to thick.When it comes to BMF I usually tape off all area's where the BMF goes. I paint, clear, polish and wax. I then remove the tape and add my BMF. I do how ever, use aluminum foil instead of BMF. I use low tac tape (Tamiya) around the trim. I cut out where the foil goes then add Micro metal foil adhesive. (some guys just use elmers glue thinned with water) I let dry a few minutes then put a piece of aluminum foil down. Burnish it with a Q-Tip. Let dry. I then cut off excess just like BMF and remove the tape and excess foil. Then I use a Q-Tip and polish it with mothers mag and wheel polish. I hope this helps and thanks for watching.
-
Thanks Bruce! Hope it helps.
-
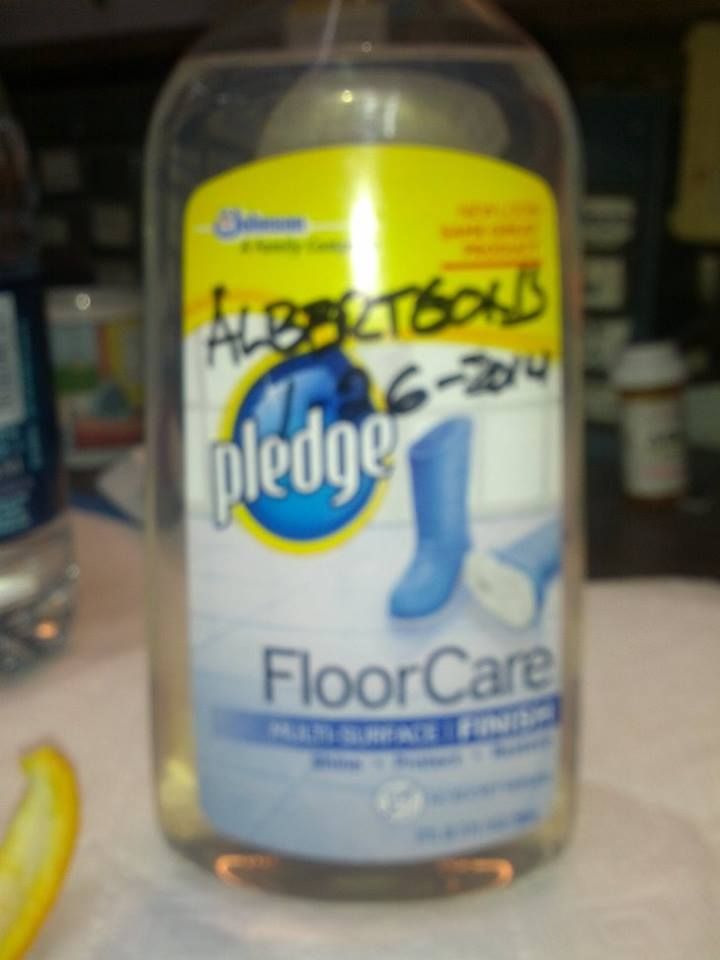
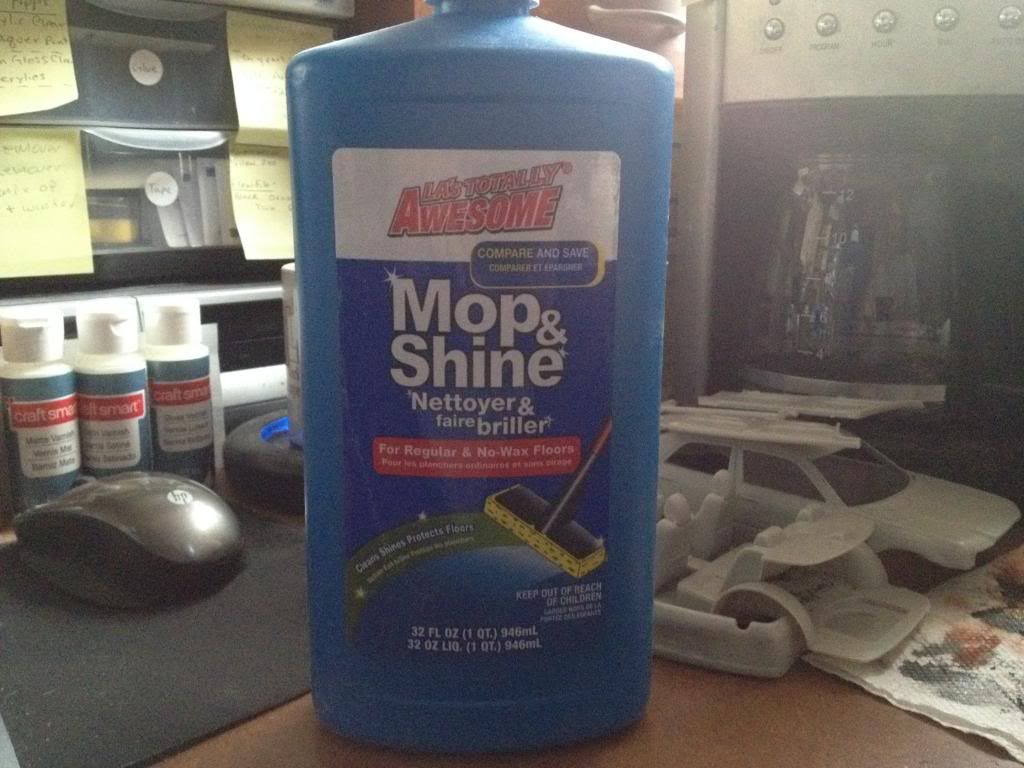
Michael, Lee is probably right. Here is a picture of the Pledge but I will show you what I use. It is the same stuff as Pledge or Future but I get mine for a buck at the dollar store for 32 oz (1QT). I can get four bottles of it for the price of Pledge. It's called LA's Totally Awesome Mop & Shine. Remember it goes on hazy but dries clear. The more coats you put on the shinier it will be. I did a video and posted here on the thread a few posts back. If you get a minute check it out. You will save money and get great results.
Here is the video I hadd mentioned:
I hope this helps.
-
-
I just posted this but wanted to share it here as well. This is my video showing my uses of acrylic paints, floor polishes and some tips to save money and still get great results.
-
-
I have used A1 for resin but only for an hour. I was told by a resin maker purple power will work but again that may be his own parts as they may be different from others. If it is resin he is worried about contacting the maker is a great idea Nick.
-
Its hard to answer your question as I do not know what kind of material your body is. If it is styrene from a kit just soak it overnight in warm soapy water. I use dawn dish soap as do most. If it is resin most resin making companies recommend Wesley's bleach white as it is a stronger chemical then a kit mold release. If you can't find Weasleys then Purple power or A1 Totally awesome is a degreaser that works great. Also the last two work great for removing acrylic and enamel paint and chrome. I personally use A1c as it is found at the dollar store and guess what? it is a buck. Cheap way to do it. I hope this helps and good luck.
-
Cool good luck bud.
-
Testors bottle paint comes in an enamel and acrylic based format. Most times people pick up a bottle and thin with lacquer and have problems as acrylic needs to be thinned with plain tap water or future (pledge) acrylic floor wax. If it is an enamel based the best thing to mix it with will be cheap lacquer thinner from Walmart. It comes in a gold and blue can. The mix ratio is usually 50/50 with both acrylic and enamel. The Testers brush cleaner / thinner does not work as well as the lacquer thinner. I do not know why. Once you get it mixed spray at 22-25 psi and clean tip often as it will clog up there. Especially the acrylic water based paints. The way I do it is I hold the body eight inches from the air brush and move the body around allowing a light mist to show. I keep moving it back and forth and up and down and twist and turn while it lightly mists the body slowly getting thicker and thicker. It will start out dull looking once you get a god coverage. The more of this misting you do the shinier it will become. You keep spraying this way until you have a nice smooth glossy finish on it. If it is acrylic paint I use a hair dryer to dry it then let it sit over night. If it is enamel I put mine into a dehydrator over night or twelve hours. If no dehydrator it can take 4-7 days to fully cure. (bad side of enamels). Go and make sure you did not get an acrylic paint mixed up with an enamel. It will say on the front of the bottle. Unfortunately when they display on the racks they tend to mix the two together so it is easy to grab the wrong type of paint. I use the same painting method to apply clear coat (Future or pledge) on all my builds. Painting is done with enamel, acrylic and lacquer paint with this process and it works great for me. I hope this helps you.
-
Tom Geiger, that is some great work on weathering.
-
Very nice. Waiting for more.
-
Well it has been bit since I added a new progress report. I decided that the majority of you will know how to sand and prep your parts so I did not want to fill up this by putting a bunch of material that most are familiar wit. I did all ready cover how I do my prep previously if any newer builders needed assistance. So I spent the last week and a half prepping all parts and getting them ready for paint to move ahead. So on to my progress as of this point.
I like to mark in pink each part that is done with all sanding and gap prep. I then mark sub assembly pieces that were put together in green so I can keep track of what I already glued together.
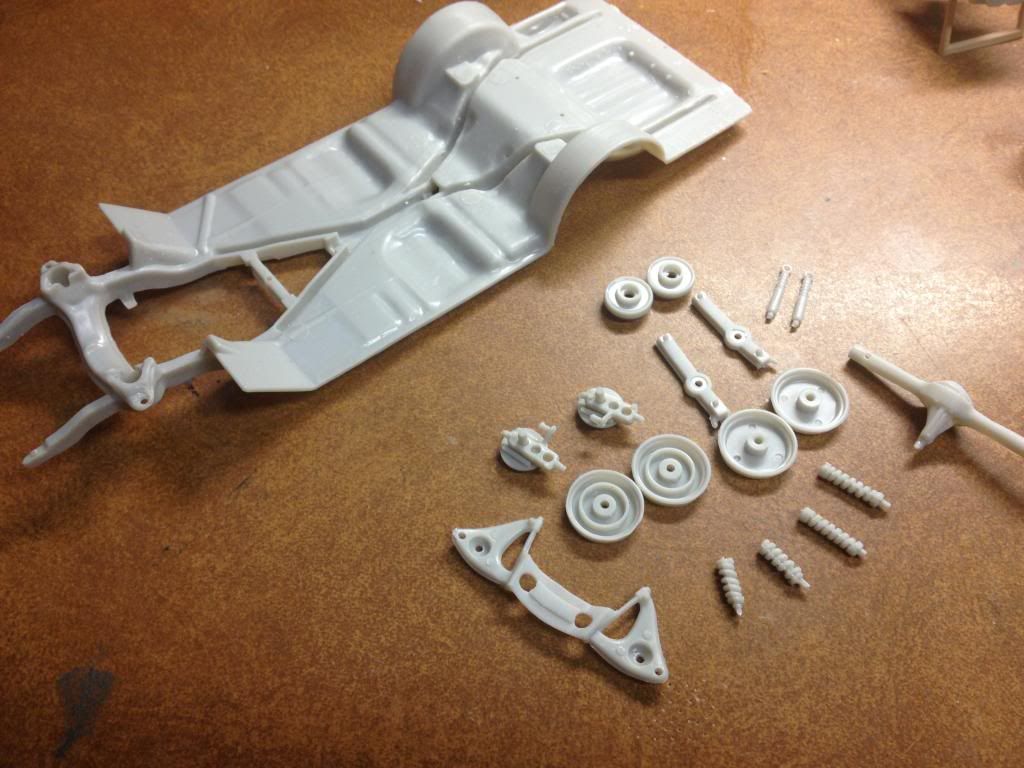
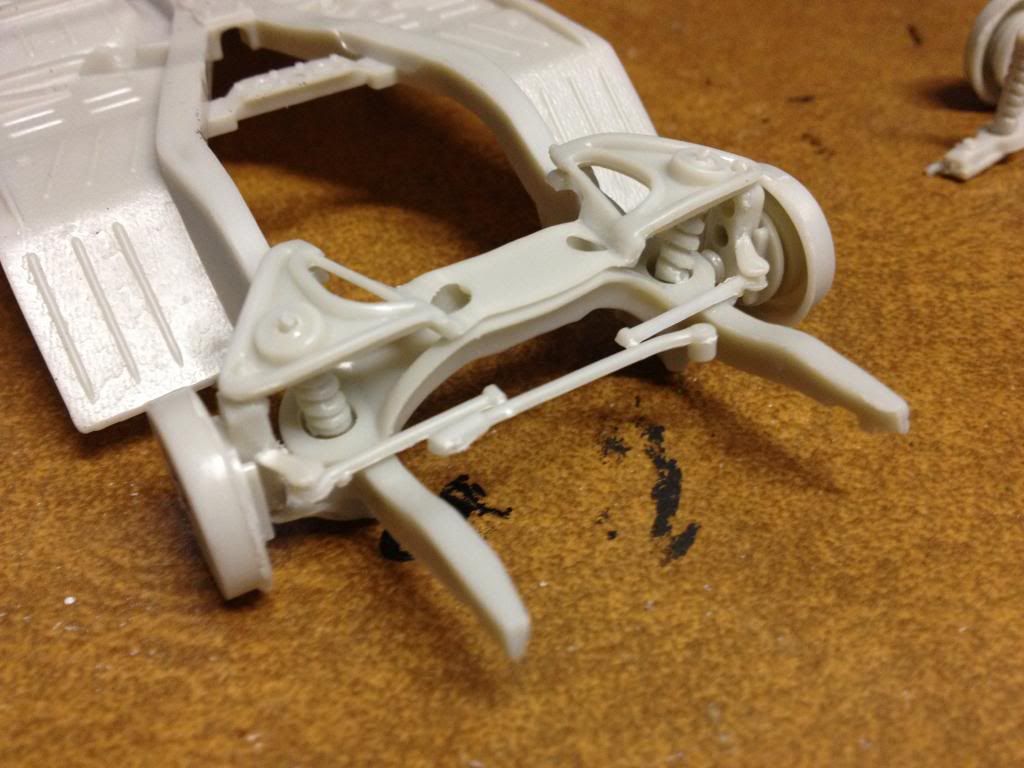
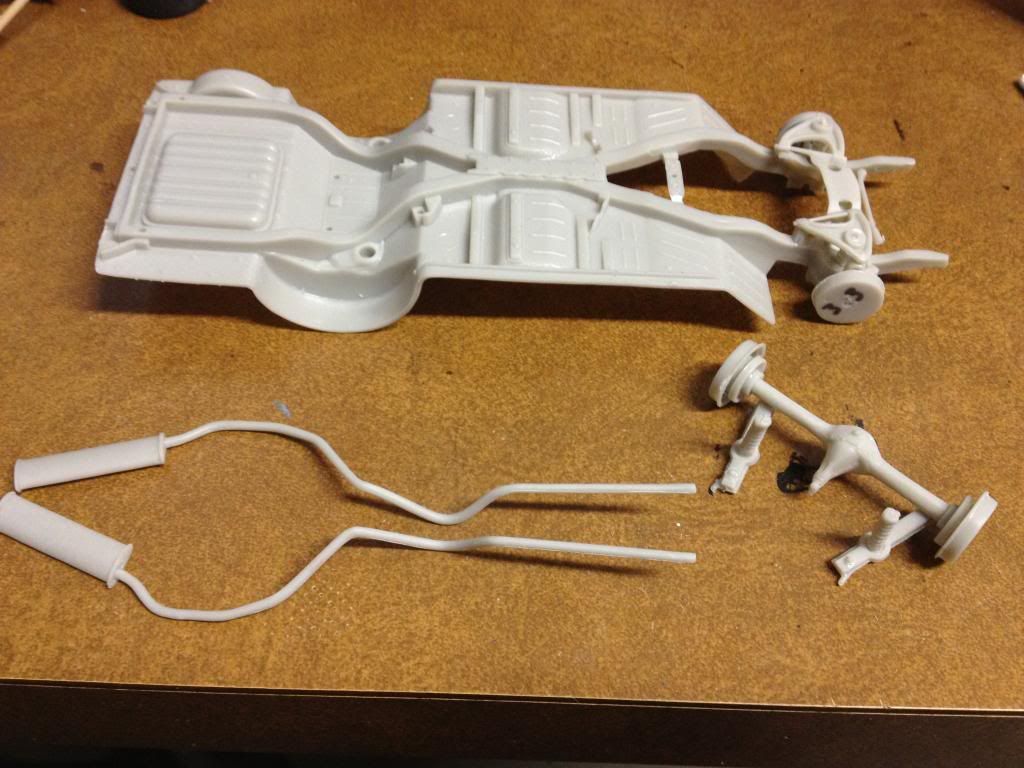
I will now start to put the chassis together. Some parts will be mounted others will be assemble but installed at a later time.Front suspension assembled and attached to the frame.
Chassis is ready for paint.
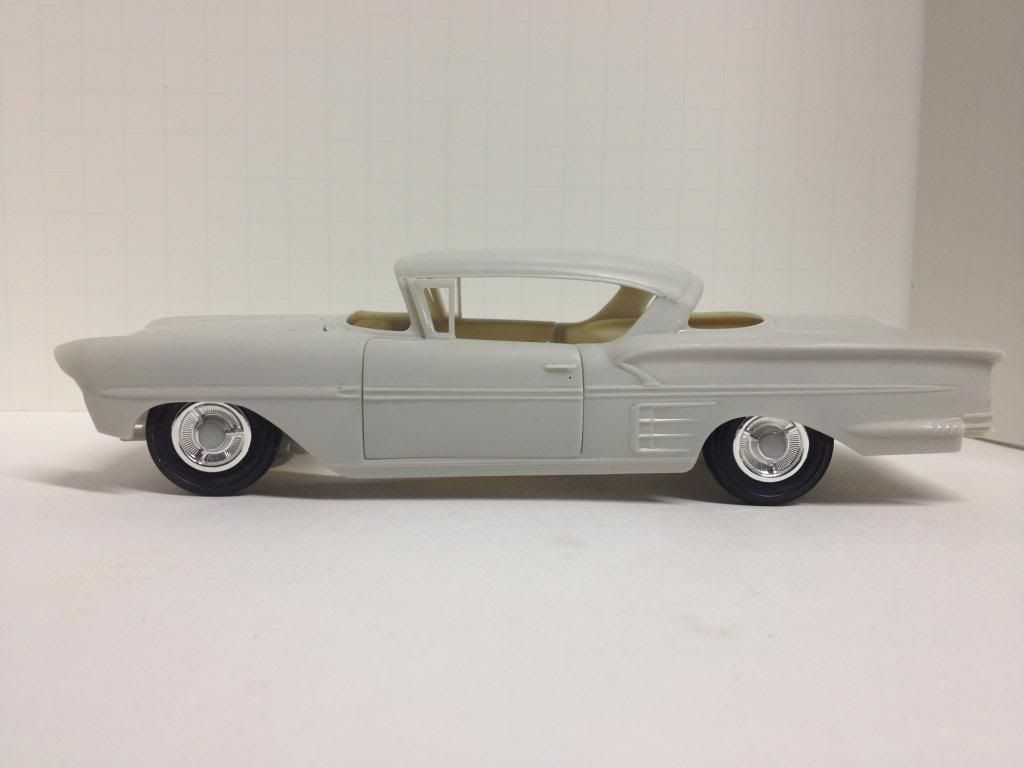
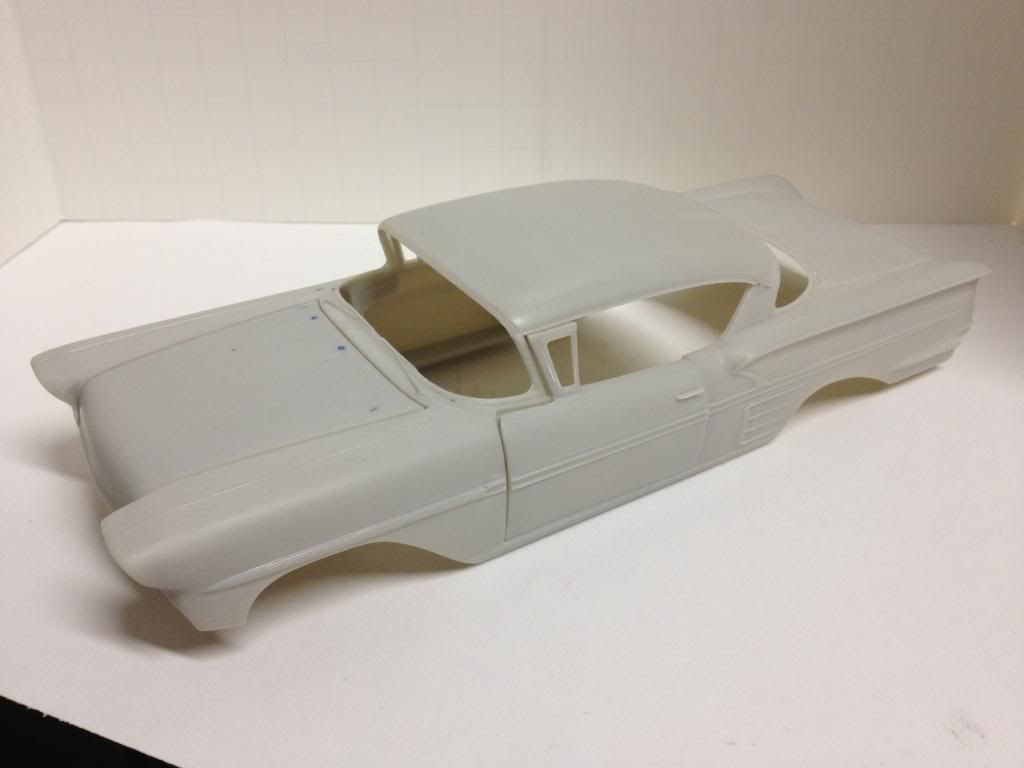
A quick mock up assures the body fits.
All tires sit on the ground.
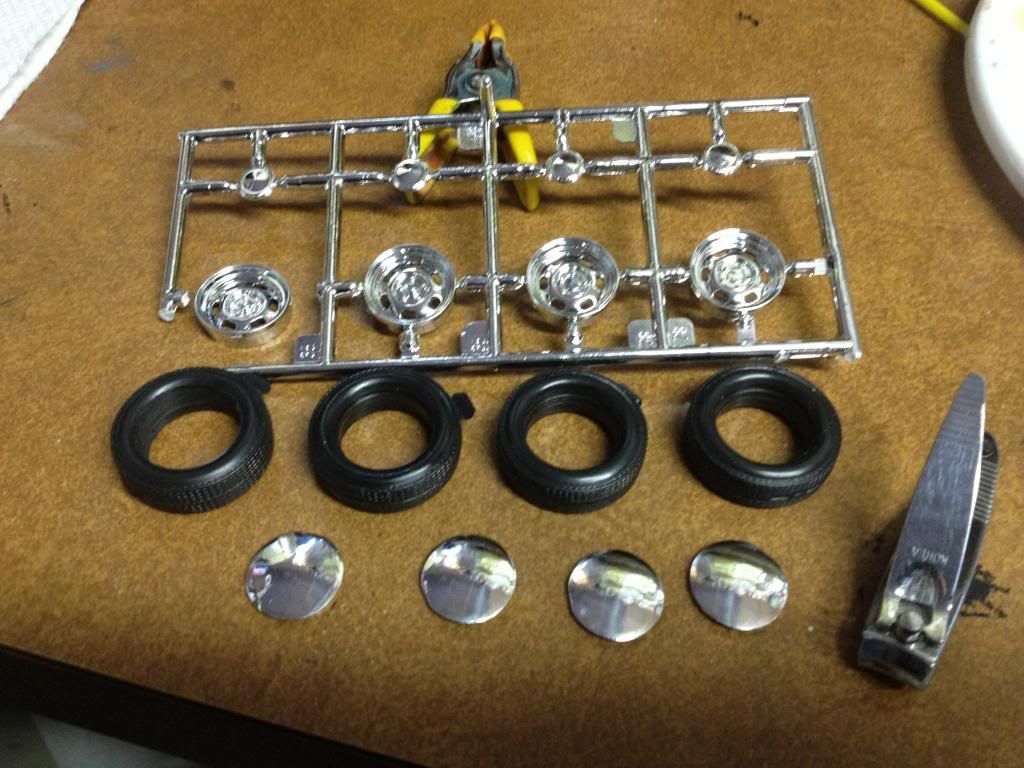
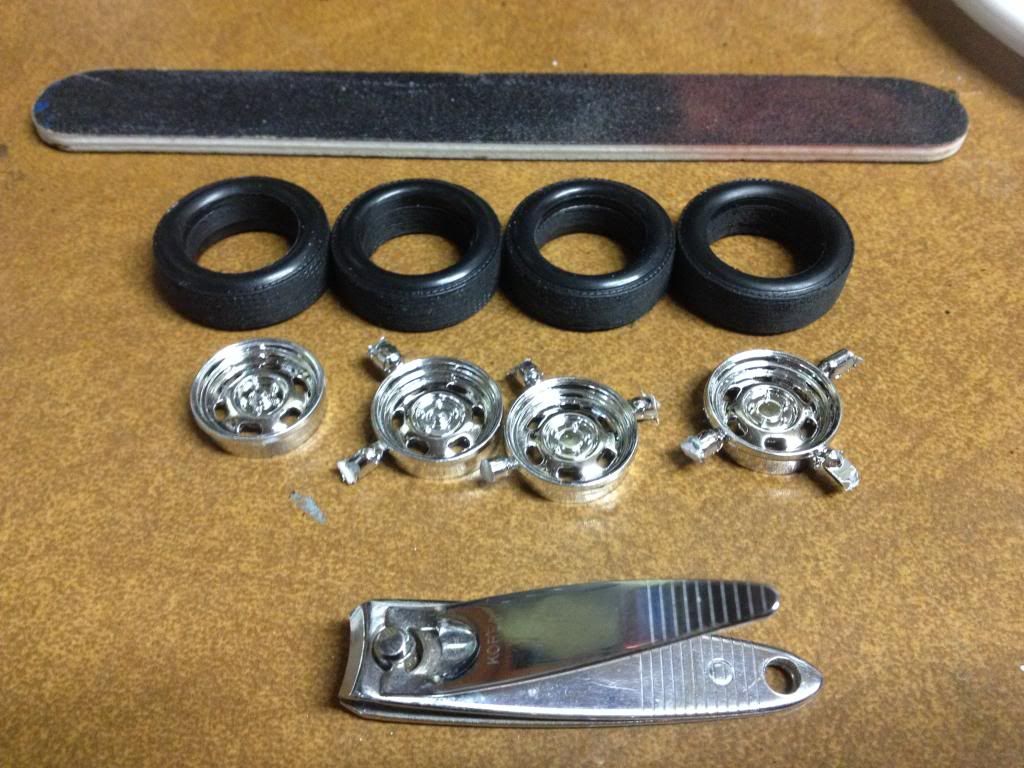
I am using tires and wheels out of my parts box. This is so I can use the disk wheel covers.
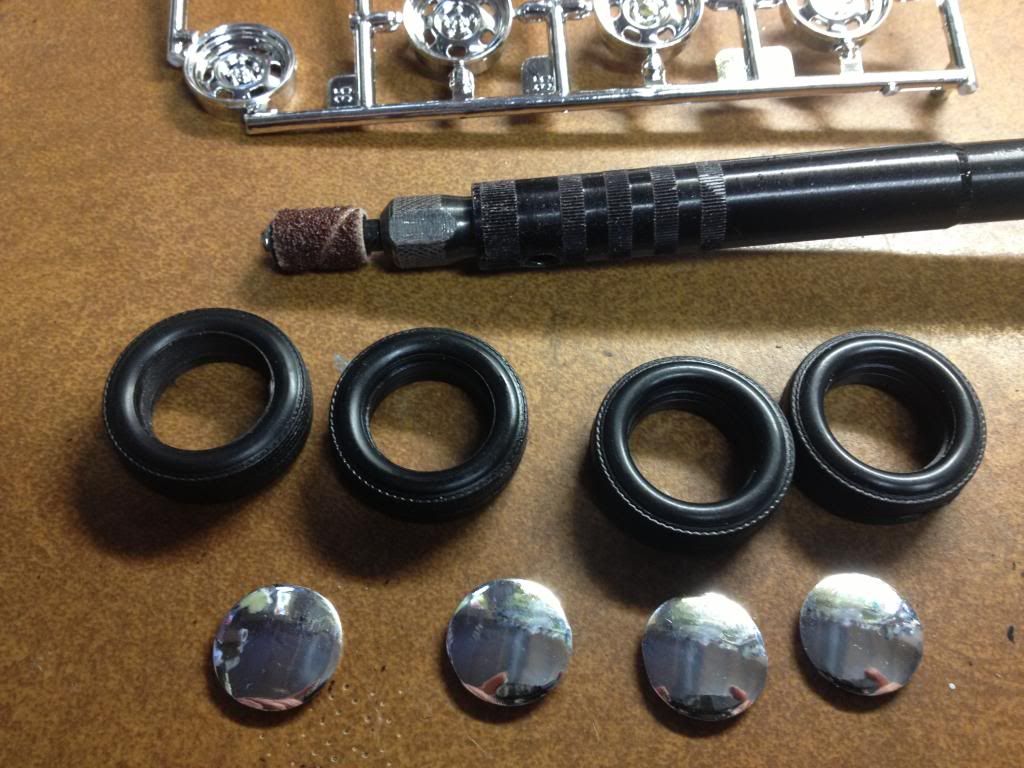
It required me to use my dremel to open the inside of the tires so the new rims will fit.
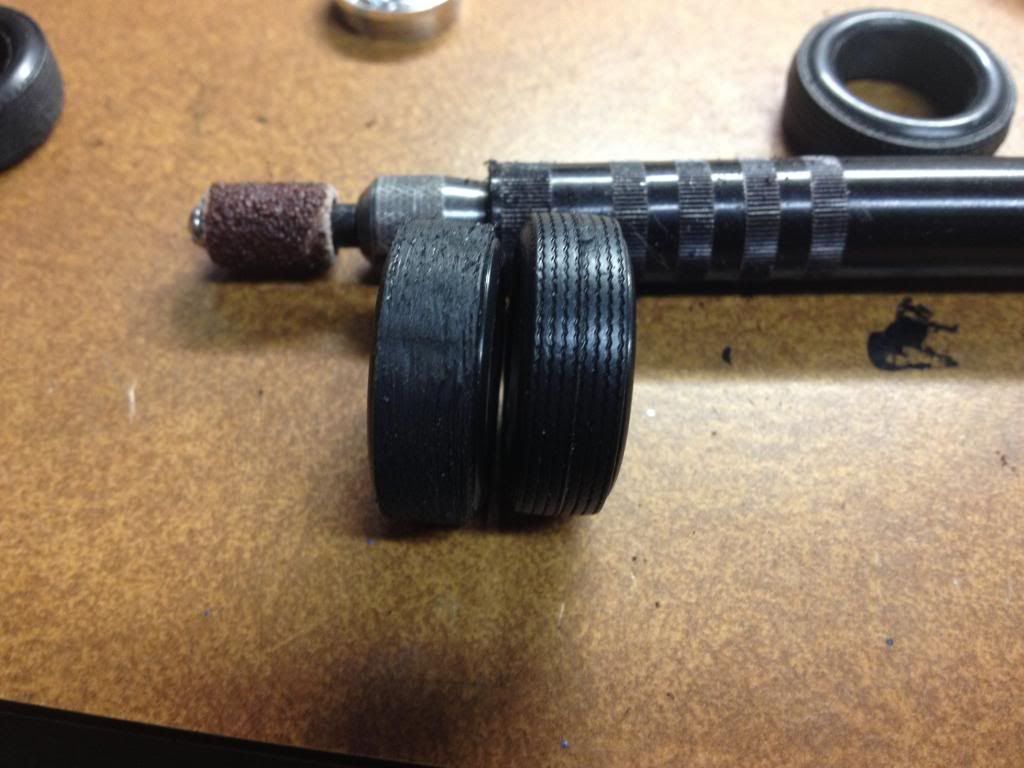
I also use the dremell on the tread of the tires to show wear and tear.
Again I use toe nail clippers to remove the nubs from the rims
I then use a sharpie to color the bare plastic showing where the sprue was attached.
I use a file and sanding pen by 3m to remove the chrome plating were the glue will attach the parts together
Tires and wheels are finished.
Time for the interior. I put the front seat in and used a brown sharpie to mark the outside of the front seat. Then I put down masking tape.
I then cut out the tape leaving the inside of the seat area. This way I can put on the flocking but still have a flat clean srface for the seat to sit and the glue to weld the seat to the floor pan.
After sanding and matching everything up on the doors I used Plasti weld to weld the door panels to the exterior door pieces.
Interior parts are ready for primer. These will be primed as I will be doing some taping and want to make sure the paint grabs tight
Now that most parts are ready for paint I will stop now and return after I have some painting done. Thanks again for tagging along.
-
Roy, if you choose to tint the baking soda here's how I do it, I got it from someone else too (not my idea). I think it helps to provide contrast between the filler and base styrene.
Take about 2 tablespoons of Baking Soda then a couple of drops of food coloring, mix together until you reach a consistent color. If it's too light repeat the process until you are satisfied with the color. Next spread the mixture out on a plate, let dry completely, put it in an airtight container and use like you would regular old baking soda. Blue and green seem to show up the best for me, you can also use this method to match the plastic color you are filling if you want. Since I usually spray gray primer over it the color isn't an issue.
Skip, this is exactly what I wanted out of this forum build. I myself have never heard of doing what you outlined in your comment. This is definitely something I plan to try in the future. Thank you for throwing your two cents in.
-
Thanks Skip. I am going to get some baking soda and give it a try and see how and what if any the differences are. Gerald (GerN) I have hears a lot of good things about the bondo two part body putty. I thank you for the help and suggestions as this is why I started this post. In my first comments at the beginning of this I said this was for me to hear and learn from other peoples choices. You all have been great and given me option to look at. Thanks again to everyone following along. More to come soon.
-
Thanks Richard. I hope when it is done the good Doc himself will approve lol.
-
Thanks everybody for the comments. Rob Mathis (Jantrix), I did some research on the baking soda and people I have talked to also said the same thing, it leaches out over time. I have never had any problem with baking powder drying the glue as it is instant and can be sanded within two minutes of application. It does not shrink either. I also learned that a lot of builders adds baking powder to pledge floor polish with future as a filler putty with great results. It does take time to dry but works great. I believe I will try that sometime on this build if the need presents itself.
-
Thanks for looking Chris. I am using baking powder. I have been using this for a couple years with great results.I have never used baking soda or herd of using that. Something I need to try. As for the lines below the trunk line I was not aware that was the purpose of the lines. Looking at many pics on Google Image it just showed there were lines but not a fuel filler lid. This is very good info. I assumed the fuel filler was behind the licence plate. I do appreciate your feed back and will have to get me some baking soda.
-
Okay, I am back with some more work completed.
All low spots filled and sanded 400-12000 grits. Ready for paint.
Time to work on sub assemblies.
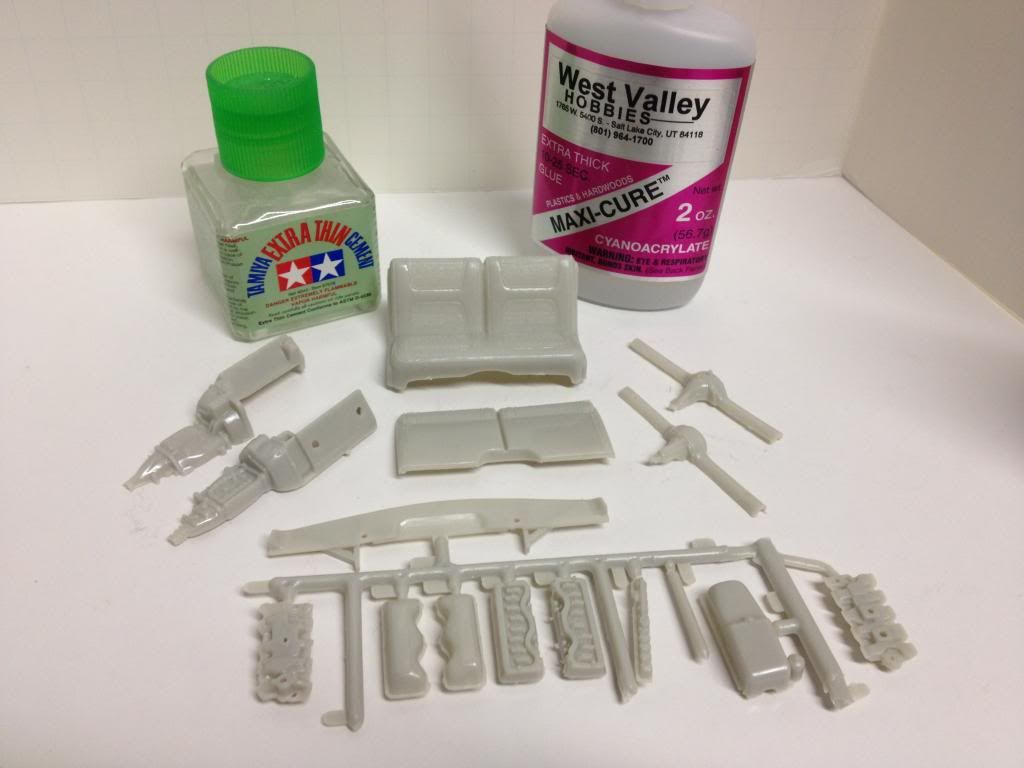
I use Tamiya extra thin to tac down parts. O then come and fill in any gaps again with the Baking Powder and extra thick CA glue.
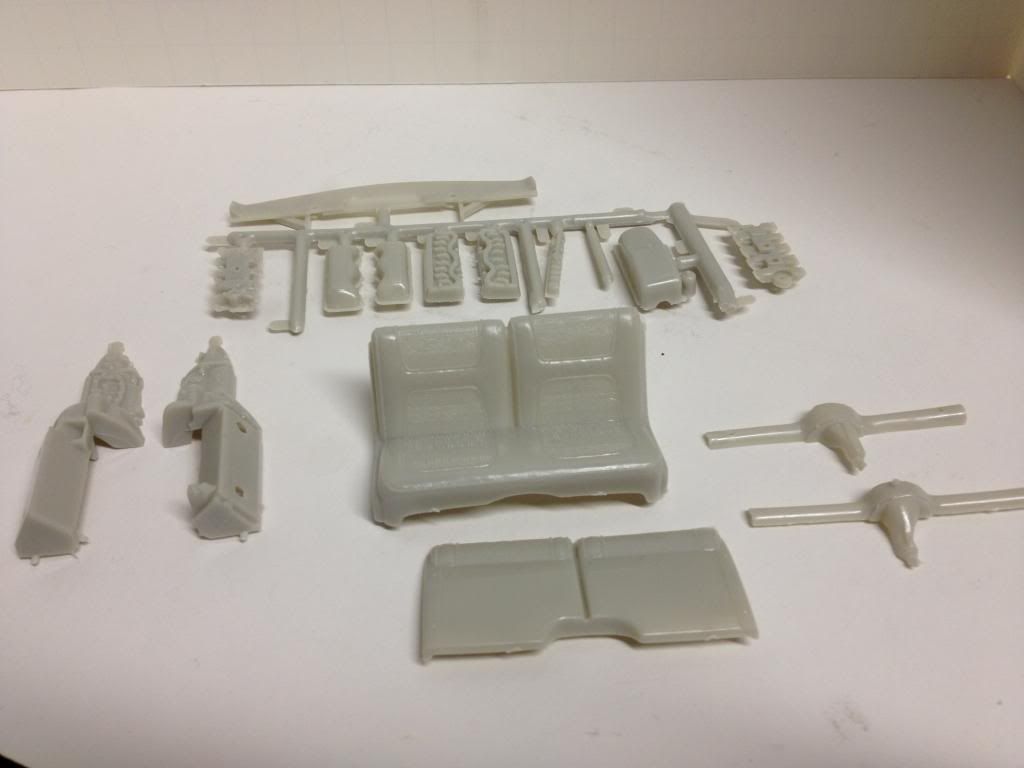
I start with the seat. Here after I cleaned up any flash you can see there is quite a gap.
I spread the extra thick glue into the gap.
I then sprinkle Baking Powder onto the glue spots.
I brush off powder and sand with 100-320 sanding sticks until smooth.
I also do it on the sides as the doors will open.
I also plan to use BMF on the seat suports. So it needs to be as smooth and flush as possible to not leave seam lines in the foil.
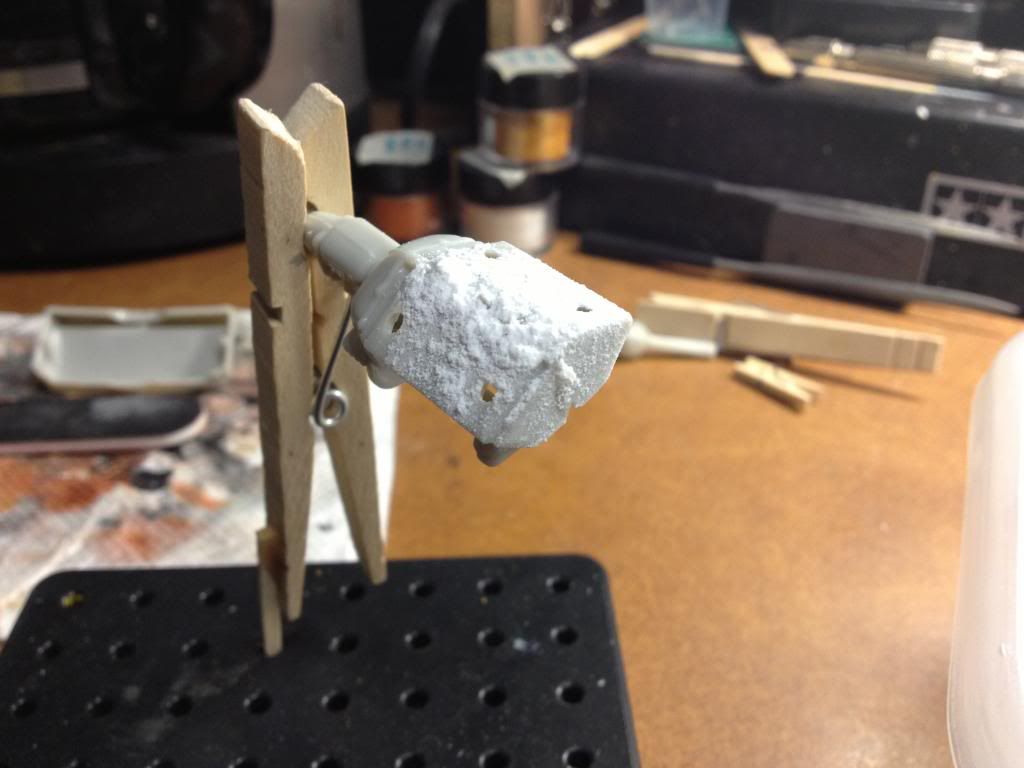
Time to fill in the gaps after putting the two engine halves together. Again, the CA and Baking powder method is used.
All gaps and seems are filled in.
All smooth.
Now it is time to start putting the motor together. I will be back with updates as soon as I get some work done.
-
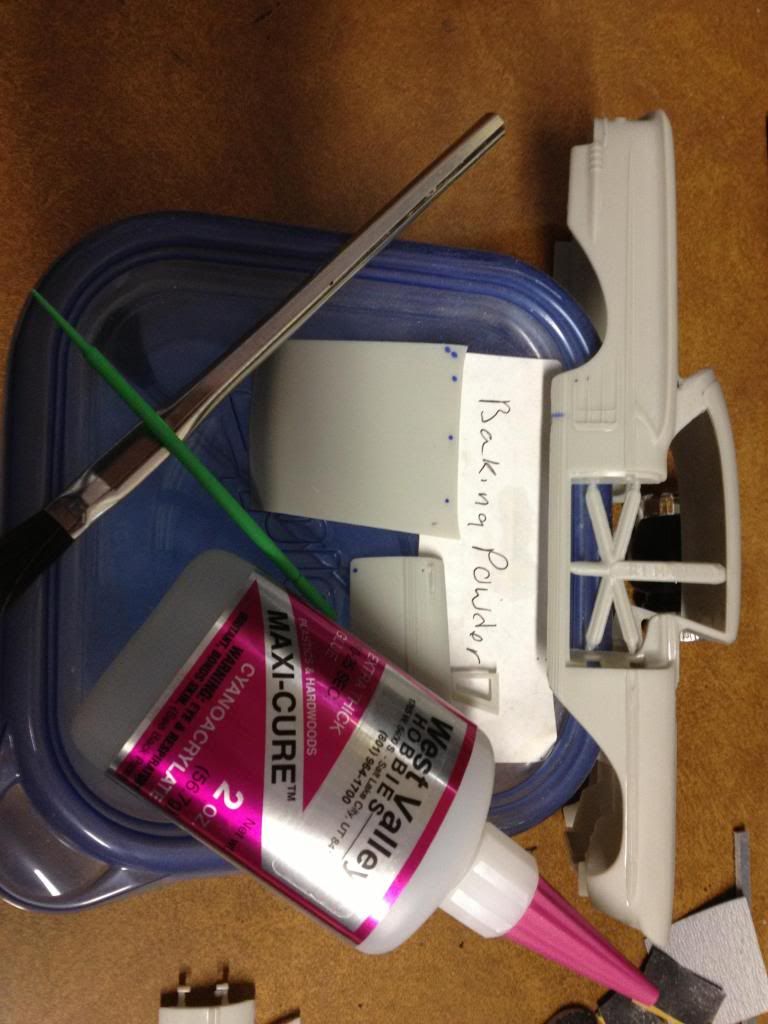
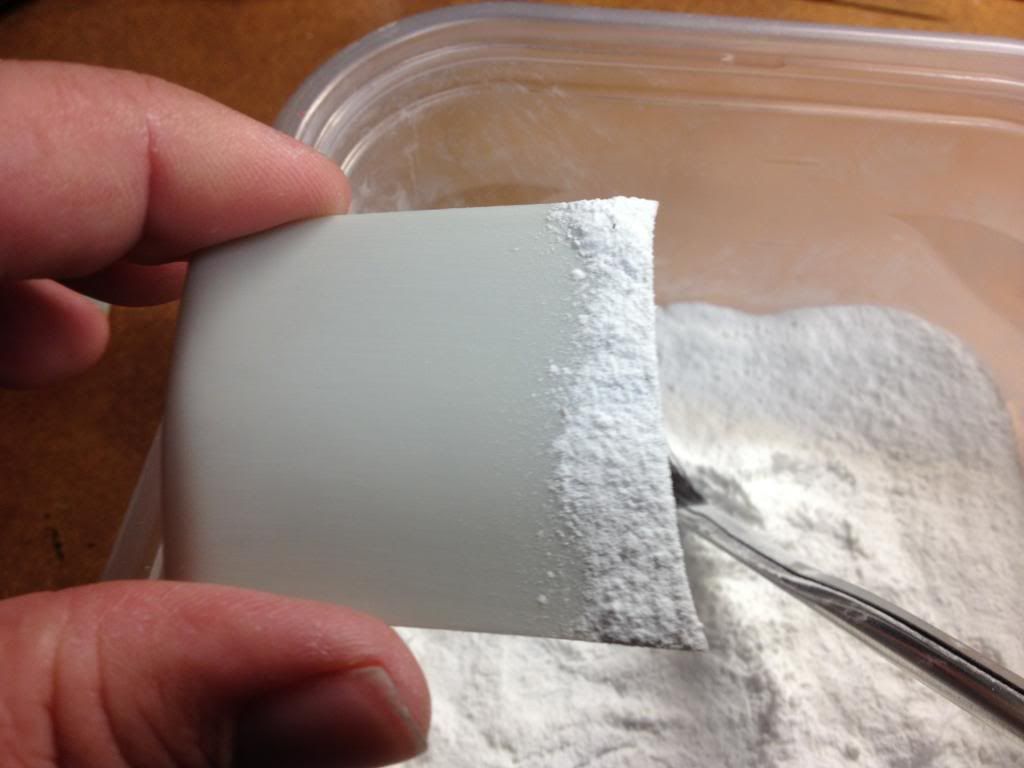
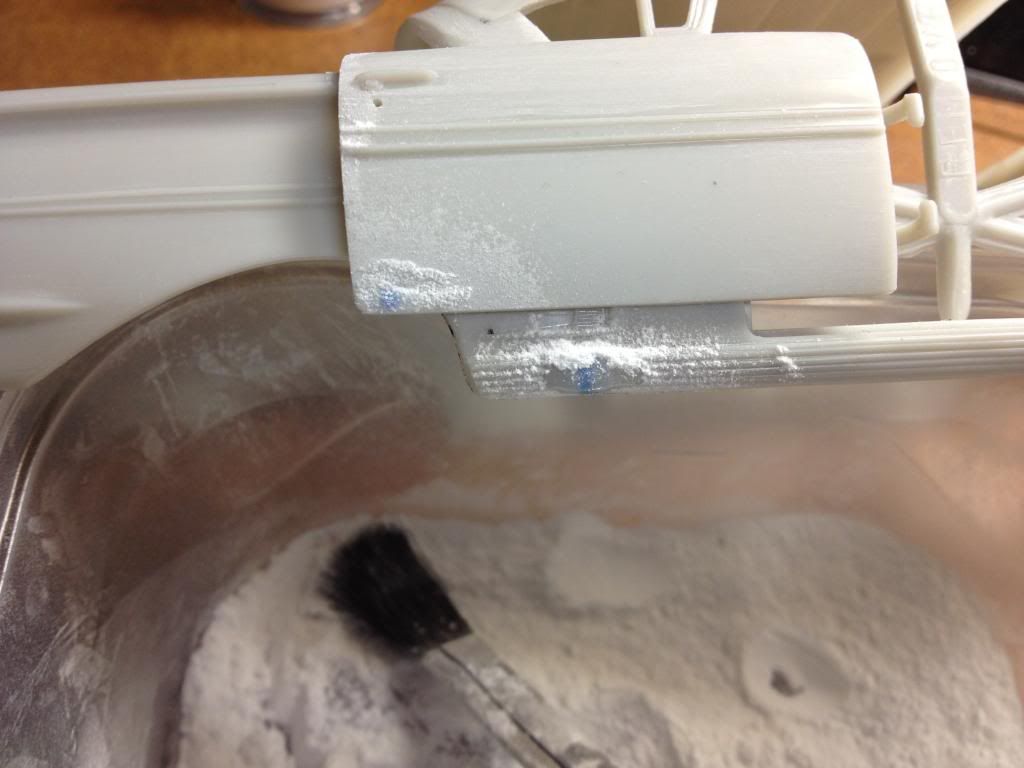
Okay, for this update we will tackle body work. I personally like to use extra thick CA glue and baking powder. With this process I can fill in low spots,sand and wash all in a matter of minutes. A little extra info: I put on the baking powder and let sit a few minutes, brush off and sand within five minutes. As the CA glue sits it will set up hard. The longer it sits the harder it will be to sand. That said, let's get started.
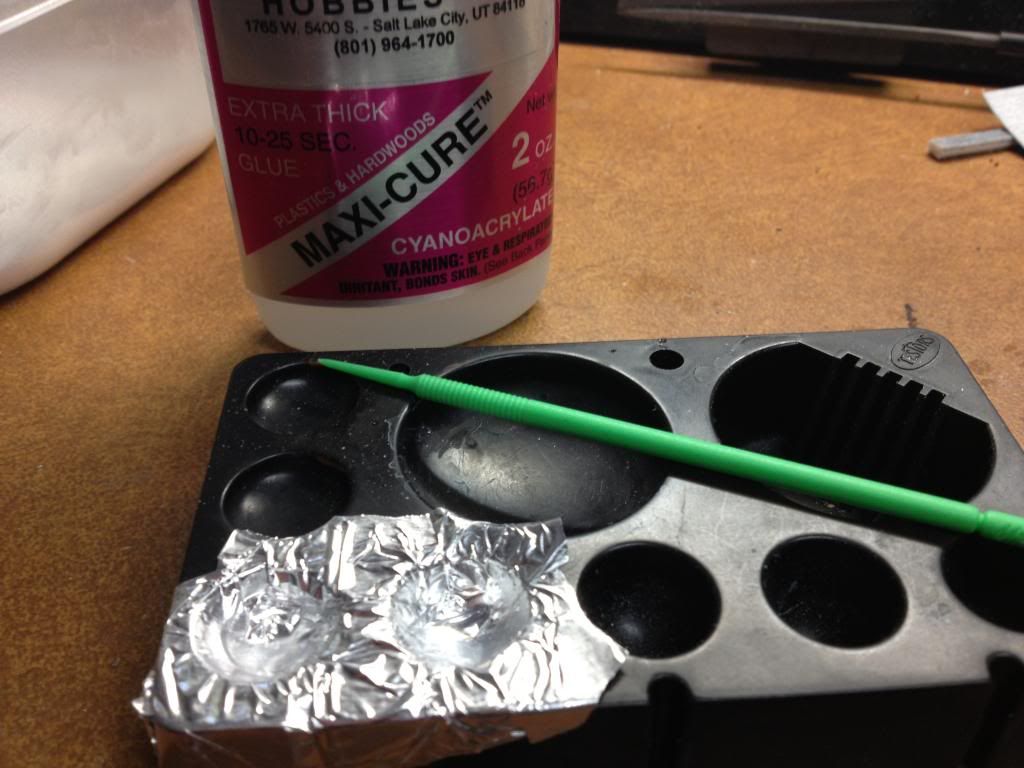
I like to put aluminum foil into a little cup like object and put a few drops of glue into it. This way when I am done I can just roll it up and throw away. Bottle caps work great as well.
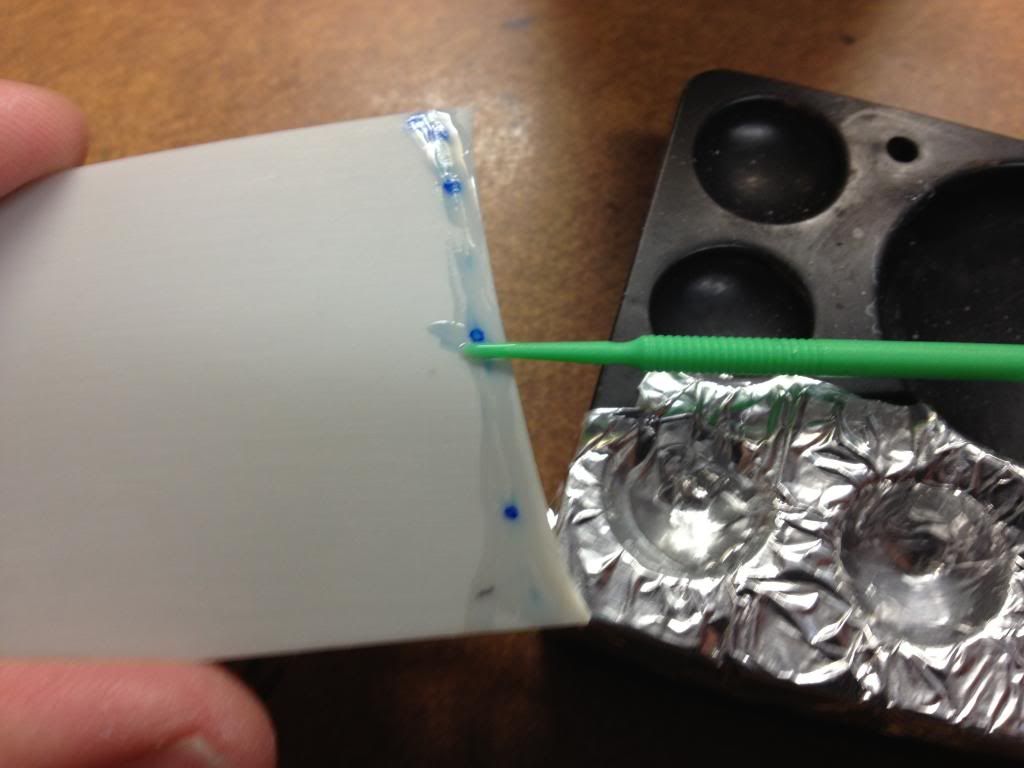
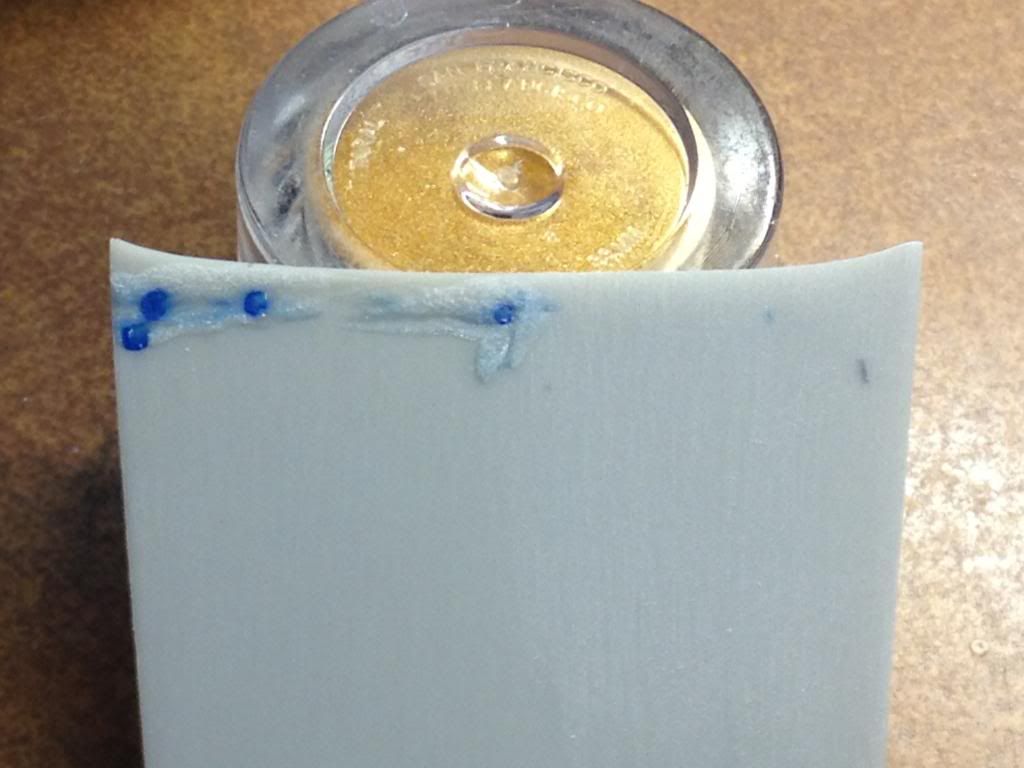
Here I put the extra thick ca glue across the low spots.
I then sprinkle baking powder over the glue.
This causes the glue to dry instantly.
I give it two minutes or so then use 400 grit sandpaper
Here you can see the right half finished.
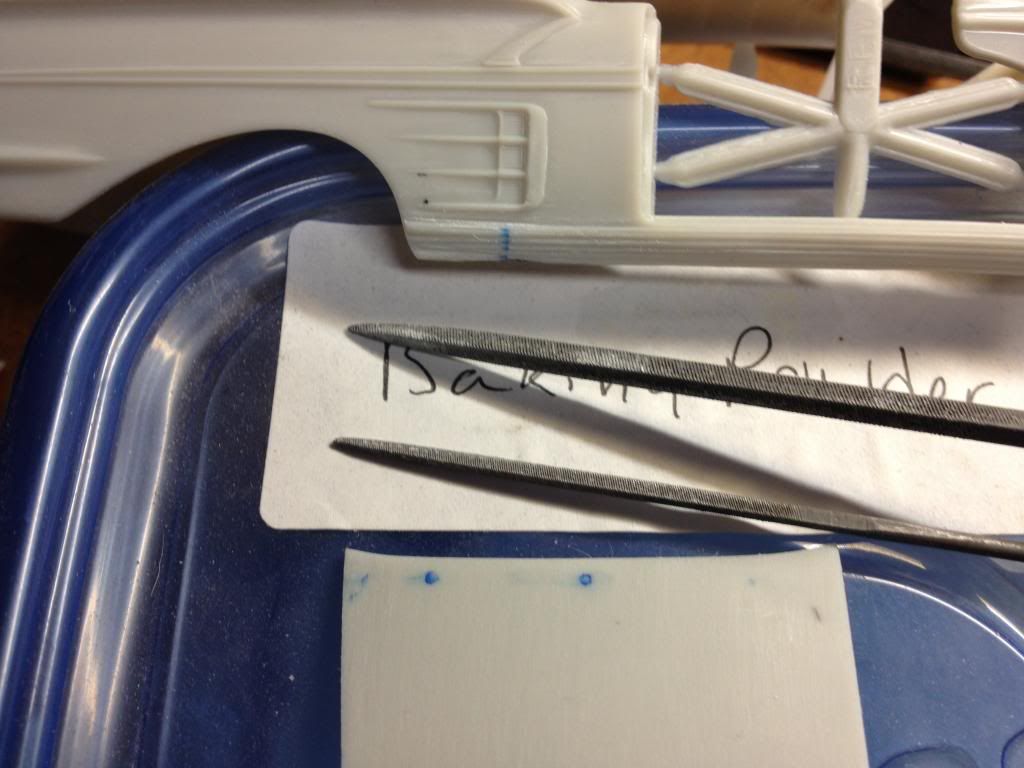
If you wait to long more then five minutes the glue gets hard and will require files to sand it. Here all parts are done and sanded smooth. I can now finish sanding with 600-12000 grit paper. These are the files I used to remake the lines along the trim where I had to fill it up.
I will be back with more soon. Again thanks for following.
-
Thank you Scott. My favorite year.
-
I would like to send a huge THANK YOU for all the great comments!
-
1956 Ford Victoria. All acrylic paint. Just a daily old driver really.
-
Thanks again everybody for the comments.

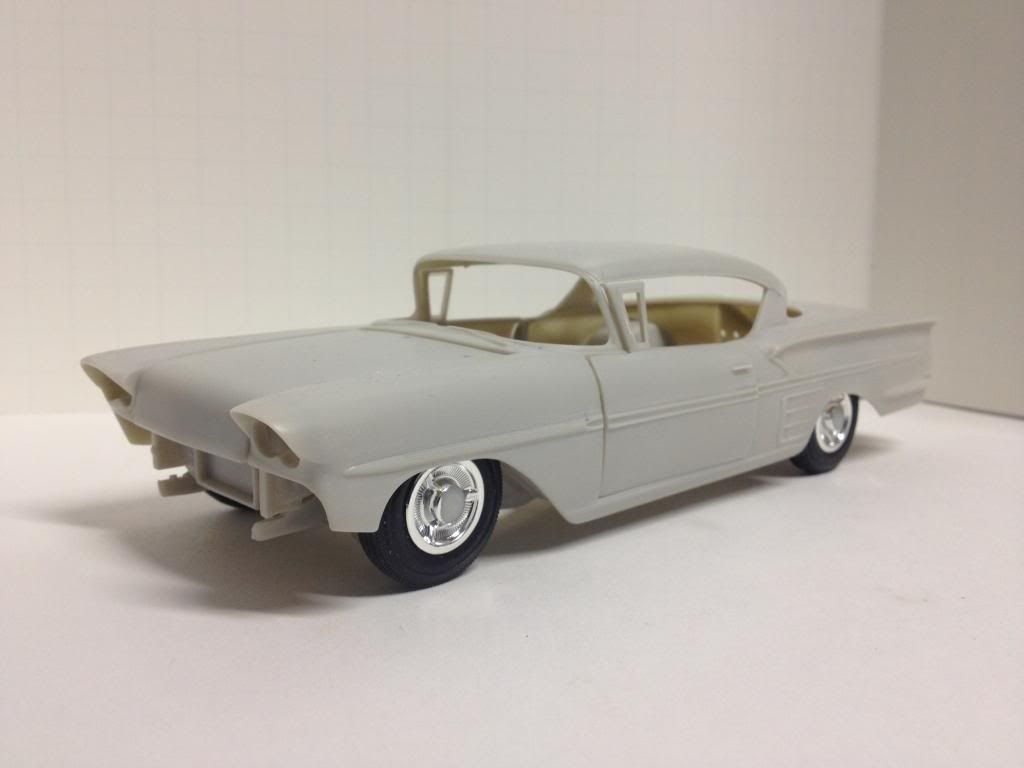
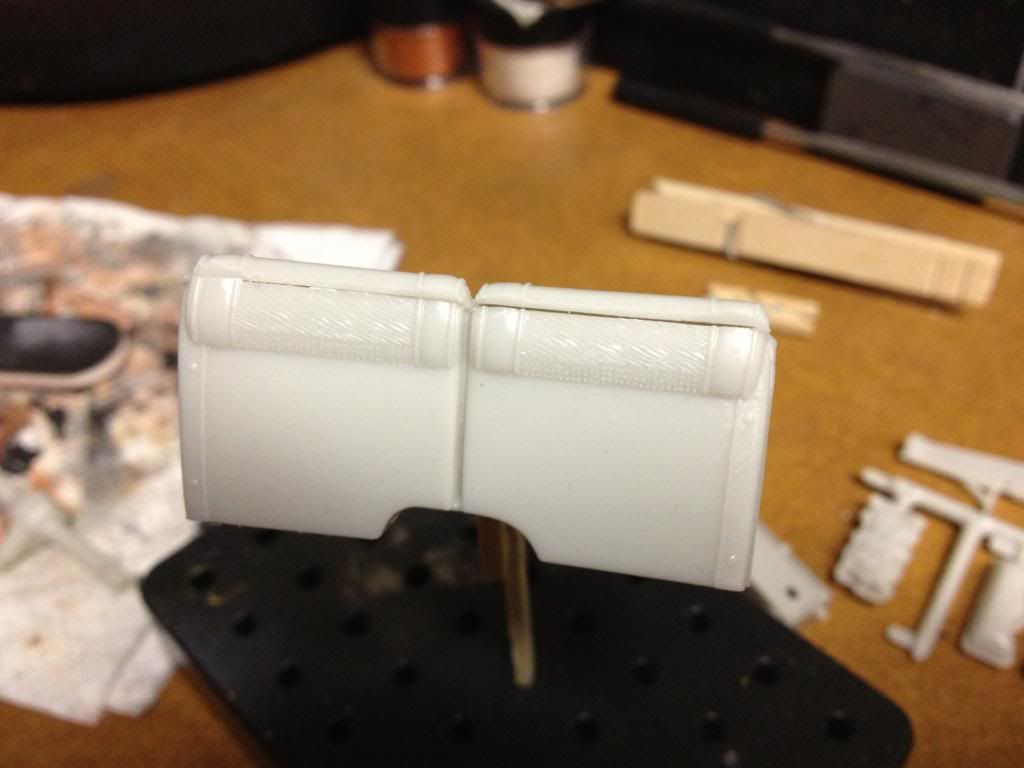
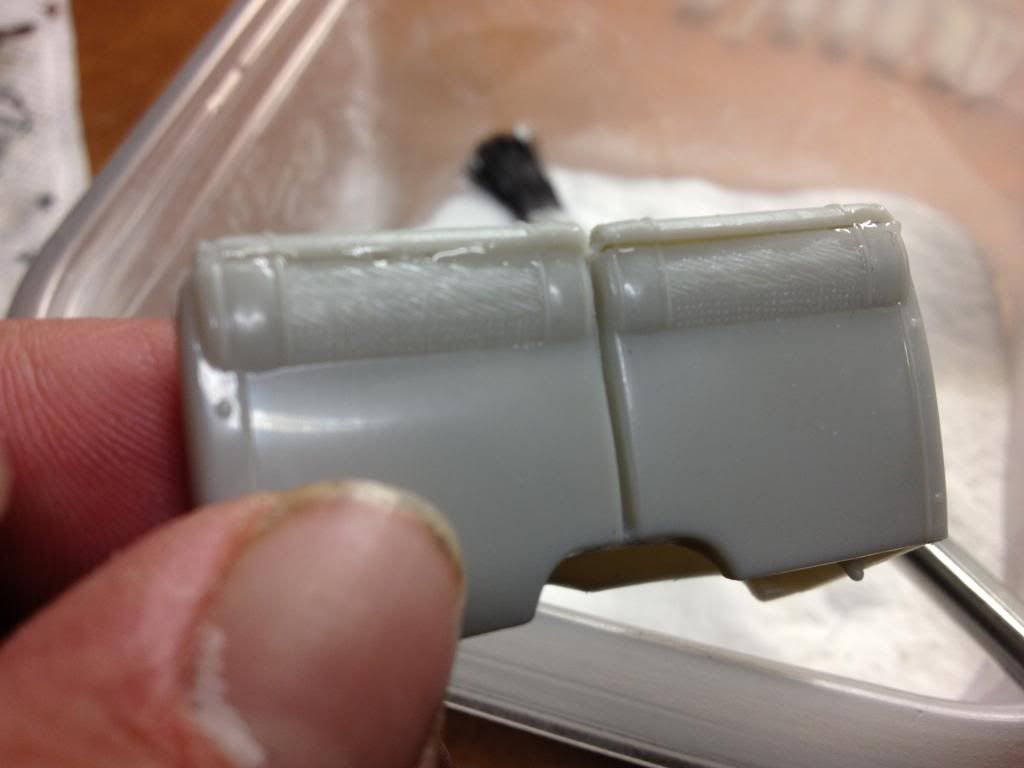

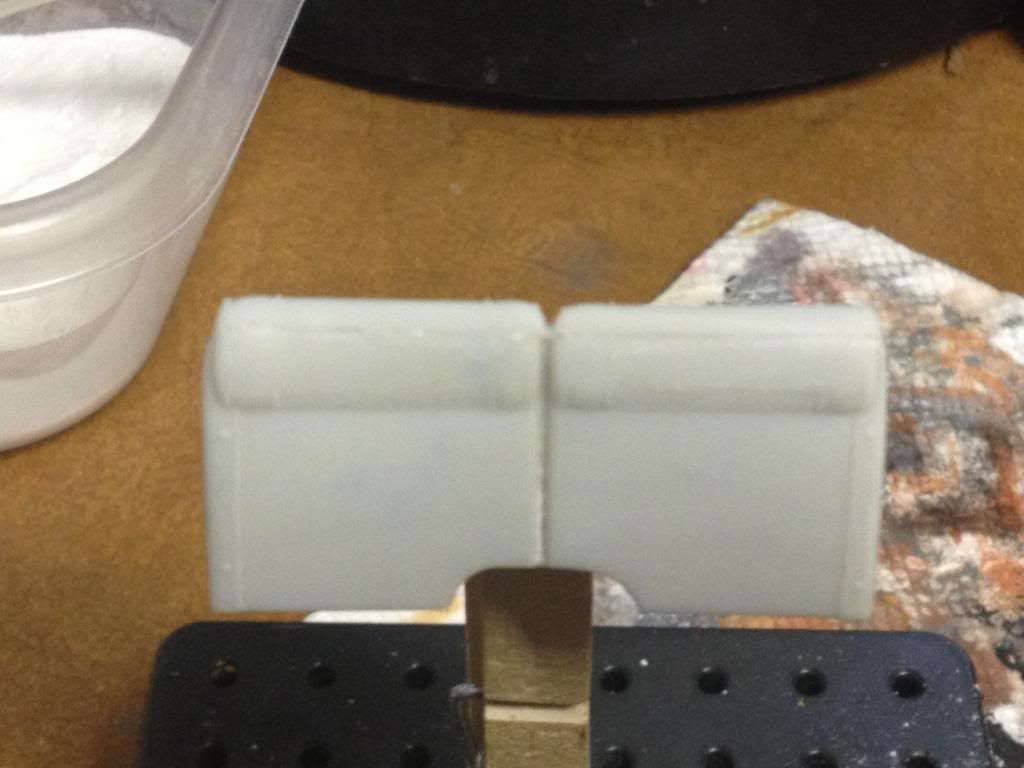

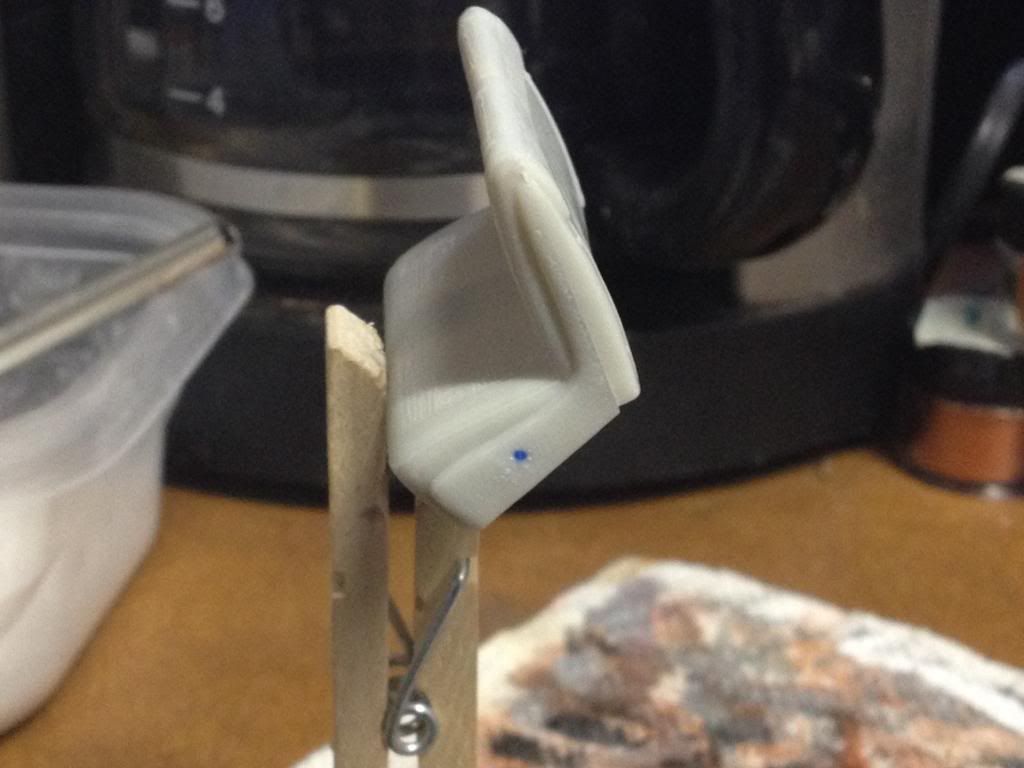

Acrylic paints and floor polish. Tips to save money and get great results
in Tips, Tricks, and Tutorials
Posted
I figured so Stephen, just makin sure lol.