

gtx6970
-
Posts
6,944 -
Joined
-
Last visited
Content Type
Profiles
Forums
Events
Gallery
Posts posted by gtx6970
-
-
I didnt know the museum was still operating
Any better pictures the whjite Superbird ?
-
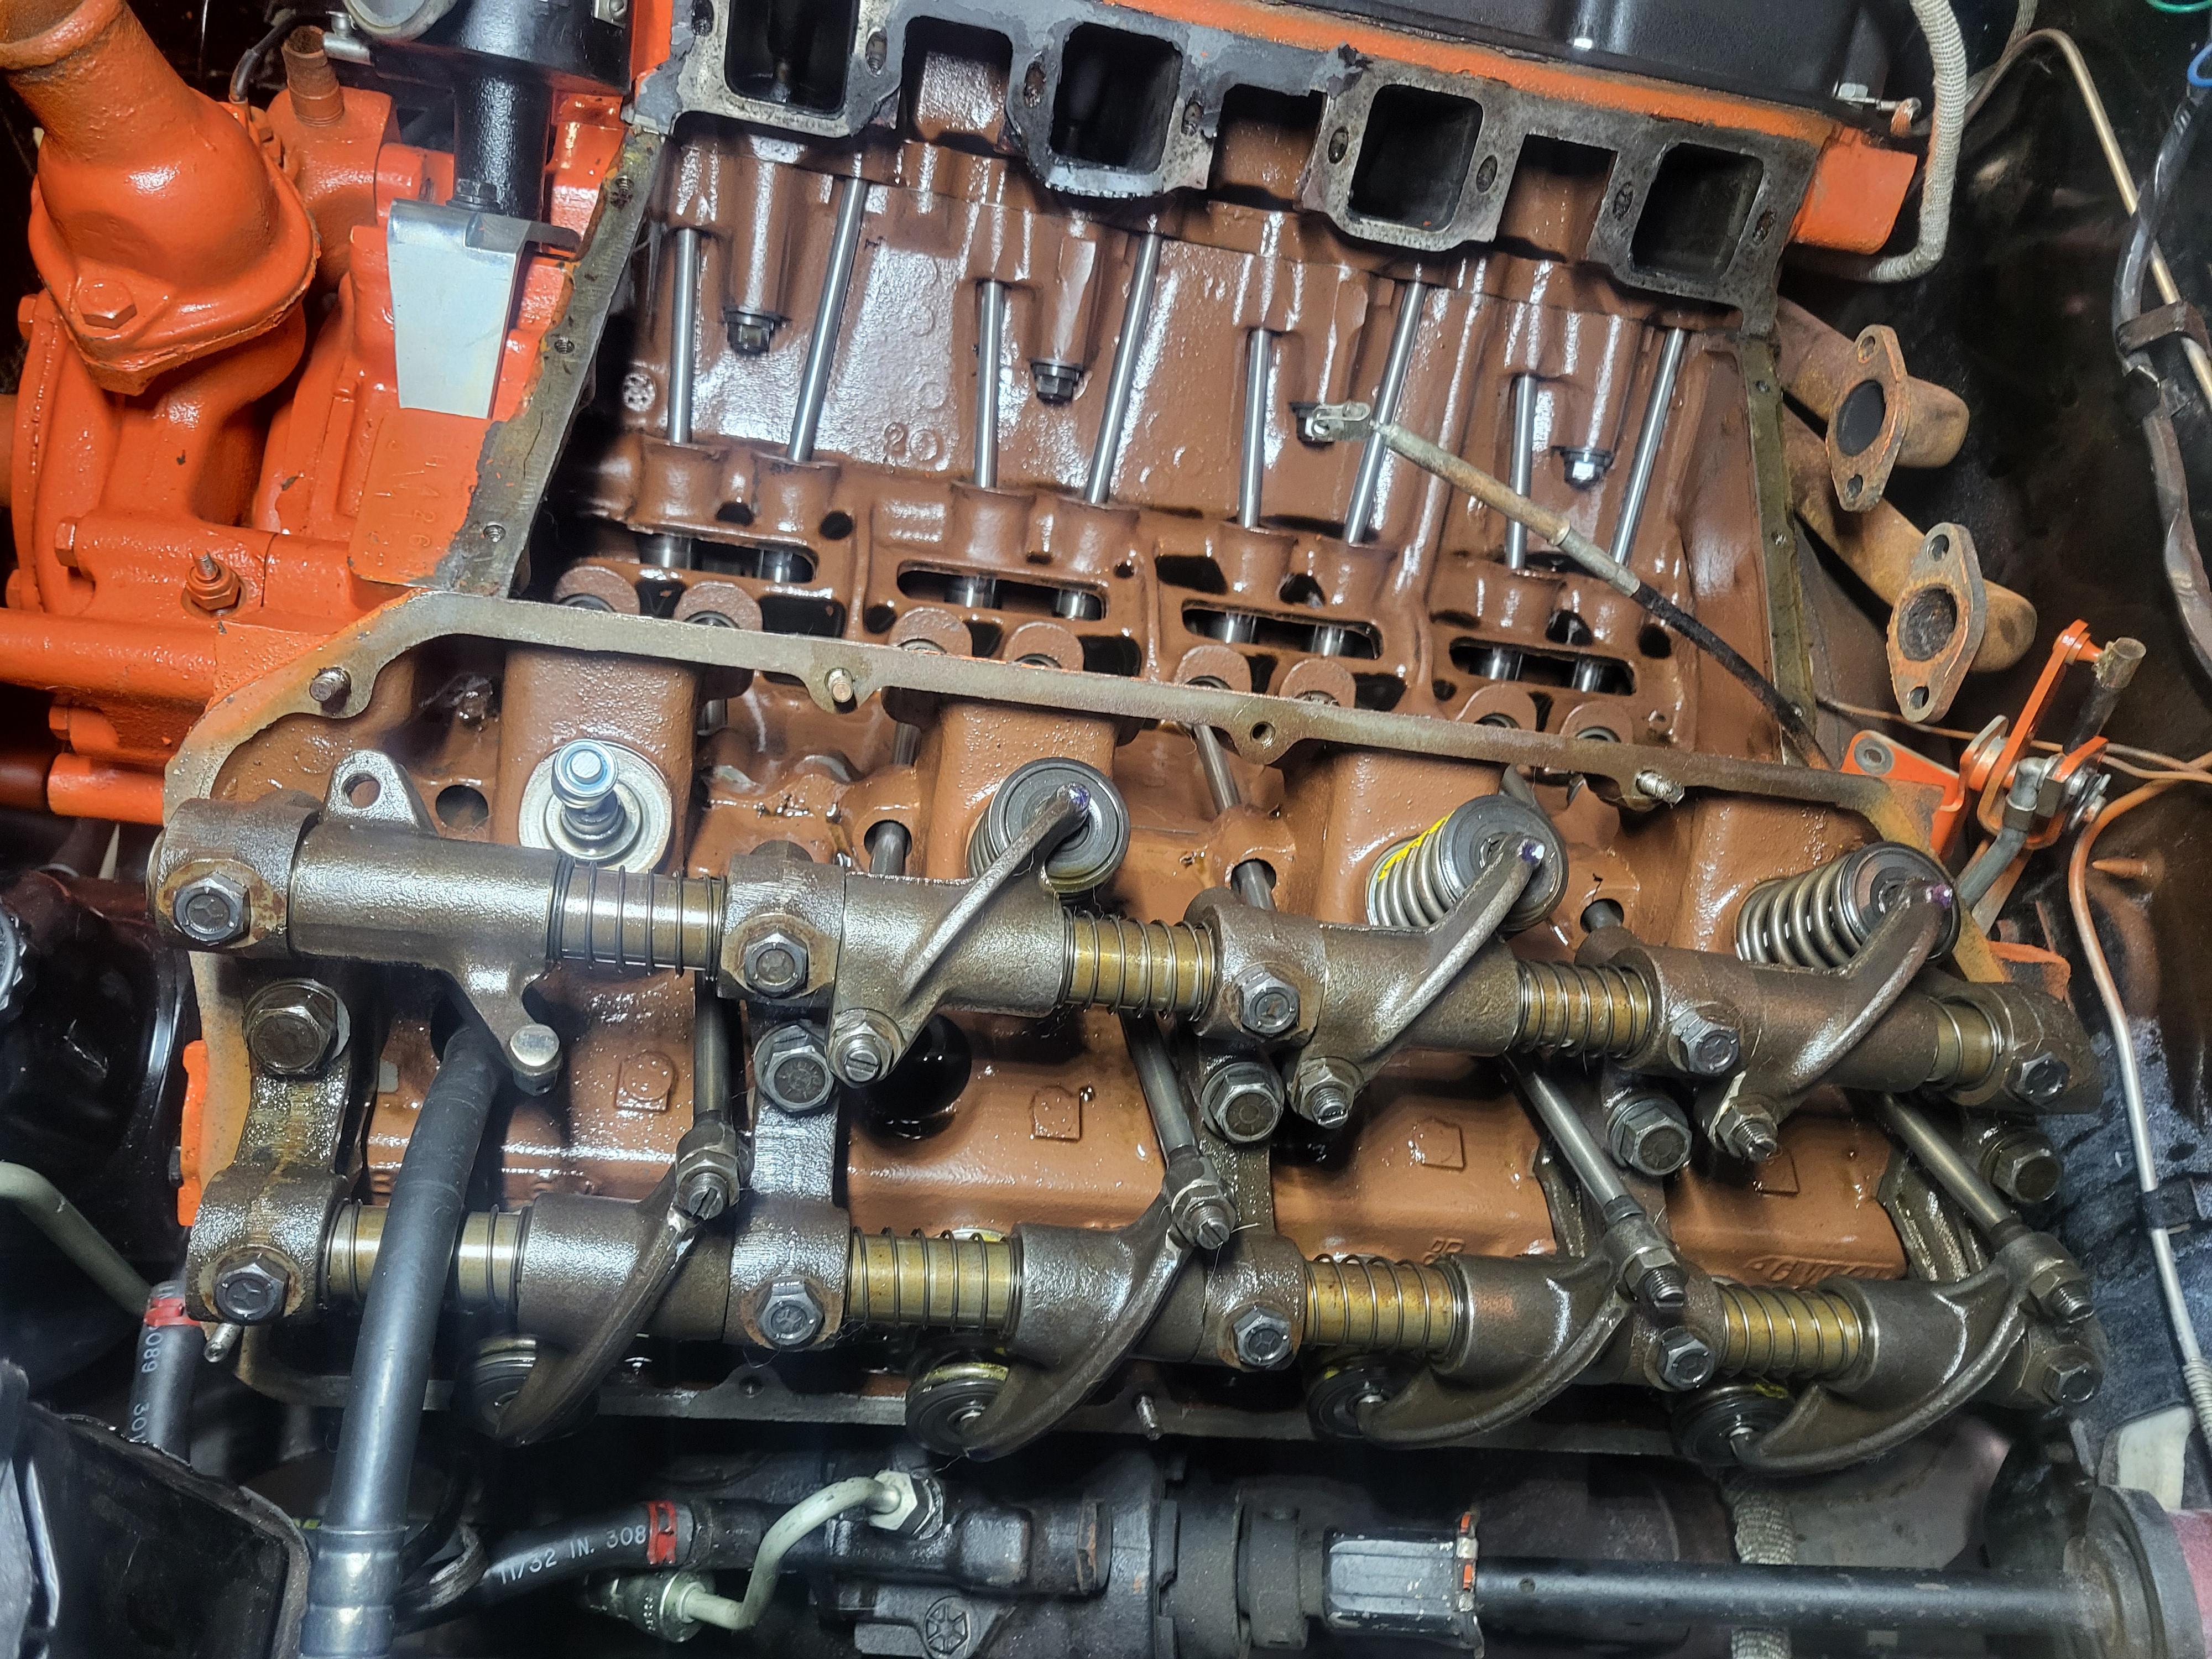
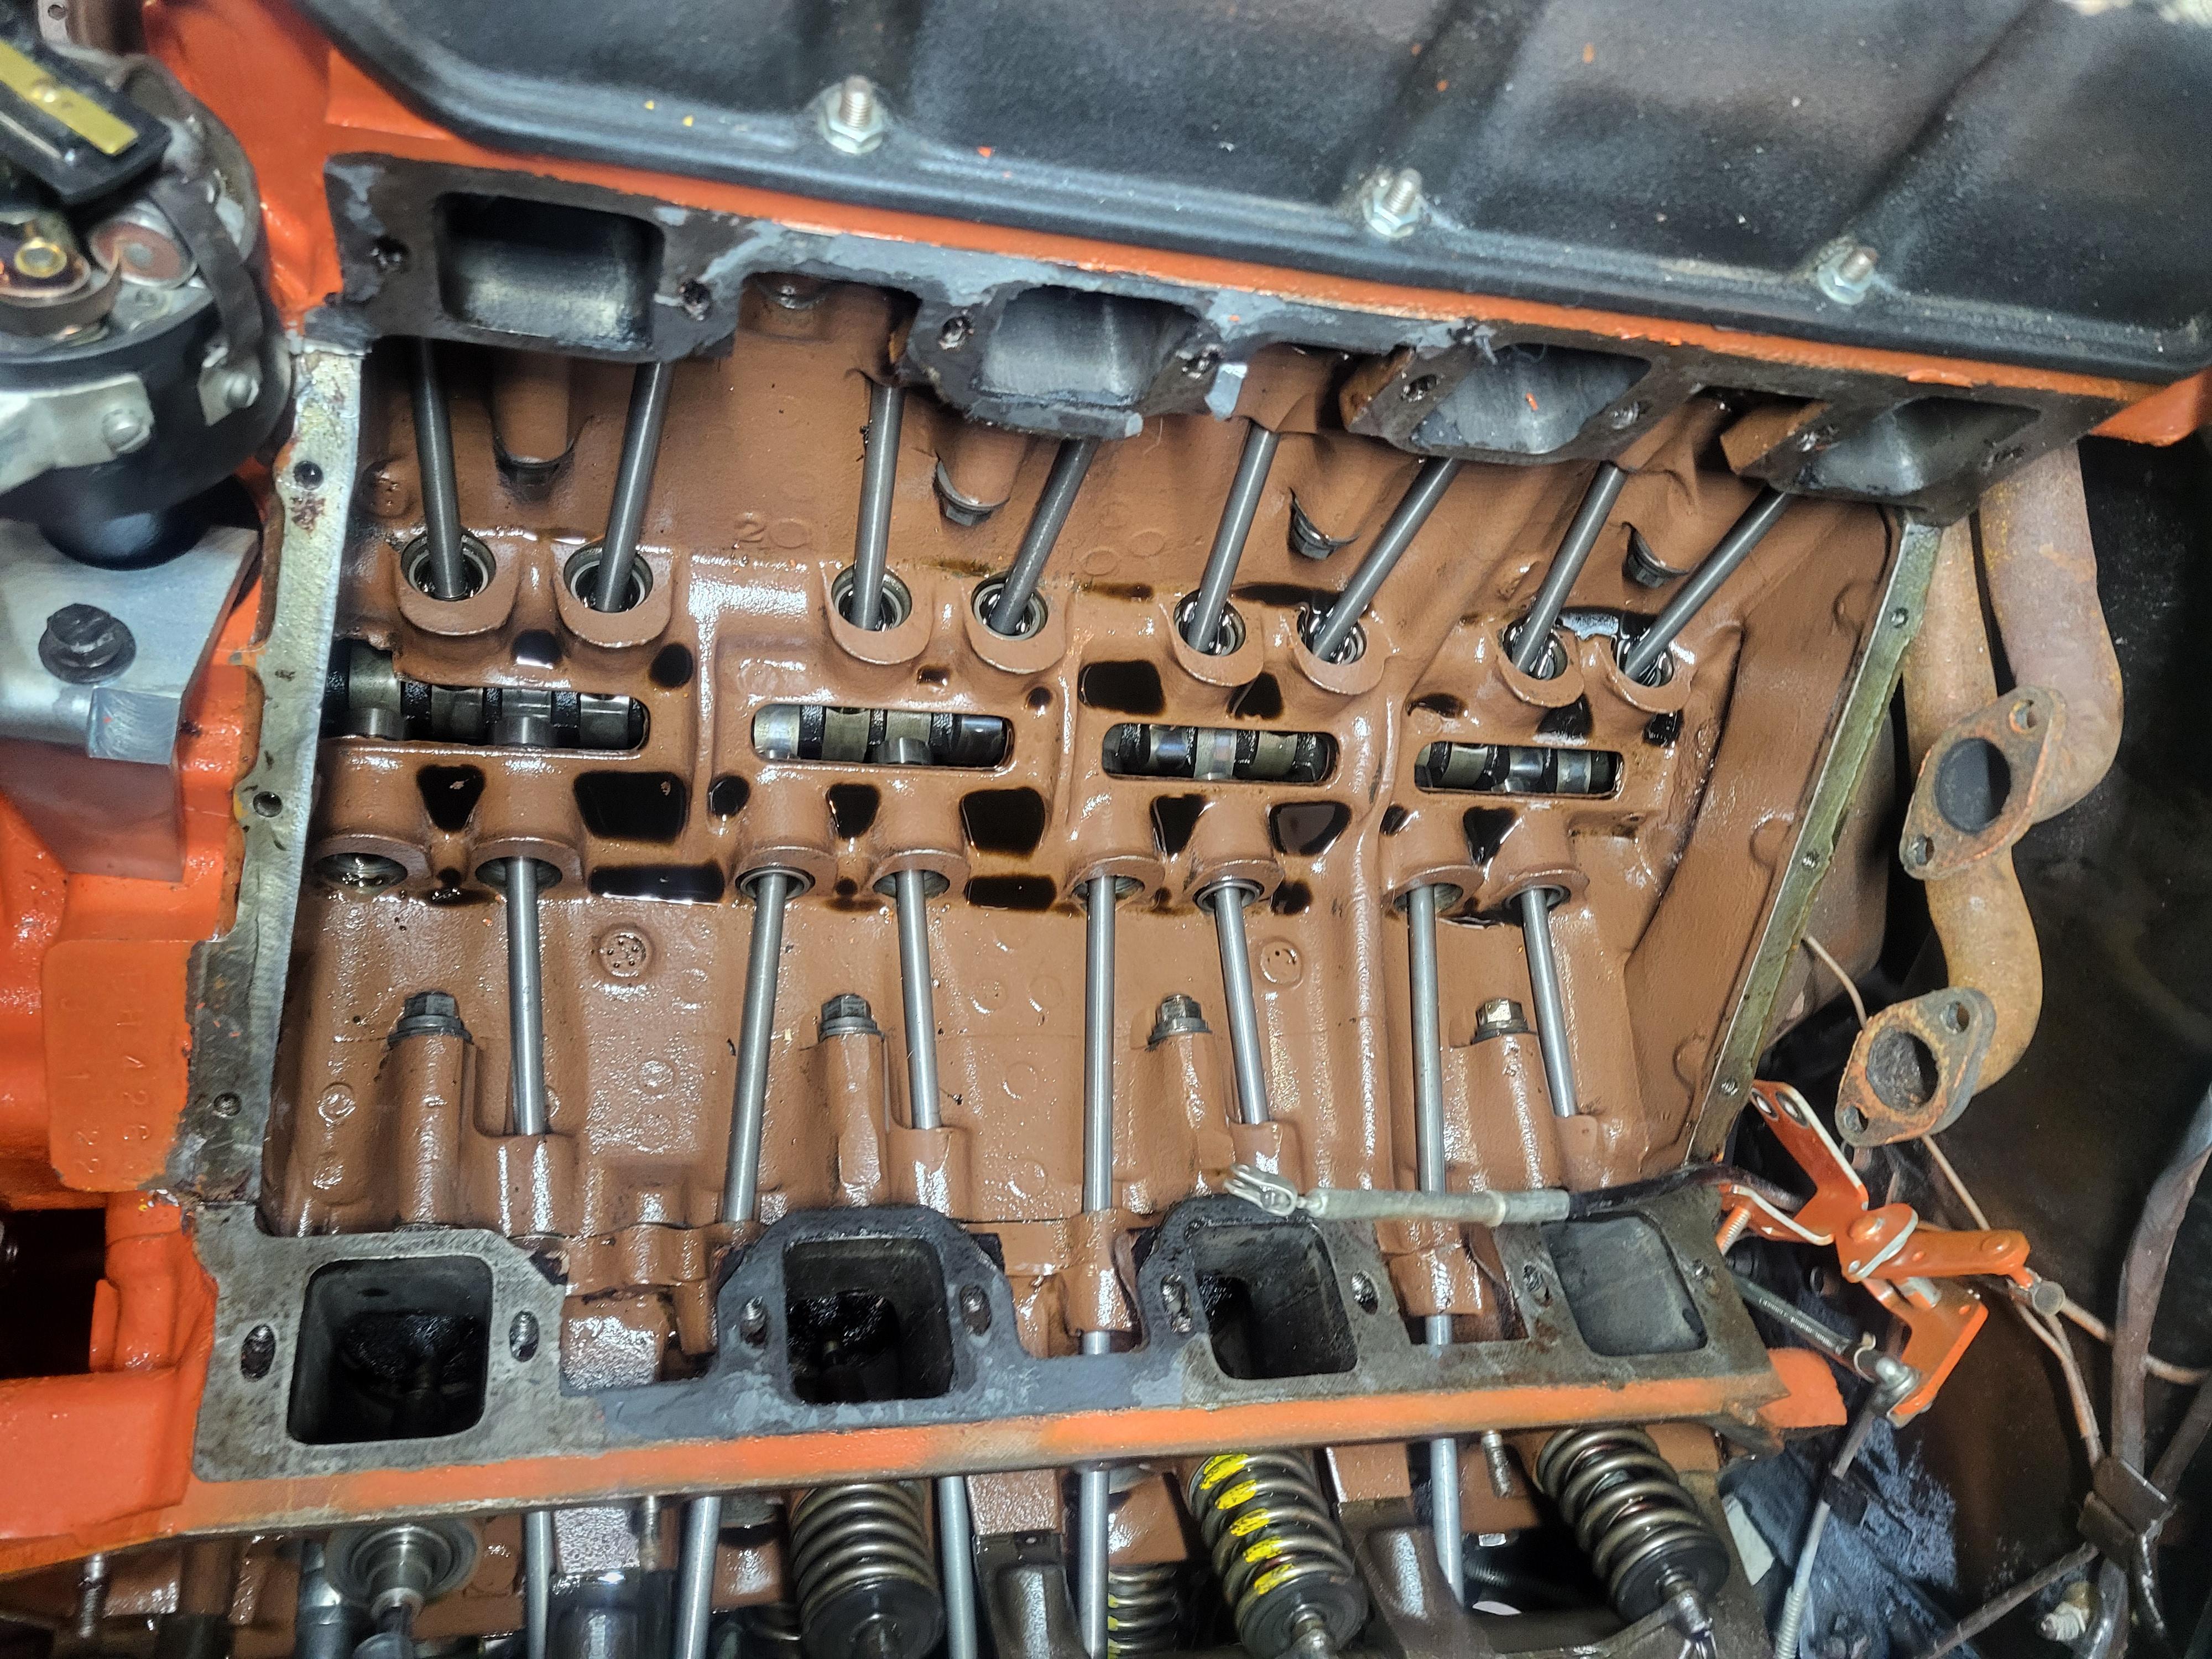
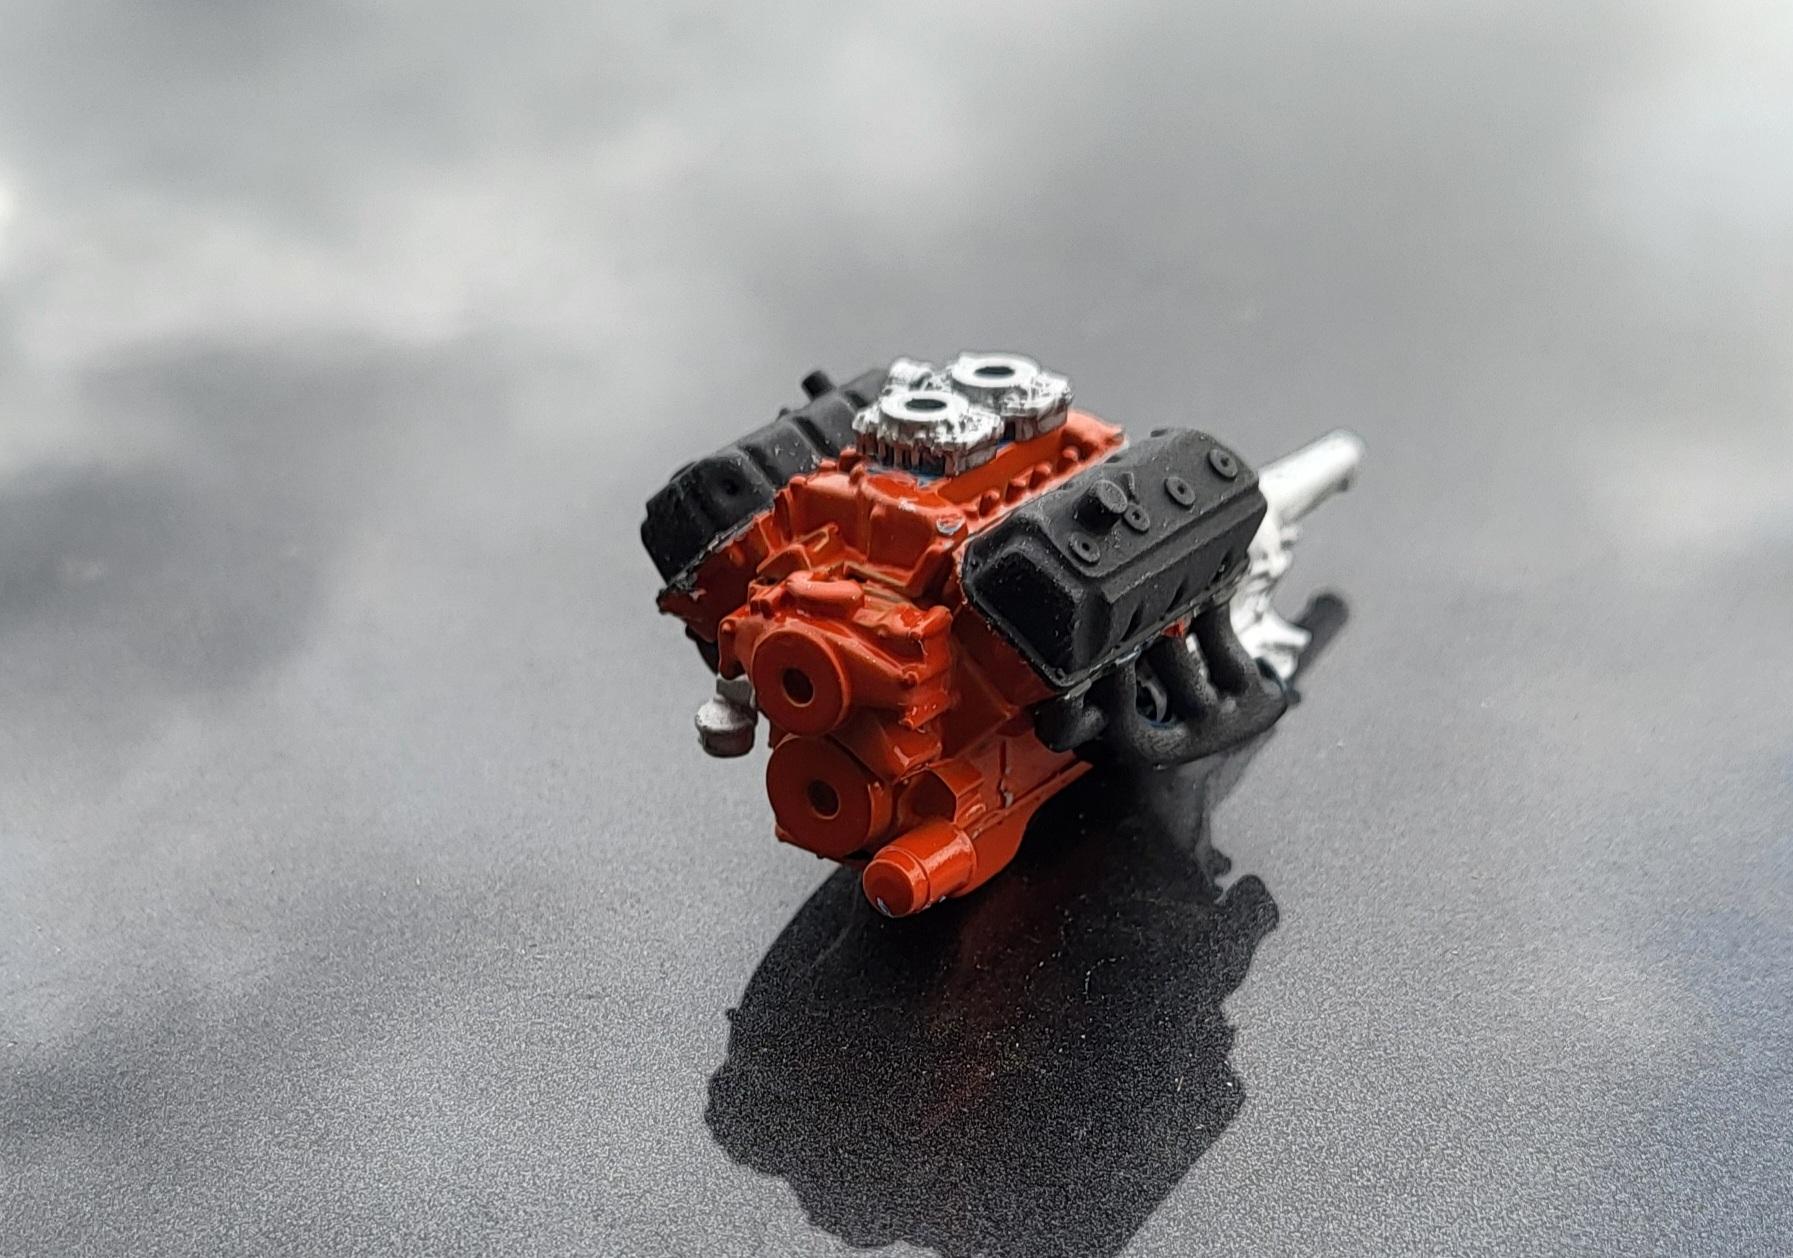
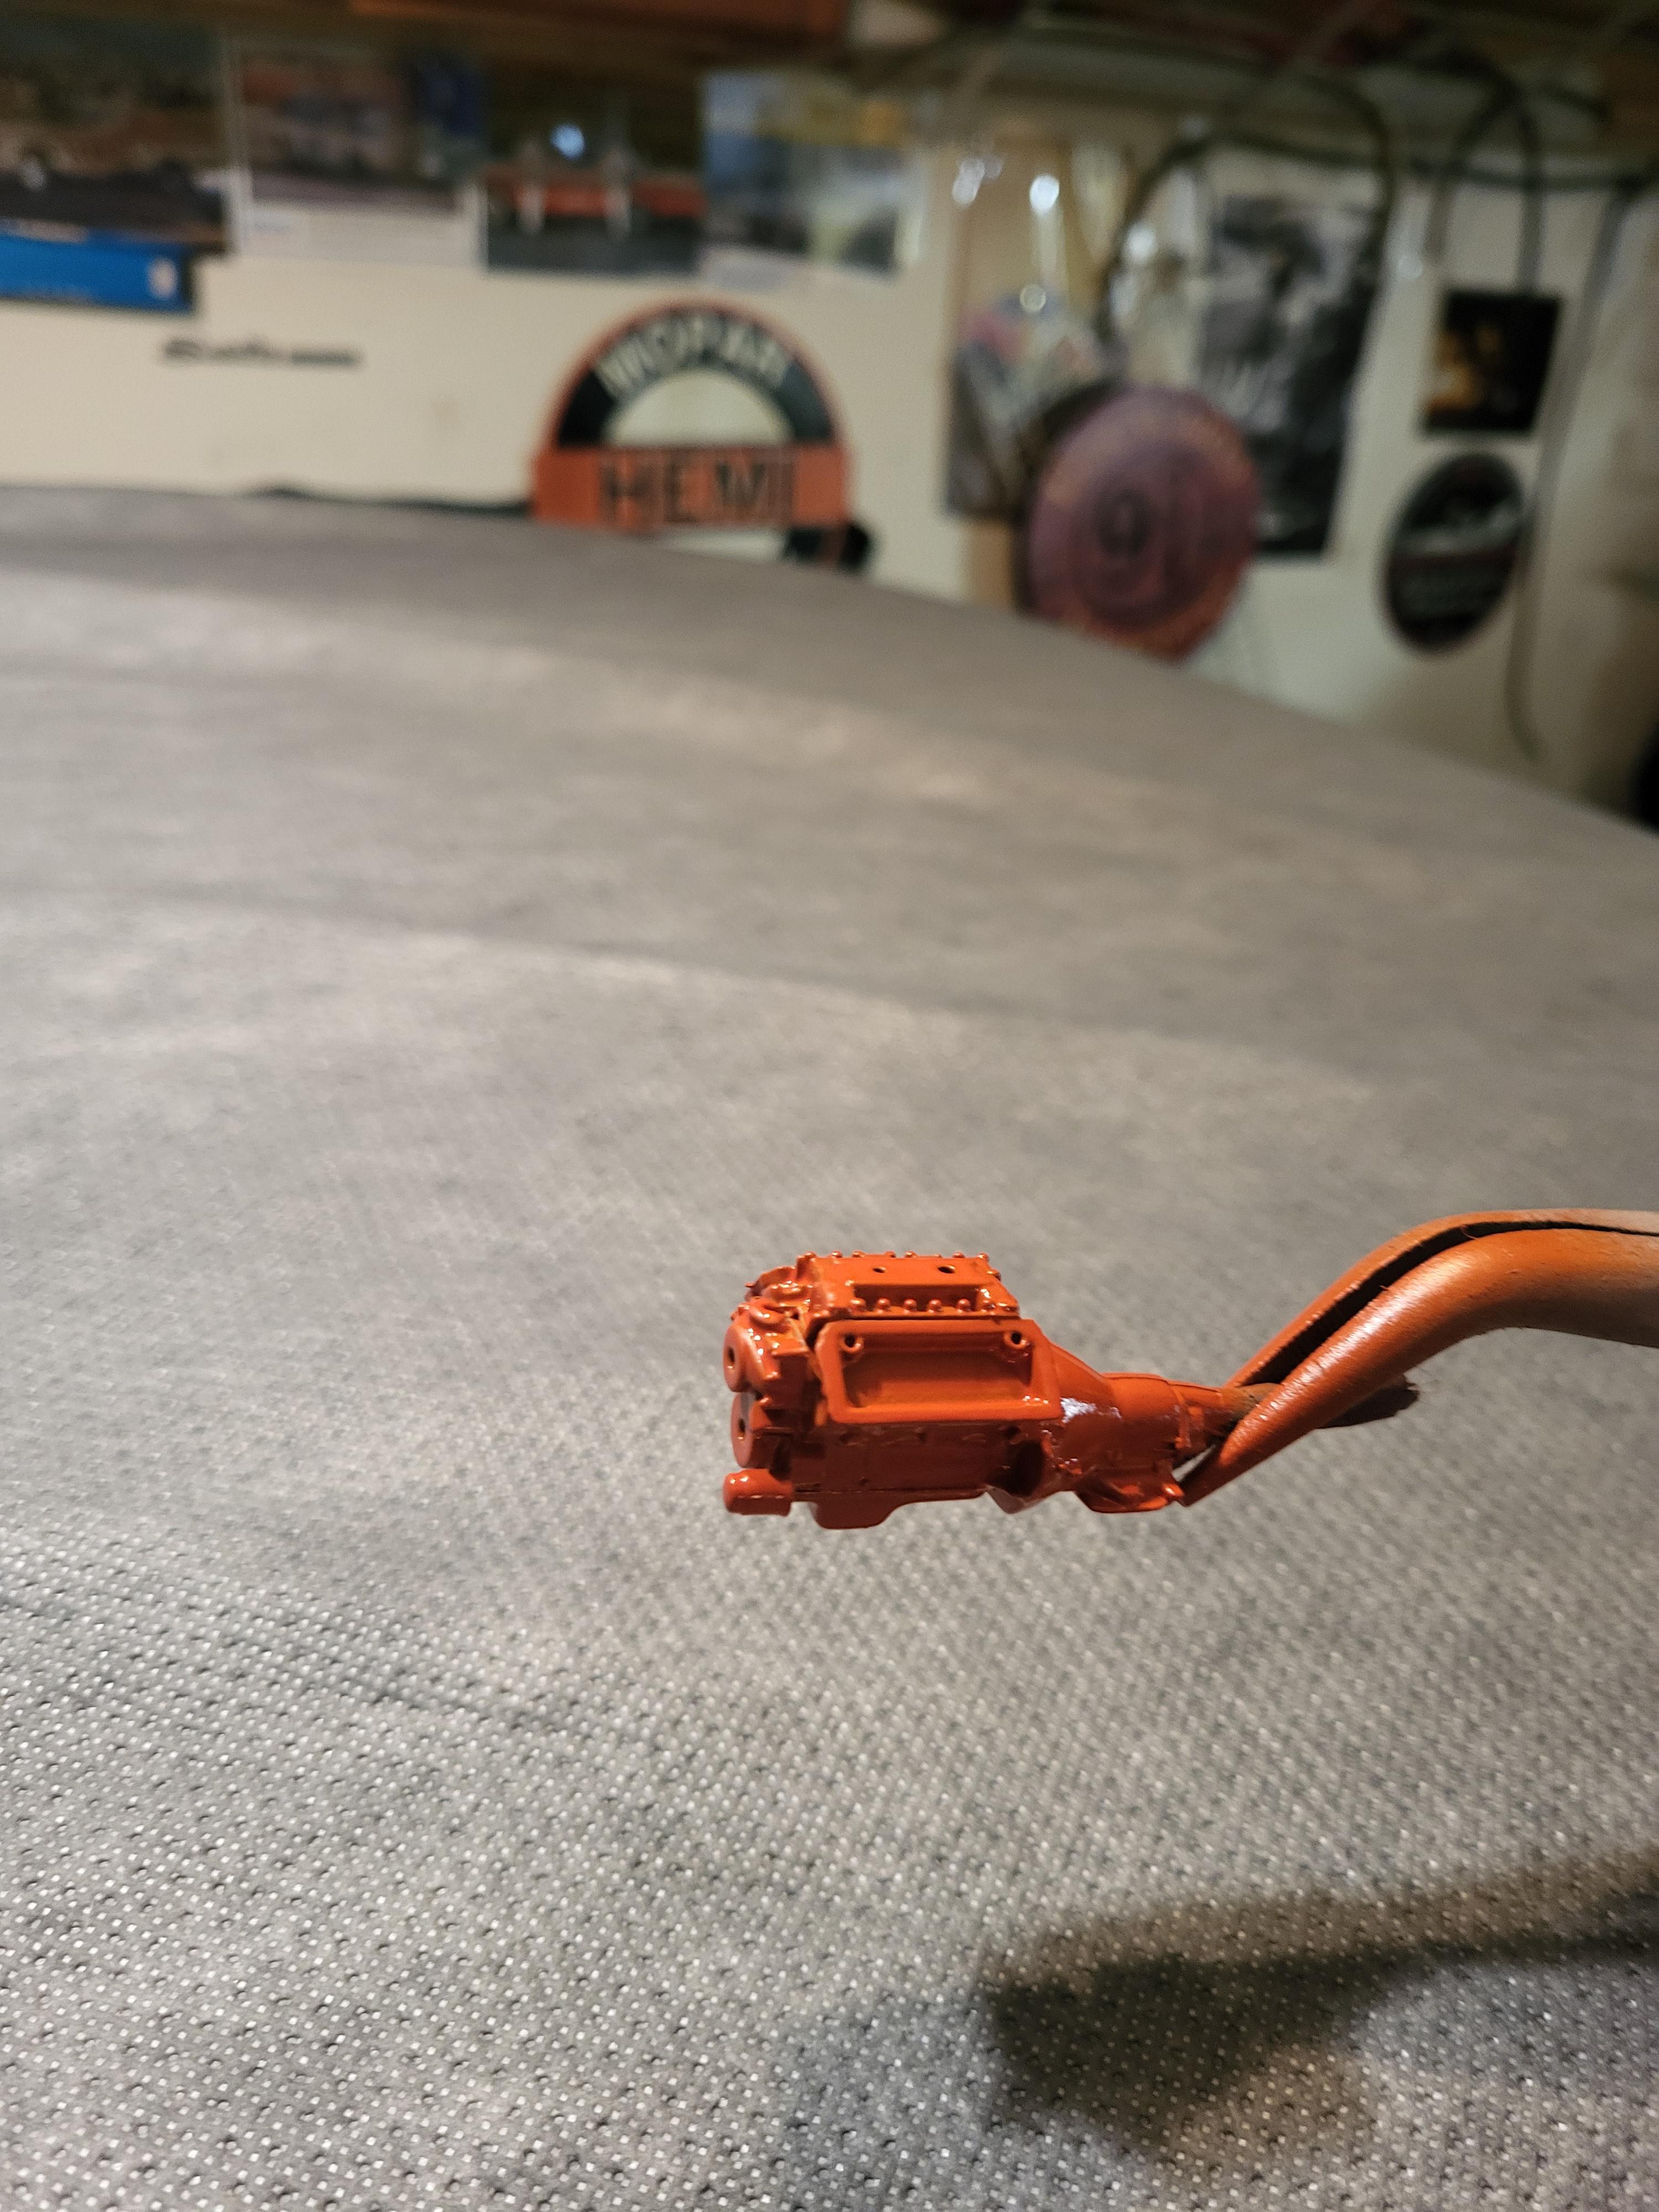
Ive got my car apart for some maint work. and decided to snap off a few pictures the average modeler doesn't see
The valve arragement is oddly strange to most.

-
 3
3
-
 1
1
-
-
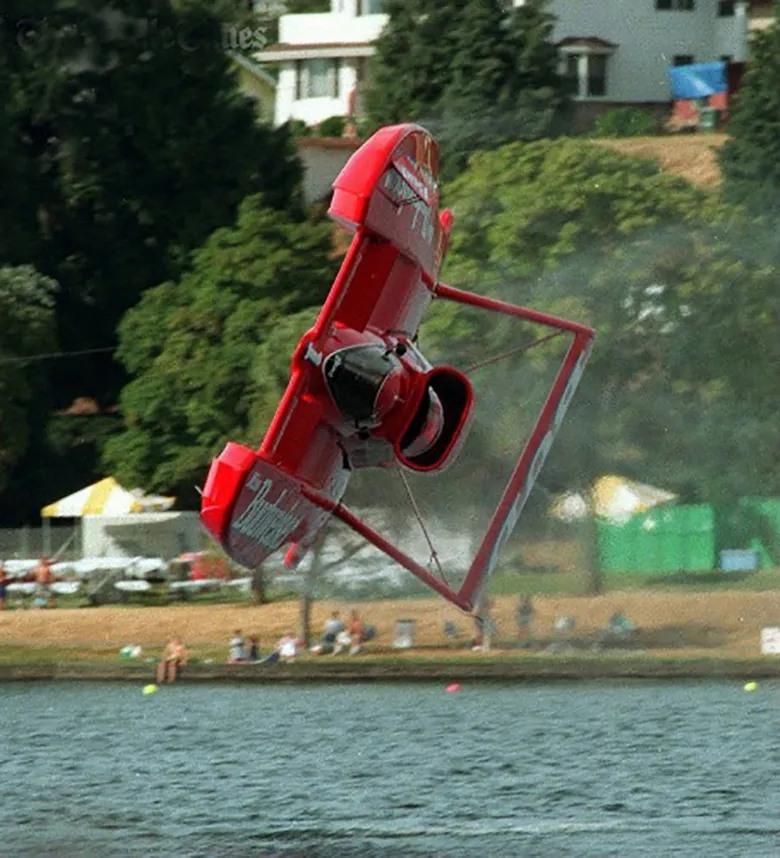
High performance cars with low performance drivers = a not good situation
-
8
-
-
Interesting..I have 3 or 4 of them, And I think all of them are white plastic
-
Not much help. but cool picture none the less
-
1
-
-
5 hours ago, Horrorshow said:
Do you want the AMT wheels and tires?
PM your address
Pm sent
-
17 hours ago, Horrorshow said:
Not sure what you mean by recent snap kit.
I do have the tires from the AMT 58 Edsel.
There is / was a quick build of the kit.' The pre painted version. Im assuming it was a snap kit, so maybe its not
'
All I need is the tires and stock hubcaps. I want to update my original 58 annual builder
-
Anyone have a set of these they are willing to part with .
Hopefully i have something to trade you out of them with
-
I worked on those cars new. They were a medium grey primer or gelcoat. with just a tad of body color along the edges
-
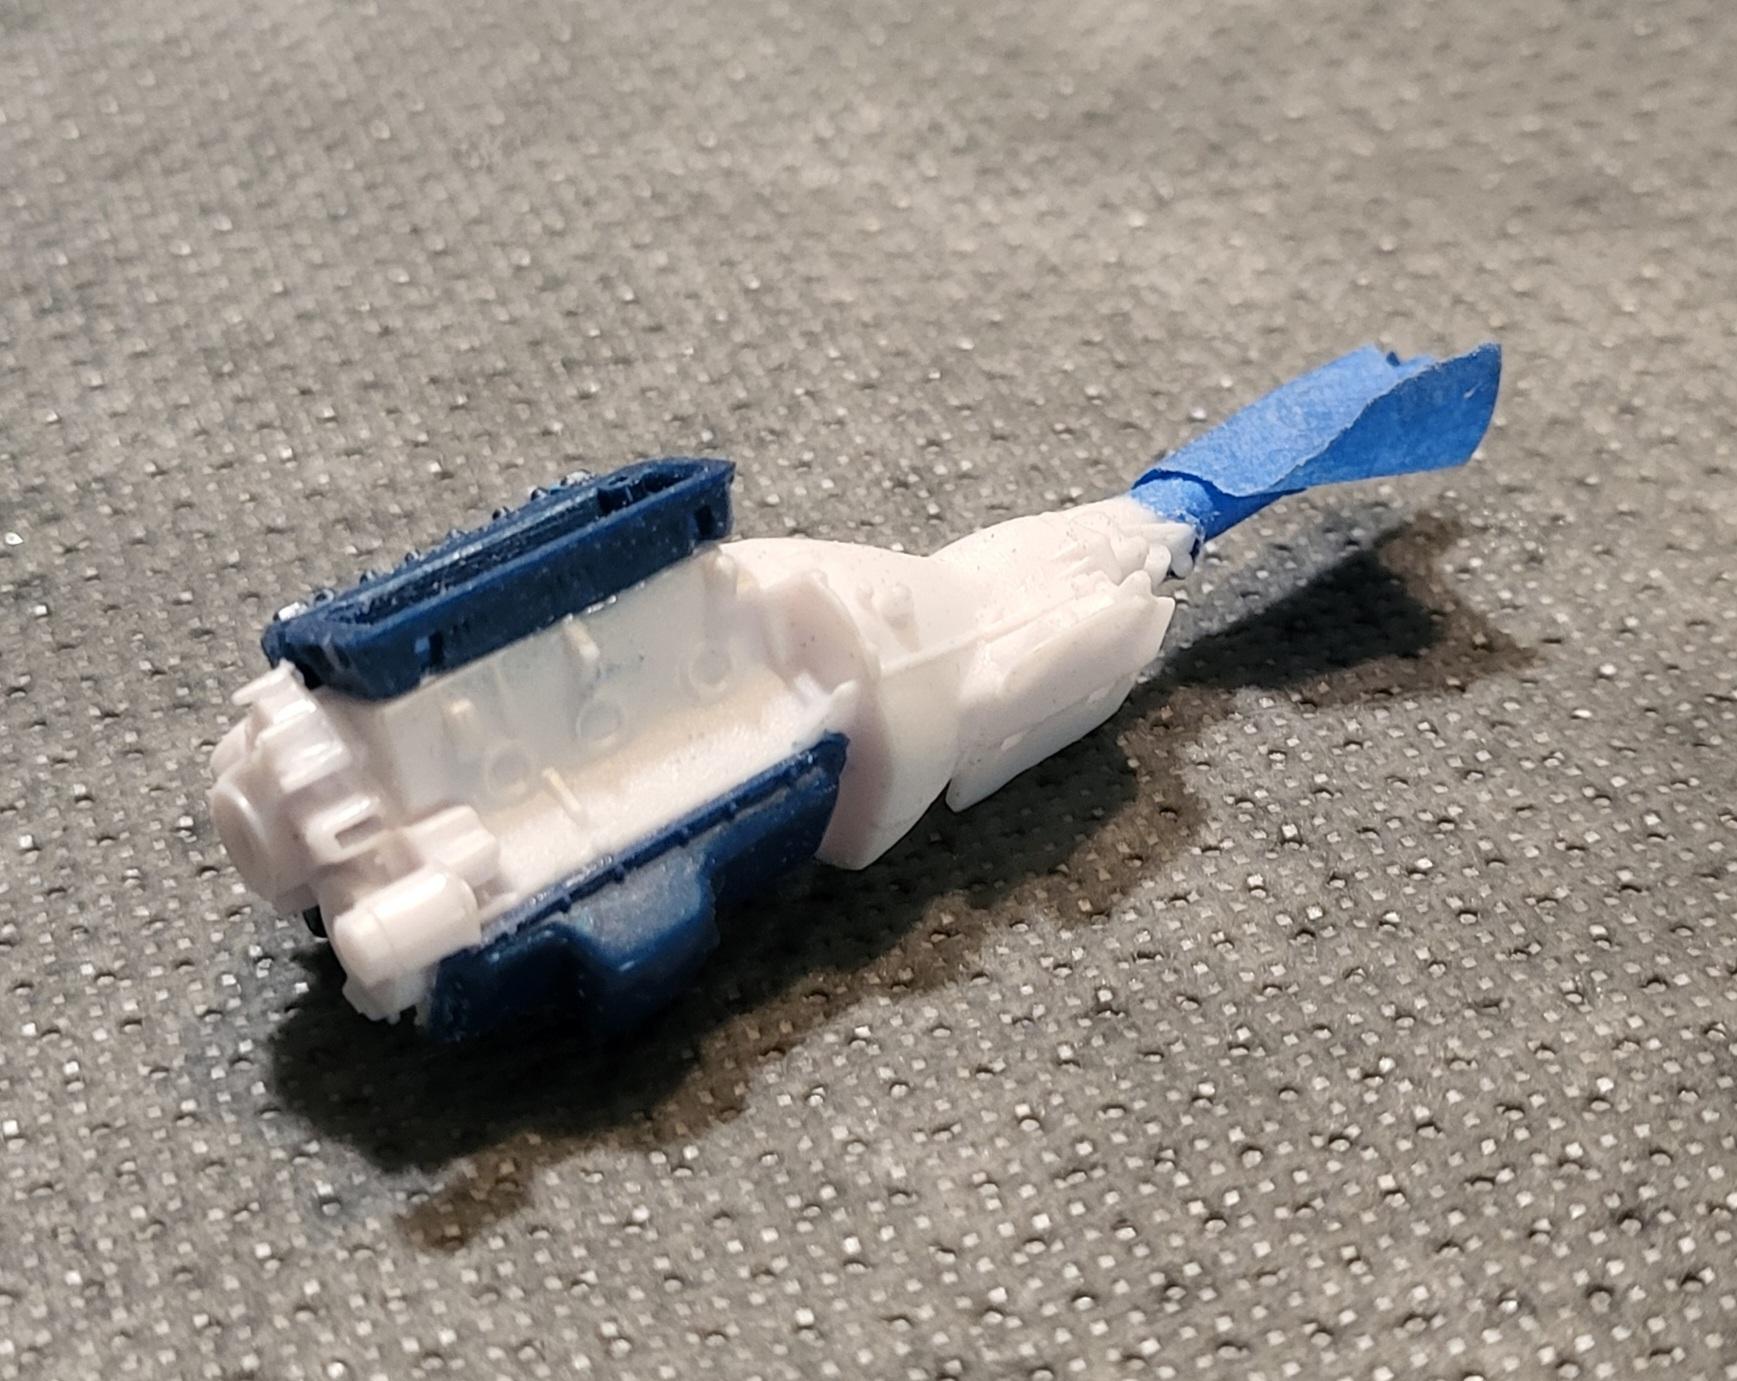
Test fit

-
1
-
-
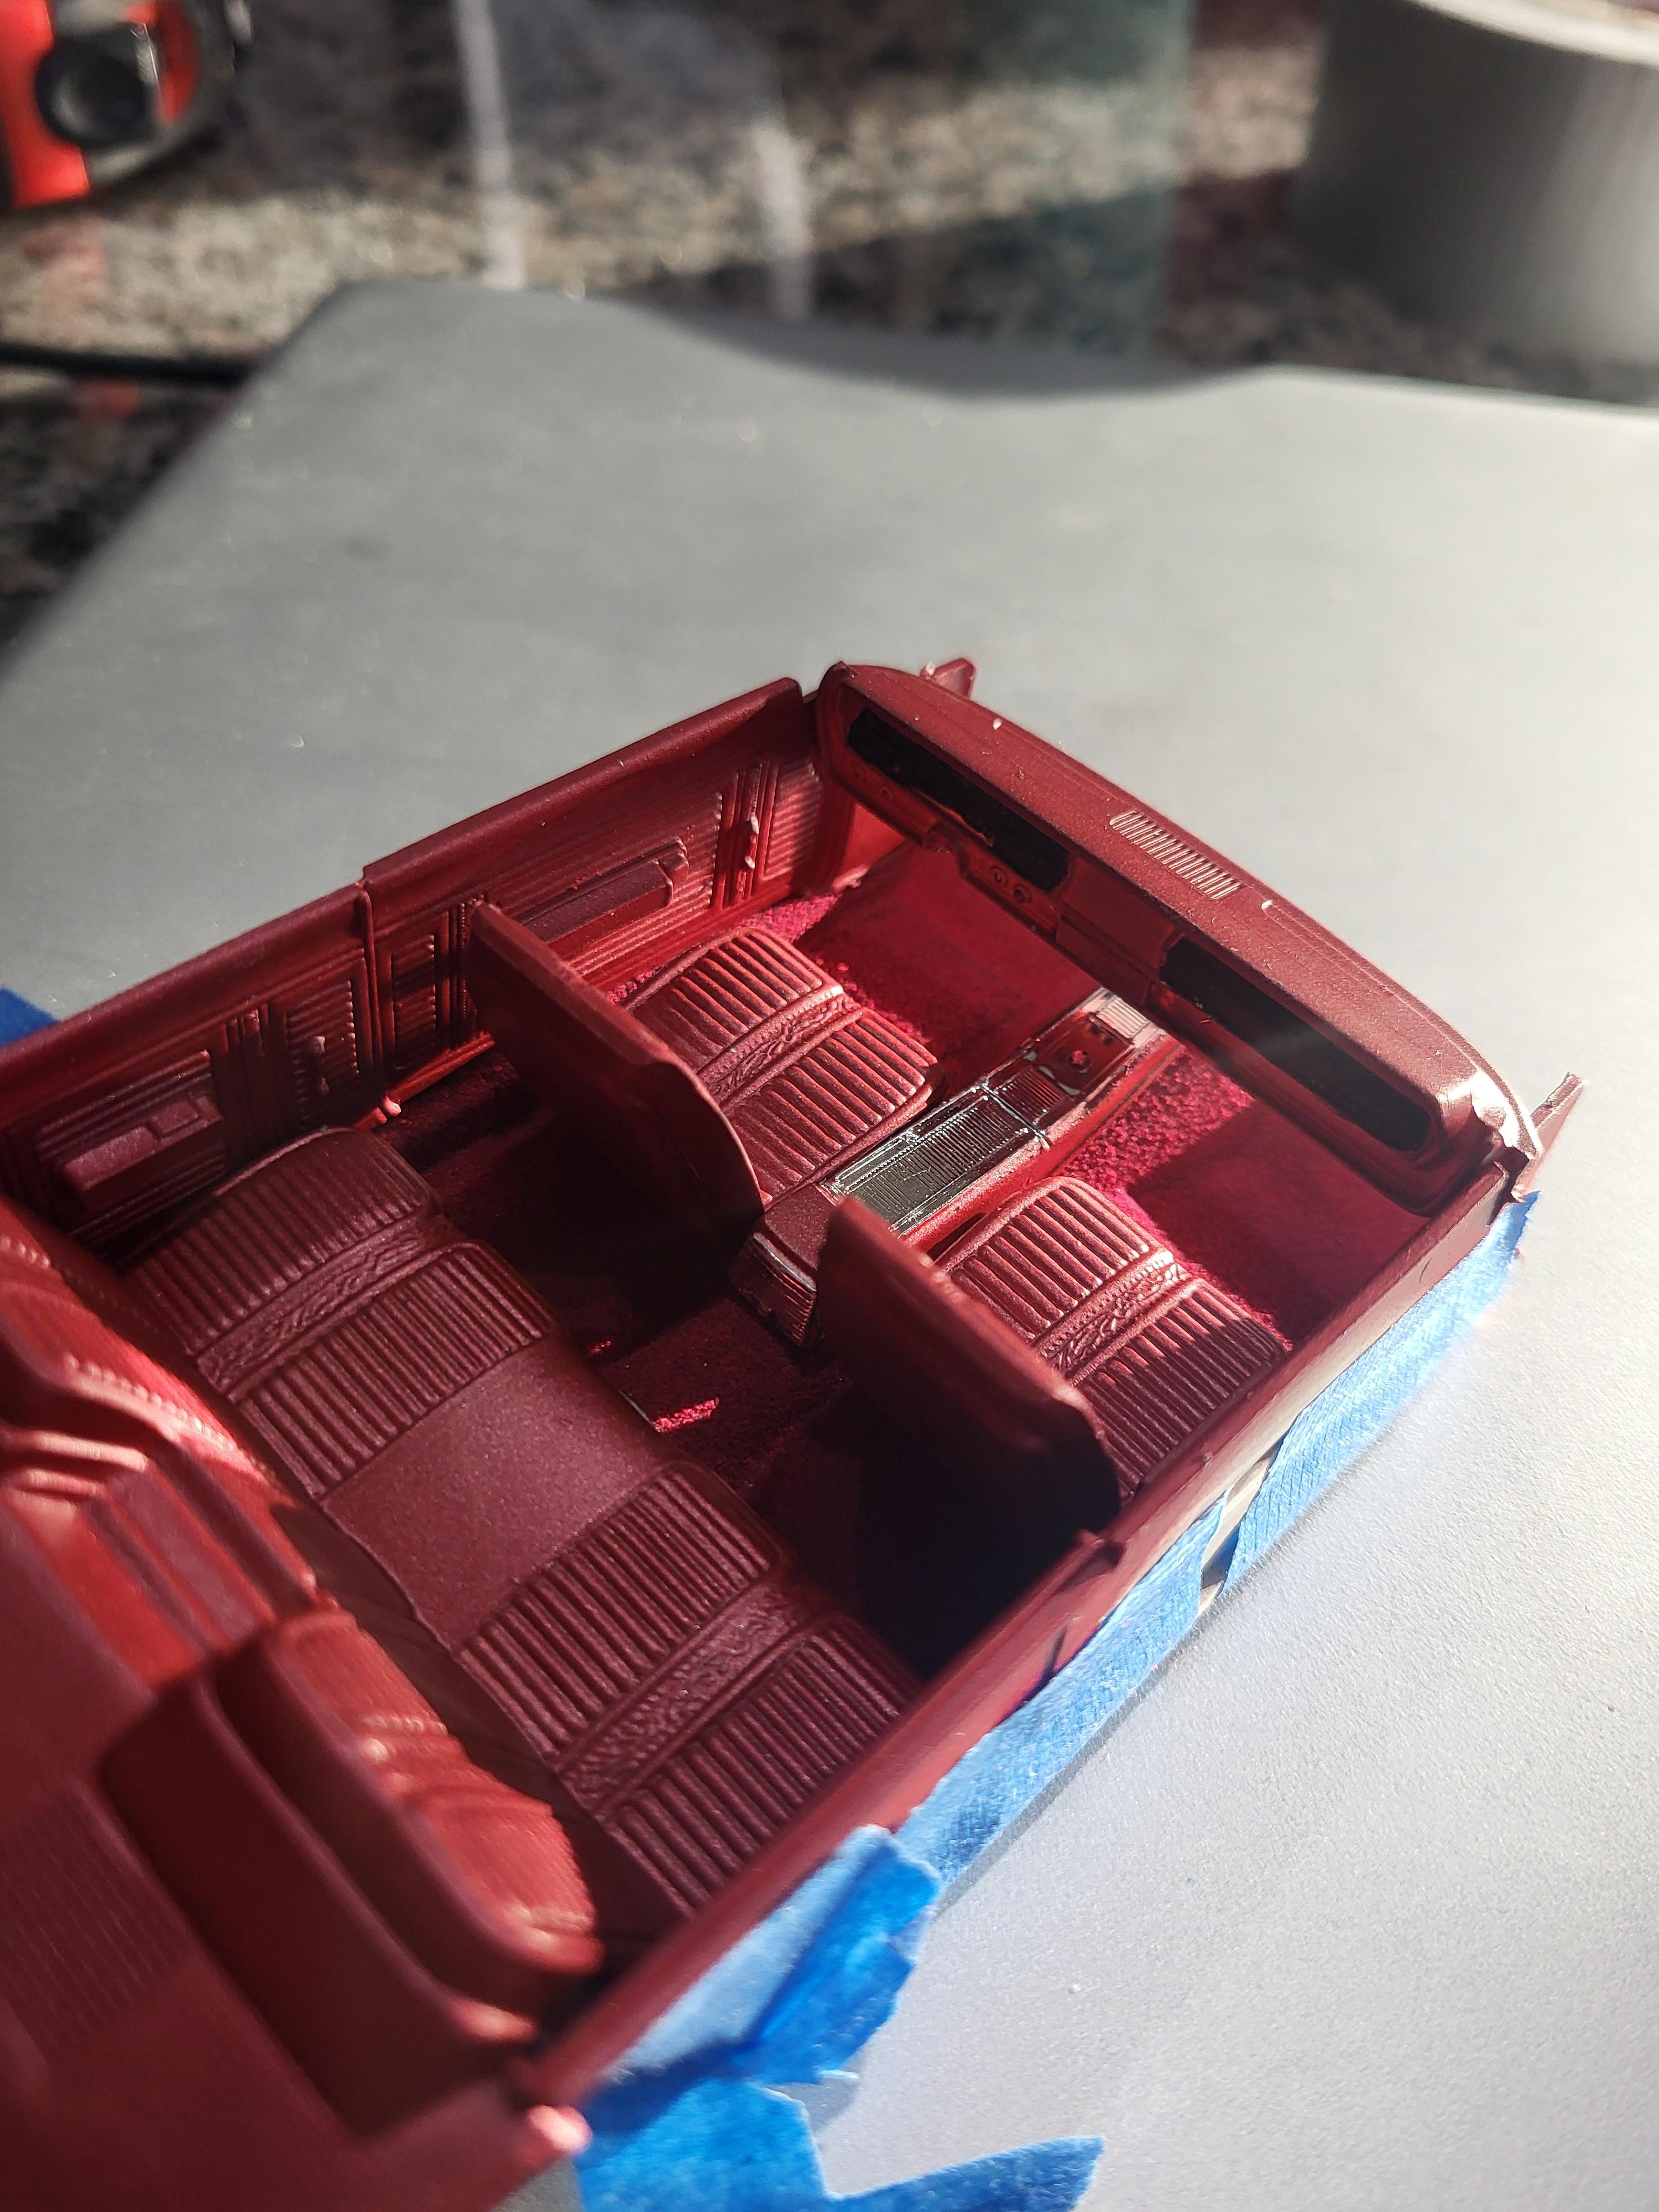
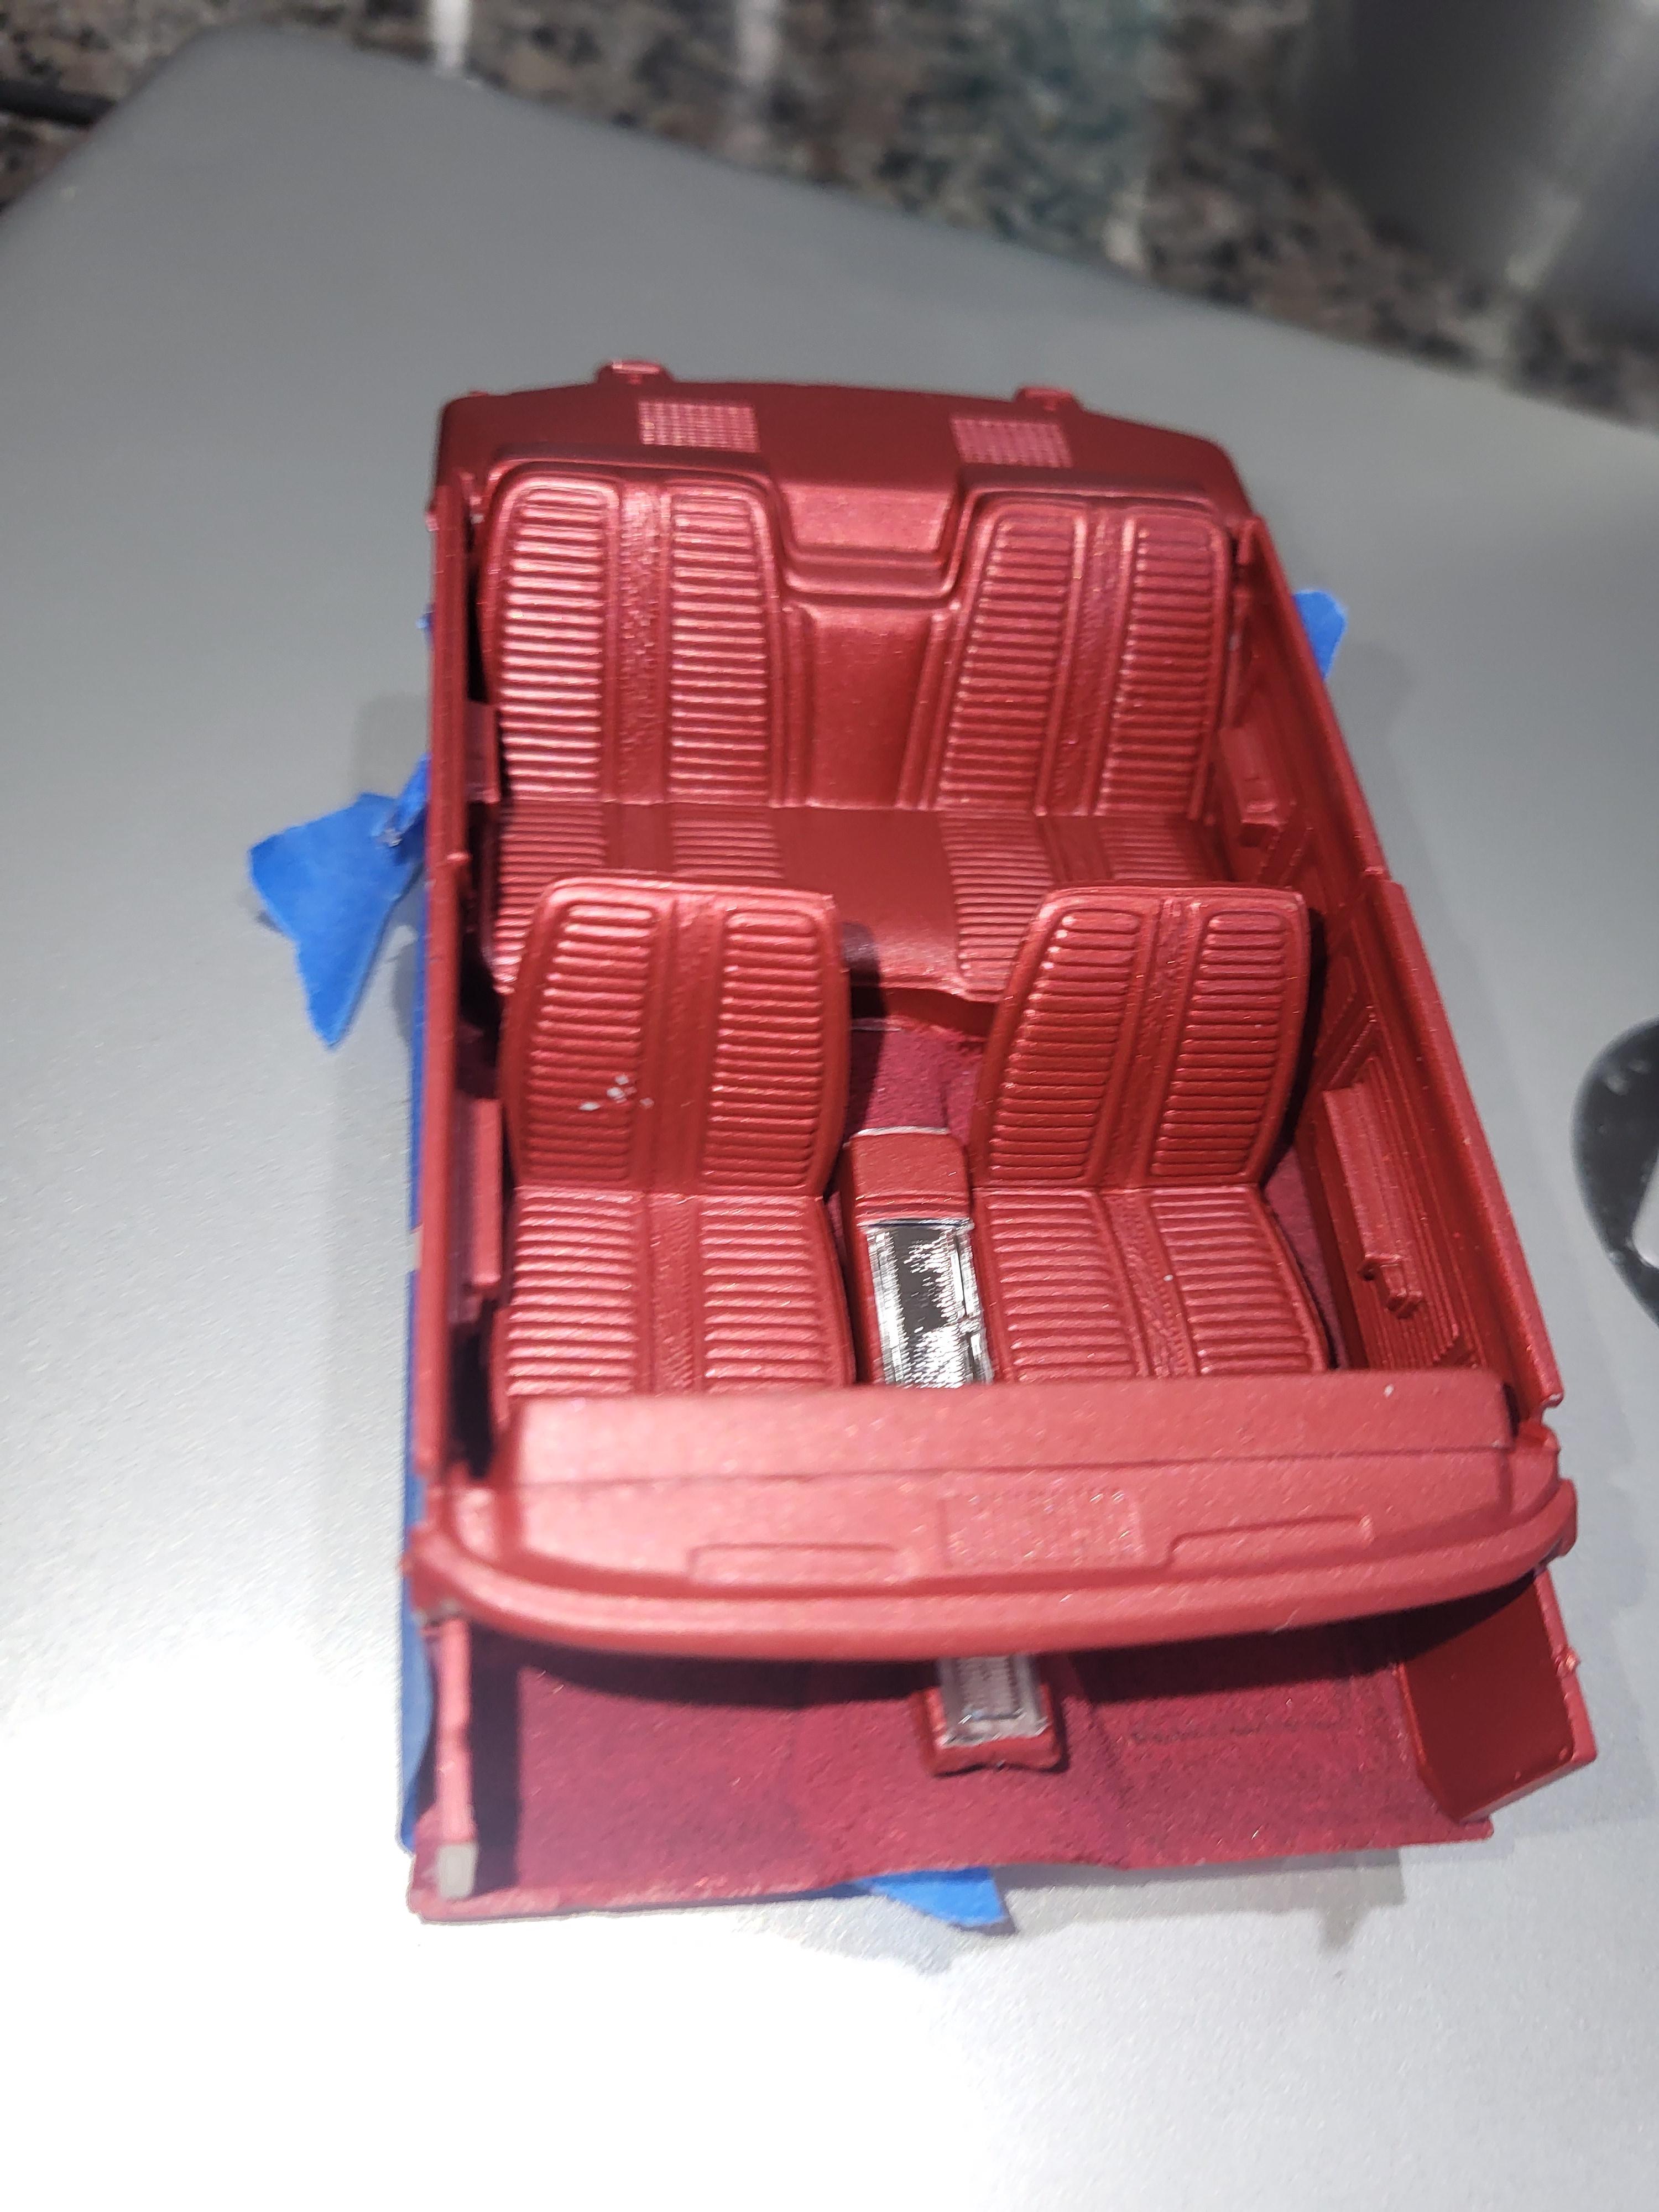
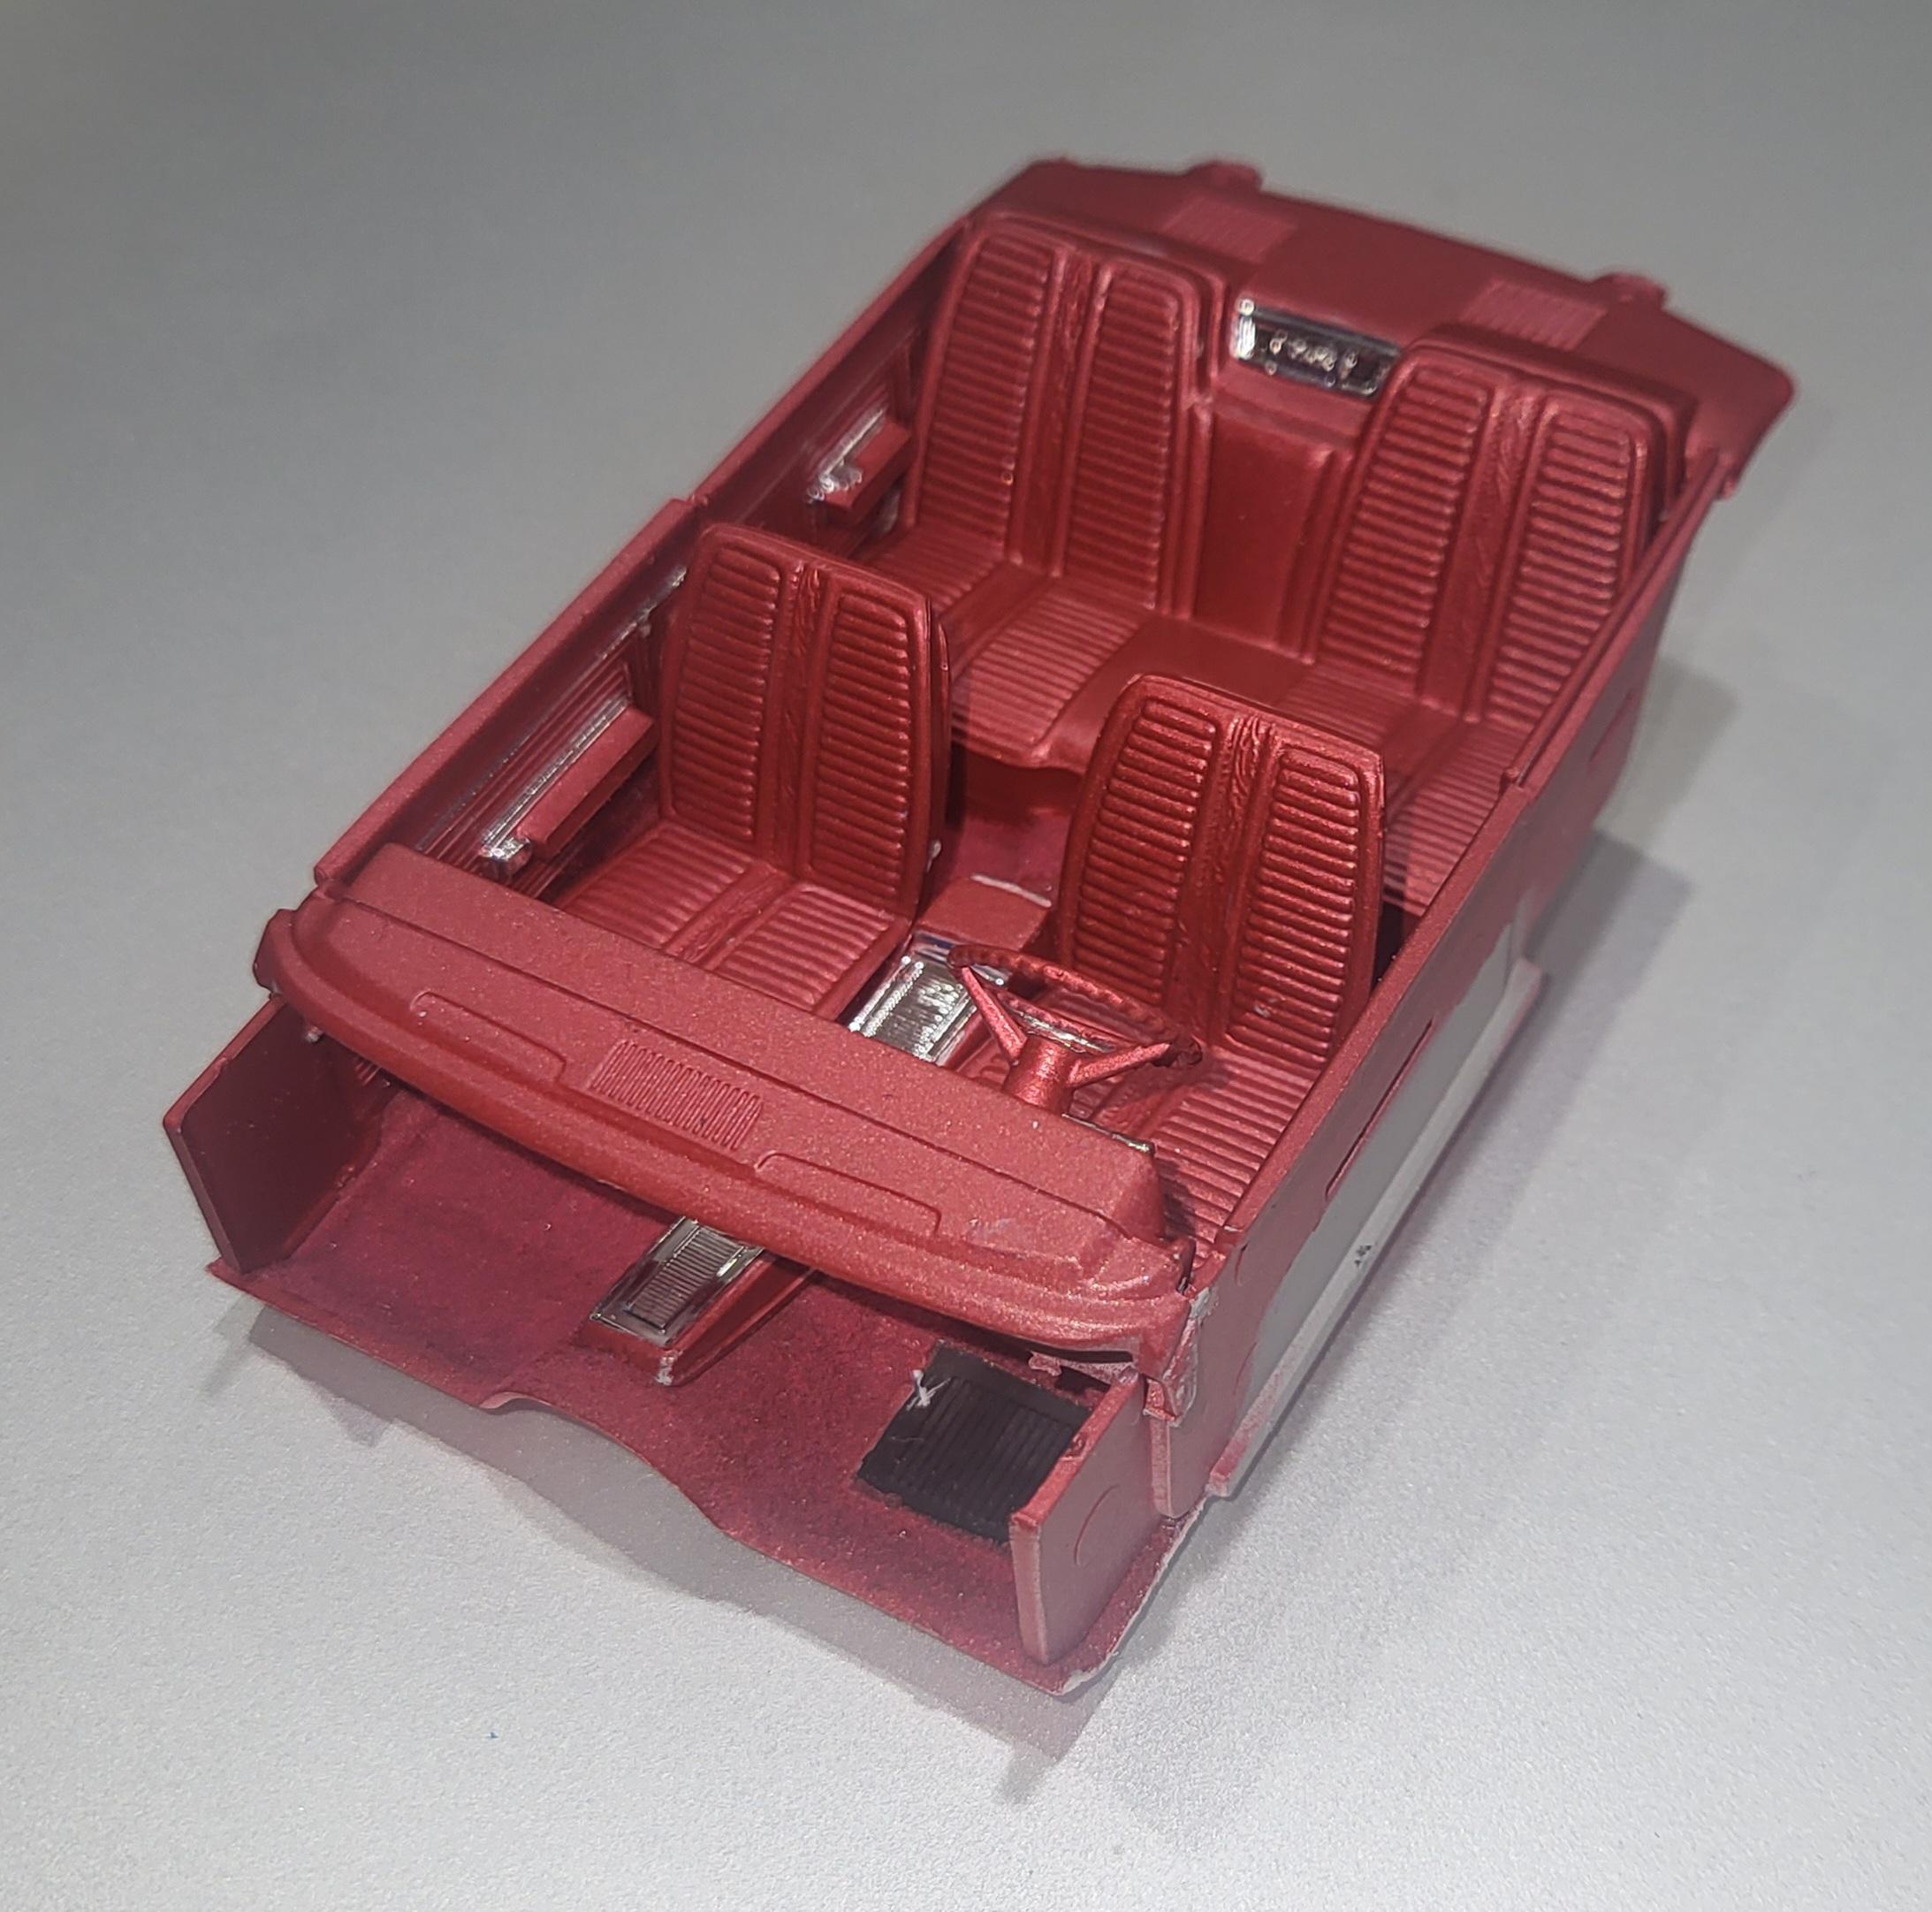
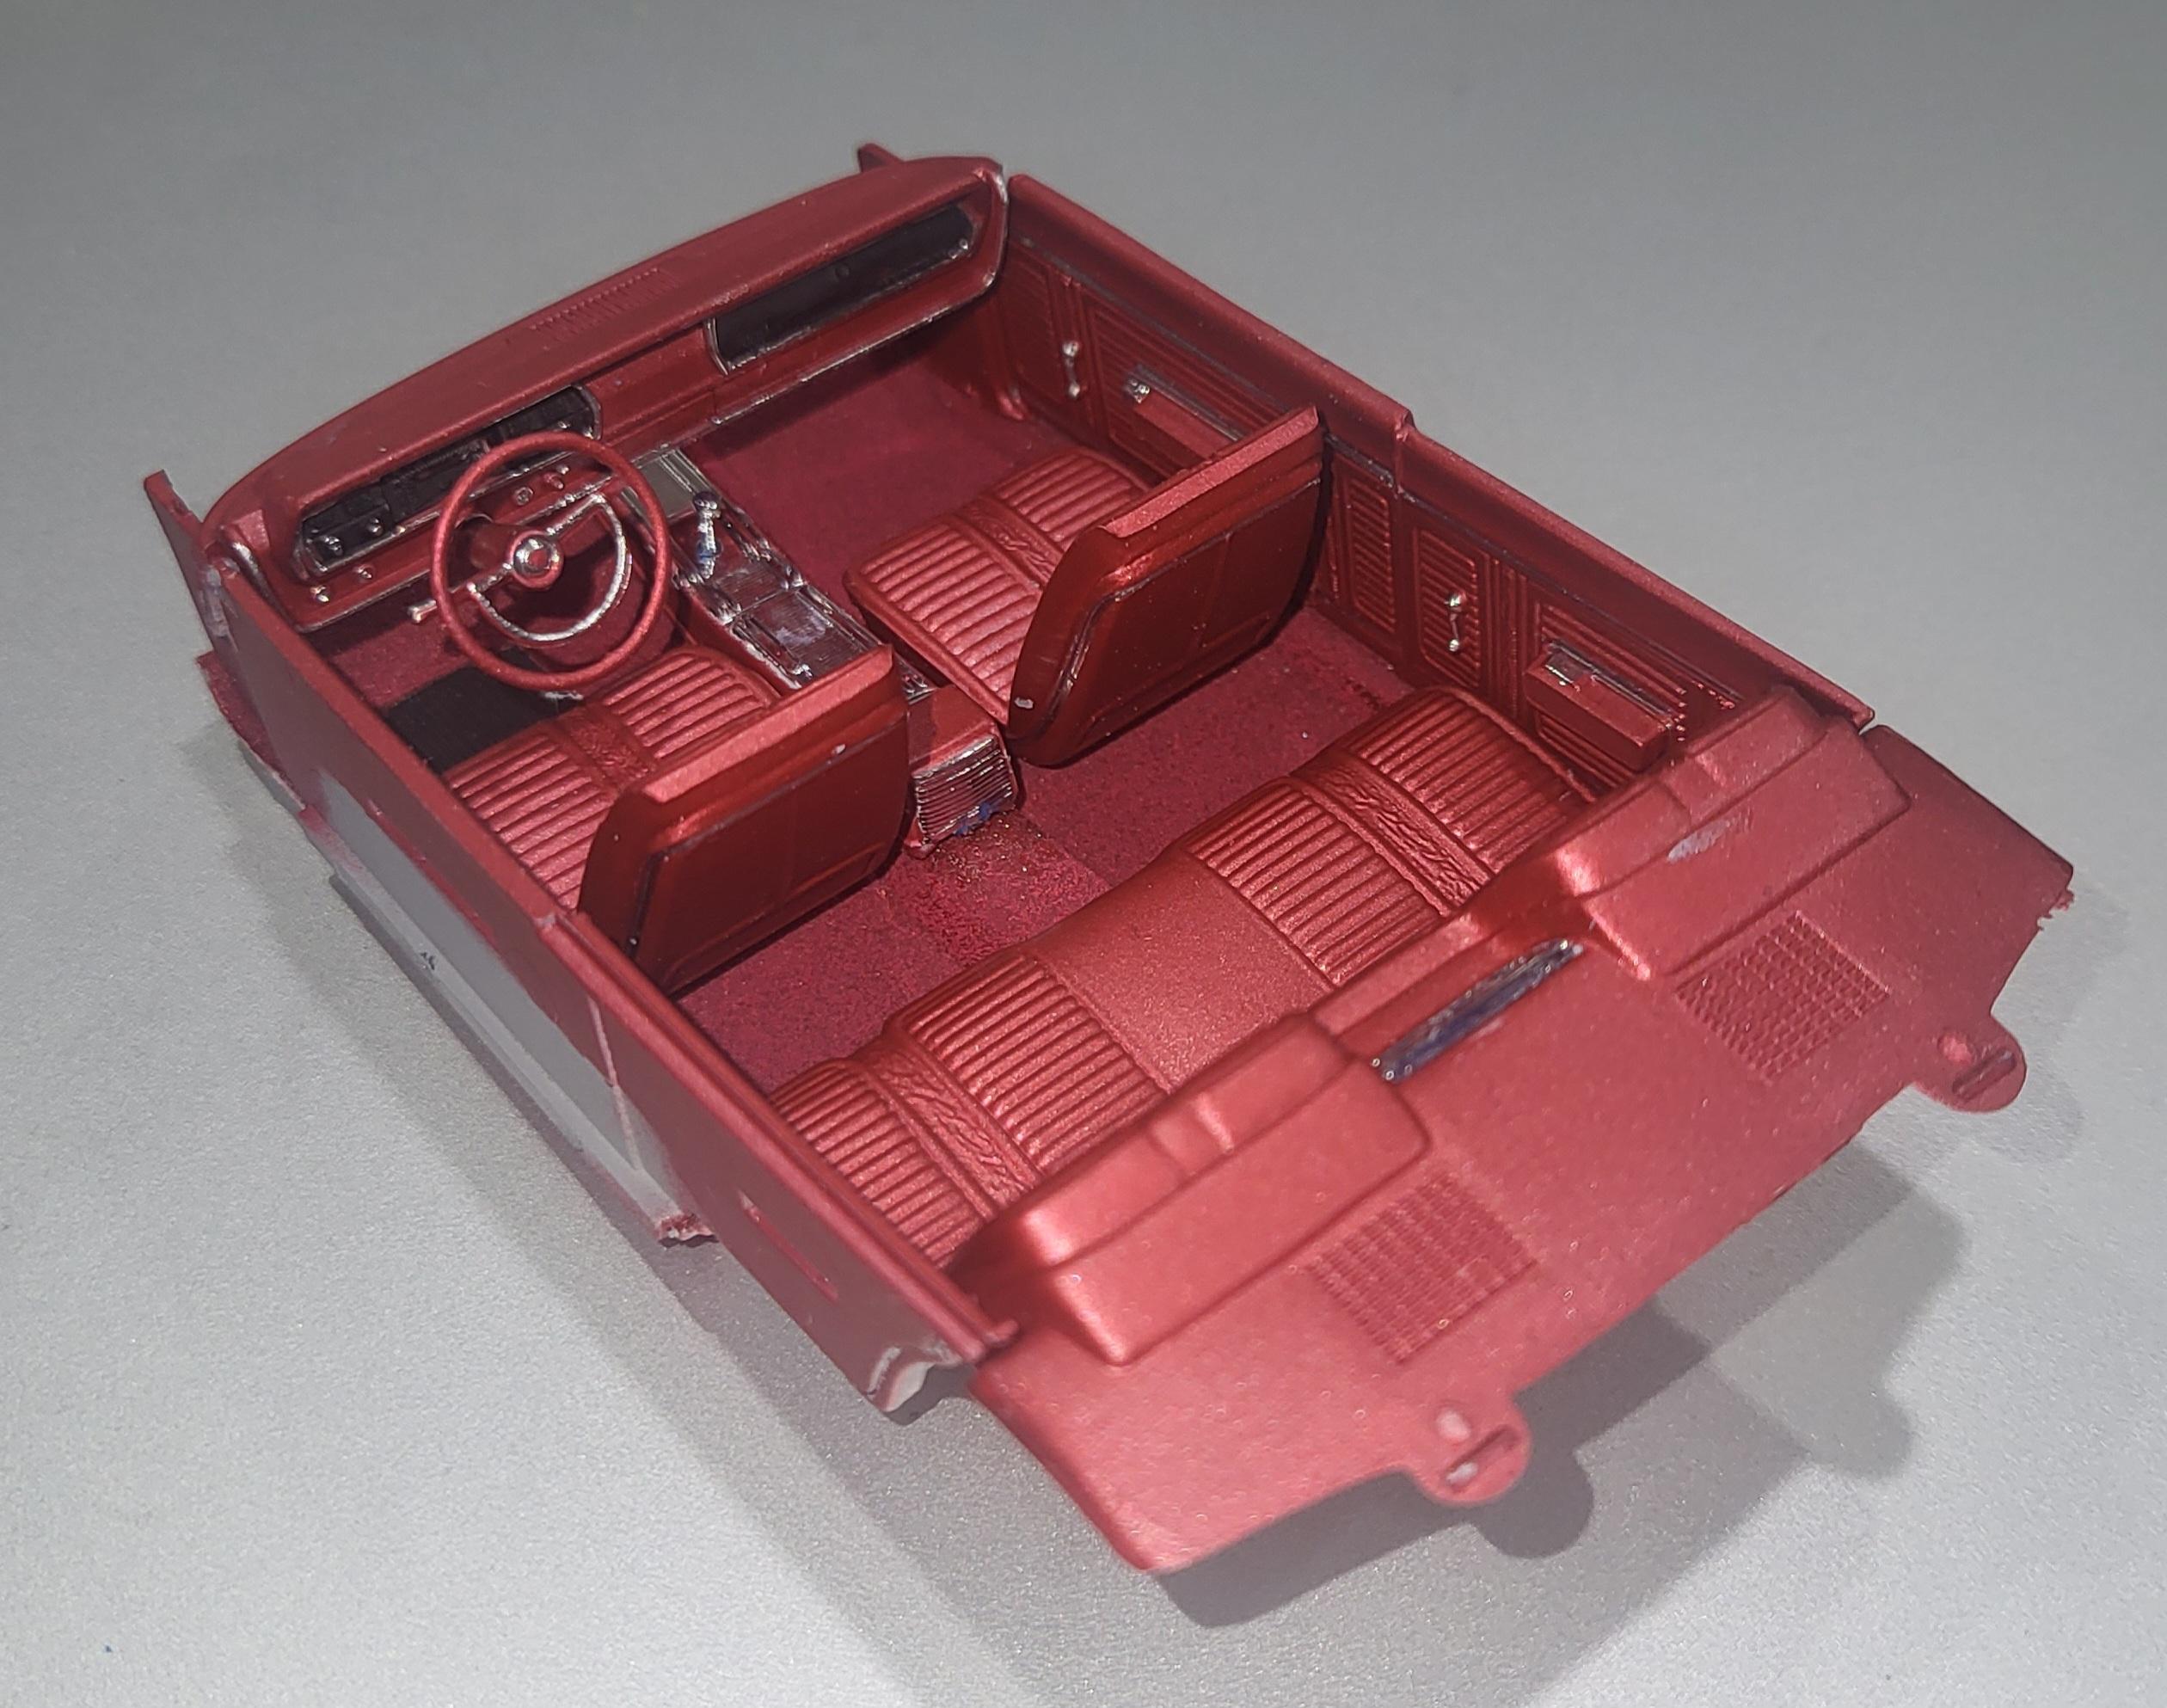
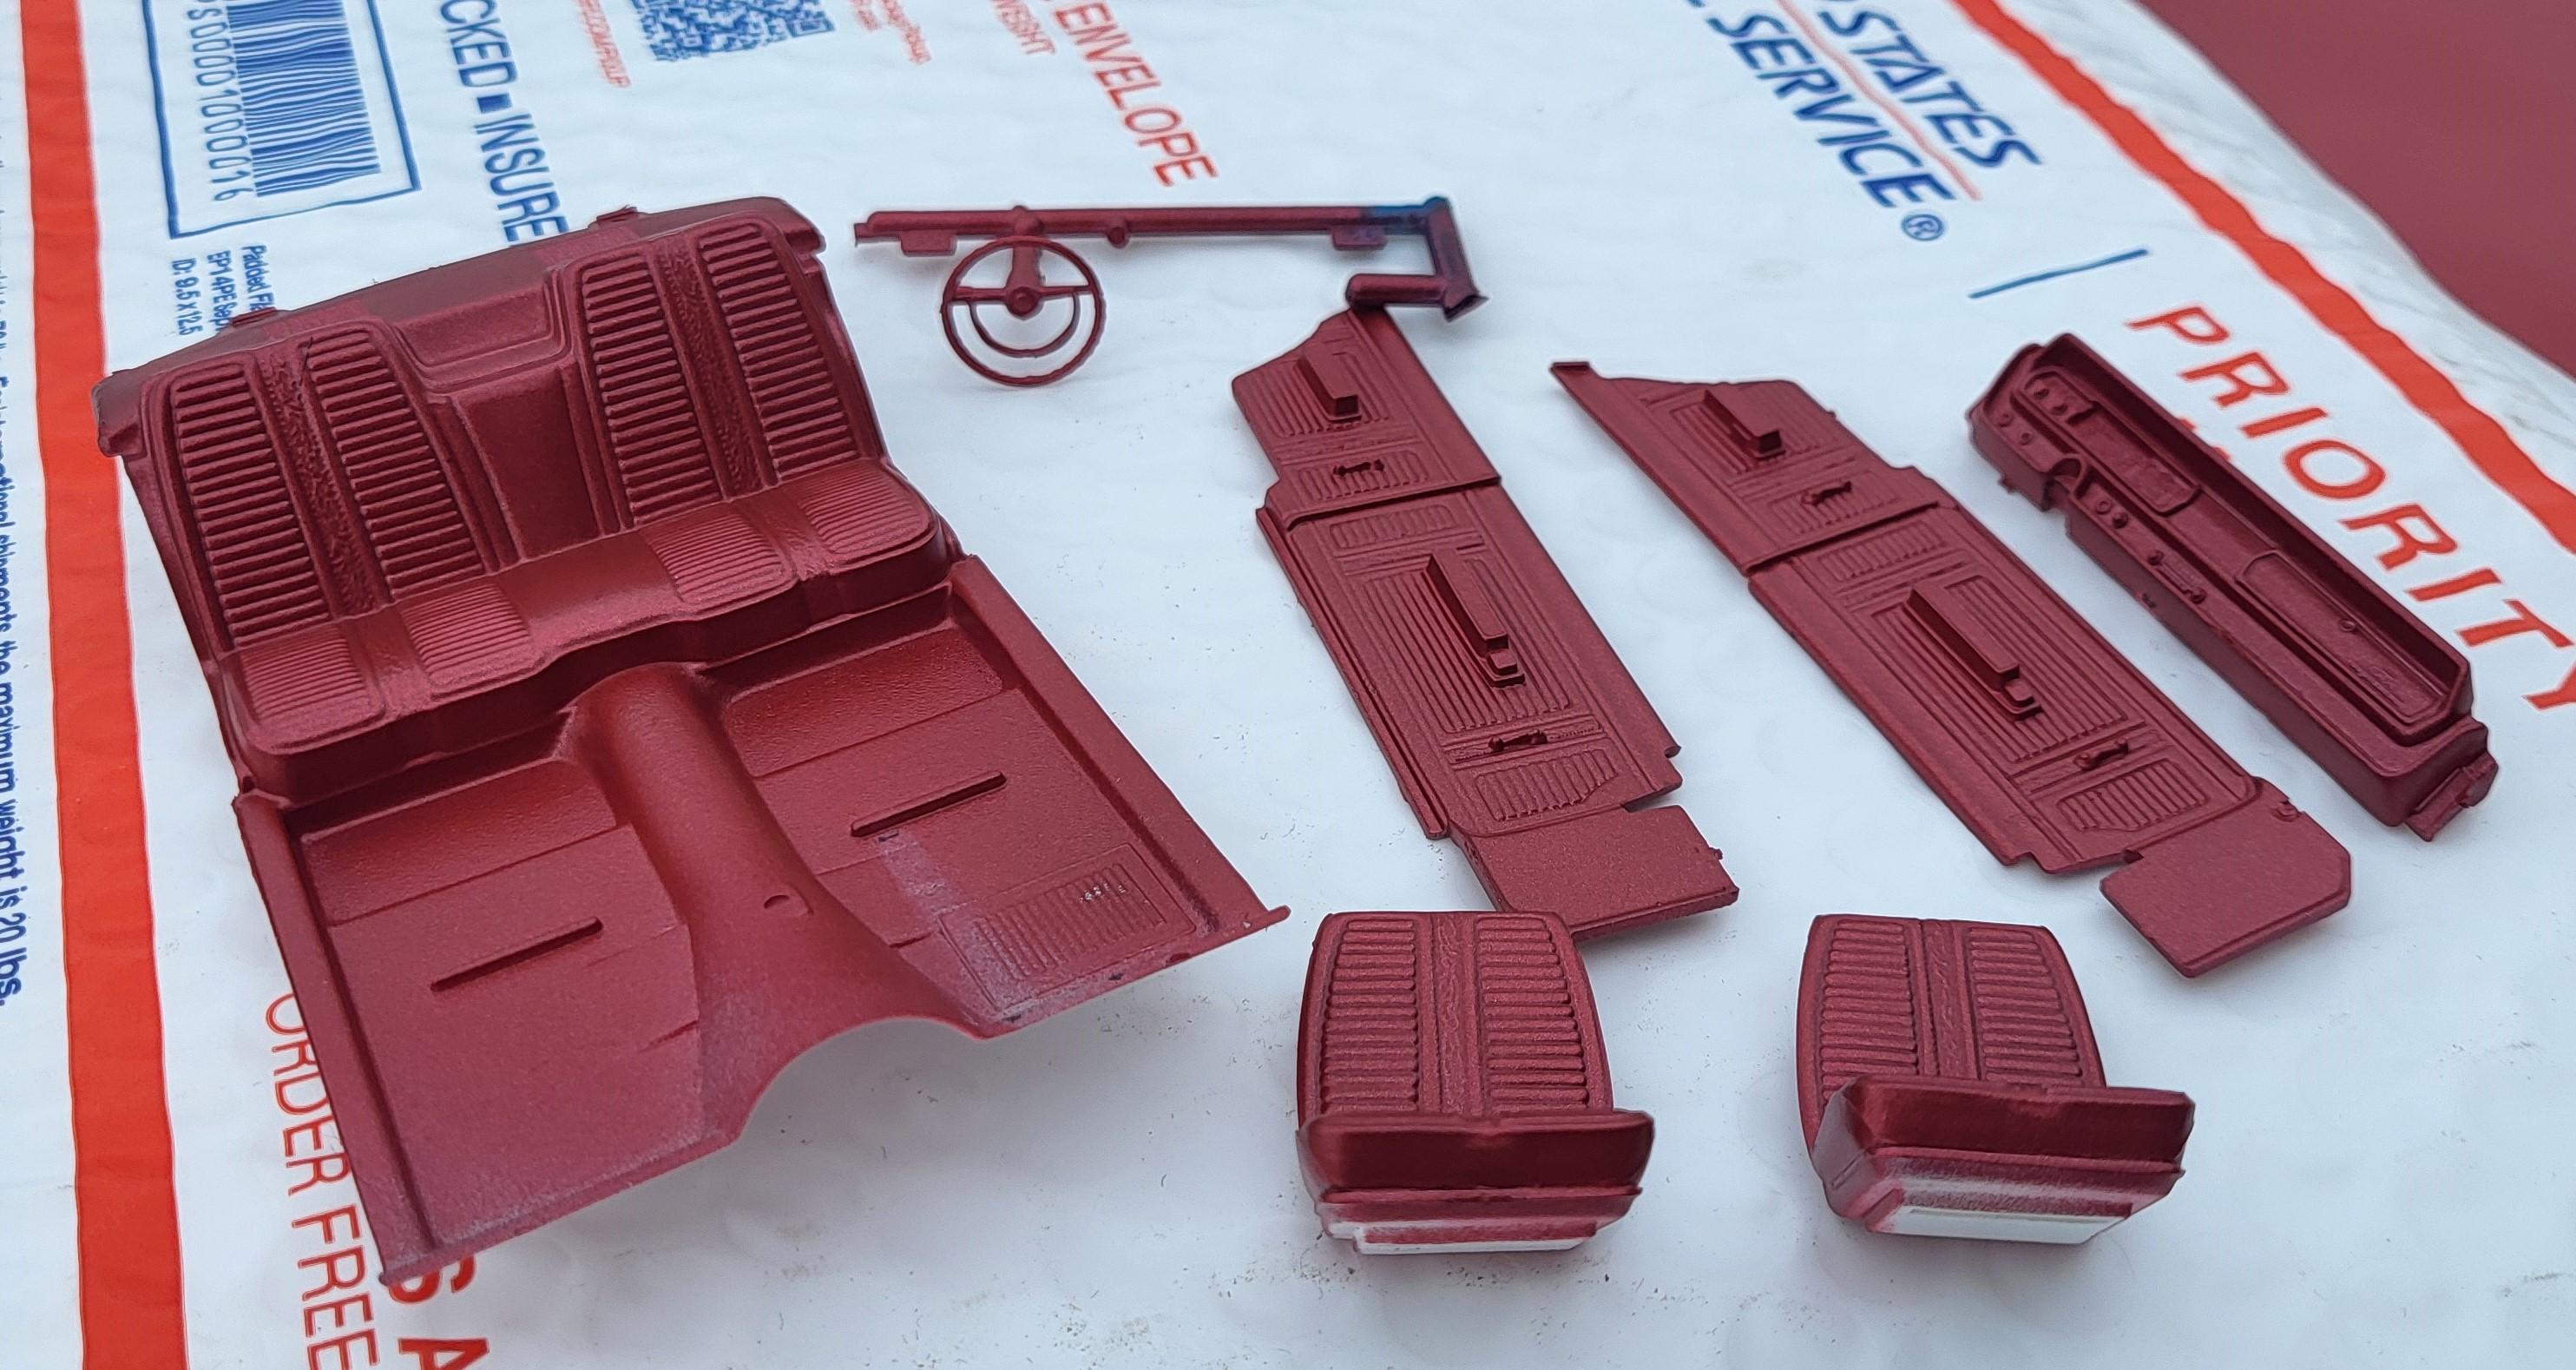
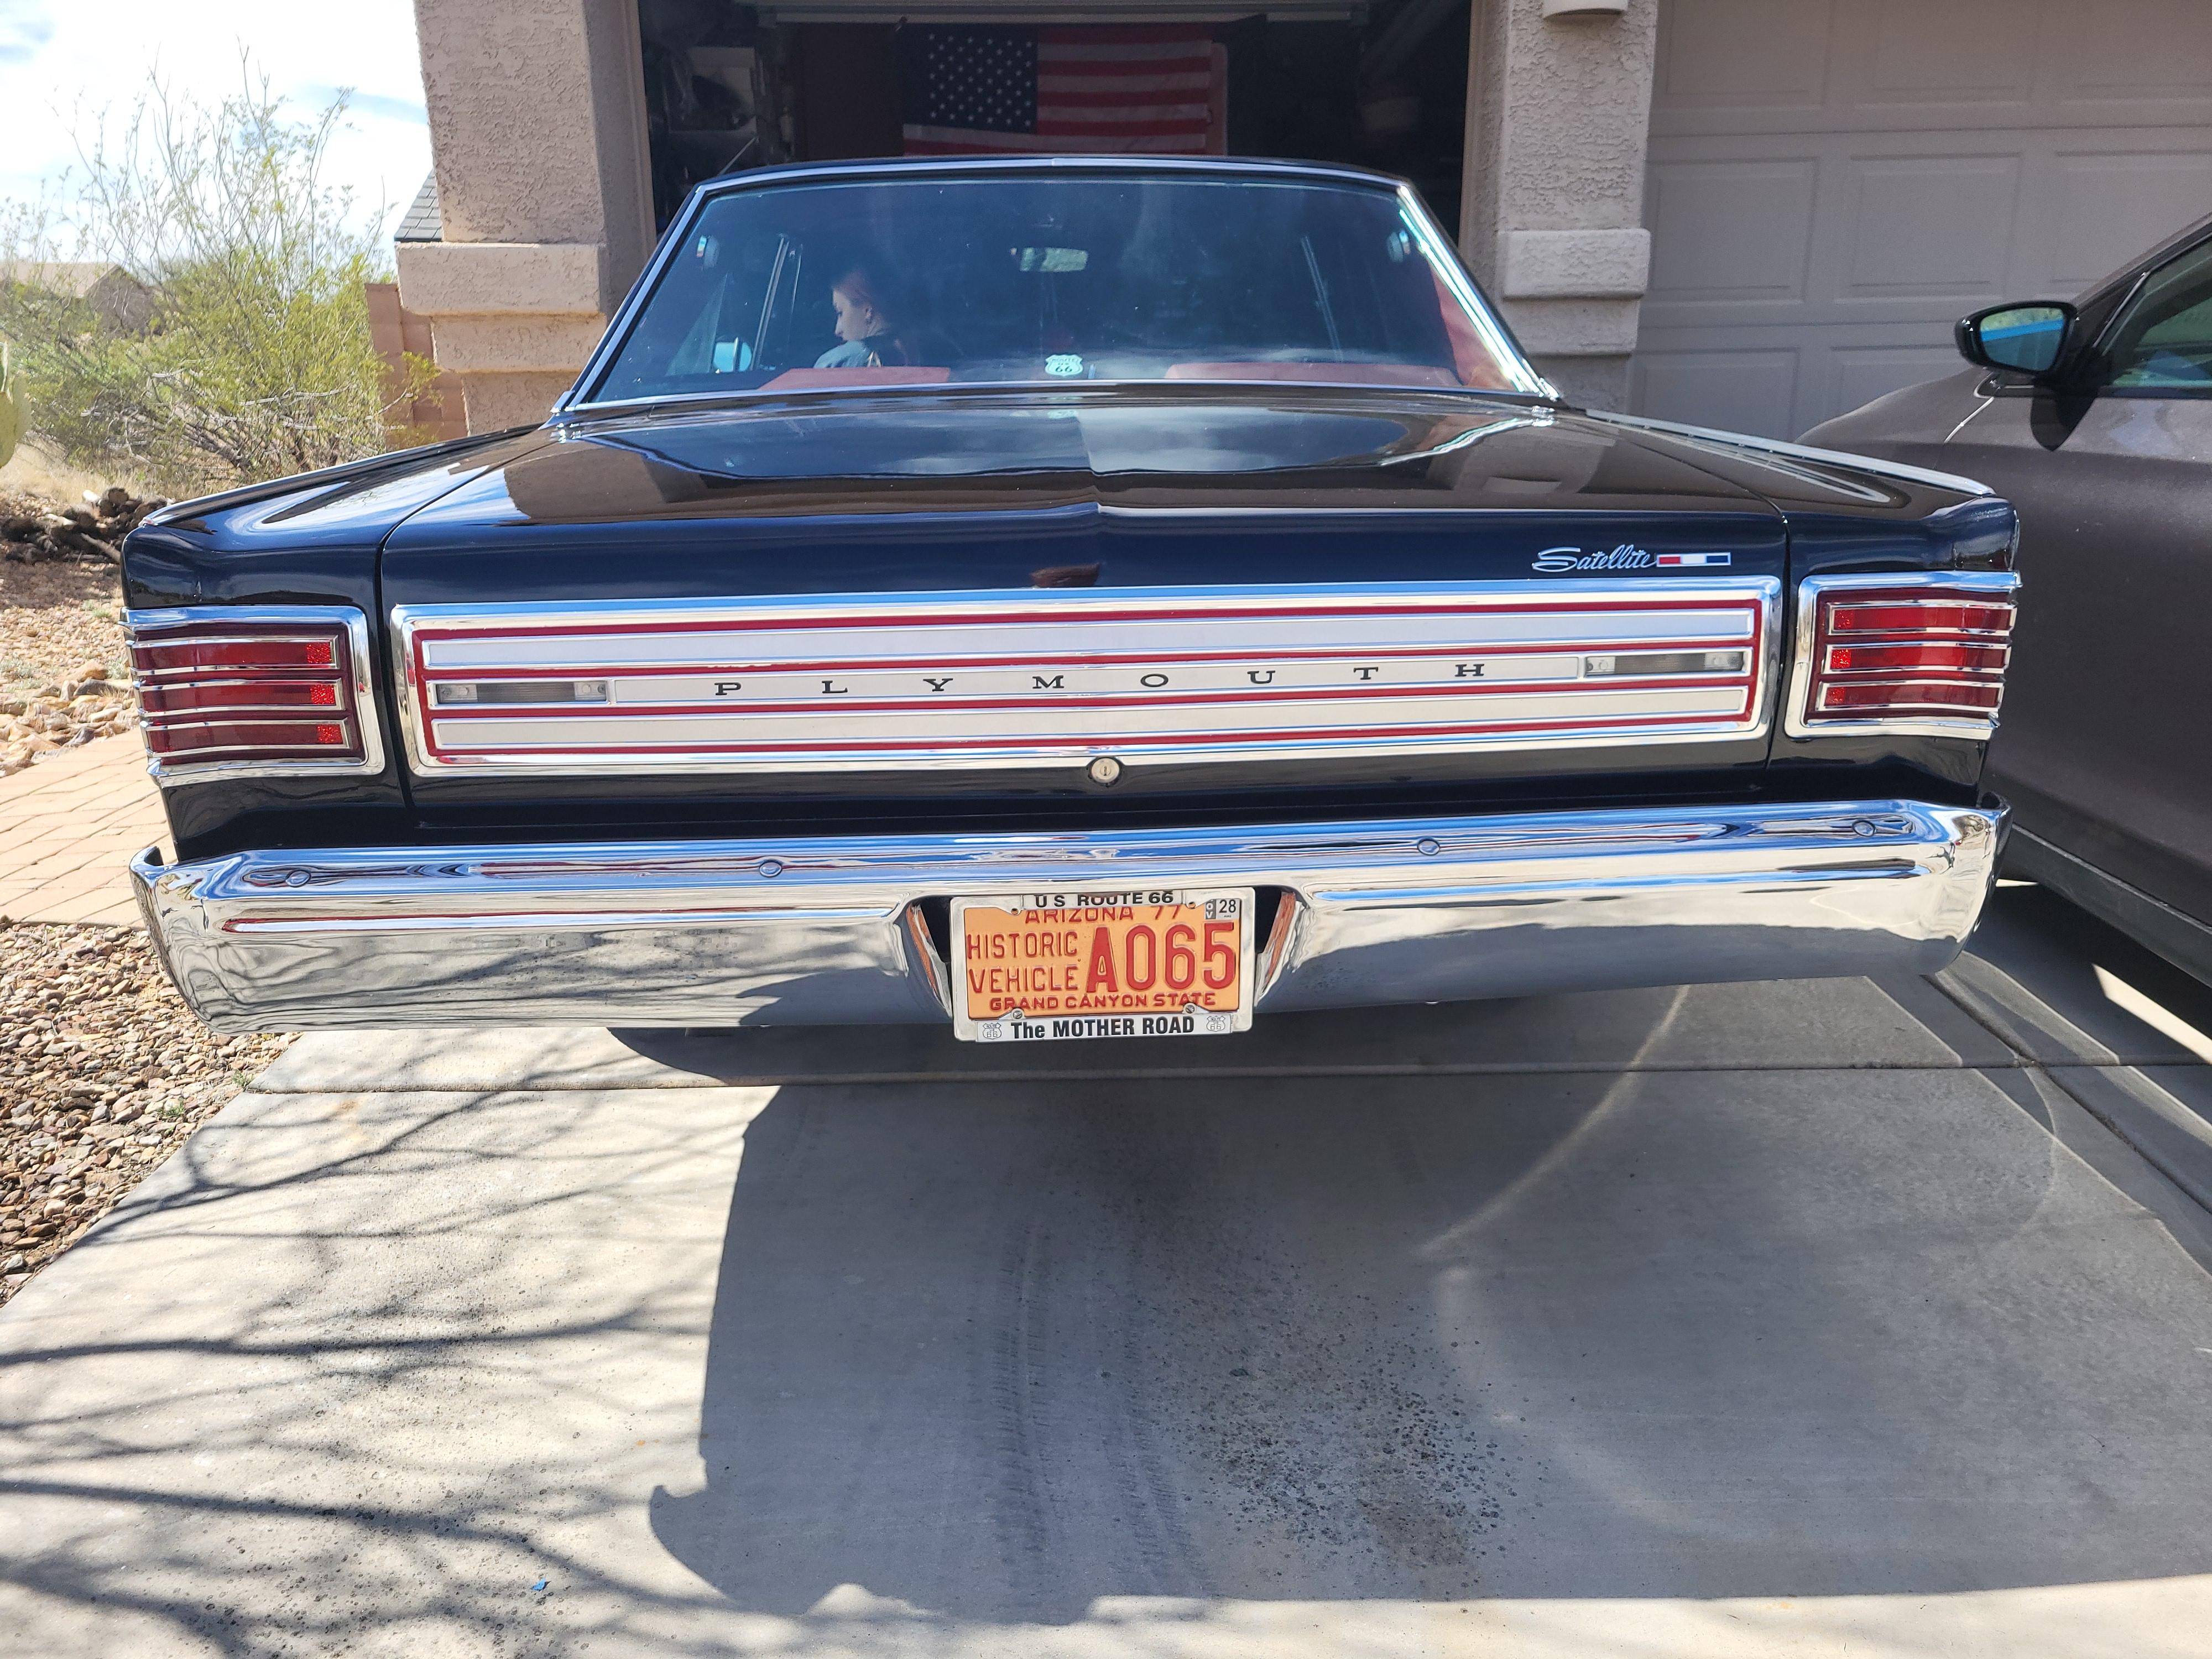
Painted the interior with the same exact paint used on hard plastic pieces of the actual car. A metallic crimson clear red sprayed over a silver base
I made a plate to cover the radio on the kit dash as my car doesn't have one. Also converted the 67 style 3 spoke wheel to a correct 2 spoke for 1966
Im waiting to hear back if the 3D guy is thinking make the correct 66 seat pattern , or not. So I may not use these in this build.
-
1
-
-
1 hour ago, dino246gt said:
I just like torturing myself!
Really, I do think that the Mobius is more correct, and they're not quite the same size.
I WAS surprised to see the different roof though, I actually and mistakenly, thought only the front clip would need to be changed.
I did enjoy doing it.
Well, Job well done
-
1
-
-
I just ordered a new sheet today directly from BMF.
Havent been able to find it locally for a couple months
-
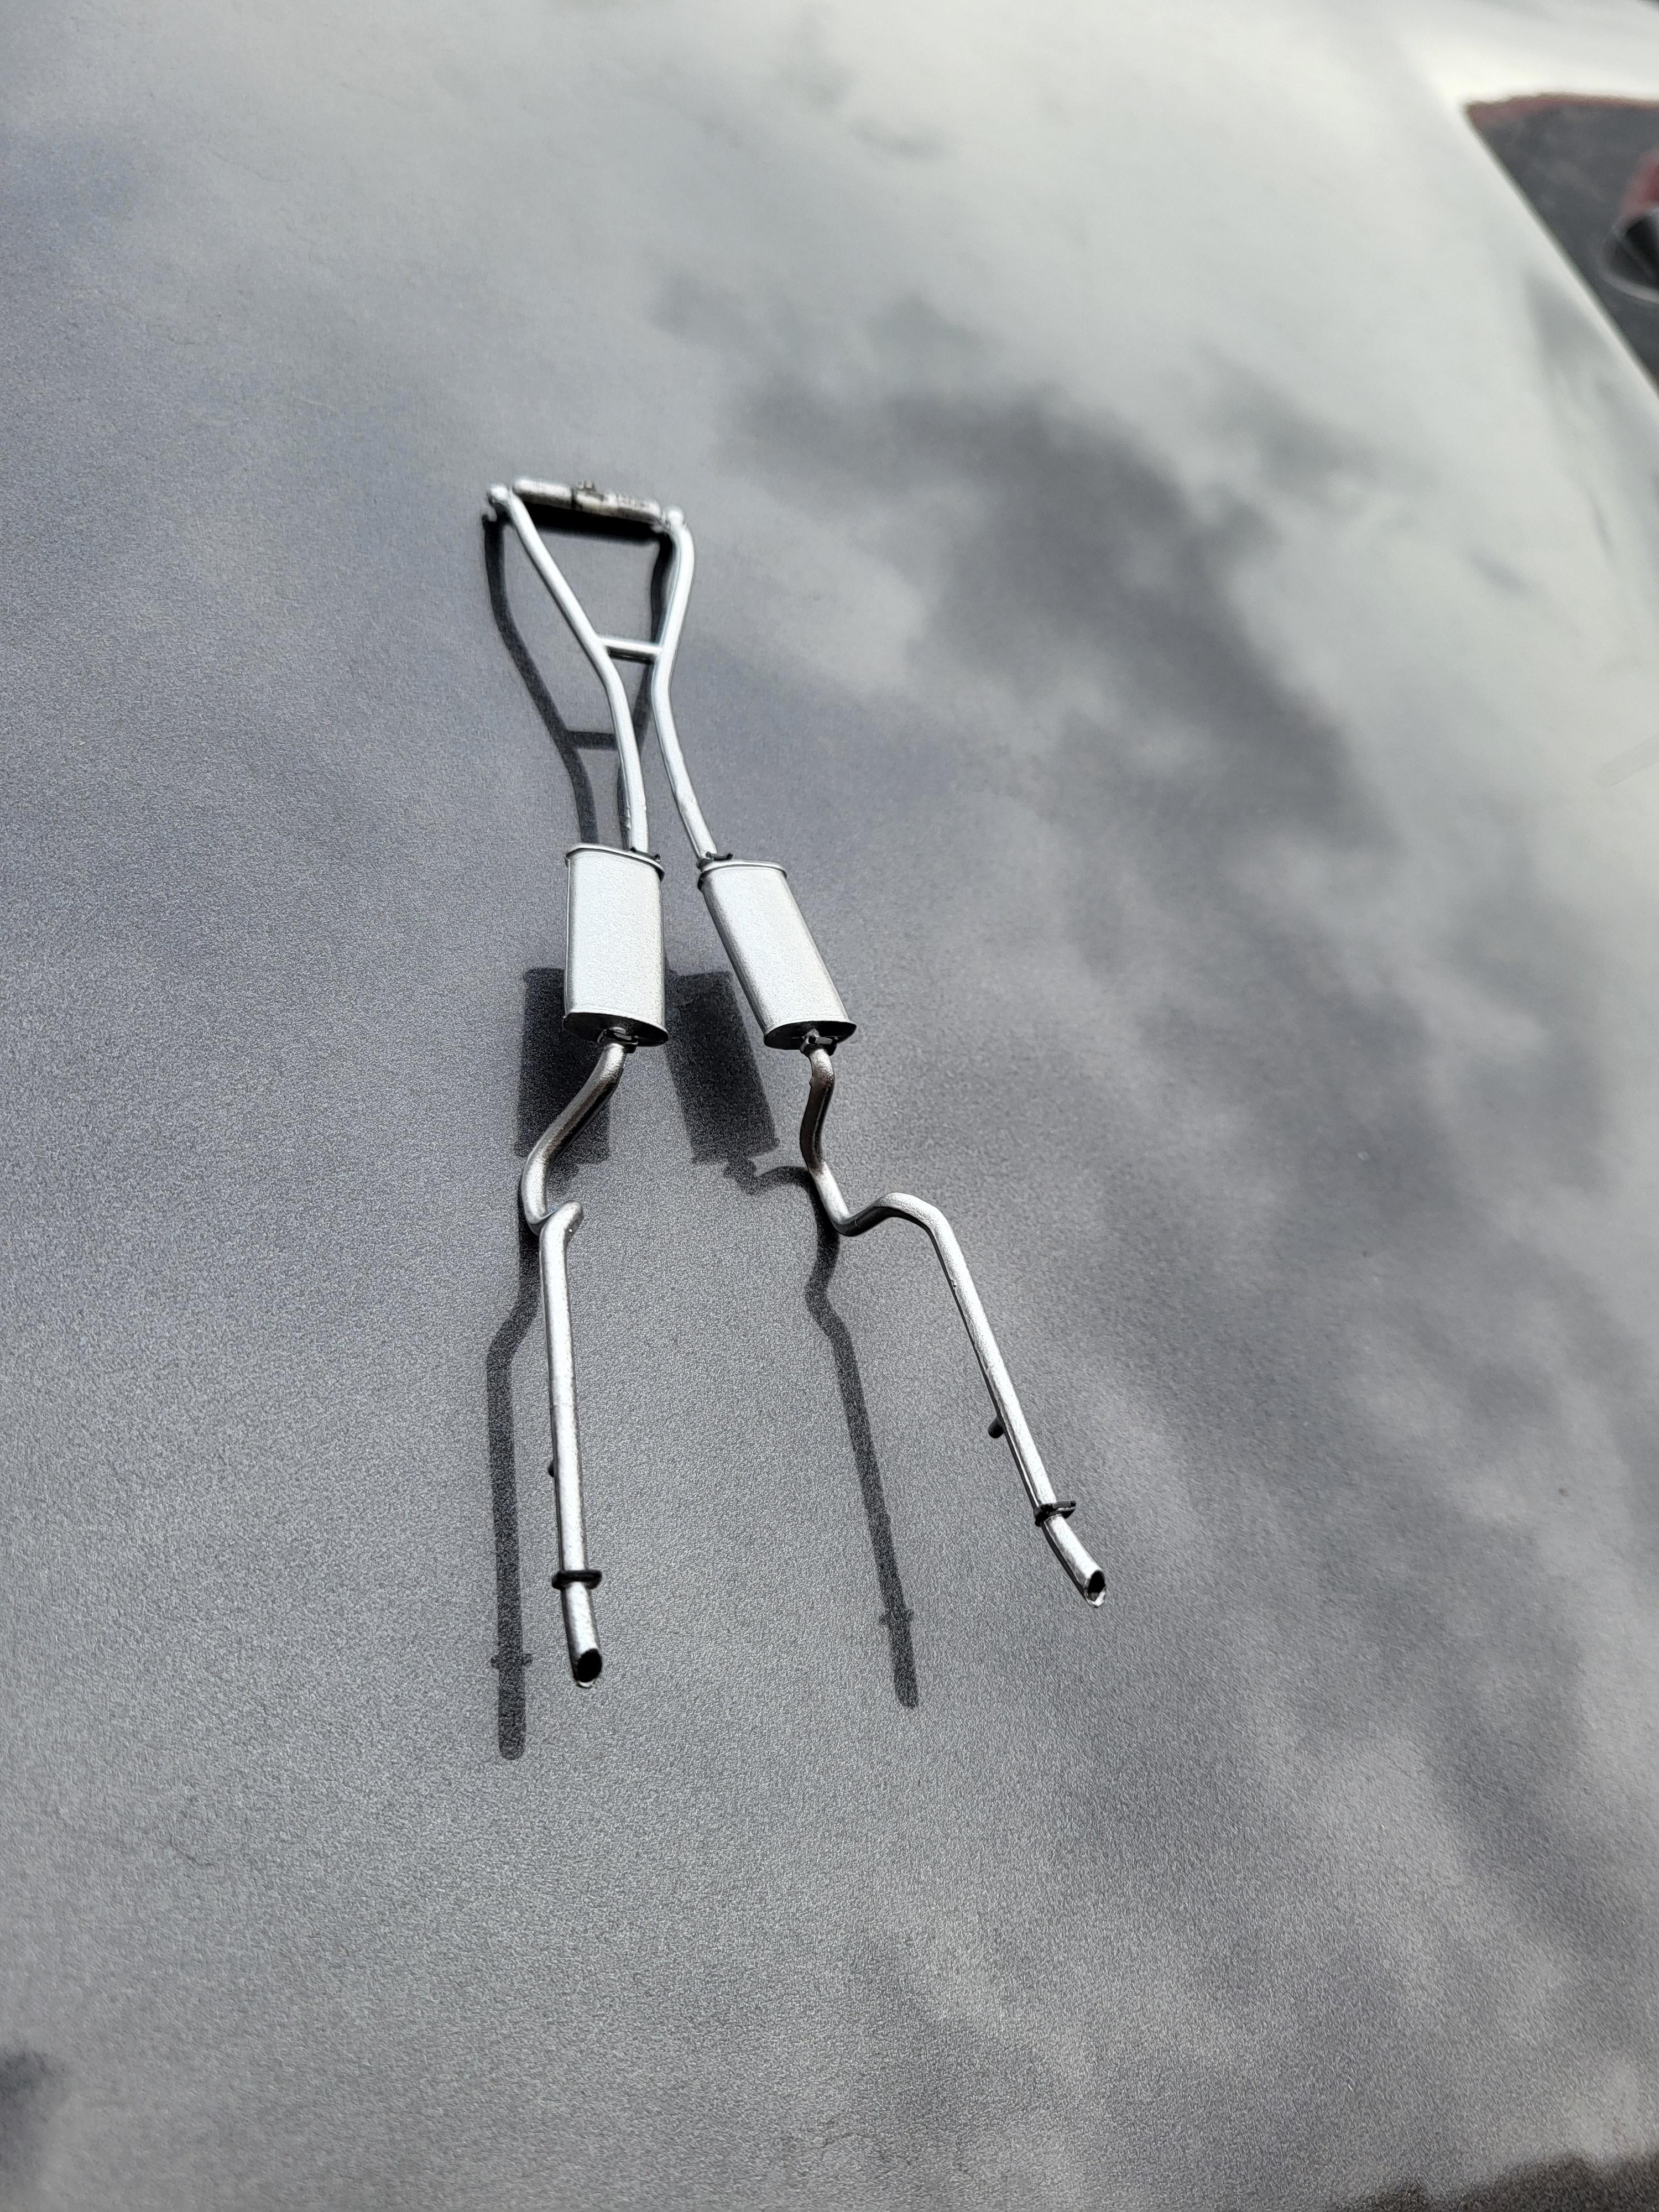
Engine is a mix of parts box stuff to the hemi and auto.
Painted duplicolor hemi orange.
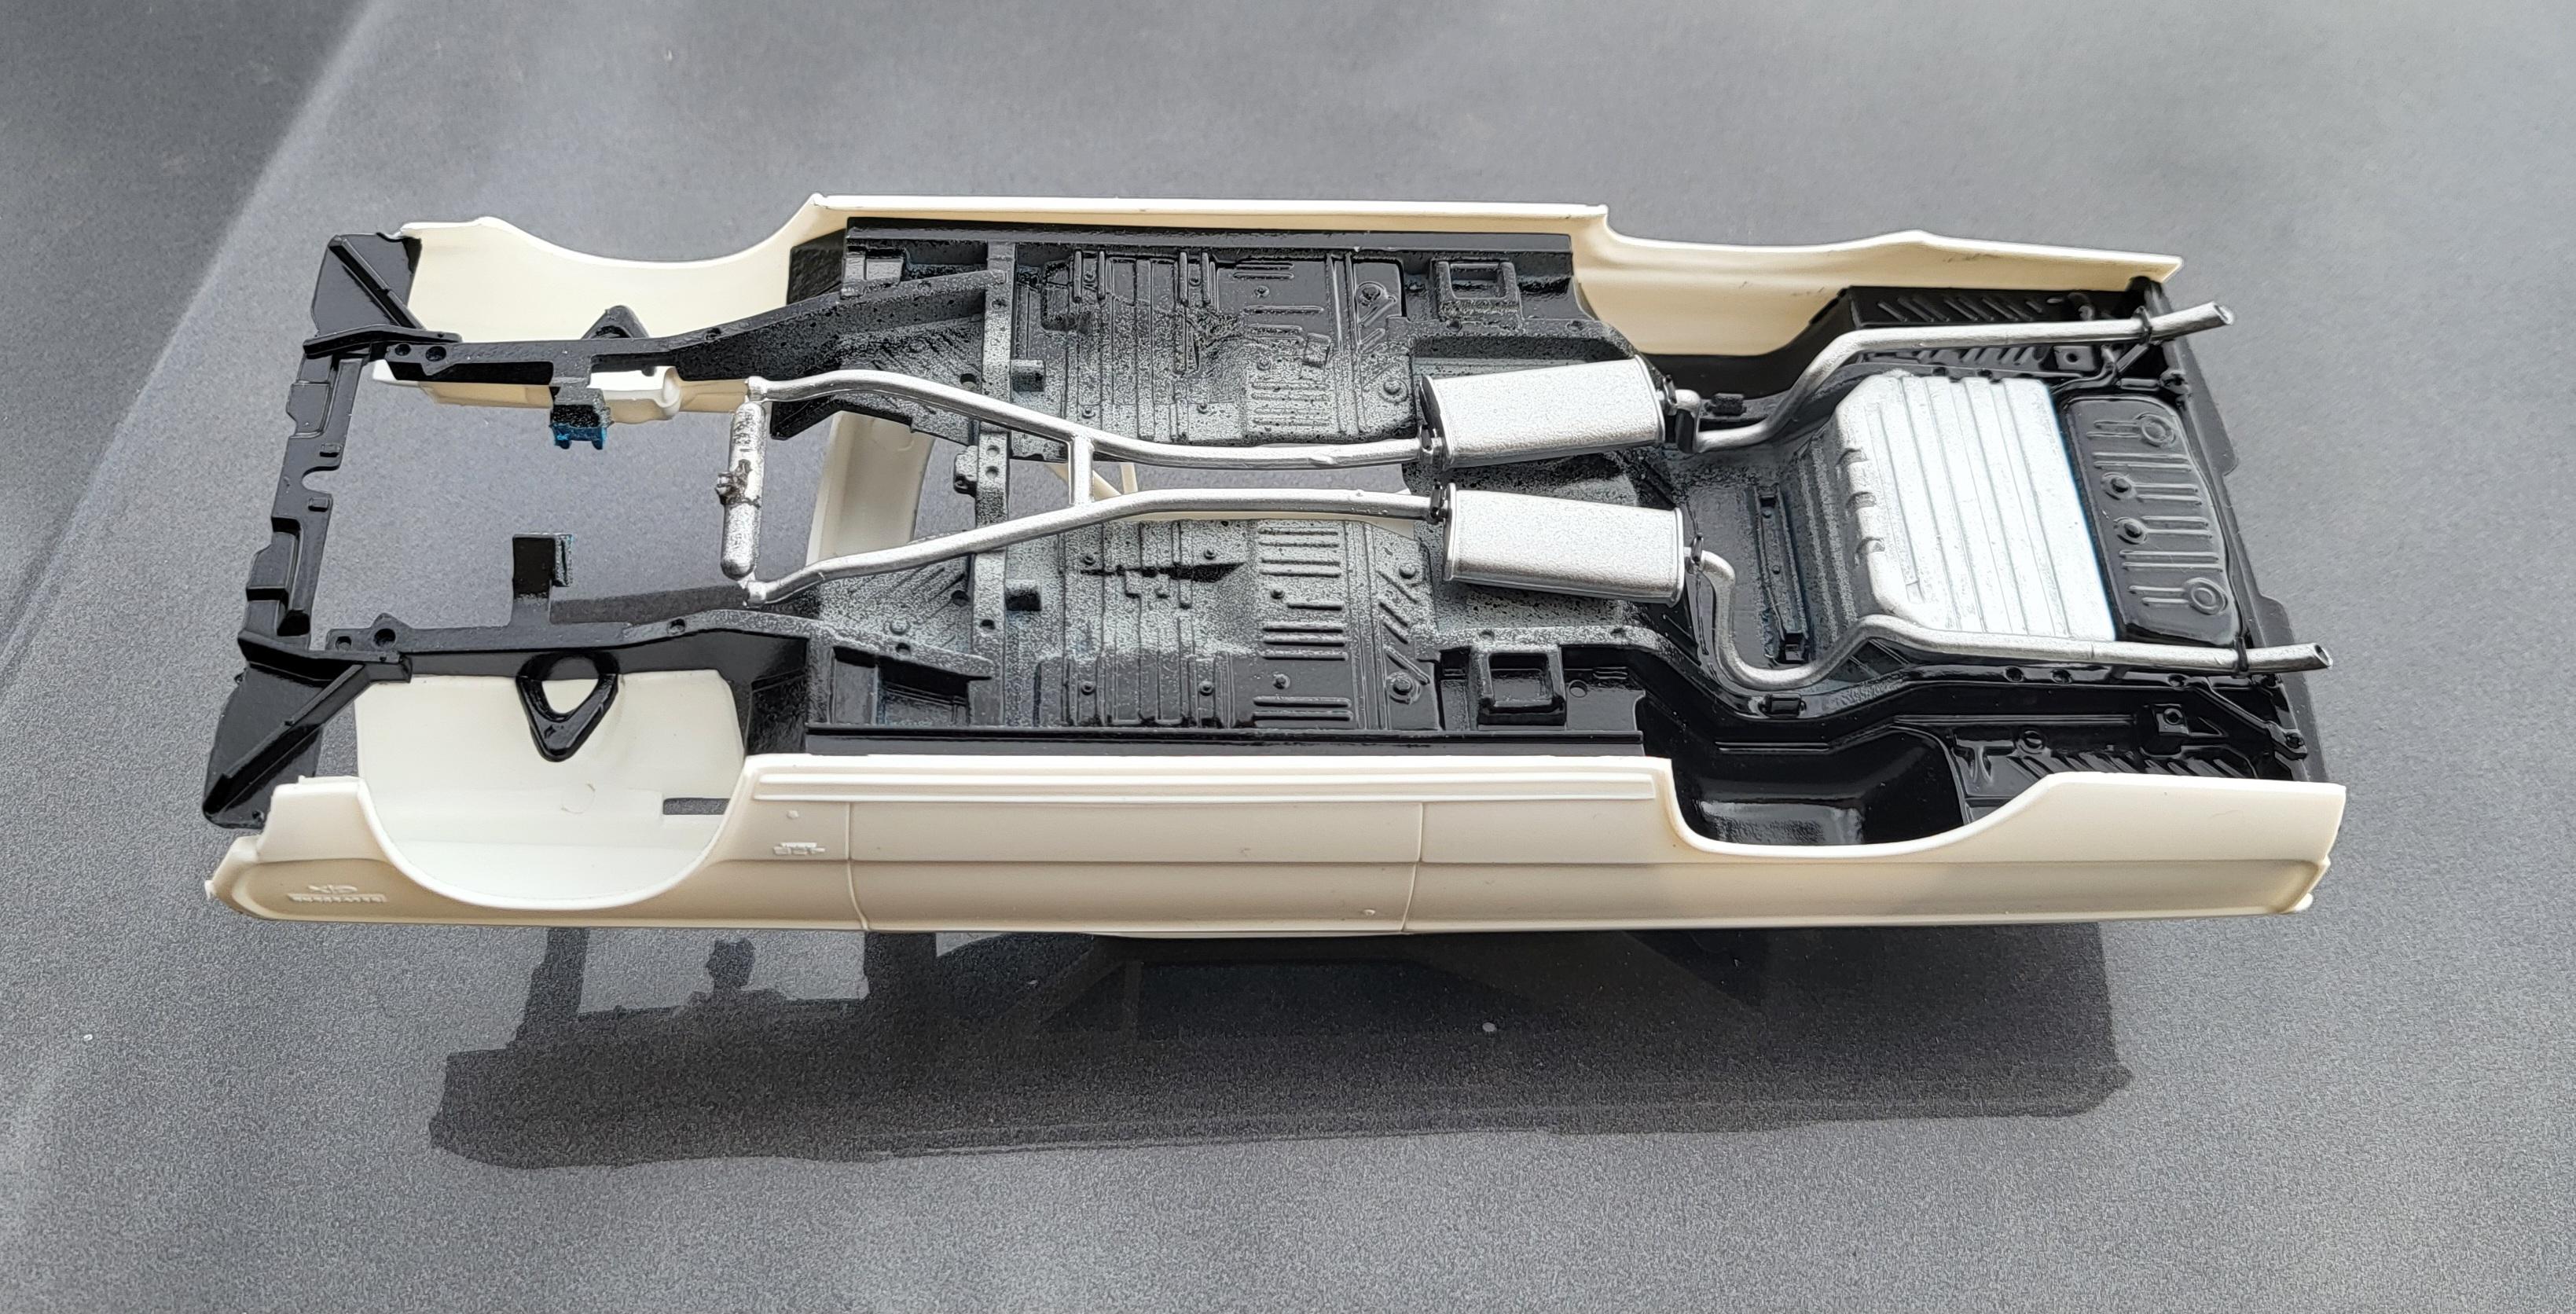
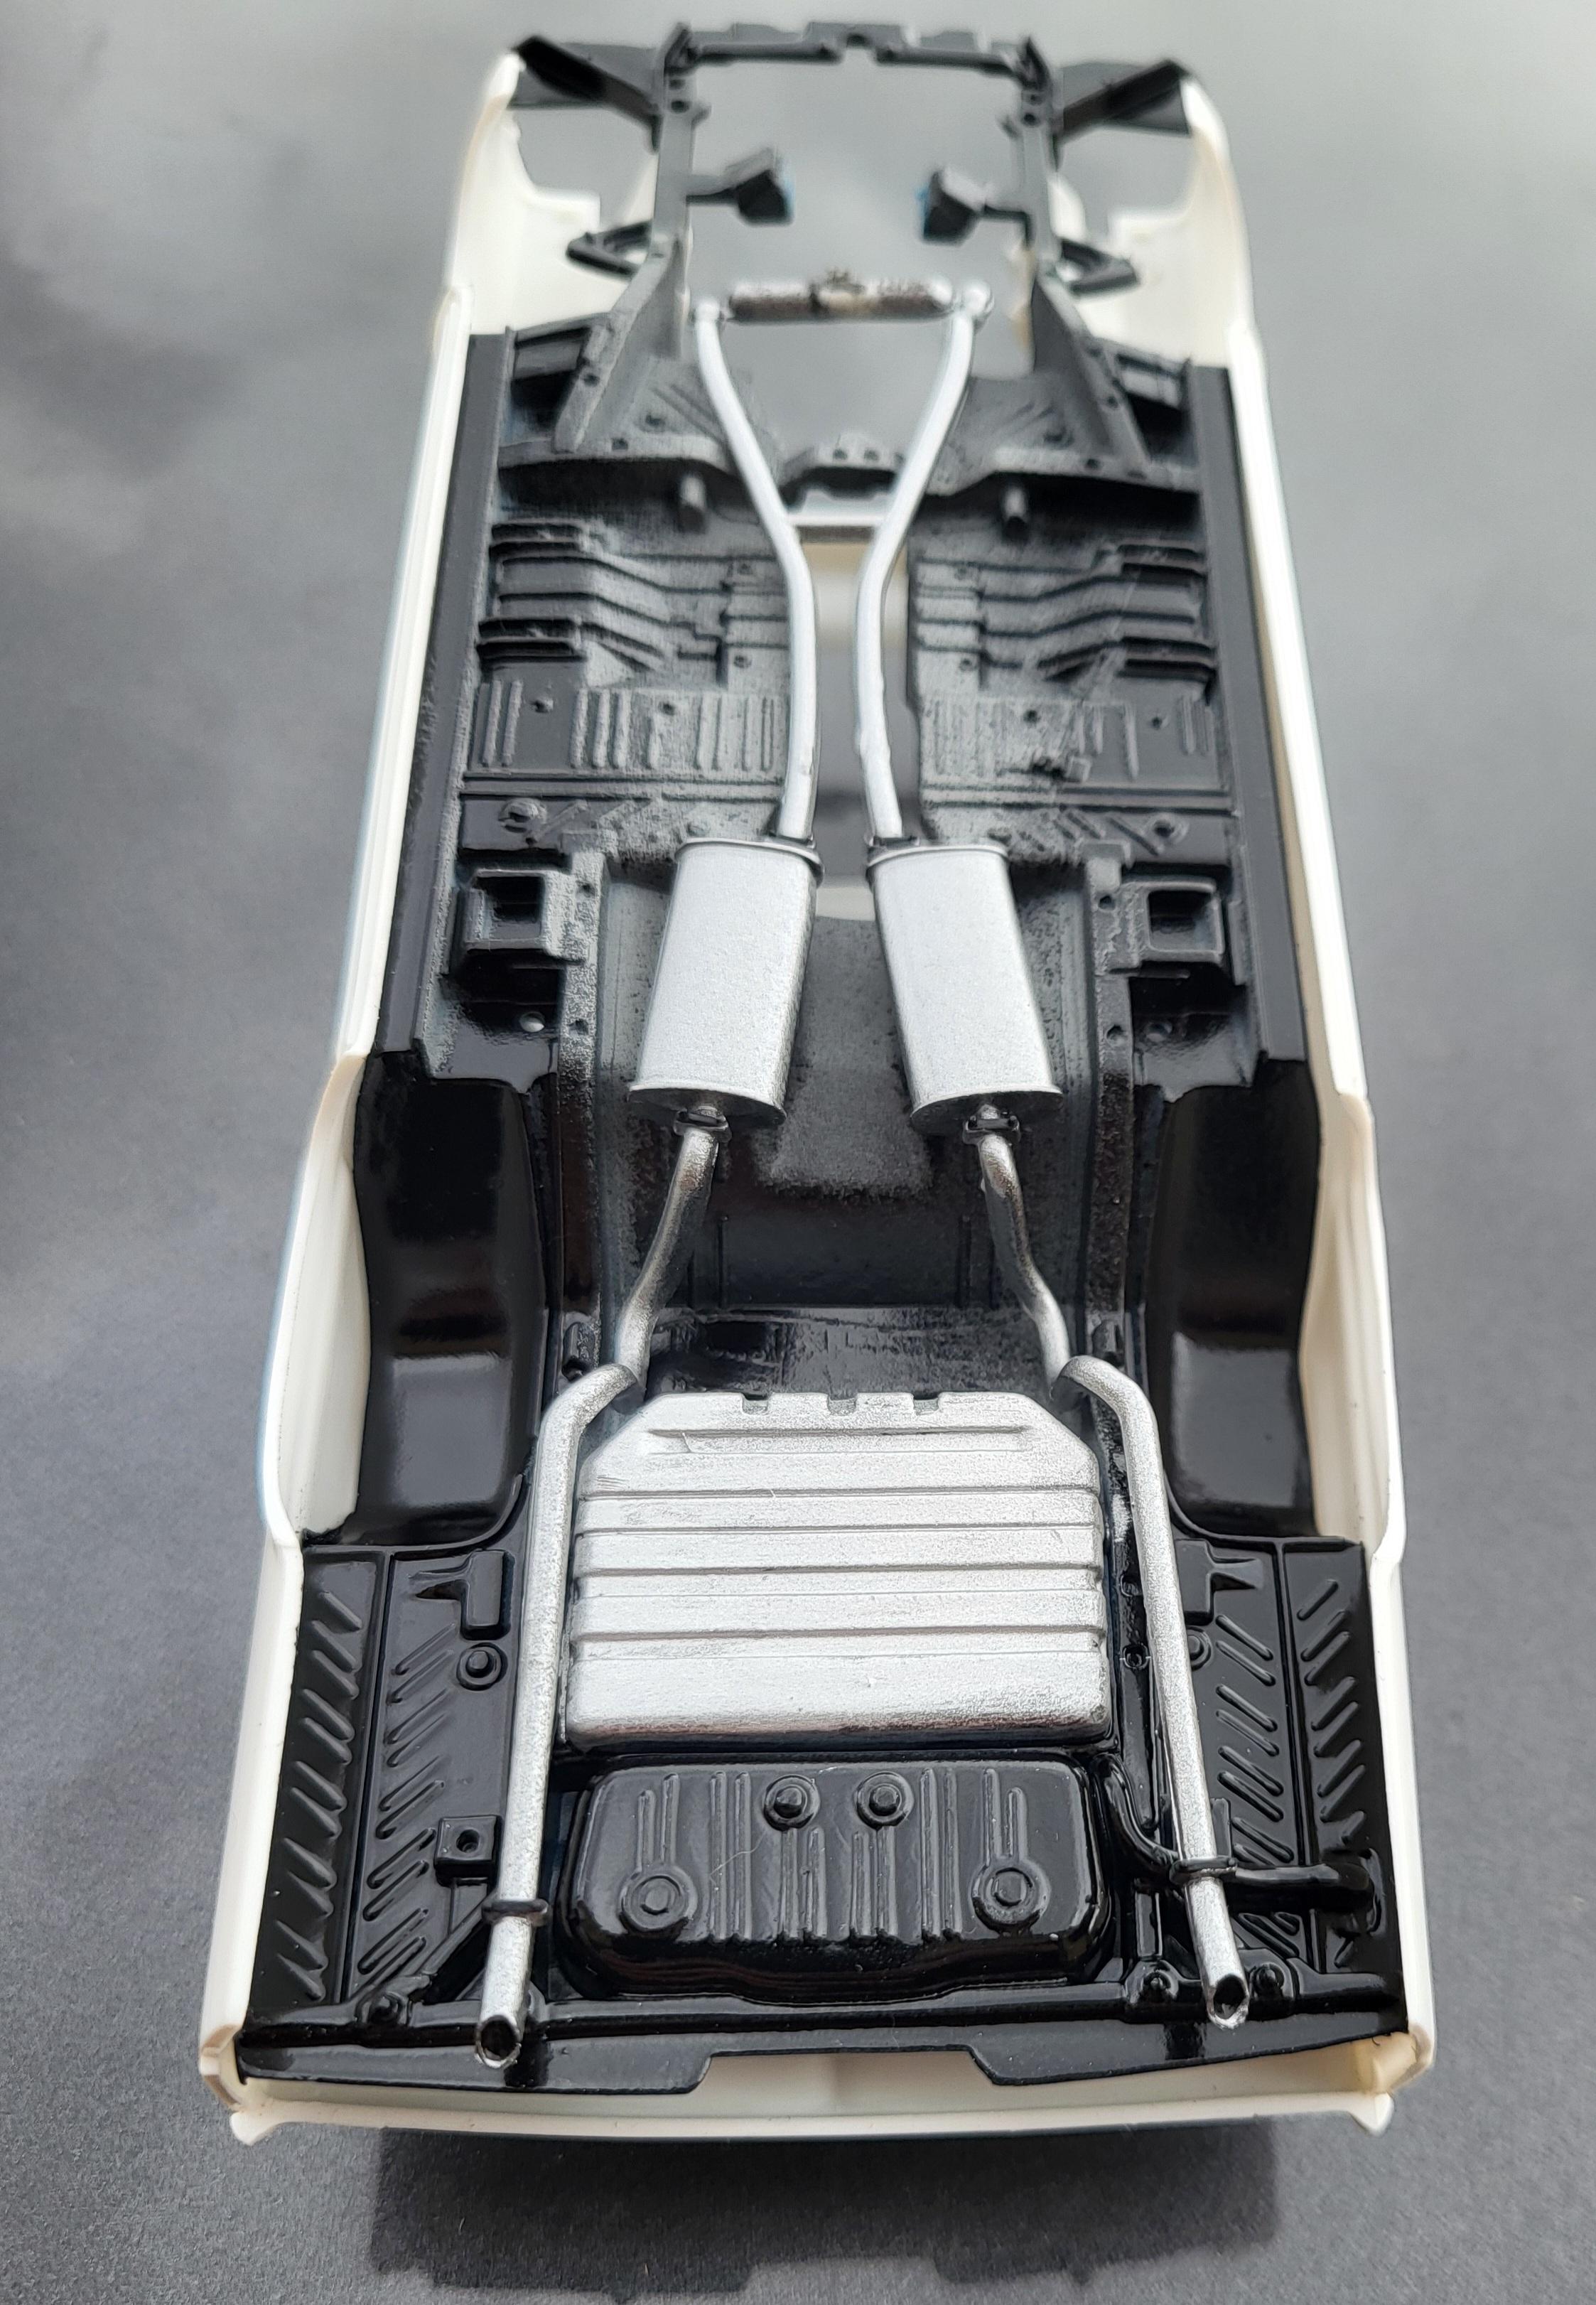
Chassis plate is simple out of the box just painted to kinda sorta look like an OE bottom side. ( which my car is not)
I think the turndown exhaust is revell 68.69 charger???
Which is where the rear springs and Dana will be sourced
-
1
-
-
The 65 Belvedere grill has a noticeable peak in it the 66 Does not. Not to mention a completely different pattern
I have a couple ideas on both the grille and taillights.
AND
Also talking to a 3D guy maybe working out the pieces all get done in 3d print, ( fingers crossed it works )
he was already thinking about it . So I sent him all kinds of pictures to get some ideas . If need be, I will send him a spare body to test fit
In the mean time, I spent a little time in the garage today working on the body conversion.
So far,,,,,,So good. But I still have a long way to go
-
2
-
-
Use same material .
Cut up small pieces and drop them in a jar of acetone to make a glue like consistency mixture.
Cut some pieces to fill the bulk of the hole and glue in from front and backside.
Once dry....sand and paint.
I've used this method to fix multiple plastic grills in old cars
-
1
-
-
On 2/23/2024 at 6:06 PM, gtx6970 said:
Thanks, Just sent them an email with pictures
I've heard back.
Game him all kinds of pictures and measurements.
Waiting on a quote right now.
Fingers crossed he can help me
-
1
-
-
I got some Tamiya clear on this end of last week.
And was quite displeased in the gloss it gave...or lack of to be more accurate.
I spent almost all day polishing it by hand . It's OK.
But far from perfect.
I'll go back to duplicolor or maybe Upohl urethane clear from here on.
I'm in southern AZ. So can't blame it on humidity....we ain't got none
-
I picked up some more strips yesterday
Will try a few ideas next week
-
OK.
I've been told the body is super accurate.
But would only want it to build a oe stock Mach 1
Guessing revell for the rest of it
-
1
-
-
Can this kit be built replica stock
-
Looks amazing.
But am curious, Why not just use the Johan Body with Moebius for everything else
-
23 hours ago, Scott Eriksen said:
...........try Bedlam Creations ,he did decals for my Autocar wrecker and Teachers Pet Plymouth ,,he will need exact size /font/colors and pictures >> Bedlam Creations - Creators of custom waterslide decals for guitars, miniatures, models, and more!
Thanks, Just sent them an email with pictures
-
1
-
-
15 hours ago, stitchdup said:
I would cut out the area of the panel, slightly smaller than the outside trim edge, then add the trim to the body with a small inner edge. I would cut a flat piece of sheet to fit the hole you cut and put any needed curvature in before gluing it to the inner edge of the trim you added. Next I would mark out the 3 trim pieces on the inside on the thinnest sheet i had, leaving connections between them at each end and glue only the parts you need down. Once the glue has dried you can carefully trim away the 4 connections and you will be left with 3 perfectly inline trim pieces on a finished panel ready for paint and foil. If you wanted to add the lights also, I would cut them out before paint and foil and add some small pite of sheet to the back. Then its just making some lenses after its foiled and painted.
I have to make the entire rear section of the decklid as the Revell GTX has a seperate rear finish panel that fills the void


Any 3d printer companies or resin casters do a correct 68 Coronet 440 model front and rear bench seats?
in Car Aftermarket / Resin / 3D Printed
Posted
Not that I m aware of.
You might look at the bench seats in the AMT 1968 Roadrunner as an option . But pattern is different